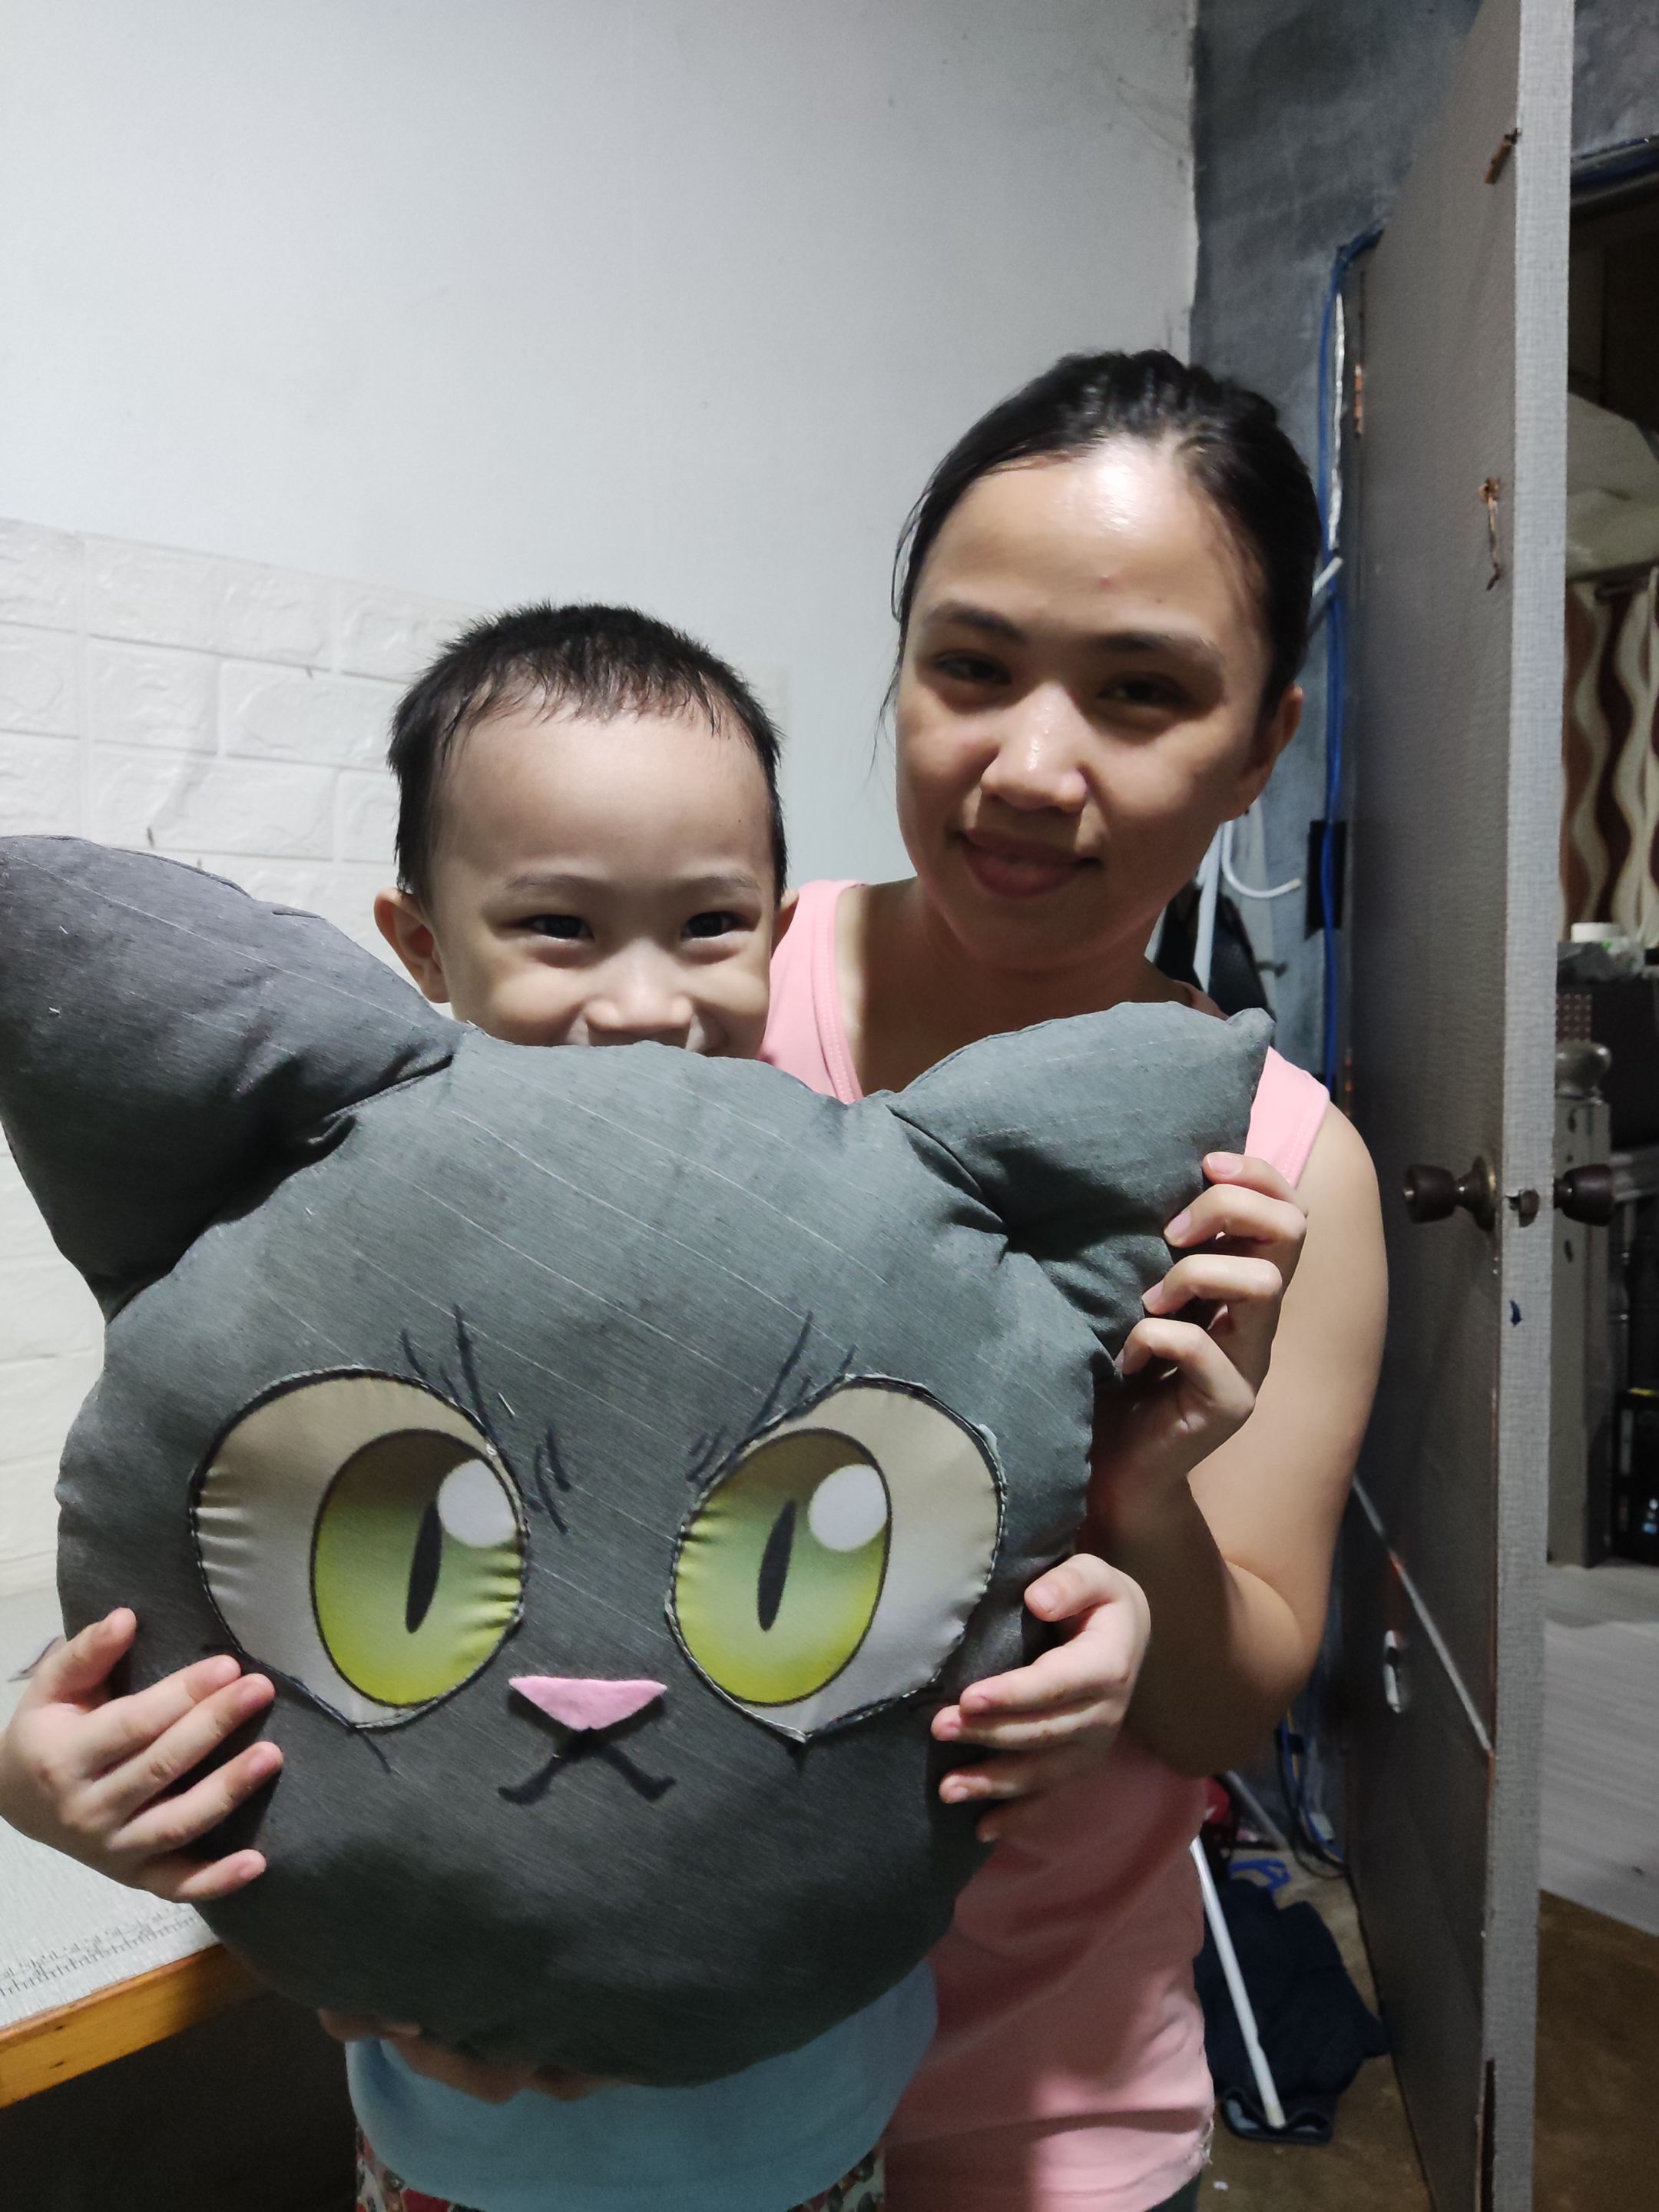
Good day Holozing and holo to each one of us here, I am @jhenuni and i am excited to show to you my DIY M1U Pillow. Sewing a handmade creature like this adorable little kitty M1U is quite a rewarding and delightful task, so actually my youngest son Caleb which will be turning 4 years old this month requested me to made him this M1U pillow because my brother @julsdraws always told them about how cute M1U was so that is why my sons always remember M1U now.
Before we dive into the sewing part it is quite necessary to gather all of the materials and tools first. I prepared the fabric that almost resembles M1U's colors also scissors, pencil if you dont have a chalk or fabric marker, sewing pin and sewing machine and dont forget the glue gun and glue stick for this process too. 😊
DIY PROCESS 💡
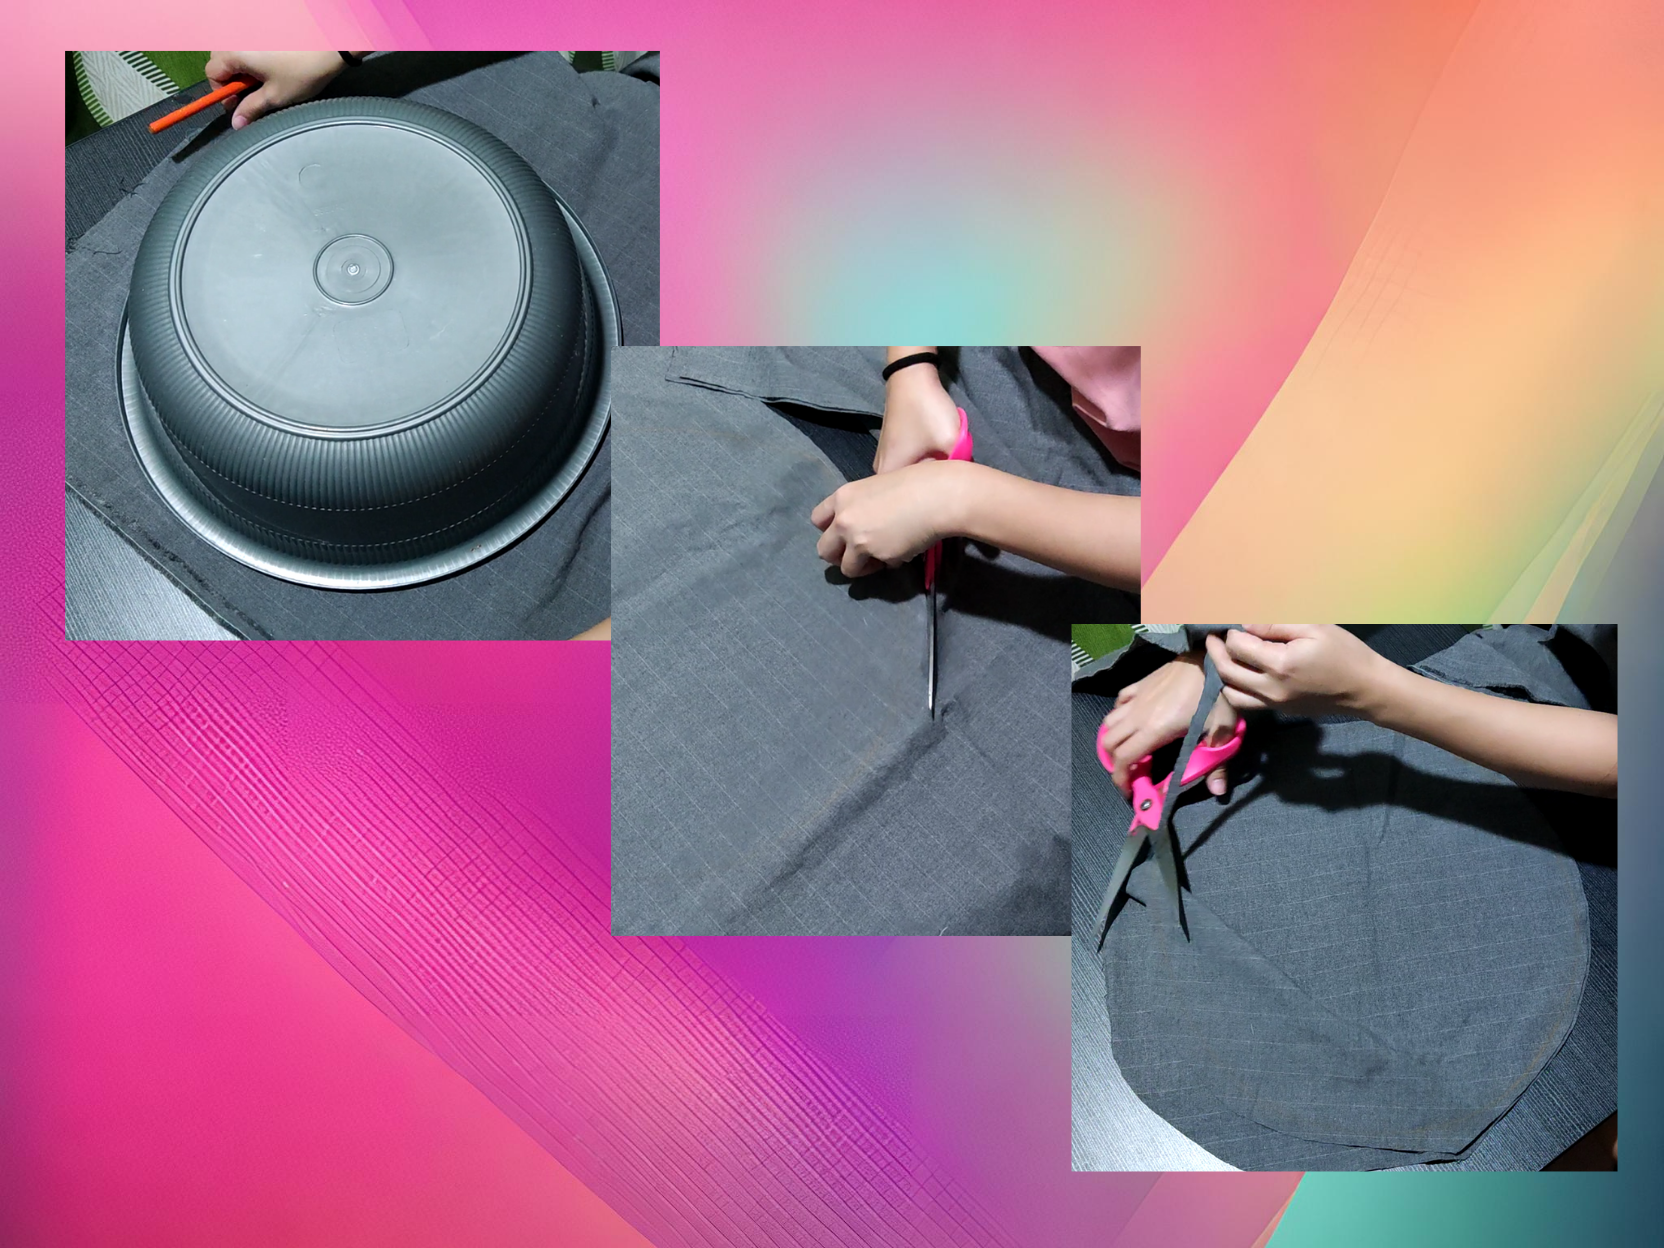
1.) Base shape preparation alternative method - is to use a large circular container a large bowl or lid for M1U's base shape, i use a light color pencil to trace the large circle. Then right after that i cut it very meticoulous. Dont forget the ears too 🐱
2.) Cut the ear shapes from the fabric after the tracing process 🐱
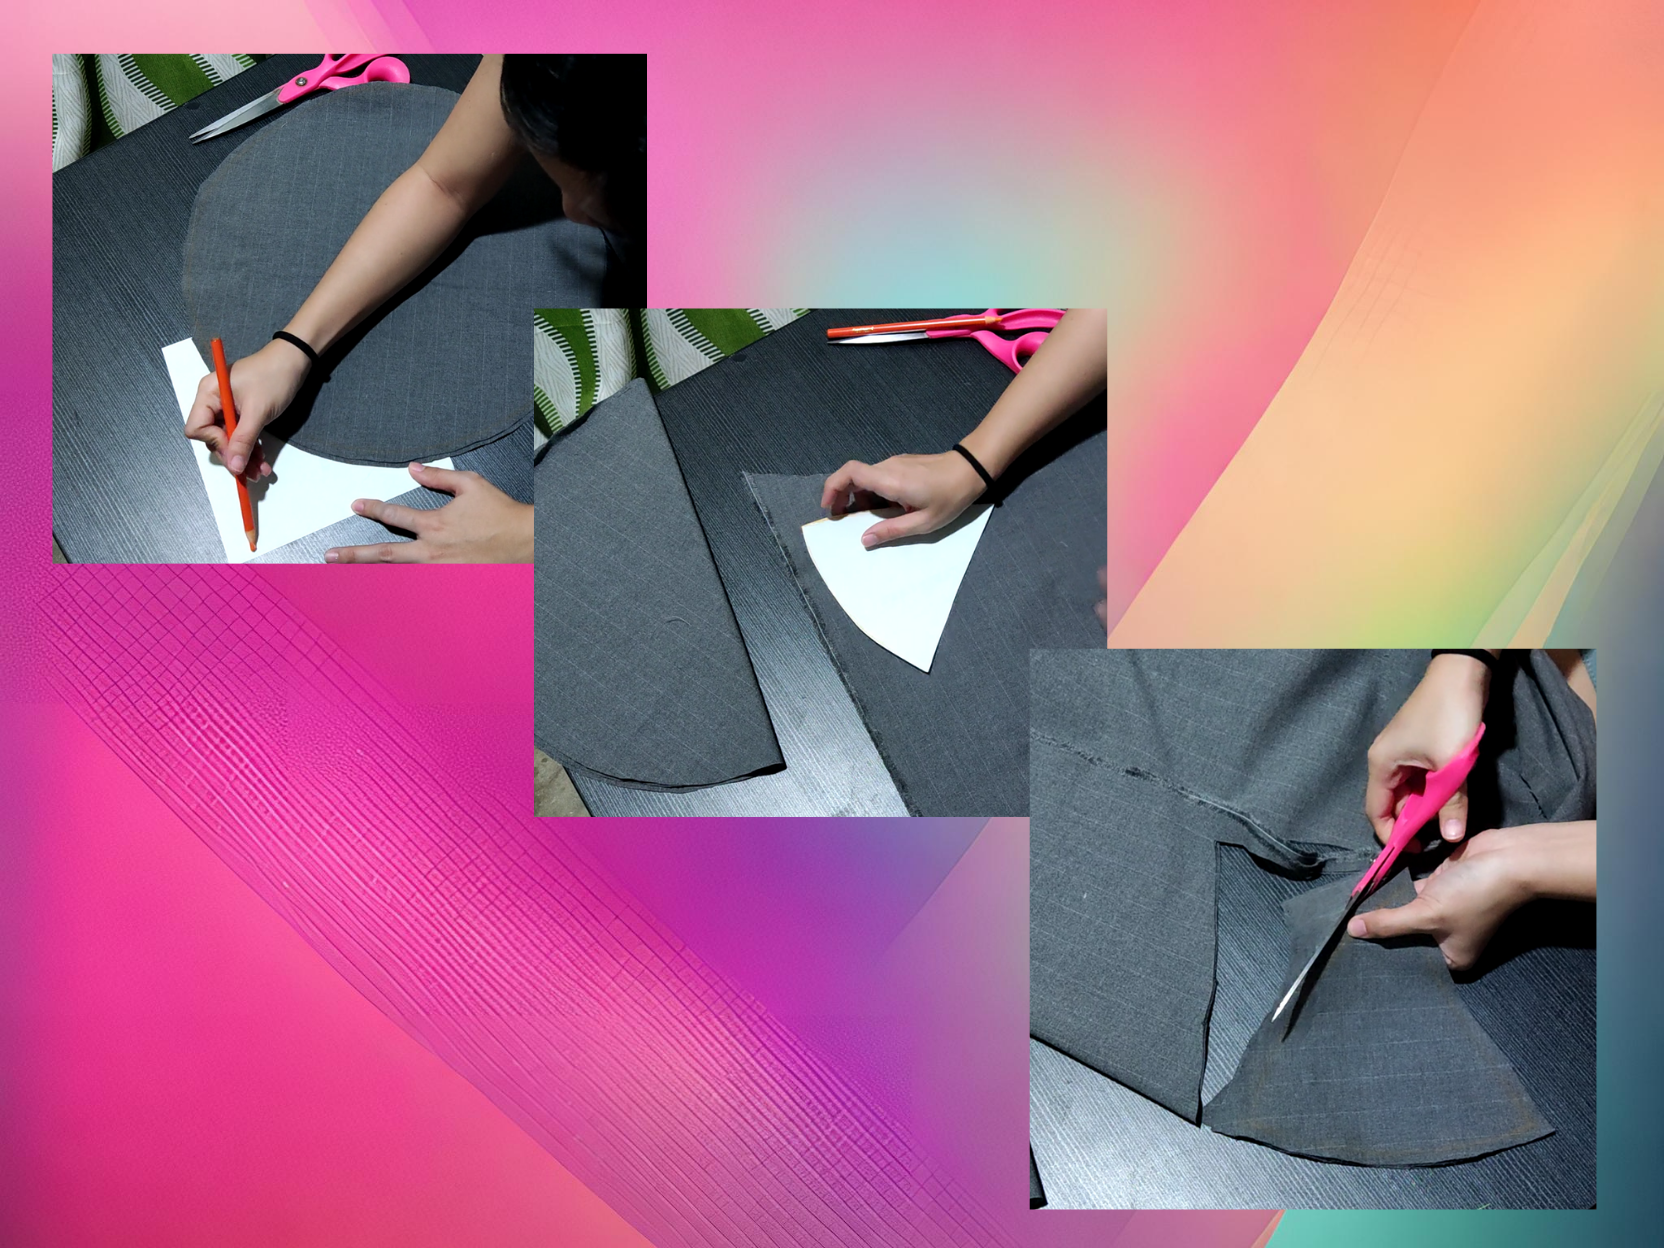
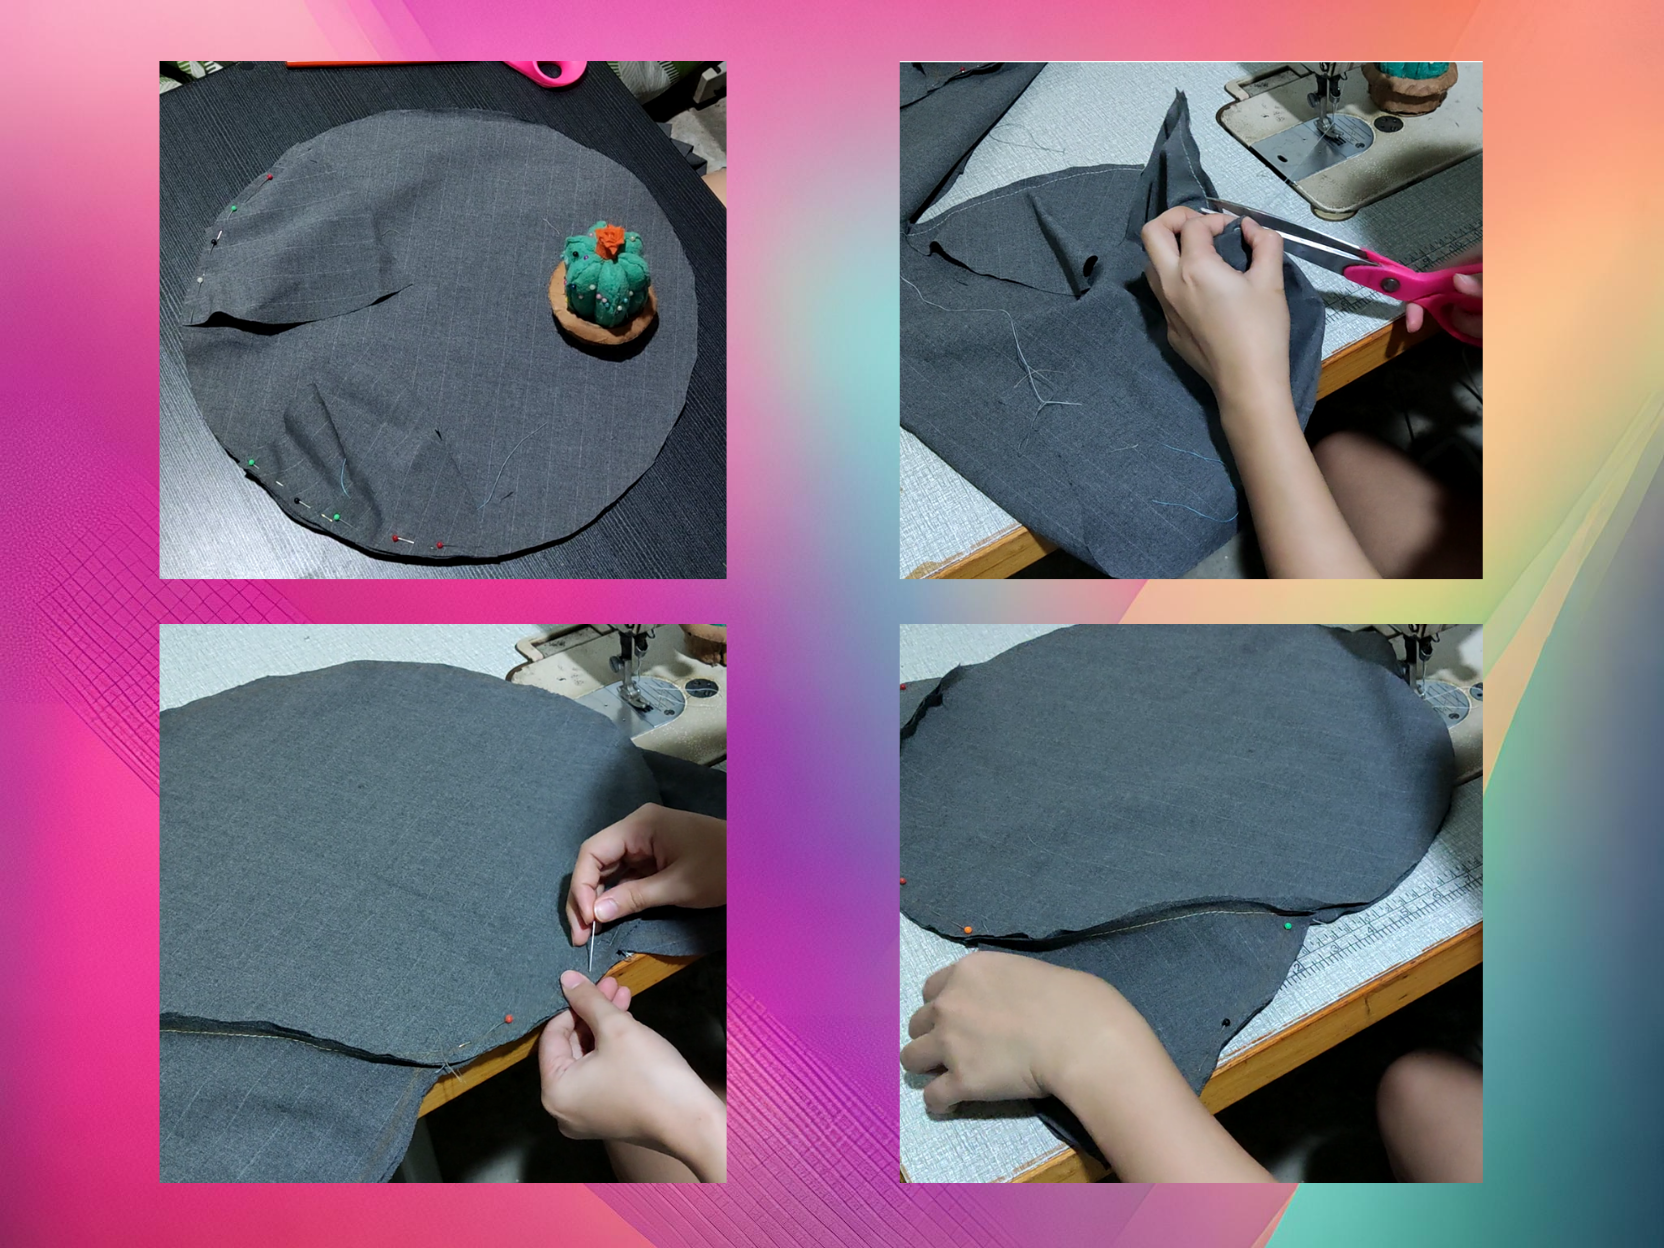
3.) Now that we are done with the ears, dont forget to pin it together so it will not move while we sew it later. Oh by the way dont you ever forget to make these parts slightly larger than the desired size because uhmm maybe some part of the fabric will be lost in the seam.
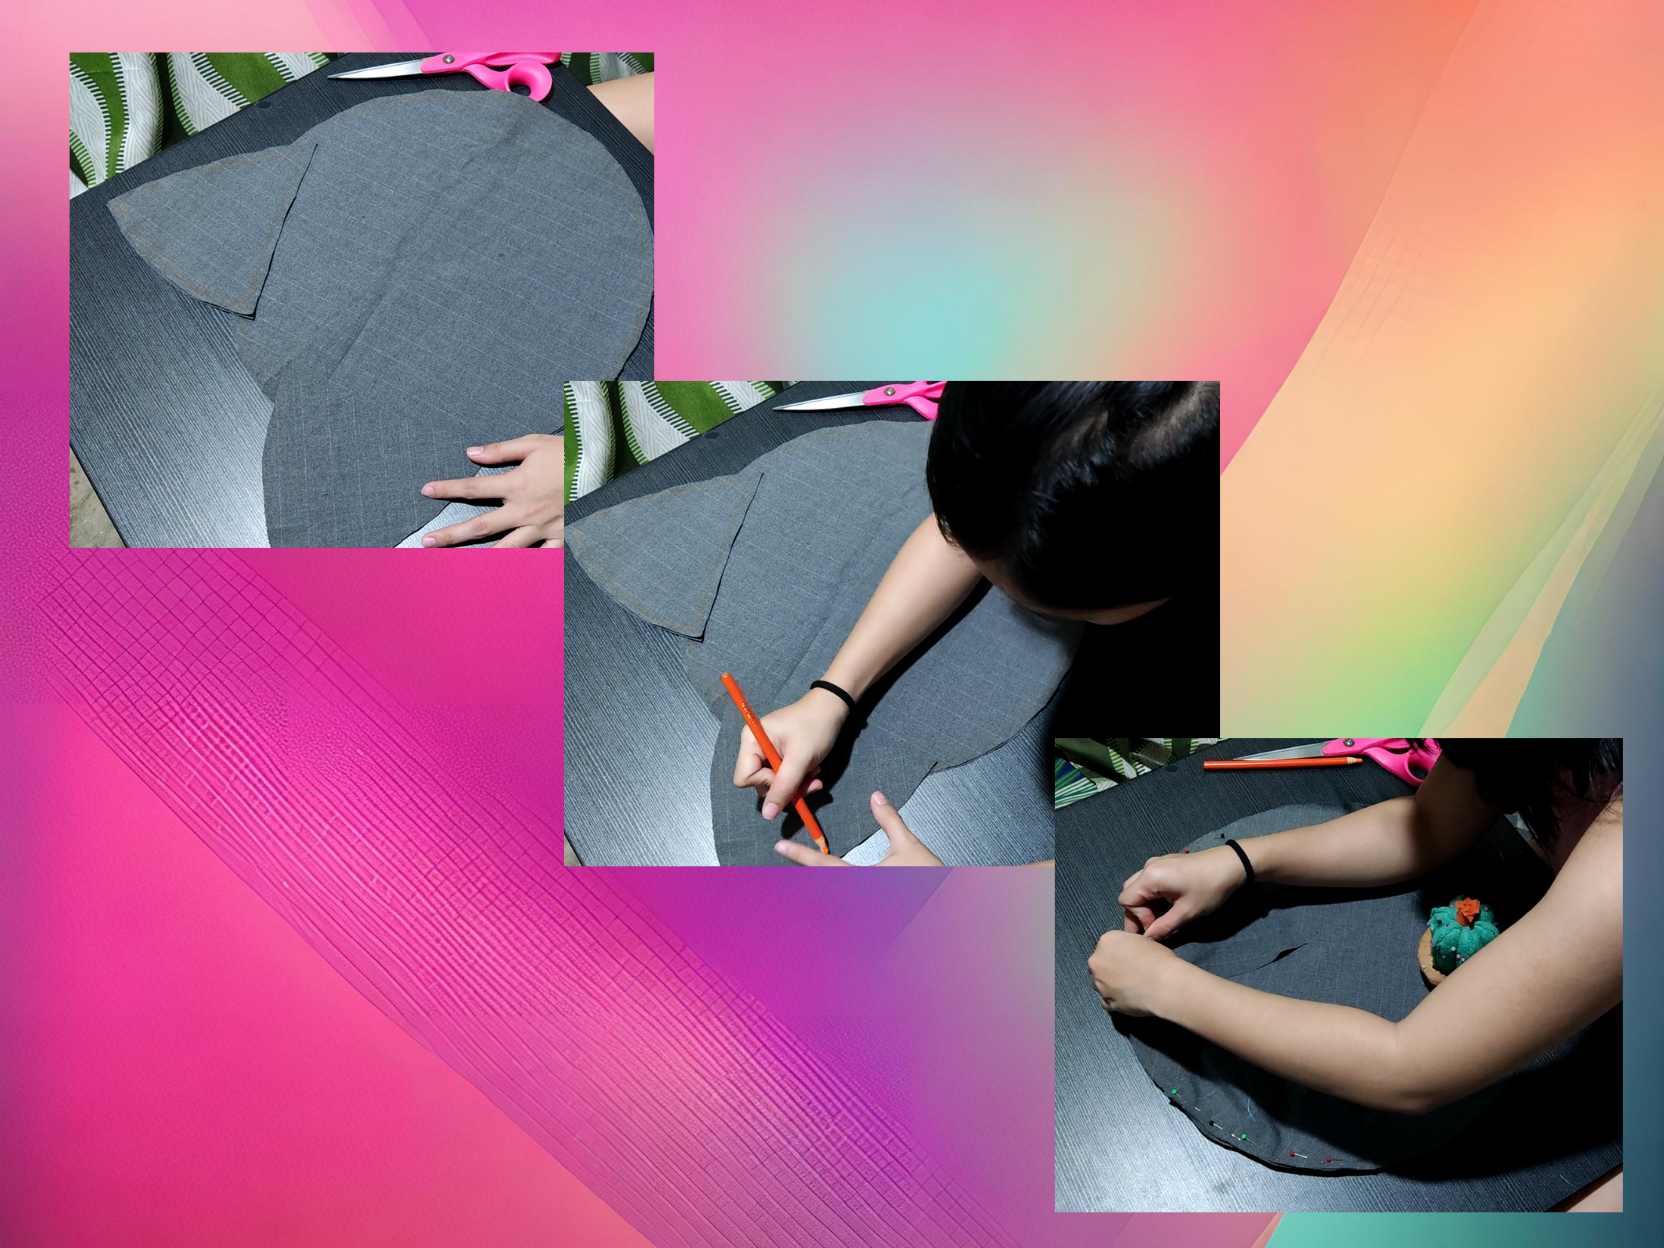
4.) Pin the ears together with the right side of each of it facing towards each other sew the edges and leave a space for the filler or stuffing materials.
5.) I forgot to take photos of the steps where i printed sublimation of the eye part of M1U on a
light gray fabric. So the sewing process continues after this.
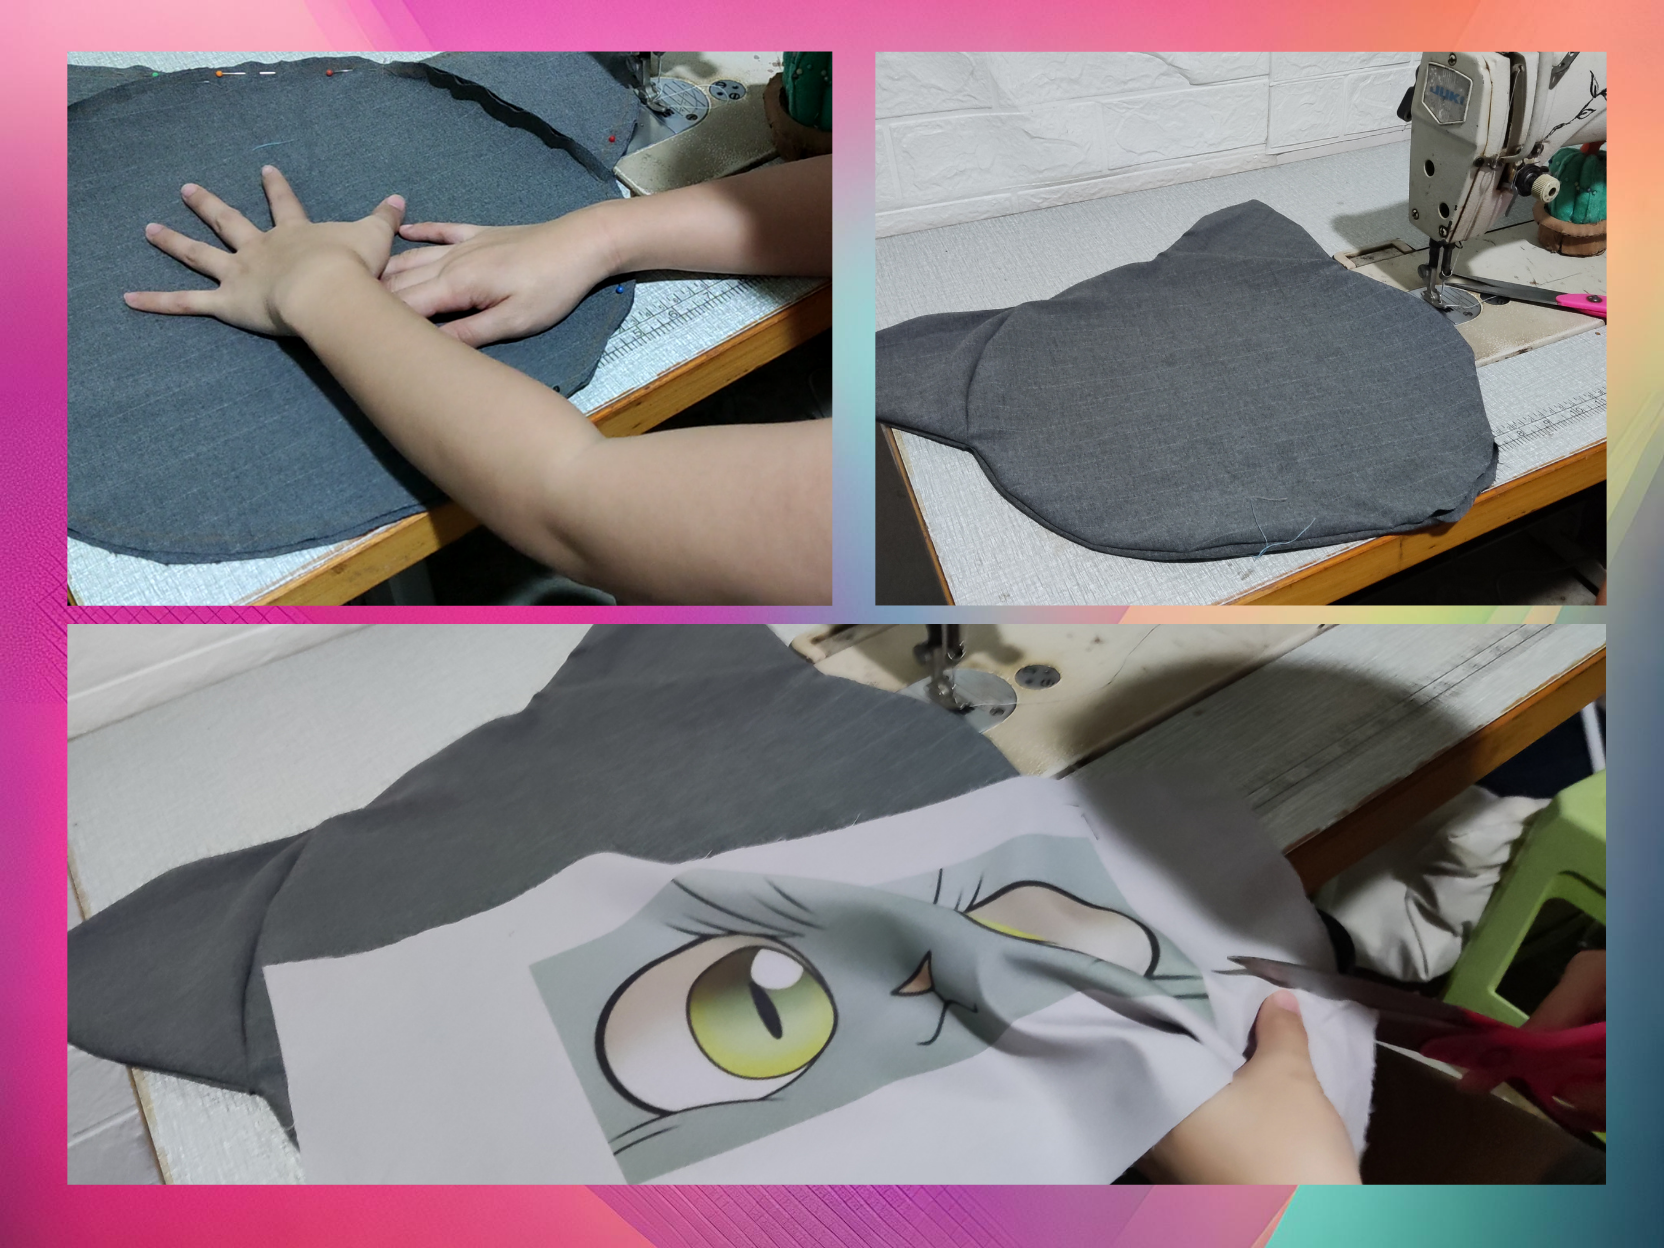
6.) After cutting the eyes of M1U pin it to the base shape then sew it around the edges. And earlier we leave an opening for the entrance of the stuffing material.
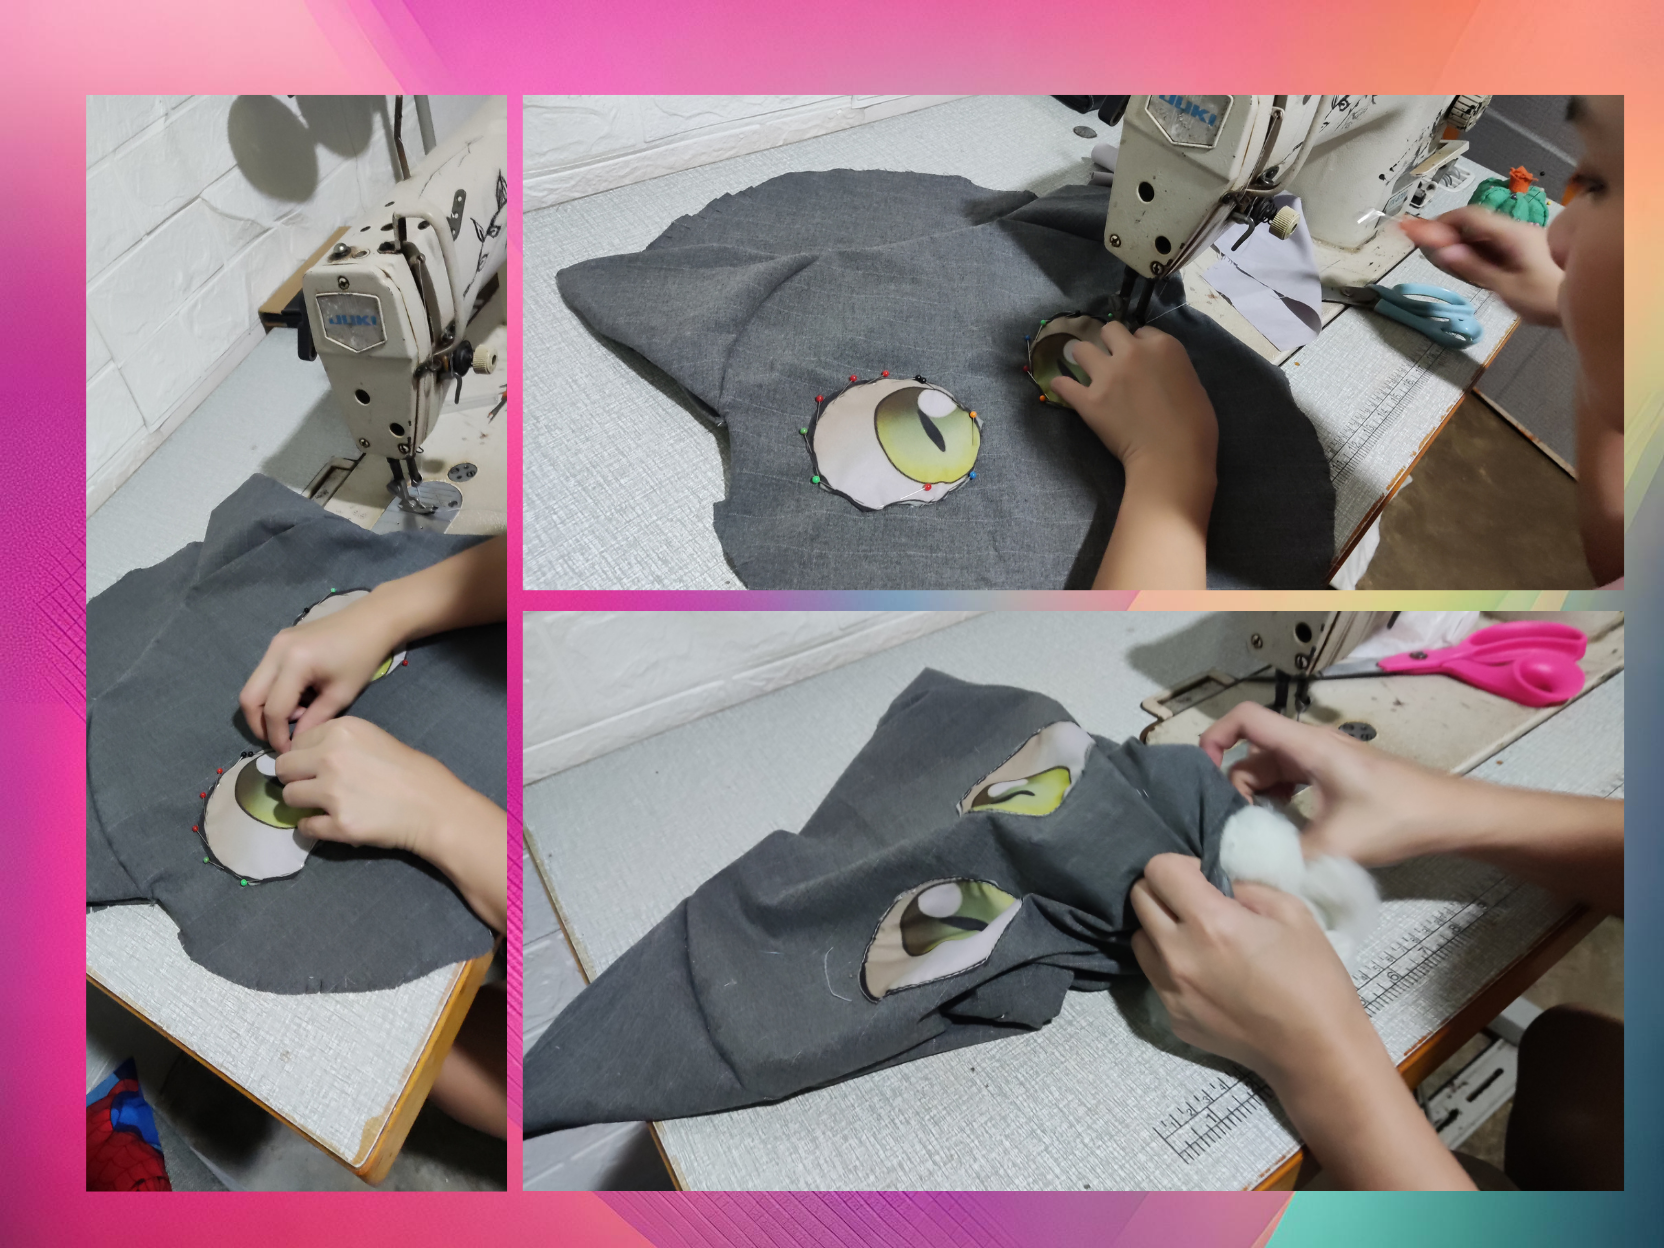
7.) I also stuffed the ears before sewing it to make a shape for it, then i stuffed it as much as possible so it will be plump enough to be comfortable to put your head over it or hug it.

8.) Now using the glue gun stick the felt cloth with the shape of M1U's nose that i cut earlier. The last step is drawing some additional details of M1U's mouth and eyebrows.

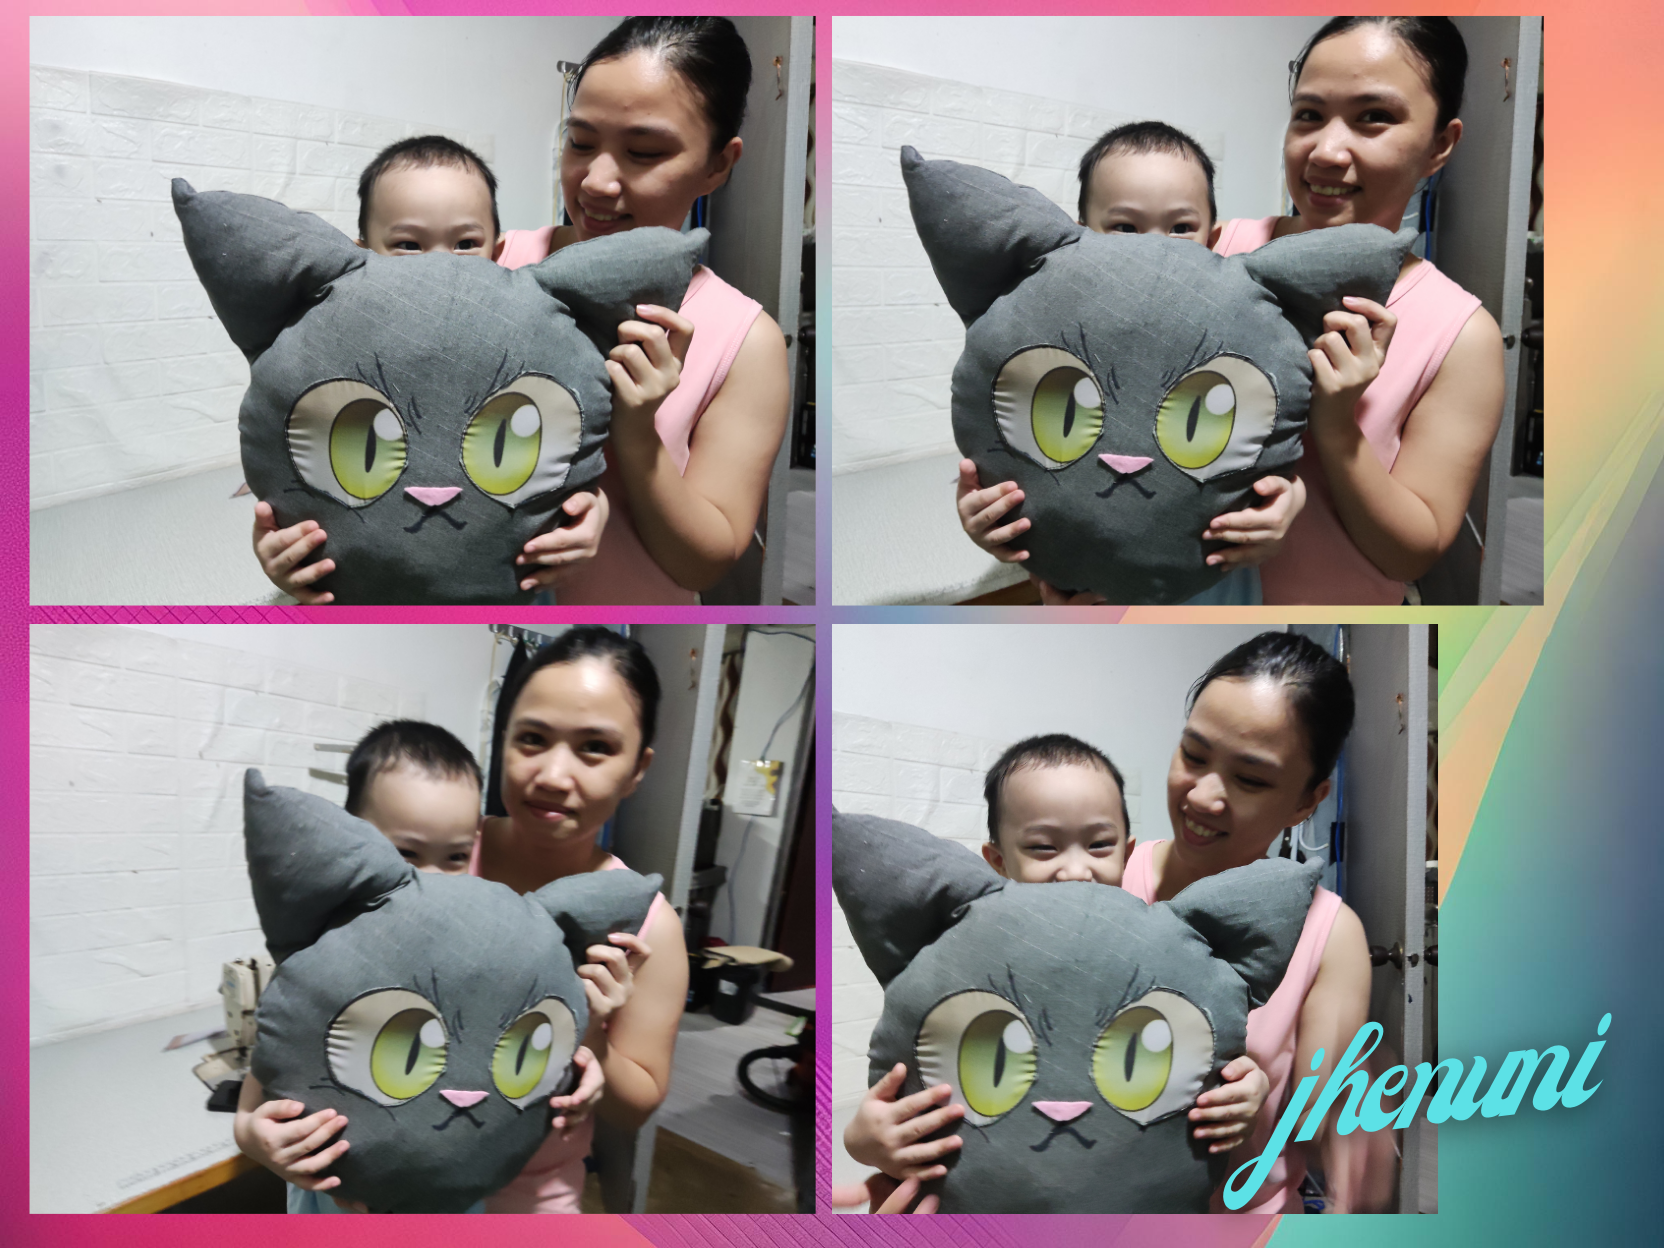
Finished Product
My Son Caleb surely cant hide his excitement after i finished this M1U pillow, thank you holozing team for making this cute M1U , little caleb is very happy.