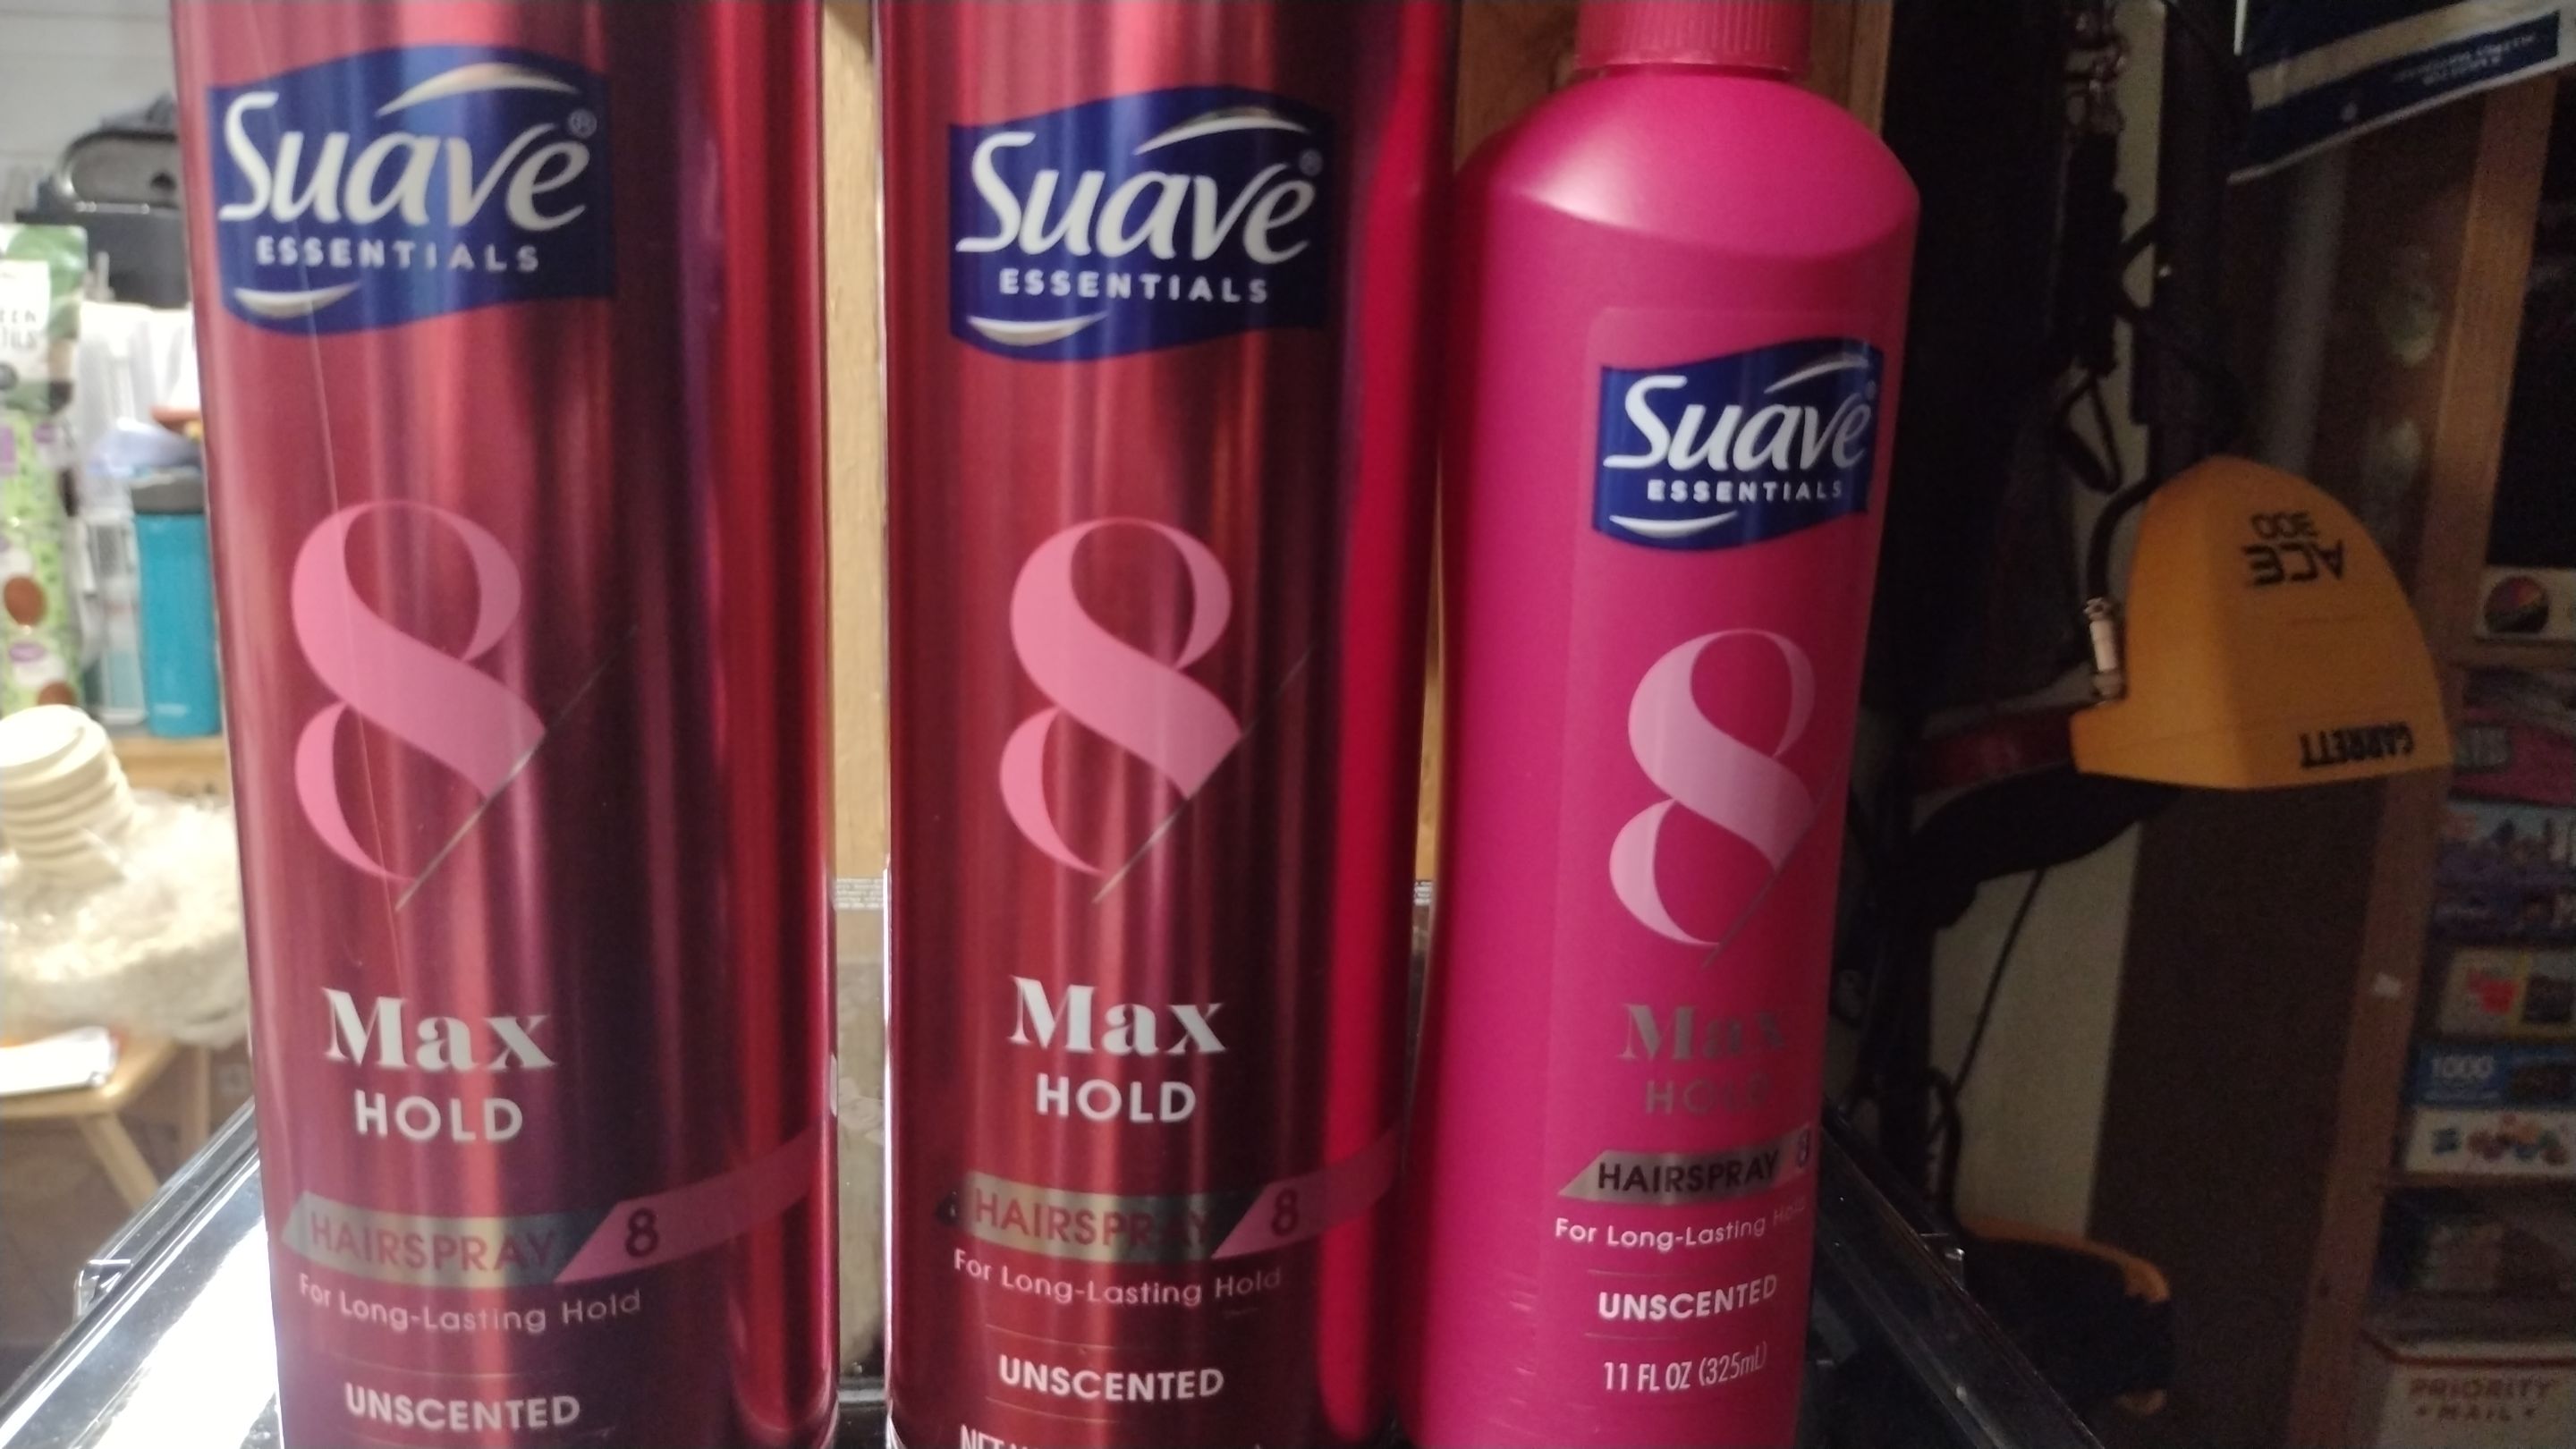
Sometimes timing works out perfectly in life. Tuesday I was listening to the 3d Printing Today podcast and they talked about the best glue to use on the plates which is AquaNet hair spray. I went and looked at the Creality forum and found people use the Suave hair spray, the unscented kind thankfully. I found that Walgreens had it in stock so after dropping the boys at school yesterday morning I went and picked some up. I figure I can give both the aerosol and non a try.
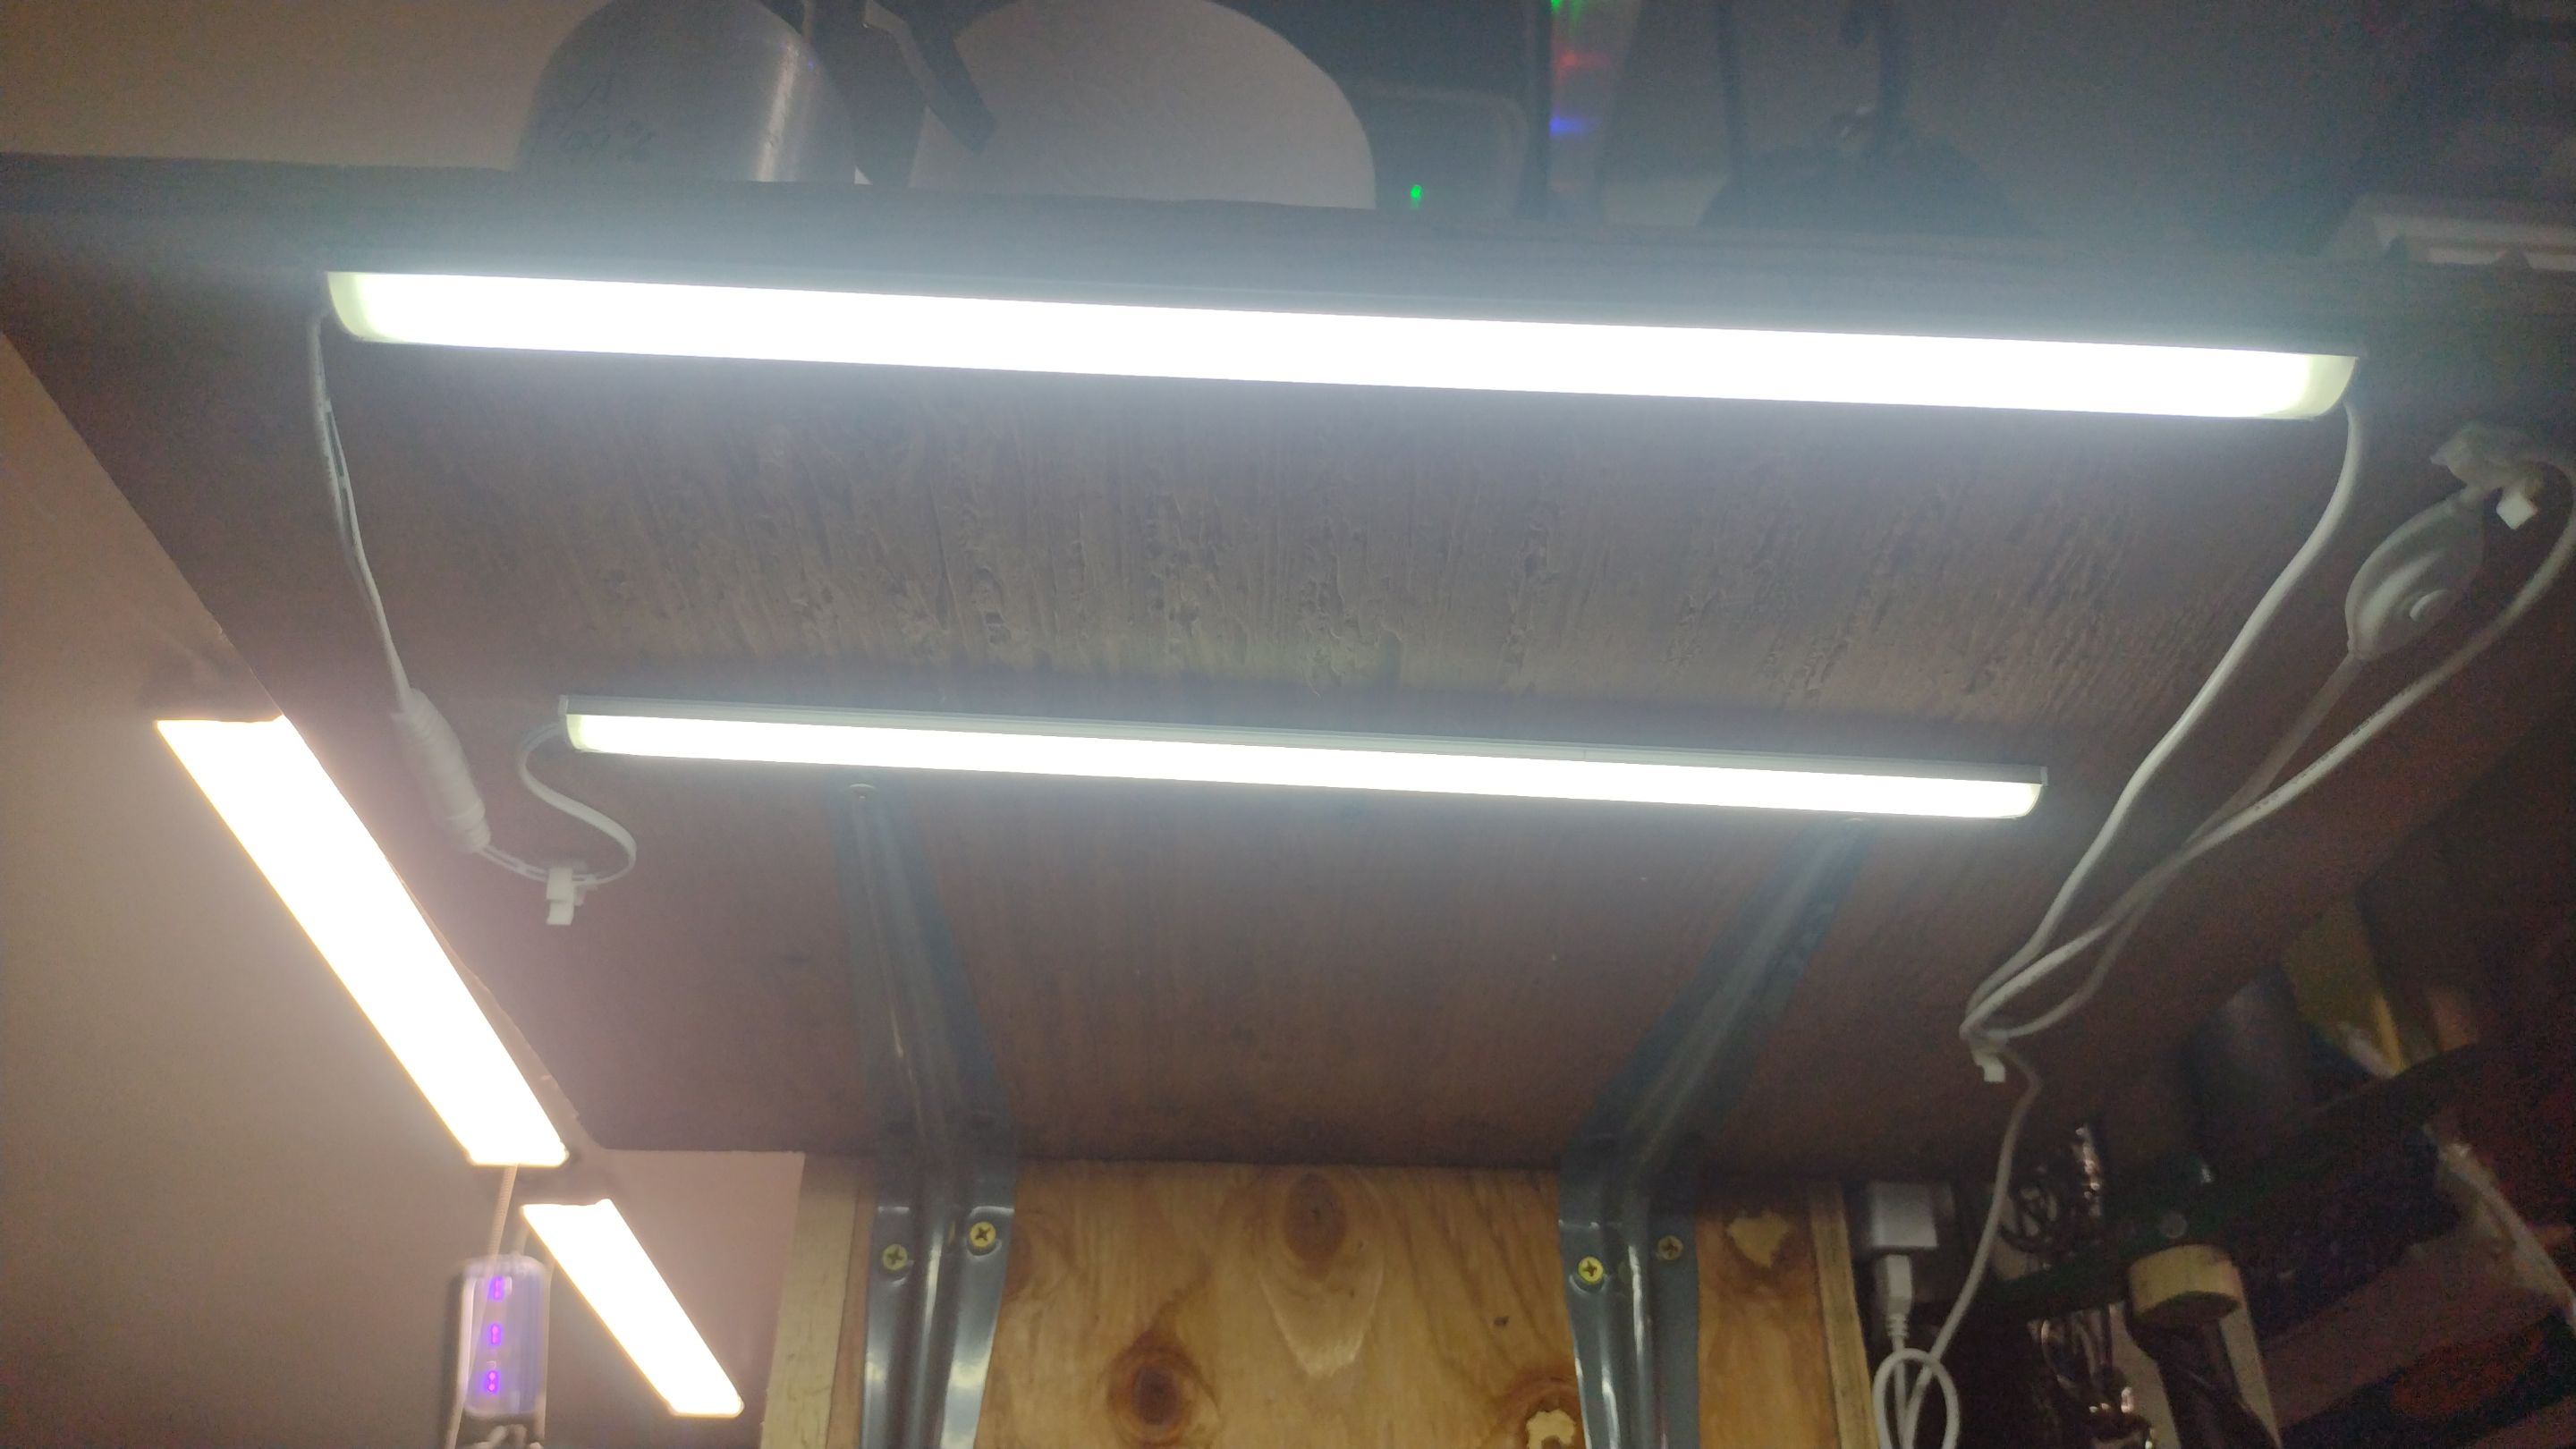
To give me better lighting I installed a couple light bars to the underside of the shelf which gives a lot more light inside.
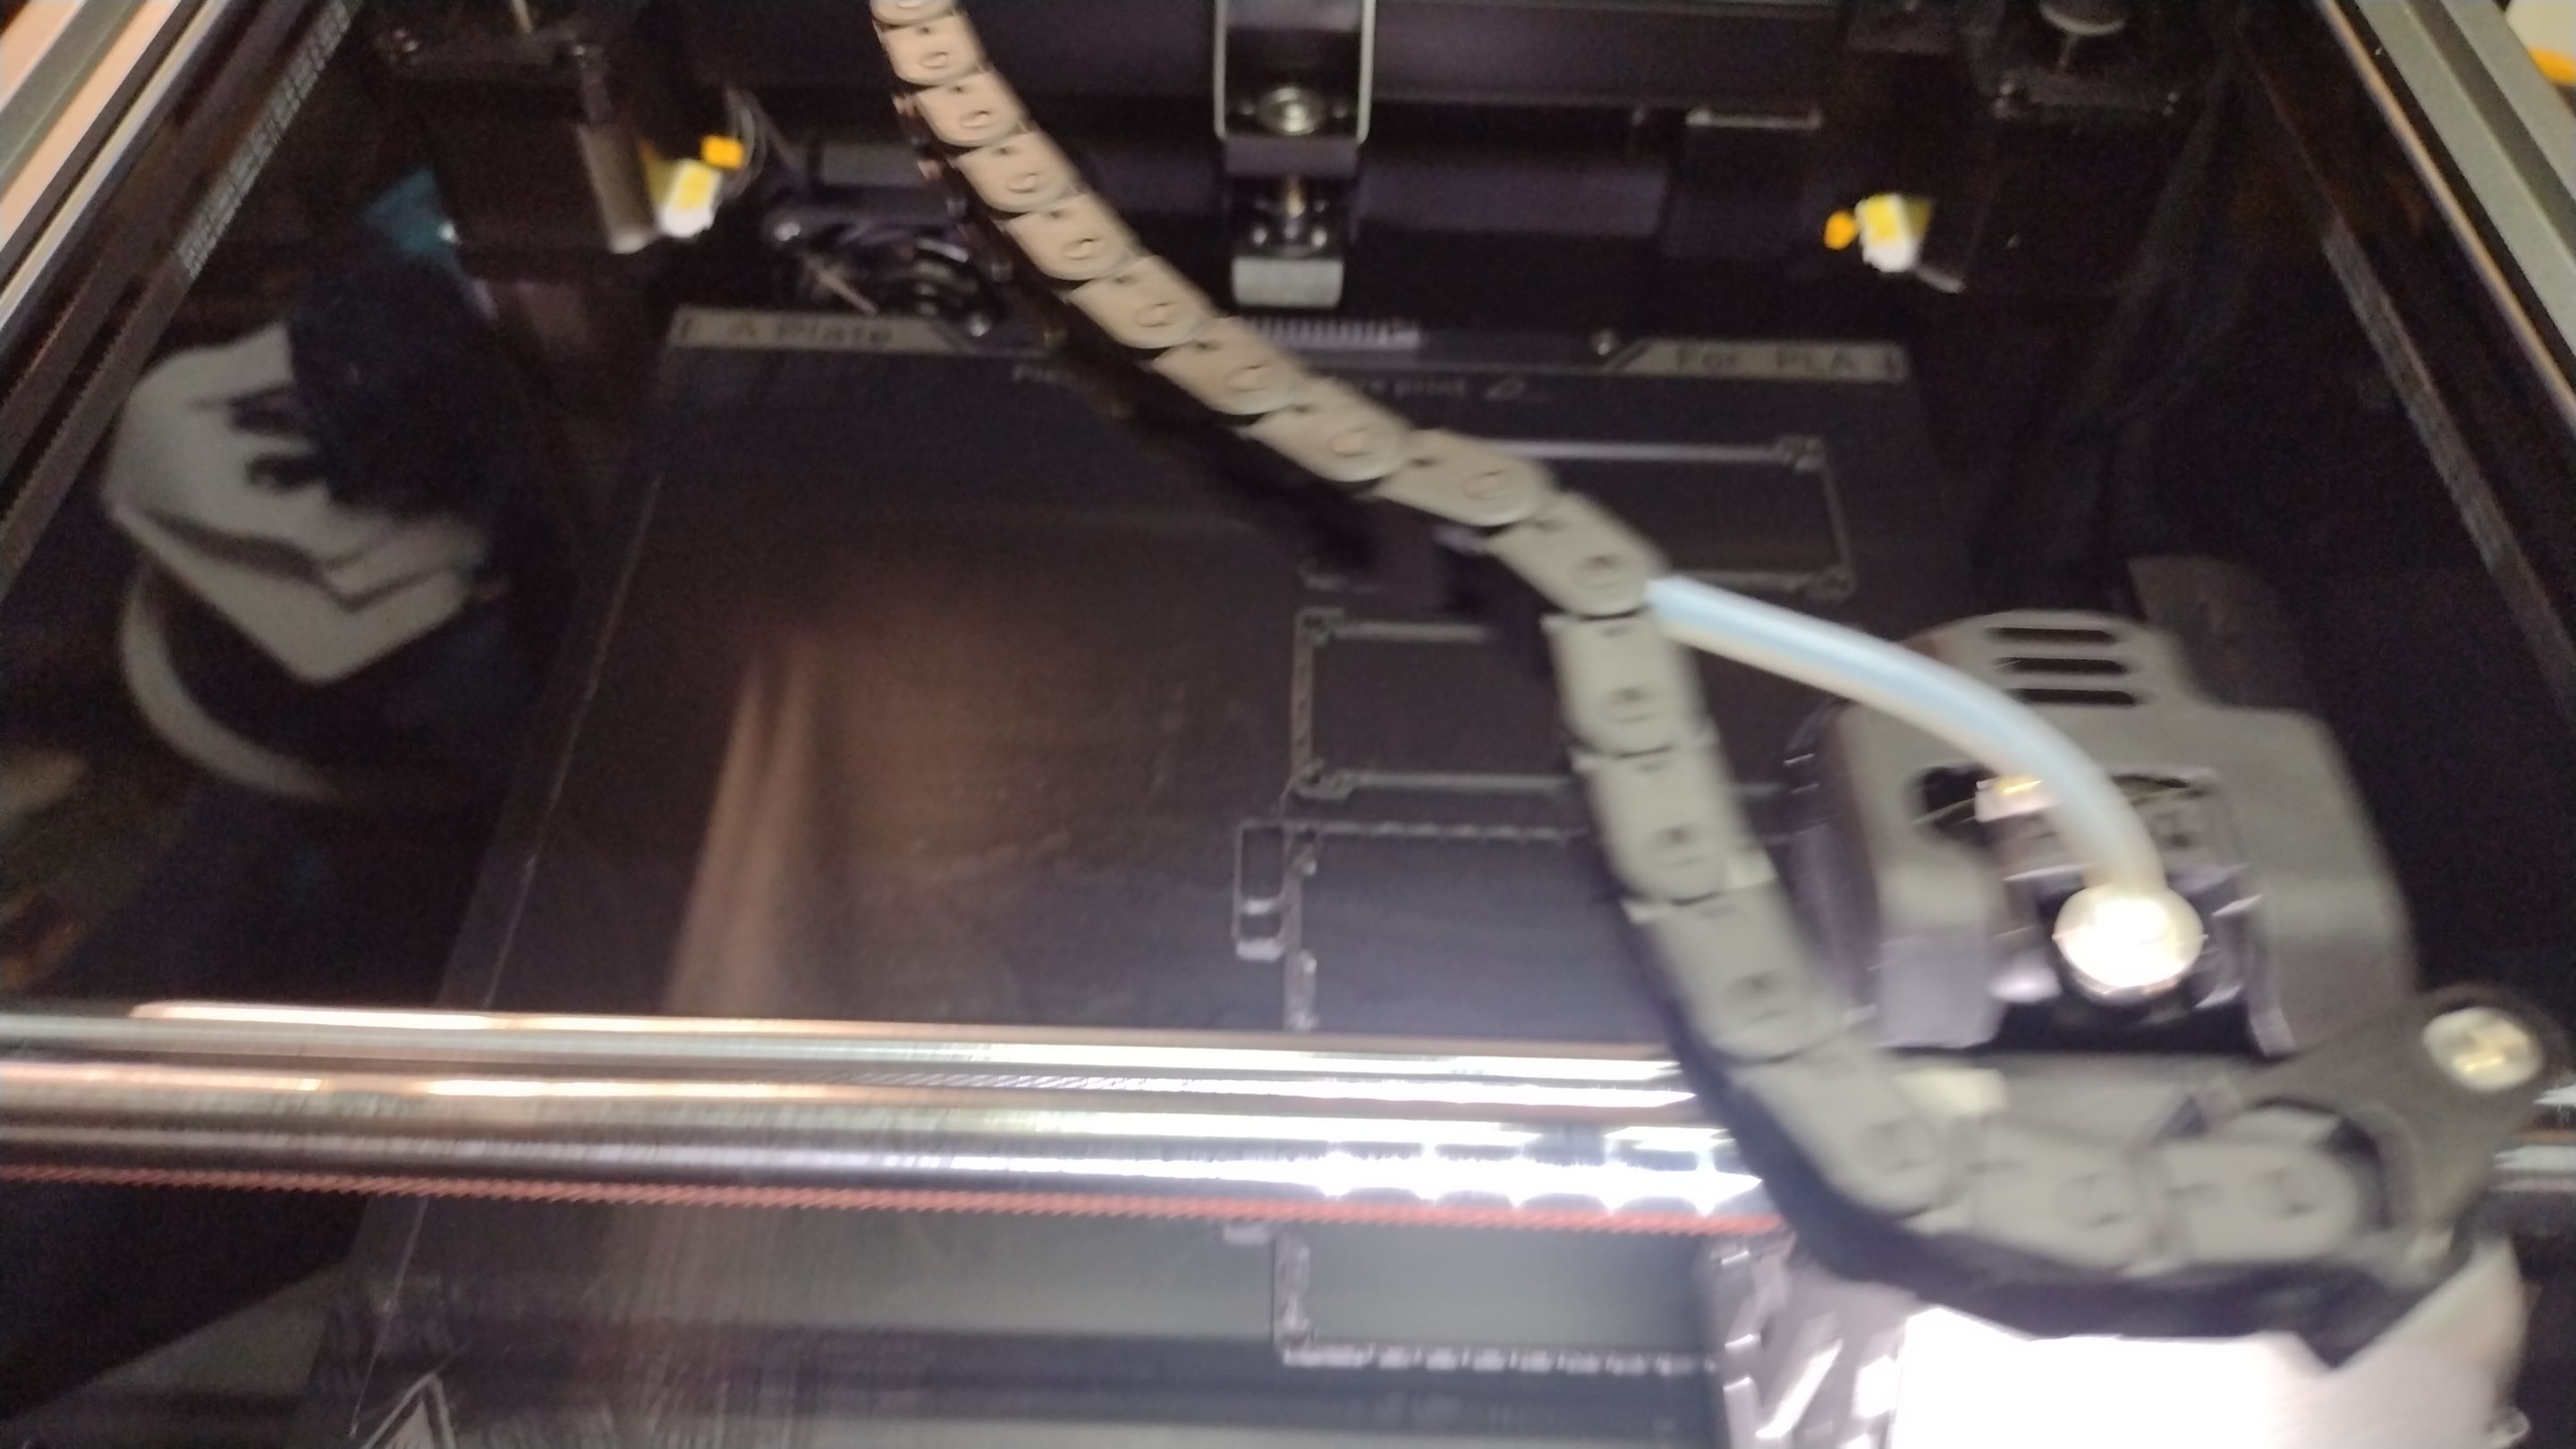
I gave the plate a cleaning with isopropyl then sprayed a coat of the Suave on the plate and used the side of the folded paper towel to even it out across the plate. Then I got the print going with the parts that had broken off mid print the prior day.
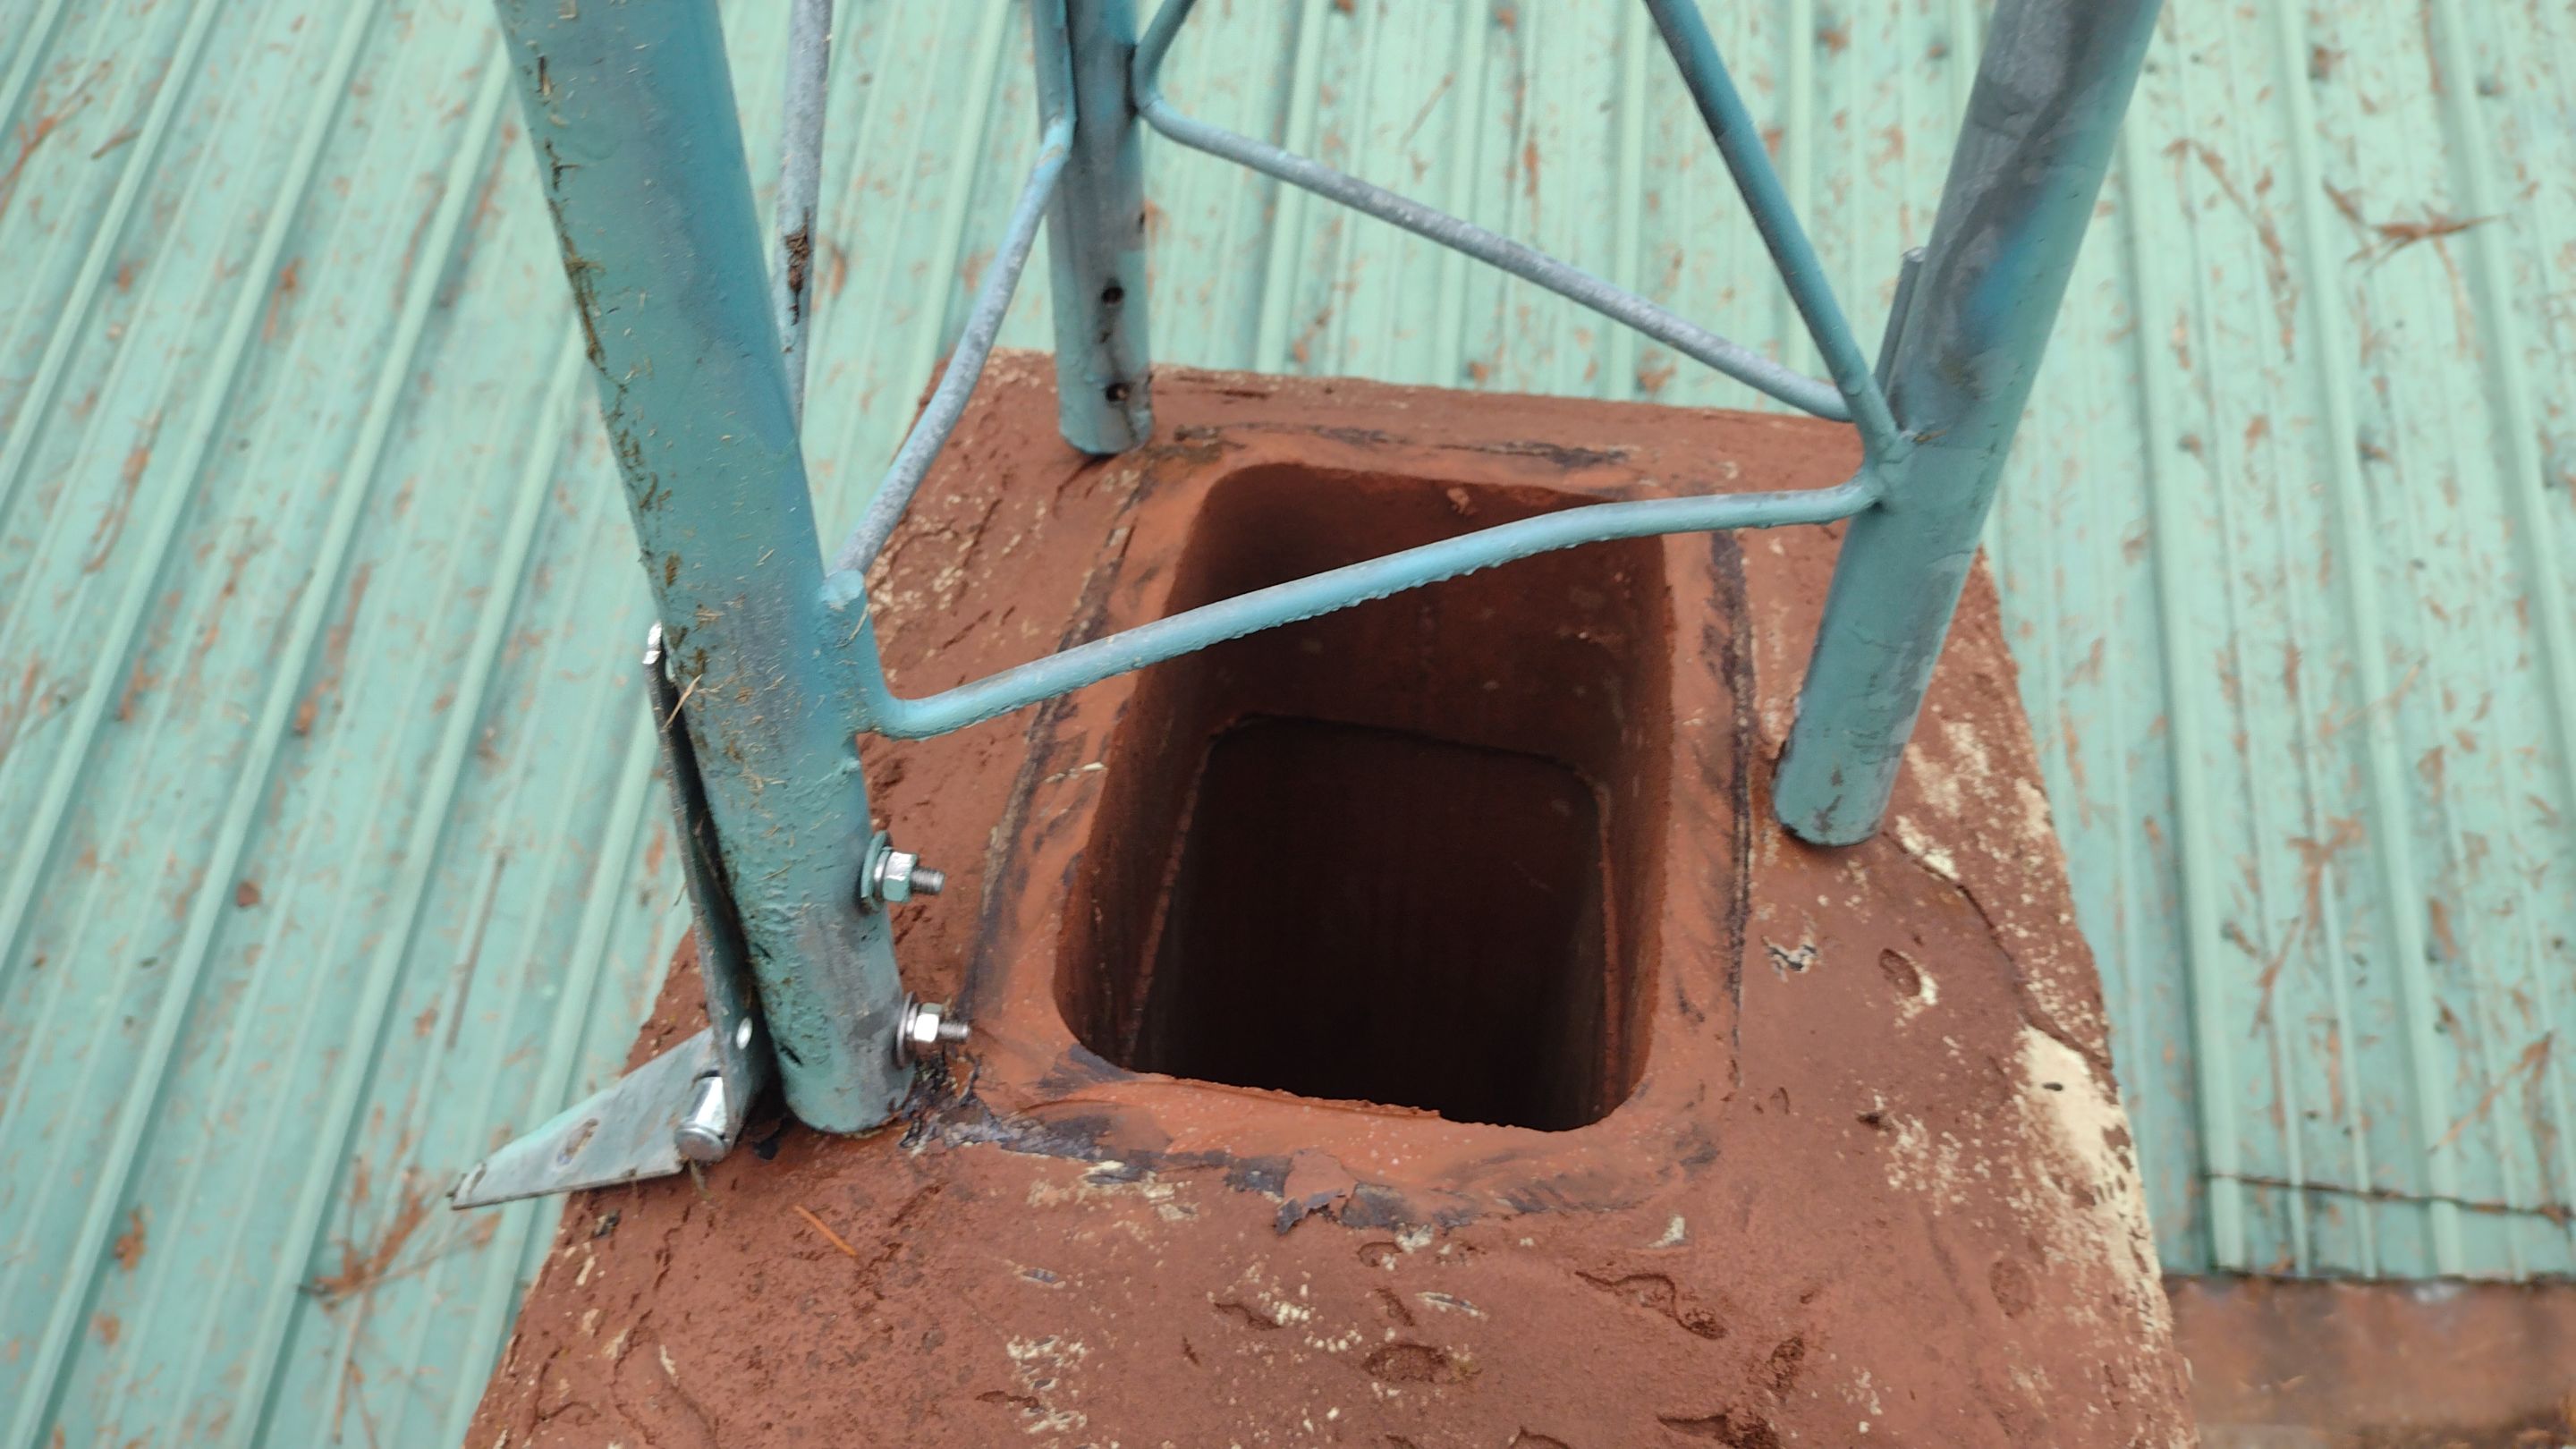
While they printed I went out and hauled the antenna tower base up onto the roof then up onto the chimney to check the fit. It couldn't get much better than this. I have the hinge for the other leg but need to decide how best to mount. I don't think I can use concrete anchors on the sloped area as it is likely just mortar and would just break away under stress. I'm thinking I may have to build a cap to go over the chimney that I can anchor down the sides in the cinder blocks then fix the tower to that....
I hauled the tower back down off the roof as I mulled over my options.
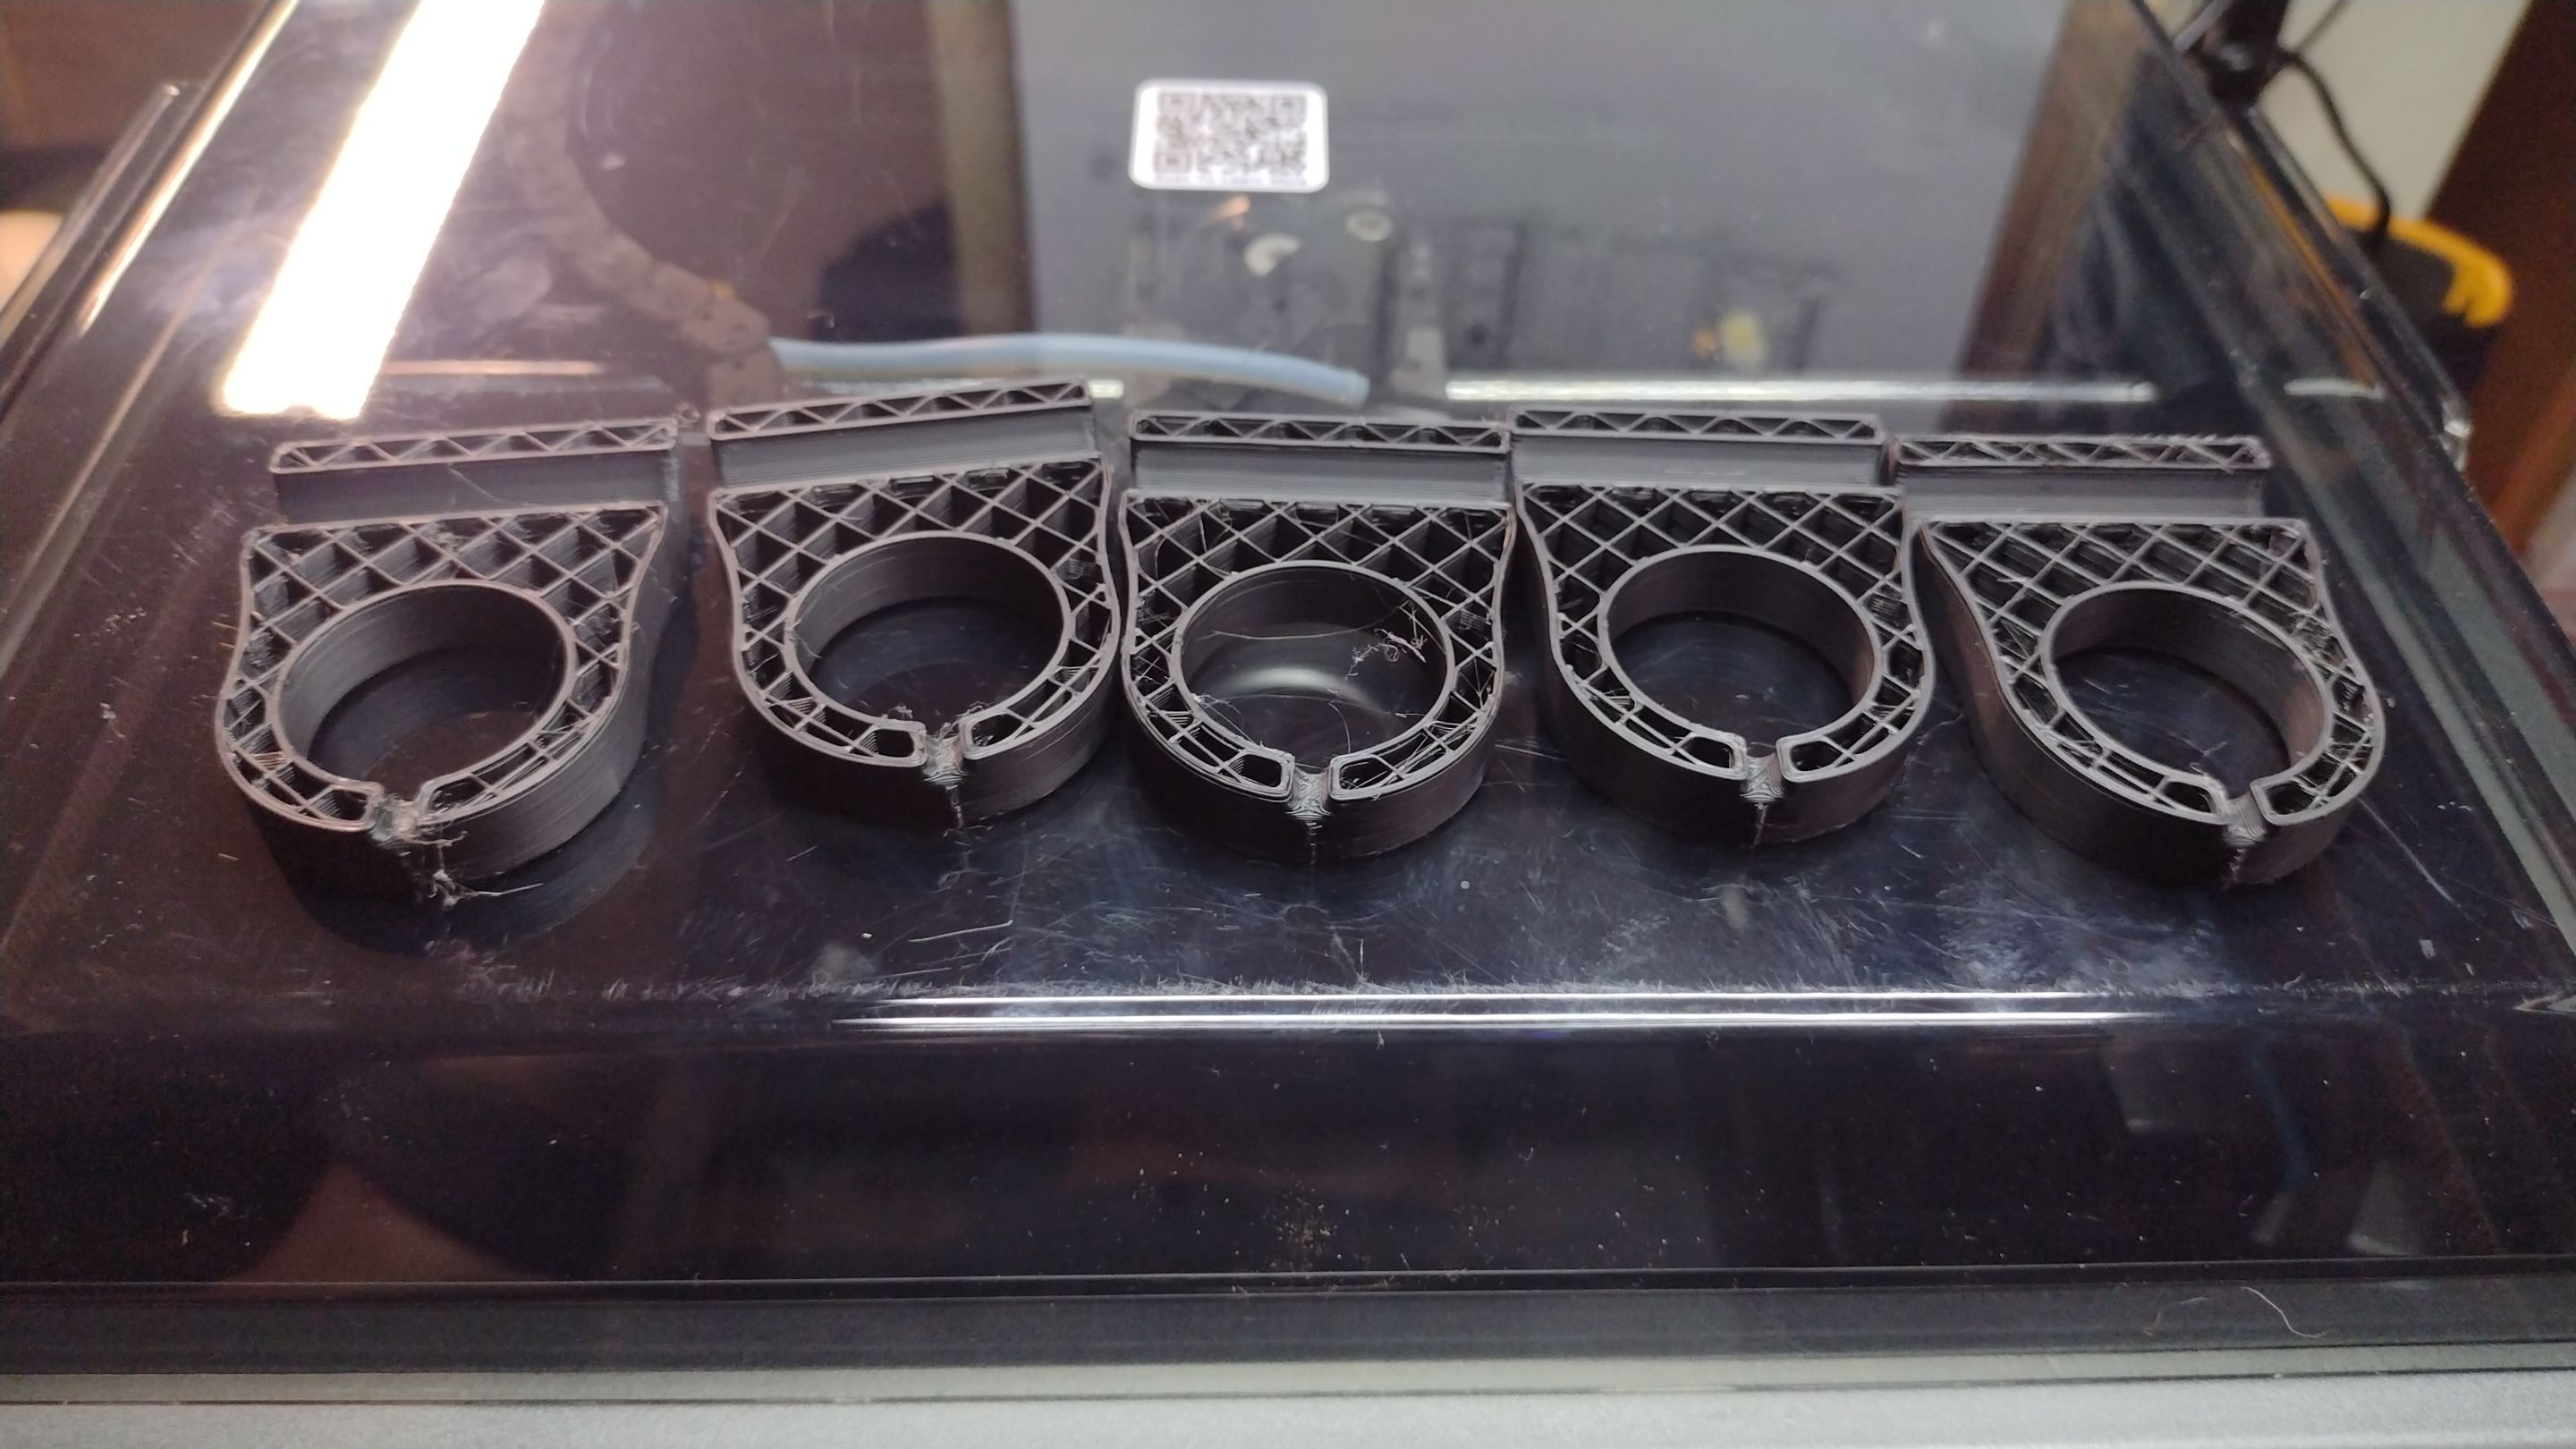
The print finished and the pieces came out pretty good, except for the under sides of the face plates.
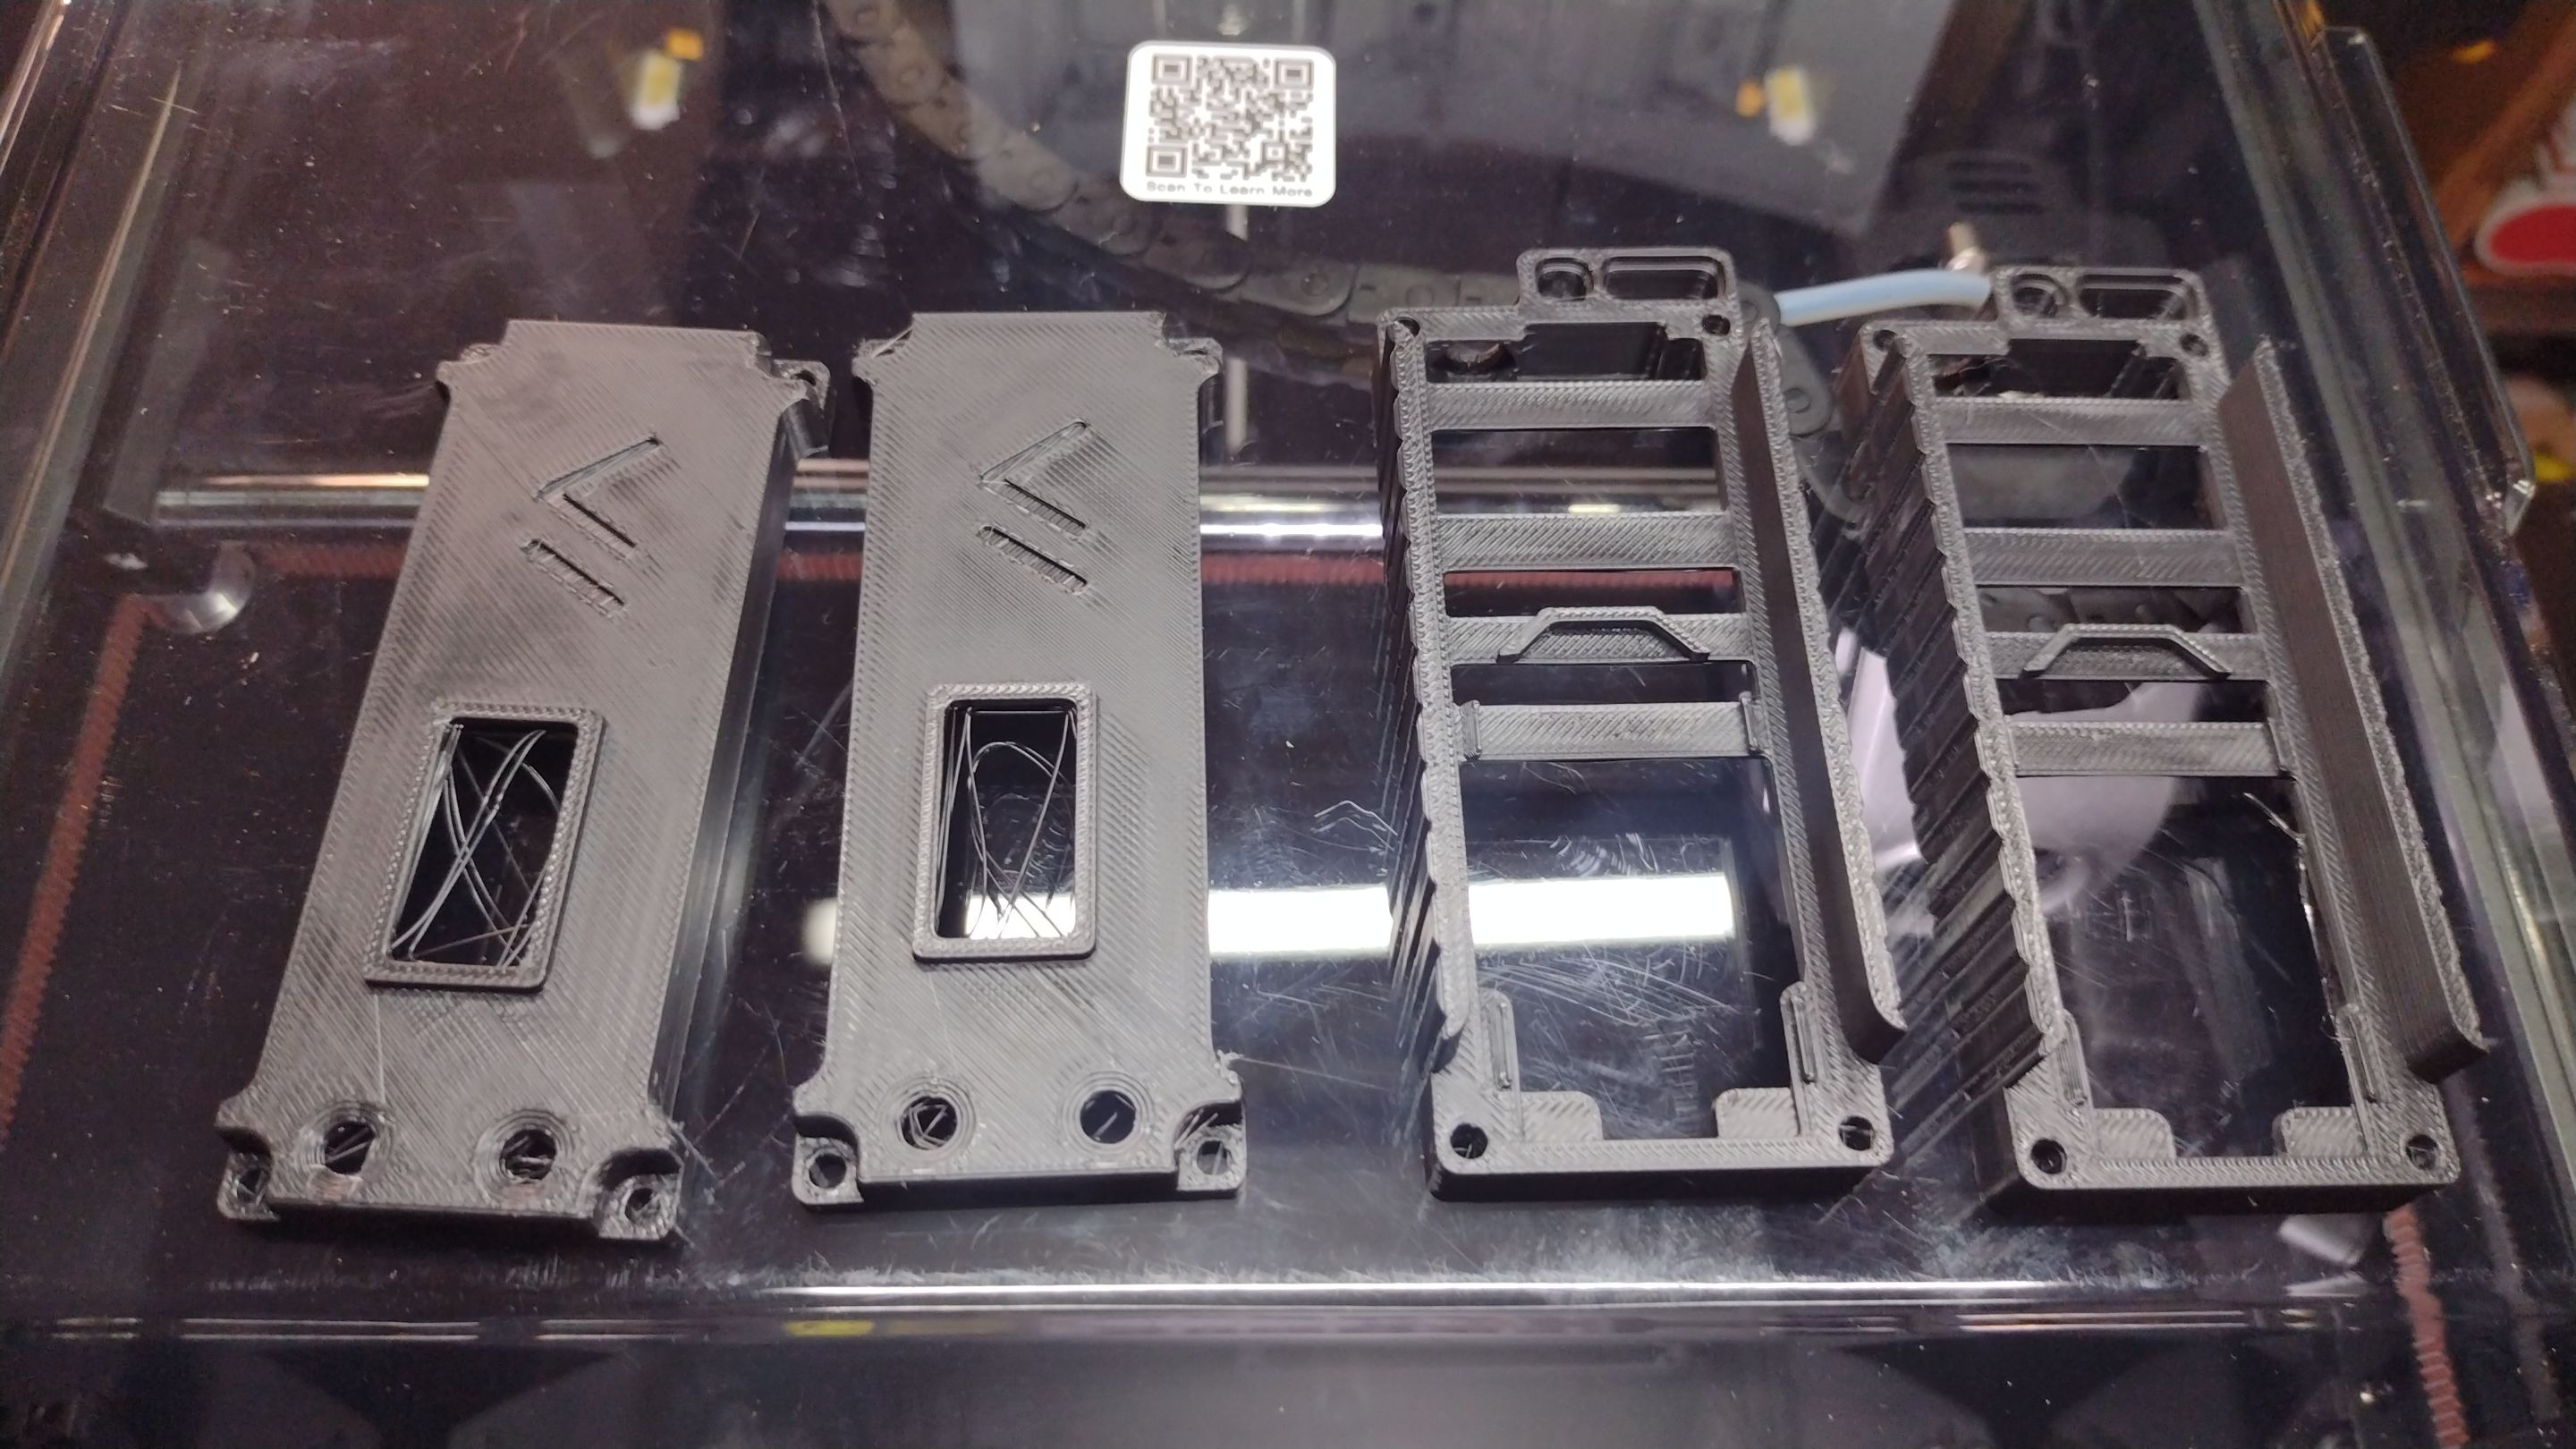
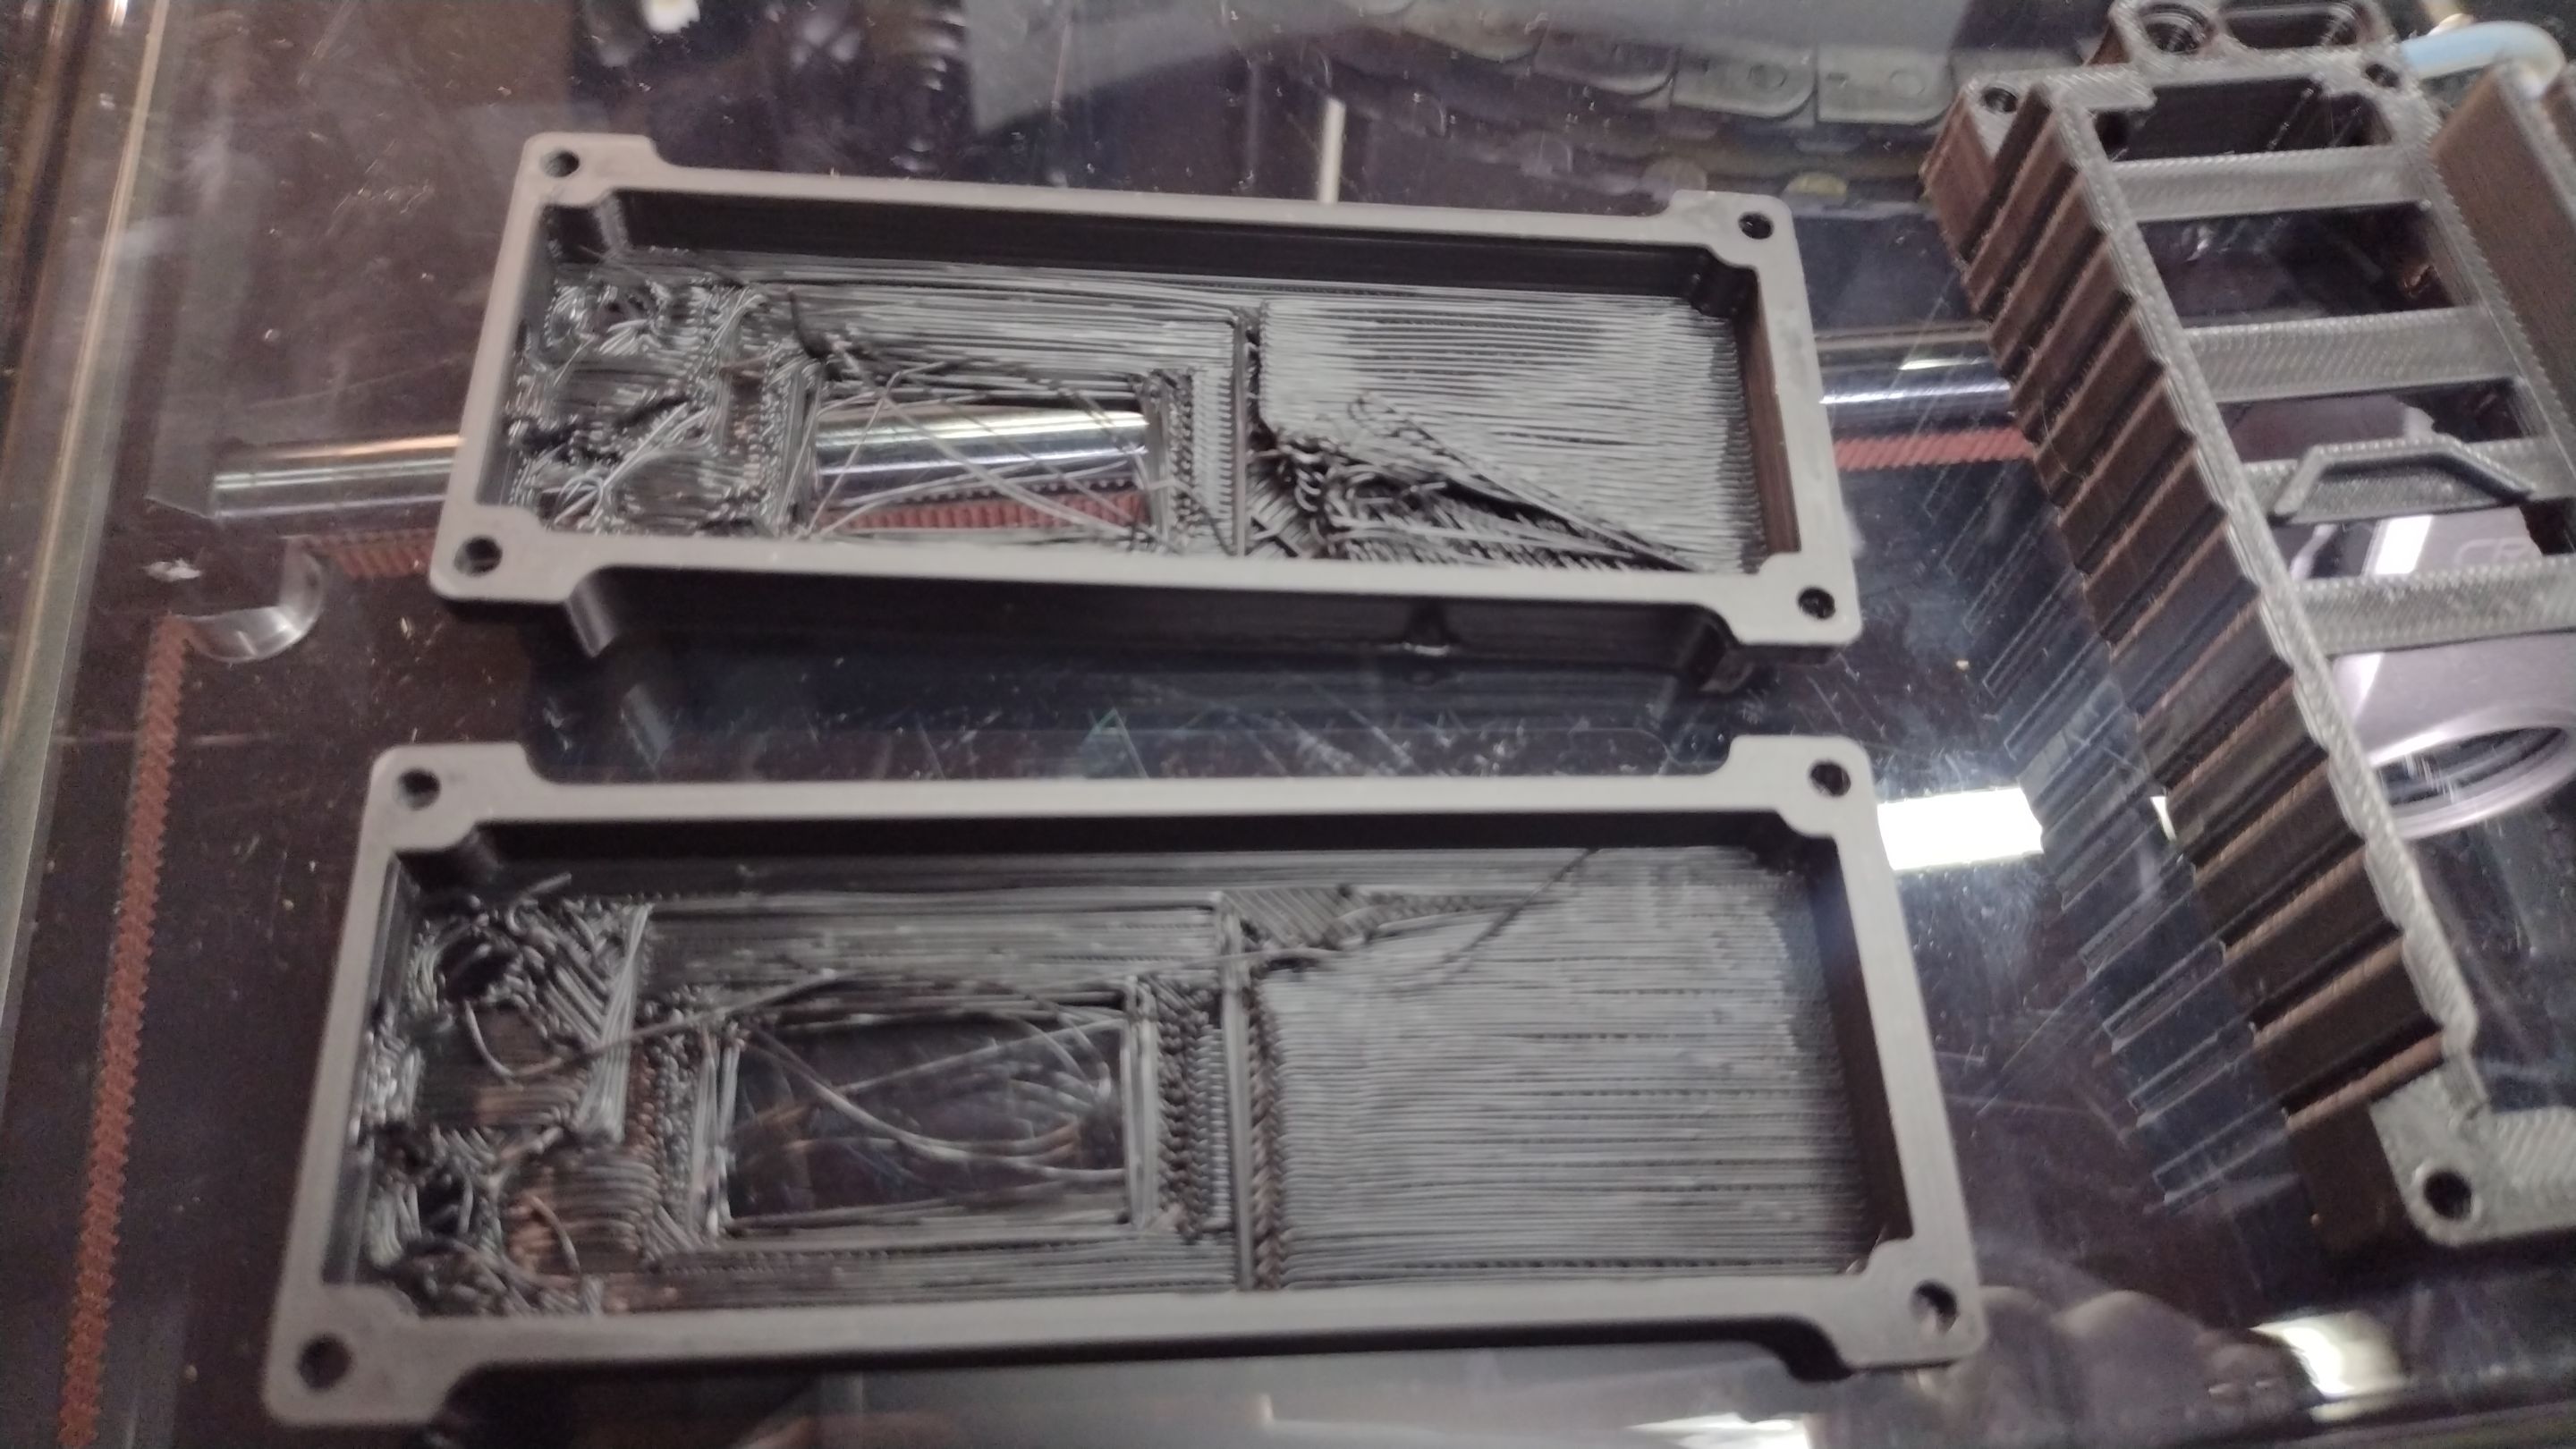
Printing them face up caused the first layer of the fill in to go wonky.
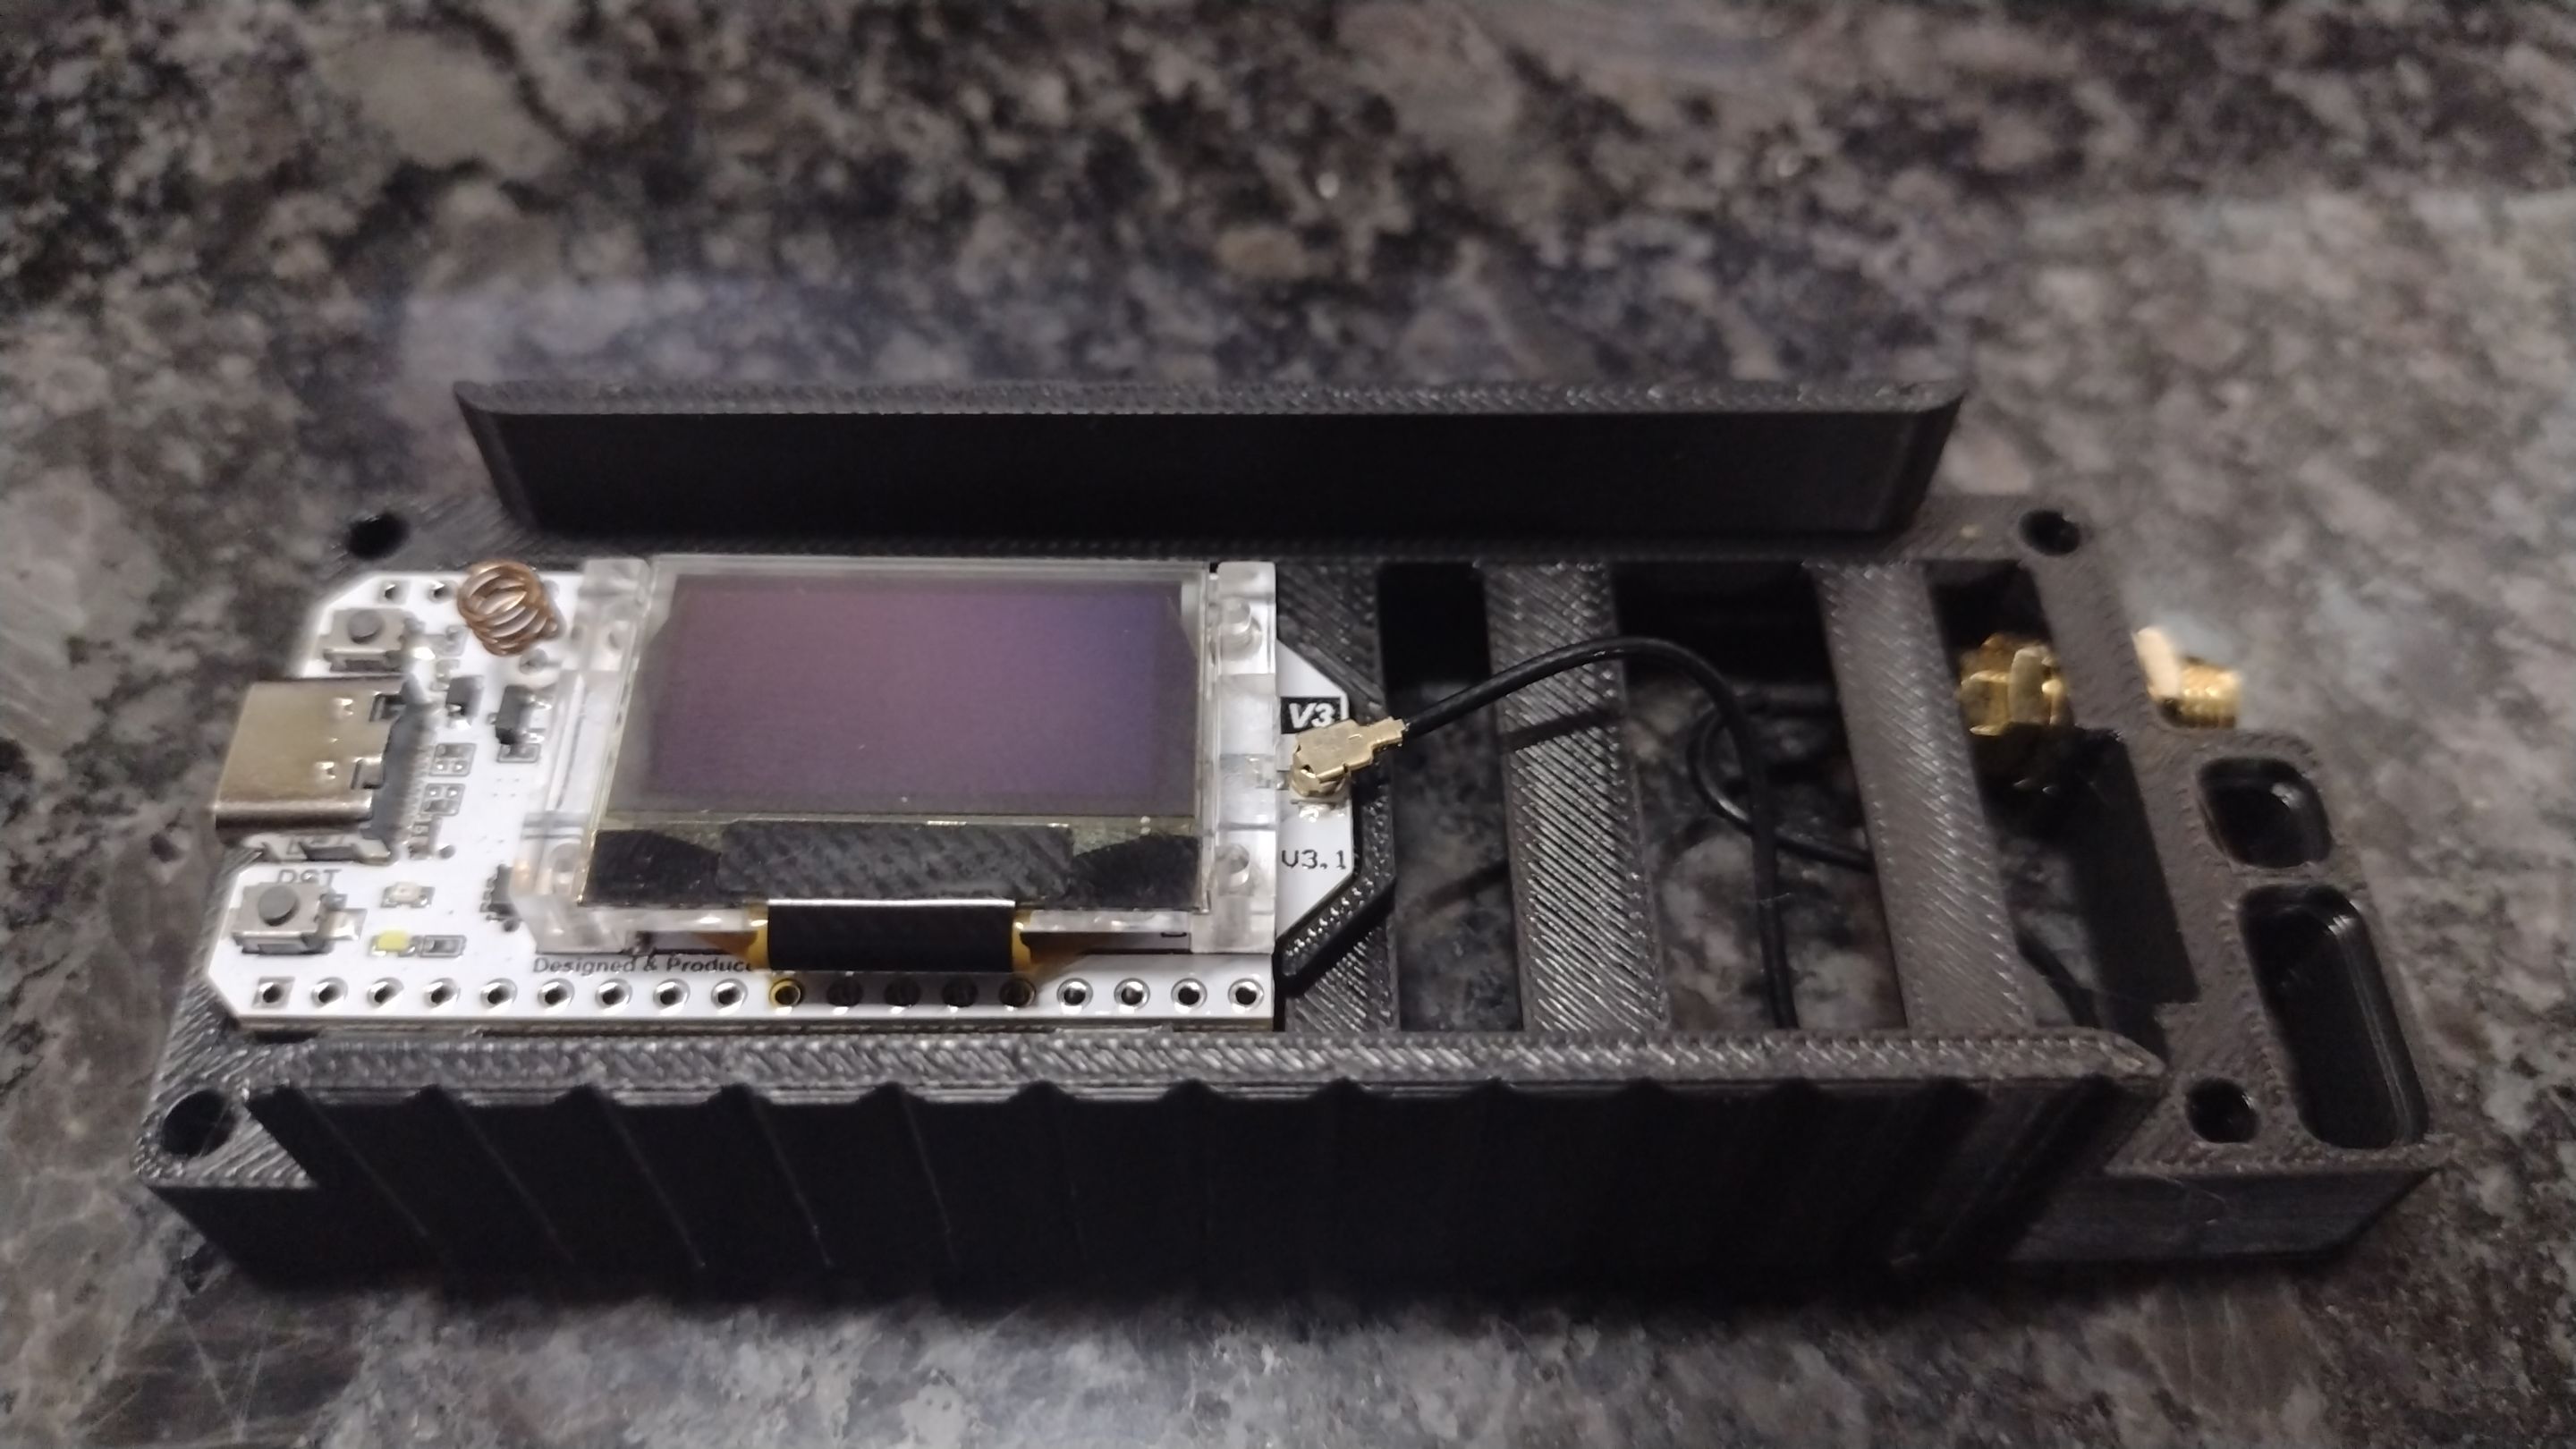
I pulled out one of the Heltec Loras and stuffed it in the case and fixed the antenna in place.
18650 battery holder fits the back quite nicely.
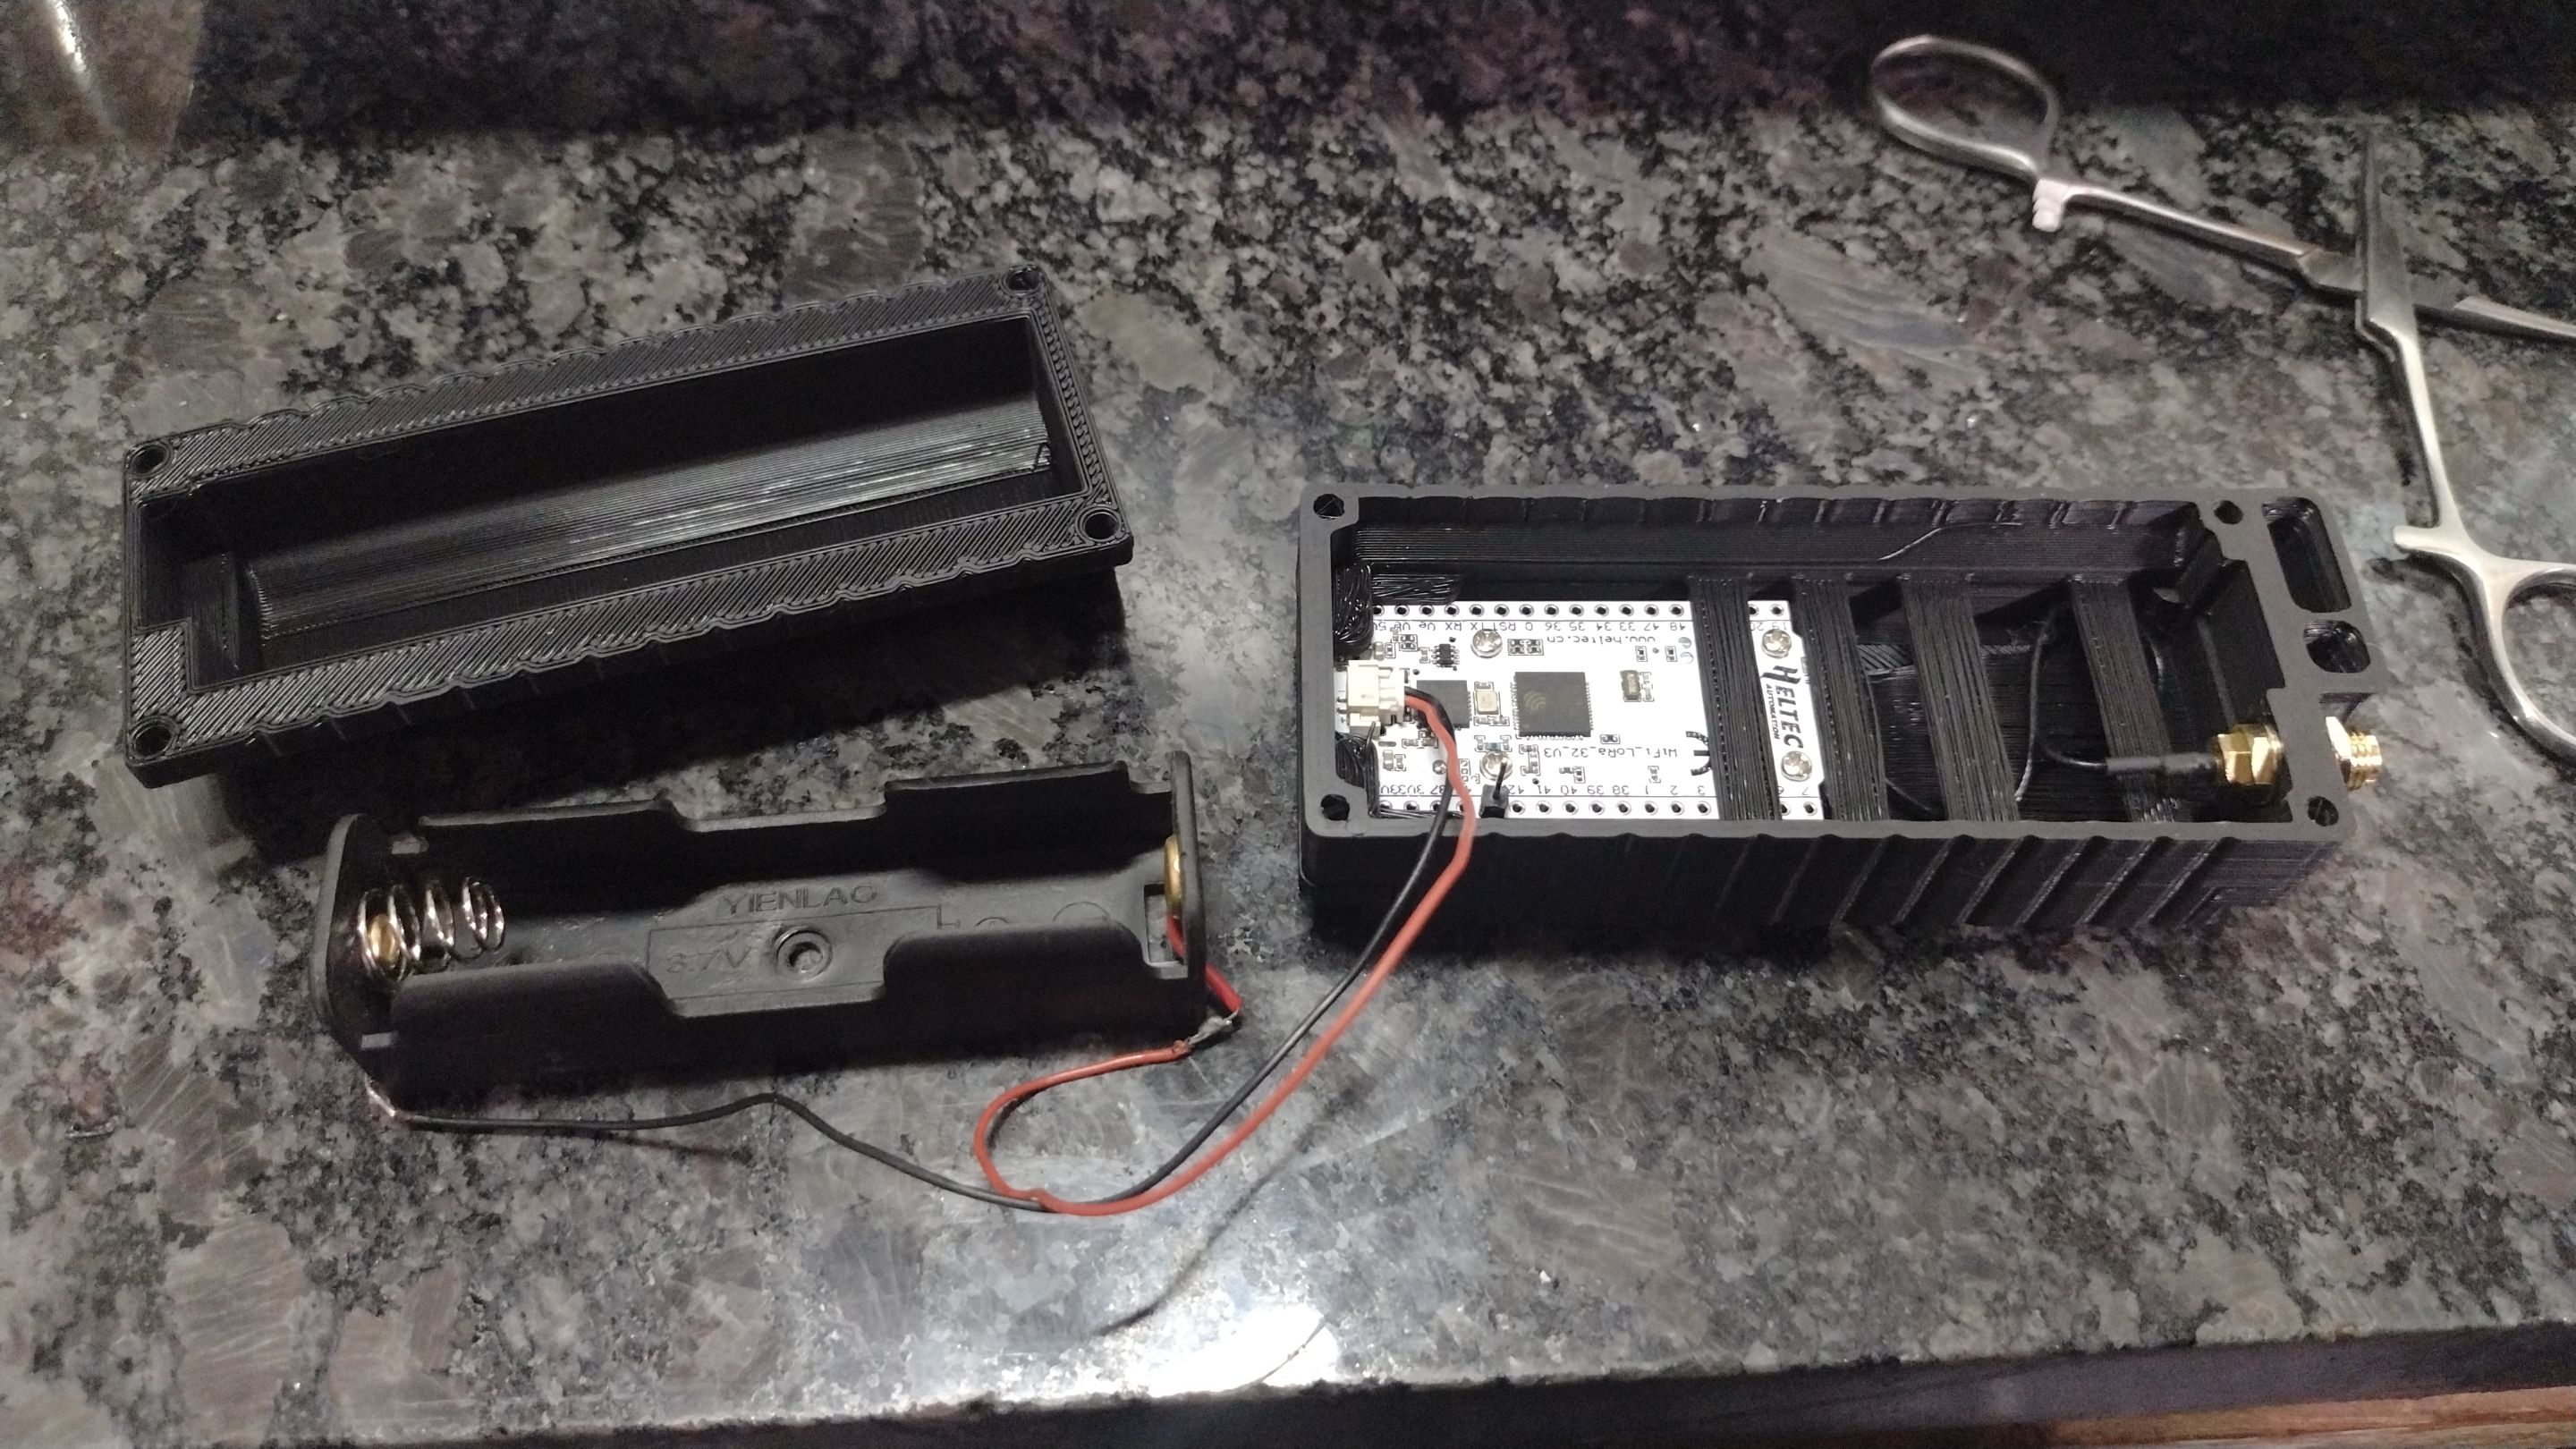
The holes are tiny for the bolts which I couldn't find any of in the tool shed so I just used cotter pins to hold the case together which is working pretty well for now.
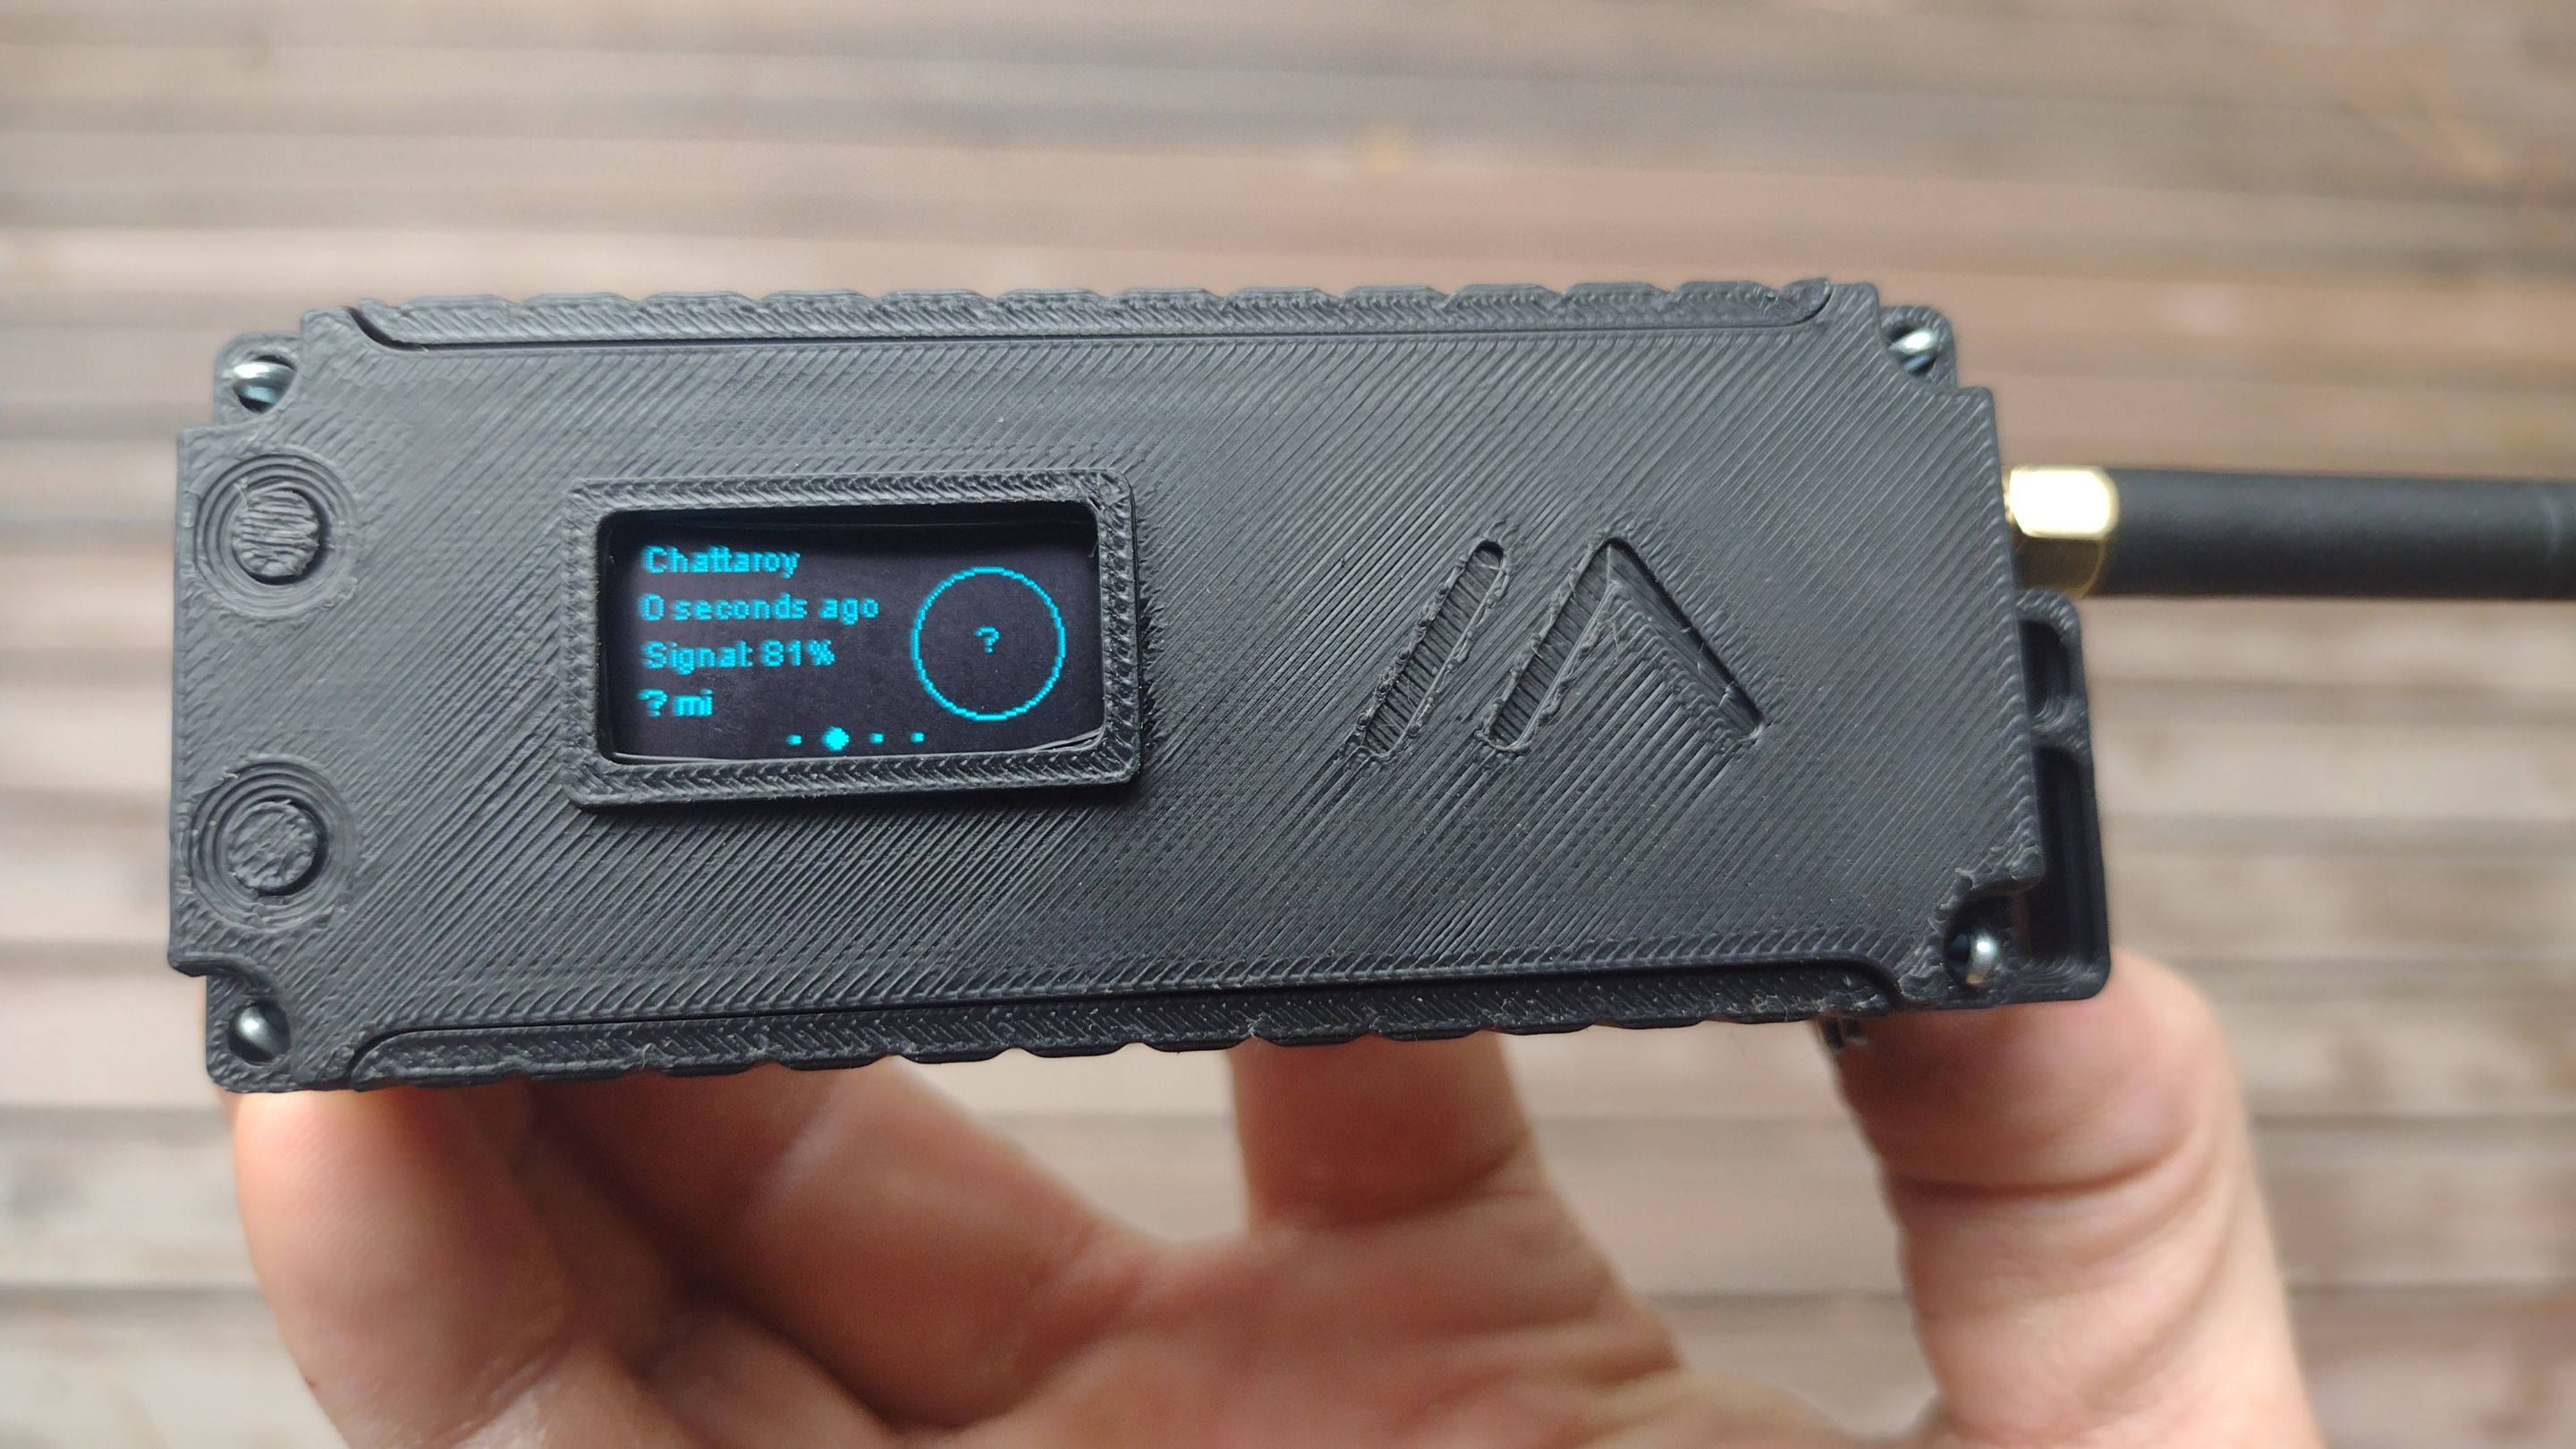
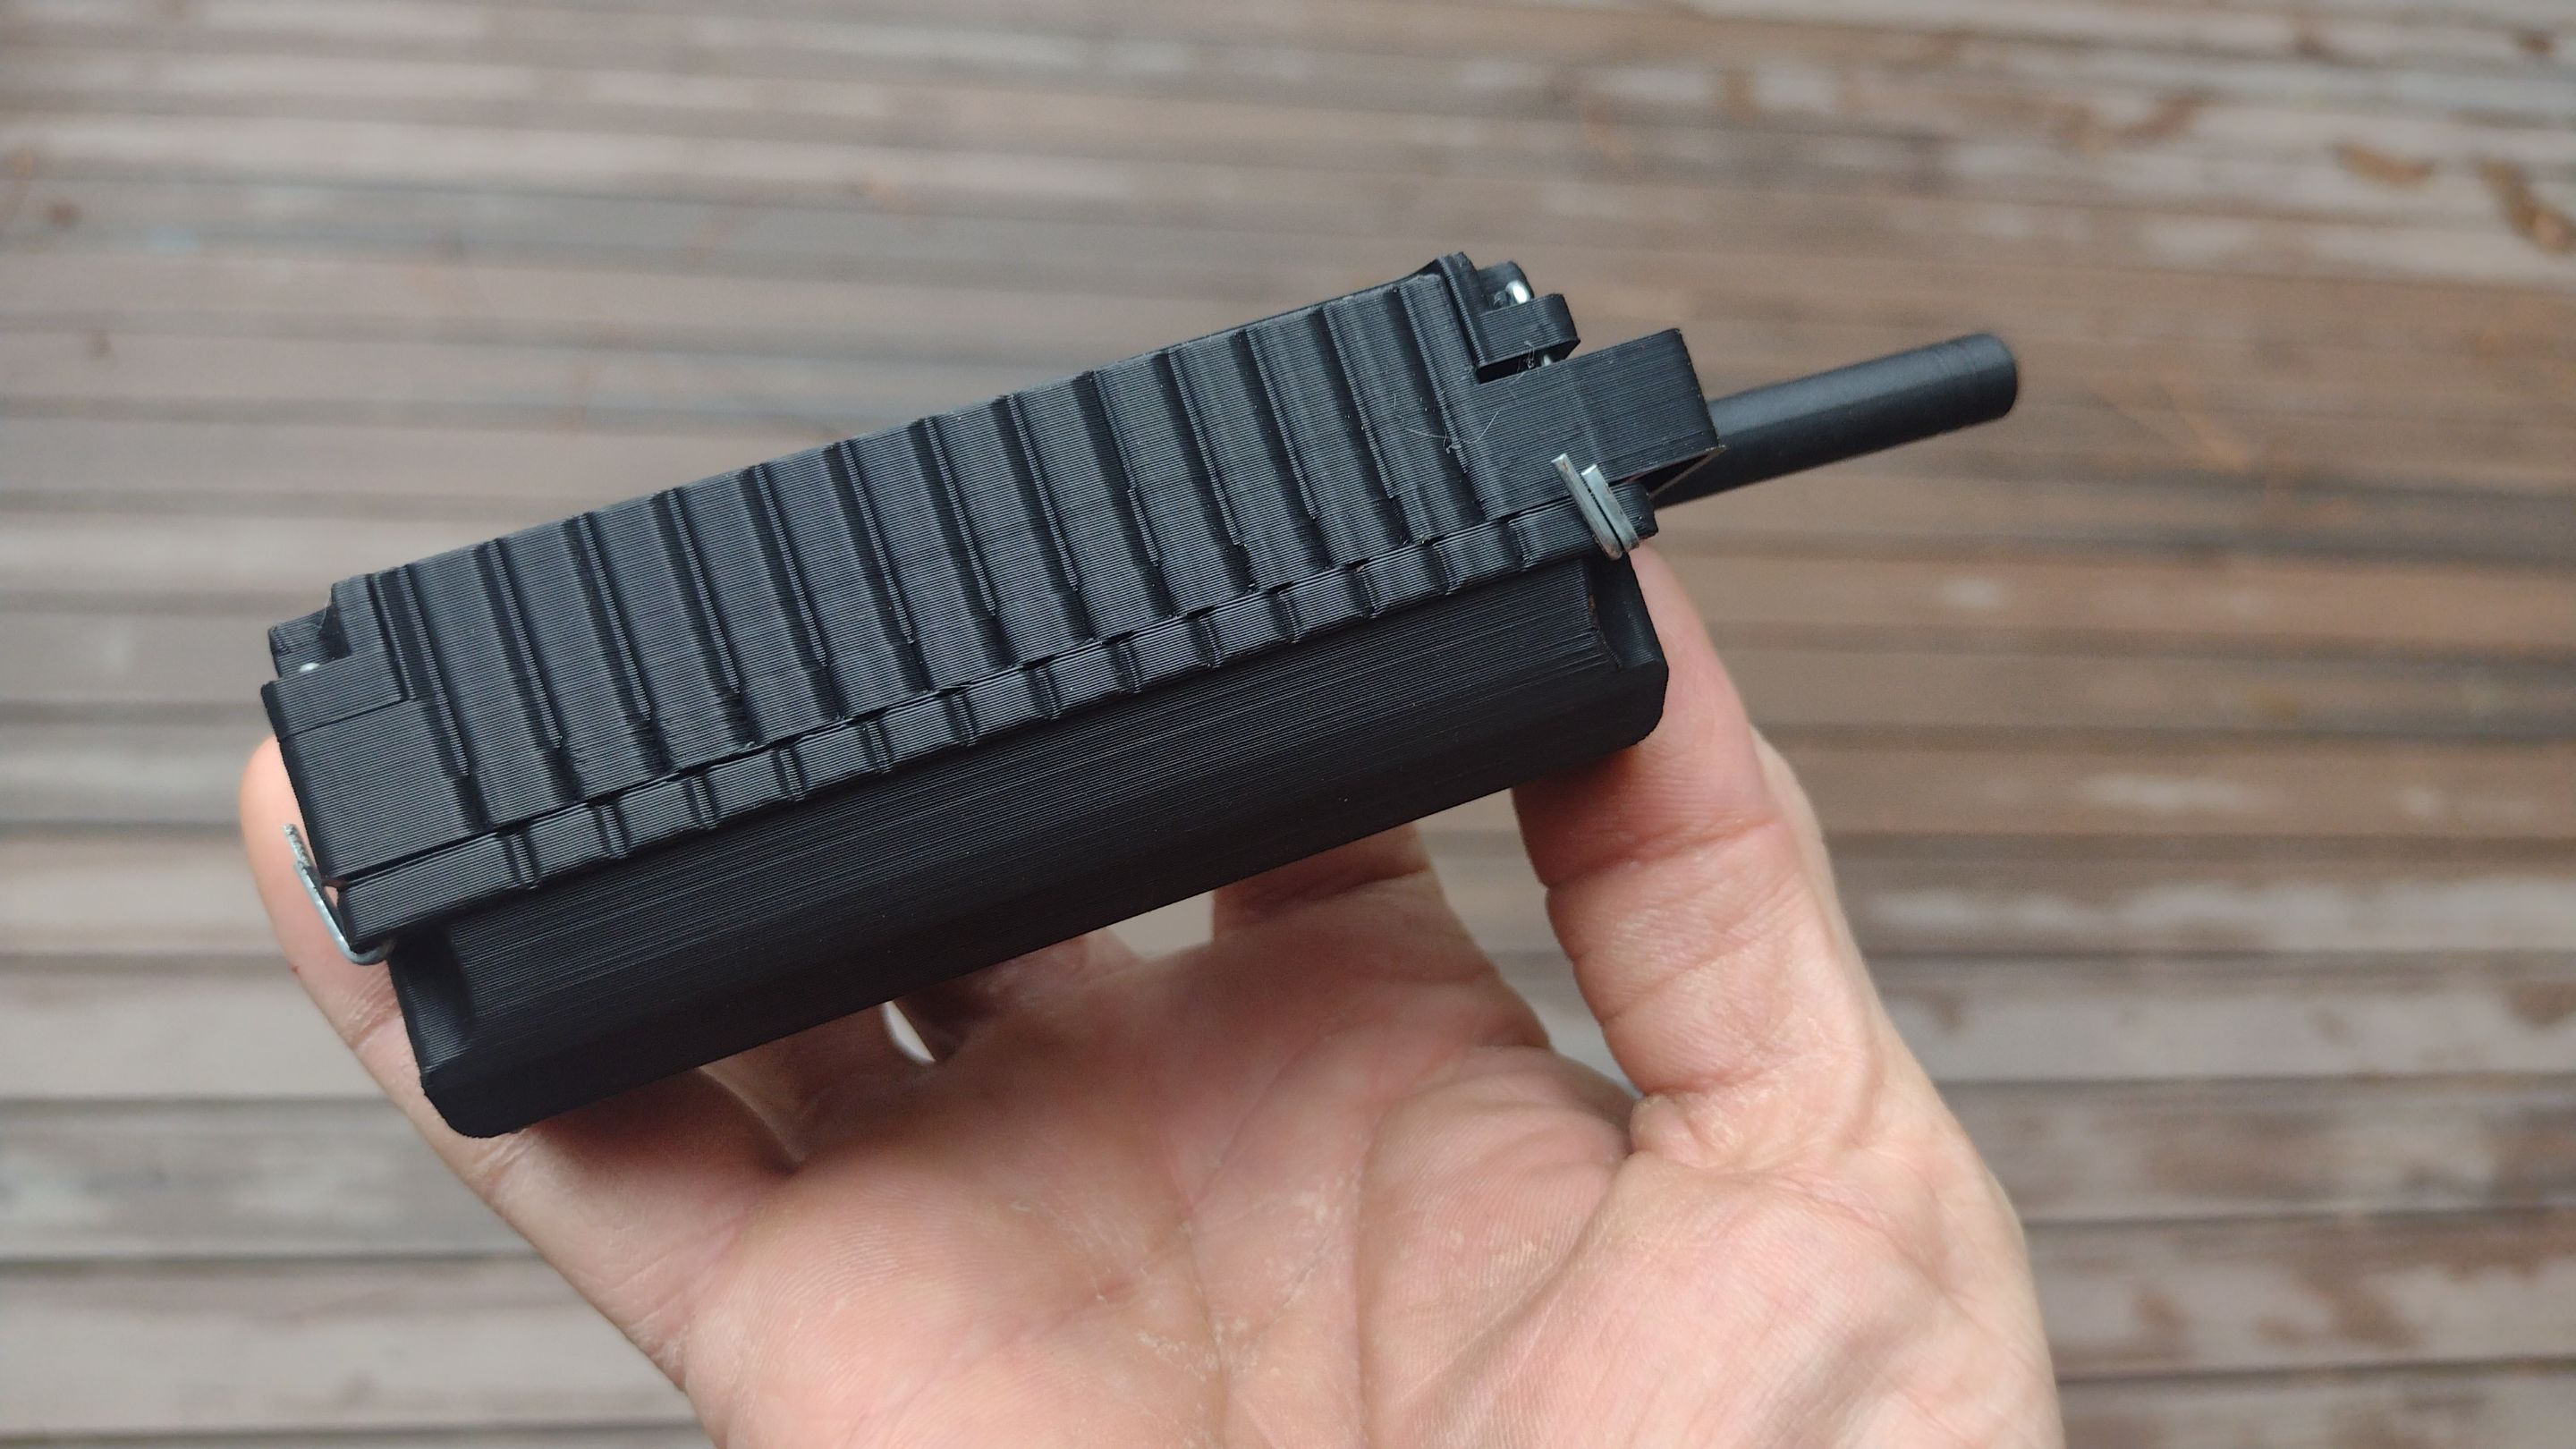
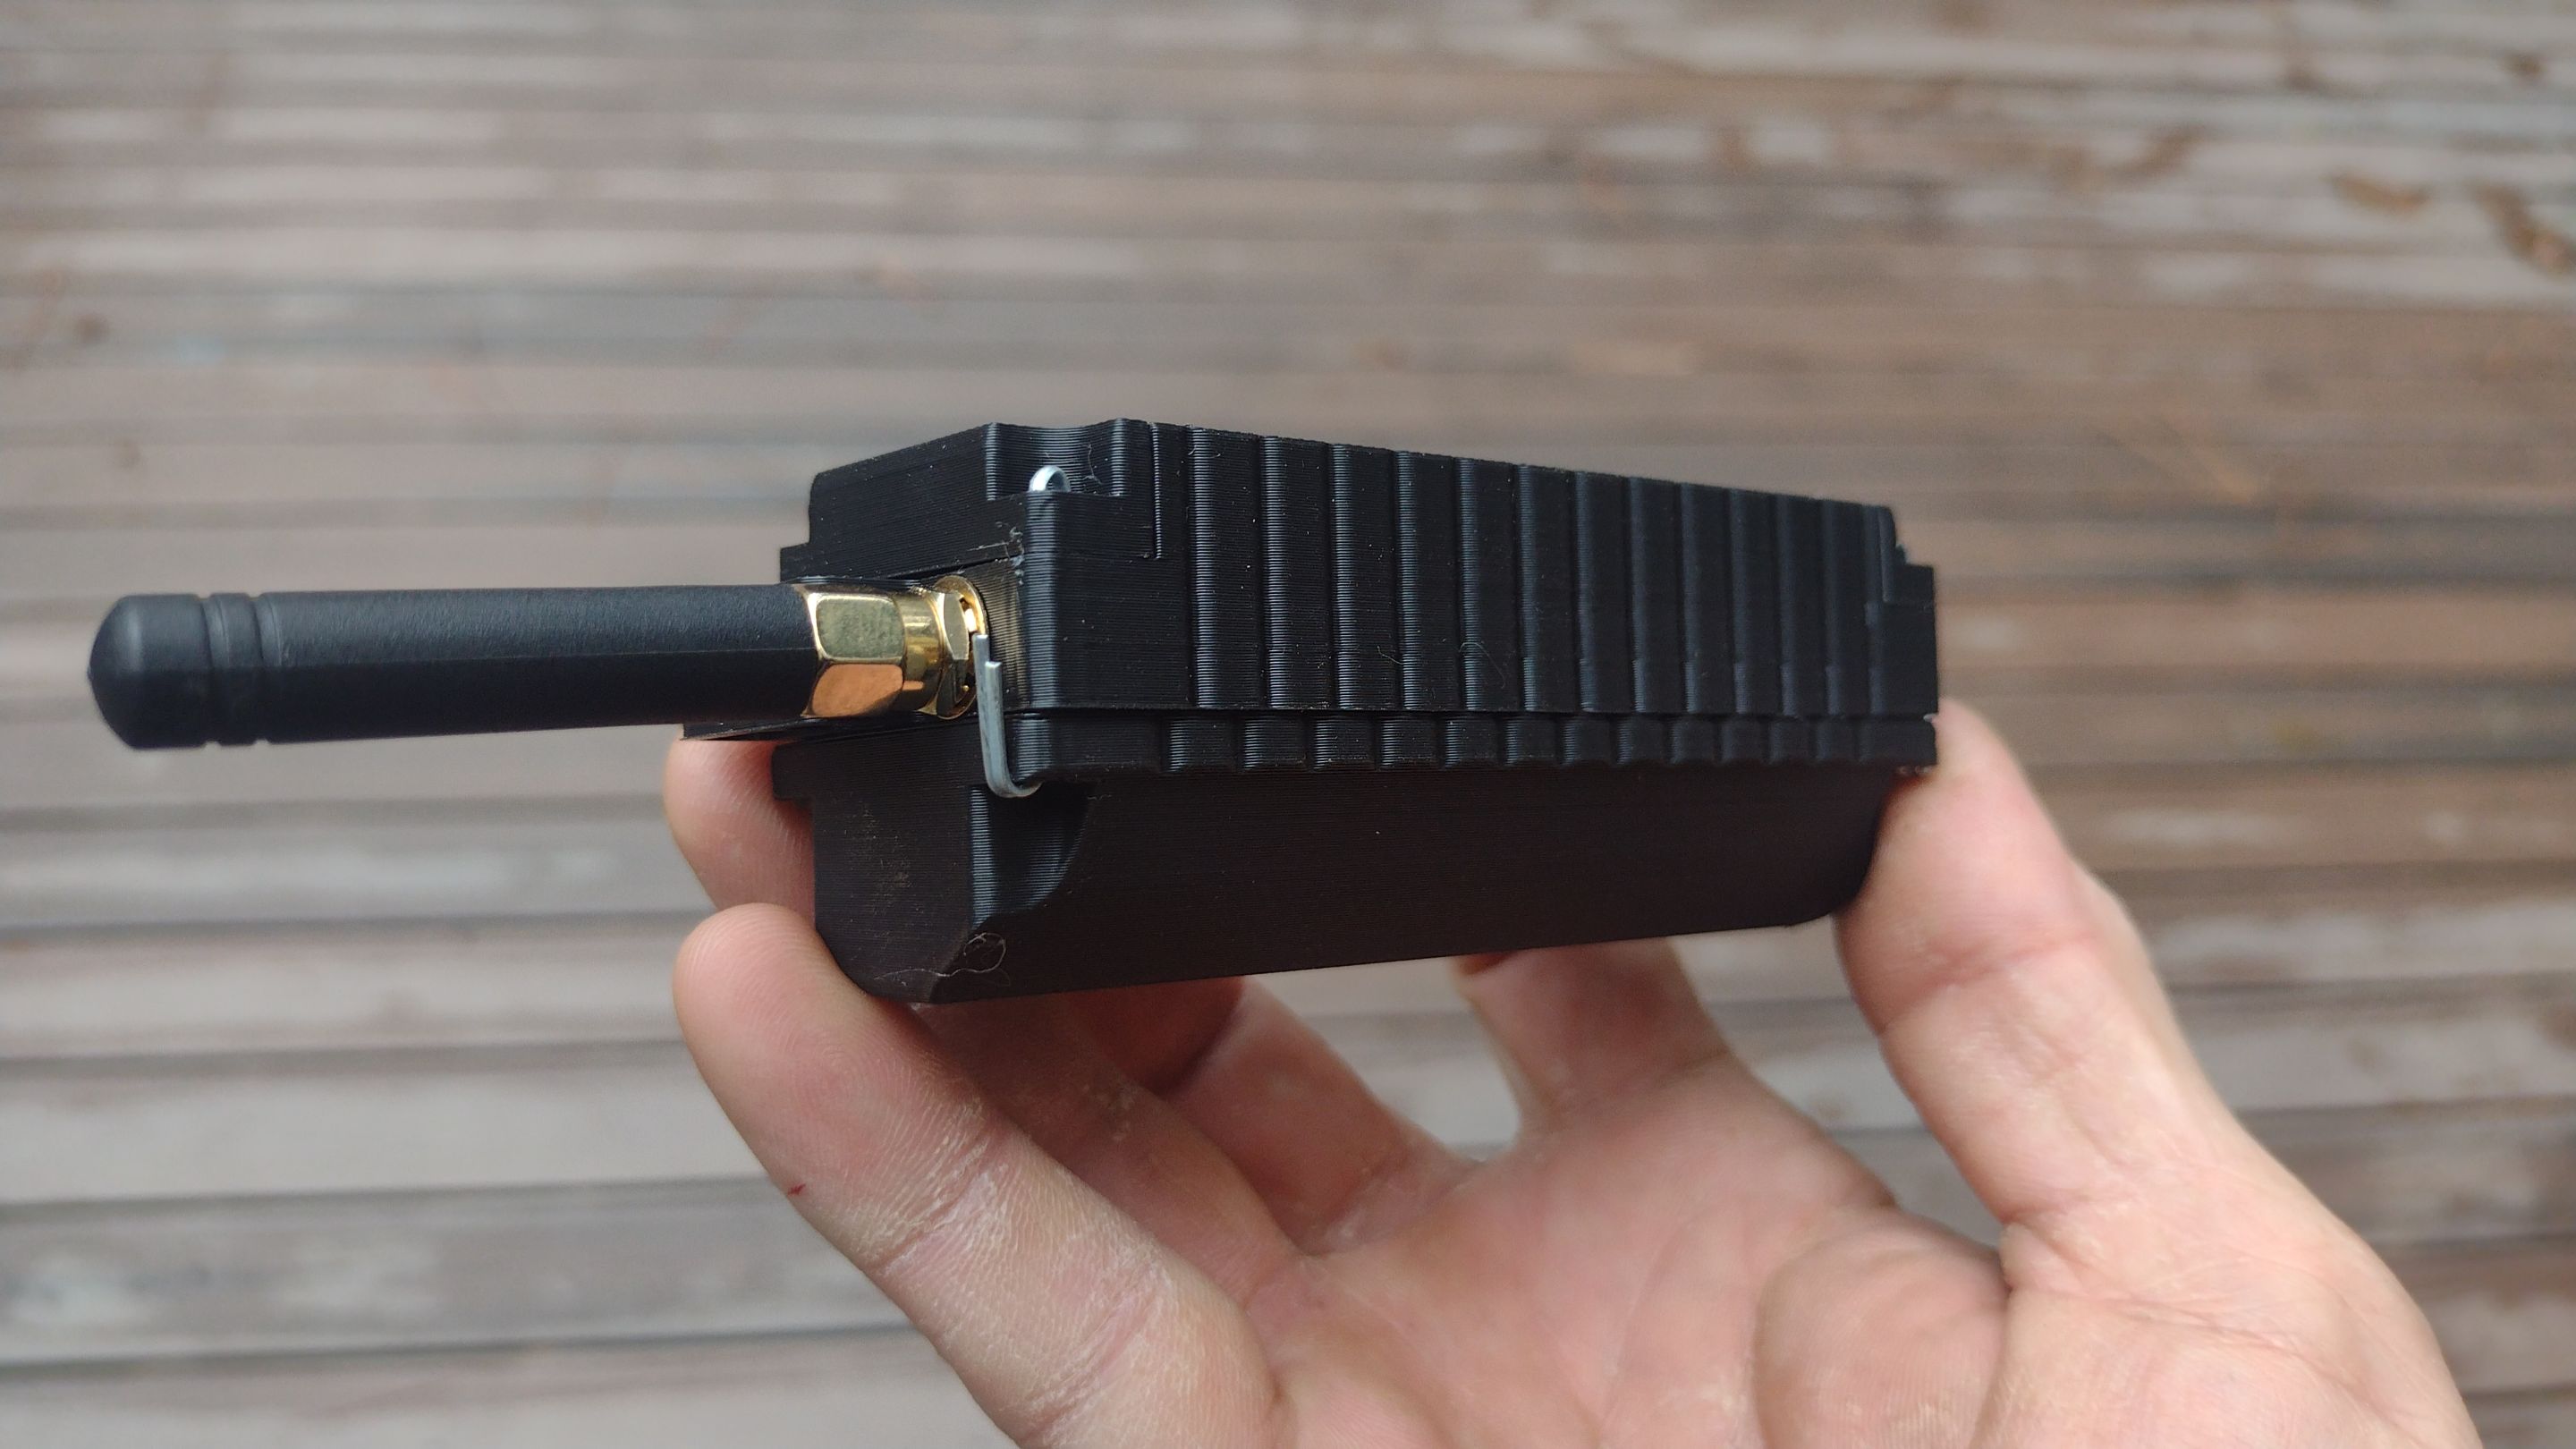
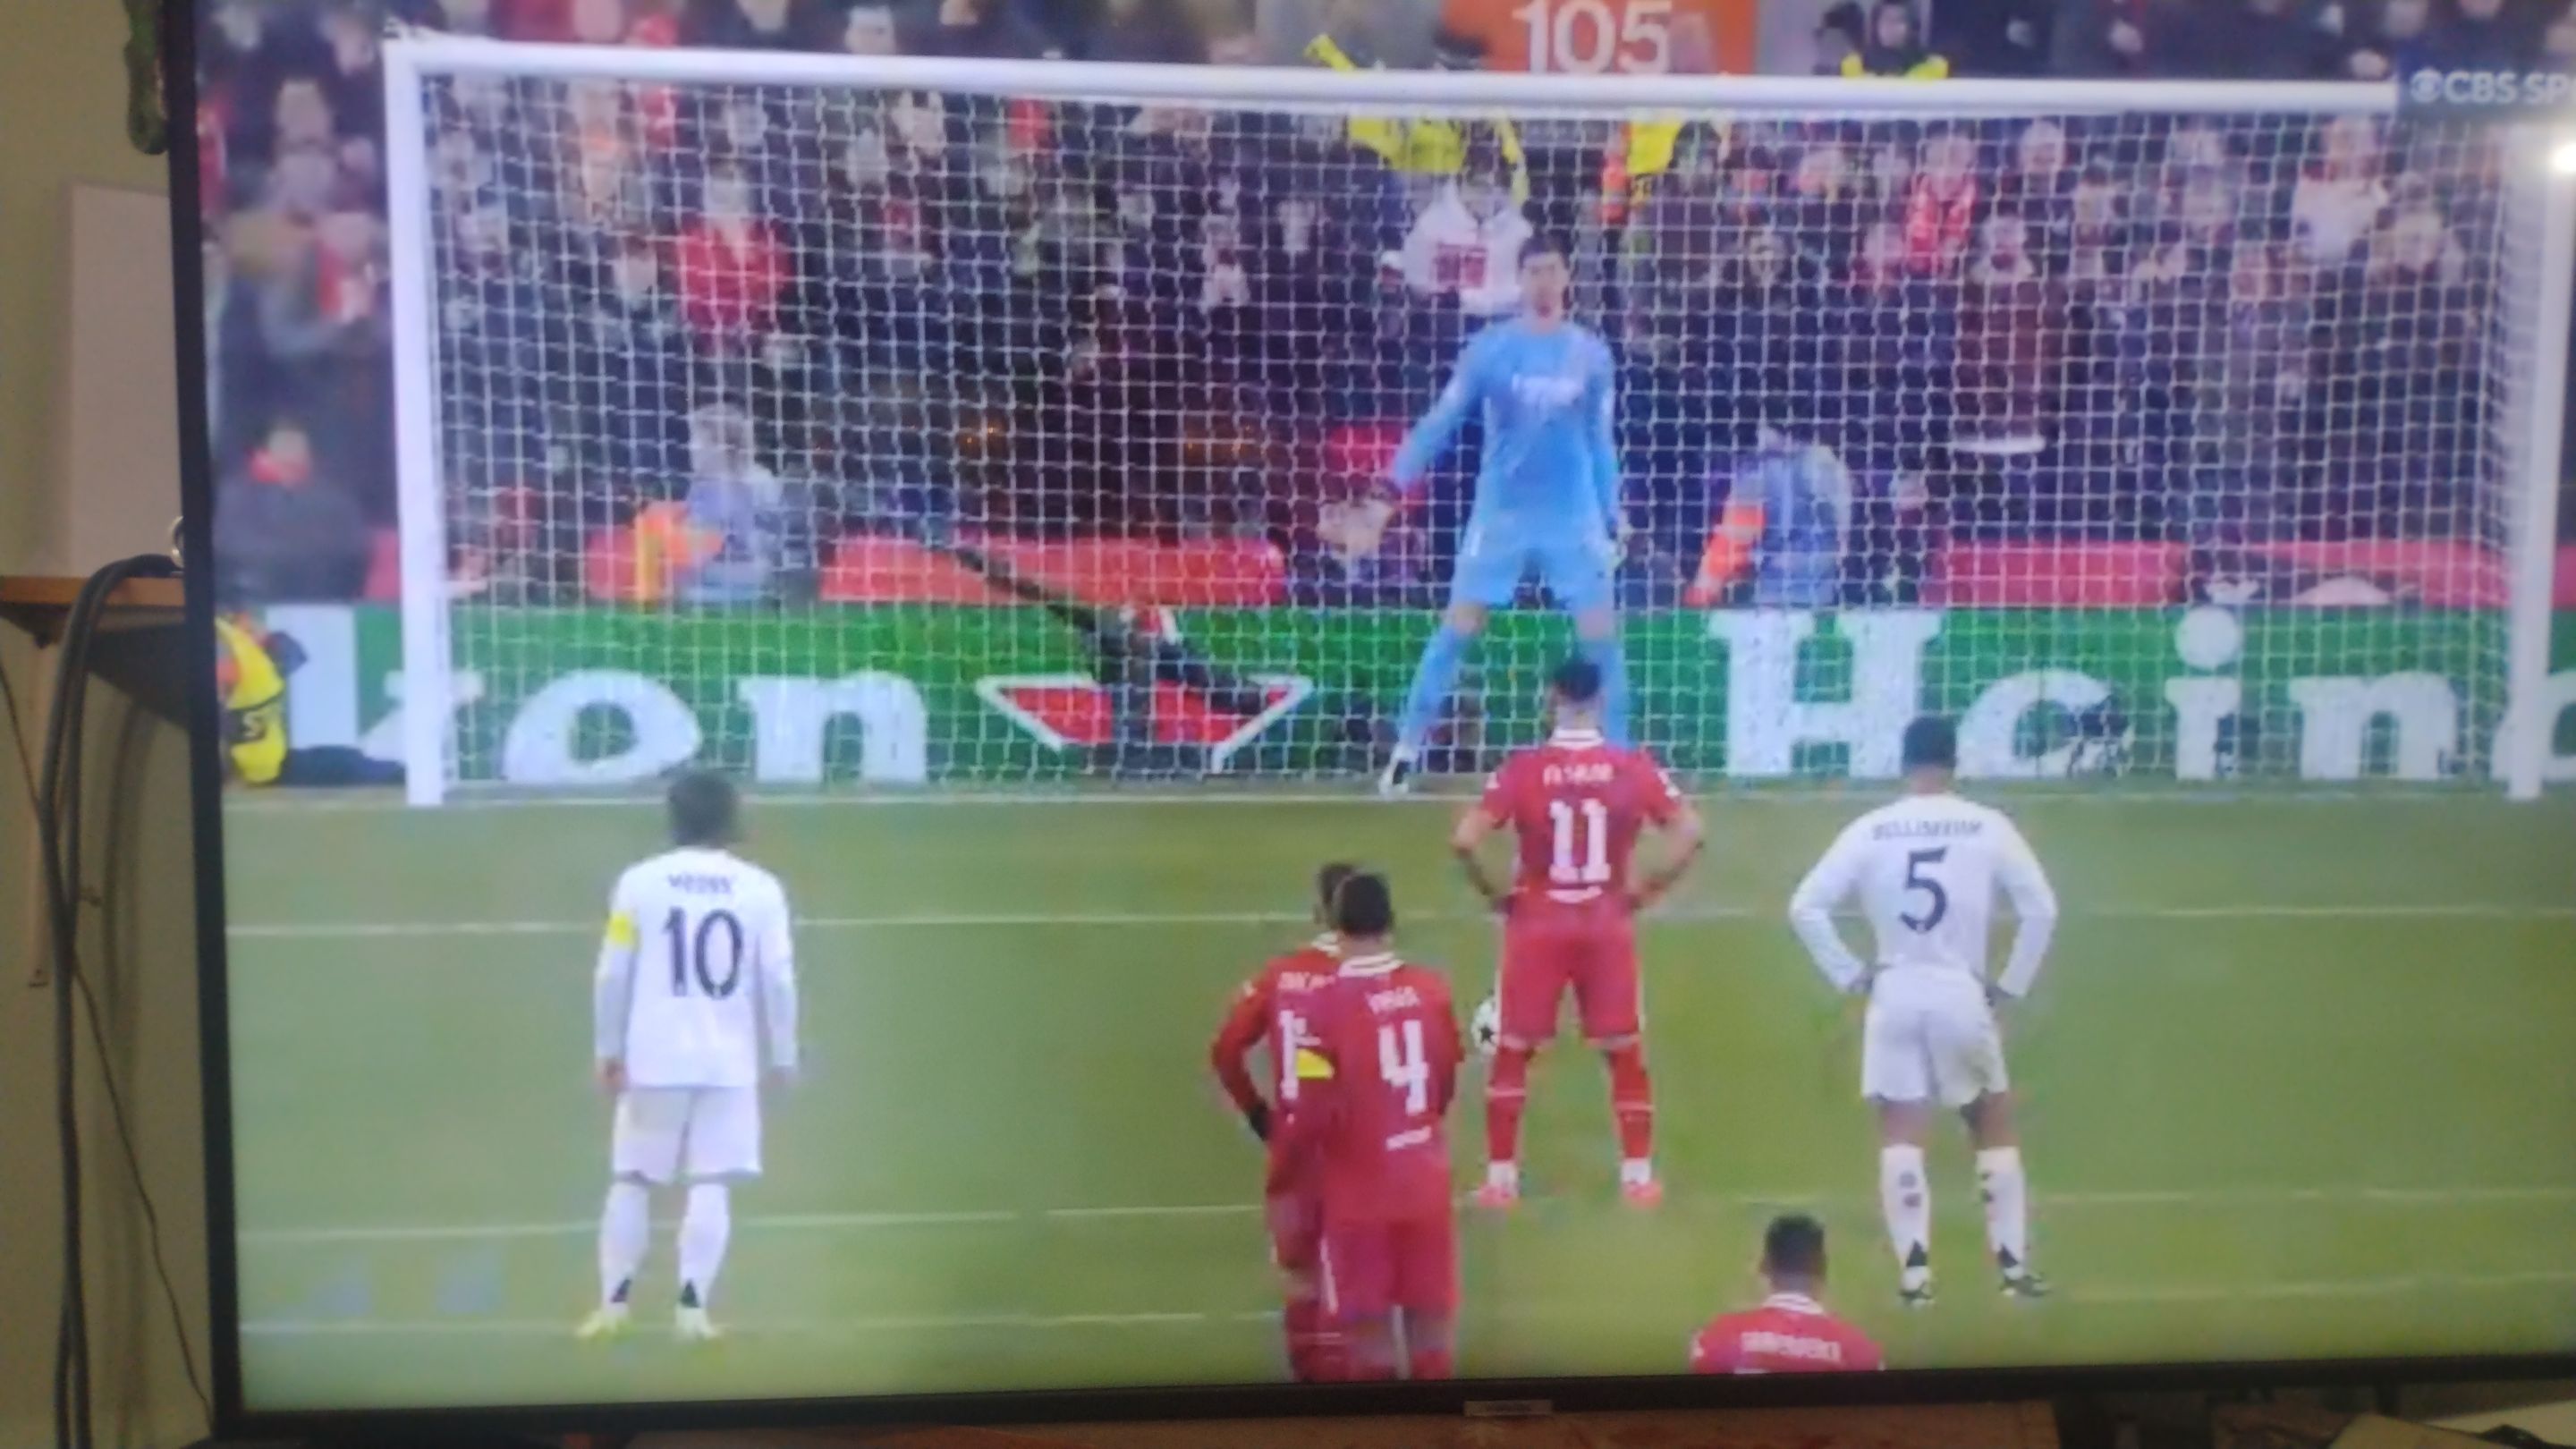
Oh boy did Liverpool embarrass Real Madrid, I was laughing at them through much of the match.
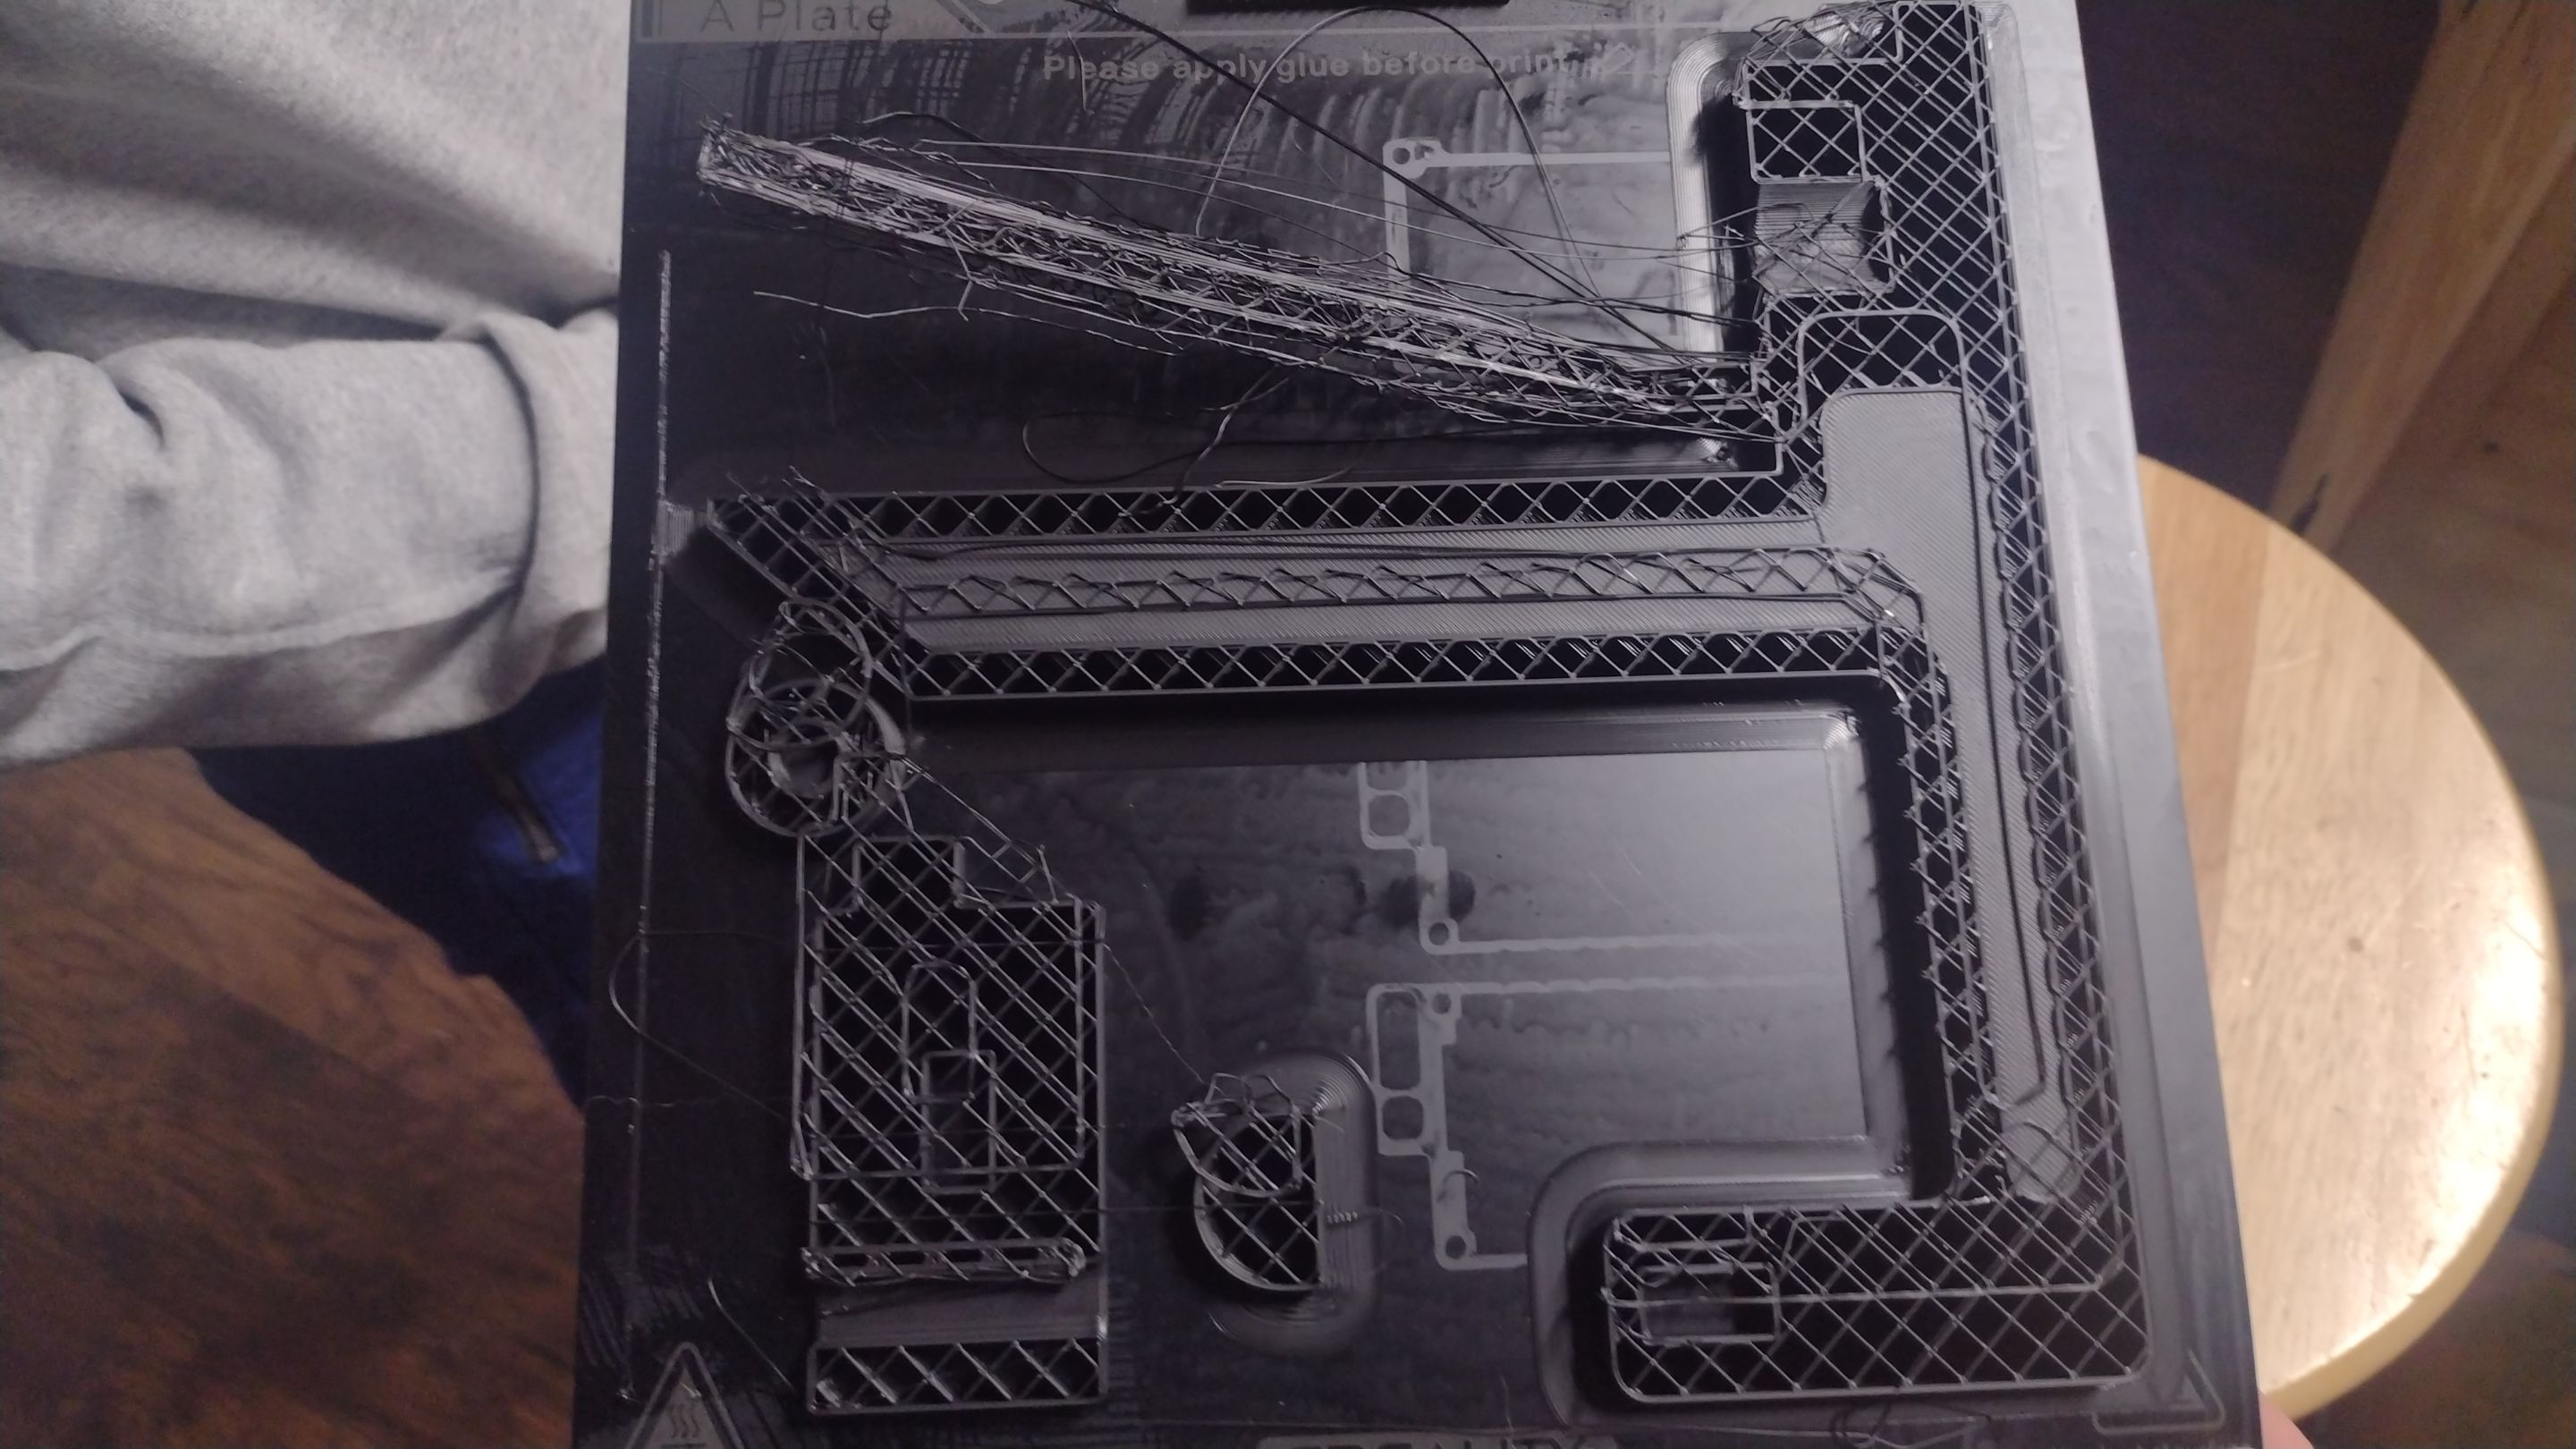
I learned a big lesson with the next print. I was trying to print the ski vise but didn't do enough pre-checking of the models.
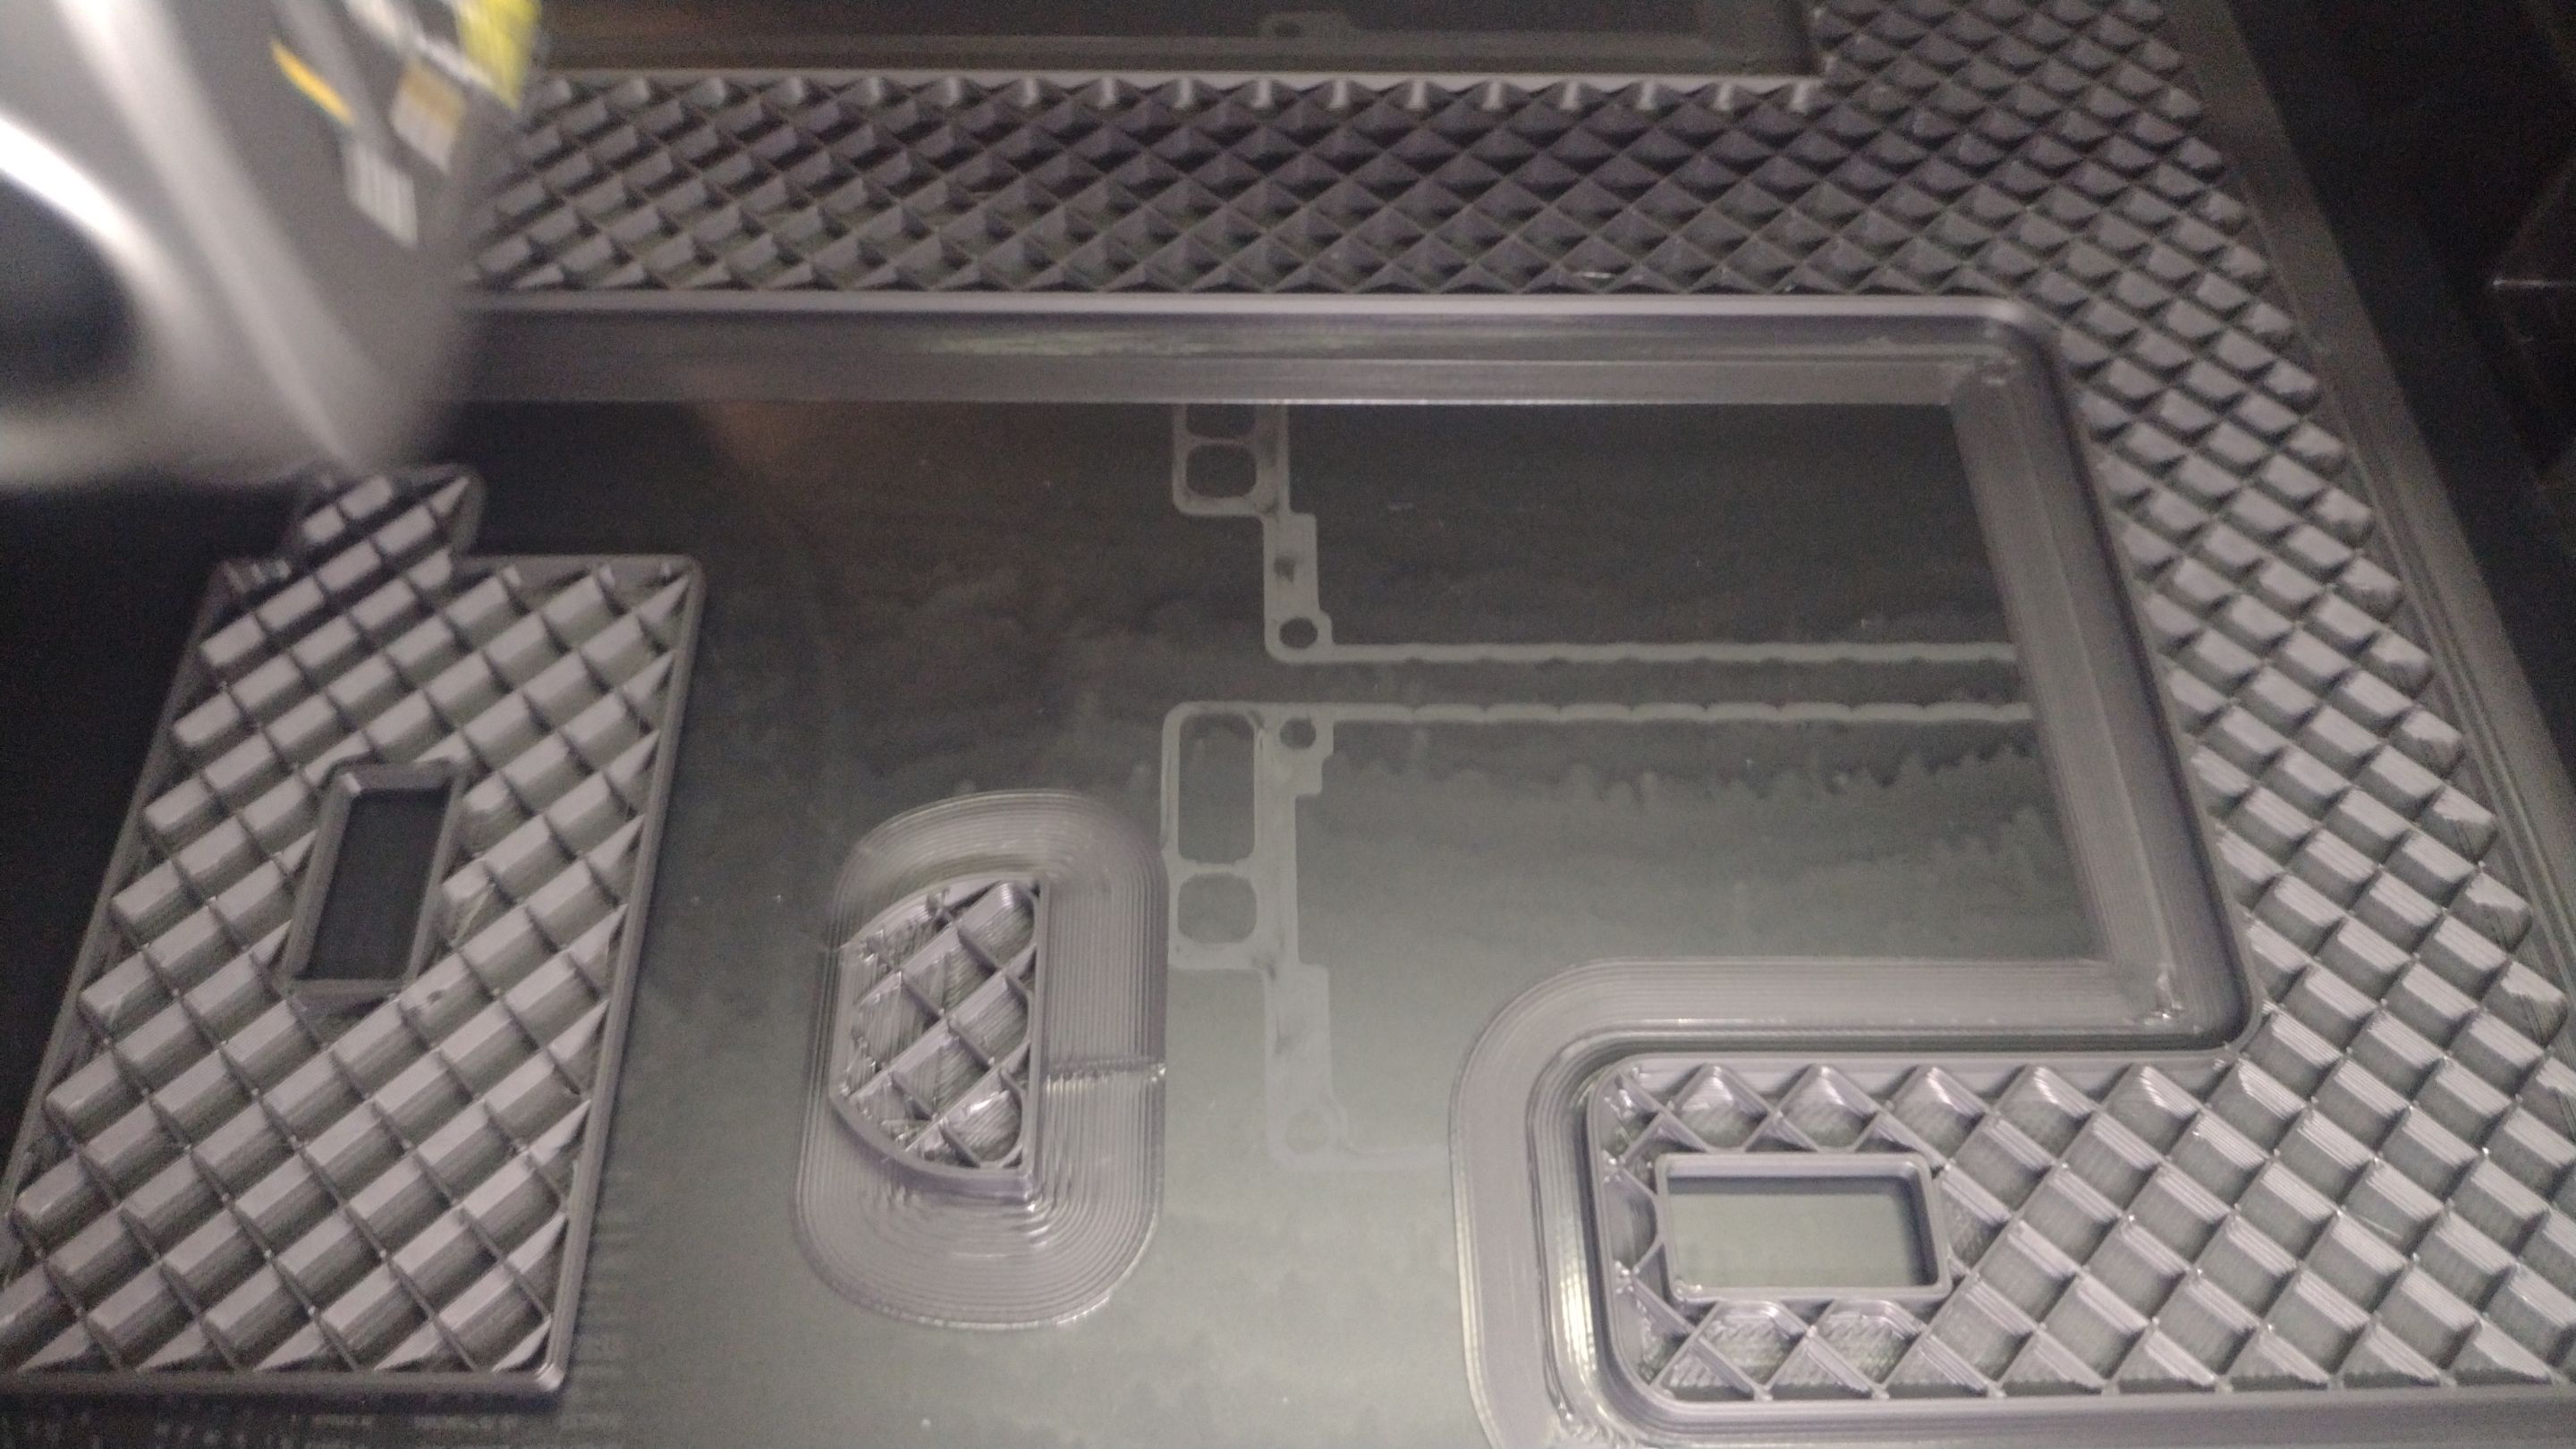
There is a part of the vise that ended up getting printed in air and then just got worse as it printed. What I failed to do was to spin the model before slicing as I would have seen the need for supports under the section. Before I try to print them again I will add supports and do a full check of the model.
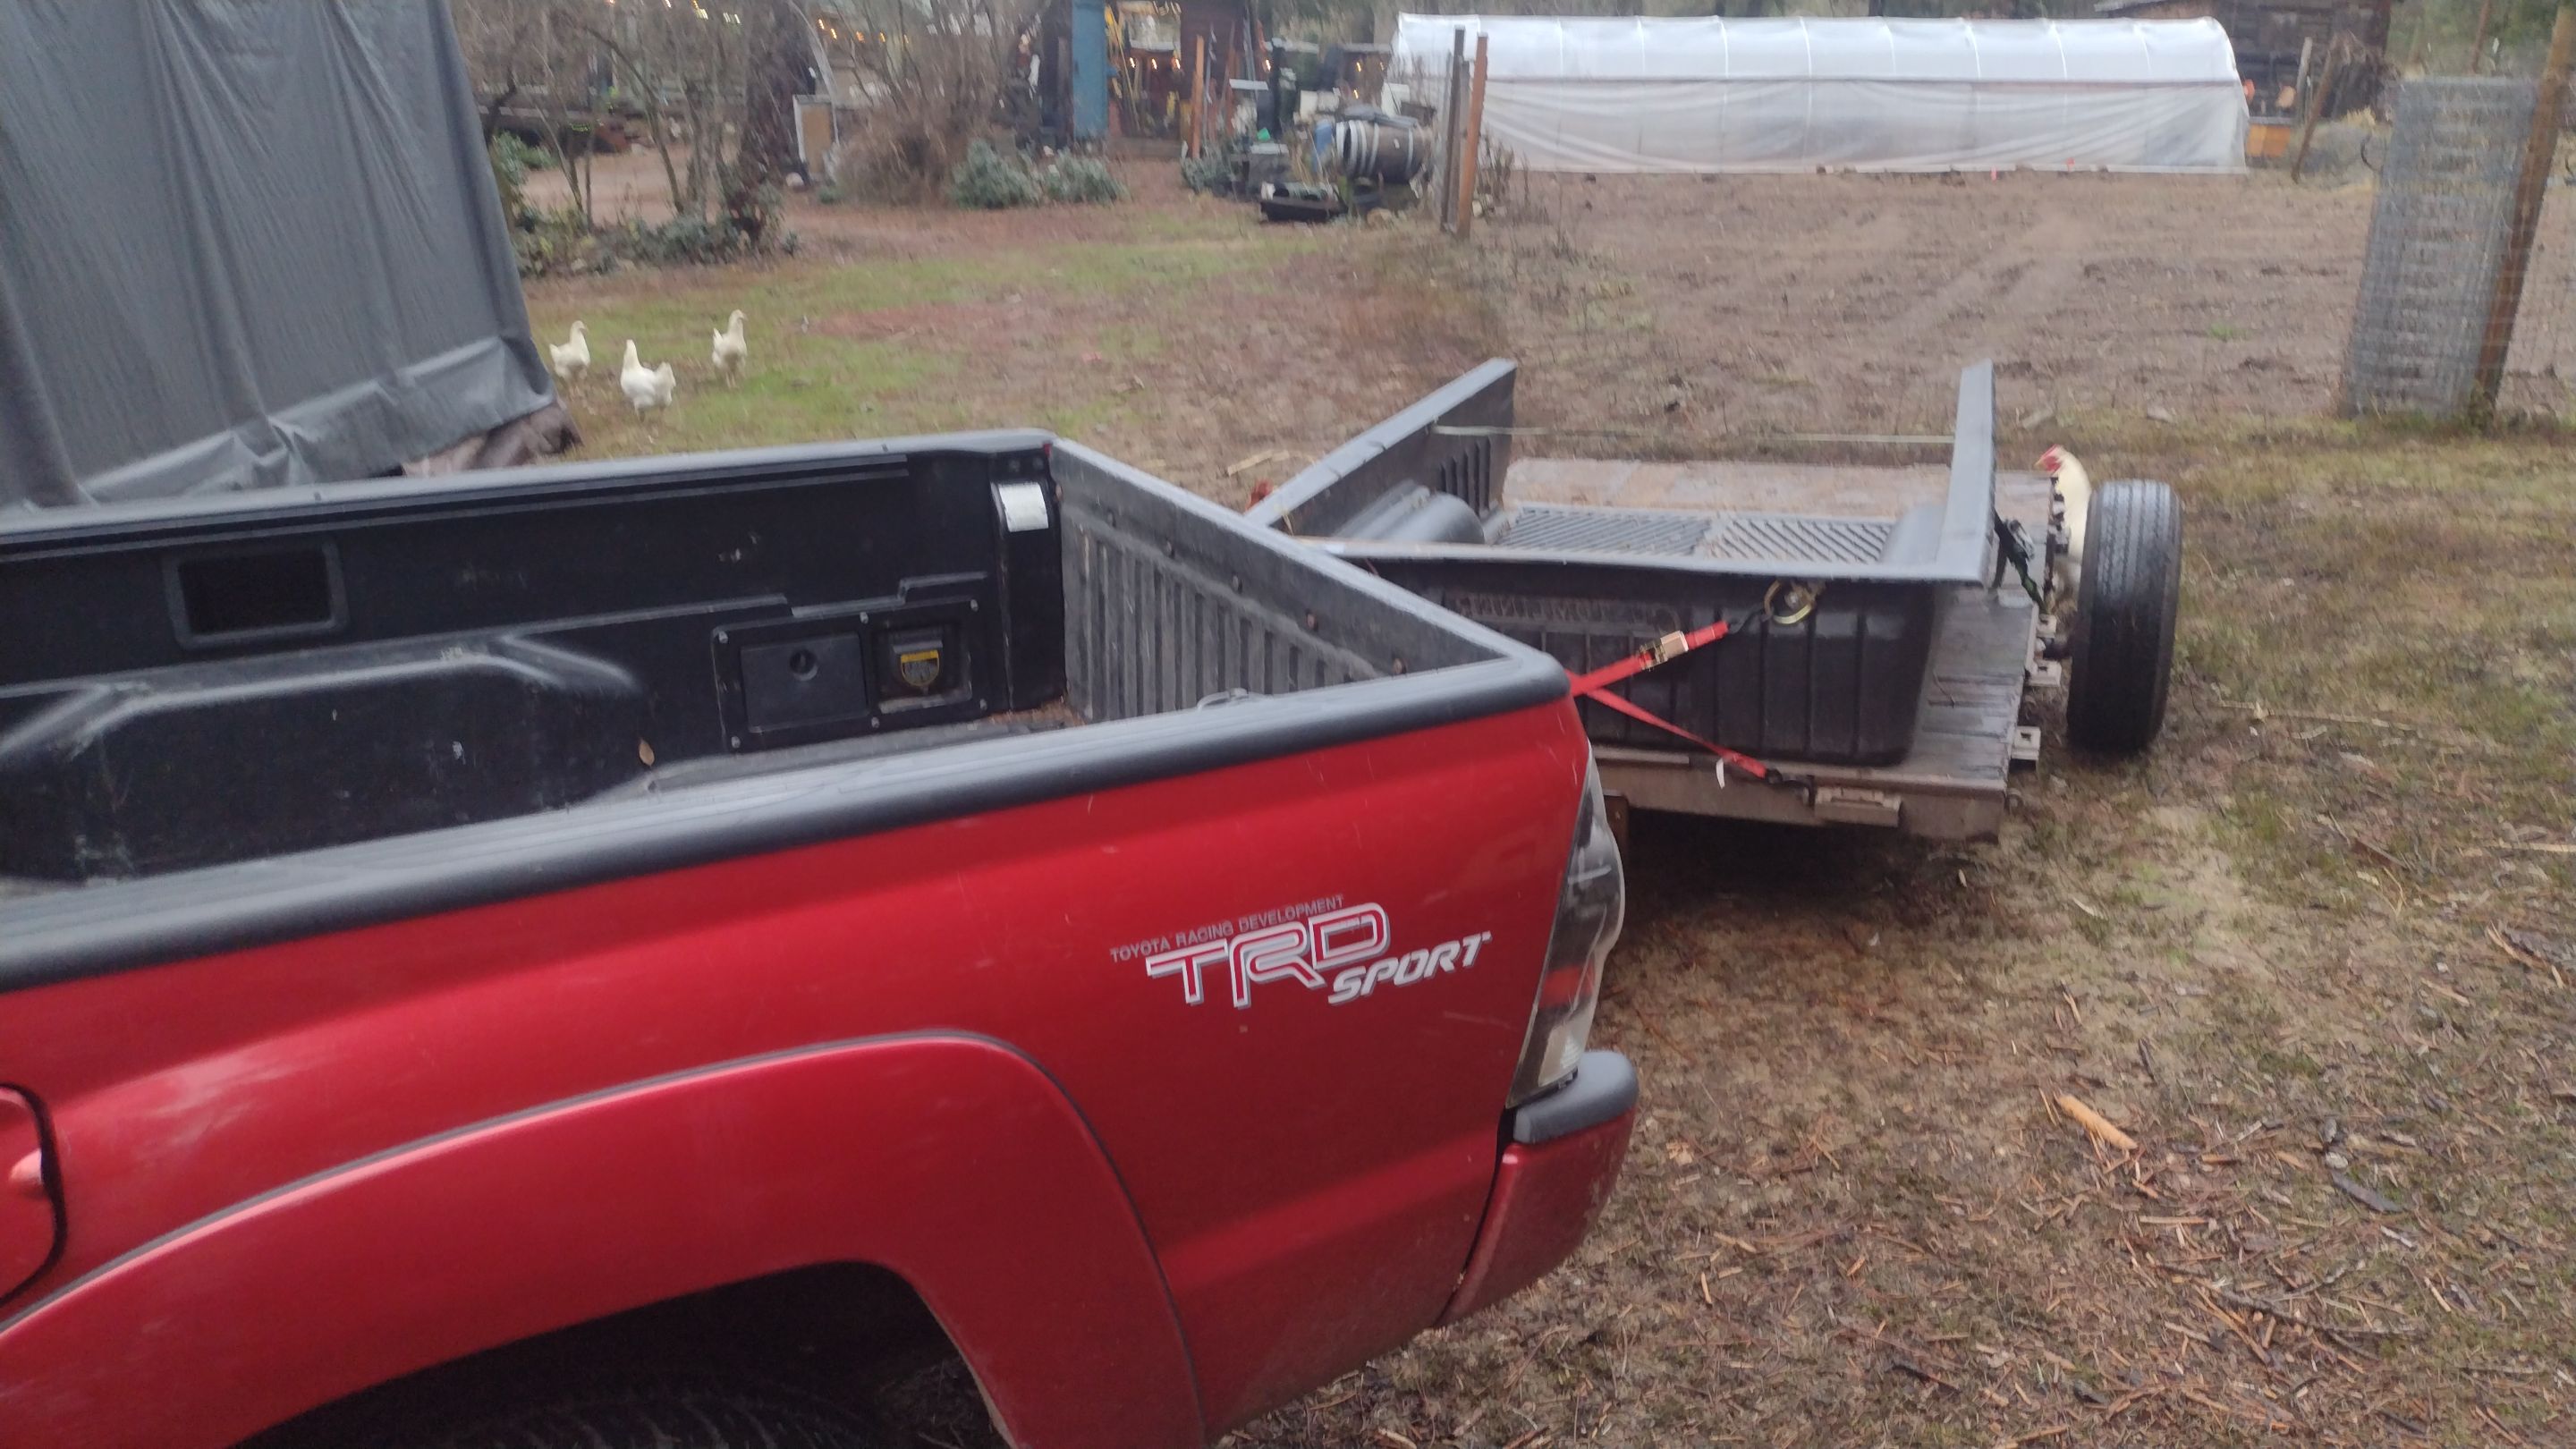
Mid afternoon I got the trailer hooked up for the grain run I have done this morning already. The pavlovian response from the birds was to all come running, "FOOD MAN! TRAILER! TRAILER MEANS FOOD!" and they piled into the empty bed liner.
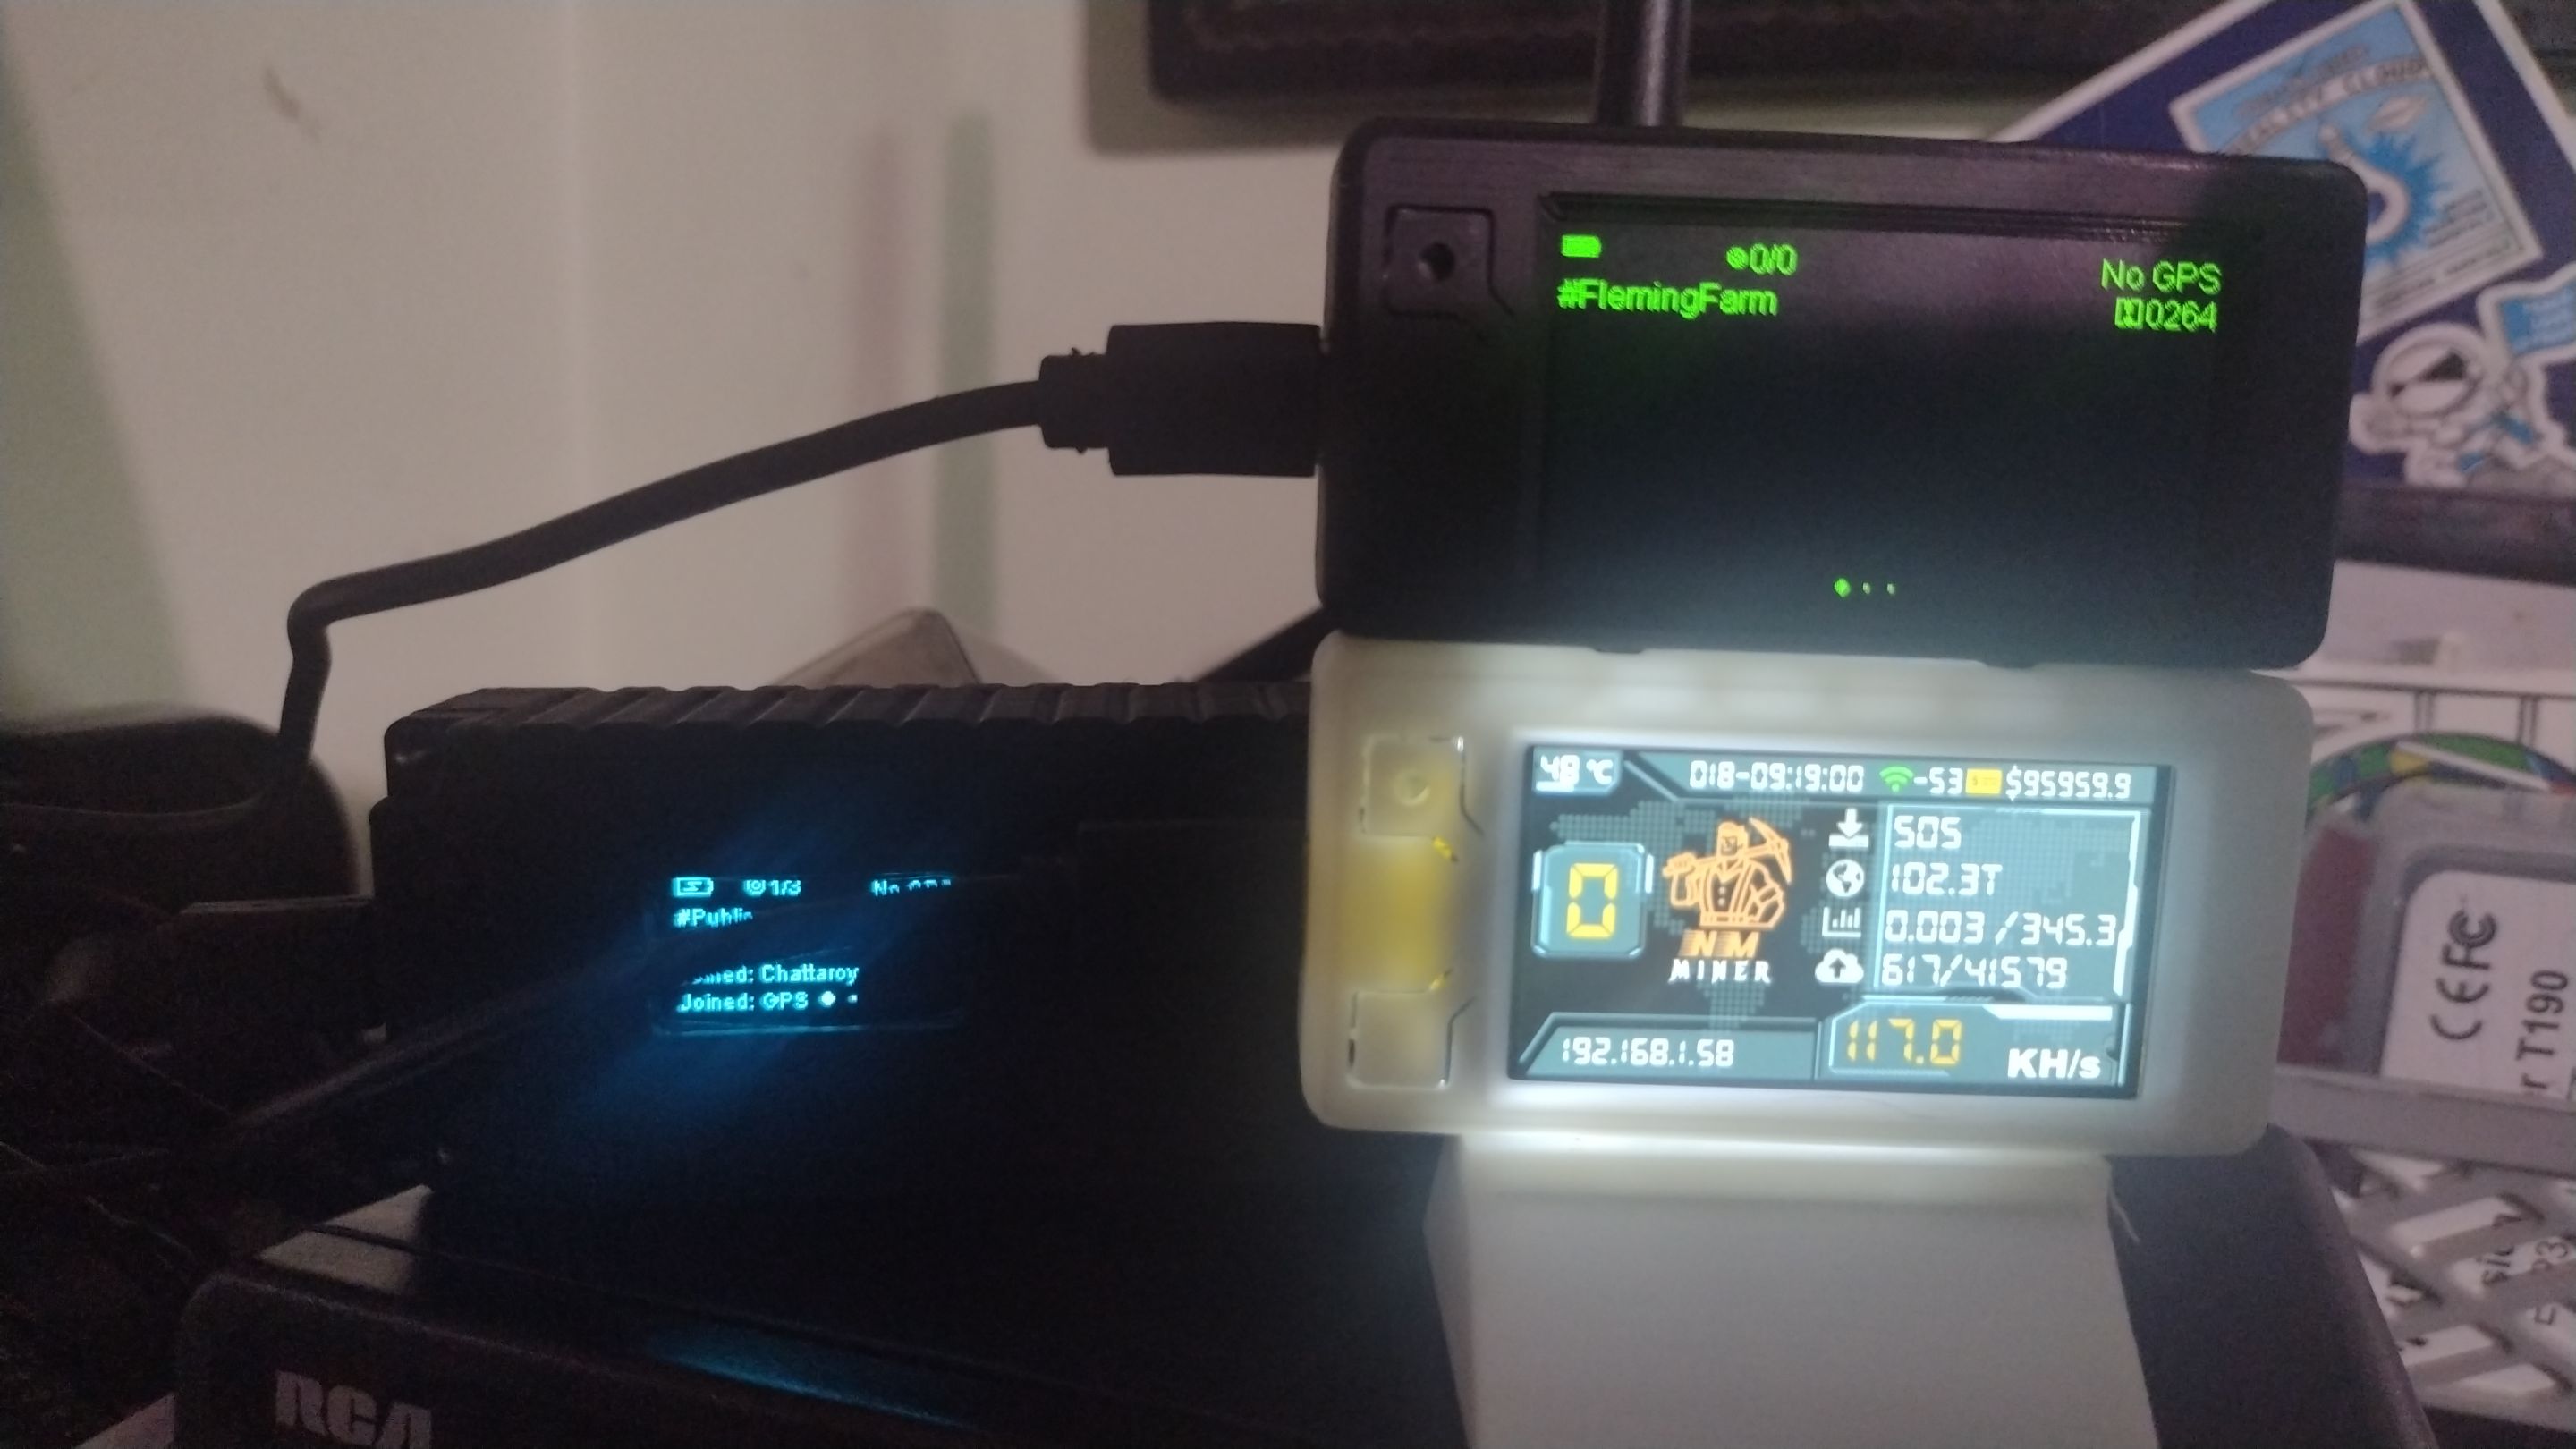
Printed a T190 case for the Meshtastic and it nicely fixes to the miner.
I'd attempted to get a fire going earlier but then had J go get it actually burning. It took him a while but he eventually managed.
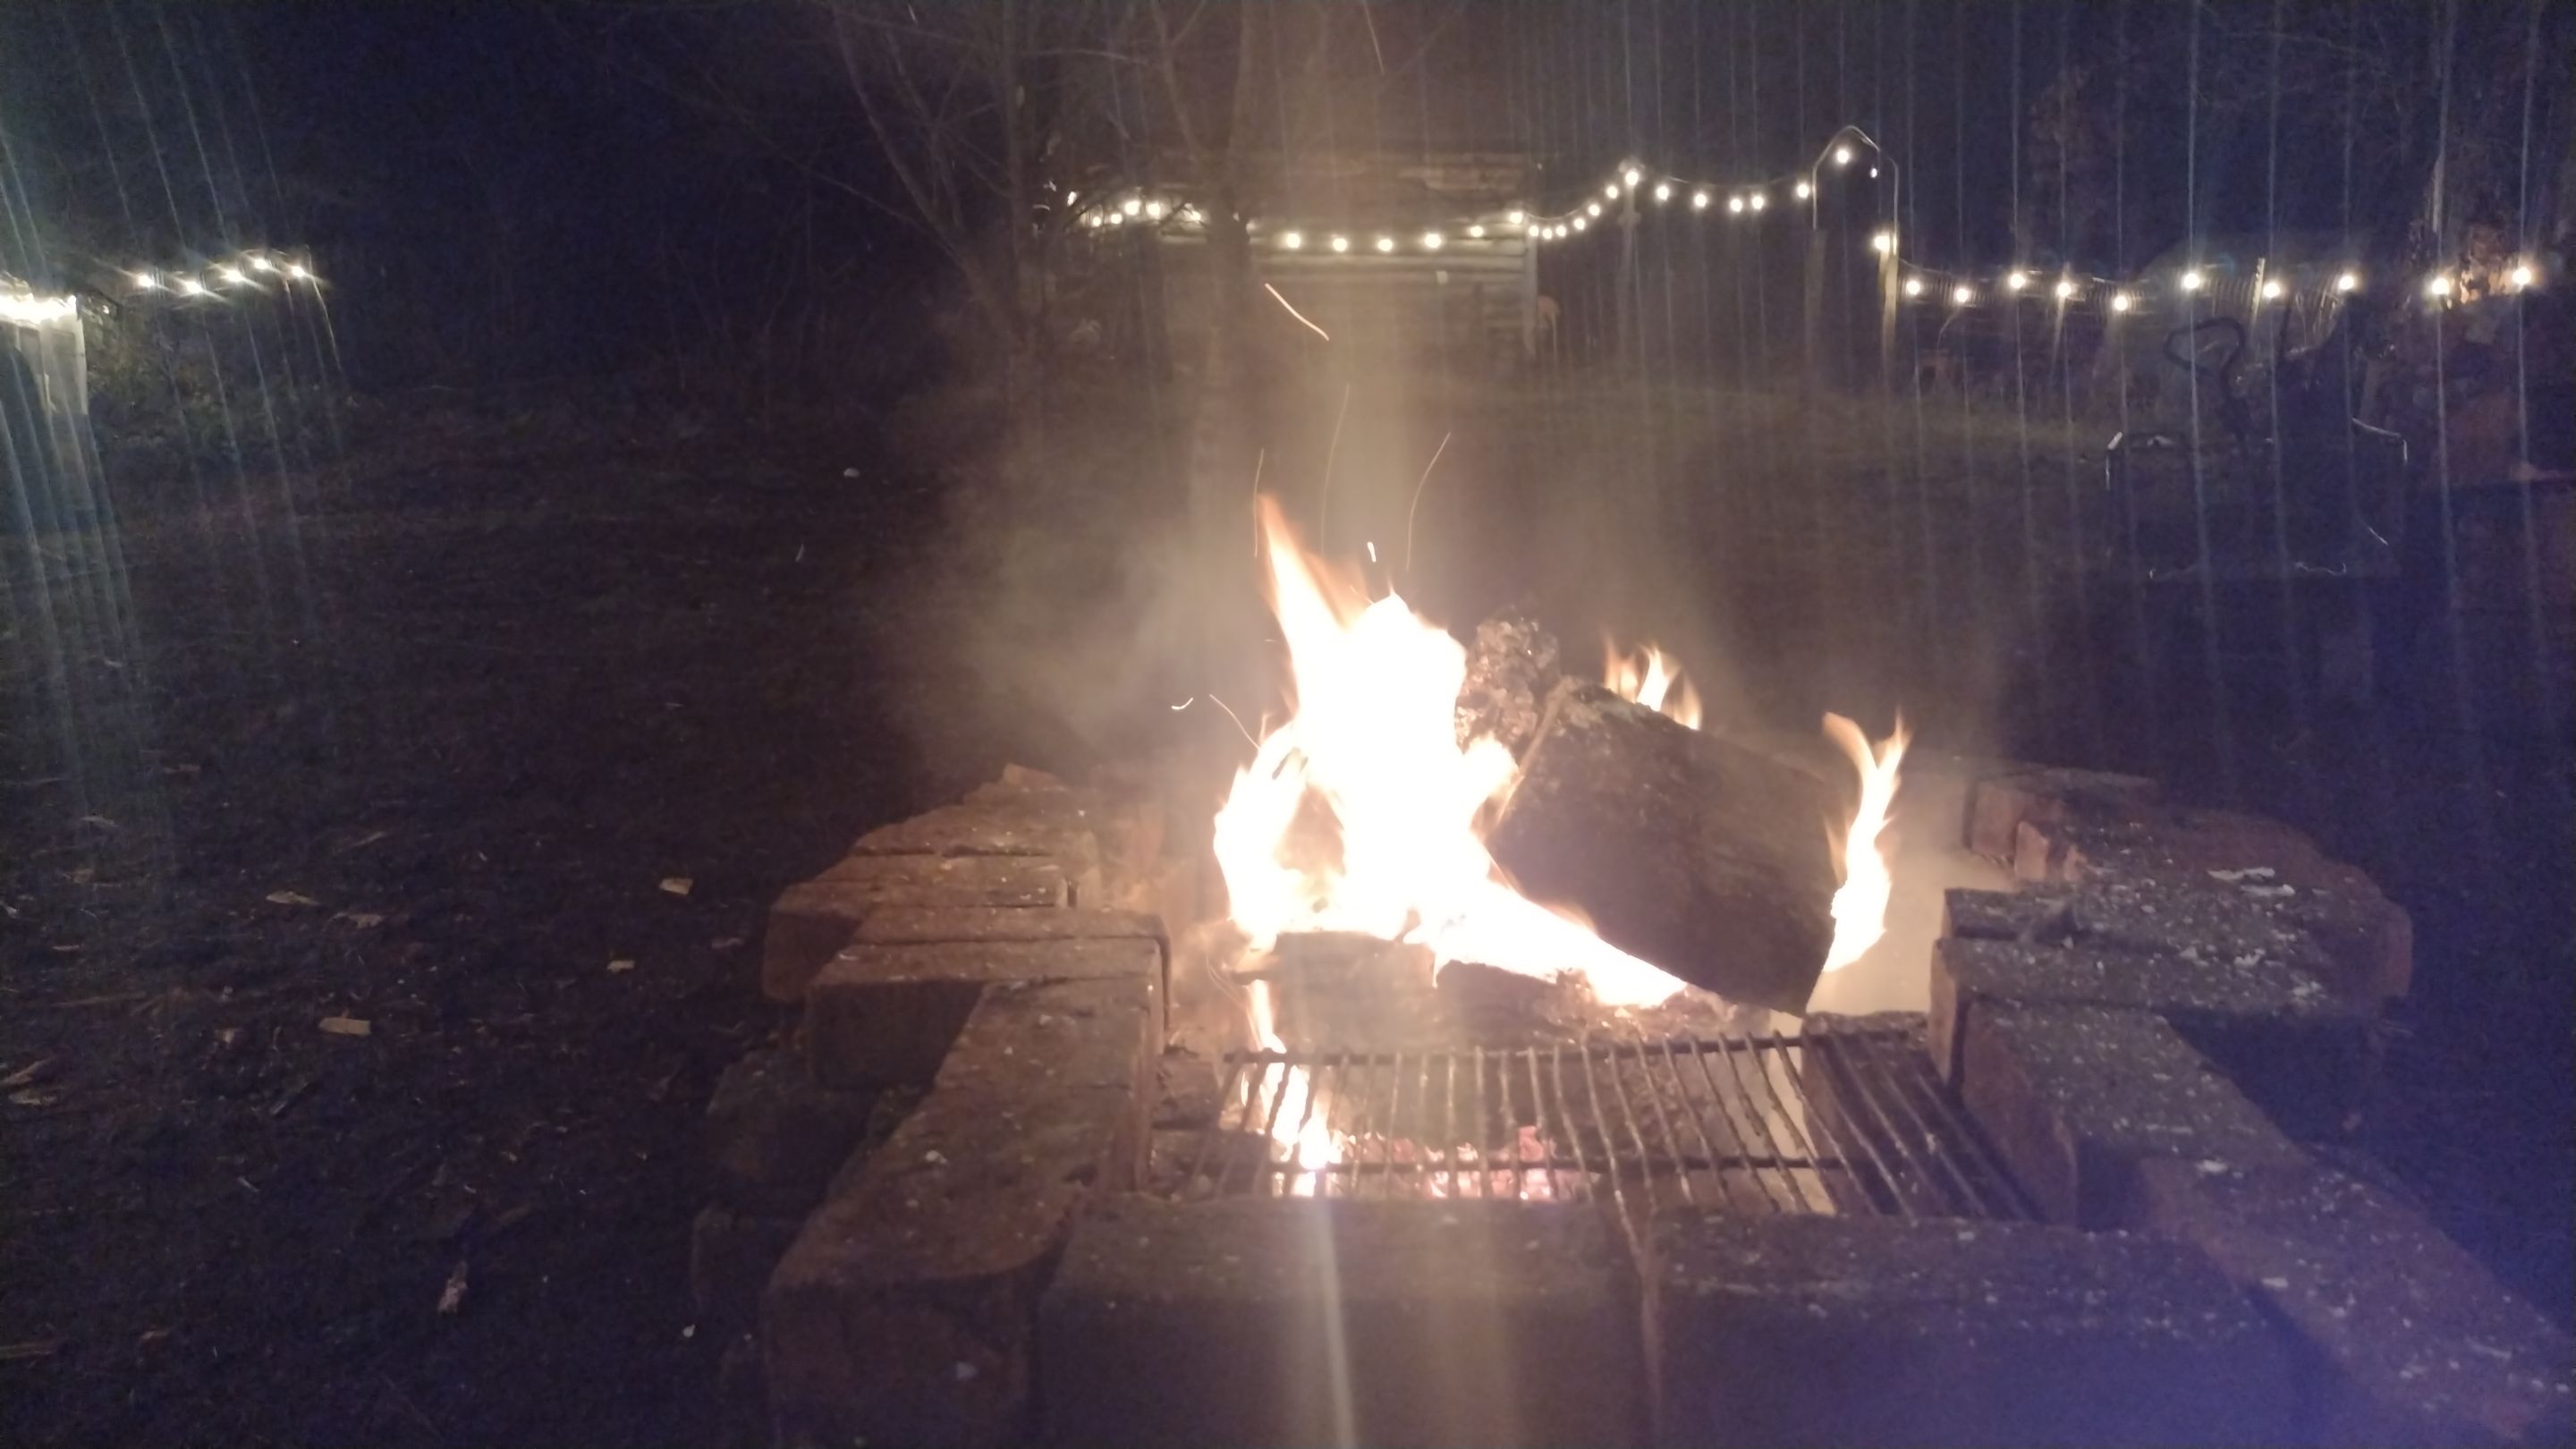
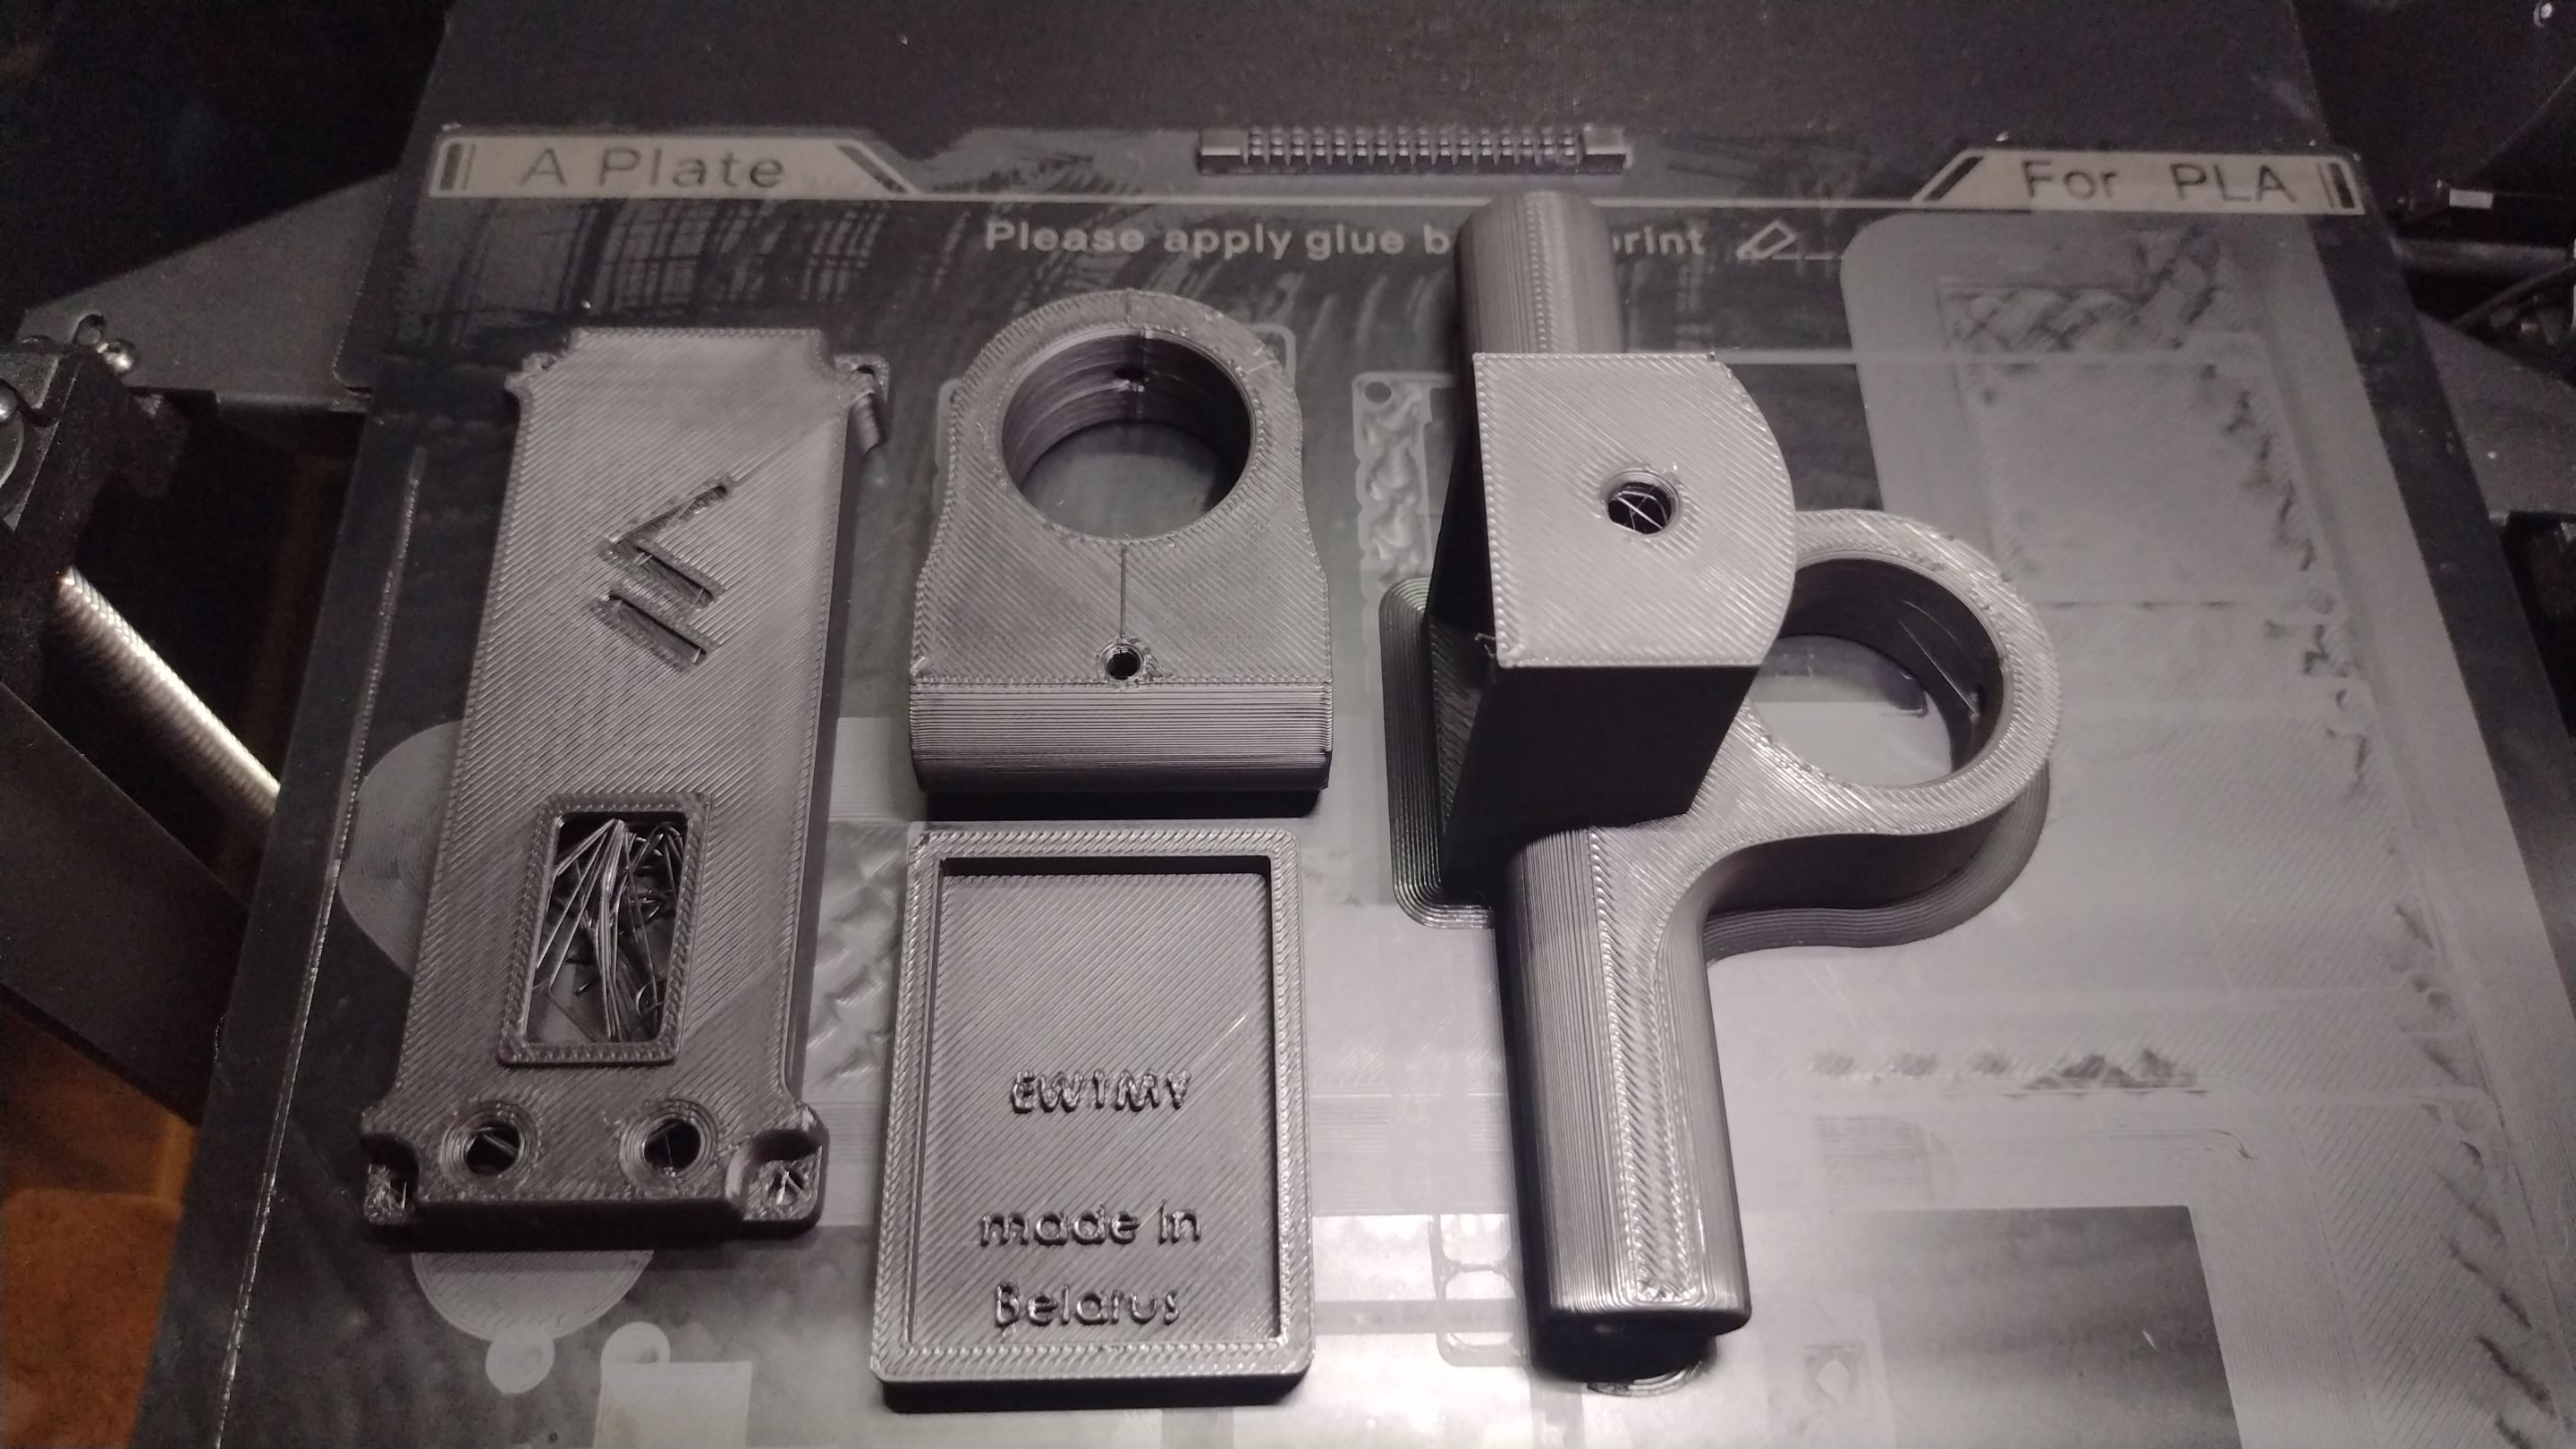
Next print was the first pieces for my YAGI antenna. The driven element piece and an element section. The element holes are a bit too small for my elements so I will have to drill them out a hair.
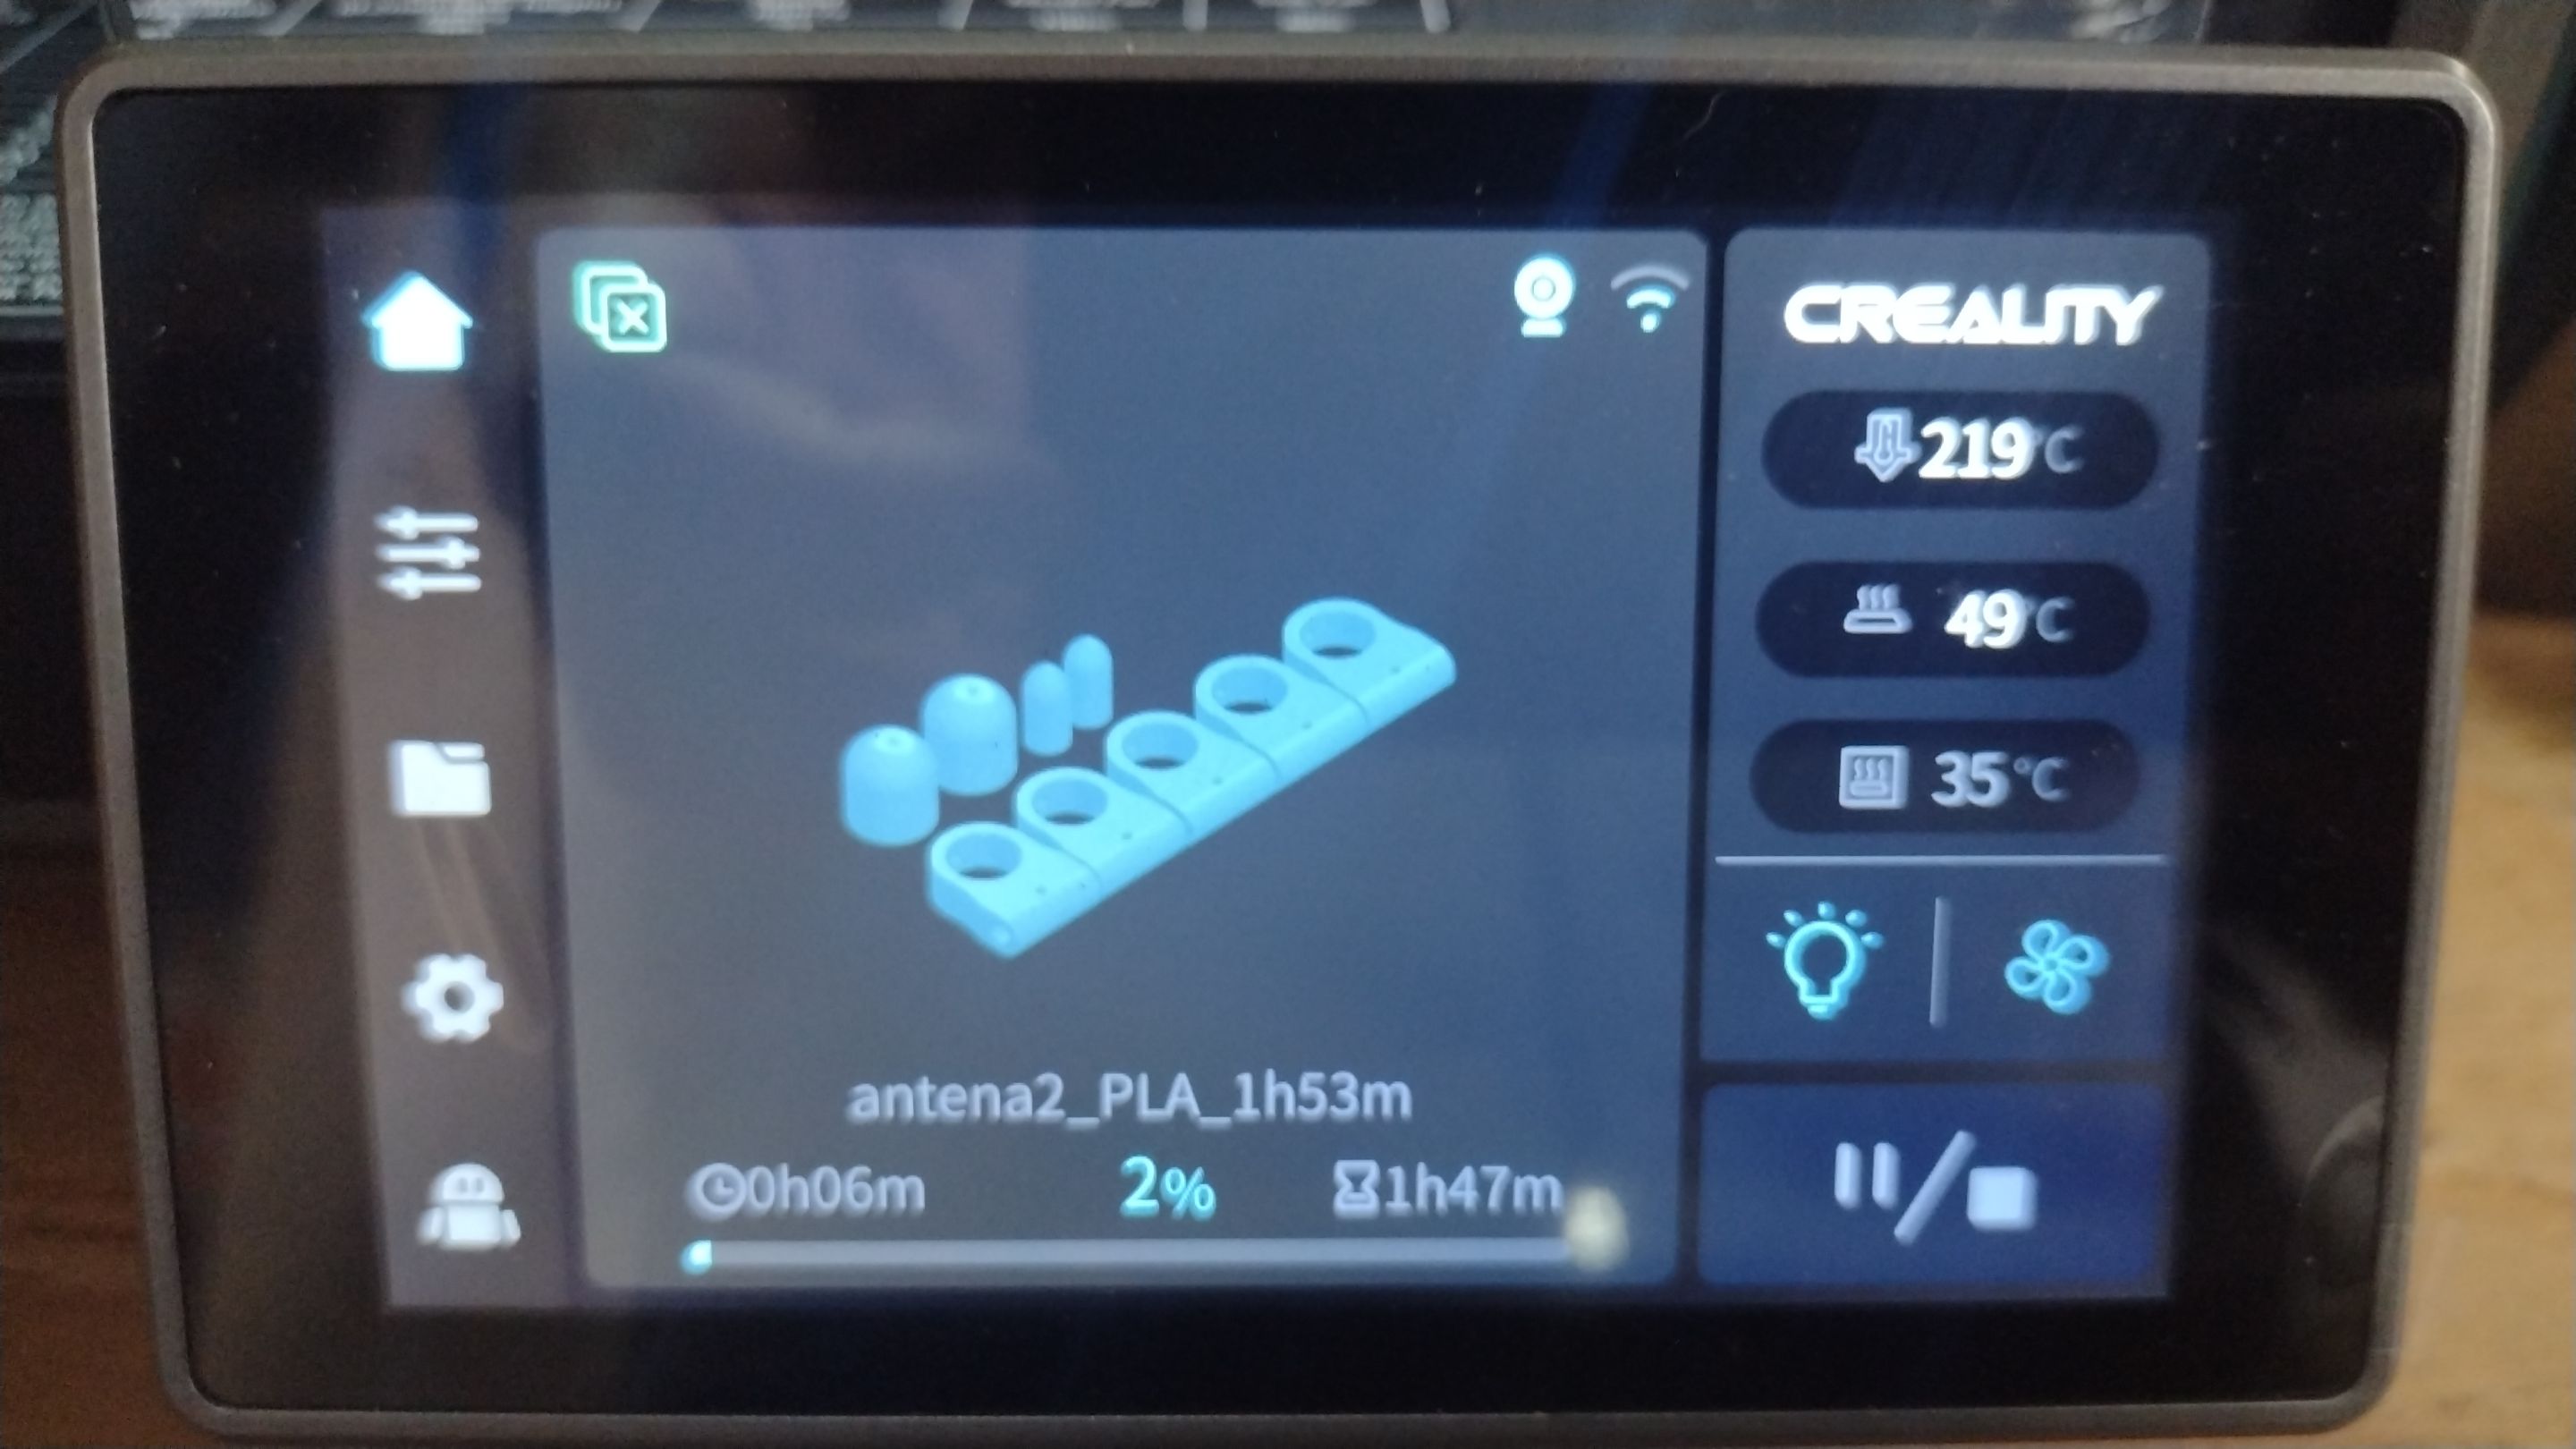
The next print was the remaining element pieces and end caps. It was to take less than 2 hours.
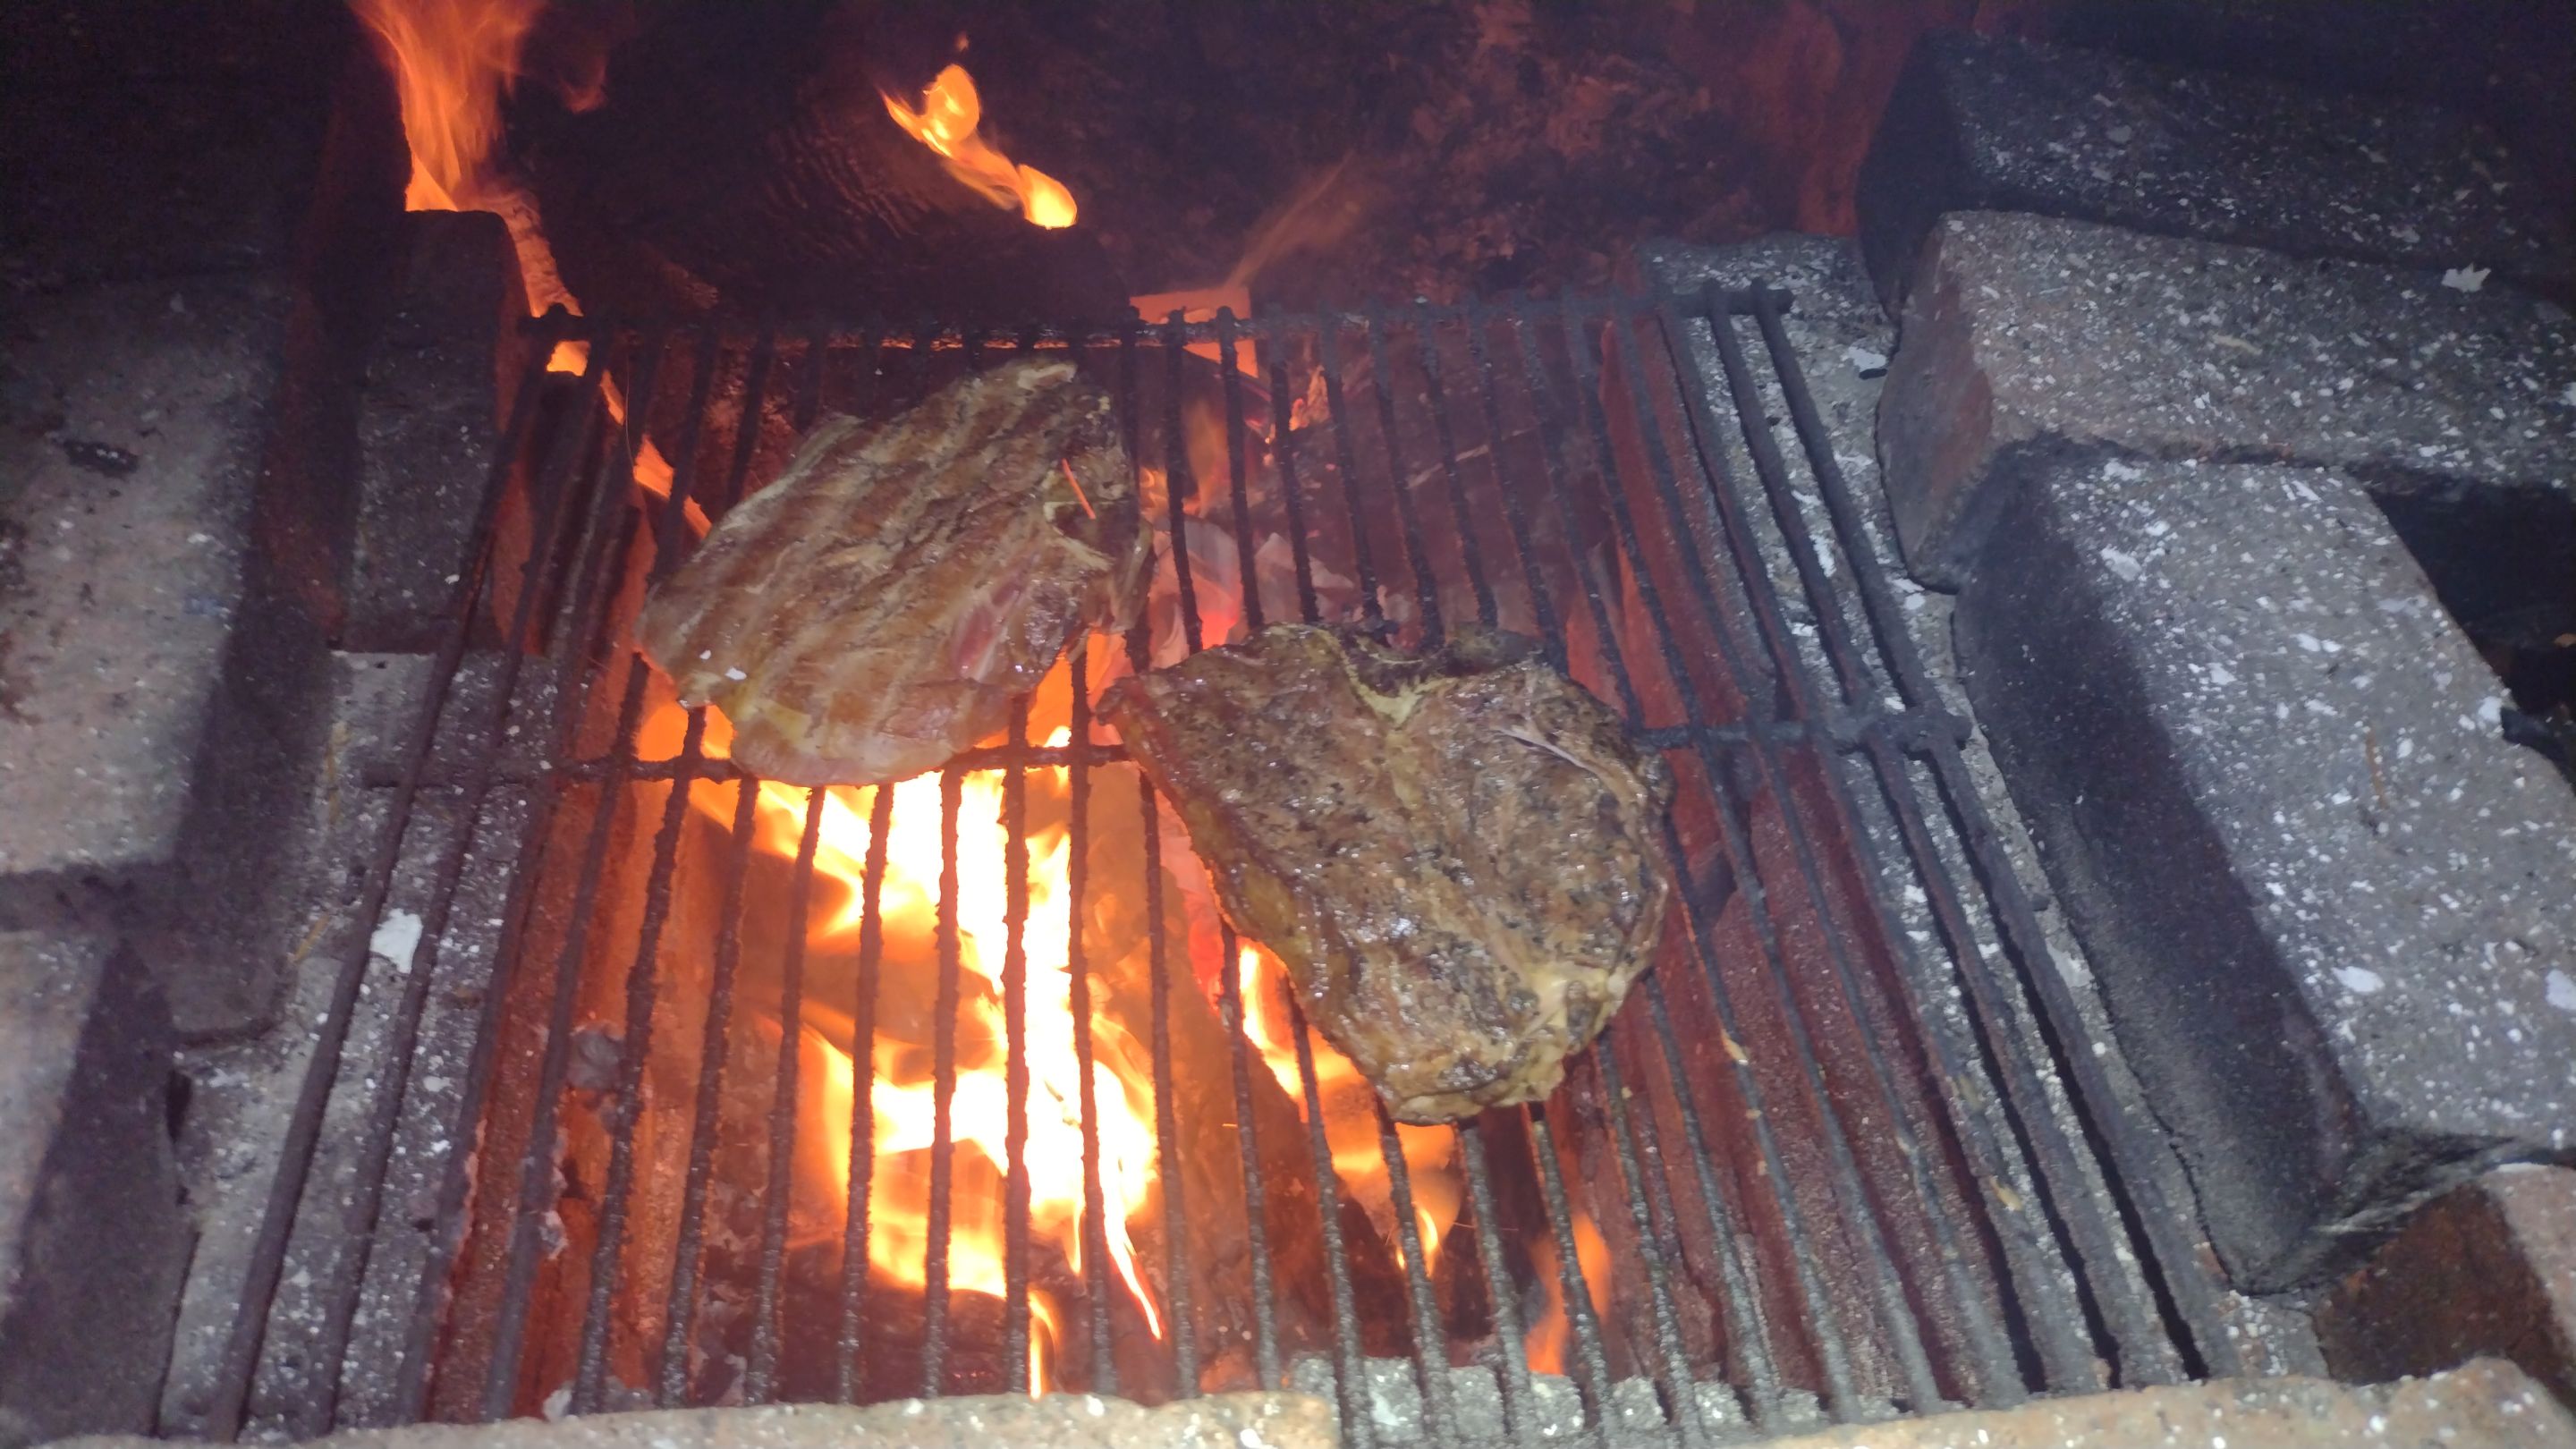
I grilled our bison t-bone steaks in the firepit which went nicely with baked potatoes and salad.
I was getting ready for the hot tub when R came over and told me the printer was printing but no filament was coming out. I went over and found it was an 1/8" above the pieces and nothing was coming out. In a nifty turn the pieces were not trash, I can use a pair of them together and the element will be held perfectly, all I need is to bolt them or screw them together.
I tried to get the printer extruding again but it wasn't working so I called it good for the day, turned the printer off and went out to soak.
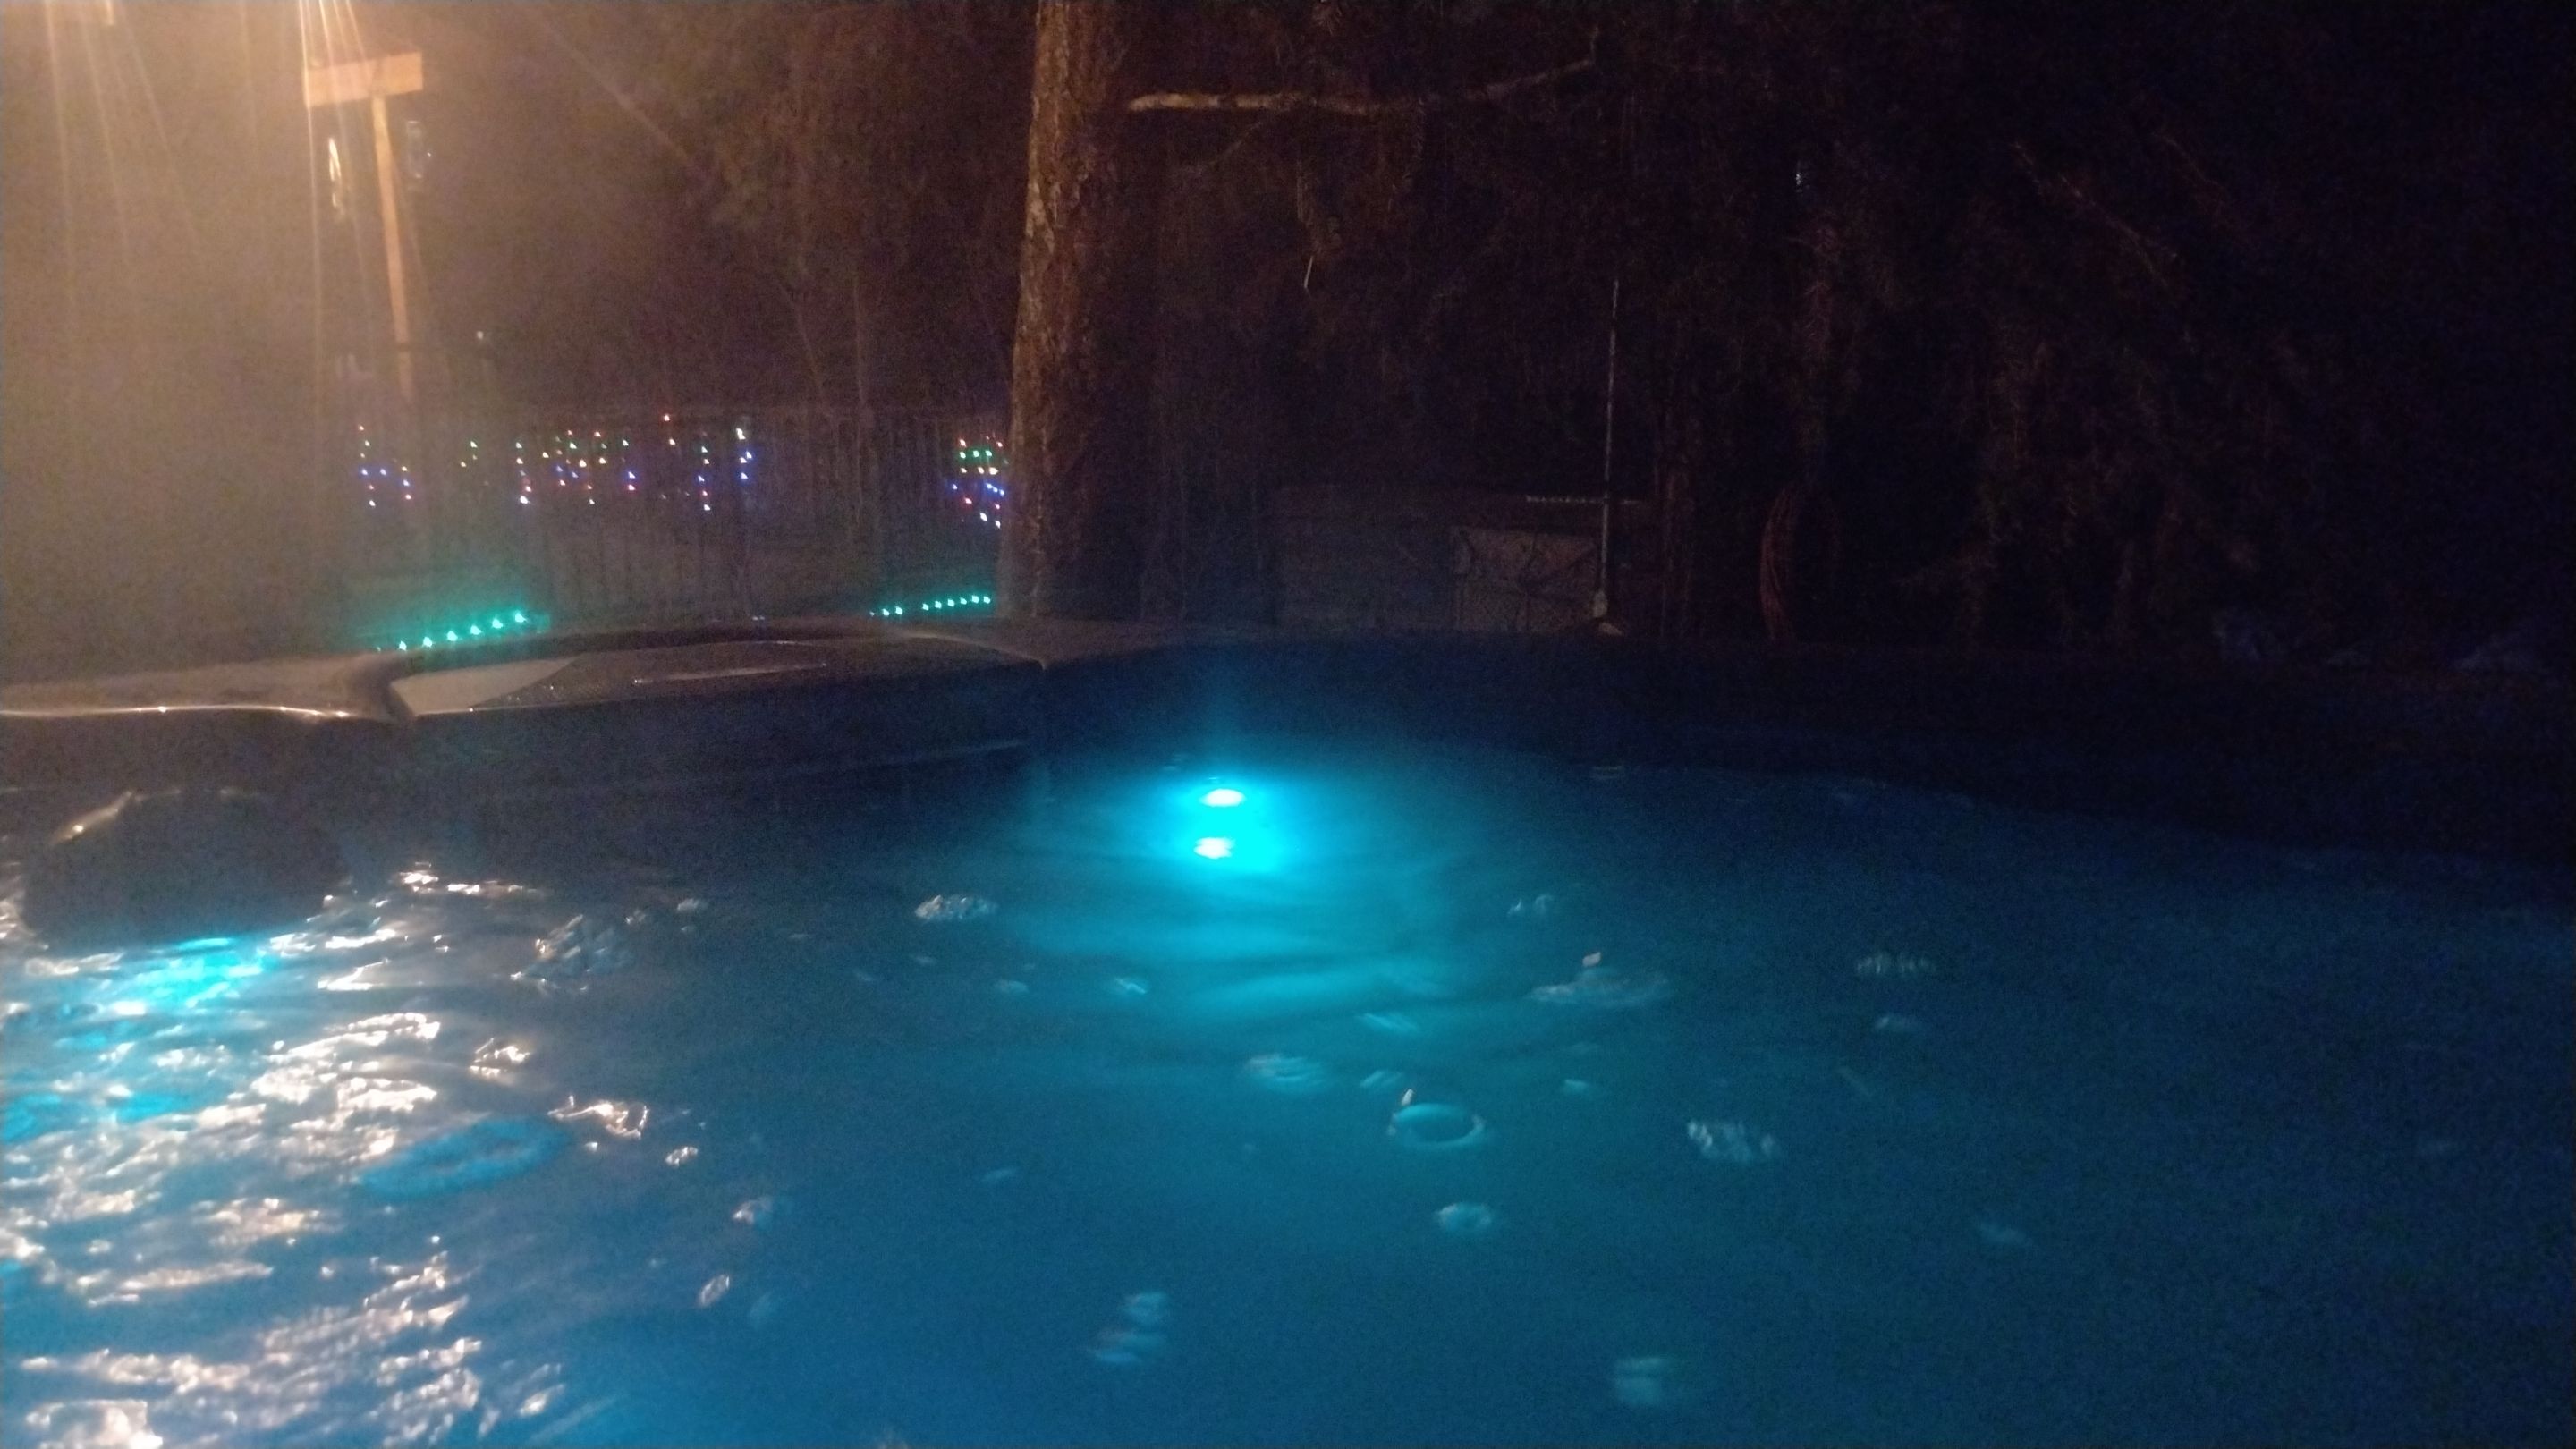
Quite cold feeling air and the fog had set in pretty heavy with the dark.
I have been to town for grain already this morning since I woke up at 3:45am and will spread it in the garden in a few hours. I have to troubleshoot the printer this morning, print more if I fix it, then mid day we are going to our friend's for Thanksgiving and I will be bringing my wood chipper home.
ᛏᛋᛇᛉᚱᛚ
ᛏᛋᛇᛉᚱᛚ
| 2024 Y/E Hive Goals | Goal | Current | +/- Goal | +/Week |
|---|---|---|---|---|
| HP | 30,000 | 29,102 | +264 | 107 |
| HBD Savings | 4,030 | 3,764 | / | 15 |
| Hive Posting Streak Days | 1,681 | 1,648 | / | 5 |

^Affiliate/Referral Link^

Fleming Family Farm
FLEMING FAMILY FARM, LLC
Sustainable & Organic Methods | Heirloom Produce
All images are original works of Fleming Family Farm unless otherwise notated and credited.
If you find this post useful or entertaining, your support is greatly appreciated by upvoting, following, and sharing!

You can Also Find Me On:

Donations or Tips
Zap Me ⚡️ ᛒᛏᚲ
 !
!