Virtual greetings my Co-Mechanics.
Happy Easter/weekend. How are you all doing? I hope you all are doing pretty good. I am very happy for an opportunity i have today by sharing a simple DIY process on re-upholstery of a car seat. I will be using image to explain my steps for easy understanding. Before i proceed, re-upholstery is something that is very simple to do and some people don't believe if a seat spoil leather expired it can be sew back to look has near.

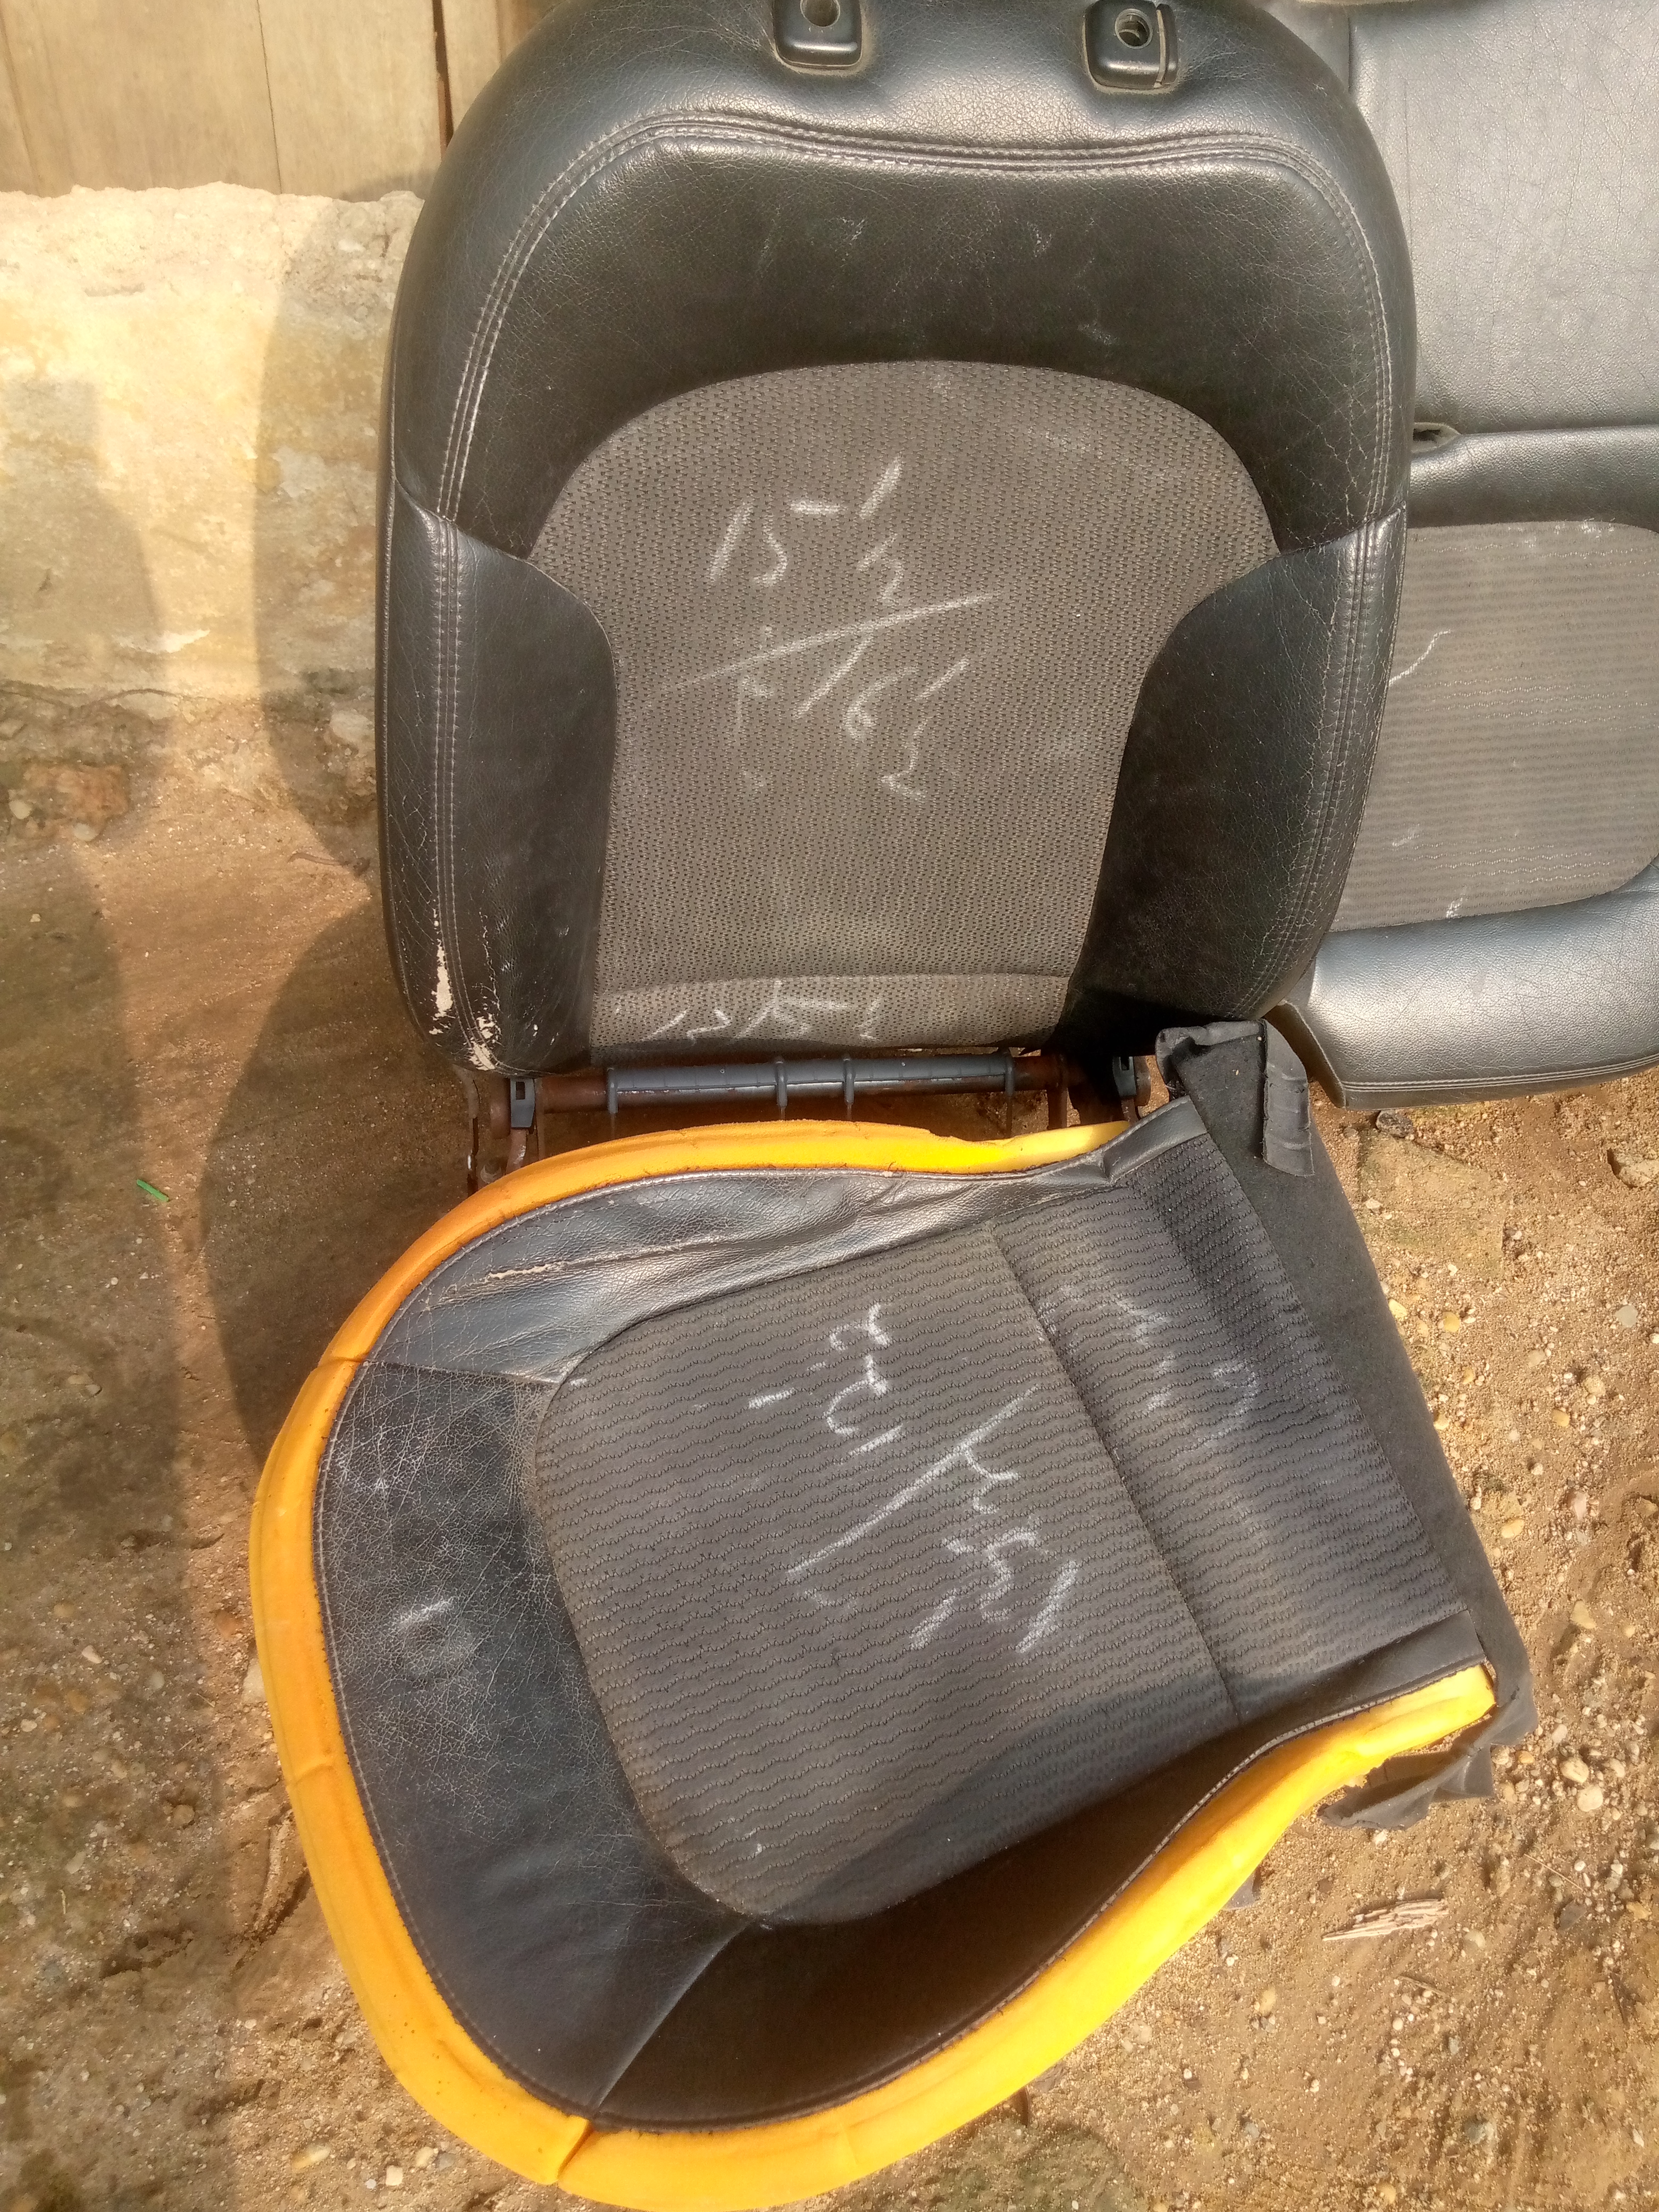
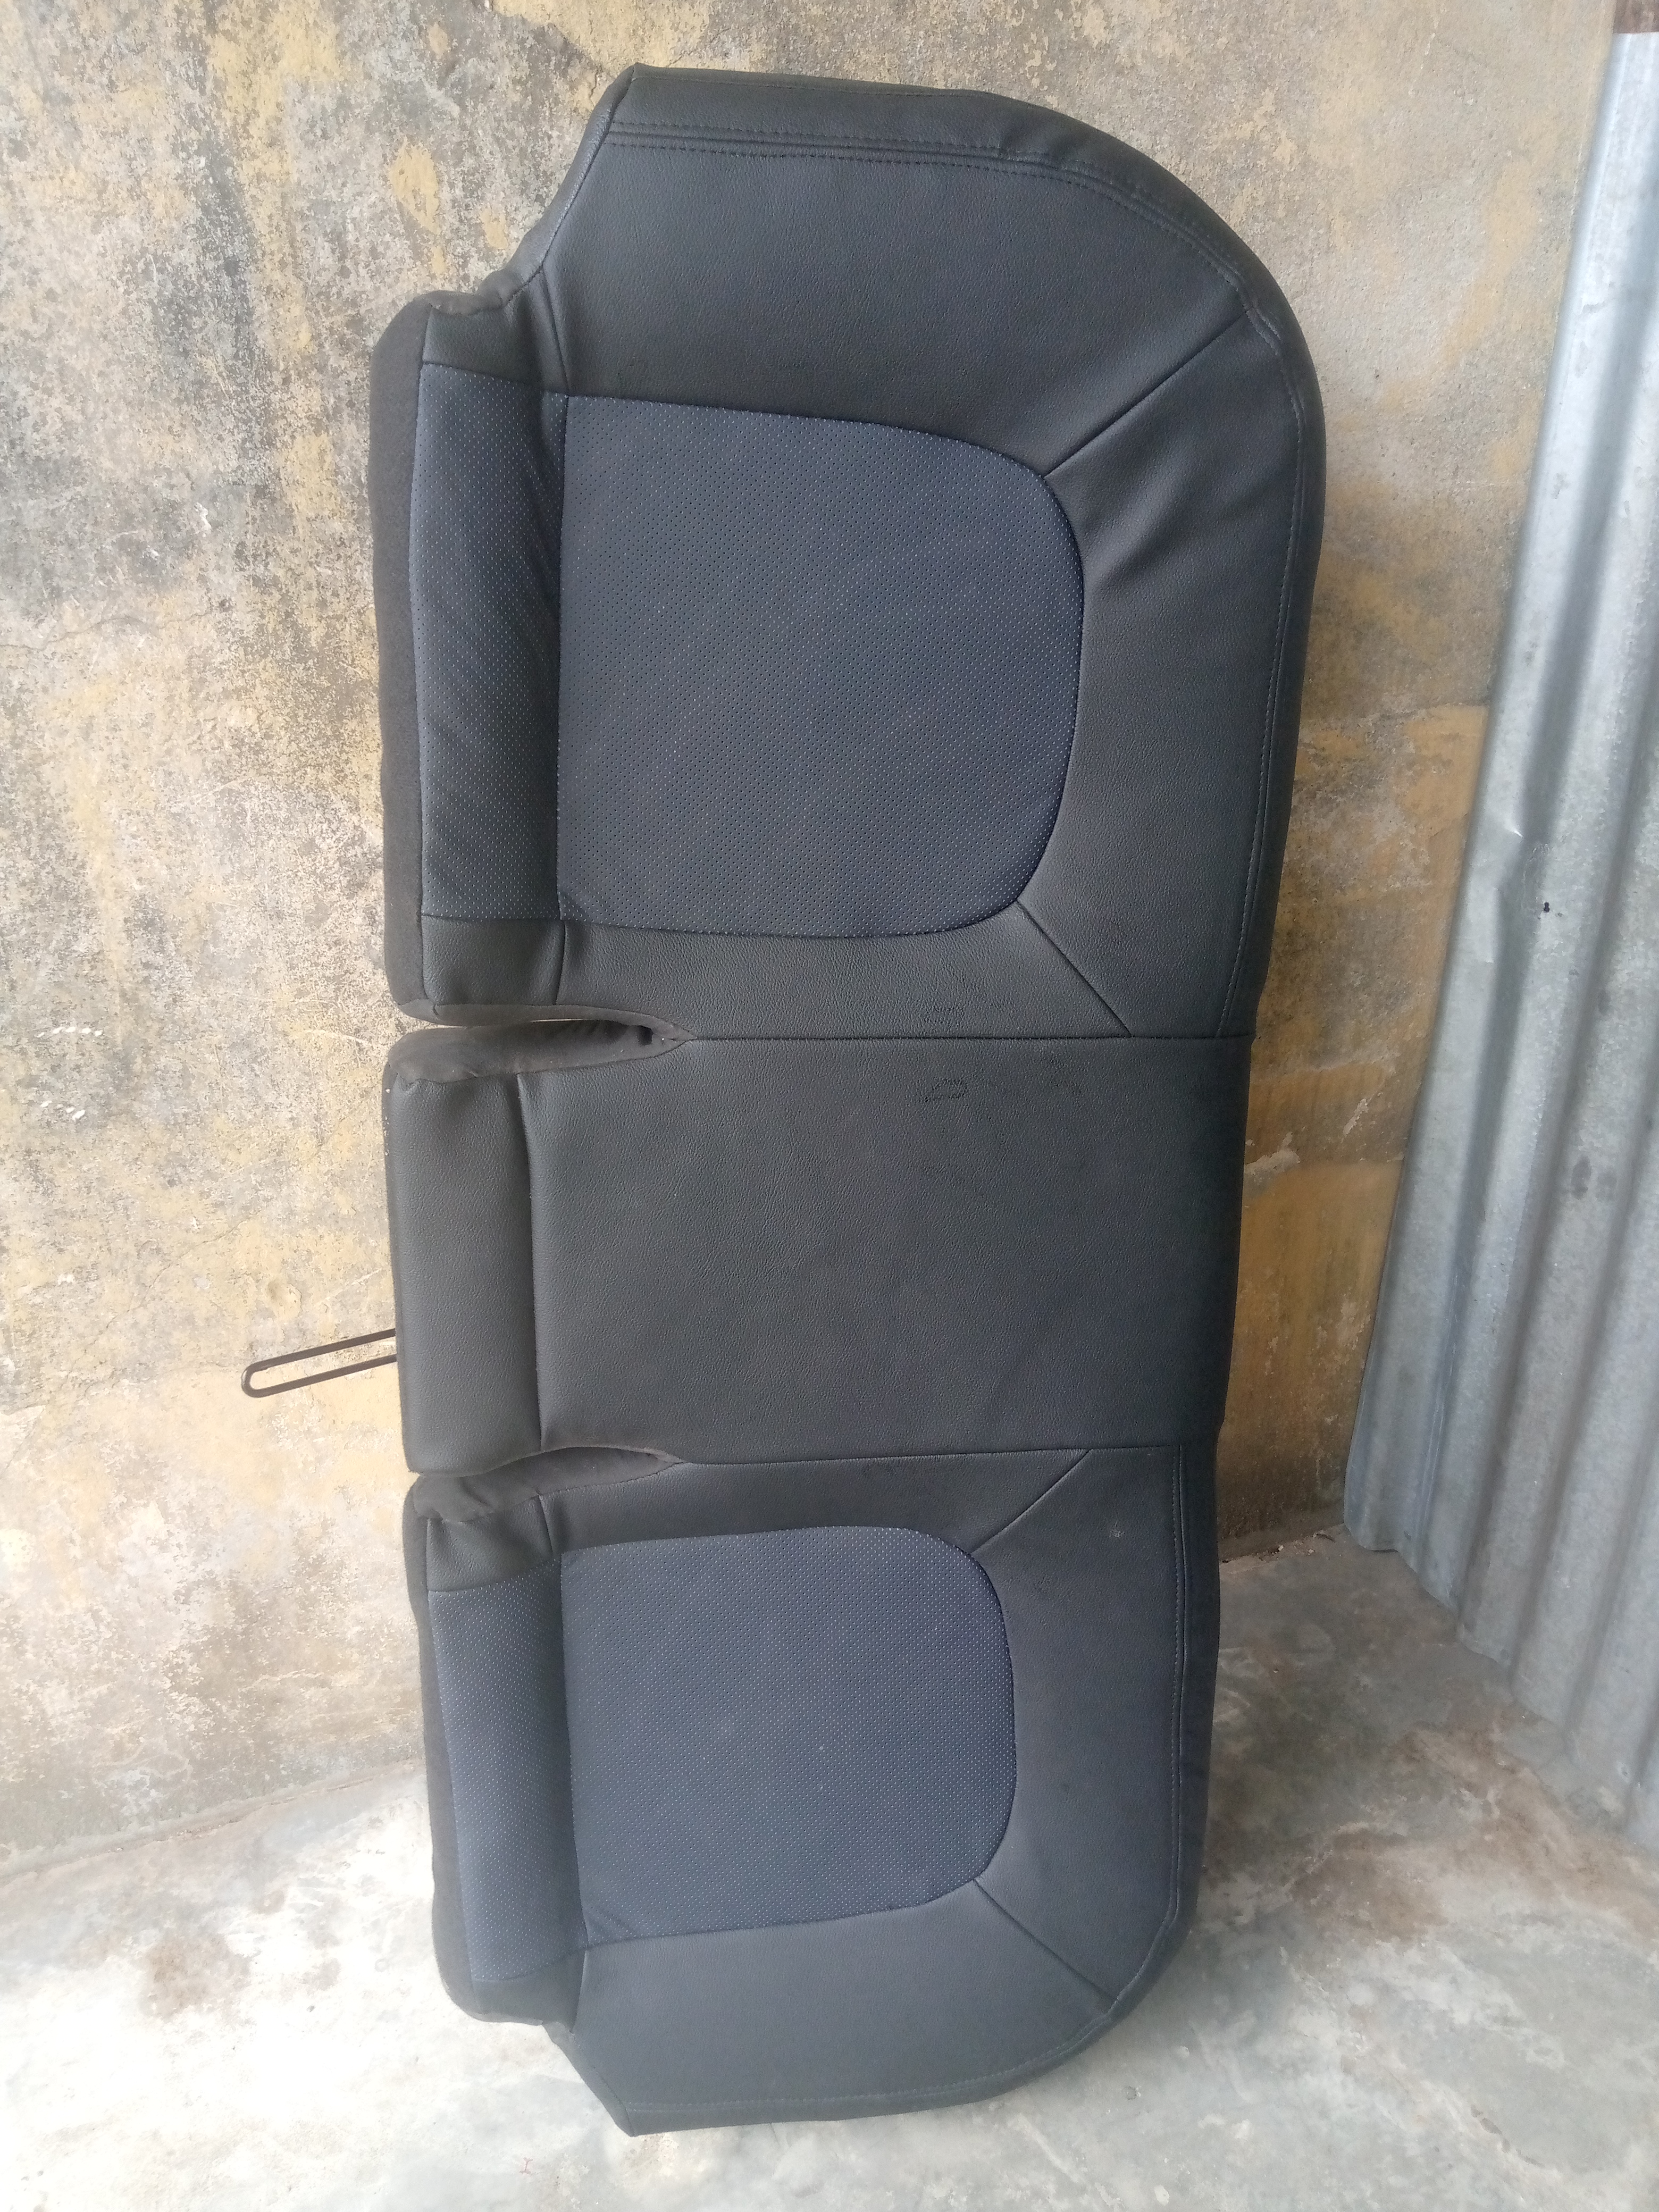
Above is the picture of the seat i work on and you can see the befor and after photo. Today i am sharing with you guys some simple process i follow to make the seat turn new.
Tool/Material used
- new leather
- roof material or half inches foam
- Sewing machine
- clips
- scissors
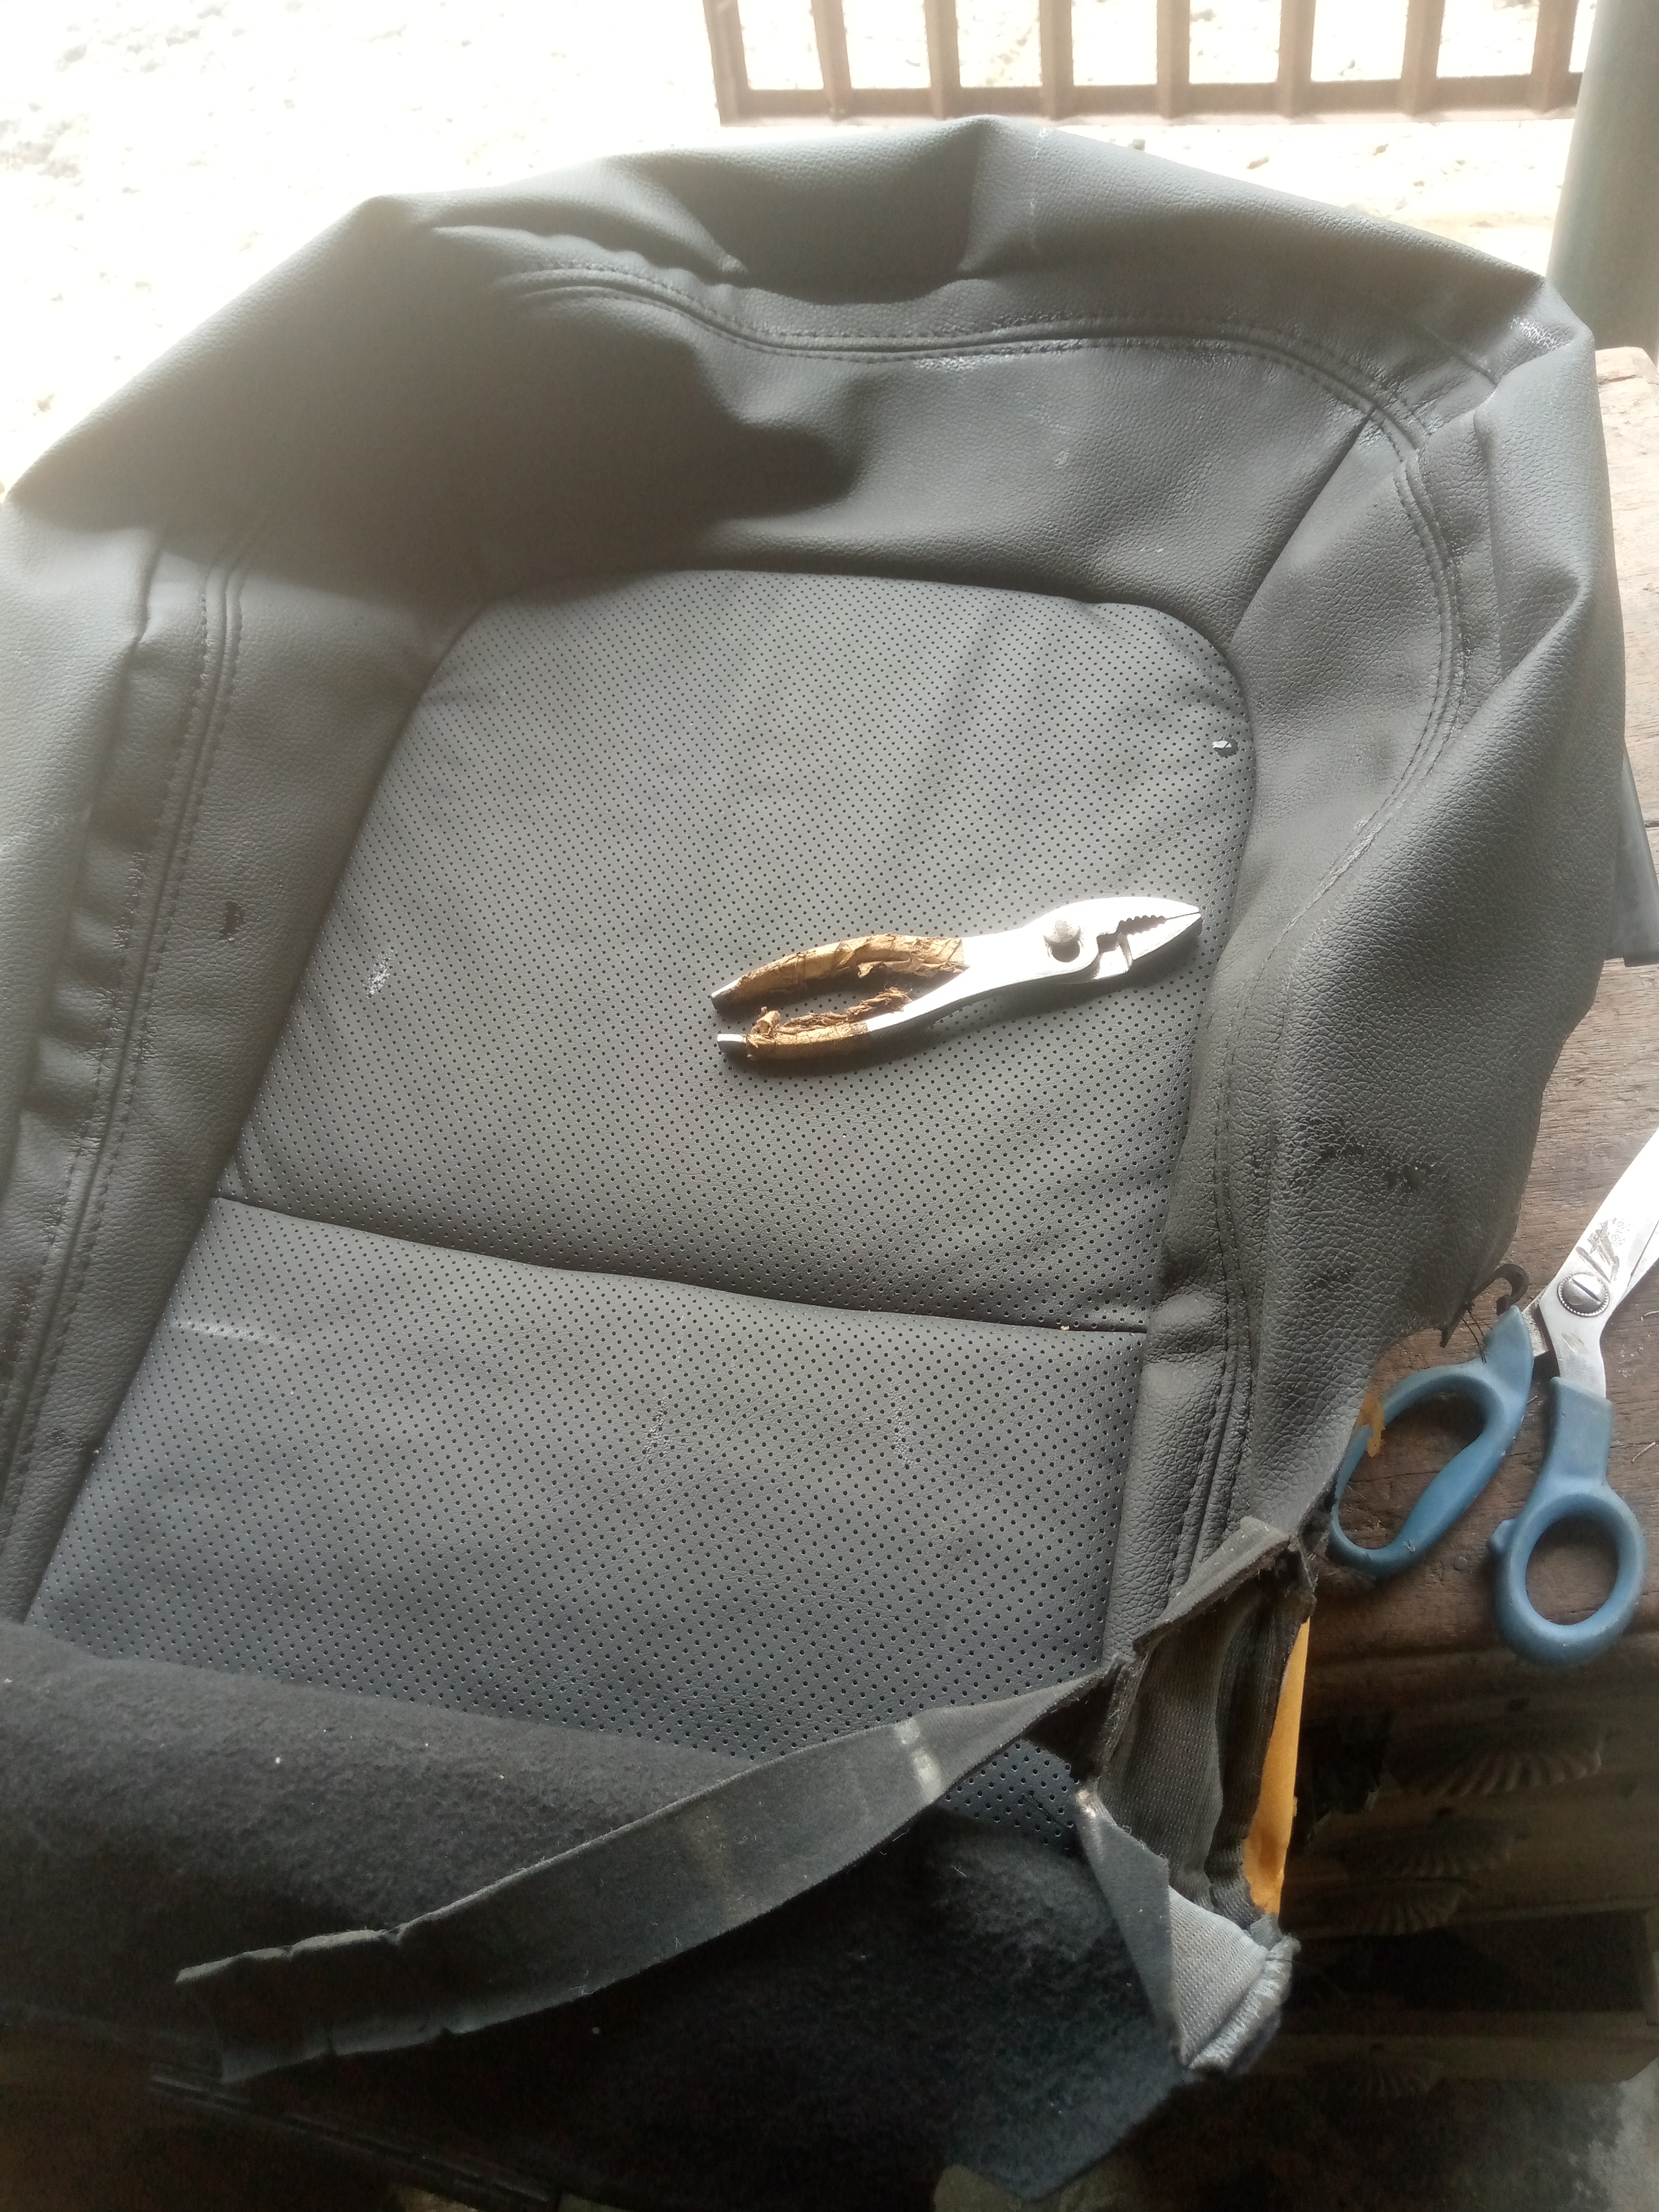
- pliar
- chalk and long ruler
- spanners
- star and flat screwdriver etc.
Here was the seat before

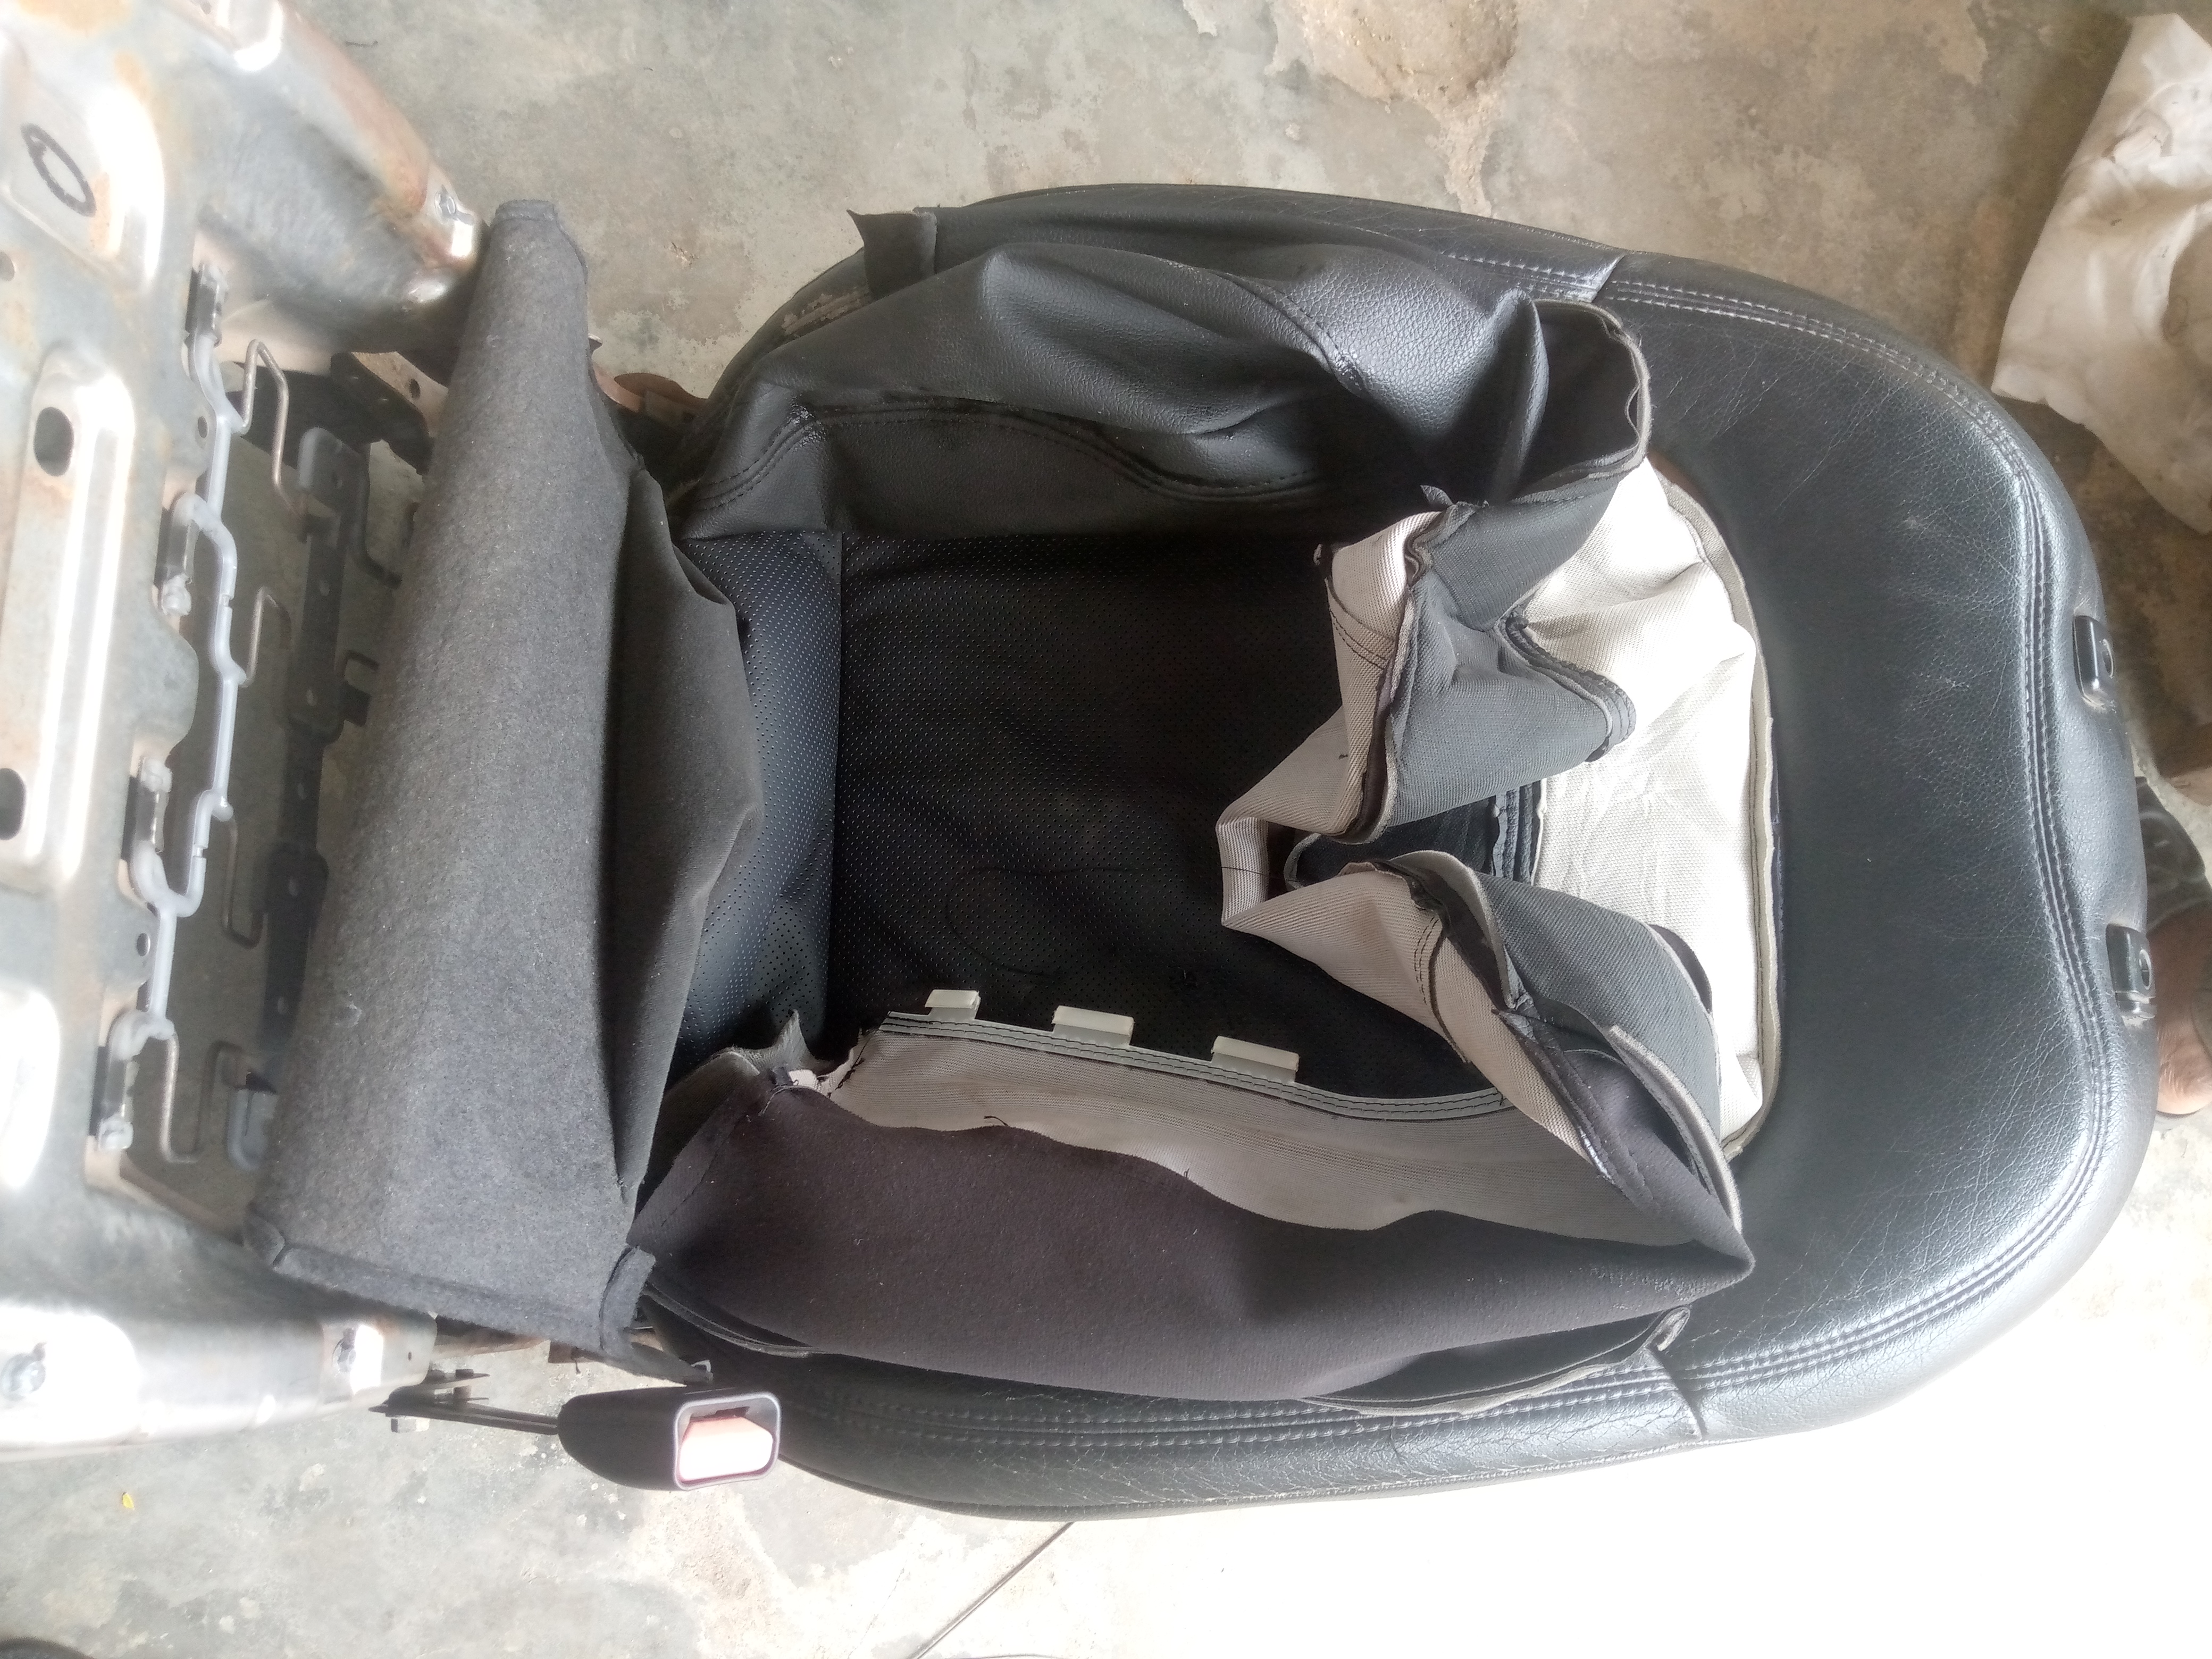
Firstly, i loose the main seat separate from the main seat for easy measurements with the help some tools like spanners and screwdrivers.
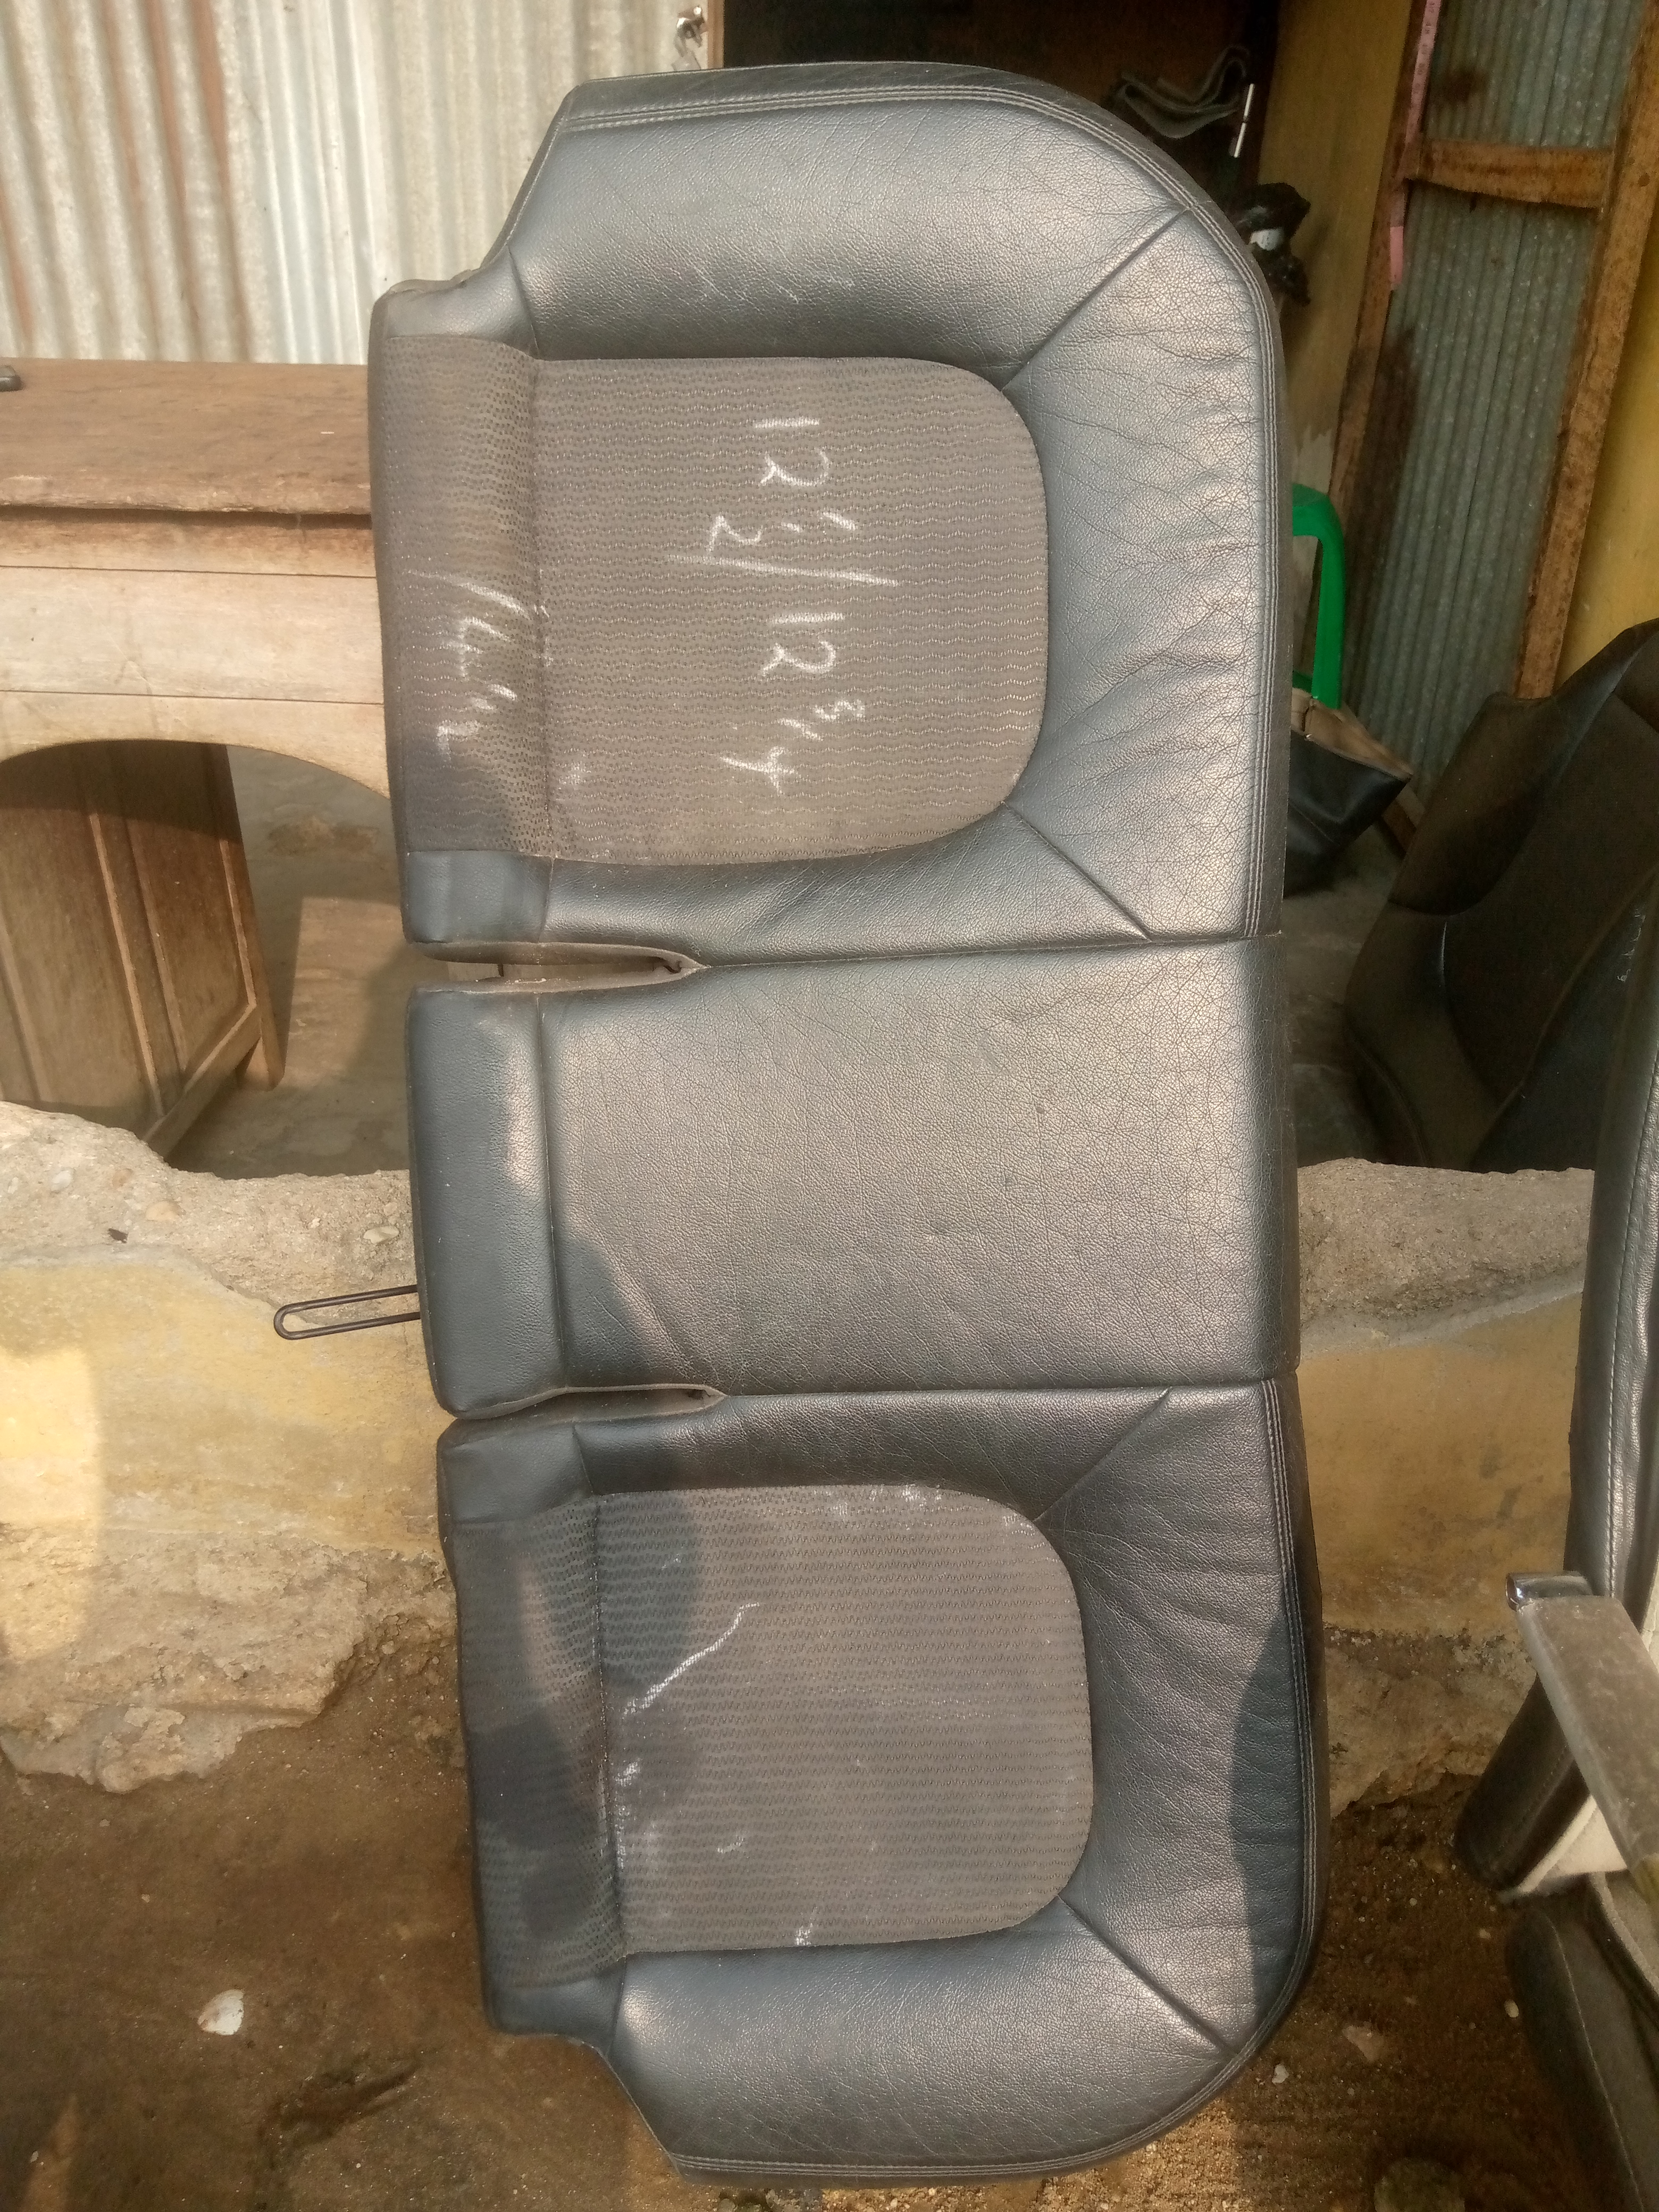
After loosing it, i then use a measurement tape to measure but the vertical and horizontal distance of each pattern on the seat, then write it down on the body for easy seen.
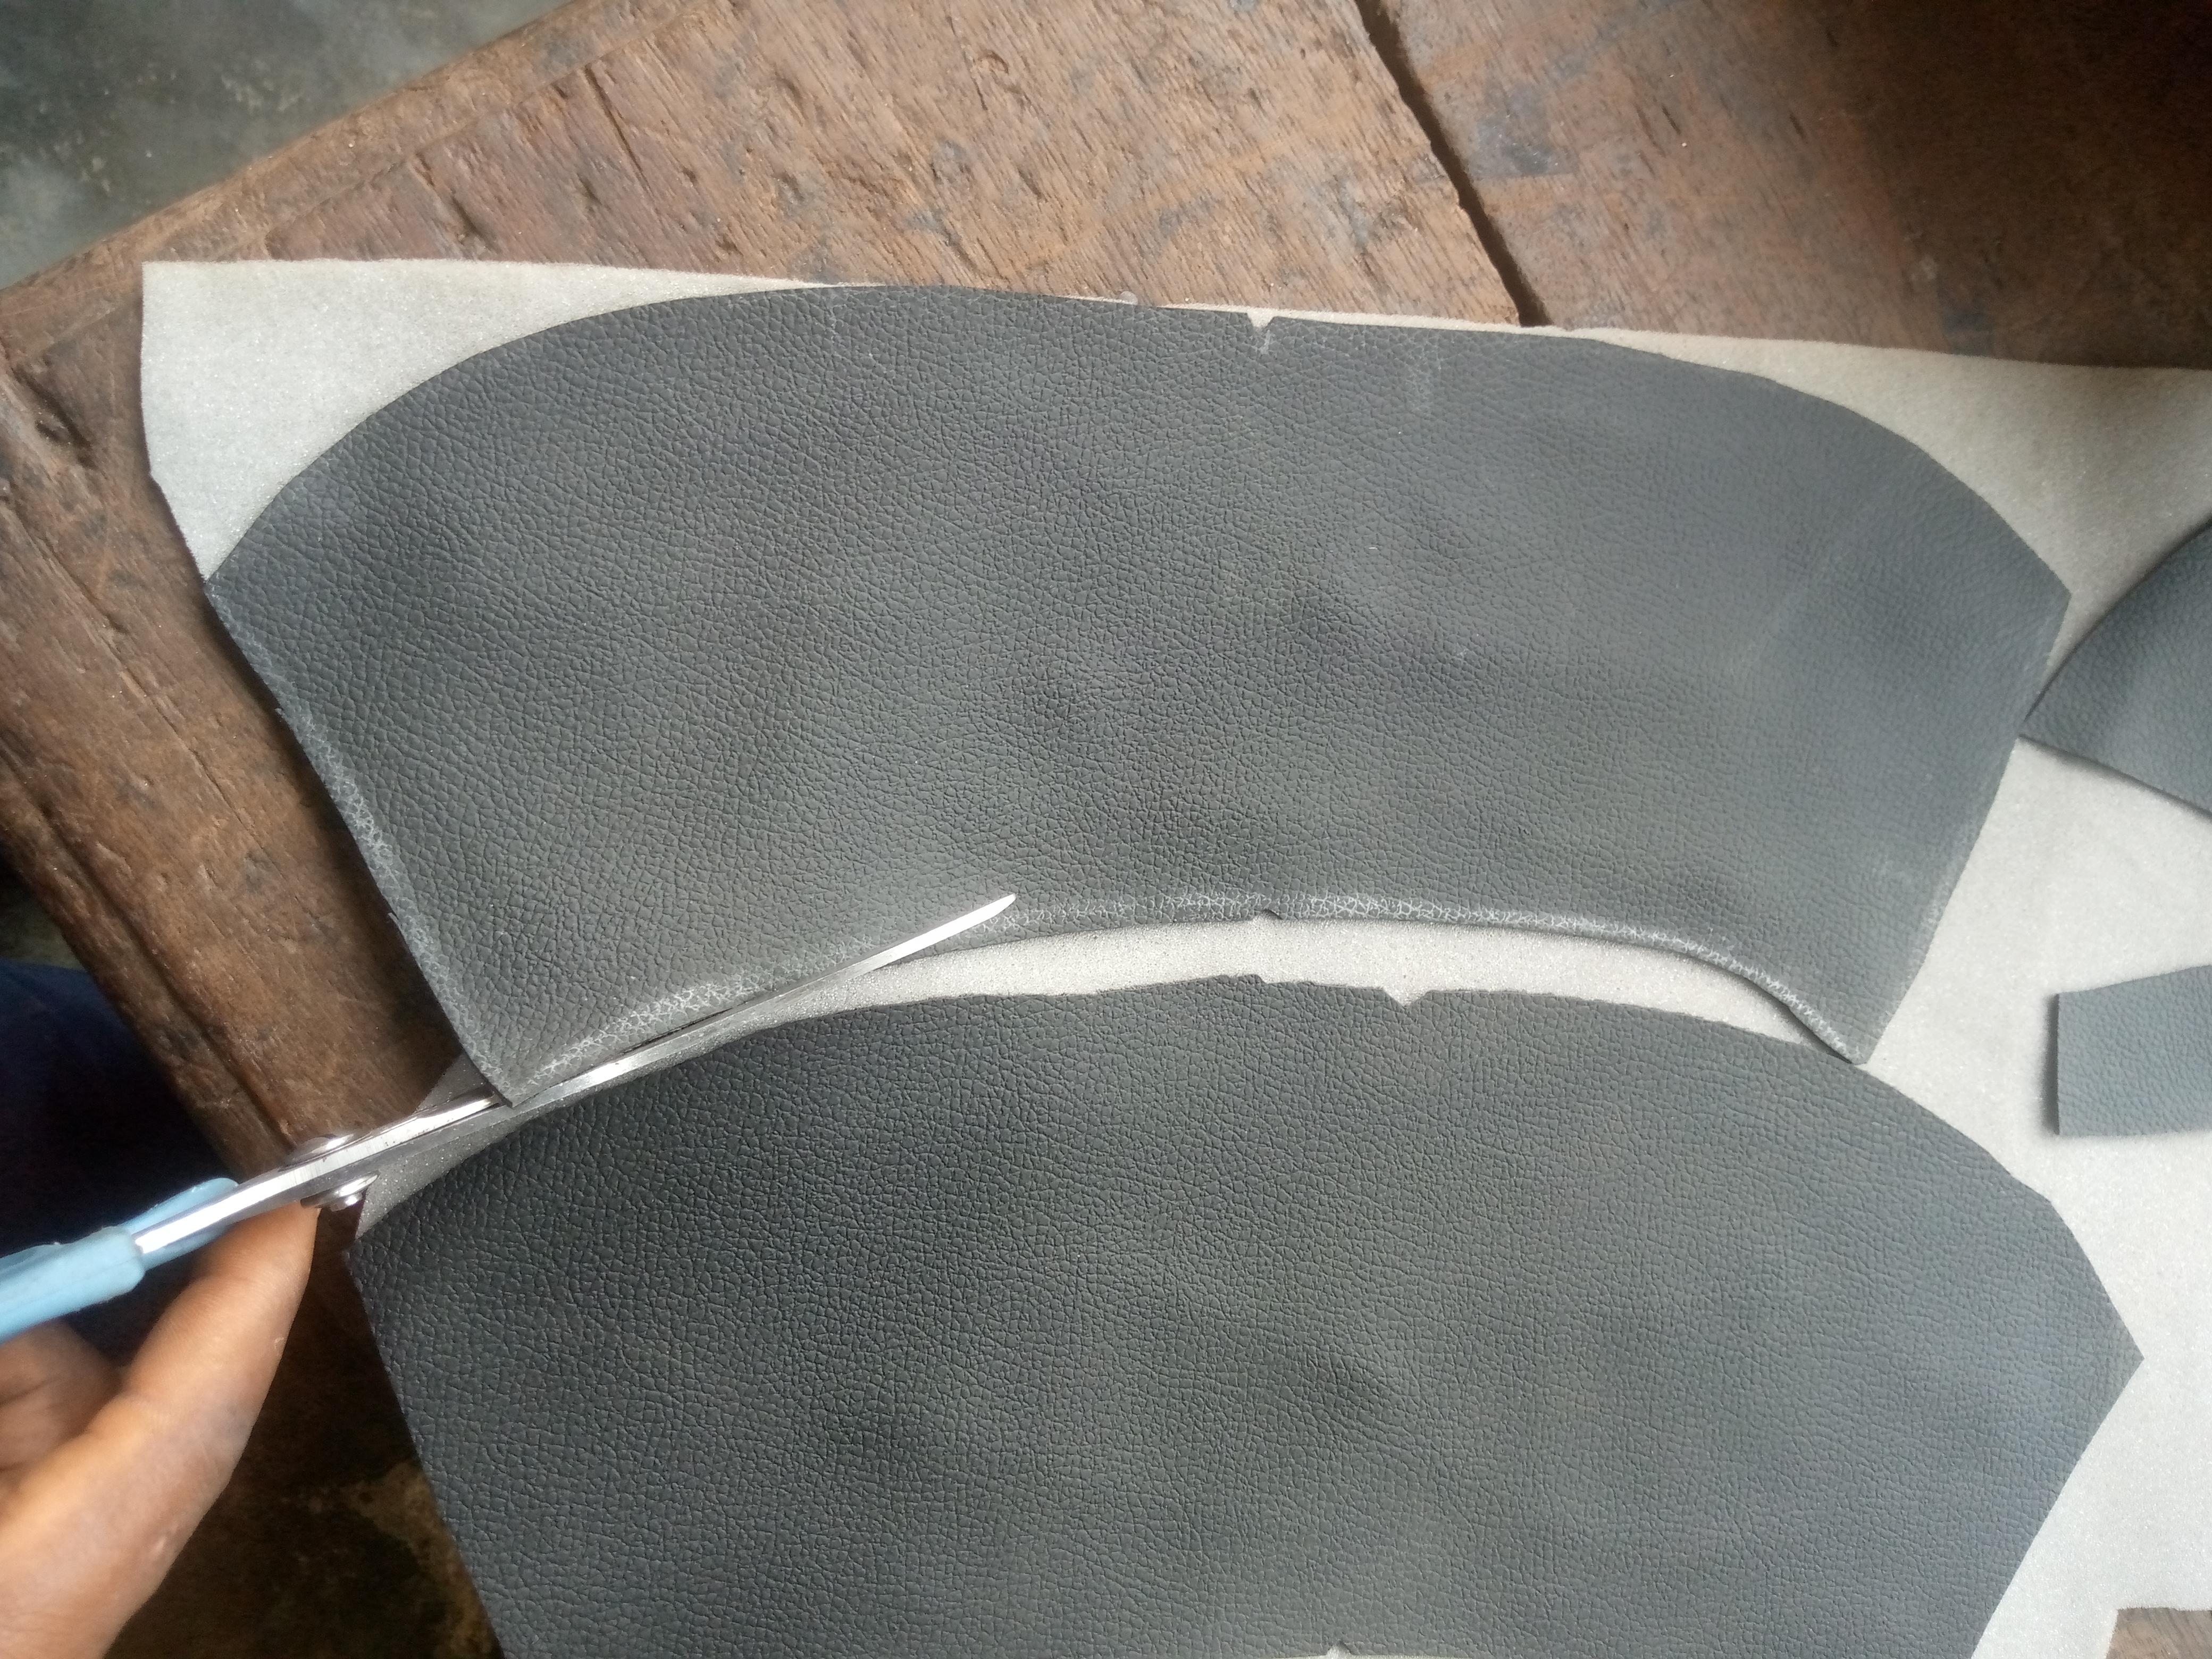
I then transfer the measurements to the new leather i am using for the work and then cut it out, after cutting it out, i then place the cut leather on it position and then use chalk to draw the shape and then use scissors to cut it out to form the new pattern i am going to work with.
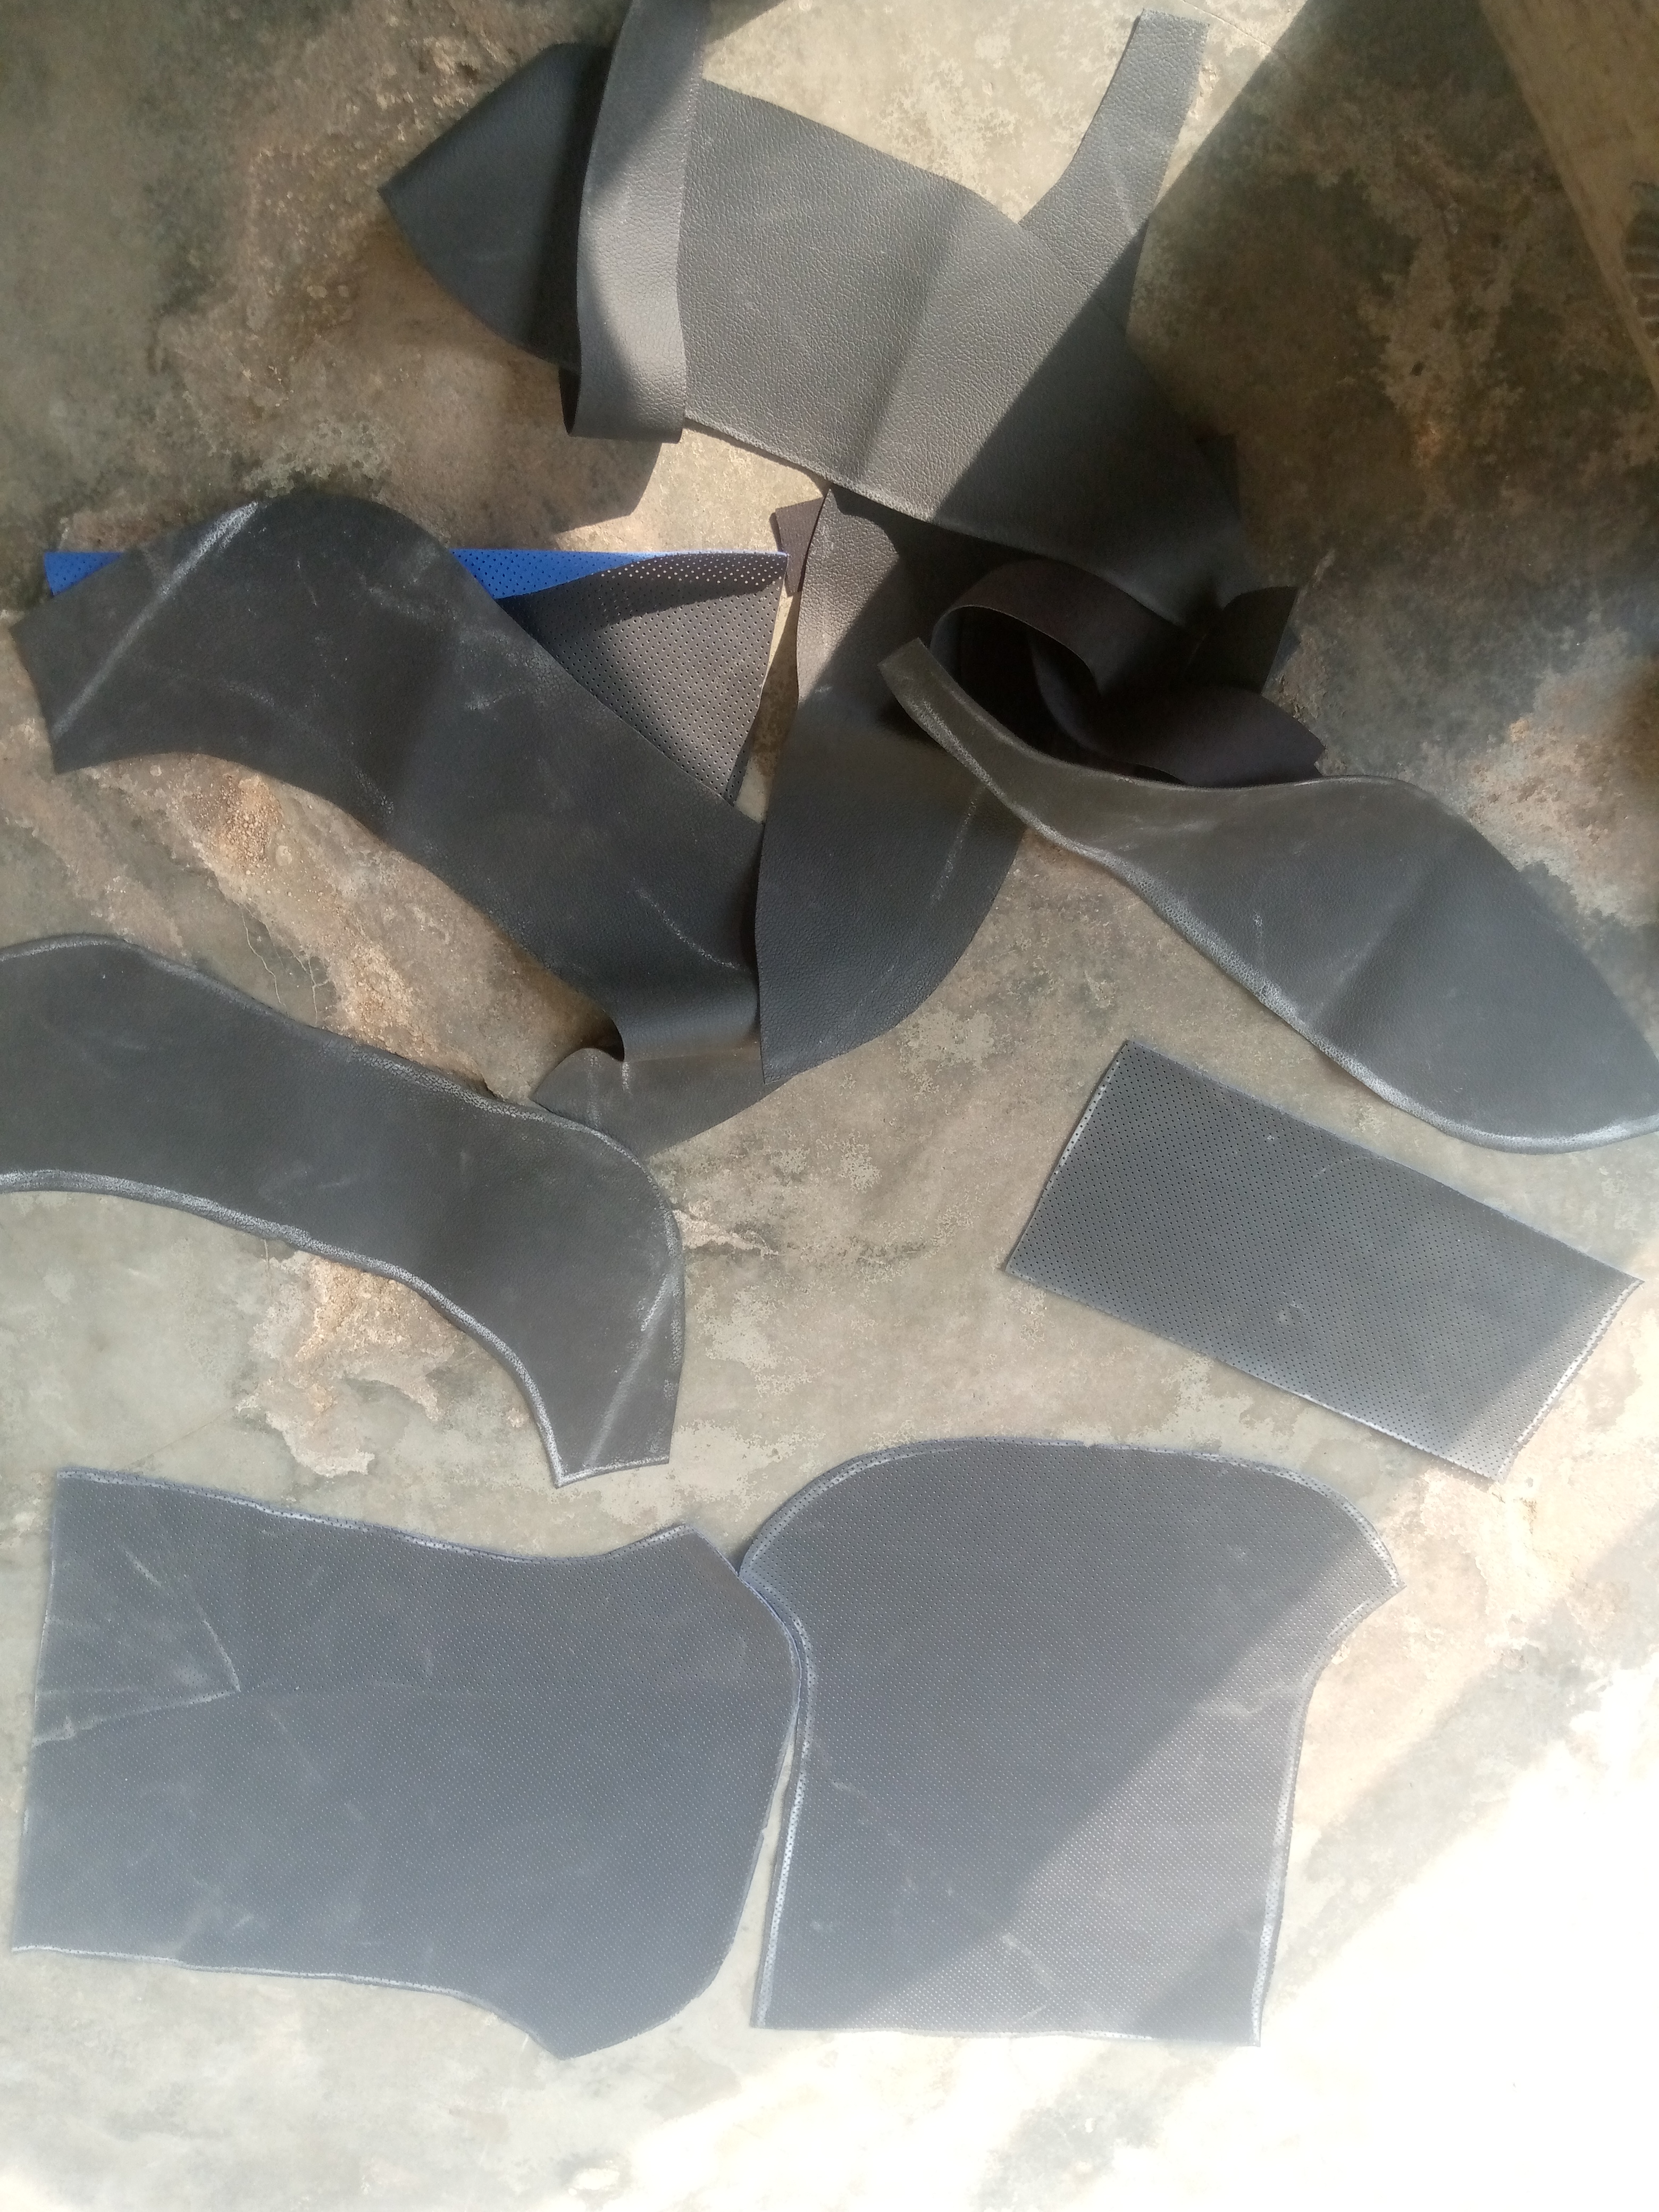
After cutting the pttern, to make it strong and smooth, i then place the pattern on a roof material and then gum it together.
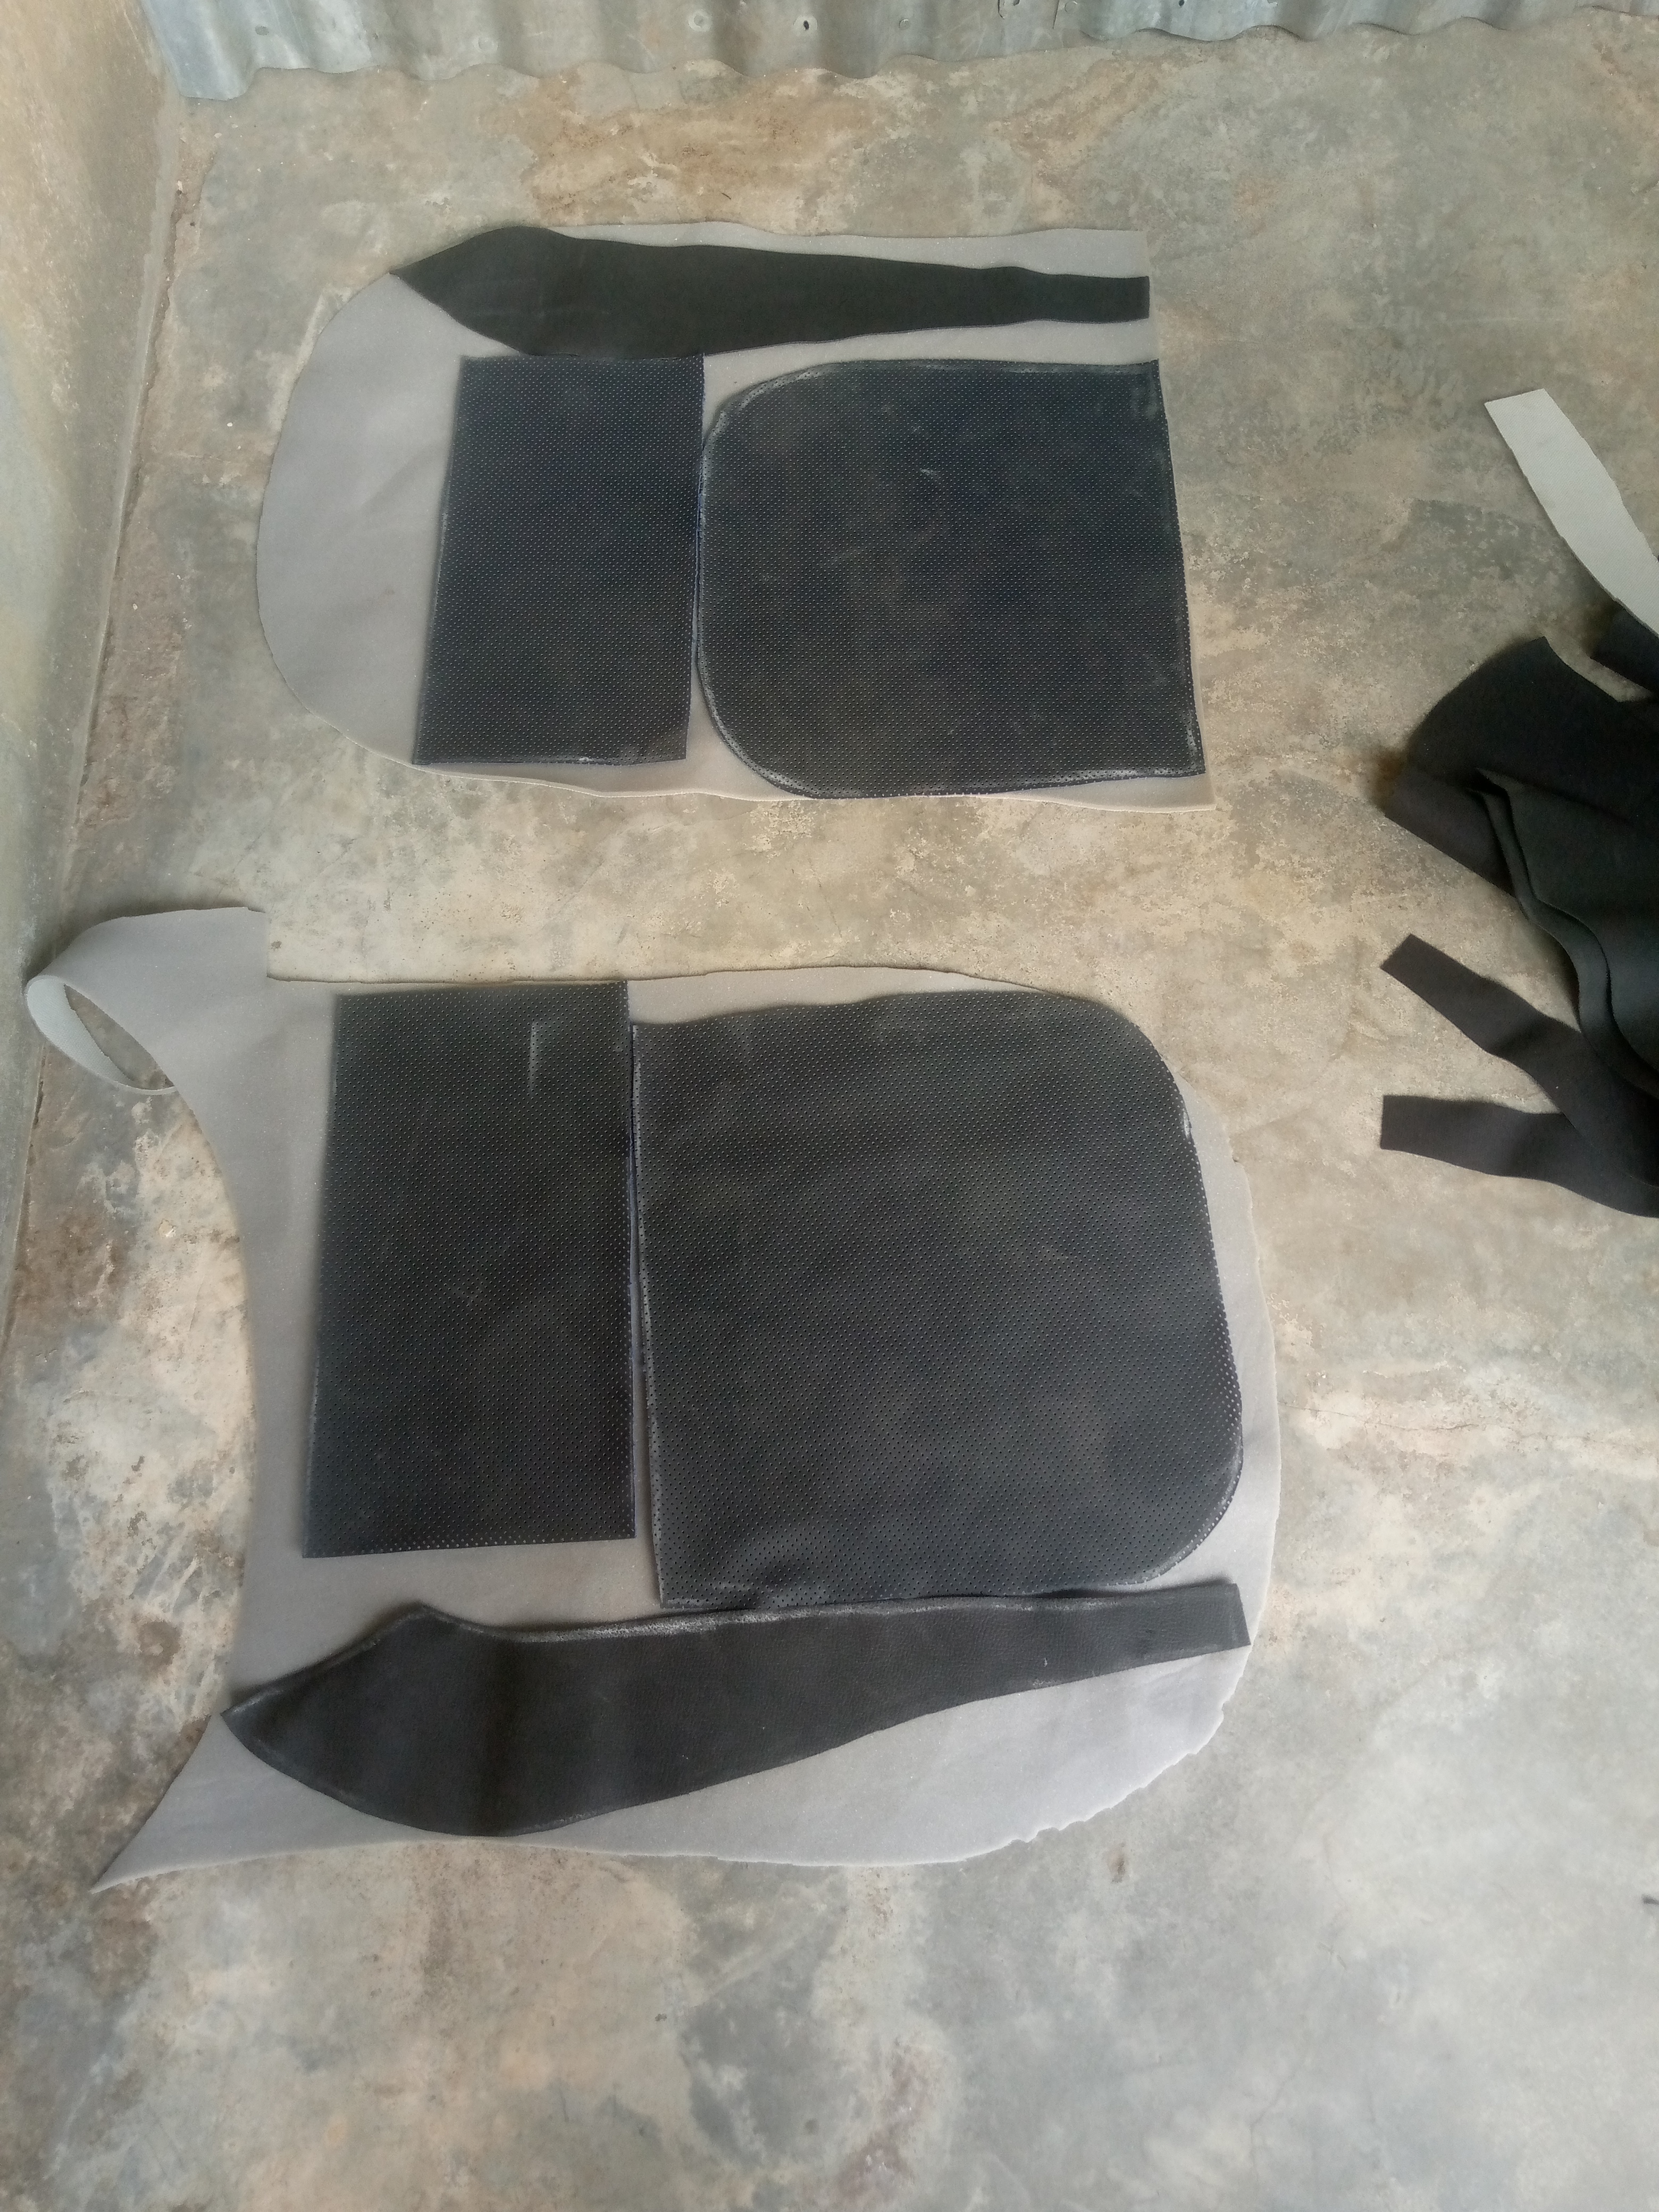
After guming it, i then use scissors to cut the pattern out out
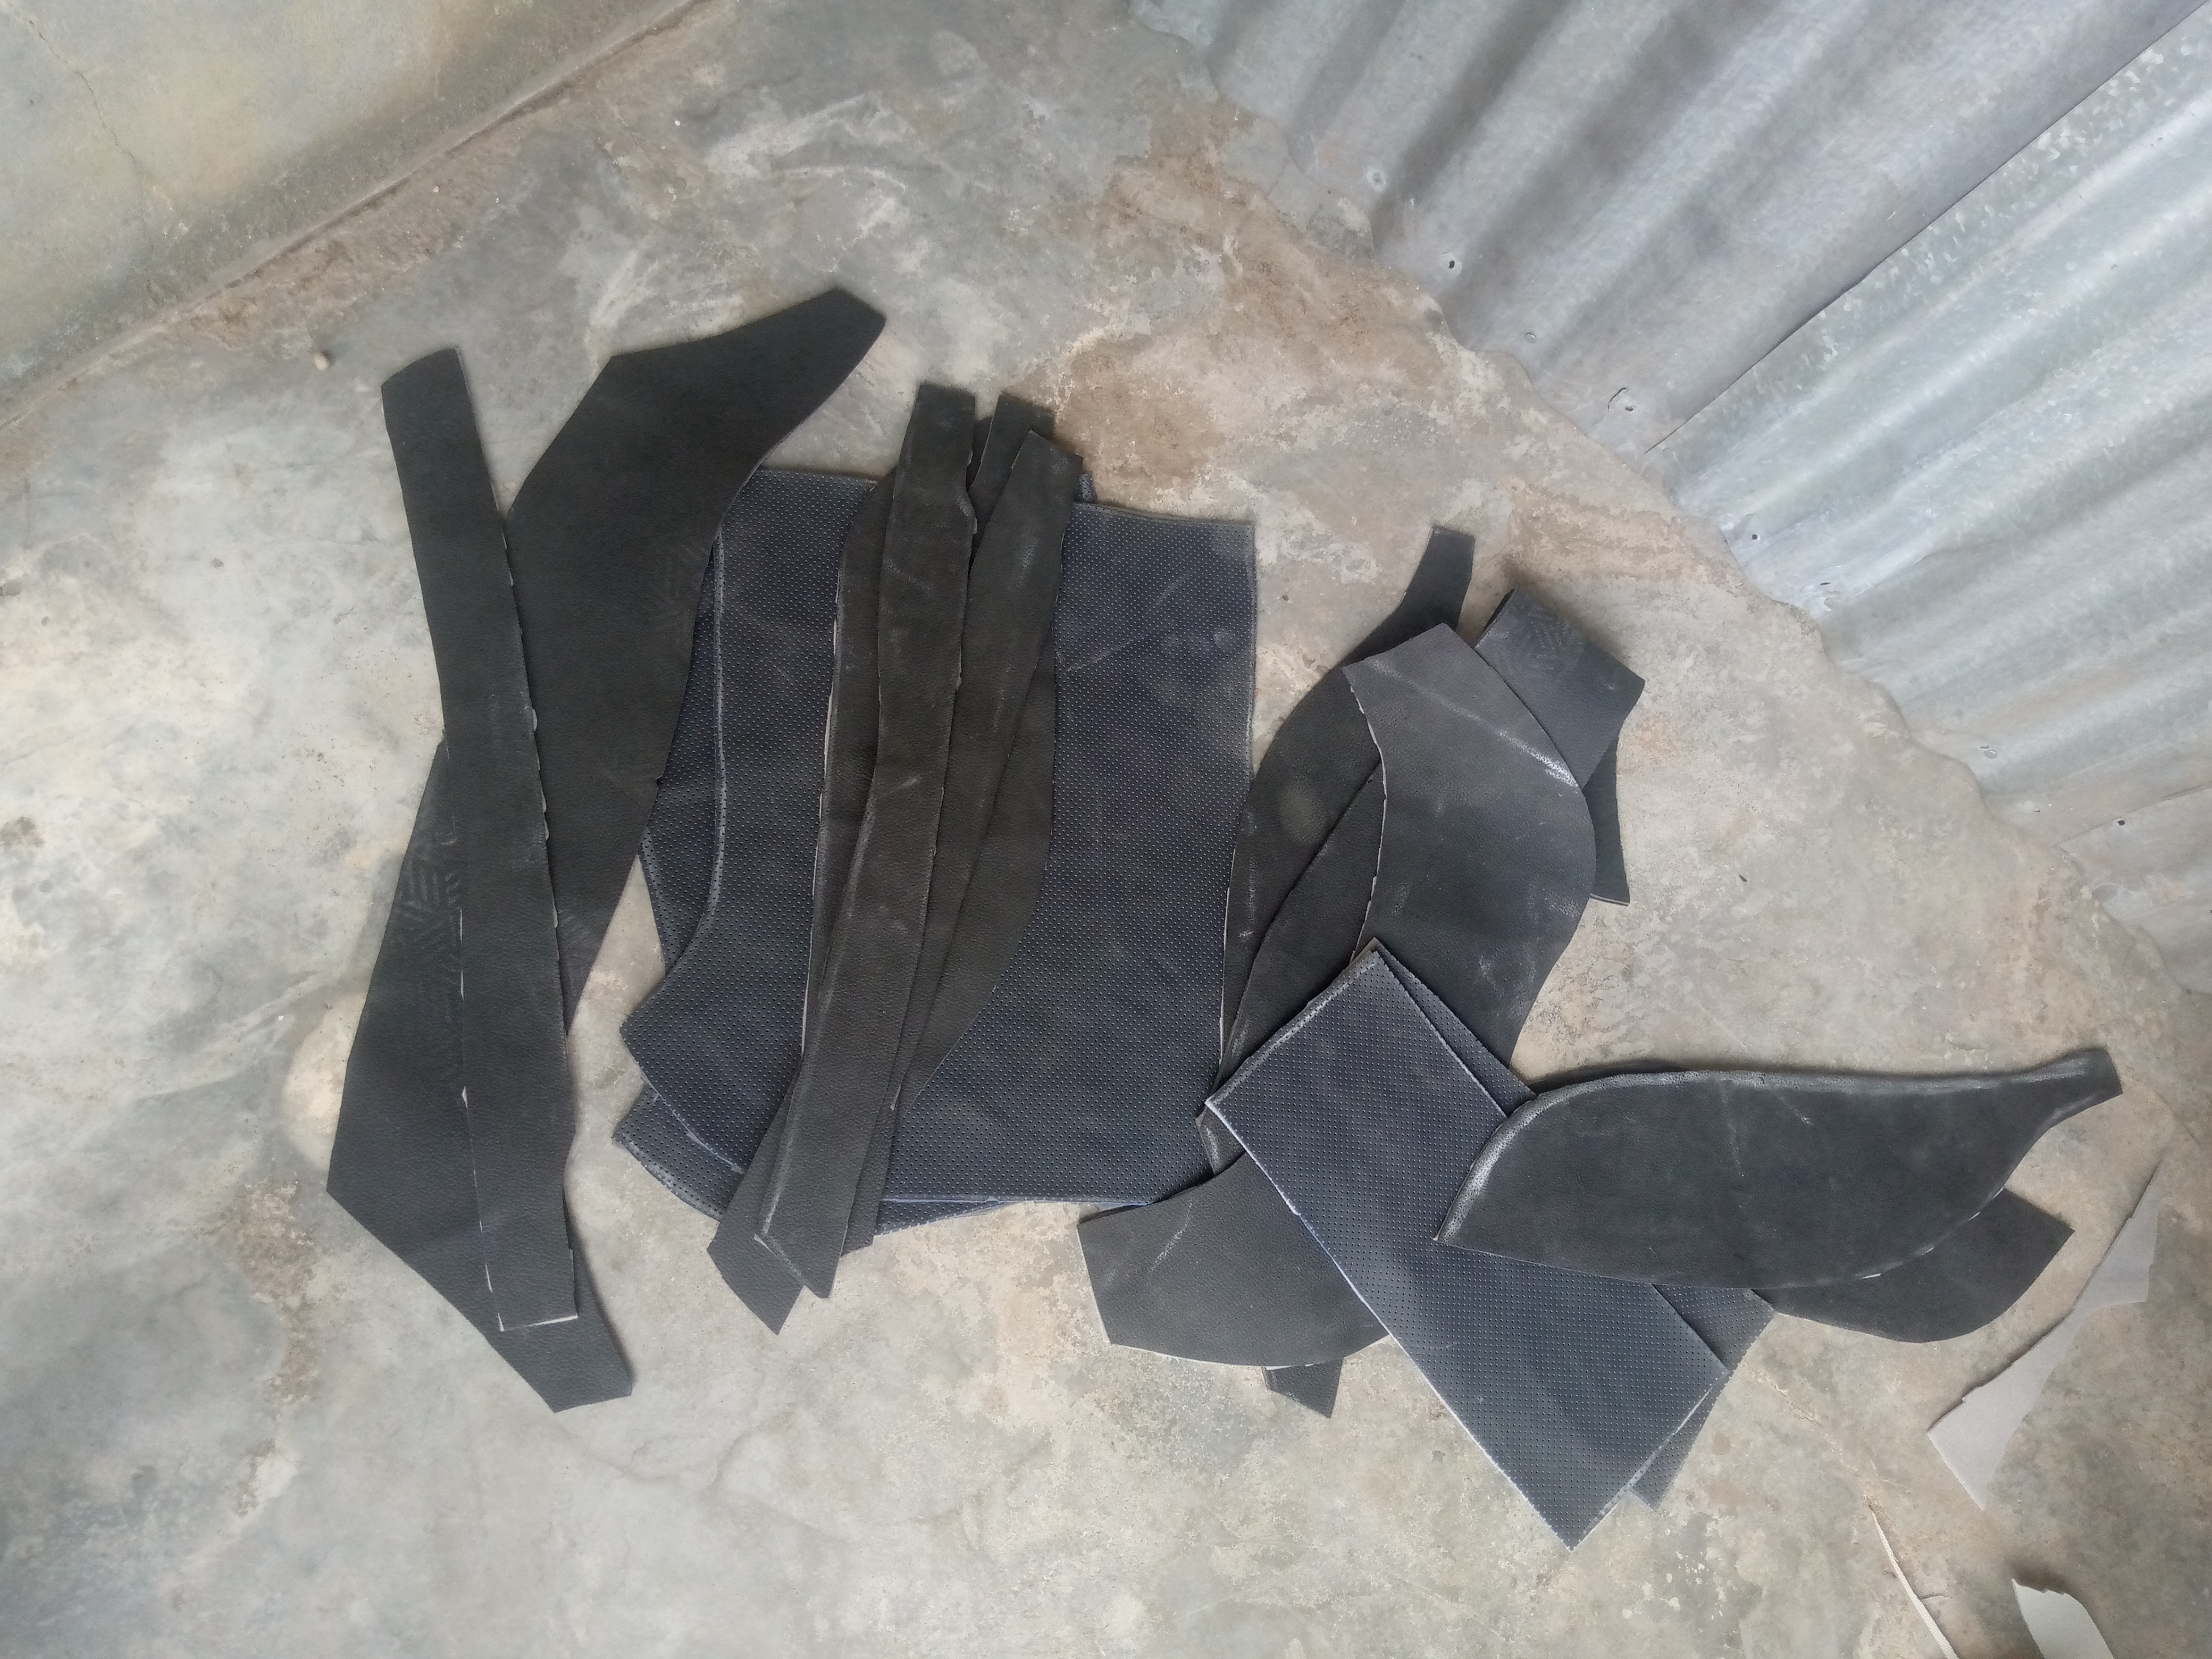
Finally the pattern is ready to work on, hope the process is simple.
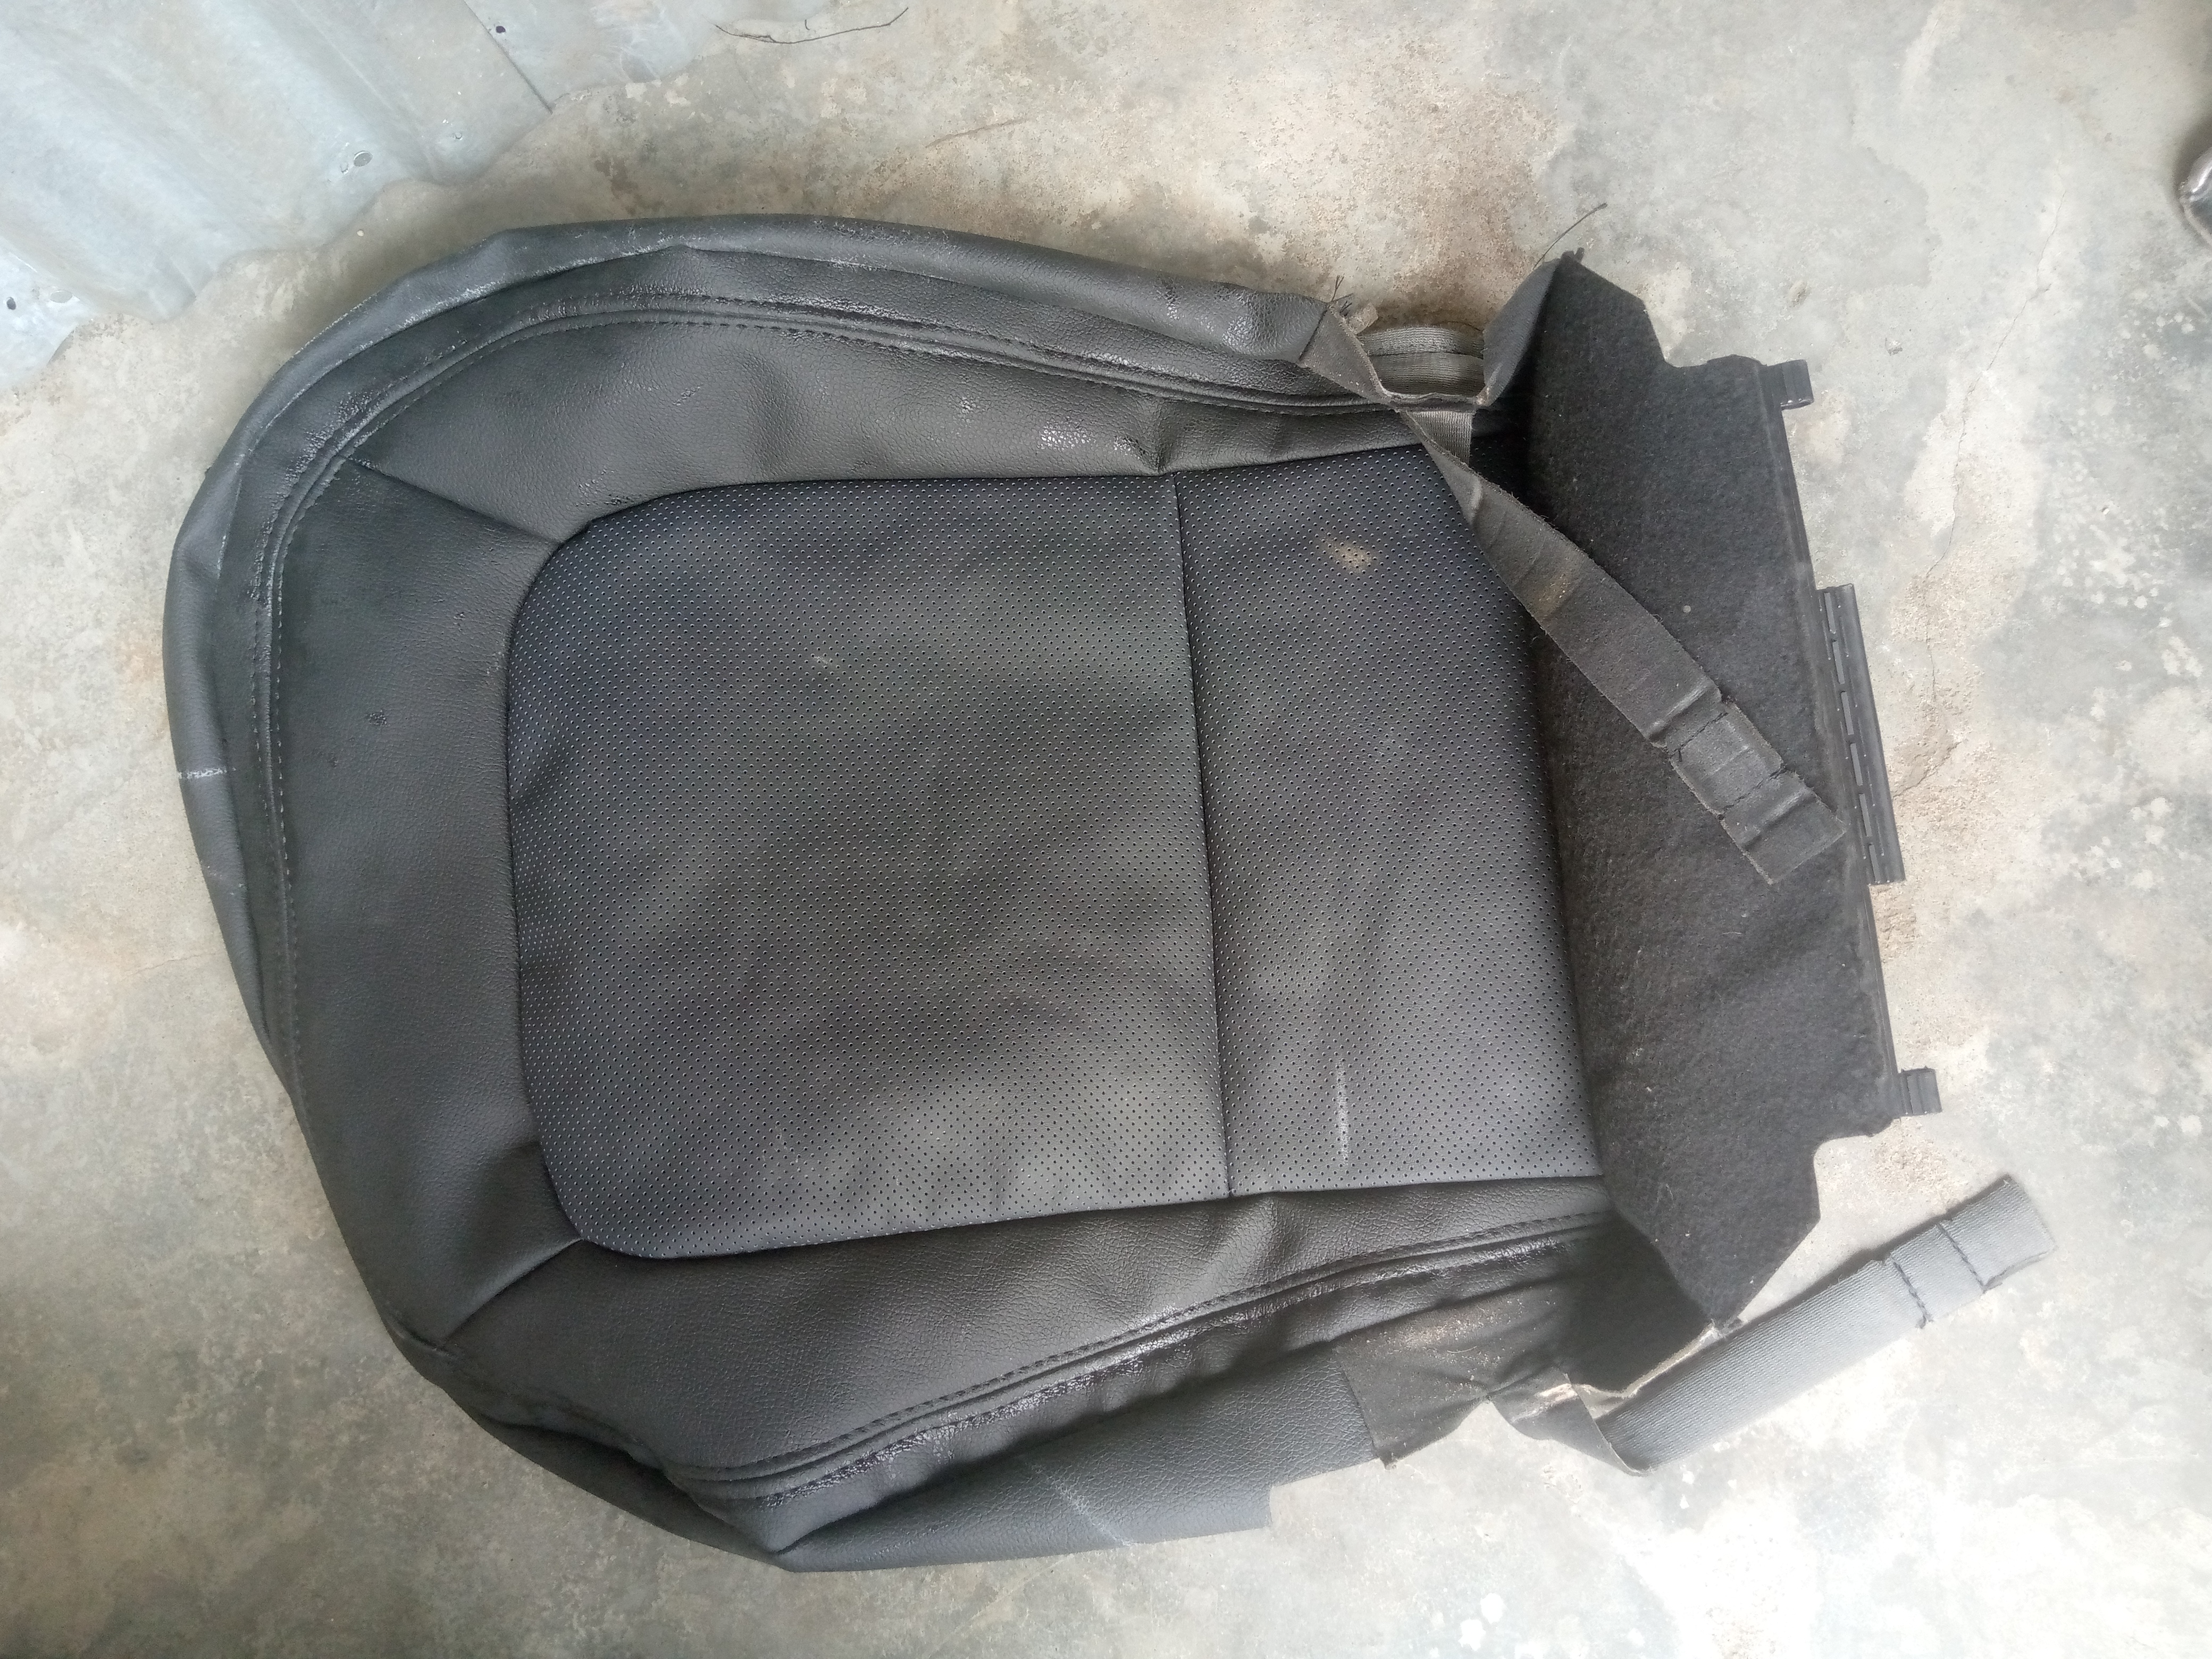
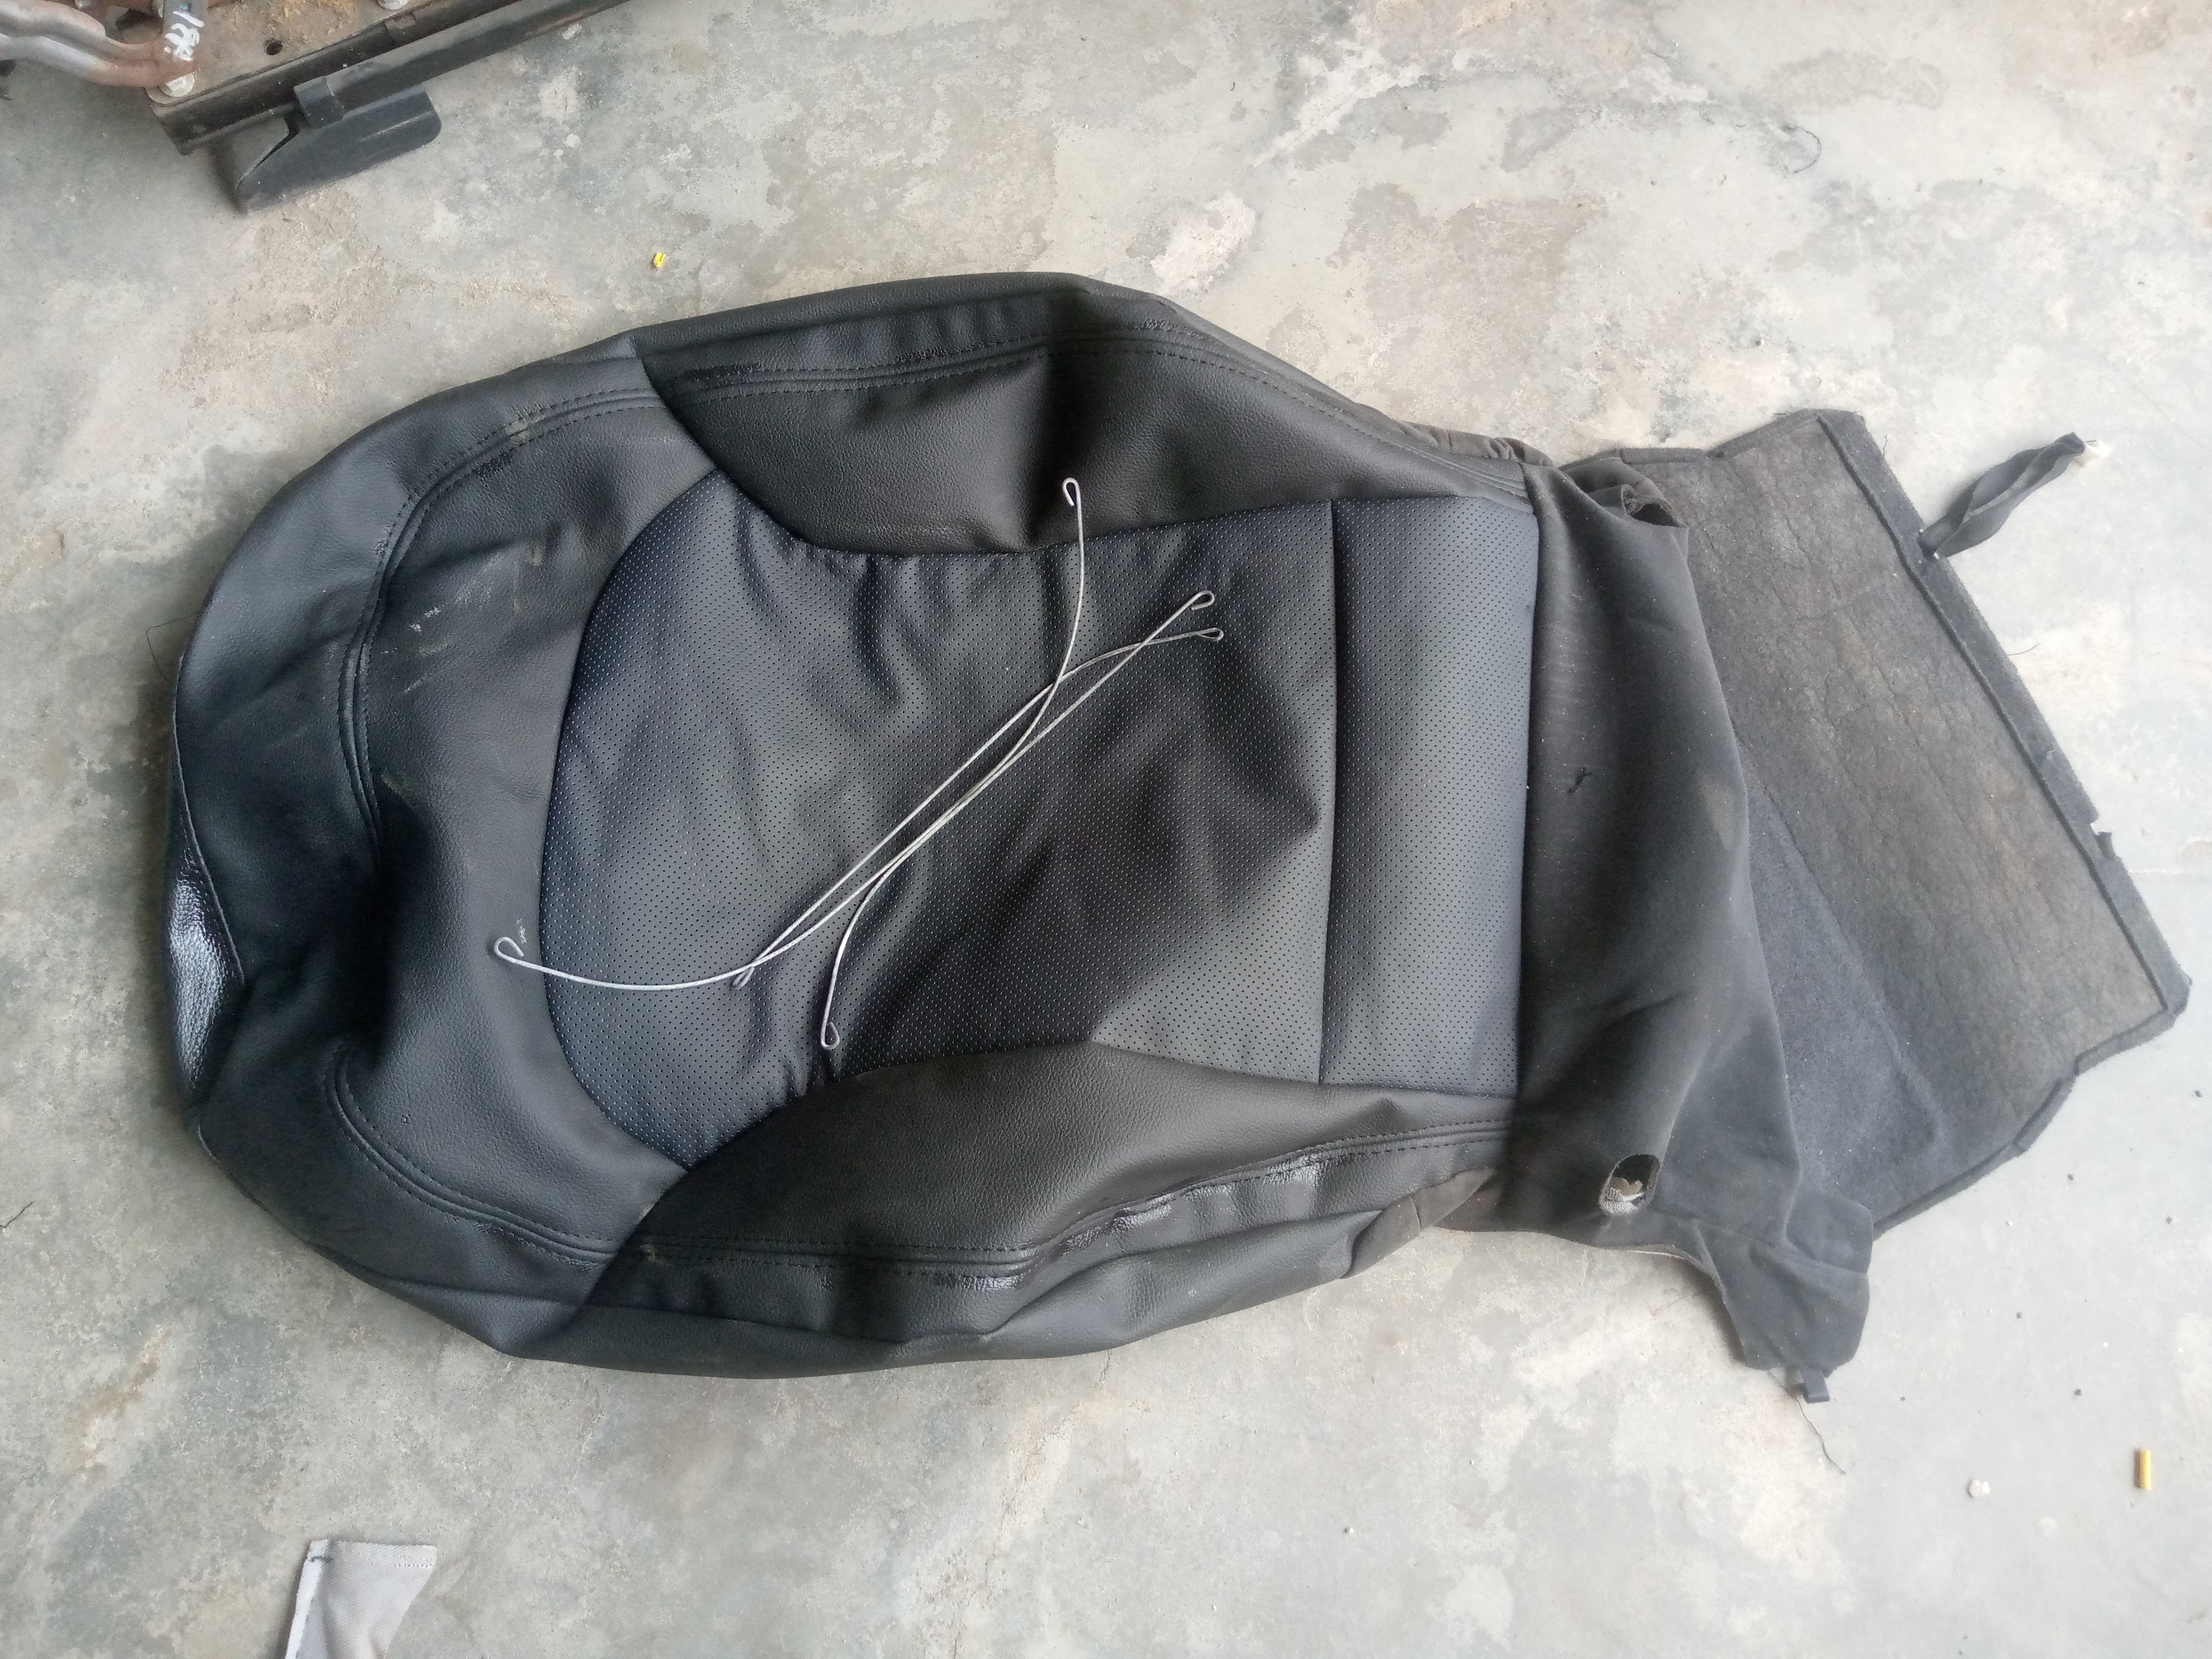
With the help of sewing machine, i sew the pattern together has it was in the old seat since i am not changing the design. I have to follow the old pattern

Finally i am done sewing the new seat cover and here is it.
Since the seat cover is ready, the next thing to do is to clip the new cover in place of the old one.
Seat
Back
After clipping it, i then tight back the seat has before and here are the final result.
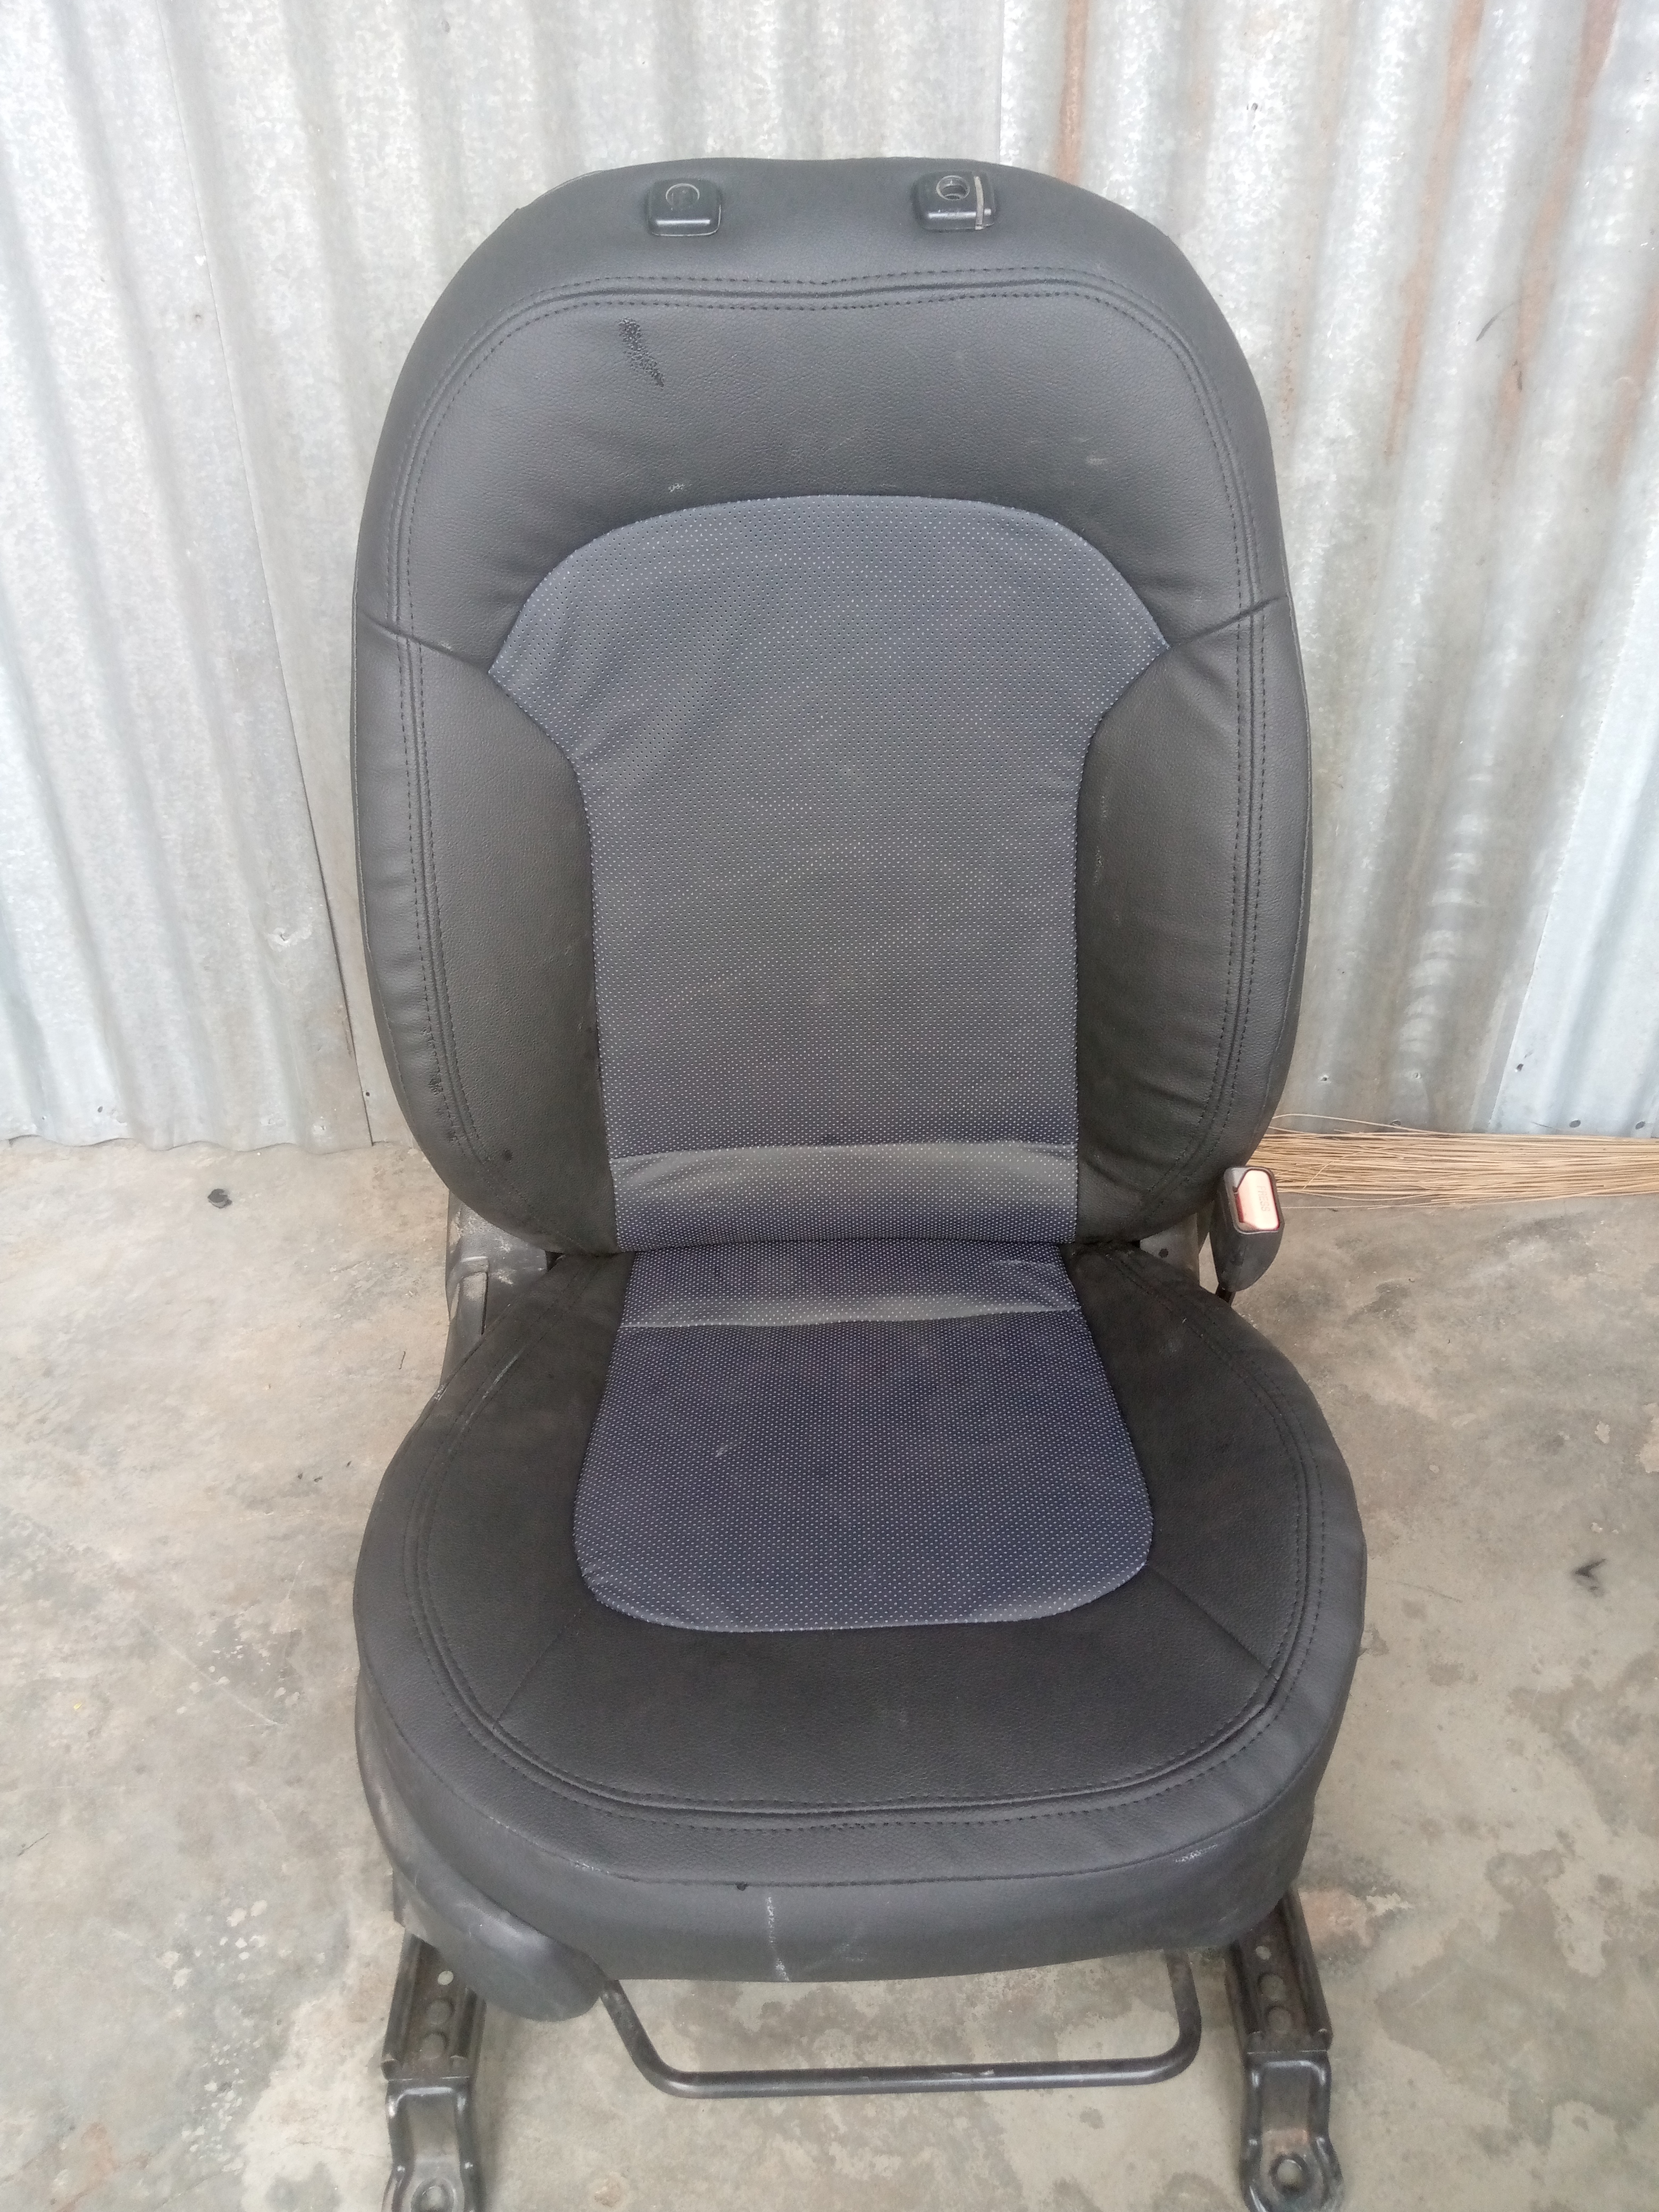
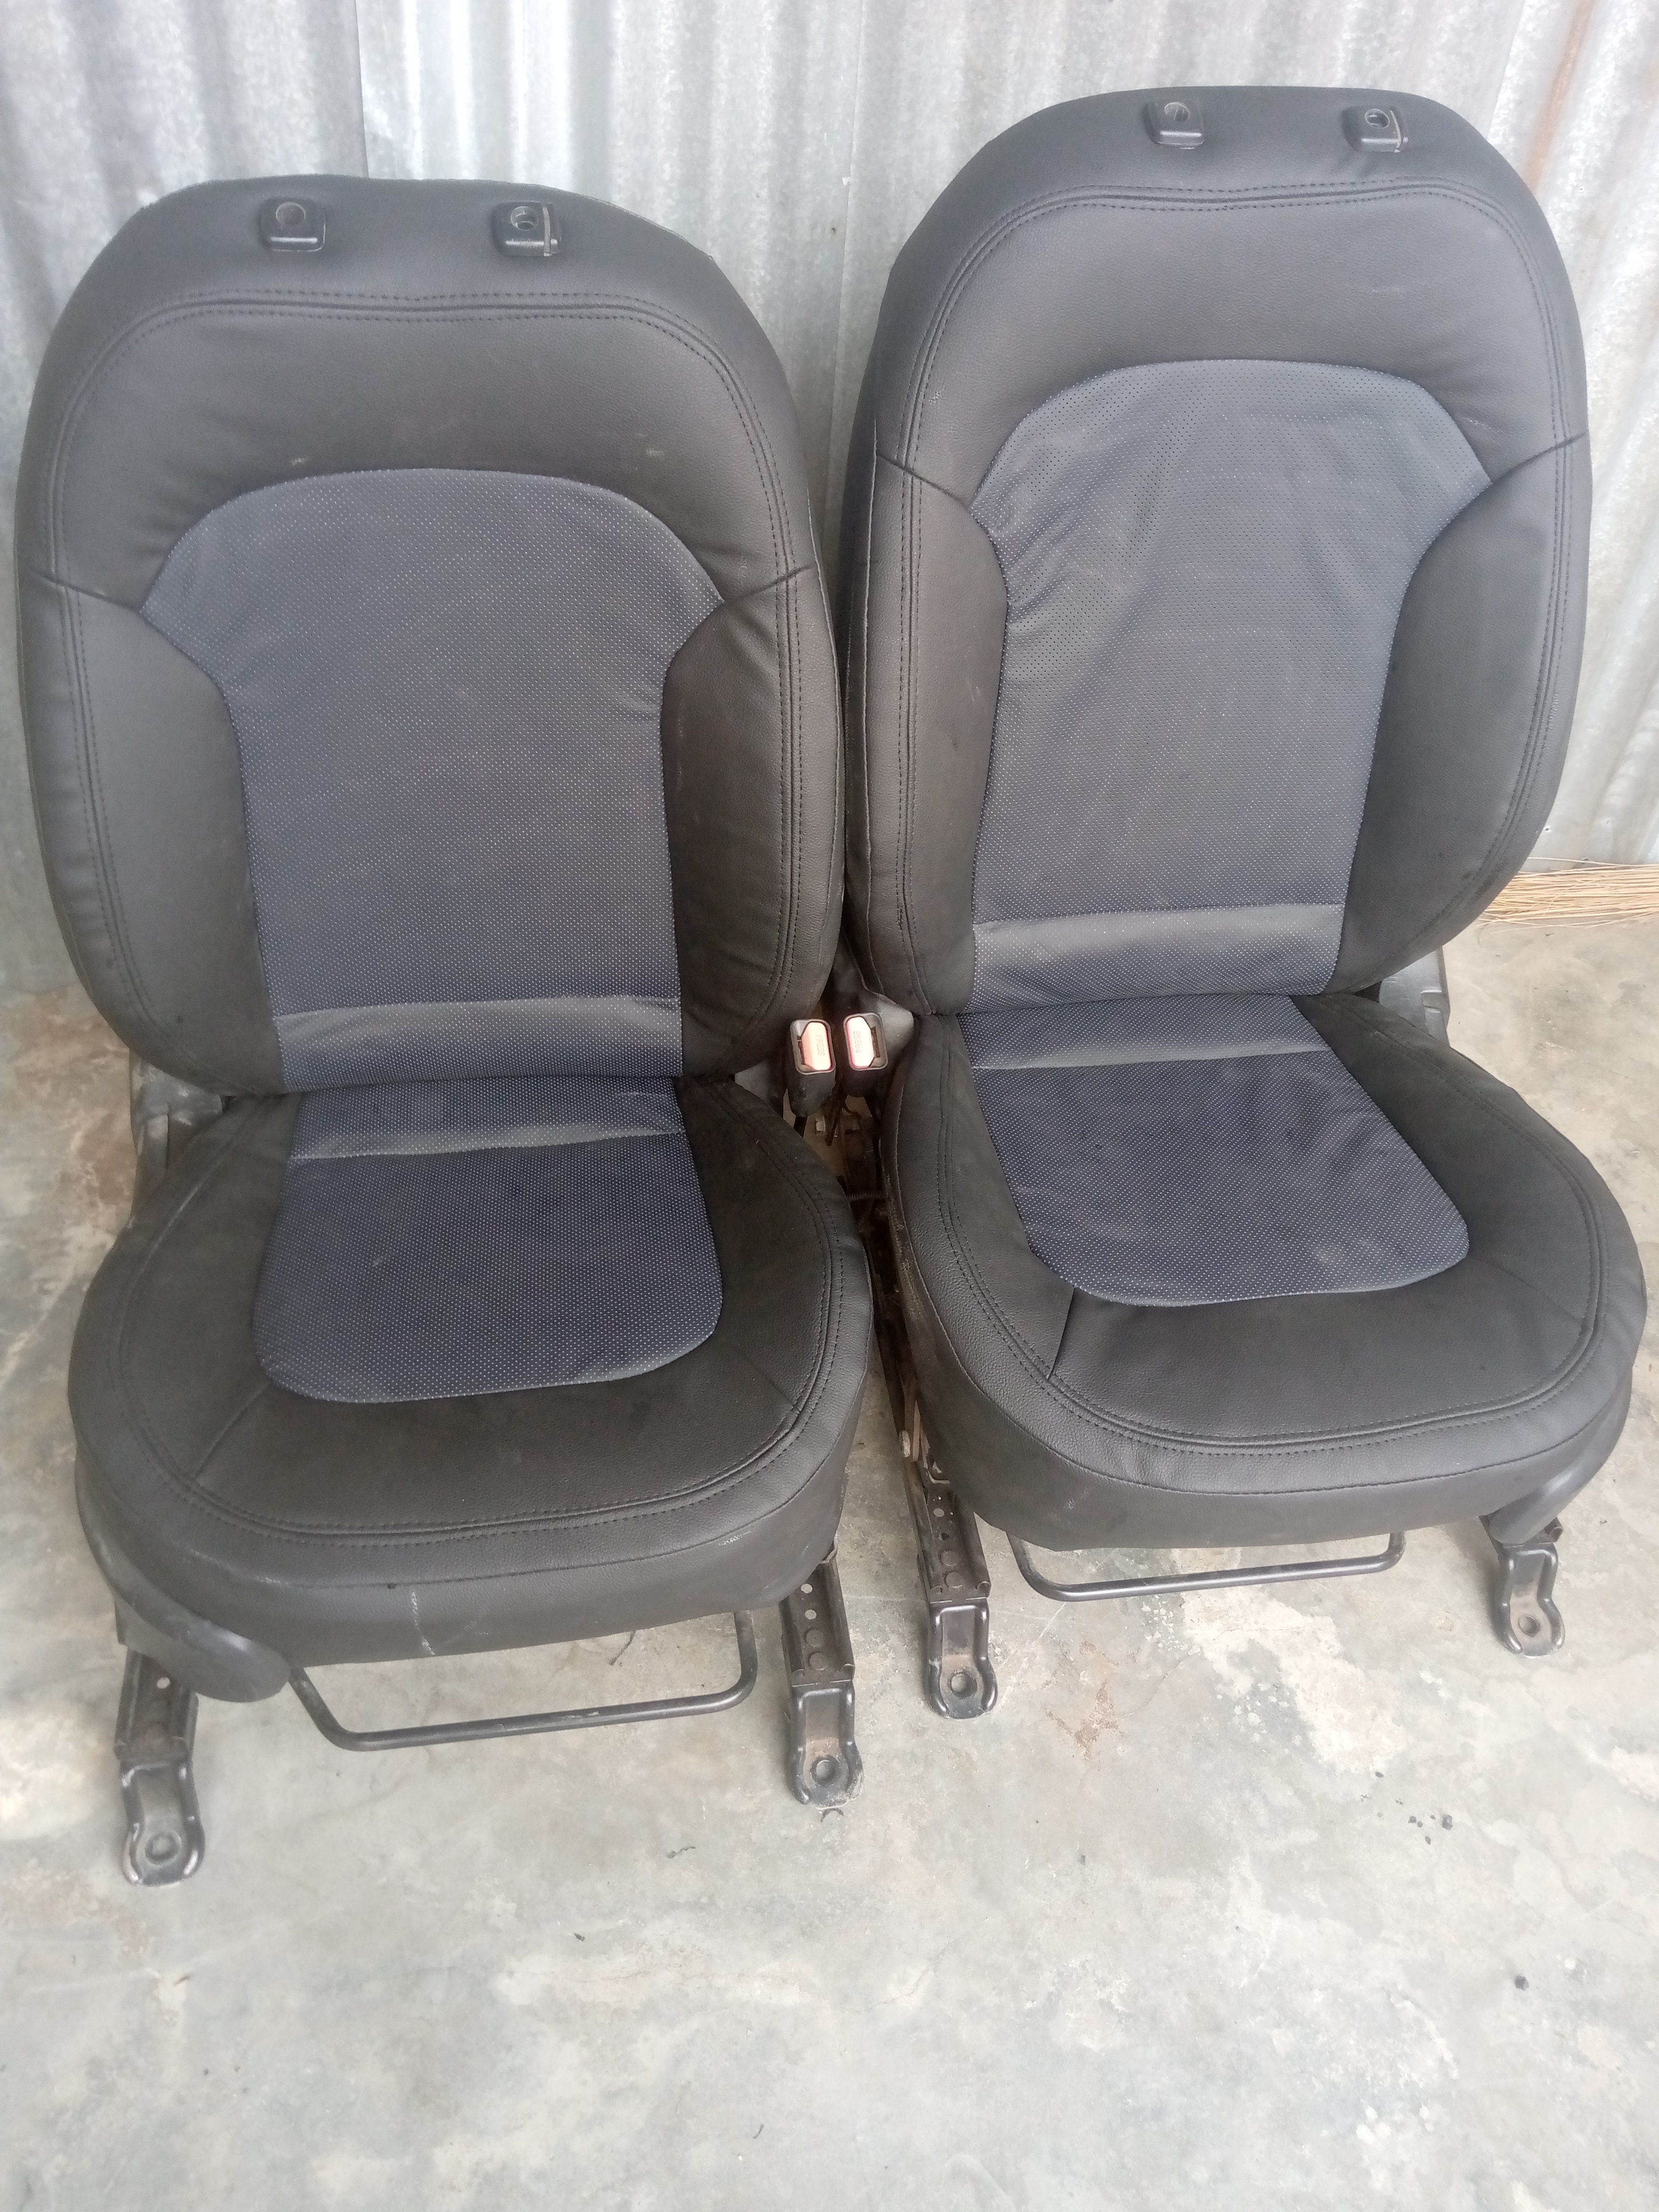
How is the finish work? Hope it look beautiful and the process was simple to learn from. Thanks so much i will really appreciate you comment about the finish work.
Thanks once again for going through and happy Easter..