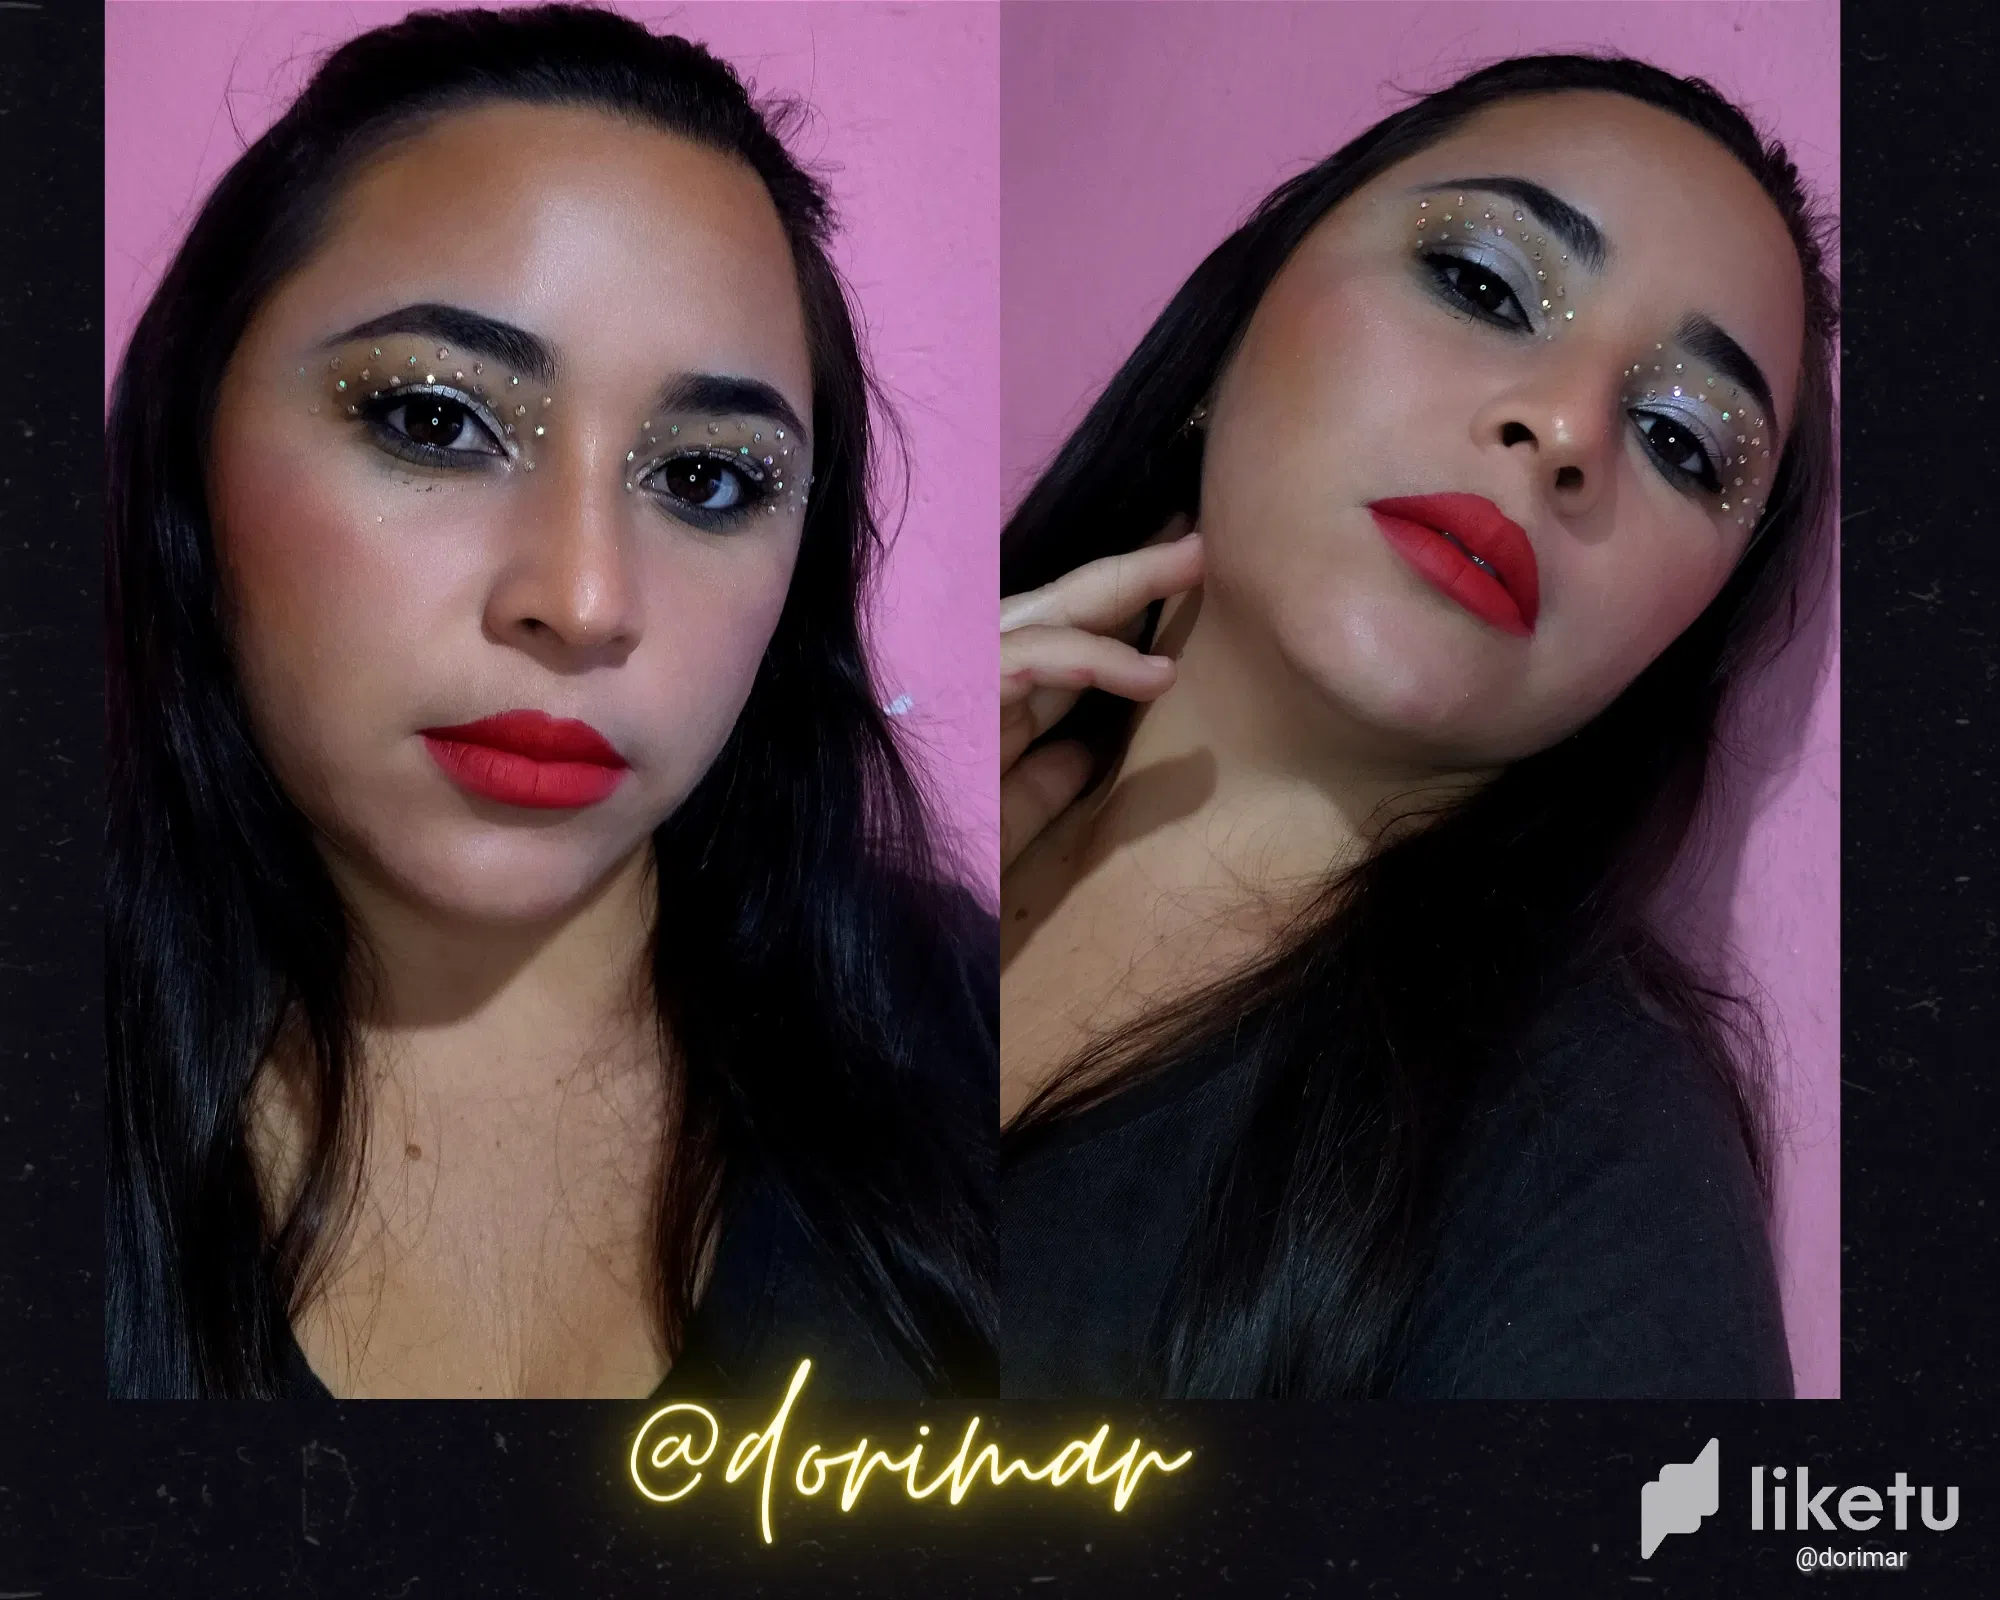
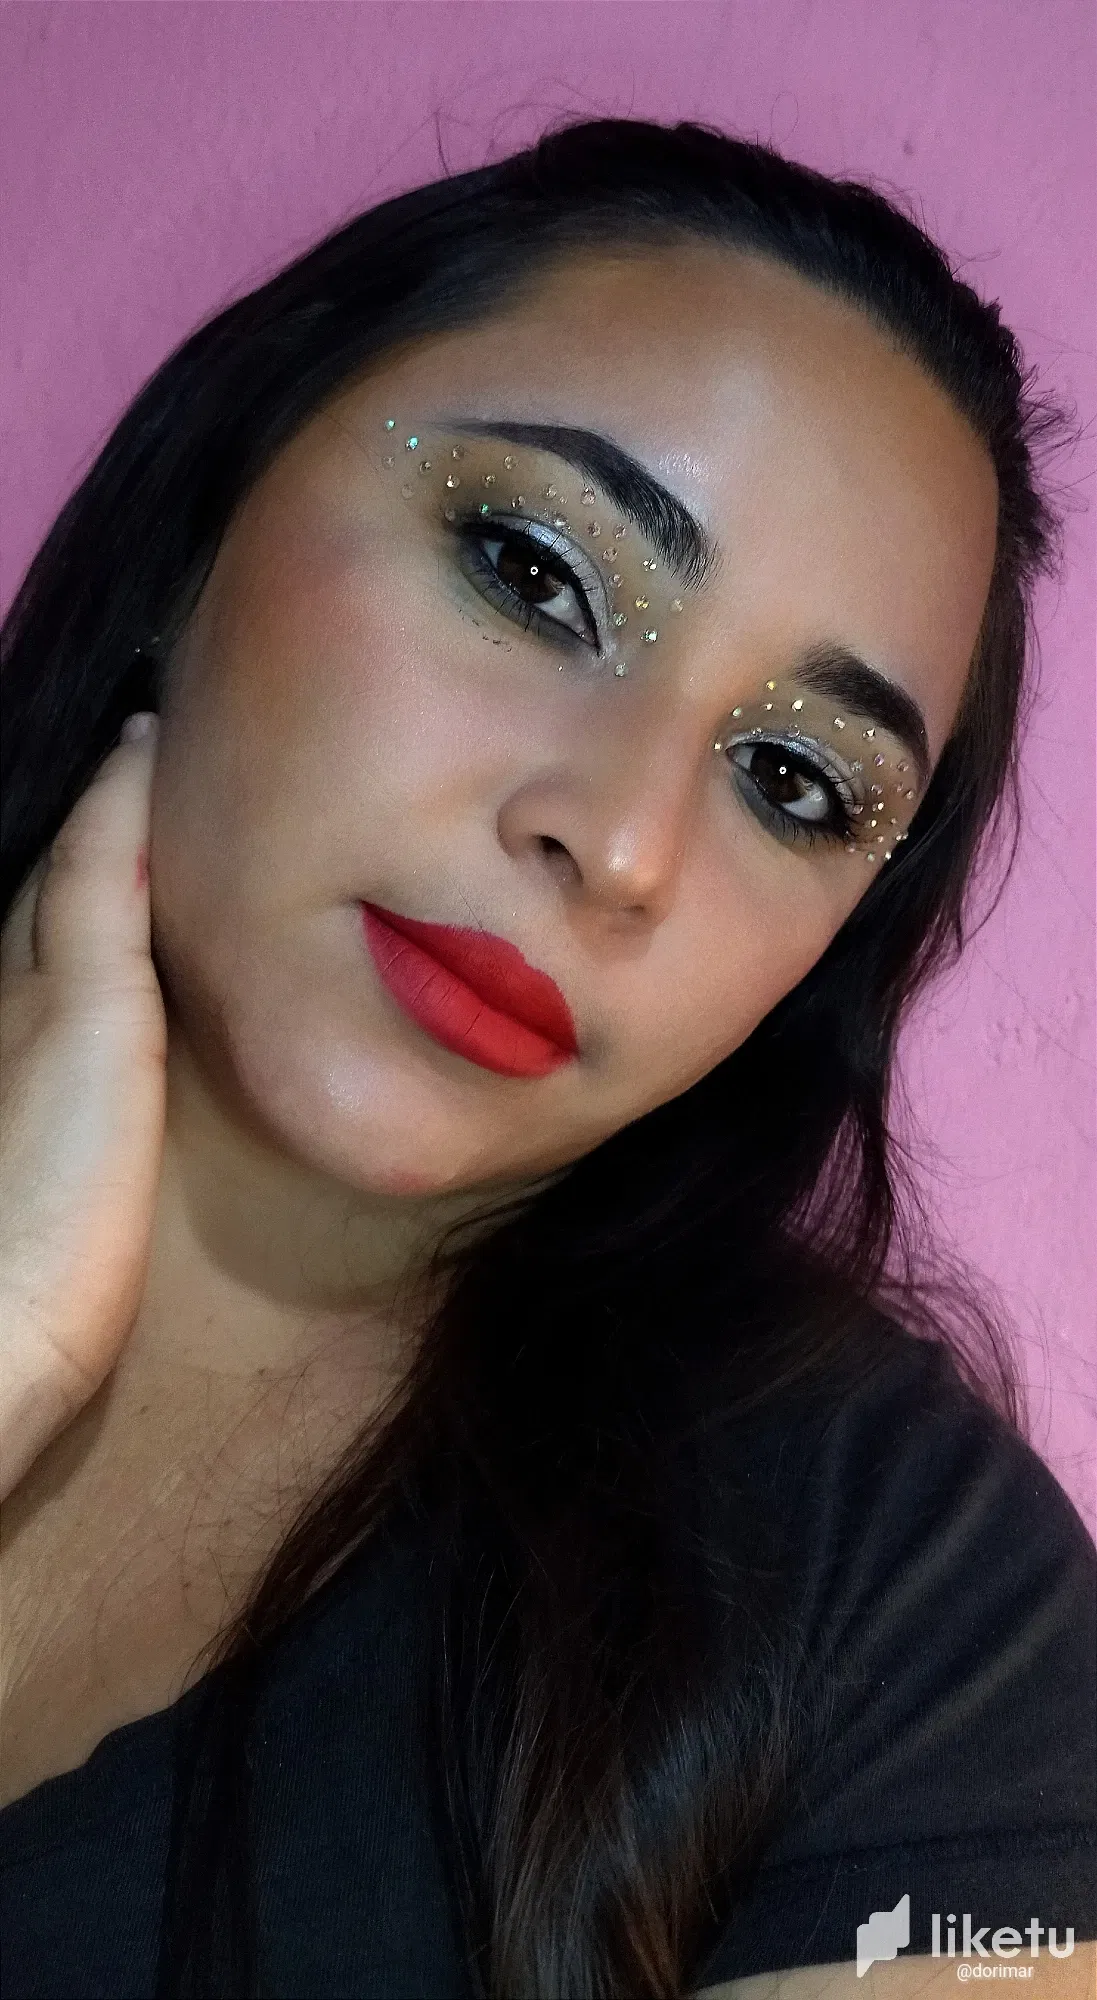
Welcome once again to my daily blog and this makeup tutorial! Today I will show you how to get a glamorous look perfect for a special night and event, follow these simple steps to enhance your beauty easily and quickly.
¡Bienvenida una vez más a mi blog diario y a este tutorial de maquillaje! Hoy os enseñaré como conseguir un look glamuroso perfecto para una noche y evento especial, sigue estos sencillos pasos para realzar tu belleza de forma fácil y rápida.
I start by cleansing and moisturizing my face, apply a light moisturizer to prepare the skin and a sunscreen to make sure the makeup adheres evenly, then I do my eyebrows with a special pomade, and finally I apply concealer on the edges to correct.
Empiezo limpiando e hidratando el rostro, aplico una crema hidratante ligera para preparar la piel y un protector solar para asegurarme de que el maquillaje se adhiere de manera uniforme, después me hago las cejas con una pomada especial y, por último, aplico corrector en los bordes para corregir.
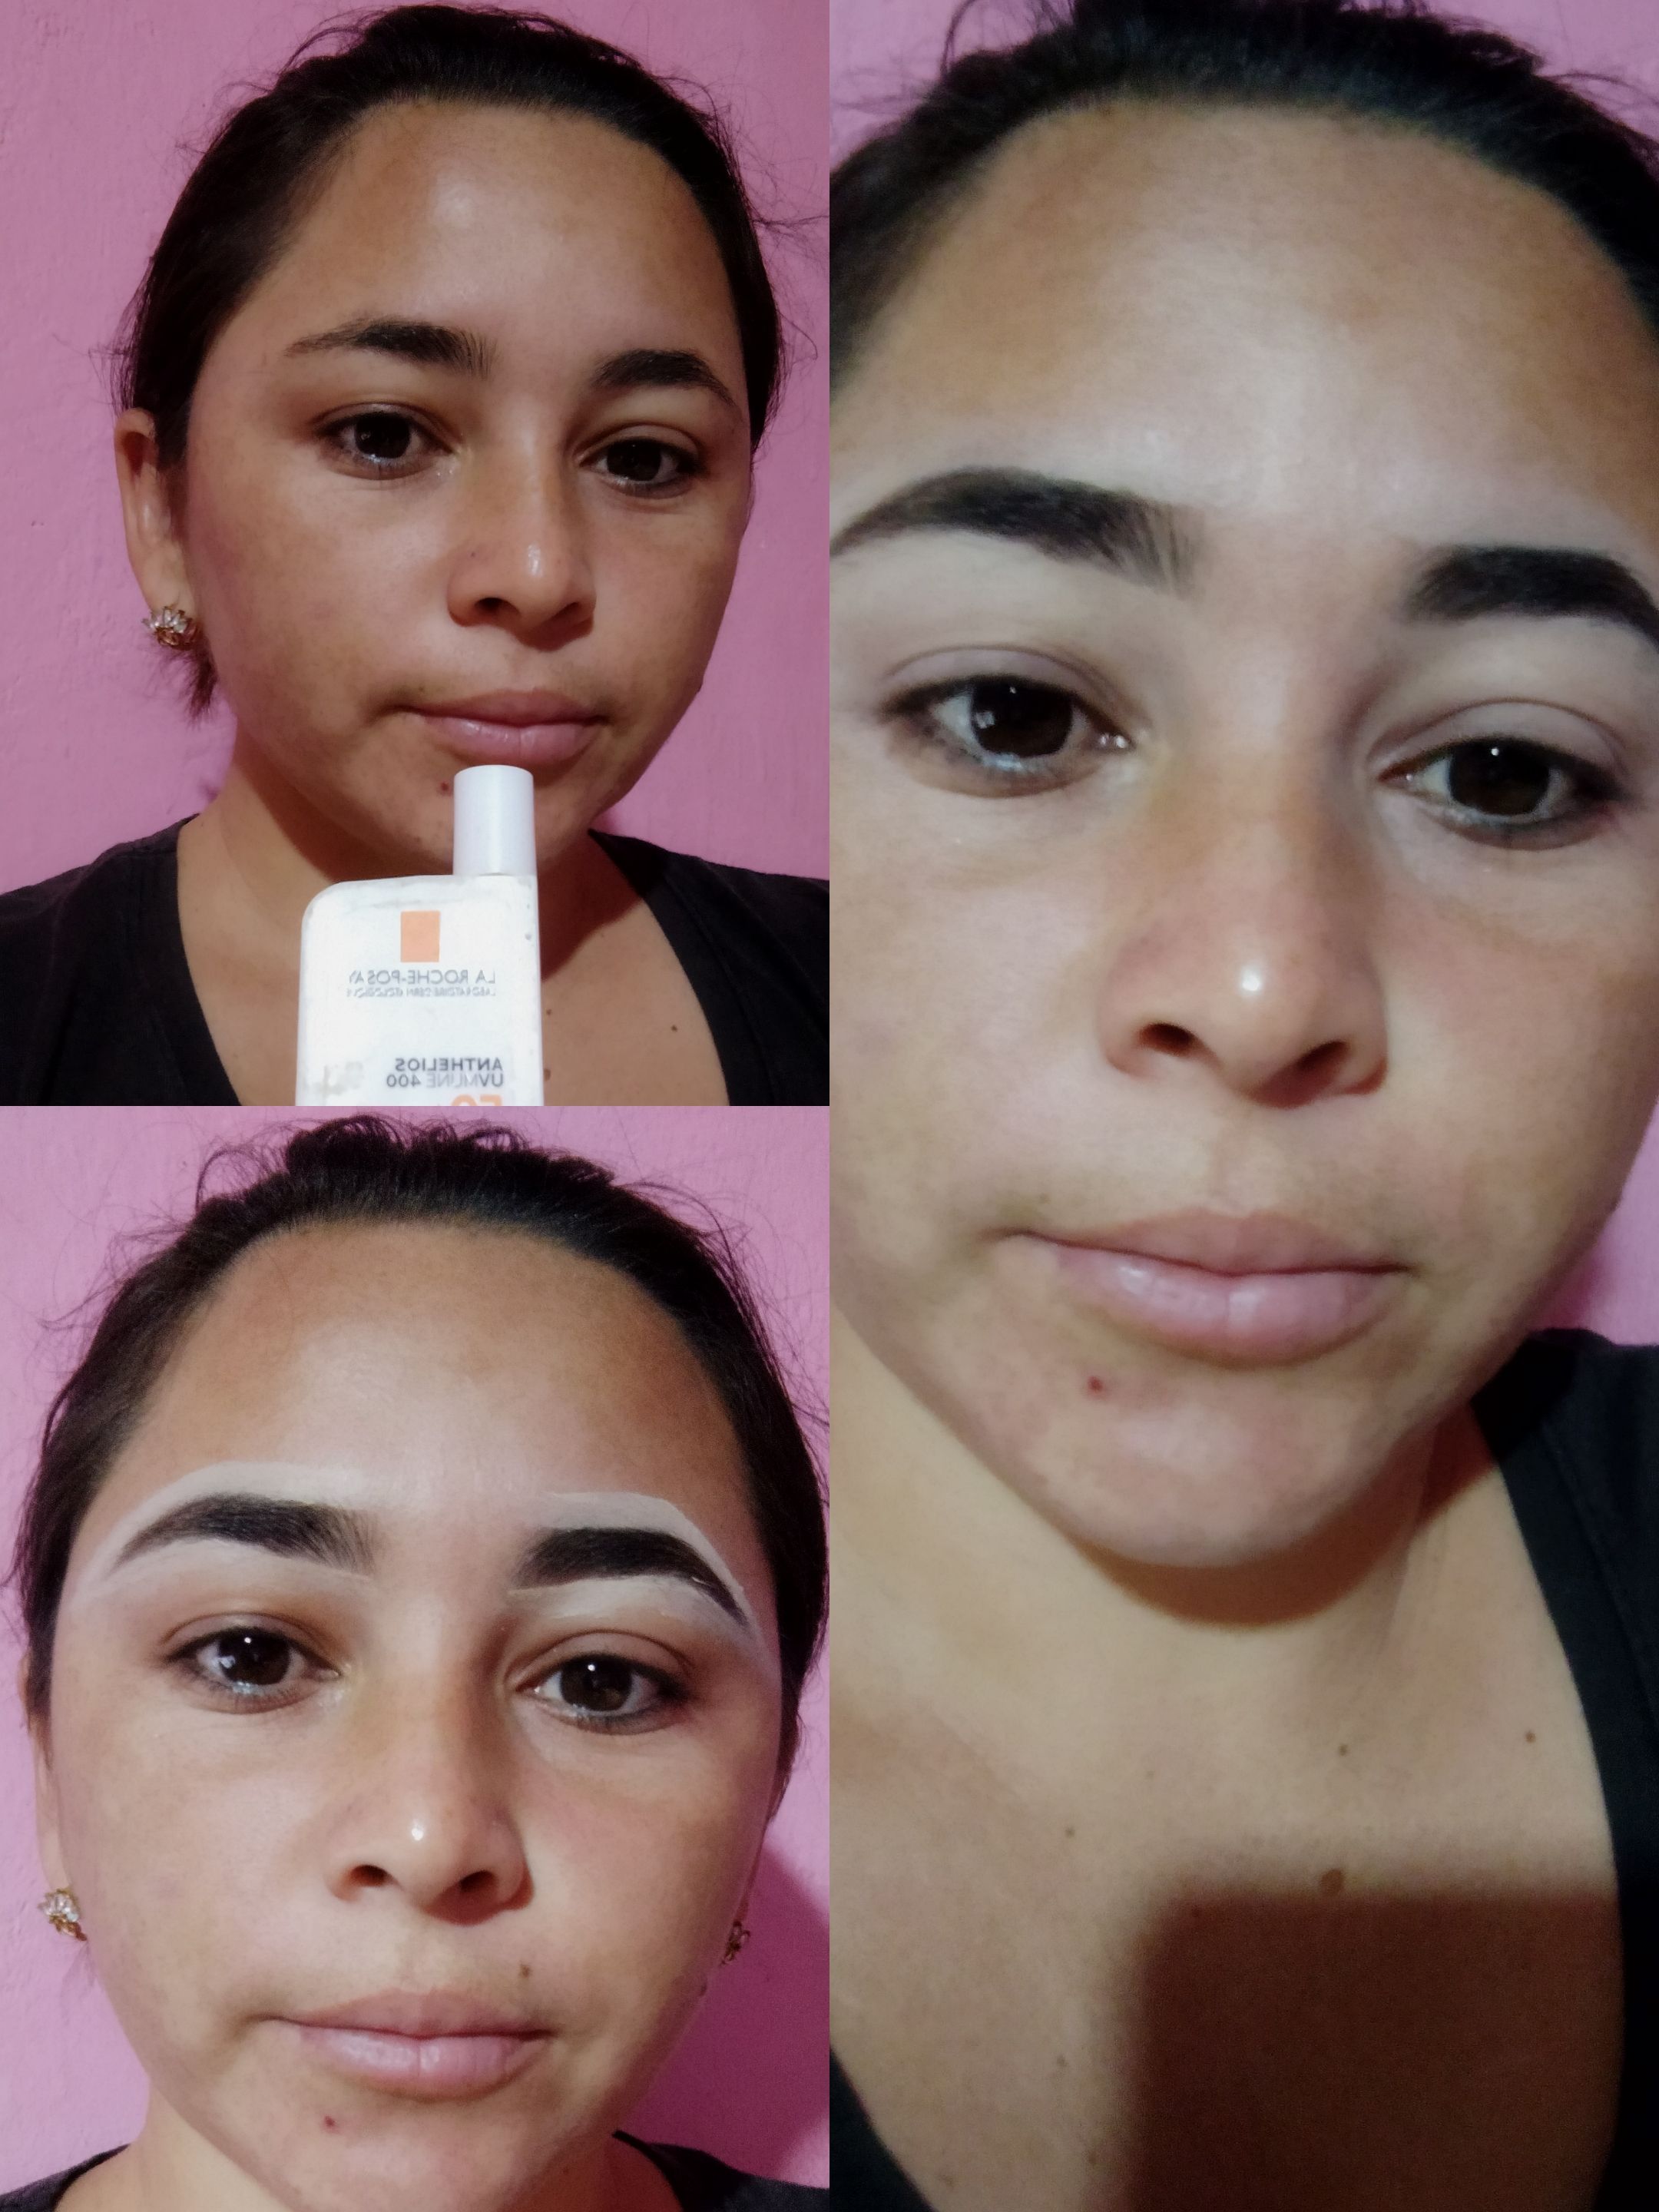
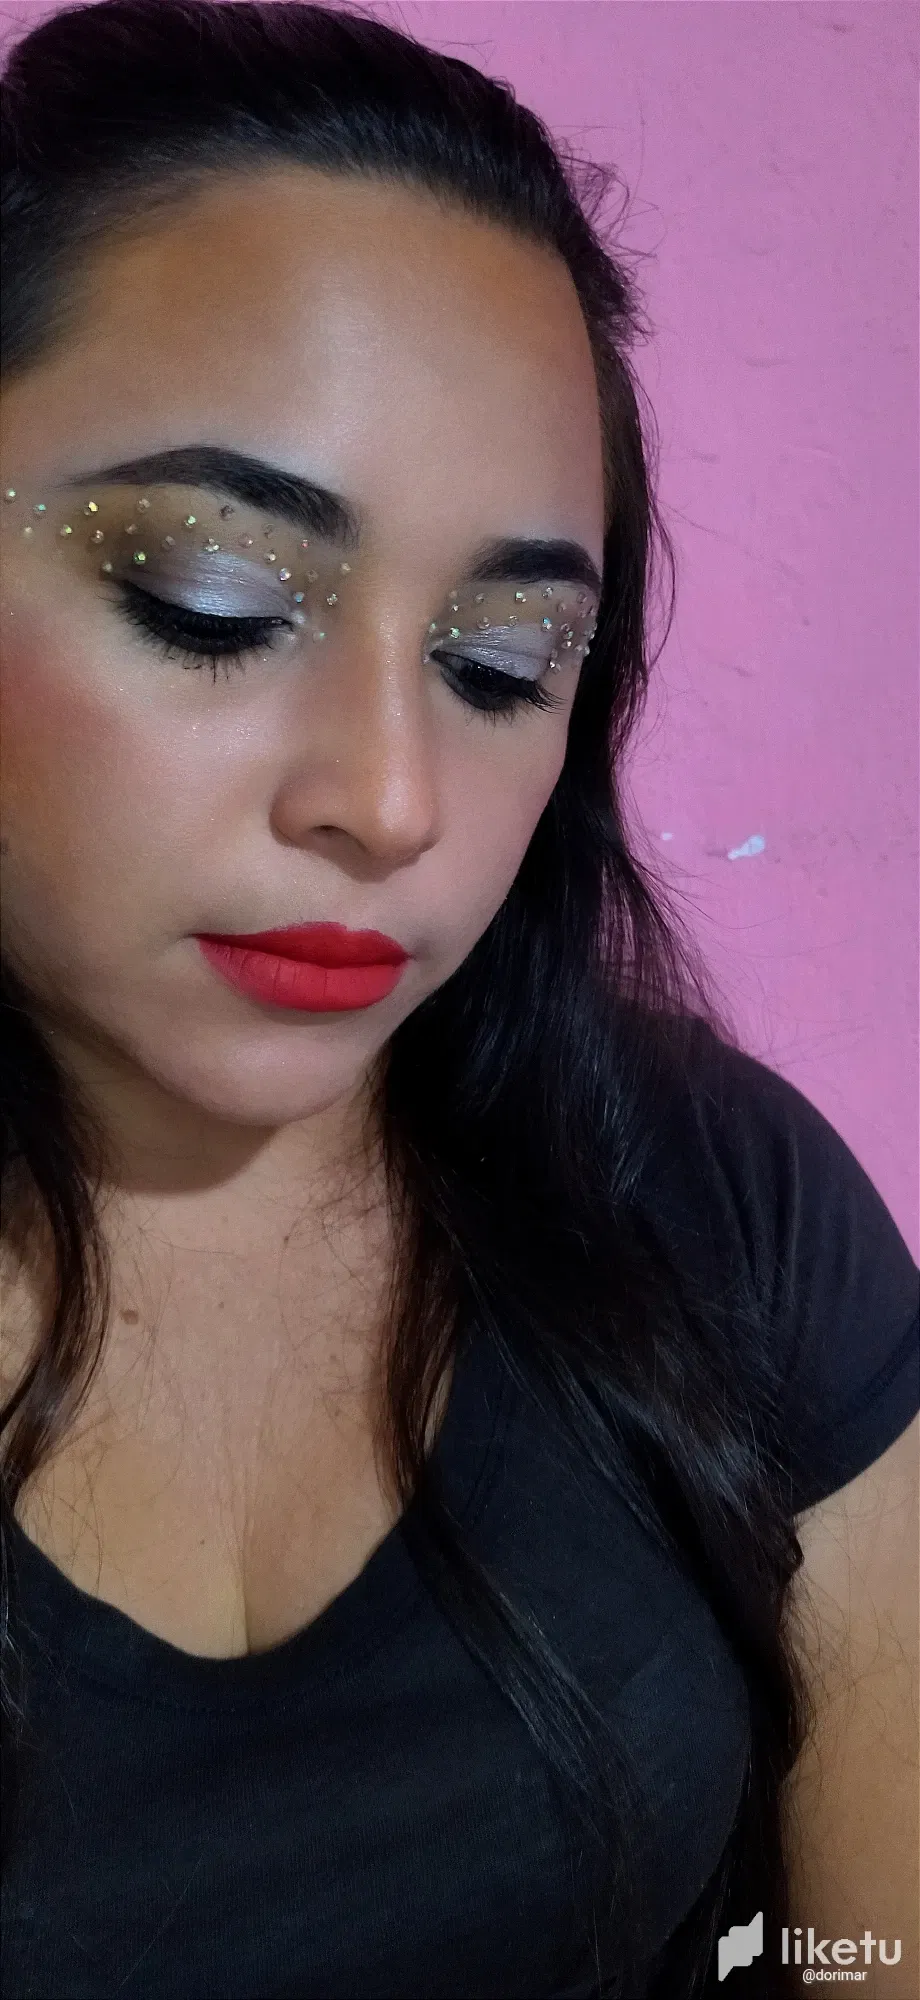
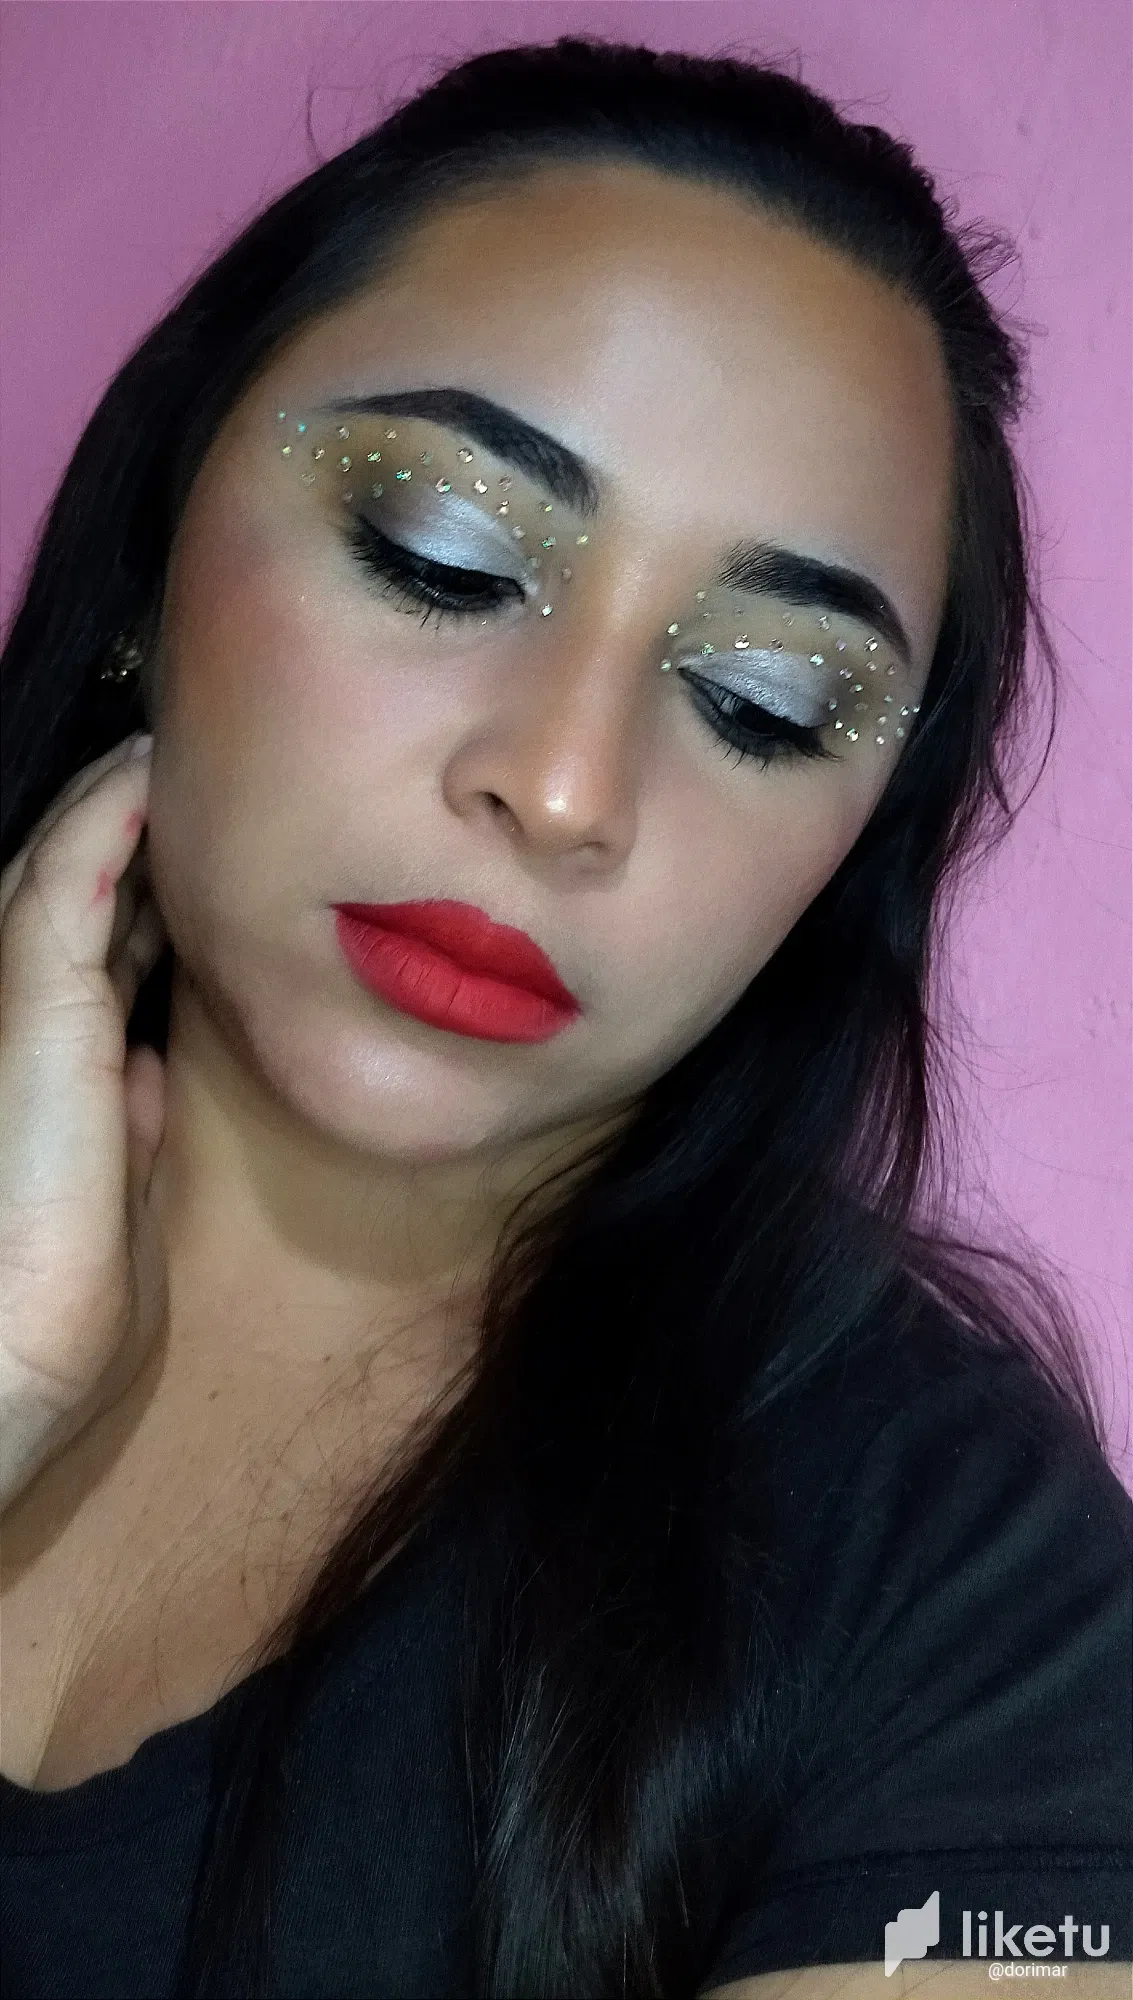
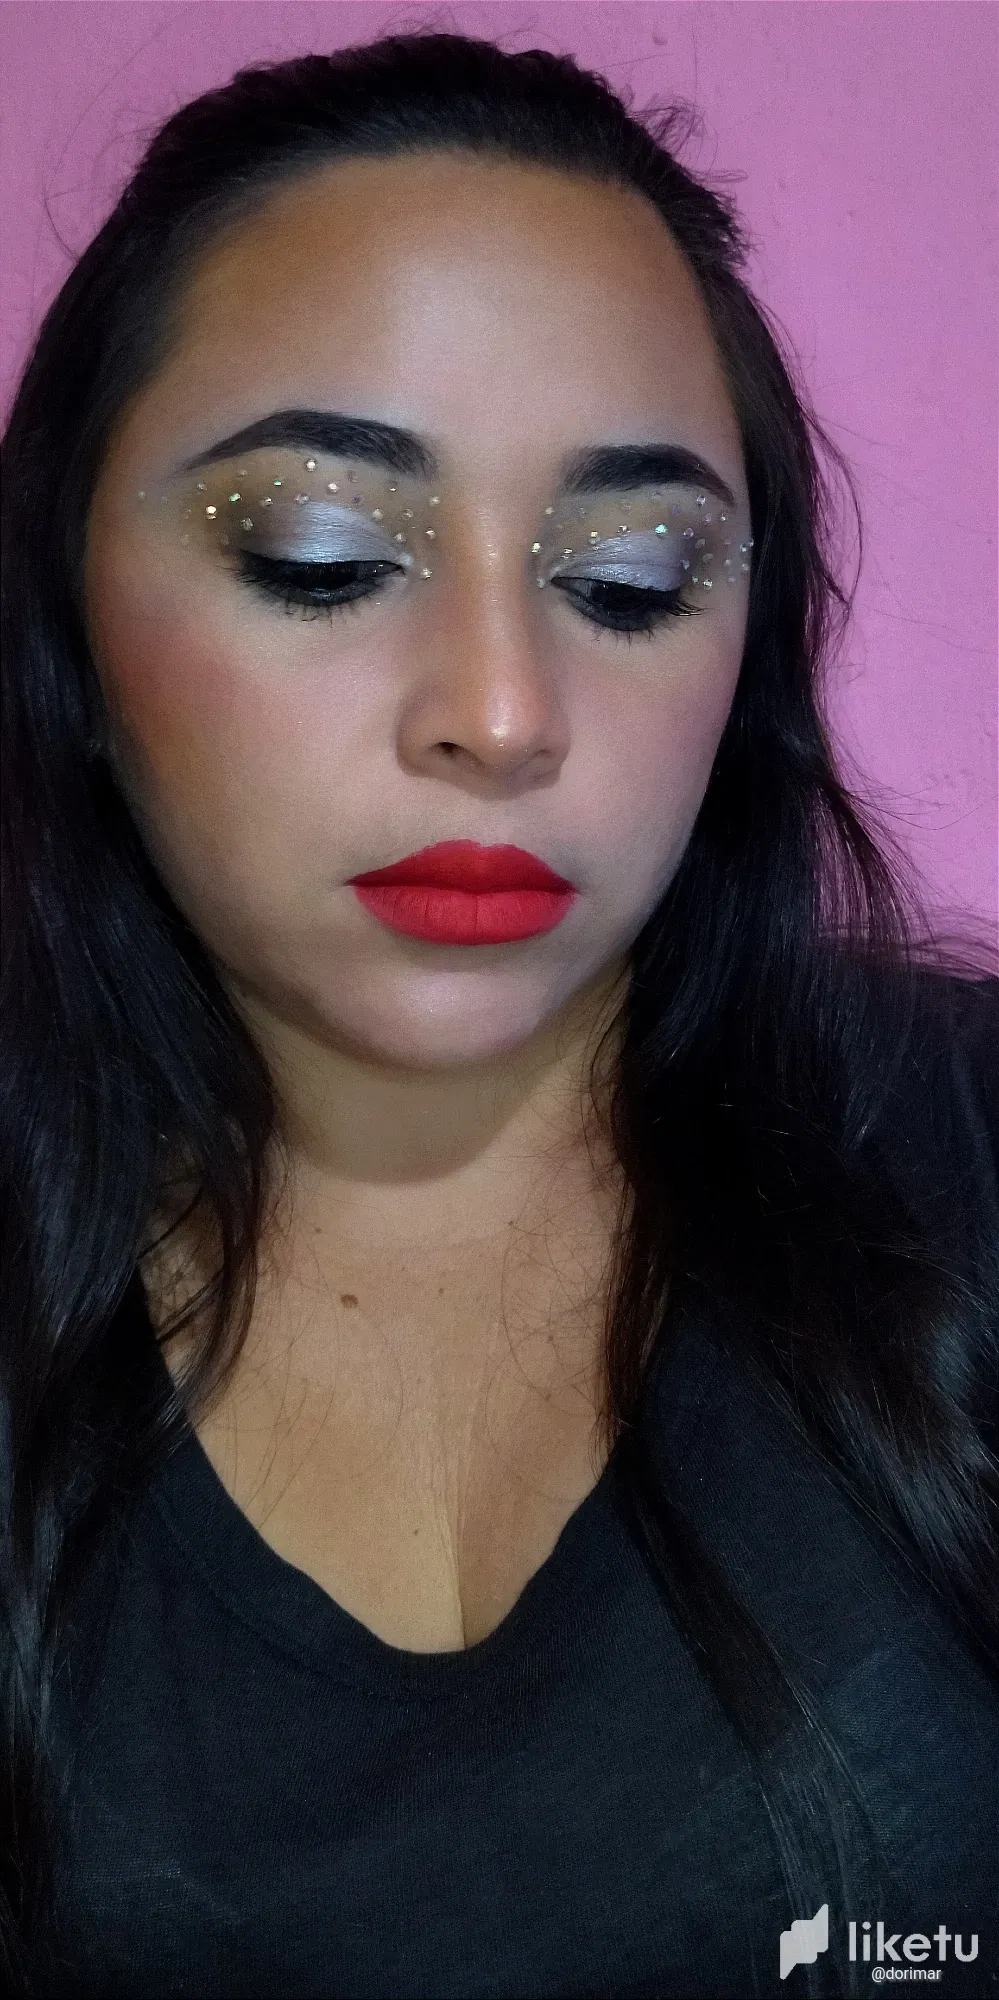
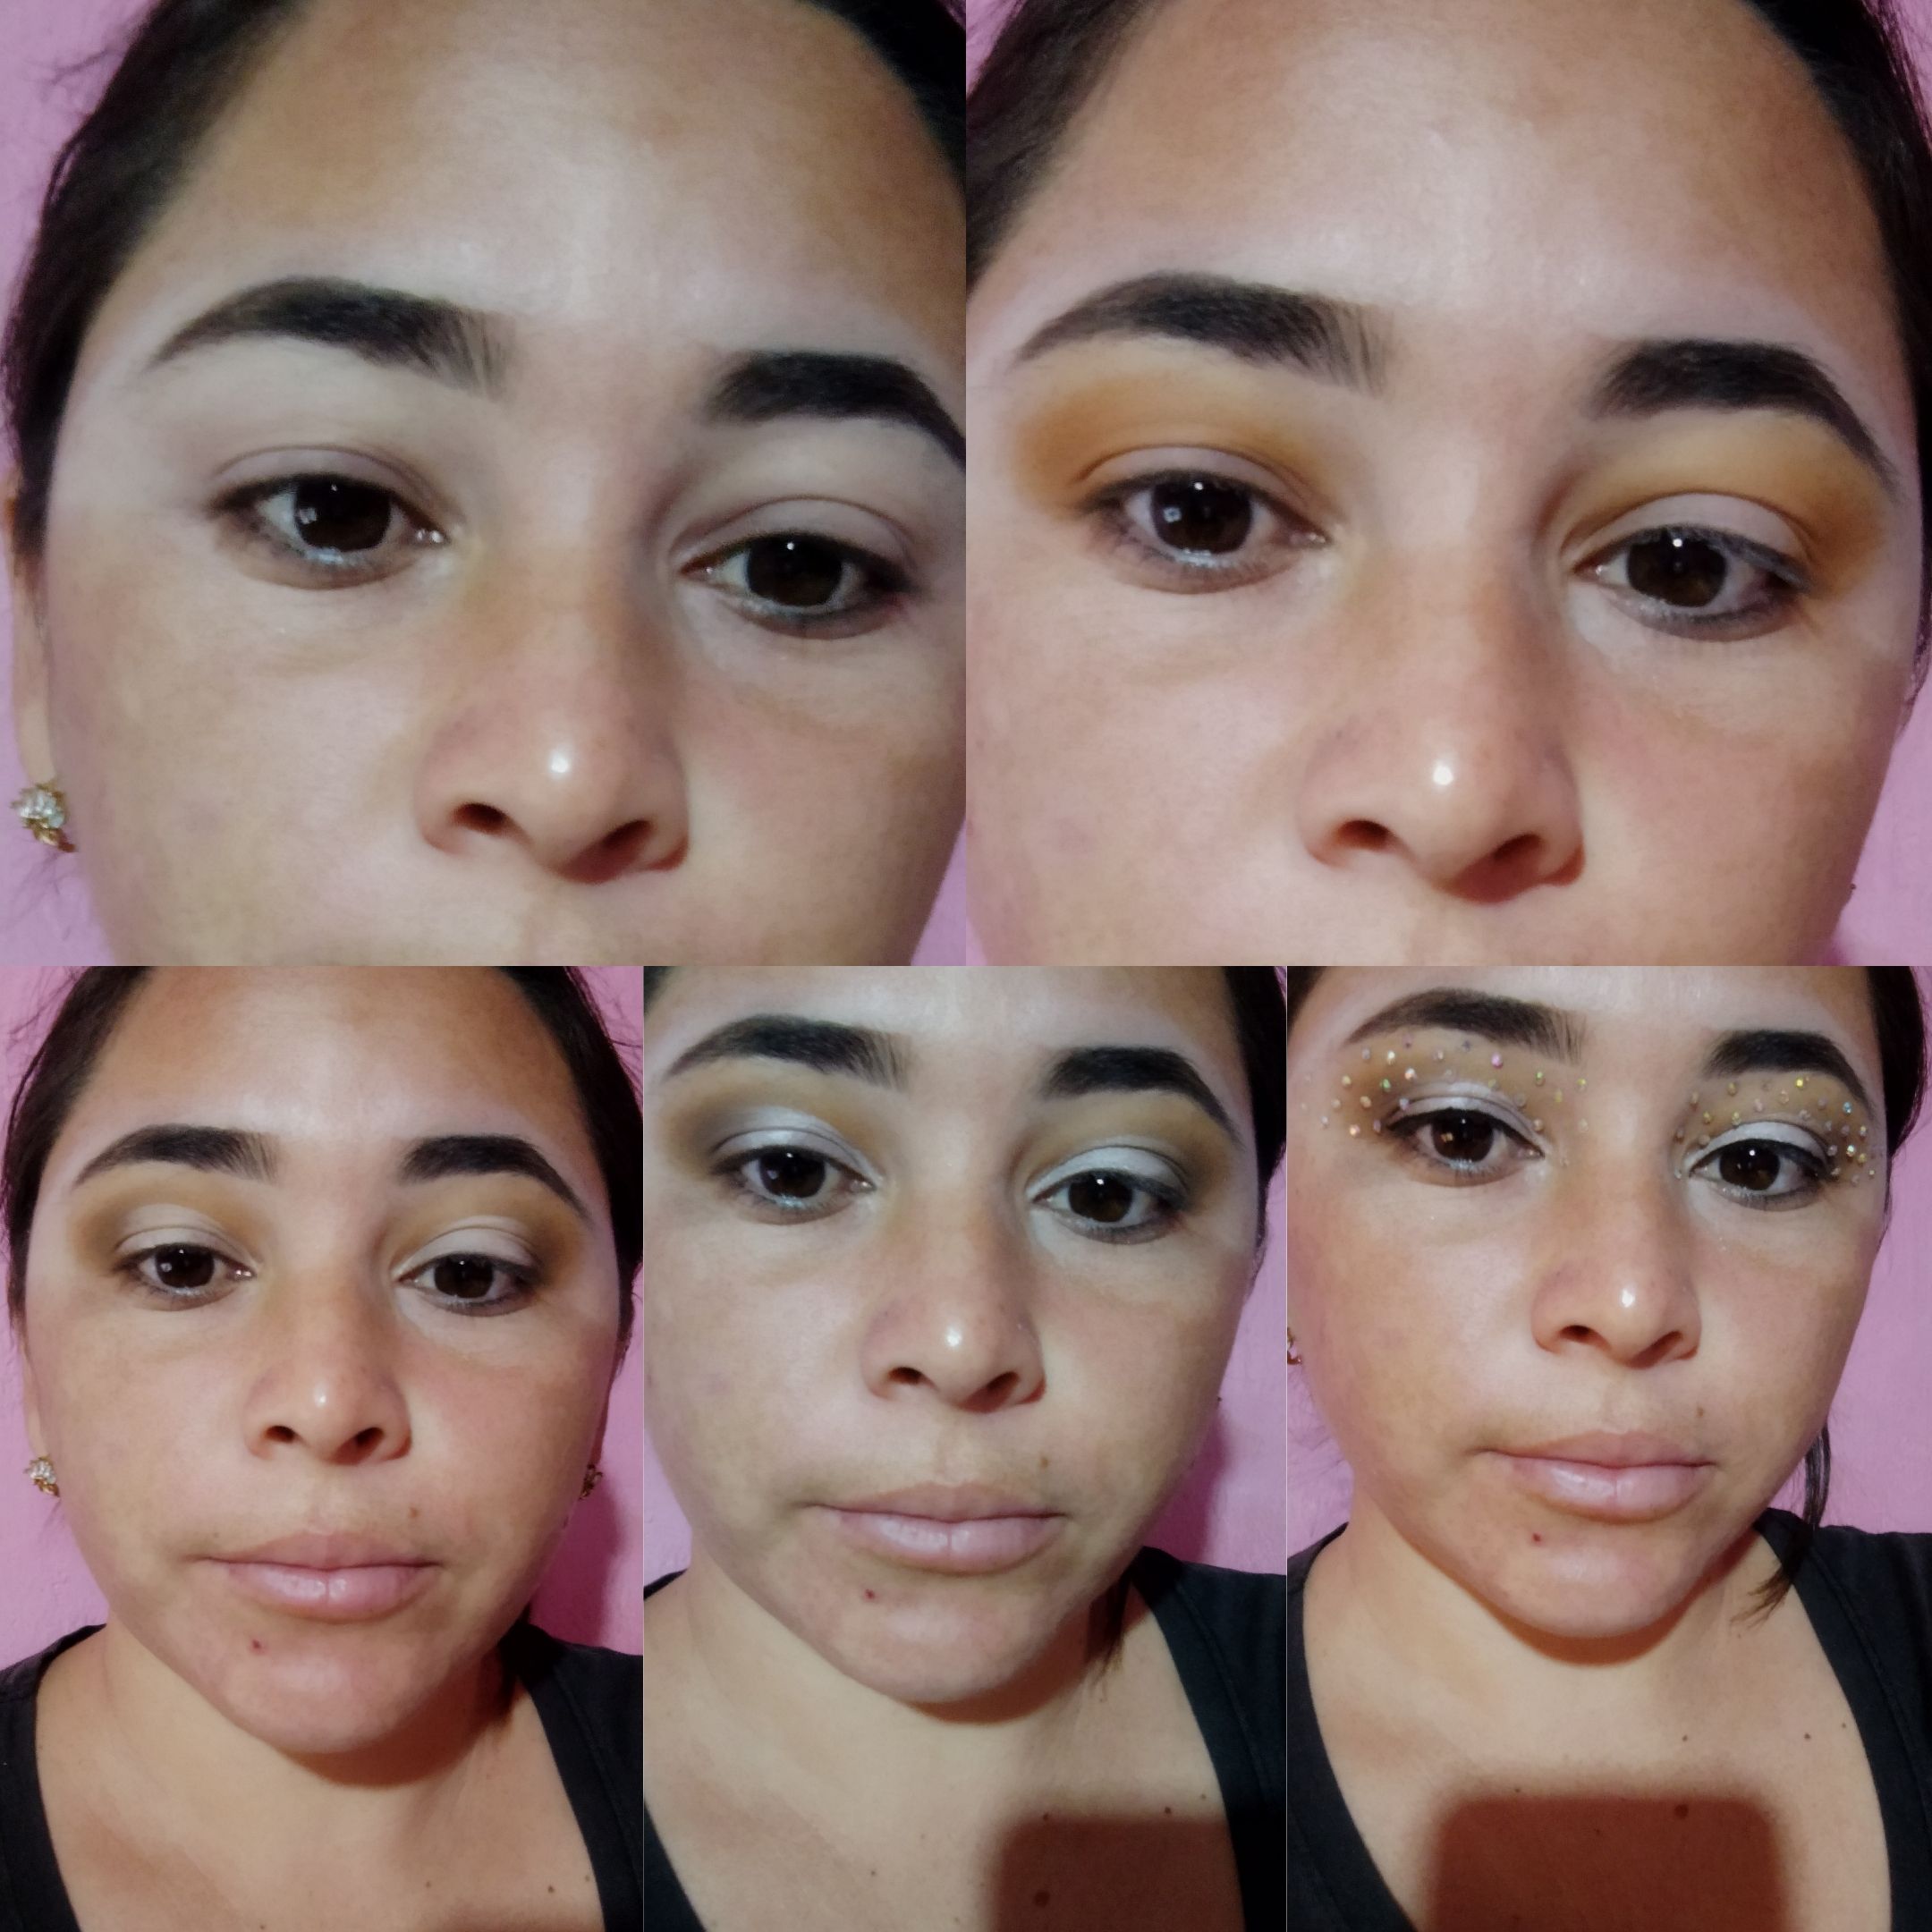
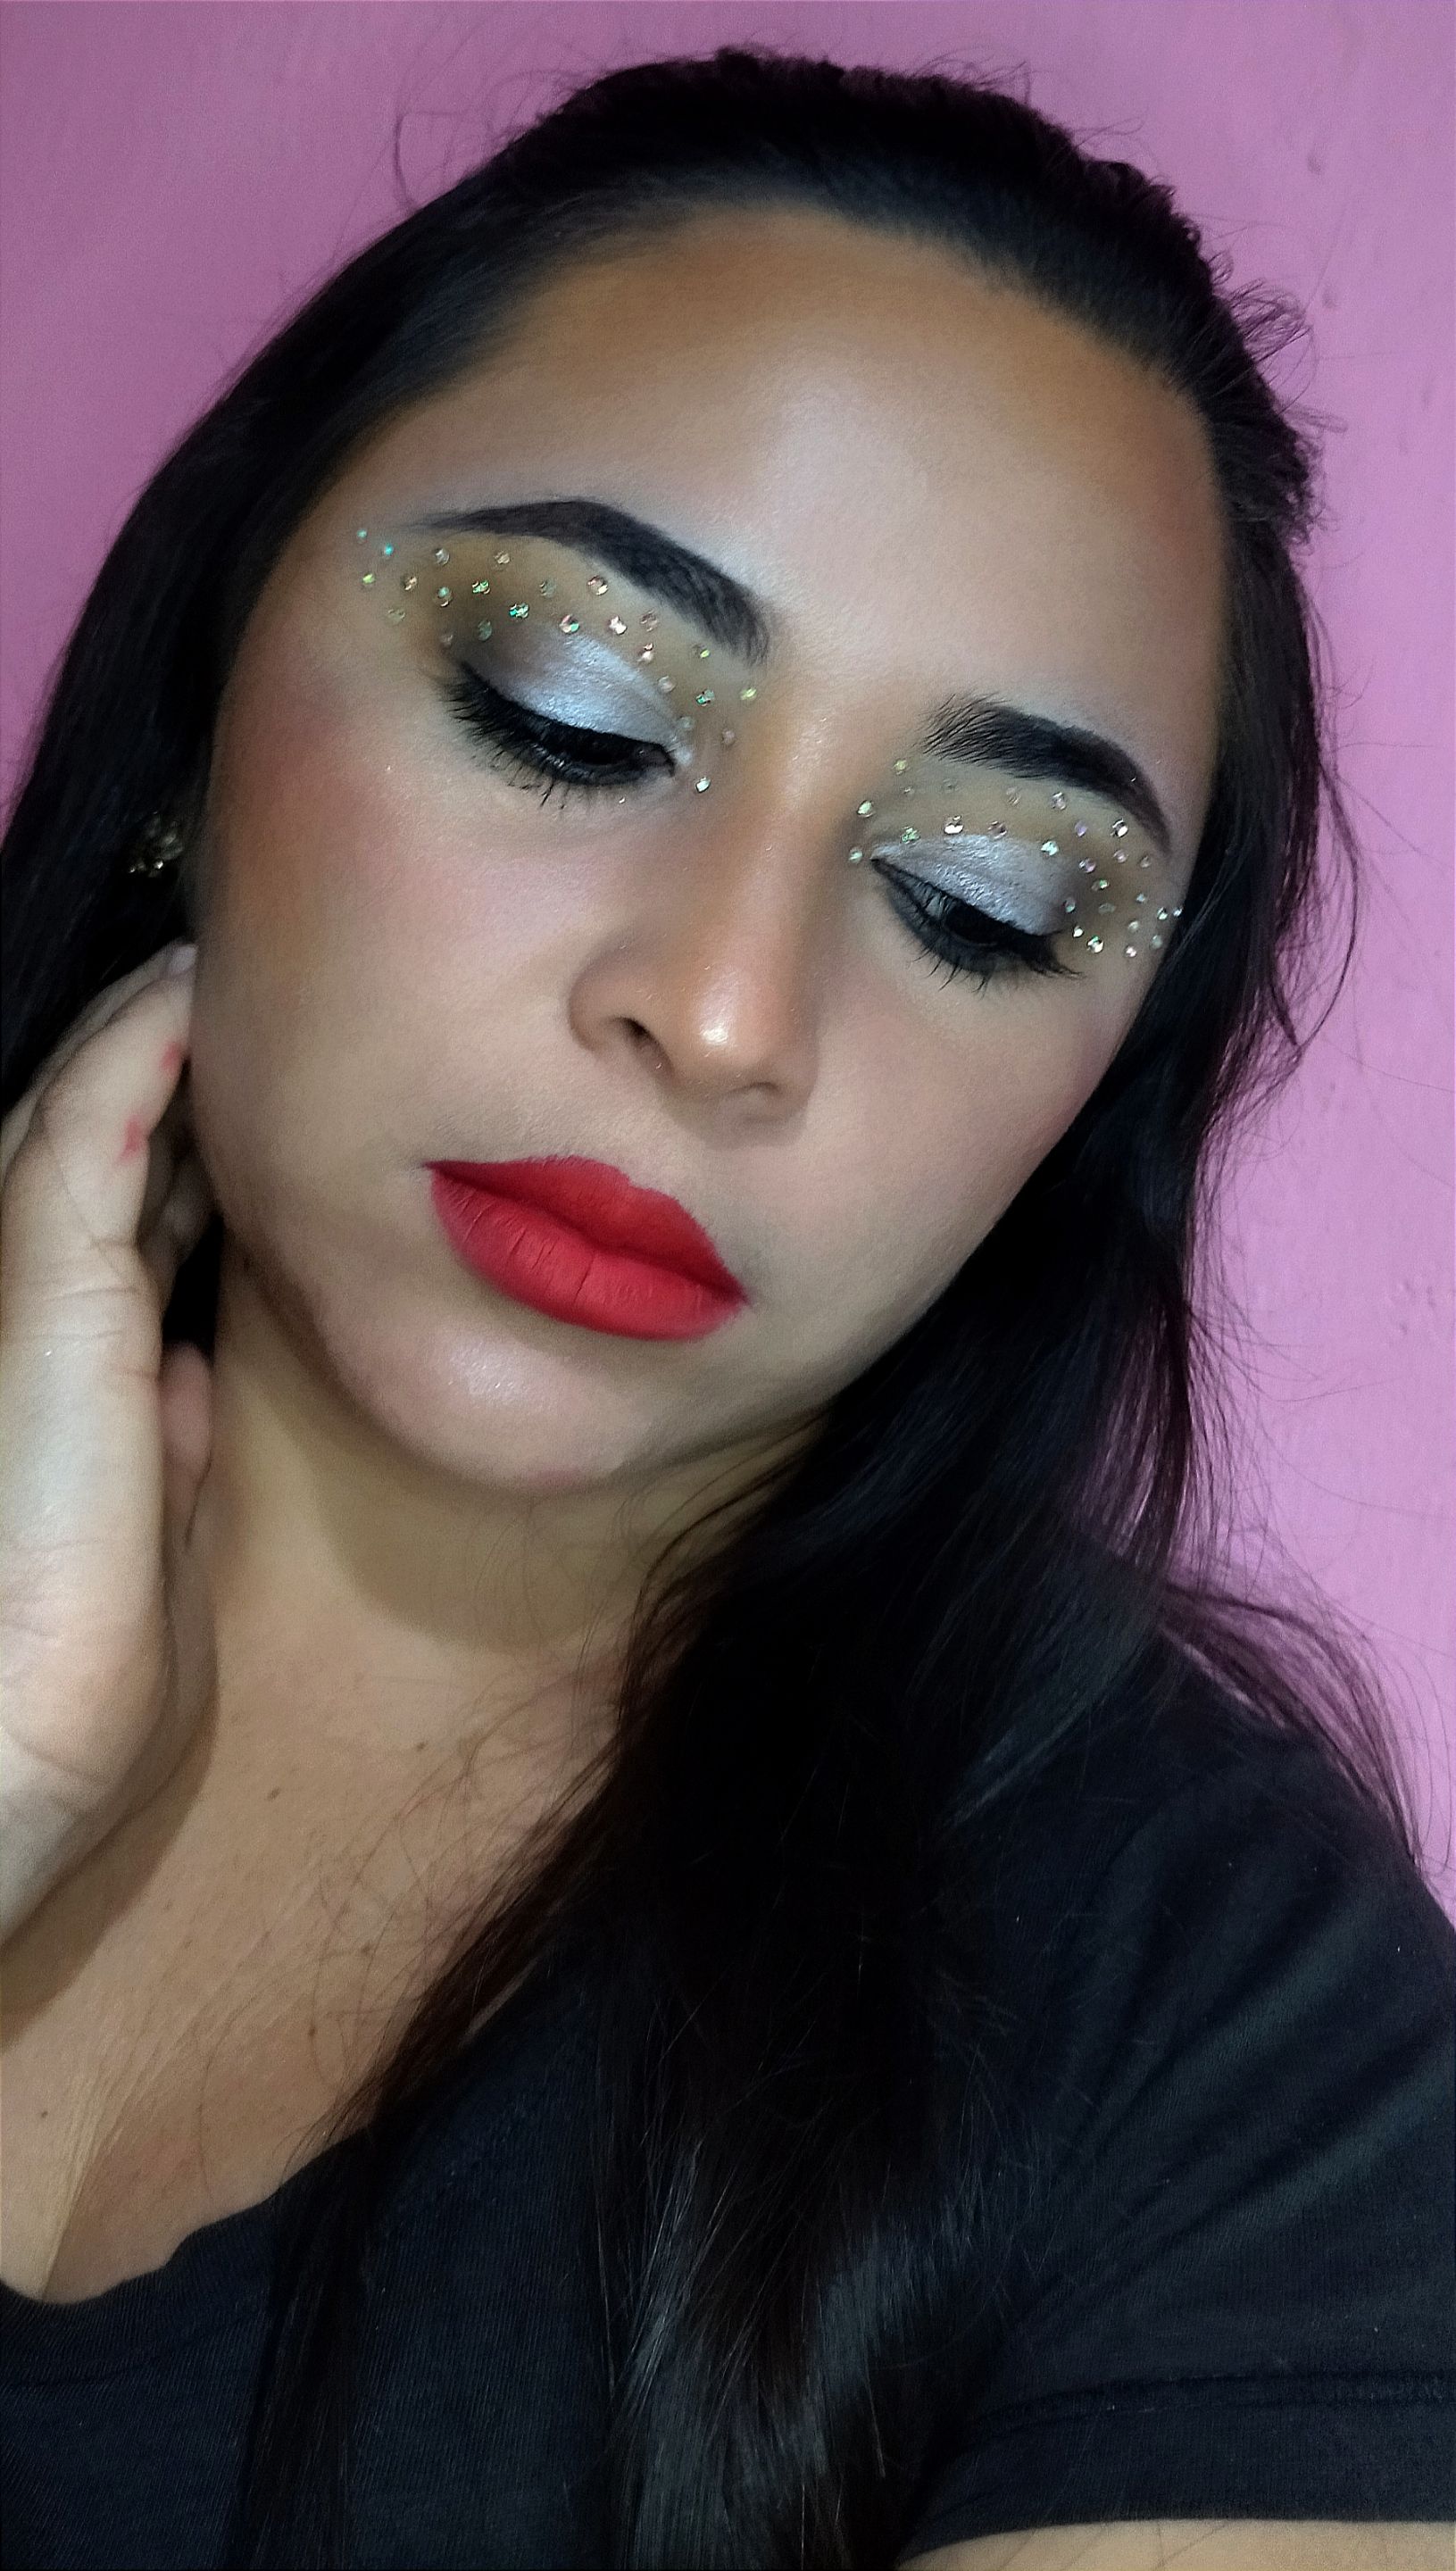
For the eyes, I chose a shadow in neutral tones like beige, light brown. I applied all over the eye socket and the end of the eye, then I did a semi crease cut with concealer and sealed with a silver shadow on the mobile eyelid, then I took rhinestones and glued all over the eyelid randomly.
Para los ojos, elegí una sombra en tonos neutros como beige, marrón claro. Apliqué por toda la cuenca y final del ojo, después hice un semi pliegue cortado con corrector y sellé con una sombra plateada en el párpado móvil, después cogí strass y pegué por todo el párpado aleatoriamente.
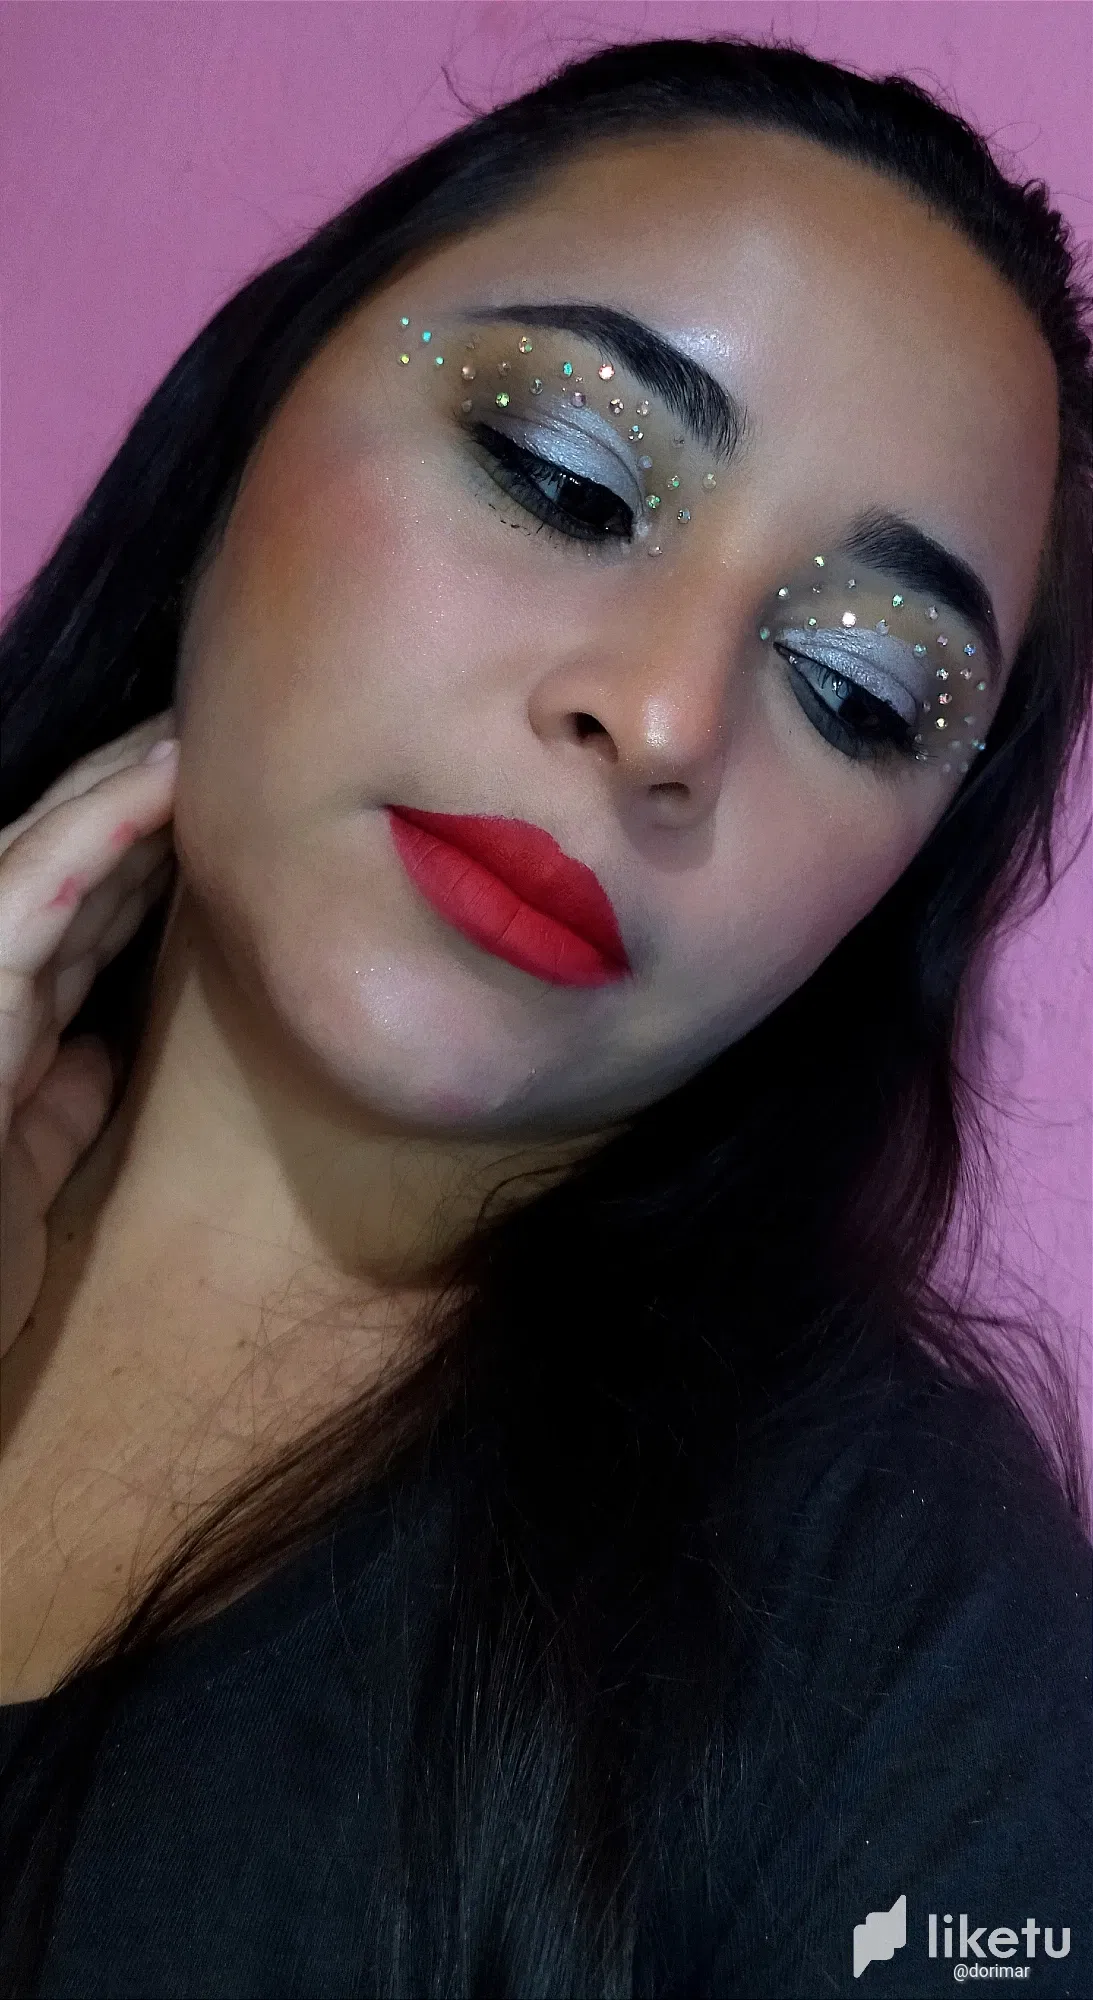
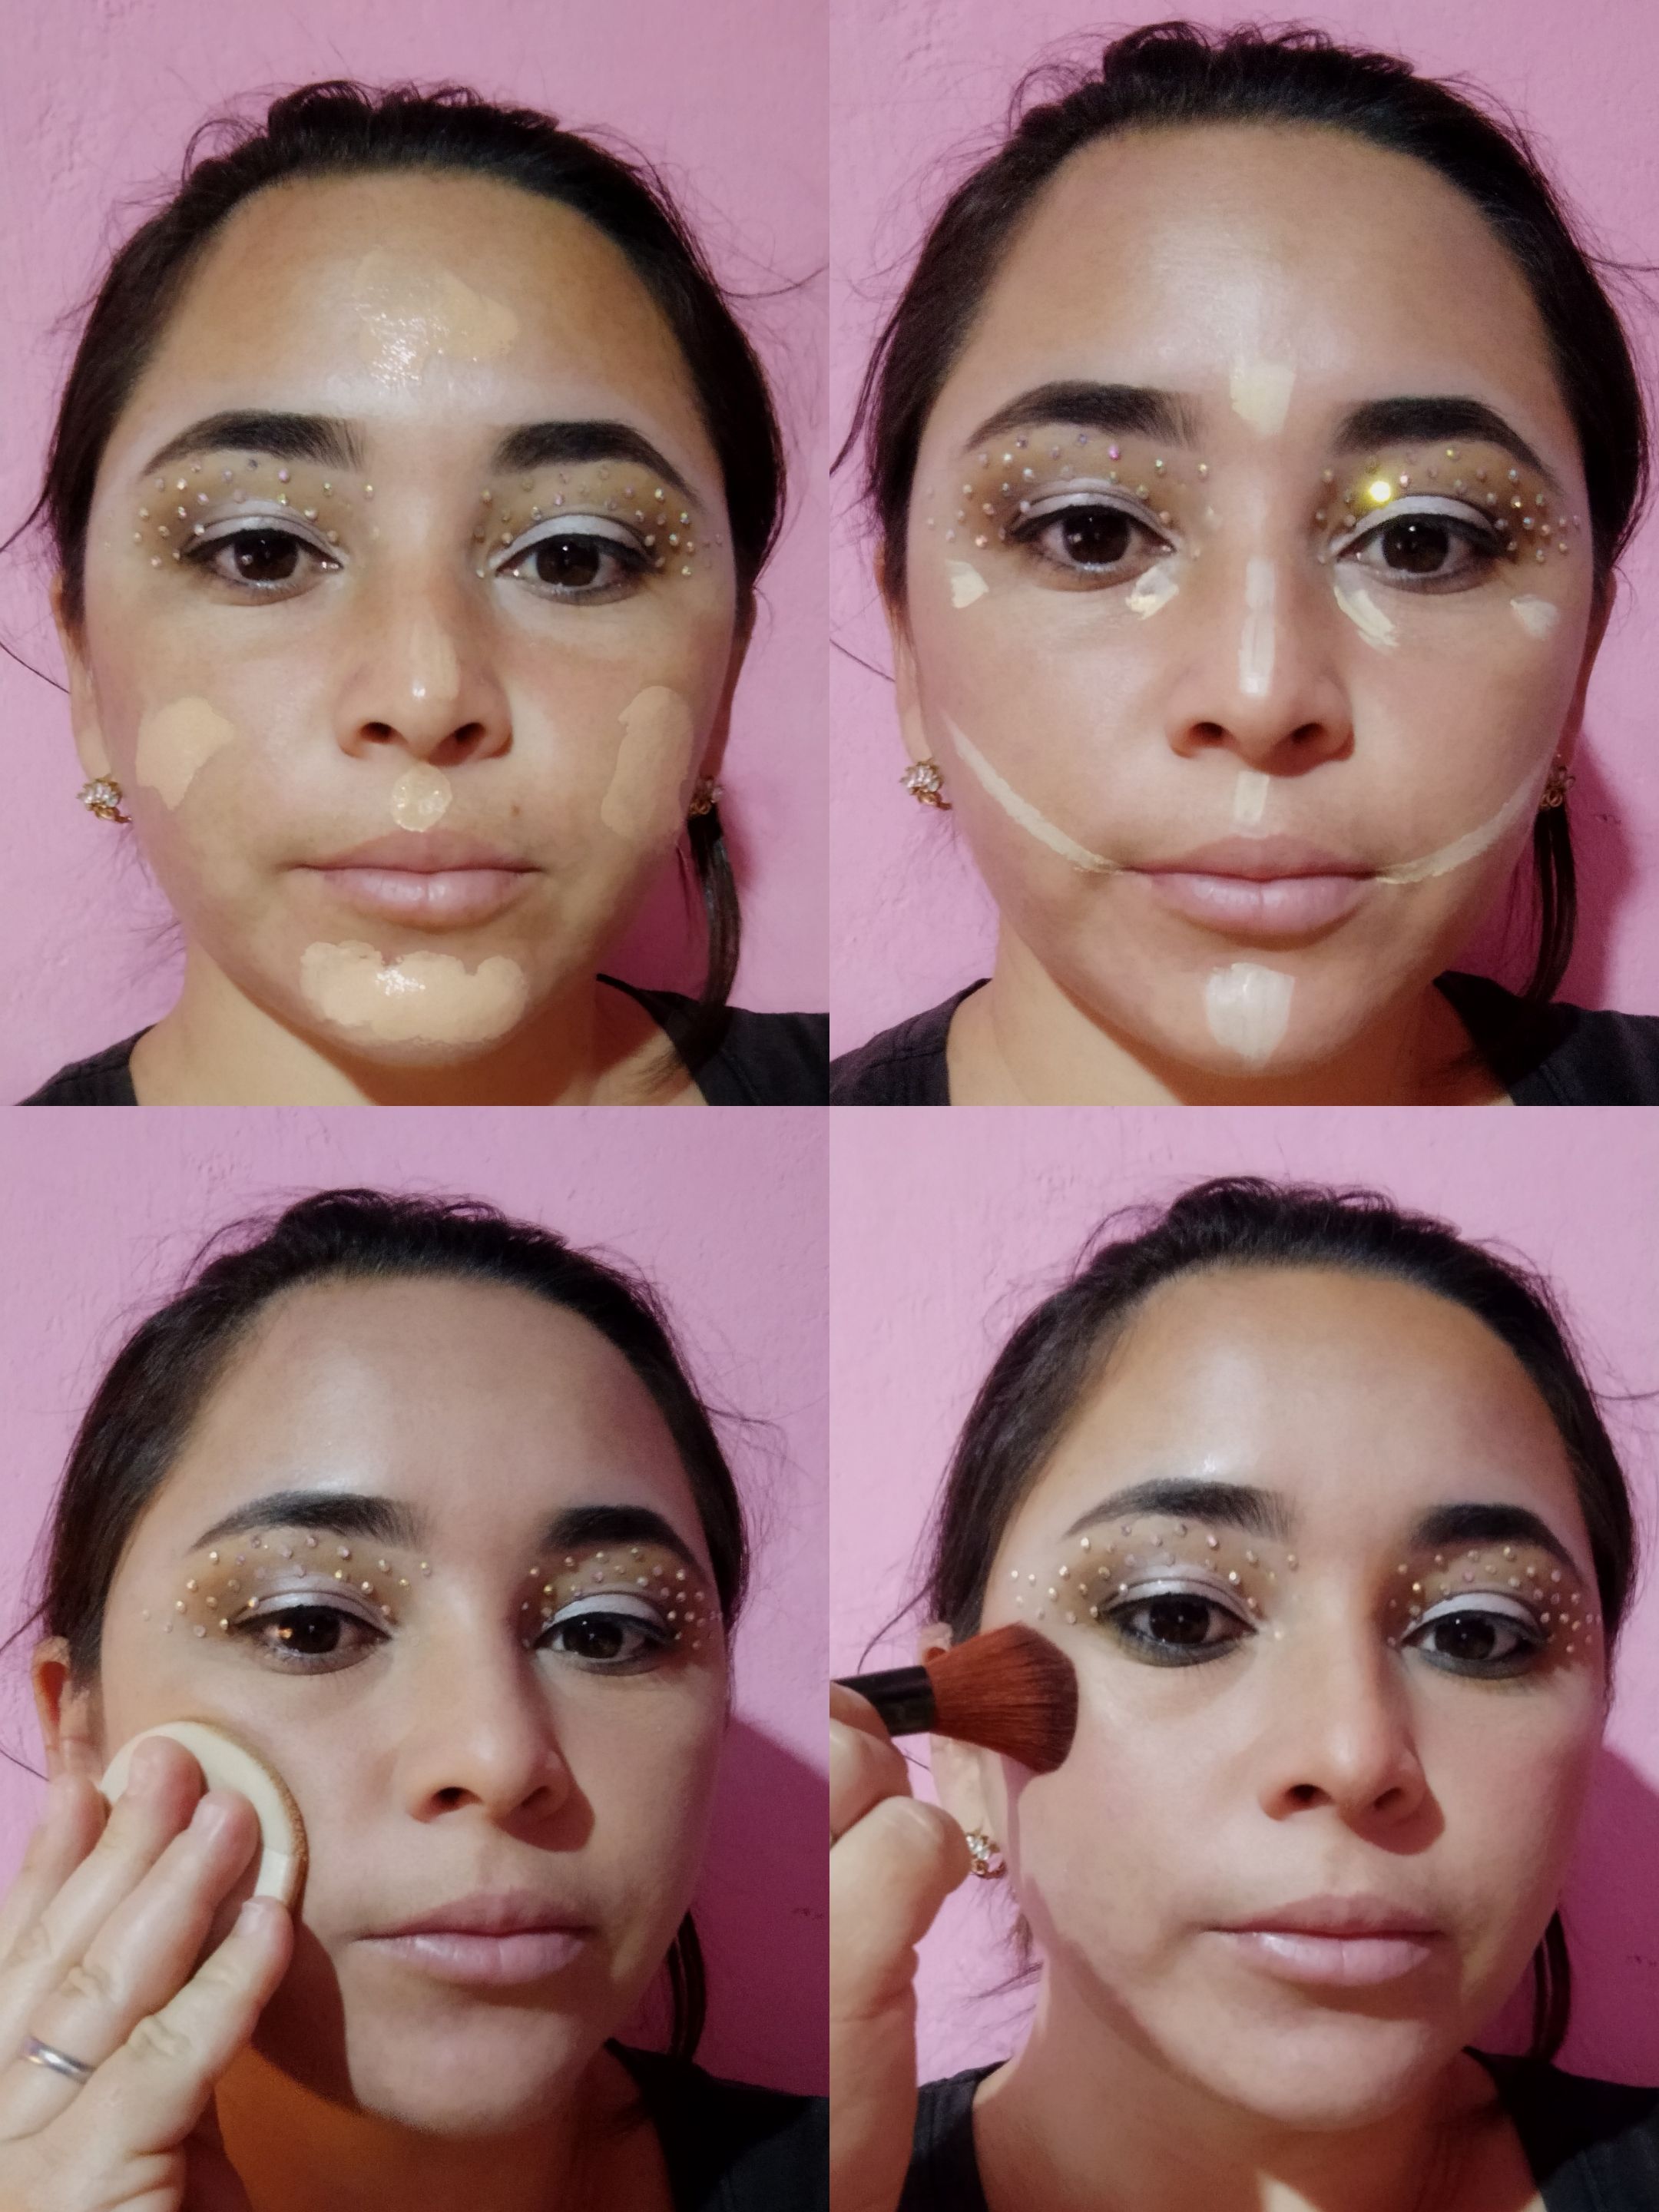
Use a light foundation to even out my skin tone, apply it with your fingers or a brush for a natural, radiant finish, then apply concealer under the eyes and any other areas where you need to cover imperfections, then blend well so it blends seamlessly with your foundation, then apply translucent powder to seal and to finish, add a touch of pink blush on the cheeks to give a fresh, healthy look to your face. Smile and apply the blusher in circular motions towards the temples.
Utilice una base ligera para igualar el tono de mi piel, Aplícala con tus dedos o con una brocha para conseguir un acabado natural y radiante, luego aplique un corrector debajo de los ojos y en cualquier otra área donde necesites cubrir imperfecciones, luego difuminé bien para que se mezcle con tu base de manera imperceptible, luego aplico polvo traslúcido para sellar y para terminar, agrega un toque de rubor rosado en las mejillas para darle un aspecto fresco y saludable a tu rostro. Sonríe y aplica el rubor en movimientos circulares hacia las sienes.
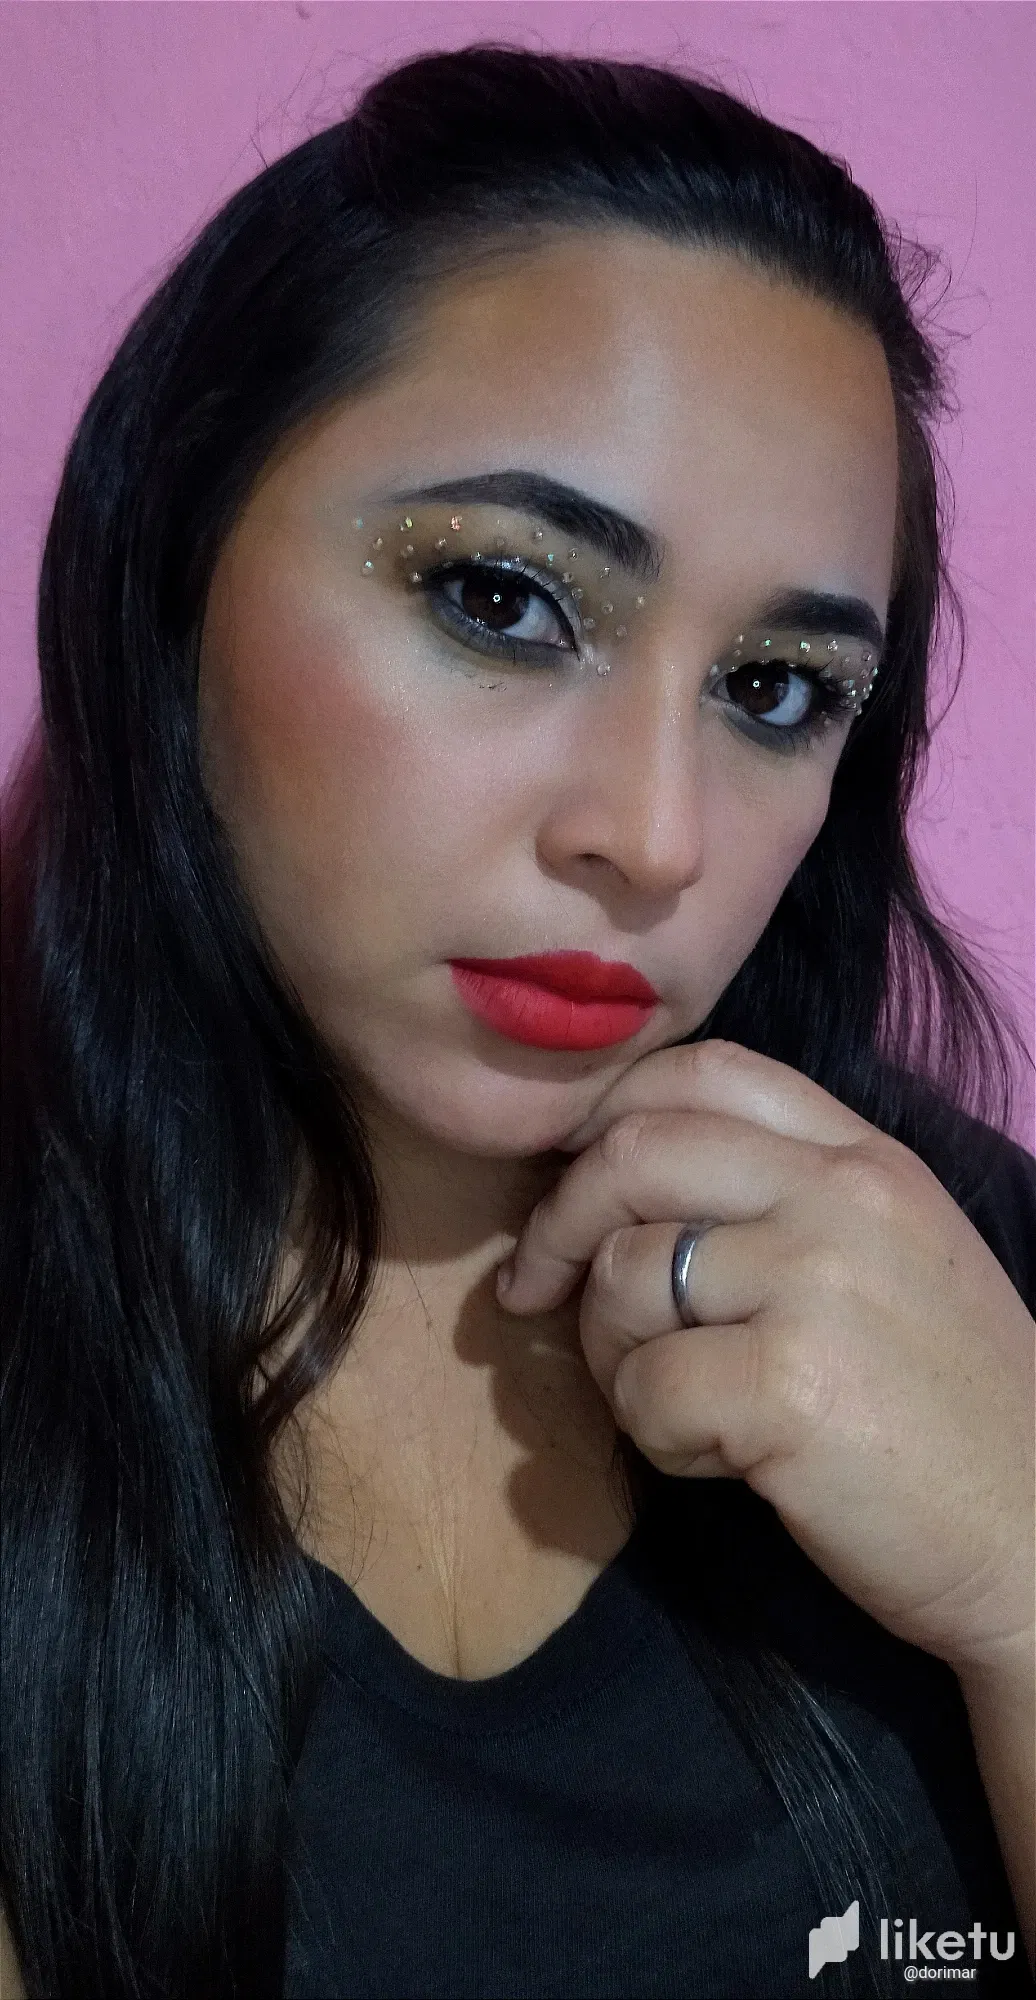
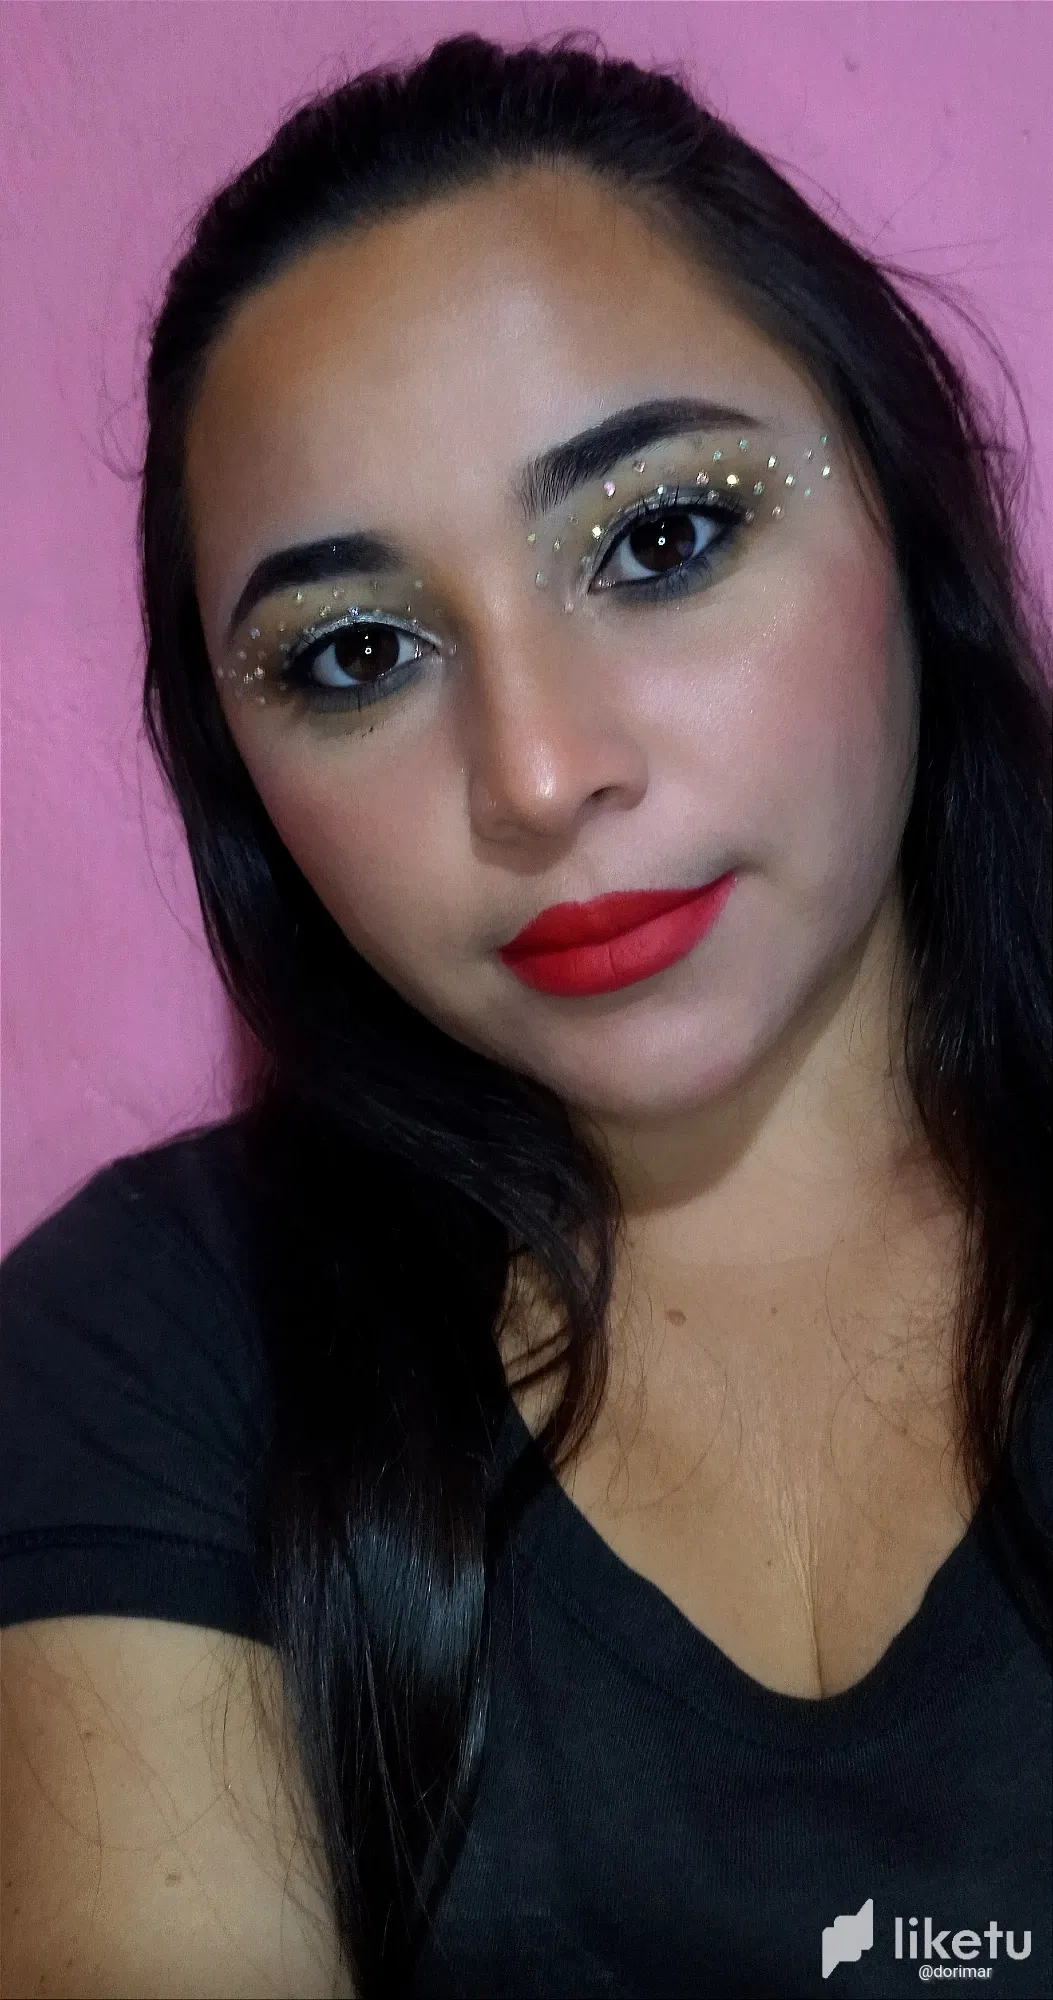
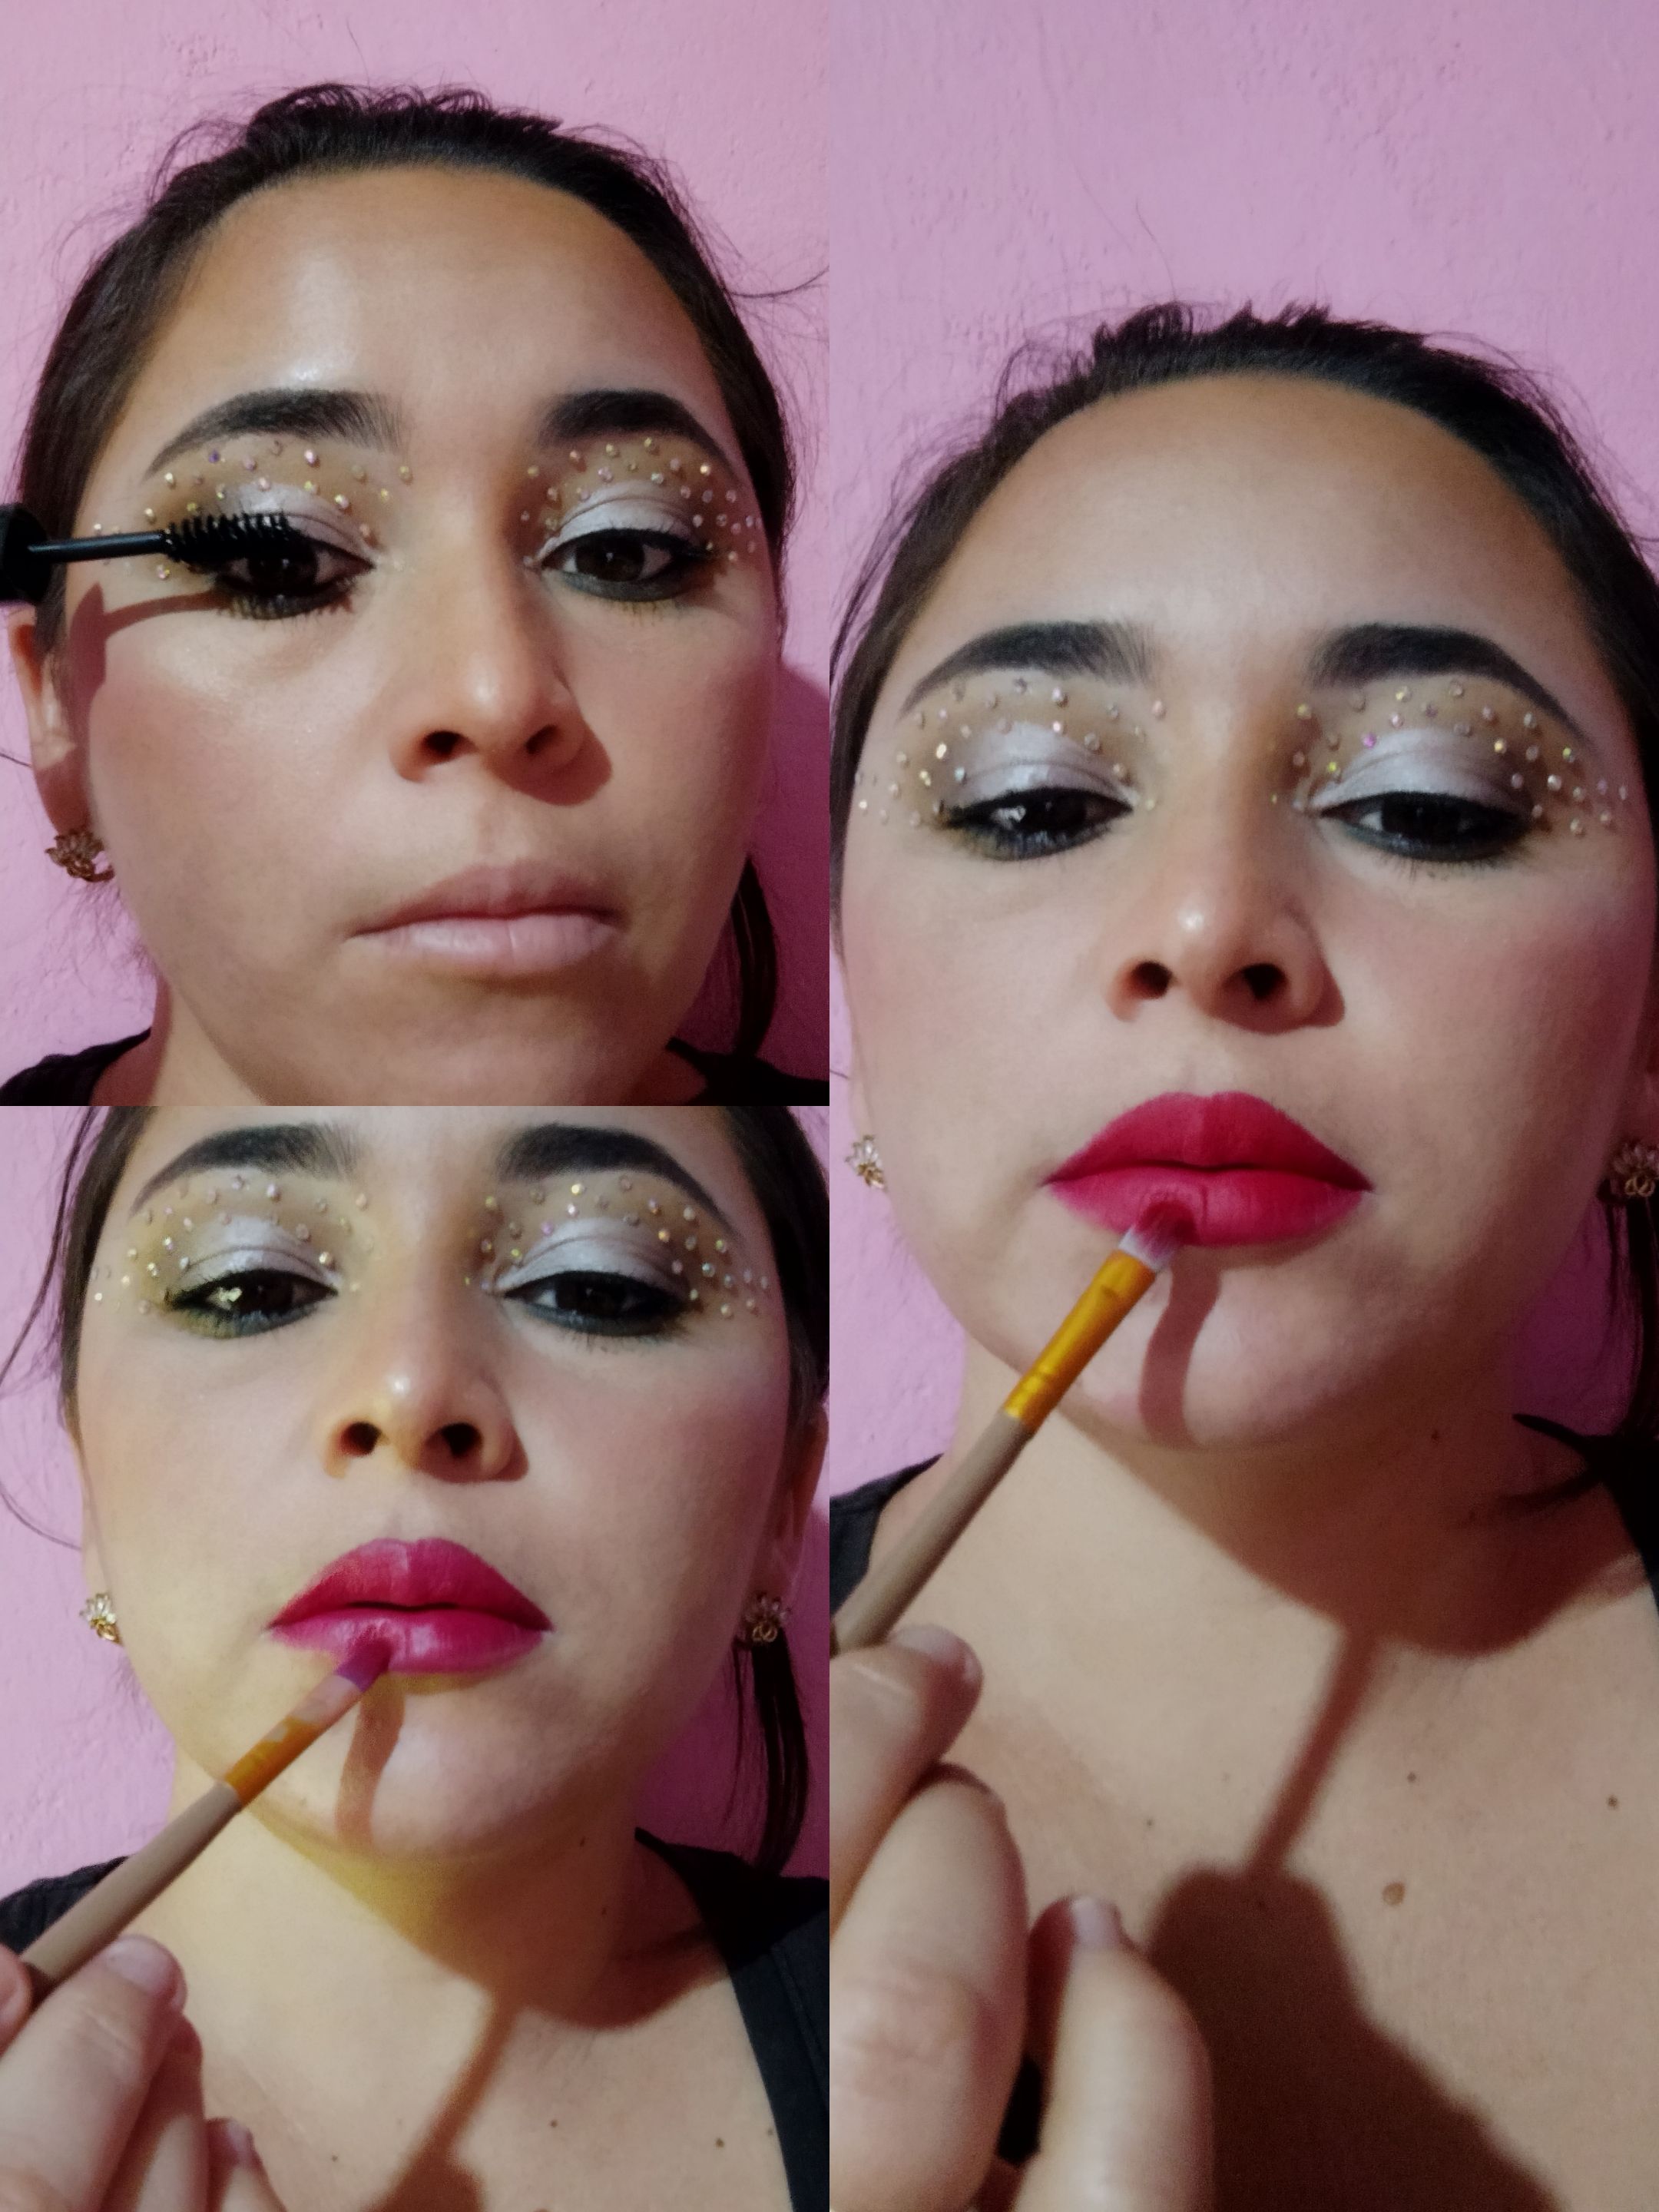
Subtly apply eyeliner to the eyes for a defined look. Next, apply a coat of mascara to open up the look and make your eyes pop, and finish the look with a red lipstick.
Aplique delineador sutilmente en los ojos, para una mirada definida. Luego, aplica una capa de máscara de pestañas para abrir la mirada y hacer que tus ojos resalten, Y para finalizar el look con un labial en tonos rojo.
And that's it. With these simple steps, you'll get a glamorous and radiant look that's perfect for the evening. Don't forget to set your makeup with a setting spray to make it last all night long.
¡Y listo! Con estos sencillos pasos, lograrás un look glamuroso y radiante perfecto para la noche. No olvides fijar tu maquillaje con un spray fijador para que dure toda la noche.
I hope this tutorial will be useful for you, see you another time, happy evening to all.
Espero que este tutorial te sea útil. ¡Nos vemos en otra ocasión, feliz noche para todos.
Photography: (@dorimar)
Cover photo: (Canva)
Banner:(Canva)
Traductor: (Con la aplicación Deepl)
For the best experience view this post on Liketu