Hello, beautiful day! It's a pleasure to greet you🌞. I hope you are all doing very well, dear and appreciated friends. I warmly welcome you to a new blog where I will be sharing with you the creative process of what we will do here step by step. Feel comfortable and thank you for being here reading this blog.✨❤️🧵
.jpg)
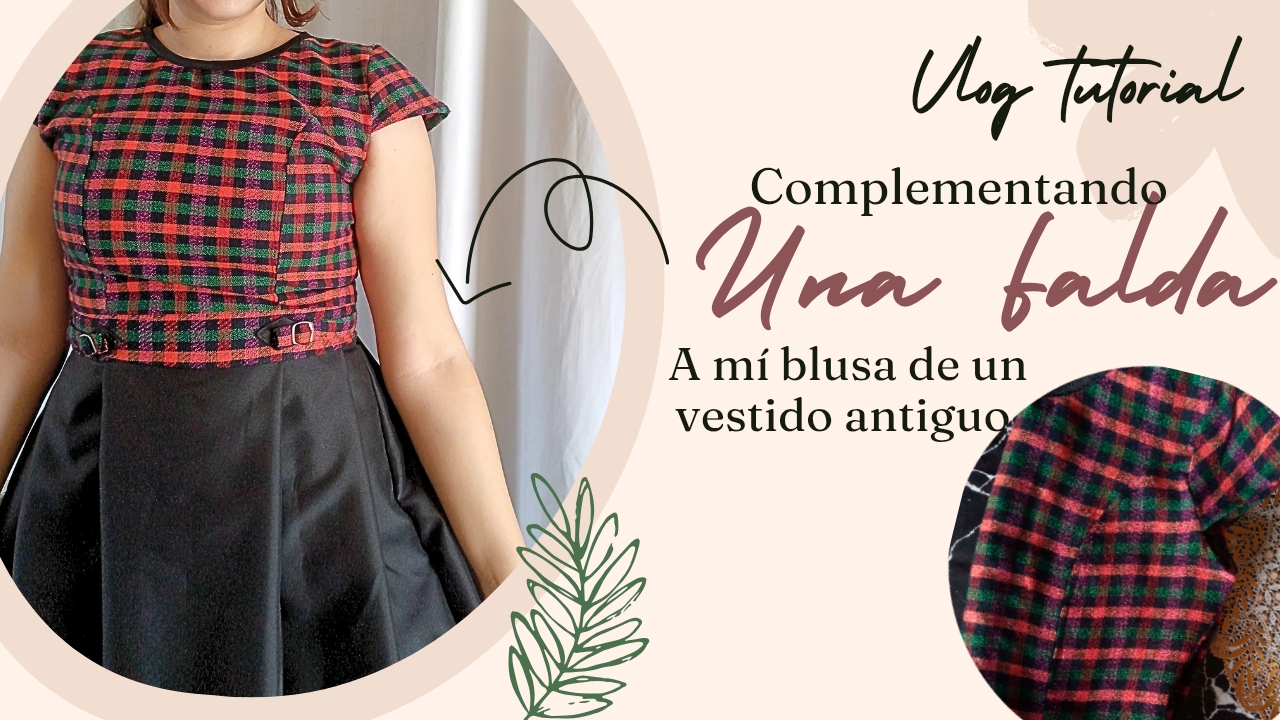
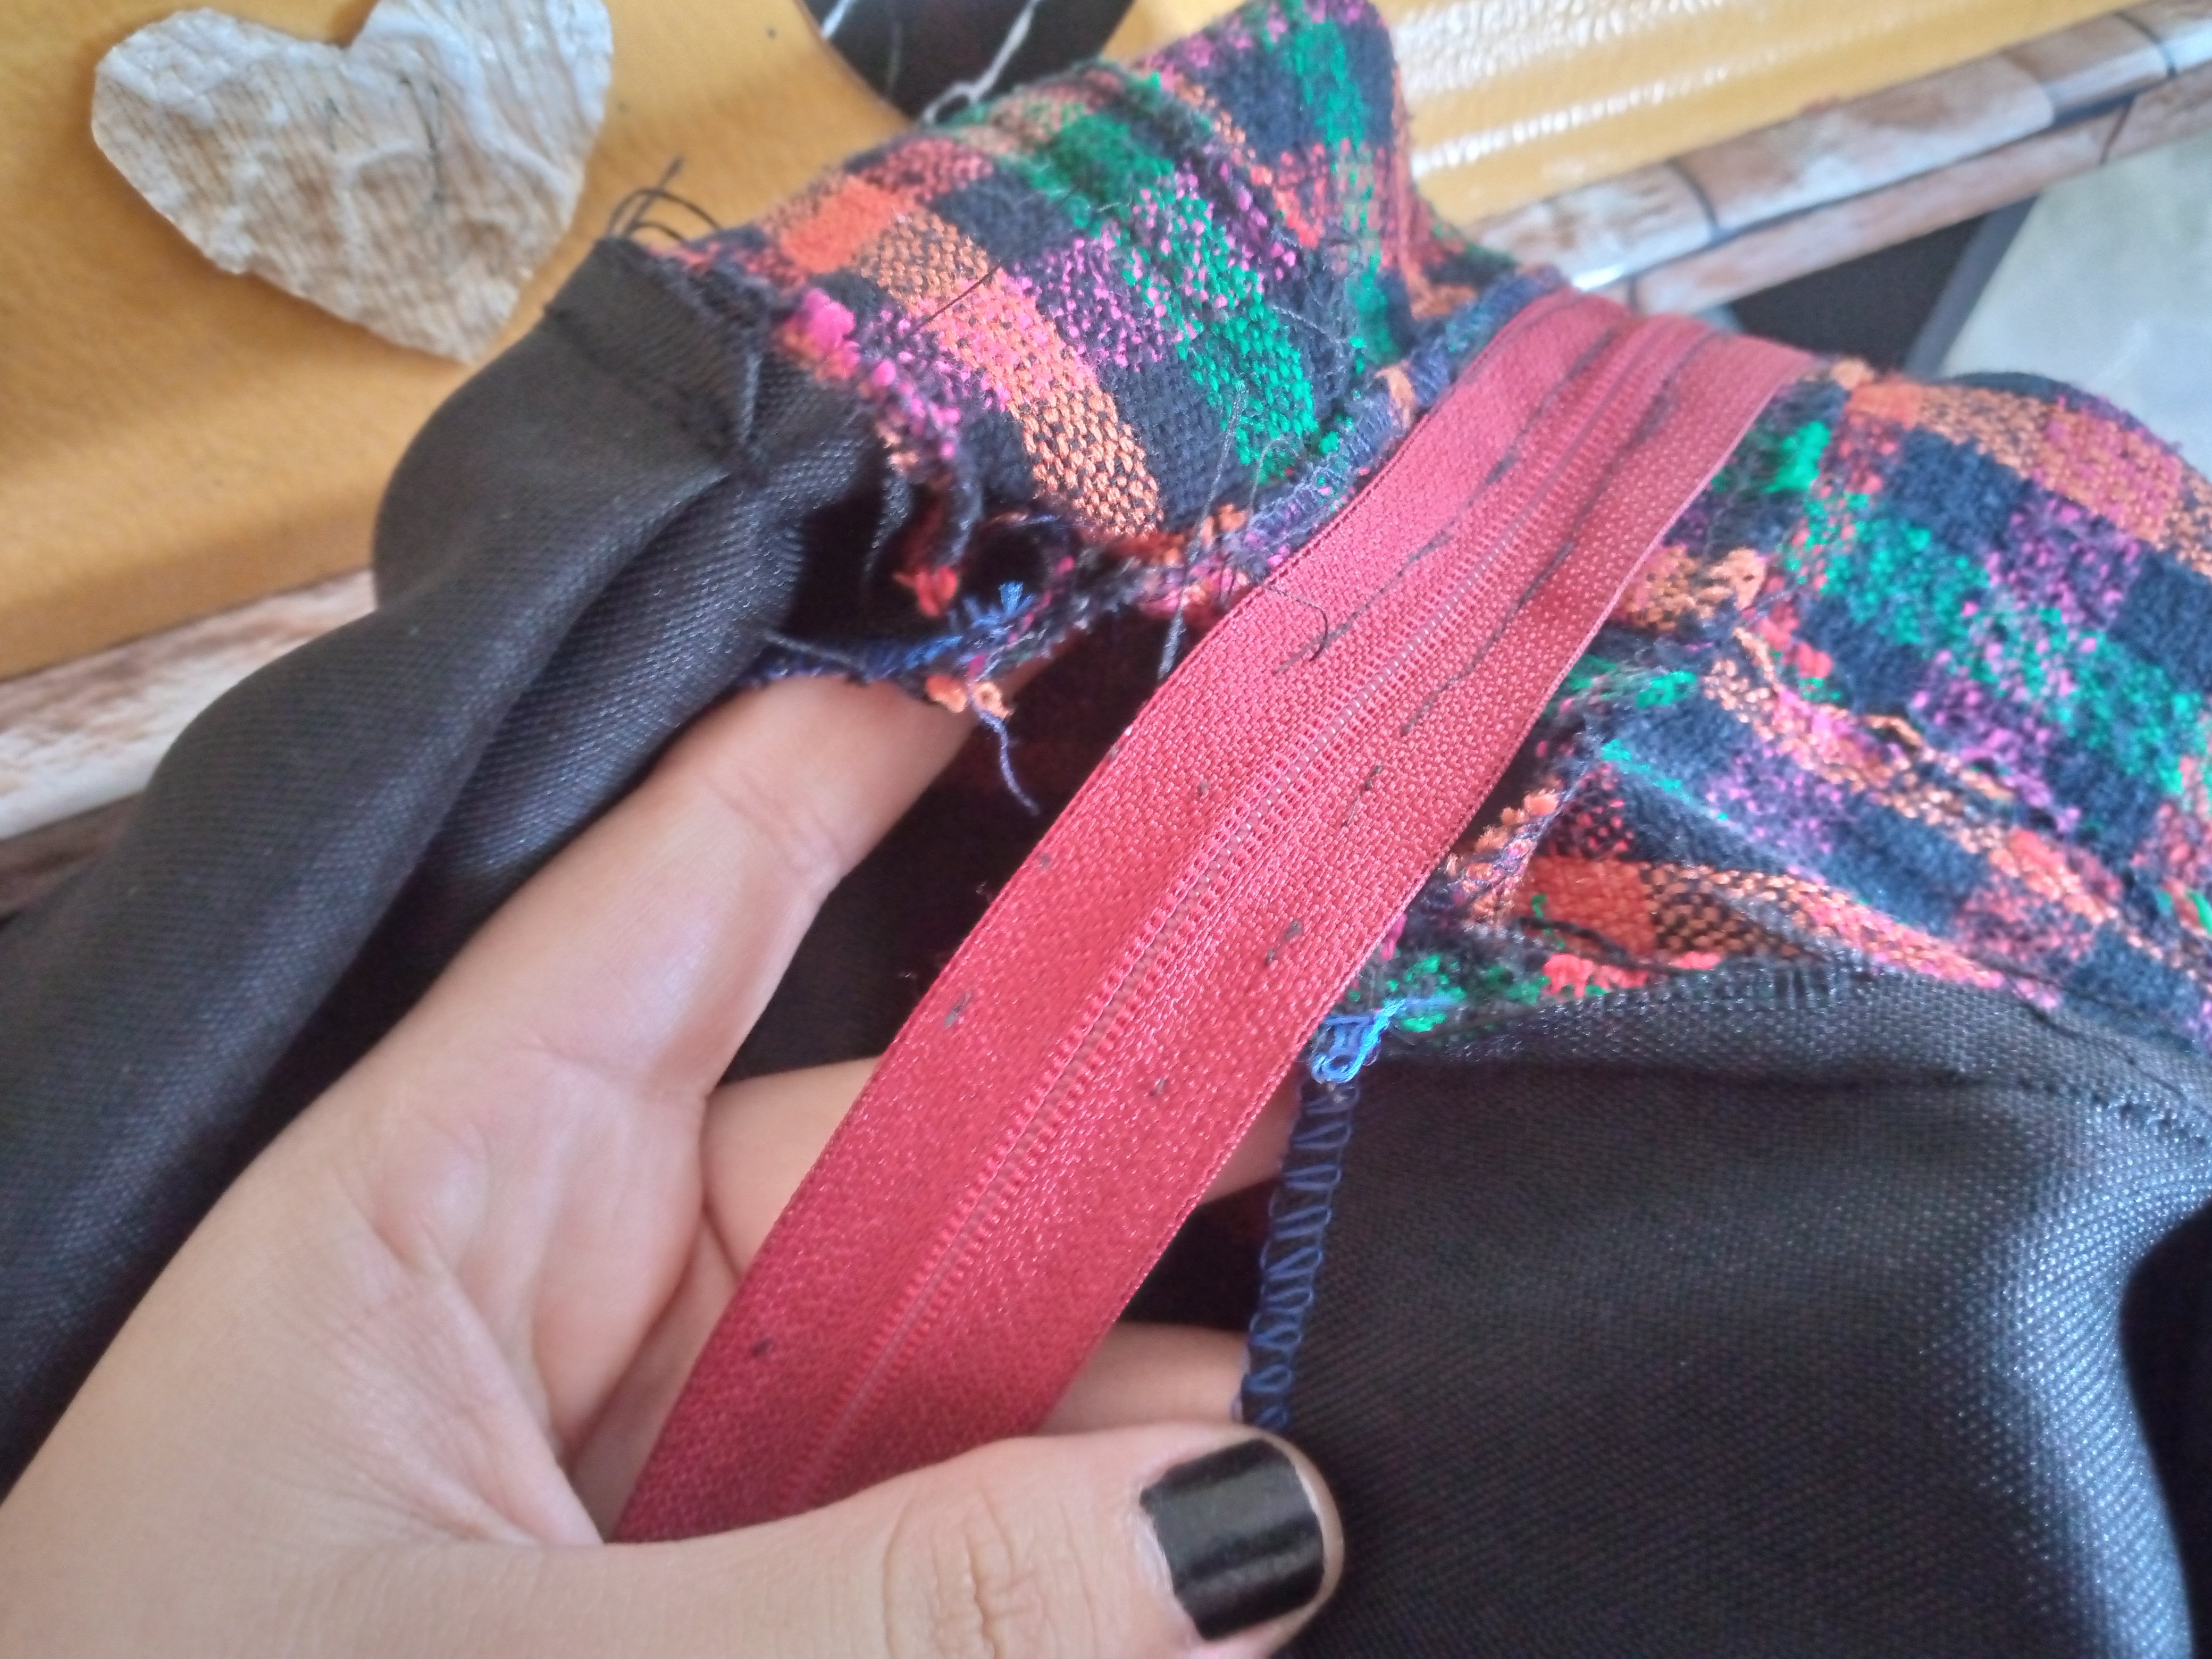
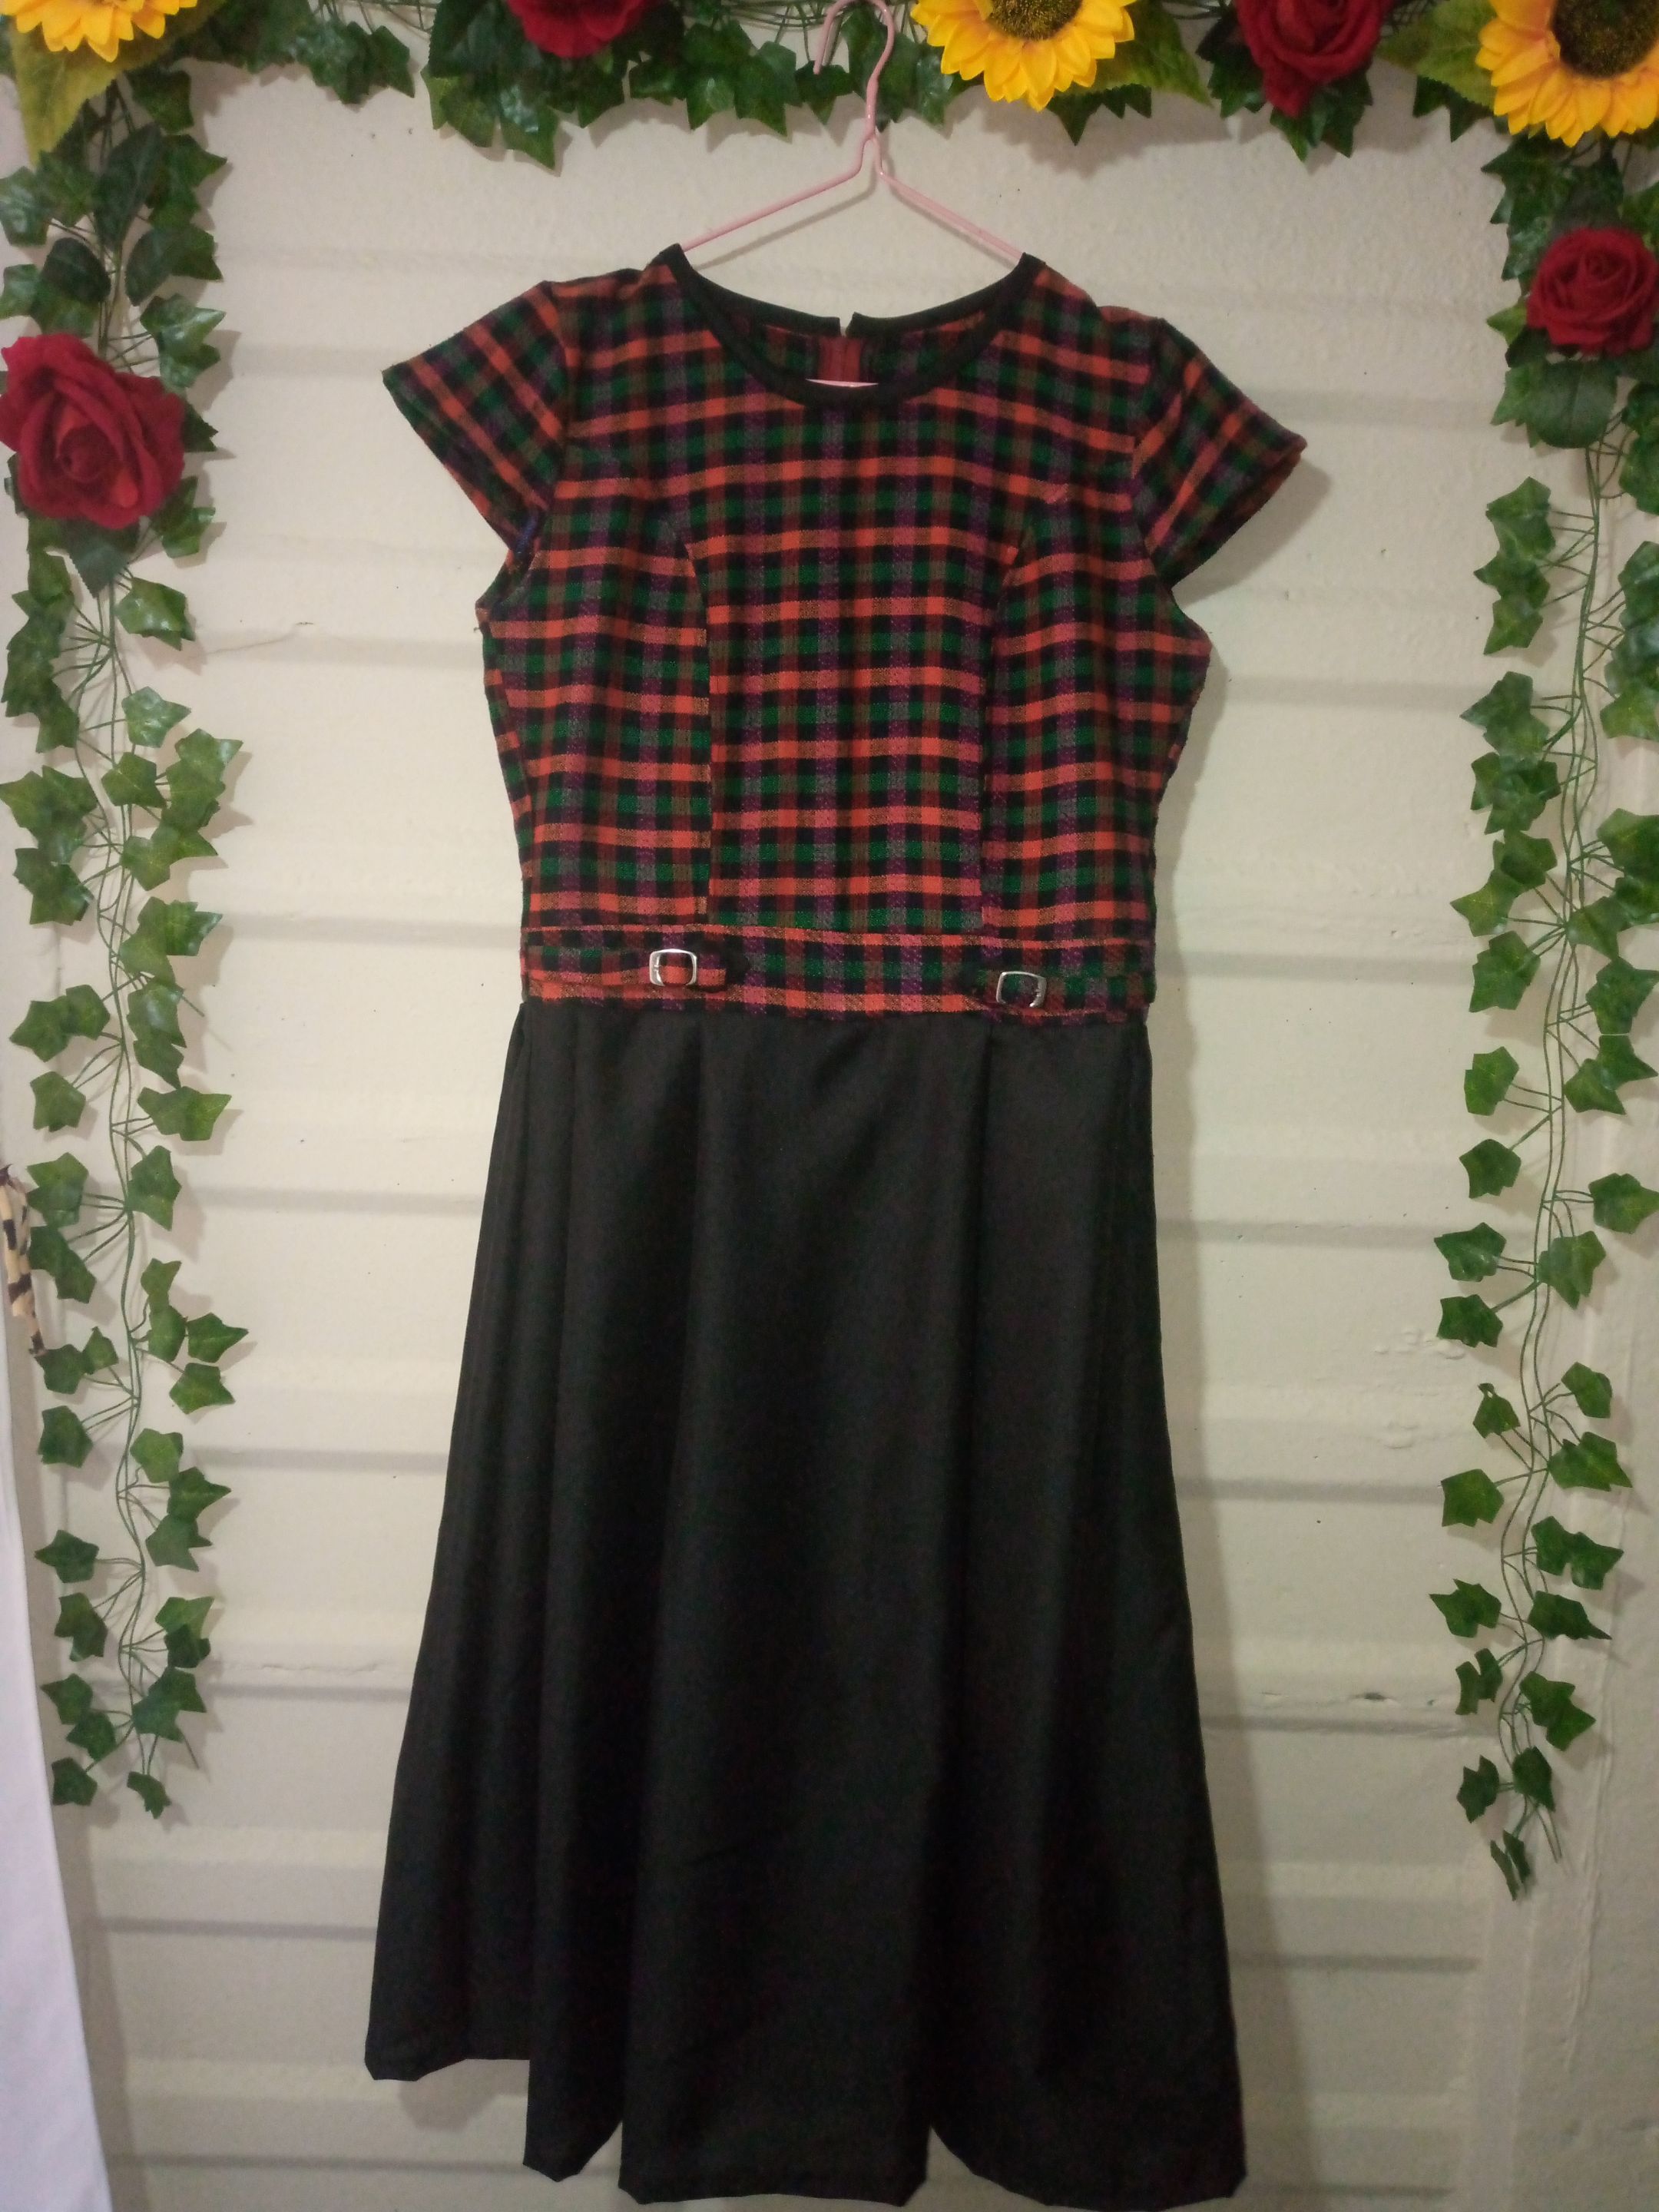
Well friends today I want to show you how I have placed a skirt on this blouse of an old dress because I had it before but the skirt underneath was too short for the dress and it seems to me that I am not used to wearing short dresses especially to go out to meetings I like an elegant and decent dress, the previous fabric that this dress had was also black and what I have been doing is remodeling and fixing my clothes because I like them a lot and well I do not want to throw them away or give away those clothes that still serve me and that can be accommodated, yes I have given some friends some clothes that did not serve me but I have been transforming the rest.

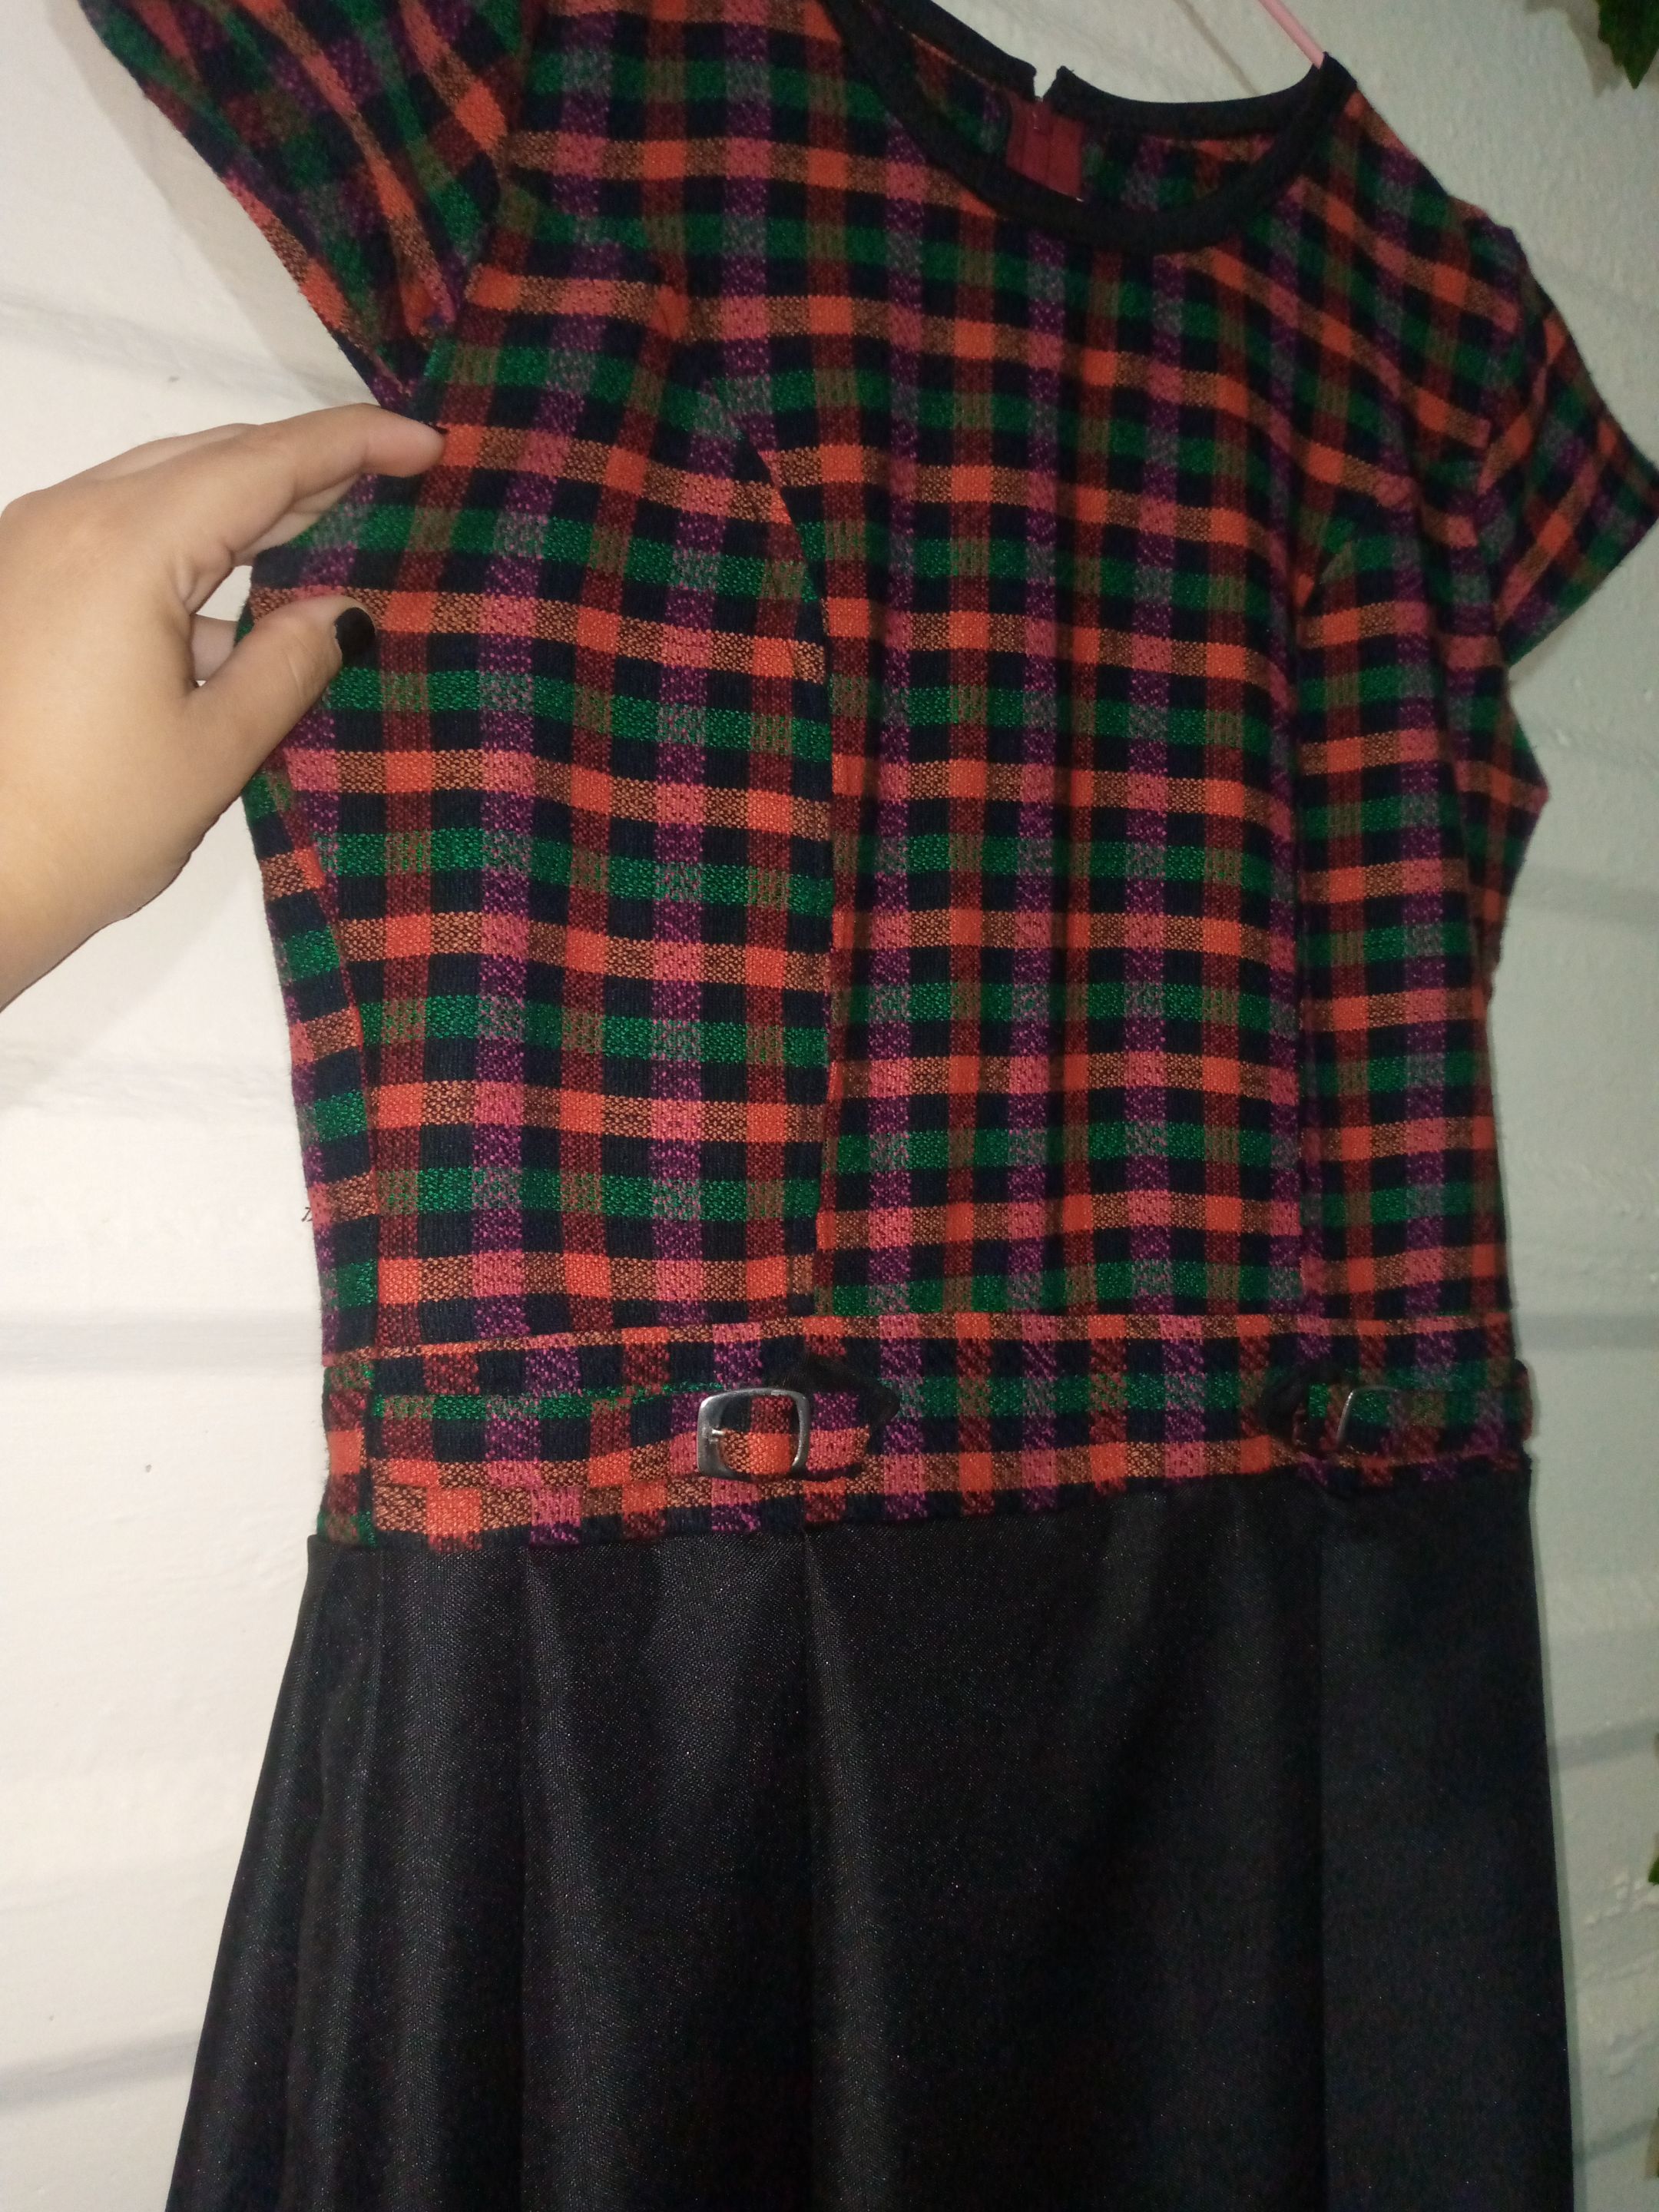
This is the model of the dress's blouse, it is a somewhat thick and soft fabric and I wanted to leave the zipper at once to be able to add it to the skirt and so it is very necessary that the skirt that I will add fits in the hip area, I bought a meter of pants-type fabric because it is somewhat hard and I feel that it fit very well although to tell the truth it was the only one available for the dress so I bought it, for the lining I also wanted to buy a black and softer fabric because the top fabric tends to be transparent so it was important that I add a lining at once.
Pasos a seguir://Steps to follow:
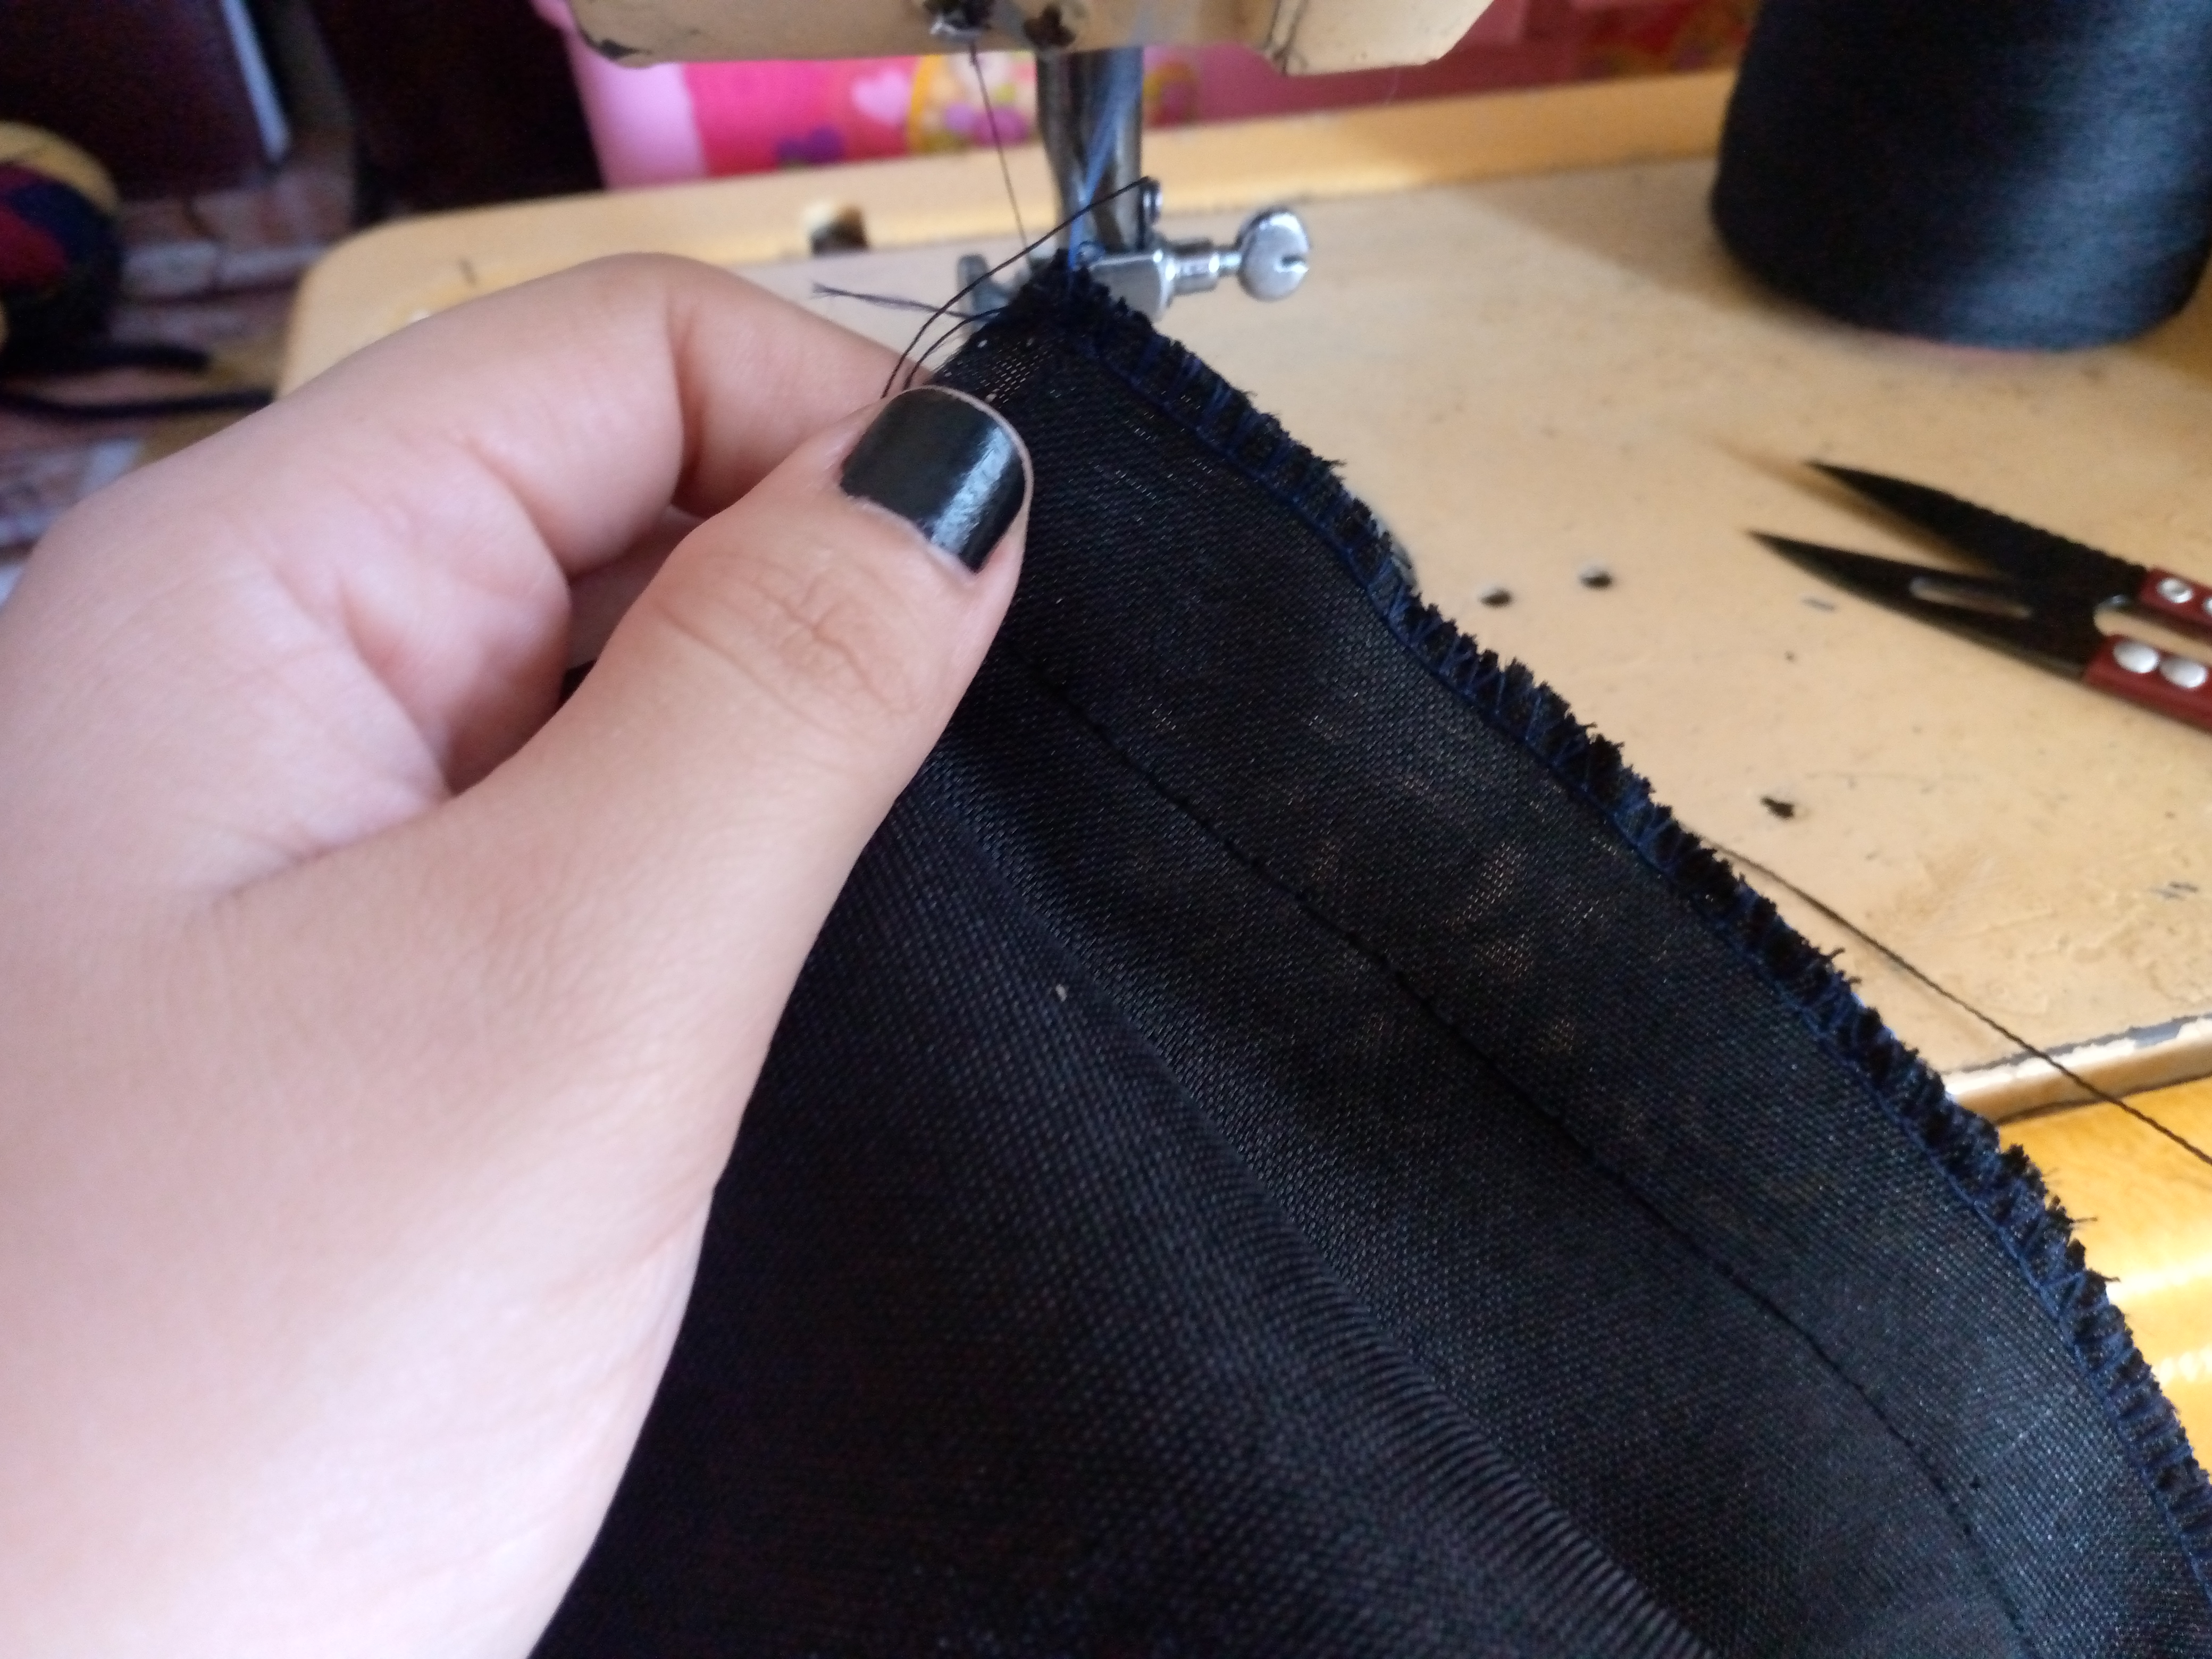
Paso 01
Step 01
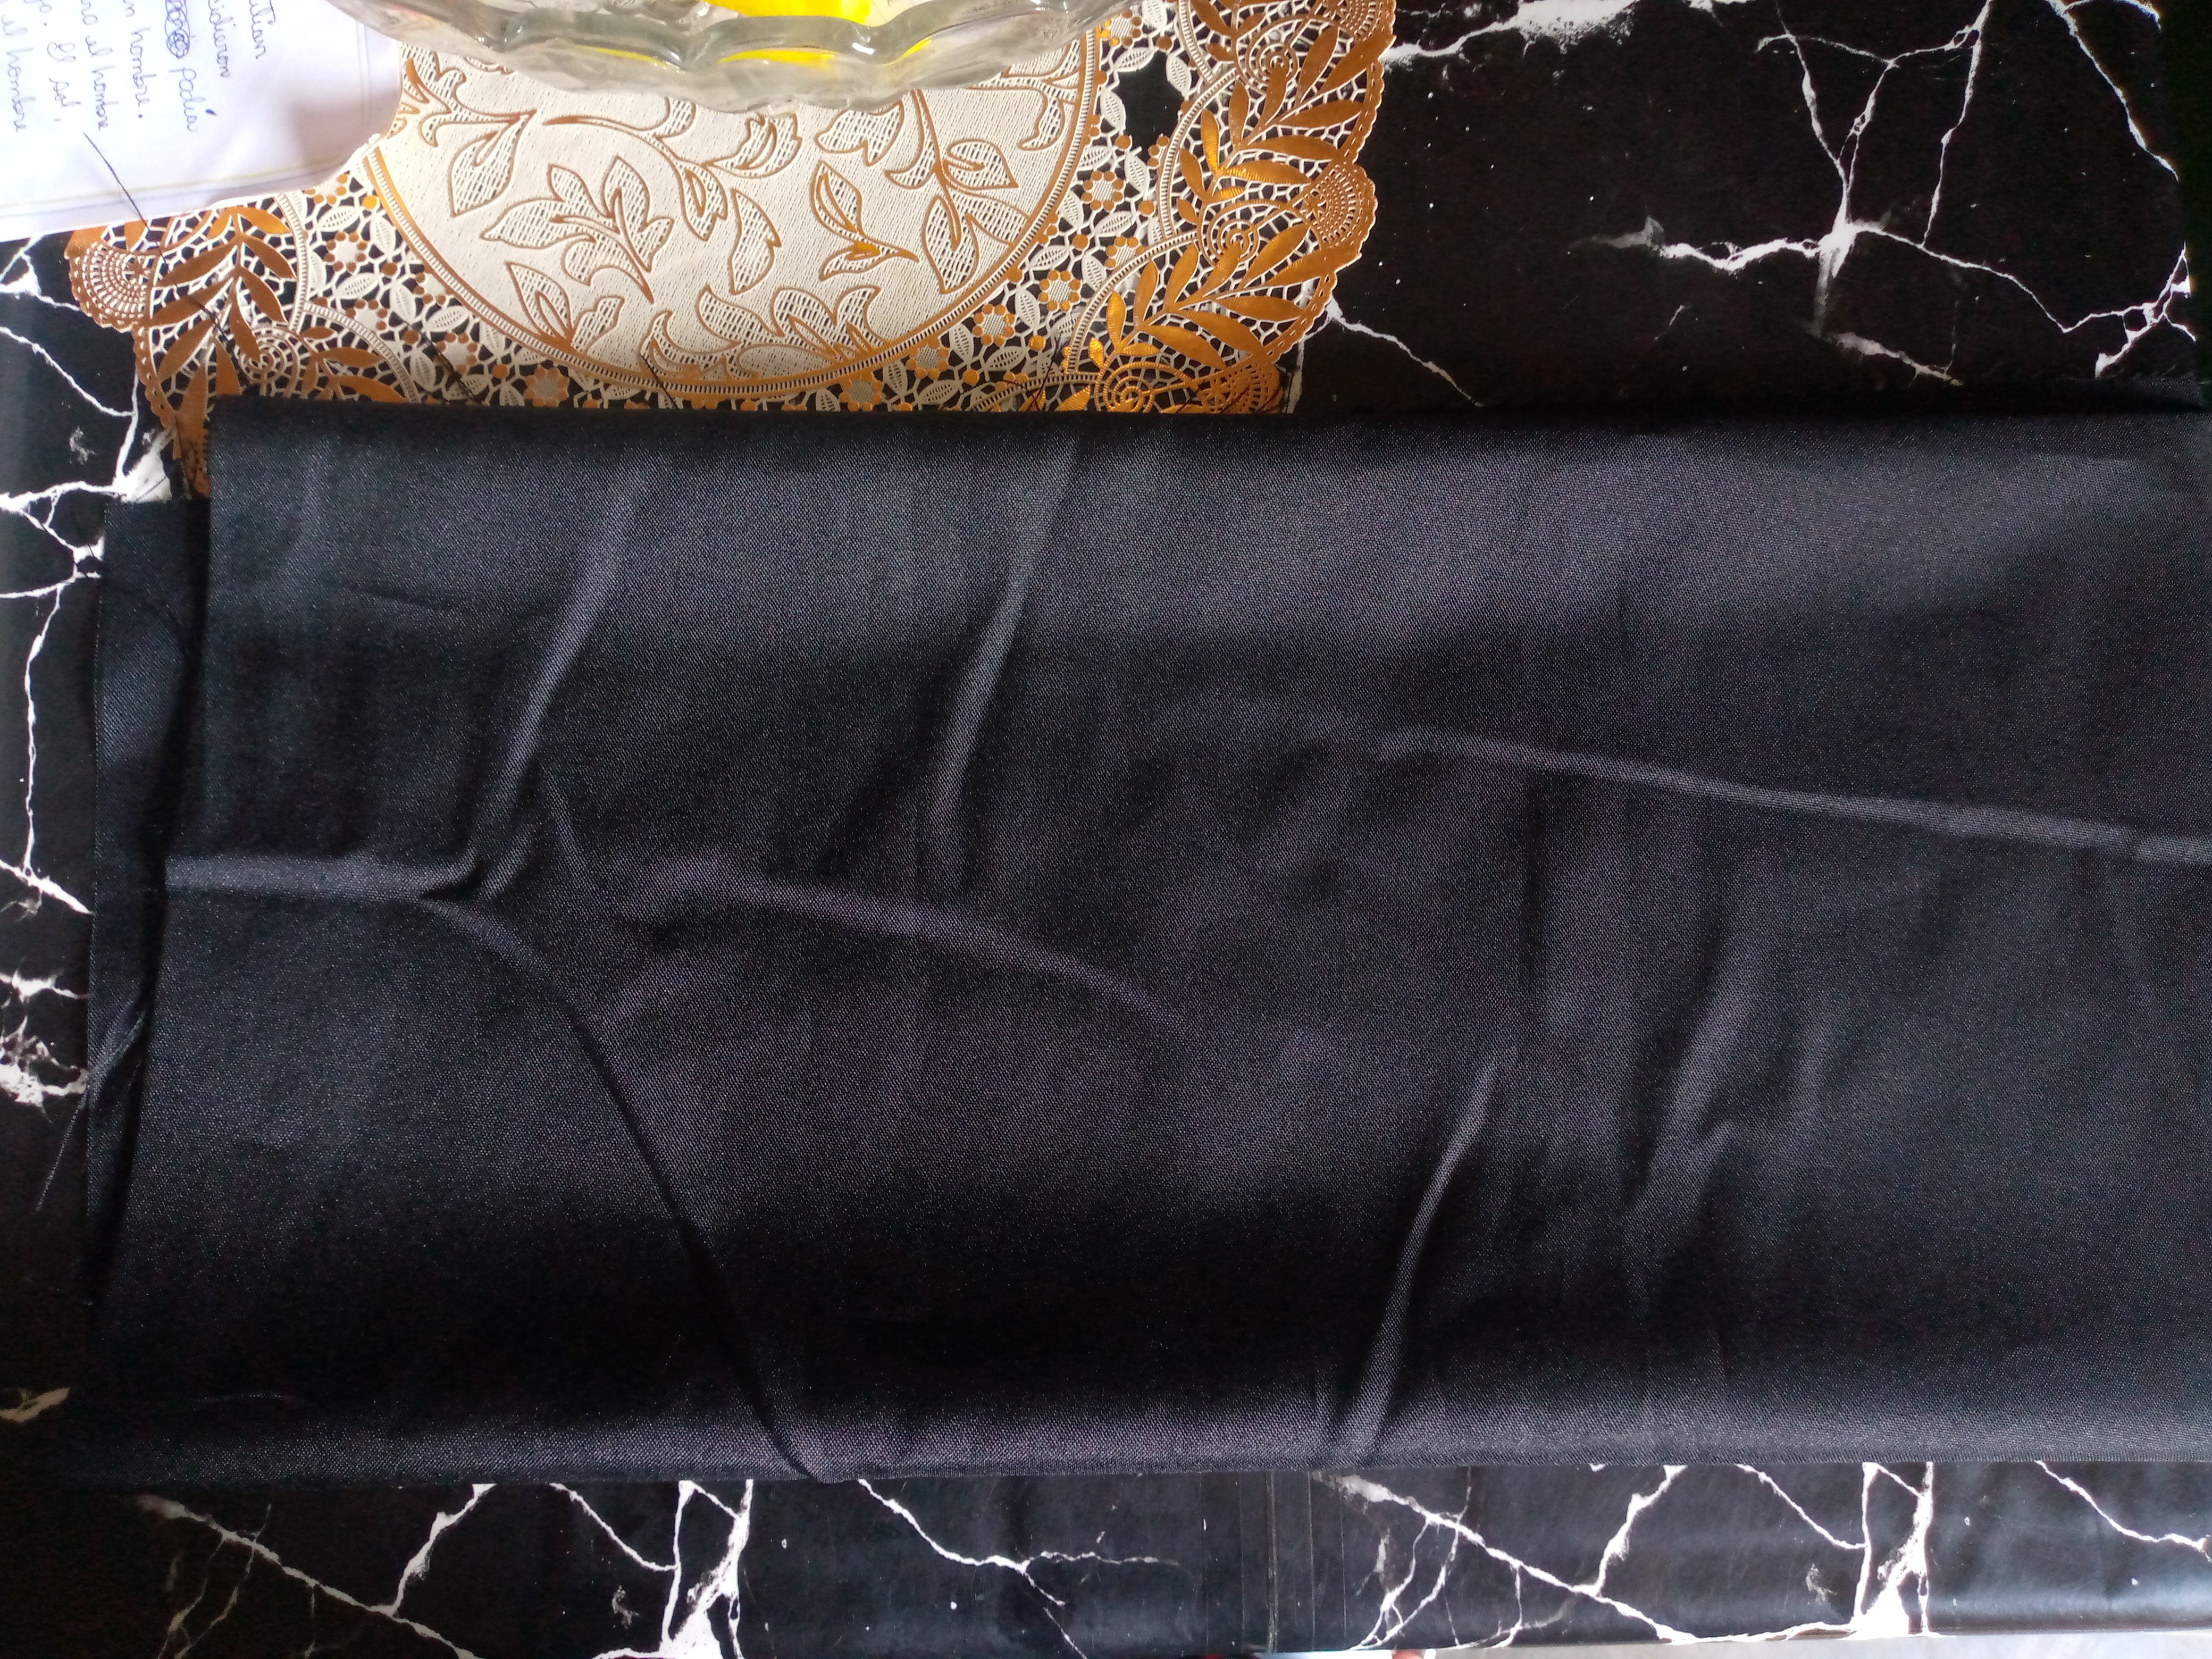
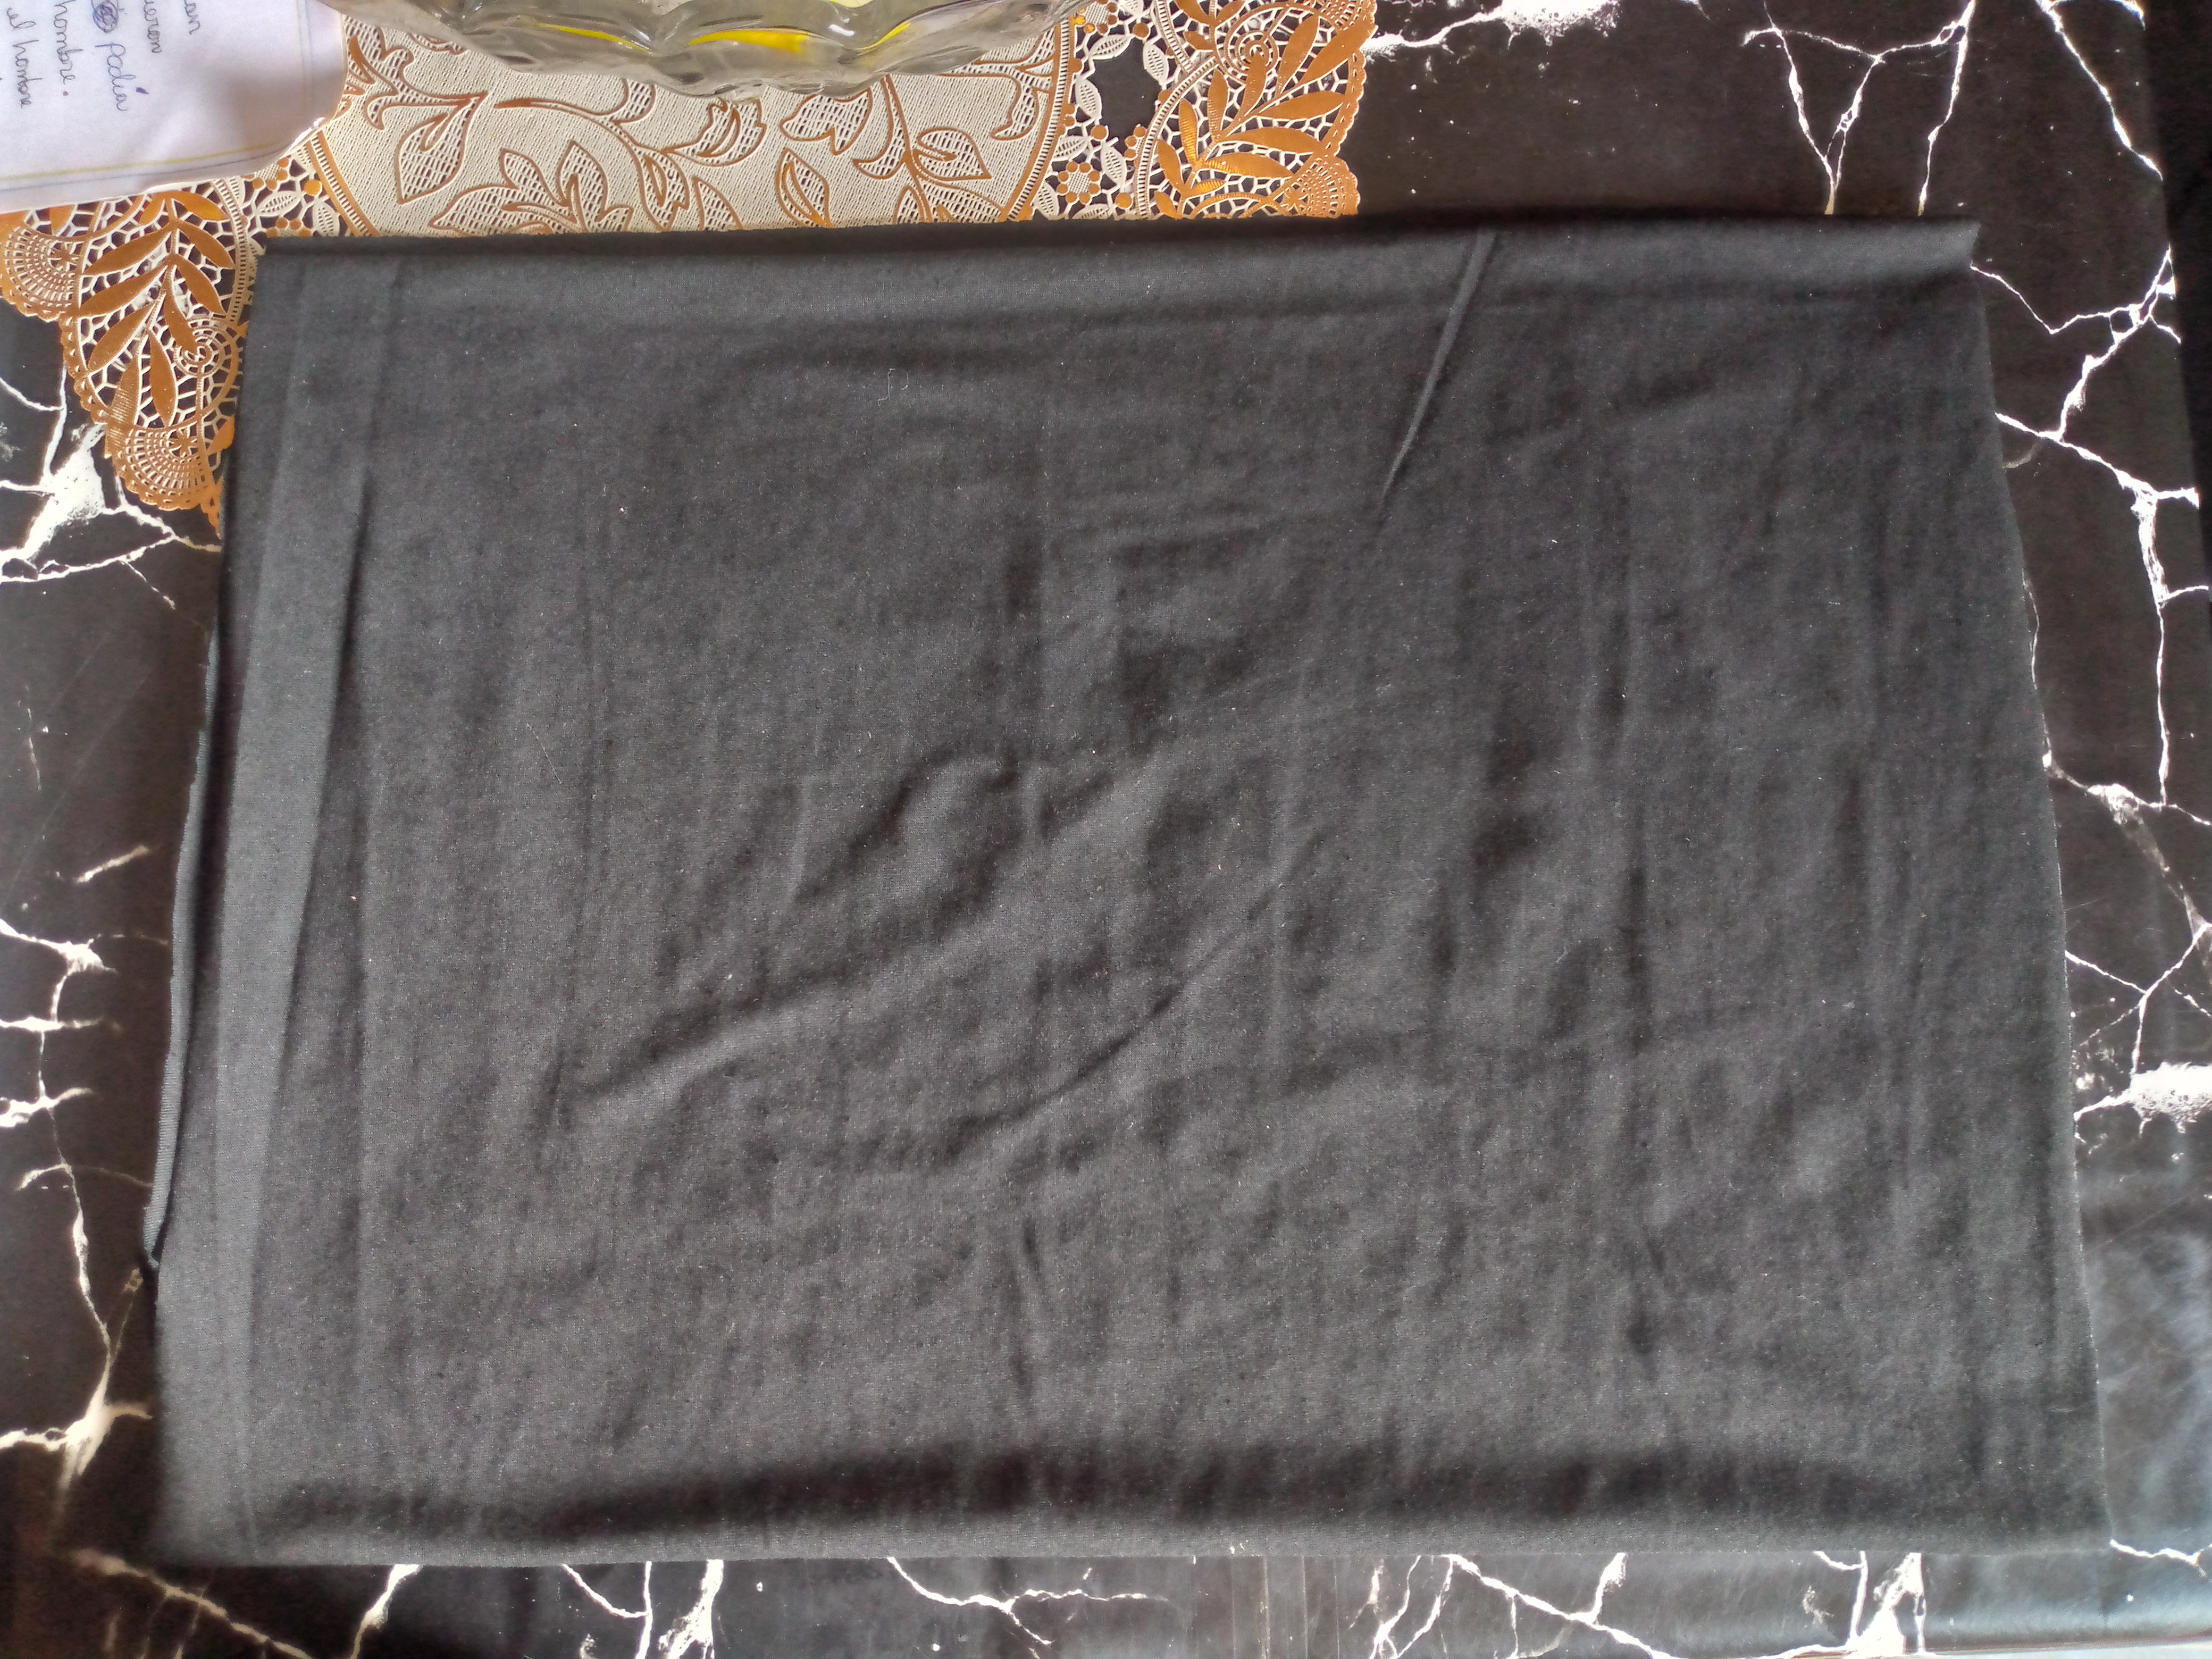
What I did first was spread the fabric on the folded table. I cut it in half, and from that came out two square pieces. I folded them in half. I made the length 80 cm plus the 2 cm hem and the length of the lining. Of course, I bought 50 cm of fabric, and I decided to leave the length like that since it goes on the inside.
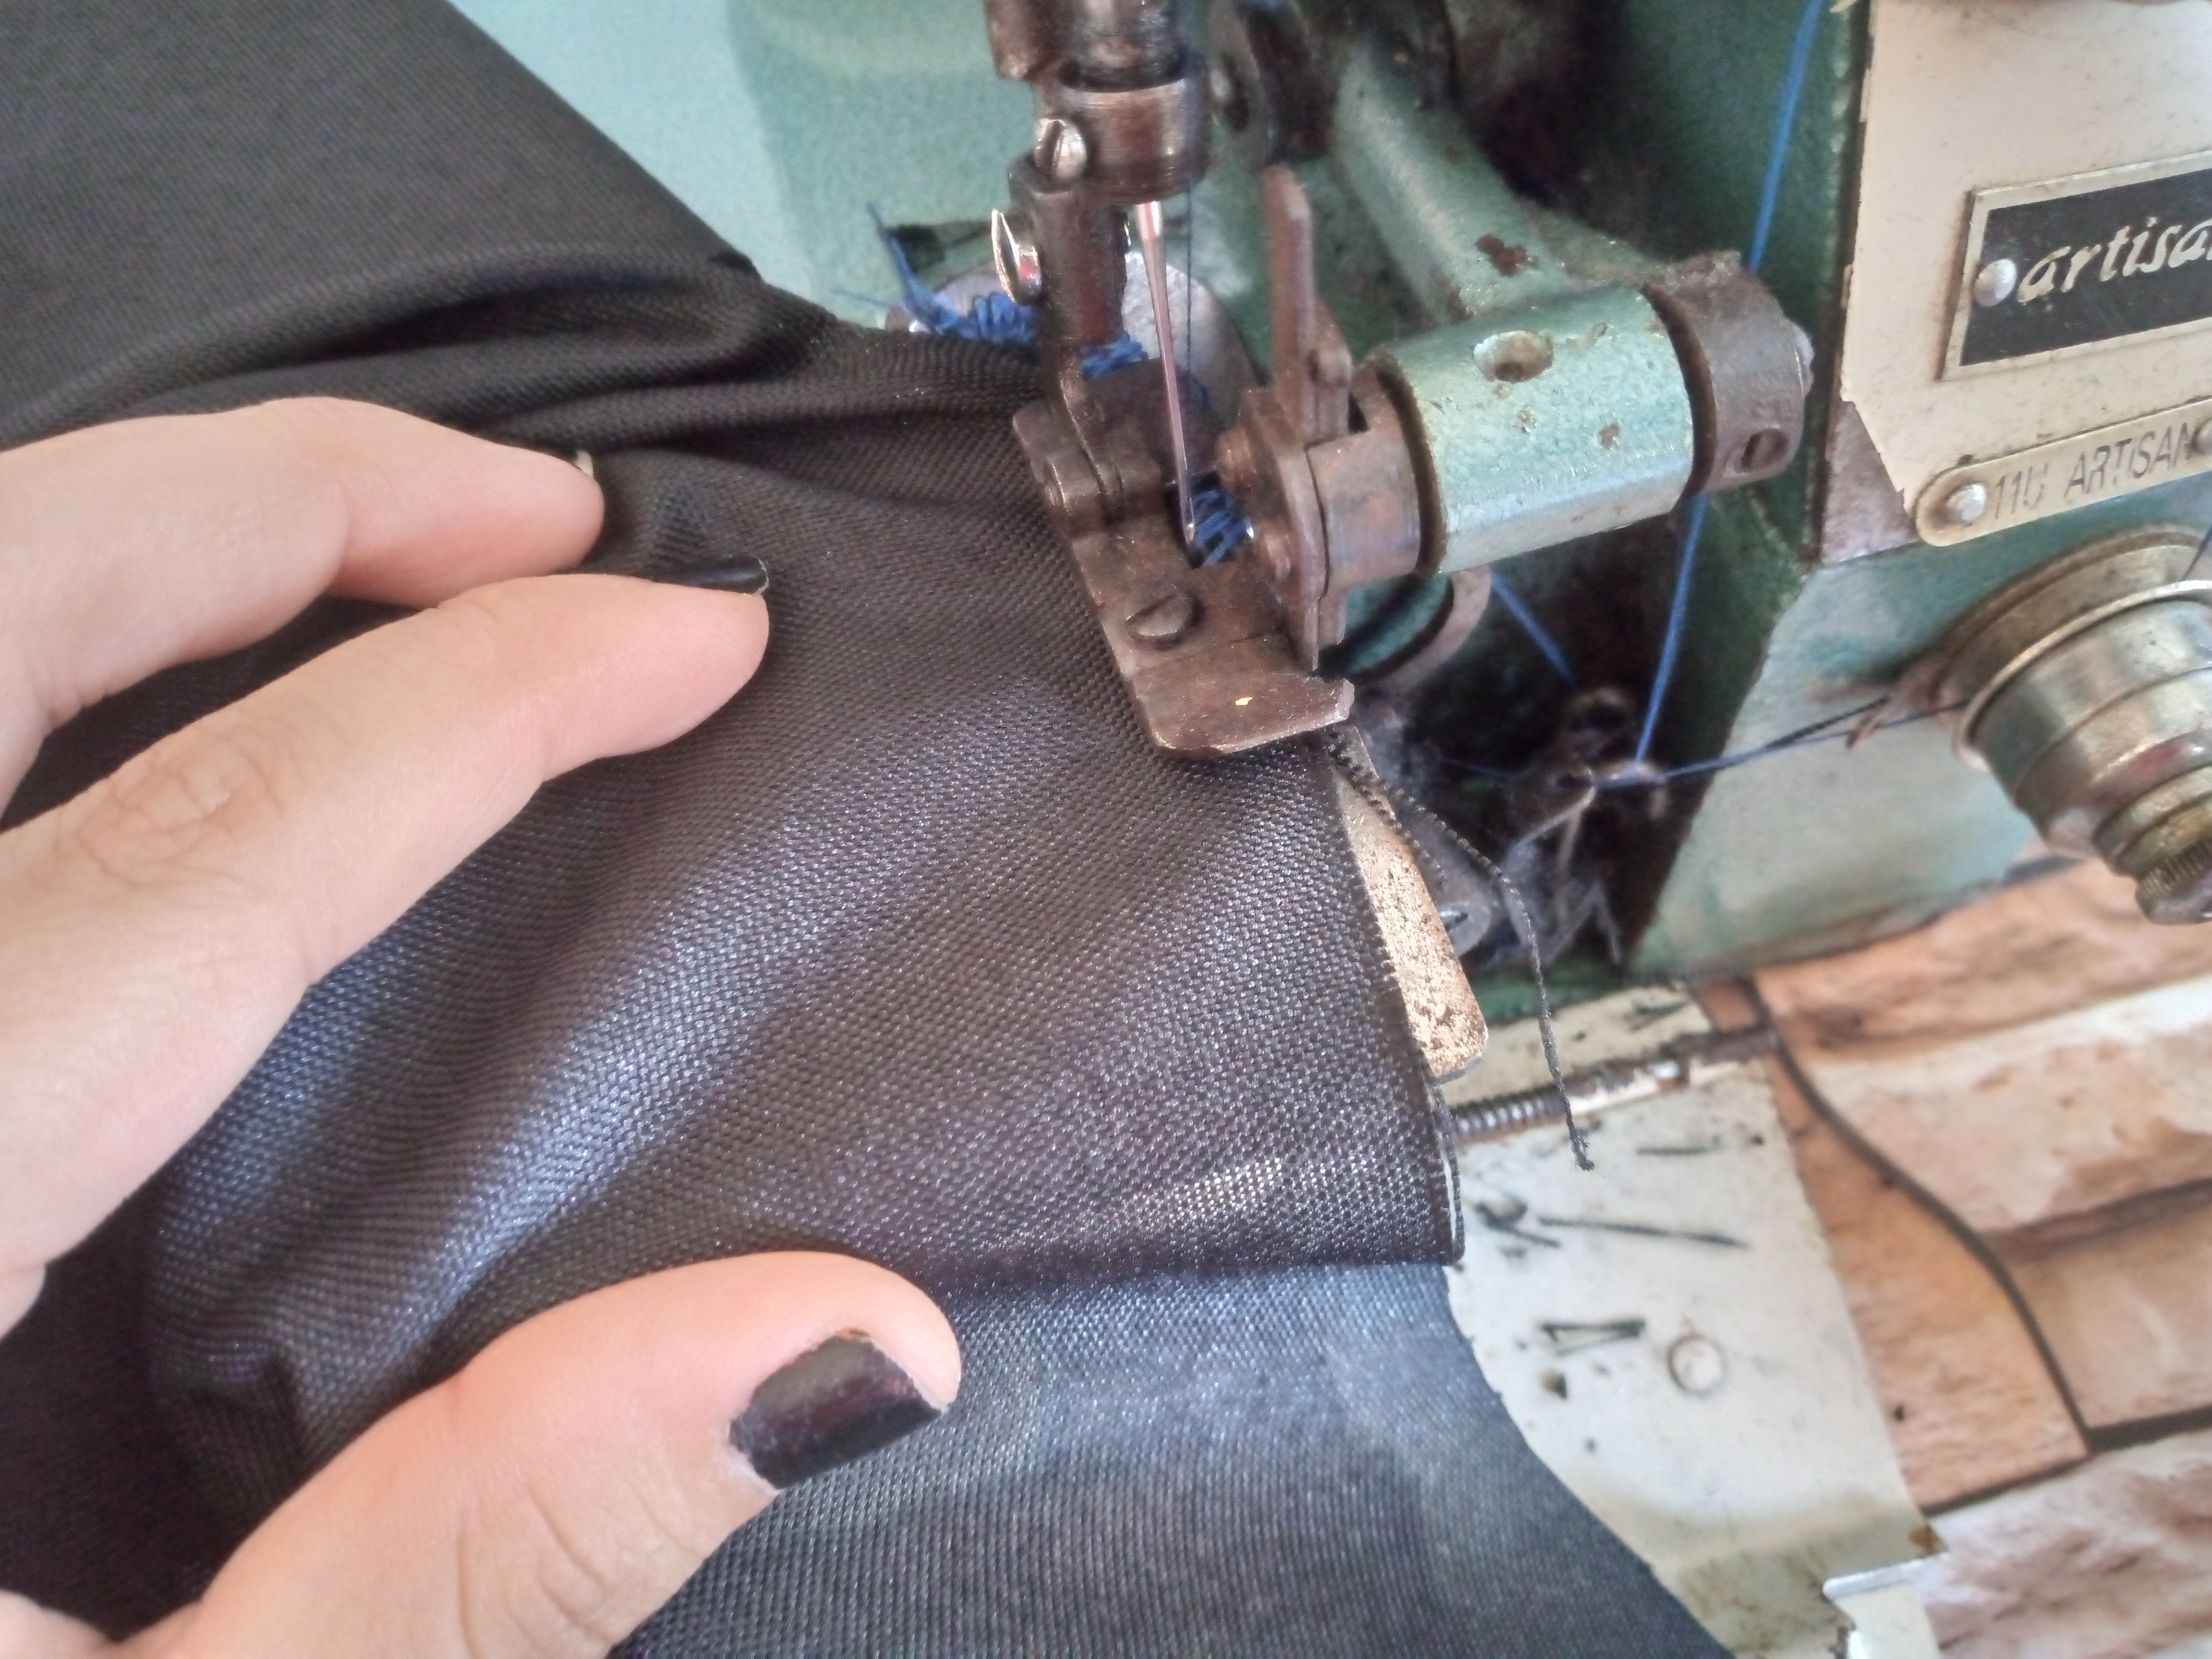
Paso 02
Step 02
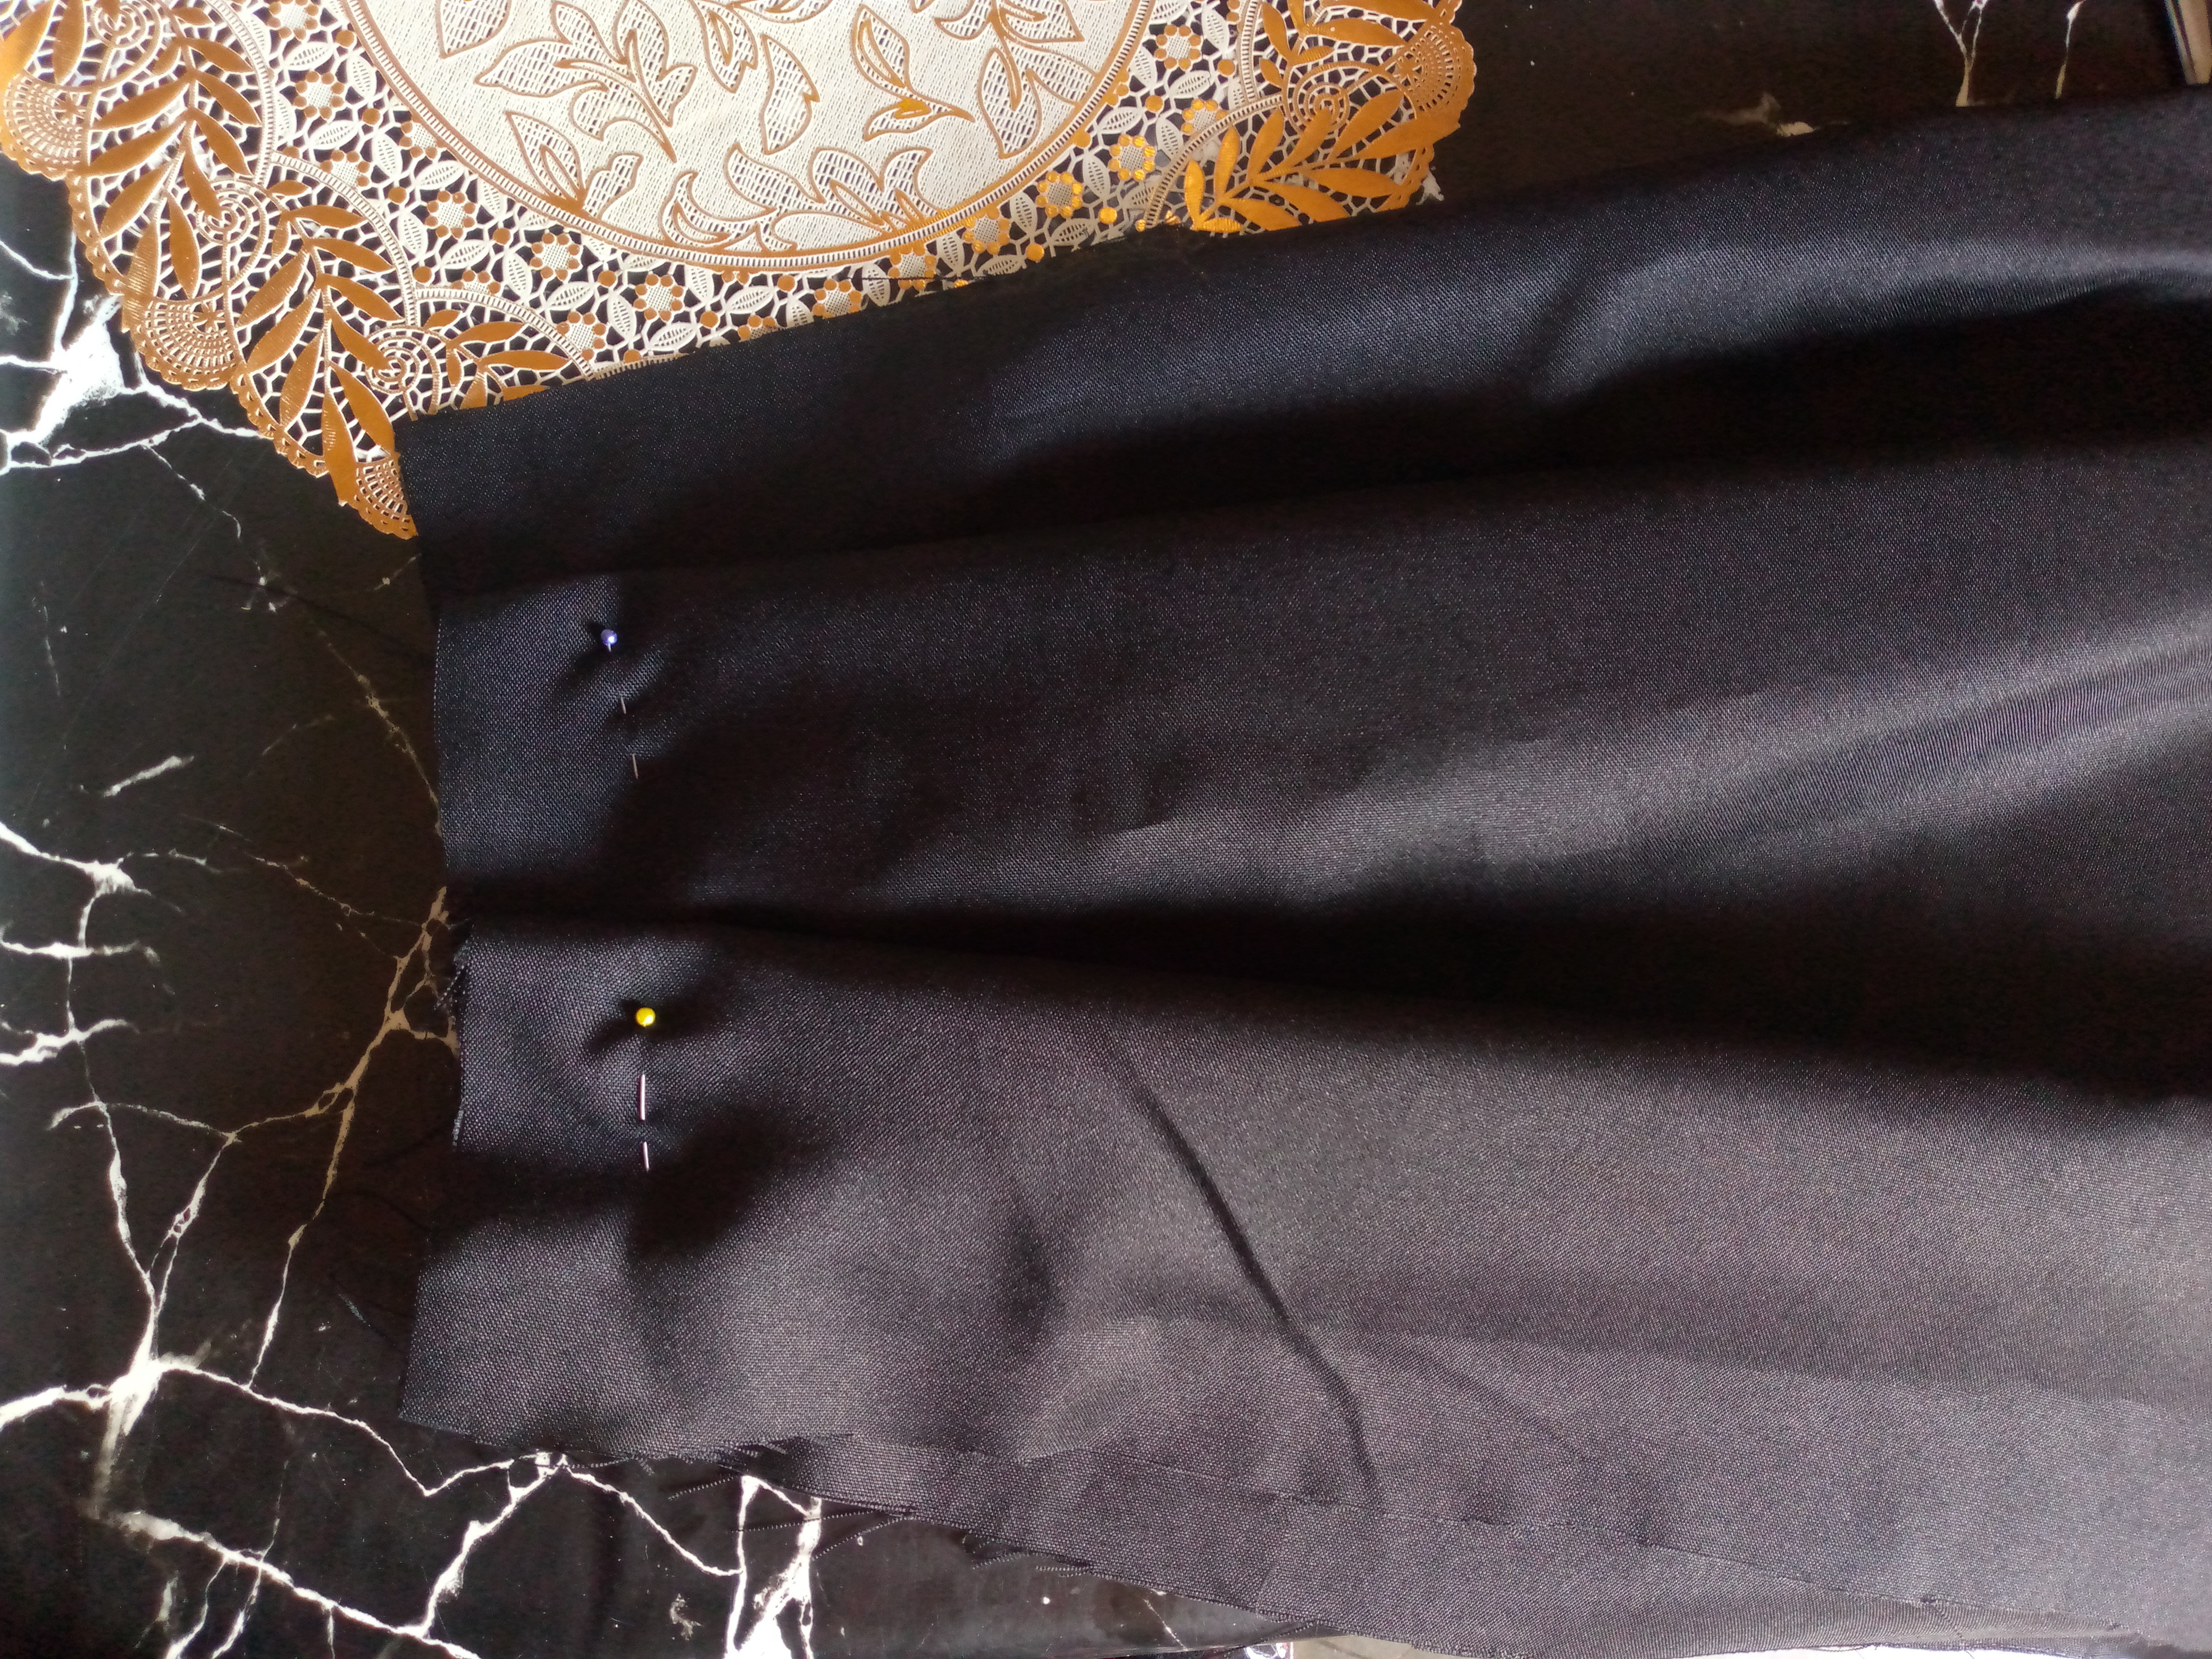
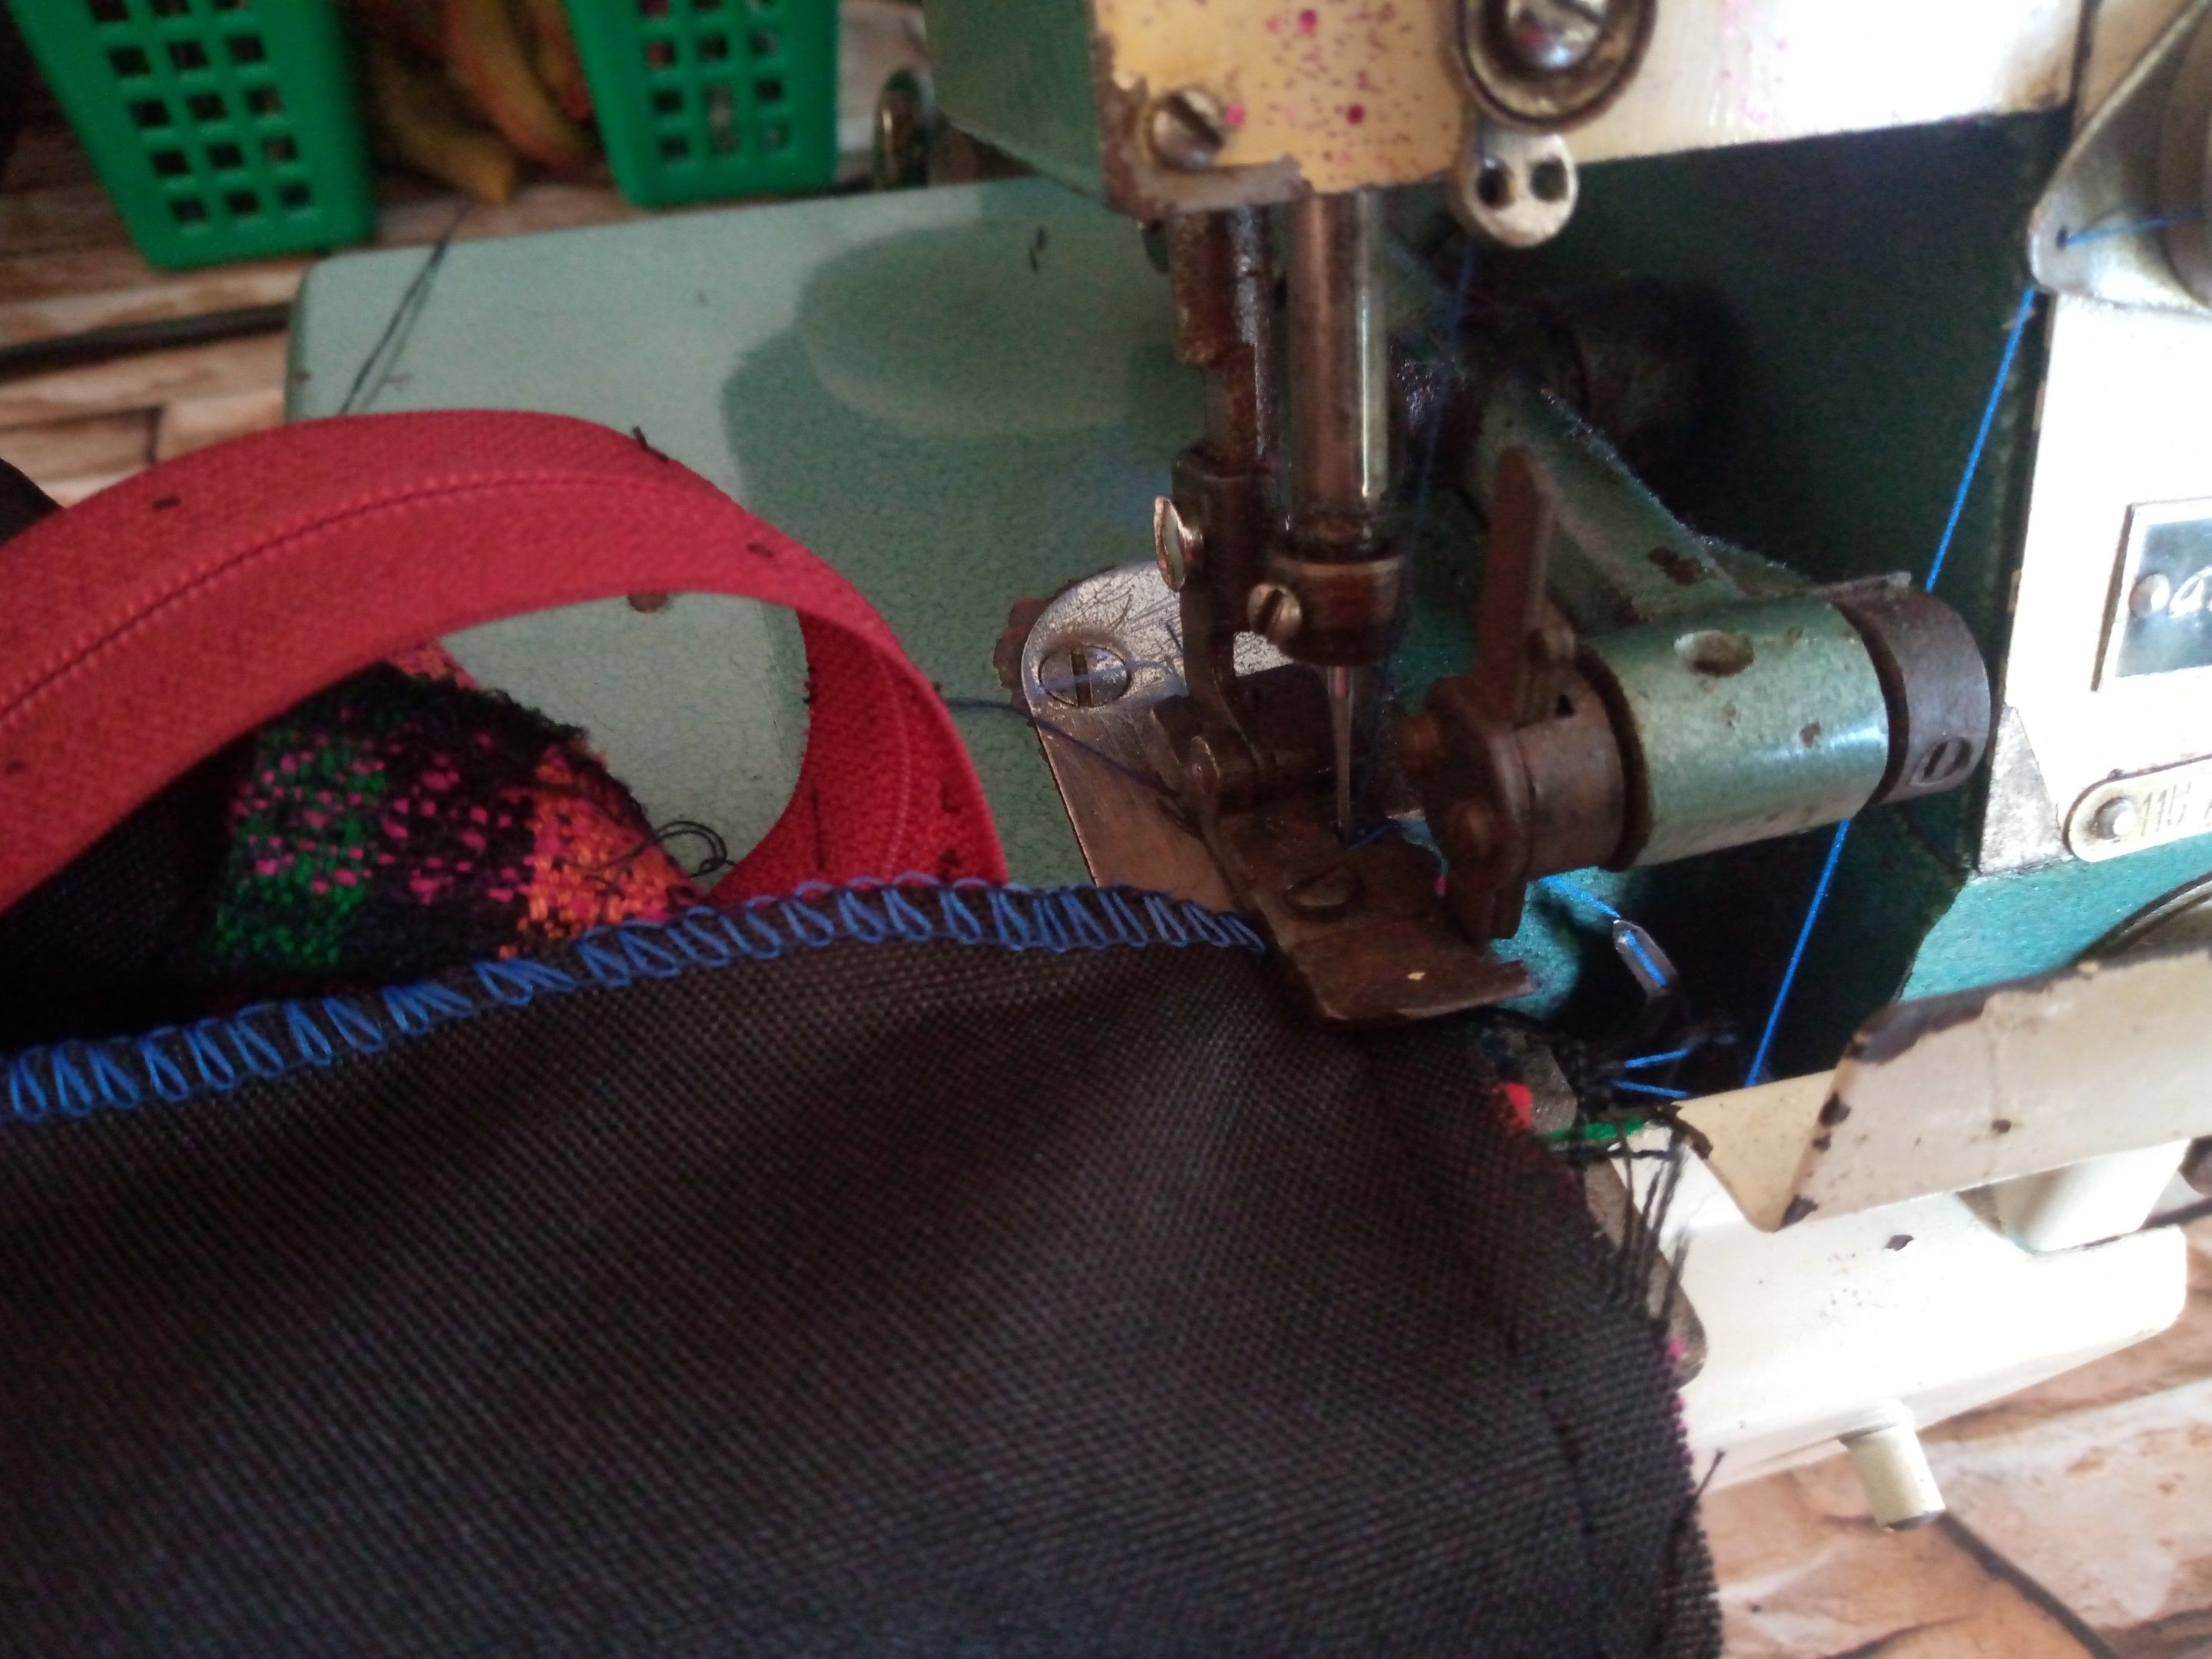
I then took some pins and as I wanted the skirt with two planks found on the side of the skirt, well on the sides I wanted to make them in such a way that I had one complete one above or in front of the front piece. I did the same with the back piece and opened it in the middle to the fall of the dress and the closure, then I sewed the sides of the skirt to seal it and finished it with an overlock or zig zag.
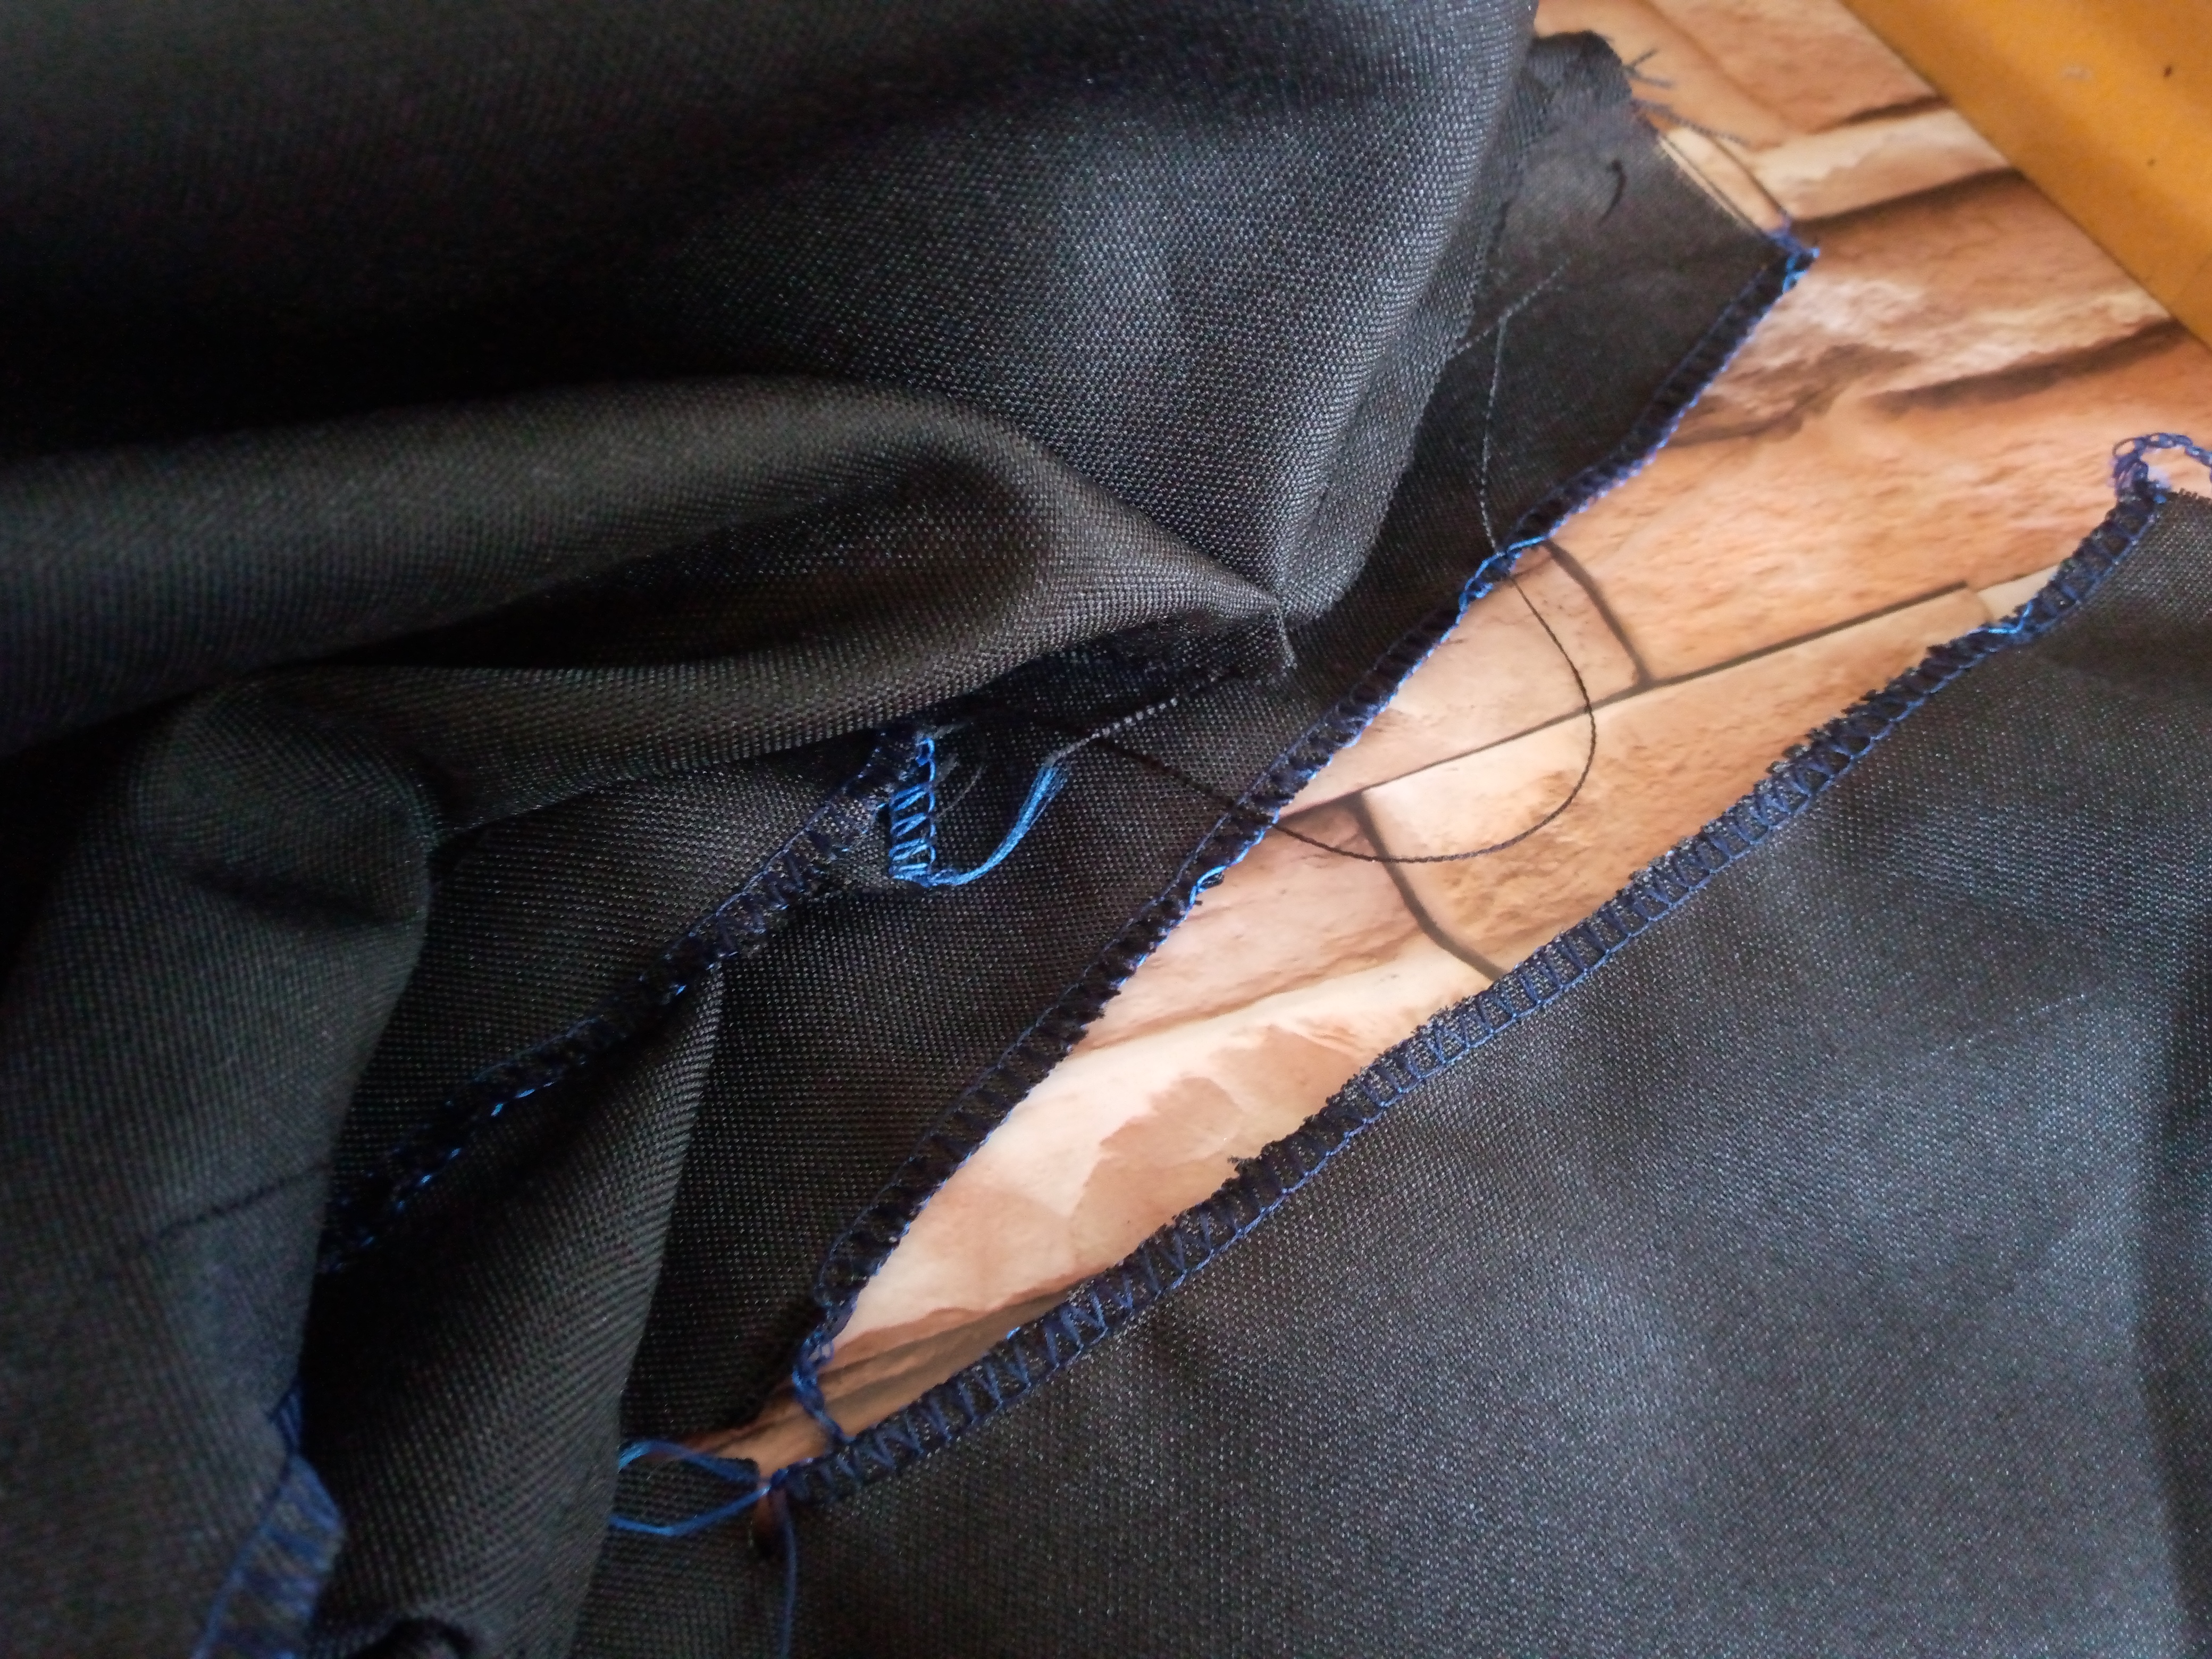
Paso 03
Step 03
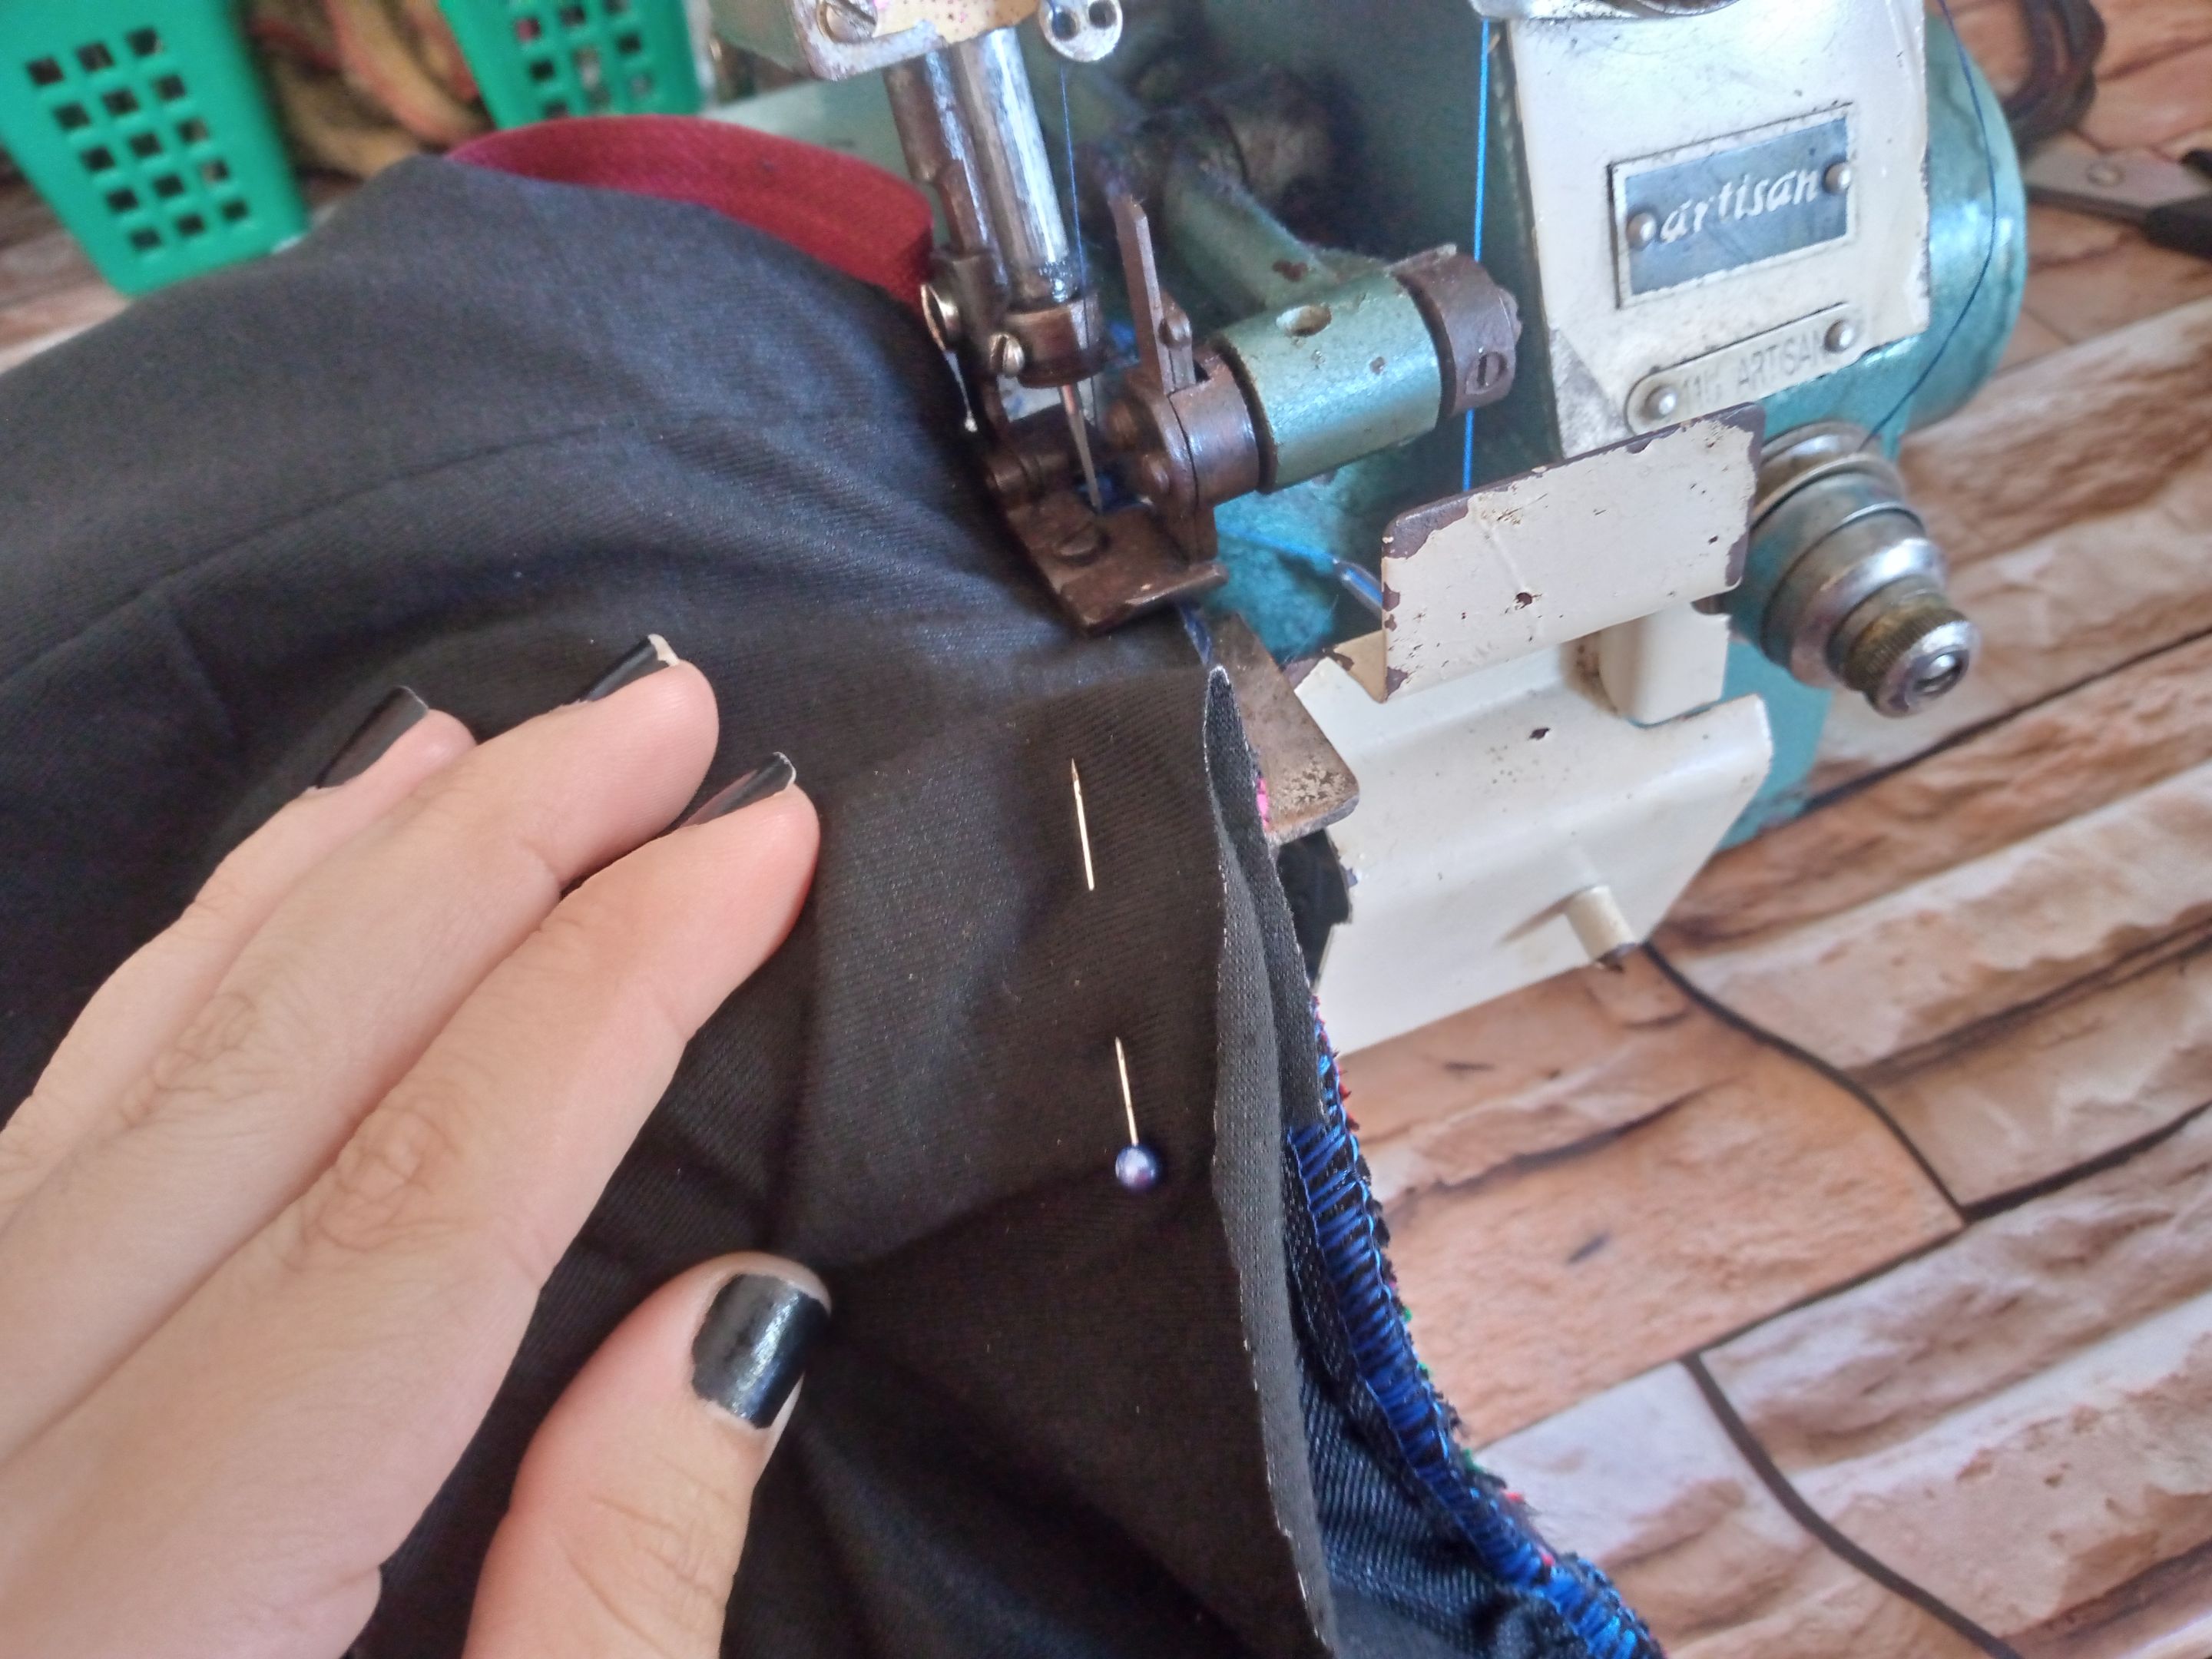
We will sew the boards with a straight seam to secure them, then we will sew the closure part with an overlock so that the fabric does not become uncovered and then again with pins I will join them to the dress and skirt to sew it again and secure it, then we will sew the lining.

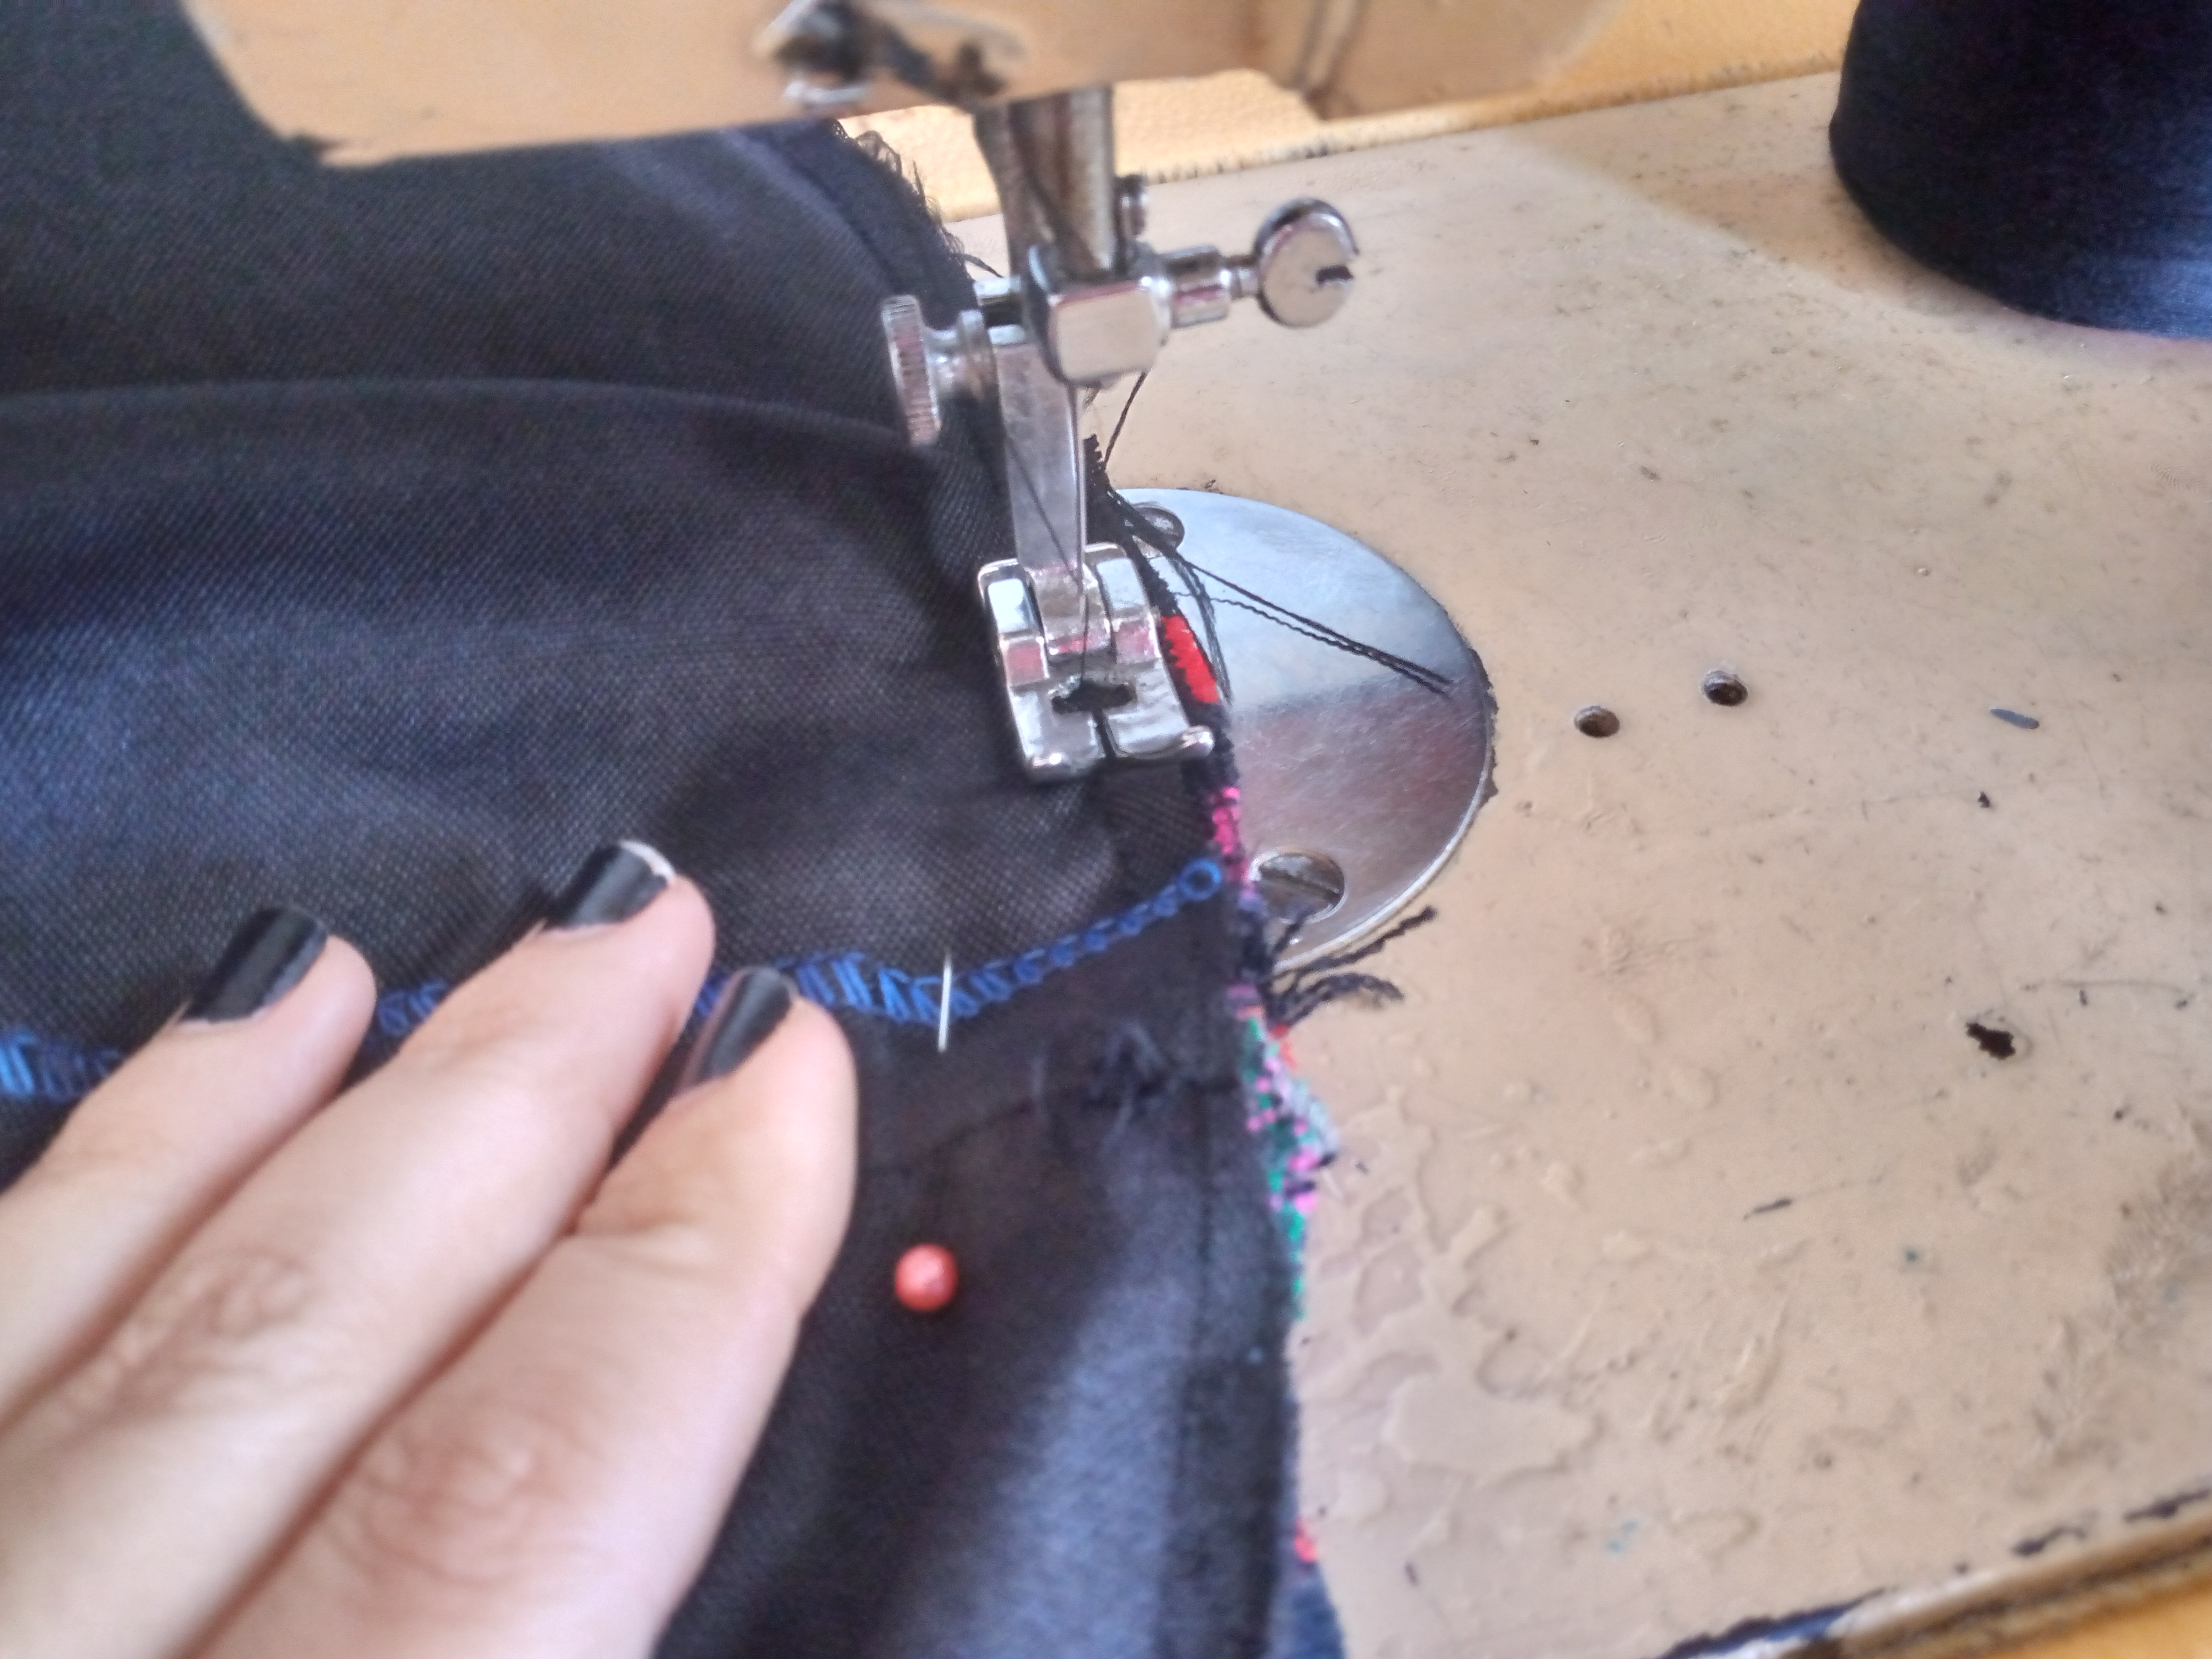
Paso 04
Step 04
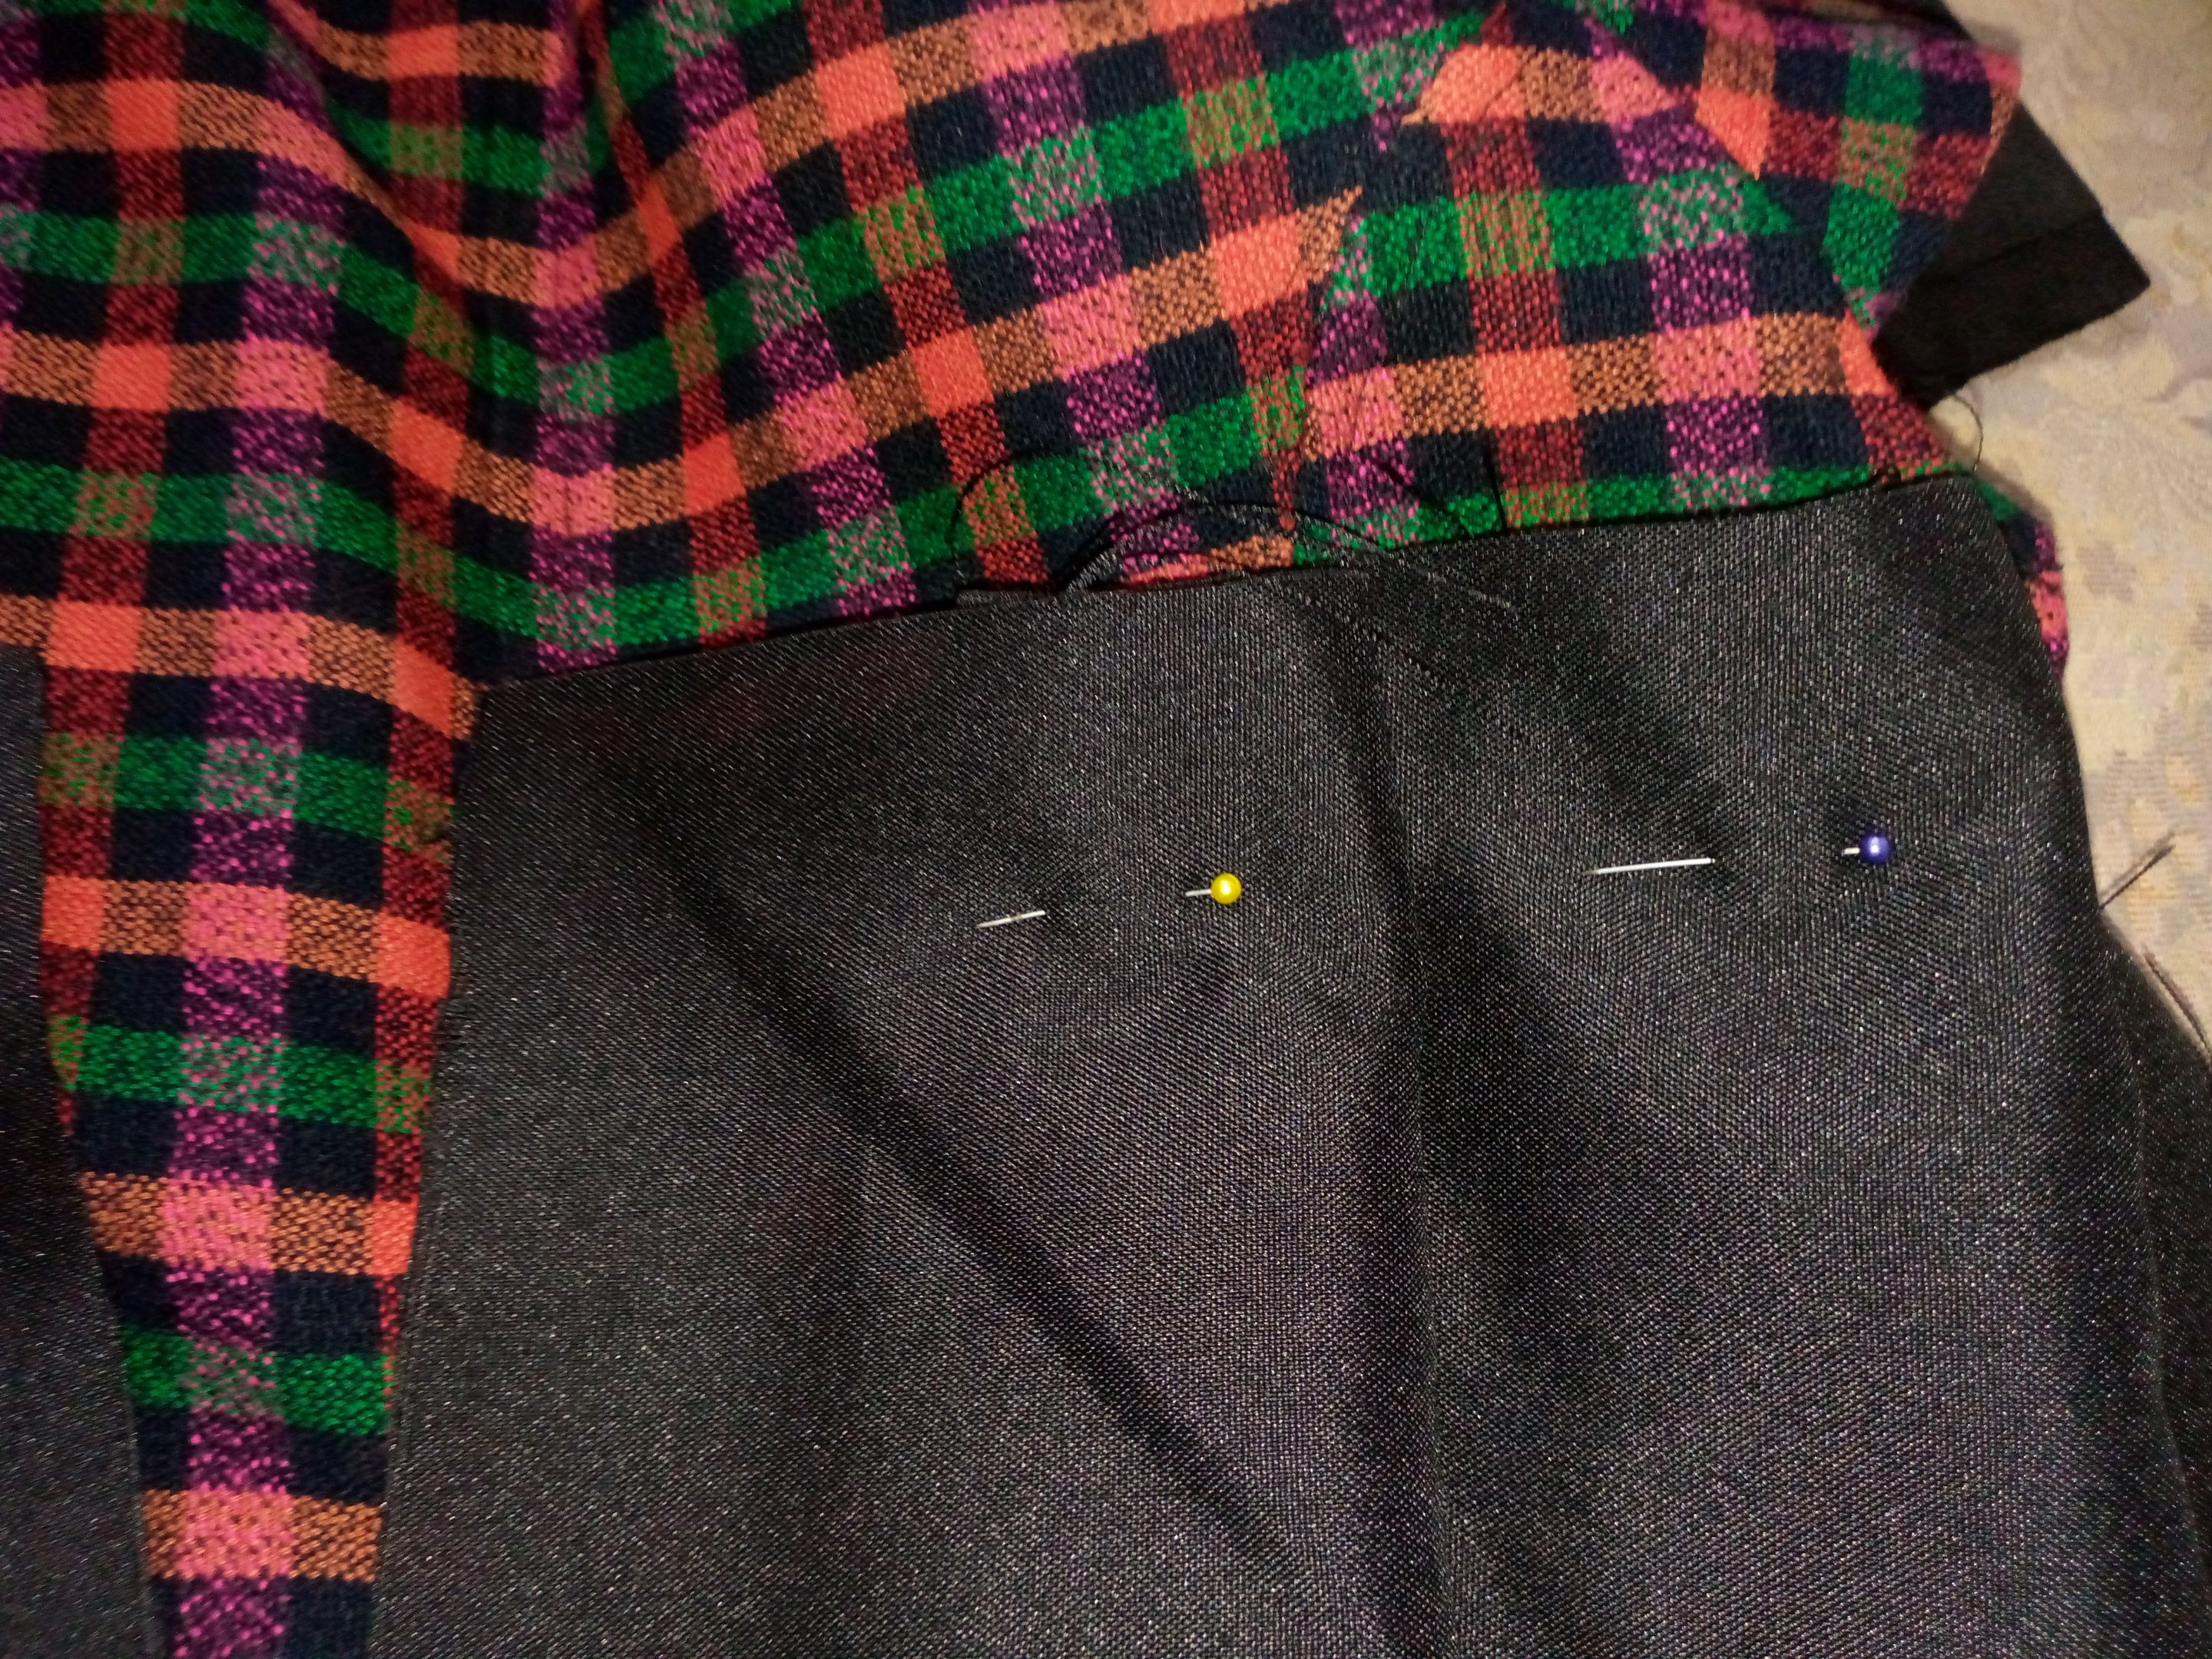
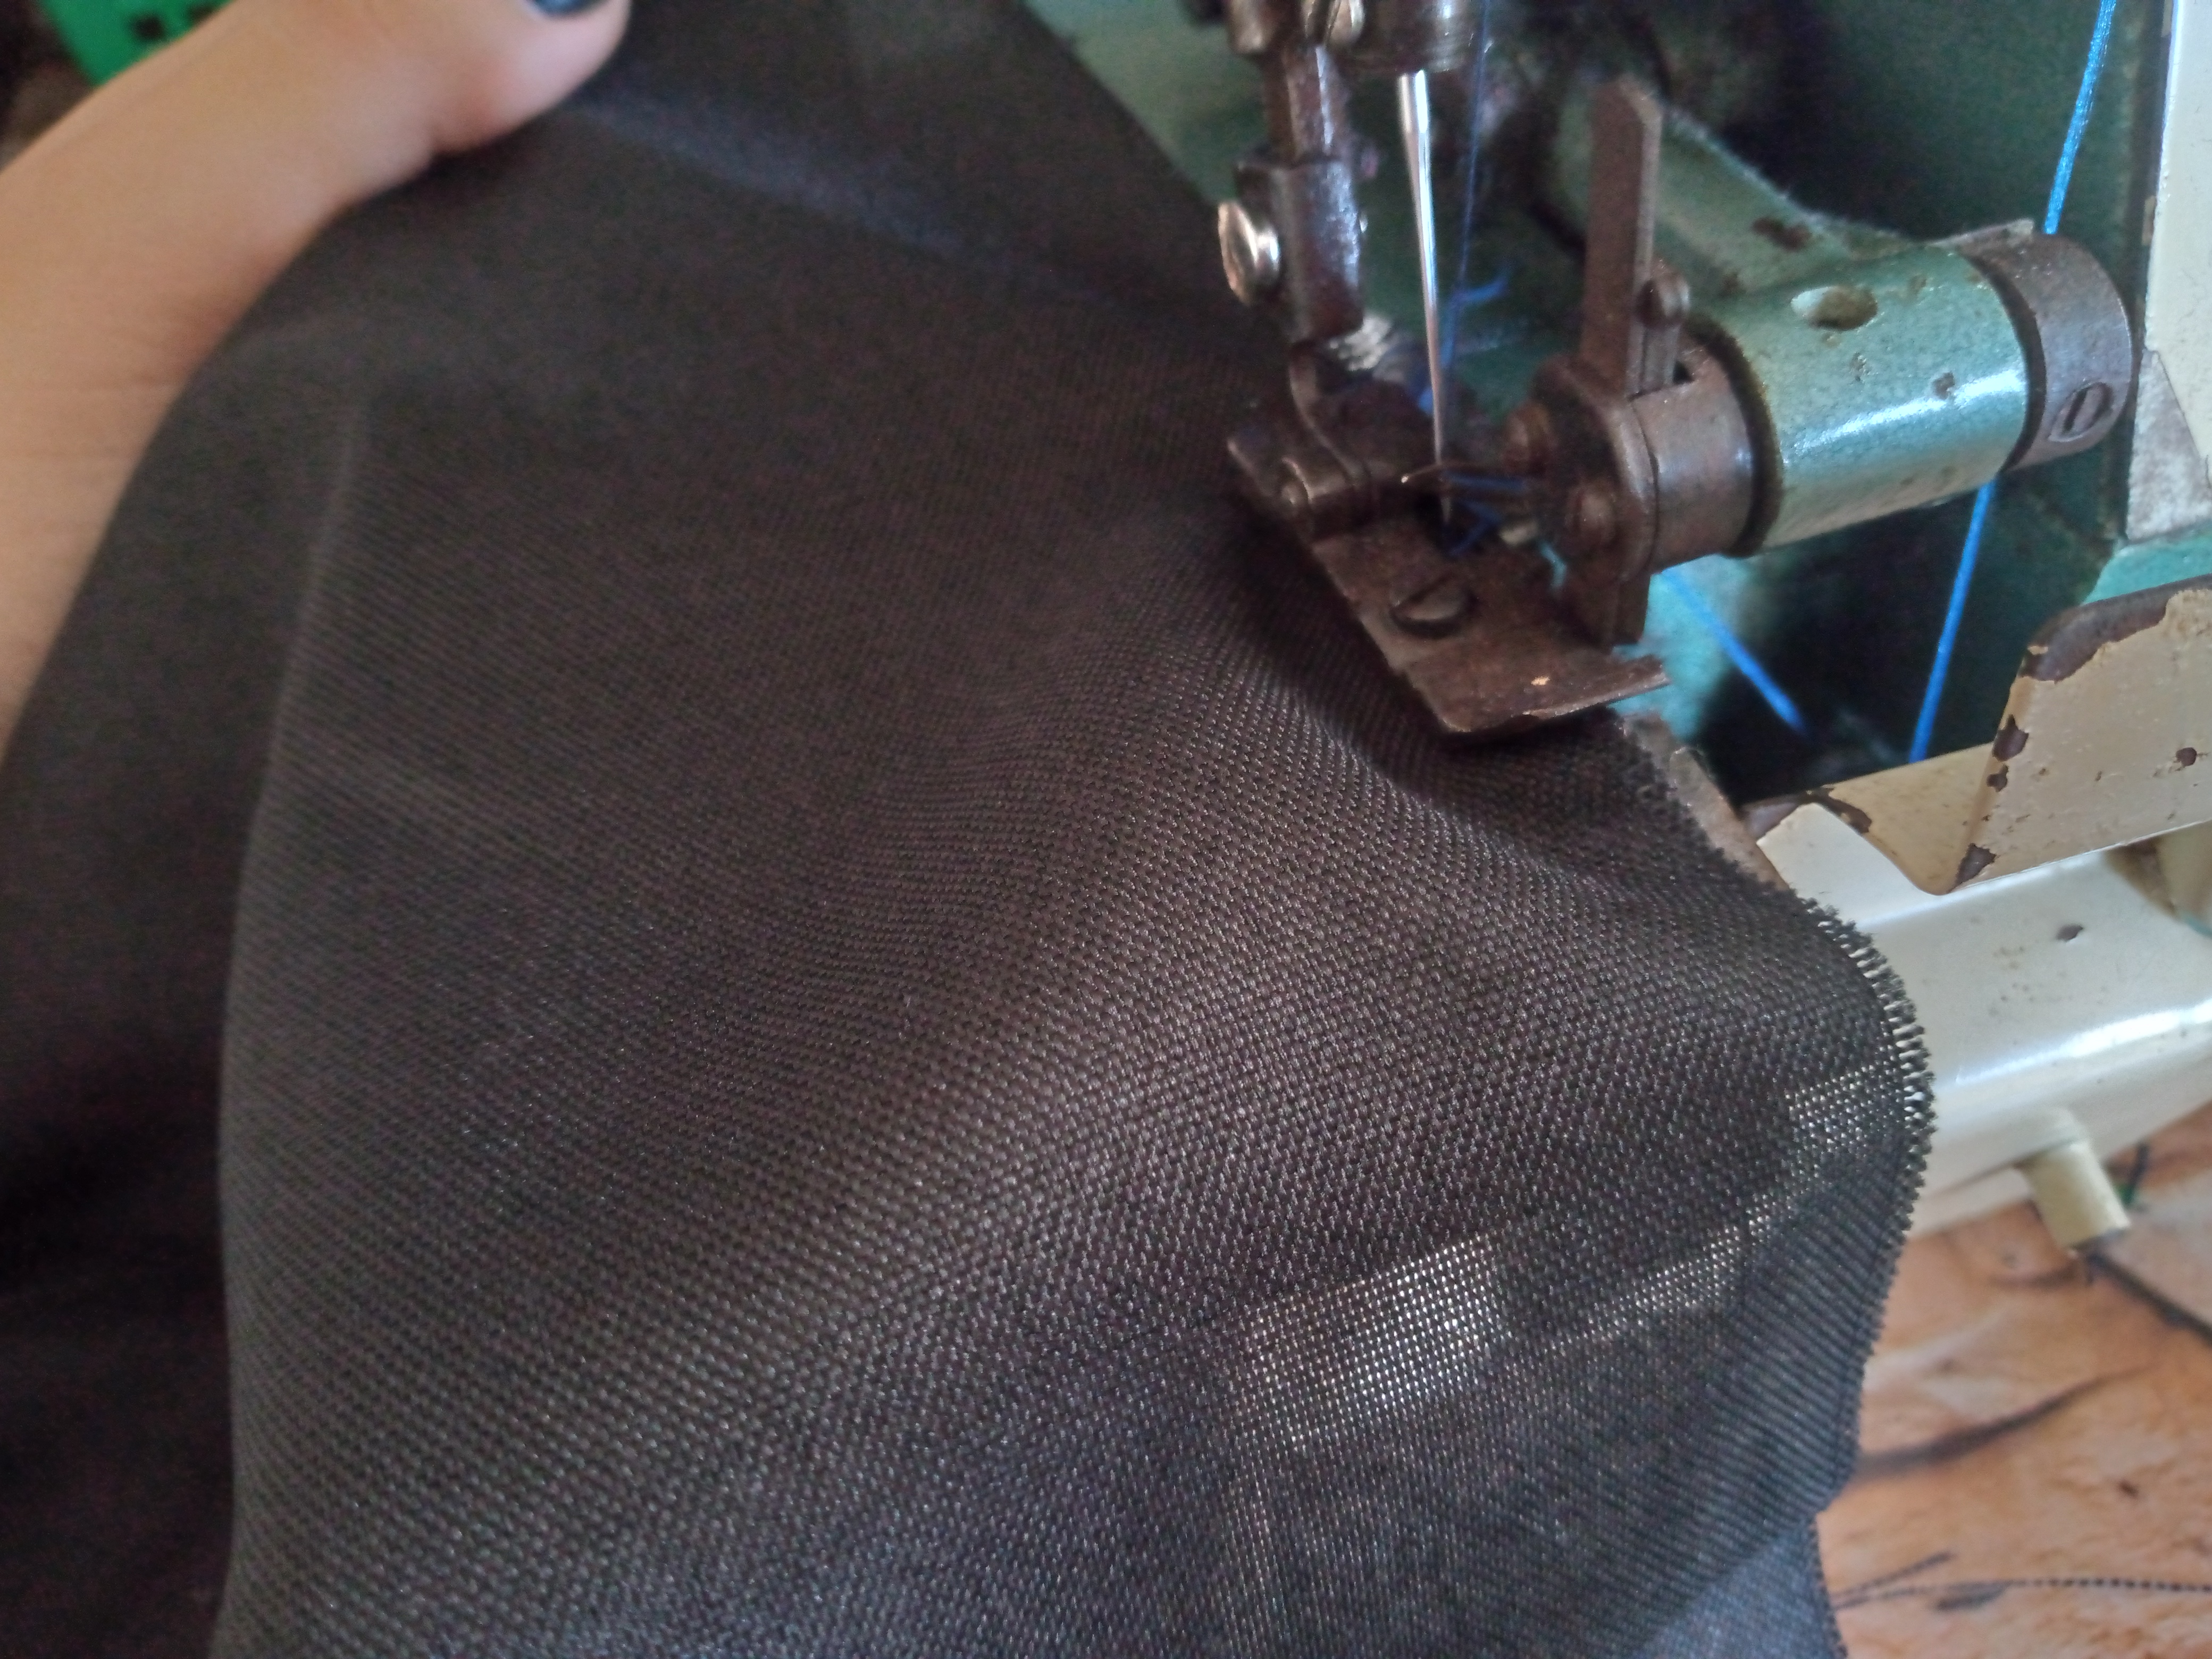
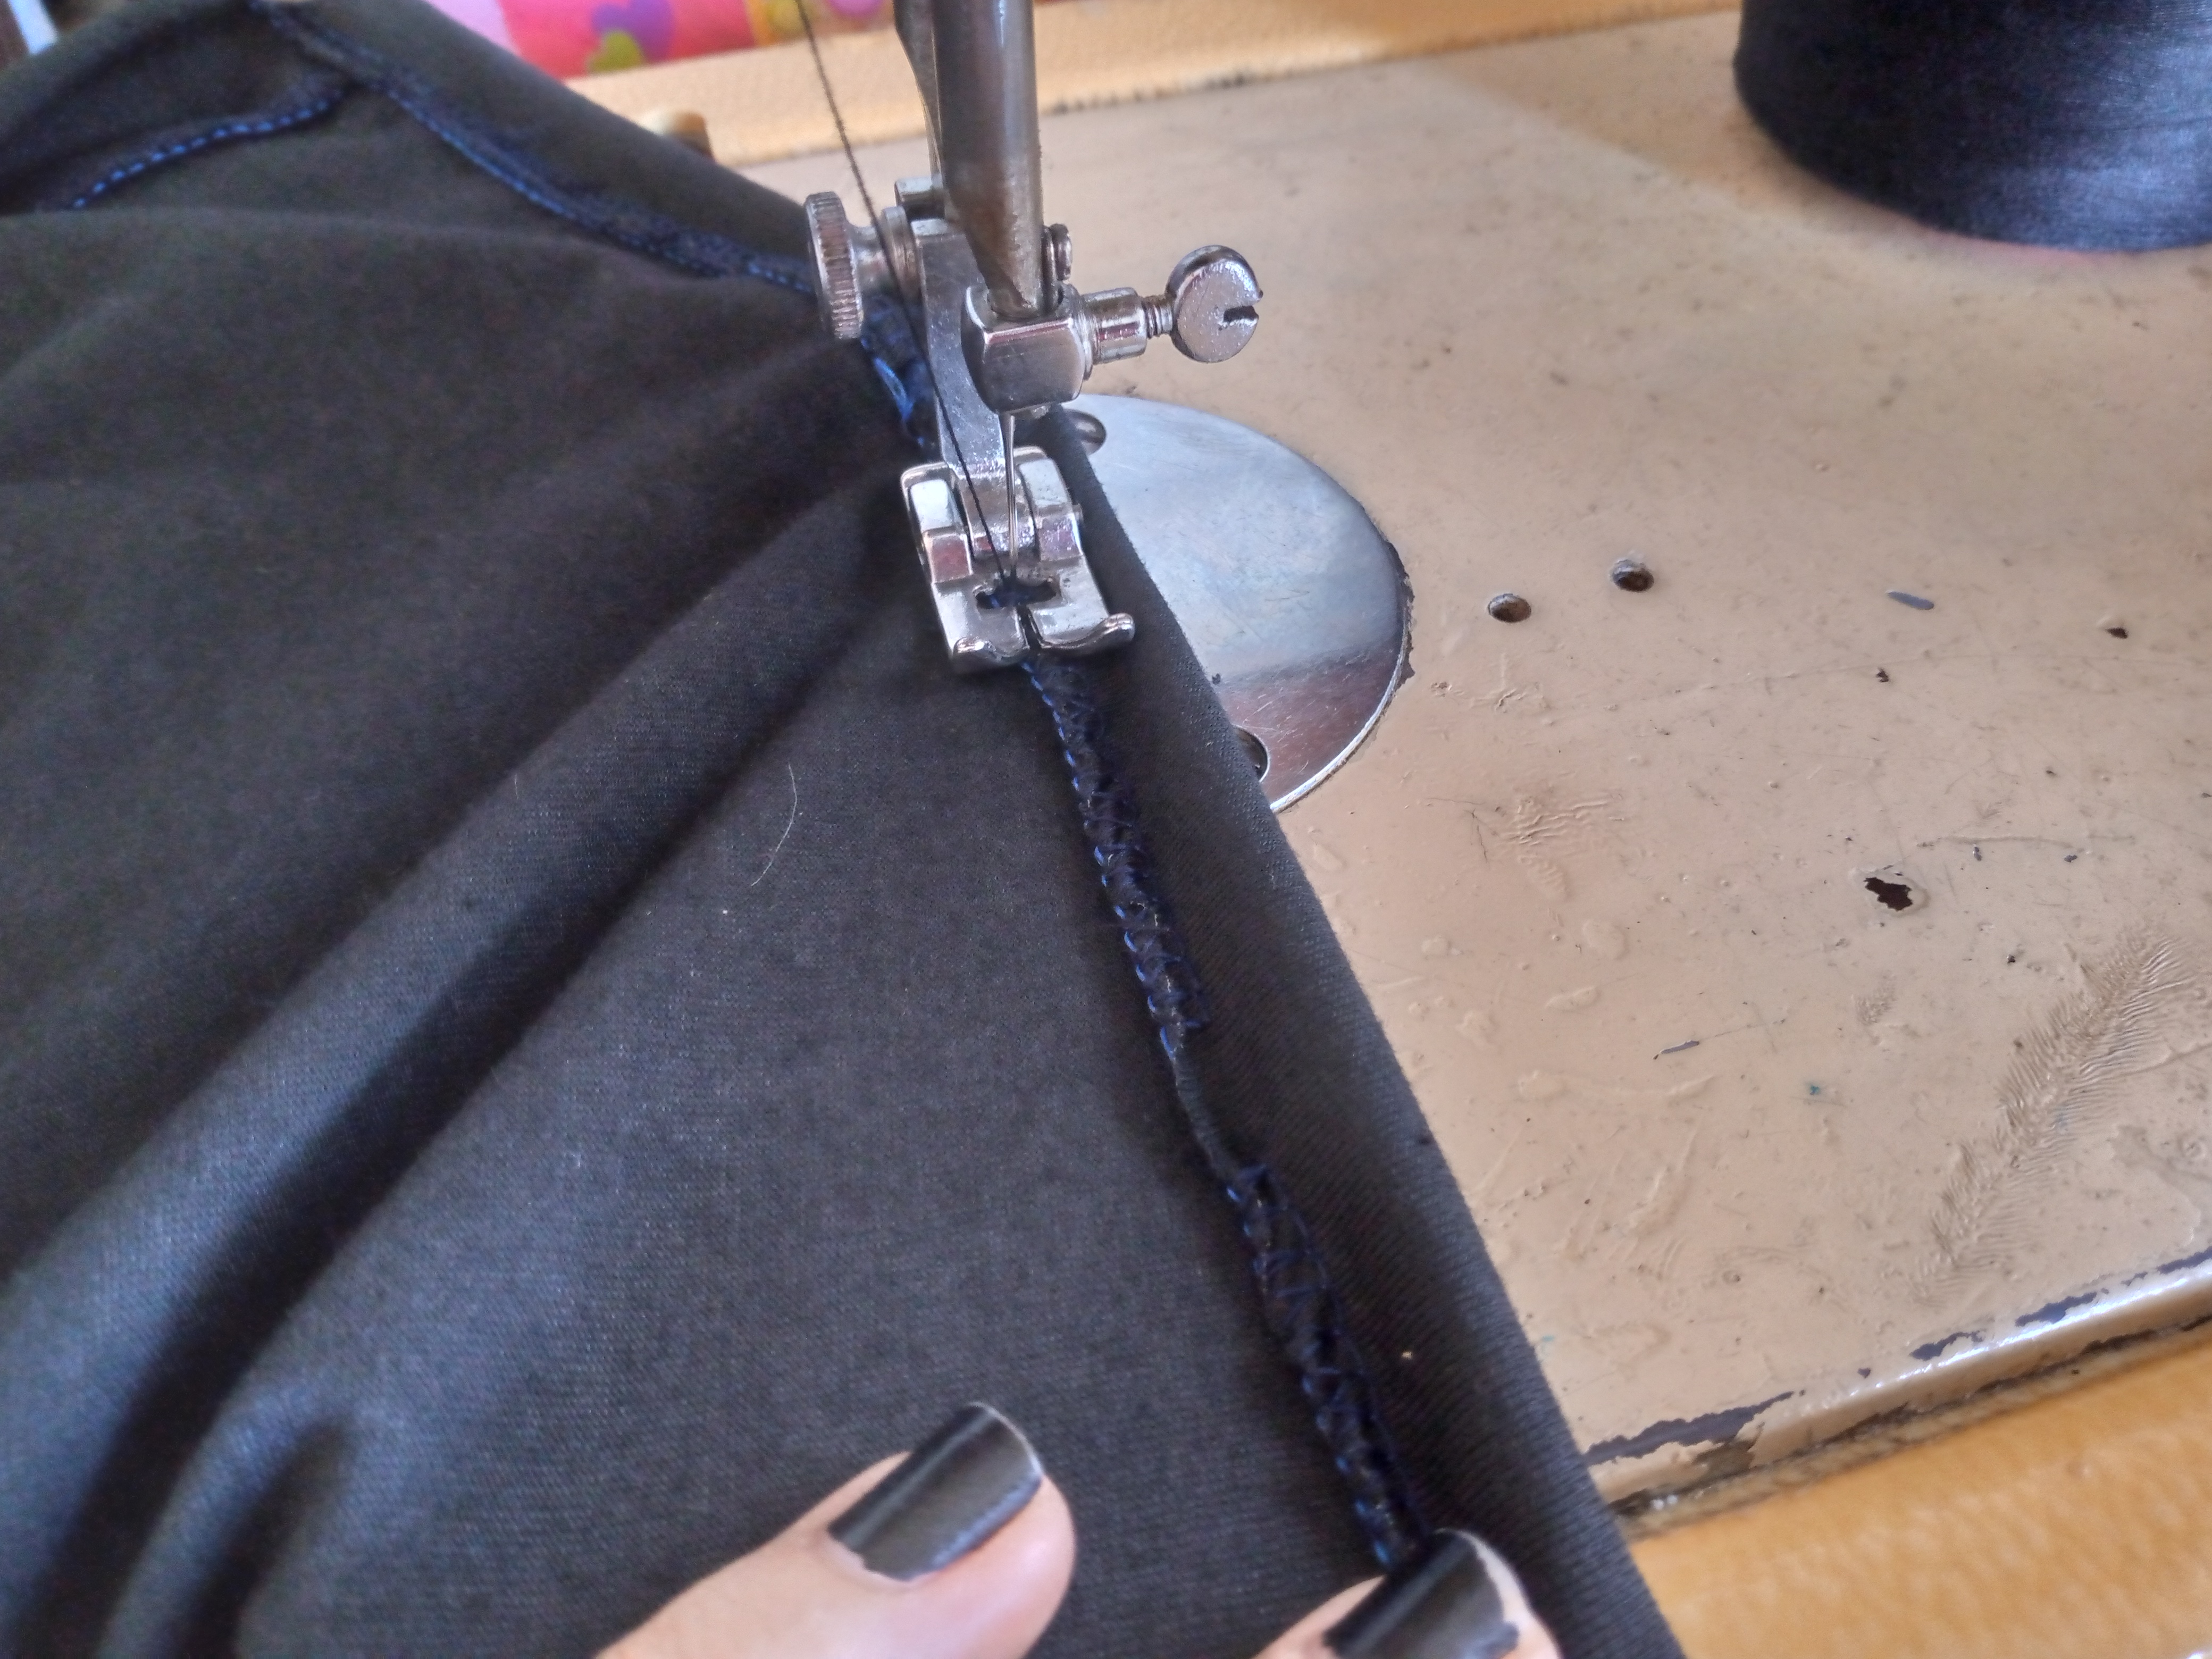
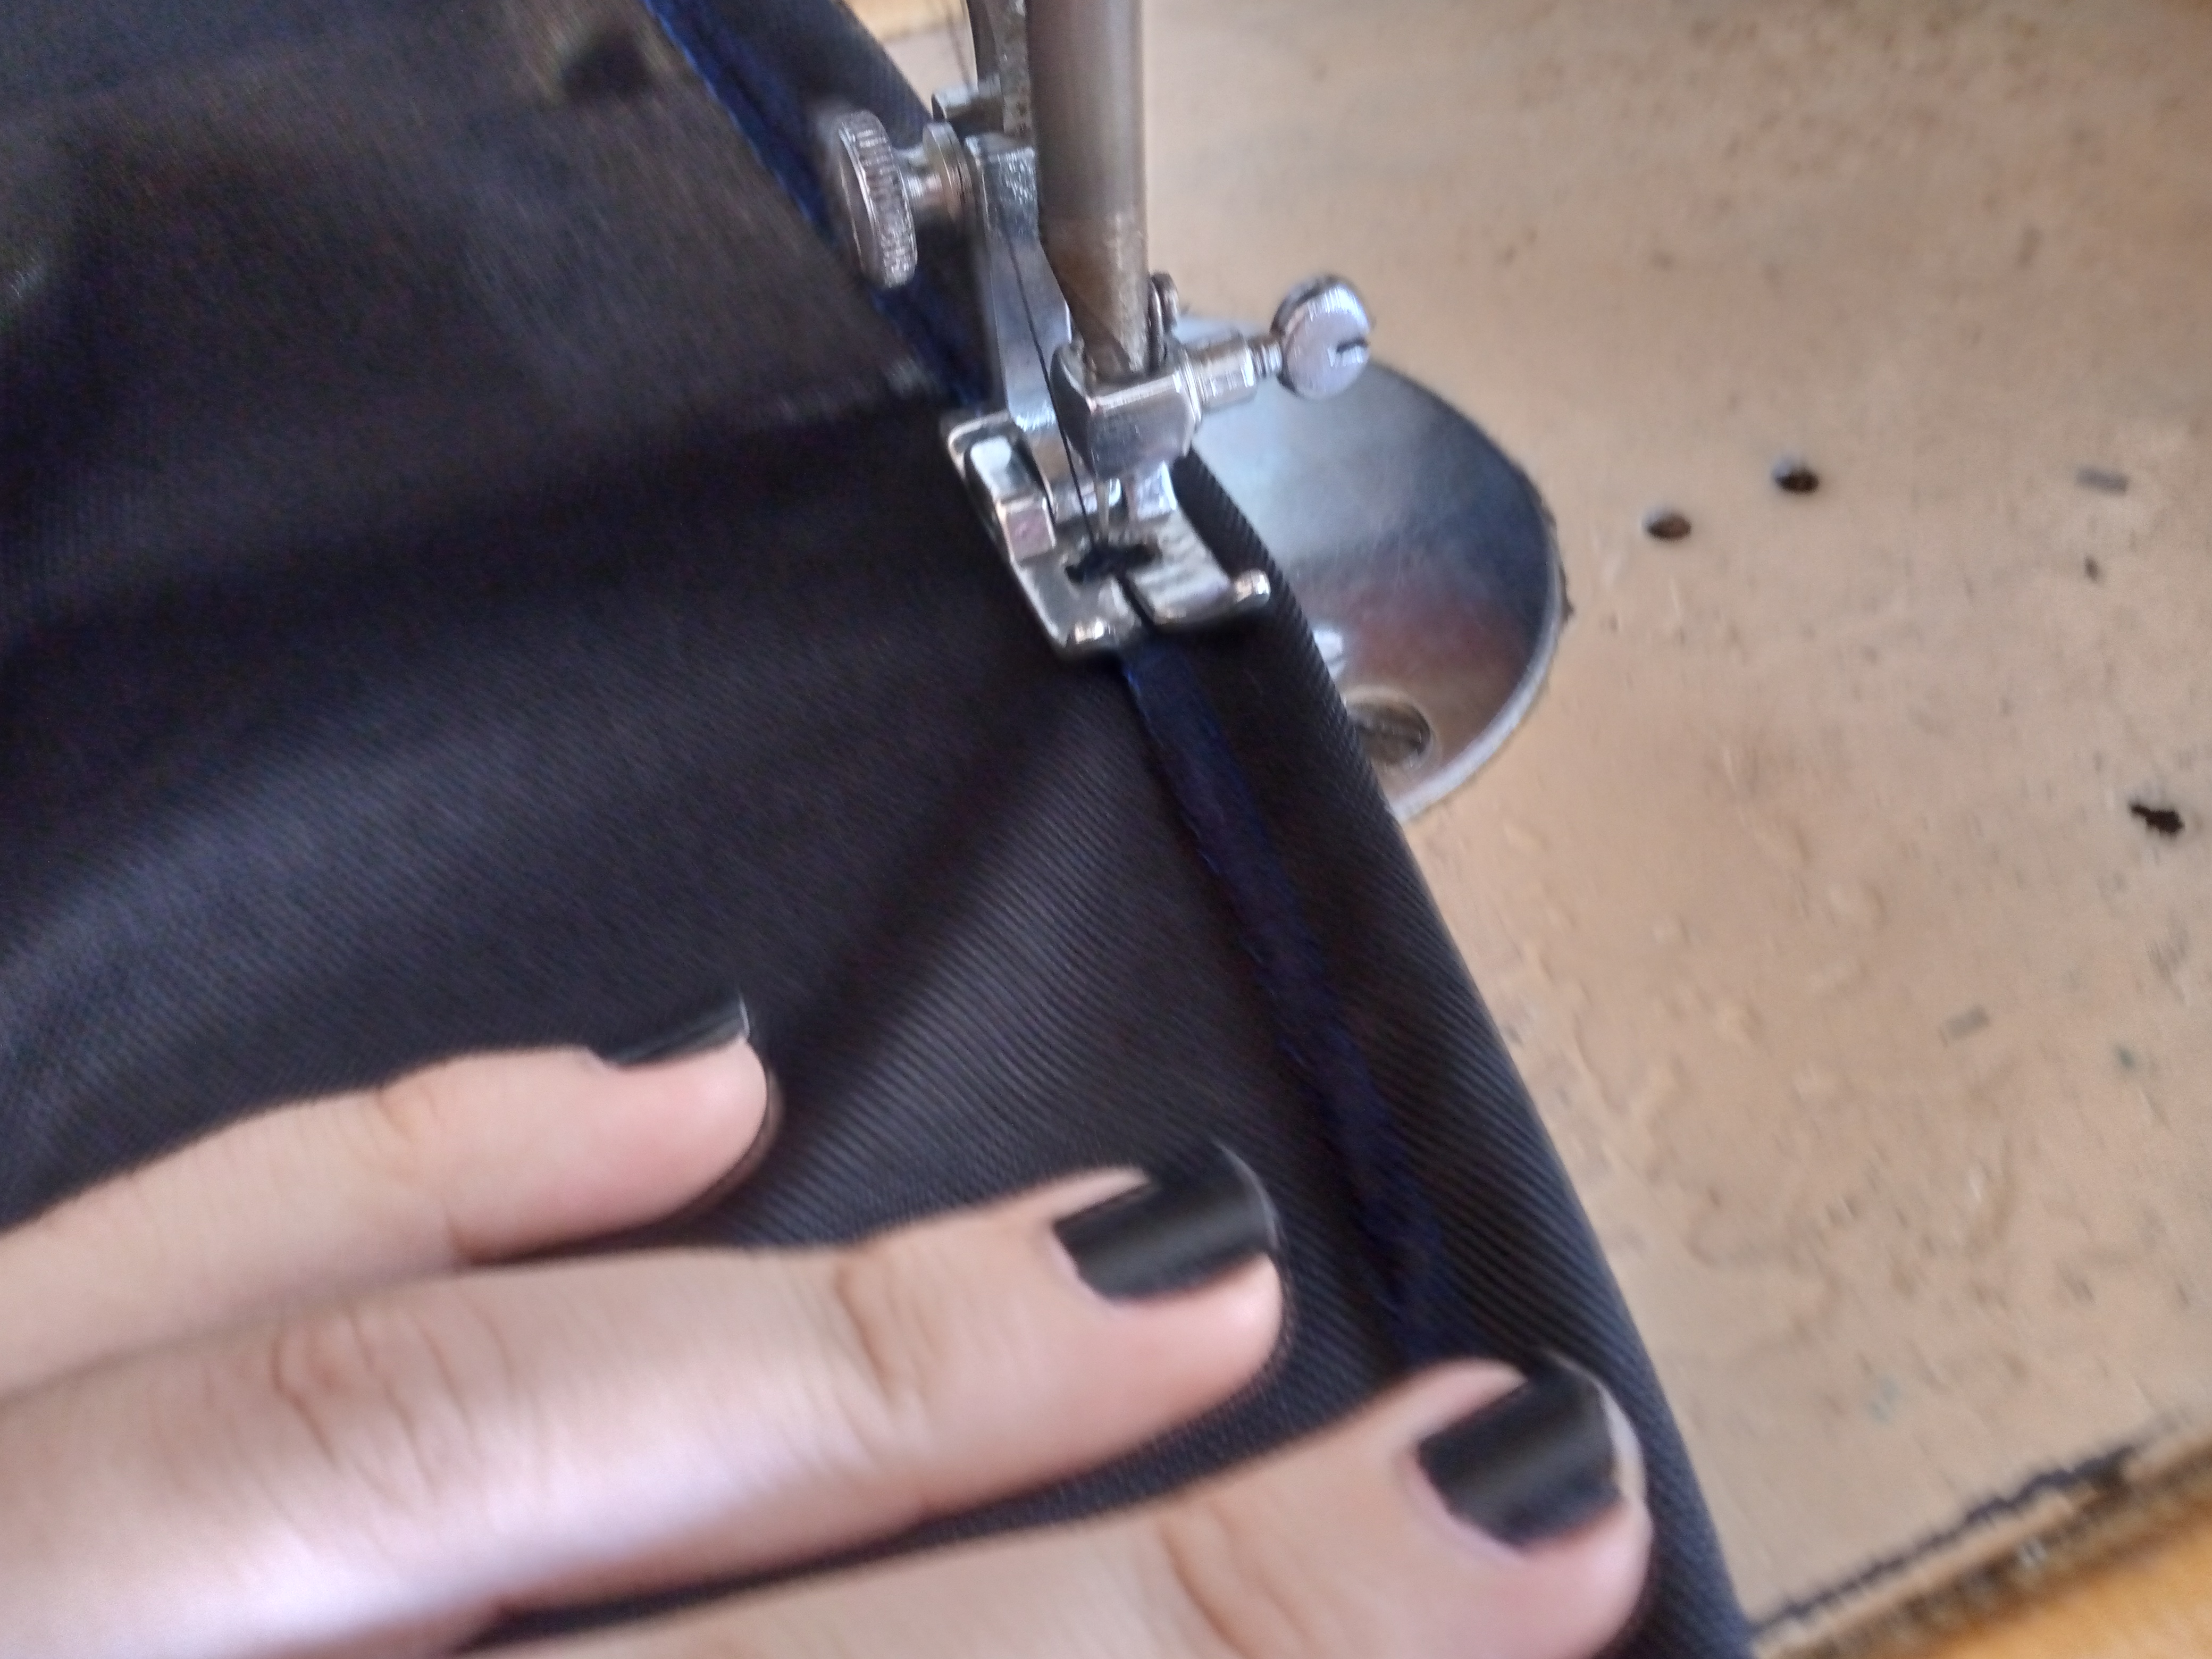
I then proceed to sew around the entire outline of the skirt with an overlock and sew the fabric, joining it to the blouse, also at the back closure. Then, we sew the hem with an overlock so we can then hem it towards the inside of the dress at the bottom.
Paso 05
Step 05
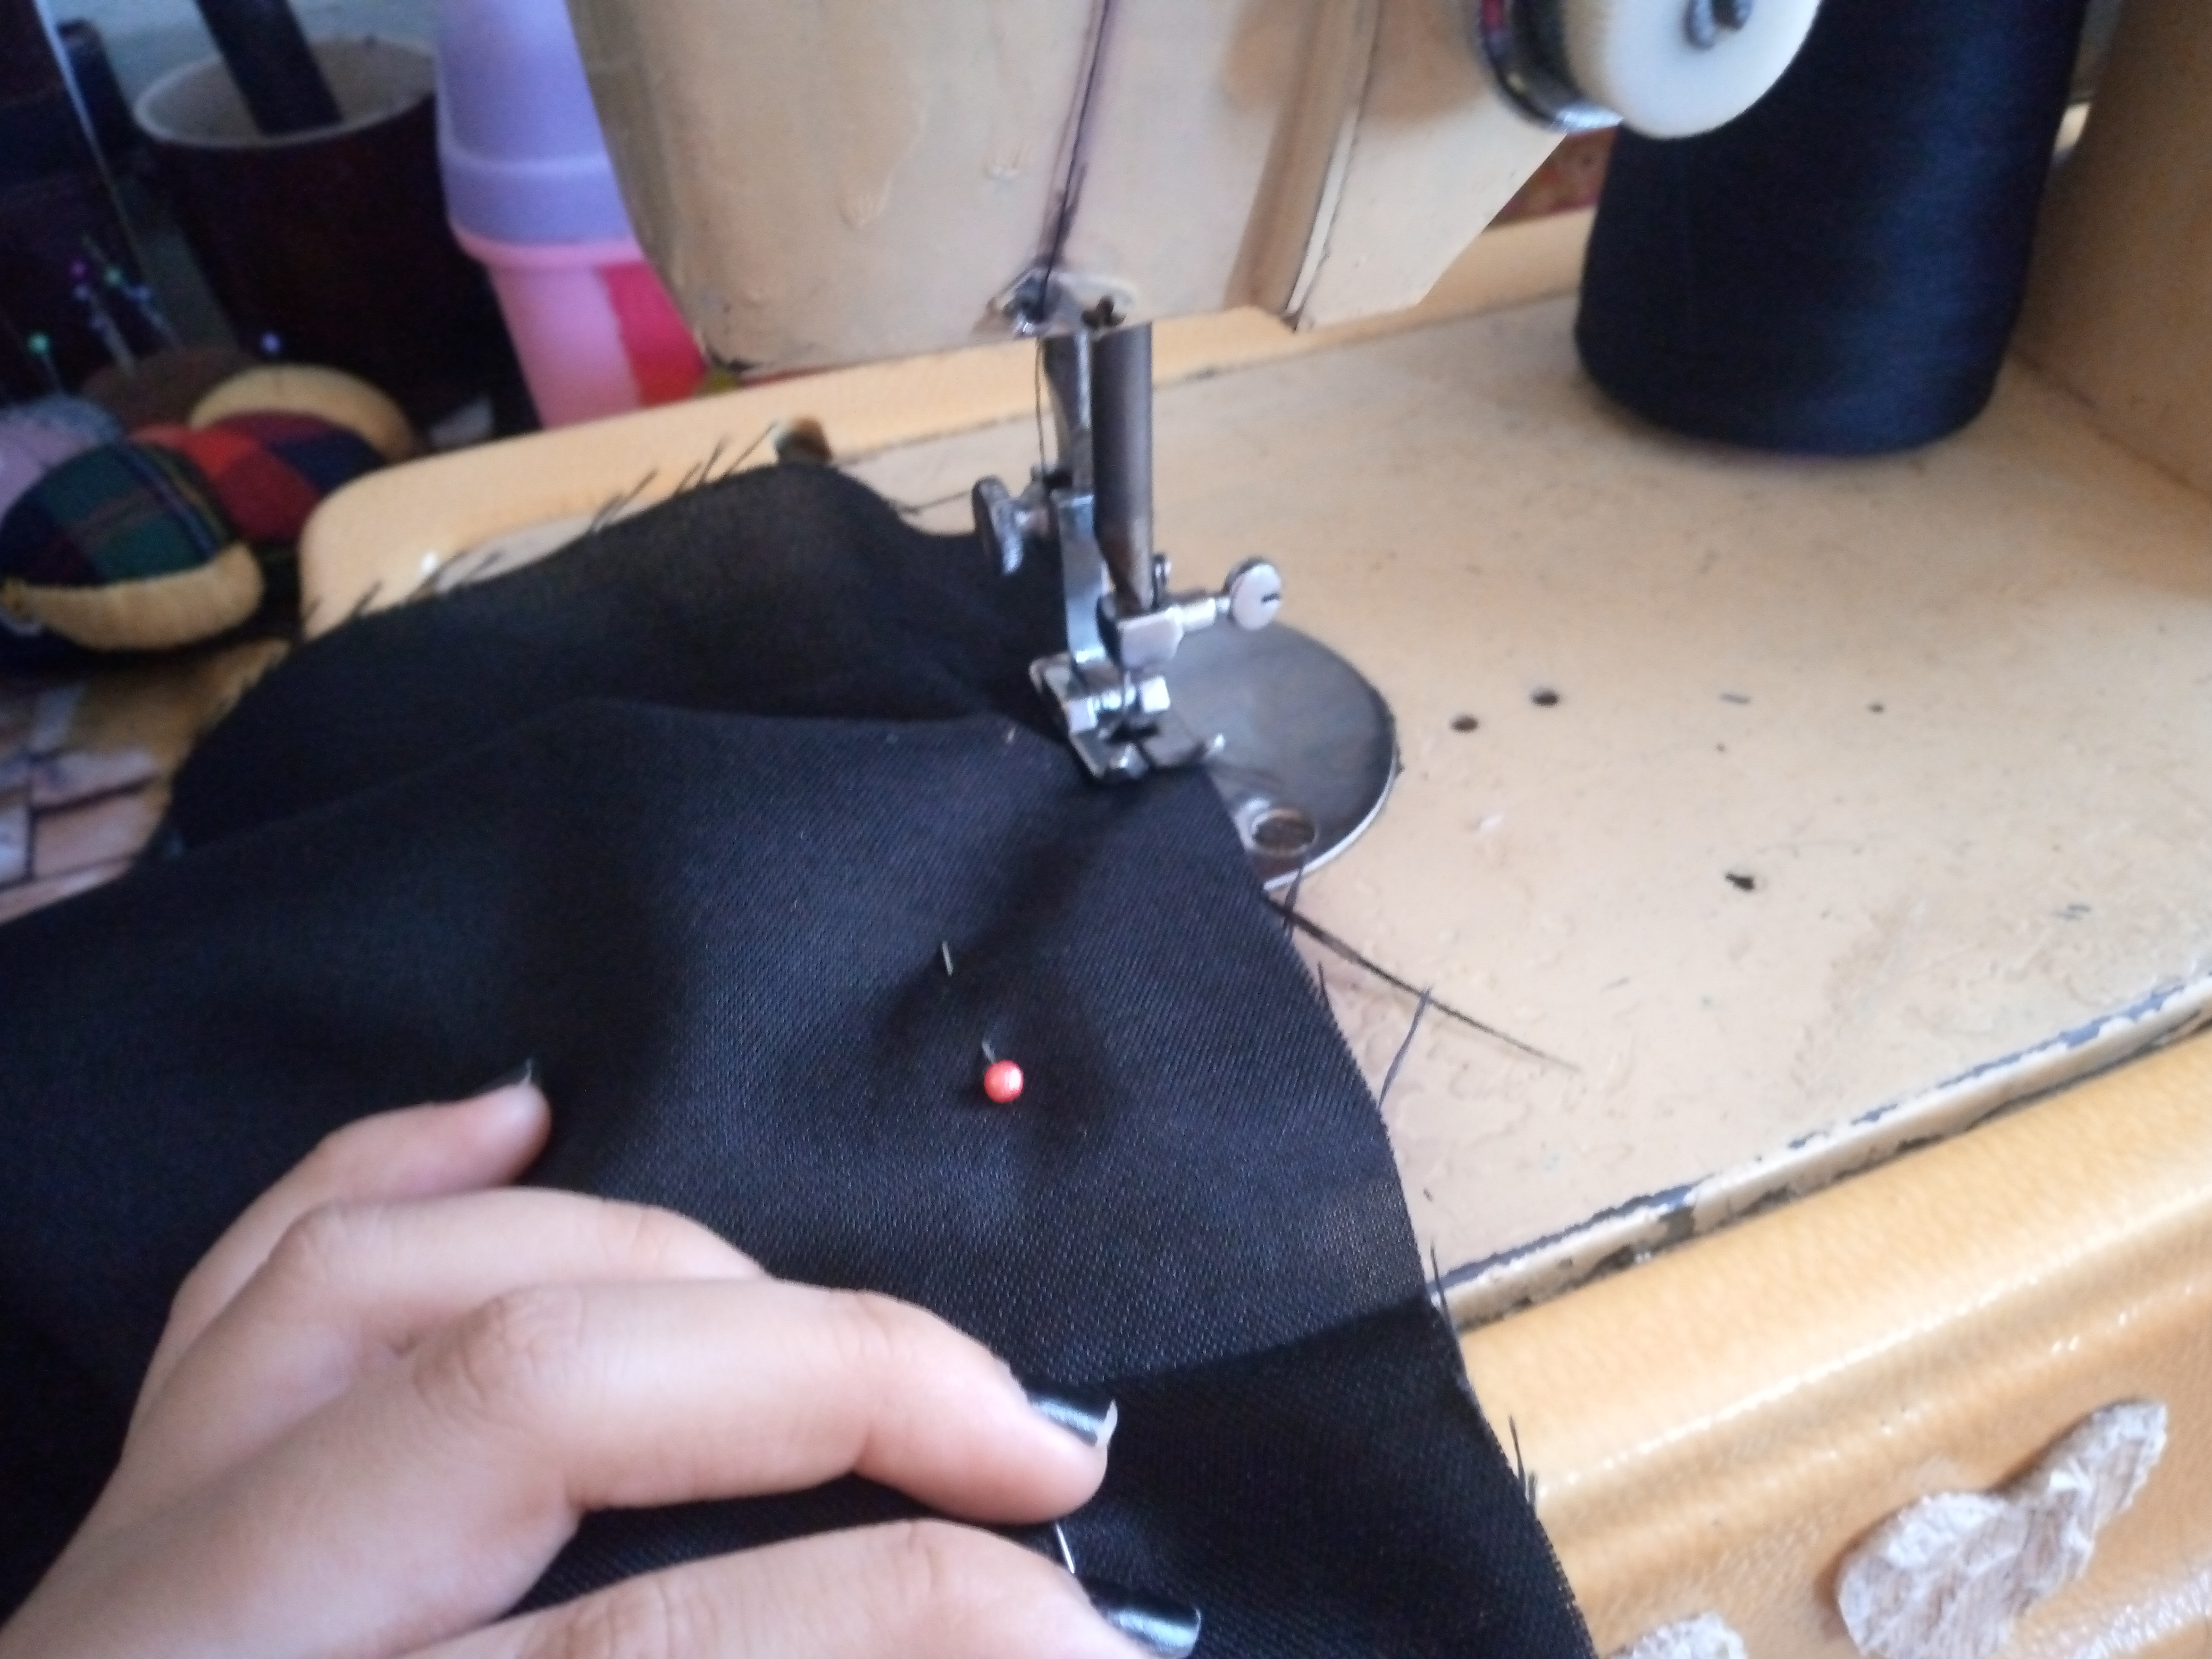
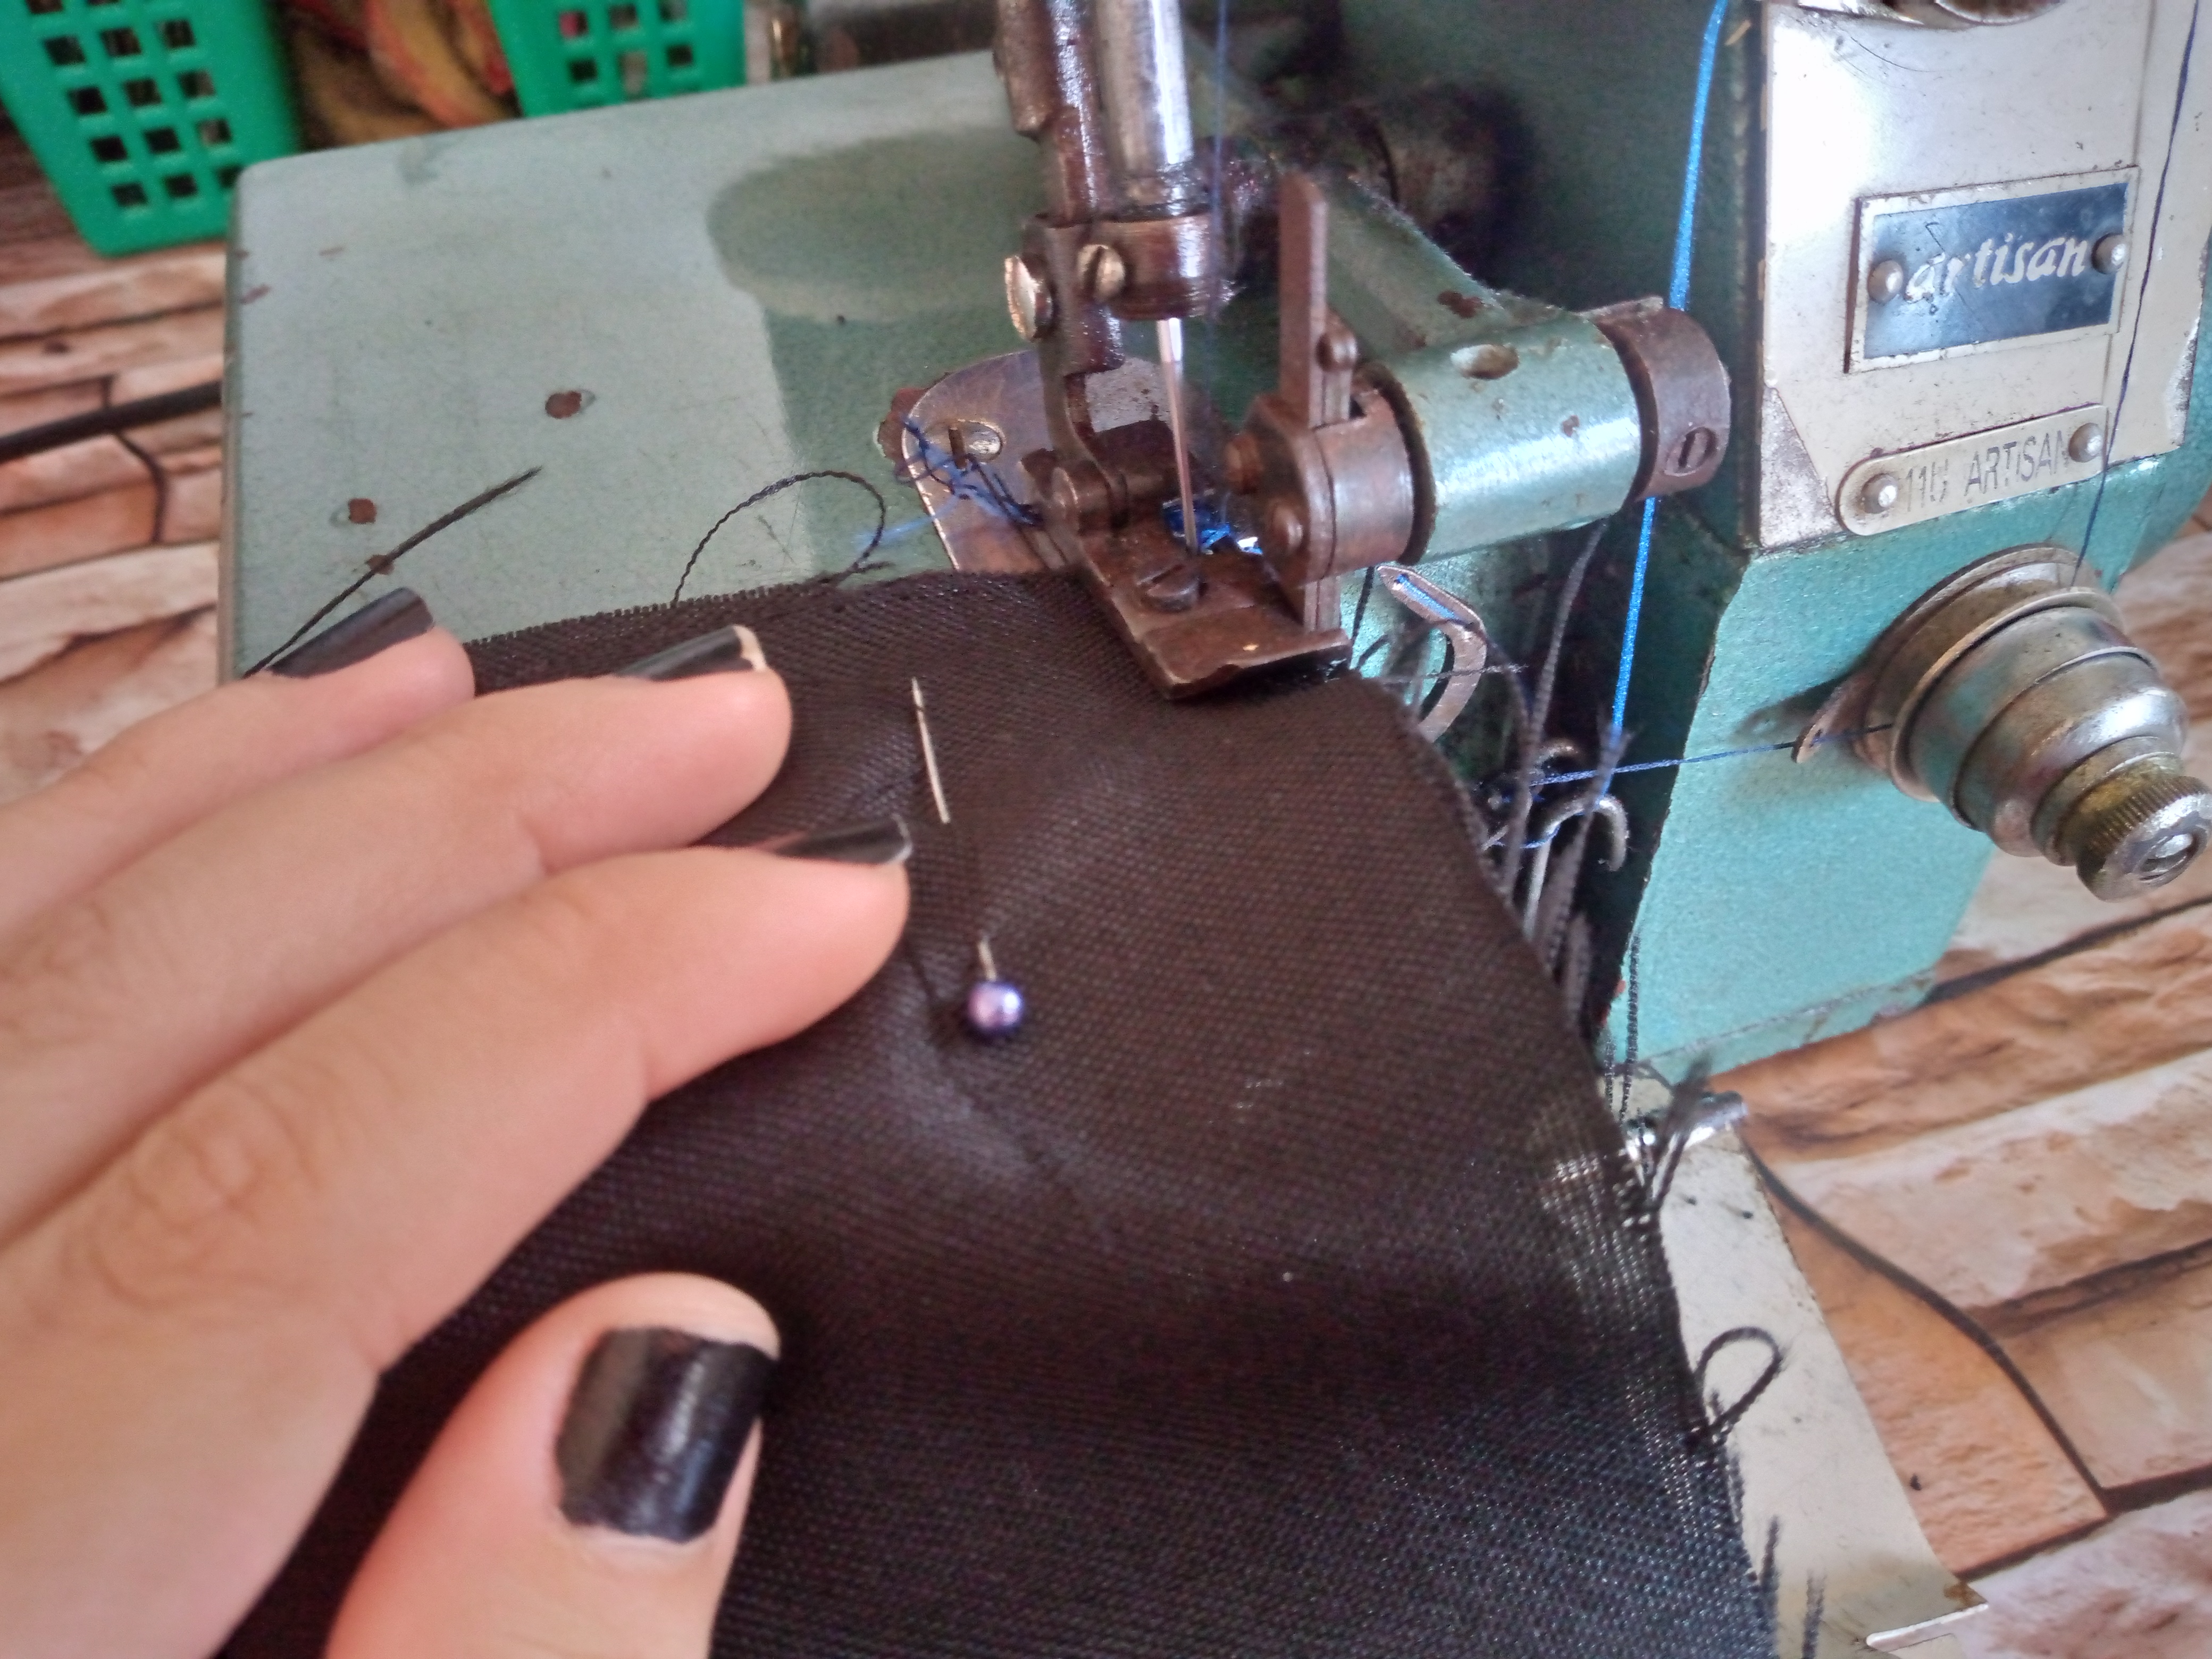
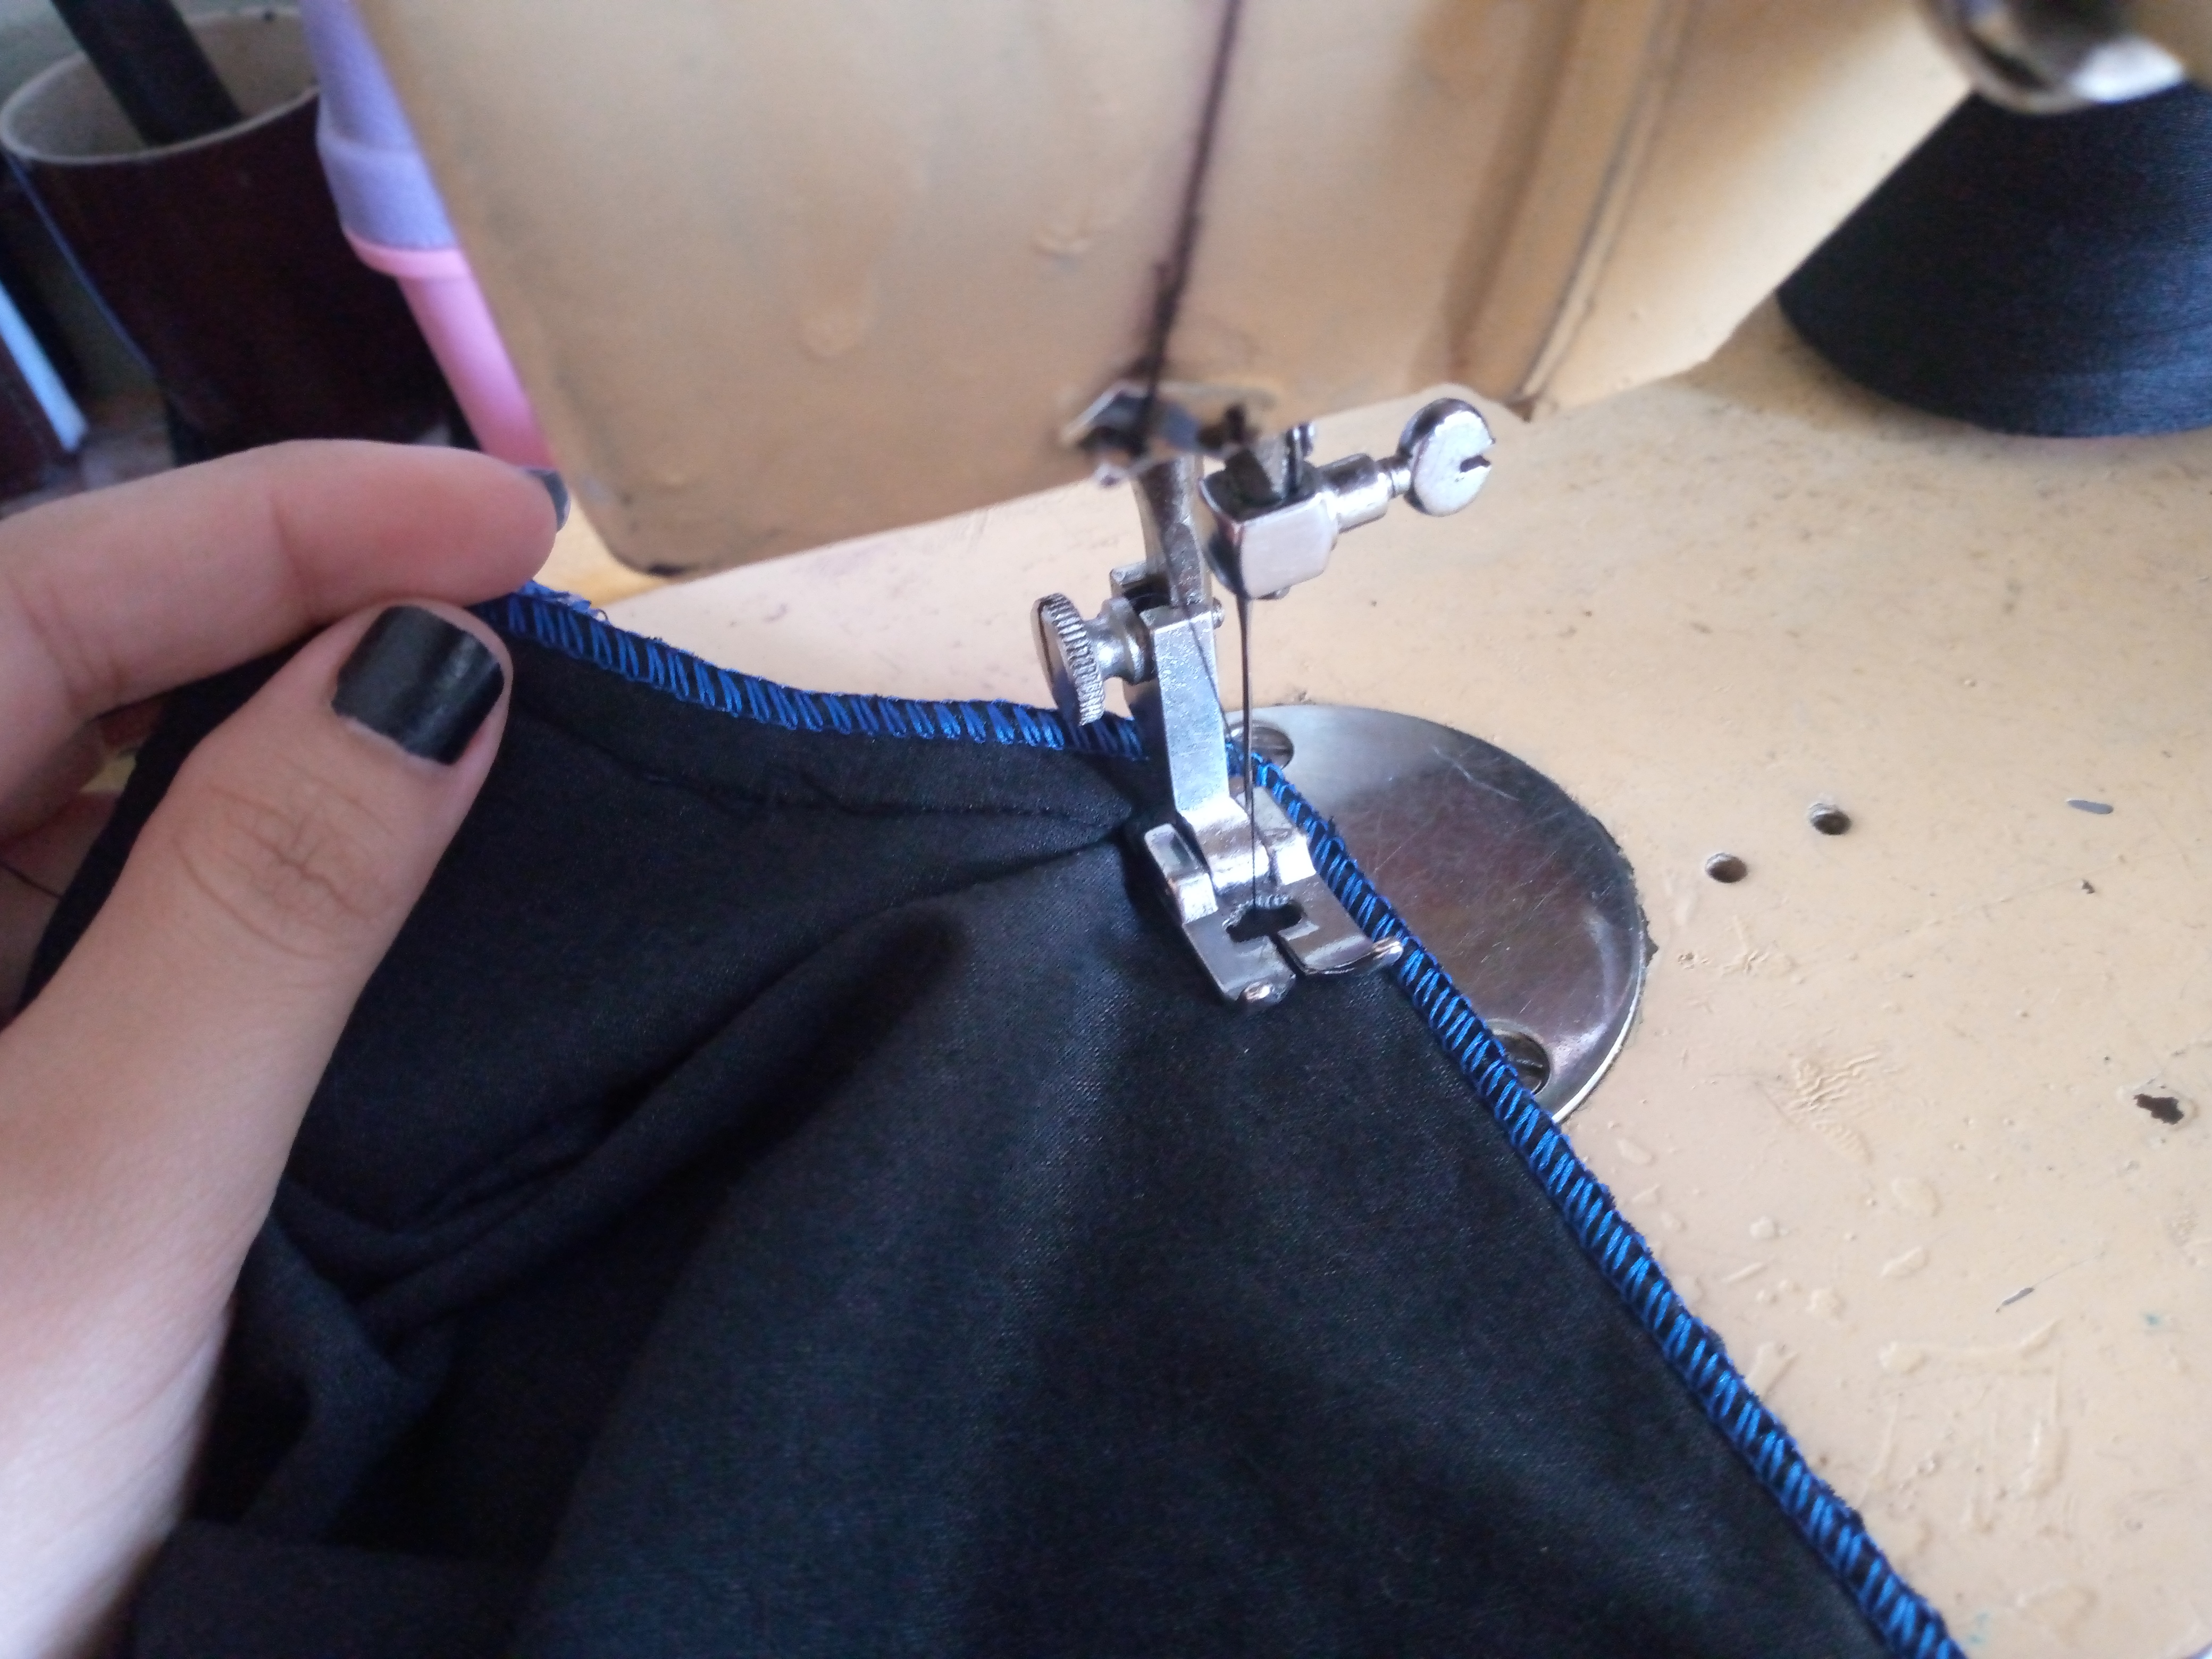
I finish the dress by sewing the lining along the sides and we sew the hem of it, then we sew this to the dress joining it again with a pin in this case I decided to make some pleats and I was sewing again with overlock stitching to secure it well and now all that remains is to sew my hem and rest the closure piece on top and that's it, we finish it.
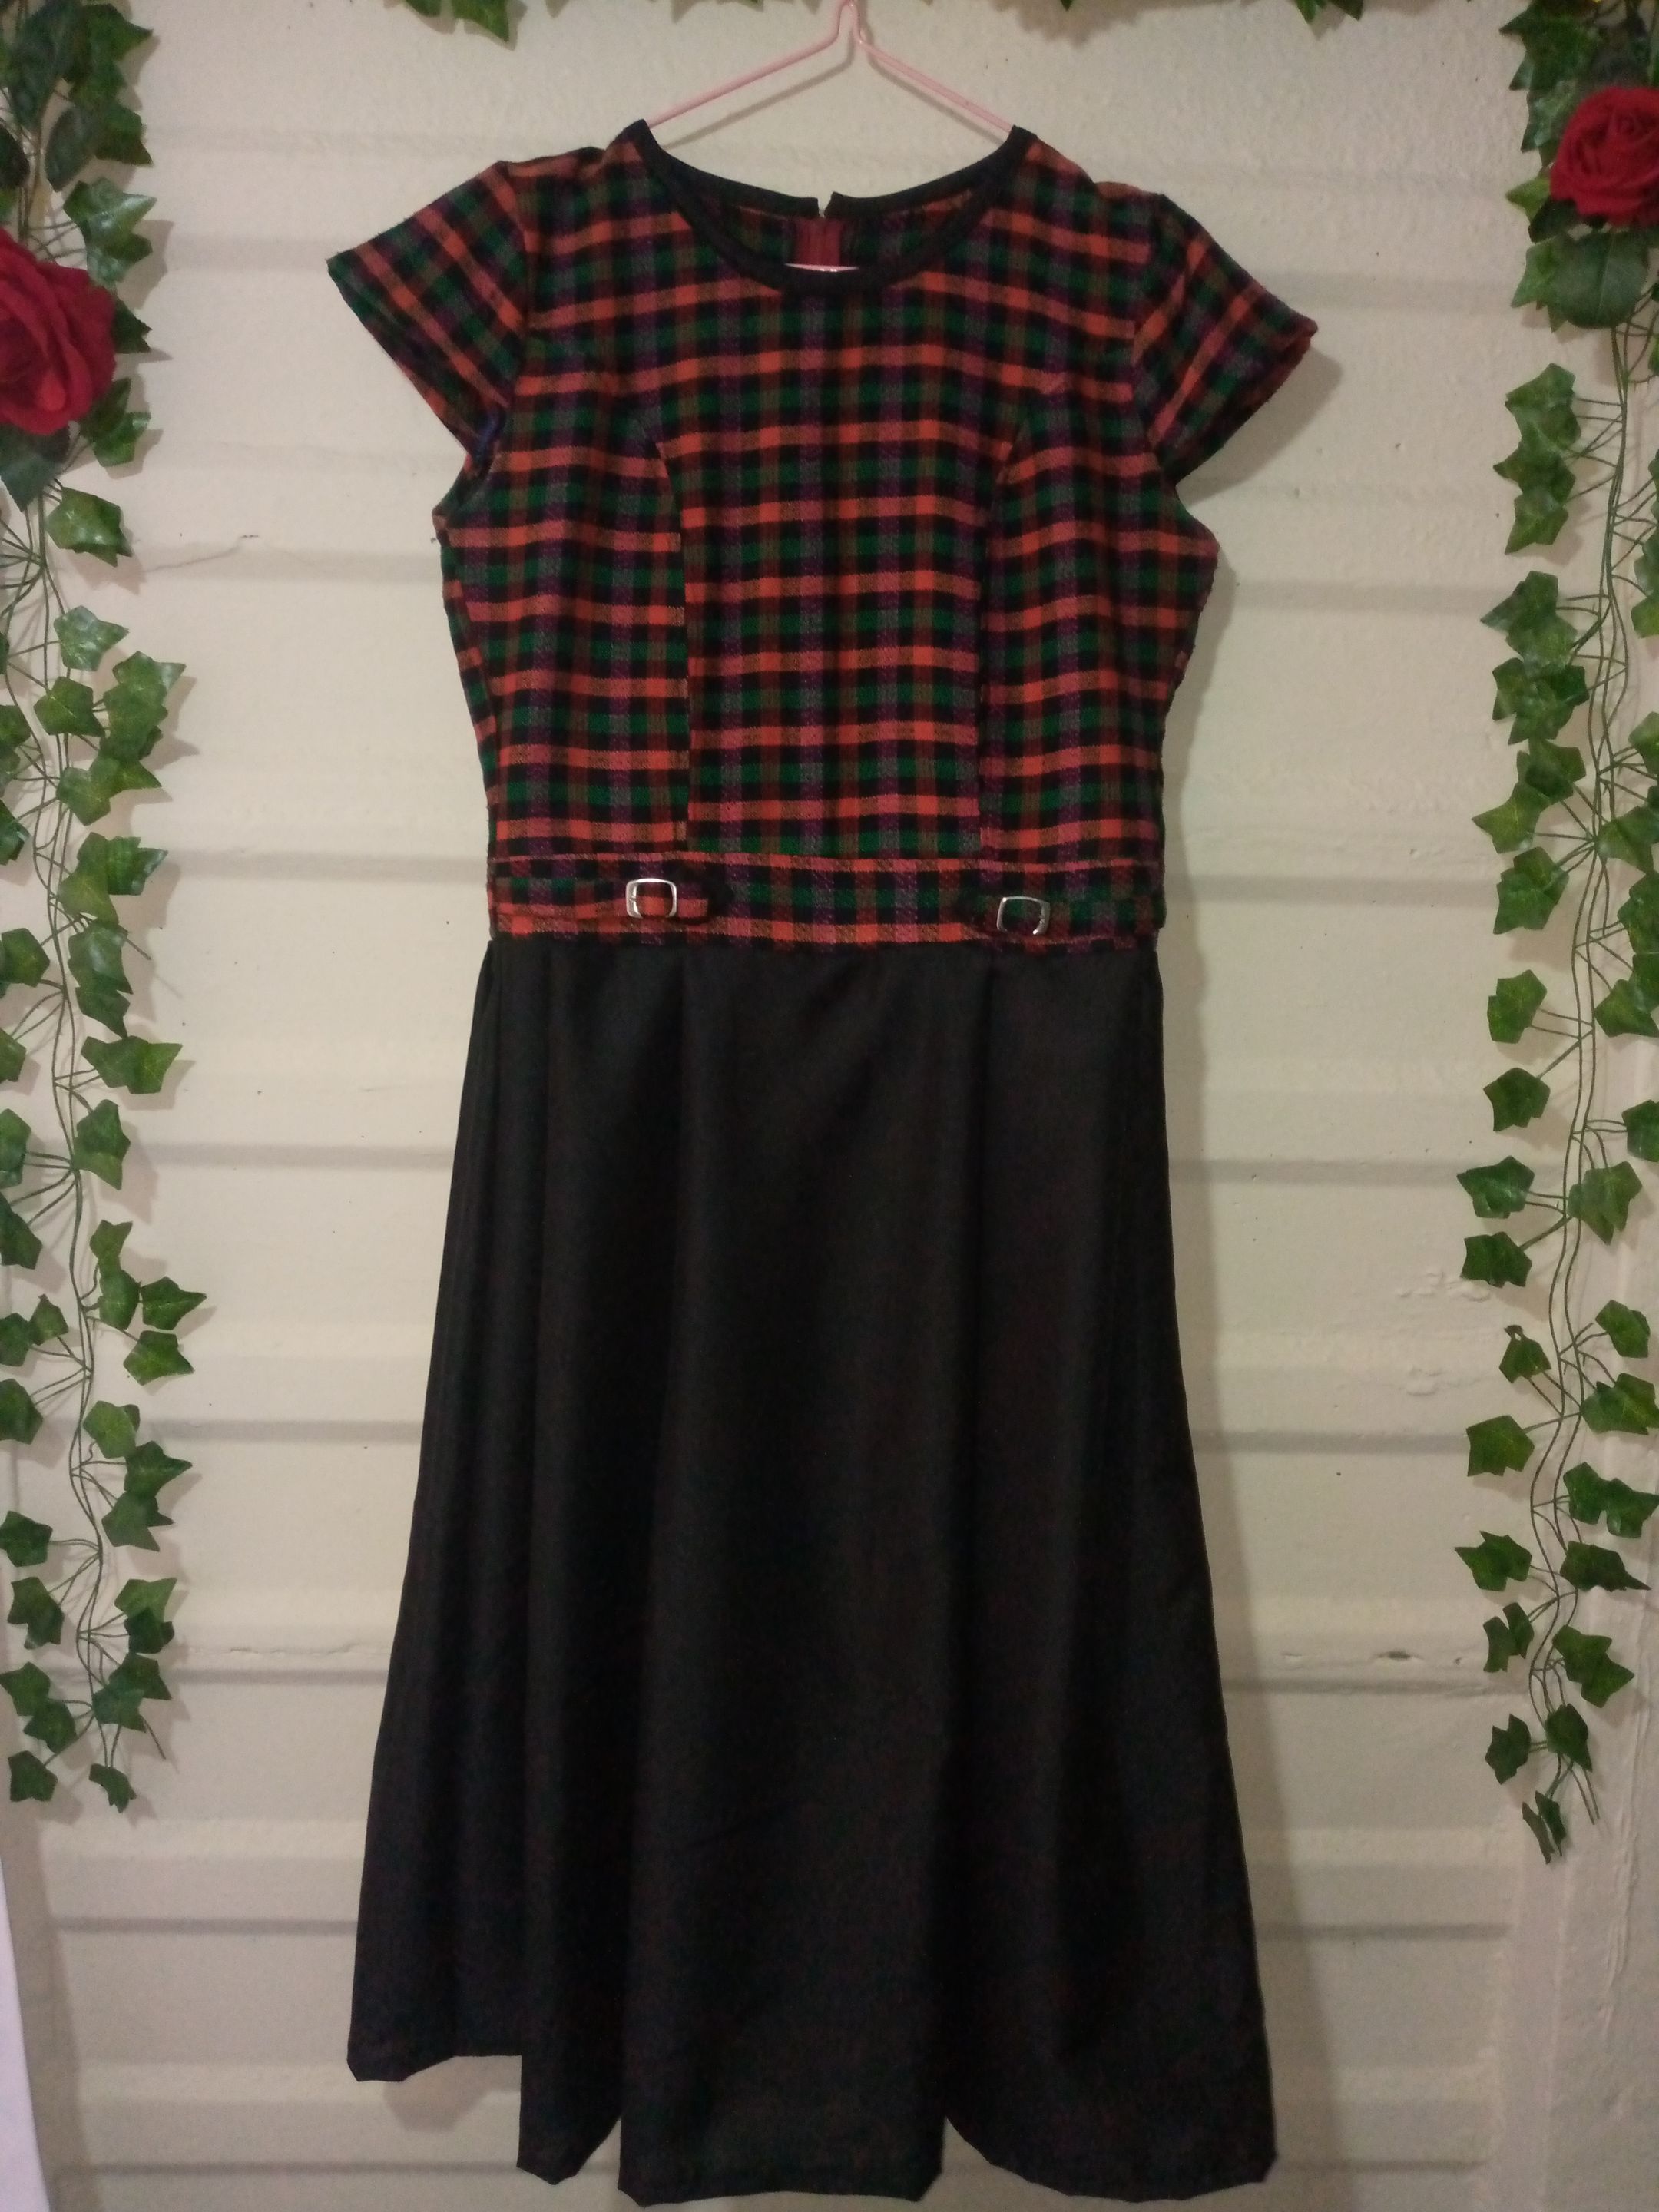
Resultado:// Result:
This is how the final result of the dress looks. I hope to wear it soon. I just gave it a light ironing and that's it. If you like how it turned out, don't forget to comment on what you think. Remember that you can transform those clothes that you think won't get a second chance in this way 😁✨.
That's all for today, friends. Thank you for taking the time to read this blog and for giving you lots of ideas. 🥰🪡🧵Greetings and I wish you a nice afternoon.
Creating things with love 🌷❤️
🦋✨ All the images in this publication are my author ,📱taken with my TecnoSpark8C cell phone |📸Photos edited in PicsArt and Canva. Text translated in Google Translate.