Hola queridos creadores y amigos que me visitan.
Vas a necesitar:
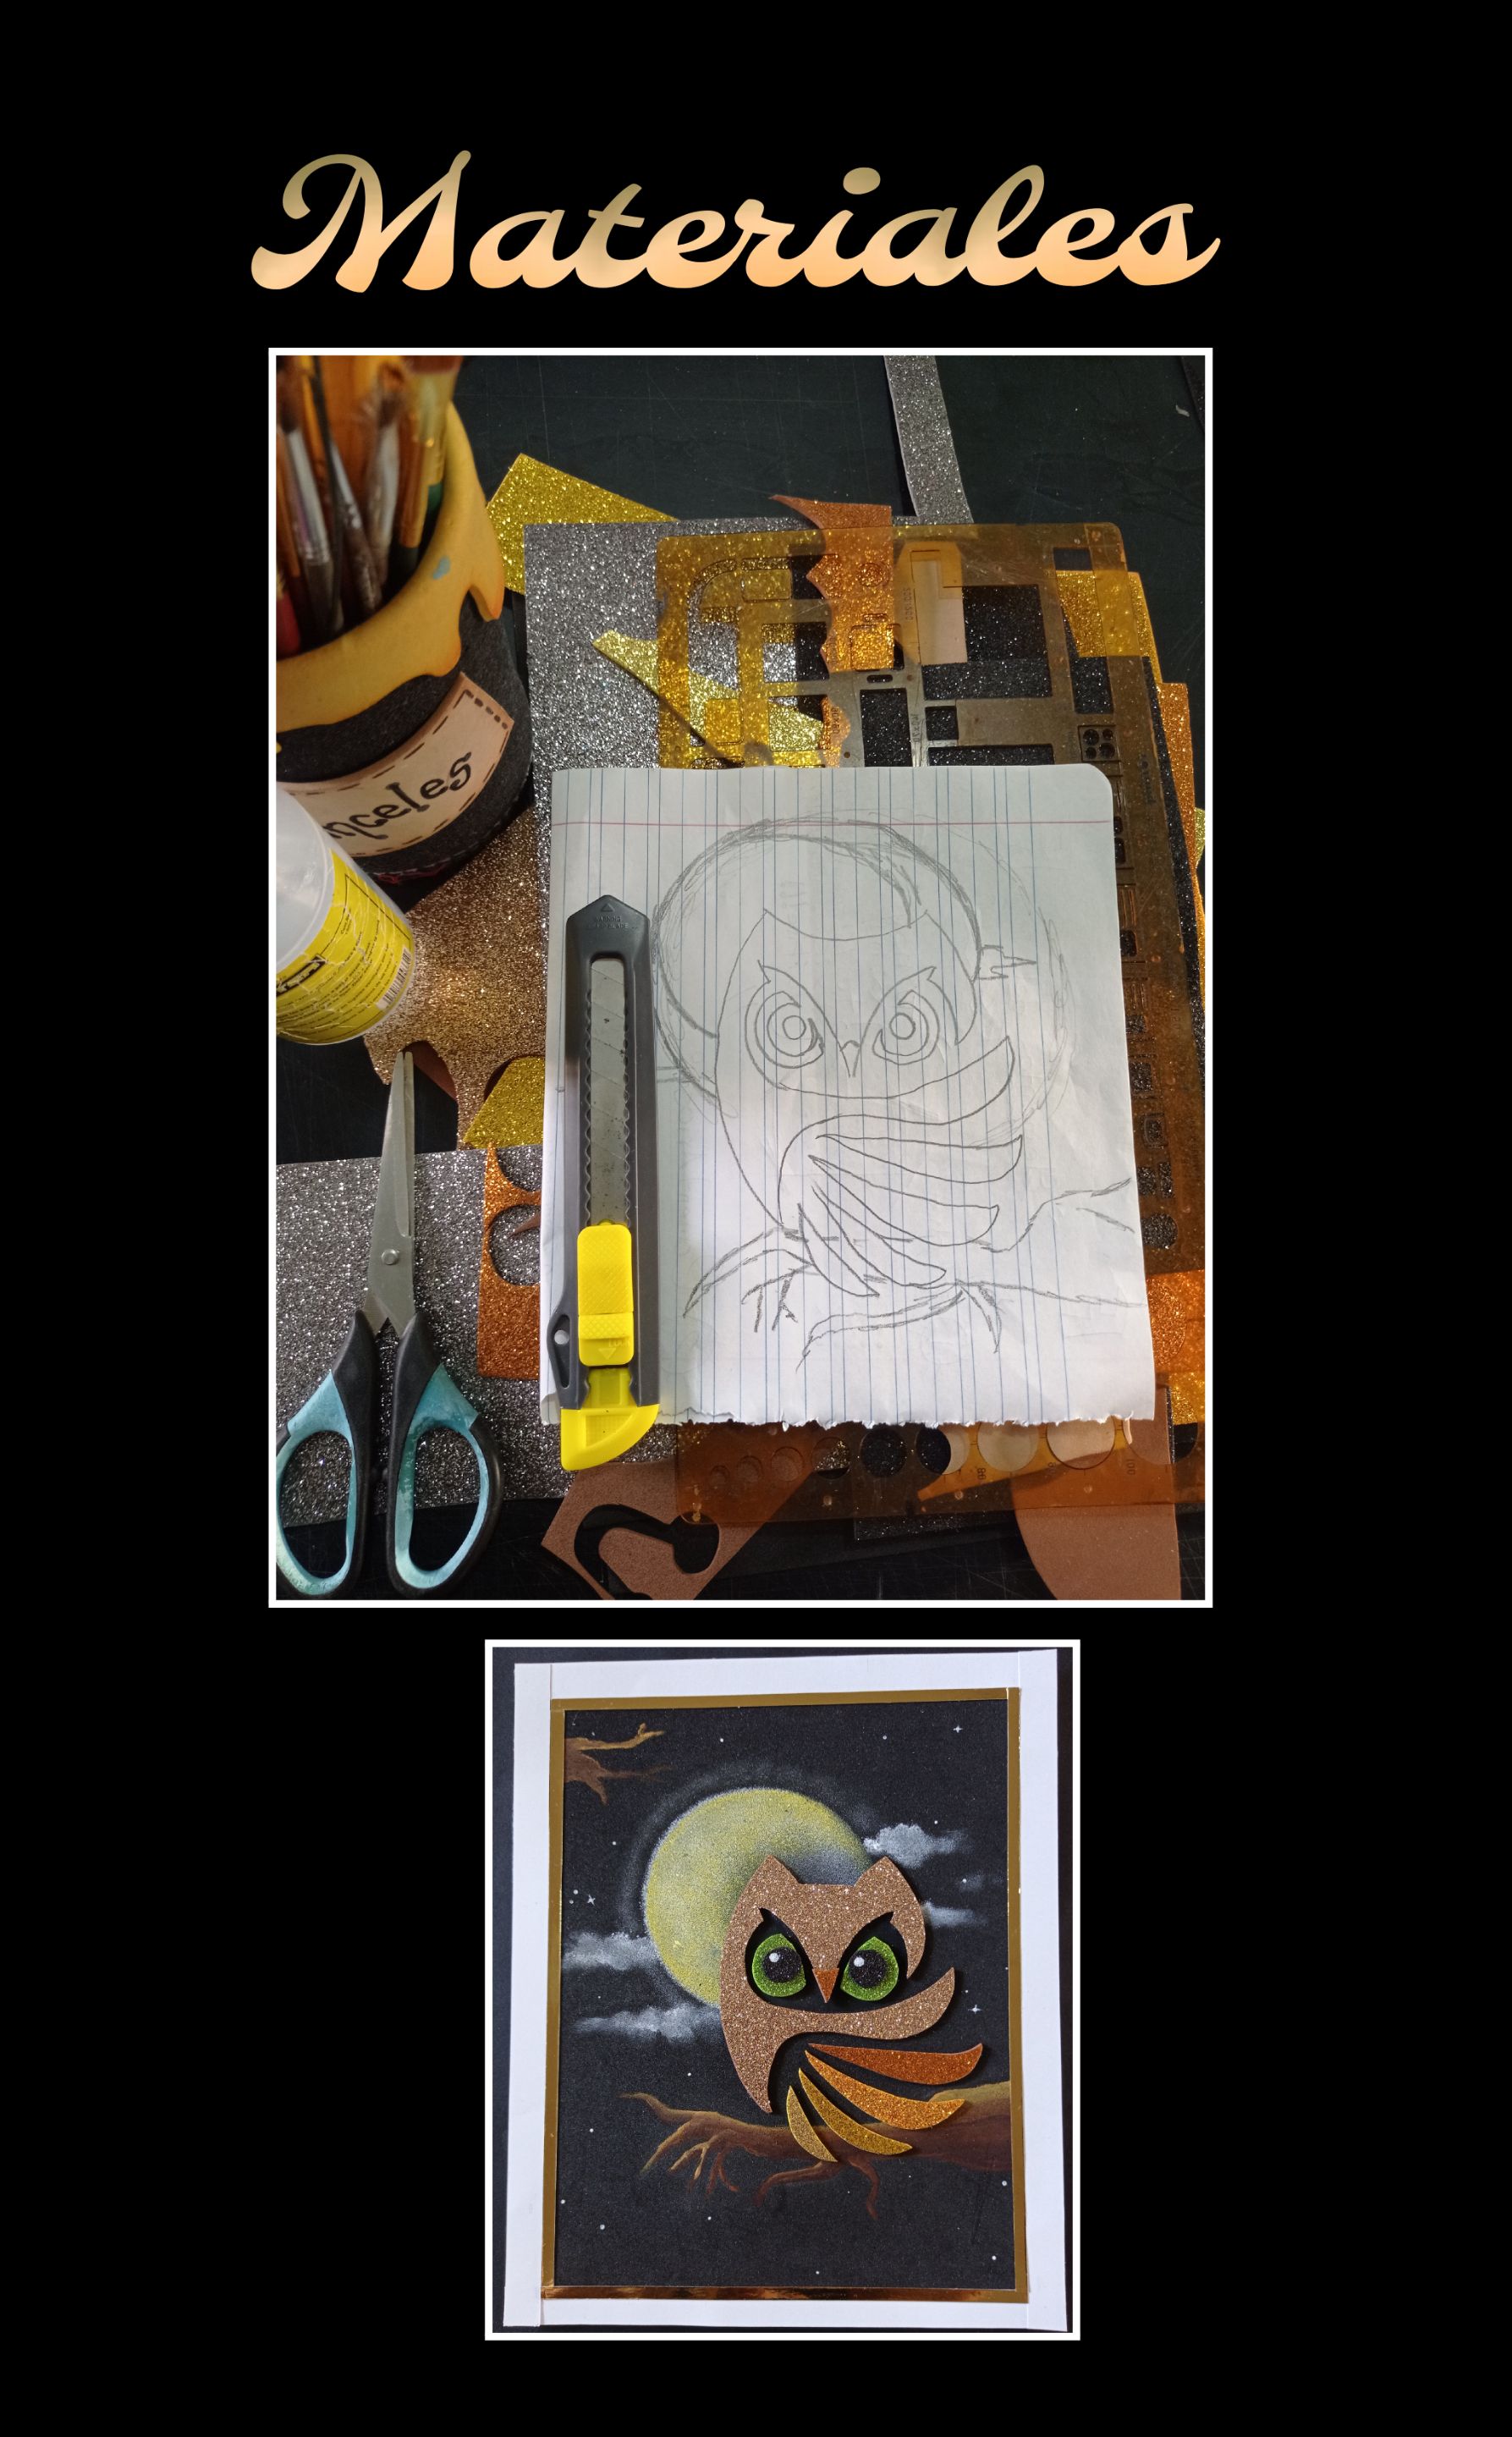
Foami mate y escarchados
Tiras de cartulina blanca y metalizada
Tijera y cuchilla
Pinturas y pinceles.
Lápiz y regla
Cartón y trocito de goma espuma.
Cinta de tela.
Comencemos:
Paso 1:
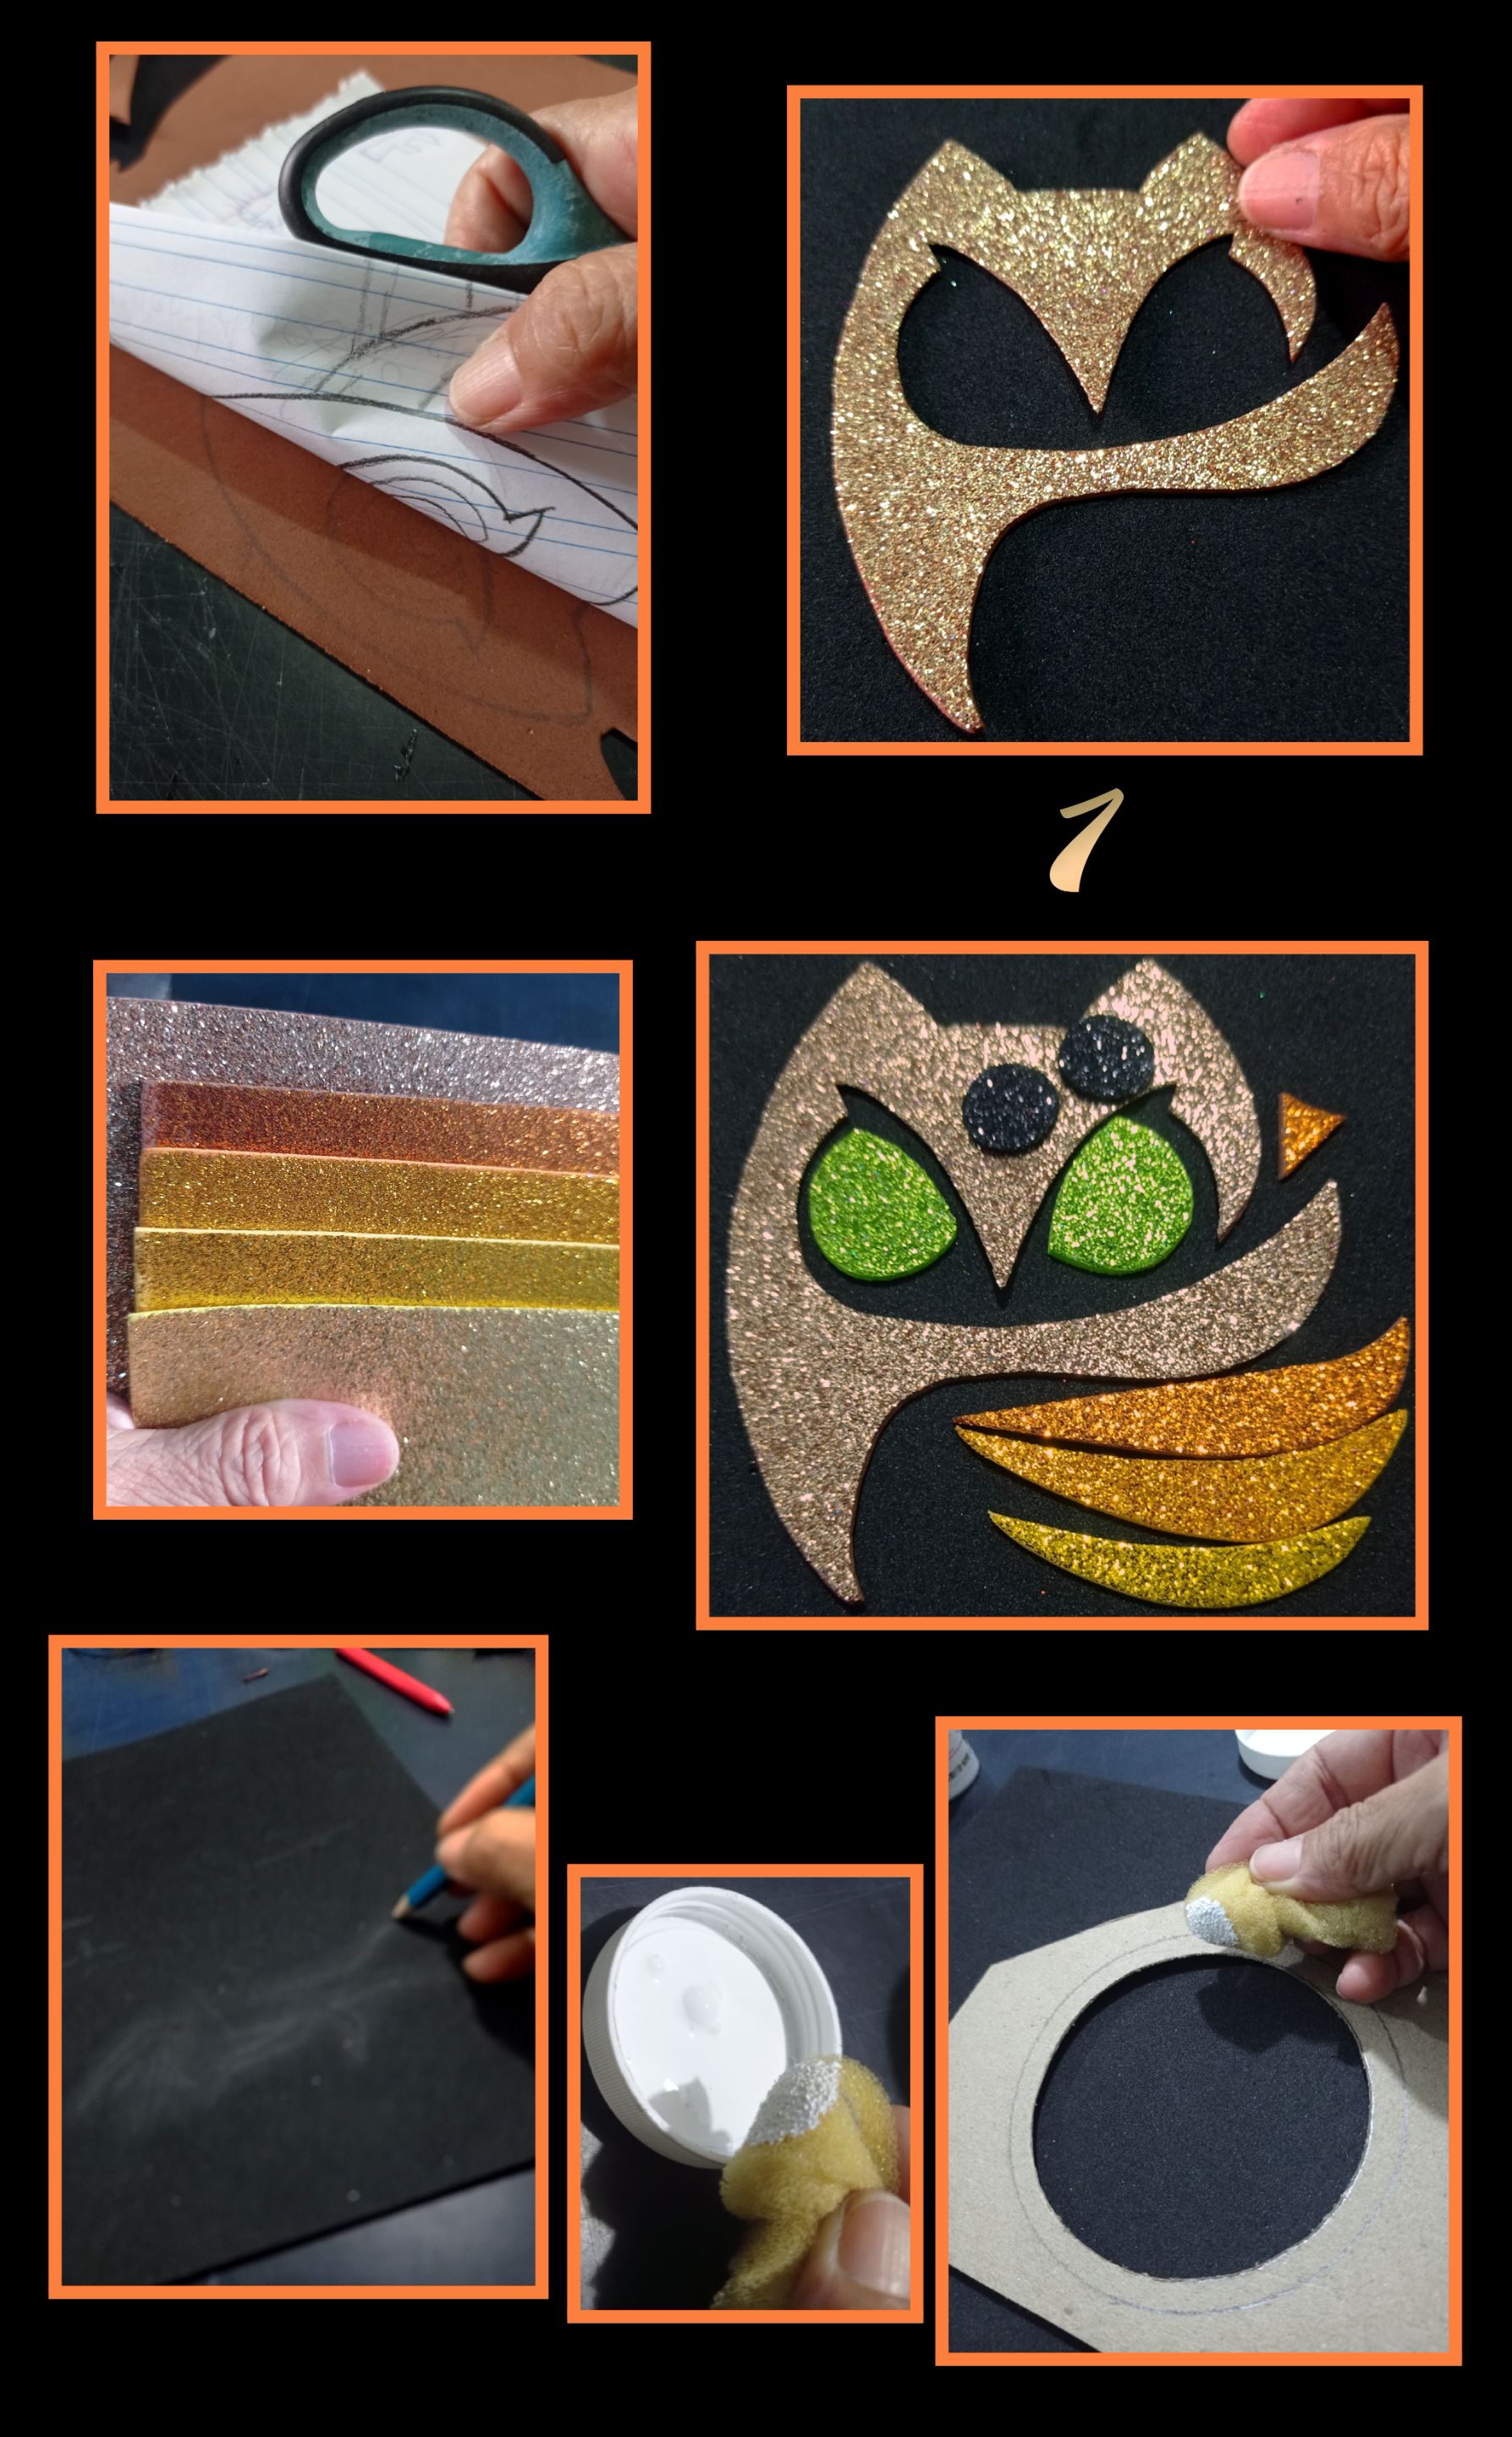
- Remarca el dibujo con lápiz 4B, luego coloca sobre el foami y con los anillos de la tijera frota fuerte hasta que se transfiera el dibujo del Buho y recorta.
- Luego con los retazos de foami escarchados, combina o haz un degrades con los colores que tengas o te gusten, yo tomé
los que ves en la foto del más intenso hasta el más claro para el plumaje y recorta, también recorta ojos en verde.
Así solo hará falta armarlo. - Ahora pinta o transfiere la forma de unas ramas de árbol, aparte recorta un círculo en un pedazo de cartón o cartulina para hacer la plantilla de la luna.
- Moja la goma espuma en pintura blanca y coloca la plantilla donde quieras ubicar la luna.
Paso 2:
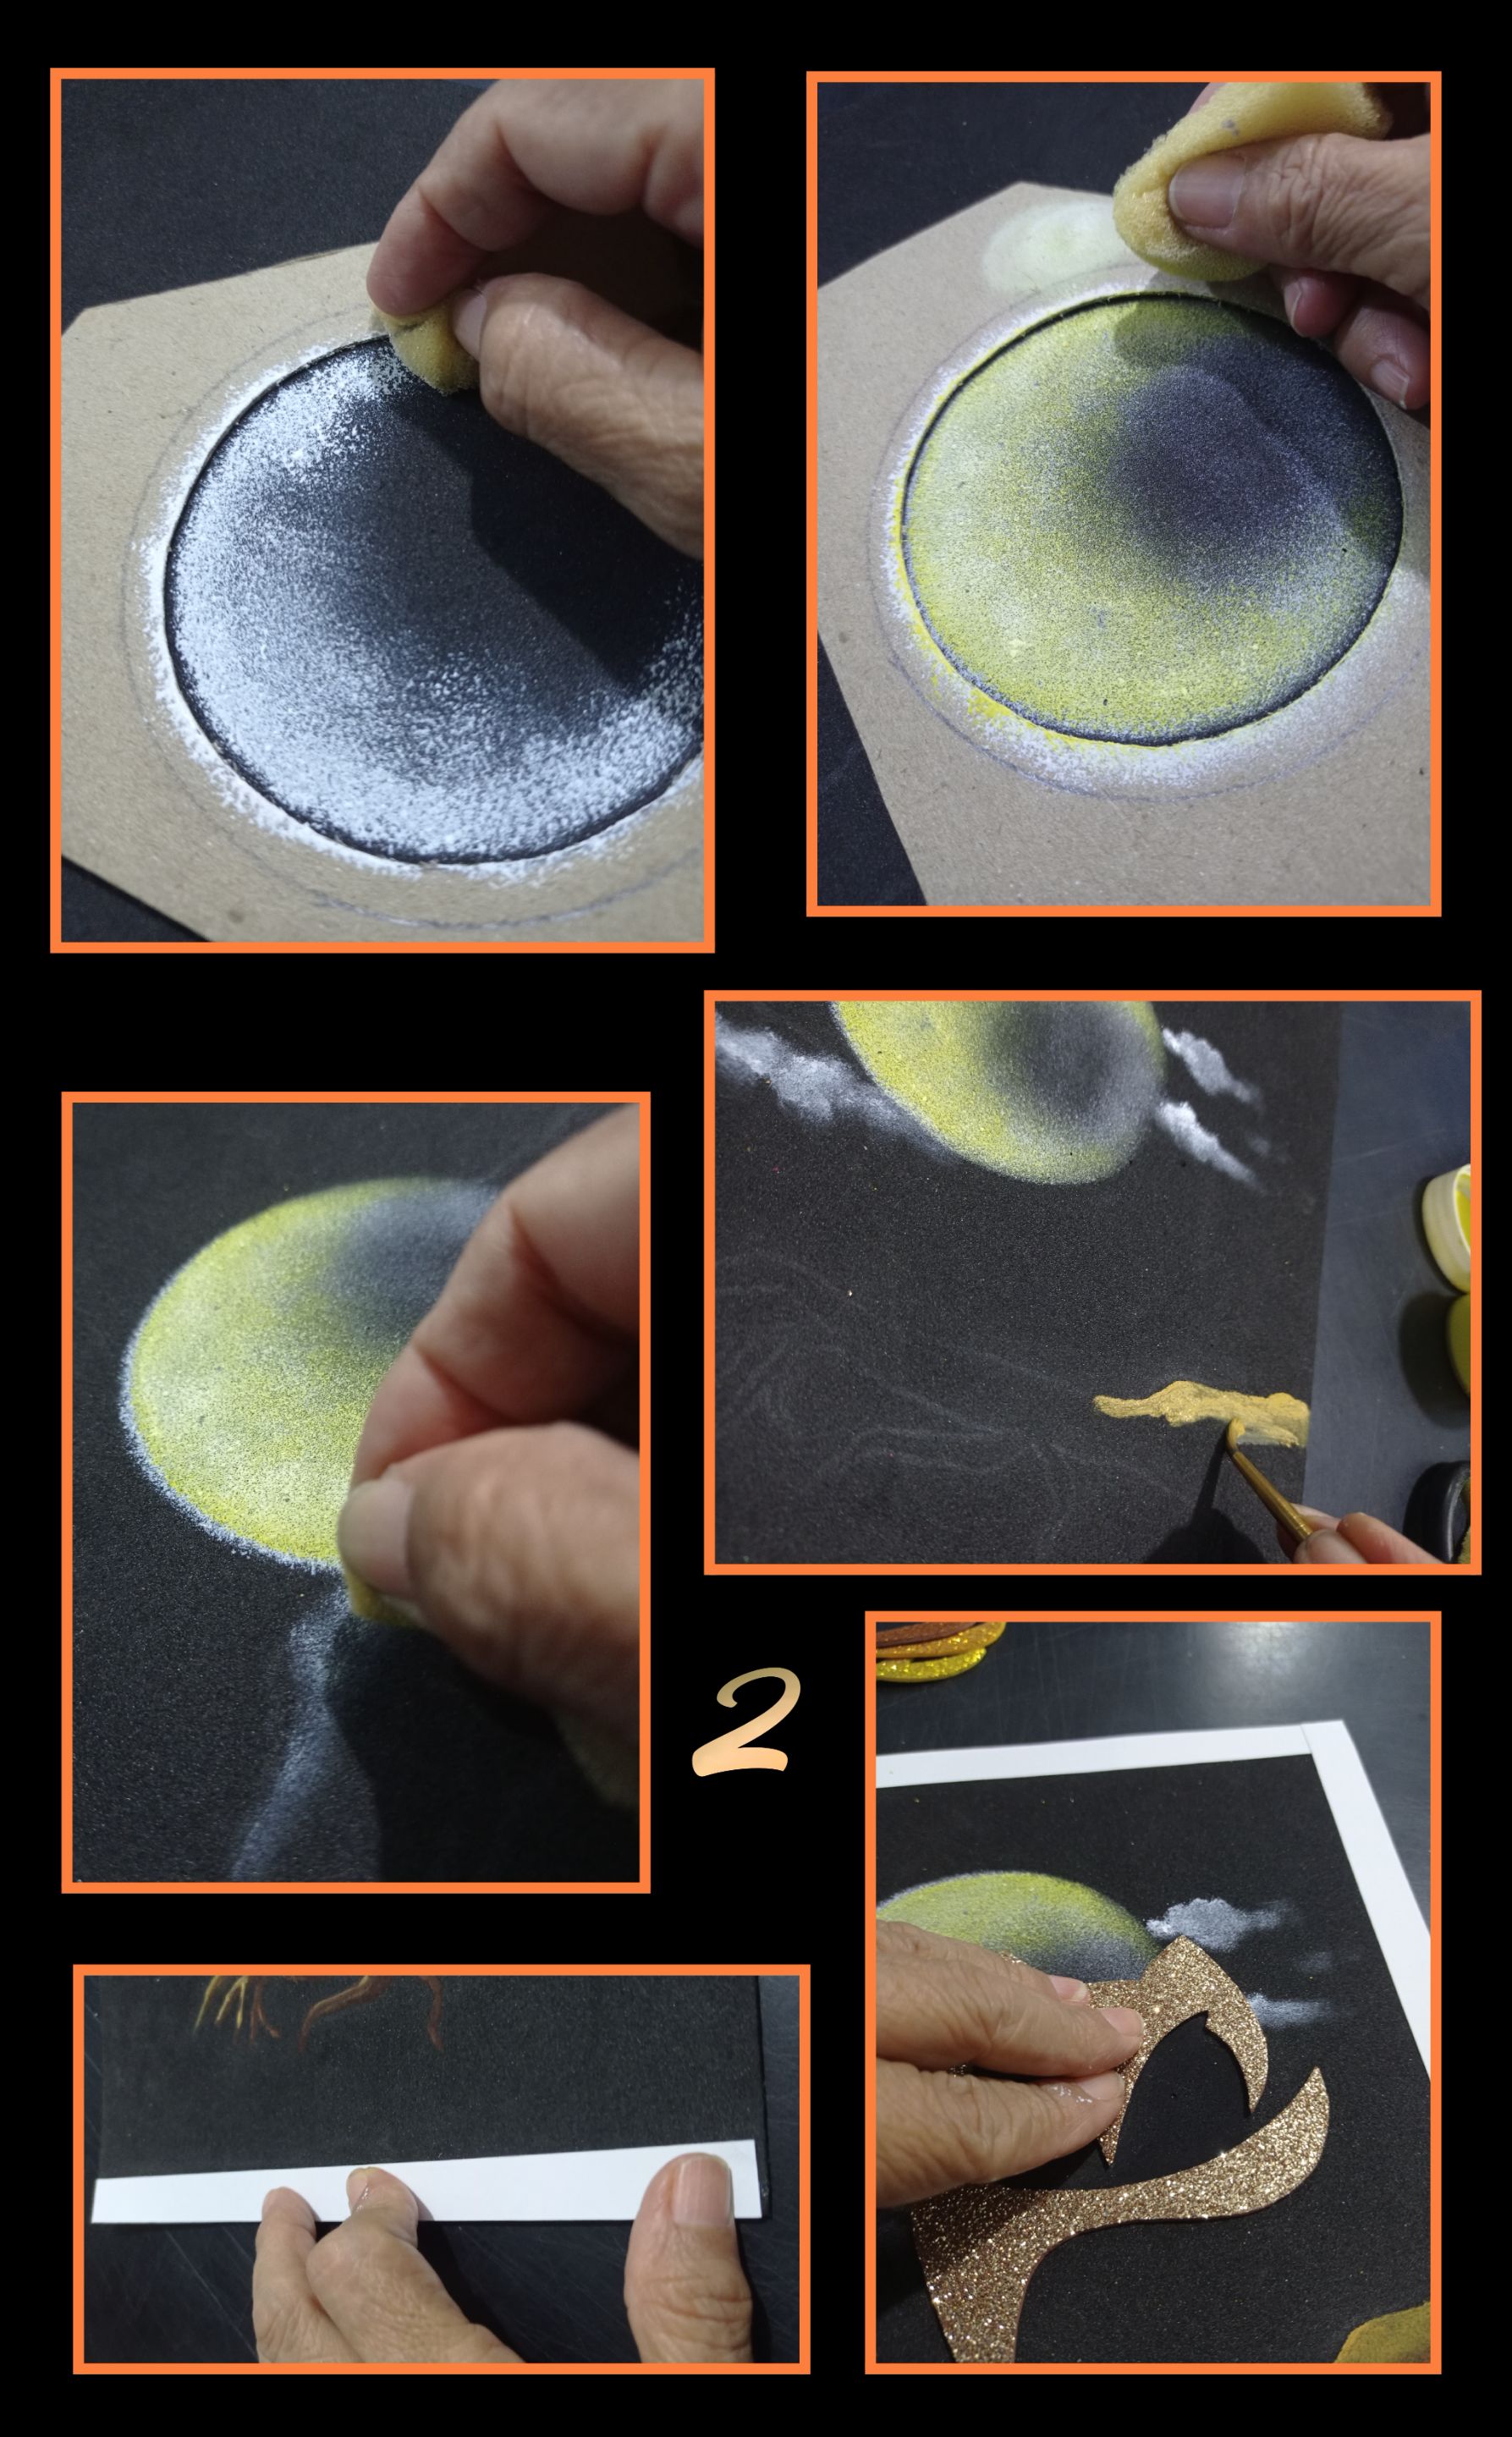
Quita el exceso de pintura de la esponja sobre cartón o pañito seco y comienza a motear por todo el contorno del círculo y deja secar, repite 2 ó 3 veces el moteado y deja un lado sin motear.
Cuando seque, moja la esponja en pintura amarilla y motea nuevamente sobre la base.
Ahora con la esponja, toma una pequeña punta y moja en pintura y comienza a hacer las nubes.
Después que seque, pinta la rama del árbol con pintura ocre la parte de arriba para dar efecto de claridad por la luna y en la parte de abajo pinta con marrón mas oscuro y deja secar.
Aparte recorta 4 tiras de cartulina de 2cm de ancho para hacer el marco del cuadro y comienza a pegar el buho.
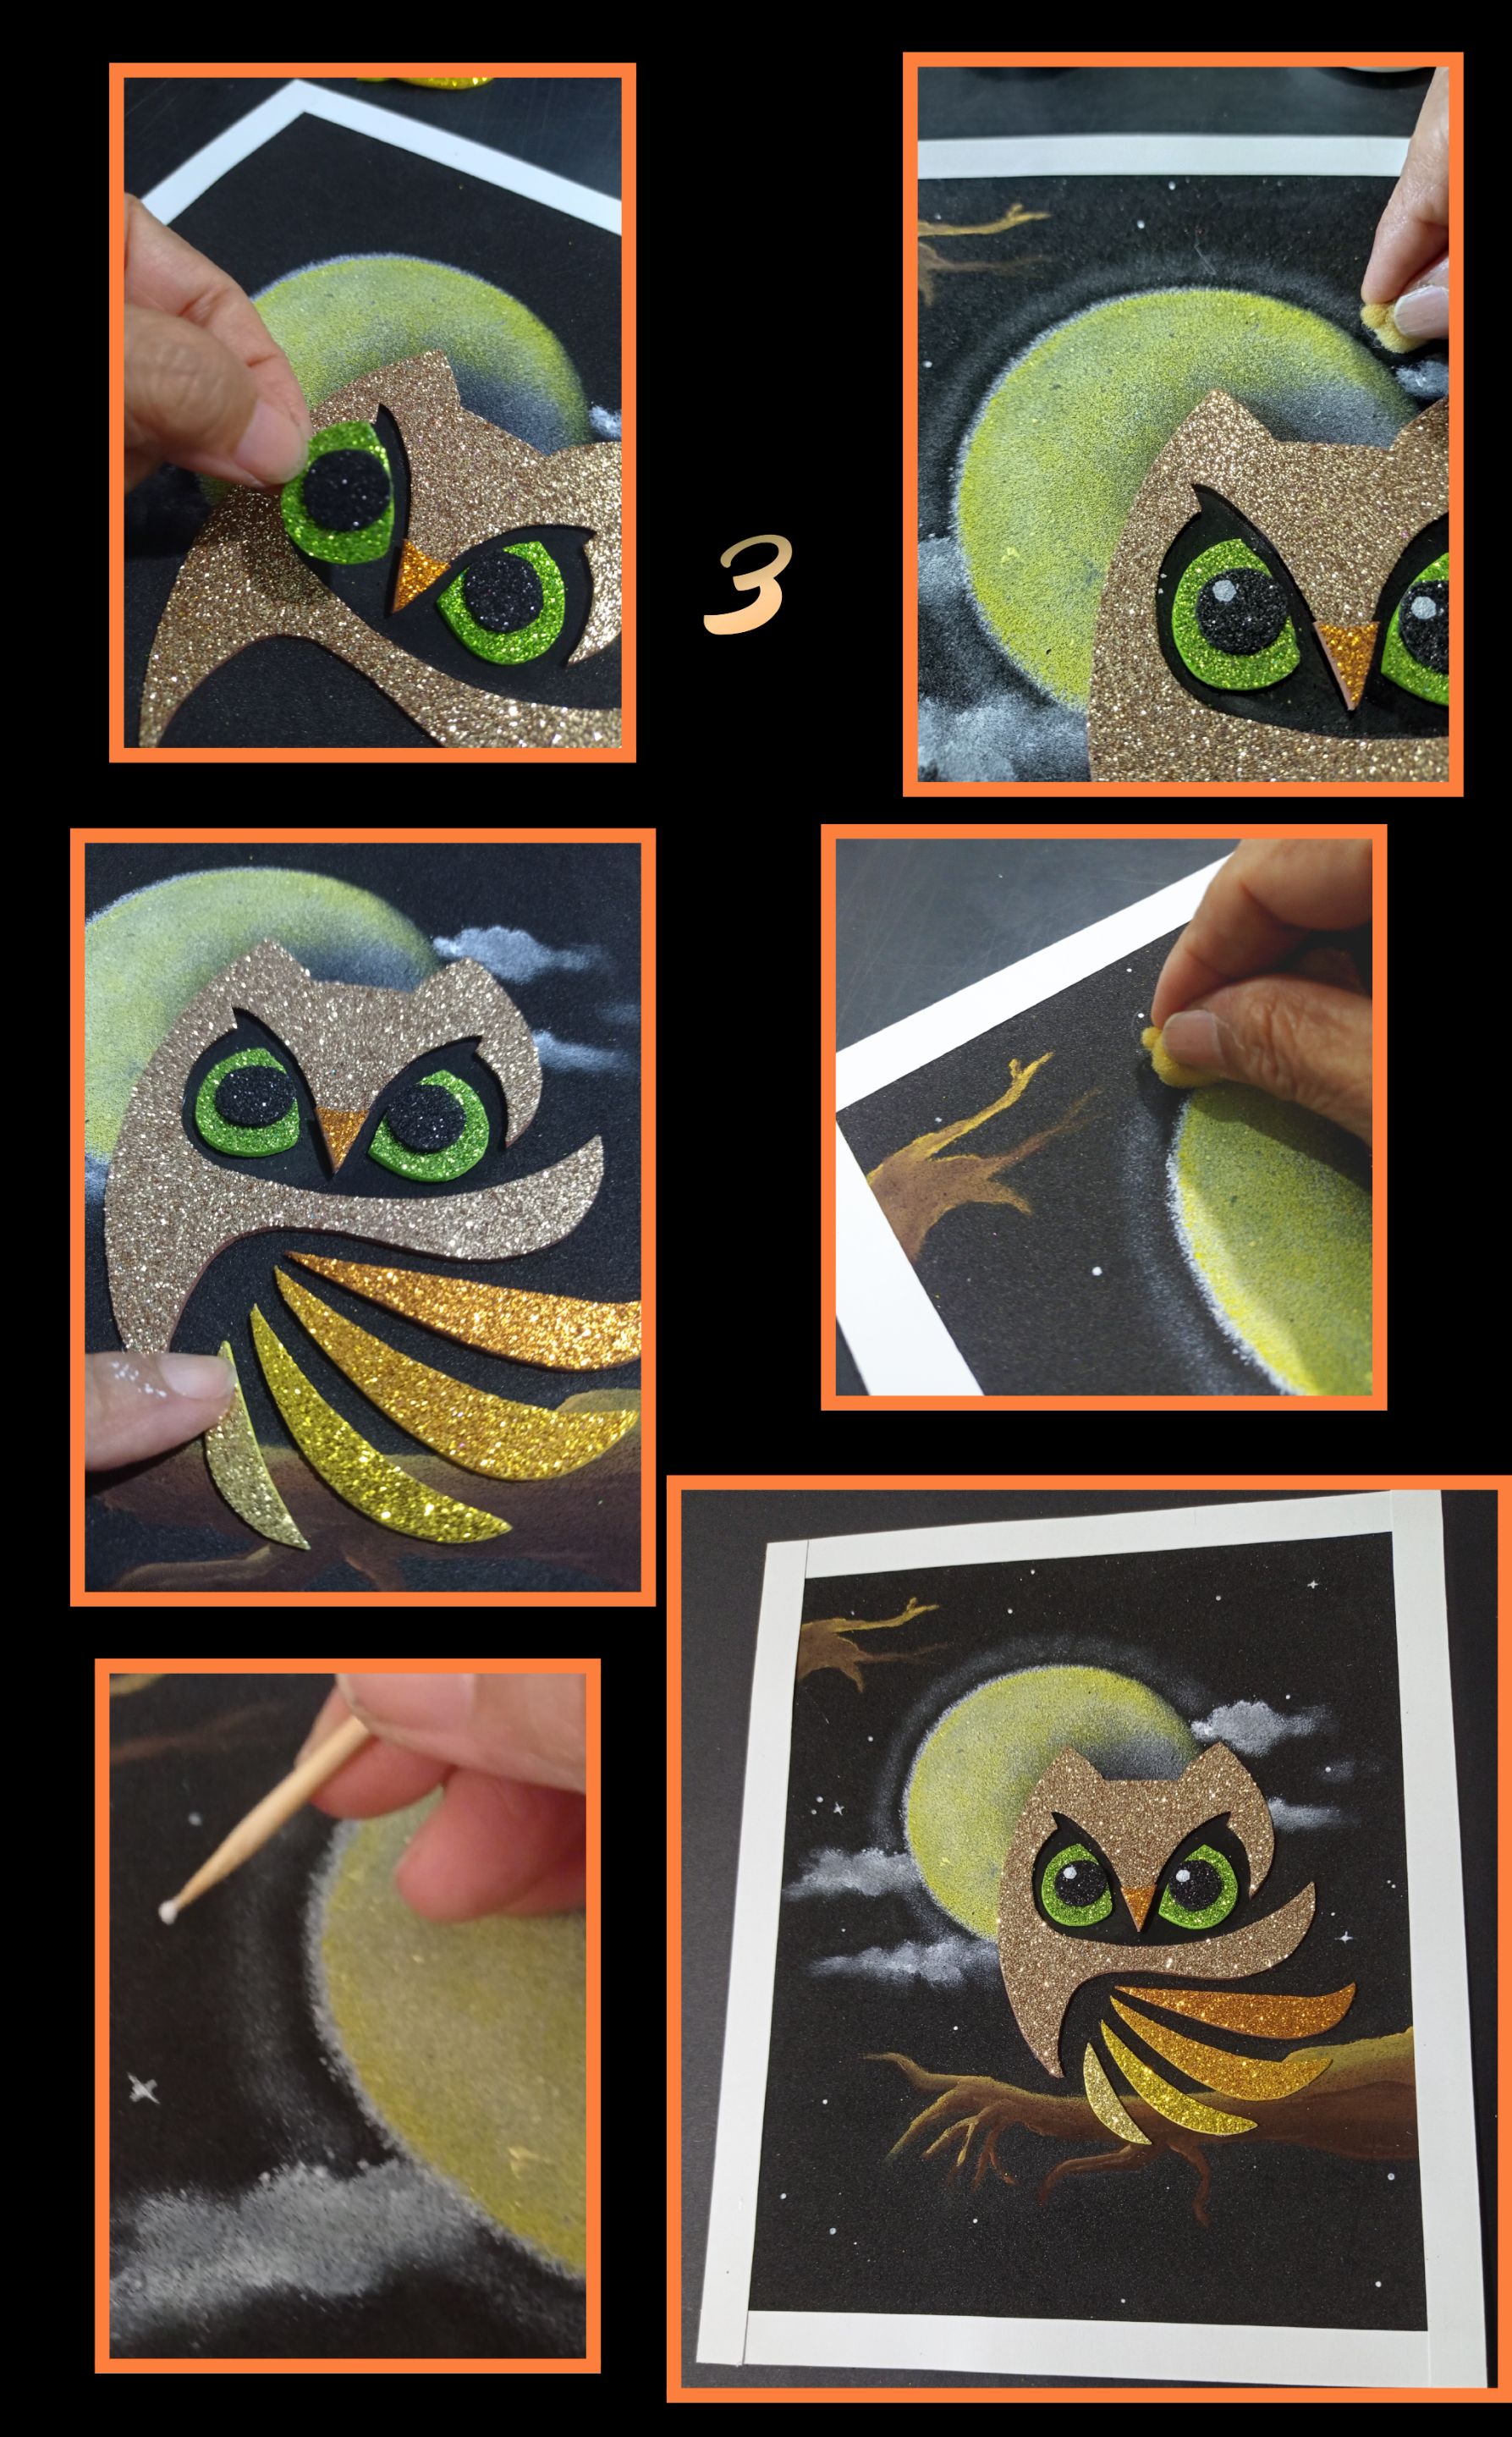
- Continúa ahora pegando los ojos y el pico.
- Luego pasa la esponja con pintura al rededor de la luna.
- Pega las alas.
- Pinta con palito de madera puntos blancos para semejar estrellas.
Paso 4:
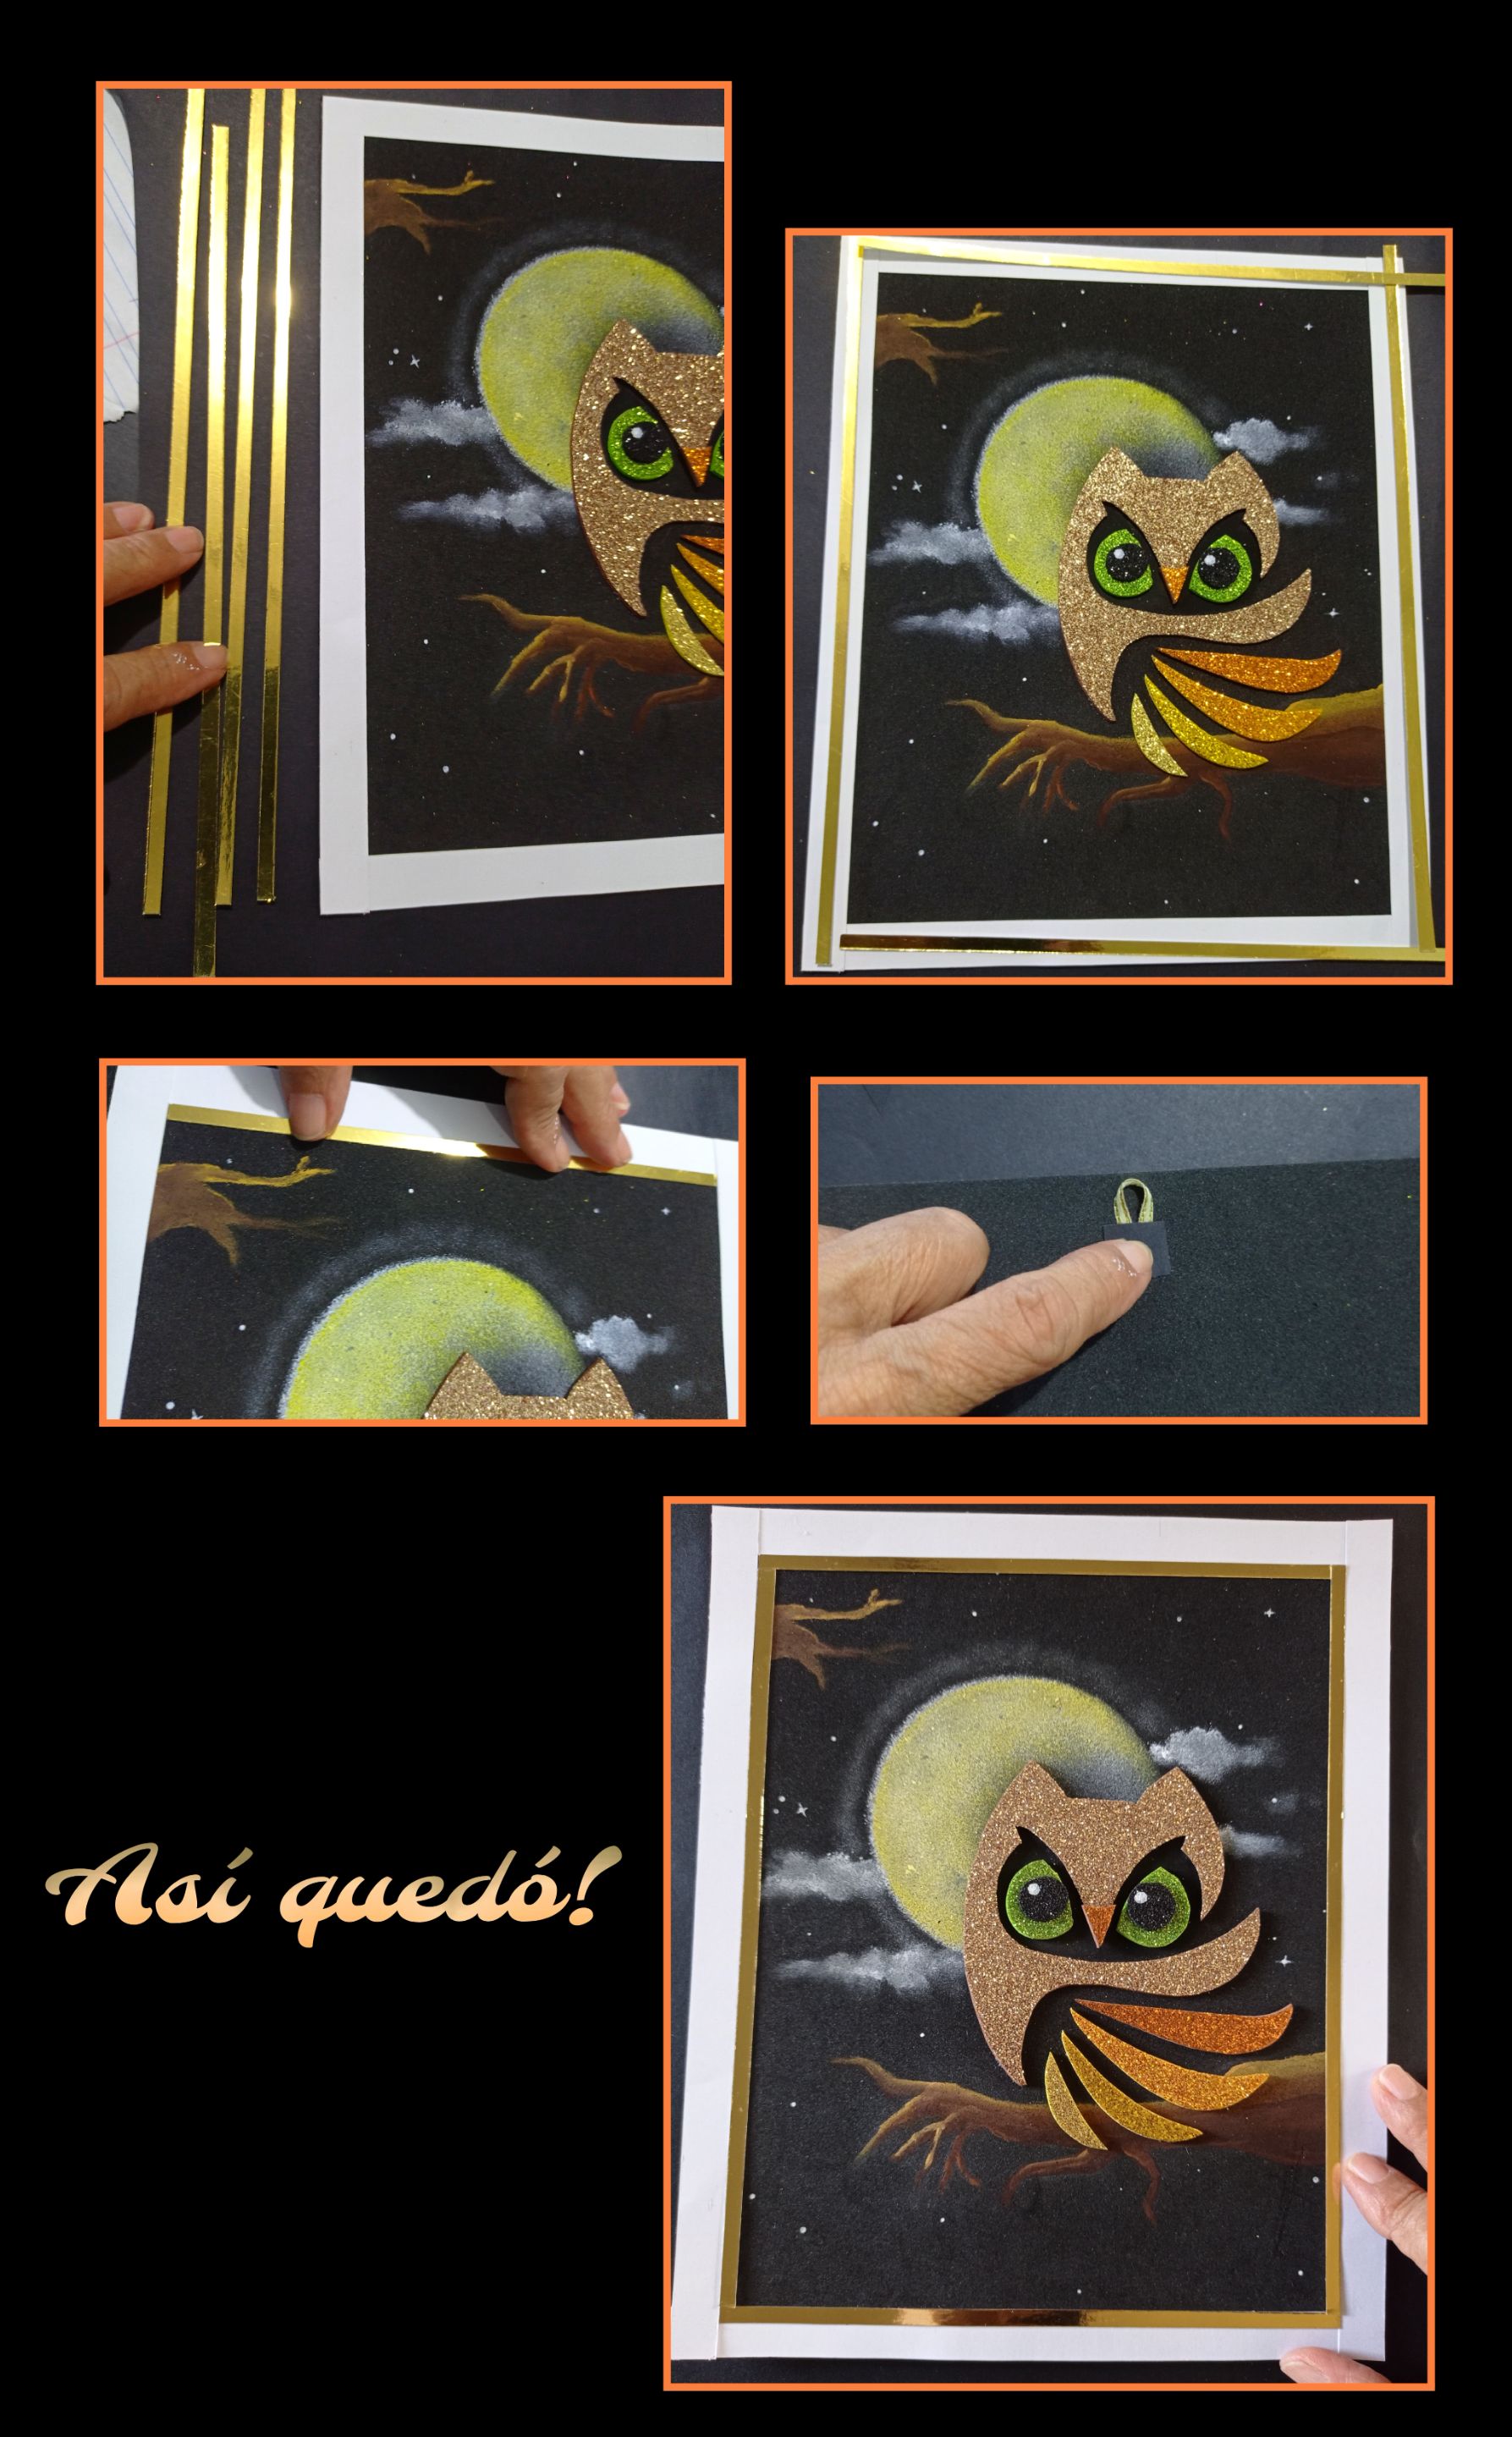
- Ahora recorta tiras de cartulina metalizada dorada y cuadra el tamaño, aplica silicón y pega en el marco para decorar su orilla.
- Por último mide el centro en la parte posterior y pega la lazada hecho con la cinta.
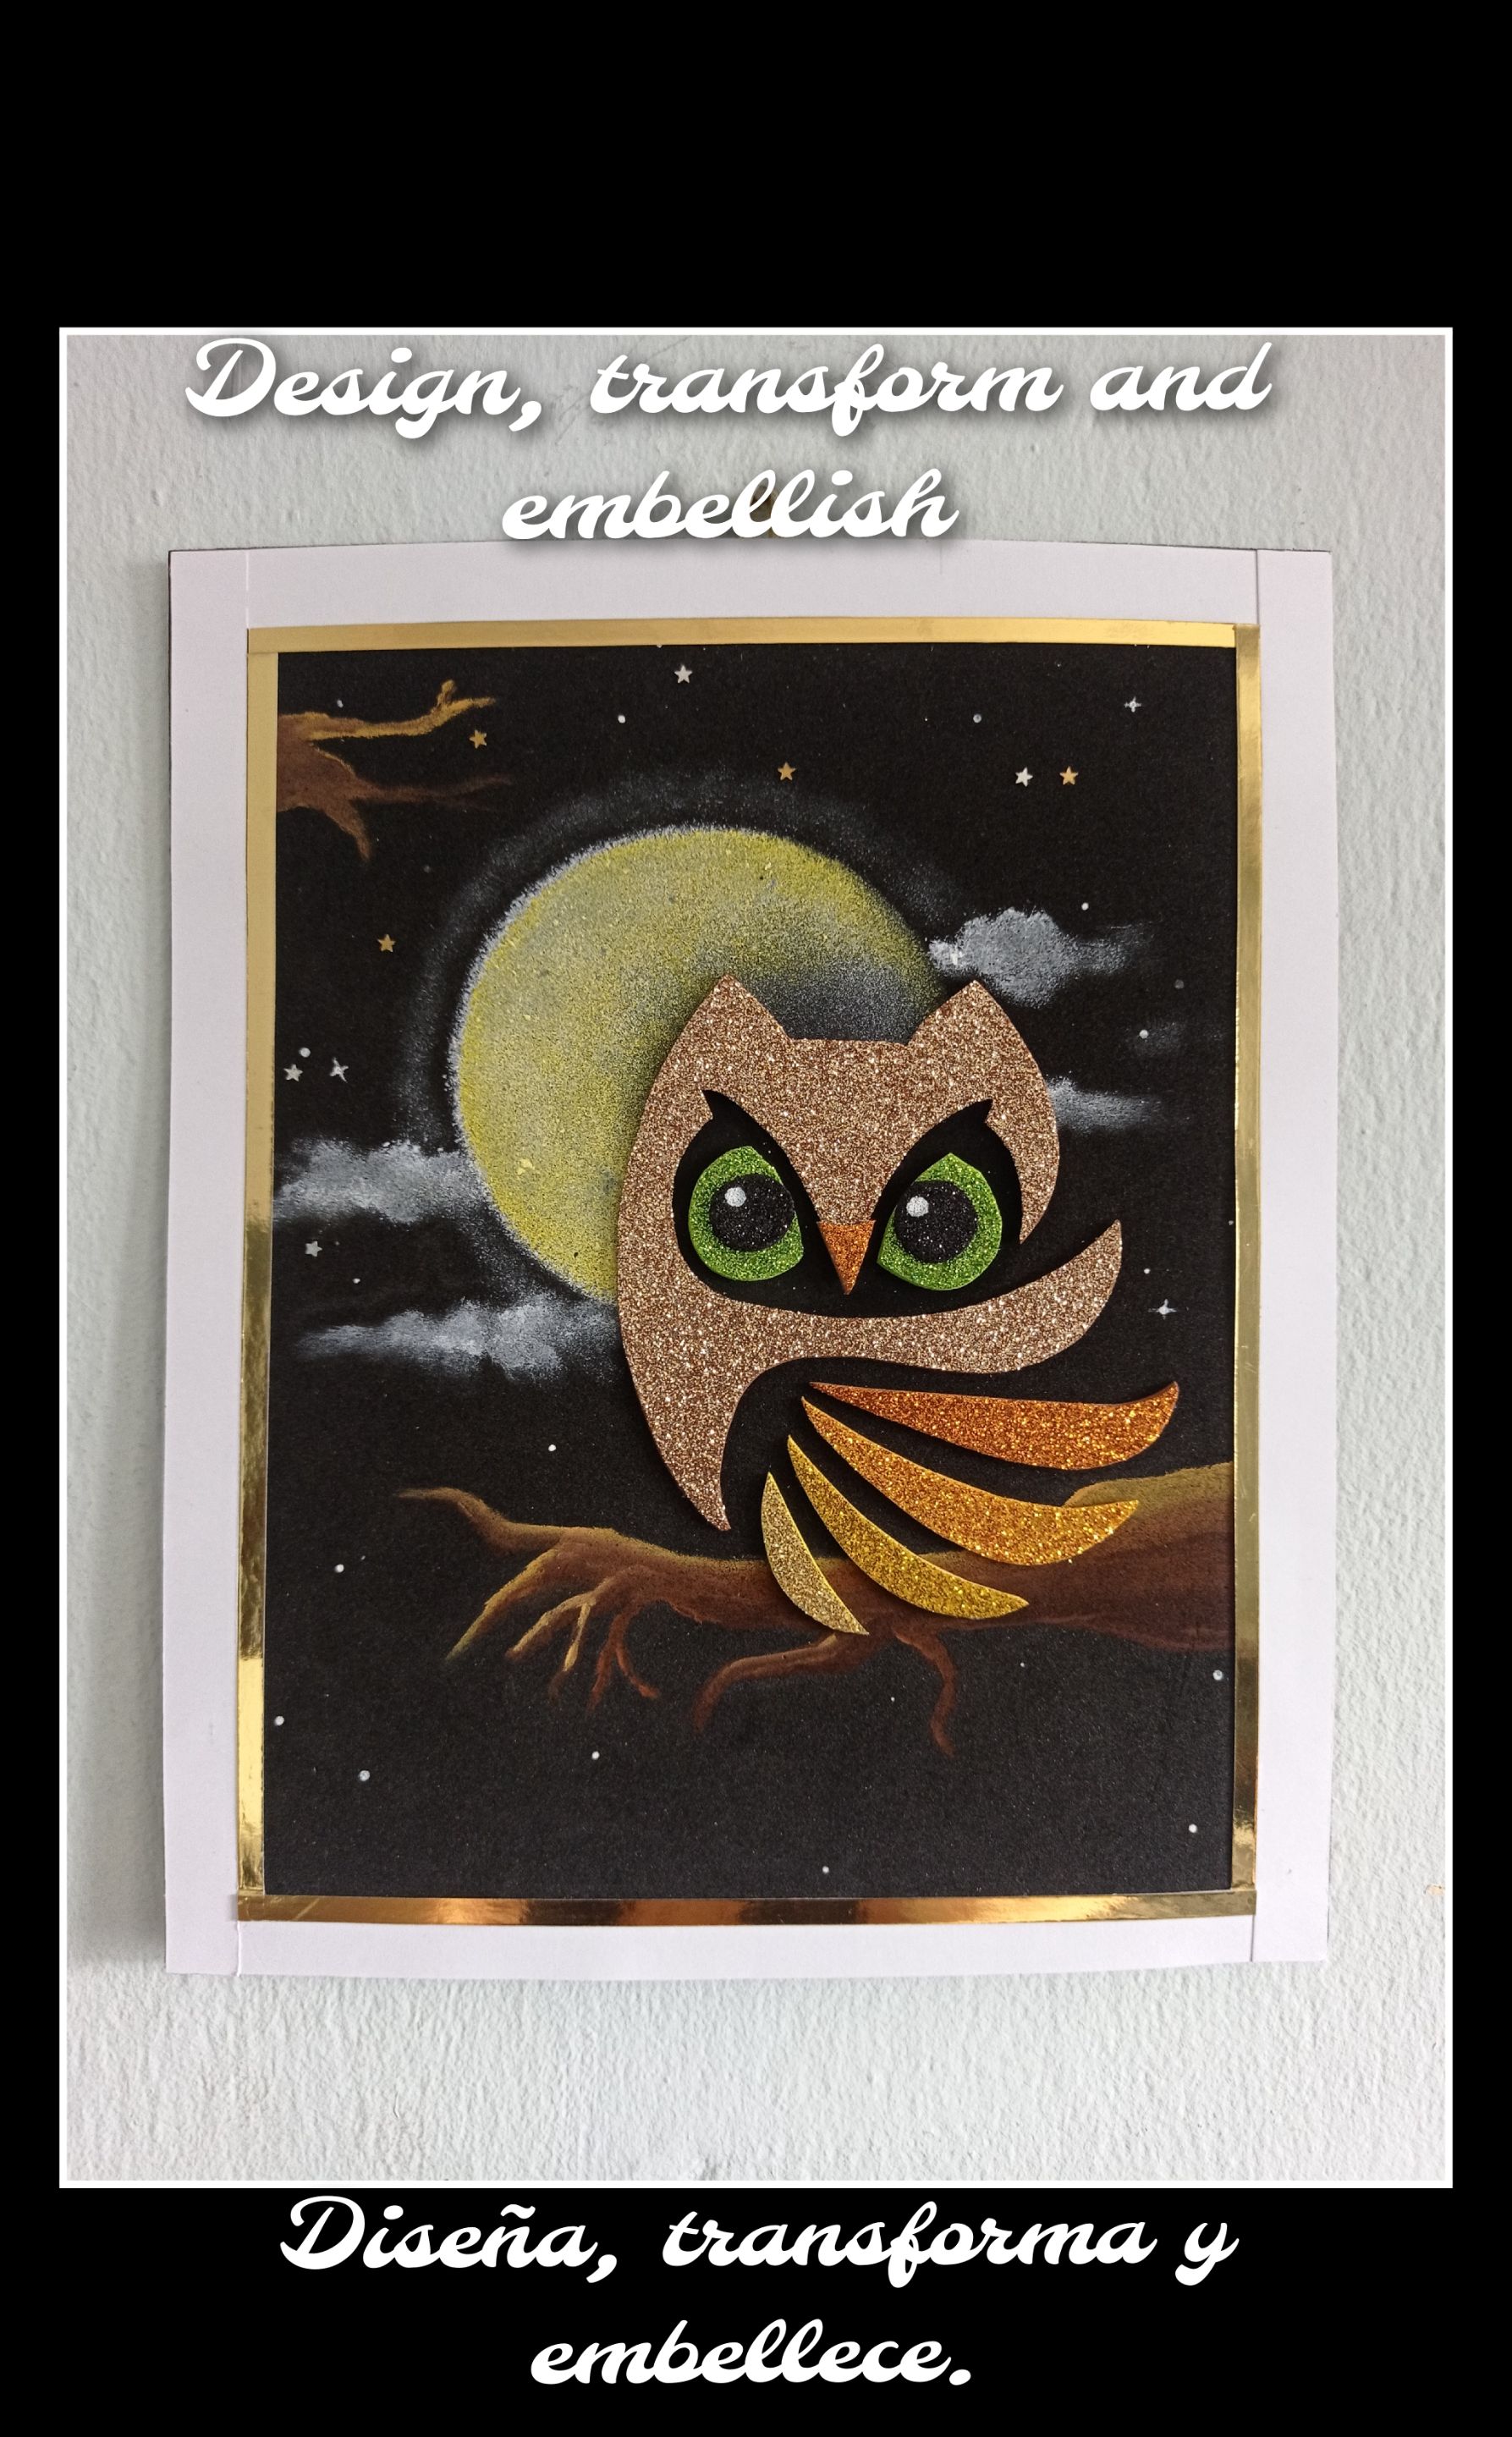
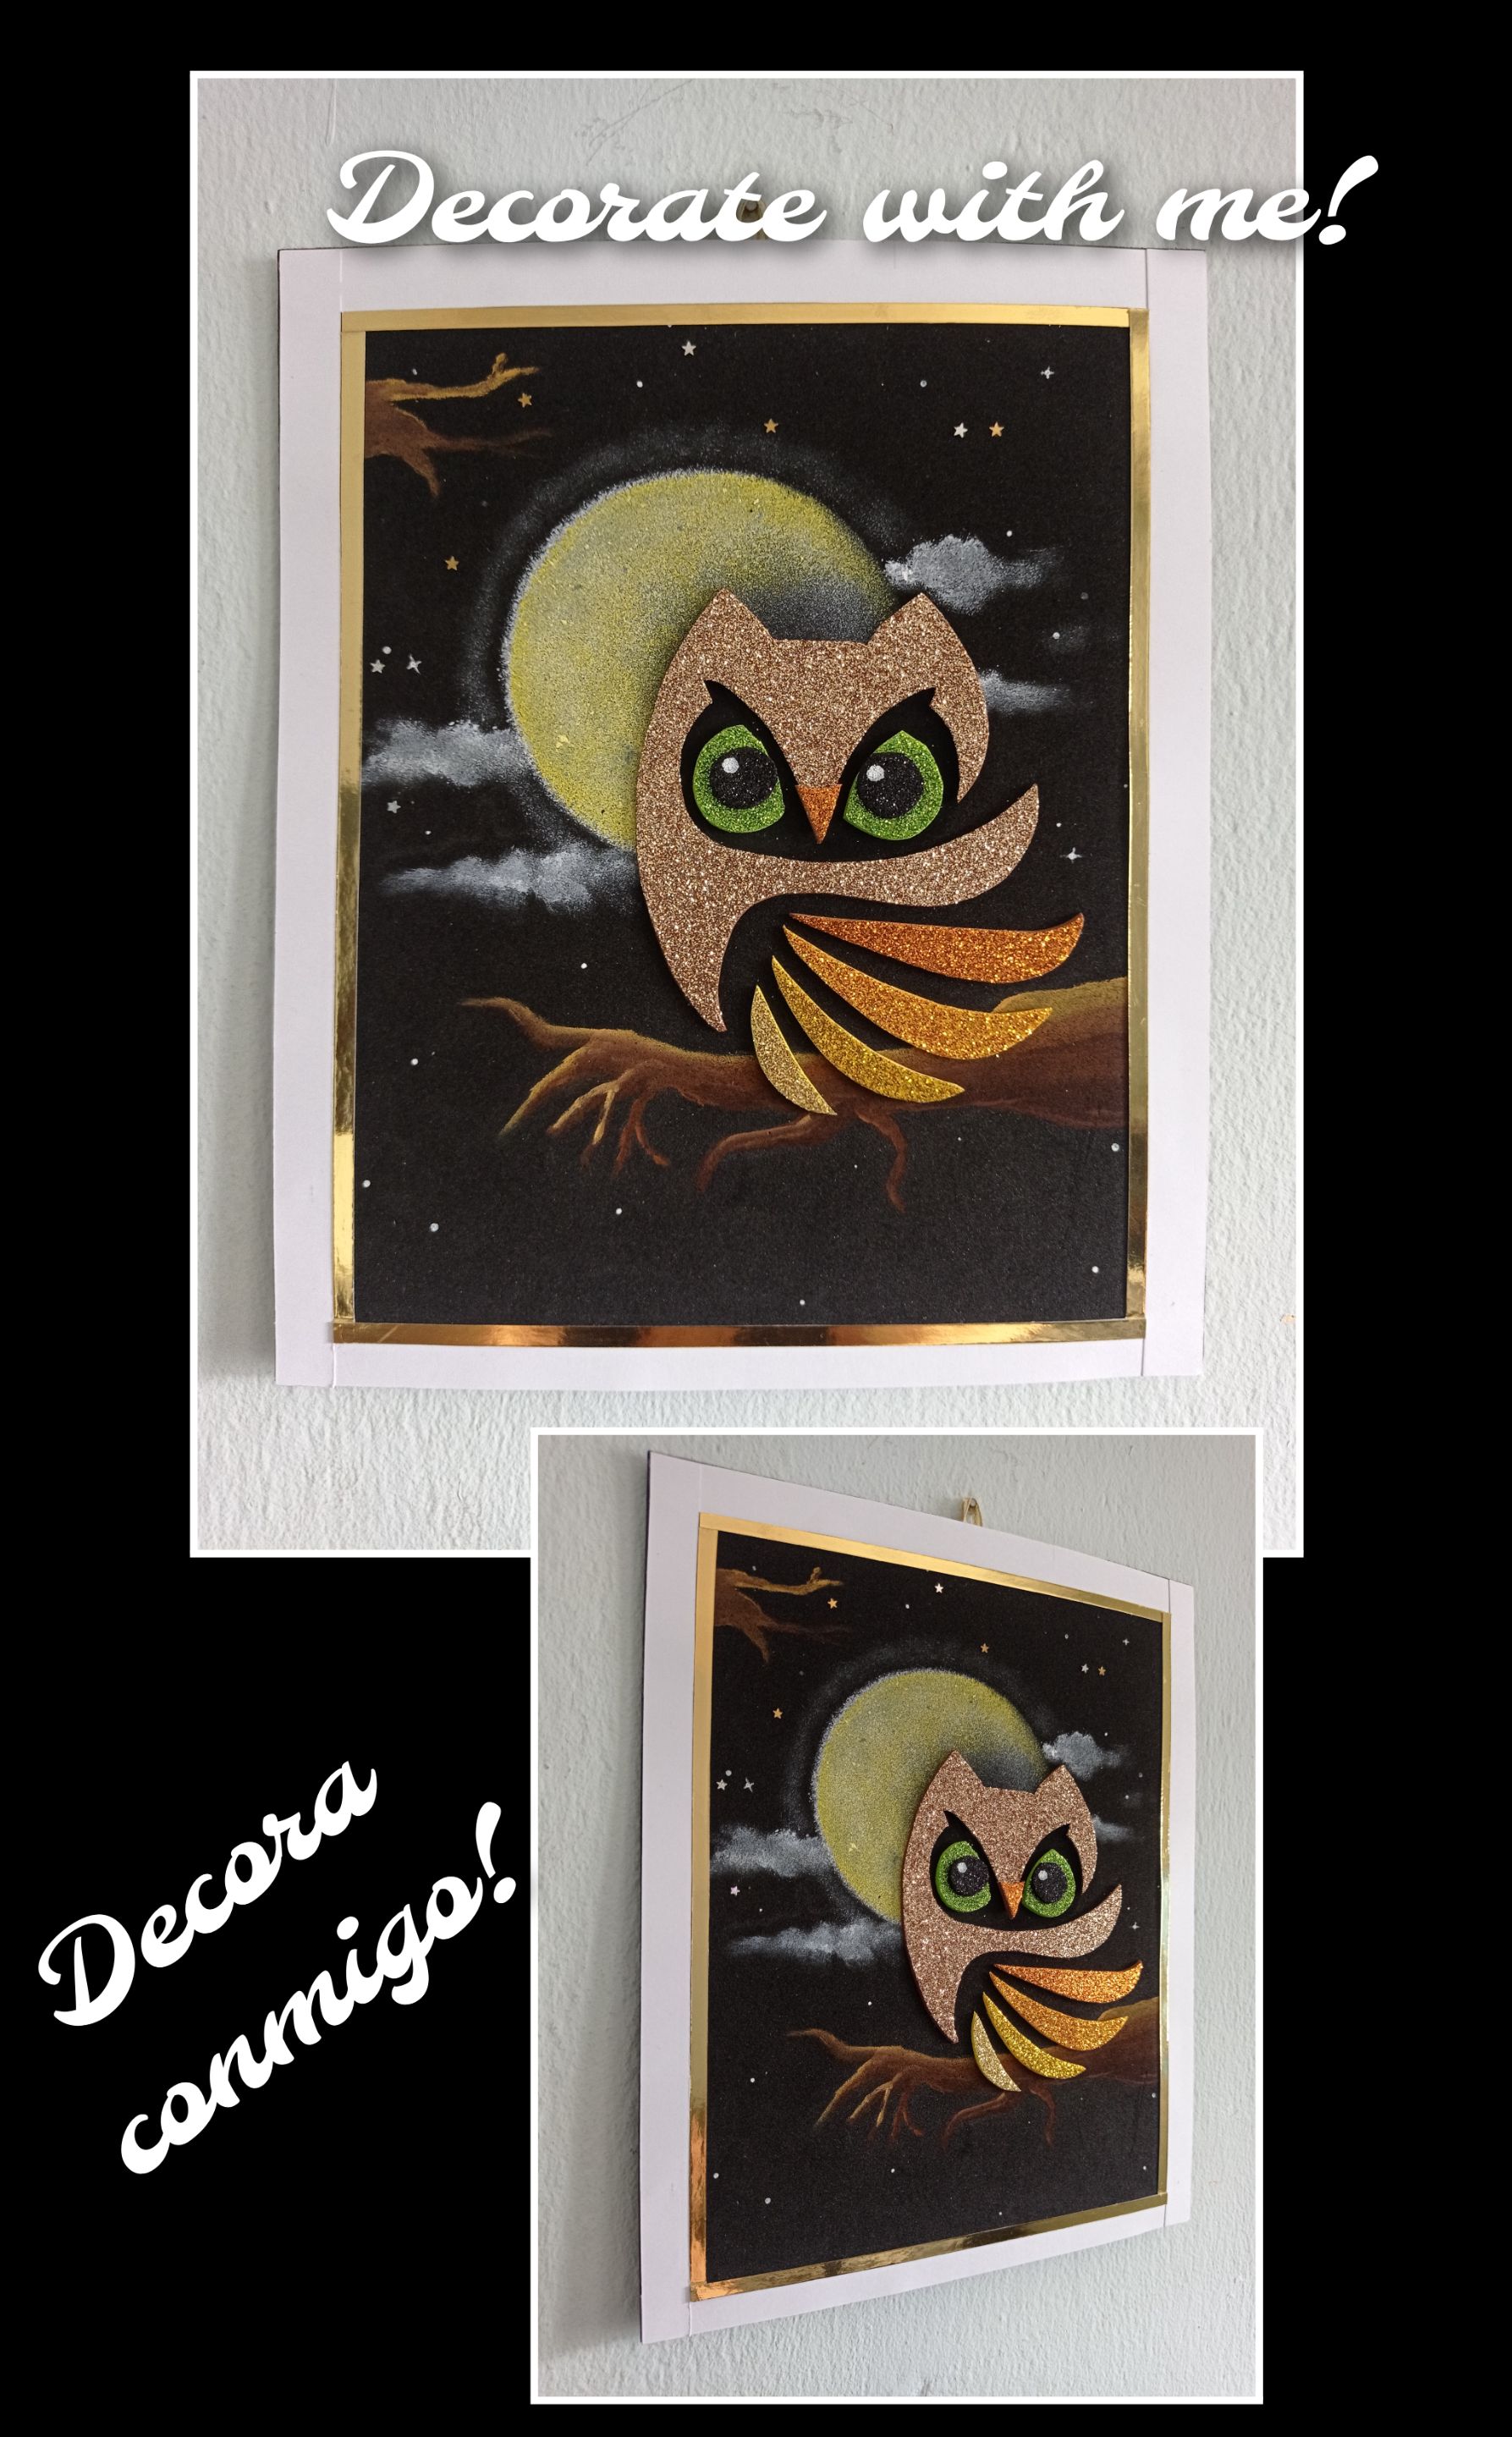
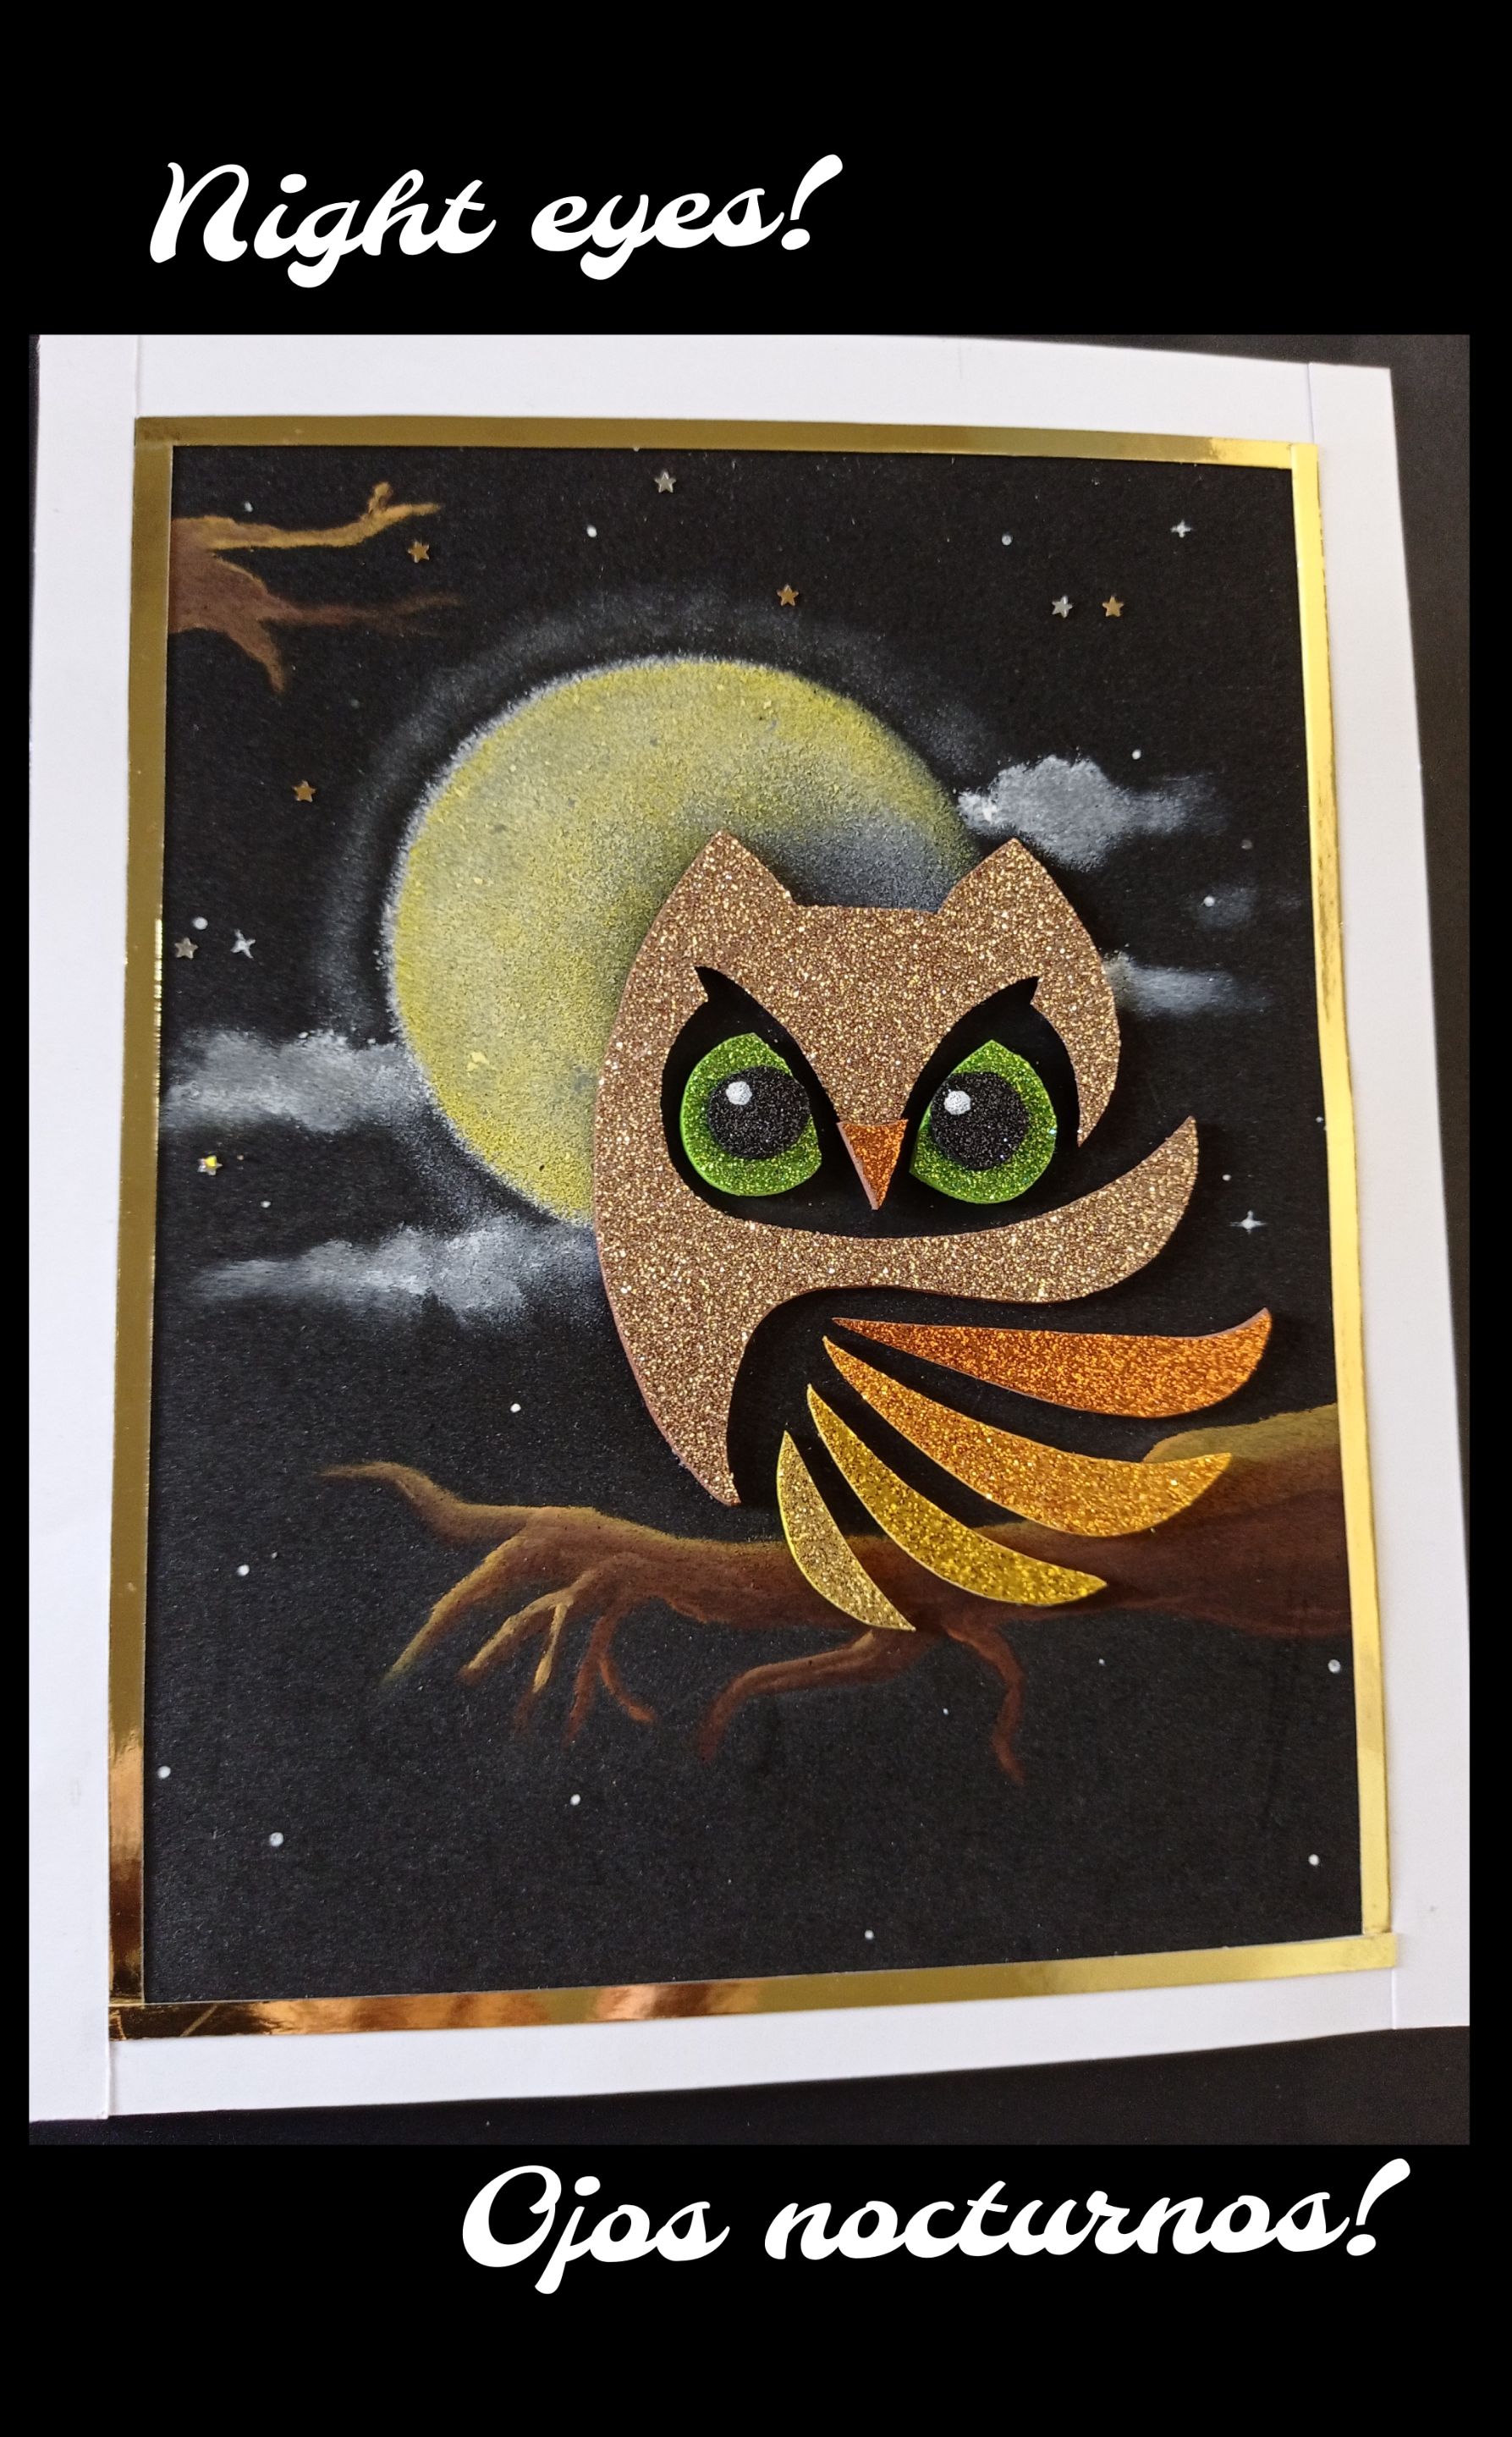
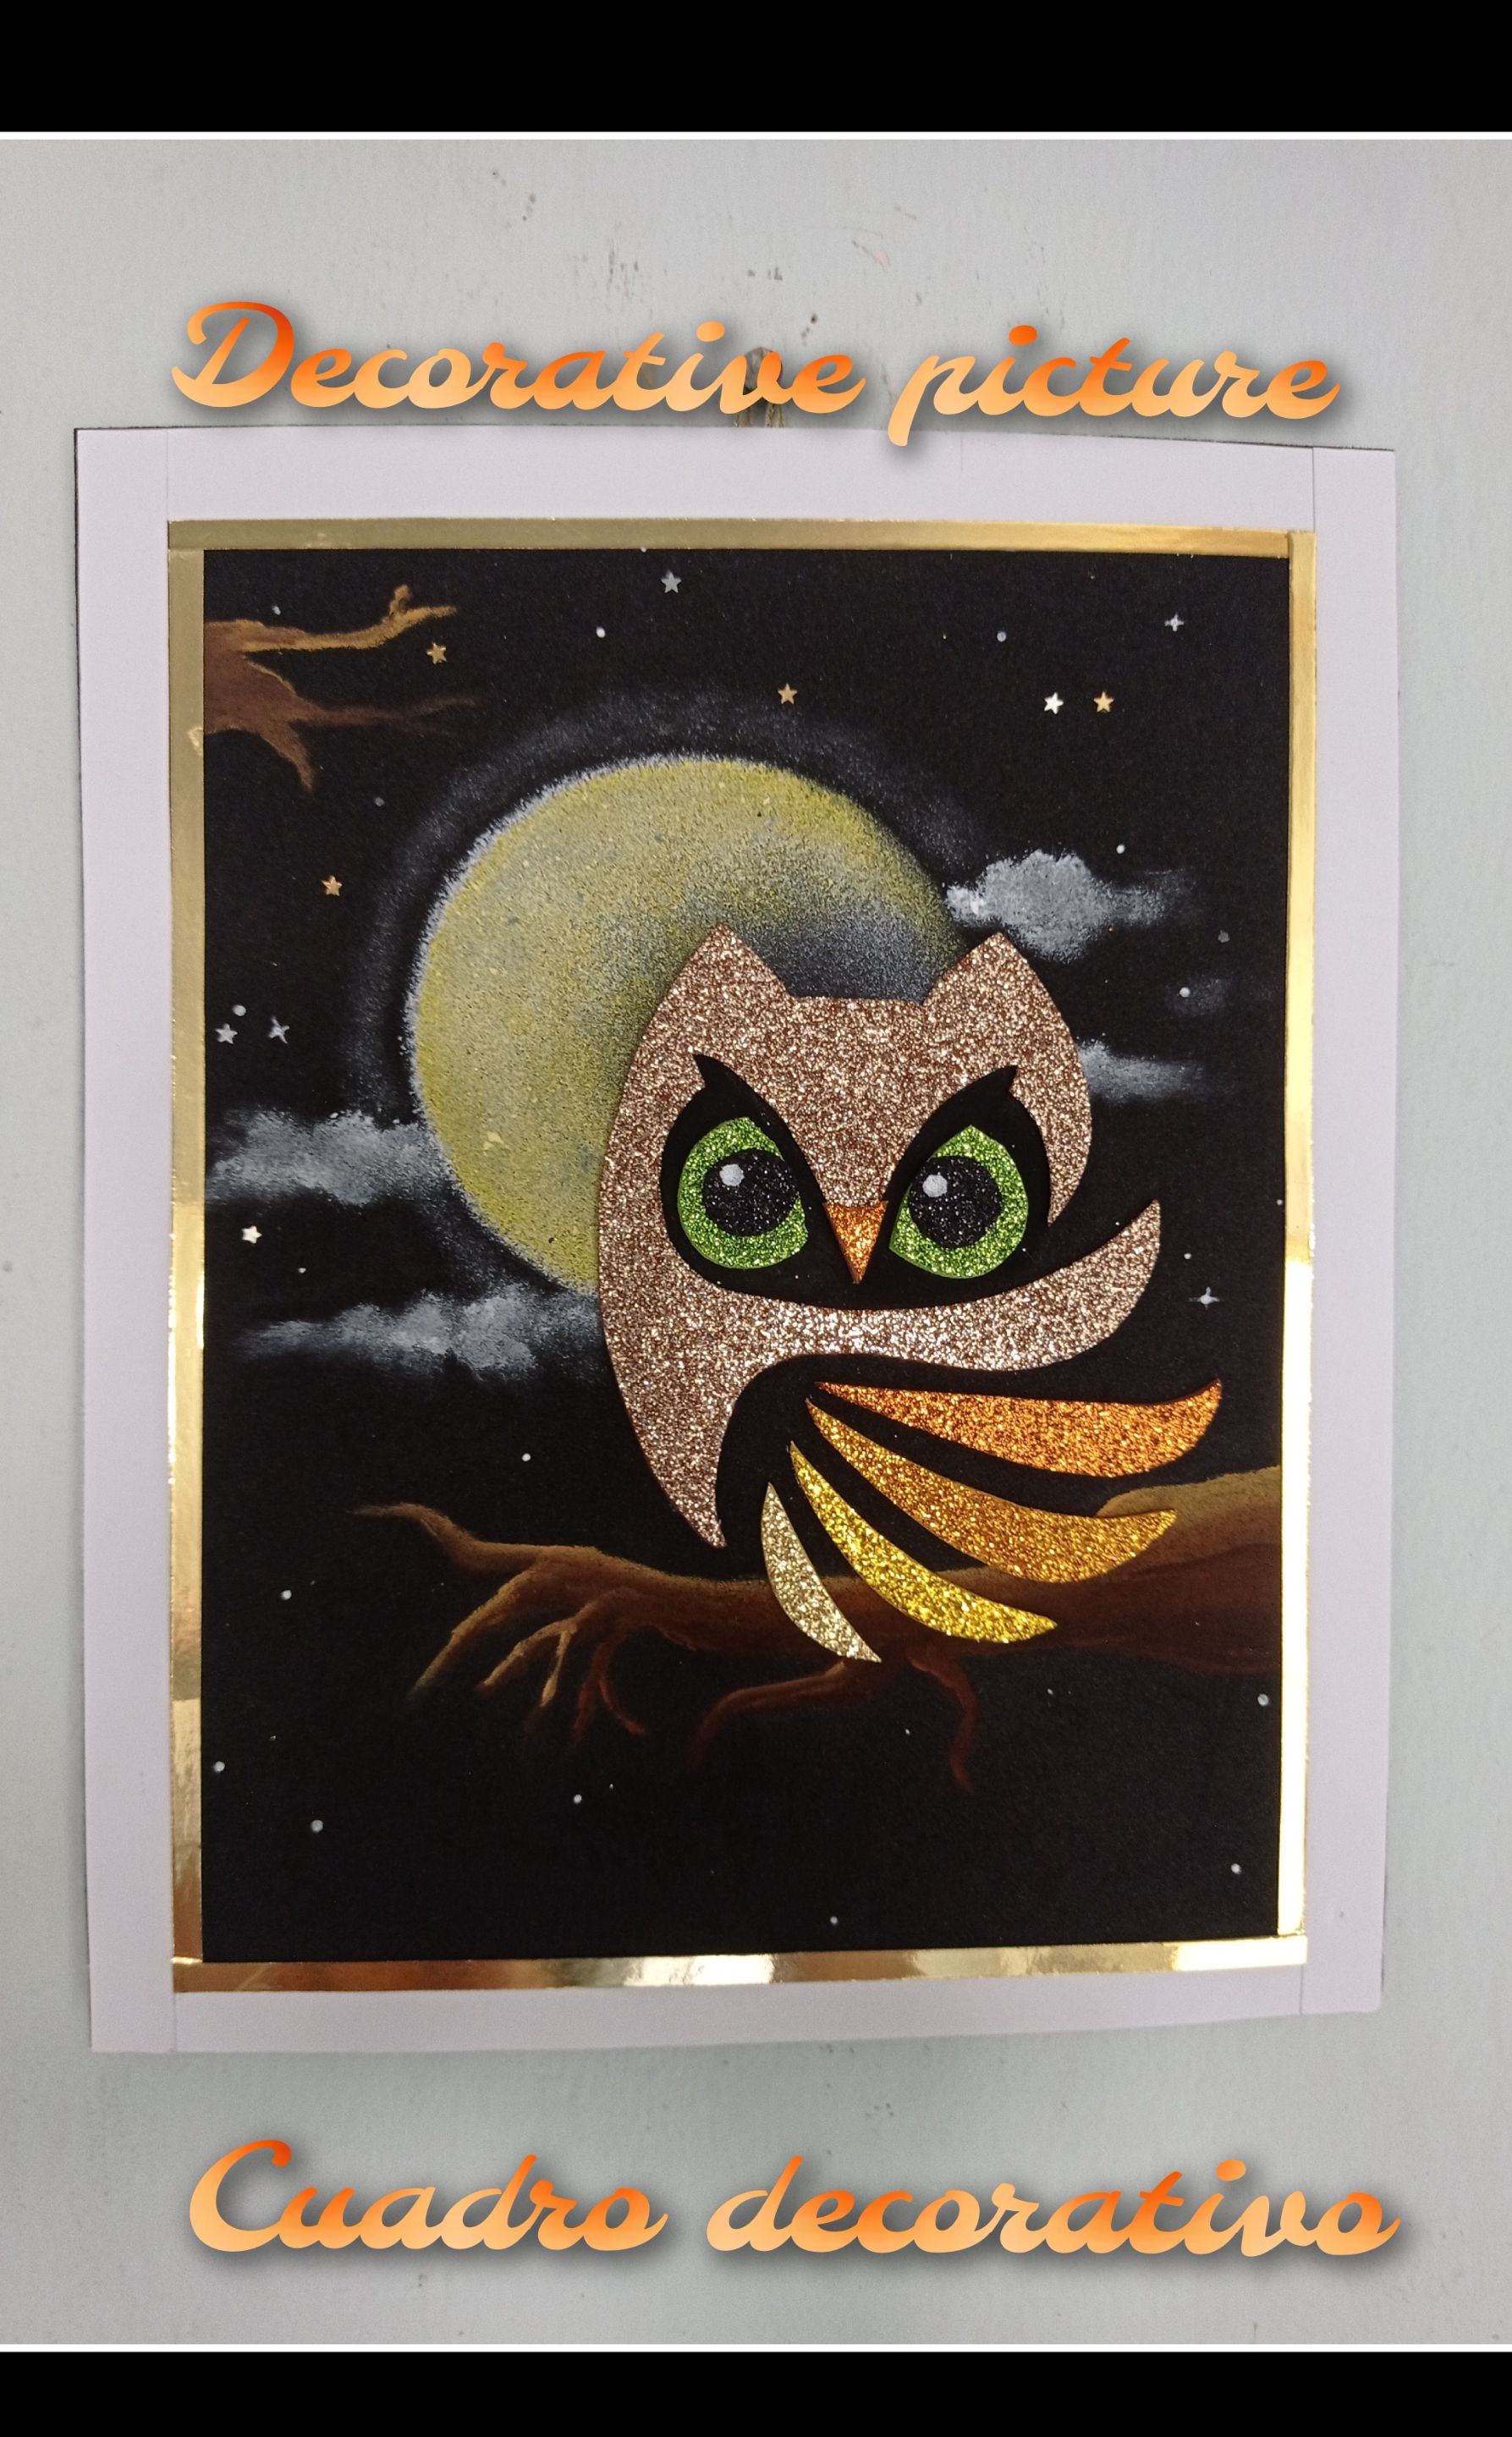
Así estará listo.
Ahora te muestro unas fotos para que veas el resultado.
Fuente:
https://www.pinterest.es/pin/476255729361489657/
Mi publicación está traducida con DeepL
Con Etiquetas HTML
Editor de fotos GridArt.
Fotos capturadas con mi Redmi Note 9
Me despido agradecida con todos por tomar un poquito de su tiempo y esperando sea útil y de tu agrado mi tutorial,
Gracias por visitarme.
Si gustas me puedes comentar, con gusto te responderé.
Hasta mi próxima publicación.
Saludos.
**English:**
Hello dear creators and friends who visit me.
You will need:
Matte and frosted Foami
Strips of white and metallized cardboard
Scissors and knife
Paints and brushes.
Pencil and ruler
Cardboard and small piece of foam rubber.
Cloth tape.
Let's get started:
Step 1:
- Outline the drawing with 4B pencil, then place on the foami and with the rings of the scissors rub hard until the Owl drawing is transferred and cut out.
- Then with the pieces of frosted foami, combine or make a gradient with the colors that you have or like, I took
the ones you see in the picture from the most intense to the lightest for the plumage and cut out, also cut out green eyes.
This way it will only be necessary to assemble it. - Now paint or transfer the shape of some tree branches, and cut out a circle on a piece of cardboard or cardboard to make the template of the moon.
- Dip the foam rubber in white paint and place the template where you want to place the moon.
Step 2:
Remove the excess paint from the sponge on cardboard or dry cloth and start dabbing all around the circle and let dry, repeat 2 or 3 times the dabbing and leave one side without dabbing.
When dry, dip the sponge in yellow paint and dab again on the base.
Now with the sponge, take a small tip and dip it in paint and start making the clouds.
After it dries, paint the tree branch with ochre paint on the top to give a light effect because of the moon and on the bottom paint with darker brown paint and let it dry.
Cut 4 strips of cardboard 2 cm wide to make the frame of the picture and start gluing the owl.
Step 3:
- Continue gluing the eyes and the beak.
- Then sponge paint around the moon.
- Glue the wings.
- Paint white dots with a wooden stick to resemble stars.
Step 4:
- Now cut out strips of gold metallic cardboard and square the size, apply silicone and glue on the frame to decorate its border.
- Finally measure the center on the back and glue the loop made with the ribbon.
This way it will be ready.
Now I show you some pictures so you can see the result.
Source:
https://www.pinterest.es/pin/476255729361489657/
My publication is translated with DeepL
With HTML Tags
GridArt photo editor
Photos captured with my Redmi Note 9
I am grateful to all of you for taking a little bit of your time and I hope you like my tutorial,
Thank you for visiting me.
If you like you can comment me, I will gladly answer you.
Until my next publication.
Greetings.