¡Hola amantes de la belleza! Hoy quiero compartir contigo un tutorial paso a paso sobre cómo hacer tus propias uñas con polygel en la comodidad de tu hogar. El polygel es una excelente opción para lograr unas uñas fuertes, flexibles y duraderas. ¡Vamos a empezar!
Hello beauty lovers! Today I want to share with you a step-by-step tutorial on how to do your own nails with polygel in the comfort of your home. Polygel is an excellent option for achieving strong, flexible, and long-lasting nails. Let's get started!
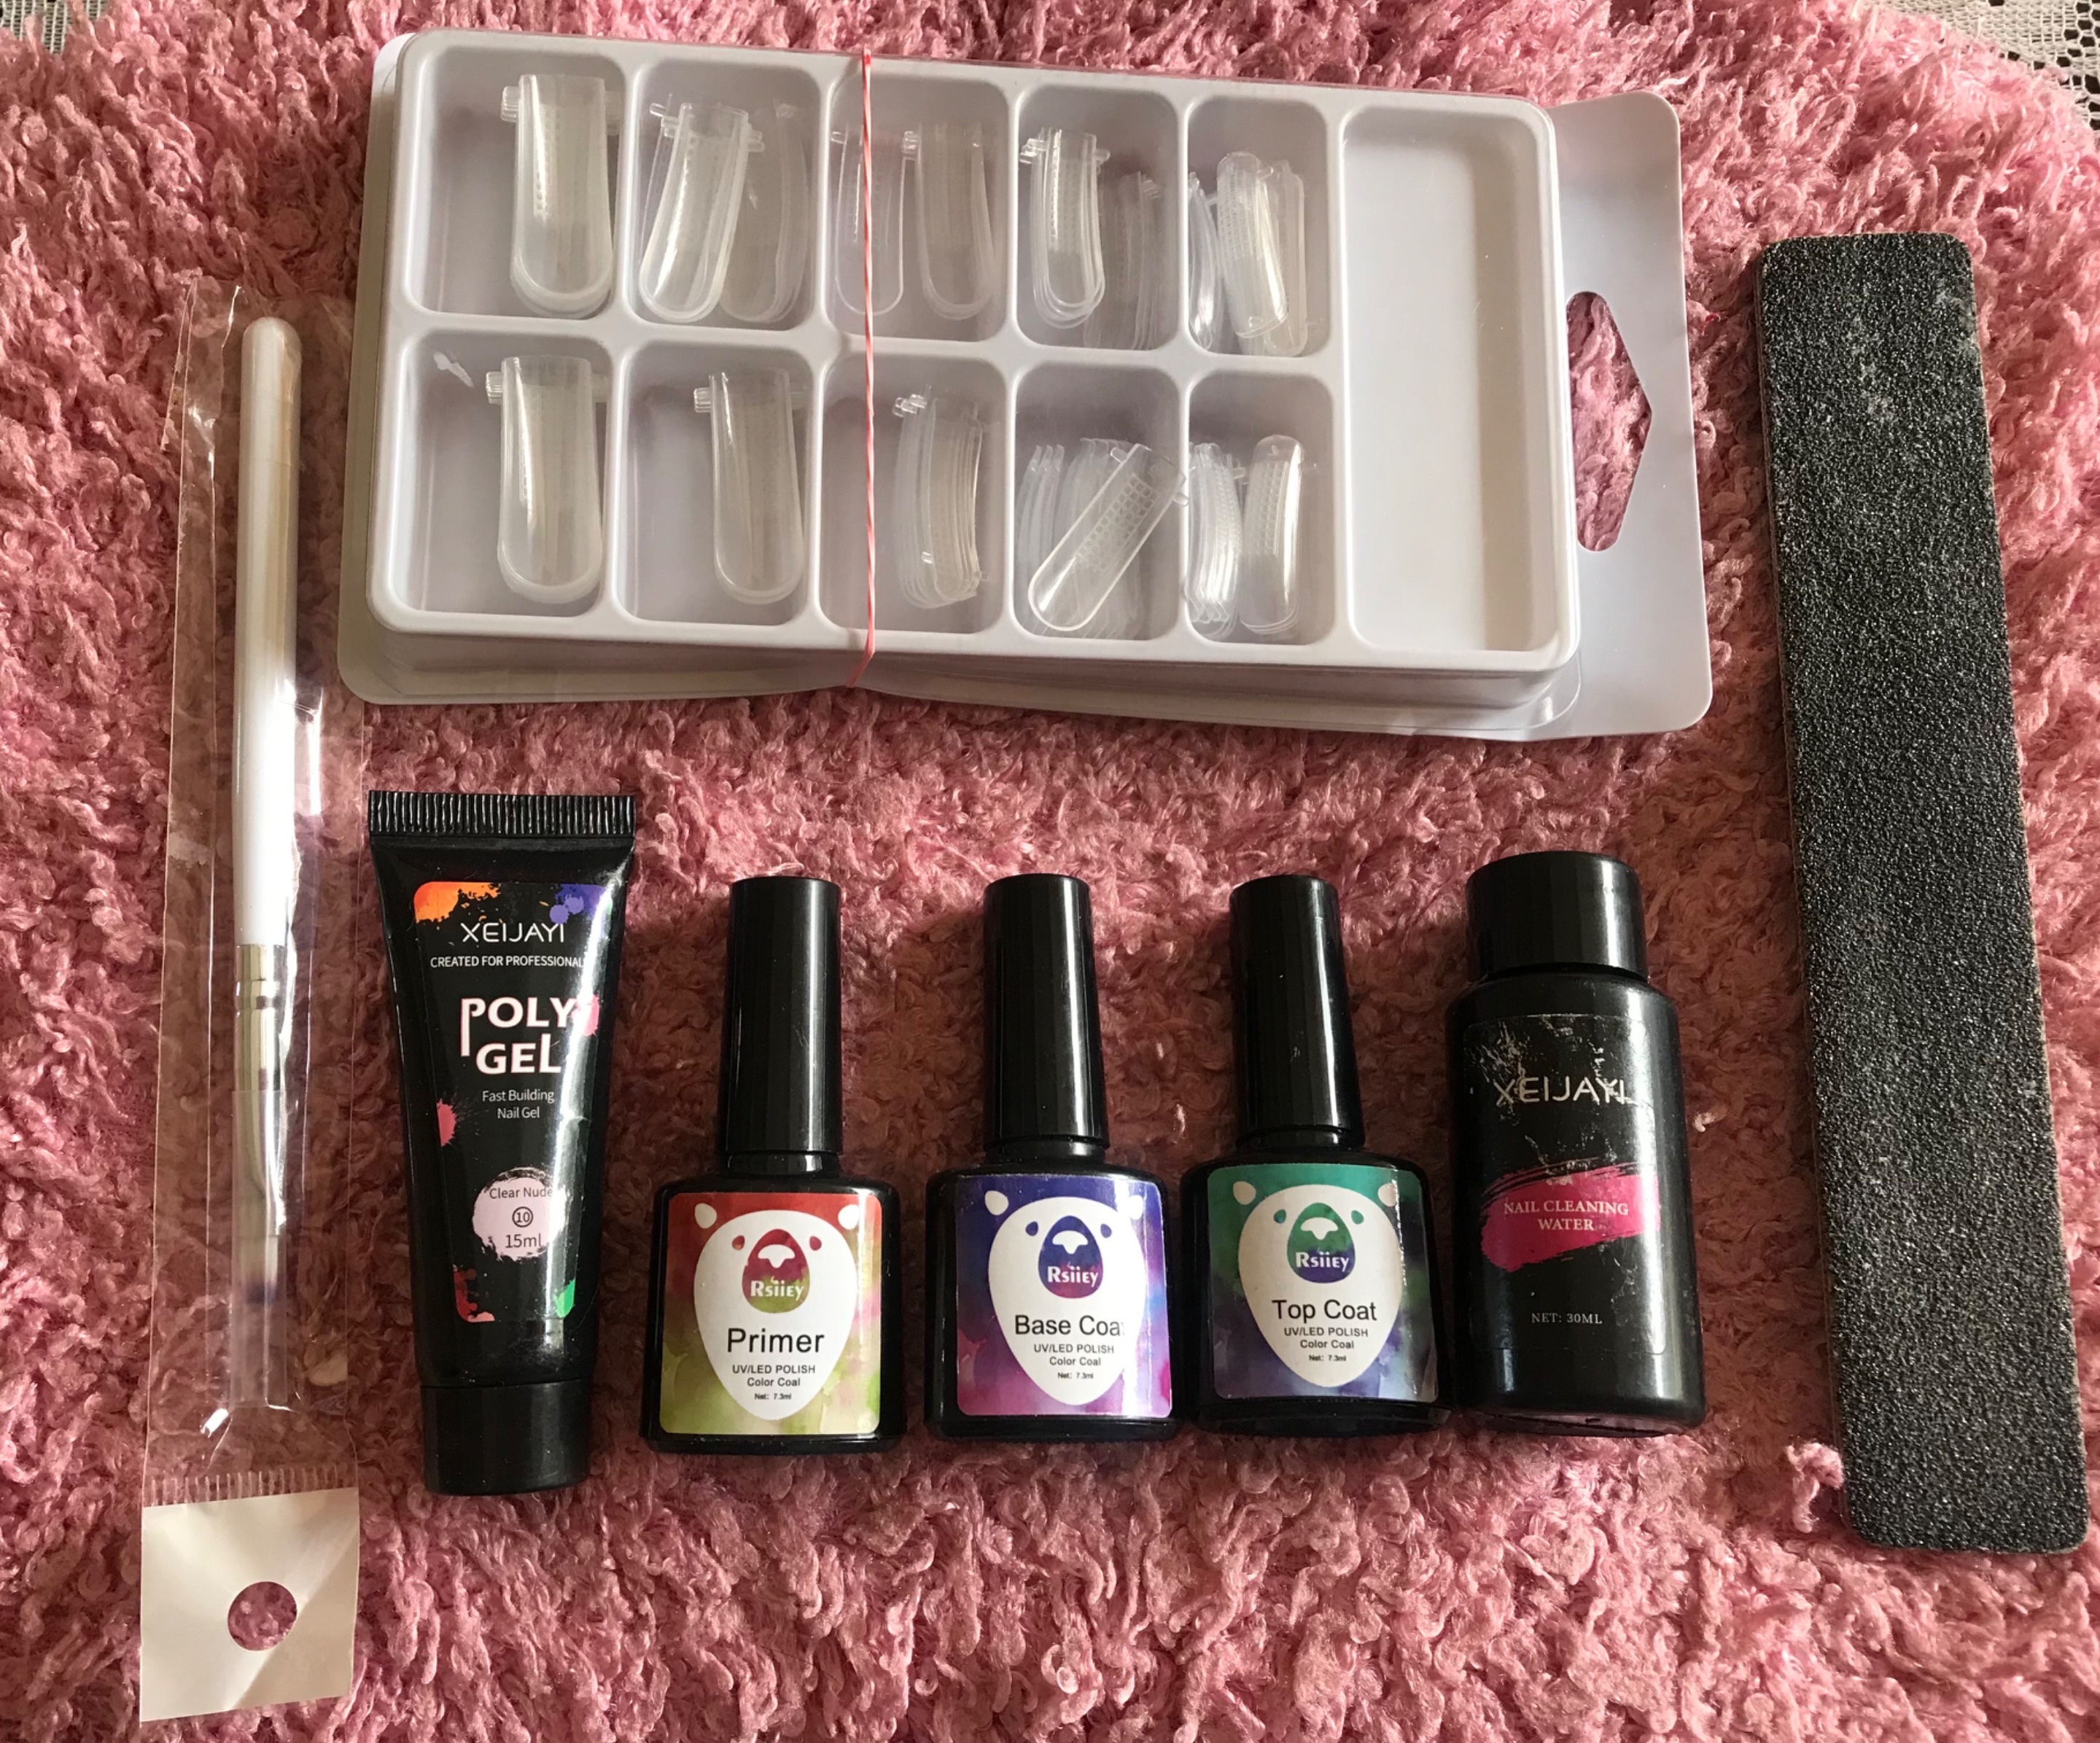
Productos que vas a necesitar:
•Moldes para uñas (Dual Form)
•Lima
•Líquido para moldear el polygel
•Primer, Base Coat y Top Coat
•Polygel
•Pincel
Products you will need:
• Nail molds (Dual Form)
• Nail file
• Liquid to mold the polygel
• Primer, Base Coat, and Top Coat
• Polygel
• Brush
Paso 1: Preparación
•Limpia y desinfecta tus manos y uñas.
•Empuja las cutículas hacia atrás y lima suavemente la superficie de las uñas para crear textura.
Step 1: Preparation
• Clean and disinfect your hands and nails.
• Push back the cuticles and gently file the surface of the nails to create texture.
Paso 2: Aplicación del Polygel
•Aplica una capa fina de base coat sobre tus uñas.
•Toma una pequeña cantidad de polygel y colócala en el molde para uñas.
•Usa un pincel con un poco de solución para modelar el polygel en la forma deseada.
•Una vez que hayas logrado la forma deseada, cura el polygel bajo una lámpara LED durante el tiempo recomendado (30 o 60 seg)
Step 2: Applying the Polygel
• Apply a thin layer of base coat on your nails. • Take a small amount of polygel and place it in the nail mold.
• Use a brush with a little solution to shape the polygel into the desired form.
• Once you have achieved the desired shape, cure the polygel under an LED lamp for the recommended time (30 or 60 sec)
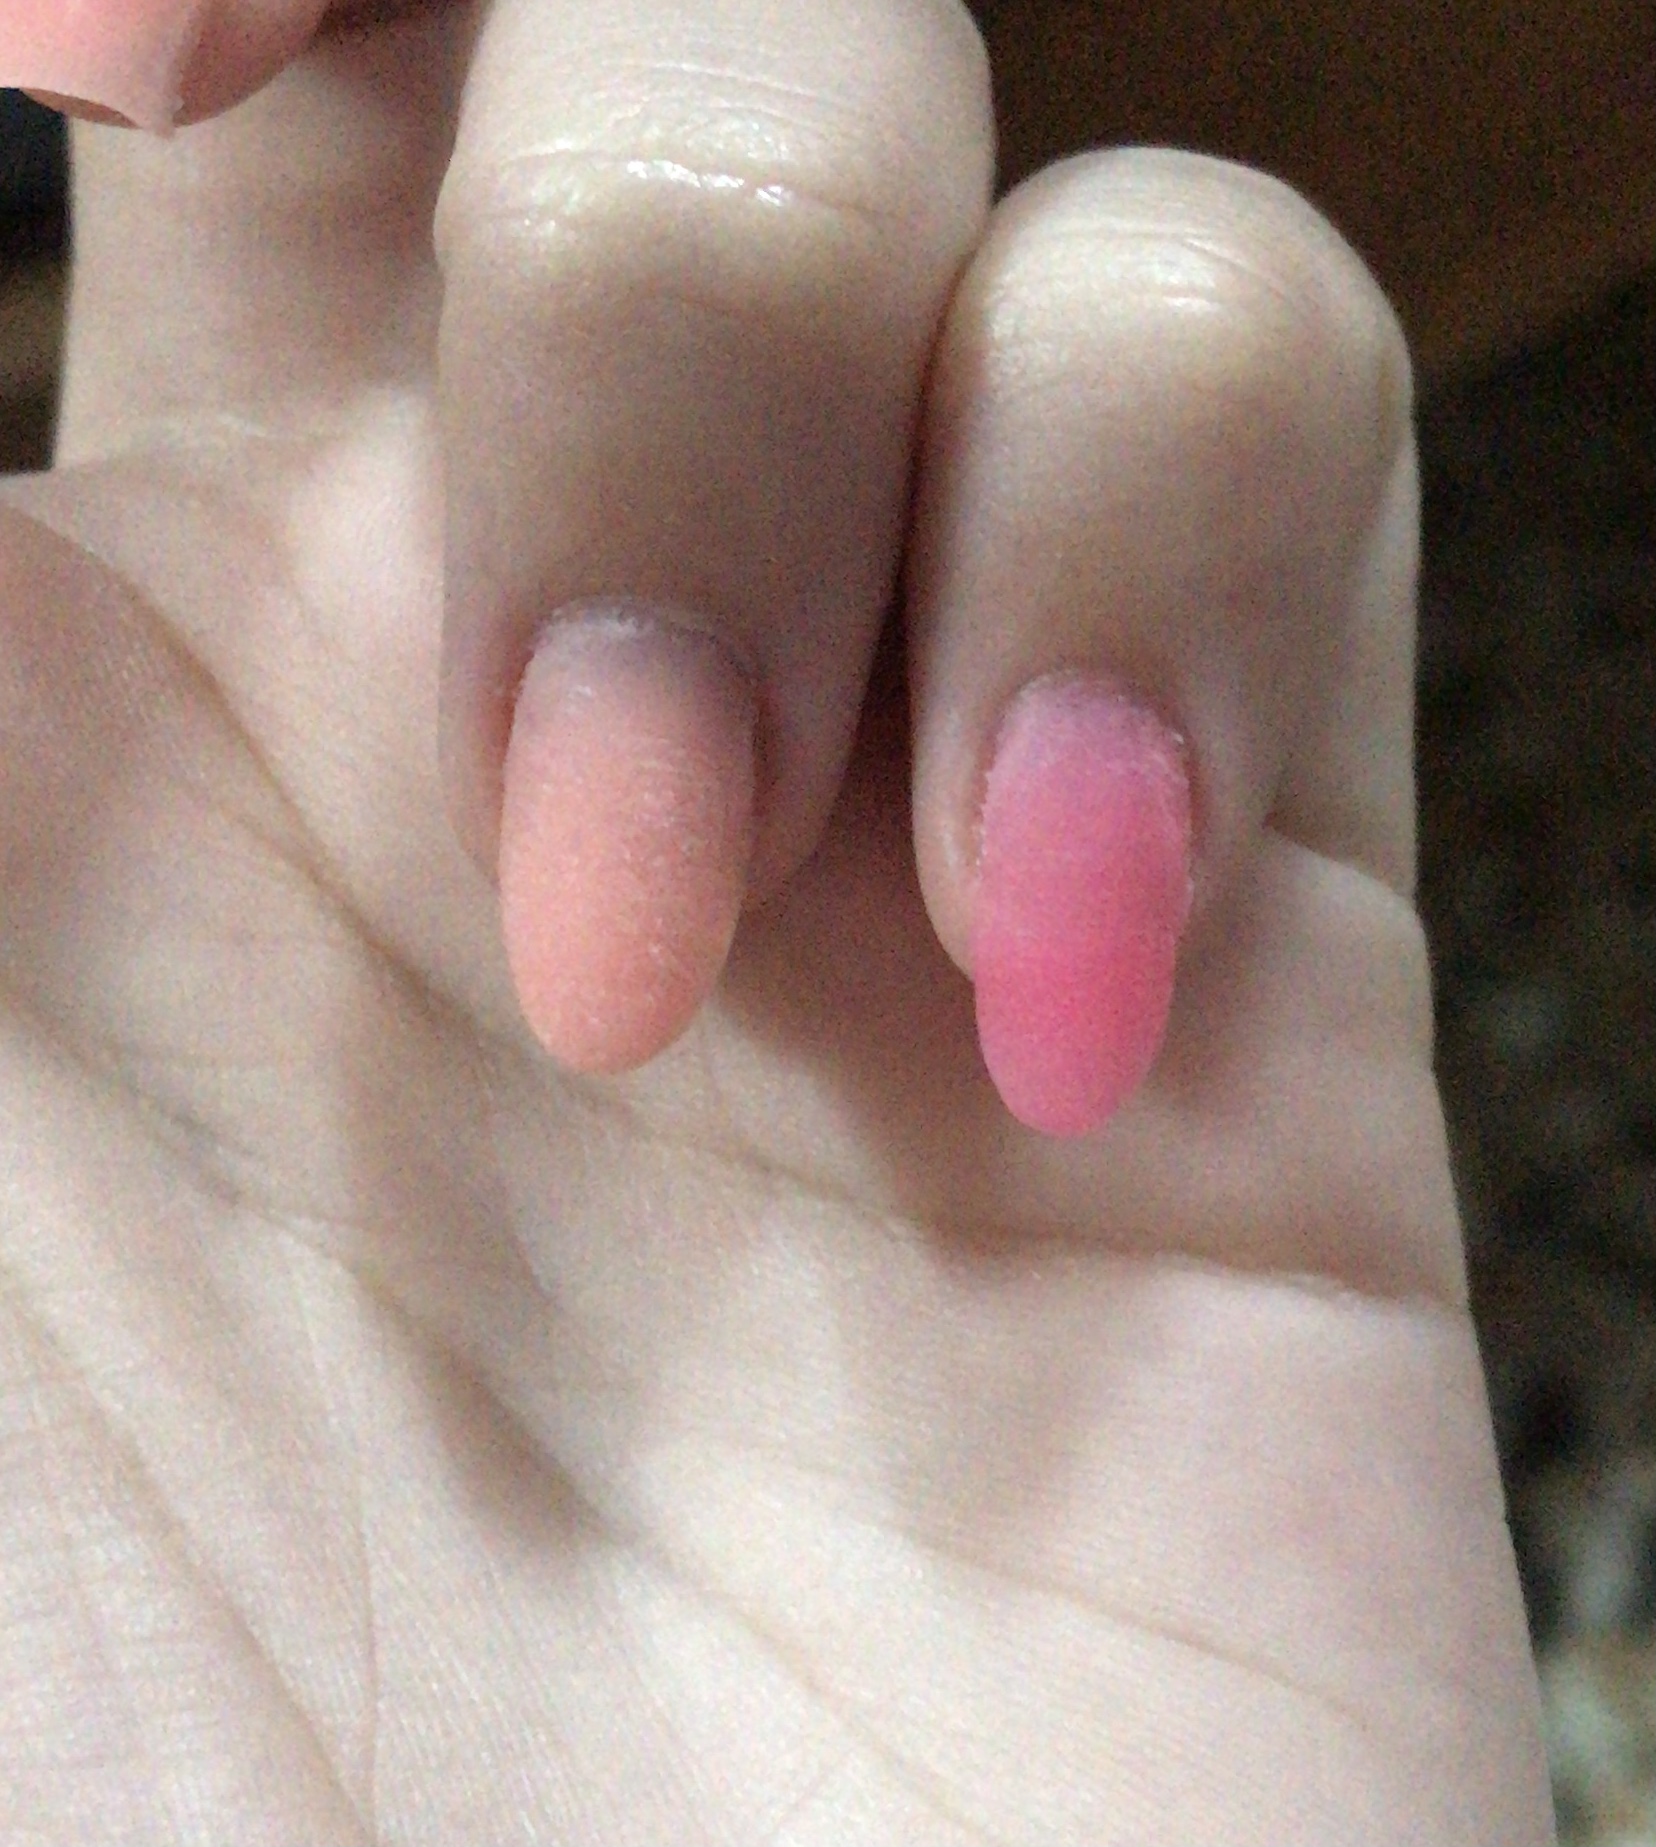
Paso 3: Limado y Acabado
•Retira el molde con cuidado y lima suavemente el exceso de polygel para dar forma a tus uñas.
•Aplica un top coat para sellar y dar brillo a tus uñas.
•Puedes añadir decoraciones, esmalte de color o nail art si lo deseas.
Step 3: Filing and Finishing
• Carefully remove the mold and gently file off the excess polygel to shape your nails.
• Apply a top coat to seal and give shine to your nails.
• You can add decorations, colored polish, or nail art if you wish
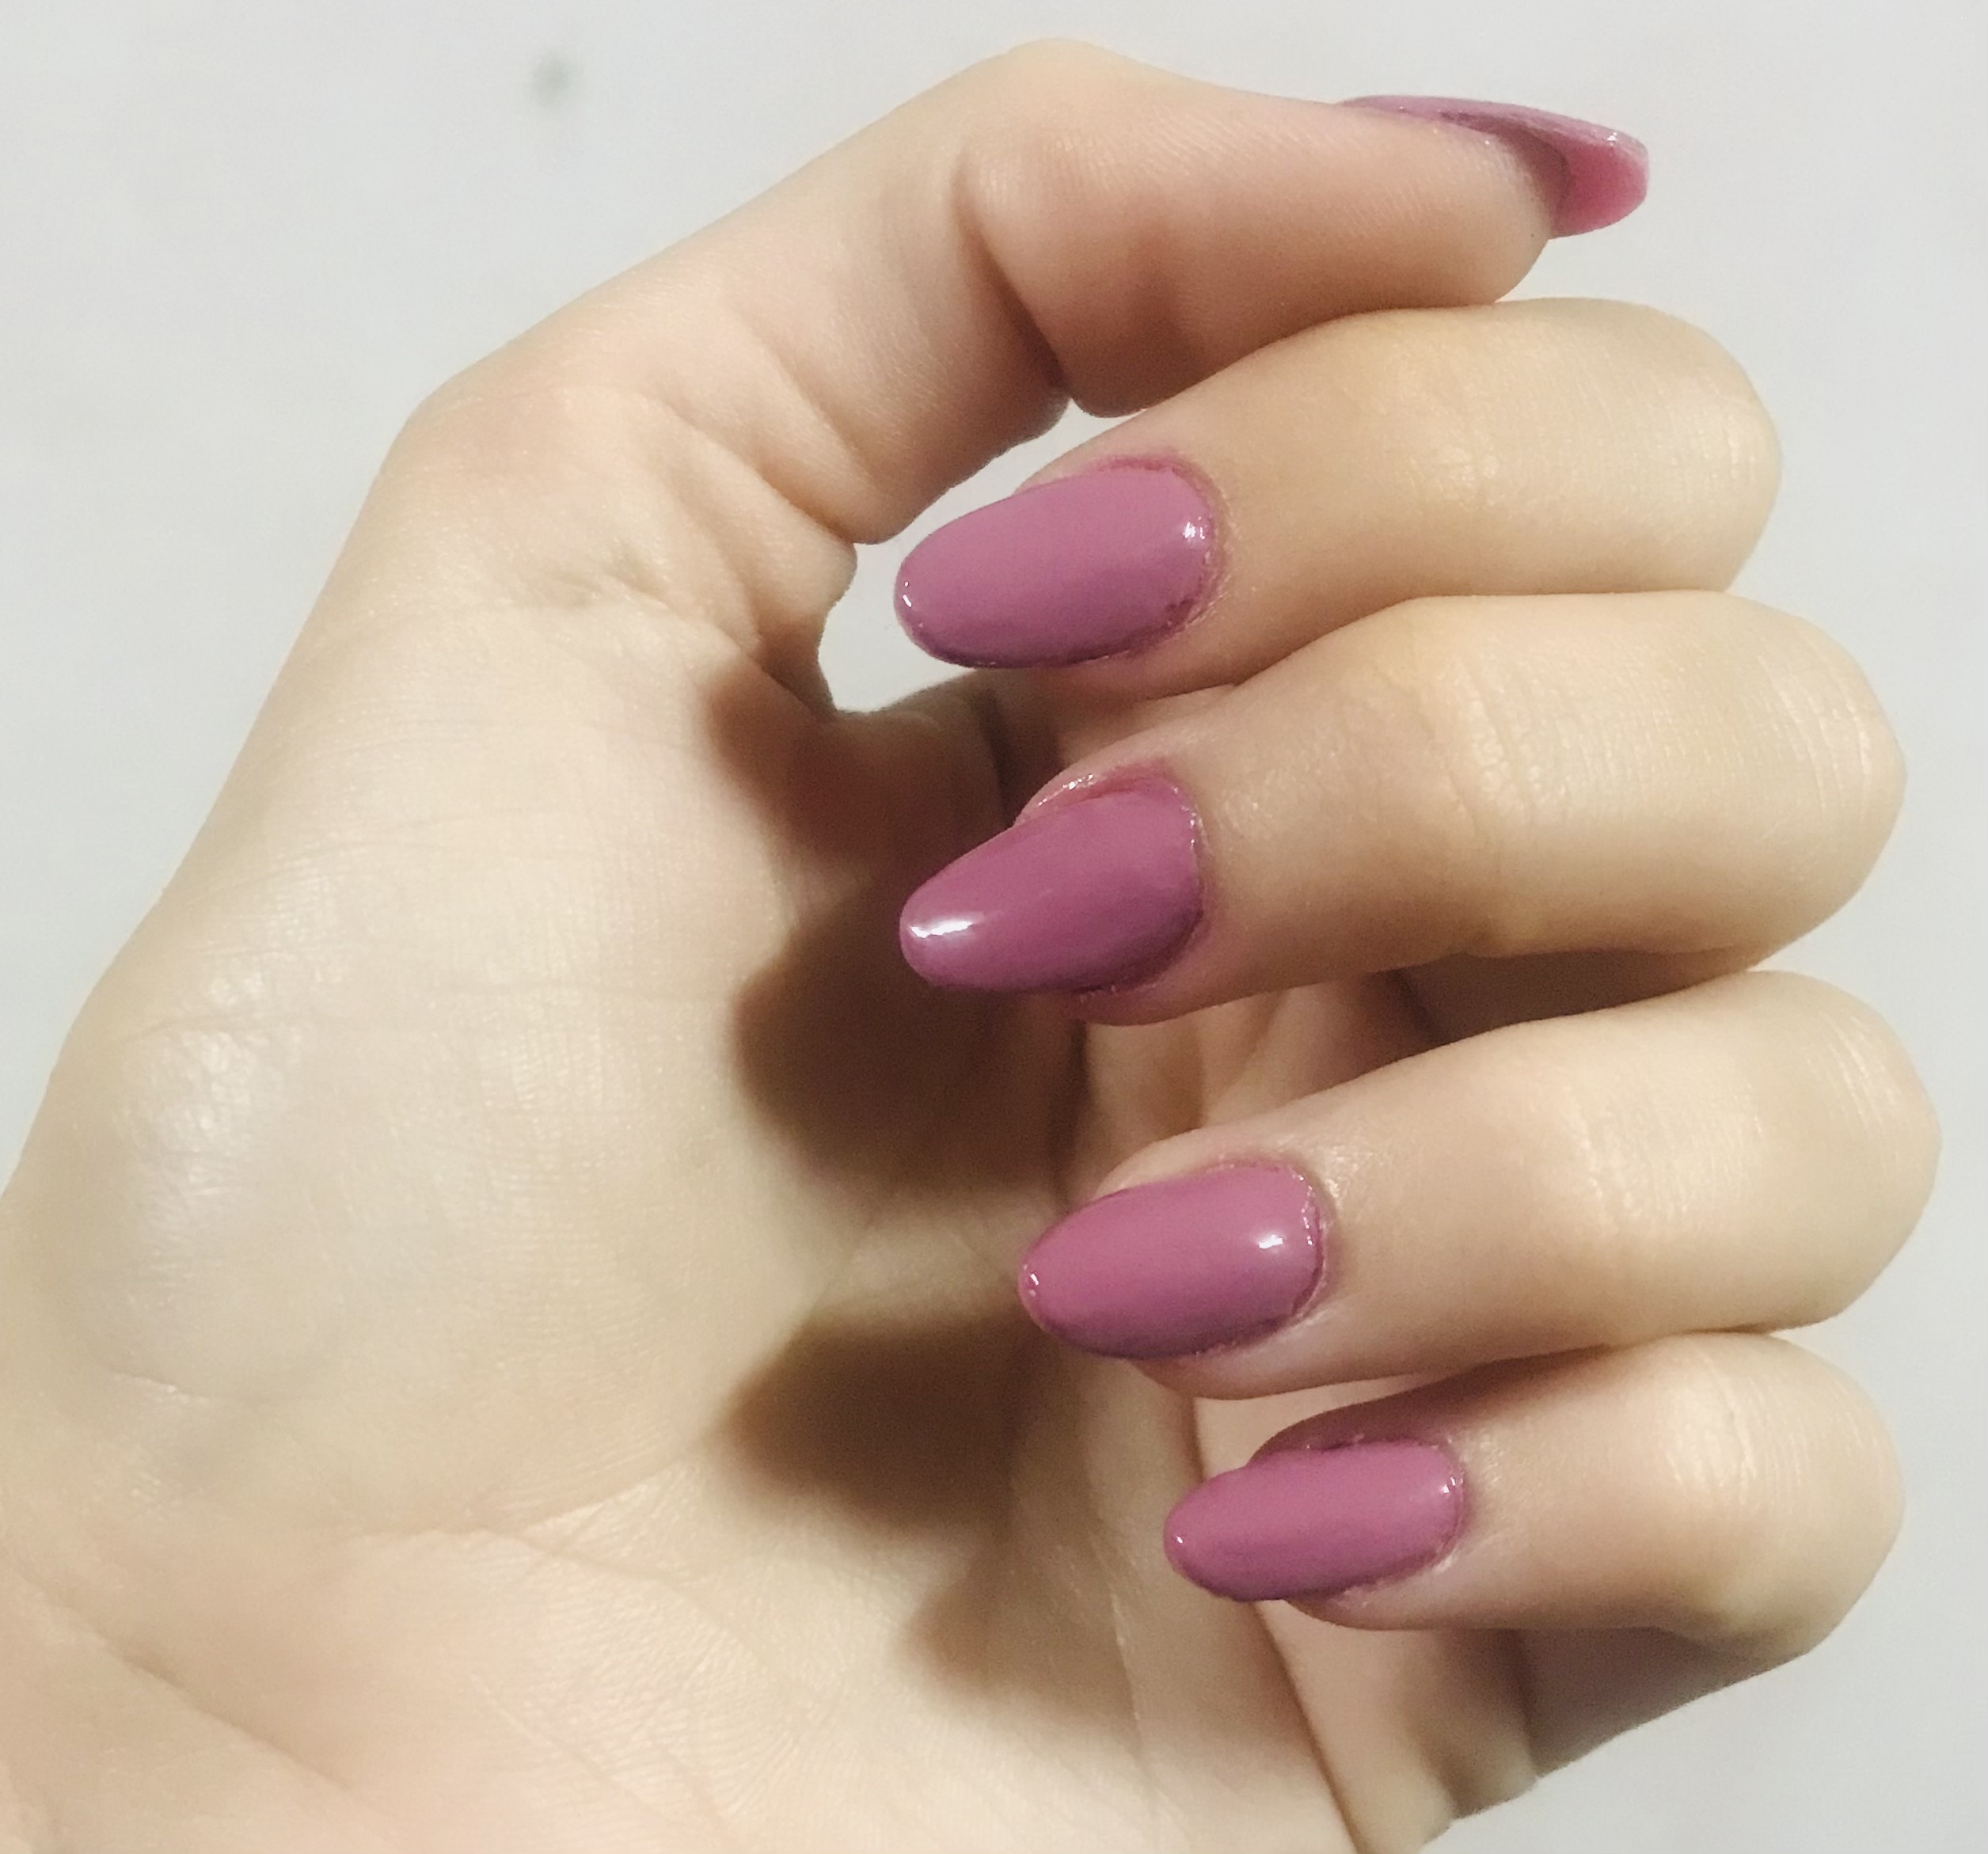
¡Y listo! Ahora puedes disfrutar de unas hermosas y duraderas uñas hechas por ti misma con polygel. ¡Diviértete experimentando y creando diseños únicos!¡Gracias por seguir este tutorial! ¡Que tengas unas uñas fabulosas!
And there you have it! Now you can enjoy beautiful and long-lasting nails made by yourself with polygel. Have fun experimenting and creating unique designs! Thank you for following this tutorial! Have fabulous nails!❤️
Créditos/ Credits
•Todas las fotos utilizadas en el post son de mi autoría, tomadas y publicadas con mi Iphone 7plus
•All the photos used in the post are of my own authorship, taken and published with my iPhone 7 Plus.