What if the winter cold became an opportunity to learn a new skill?
For those who missed it, with @altheana, we are in the middle of moving into a new house. It’s an old Norman country house, full of charm… but also full of drafts.
Unfortunately, it is not insulated from the cold, and for now, we cannot afford the necessary expenses for full insulation. So, we do what we can.
For example, the front door has a gap at the bottom: air passes through way too much. On the one hand, it’s good for ventilation, but right now, it lets in freezing cold air.
So, we had a simple idea: make a door draft stopper!
With the help of @altheana’s mom, we started this little DIY project. And that’s how we’re starting 2025 with a new skill acquired!
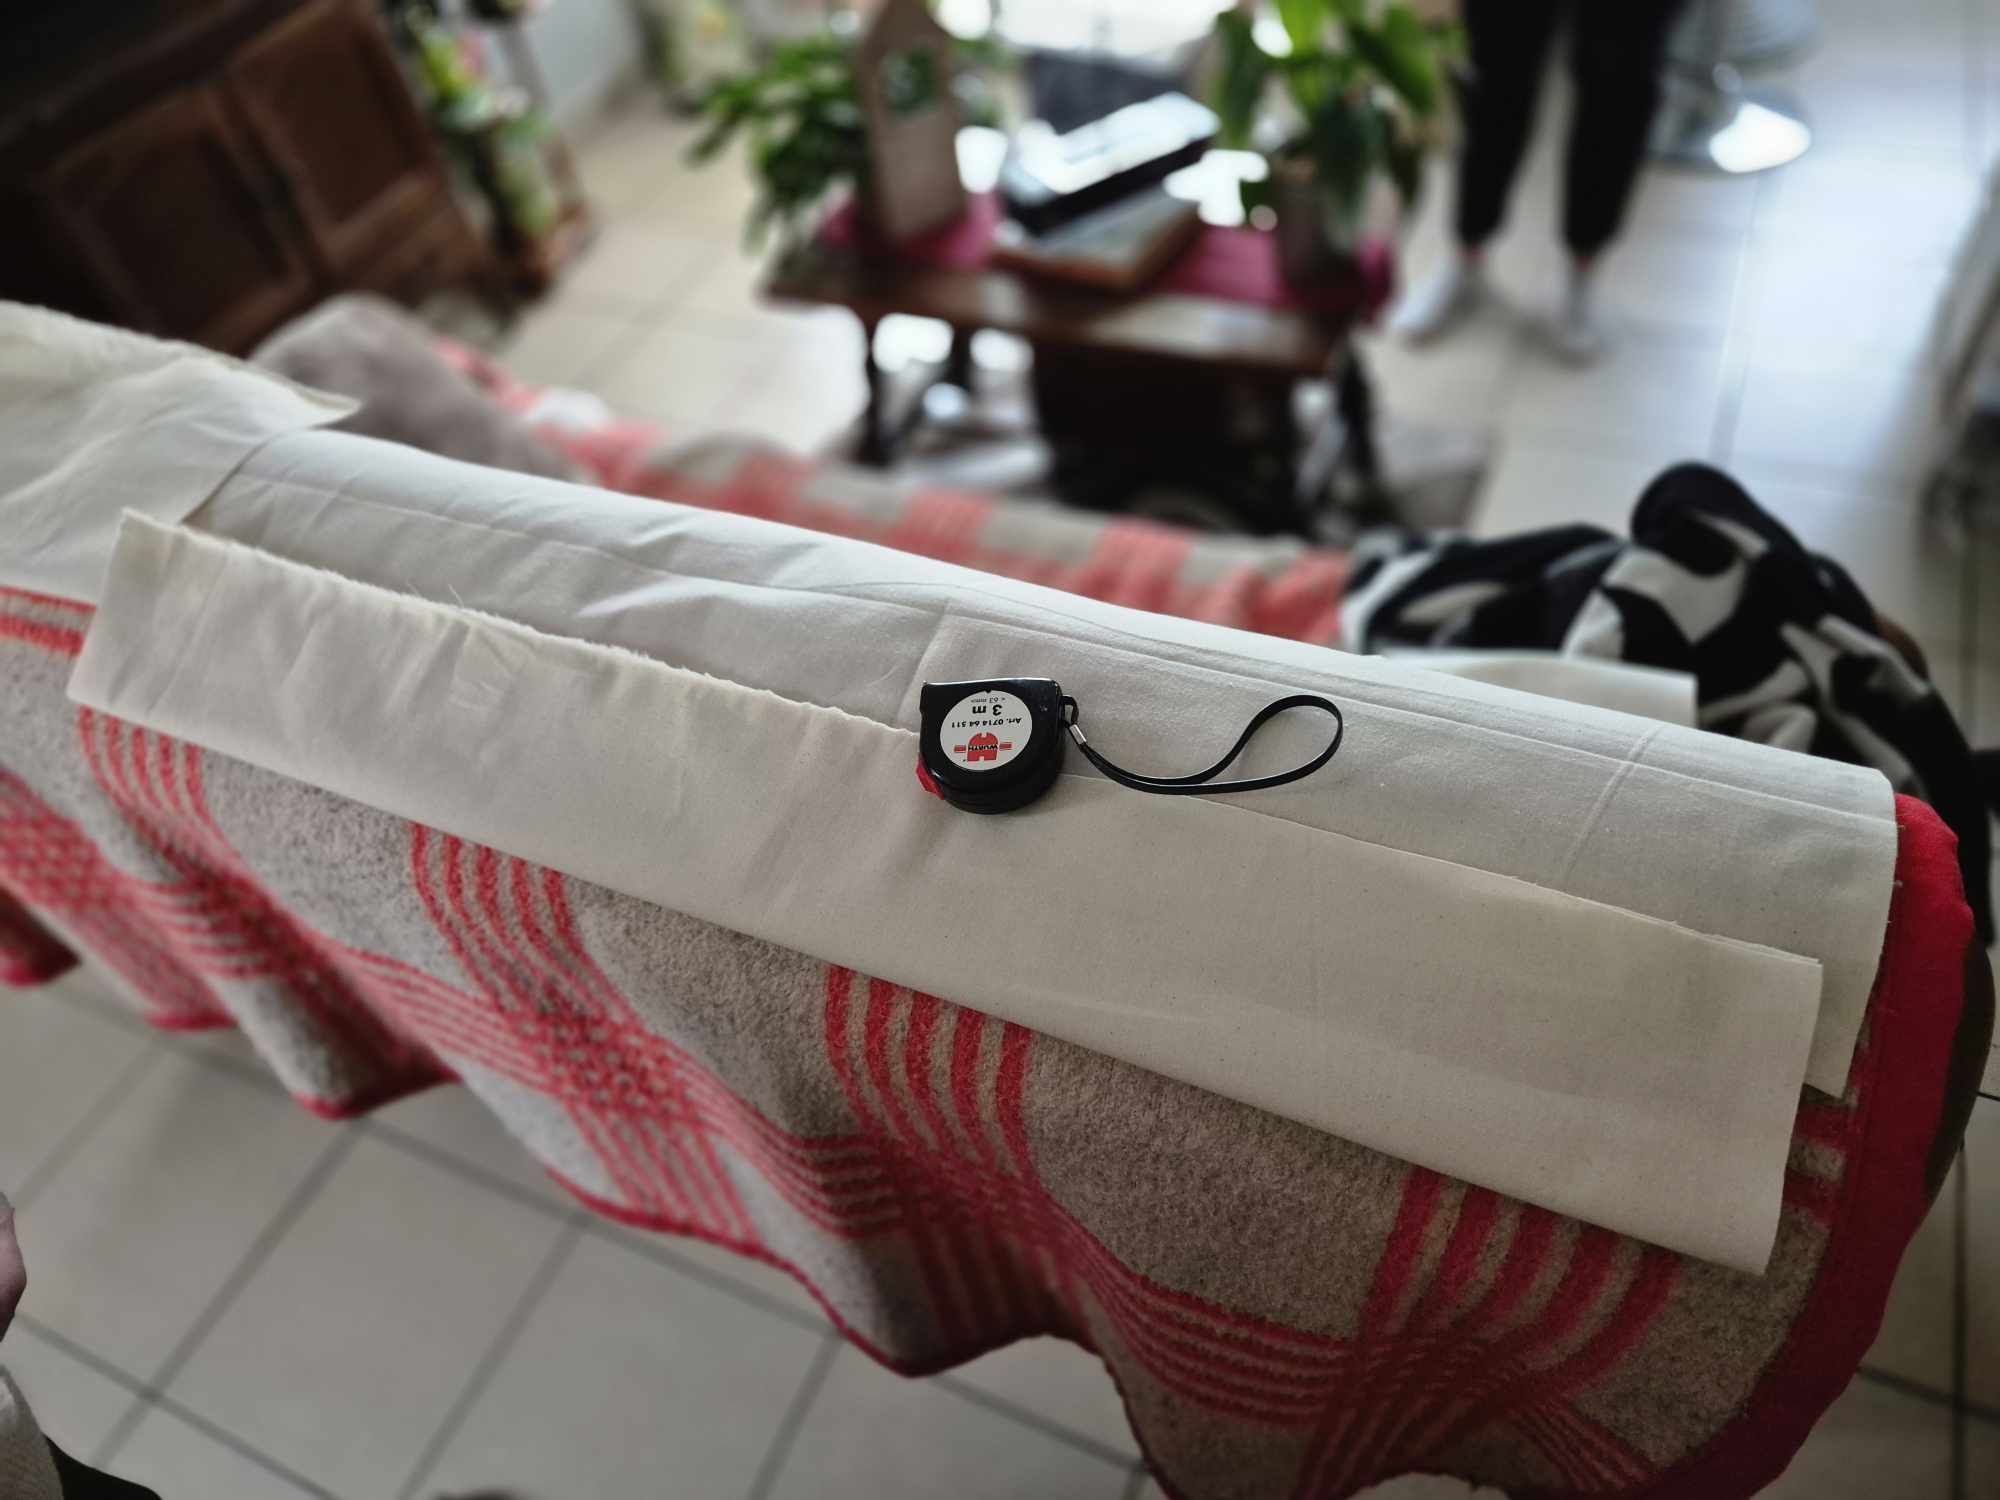
First, we had to measure the fabric we would need. For us, it was 80cm long.
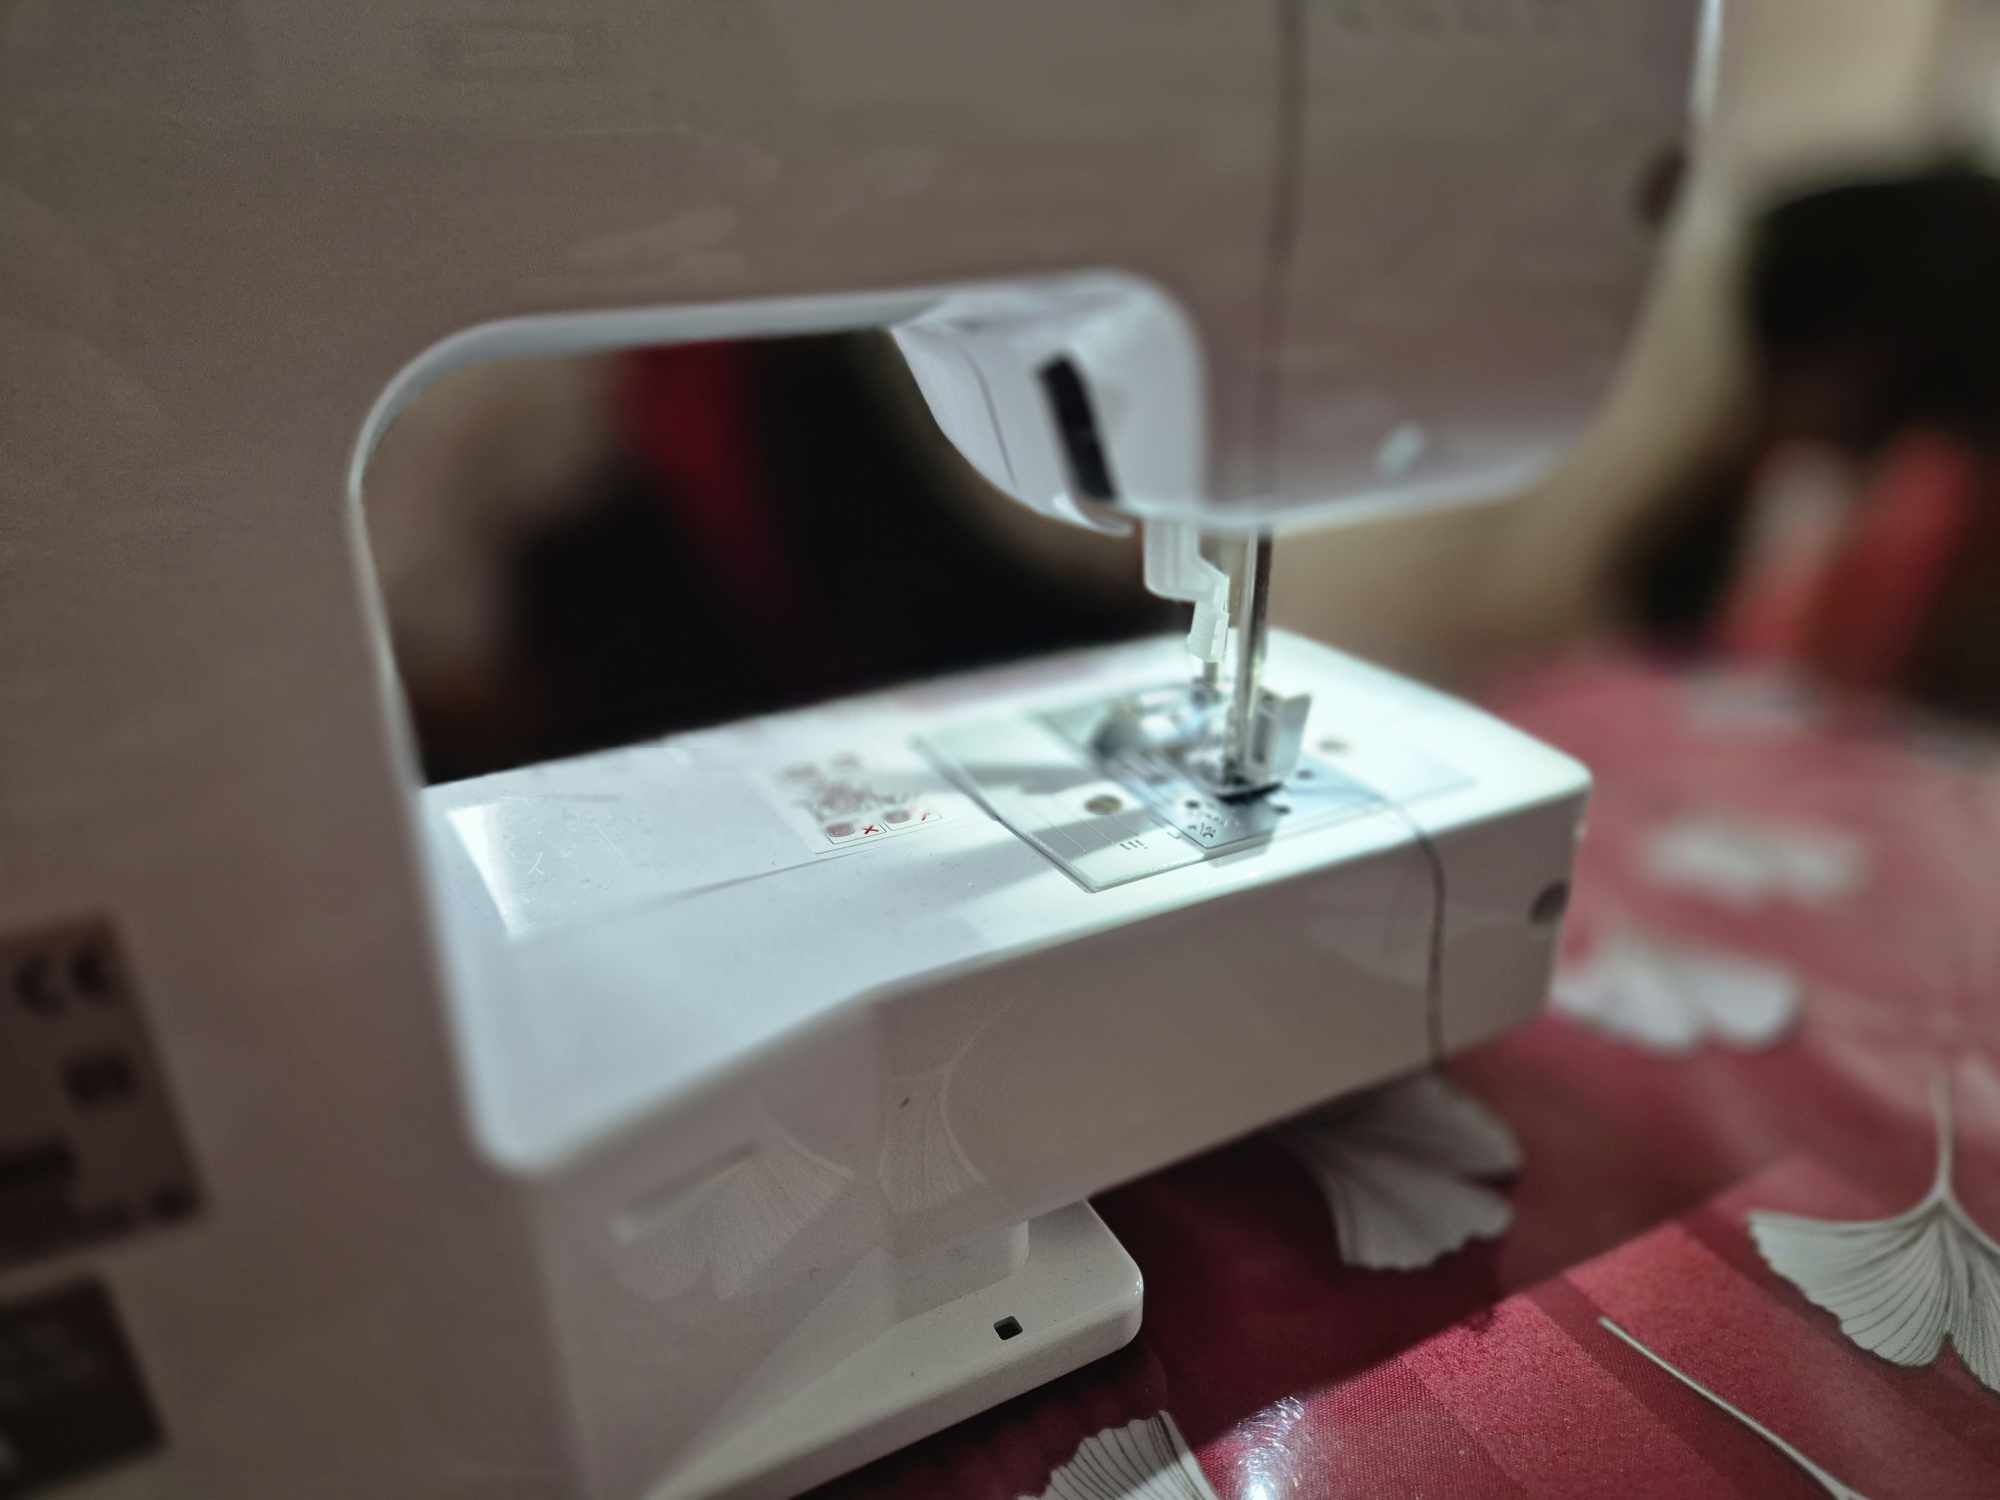
No way we were sewing by hand. No, to go faster, we brought out the sewing machine. It’s much quicker and far more efficient!

Actually, the hardest part was threading the needle of the machine because you have to be really precise!
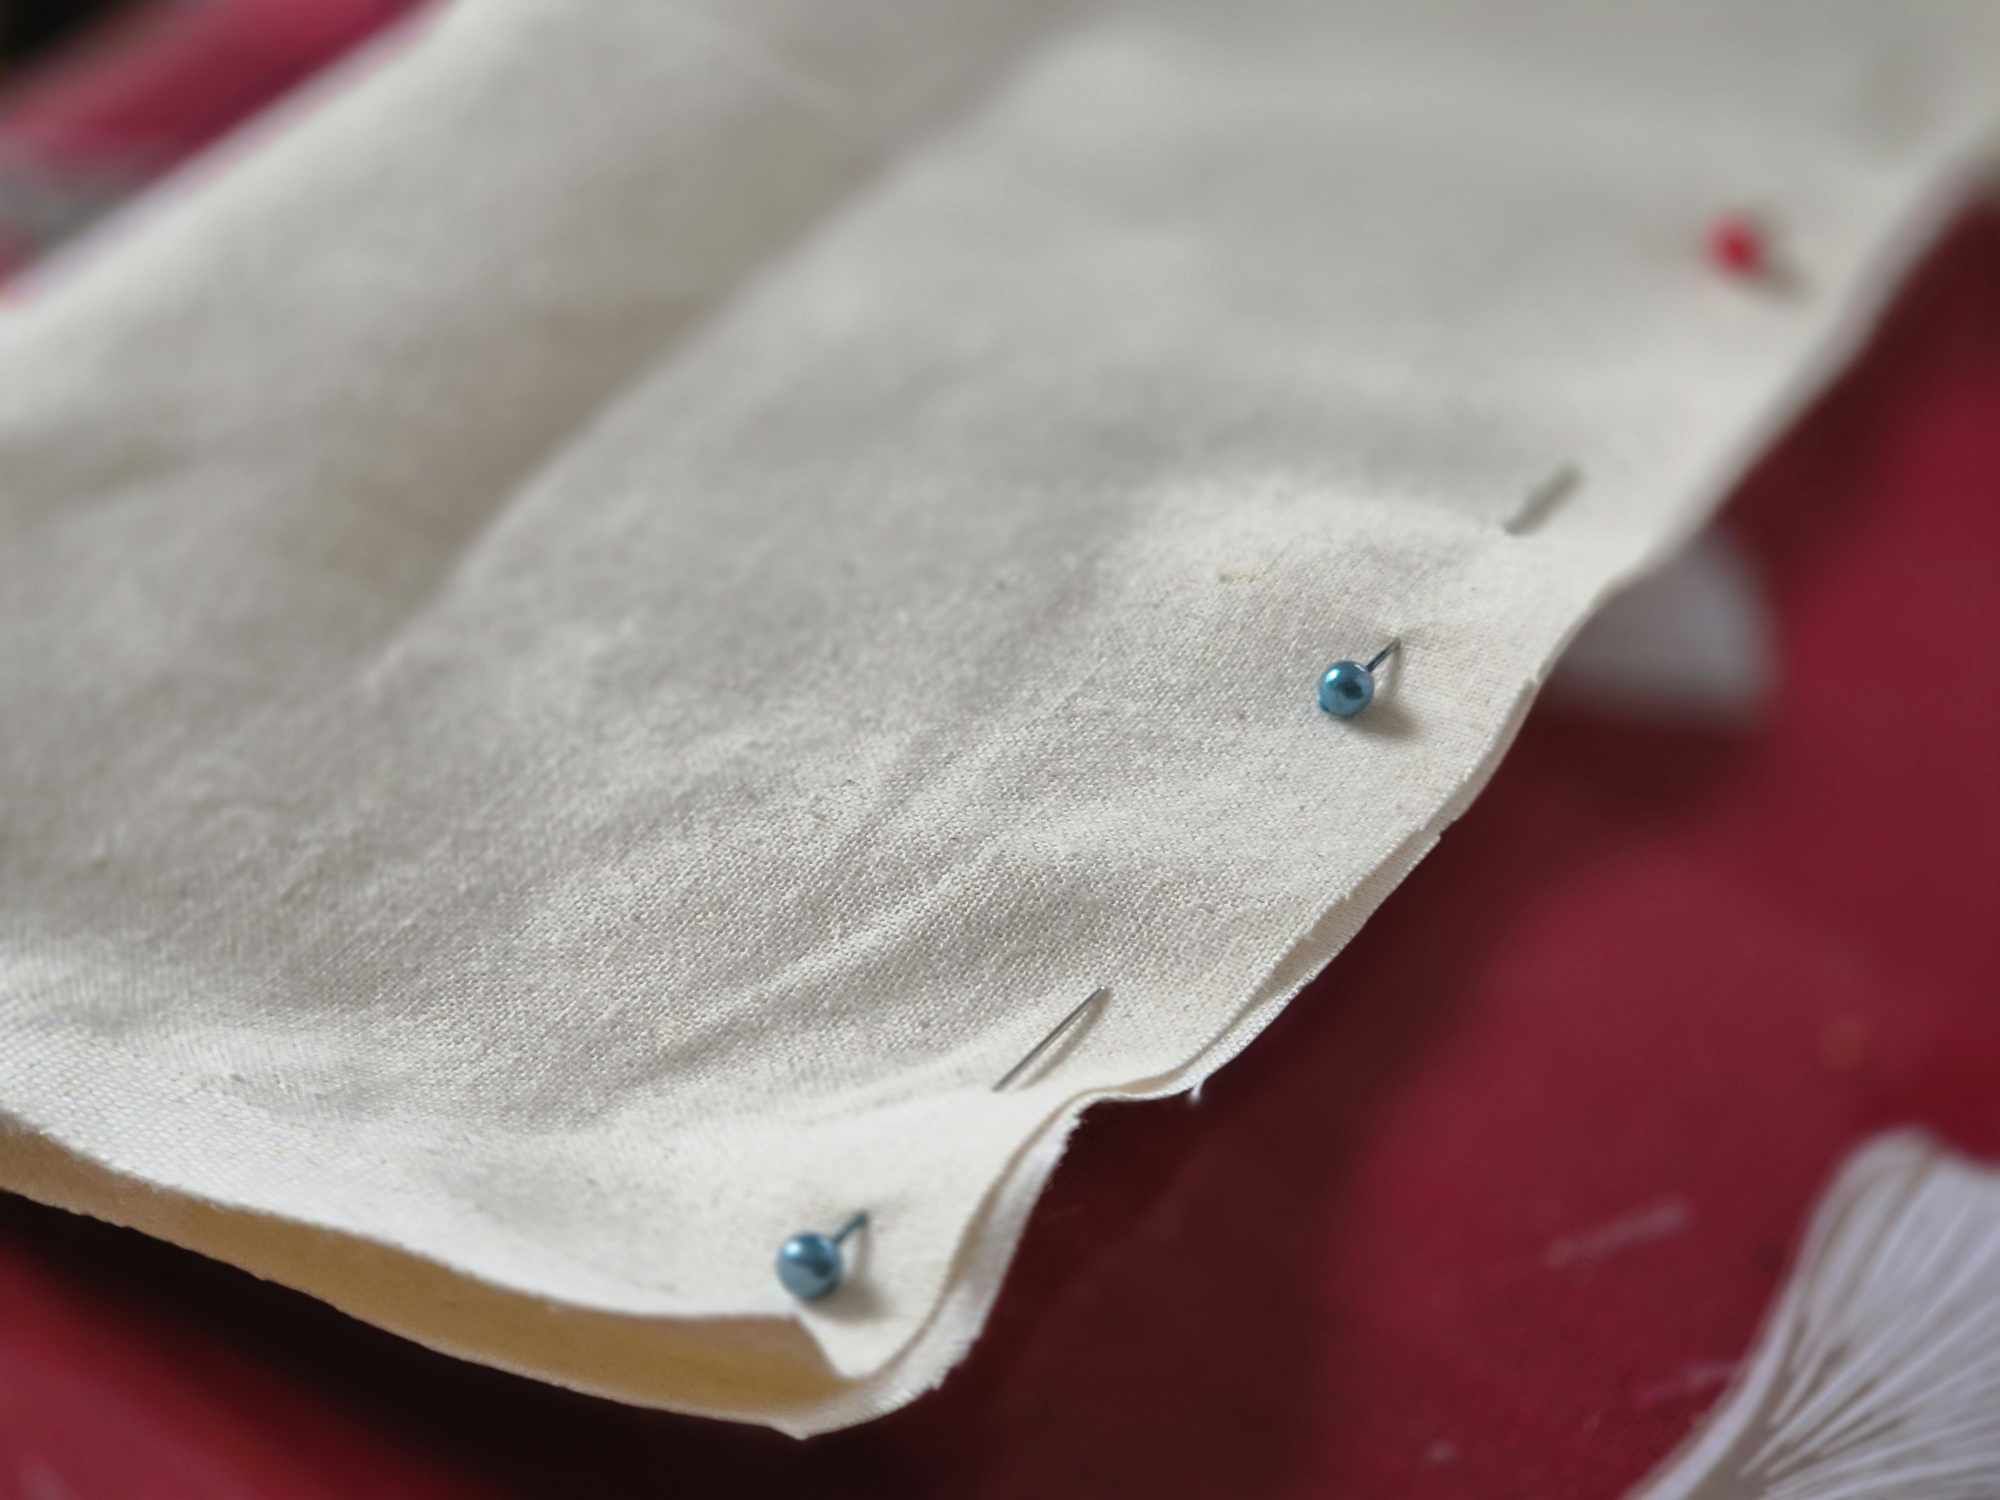
Next, we folded the fabric in half and pinned it in place to keep it secure. This way, it wouldn’t move during sewing.
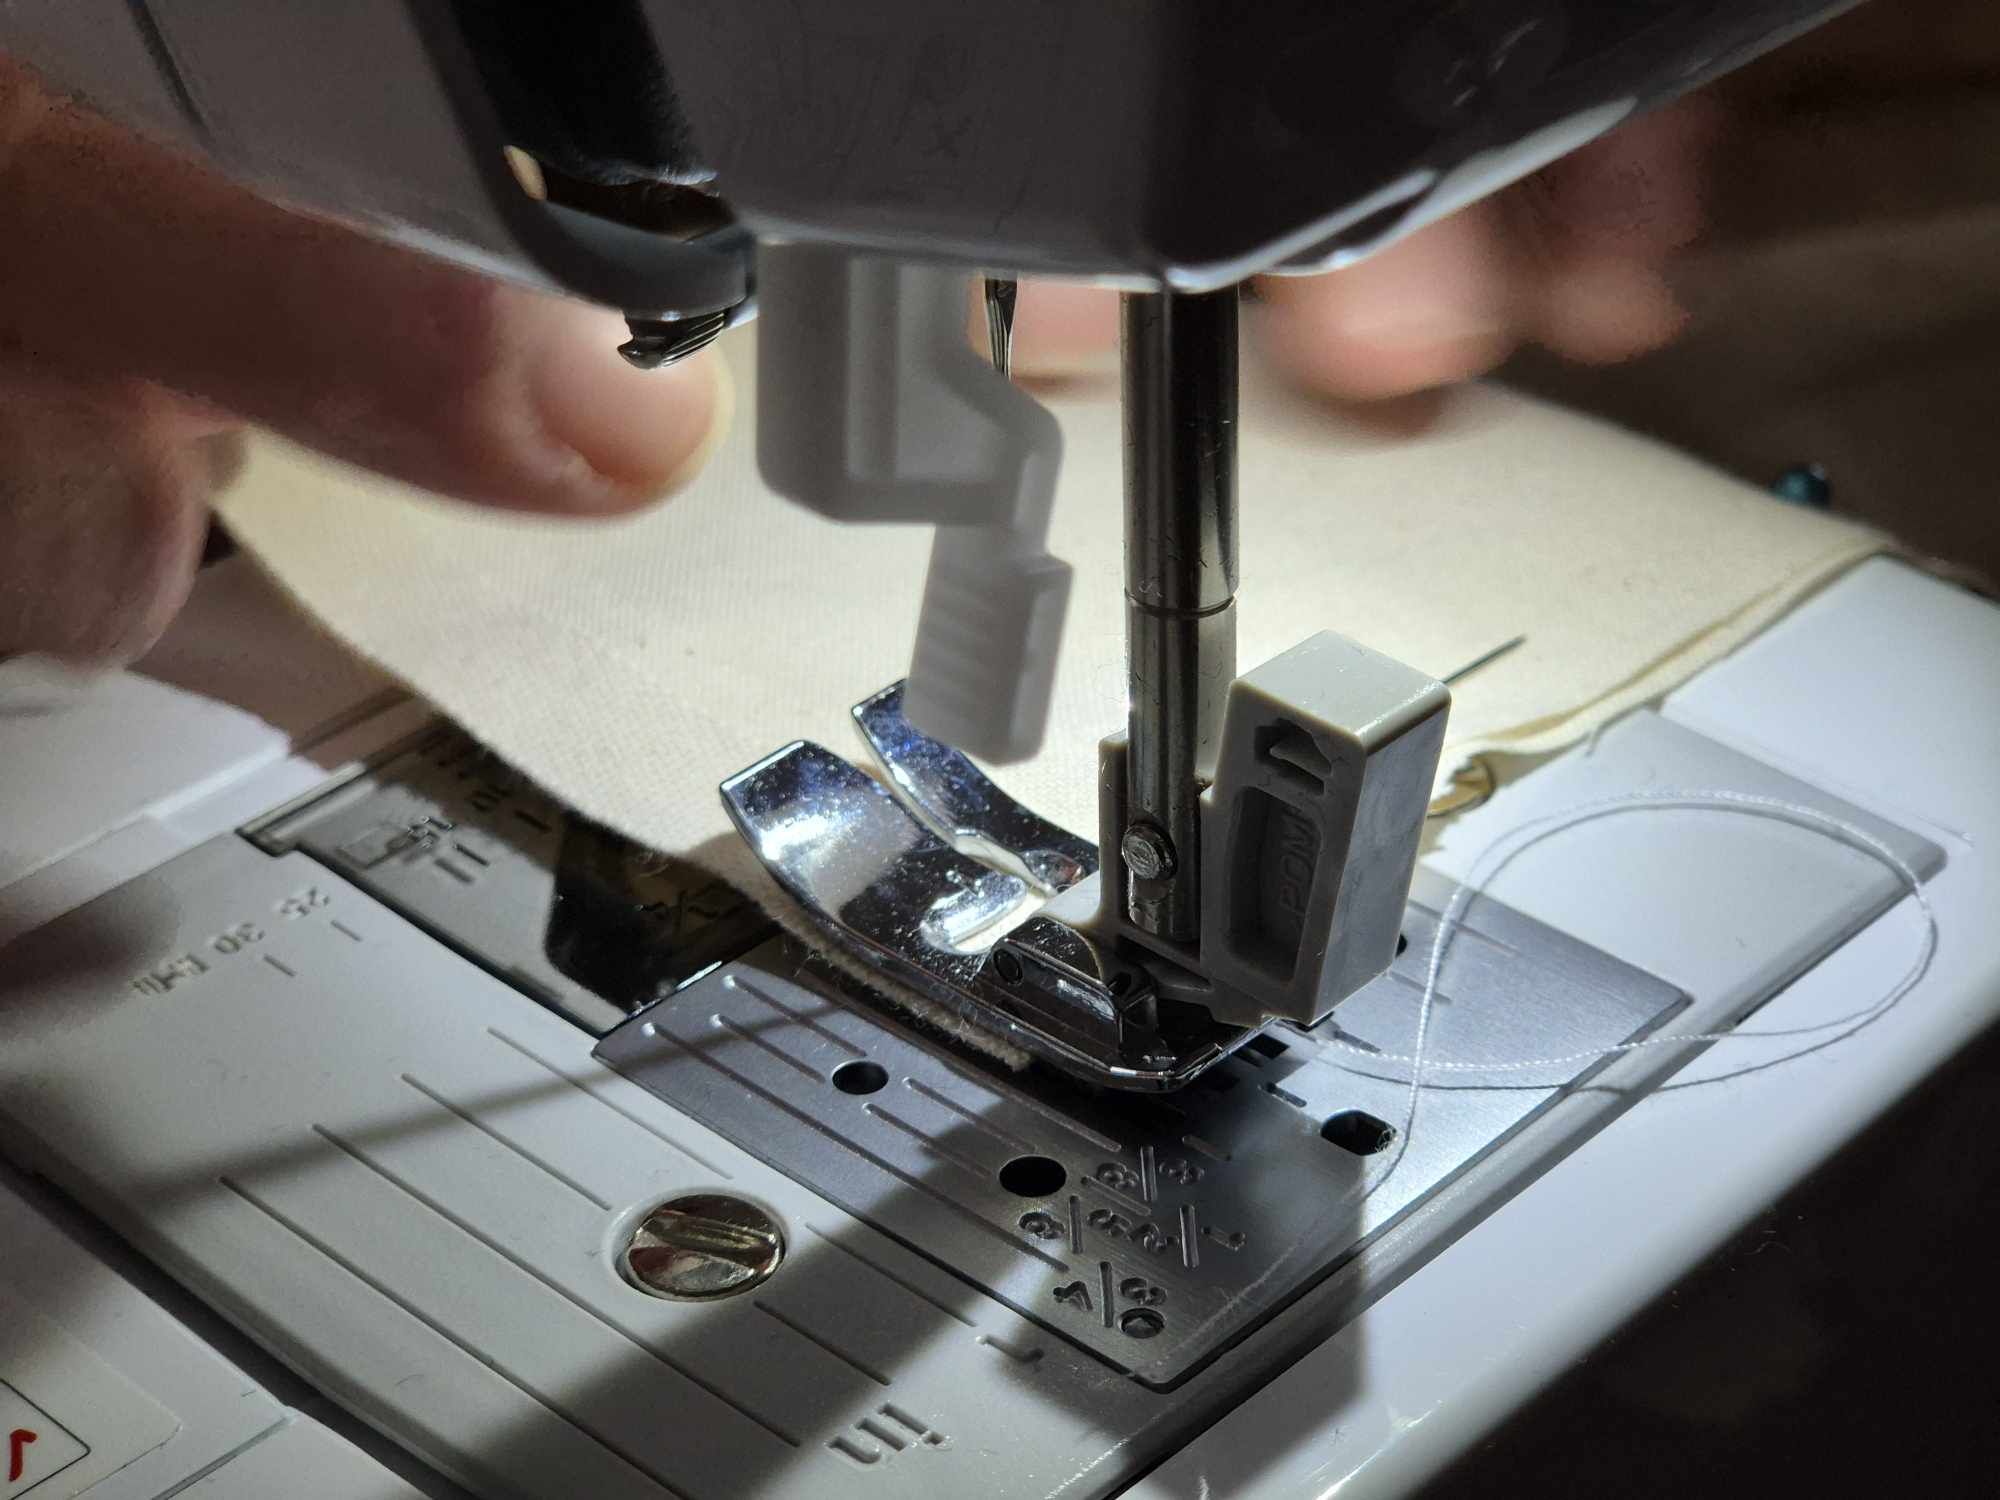
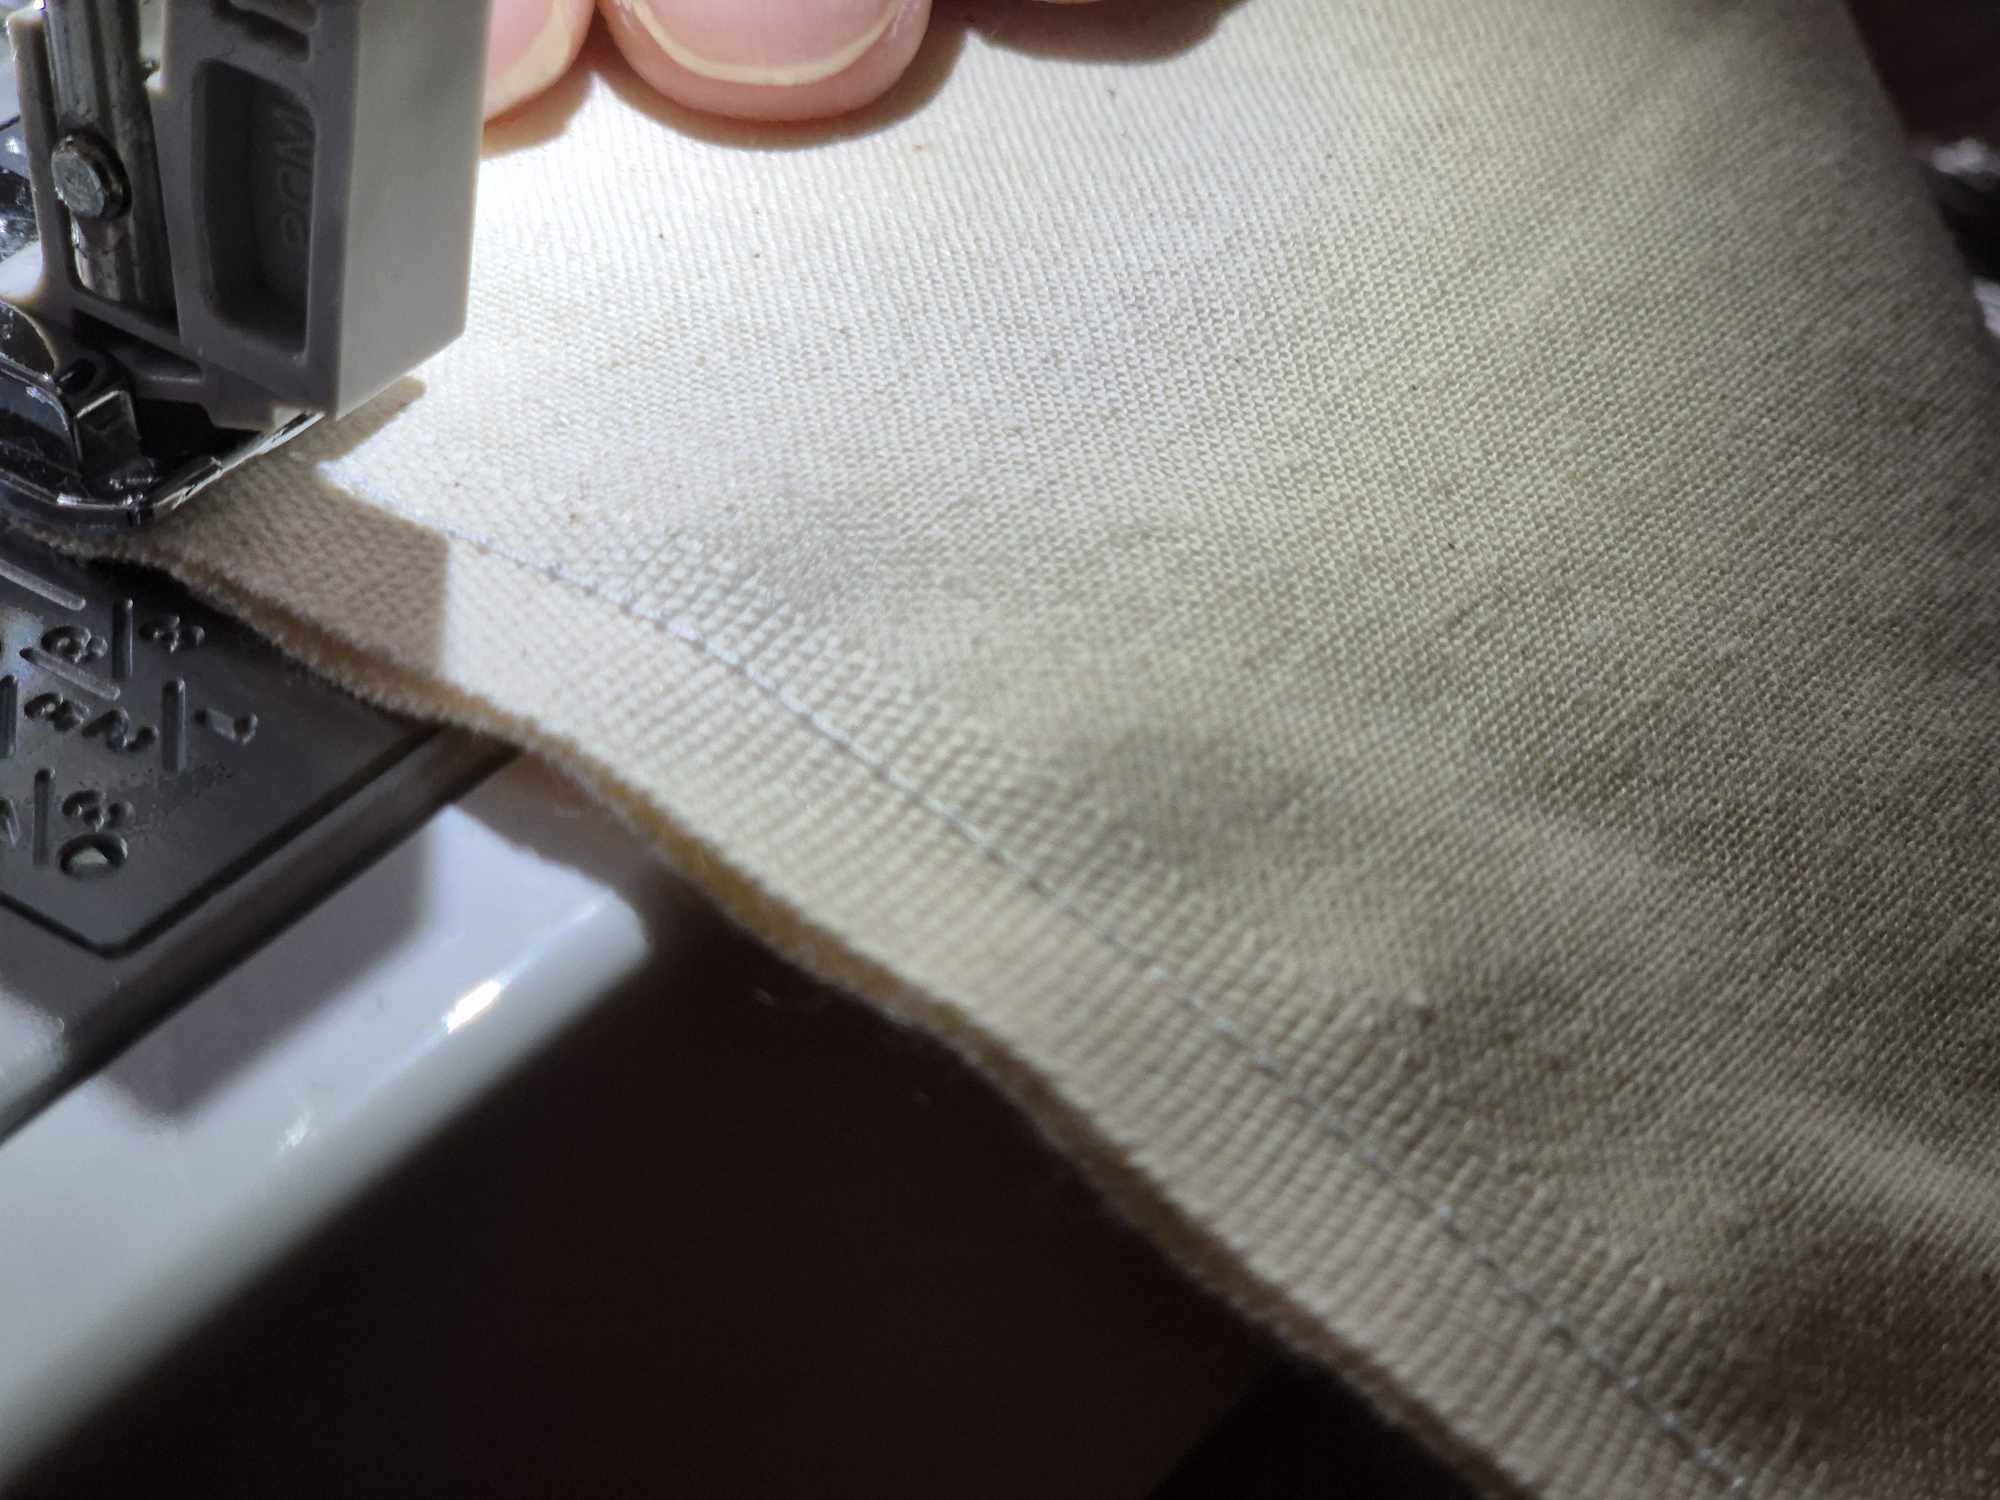
Then, we sewed along the area where we had placed the pins. This allowed us to start closing the draft stopper.
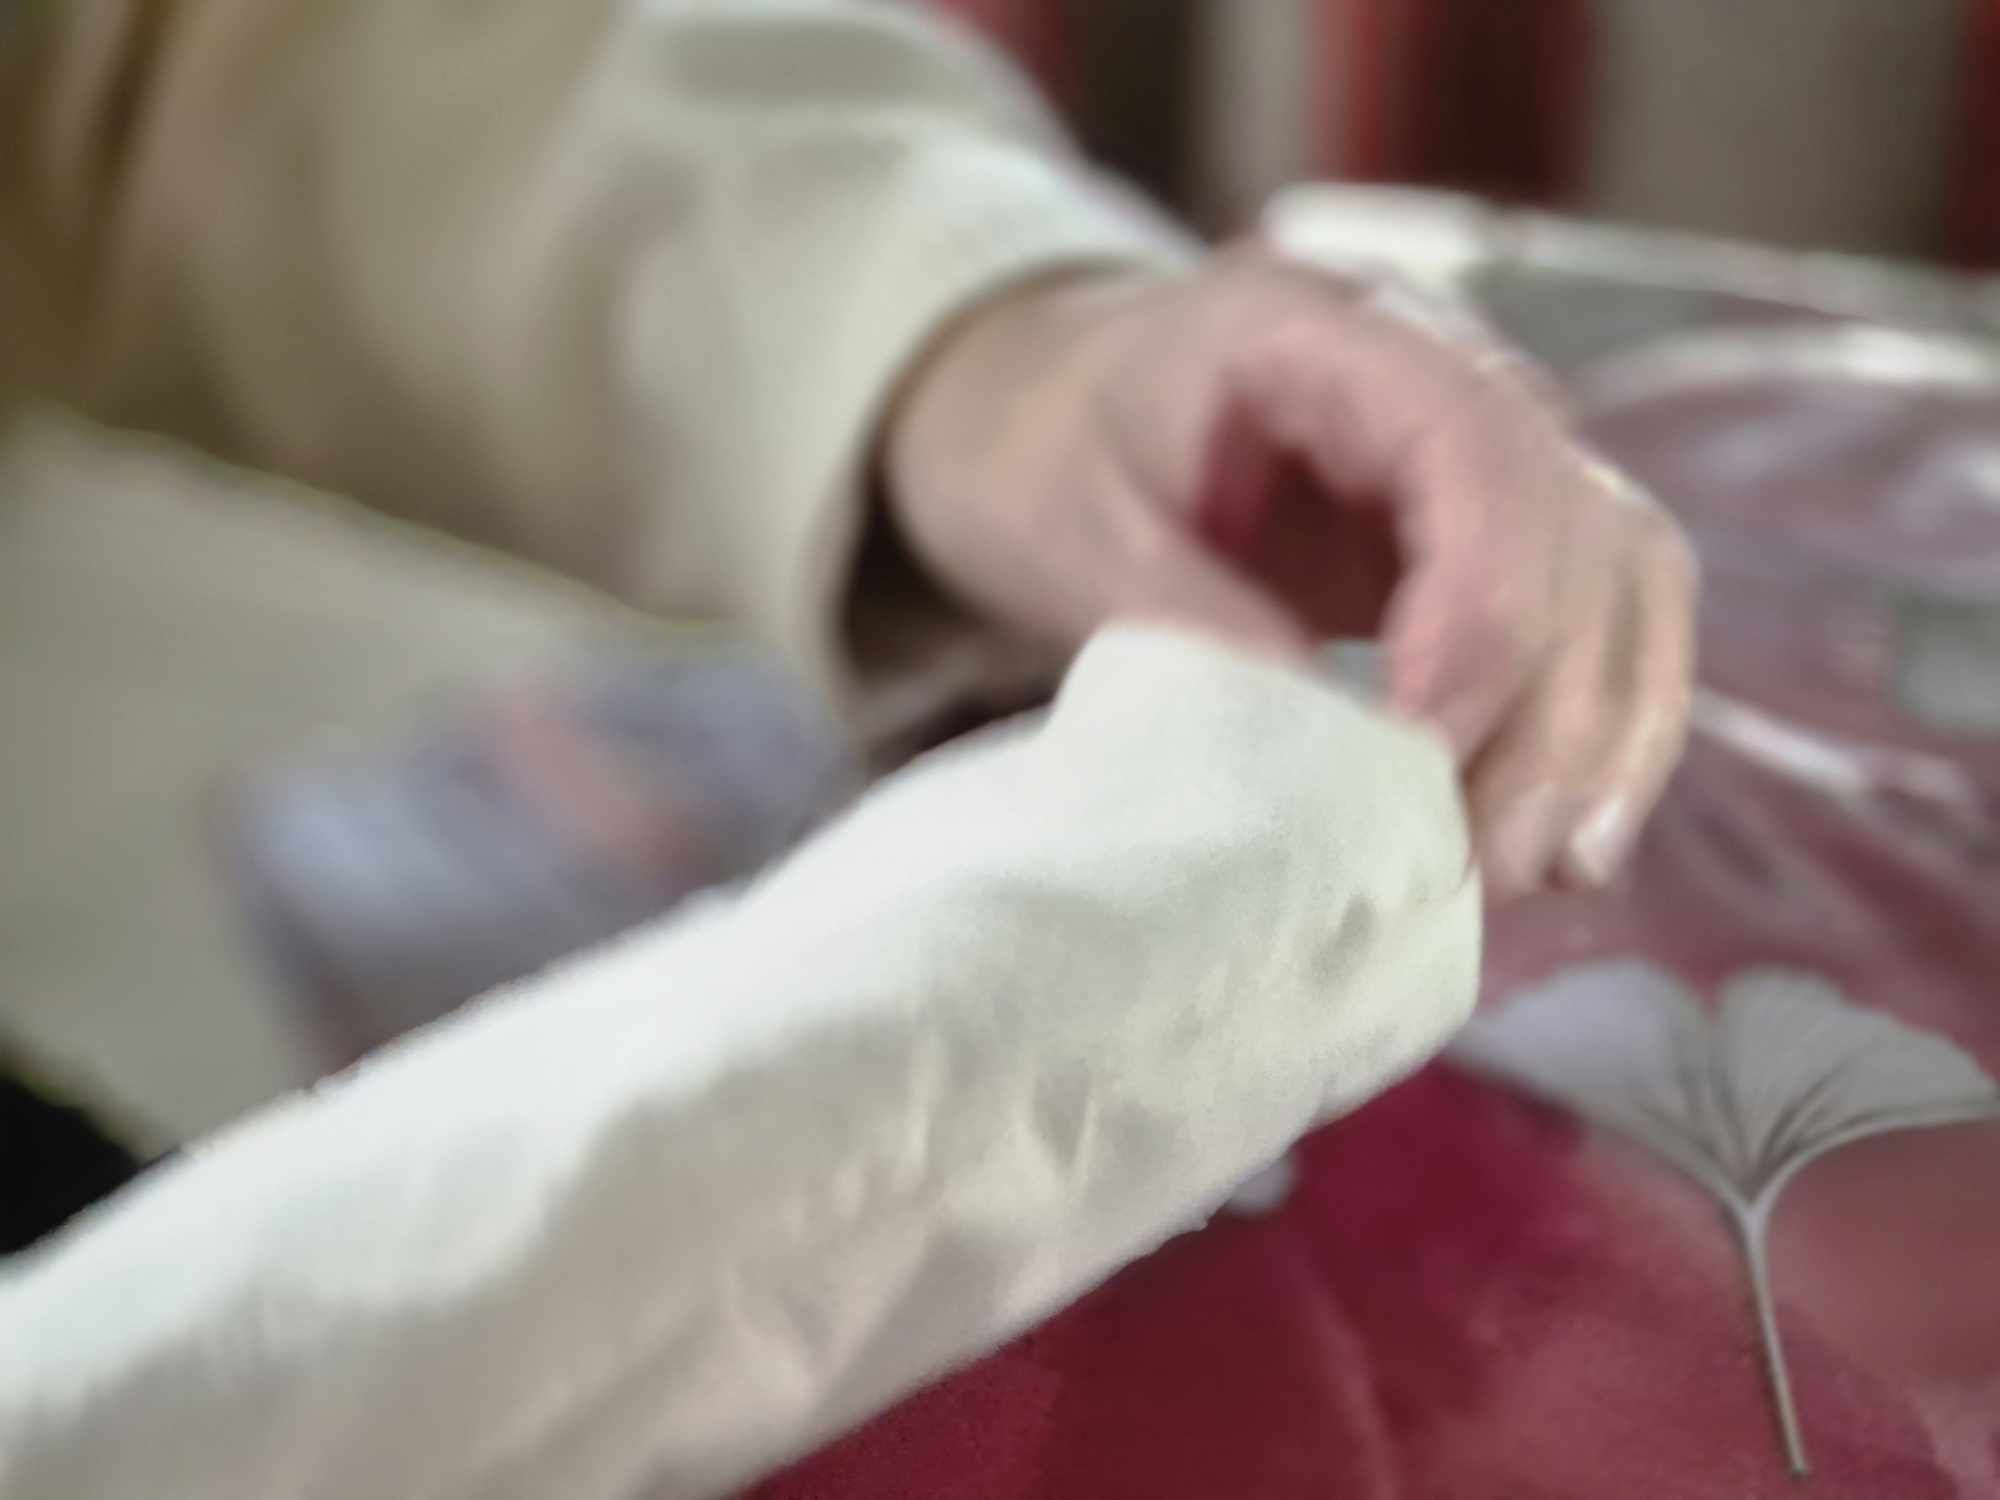
The picture is unfortunately very blurry, and I apologize for that. But to explain, once we finished sewing all the edges (except one), it formed a sort of bag, a bit like a bread bag.
We then turned this bag inside out so that the seams were on the inside, giving it a better finish.
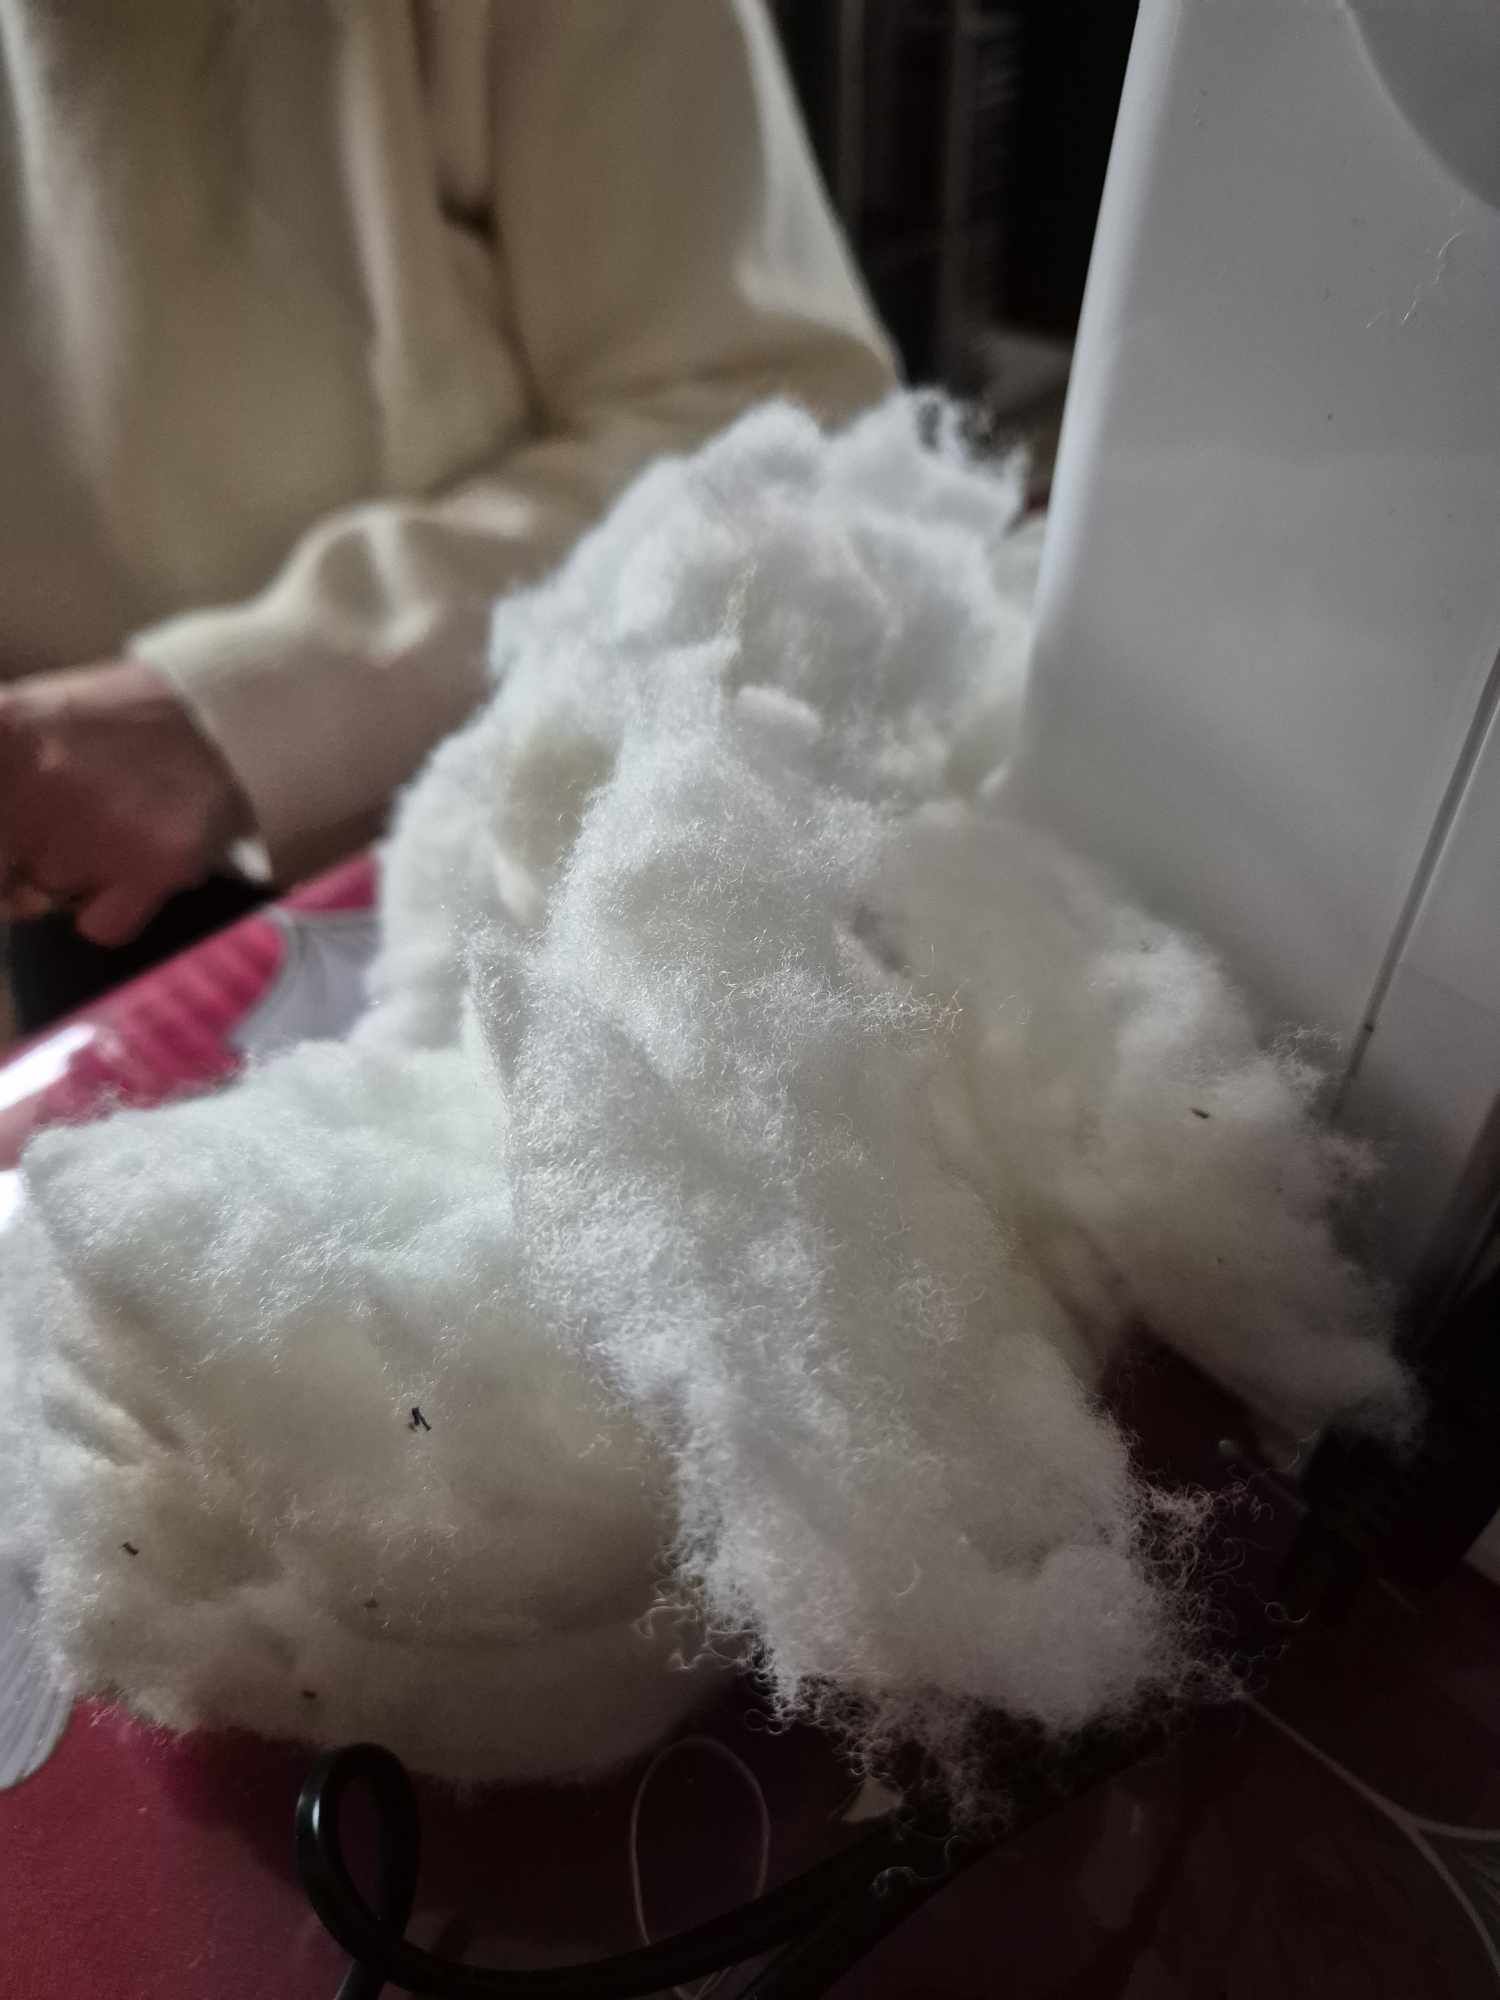
Finally, through the last open side, we filled the bag with wadding. It’s the material you find inside stuffed toys. Besides being easy to find, it has excellent insulating properties, perfect for our little project!
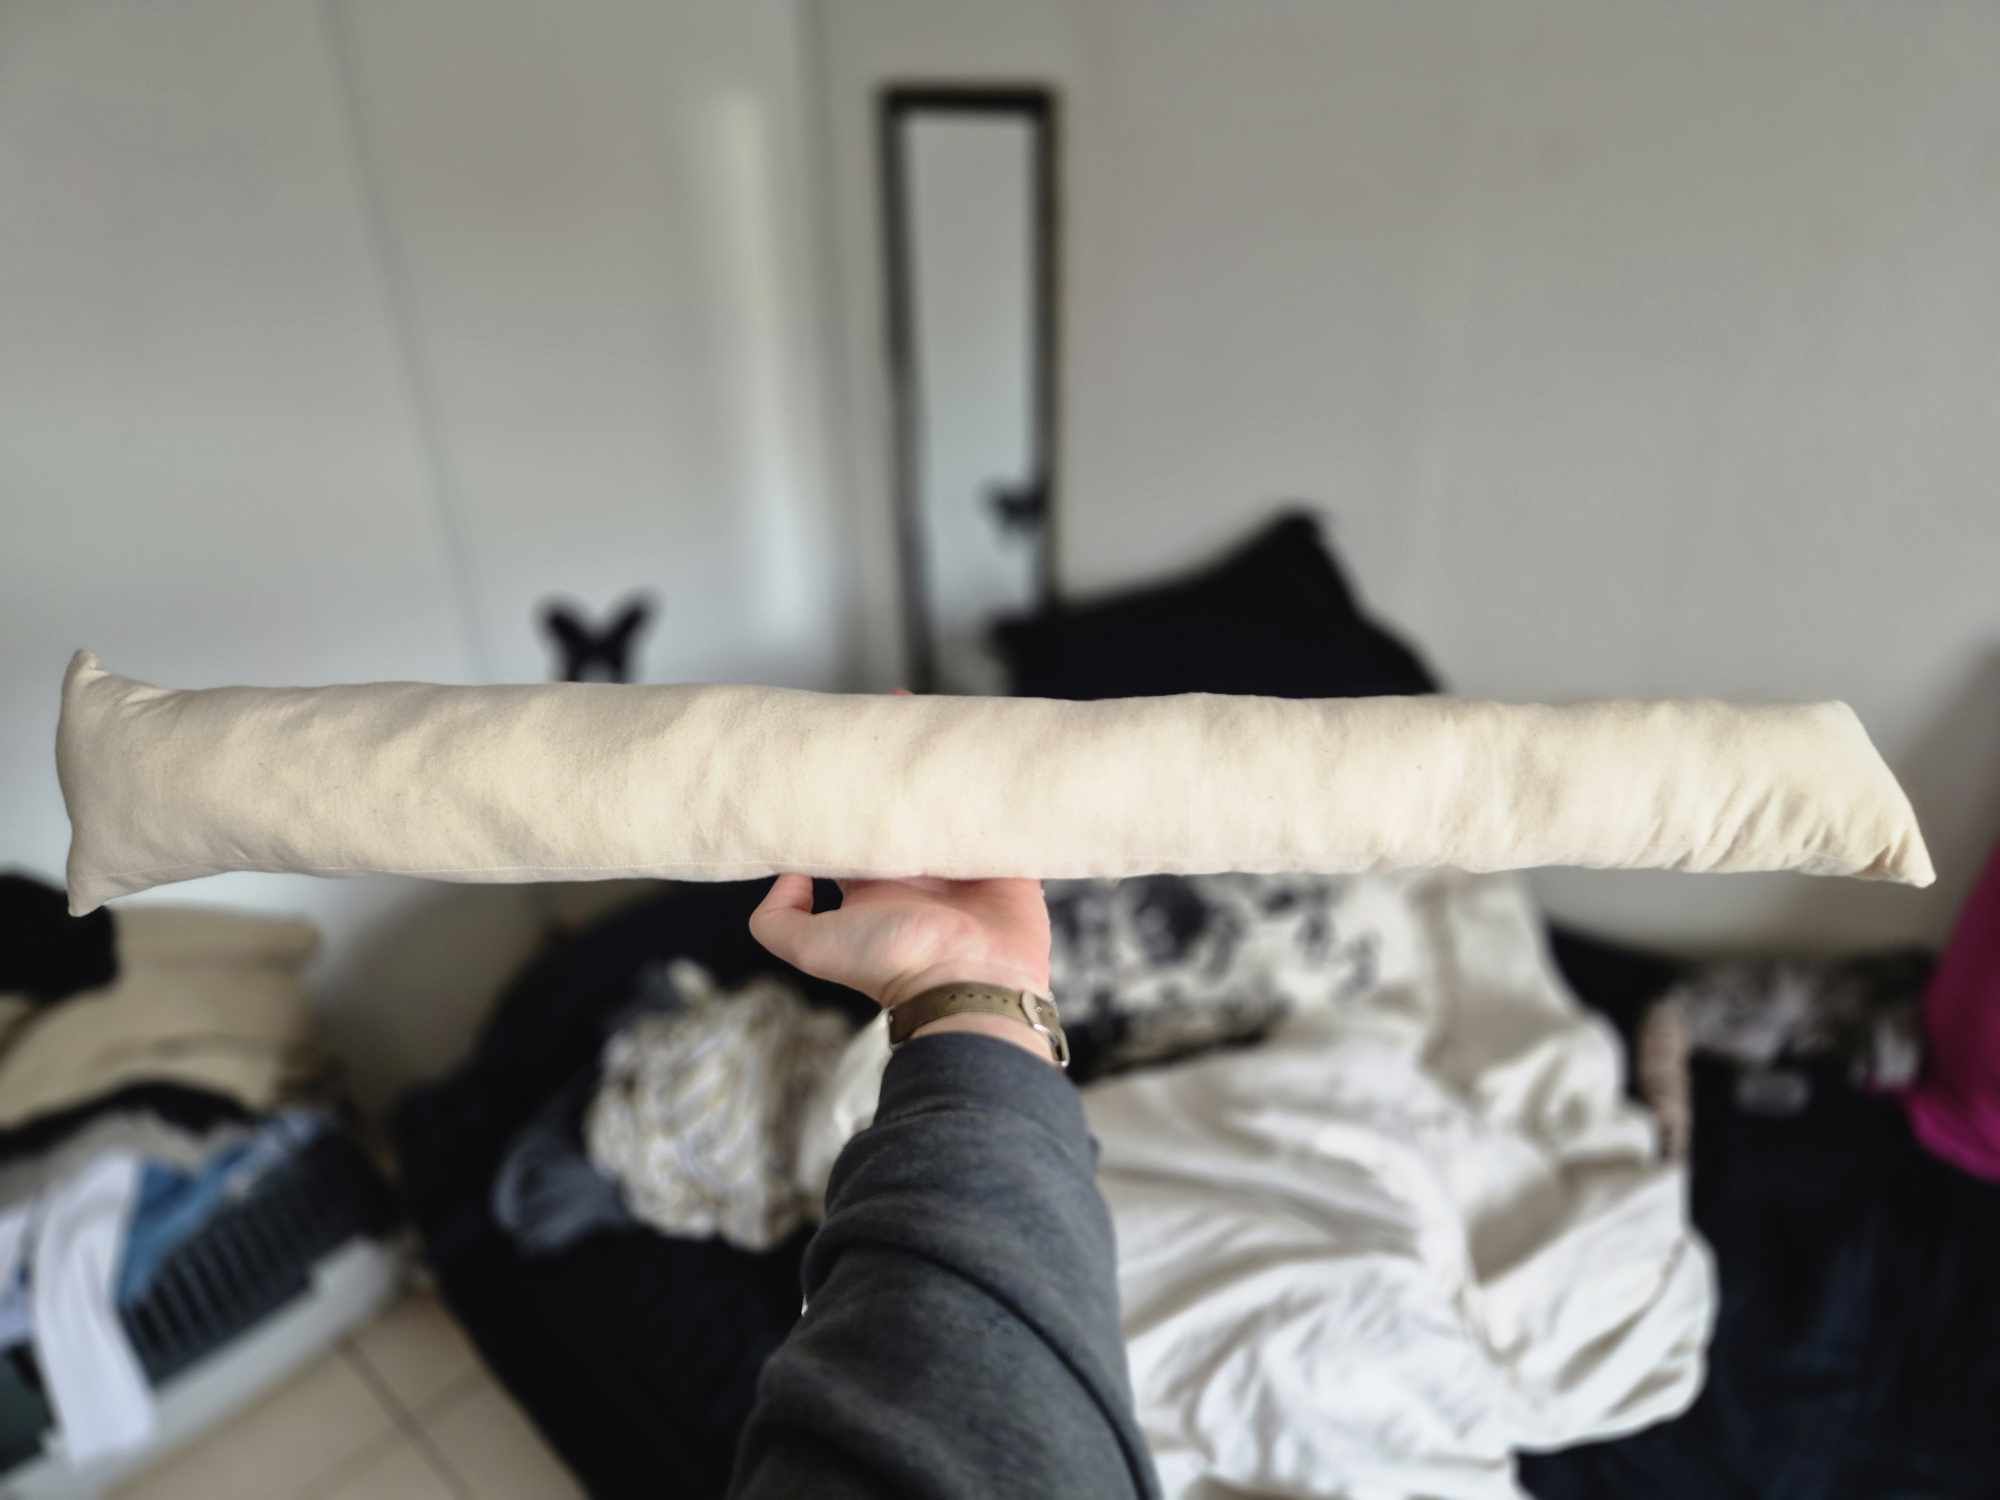
And there you have it! A small project that took us about 15 minutes.
Well, if you count the time spent going to the store for the fabric, it took us 1 hour and 30 minutes. But now we just have to test our draft stopper when we return home in a few days.
Version Française
Et si le froid de l'hiver devenait l'occasion d'apprendre une nouvelle compétence ?
Pour ceux qui n'ont pas suivi, avec @altheana, nous sommes en plein déménagement dans une nouvelle maison. C'est une vieille maison de campagne normande, pleine de charme... mais aussi pleine de courants d'air.
Malheureusement, elle n'est pas isolée du froid, et pour l'instant, nous ne pouvons pas engager les frais nécessaires pour une isolation complète. Alors, nous faisons comme nous le pouvons.
Par exemple, la porte d'entrée a un jour en bas : l'air passe beaucoup trop. D'un côté, c'est bien pour l'aération, mais en ce moment, ça fait entrer un froid glacial.
Nous avons donc eu une idée simple : fabriquer un boudin de porte !
Avec l'aide de la maman d'@altheana, nous nous sommes lancés dans ce petit projet DIY. Et voilà comment nous démarrons 2025 avec une nouvelle compétence acquise !
Déjà, il a fallu mesurer le tissu dont nous allions avoir besoin. Pour nous, c'était 80cm de long.
Pas question de coudre à la main. Non, pour aller plus vite, nous avons sorti la machine à coudre. C'est bien moins long et bien plus efficace !
À vrai dire, le plus difficile a été de passer le fil dans l'aiguille de la machine, car il faut être vraiment minutieux !
Ensuite, nous avons plié le tissu en deux, puis, avec des épingles, nous l'avons fixé pour le maintenir en place. Ainsi, il ne risquait pas de bouger pendant la couture.
Nous avons ensuite cousu tout le long de l'endroit où se trouvaient nos épingles. Cela nous a permis de commencer à fermer le boudin de porte.
L’image est malheureusement très floue, et je m’en excuse. Mais pour expliquer, une fois que nous avons fini de coudre tous les bords (sauf un), ça a formé une sorte de sac, un peu comme un sac pour le pain.
Nous avons ensuite retourné ce sac pour que les coutures se retrouvent à l’intérieur, offrant ainsi une meilleure finition.
Enfin, par le dernier côté resté ouvert, nous avons rempli le sac avec de la ouate. C’est la matière que l’on trouve à l’intérieur des peluches. En plus d’être facile à trouver, elle possède un excellent pouvoir isolant, idéal pour notre petit projet !
Et voilà ! Un petit projet qui nous a pris environ 15 minutes.
Bon, si l’on compte le temps passé à aller chercher le tissu en magasin, ça nous a pris 1h30. Mais il ne nous reste plus qu’à tester notre boudin de porte lorsque nous serons de retour chez nous dans quelques jours.
The English translation was done using the DeepL API. The photos were taken with my phone.