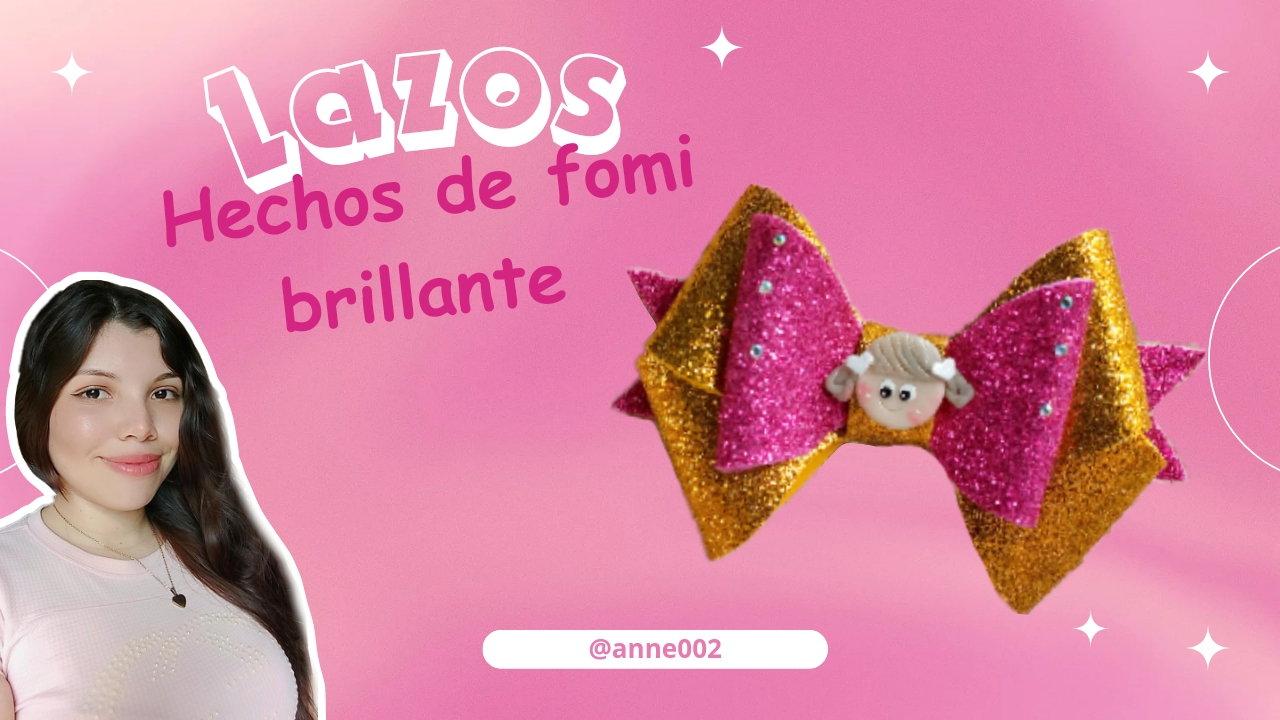
🎀✨💕Lazos hechos de fomi brillante para las niñas💕✨🎀[Esp~Eng]

in voilk •  18 days ago

    Picsart_24-12-03_09-57-05-697.jpg

    ¡Hola lindo día 🌞!un gusto saludarte ,espero se encuentren muy bien queridos y apreciados amigos ,les doy una cálida bienvenida a un nuevo blog donde les estaré compartiendo el proceso creativo de lo que haremos aquí paso a paso , siéntanse cómodos y gracias por estar aquí leyendo este blog.✨💗

    Hello, beautiful day! It's a pleasure to greet you🌞. I hope you are all doing very well, dear and appreciated friends. I warmly welcome you to a new blog where I will be sharing with you the creative process of what we will do here step by step. Feel comfortable and thank you for being here reading this blog.✨💗

    Picsart_24-11-15_15-51-20-828 (1).jpg

    El día de hoy quiero enseñarles a hacer estos lindos y monitos lacitos hechos con fomi brillante para las niñas y que lo usen en cualquier ocasión especial o salir a pasear,este tipo de lacitos usamos un patrón para hacerlos y no son muy difíciles de hacer con pequeños trozos que tú tengas de este fomi que a mí me gusta demasiado podéis hacerlos y se verán increíbles, también podés hacerlos de diferentes colores y hasta de un solo molde de fomi ya que muchos vienen dobles como este que haremos a continuación,yo he usado estos dos colores dorado y fucsia ya que a mis primas les encanta mucho este color sobre todo el fucsia y rosado y yo siento que cuando vea este lacito les van a encantar muchísimo hice para una de ellas de este color y pienso hacerle para mí otra prima que es un poco más pequeña otro pero en color rojo ,siempre mi tia viste a una de color rojo y a otra de rosa y se ven muy lindas.

    Today I want to teach you how to make these cute and pretty little bows made with shiny foam for girls and to use on any special occasion or to go out for a walk, we use a pattern to make these types of bows and they are not very difficult to make with small pieces that you have of this foam that I like too much you can make them and they will look incredible, you can also make them in different colors and even from a single foam mold since many come double like this one that we will make next, I have used these two colors gold and fuchsia since my cousins love this color a lot especially fuchsia and pink and I feel that when they see this little bow they will love it very much. I made it for one of them in this color and I plan to make another one for myself for another cousin who is a little smaller but in red, my aunt always dresses one in red and the other in pink and they look very pretty.

    El proceso de este lindo accesorio es muy sencillo para realizar y yo quiero que te quedes aquí a apreciar el paso a paso para que tú también puedas hacerlos a quien gustes y por supuesto si tienes un emprendimiento estos lazos para esta temporada son factibles para venderlos ya que los compran mucho para vestir elegantes a las nenas de la casa en esta temporada de Diciembre ,aqui te dejo el paso a paso de la elaboracion y espero te guste mucho y vamos manos a la obra.

    The process of this cute accessory is very simple to make and I want you to stay here to appreciate the step by step so that you can also make them for whoever you like and of course if you have a business these bows for this season are feasible to sell them since they are bought a lot to dress the girls of the house elegantly in this December season, here I leave you the step by step of the elaboration and I hope you like it a lot and let's get to work.

    IMG_20241203_084348_573.jpg

    Picsart_24-11-15_15-51-20-828 (1).jpg

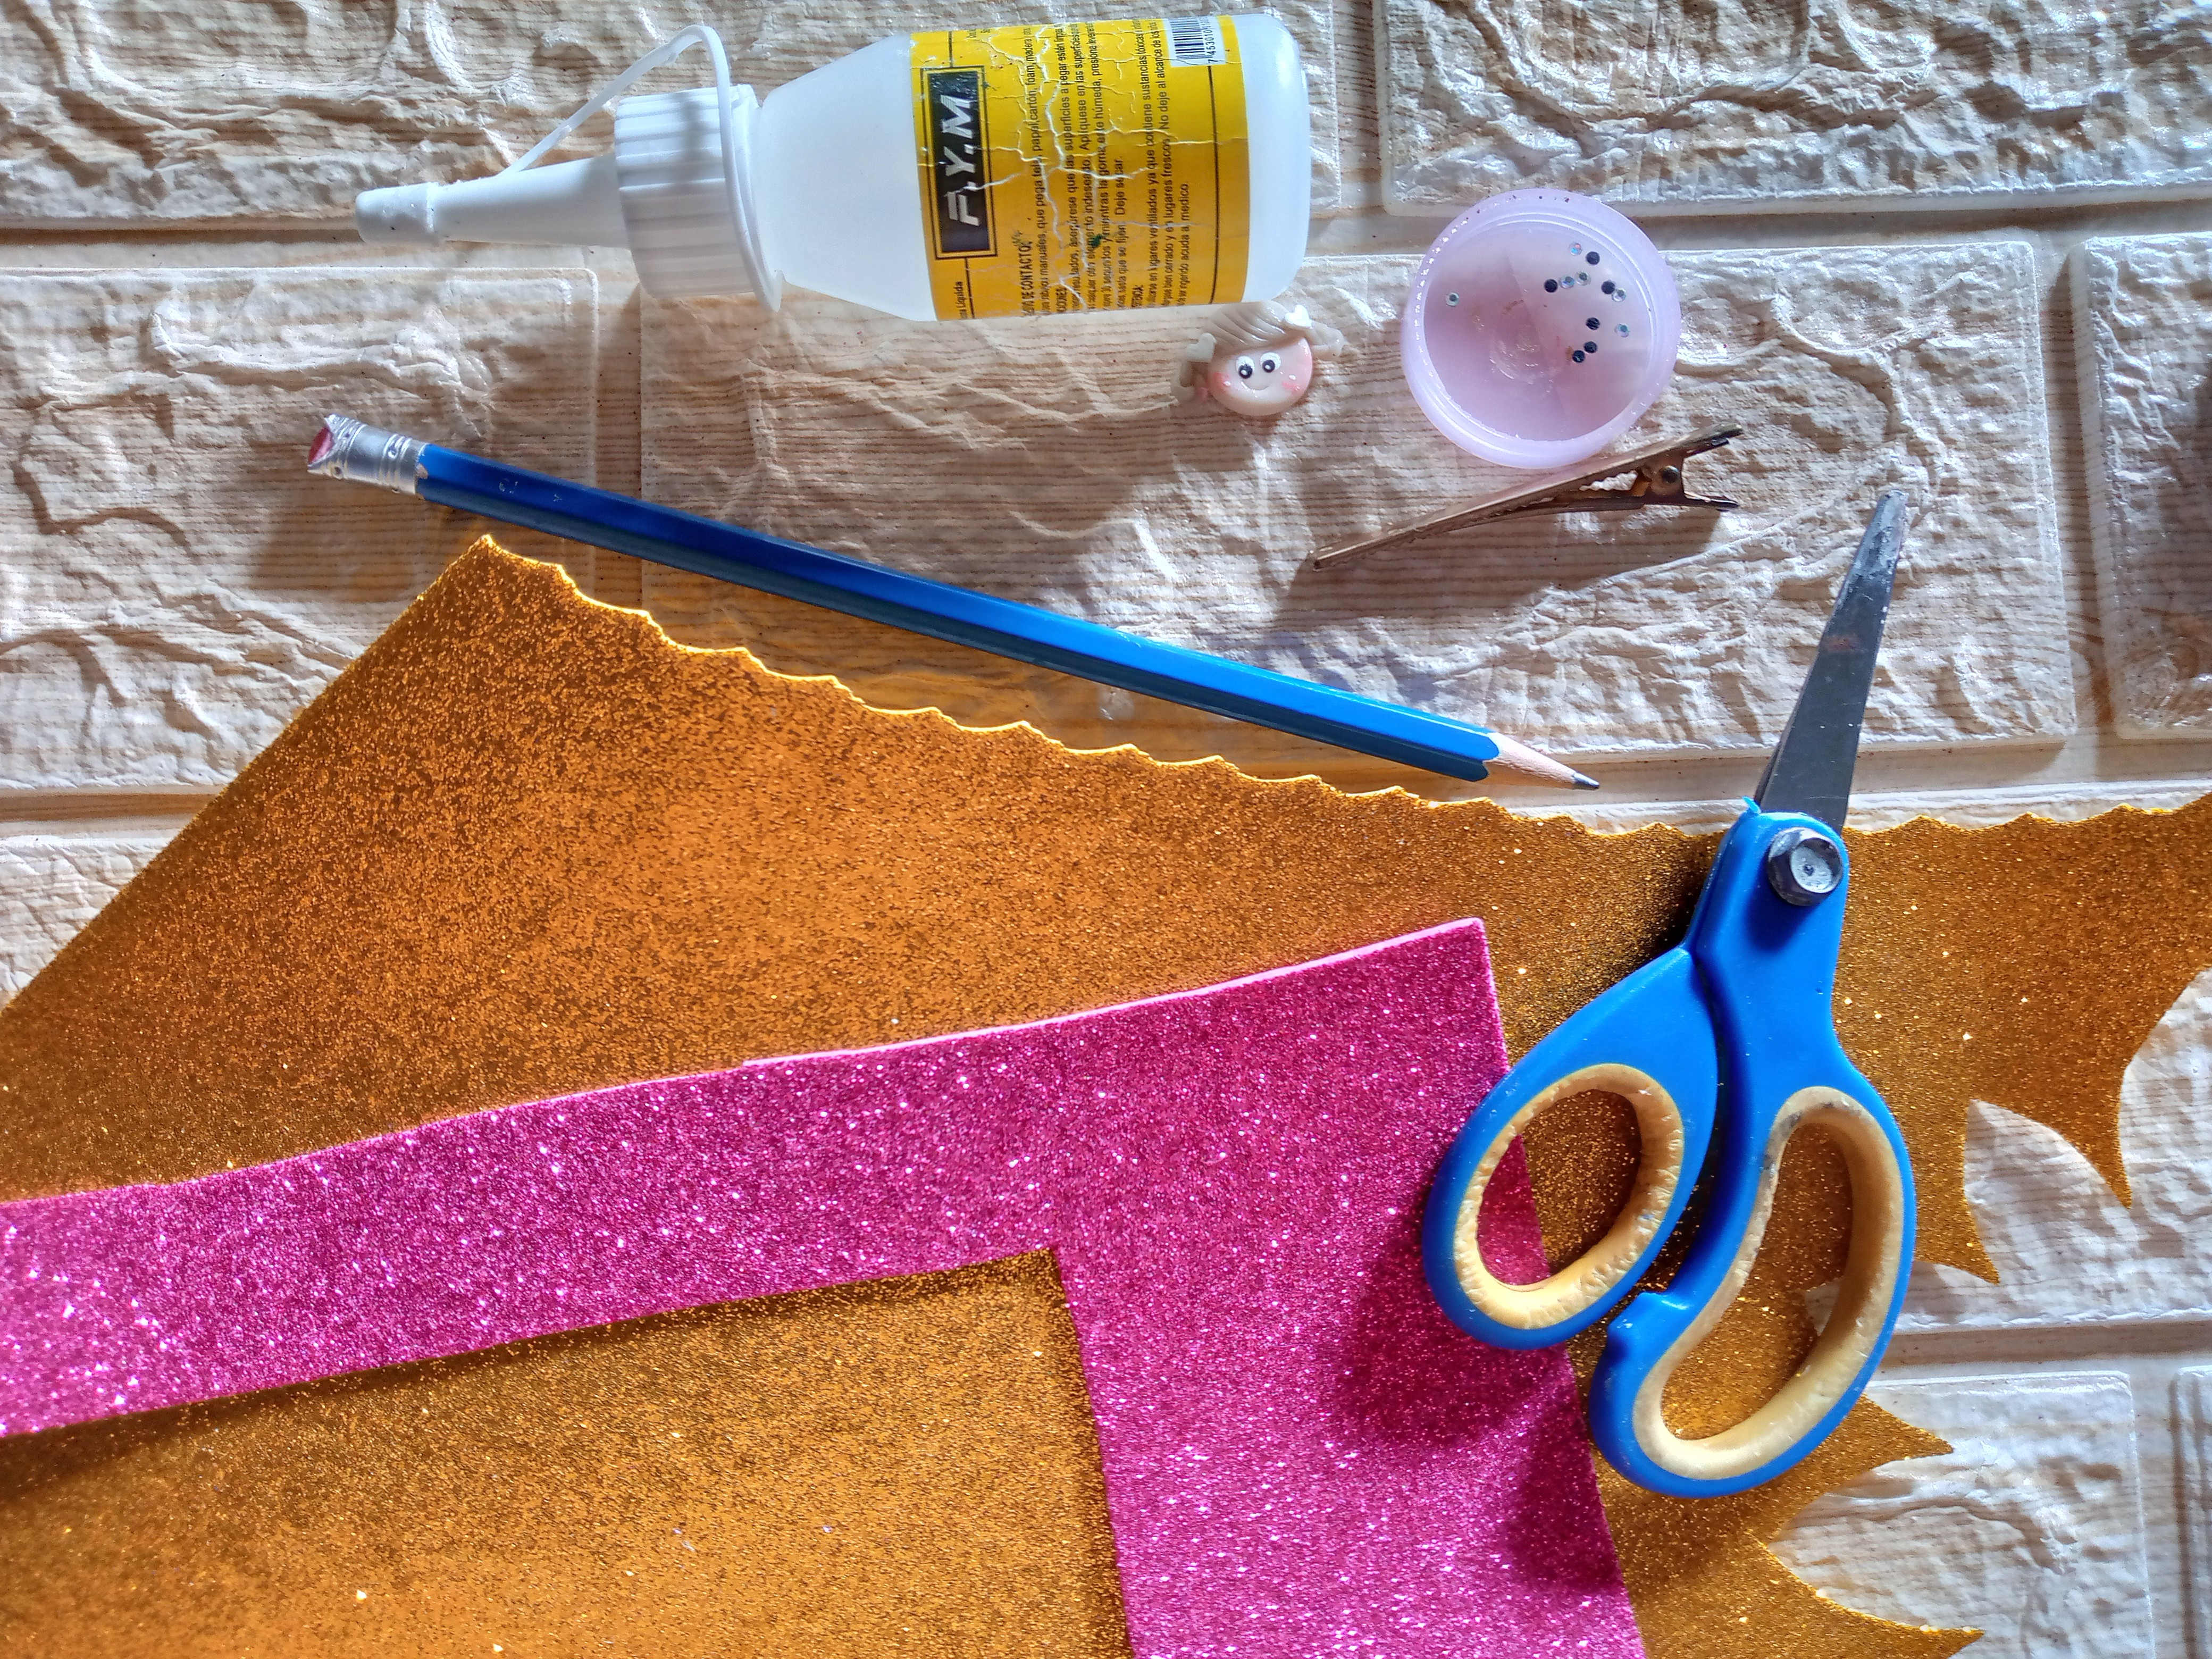
    Materiales:// Materials:

    • Fomi brillante del color de tu preferencia
    • Tijeras
    • Silicón
    • Carita de arcilla moldeable u otro detalle
    • Gancho de cabello
    • Piedritas brillantes de decoración

    Picsart_24-11-15_15-51-20-828 (1).jpg

    Pasos a seguir://Steps to follow:

    IMG_20241203_085212_246.jpg

    IMG_20241203_085344_454 (1).jpg

    IMG_20241203_085853_710 (1) (1).jpg

    Paso 01

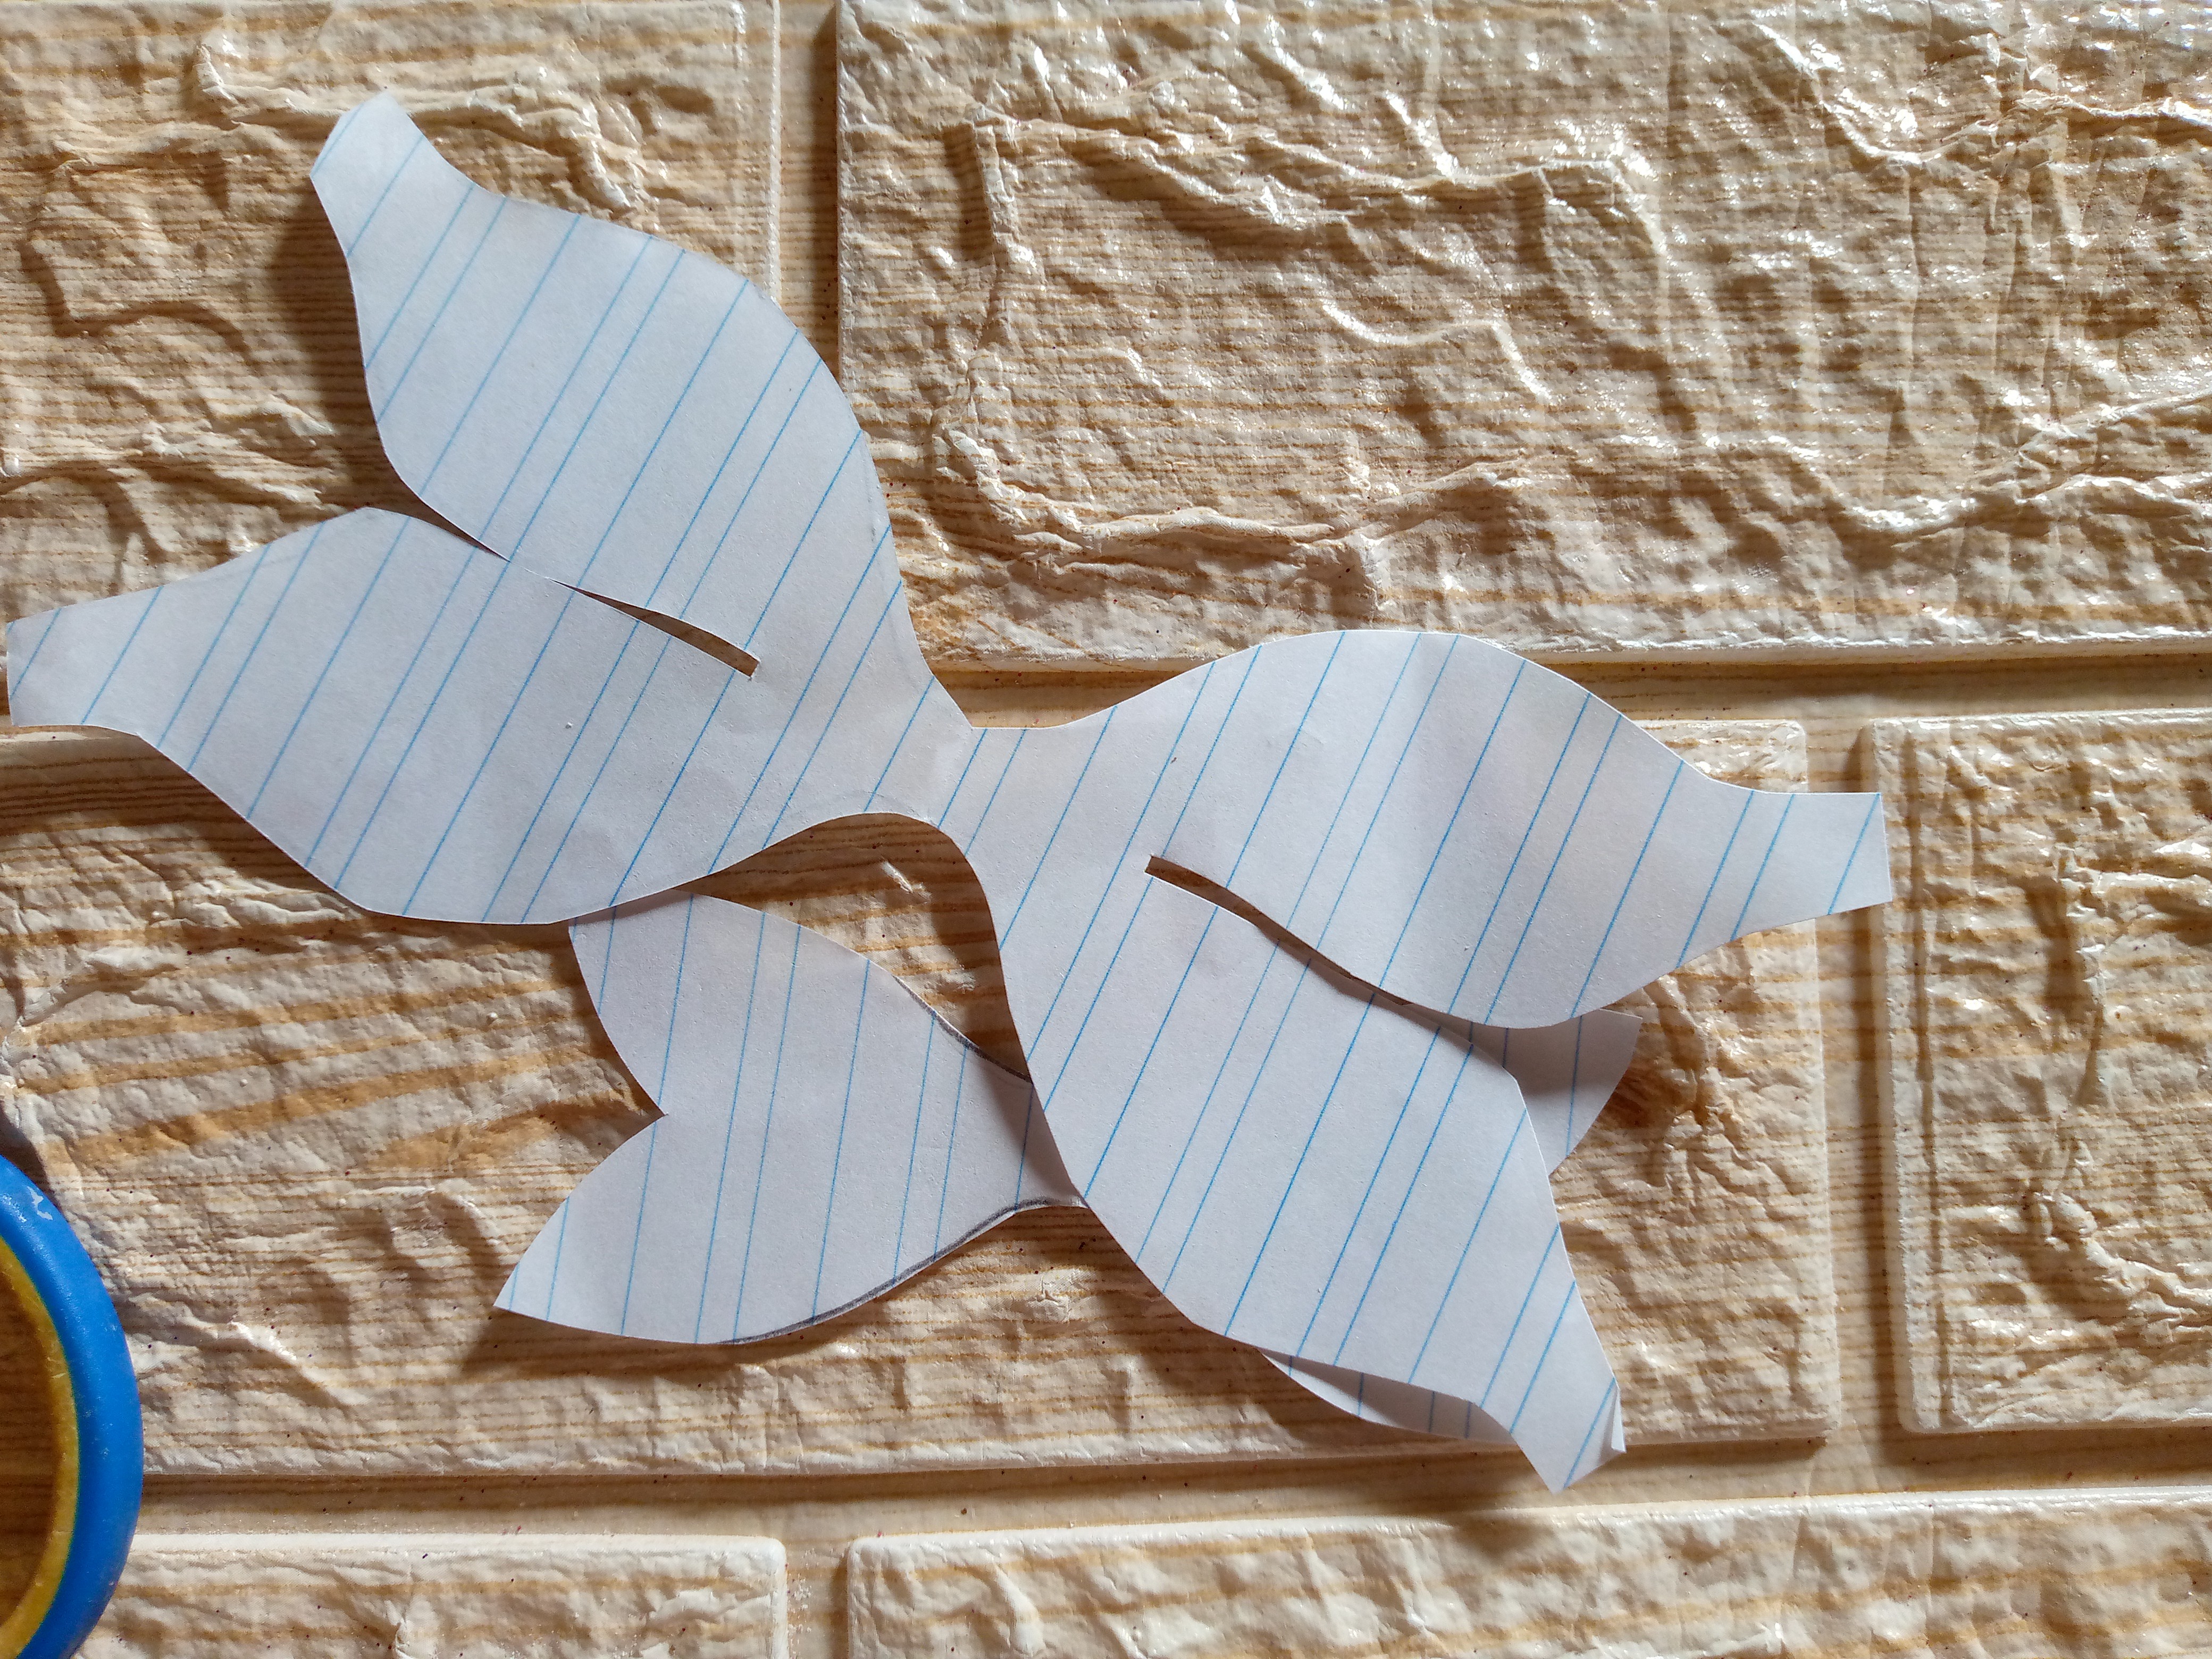
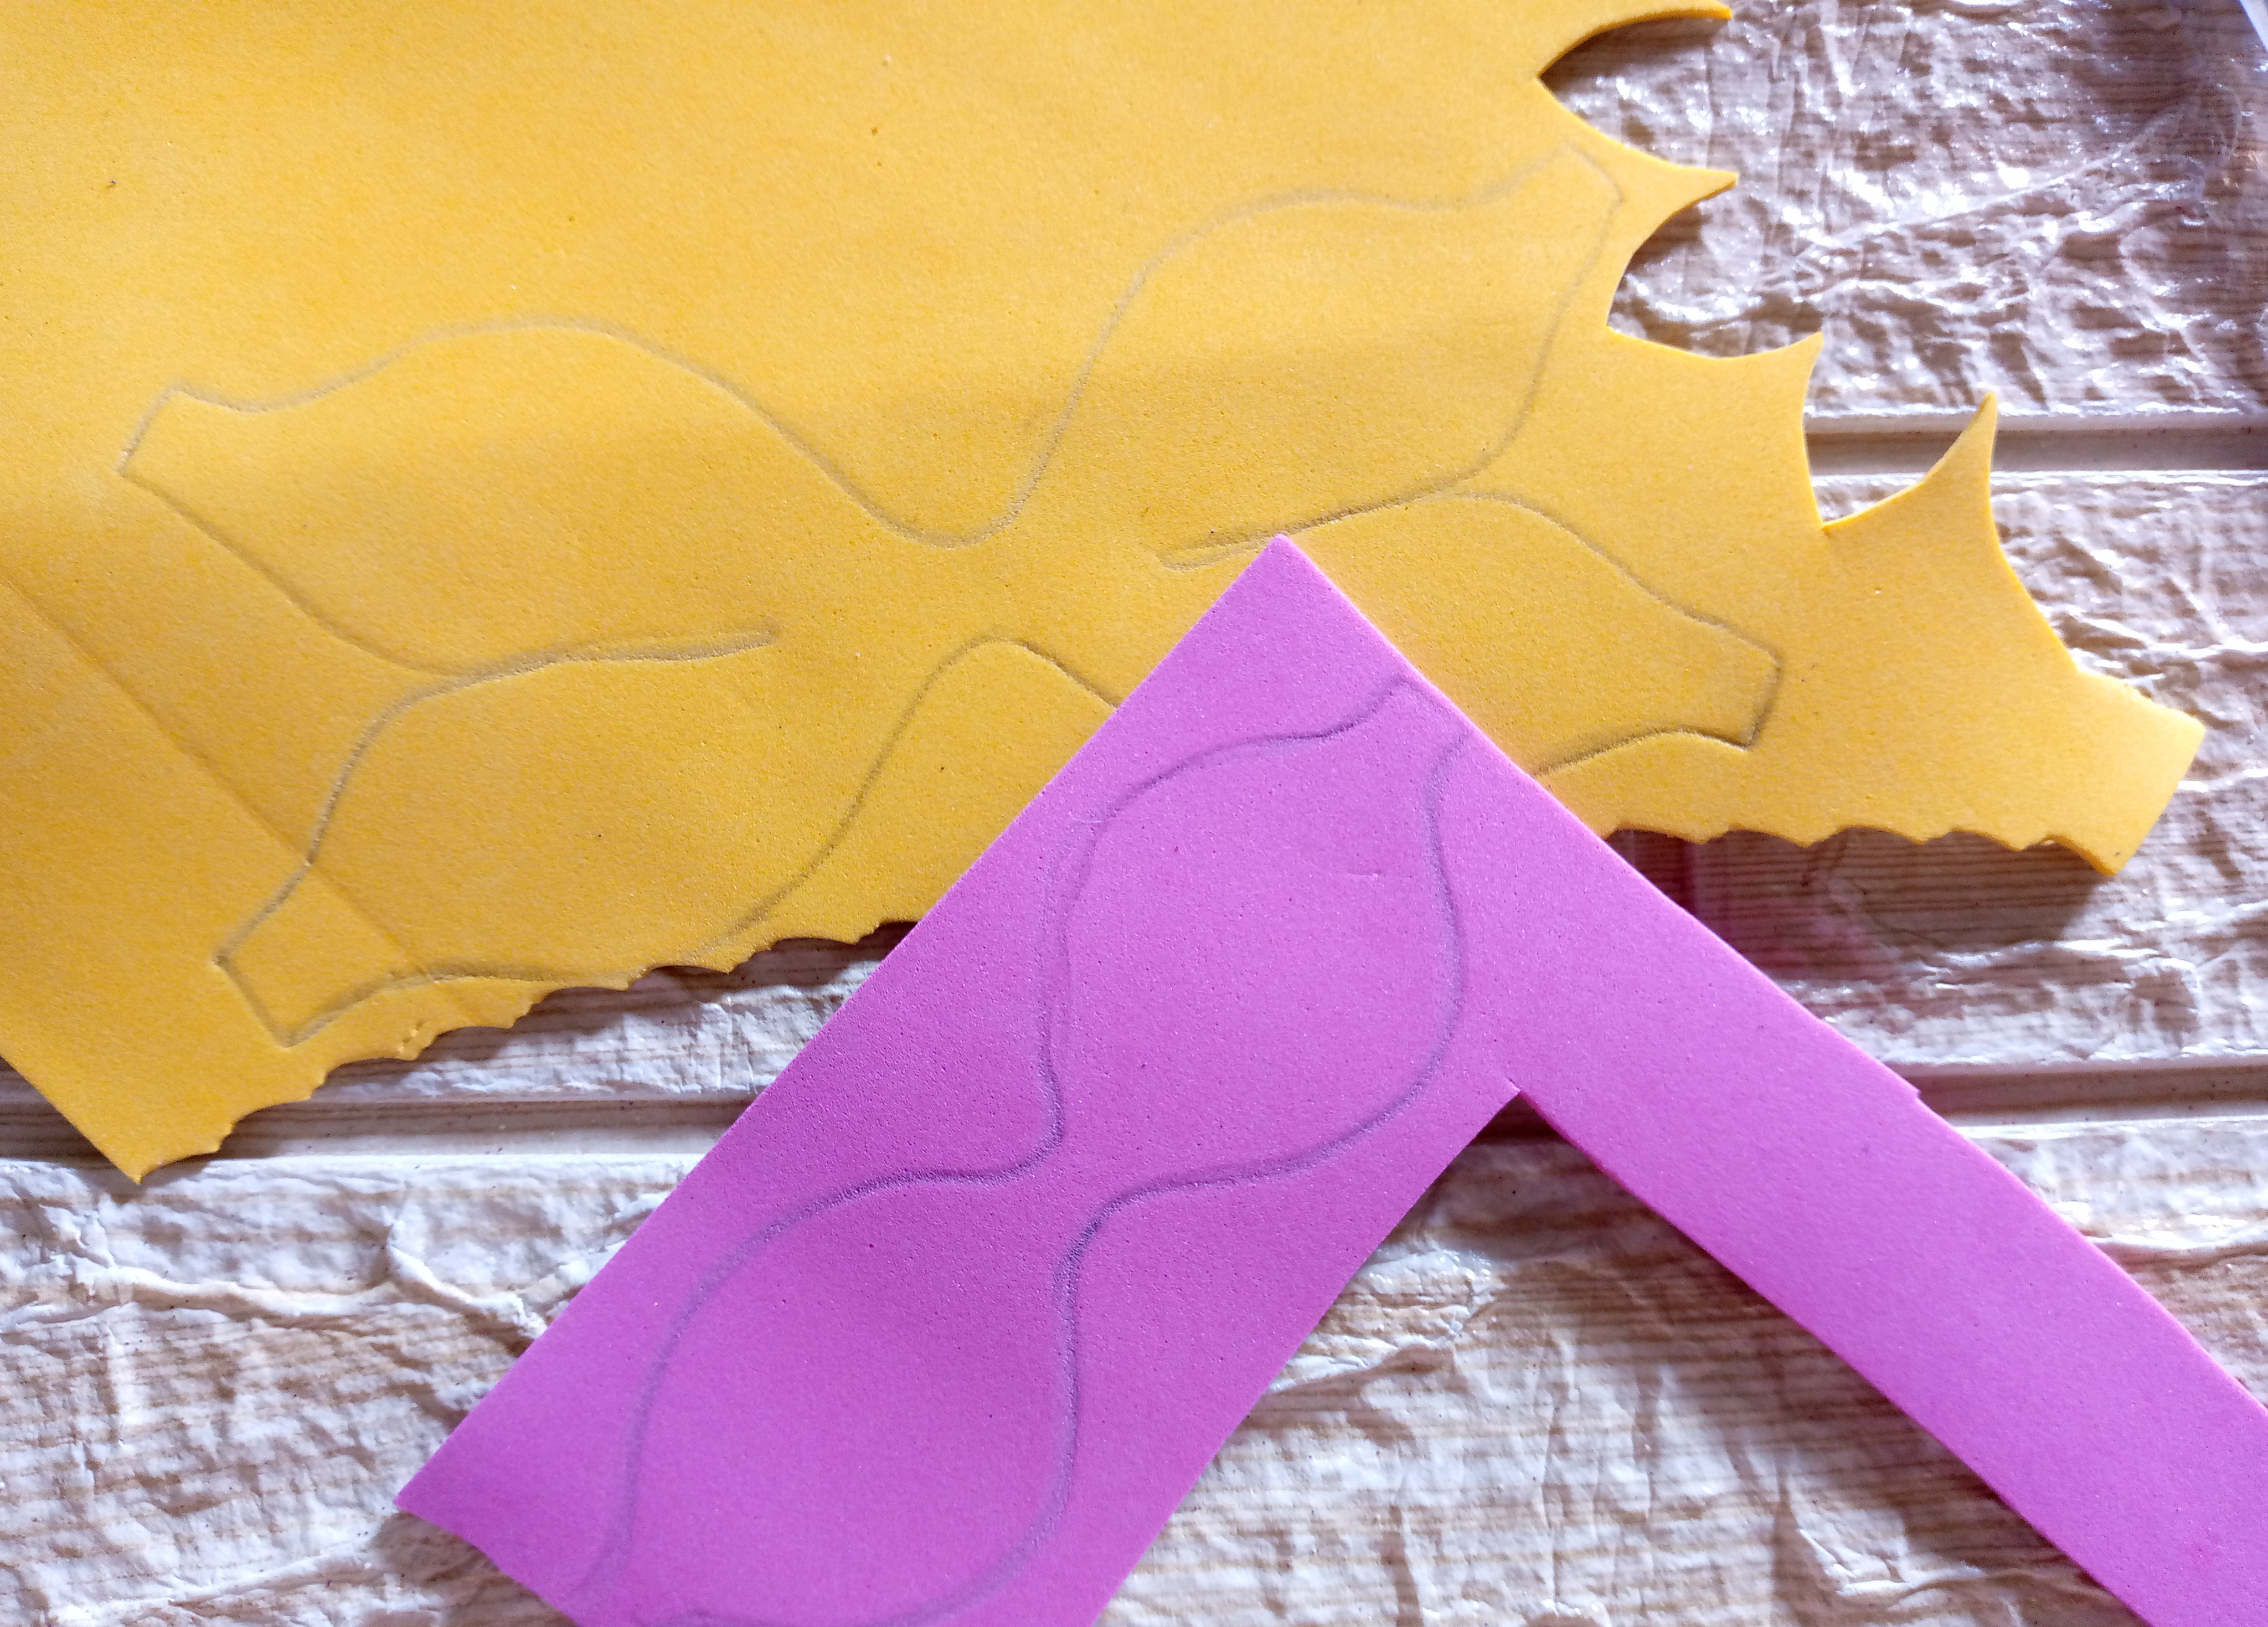
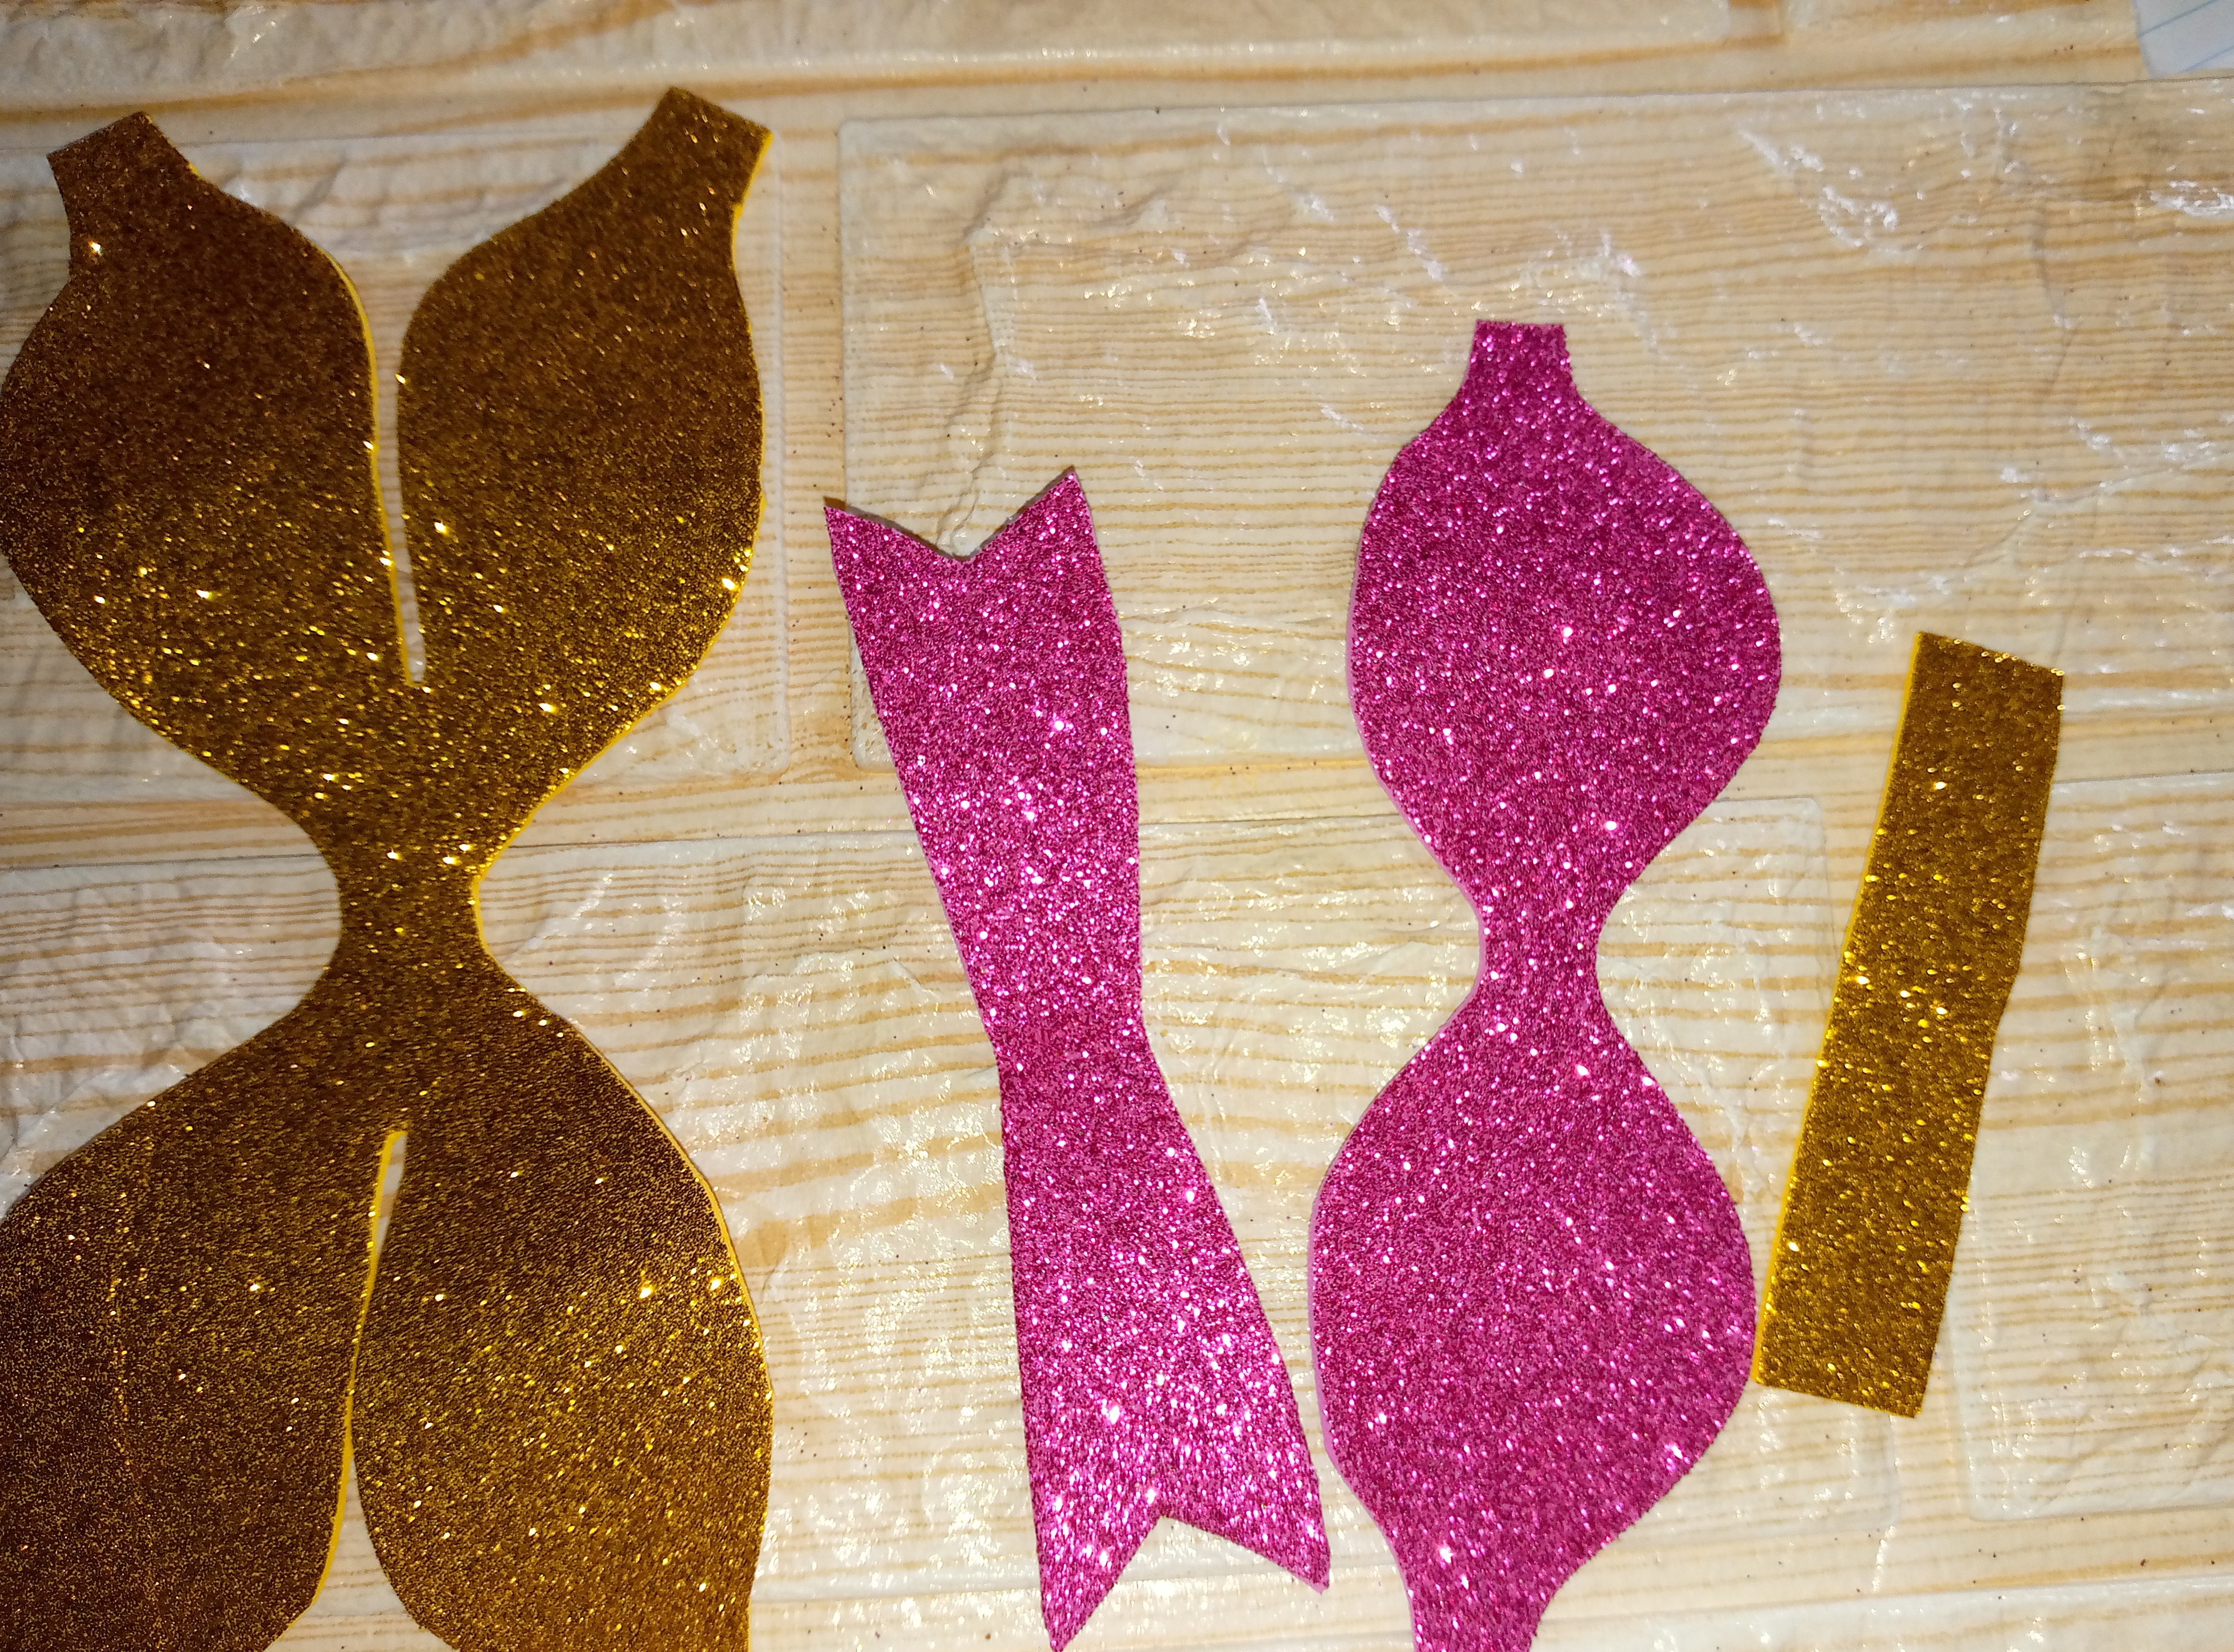
    Bien vamos a comenzar principalmente teniendo nuestro patrón a la mano yo este patrón doble los he encontrado en Pinterest ustedes pueden conseguirlo en línea o hacerlos también fácilmente doblando una hoja que no uses y con el lápiz haciendo de ambos lados cualquier forma que quieres que tenga tu molde y así fácilmente yo lo he hecho guiando me precisamente por patrones que encontré en Pinterest y diseñandolos a mi estilo, después de esto vamos a colocar nuestro fomi del lado inferior y por allí vamos a estar marcando el molde del lazo yo he marcado dos uno doble que va abajo y otro sencillo que va arriba de color fucsia, también he sacado una cinta de color fucsia que va abajo con unos cortes en forma de "V" en las puntas y una pequeña y corta cinta de 1 cm de ancho para unir el lazo,estas son las piezas para realizar el lazo.

    Step 01

    Okay, let's start mainly by having our pattern on hand, I found this double pattern on Pinterest, you can get it online or make it easily too by folding a sheet of paper that you don't use and with the pencil making on both sides any shape that you want your mold to have and so easily I have done it guiding myself precisely by patterns that I found on Pinterest and designing them in my style, after this we are going to place our foam on the bottom side and there we are going to be marking the mold of the bow, I have marked two, one double that goes below and another single that goes above in fuchsia color, I have also taken out a fuchsia colored ribbon that goes below with some "V" shaped cuts at the ends and a small, short ribbon 1 cm wide to join the bow, these are the pieces to make the bow.

    IMG_20241203_085937_337.jpg

    IMG_20241203_090605_518.jpg

    IMG_20241203_091118_020.jpg

    Paso 02

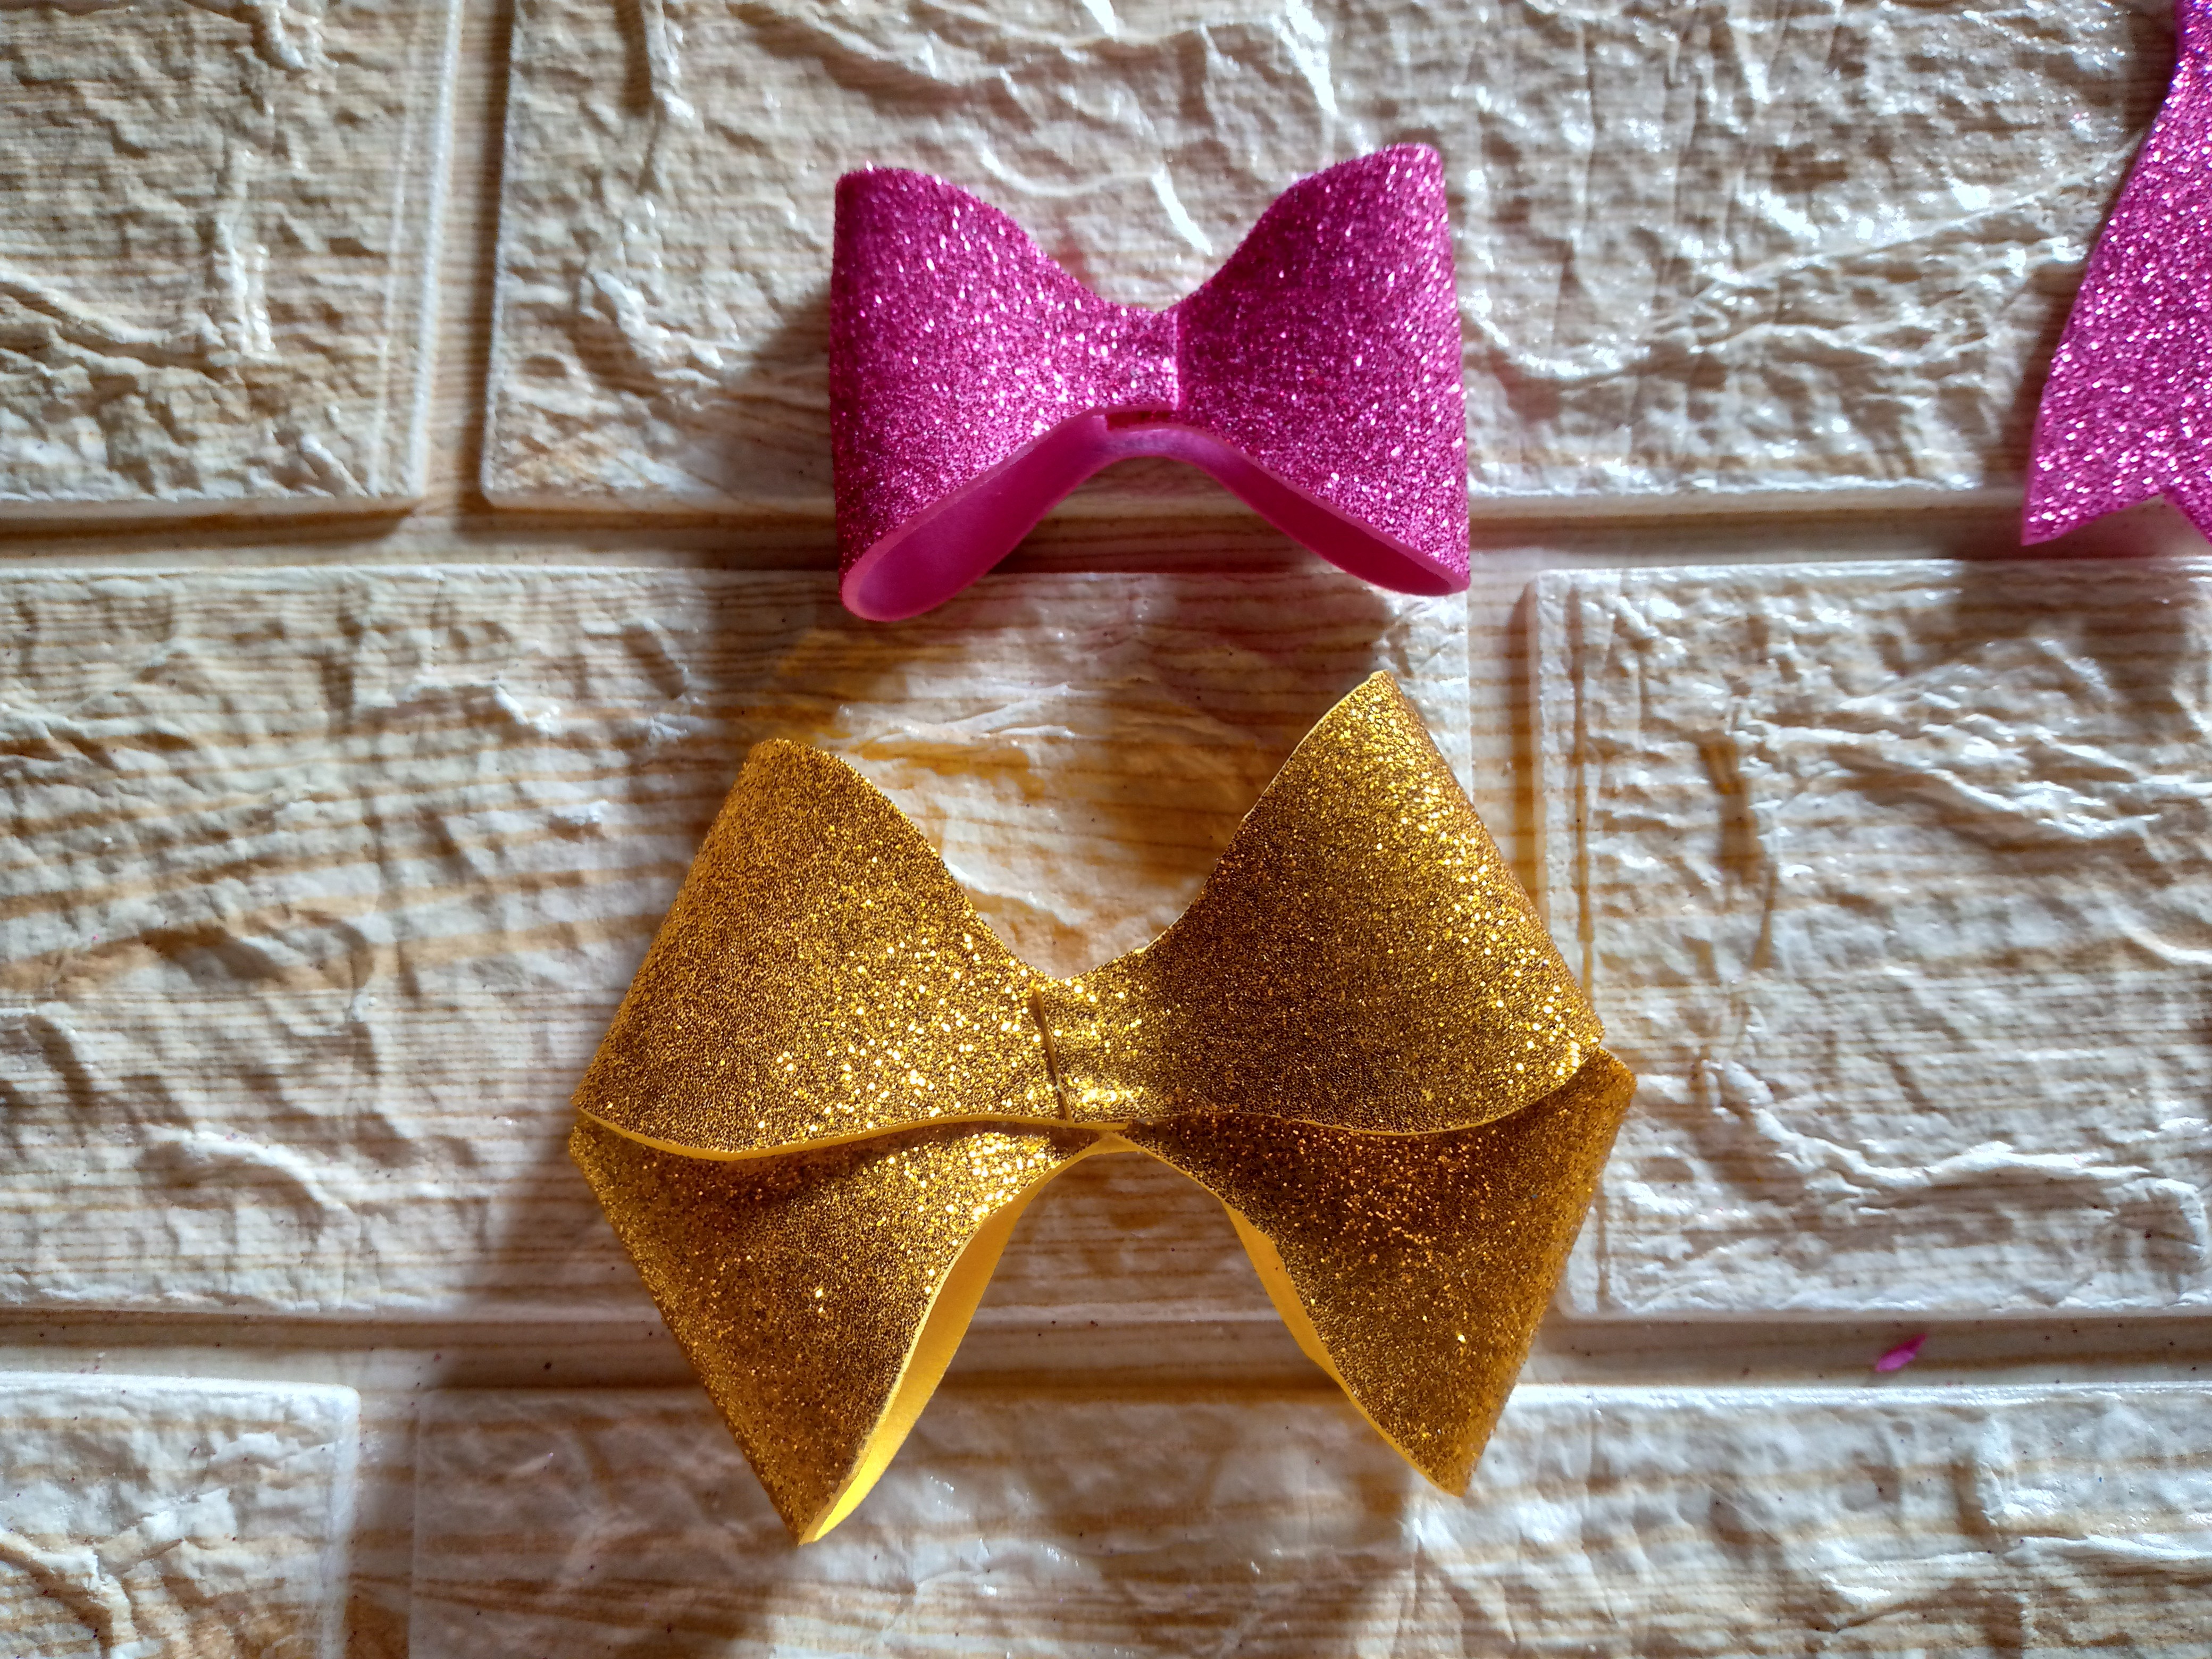
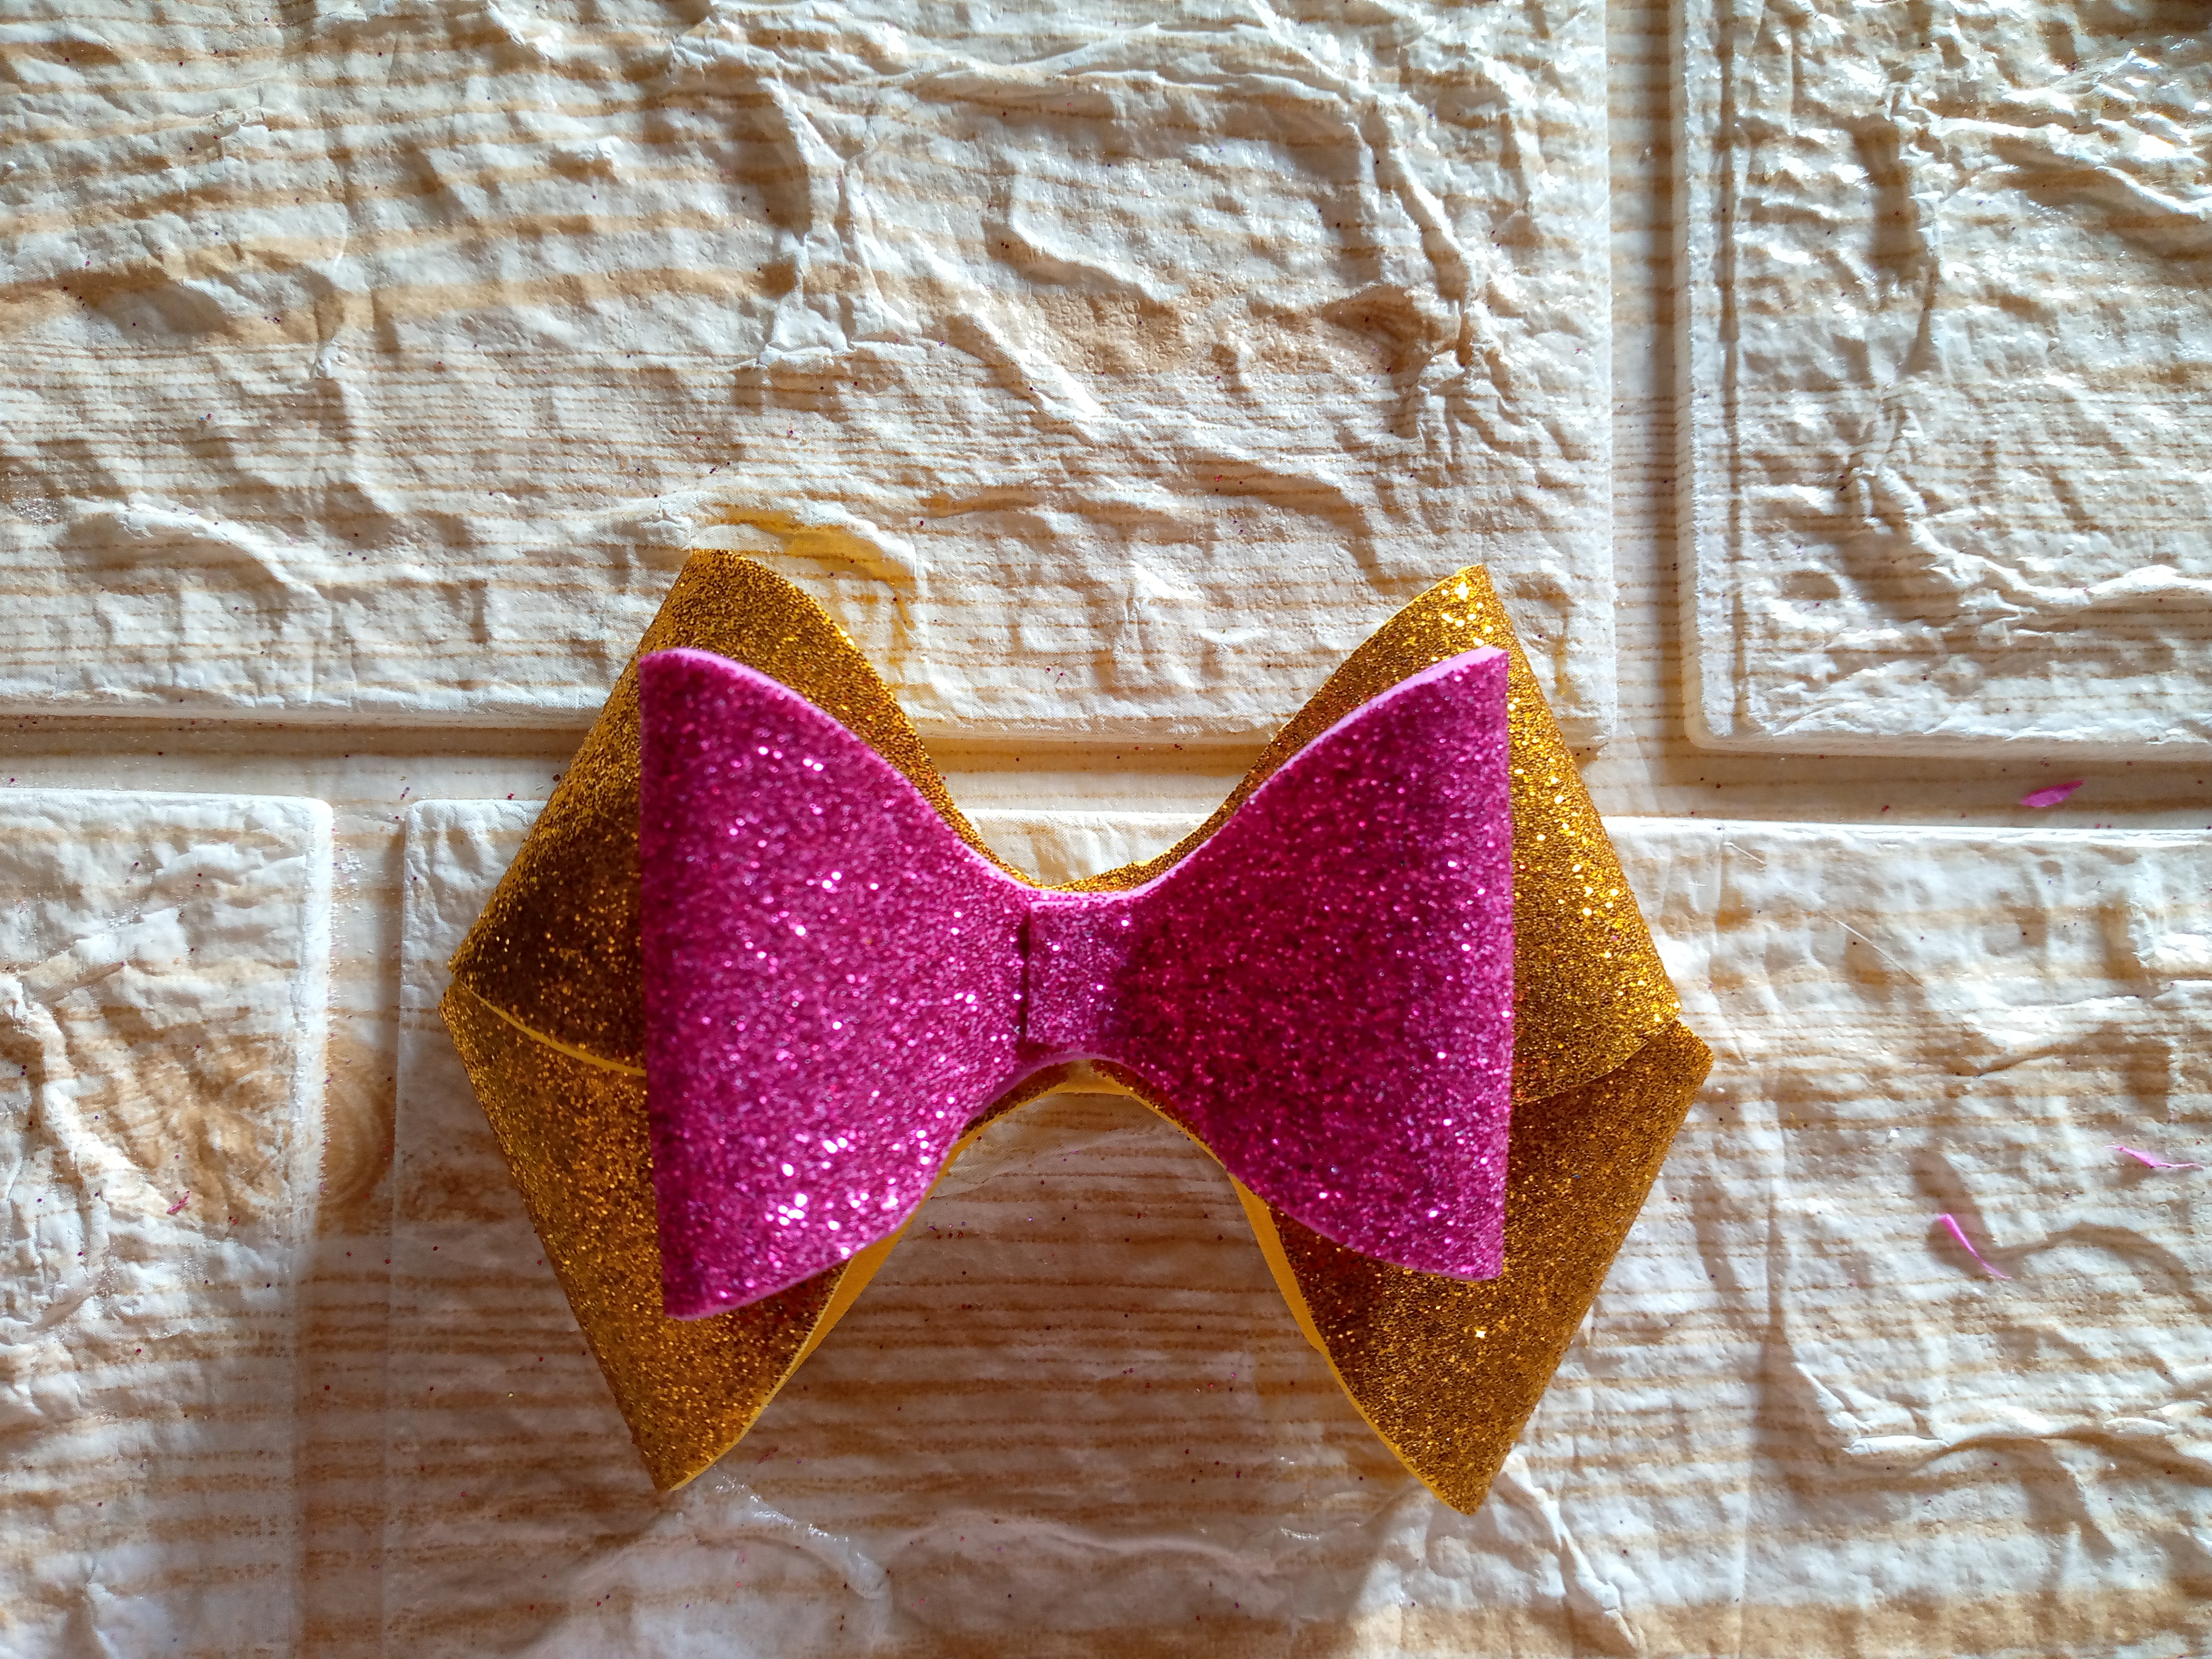
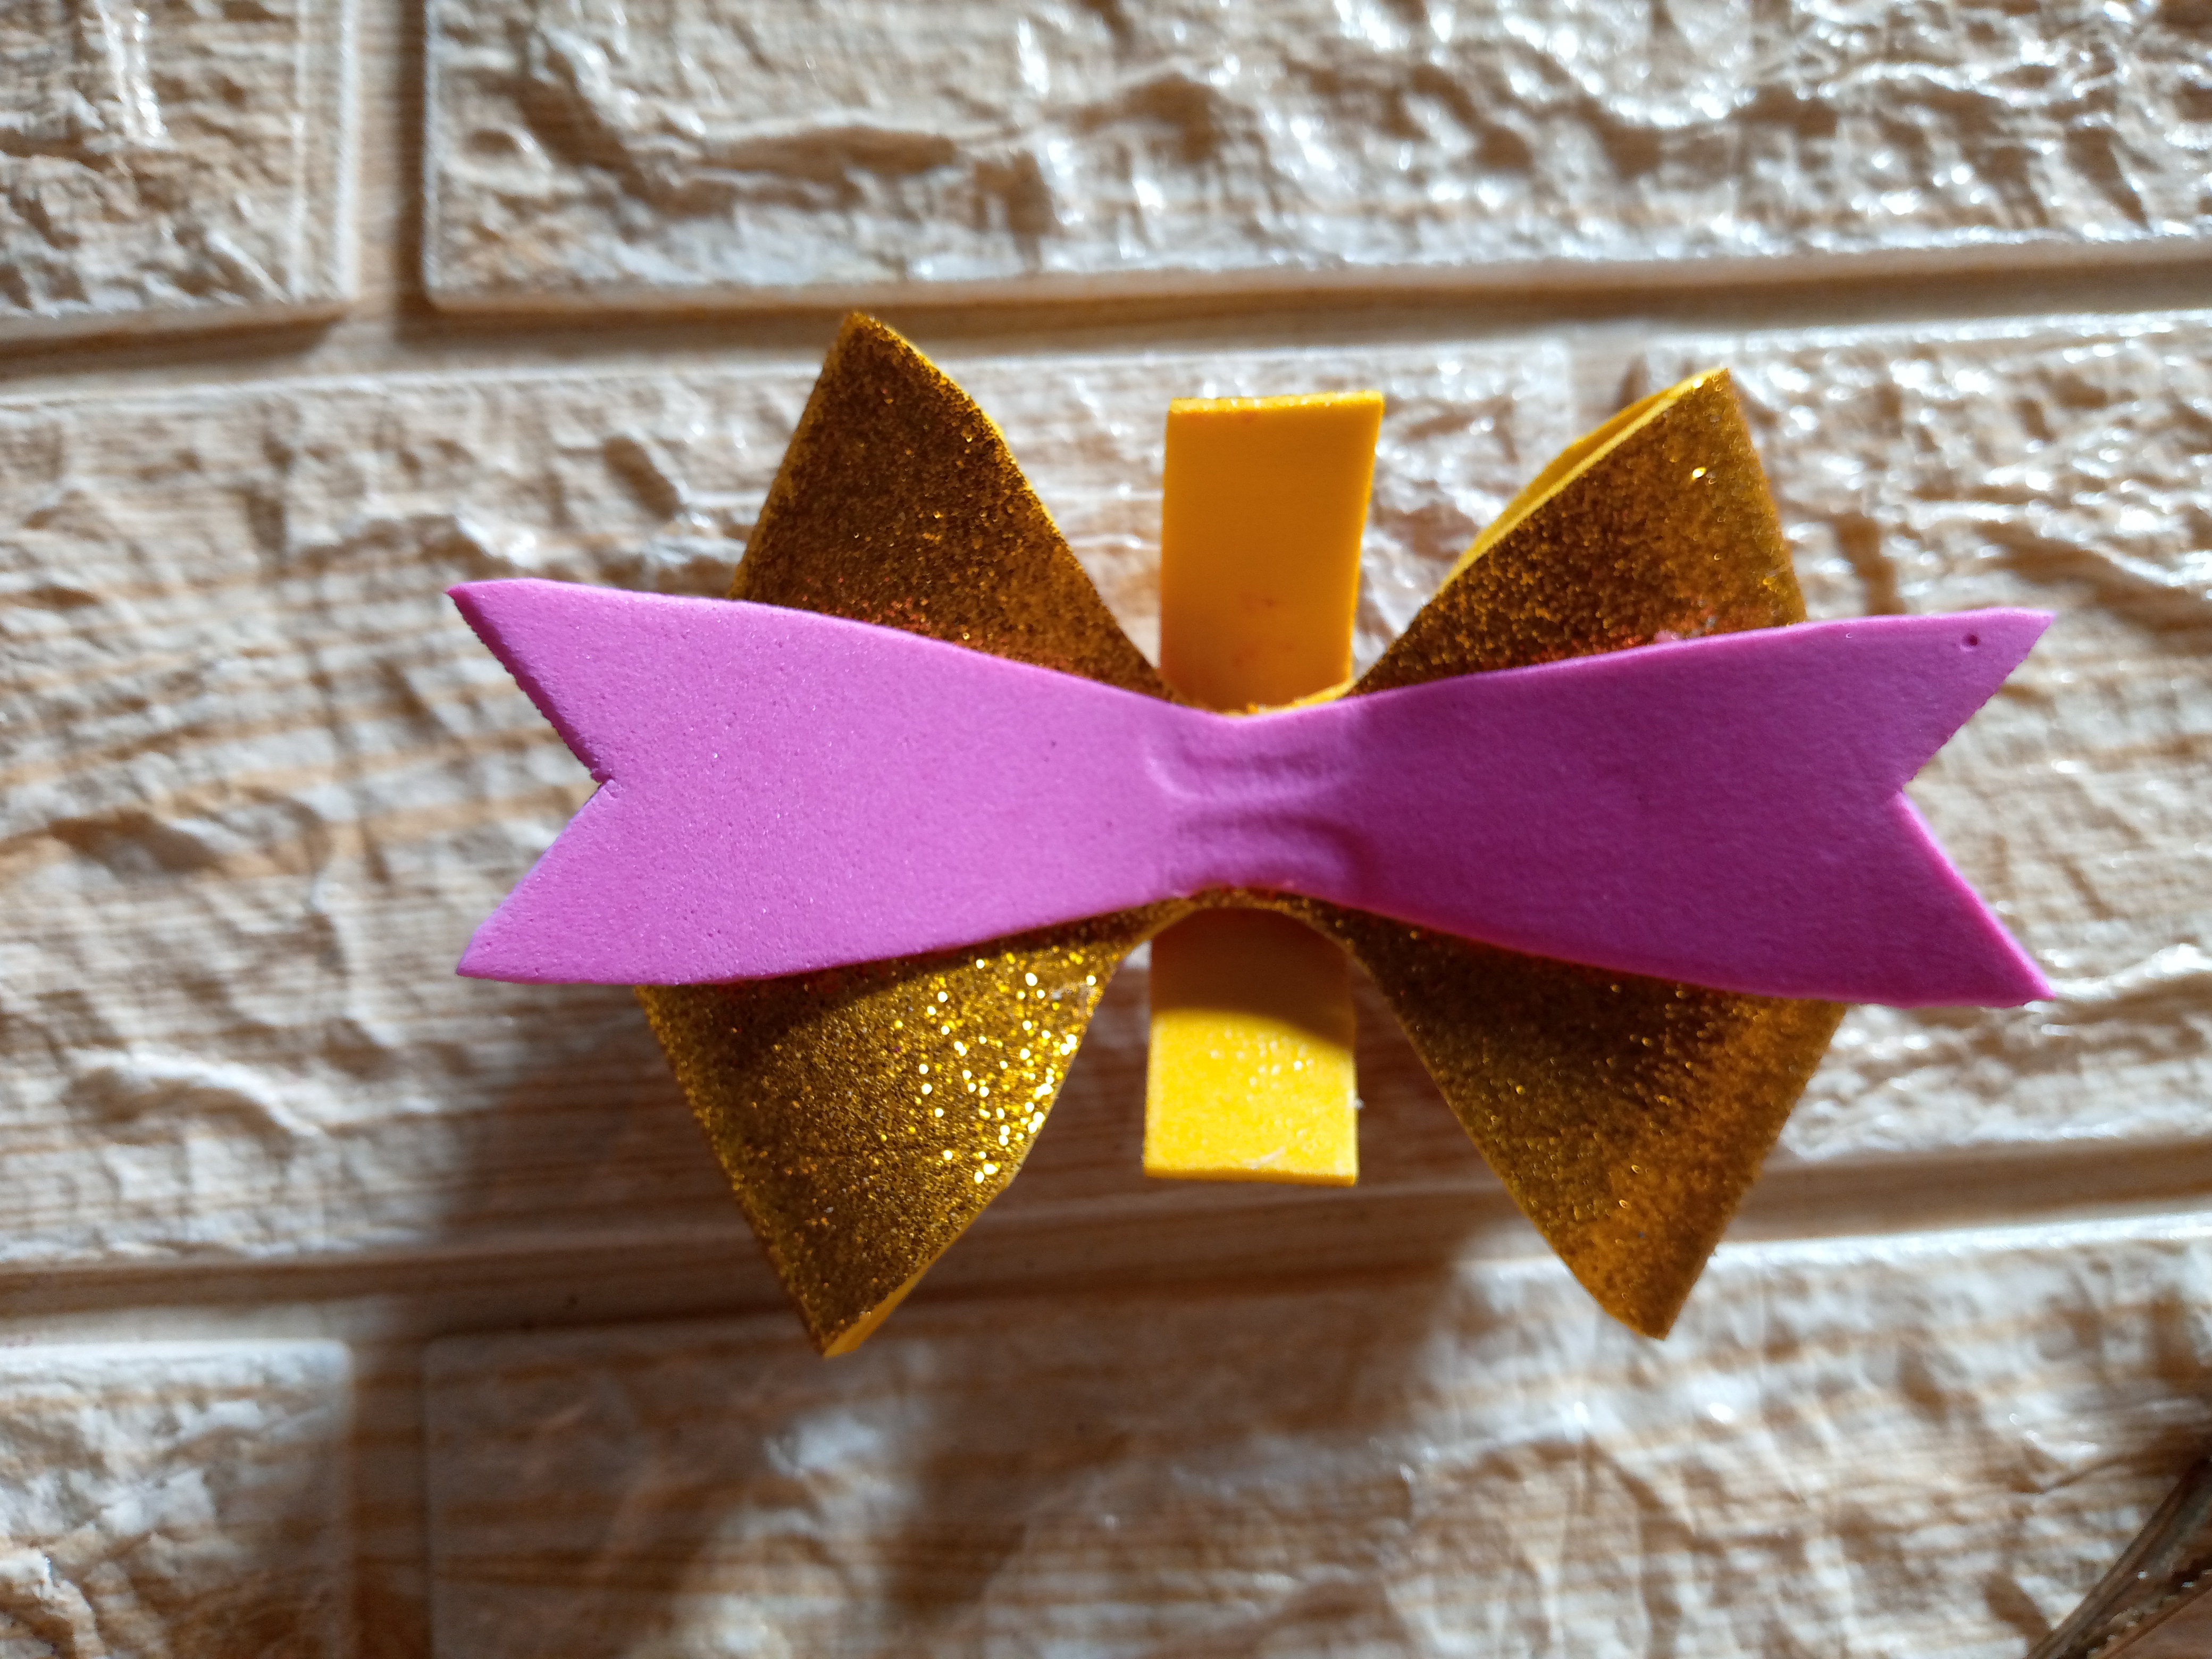
    Pasamos a echar un poco de silicón en solamente las puntas de cada lazo dejamos secar un pequeño momento y vamos a estar recogiéndolo llevándolos hacia adentro e ir armando hacemos el dorado luego el fucsia así nos quedan armadas ambas piezas,ya se están viendo genial y eso que no está aún armado nuestro lazo 🤭, después voy a unirlos el lazo doble dorado abajo y el fucsia arriba.

    Step 02

    We proceed to put a little silicone on only the tips of each bow, let it dry for a little while and we are going to collect it, bringing it inwards and assembling it, we do the gold one then the fuchsia one, so both pieces are assembled, they are already looking great and that's before our bow is assembled yet 🤭, then I'm going to join the double gold bow below and the fuchsia one above.
    IMG_20241203_091630_374.jpg

    IMG_20241203_091705_207.jpg

    IMG_20241203_091945_846.jpg

    Paso 03

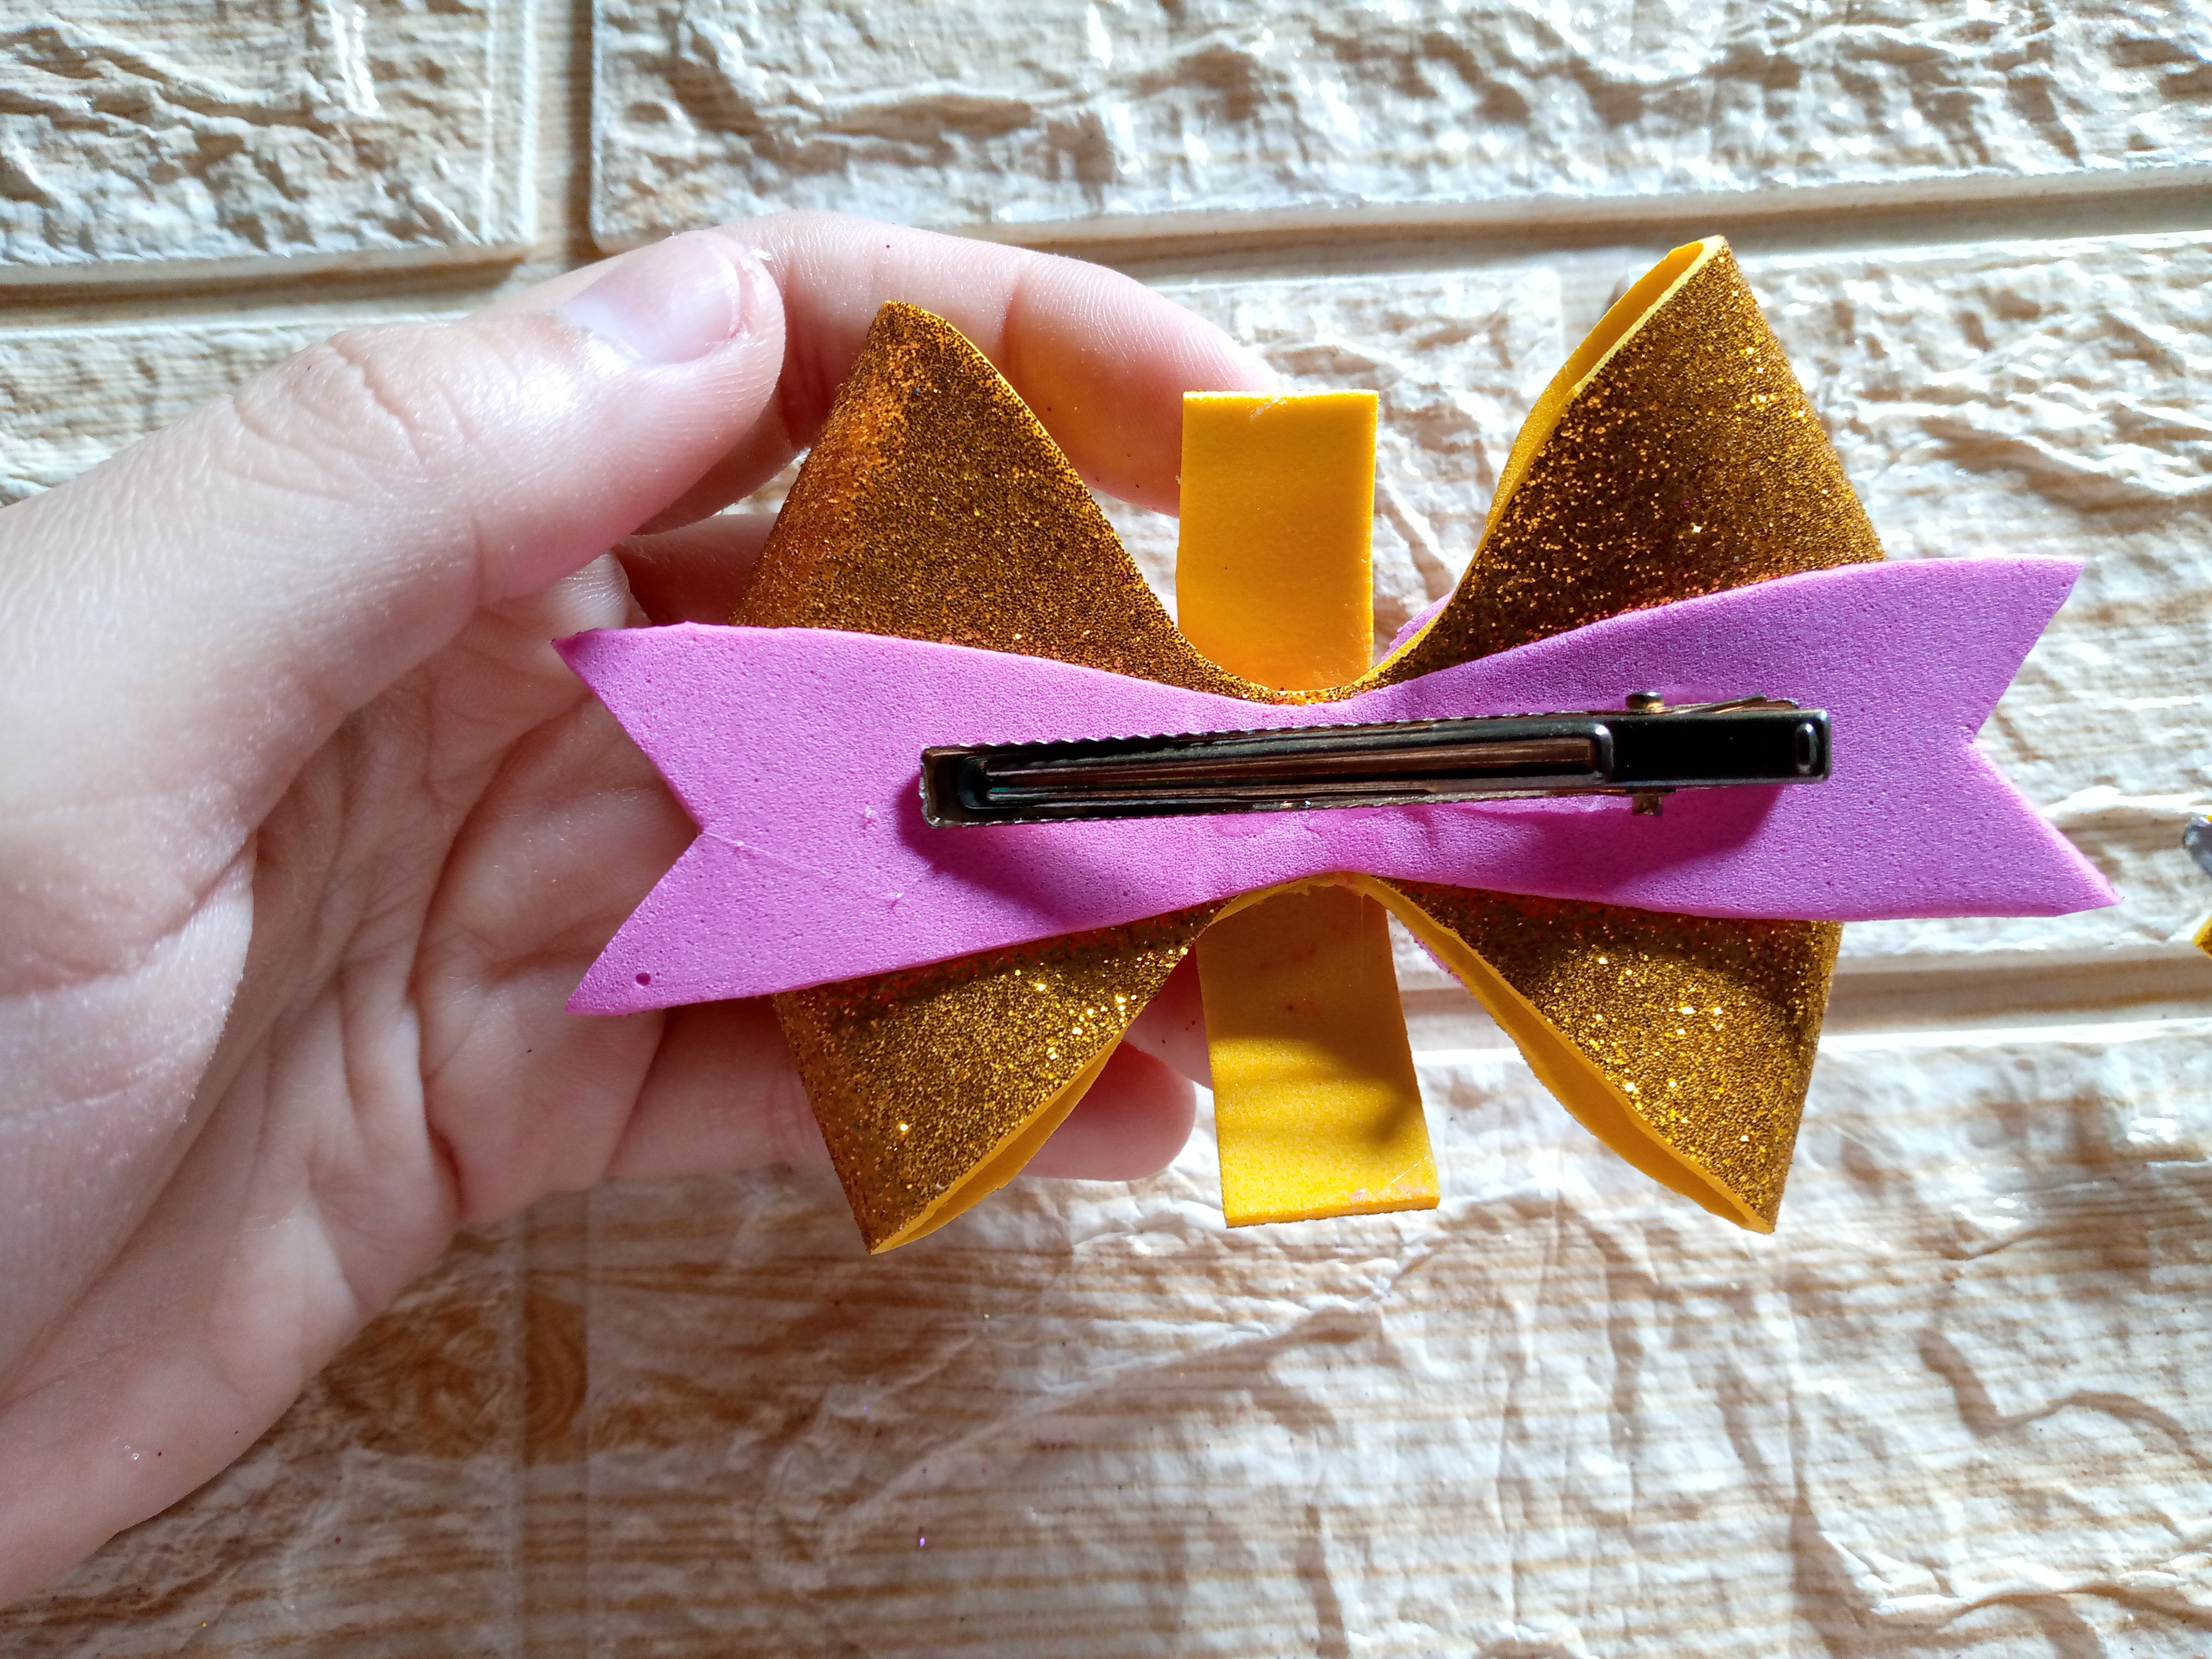
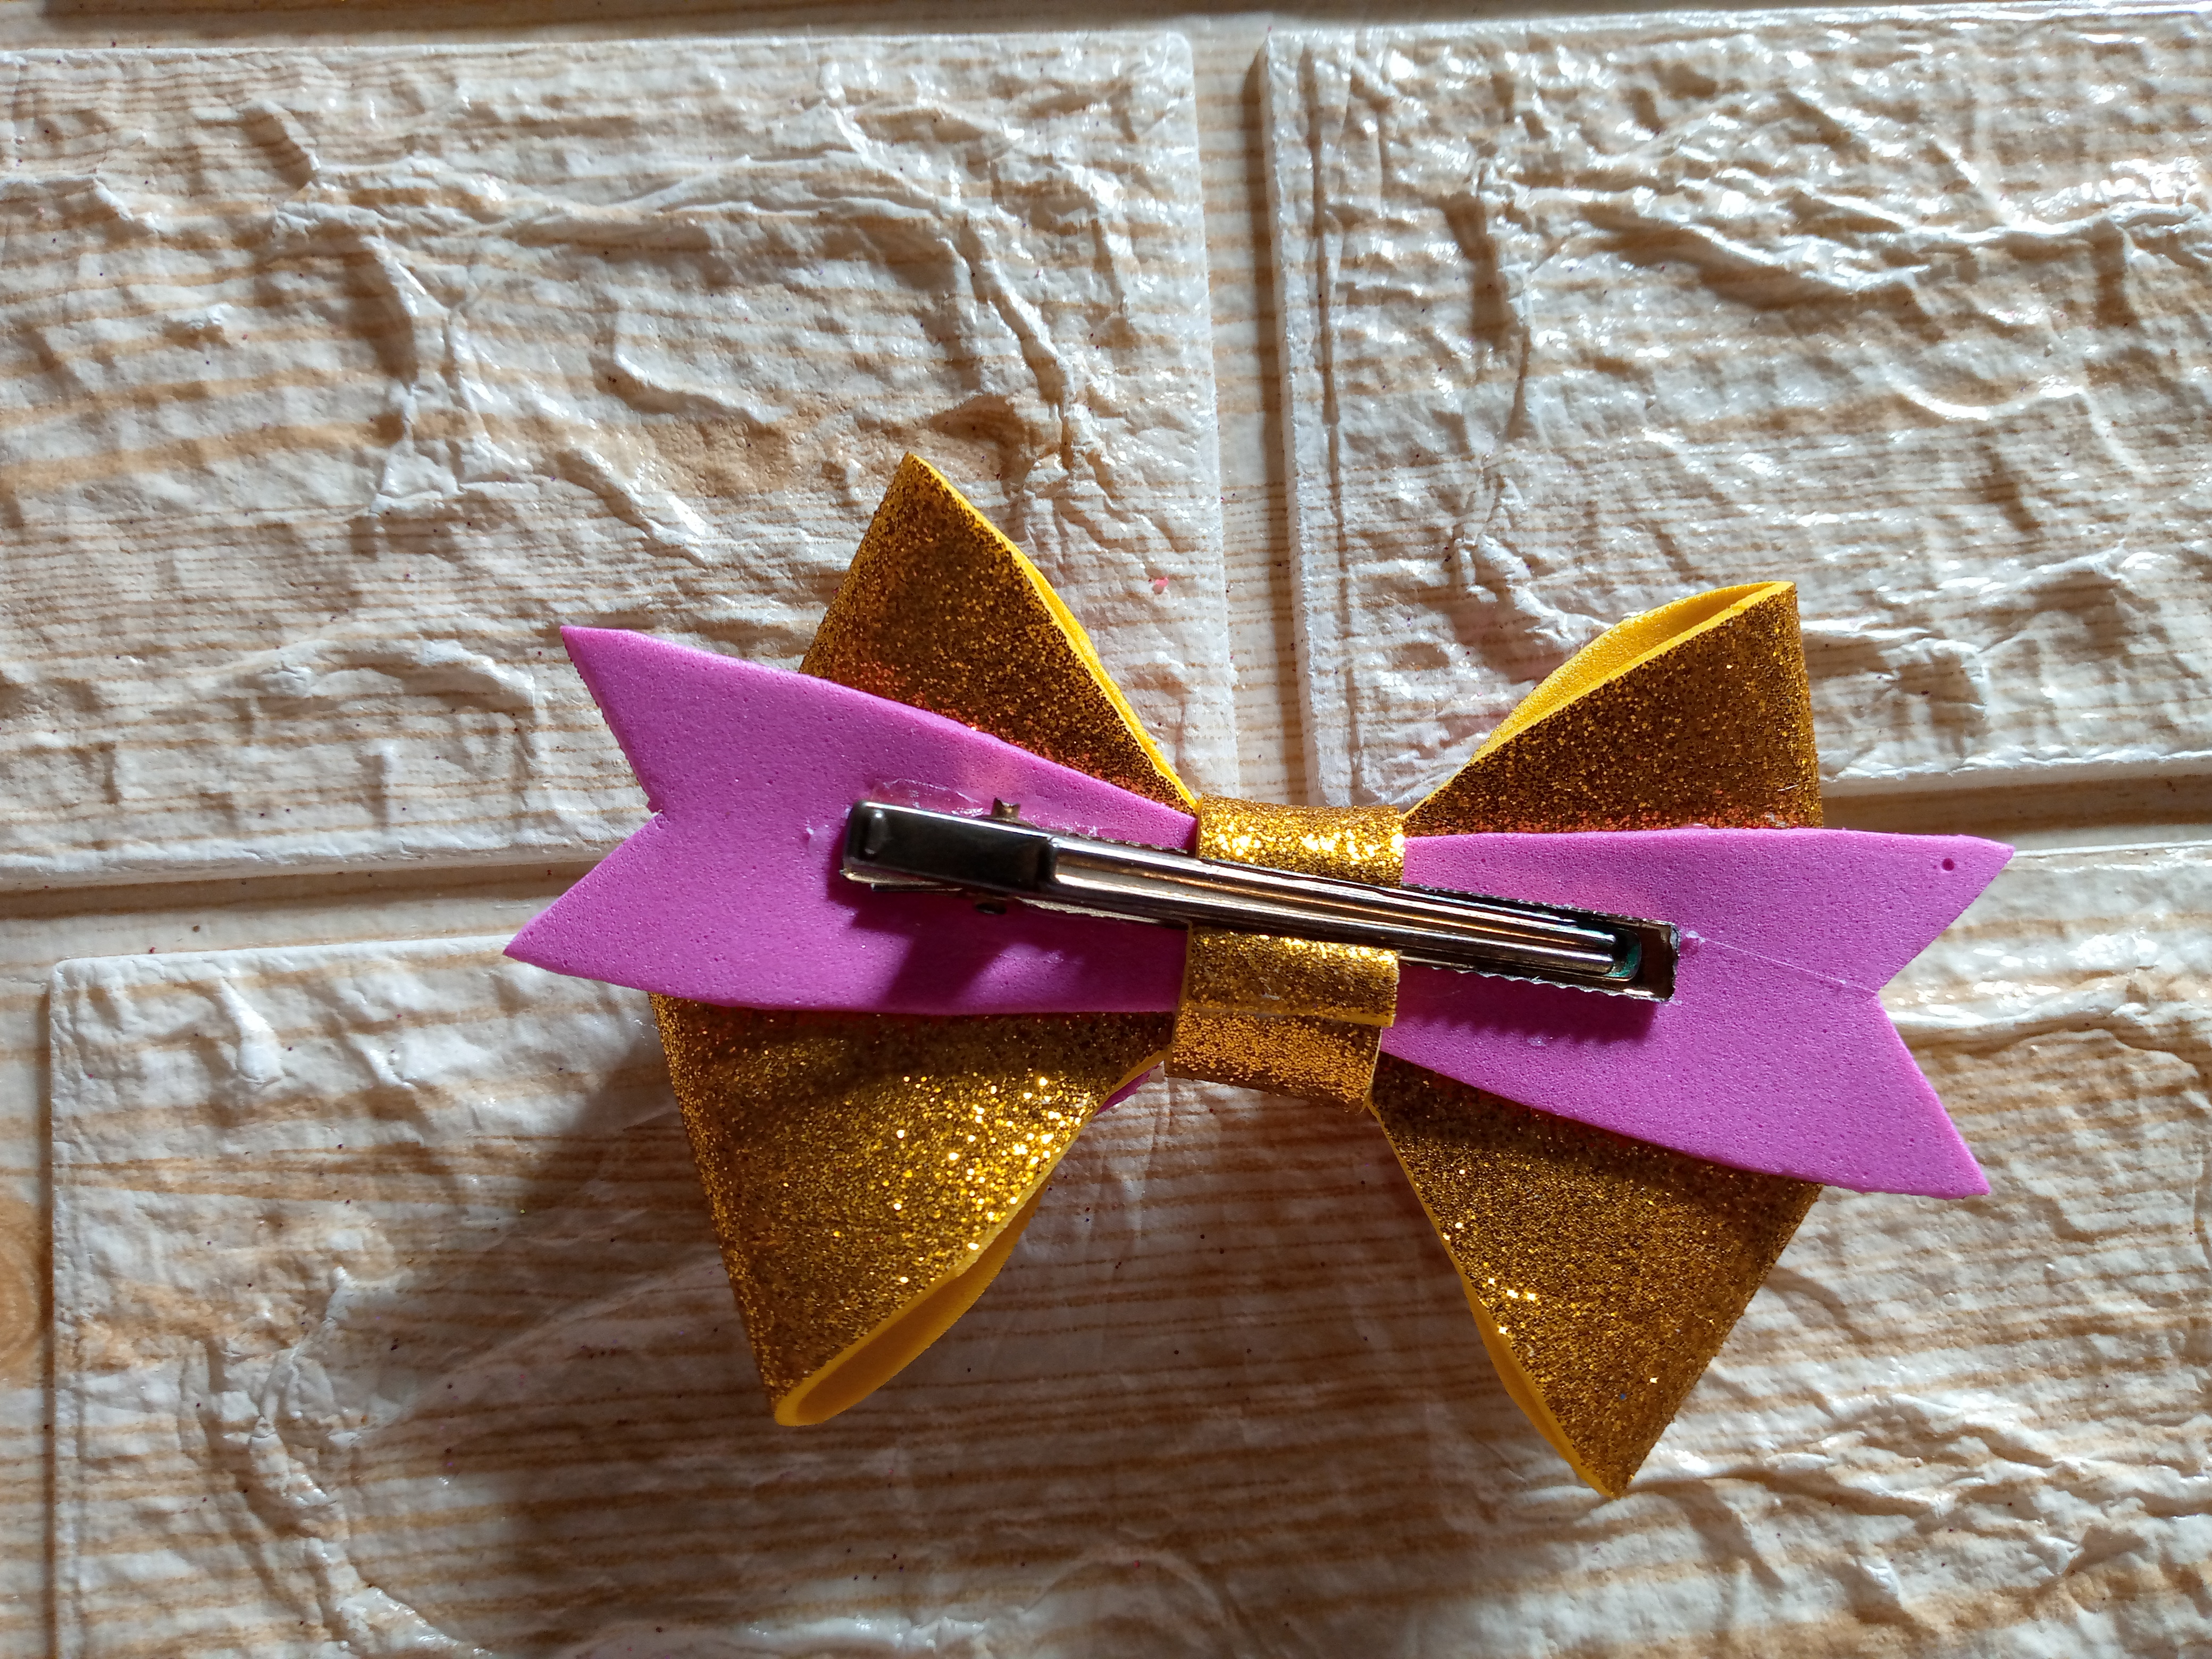
    Vamos a voltear nuestro lazo y por la parte inferior vamos a pegar la cinta que hicimos y paso a pegar la otra cinta abajo la dorada de 1 cm para de una vez unirlo, estaré pegando el gancho con silicón también y ahora si es momento de pasar la cinta dorada por entre el gancho y pegarlo nos podemos ayudar con ganchitos de ropa para que se nos pegue mas rápido pero ai ustedes desean presionarlo con las manos también pueden hacerlo.

    Step 03

    We are going to turn our bow over and on the bottom we are going to glue the ribbon that we made and then I will glue the other ribbon underneath, the 1 cm gold one, to join it all together. I will be gluing the hook with silicone as well and now it is time to pass the gold ribbon through the hook and glue it. We can use clothes pins to make it stick faster, but if you want to press it with your hands you can do that too.

    IMG_20241203_092317_981.jpg

    Paso 04

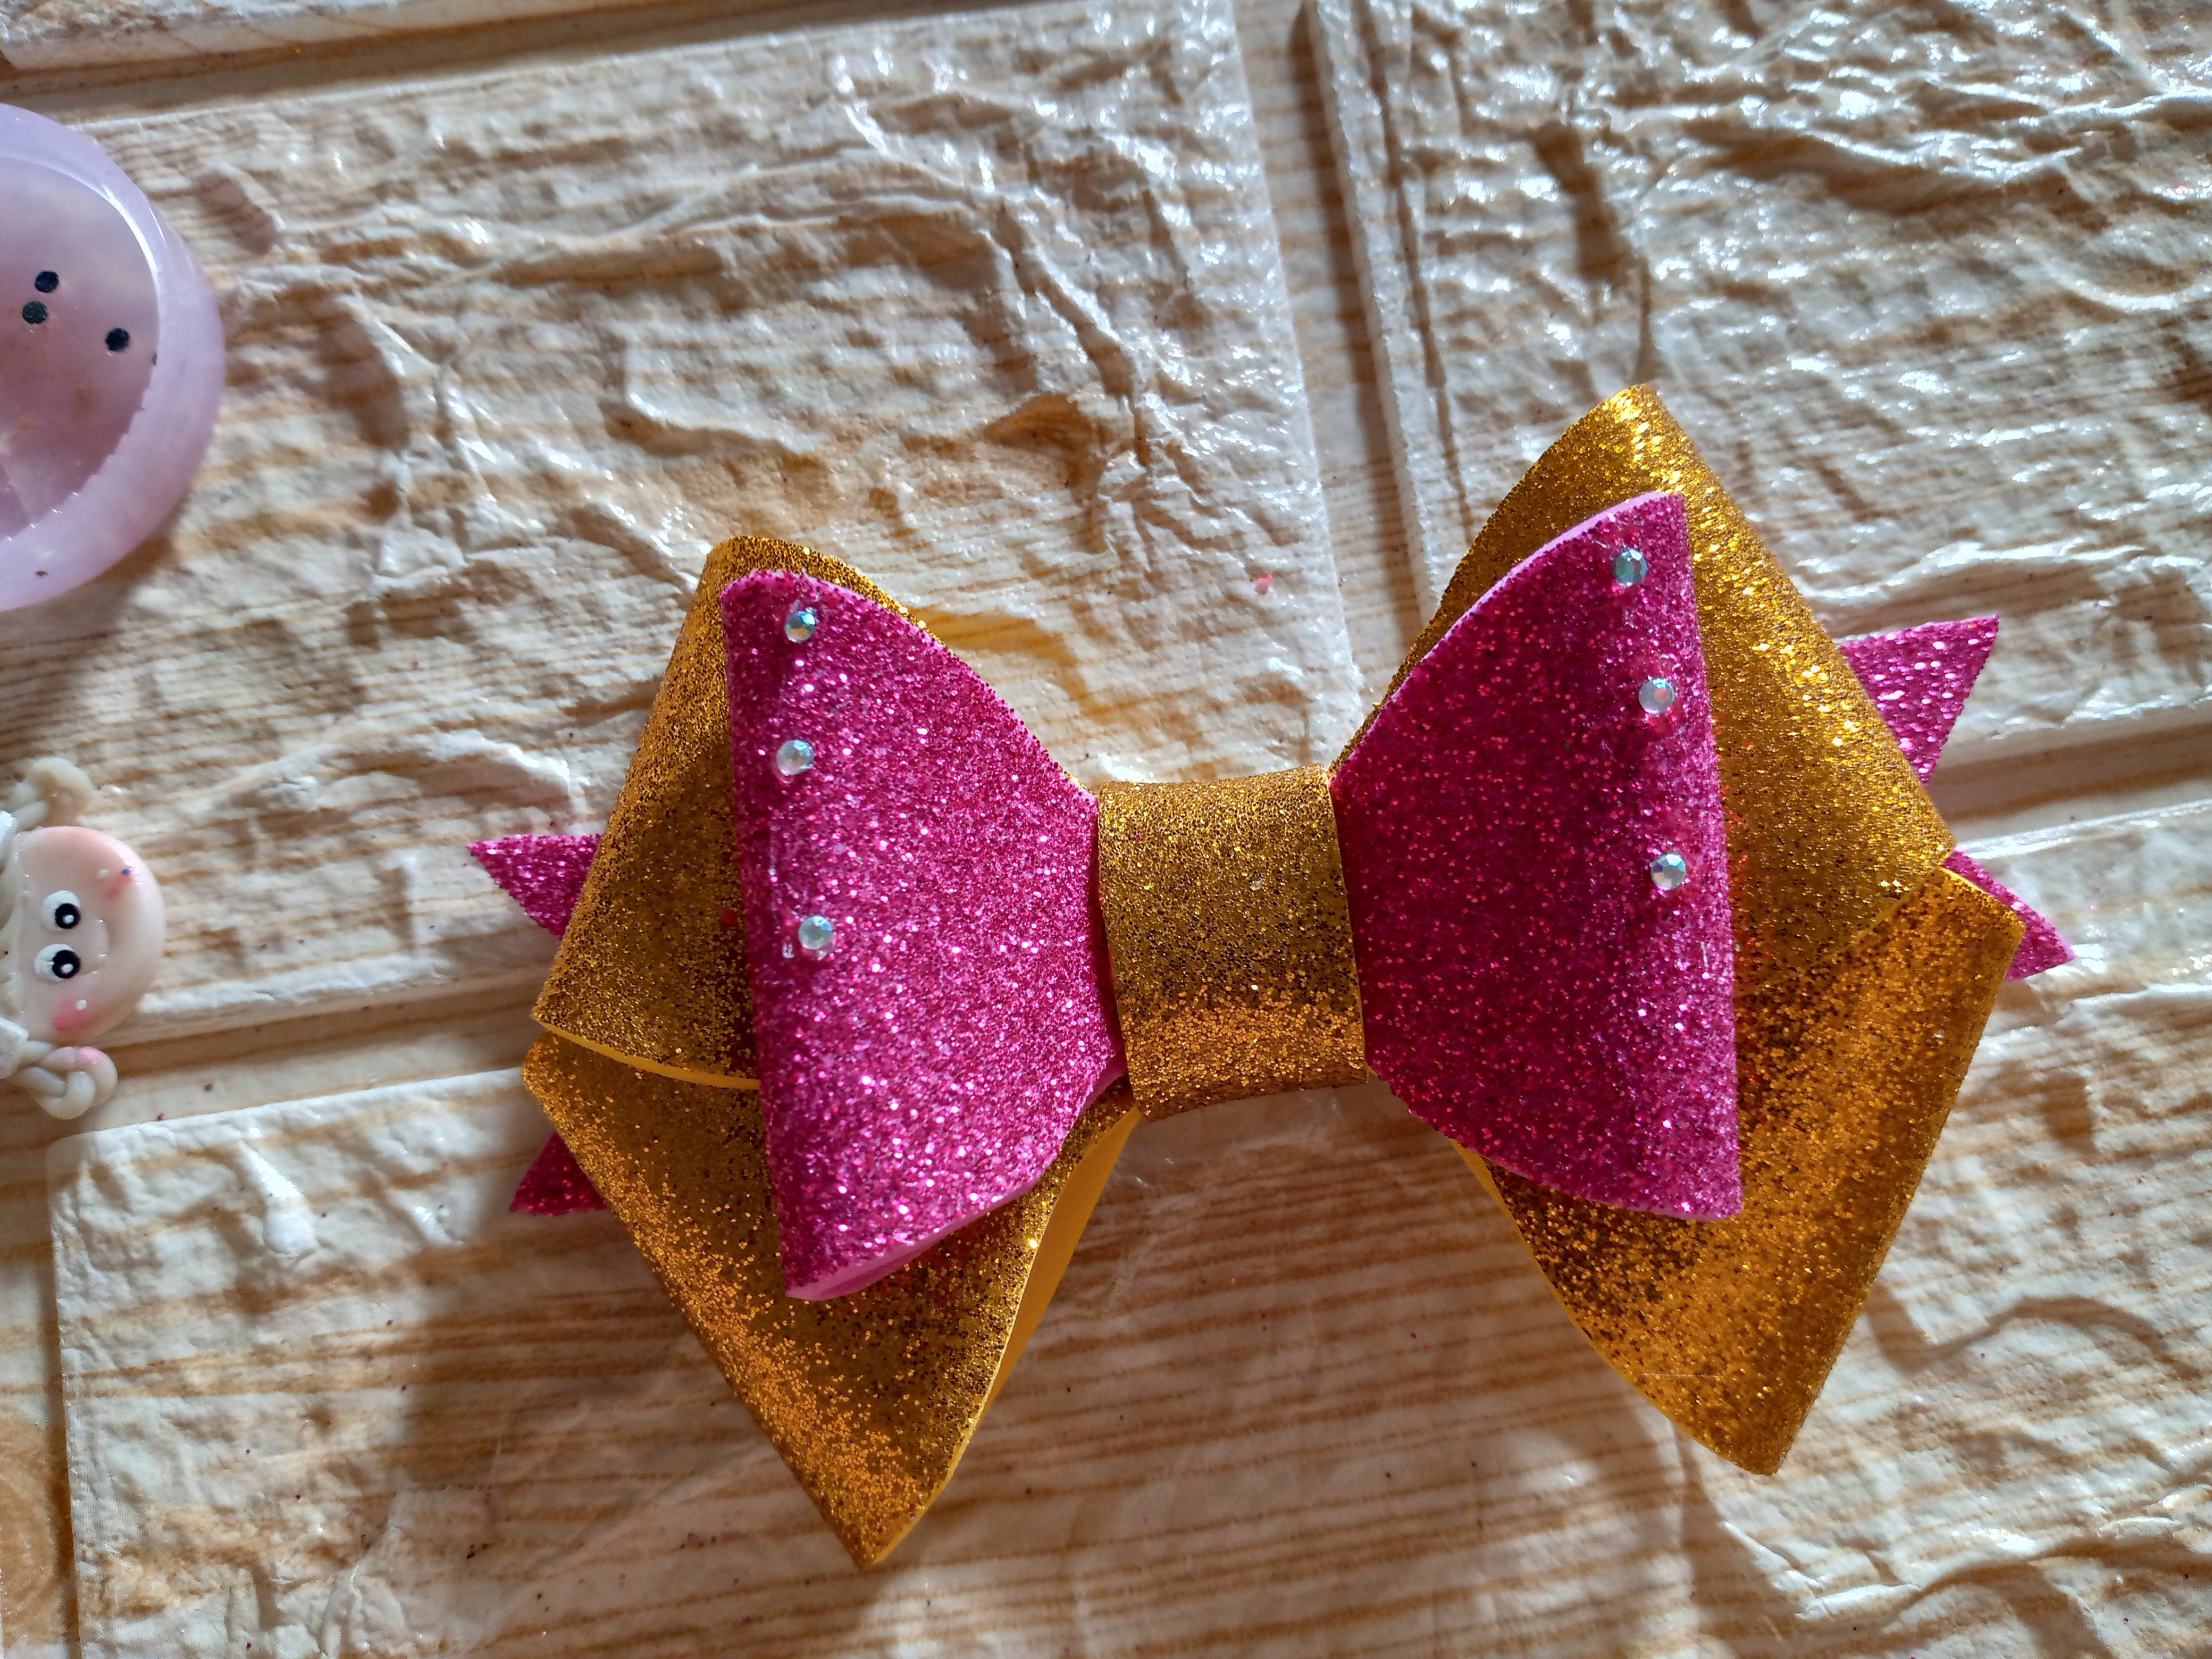
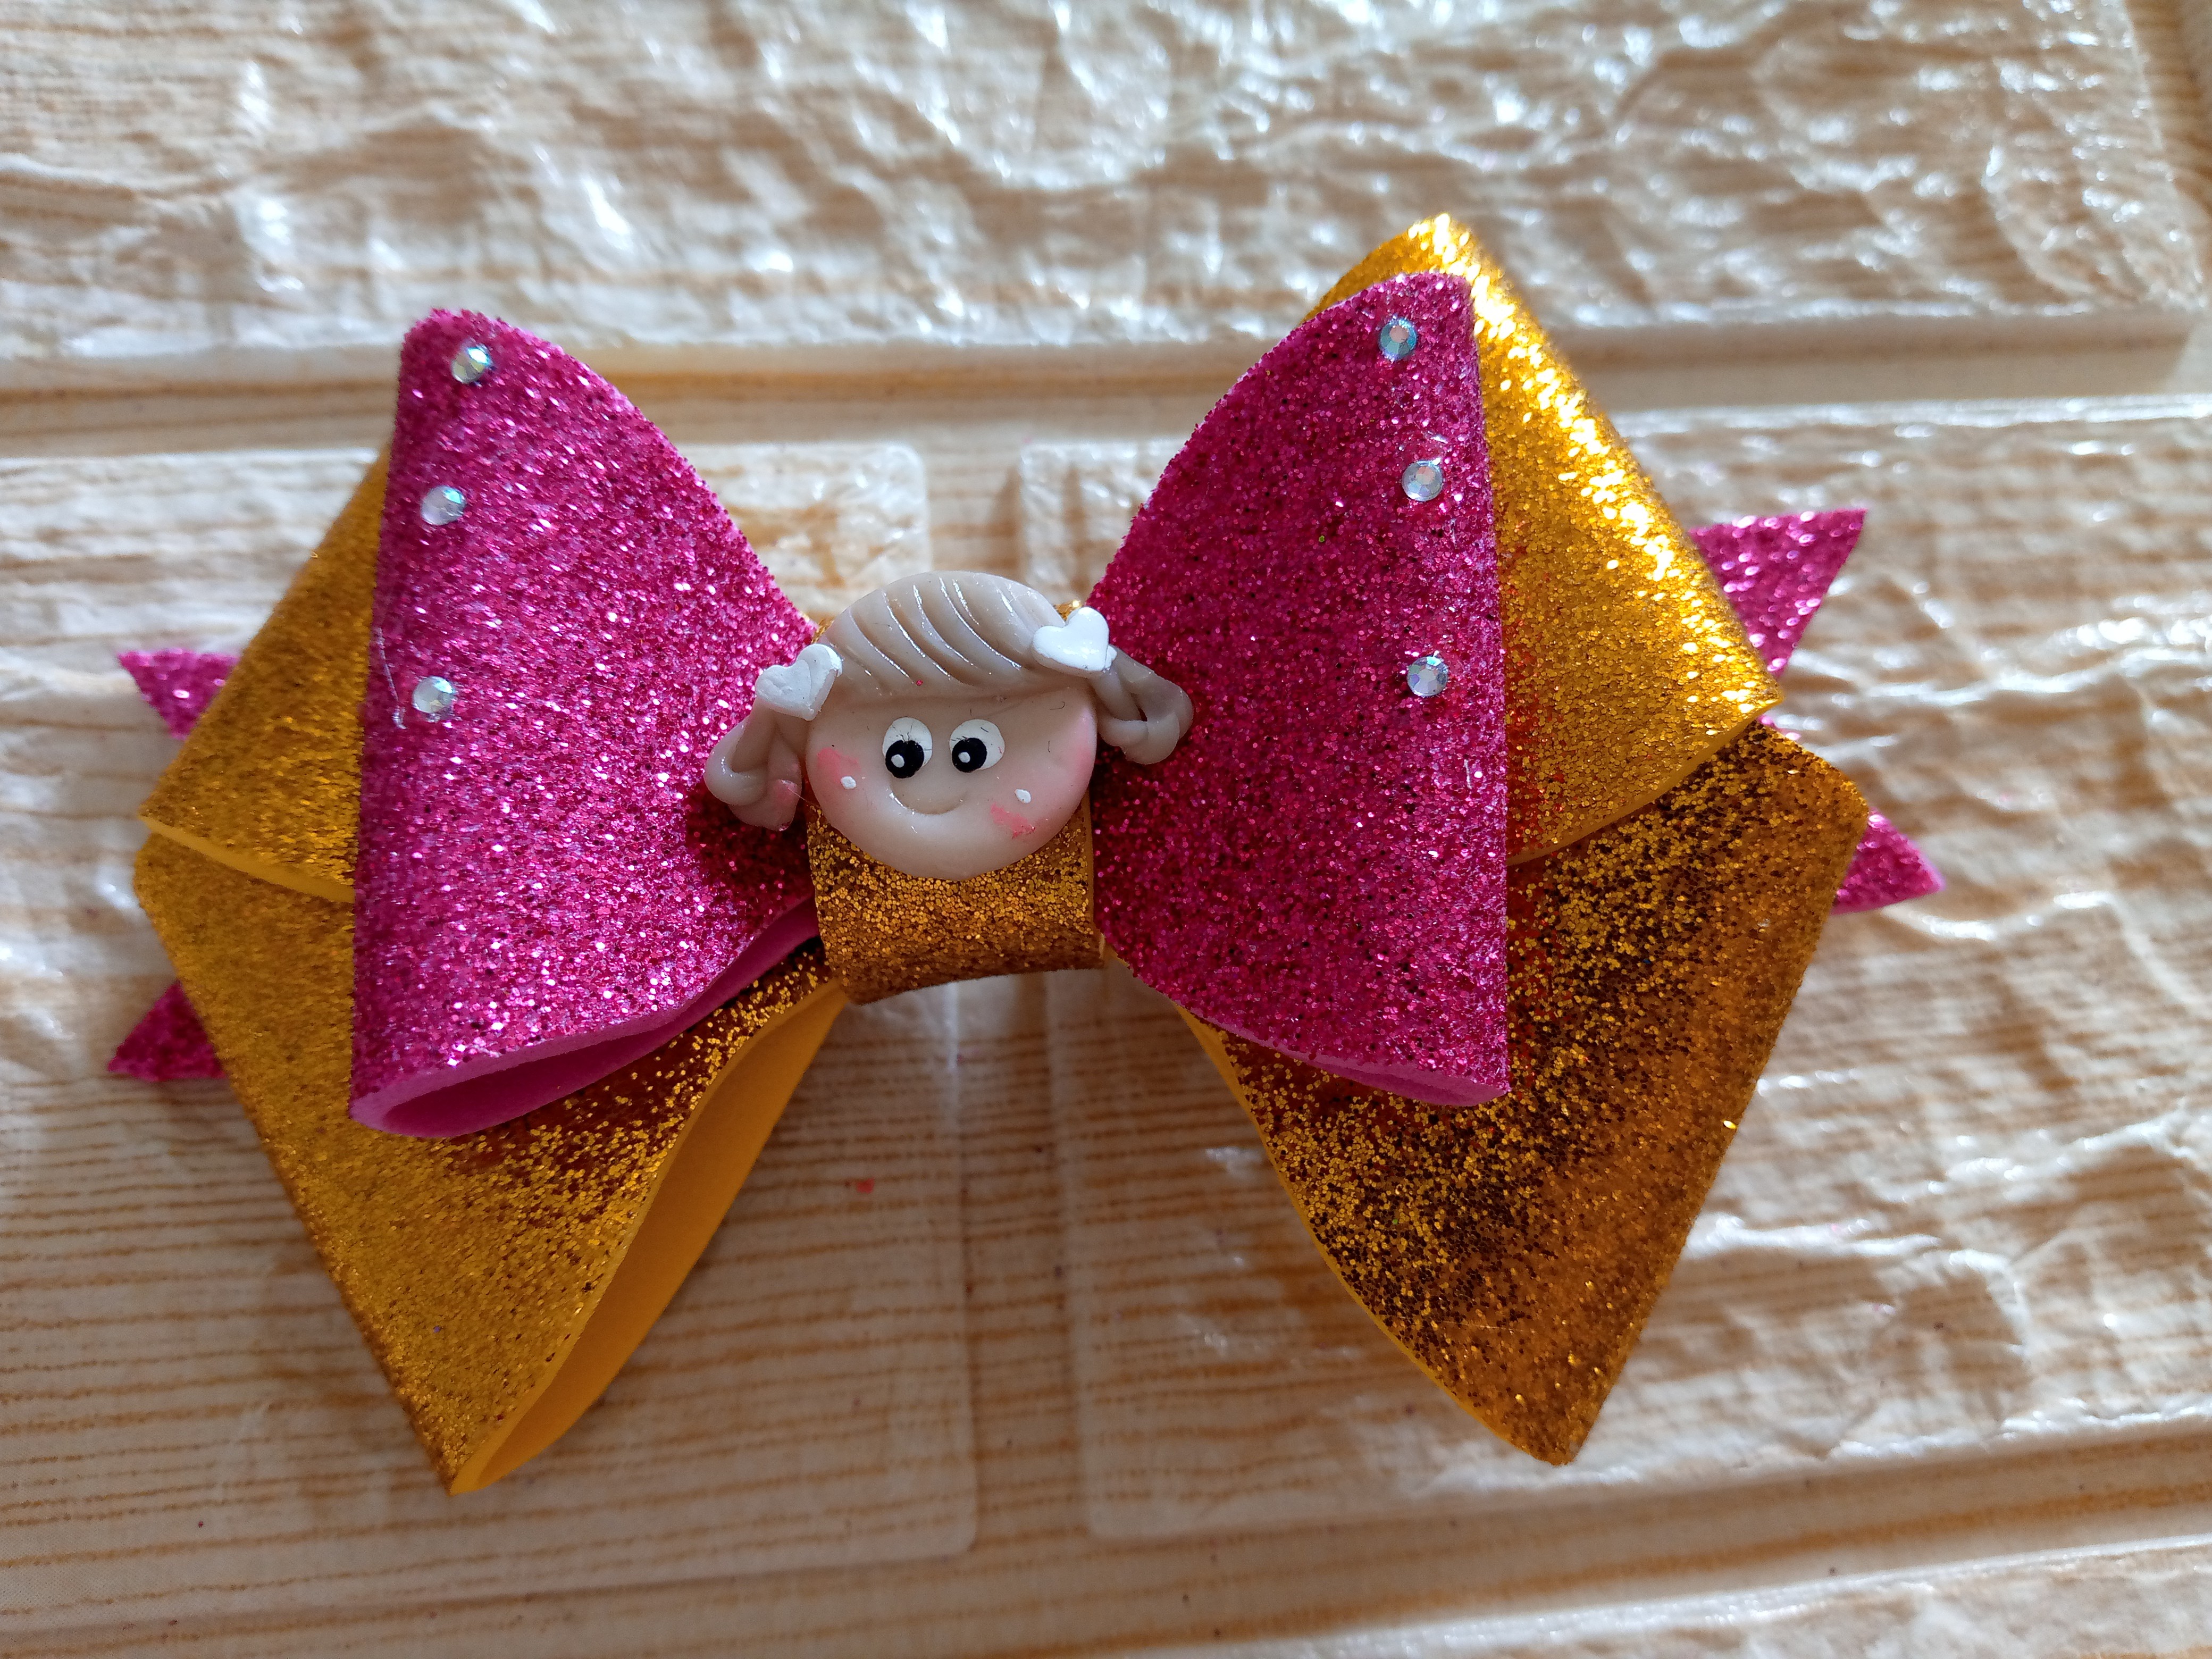
    Usaremos nuestras piedritas doradas para decorar la parte superior fucsia del lazo usaré 6 piedritas que estaré pegando con silicón dejaremos un espacio de 1 cm por cada piedrita así queden separadas como se observa en la foto.

    Step 04

    We will use our golden stones to decorate the upper fuchsia part of the bow. I will use 6 stones that I will be gluing with silicone. We will leave a space of 1 cm for each stone so that they are separated as seen in the photo.

    IMG_20241203_092552_700.jpg

    Paso 05

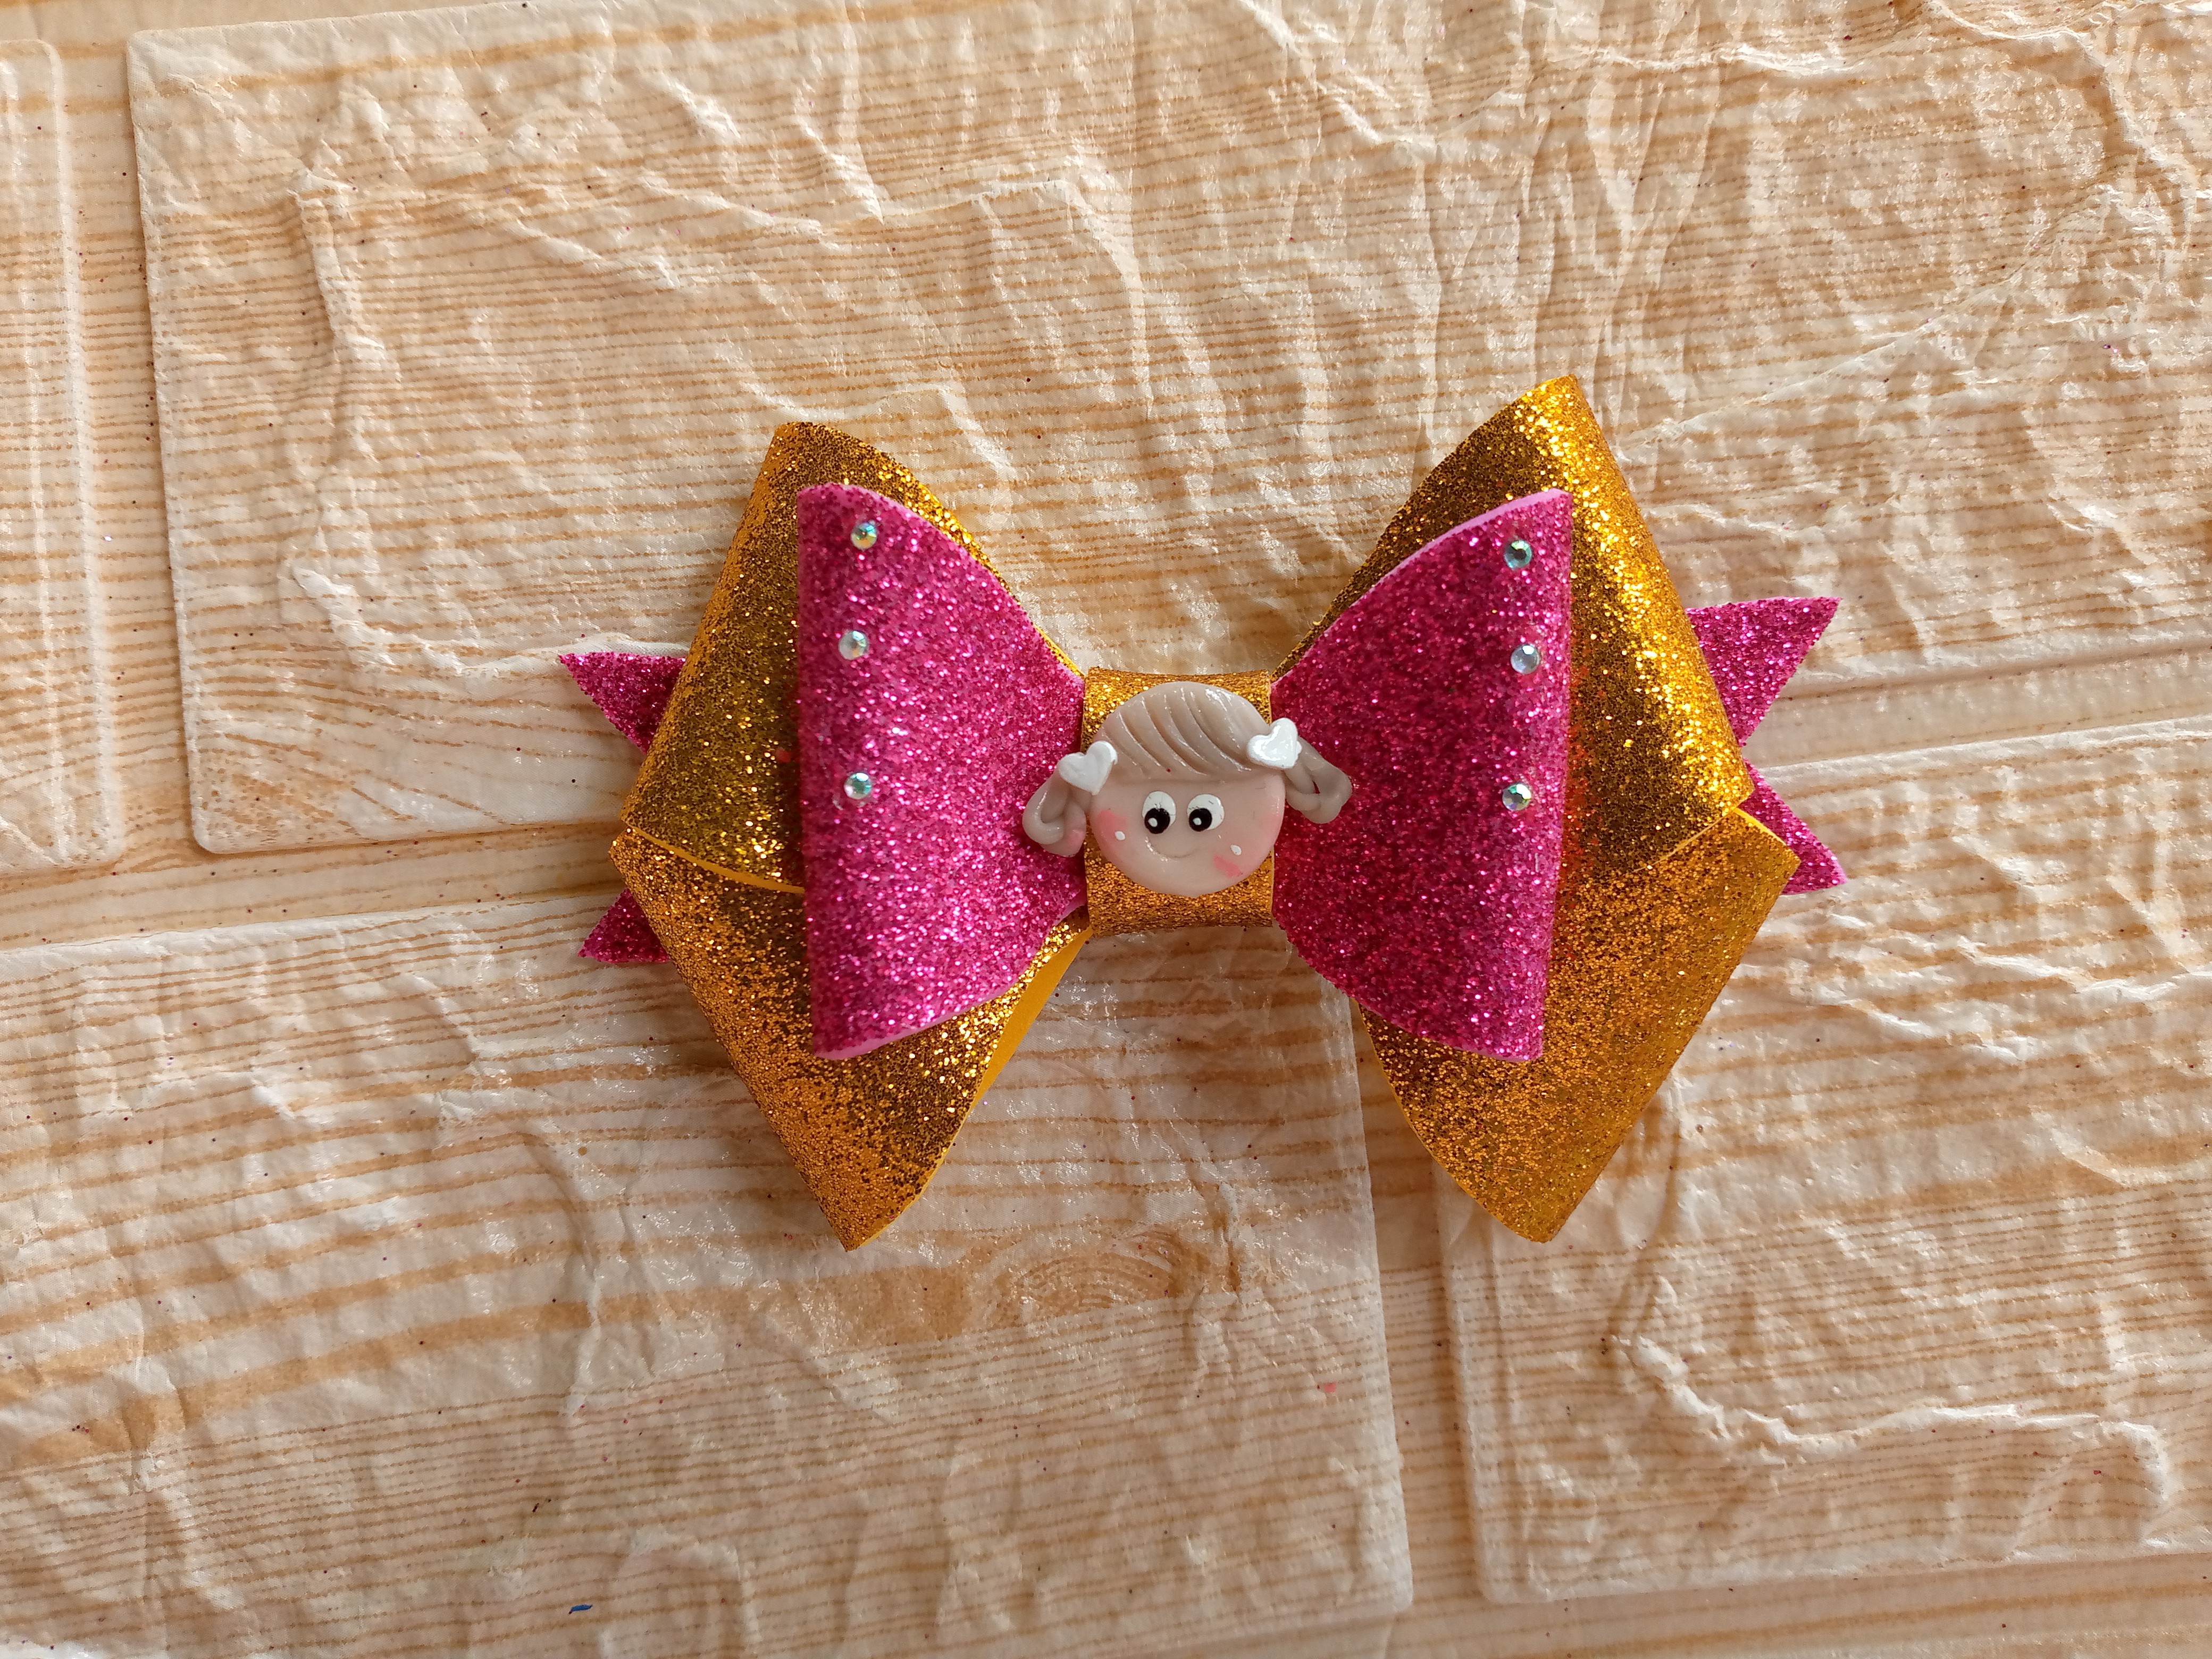
    Para finalizar de decorar mi lacito estaré colocando una de estas caritas de muñequitas bien bonitas hechas de arcilla moldeable que también las conseguí en la tienda de mercerías y sentí podían quedarle muy bien a estos lazos, esperé que secara el silicón ya que se podía venir de los lados y así está listo para usar ☺️.

    Step 05

    To finish decorating my bow I will be placing one of these pretty little doll faces made of moldable clay that I also got at the haberdashery store and I felt they could look really good on these bows, I waited for the silicone to dry since it could come off the sides and so it is ready to use ☺️.


    Picsart_24-11-15_15-51-20-828 (1).jpg

    Resultado:// Result:

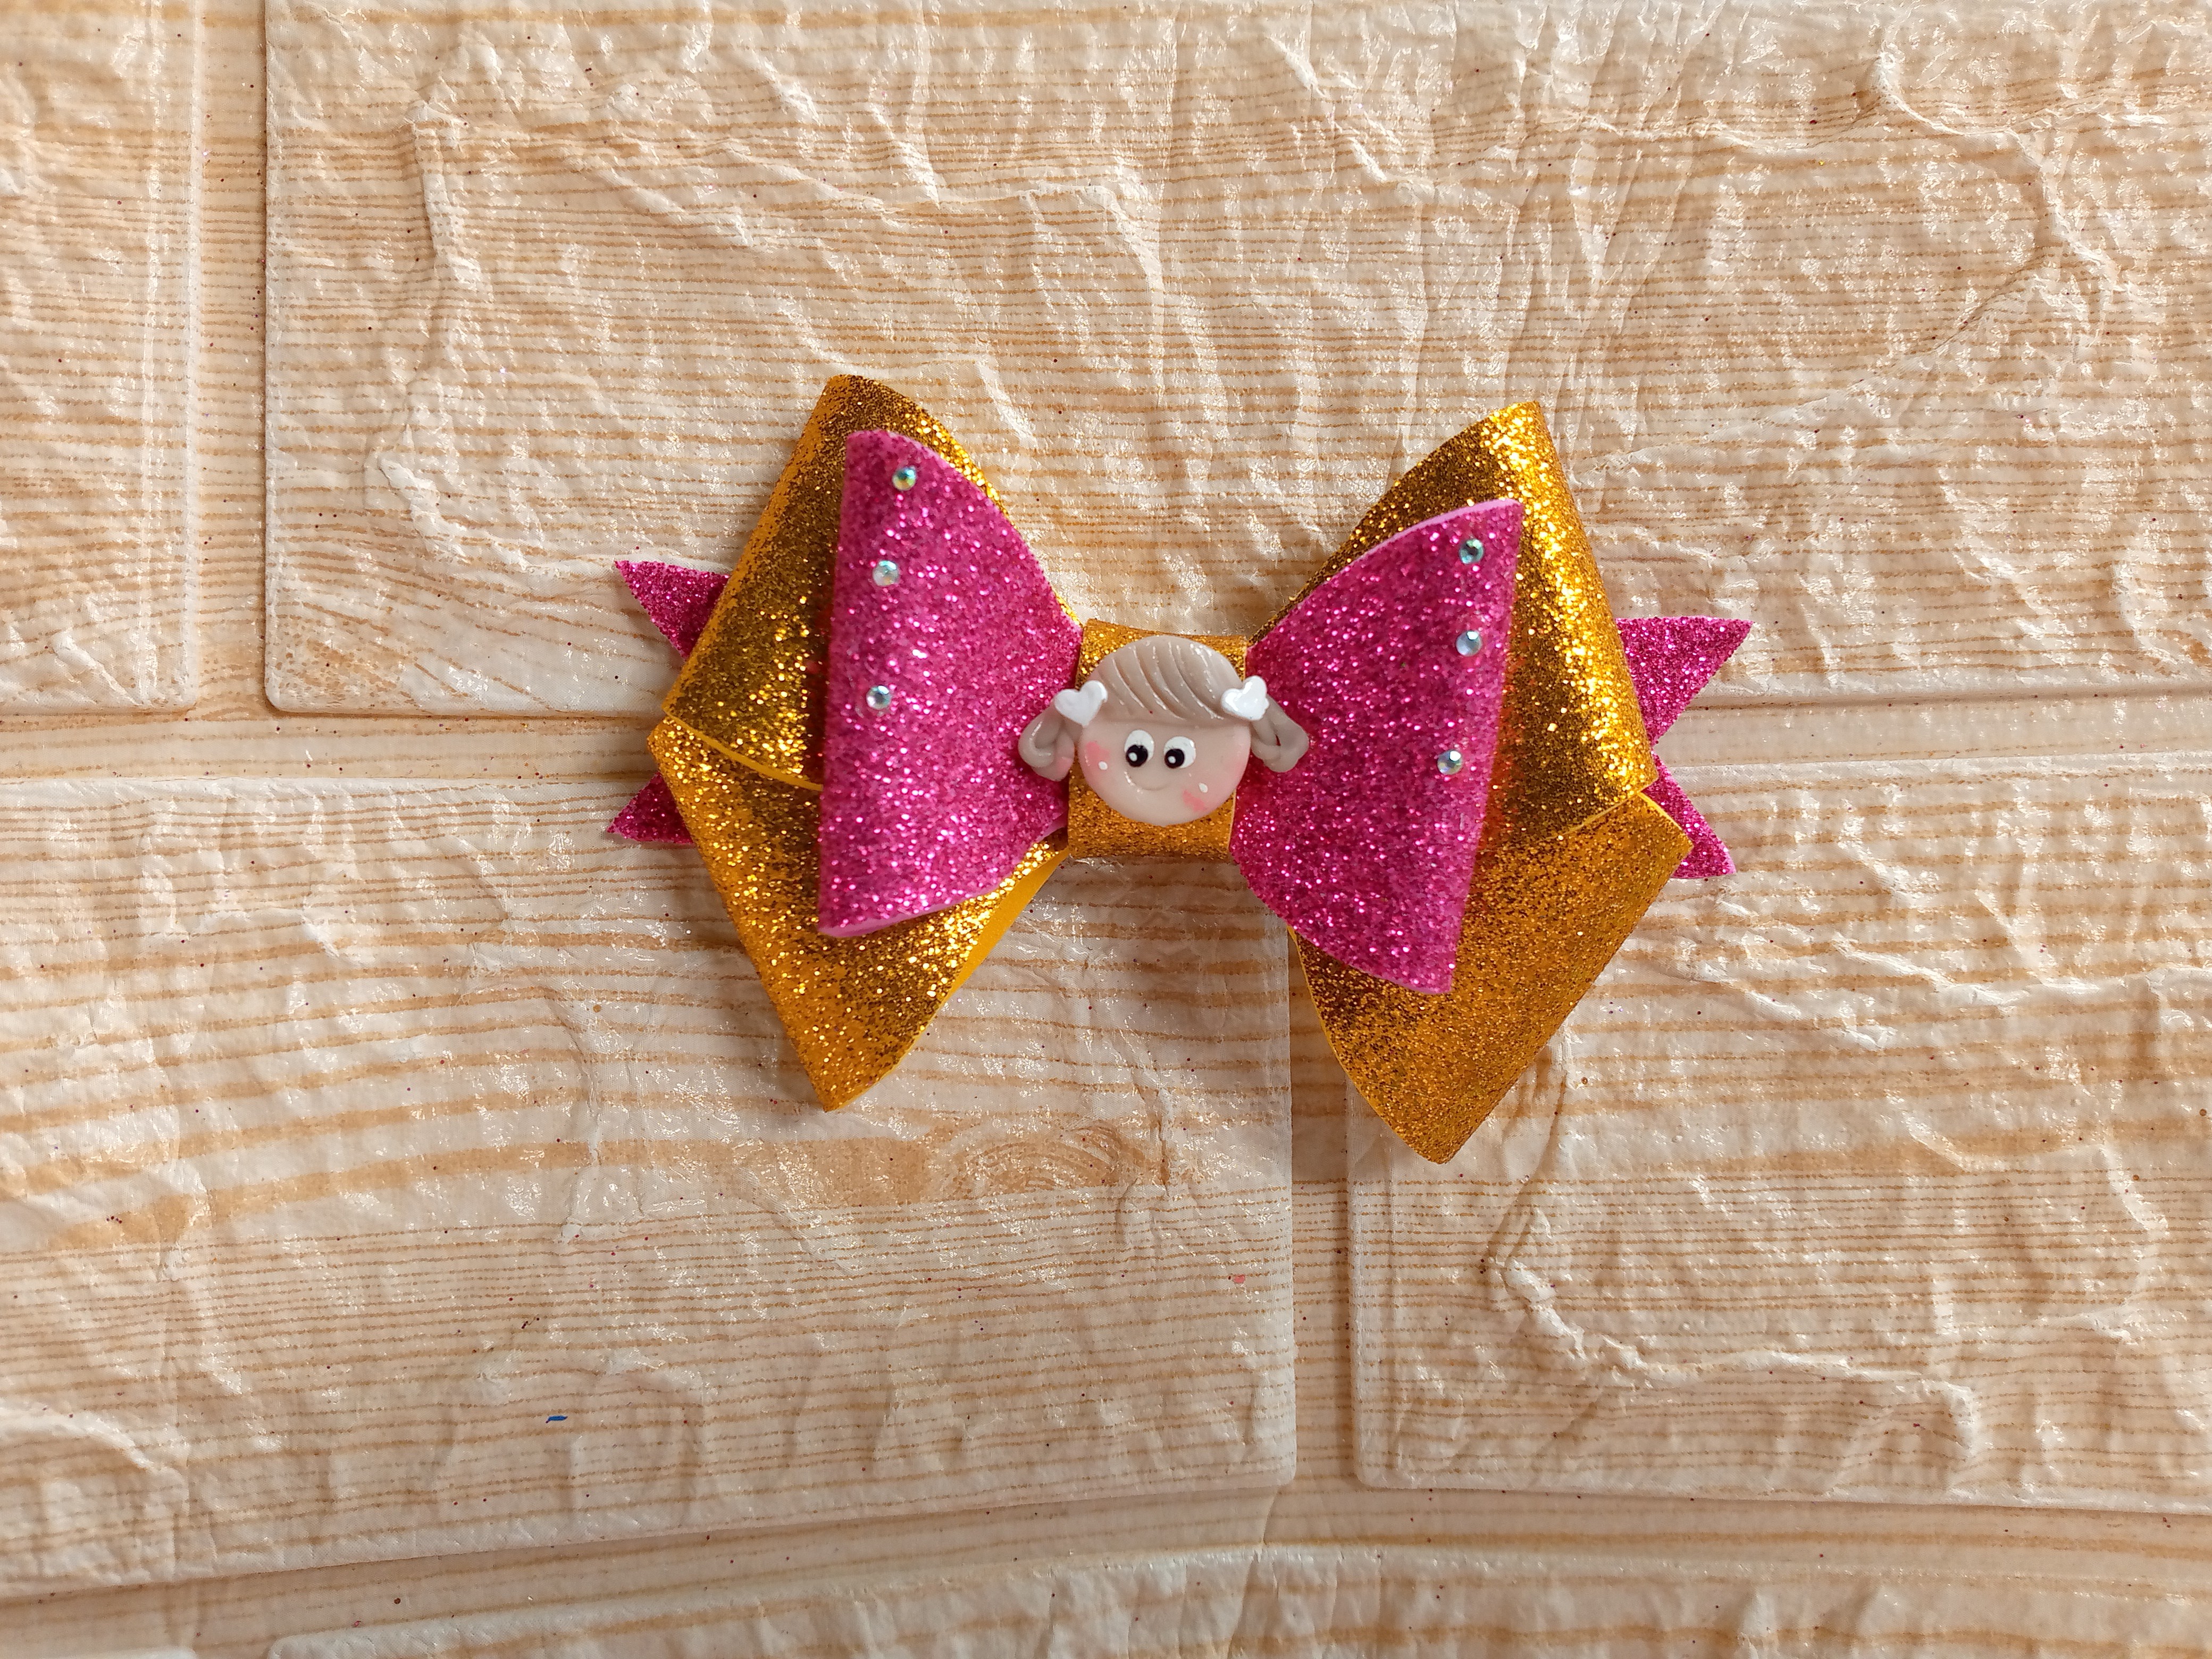
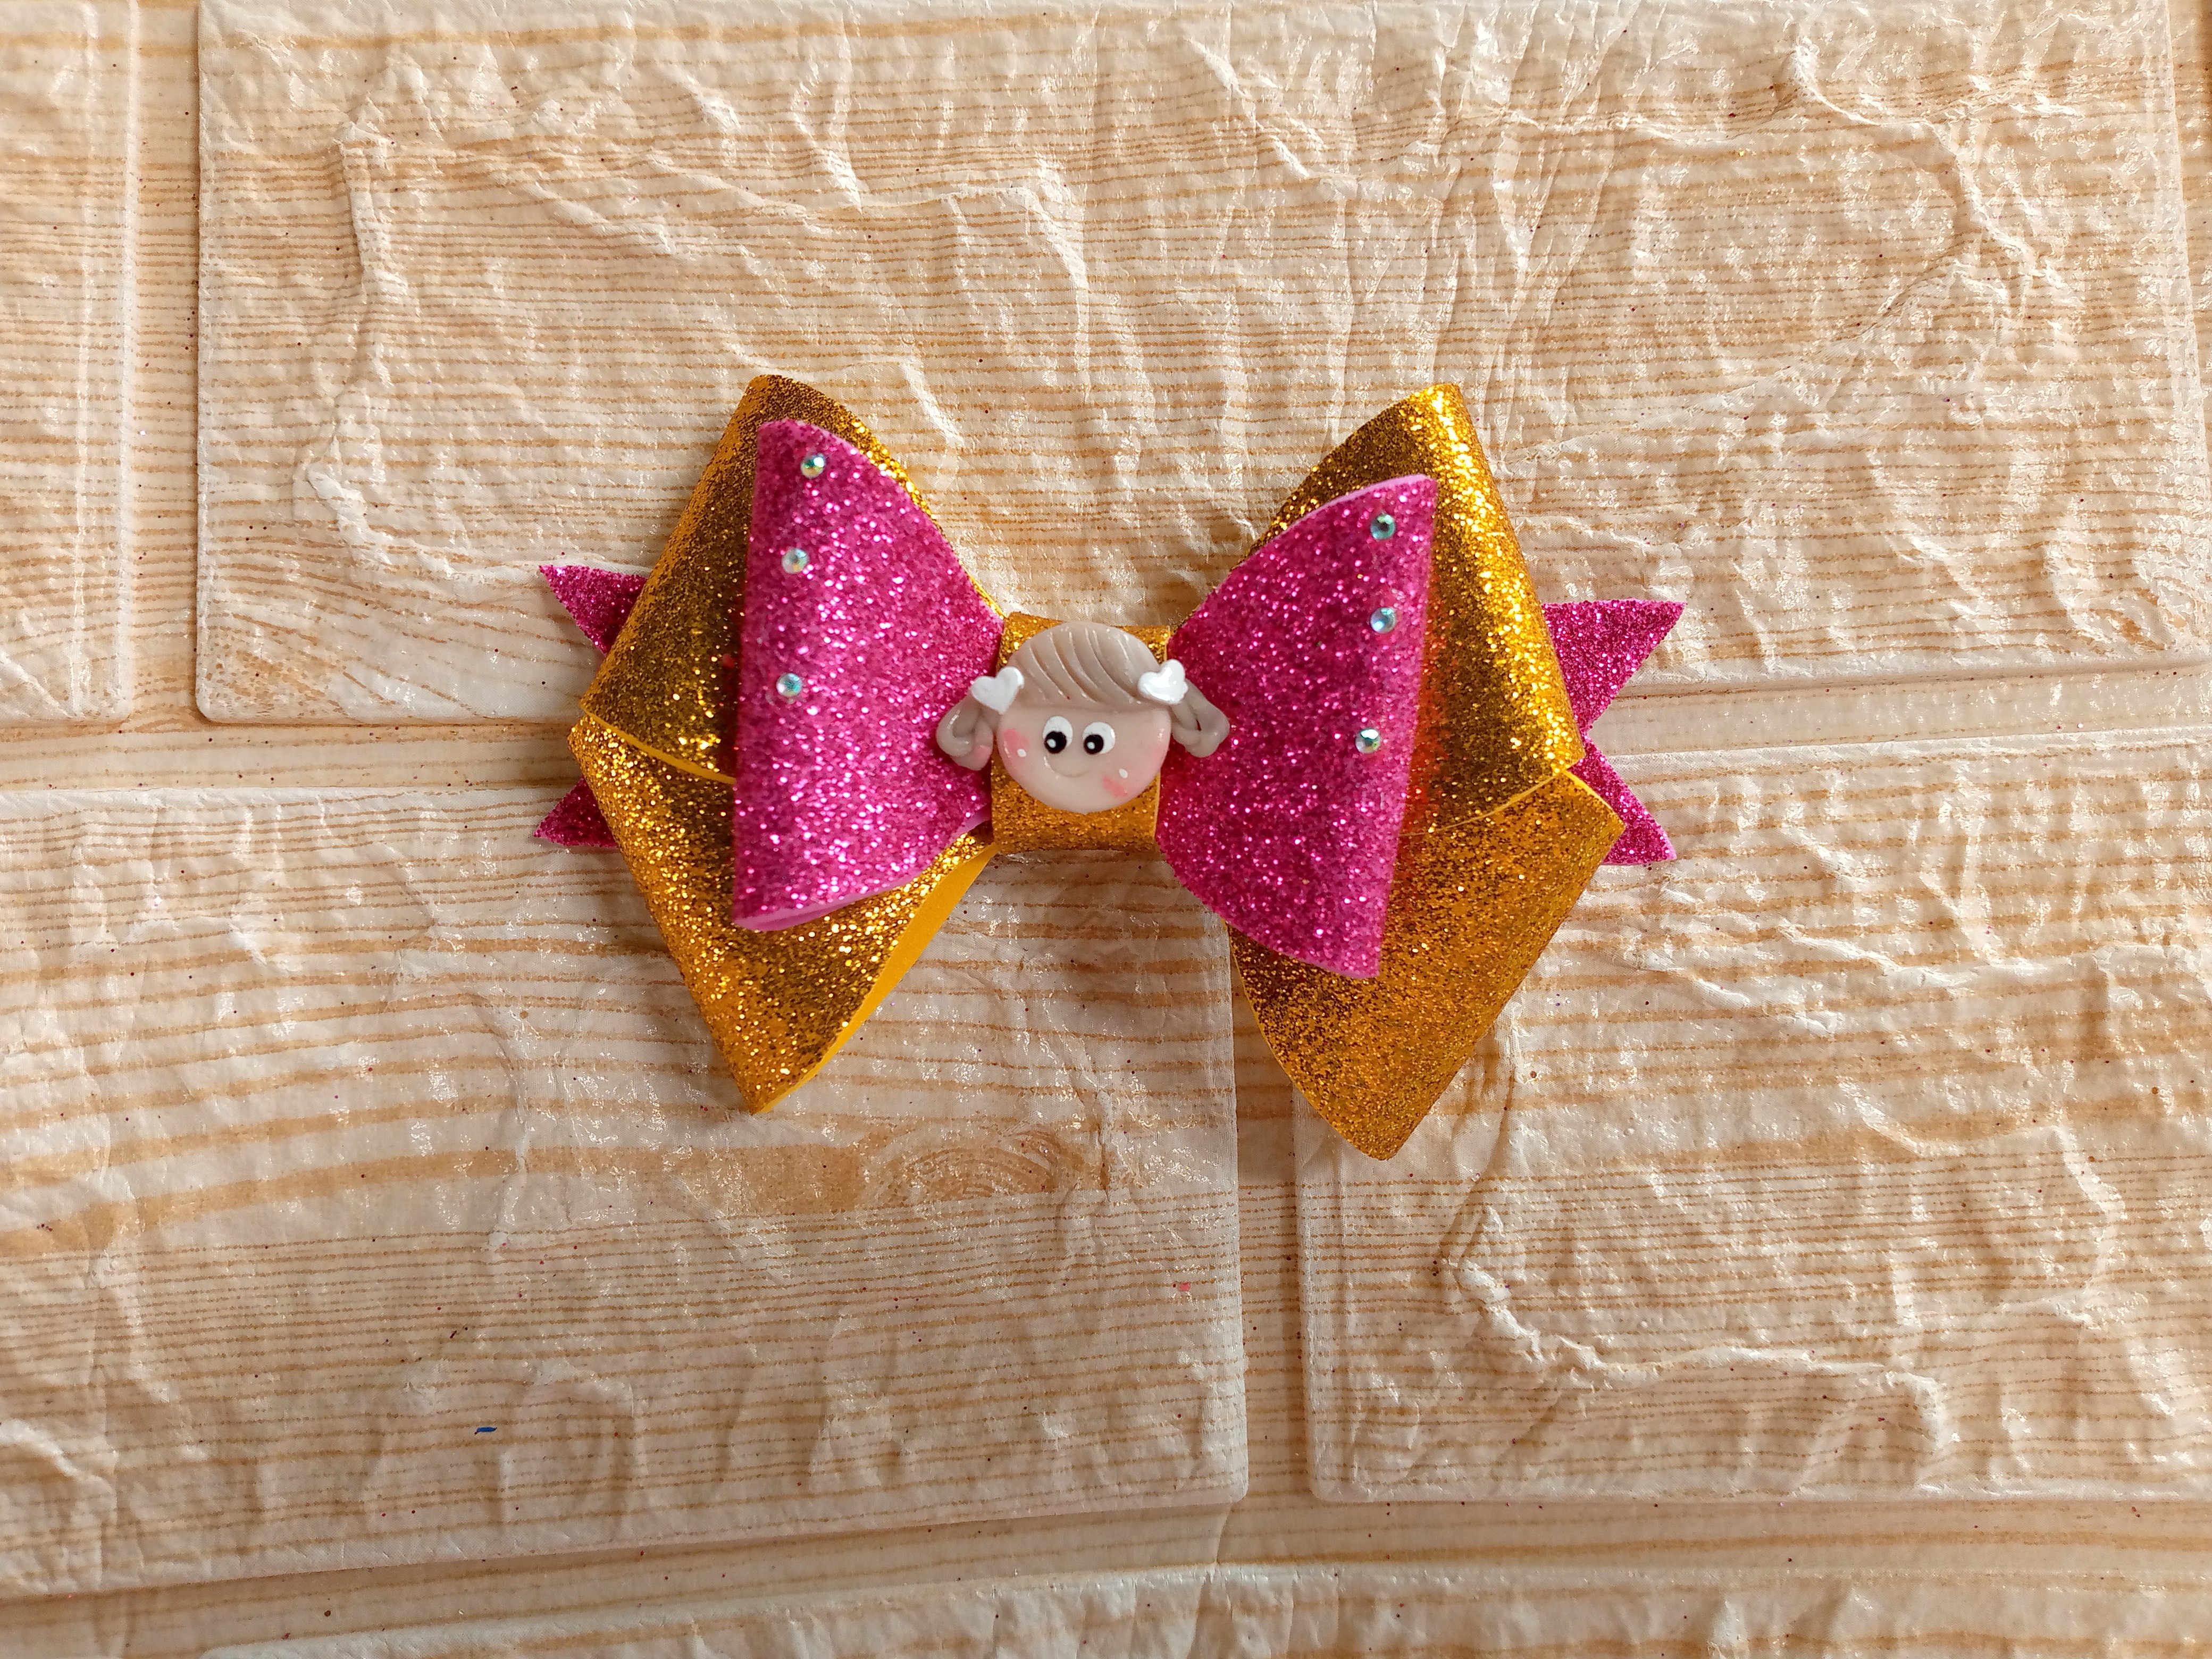
    De esta manera hemos terminado de hacer tan fácilmente este accesorio para niñas,cuando mi prima venga a pasar sus vacaciones de Diciembre se lo daré y espero le guste mucho aunque ustedes ya saben cual será la reacción de ella como niña 😅🤭si a mí me ha encantado se que a ella mucho más,gracias amigos y amigas por observar el proceso y aquí están las fotitos de los resultados finales de mi lacito espero te haya gustado,y así concluimos con este espacio creativo,me despido de ustedes deseándoles un feliz martes y un hermoso dia hasta pronto.☺️🥰

    In this way we have finished making this accessory for girls so easily, when my cousin comes to spend her December holidays I will give it to her and I hope she likes it a lot, although you already know what her reaction will be as a girl 😅🤭 If I loved it I know she will love it even more, thank you friends for observing the process and here are the photos of the final results of my little bow I hope you liked it, and so we conclude with this creative space, I say goodbye to you wishing you a happy Tuesday and a beautiful day see you soon. ☺️🥰
    IMG_20241203_093117_591.jpg

    IMG_20241203_093122_713.jpg

    IMG_20241203_093124_373.jpg

    IMG_20241203_093142_086.jpg

    Picsart_24-11-15_15-51-20-828 (1).jpg

    Creando las cosas con amor 🌷❤️

    🦋✨Todas las imágenes de esta publicación son de mi autoria ,📱tomadas con mi celular TecnoSpark8C |📸Fotos editadas en PicsArt y Canva. Texto traducido en el traductor de Google.

    Creating things with love 🌷❤️

    🦋✨ All the images in this publication are my author ,📱taken with my TecnoSpark8C cell phone |📸Photos edited in PicsArt and Canva. Text translated in Google Translate.

    Gracias por visitar mi blog_20241117_145338_0000.png


      Authors get paid when people like you upvote their post.
      If you enjoyed what you read here, create your account today and start earning FREE VOILK!