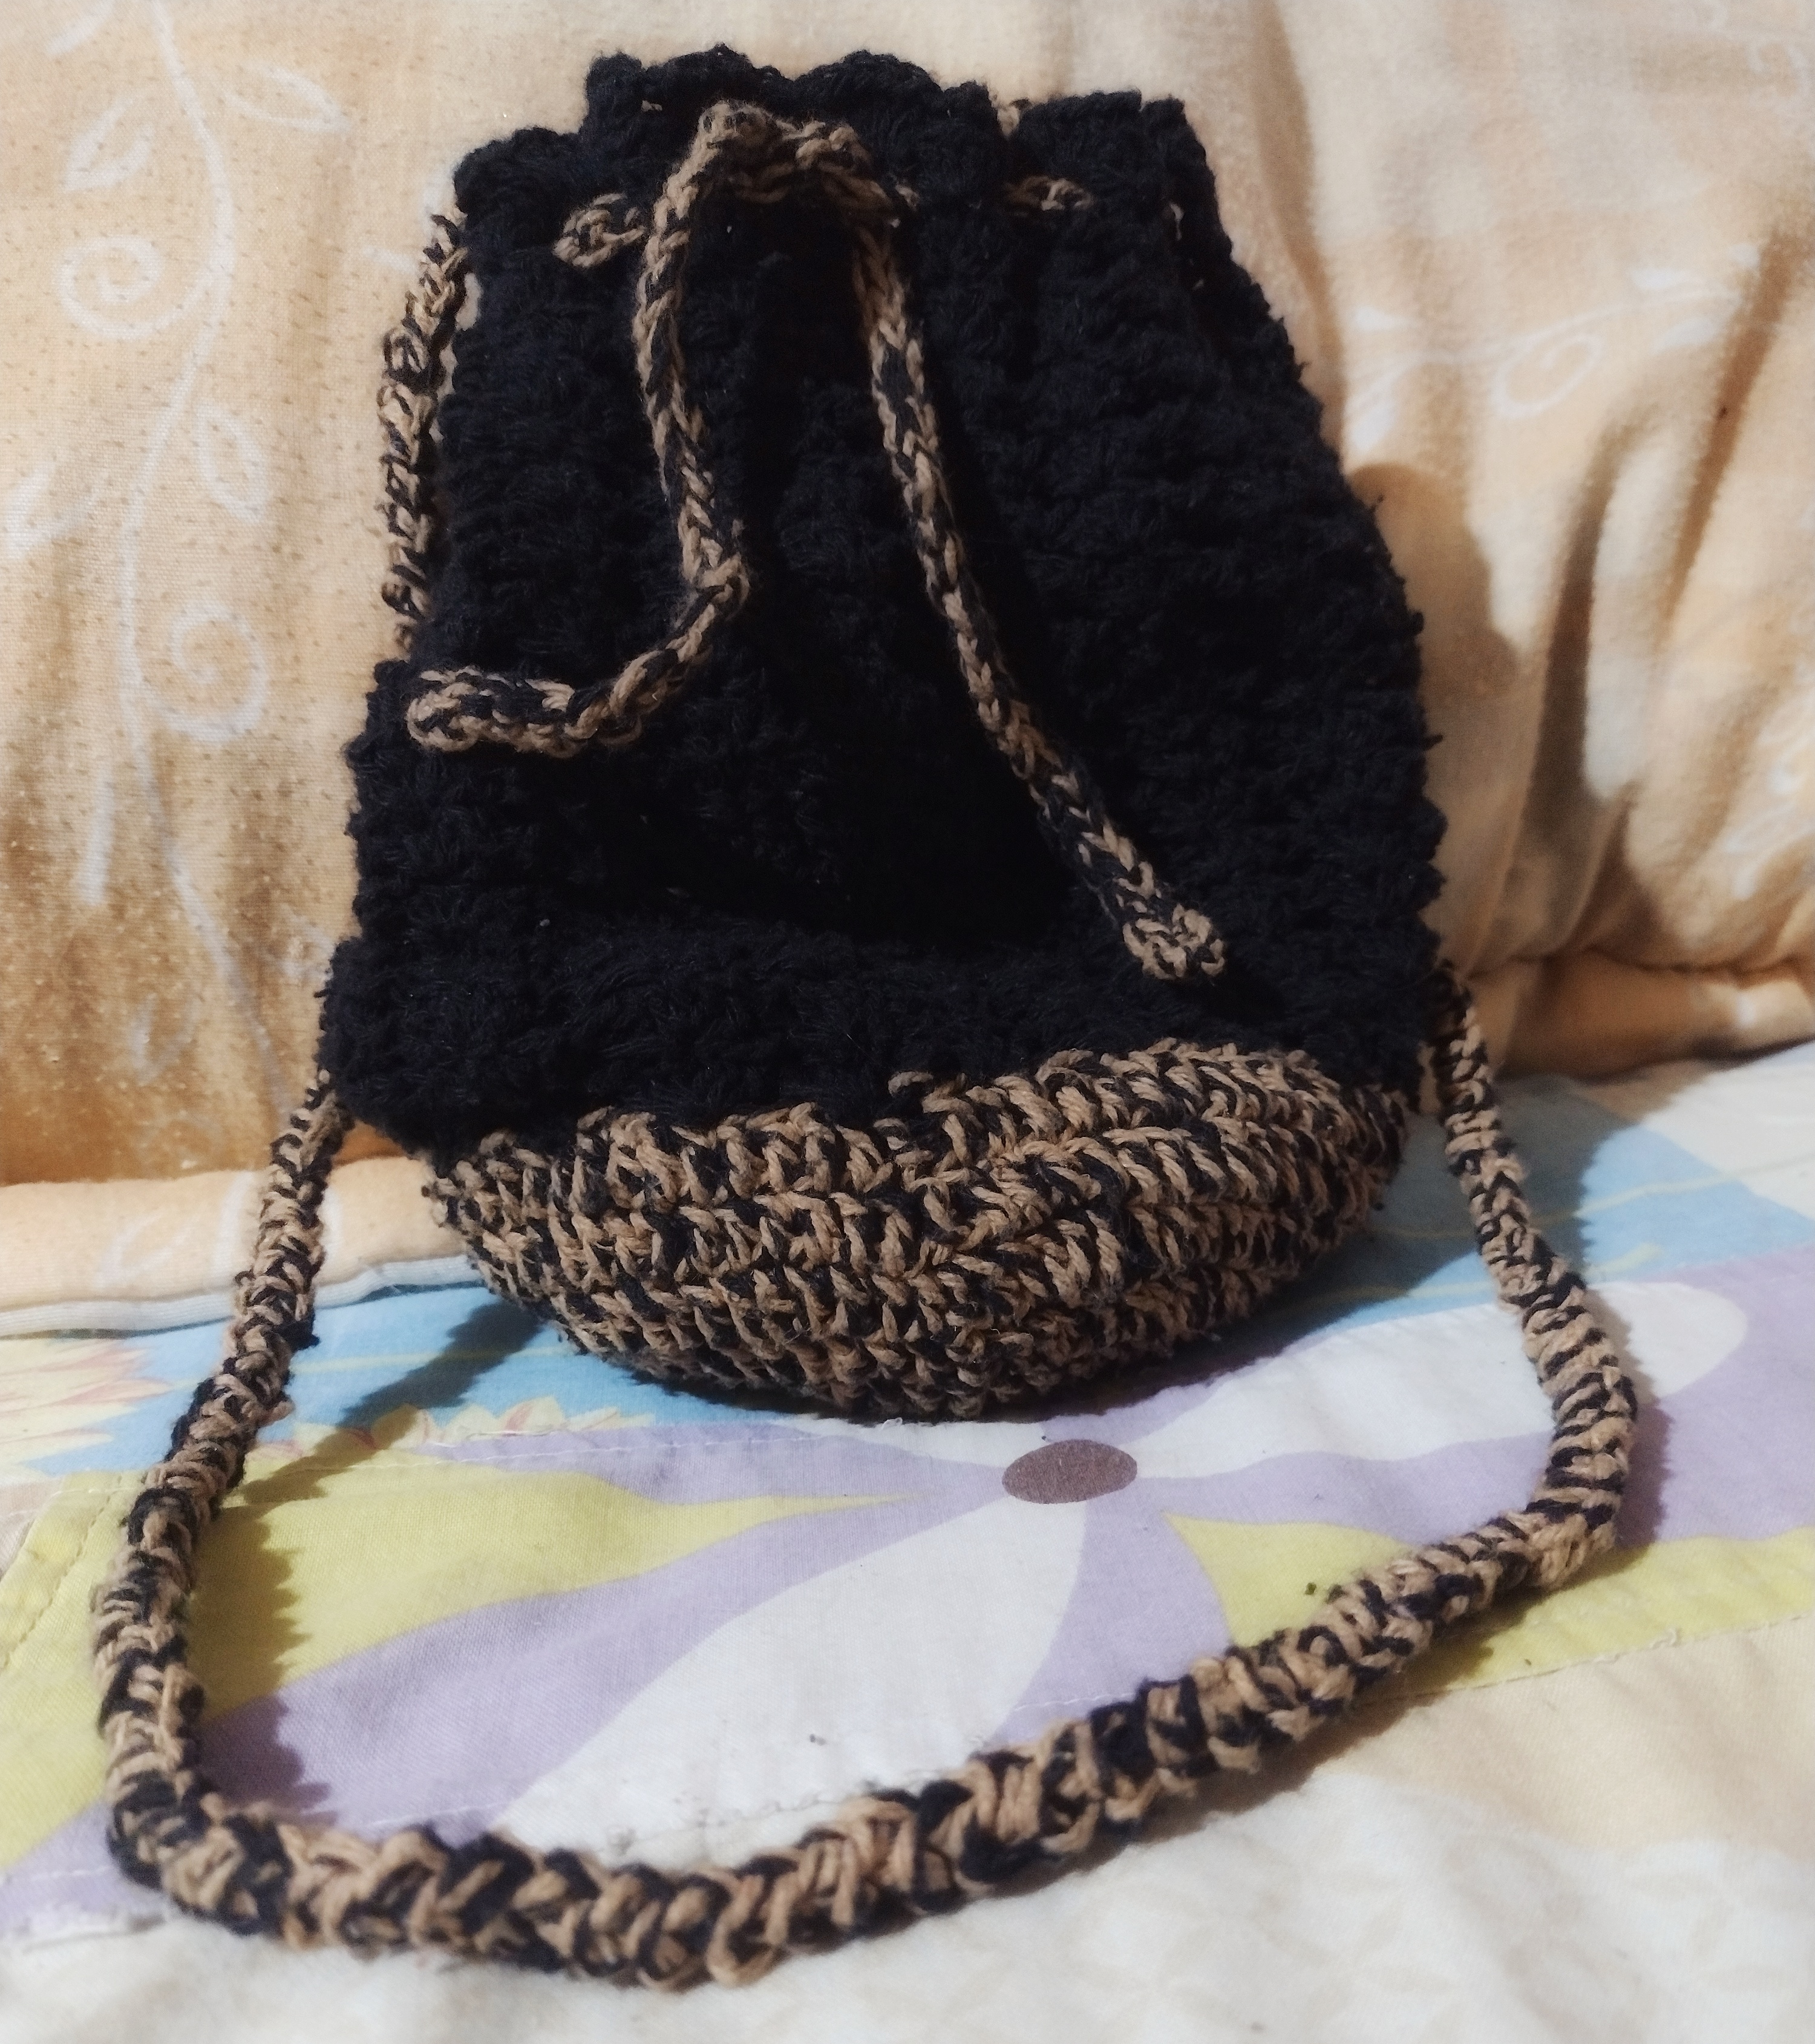
What's up community? I'm glad to be here again and what better than to share with you my latest creation hahaha!
In the first post I made in the community I told you that I was starting to learn how to crochet and that I was very excited, so I kept on crocheting and I'm going to show you the last thing I made, and how I did it...
¿Que tal comunidad? Me alegra pasarme por acá de nuevo y que mejor que compartirles mi más reciente creación jajaja
En el primer post que hice en la comunidad les comenté que estaba empezando a aprender a tejer y que estaba muy emocionada, pues seguí tejiendo y les voy a mostrar lo último que hice, y cómo lo hice...

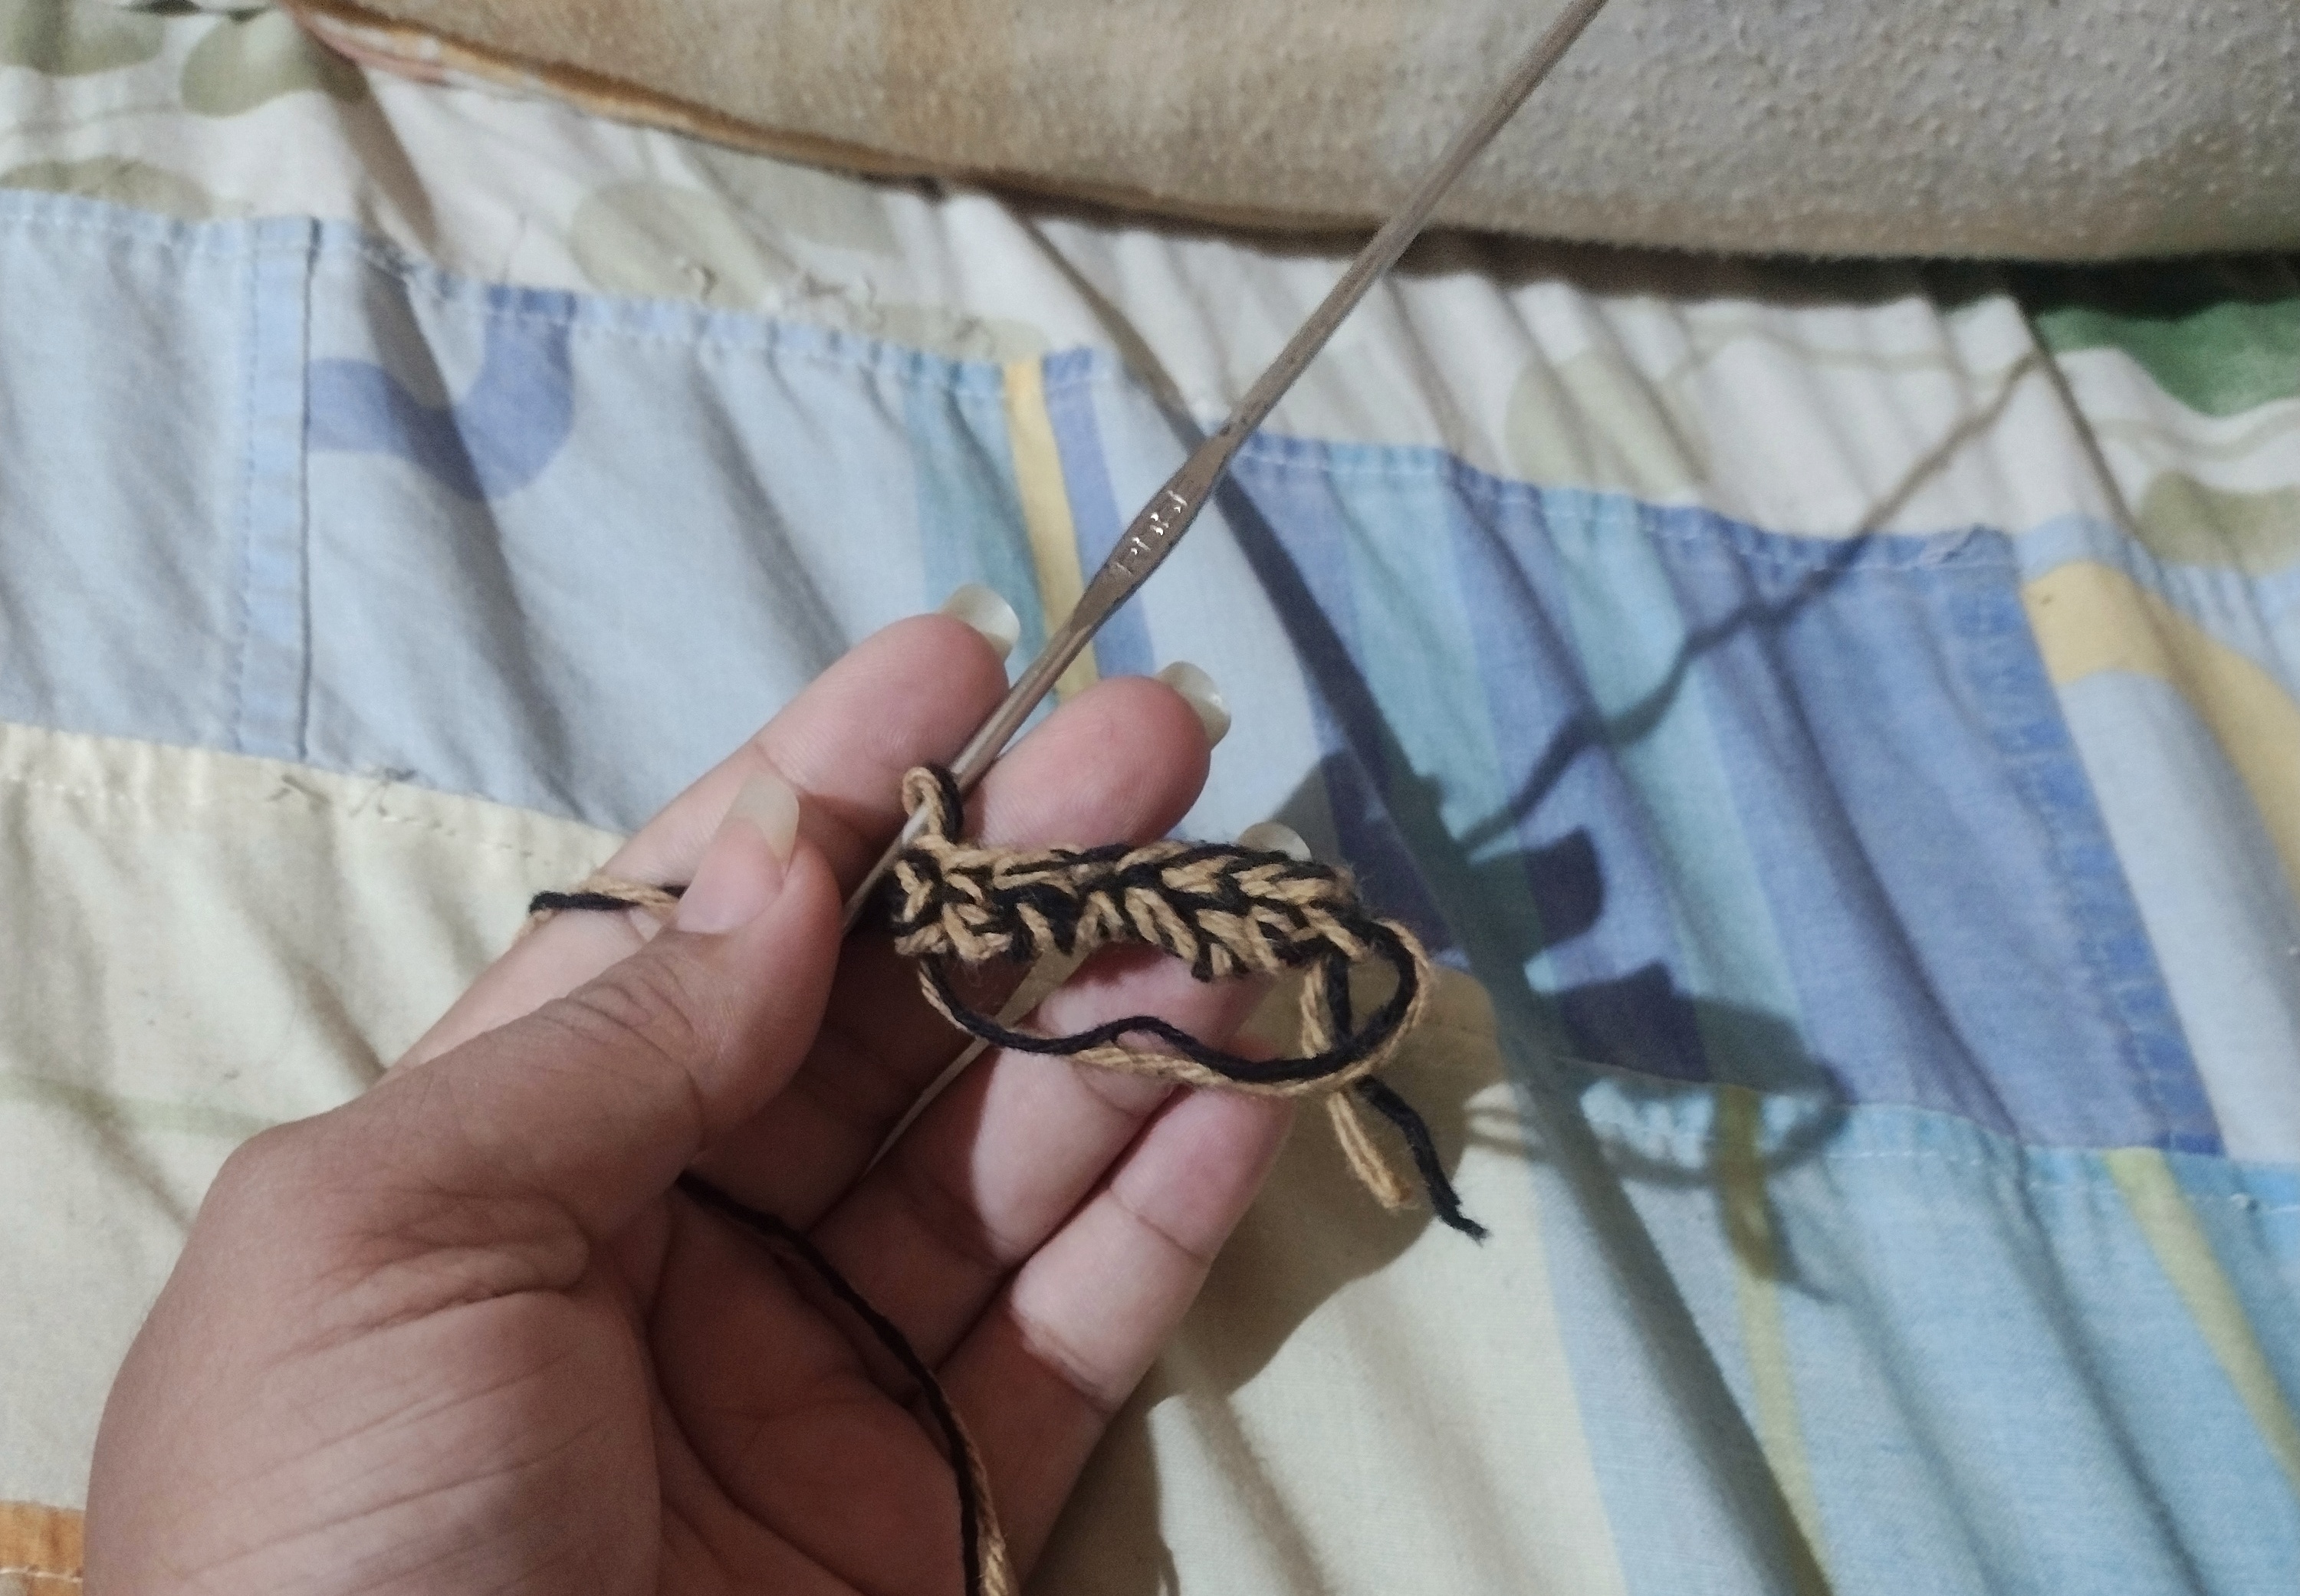
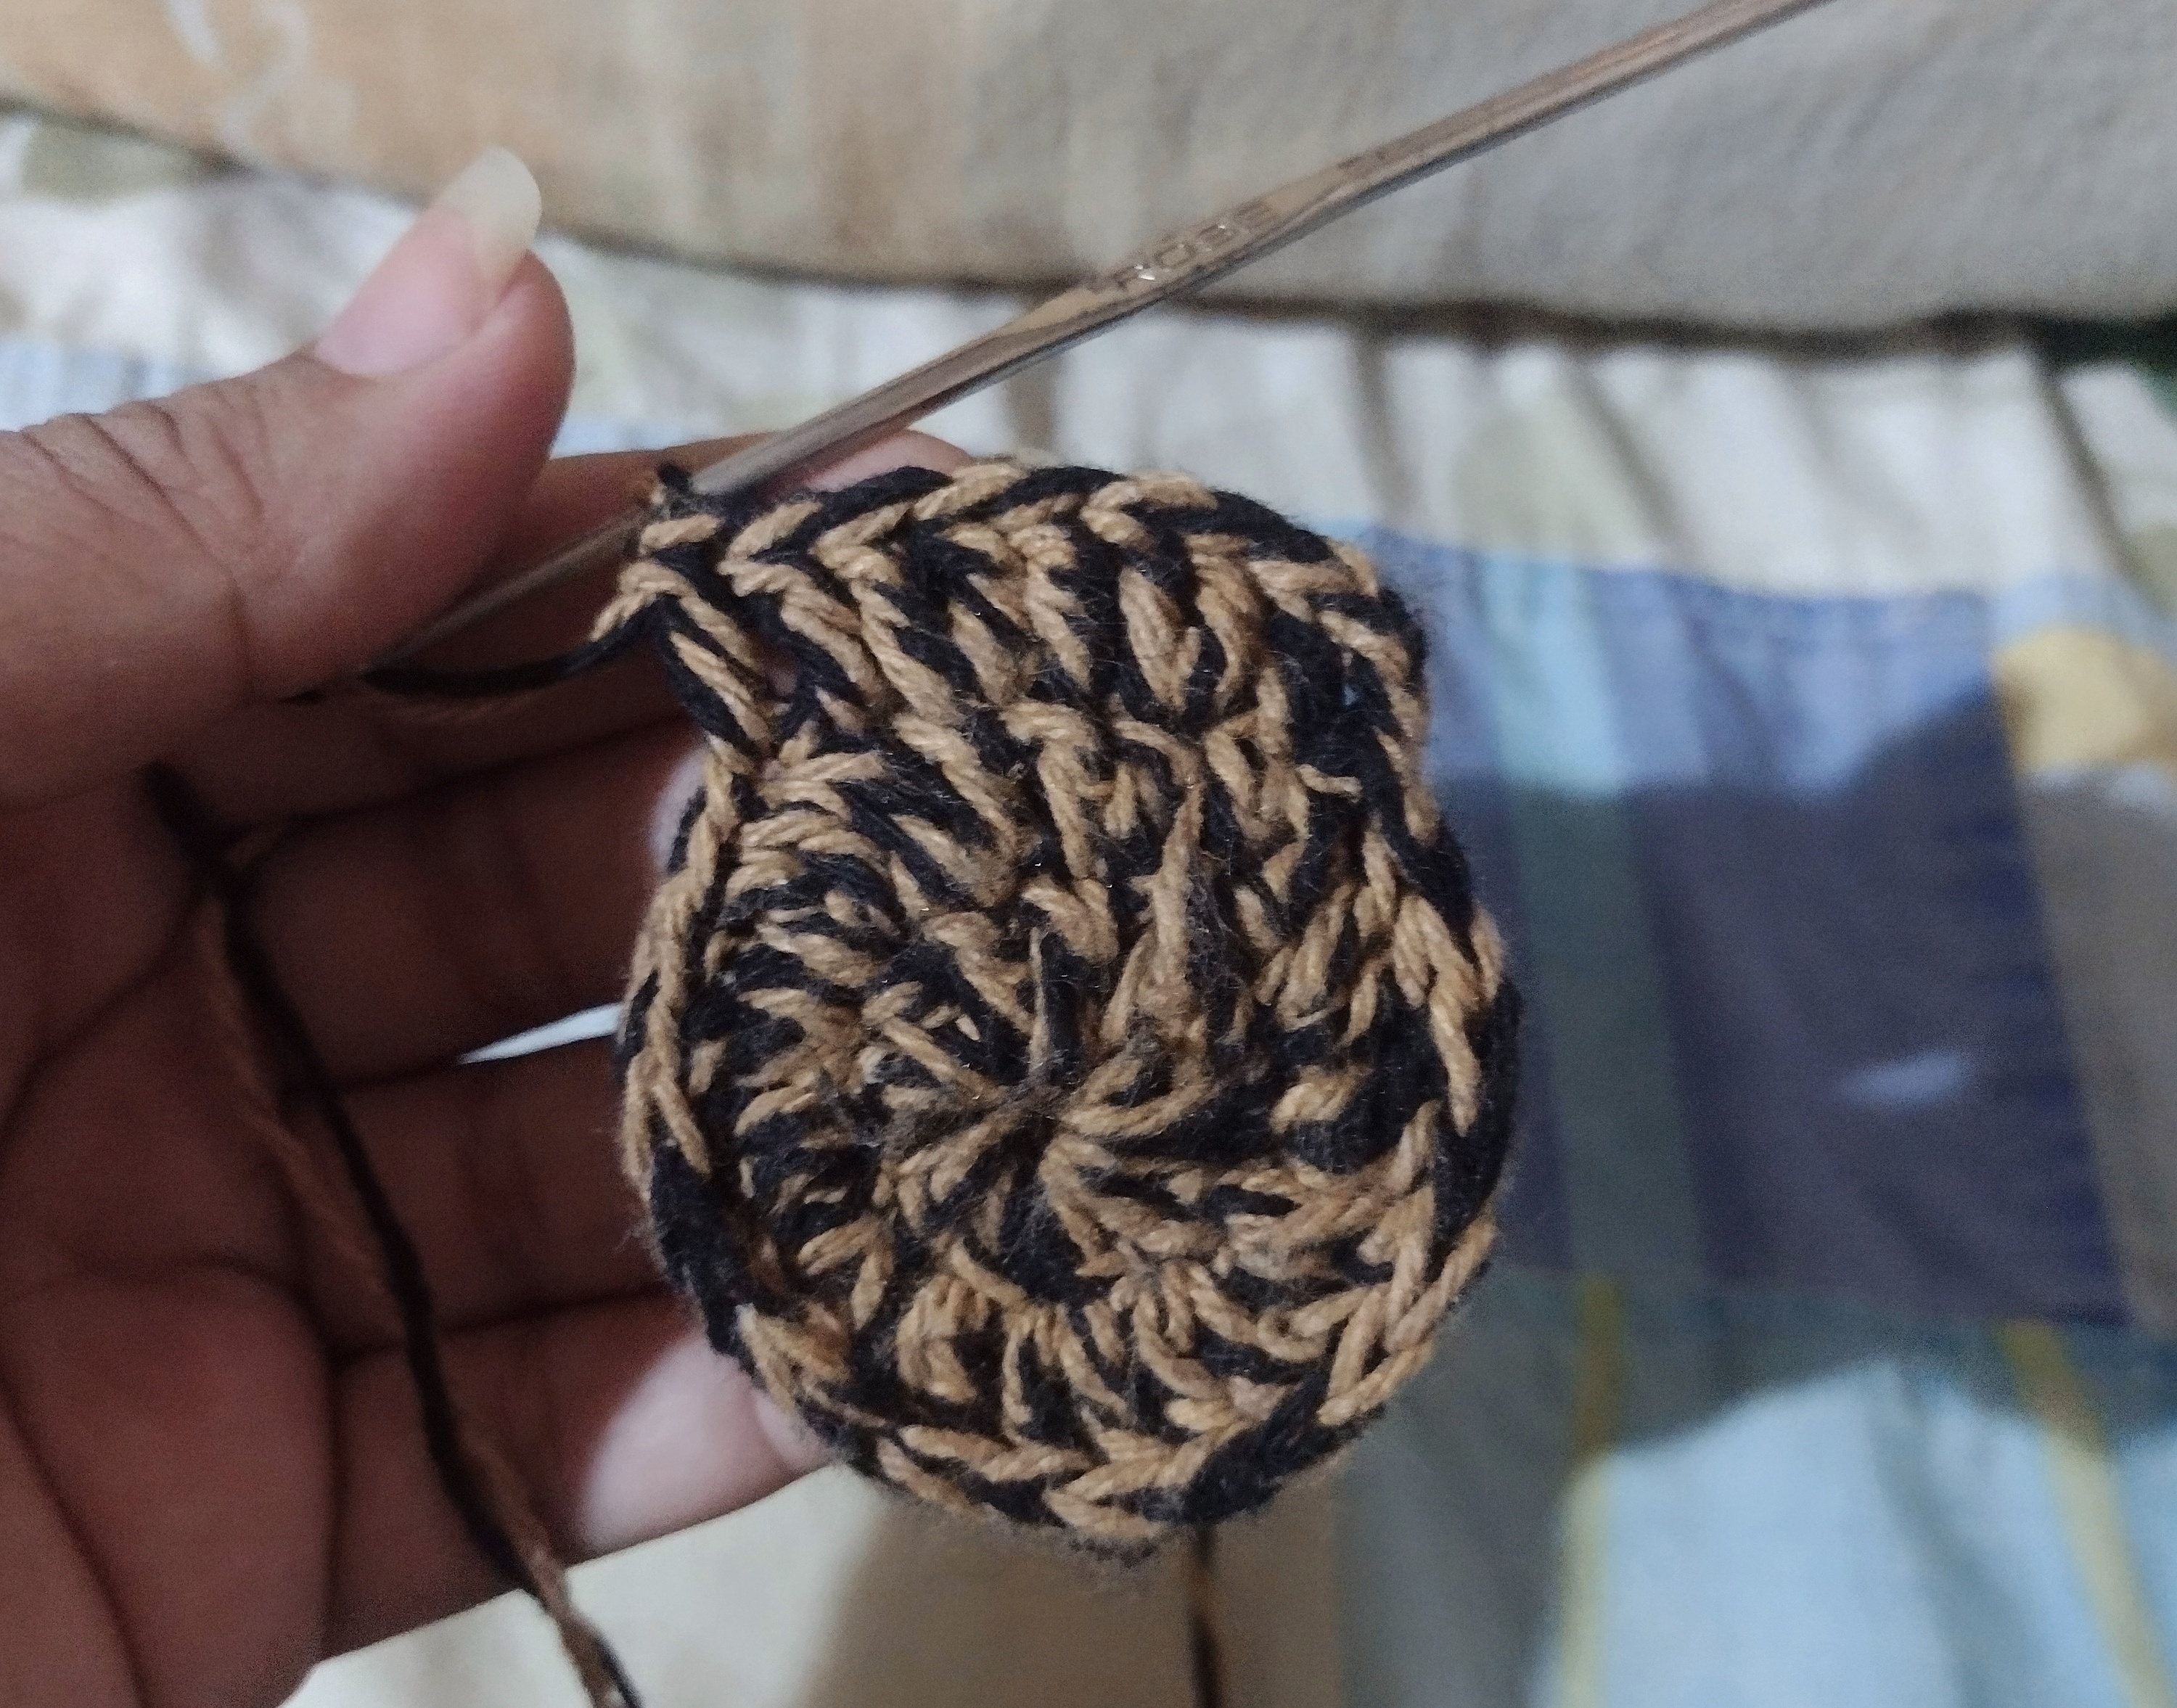
As a good apprentice, I obviously saw a tutorial on Youtube and proceeded with the procedure. I started making a magic ring using two yarns of two different colors, the “ideal” is to use a 2mm yarn, but I didn't get it in my city and I couldn't move to another so I did what I could with what I had, for the bottom I used two different color yarns of 1mm each. In the magic ring we make 13 high stitches.
Como buena aprendiz, obviamente vi un tutorial en Youtube y procedí con el procedimiento. Empecé realizando un anillo mágico usando dos hilos de dos colores distintos, lo "ideal" es usar un hilo de 2mm, pero no lo conseguí en mi ciudad y tampoco me podía trasladar a otra así que se hace lo que se puede con lo que se tiene, para la parte de abajo usé dos hilos de diferente color de 1mm cada uno. En el anillo mágico hacemos 13 puntos altos.
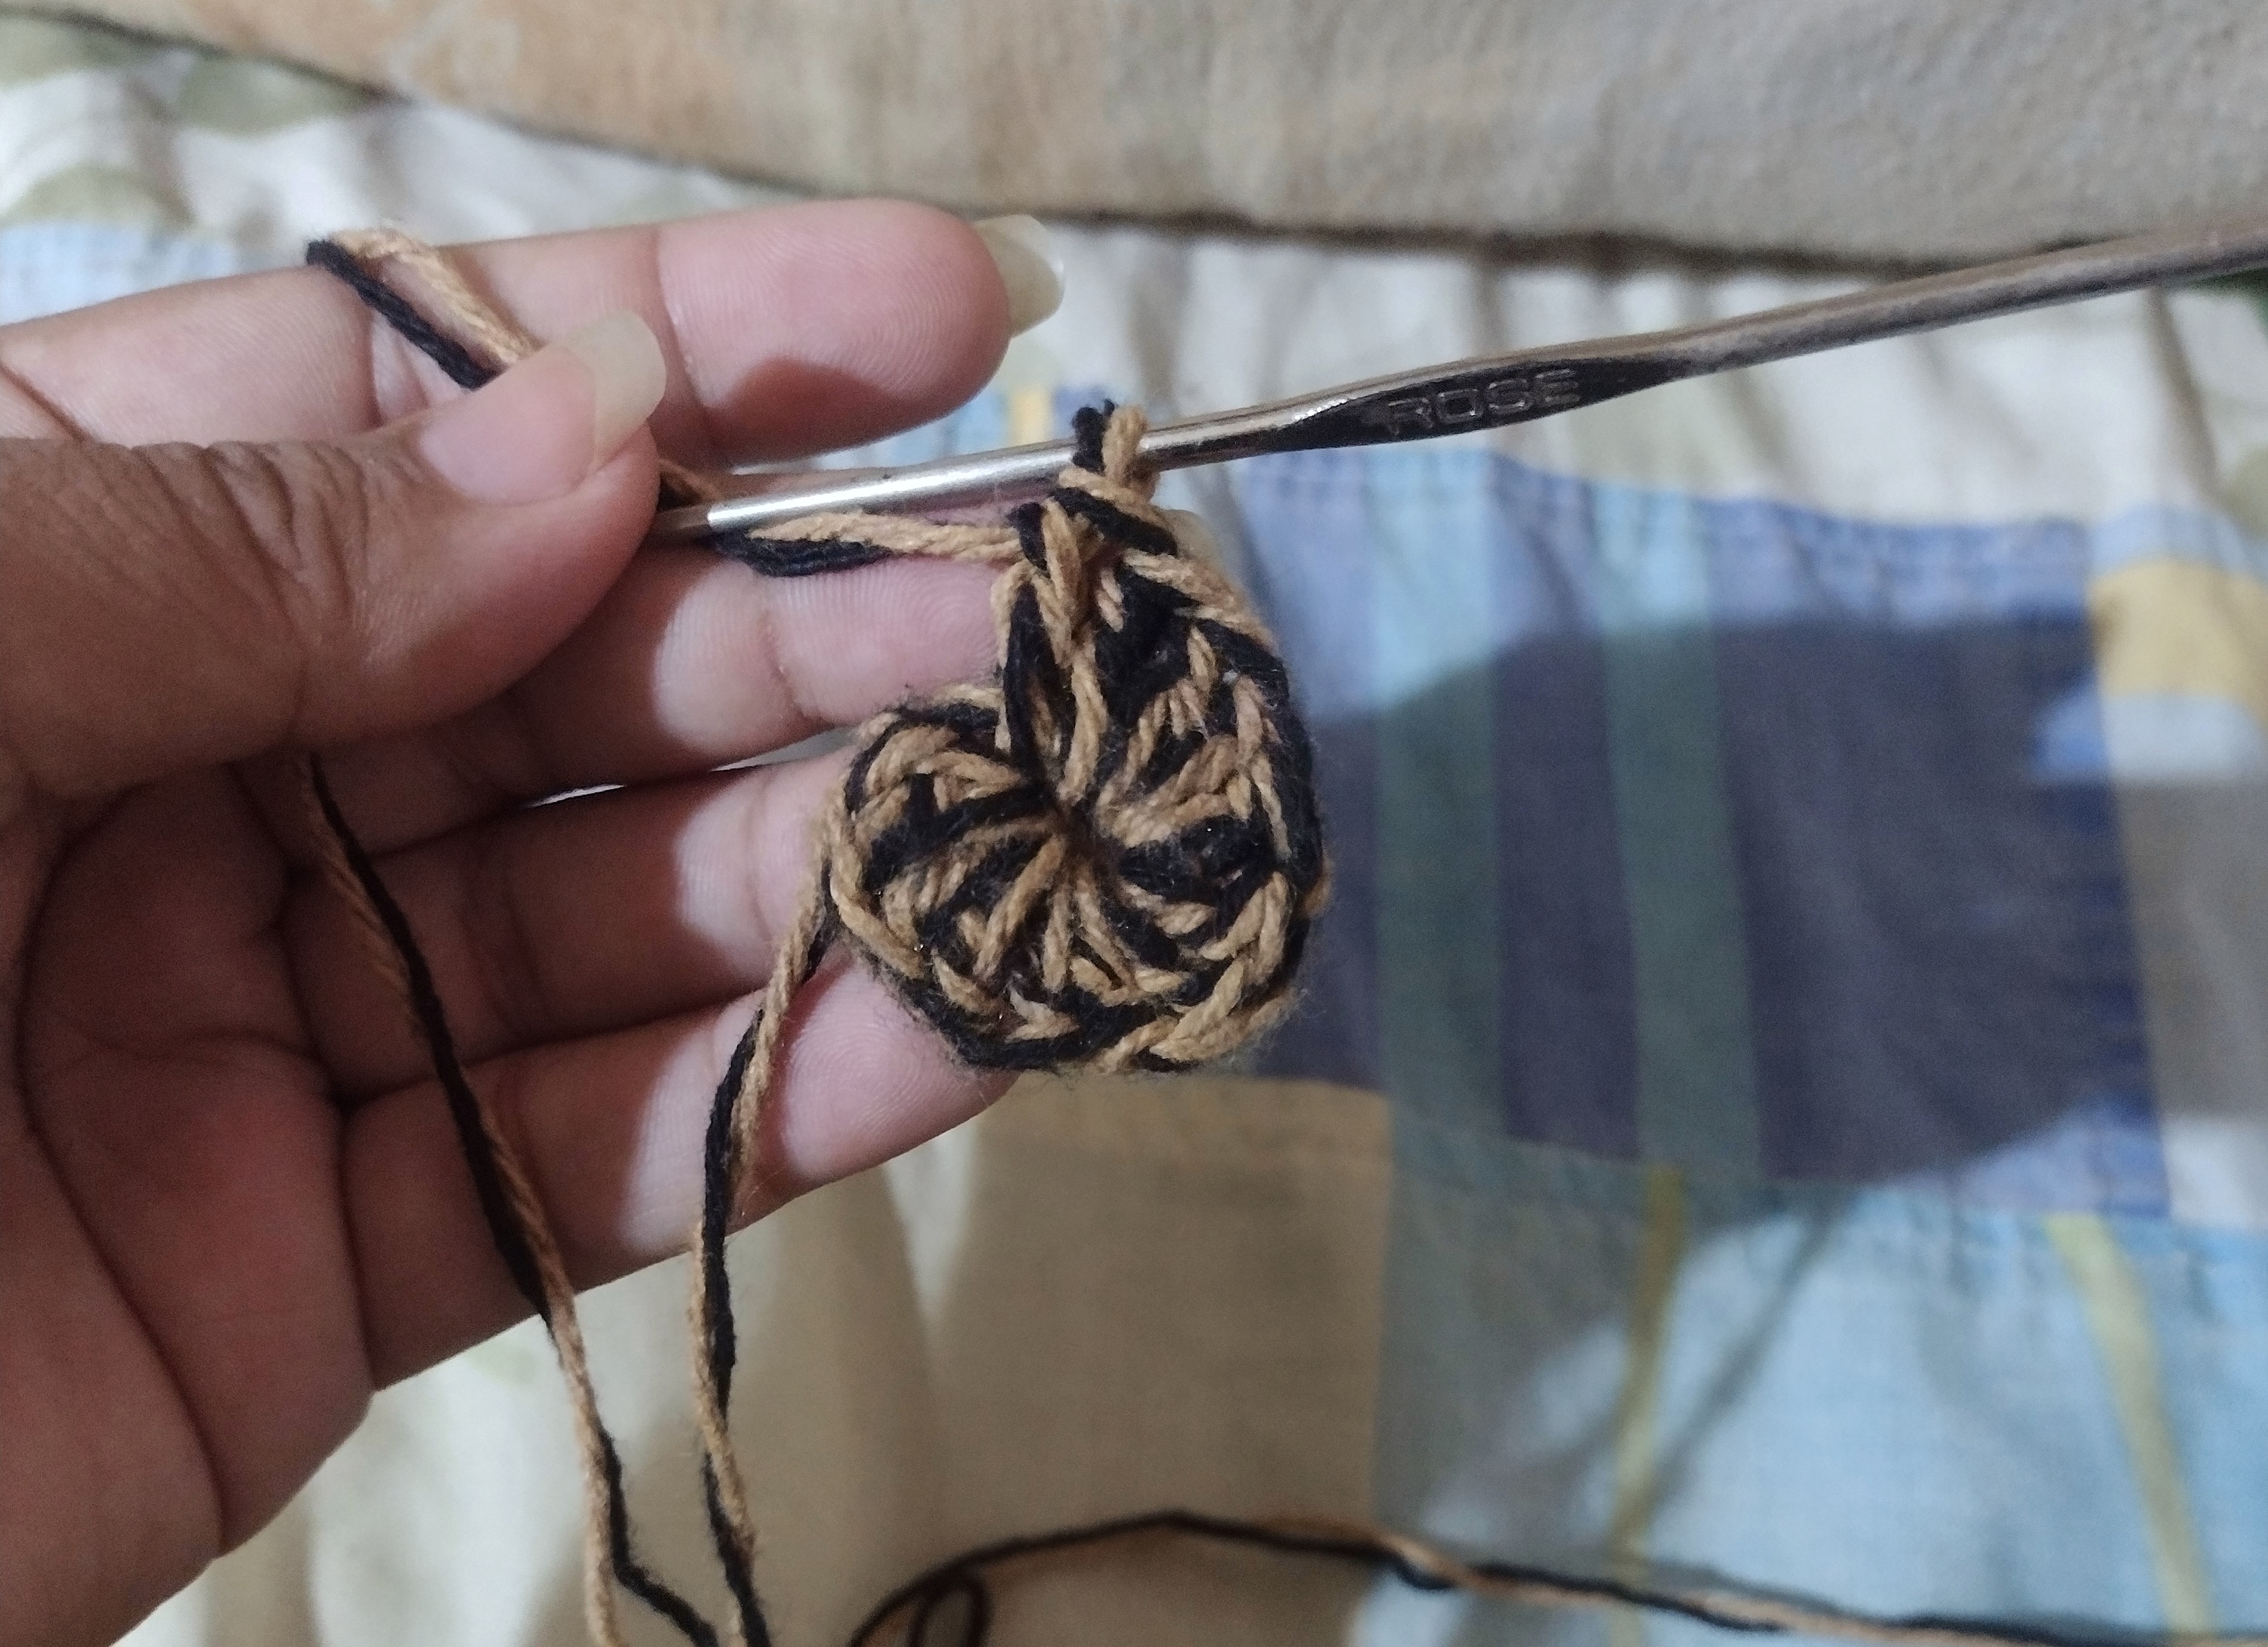
We should have something like this, then we have to make an increase in each stitch (that is, two high stitches in each stitch) we should have twice as many stitches as we had done first, that is, we should have 26 high stitches left.
Nos debería quedar algo así, luego tenemos que hacer un aumento en cada punto (es decir, dos puntos altos en cada punto) nos debería quedar el doble de puntos de los que habiamos hecho primero, es decir, nos tienen que quedar 26 puntos altos.
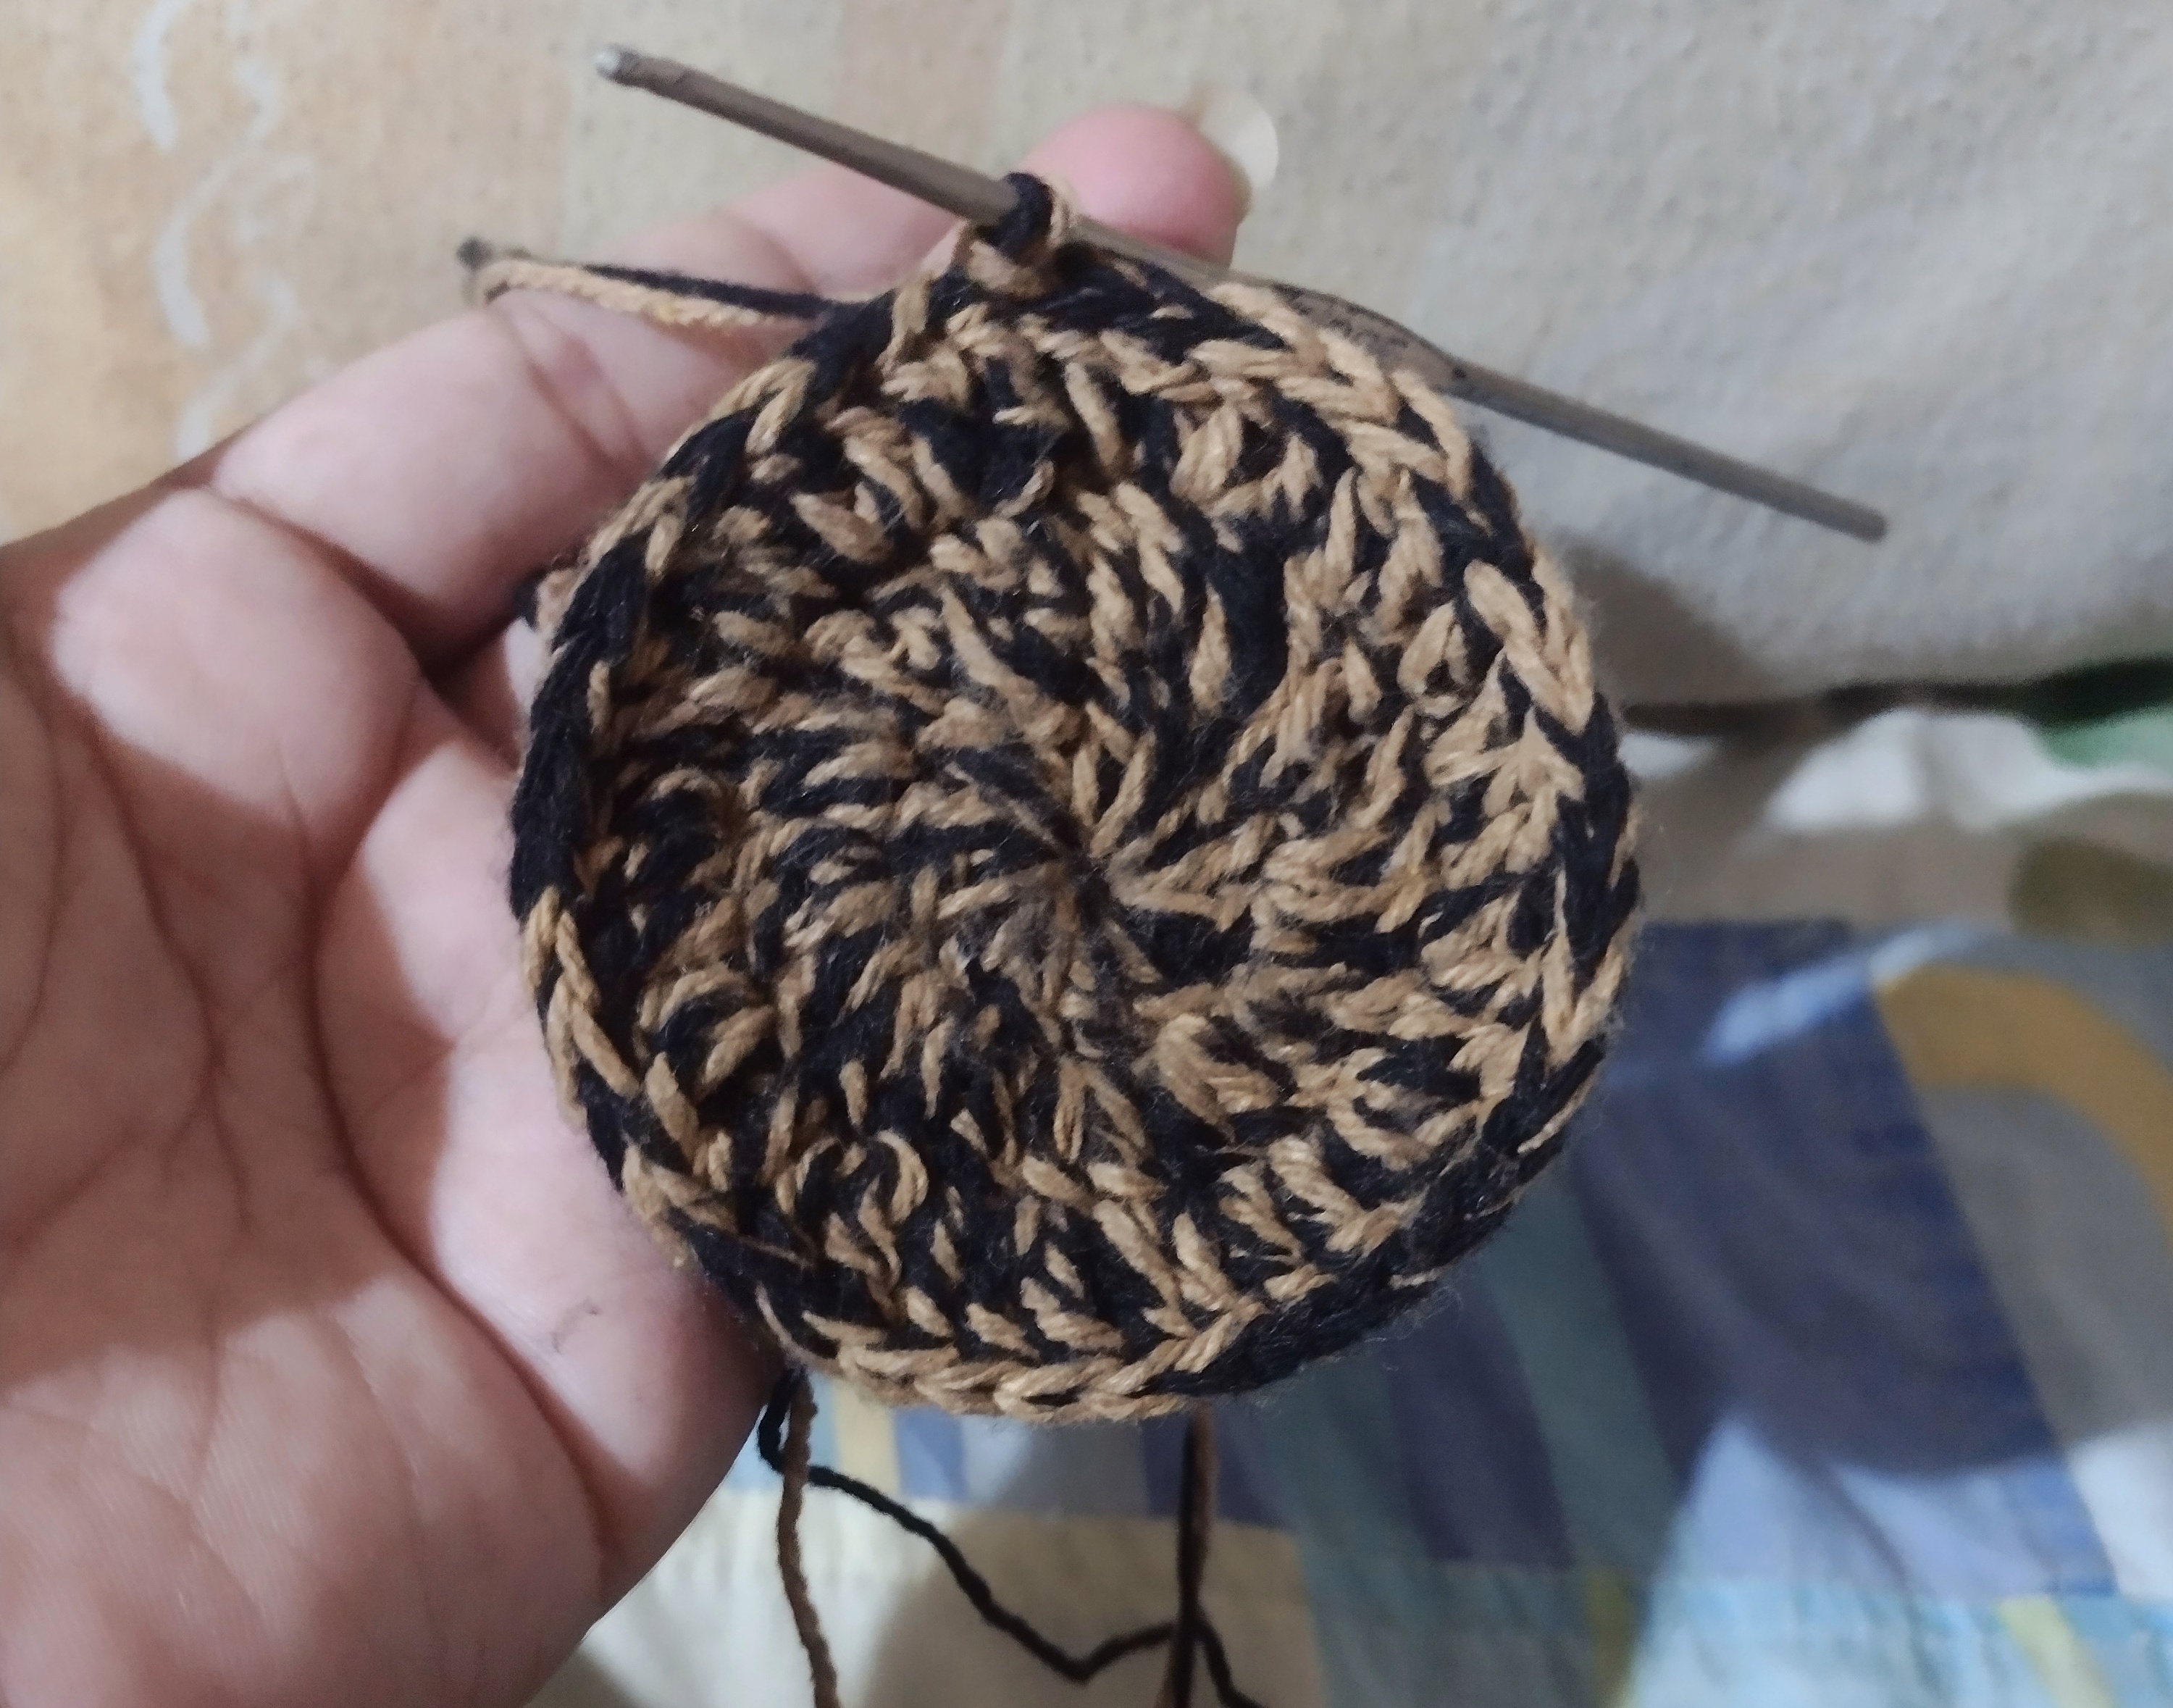
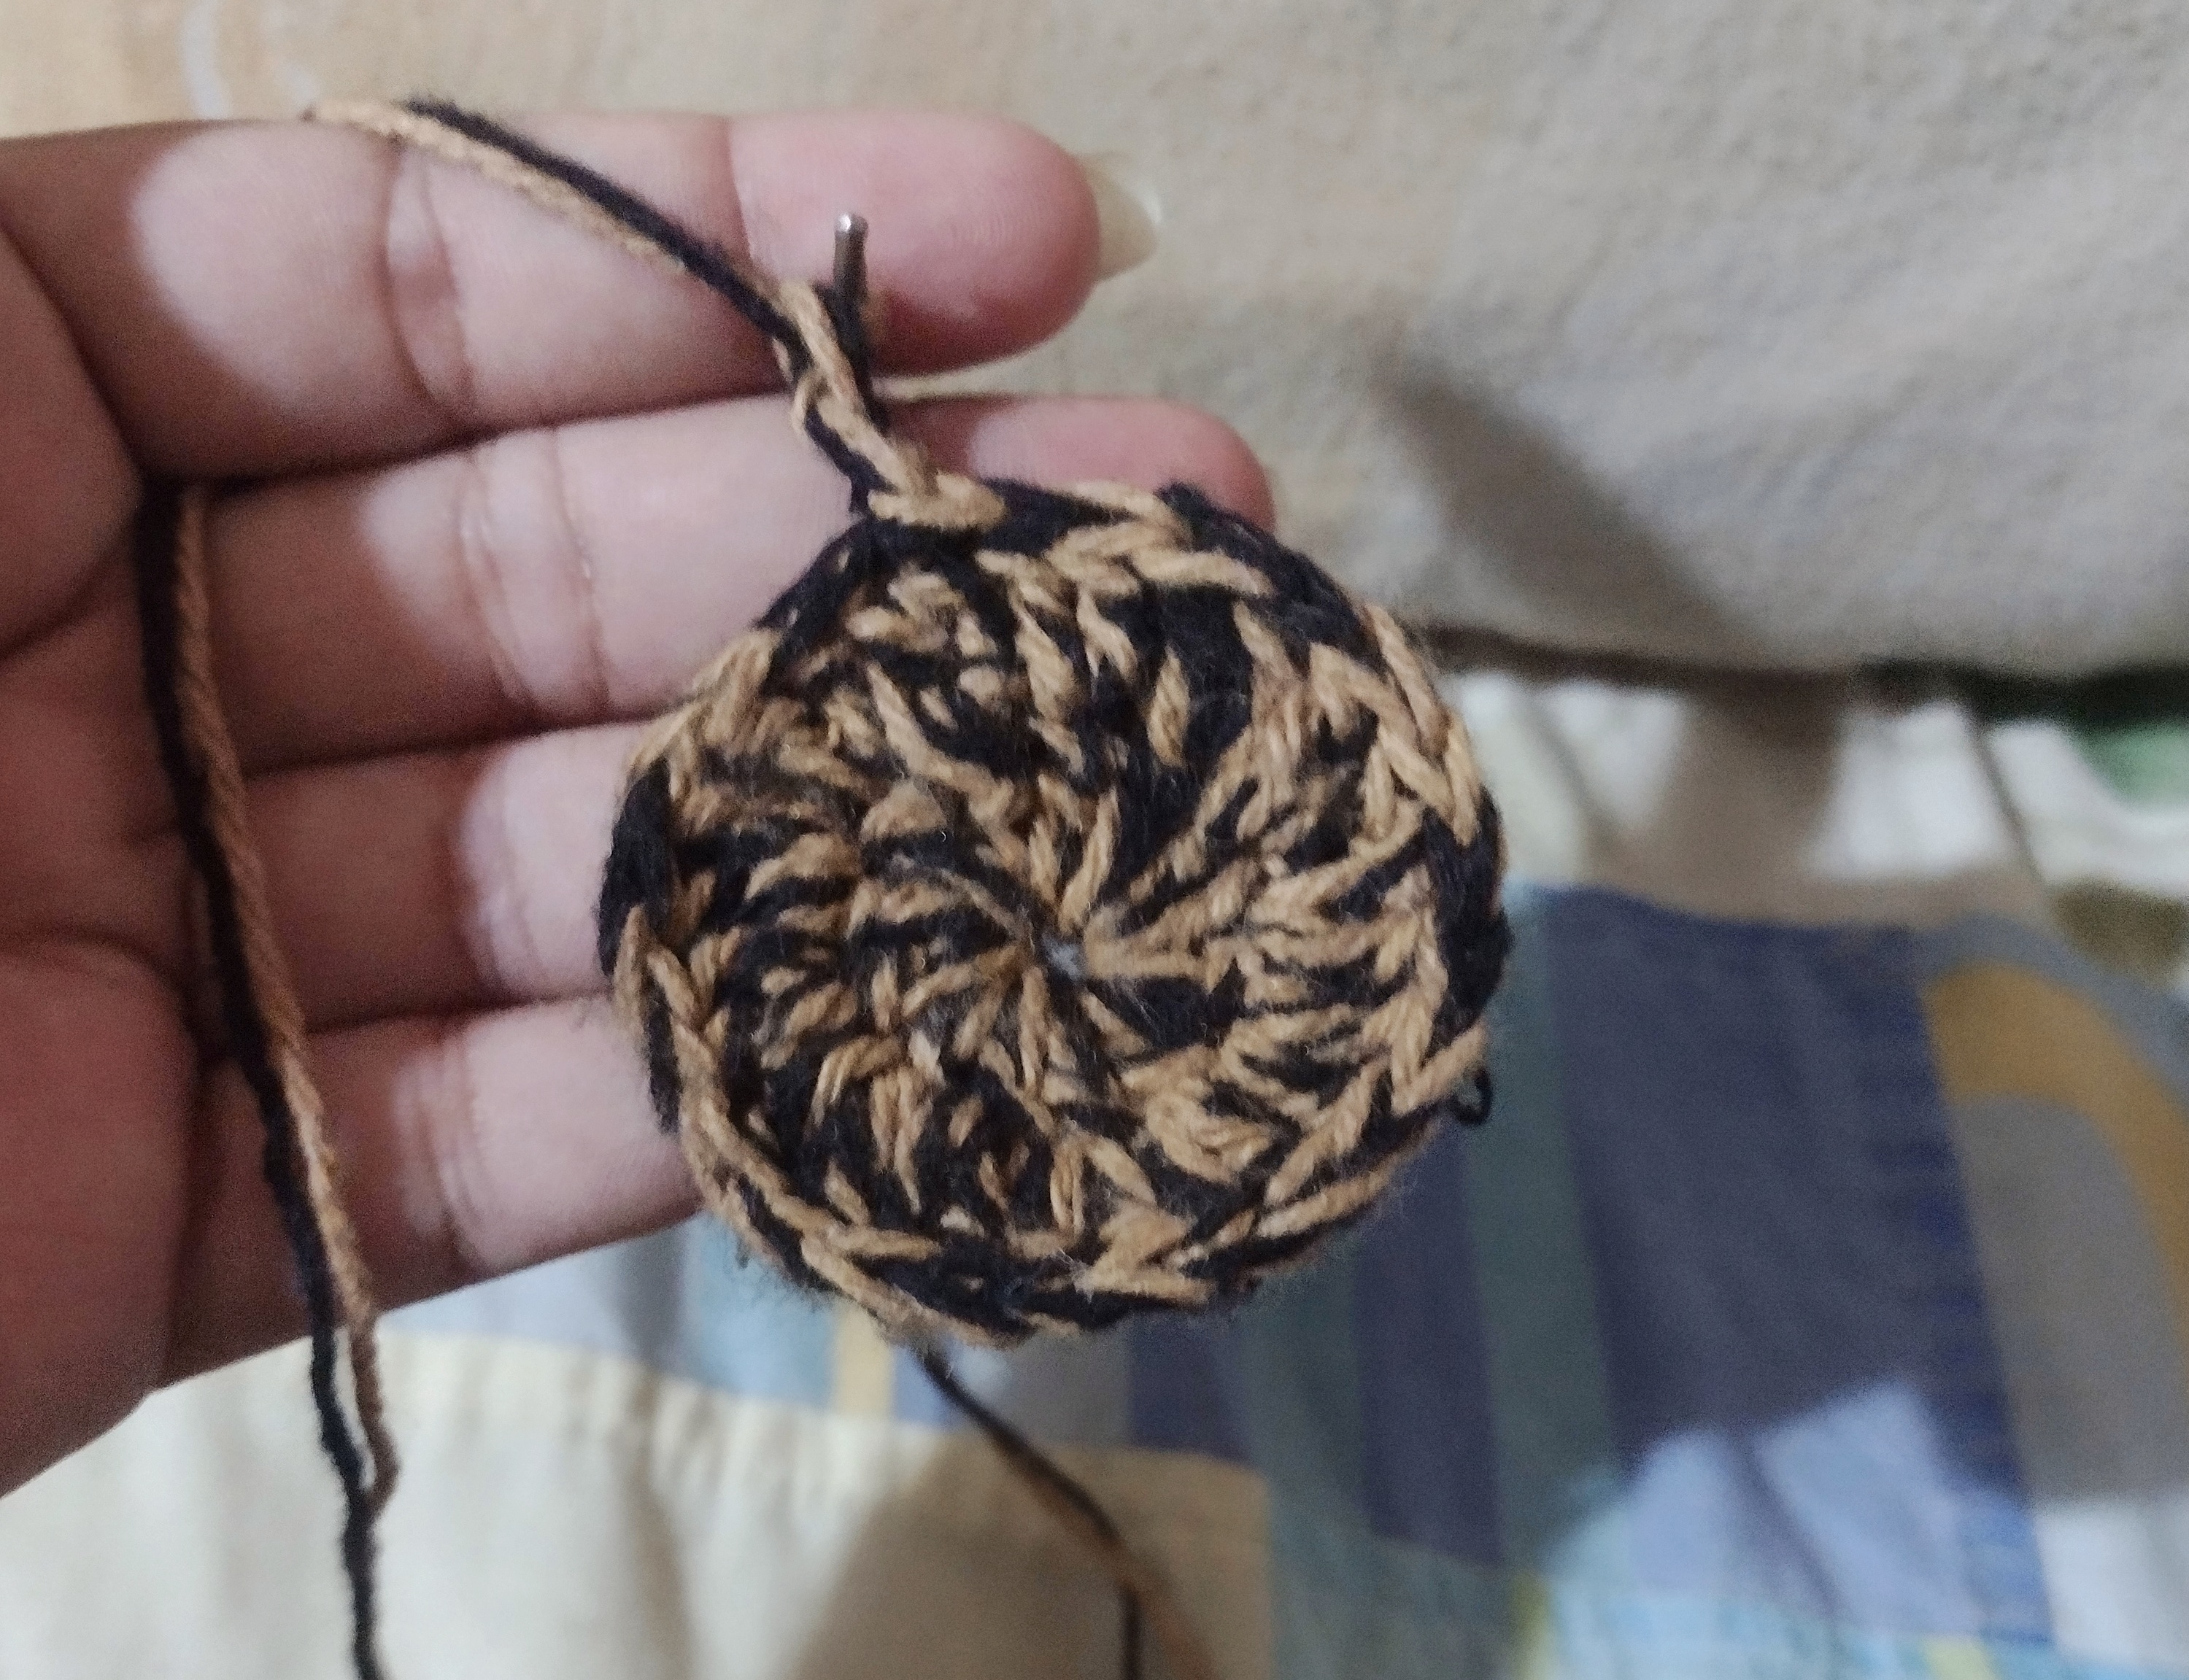
In the third round we have to intersperse, that is to say, we make one increase for each high stitch (1 high stitch, 1 increase) and so on until we complete...
En la tercera vuelta tenemos que intercalar, es decir, hacemos un aumento por cada punto alto (1 punto alto, 1 aumento) y así hasta completar...
And in each row we increase the number of single crochet stitches, that is, in the fourth row we make 2 single crochets for each increase, in the fifth row we make 3 single crochets for each increase, and so on in each row...
Y en cada vuelta vamos aumentando la cantidad de puntos altos solos, es decir, en la cuarta vuelta se hacen 2 puntos altos por cada aumento, en la Quinta vuelta se hacen 3 puntos altos por cada aumento y así sucesivamente en cada vuelta...
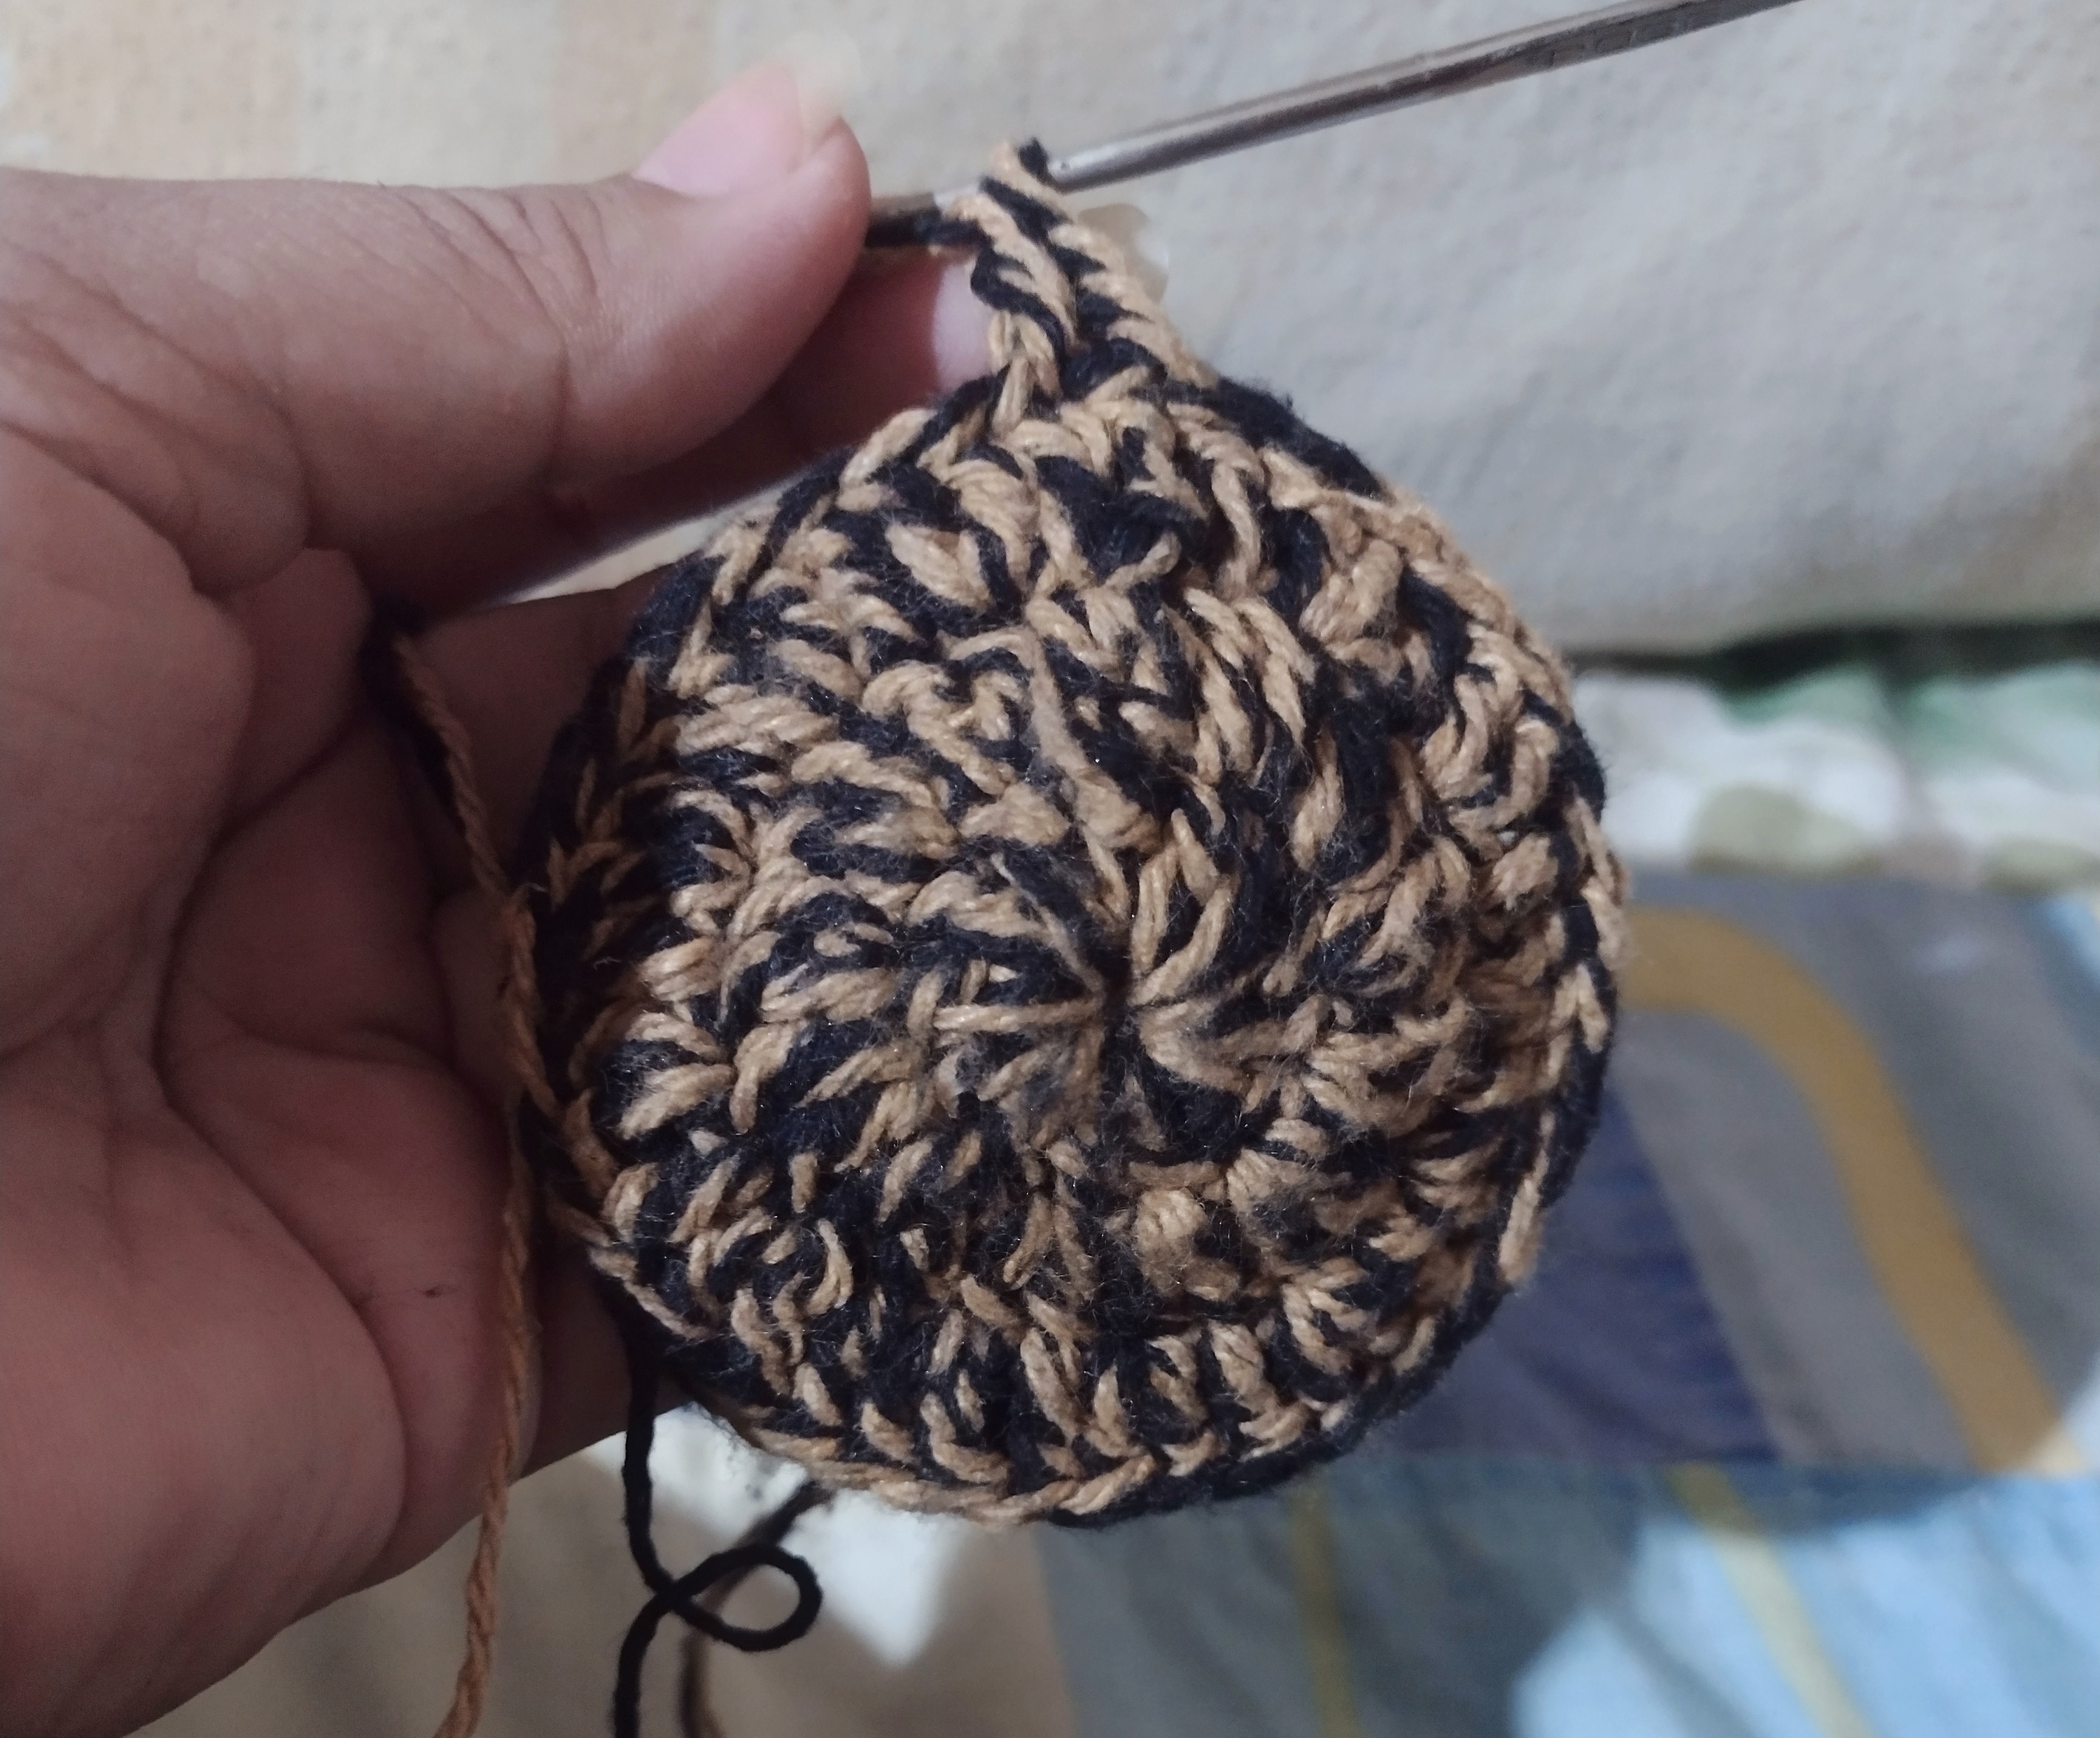
I wanted to make it small (I was guided by the size of the bottle) so I left it until the sixth round, in the seventh and eighth round I did not make any increase but all were high stitches...
Yo lo quería hacer pequeño (me guíe por el tamaño de la botella) asi que lo dejé hasta la sexta vuelta, en la séptima y octava vuelta ya no hice ningún aumento sino que todos fueron puntos altos...
This is how it should be...
Así nos debería ir quedando...
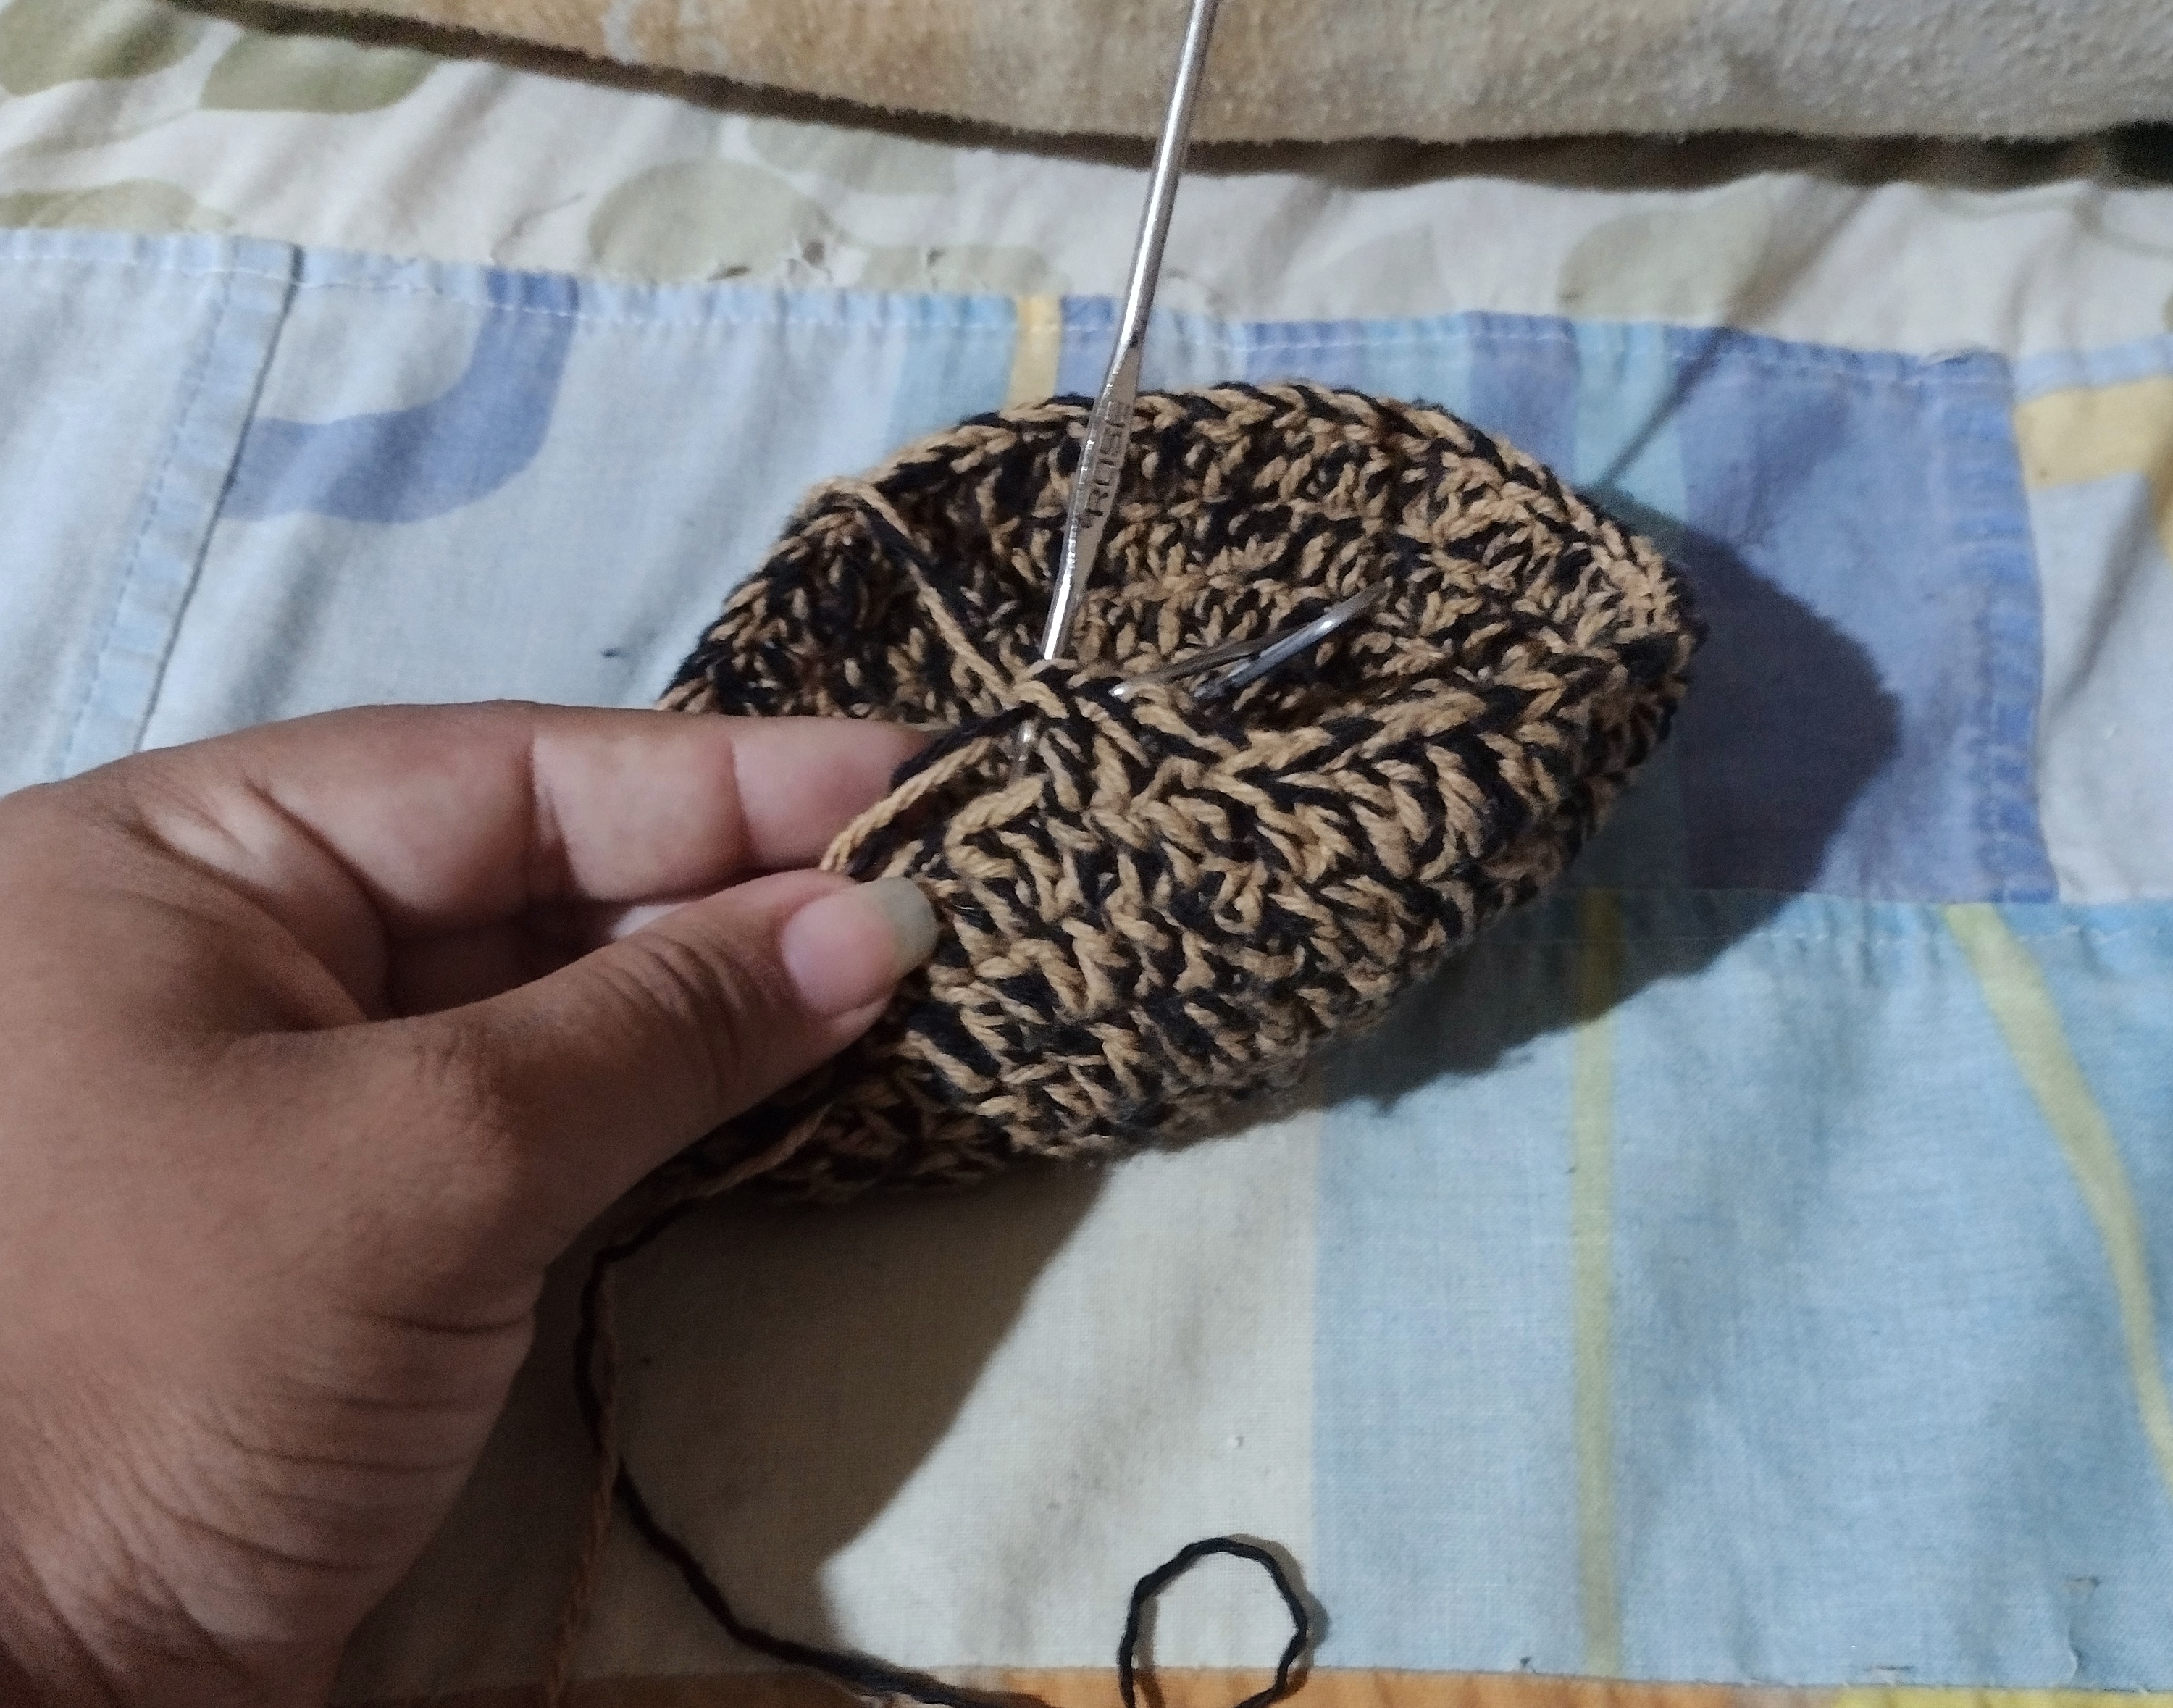
Then, to make this shape we must make 5 (in my case I made 6) increases of high stitch (that is, high stitches in the same stitch), then omit 3 stitches and do the same in the fourth following stitch, and so on until completing the whole round.
Luego, para hacer ésta forma debemos hacer 5 (en mi caso yo hice 6) aumentos de punto alto (es decir, puntos altos en un mismo punto), luego omitir 3 puntos y hacer lo mismo en el cuarto punto siguiente, así hasta completar toda la vuelta.
We should have something like this and in the next round, the high stitches we will be doing in the middle of the high stitches we did previously, we will do this until we have the desired height, in my case, I did 15 rounds...
Nos debería quedar algo así y en la siguiente vuelta, los puntos altos los estaremos haciendo en el medio de los puntos altos que hicimos anteriormente, ésto lo hacemos hasta tener la altura deseada, en mi caso, hice 15 vueltas...
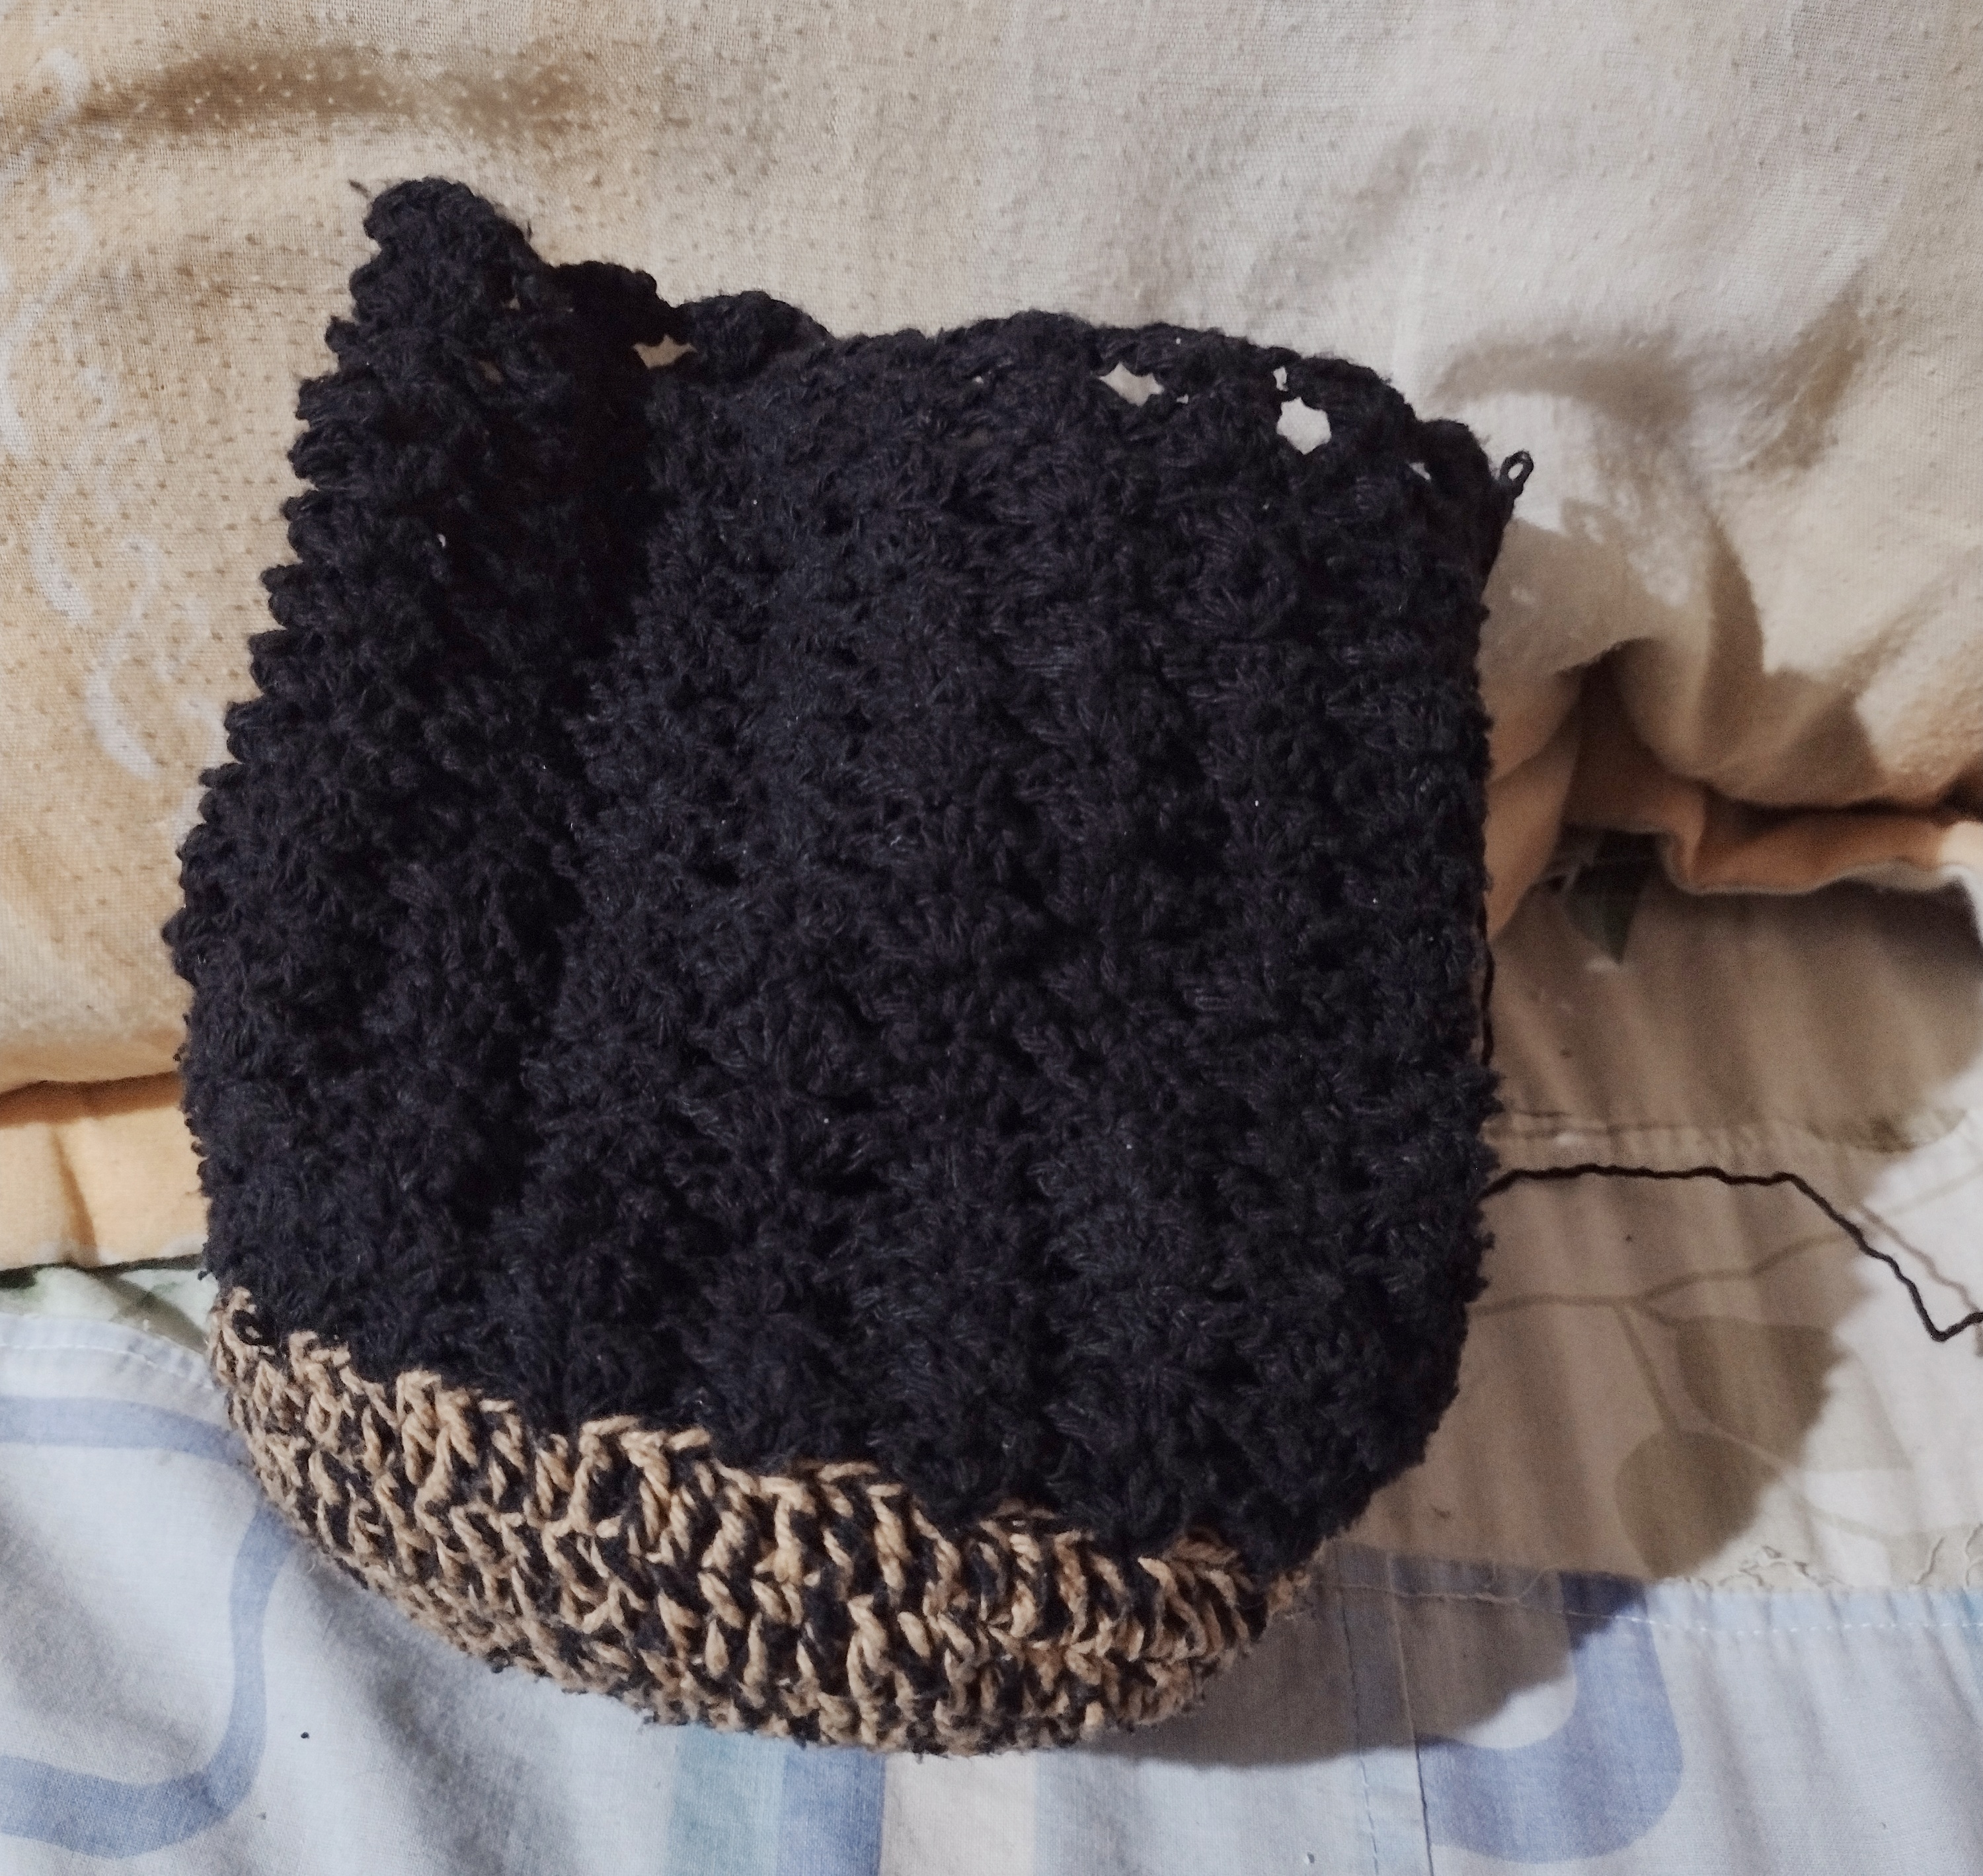

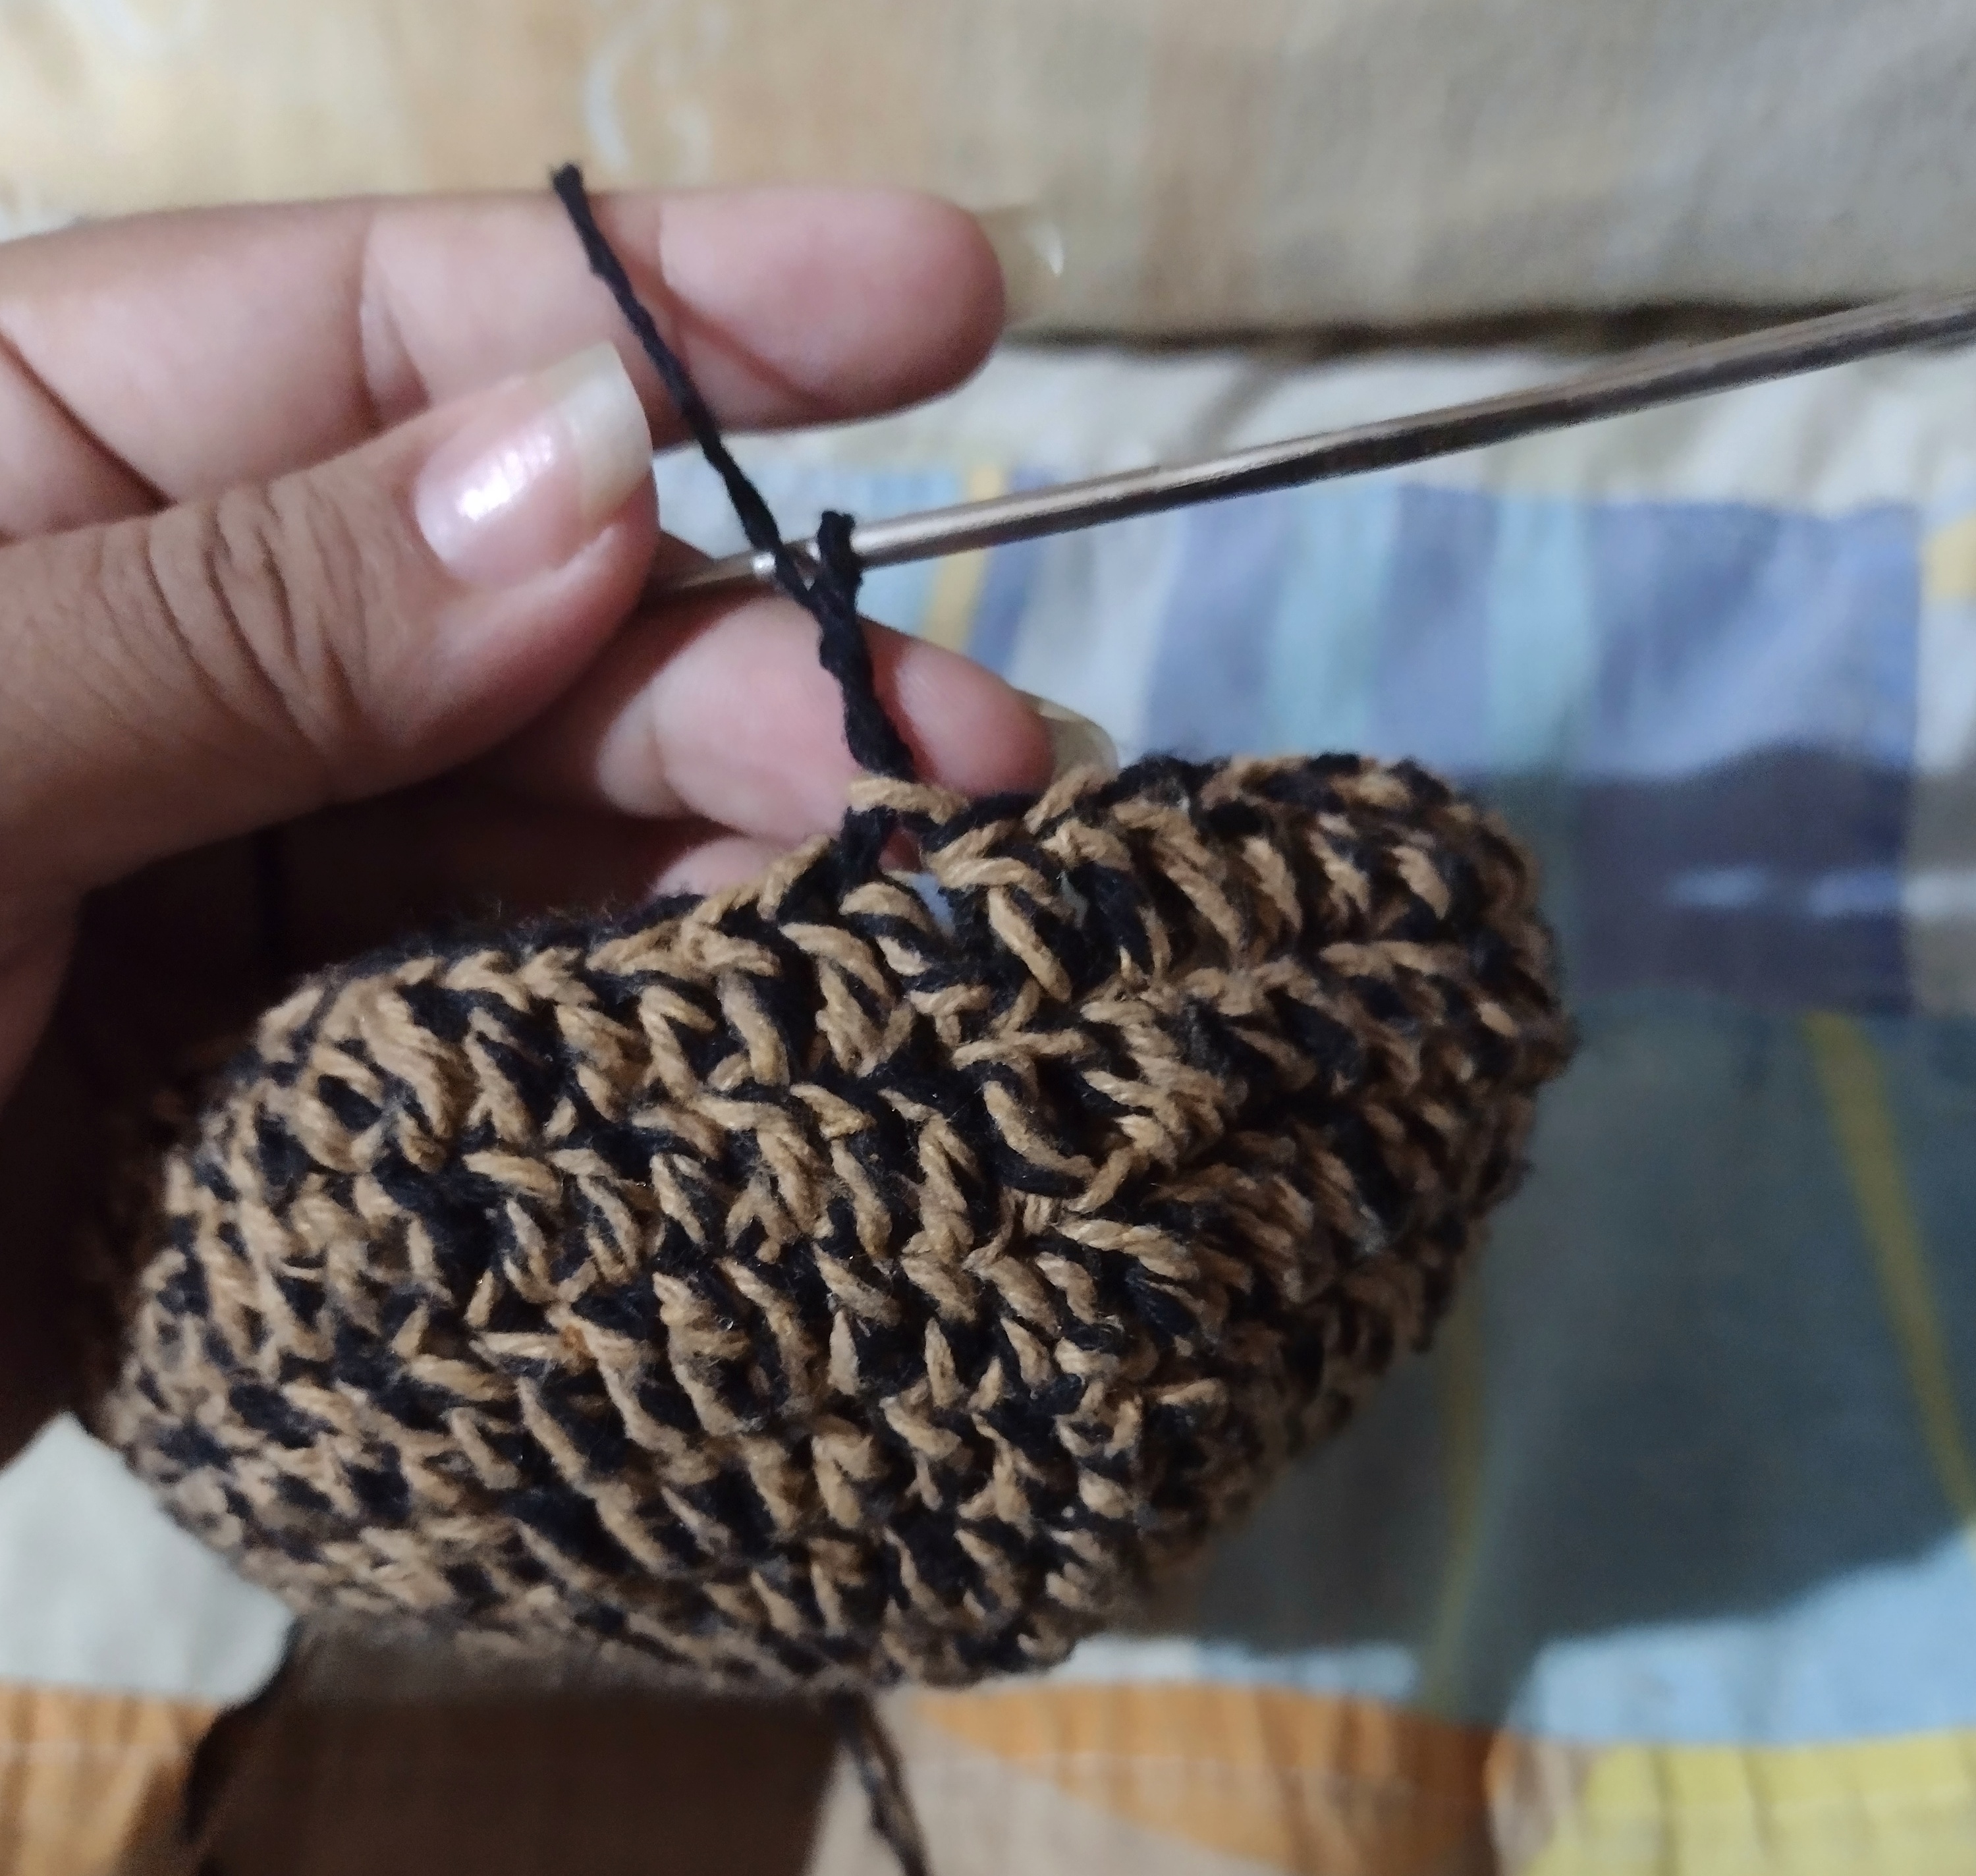
Once we have something like this (first image) we make the last row, but this time we are going to make 2 more increases (that is, if you were making 5 increases, now you will make 7) and also this time we are not going to make them in the middle stitch of the previous row, but we are going to make them in the empty spaces.
Una vez que tenemos algo así (primera imagen) hacemos la última vuelta, pero ésta vez vamos a hacer 2 aumentos más (es decir, si venías haciendo 5 aumentos, ahora harás 7) y también ésta vez vamos a hacerlos no en el punto del medio de la vuelta anterior, sino que los vamos a hacer en los espacios vacíos.
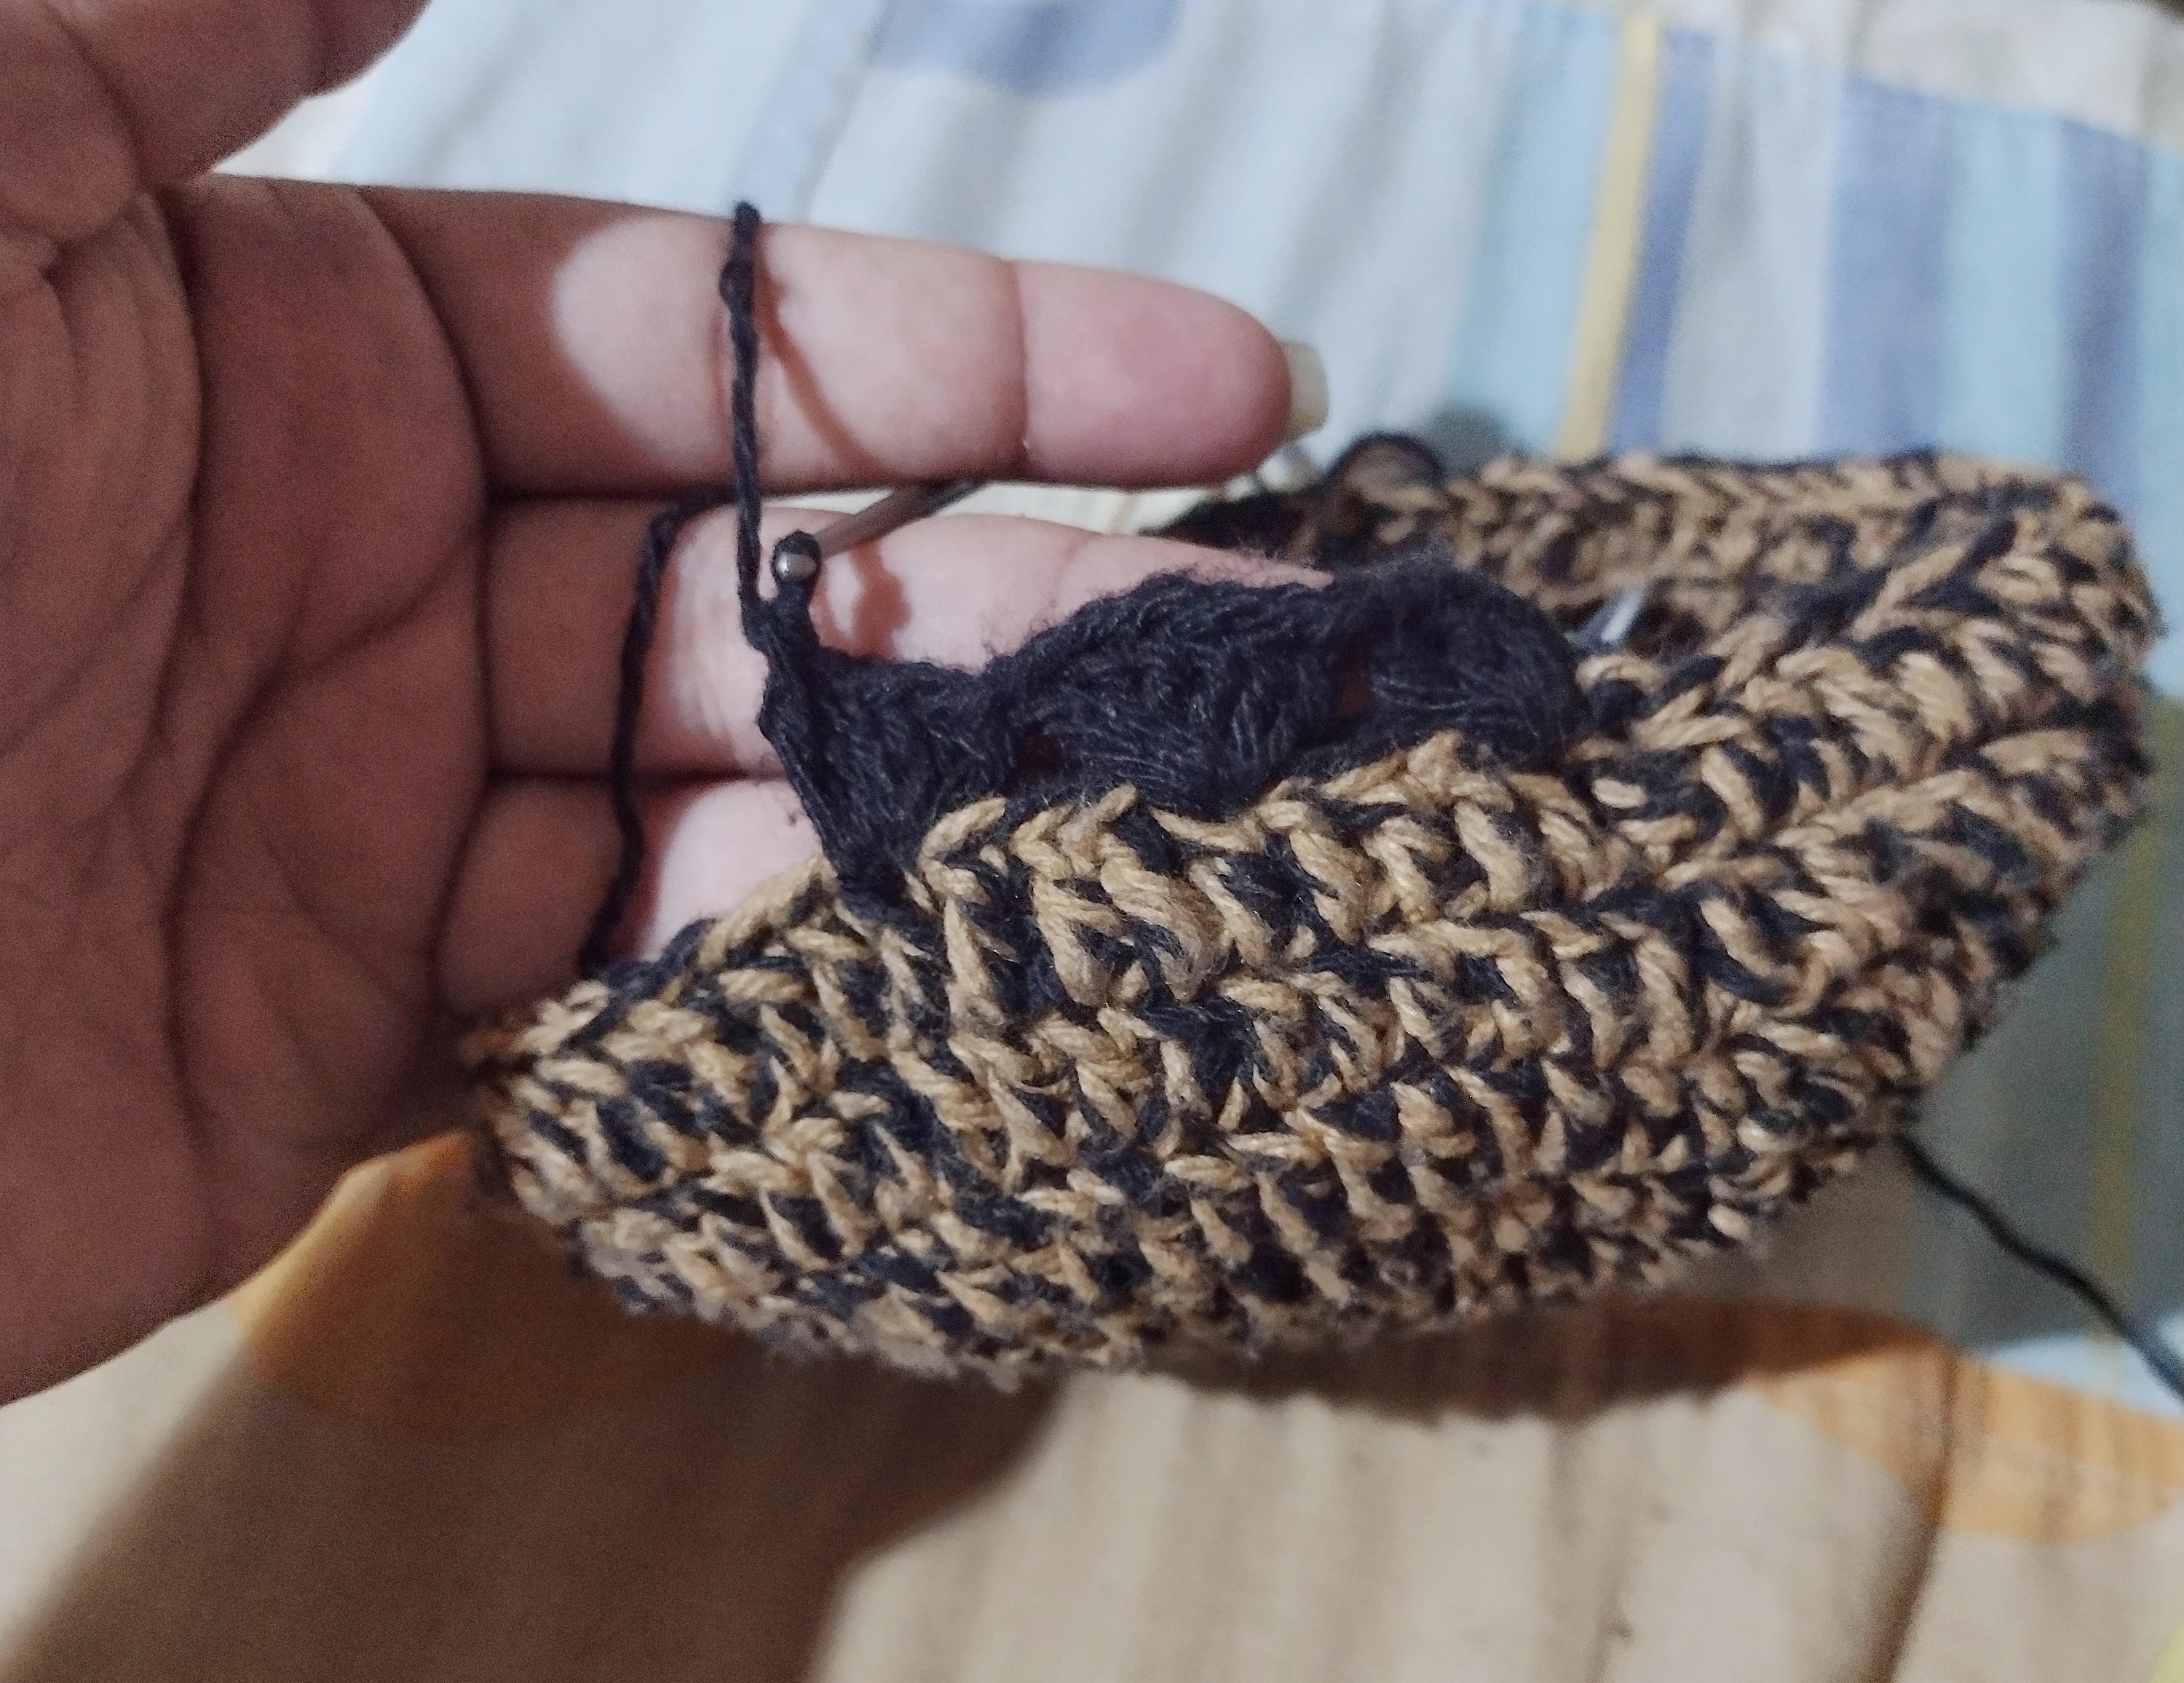
Something like this...
Algo así...

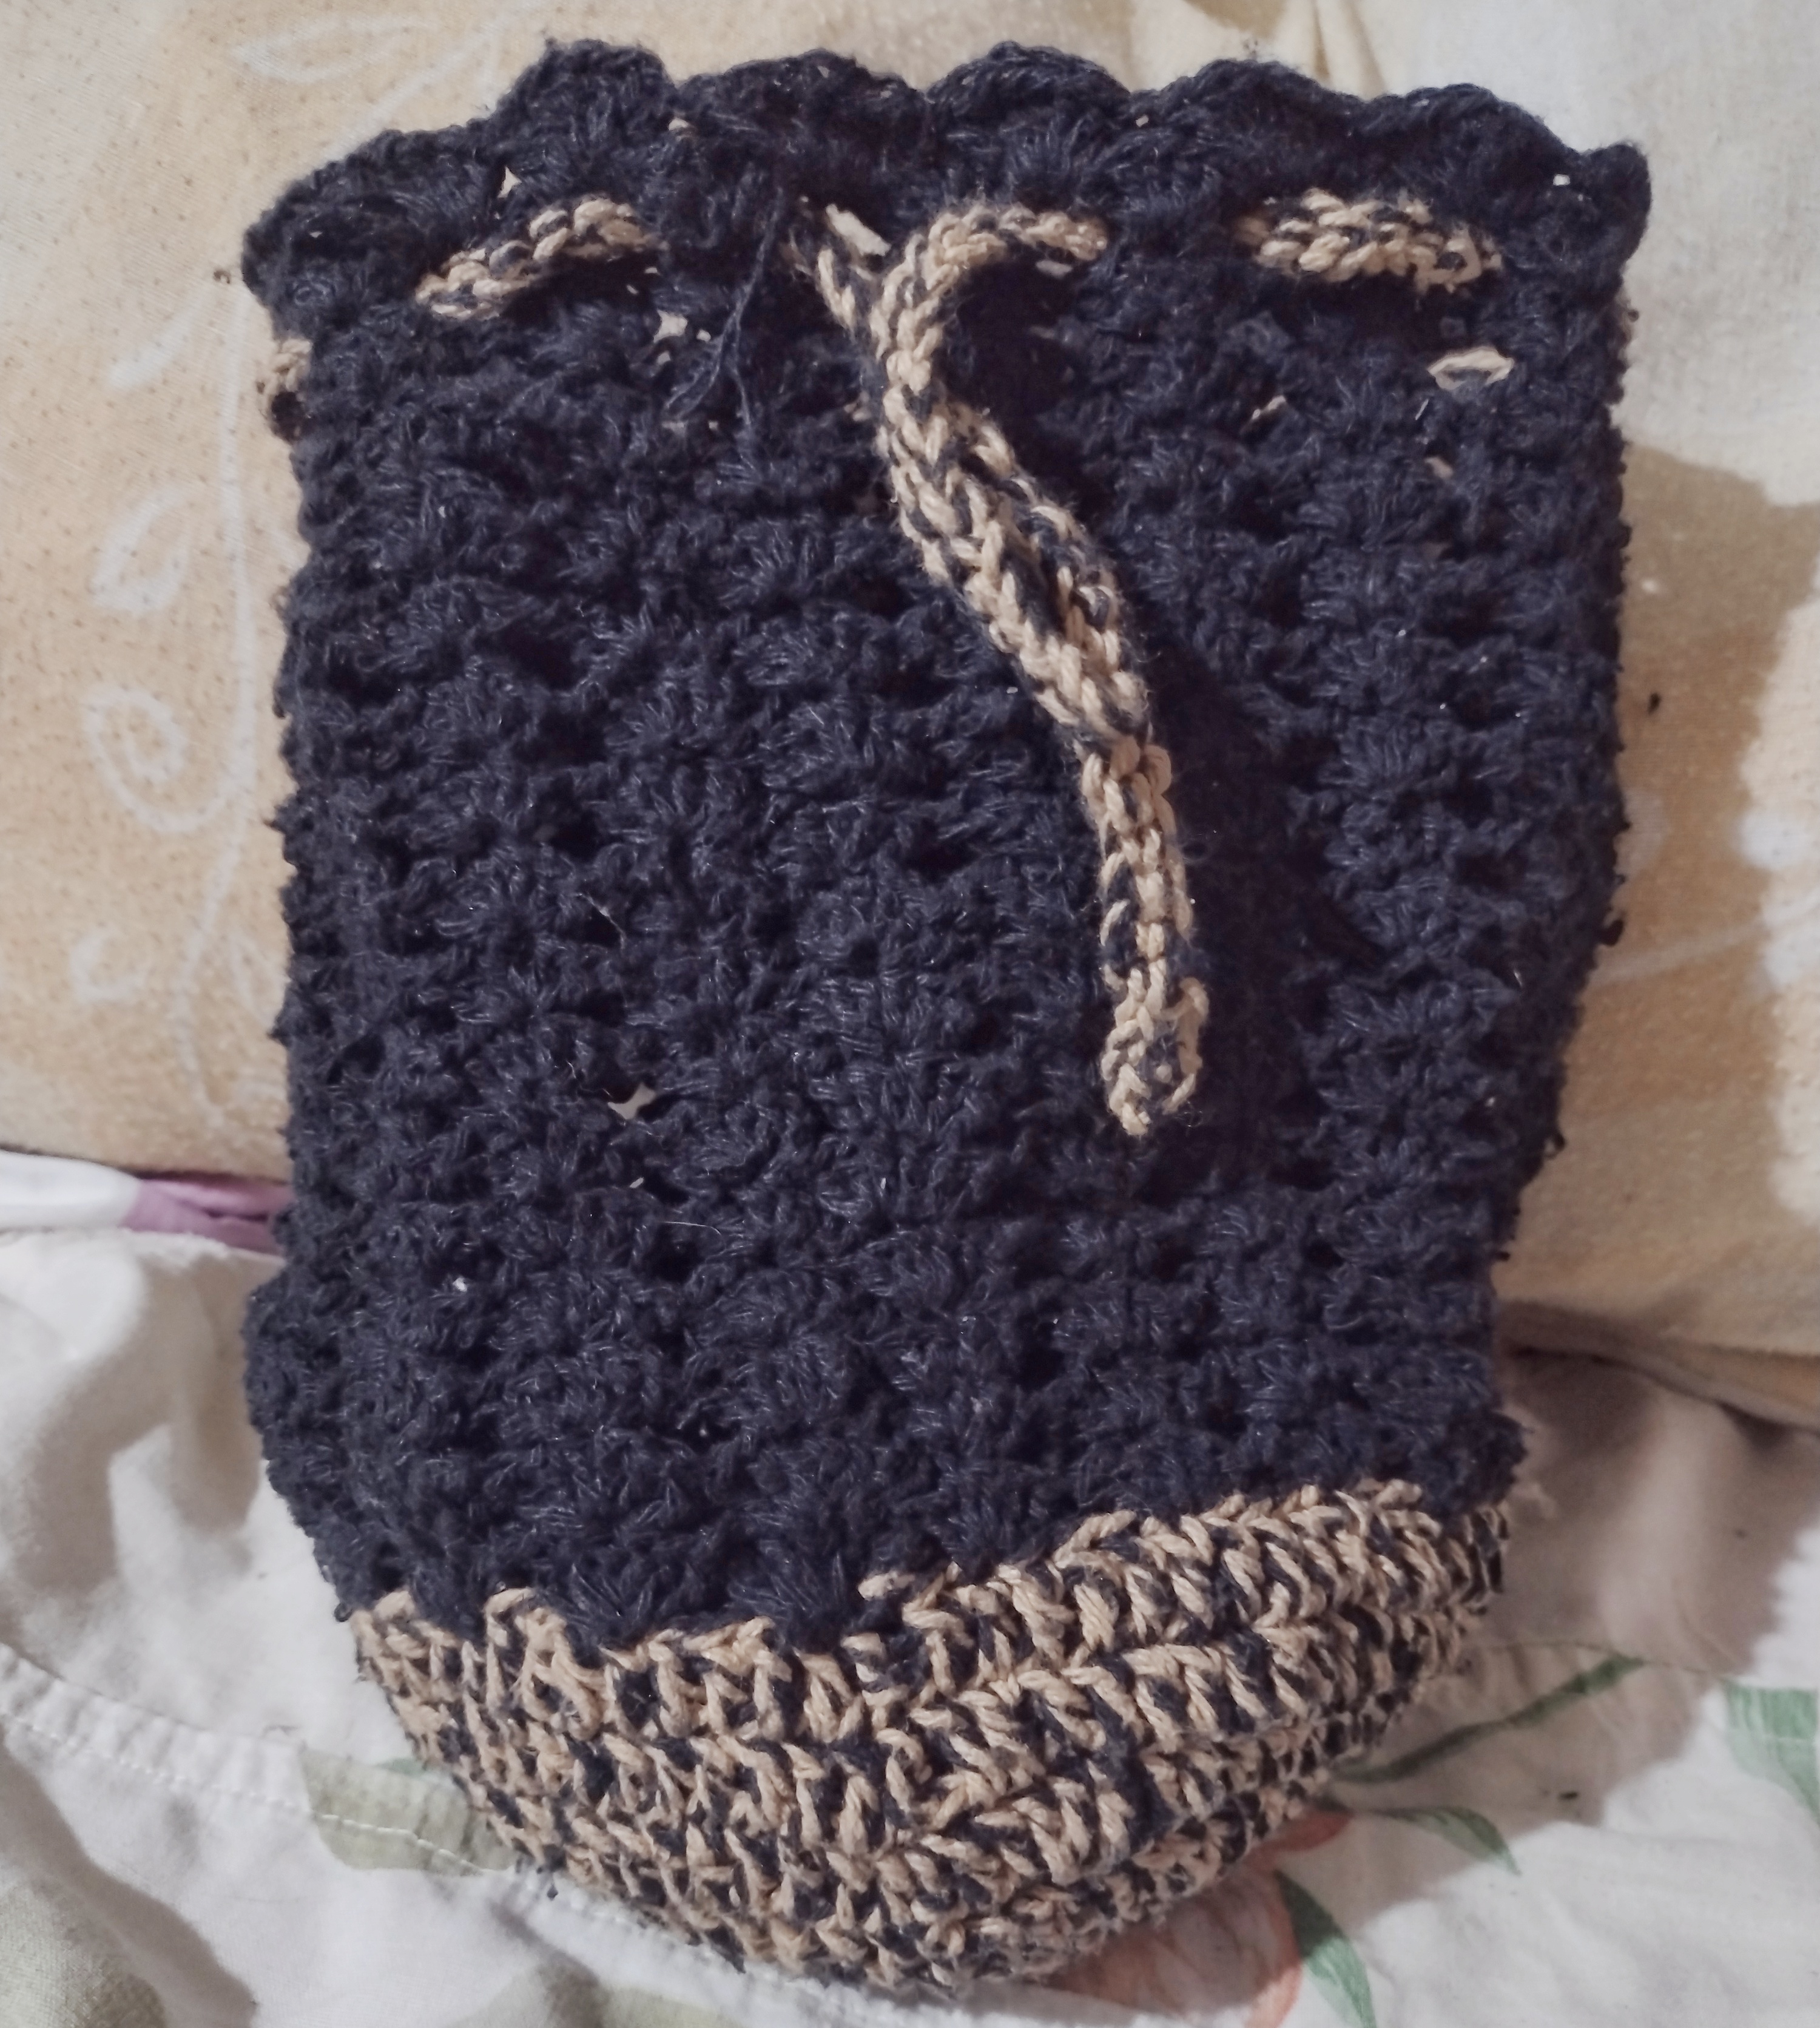
Something like this should be left, and once we do this, we are going to make the rope that will be used to close the bag...
Algo así debería quedarnos, y una vez que hagamos esto, vamos a hacer la cuerda que nos va a servir para cerrar el bolso...
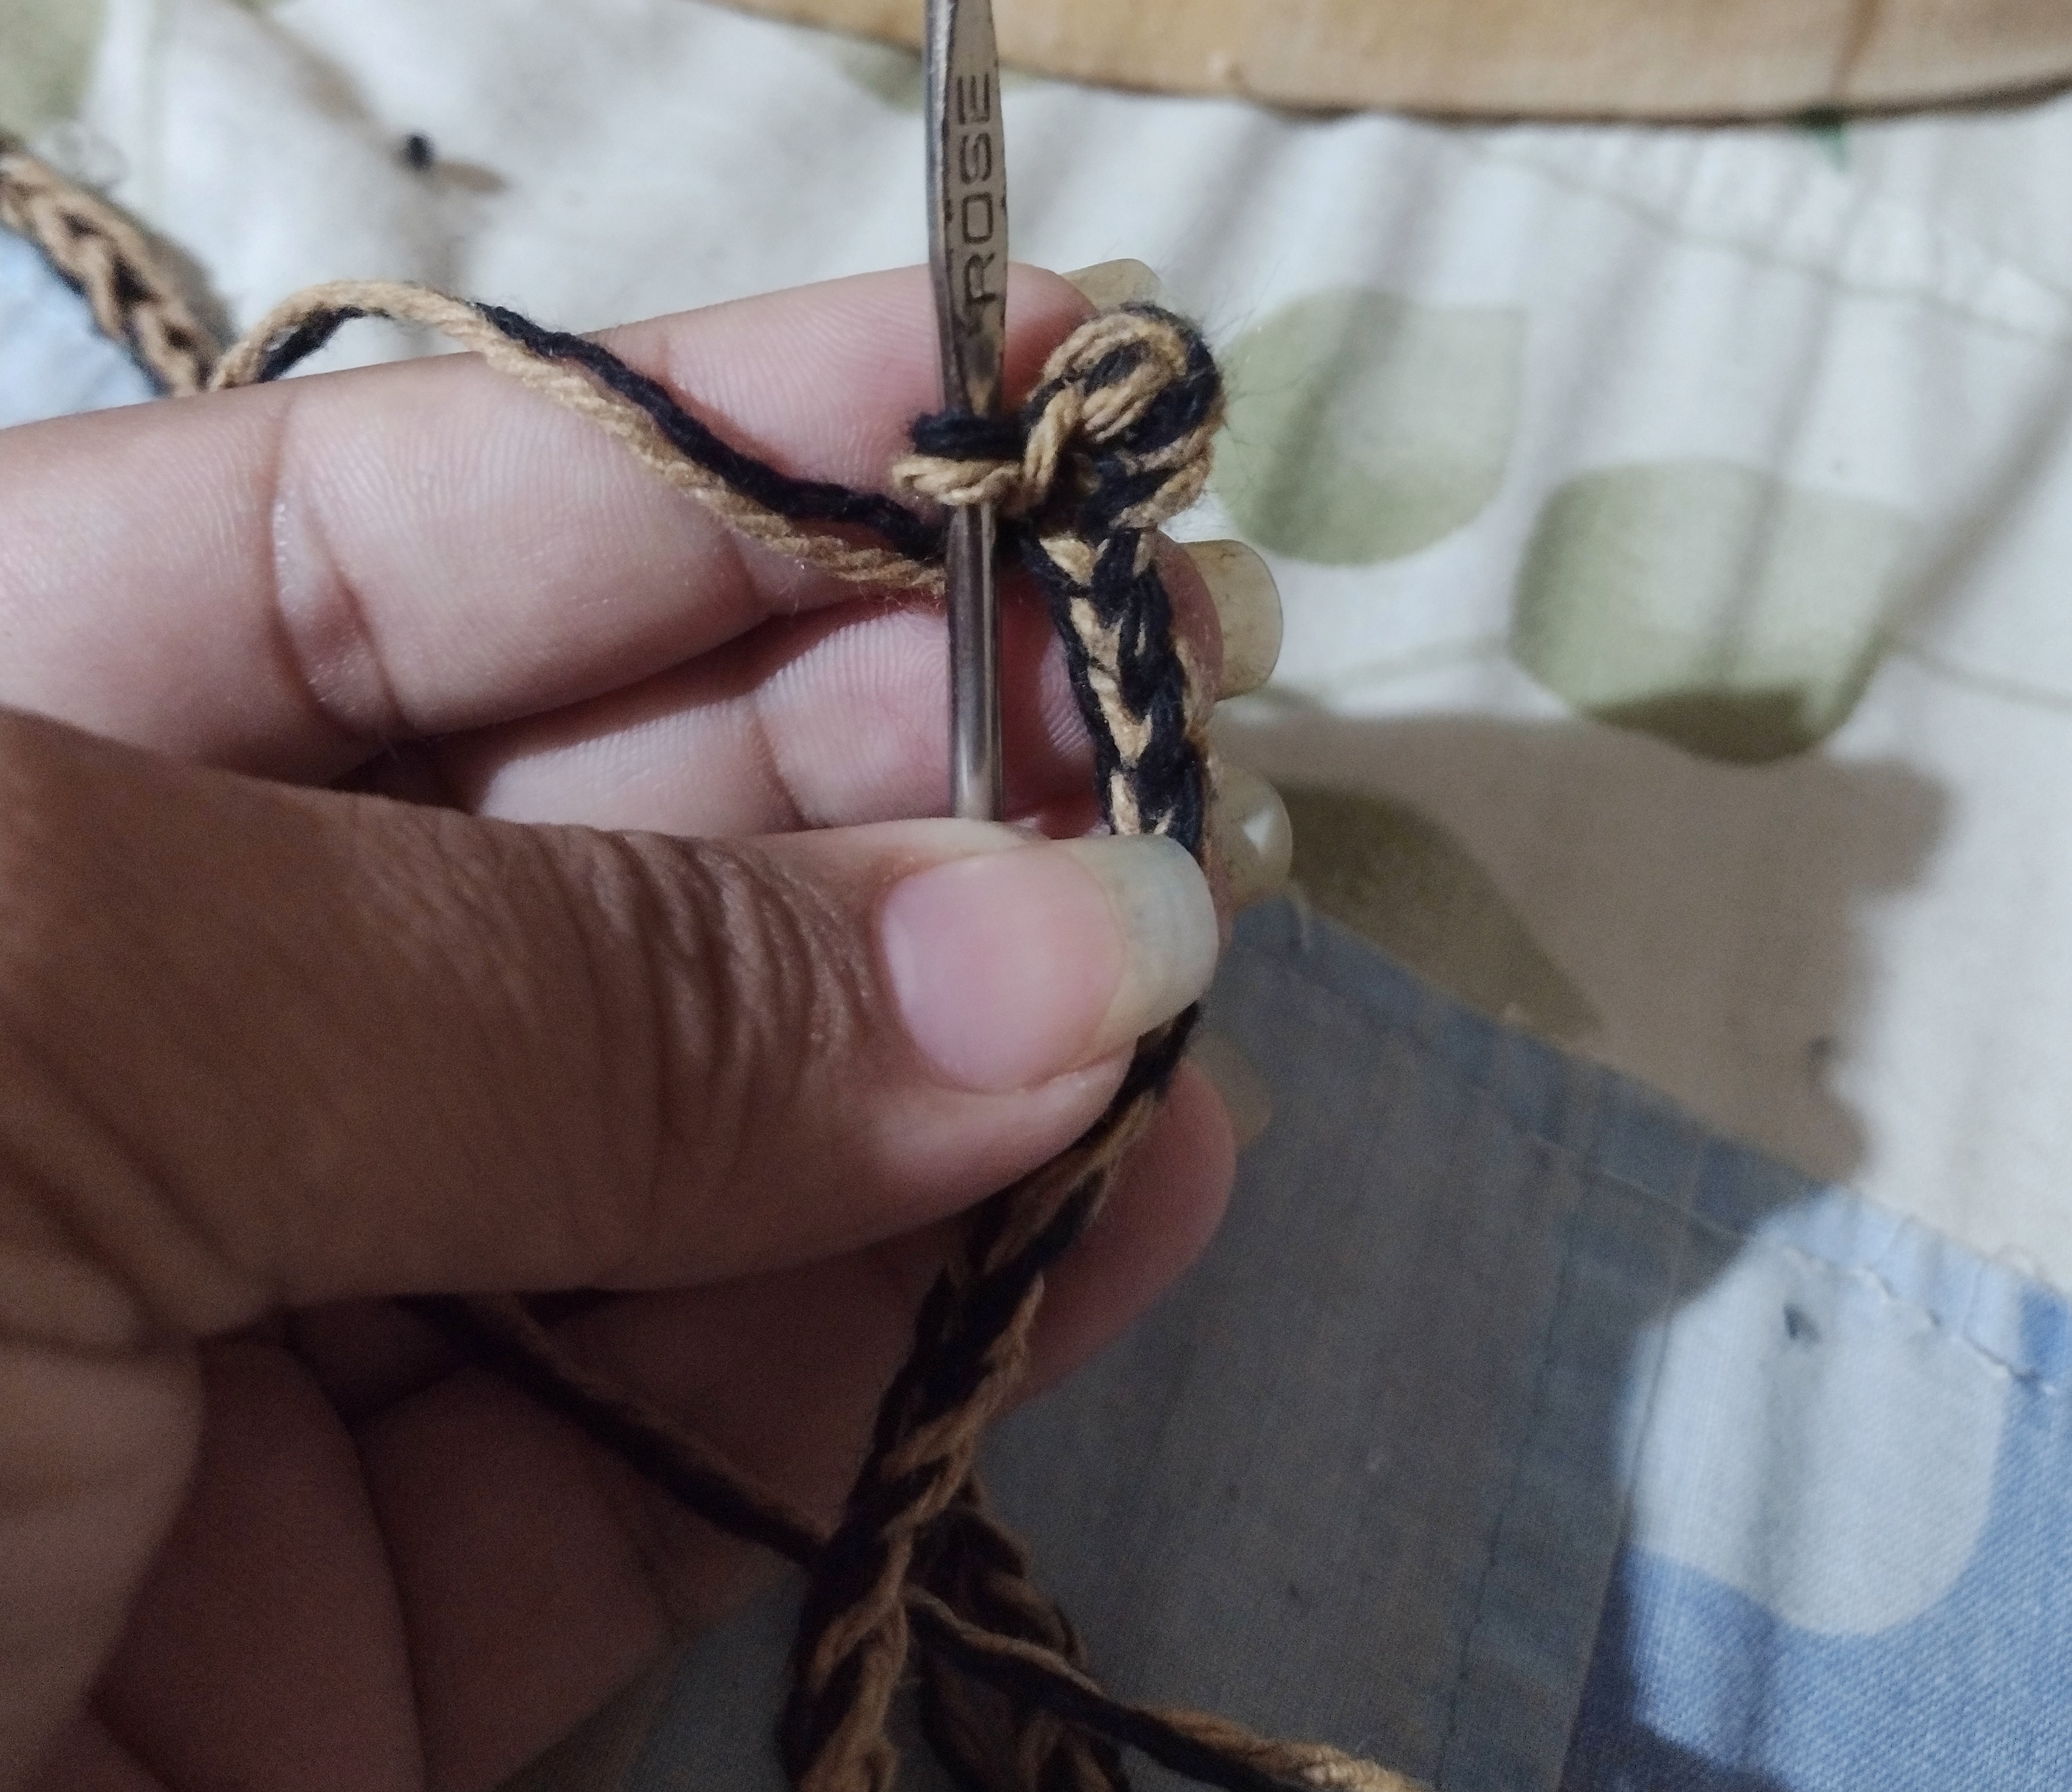
What I did was to join again the two colors that I used for the base of the bag and I made a long chain (you can do it taking into account the size of the bag to get a good fit)
Lo que hice fue unir de nuevo los dos colores que usé para la base del bolso e hice una cadena larga (pueden hacerla fijándose del tamaño del bolso para que quede bien)
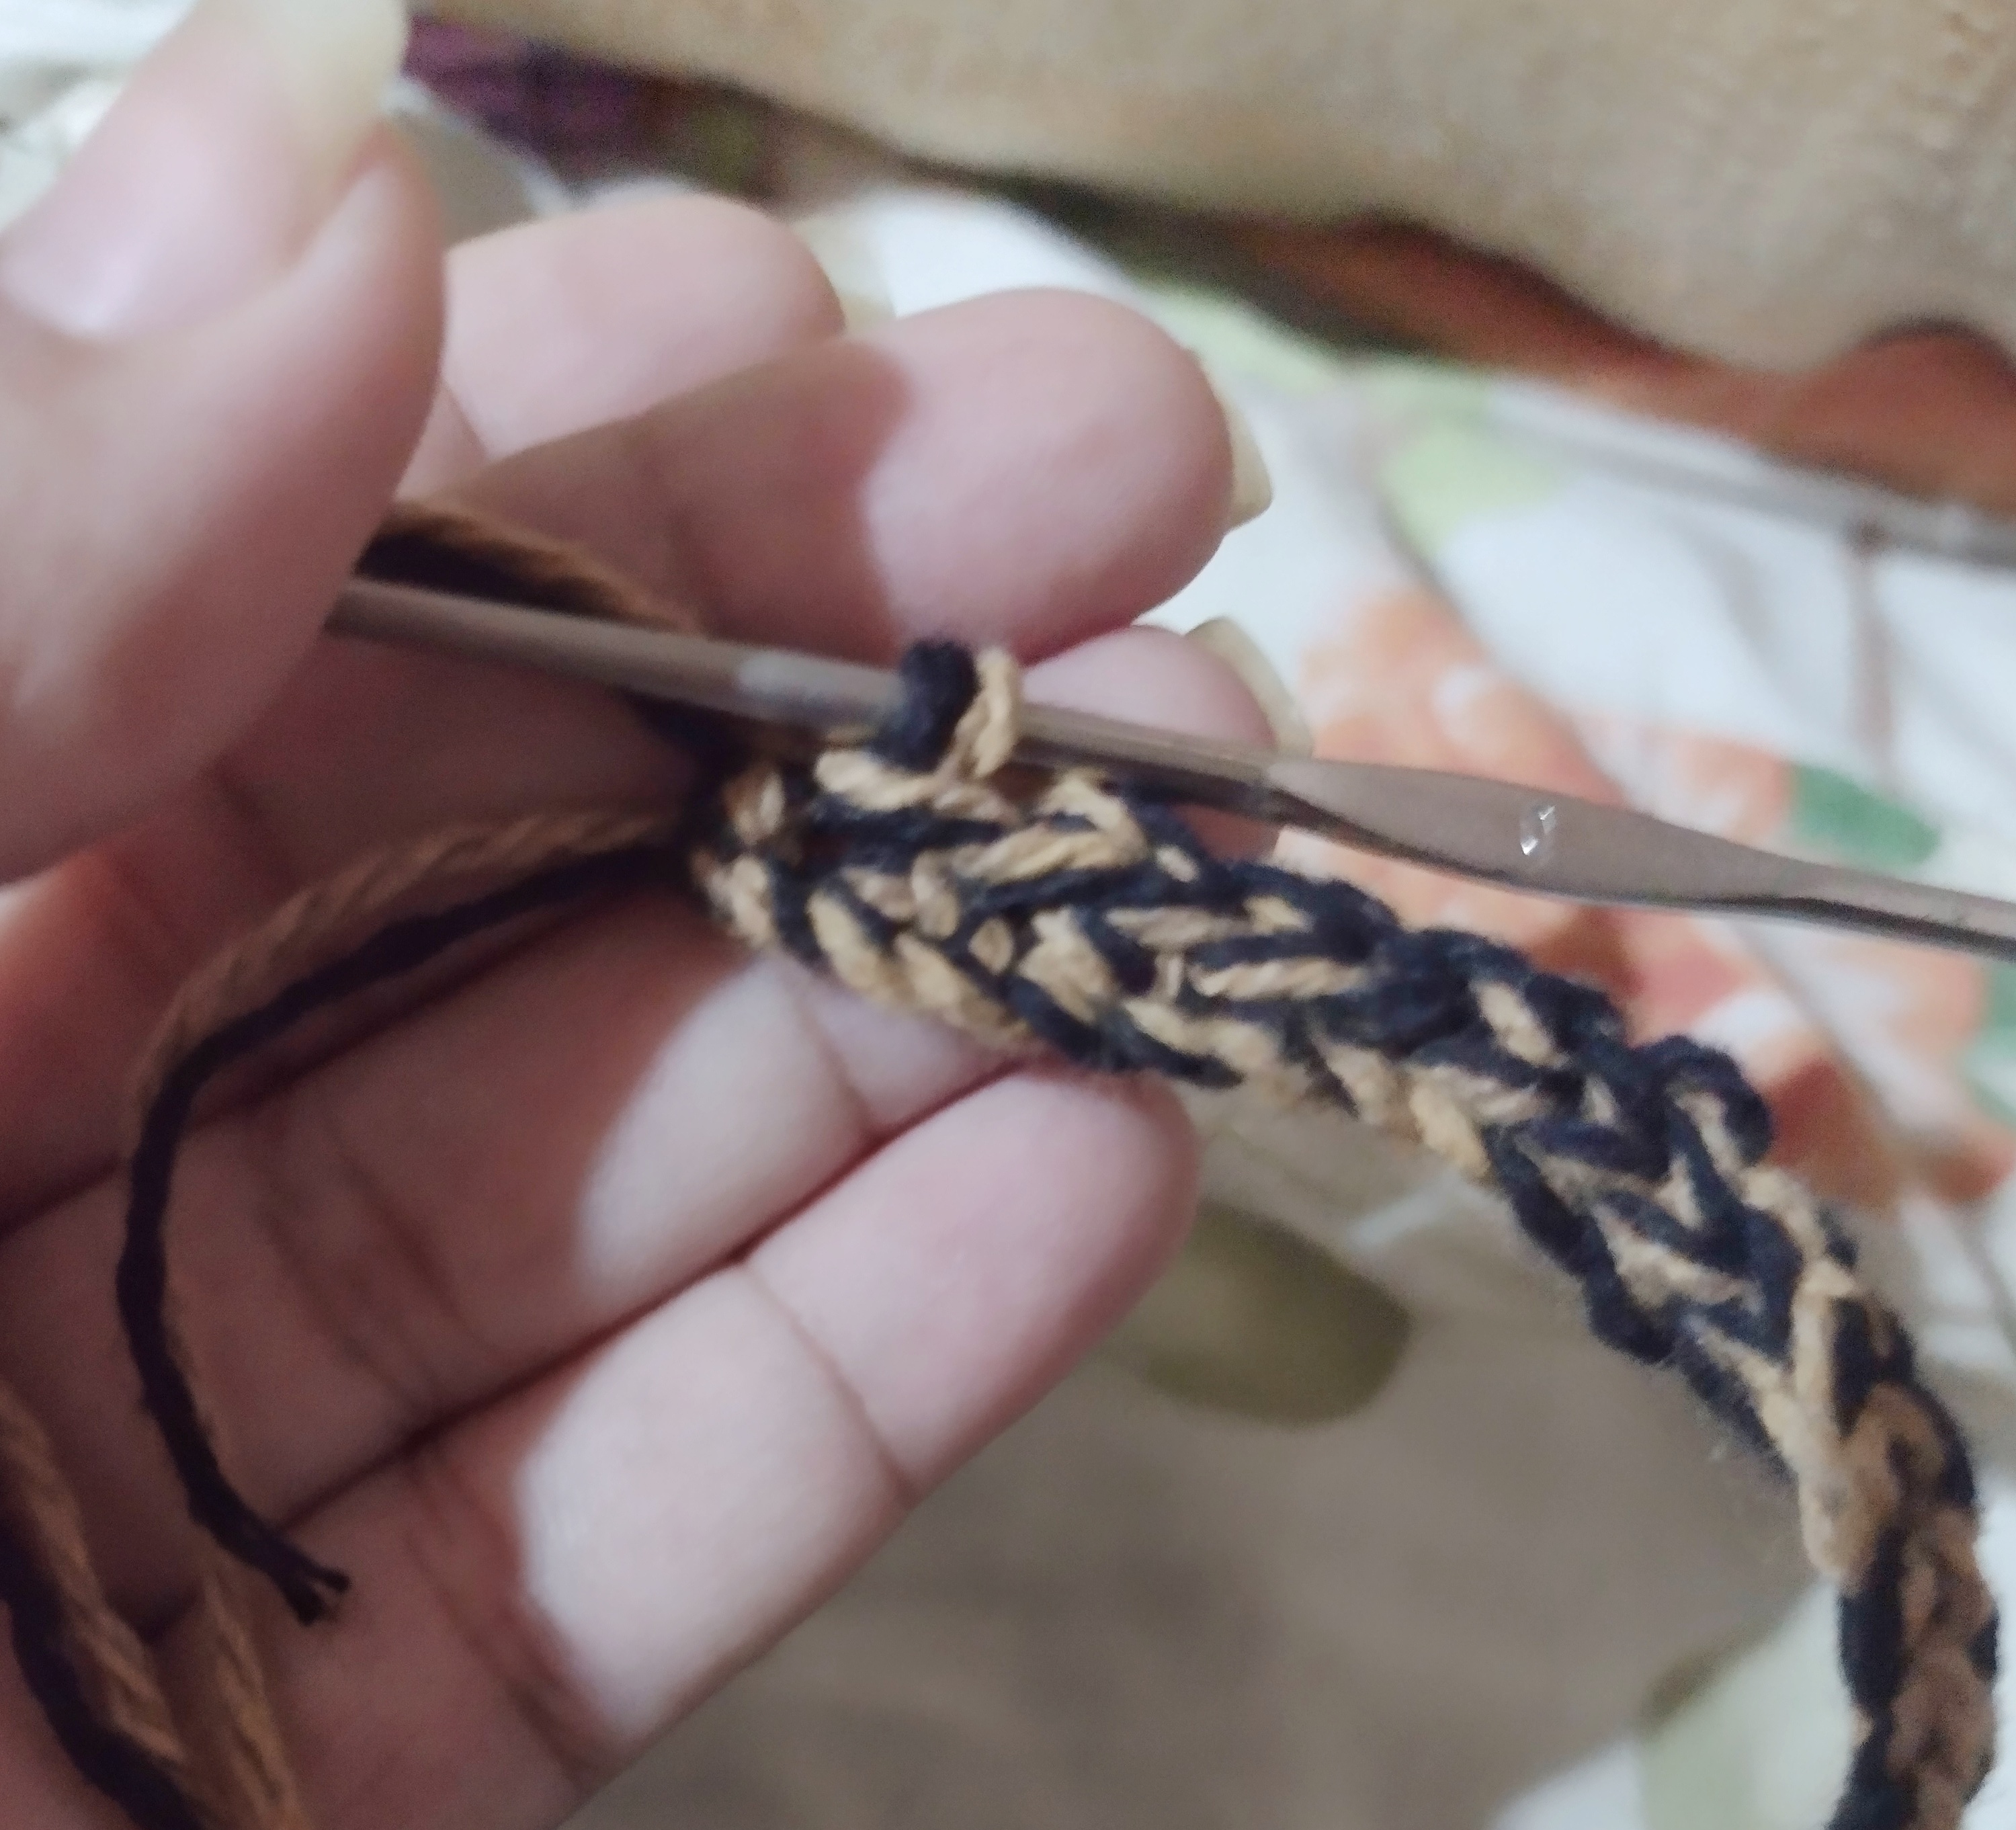
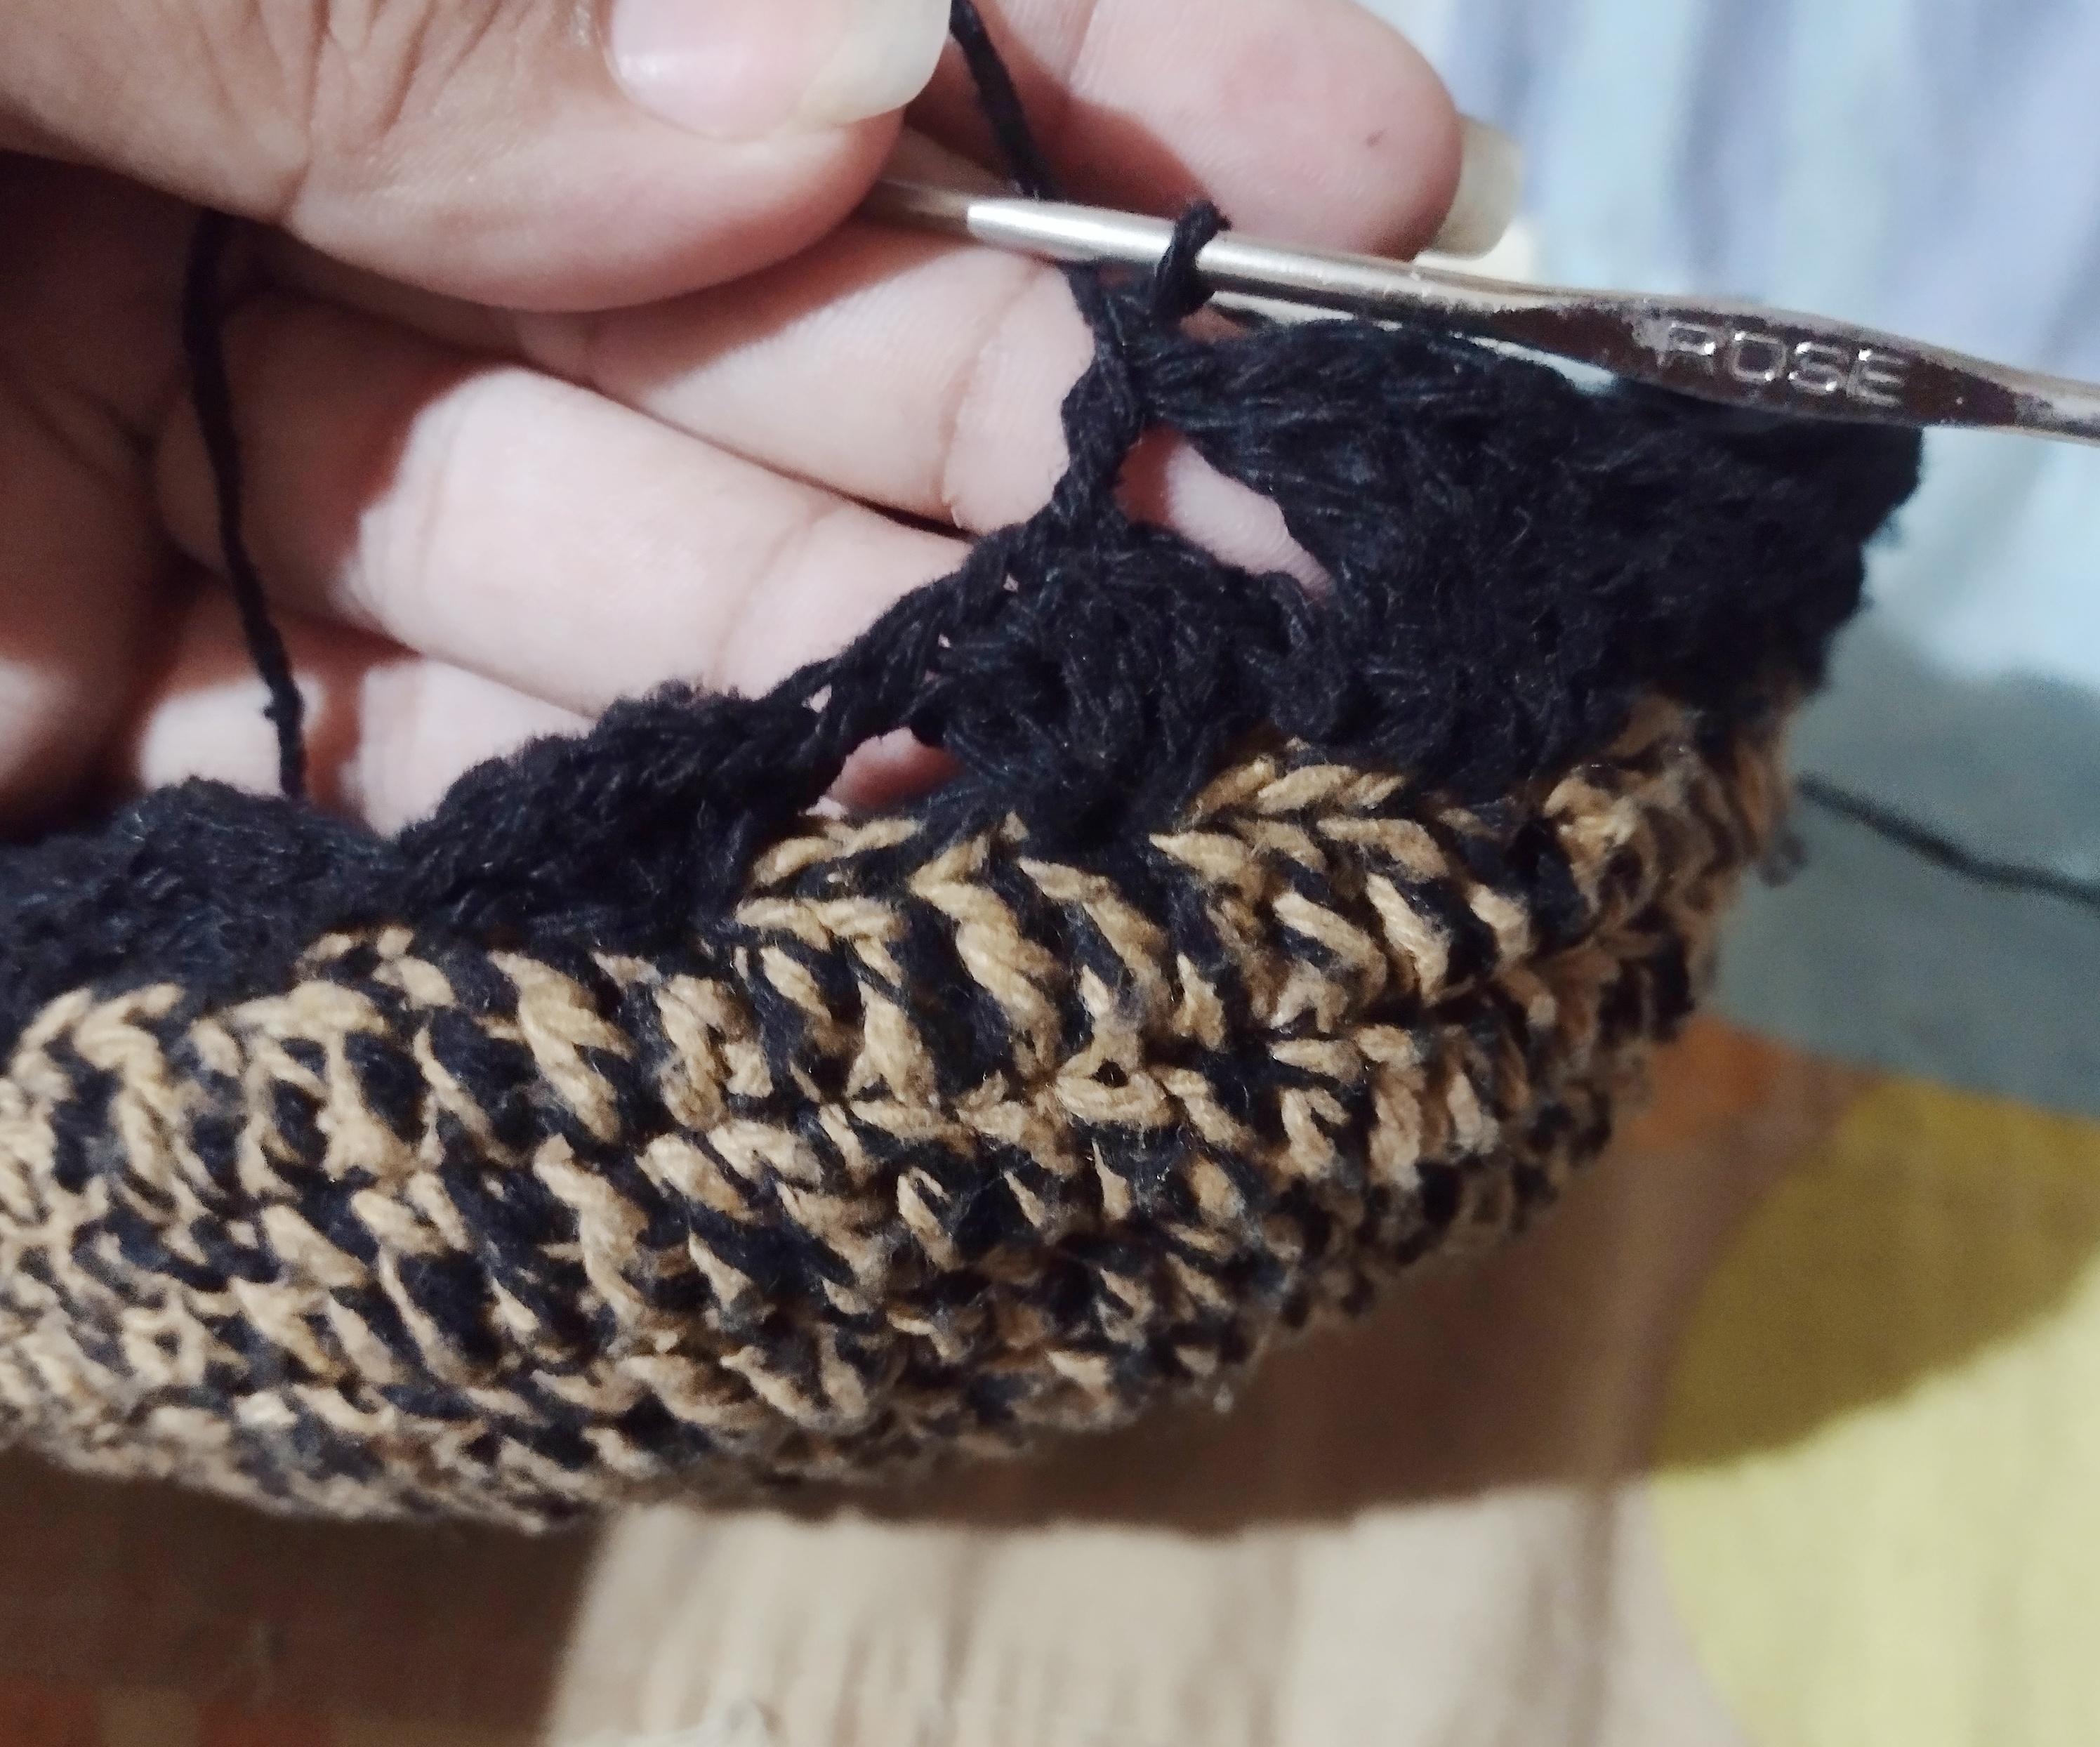
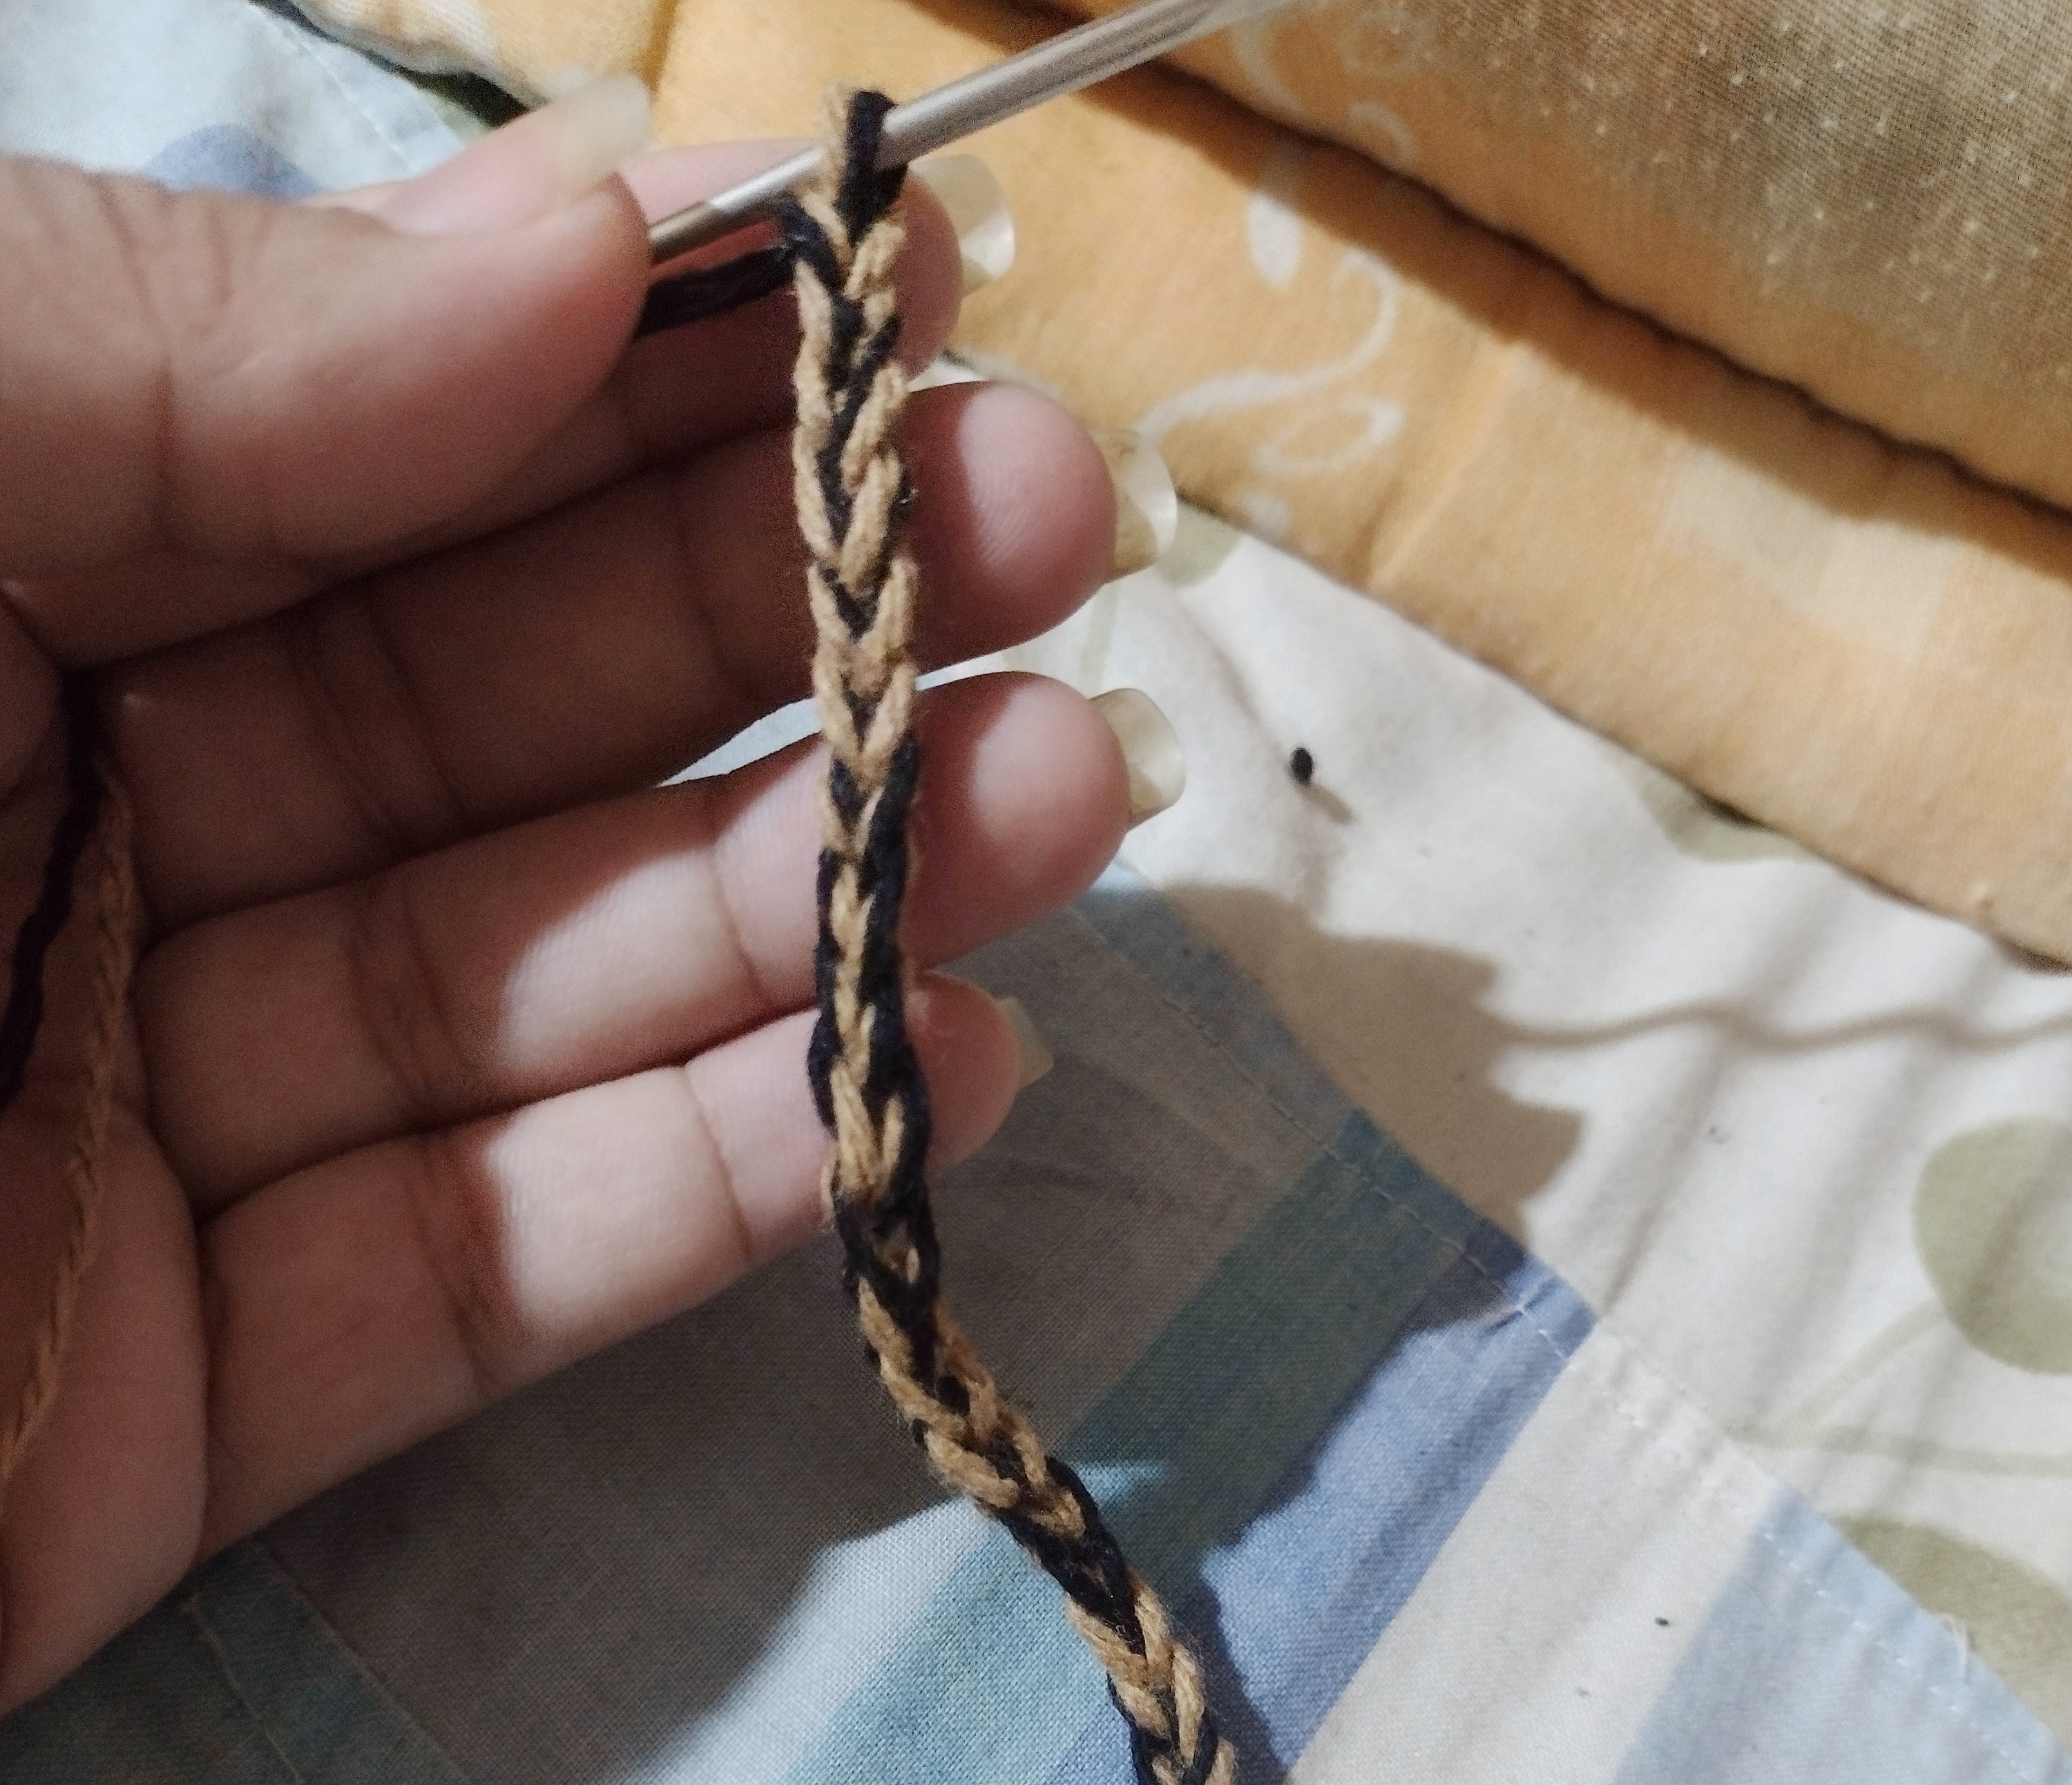
Once I had it at the desired length, what I did next was to make a slipped stitch in each stitch of the chain (as if to make the string thicker) and it should look like the second photo.
Cuando ya la tenía del largo deseado, lo que hice luego fue hacer un punto deslizado en cada punto de la cadena (como para que quedara más gruesa la cuerda) y nos debería quedar como la segunda foto.
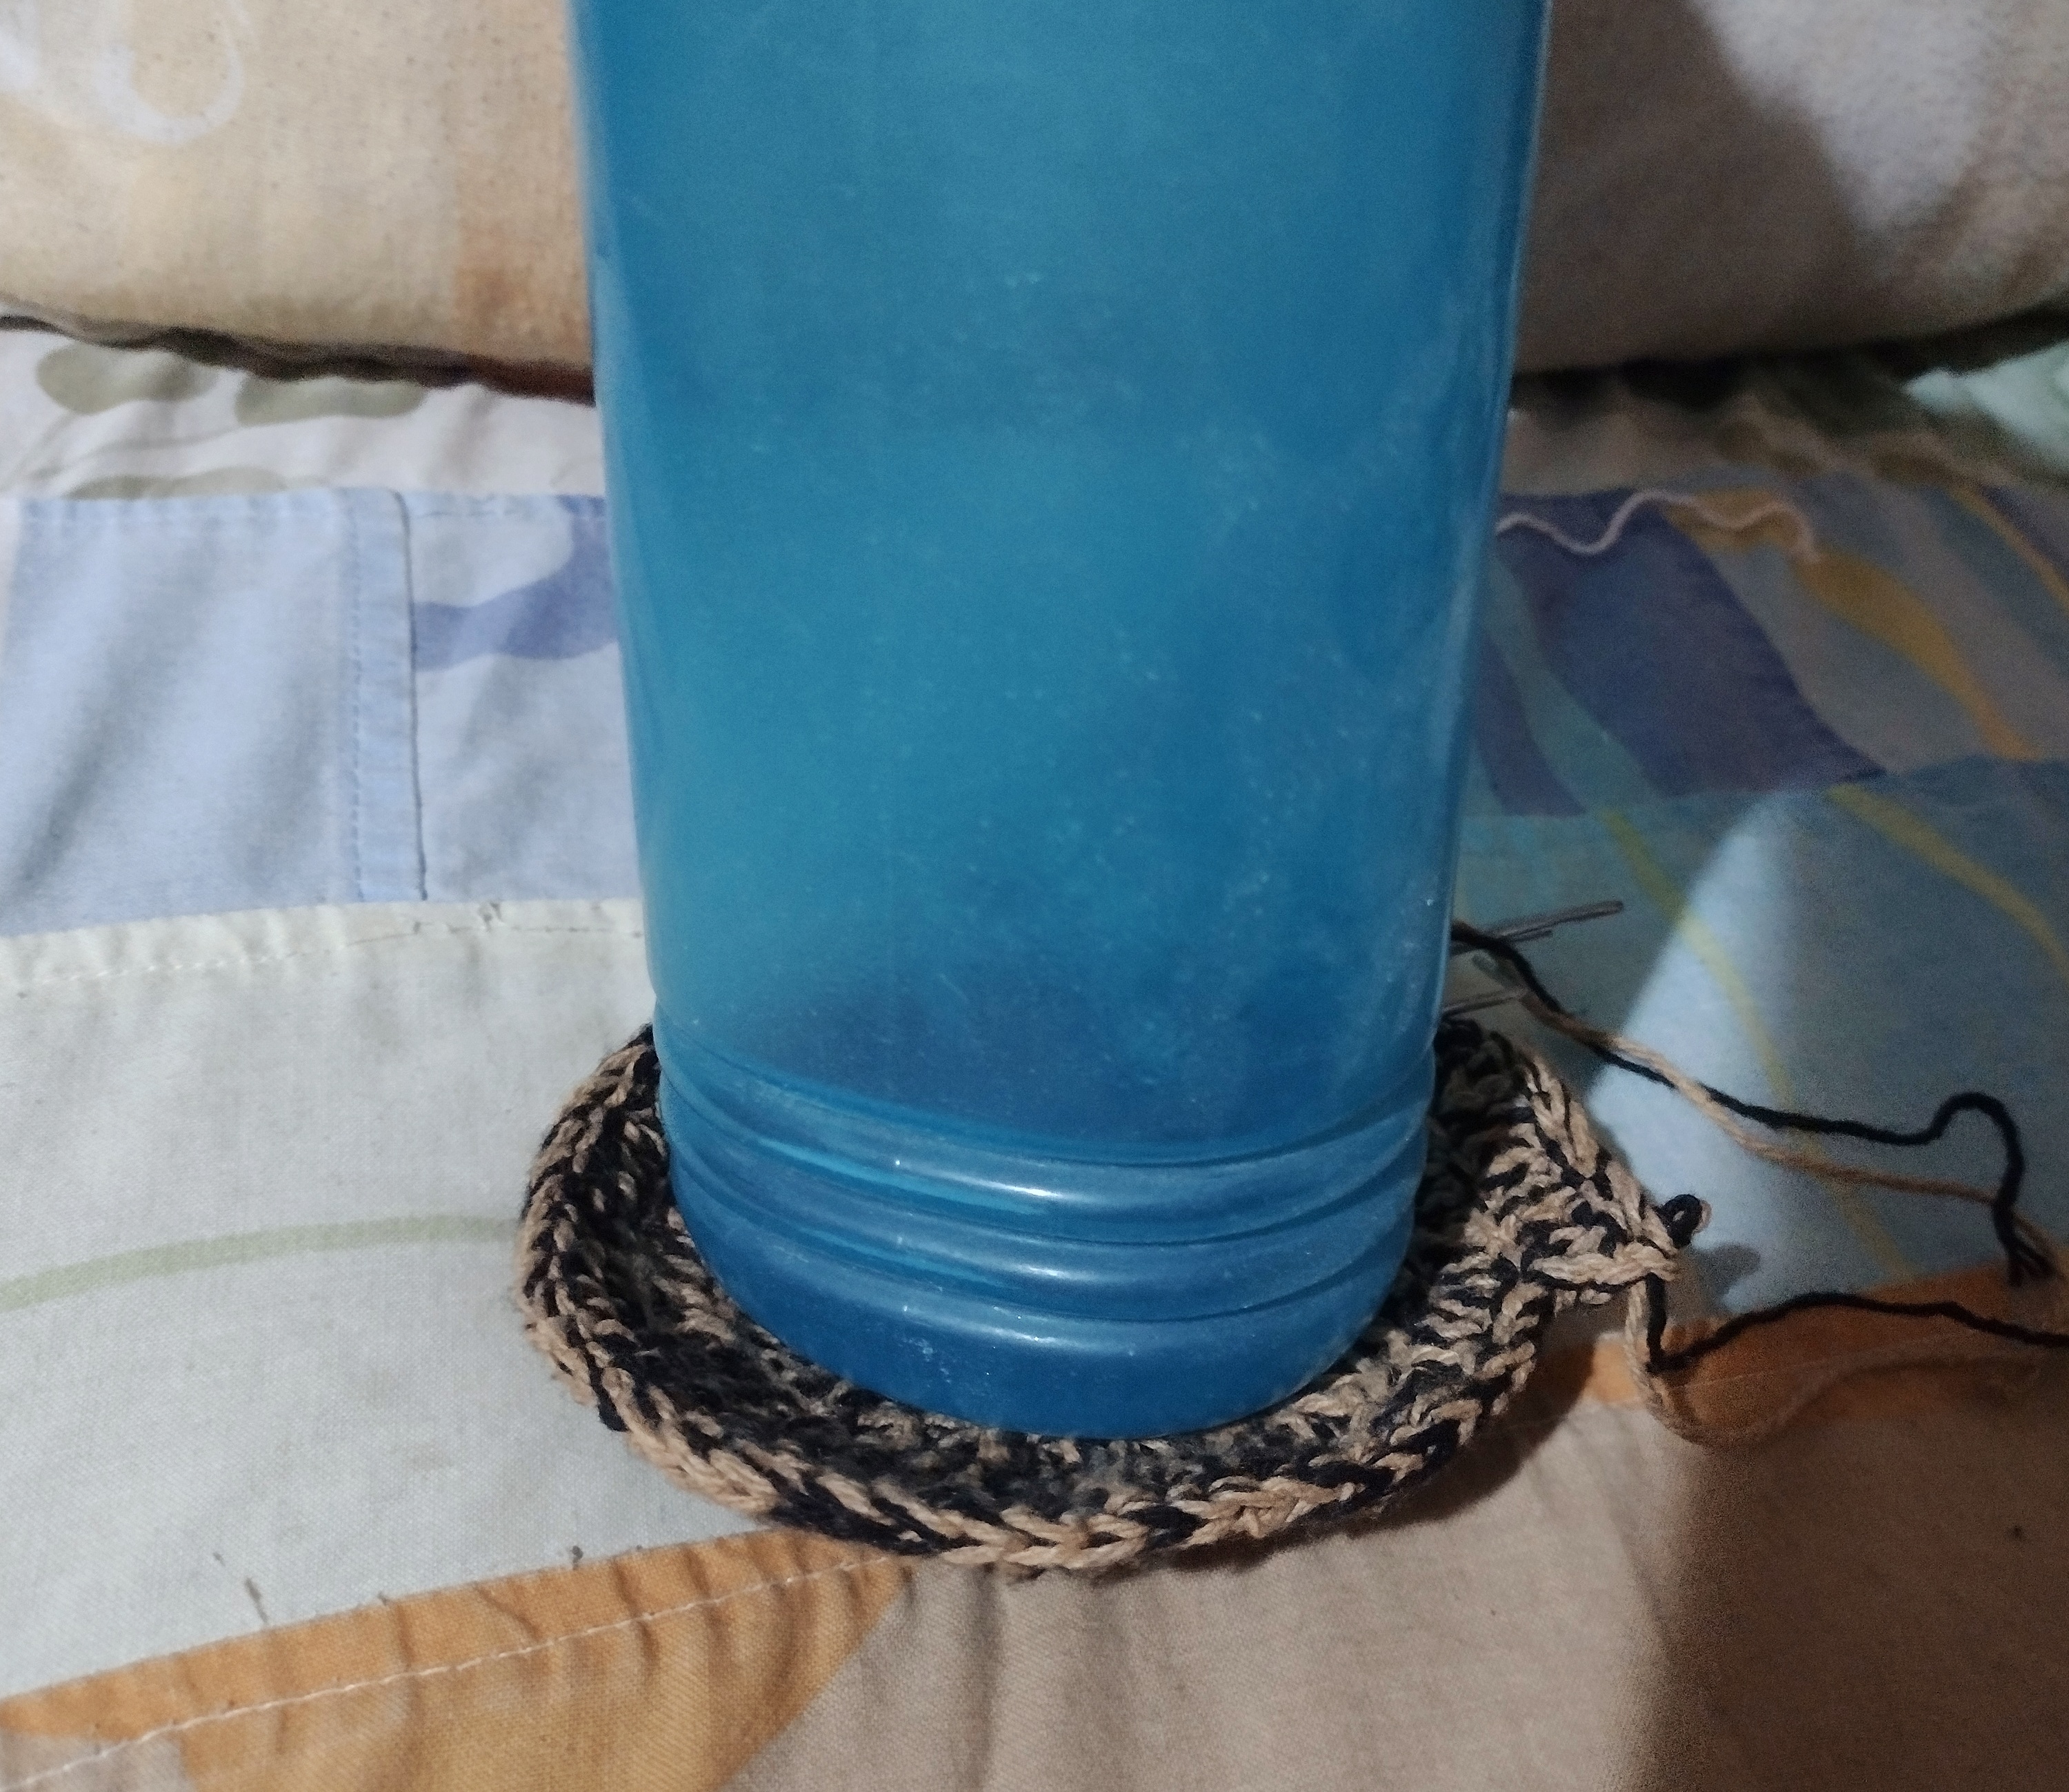
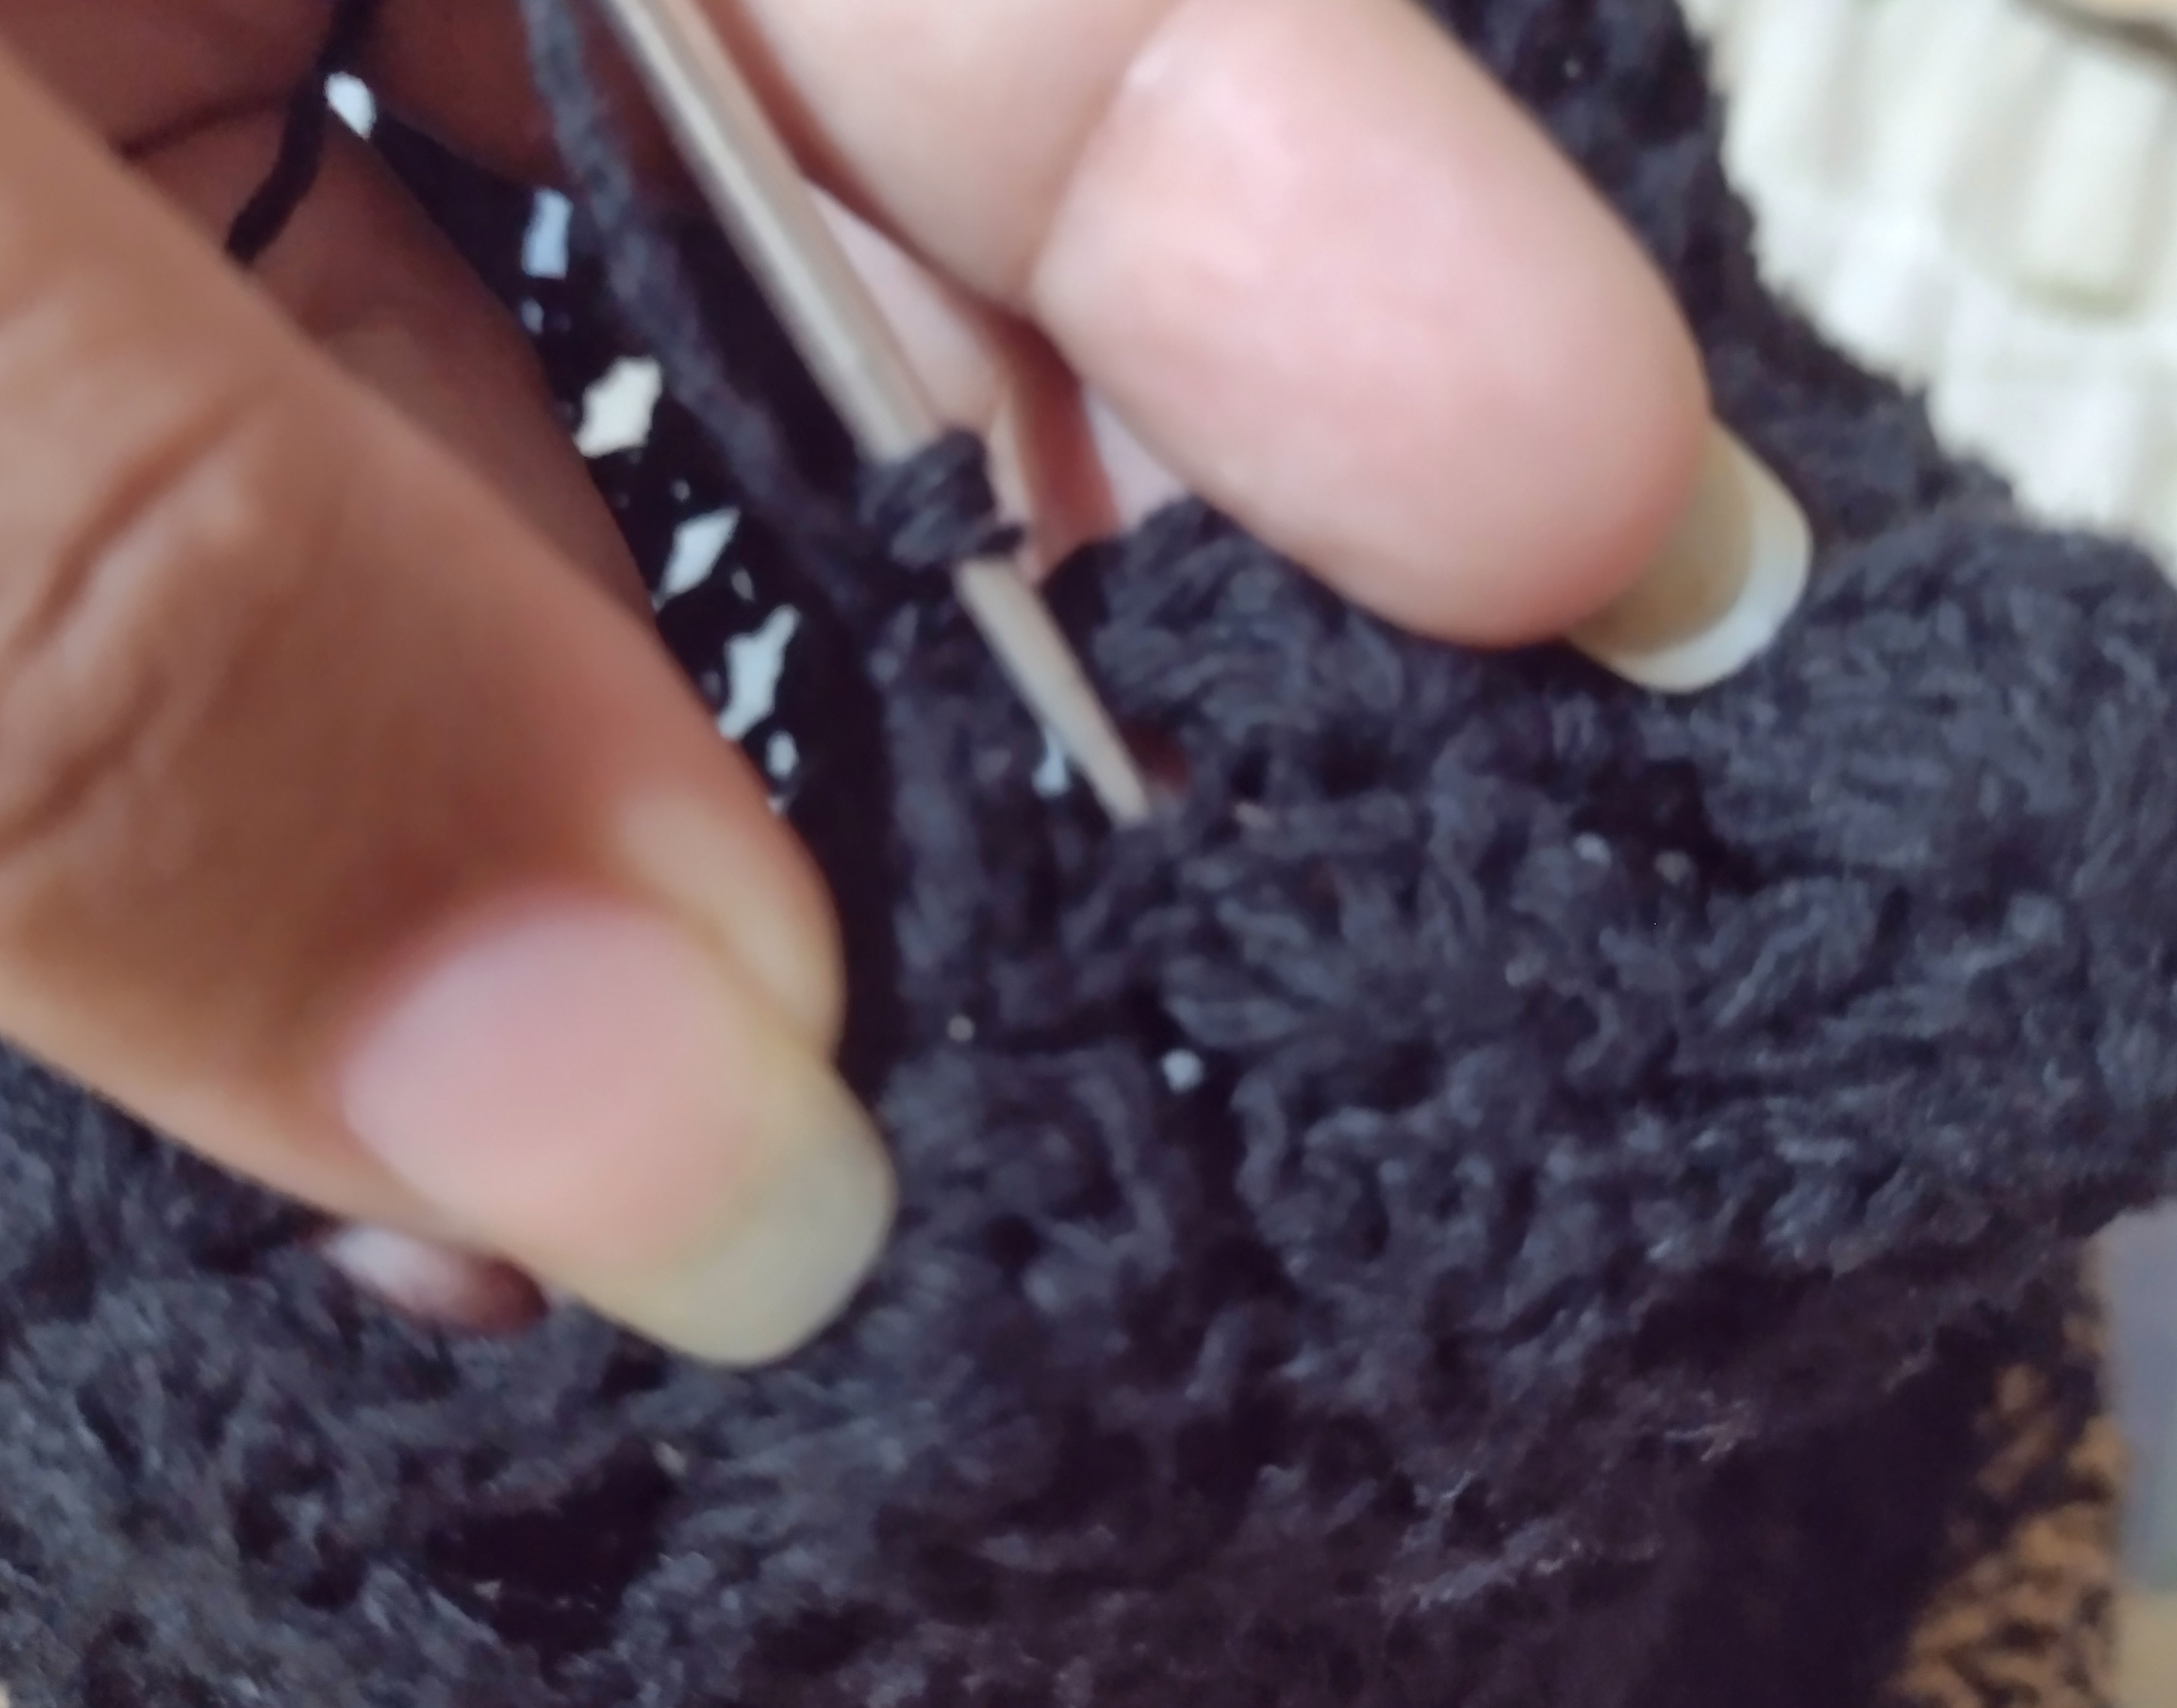
You have to insert the rope in the holes left from the high points we made previously...
Tienen que introducir la cuerda en los orificios que quedaron de los puntos altos que hicimos anteriormente...
I'm sorry I didn't show you how I made the string, the pictures I took were erased, but you can do that part as you like, either doing the same as I did for the string to close the bag or looking for another option on the internet... I recommend you to sew the string to the bag with a wool needle. For this bag I used approximately 150grs of yarn. I hope you liked my post today, thank you very much for reading it and see you later ❤️
Siento no mostrarles como hice la cuerda, se me borraron las fotos que tomé, pero esa parte la pueden hacer como gusten, ya sea haciendo lo mismo que hice para la cuerda de cerrar el bolsoo buscando otra opción en internet... Les recomiendo coser la cuerda al bolso con una aguja lanera. Para éste bolso usé aproximadamente 150grs de hilo. Espero que les haya gustado mi post de hoy, muchas gracias por leerme y nos vemos luego ❤️
Translated by DeepL
Traducido por DeepL