ESPAÑOL 🇪🇸
Hola a todos
Hoy quiero enseñaros el garaje que he preparado con la impresora 3D para coches escala 1:64 como los de las marcas Hot Wheels y Majorette.
Inicialmente imprimí el diseño realizado por Pinhapple, muy completo ya que incluye puertas, techo/azotea con elementos propios del sistema de aire acondicionado y ventilación, tragaluces y una base para ponerlo todo.
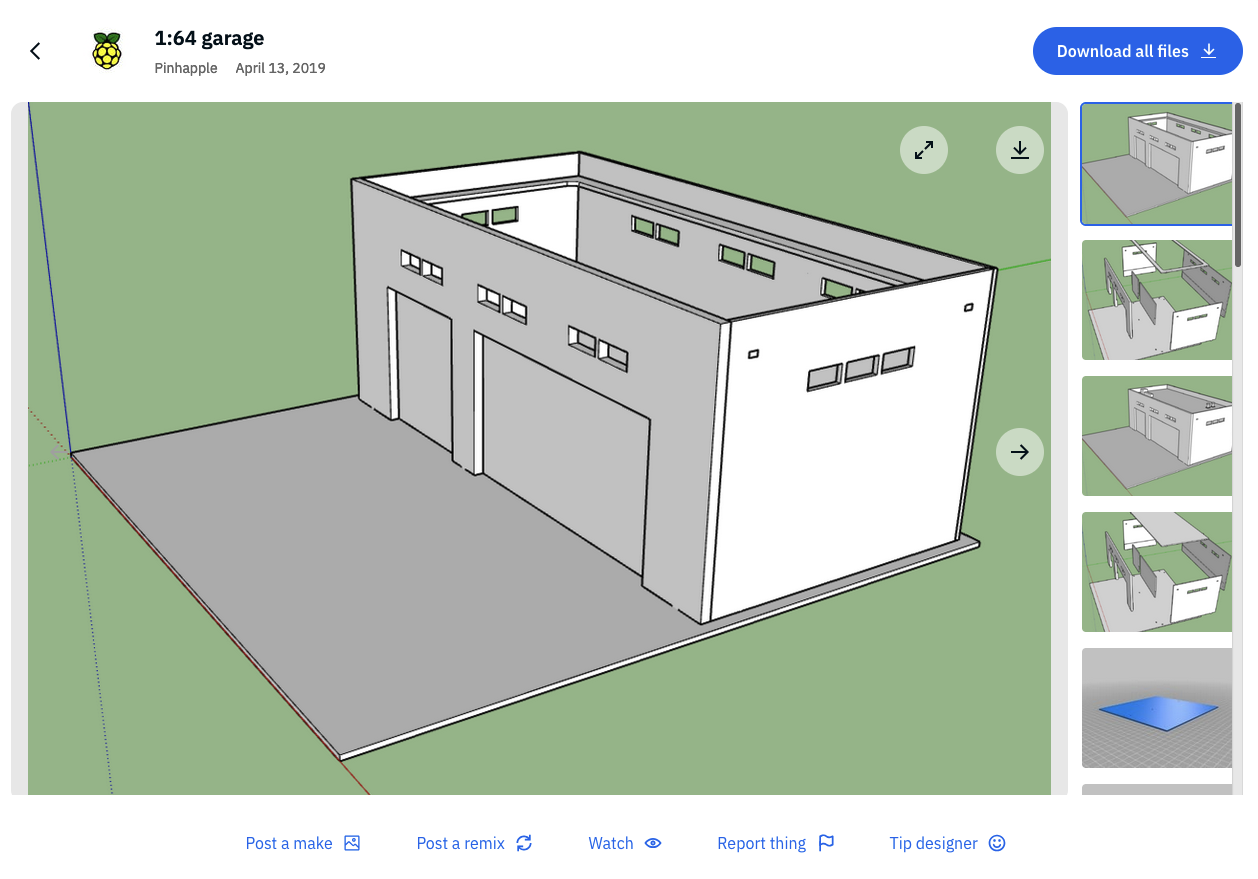
(haz click en la imagen para descargar el modelo)
Una vez impreso me di cuenta que si no eres muy mañoso, como es mi caso, al pegar las partes puede quedar como cartón, además las paredes/columnas de la entrada me parecieron muy finas y a la hora de hacer fotos queda mejor con las columnas gruesas. En la foto de debajo vereis que con las puertas cerradas no se nota pero con las puertas abiertas si. más adelante veremos como quedan las columnas gruesas y veréis que diferencia.
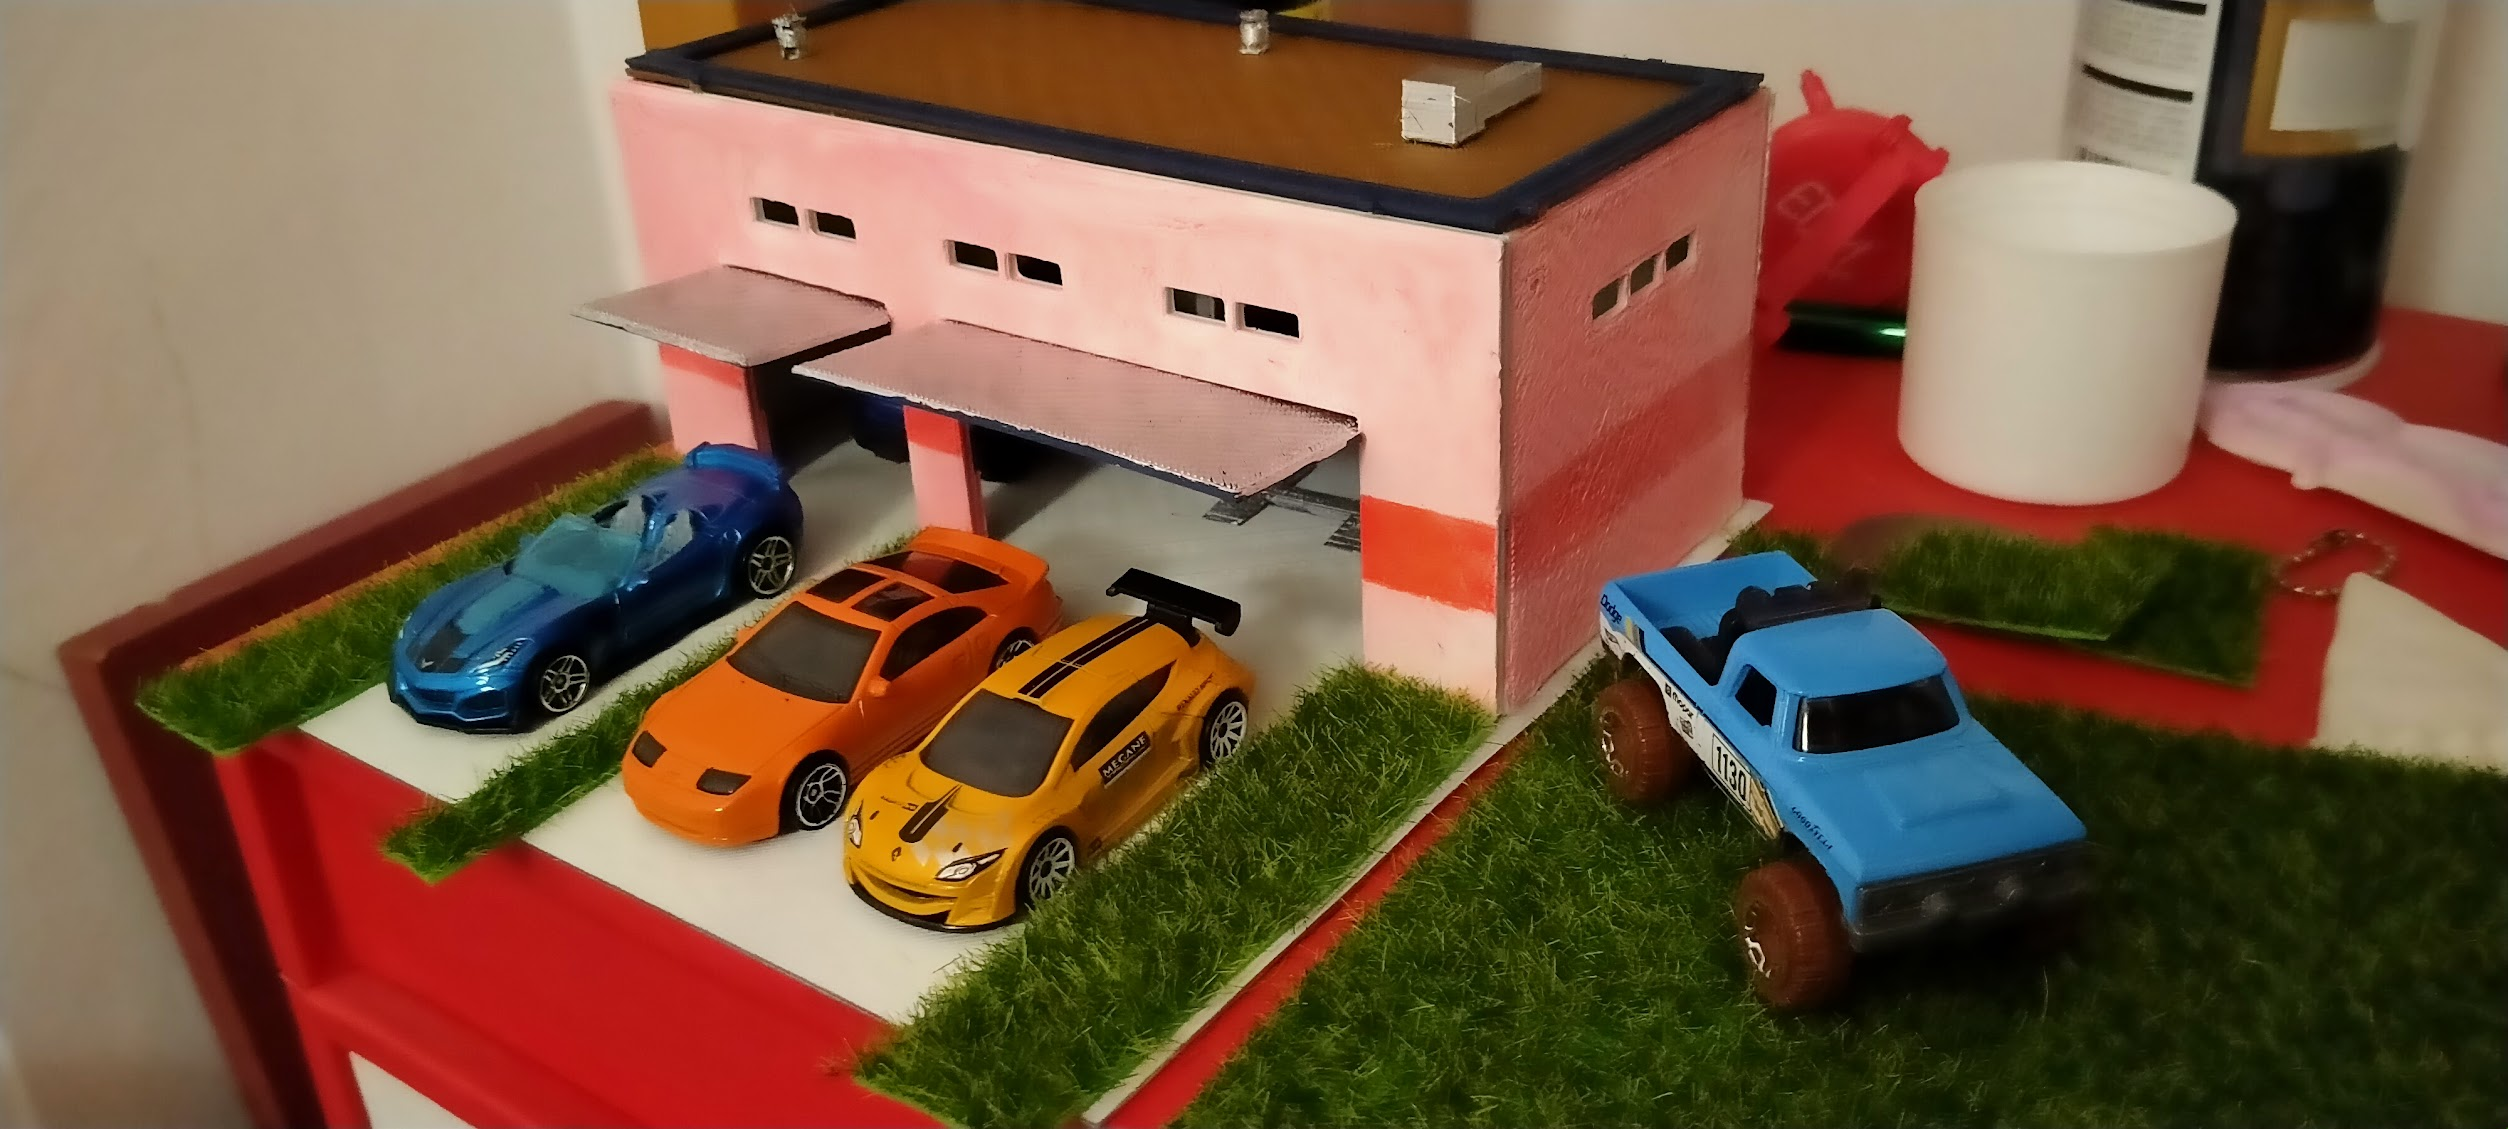
Así que para resolver estos problemas lo que hice fue montar las cuatro paredes del edificio en Tinkercad y añadí grosor a la pared de la entrada y la columna central, dando más solidez al modelo y quedando más realista en la fotos:
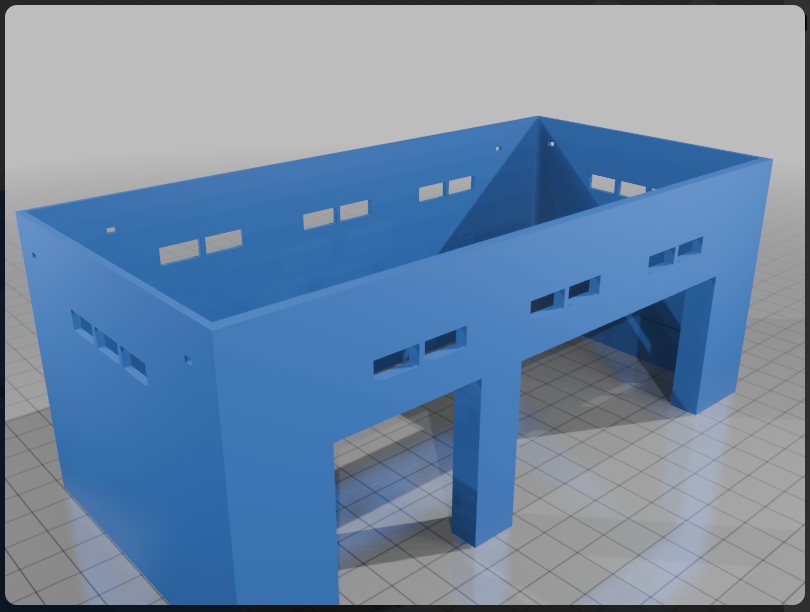
(haz click en la imagen para descargar el modelo)
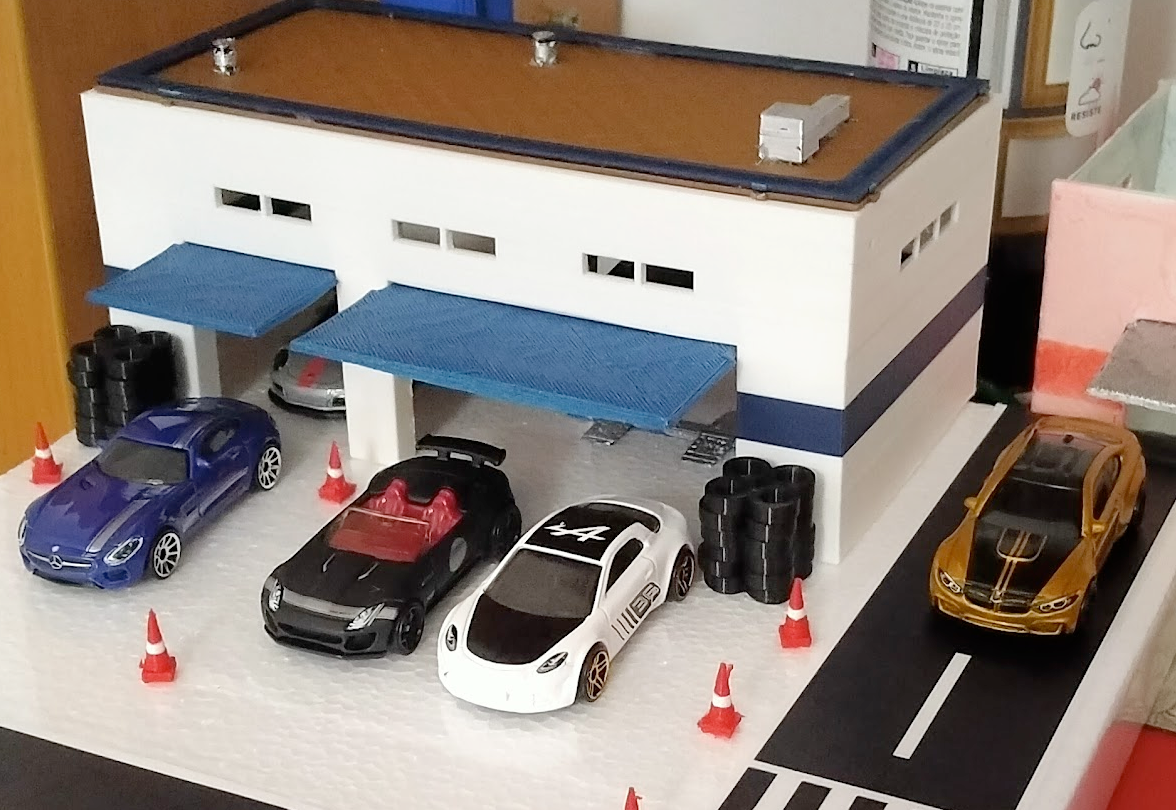
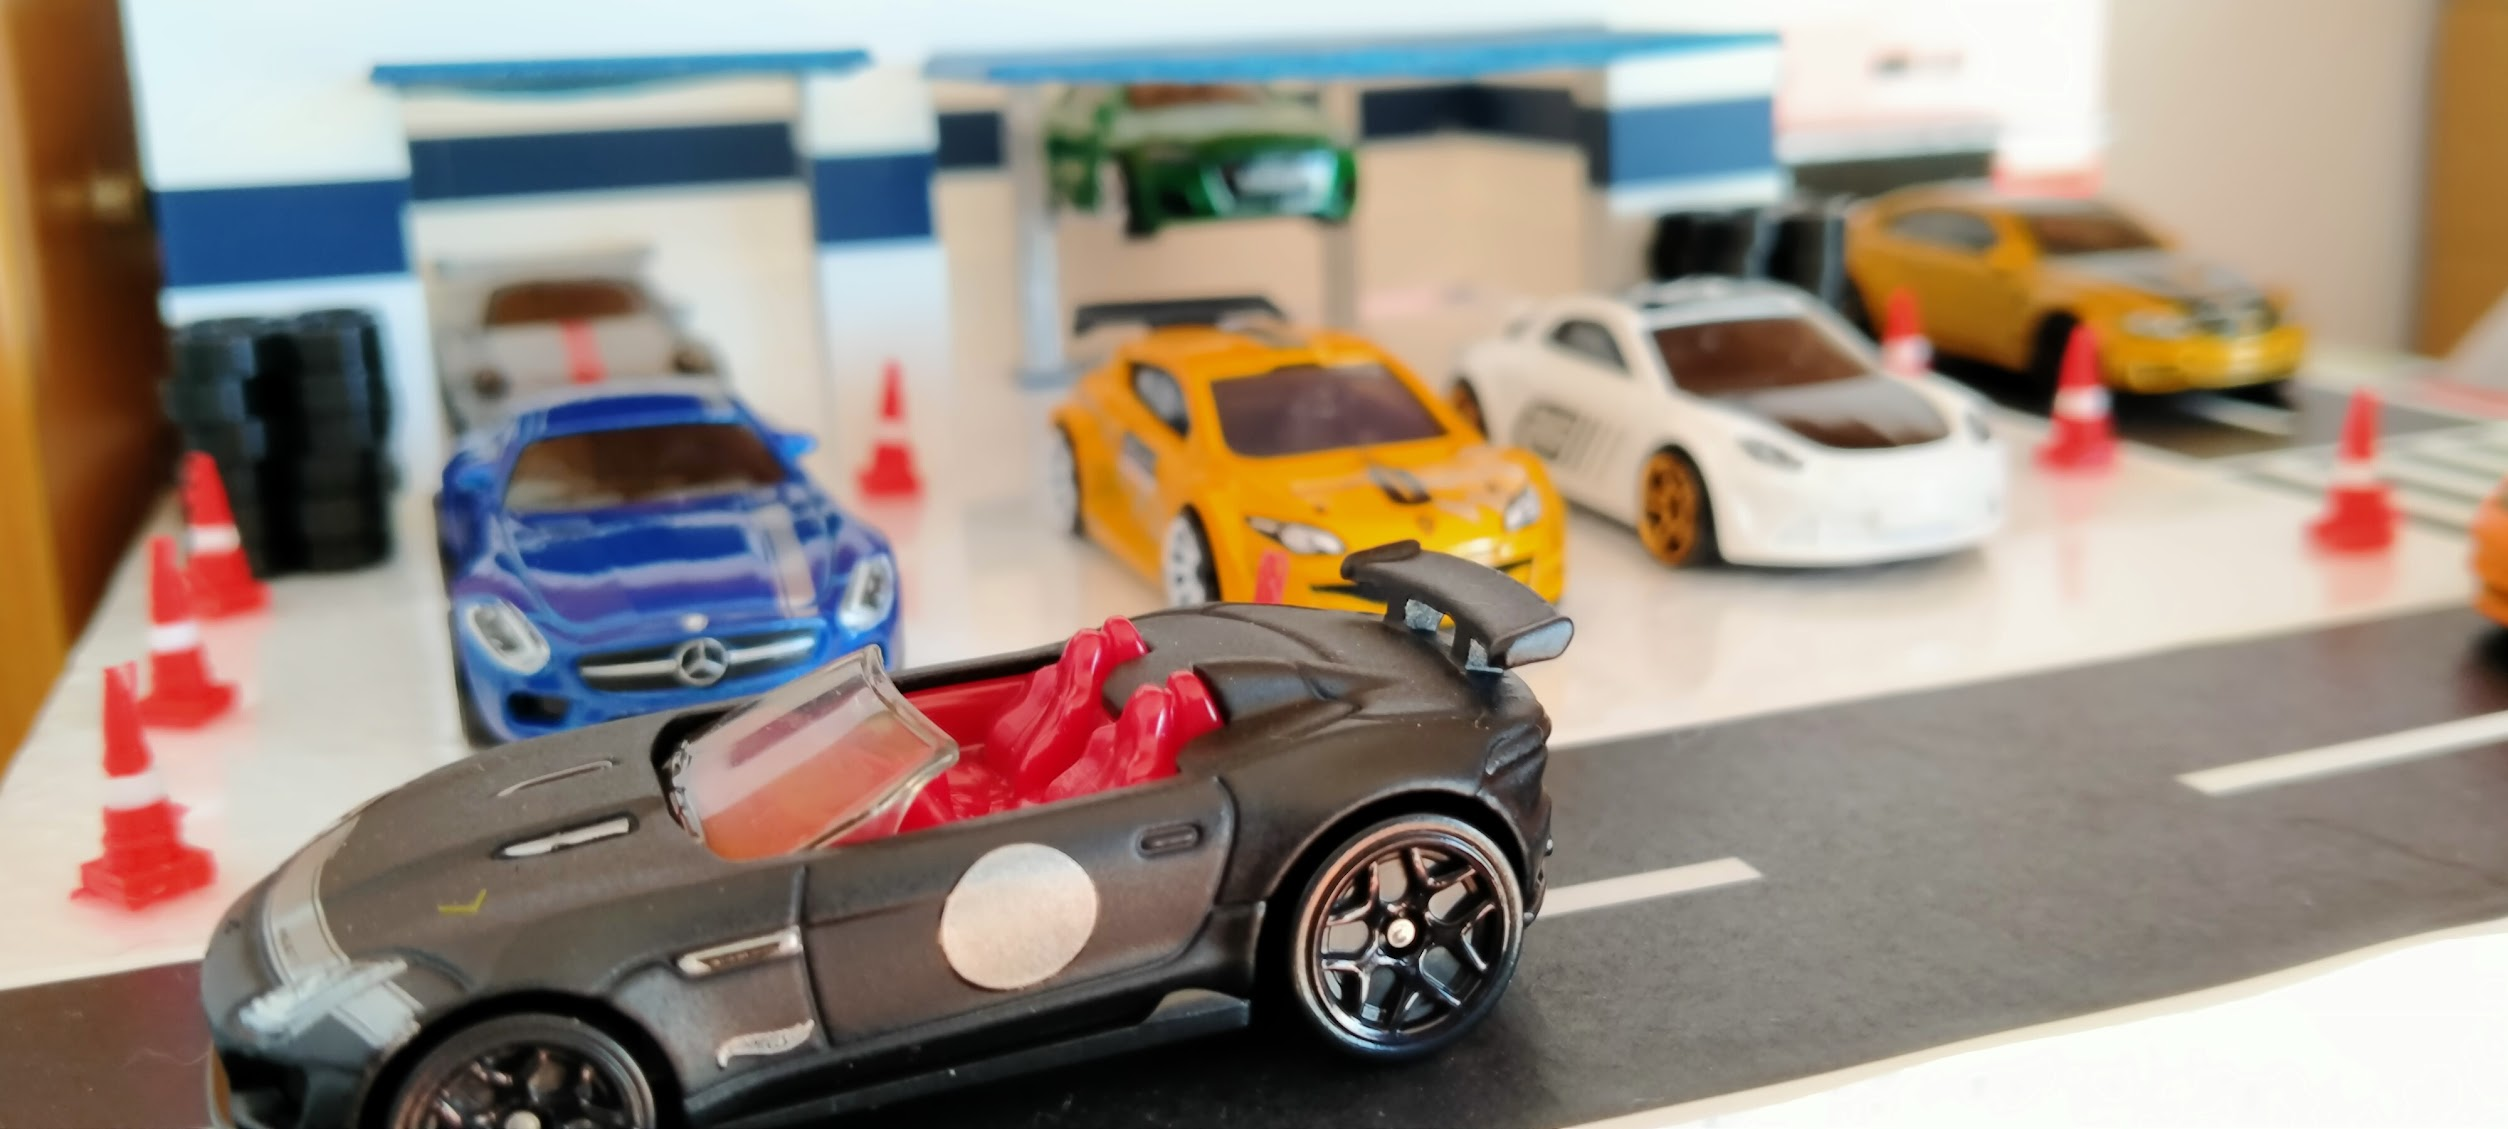
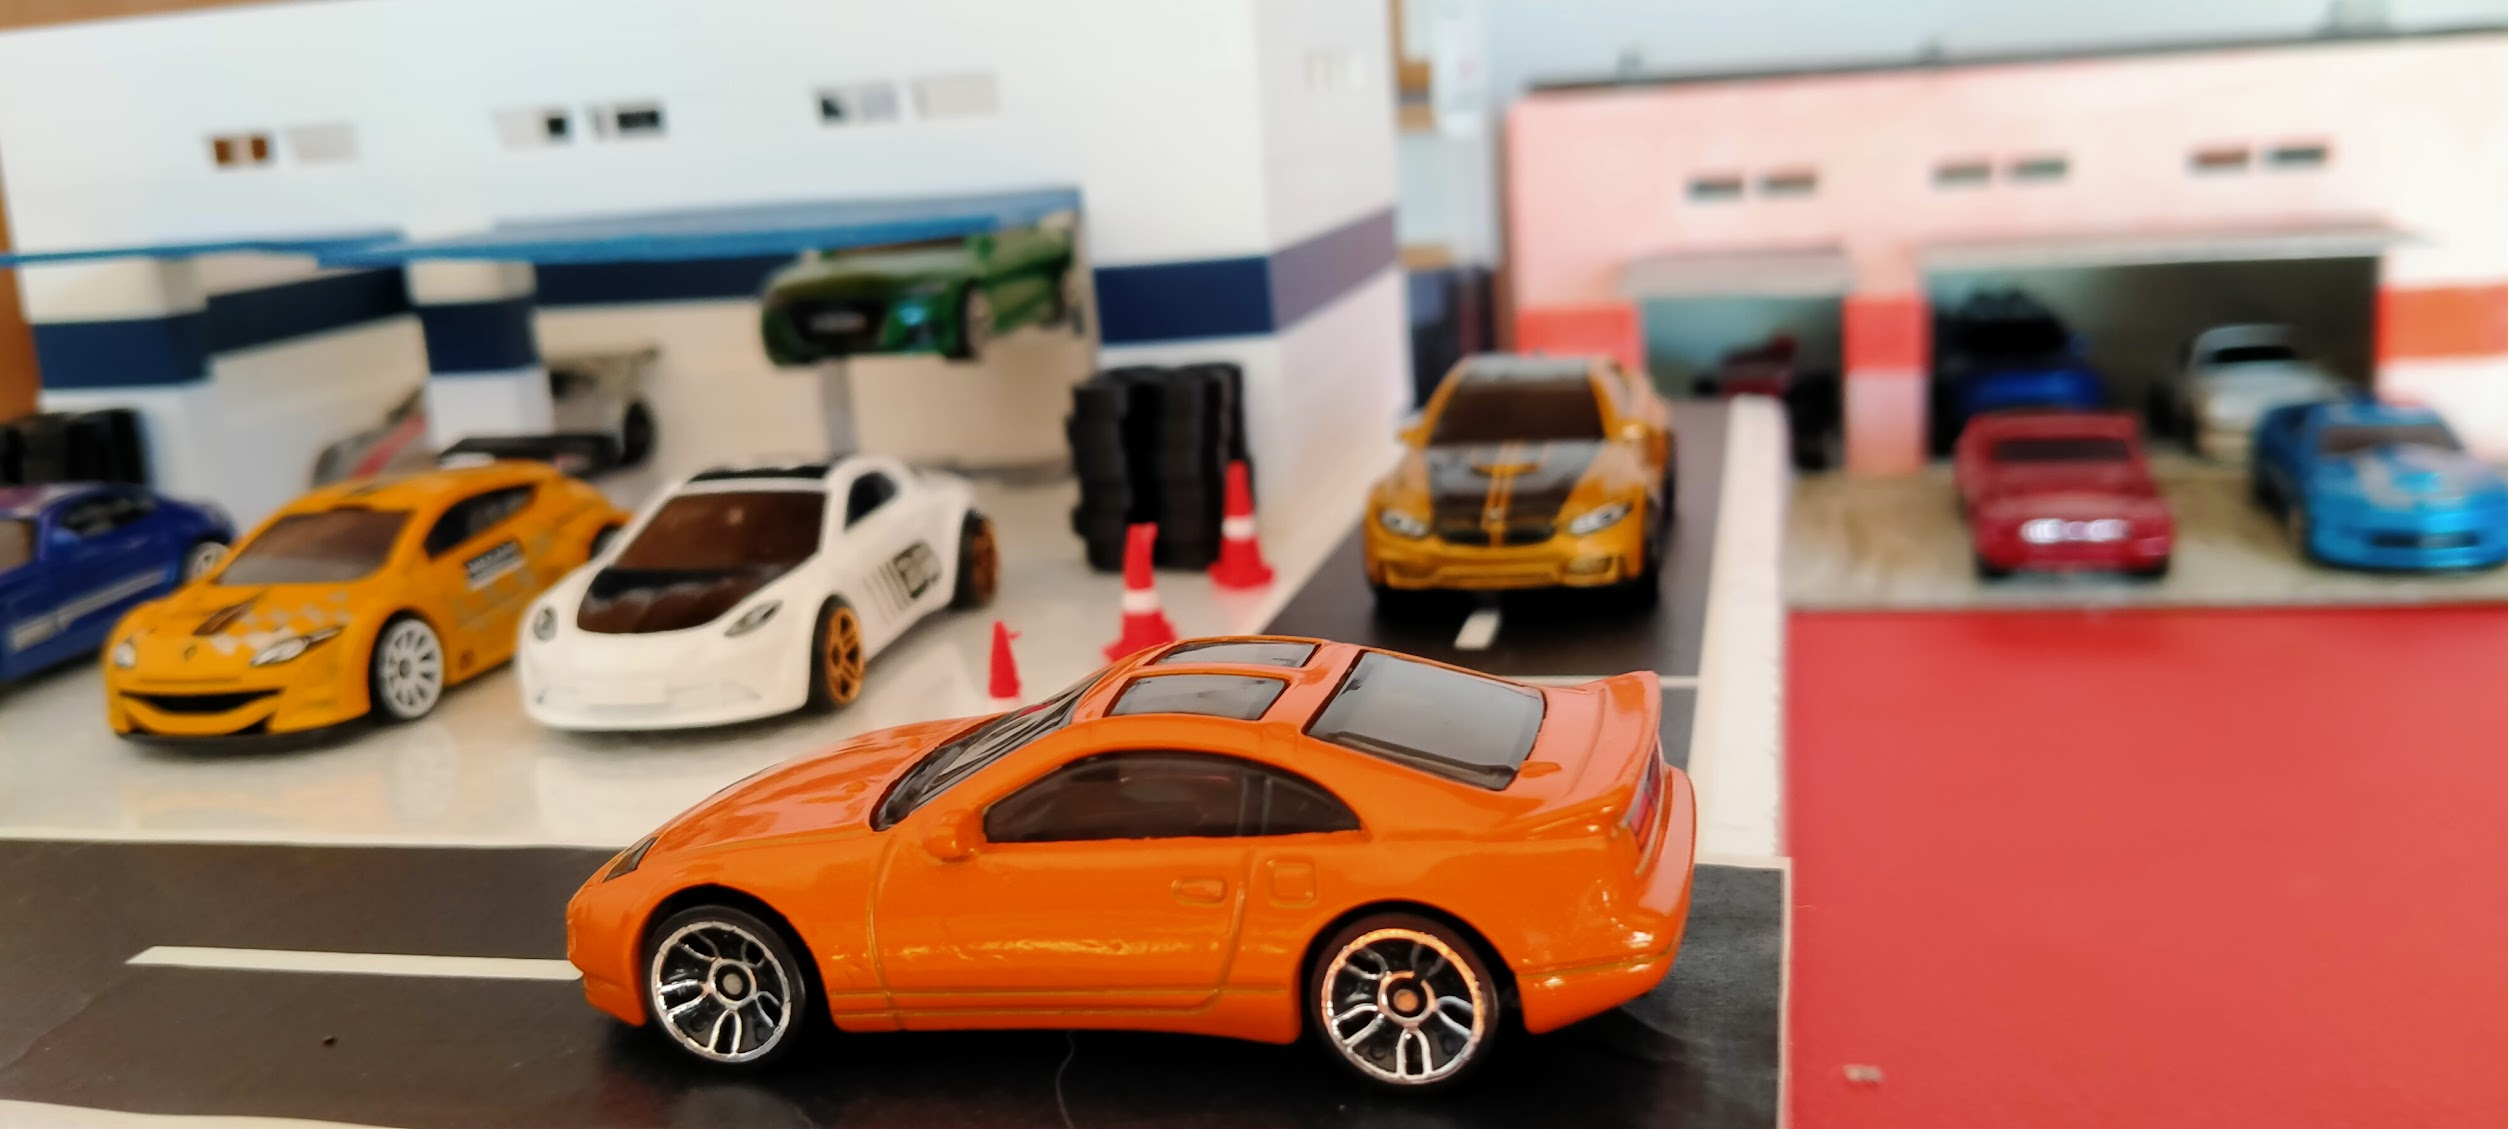
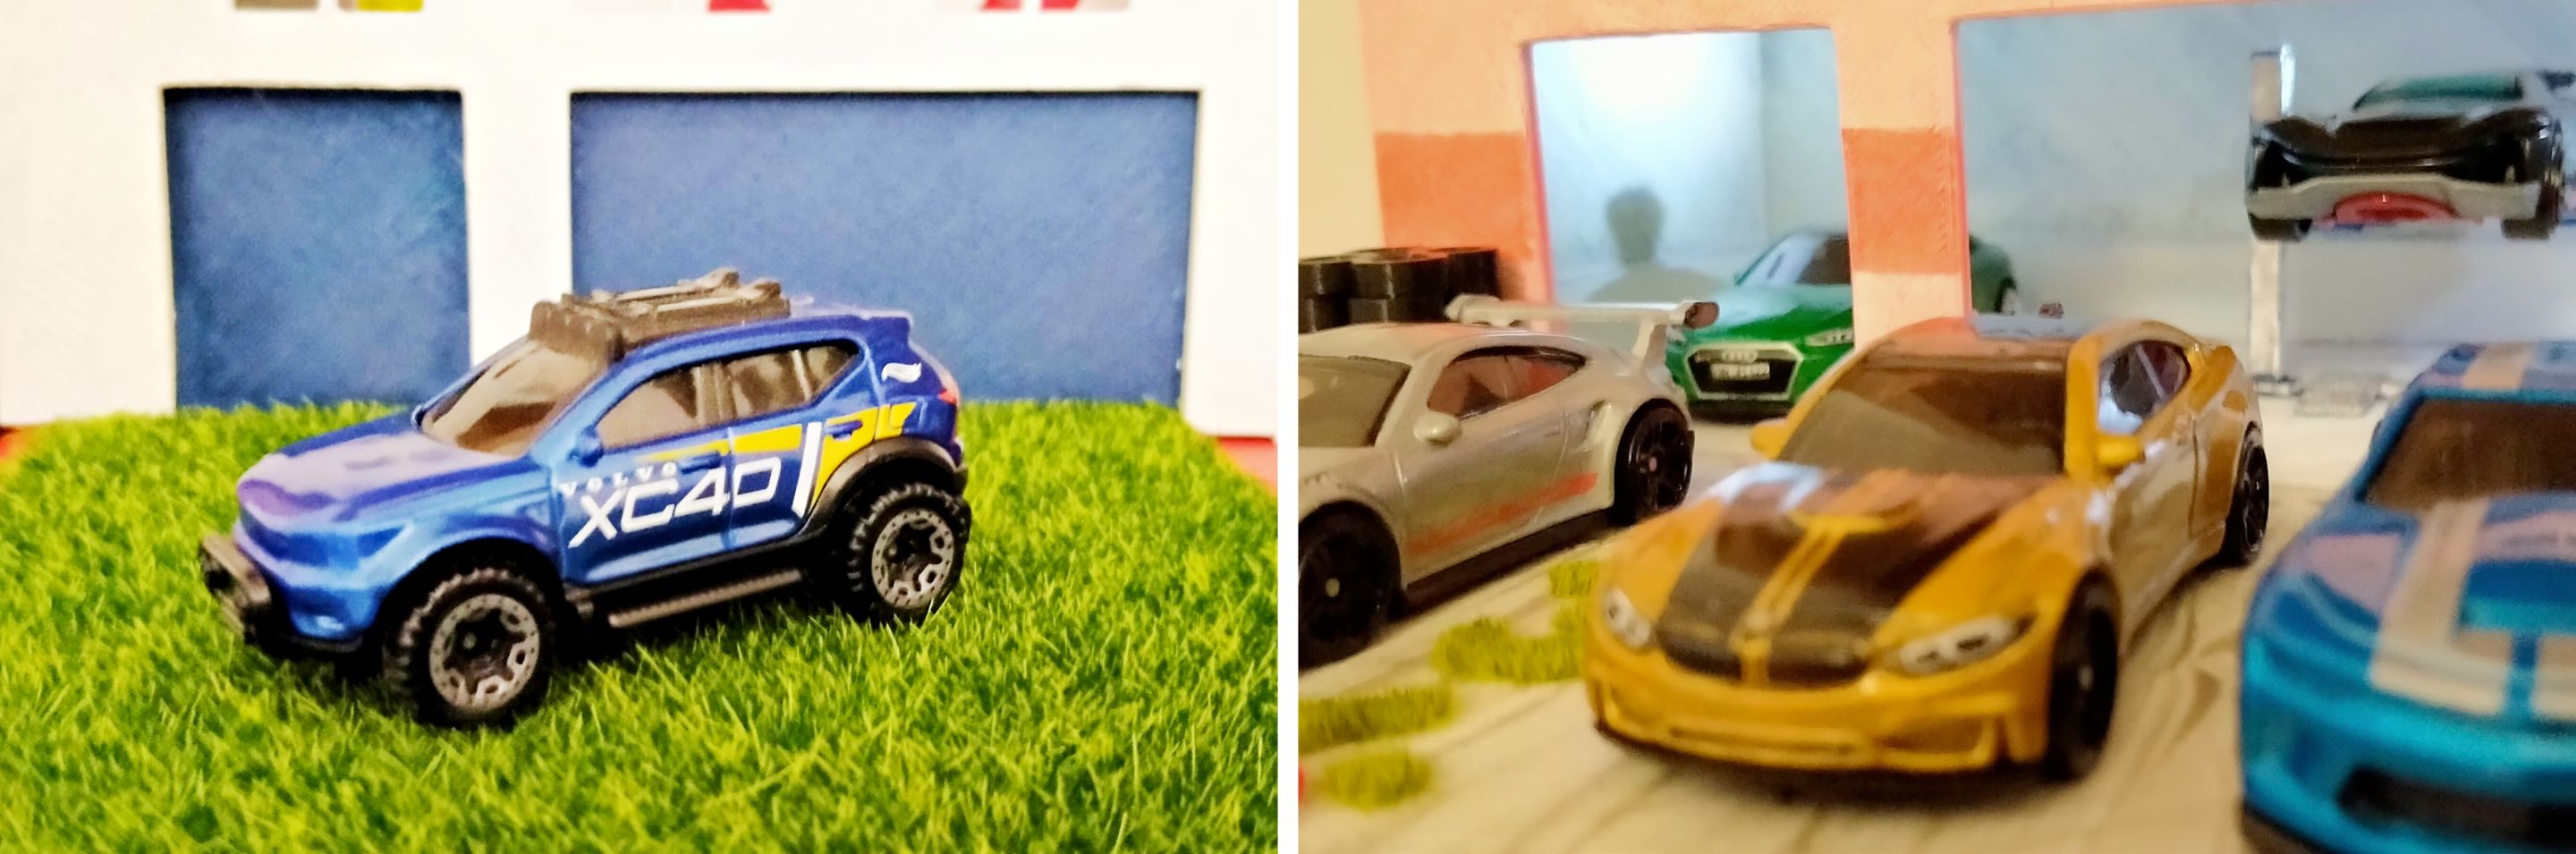
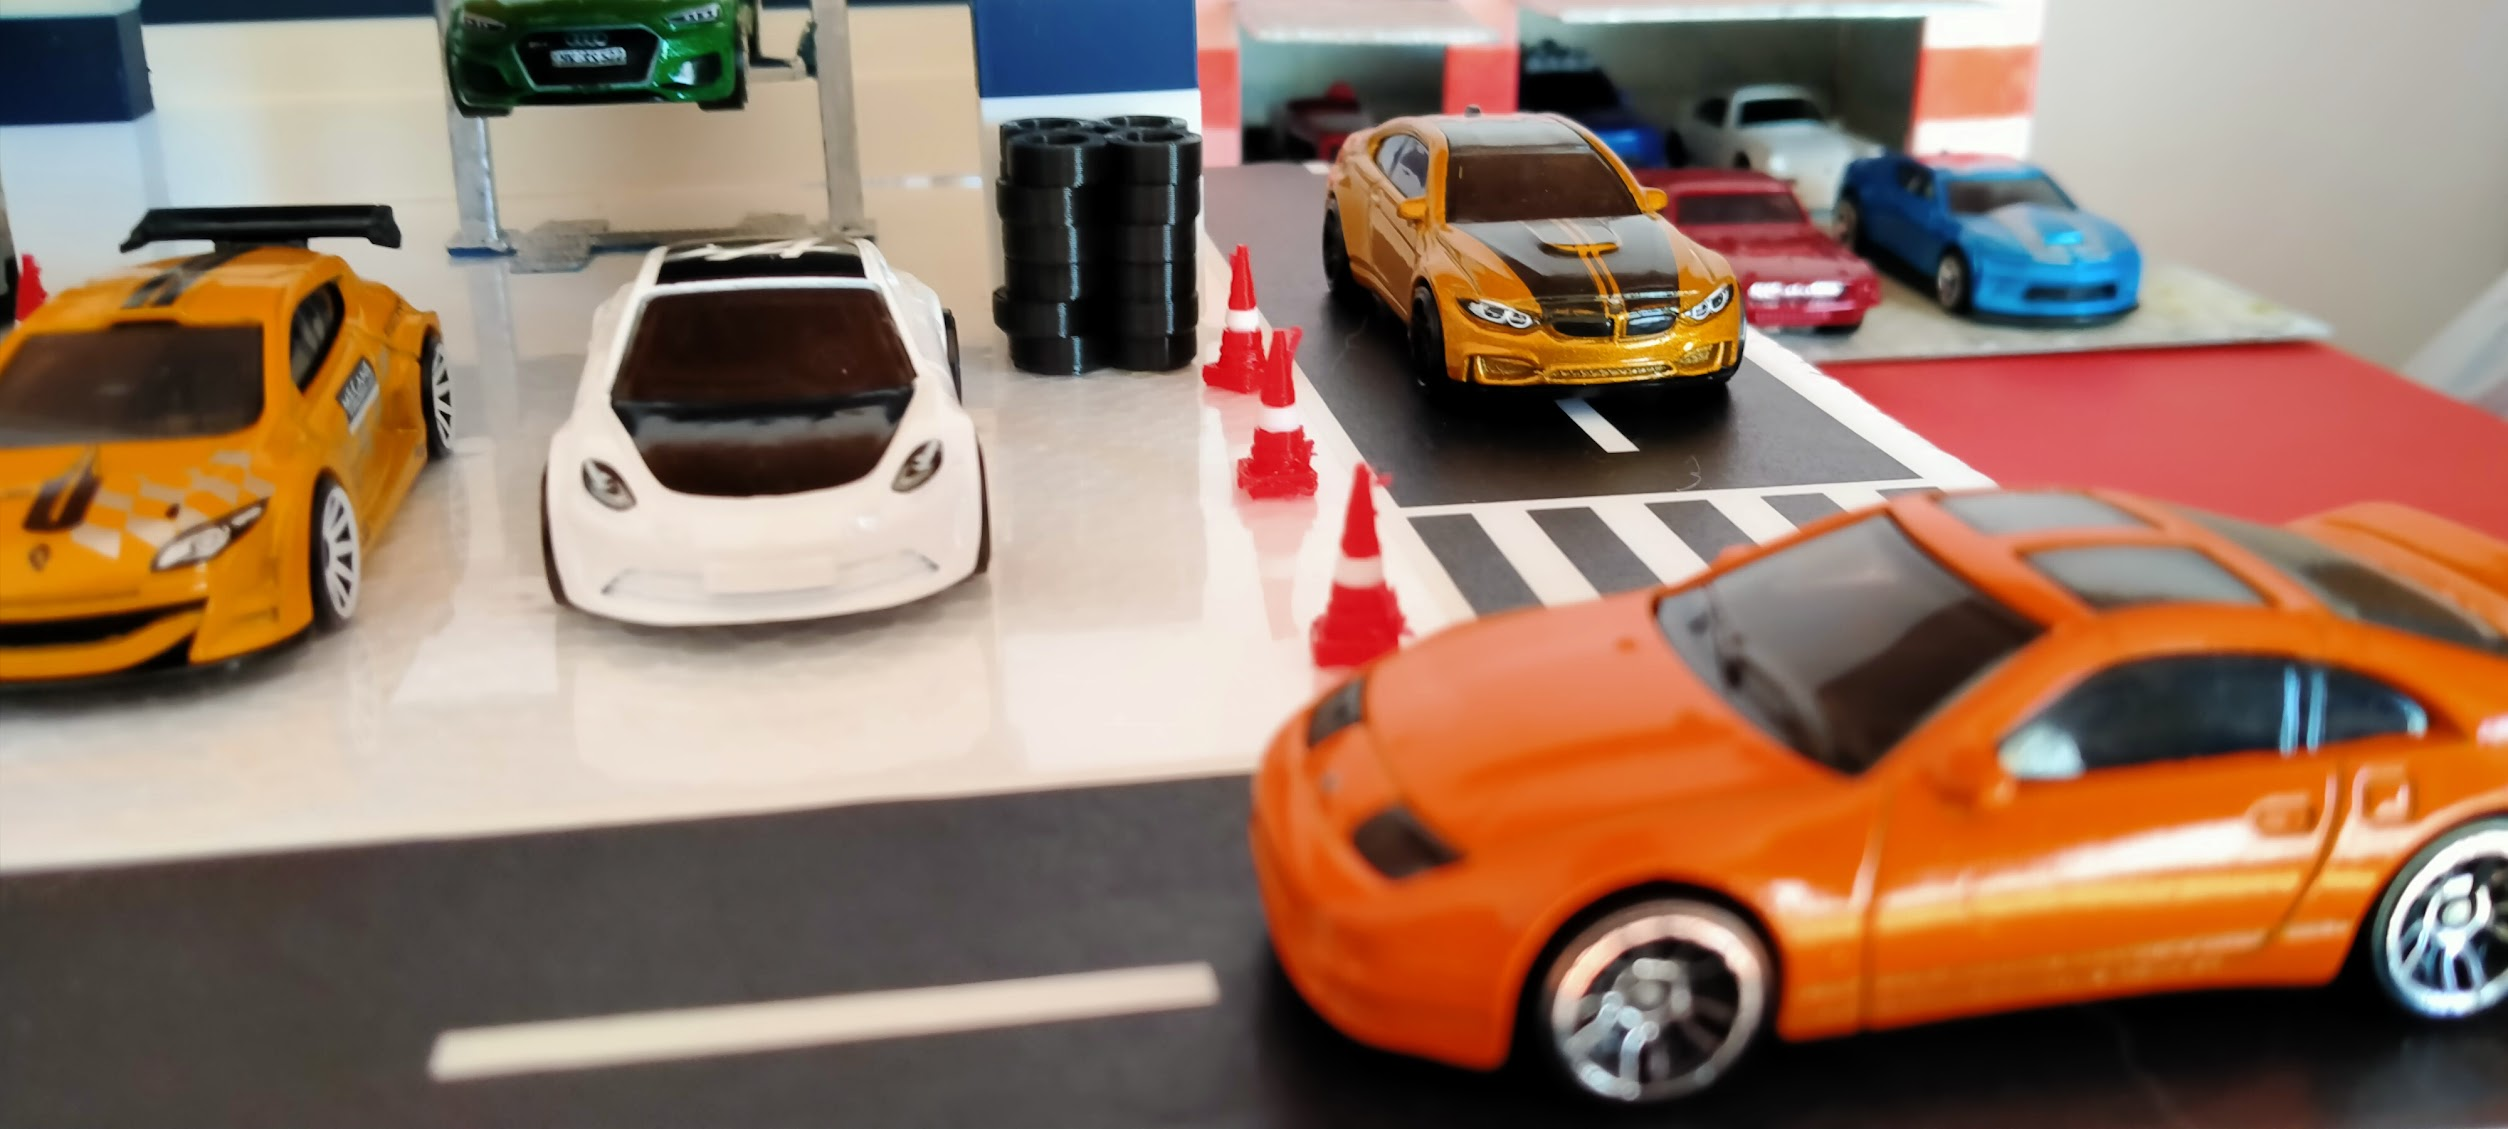
Para rematar el garaje también he hecho un elevador, pilas de ruedas y conos de tráfico.
Como siempre todo es mejorable pero en esta segunda versión ya hay una diferencia considerable respecto de la primera, faltan también detalles como carteles, logos y más detalles propios de un taller, cuando lo tenga listo os lo enseñaré también.
ENGLISH 🇬🇧
Hello everyone
Today I want to show you the garage I have prepared with the 3D printer for 1:64 scale cars such as those of the Hot Wheels and Majorette brands.
Initially I printed the design made by Pinhapple, which is very complete as it includes doors, a roof/rooftop with elements of the air conditioning and ventilation system, skylights and a base to put everything on.
(click on the image to download the model)
Once printed I realized that if you are not very handy, as is my case, when gluing the parts it can end up like cardboard, also the walls/columns of the entrance seemed very thin to me and when taking photos it looks better with the thick columns. In the photo below you can see that with the doors closed it is not noticeable but with the doors open it is. Later we will see how the thick columns look and you will see the difference.
So to solve these problems what I did was assemble the four walls of the building in Tinkercad and added thickness to the entrance wall and the central column, giving more solidity to the model and more realistic in the photos:
(click on the image to download the model)
To finish off the garage I also made a lift, stacks of wheels and traffic cones.
As always, everything can be improved, but in this second version there is already a considerable difference compared to the first one. There are also missing details such as posters, logos and more details typical of a workshop. When I have it ready, I will show it to you too.