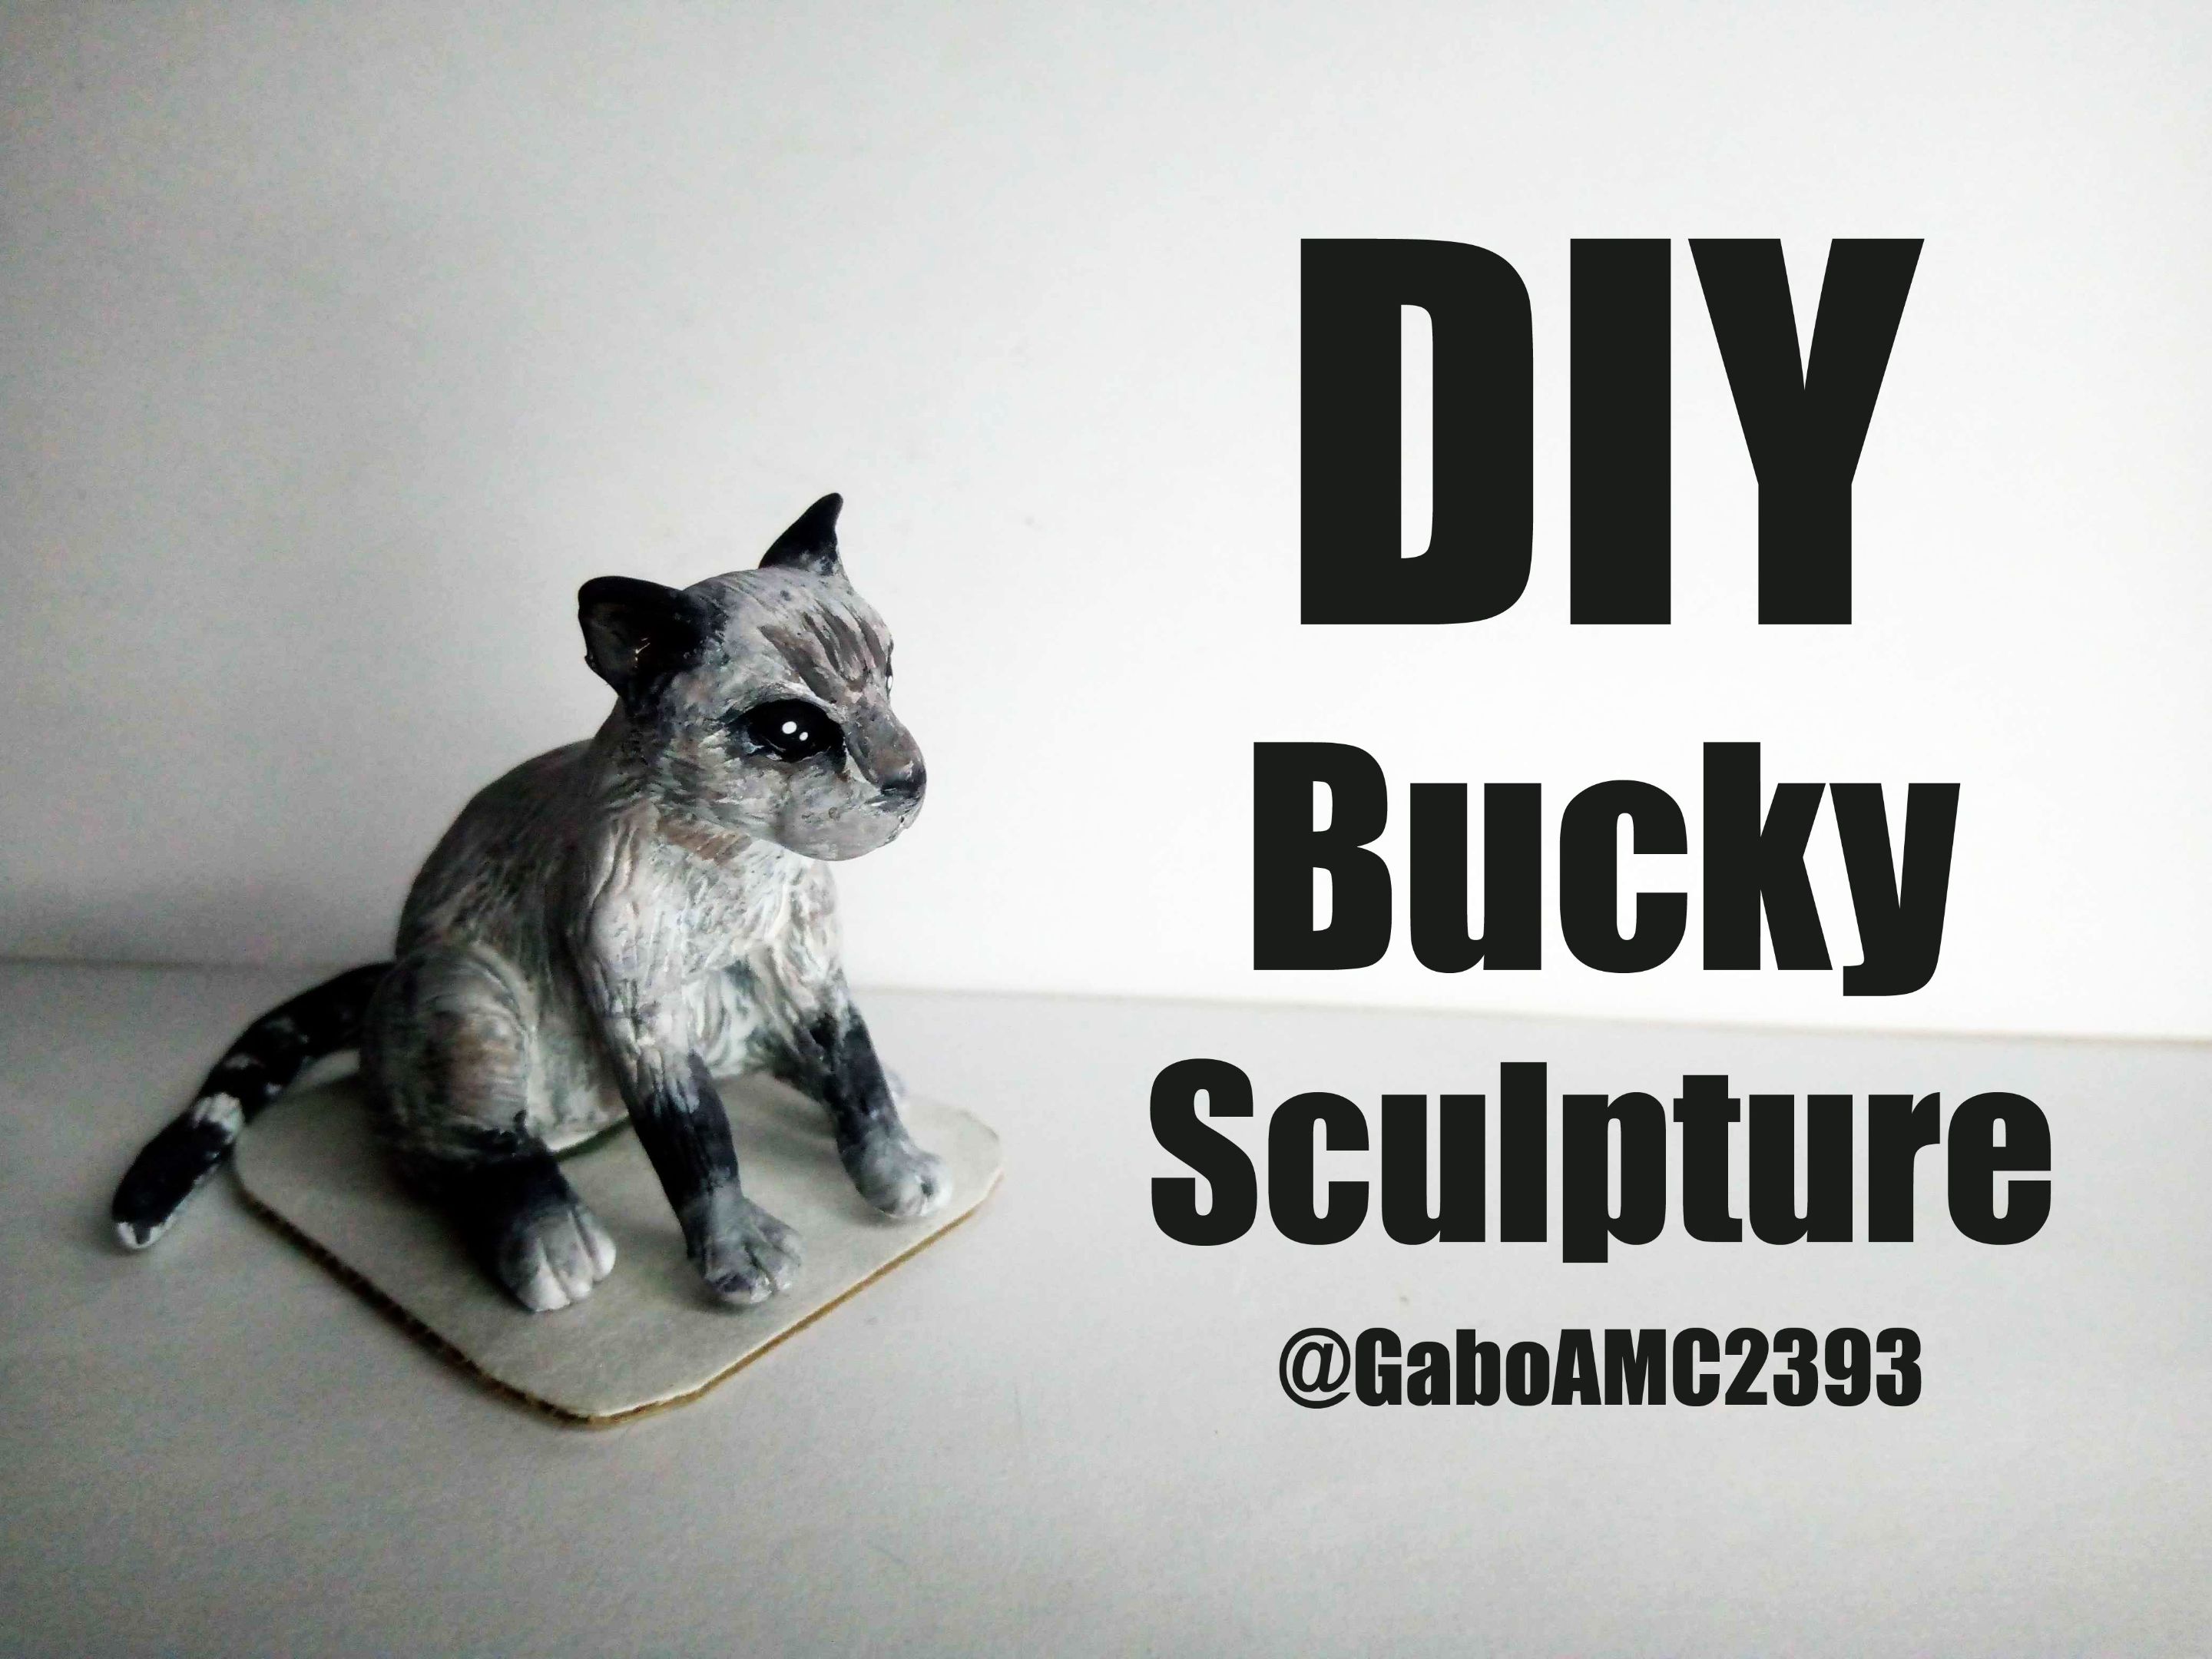
Greetings, friends. For a reason I will tell you about later (another post), today I would like to share with you a little sculpture I made of my little cat Bucky. He is my youngest cat, little brother of Tchalla, my black cat.
If you like to see my two cats, you can visit this post:
https://peakd.com/hive-196708/@gaboamc2393/bathing-and-new-feeders-engspa
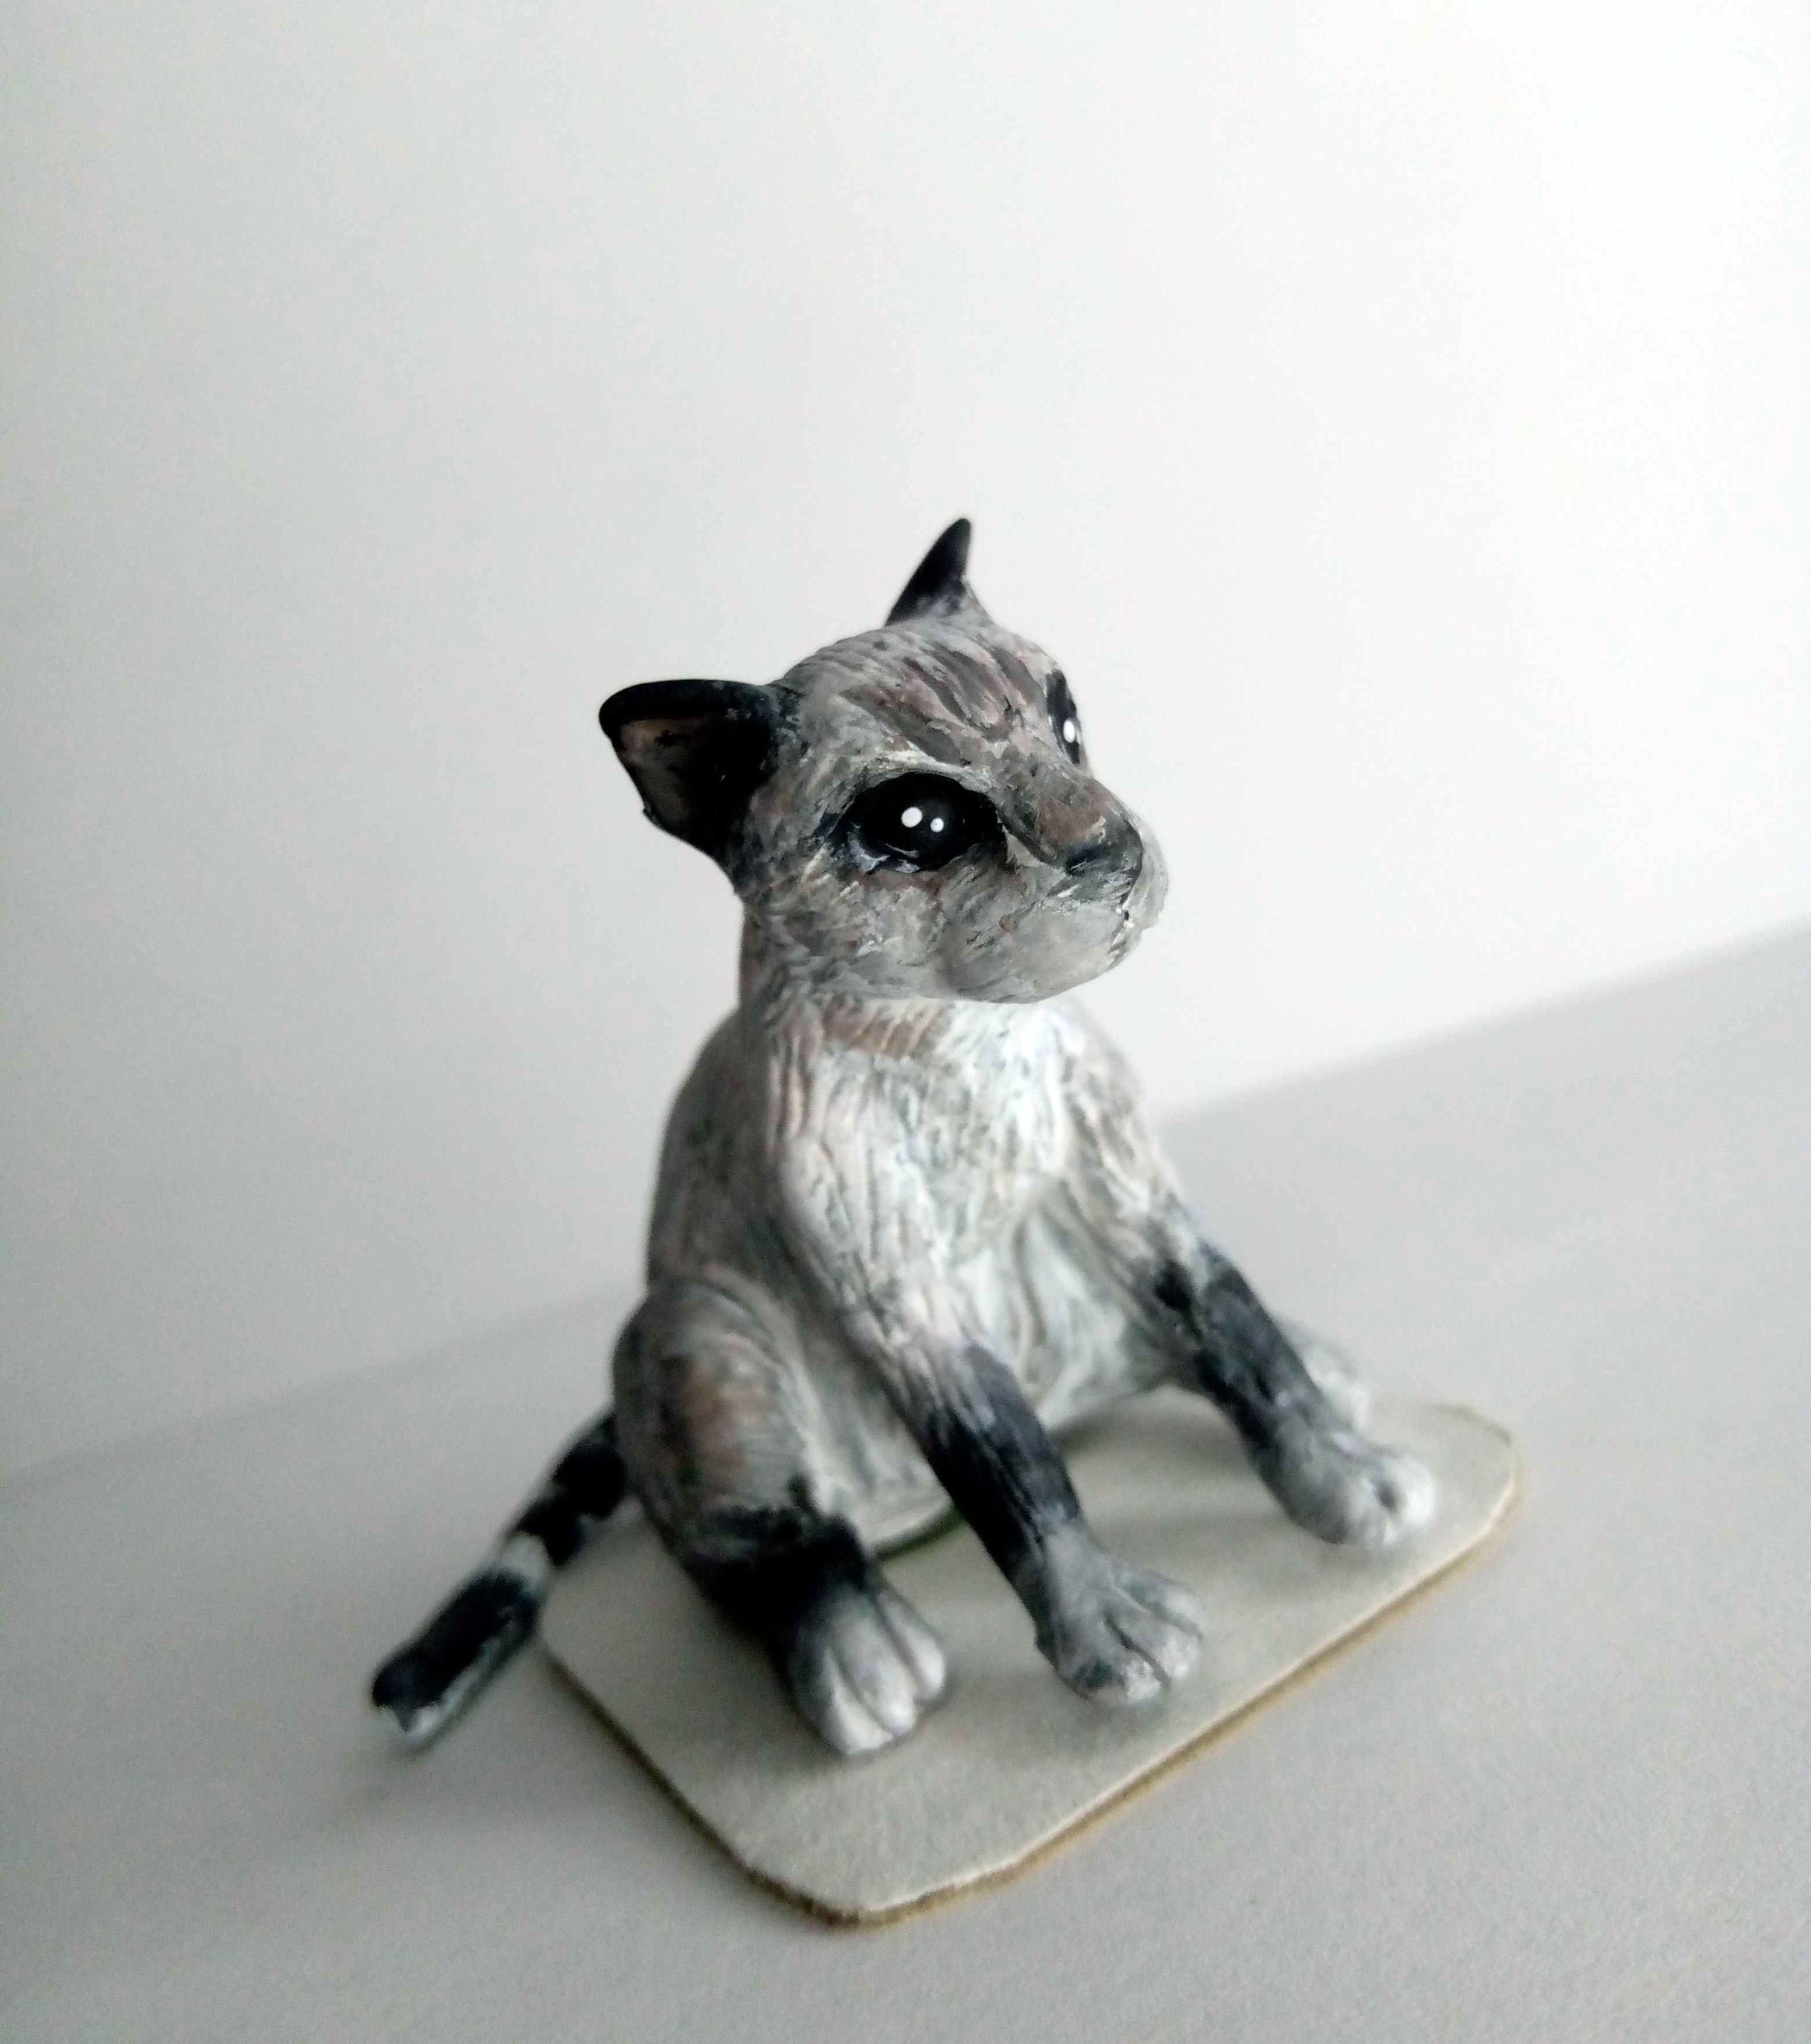
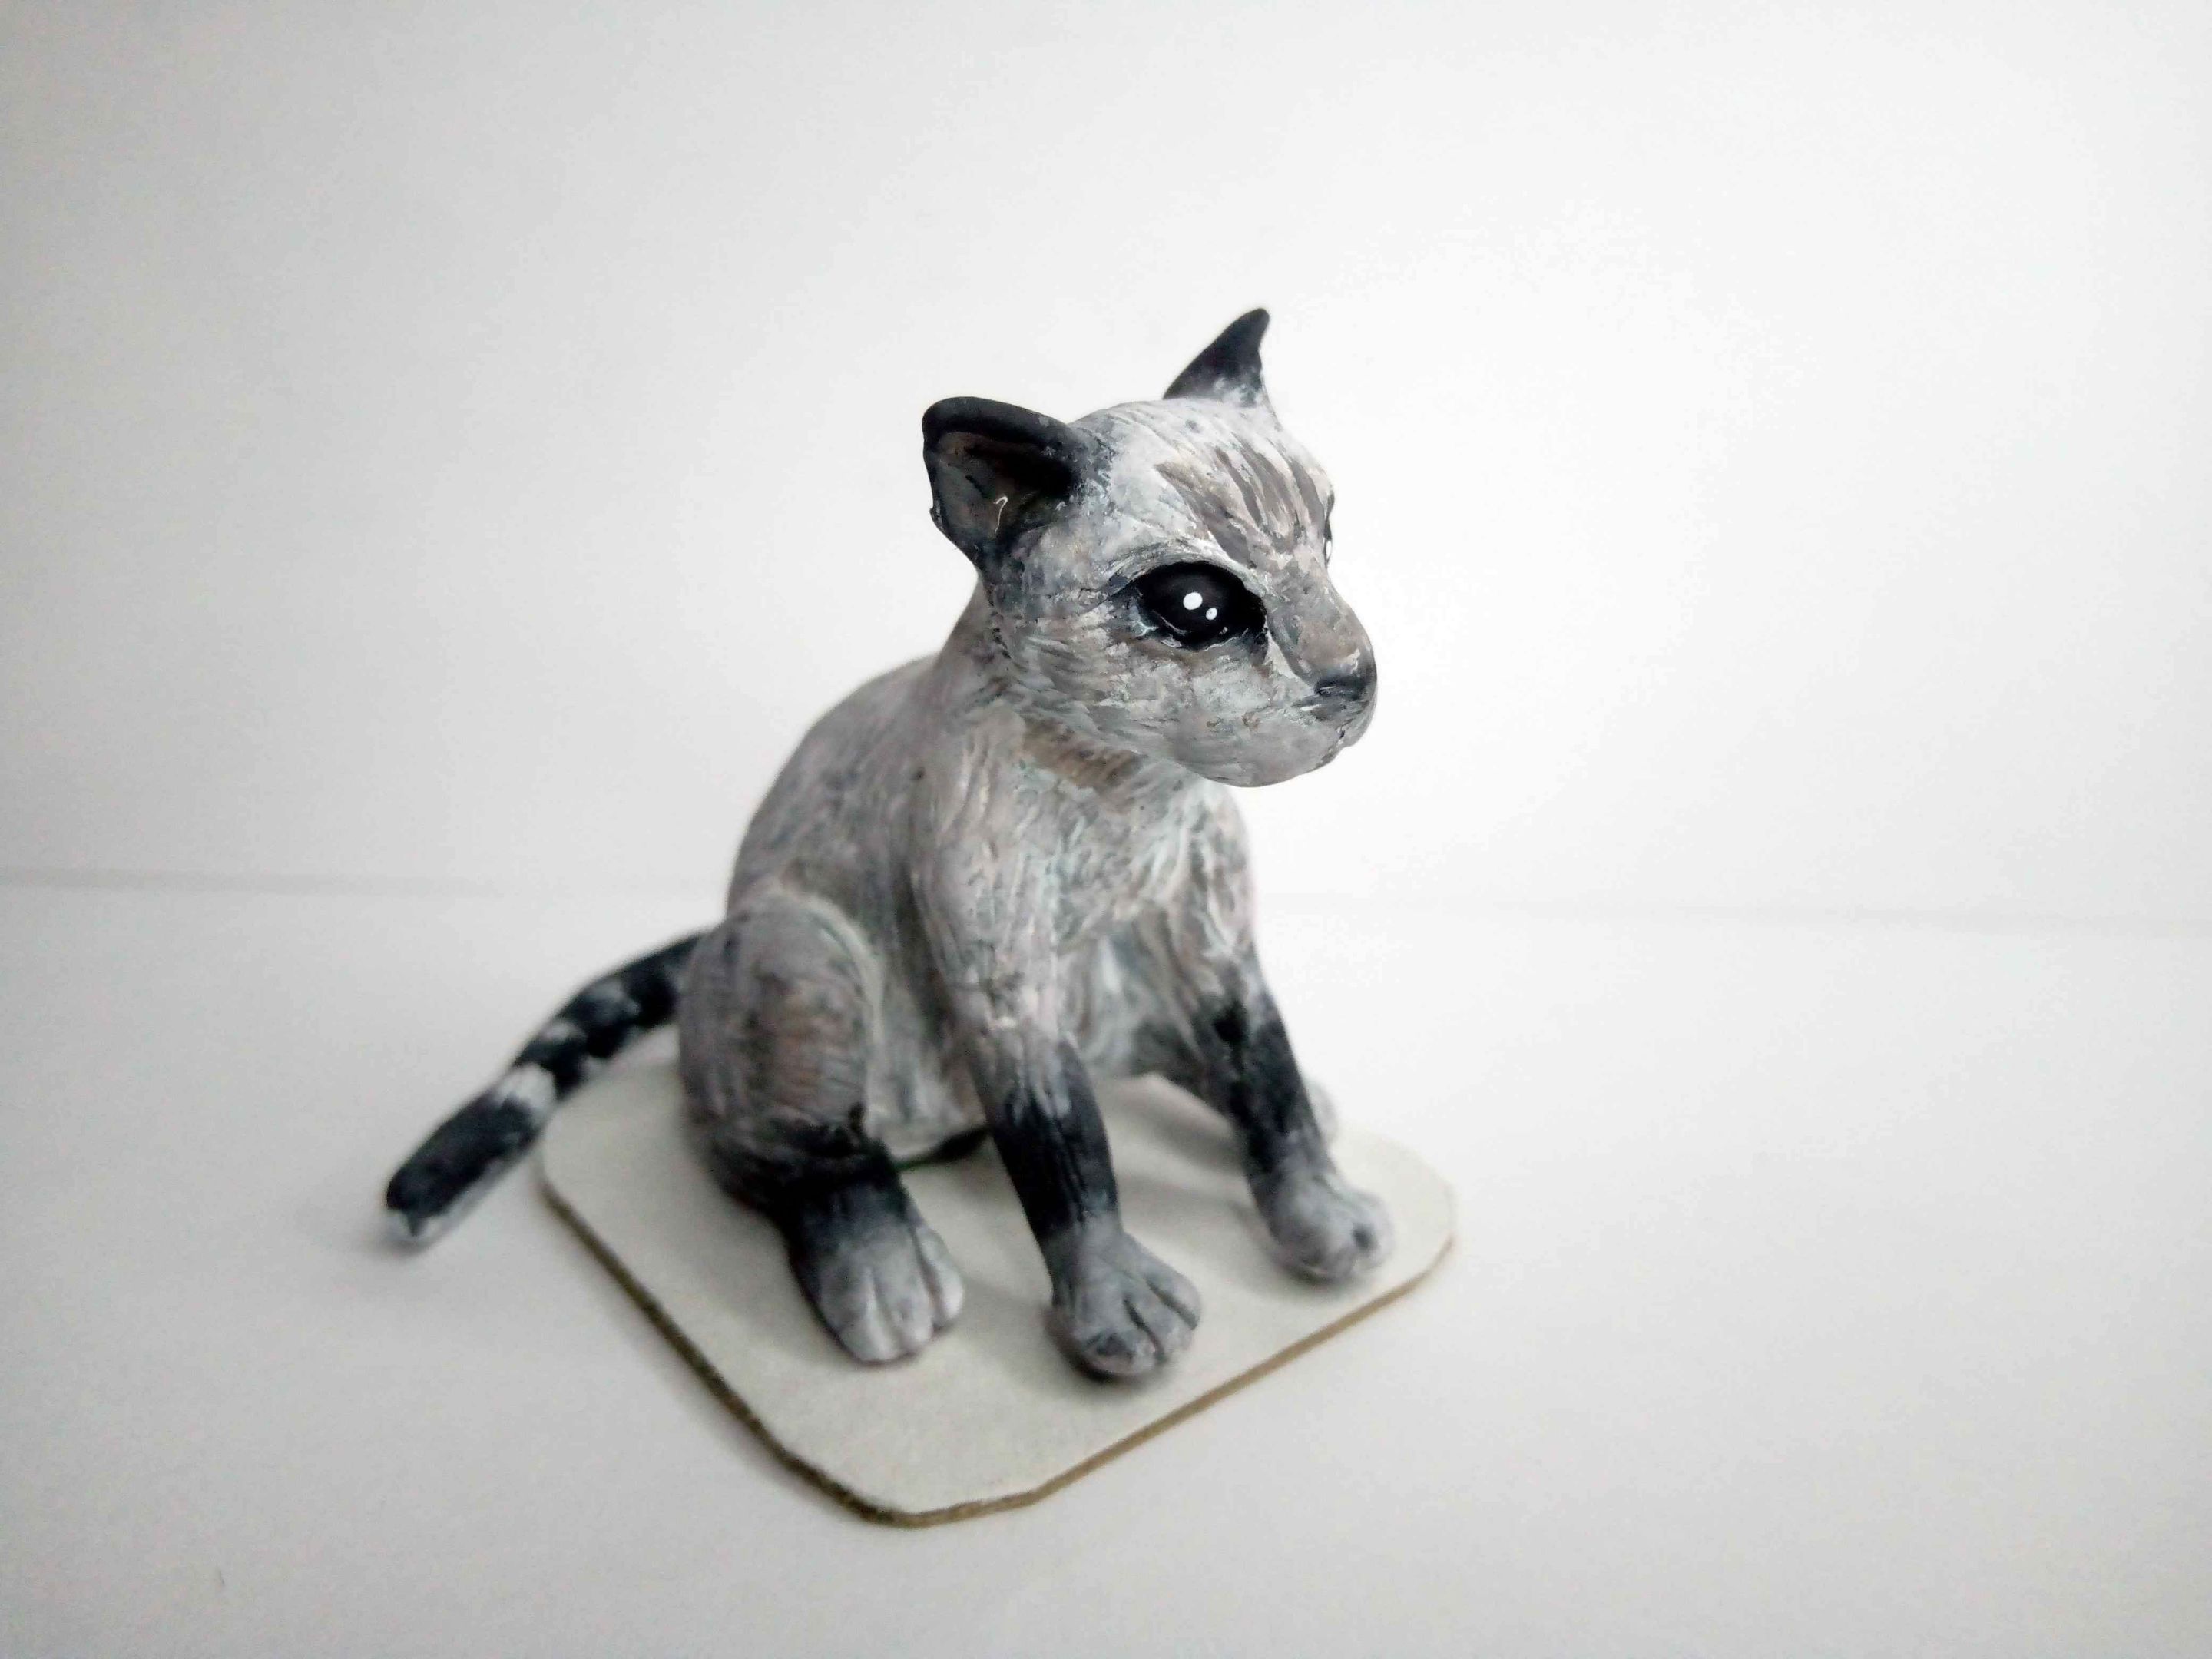
Bucky is charming, he is a loving cat and he is certainly very affectionate. That's why I would like to immortalize him in this little sculpture. Below is a photo of it:
Saludos, amigos. Por un motivo del que les hablaré más adelante (otra publicación), hoy me gustaría compartir con ustedes una pequeña escultura que hice de mi pequeño gato Bucky. Es mi gato más joven, hermanito de Tchalla, mi gata negra.
Si gustan ver a mis dos gatos, pueden visitar esta publicación:
https://peakd.com/hive-196708/@gaboamc2393/bathing-and-new-feeders-engspa
Bucky es encantador, es un gato que se da a querer y ciertamente es muy cariñoso. Por eso me gustaría inmortalizarlo en esta pequeña escultura. A continuación una foto de la misma:
Step by step
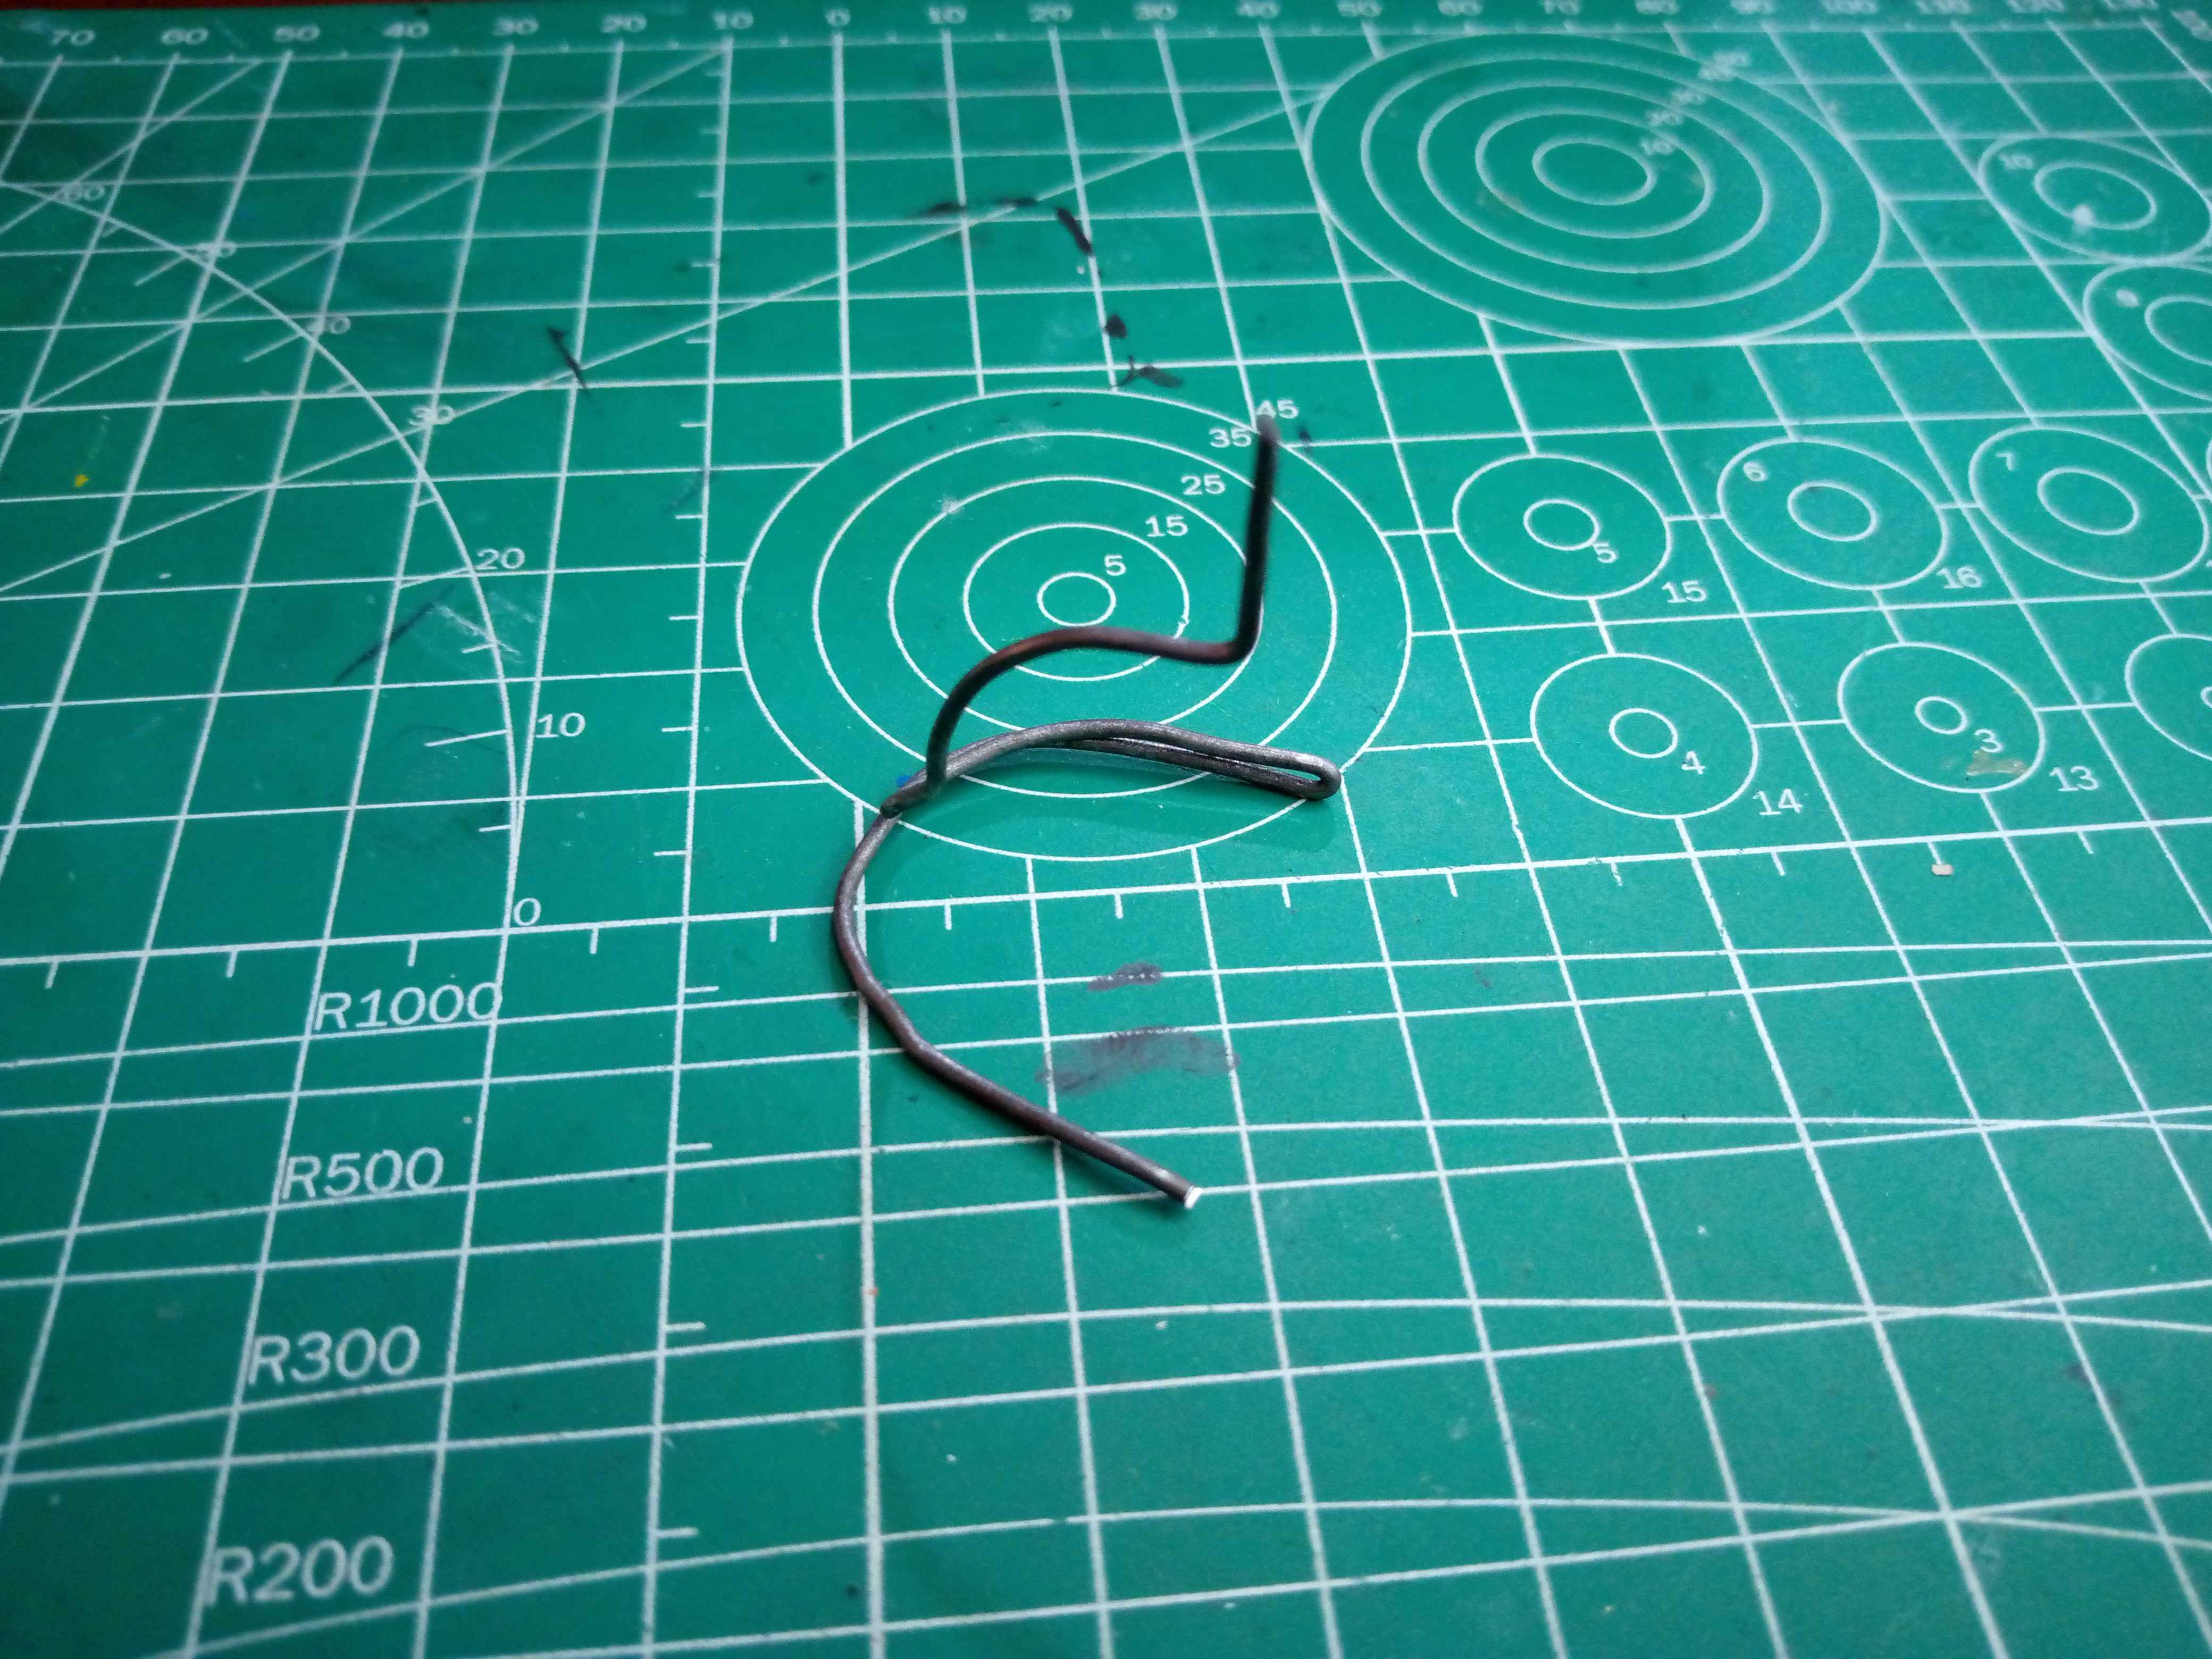
This sculpture is of a small size, but I wanted it to keep its shape so I made it with a wire support that would help it to hold its shape over time. In the photo below you can see the shape of this base.
Paso a paso
Esta escultura es de un tamaño pequeño, pero quería que conservara su forma así que la hice con un soporte de alambre que la ayudaría a mantenerse con el tiempo. En la foto de abajo pueden observar la forma de esta base.
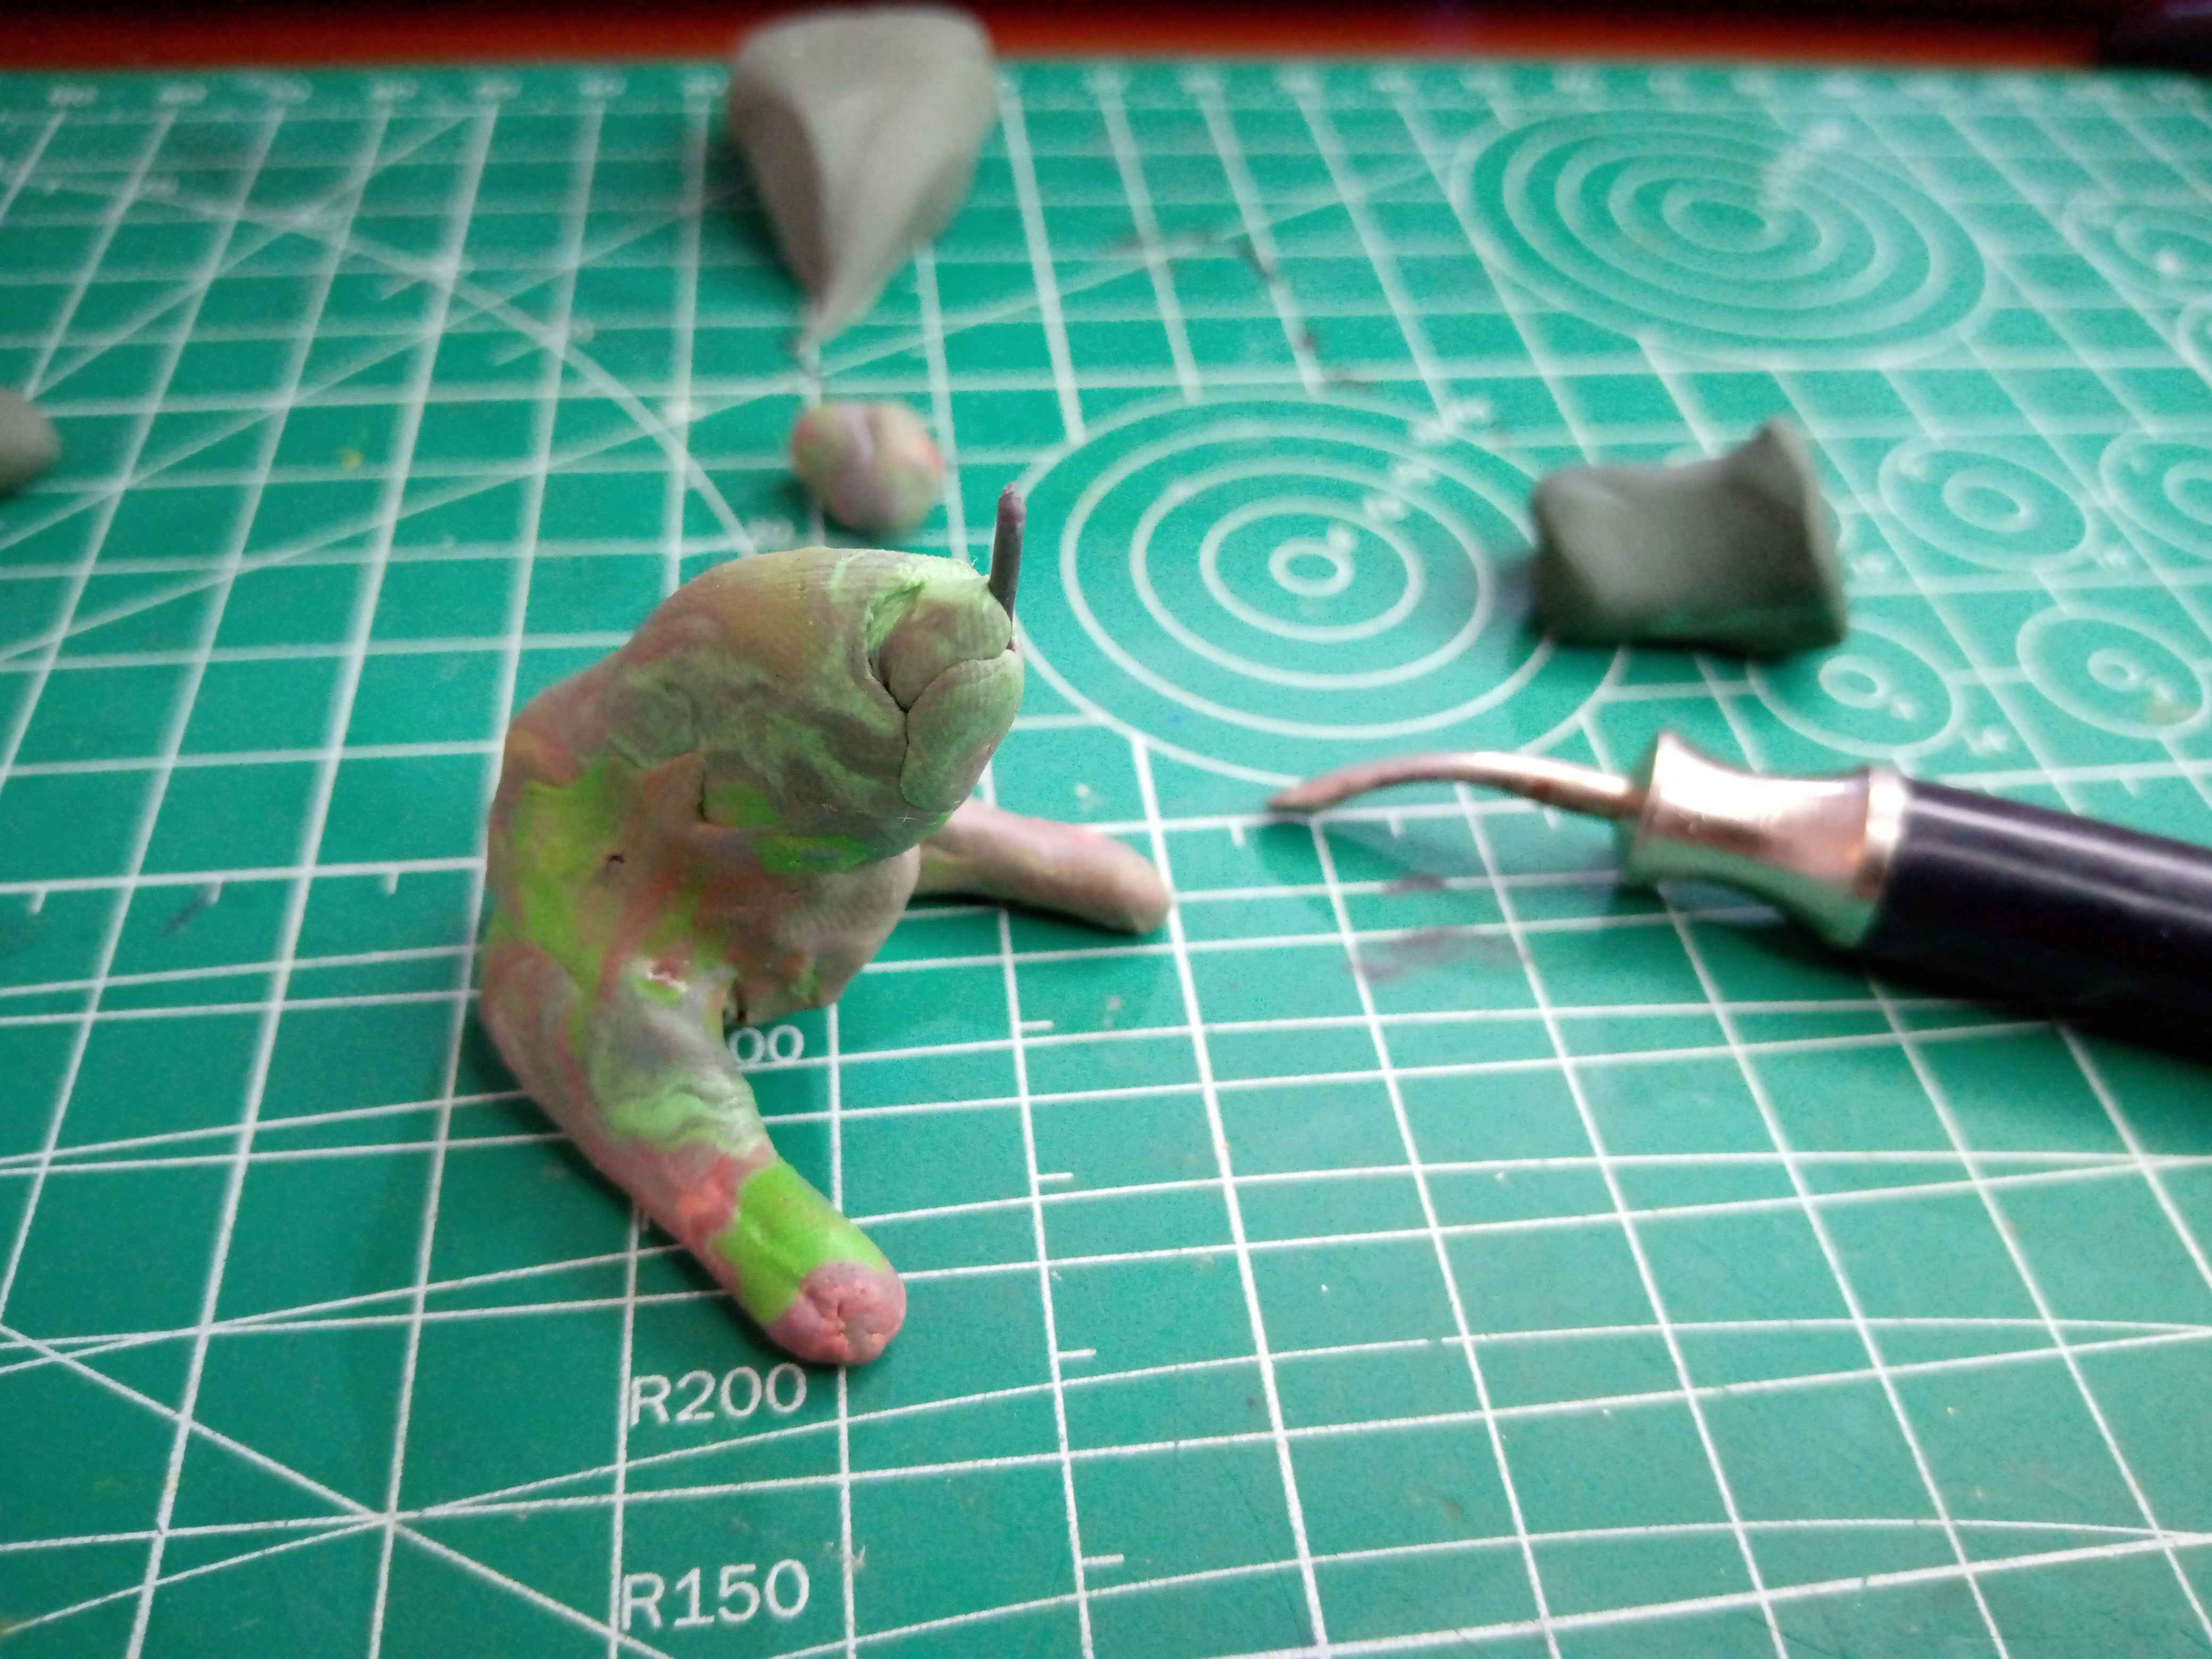
The wire support would serve as a guide for me to start covering with plasticine. I did this randomly until I covered as much of the area of the wire base as possible. Then, I continued to add more play dough where it was needed most, according to the shape of the cat's body.
El soporte de alambre me serviría como guía para comenzar a cubrir con plastilina. Lo hice de forma aleatoria hasta cubrir la mayor cantidad de área de la base de alambre. Luego, continué agregando más plastilina donde más se necesitara, conforme a la forma del cuerpo del gato.
 |  |
|---|
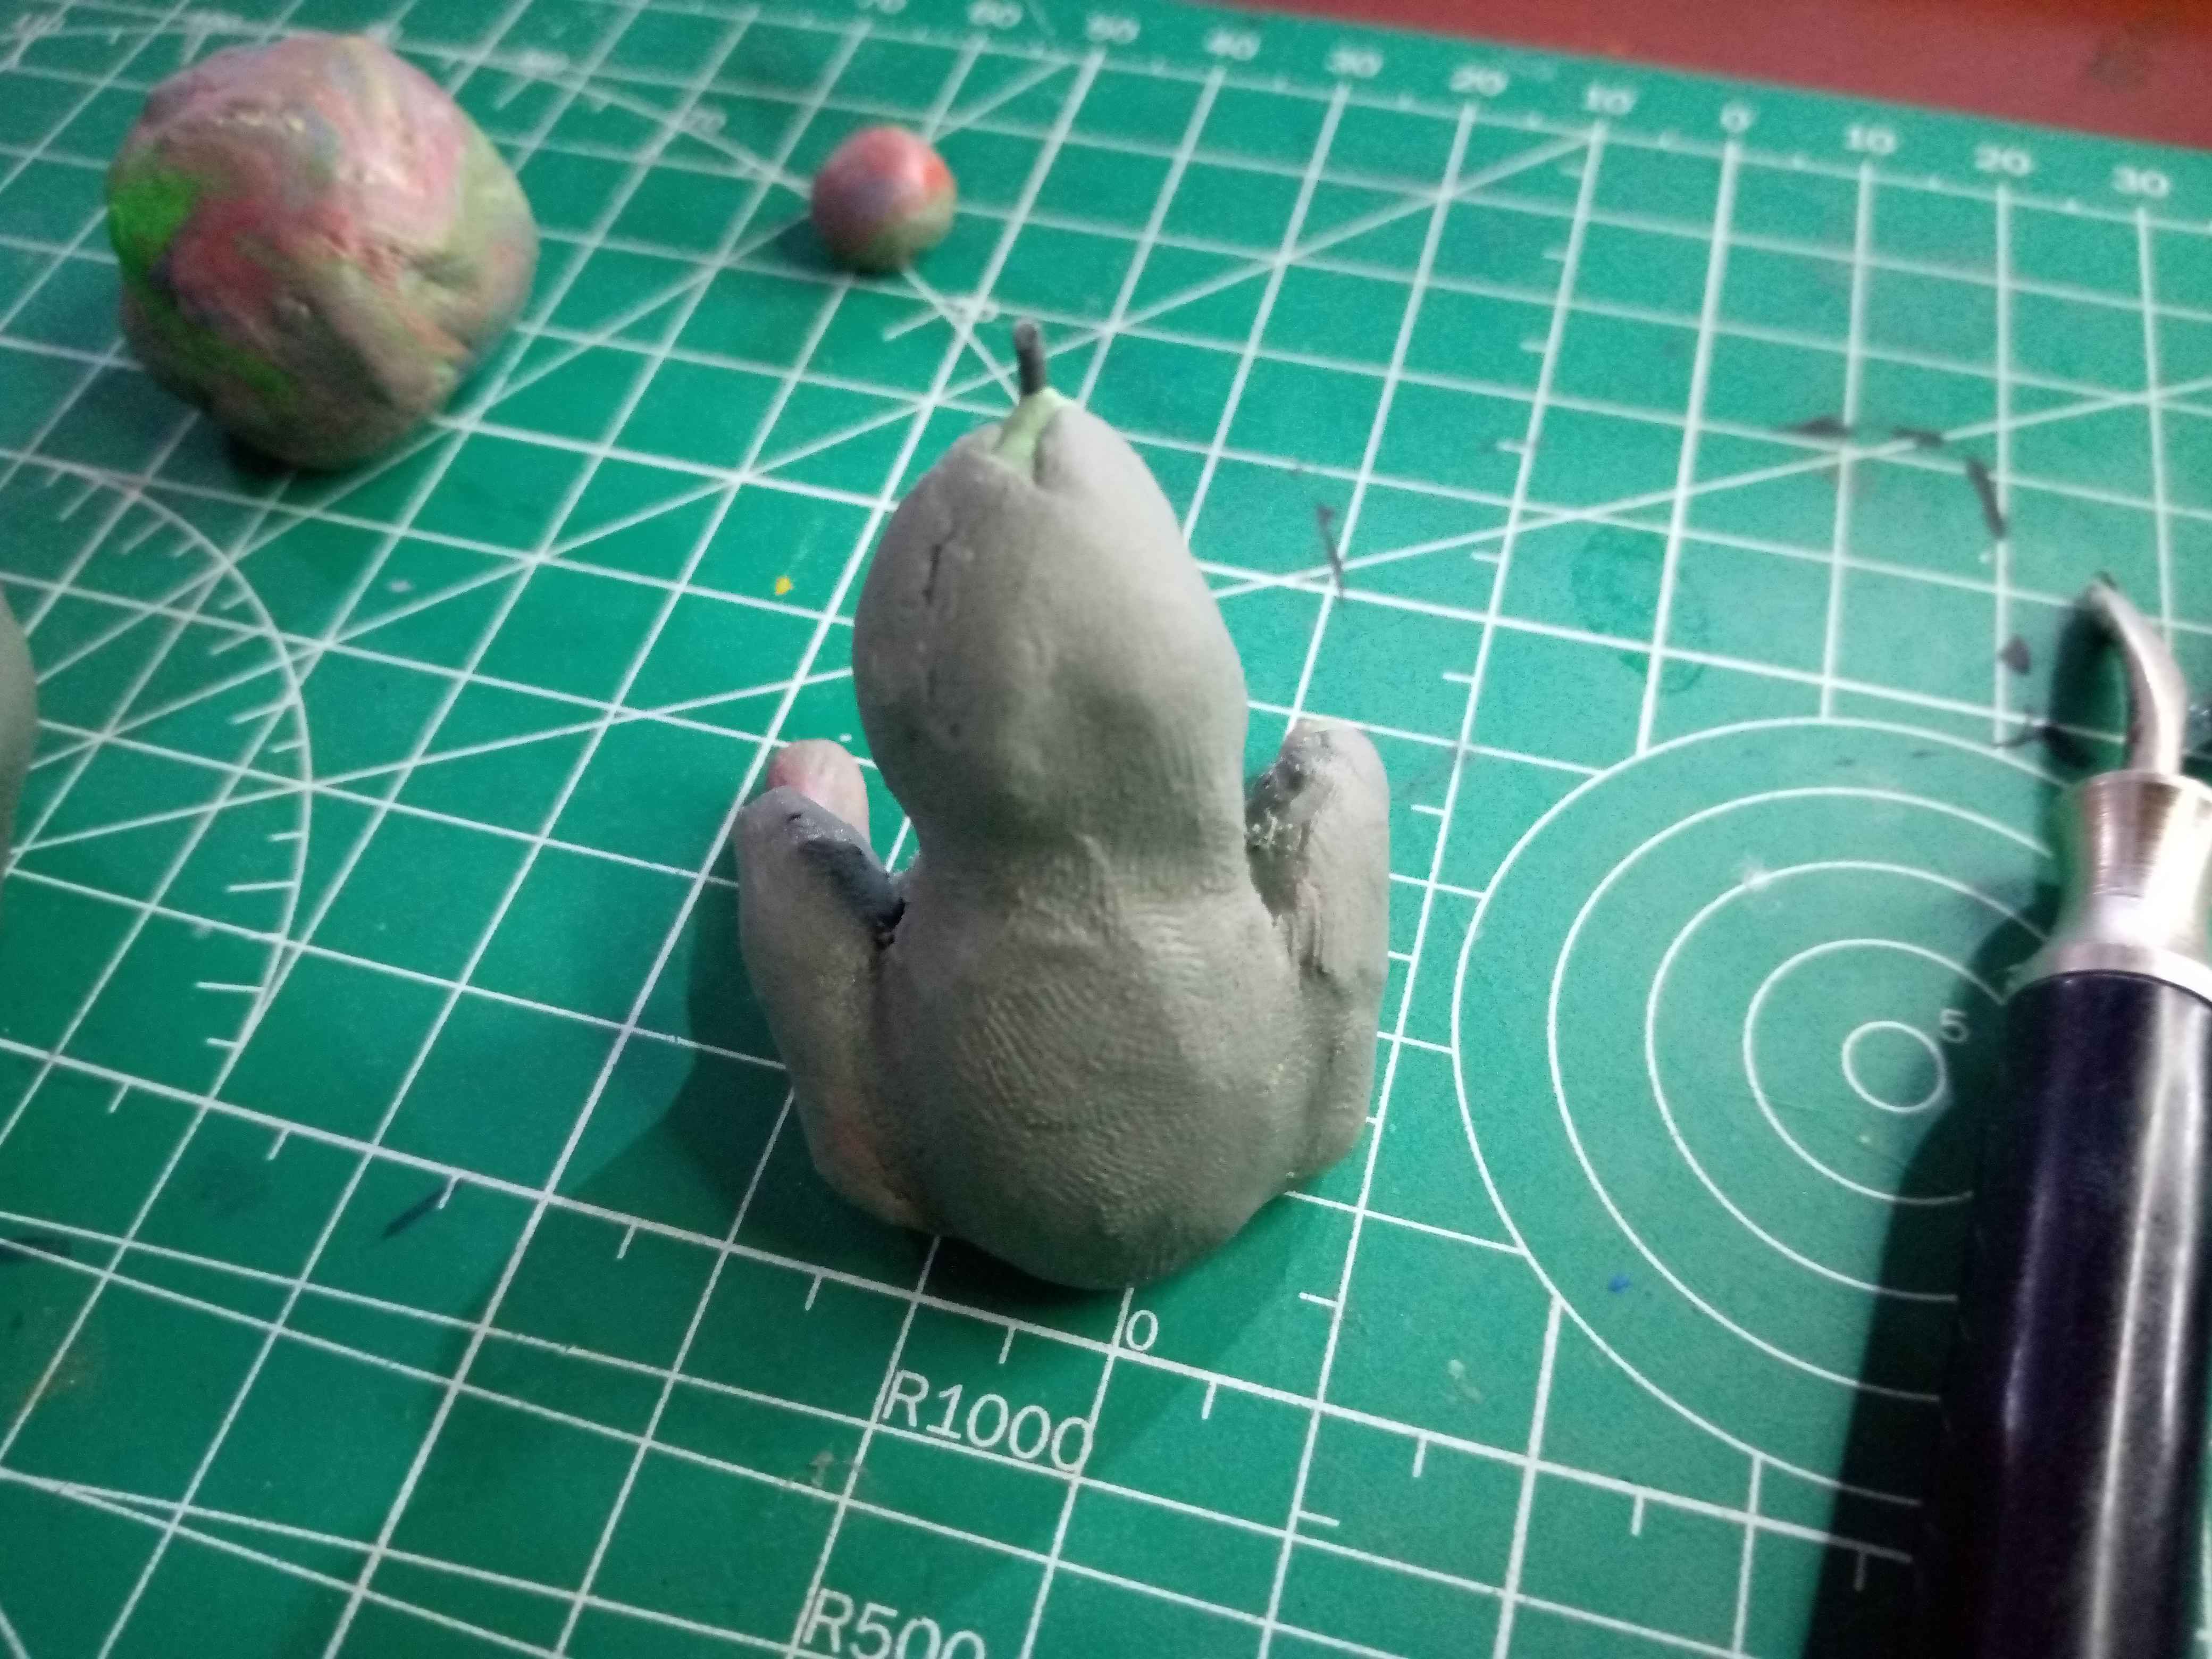
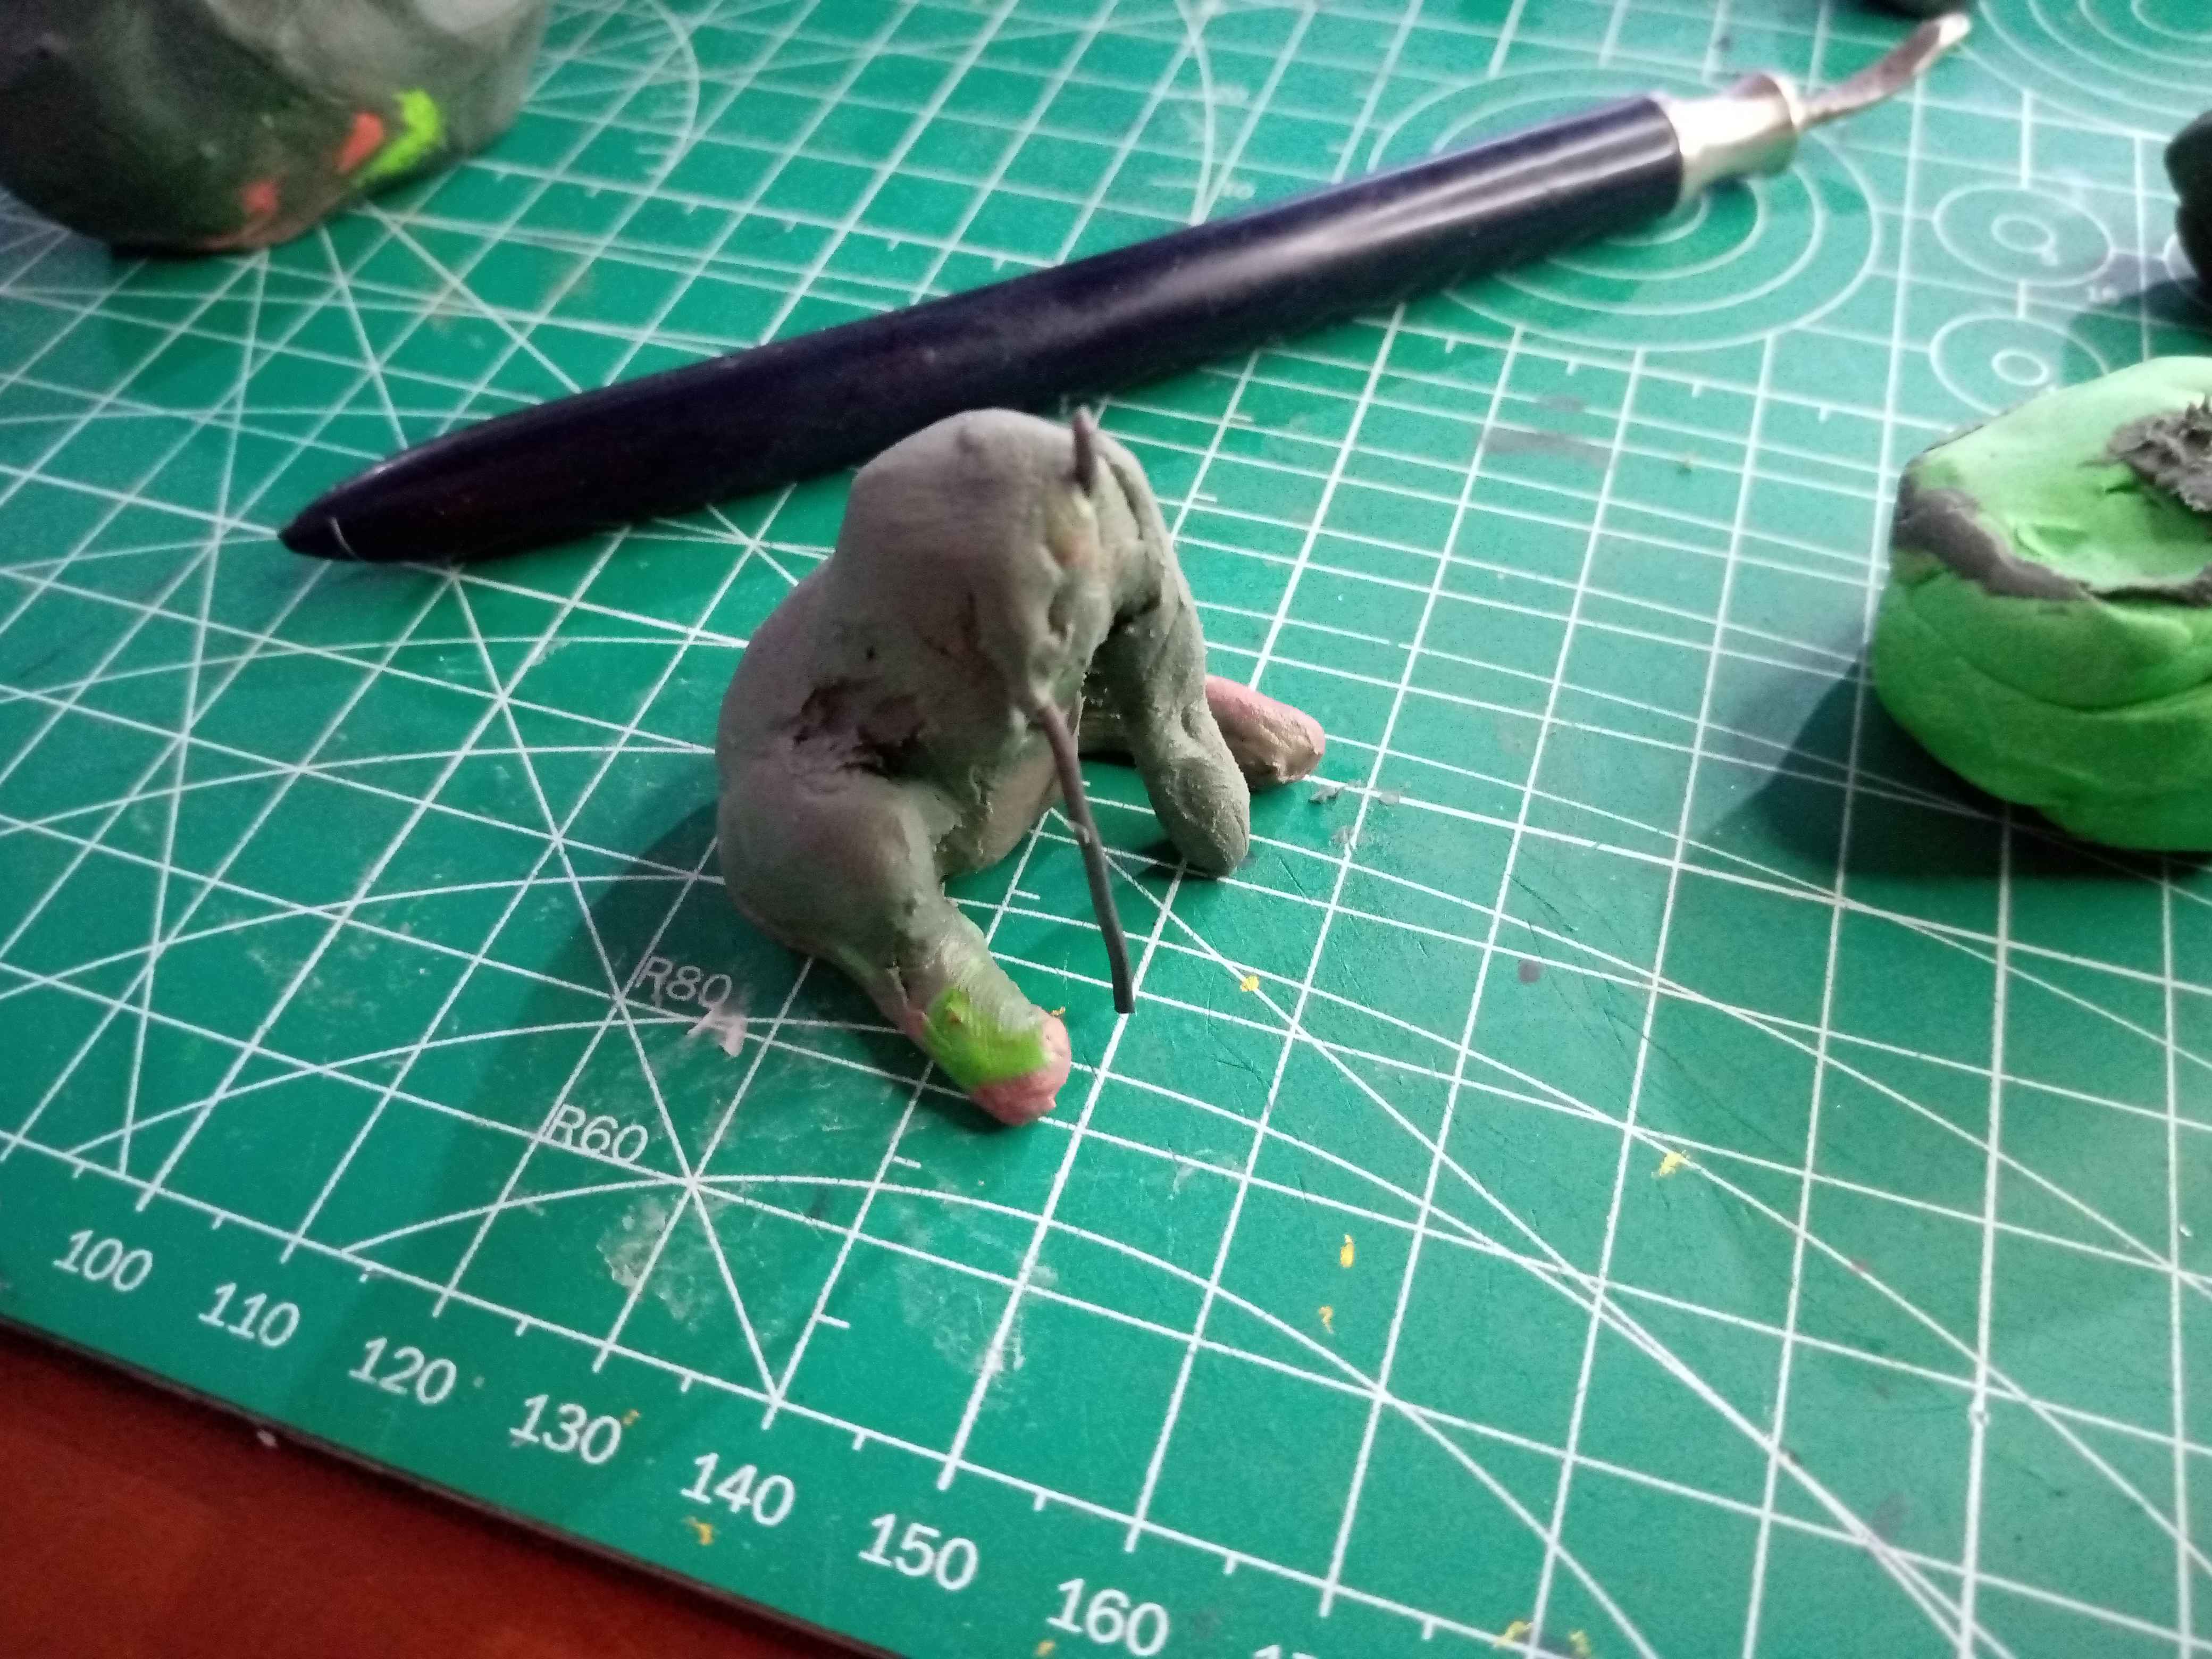
Notice that I made the back part of the cat a little thicker than the chest, as well as the lower part, because that is where the thighs are.
Precisely, after molding a little, I placed a wire support on the chest, to place the front paws there. Once I placed this support I began to cover it with plasticine, molding all the plasticine until I got the desired shape.
Fíjense que la parte del lomo del gato lo hice un poco más gruesa que el pecho, al igual que la parte inferior, pues es allí donde están los muslos.
Precisamente, después moldear un poco, le coloqué un soporte de alambre en el pecho, para colocar allí las patas delanteras. Una vez coloqué este soporte comencé a cubrirlo con plastilina, moldeando toda la plastilina hasta lograr la forma deseada.
 |  |
|---|
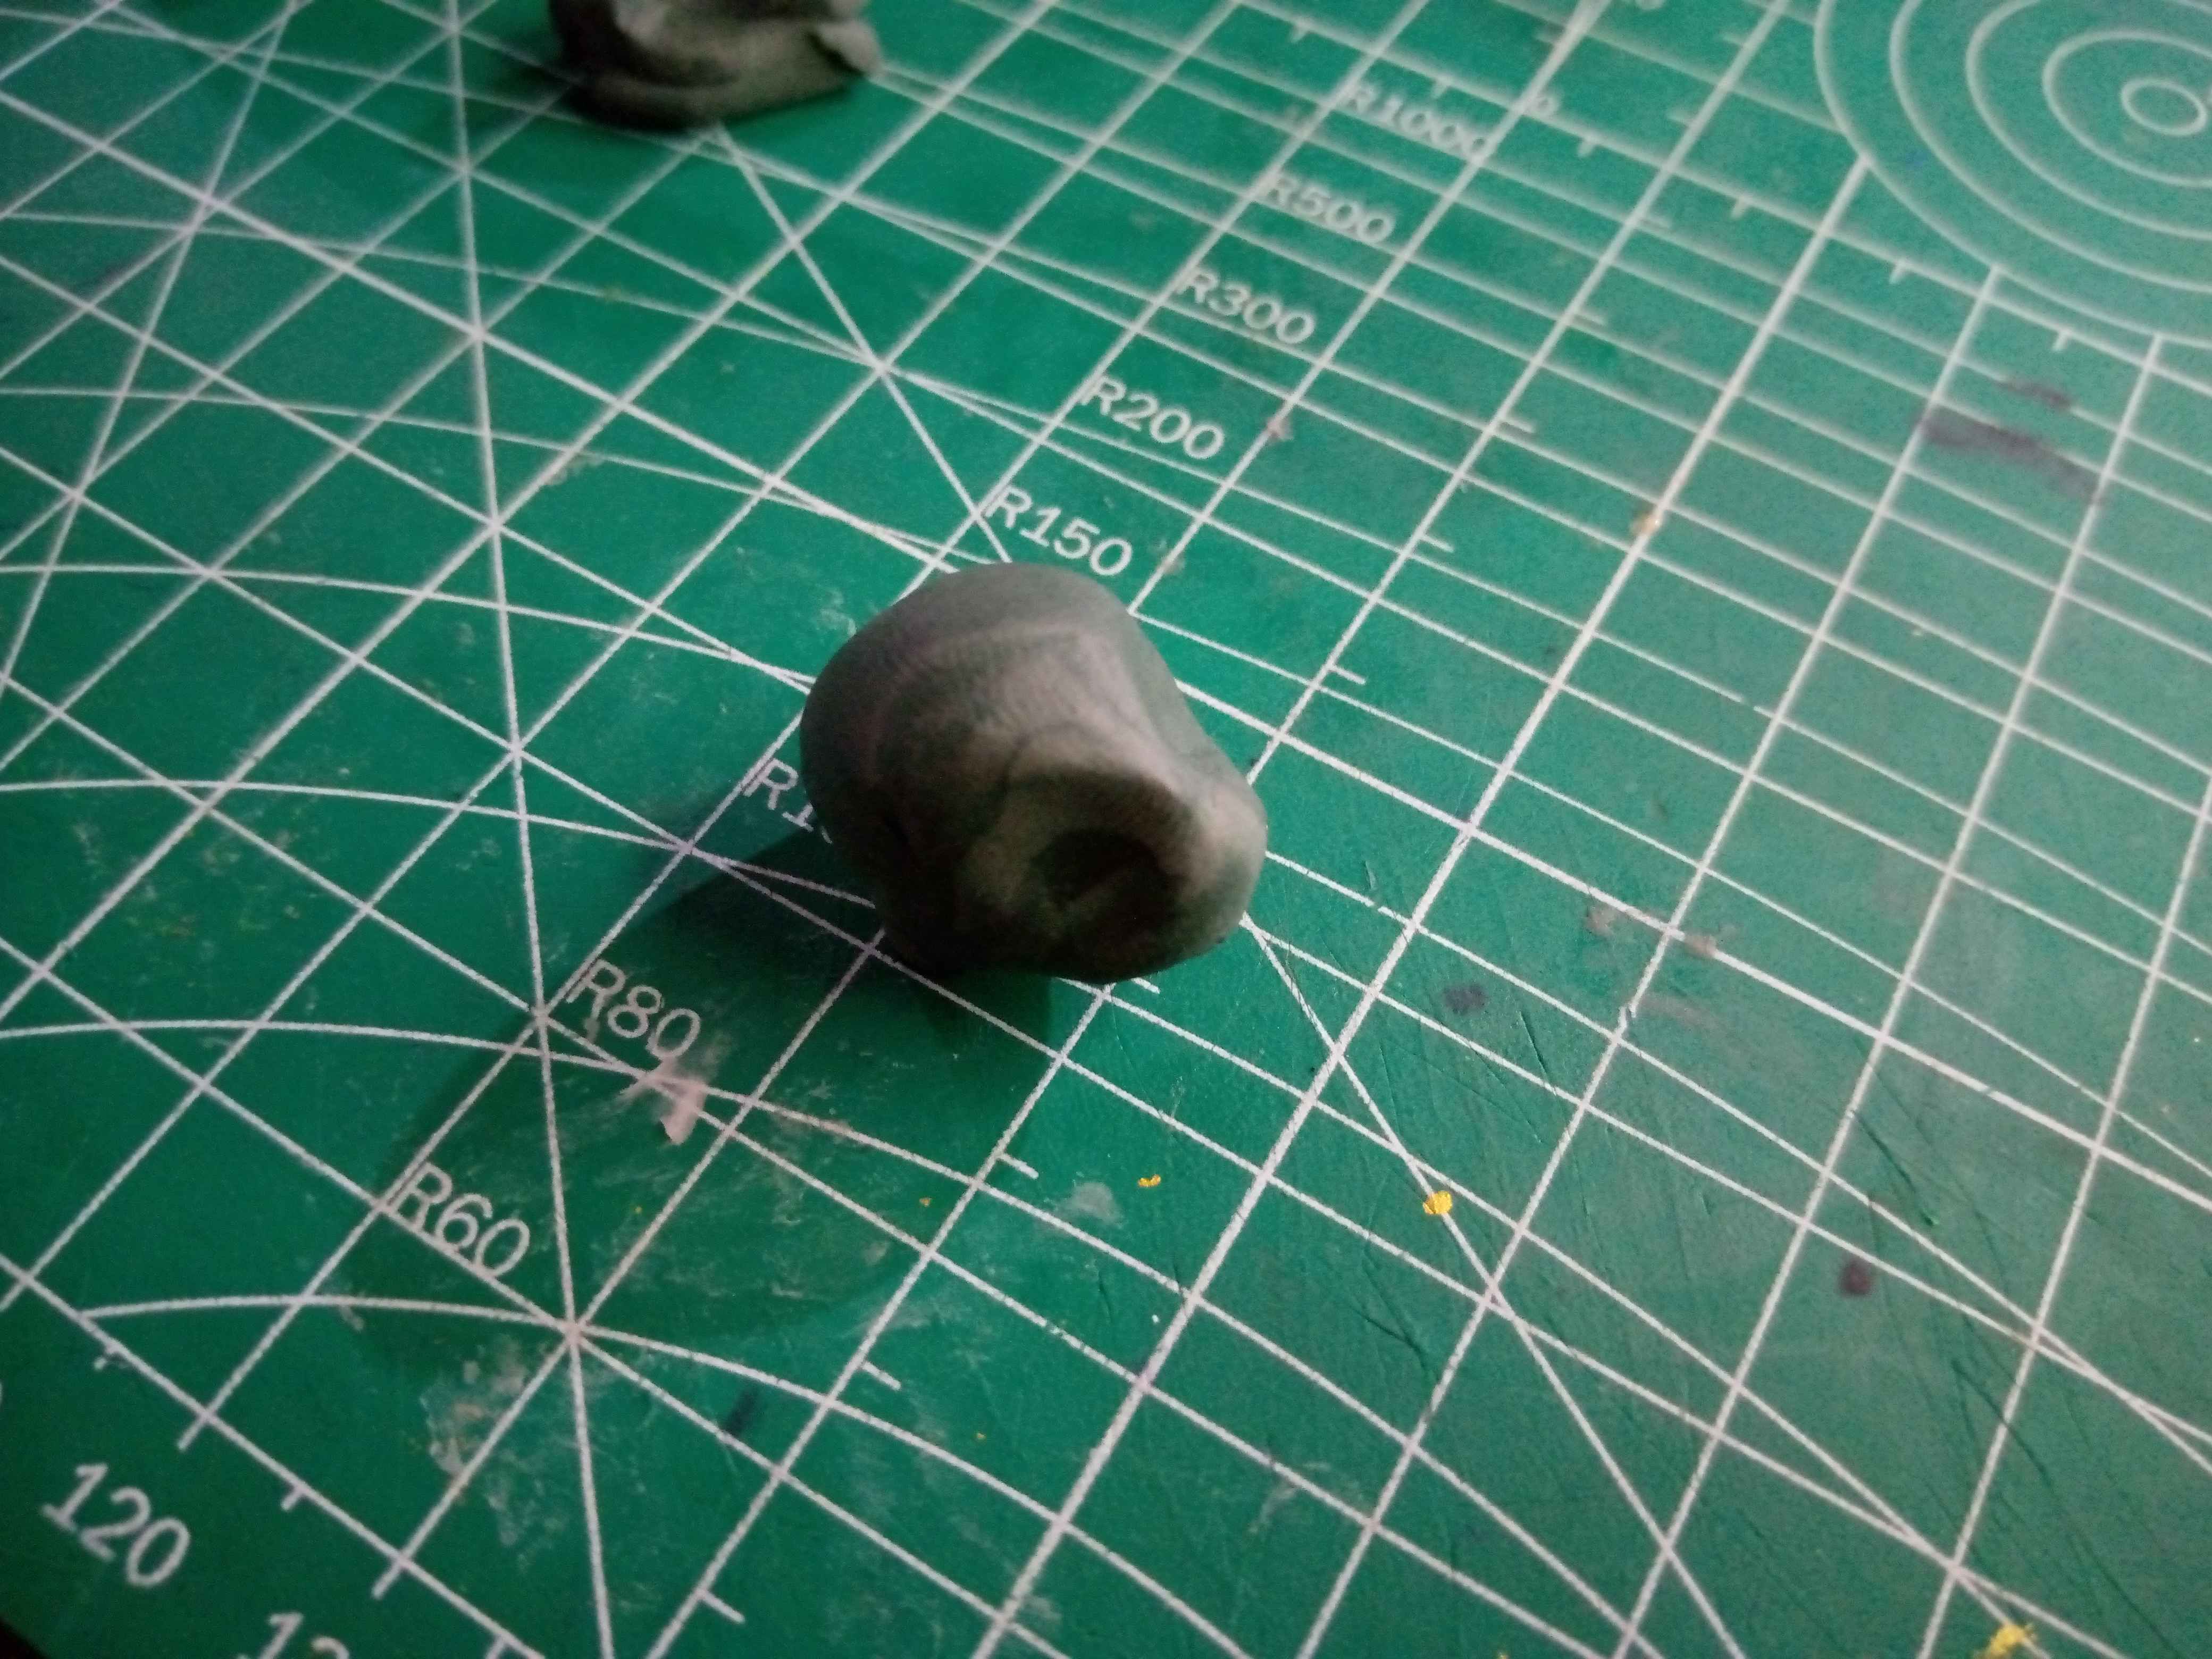
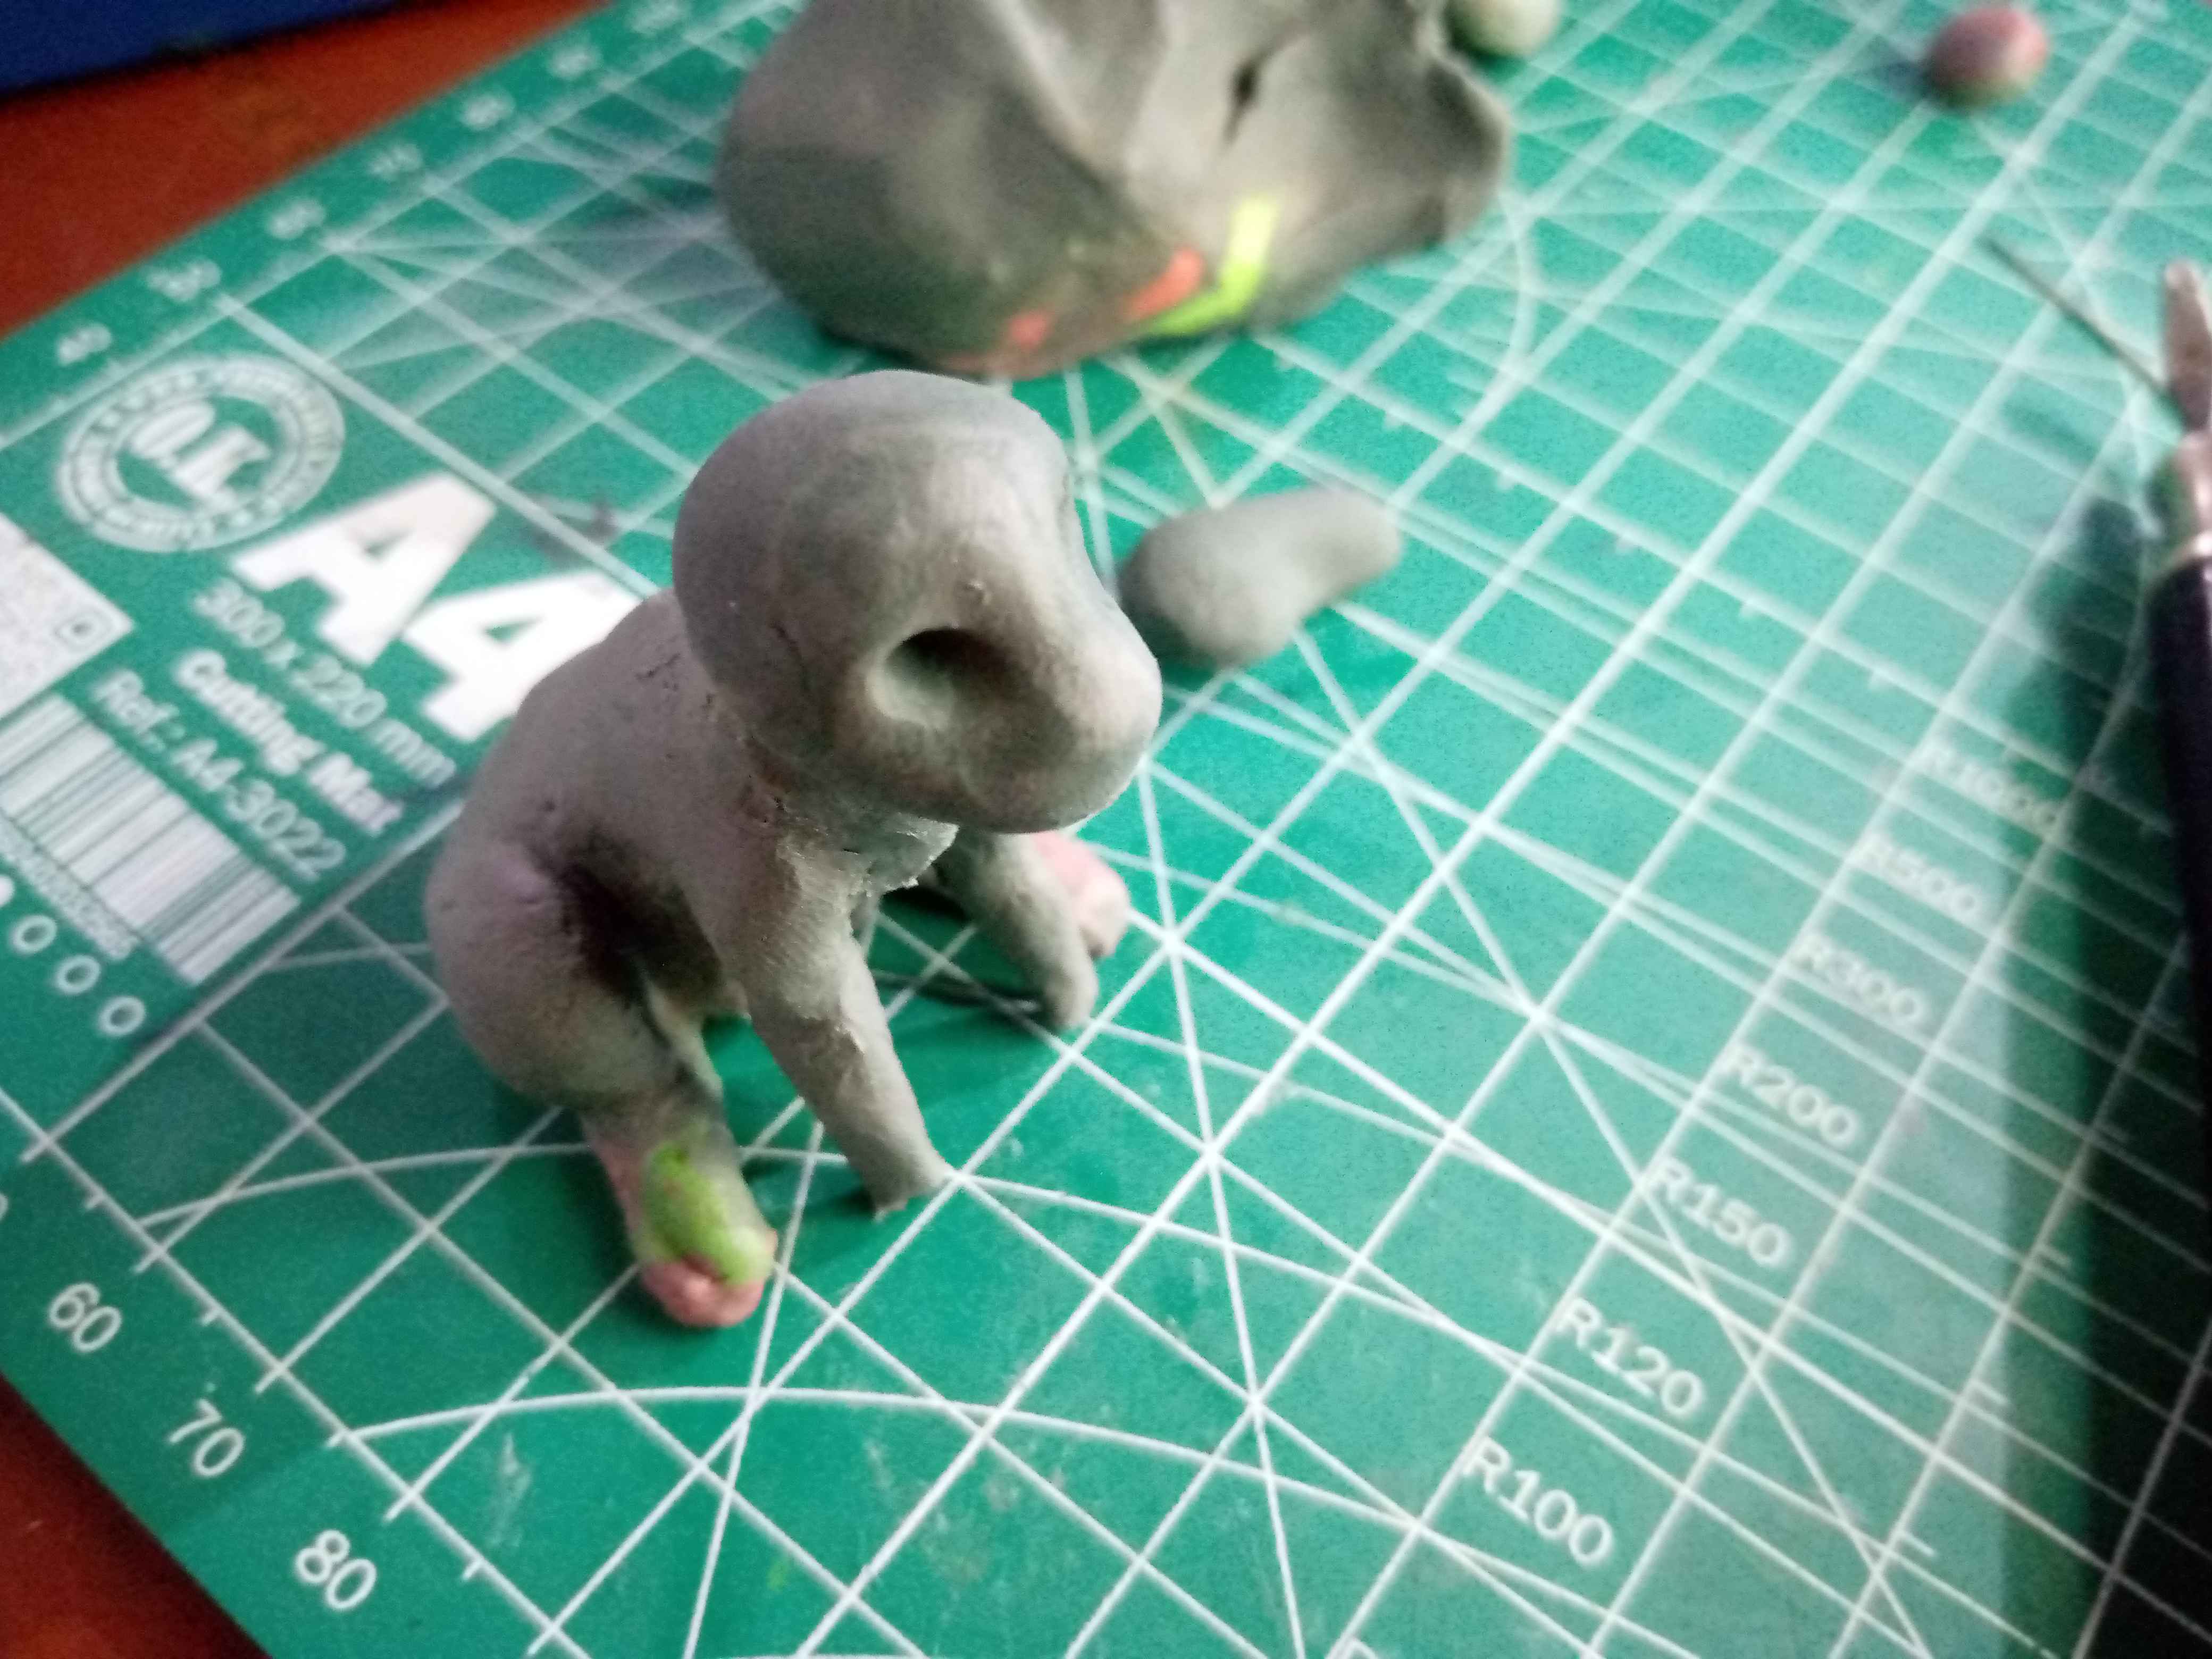
Then I began to mold the head. I made it with an initial pear shape, then where I wanted the eyes to be, I made a slit for the eye sockets.
After doing this, the shape of the cat's nose is left at the tip of the head, which only needs to be molded a little more until it is the most similar to the shape of the cat's snout.
Seguidamente comencé a moldear la cabeza. Esta la hice con una forma inicial de pera, luego en donde deseaba que quedaran los ojos hice una hendidura, para las cuencas de los mismos.
Al hacer esto, queda en la punta de la cabeza la forma de la nariz del gato, la cual solo se debe moldear un poco más hasta lograr la forma más parecida a la del hocico del gato.
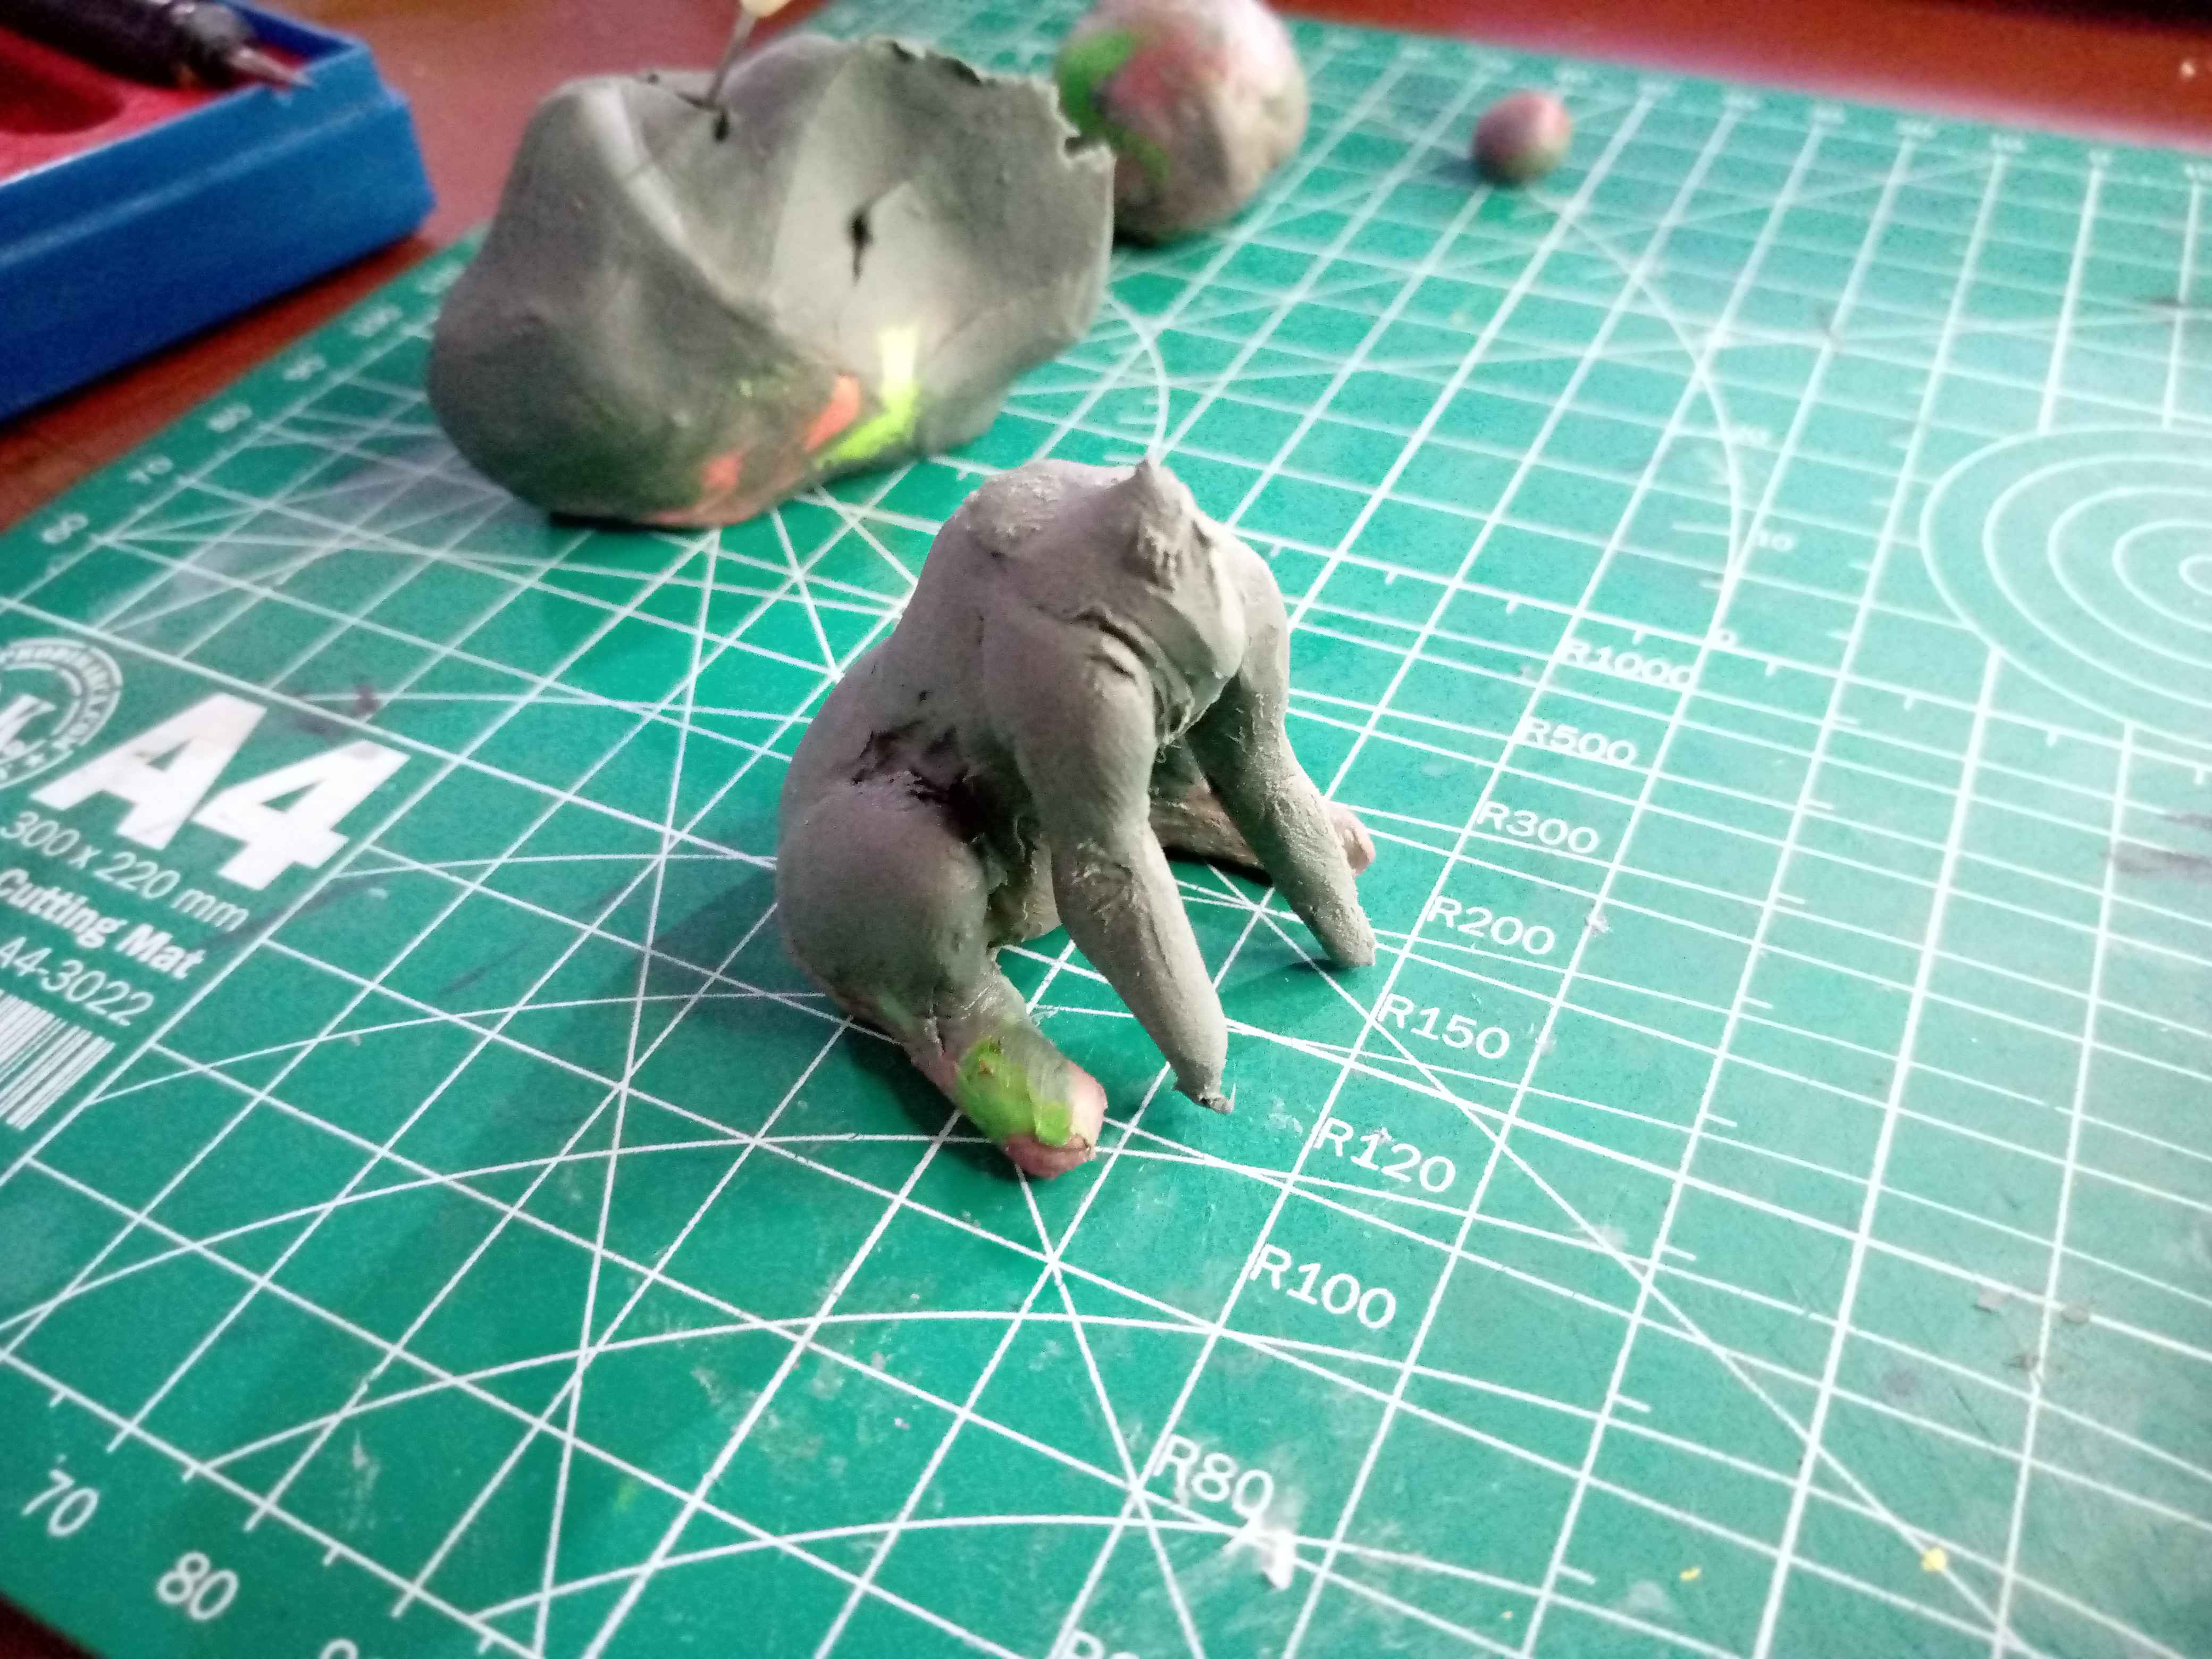
I placed the head on top of the neck, then I used more plasticine to place it around the neck, to keep the head together with the rest of the cat's body. At this point I took the opportunity to mold the rest of the body a little more.
La cabeza la coloqué encima del cuello, luego usé más plastilina para colocarla alrededor del cuello, para mantener unida la cabeza con el resto del cuerpo del gato. En este punto aproveché de moldear un poco más el resto del cuerpo.
The last thing I did in this initial molding was to place the eyes and ears. For the eyes I simply made two white spheres and placed them in the sockets I had previously molded. For the ears, I cut two small pieces of plasticine in the shape of a triangle and placed them on top of the head.
Lo último que hice en este moldeado inicial, fue colocar los ojos y las orejas. Para los ojos simplemente hice dos esferas blancas y las coloqué en las cuencas que había moldeado anteriormente. Con respecto a las orejas, corté dos pequeños trozos de plastilina en forma de triángulo y las coloqué encima de la cabeza.
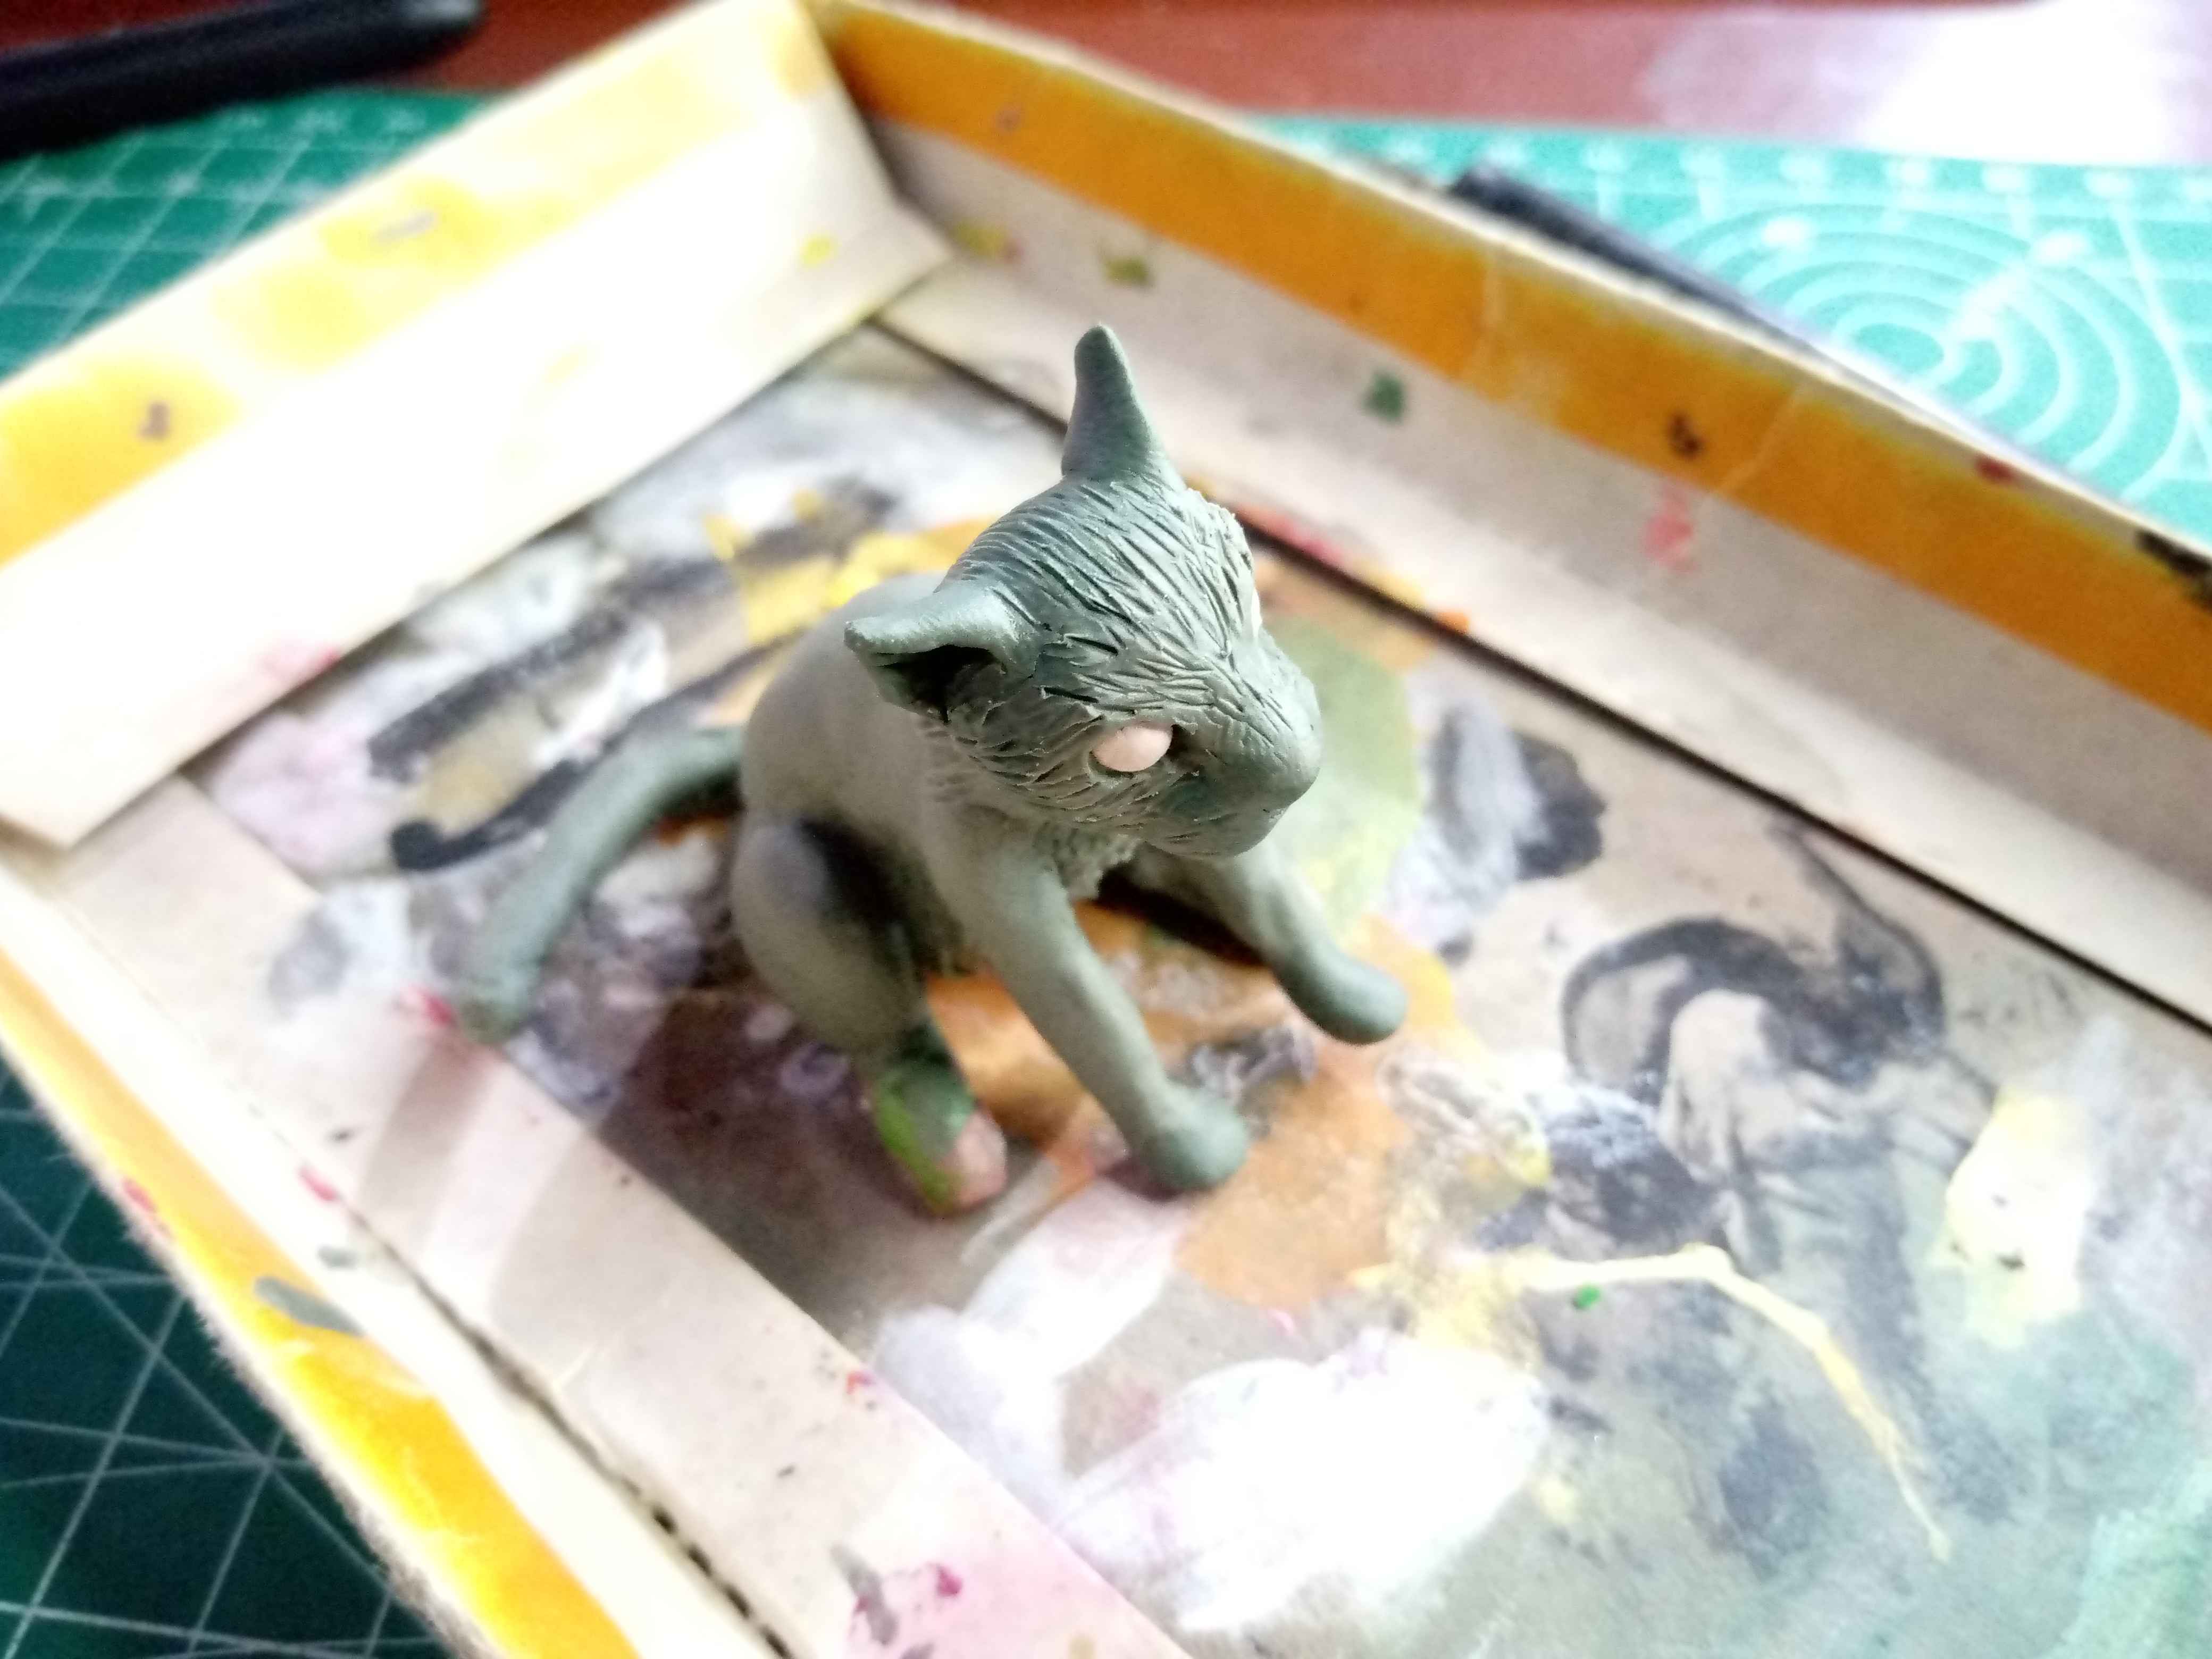
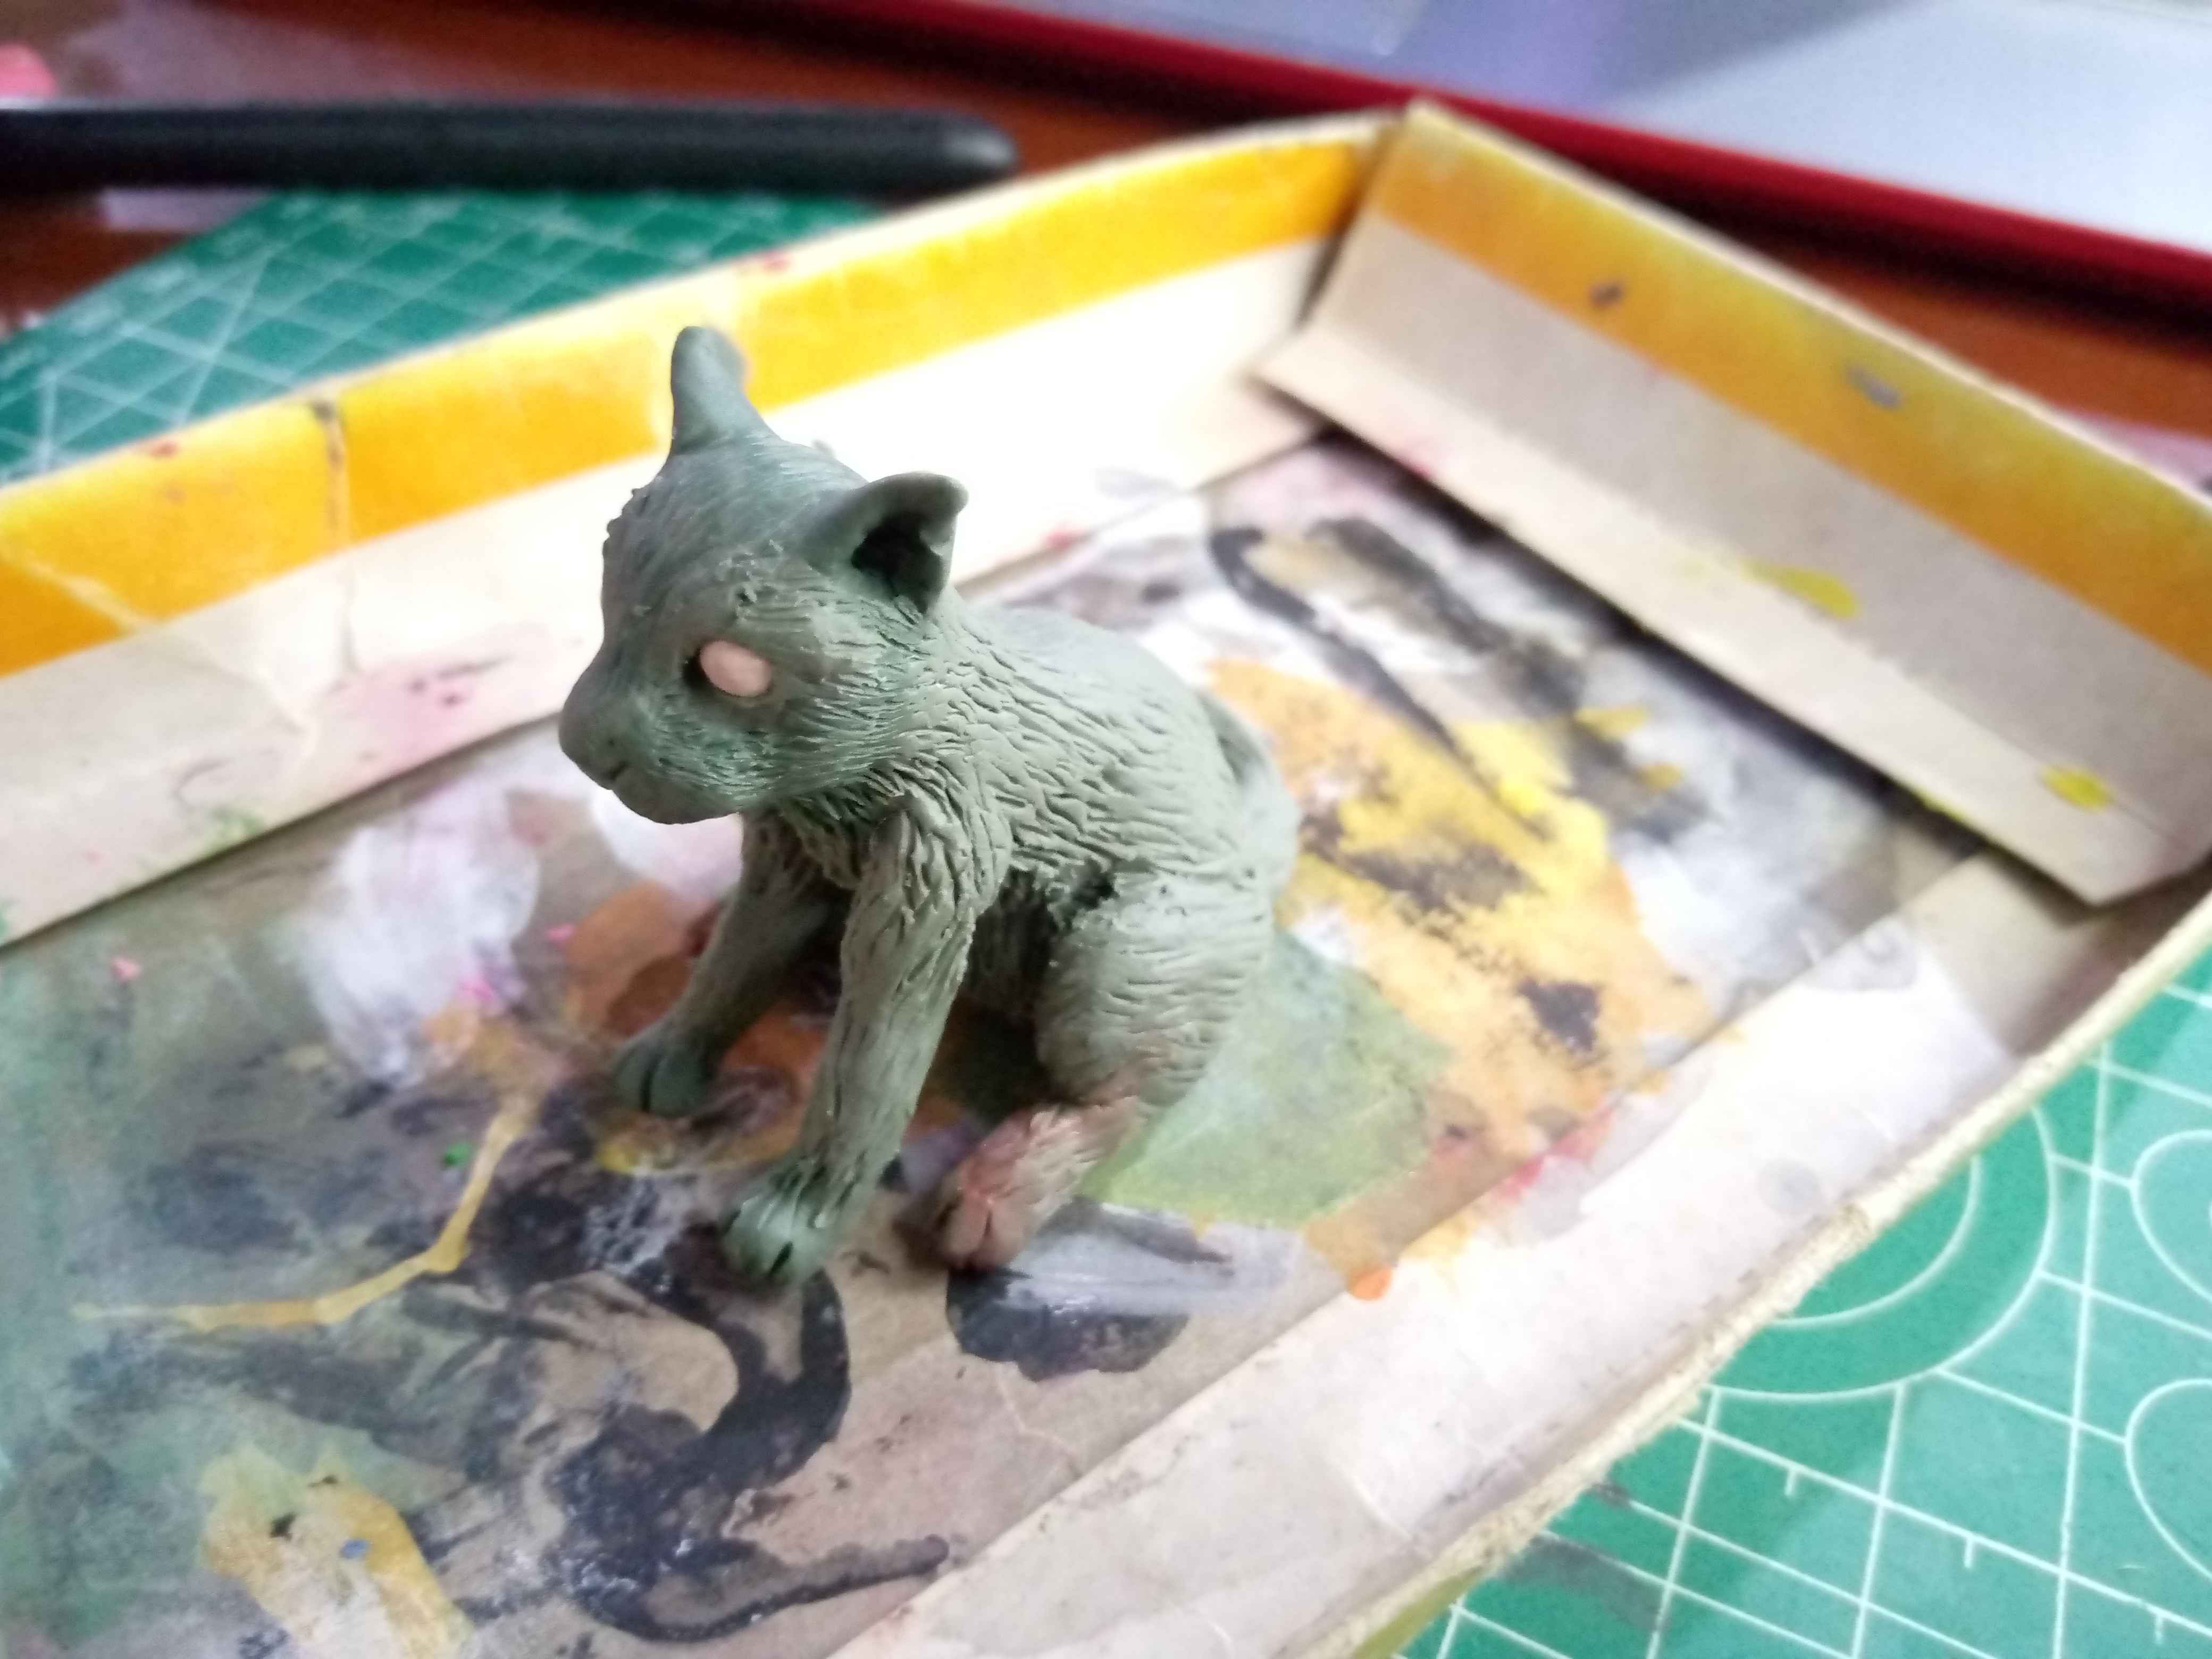
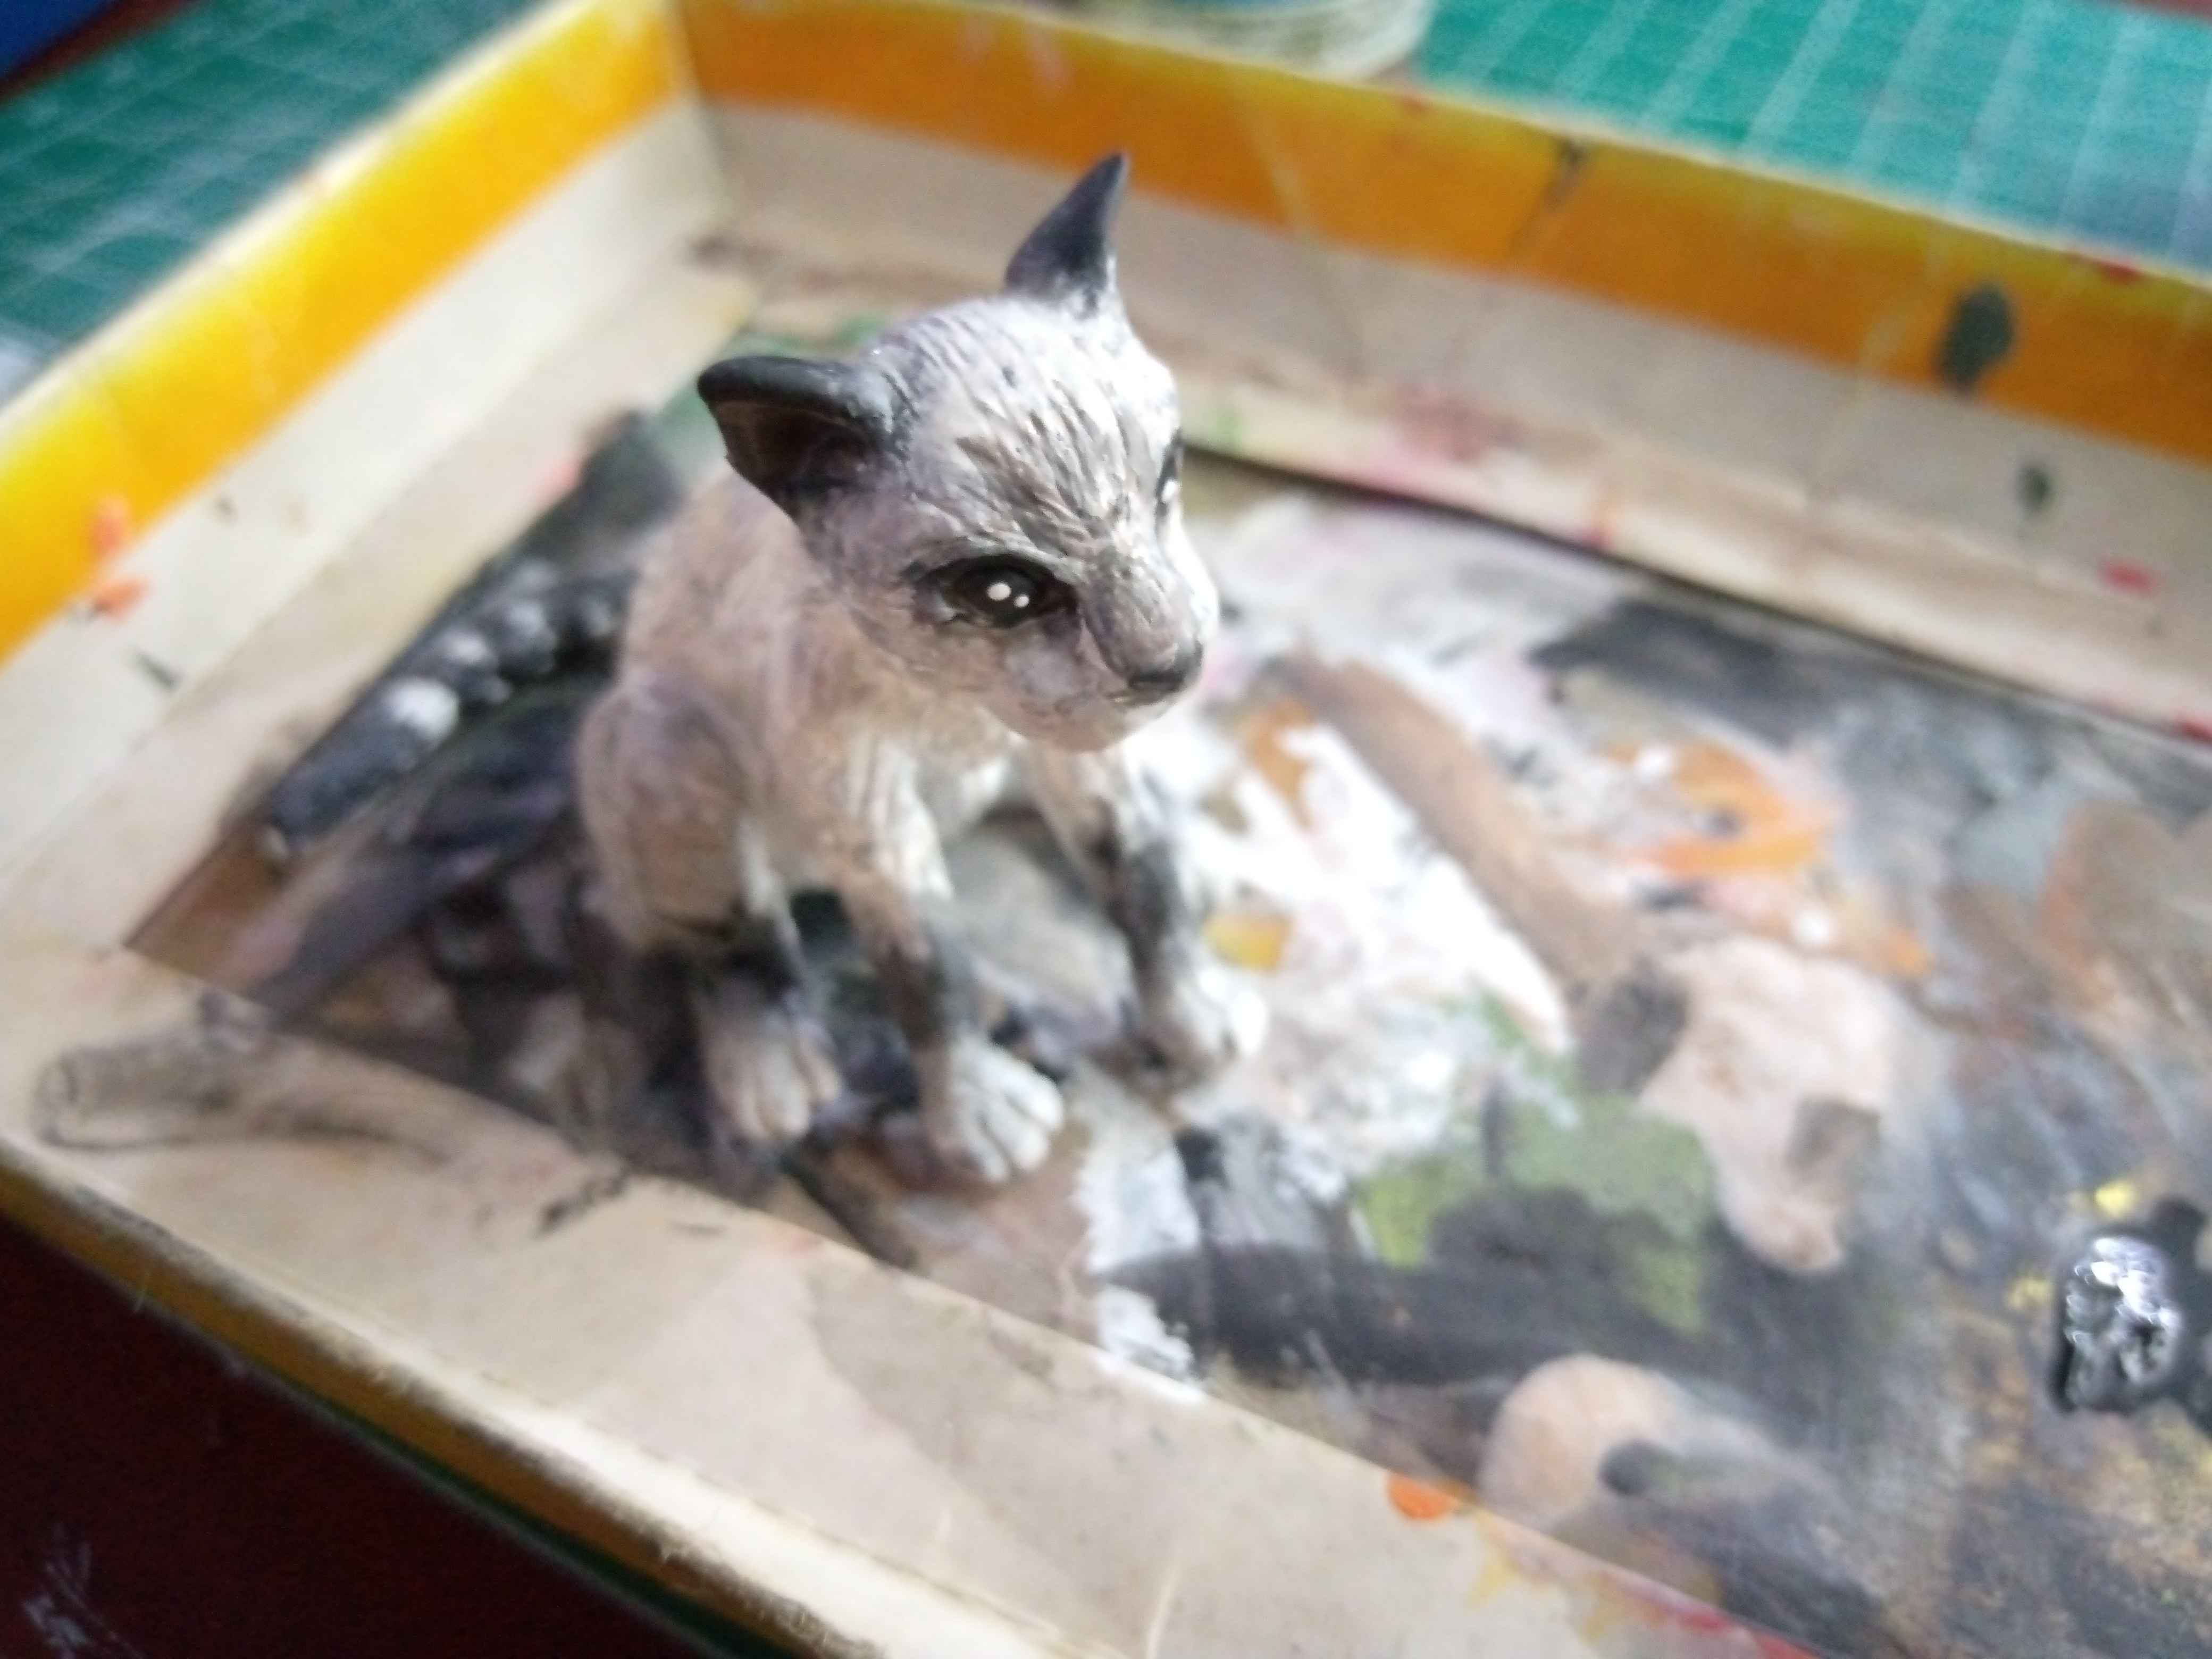
After what was said before, and as you see in both the image above and below, I started to make tiny lines along the cat's body. I did this with the intention of creating a shape similar to the fur, being a needle or a pin the most suitable tool to make these lines.
Después de lo dicho antes, y tal como ven tanto en la imagen de arriba como en la de abajo, comencé a hacer diminutas líneas a lo largo del cuerpo del gato. Esto lo hice con la intención de crear una forma similar al pelaje, siendo una aguja o un alfiler la herramienta más adecuada para hacer estas líneas.
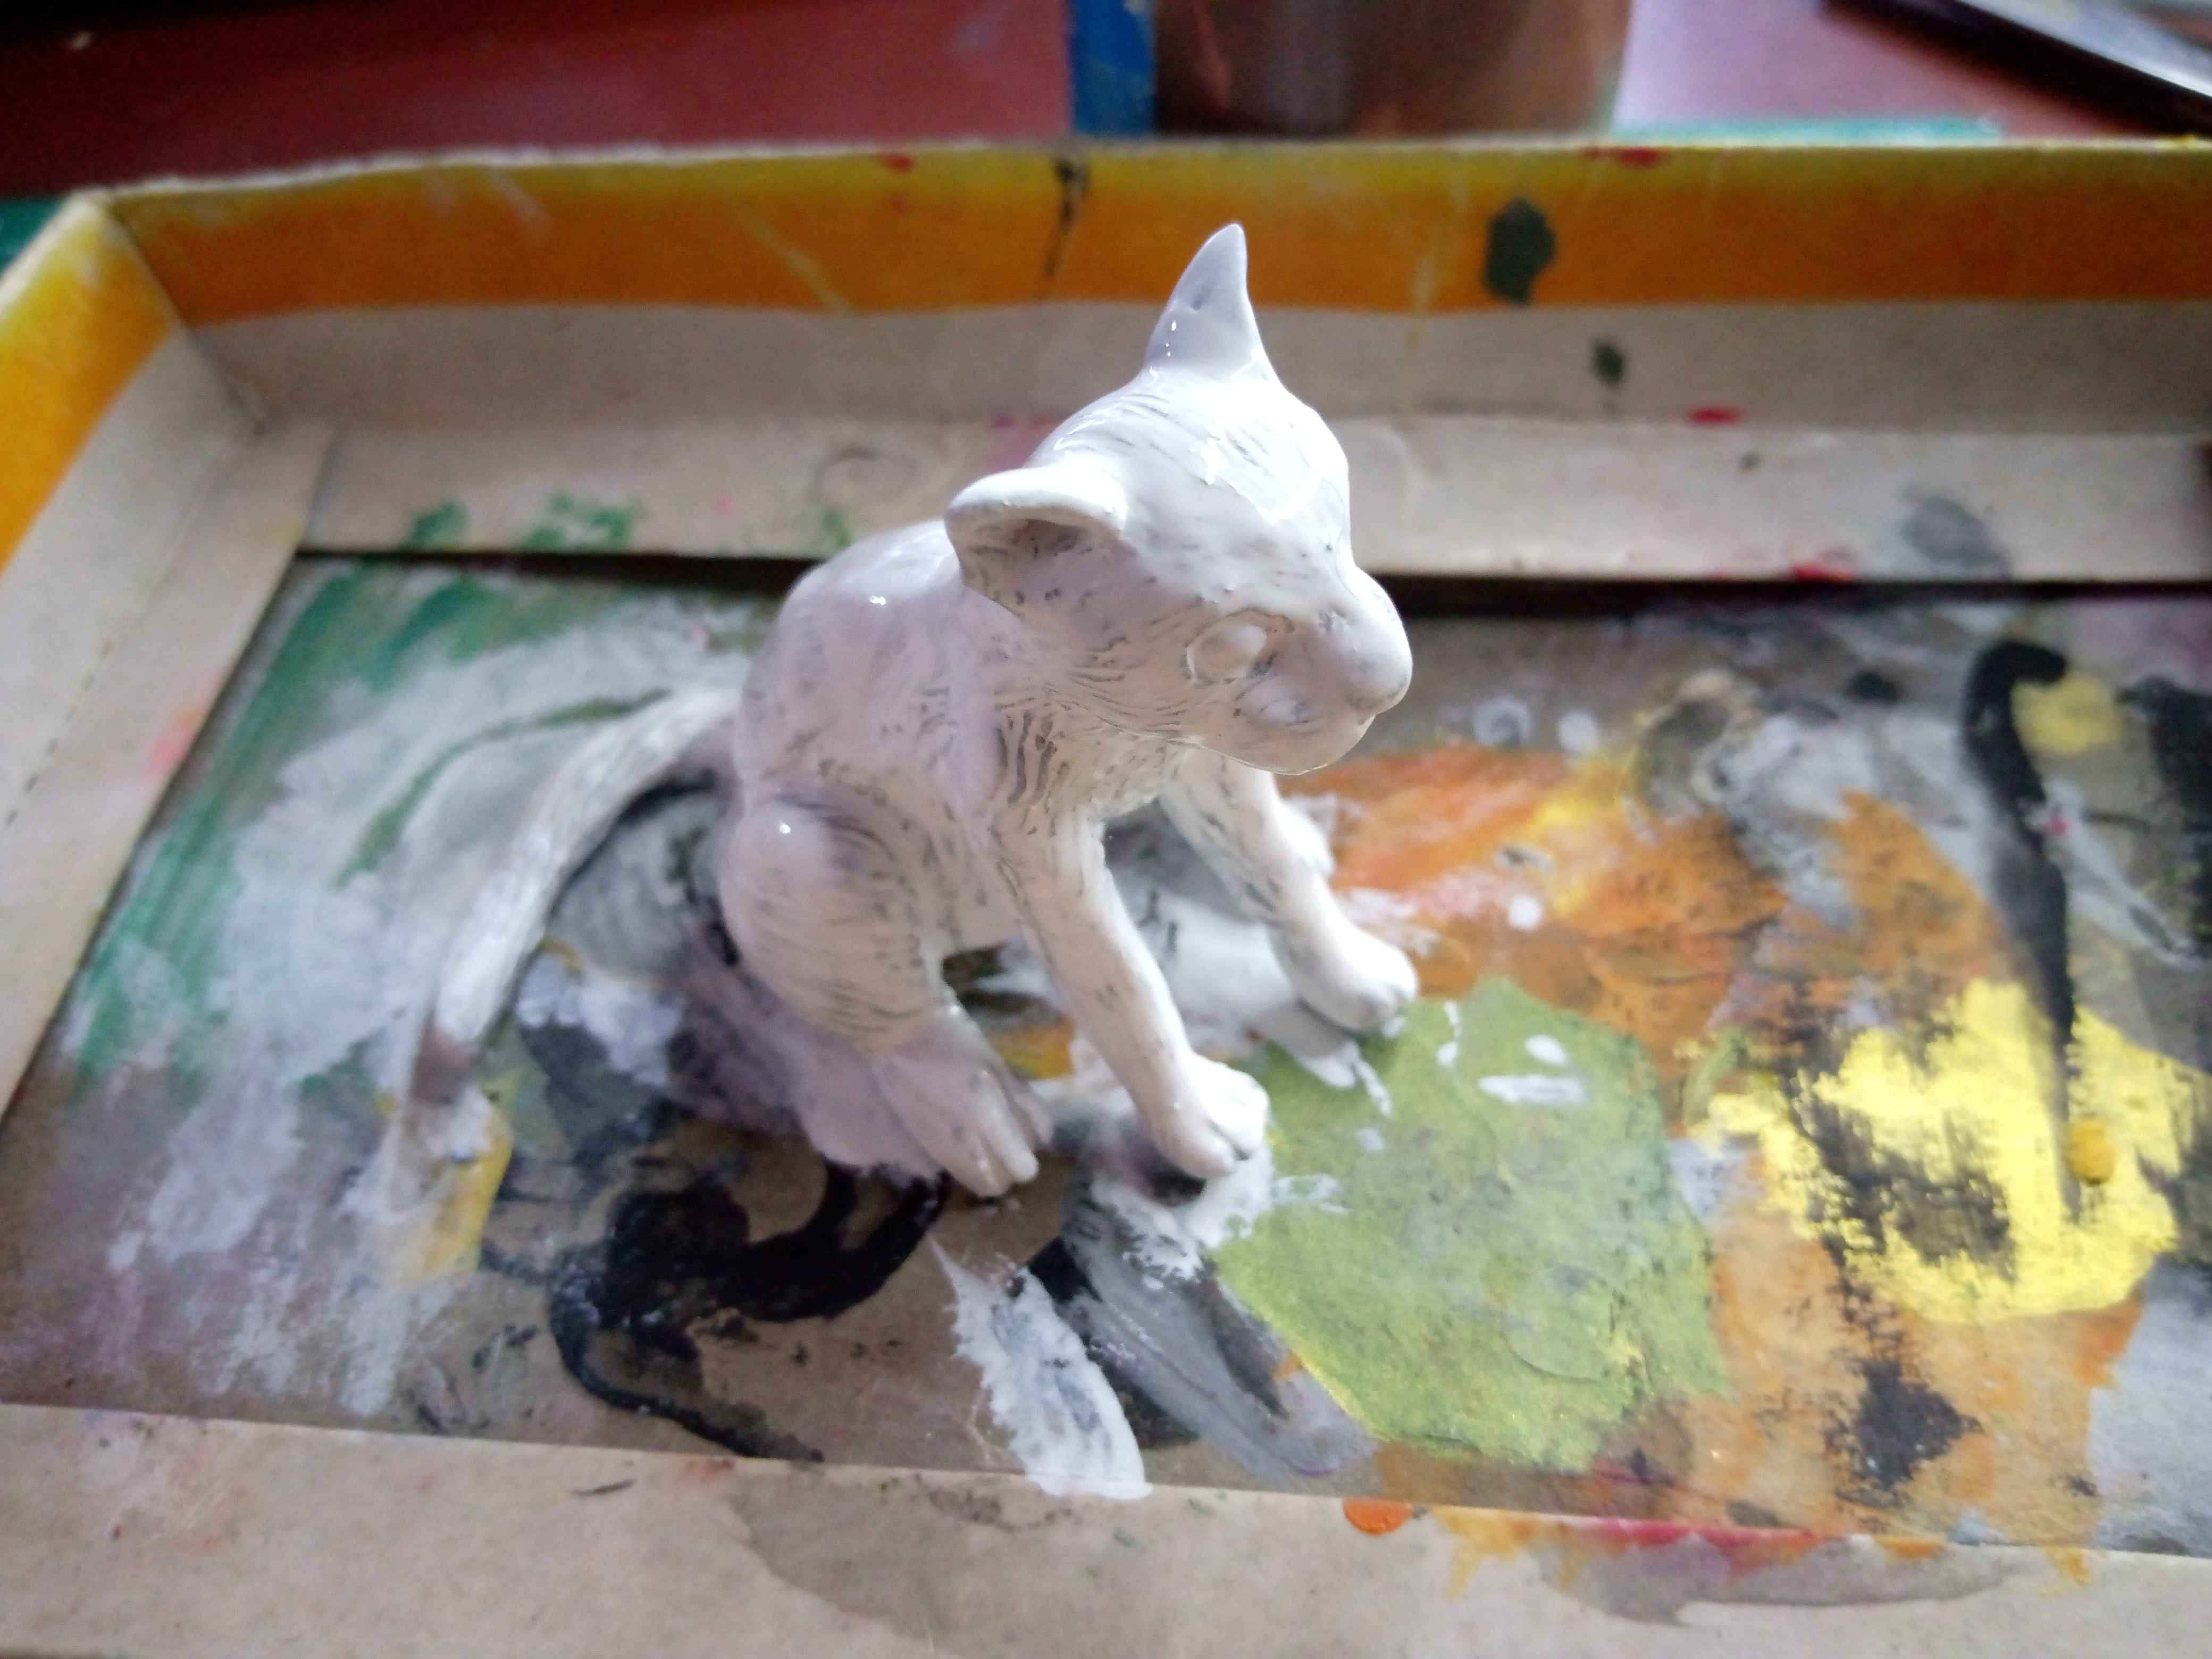
Bucky is a white kitten with brown and black dyes, so I had to paint him as soon as I finished the molding process. I used white, black and brown paint to give him the dyes I already mentioned. First I used white as a base for the whole body, then with a thin brush I continued adding as many details as possible.
Bucky es un gatito blanco con tintes marrones y negros, por esto debía pintarlo apenas terminé el proceso de moldeado. Usé pintura blanca, negra y marrón para dar los propios tintes que ya mencioné. Primero usé el blanco como base para todo el cuerpo, luego con un pincel delgado continué agregando todos los detalles posibles.
 |  |
|---|
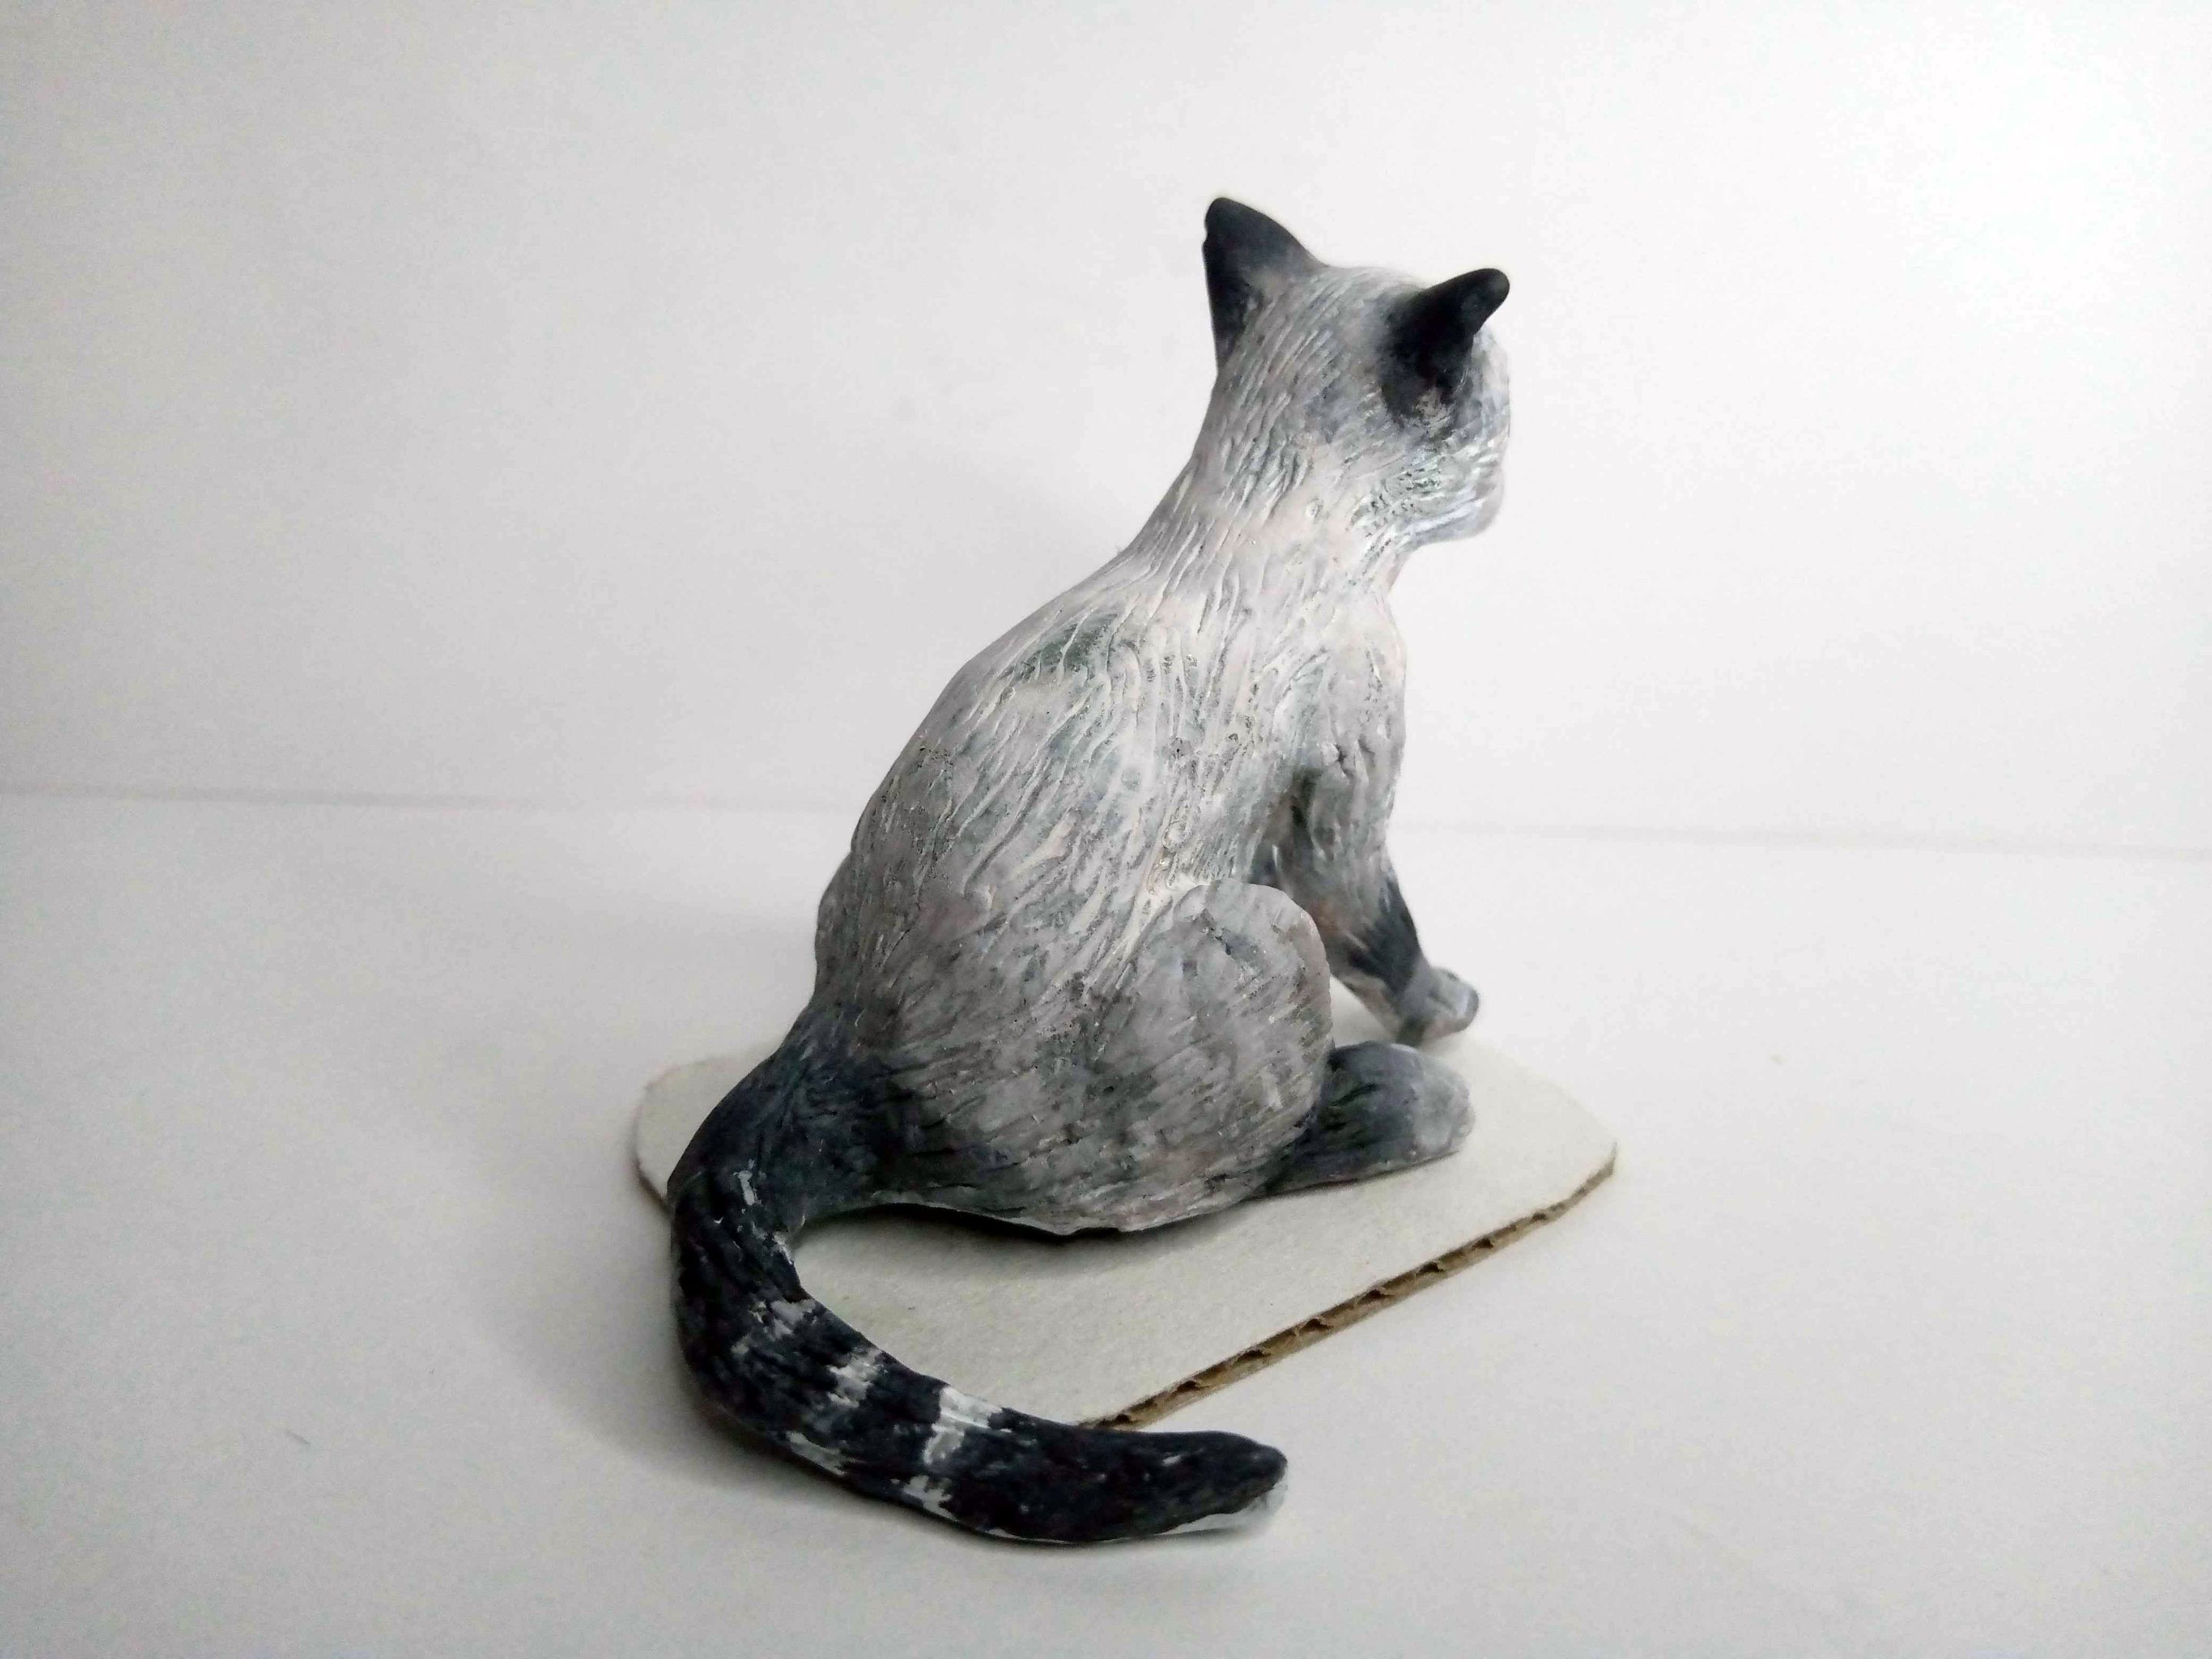
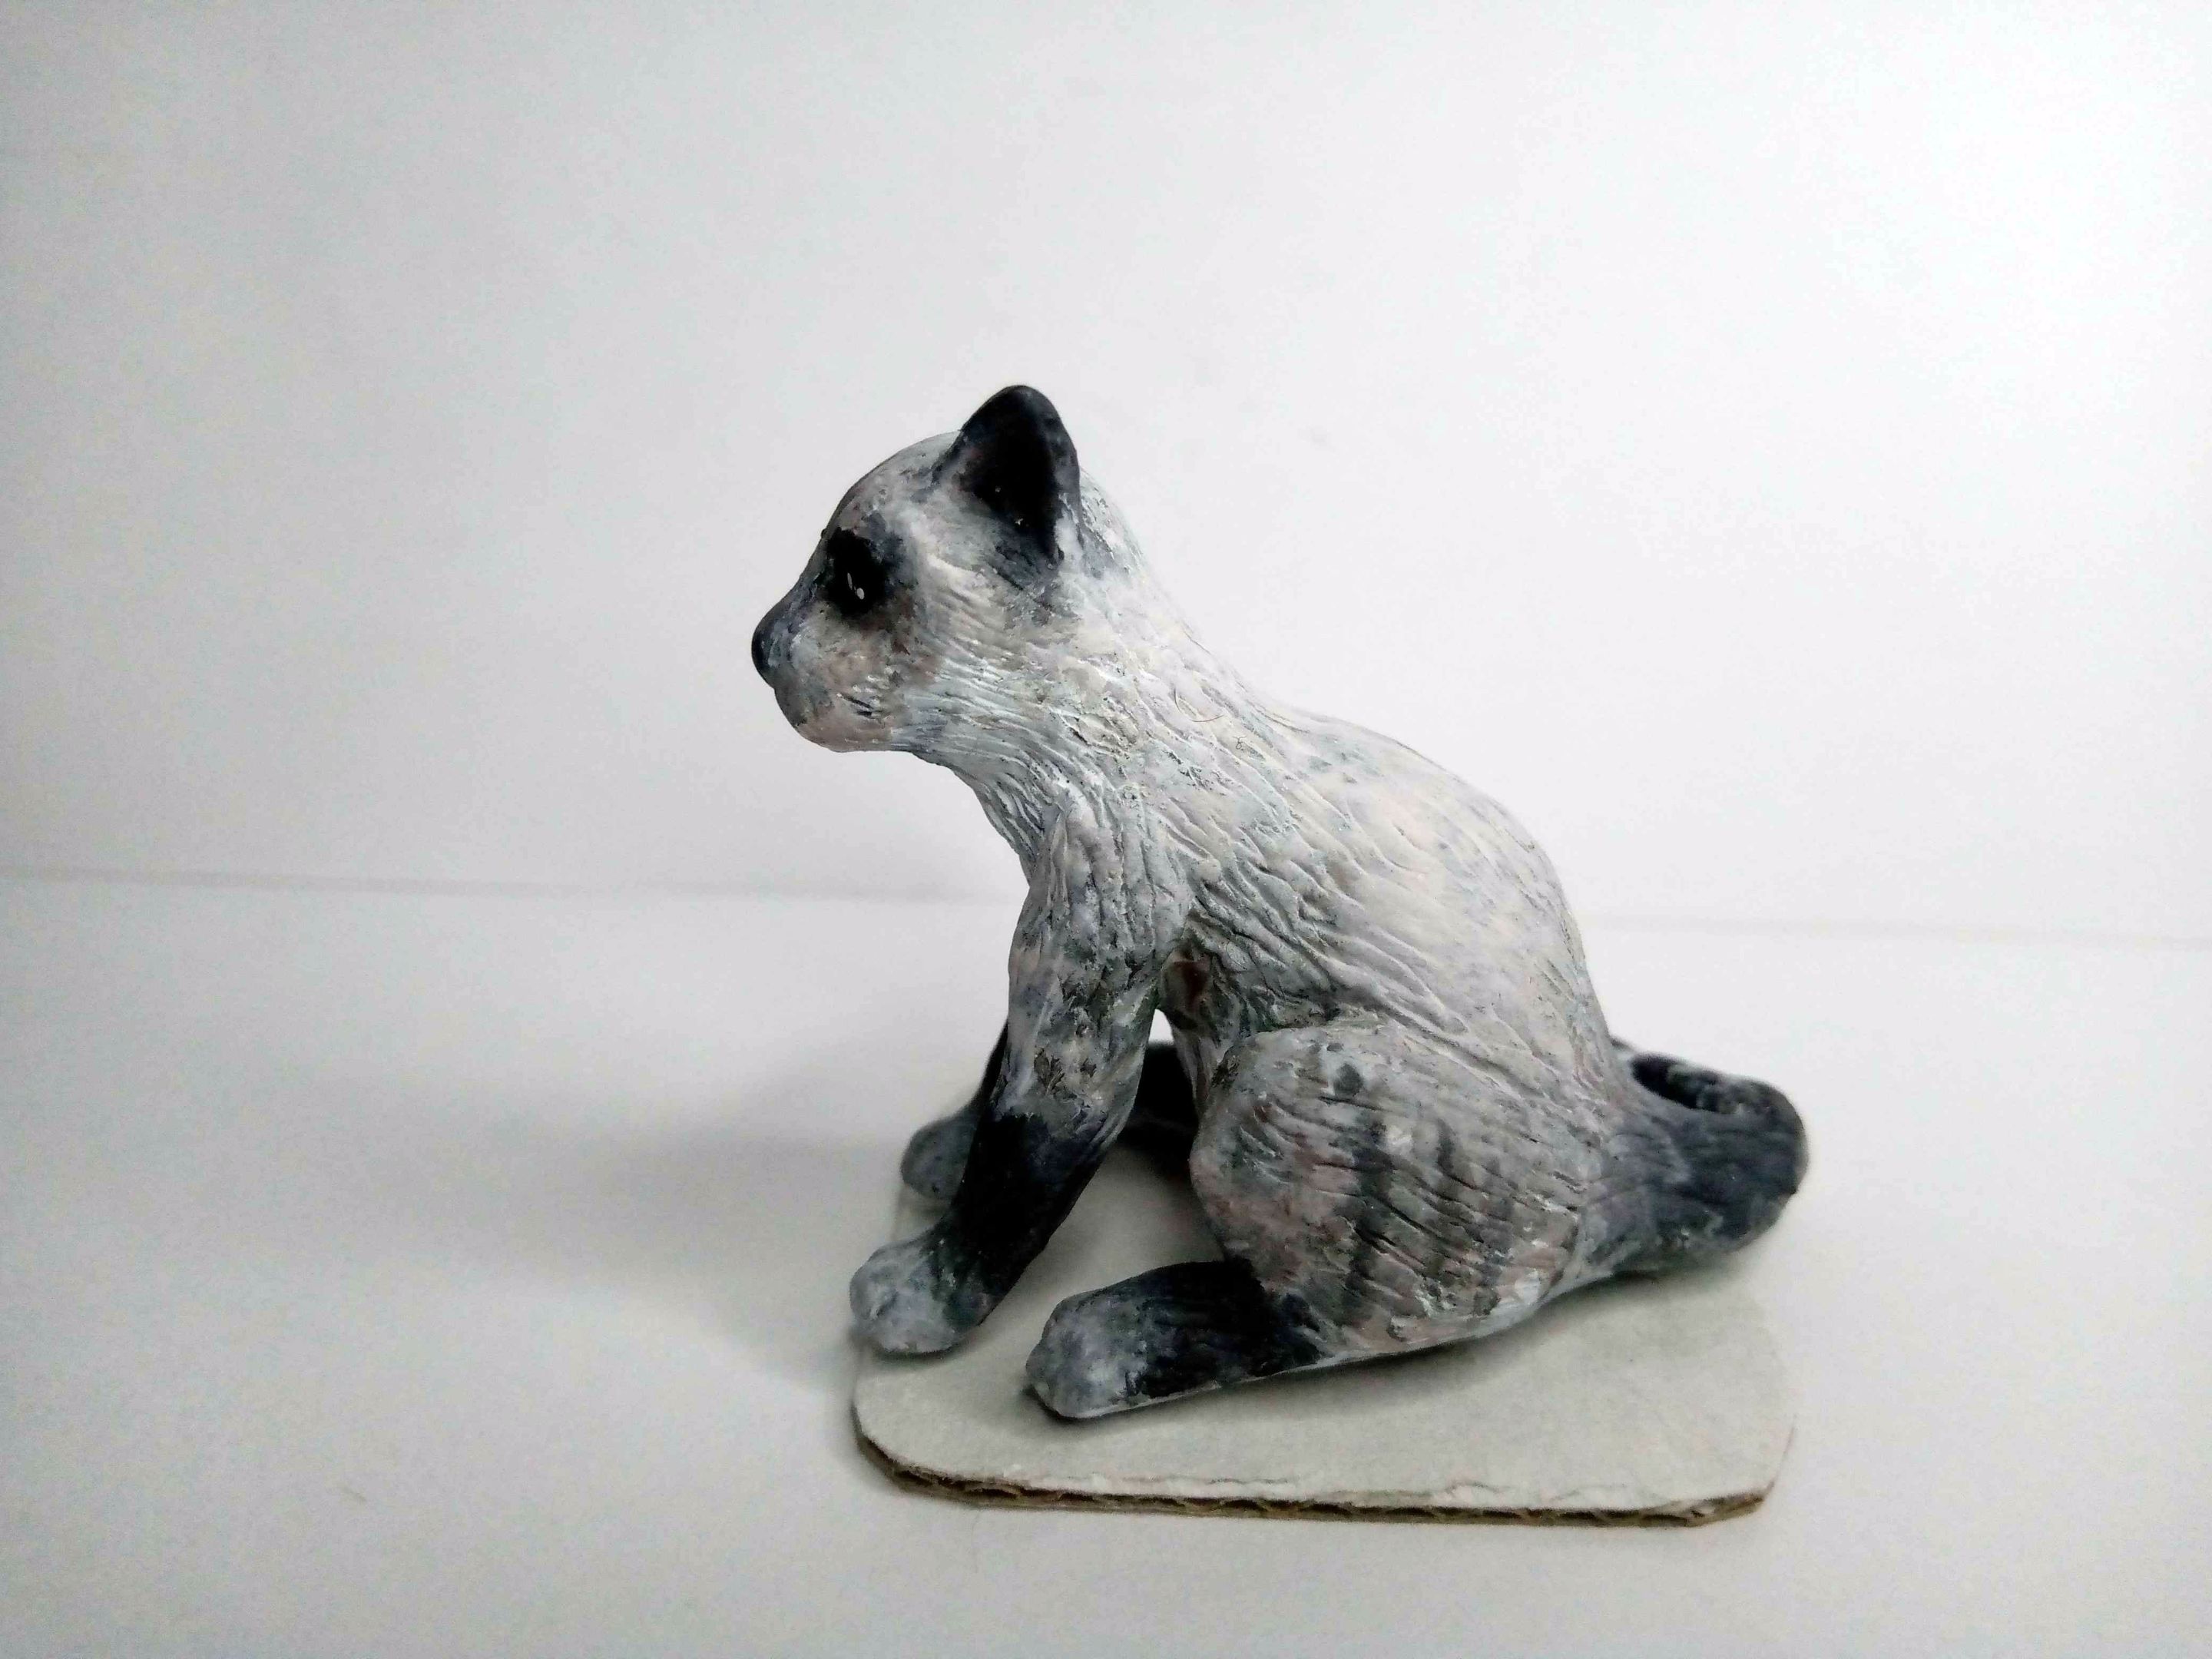
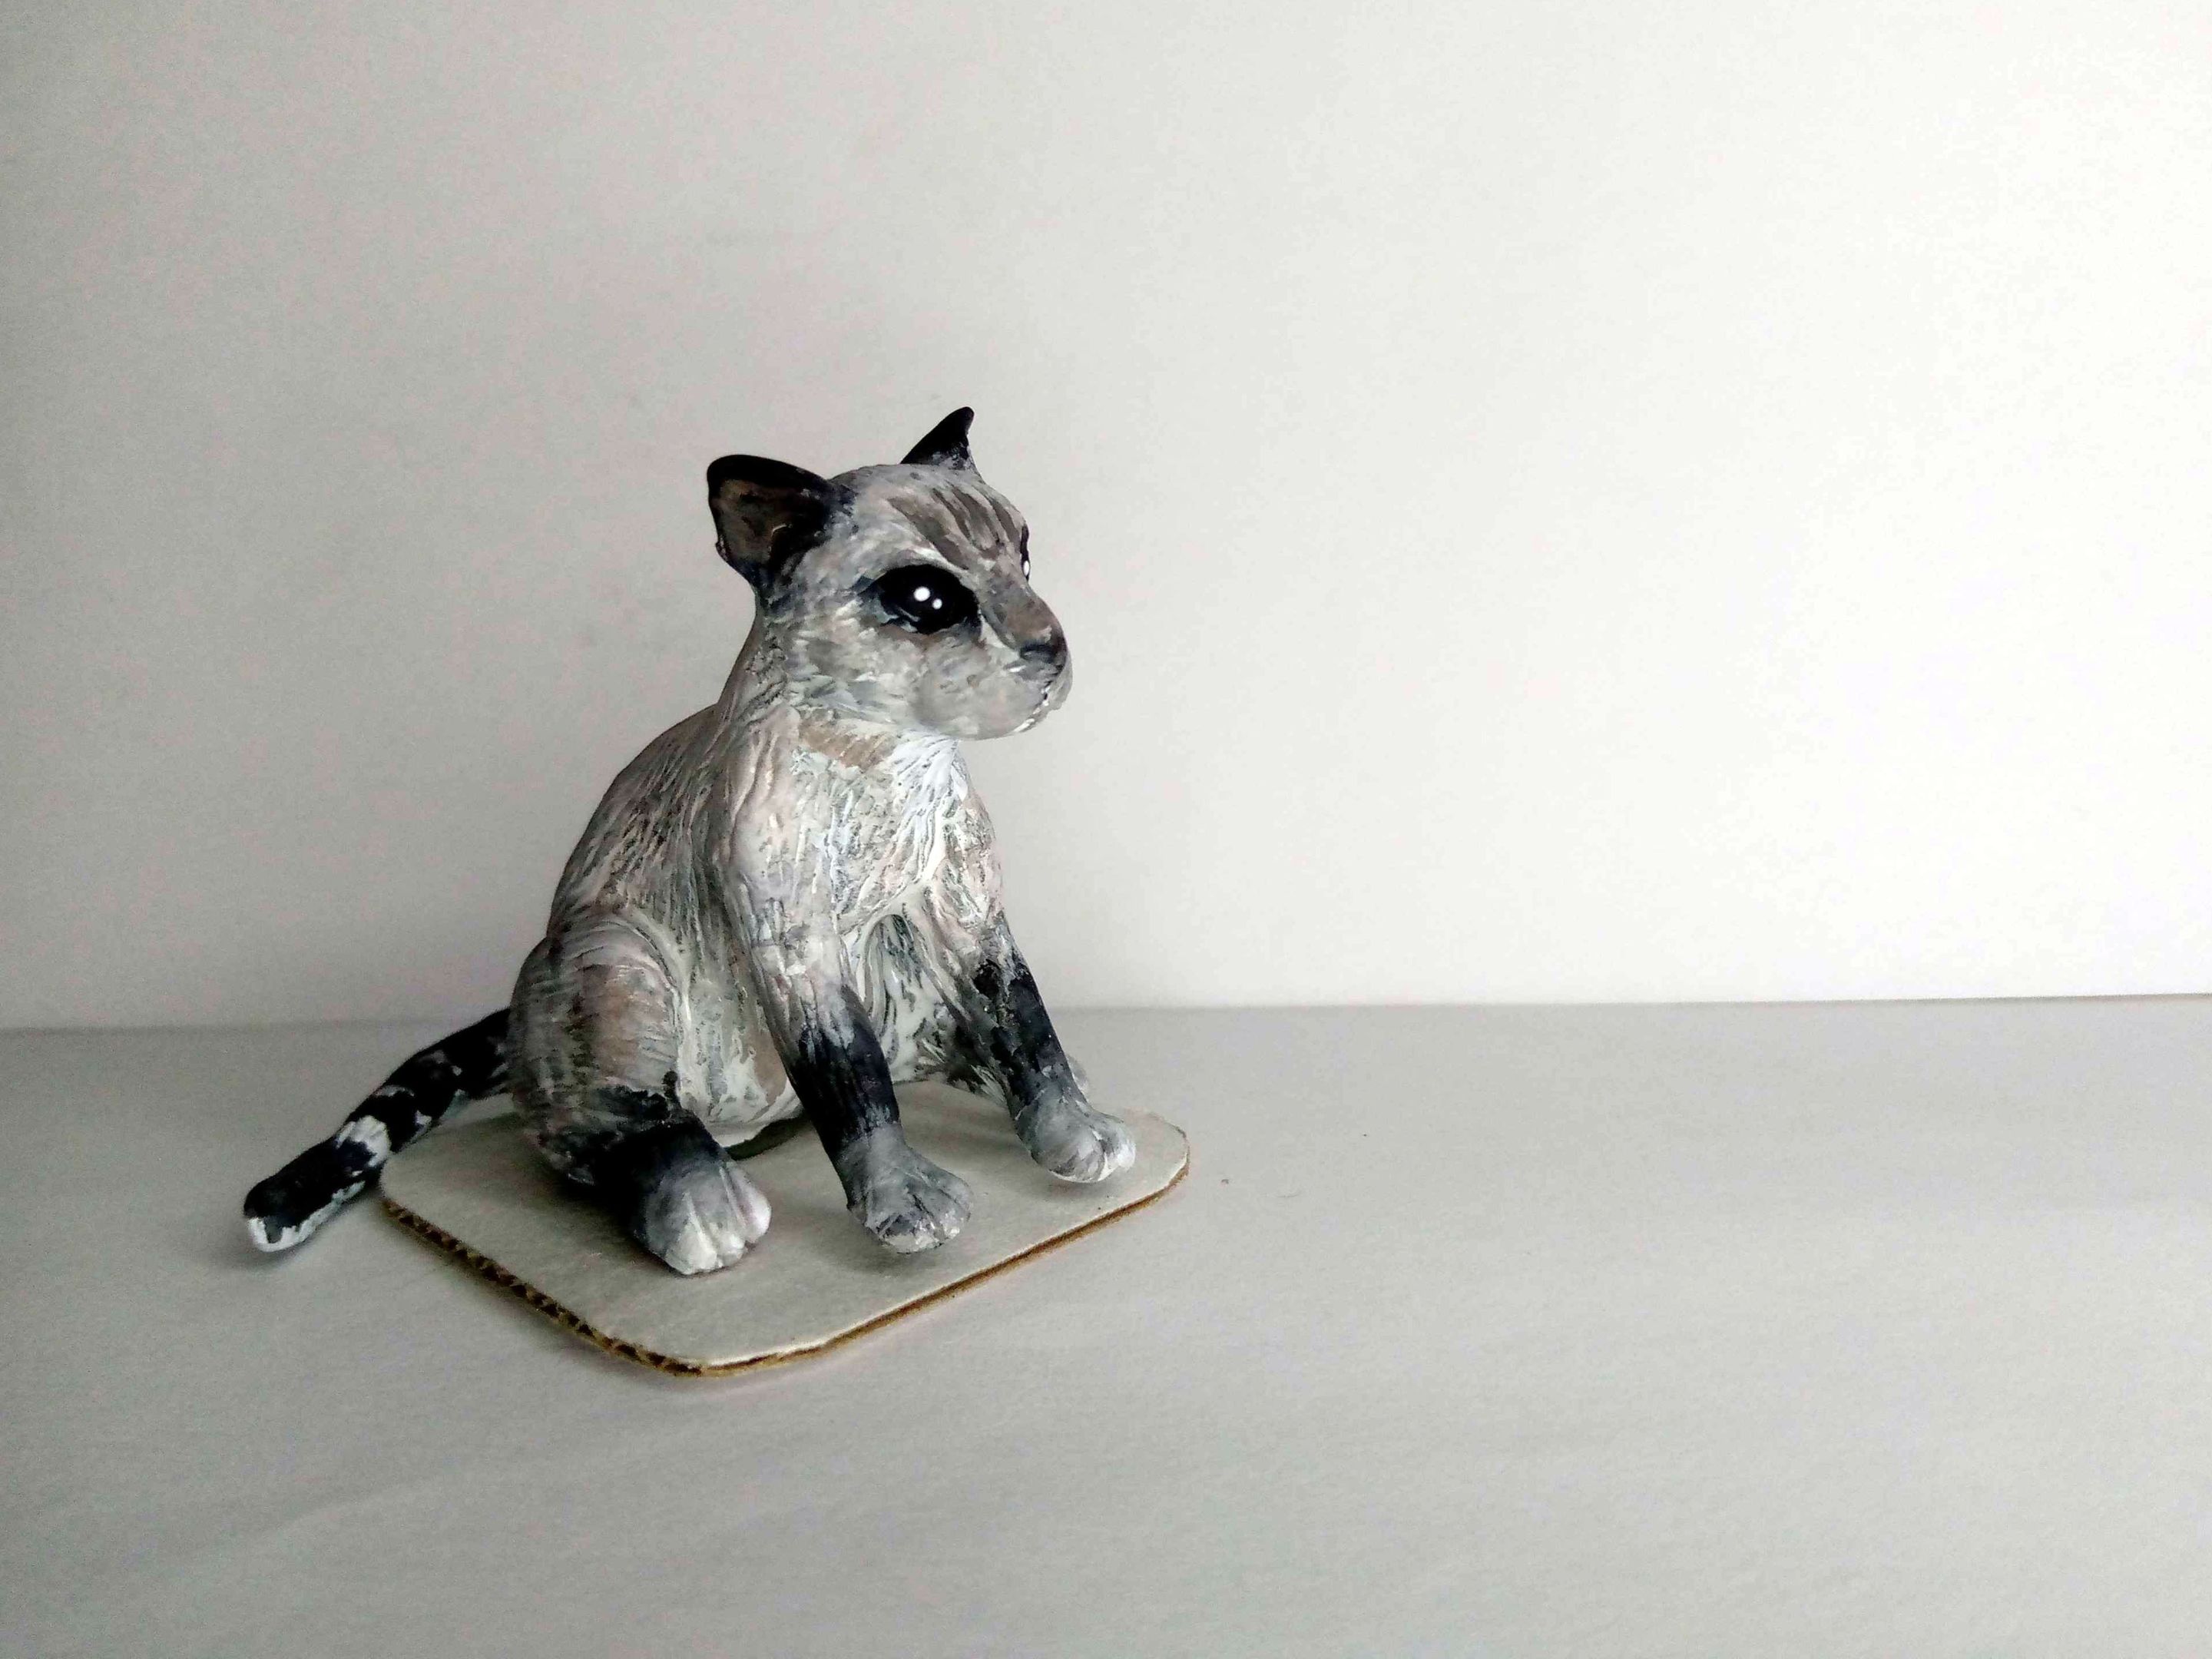
As soon as it dried, the figure was finished. Below you can see a picture of the final result:
Tan pronto secó quedó terminada la figura. A continuación pueden ver una fotografía del resultado final:
Well folks, that's all for now. I hope you liked my Bucky figure. I invite you to leave your opinions below in the comments, as always I will be happy to read them.
I appreciate you taking the time to read me. With nothing more to add, I'll say goodbye then...
See you next time!
Bien amigos, esto ha sido todo por ahora. Espero que mi figura de Bucky les haya gustado. Los invito a dejar sus opiniones abajo en los comentarios, como siempre estaré encantado de leerlos.
Agradezco que se tomaran el tiempo de leerme. Sin más que agregar, me despido entonces...
¡Hasta la próxima!


Posted Using InLeo Alpha