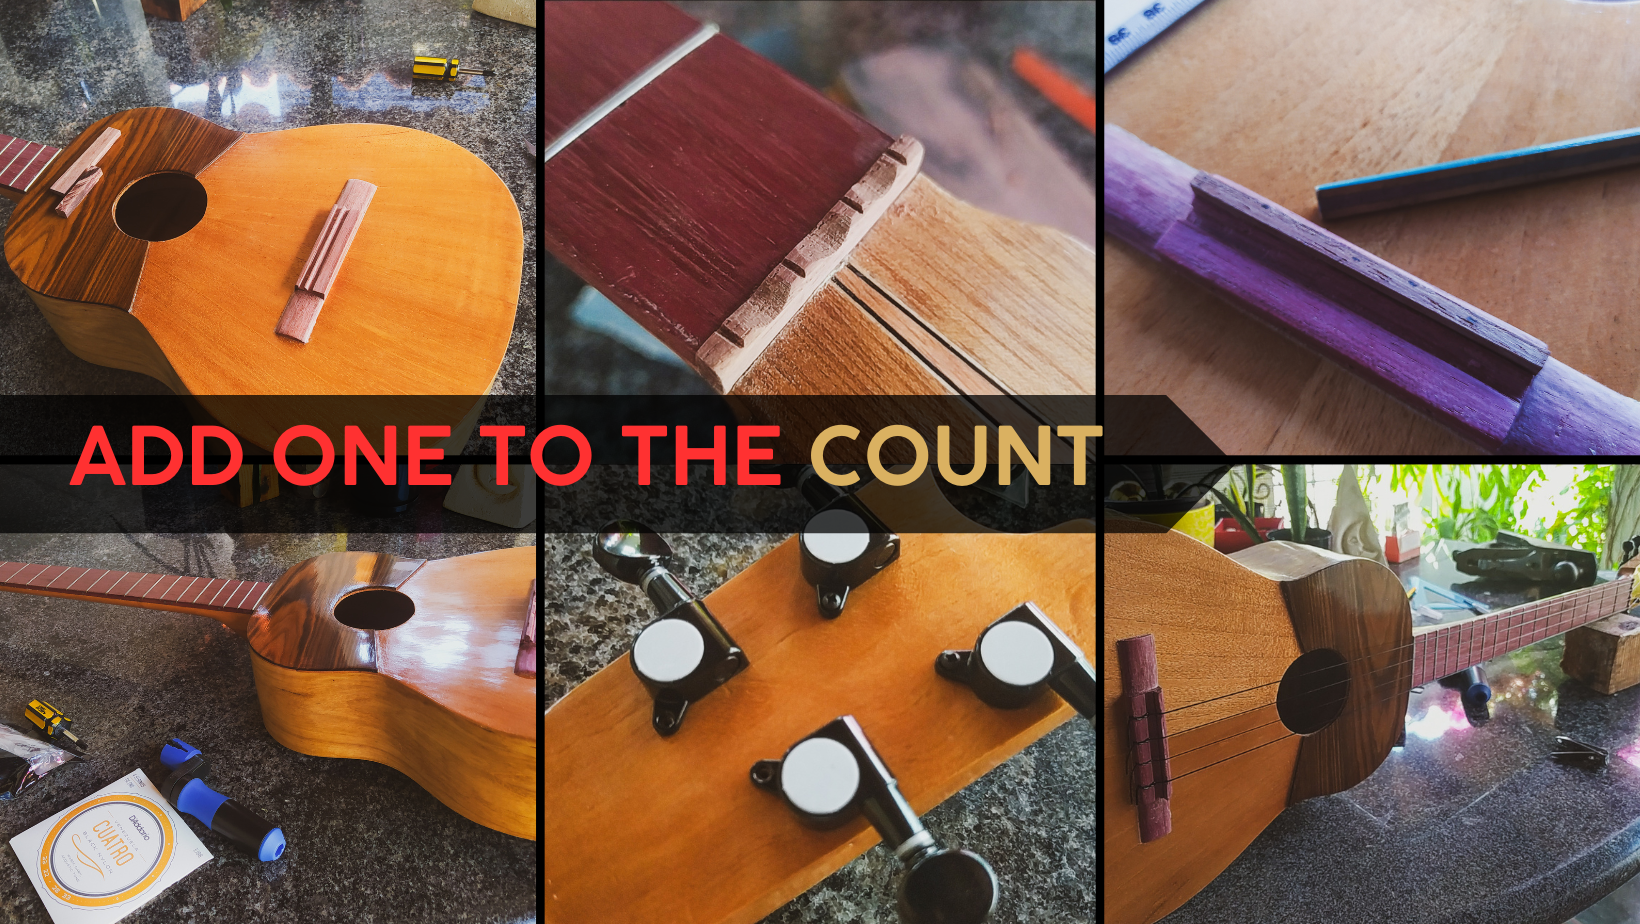

We're back for the last time to check on the progress of this instrument. It's been a blast to go about a project with all the time in the world. And the results show off how it went. This final portion of the build entails the action and setting on the strings. There are some pieces to make; others, to install. And there's the fine tuning which always stays out of these posts. Anyways, this is instrument 16 of the count!
Let's jump right to it!

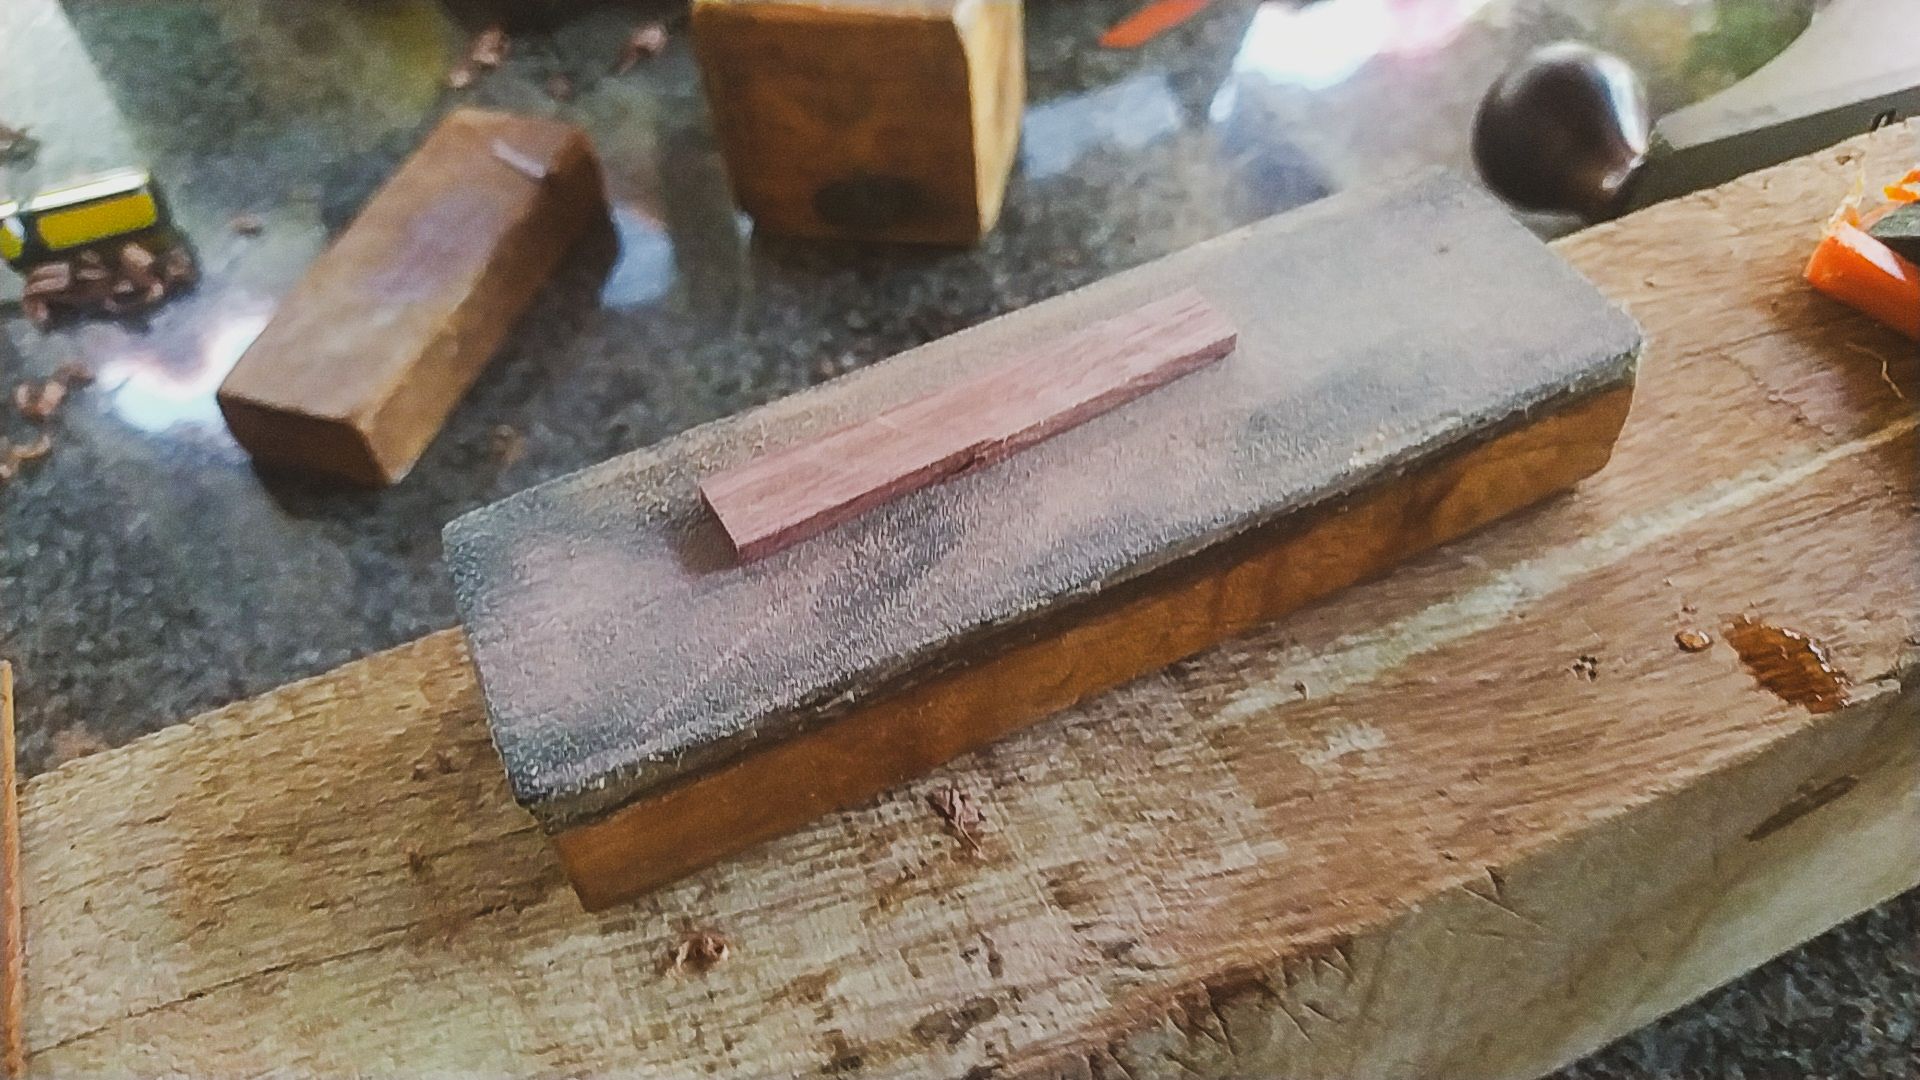
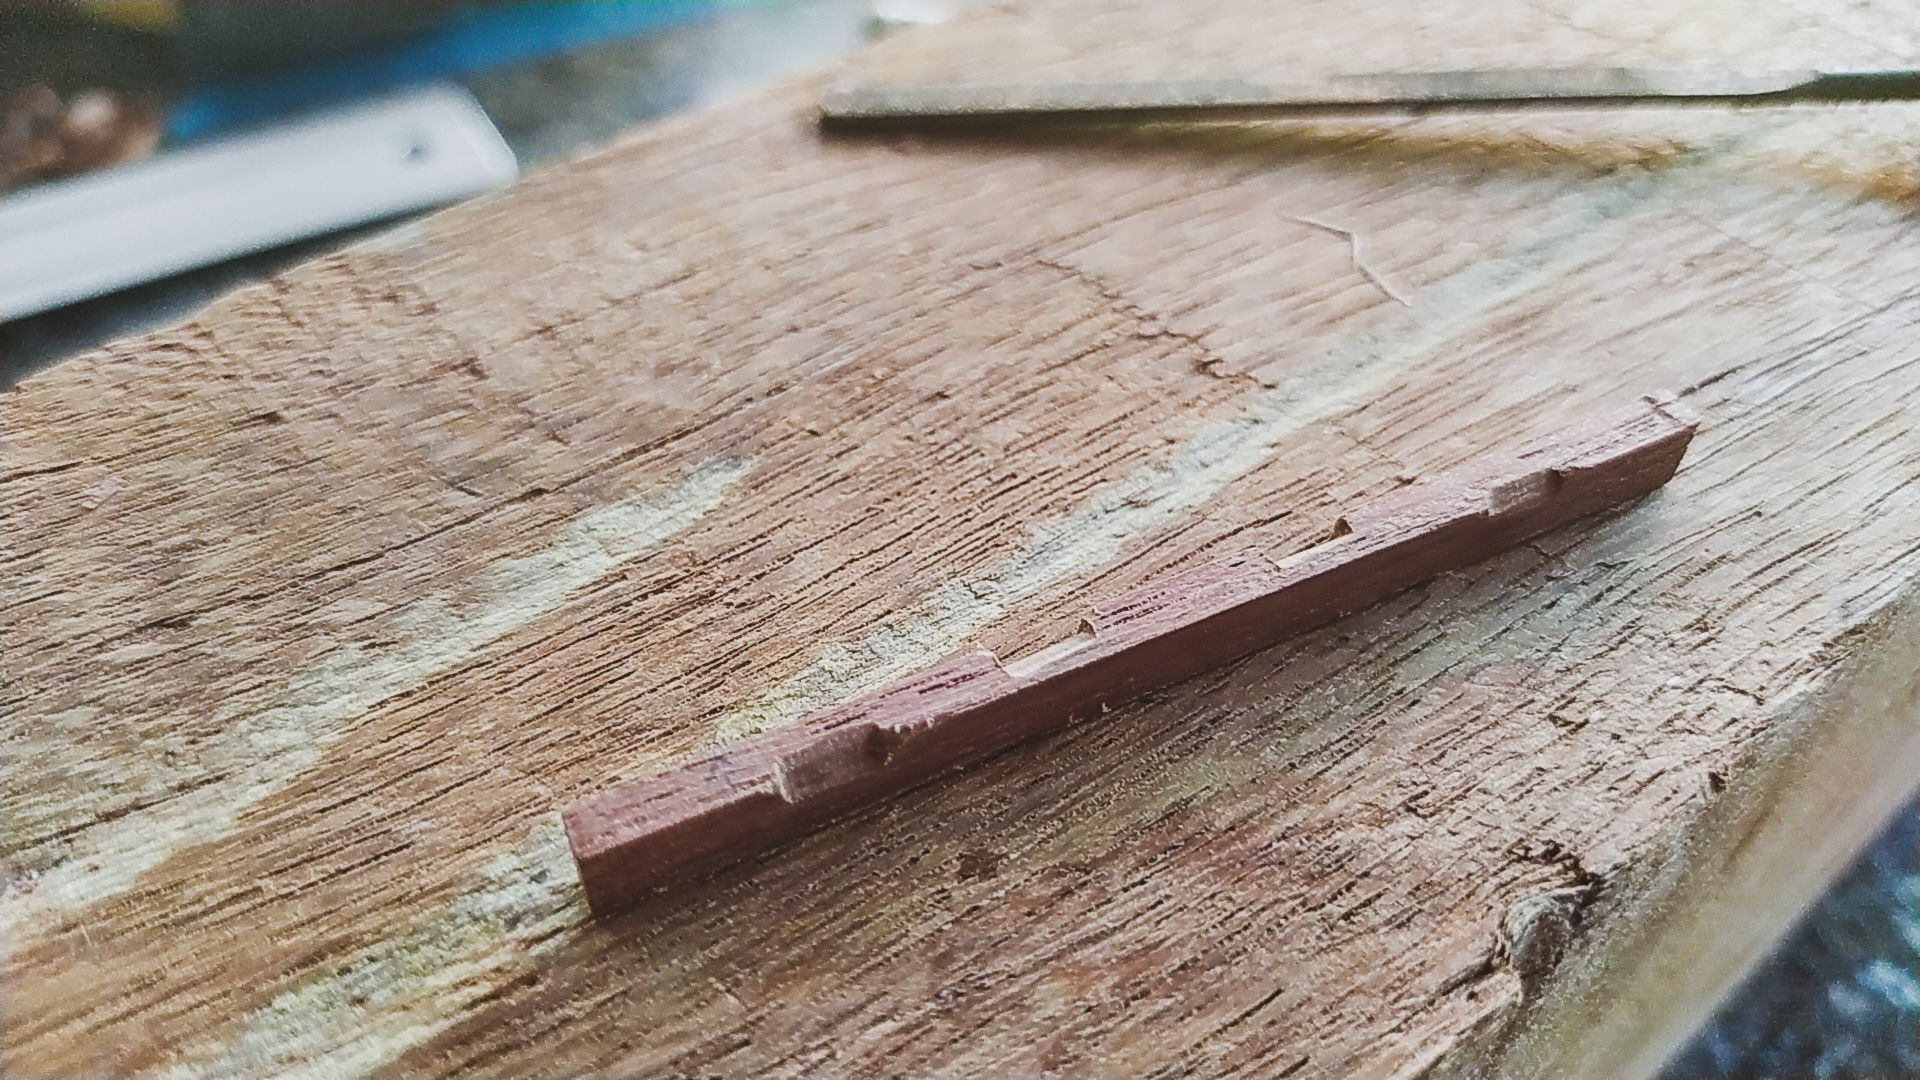
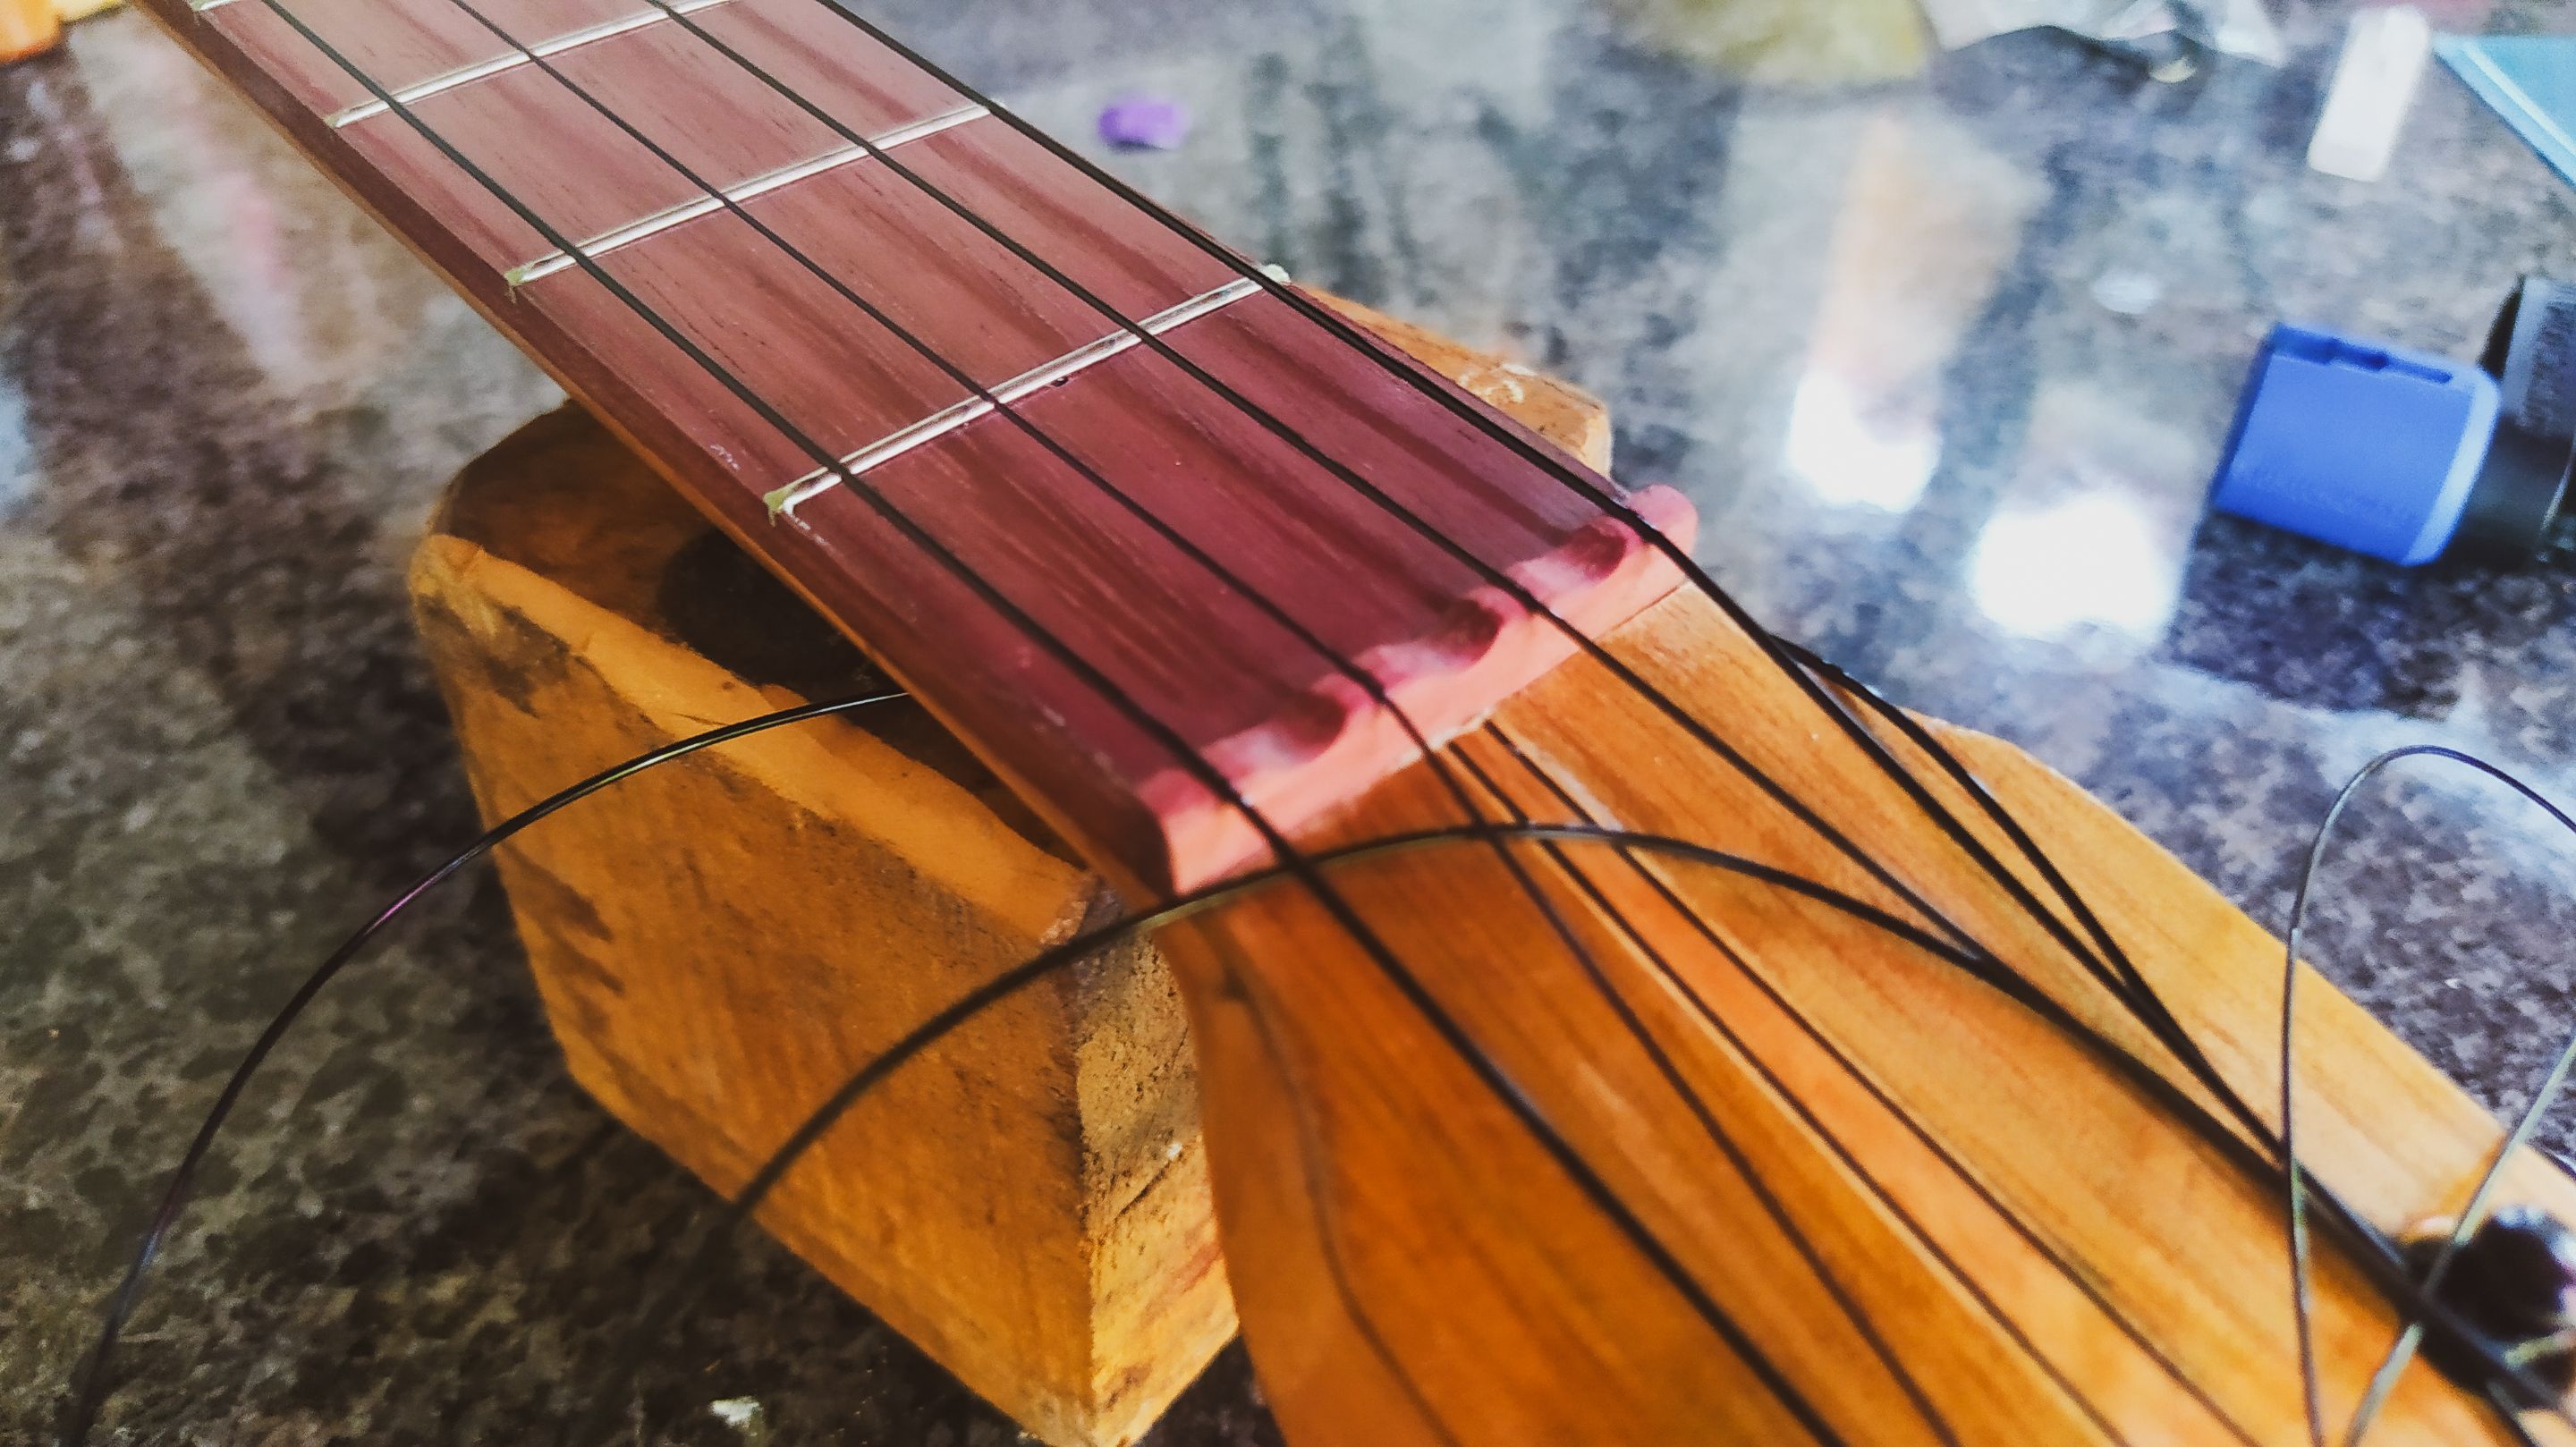
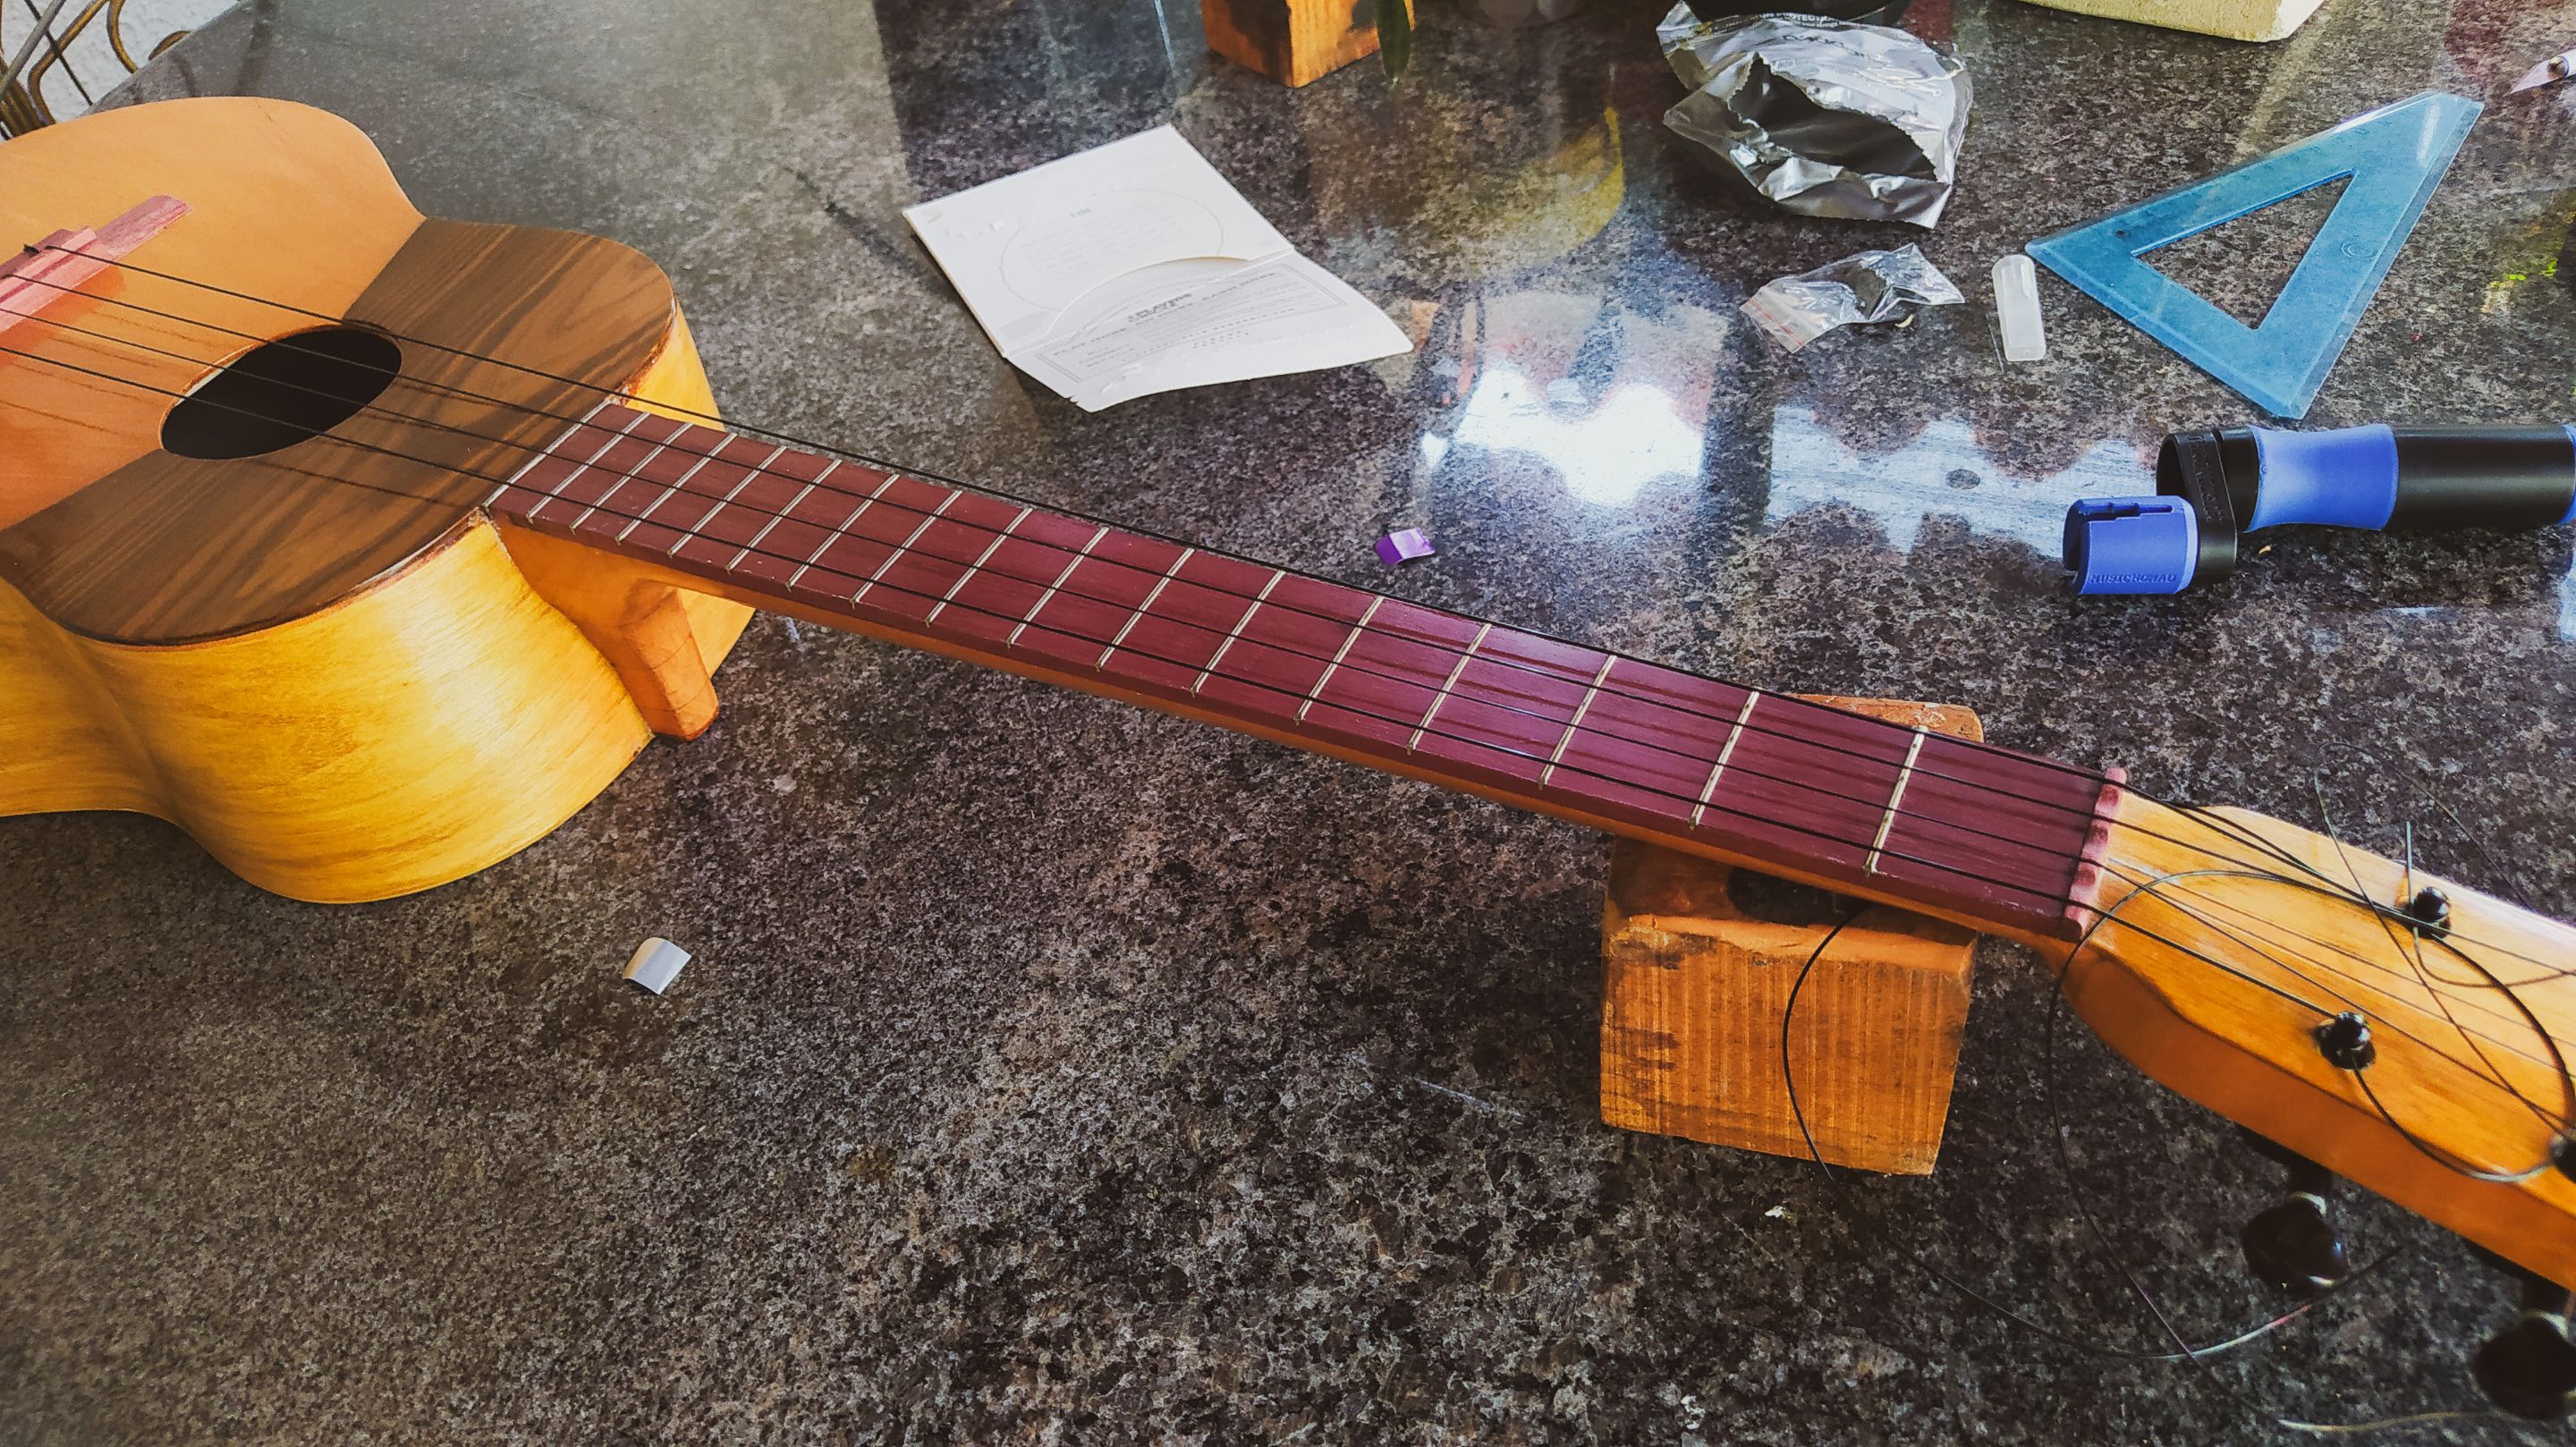
Nut

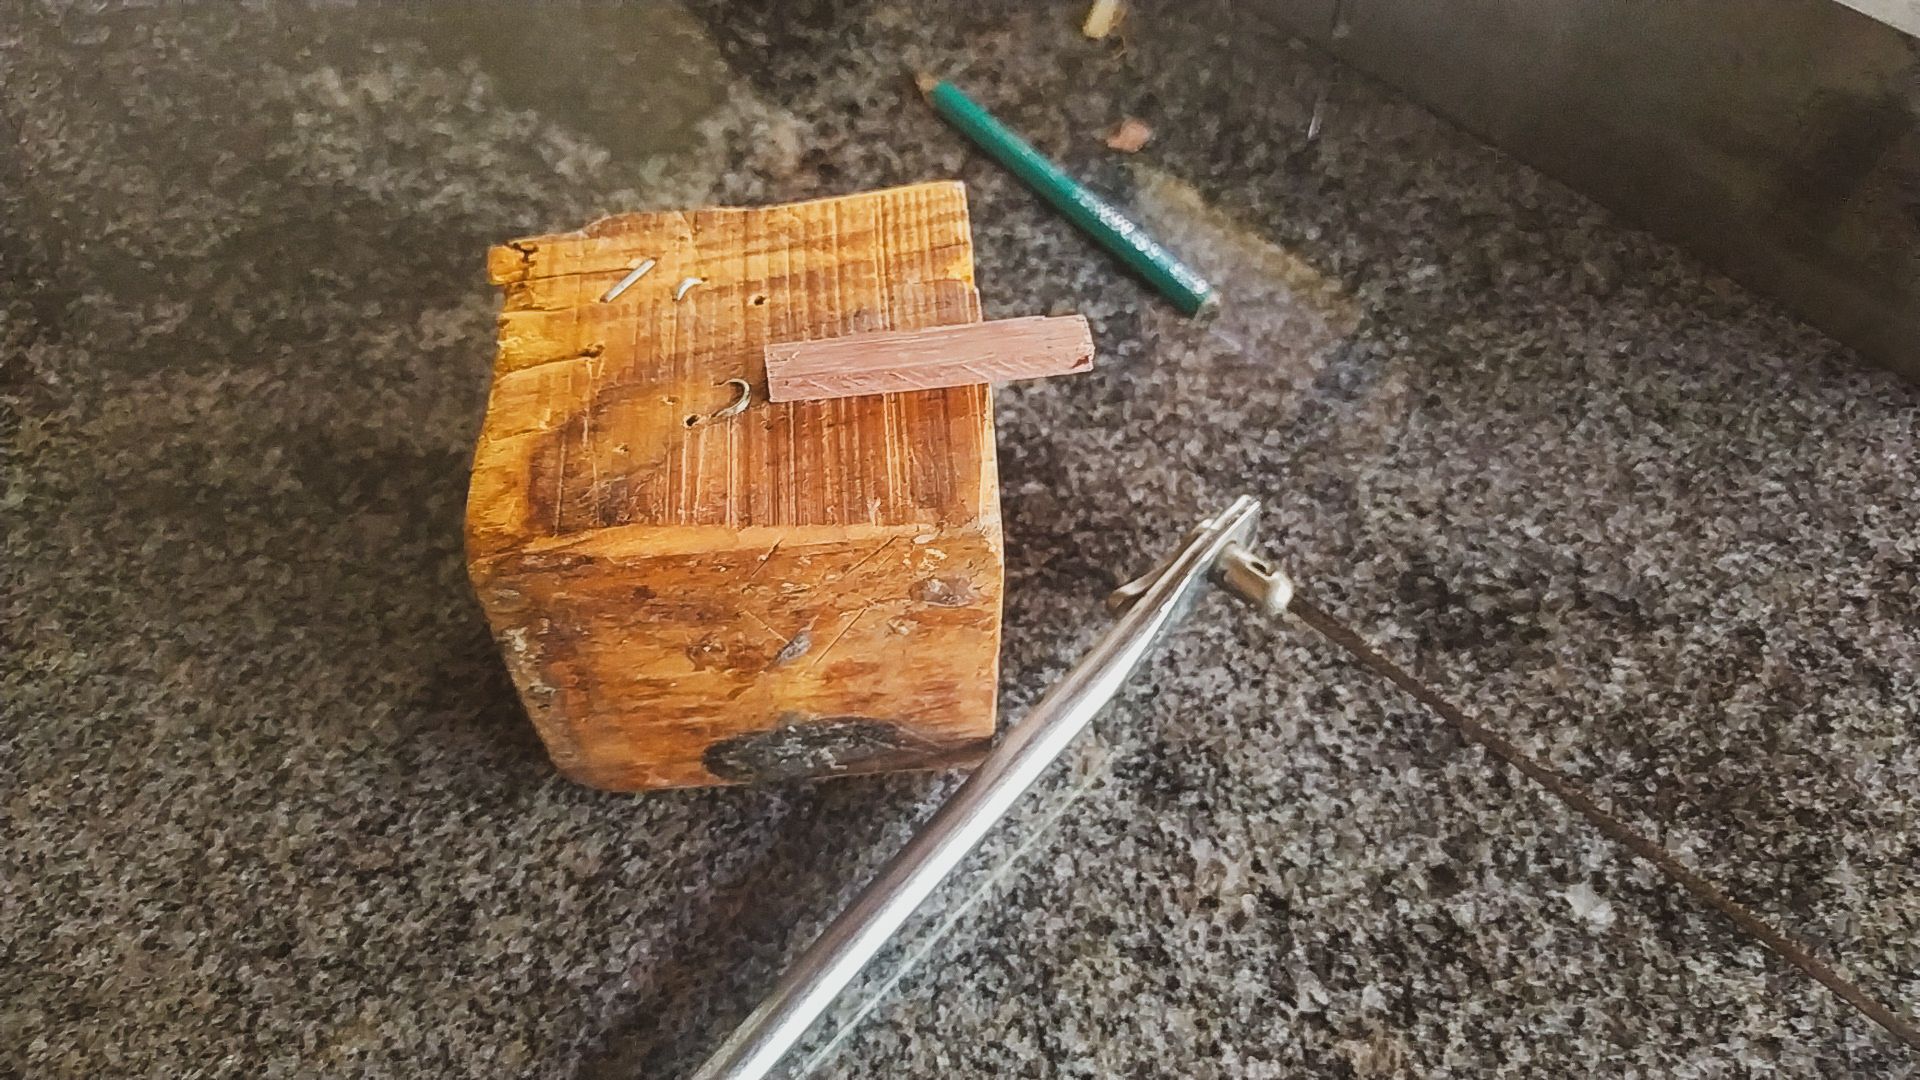
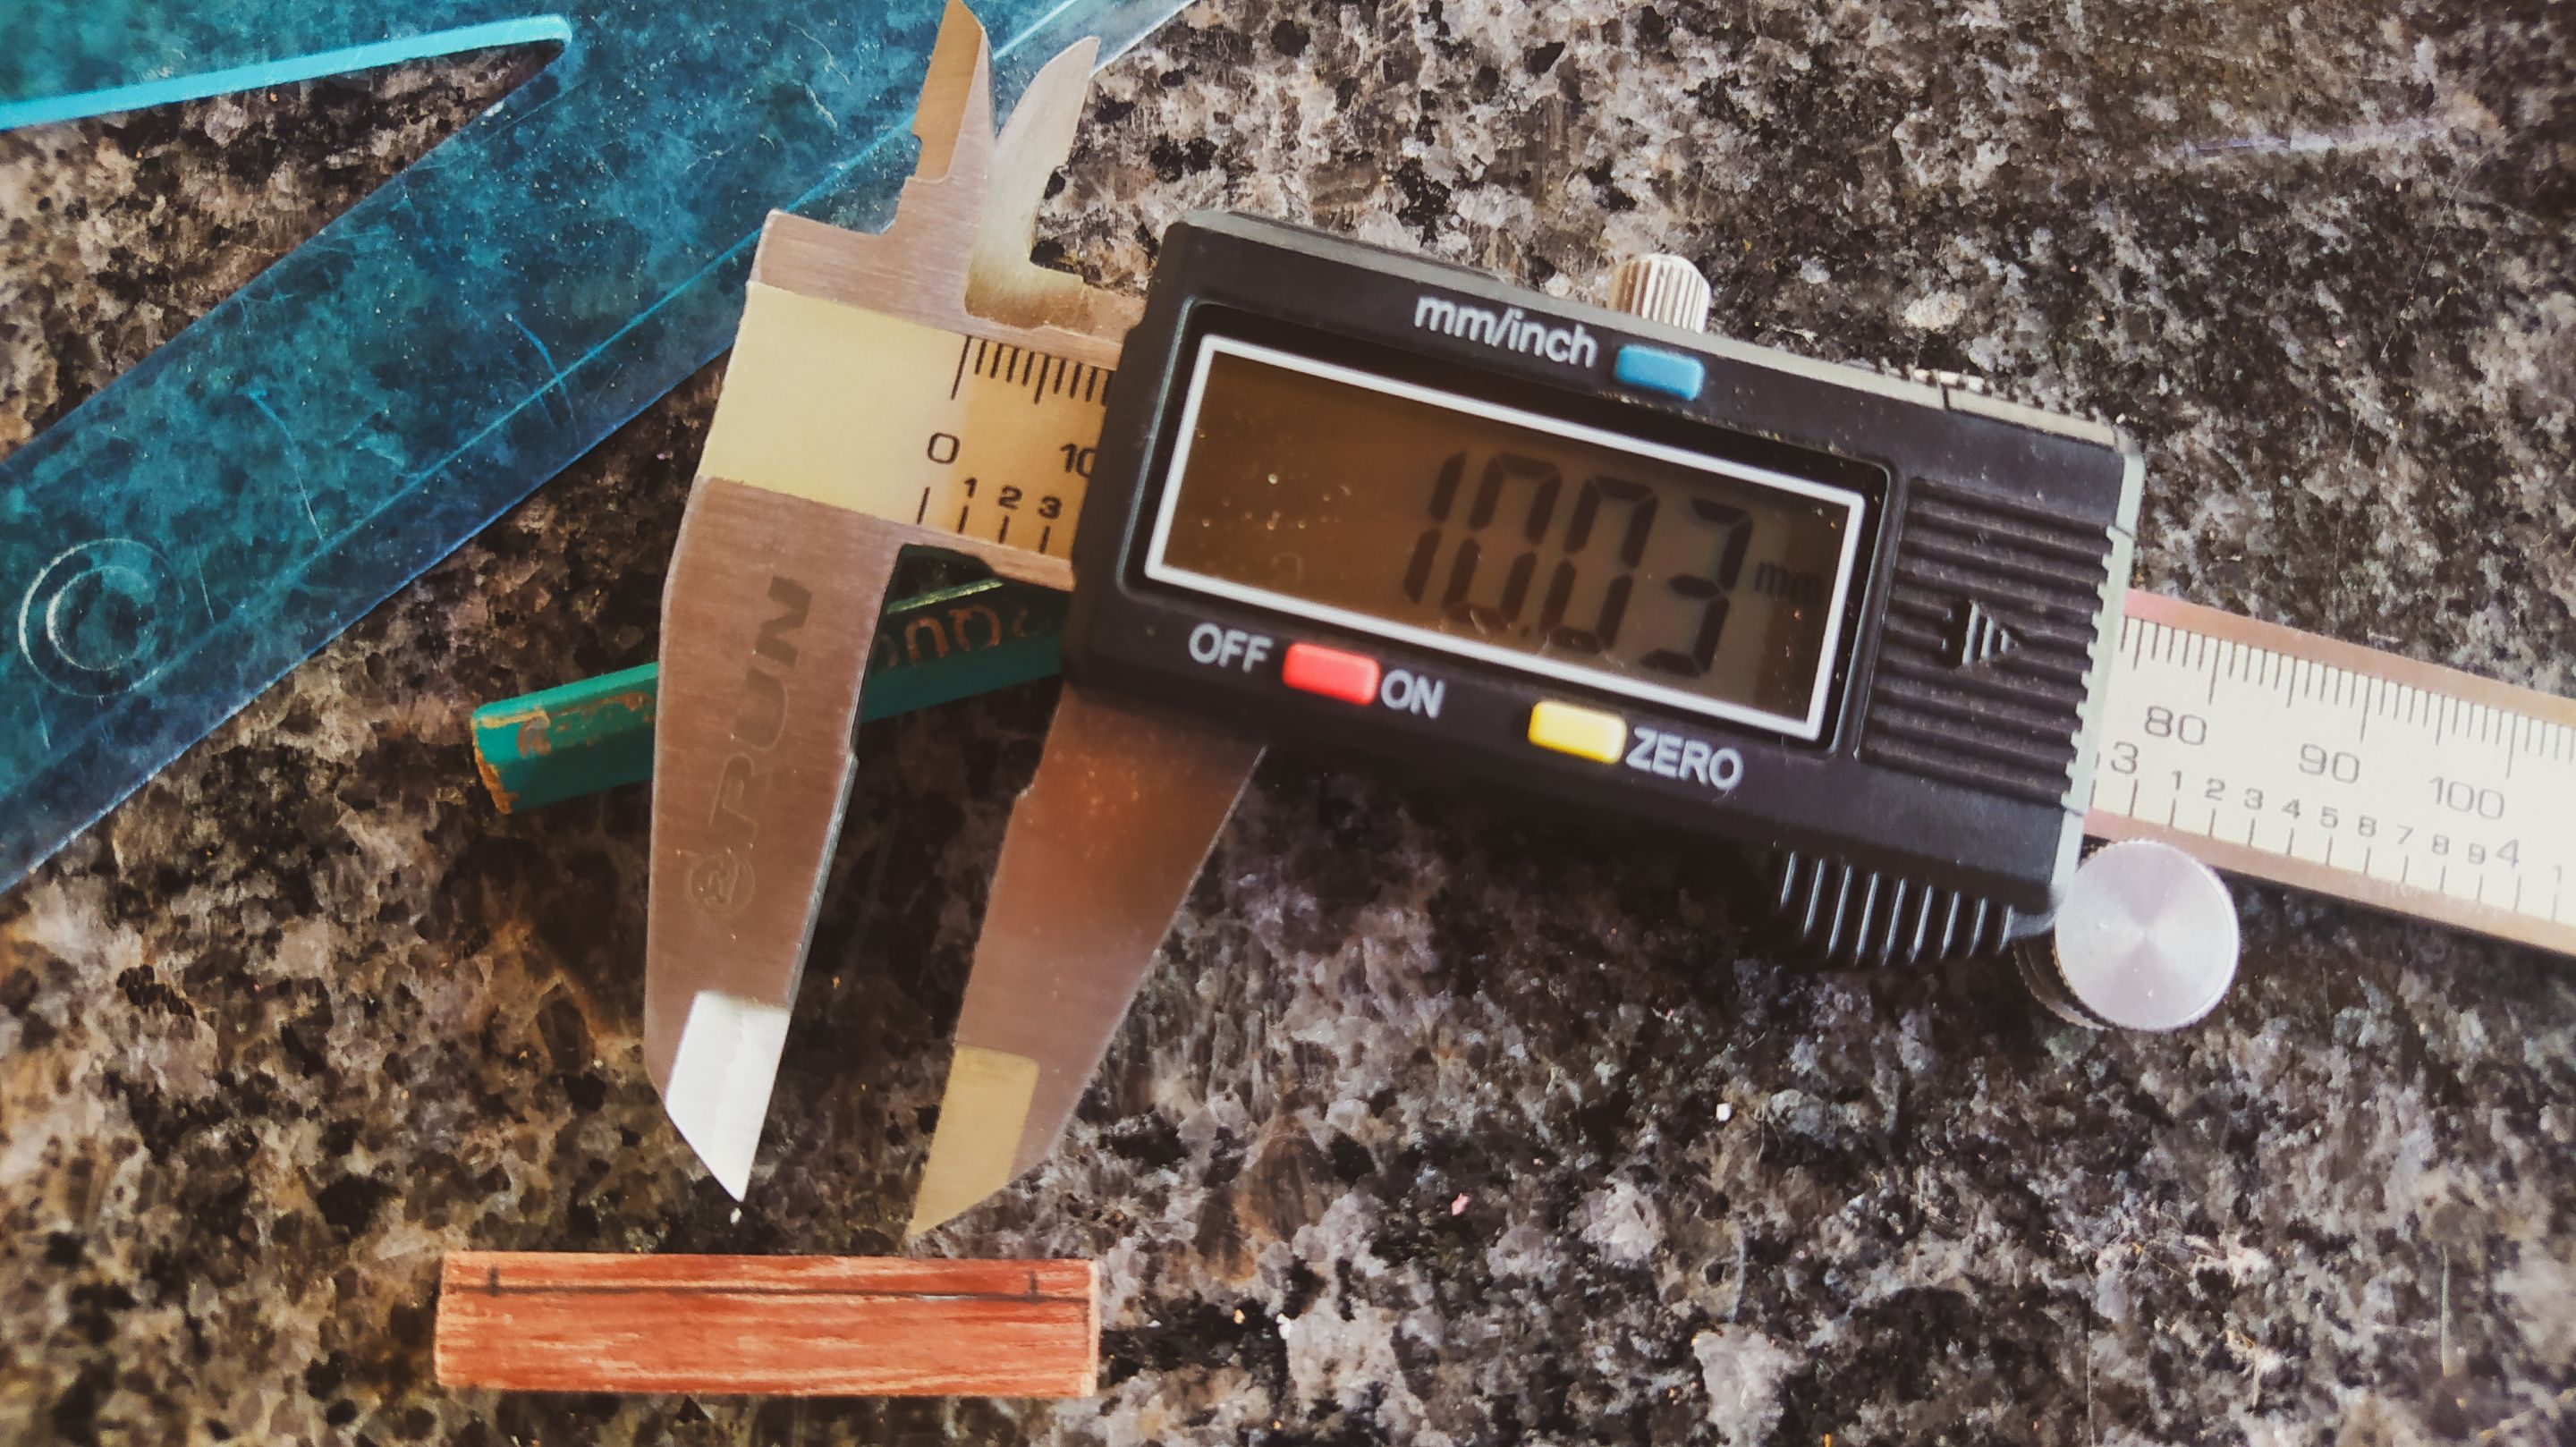
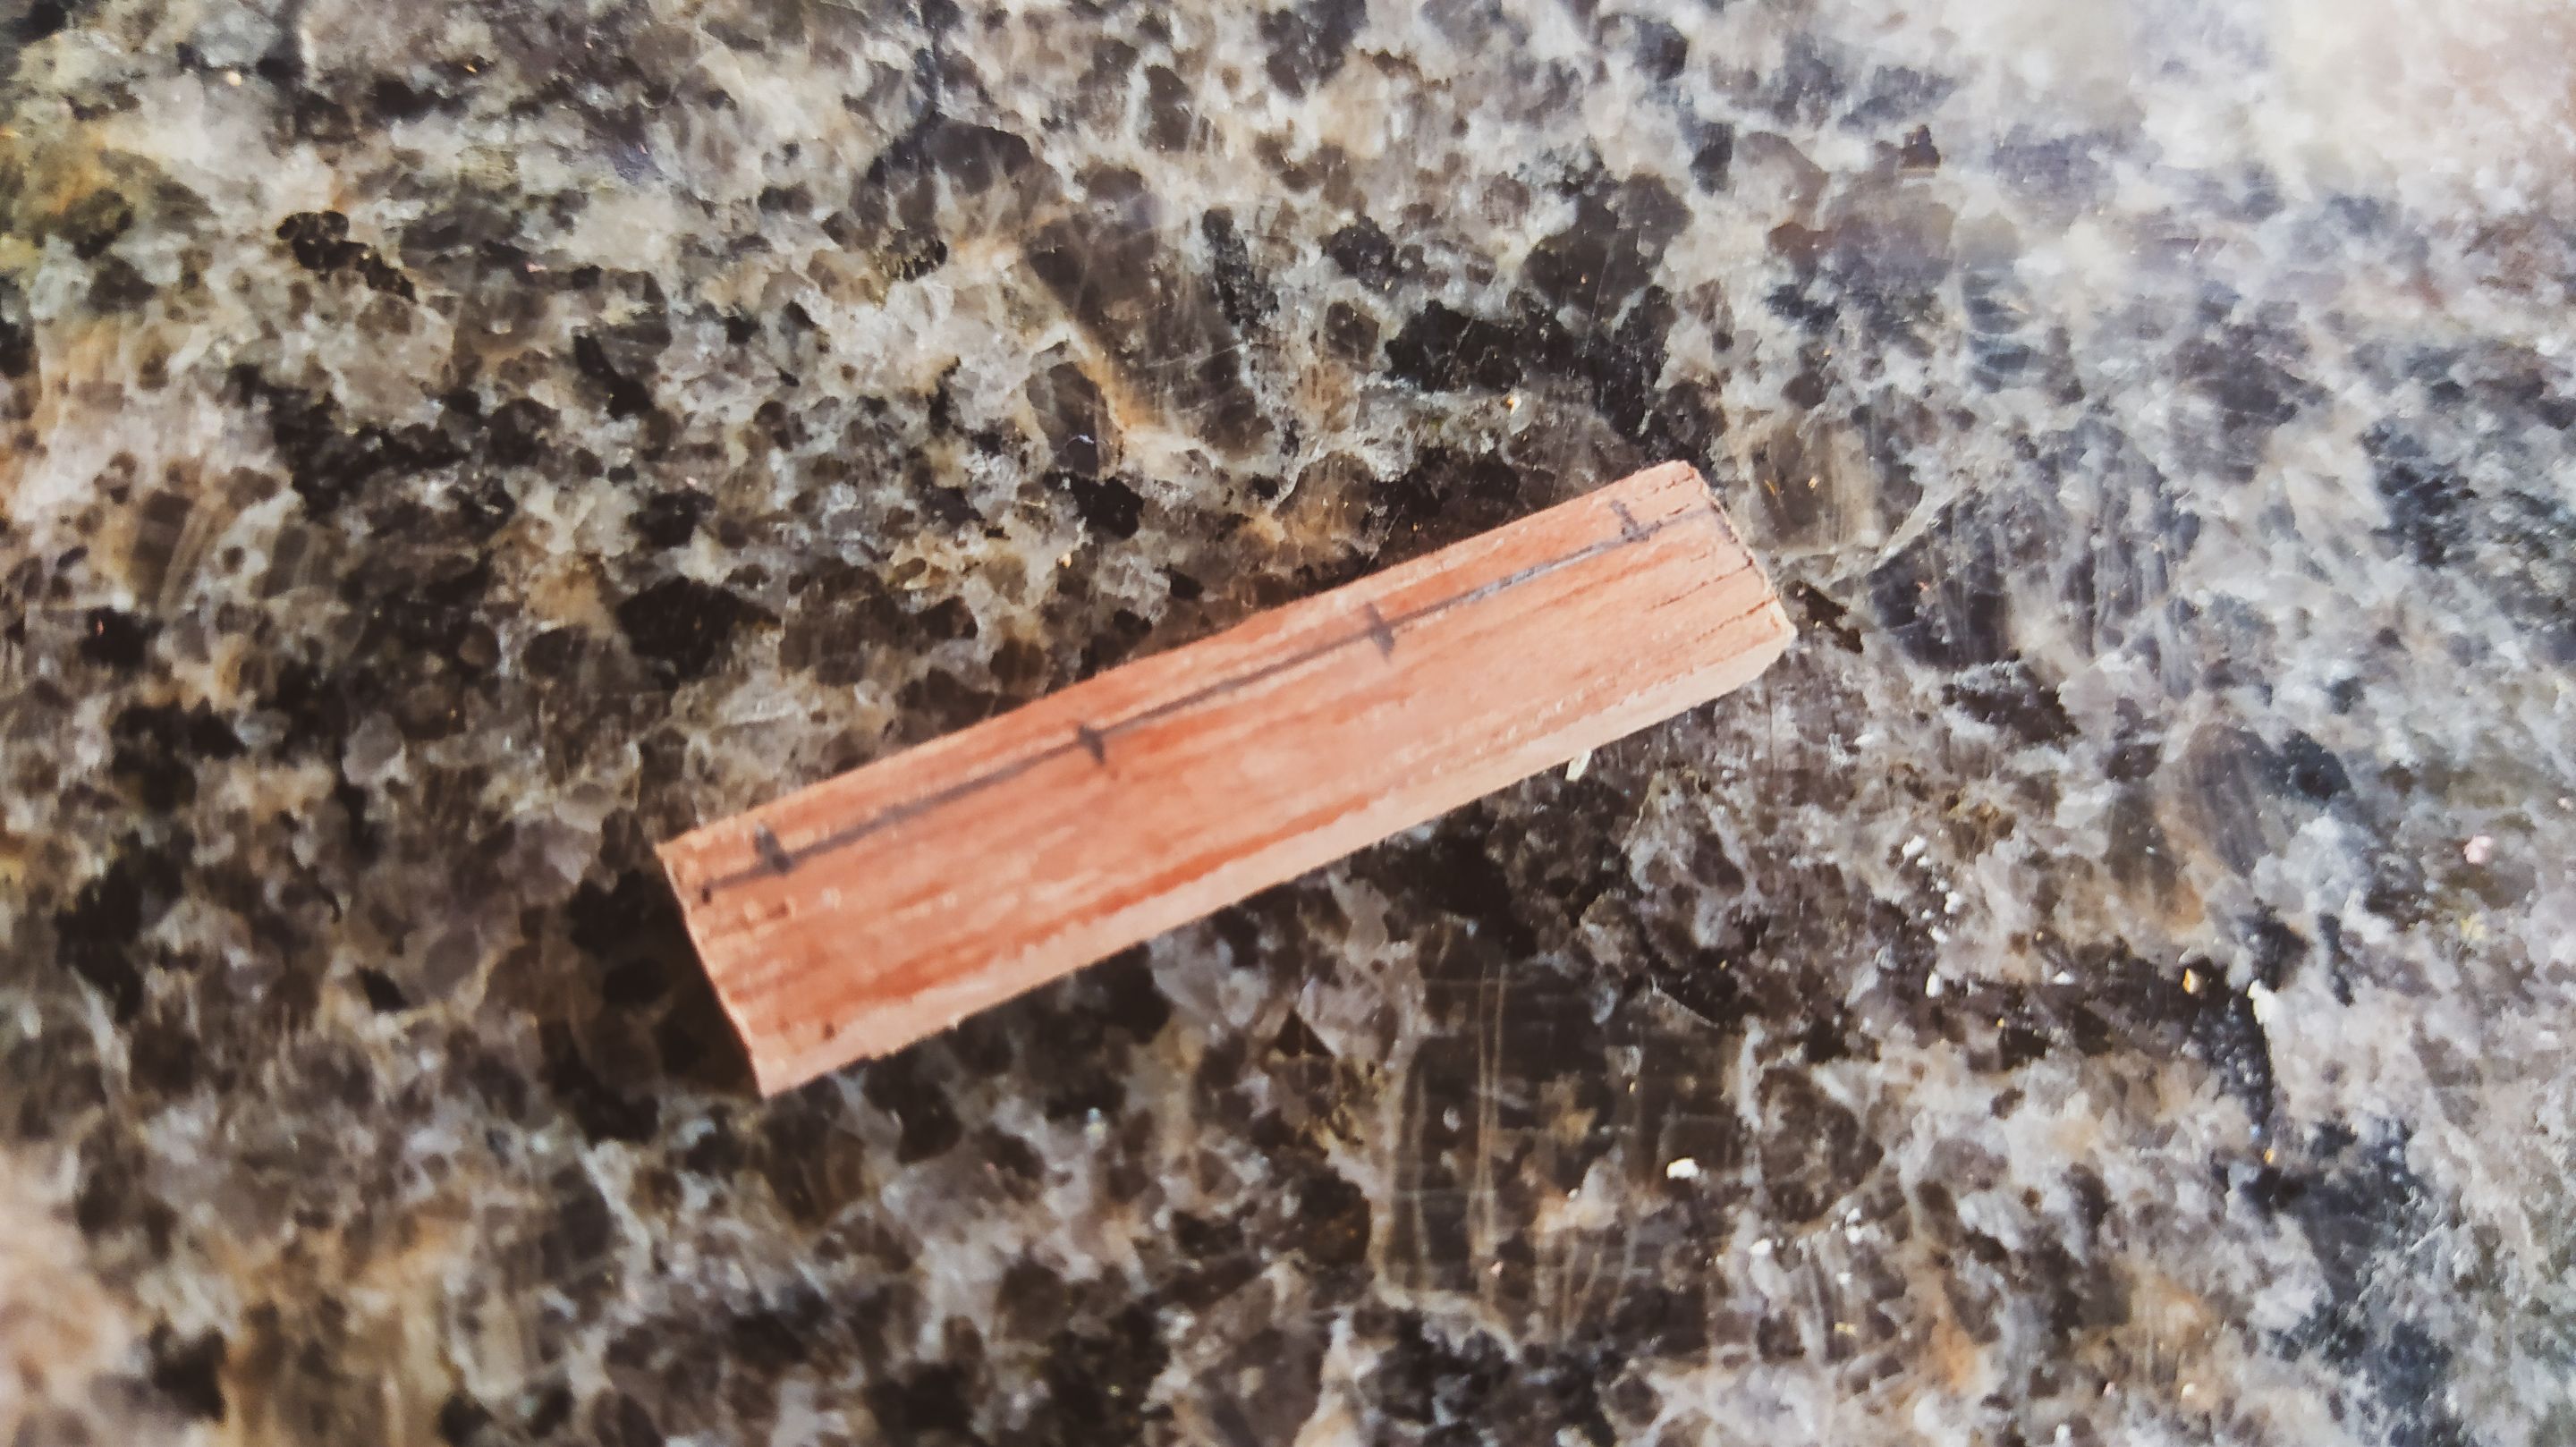

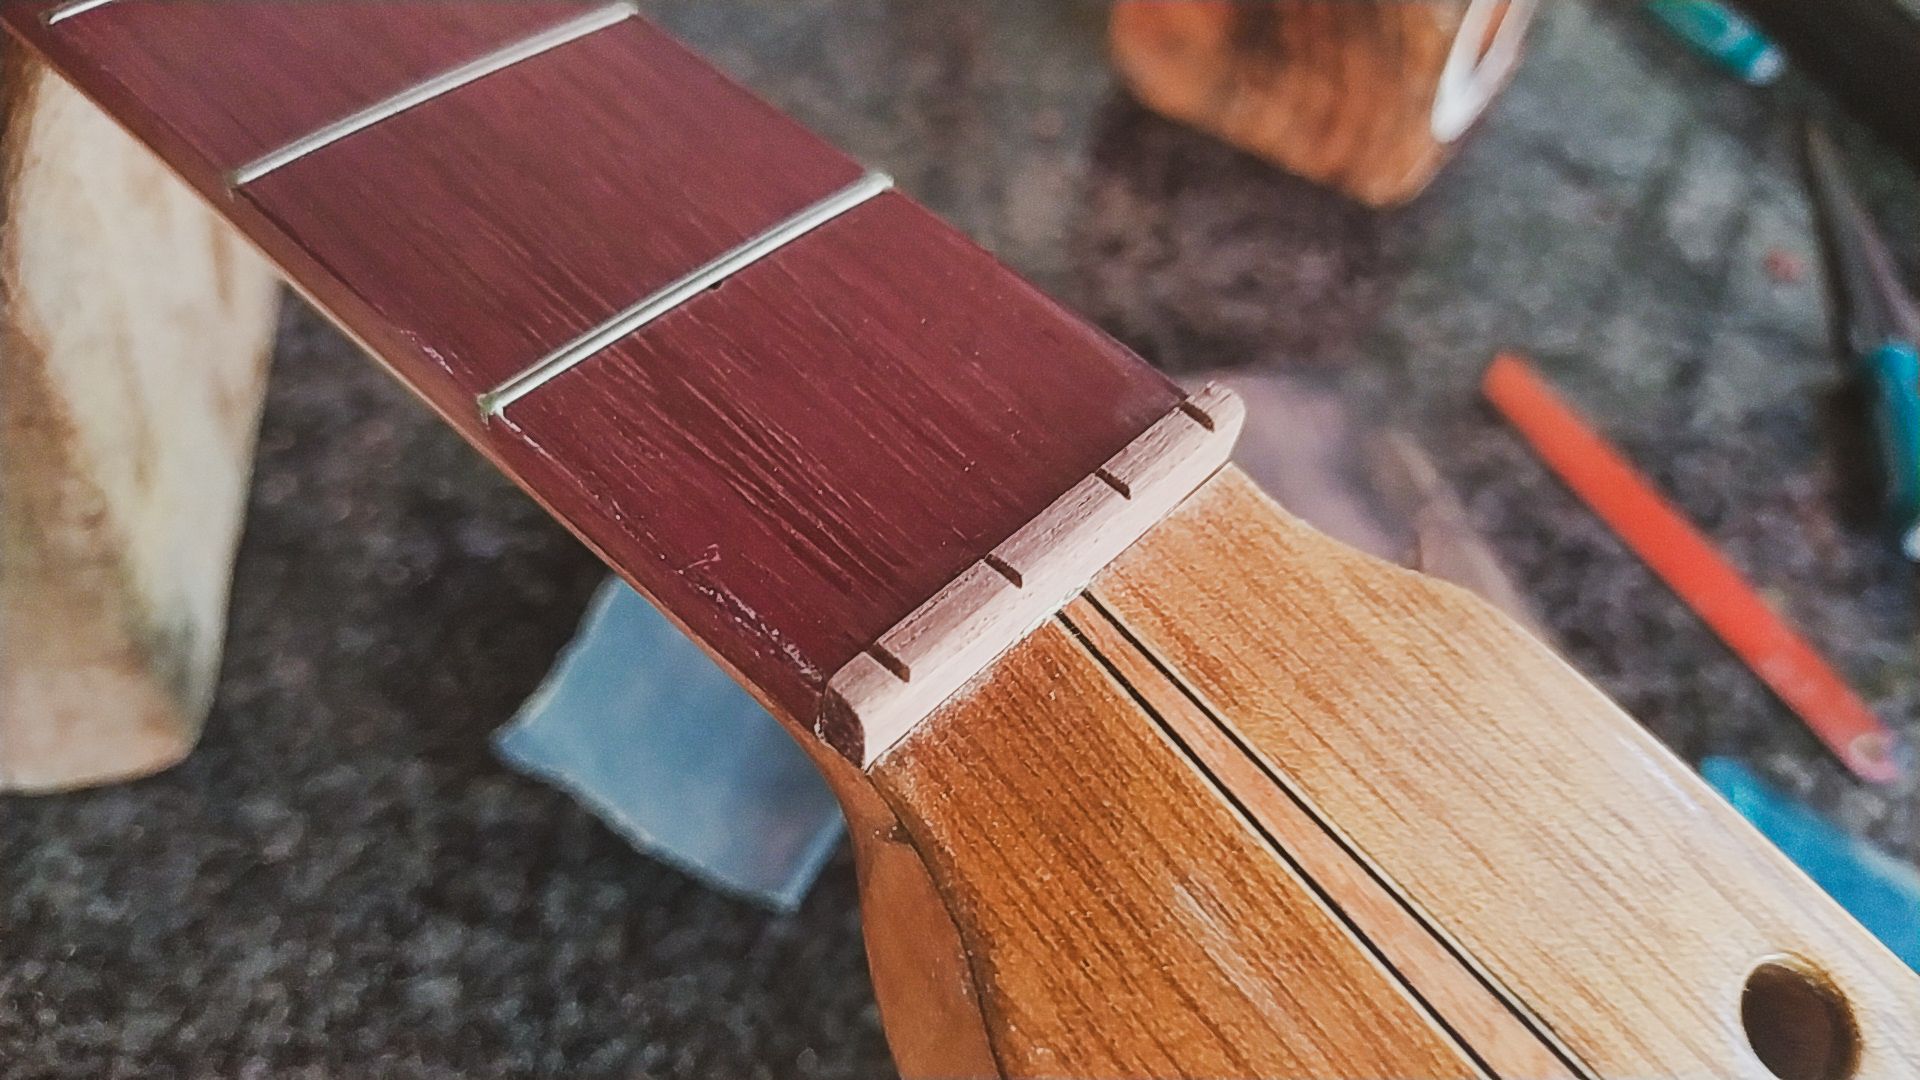

On the two pieces missing for the instrument we have the nut. This goes between the fretboard and head stock. Here, we set the space between the strings and also some of the action of them above the frets, i.e. the height of the strings. To make it, we use a blank and get into the whole process of giving it the proper dimensions. We need to know how thick it needs to be. Then, use hand tools and sandpaper to get it to this shape. This includes cutting it to length.
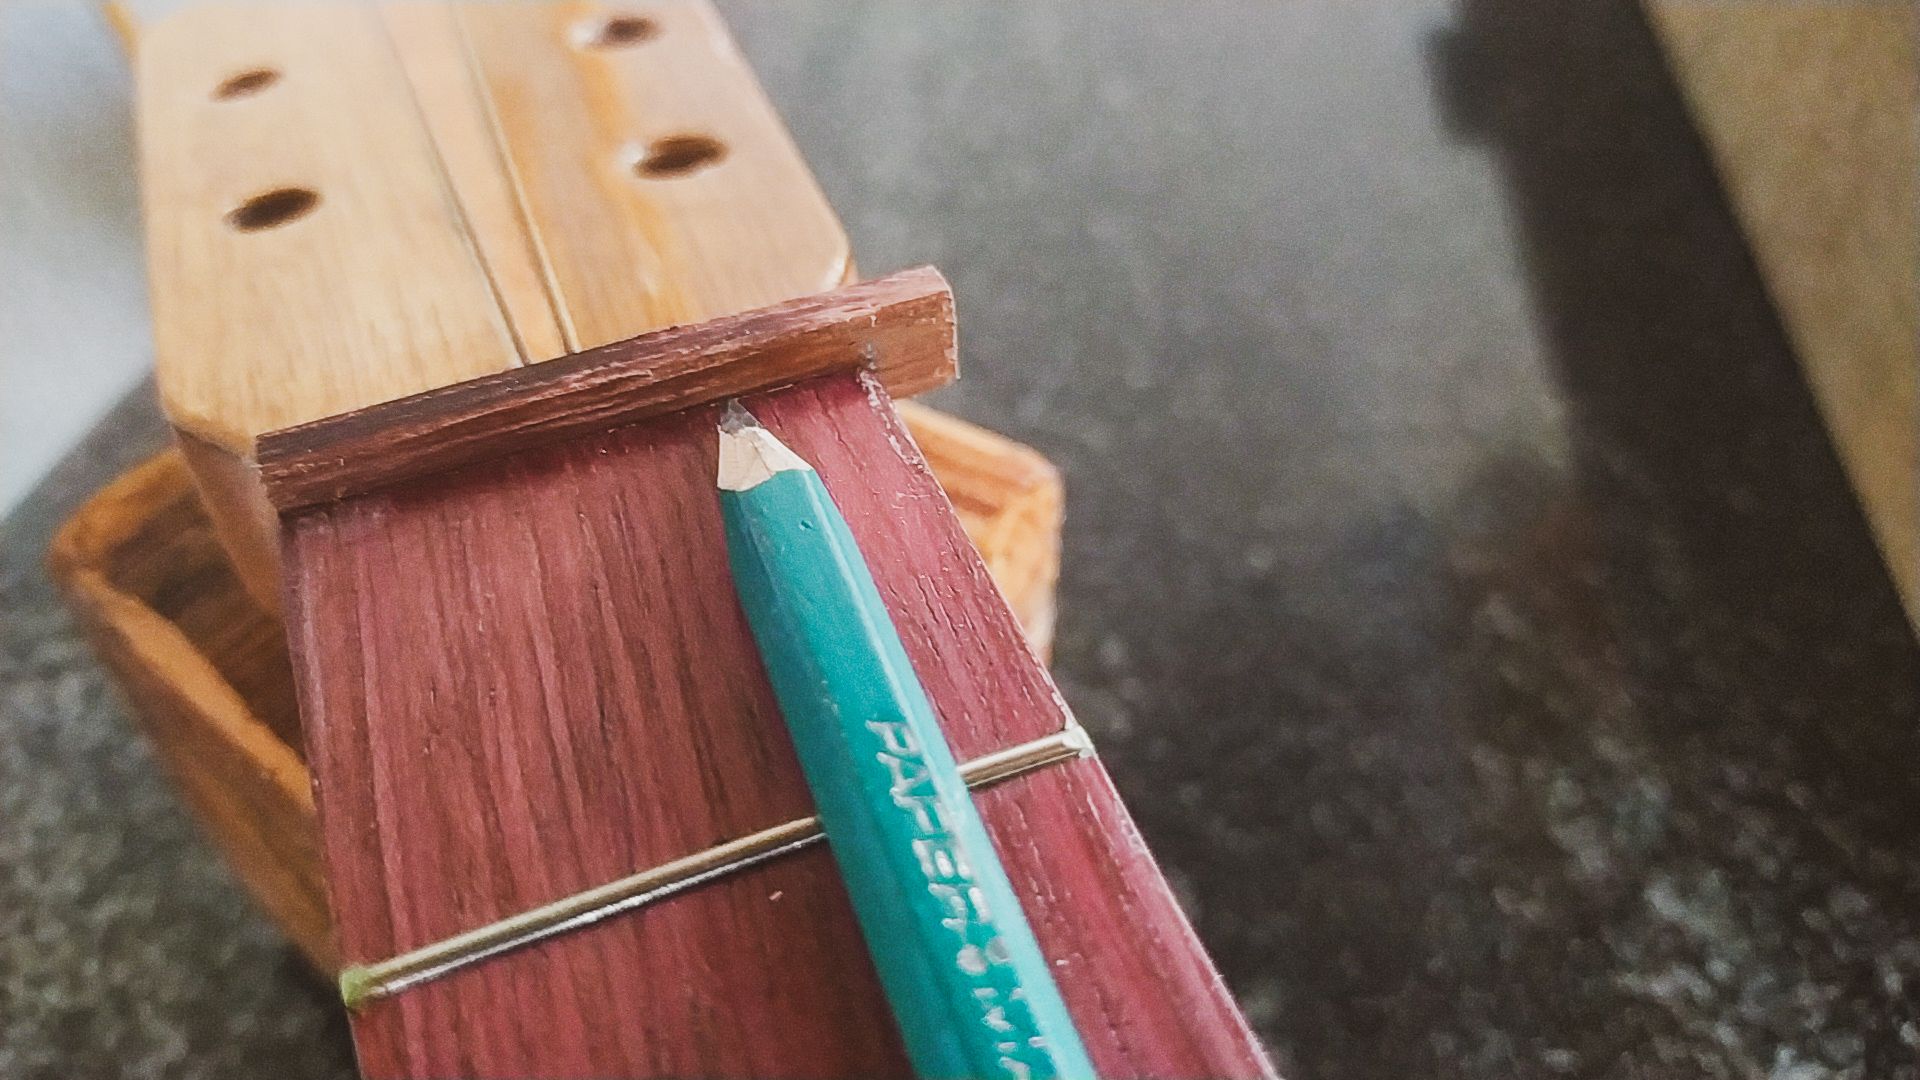
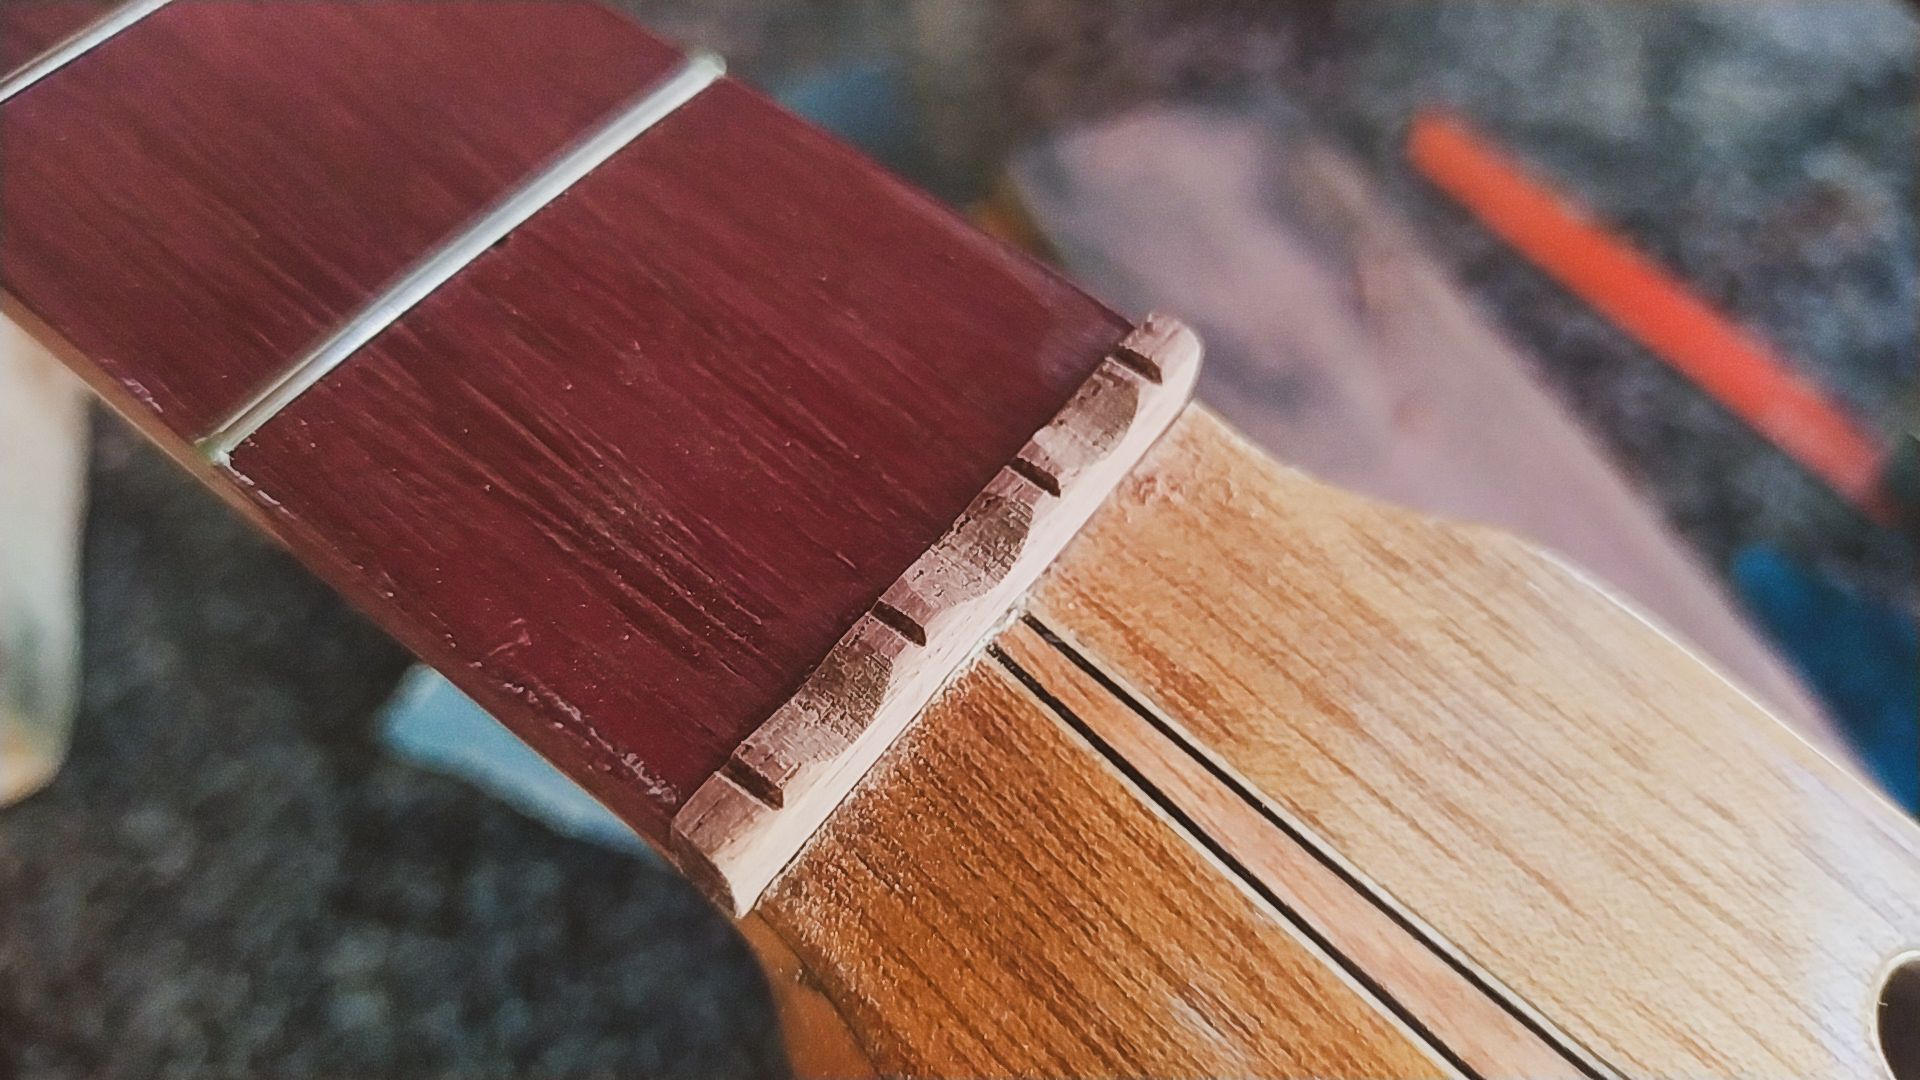
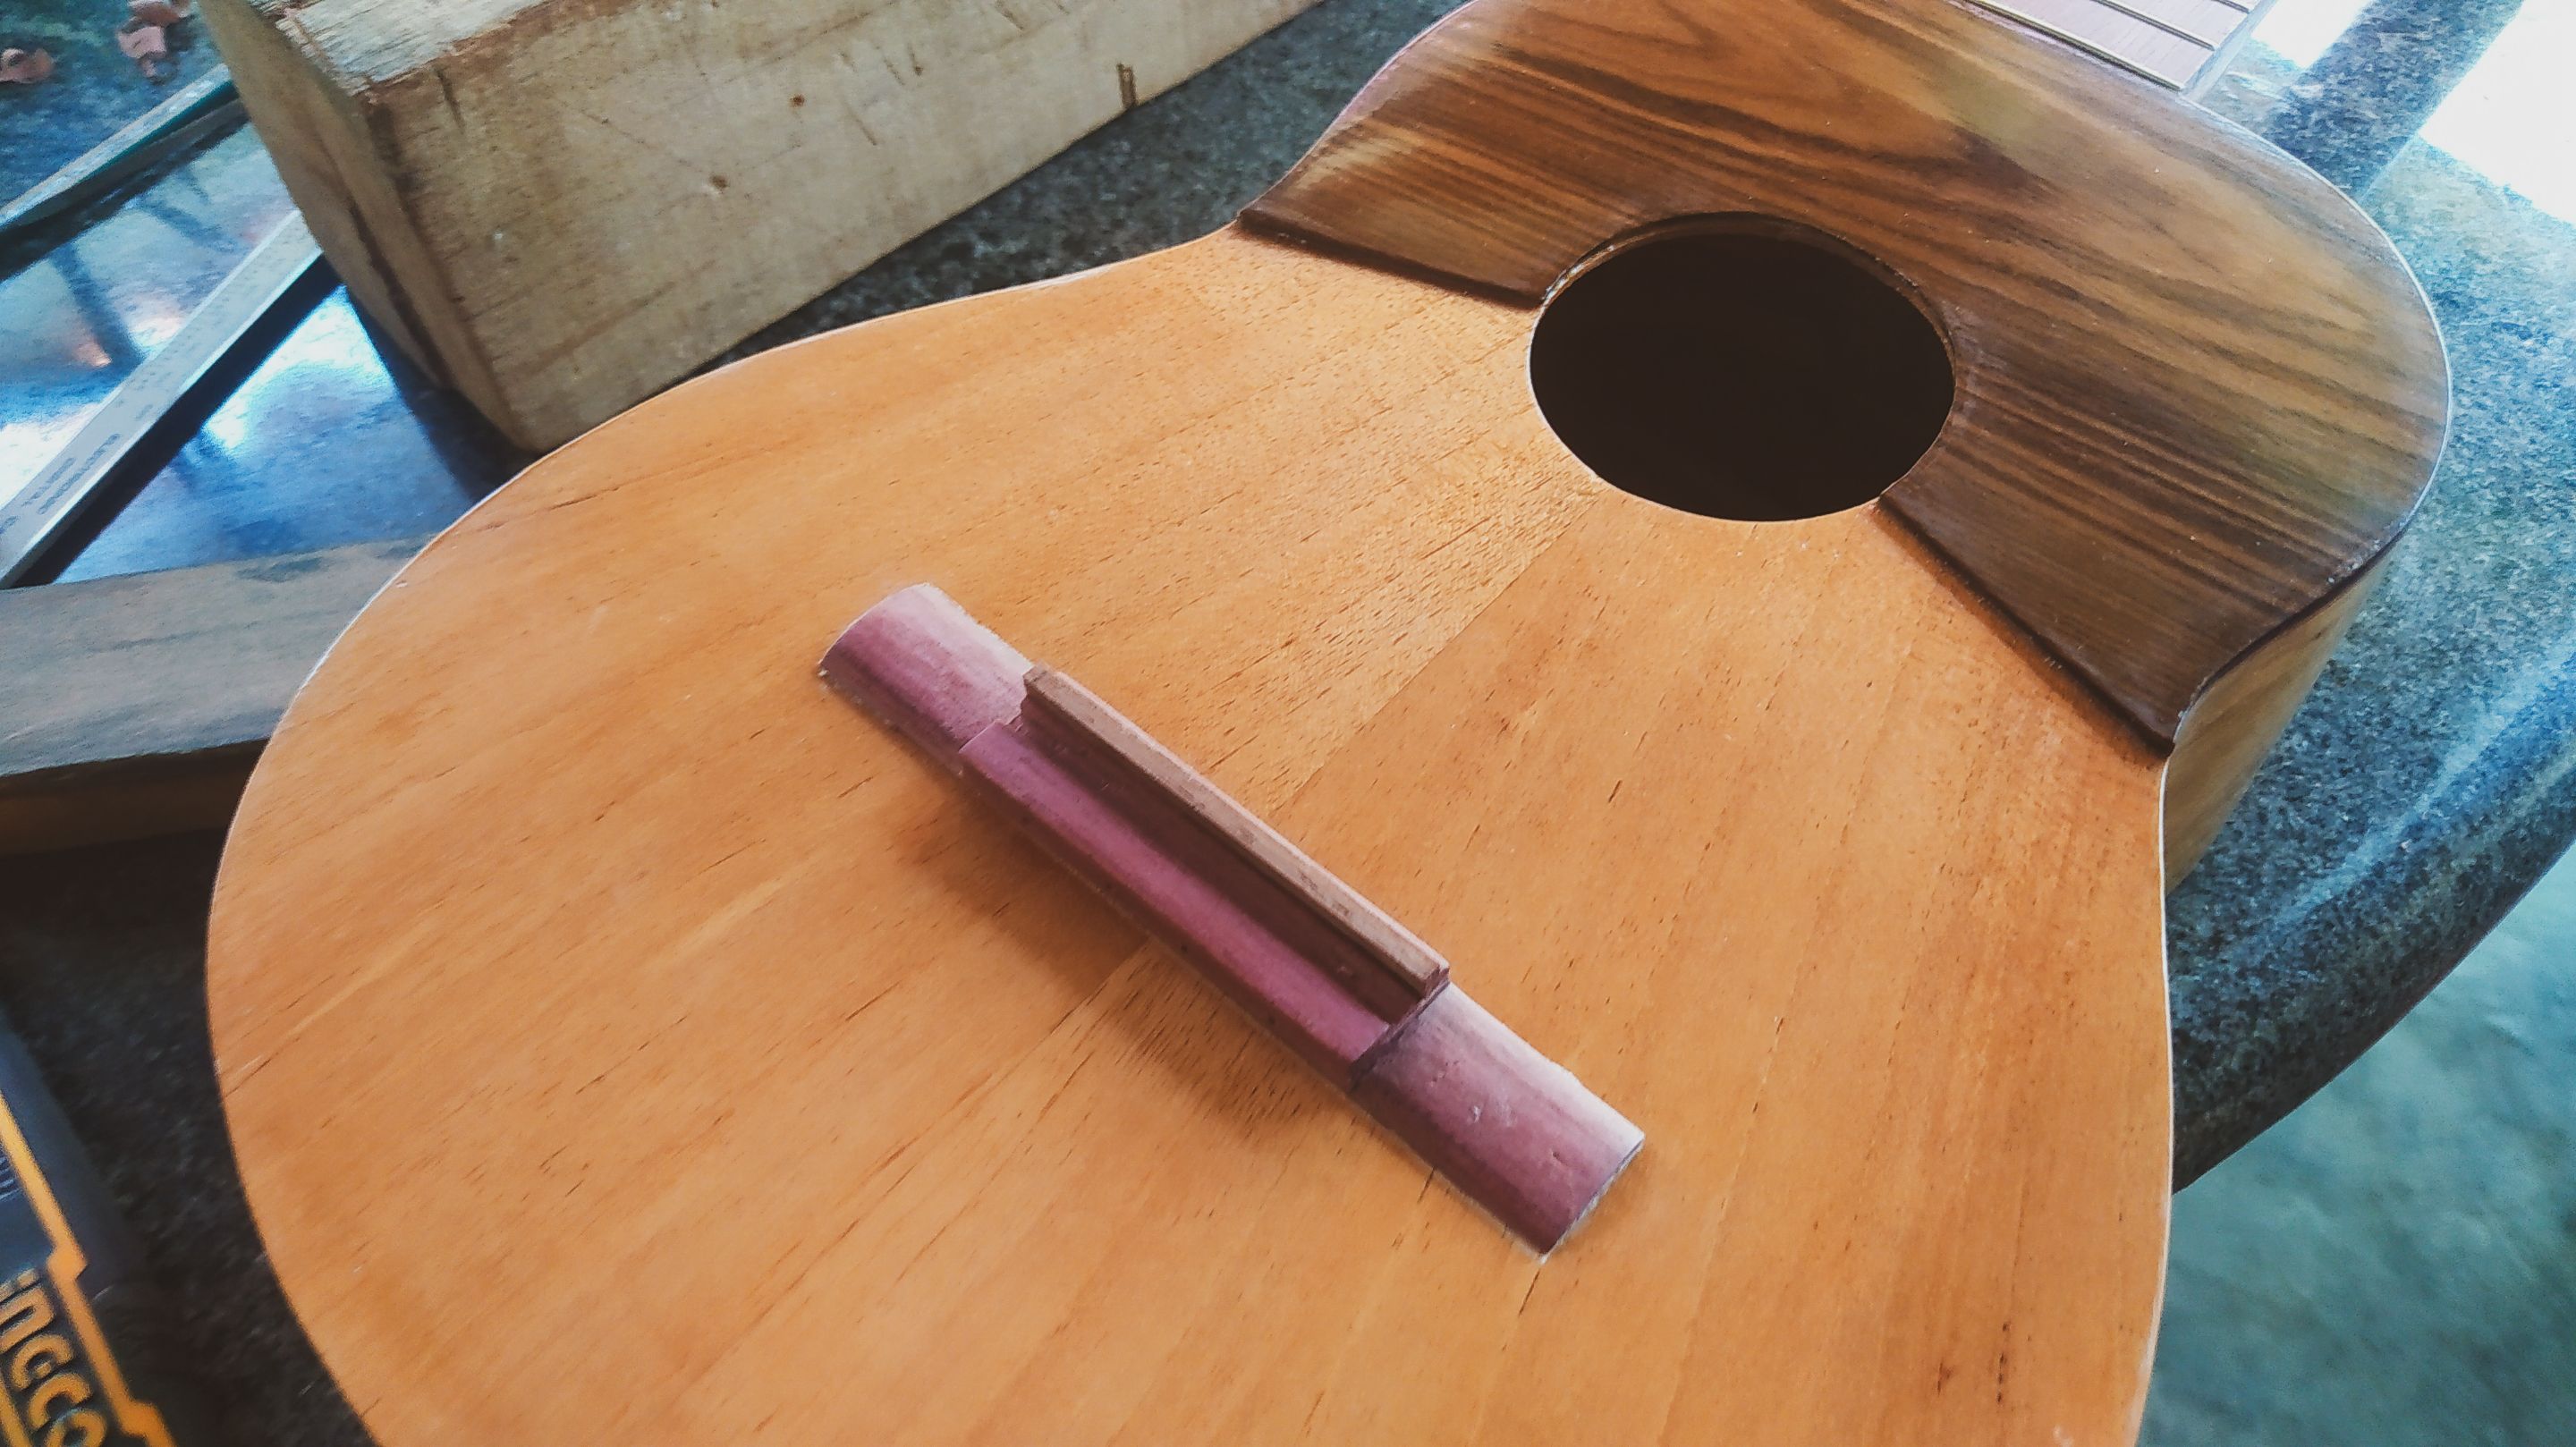
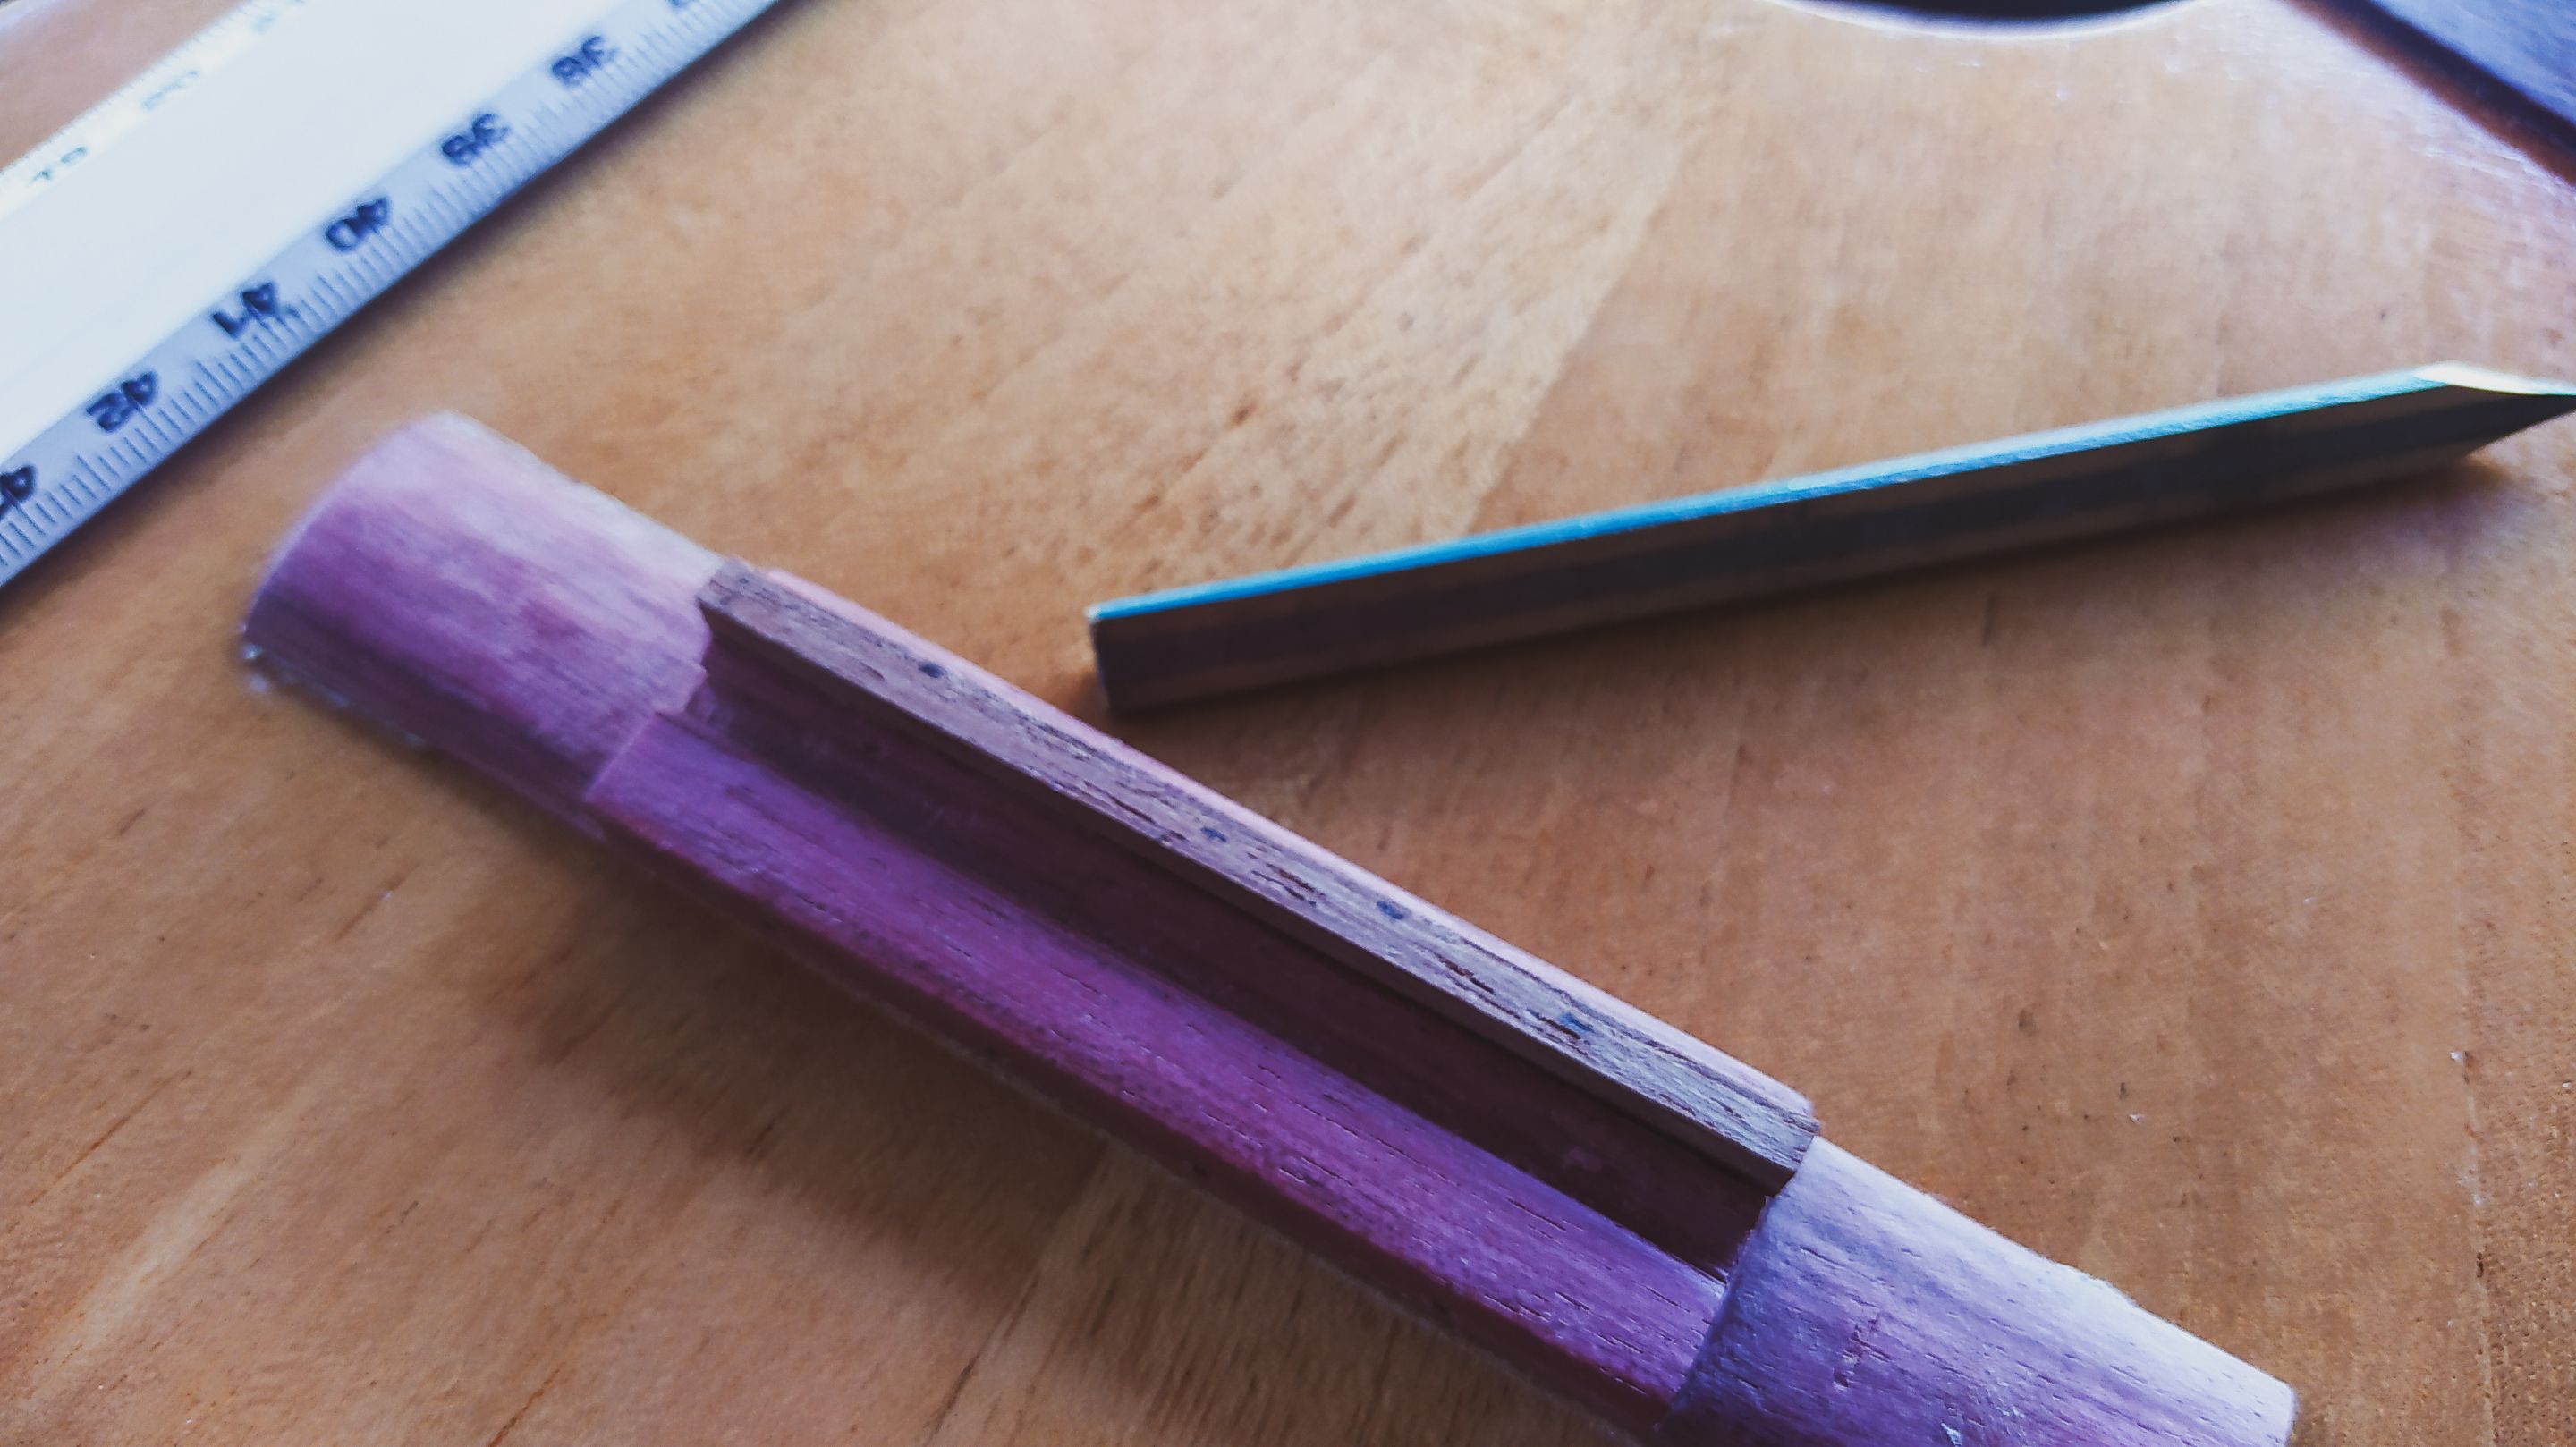
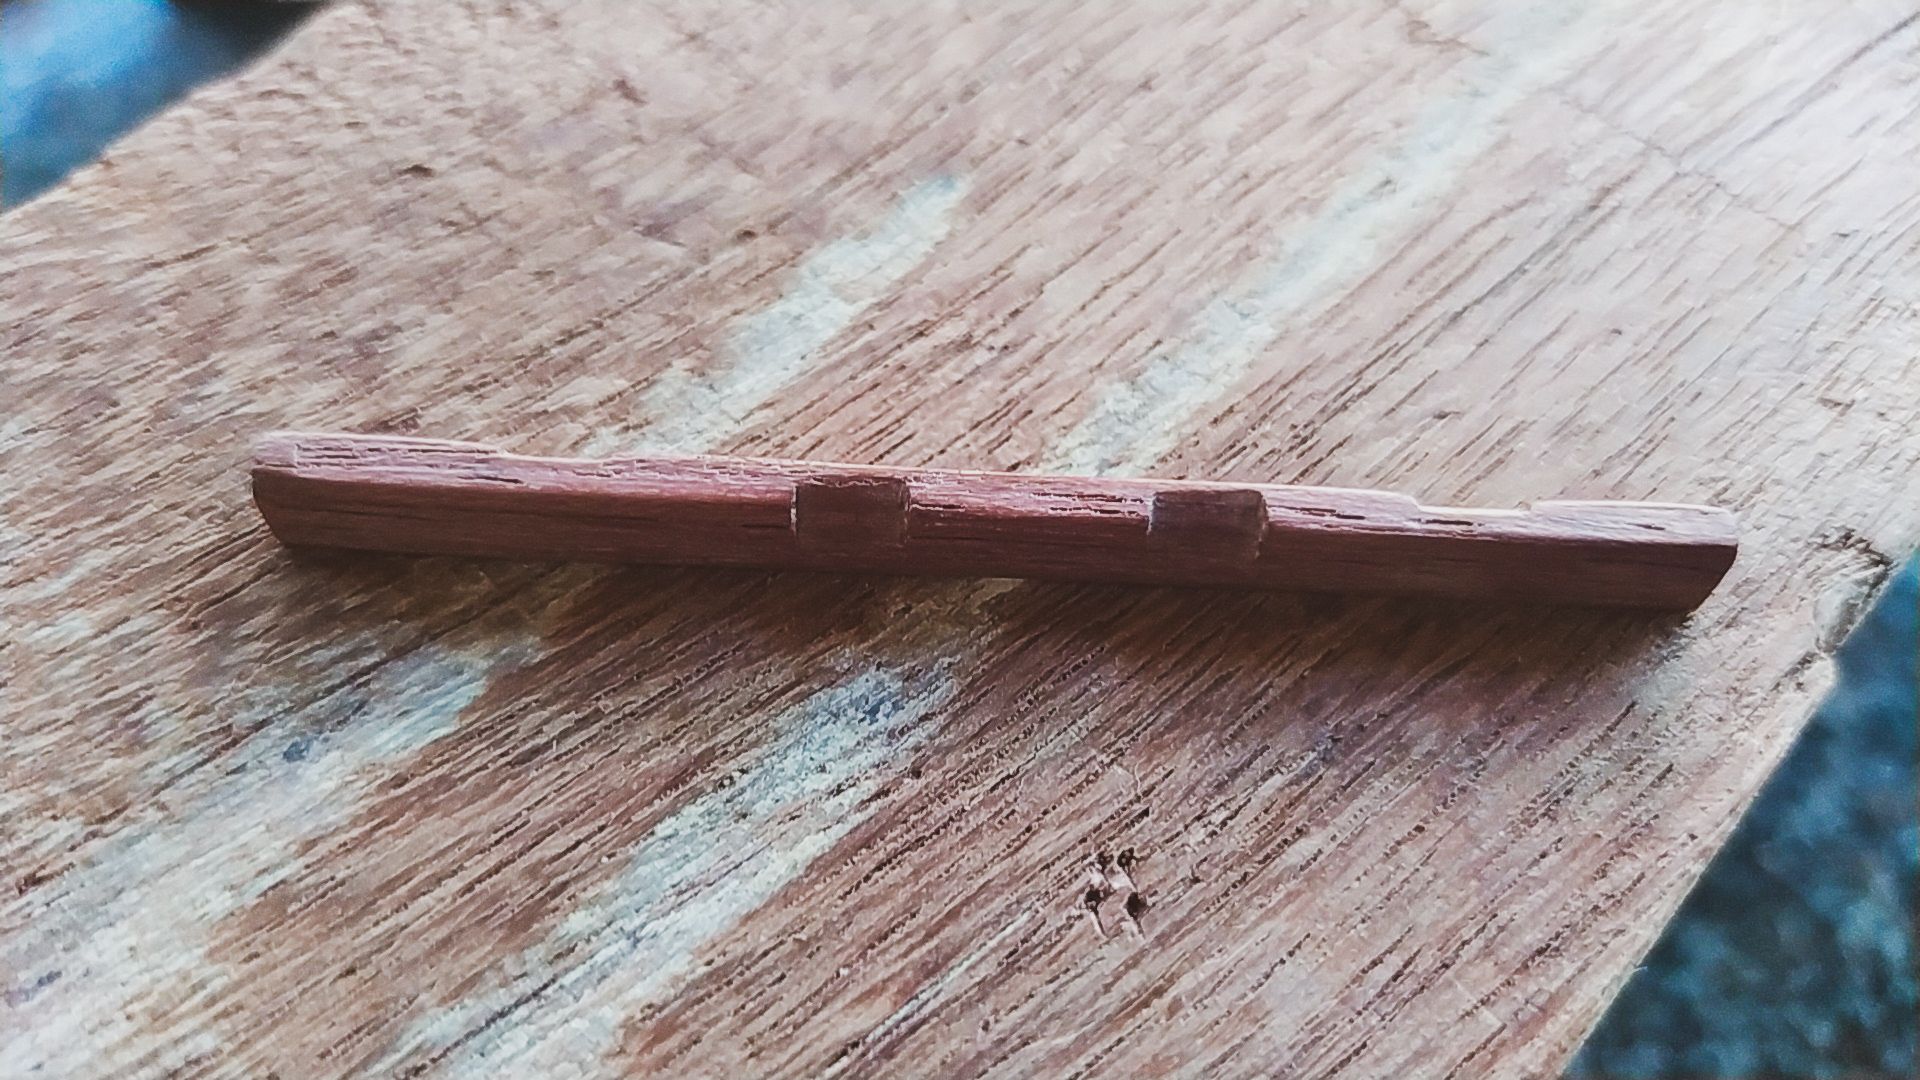
Next, we have to mark the position of the strings to make the slots. To do this, we give a margin at each border. It is around 3-4 mm. Then, we make the calculations for the other strings. You can see I used calipers to set this to the exact measure. To know how deep we need to make these slots we make a mark by placing the nut on its place and using a half pencil to strike a guideline on the nut. This half pencil is cut lengthwise, so it has a flat face that let us keep the same height of the first three frets onto the nut.
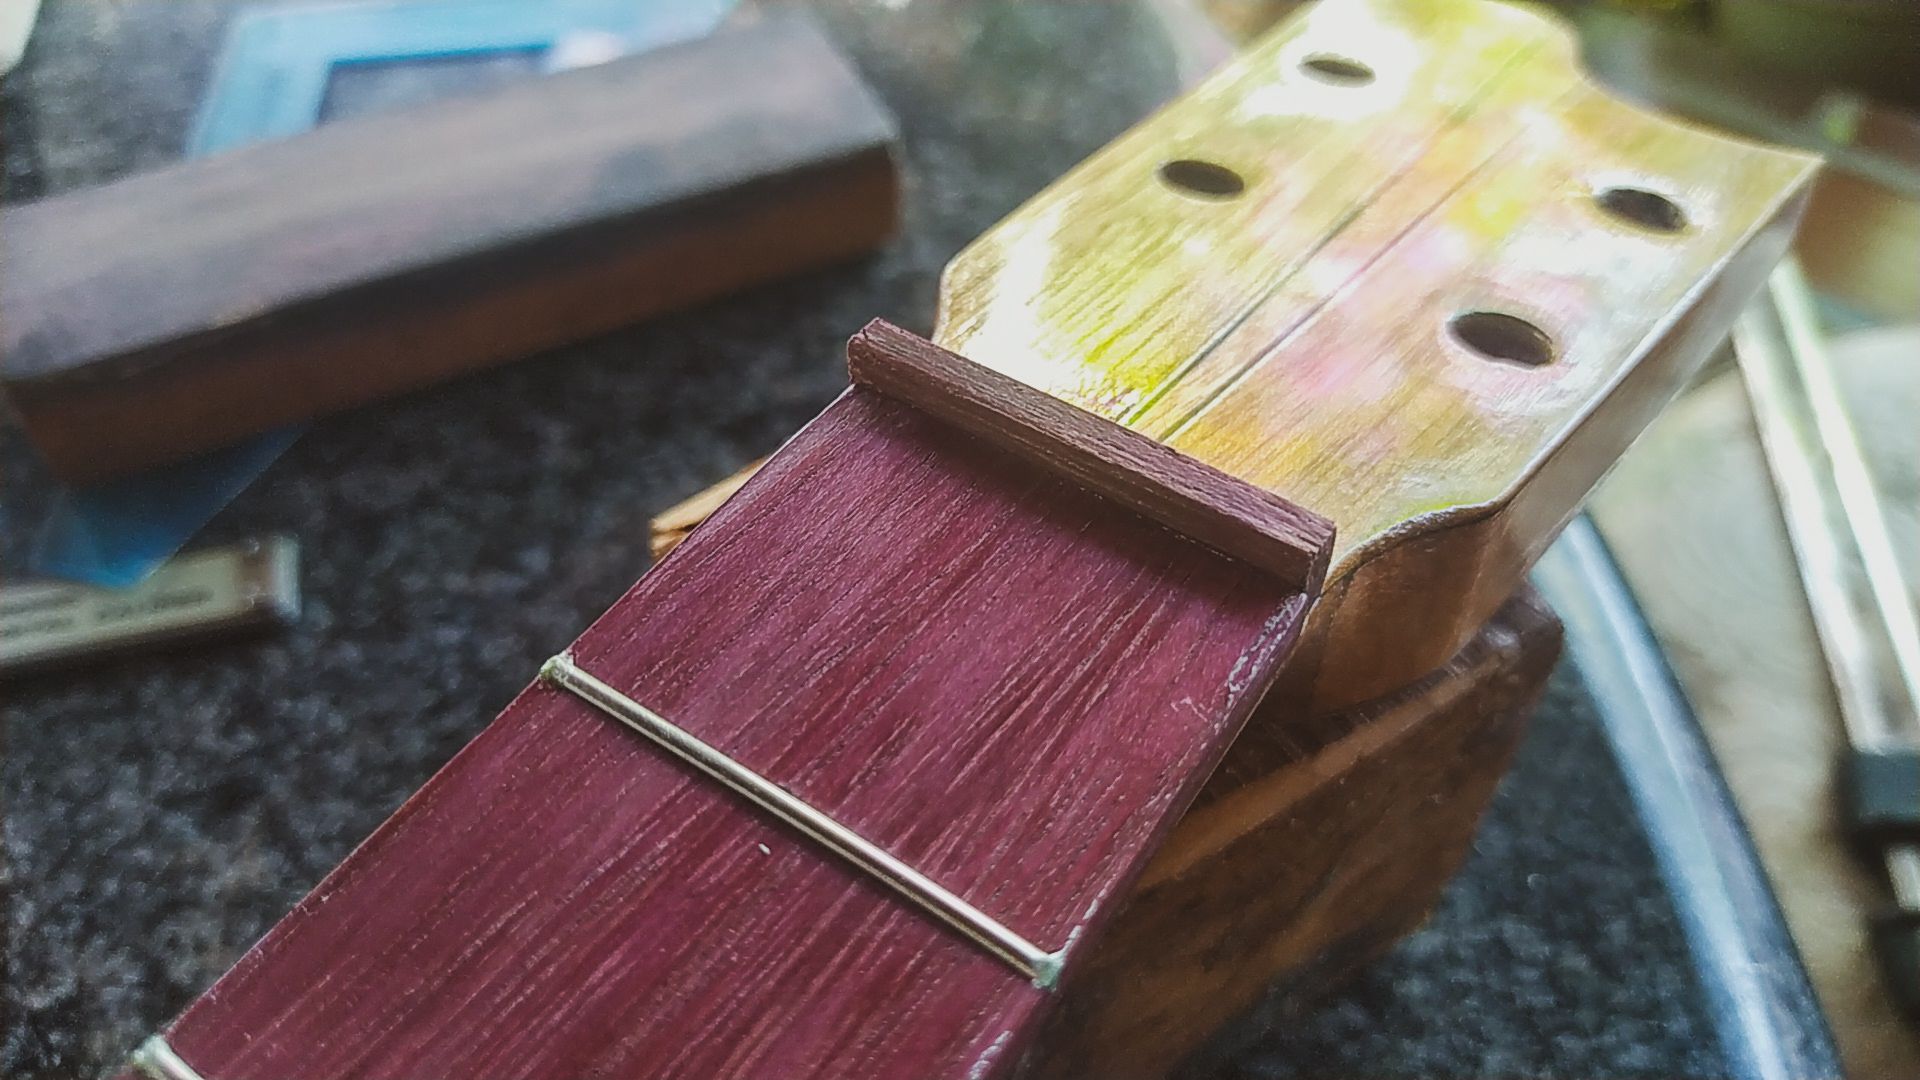
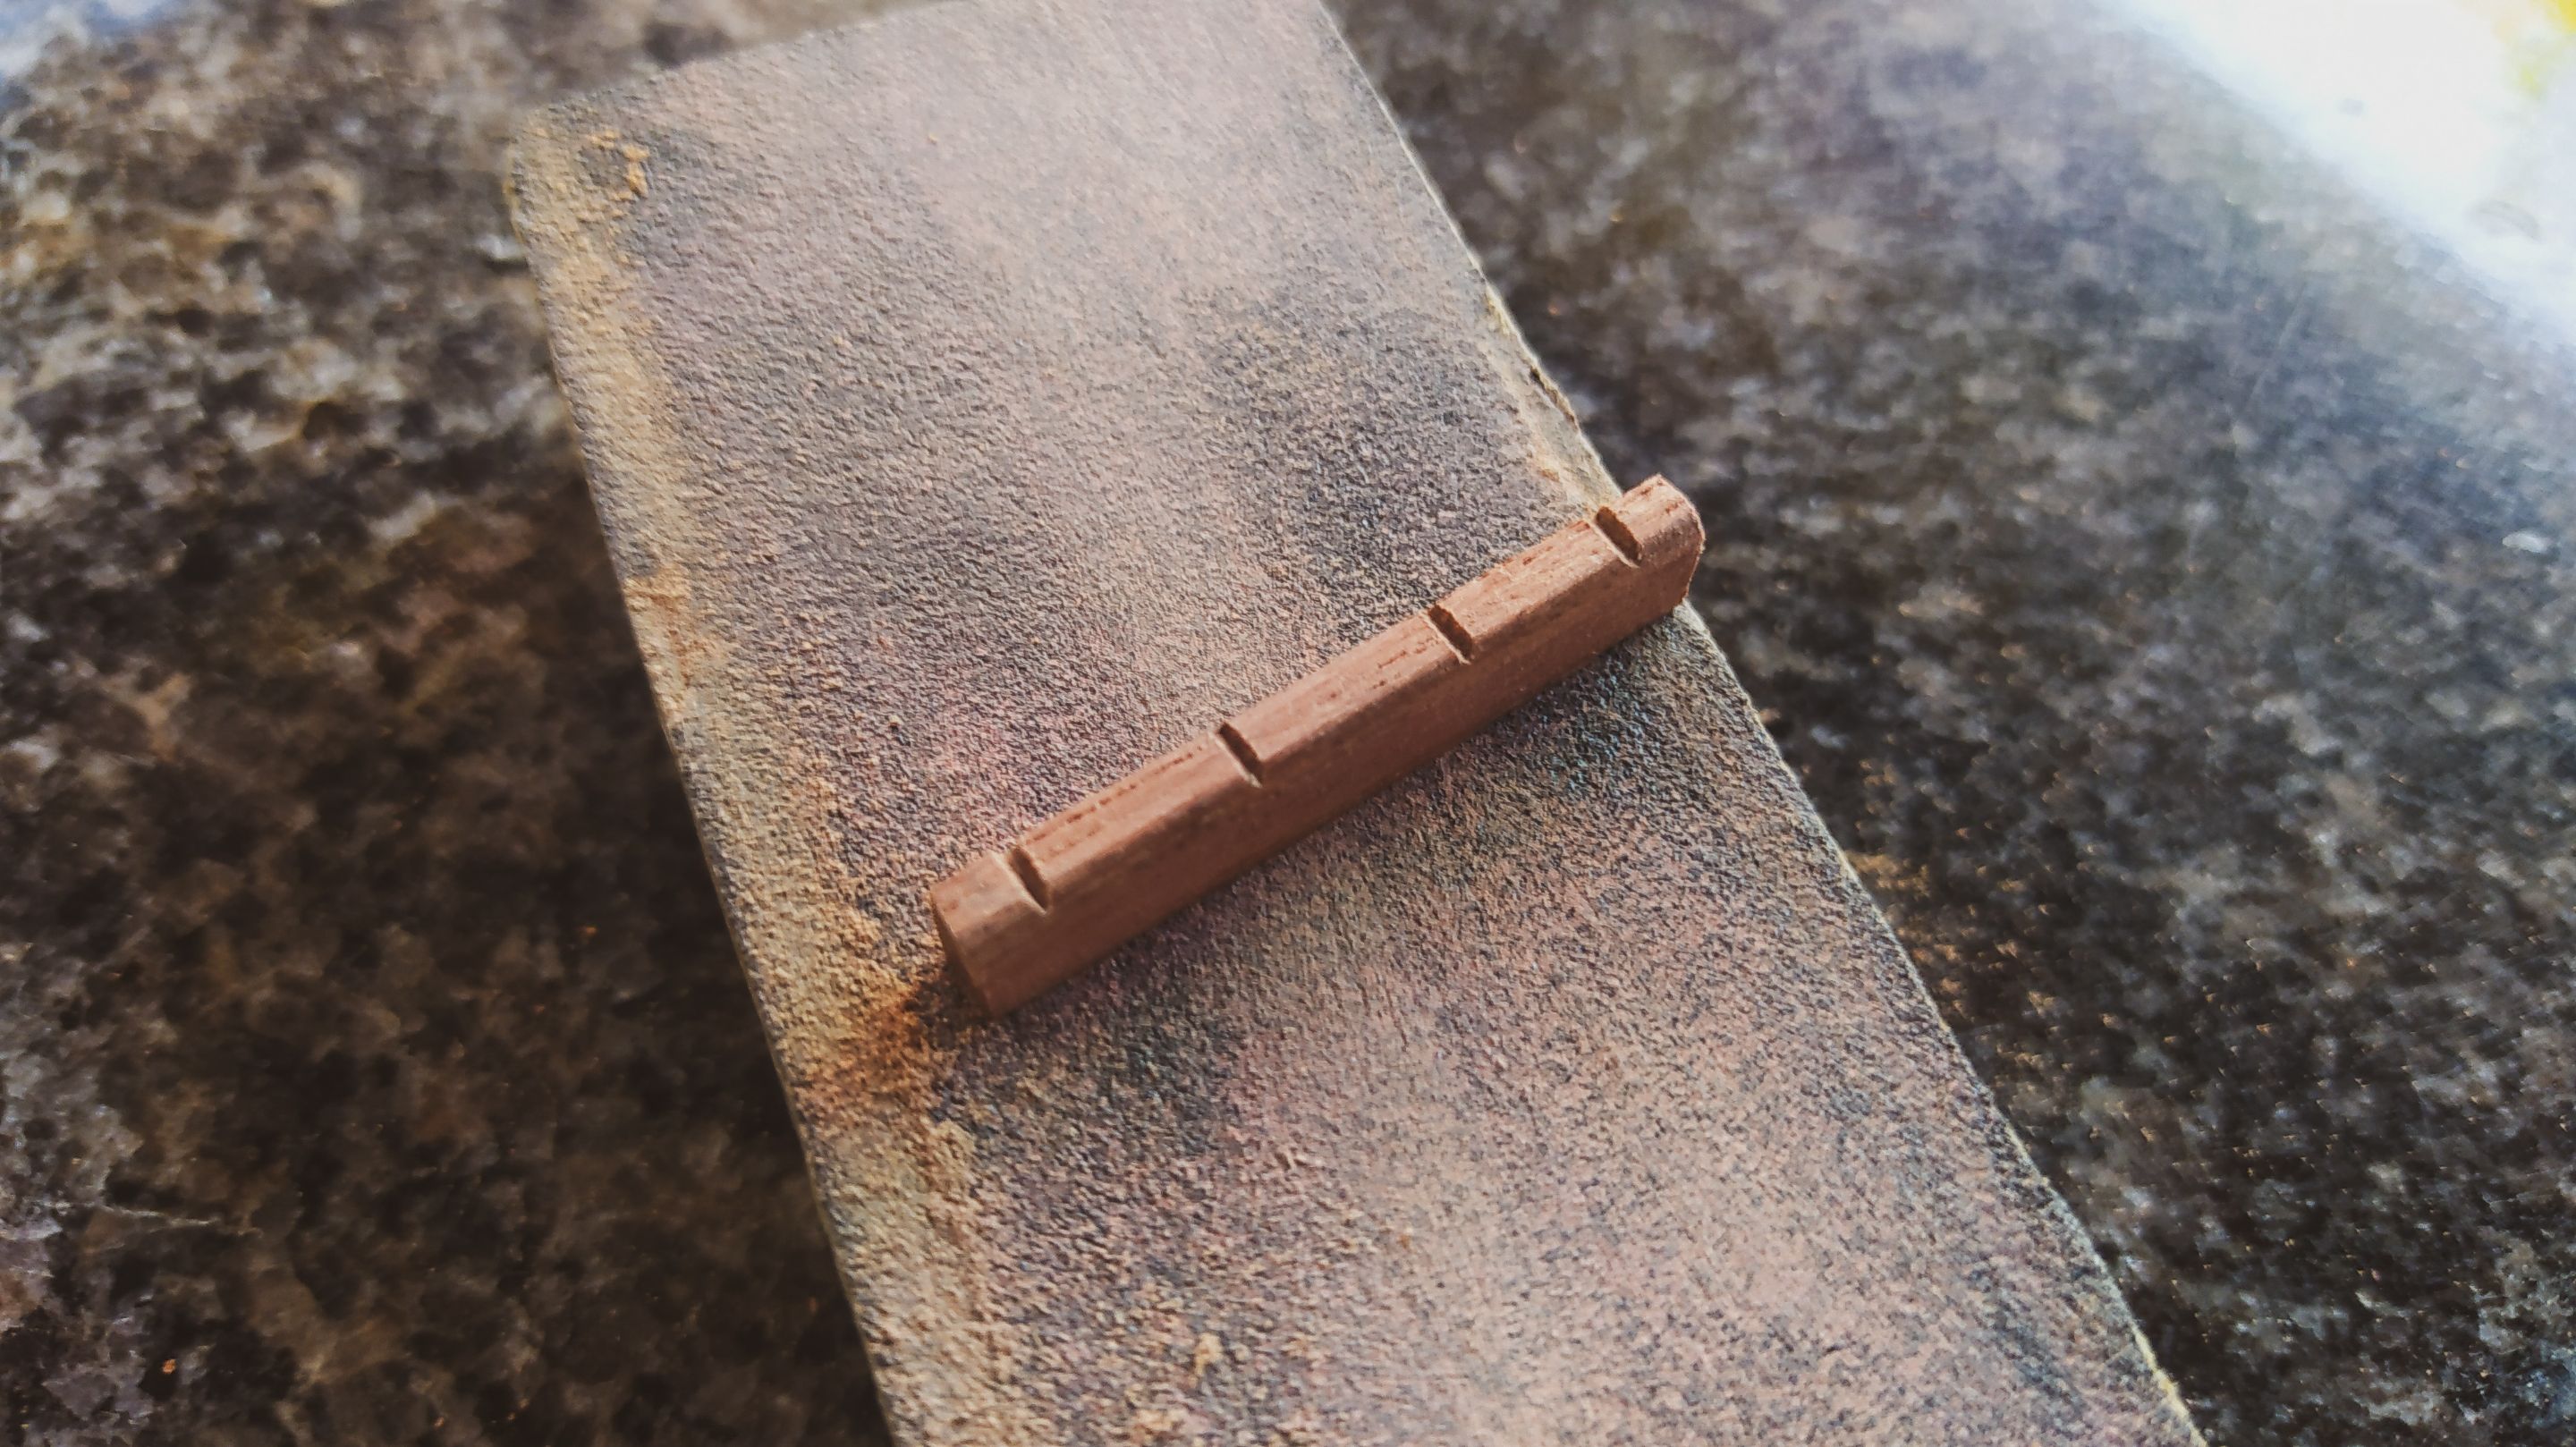
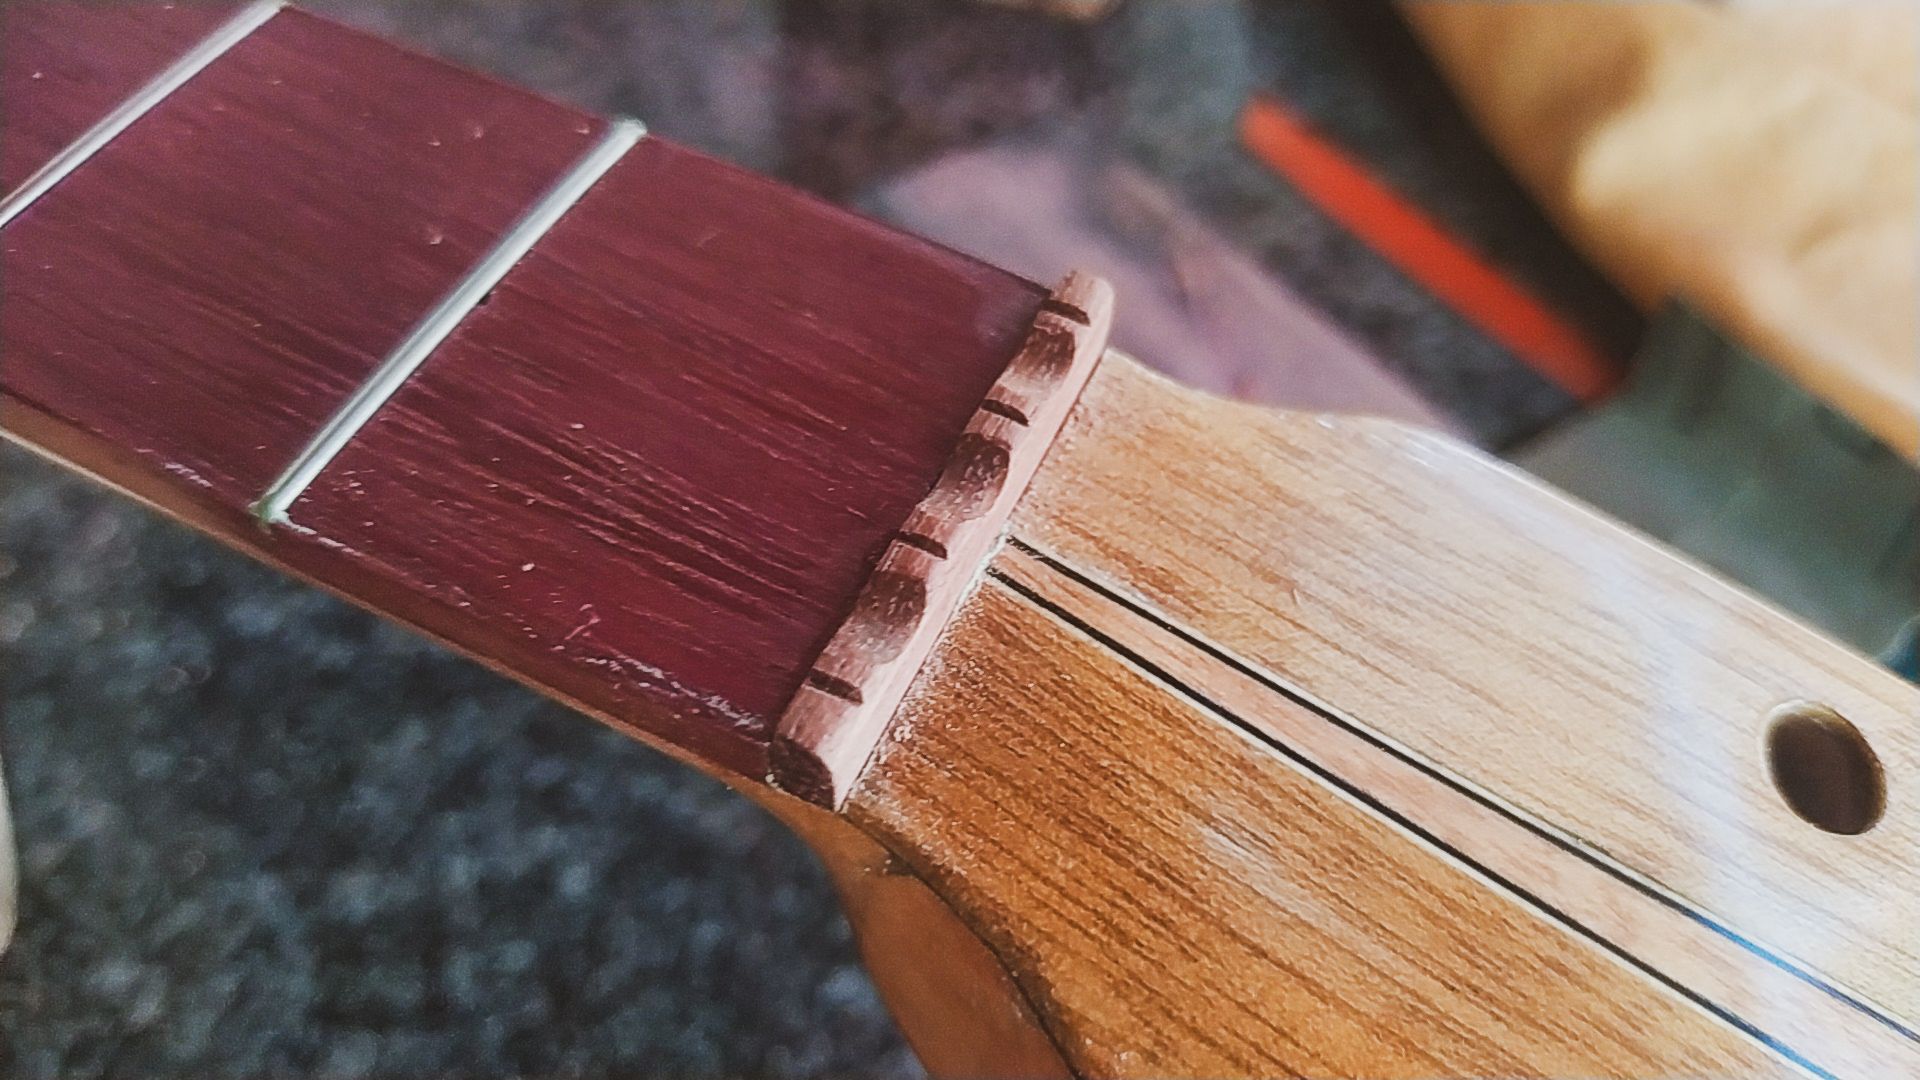
With this out of the way, we make the slots and widen them with a file. Of course, we don't need them to be so deep. So, we remove some of the top portion. This gives us some free space for the strings. We just need half of the strings to be on the slot. It gives us some extra vibration to compensate the sound. The rest of the job comes by adding some ornaments. In this case, making some curves between the slots of the strings. After this, it's all about sanding the piece. And we are ready to leave it in place. We don't glue these pieces since they are not meant to last a lifetime. Nuts and saddles are pieces that need to be replaced from time to time.
Saddle
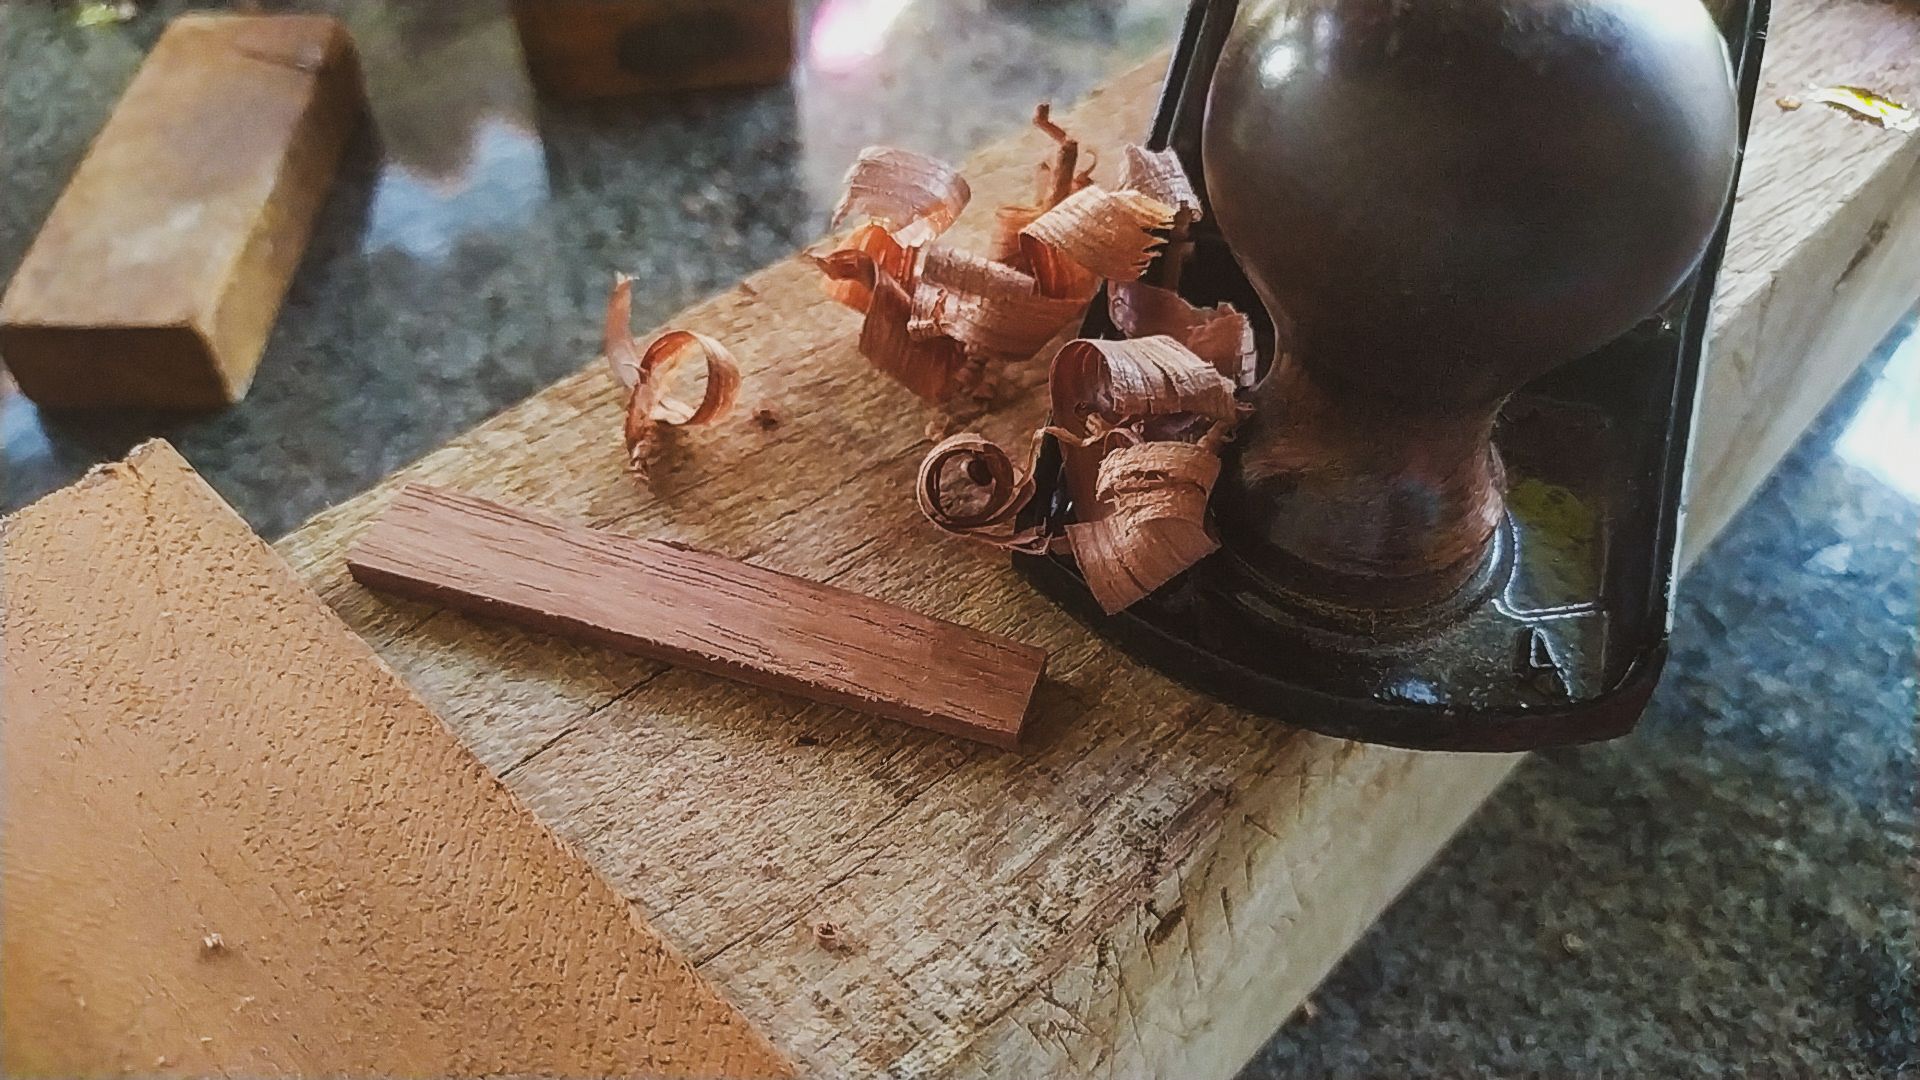
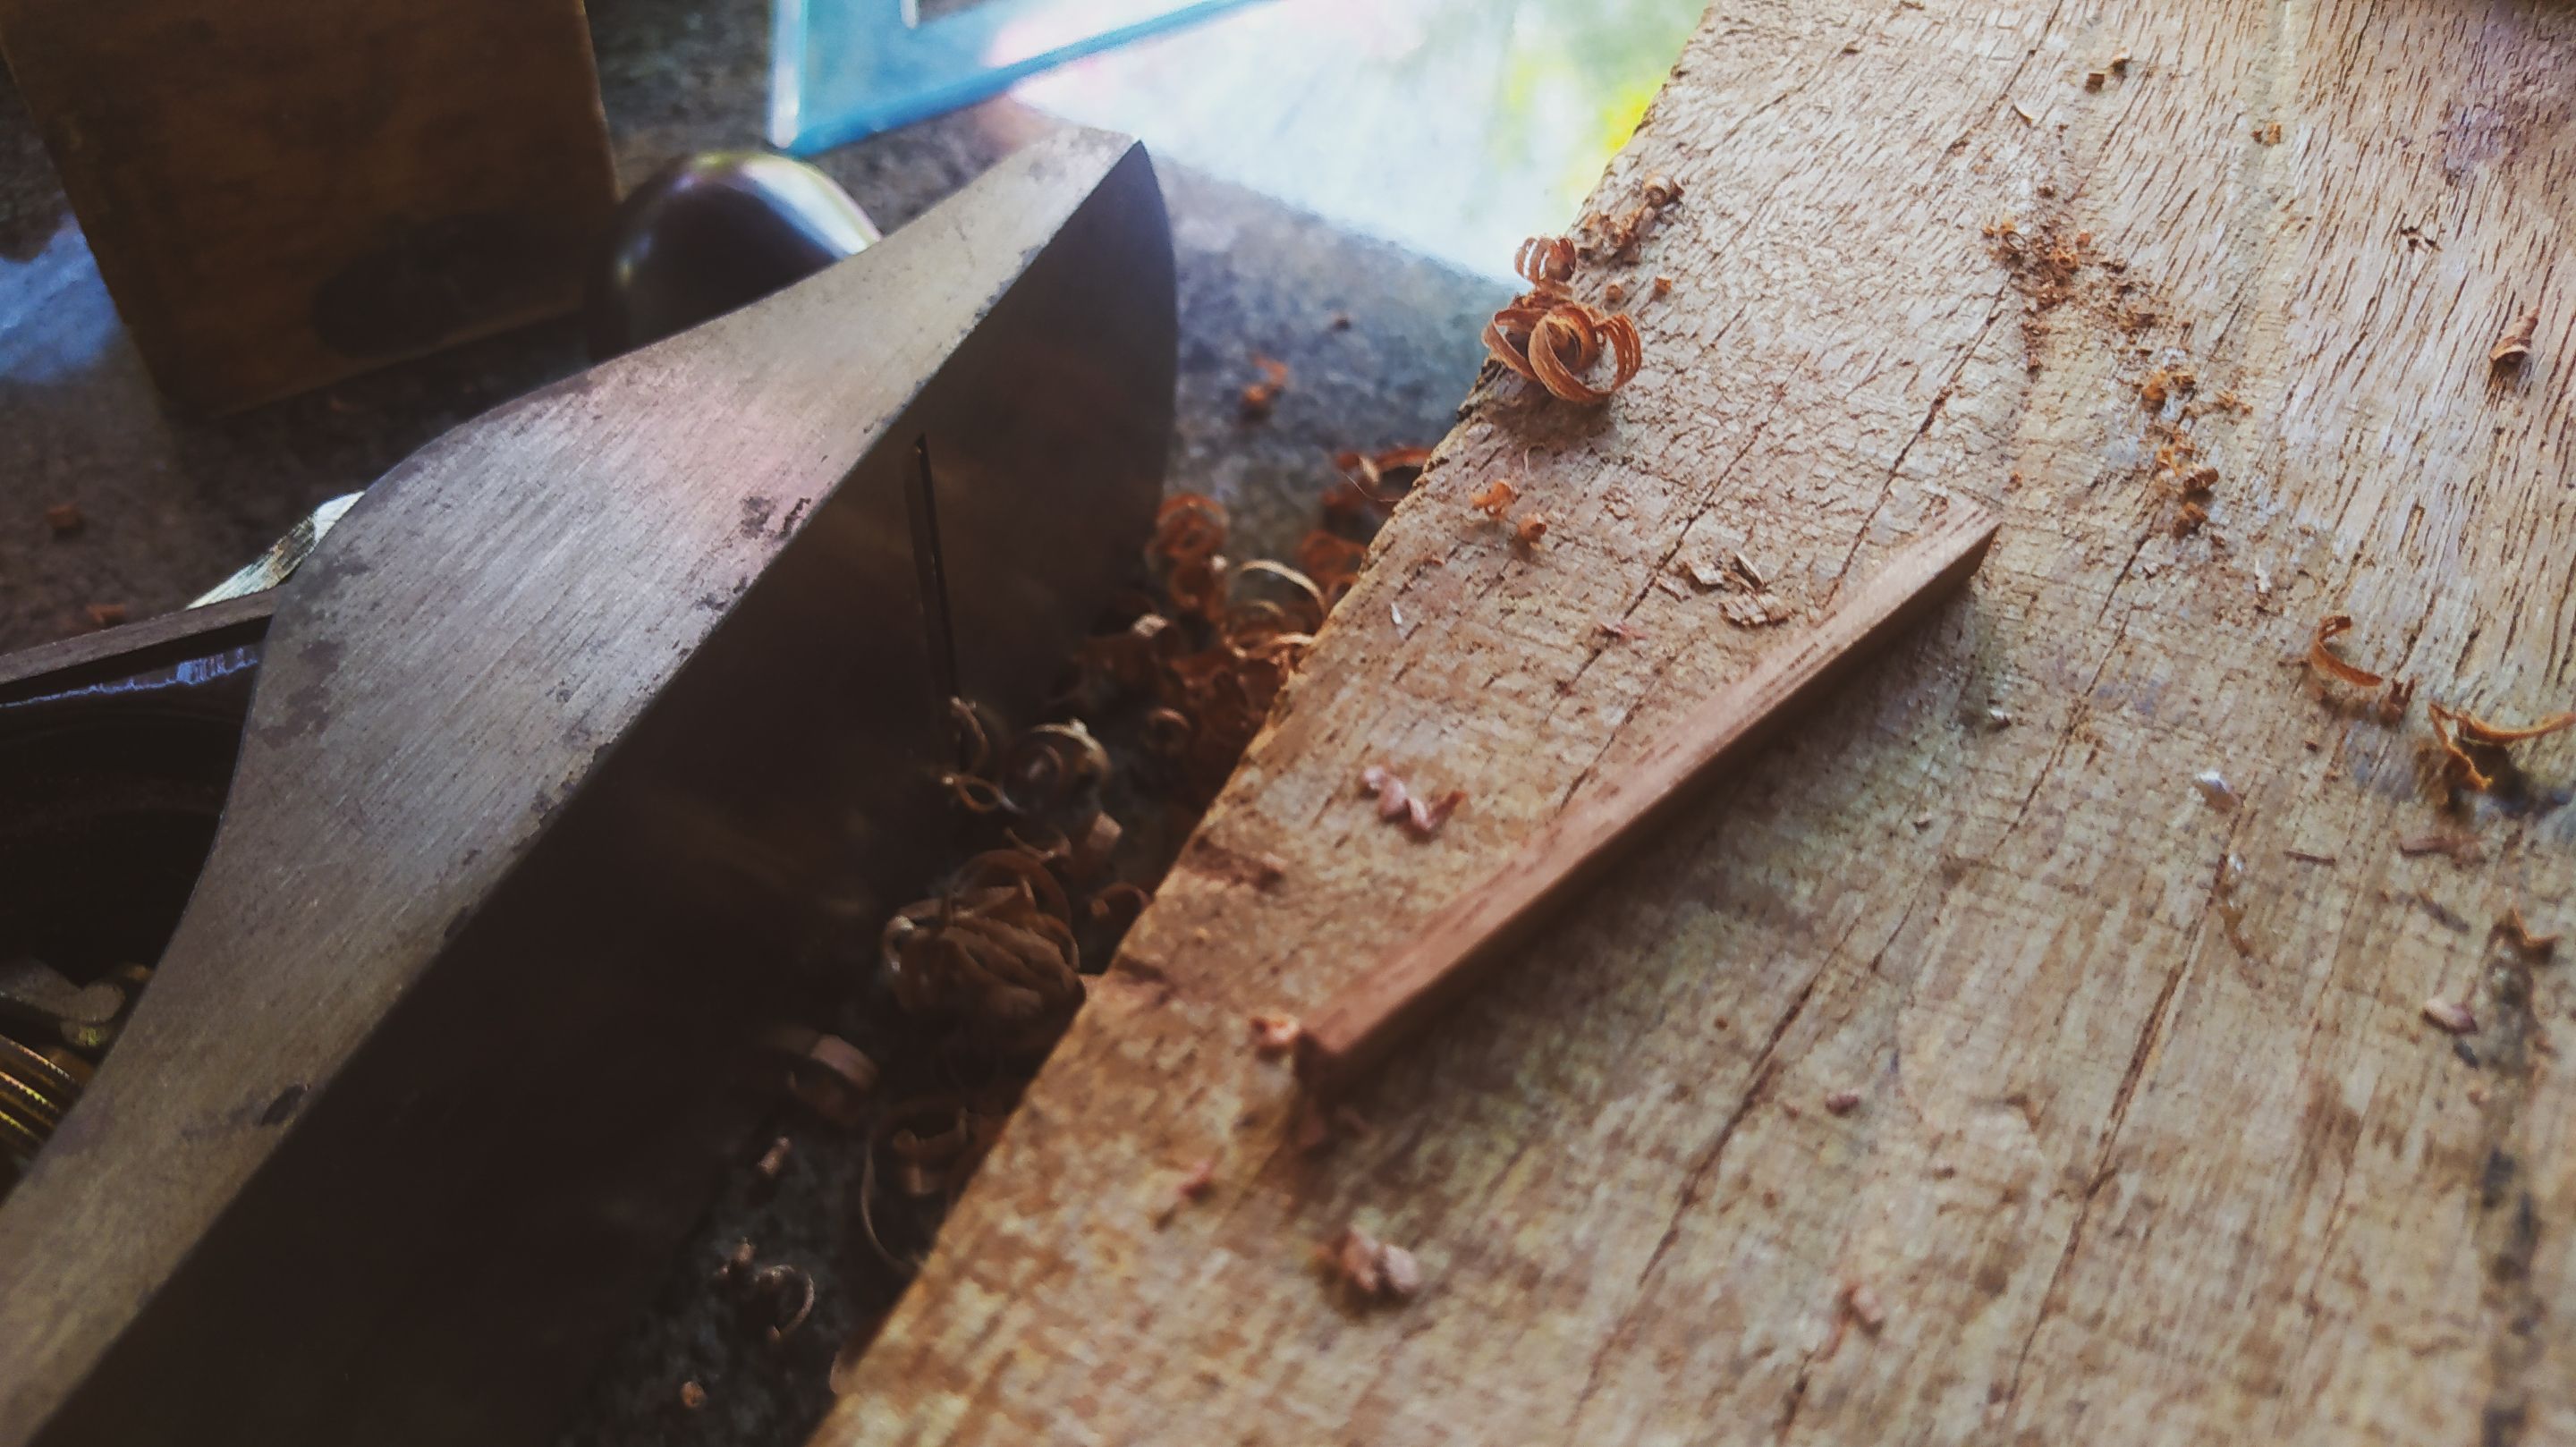
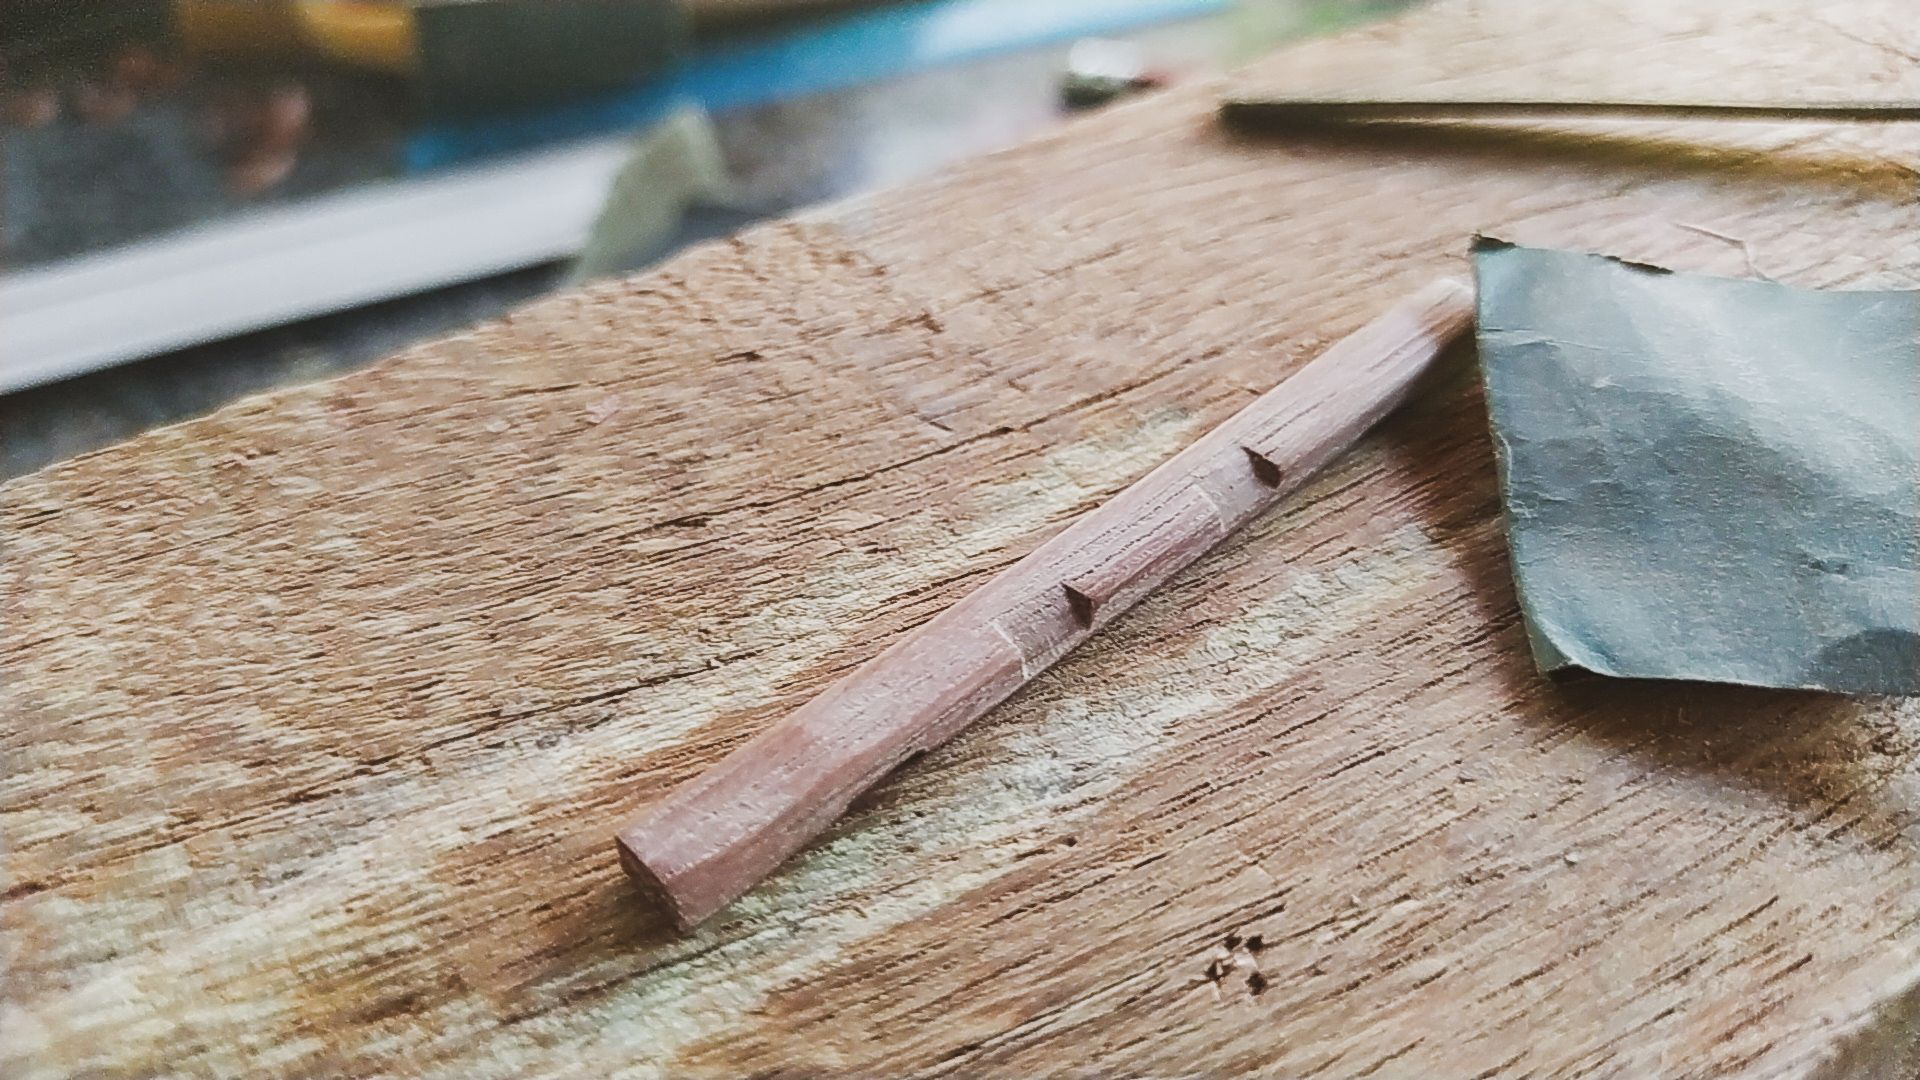
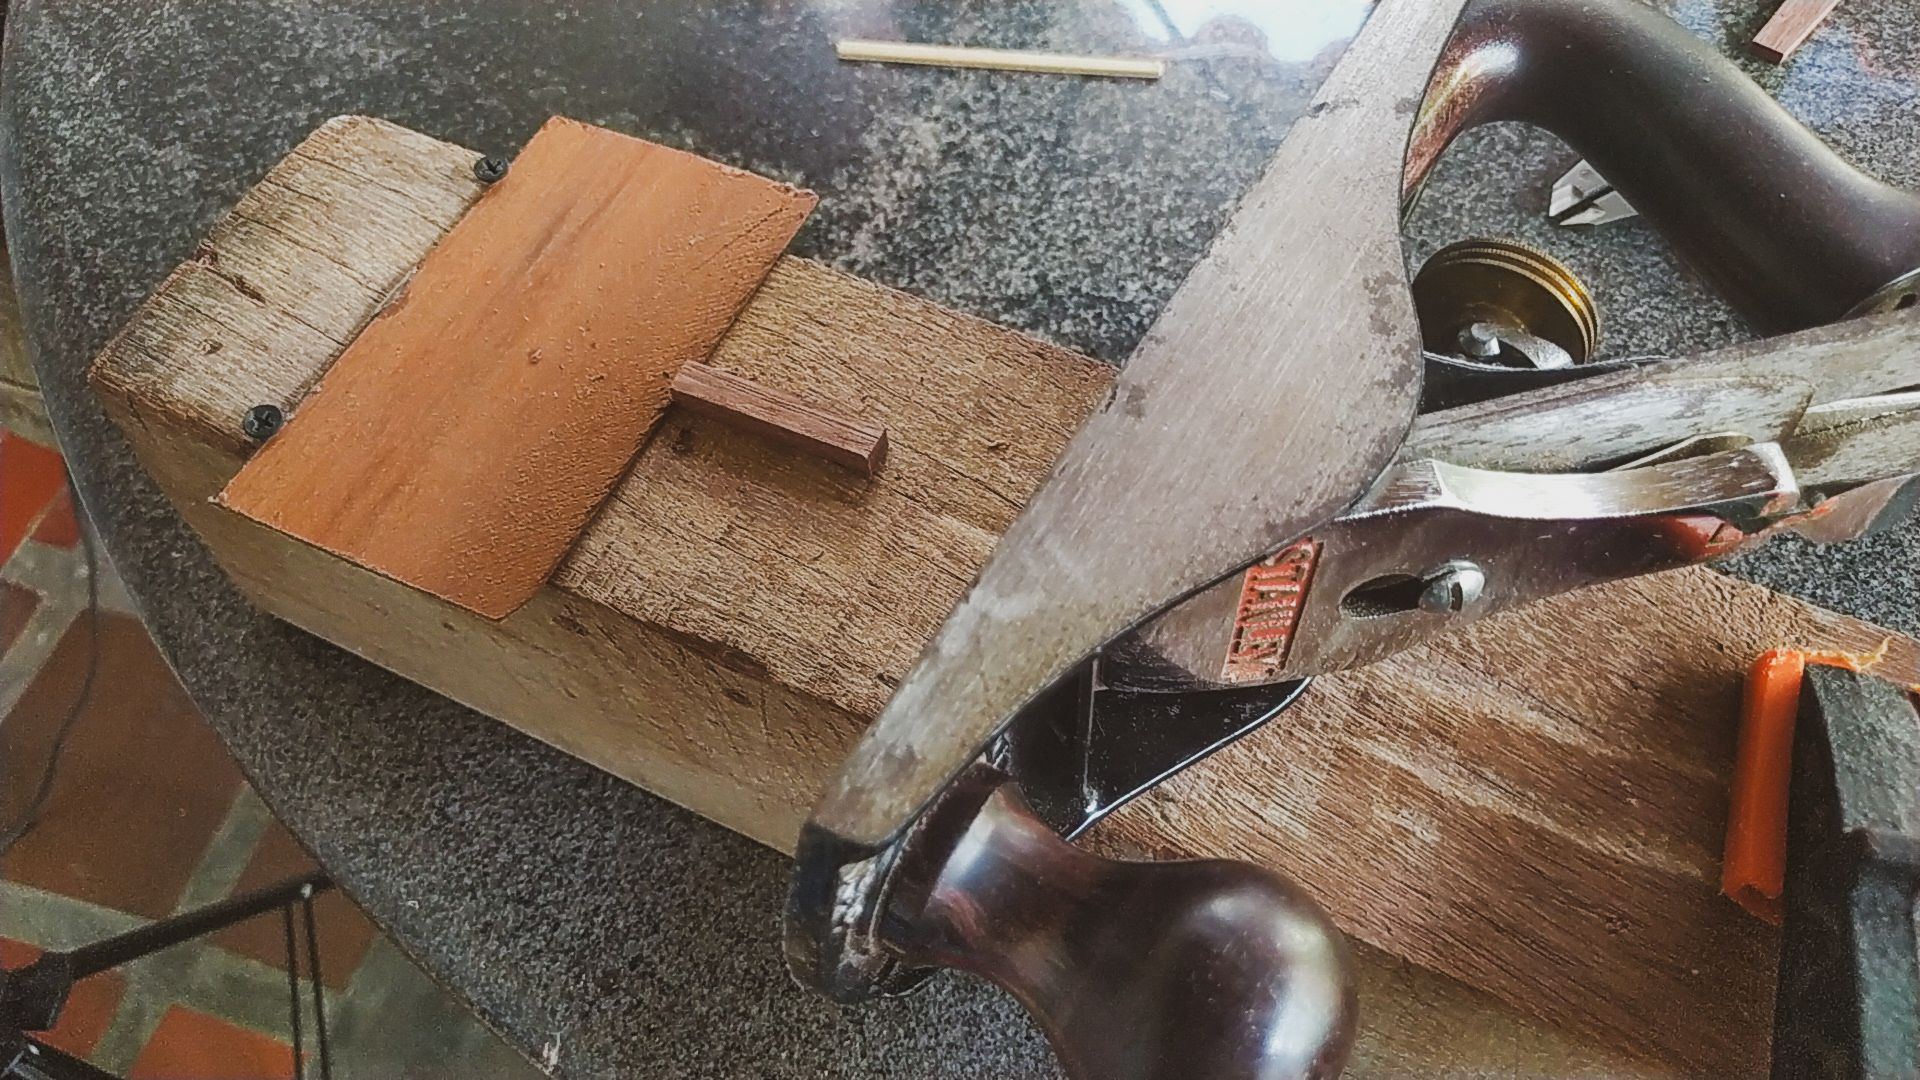
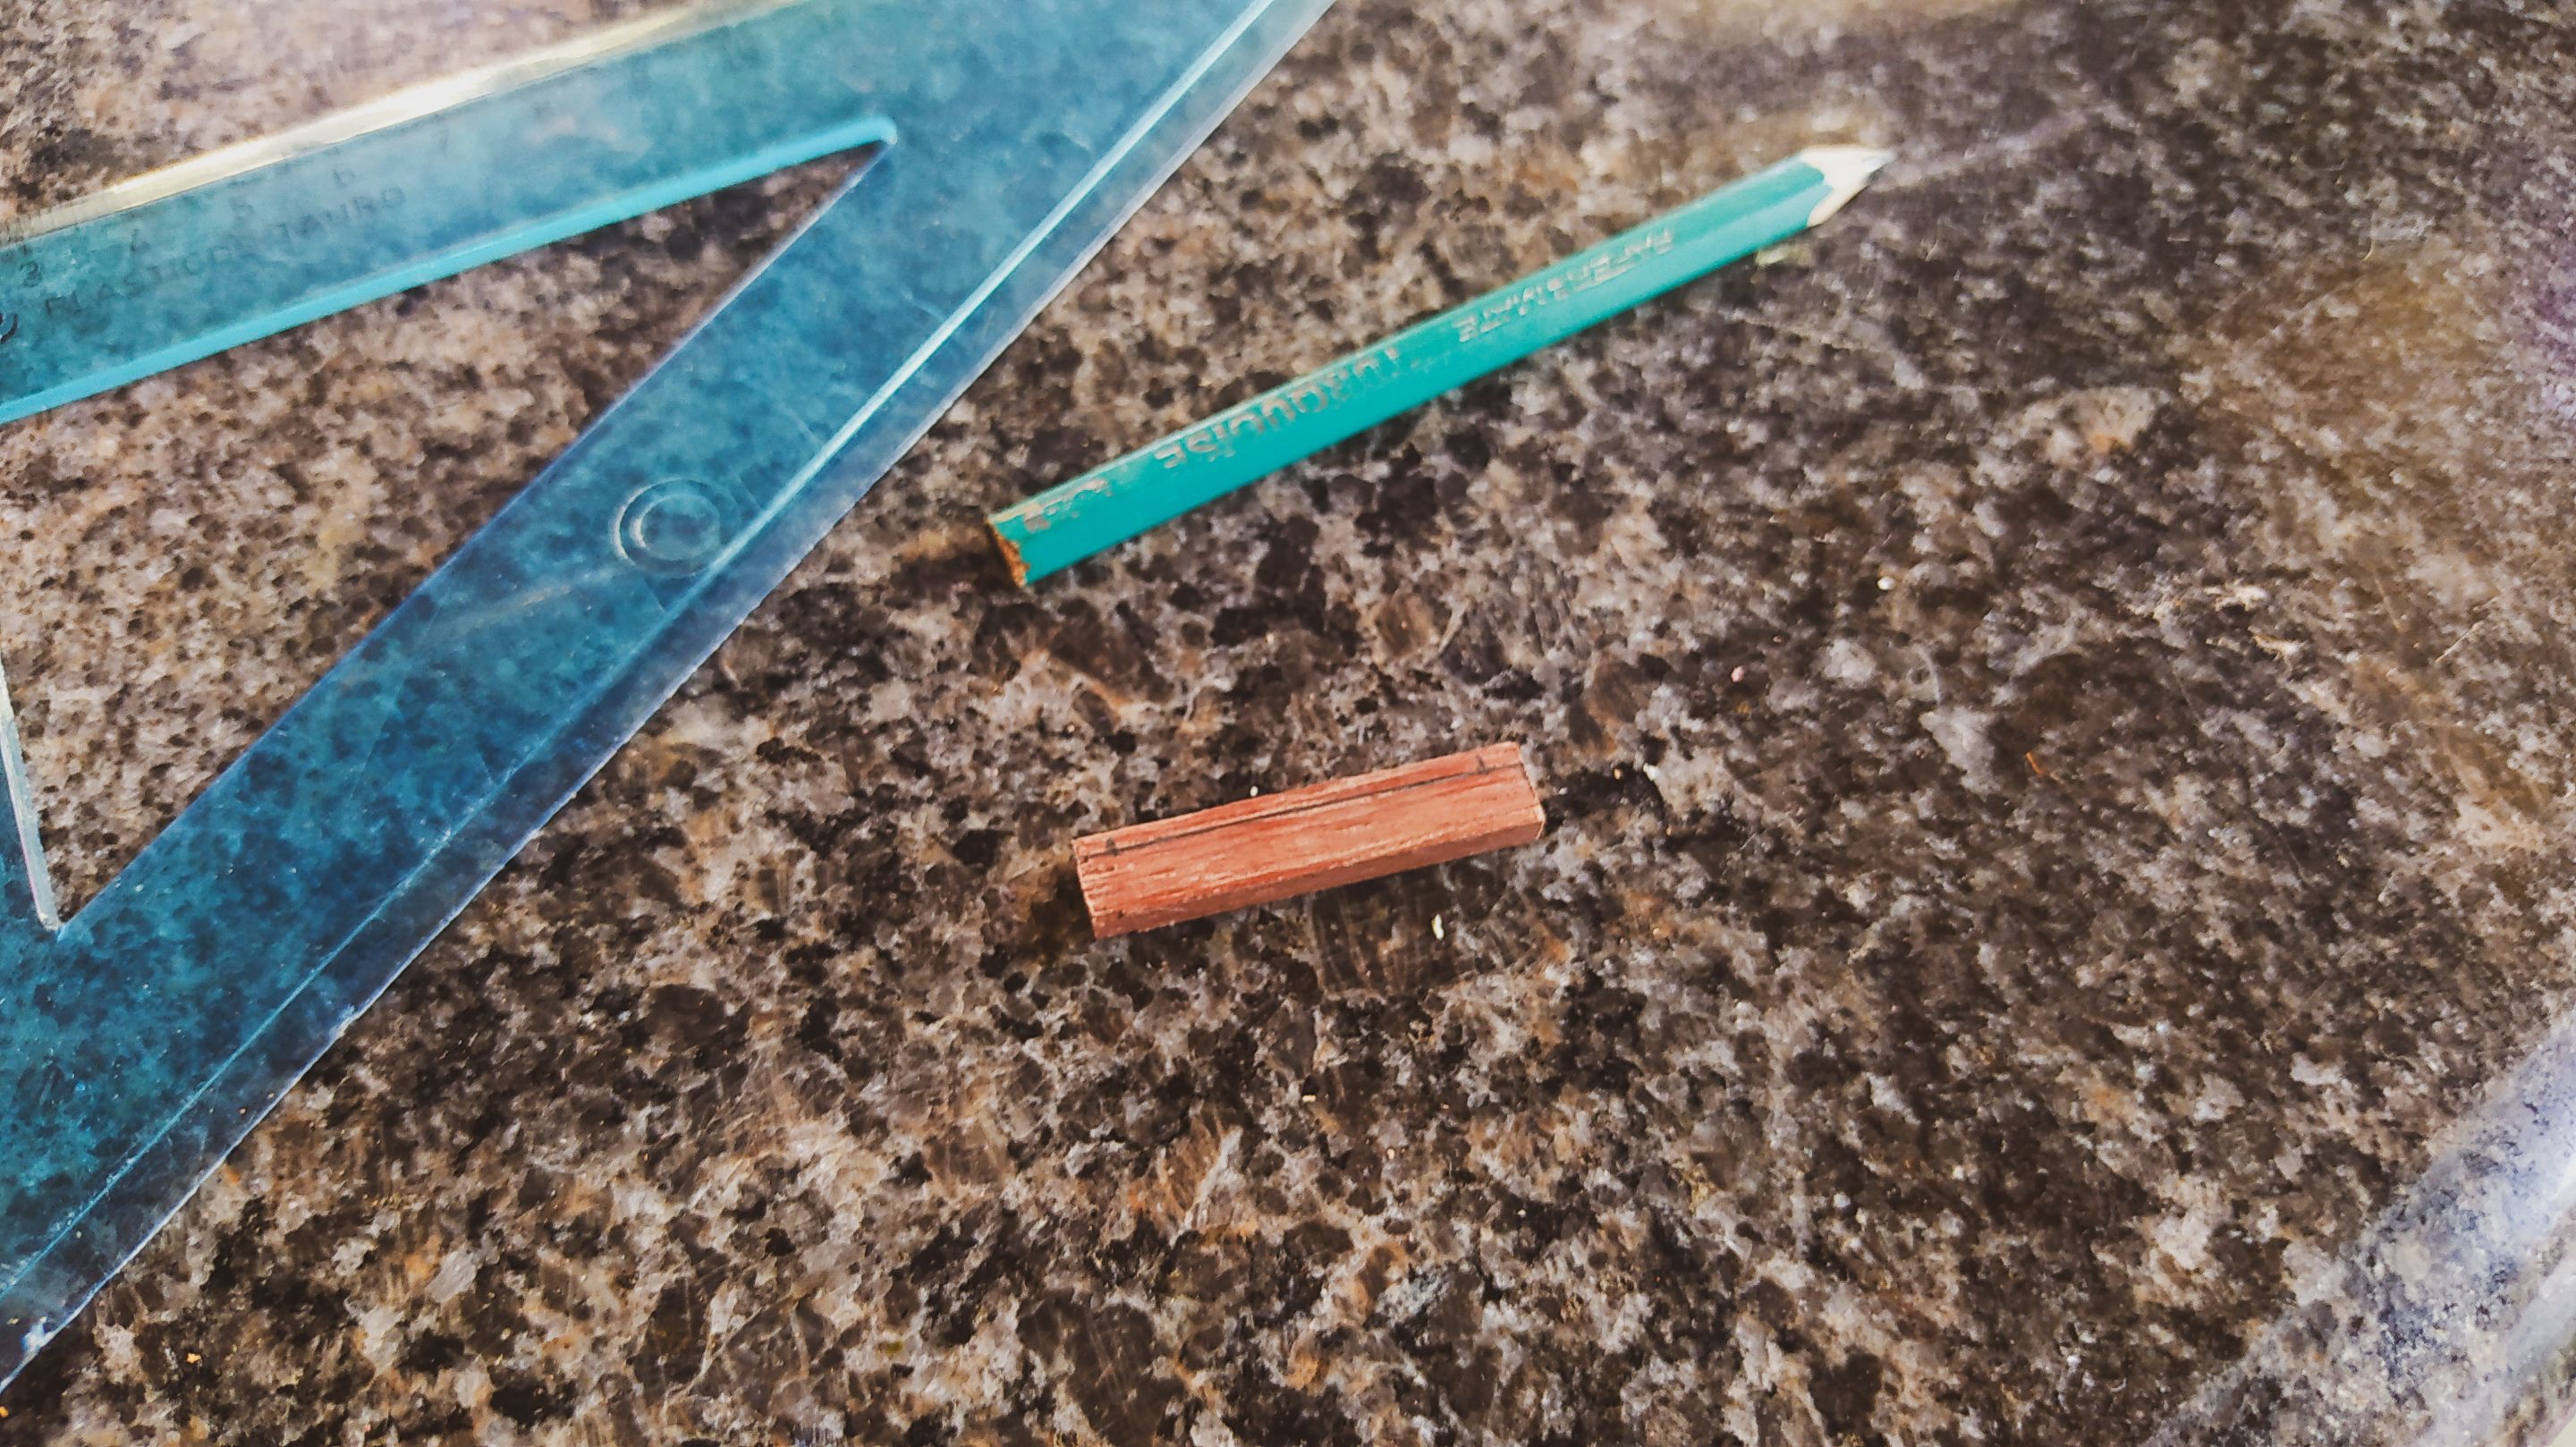
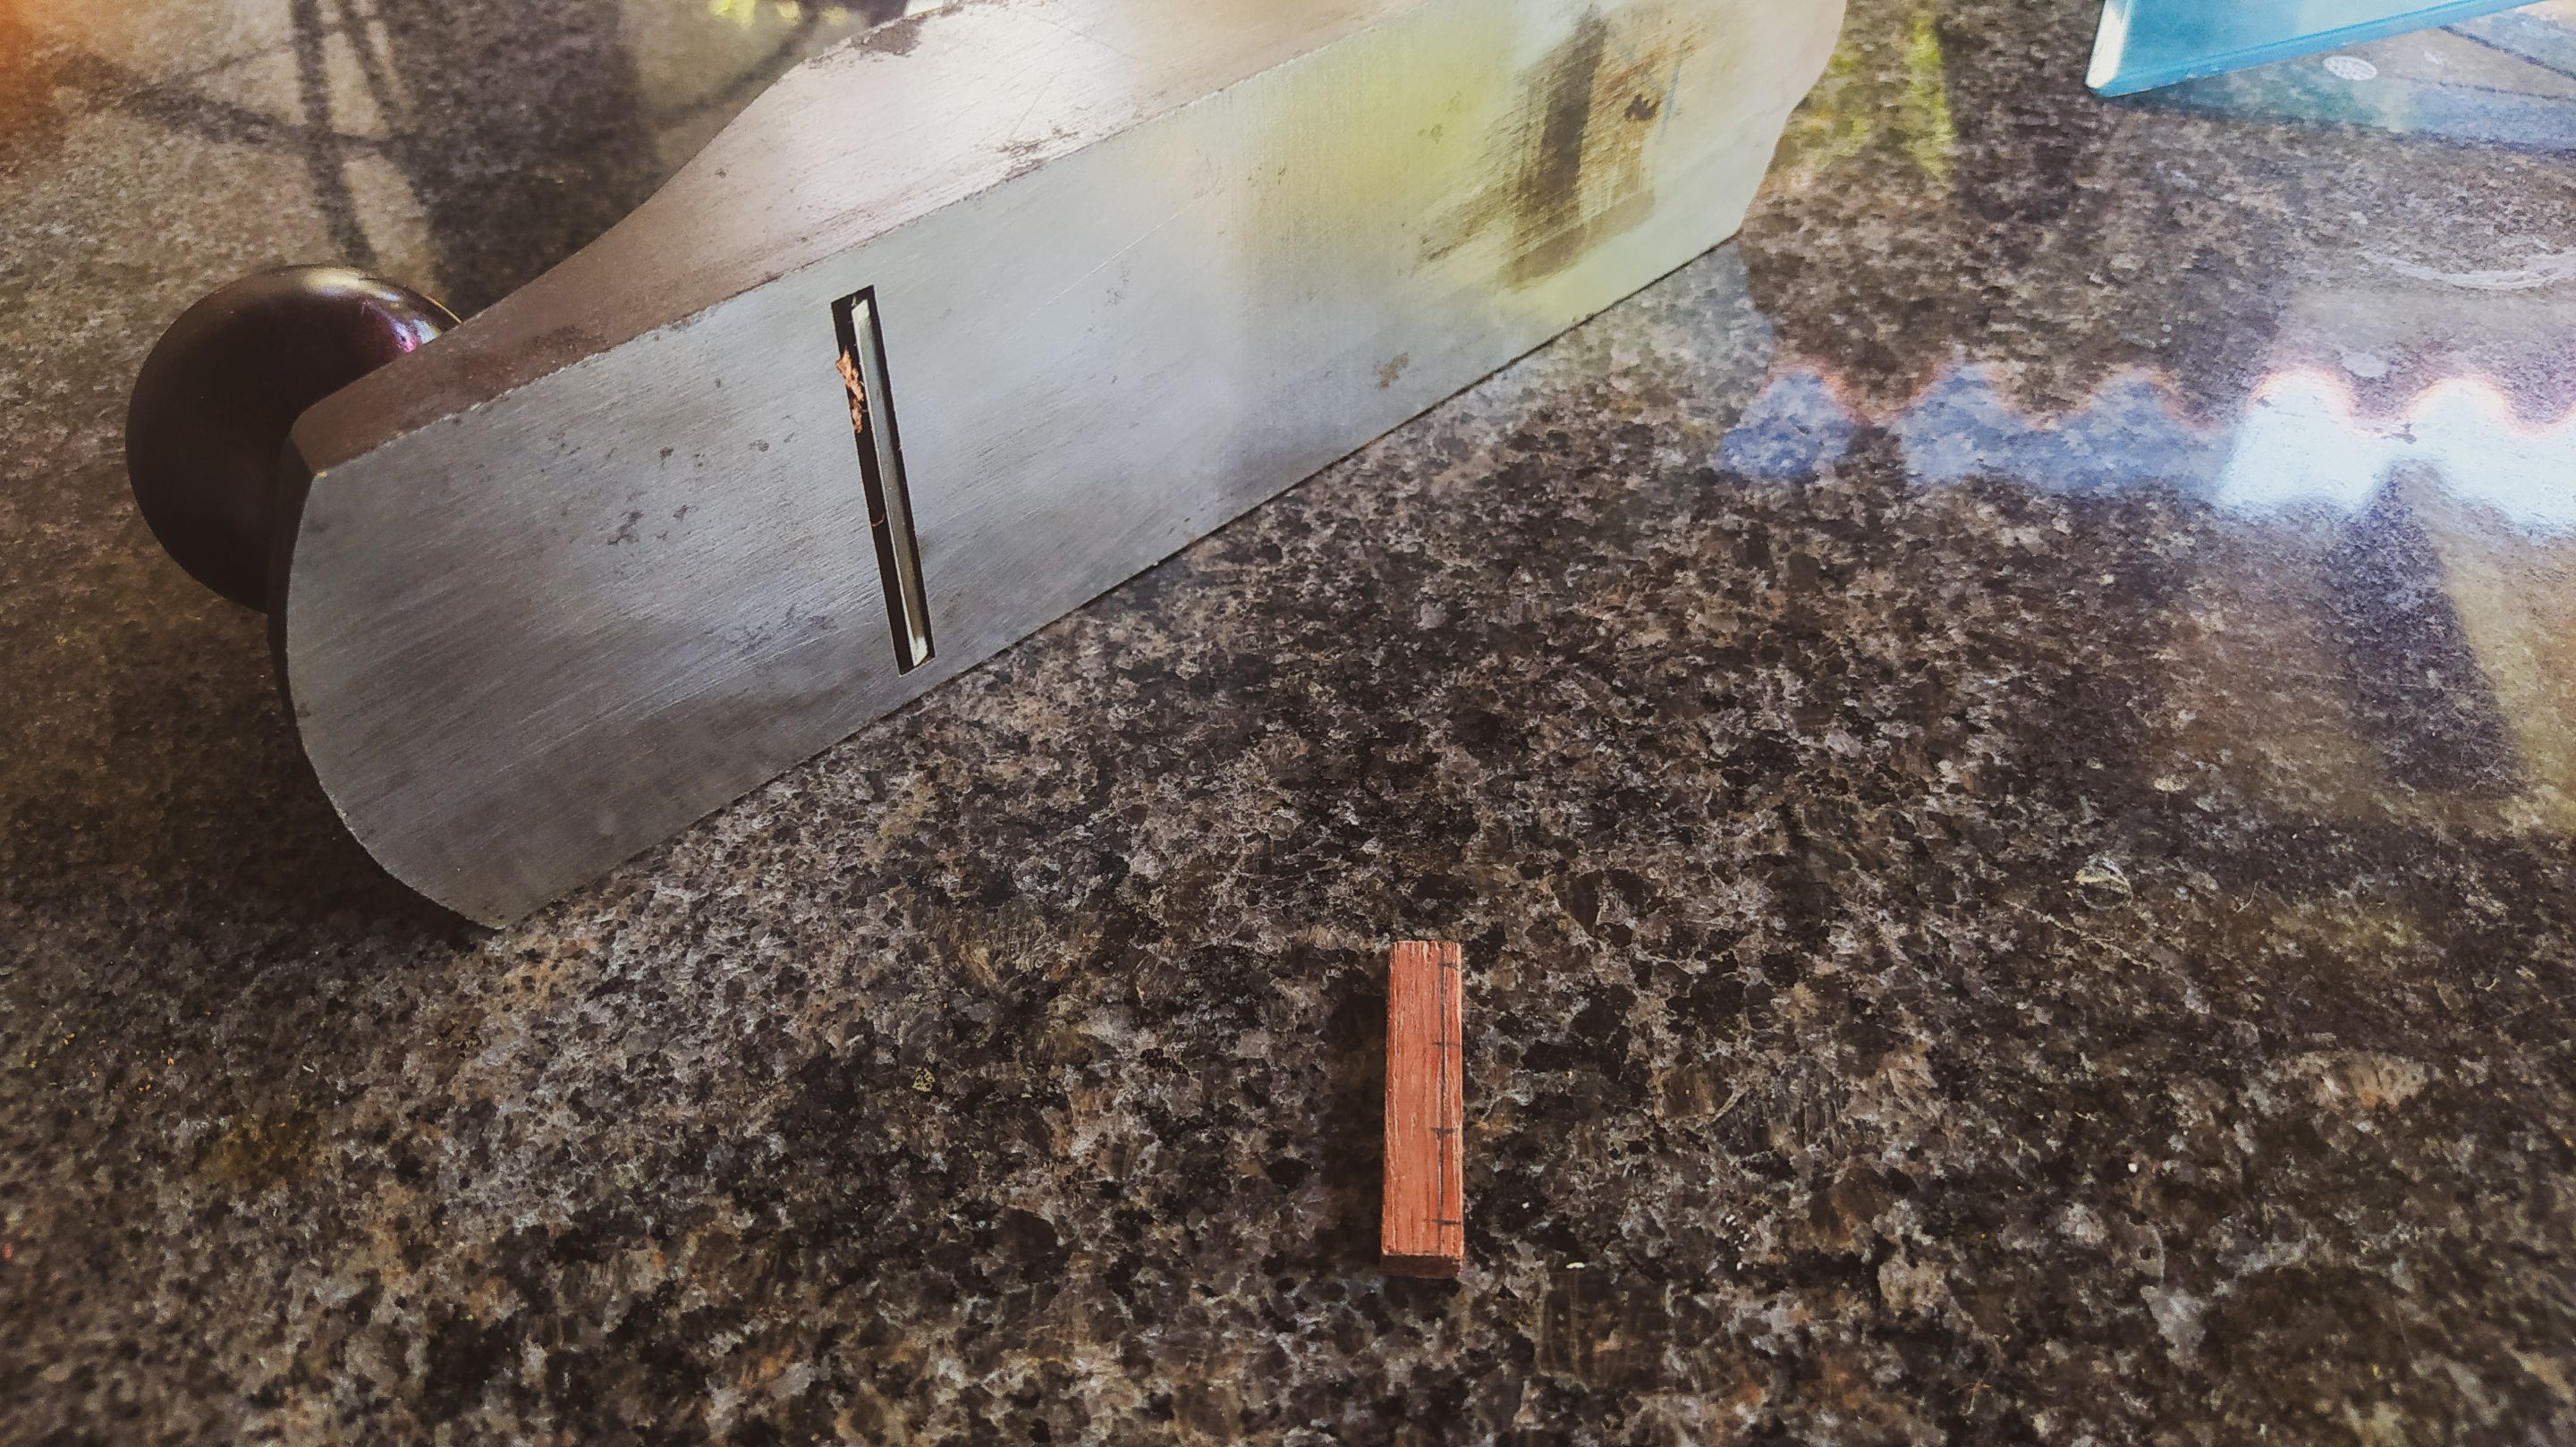
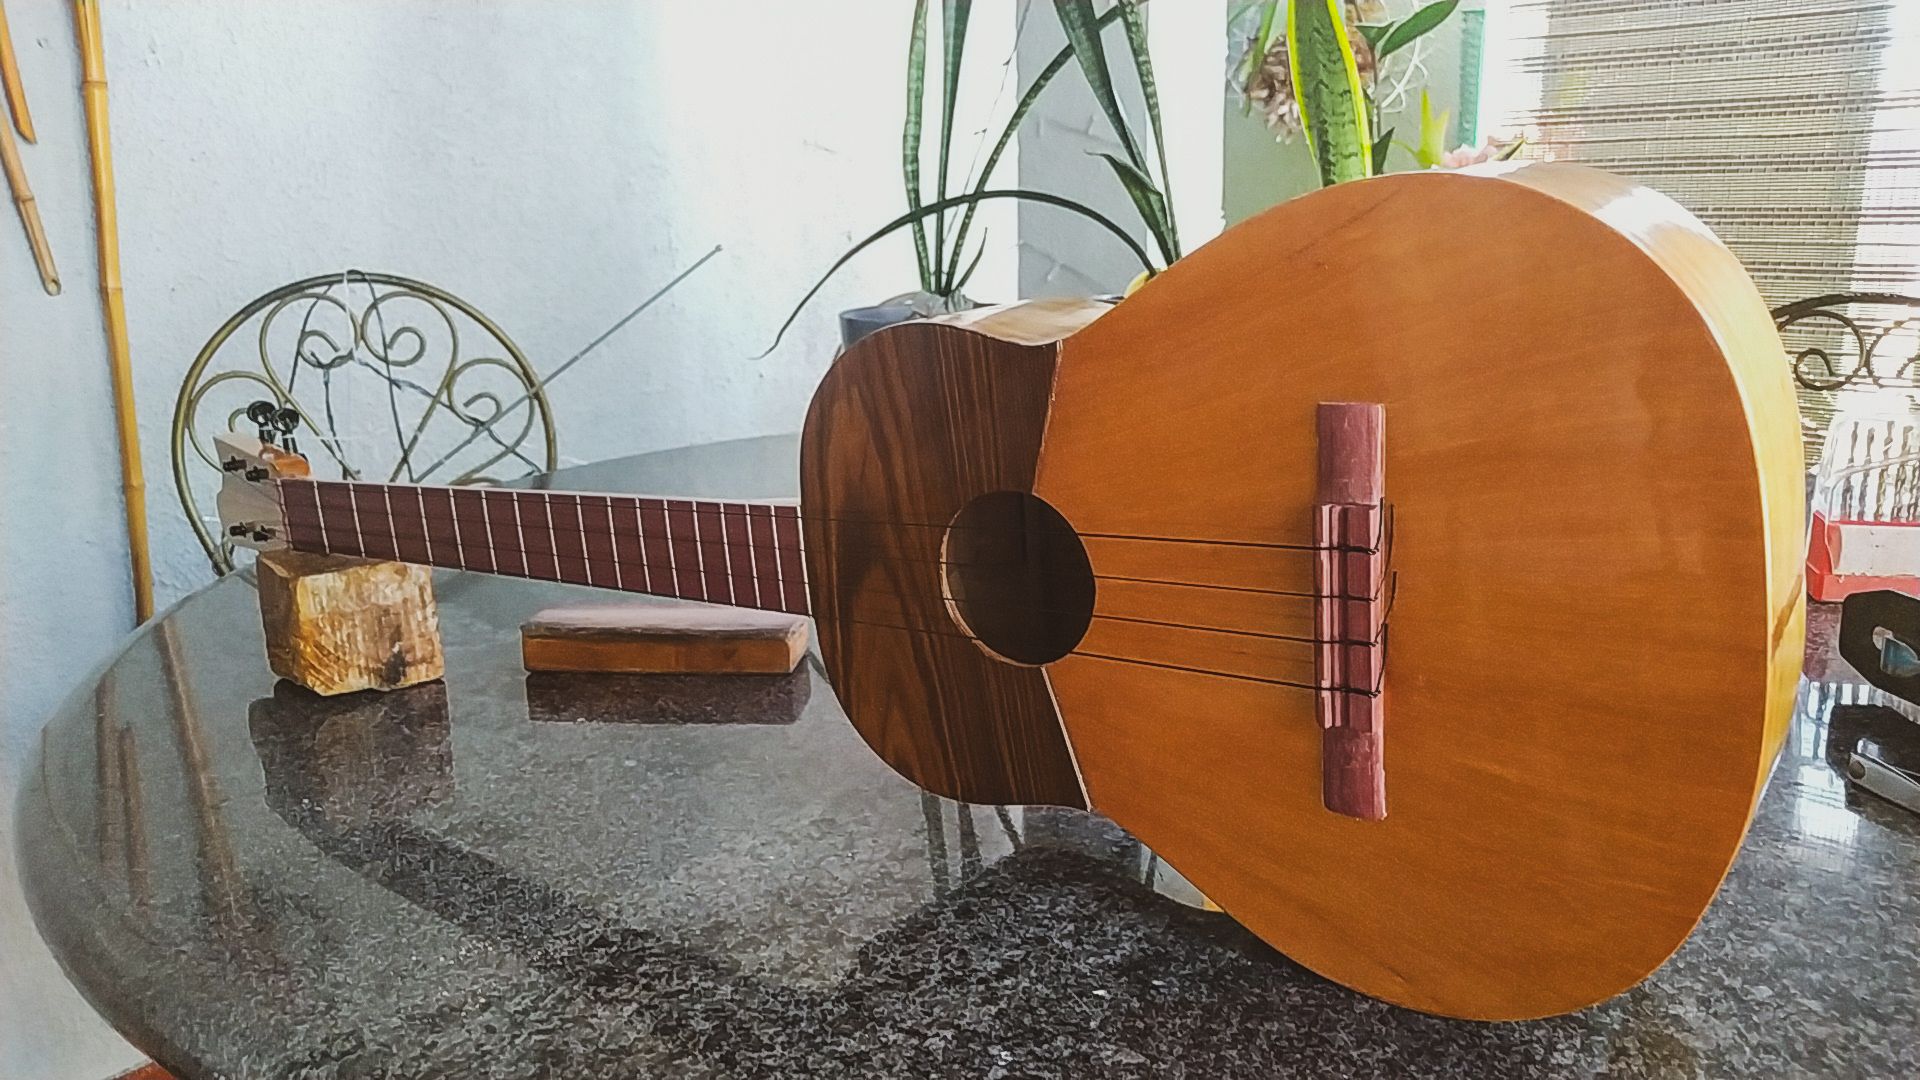
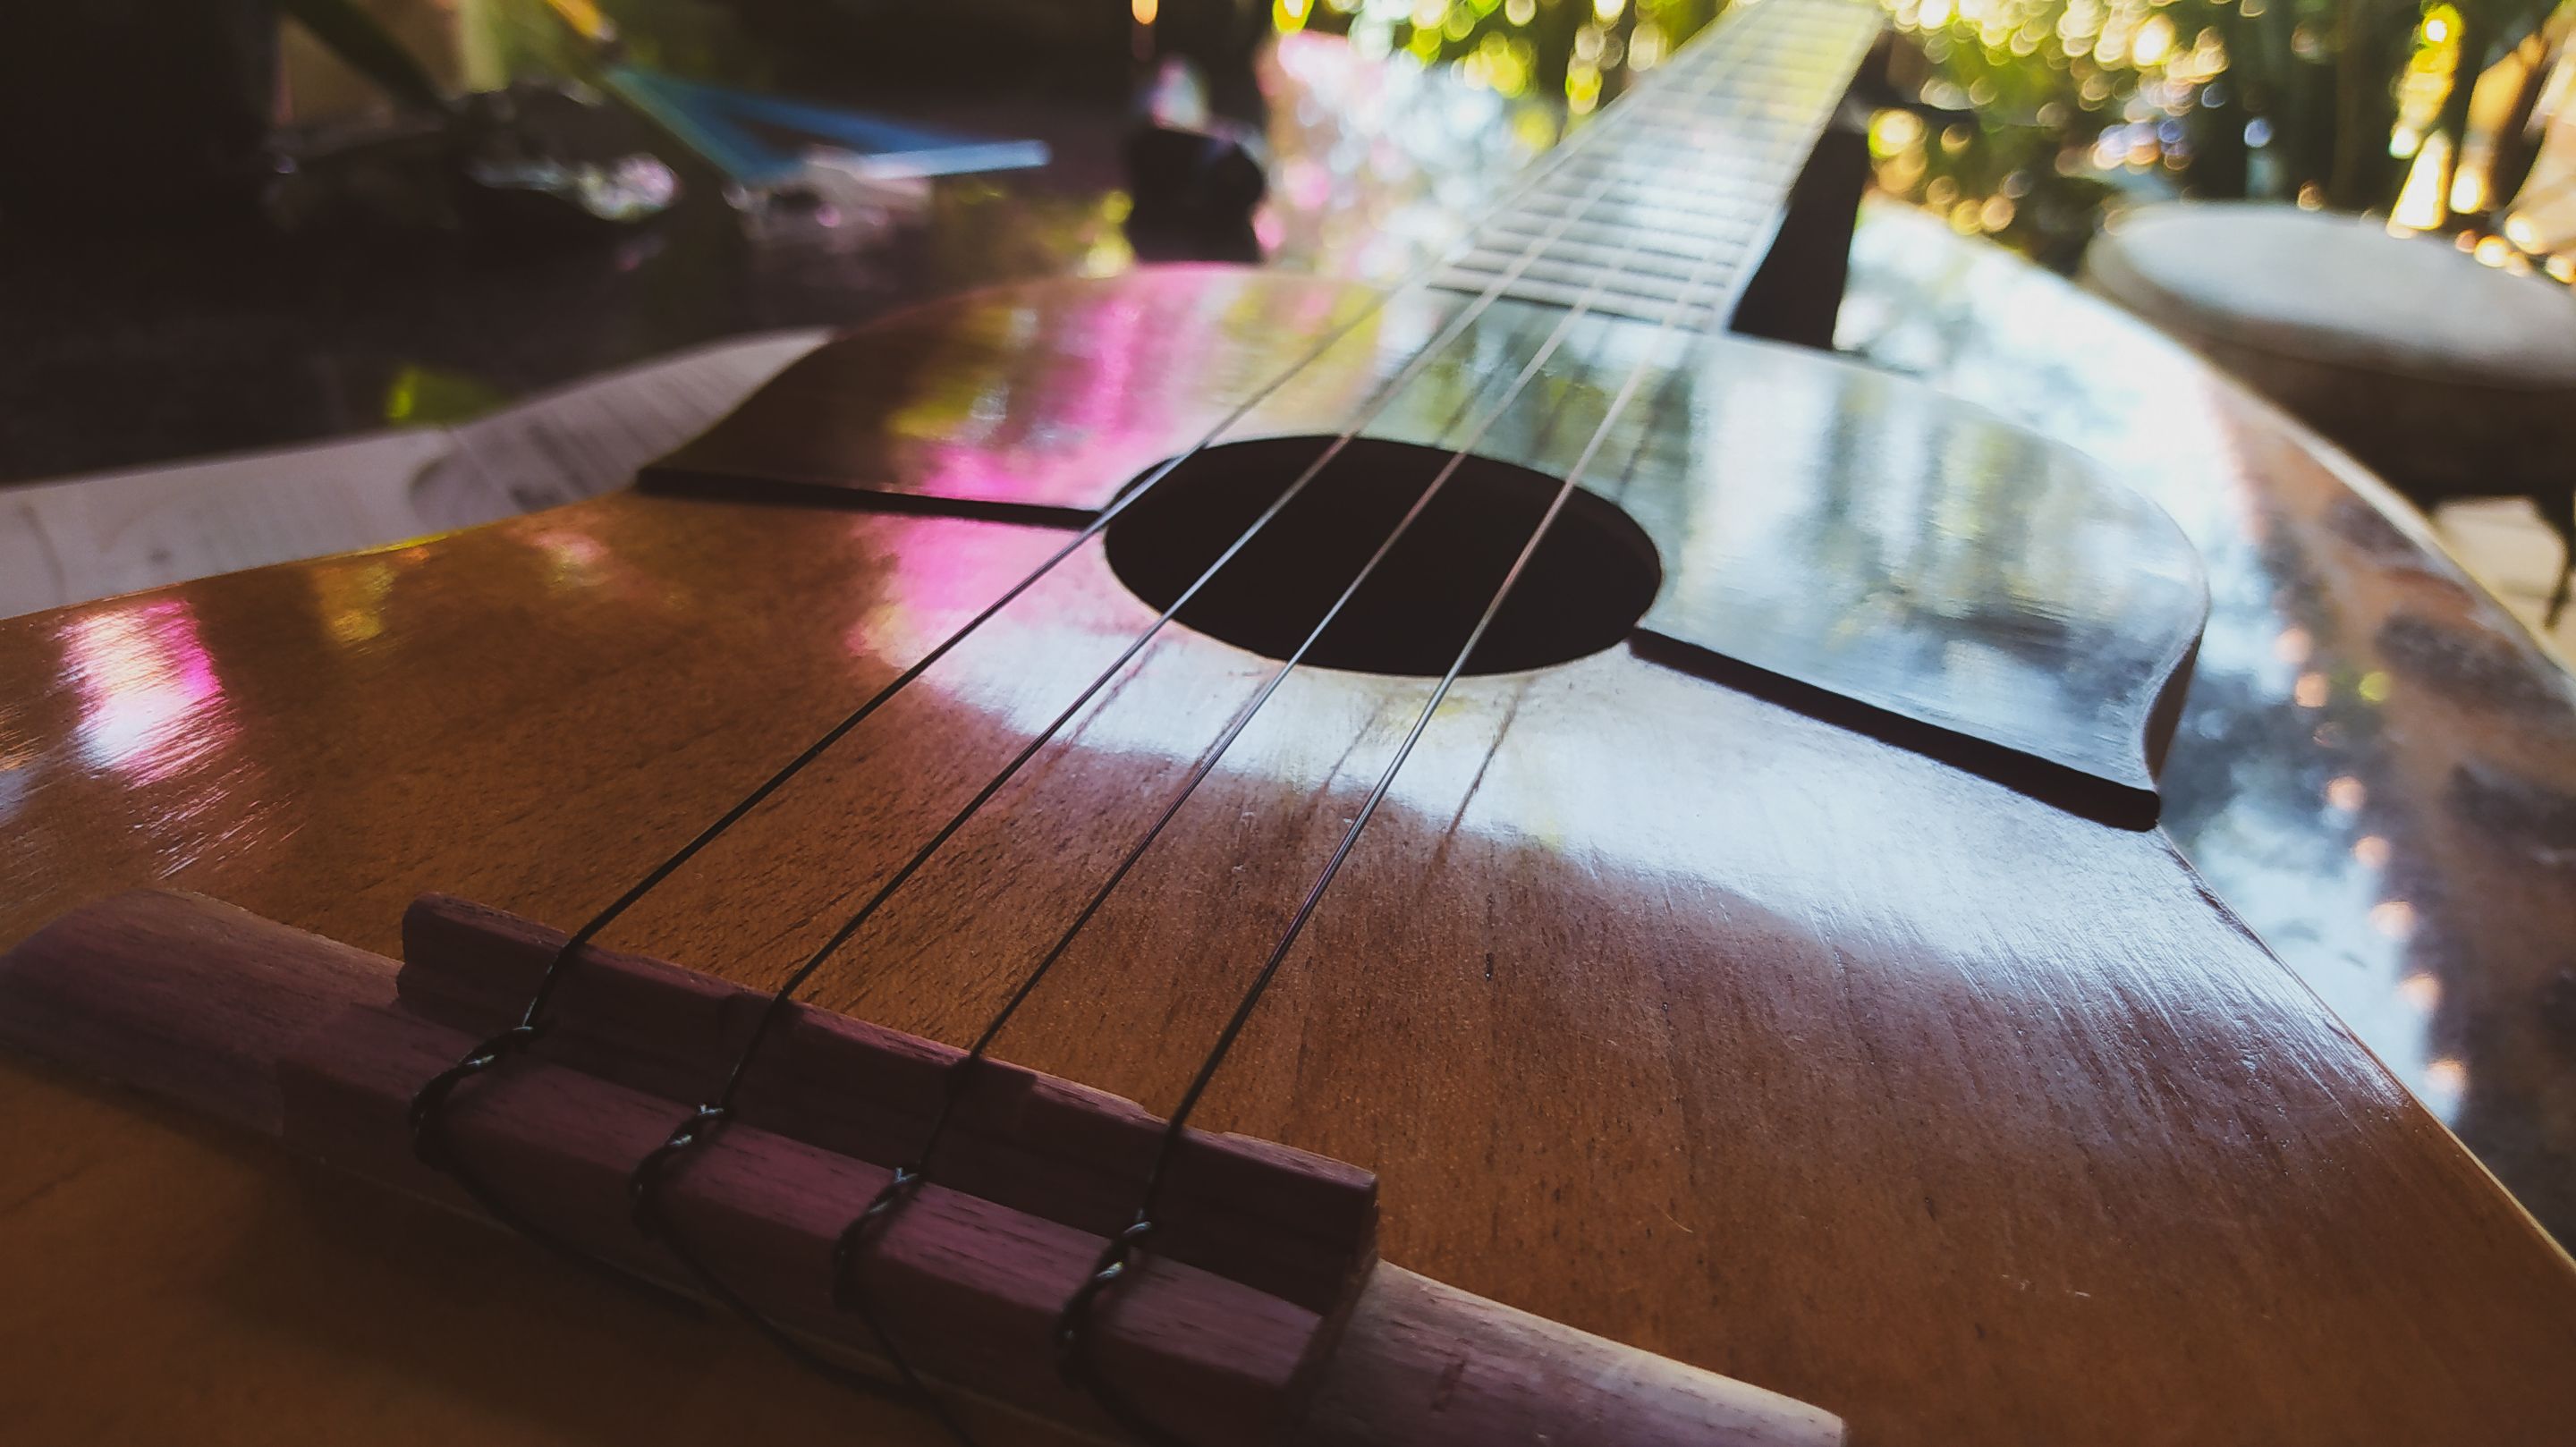
The second piece and the most important for the strings' action is the saddle. This one rests on the slot of the bridge. We follow some of the steps we did before. We get a blank. Determine the thickness of the piece. Consider the height we need. Cut it to length. The difference is that we don't need slots on the saddle, but we'll need to create some slope to compensate the frets. But that's the last bit.
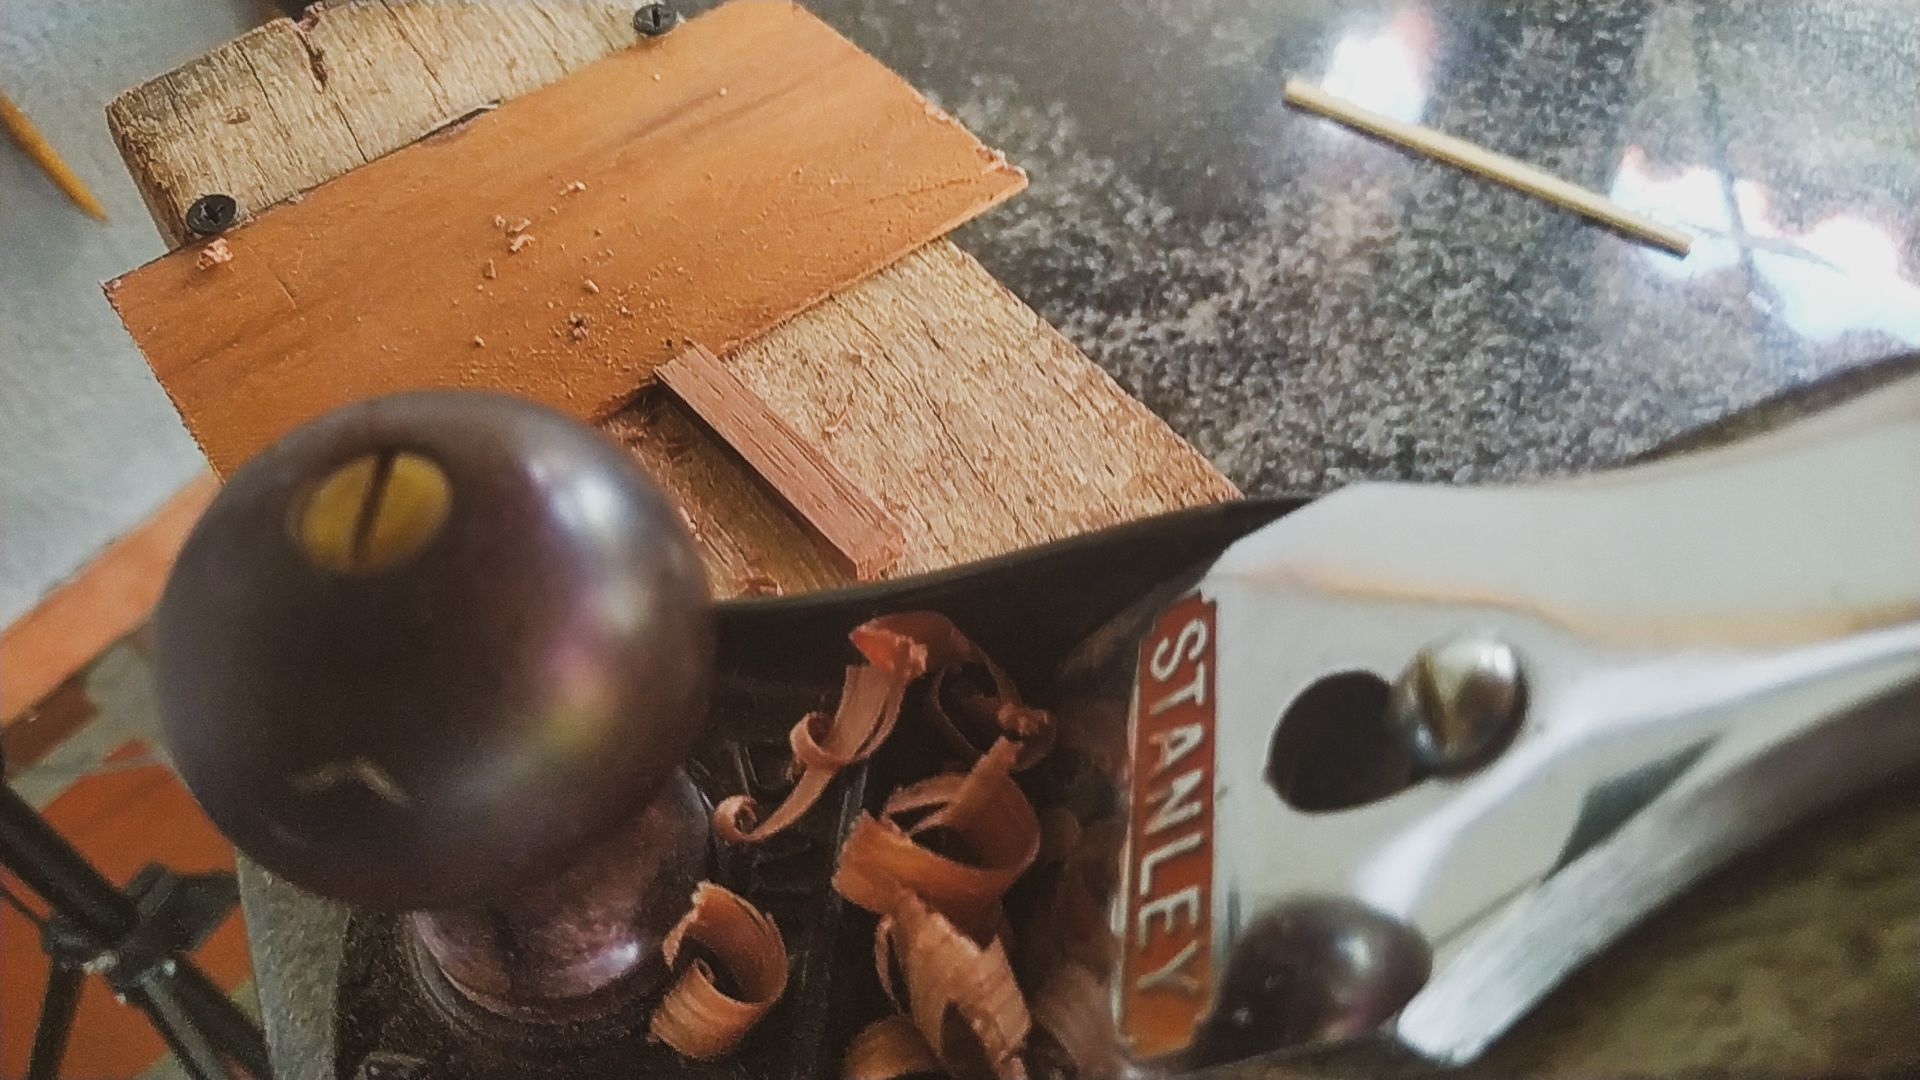
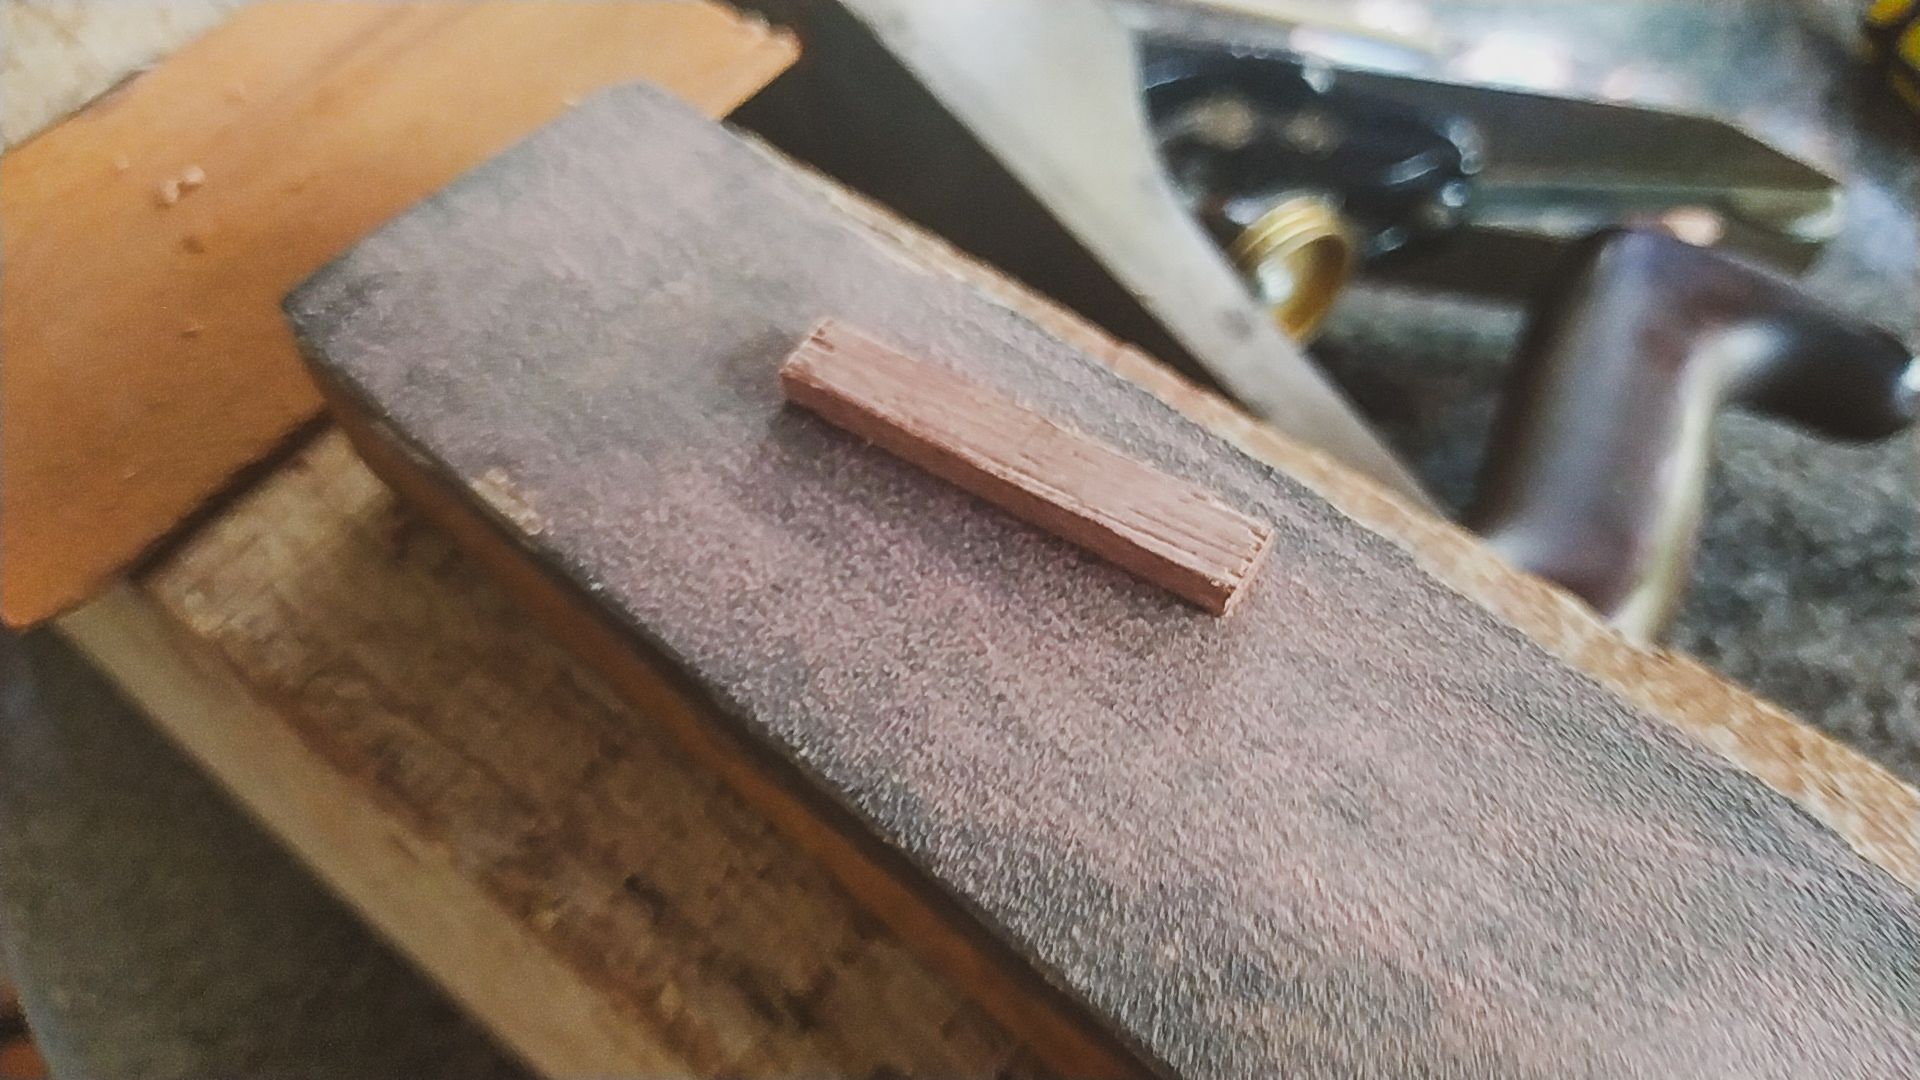
Once we have our blank, we use the plane to get the height we need. Then, we cut the excess to make the saddle flush with its slot. Sanding help us get the thickness right without going to thin. Now, we can place the saddle in the slot and use a ruler to mark the compensation for each string. This is a normal process since cutting the slots for the frets isn't an exact process. We add or take some micrometers. When we add all these up, we need to make a compensation at the saddle to get better tuning.
Marking how far we need the tuning, we create the slopes with a file. When all are ready, we sand it further and have it ready to stay in place.
Tuners and strings
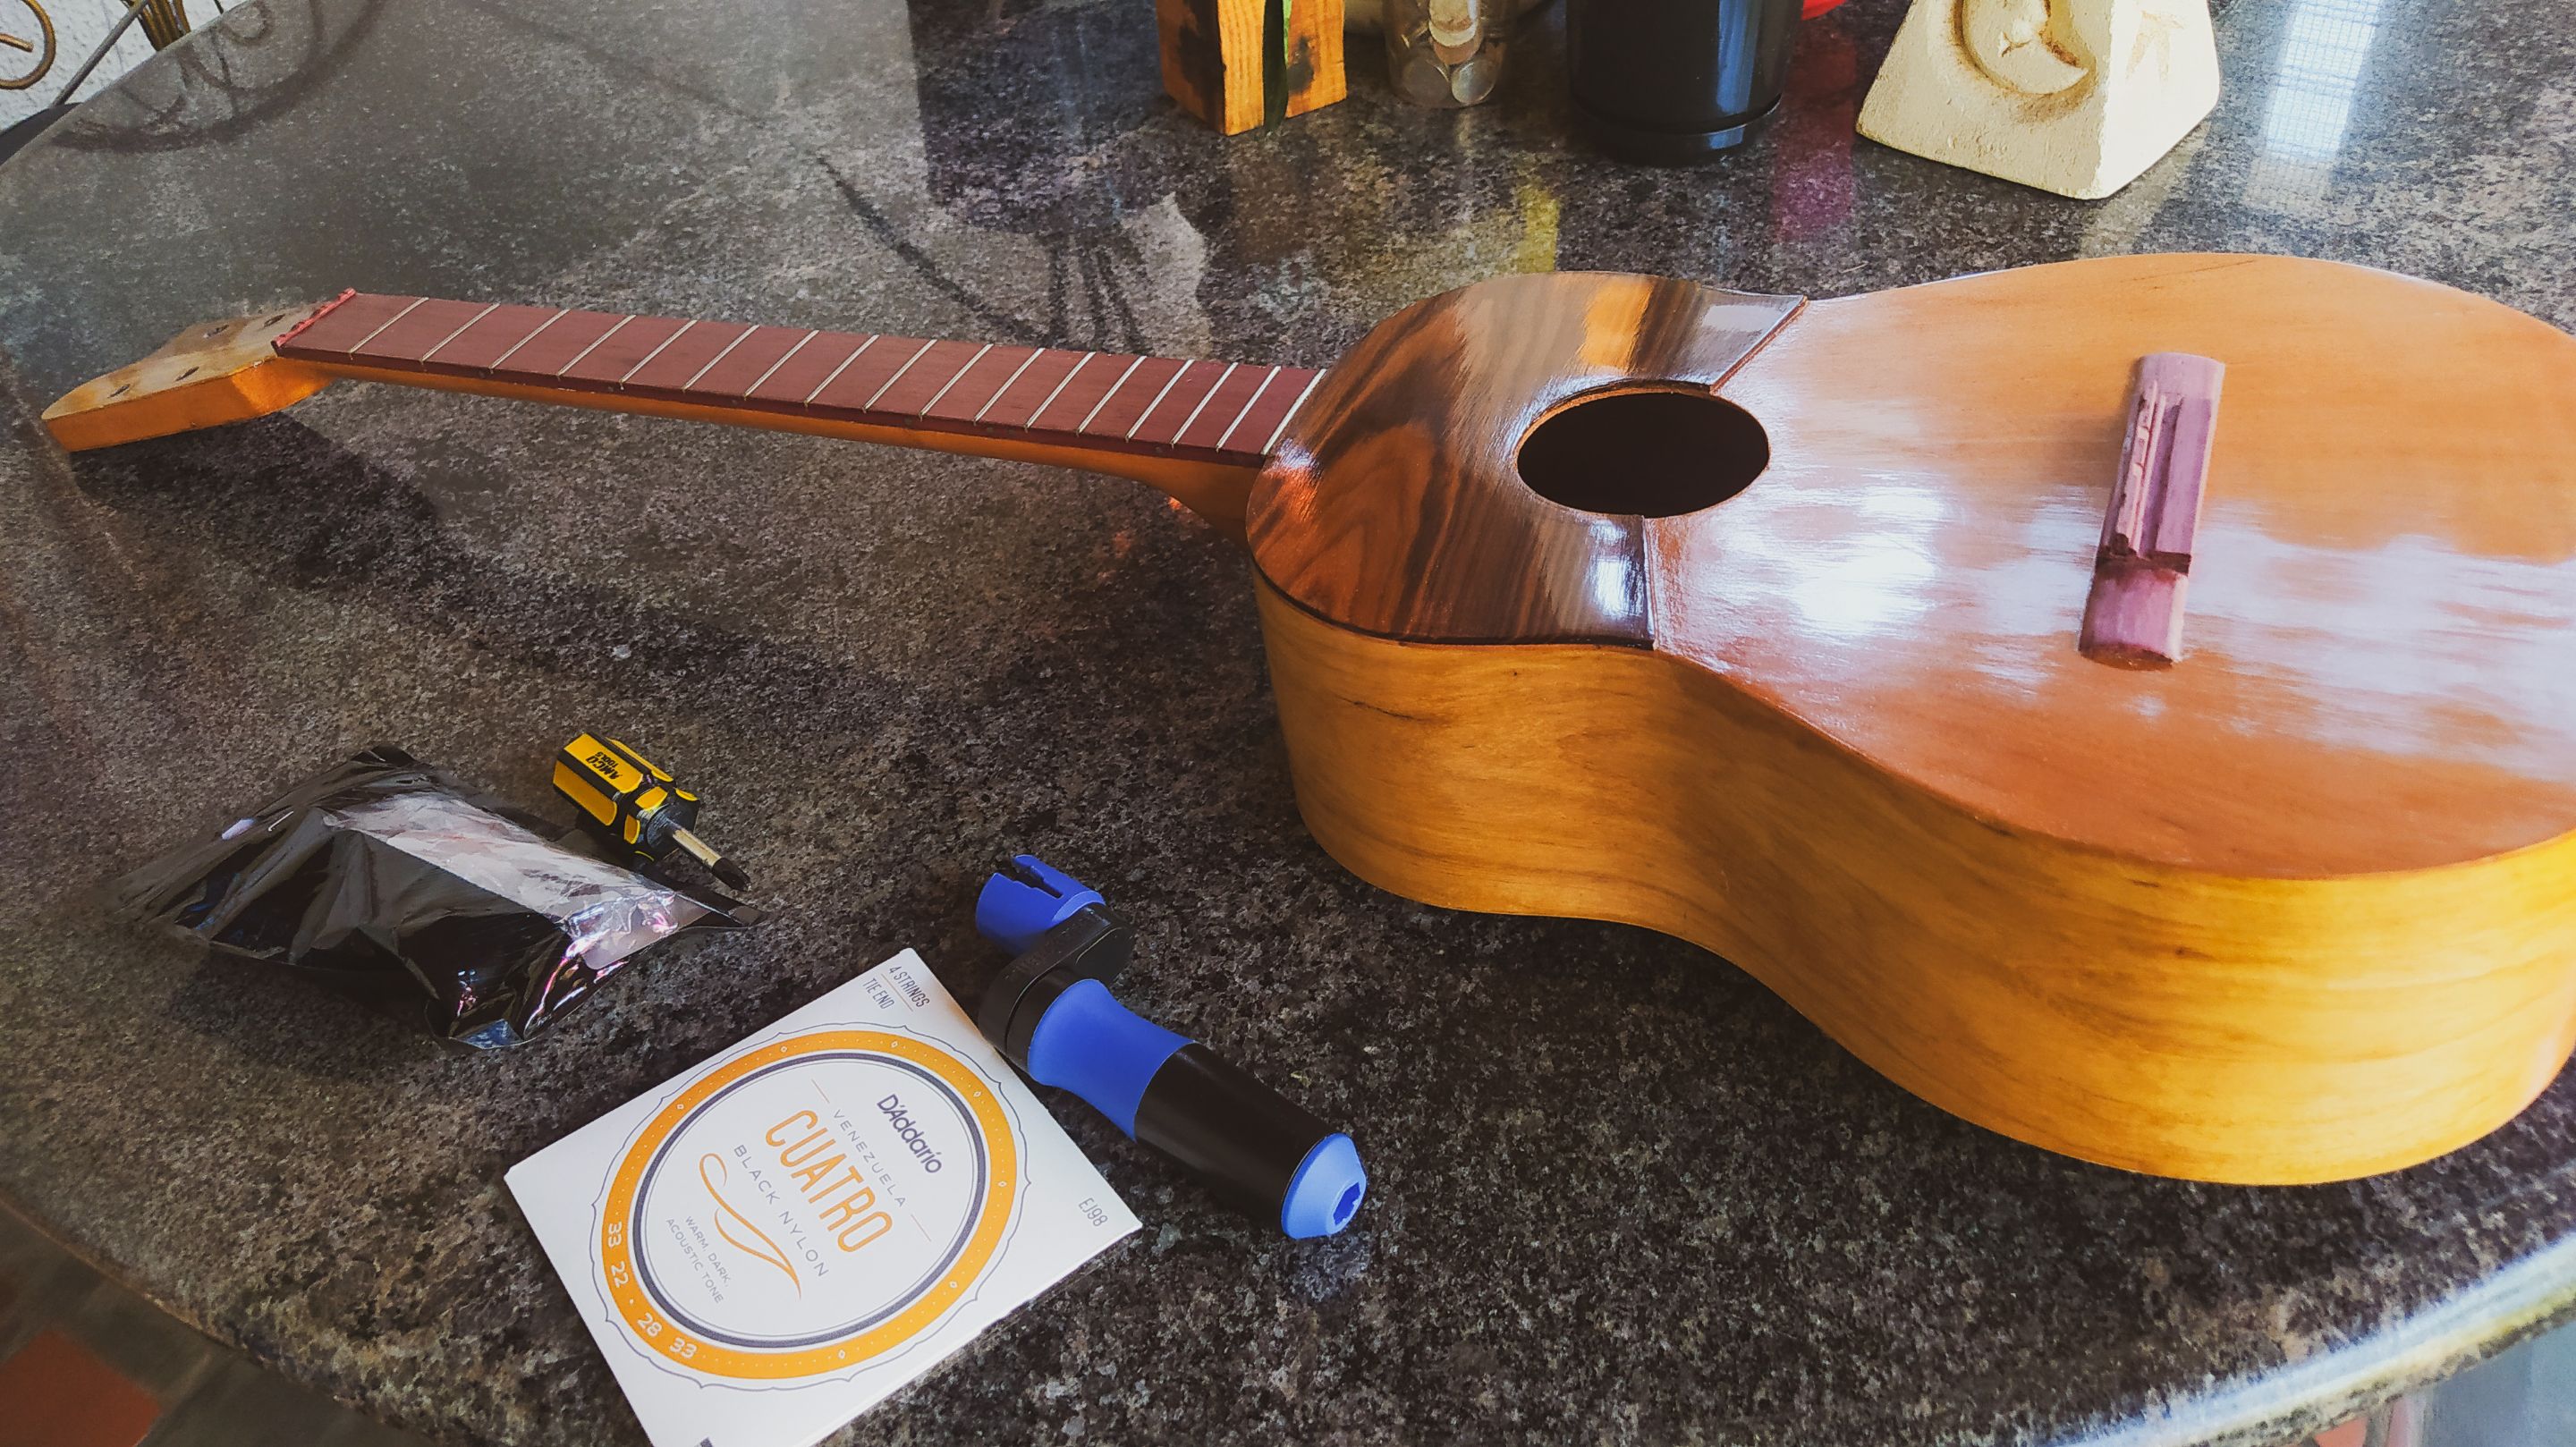
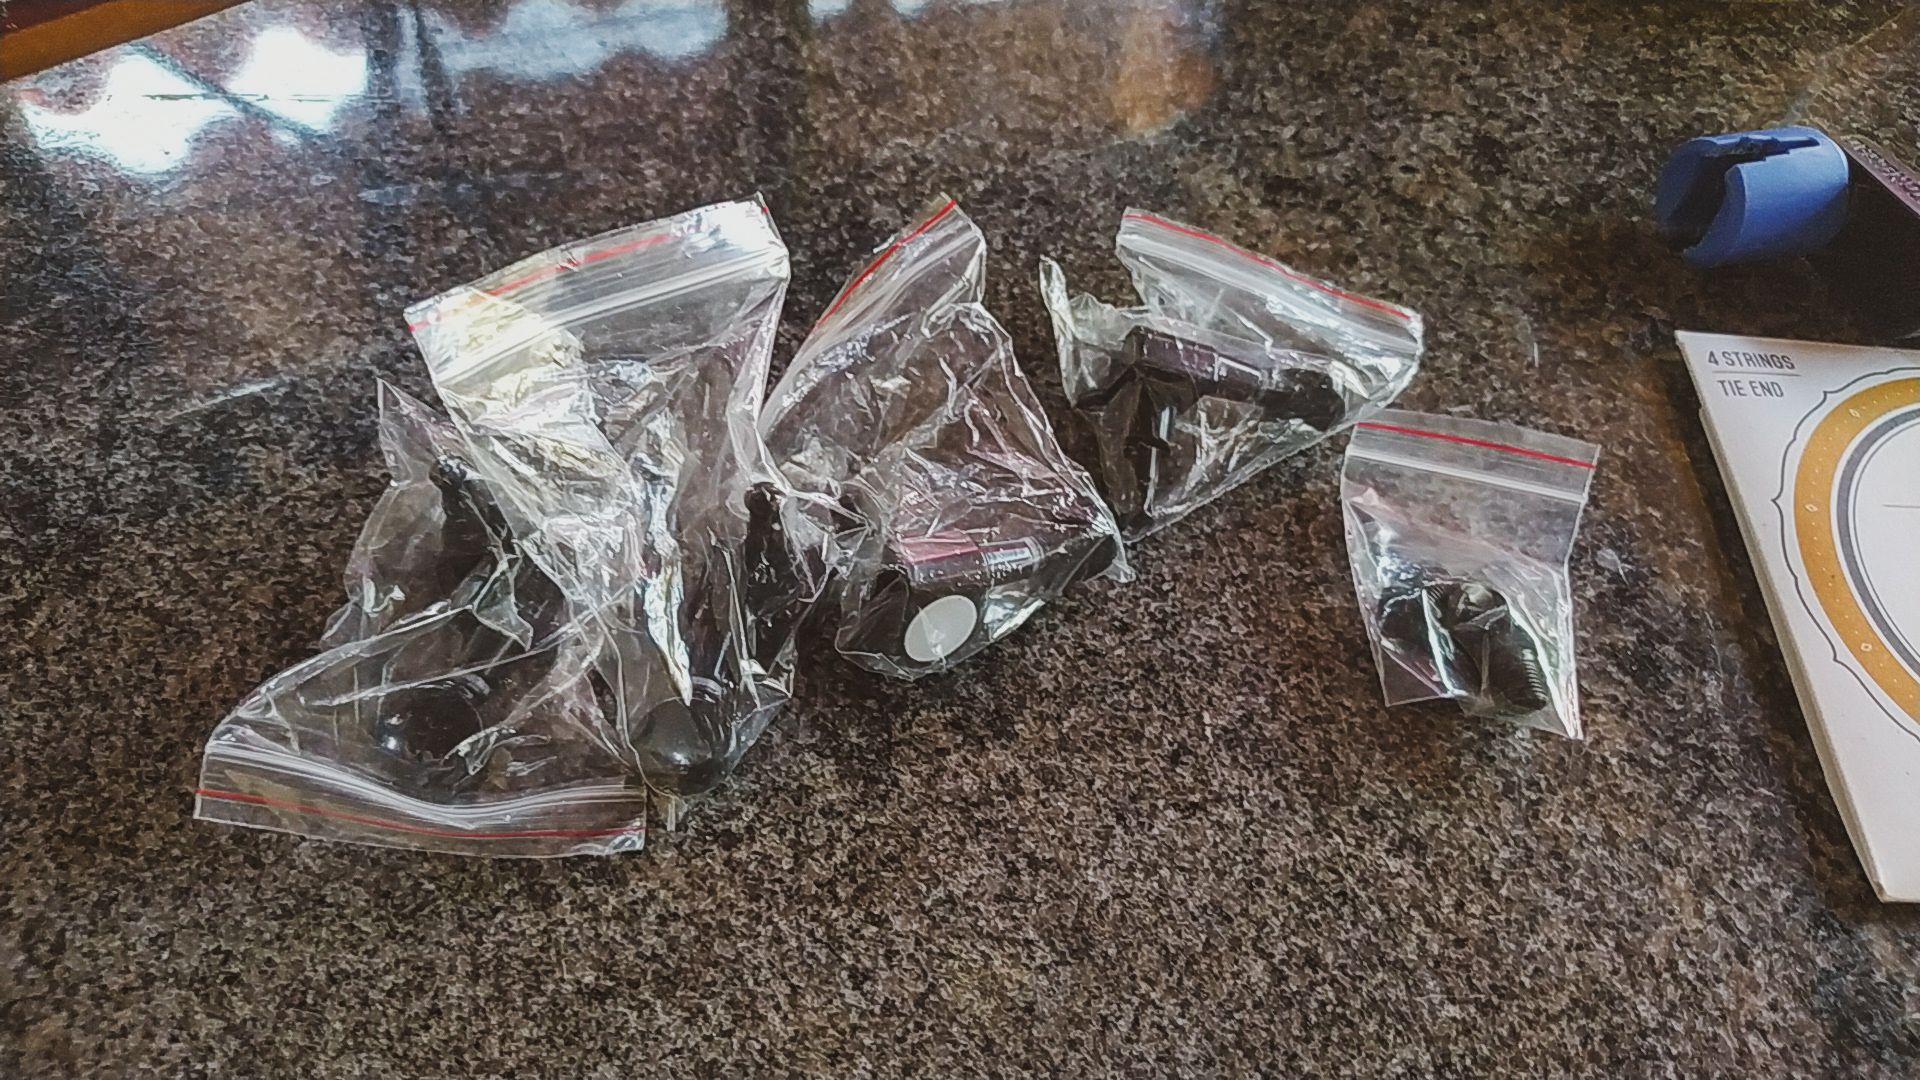
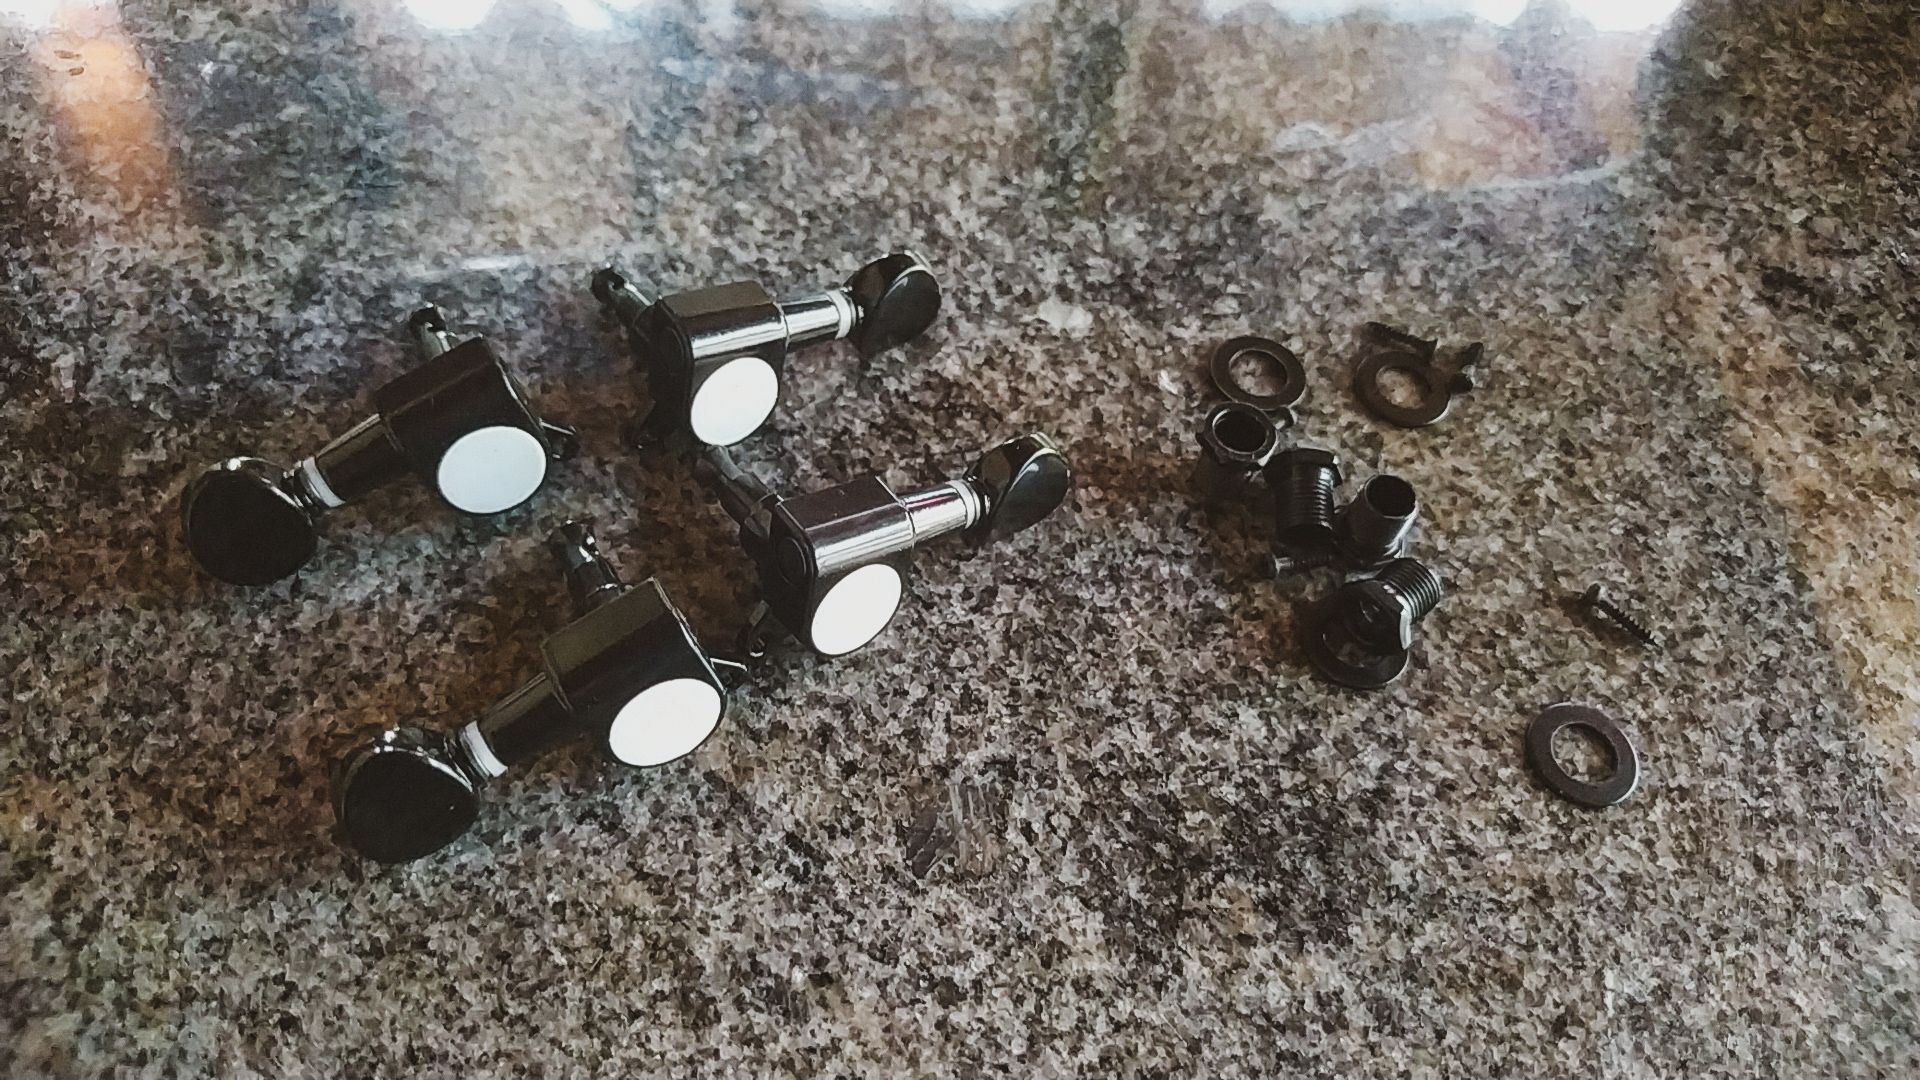
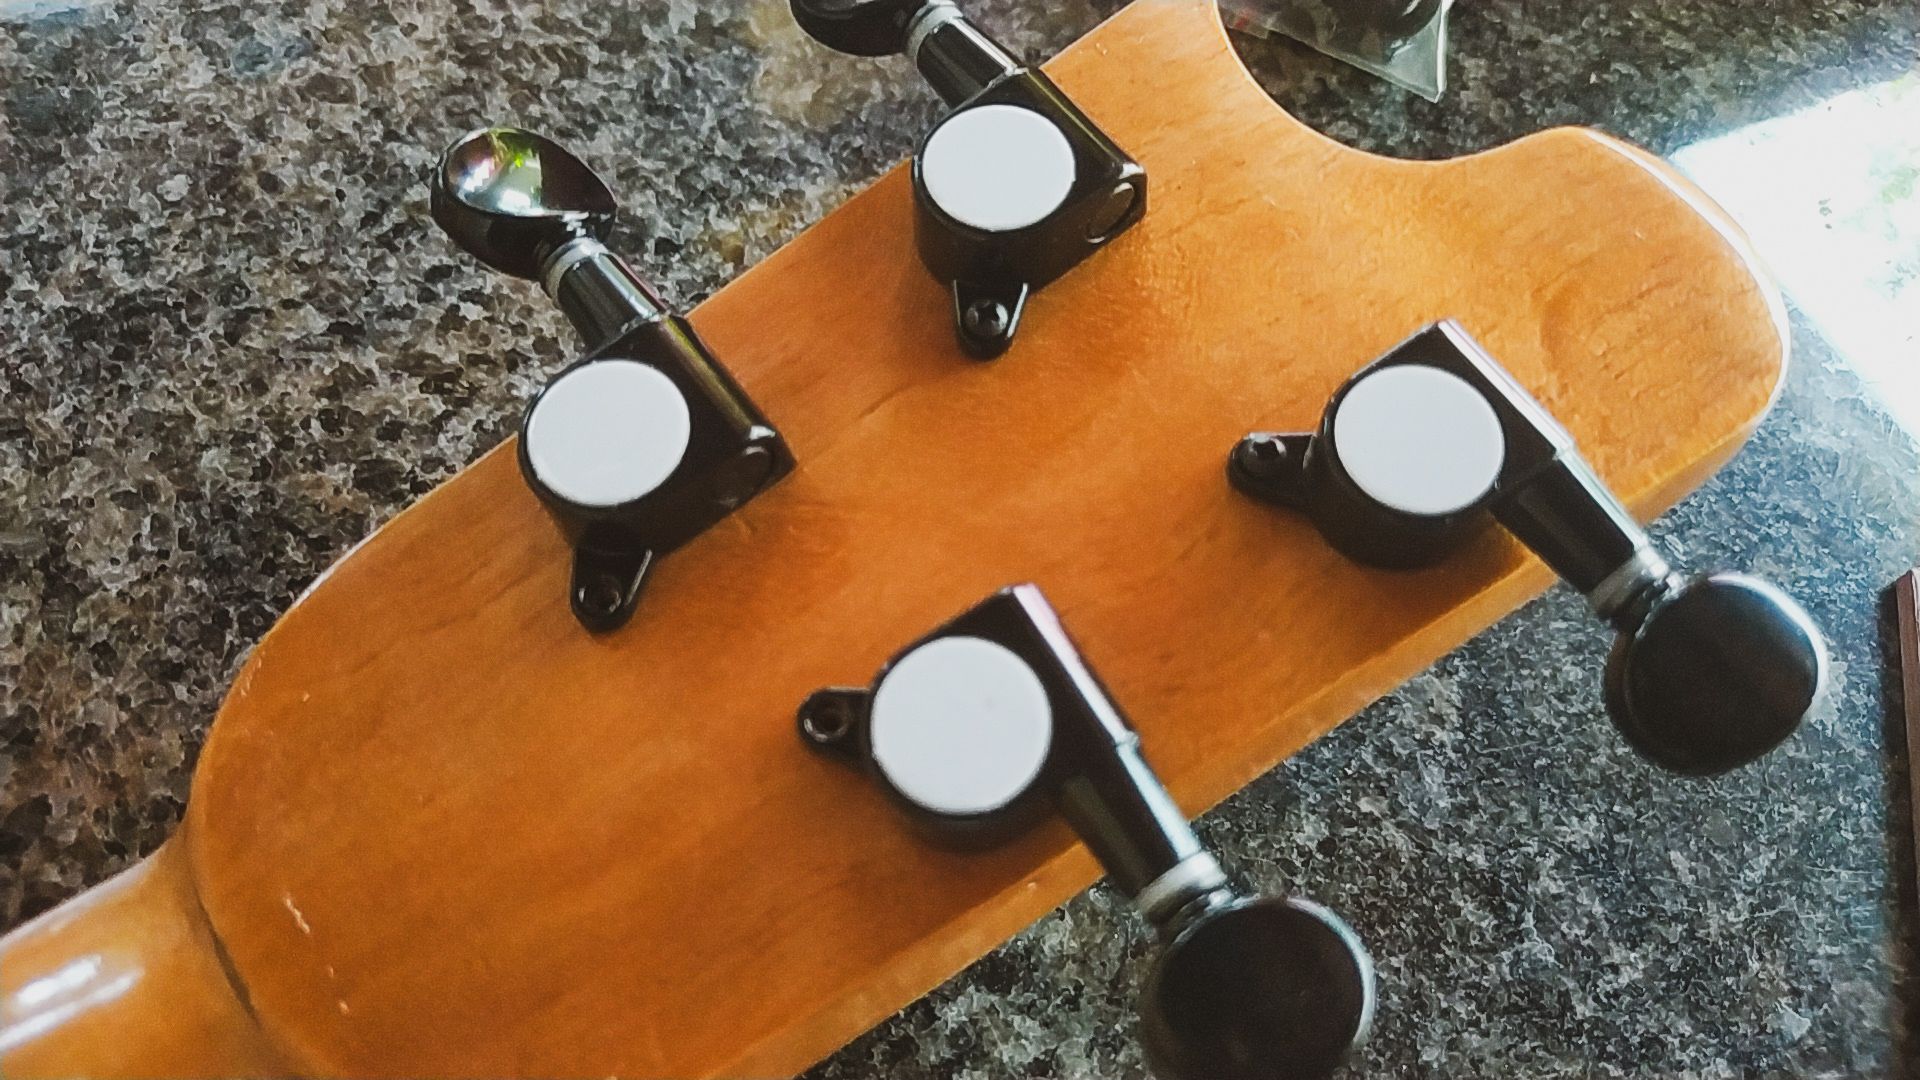
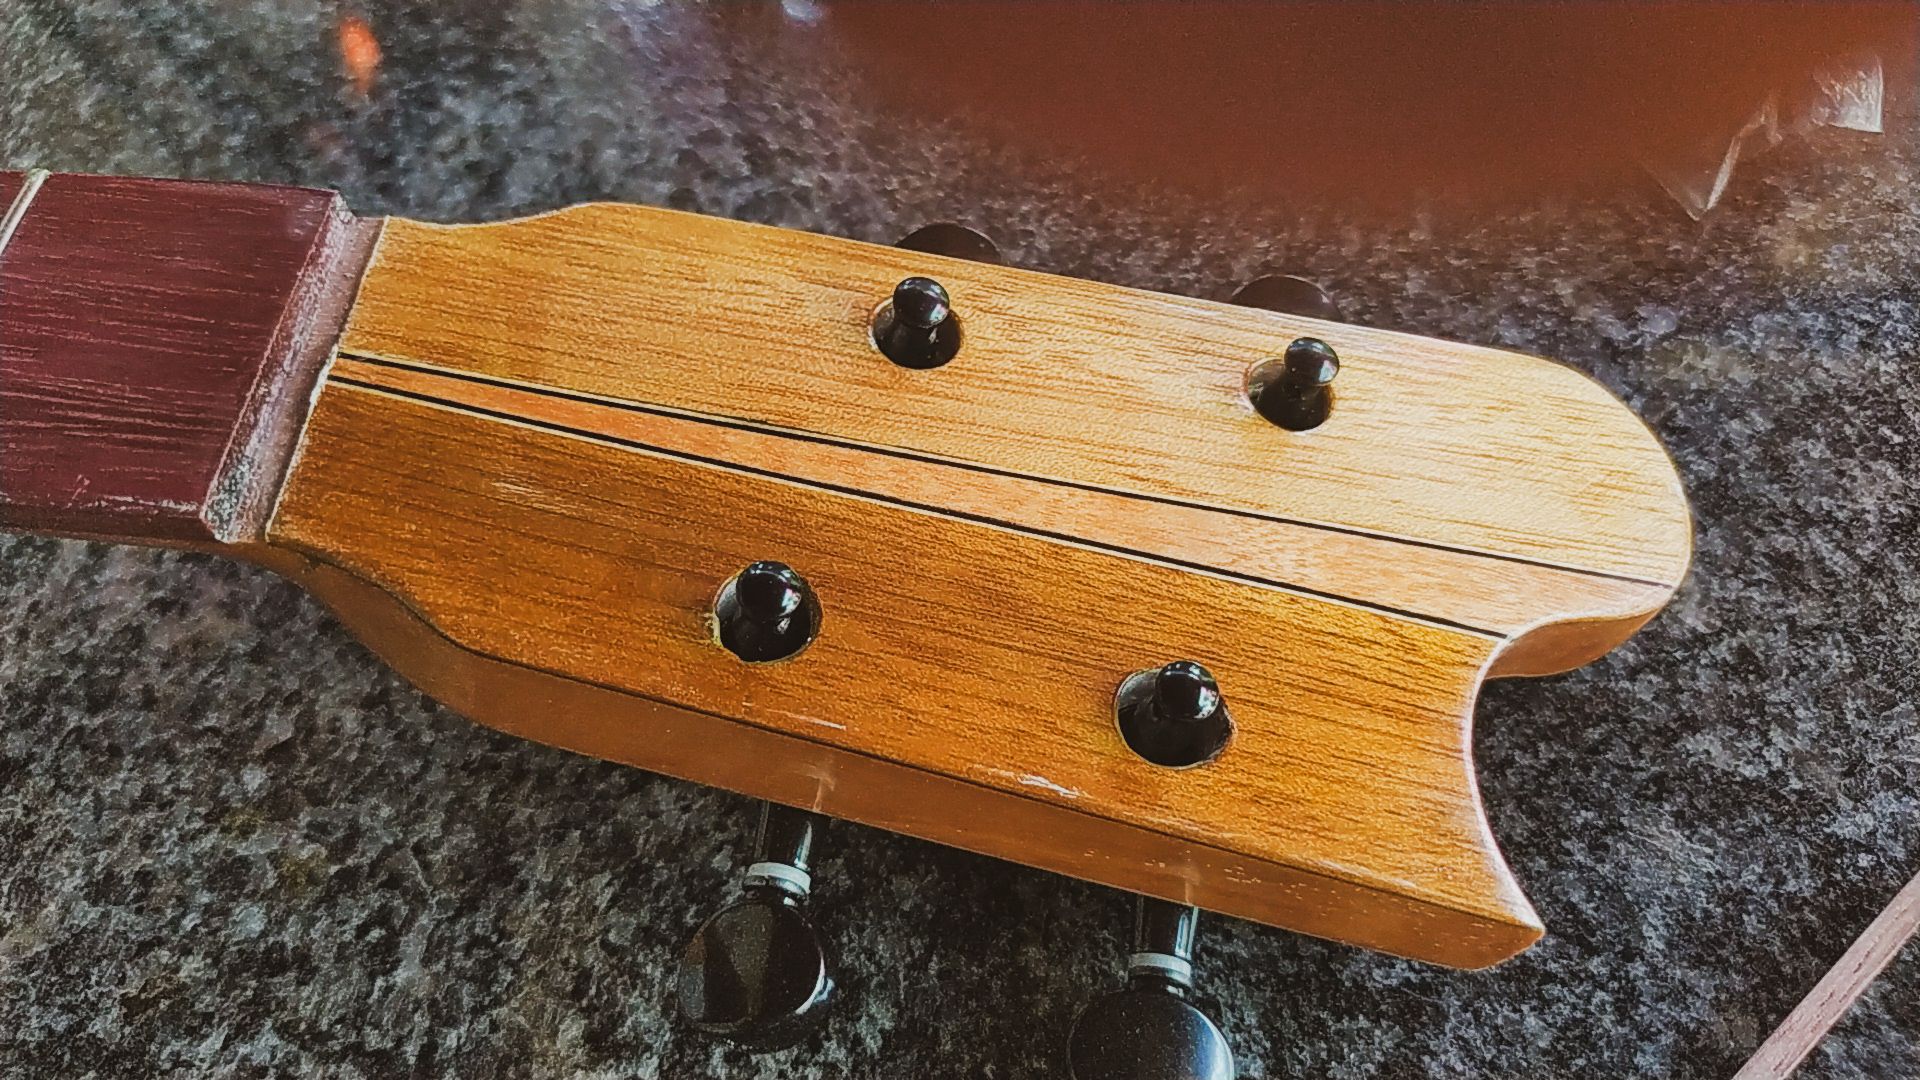
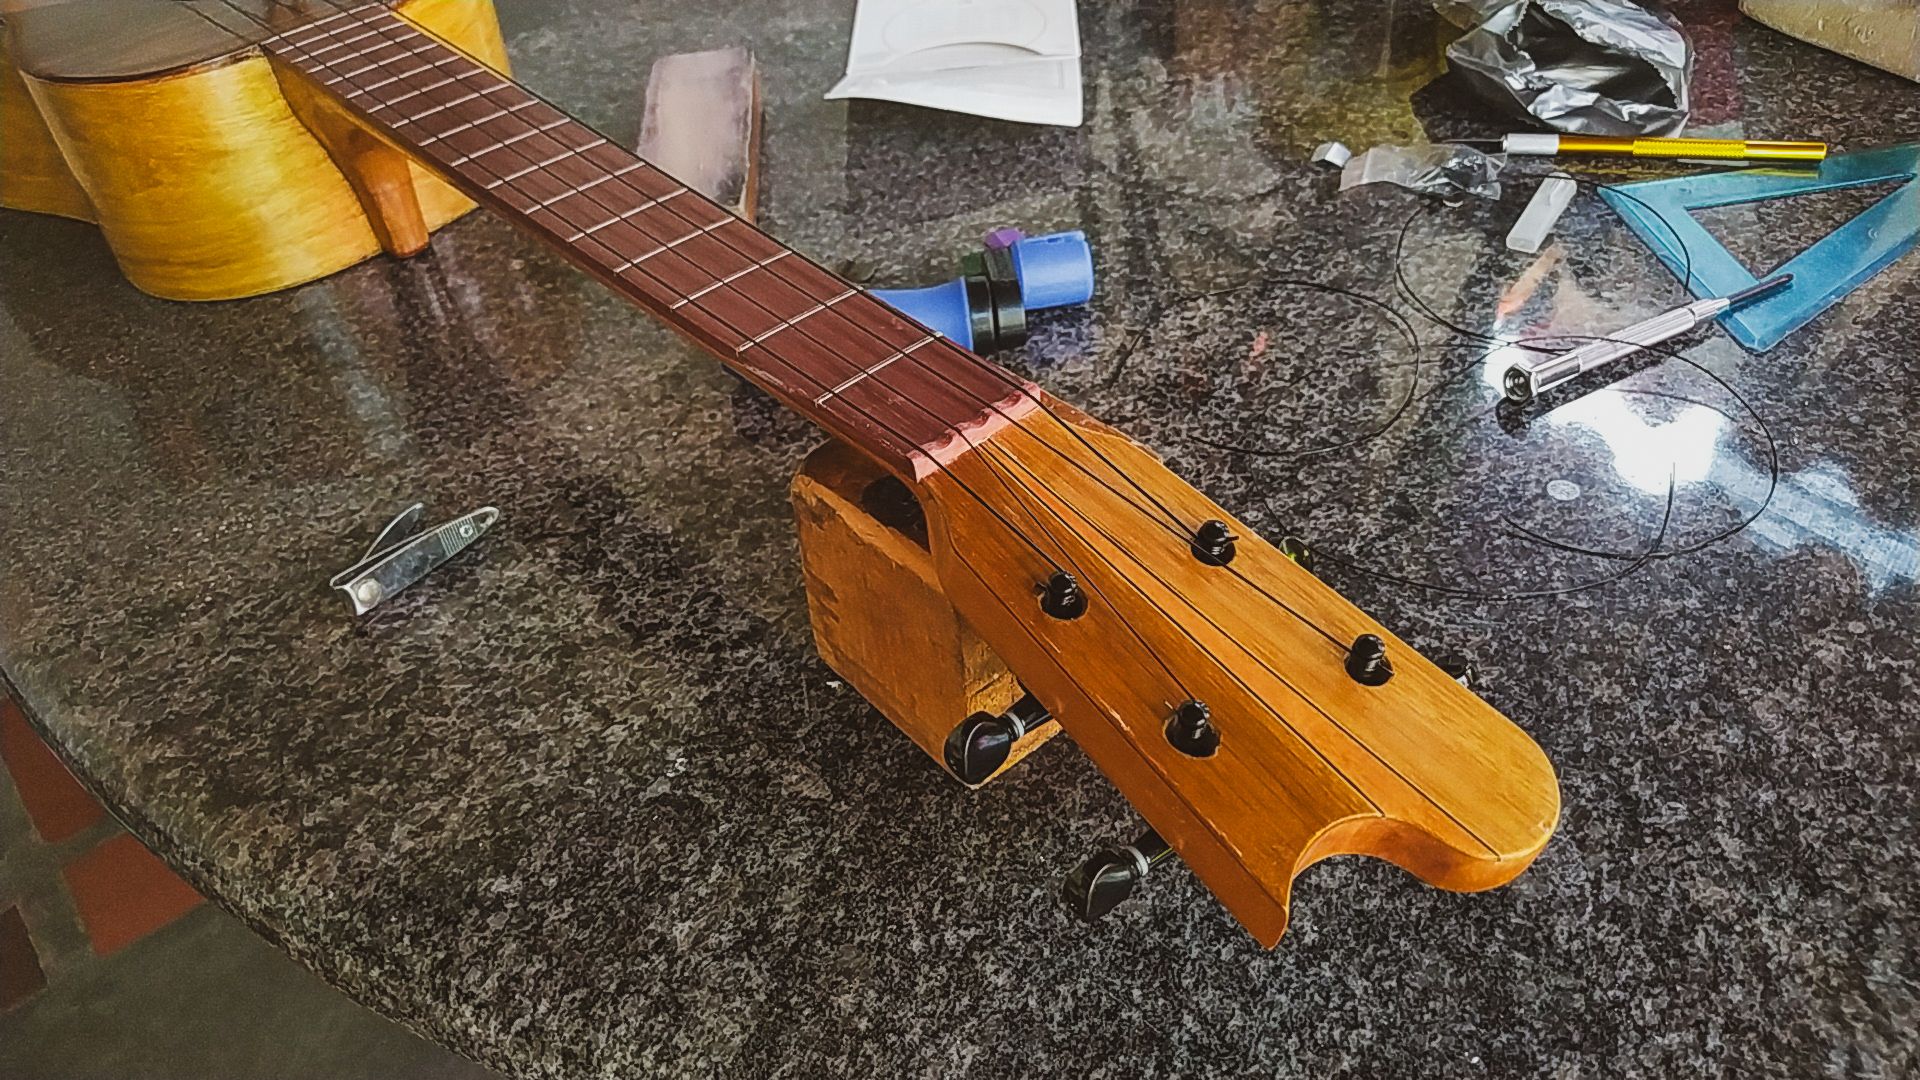
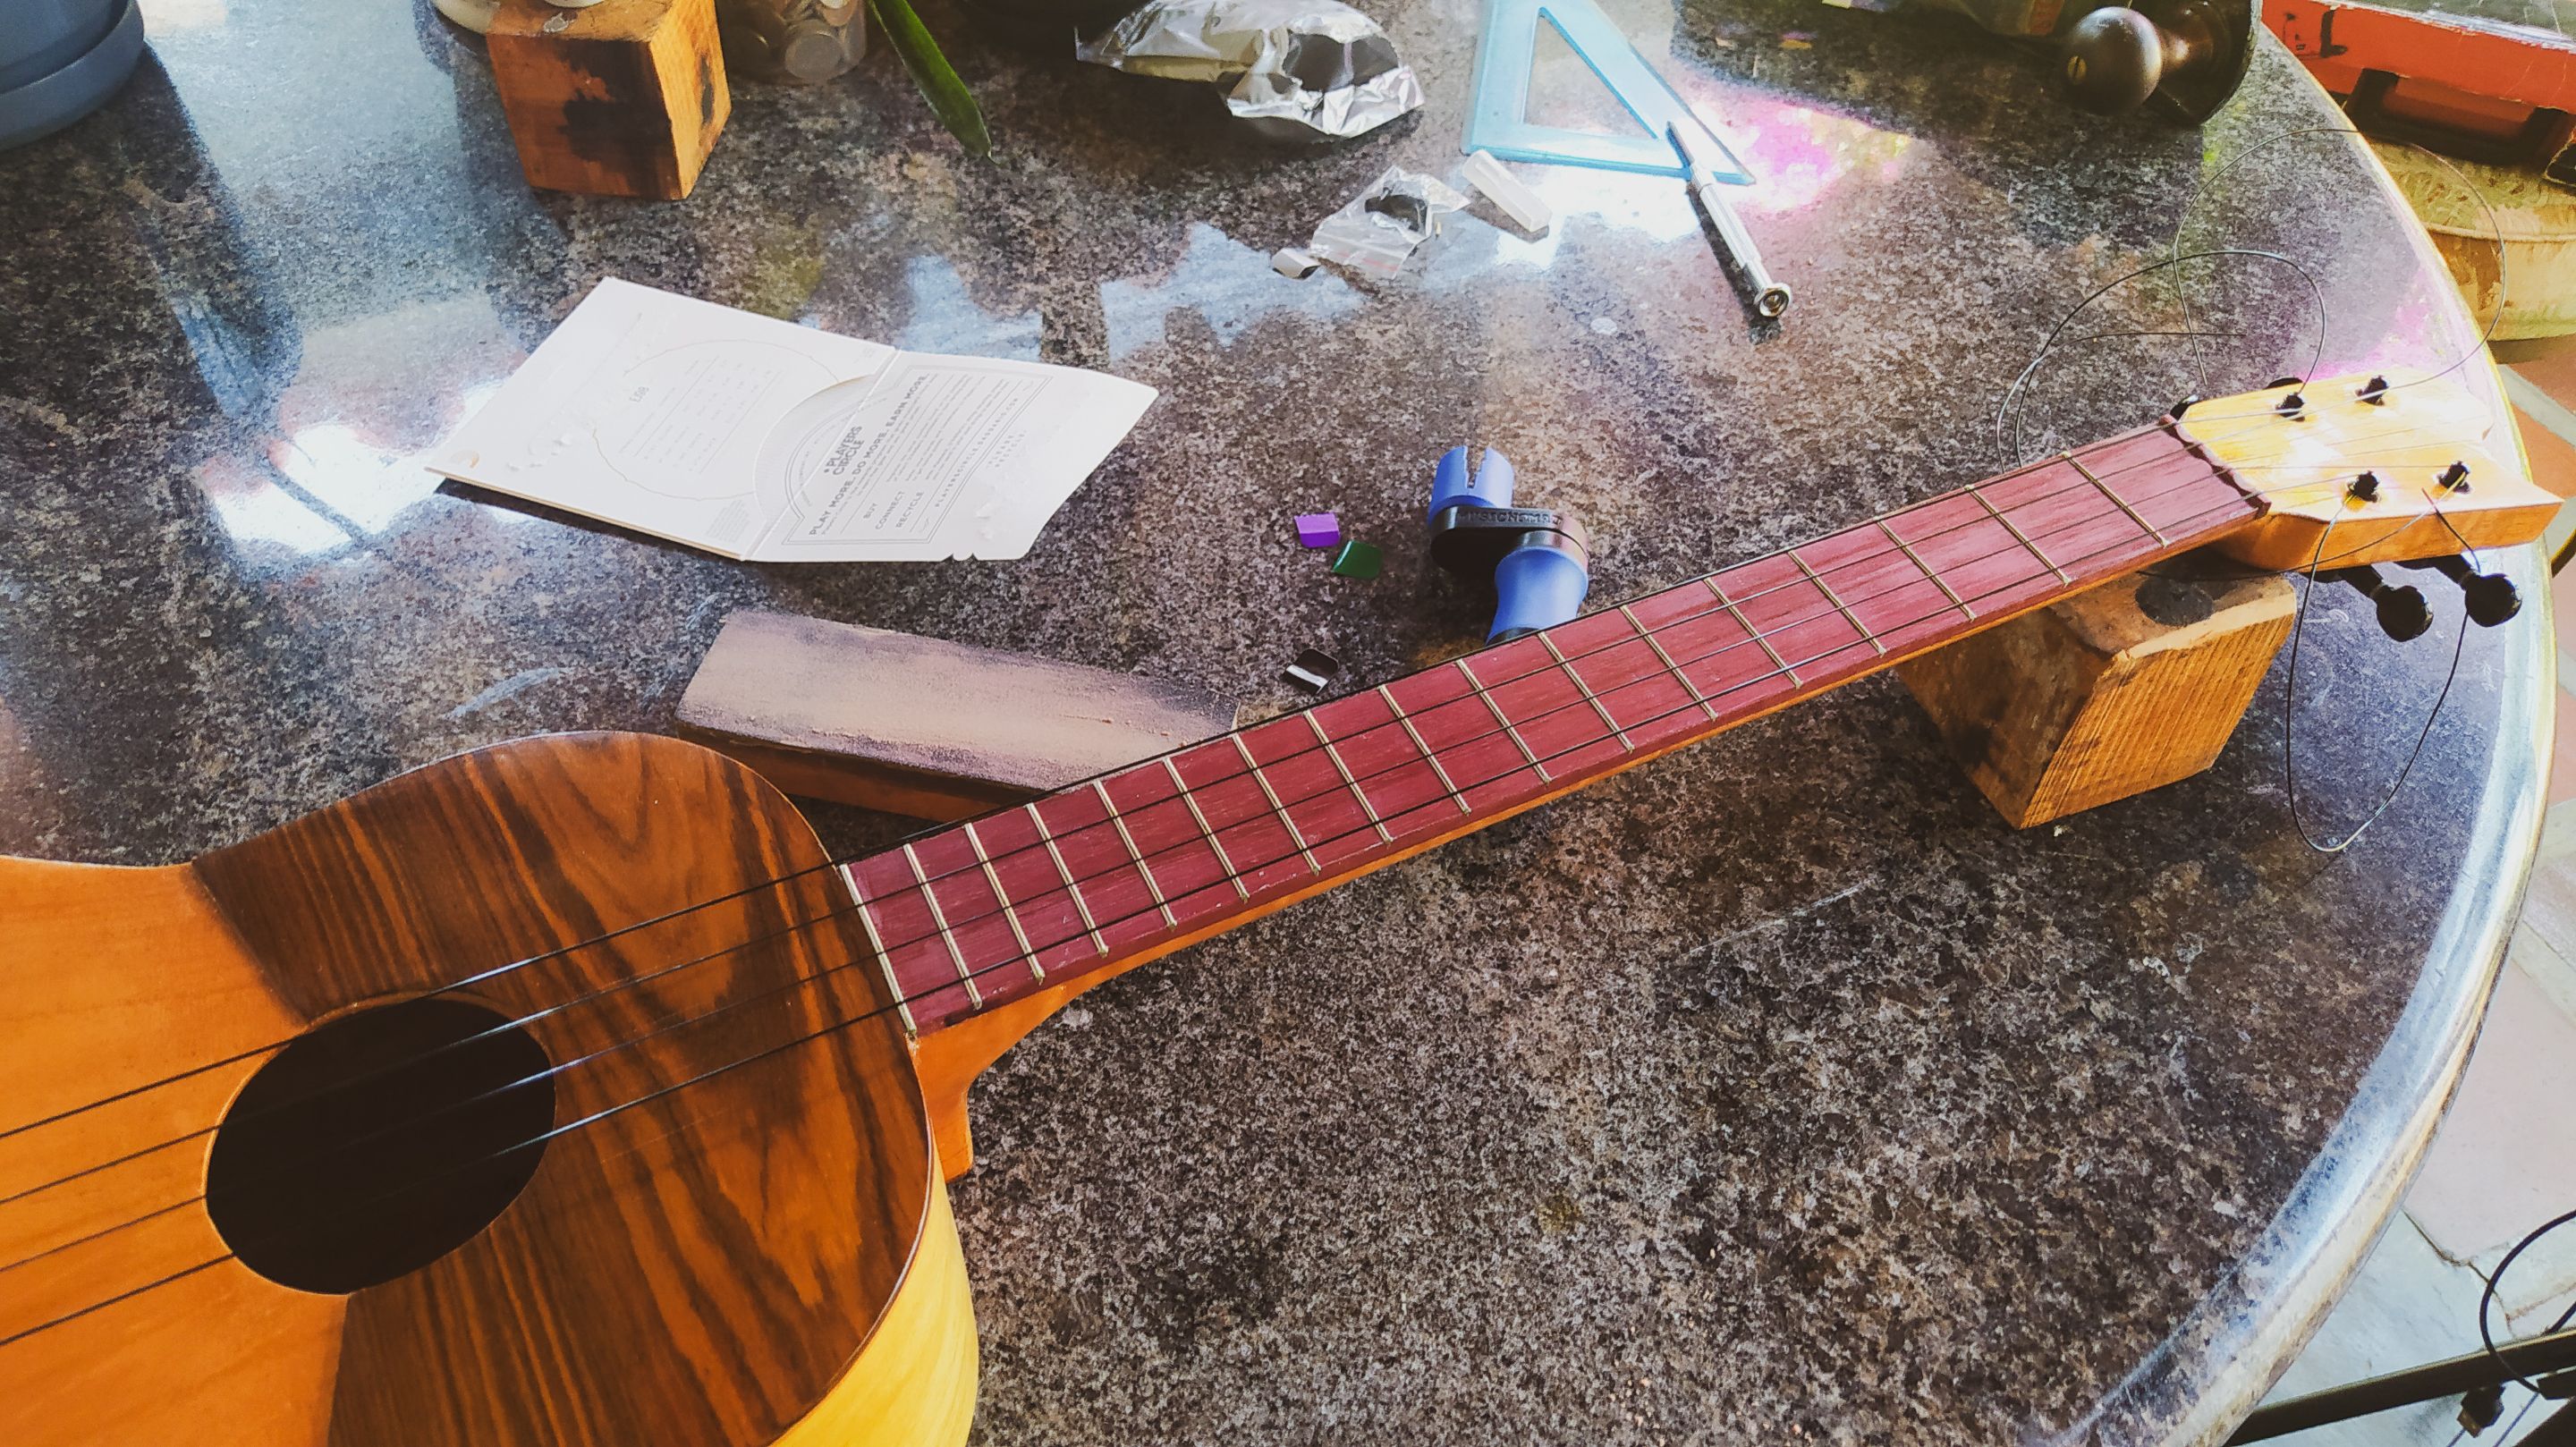
And we arrive to the last part of the build. This is the birth of the instrument. The time when it cries its first sounds. To start, we take this tuner and get them in place. This is the first time I'm using ukulele tuners for a build like this. I wanted to try lighter tuners to see if they can withstand the tension and help have instruments which aren't unbalanced. After getting the tuners in place, we found out that we needed more space to get the washer and nut the have to hide the hole for installation. That is something we'll fix later. For now, the tuners are in place and don't move, so we are good to go.
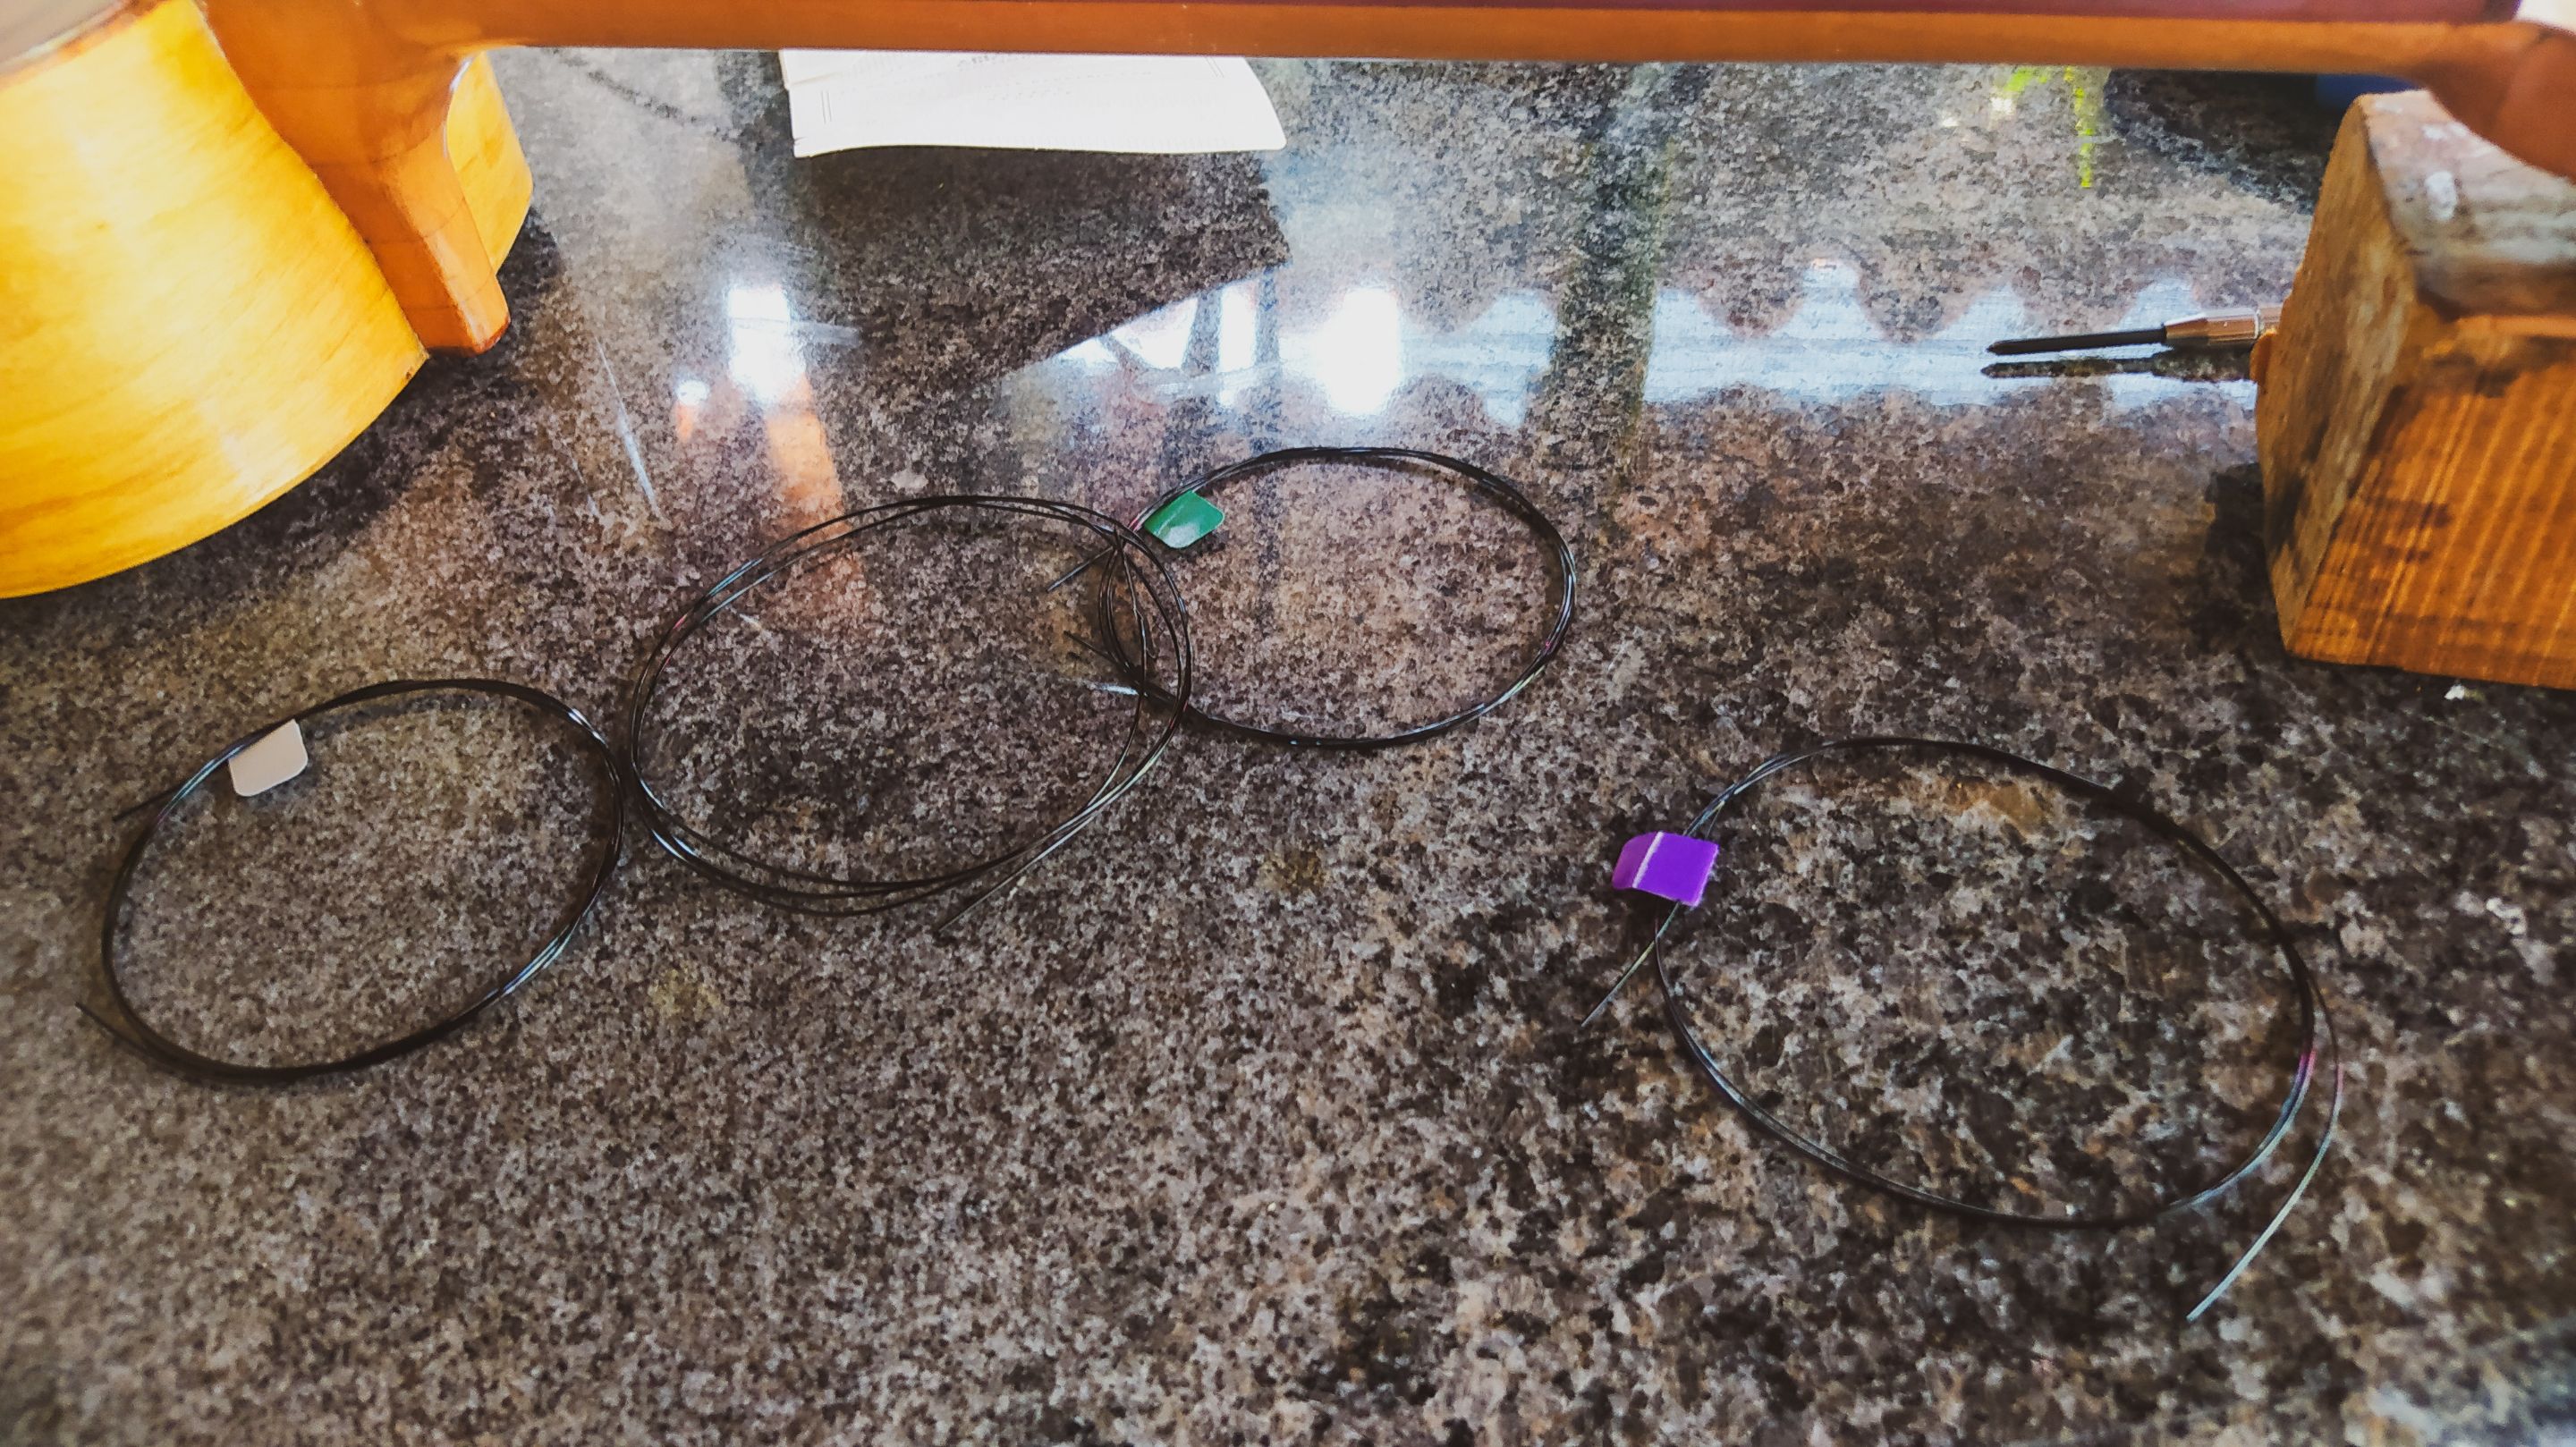
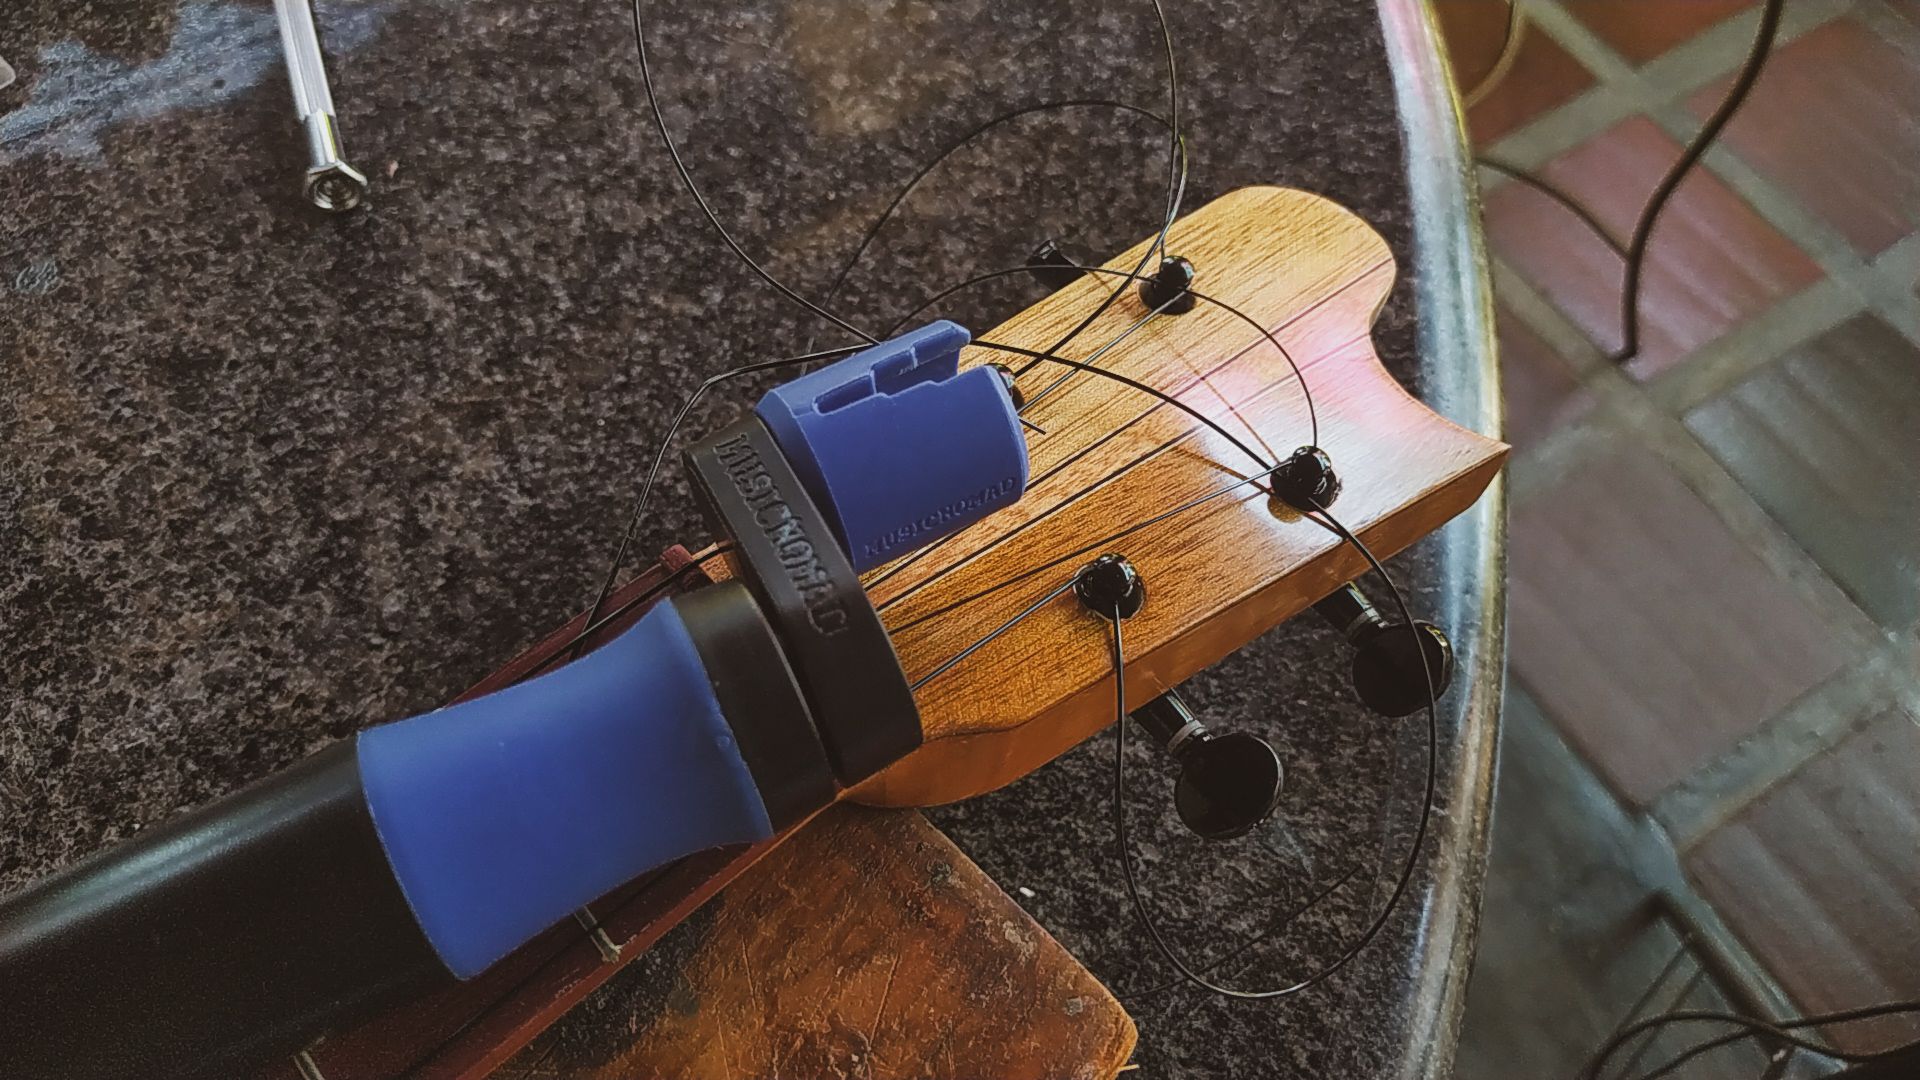
We take out the strings for the package. They come with their color coding to identify which goes where. We get them in place and cut the excess since these tuners don't need any excess strings. To get them in tune, we just use this manual winder to get to the tension we need faster.
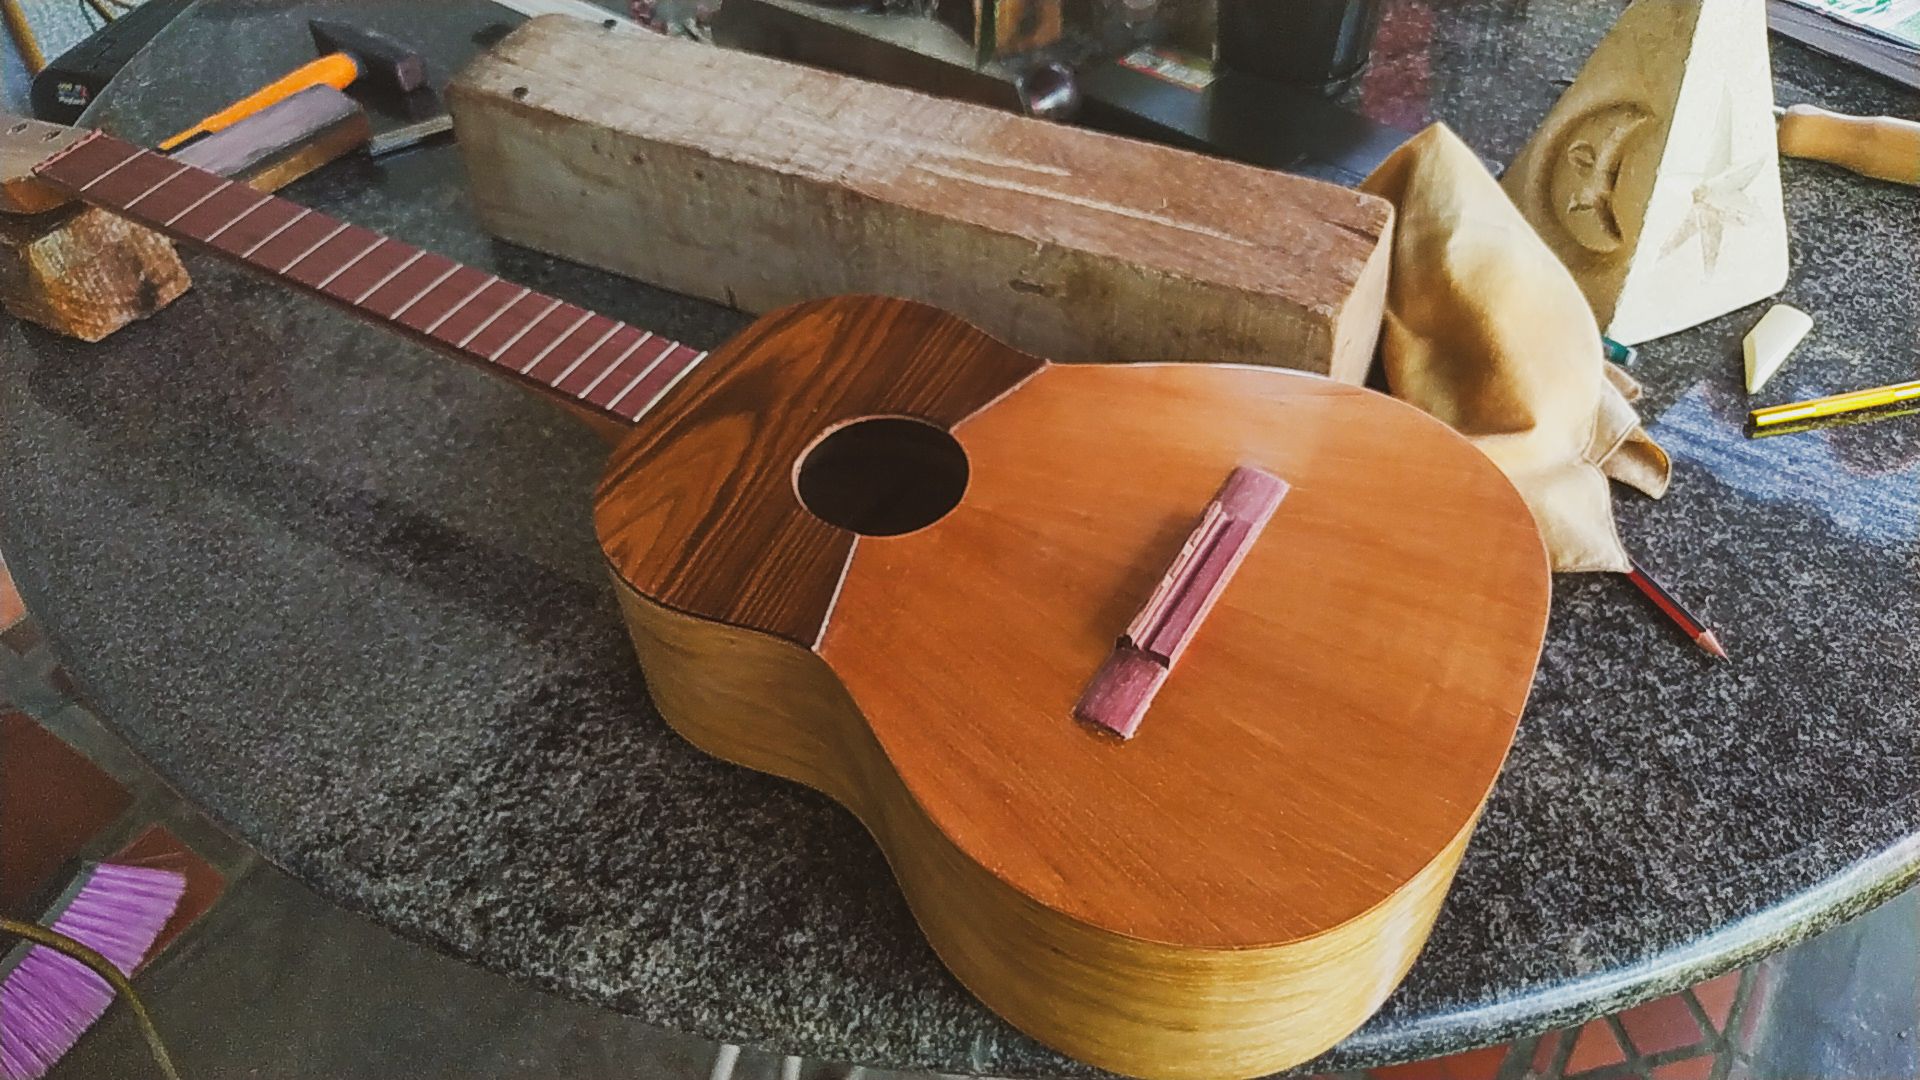
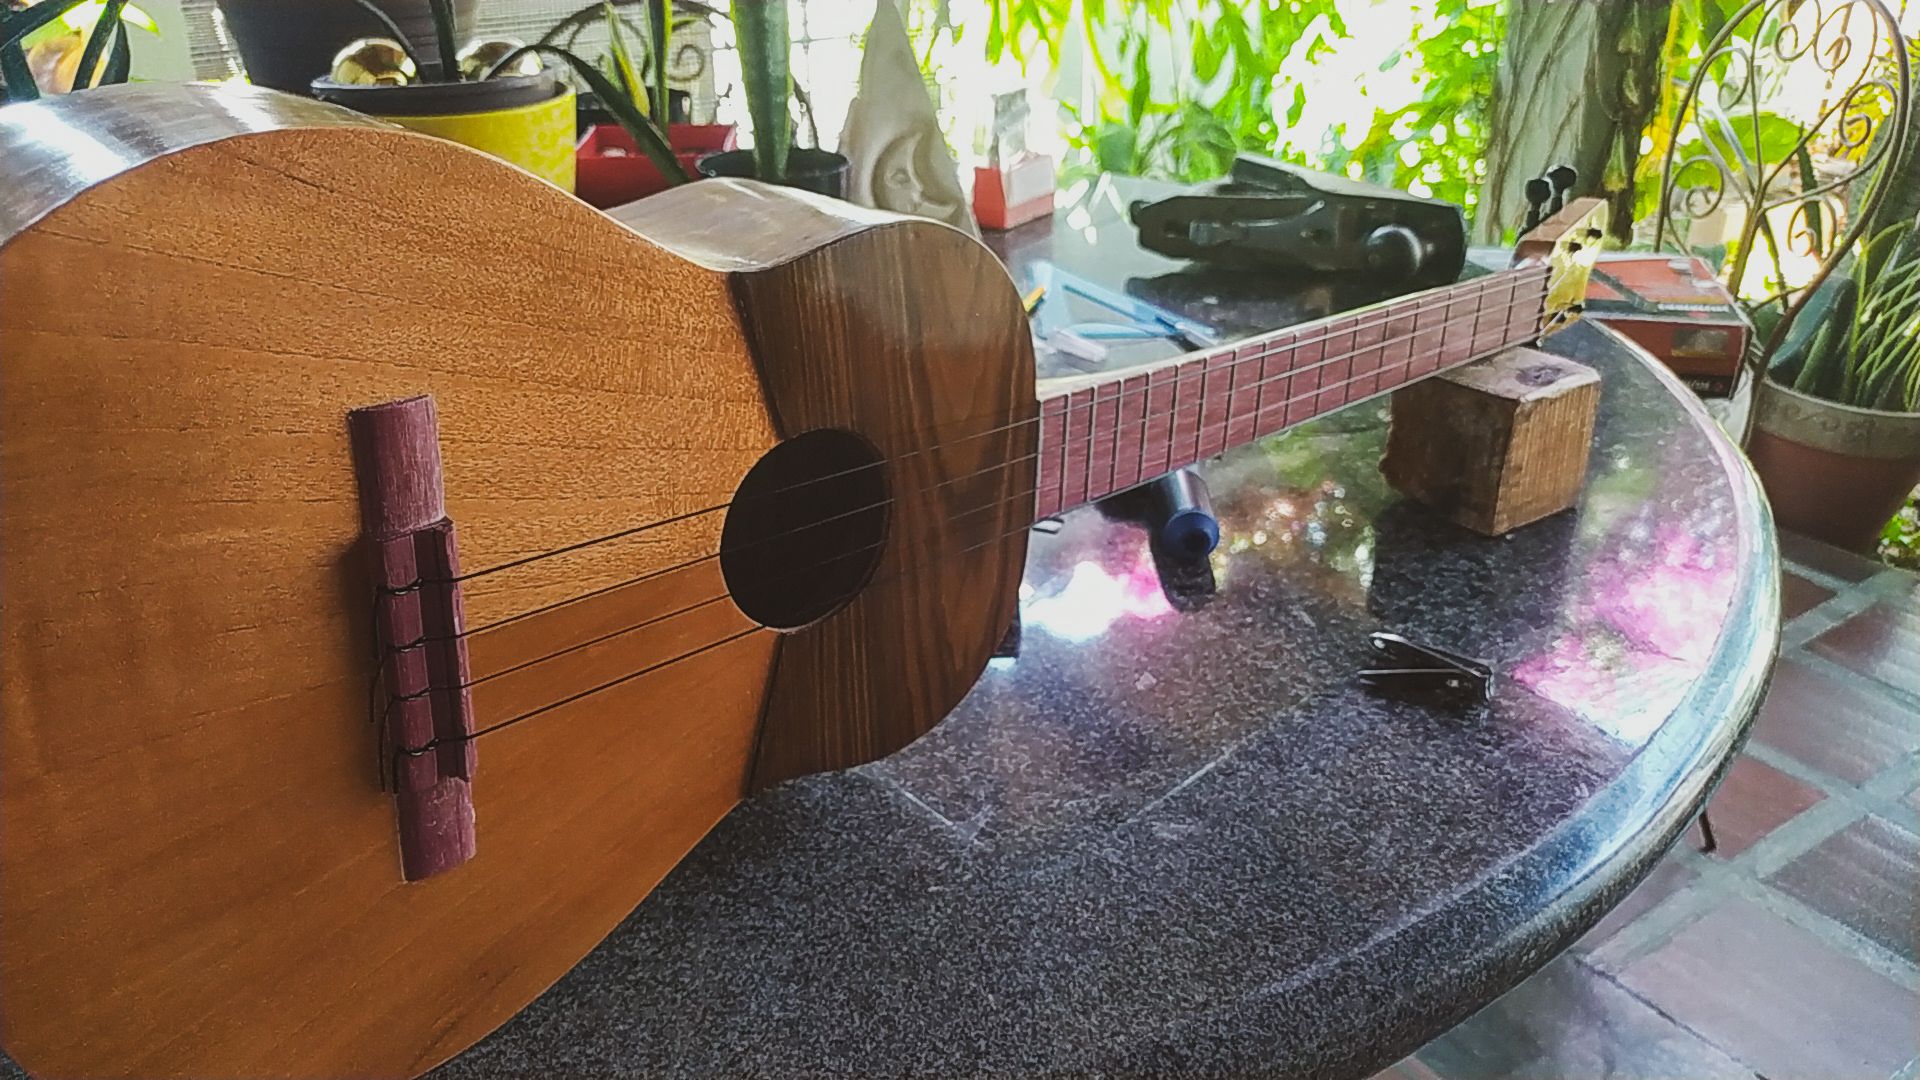
Once we get the instrument in tune we asses anything that needs to be done, i.e. adjusting the action of the strings by working on the height of the saddle, checking the tuning, etc. Moving away from these processes, we can take a moment to admire the beauty of another build completed. Once more for the count!
If you're wondering about the sound, I have two covers already made with this instrument. I made it for myself since I have to make some repairs on my other one. And, lo, I couldn't be happier about having another instrument. And this time, one made entirely by myself.
This has been all for this build. Thanks for following along this process. This will be the last instrument I make for a while, but I'll keep doing some other DIY projects. So Woodworking Wednesdays takes a break.
Until next time!
Sound Test
Build Road
`
Fotos/Photos 📷: taken by me (Redmi Note 8)
Portada/Thumbnail 🖼️: by me, created with Canva.
Edición/Editing 🎬: by me, made with Adobe Photoshop Lightroom.

Follow me on Instagram for enquires and commission.
If you'd like to help the workshop grow, you can make a donation here. You can find me at discord as bertrayo#1763