Hello hive
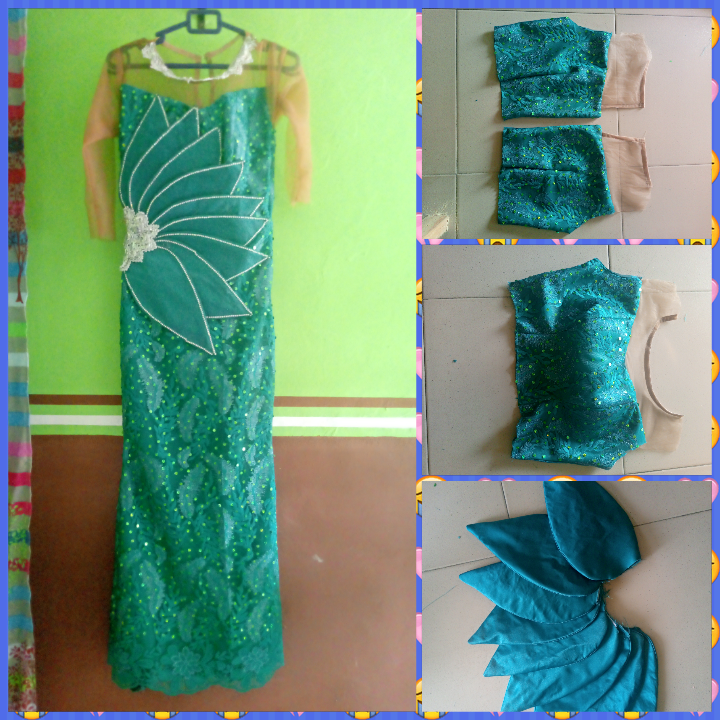
Greetings to you all @needleworkmonday, it's a beautiful day out here and I'm sure you all are doing great, it's my pleasure to bring to you today the making of this 3D applique outfit I made for my cousin.
Sometimes ago, I shared a post on the making of a party outfit I made for one of my cousins for a wedding party, then I explained in detail how the cutting and sewing process went, well, then, I was to make the outfit for two but unfortunately, the older sister was not around for the party and couldn't attend because of work schedule, not withstanding, I just have to make the outfit for her, the fabric was kept with me until she came up with the idea of wearing the fabric to some occasion, I had no choice than to get to work.
One thing with me is that I love sewing for people close to me, it's very easy for me to use their fabric to learn something new and lucky enough, I have never damaged their fabric in the process, I always make sure I do a perfect job even if it's my first time sewing such, this has really helped me to improve in my sewing skills.
My cousin came with 2 different outfits on her phone that she will like to make, when she asked, I picked this particular one for her because I wanted to try something new, the other one was just a simple gown that I already know how to make, I said to myself, this is an opportunity for my to try this design on an outfit.
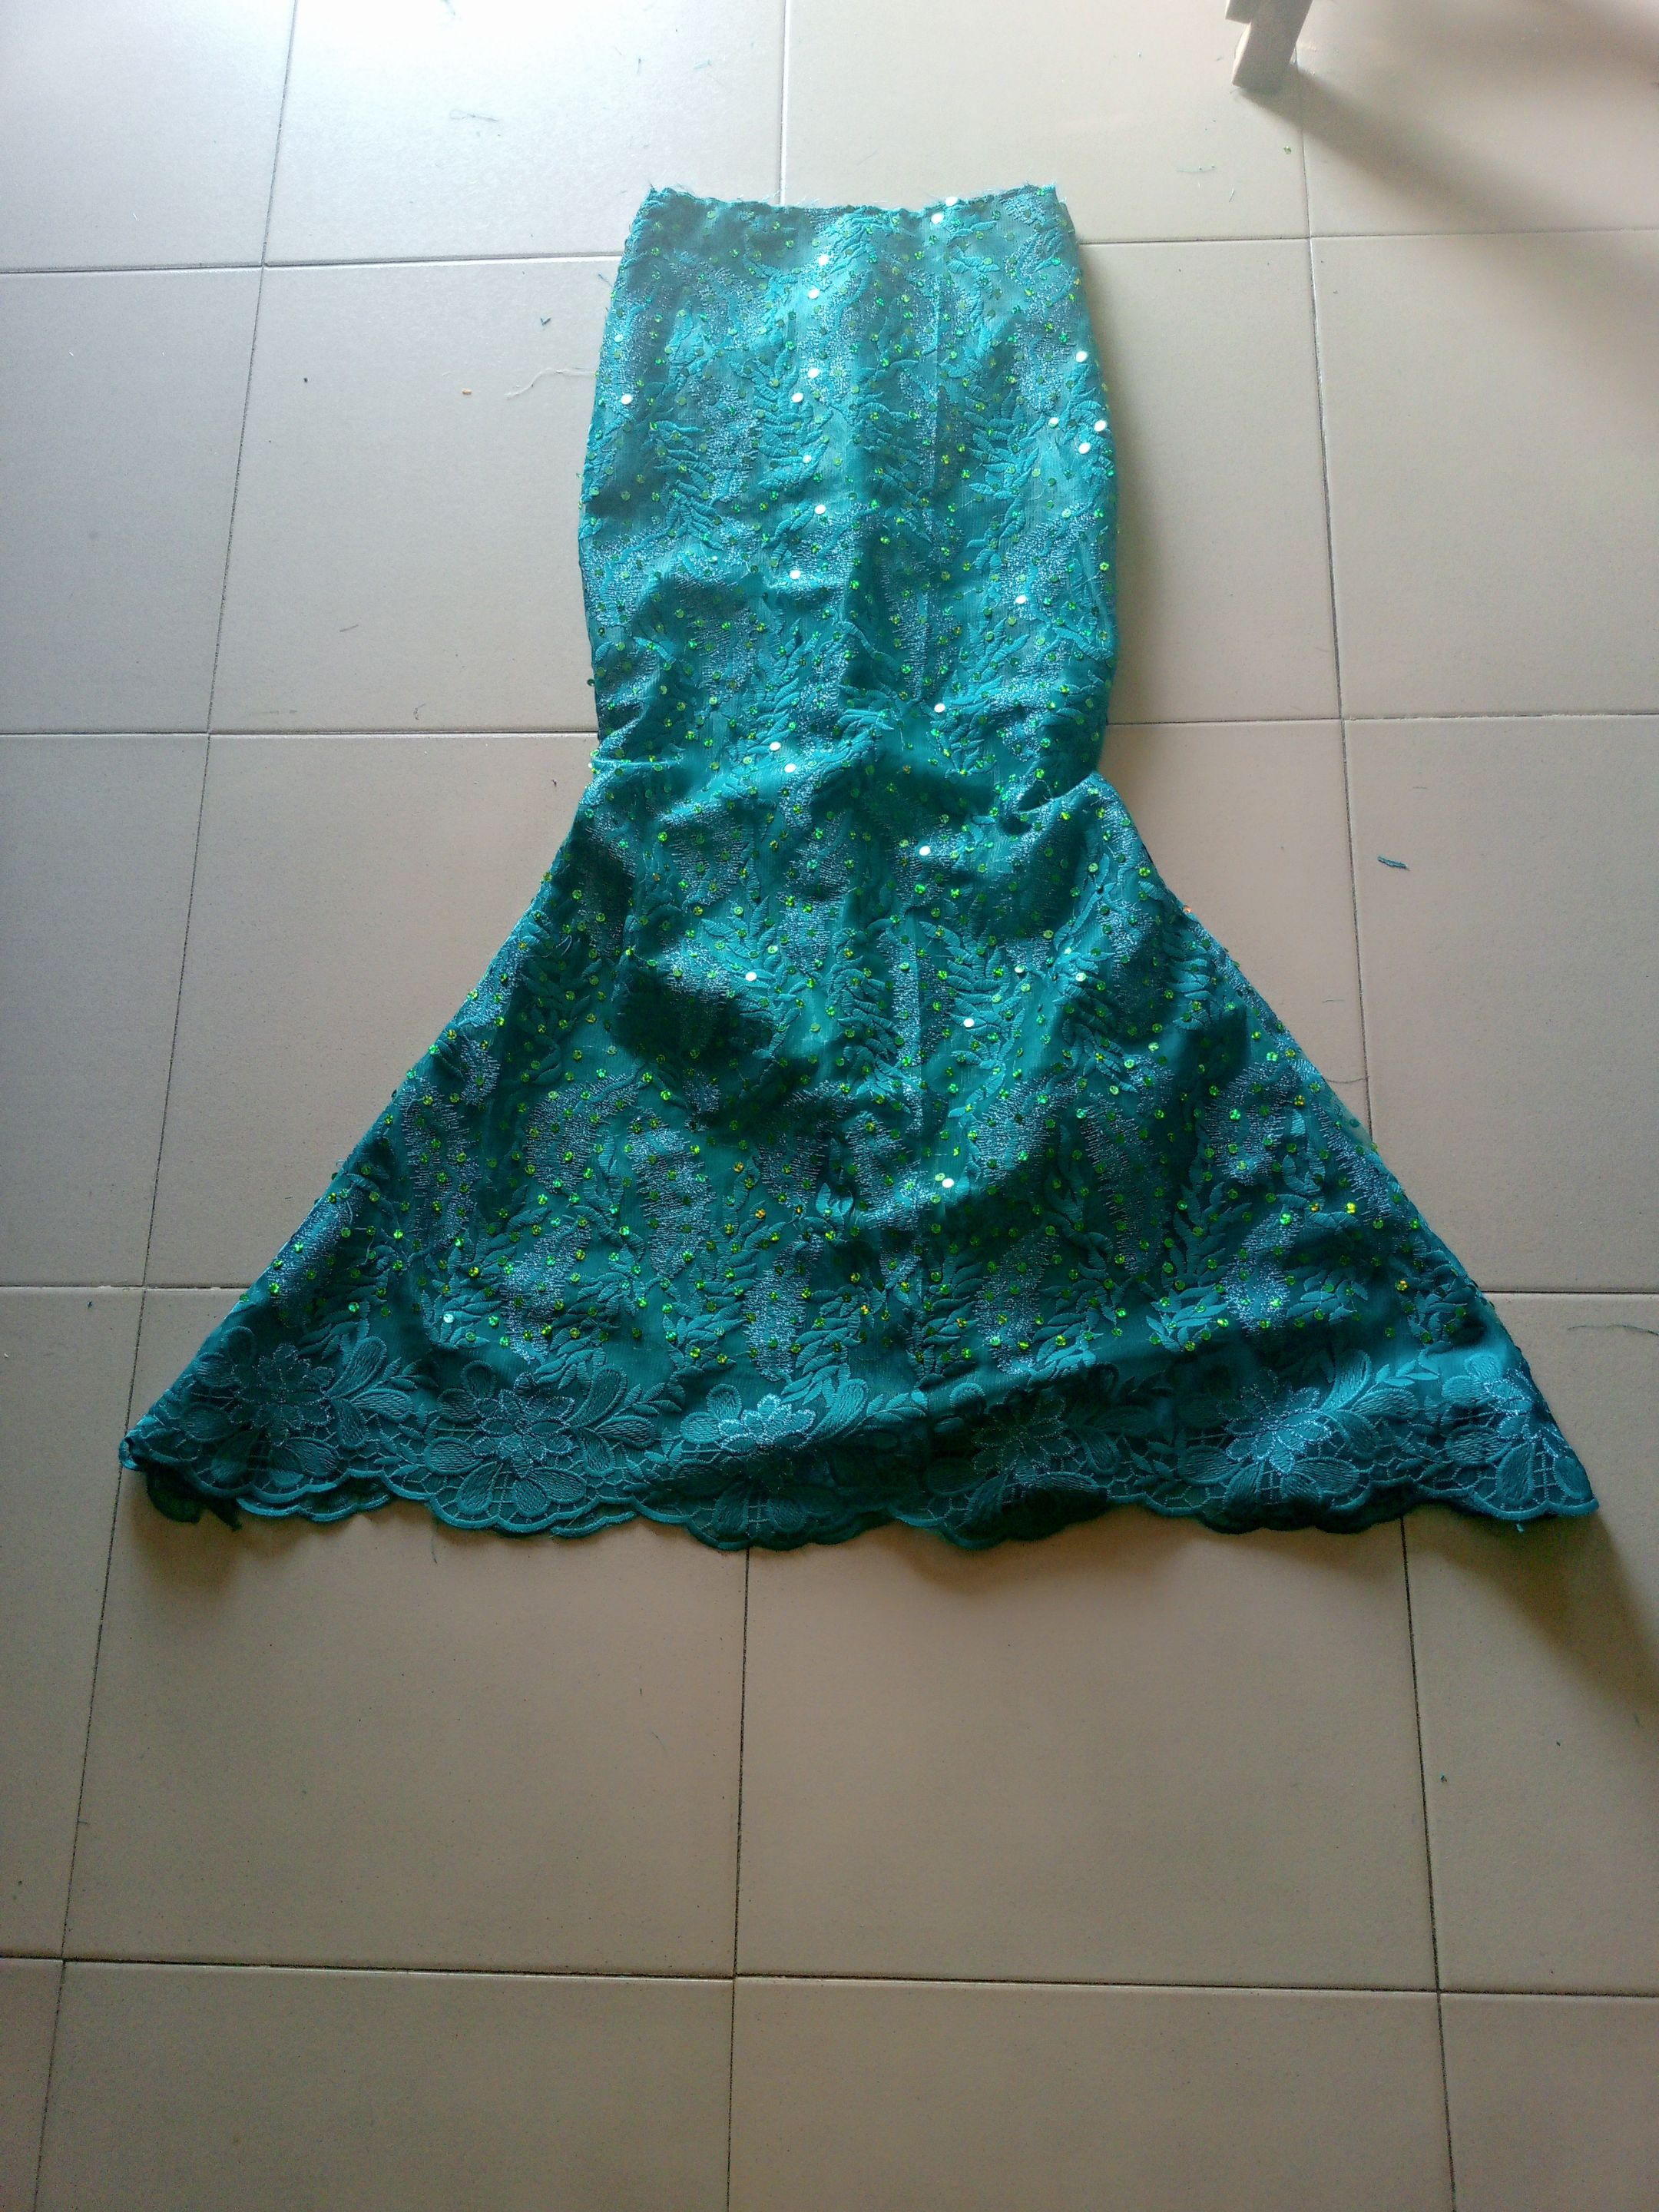
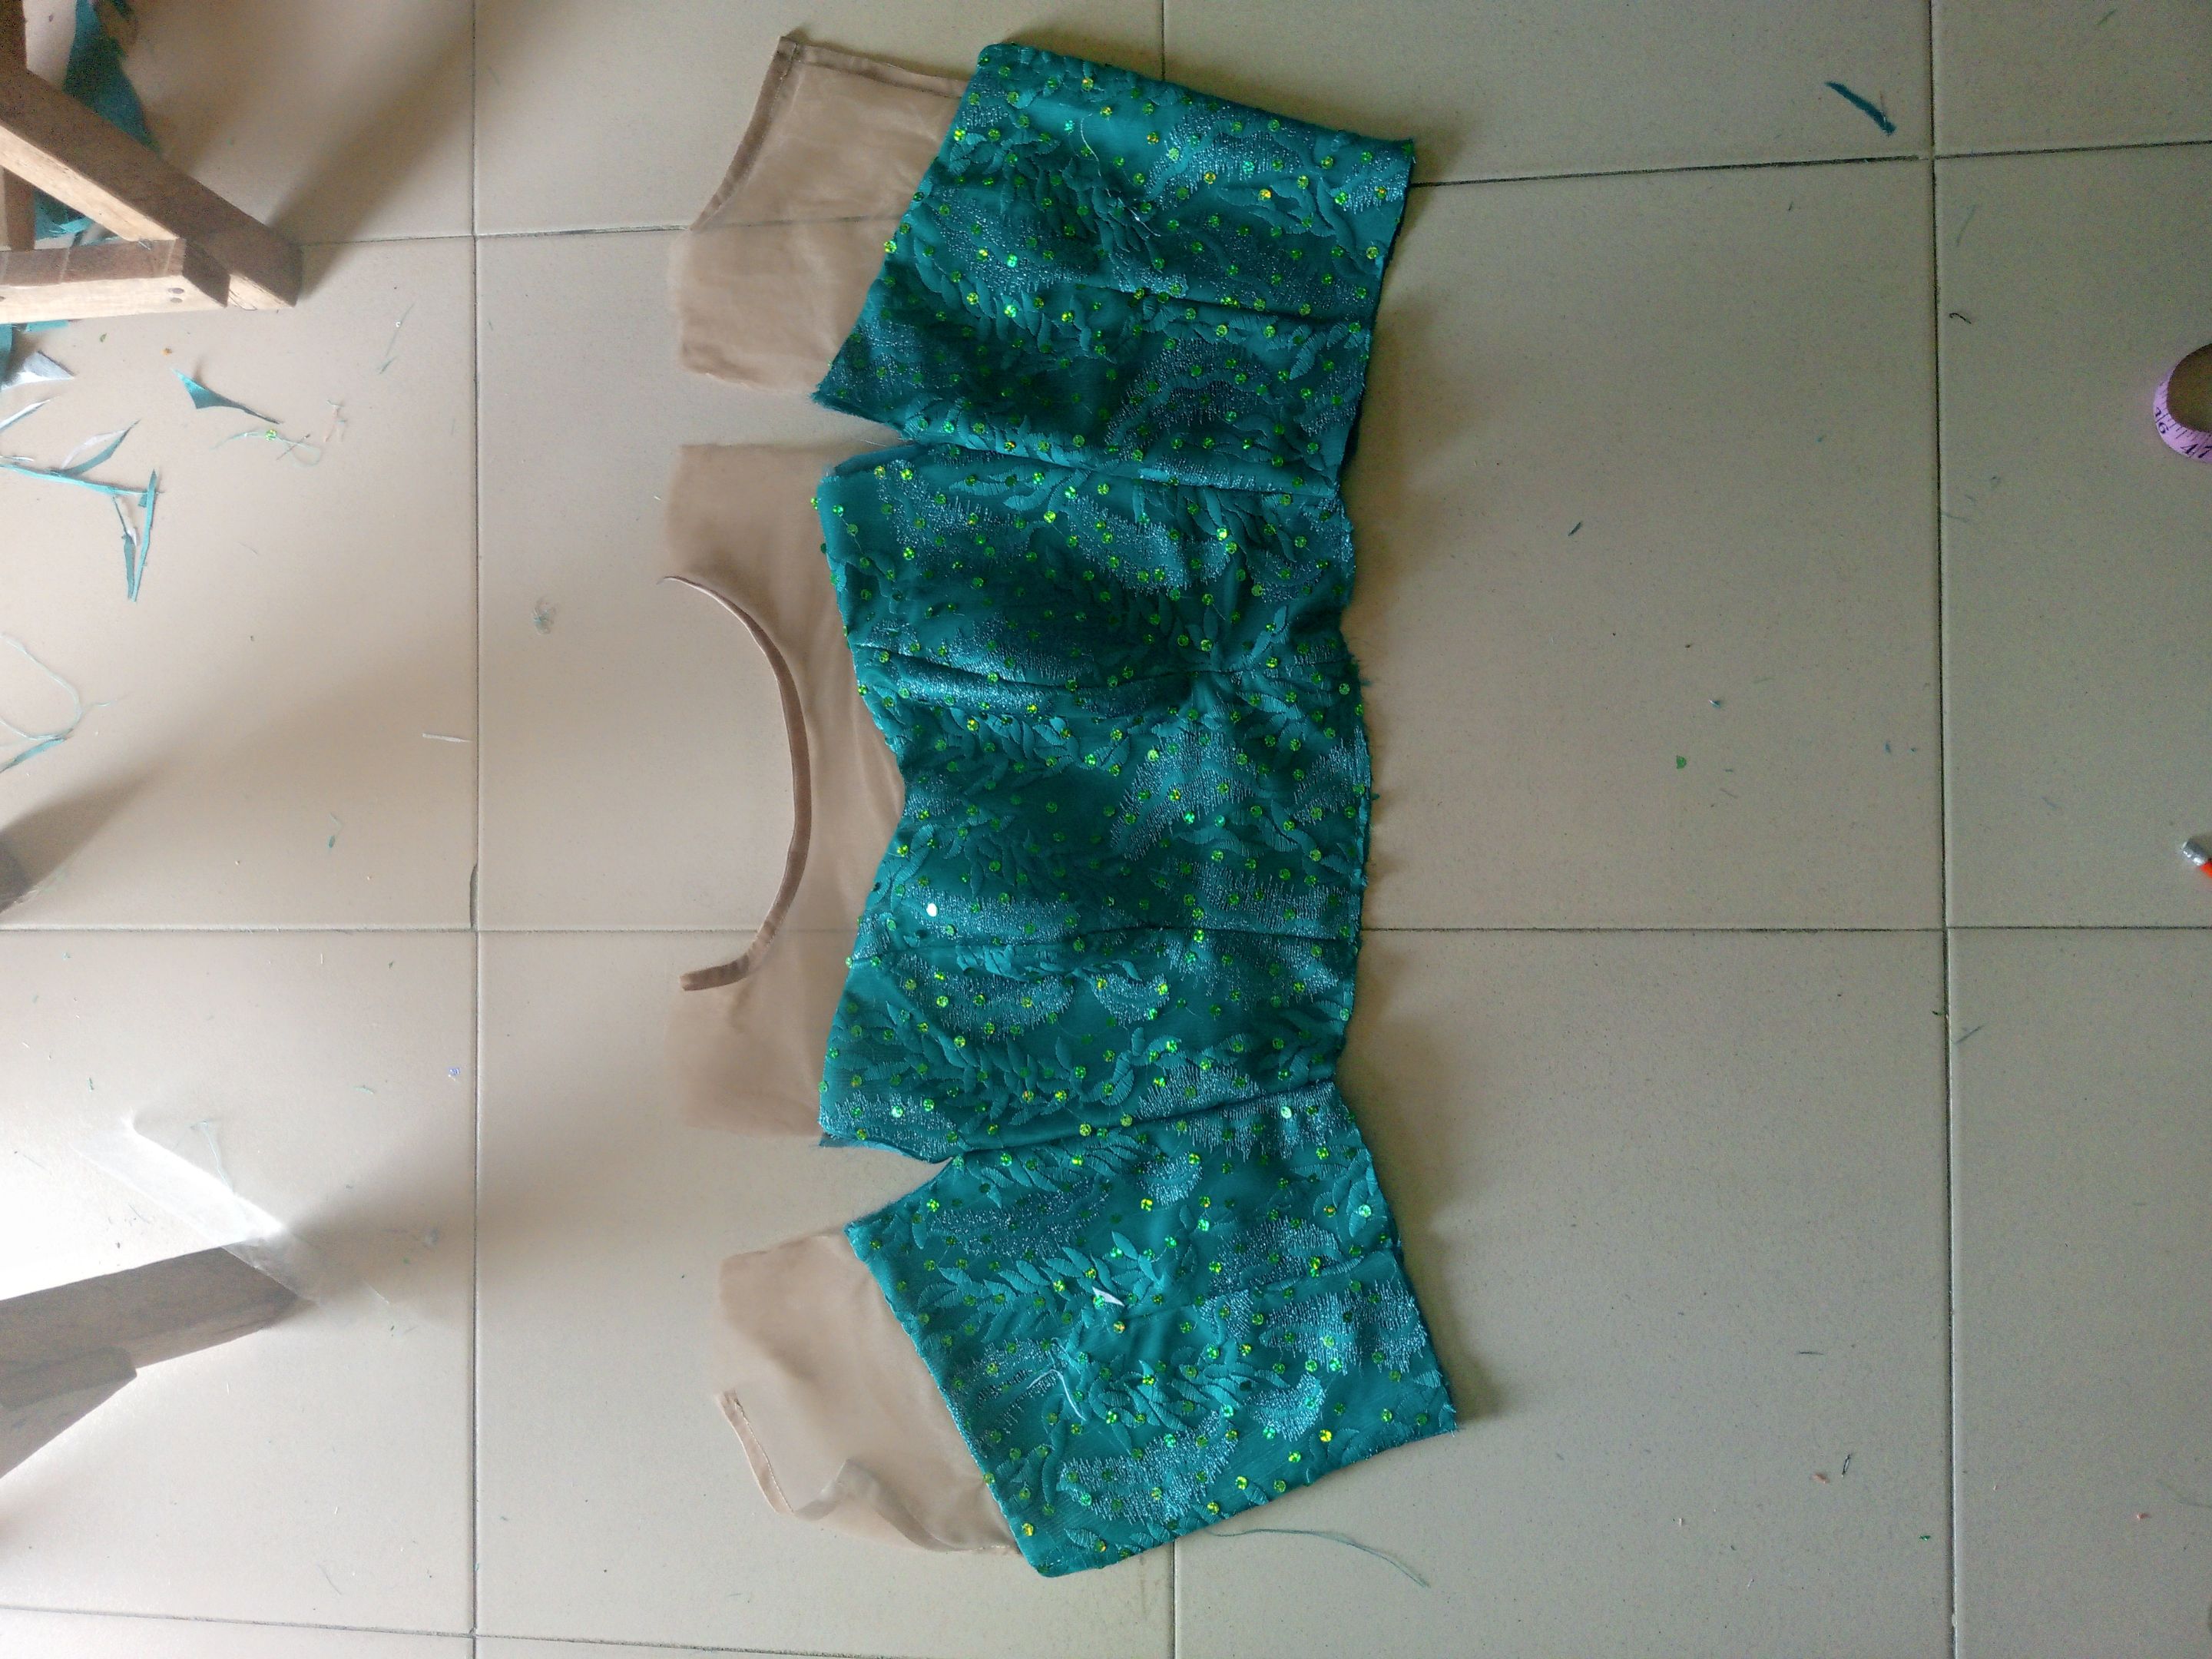
In making this outfit, I noticed the only difference is the applique on the side of the dress while the gown itself is a normal outfit that I can easily make, to make the gown, I made use of the slash and spread method just the way I did for her younger sister, the slash and spread method was done using brown paper to draft out the lower part of the gown before slashing and spreading to my desired width.
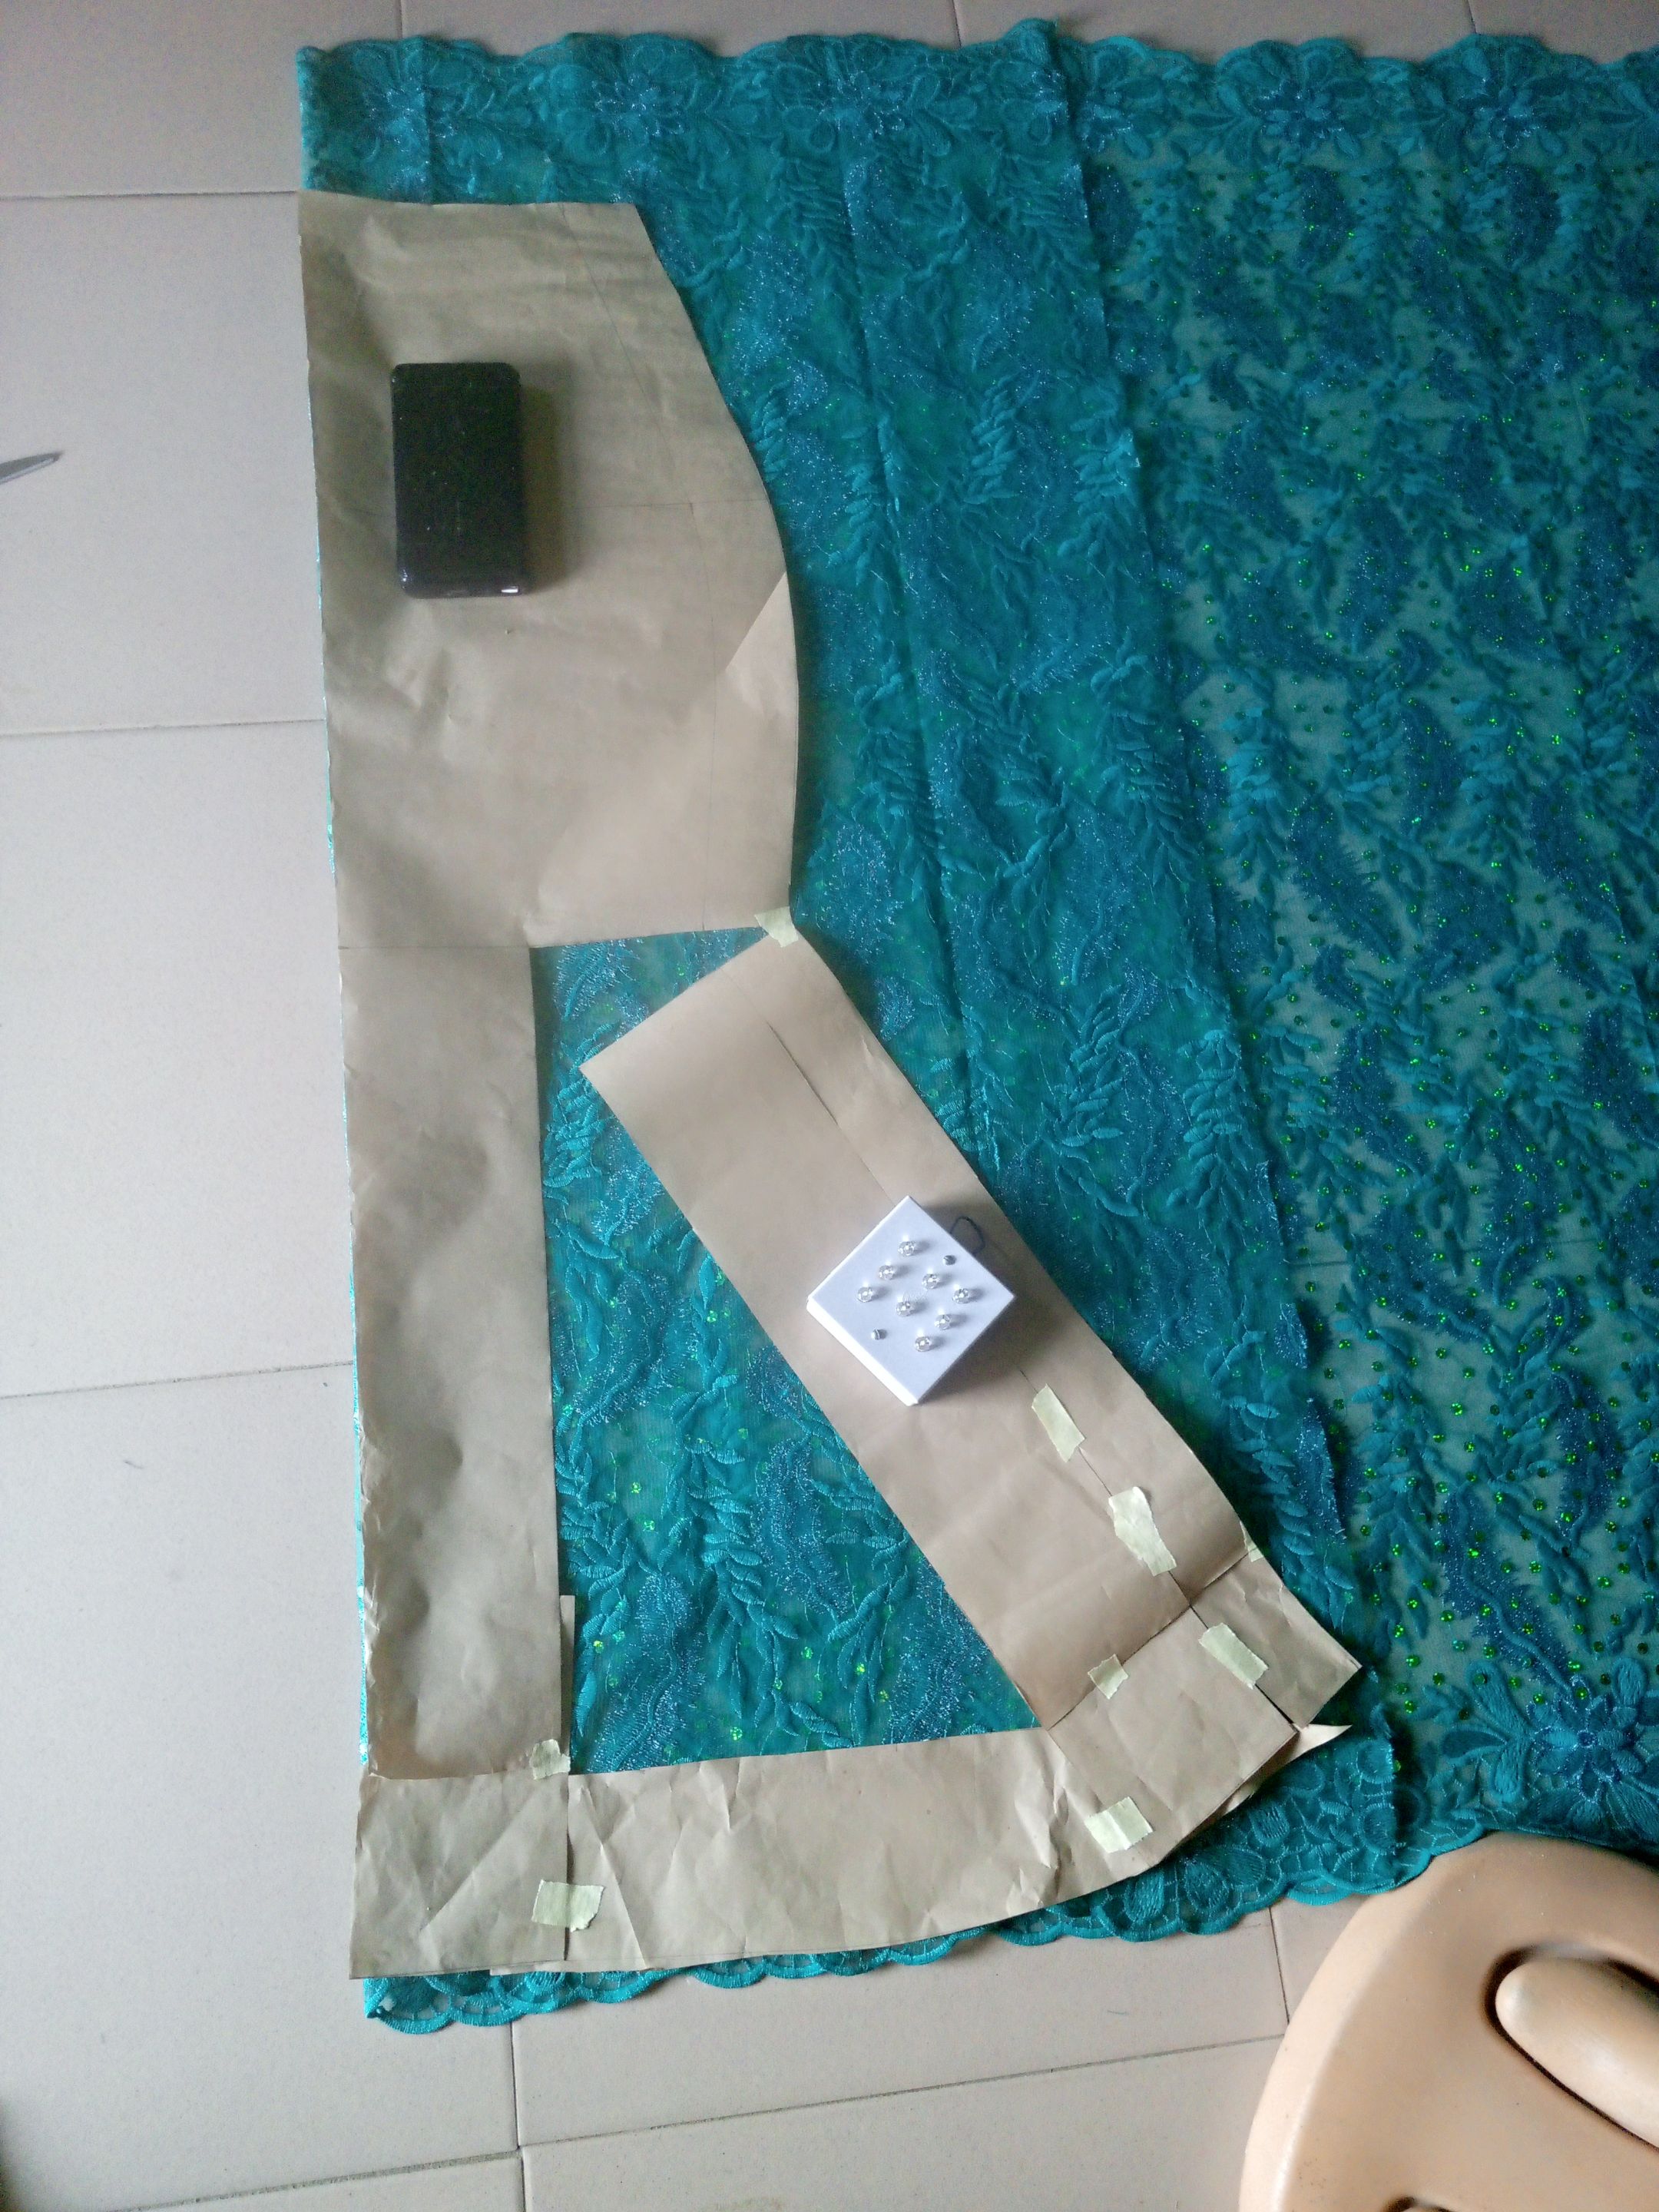
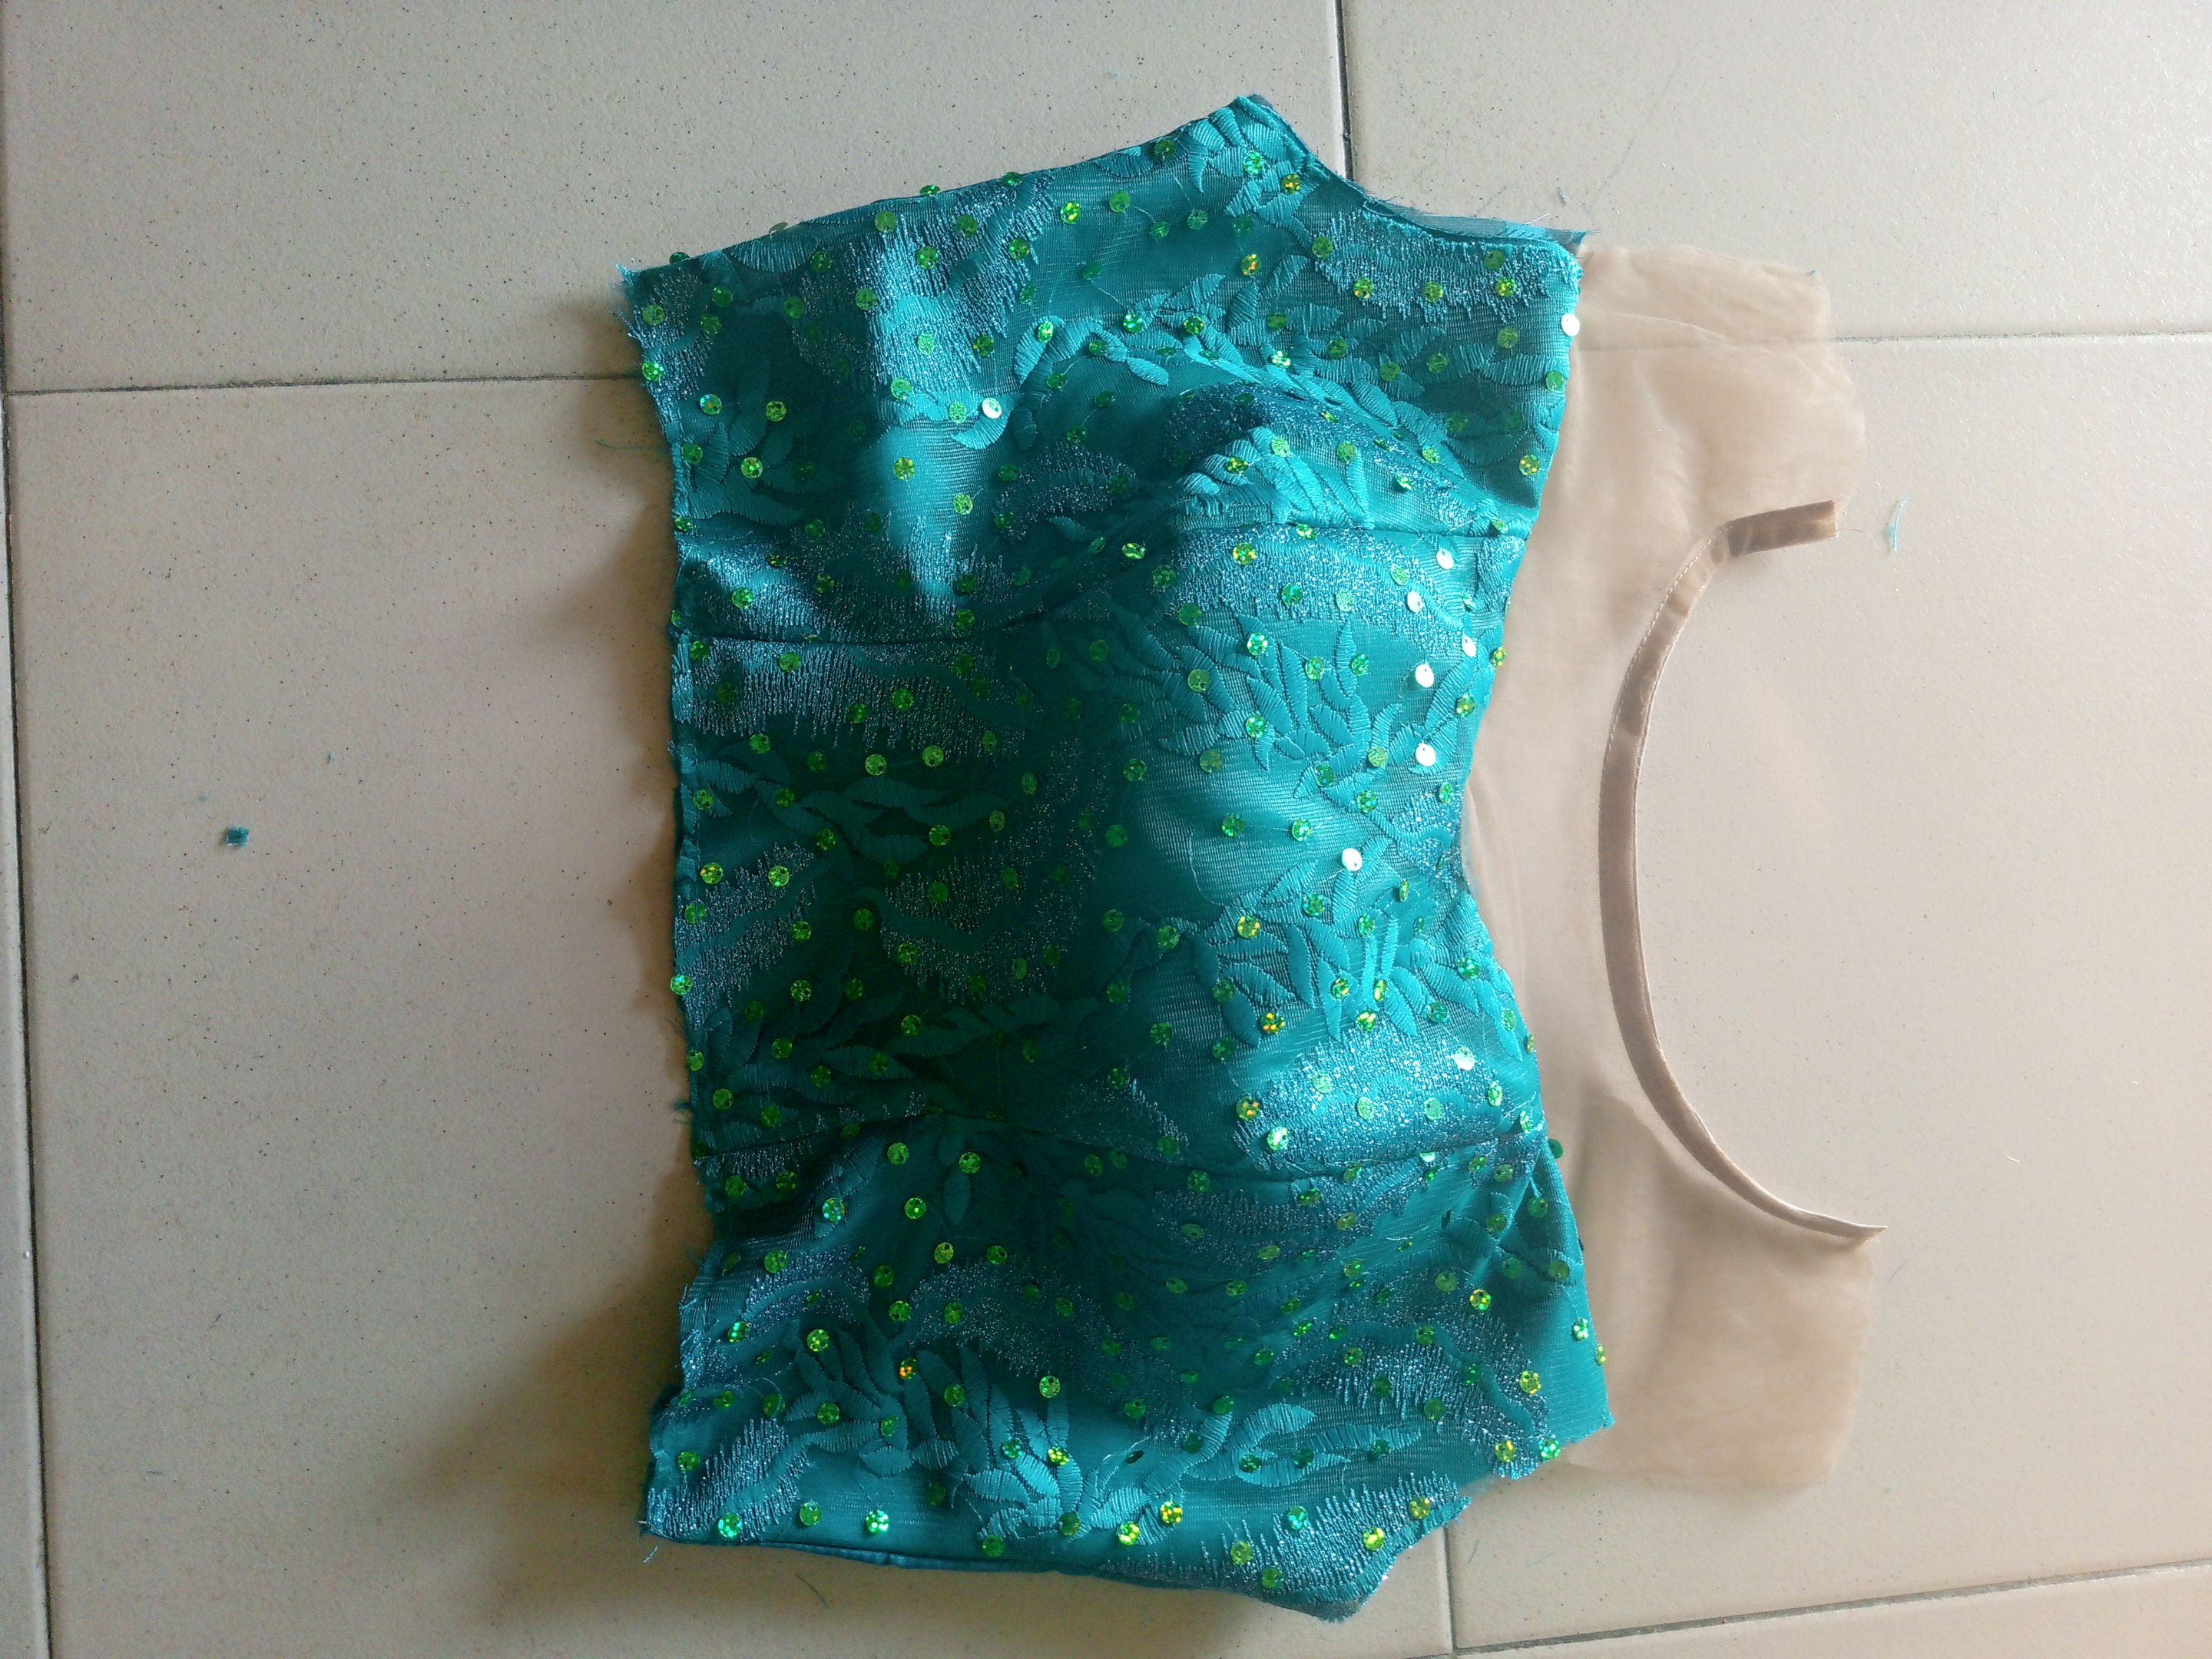
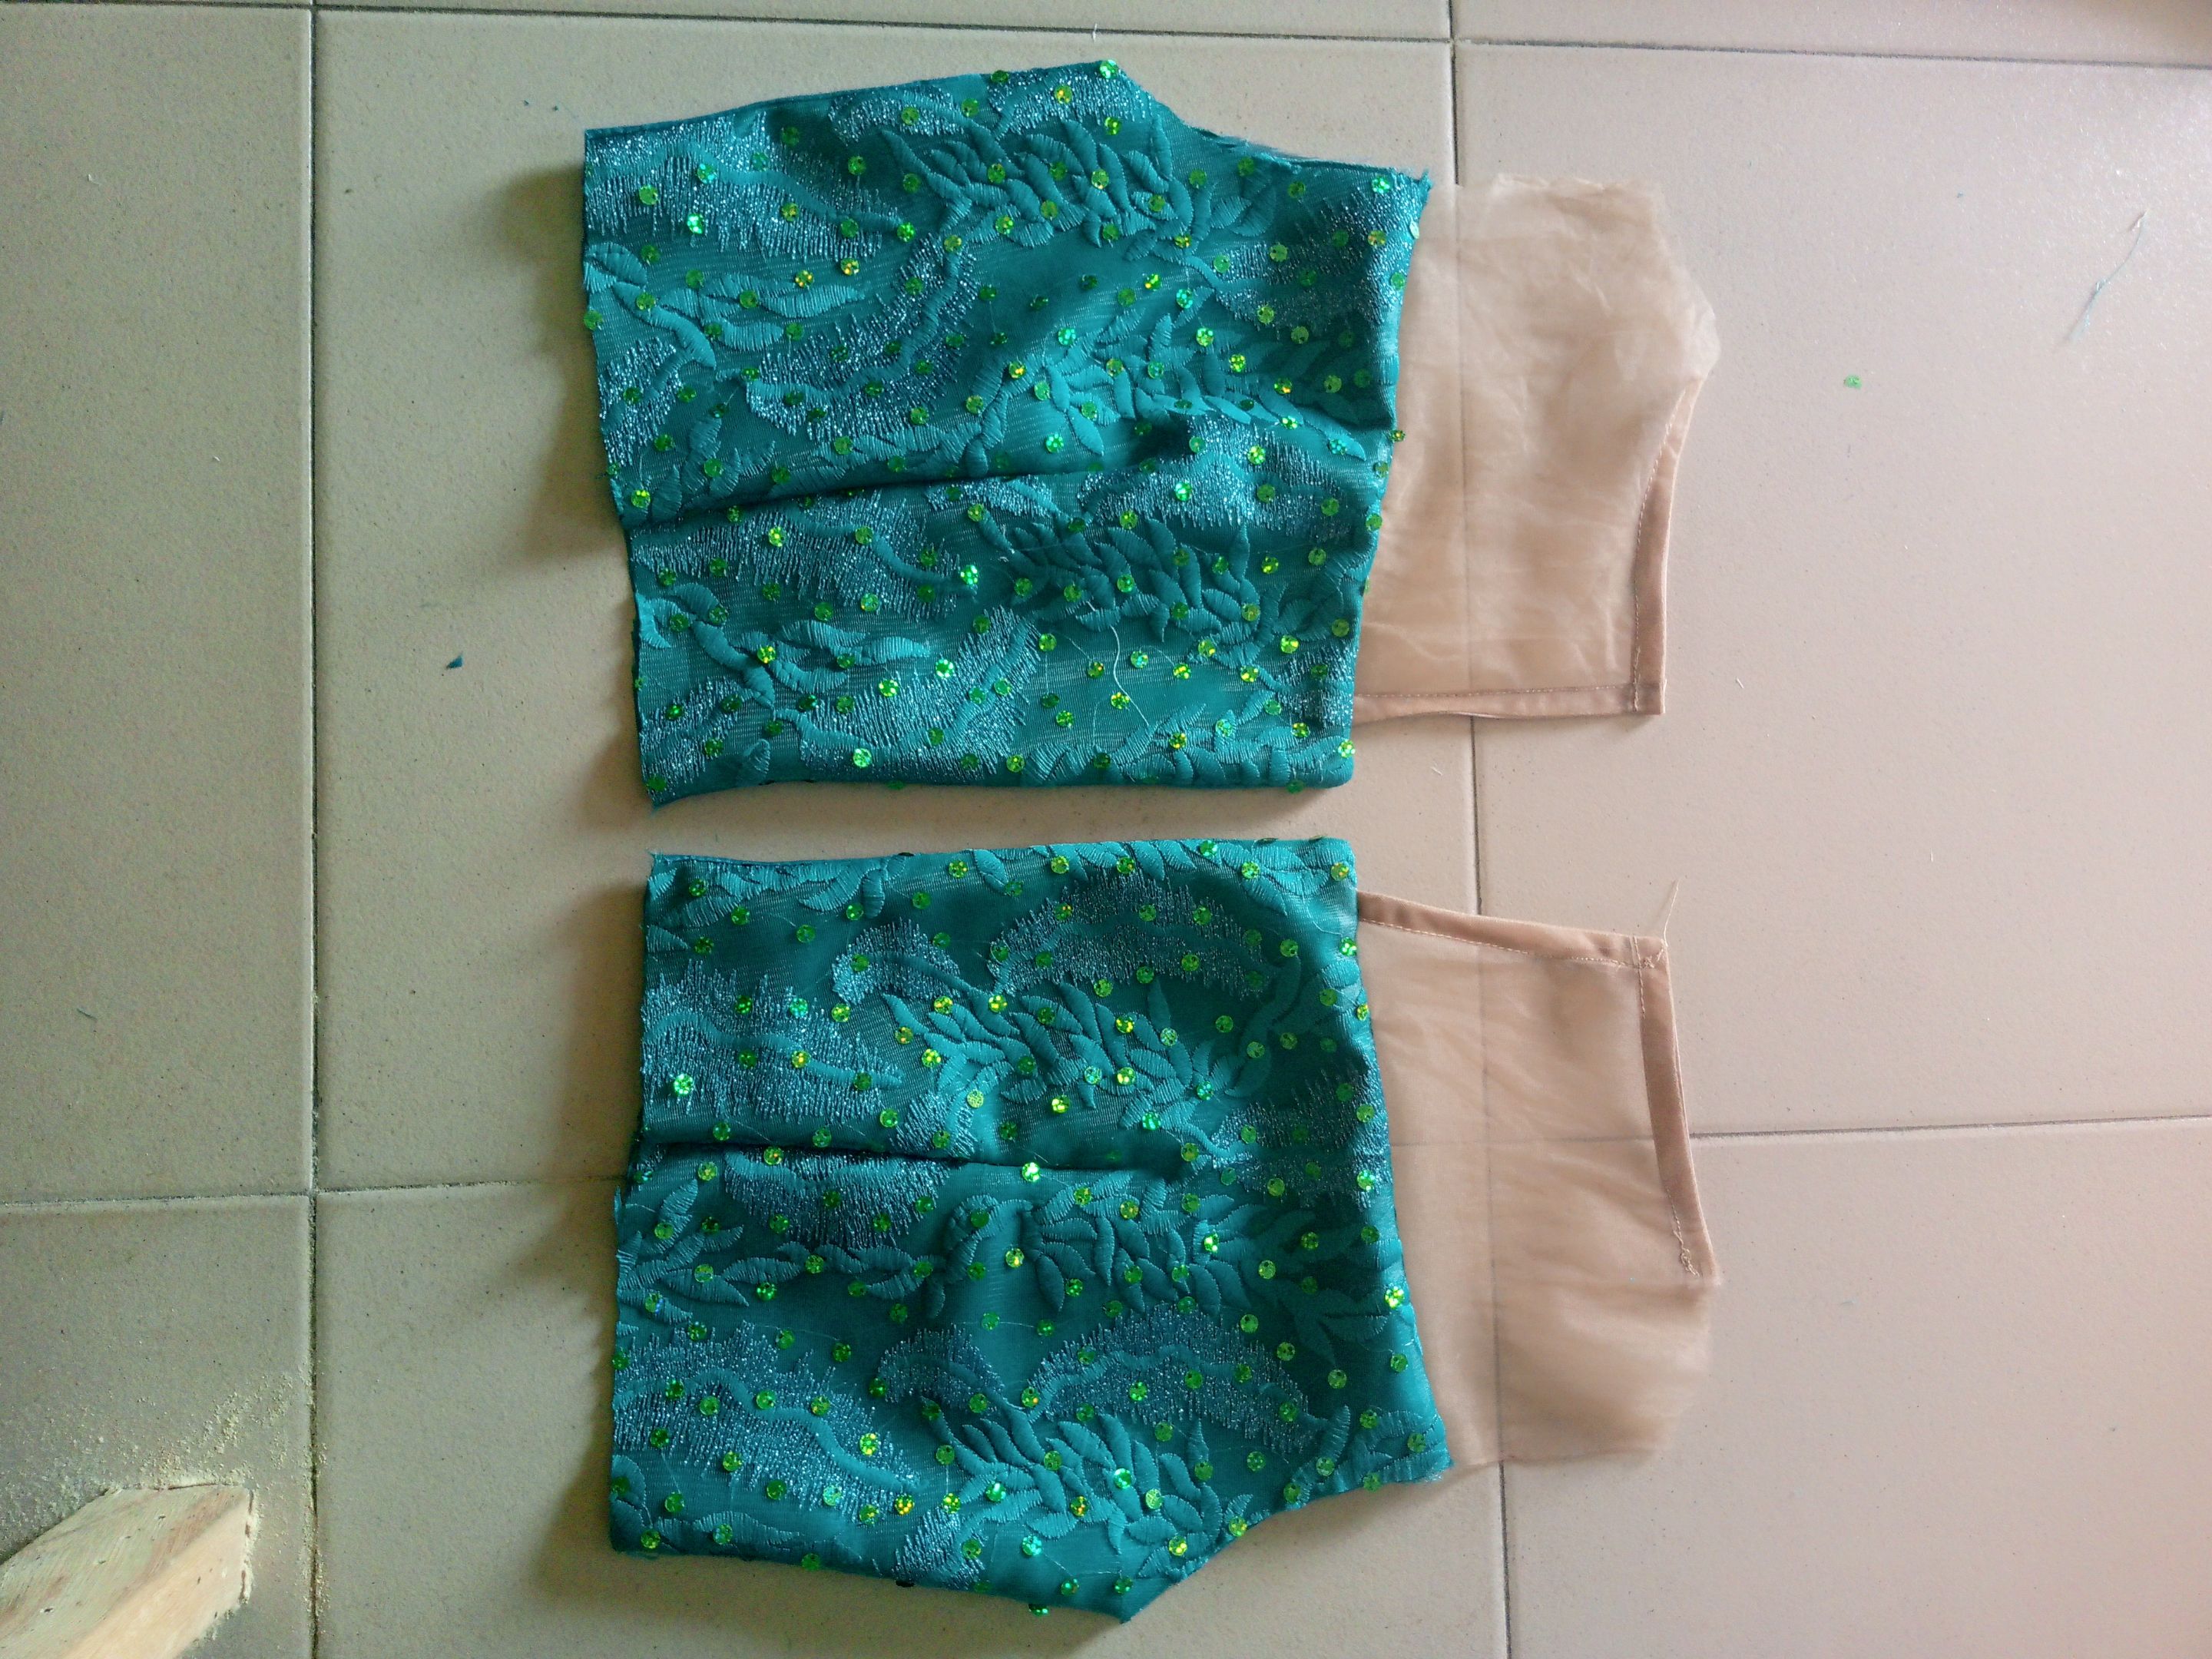
The front and back of the lower bodice of the gown was cut out on the Fabric and sewn together with matching colour satin material and was ste aside.
The upper bodice of a princess dart bustier with yoke was drafted on a brown paper and cut out on the main fabric with satin material, the front was padded with warden and on the yoke, I cut out a skin net to complete the upper bodice while I pipe the neckline with a bais tape for neat finishing.
The upper and lower bodice were sewn together with zipper at the back while I proceeded to the making of the 3D applique. First when I see this, I thought of my own way to improvise this if at all I'm not getting the actual thing.
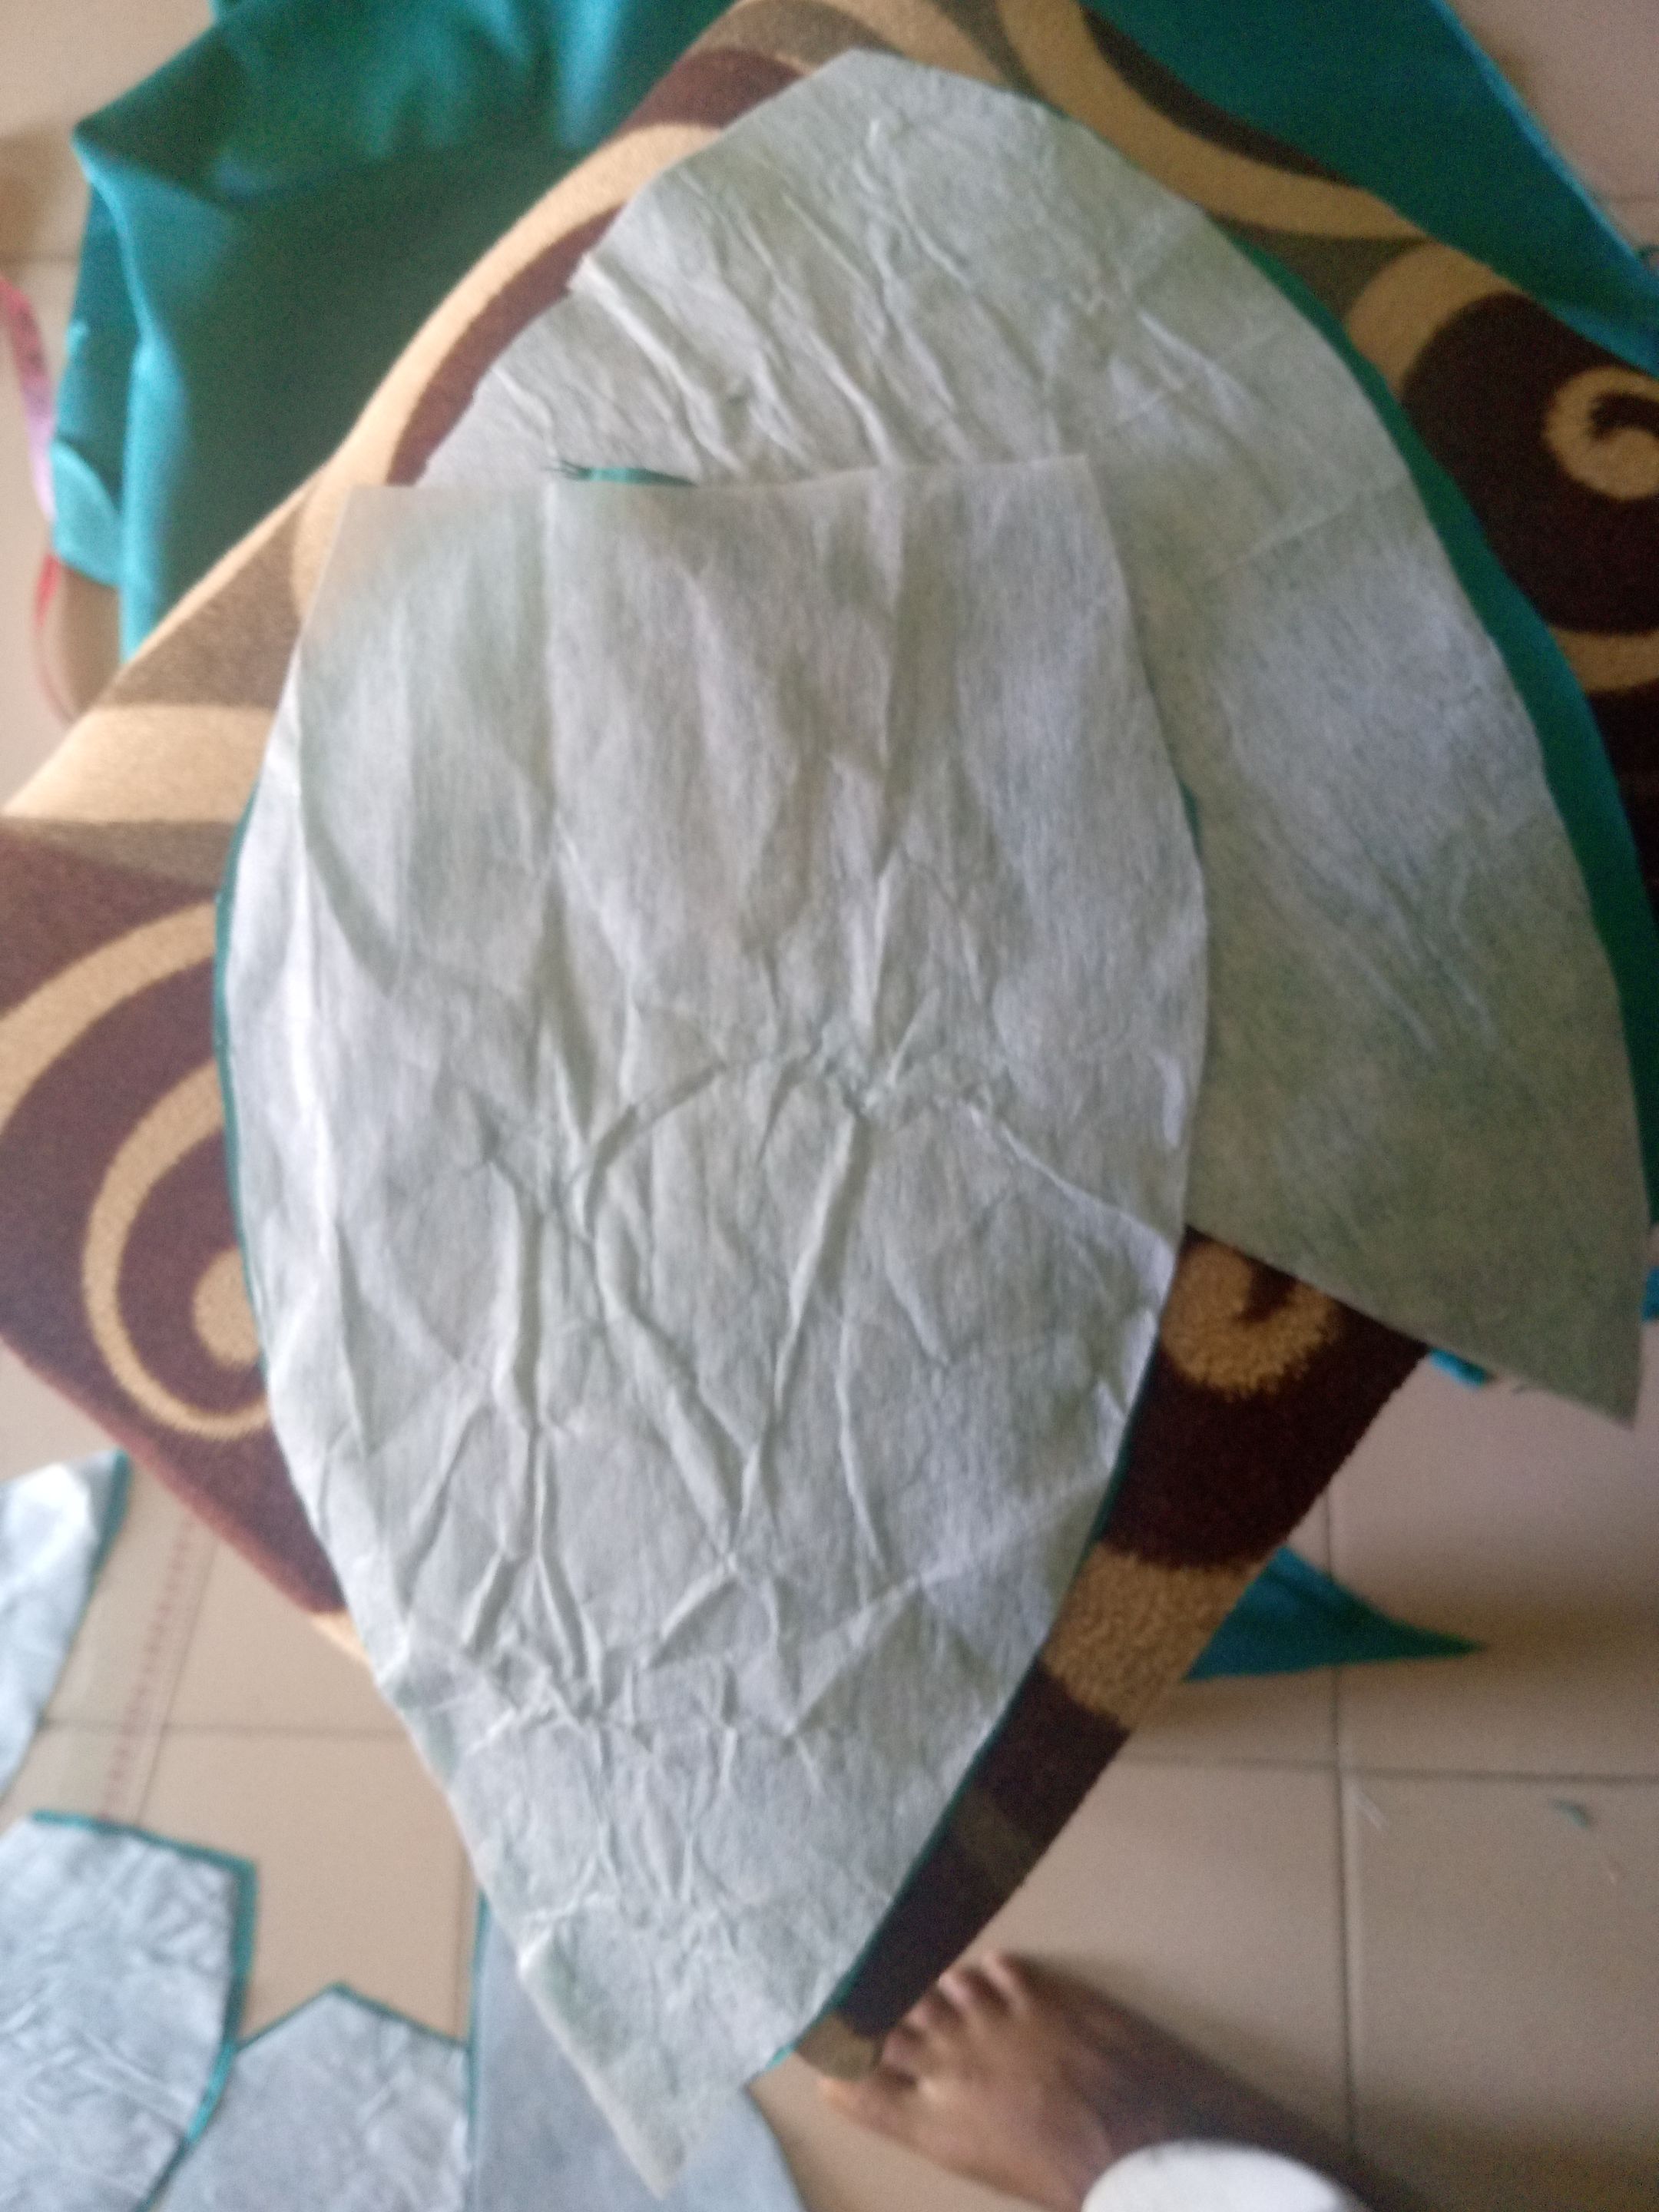
The first thing I did was to cut out a leaf shape on a brown paper which was later placed on the satin material I have with me to cut out 2 pieces for each leaf shape, this will be used for the front and back, to make it firm, I cut out hard stay and iron it on one of the shape and the other was sewn inside out to cover the stay just as seen below

I had it arranged in the shape I wanted it to be on the dress and it came out nice.
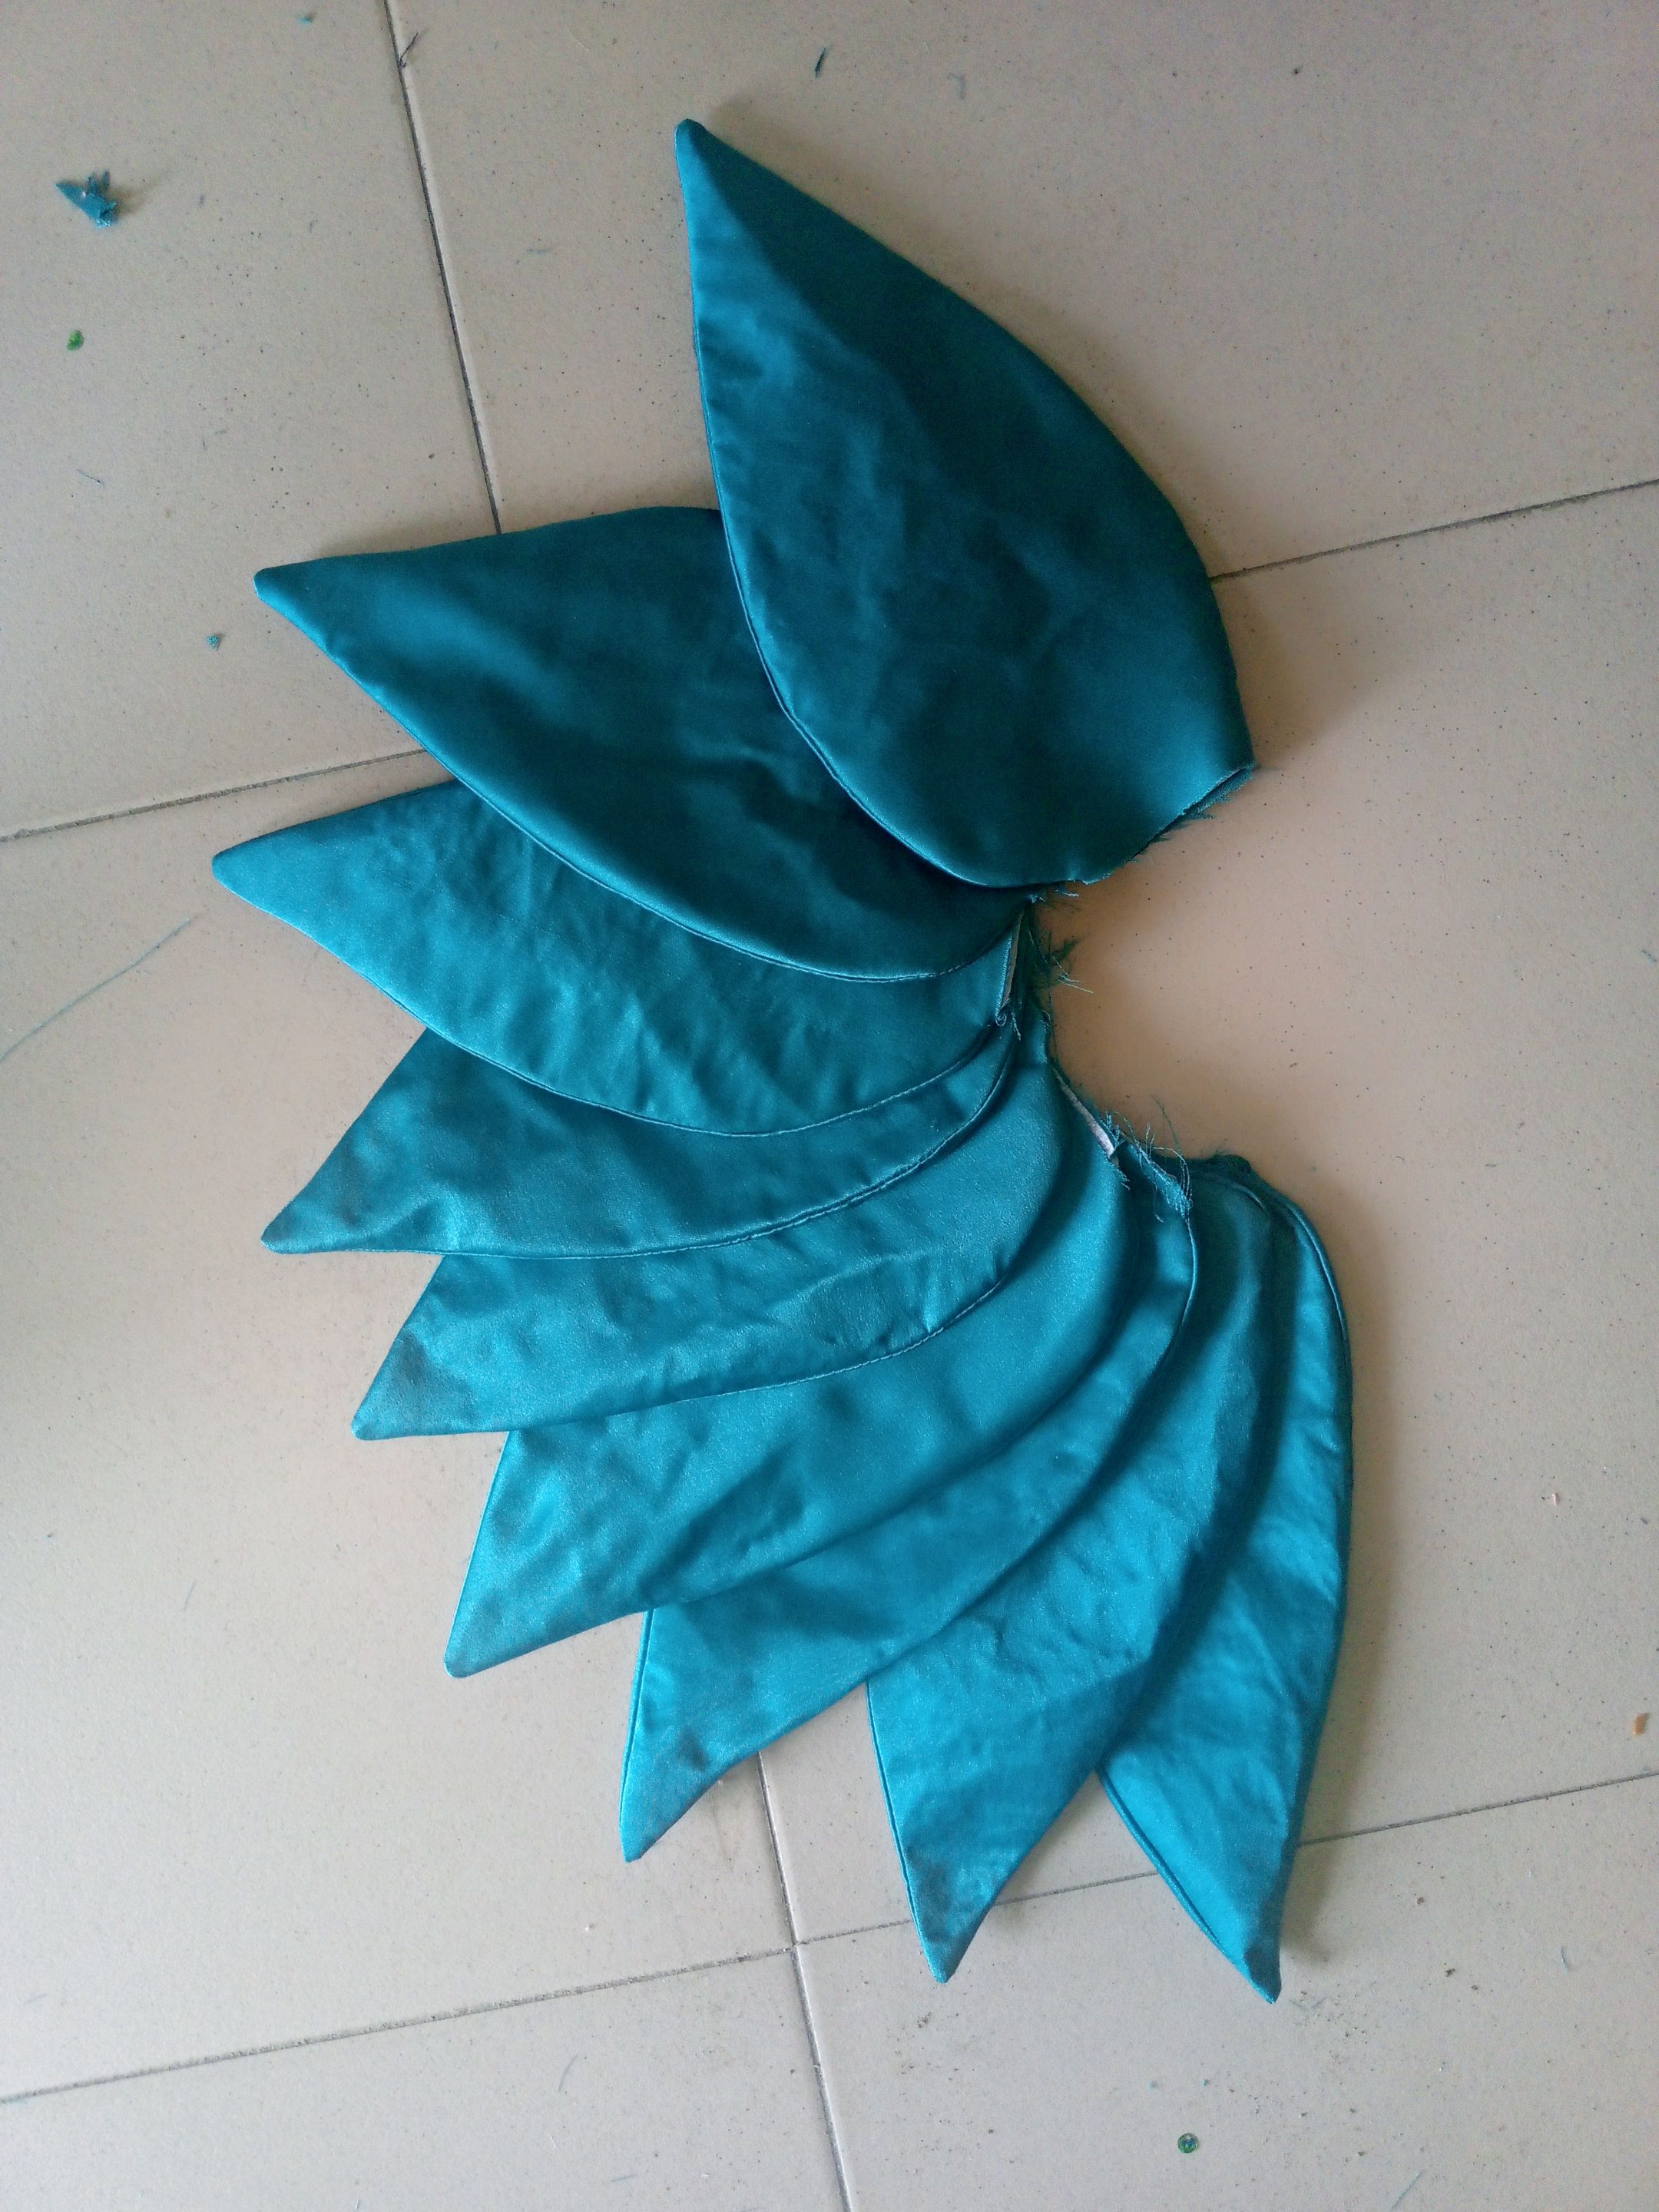
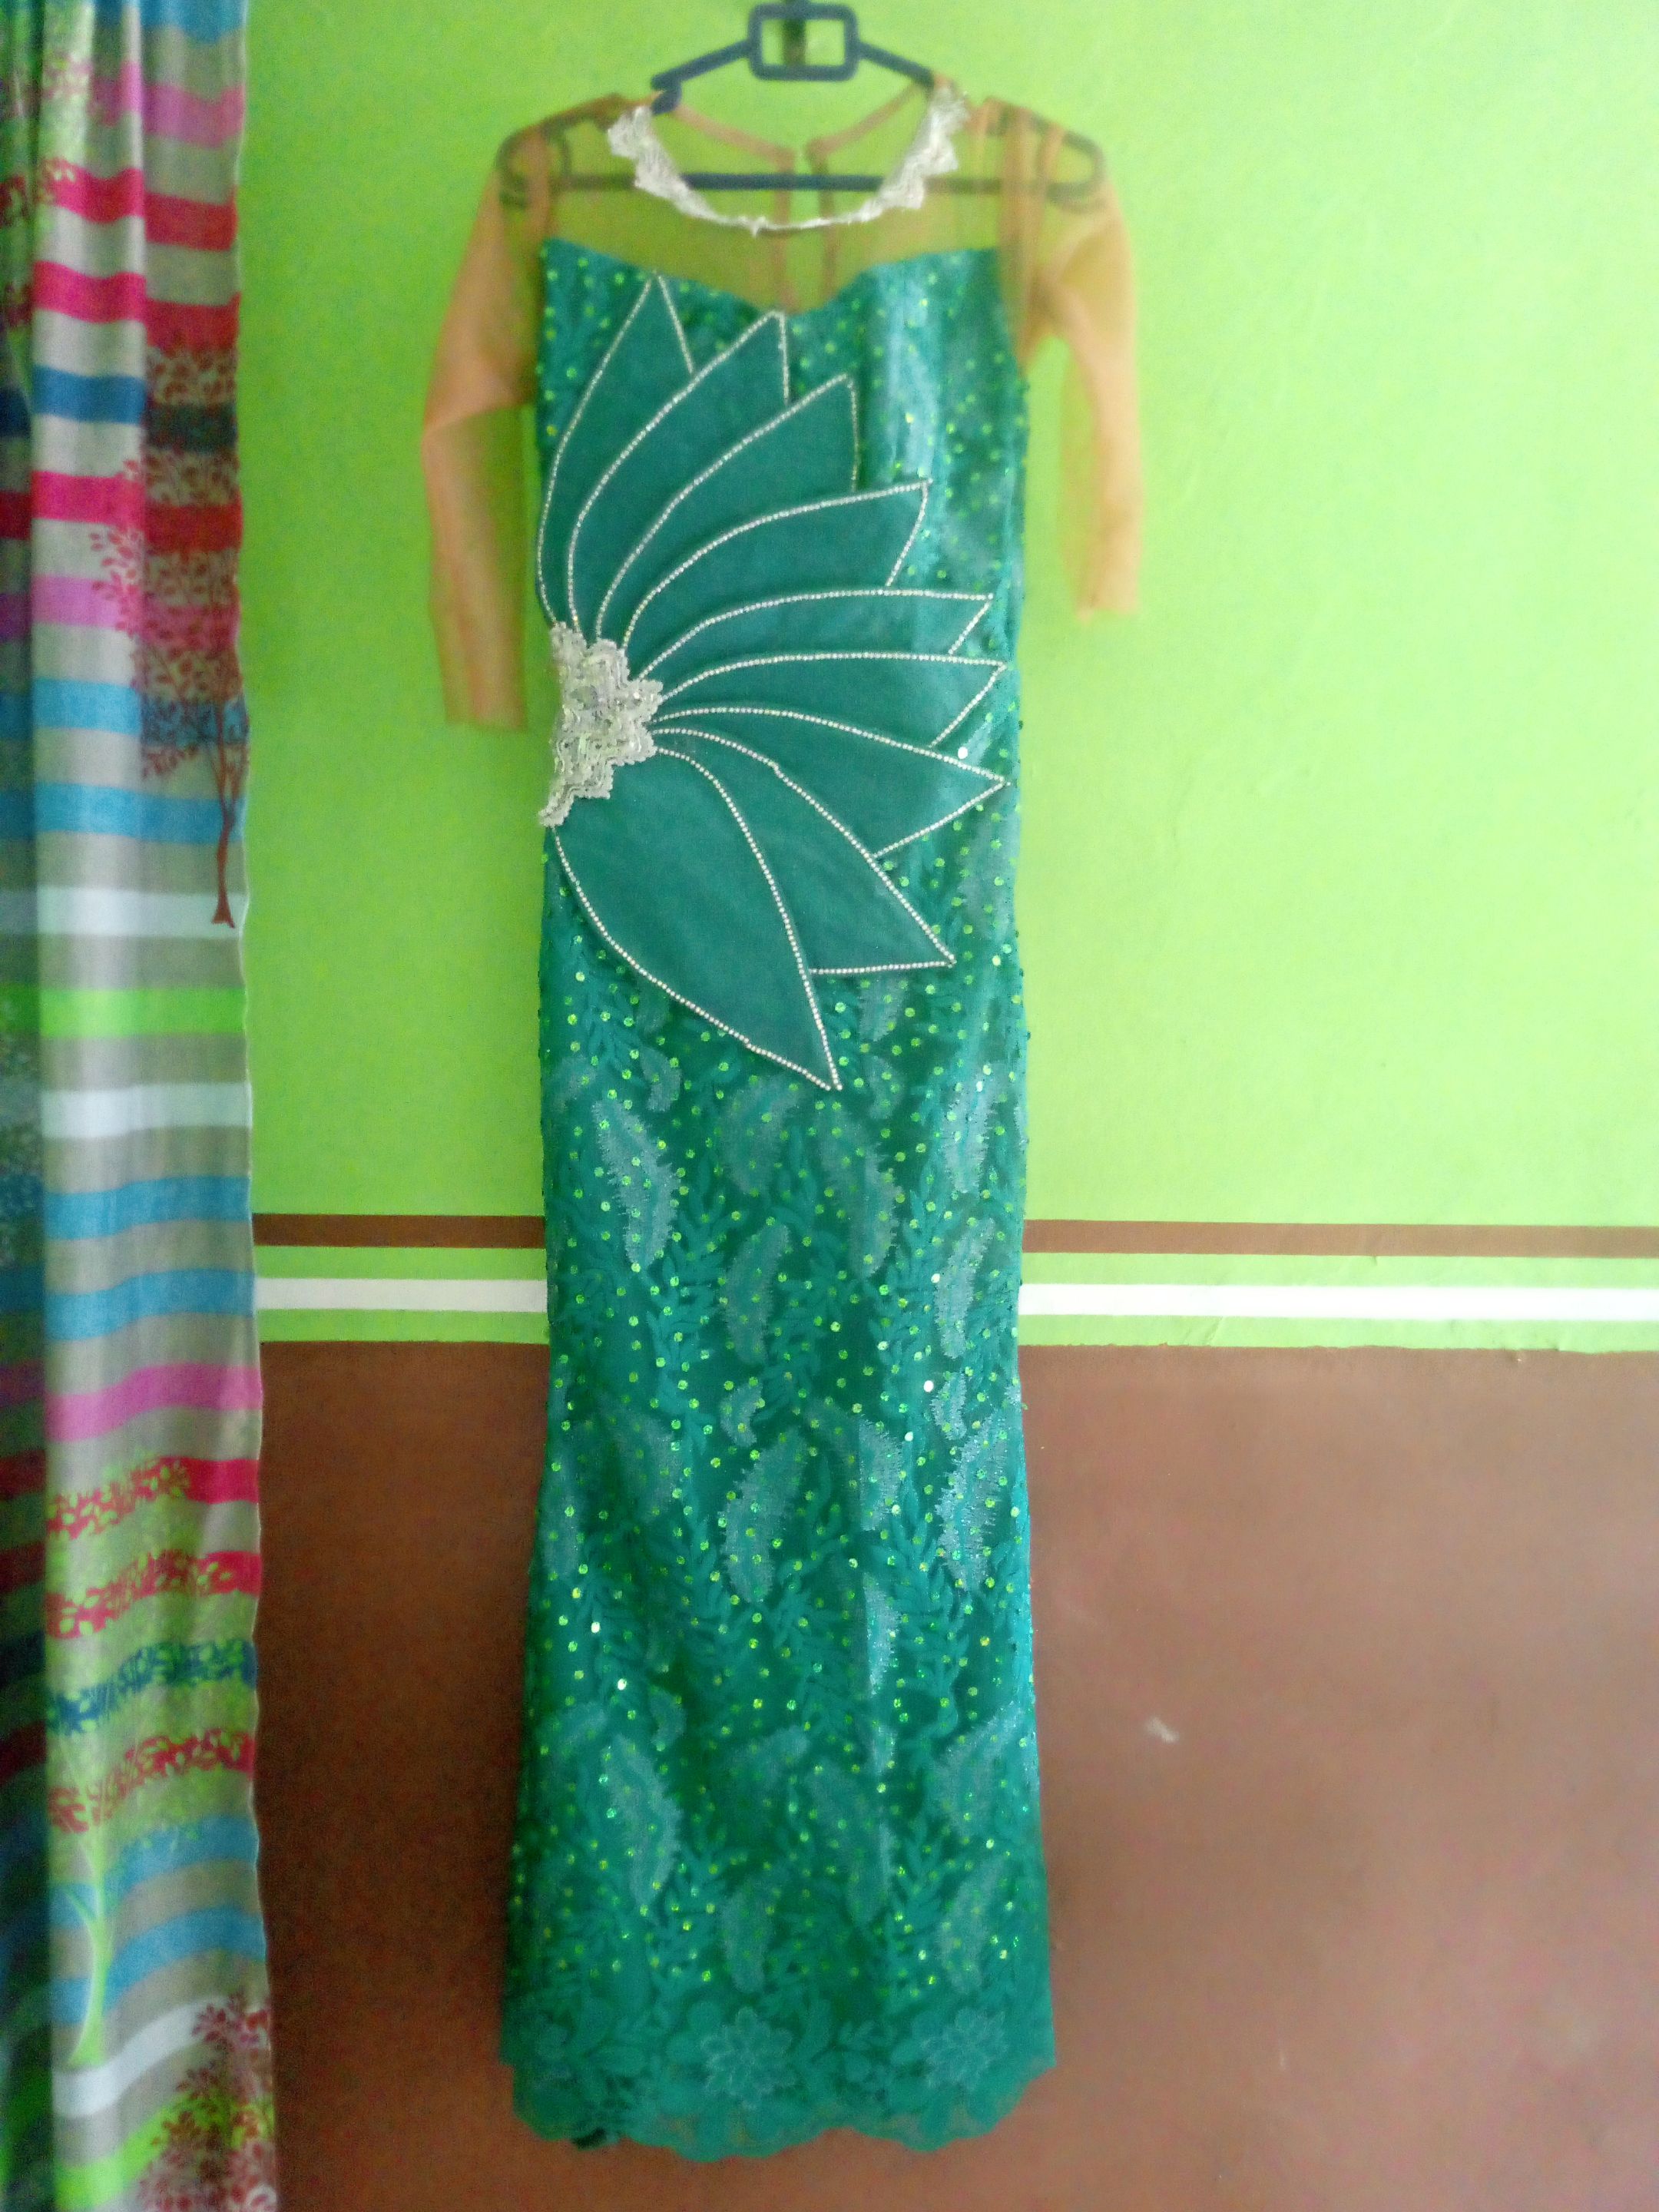
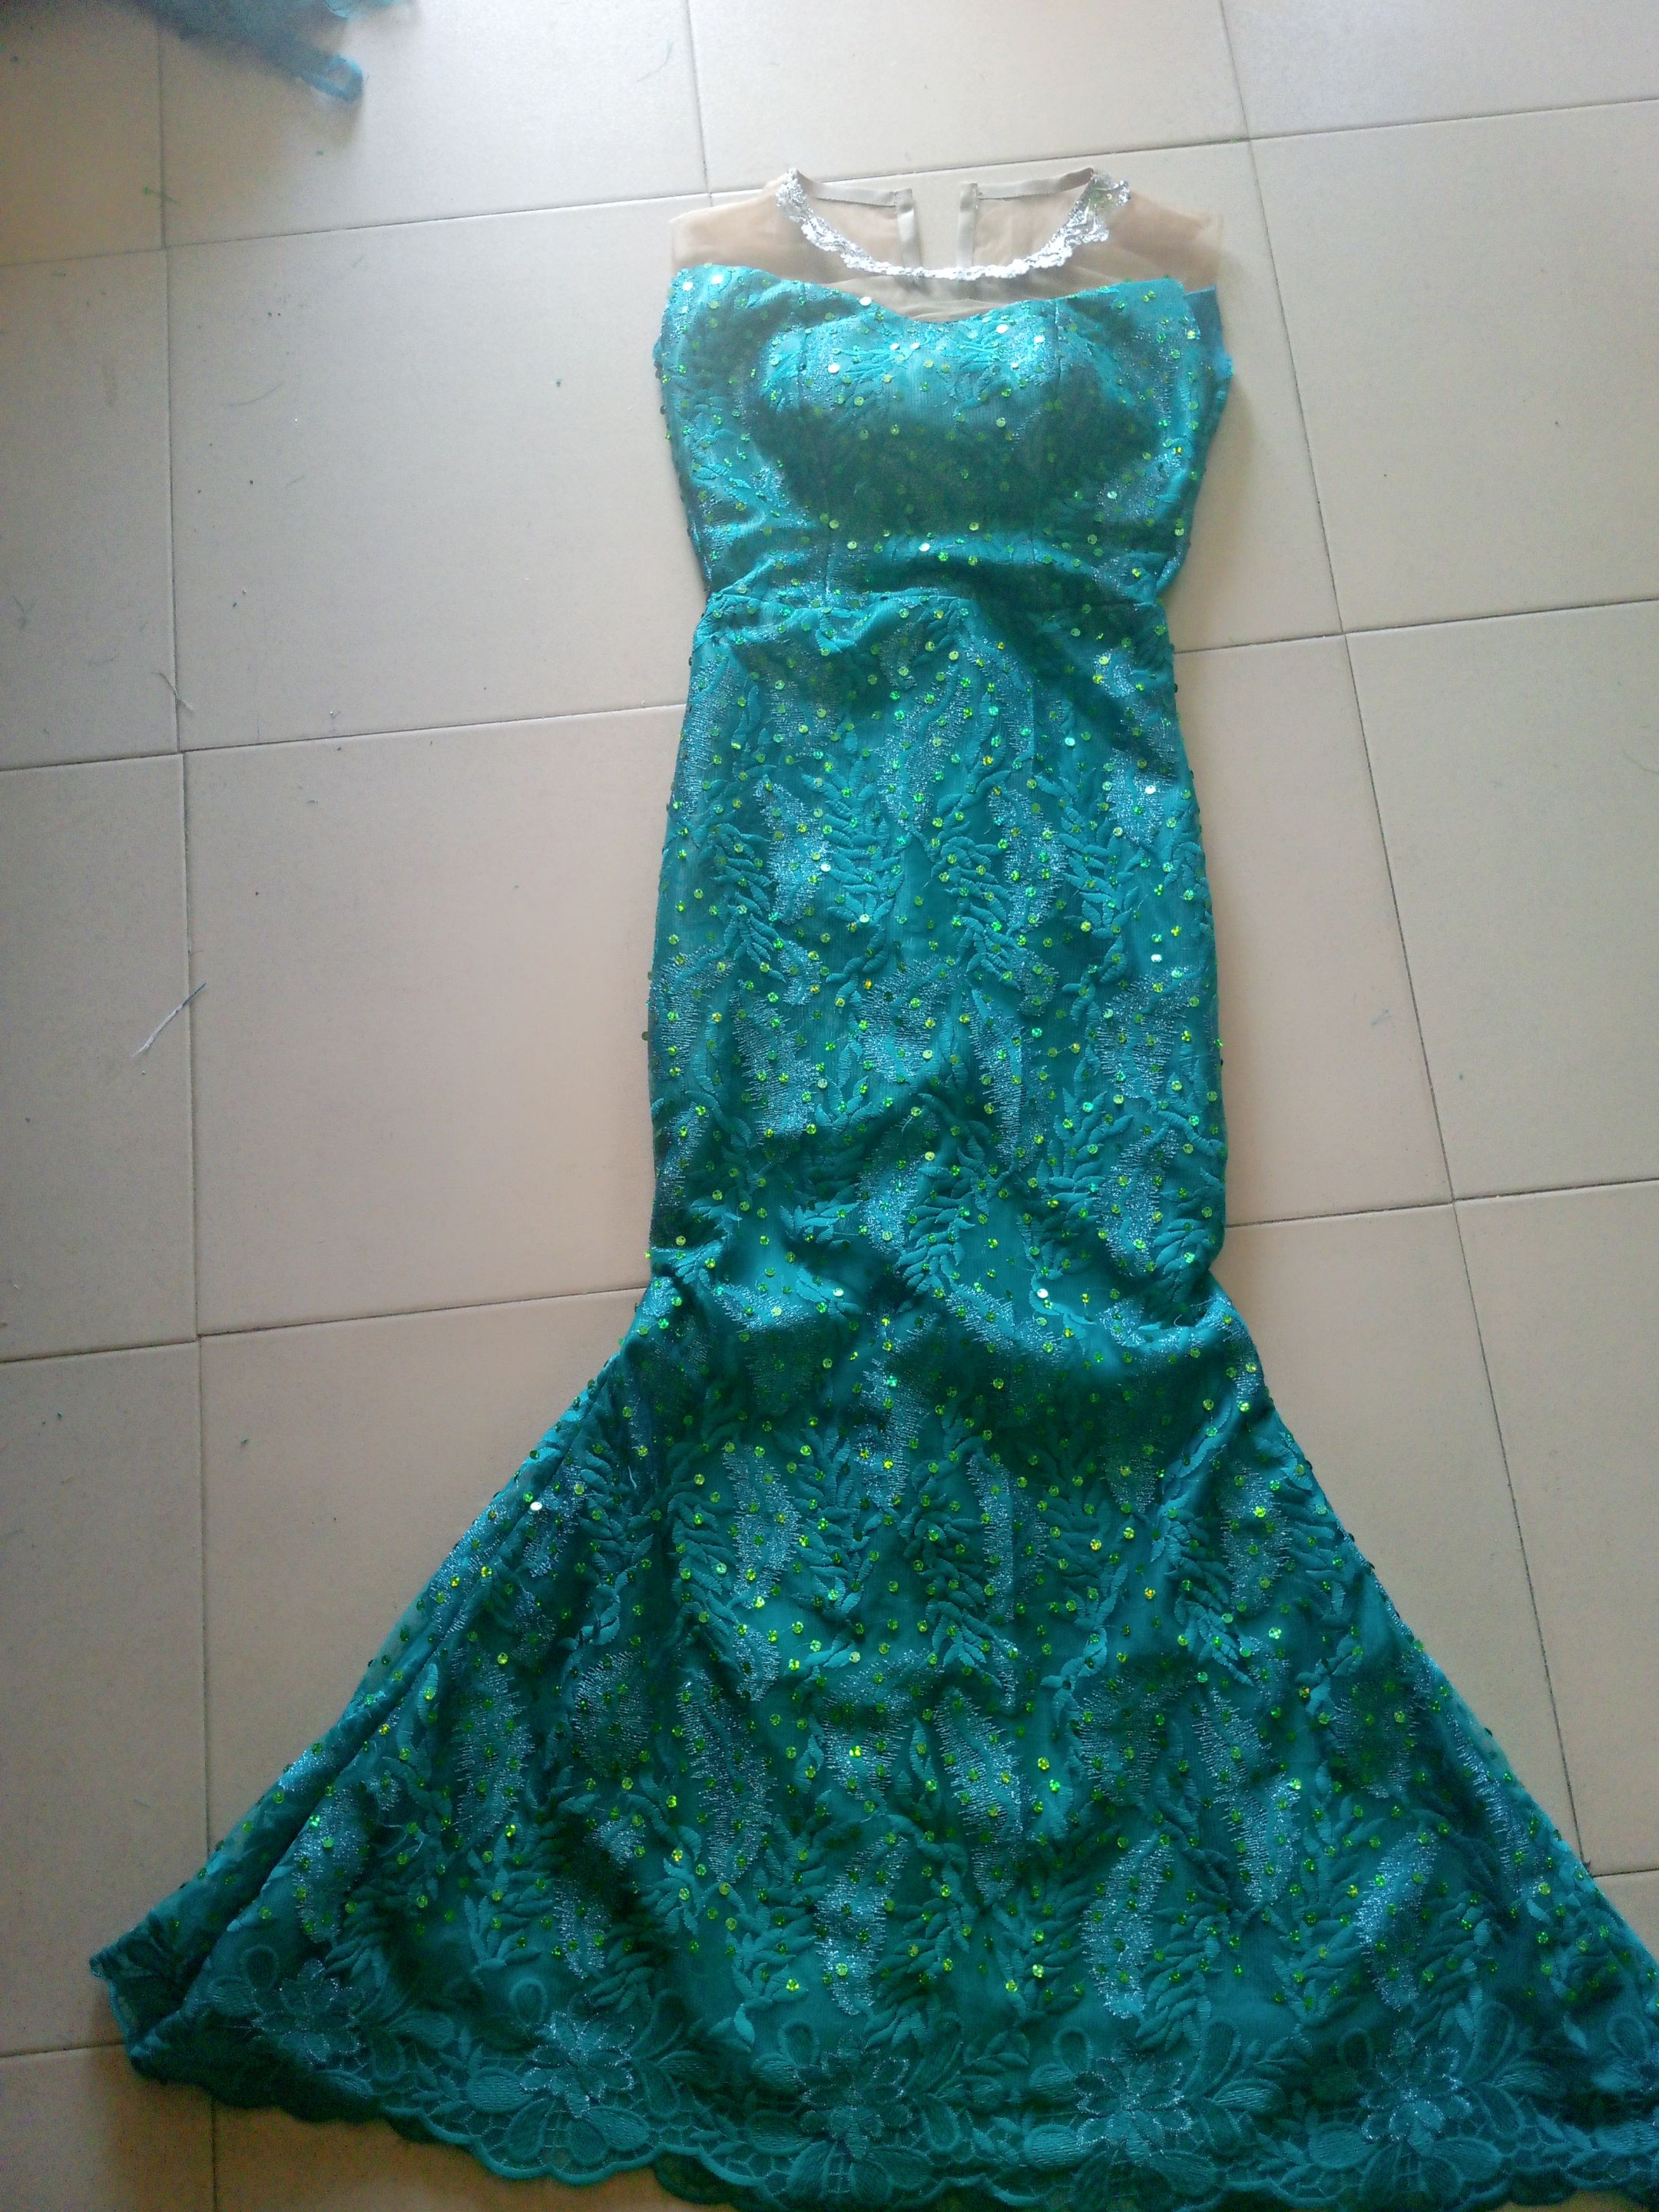
I used UHU gum to hold it firm on the dress and to make it beautiful, I added this glitterring stones to the edges of the leaf like shape and also cover the side the another applique I bought at the market.
Finally, this is the beautiful outcome of the dress I made for my cousin, this is so beautiful and my cousin couldn't believe I couldn't come up with such a lovely outfit for her, she was so happy.