Pine salve is known to treat skin rashes. I personally like to use it before and after physical work or hiking.
Pine salve is made from pine resin infused with a quality fat such as olive oil or coconut butter. If making it with oil, a bit of beeswax can be added.

Pine salve helps with:
- skin problems (rash, burns, abrasions, insect bites, pimples)
- alleviates the symptoms of dry skin
- minor wounds, bumps and bruises
- faster healing of calluses, scars, thorns
- antibacterial effect; herpes, fungi
- helps with warts
- colds, sinus inflammation
- asthma
- muscle and joint inflammation
- helps with pain in muscles, joints, spine
- helps with muscle overload (fatigue)
- helps with arthritis
- foot care of a diabetic patient
- helps with varicose veins
- helps with carpal tunnels
The forest provides us with so much abundance every season. I feel really lucky to be so close to the cycles of nature and to be able to explore plants as a major source of food and medicine.
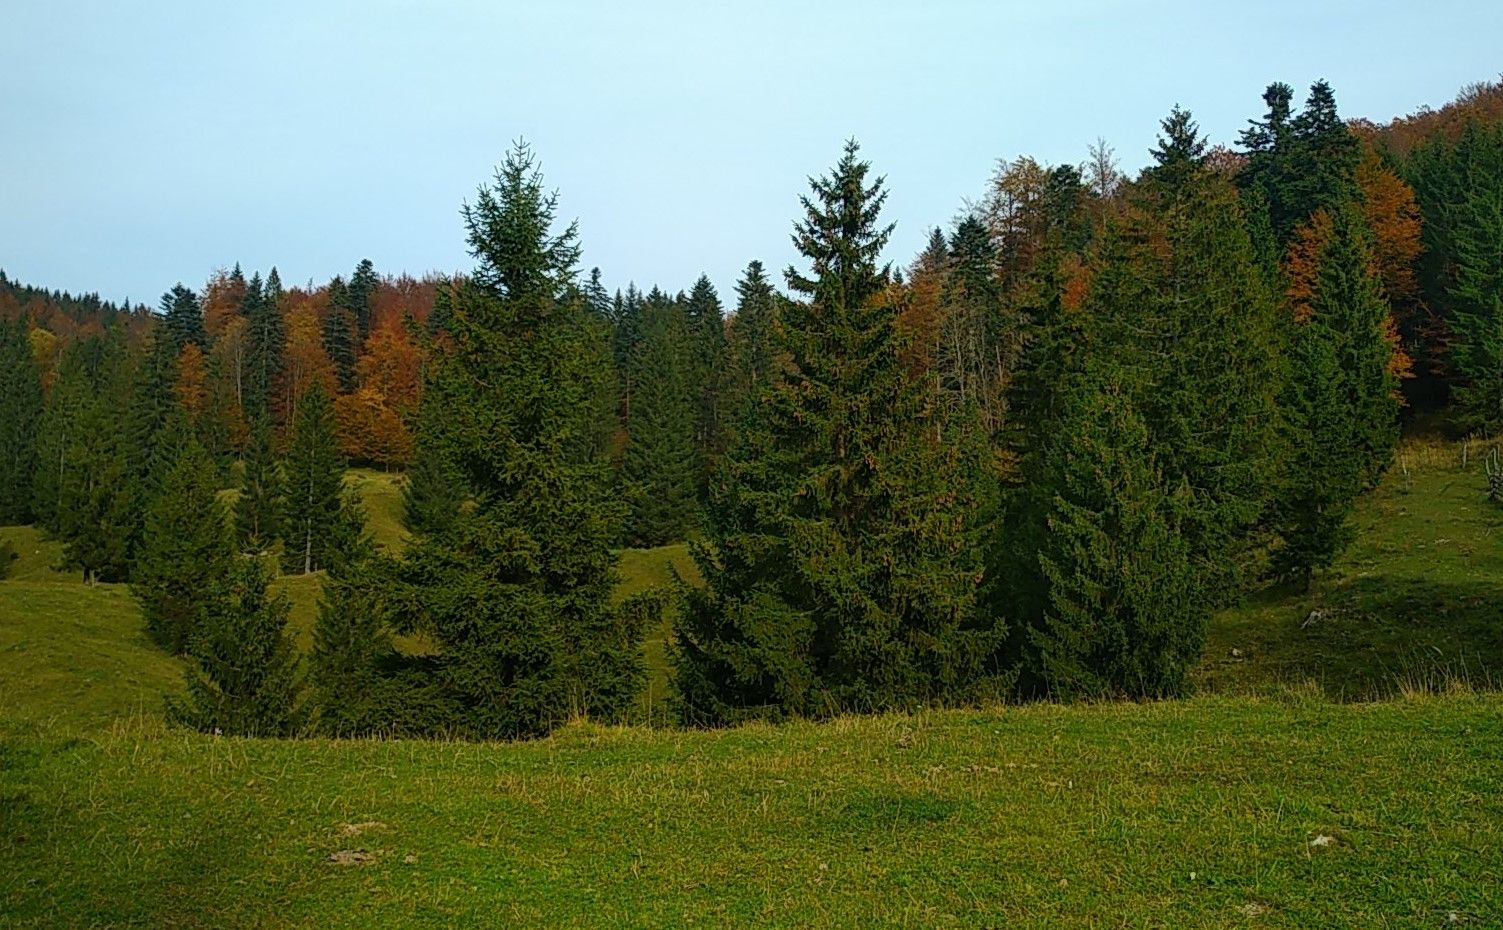
Pine resin is collected in a clean environment - the deeper in the forest, the better.

I like to take this little doggy for company and a sense of protection. 😇💖
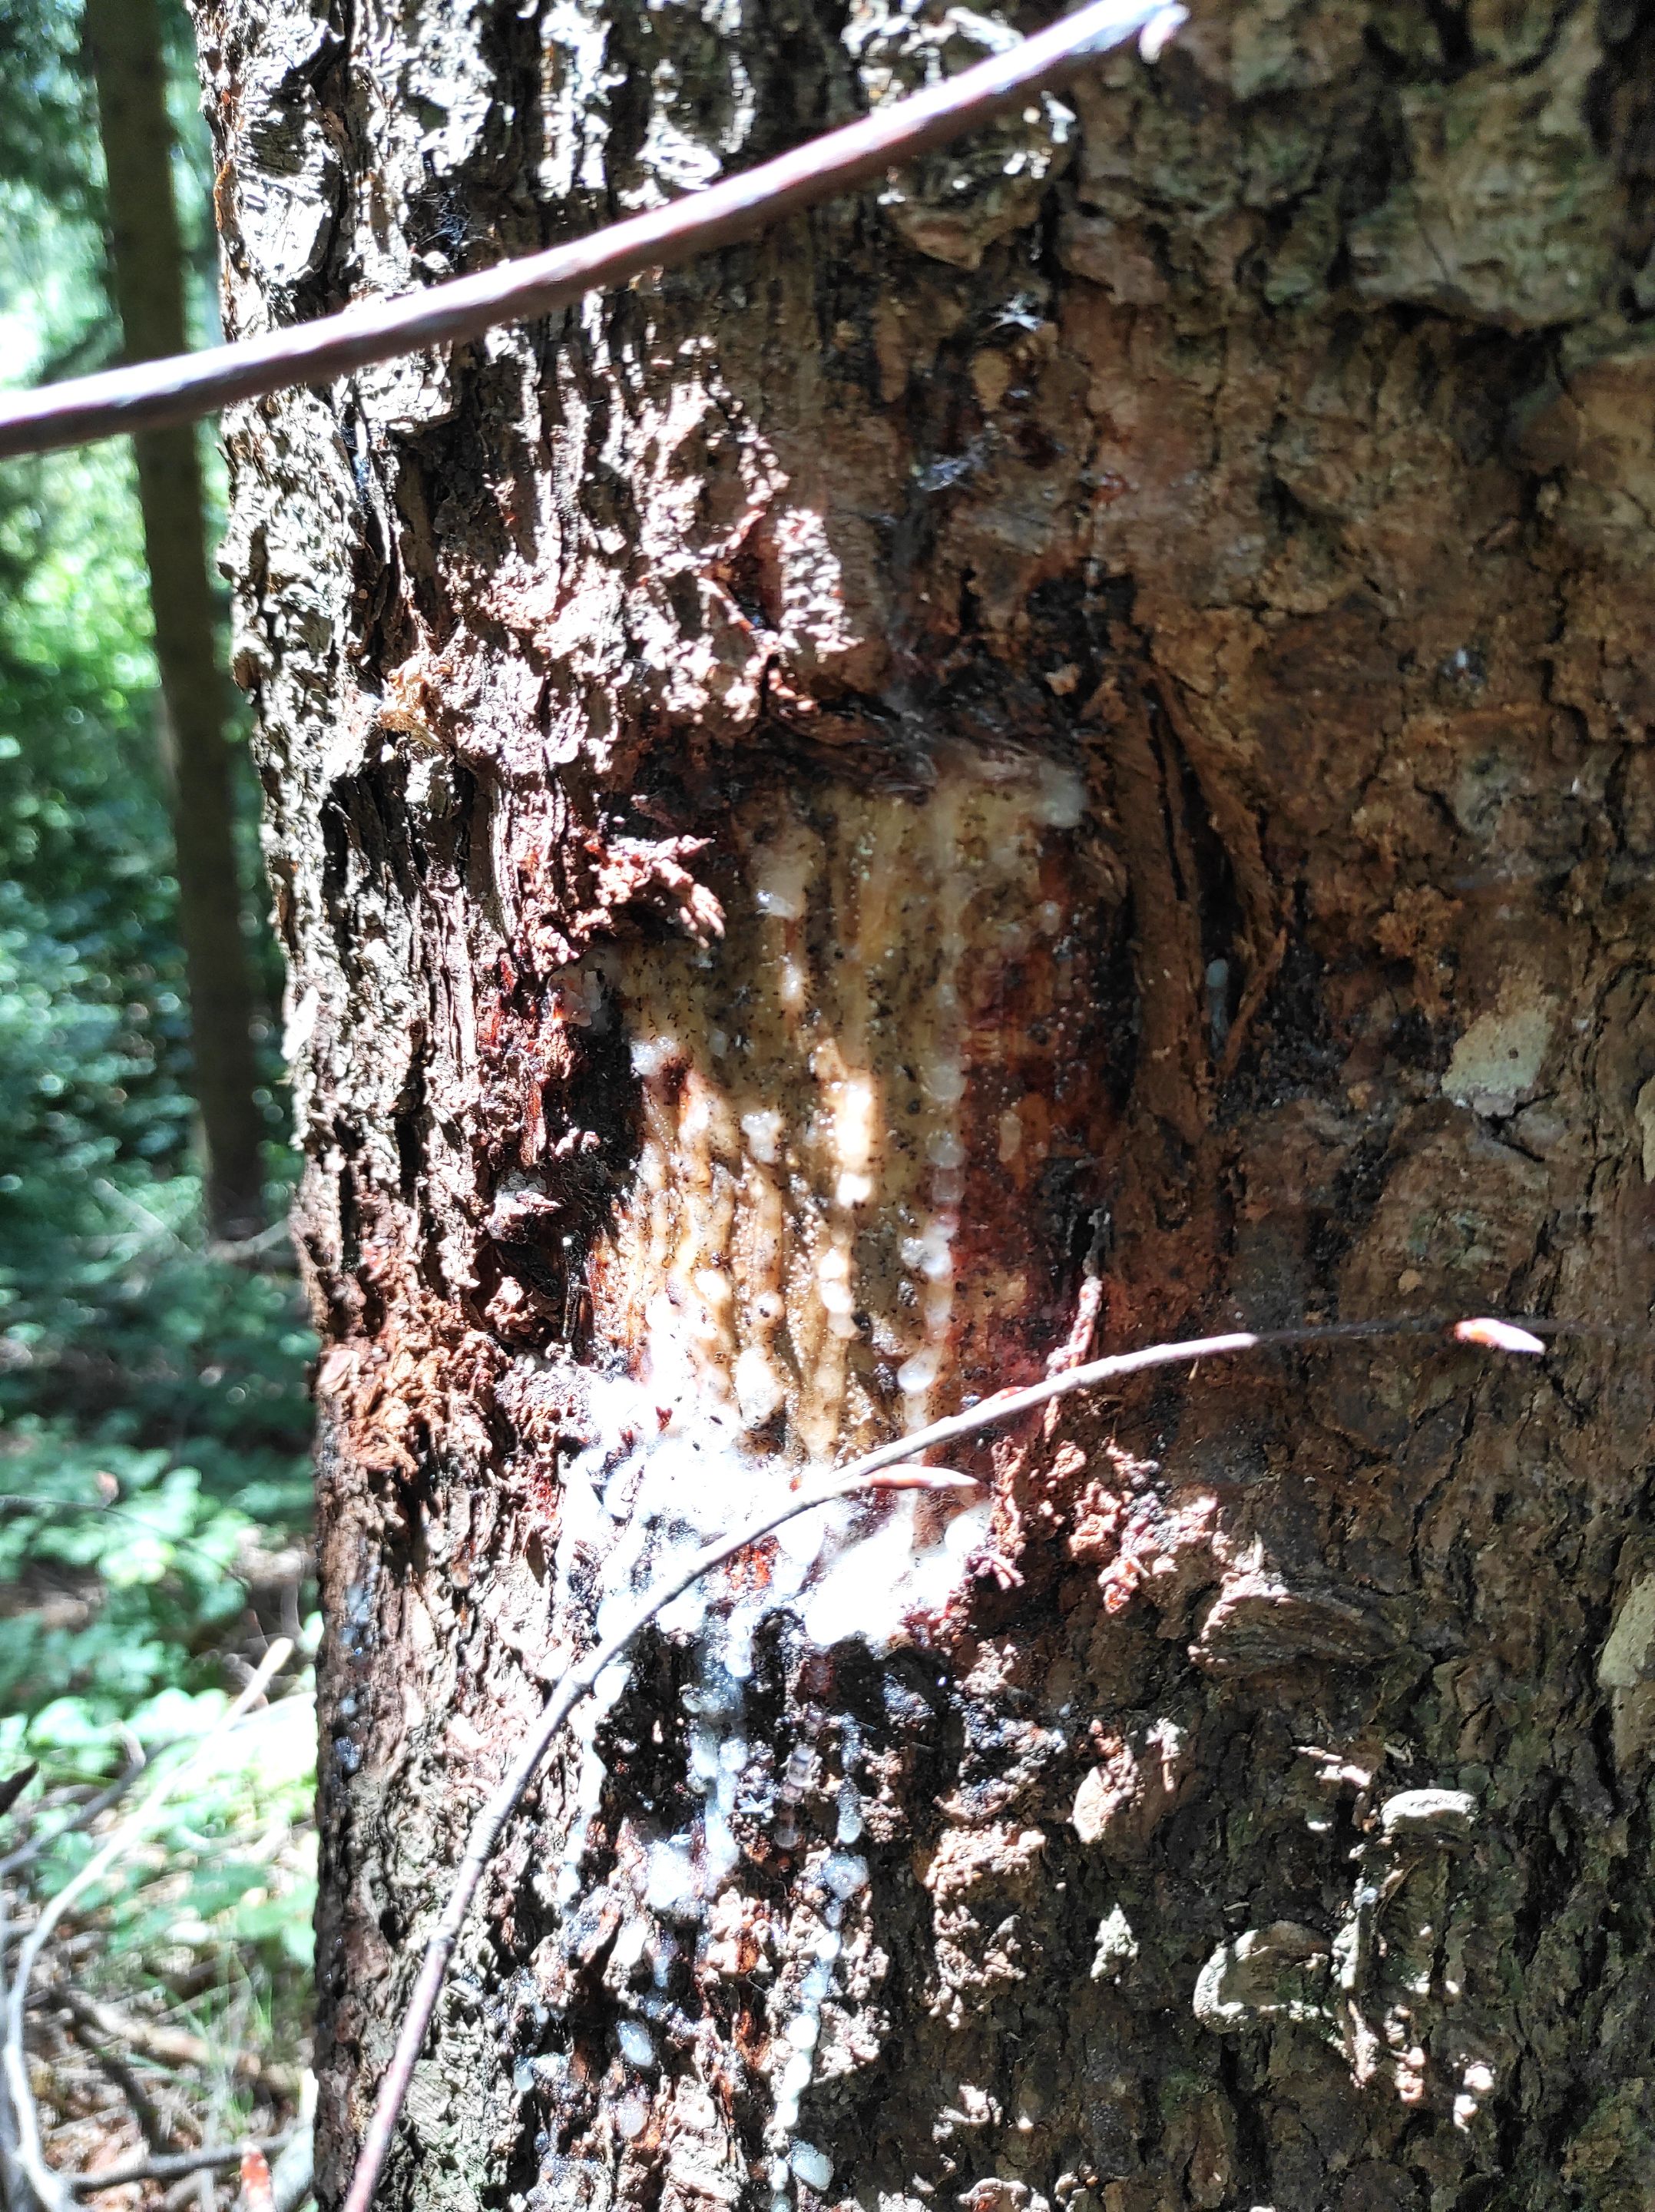
Trees use resin to protect wounds. In order not to damage the trees, we can only collect pieces of each tree.
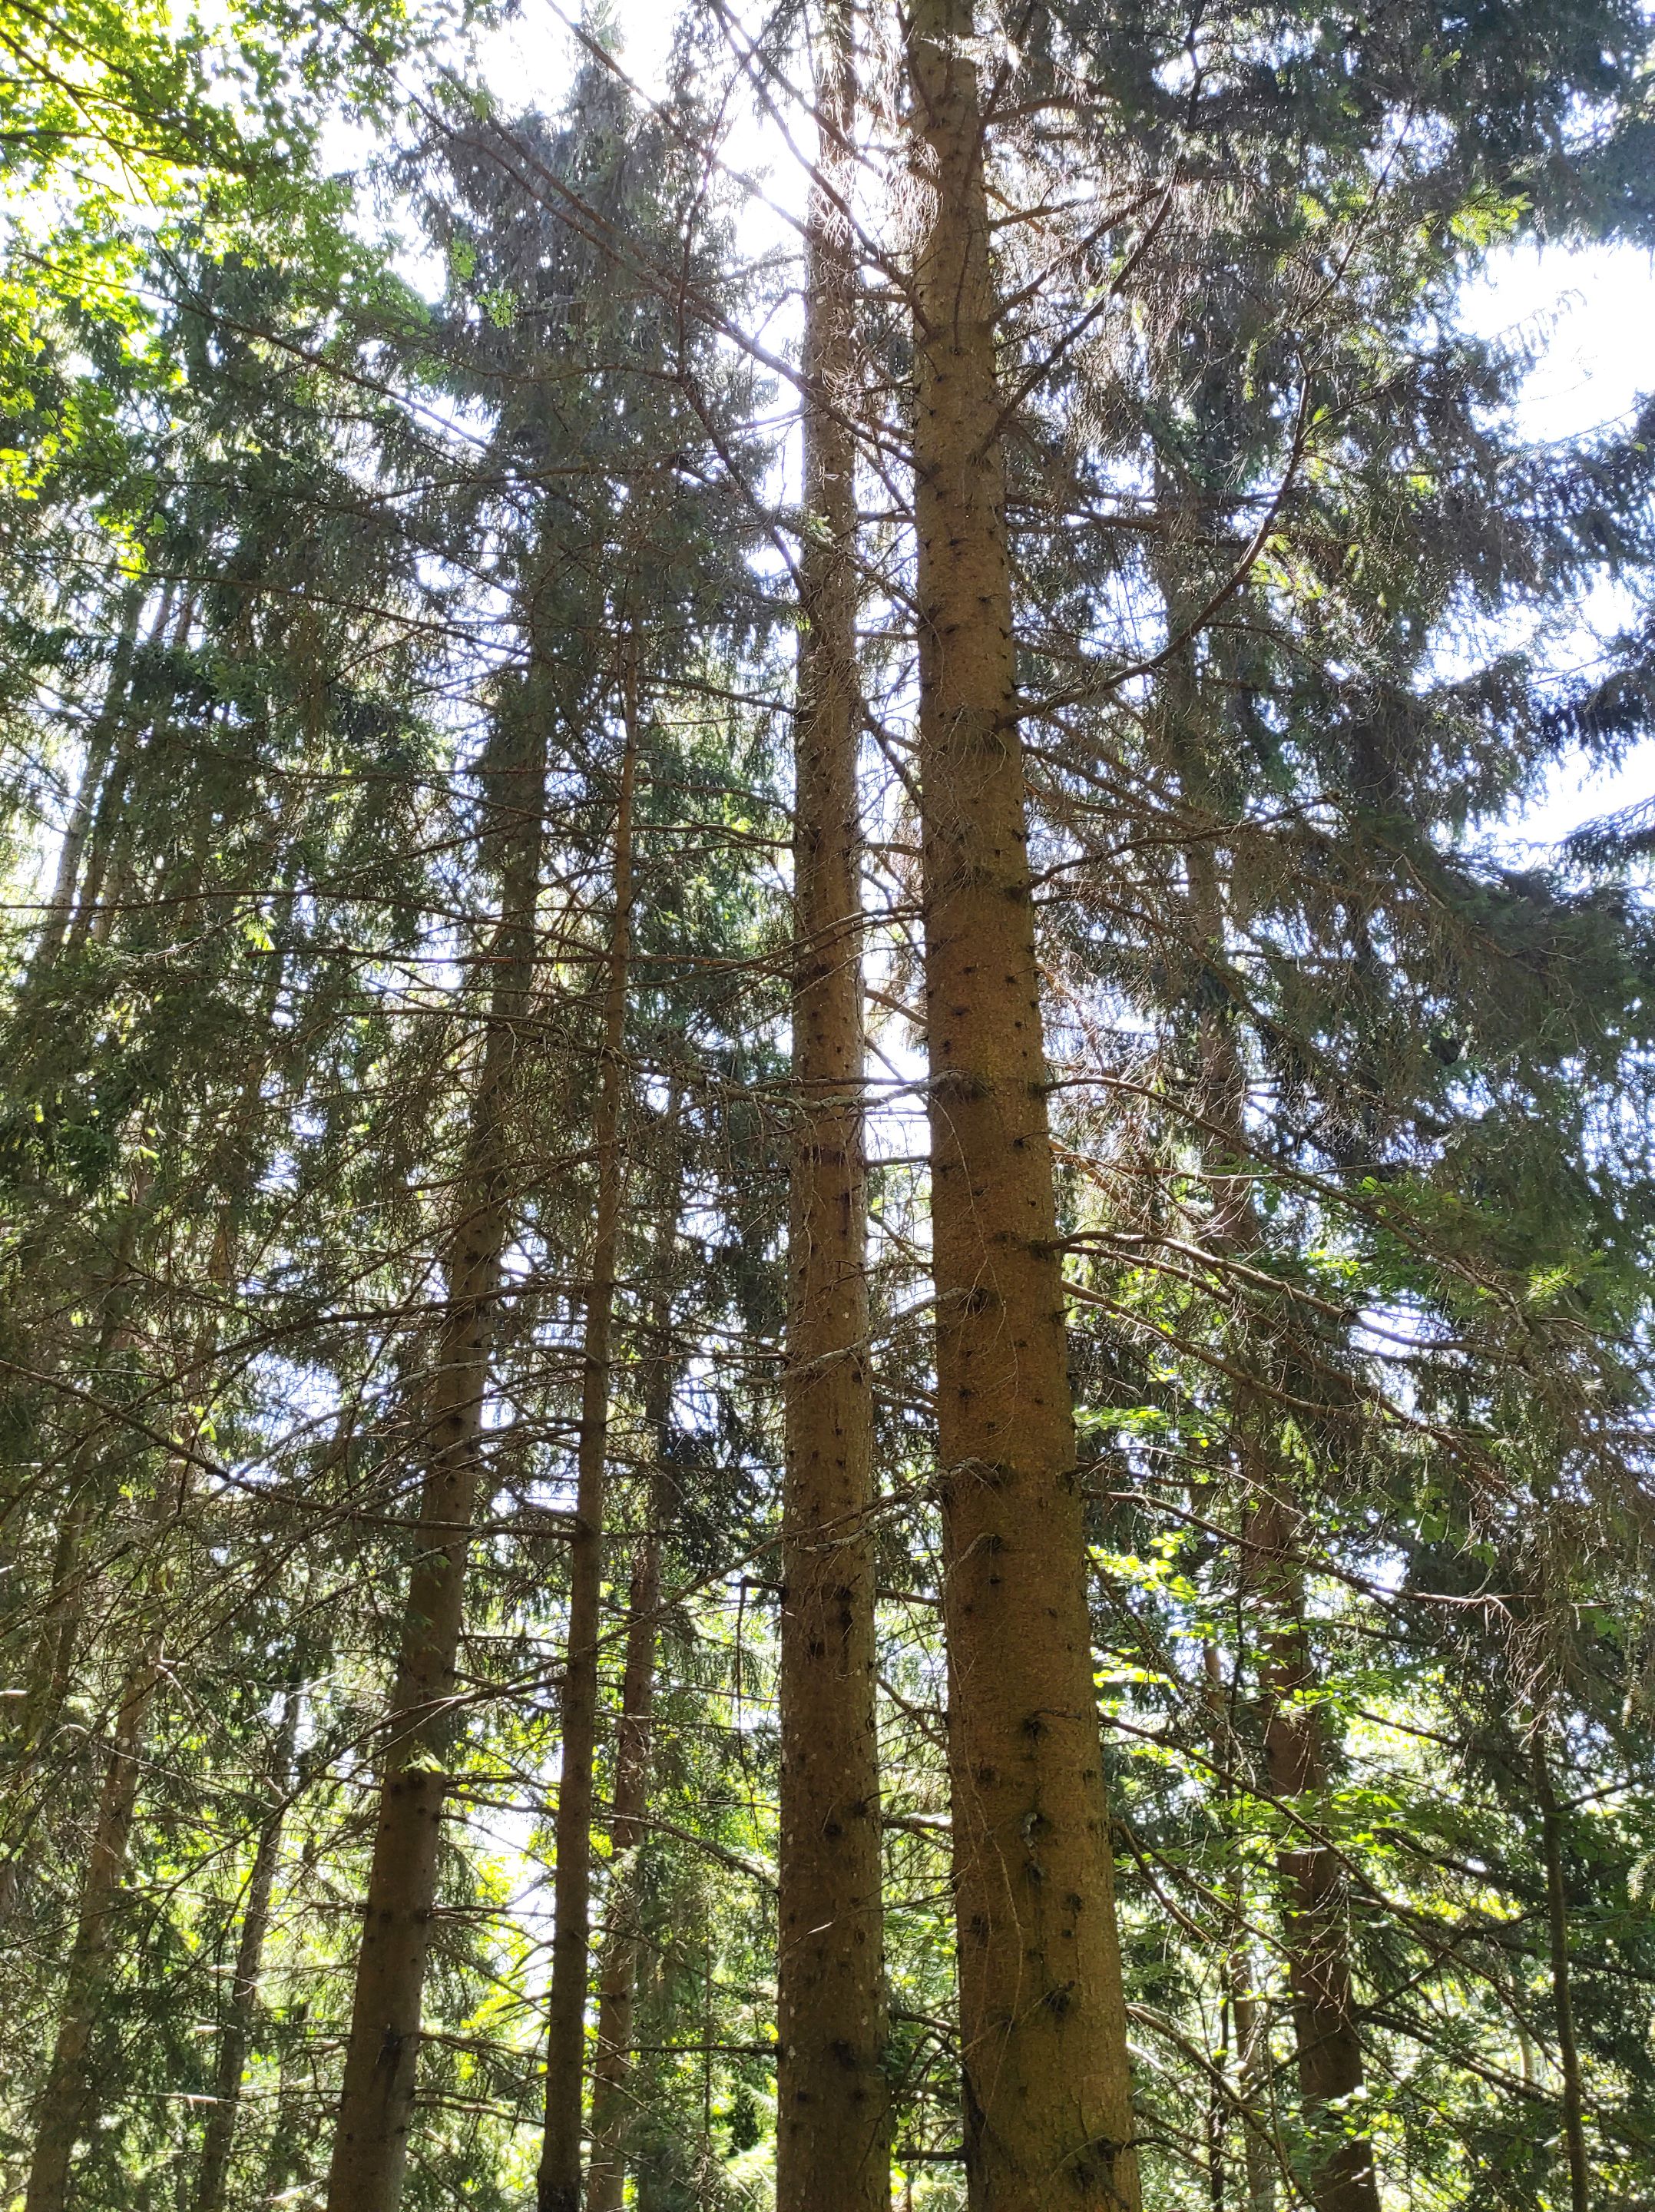
I personally collect it from trees that are supposed to be cut down. It really saddens me that they are cutting down so many trees at once.
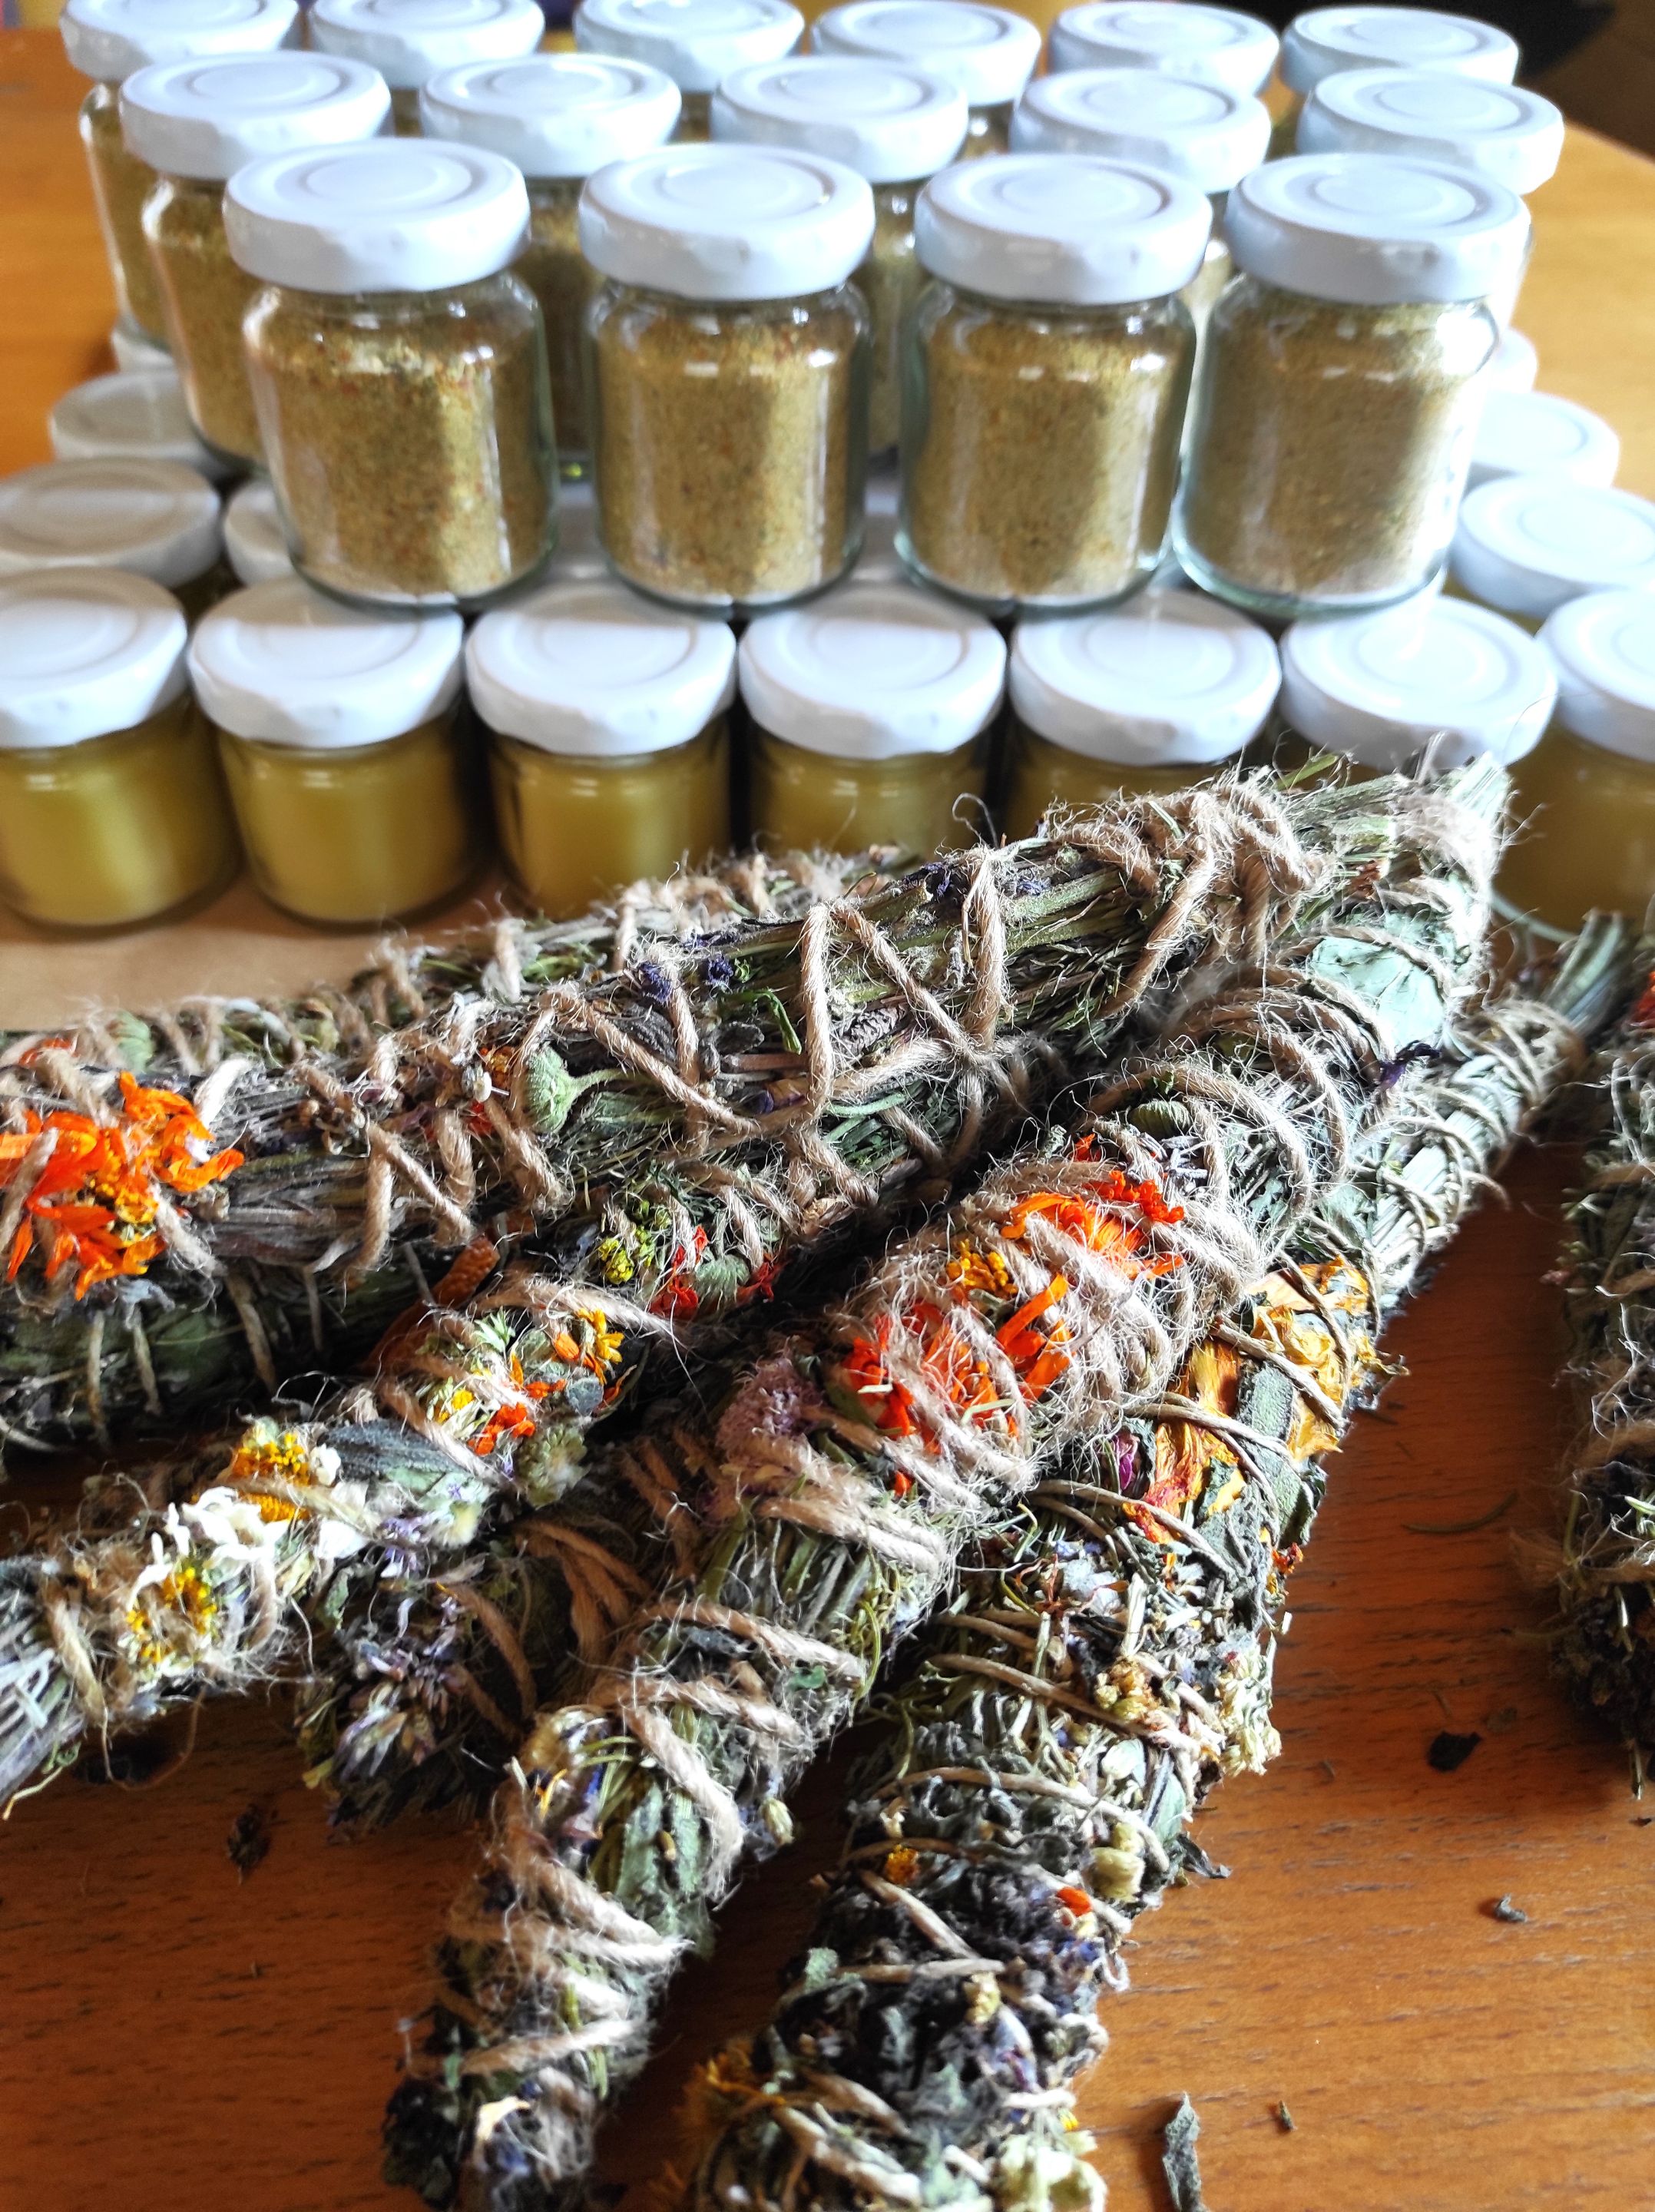
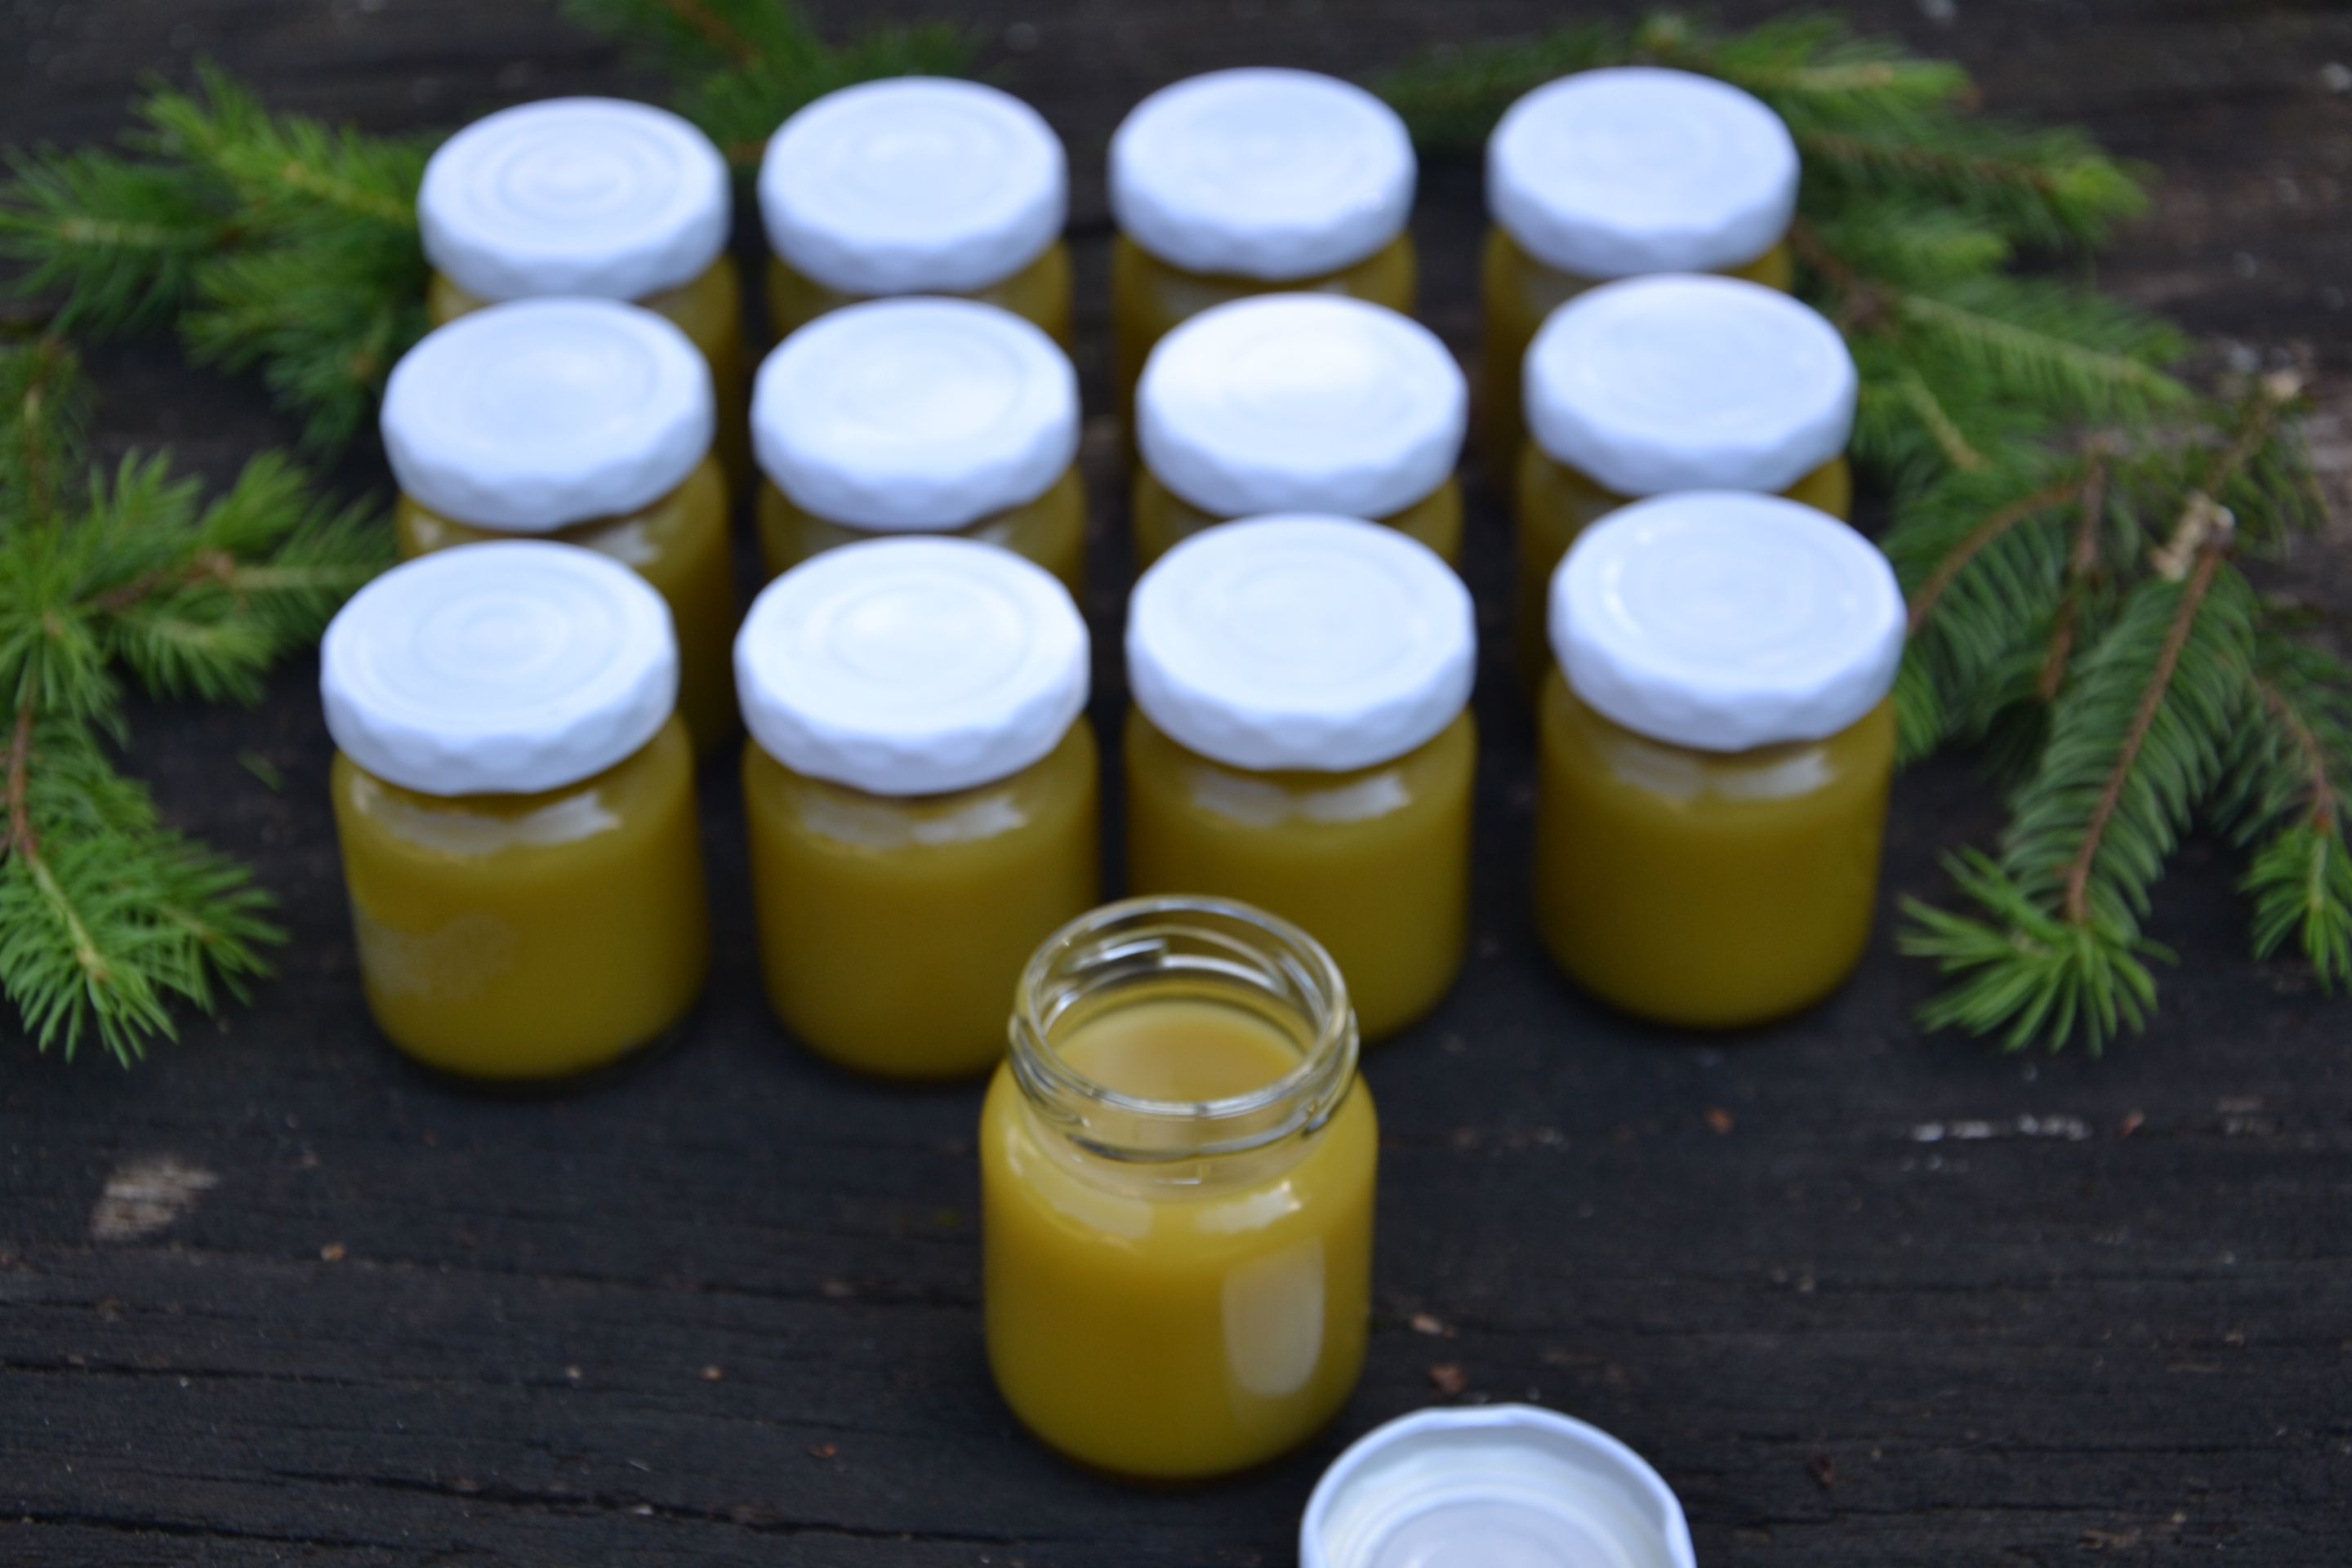
Pine ointment can also be a nice gift. I made these ornaments, plant salt and bunches of dried herbs and flowers as a gift for a small community.
Ingridients:
- 1 liter of organic olive oil
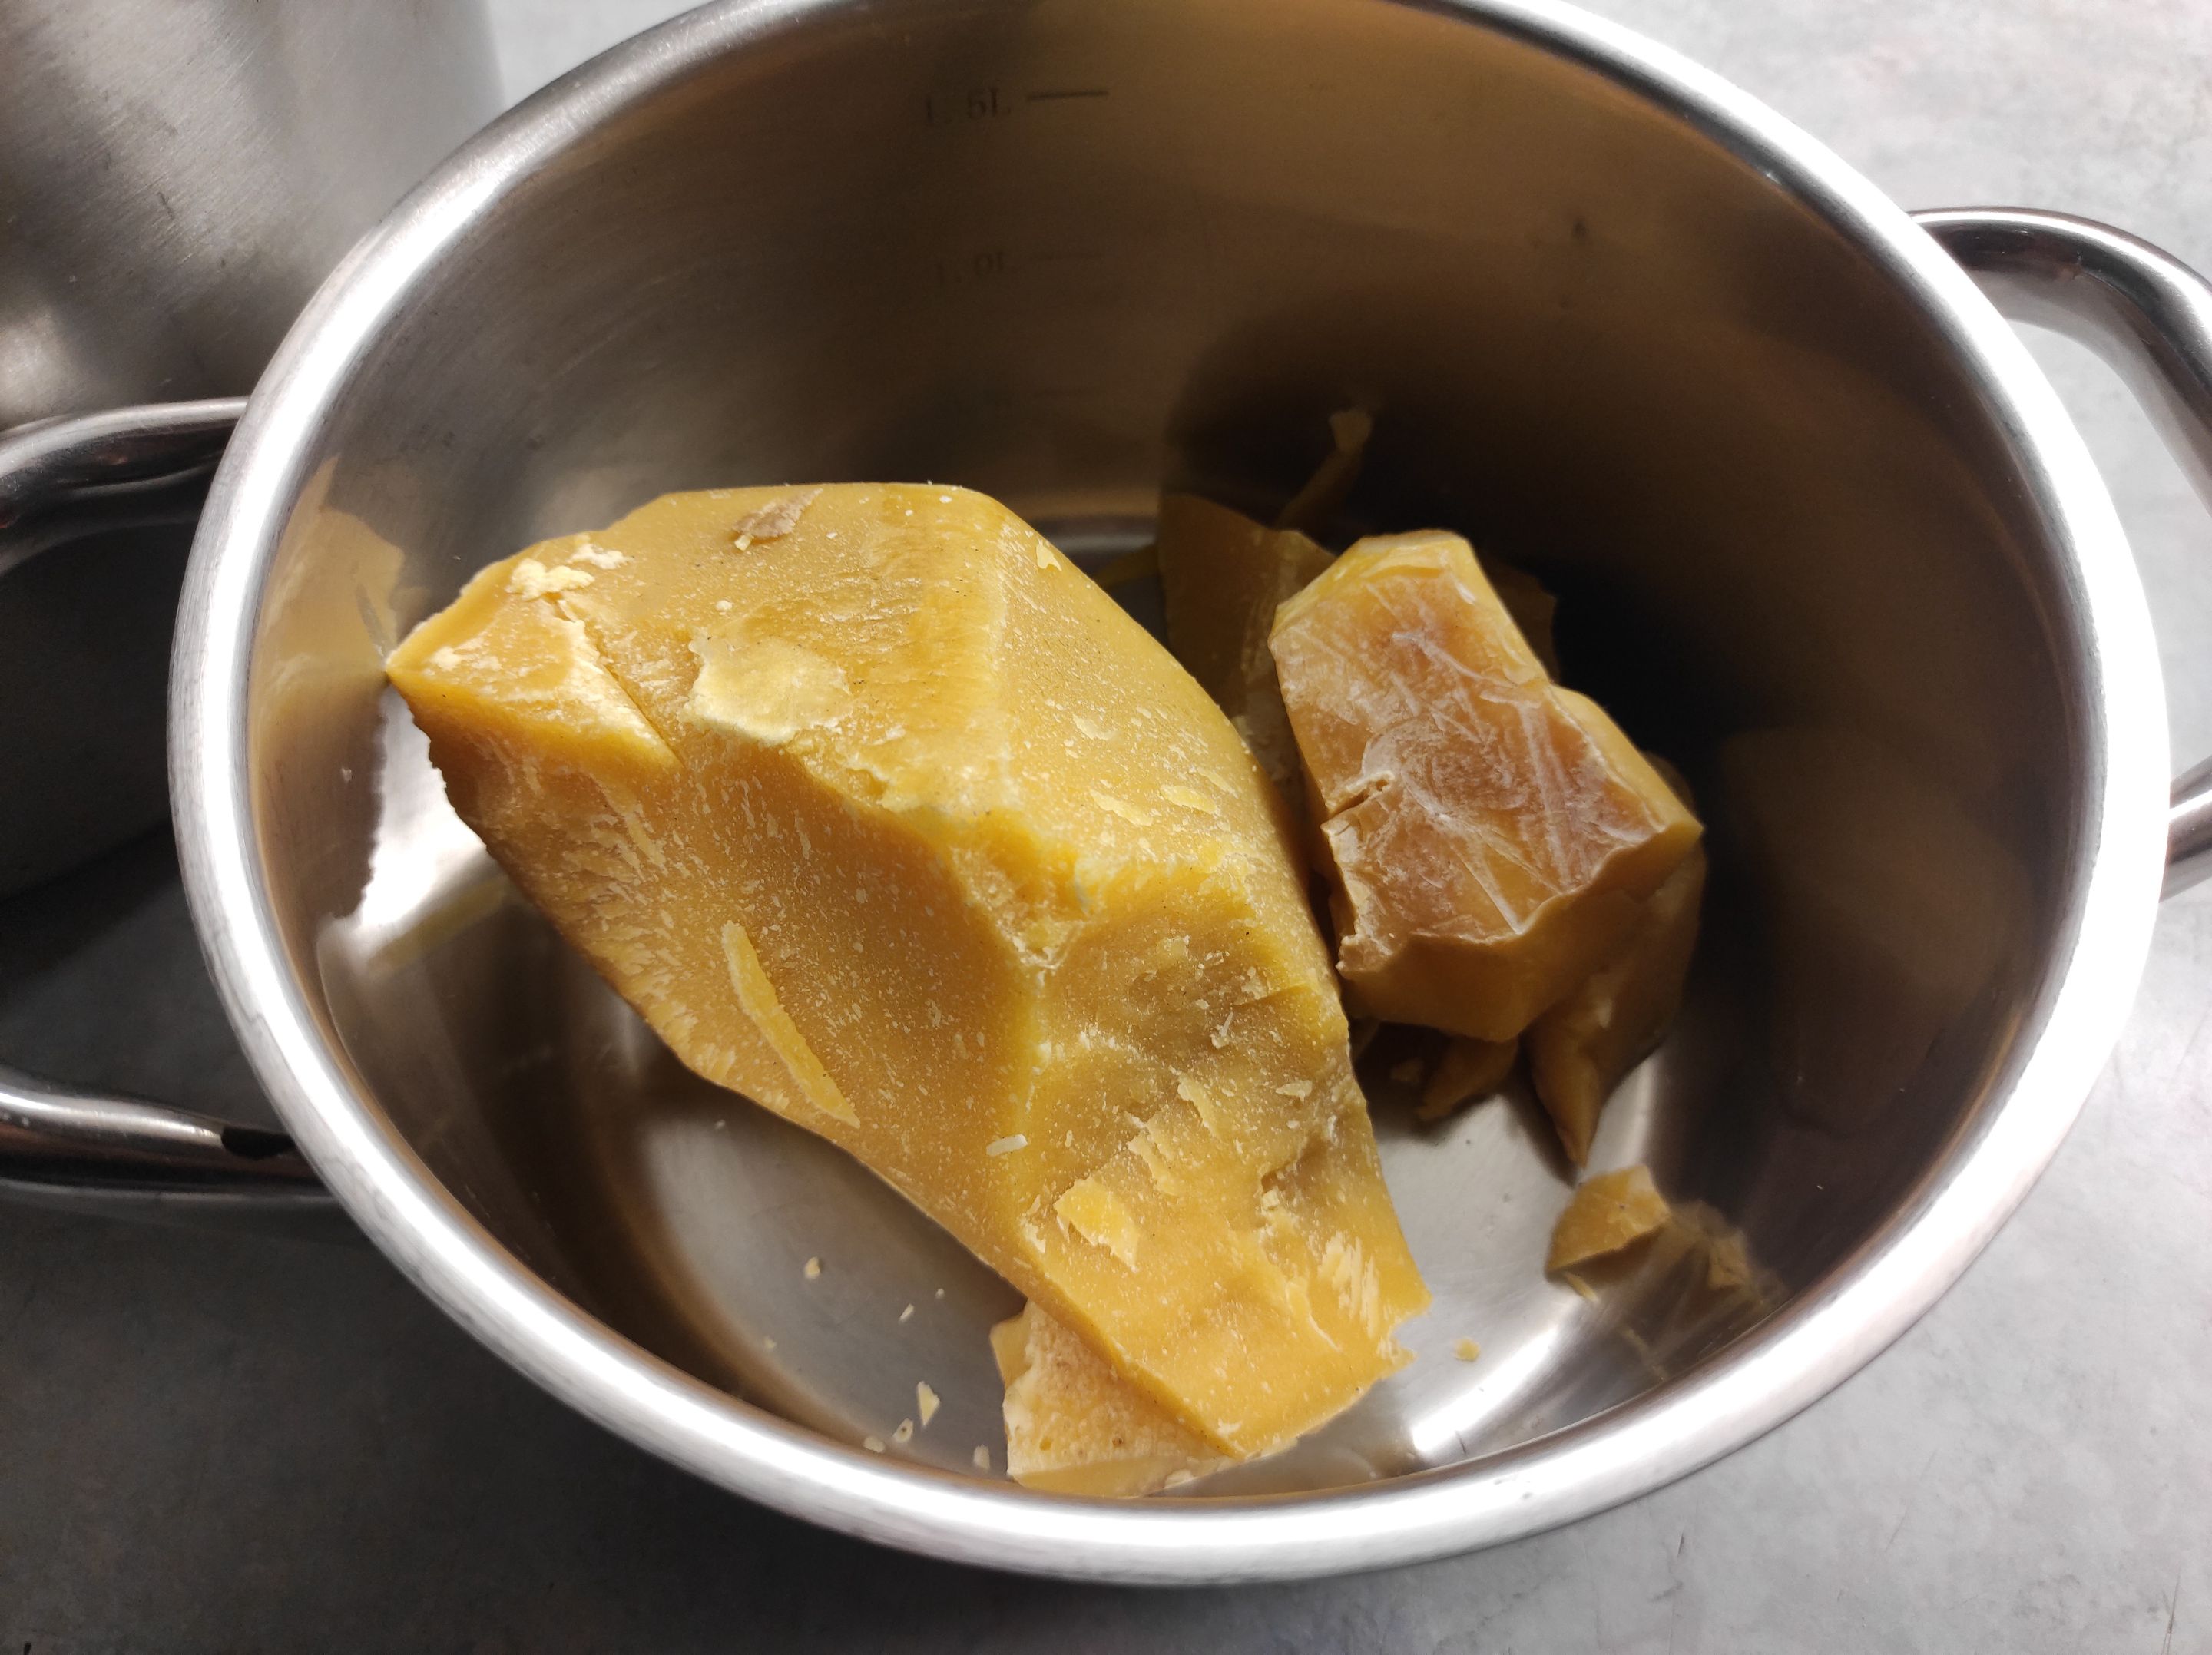
- 50 dag of spruce resin
- 1 dl organic beeswax
Preparation:
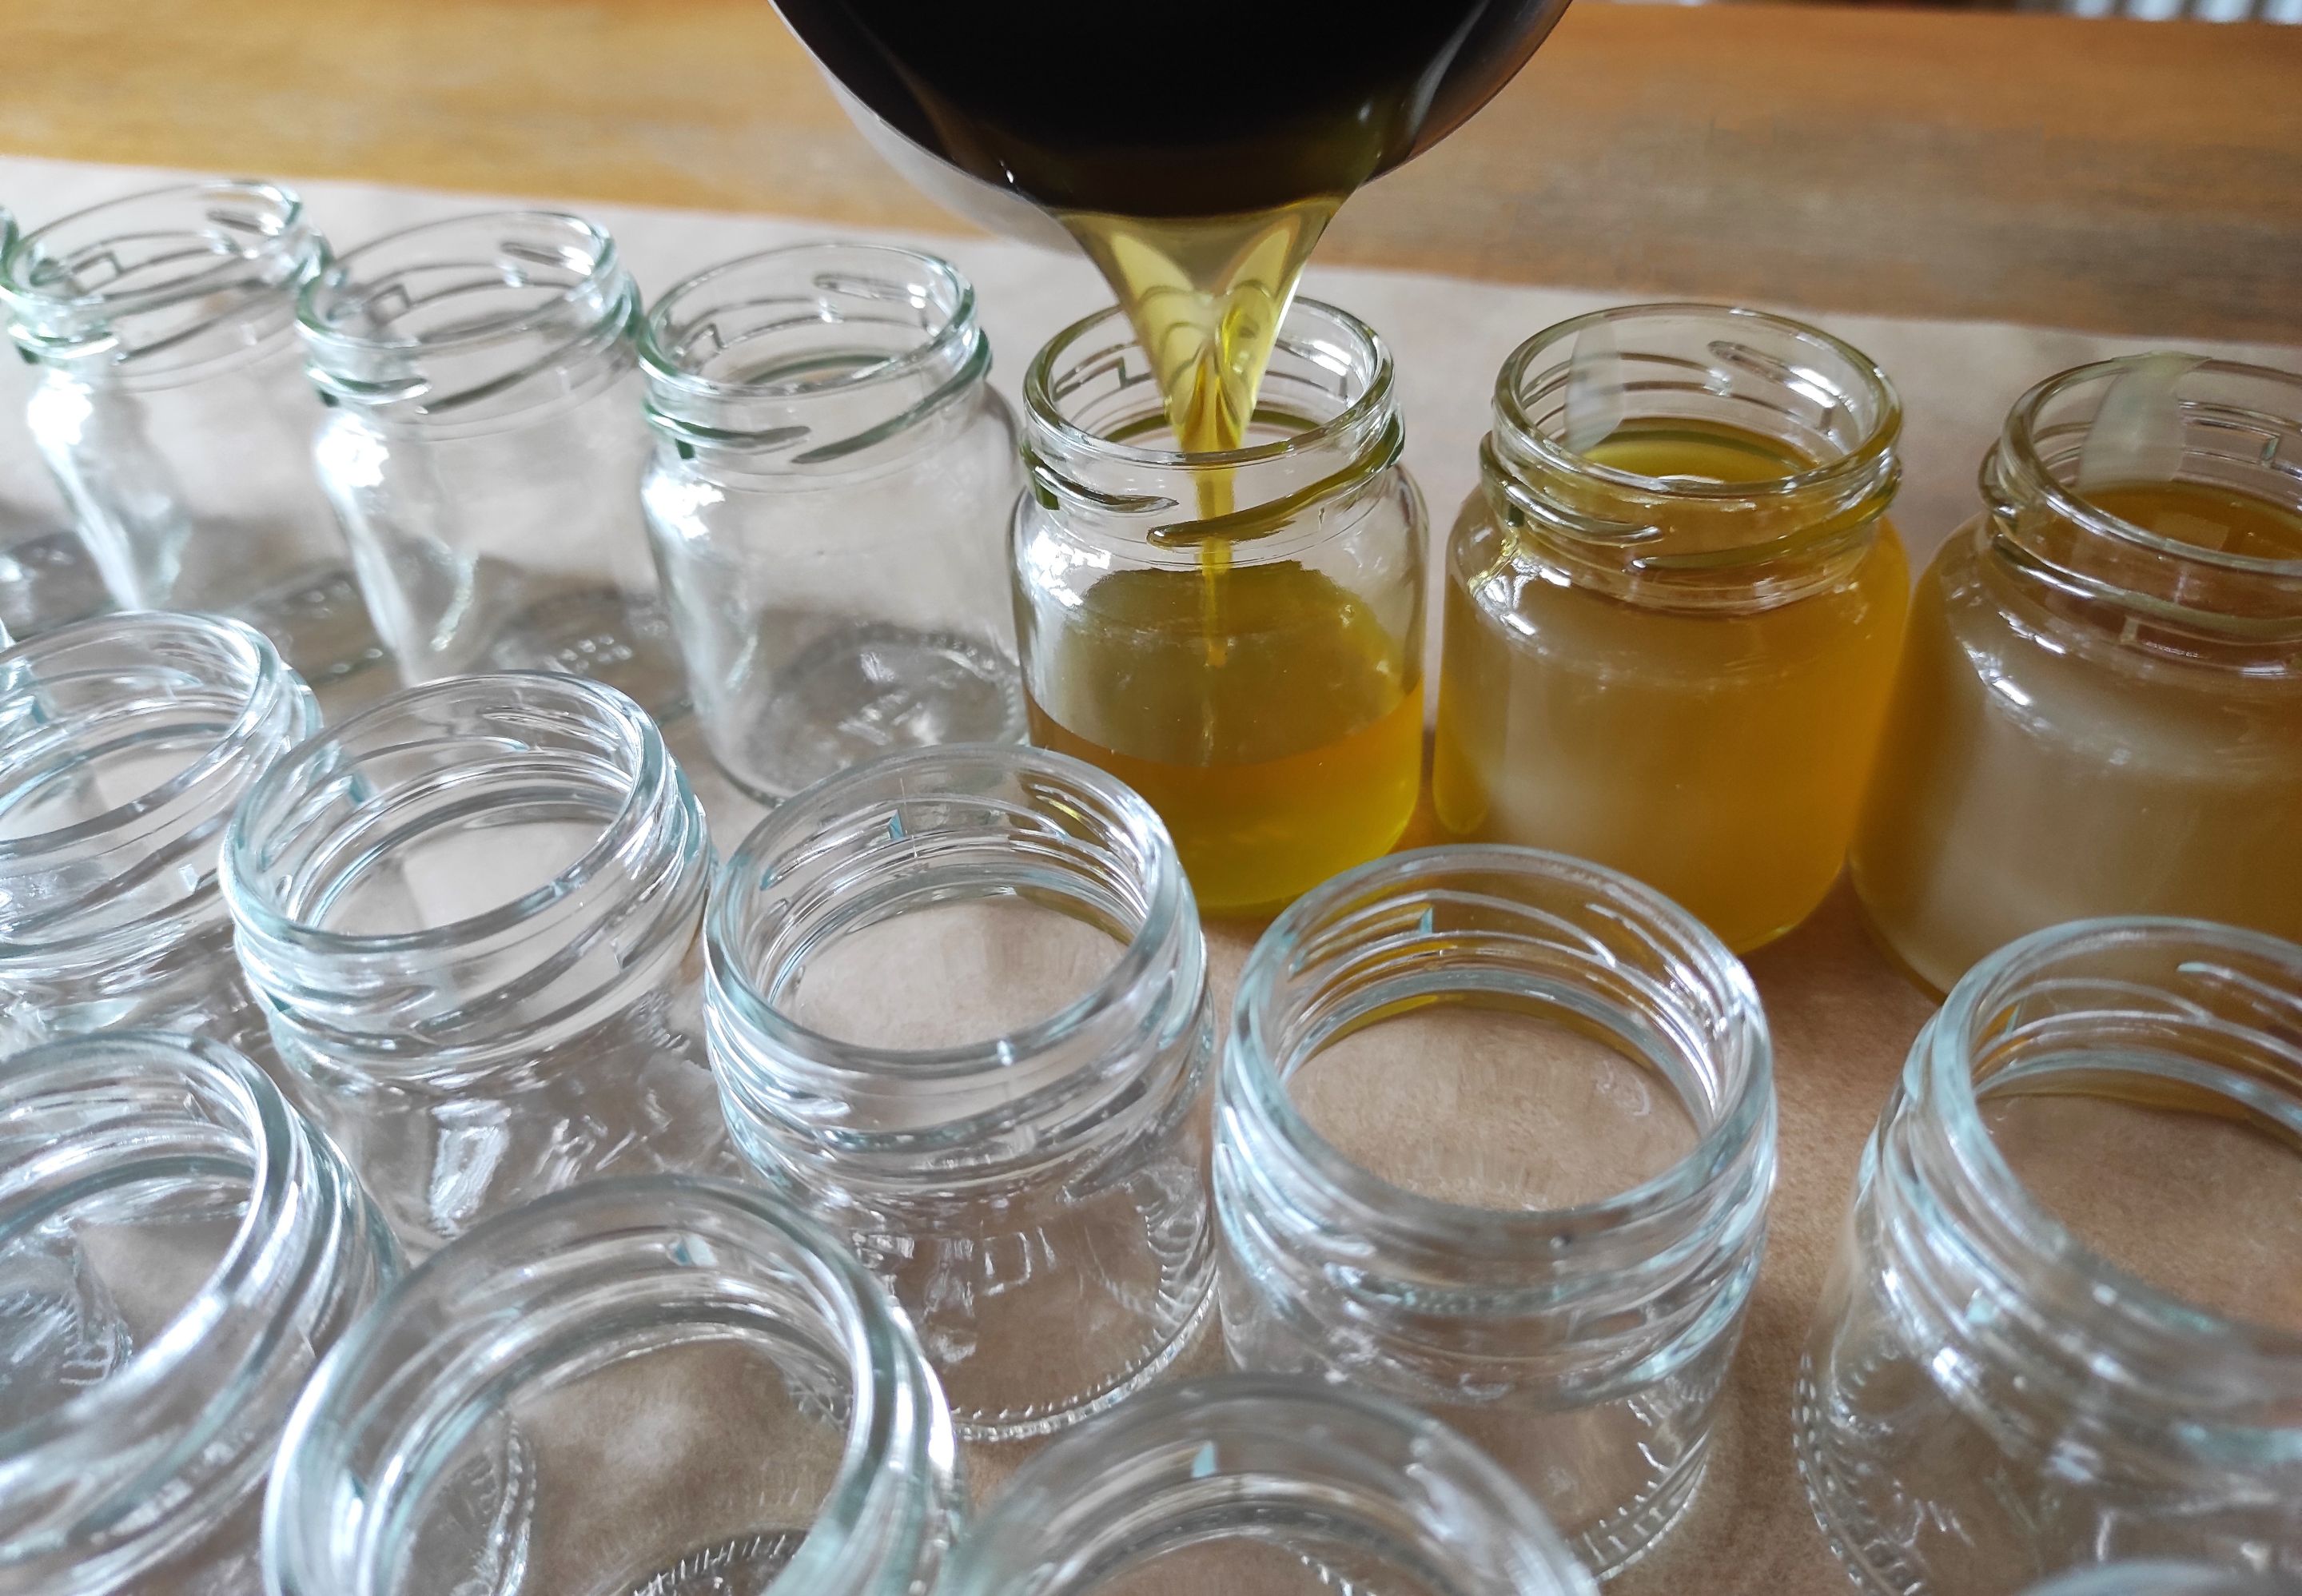
- Prepare clean jars to store the balm. It is easiest to just open them and line them up, as this is the easiest way to pour the prepared ointment.
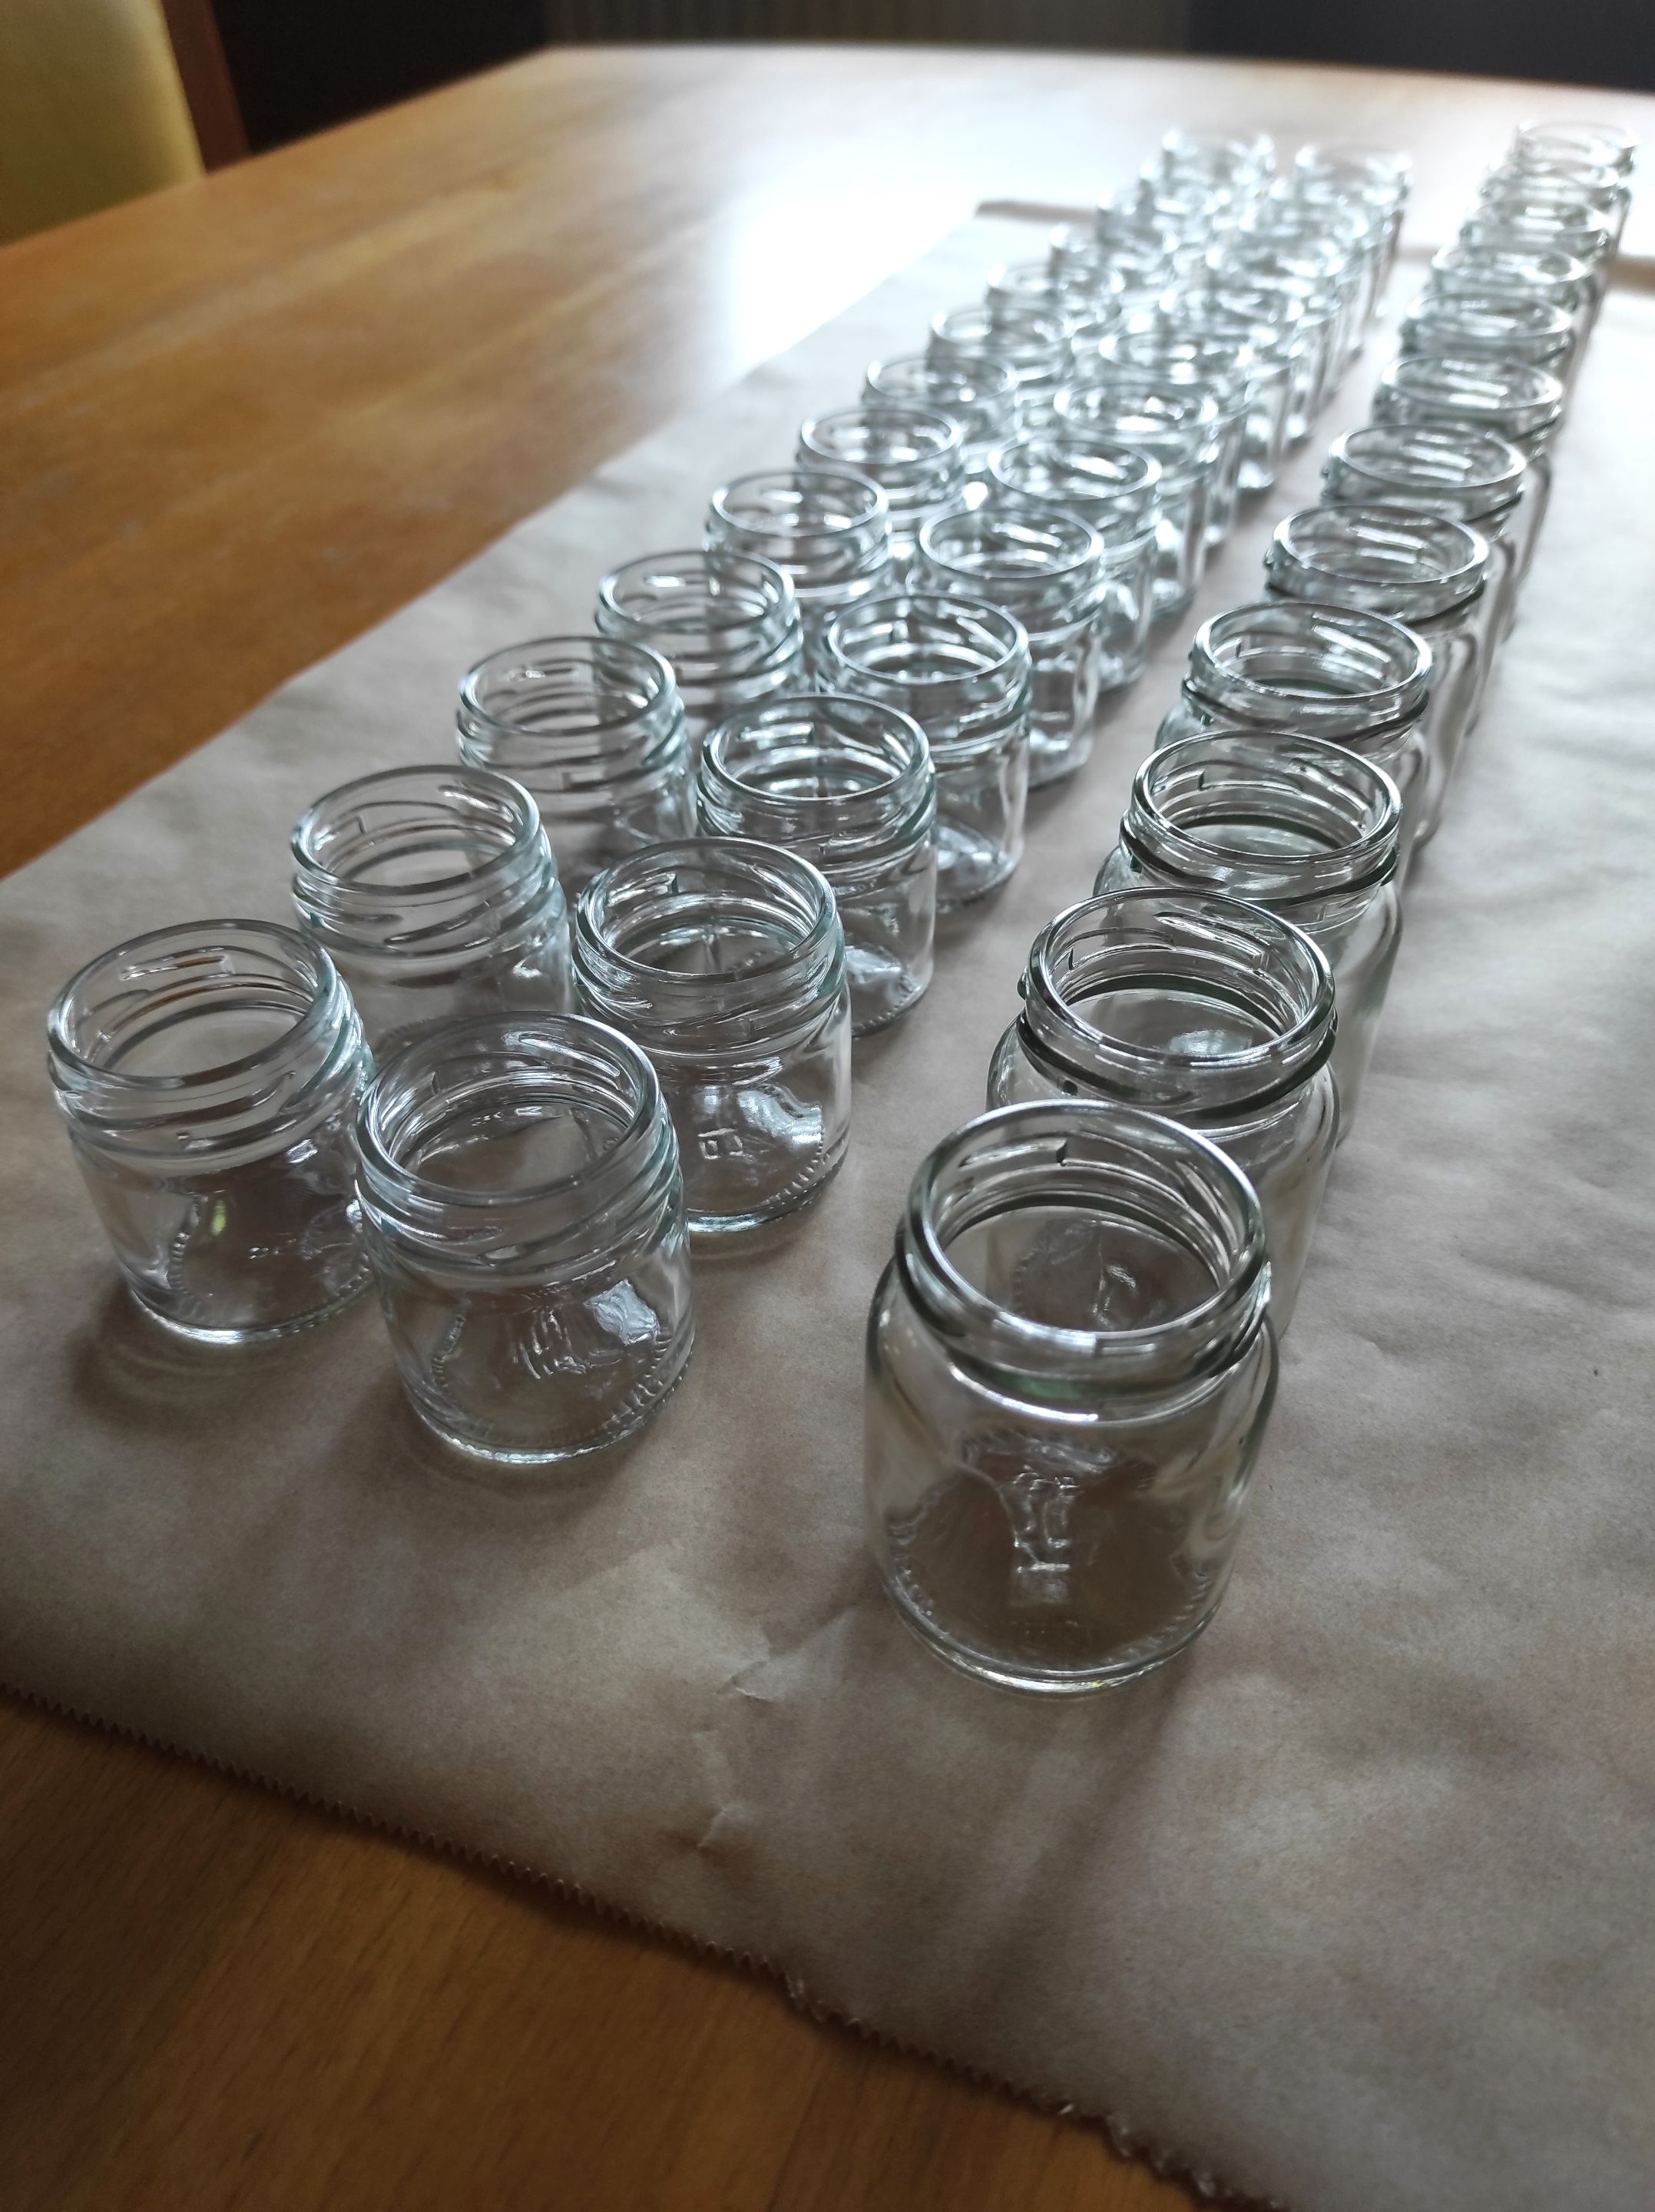
It is also important to prepare them ahead to immediately start pouring the warm balm so that it starts to solidify in the jars. - Prepare all the ingredients and three pots.
- Pour olive oil in a pot and place it on a low heat. Add pine resin. Mix everything together and heat over low heat so that the pine resin liquefies, but does not boil.
- Meanwhile, place beeswax in the second pot and place it on the stove.
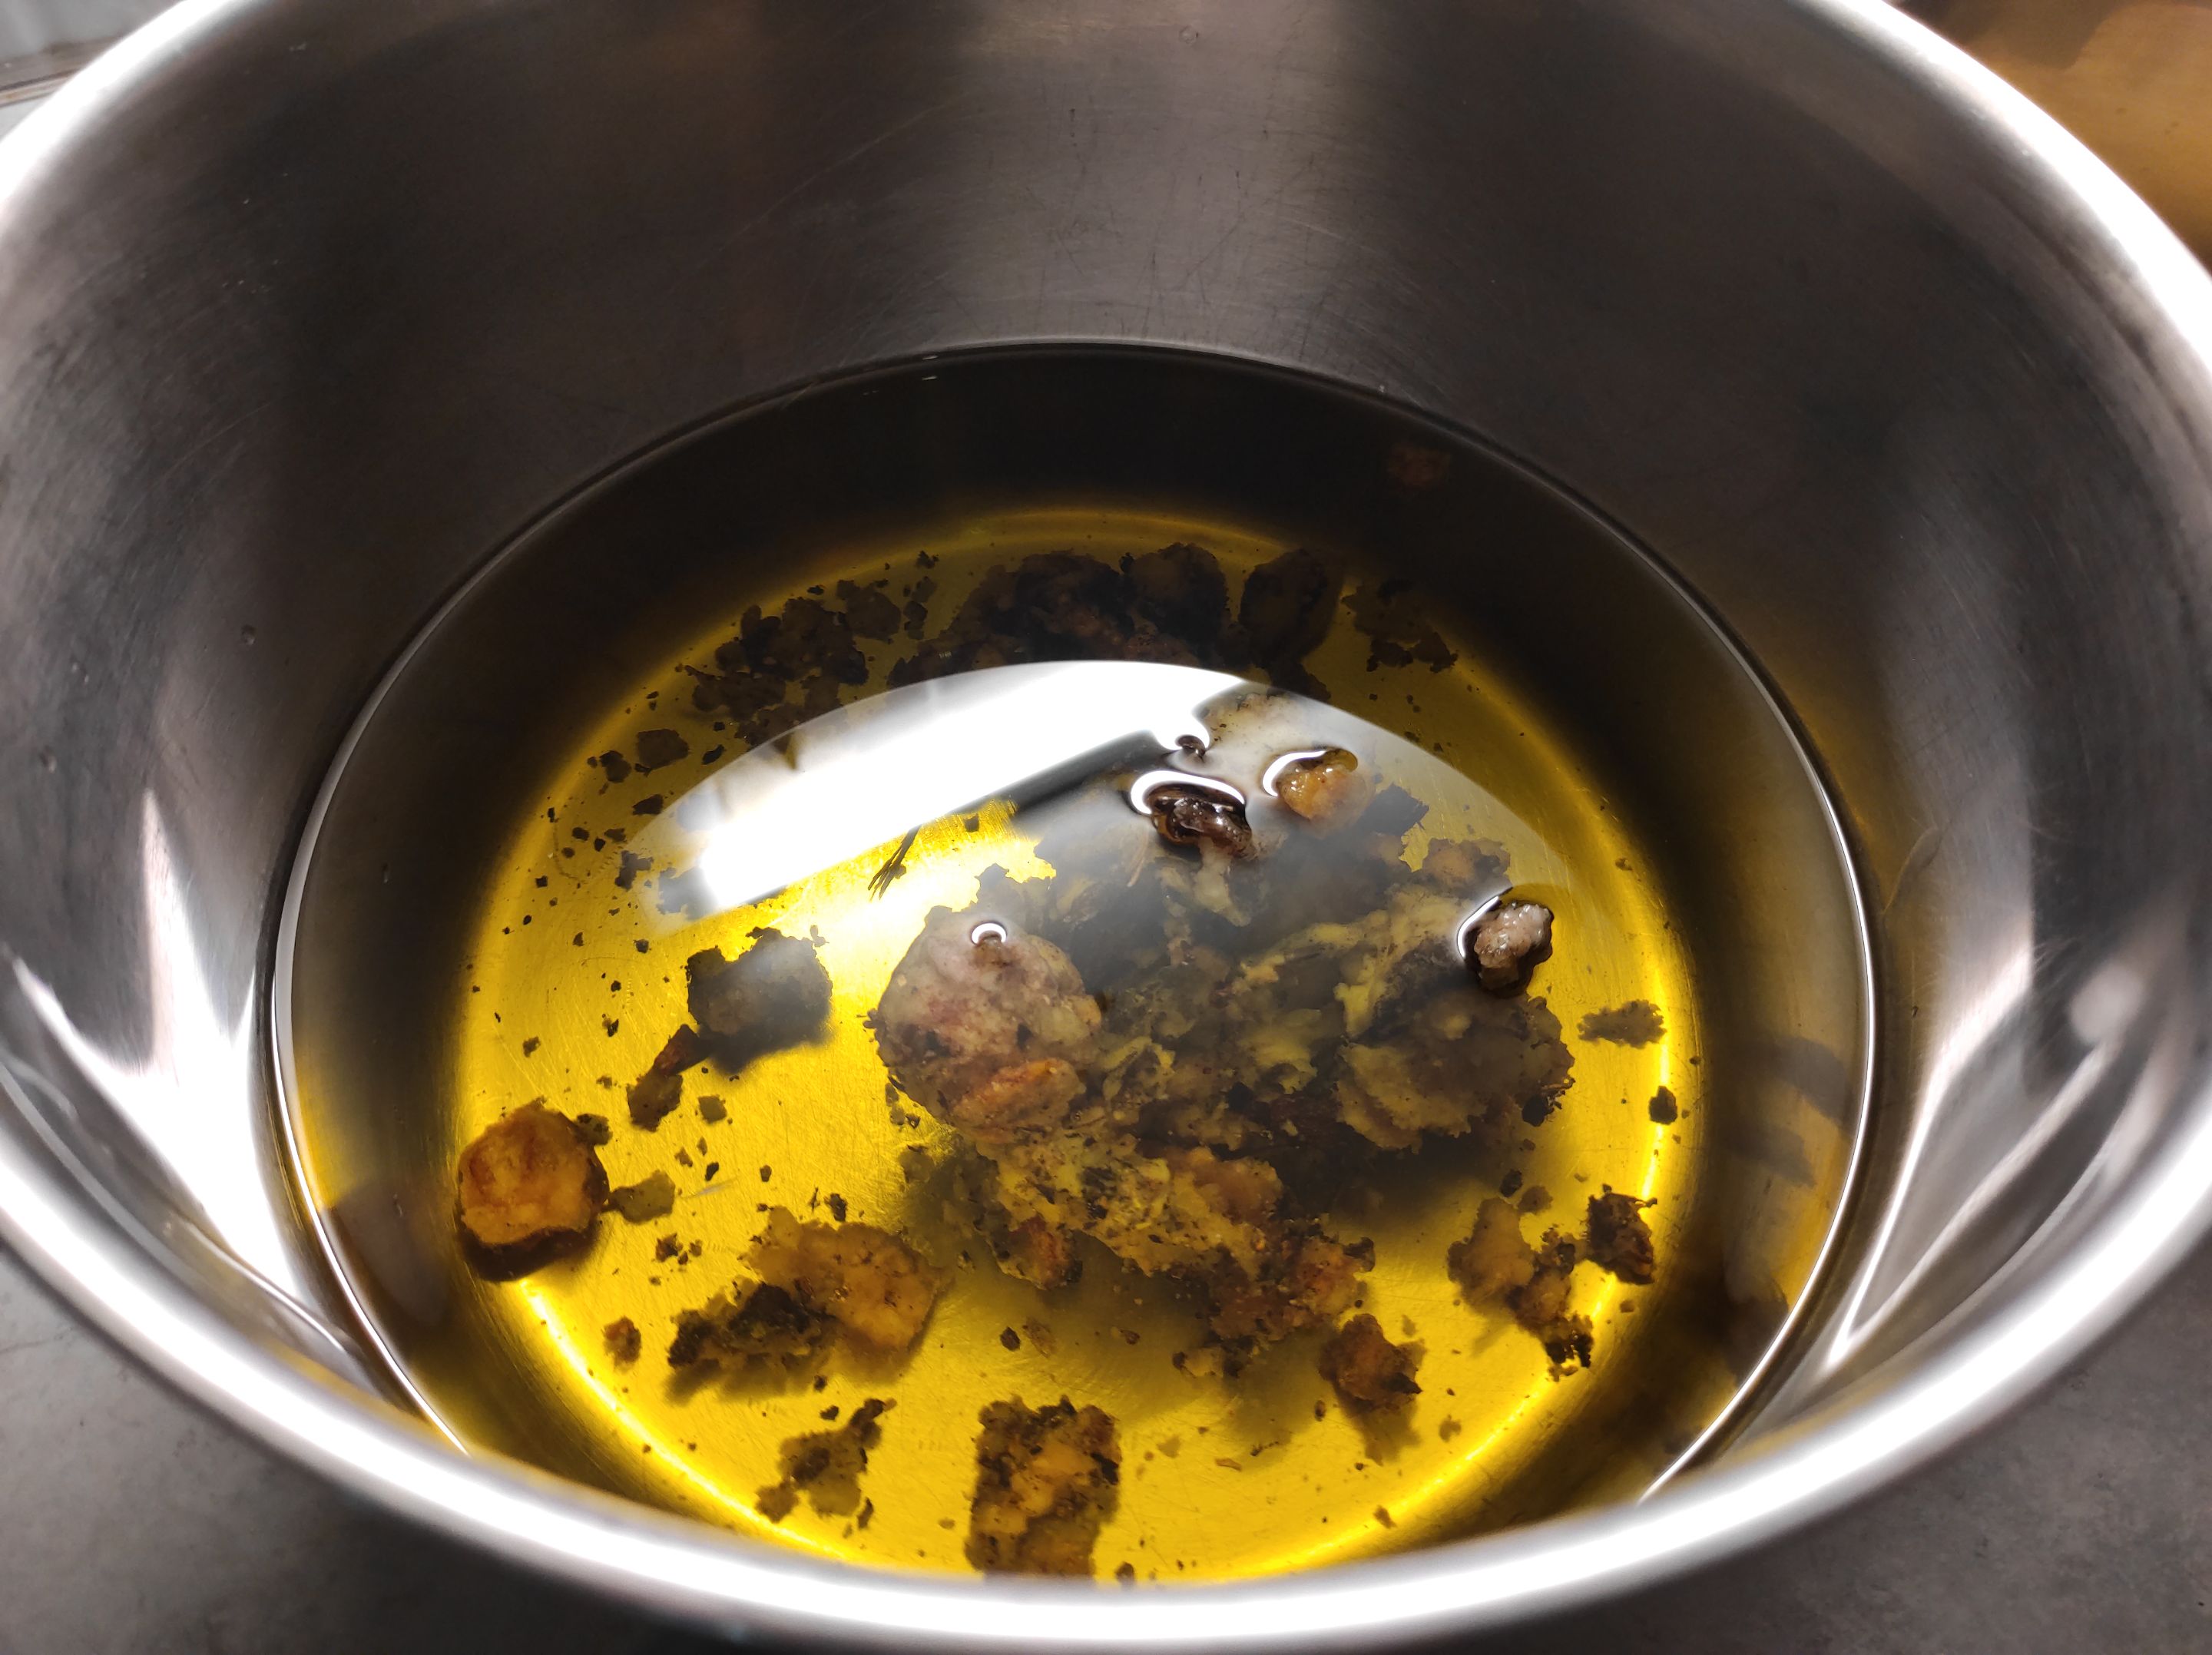
Heat it at a low temperature so that it liquefies, but does not boil. - When the warm liquefied mixture of oil and resin has the appearance of a uniform liquid, it is ready. There are particles floating in the liquid, which need to be filtered.
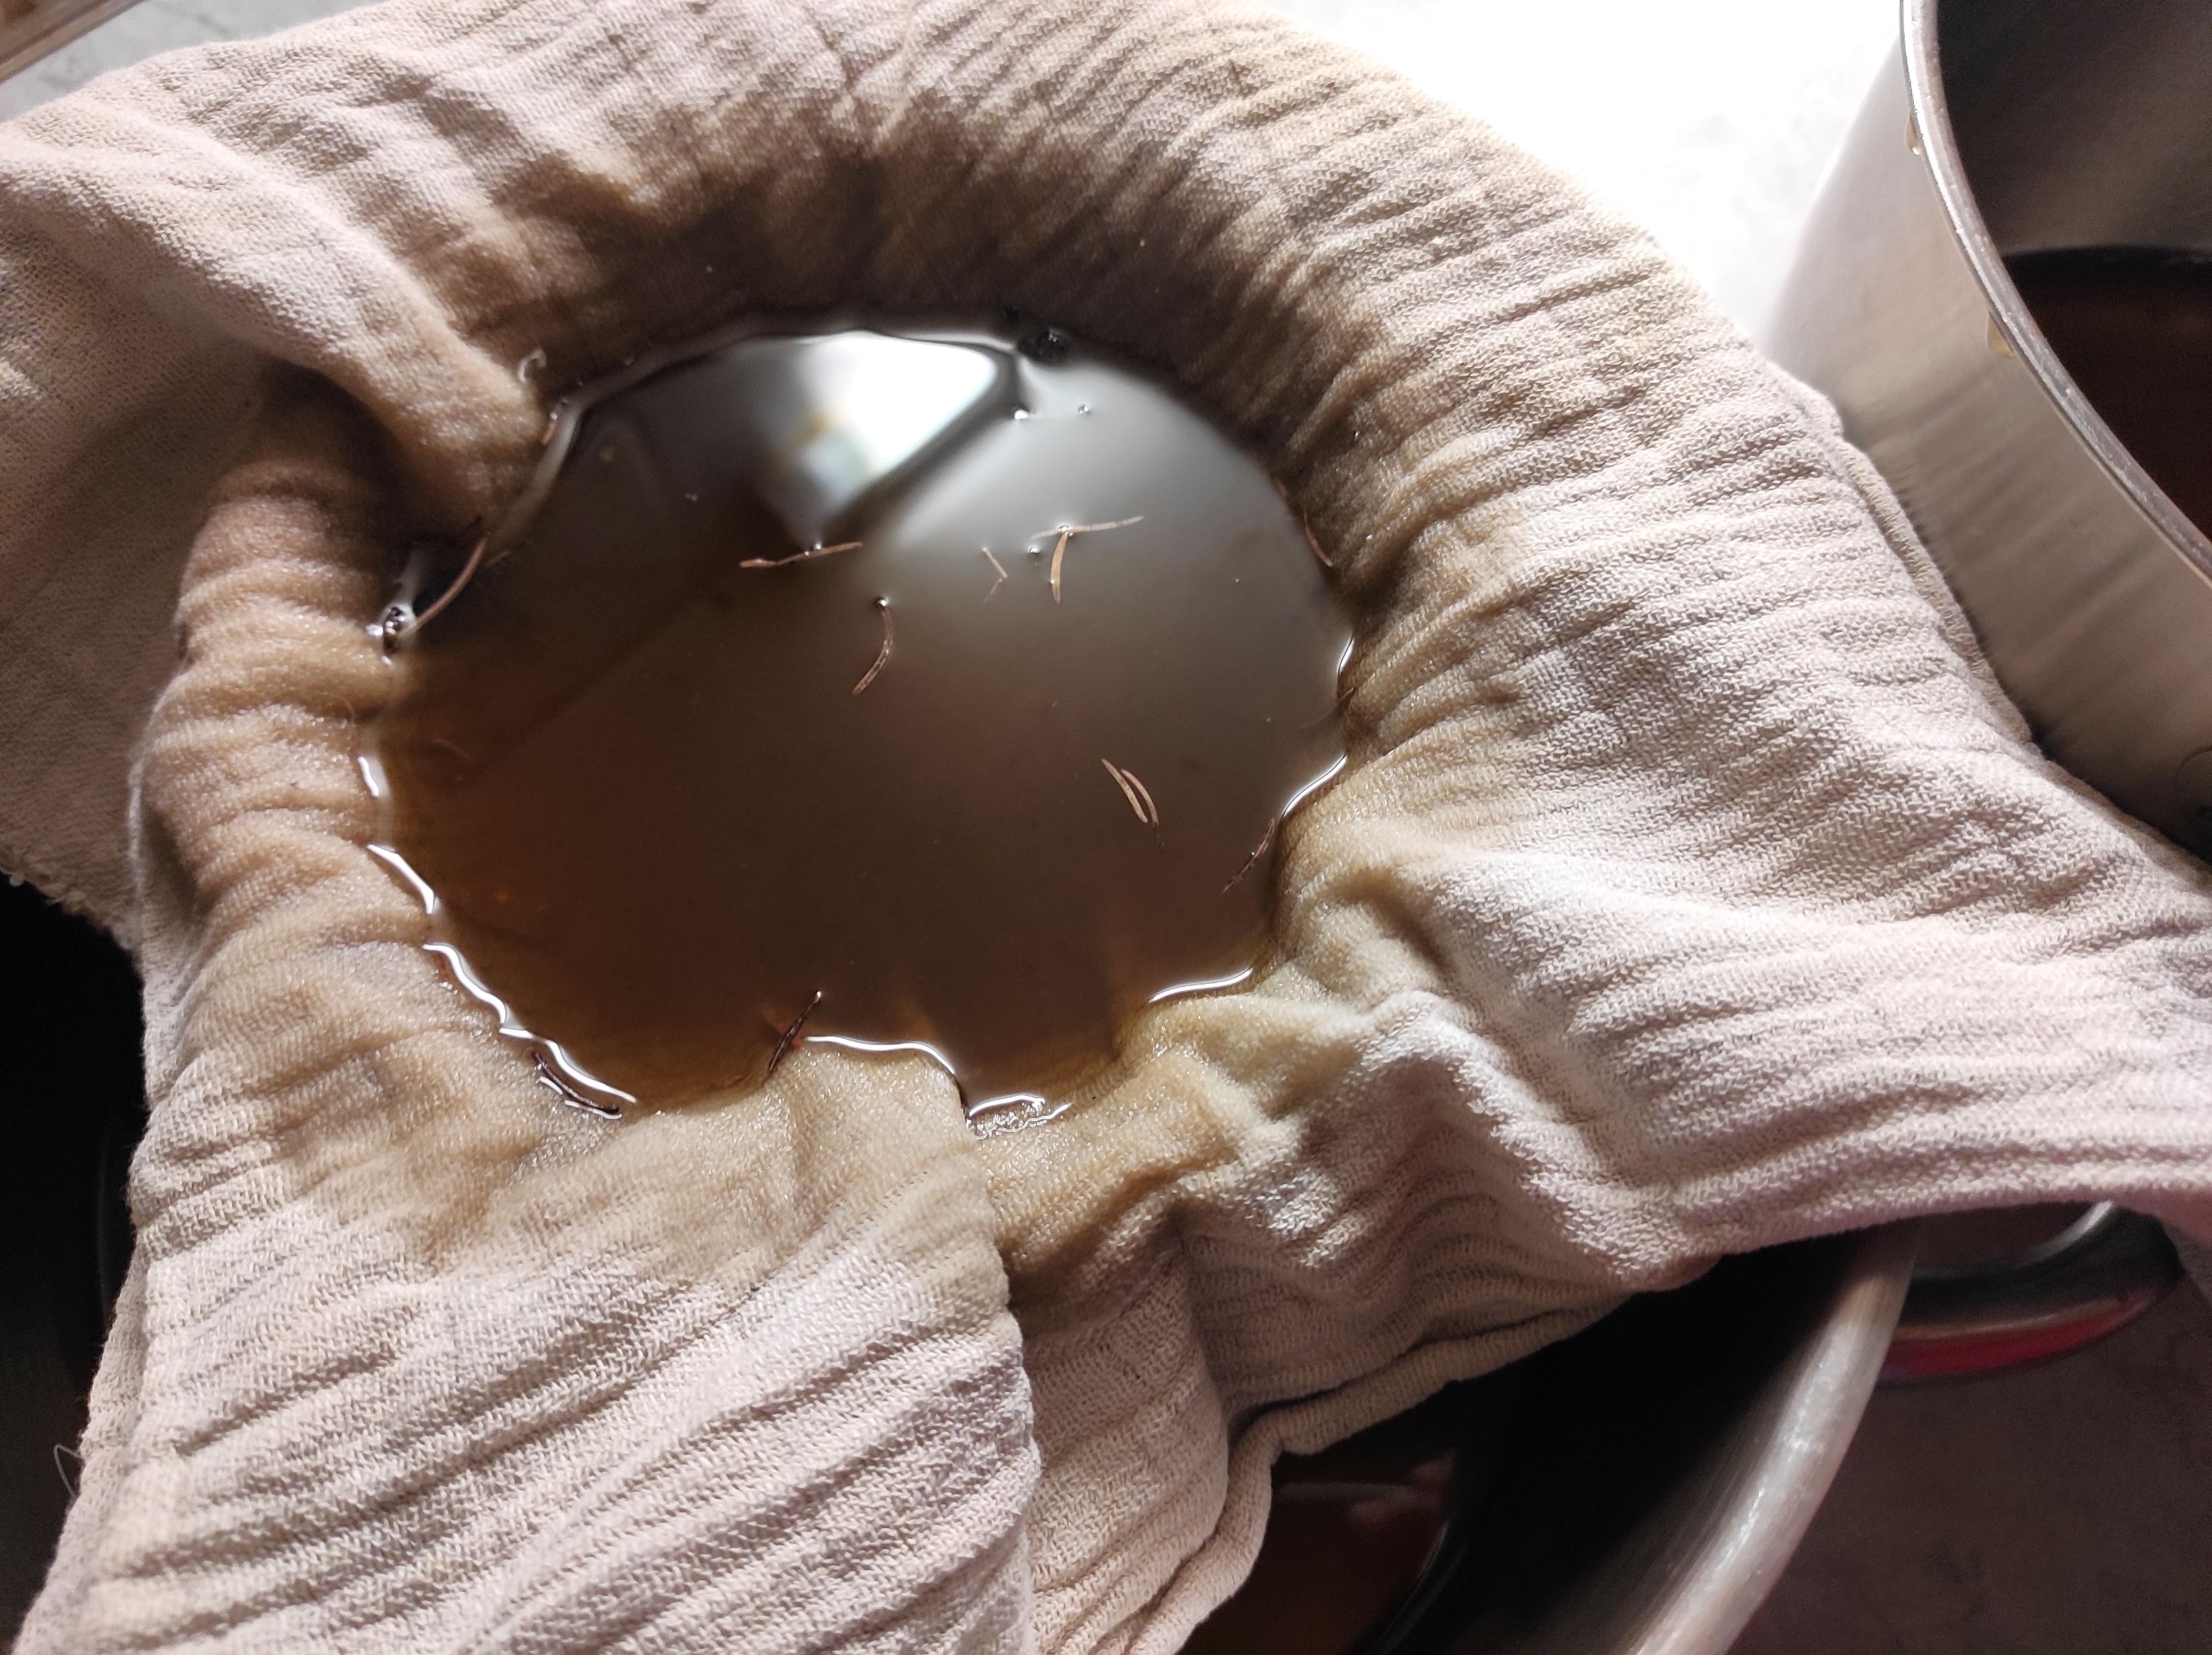
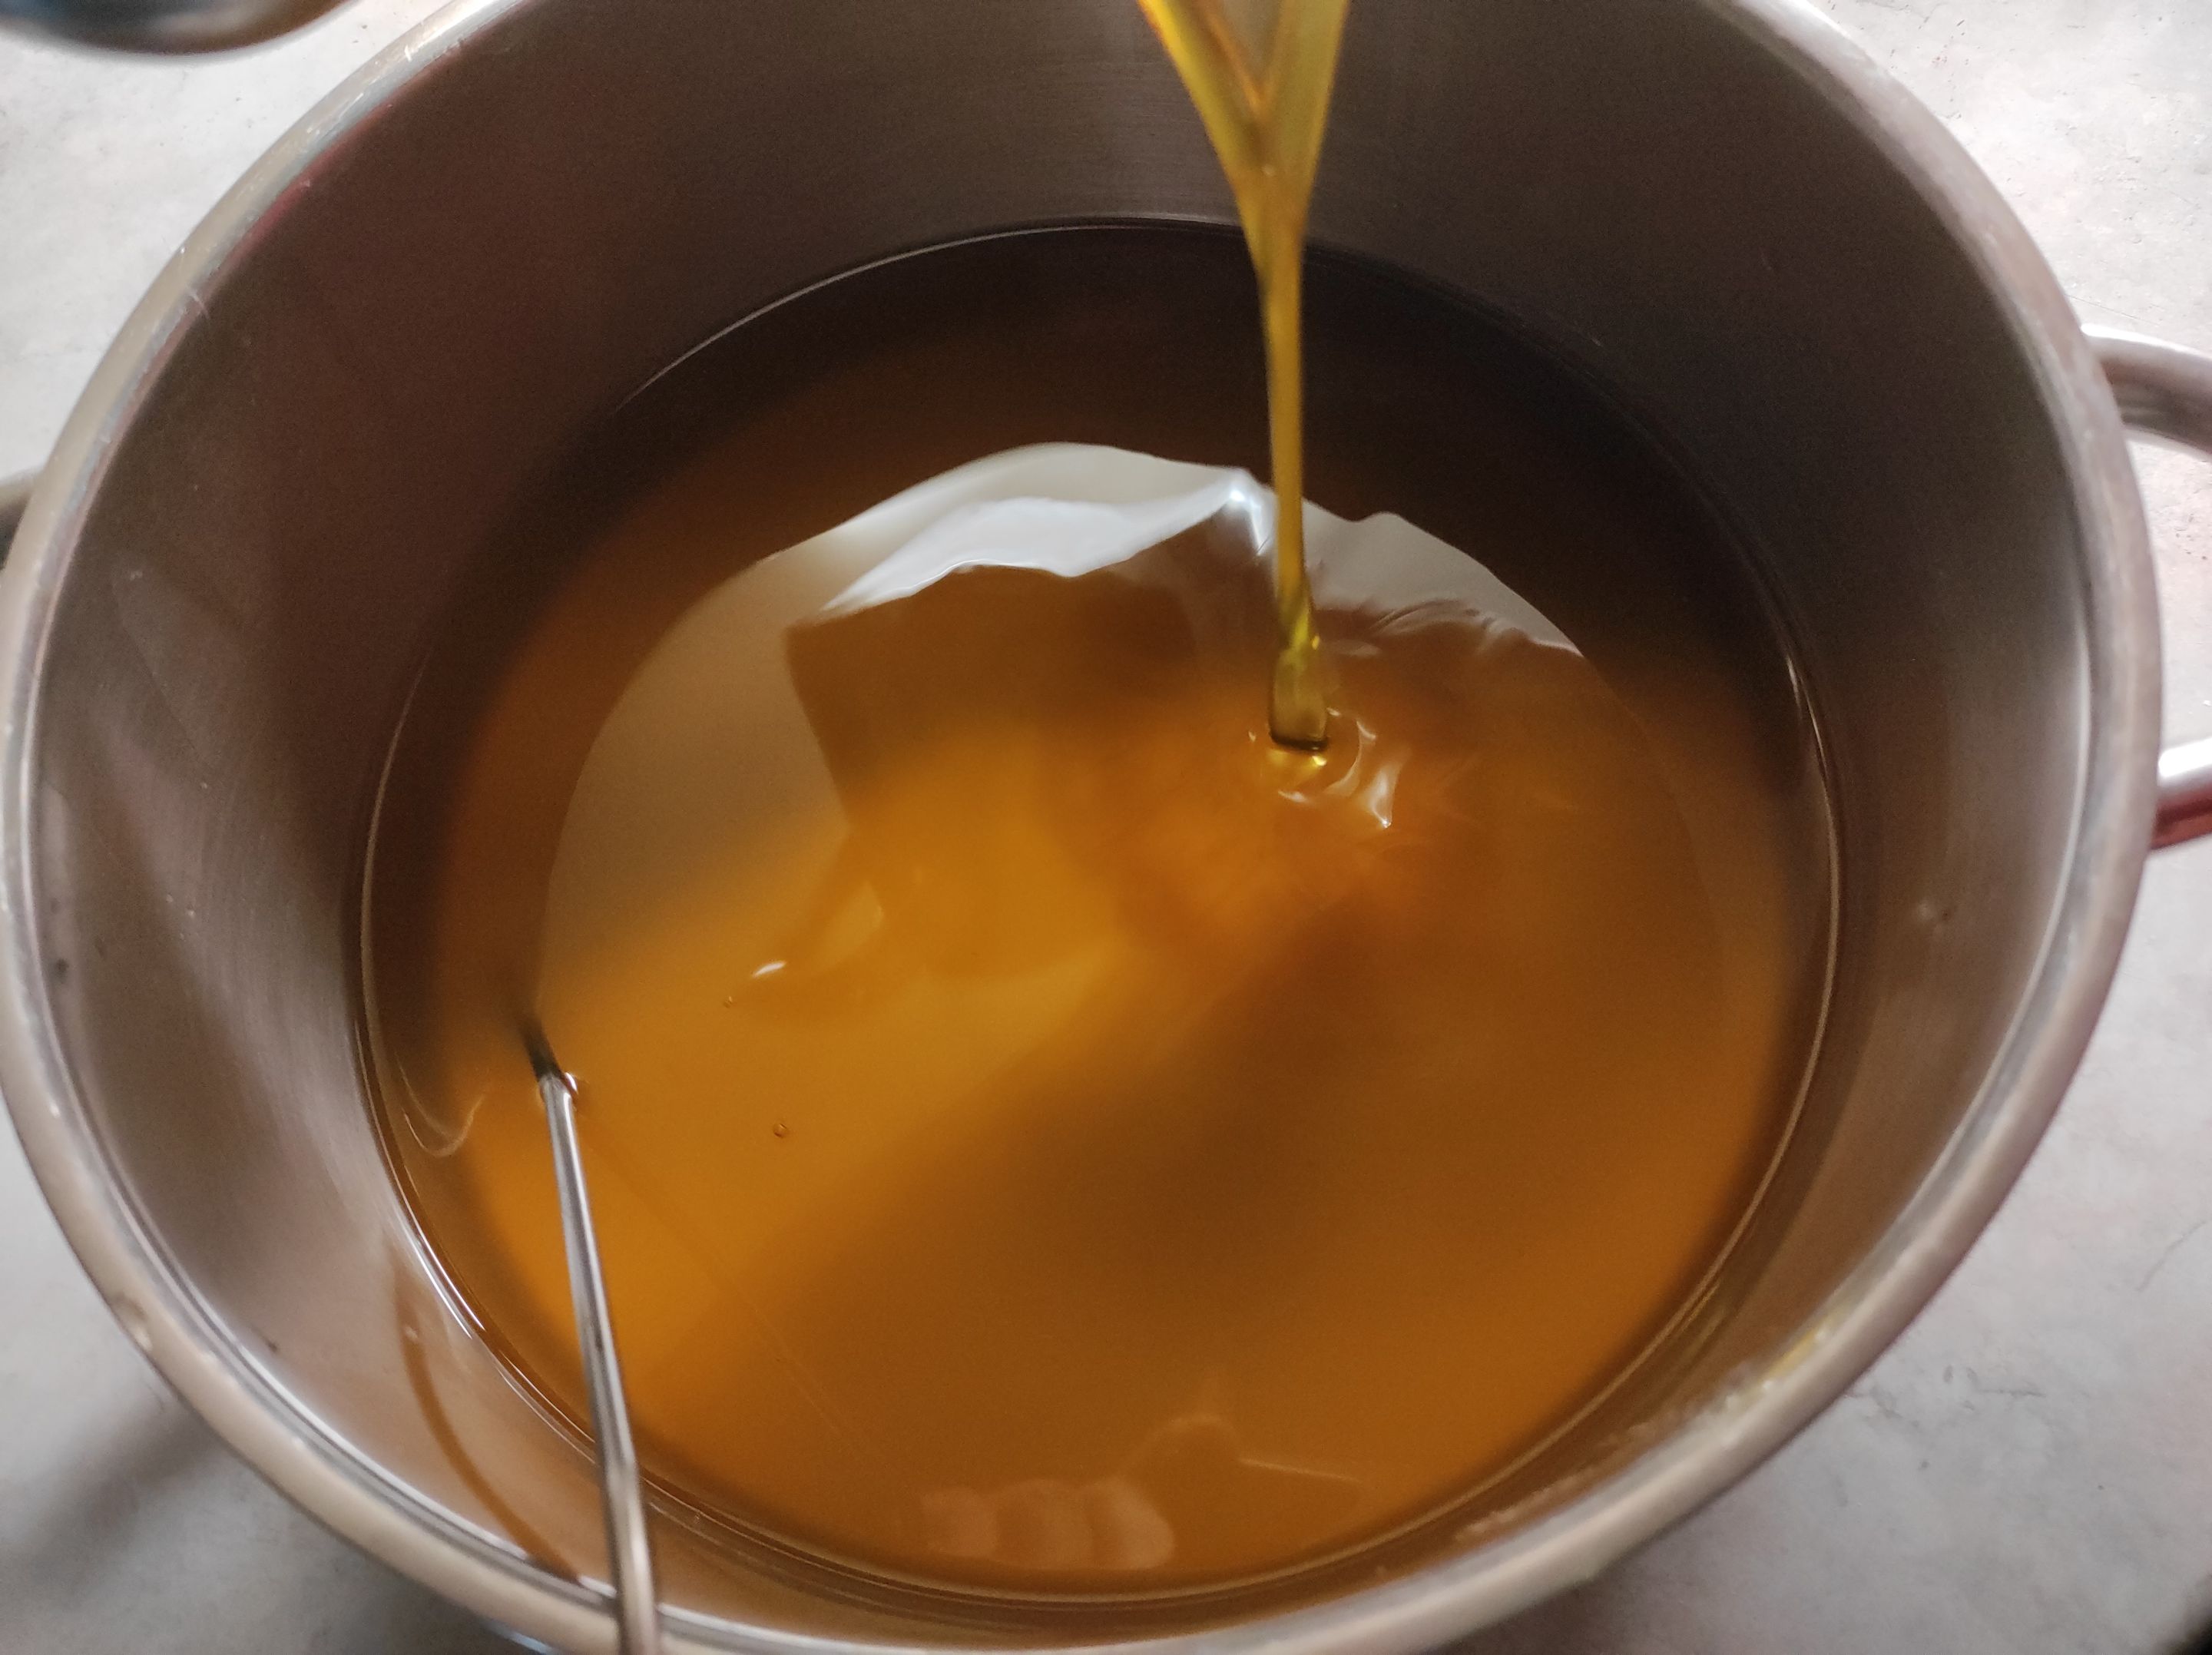
Stretch the gauze over the third pot, pour the mixture, grasp the edges of the gauze and lift and squeeze. The strained mixture should have a silky uniform appearance, without particles. - The liquid wax in one pot and the strained resin oil in another pot must be of similar temperature when combined together (you can use thermometer).
If one of the liquids is too hot or too cold, the wax will begin to harden as it pours back, and the balm will not be silky, but will have pieces of wax.
Pour both liquids of the same temperature together and mix.
- The warm uniform liquid (balm) is now ready to be poured into jars. Since we had already opened the containers during pre-preparation and placed them in a row, we made pouring easier and eliminated the possibility of the liquid starting to solidify in the pot.