Bracelet inspired by Waller as HoloMax

in voilk •  4 months ago

    WhatsApp Image 2024-03-09 at 17.47.34.jpeg


    Hello #holozing community, happy to greet you and wish you a happy and prosperous weekend. This time I share with you a fan art inspired by Waller as HoloMax.
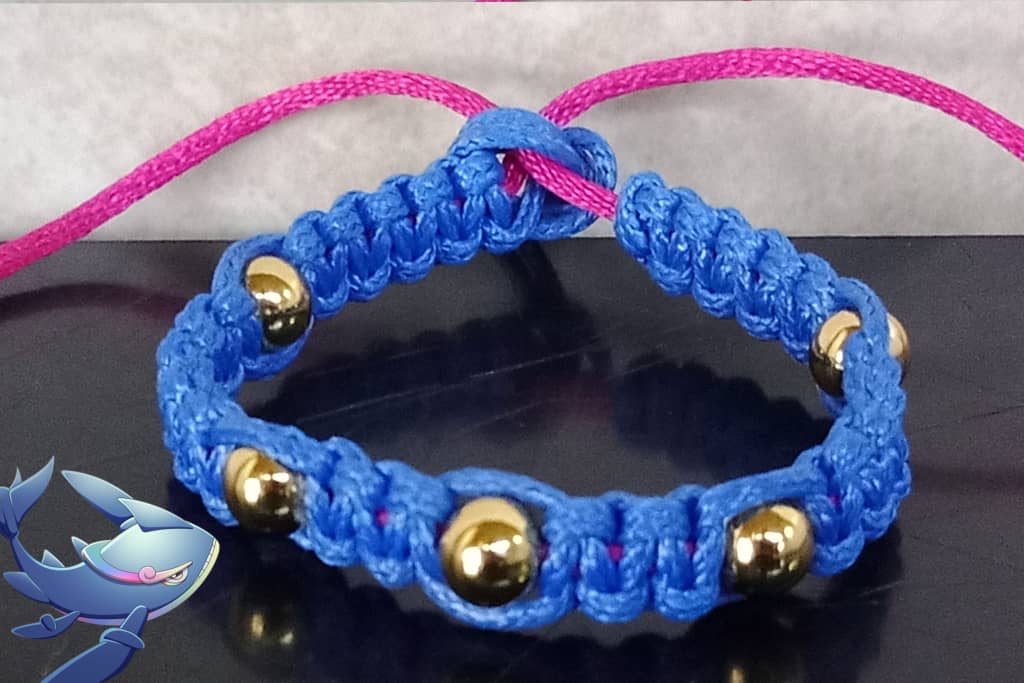
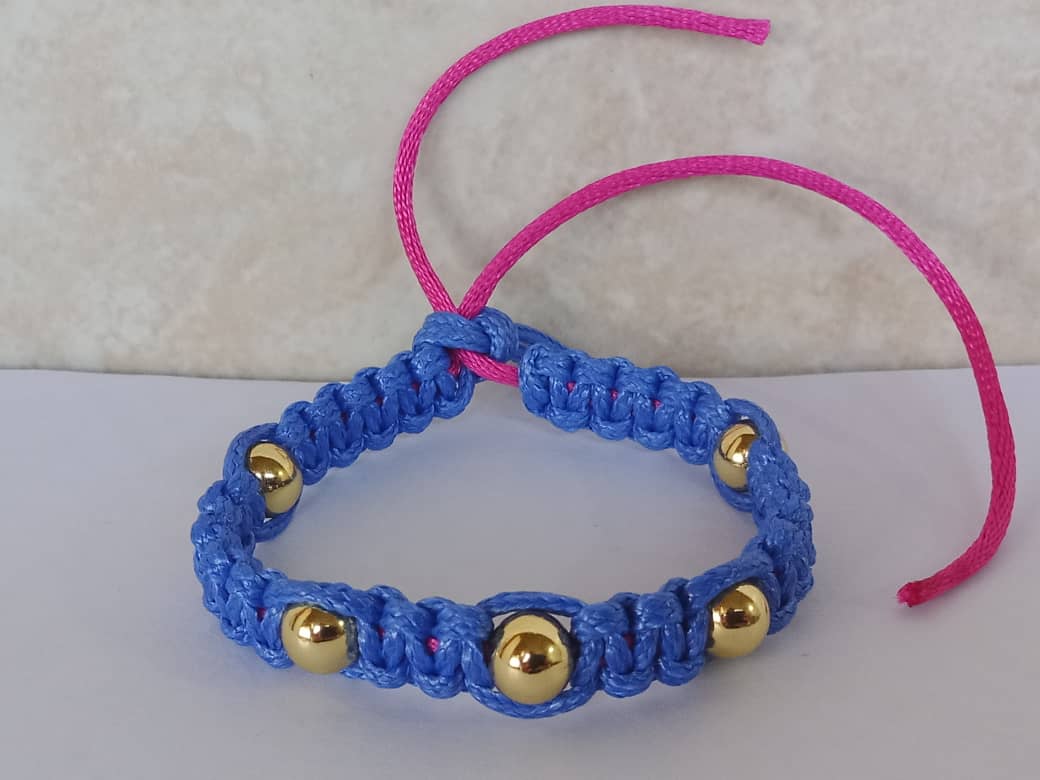
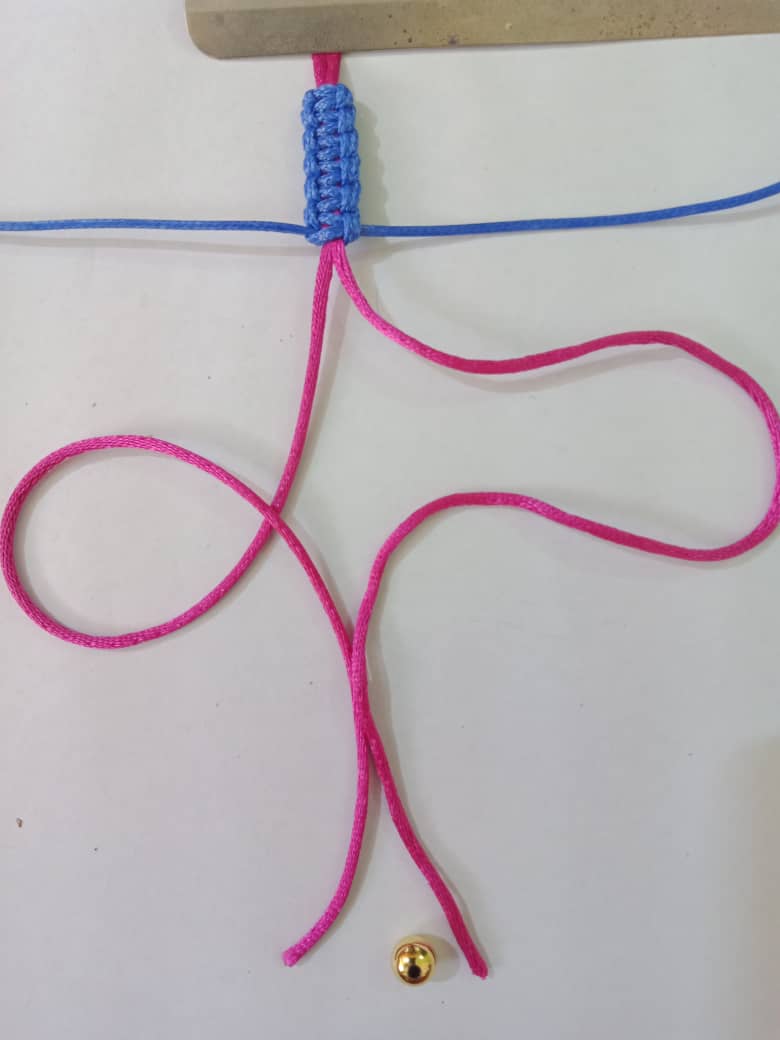
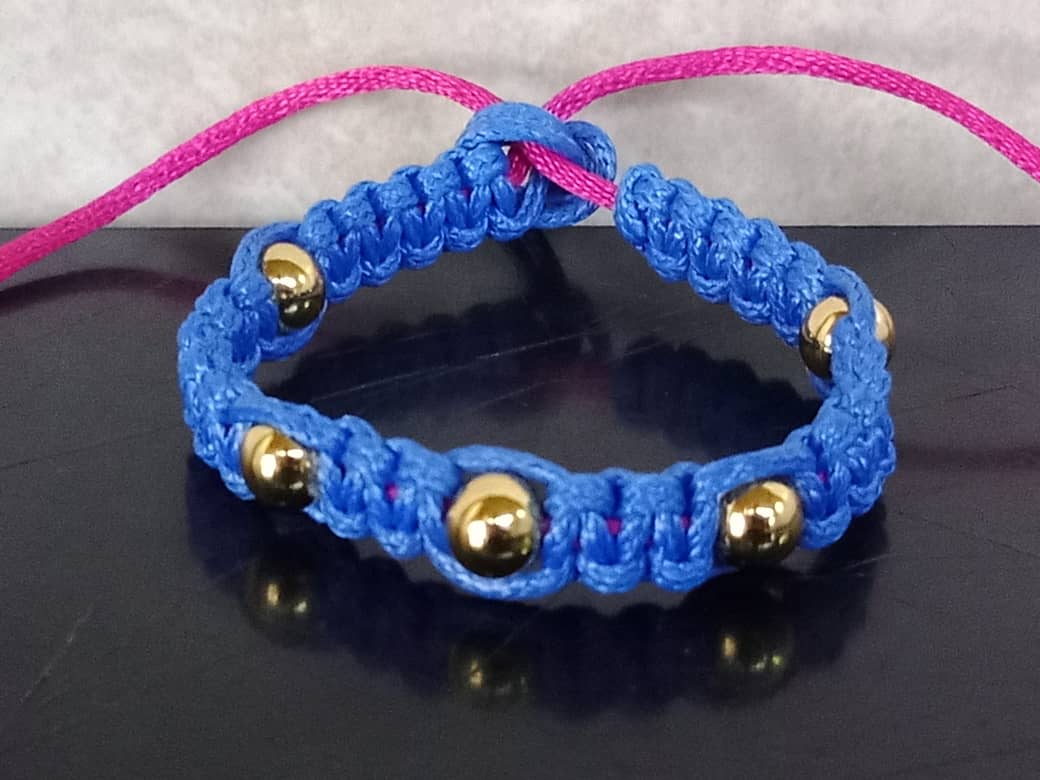
    My fan art is a very beautiful macramé bracelet with a flat knot.
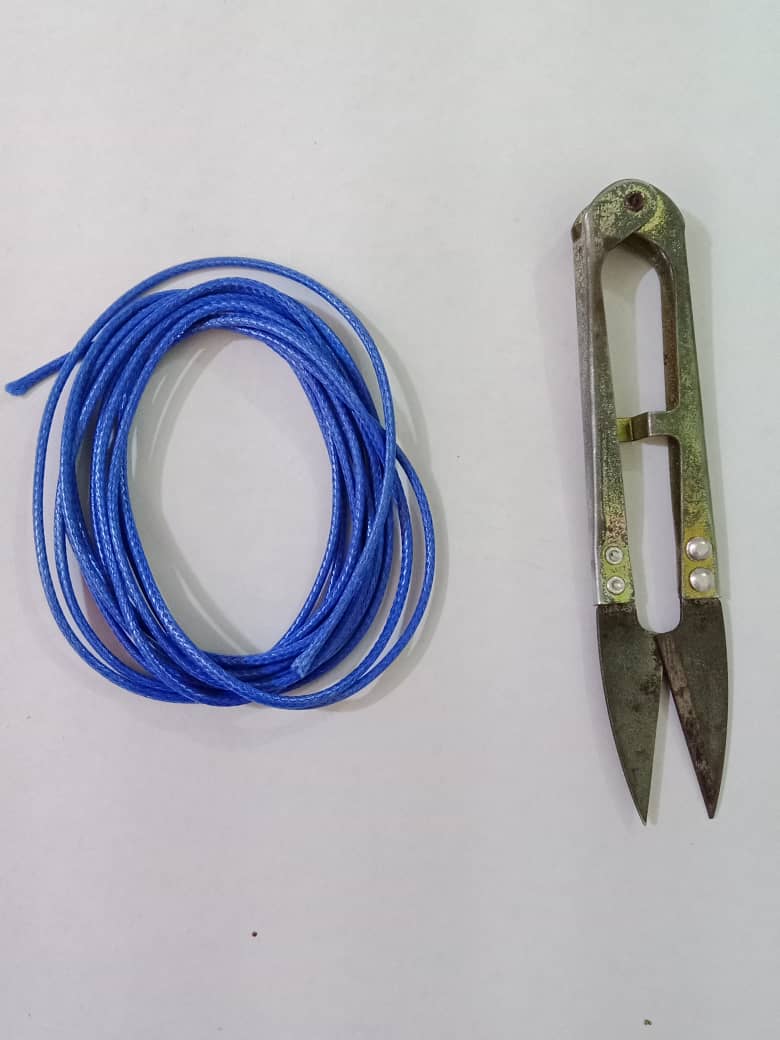
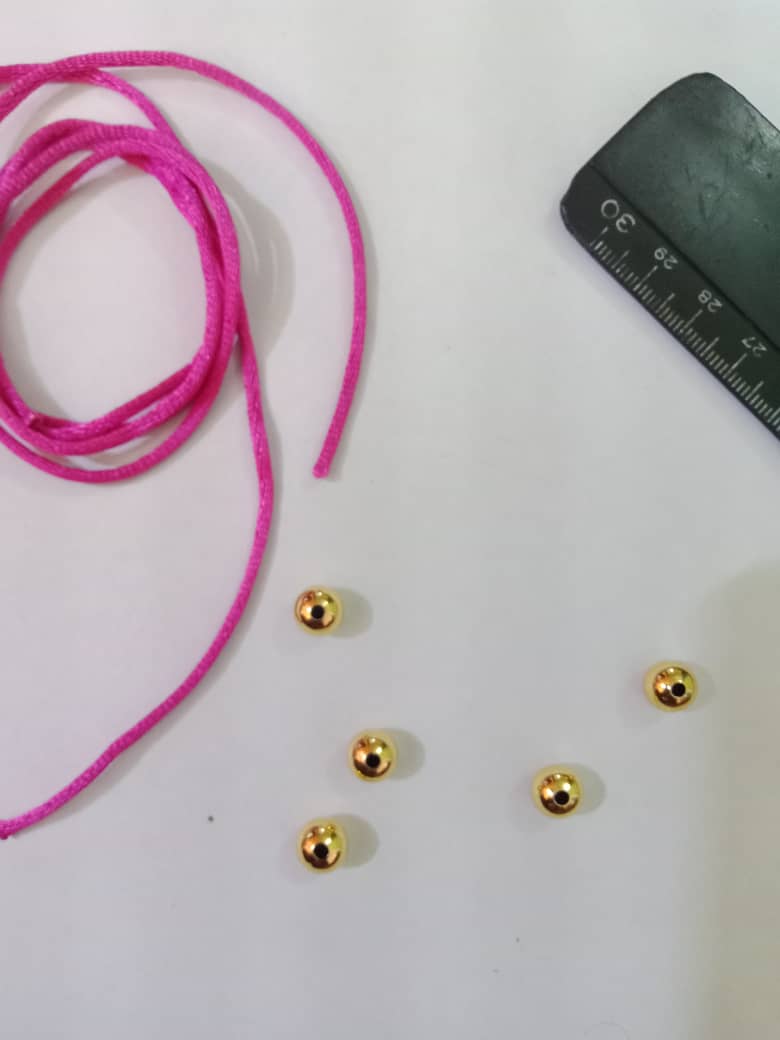
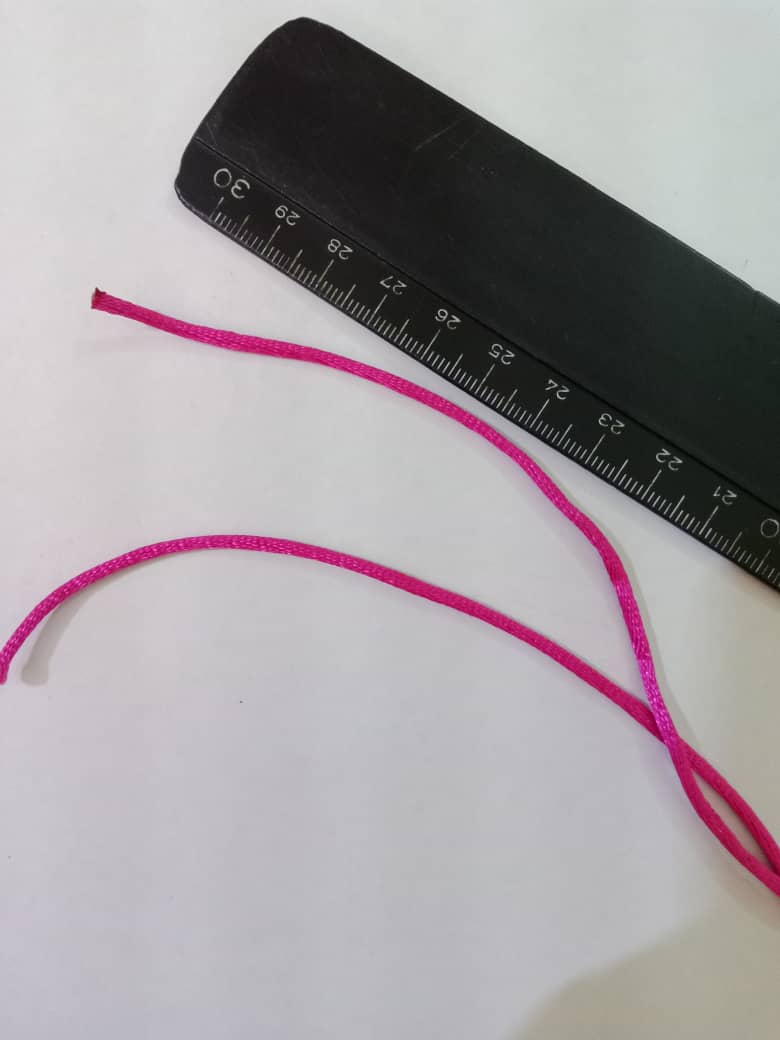
    The materials I used to make this fan art are the following:
    Snakeskin thread
    Ruler
    Scissors
    Tinder
    Balines

    My fan art today is very easy to make, and it is also a beautiful piece of jewelry that we can give to that special person we love so much


    Hola comunidad #holozing encantado en saludarles y desearles feliz y próspero fin de semana. En esta ocasión les comparto un fan art inspirado en Waller as HoloMax
    Mi fan art es una pulsera macramé muy hermosa con nudo plano.
    Los materiales que usé para realizar éste fan art son los siguientes:
    Hilo piel de serpiente
    Regla
    Tijera
    Yesquero
    Balines

    Mi fan art de hoy es muy sencillo de realizar , además es una bonita joya que podemos regalar a esa persona especial que tanto queremos.

    ballena (1).jpeg

    ballena (15).jpeg

    ballena (13).jpeg

    separador virgilio 1.gif


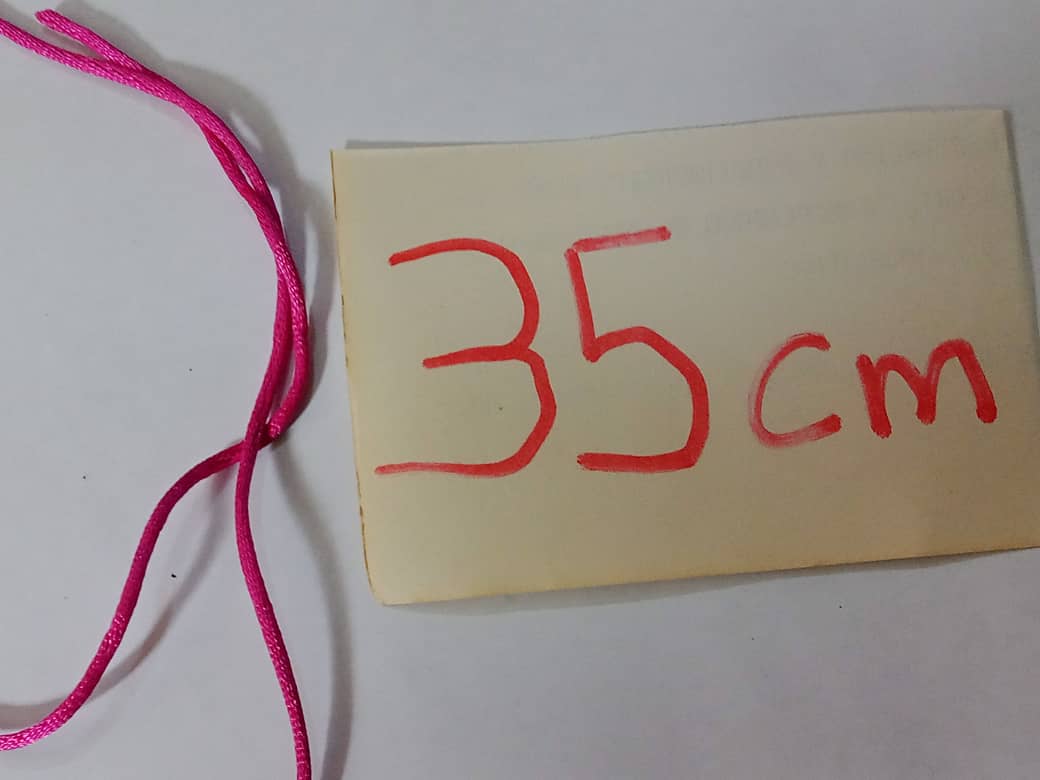
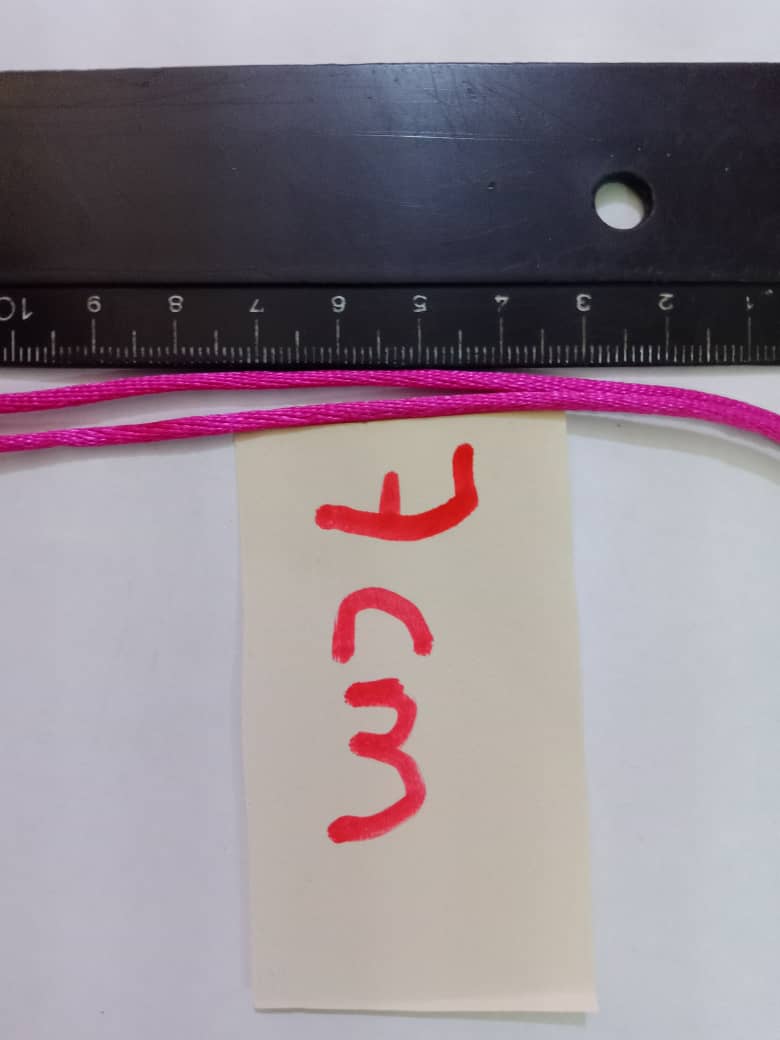
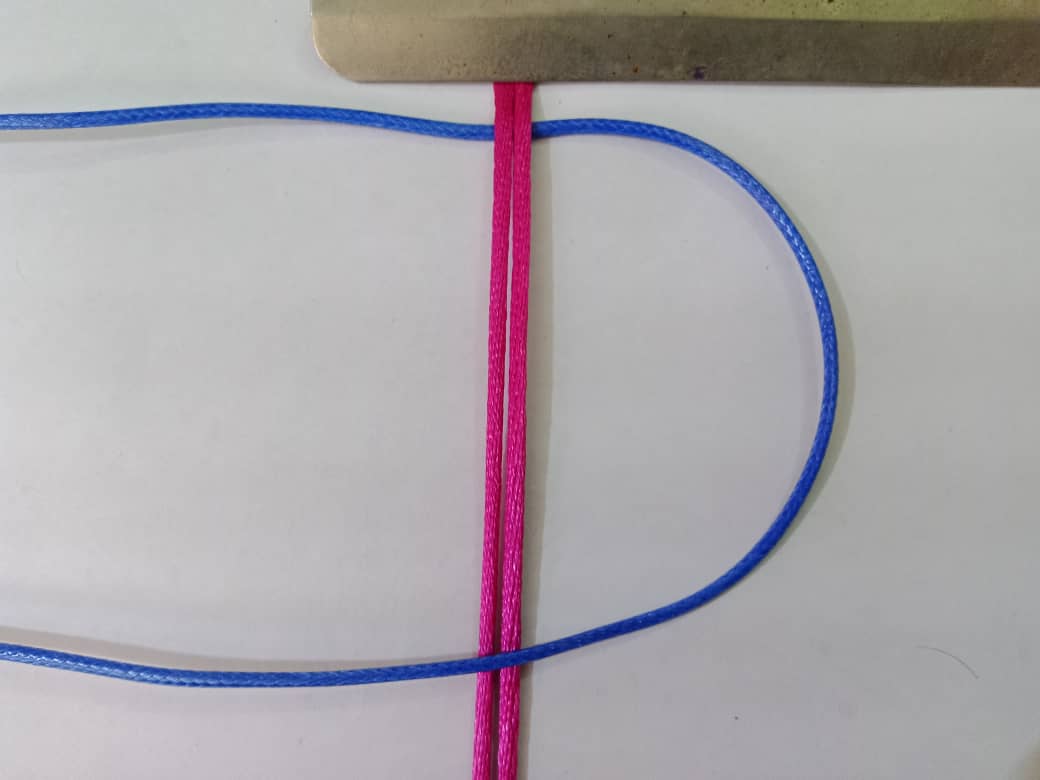
    To make this bracelet we start by cutting two 35cm strands of thread that we will use as a base.

    Para realizar esta pulsera iniciamos cortando dos hebras de hilo de 35cm que usaremos como base

    ballena (12).jpeg

    ballena (11).jpeg


    Then we take the base thread to a board at a distance of 7cm from the upper end down. From that measure we start to make the weaving we are going to do.
    Después llevamos el hilo base a una tabla a una distancia de 7cm de la punta superior hacia abajo. A partir de esa medida comenzamos a realizar el tejido que vayamos a hacer

    ballena (14).jpeg


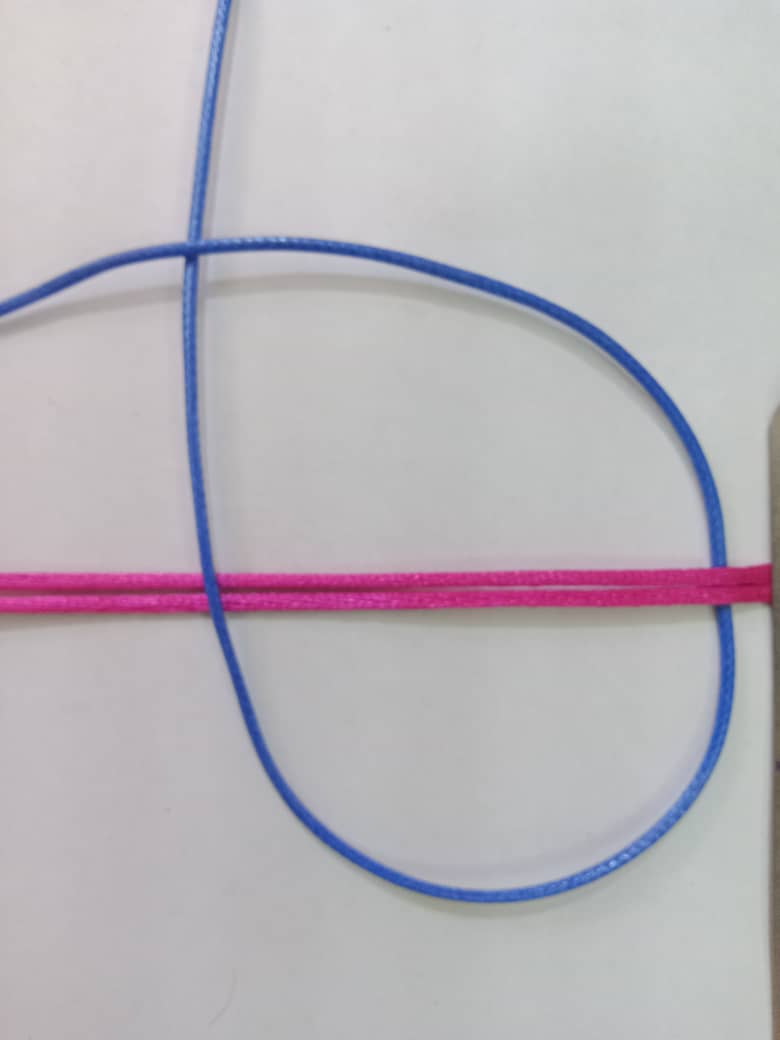
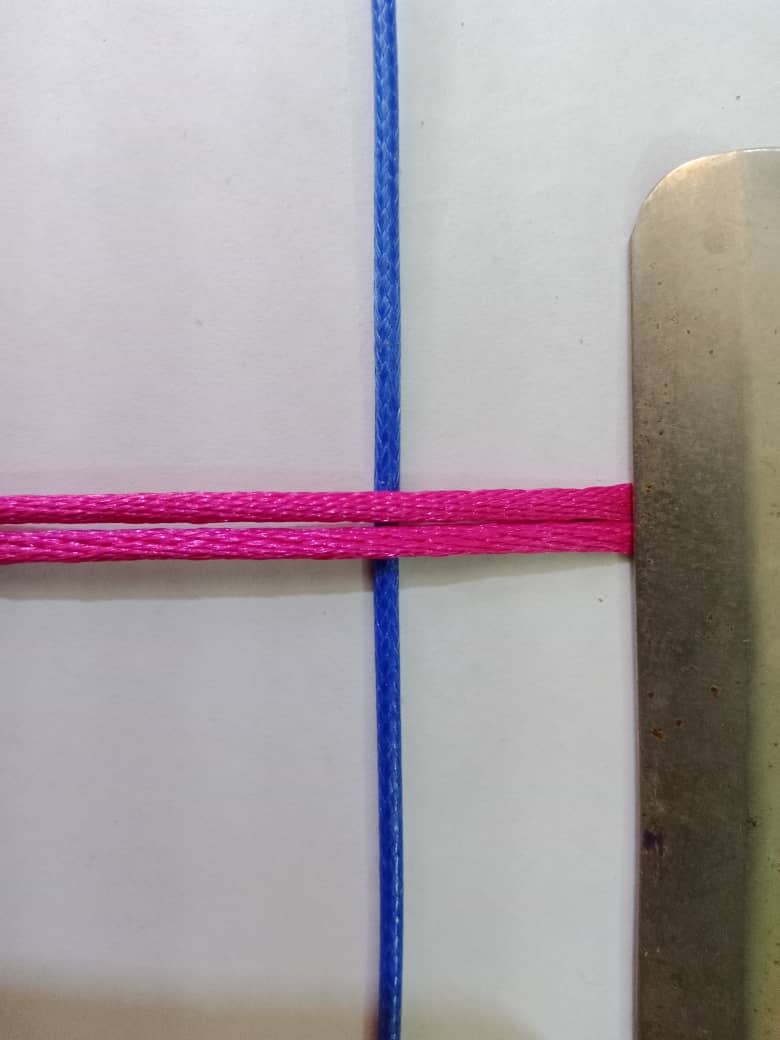
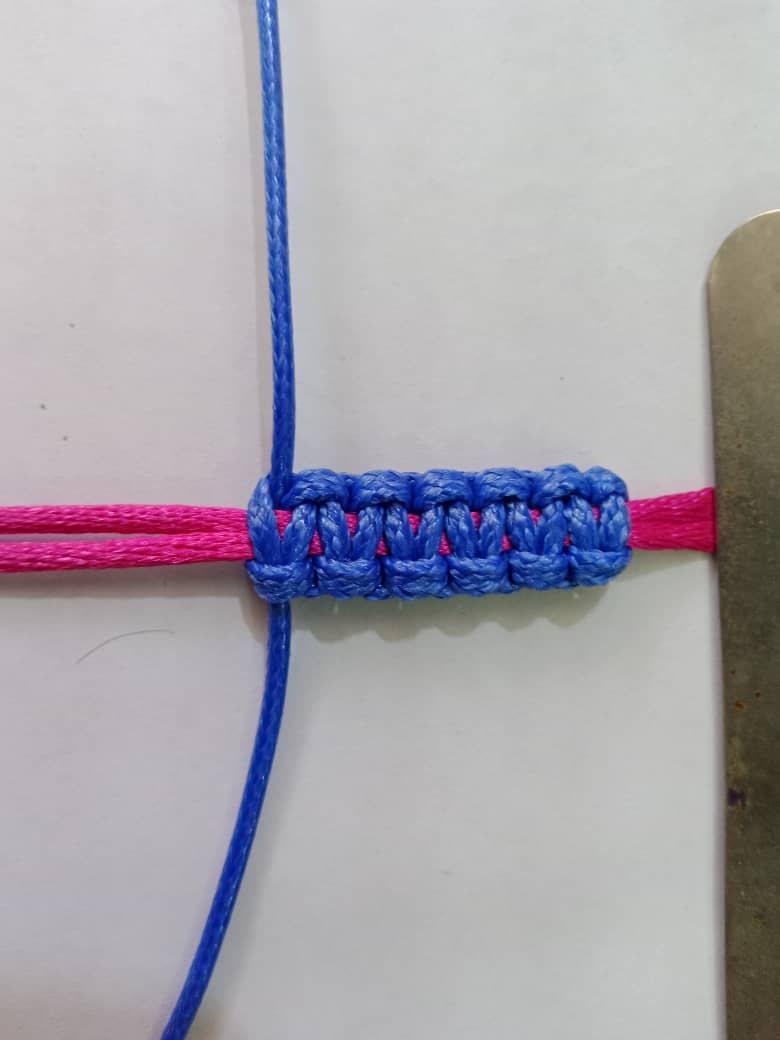
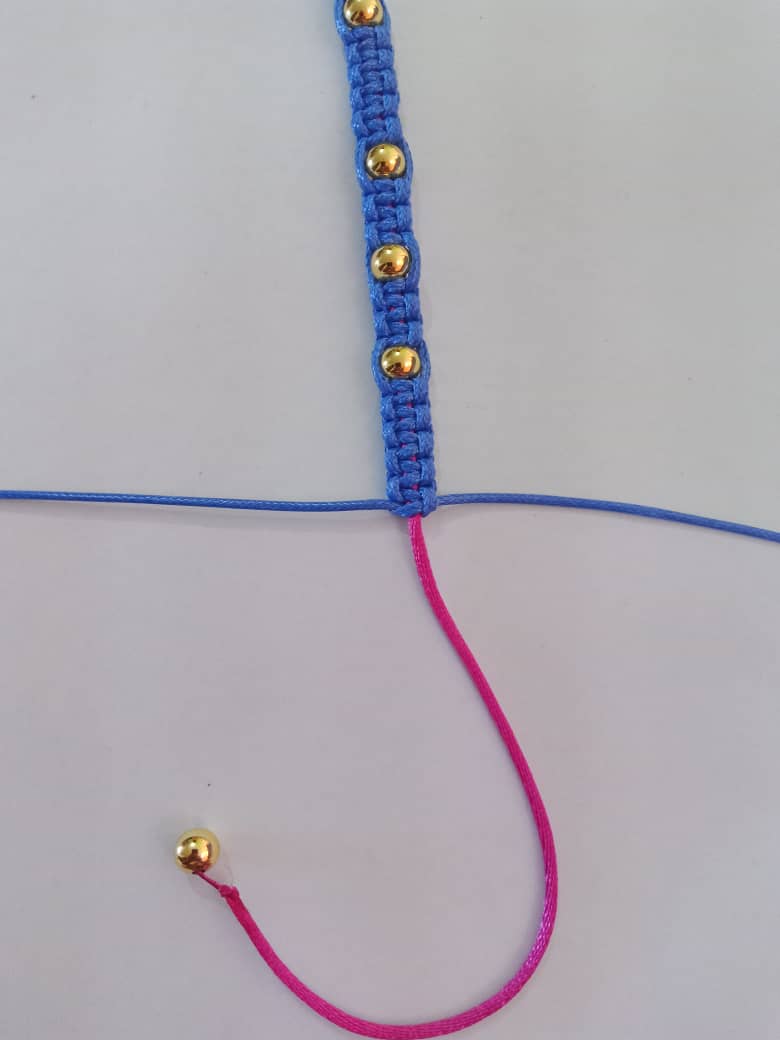
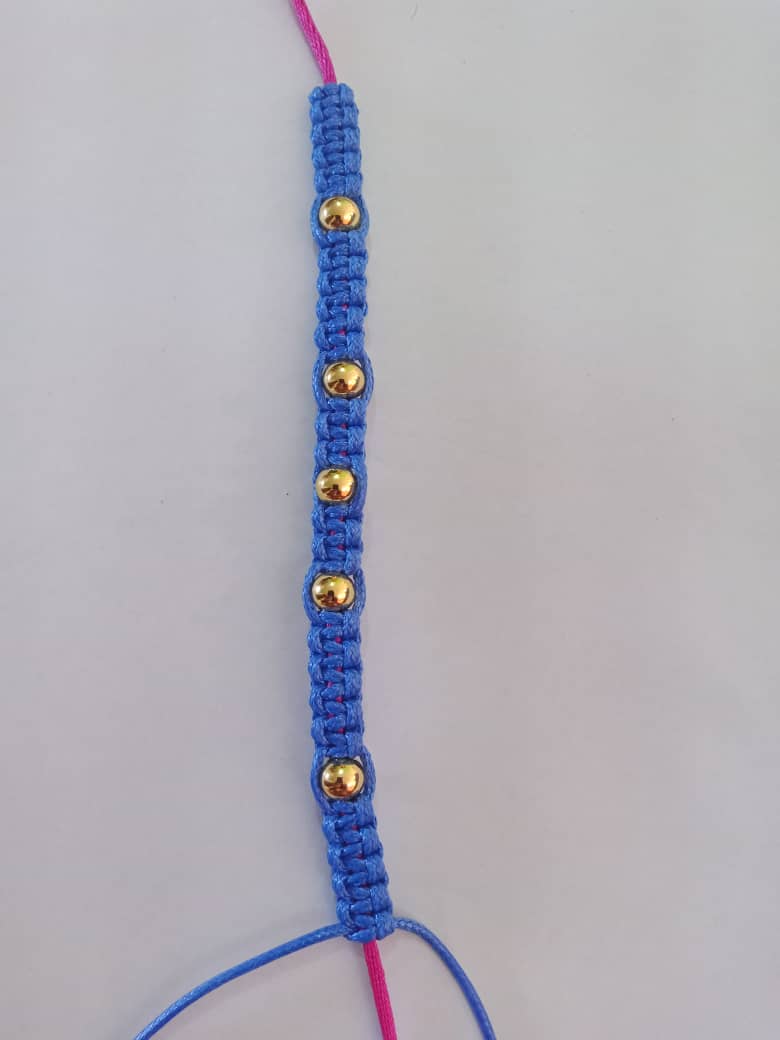
    Now we start the flat knot in the following way: First we take the thread on the left side and pass it over the base thread, we form a kind of four, then we pass the thread on the right side over the left thread that we have on the right side, then we pass it under the base thread and pull it through the inside or ring of the left thread. Then we press with our fingers so that it is the same on both sides.

    Ahora comenzamos el nudo plano de la siguiente manera: Primero tomamos el hilo del lado izquierdo y lo pasé por encima del hilo base, formamos una especie de cuatro, luego pasamos el hilo del lado derecho por encima del hilo izquierdo que tenemos en el lado derecho, después lo pasamos por debajo del hilo base y lo sacamos por el interior o argolla del hilo izquierdo. Seguidamente presionamos con los dedos para que quede igual de ambos lados.

    ballena (7).jpeg

    ballena (8).jpeg

    ballena (9).jpeg

    separador virgilio.png


    After weaving we reach a distance of 3cm and begin to place the first ball. Then we continue weaving until we reach 3cm and place the second ball and so on until we place all the balls we have to embellish this jewel.
    Después de tejer llegamos a una distancia de 3cm y comenzamos a colocar el primer balín. Luego seguimos tejiendo hasta llegar a 3cm y colocar el segundo balín y así hasta colocar todos los balines que tengamos para embellecer esta joya

    ballena (6).jpeg

    ballena (10).jpeg

    ballena (4).jpeg


    We perform the same procedure until we reach the distance we want to leave the bracelet.
    Realizamos este mismo procedimiento hasta llegar a la distancia que queremos dejar la pulsera.

    ballena (3).jpeg

    ballena (2).jpeg


    Finally, we tie a flat knot for the bracelet's locking ring, then we place a bead on both ends of the base thread, cut the excess thread and seal it. This is how we got this simple jewel
    Finalmente realizamos un nudo plano para el trancadero de la pulsera , después colocamos una cuenta en ambas puntas del hilo base, cortamos el hilo sobrante y sellamos. Así nos quedó esta sencilla joya

    ballena (5).jpeg


    Translated with https://www.deepl.com/translator

                      All images are my own, dividers courtesy of @kattycrochet.
    
                                                               
                 Todas las imágenes son de mi autoría, divisores cortesía de @kattycrochet.
      Authors get paid when people like you upvote their post.
      If you enjoyed what you read here, create your account today and start earning FREE VOILK!