Un saludo a todos. Disculpen mi ausencia de los últimos días, permanecí unos cuantos sin internet gracias a la poda de un árbol por parte de unos vecinos, cuya una de sus ramas cayó no sin antes, llevarse consigo mi cableado del servicio. Sin embargo, no ha sido este desdichado evento limitante para mi creatividad, por lo que, les invito a seguir leyendo y descubrir de qué va mi tutorial de hoy.
En una de mis publicaciones anteriores, estuve mostrándoles un lindo cintillo con orejitas de gato en color azul grisáceo y por supuesto, solo uno no era suficiente (risas), encontré un nuevo modelo en una curiosa tienda del centro de la ciudad, donde venden infinidad de cosas muy kawaii y es así, como me hice con uno en color blanco, muy bonito, cabe destacar y bastante realista, hasta tiene un par de cascabeles. Entonces, si tengo las orejas ¿por qué no tener también la cola? Me pregunté a mí misma y por eso estamos aquí, porque decidí hacer una cola a juego con mis orejas de gato.
English Version
Greetings to all. Sorry for my absence of the last few days, I remained a few days without internet thanks to the pruning of a tree by some neighbors, whose one of its branches fell not before, taking with it my service wiring. However, this unfortunate event has not been a limiting factor for my creativity, so I invite you to read on and find out what my tutorial today is all about.
In one of my previous publications, I was showing you a cute headband with little cat ears in grayish blue color and of course, just one was not enough (laughs), I found a new model in a curious store downtown, where they sell lots of very kawaii things and that's how I got one in white color, very nice, it is worth mentioning and quite realistic, it even has a pair of bells. So, if I have the ears, why not have the tail too? I asked myself and that's why we are here, because I decided to make a tail to match my cat ears.
Imagen creada por mí en Canva / Image created by me in Canva
¿Puede serte útil esta información? Pues claro que sí, tal vez iniciarás tu vida como cosplayer siendo una Neko girl o tal vez le harás un disfraz de gato a tu sobrinito, las posibilidades están ahí, así que no desaproveches el conocimiento.
Materiales:
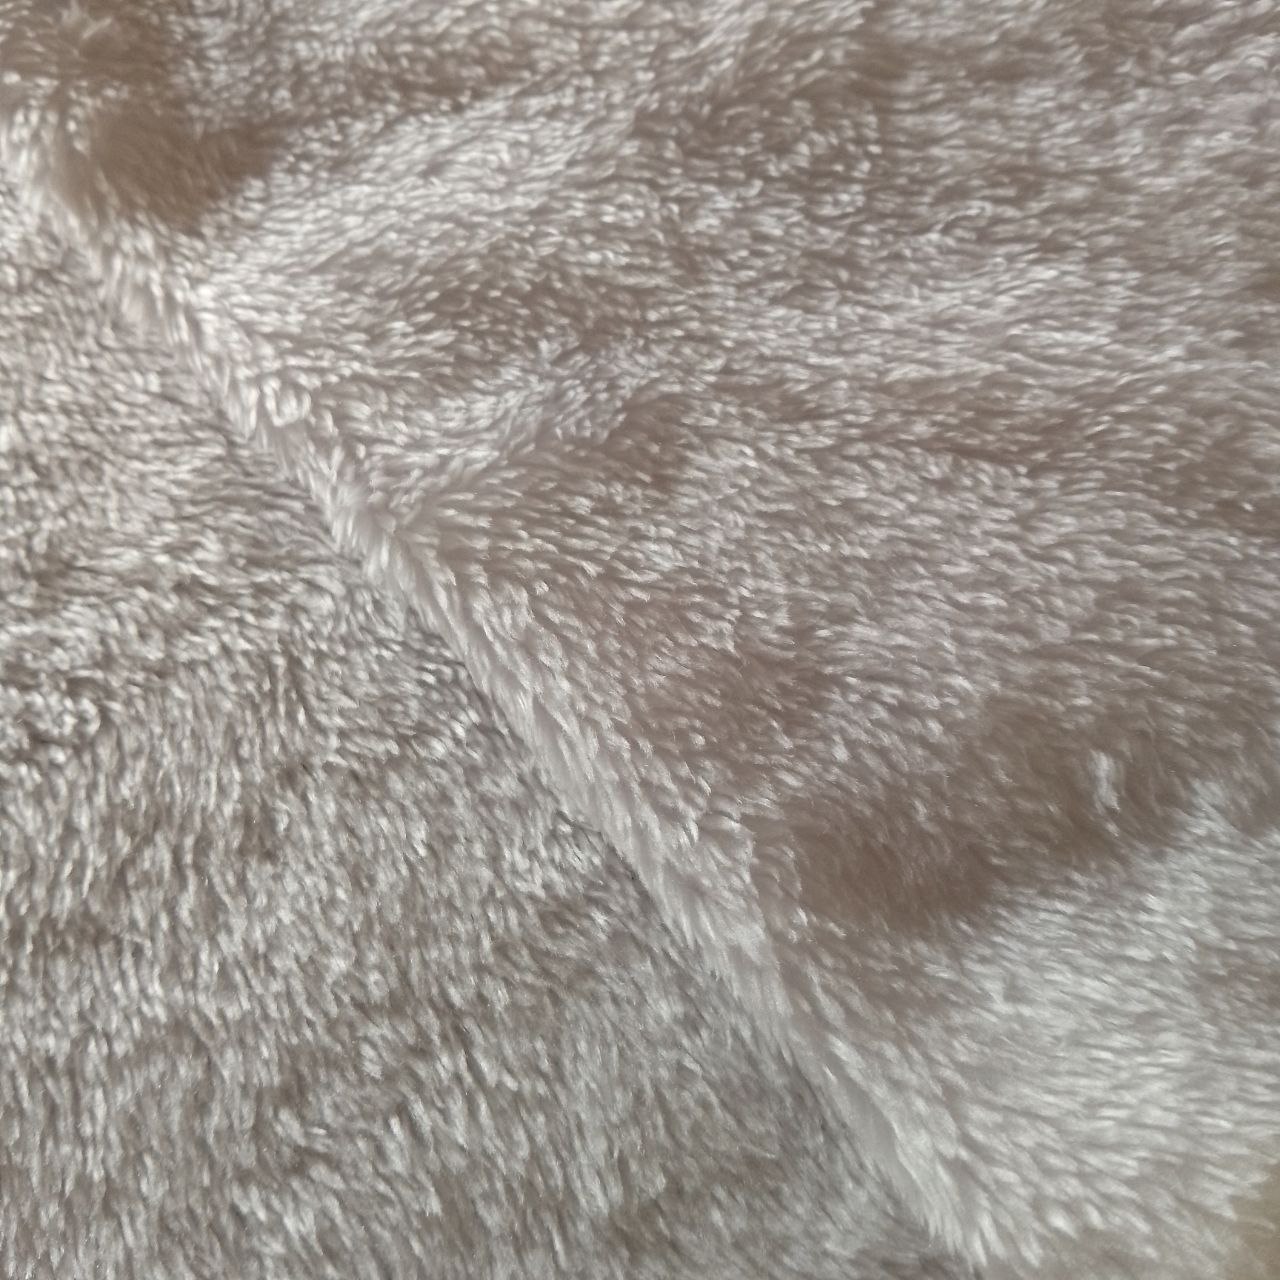
- Tela de peluche color blanco
- Tijeras
- Hilo color blanco
- Aguja
- Regla
- Lápiz
- Relleno
Procedimiento:
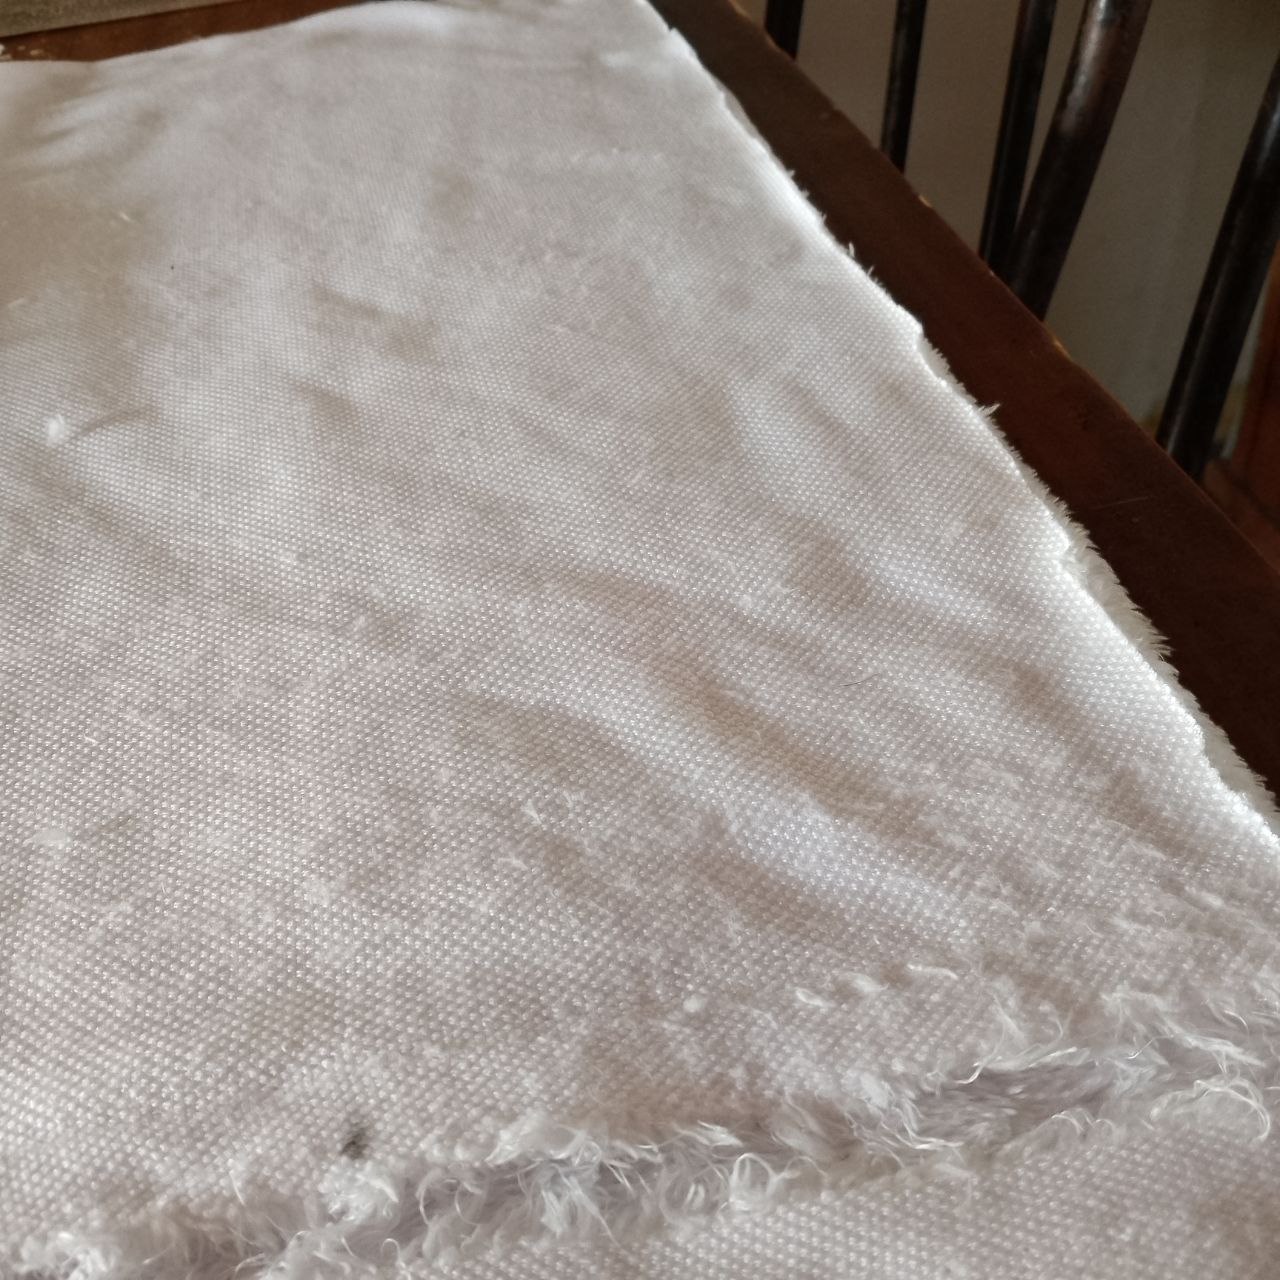
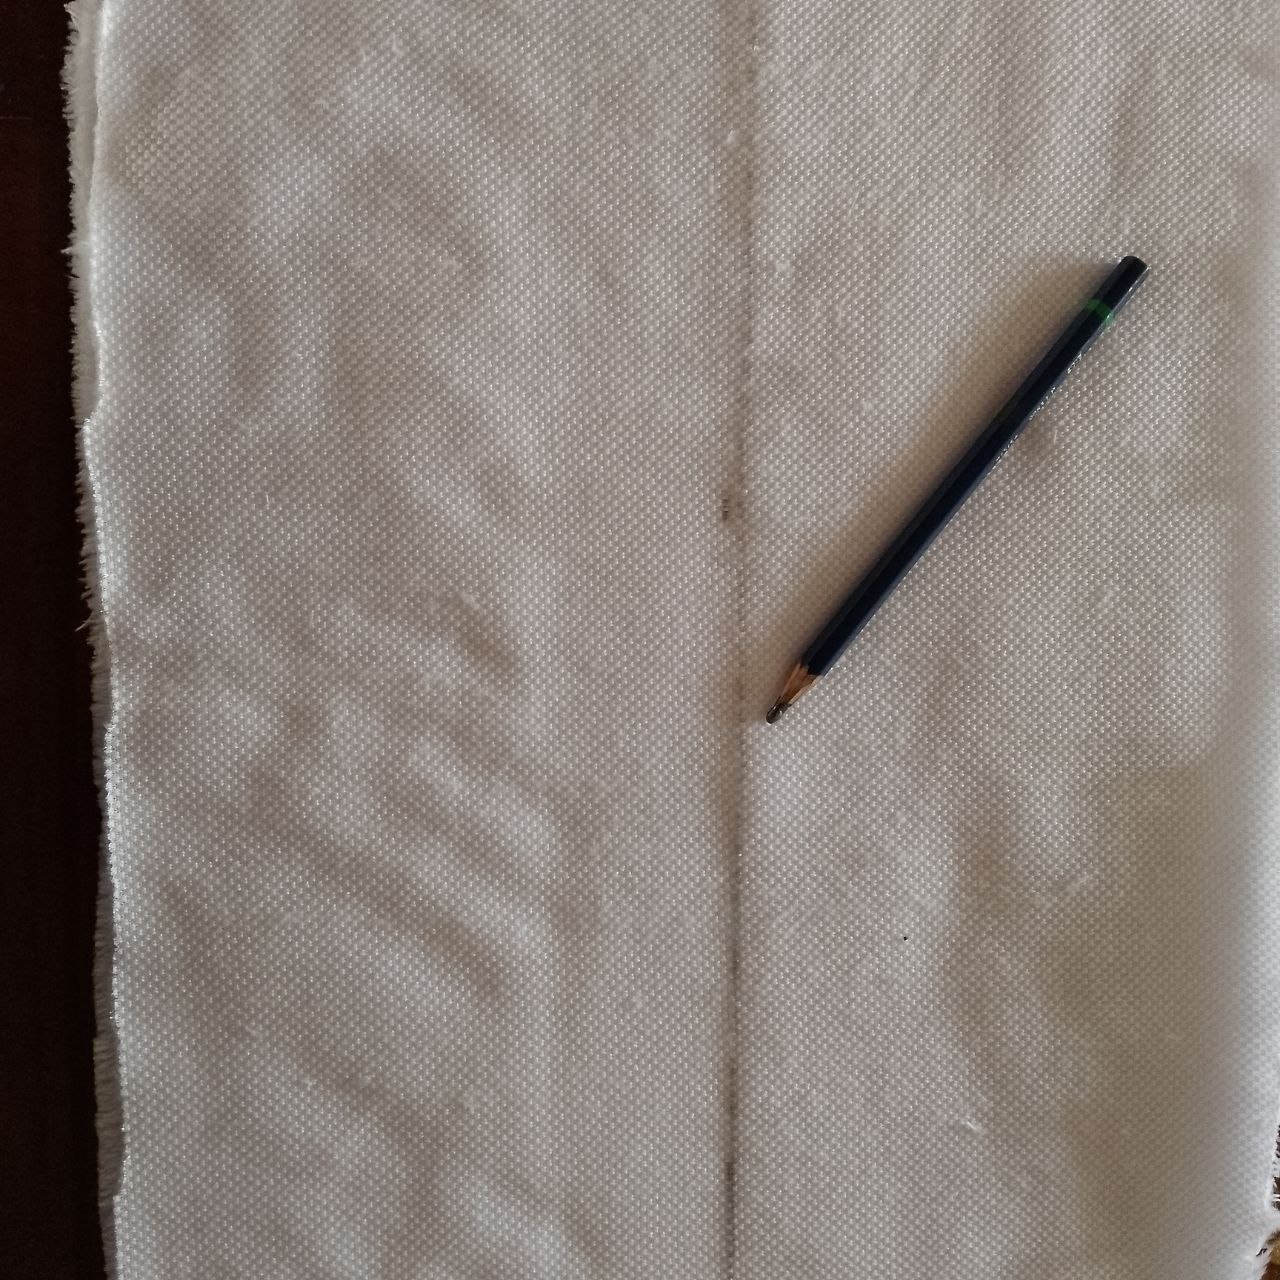
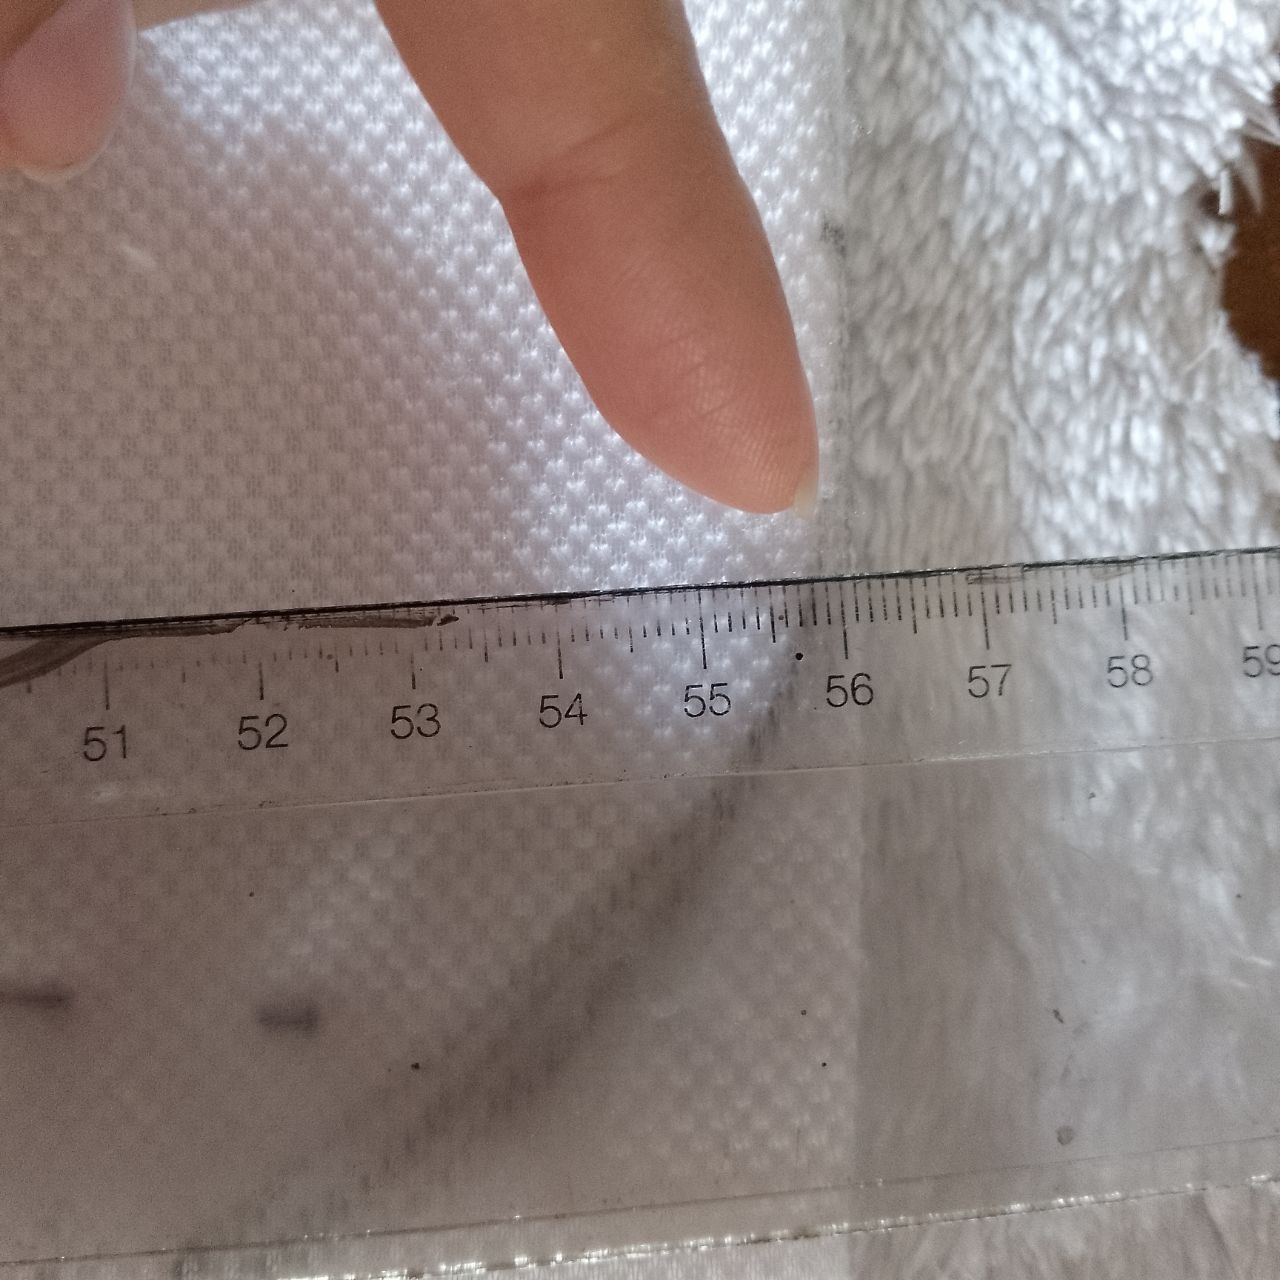
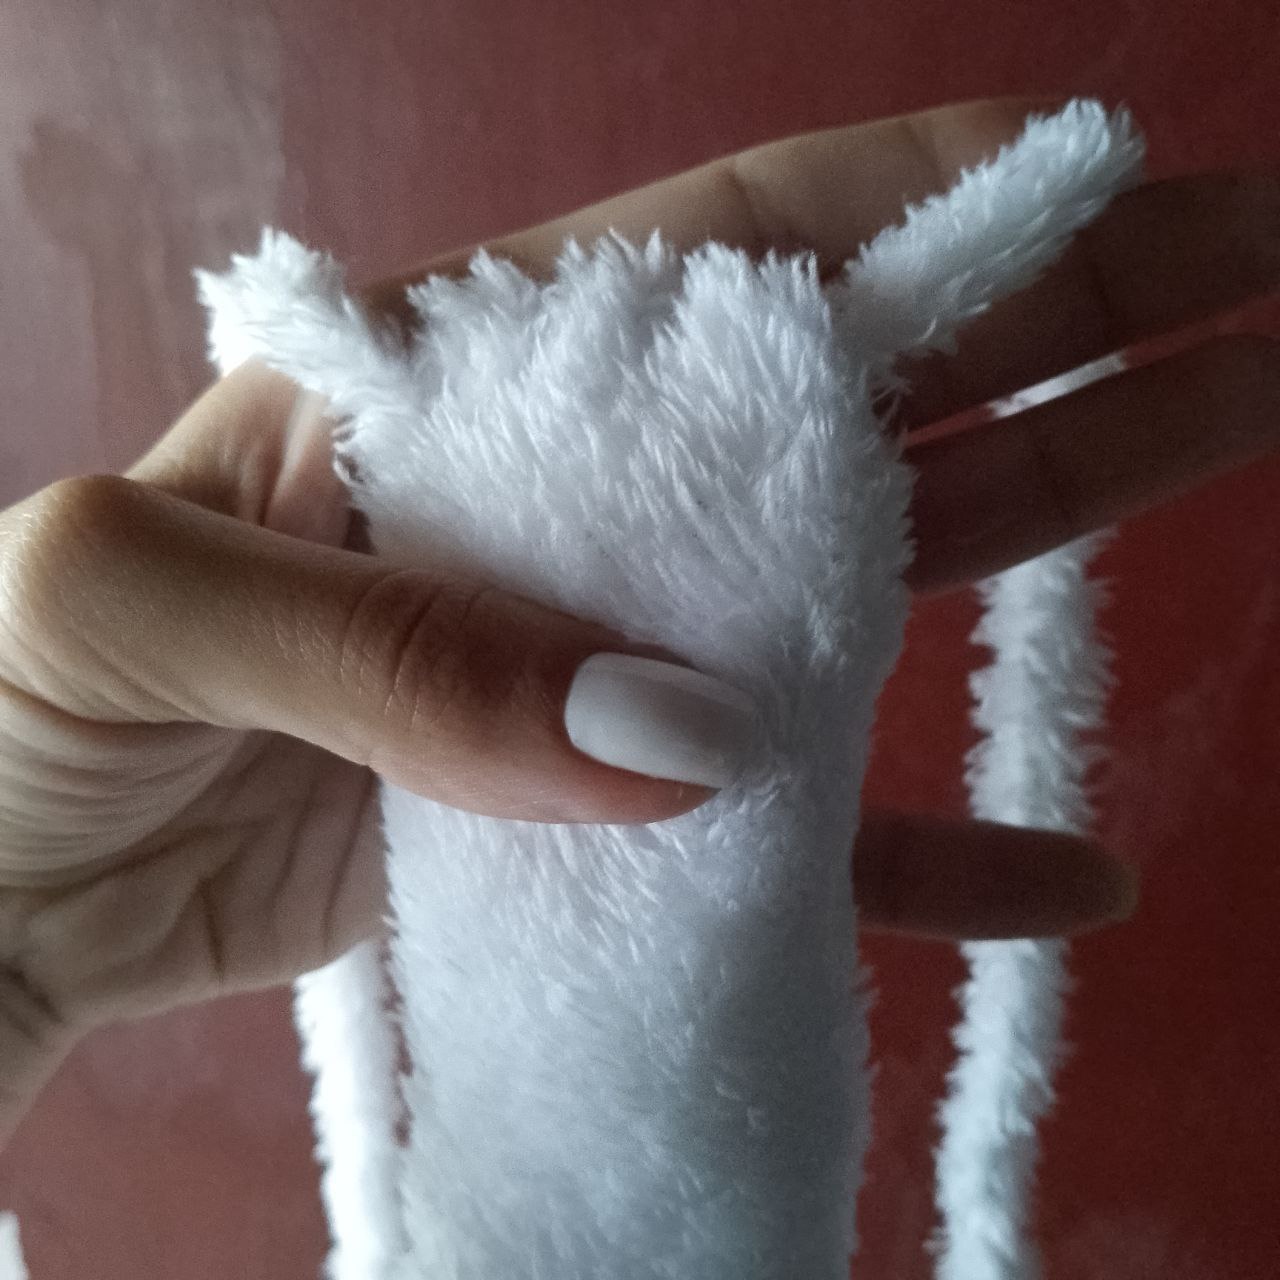
Empezaremos tomando nuestra tela de peluche, que en mi caso es de color blanco, pero tú la elegirás según el color de tu gatito, la extenderemos y acomodaremos de manera que estemos seguros que no se moverá, así podremos trazar nuestras líneas guías con mayor facilidad y seguridad. Marcaremos un rectángulo de unos diez centímetros de ancho por cincuenta y seis centímetros de largo y en uno de los extremos, colocaremos un lado de la tela recortada sobre el otro, fijaremos con alfileres y con el lápiz, en el extremo que corresponderá al final de la cola, dibujaremos una forma curva (por supuesto, recortaremos por esta línea), así evitaremos que el resultado final se vea muy cuadrado o amontonado y todo sea más prolijo.
English Version
Can this information be useful for you? Of course it can, maybe you will start your life as a cosplayer being a Neko girl or maybe you will make a cat costume for your nephew, the possibilities are there, so don't waste the knowledge.
Materials:
- White plush fabric
- Scissors
- White thread
- Needle
- Ruler
- Pencil
- Stuffing
Procedure:
We will start by taking our stuffed fabric, which in my case is white, but you will choose it according to the color of your kitty, we will extend and arrange it so that we are sure that it will not move, so we can draw our guide lines more easily and safely. We will mark a rectangle about ten centimeters wide by fifty-six centimeters long and at one end, we will place one side of the cut fabric over the other, we will fix it with pins and with the pencil, at the end that will correspond to the end of the tail, we will draw a curved shape (of course, we will cut along this line), so we will avoid that the final result looks very square or crowded and everything will be neater.
 |  |  |  |
|---|
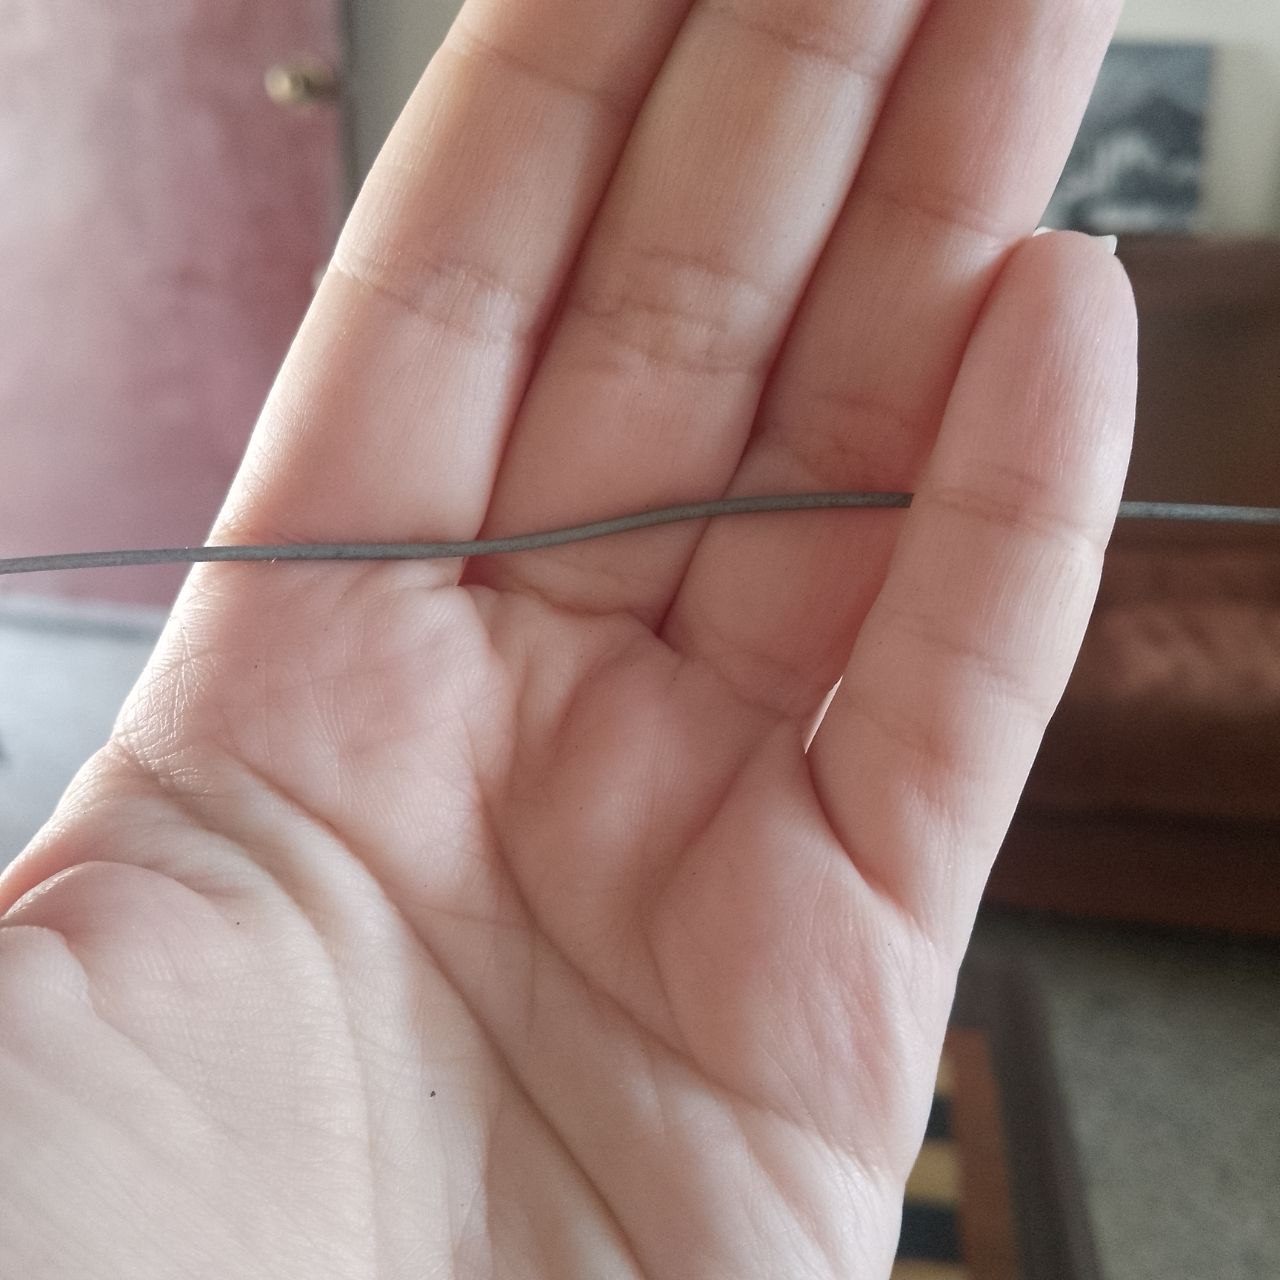
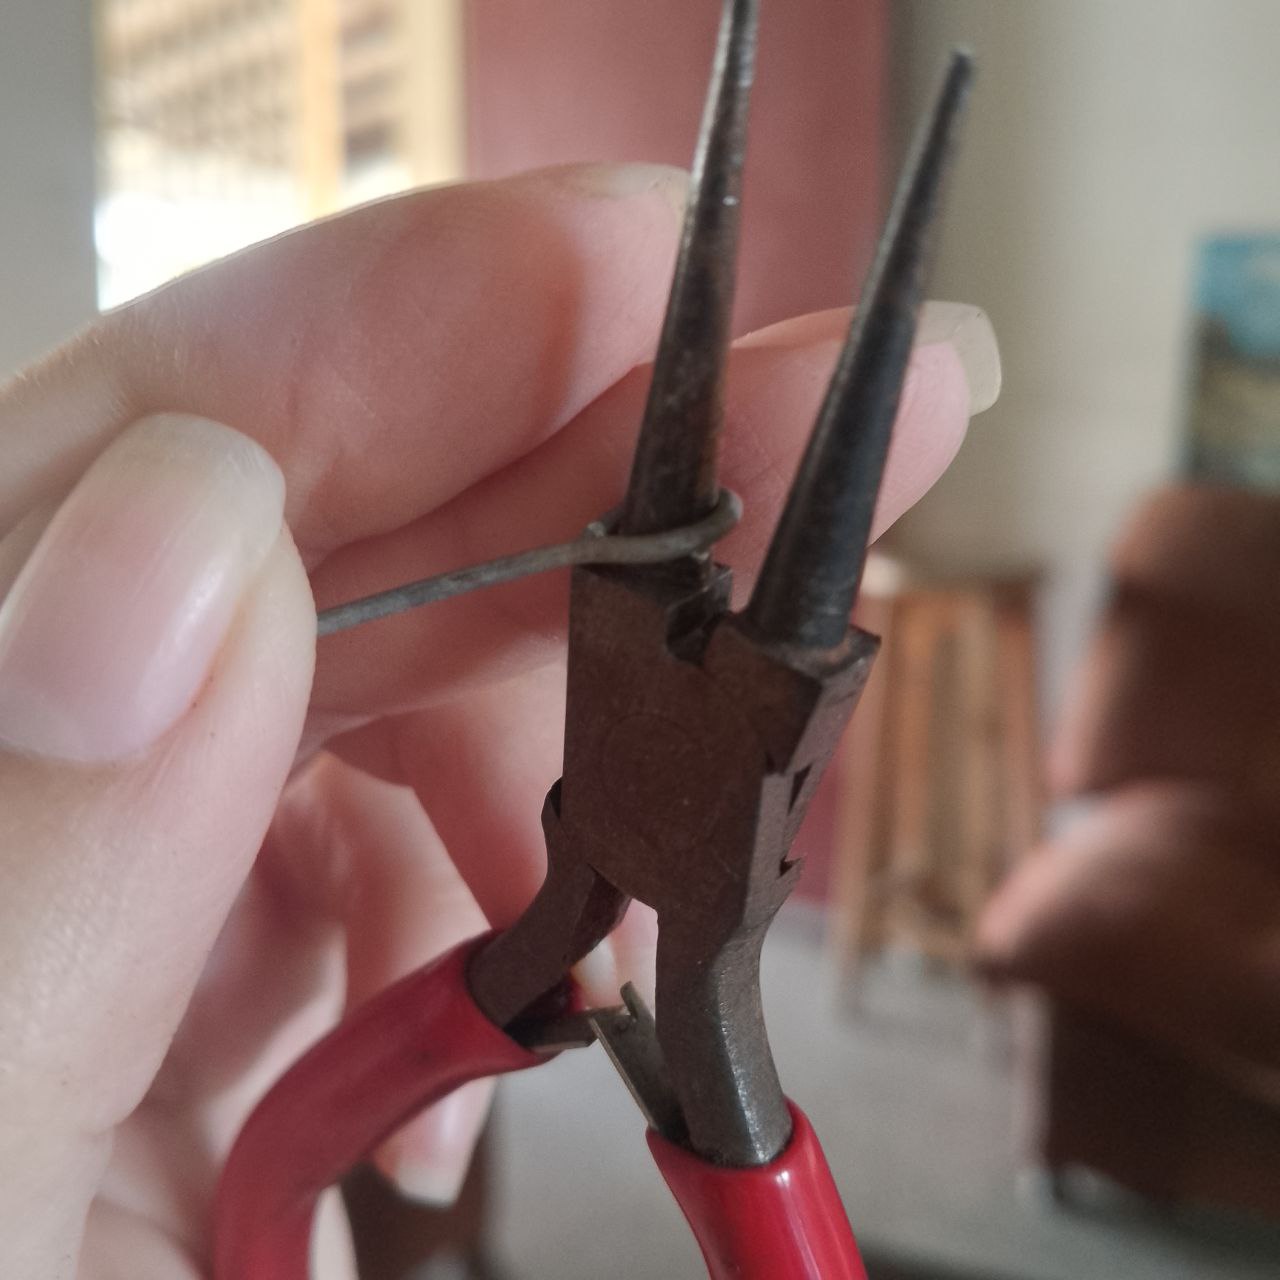
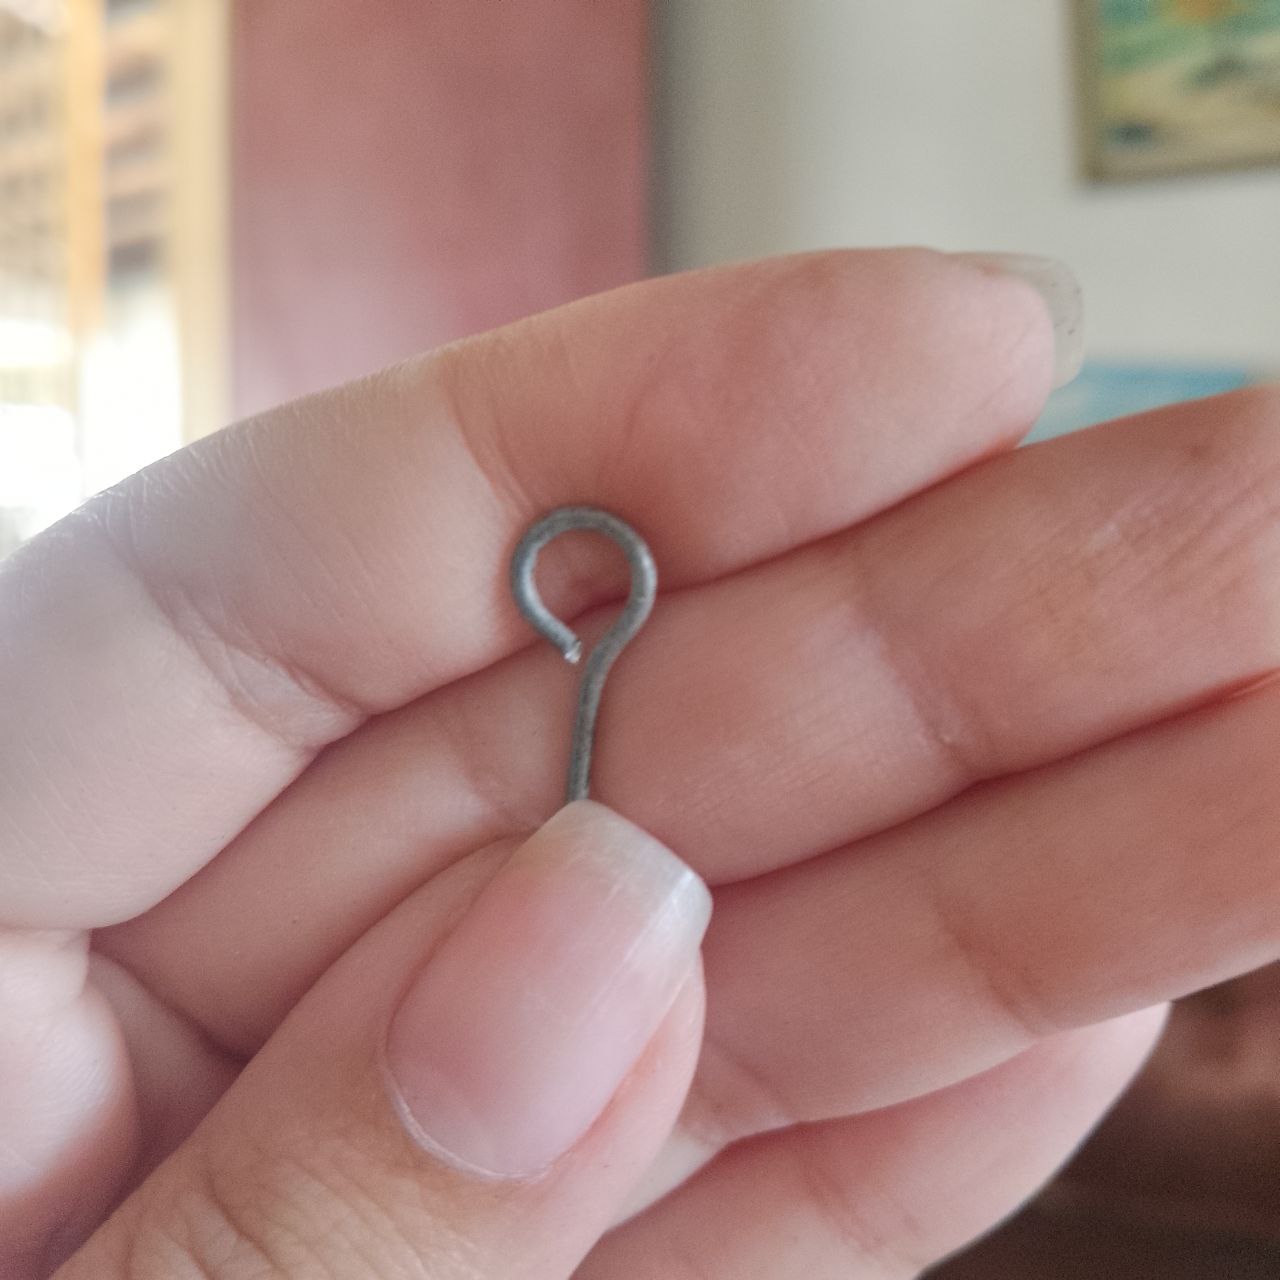
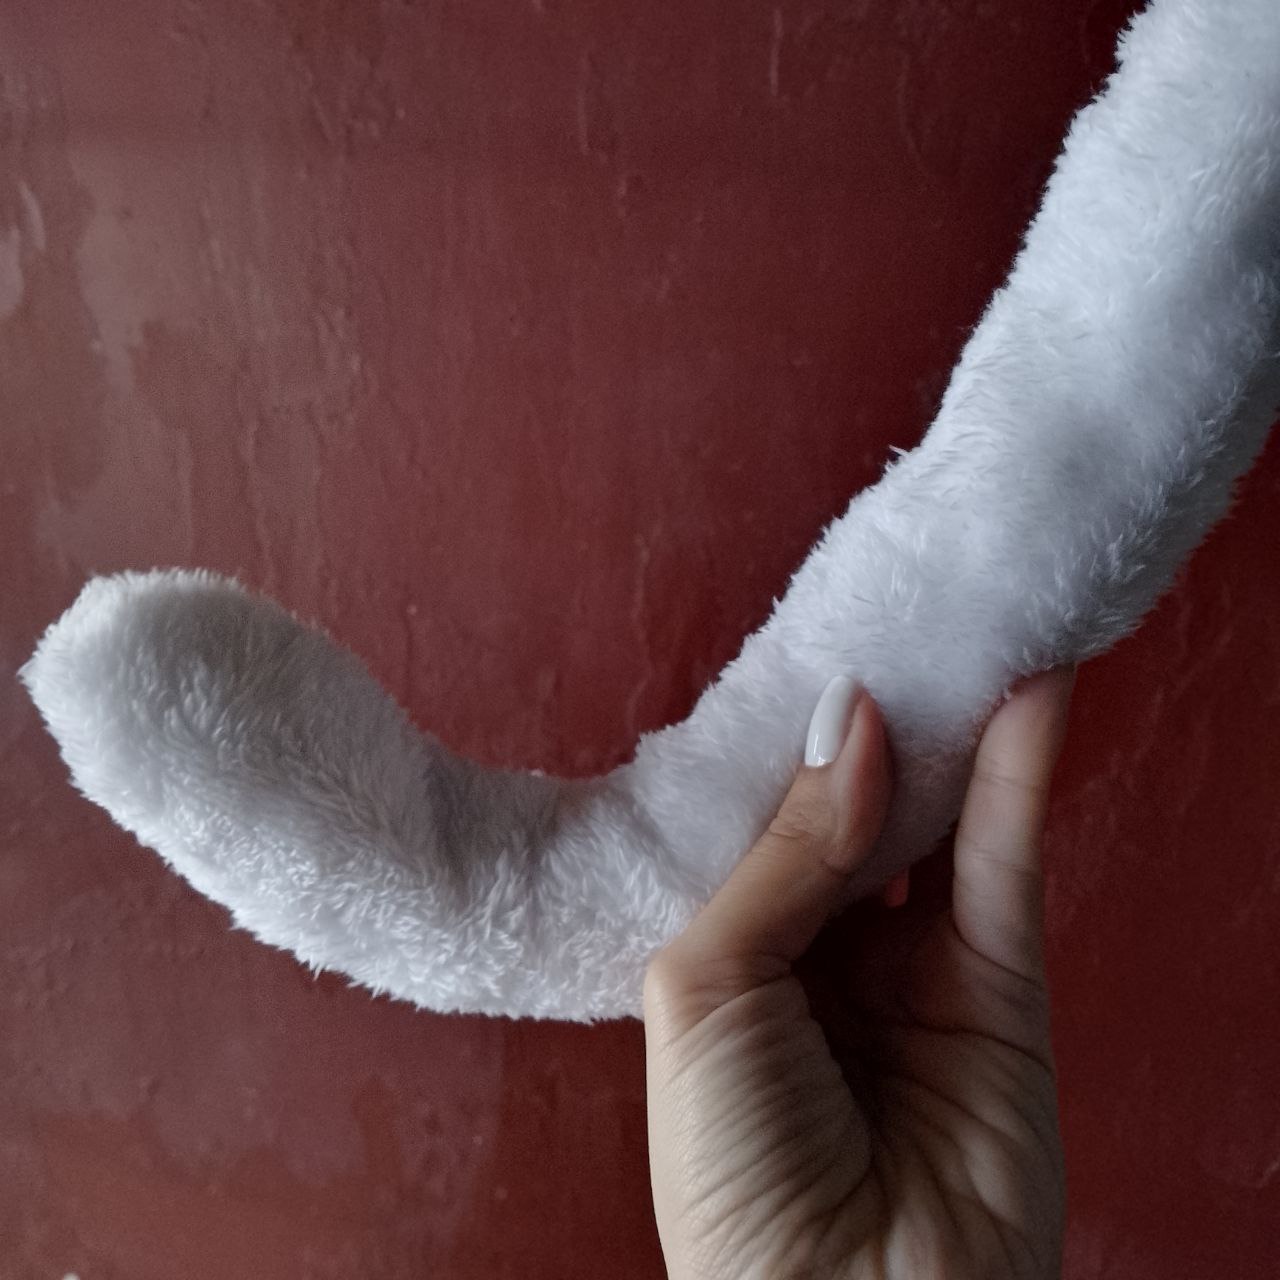
Otro elemento clave en esta manualidad será el alambre, con él, daremos firmeza a nuestra pieza, además de que la hará moldeable, puesto que este nos permitirá definir las curvas tan bonitas y característica en que los gatos posicionan sus colas. Es importante recordar, que las puntas del alambre pueden perforar la tela, por lo que evitaremos este inconveniente dando forma de ojal o una forma curva en ambos extremos del mismo. Yo he usado una herramienta para llevarlo a cabo, pero tú puedes implementar cualquier objeto resistente que tengas a mano, como un lápiz, por ejemplo.
English Version
Another key element in this craft will be the wire, with it, we will give firmness to our piece, in addition to making it moldable, since it will allow us to define the beautiful and characteristic curves in which cats position their tails. It is important to remember that the ends of the wire can pierce the fabric, so we will avoid this inconvenience by giving a buttonhole shape or a curved shape at both ends of the wire. I have used a tool to do this, but you can implement any sturdy object you have at hand, such as a pencil, for example.
 |  |  |
|---|
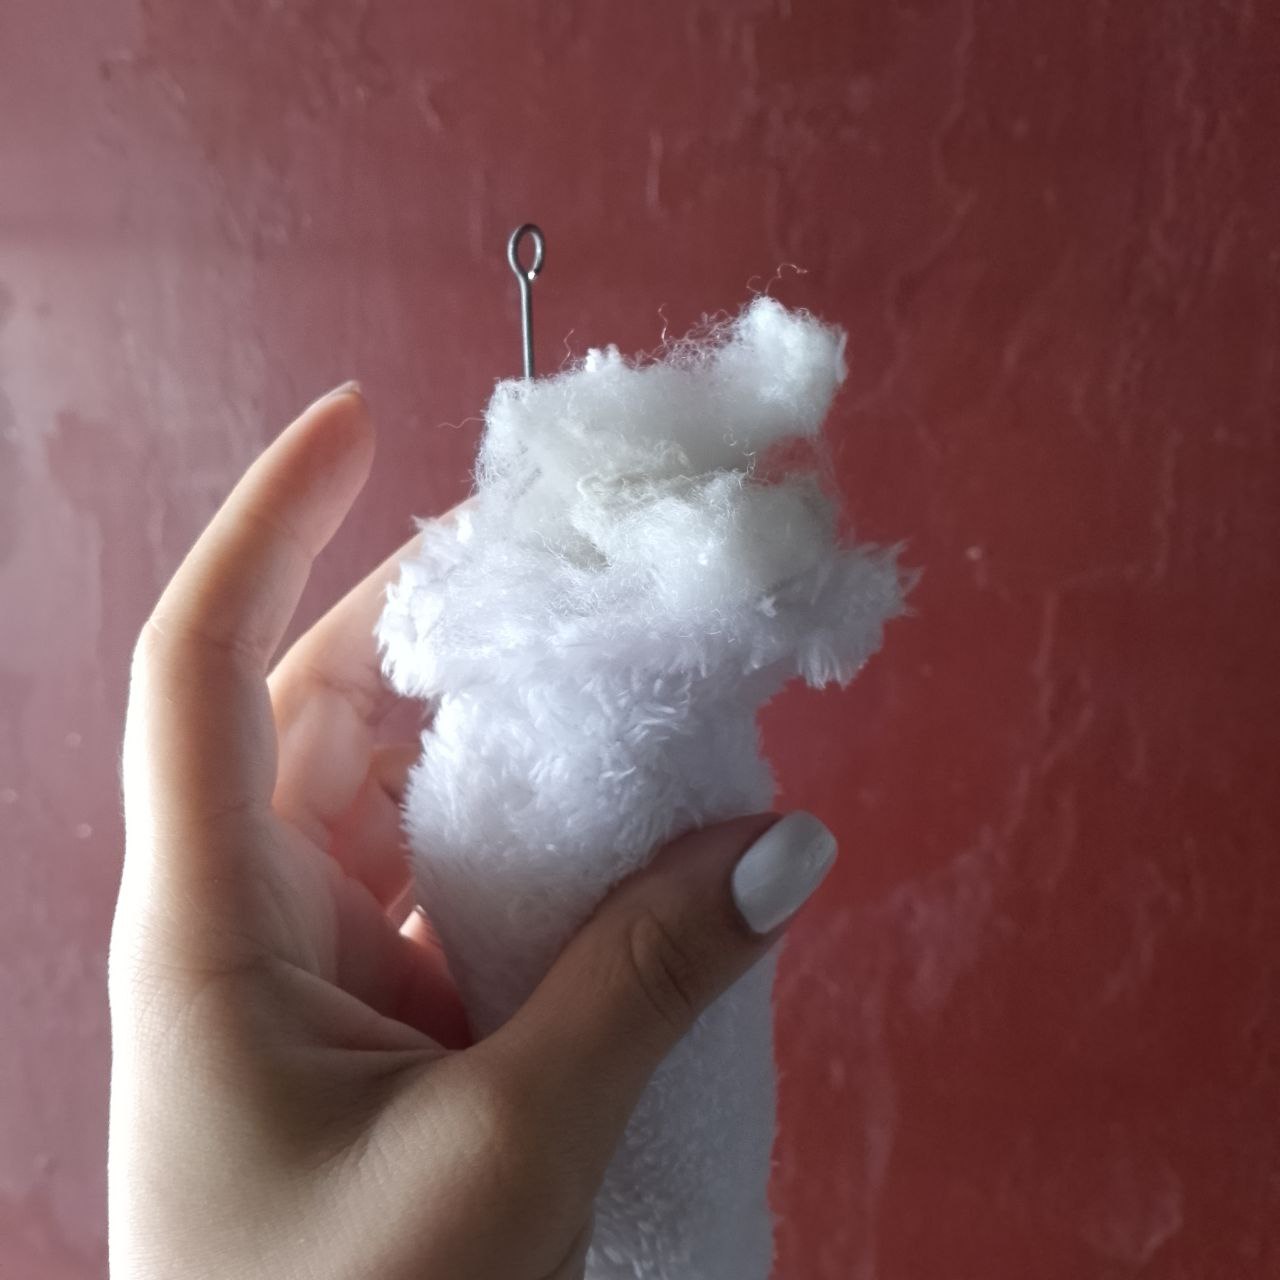
Para este punto, la pieza que había recortado al inicio ya ha sido cosida, yo lo hice a mano, pero claro, puede hacerse también con máquina de coser y será mucho más rápido. Así que es momento de rellenar nuestra colita (se emociona). Debemos ir volteando la pieza poco a poco, ingresar el alambre adentro de la pieza e ir rellenando con paciencia y repetir este proceso hasta llenarla por completo. Ya estando muy esponjosa, procedemos a cerrar este extremo también con hilo y aguja. También es un buen momento para definir la posición de la cola.
English Version
By this point, the piece I had cut out at the beginning has already been sewn, I did it by hand, but of course, it can also be done with a sewing machine and it will be much faster. So it's time to stuff our tail (she gets excited). We must turn the piece little by little, put the wire inside the piece and fill it with patience and repeat this process until it is completely filled. Once it is very fluffy, we proceed to close this end also with thread and needle. This is also a good moment to define the position of the tail.
 |  |
|---|
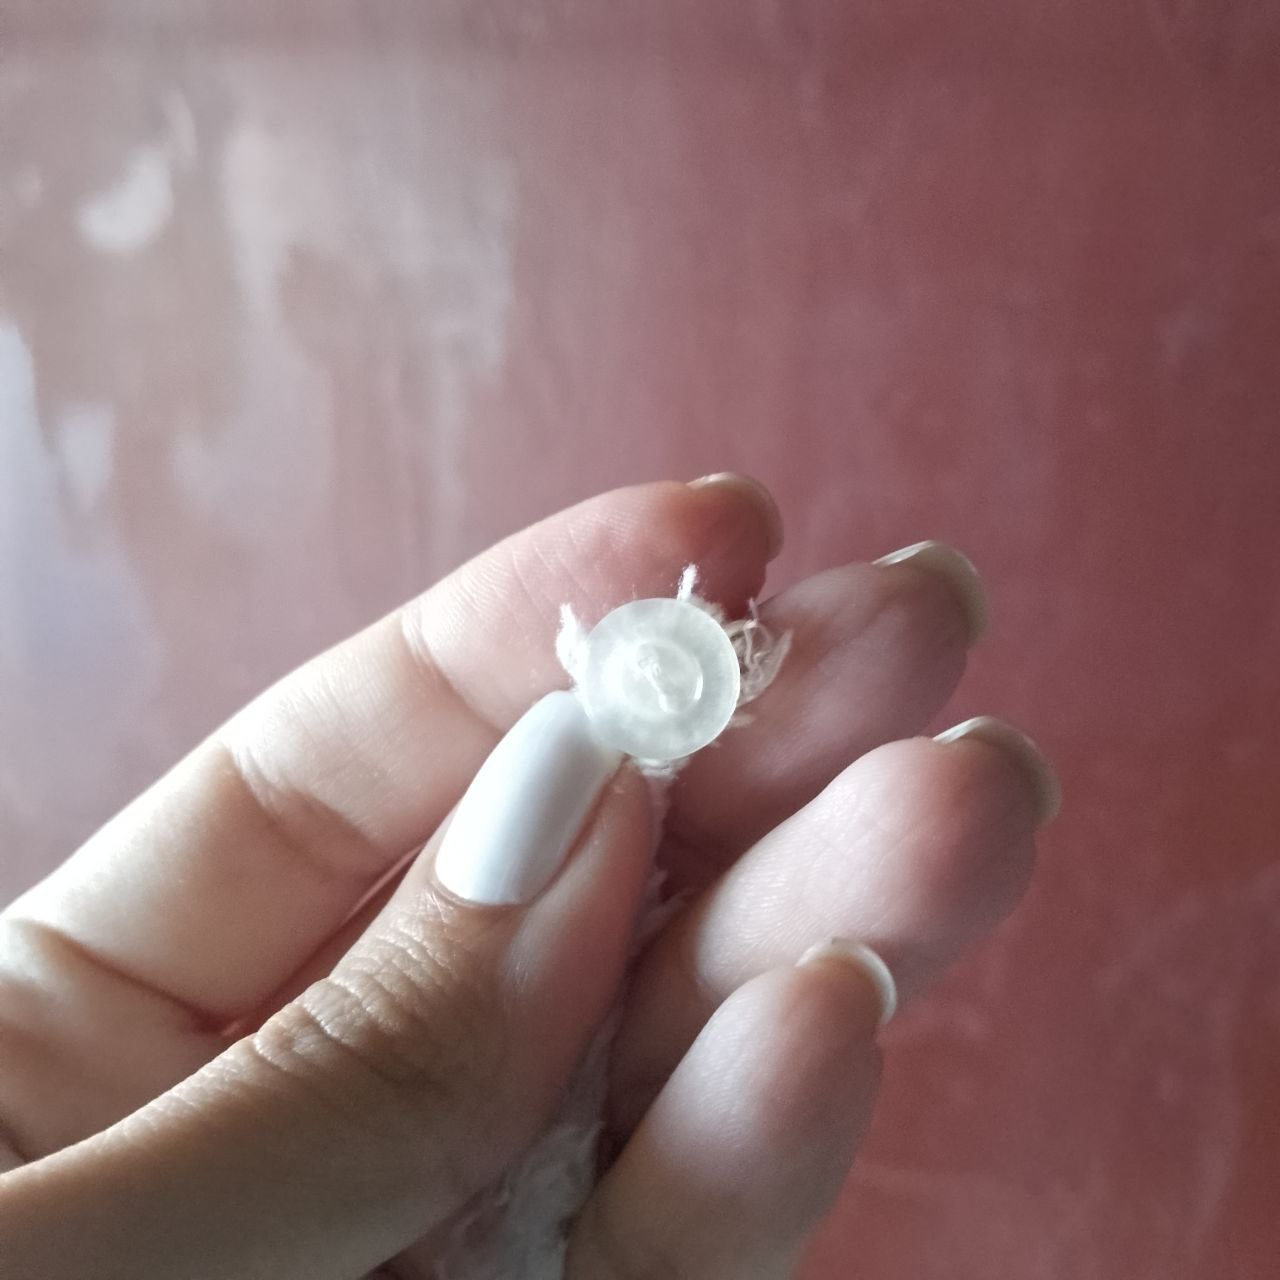
De la misma tela de peluche, recortamos una tira de un centímetro de ancho aproximadamente, esta debe ser larga, yo además he estirado la tela para que se enroscara un poco sobre sí misma y así no coser sus bordes. La medida del largo corresponderá al contorno de las caderas de quién vaya a llevarla puesta, más unos dos a tres centímetros más, para así poder incorporar un botón en un extremo y coser el ojal para el mismo en el otro.
English Version
From the same teddy fabric, we cut a strip of about one centimeter wide, this should be long, I have also stretched the fabric so that it curls a little on itself and thus not sew its edges. The measure of the length will correspond to the contour of the hips of the person who is going to wear it, plus about two to three centimeters more, in order to incorporate a button at one end and sew the buttonhole for it on the other.
 |  |  |
|---|
Ahora, doblaremos la tira sobre sí misma haciendo coincidir los extremos y con ayuda de un alfiler, la fijaremos al extremo de la cola que va en la cadera y coseremos como se ve en la fotografía y eso es todo, el resultado es como se aprecia en la foto de portada.
English Version
Now, we will fold the strip over itself making the ends coincide and with the help of a pin, we will fix it to the end of the tail that goes on the hip and we will sew as shown in the picture and that's all, the result is as shown in the cover photo.
Uniendo las dos piezas / Joining the two pieces
Algunas ideas extra:
- En lugar de hacer una tira como lo hice yo, puedes utilizar una liga y así te olvidas de coser botones y hacer ojales, yo lo hice de esta forma porque quería que pudiese usarse por dentro y por fuera de la ropa según la ocasión.
- Otra opción (complementaria a la anterior) sería una bonita cinta de tela y atarla al frente con un delicado lazo.
- Si usarás esta cola por encima de la ropa, puedes agregar un hermoso lazo coquette que vaya a juego con el color de la tela, colocado justo en el inicio de la cola, así cubrirás cualquier imperfección y además le darás un toque muy femenino.
English Version
Some extra ideas:
- Instead of making a strip as I did, you can use a garter and thus forget about sewing buttons and making buttonholes, I did it this way because I wanted it could be worn inside and outside of the garment depending on the occasion.
- Another option (complementary to the previous one) would be a nice fabric ribbon and tie it in front with a delicate bow.
- If you will wear this tail over the clothes, you can add a beautiful flirty bow that matches the color of the fabric, placed just at the beginning of the tail, this way you will cover any imperfections and also give it a very feminine touch.
¡Muchas gracias por leerme!
Thank you so much for reading me!
Fotografías propias, tomadas con mi Tecno Spark 10C.
Traducido al inglés con DeepL.
English Version
Own photographs, taken with my Tecno Spark 10C.
Translated to English with DeepL.

Banner creado por mí en Canva / Banner made by me in Canva