Buenas noches amigos de Diy Hub, haciendo mis pulseras y collares me di cuenta de que no tenia un mostrador para collares y no tenia un mostrador para una pulsera en especifico, asi que me los hice hoy y quiero mostrarles como los hice. Sigan leyendo!
Good night Diy Hub friends, making my bracelets and necklaces I realized I didn't have a counter for necklaces and I didn't have a counter for a specific bracelet, so I made them today and I want to show you how I made them. Keep reading!

Materiales | Materials
- Caja de cartón
- Cinta lavable de decorar a las paredes
- Silicon caliente
- Cartulina
- Cinta rosada
- Pega blanca
- Paciencia
- Cardboard box
- Washable tape to decorate the walls
- Hot silicon
- Cardboard
- Pink tape
- White glue
- Patience
Procedimiento | Procedure
Paso 1 | Step 1
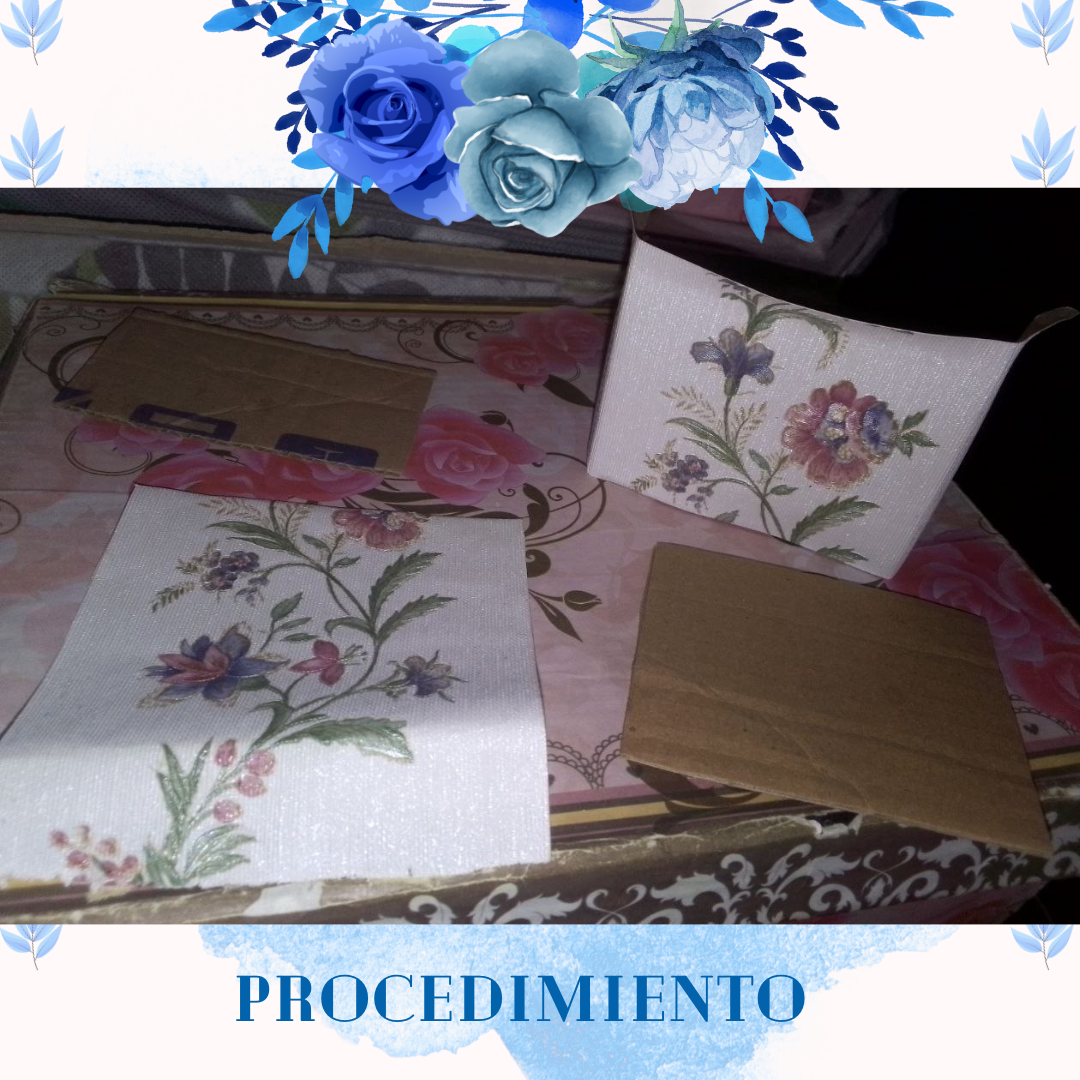
Para el mostrador de collares usamos un cartón de 16cm x 24 cm. y la parte de atras que es como para un portarretrato el cartón es de 5 cm x 15 cm.
Para el mostrador de pulseras usamos un carton de 7.5cm x 9cm, y para la bsase un cartón de 5cm x 10 cm.
Cortamos los pedazos de carton y de cinta es mayor cantidad de manera que cubra un poco mas el tamaño del cartón.
For the necklace counter we use a 16cm x 24 cm cardboard and the back part which is like a picture frame the cardboard is 5cm x 15cm.
For the bracelet counter we used a 7.5cm x 9cm cardboard, and for the base we used a 5cm x 10 cm cardboard.
We cut the pieces of cardboard and ribbon in a larger quantity so that it covers a little more the size of the cardboard.

Paso 2 | Step 2
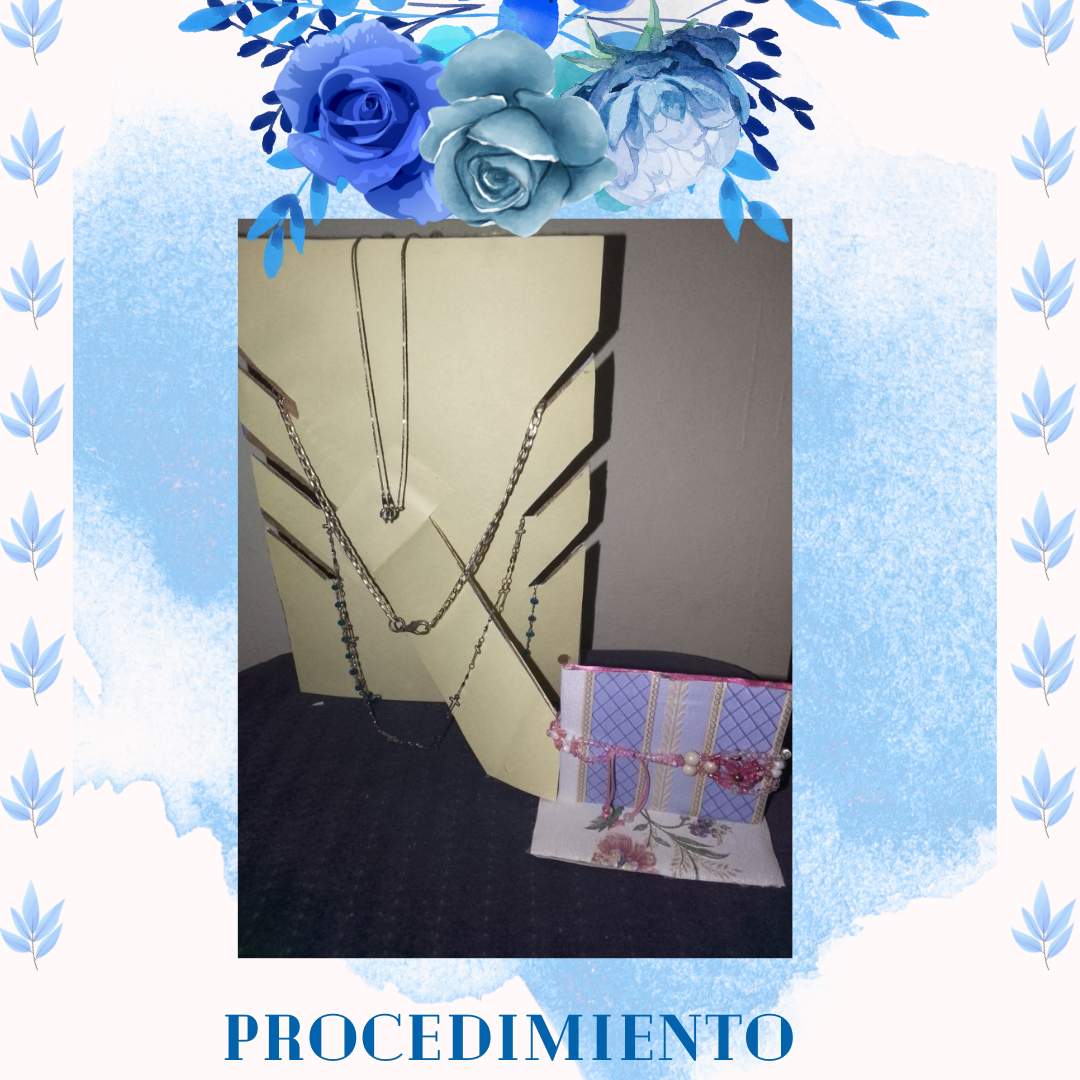
Para el mostrador de collares usamos una regla para medir las distancias de cuandtos collares queremos mostrar y recortamos las lineas. Pegamos todo con silión caliente priermo el cartón mas grande y luego el pedazo mas pequeño.
For the necklace display we use a ruler to measure the distances of how many necklaces we want to display and cut out the lines. We glue everything together with hot silicon, first the larger cardboard and then the smaller piece.
Paso 3 | Step 3
Nos aseguramos que quede todo cubierto.
We make sure everything is covered.
Resultado | Result
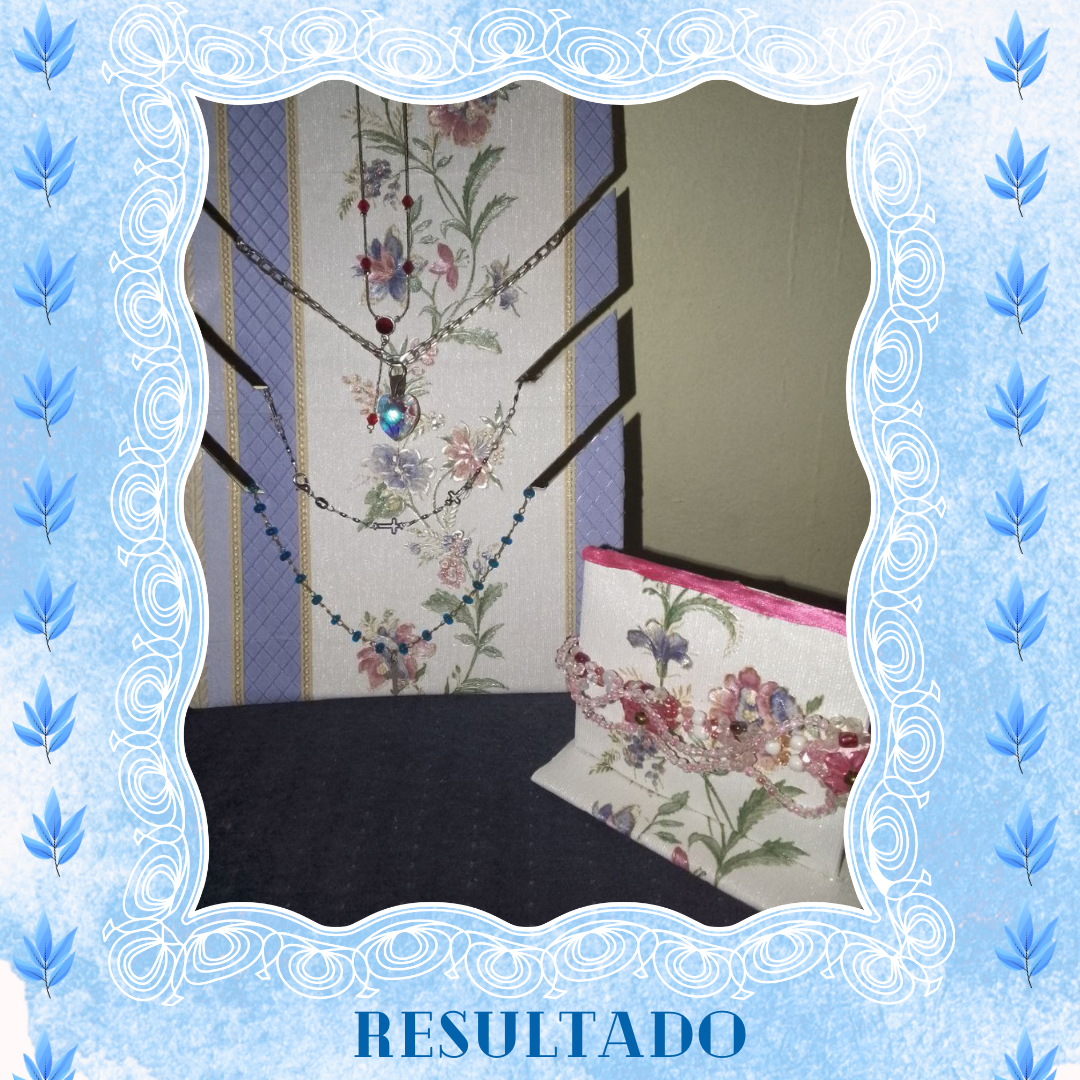
Y asi es como quedan, el de collar queda un poco para atraás y el de pulsera queda perpendicular a la base. Y juntos cumplieron su objetivo porque me gustaron mucho como quedaron. Y bueno eso es todo , gracias por leer.
And this is how they look like, the necklace is a little bit backwards and the bracelet is perpendicular to the base. And together they fulfilled their purpose because I really liked the way they looked. And well that's all, thanks for reading.
Gracias por visitar mi blog
Thanks for visiting my blog
No te detengas, no dejes de creer en ti y de buscar ideas y opciones para salir adelante.
Don't stop, don't stop believing in yourself and looking for ideas and options to get ahead.
Créditos | Credits
Utilicé Canva para editar imágenes y personalicé un poco una plantilla de Canva.
I used Canva to edit images and customize a Canva template a bit.
Utilicé https://www.deepl.com/es/translator para la traducción
I used https://www.deepl.com/es/translator to traduction.
Las imagenes son propias.
The images are my own.