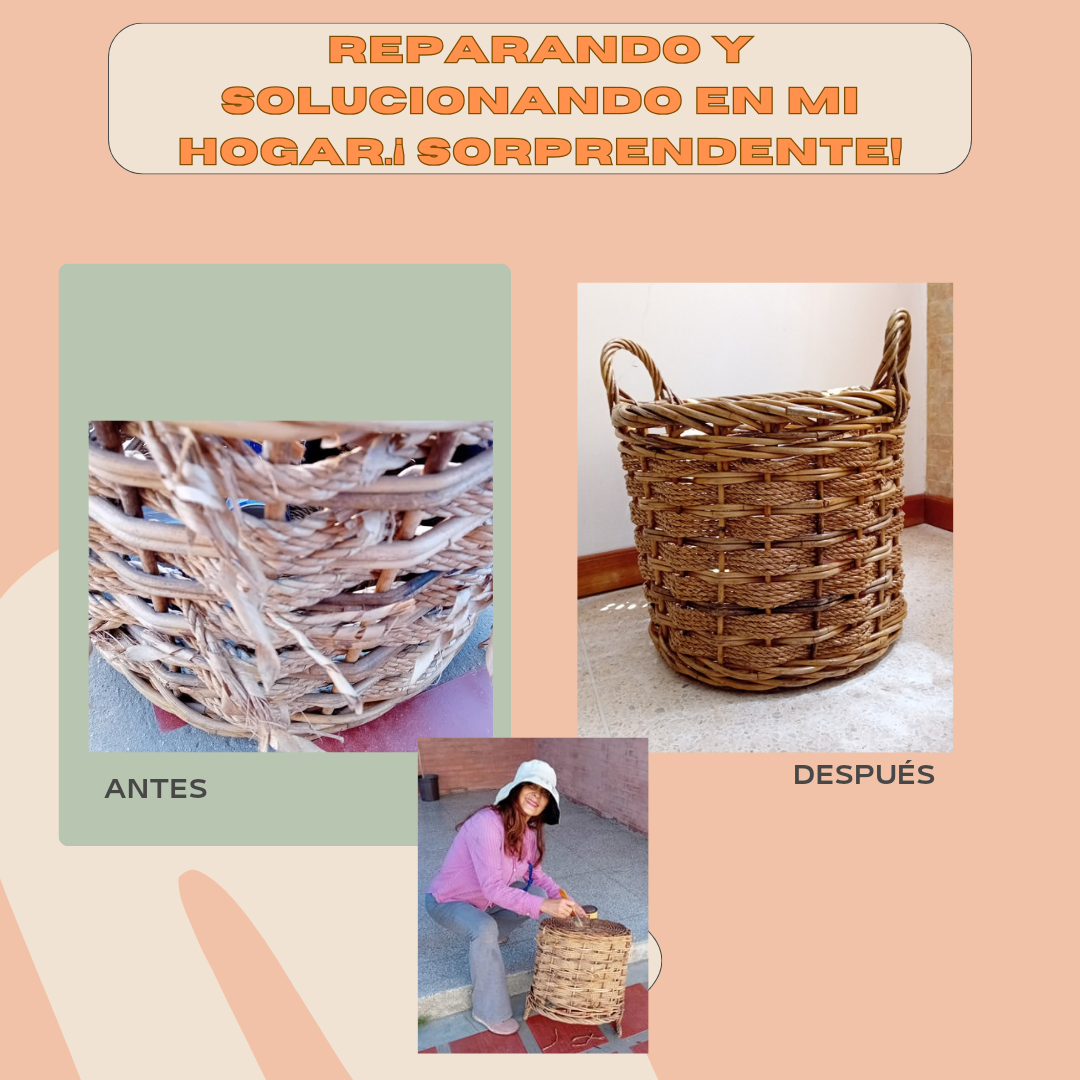
Hello to all my friends at @homesolutions. It's a pleasure to greet you and wish you all well. Today I want to share with you a repair job I did myself in my home. In the month of December my laundry basket was damaged, the deterioration was total and I had to find a solution. This basket was made of plastic and it completed its useful life. The truth is that it looked very deteriorated and I decided to take it out of use.
With this situation, the dilemma was how to solve and replace such an important implement for my home. It should be noted that in my city we have water rationing and we have two days a week to wash clothes. That is why I must have a basket or implement to place the dirty clothes. The first idea that came to my mind was to buy a new basket. In supermarkets and stores there are all kinds of baskets of different prices. The one I liked was dark brown with a lid and very nice. The price was 20 $.
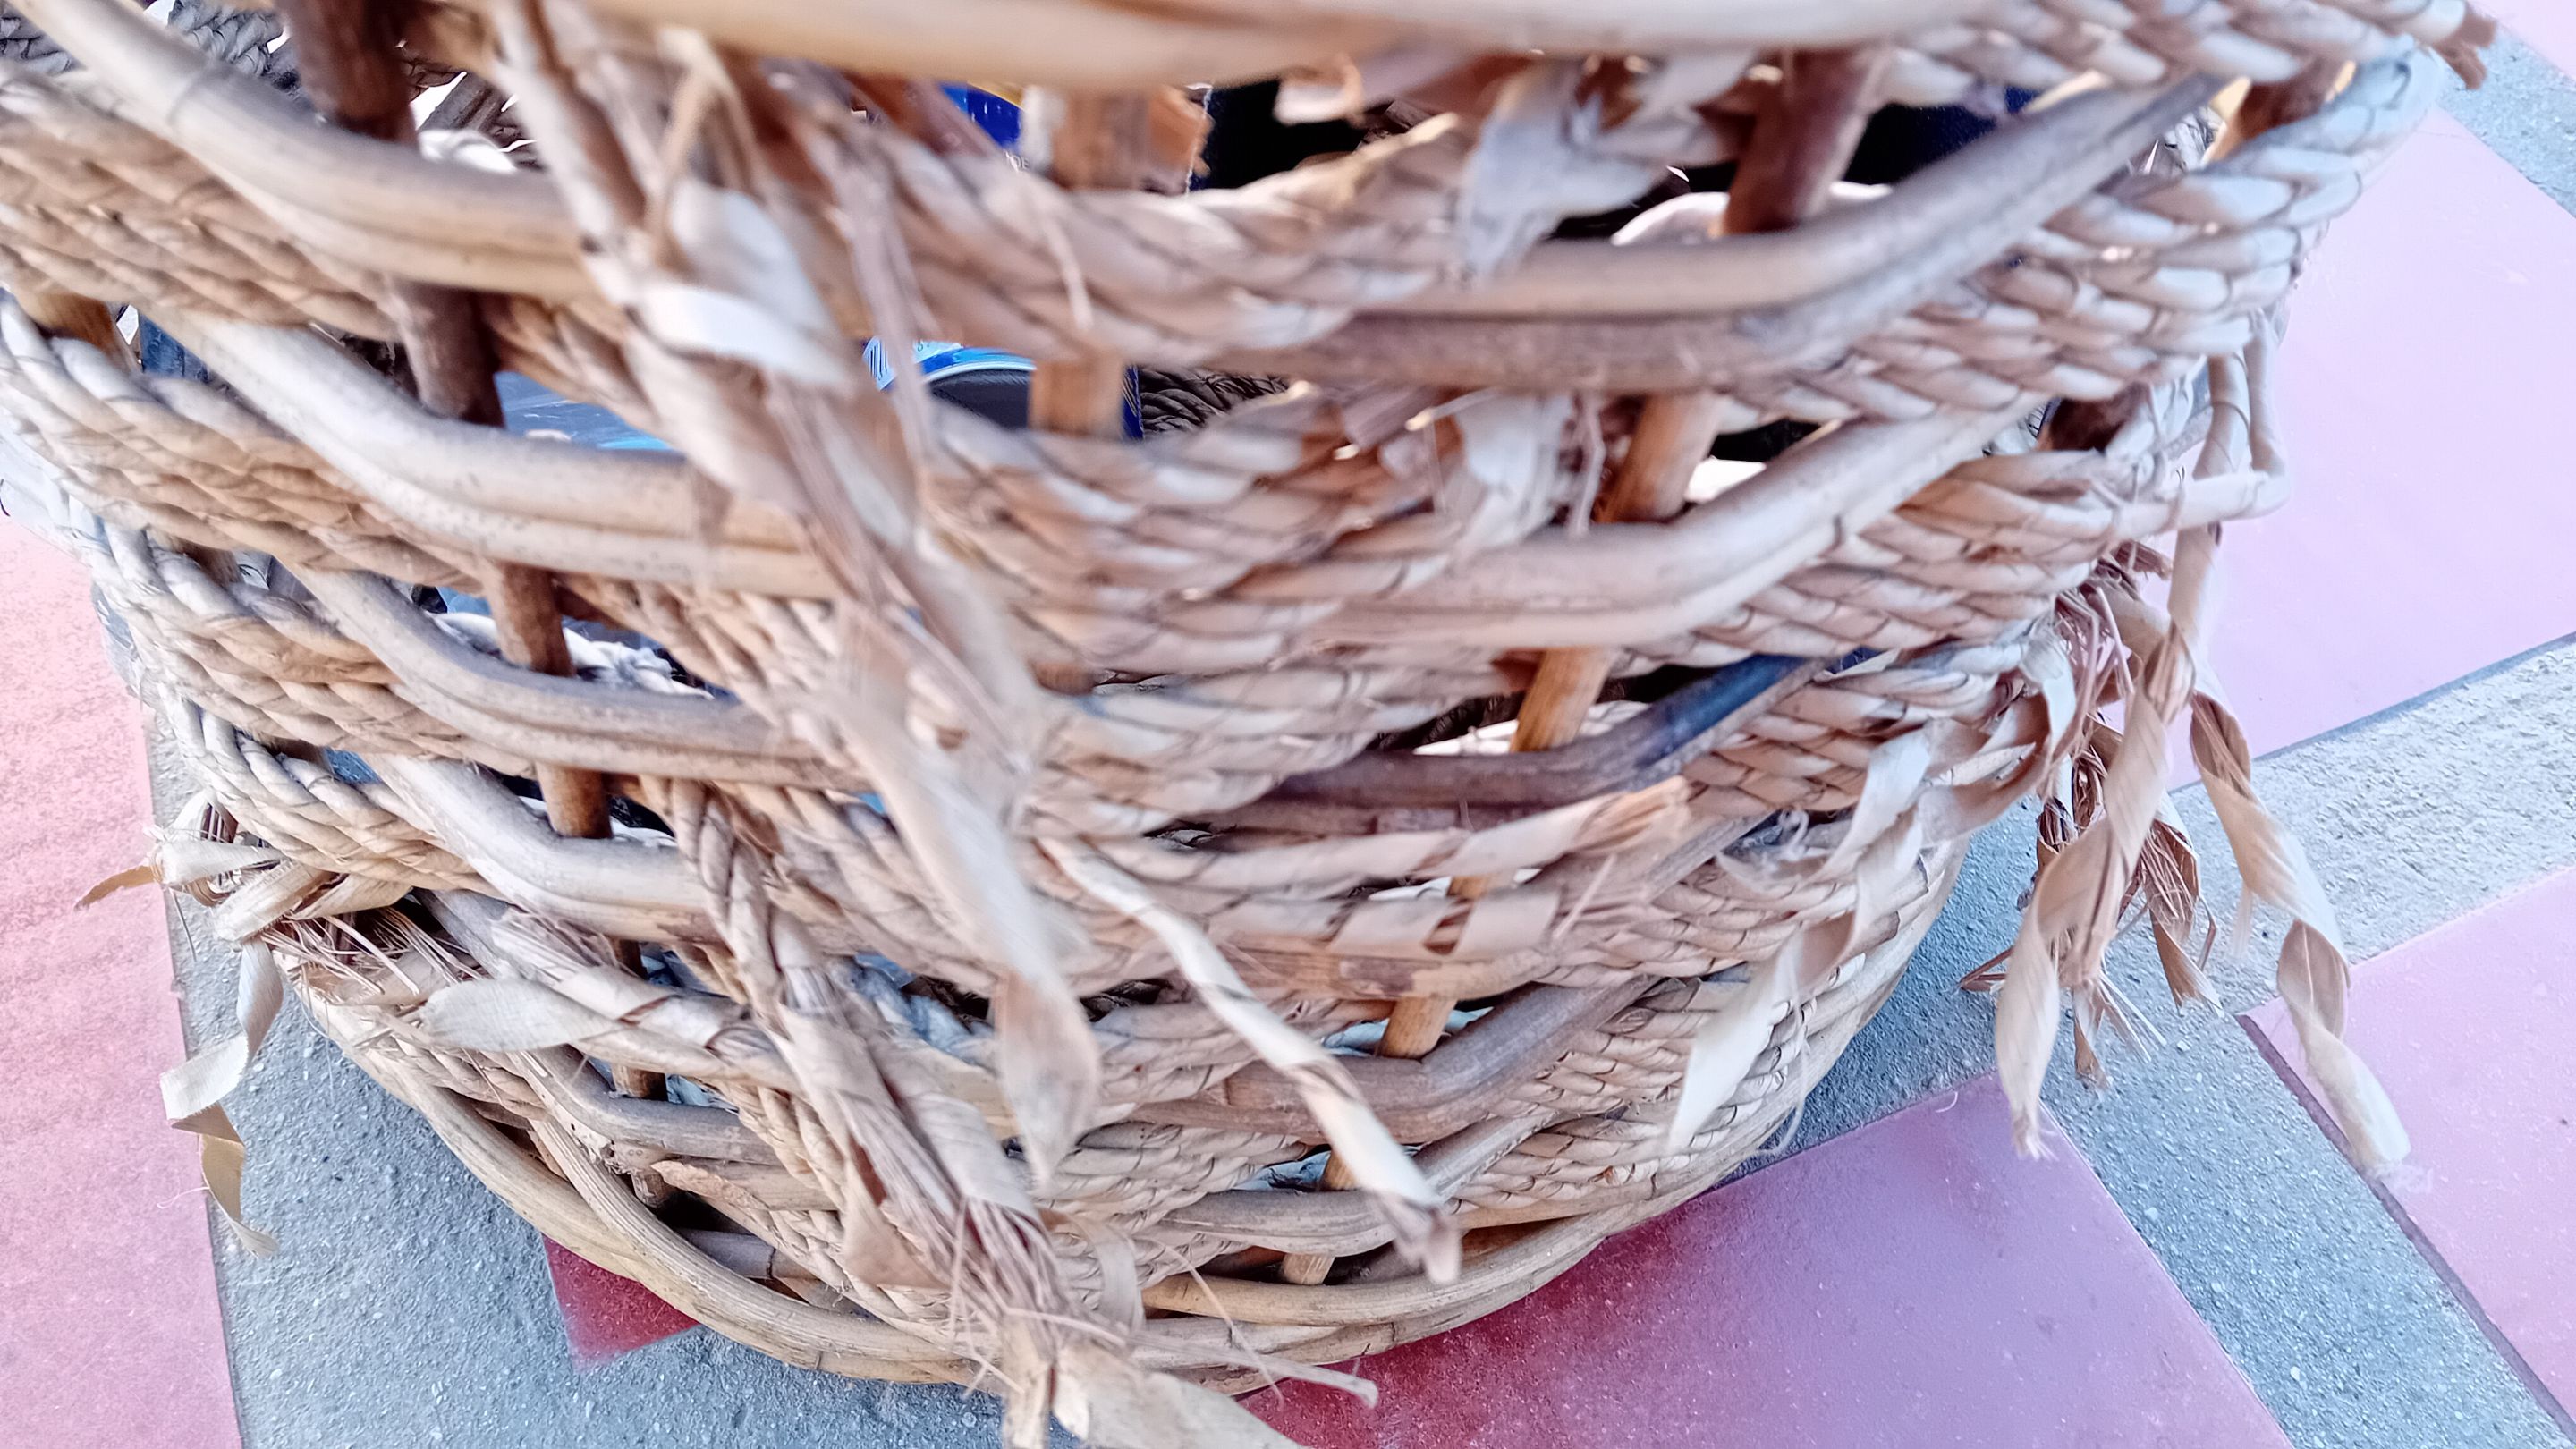
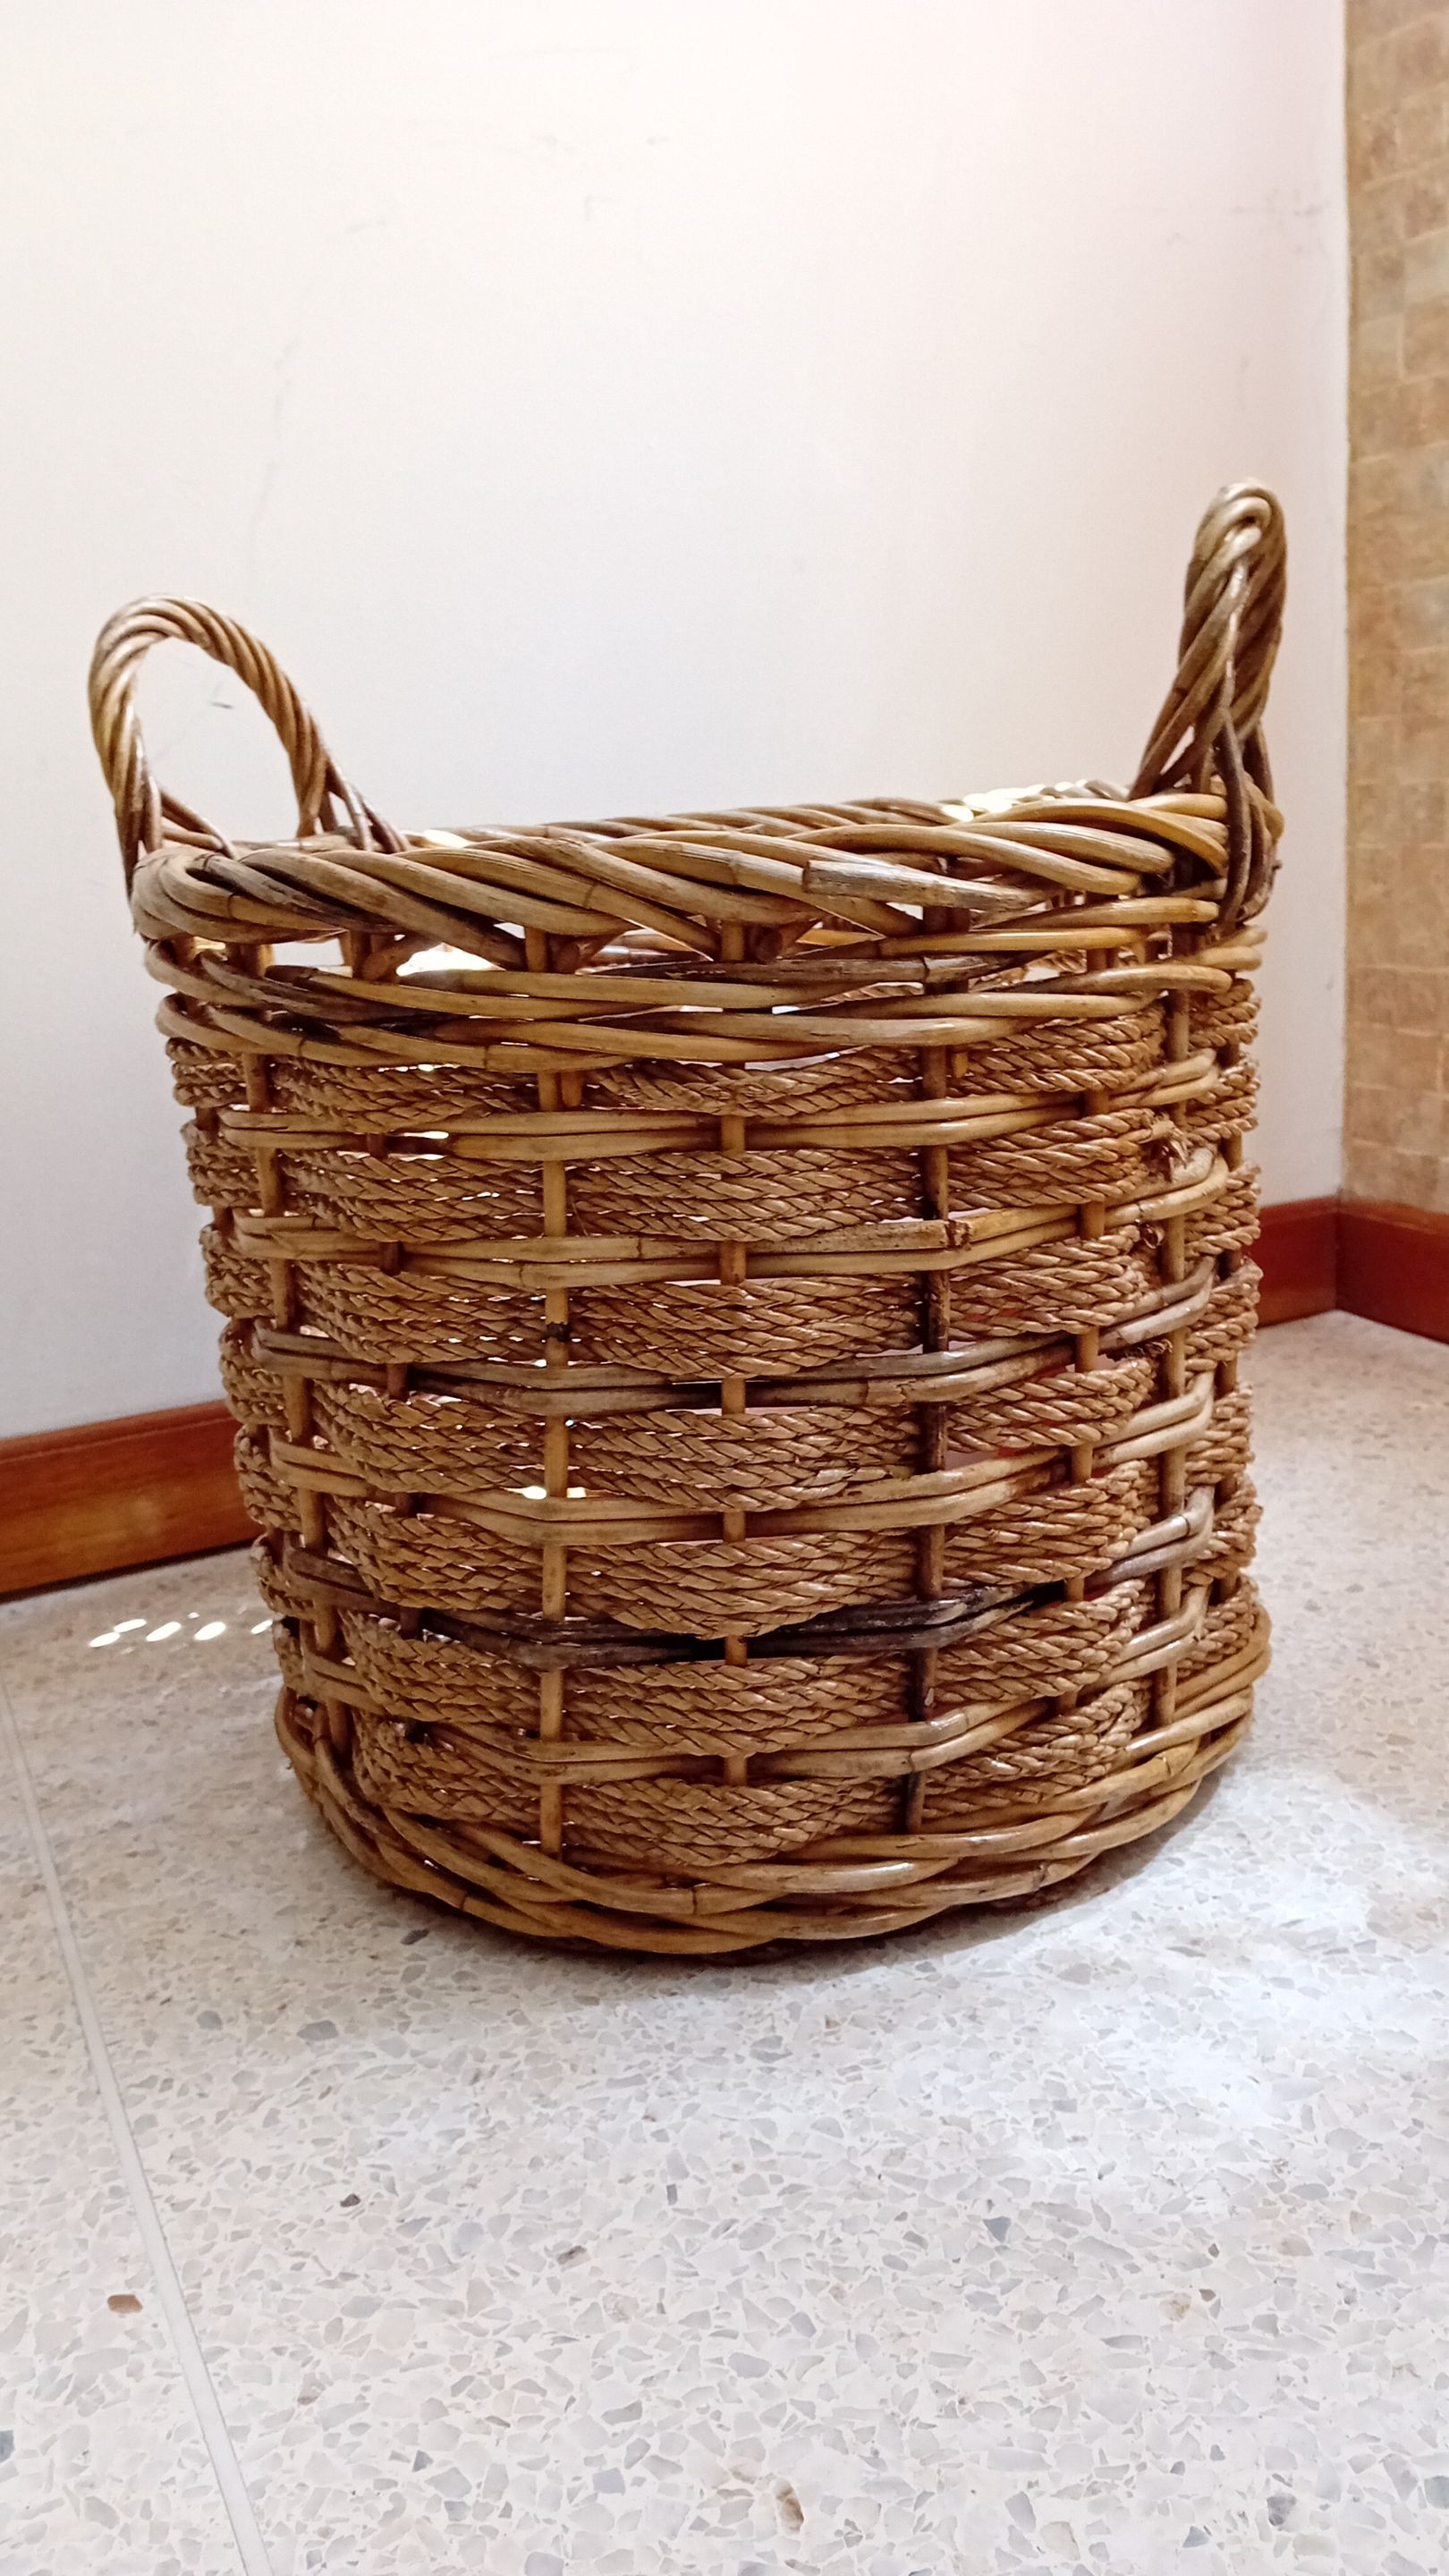
Well, in principle it was what I had in mind to do. But #hive friends, family expenses, unforeseen events, among others, made me pause the purchase and leave it for another opportunity. Being at my mom's house, I saw a basket of rattan material and it was the old basket I had used years before. It was frayed, dull, dirty and quite deteriorated. However, I realized its potential, strengths and advantages. It is of a repairable material, decorative, sturdy and durable; unlike the previous plastic basket.
In that sense, I said I was going to repair it and it was the solution for my need. I also had the material for its repair and recovery, such as varnish. So, one day I went to my mother's house to start the work of recovery and repair. First I had to clean it days before, since this basket had been lying unused for many years. In this sense, I washed the basket with a brush, water and soap to remove the dirt. I put it to dry in the sun for a whole day.
 |  |
|---|
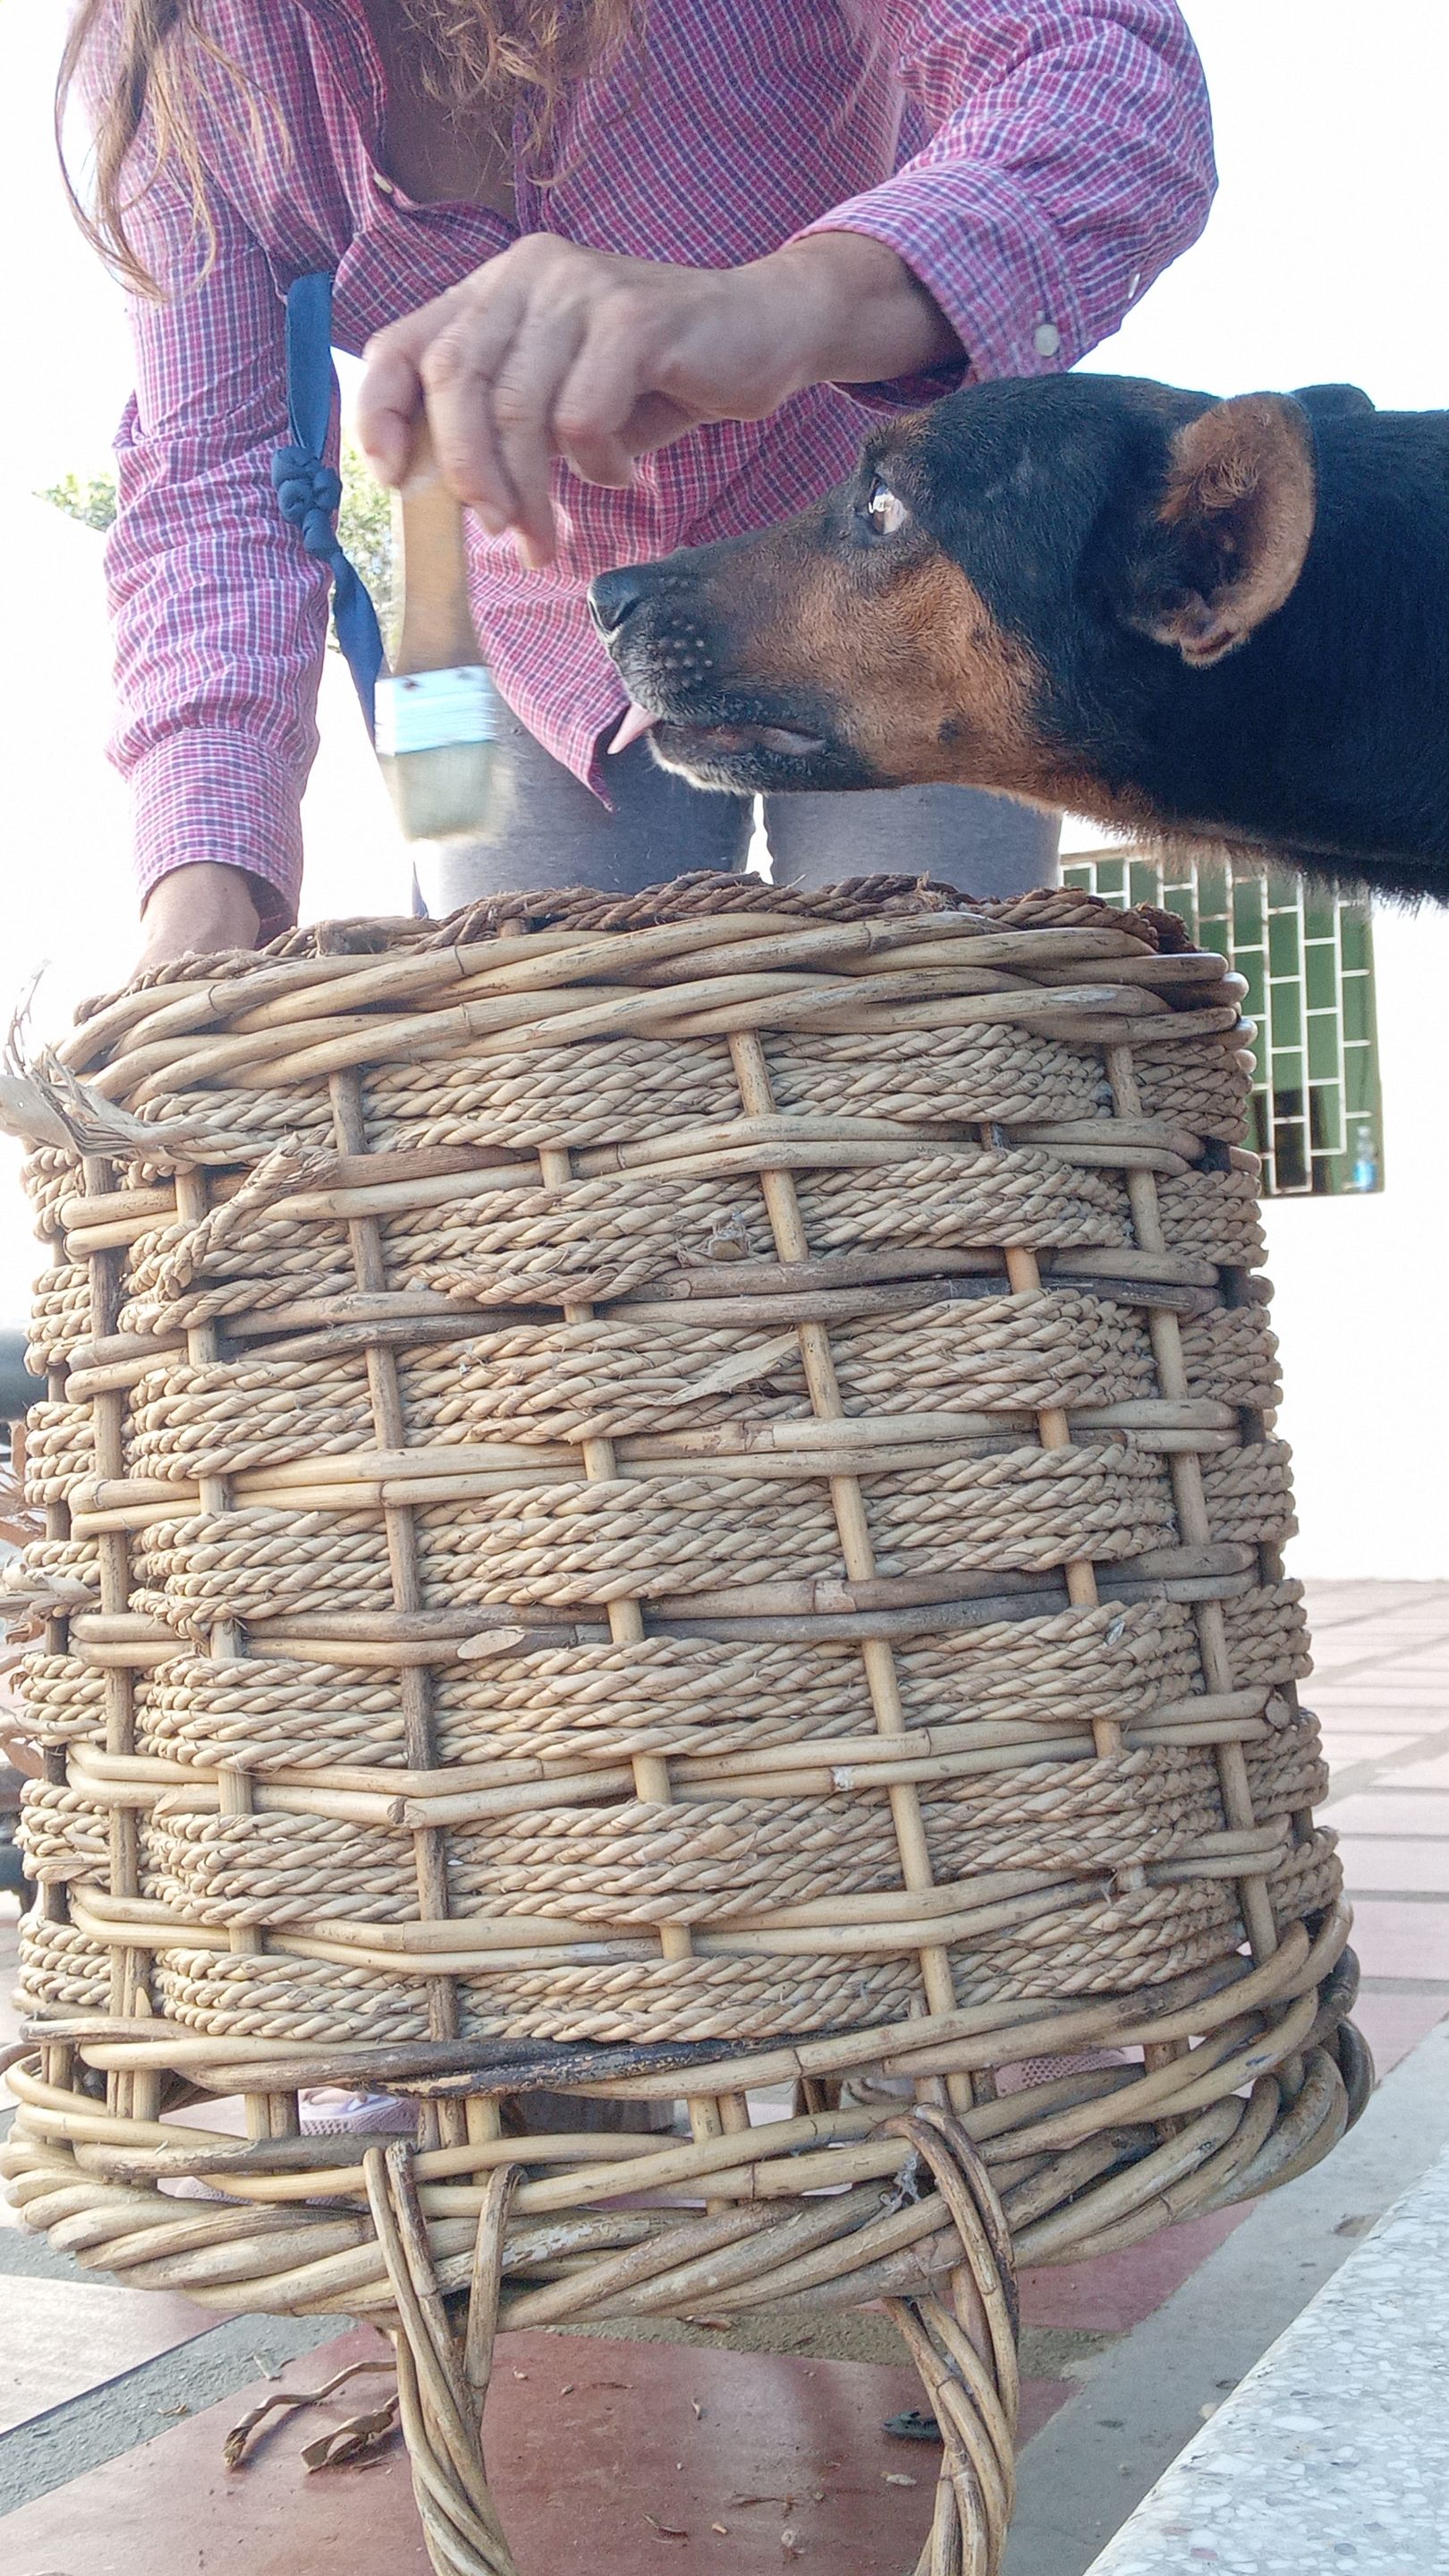
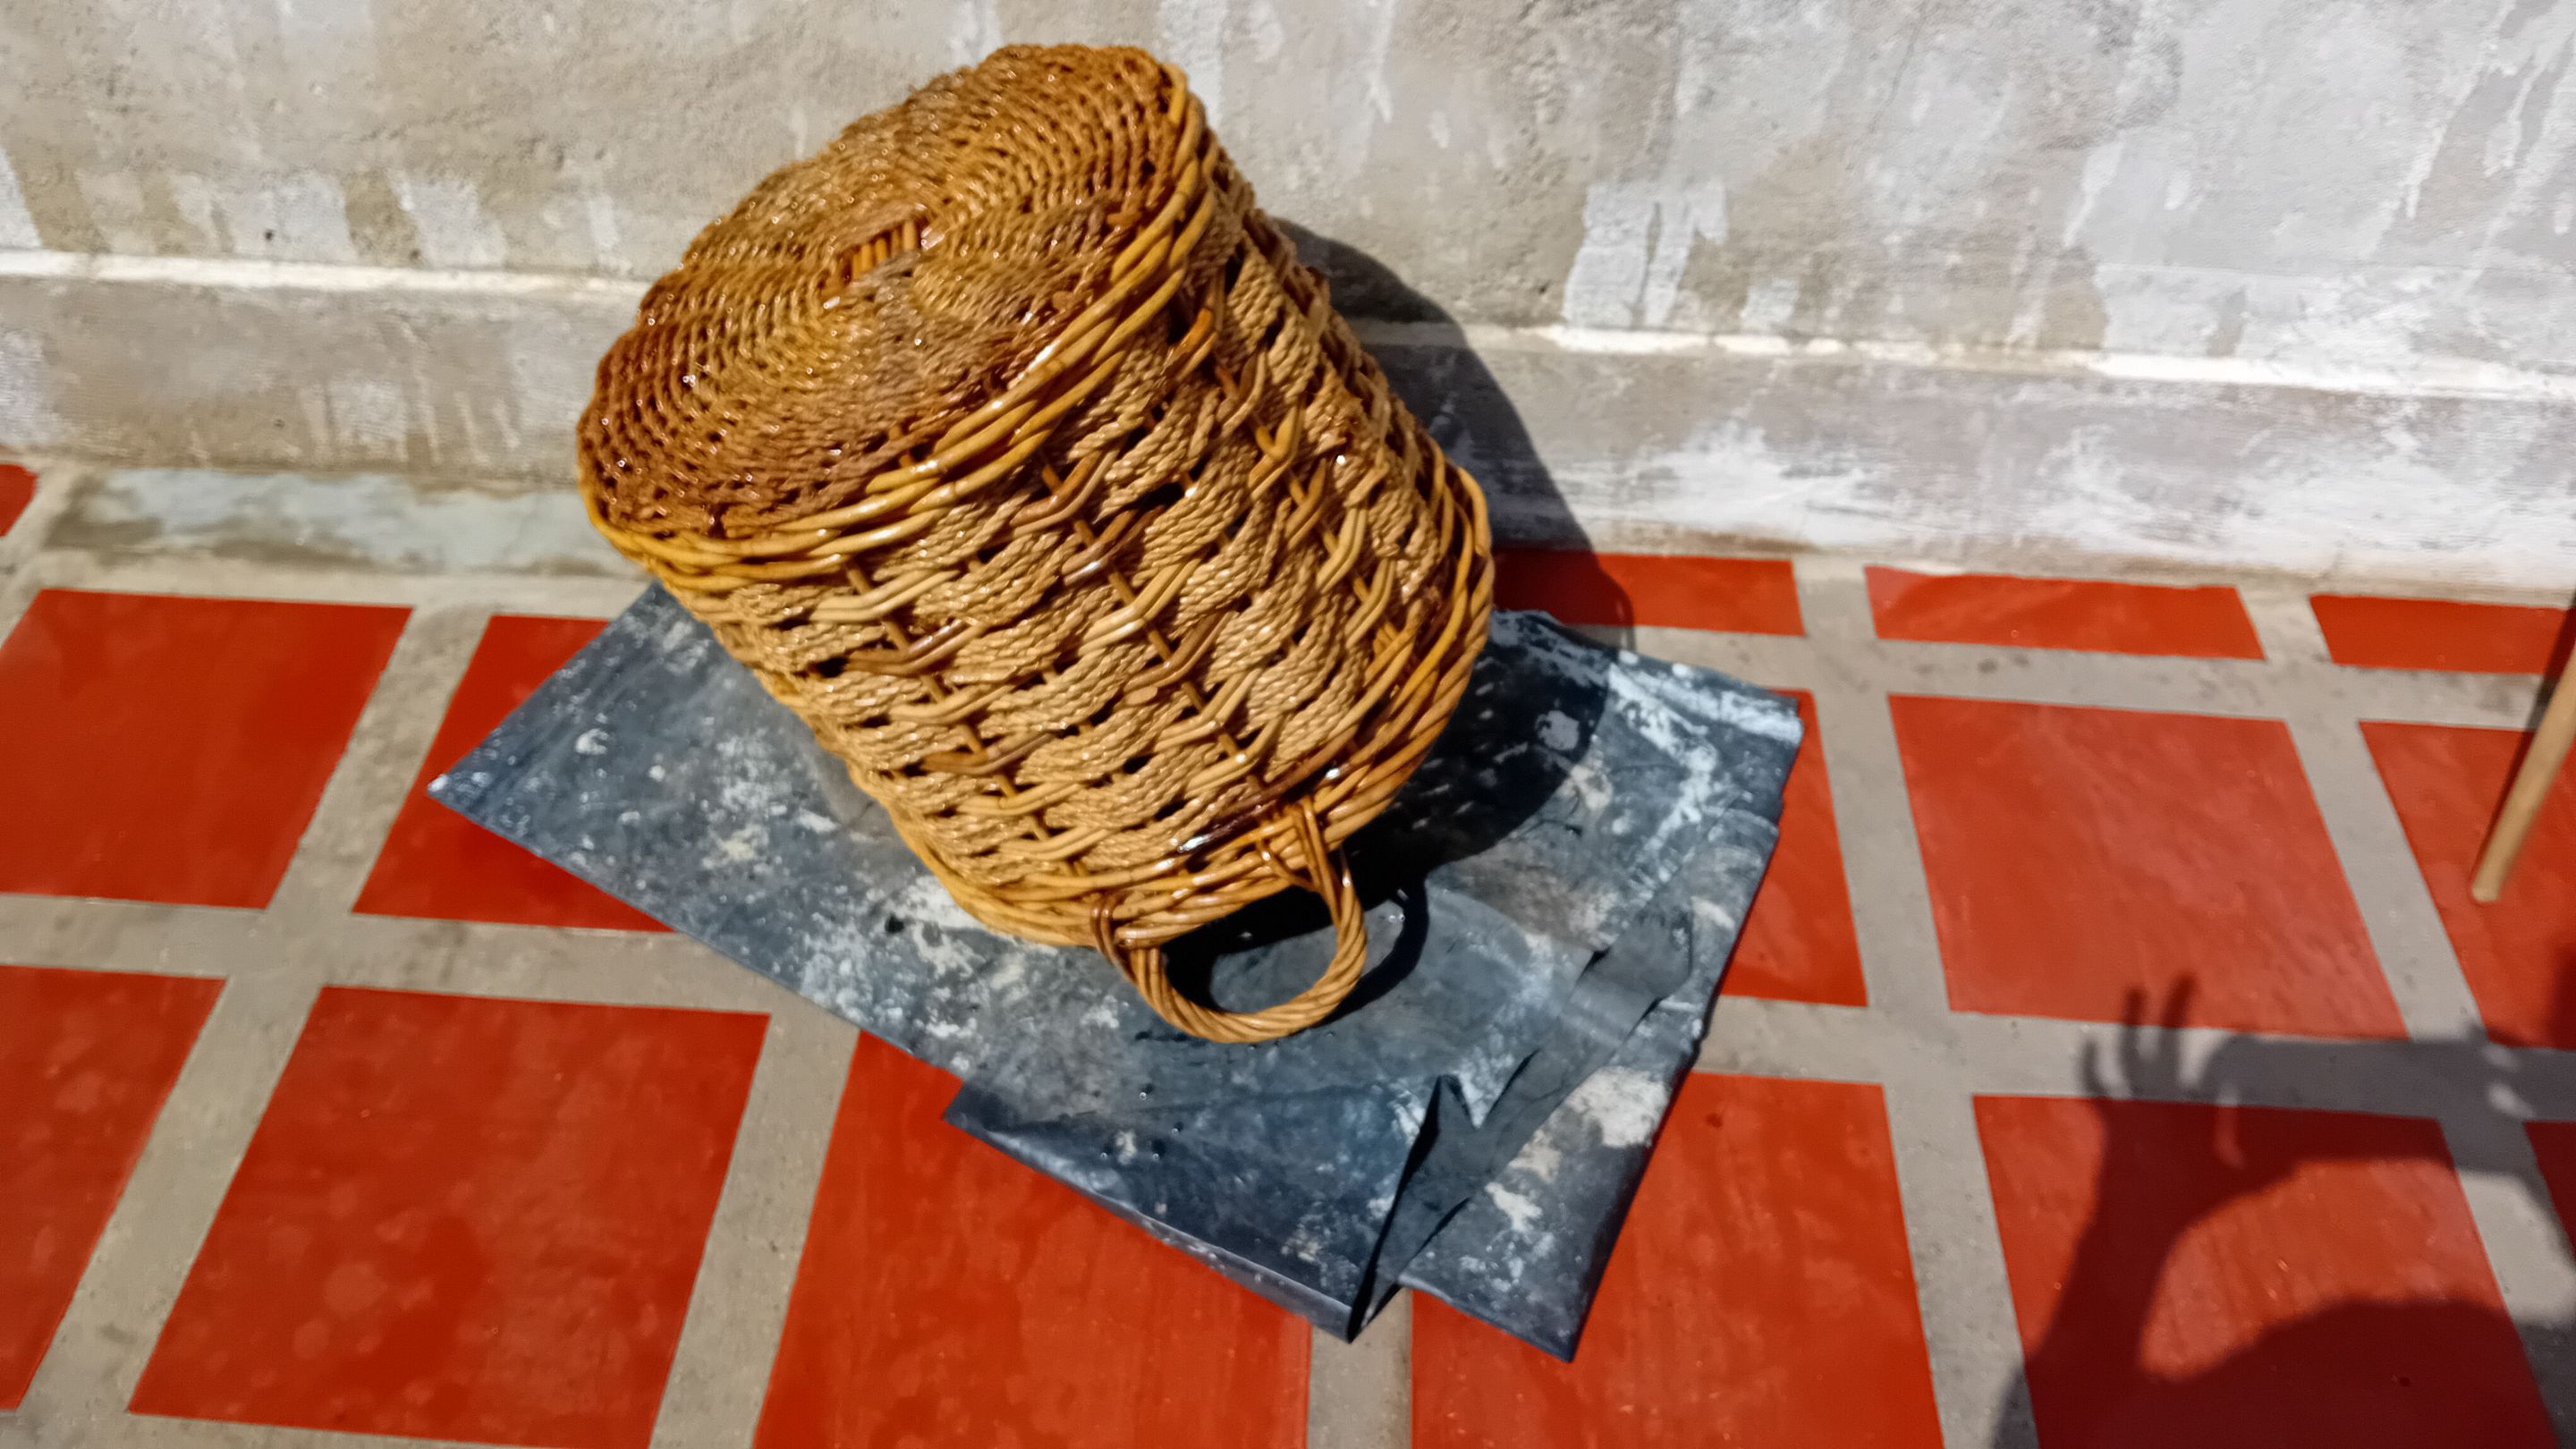
After that, I let several days go by. The next step was to carefully weave
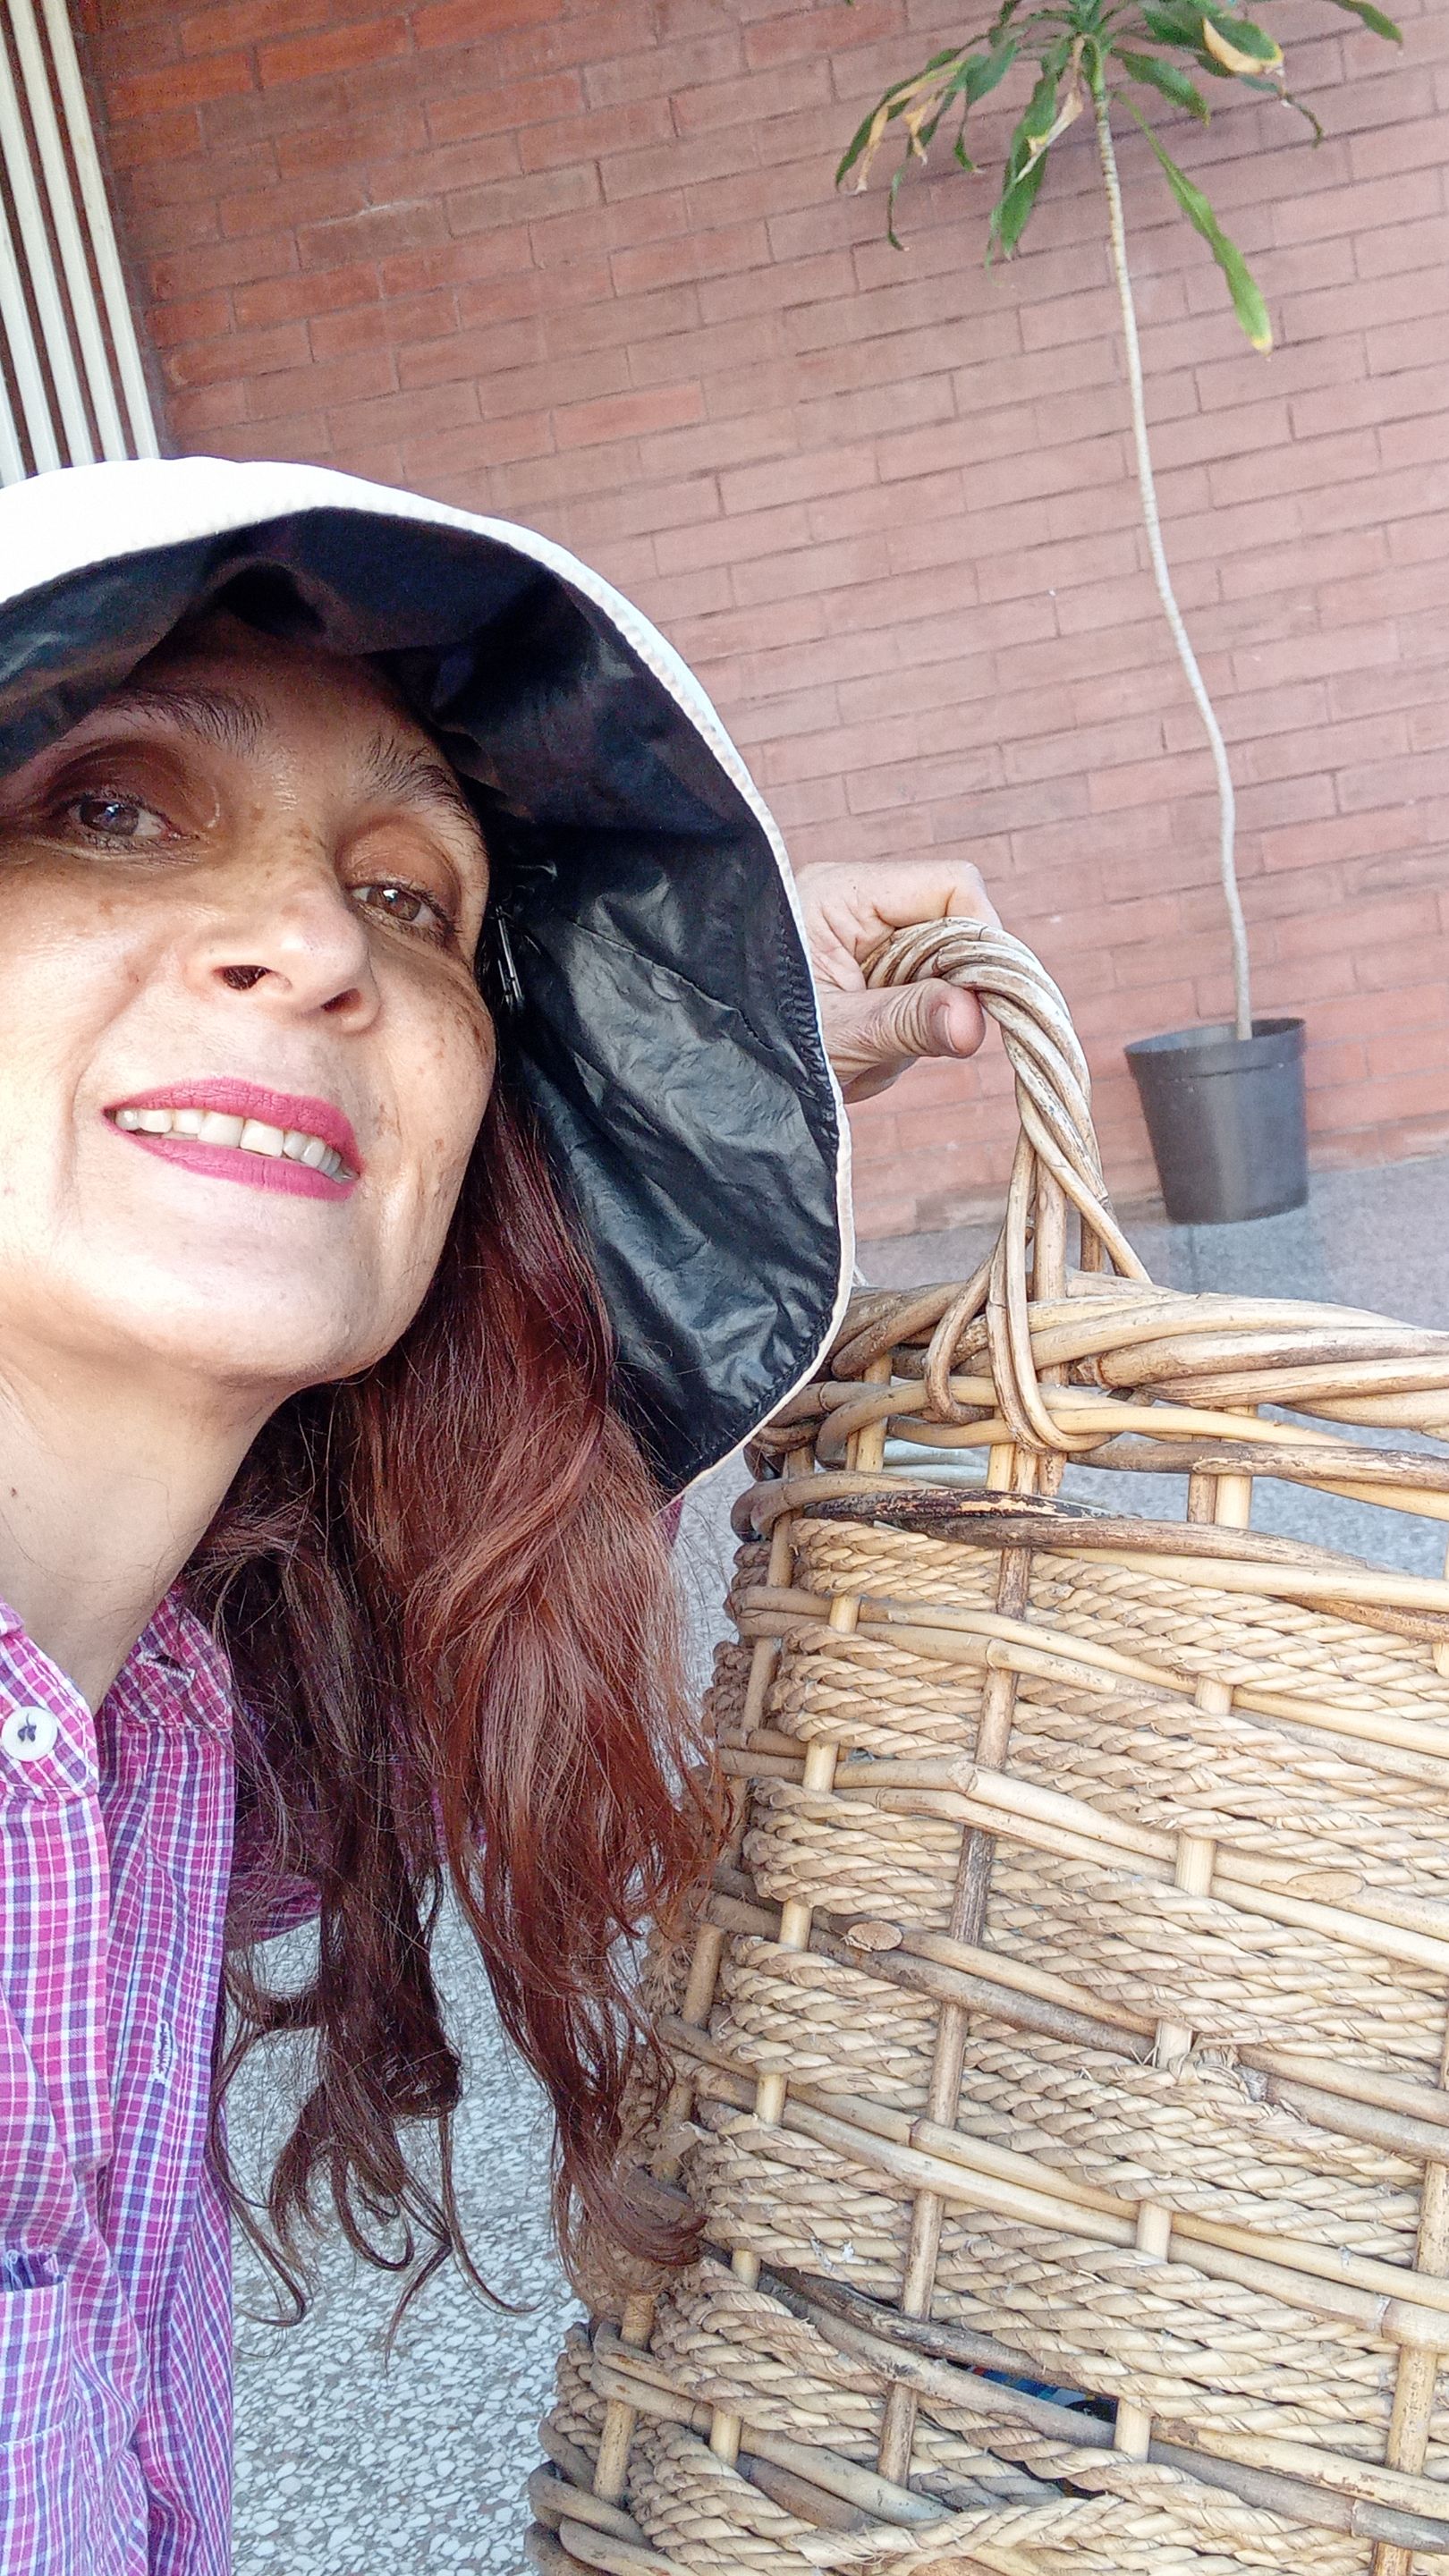
the loose threads or loose parts, trying to make it look perfect and put in place. This required patience. Although I am not an expert in these things; I had the desire to recover my beautiful basket, the need of my home and the willingness to do it. I was very encouraged, motivated and excited. I tell you that all these aspects made me hurry to see the results. So, I told myself to enjoy the recovery process.
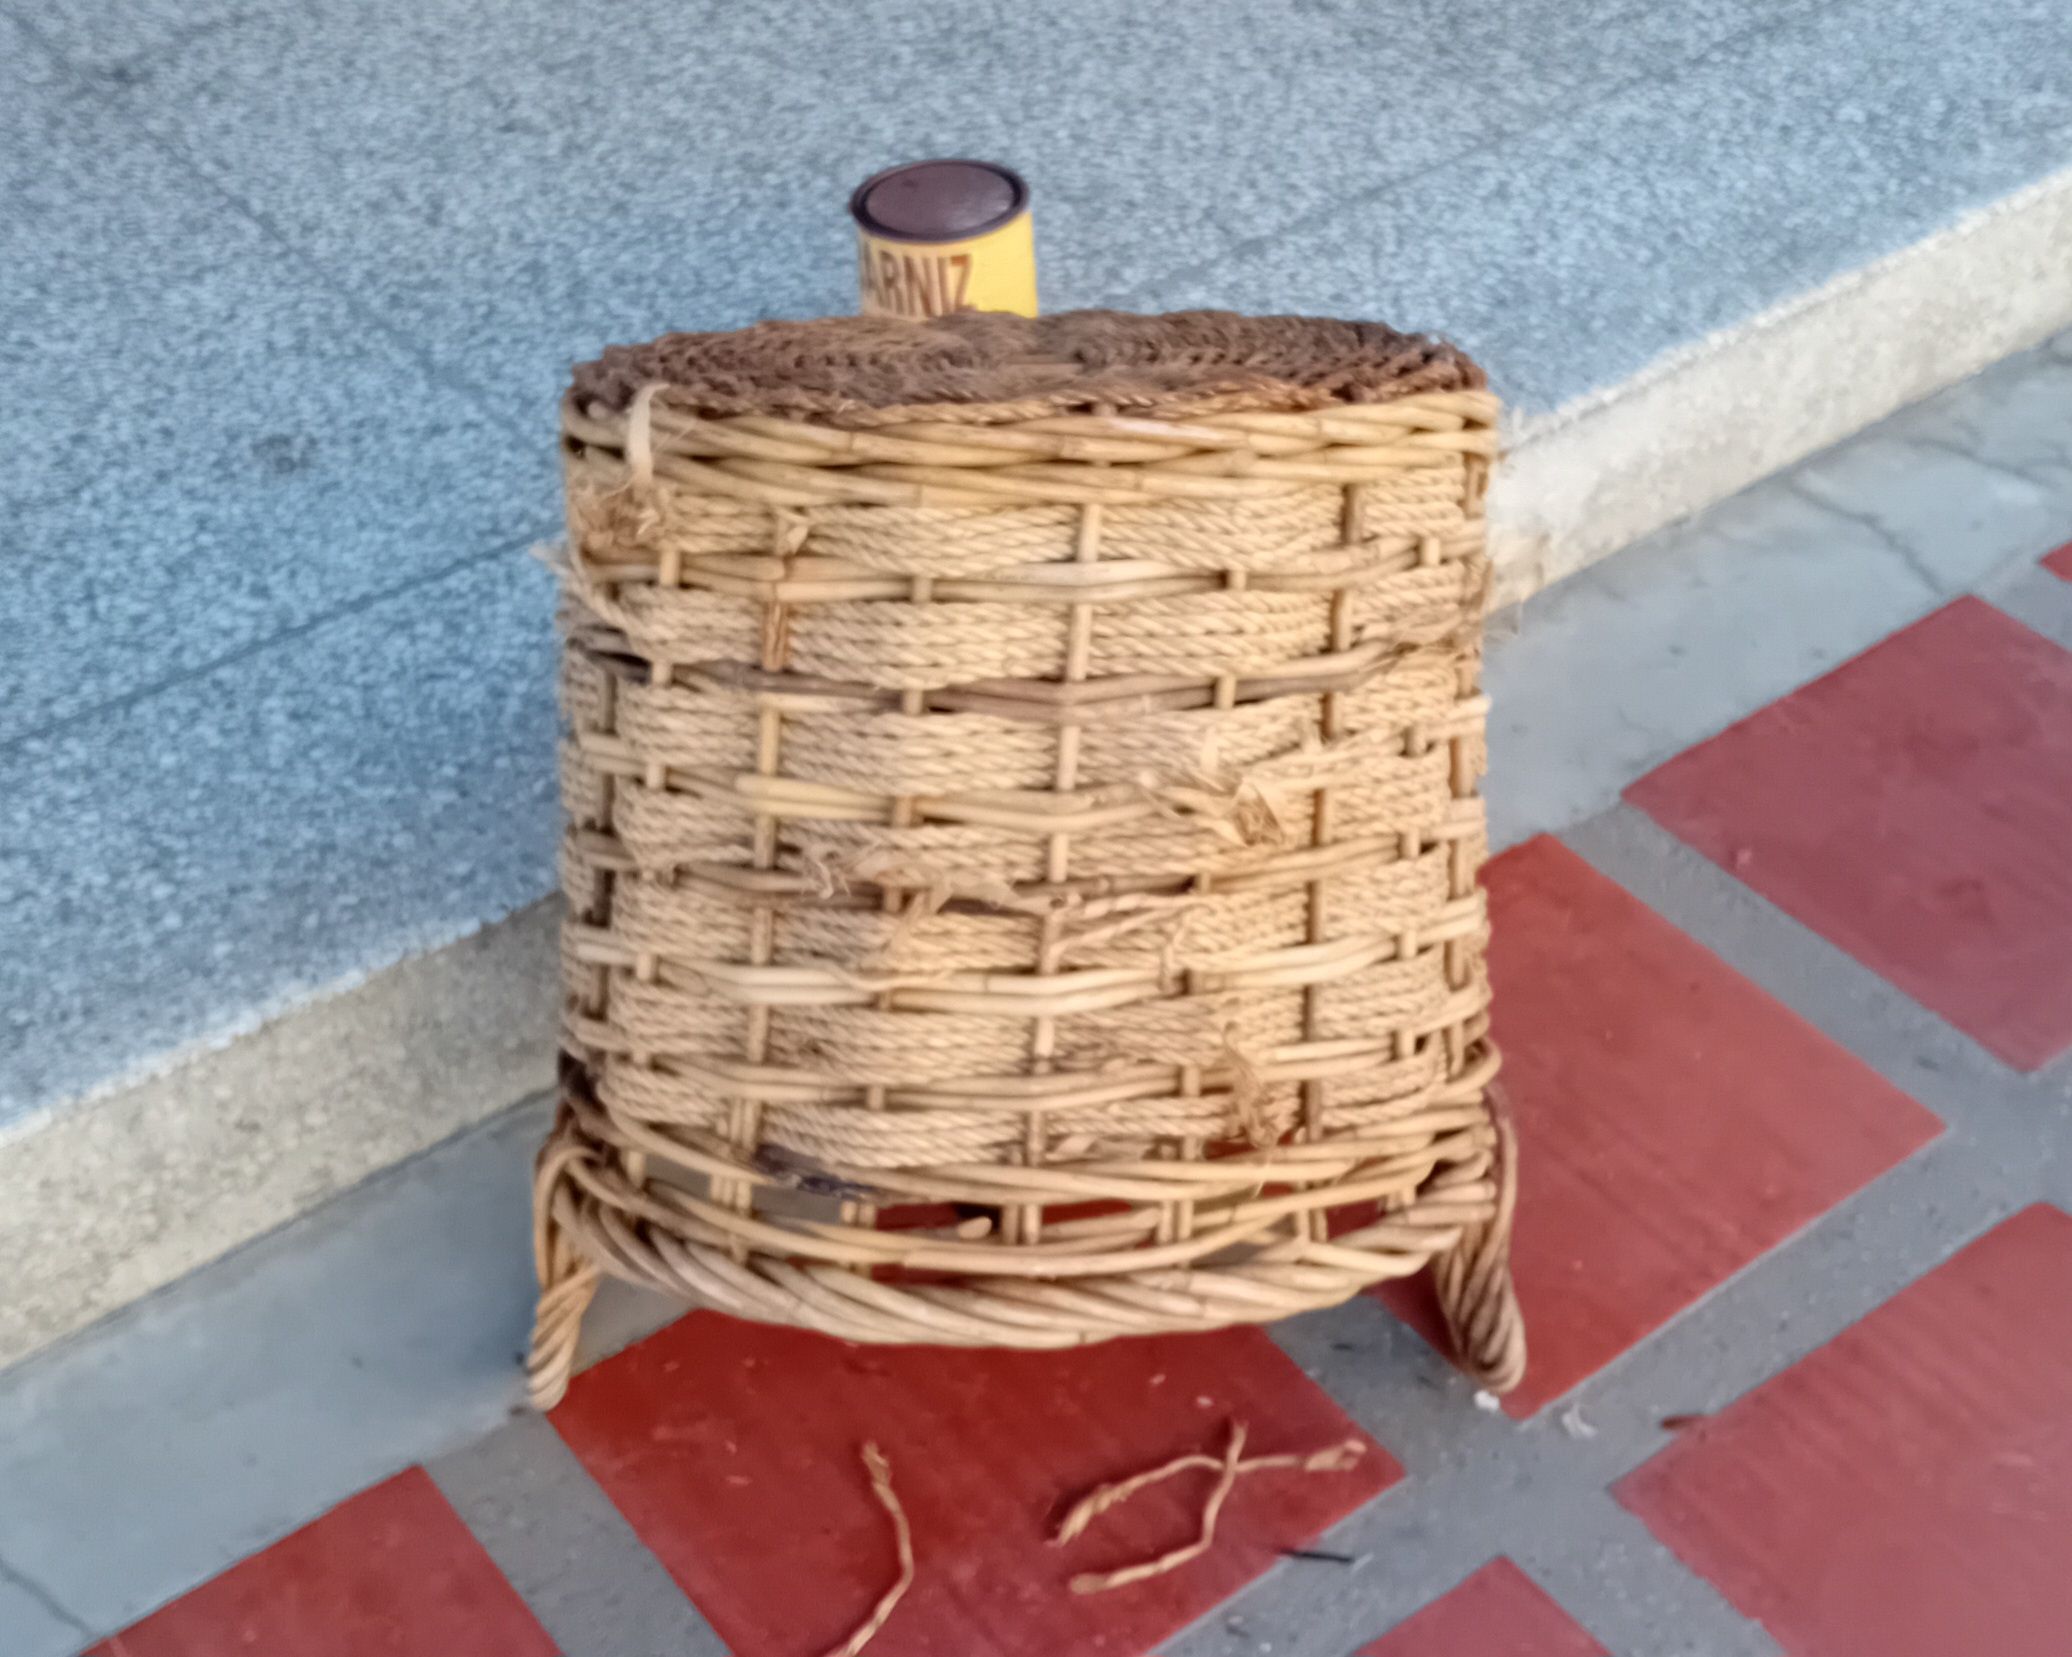
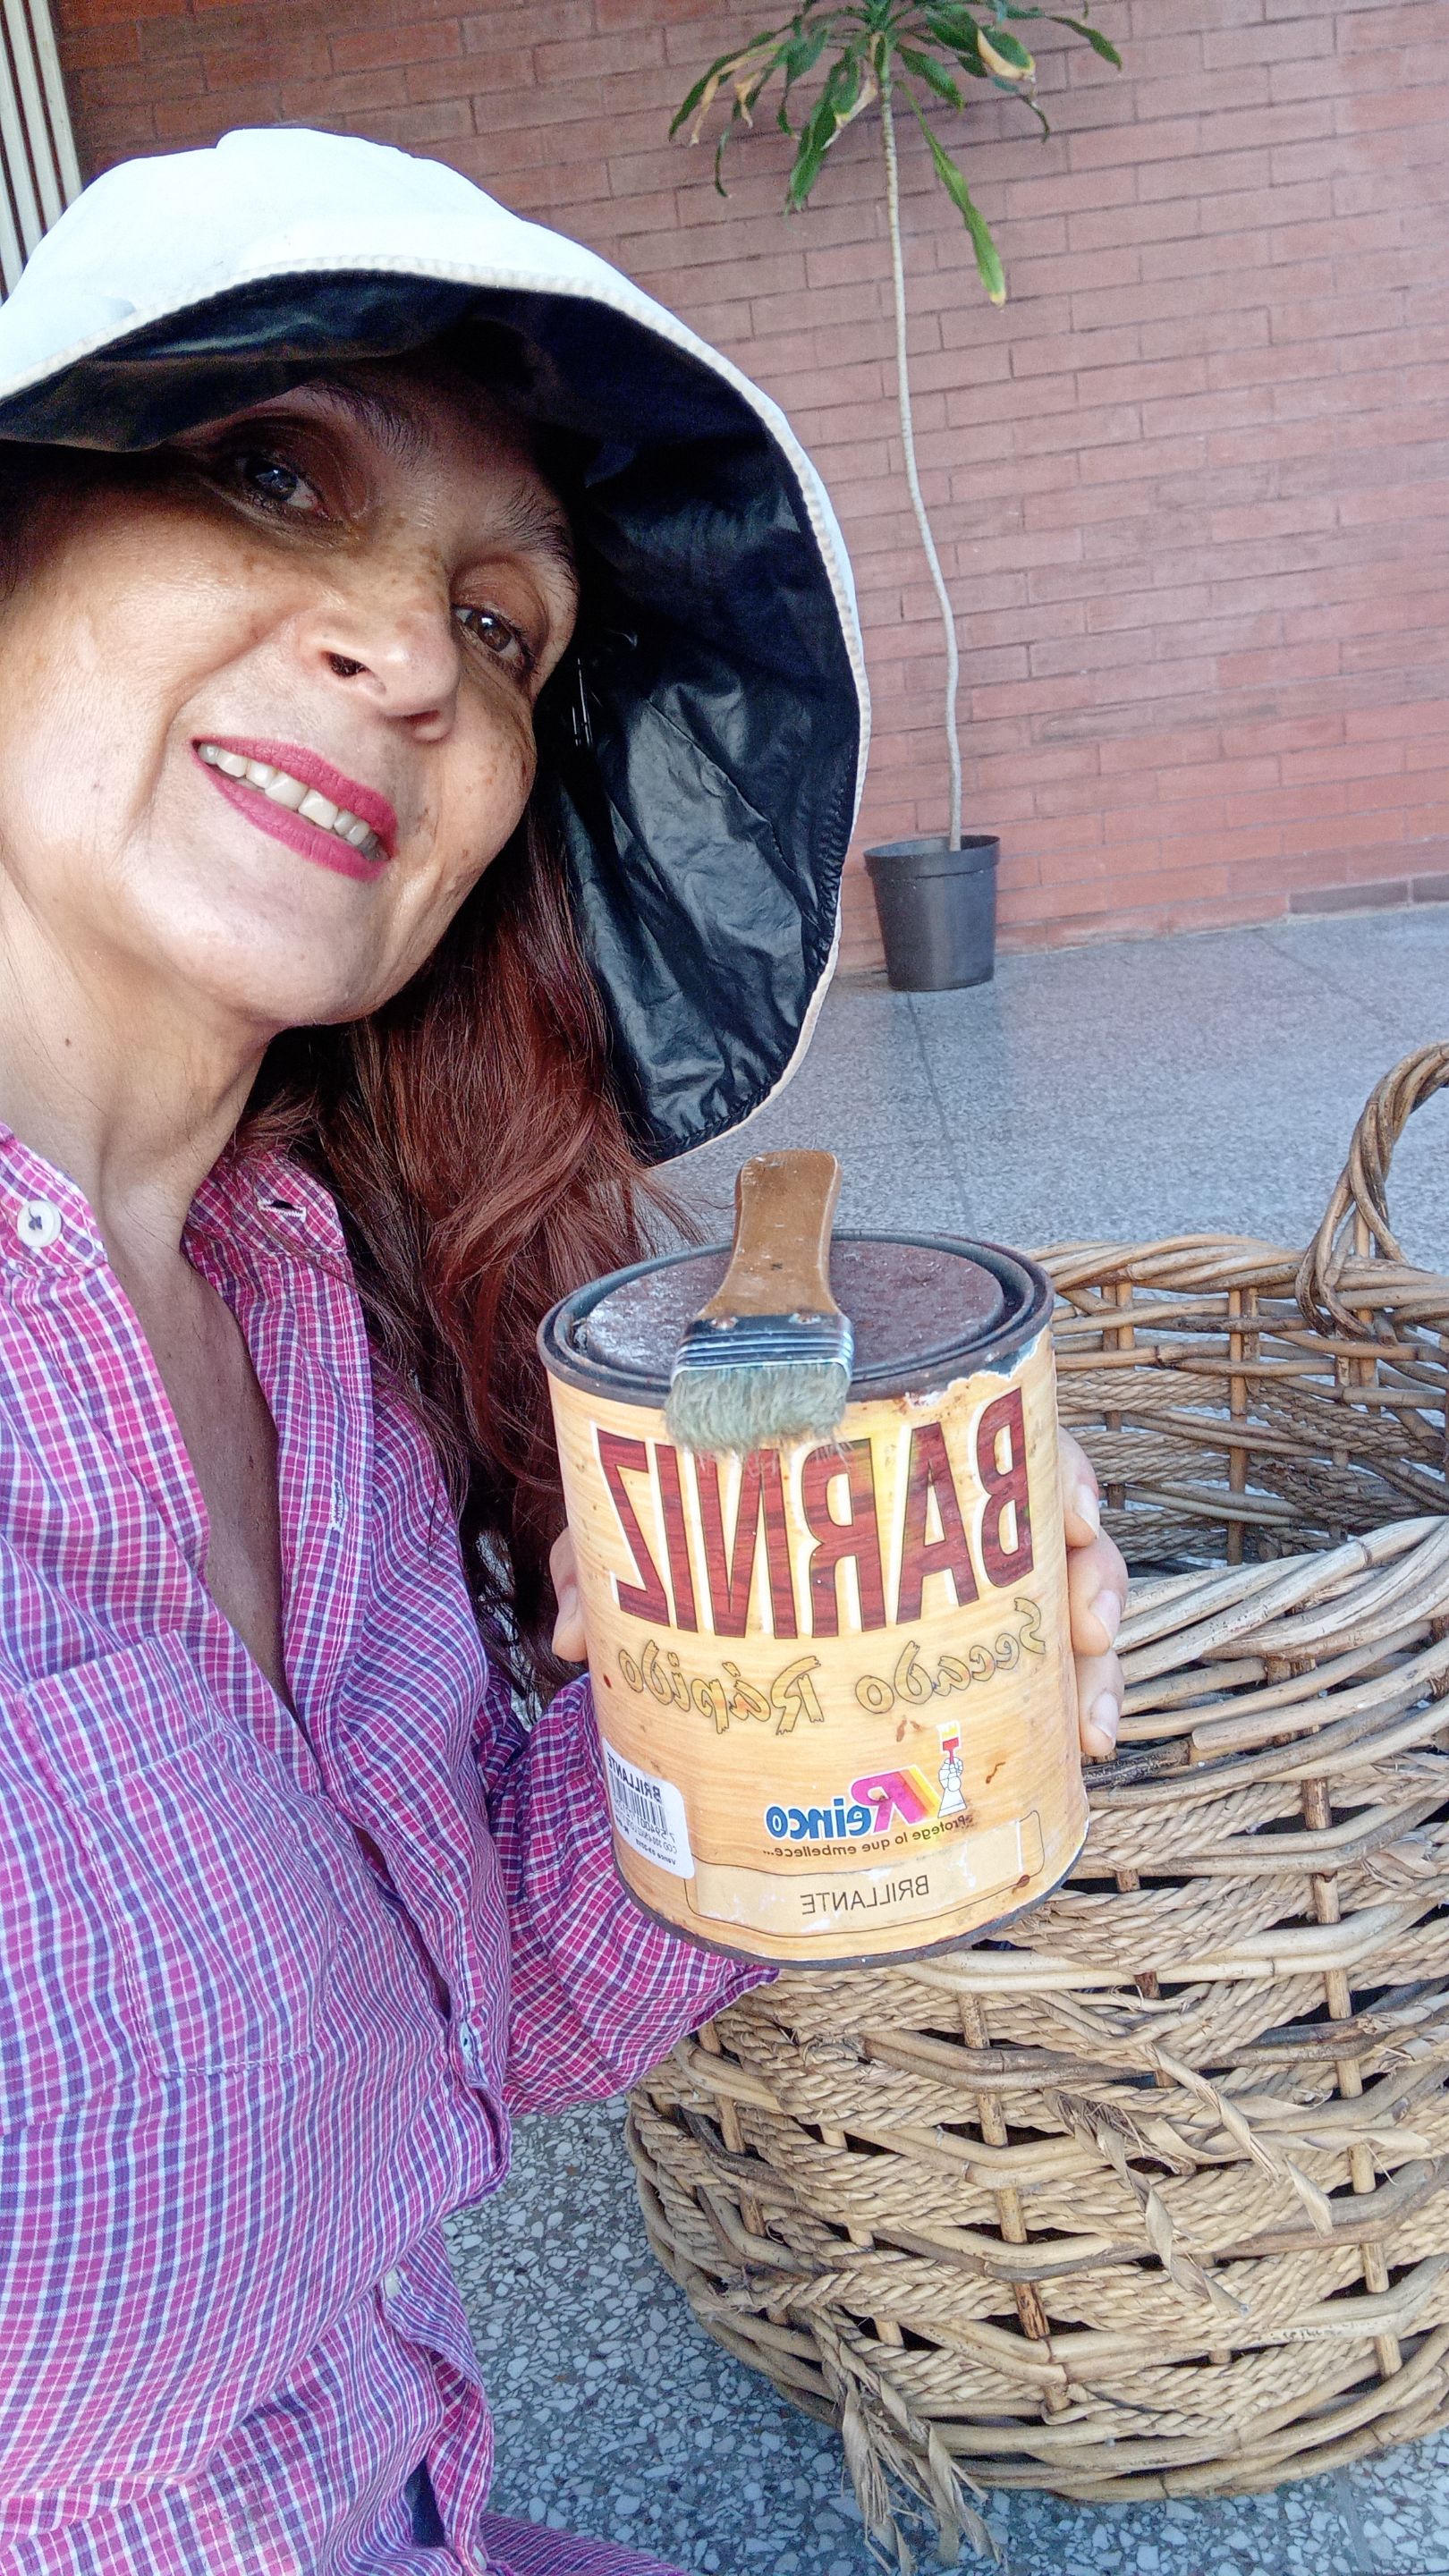
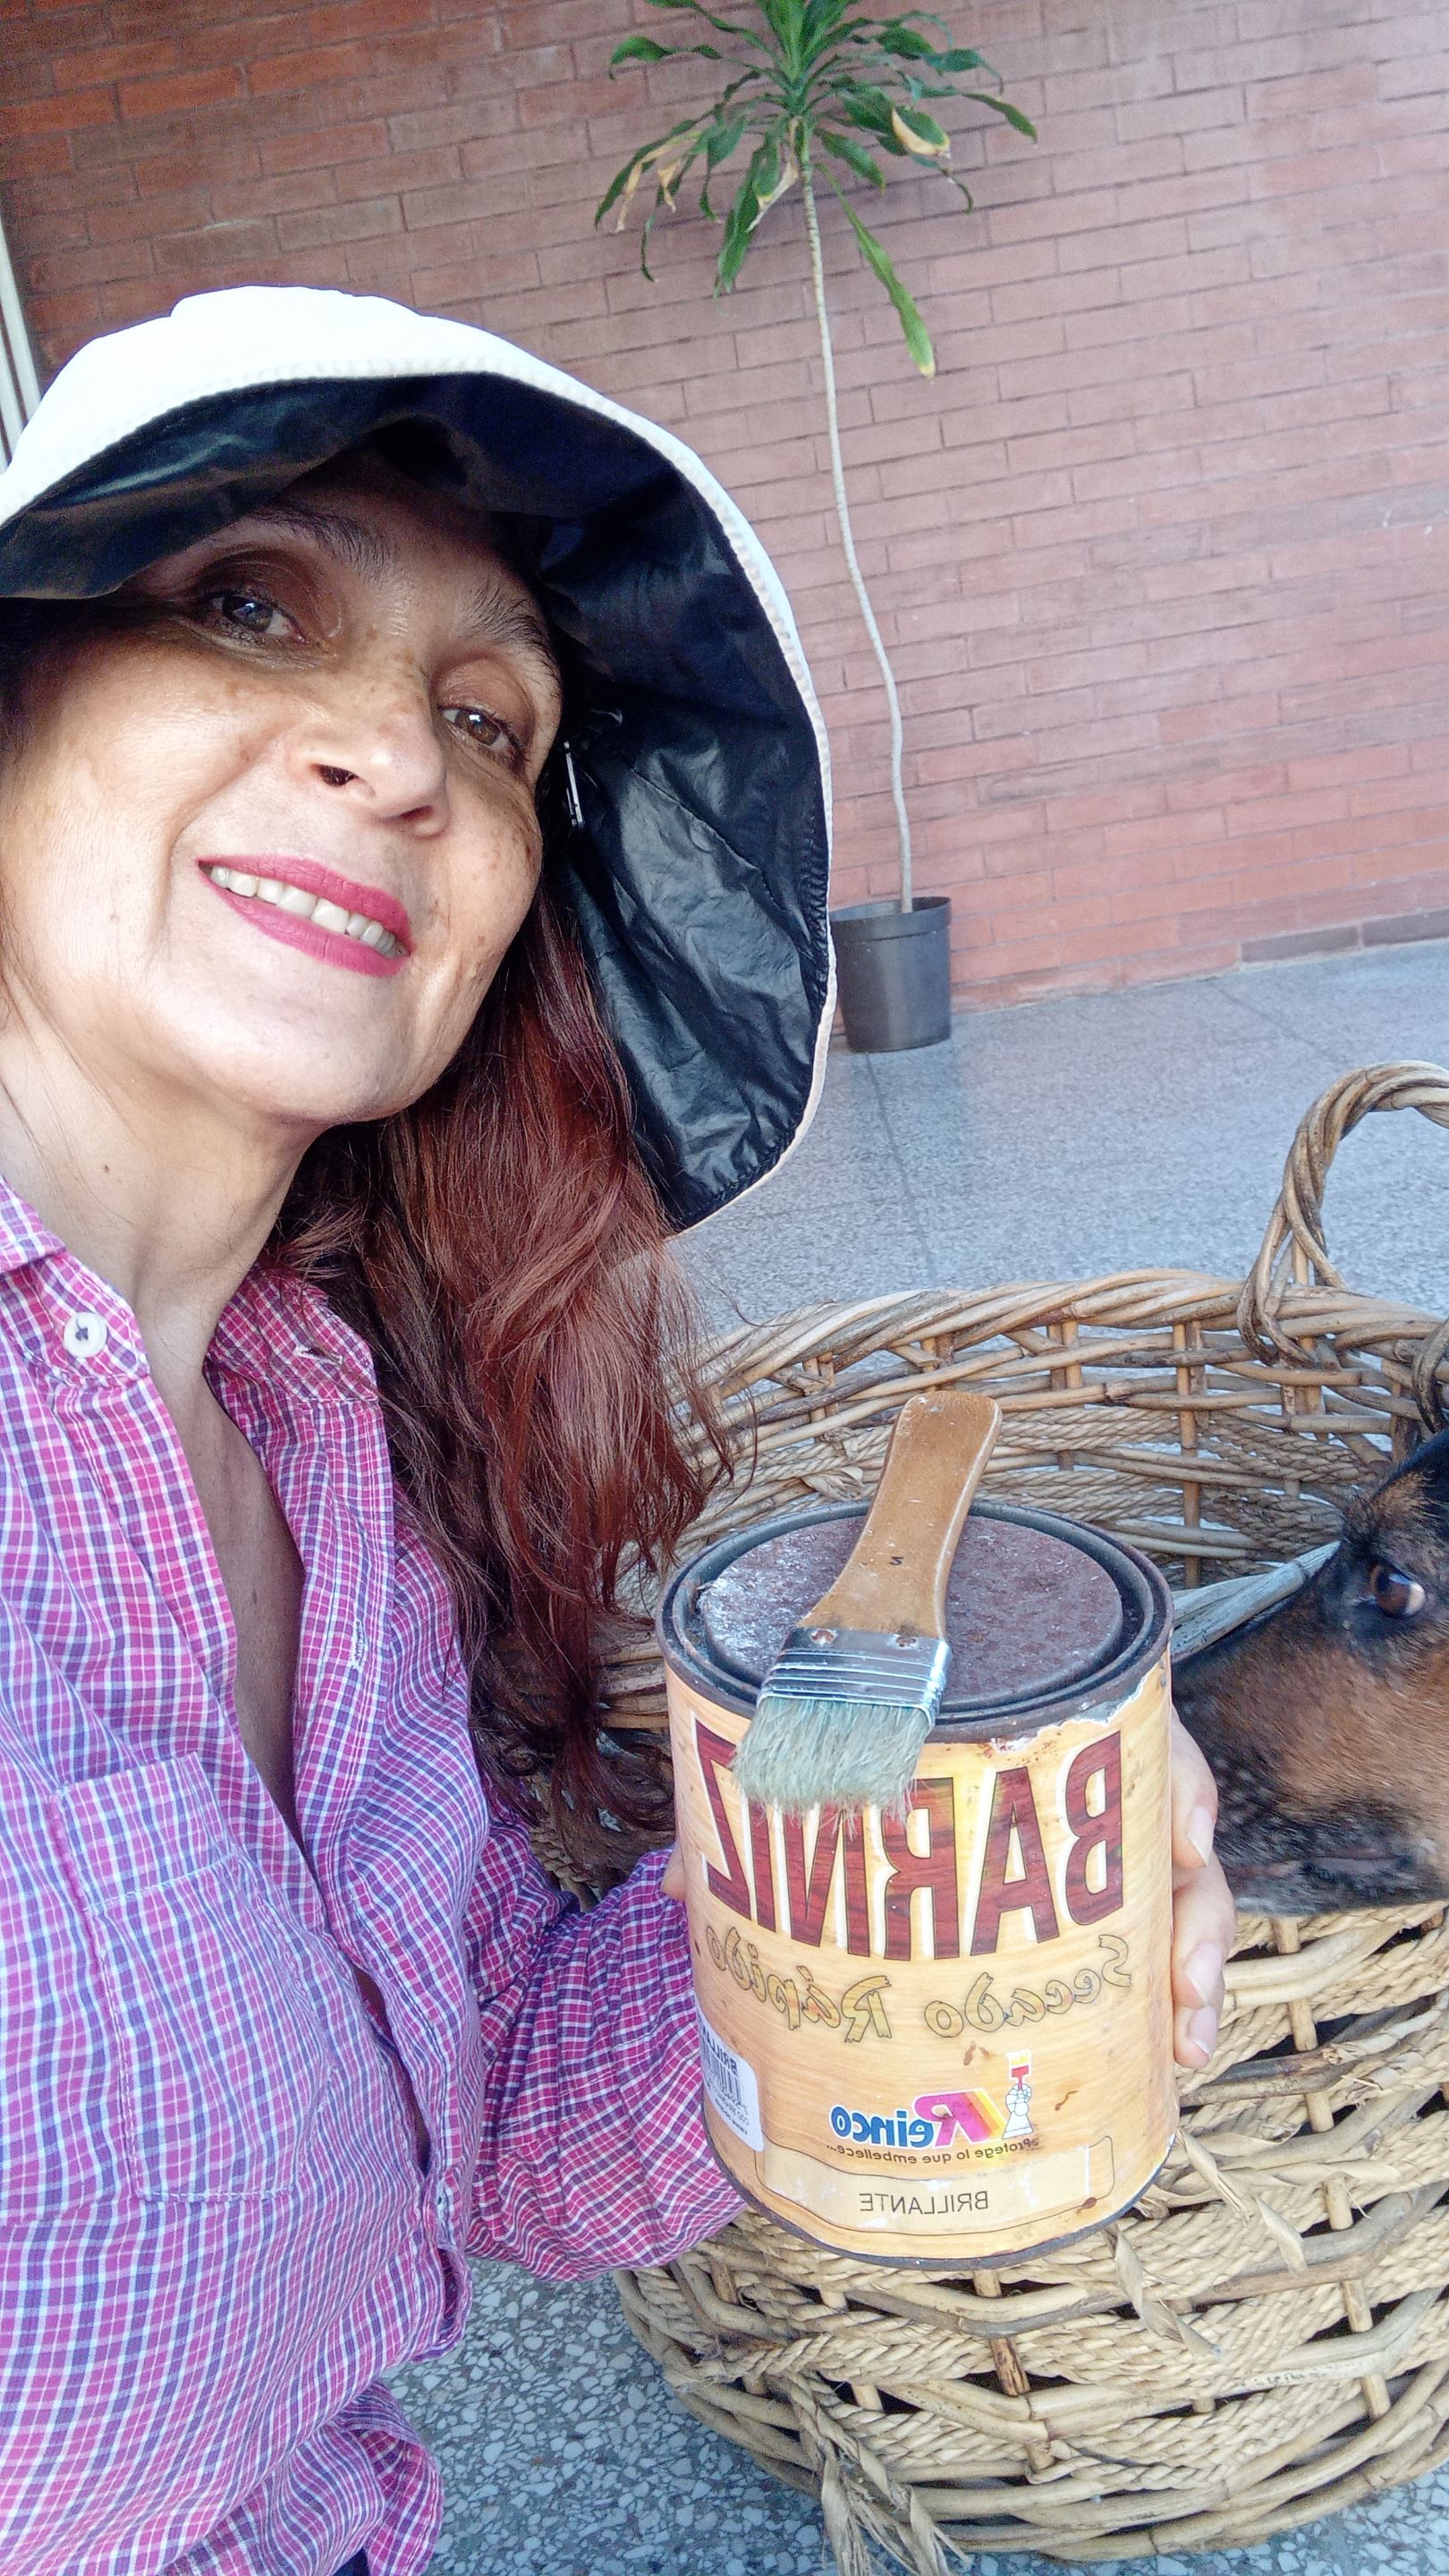
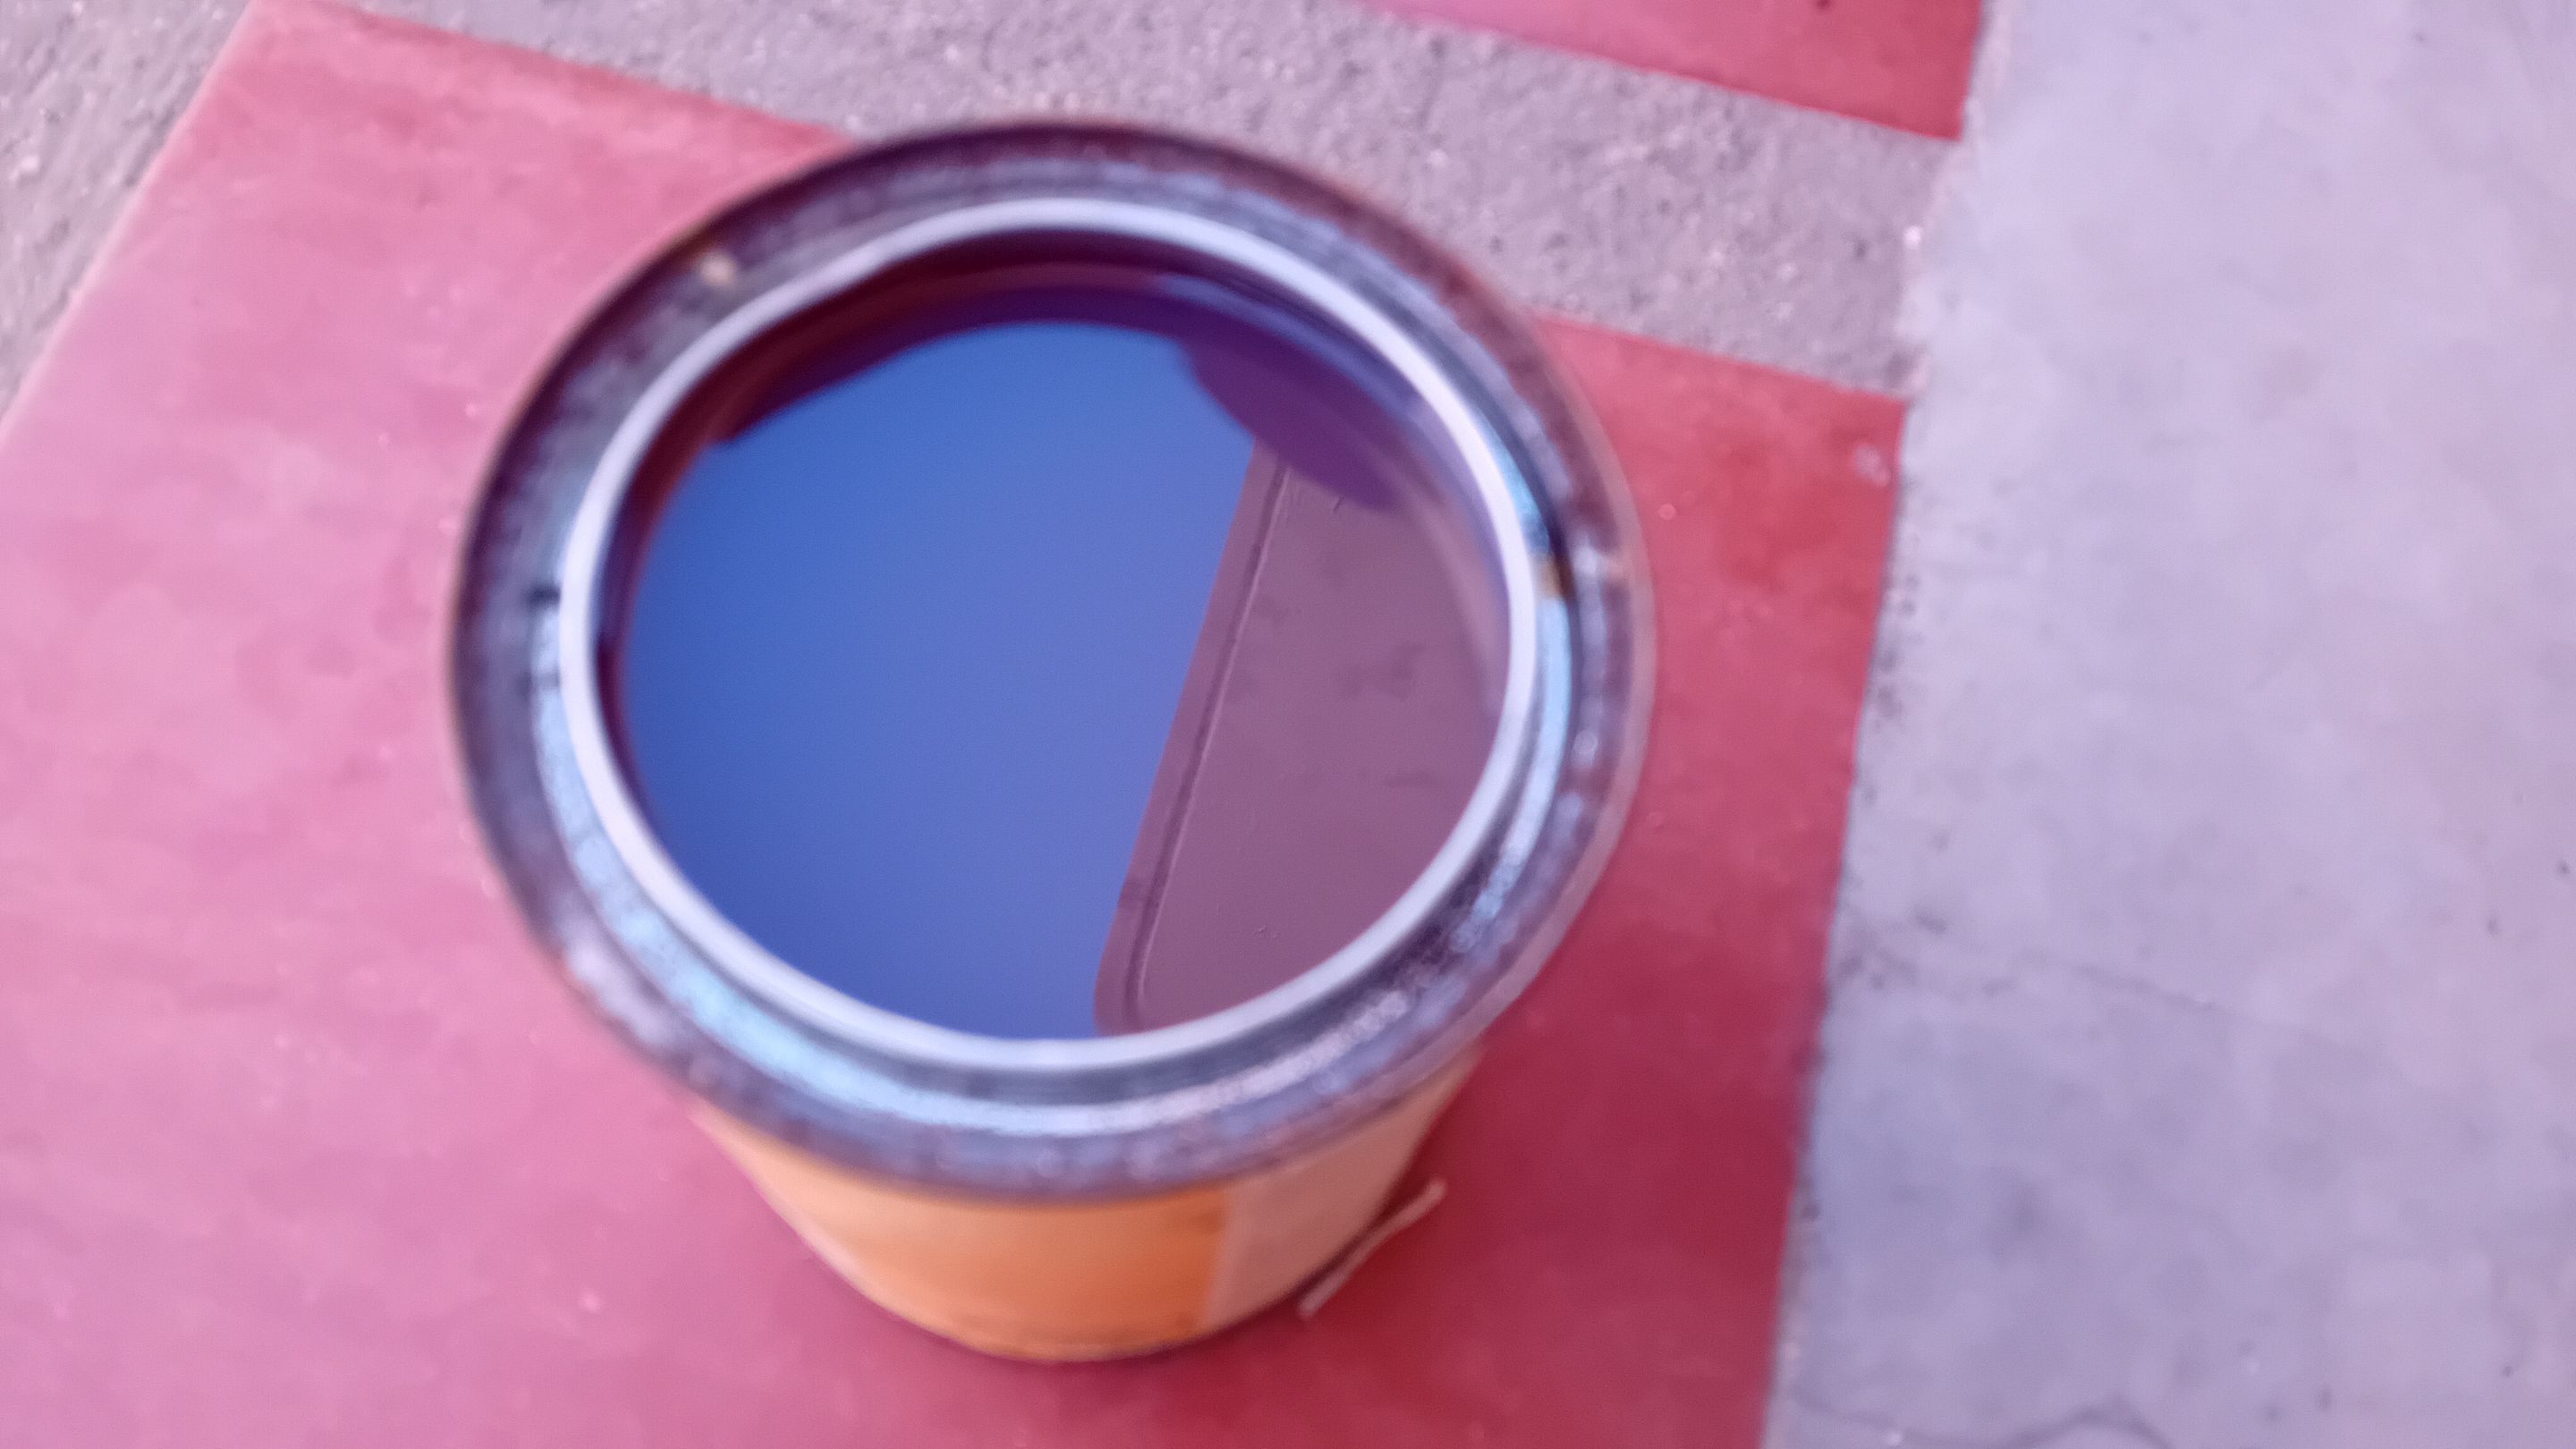
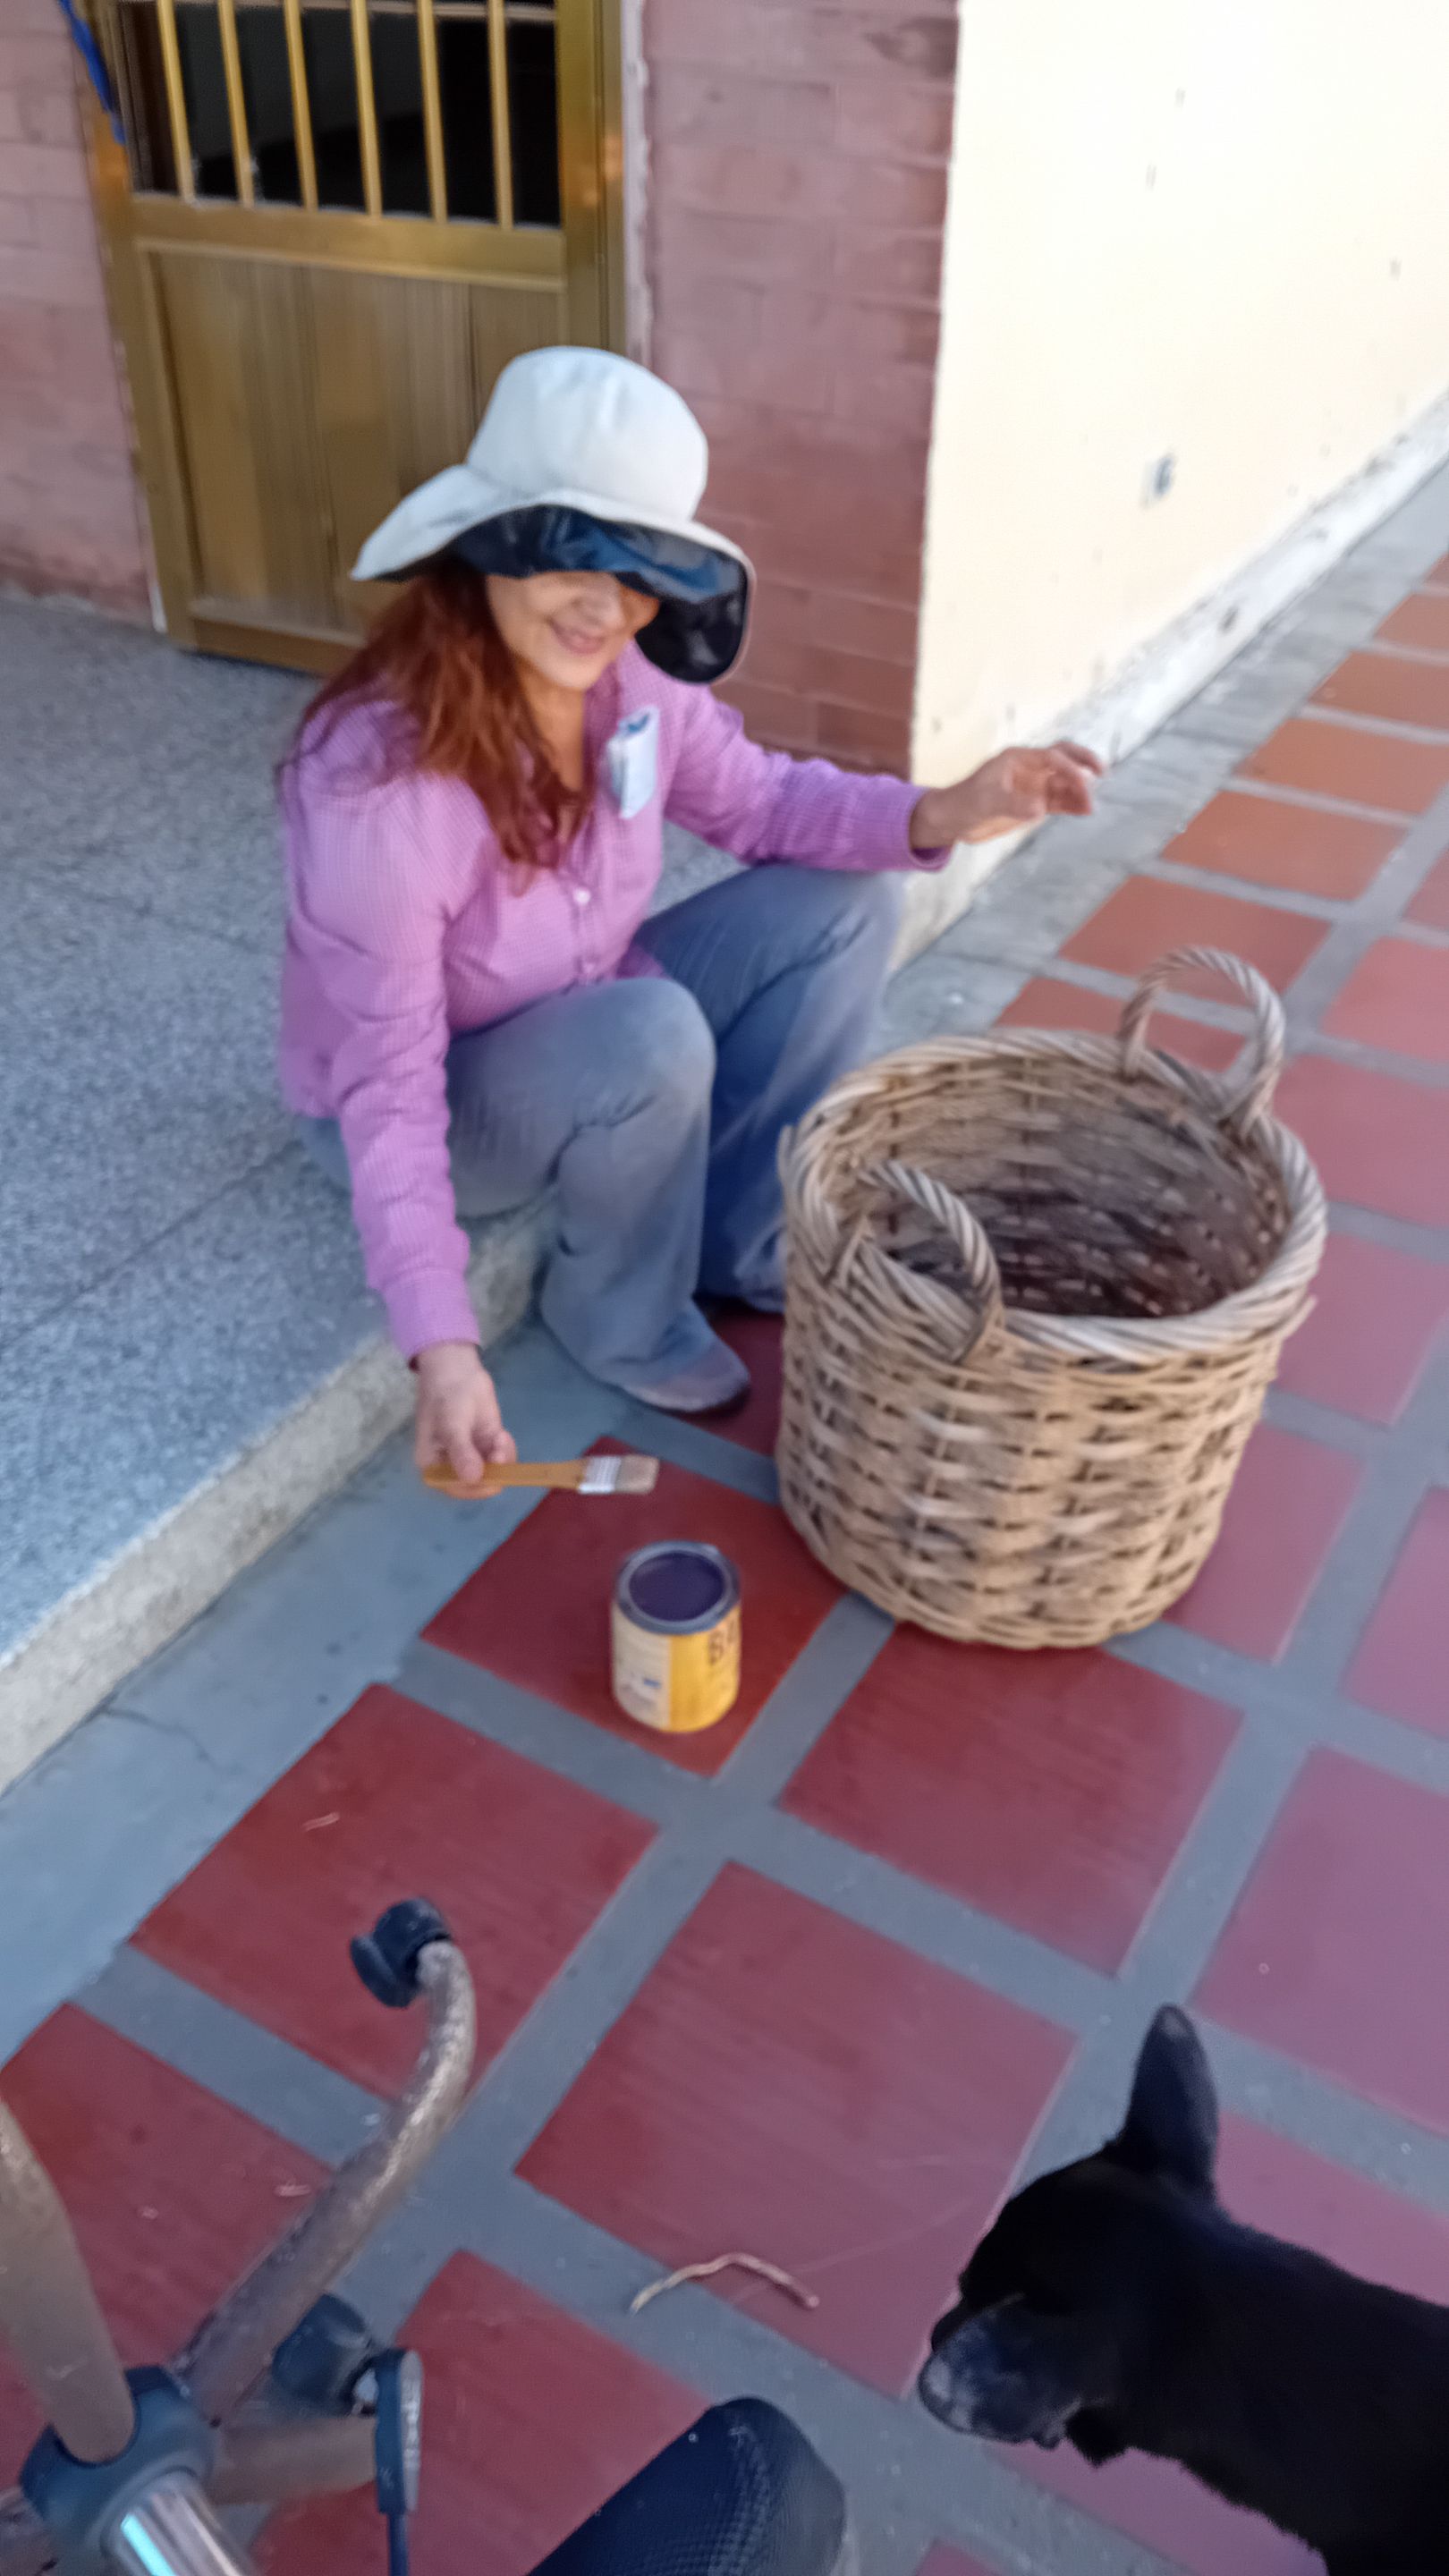
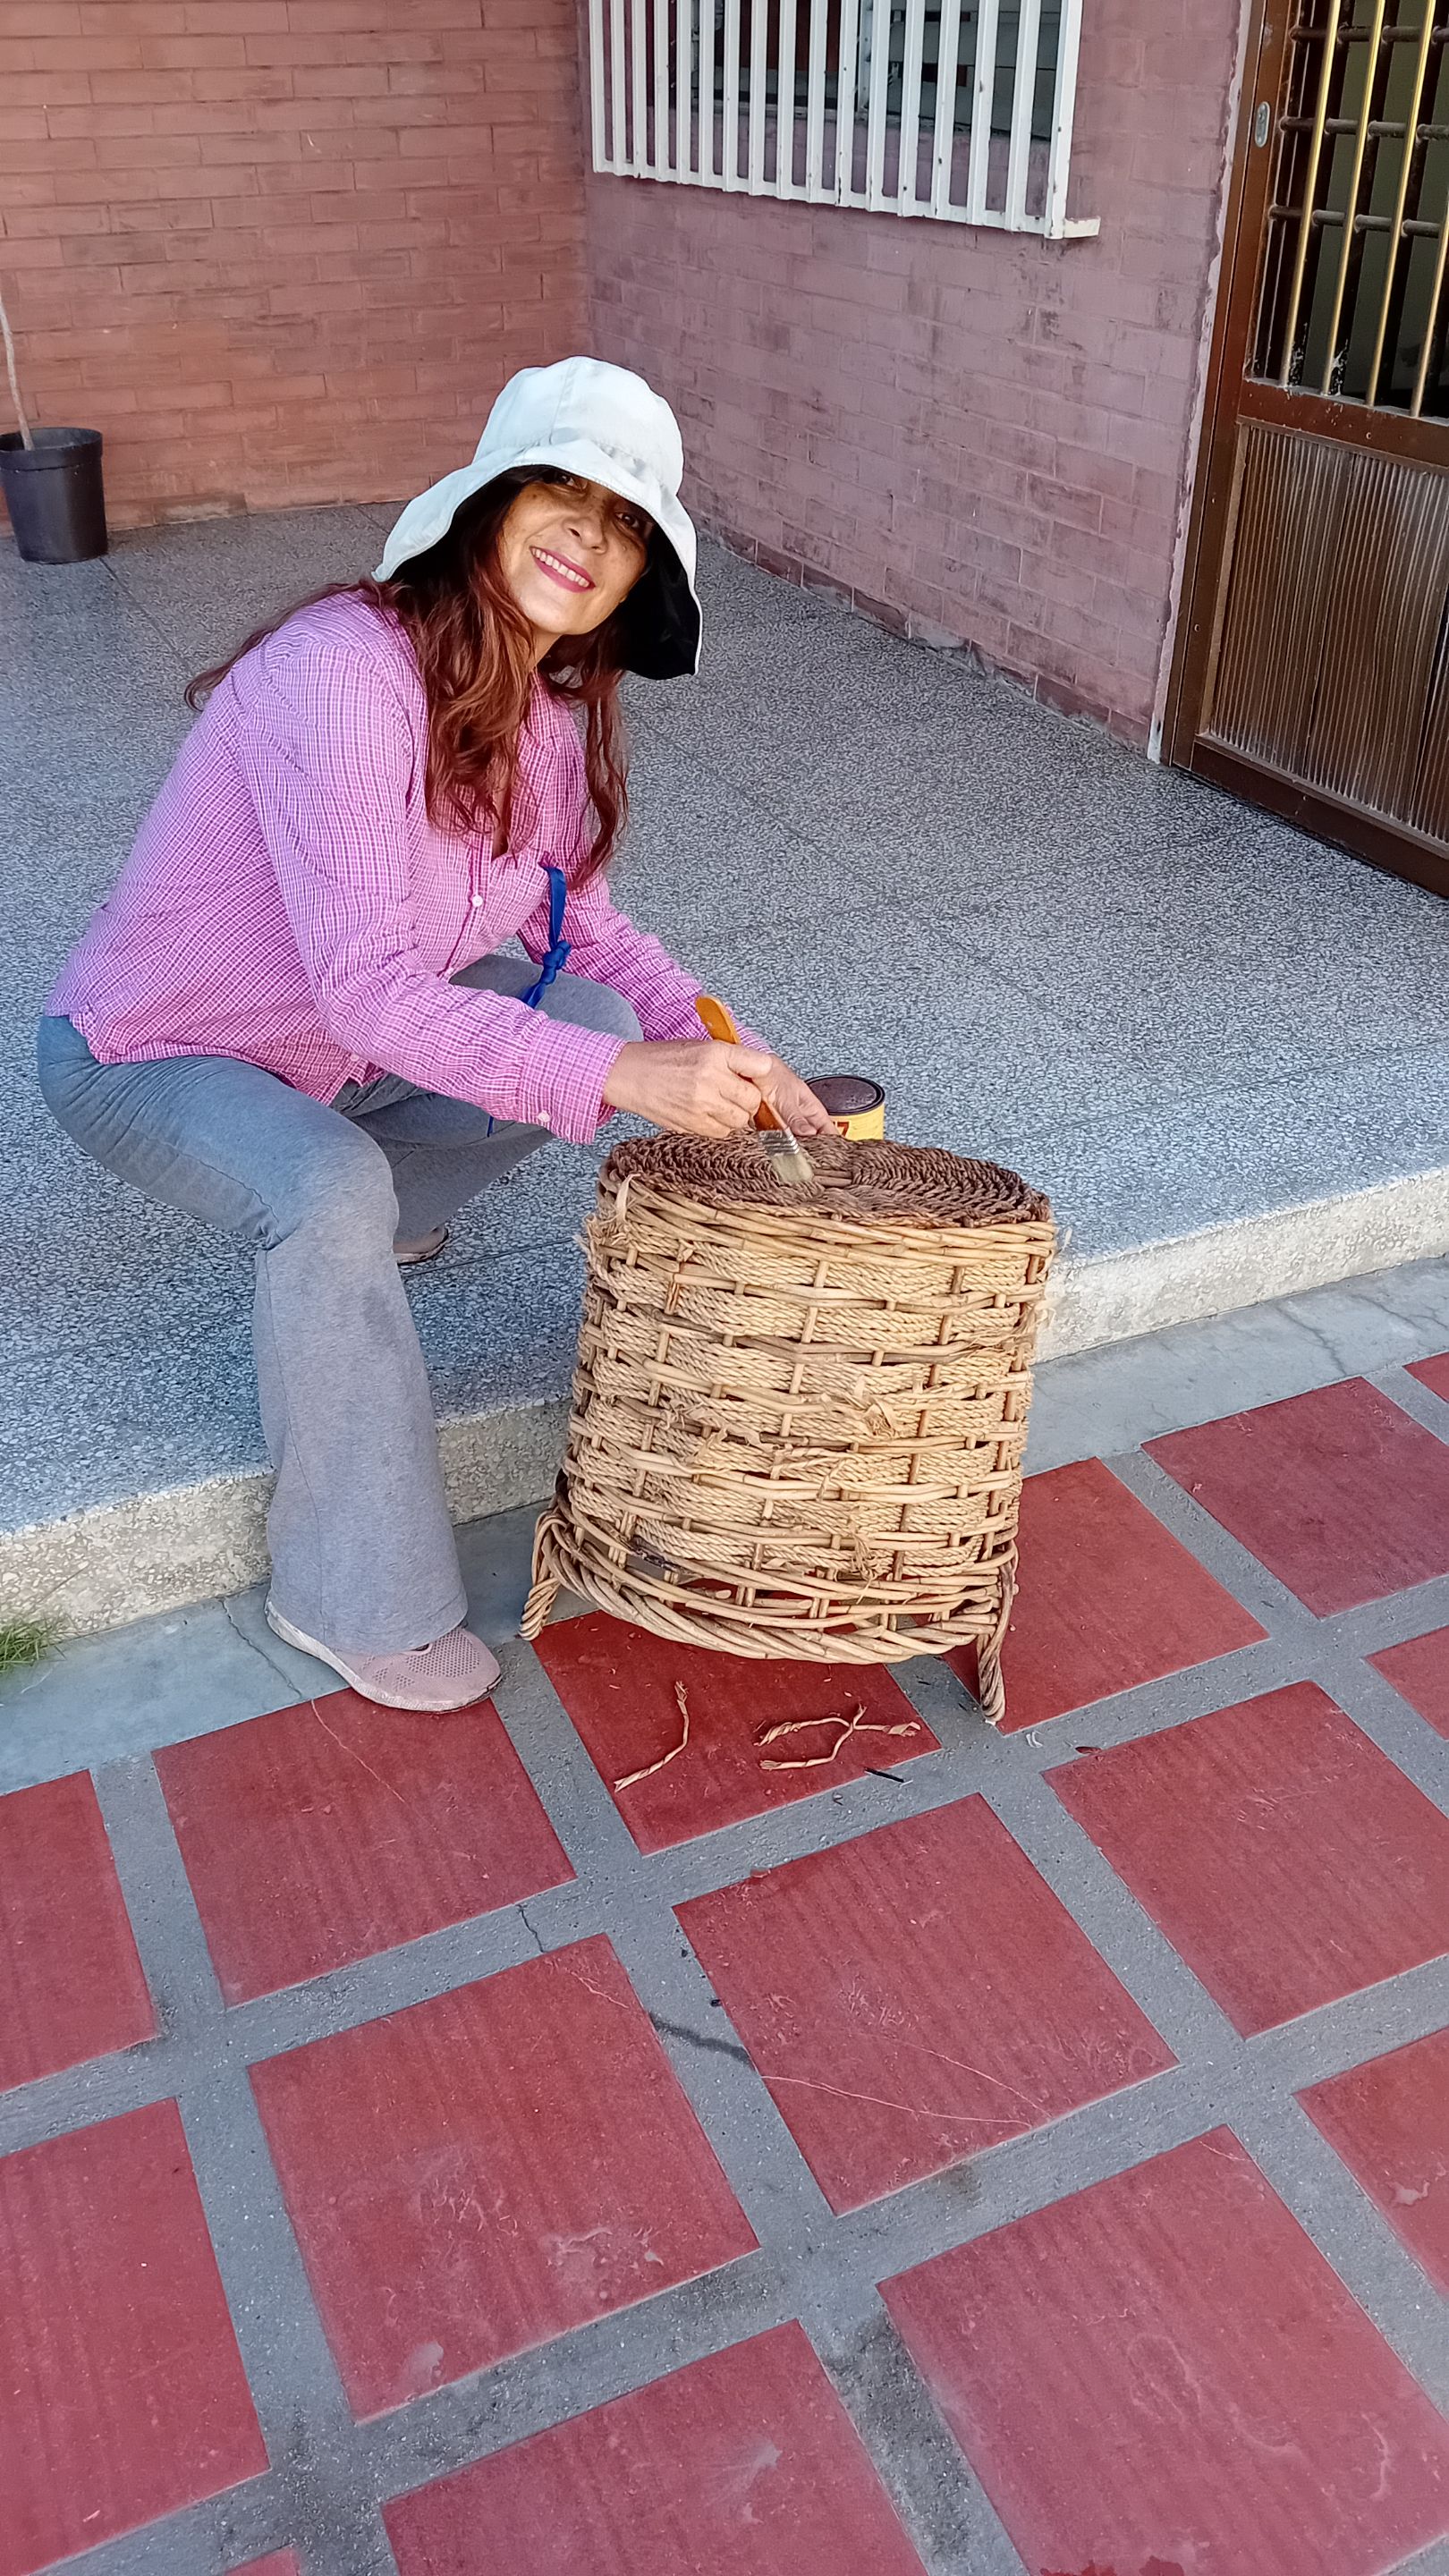
The third step was to apply the varnish with a small brush. This protective layer also served to glue and compact the threads that I had woven and strategically placed in the basket. That day I was happy with my pets, who were happy that I was there working on my basket. Luna, Logan and Estrella; they would not leave me alone. So I put a coat of varnish inside and outside. Then I put it in the sun for a whole morning once it was applied. Another day I retouched some parts. In this way I recovered my basket of clothes that was so beautiful that I thought of giving it a more decorative use.
 |  |
|---|
 | |  |
|---|
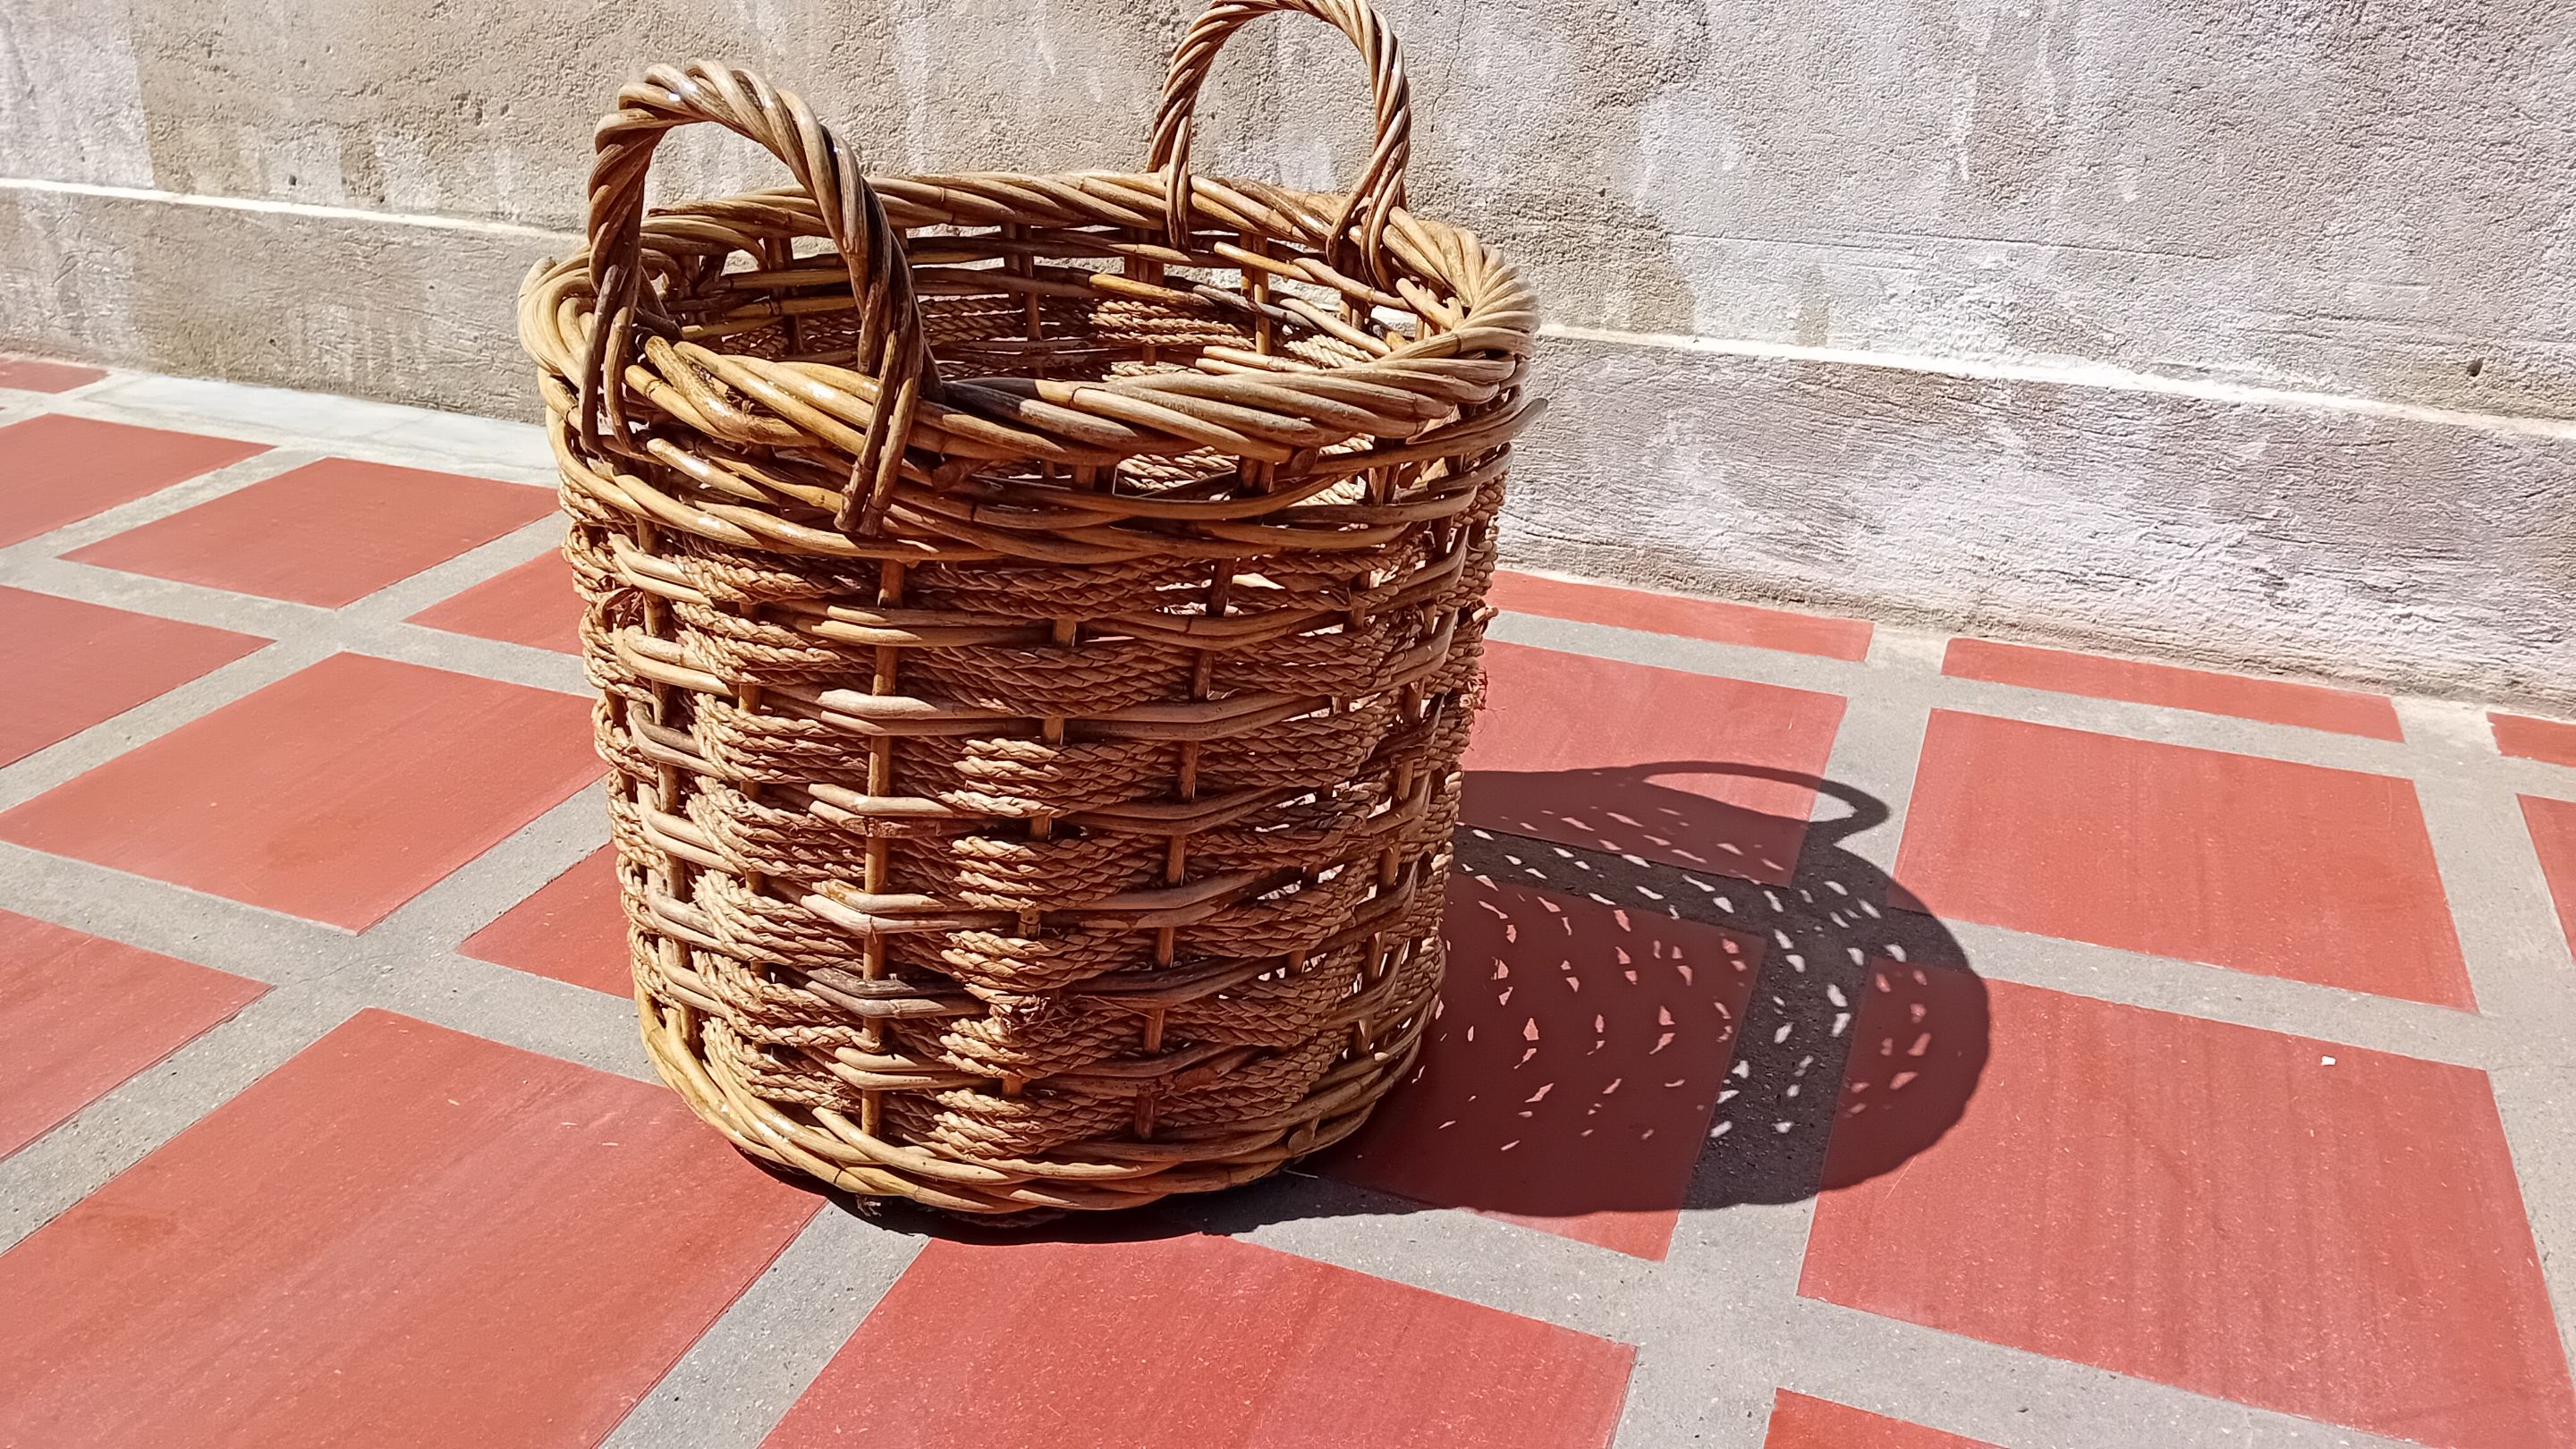
I am proud of the work done, I hope you liked my initiative to recover the clothes basket, without having to spend a lot of money. We must wisely use our creativity and imagination in the search for economical, easy, practical solutions and best of all that we can do ourselves. A pleasure to share with you again. Soon I will be sharing new experiences at home.
 |  |
|---|
EN ESPAÑOL
Hola a todos mis amigos de @homesolutions. Es un placer saludarles y desearles se encuentren bien. Hoy les quiero compartir un trabajo de reparación que realicé yo misma en mi hogar. En el mes de diciembre se dañó mi cesta de ropa, el deterioro fué total y debía buscar solución. Esta cesta era de plástico y completó su vida útil. La verdad que se veía muy deteriorada y decidí sacarla de uso.
Con esta situación, el dilema estaba en cómo solucionar y reponer tan importante implemento para mi hogar. Es preciso destacar, que en mi ciudad tenemos racionamiento de agua y disponemos de dos días a la semana para lavar la ropa. Es por ello, que debo contar con una cesta o implemento para colocar la ropa sucia. La primera idea que se me vino a la mente fué comprar una cesta nueva. En los supermercados y tiendas las hay de todo tipo y de diferentes precios. La que me gustaba era de color marrón oscuro con tapa y muy bonita. El precio era de 20 $.
Pues bien, en principio era lo que tenía en mente hacer. Pero amigos de #hive surgen gastos familiares, imprevistos, entre otros que me hicieron pausar la compra y dejarla para otra oportunidad. Estando en casa de mi mamá, vi una cesta de material de ratan y era la antigua cesta que había usado años anteriores. Estaba deshilachada, opaca, sucia y bastante deteriorada. Sin embargo, me di cuenta de su potencial, fortalezas y ventajas. Es de un material reparable, decorativa, resistente y duradera; a diferencia de la cesta de plástico anterior.
En tal sentido, dije que la iba a reparar y era la solución para mi necesidad. Además disponía del material para su reparacion y recuperación; como el barniz. Es así, que me dispuse un día en casa de mamá a comenzar el trabajo de recuperación y reparación. Primero fué limpiar días antes, ya que ésta cesta estuvo muchos años arrimada e inutilizada. En este sentido, me dediqué a lavar la cesta con cepillo, agua y jabón para eliminar el sucio. La puse a secar al sol todo un día.
| |
|---|
Después de eso, deje transcurrir varios días. El siguiente paso fué tejer cuidadosamente
las hilachas sueltas o las partes sueltas, tratando de que se viera perfecto y colocado en su lugar. Para ello, había que tener paciencia. Aunque no soy experta en estas cosas; tenía las ganas de recuperar mi cesta hermosa, necesidad de mi hogar y disposición para hacerlo. Estaba muy animada, motivada y emocionada. Les cuento que todo estos aspectos hicieron apurarme para ver los resultados. Es así, que me dije a mi misma que disfrutara el proceso de recuperación.
El tercer paso, fué aplicar el barniz con una brocha pequeña. Esta capa protectora también sirvió para pegar y compactar los hilos que había tejido y colocados estratégicamente en la cesta. Ese día estaba felíz junto a mis mascotas, que estaban alegres de que estuviera allí trabajando en mi cesta. Luna, logan y Estrella; no me dejaban tranquila. De esta manera coloqué una capa de barniz interior y exterior. Luego la coloqué al sol toda una mañana una vez aplicado. Otro día retoqué algunas partes. De esta manera recuperé mi cesta de ropa que quedó tan hermosa que pensé darle un uso más decorativo.
| |
|---|
| | |
|---|
Me siento orgullosa del trabajo realizado, espero que les haya gustado mi iniciativa para recuperar la cesta de ropa, sin tener que desembolsar cantidades de dinero. Debemos usar sabiamente nuestra creatividad e imaginación en la búsqueda de soluciones económicas, fáciles, prácticas y lo mejor de todo que podamos hacer nosotras mismas. Un placer compartir nuevamente con ustedes. Pronto estaré compartiendo nuevas experiencias en el hogar.
| |
|---|
Fotografías y collage editadas en GridArt por @elamaria// Photographs edited in GridArt
Fotografía de Portada editada en CANVA
Fotografías tomadas desde mi teléfono celular Samsung Galaxy A14//Photos taken from my Redmi 9A phone.
Traductor usado es Deepl// Translator used is Deepl