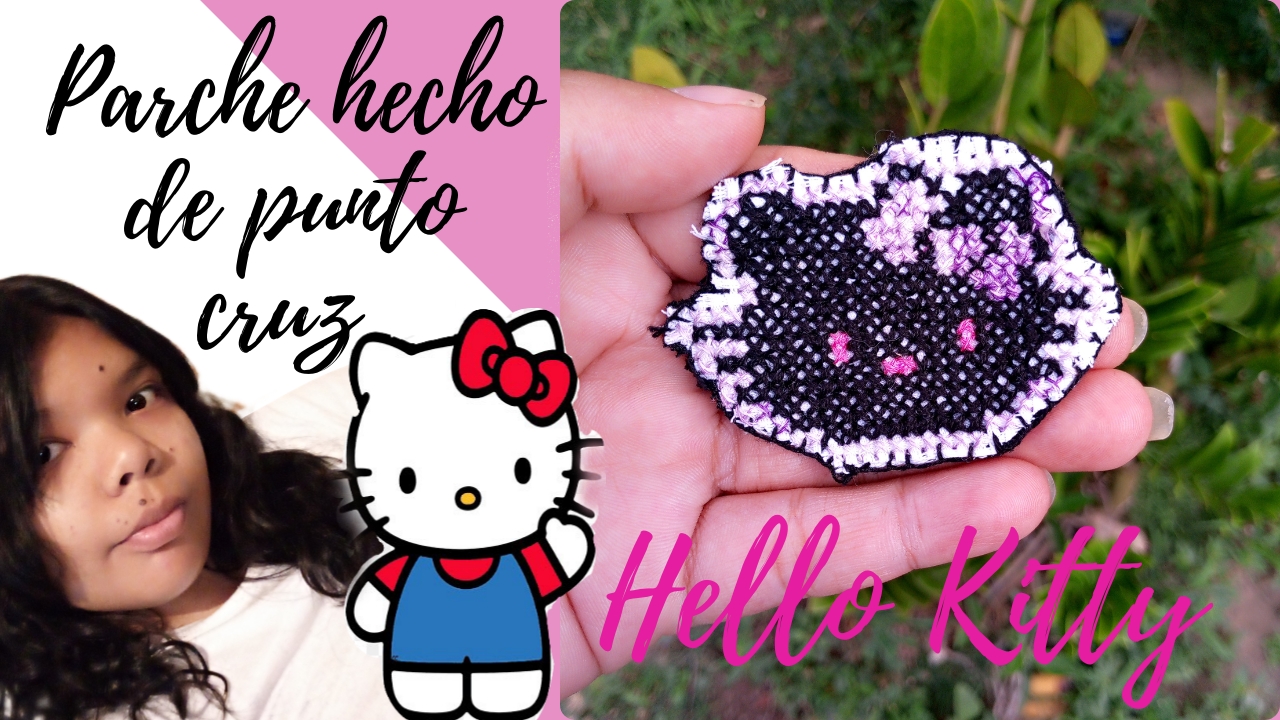
Hello everyone at Needlework Monday! It's a real pleasure to be here with you again on this beautiful day. Today I want to share a project I've been really excited about: a cross-stitch Hello Kitty patch! This charming design is not only fun to create, but it also makes a beautiful embellishment for a bag. Cross-stitch is a technique that allows us to personalize our clothes and accessories in a unique way. Making patches is a great way to breathe new life into old clothes or simply add a special touch to something we already own. In this case, the adorable Hello Kitty design will make any bag stand out and show off our personality.
I haven't practiced cross-stitch for a while, so making this patch will be the perfect opportunity to get back into the technique and learn how to make better use of our sewing materials. I've decided to start with a Hello Kitty patch, and I'll make it in black, as it suits my style better, which is a bit darker.
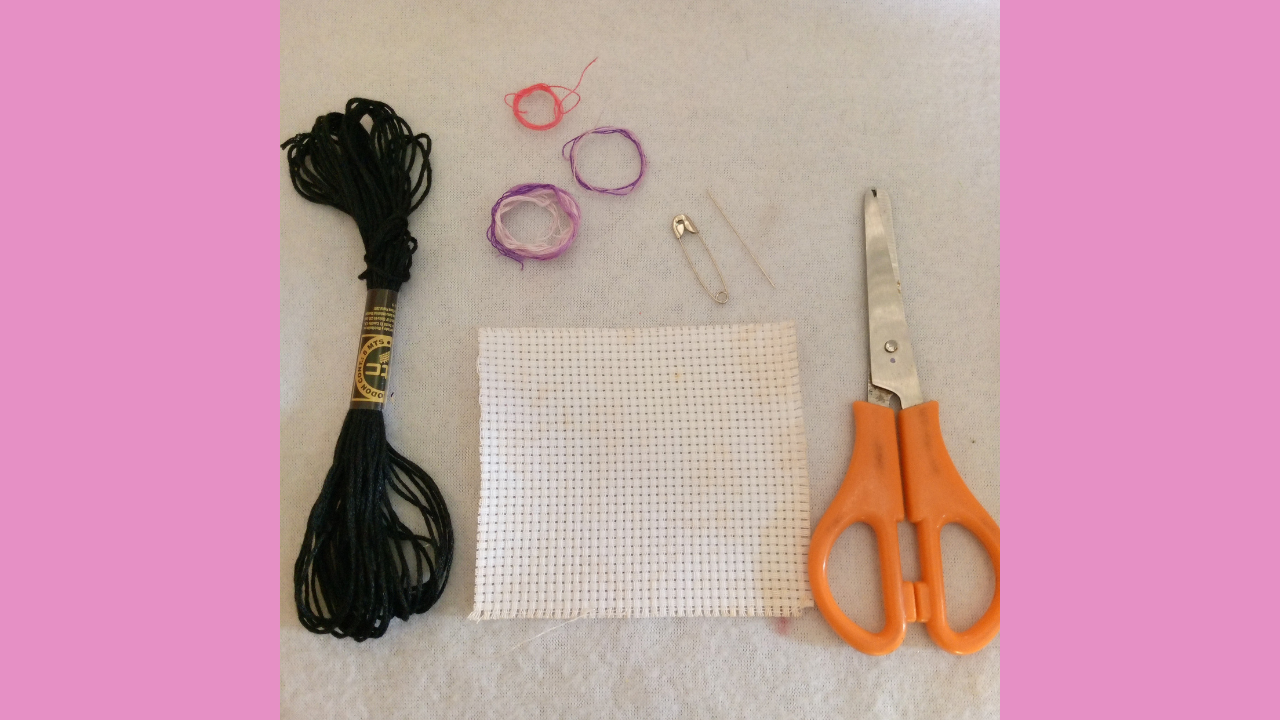
(Materiales:)||(Materials:)
- Hilo de bordado color negro,morado y rosado
- Tela para bordado
- Agua de coser a mano
- Tijera
- Tela solo un pedaso
- Un gancho o broche
- Black, purple, and pink embroidery thread
- Embroidery fabric
- Hand sewing water
- Scissors
- Fabric (just a piece)
- A hook or clasp
(Procedimiento:)||(Procedure:)

Paso nro 1
Paso nro 1
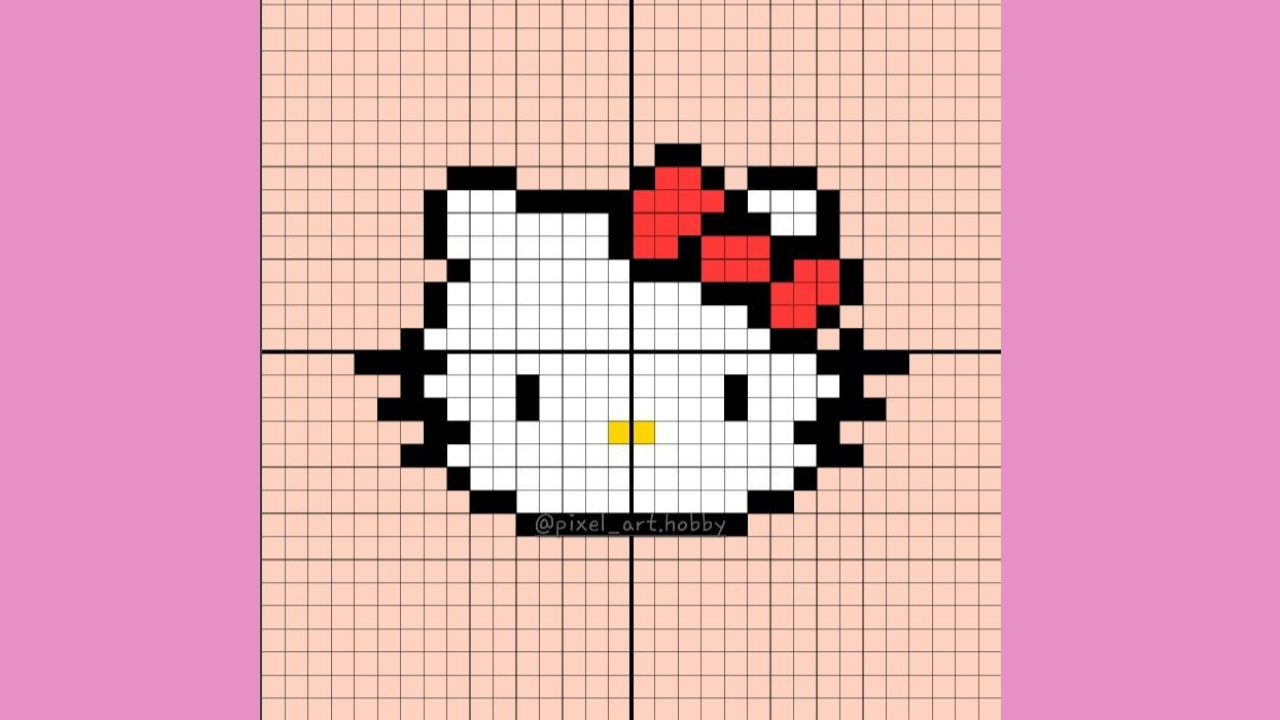
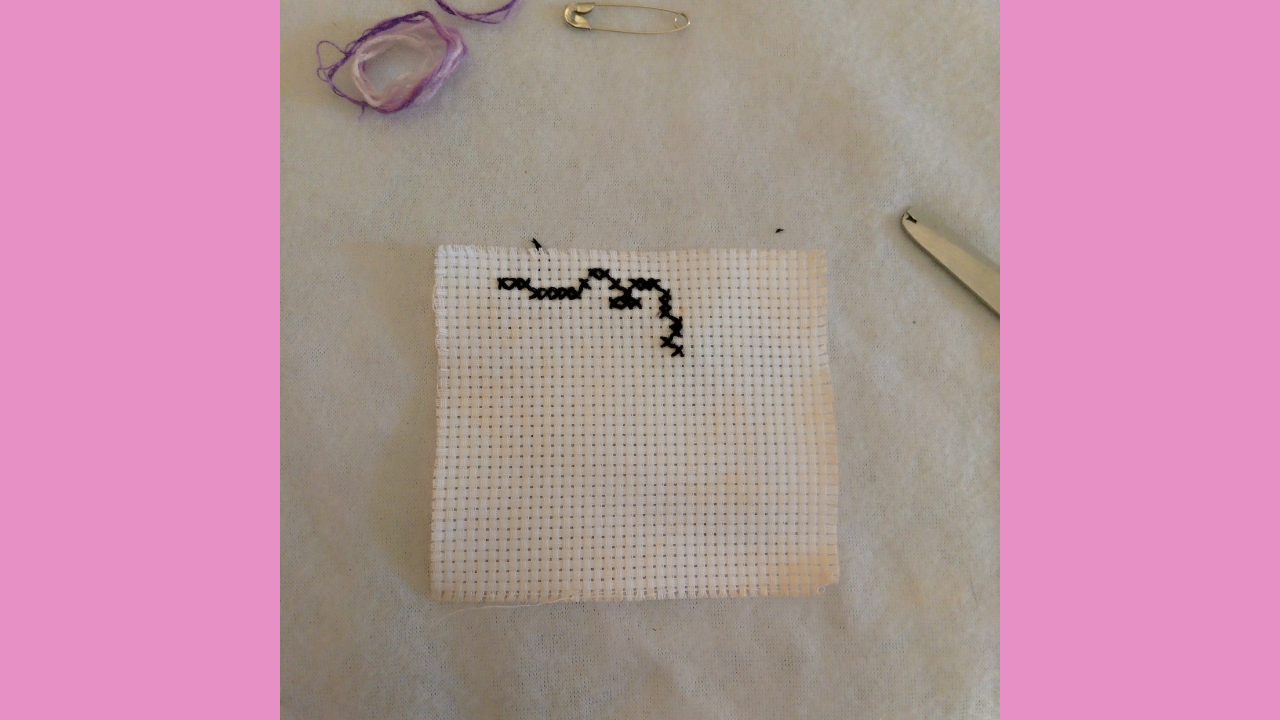
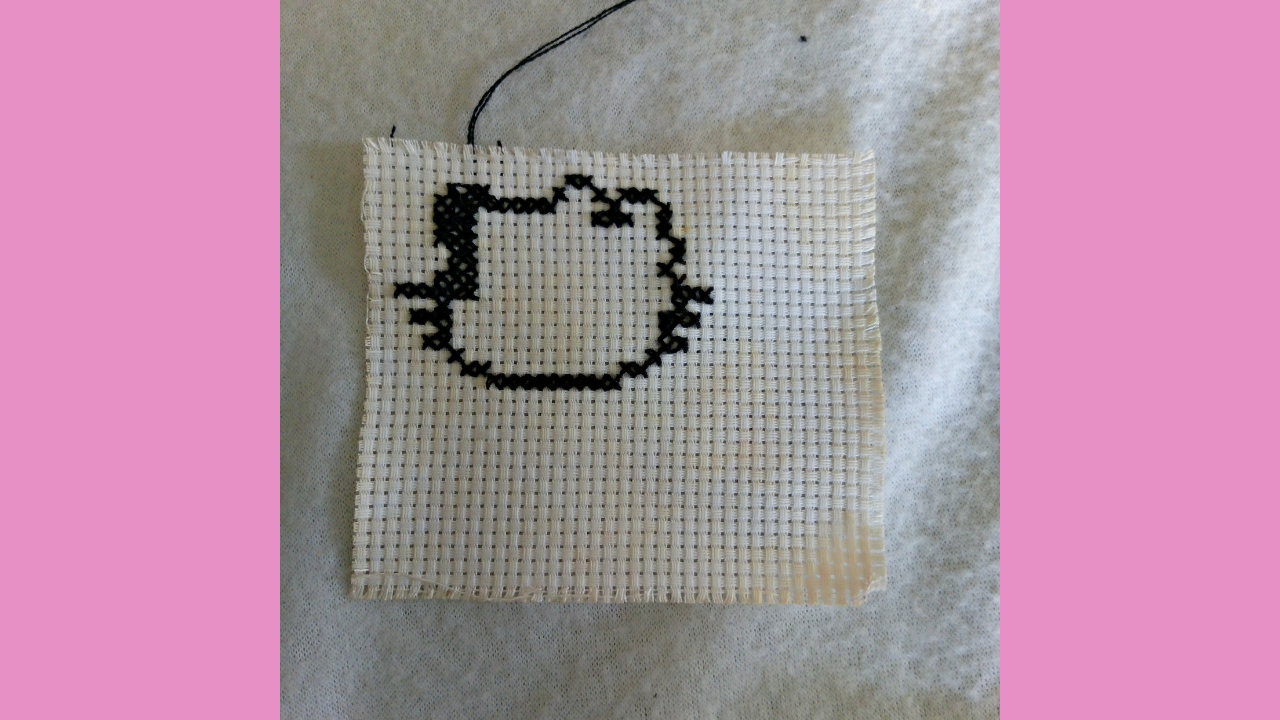
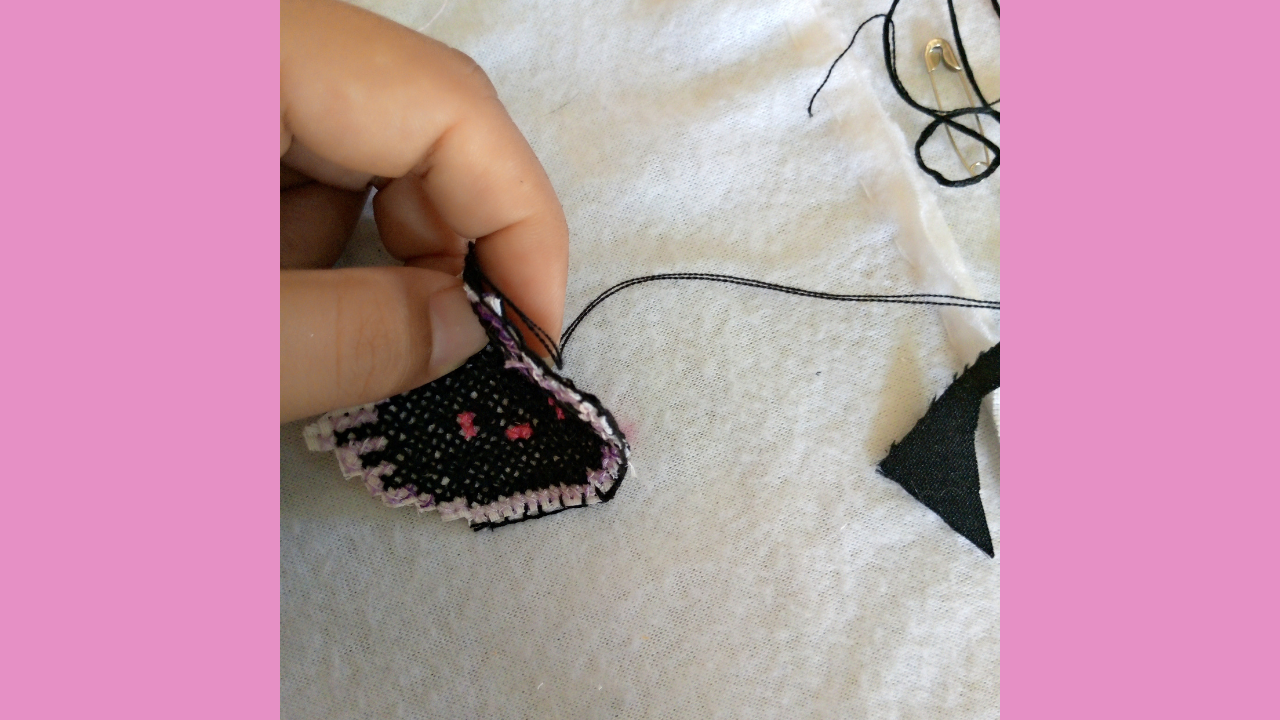
First, I'm going to begin shaping the embroidery image by weaving the edges, all the way around the image. To do this, I found the image on Pinterest; I simply did a pixel search for embroidery and added the name of the design I wanted, in my case, Hello Kitty. Before I begin embroidering, I didn't knot the thread. Instead, I hold that part of the thread with my finger so it doesn't move or come loose. This way, I can start embroidering more easily and without complications.
Paso nro 2
Paso nro 2
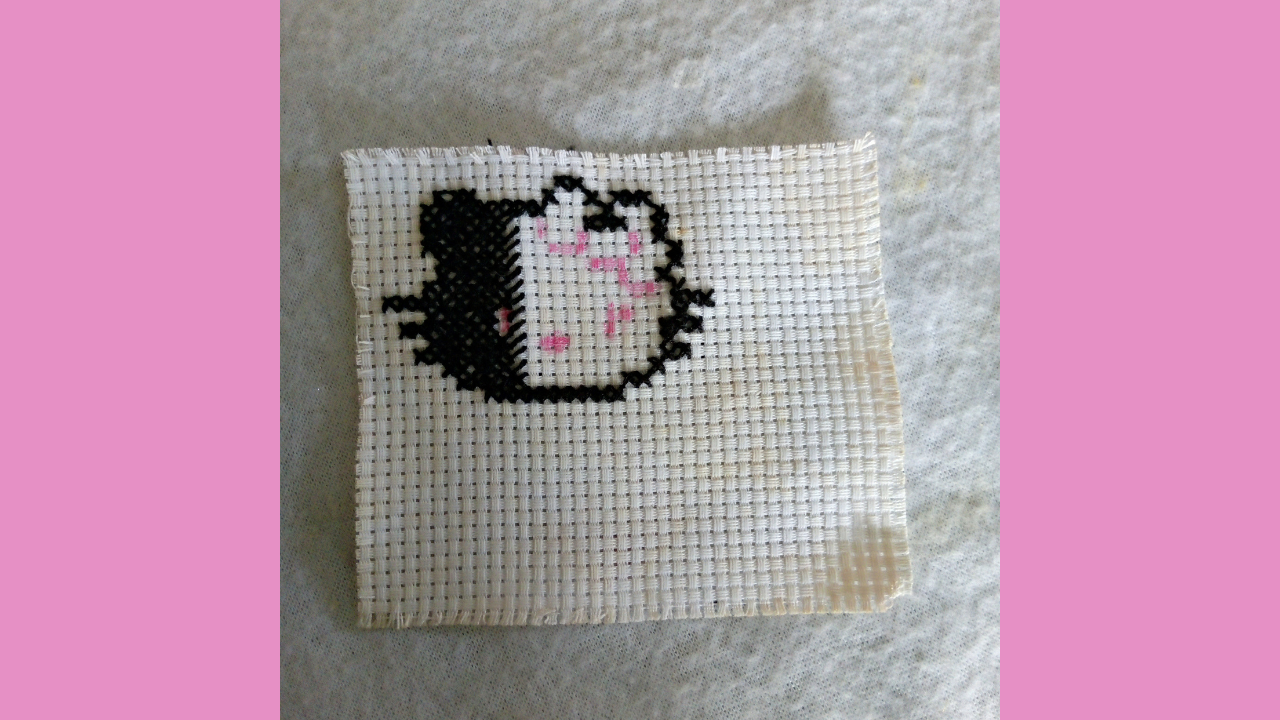
Once I've finished embroidering the entire edge of the design, I'm now going to begin embroidering the inside. However, as I began embroidering, I realized I was making too many mistakes. To avoid confusion, I used a different color to mark the parts that shouldn't be black. This way, I can follow the design more clearly and make sure everything is perfect.

Paso nro 3
Paso nro 3
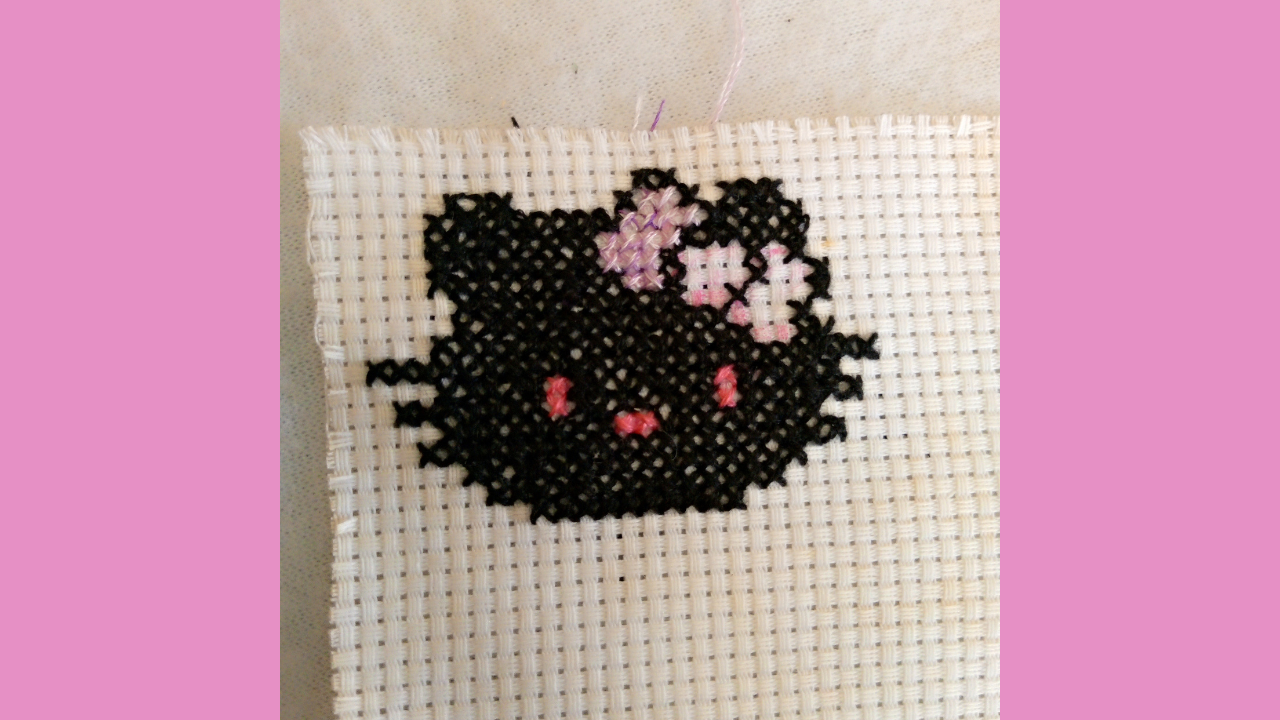
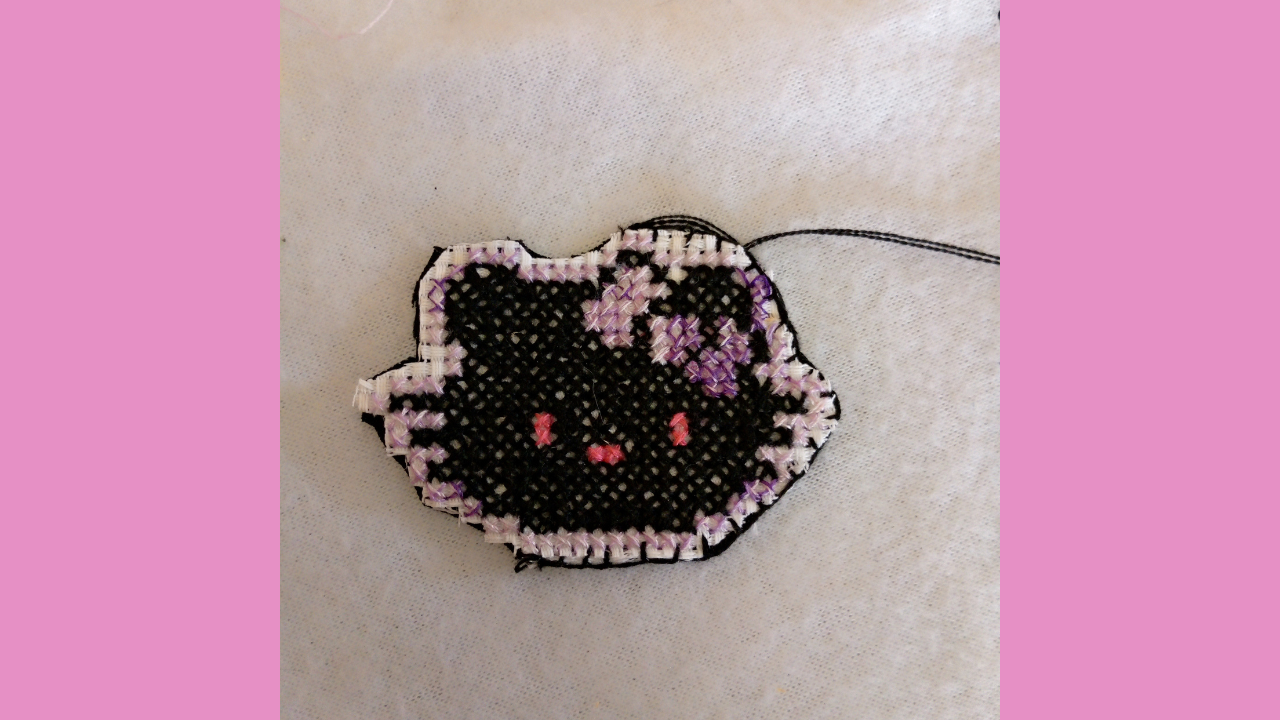
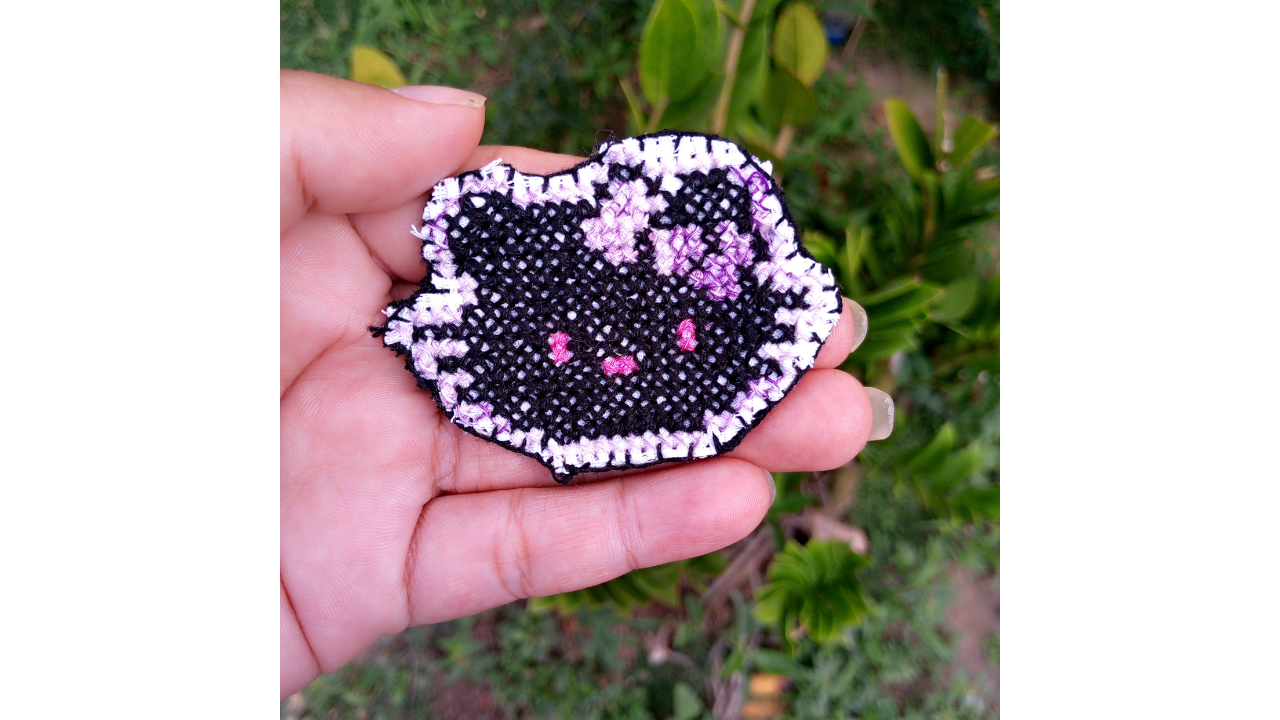
Now, after having embroidered the entire black area, I'm ready to begin embroidering the details of the face. I added fuchsia to the eyes and nose, while the bow was purple. Also, to make the embroidery stand out even more, I decided to embroider the entire image in purple.
Paso nro 4
Paso nro 4
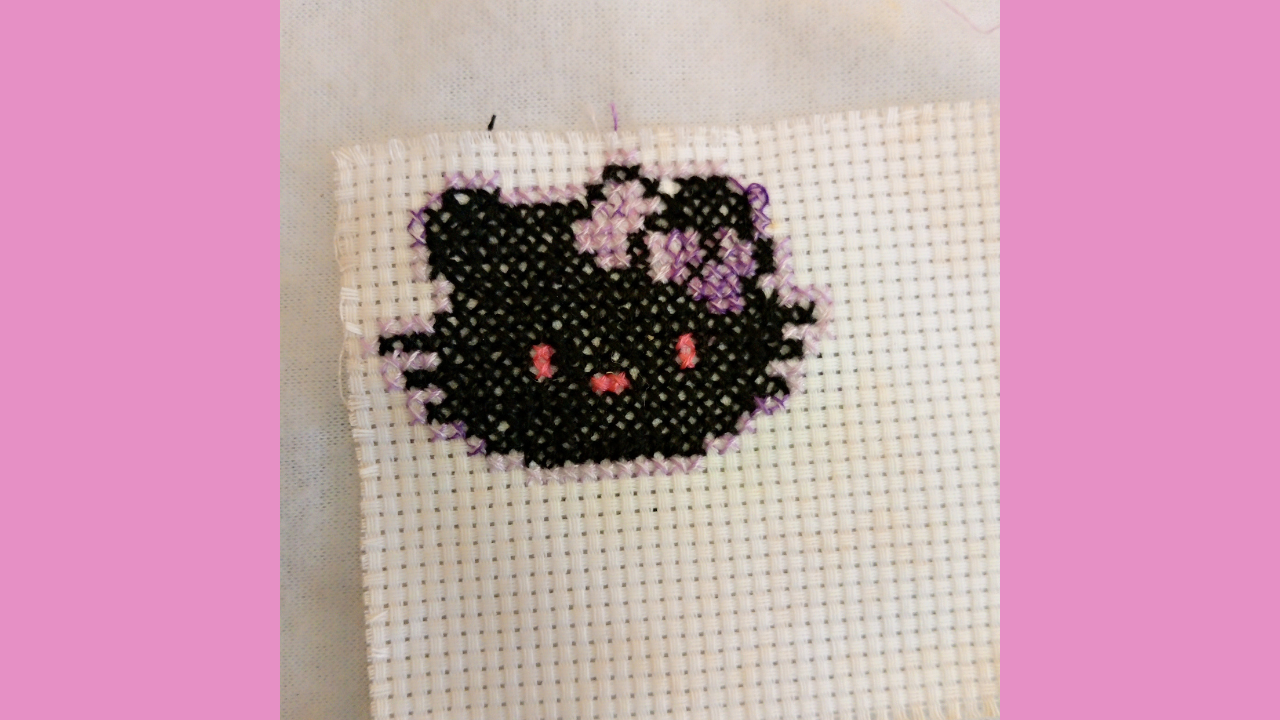
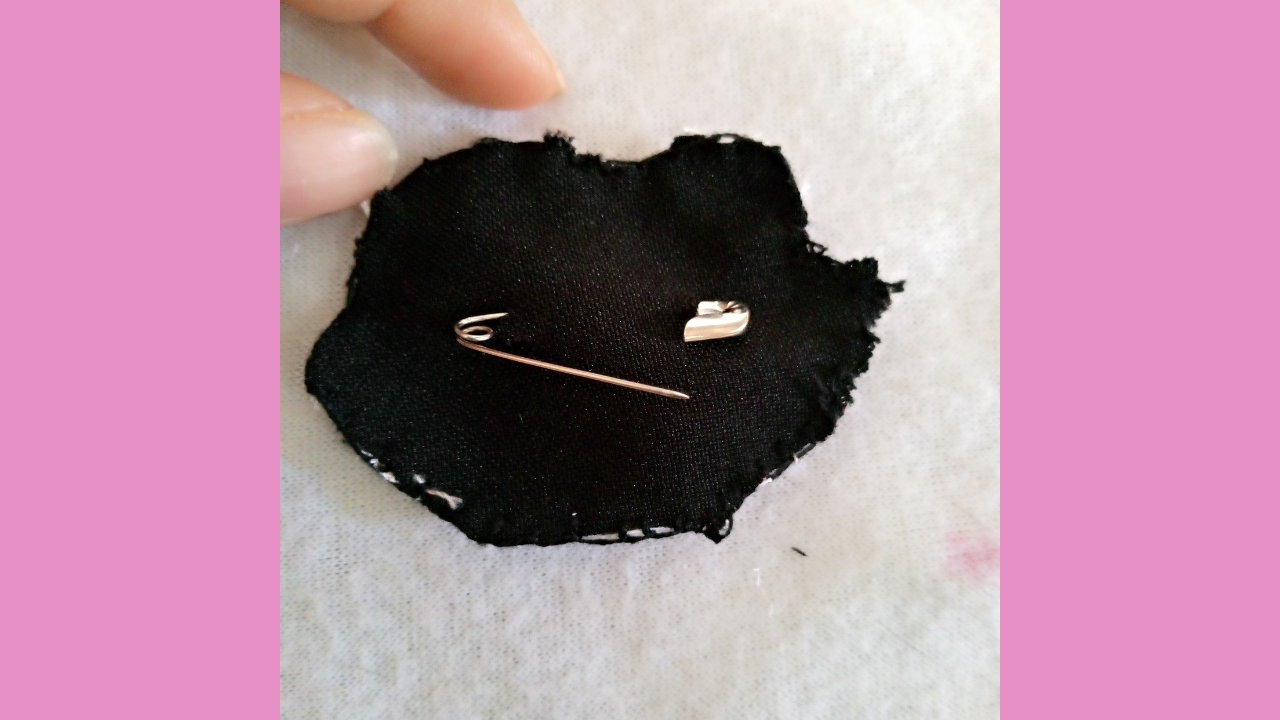
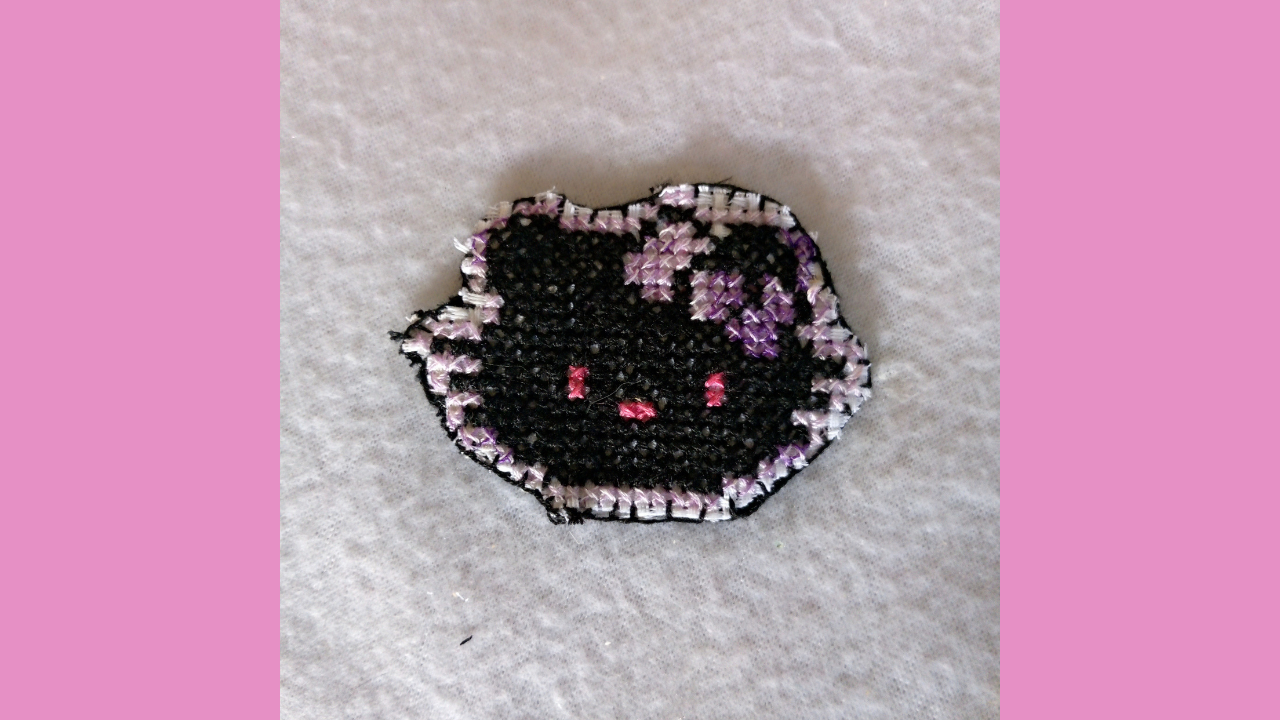
And that's how the embroidery looks, done! It looks great, really, and even though I made some mistakes in the stitches, the final result is satisfactory. Now I'm going to cut out the entire Hello Kitty shape. It's important to do this carefully so the embroidery doesn't fray. Once I have the shape cut out, I'll proceed to sew the piece of fabric that will go on the back. This will give it a clean finish and help the patch adhere better to the garment or accessory you choose.
Paso nro 5
Paso nro 5
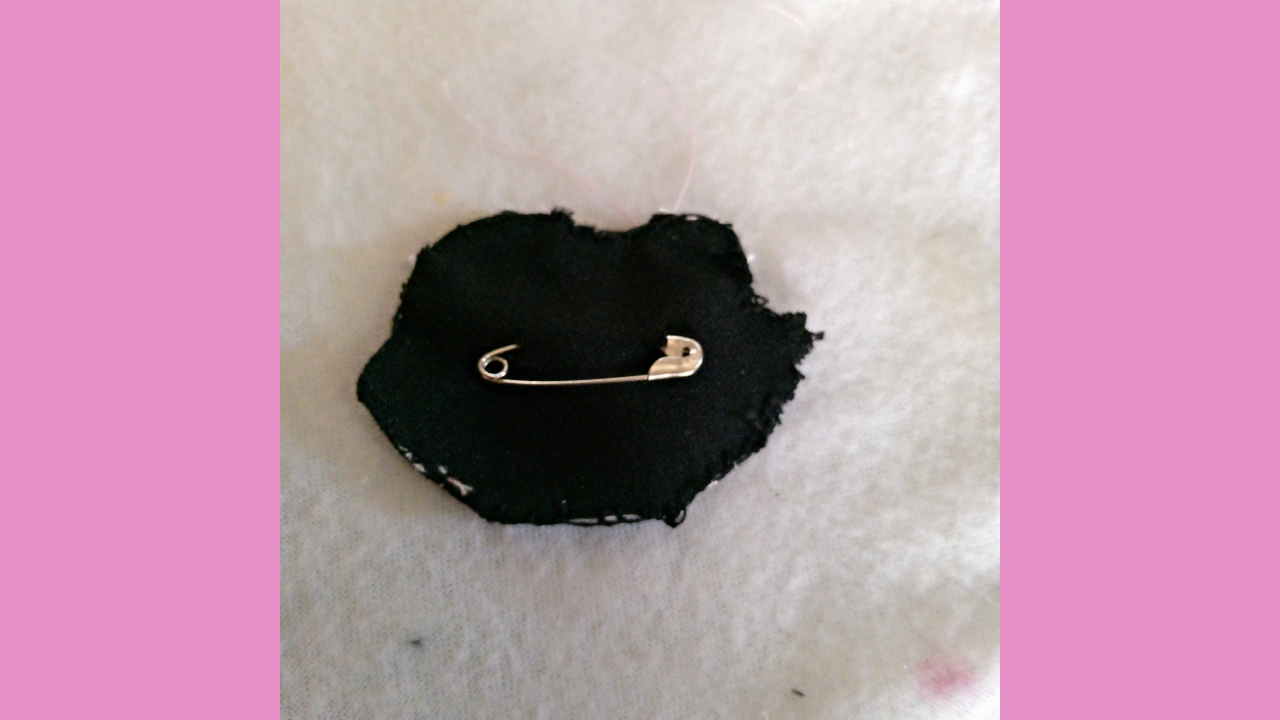
After sewing the back fabric, I'll now attach the hook. To do this, I'll cut a few small holes in the fabric, as I want to place the hook inward, so that only the needle portion is visible. This will allow the patch to adhere securely and look more aesthetically pleasing.
(Resultado final:)||(Bottom line:)
Getting back to cross-stitch brought back memories of my time doing so much embroidery. I really enjoyed this new project and I hope you enjoyed it too. I'm sure I'll bring you something new and beautiful next time.
Las fotos de este blog son de mi propiedad|Las imágenes son editadas en canva|Fotografías tomadas en mi celular infinix Smart 7|El contenido está traducido en el traductor de Firefox.