
🔸Sin más que añadir, a continuación los dejo con el paso a paso:
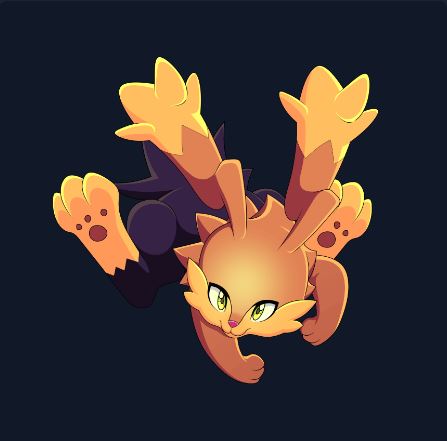
🐰🥕Good afternoon, holozing friends! I'm happy to stop by here again to share with you a new painting, this time of a Electric Rabbit. Honestly, I didn't have many expectations when it came to starting to paint this creature, because I thought it wasn't going to turn out well, so a while ago I decided to make a fanart, which as you know had to be cute, although they are strong creatures and powerful haha, in my head they are soft and fluffy. That is why, after a while with the sketch ready, I decided to paint it calmly to try to make it look the way I wanted and I can tell you that this time I did 100% like the final result.
🔸Without more to add, then I leave you with the step by step:
♥️ESPERO QUE TE GUSTE,
¡Empecemos!
♥️I HOPE YOU LIKE IT,
Let's start!

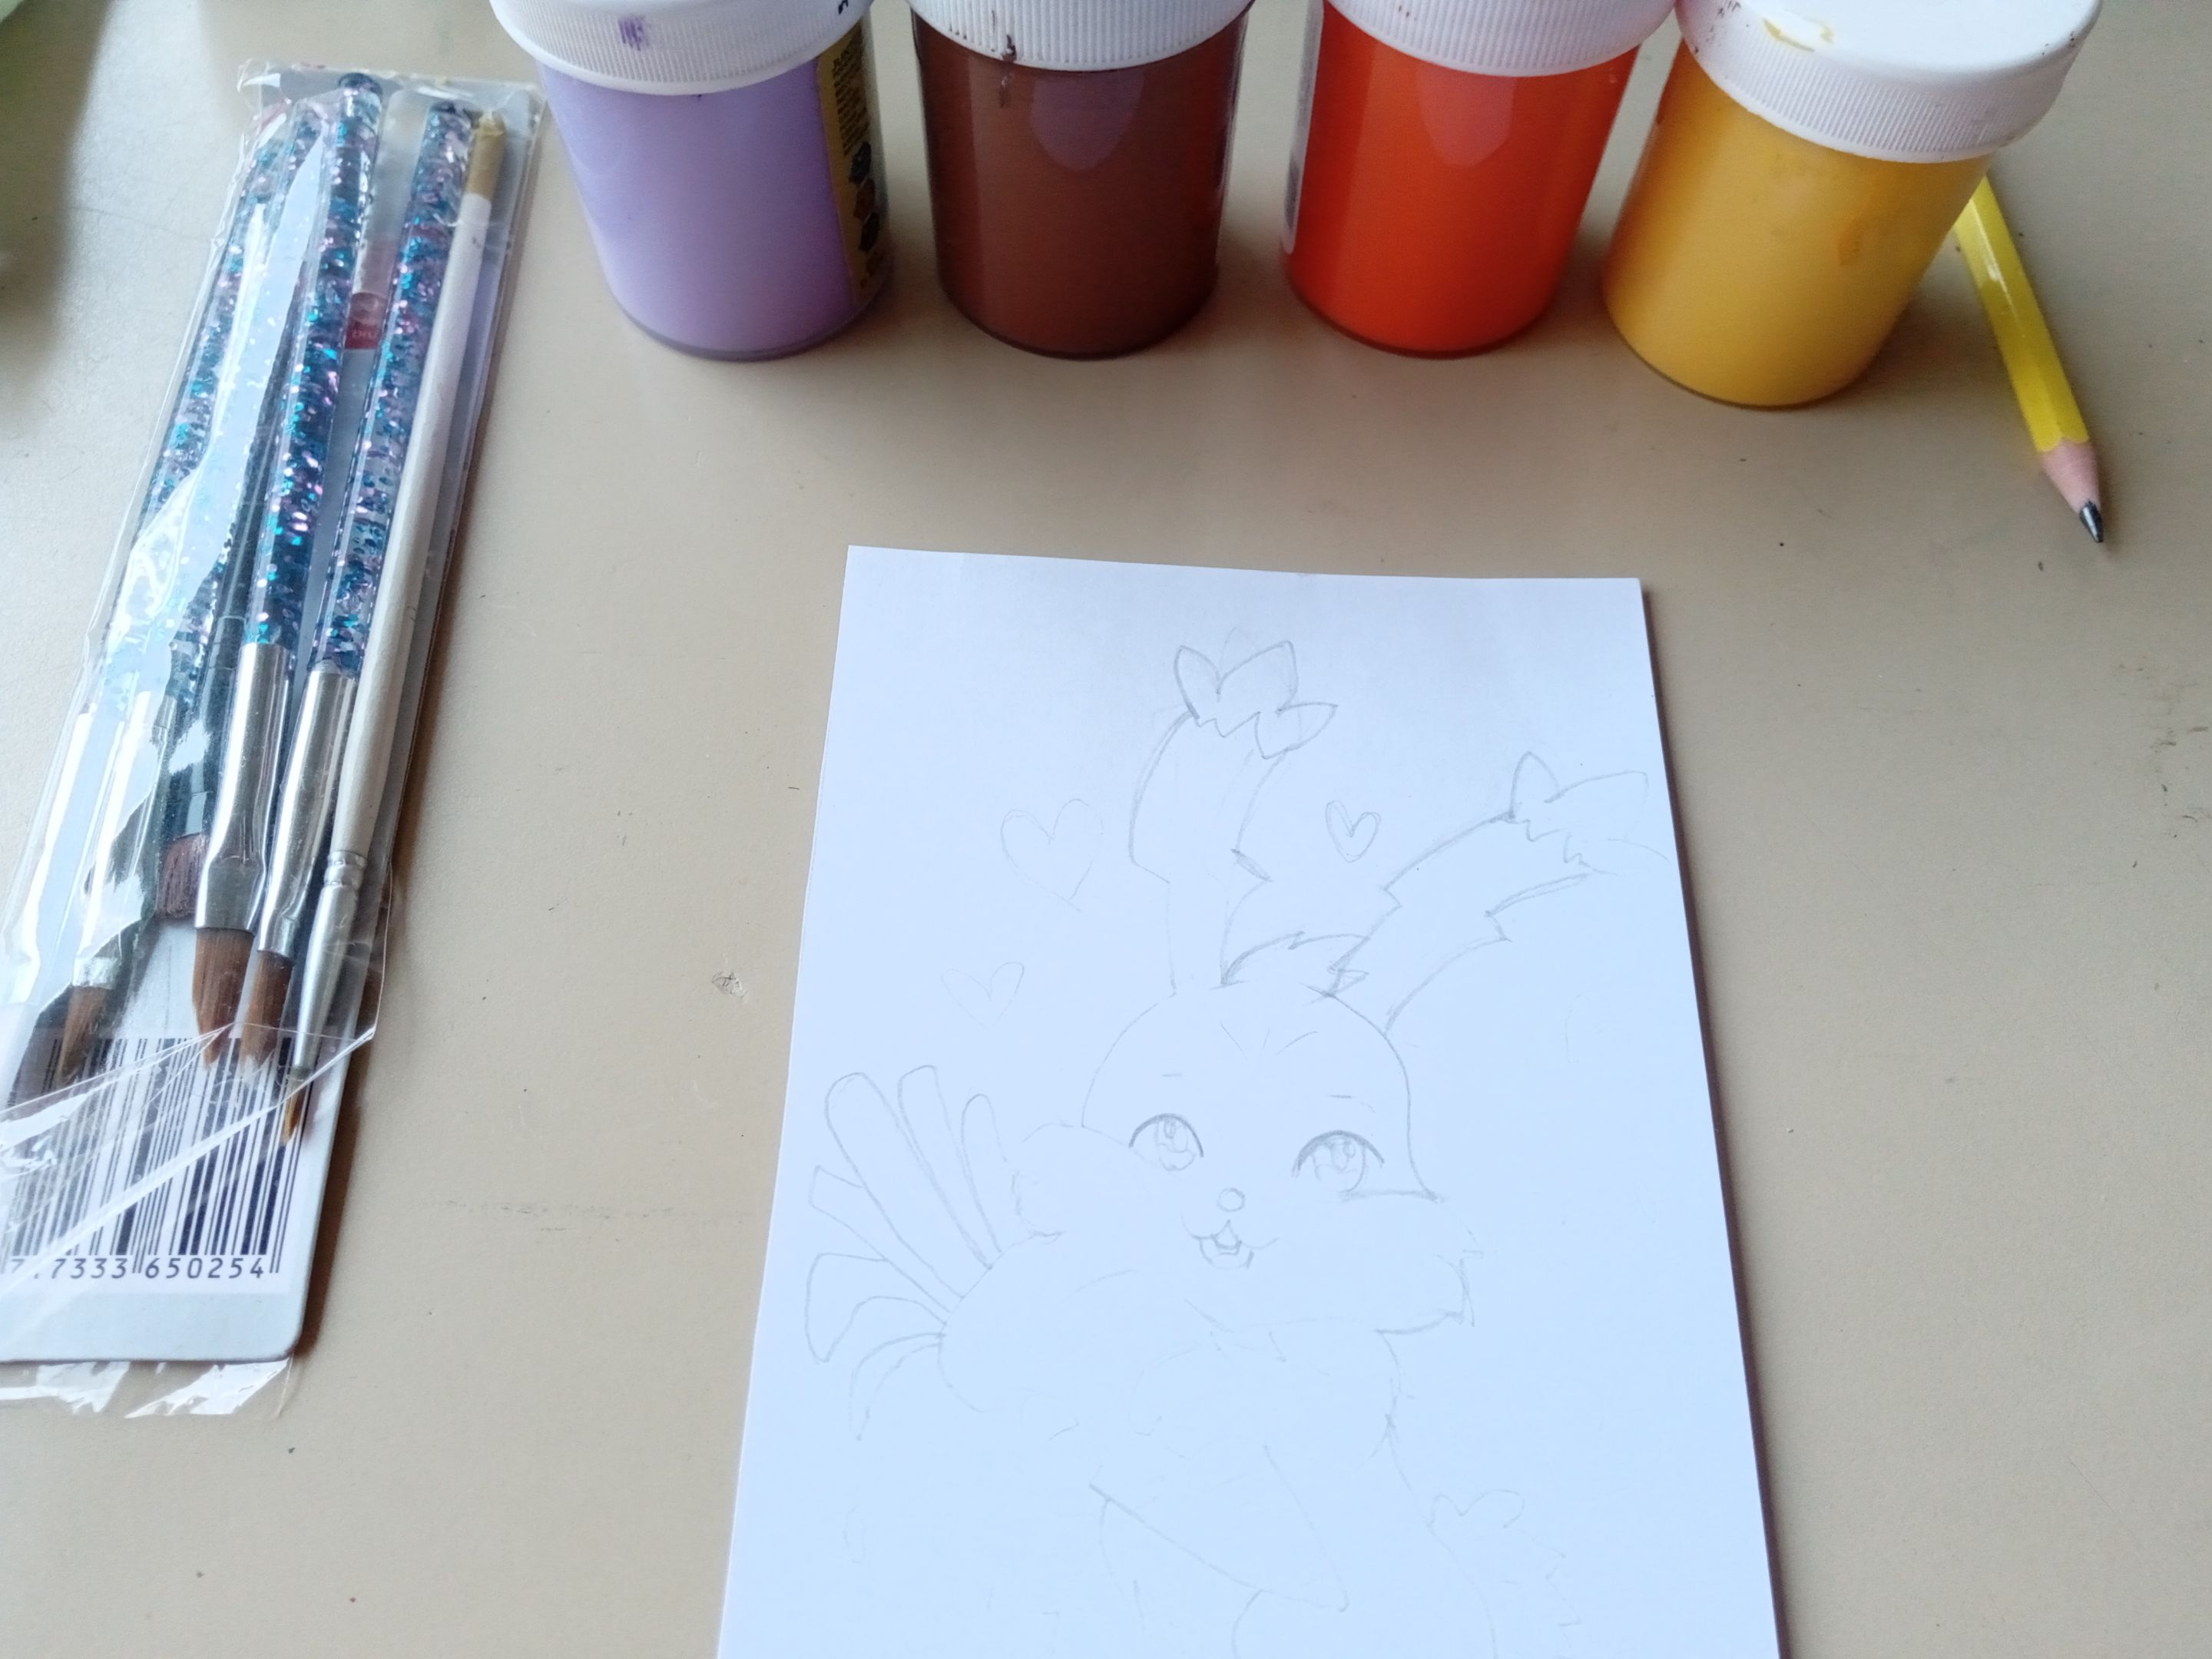
✂️ MATERIALES | ✂️ MATERIALS
- Opalina o cartulina blanca.
- Pinceles.
- Marcador negro.
- Pinturas.
- Lápiz.
- Opaline or white cardboard.
- Brushes.
- Black marker.
- Paintings.
- Pencil.
🐰 PROCEDIMIENTO | 🐰 PROCESS
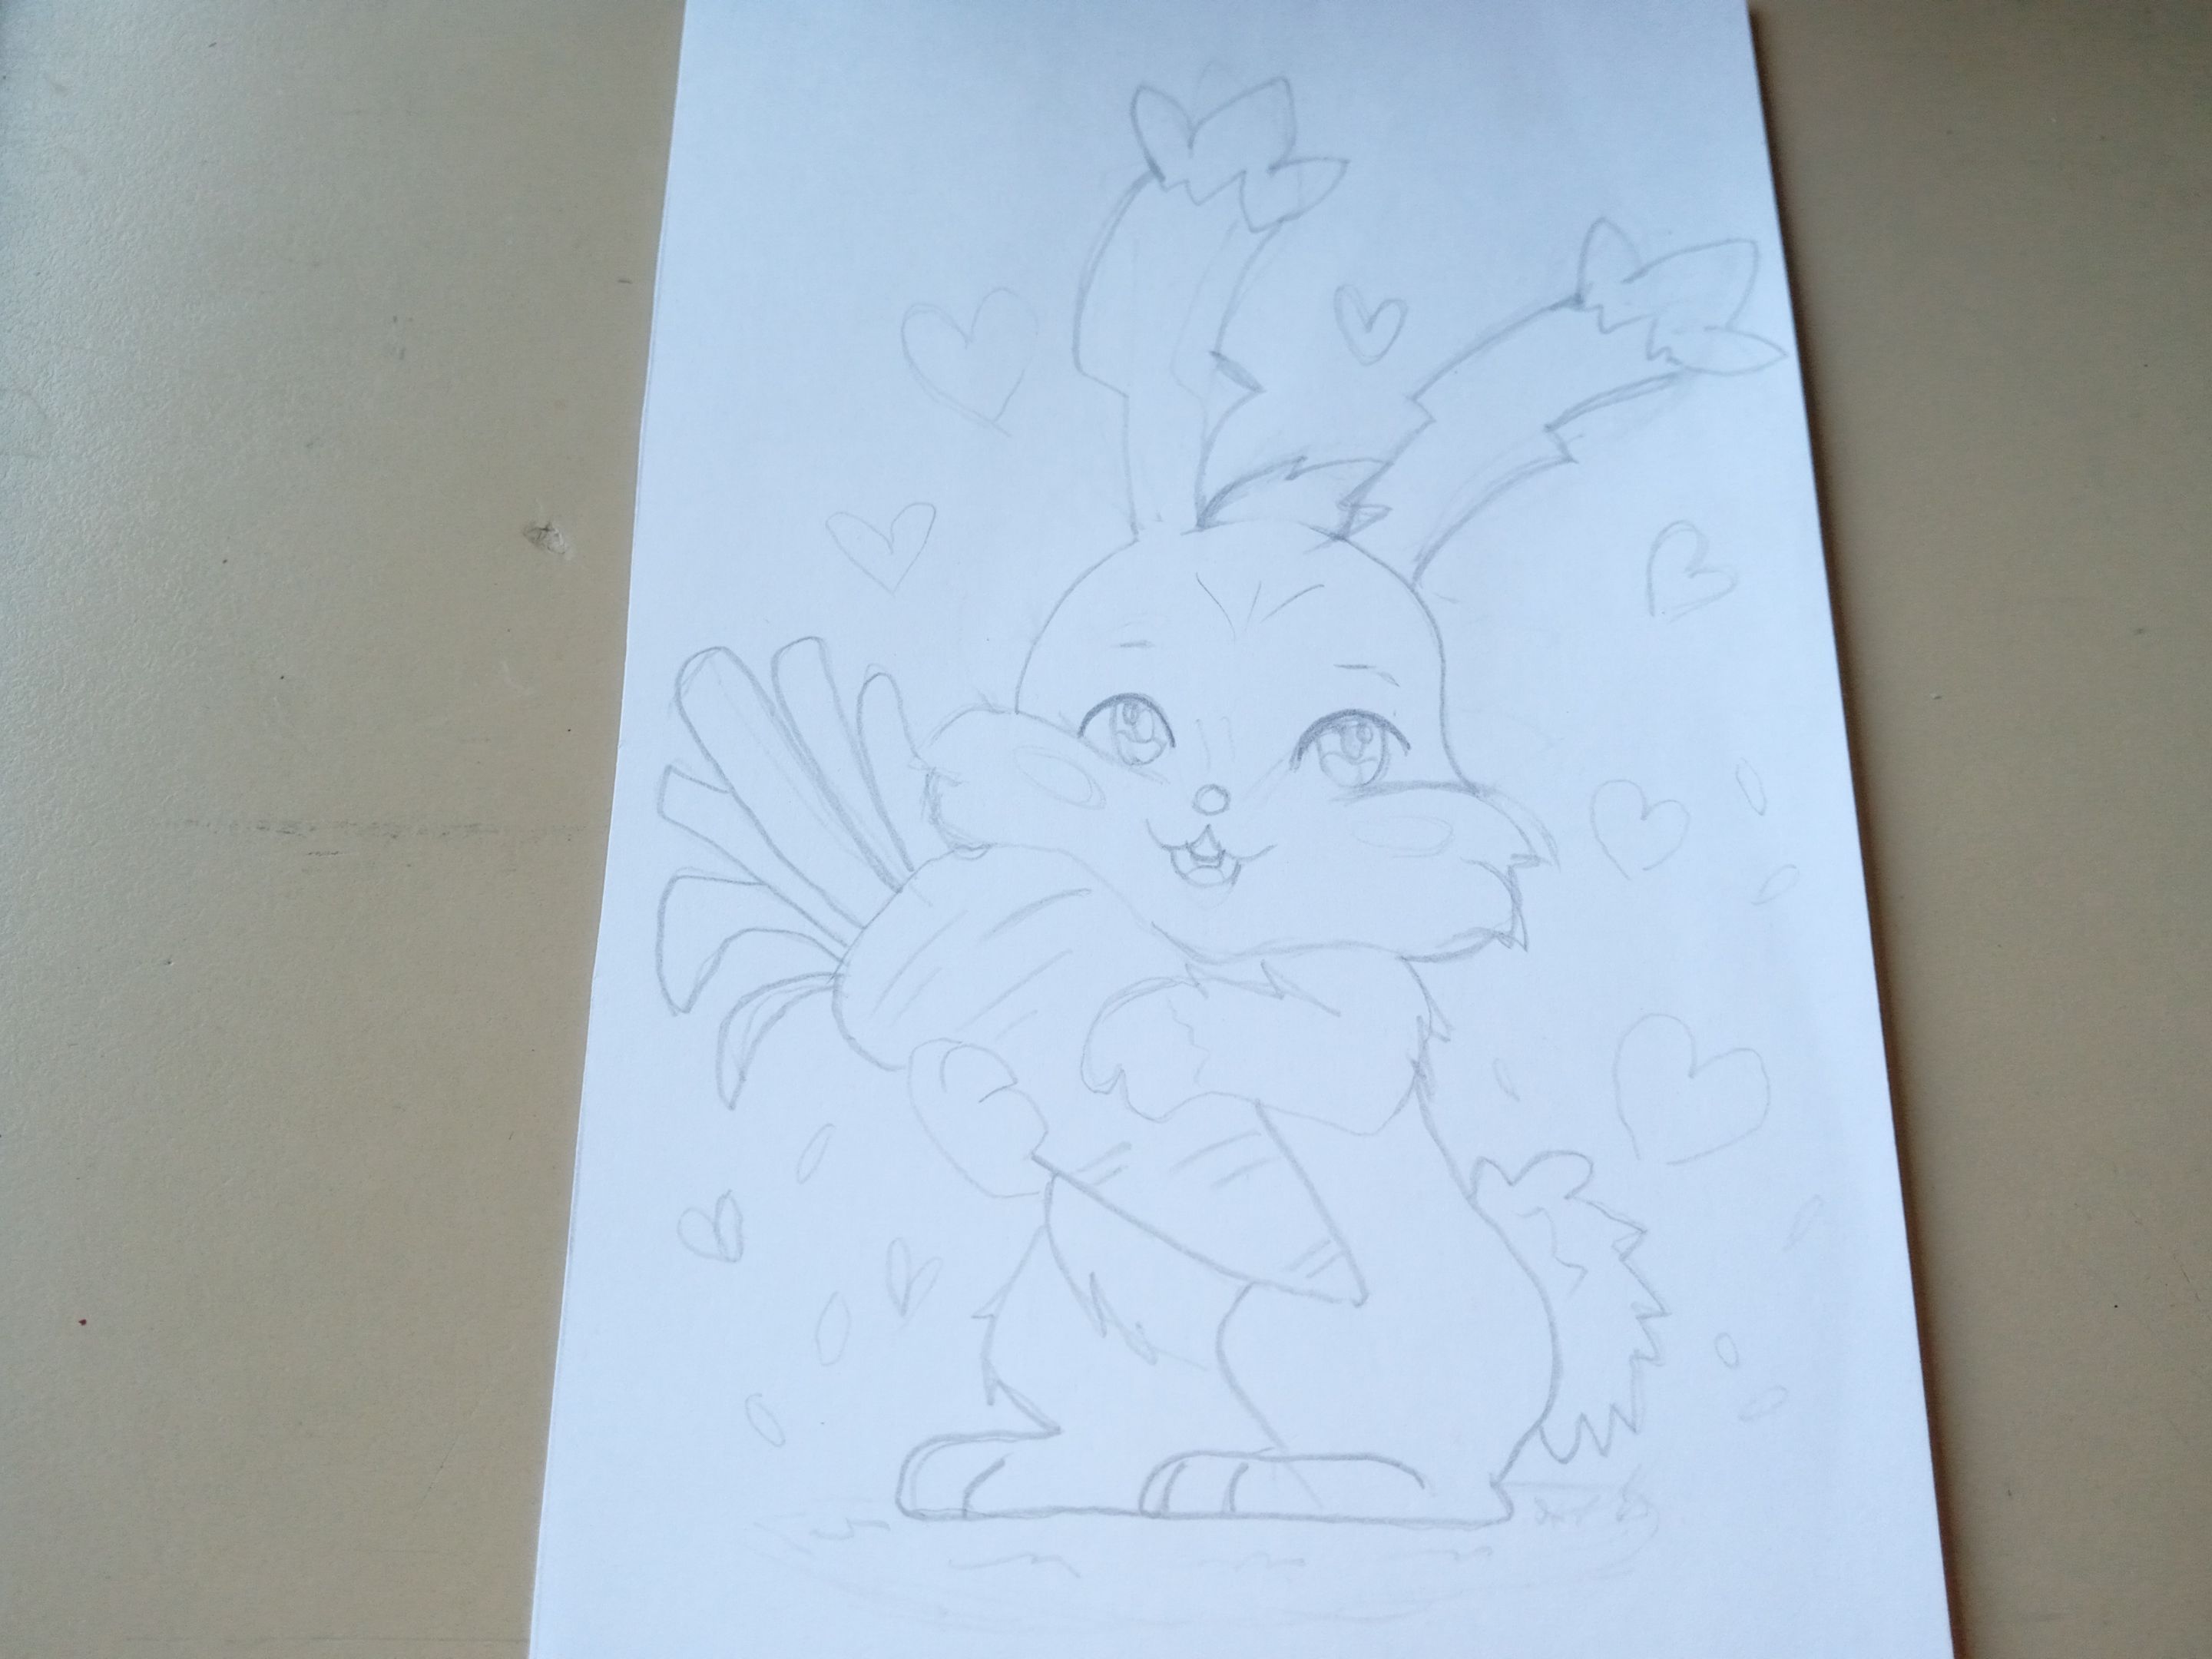
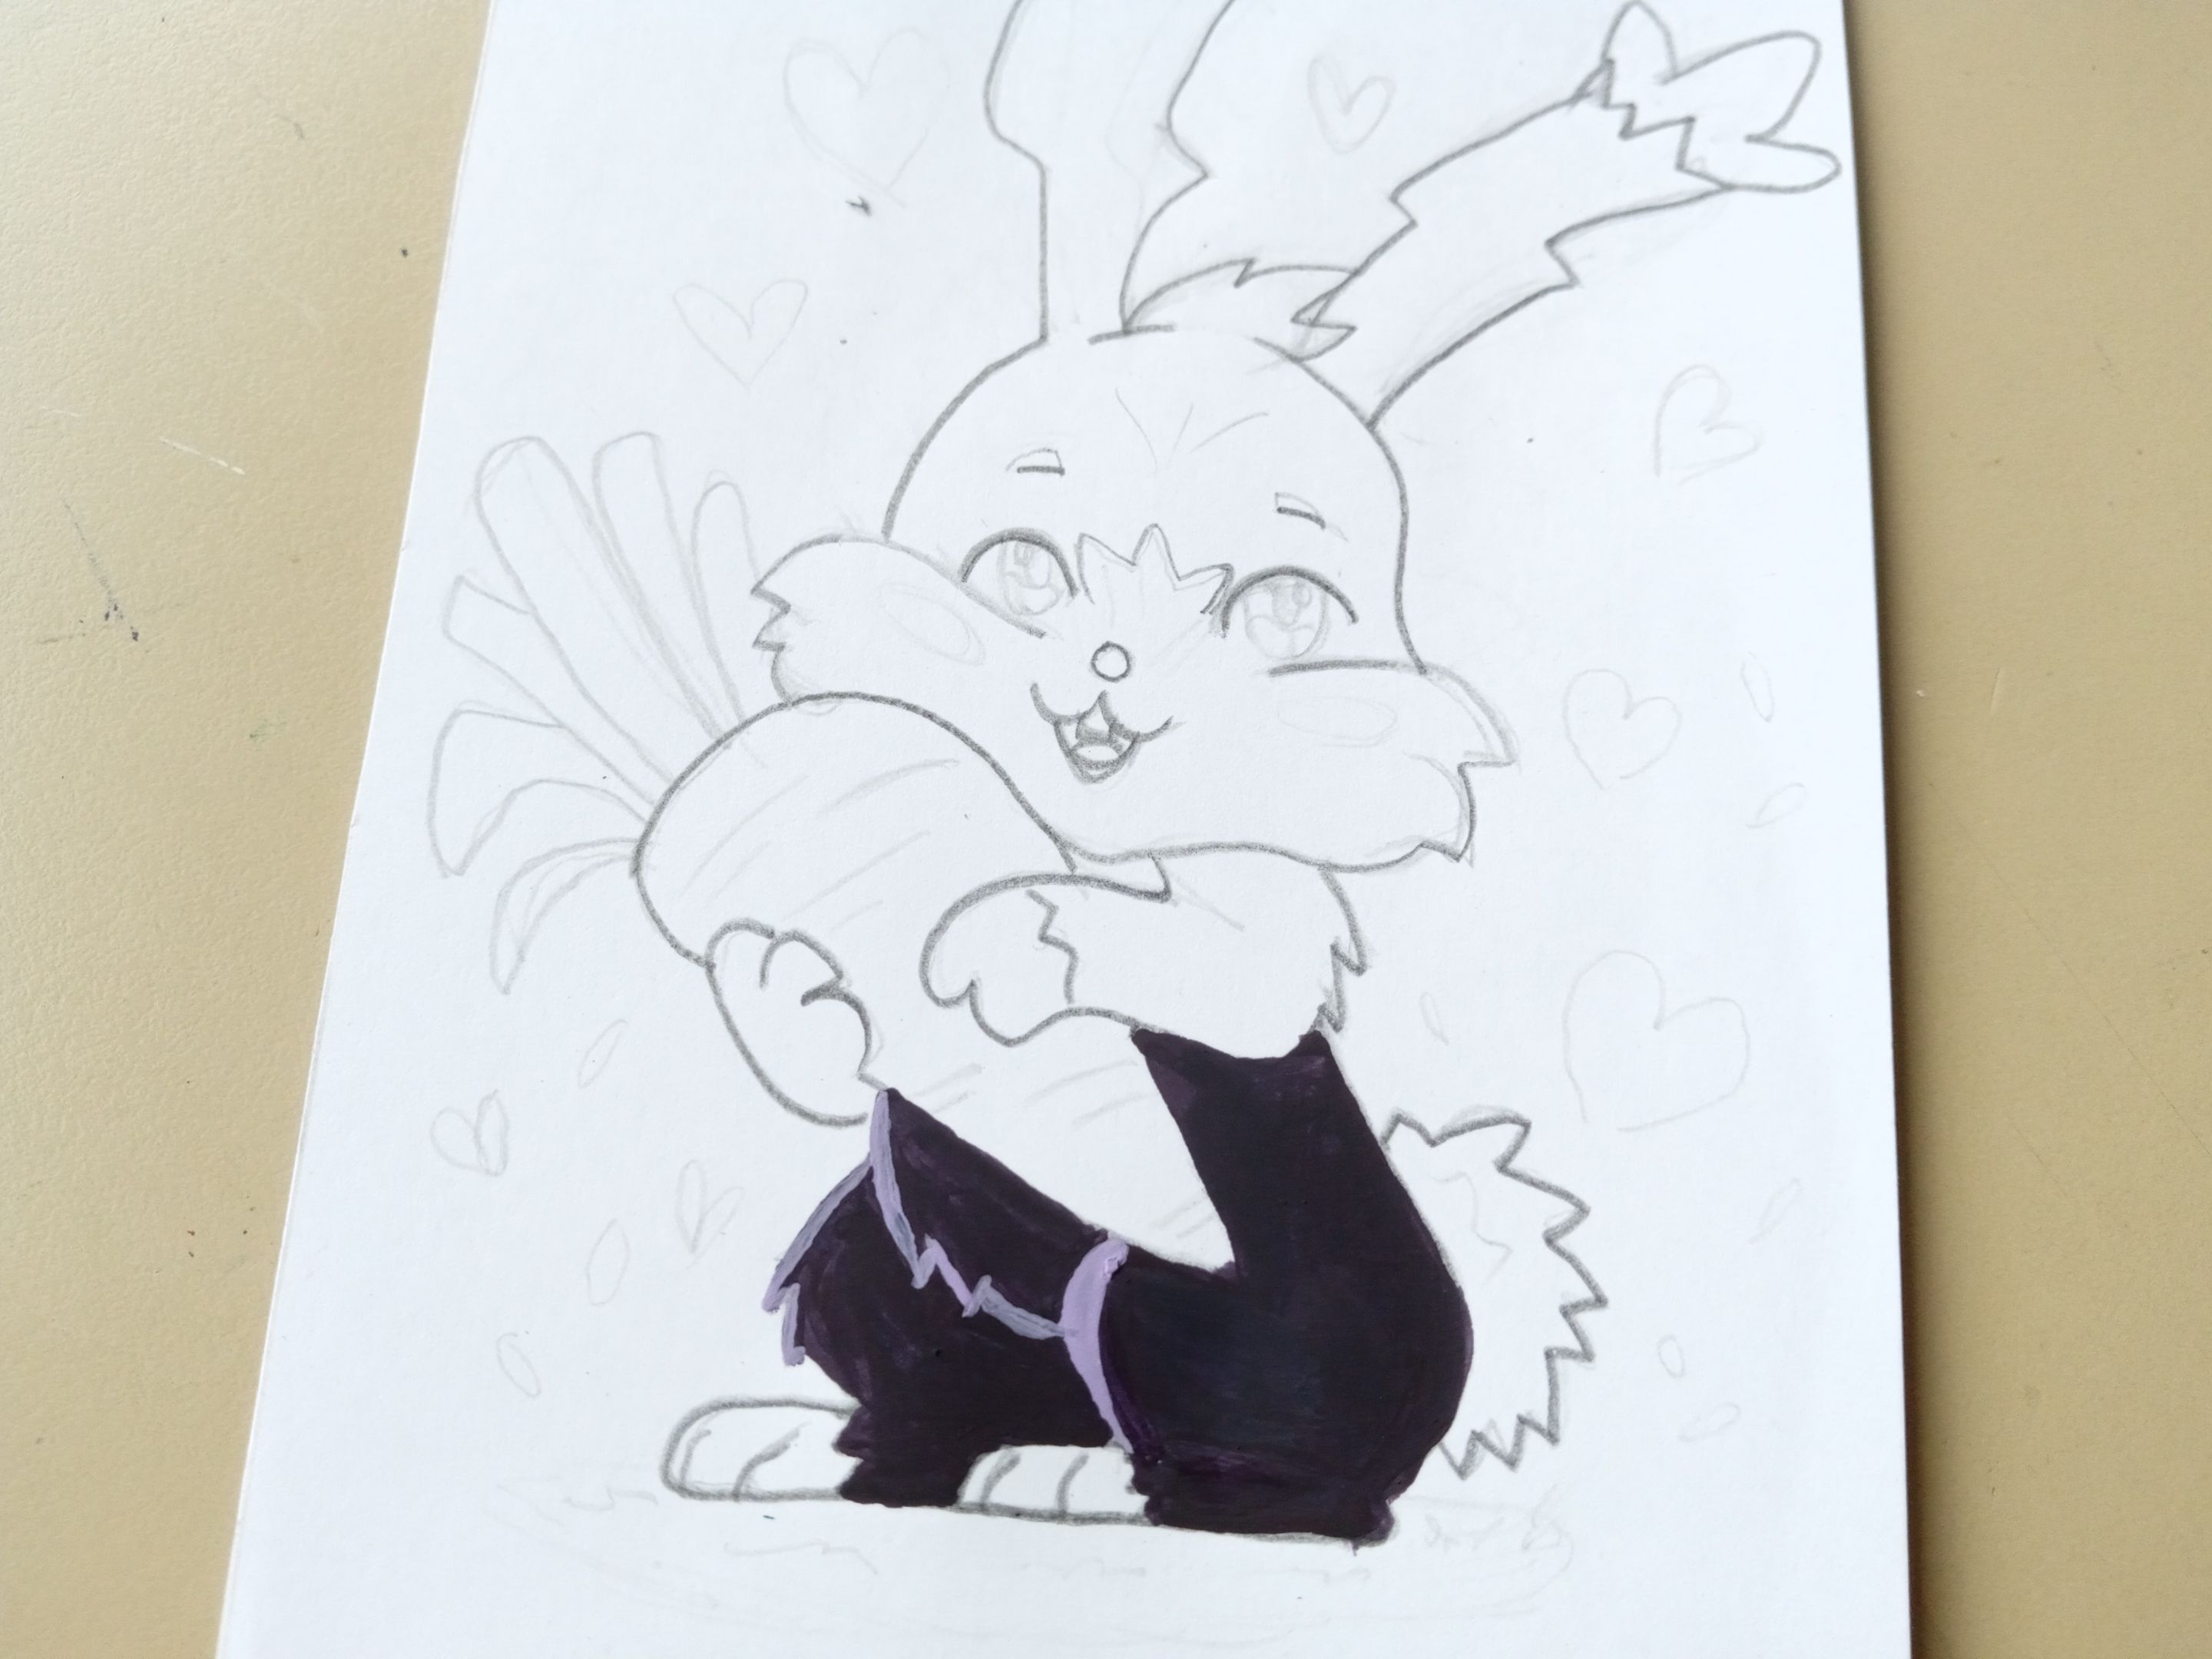
- ✨ PASO 1:
Como siempre, comencé dibujando a la criatura, como dije, esta vez quise hacerlo tierno, sosteniendo con mucho amor su enorme zanahoria que al rato se comerá con mucha maldad, jaja. Una vez listo el dibujo, quise agregar al fondo algunos corazones y hojas cayendo. Al terminar, seleccioné más o menos los colores que iba a utilizar, pinceles, agua y un pañito para secar.
- ✨ STEP 1:
As always, I started by drawing the creature, as I said, this time I wanted to make it cute, lovingly holding its enormous carrot that it will soon eat with great evil, haha. Once the drawing was ready, I wanted to add some hearts and falling leaves to the background. When finished, select more or less the colors you were going to use, brushes, water and a cloth to dry.
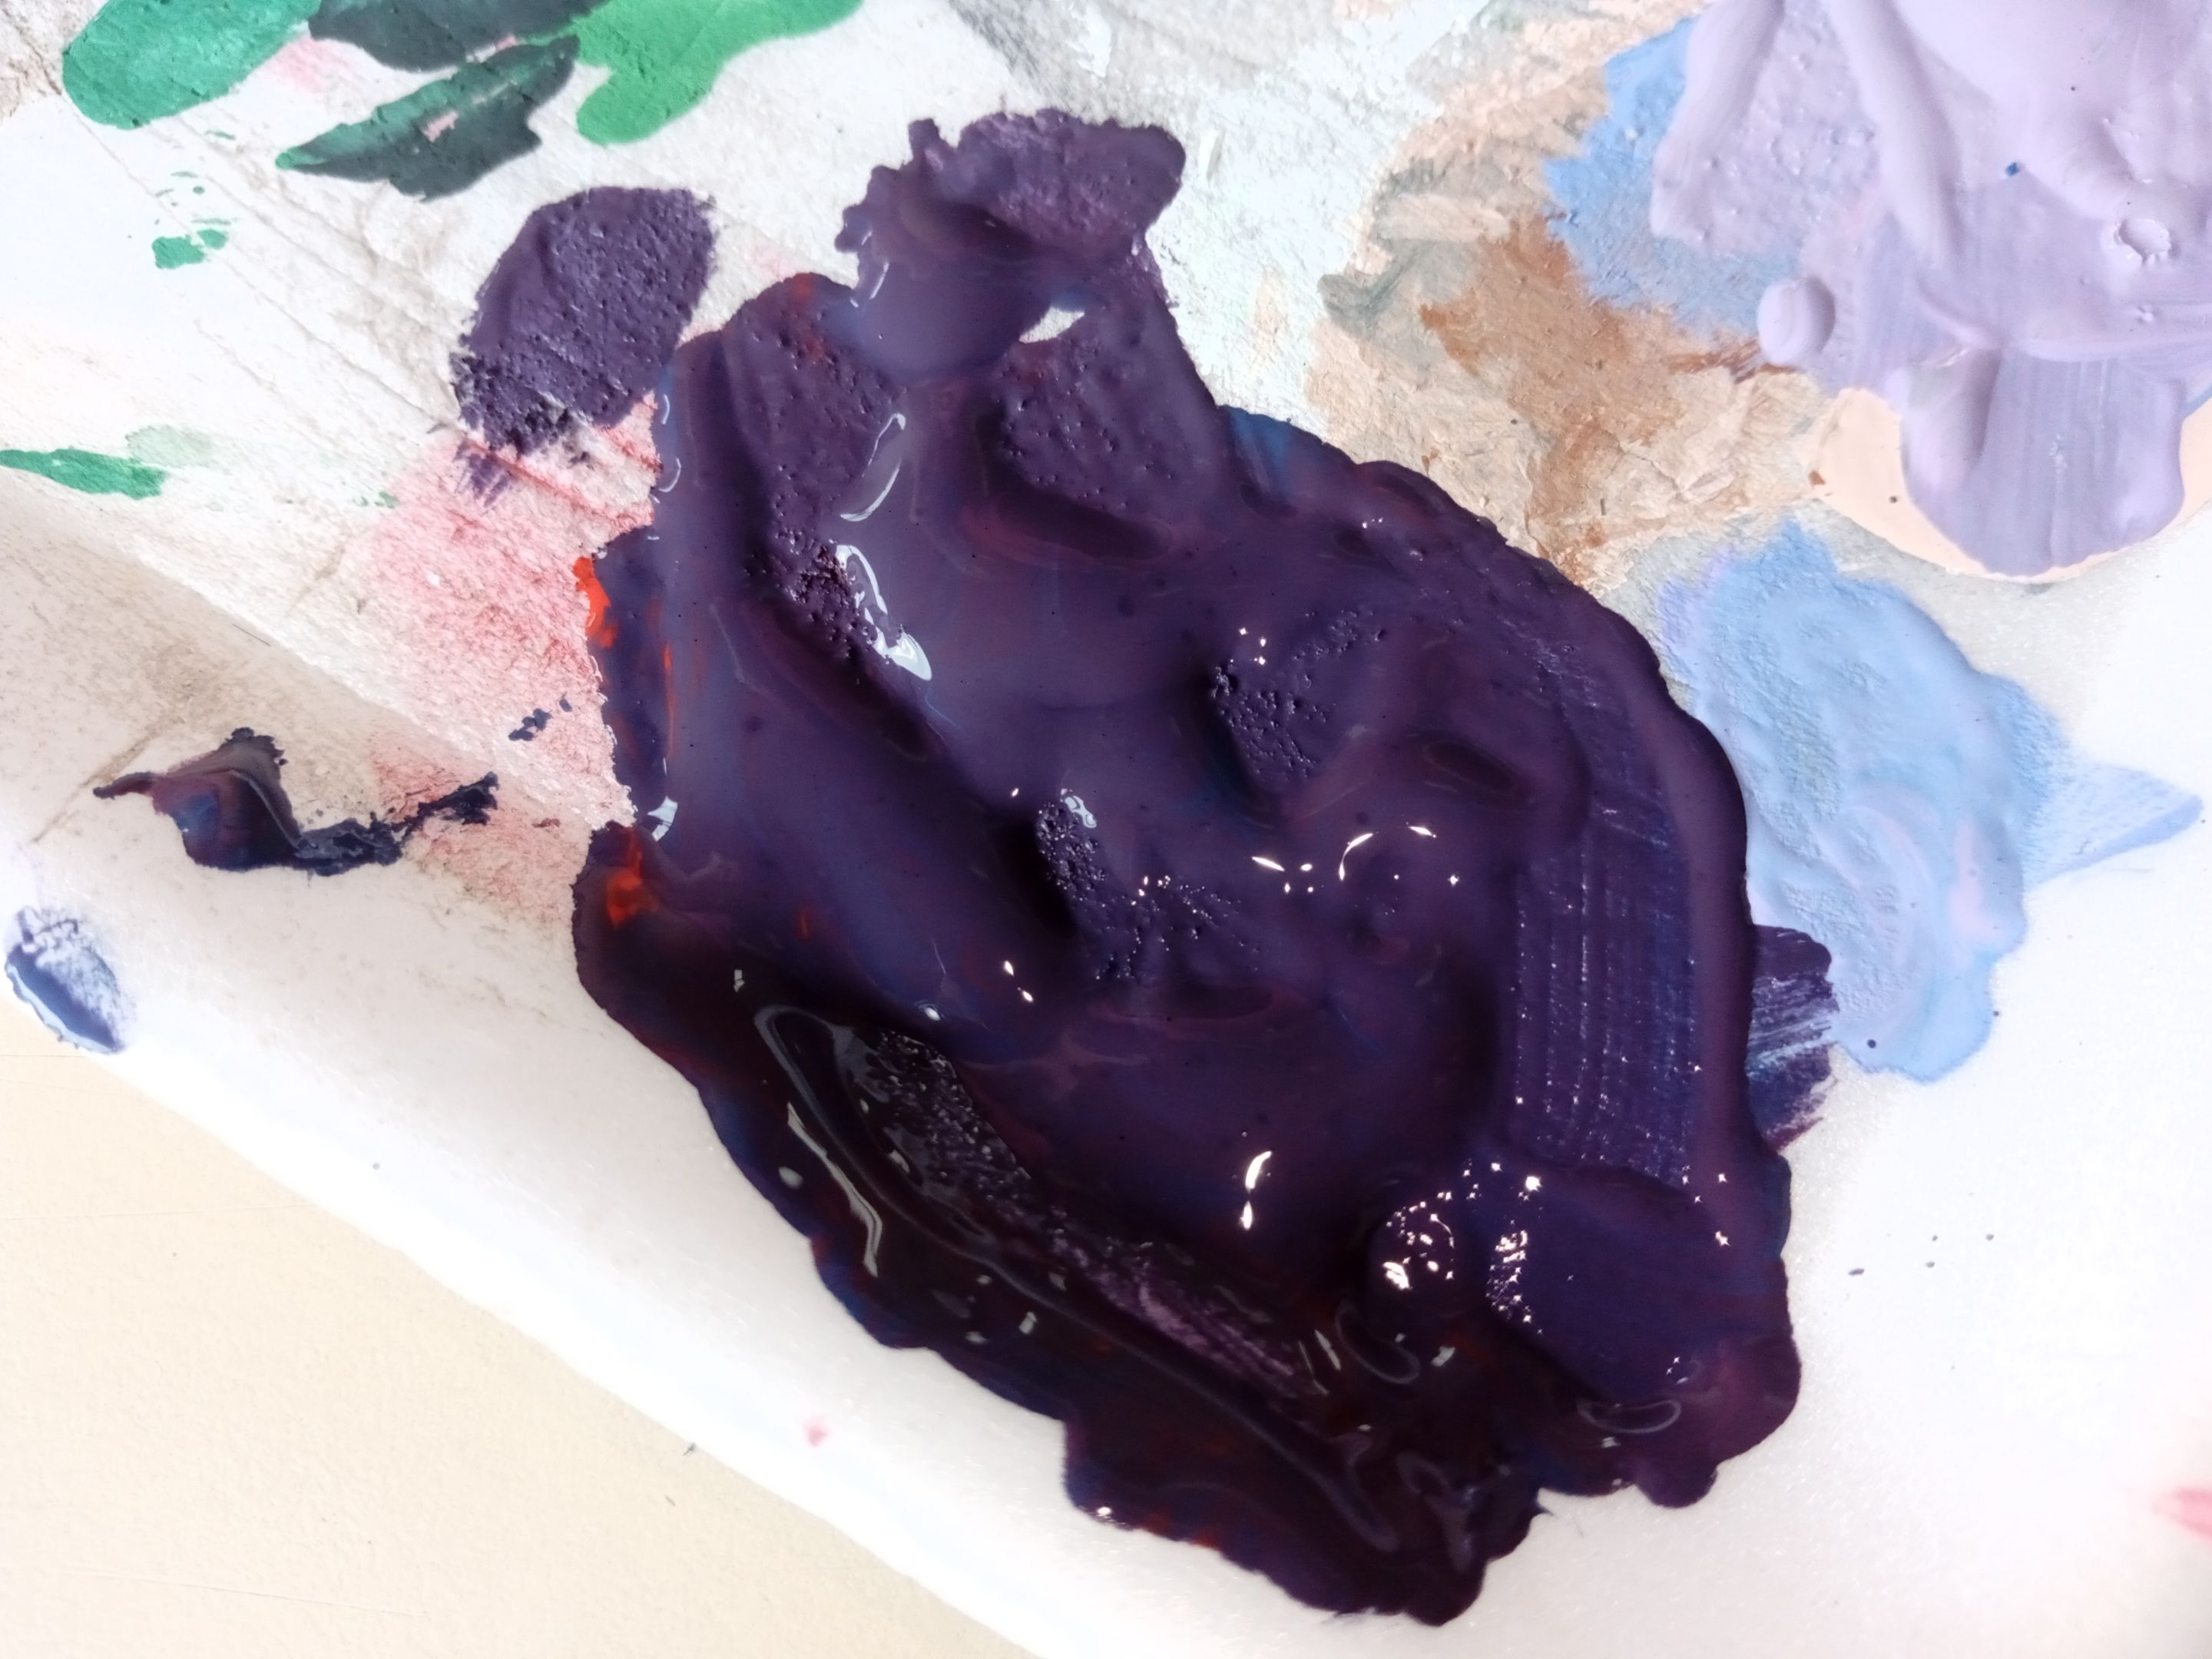
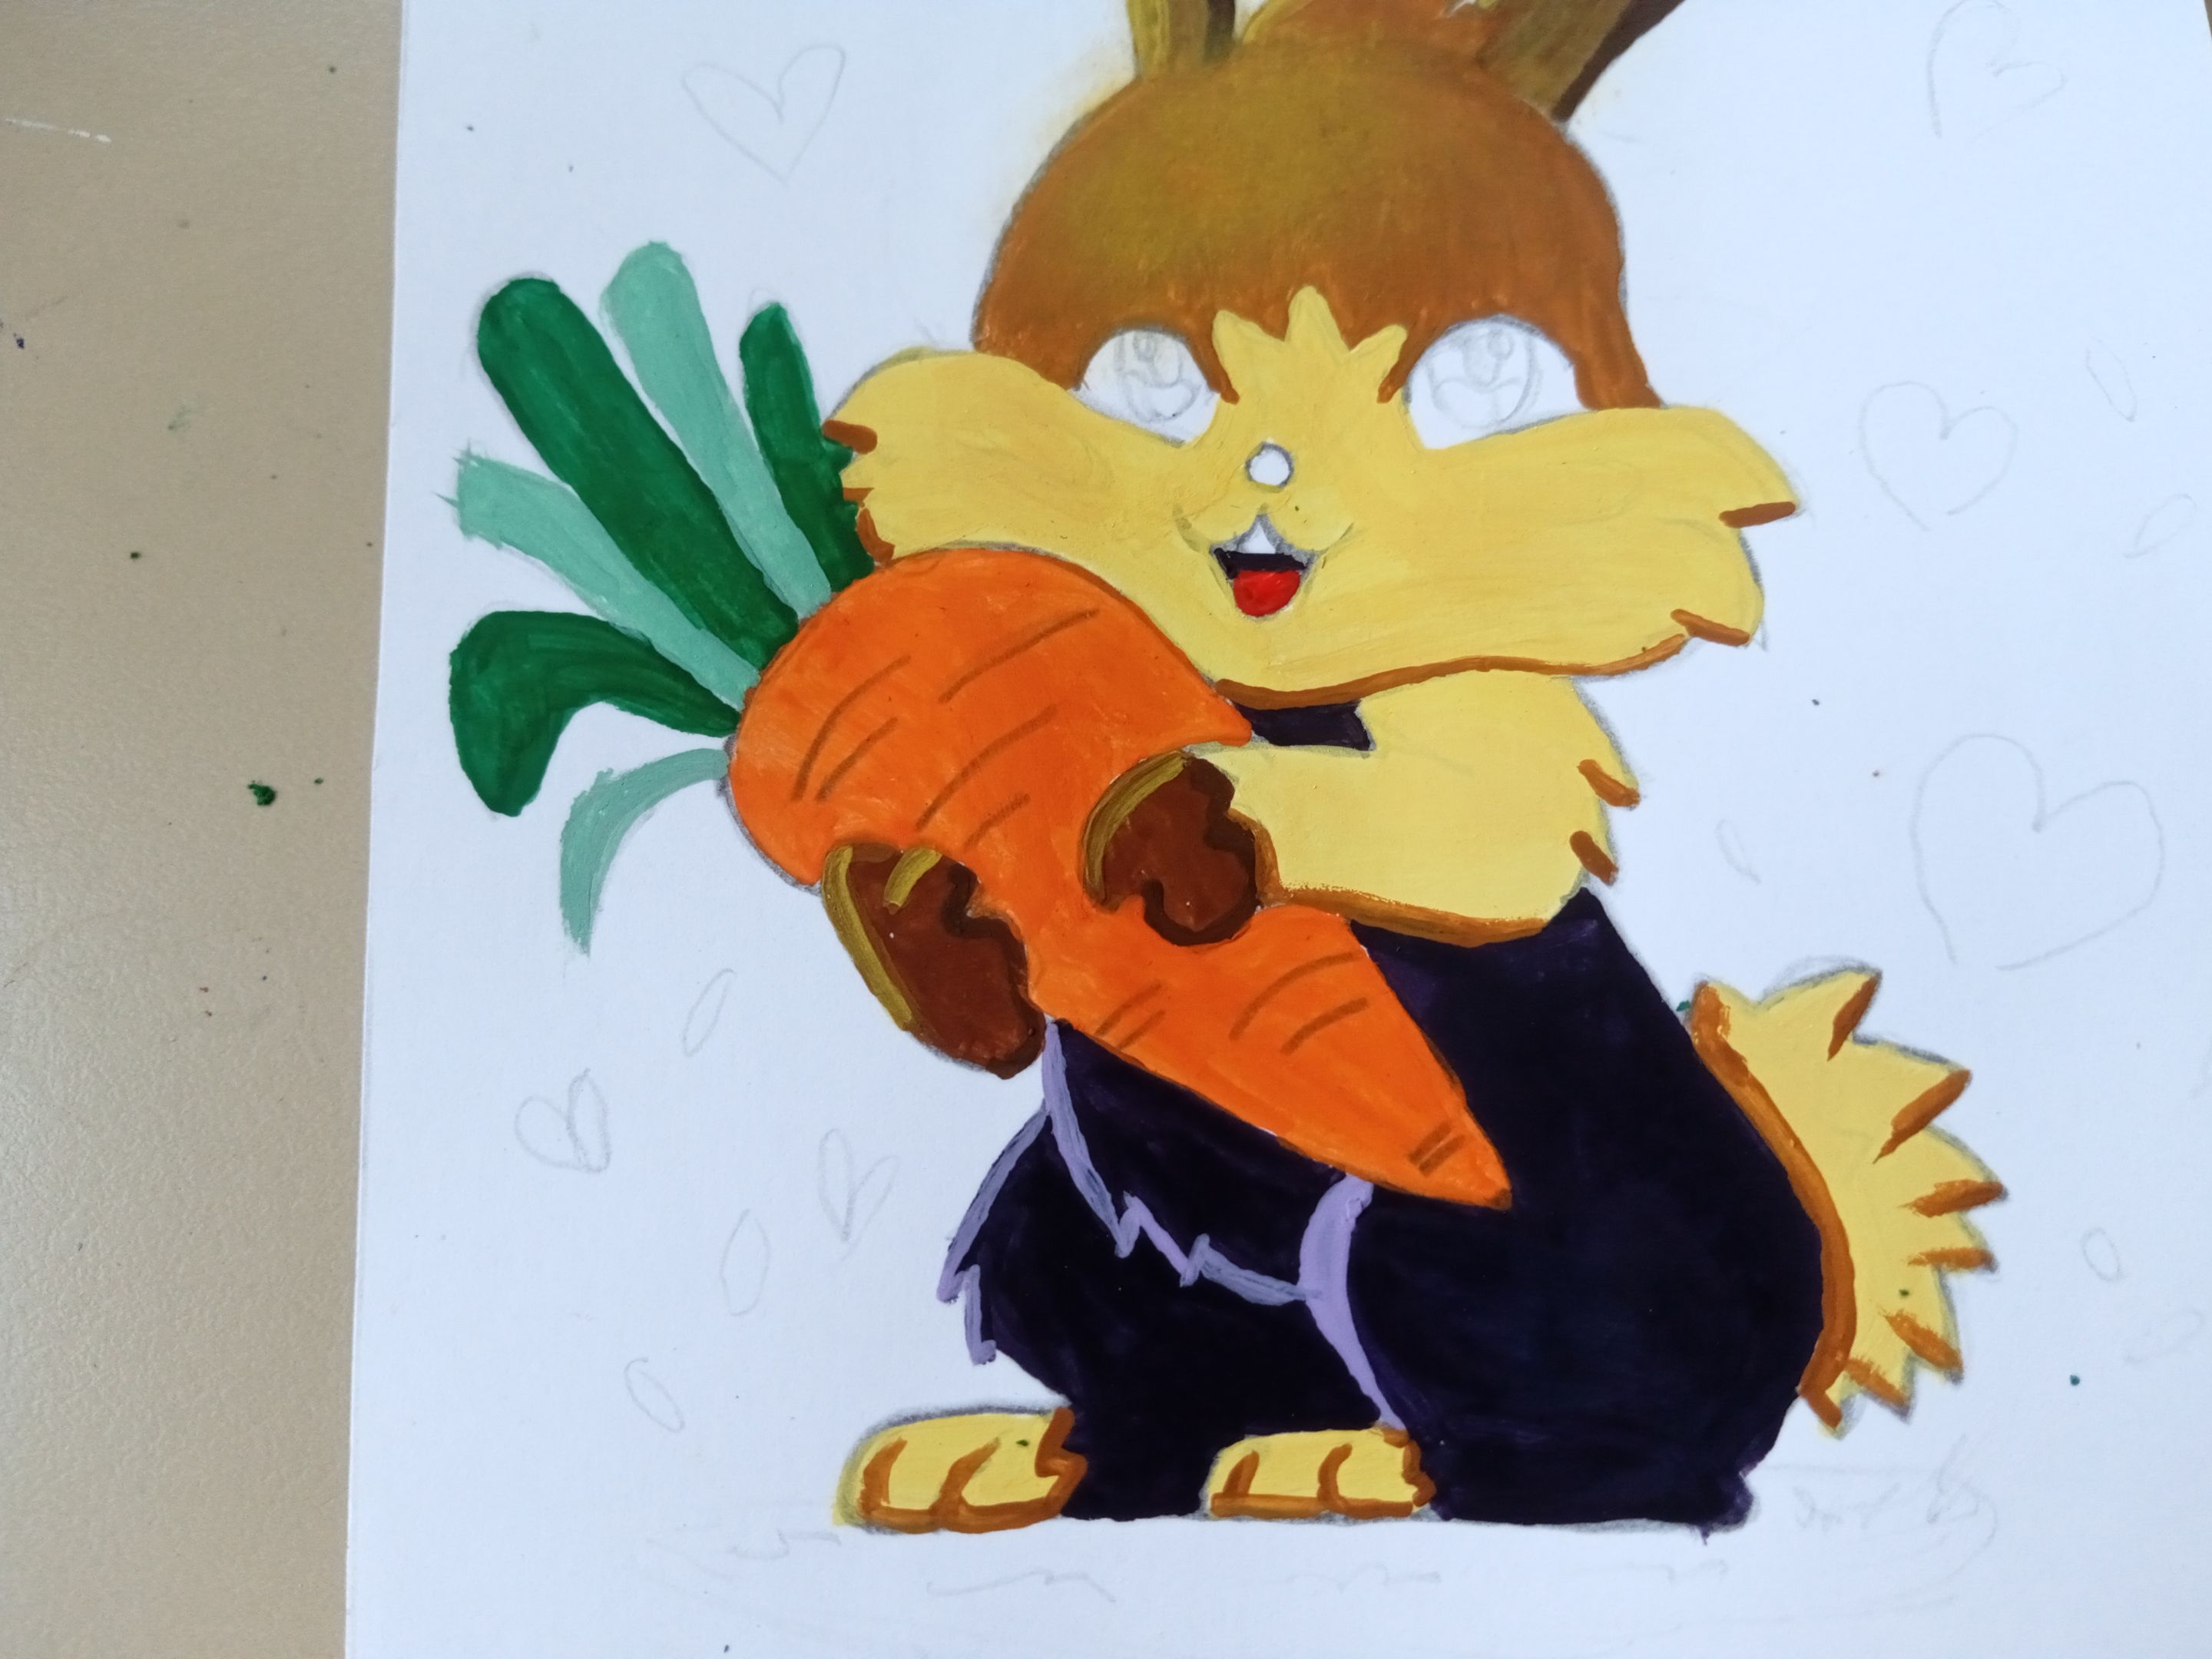
- ✨ PASO 2:
Comencé pintando la parte más oscura del cuerpo, así que mezclé un poco de rojo con azul para obtener un morado bastante oscuro, pinté y aproveché de pintar las luces utilizando lila para definir más el dibujo.
- ✨ STEP 2:
I started by painting the darkest part of the body, so I mixed a little red with blue to obtain a fairly dark purple, I painted and took advantage of painting the lights using lilac to further define the drawing.
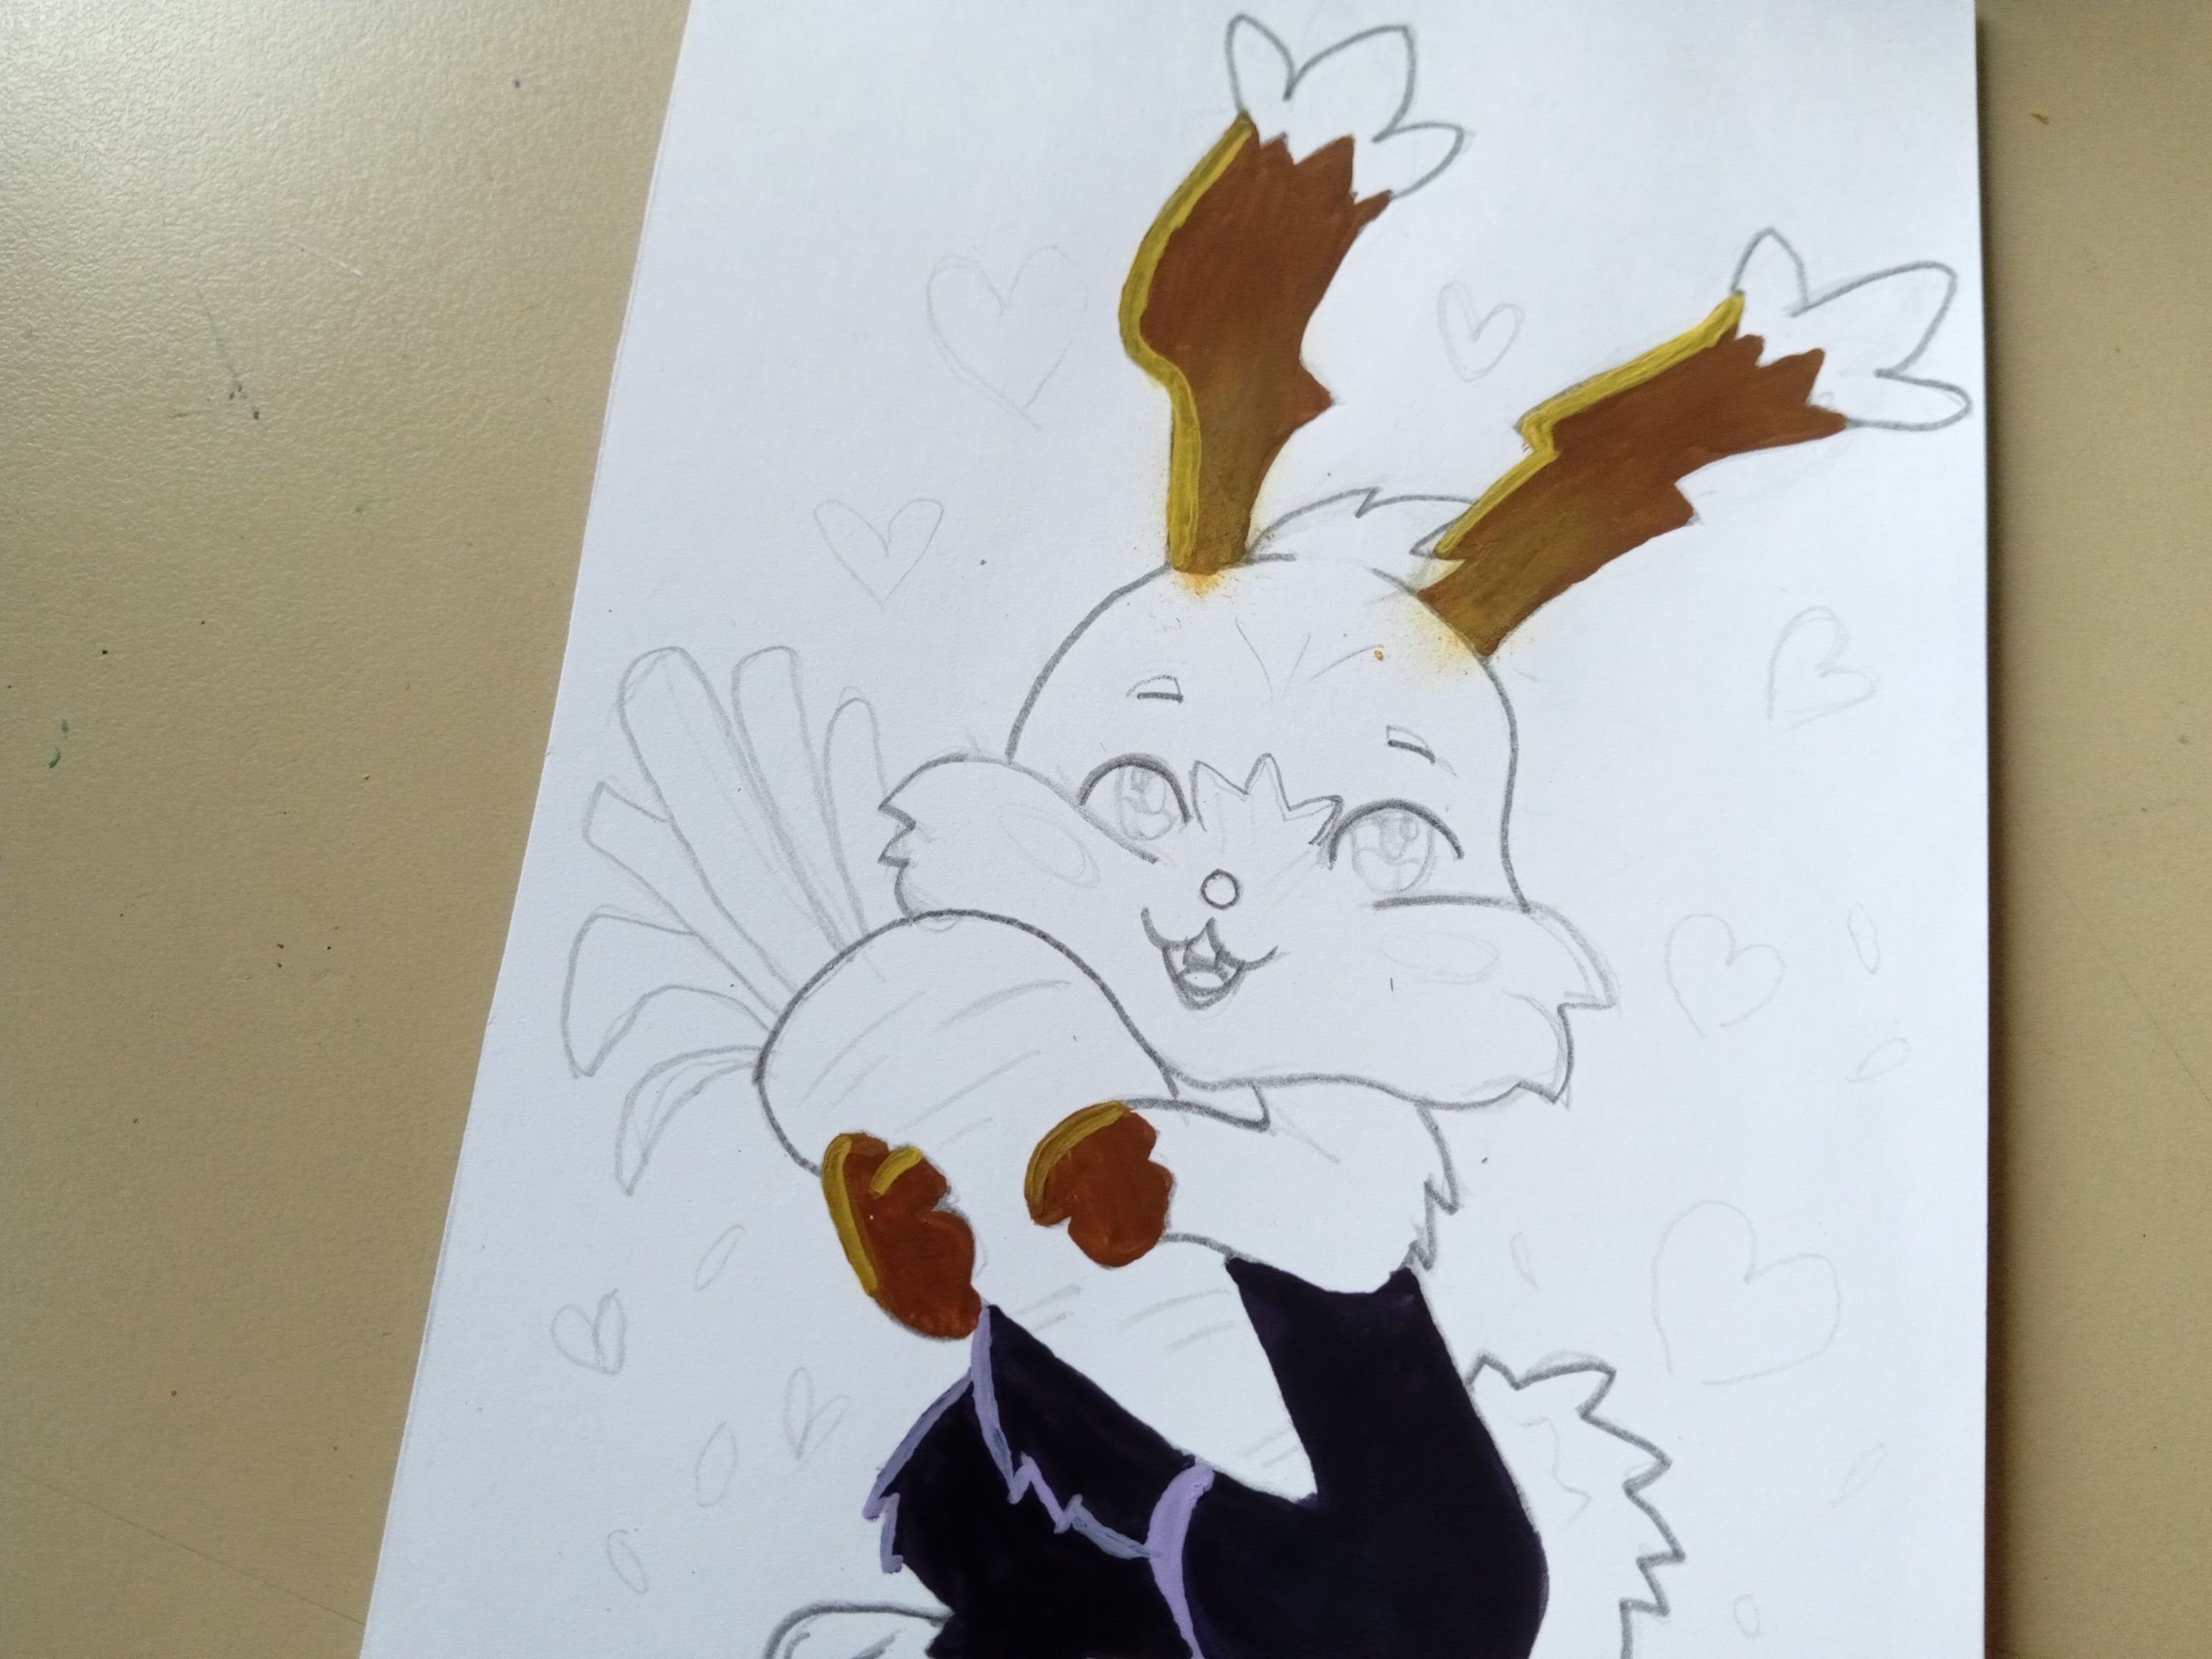
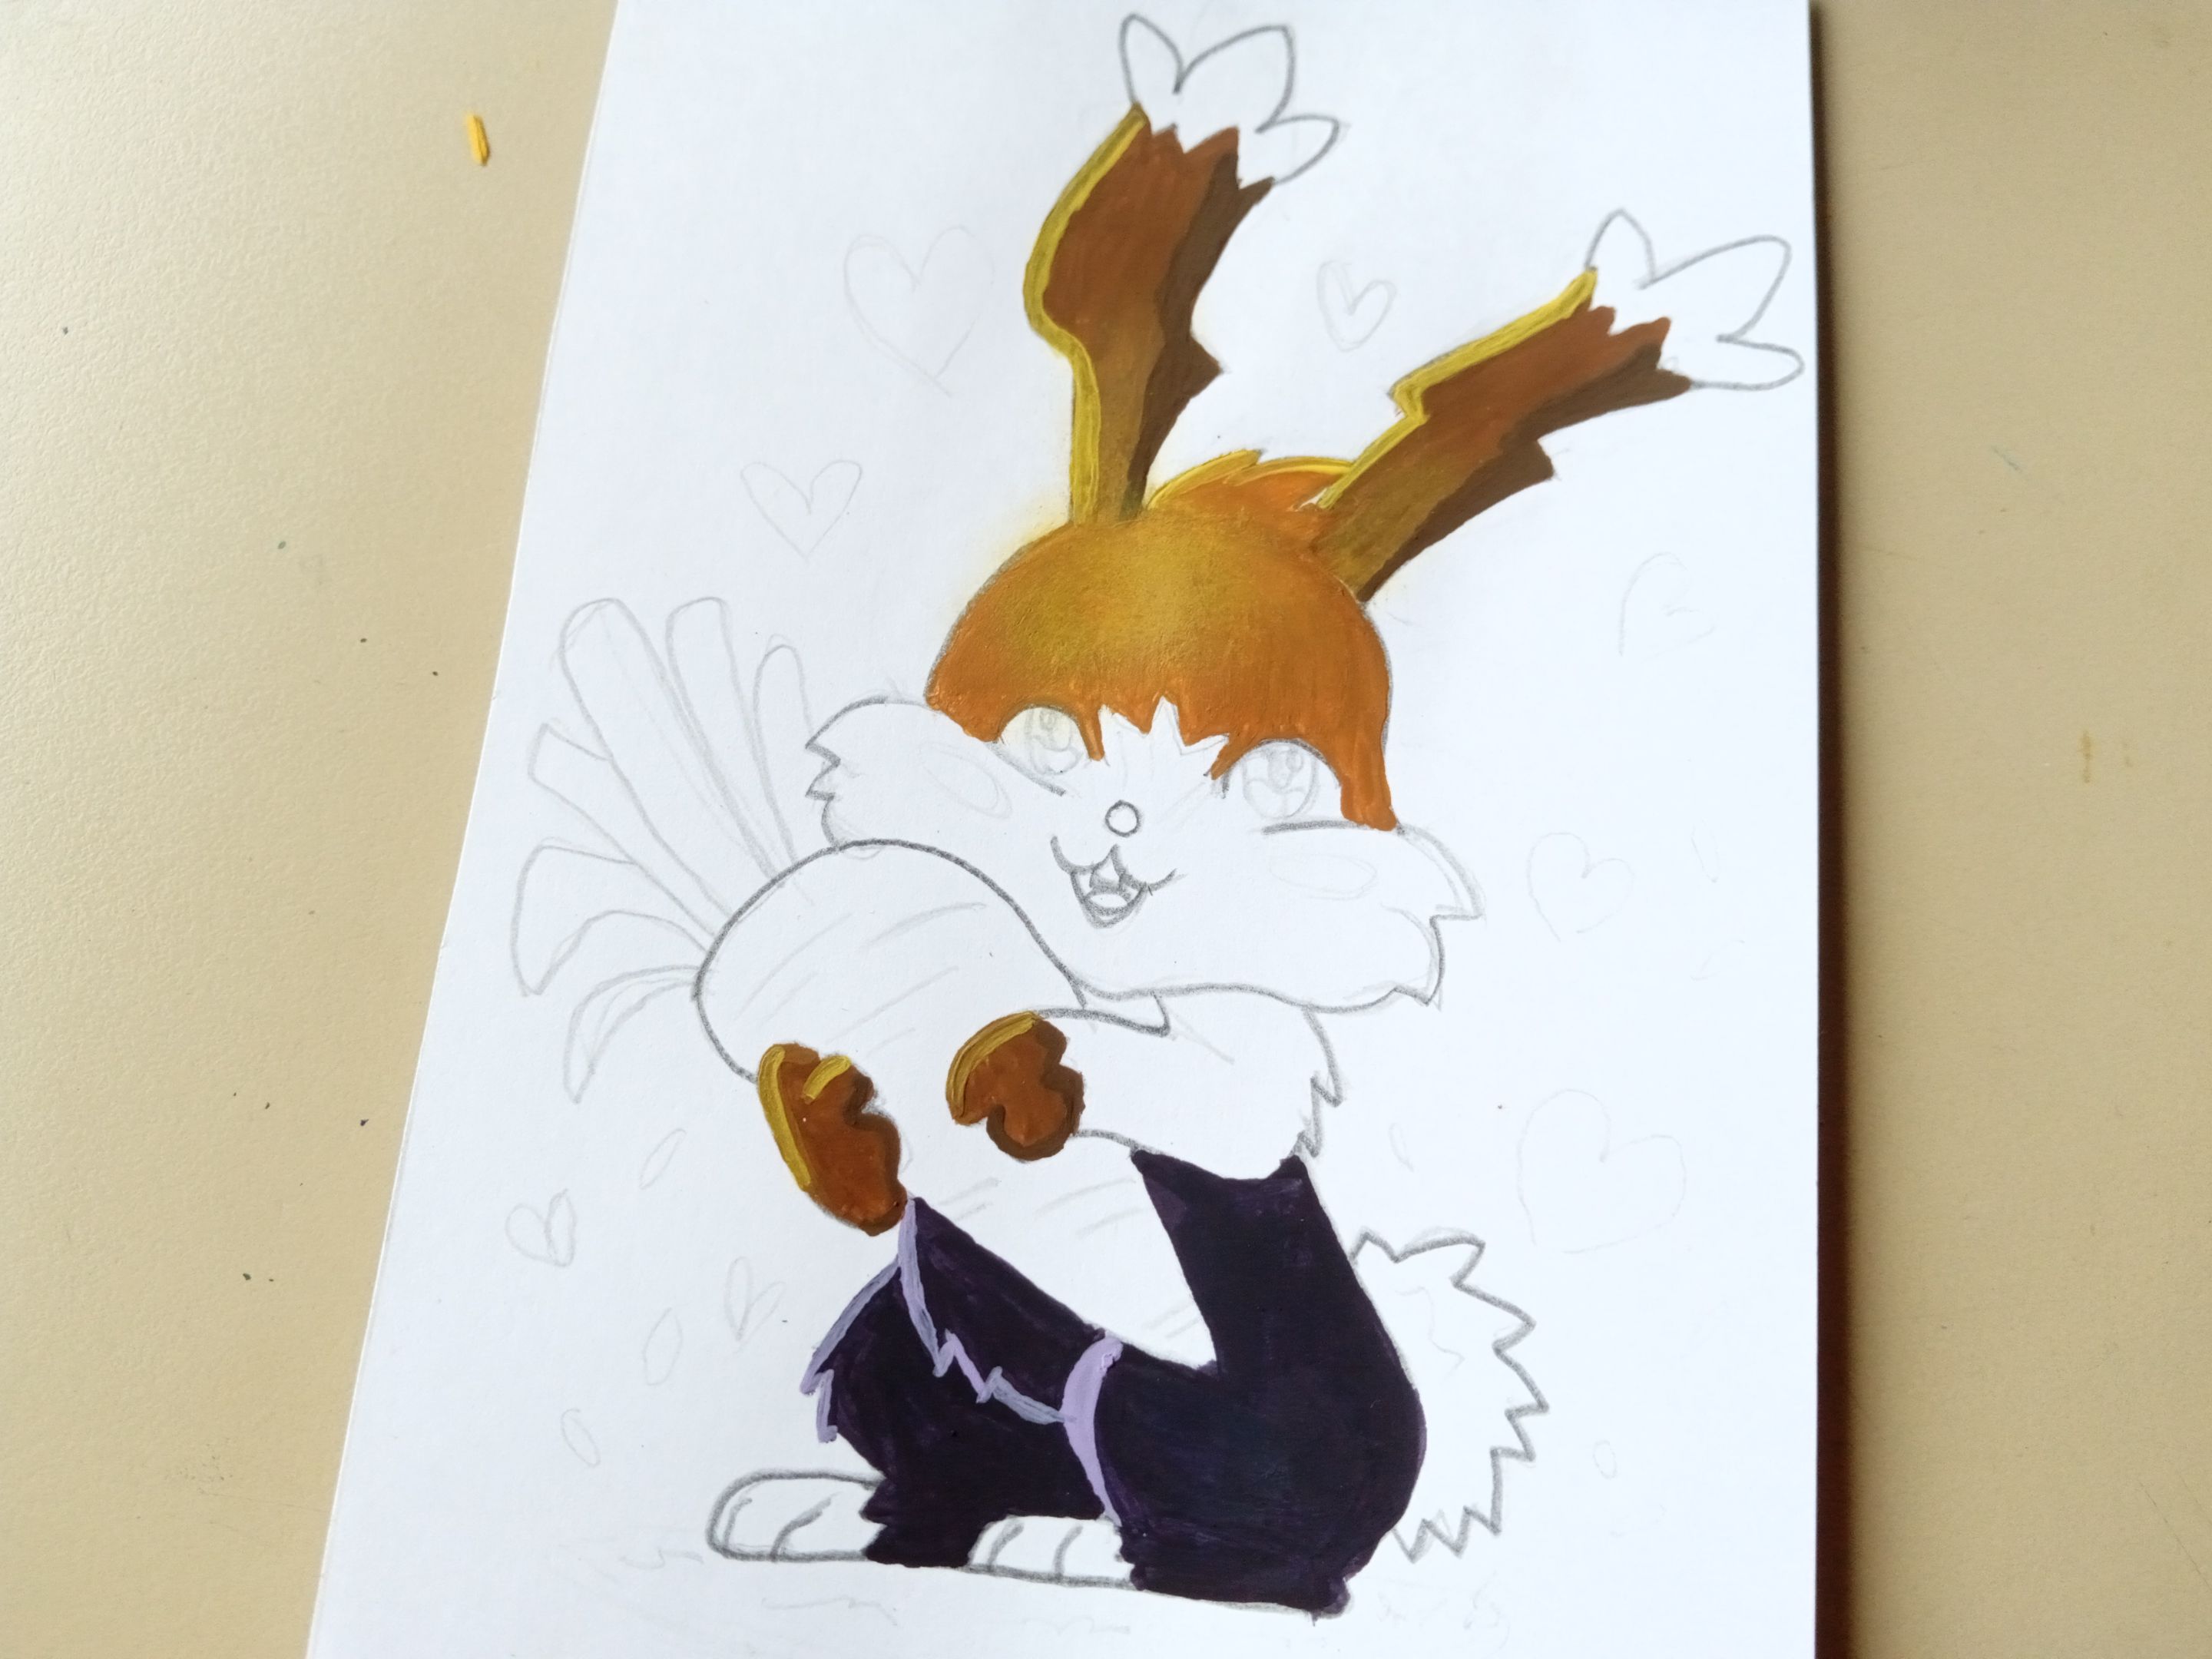
- ✨ PASO 3:
Luego, pinté las siguientes zonas más oscuras, en este caso mezclé marrón con amarillo, pinté las orejas y las patas que sostienen la zanahoria, para las luces utilicé amarillo y para las sombras un marrón. Para la parte superior de la cabeza, aclaré el tono de las orejas, pinté y difuminé en medio con un poco de amarillo para dar luz en esa zona.
- ✨ STEP 3:
Then, I painted the following darker areas, in this case I mixed brown with yellow, I painted the ears and the legs that hold the carrot, for the lights I used yellow and for the shadows a brown. For the top of the head, I lightened the tone of the ears, painted and blended in the middle with a little yellow to give light to that area.
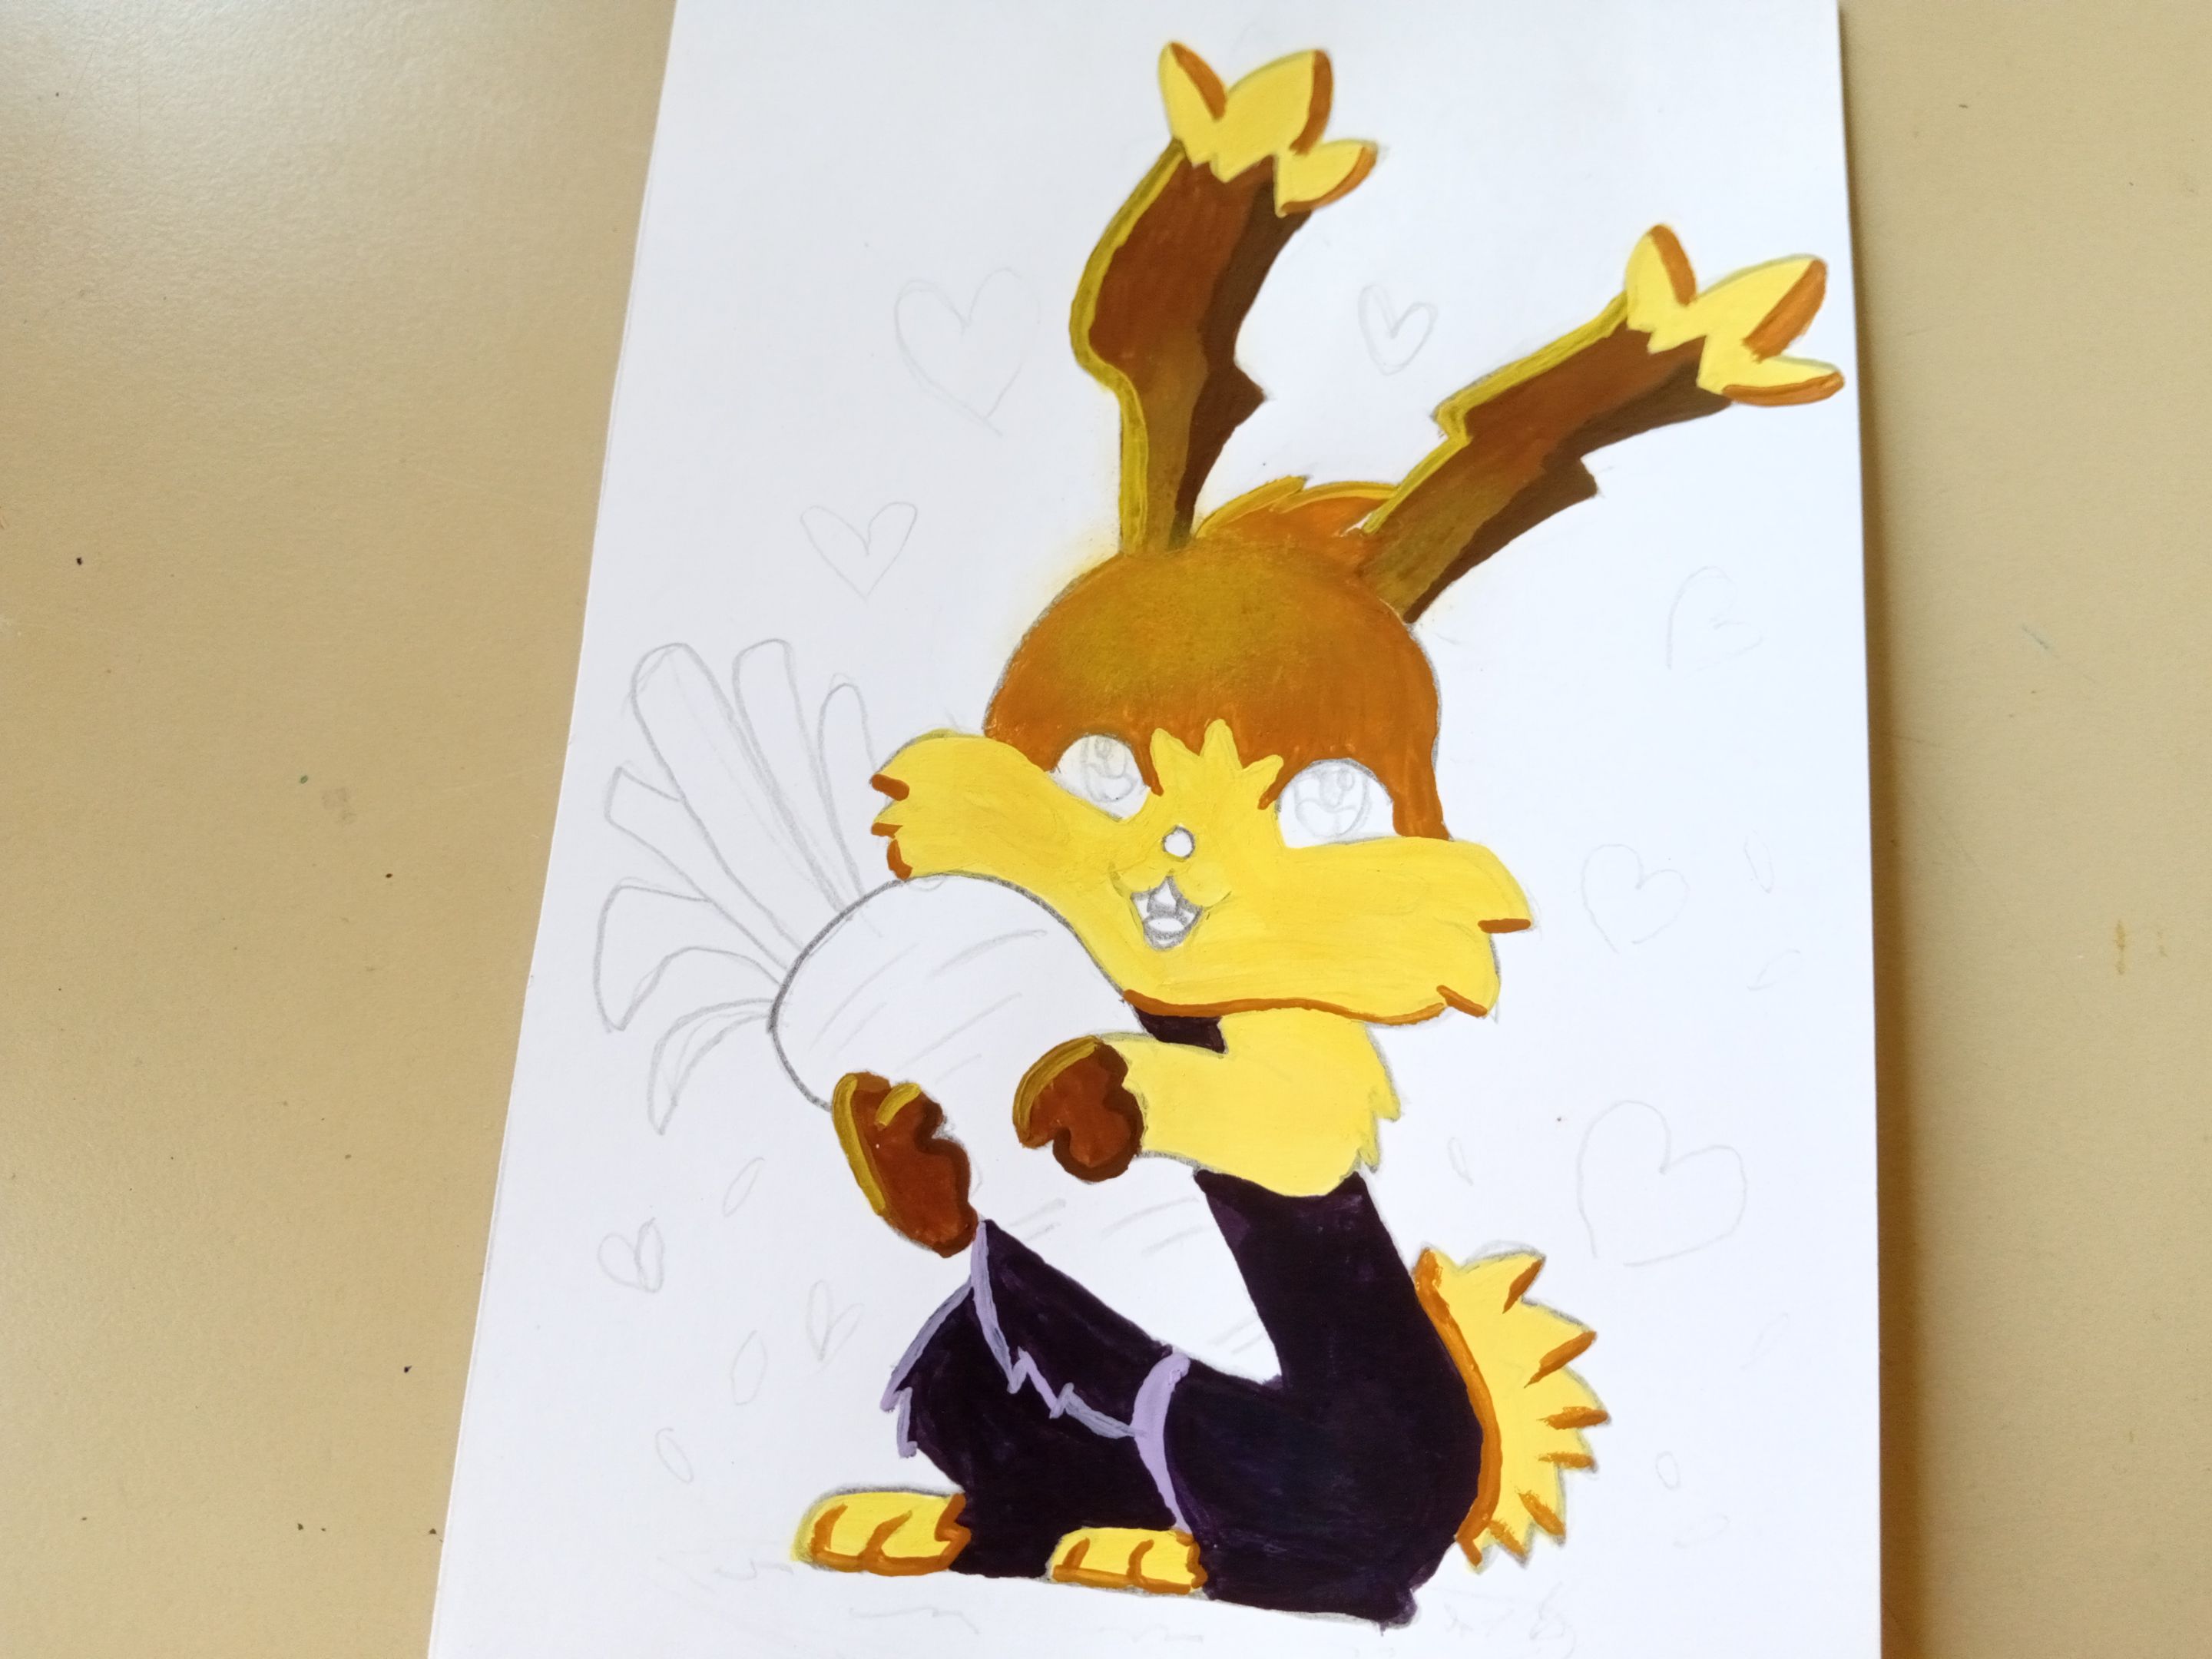
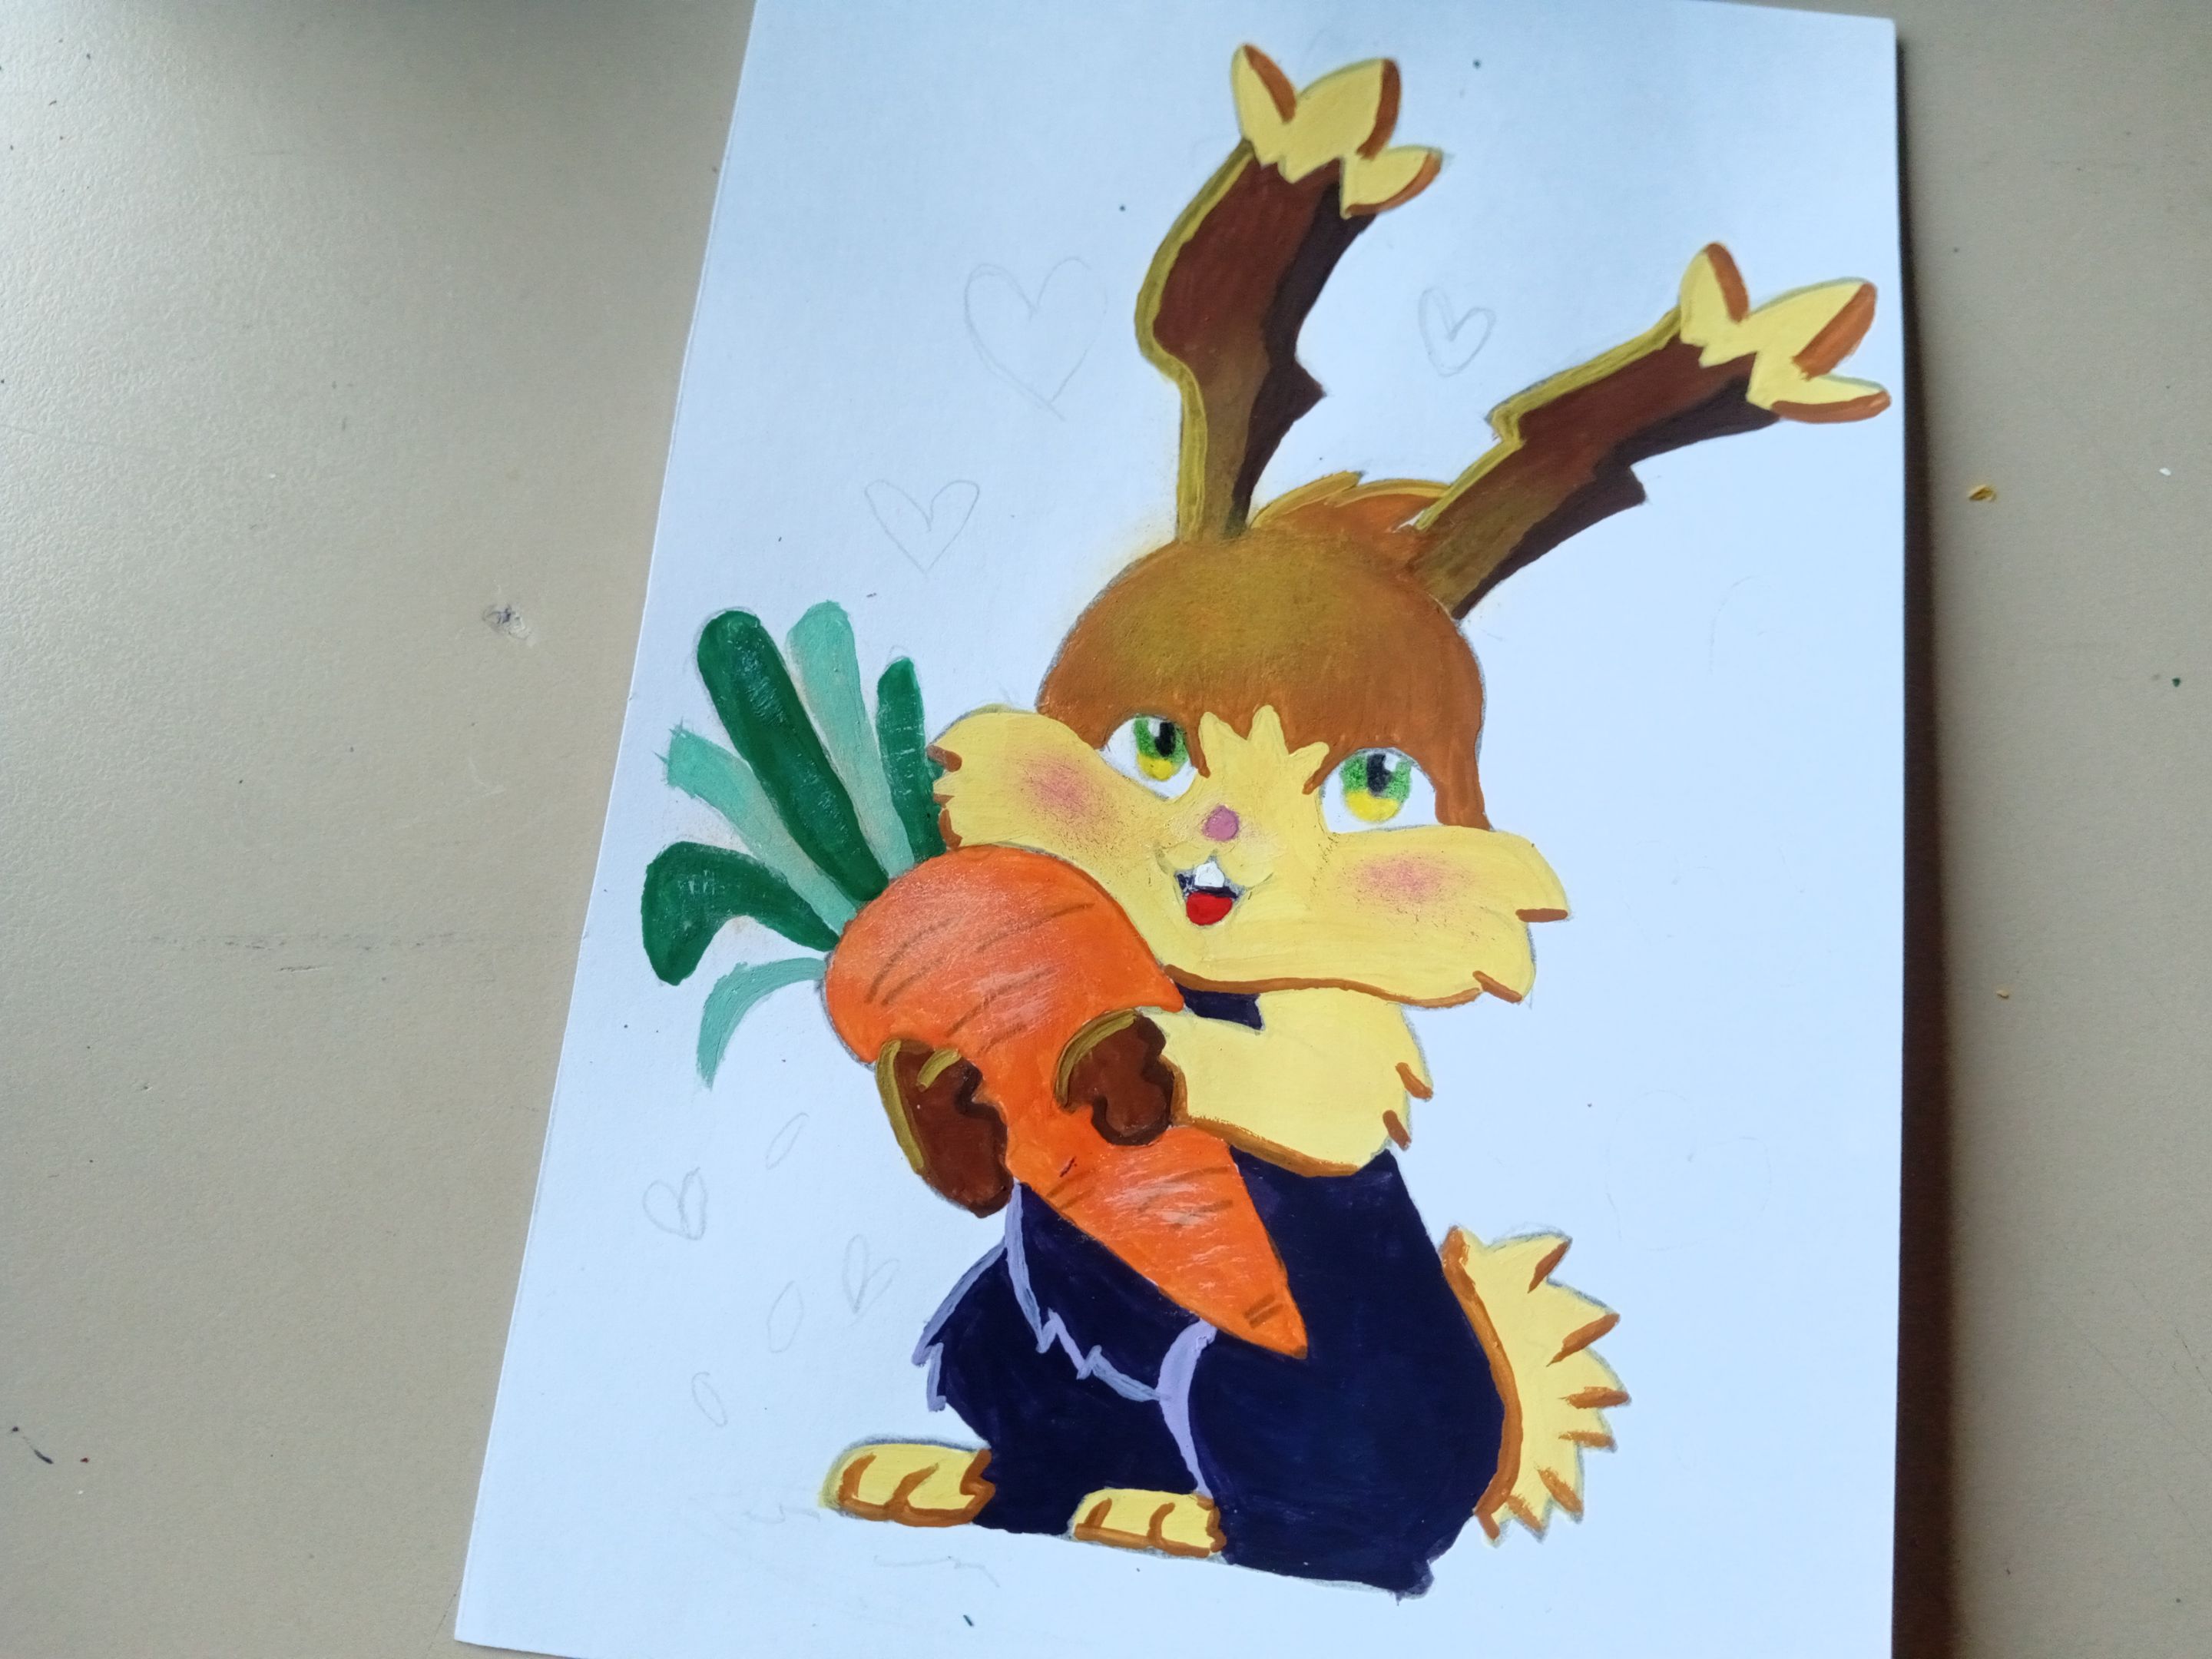
- ✨ PASO 4:
El resto del cuerpo lo pinté de amarillo con blanco y las sombras con el marrón de la cabeza. Pinté la zanahoria con naranja, las hojas con verdes y difuminé un poco con blanco.
- ✨ STEP 4:
I painted the rest of the body yellow with white and the shadows with the brown of the head. I painted the carrot with orange, the leaves with green and blended it a little with white.
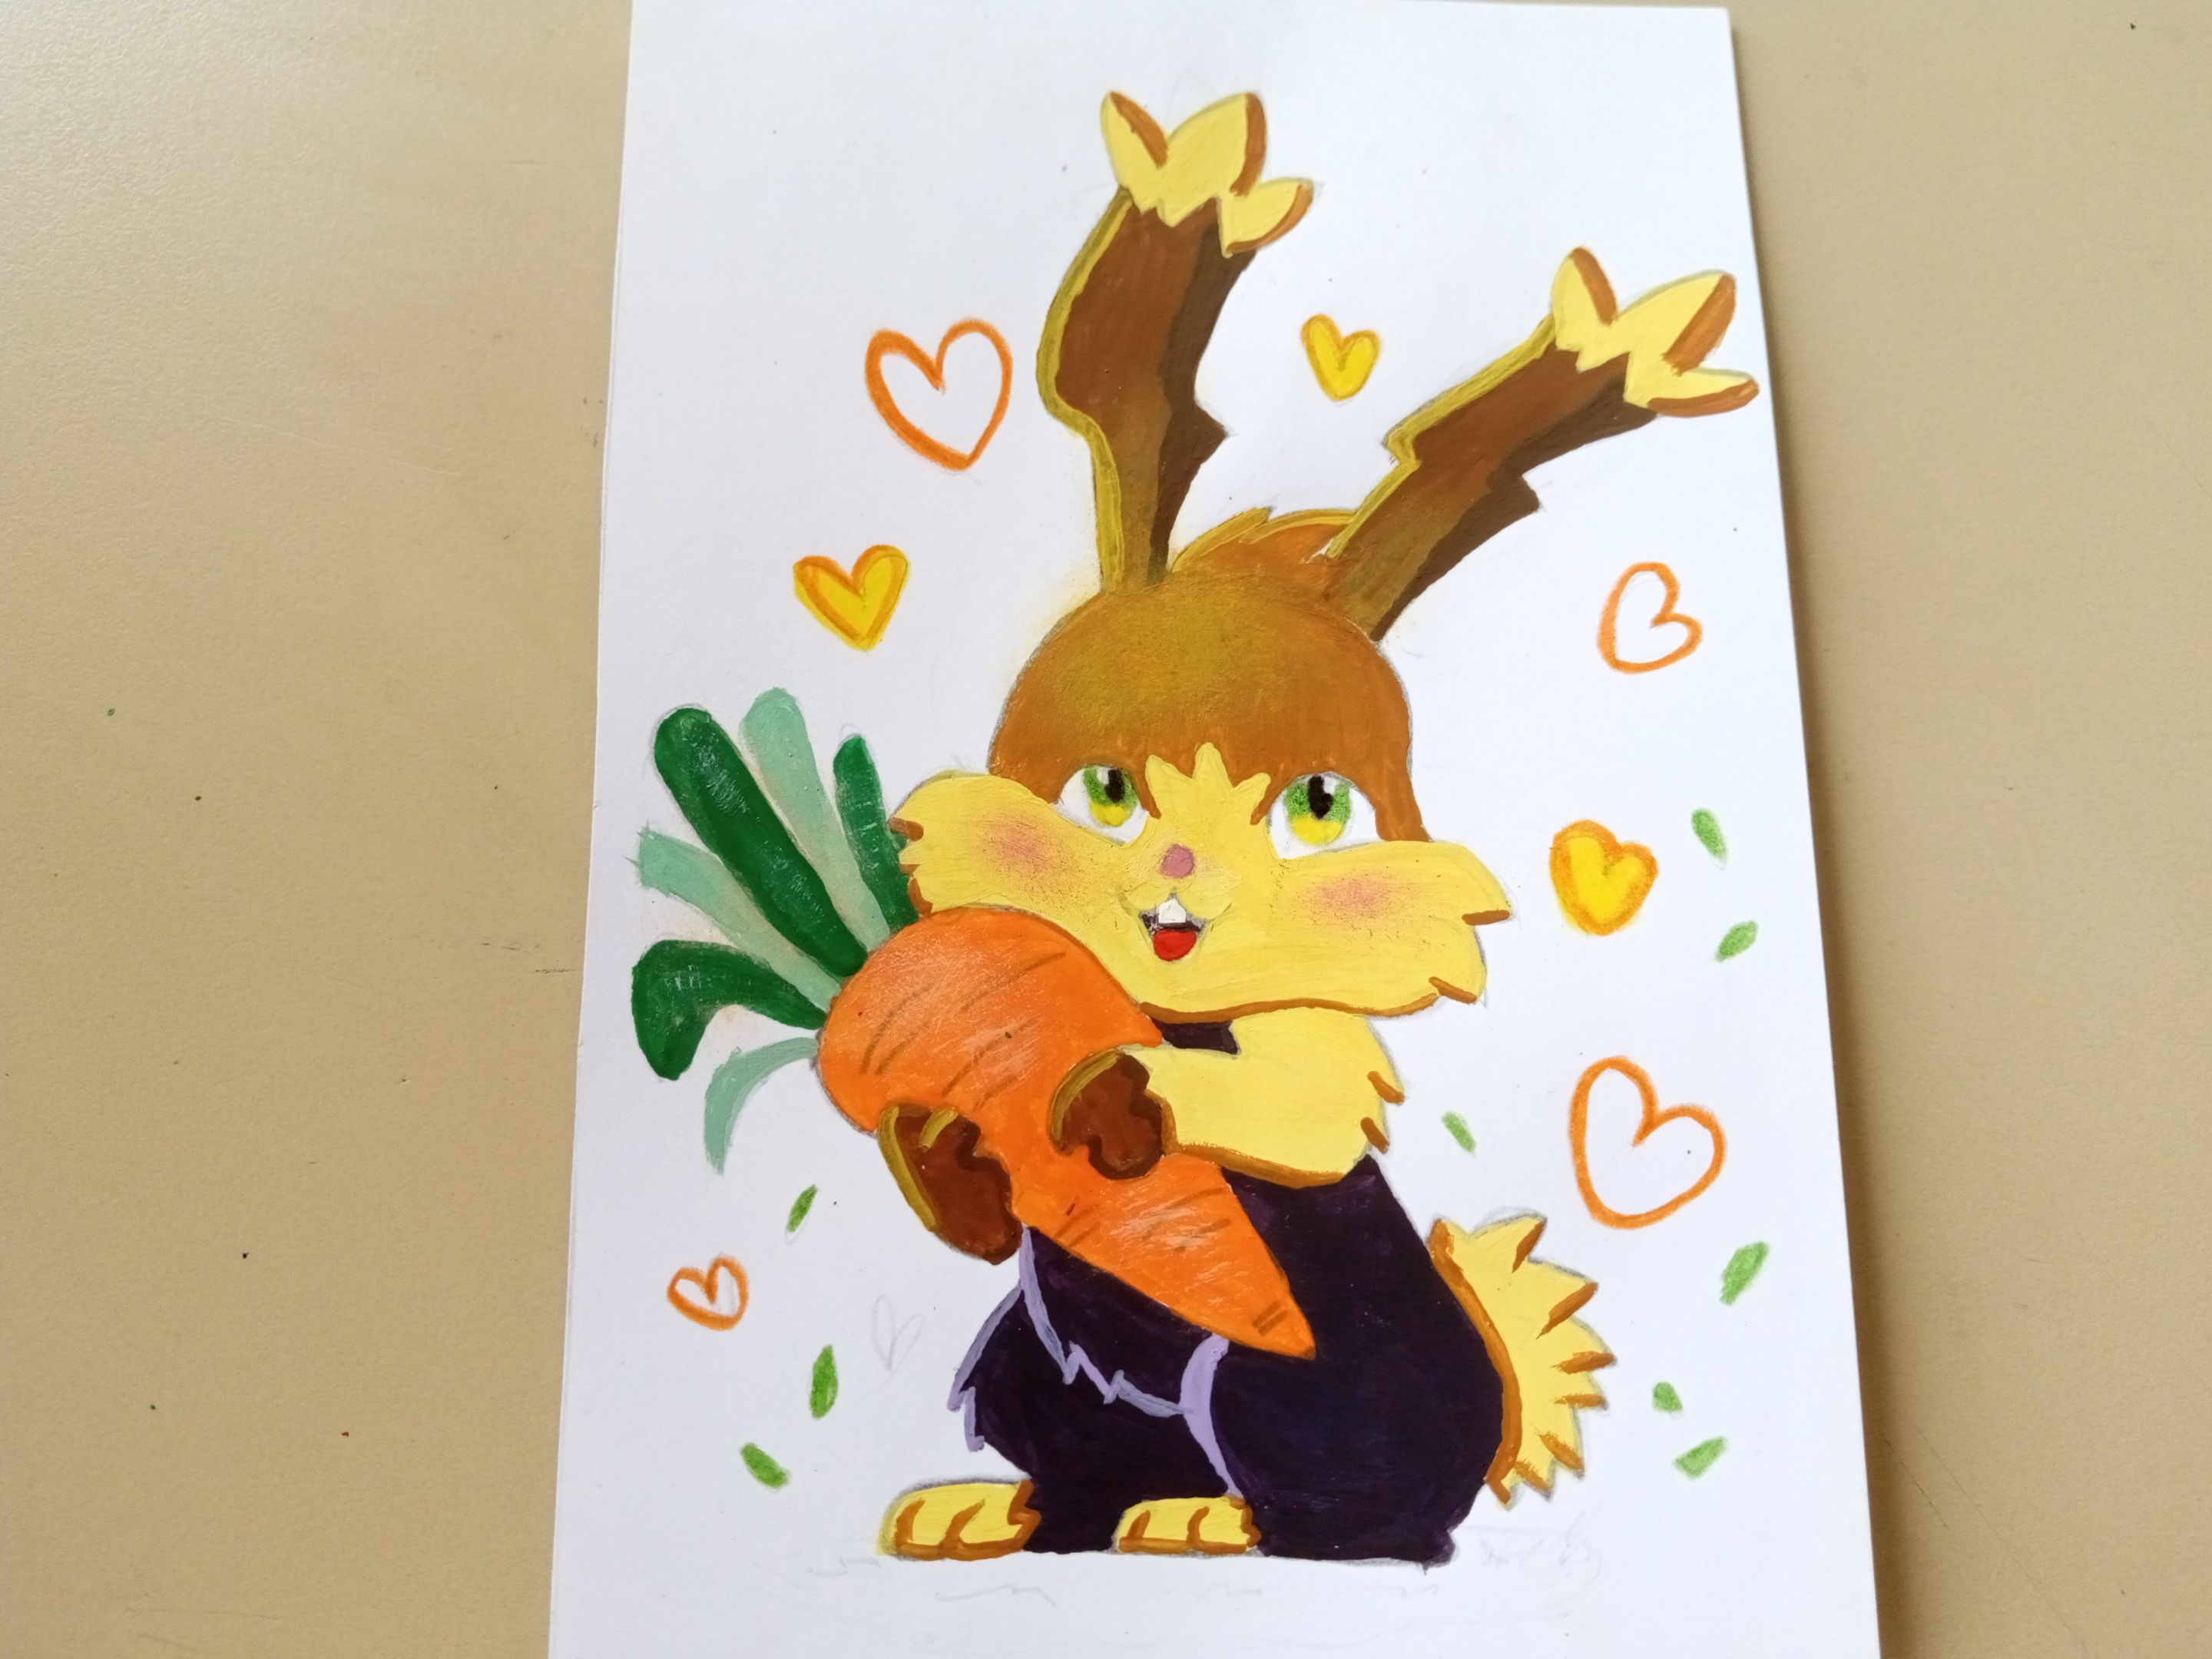
- ✨ PASO 5:
Para finalizar, pinté los ojos con verde, amarillo y marcador negro. También, la boca, la nariz y aplique un poco de rosa en las mejillas. Para el fondo, pinté los corazones utilizando los colores que utilicé en el dibujo, las hojas en verde y, por último, delineé todo el dibujo con marcador negro.
- ✨ STEP 5:
To finish, I painted the eyes with green, yellow and black marker. Also, the mouth, nose and apply a little pink on the cheeks. For the background, I painted the hearts using the colors I used in the drawing, the leaves in green and, finally, I outlined the entire drawing with black marker.
❤️ Hasta la próxima publicación.
❤️ Until the next post.

Todas las fotografías son de mi propiedad.
Separador y Fotos editadas en Canva
All photographs are my property.
Photos edited in Canva