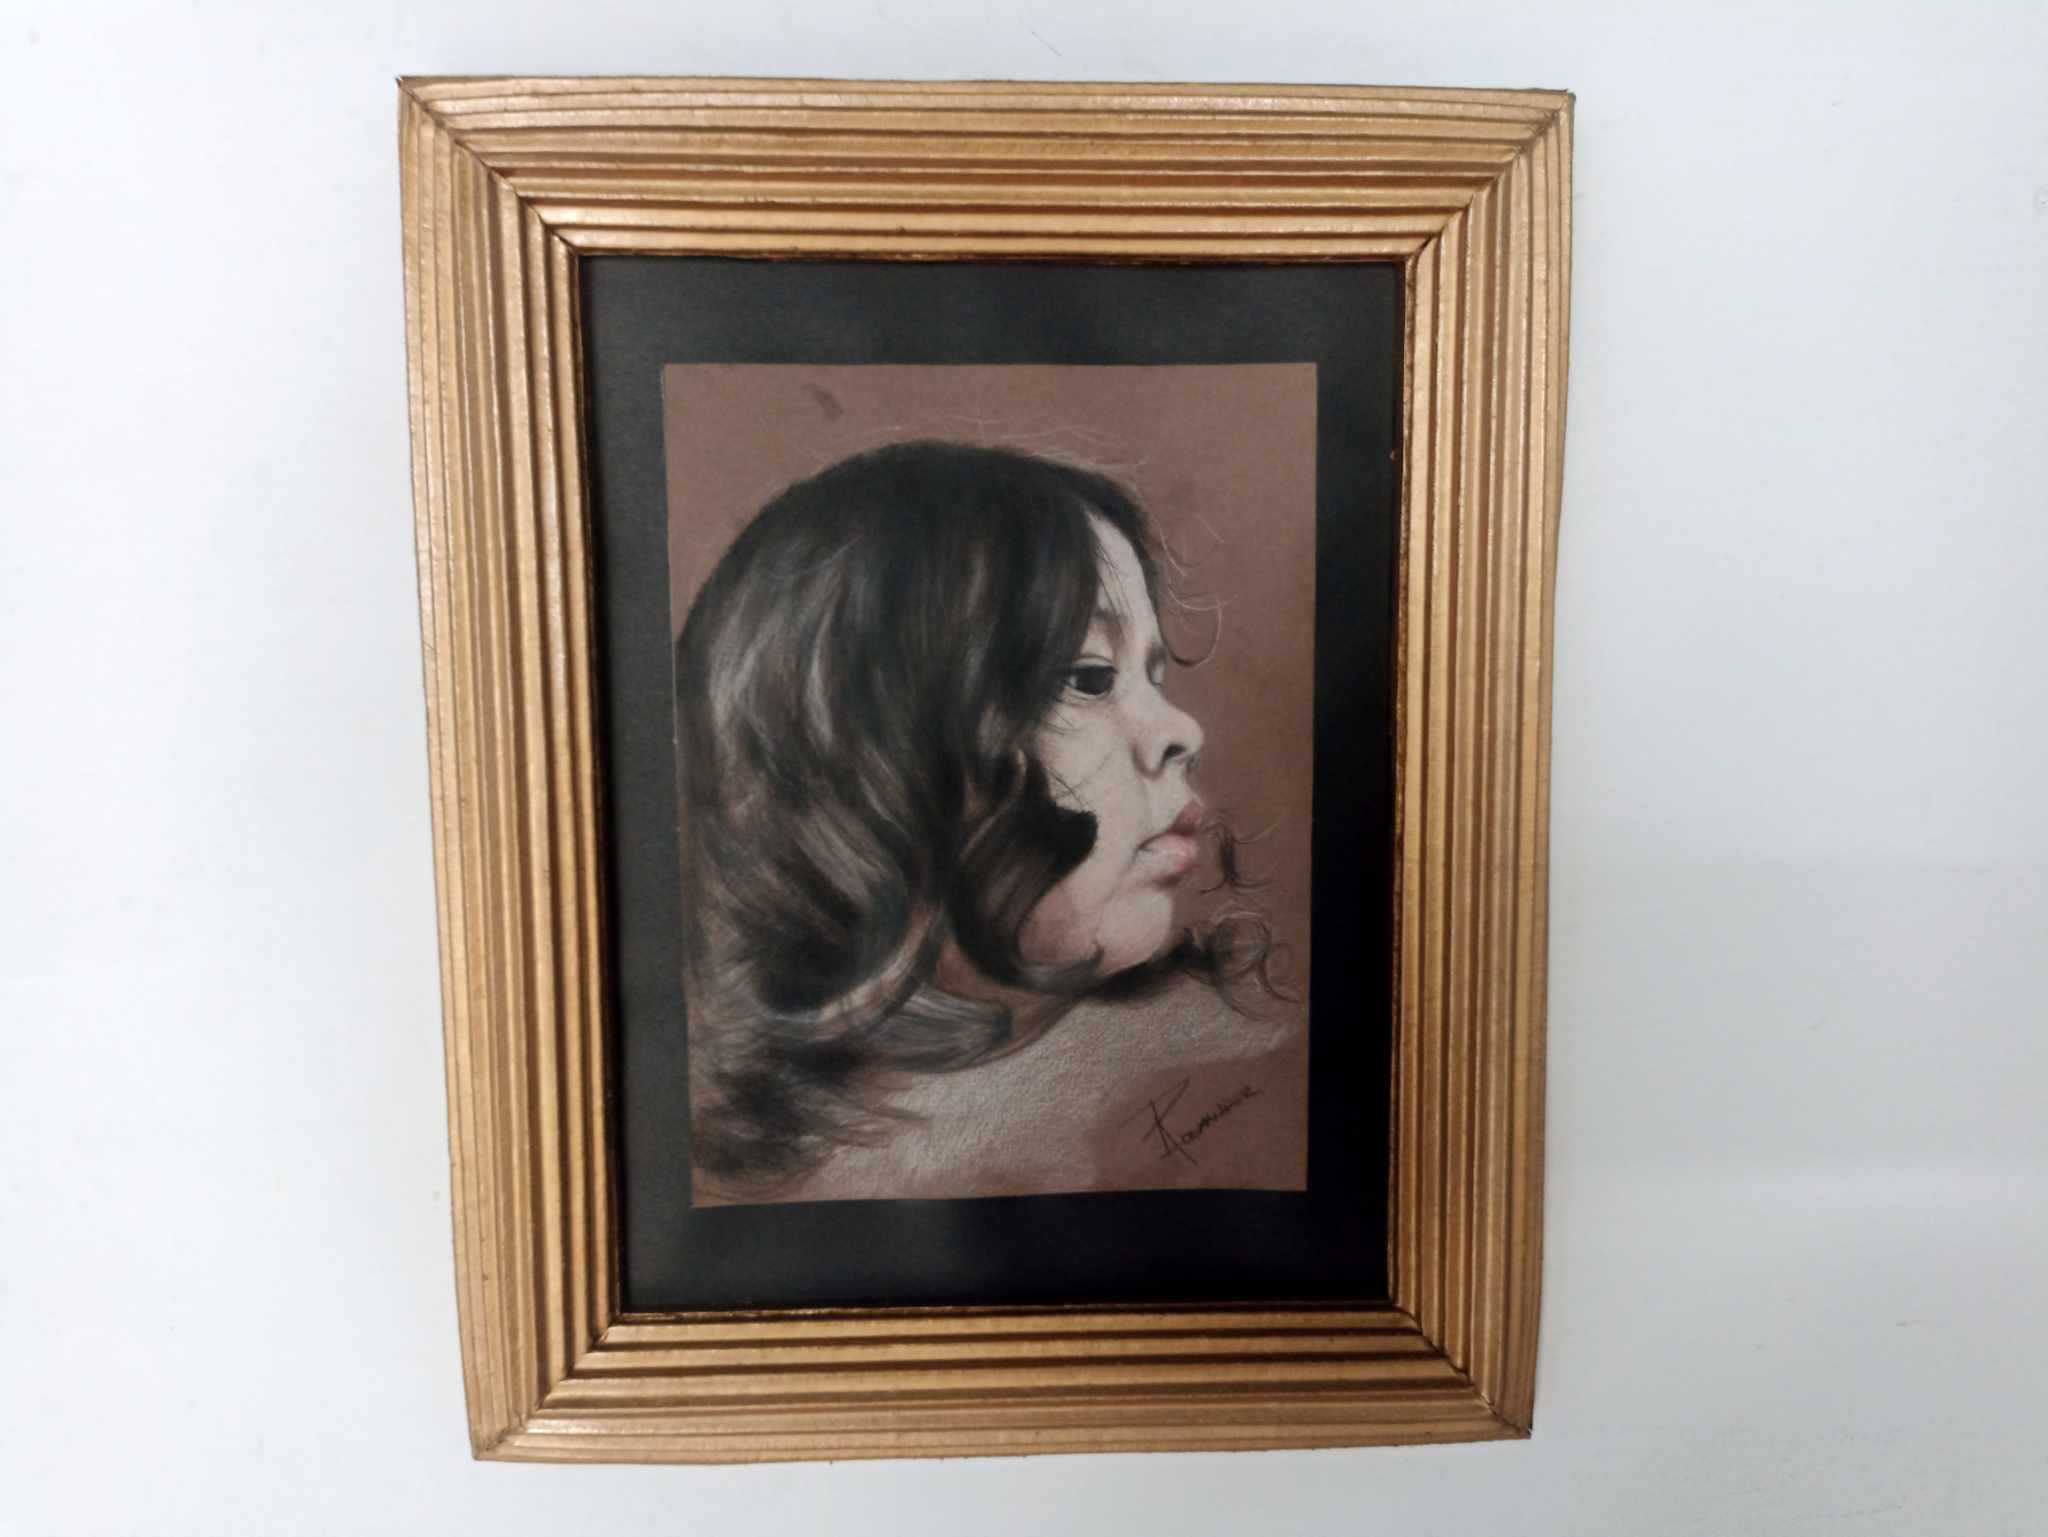
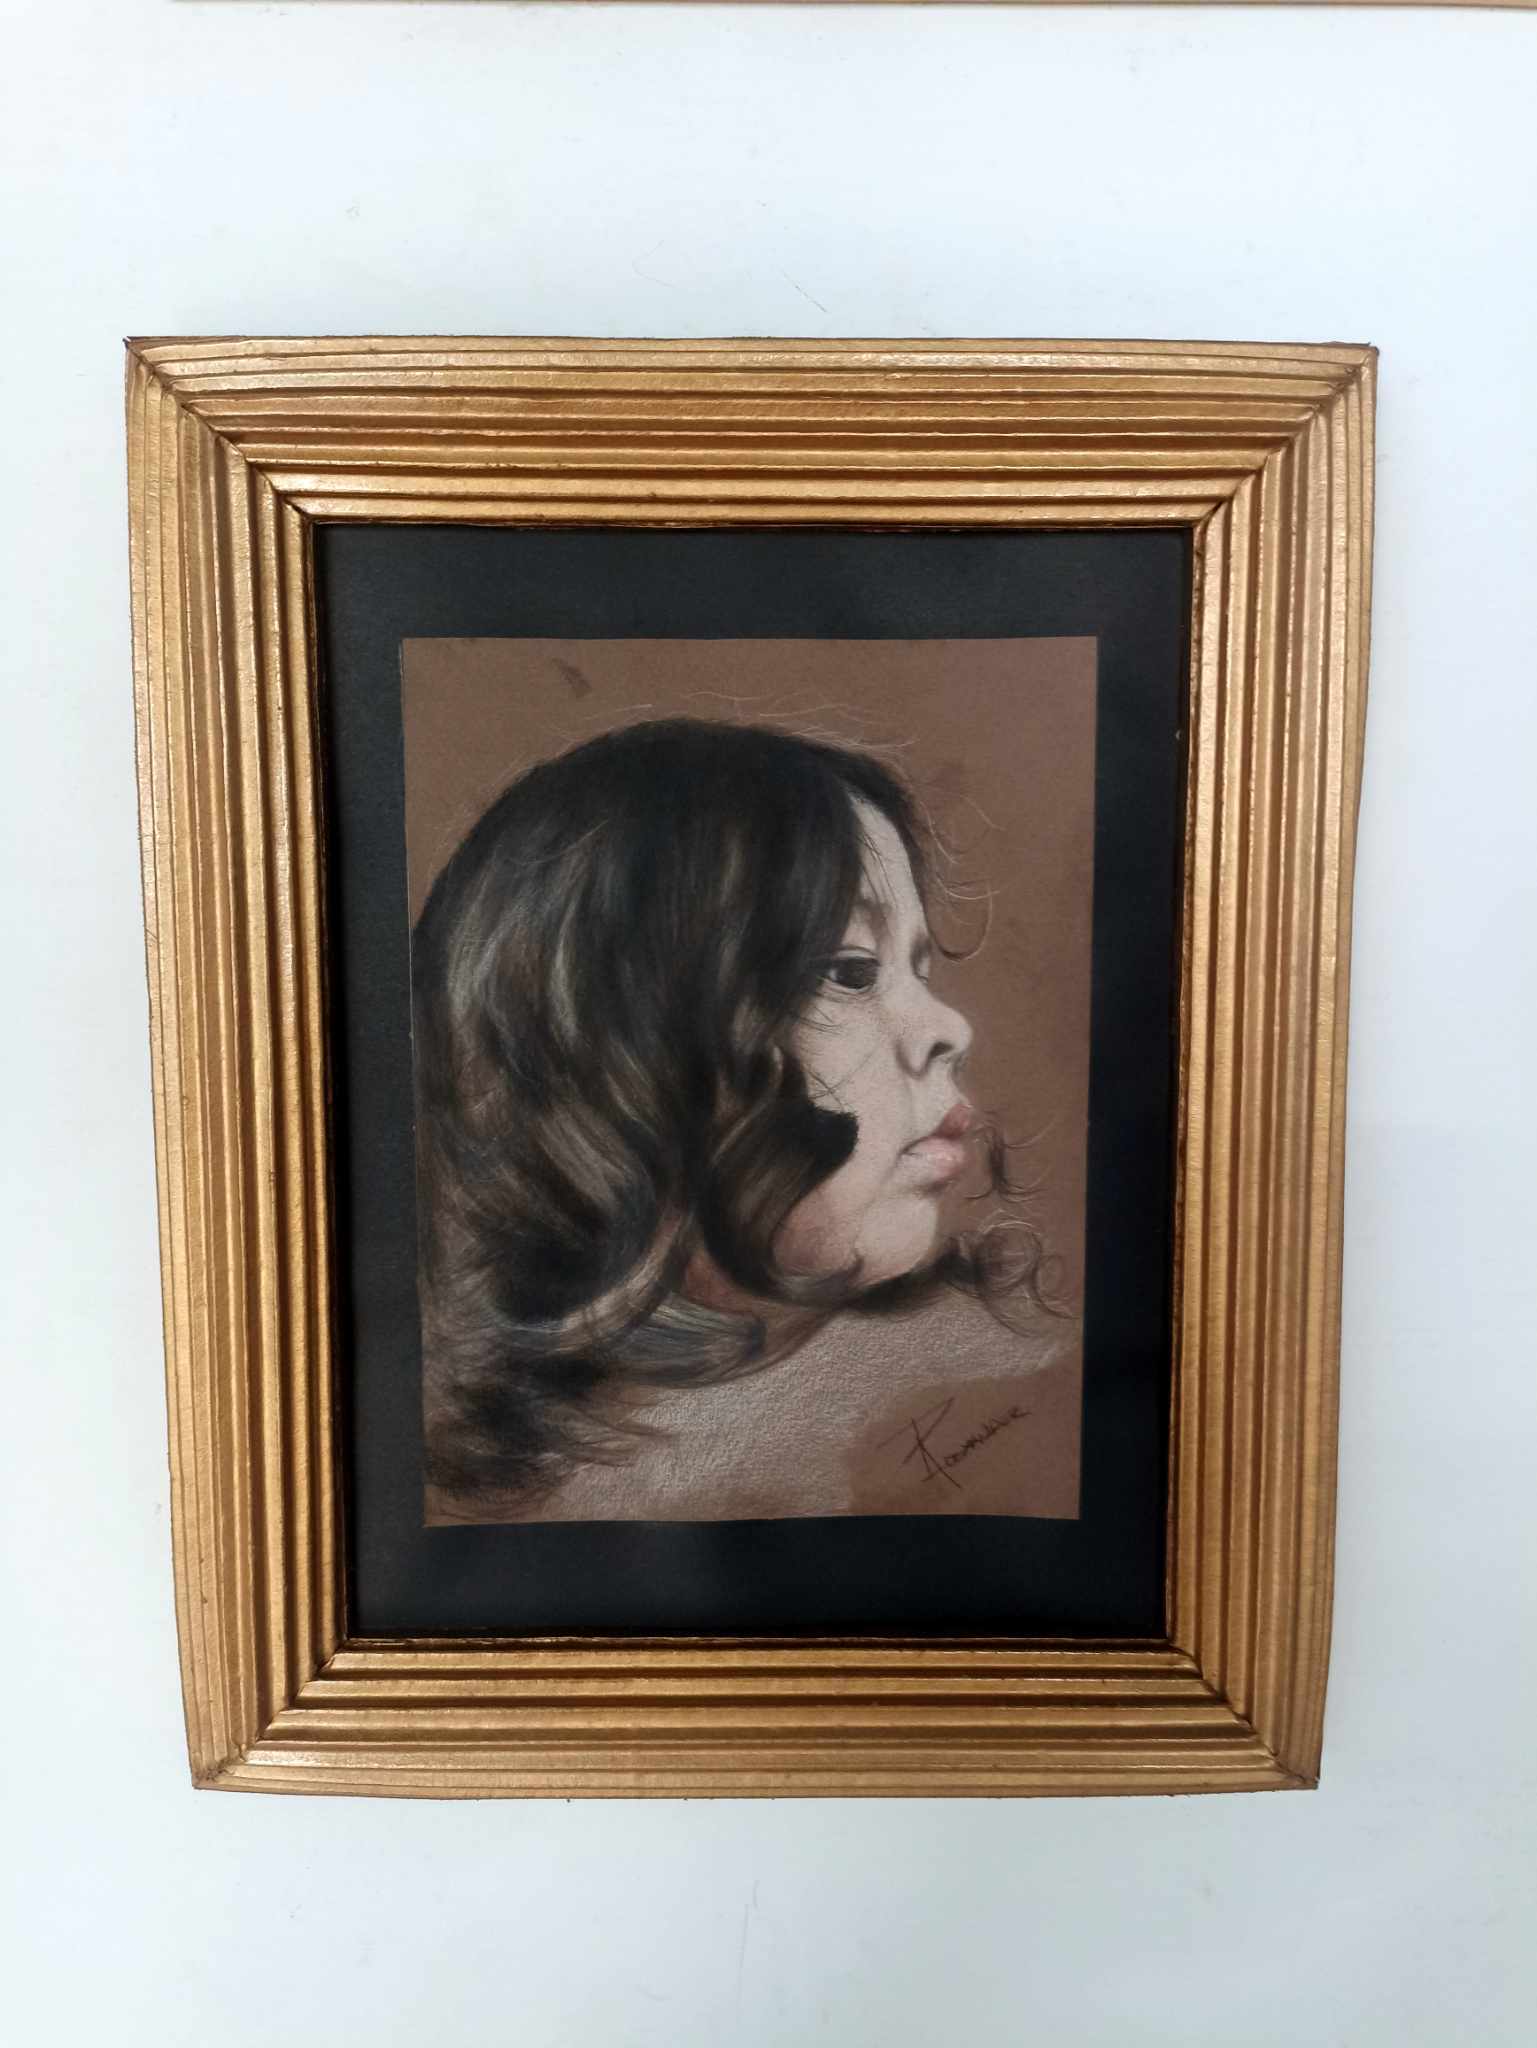
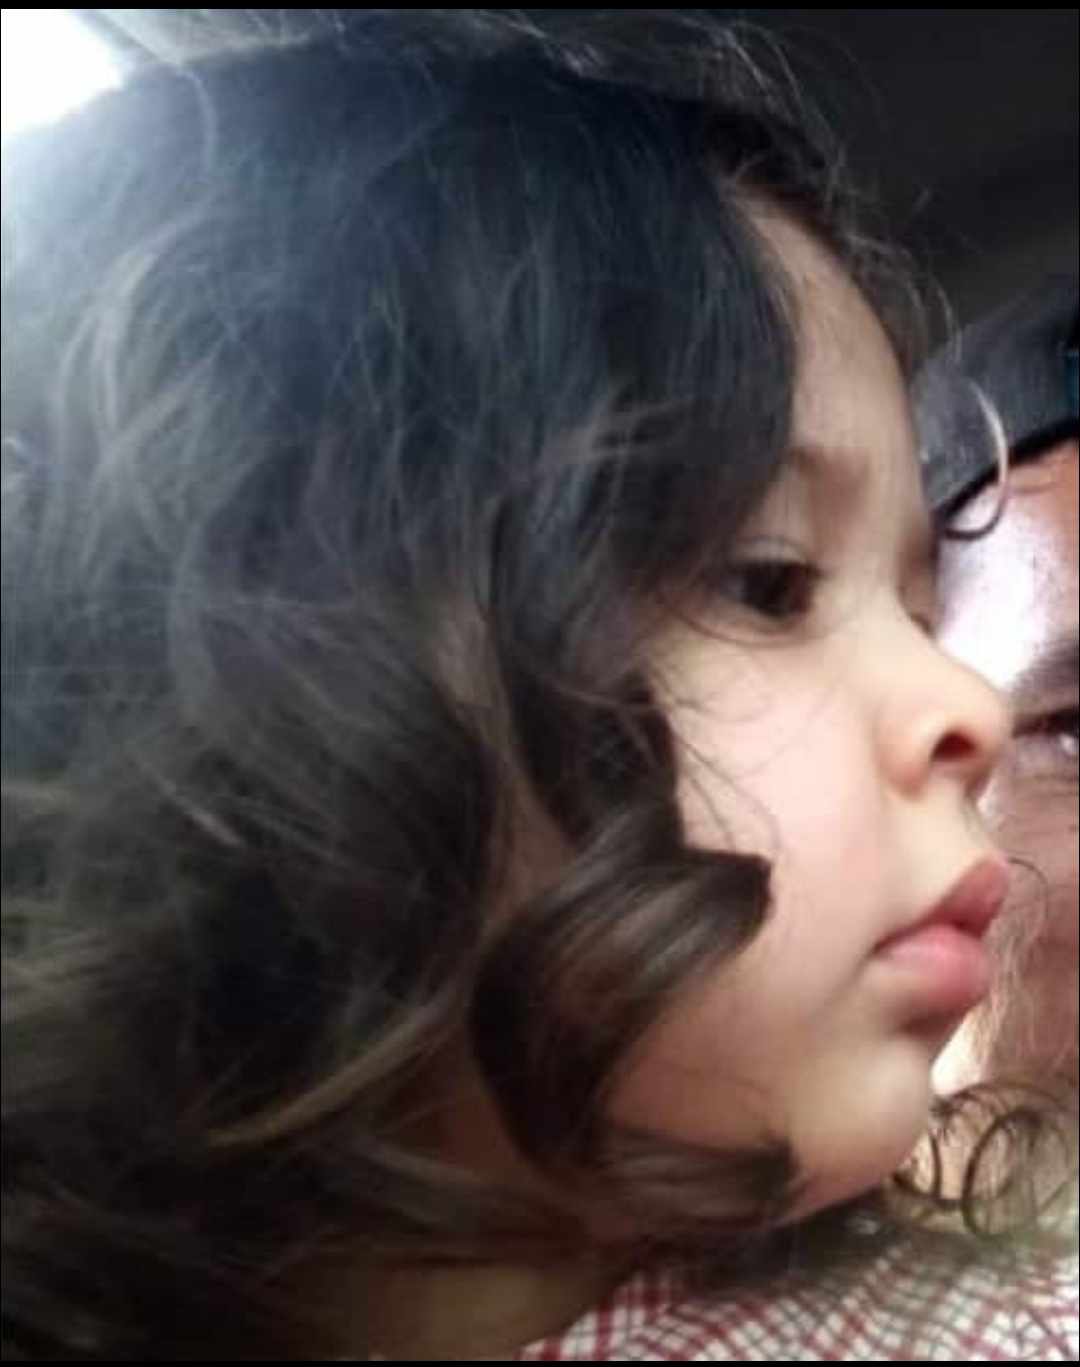
Hello dear friends, I hope you are all doing well, in some places enjoying the carnival days, for my part I would like to present you a project that I had in mind for a long time, a cardboard frame for a portrait. Four years ago I made a portrait of my little daughter, which was kept in a folder, I was waiting for the opportunity to get very good quality cardboard to be able to make a beautiful frame, and that moment arrived, I want to share the experience with you and that you also have the opportunity to put it into practice. I will briefly explain step by step how I did it, let's begin!
Hola queridos amigos, espero que todos se encuentren muy bien, en algunos lugares disfrutando de los días de carnaval, por mi parte quiero presentarles un proyecto que tenía en mente hace mucho tiempo, un marco de cartón para un retrato. Hace 4 años atrás realicé un retrato de mi pequeña hija, el cual quedó guardado en una carpeta, esperaba esperando la oportunidad de conseguir cartón de muy buena calidad para poder hacerle un hermoso marco, y ese momento llegó, quiero compartir con ustedes la experiencia y que también tengan la oportunidad de ponerlo en práctica. Explicaré brevemente paso a paso como lo hice, comencemos!

 |  | |
|---|---|---|
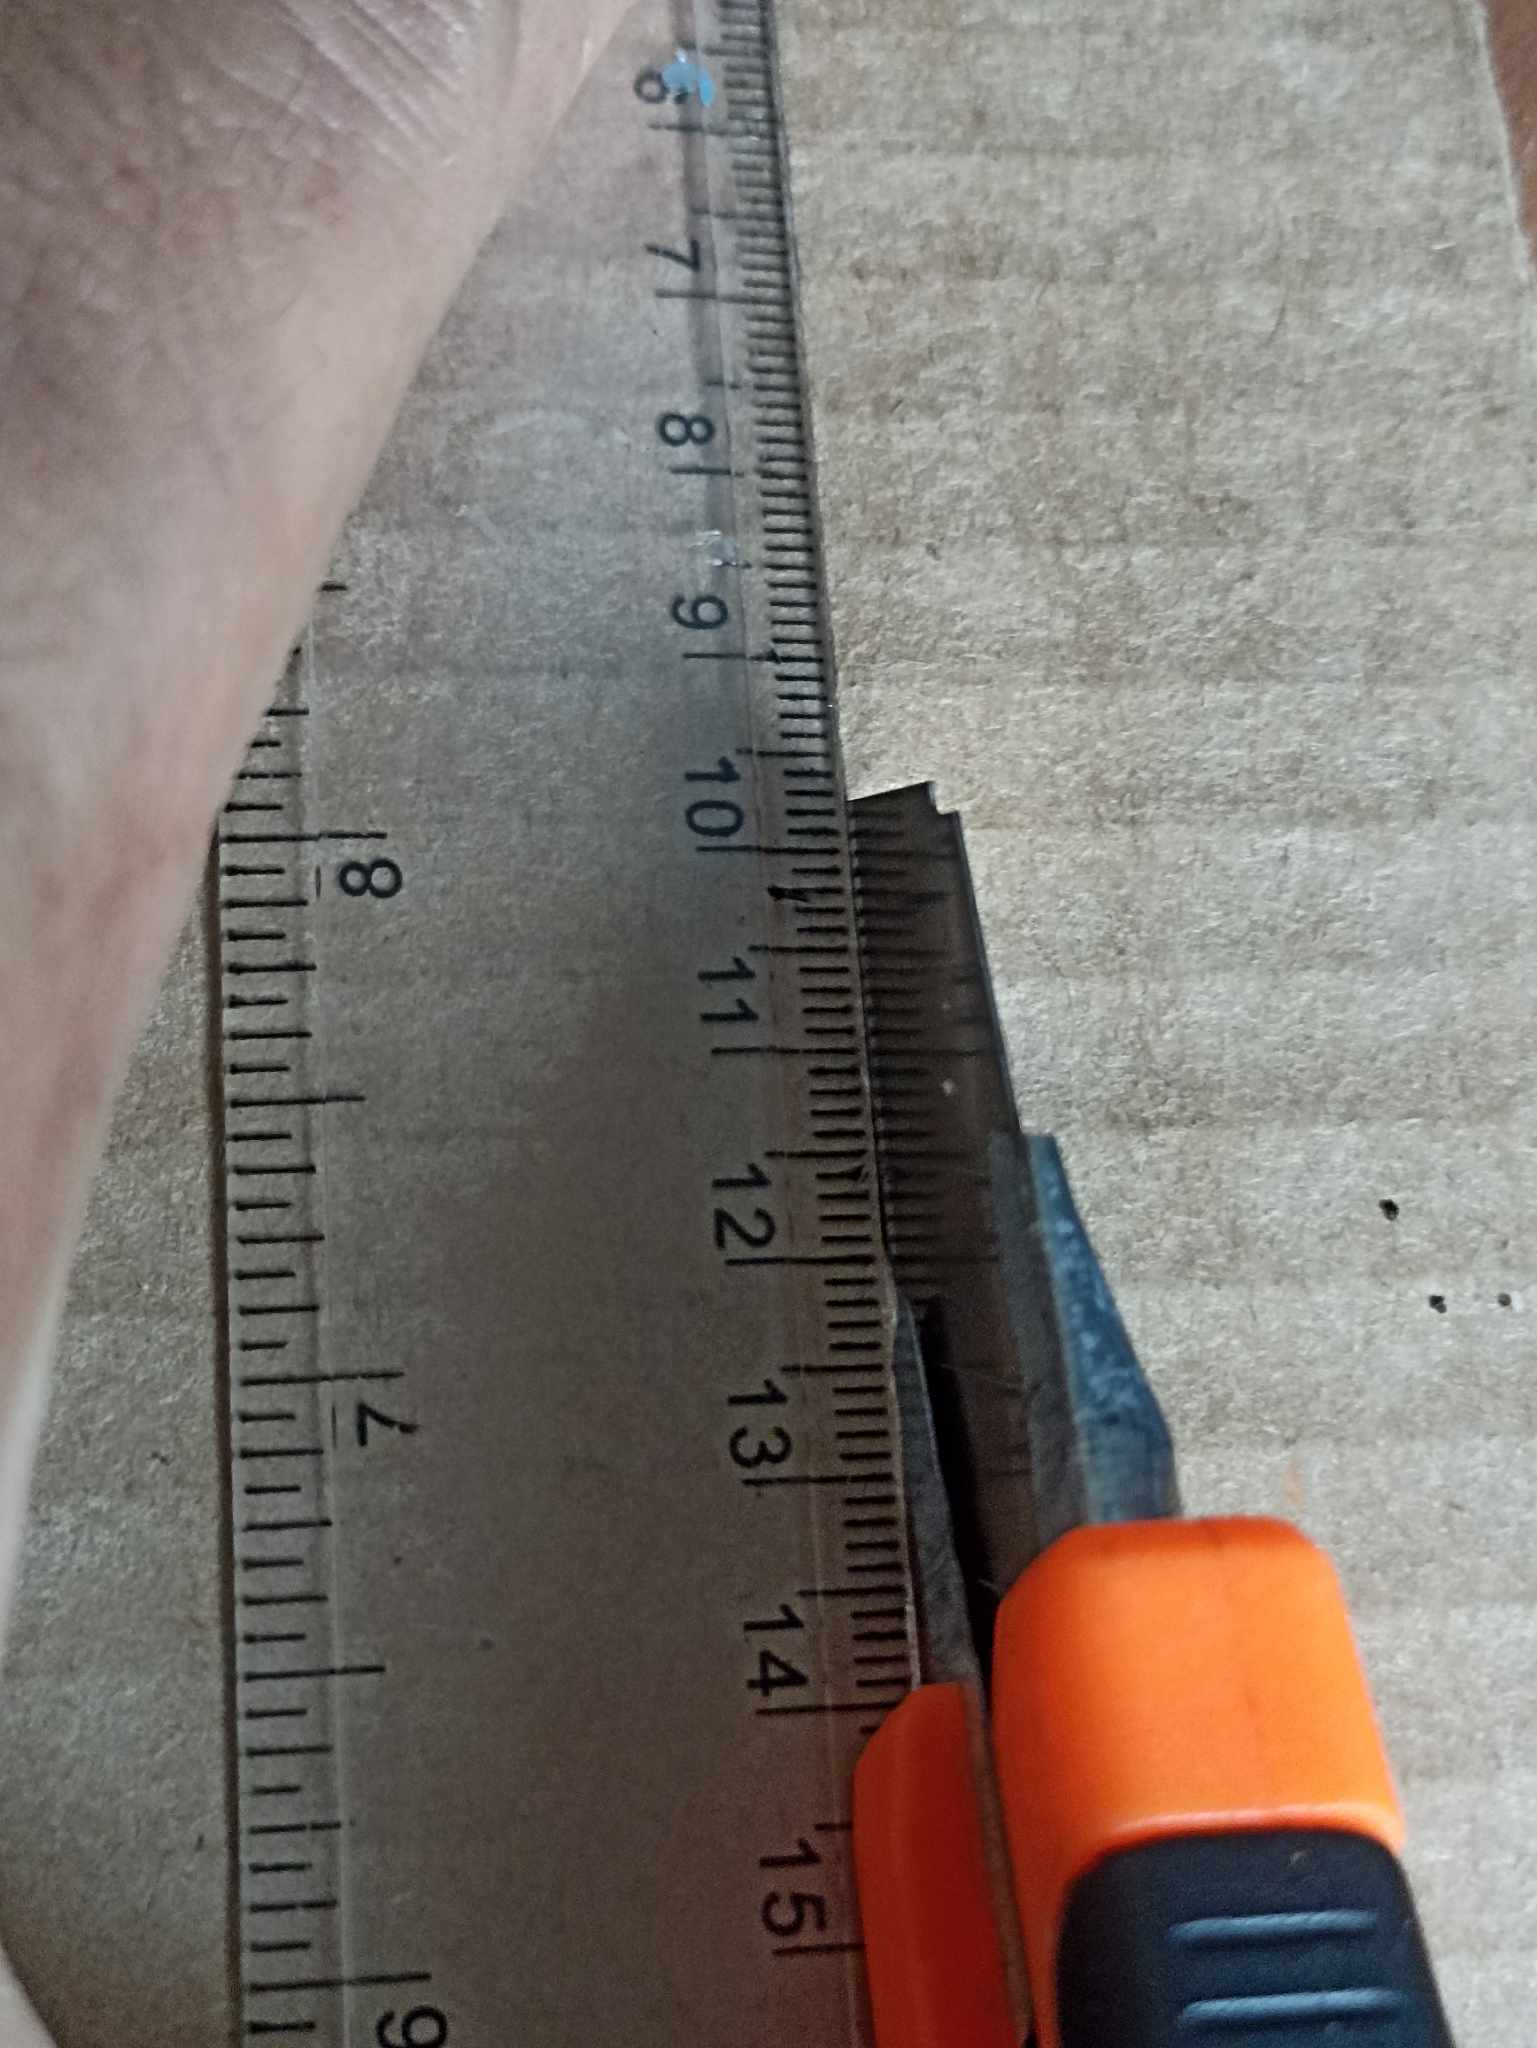 | 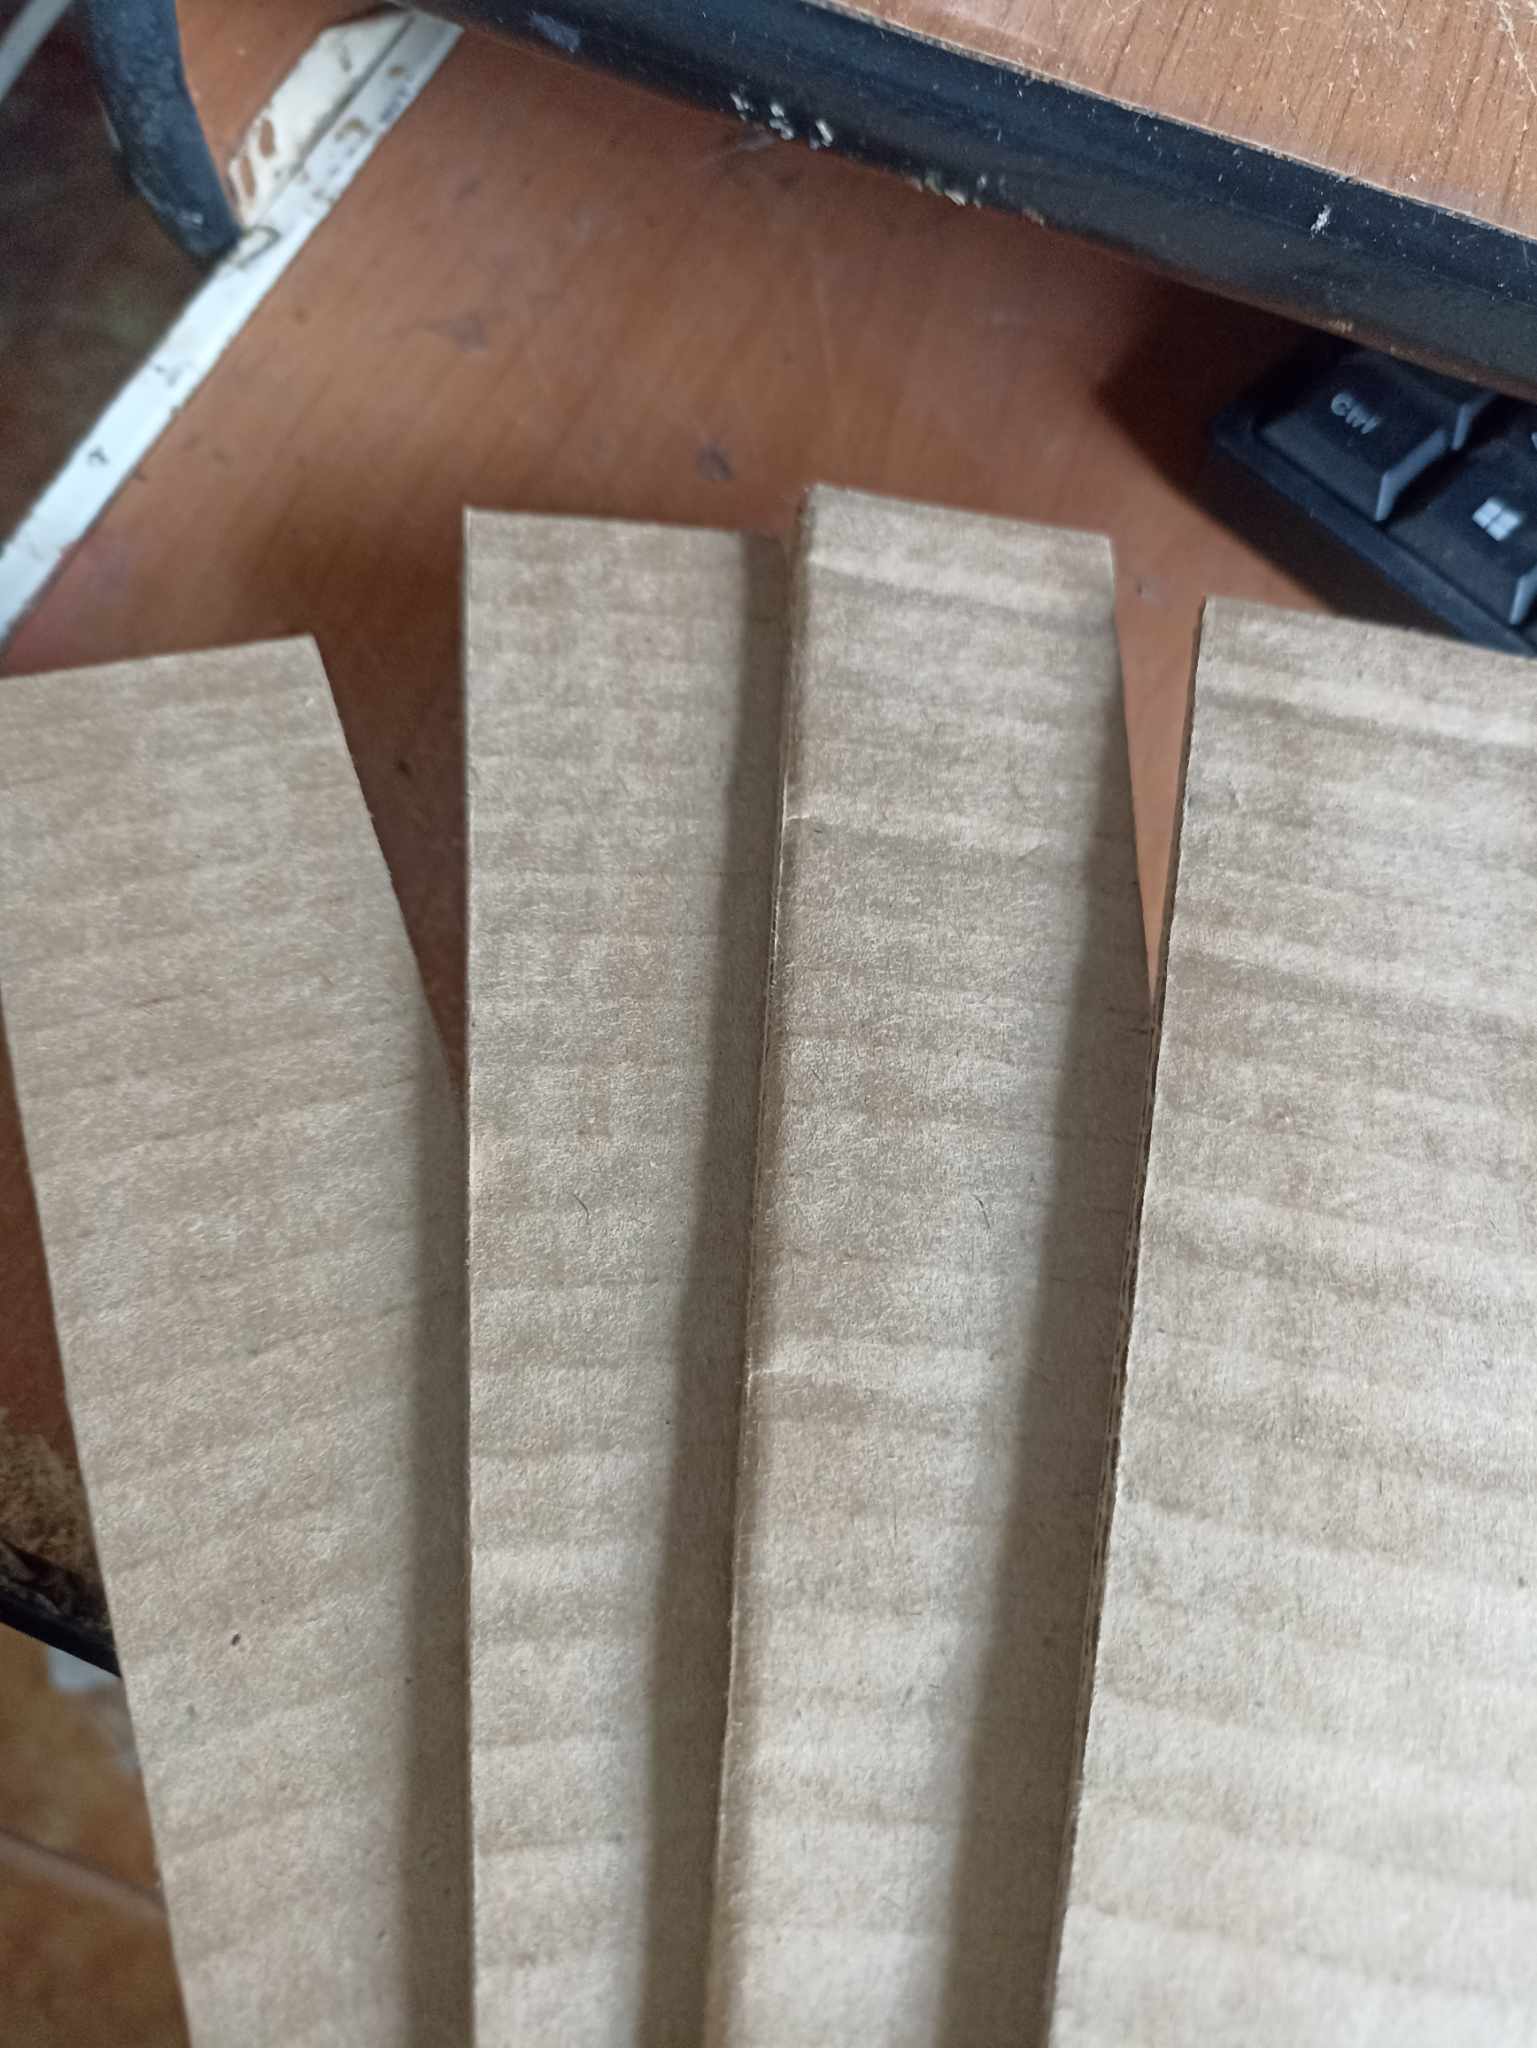 |
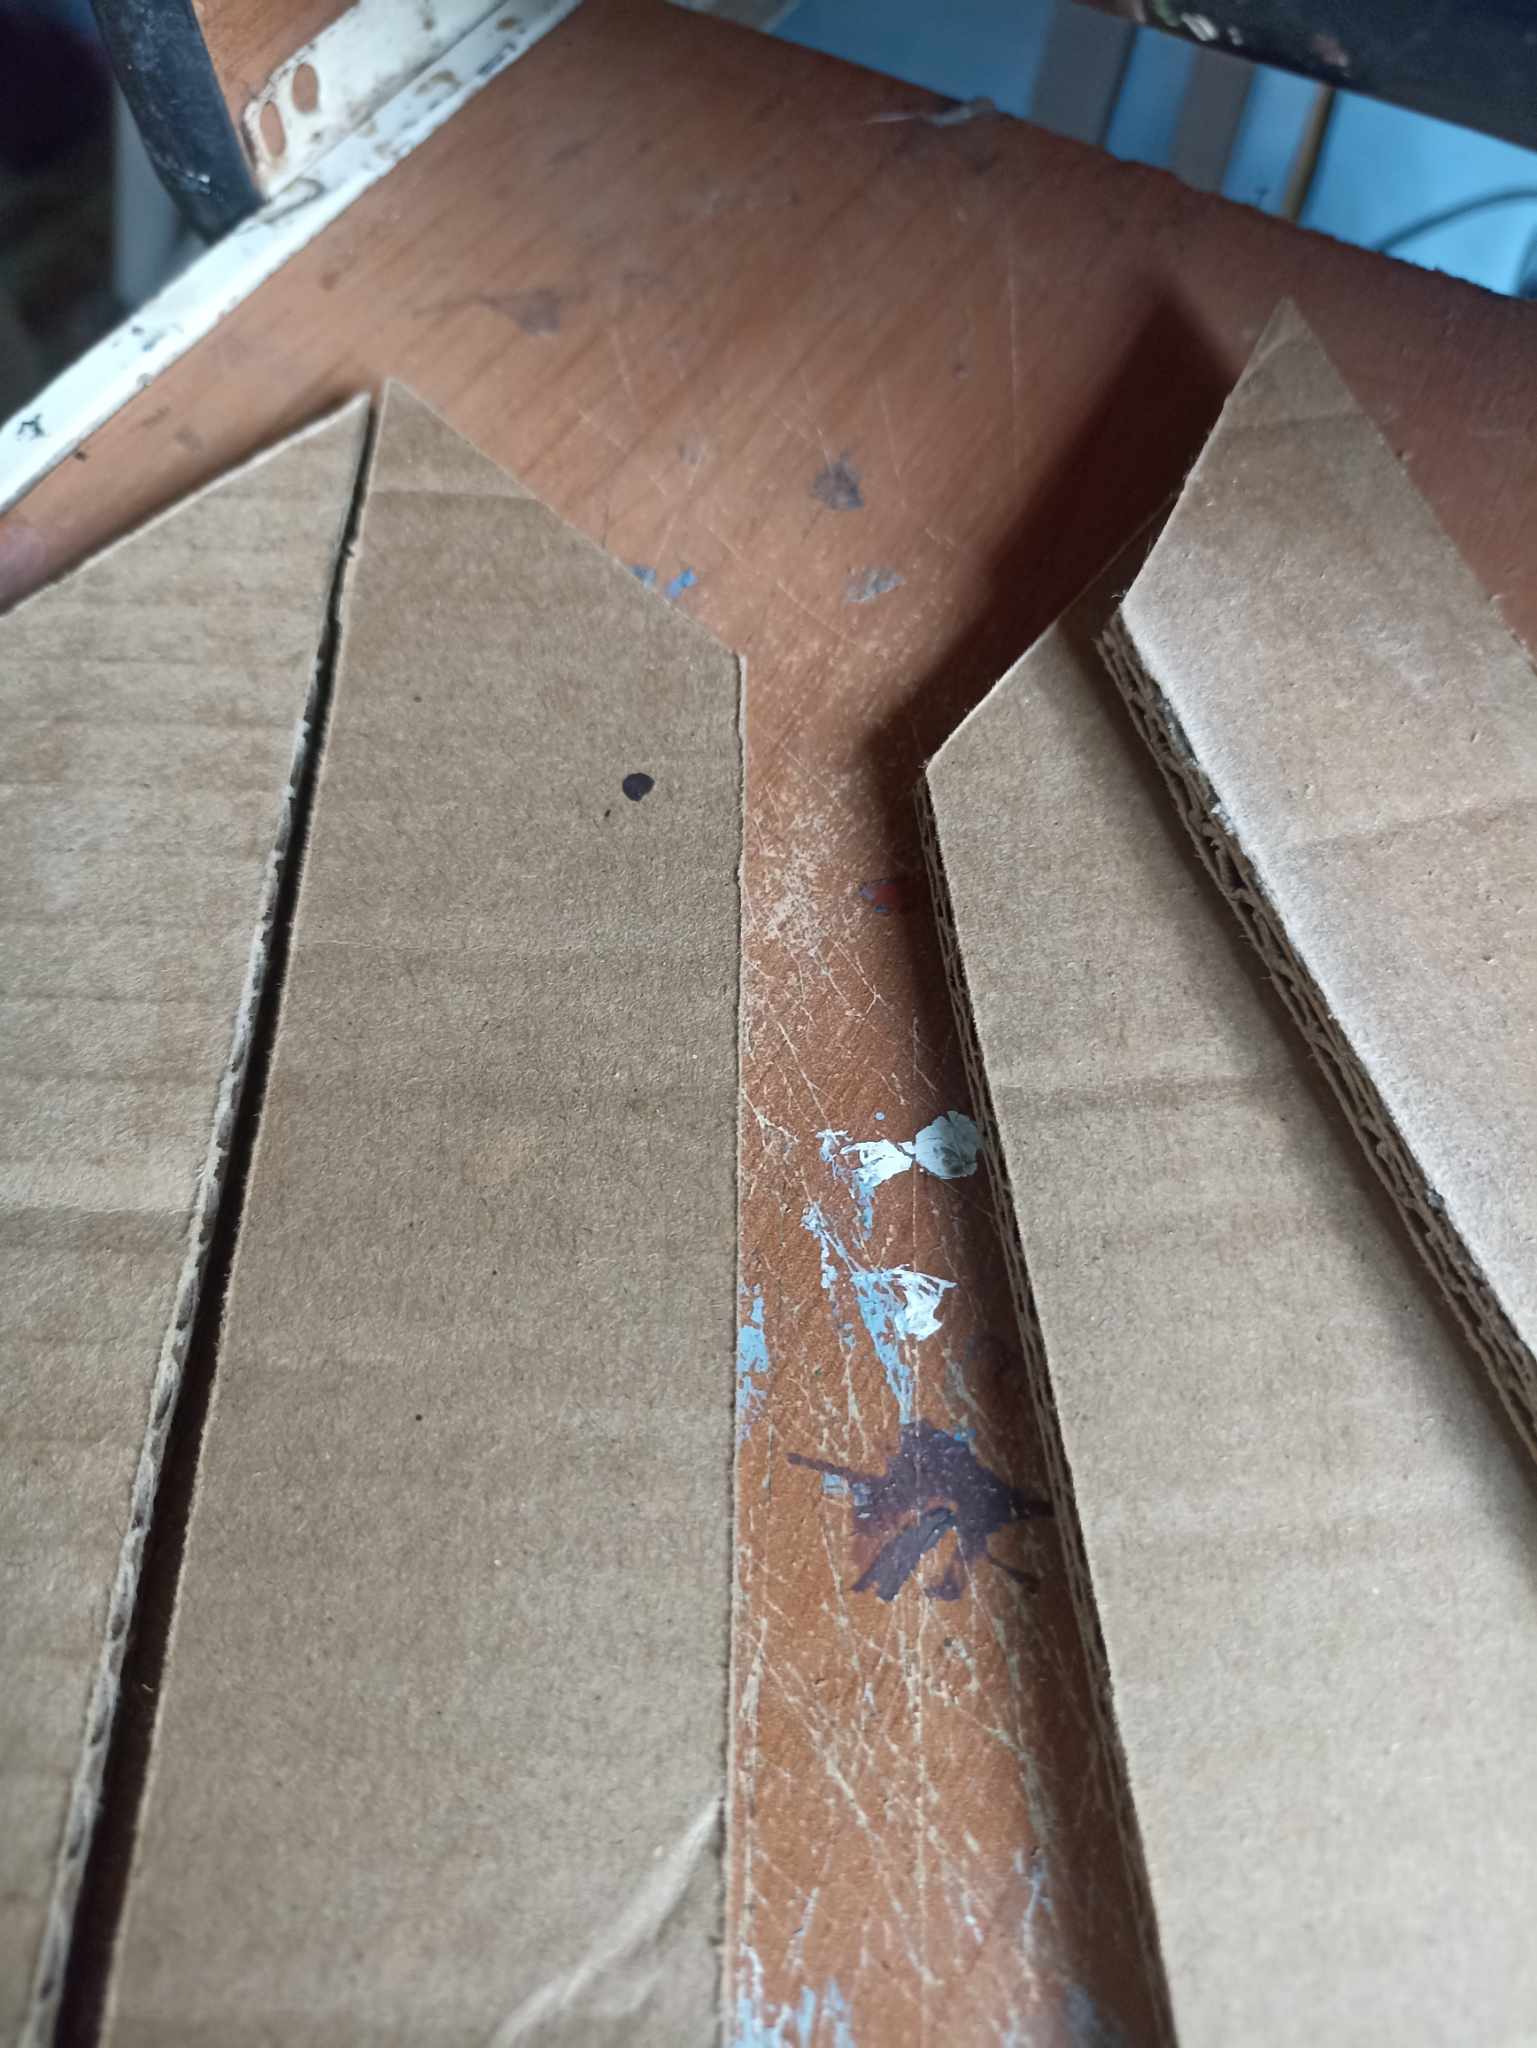
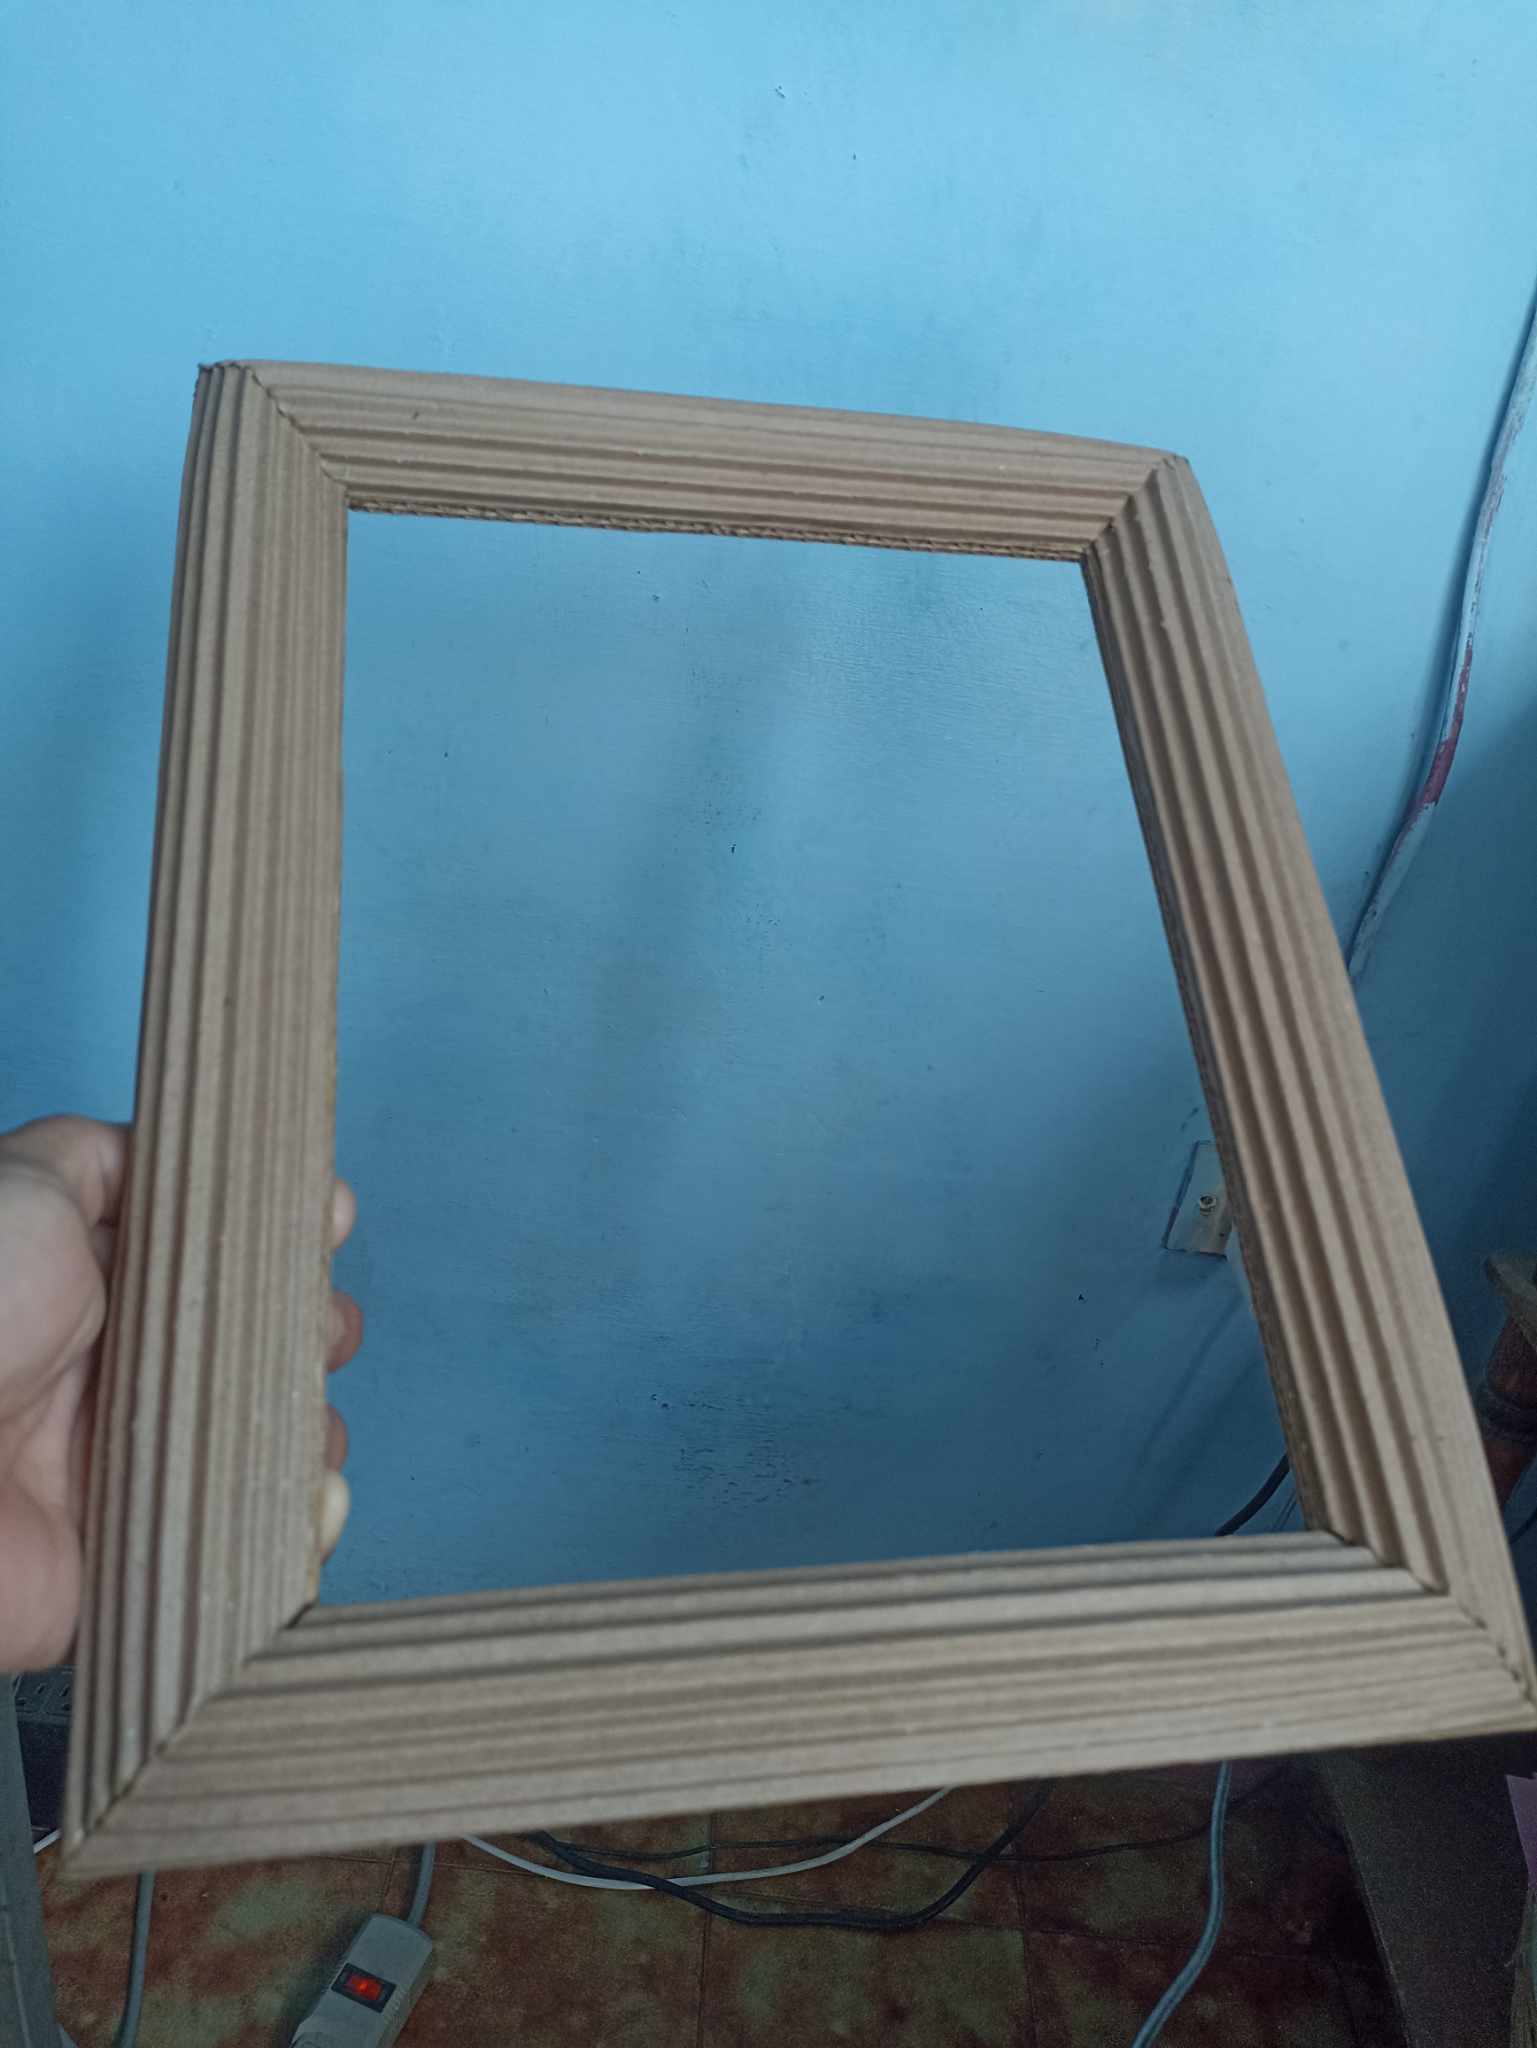
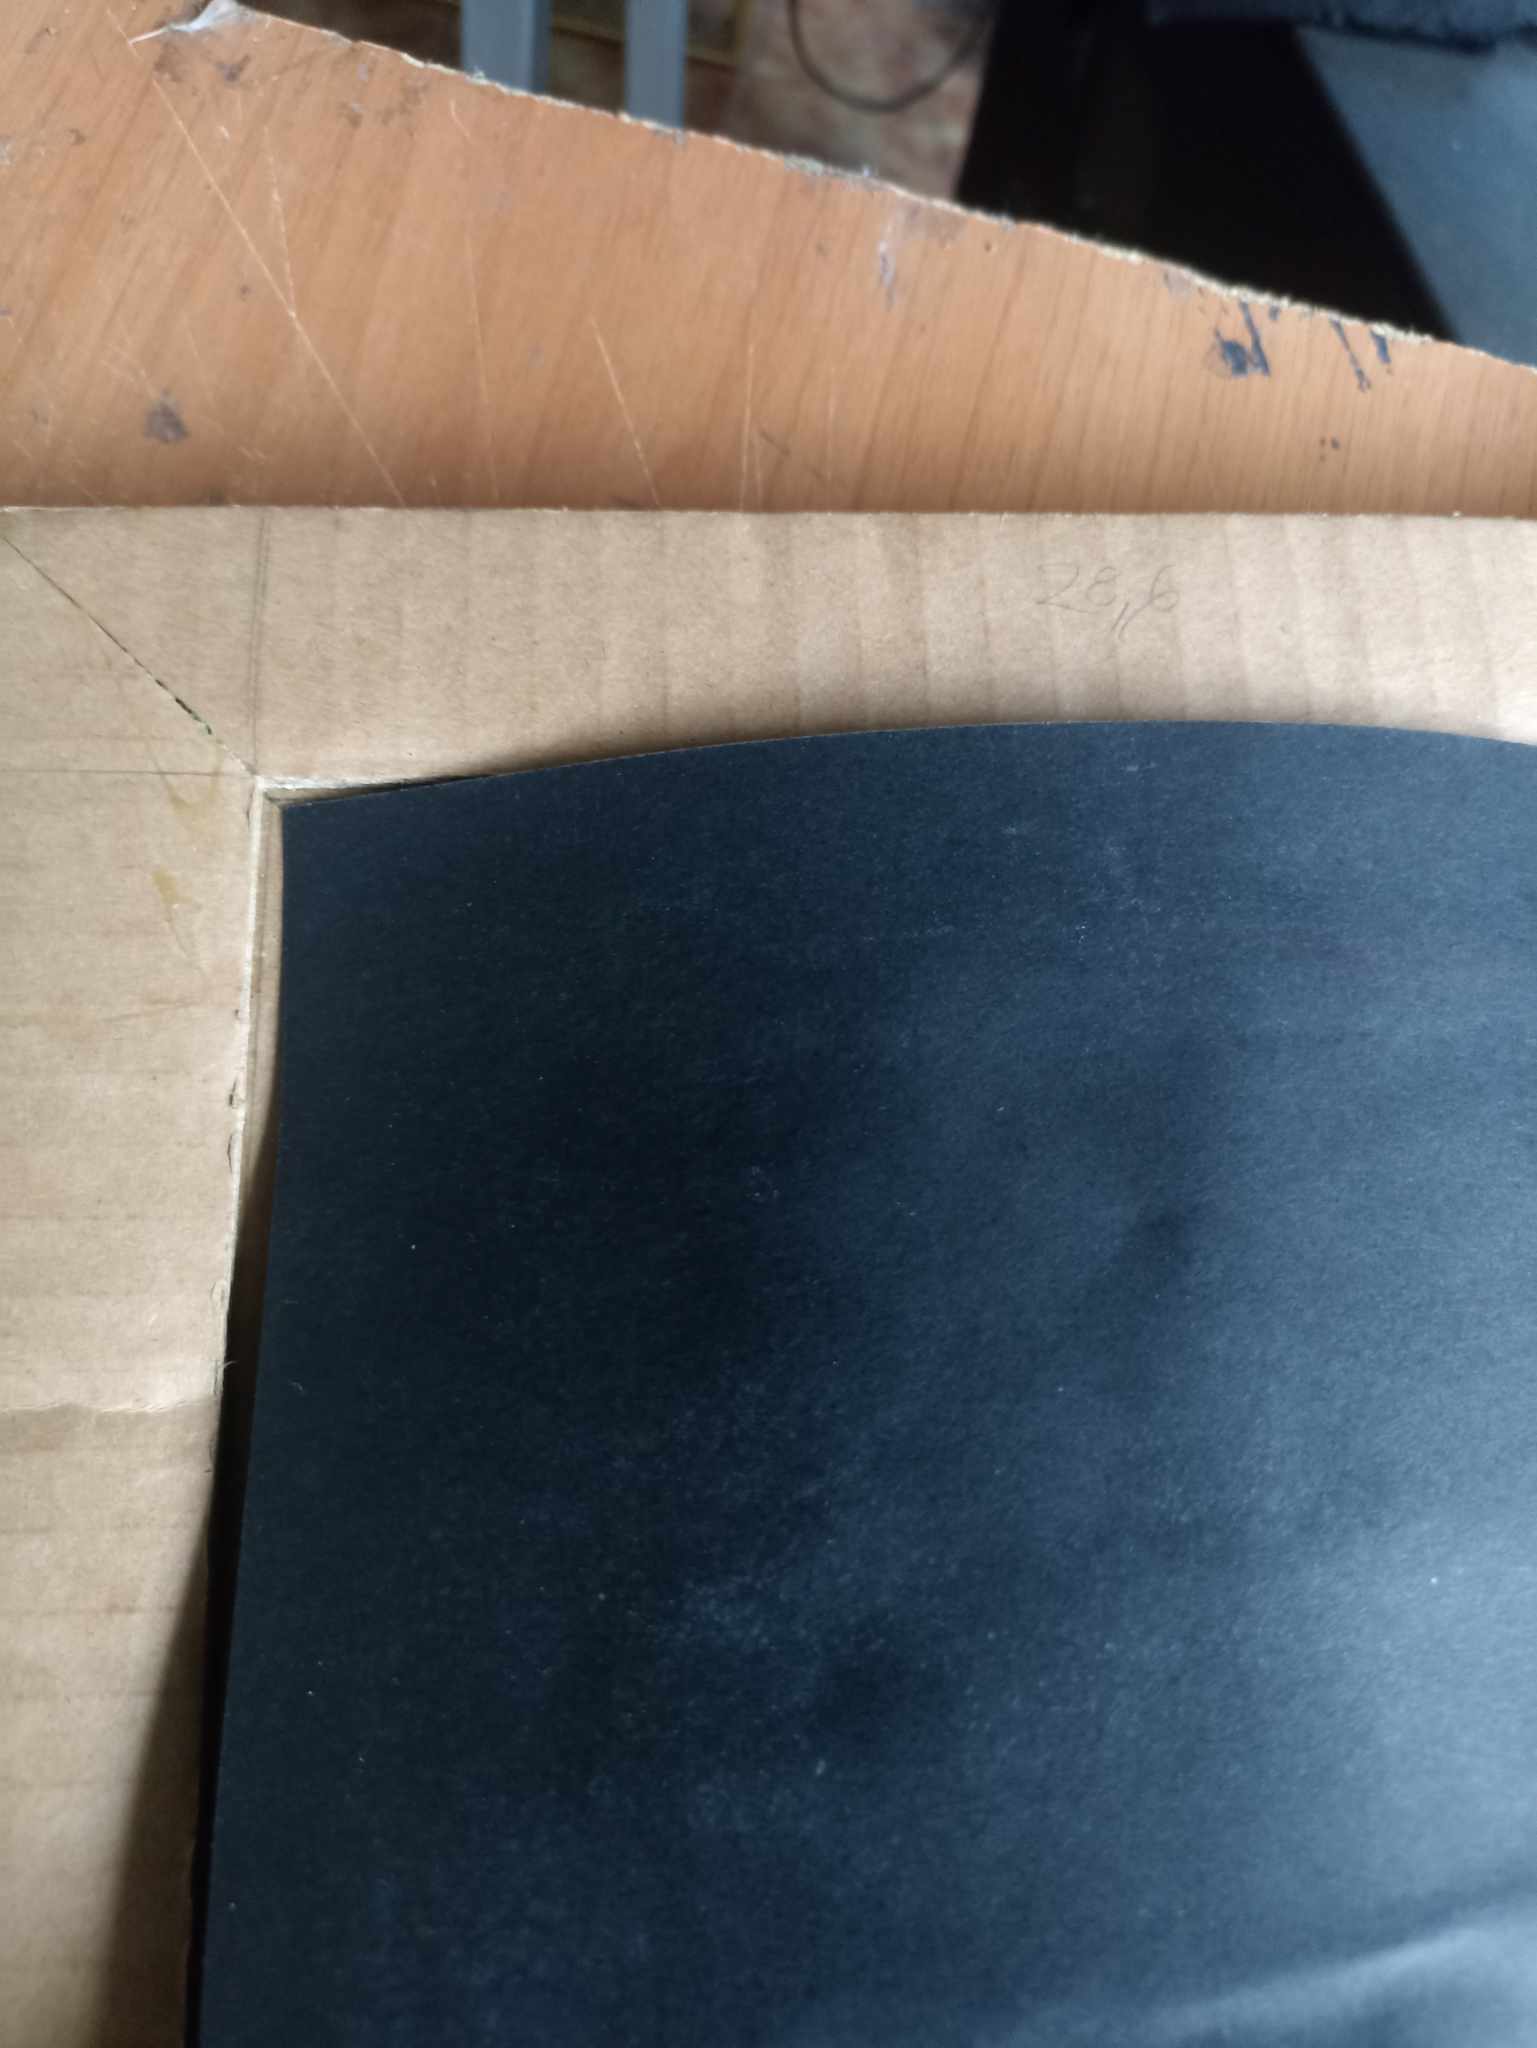
The base of the frame is actually two frames that will later be fused into one, first I make the thicker one which will be 4 centimeters wide. I will take out 4 strips of cardboard that will measure 35.5 centimeters, and the portrait will go into a space of 28.4 centimeters long and 21.7 centimeters wide, all this includes the cuts of the corners.
La base del marco consta en realidad de dos marcos que luego se fusionarán en uno, en primer lugar hago el más grueso que será de 4 centímetros de ancho. Sacaré 4 tiras de cartón que medirán 35,5 centímetro, y el retrato ira en un espacio de 28,4 centímetros de largo y 21,7 centímetros de ancho todo esto incluye los cortes de los ángulos.
 |  |  |
|---|---|---|
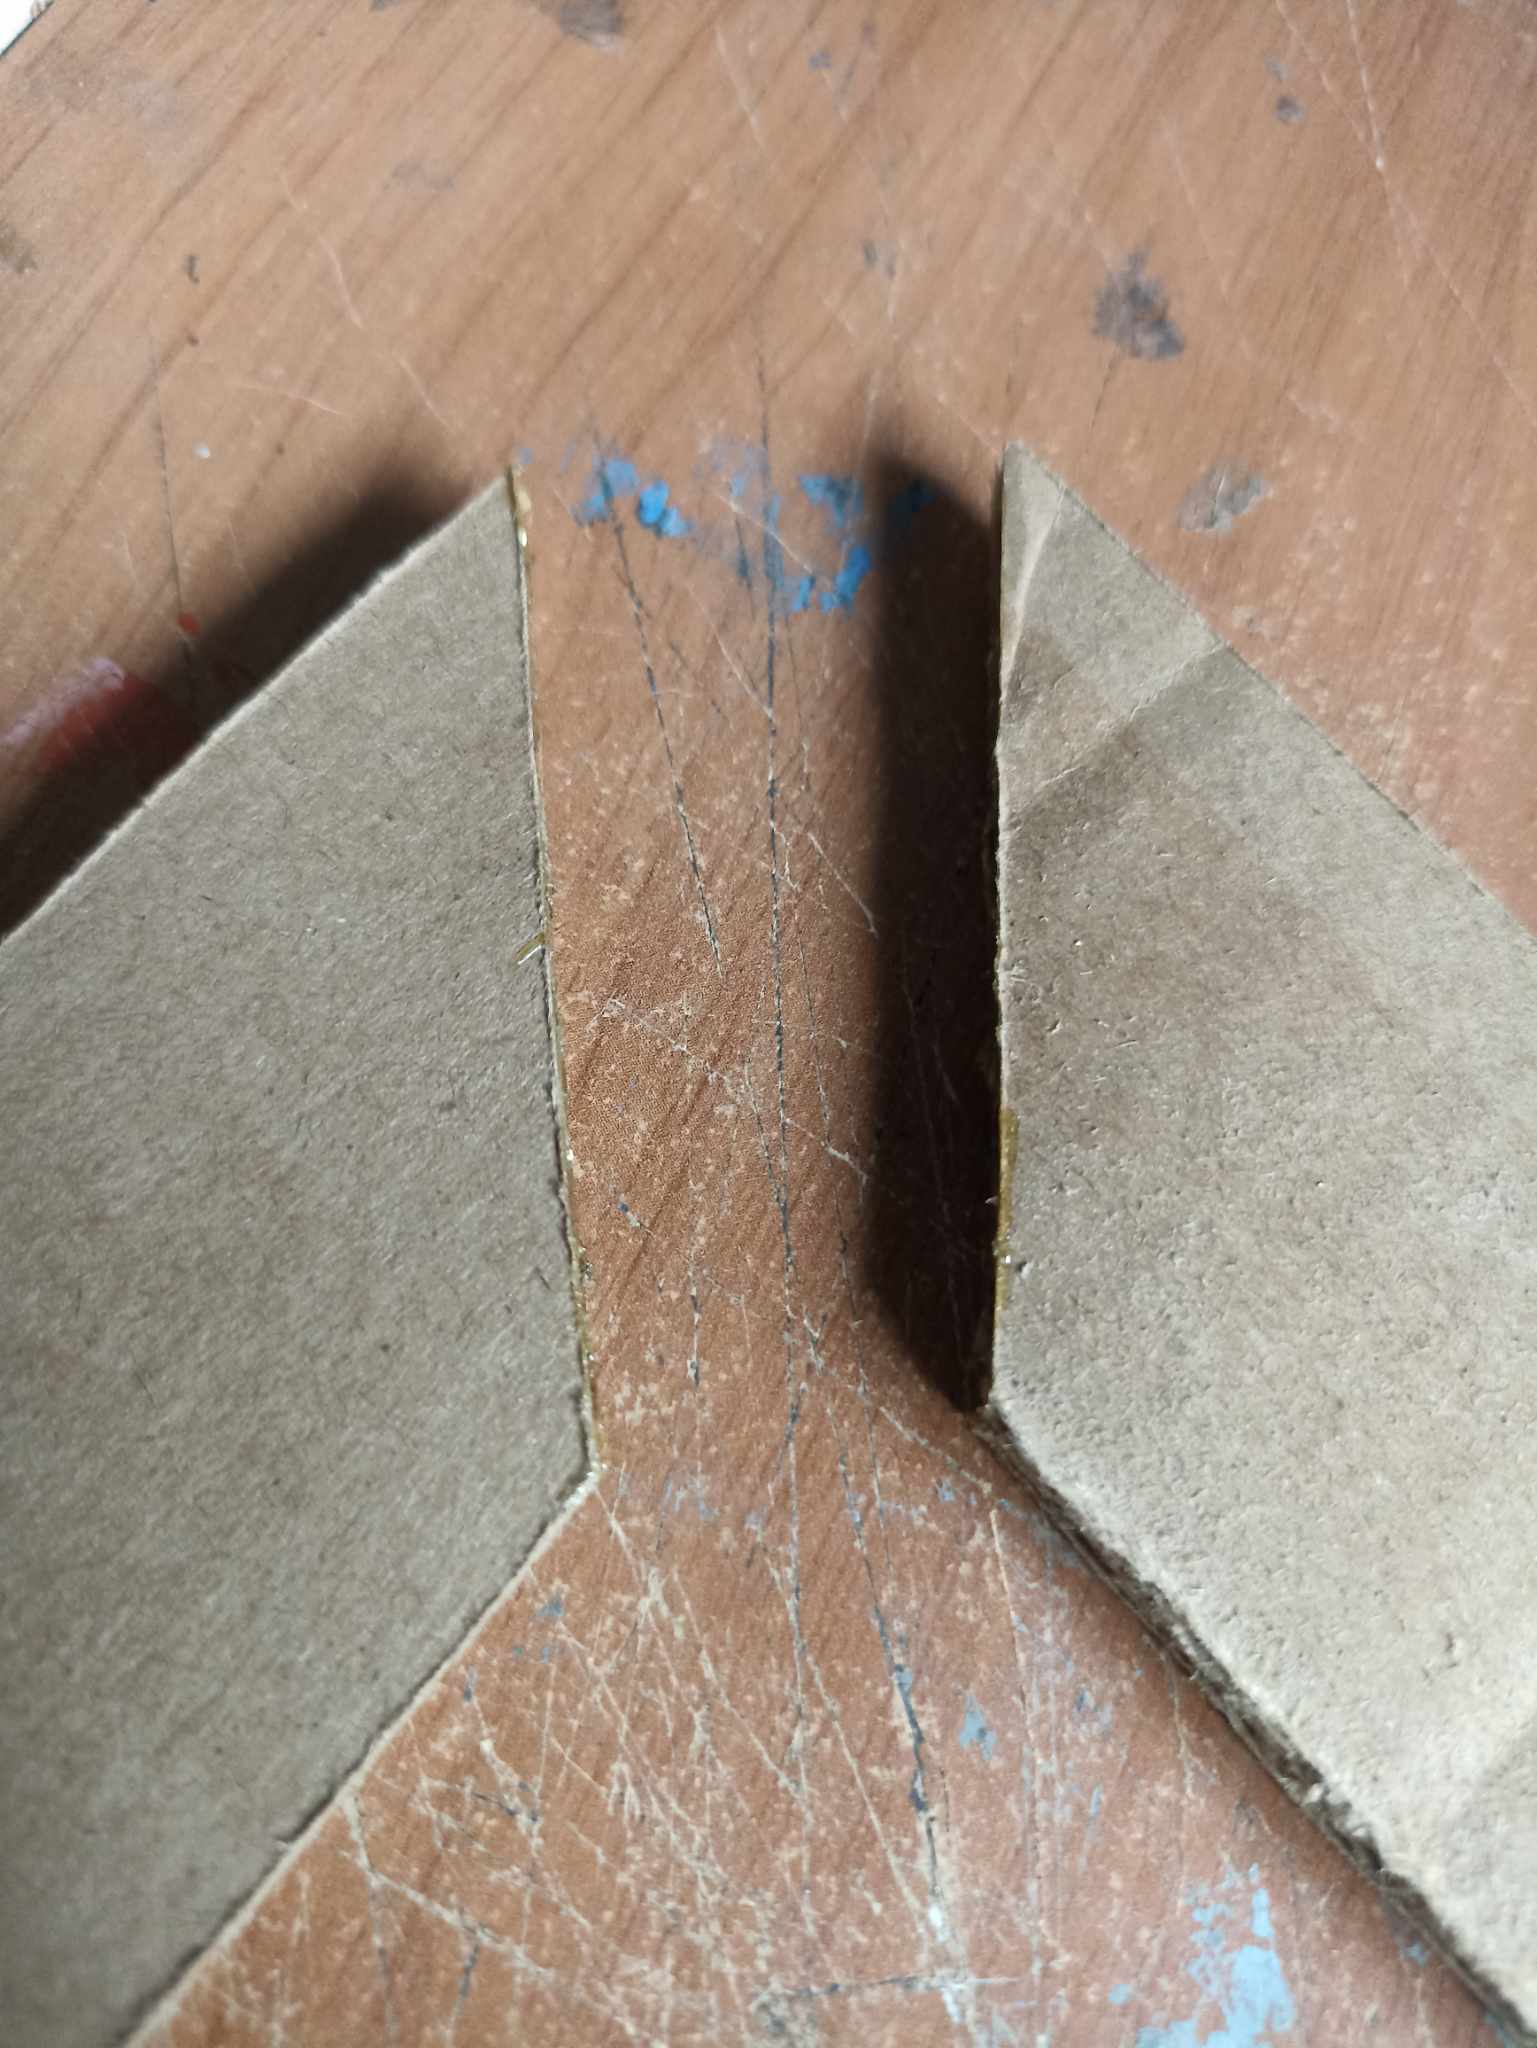 | 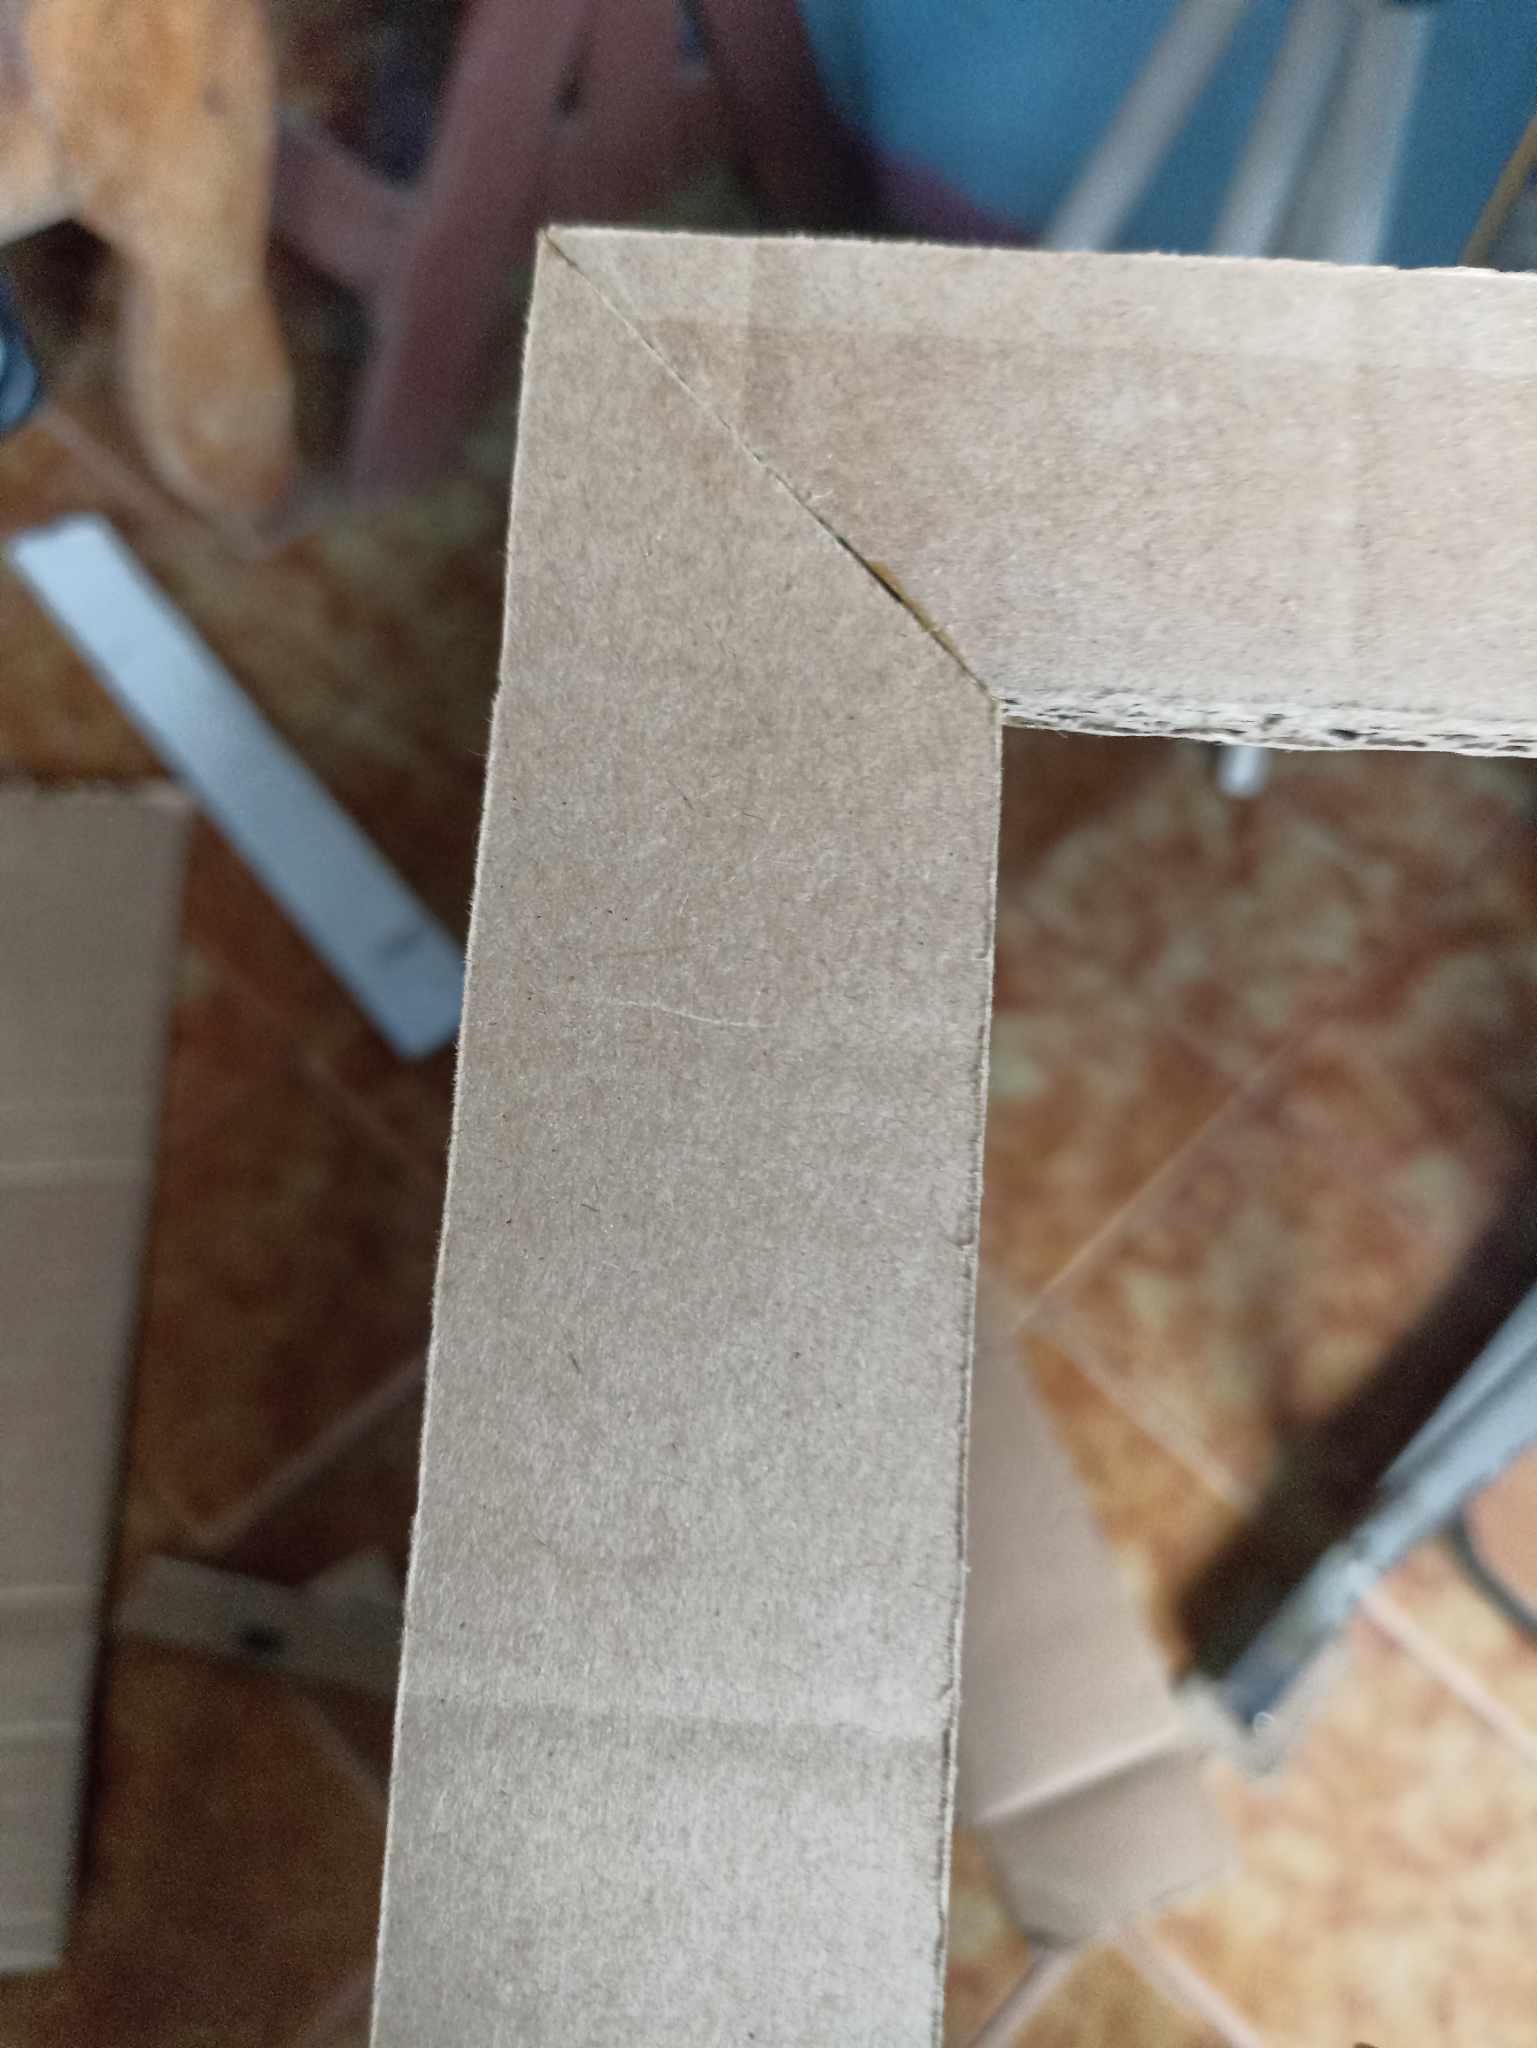 |  |
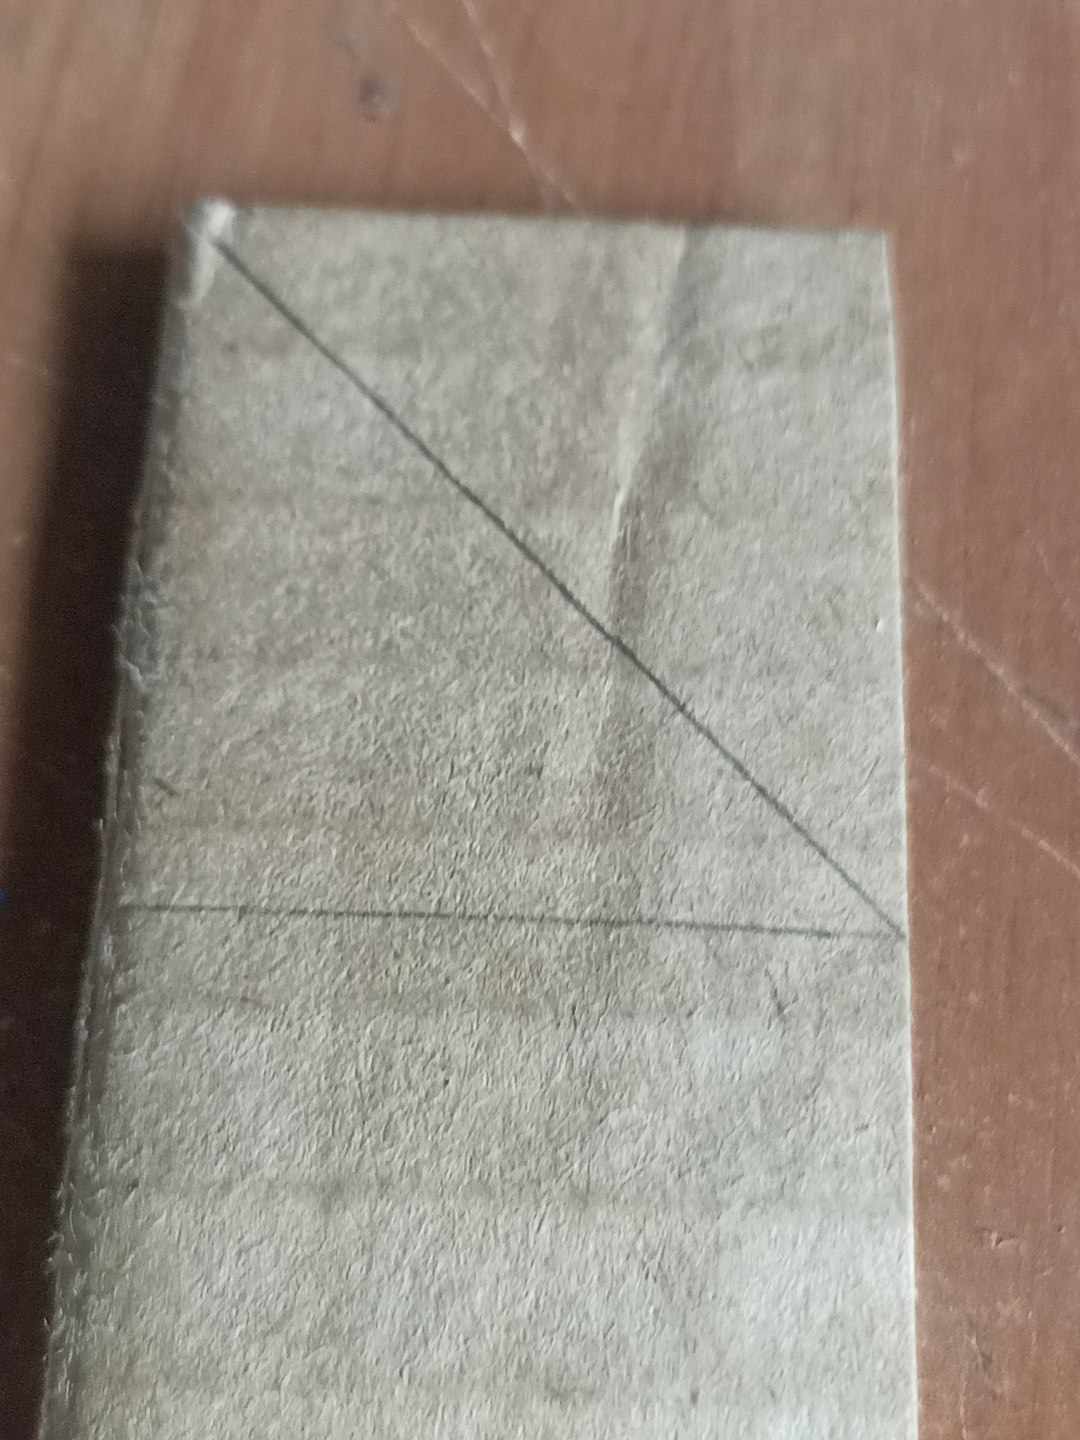
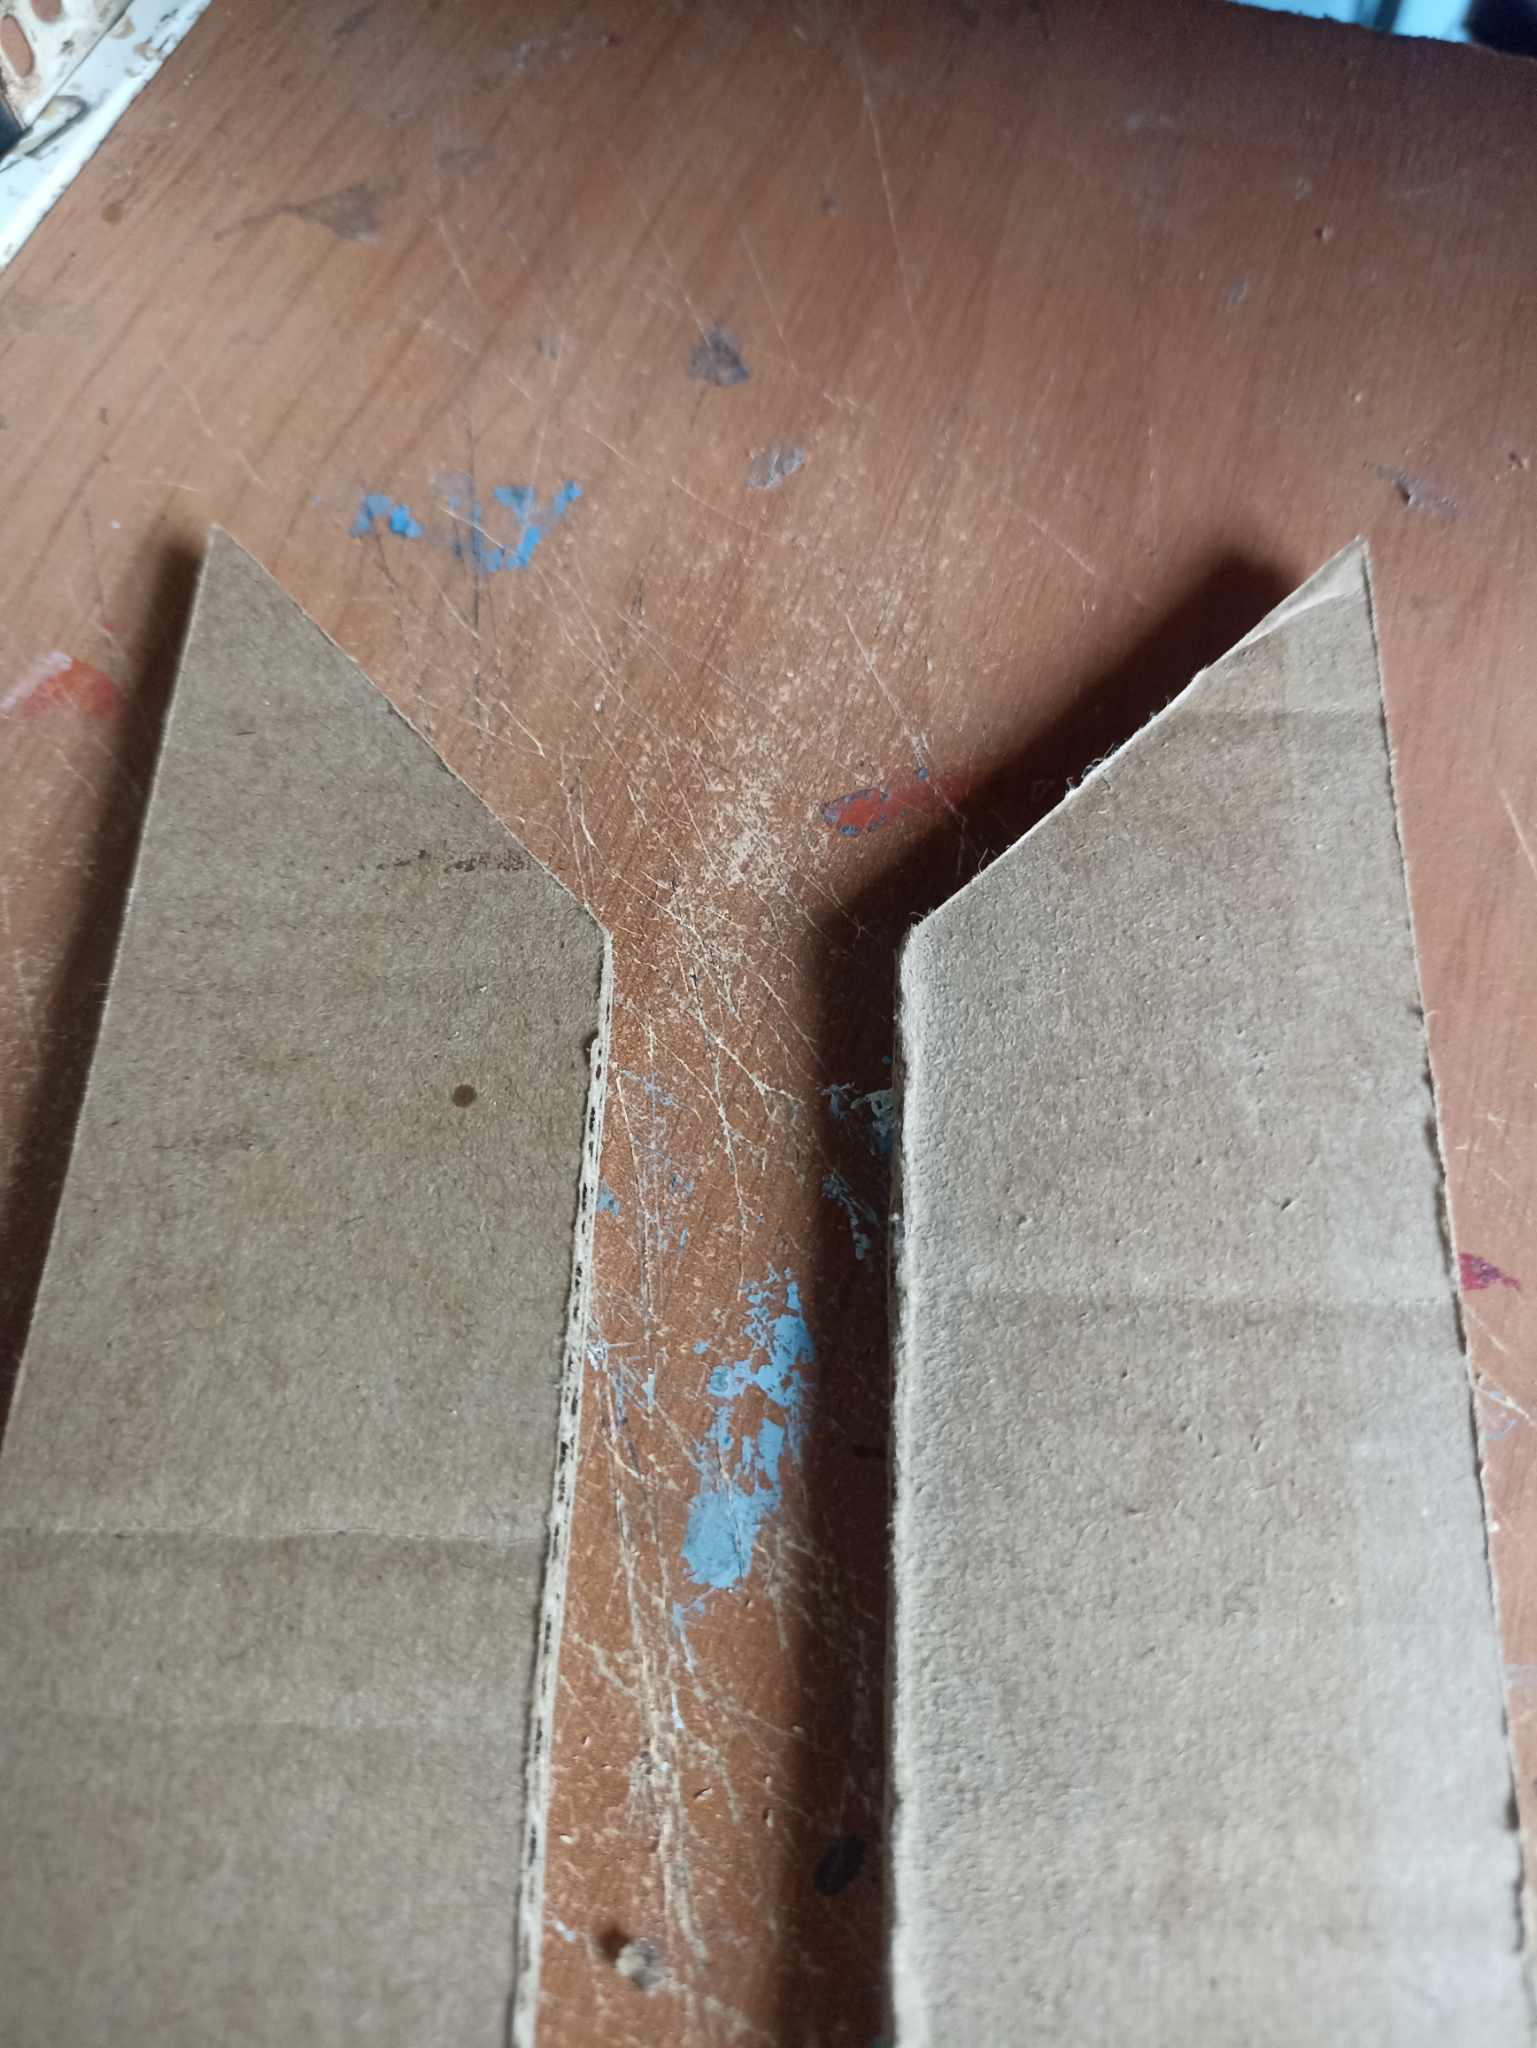
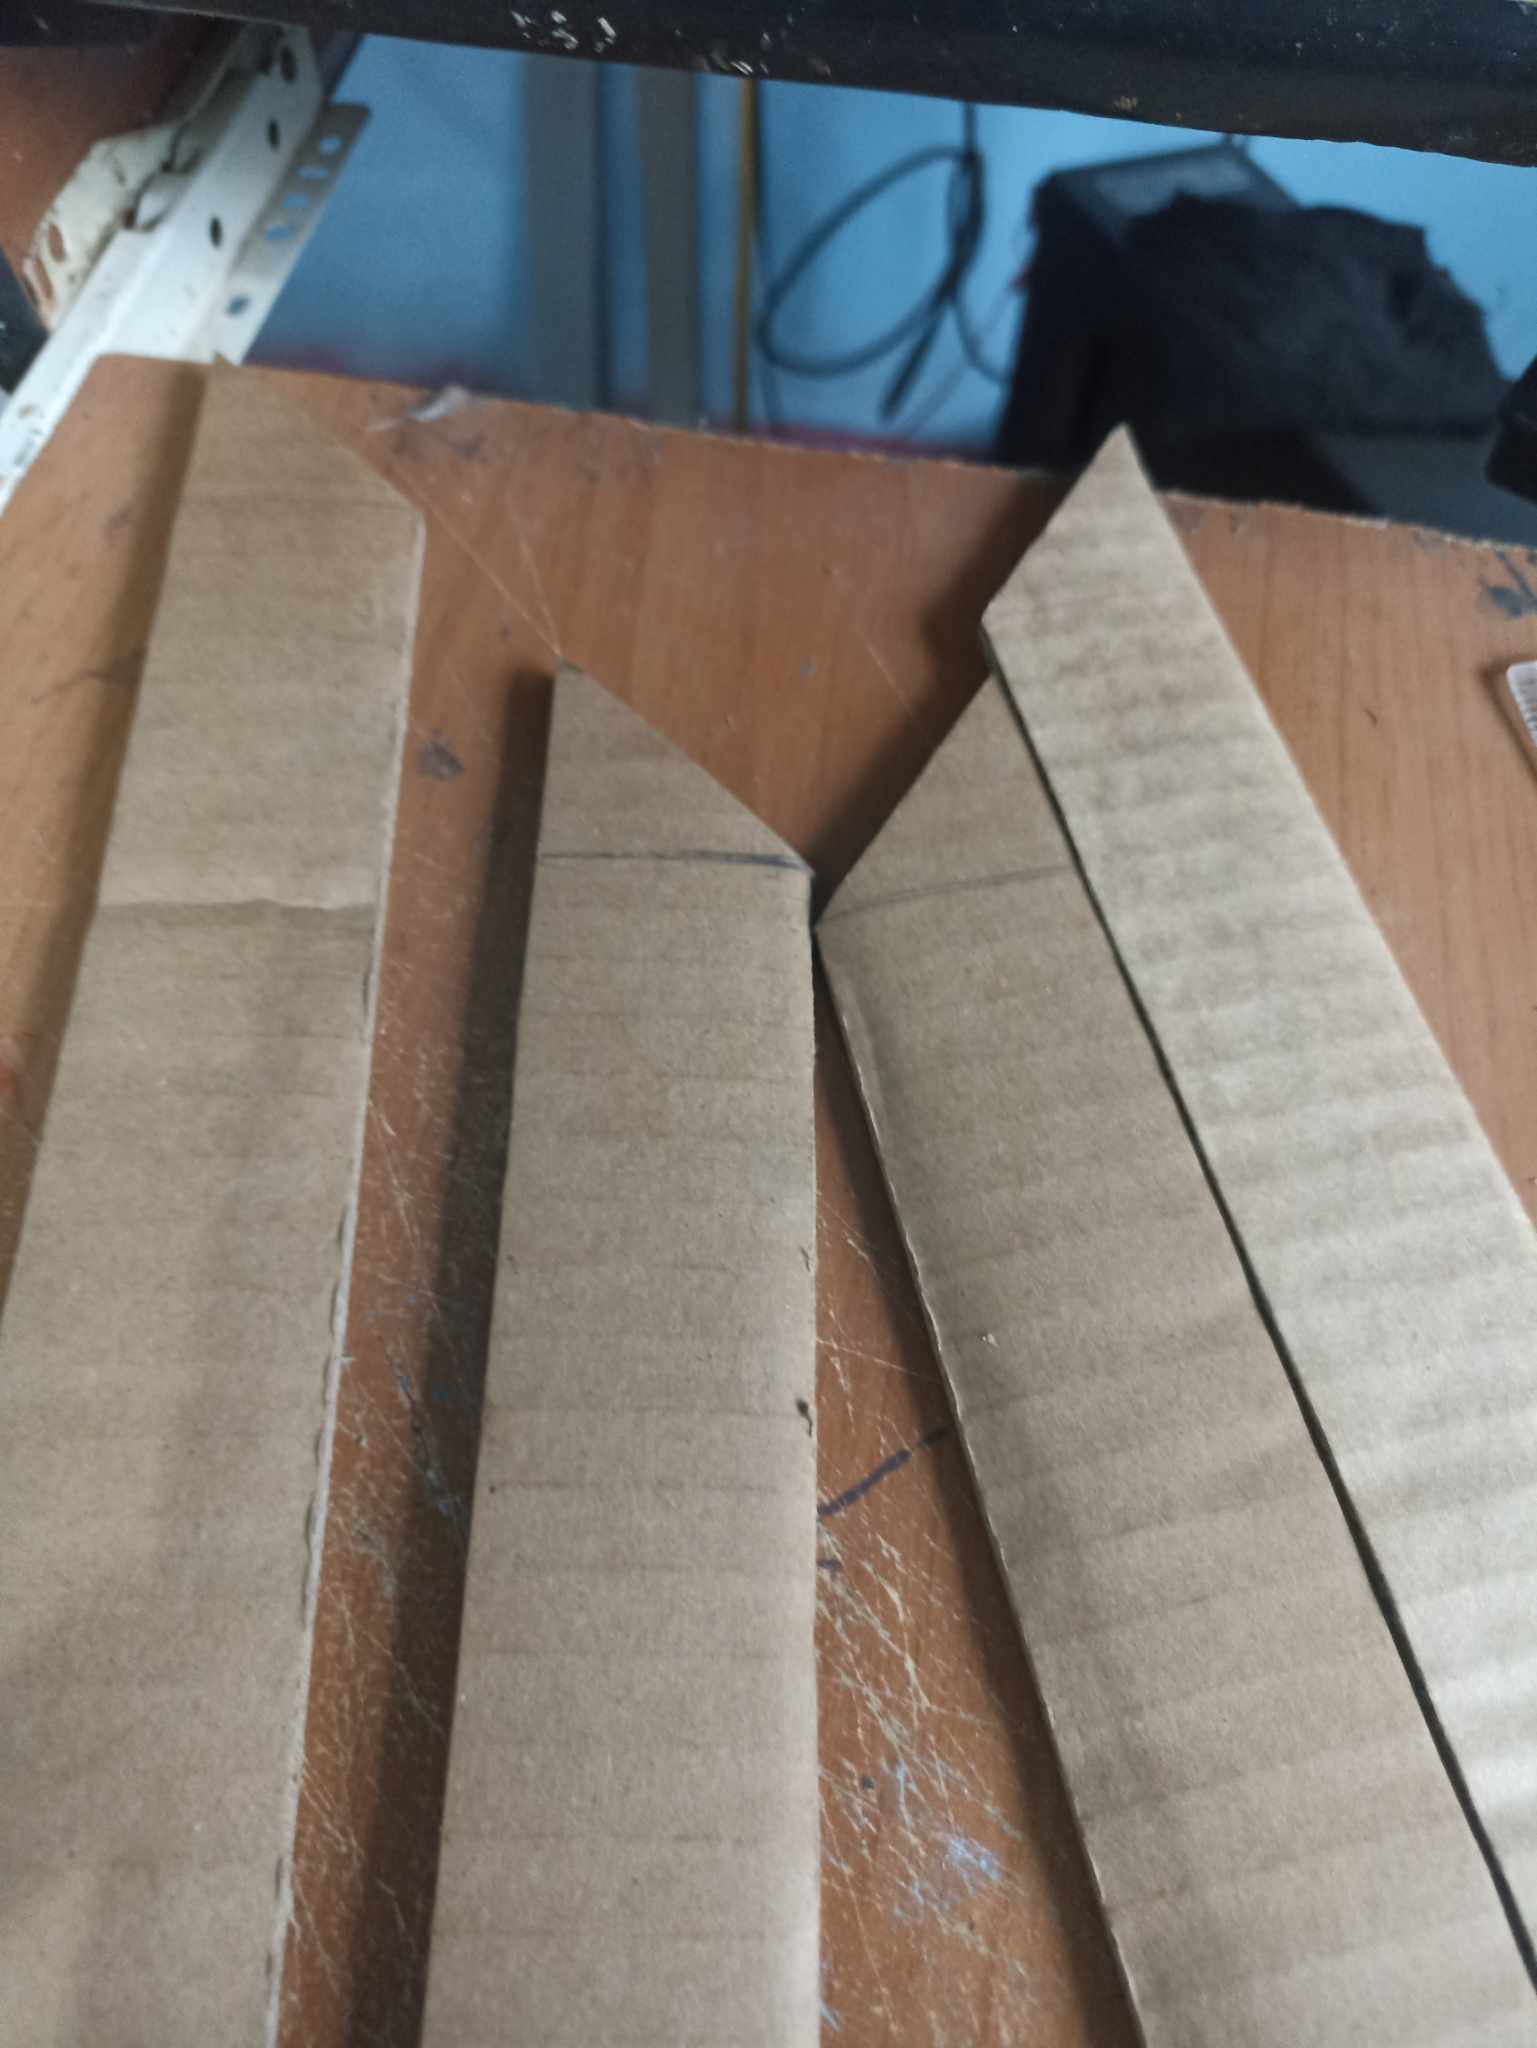
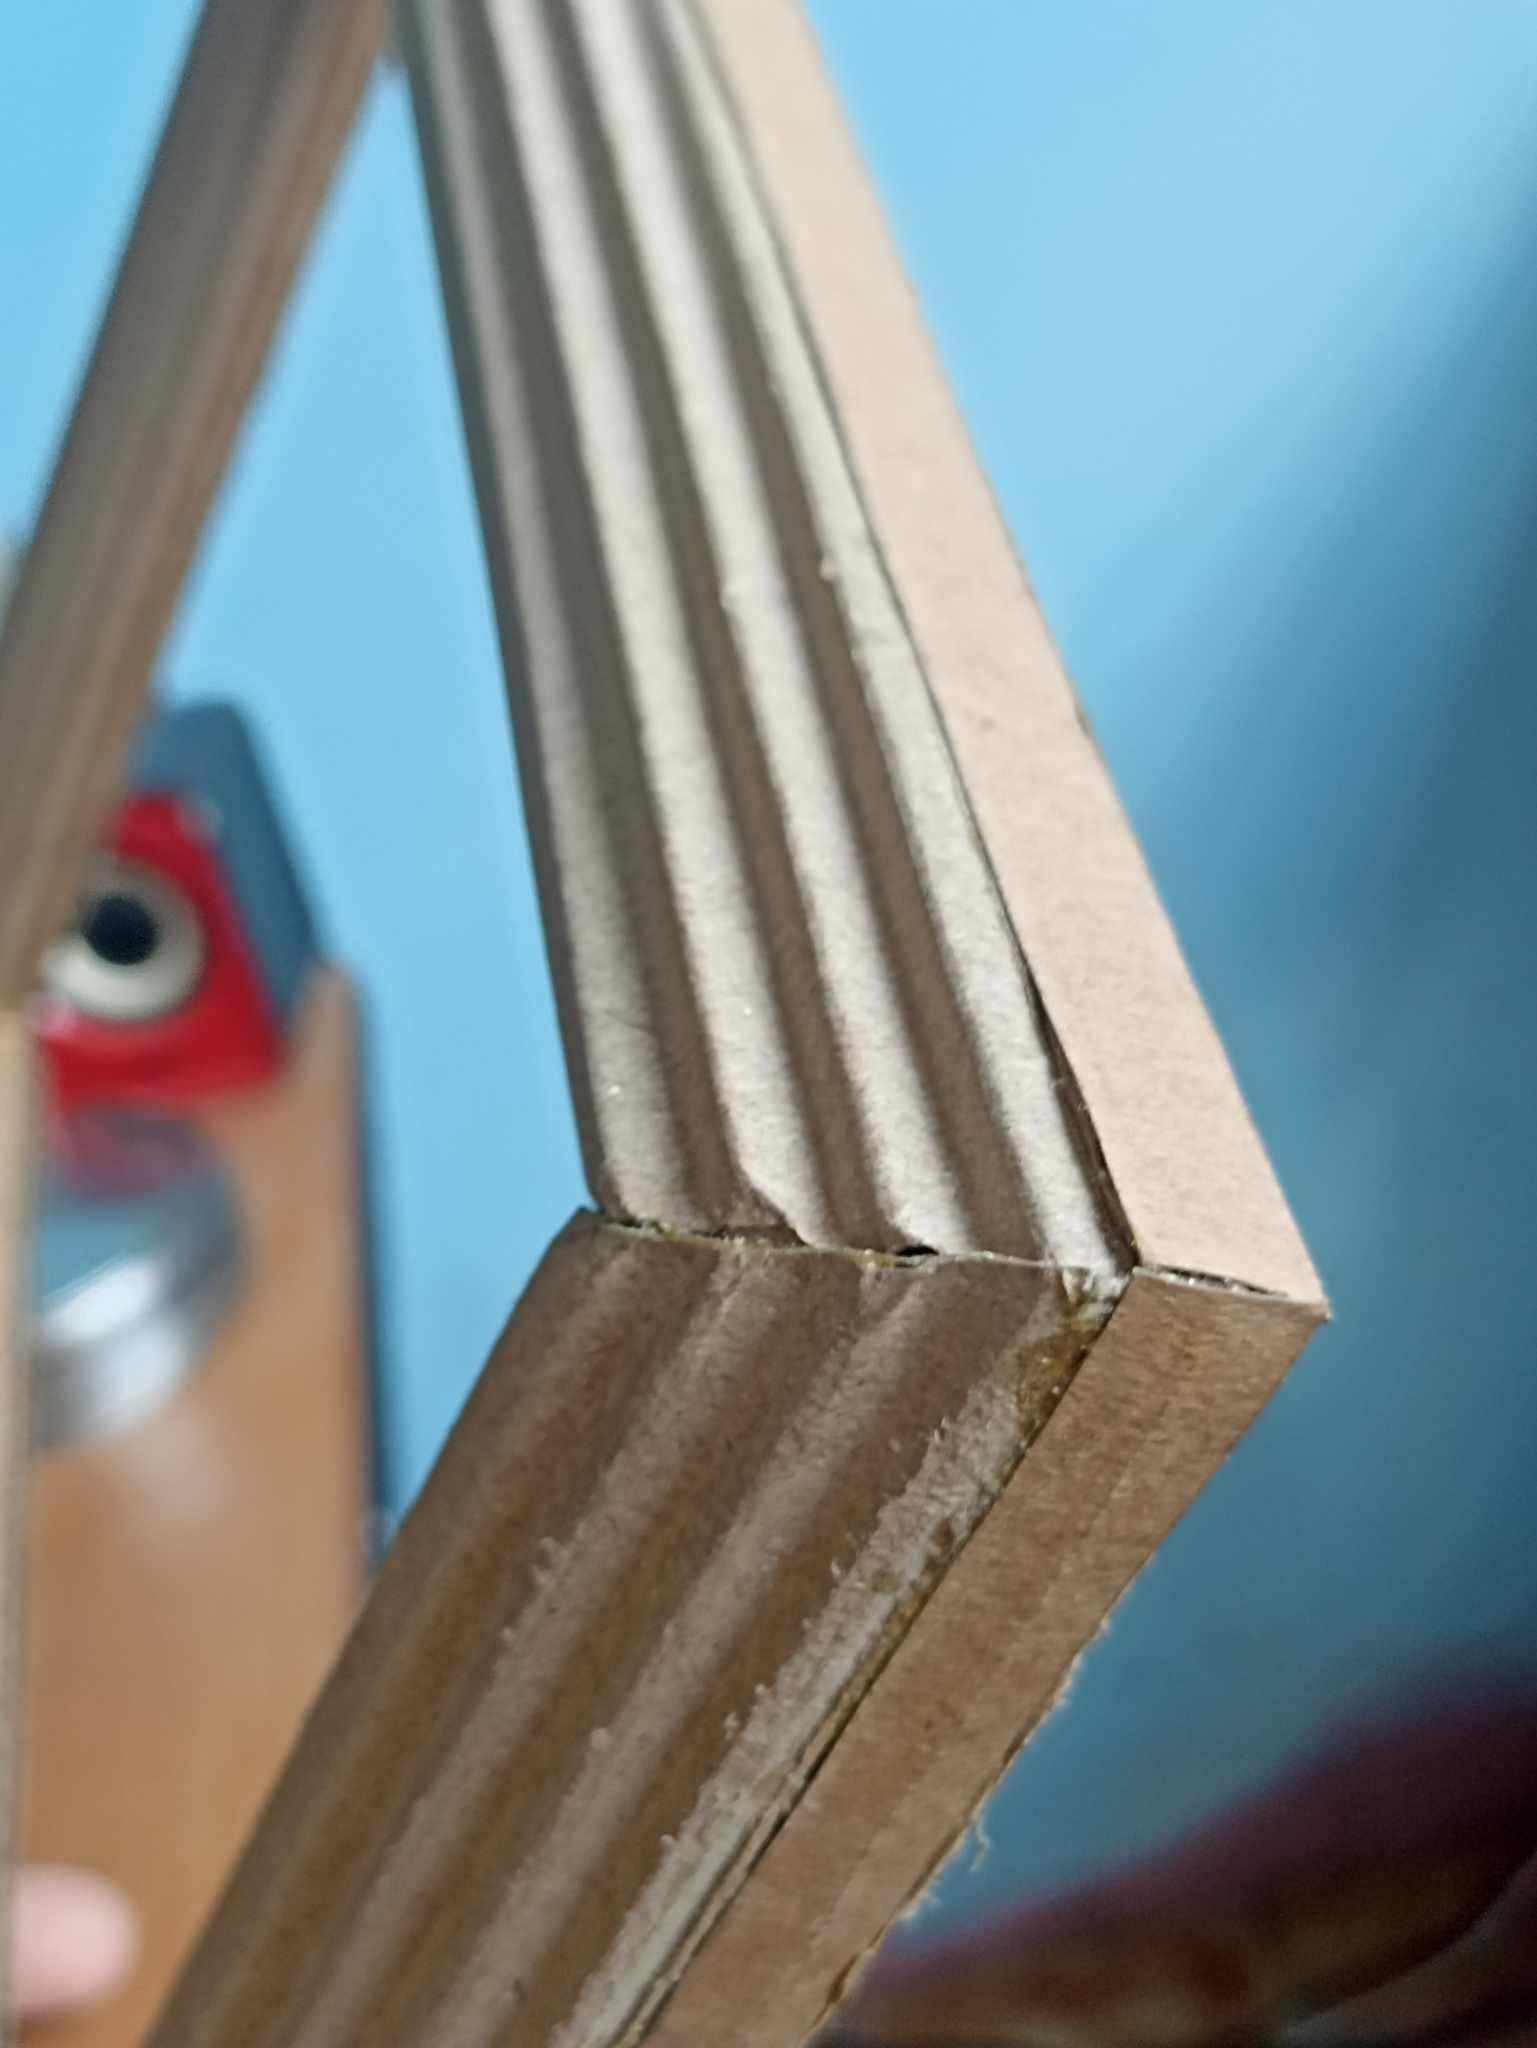
As I said in the previous comment, I made a 45 degree cut at each end of each strip. Then I put glue on each one and little by little I fixed them until forming a large square.
Como dije en el comentario anterior, a cada tira hice un corte de 45 grados en cada de sus puntas. Luego coloco en cada una de ellas pegamento y poco a poco las fijando hasta formar un gran cuadro.
 |  | |
|---|---|---|
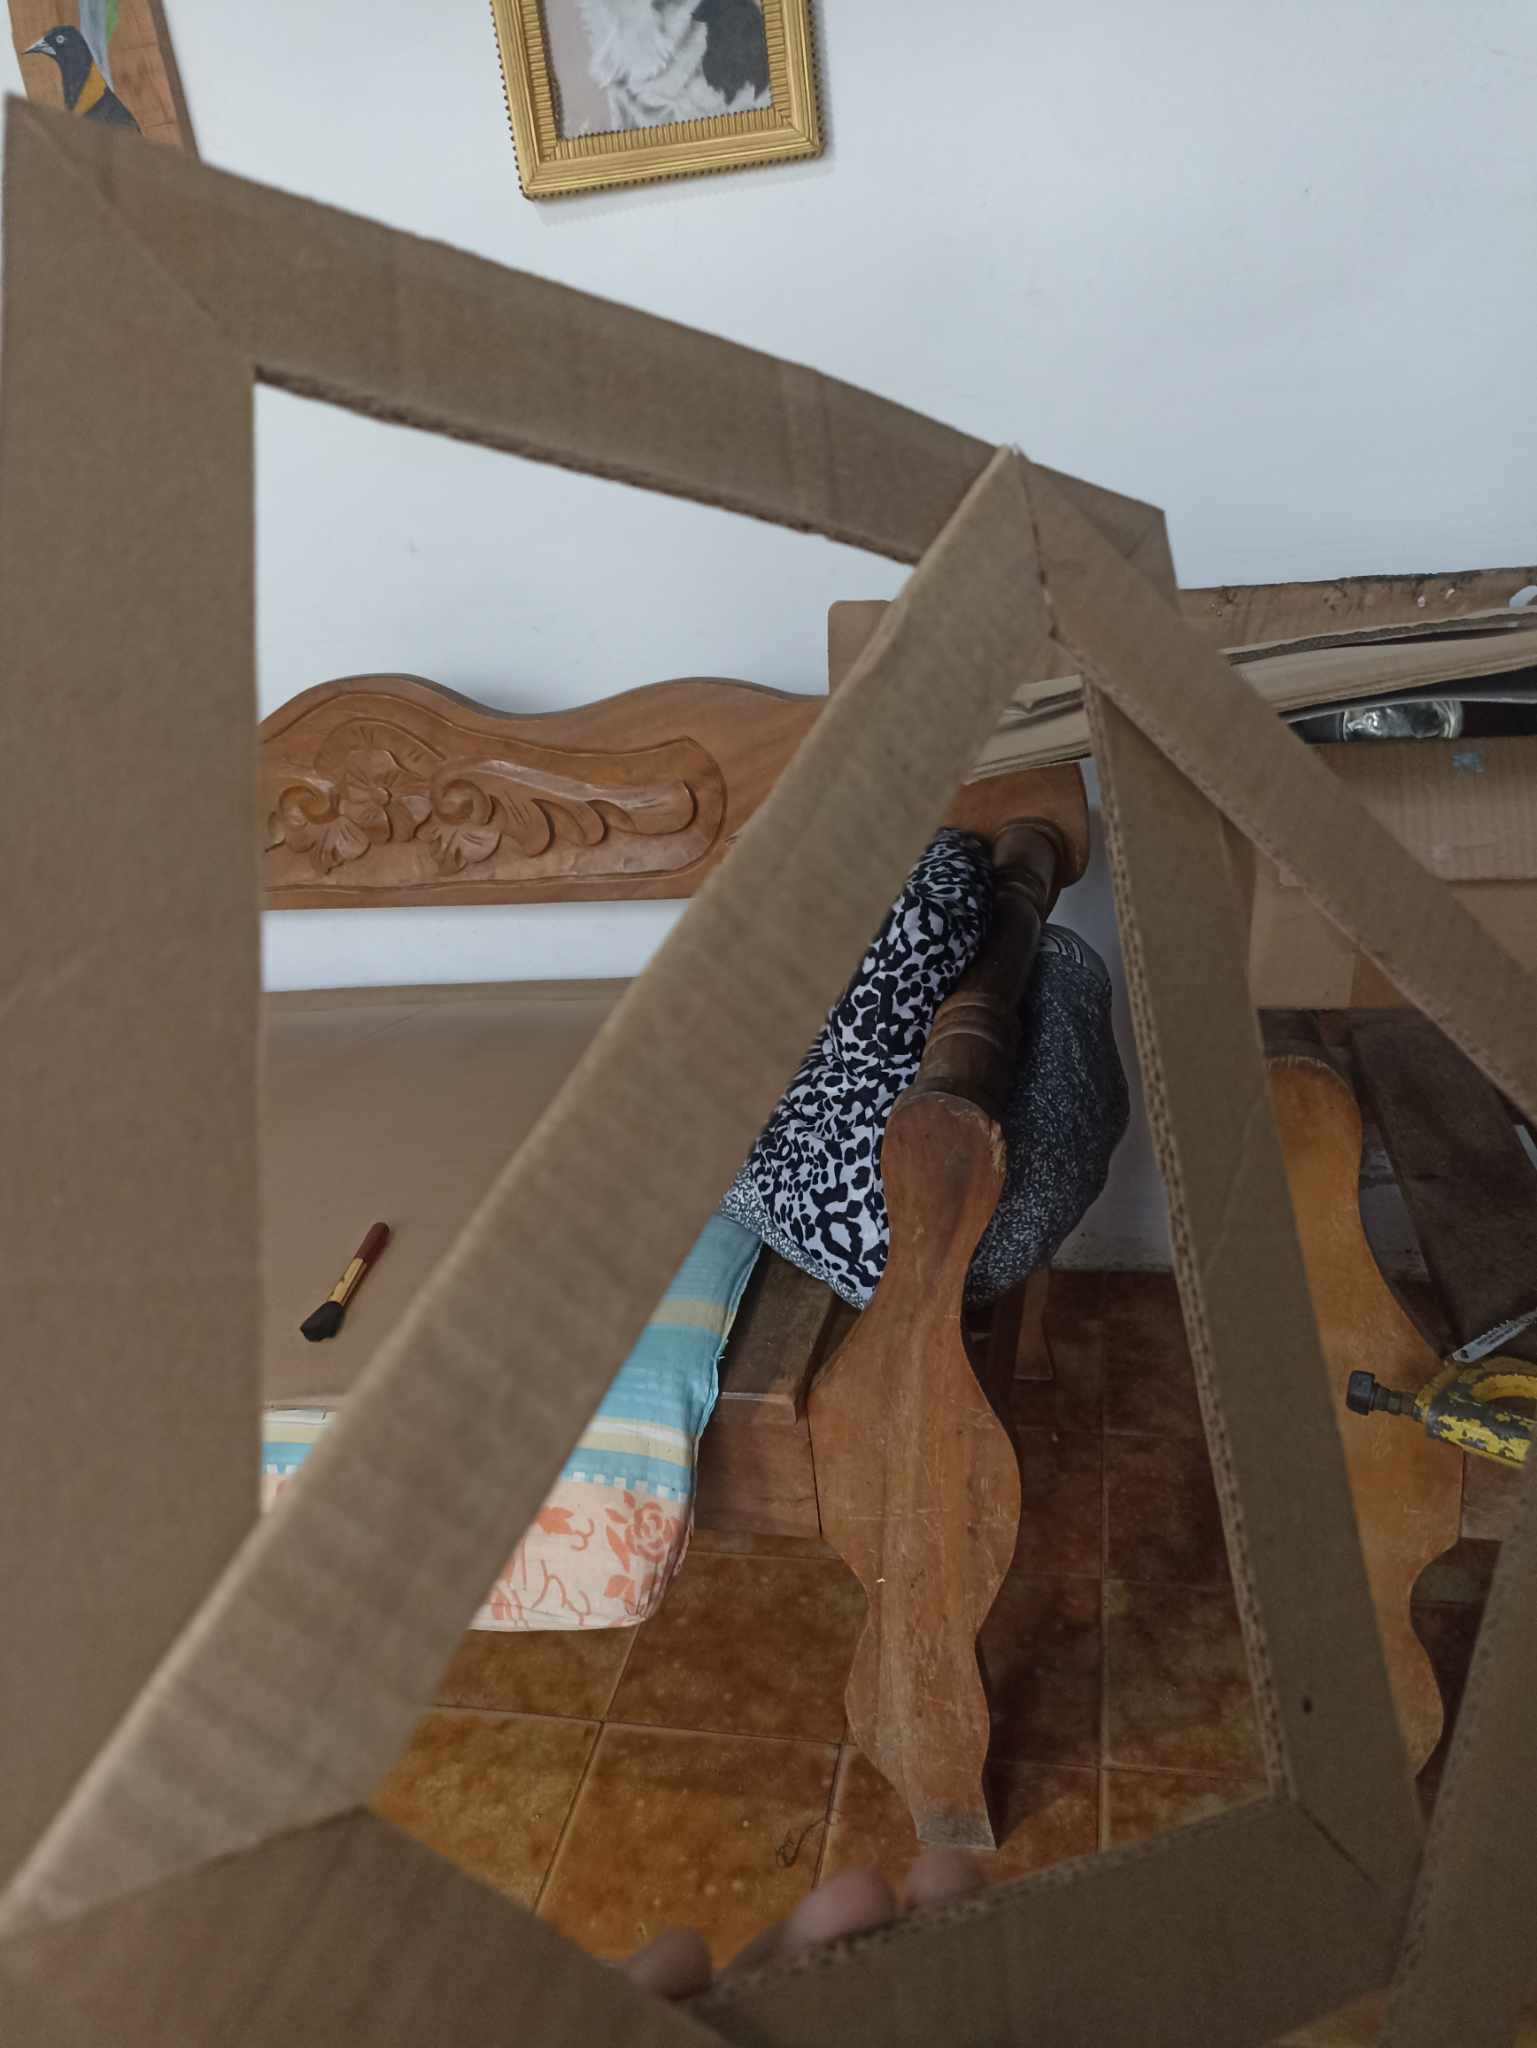 |  |
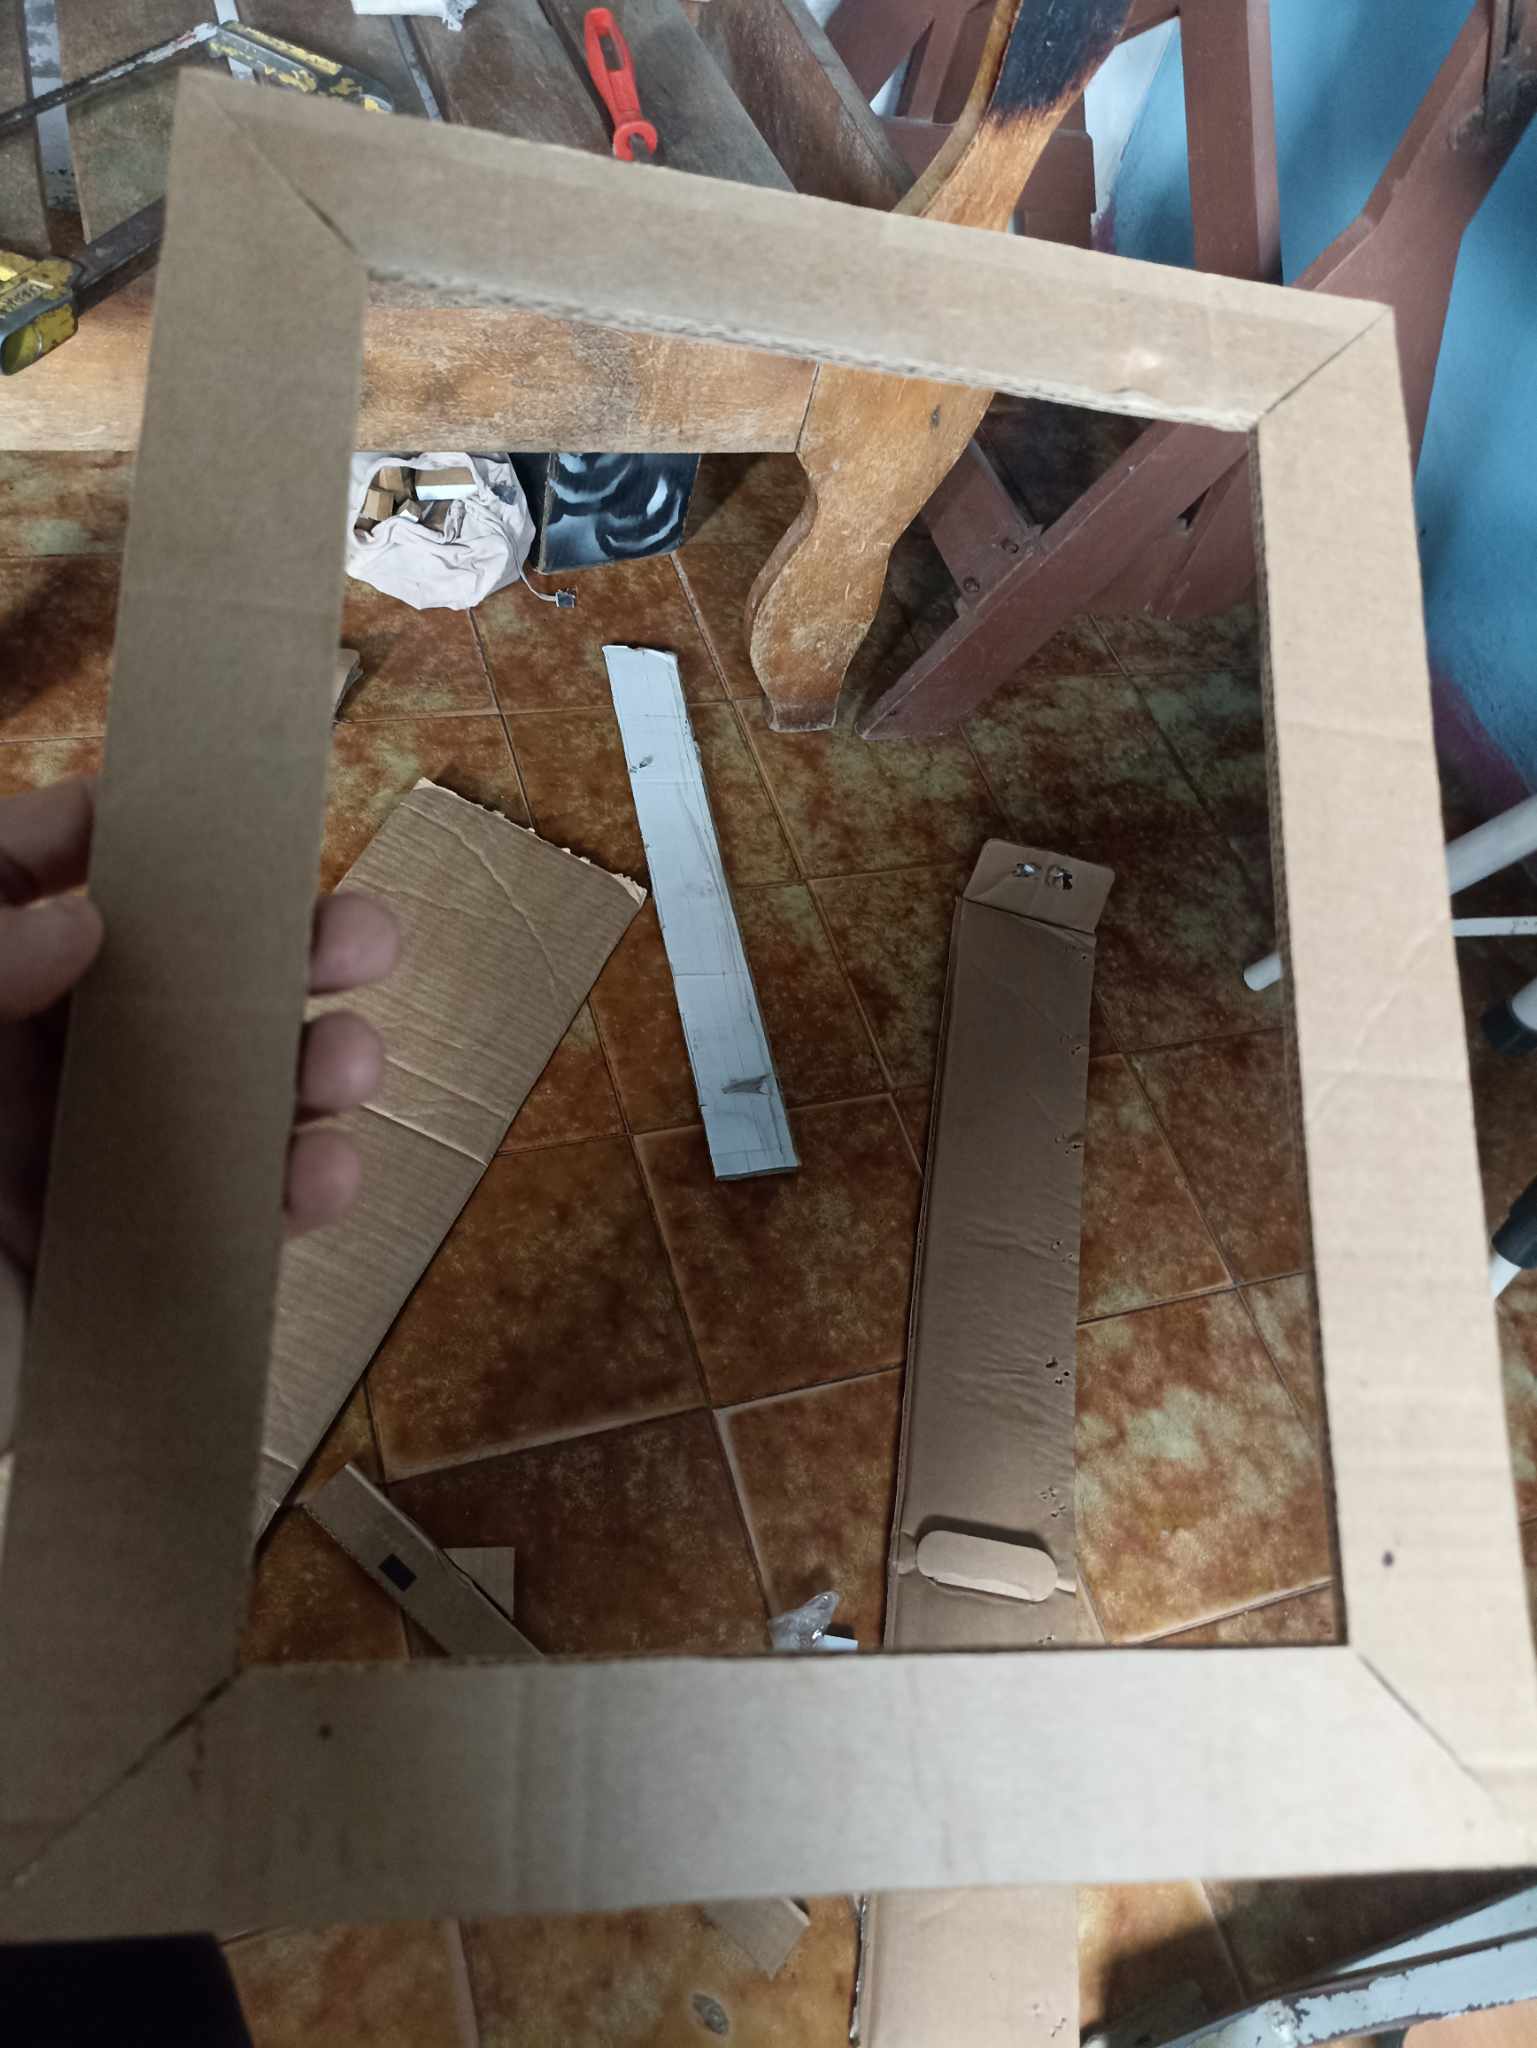
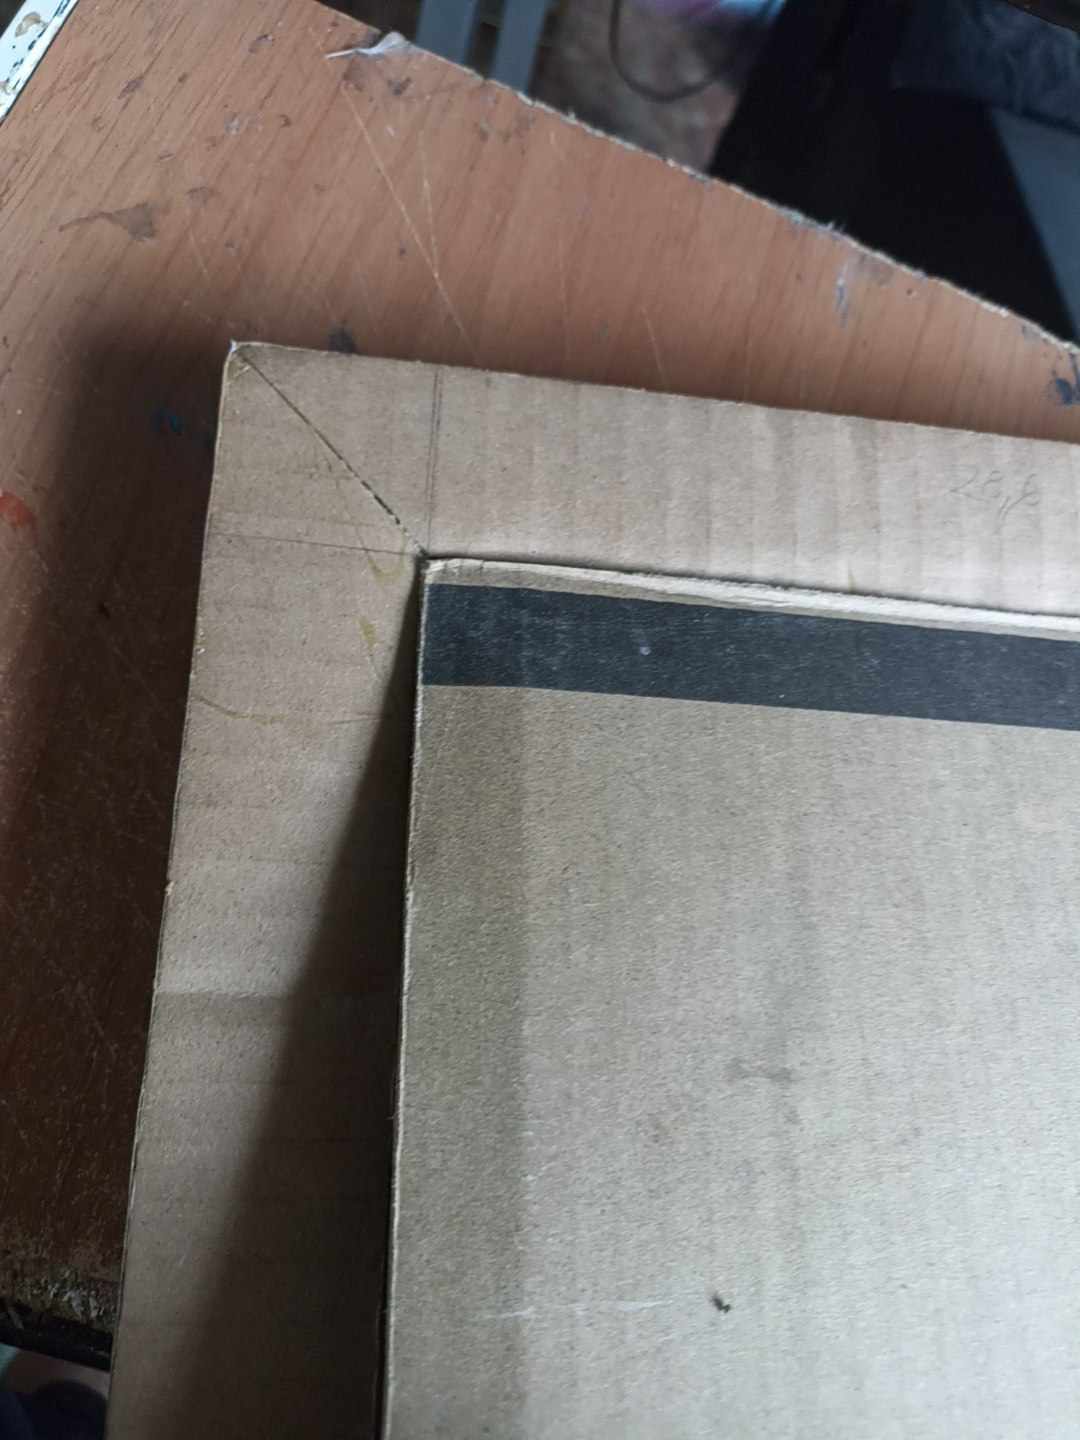
Next I make the smaller frame, 3 centimeters wide, also cutting 45 degree angles at its ends and then joining them with glue. Once the two frames are ready, all that remains is to choose which side we want to place it on. Once we have made the choice, we carefully apply the glue, let it dry for a few minutes and little by little the parts will adhere. Once finished, you can see the space left; it is within this space where the portrait will be supported by a surface on the back that will also be made of cardboard.
Seguidamente hago el marco más pequeño, de 3 centímetros de ancho, también cortando ángulos de 45 grados en sus puntas para luego unirlas con pegamento. Una vez estan los dos marcos solo queda elegir de que lado lo queremos colocar, una vez hecha la elección, colocamos pegamento cuidadosamente, dejamos secar por unos minutos y poco a poco se ira adhiriendo las partes. Una evz terminado se puede apreciar el espacio que queda, es dentro de este espacio donde irá el retrato apoyado por una superficie en la parte trasera que también será de cartón.
 |  |  |
|---|---|---|
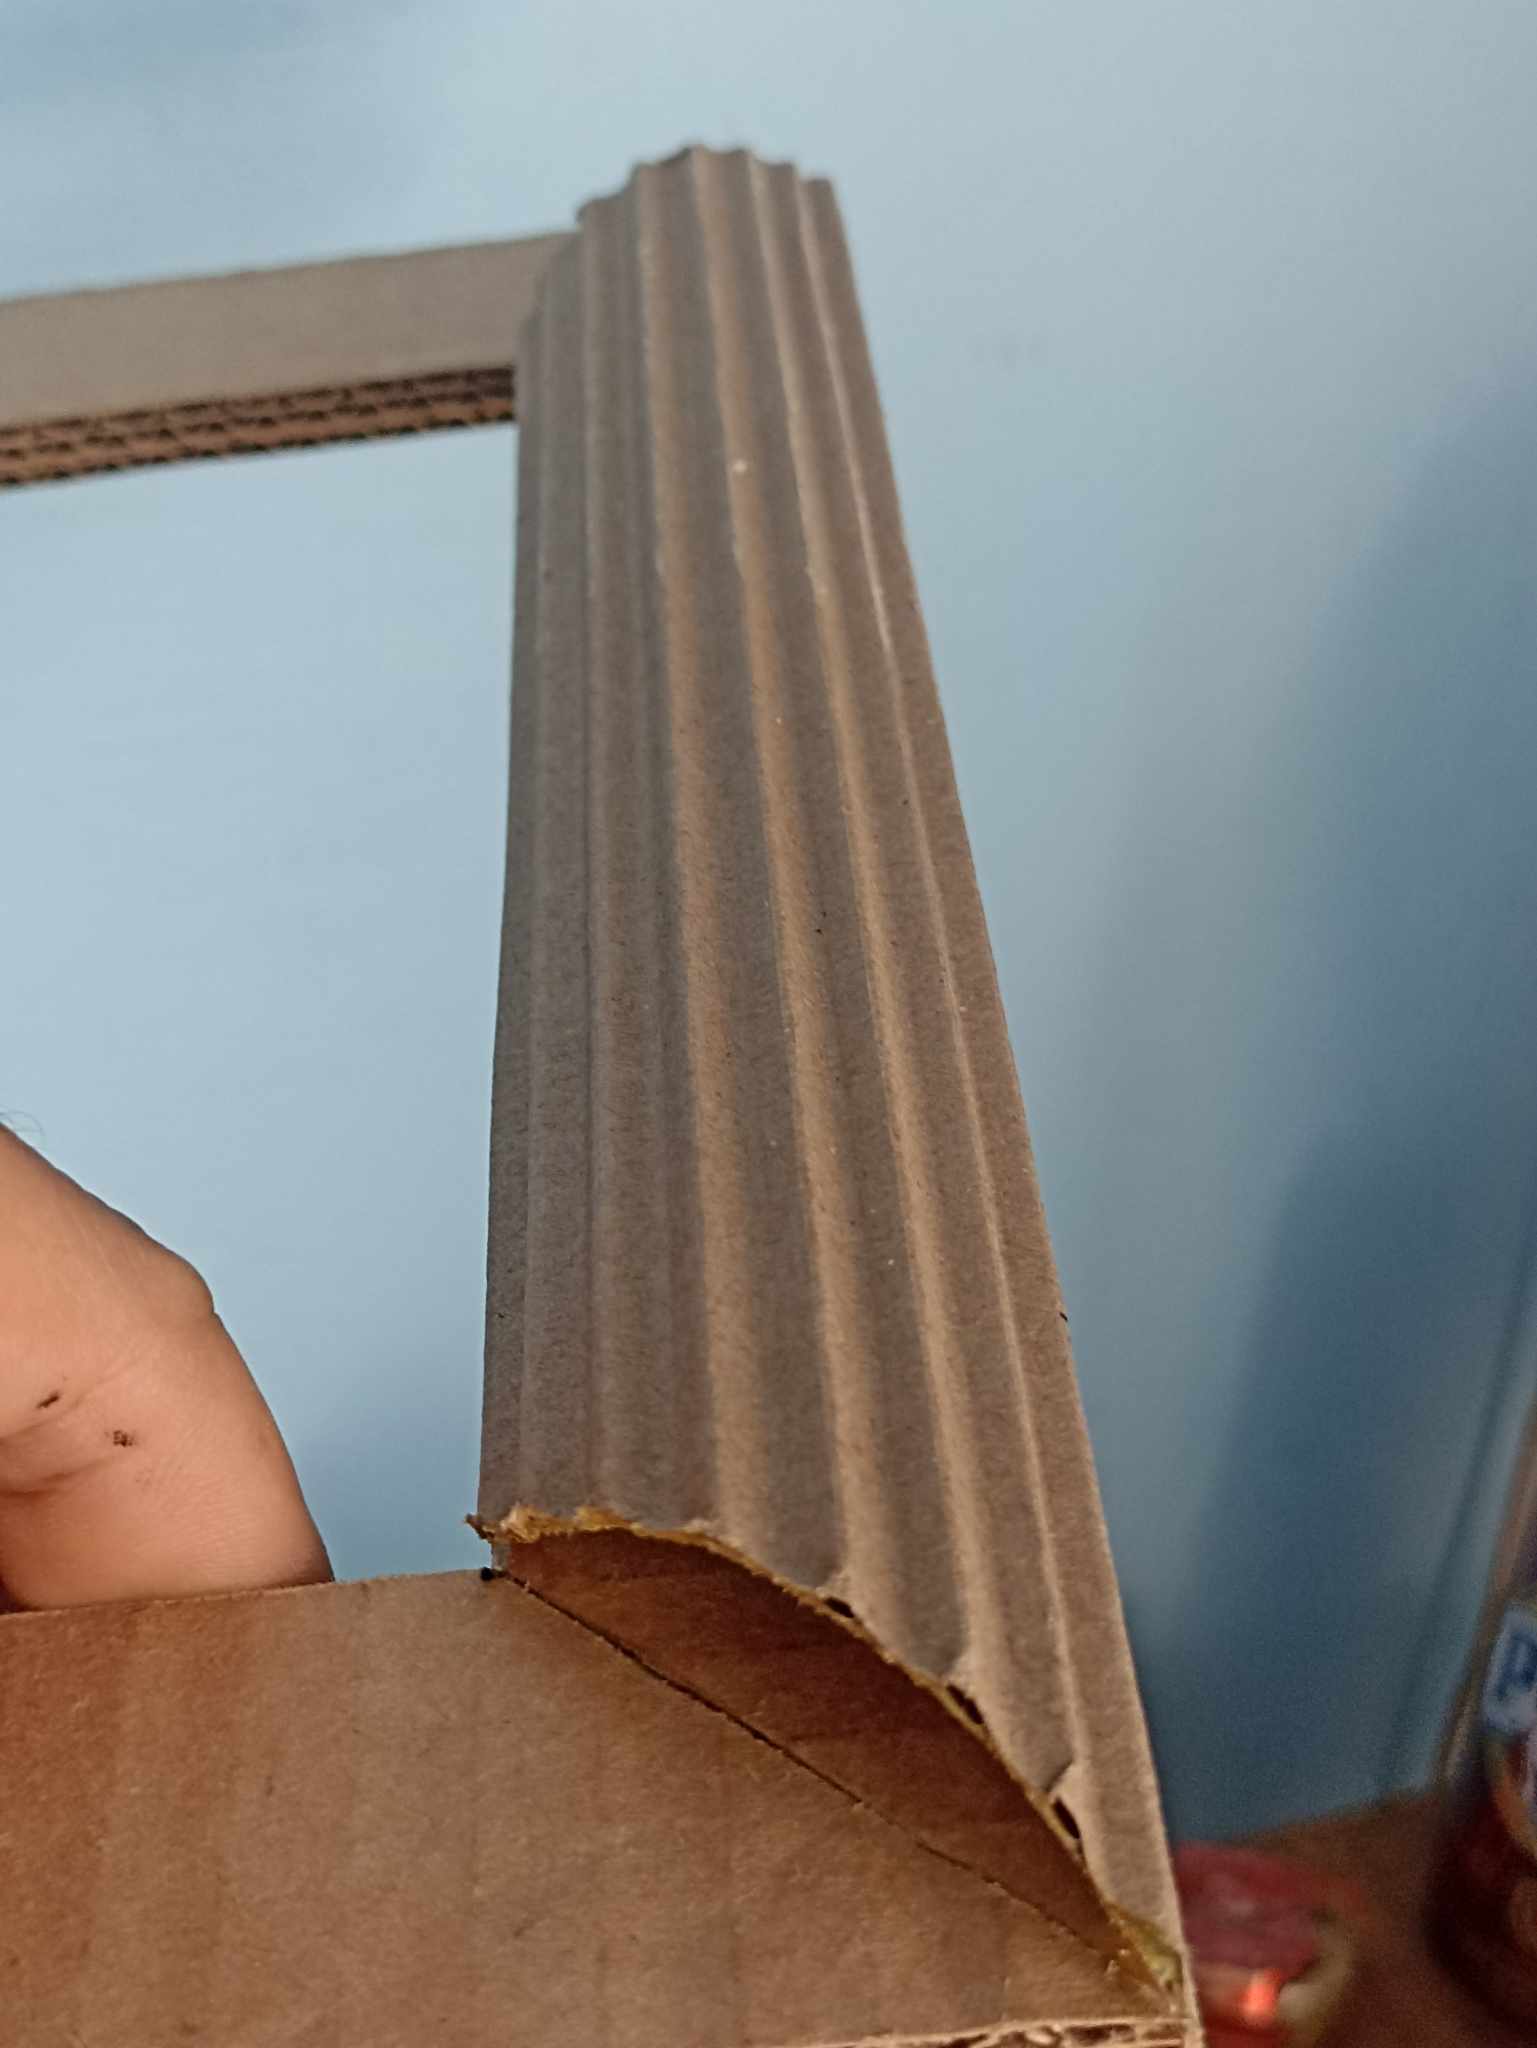 | 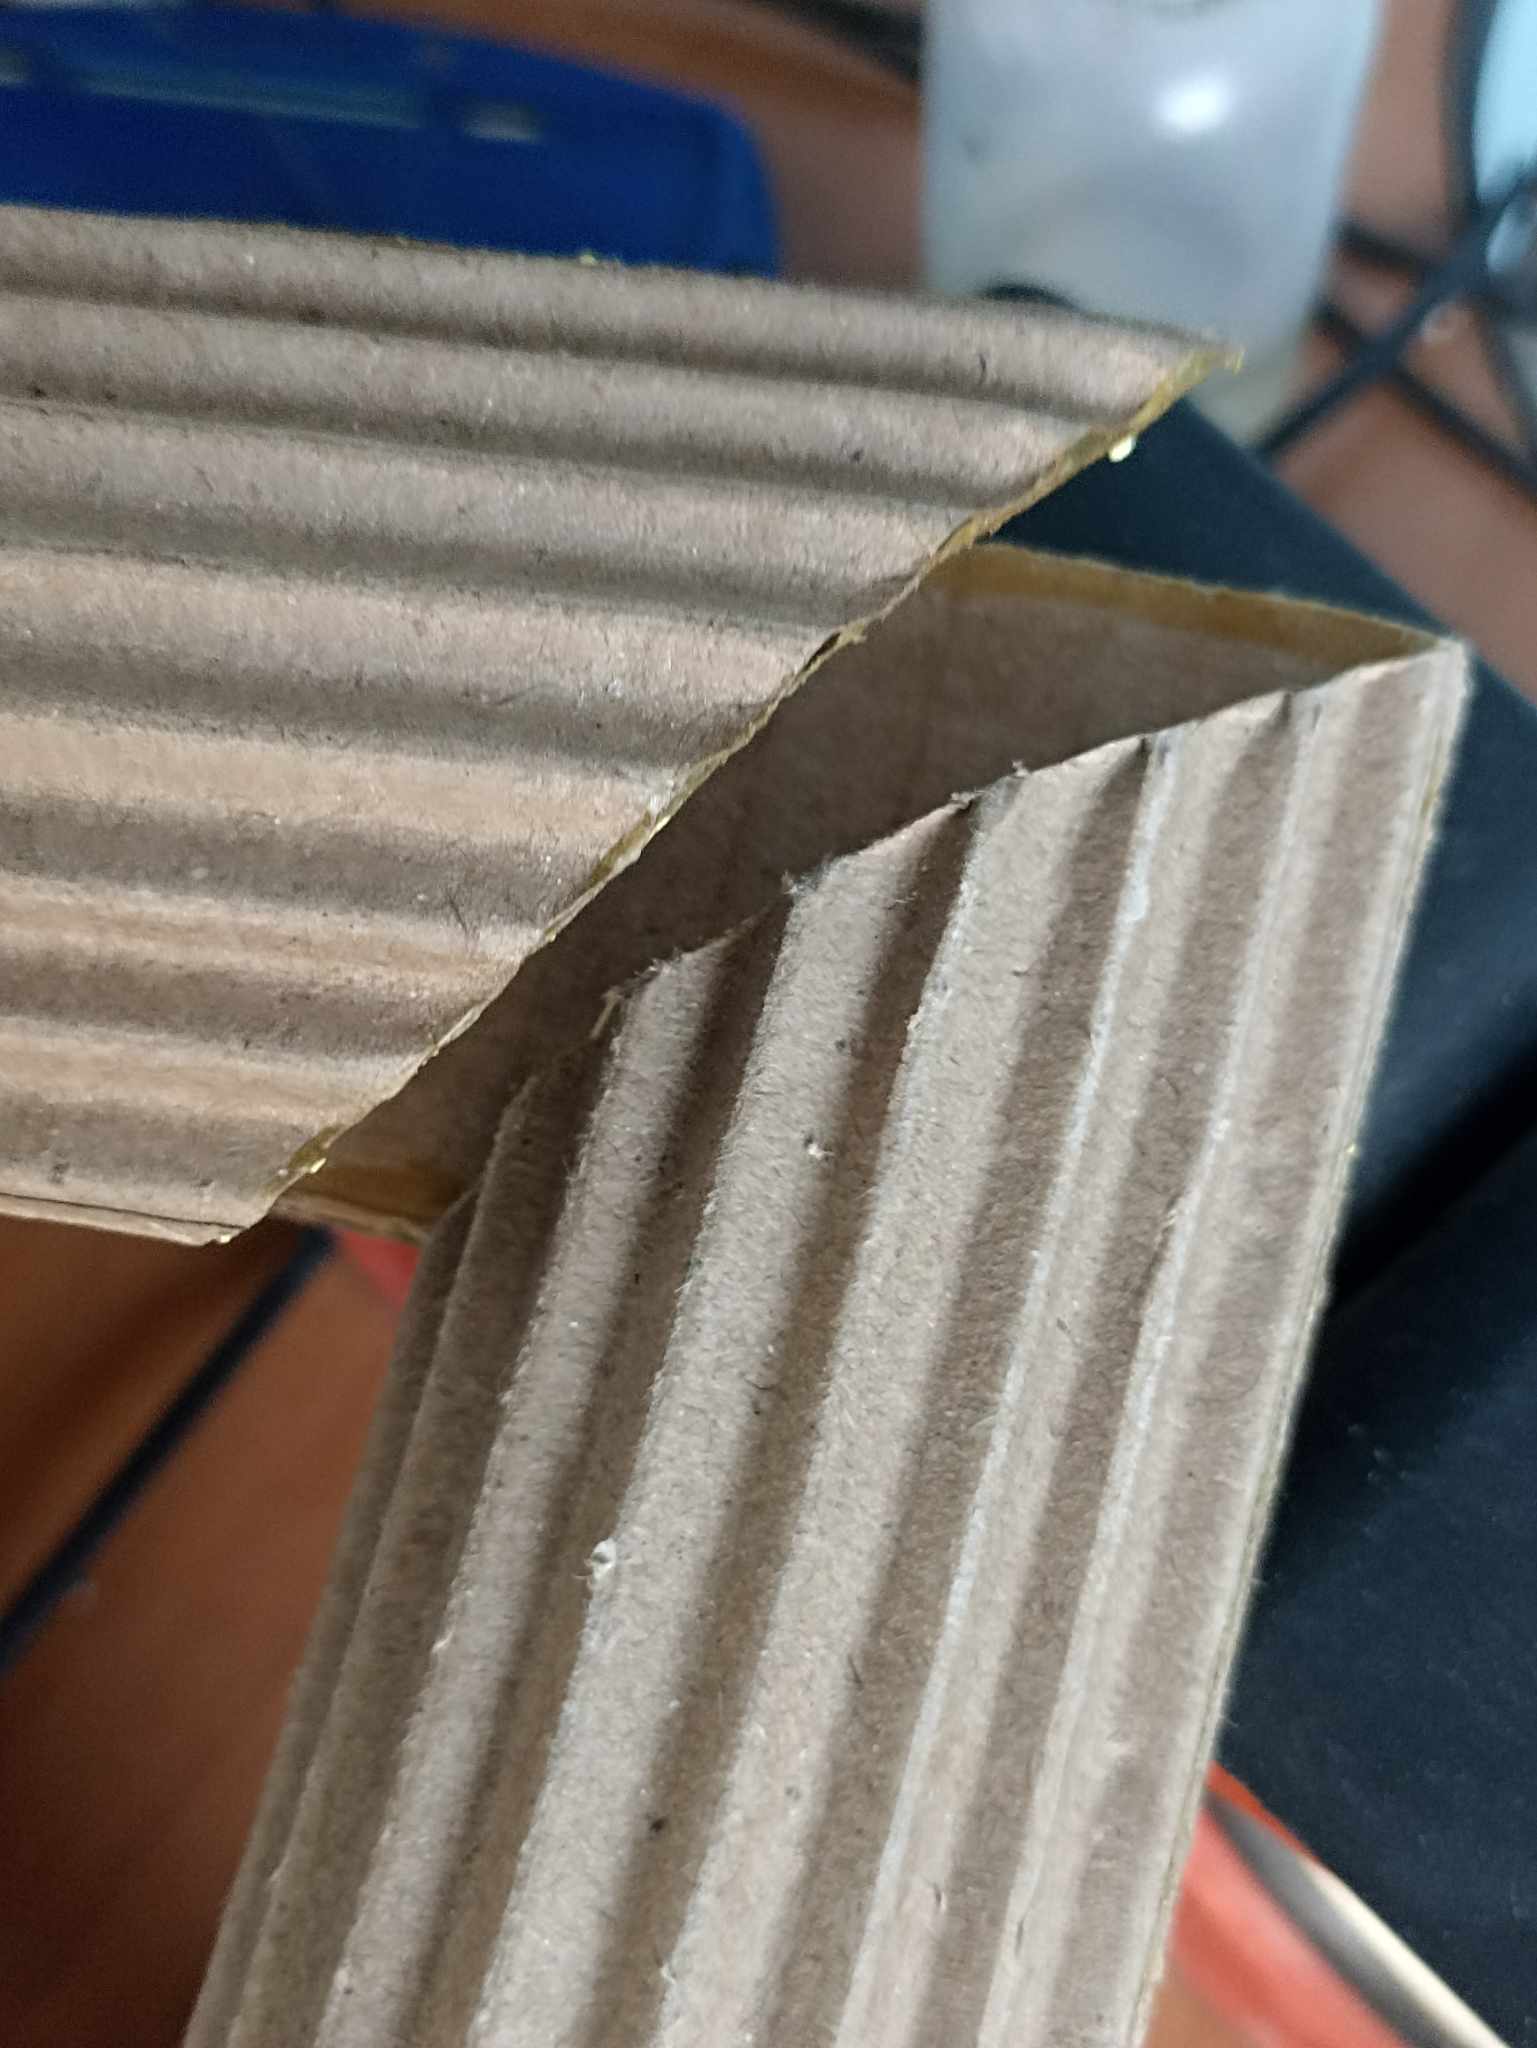 |  |
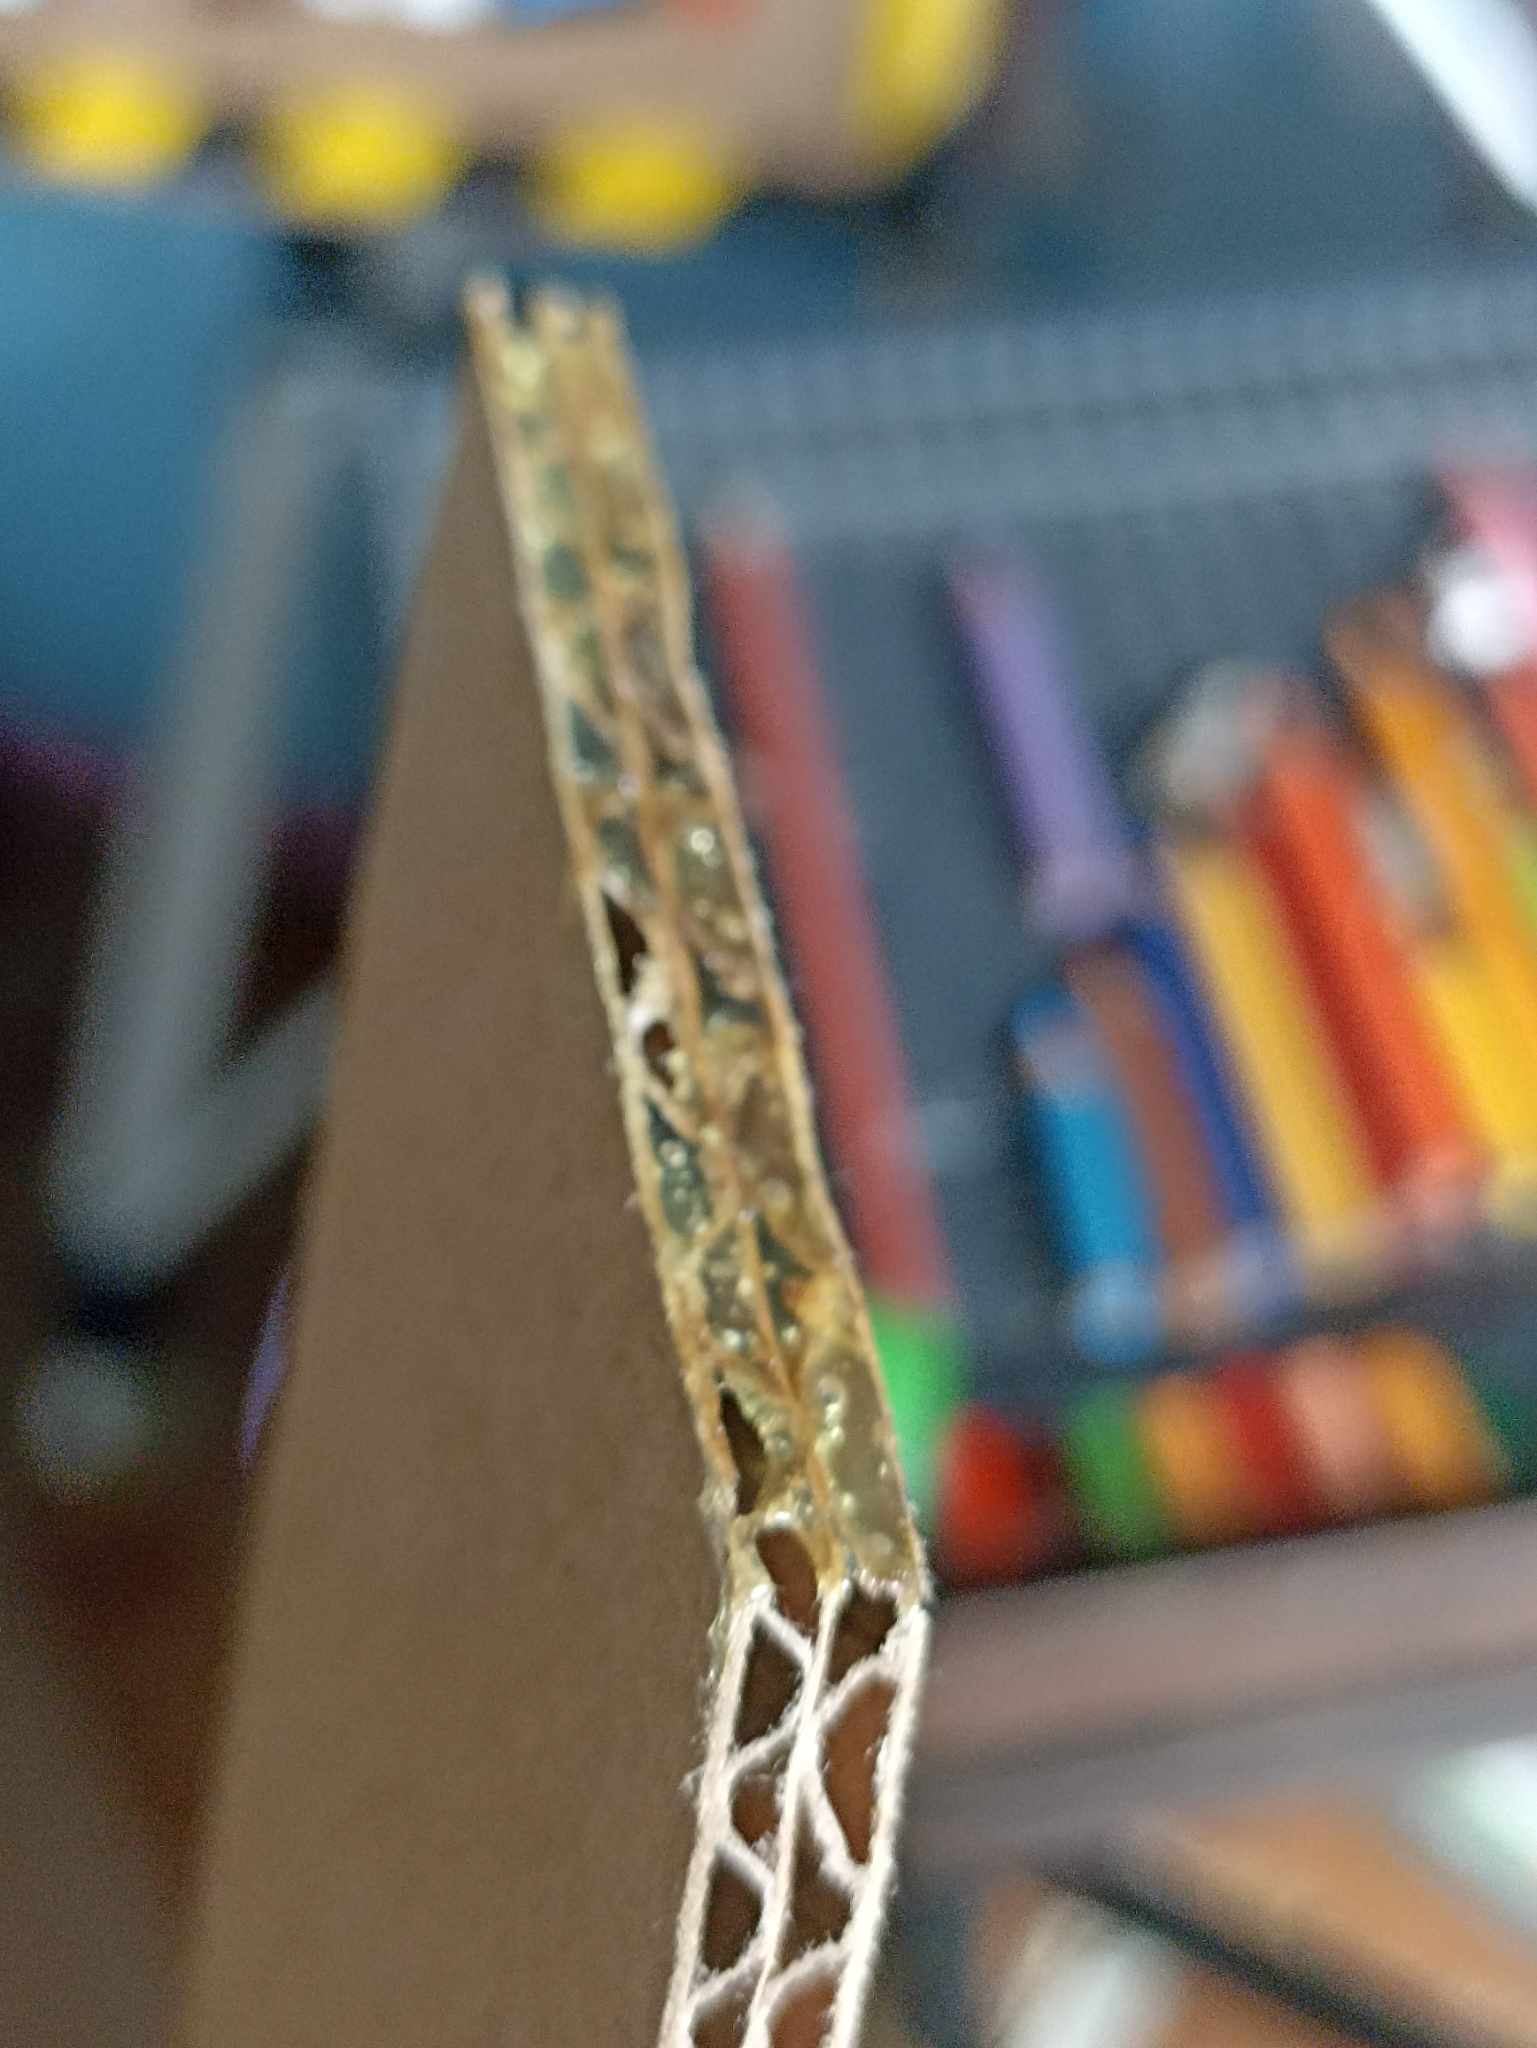
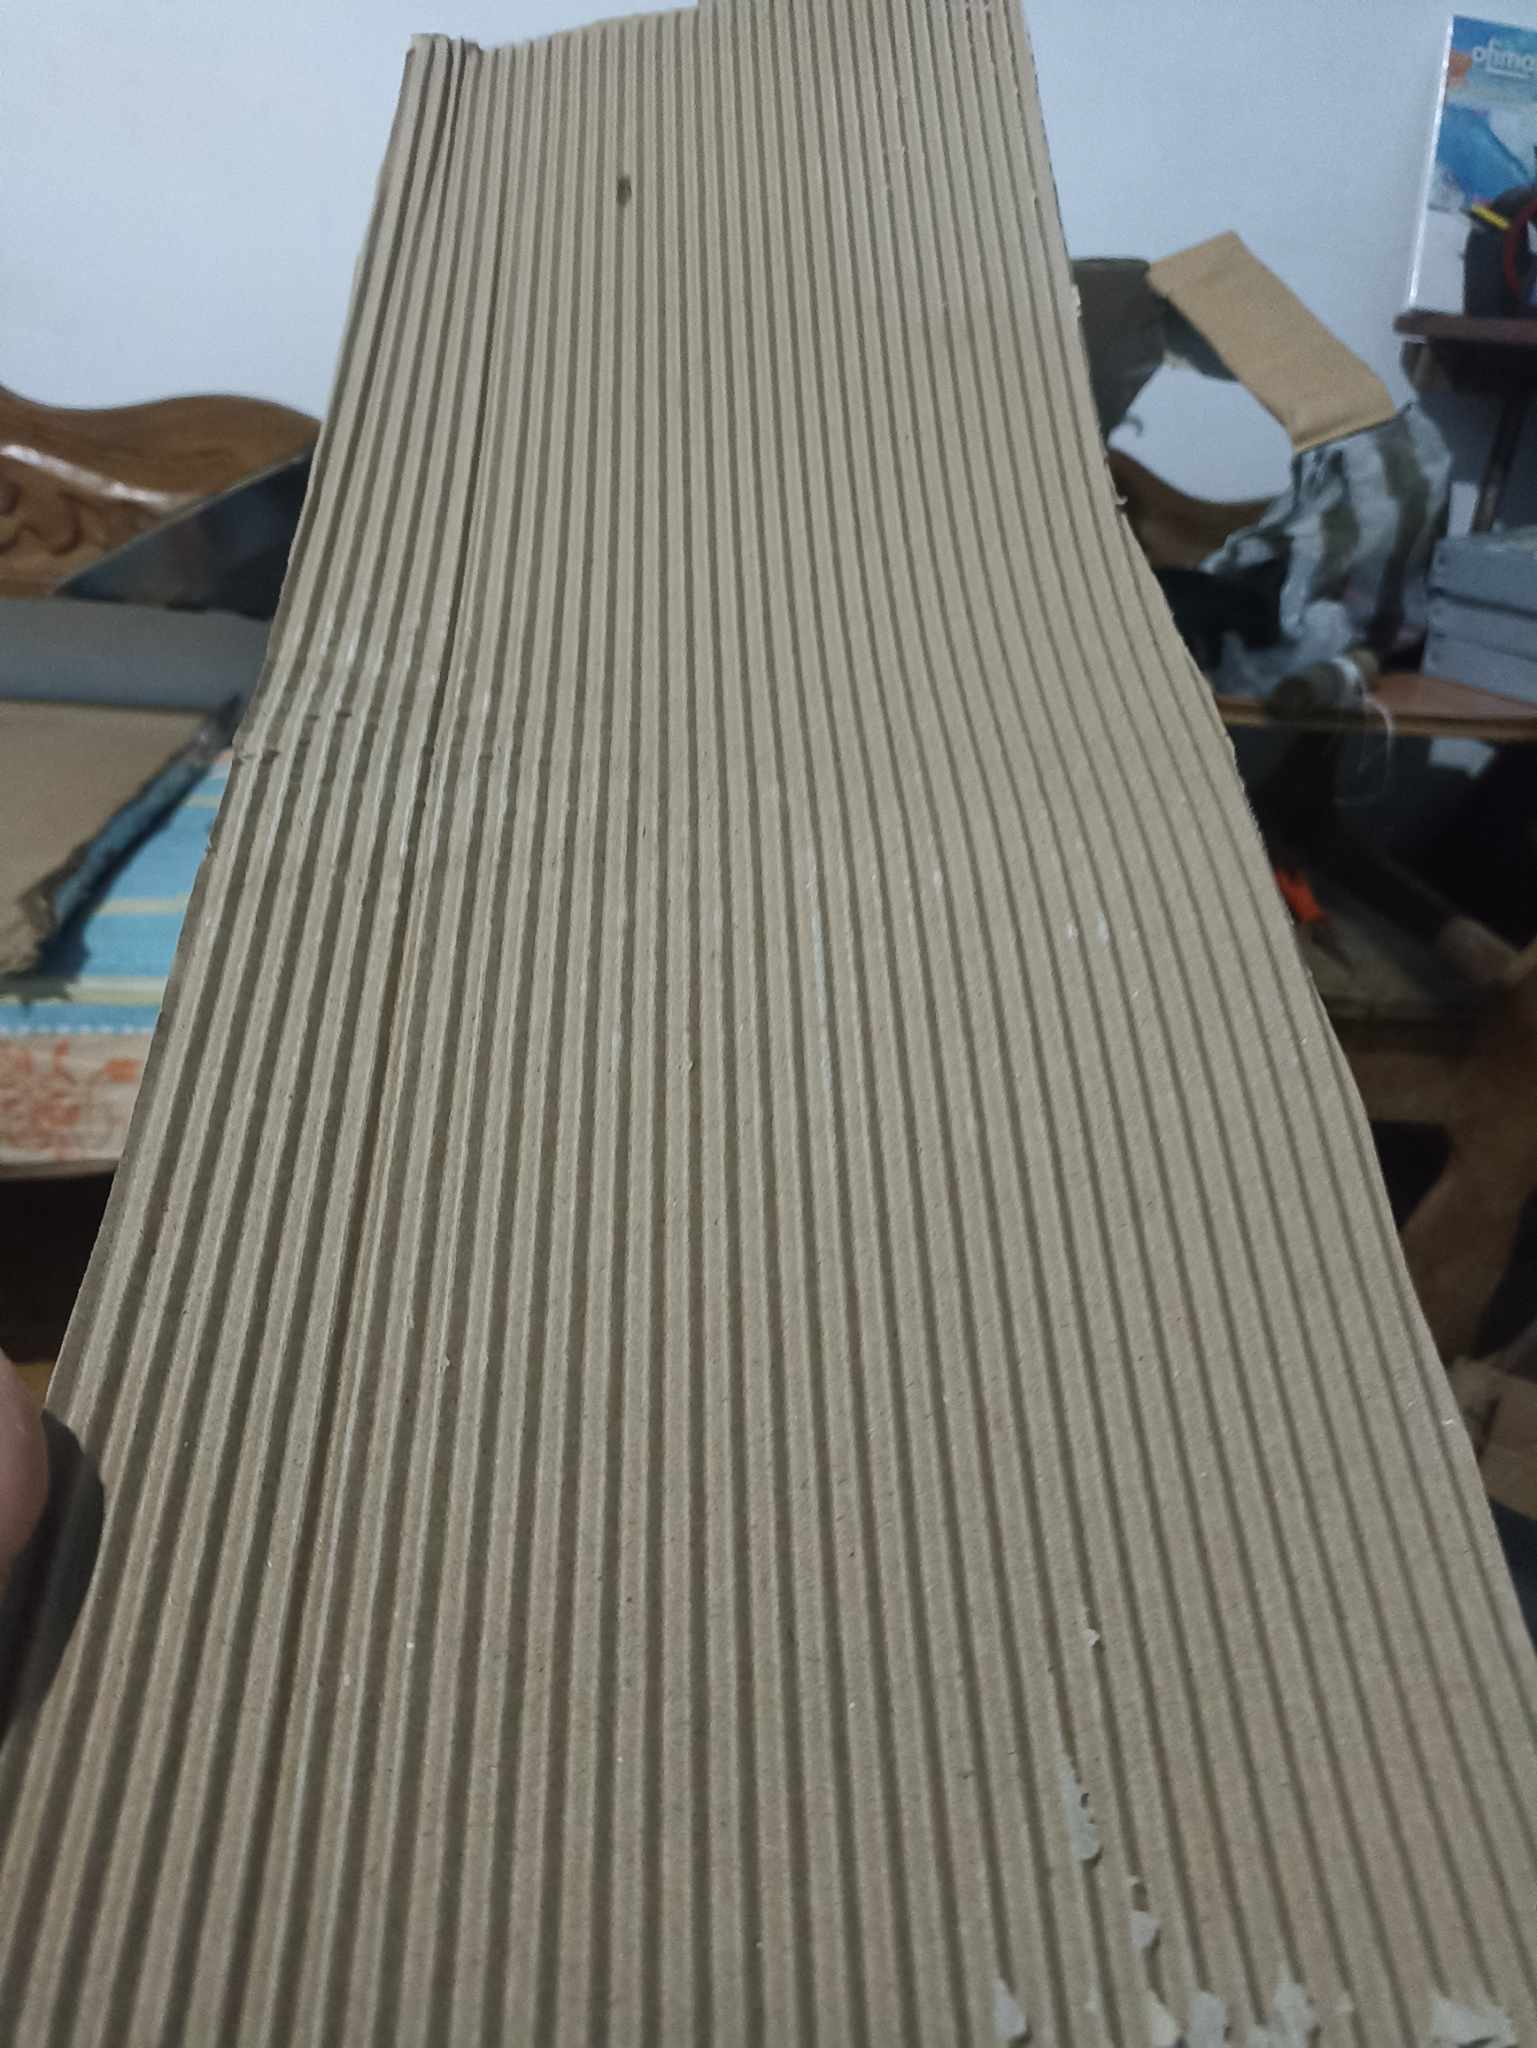
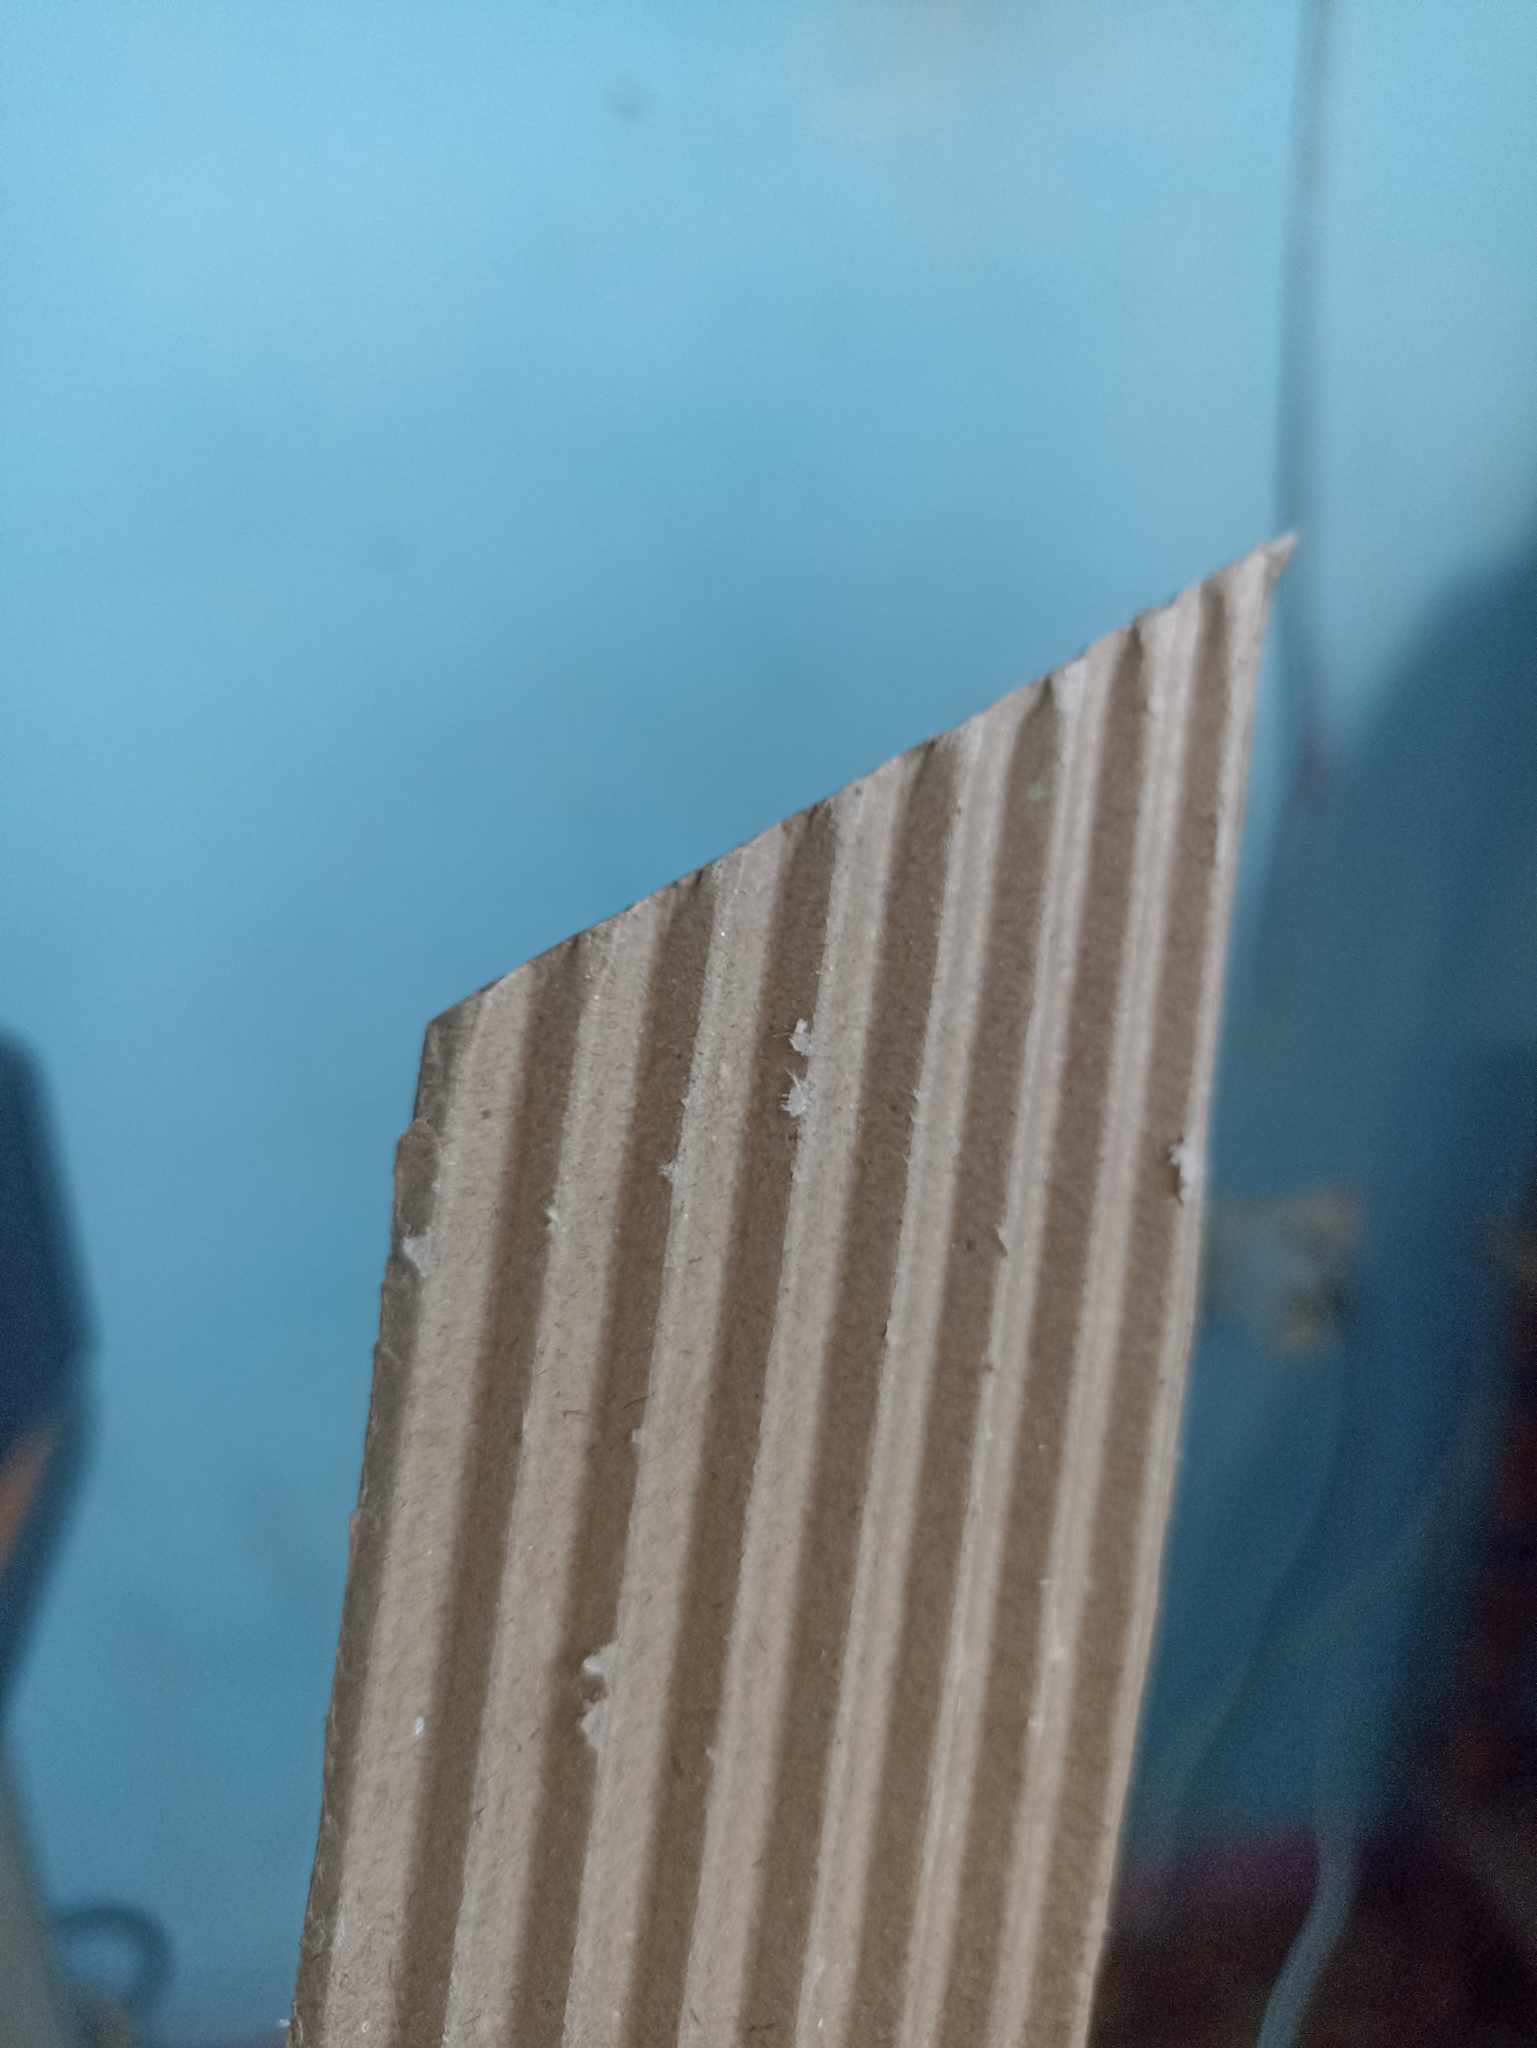
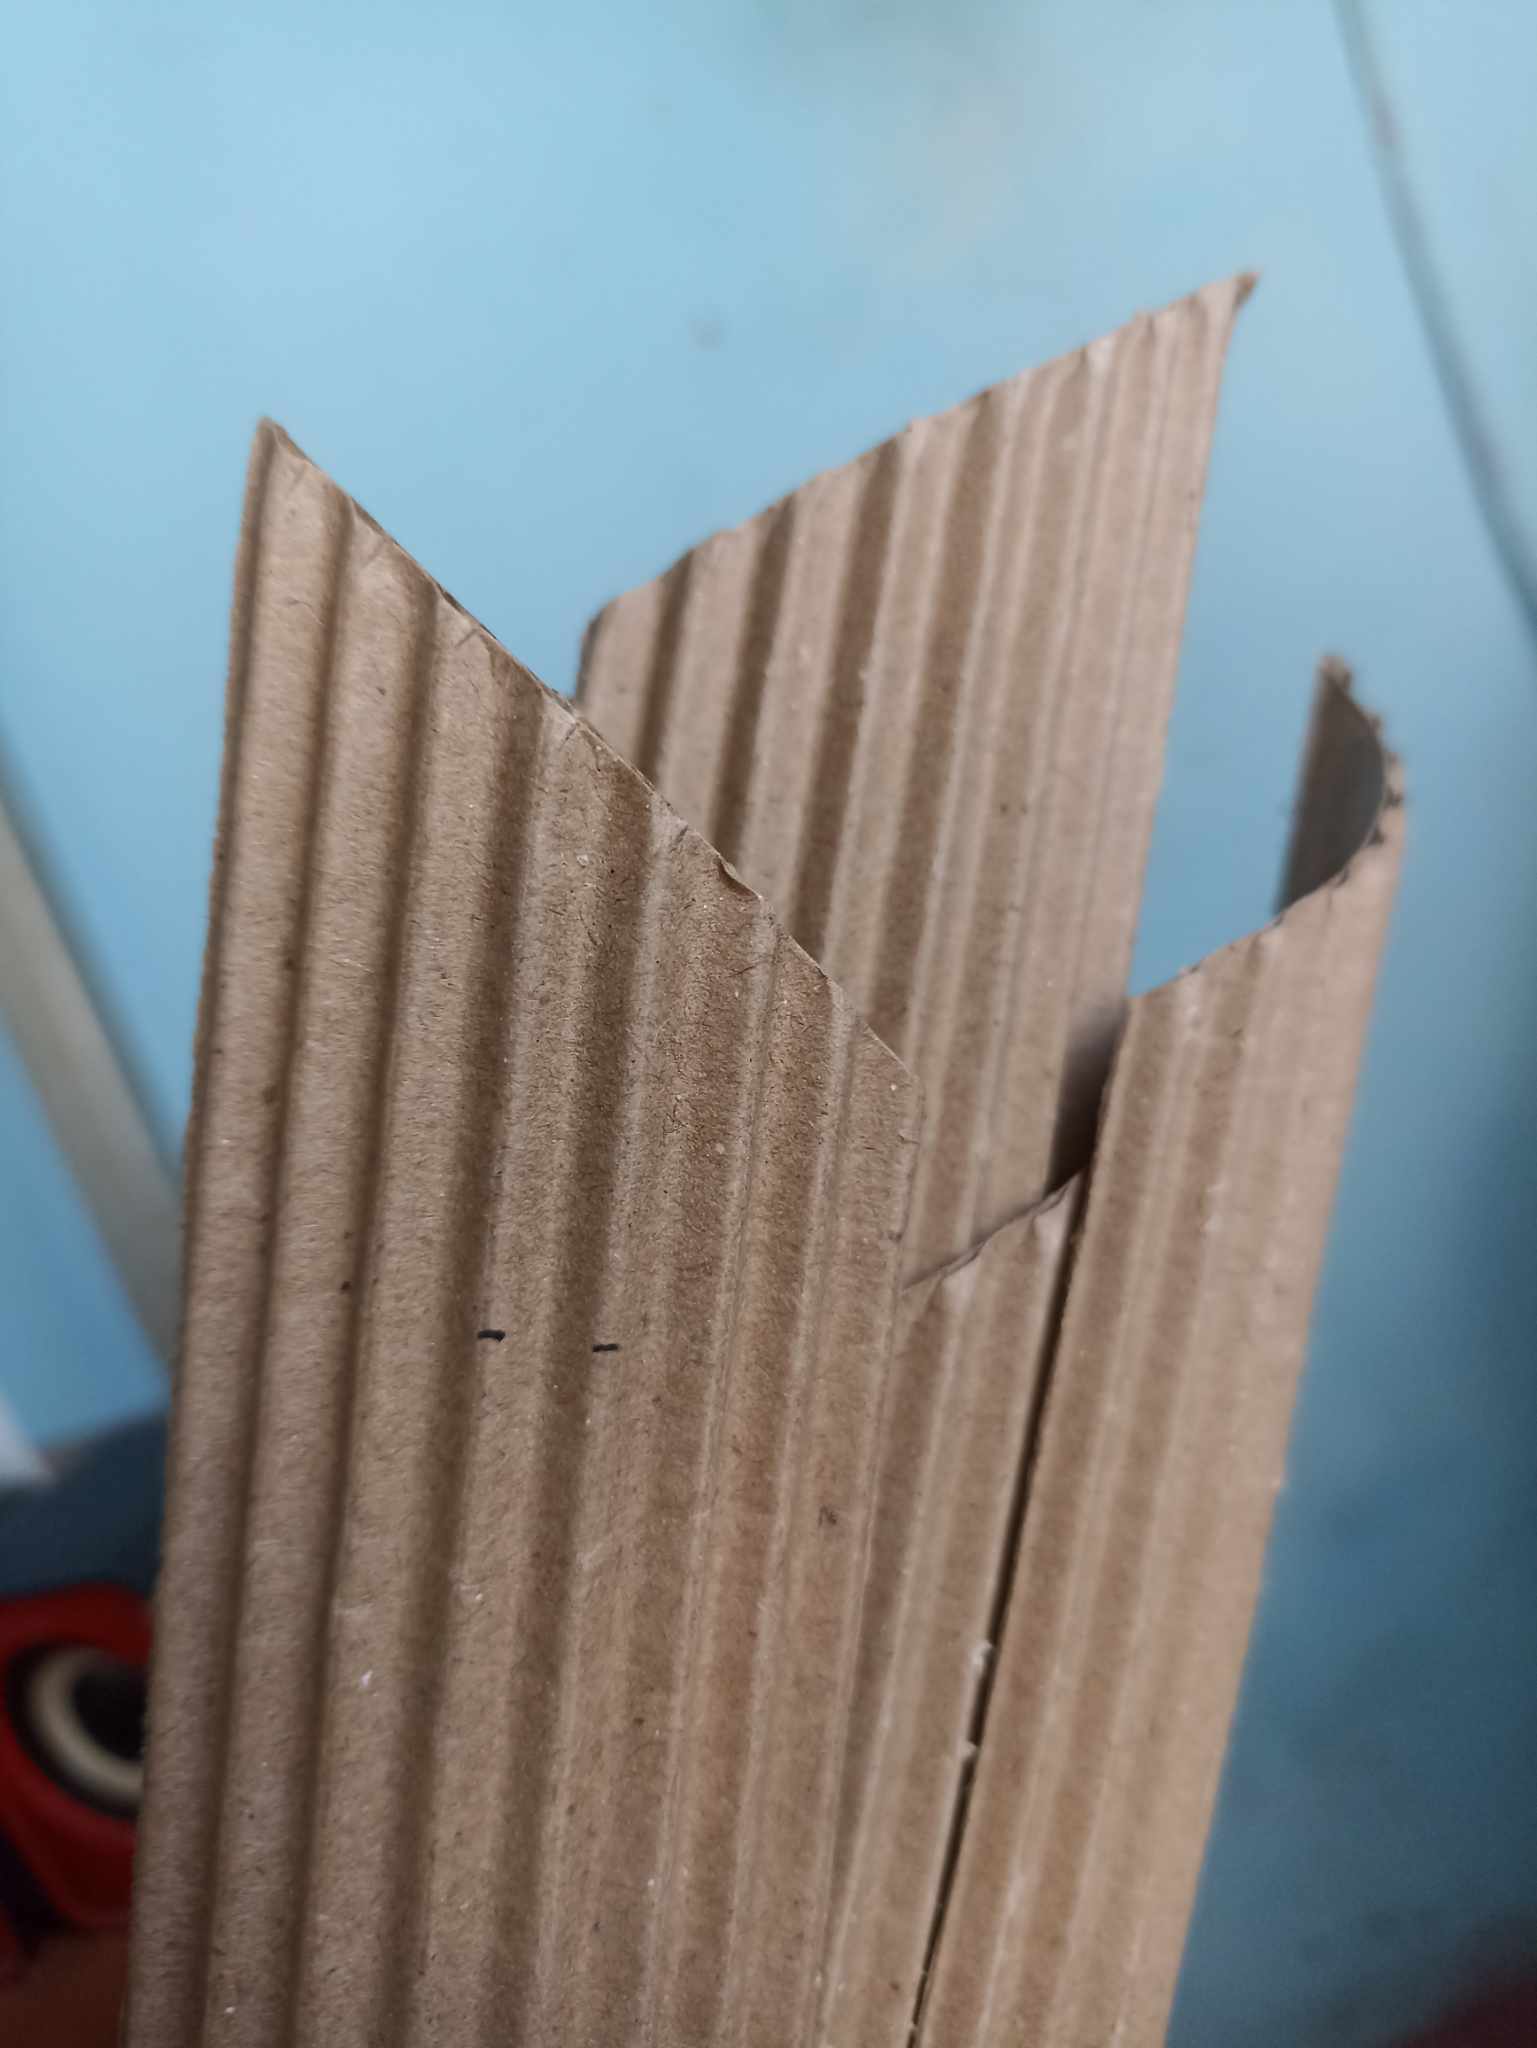
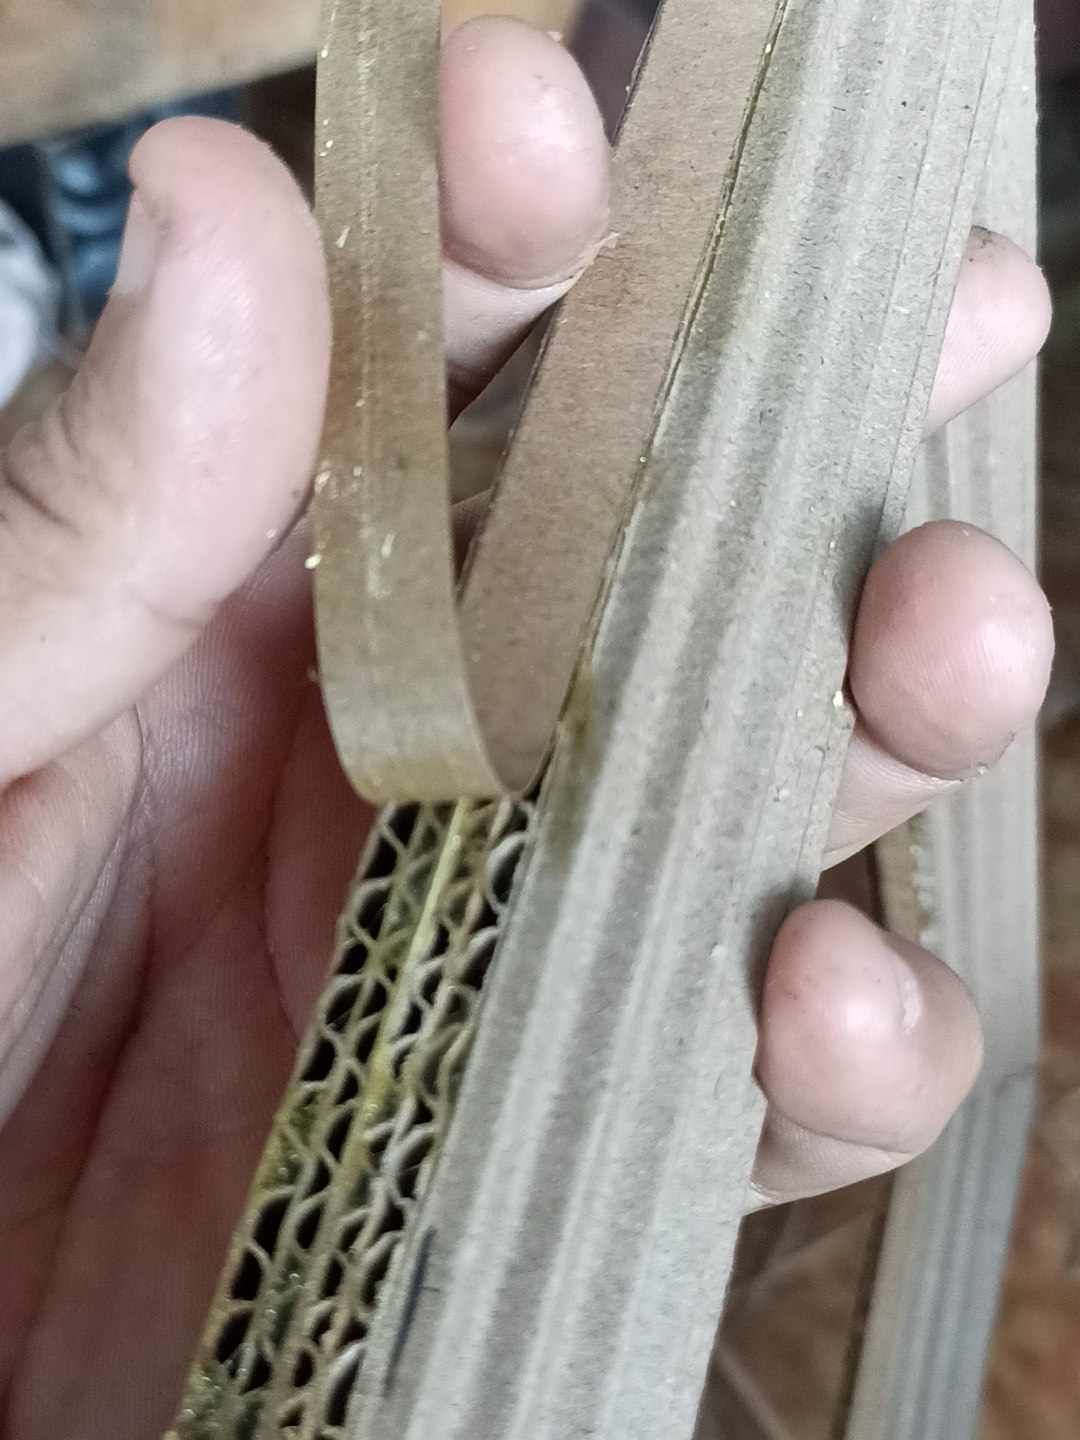
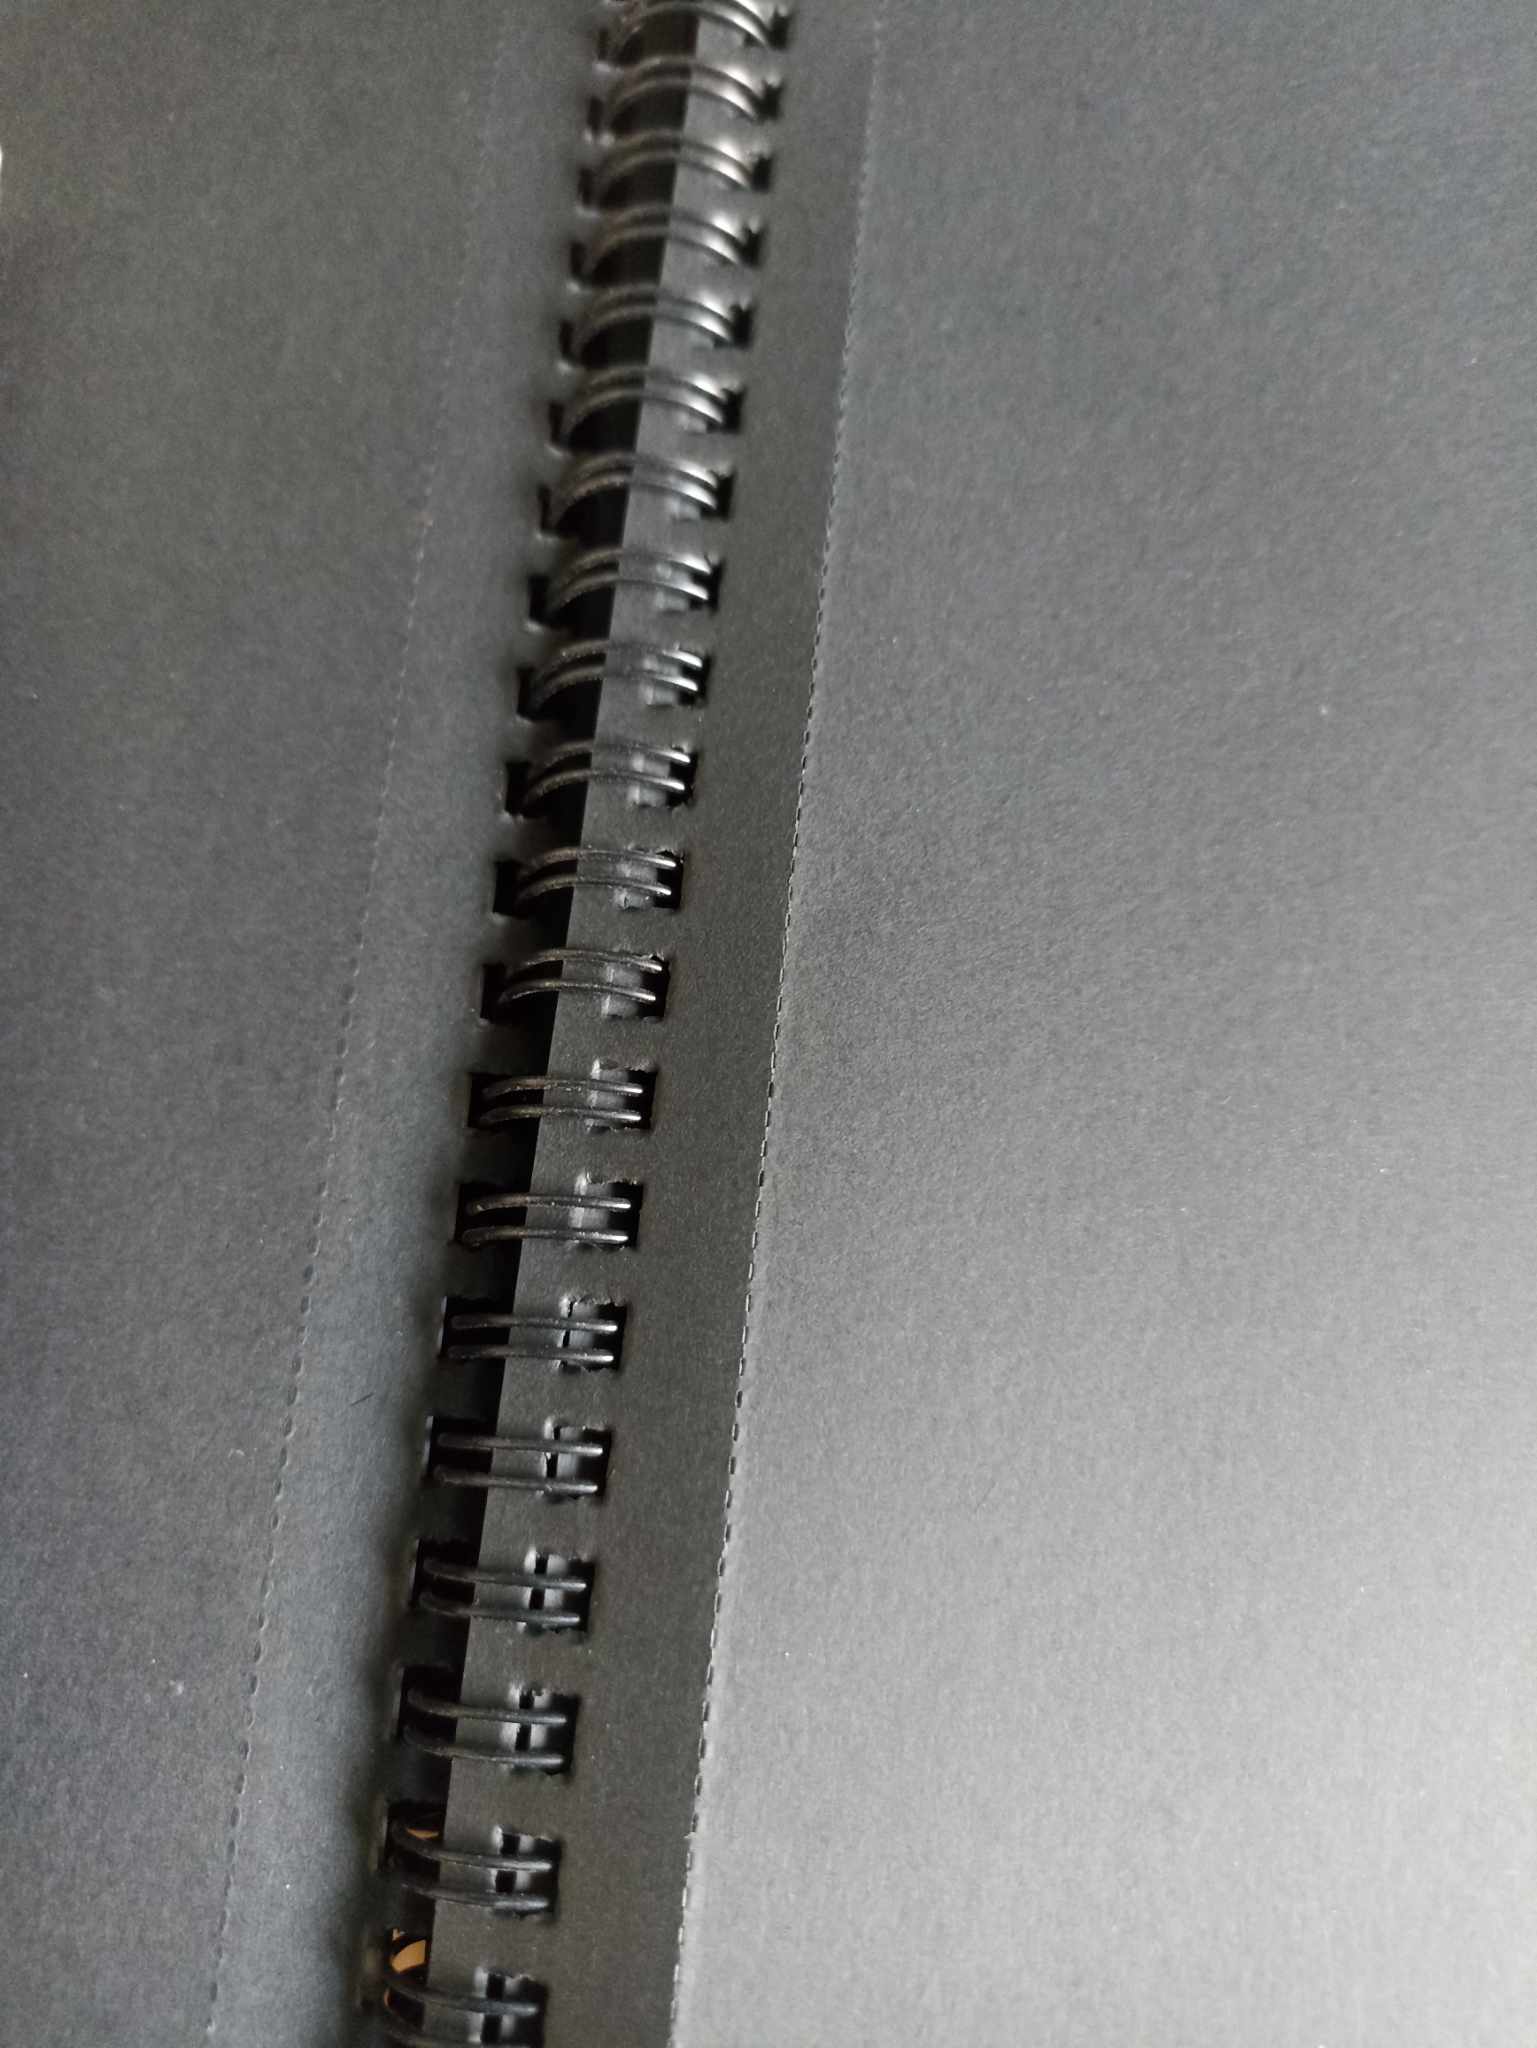
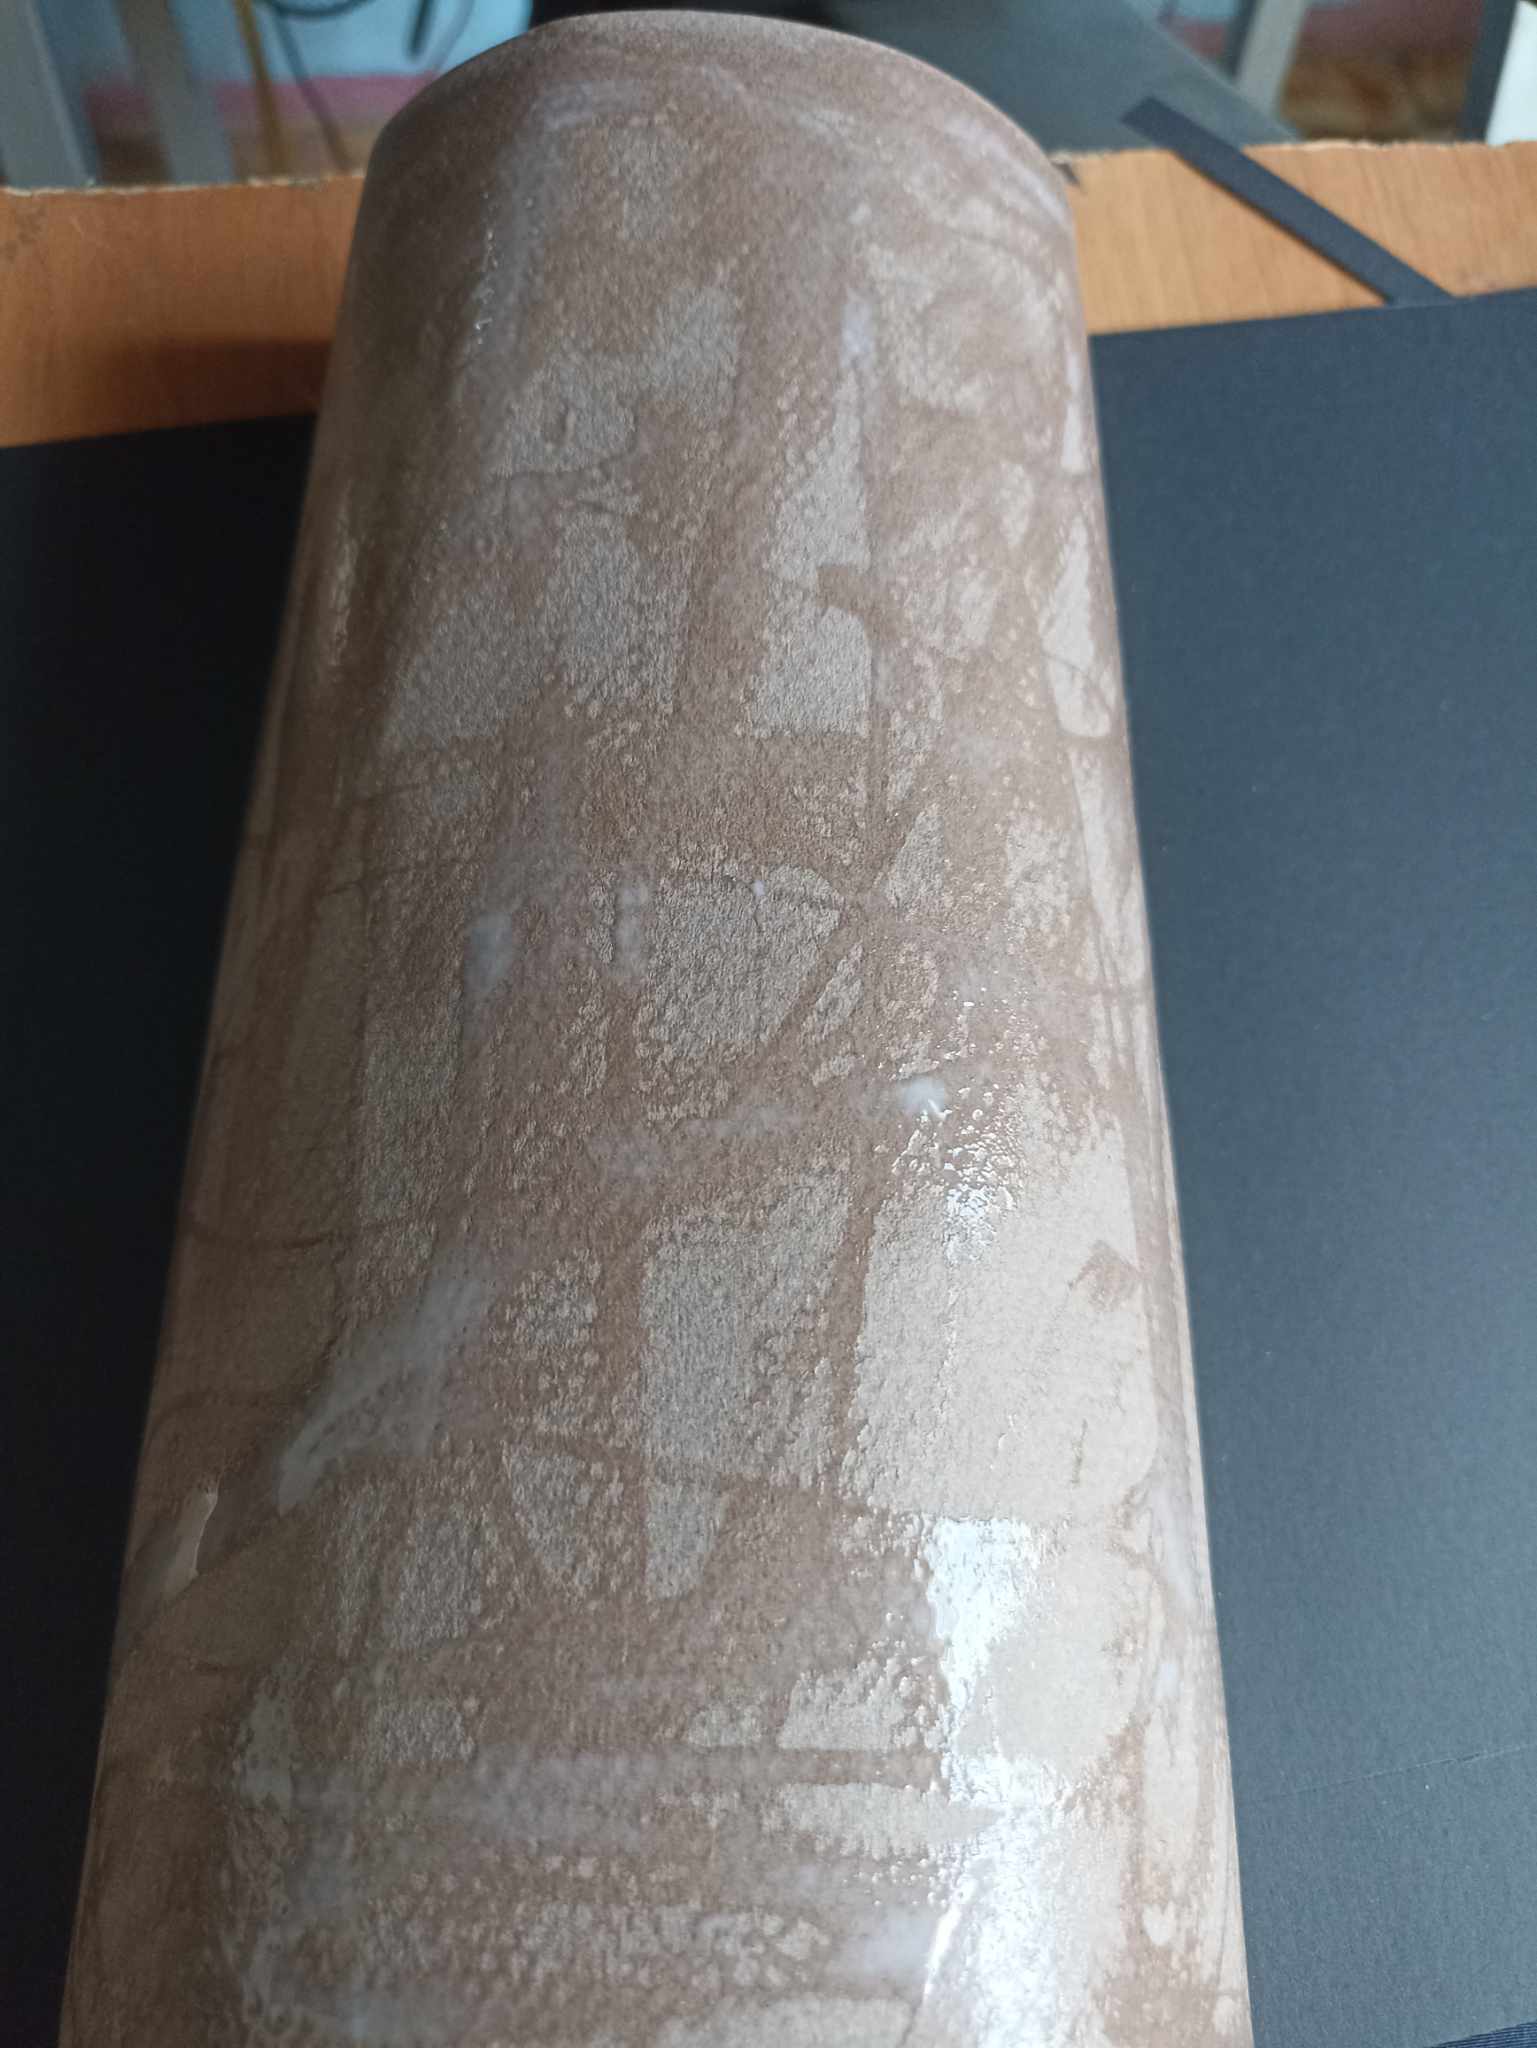
Next comes what would be the main accessory and what gives body to the frame. From the wrinkled part of the cardboard that has the relief, we will take 4 strips of the same length, only on the wide part we will add 1 centimeter more, which would be 5 centimeters. This extra centimeter is used so that the cardboard can have a curved shape, then we put glue on the cardboard base that we made and we will put the cardboard strips little by little until we complete the four.
Luego viene lo que sería el accesorio principal y lo que le da cuerpo al marco. De la parte arrugada del cartón que tiene el relieve sacaremos 4 tiras del mismo tamaño de largo solo que en la parte ancha de le agrega 1 centímetro más, lo que quedaría de 5 centímetros. Este centímetro de sobra sirve para que el cartón pueda tener una forma curva, luego colocamos pegamento en la base de cartón que hicimos y vamos poniendo las tiras de cartón poco a poco hasta completar las cuatro.
 |  |  |
|---|---|---|
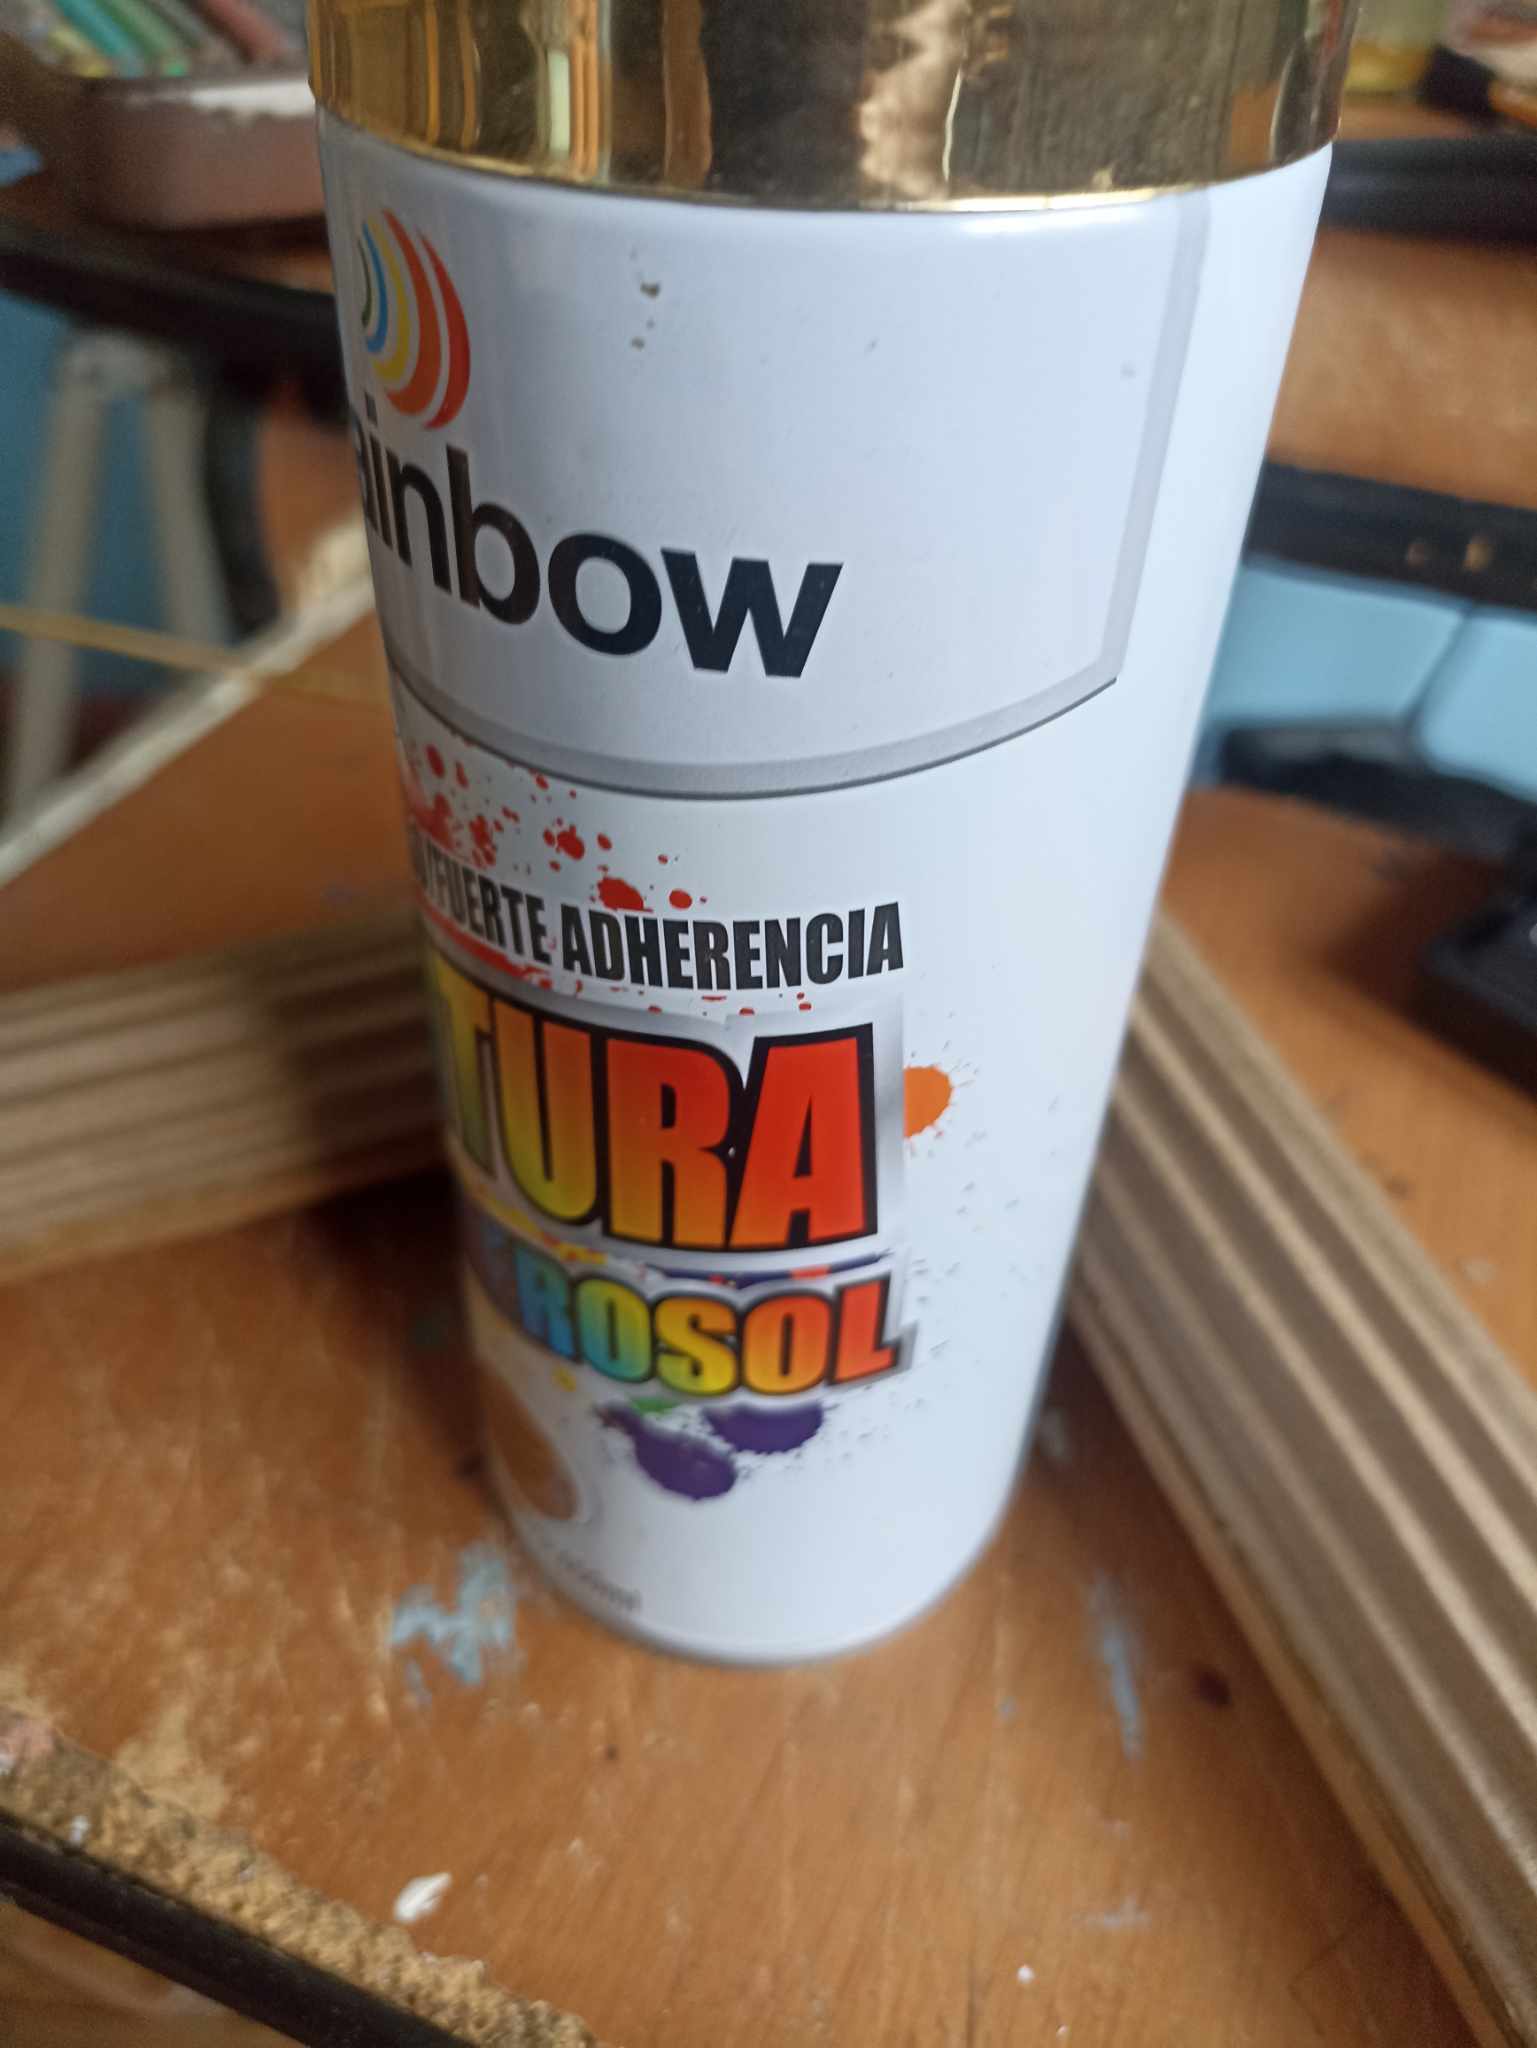 | 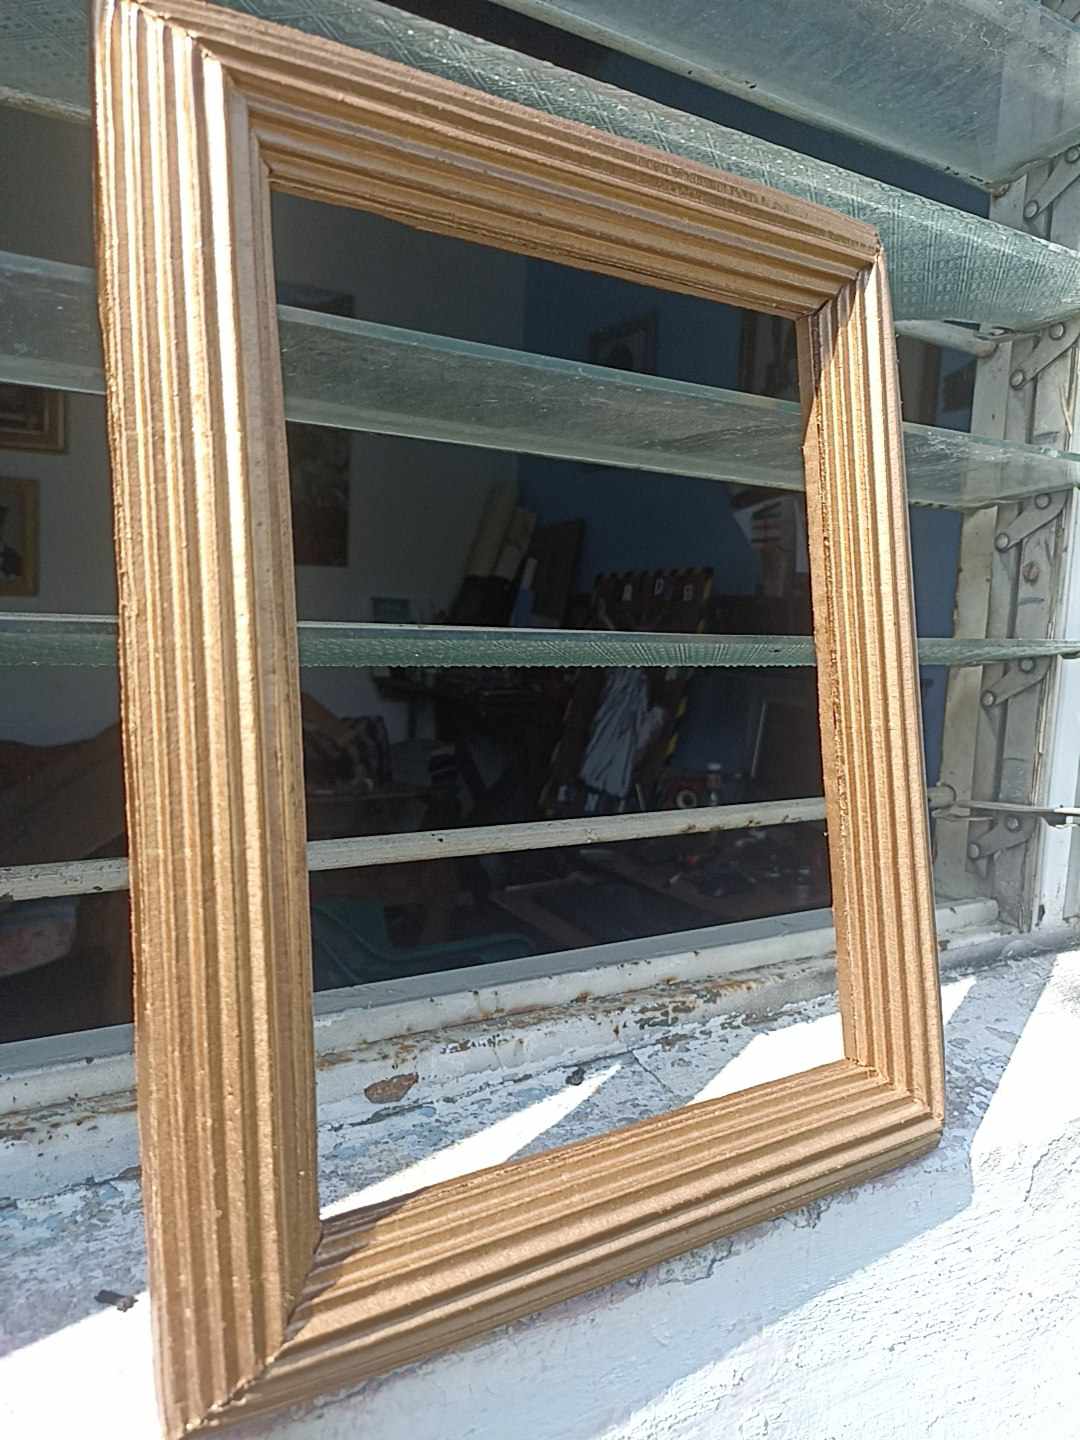 | 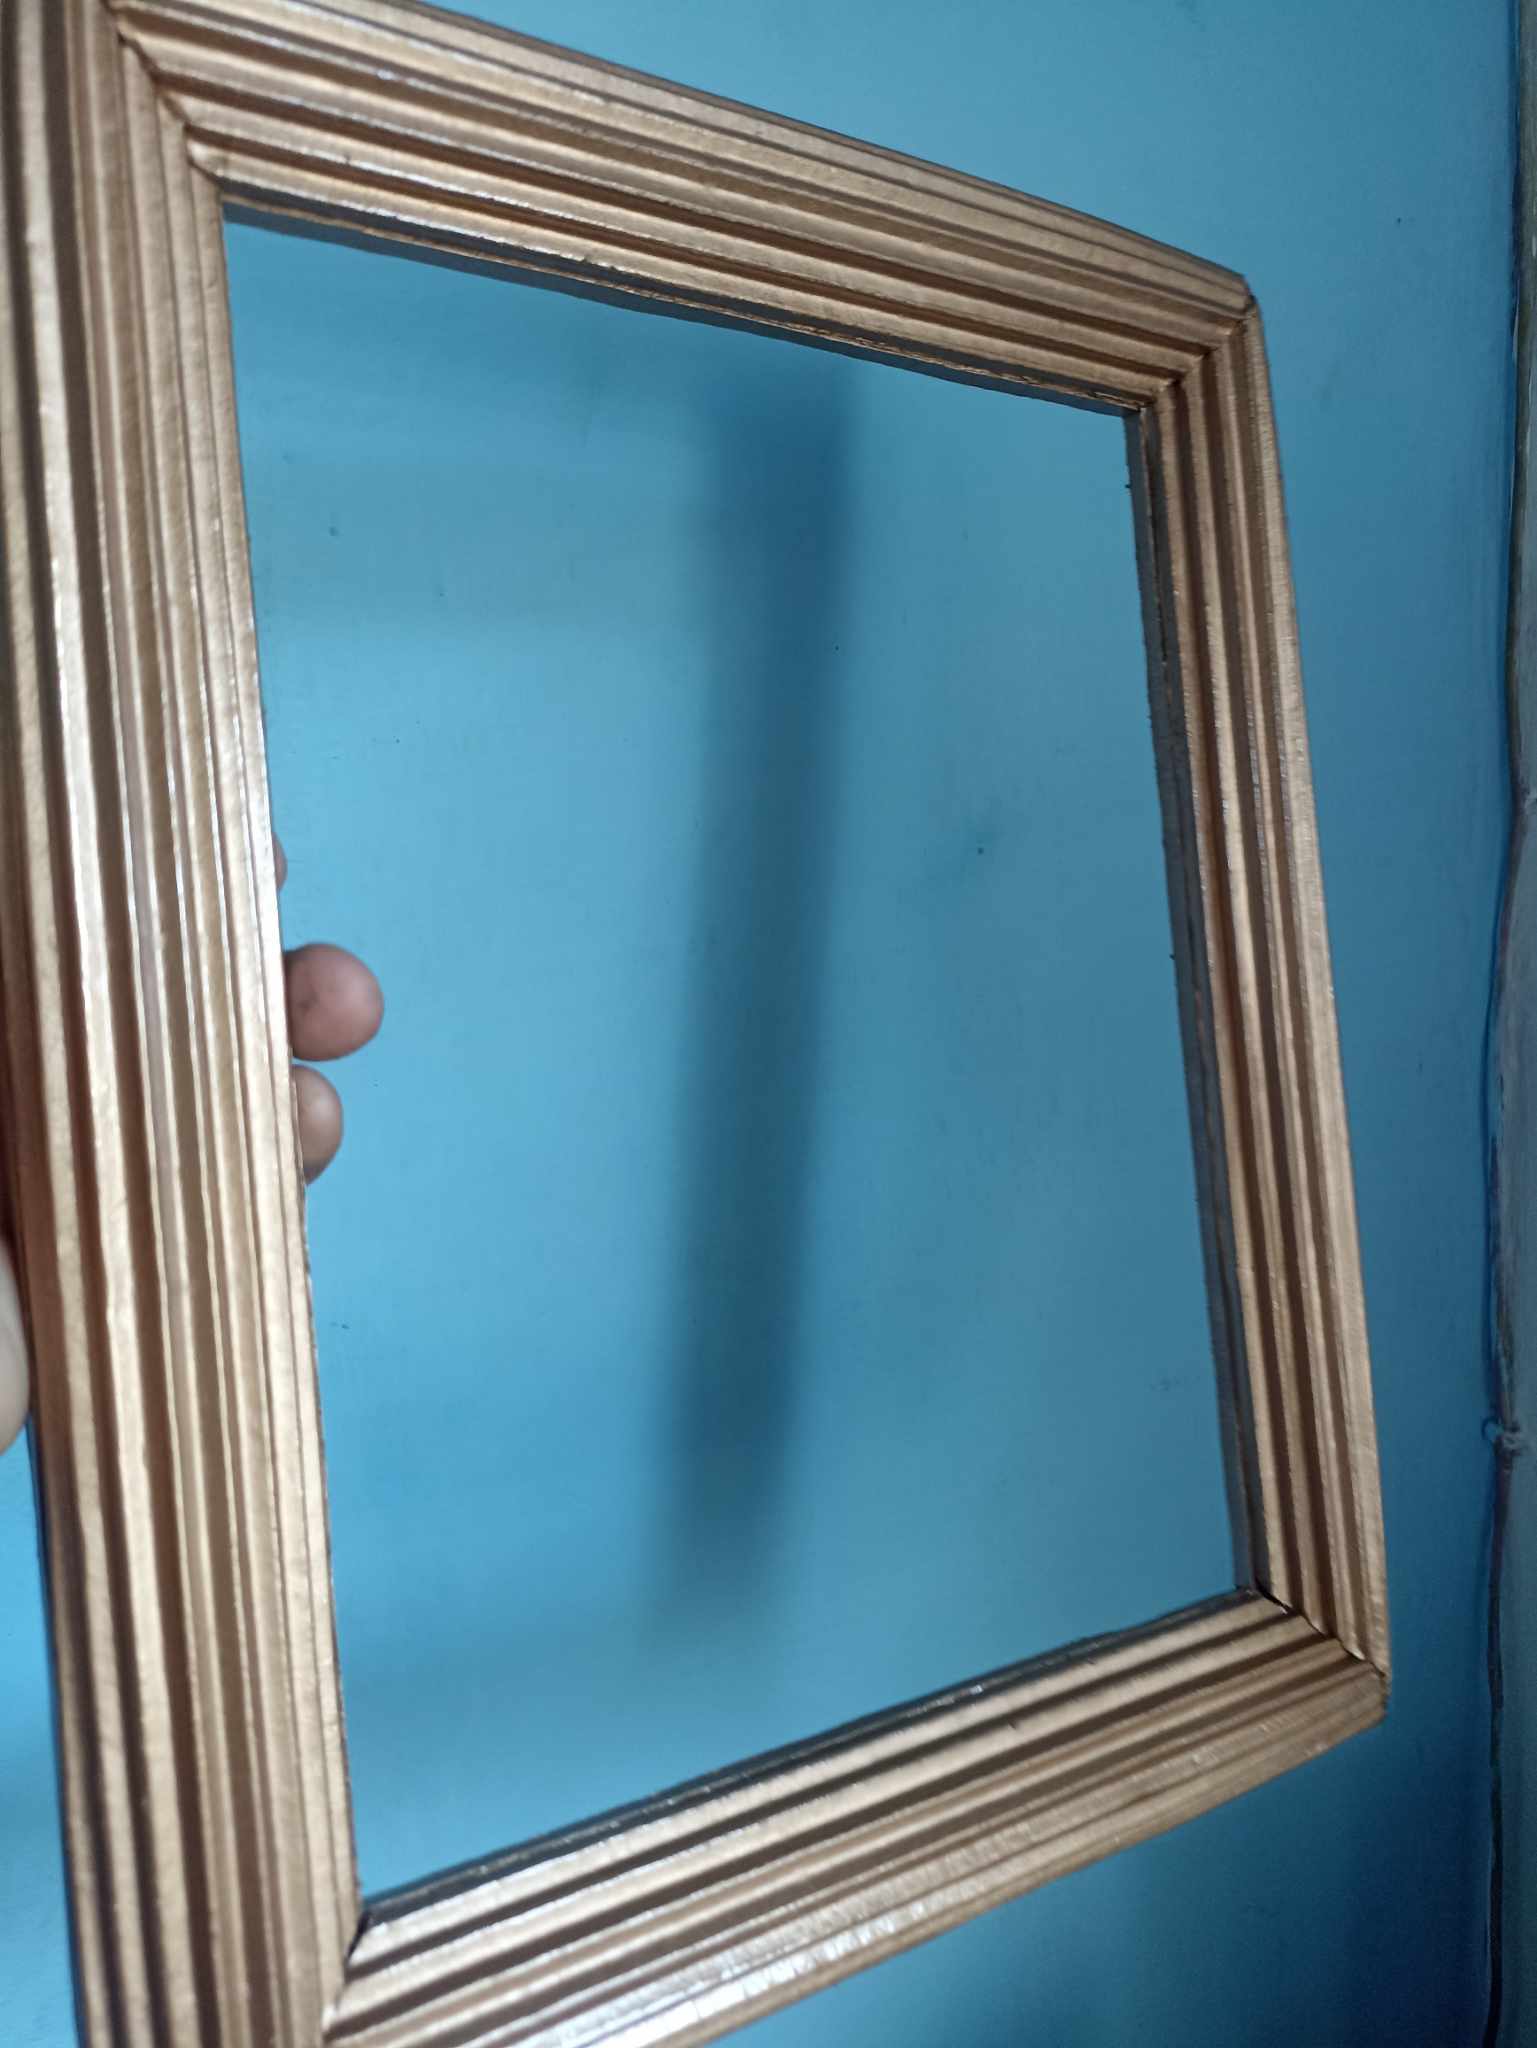 |
In the next step I start to seal the parts where the cardboard was cut and left uncovered. I do this by cutting strips of cardboard, which I then put on the inside and outside edges. To decorate the frame I used gold spray paint, although once I applied it it looked more like a copper color. But the finish was really cool after I let it dry.
En el siguiente paso comienzo a sellar las partes por donde se corta el cartón que quedó descubierto, esto lo hago cortaando tieras del papel cartón, que luego voy poniendo por los bordes internos y también externos. Para decorar el marco utilicé pintura spray de color dorado, aunque una vez que lo eché parecía más color cobre. Pero el acabado fue muy genial luego que deje secar.
 |  |  |
|---|---|---|
 |  | 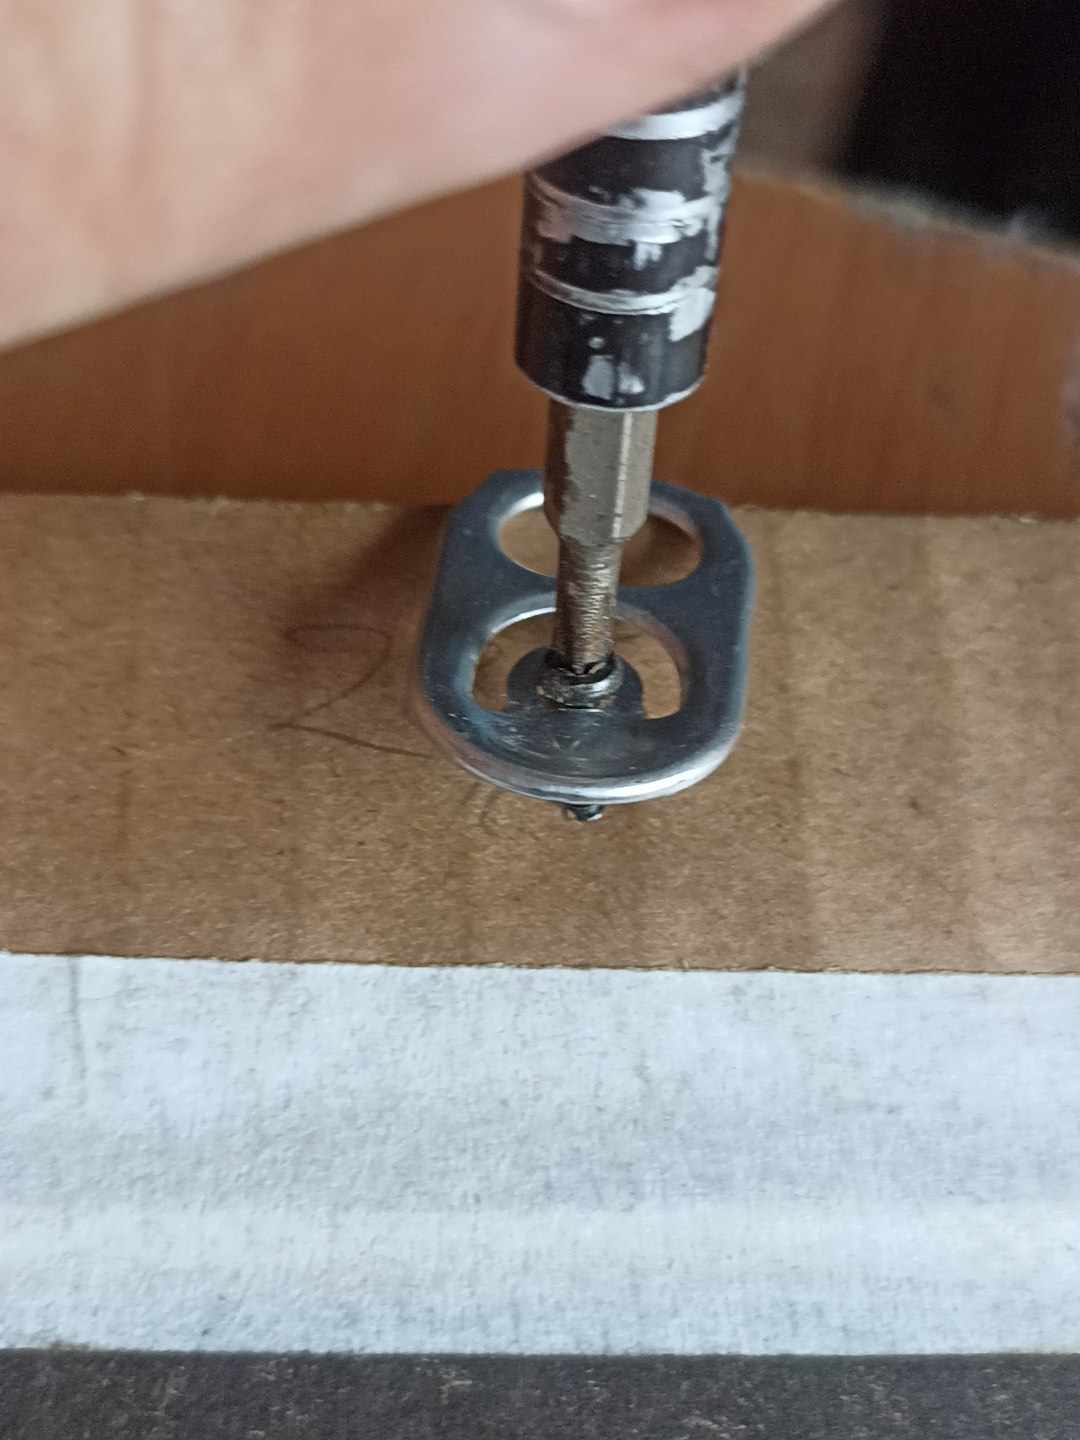 |
Then comes the step of preparing the portrait, which will be suspended on a black background, which I make with black cardboard, and on the back of the portrait I put school glue, although I should have used a better glue stick. Then I fixed it to the black cardboard, once well glued, I put the portrait in the back of the frame, in the space that was left, and secured it with a very firm cardboard wall. Finally I put a ring, and to honor recycling I put the ring of a beer can fixed with glue and a screw, and that's how it was finished.
Luego queda el paso de preparar el retrato, este estará suspendido en un fondo negro, el cual lo hago con cartulina negra, y al retrato en la parte trasera coloco pegamento escolar, aunque debí colcoar mejor pegamento en barra. Luego lo fijo a la cartulina negra, una vez bien pegado, metí el retrato en la parte trasera del marco, en el espacio que quedó, y aseguro con una pared de cartón bien firme. Por último pongo un anillo, y para honrar el reciclaje le pongo el anillo de una lata de cerveza fijado con pegamento y un tornillo, y así quedó finalizado.
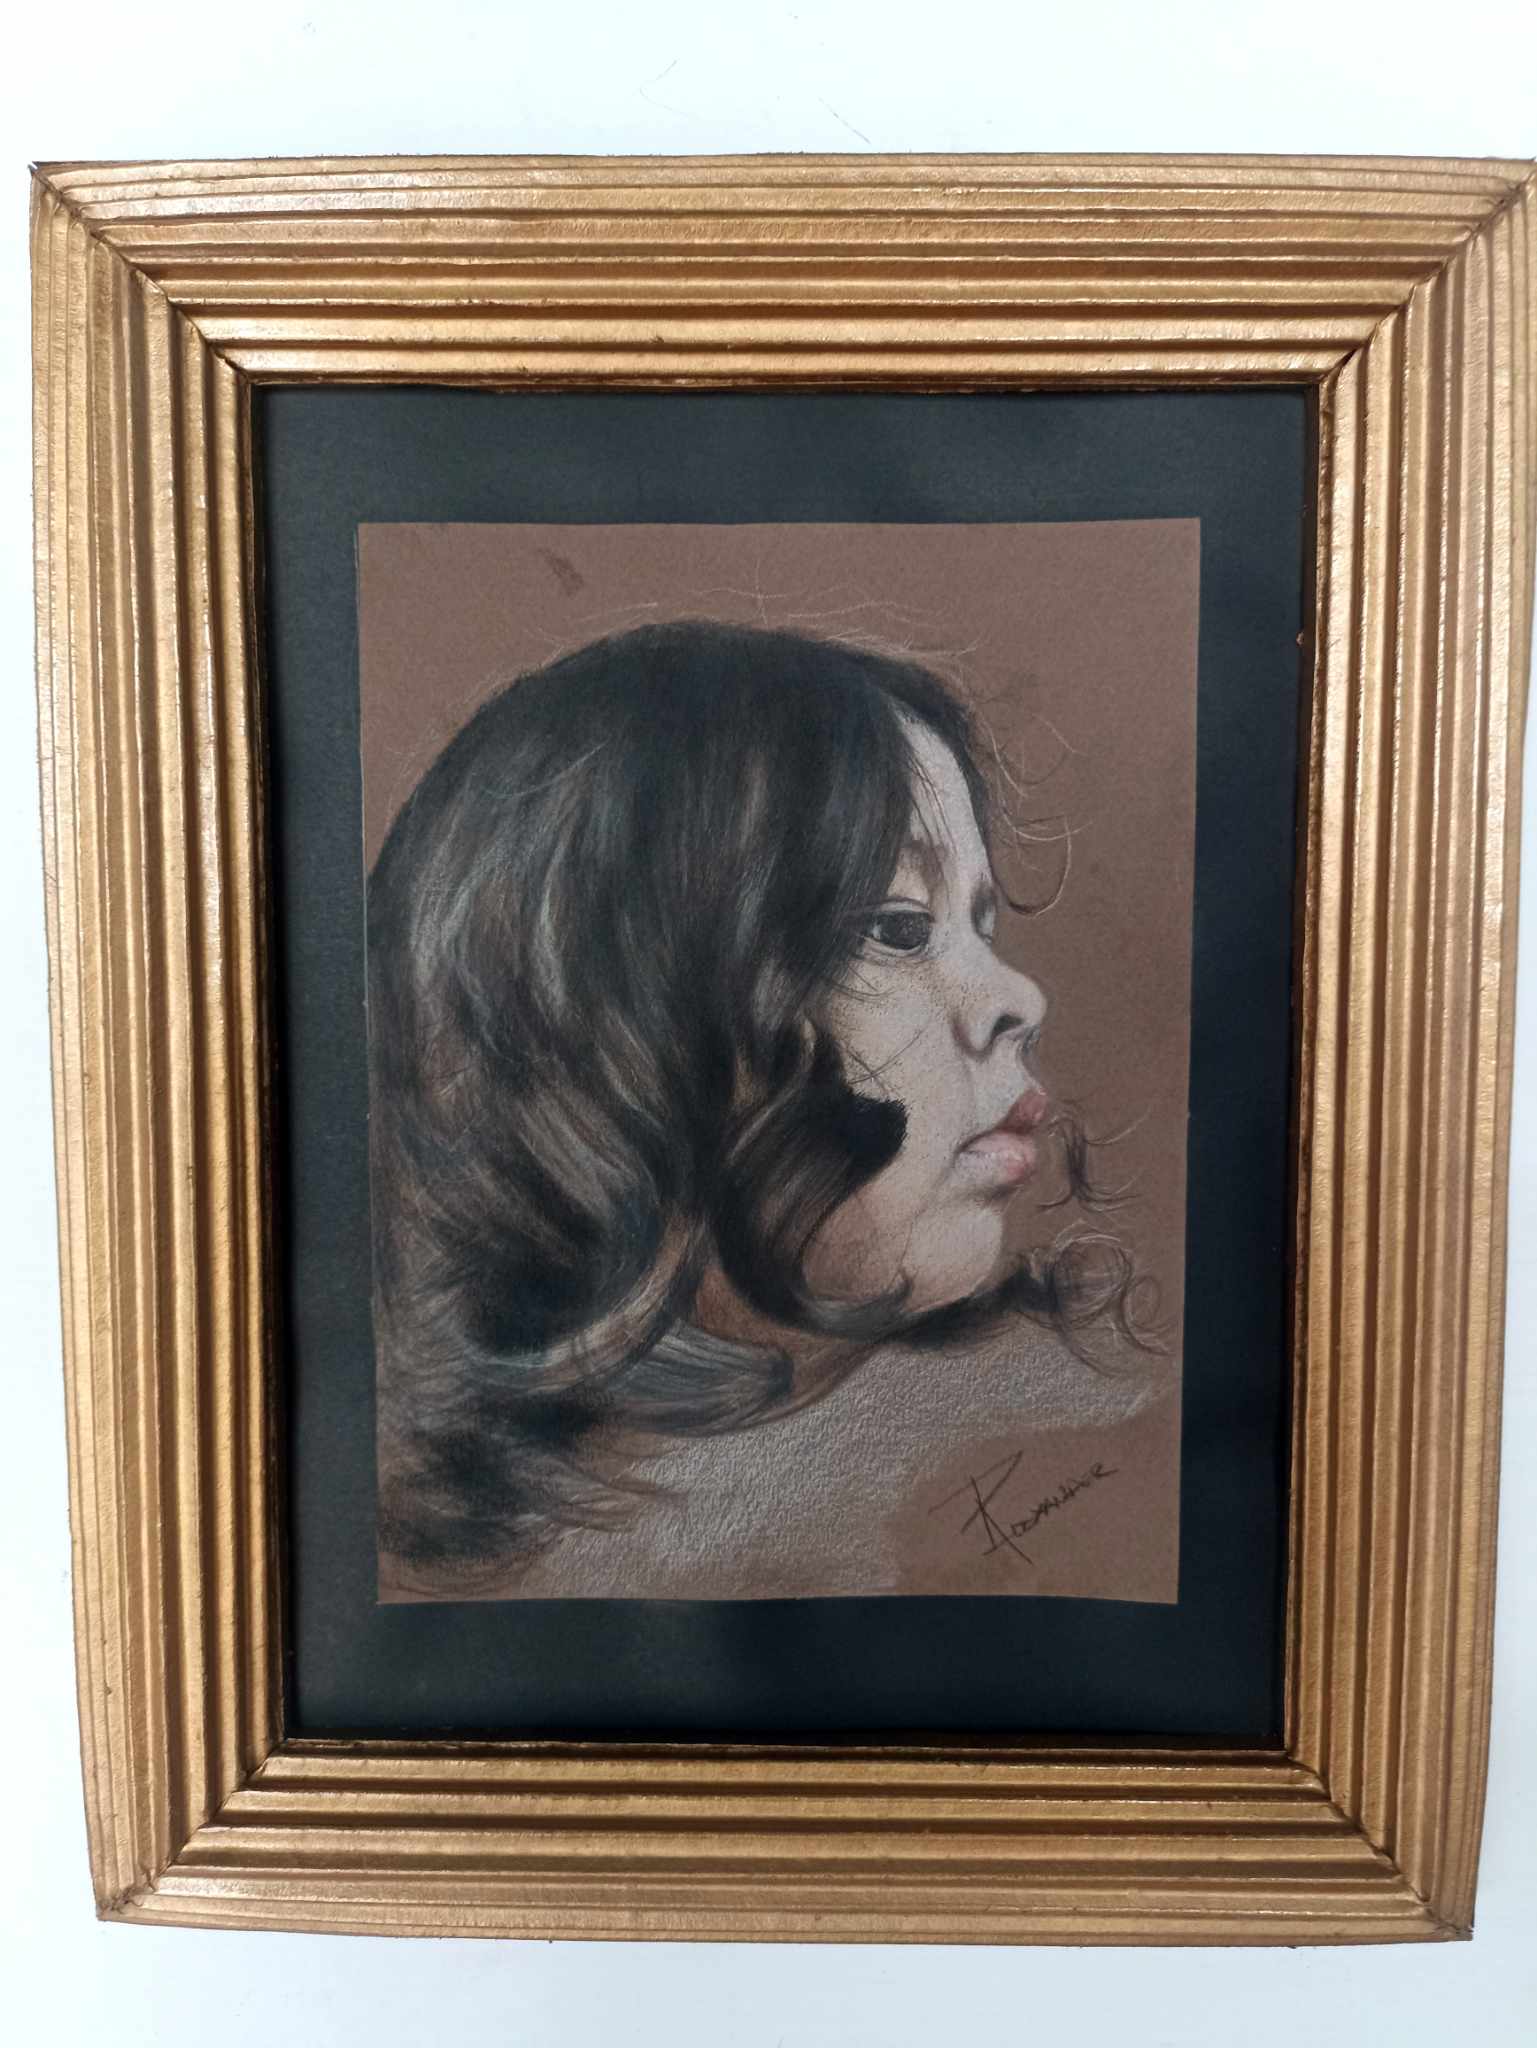
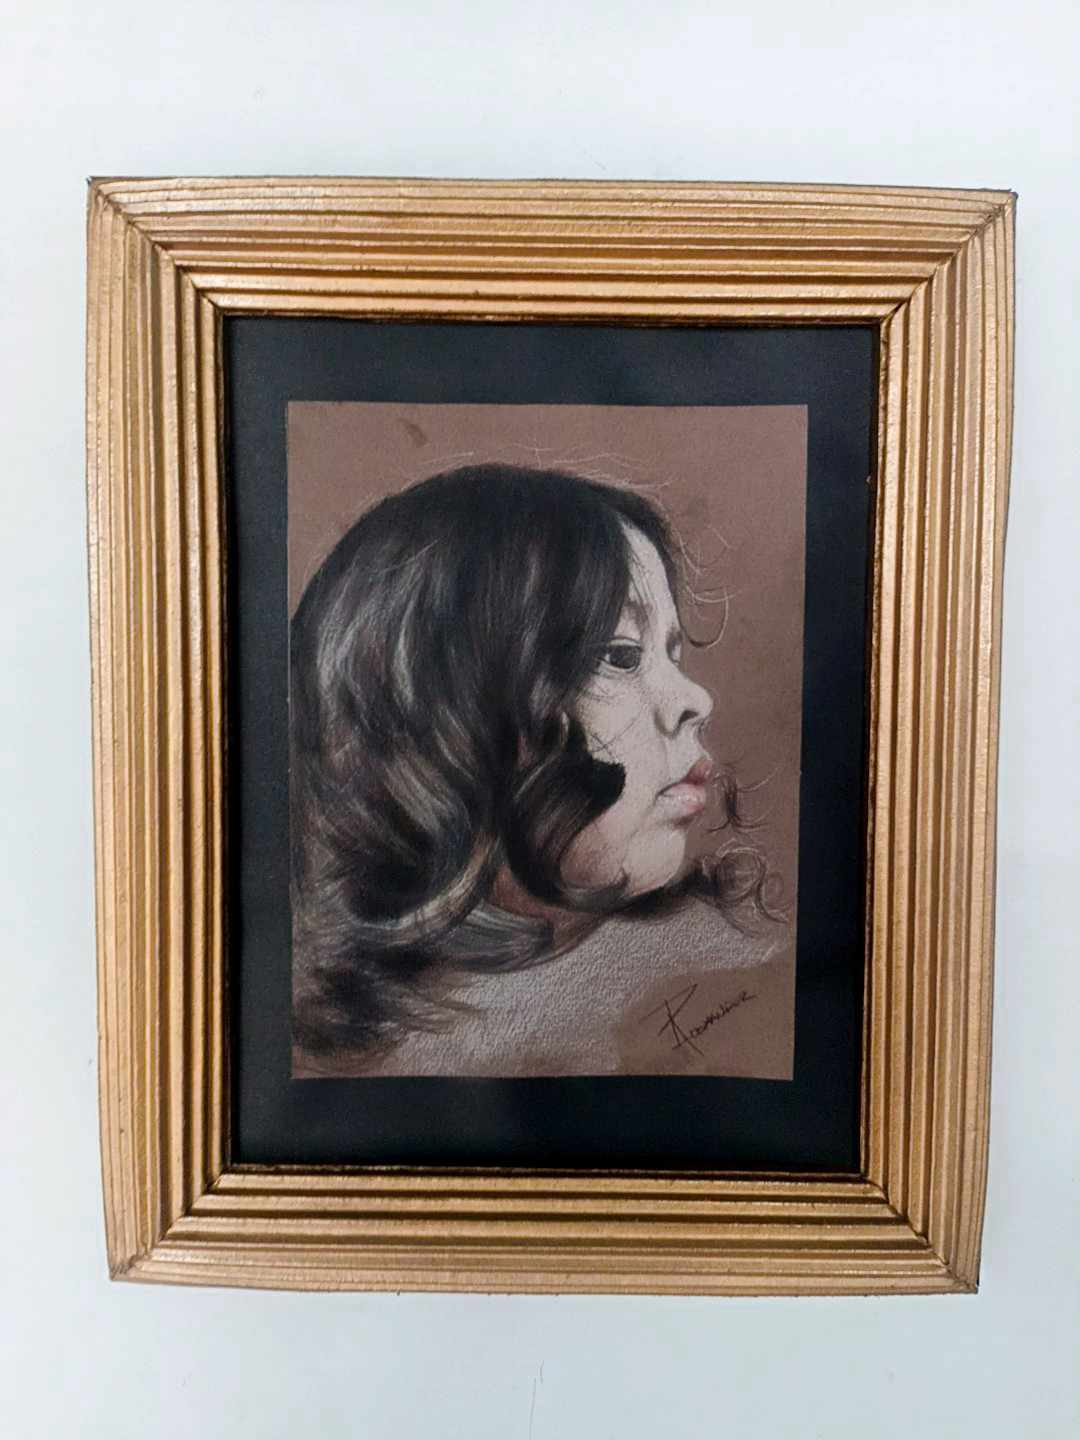
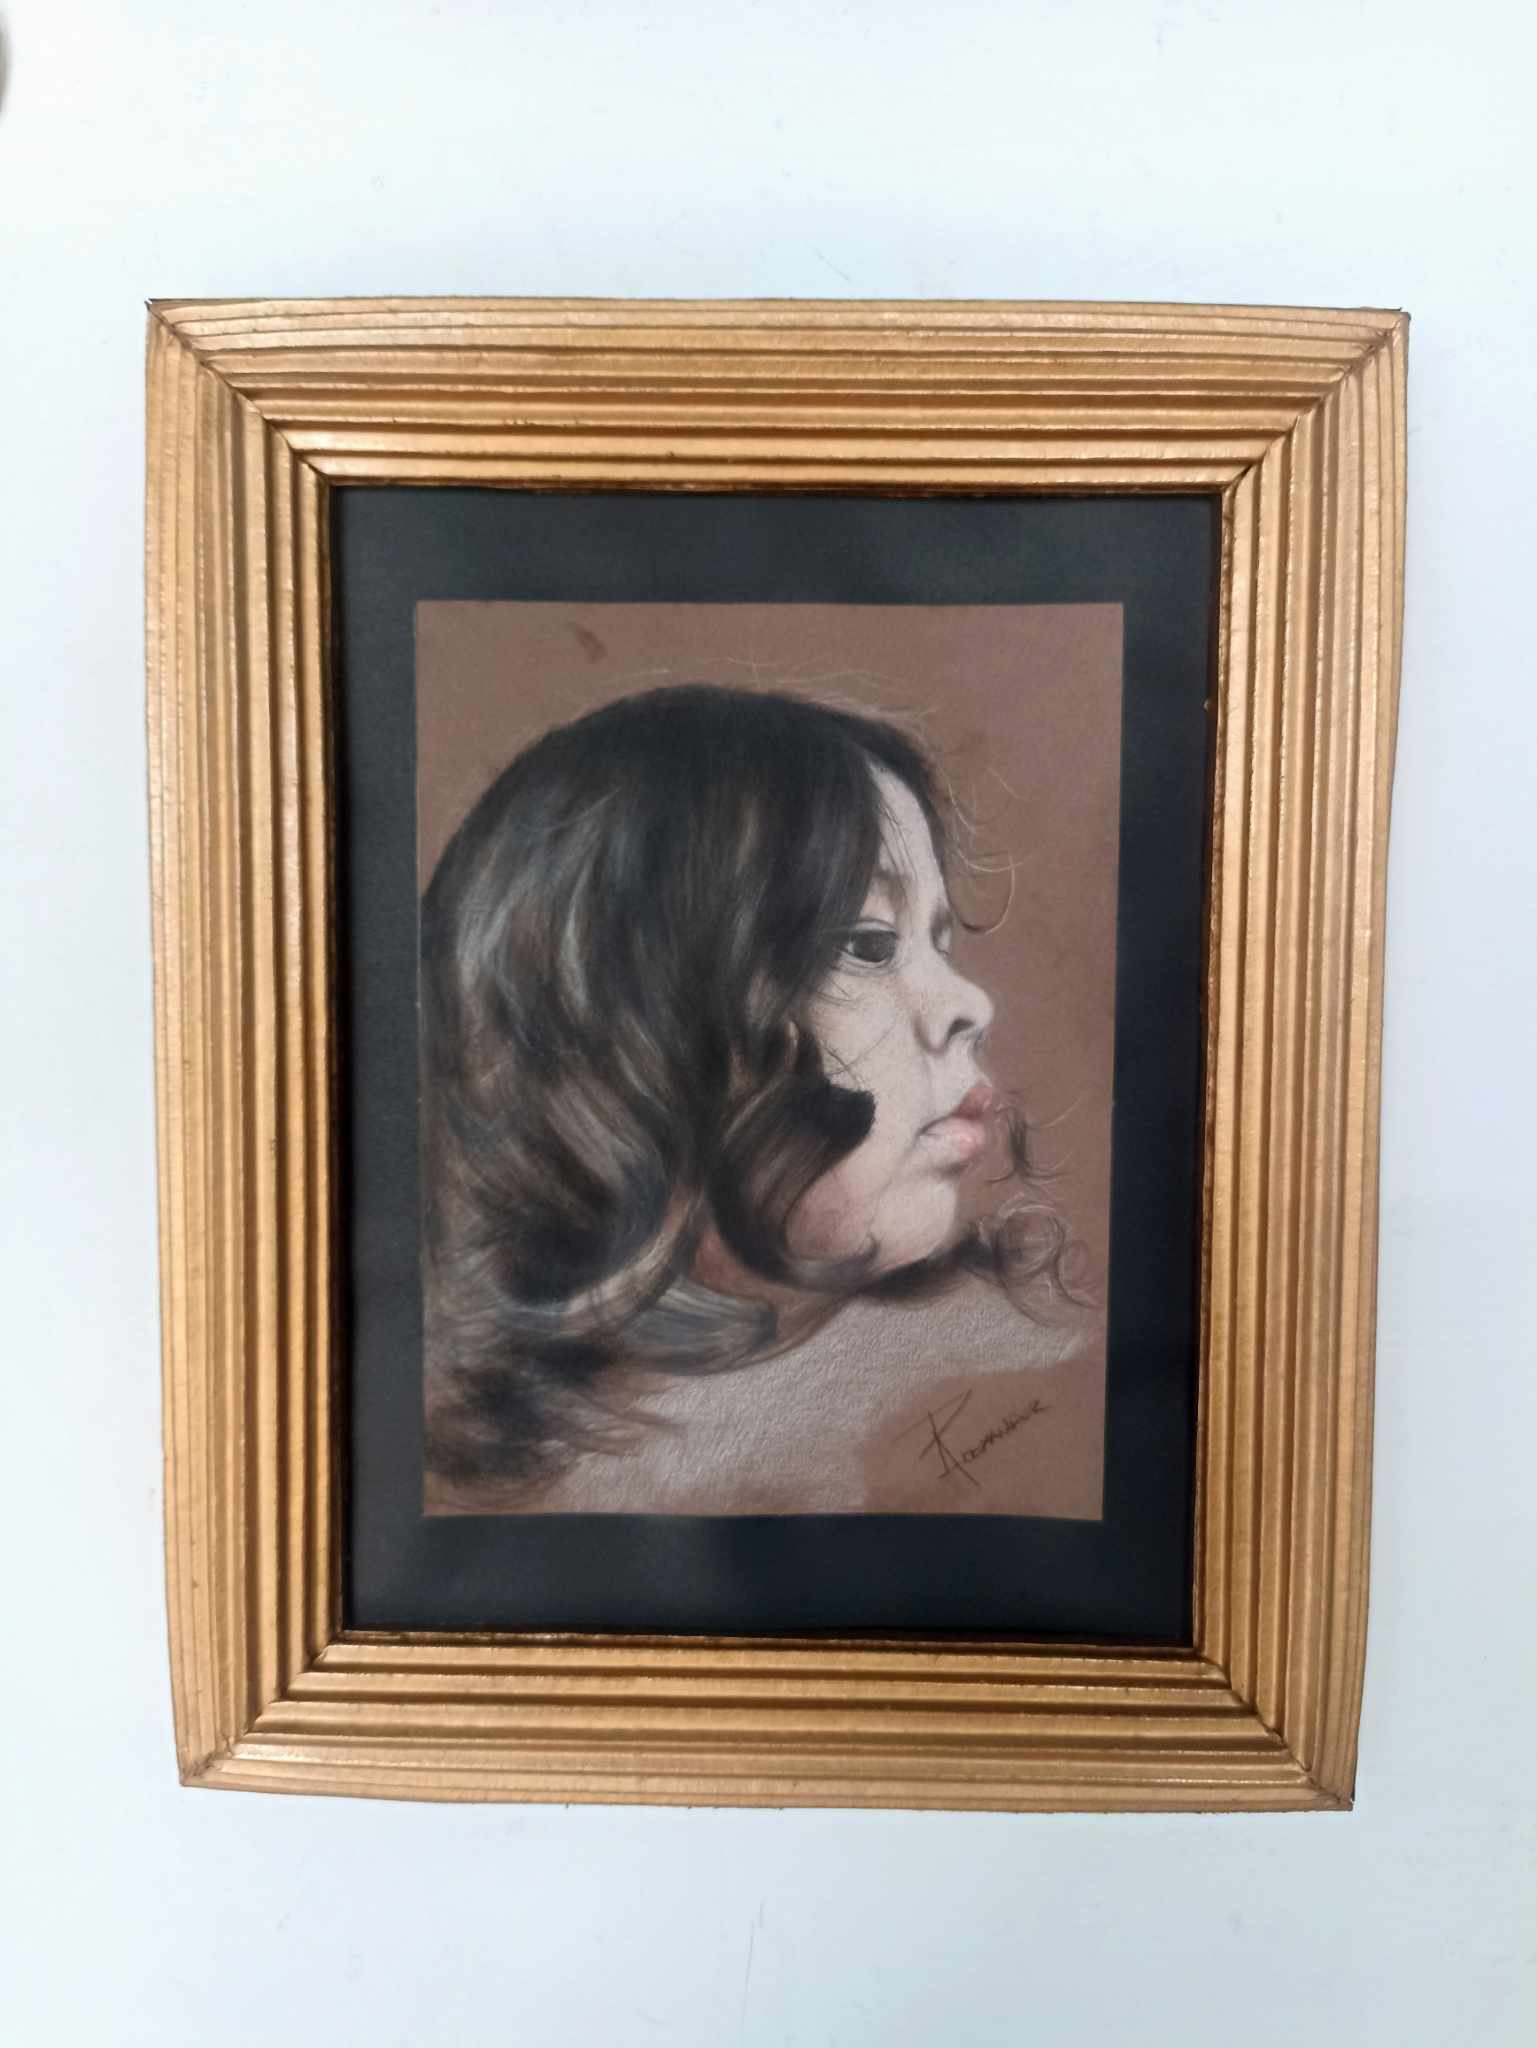
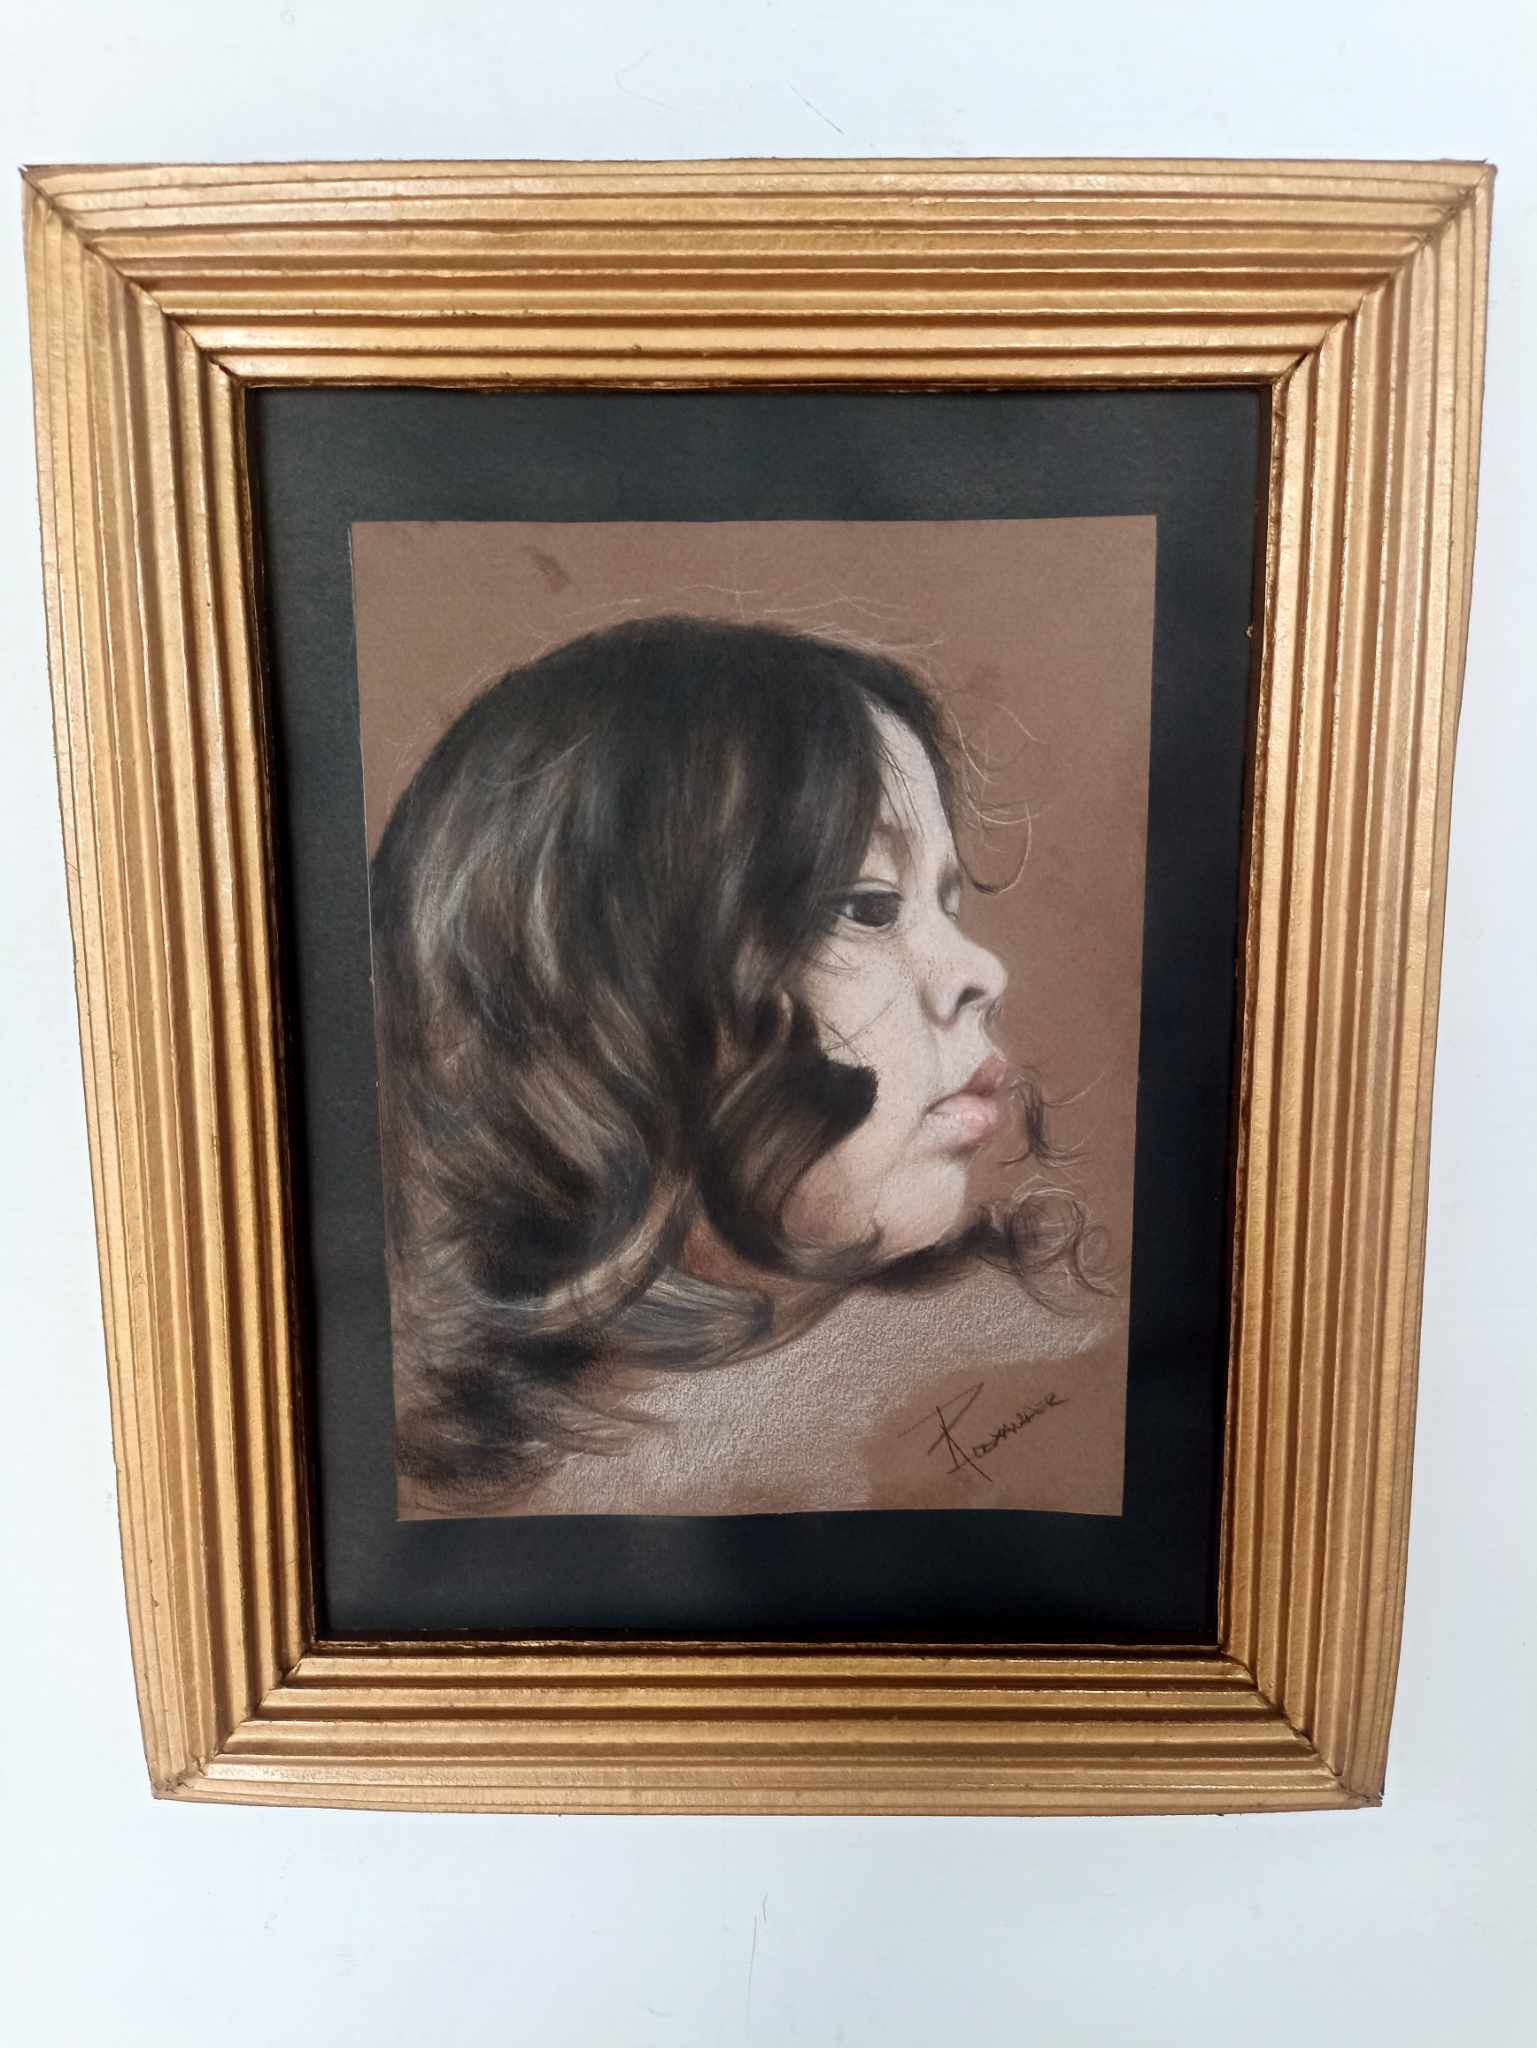
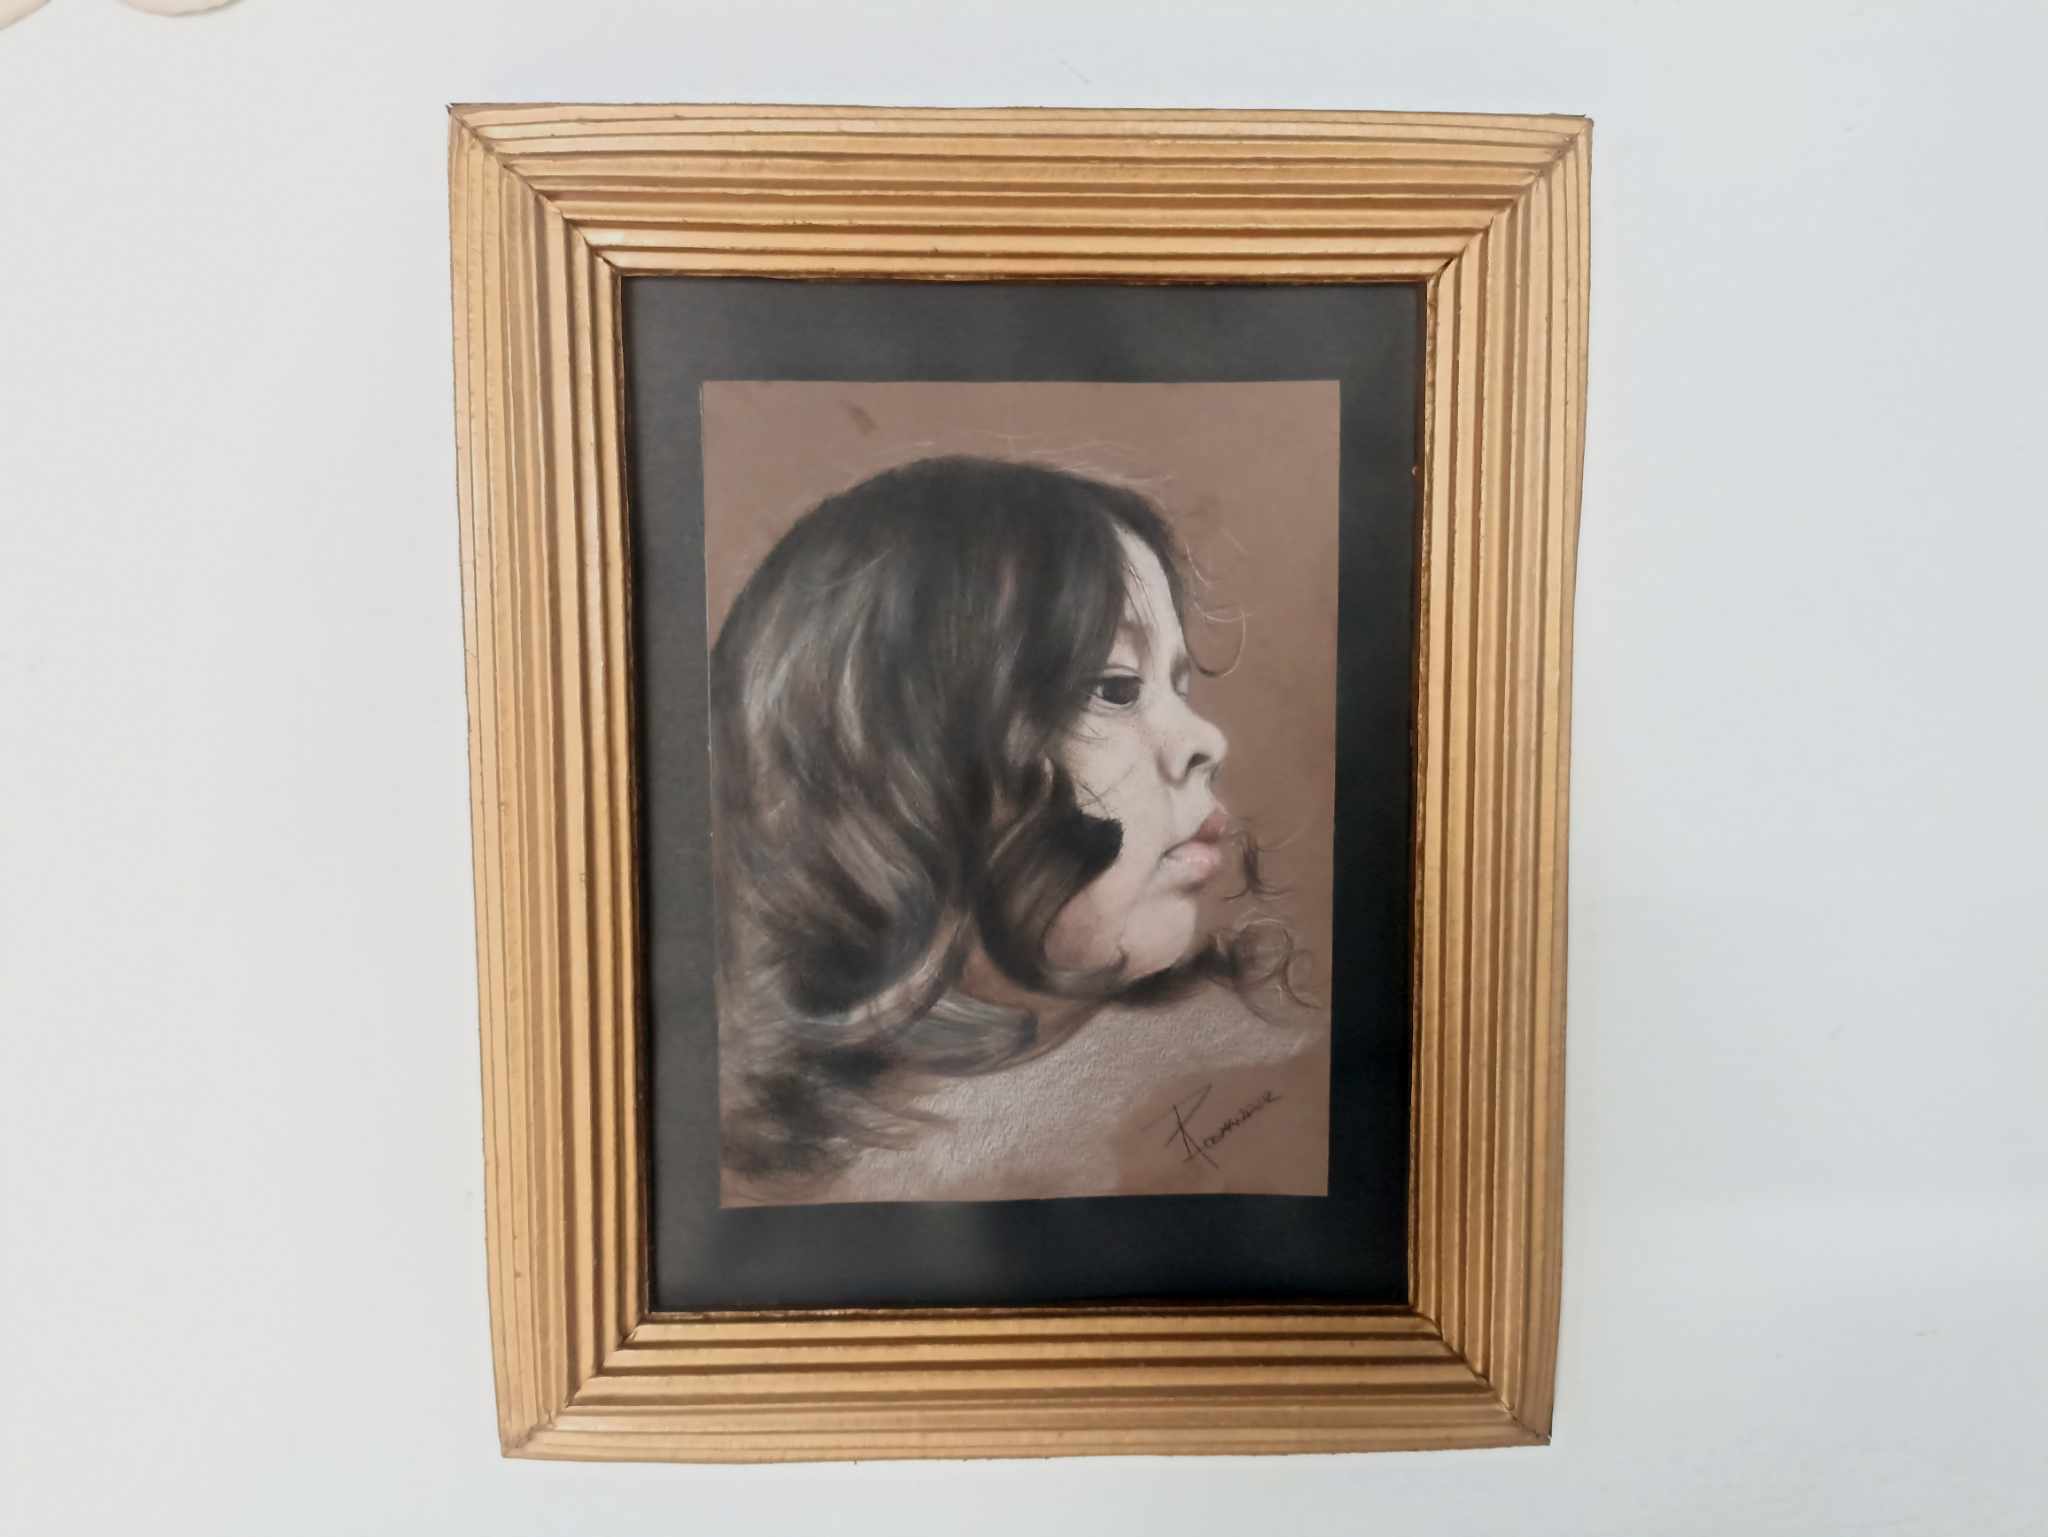
This is how my work was finished. After waiting so long, I got what I wanted. The best thing about this is that since the cardboard is big, you can make bigger frames. The size of the part where the black cardboard goes is A1 or letter size. What do you think of the result? I expected the gold color to be more gold, hahaha, but oh well! I got what I wanted and I feel satisfied. For now this is all, I say goodbye until soon!
Así quedó finalizado mi trabajo, luego de esperar tanto tiempo, alcance lo que quería. Lo mejor de esto es que como el cartón es grande, se pueden hacer marcos mas grande, el tamaño de la parte donde va la cartulina negra es de tamaño A1 o tamaño carta. Qué les ha parecido el resultado? yo esperaba que el color dorado fuese, más dorado, jajaja pero bueno! conseguí lo que quería y me siento satisfecho. Por ahora esto es todo, me despido hasta pronto!
Posted Using INLEO