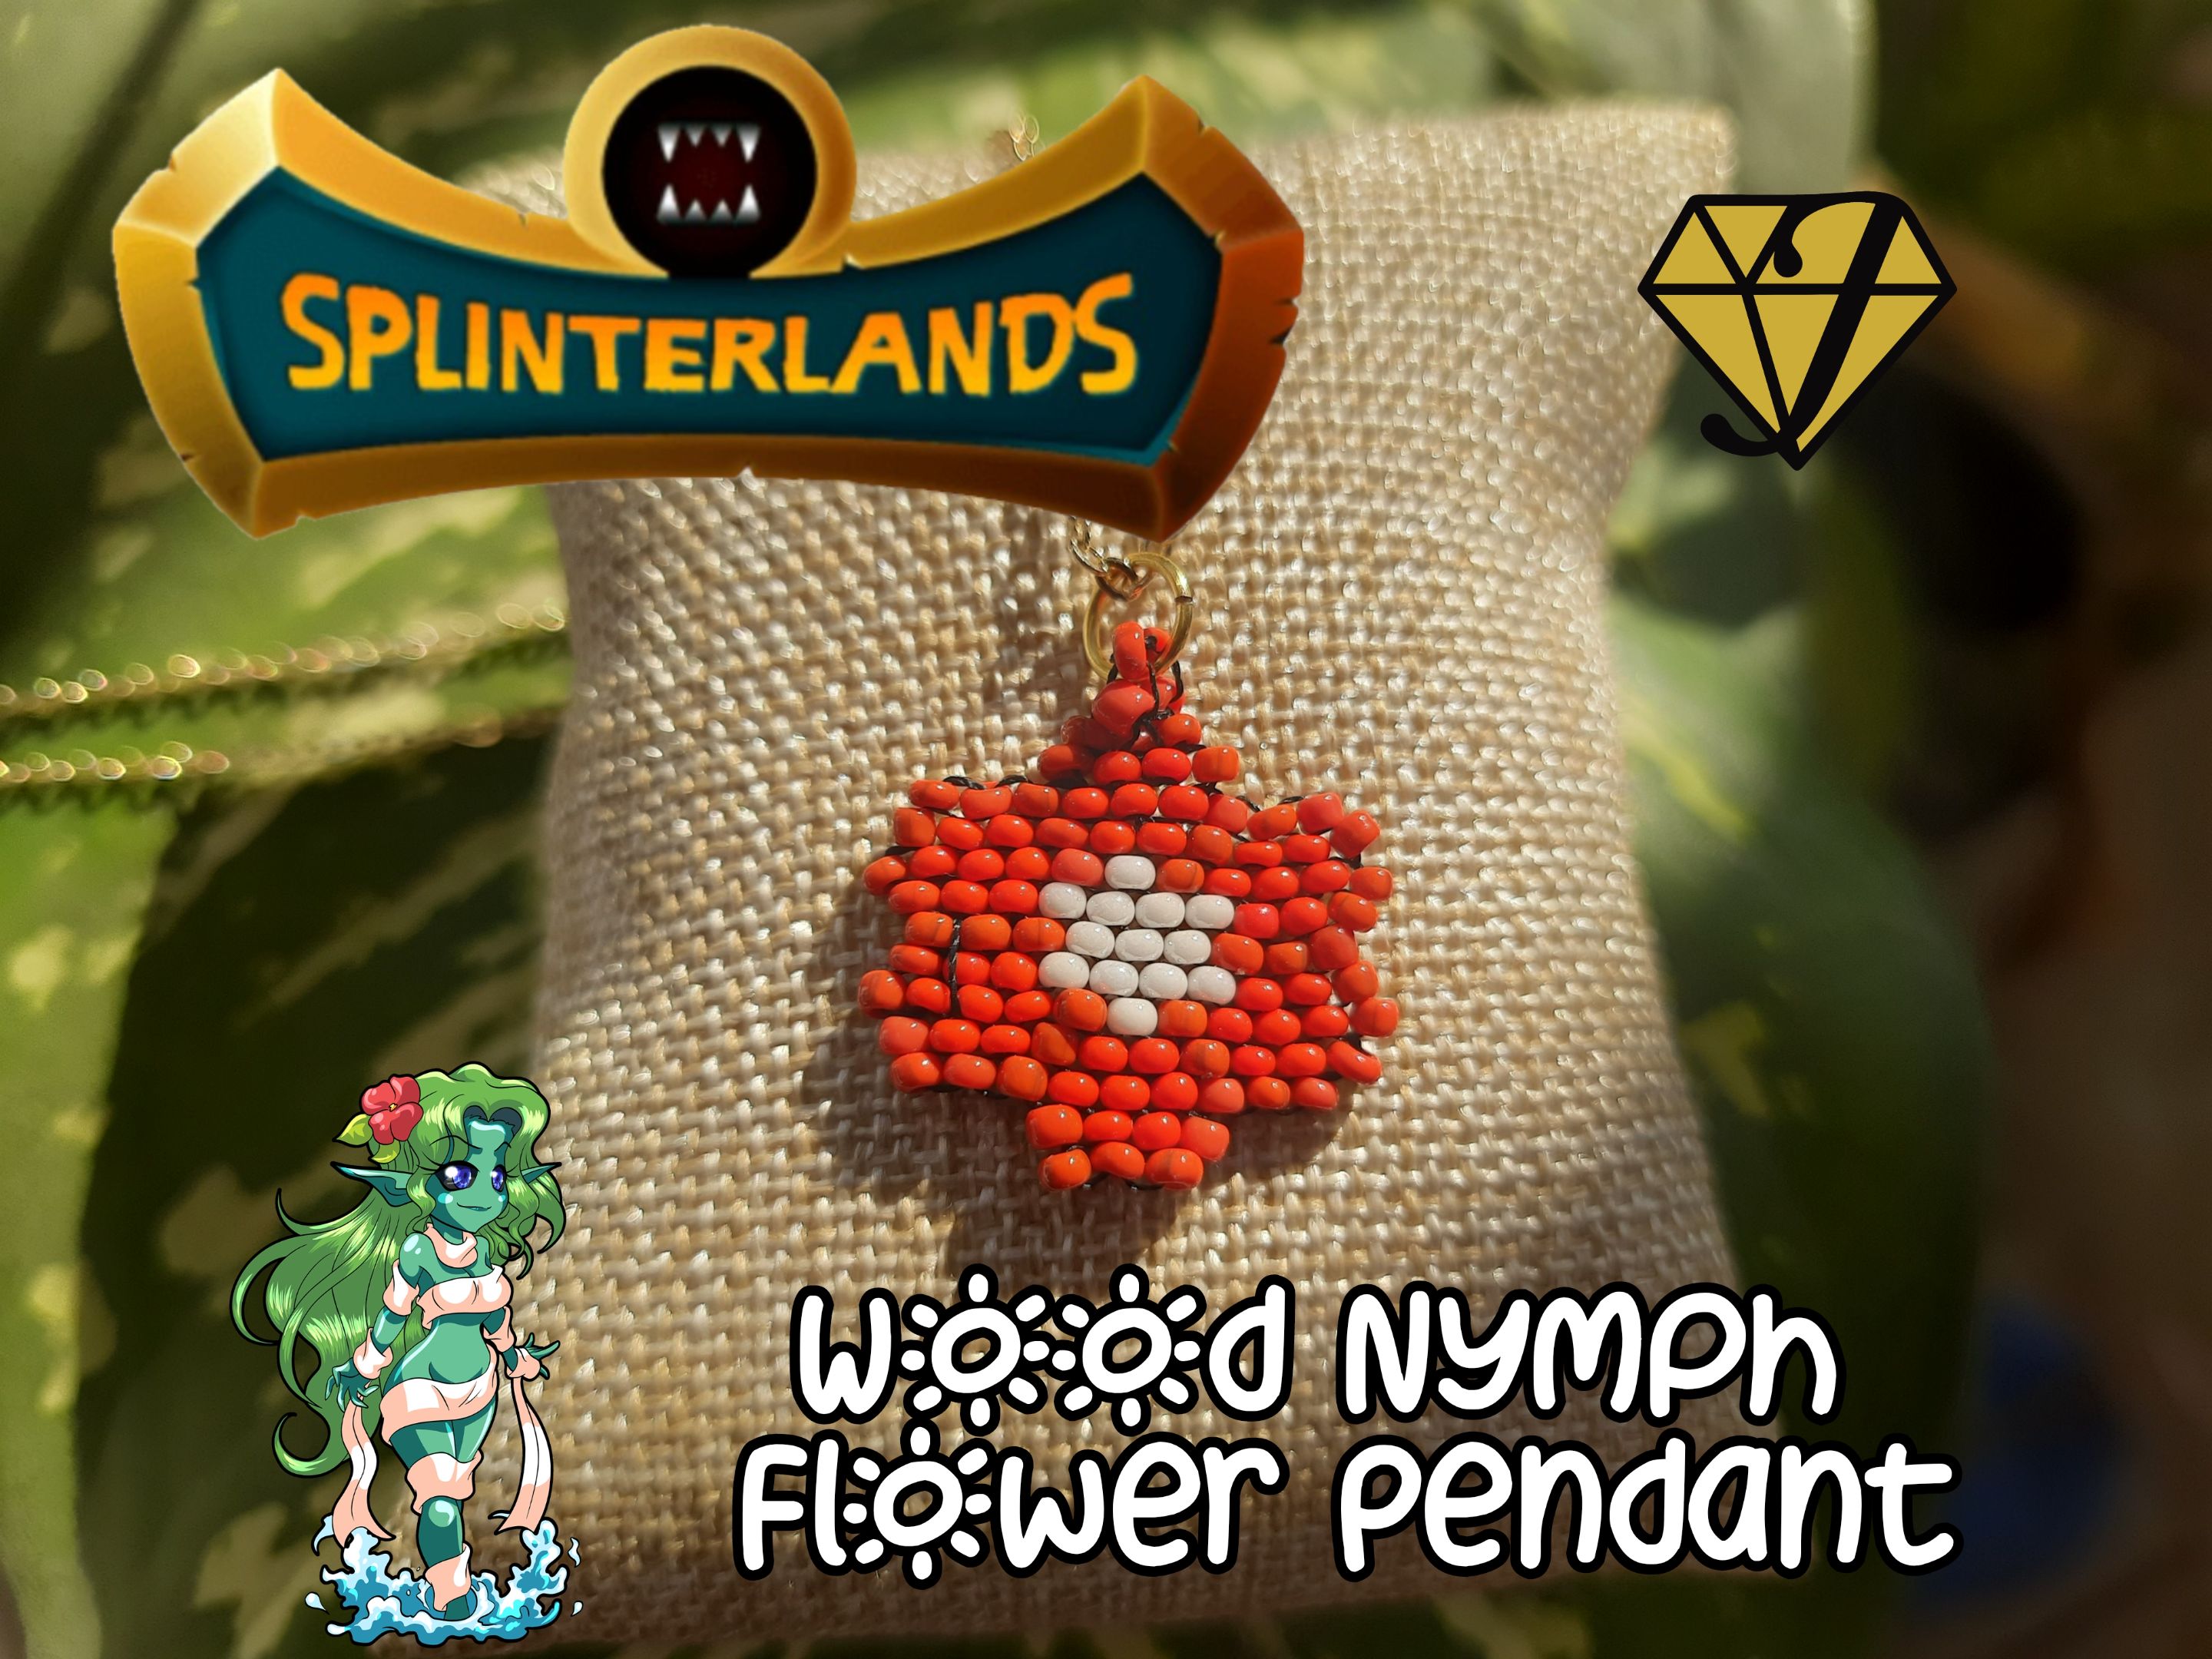


Un saludo, mi gente maravillosa de @jewelry hoy vengo a participar en el concurso #338 de Splinterlands, para ello me inspire en un fan art y realice un " dije de collar" de nuestra carta, inspirado en el personaje de nombre "Wood Nymph" este fan art me ha inspirado para realizar esta hermosa creación, el fan art lleva una hermosa flor arriba del cabello, en lo cual me inspire ya que me gusta como se le ve esa flor.
Wood Nymph, Un peculiar brote nuevo apareció en las puntas de las ramas más altas del Saúco. Los animales que vivían en el árbol observaron cómo crecían los extraños brotes y, en cuestión de días, se abrieron de golpe. De cada brote surgió un pequeño duendecillo. Estas Ninfas del Bosque se dispersaron rápidamente por Anumun en un frenesí de travesuras.
Para este Fan Art utilice una técnica peyote sencilla, para darle un toque especial, ahora les invito a ponerse manos a la obra mis queridos creativos. Y ver este pequeño pasó a paso que tanto me ha gustado y espero que ha ustedes también.

Greetings, my wonderful people of @jewelry today I come to participate in the contest #338 of Splinterlands, for this I was inspired by a fan art and made a " necklace charm " of our letter, inspired by the character named "Wood Nymph " this fan art has inspired me to make this beautiful creation, the fan art carries a beautiful flower above the hair, in which I was inspired since I like how that flower looks to him.
"Wood Nymph"A peculiar new bud appeared on the tips of the highest branches of the elderberry tree. The animals that lived in the tree watched the strange buds grow and, within days, they burst open. From each bud emerged a tiny sprite. These Forest Nymphs quickly dispersed throughout Anumun in a frenzy of mischief.
For this Fan Art I used a simple peyote technique, to give it a special touch, now I invite you to get to work my dear creatives. And watch this little step by step that I liked so much and I hope you liked it too.
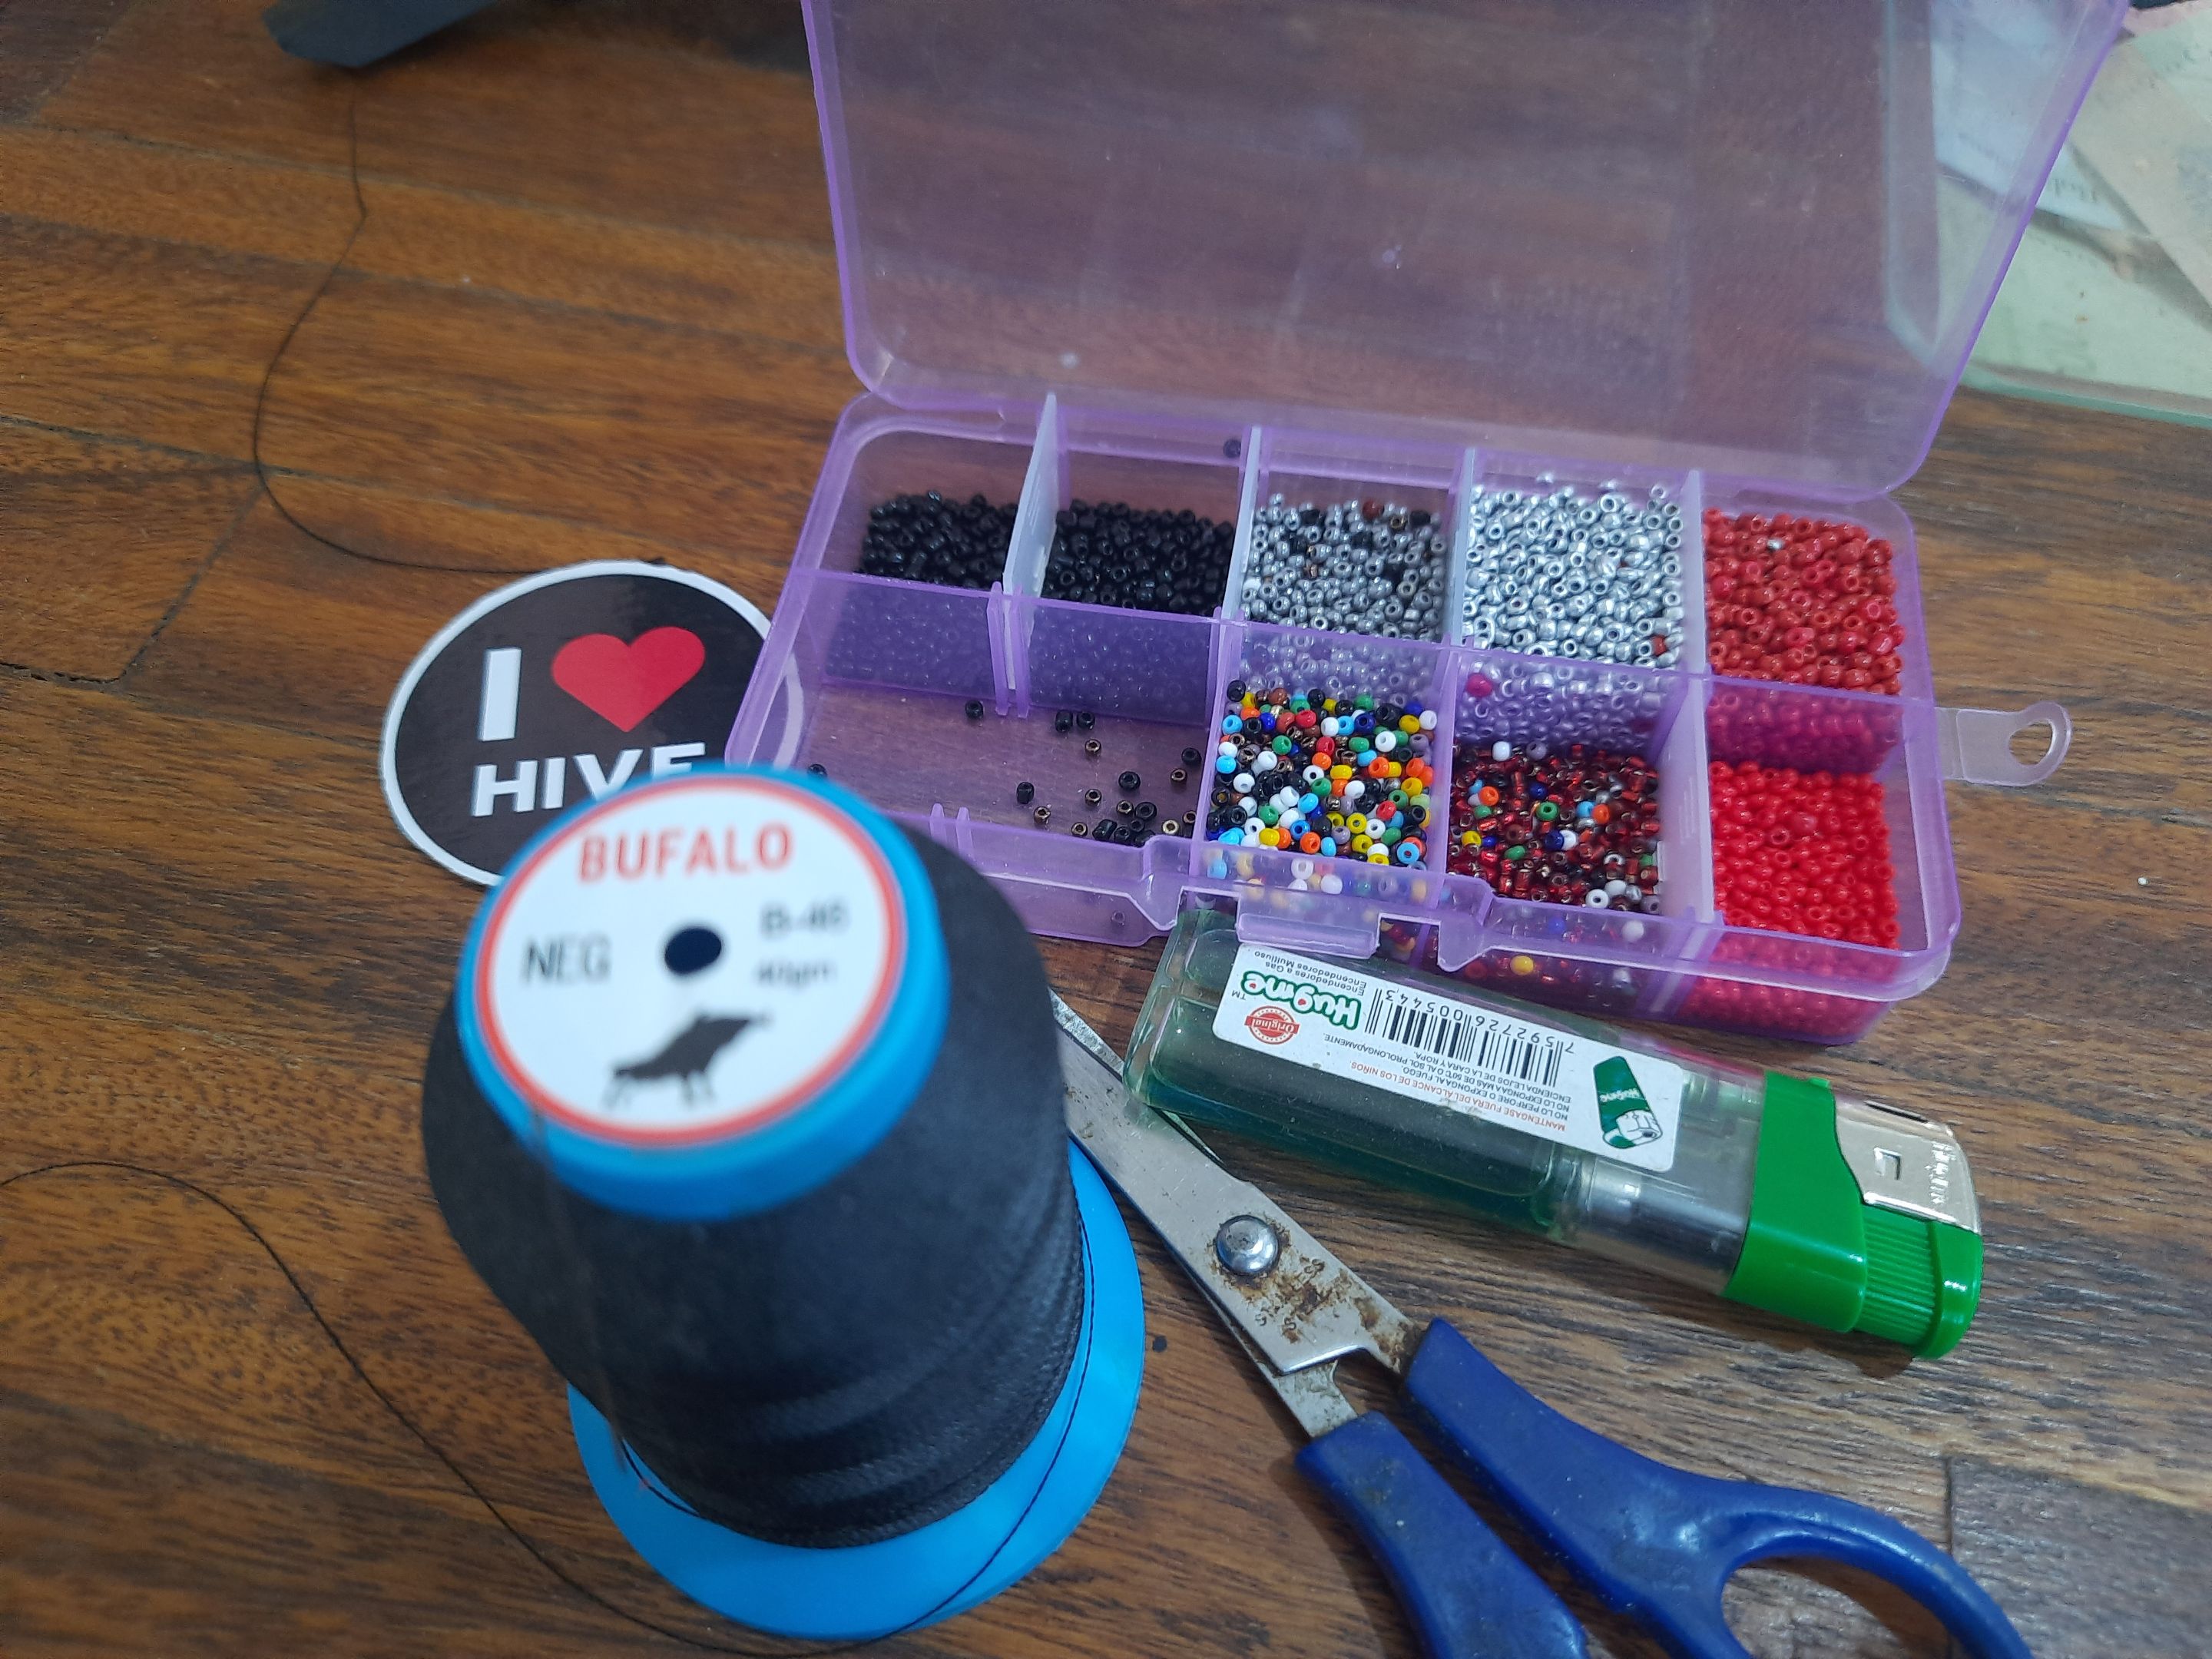
Materiales:
✅️ Hilo para miyuki negro
✅️ Mostacillas rojas claras y un poco más oscuras, blancas.
✅️ Aguja para miyuki
✅️ argolla
Materials
✅️ Black miyuki thread
✅️ Light red and slightly darker white beads.
✅️ Miyuki needle
✅️ ring
Paso a Paso / Step by Step
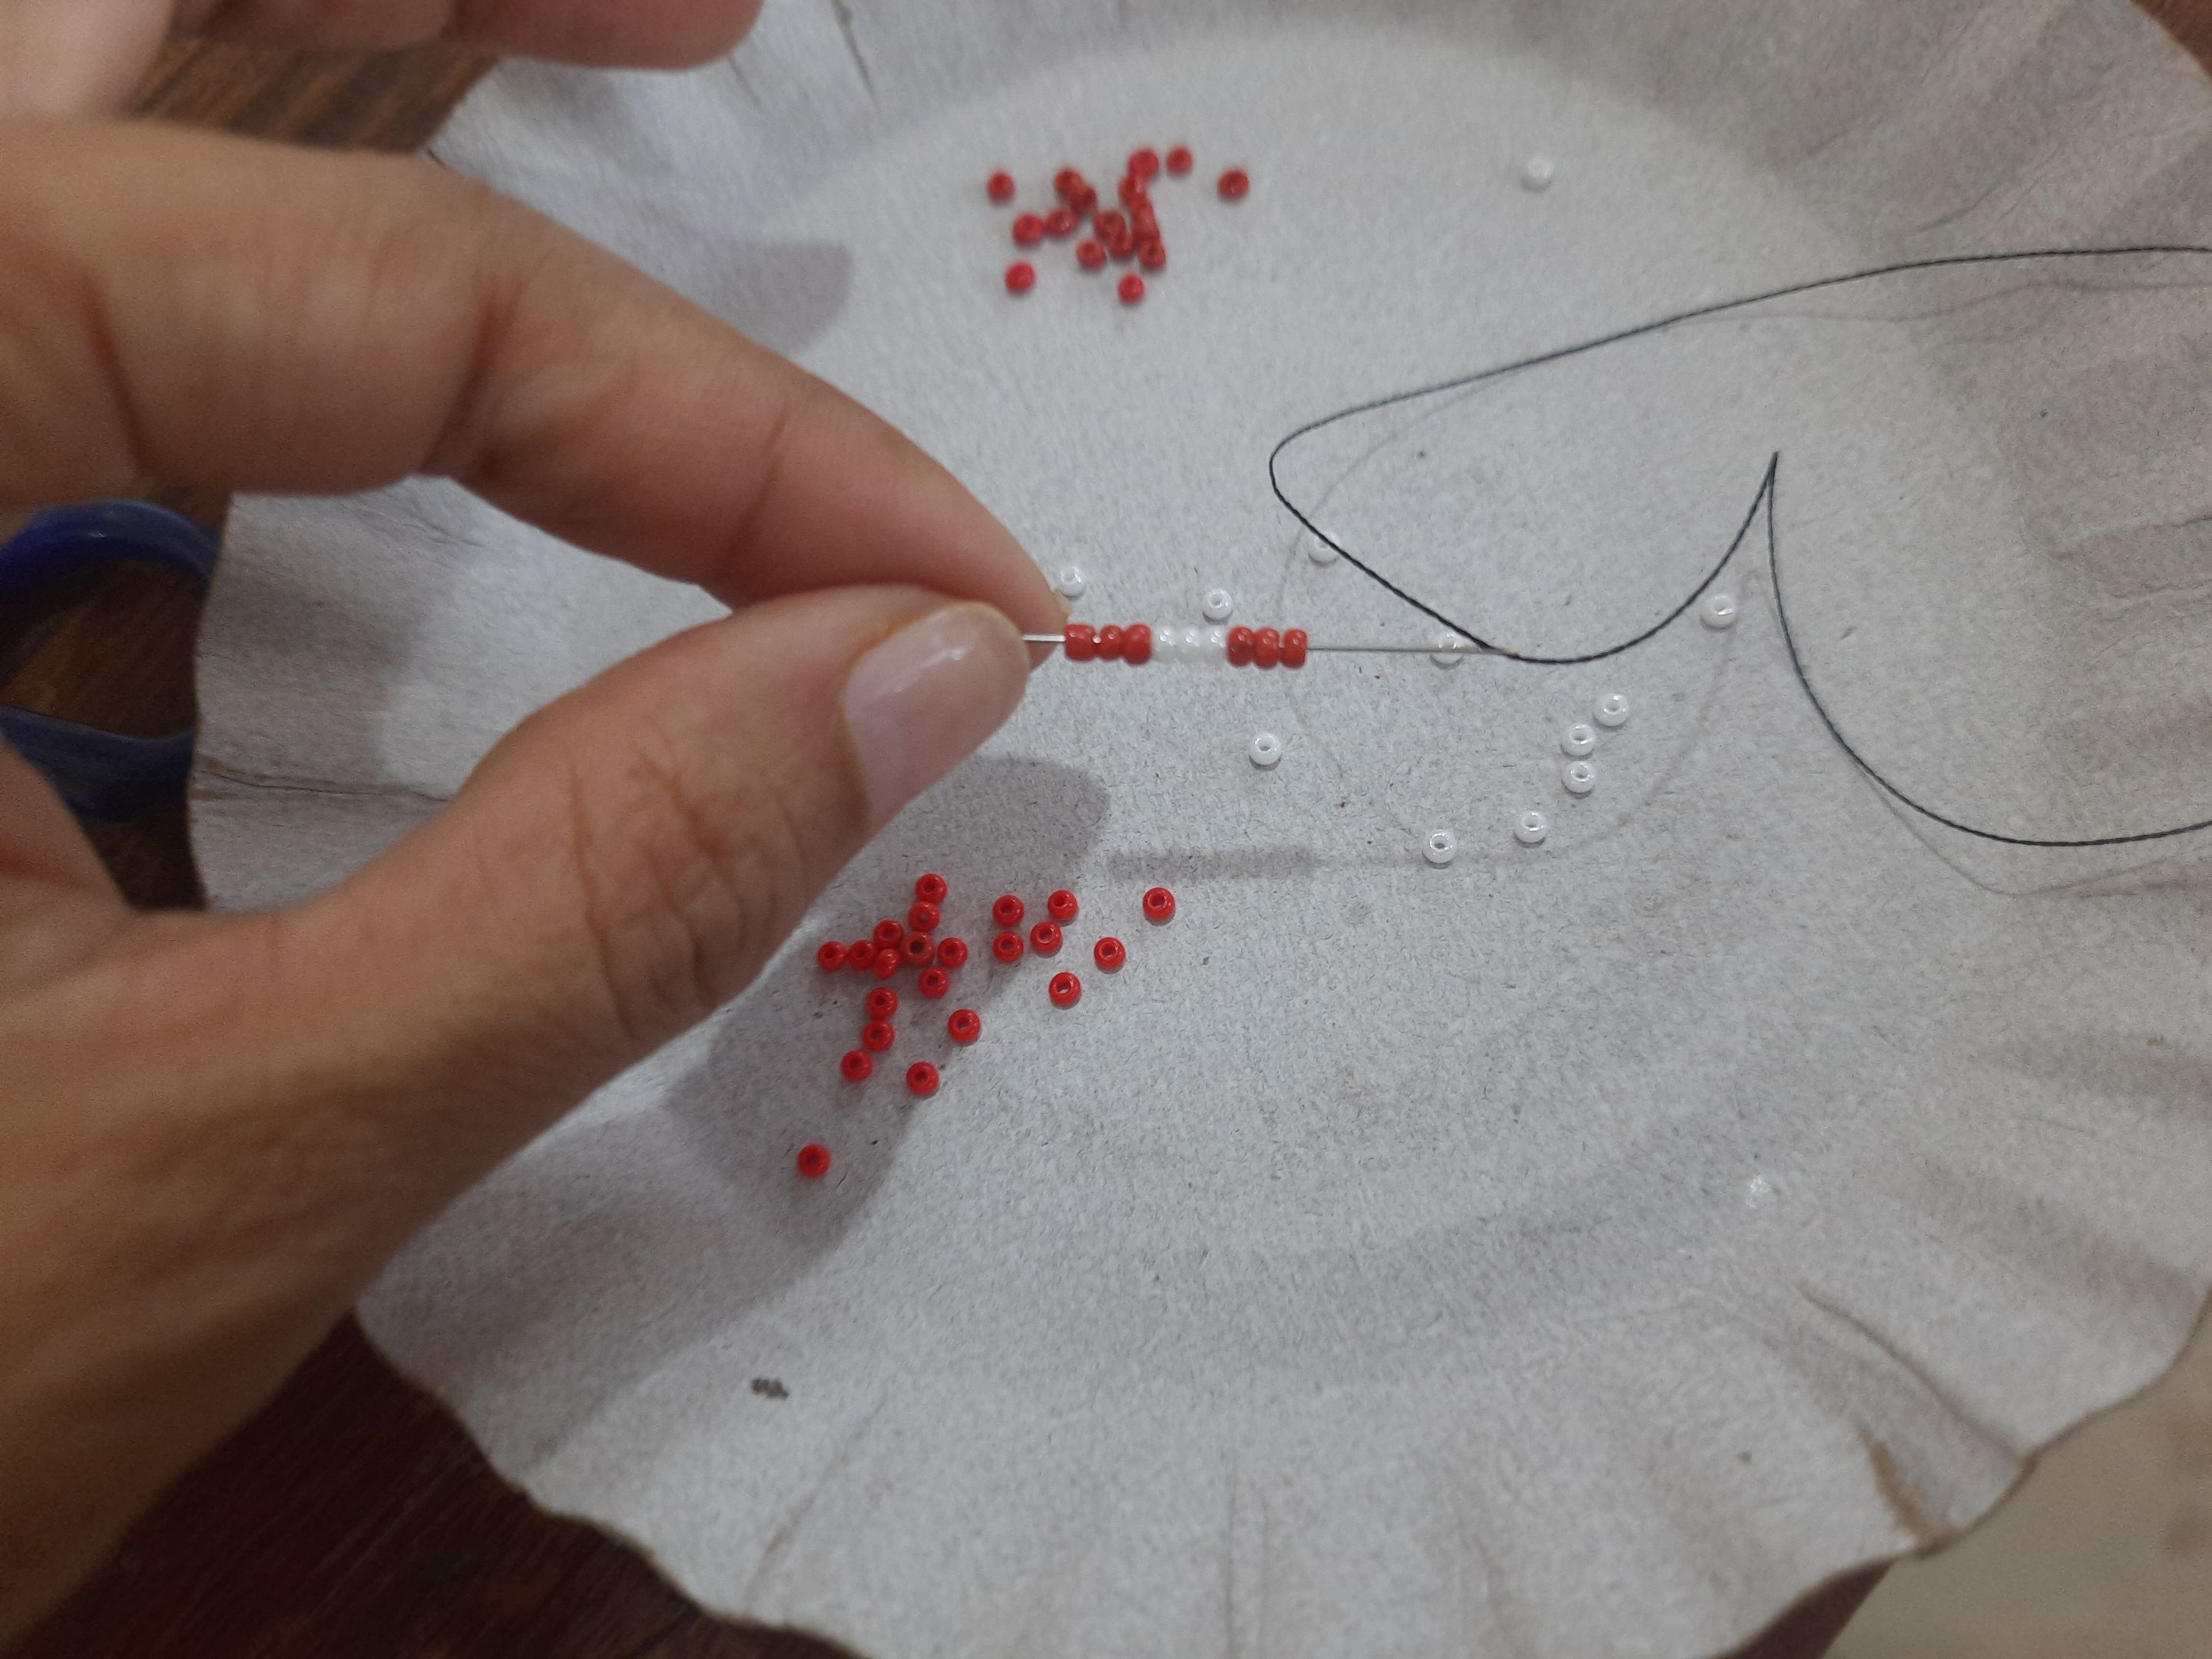
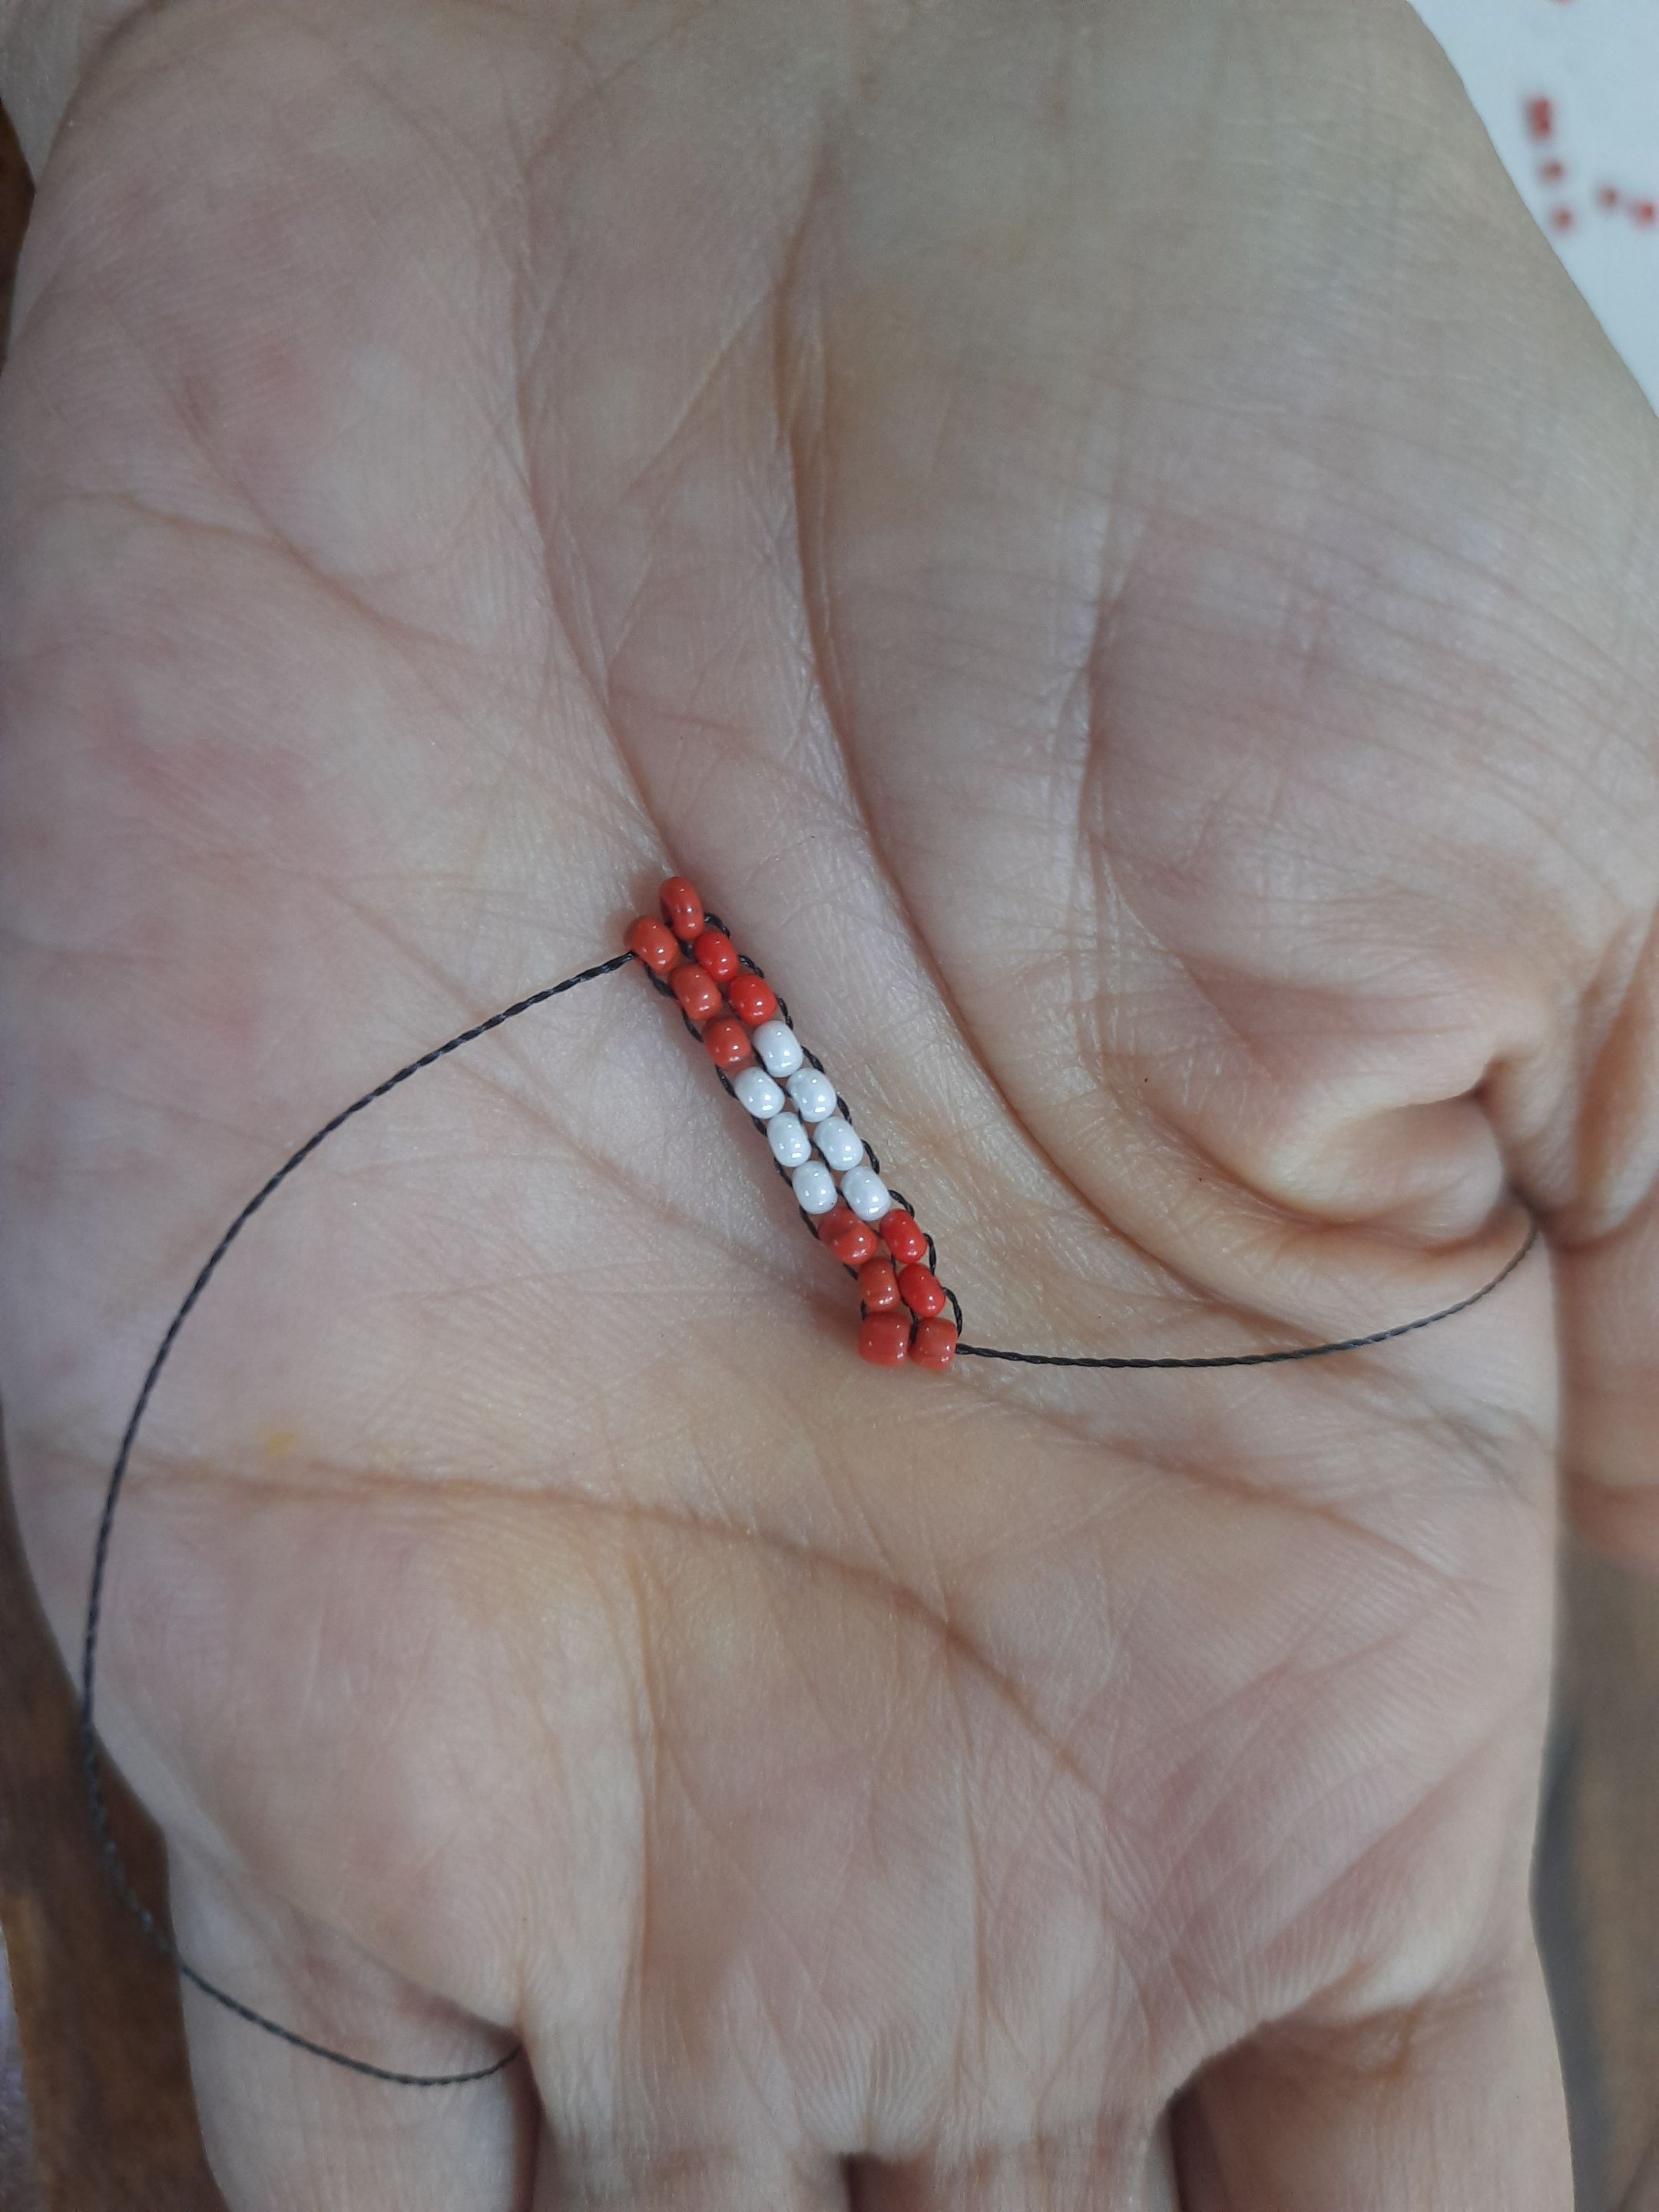
Comenzaremos insertando nuestro hilo en la aguja, el hilo debe tener aproximadamente 110cm para realizar dije, ahora haremos una hilera la del centro con la que vamos a comenzar y introduciremos tres piedras rojas, tres blancas, y tres rojas, Vamos a llevar nuestra piedra de abajo hacia arriba para formar una hilera lineal.
We will begin by inserting our thread in the needle, the thread must have approximately 110cm to make I said, now we will make a row the one in the center with which we will begin and we will introduce three red stones, three white, and three red, We will take our stone from bottom to top to form a linear row.
 |  |
|---|
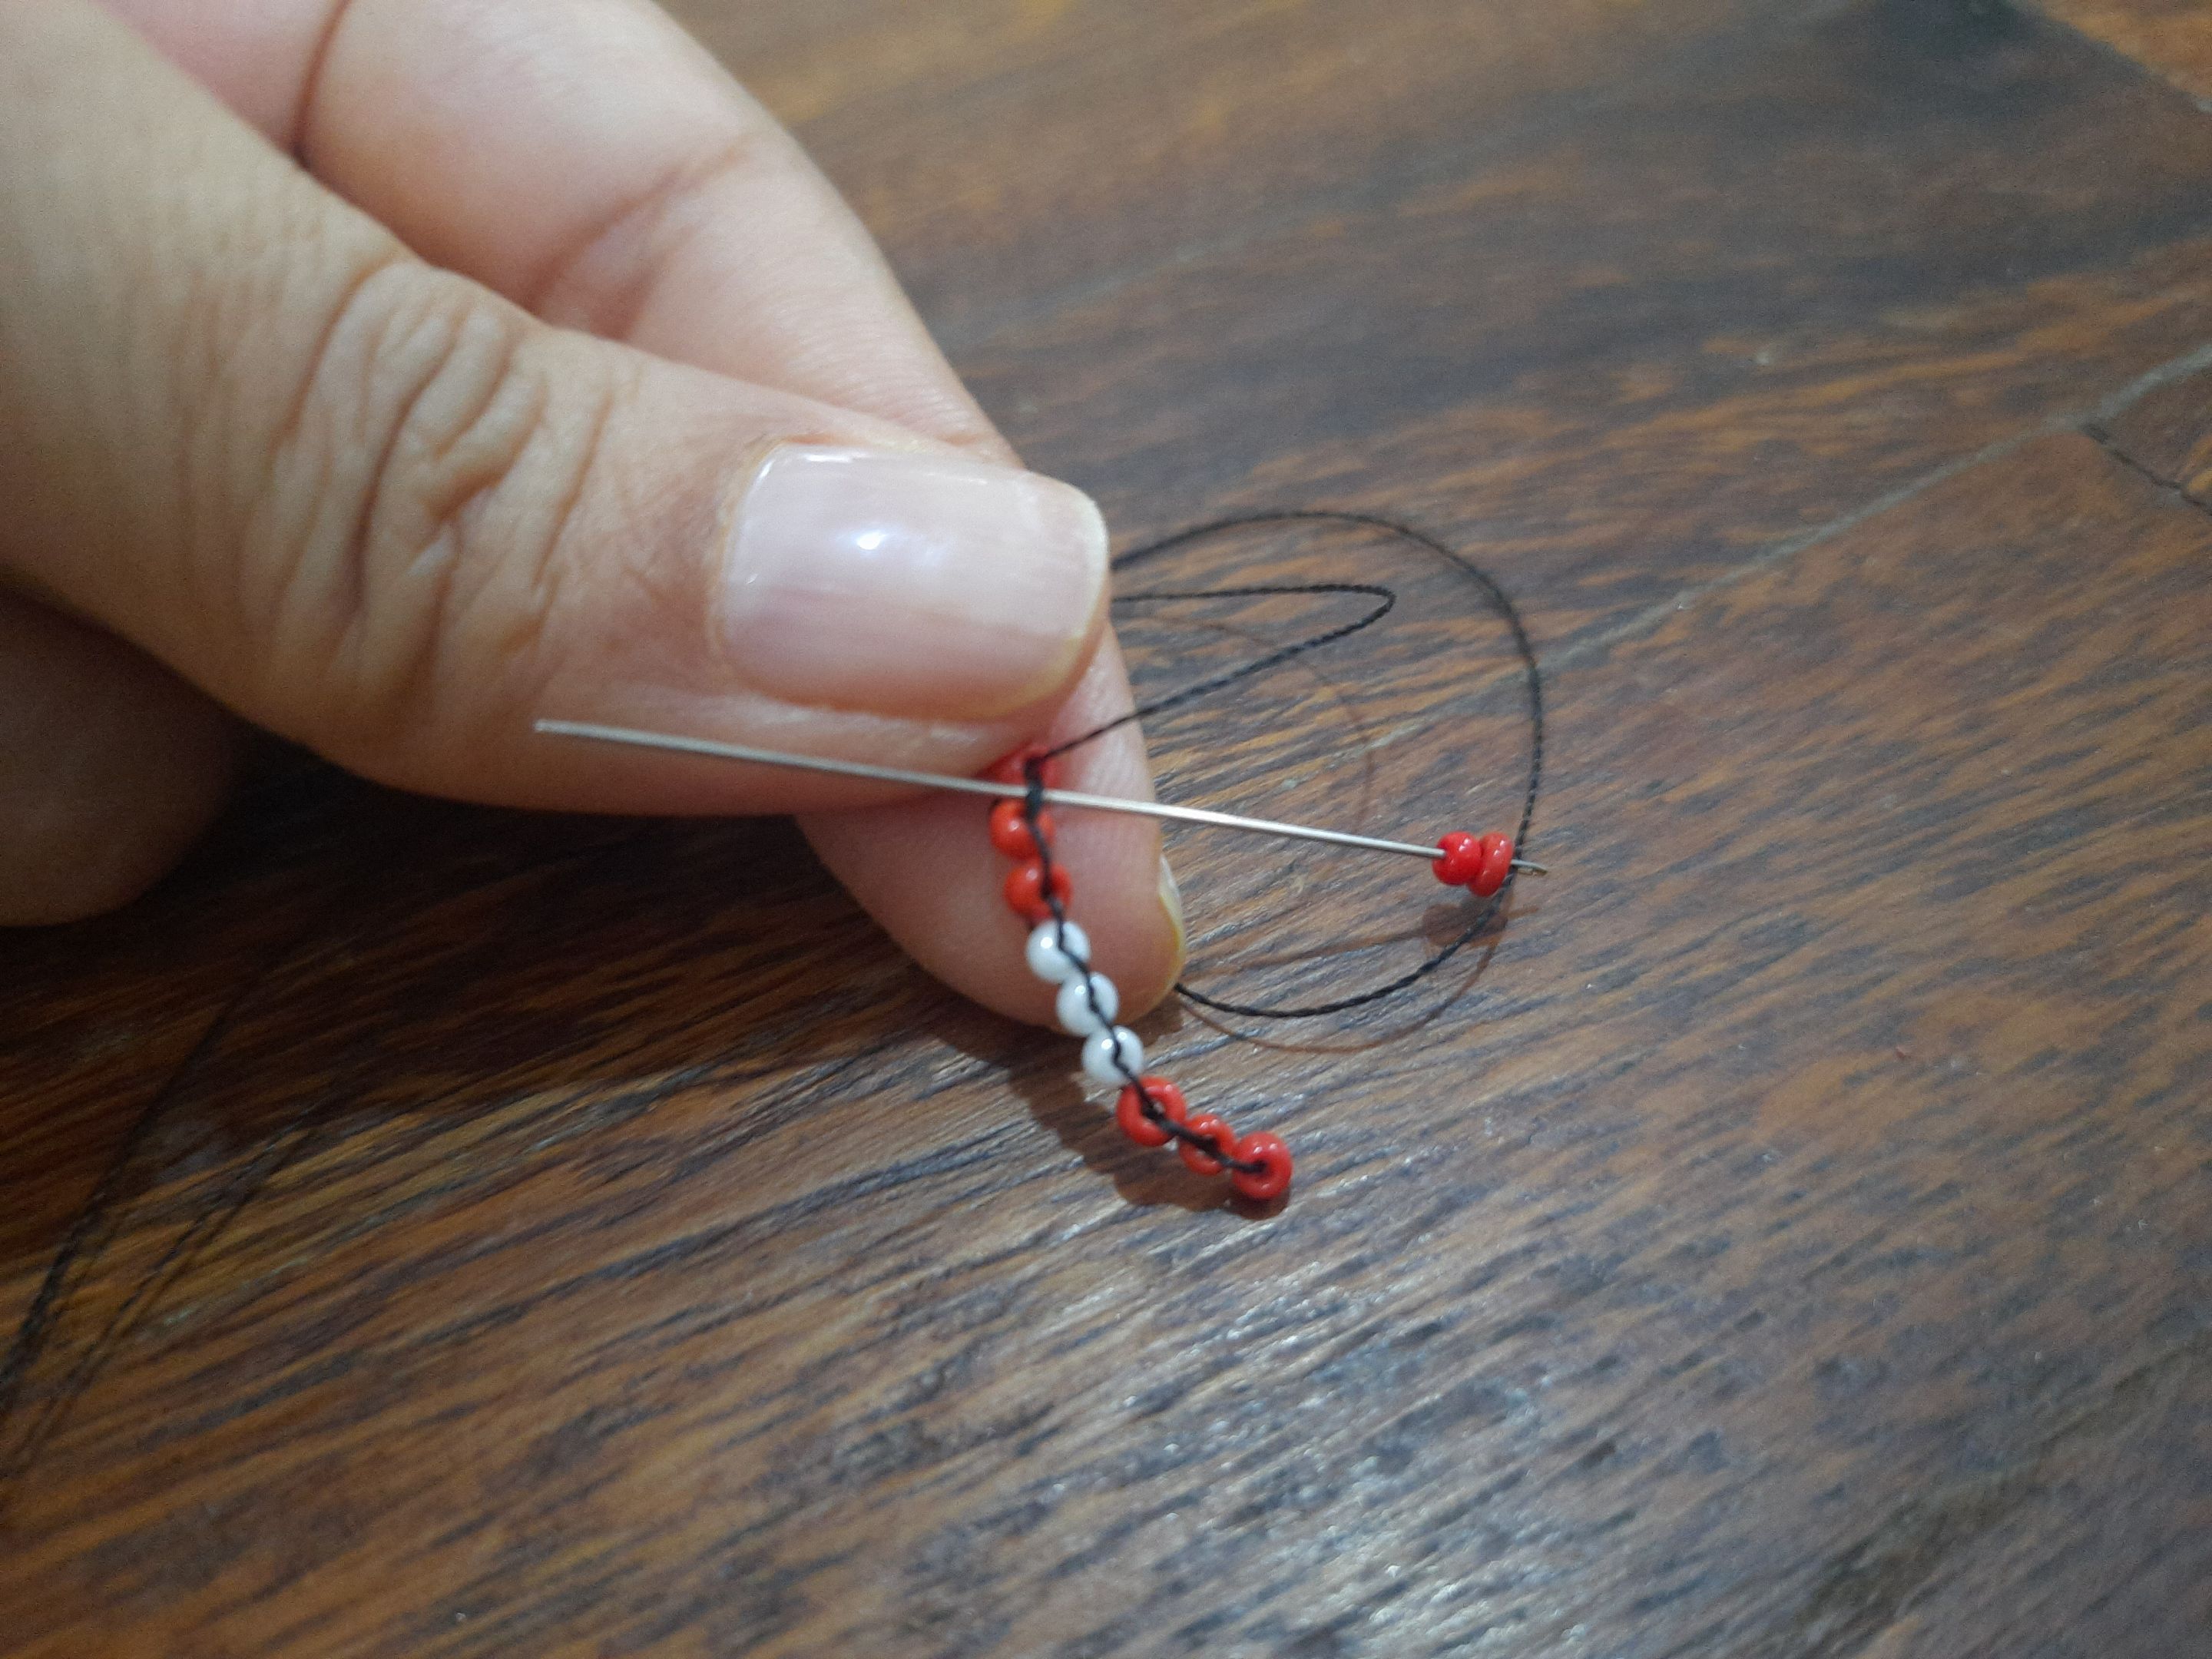
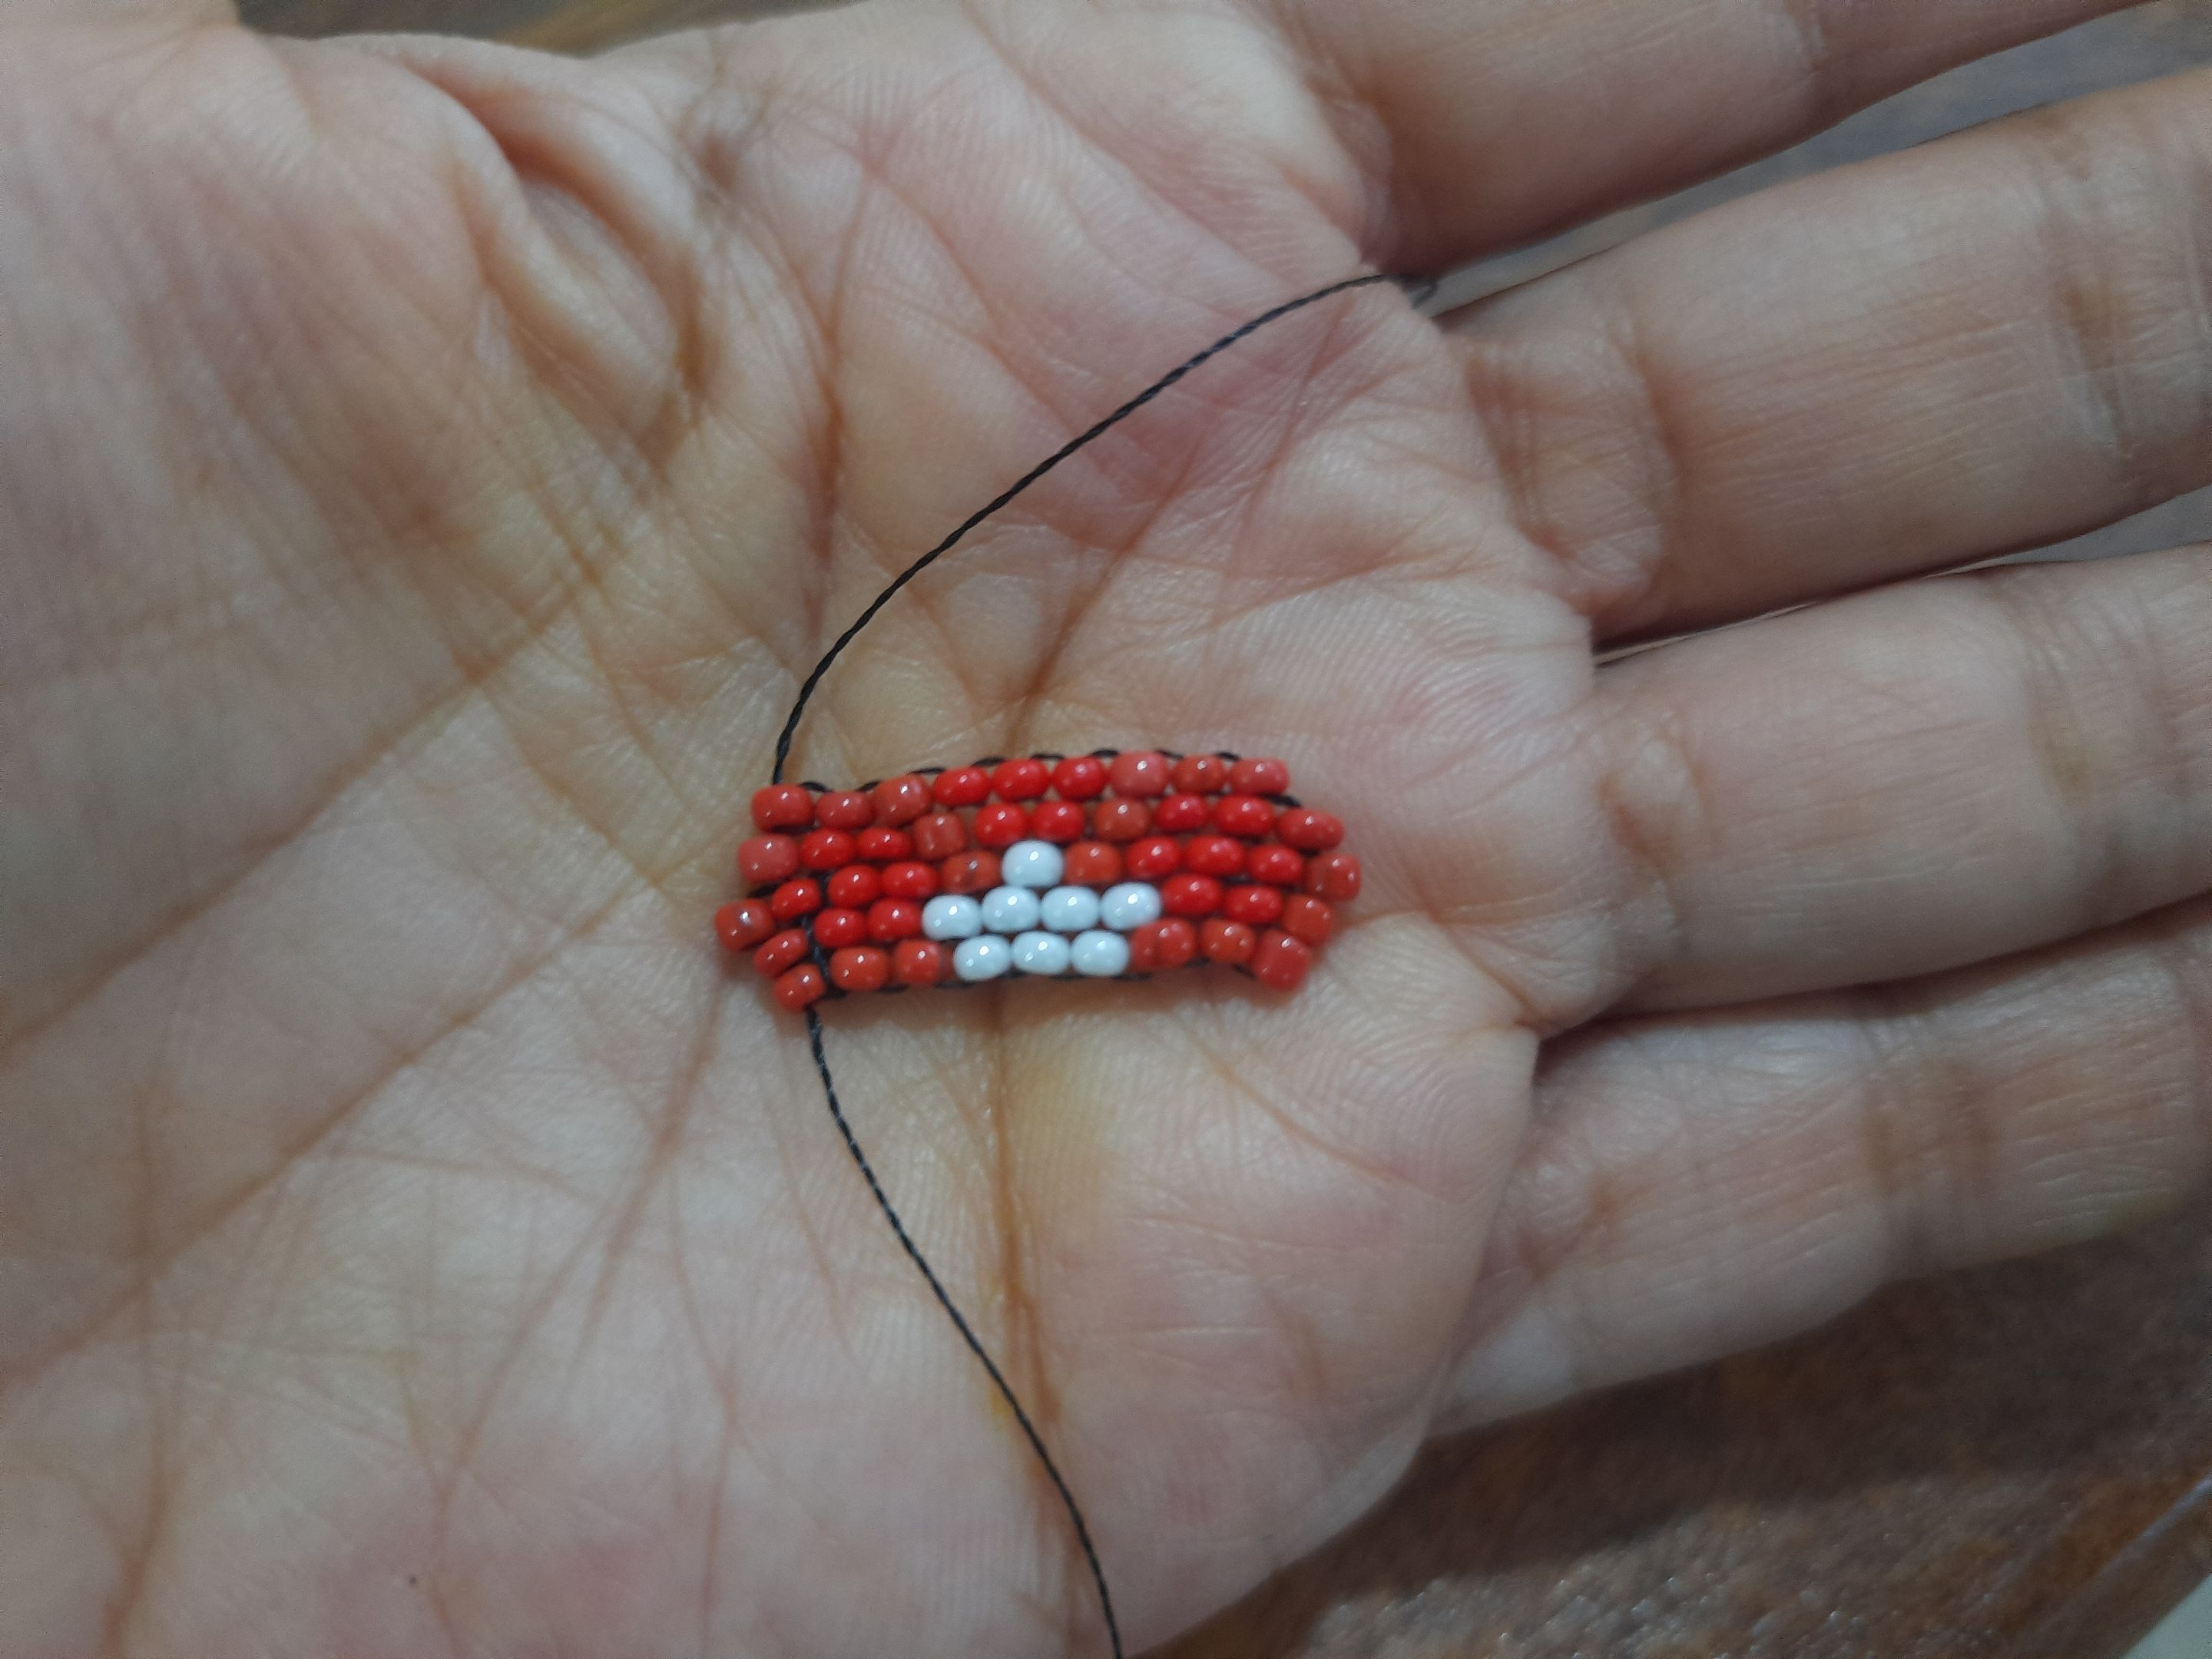
Después de formar nuestra primera hilera vamos a ir en creciente, colocando al principio dos rojas volvemos a colocar otra roja cuatro blancas y tres Rojas al final.
After forming our first row we will go in increasing order, placing two red ones at the beginning and placing another red one, four white ones and three red ones at the end.
 |  |
|---|
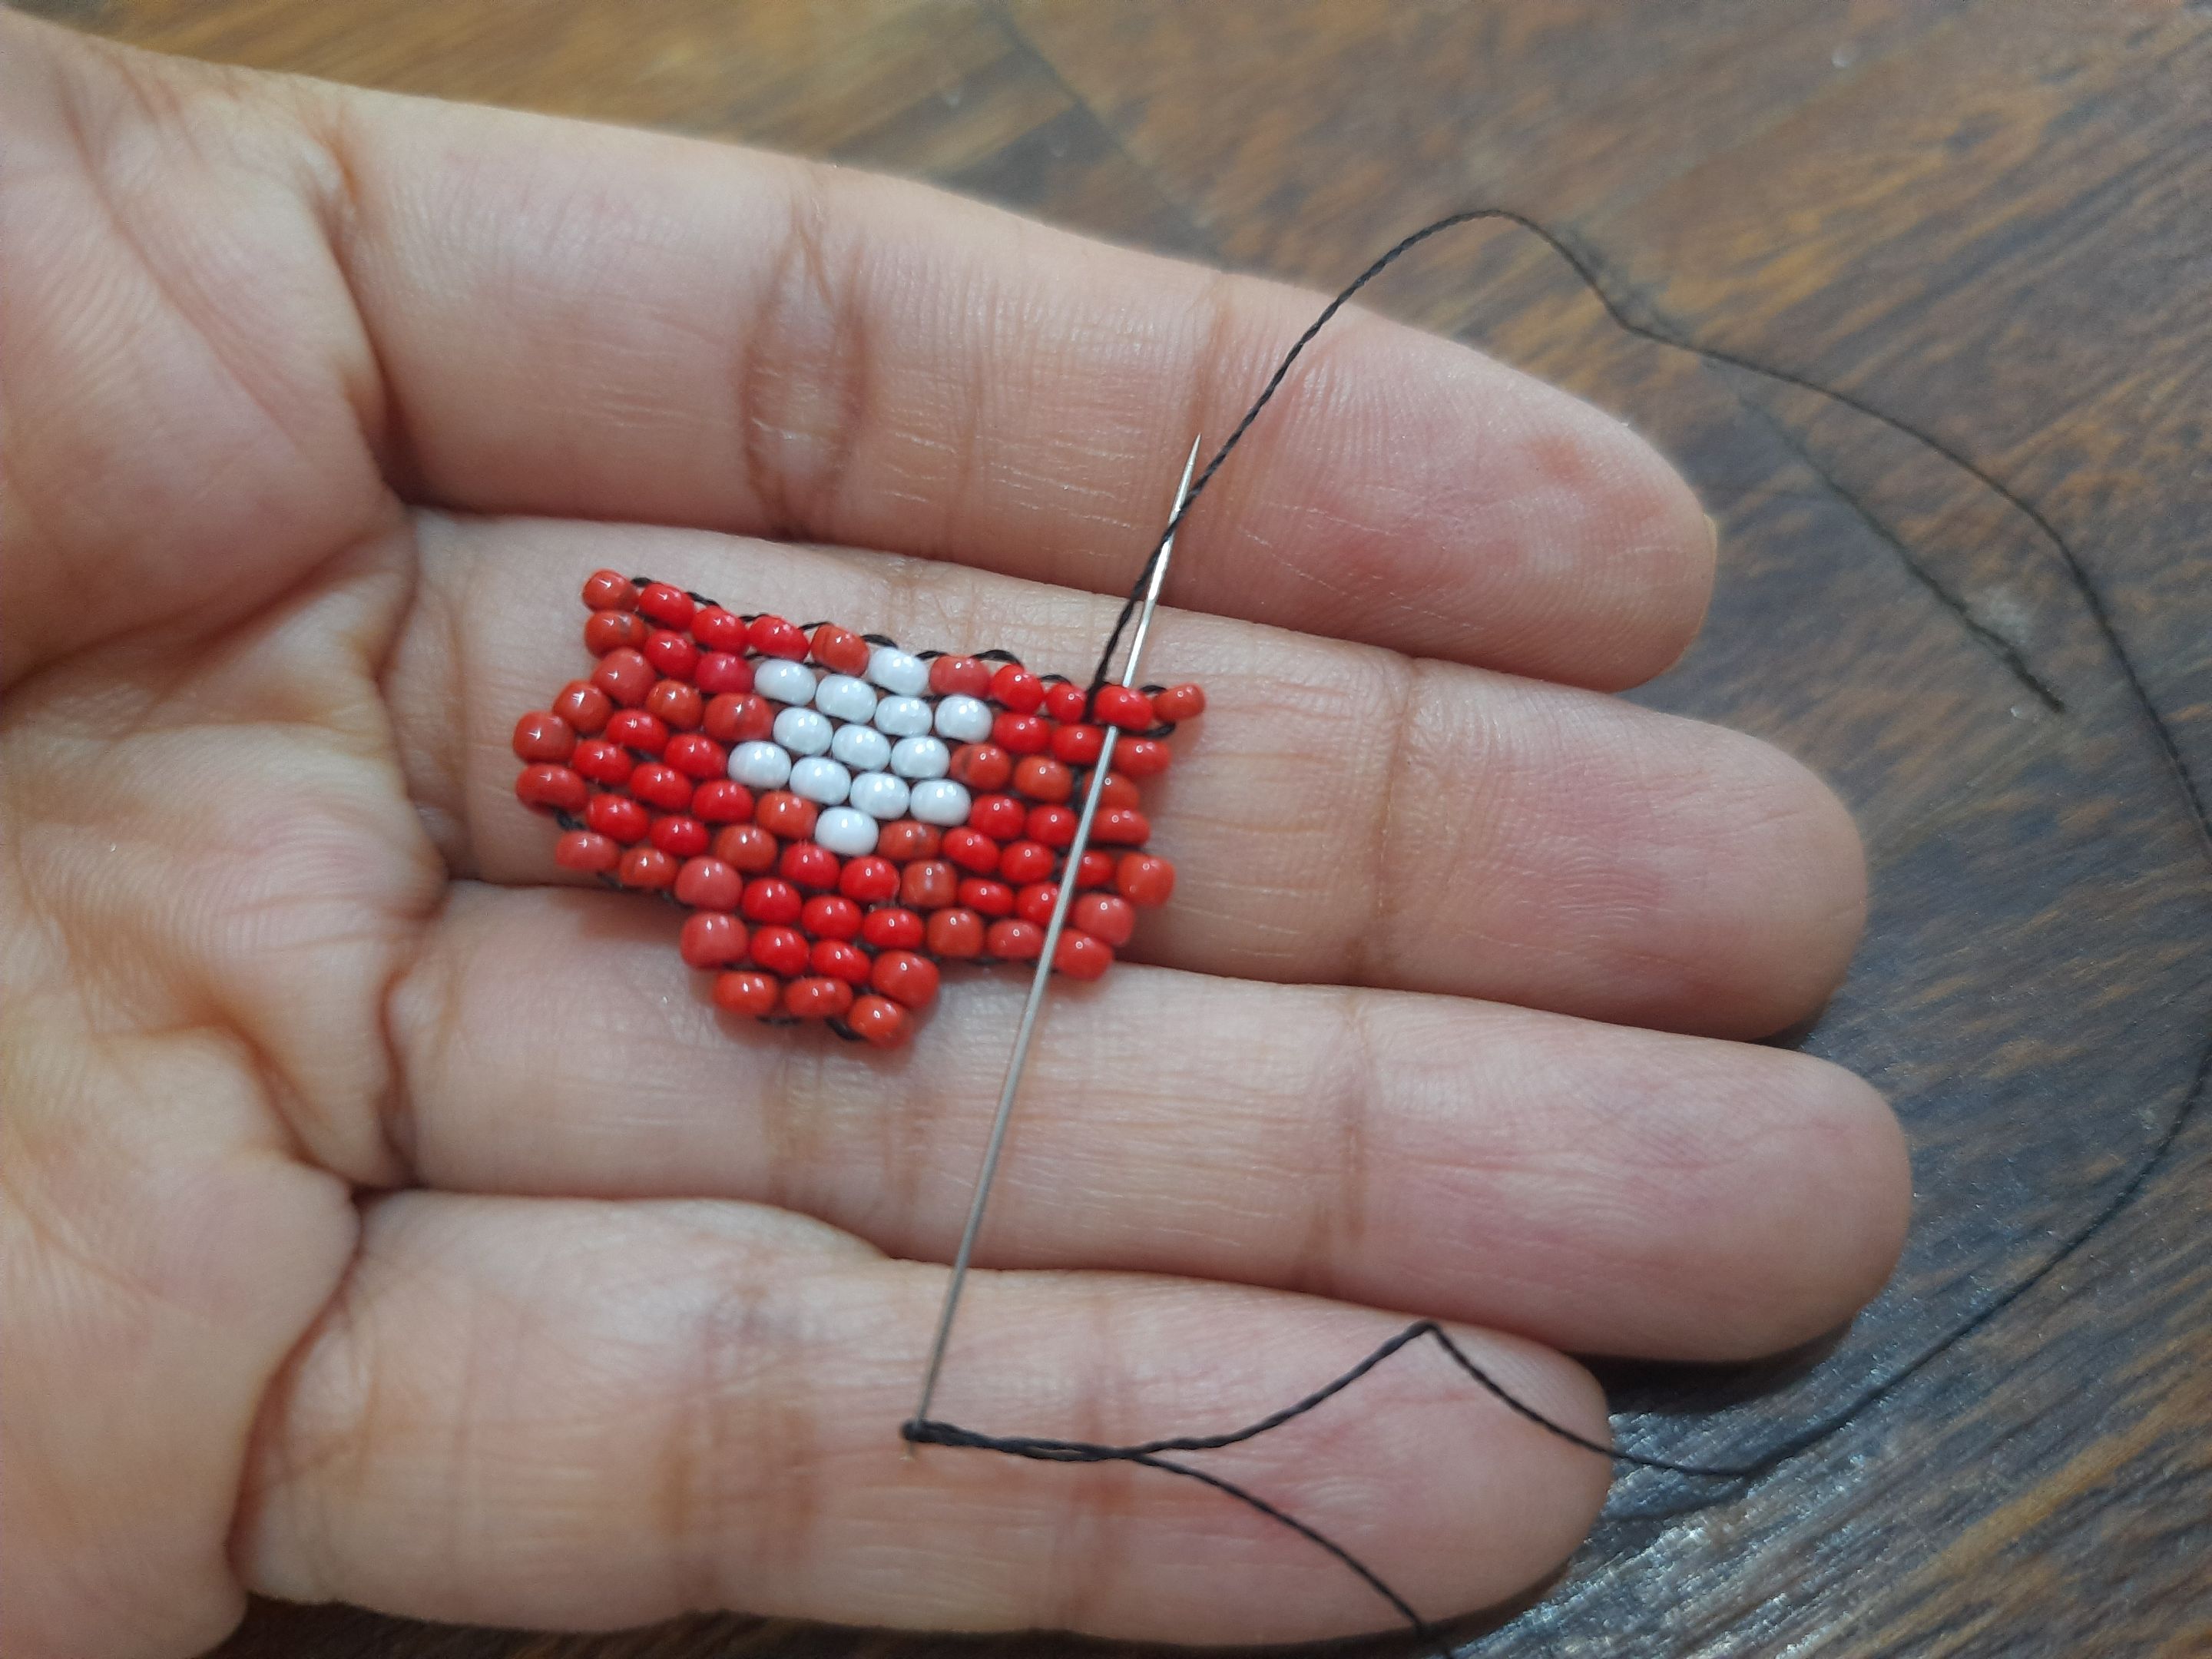
Ahora vamos a ir colocando en creciente nuevamente, cinco rojas, una blanca y cinco rojas, para que el próximo sea en decreciente.
Now we are going to place five reds, one white and five reds, so that the next one will be in decreasing order.
|  |  |
|---|
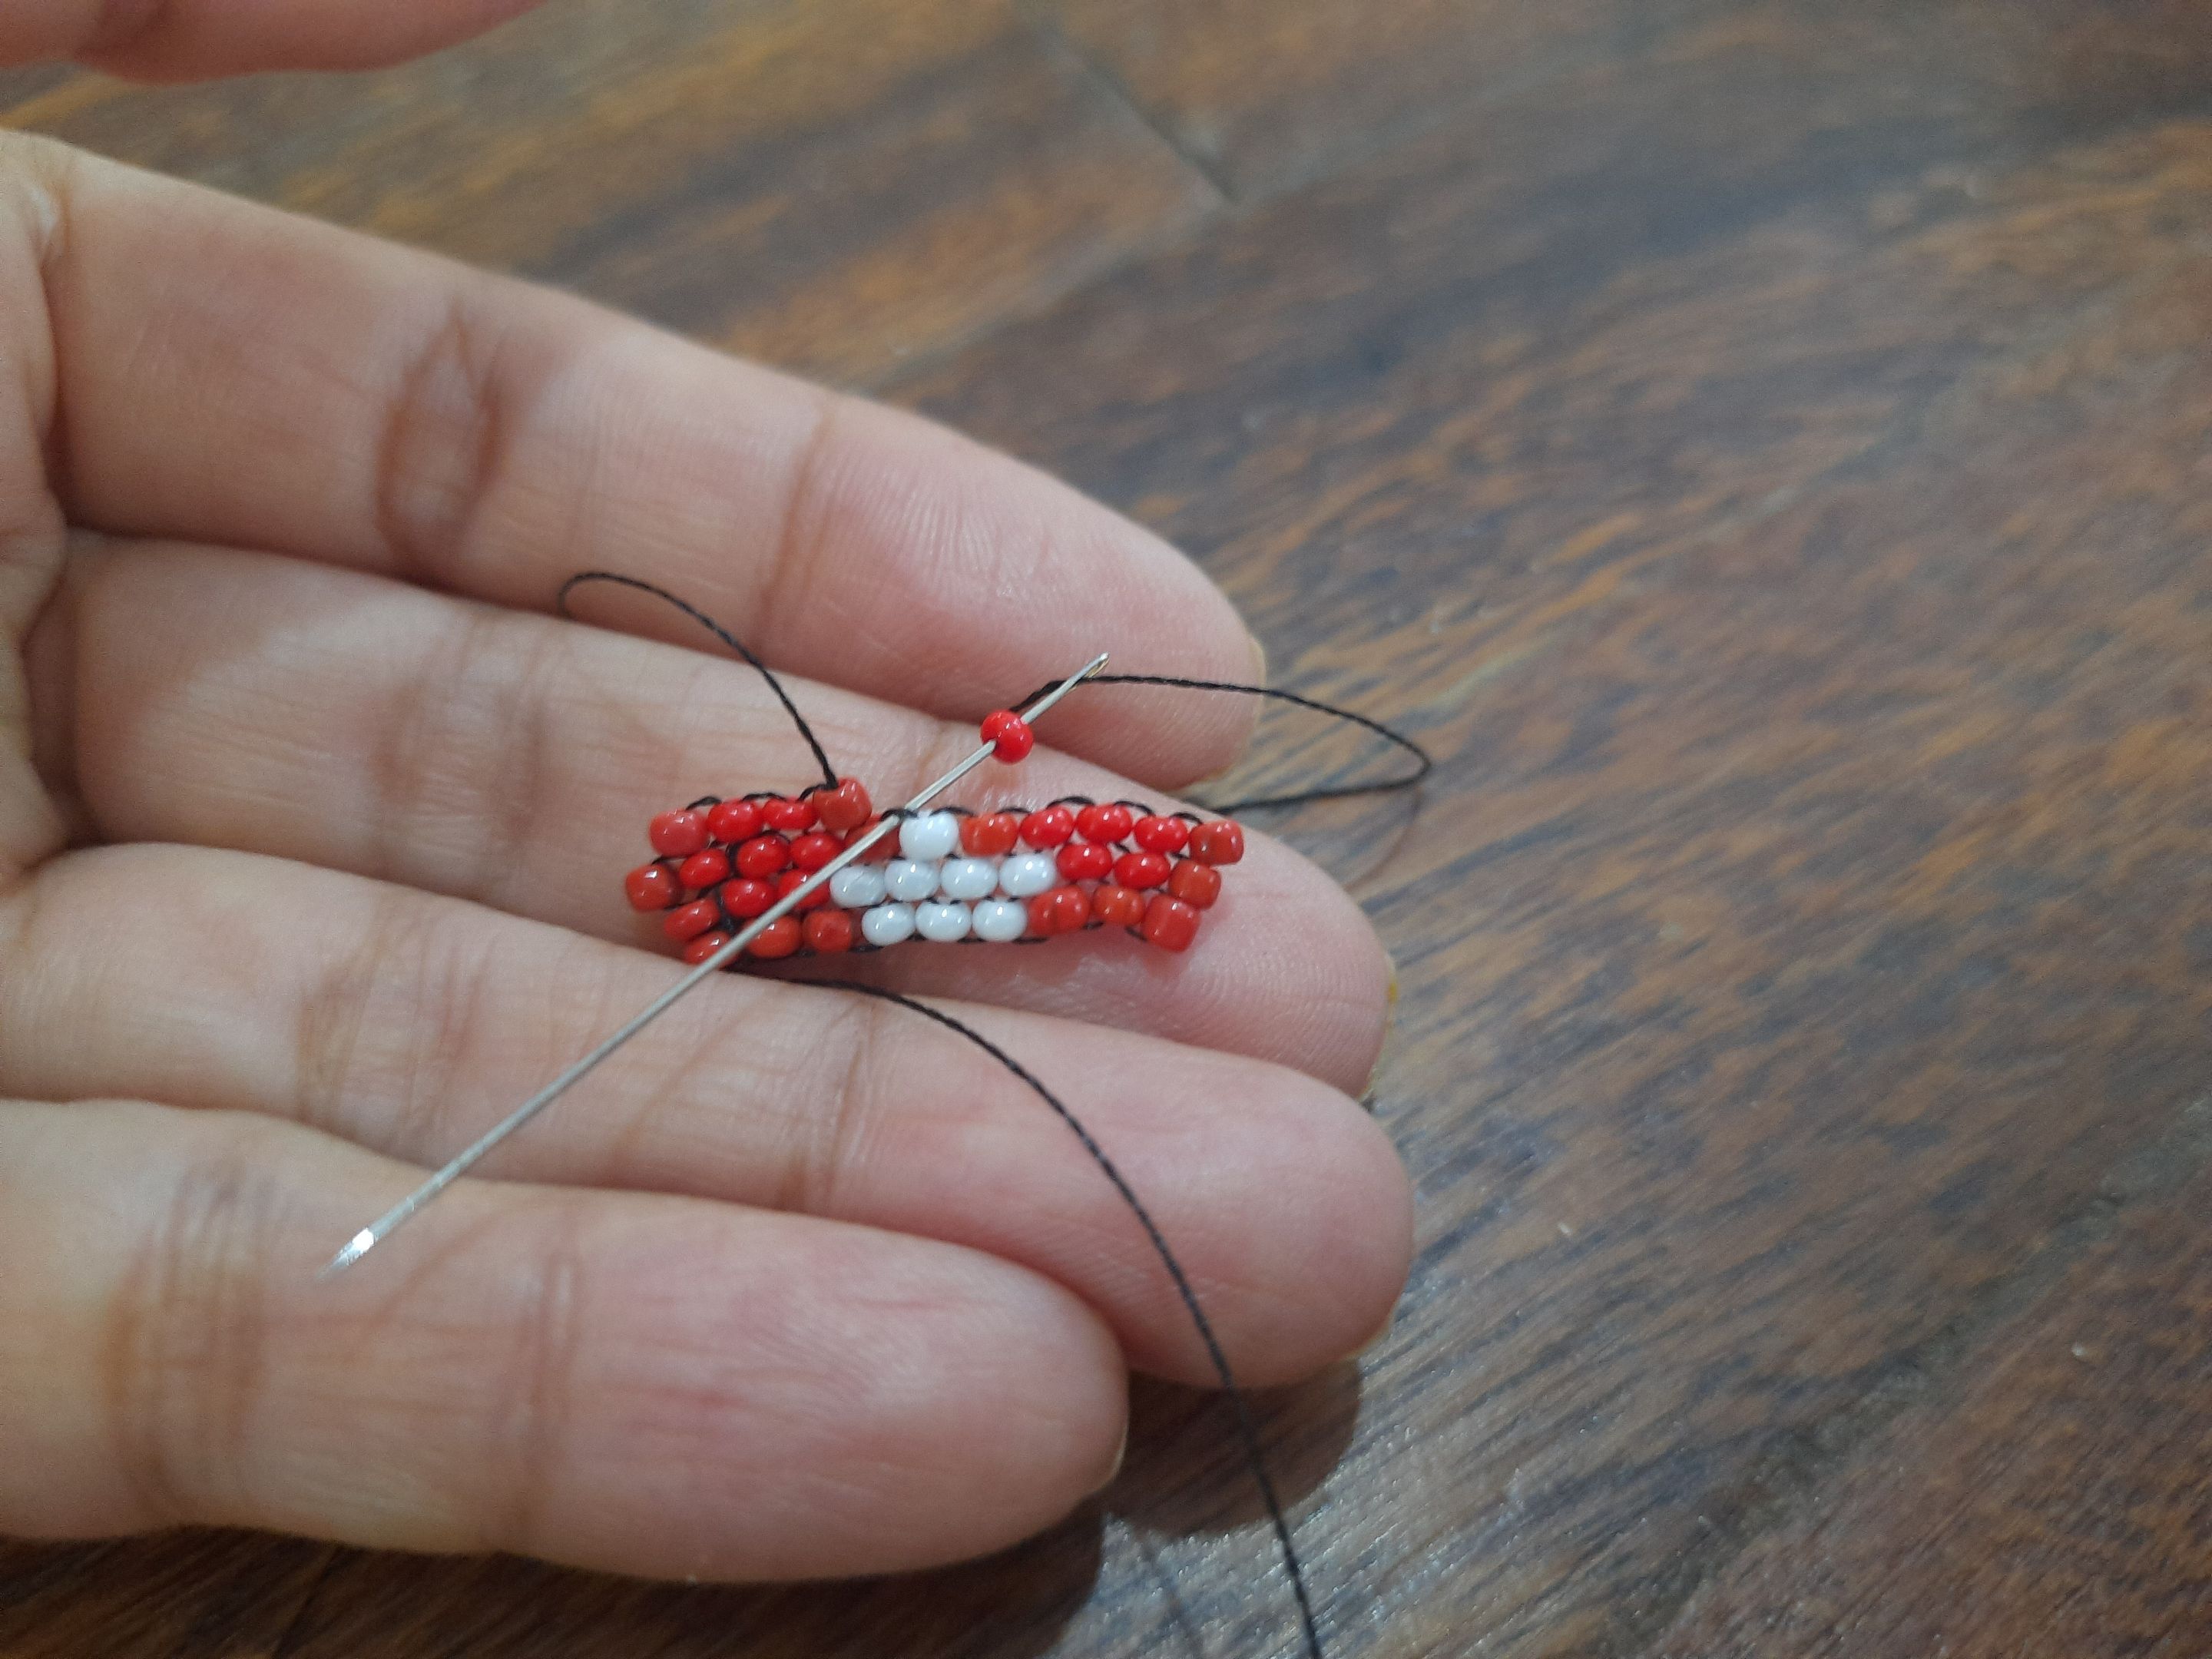
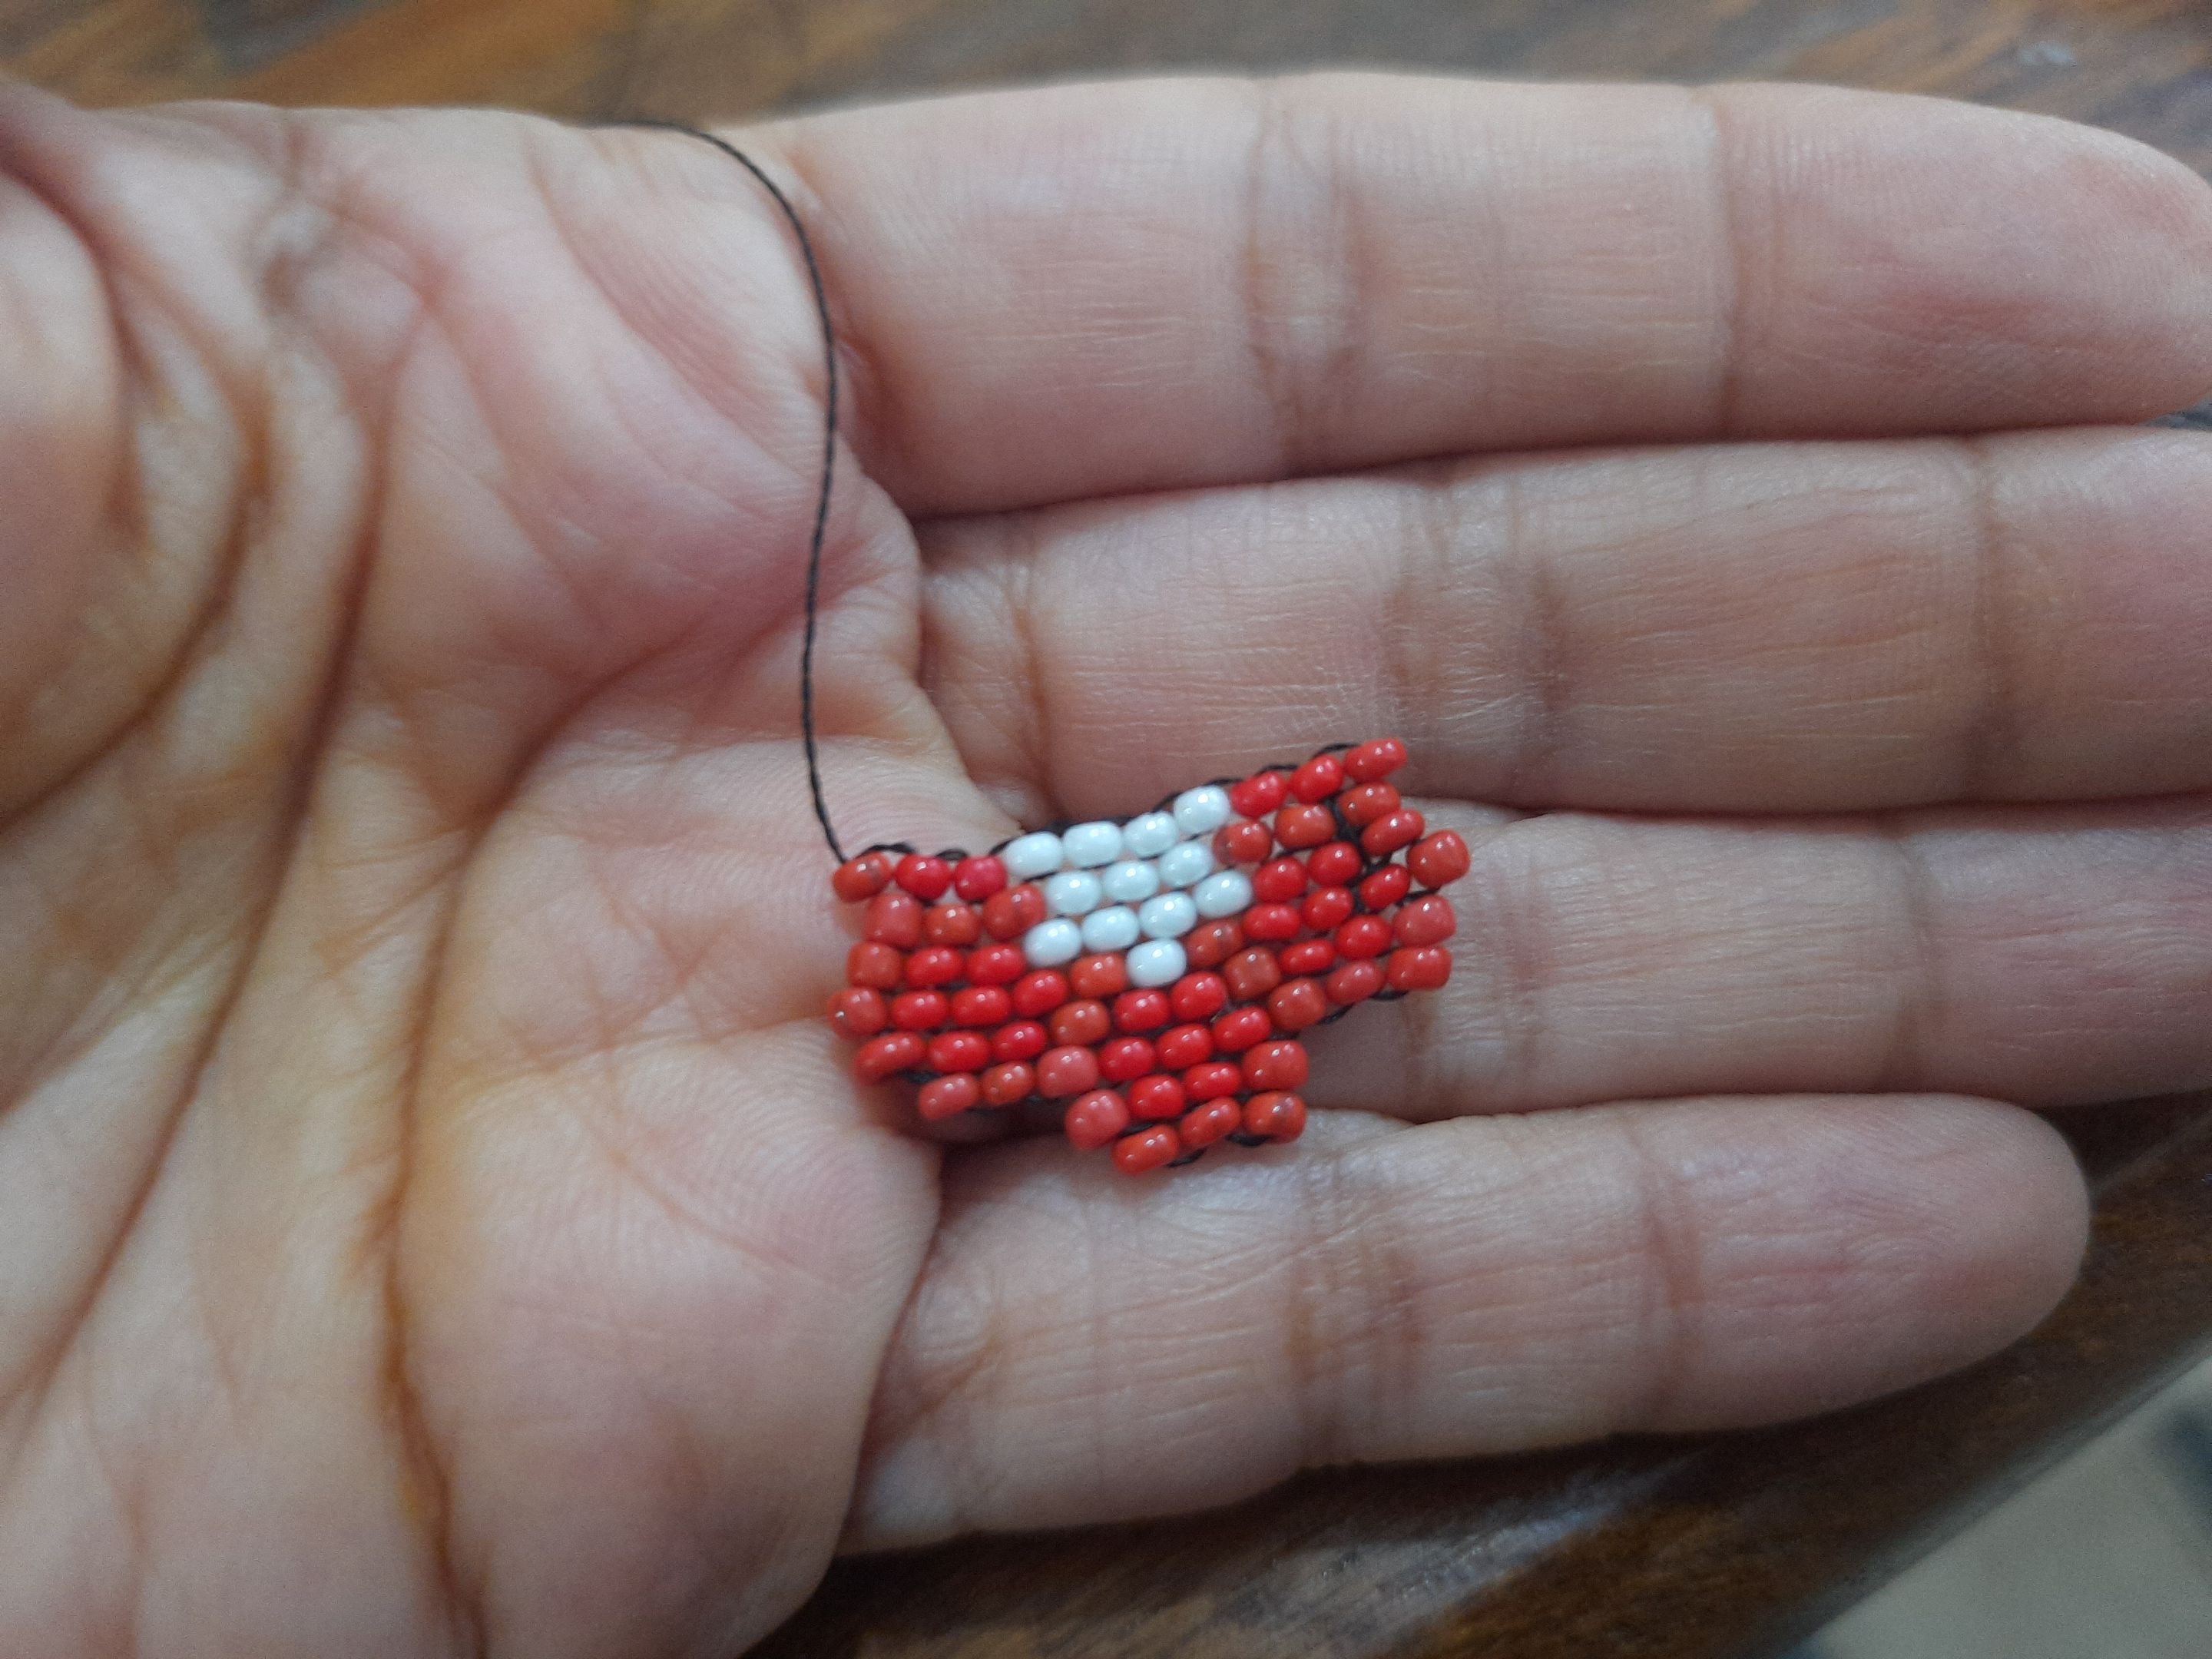
Ahora venimos con dos hileras en decreciente estas hileras serán la primera de 10 rojas y la segunda de nueve rojas seguimos gente creciente dejando cuatro espacios para introducir nuestras mostacillas y comenzar a hacer el pétalo de una flor, colocaremos cuatro rojas y encima de ellas 3 rojas.
Ahora bajamos hacia donde comenzamos para hacer el otro lado de la flor tal cual como lo hicimos ahorita.
Now we come with two rows in decreasing these rows will be the first one of 10 reds and the second one of nine reds we follow increasing people leaving four spaces to introduce our beads and begin to make the petal of a flower, we will place four reds and on top of them 3 reds.
Now we go down to where we started to make the other side of the flower as we did just now.
 | |  |  |
|---|
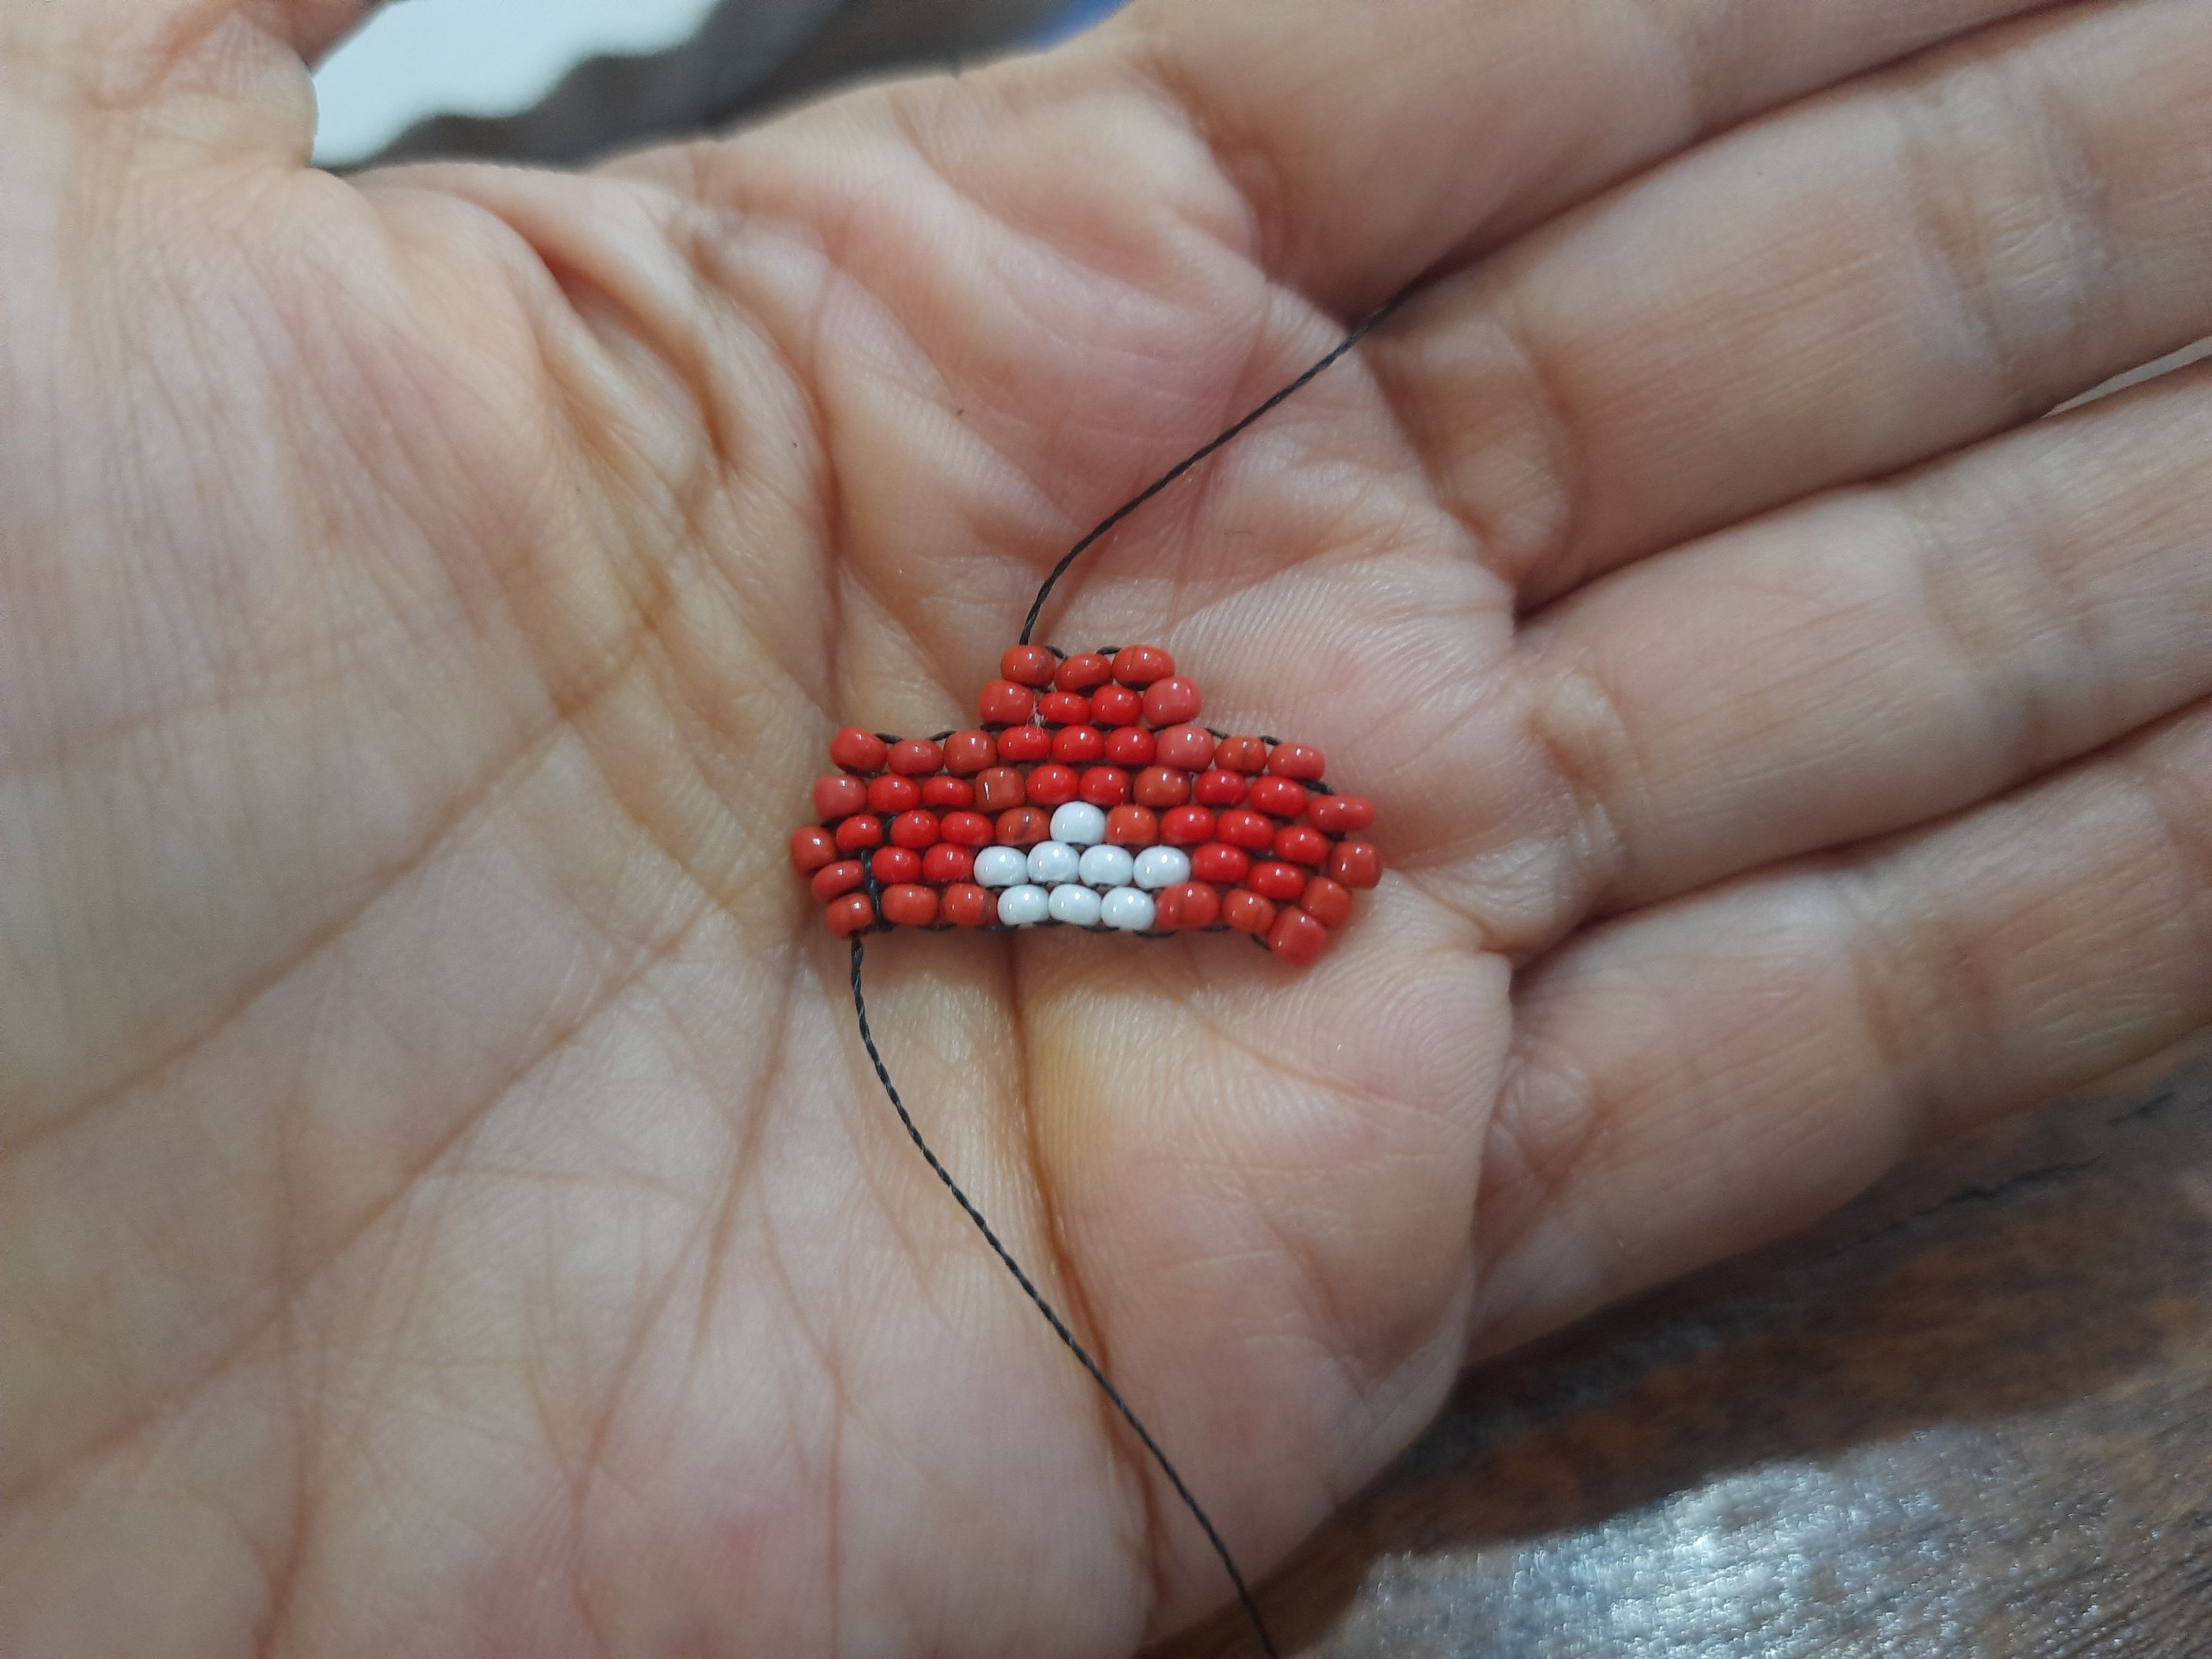
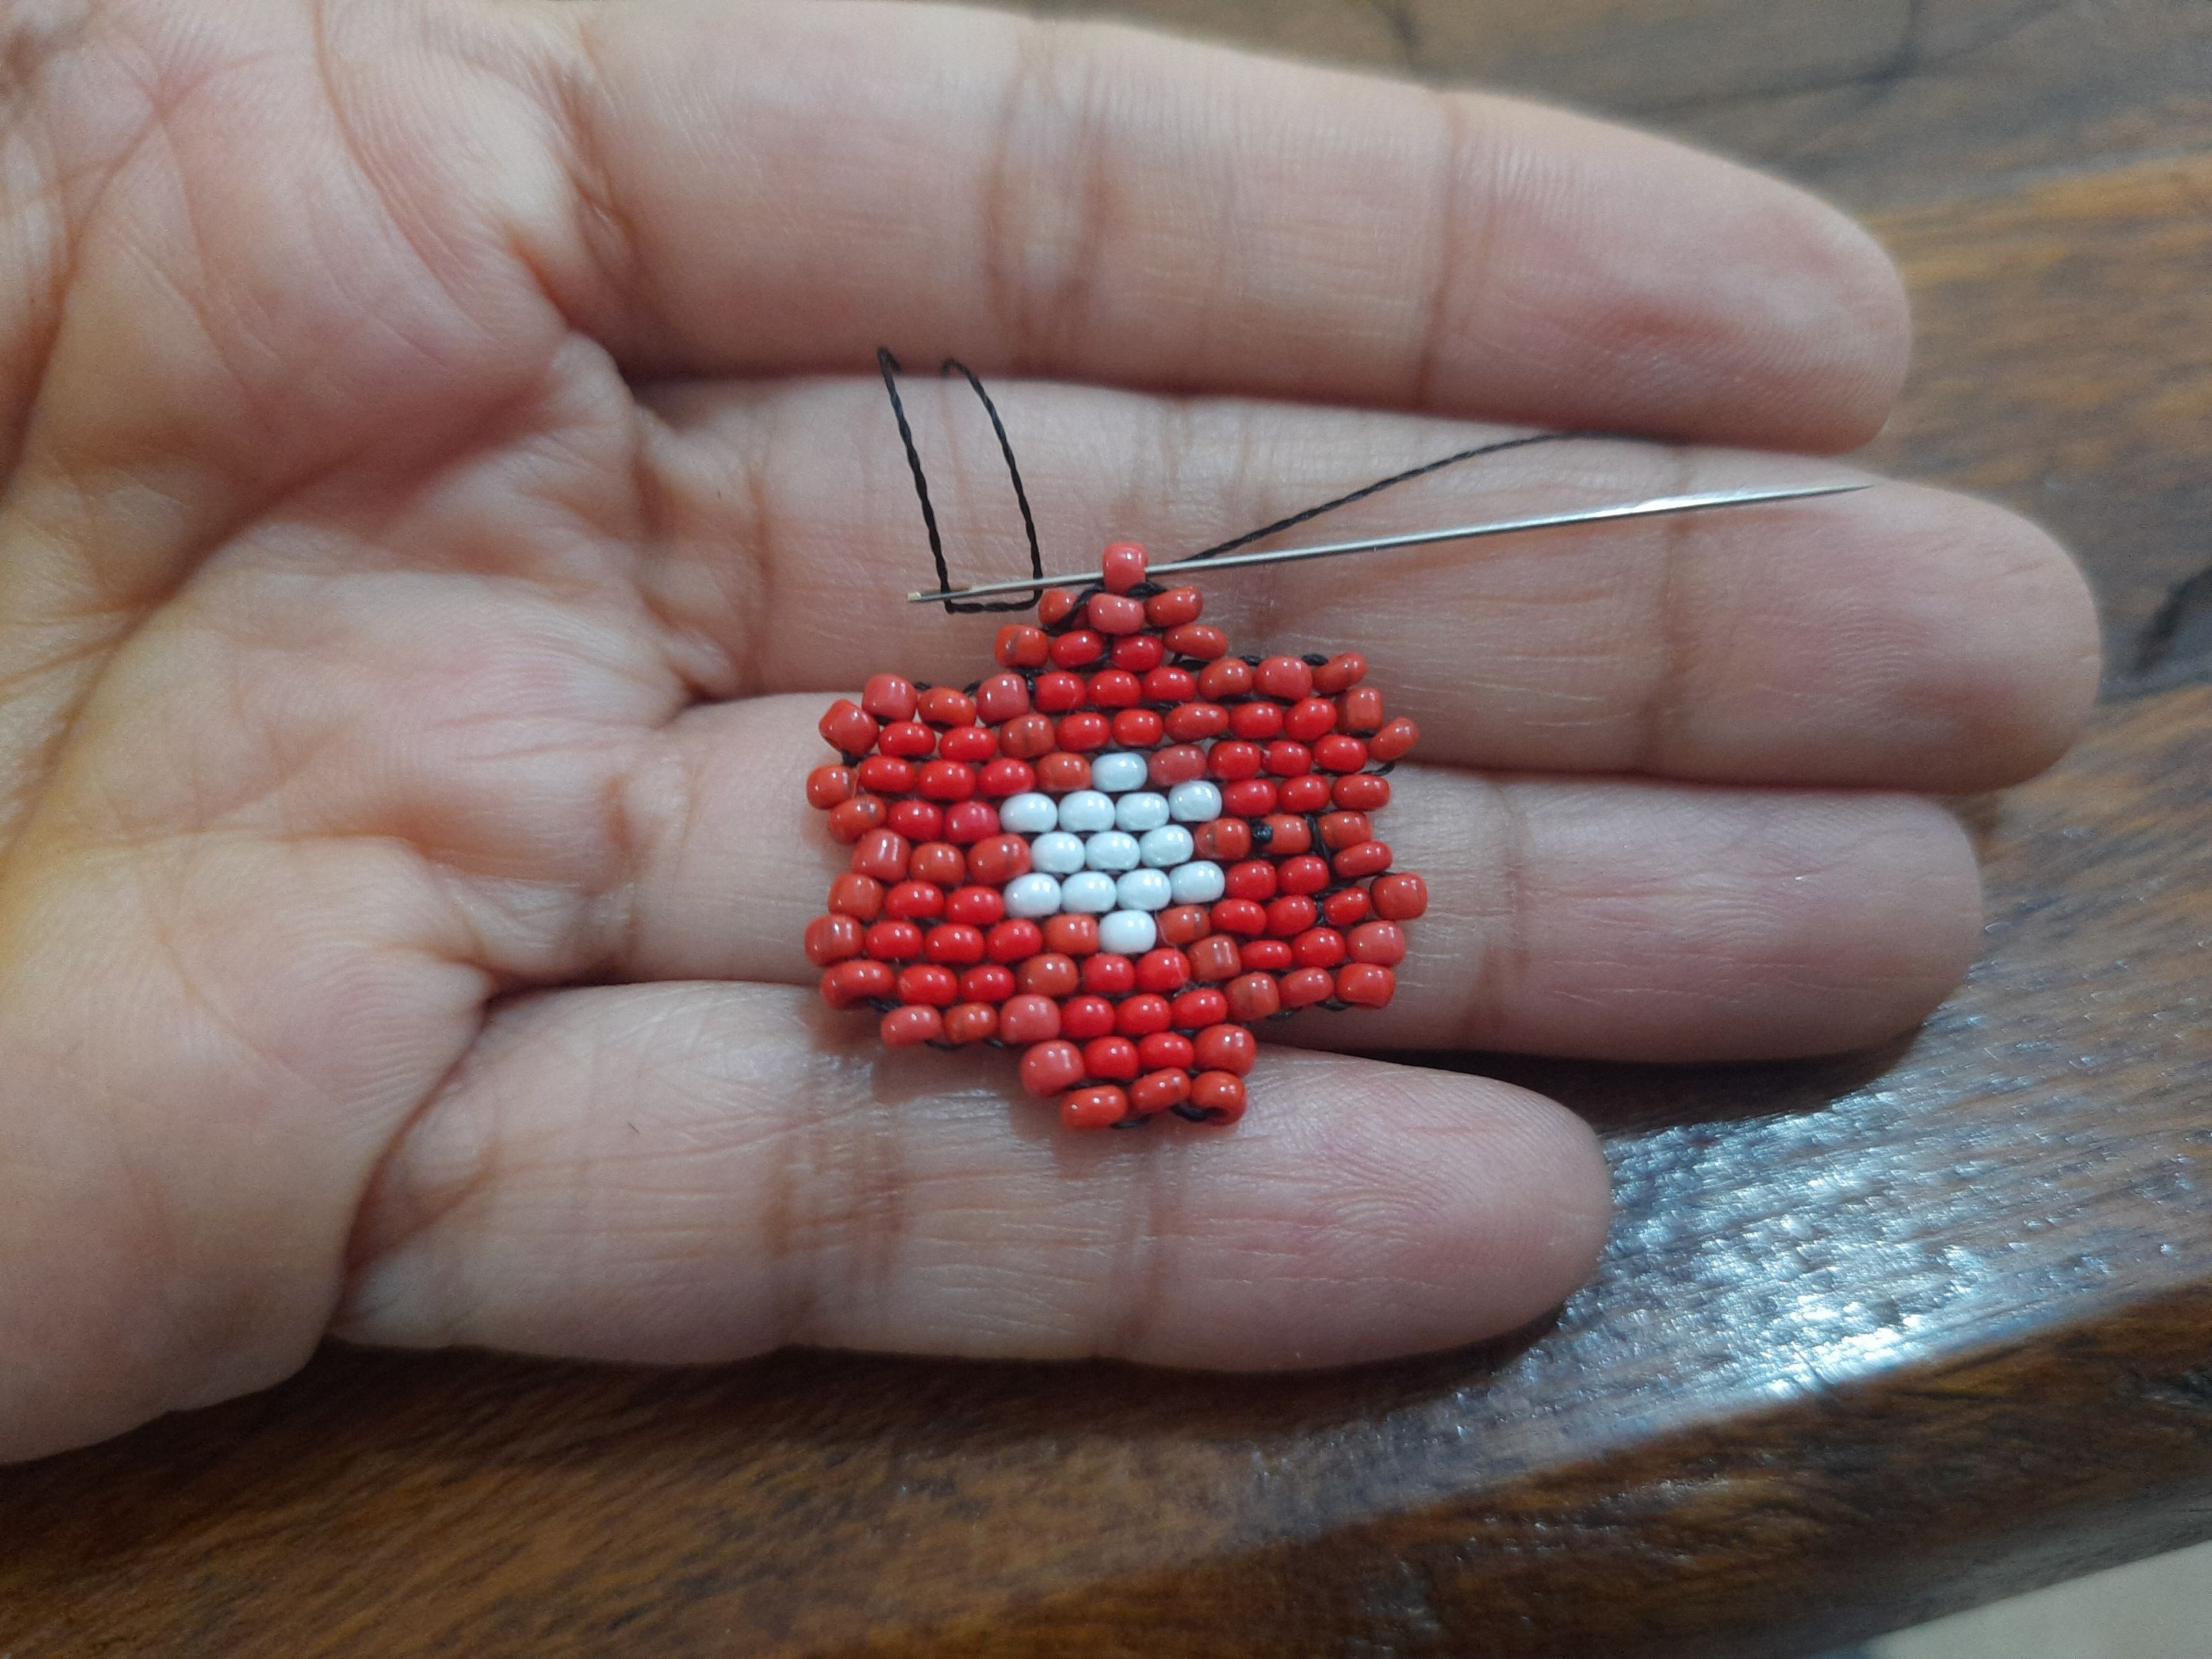
Como quedamos en el centro vamos a hacer lo mismo que venimos haciendo en creciente colocando las Piedras Blancas en el medio y luego en decreciente, para formar de último el pétalo, en la parte final de nuestro pétalo cuando lo formemos en el centro vamos a hacer una especie de argolla con piedras colocando una piedra y pasando una encima de la otra para formar un aro, y así poder luego colocar una argolla y colocarlo en nuestro collar.
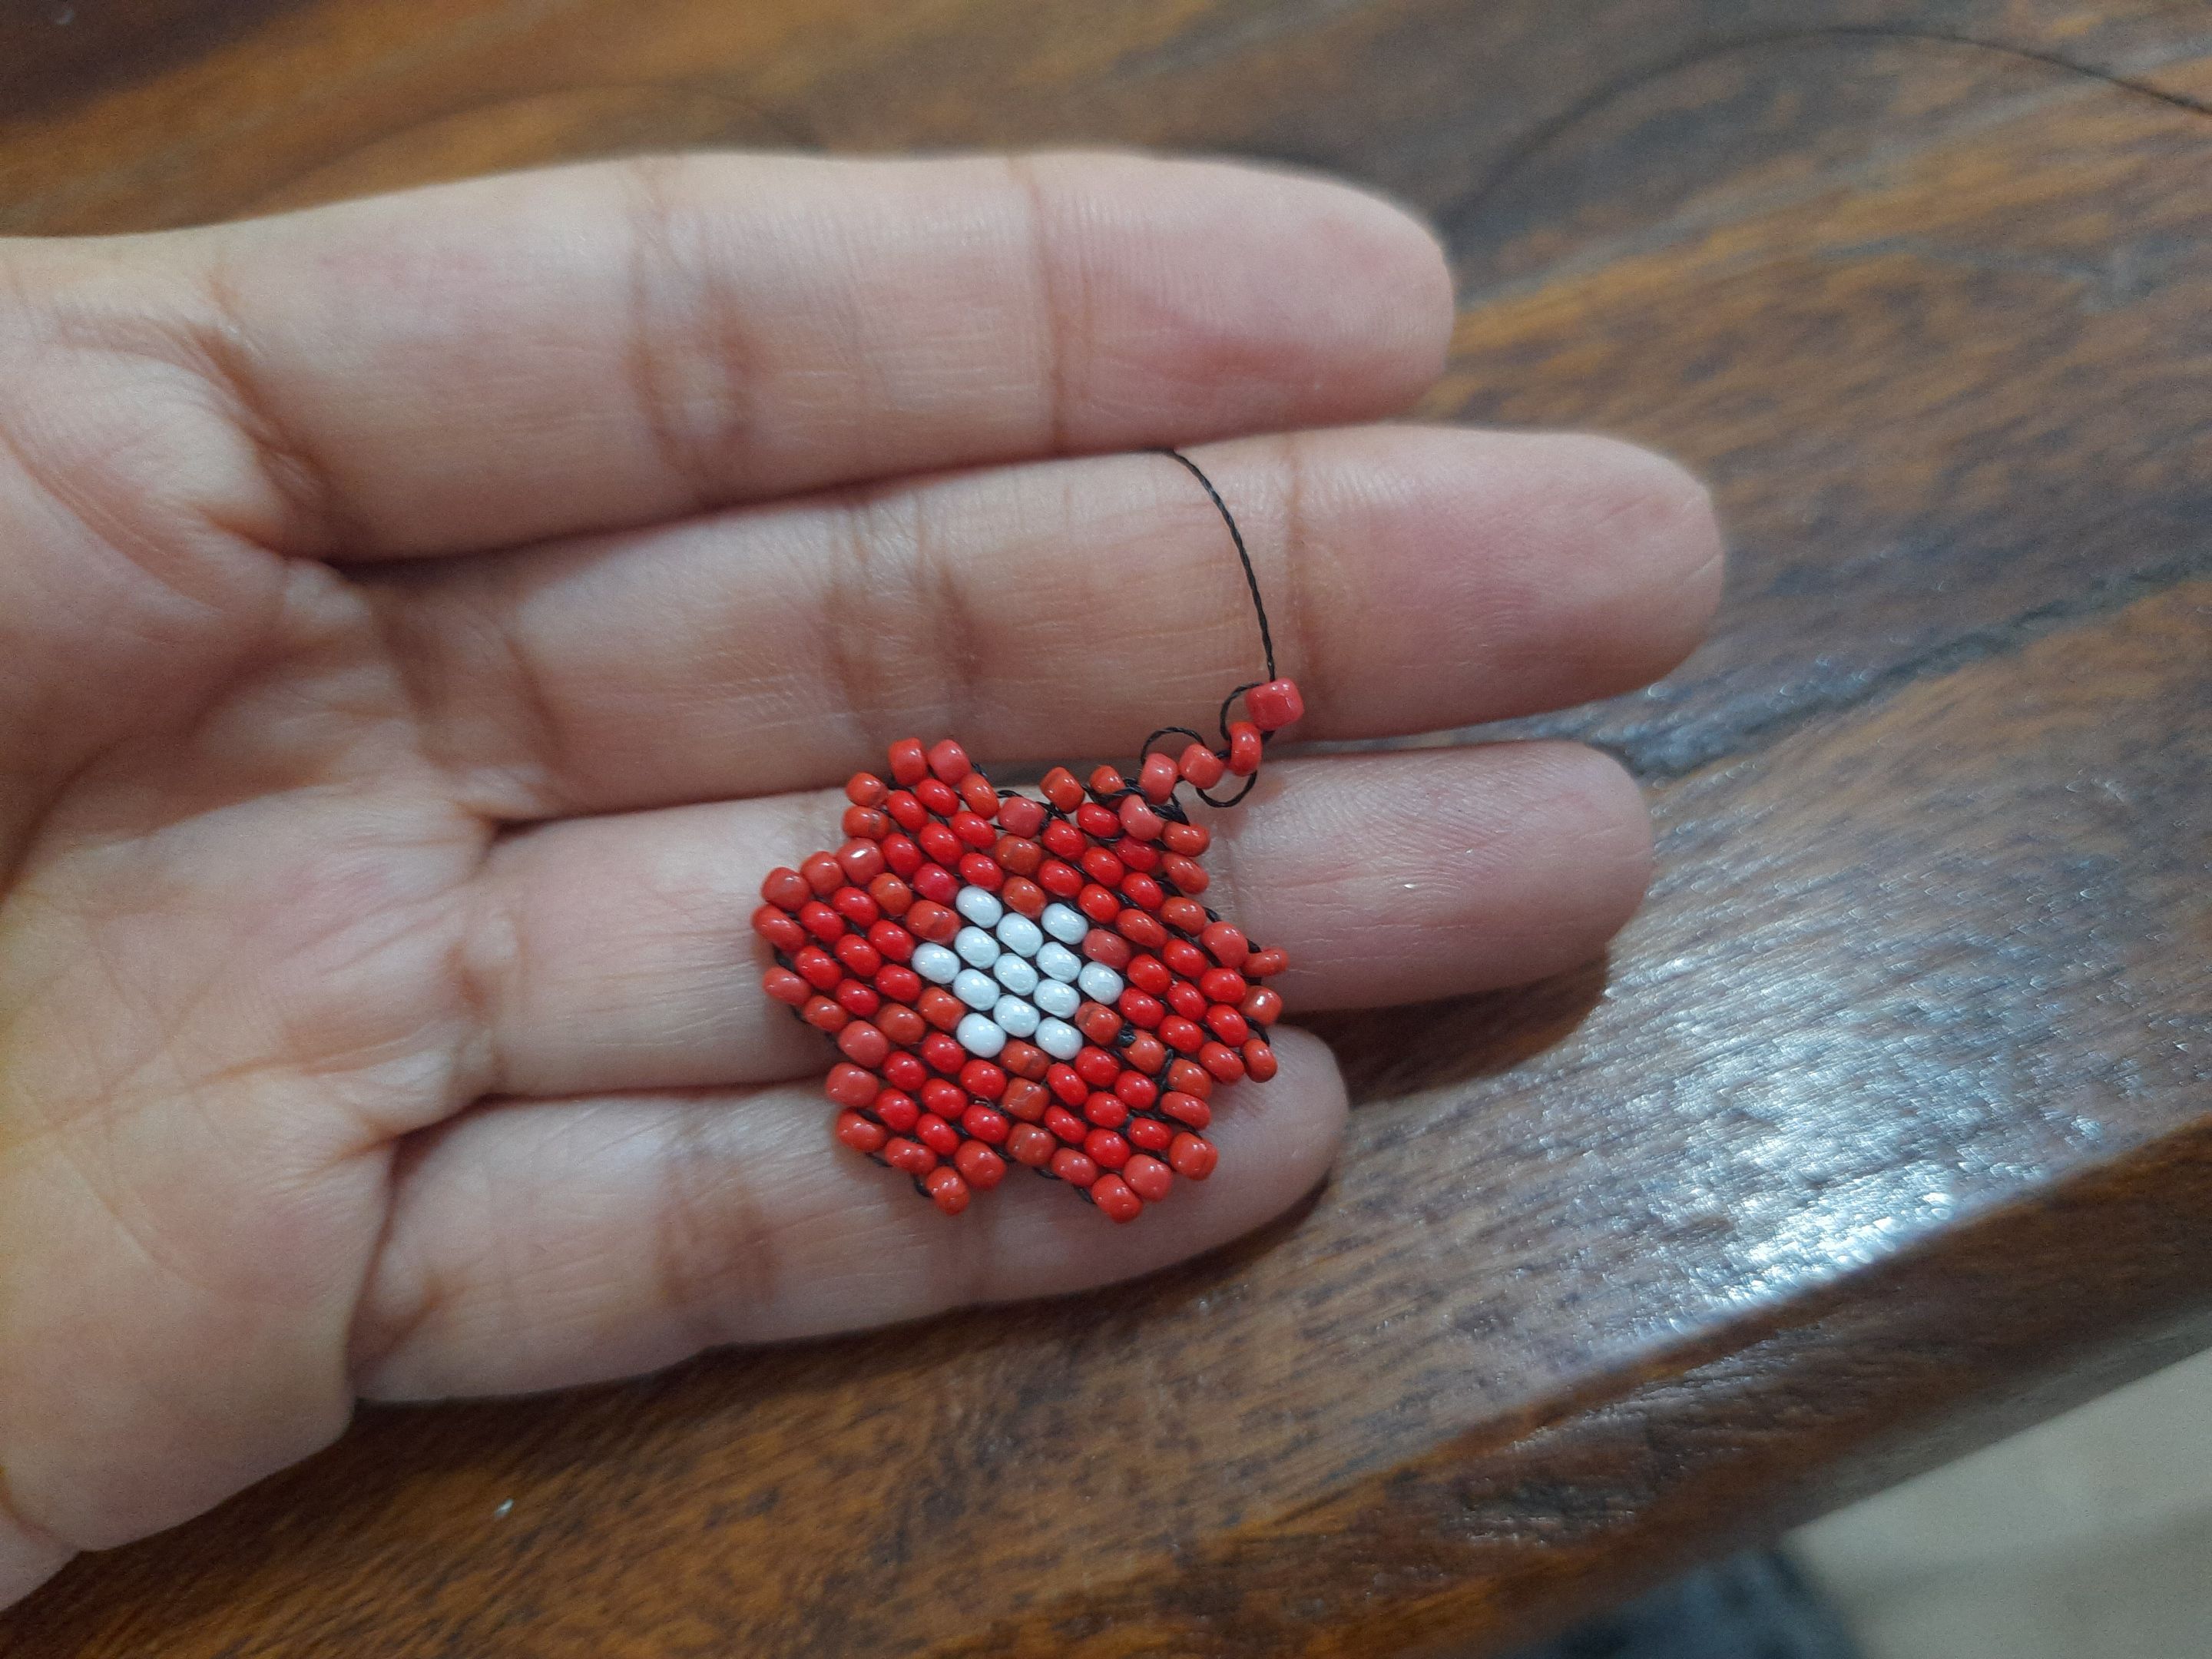
Por último devolveremos el hilo hacia el medio cortaremos los excedentes y quemaremos y así ya hemos obtenido nuestro dije.
As we are in the center we will do the same as we have been doing in increasing placing the White Stones in the middle and then in decreasing, to form the petal, in the final part of our petal when we form it in the center we will make a kind of ring with stones placing a stone and passing one on top of the other to form a ring, so we can then place a ring and place it in our necklace.
Finally we will return the thread to the middle we will cut the excess and burn and thus we have obtained our pendant.
Resultado: / Result:
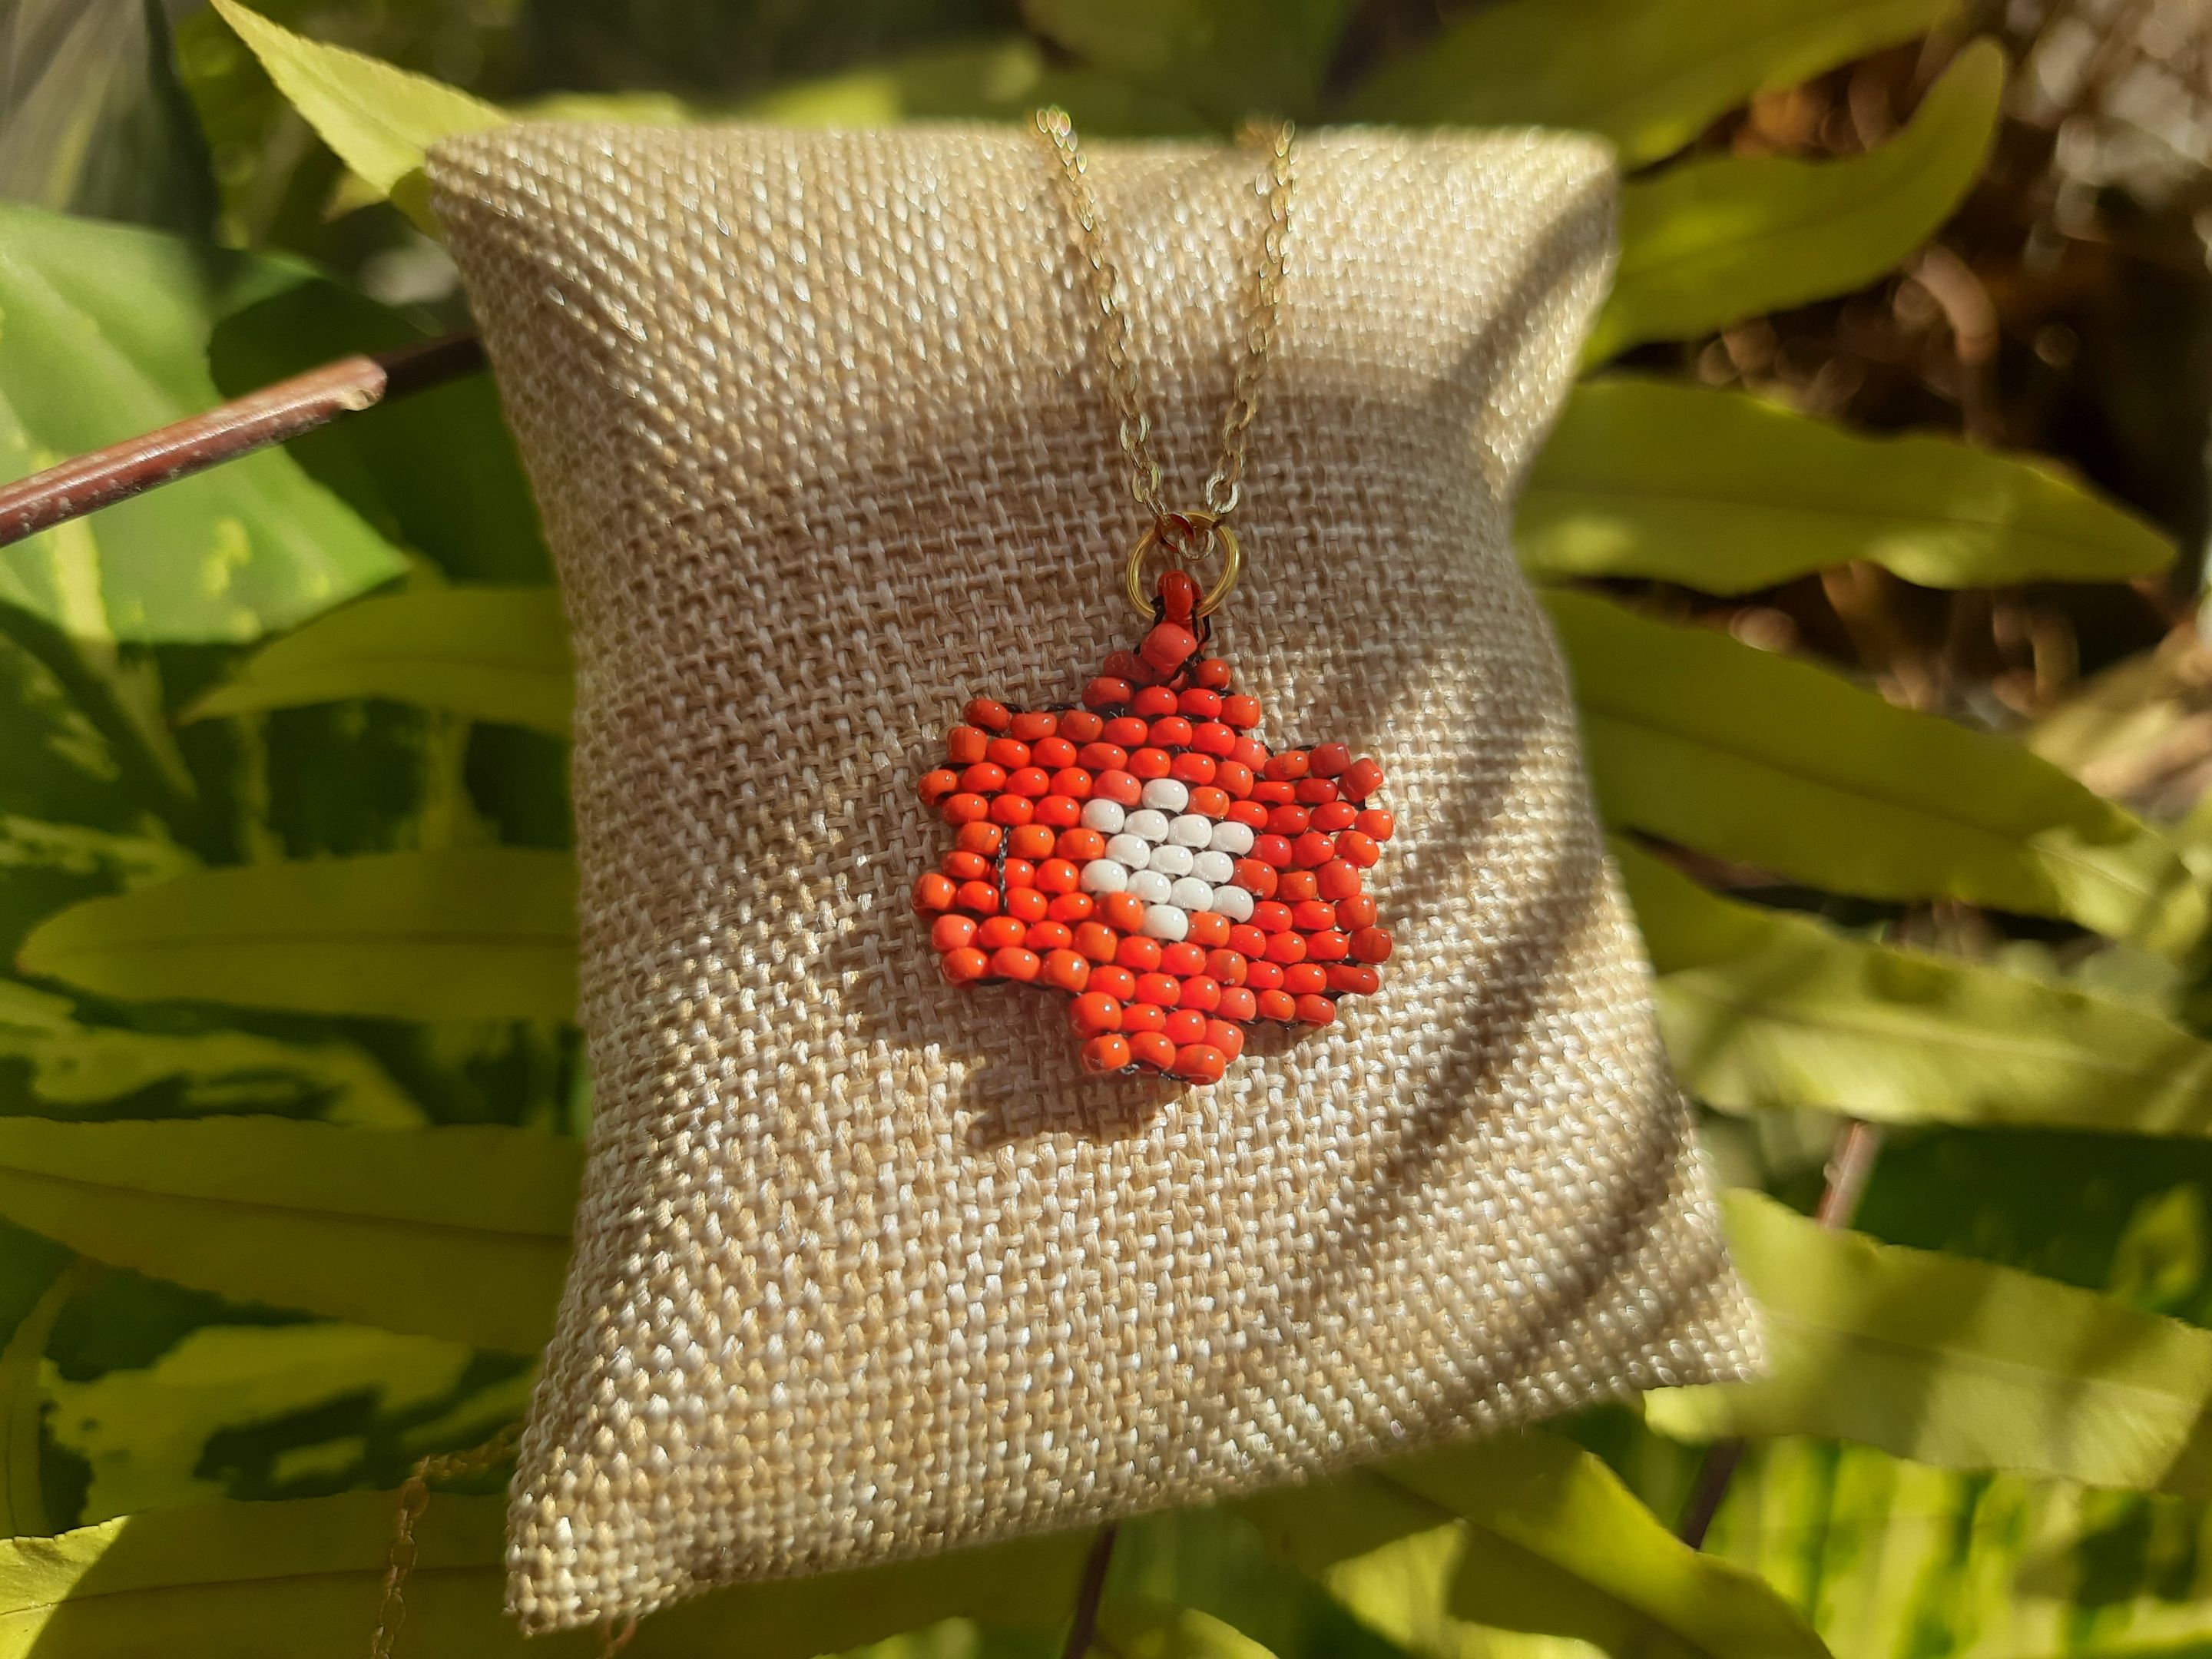
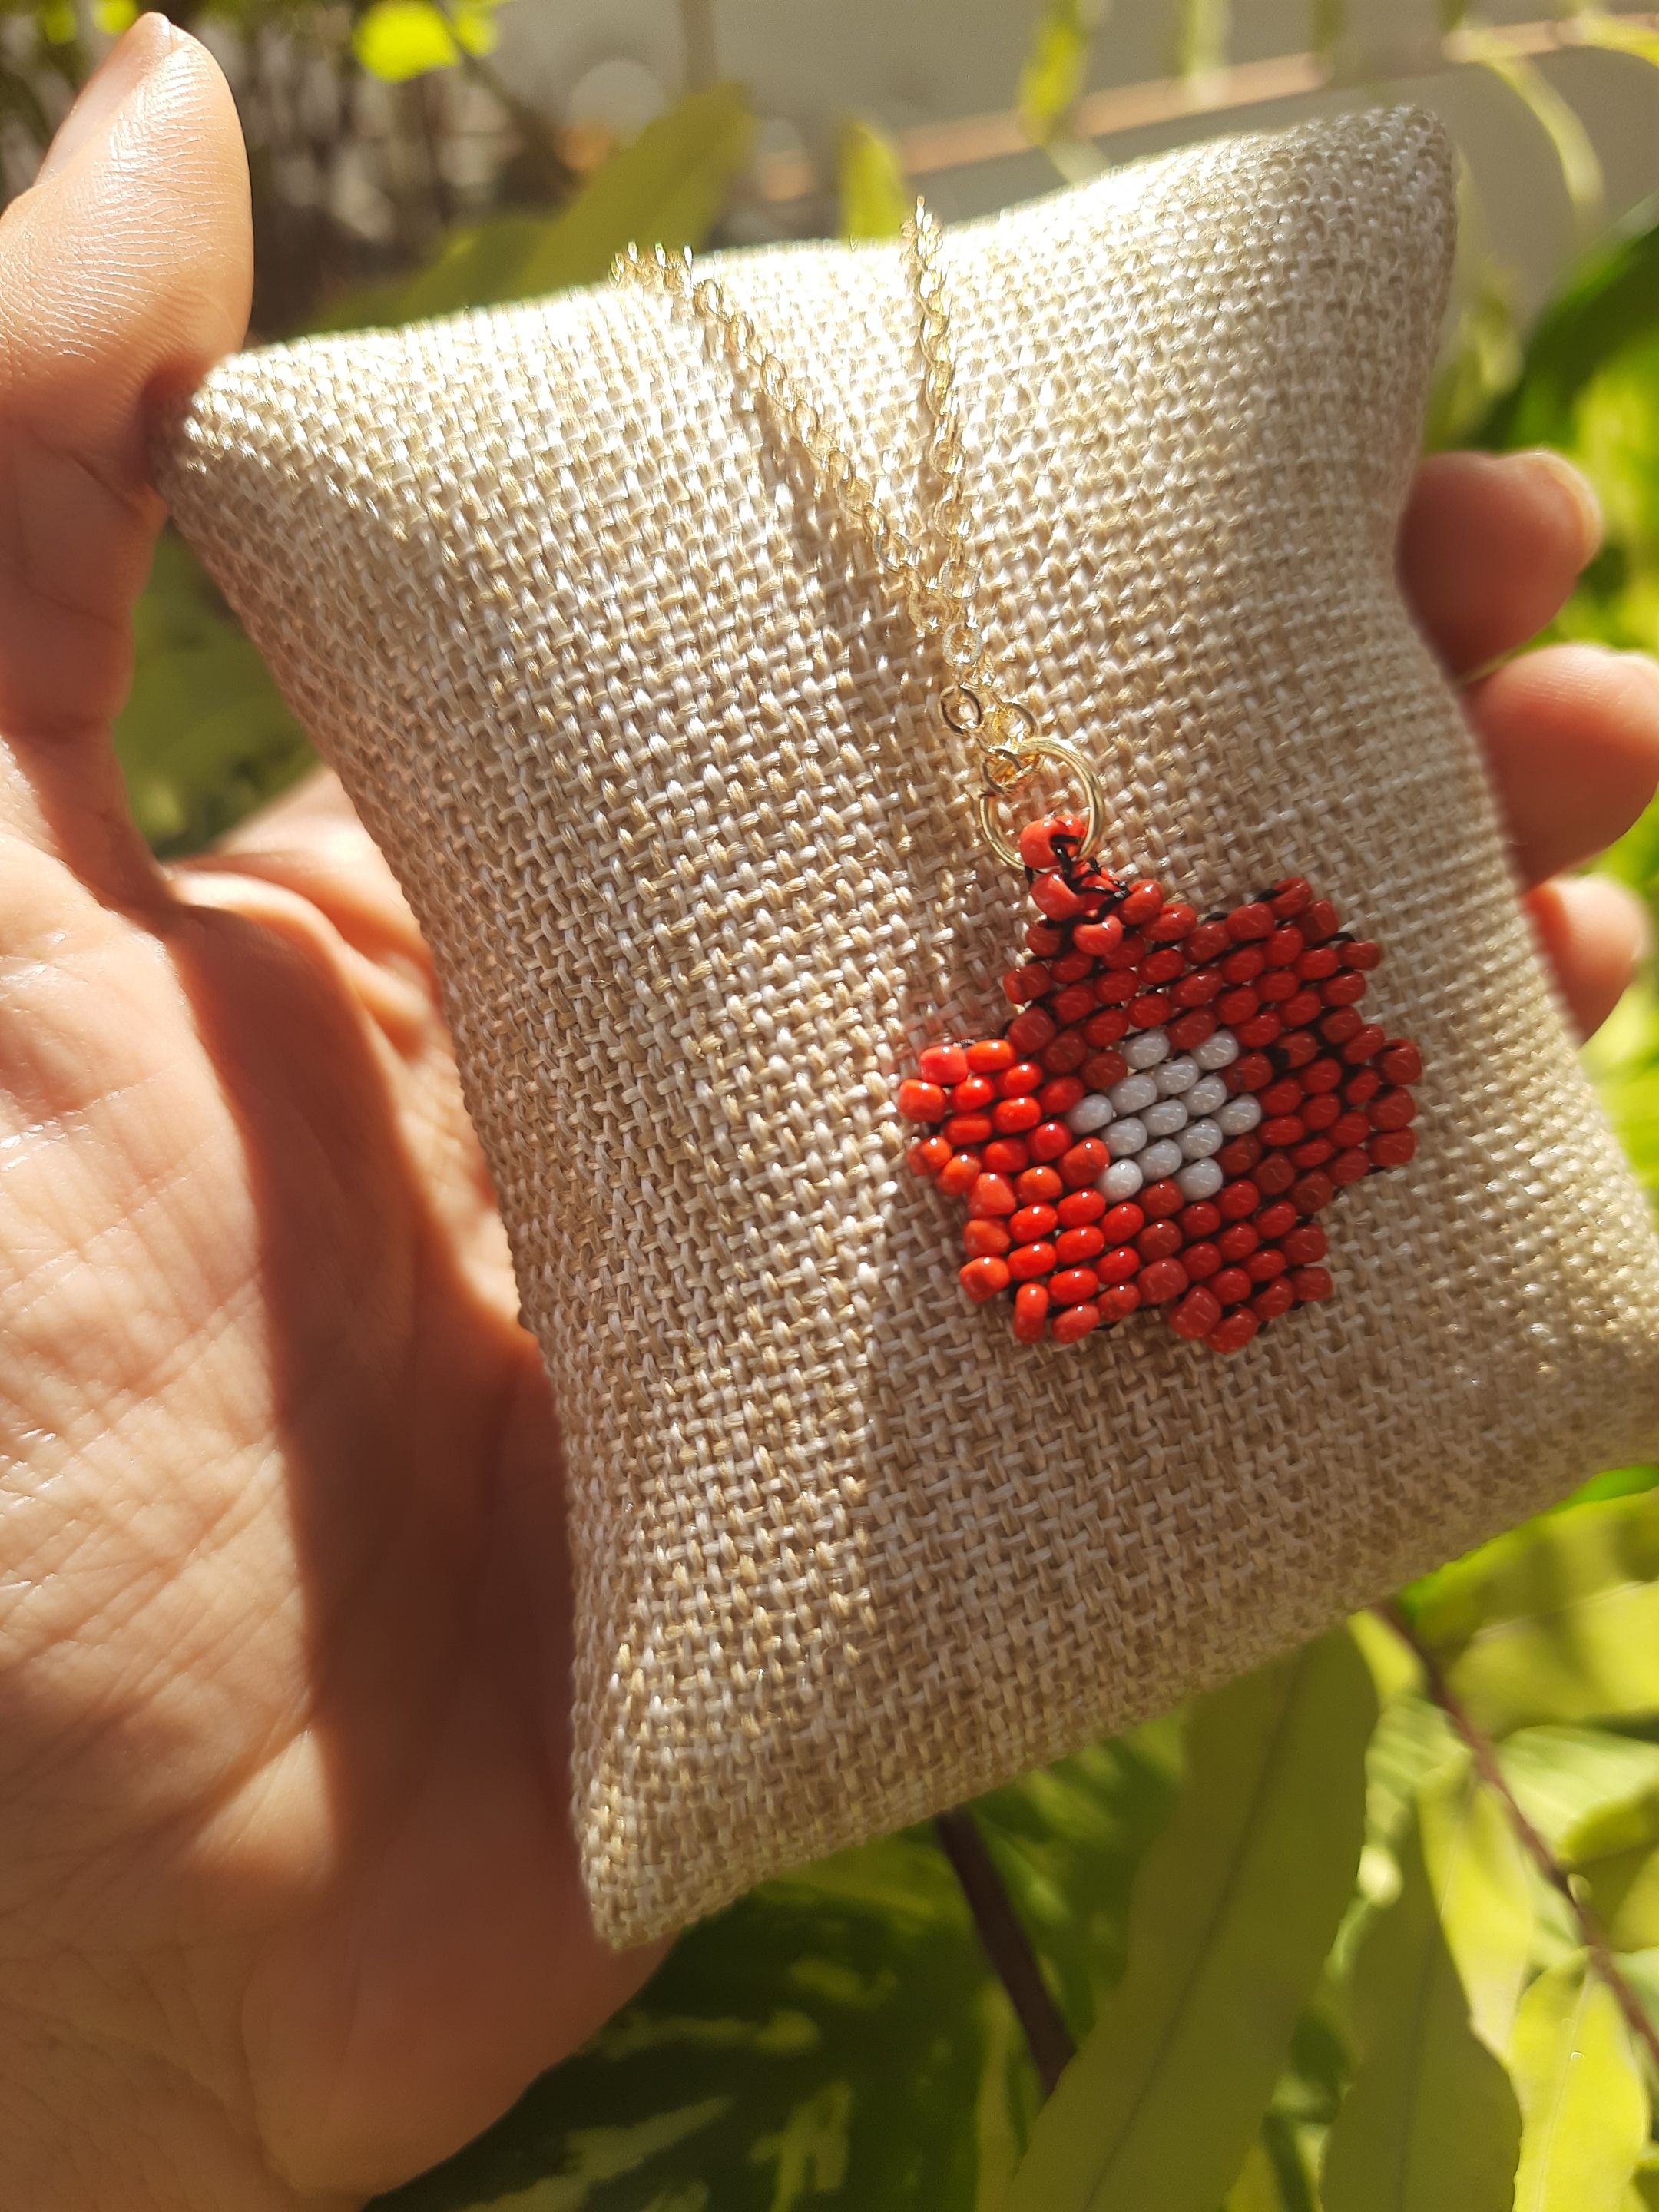
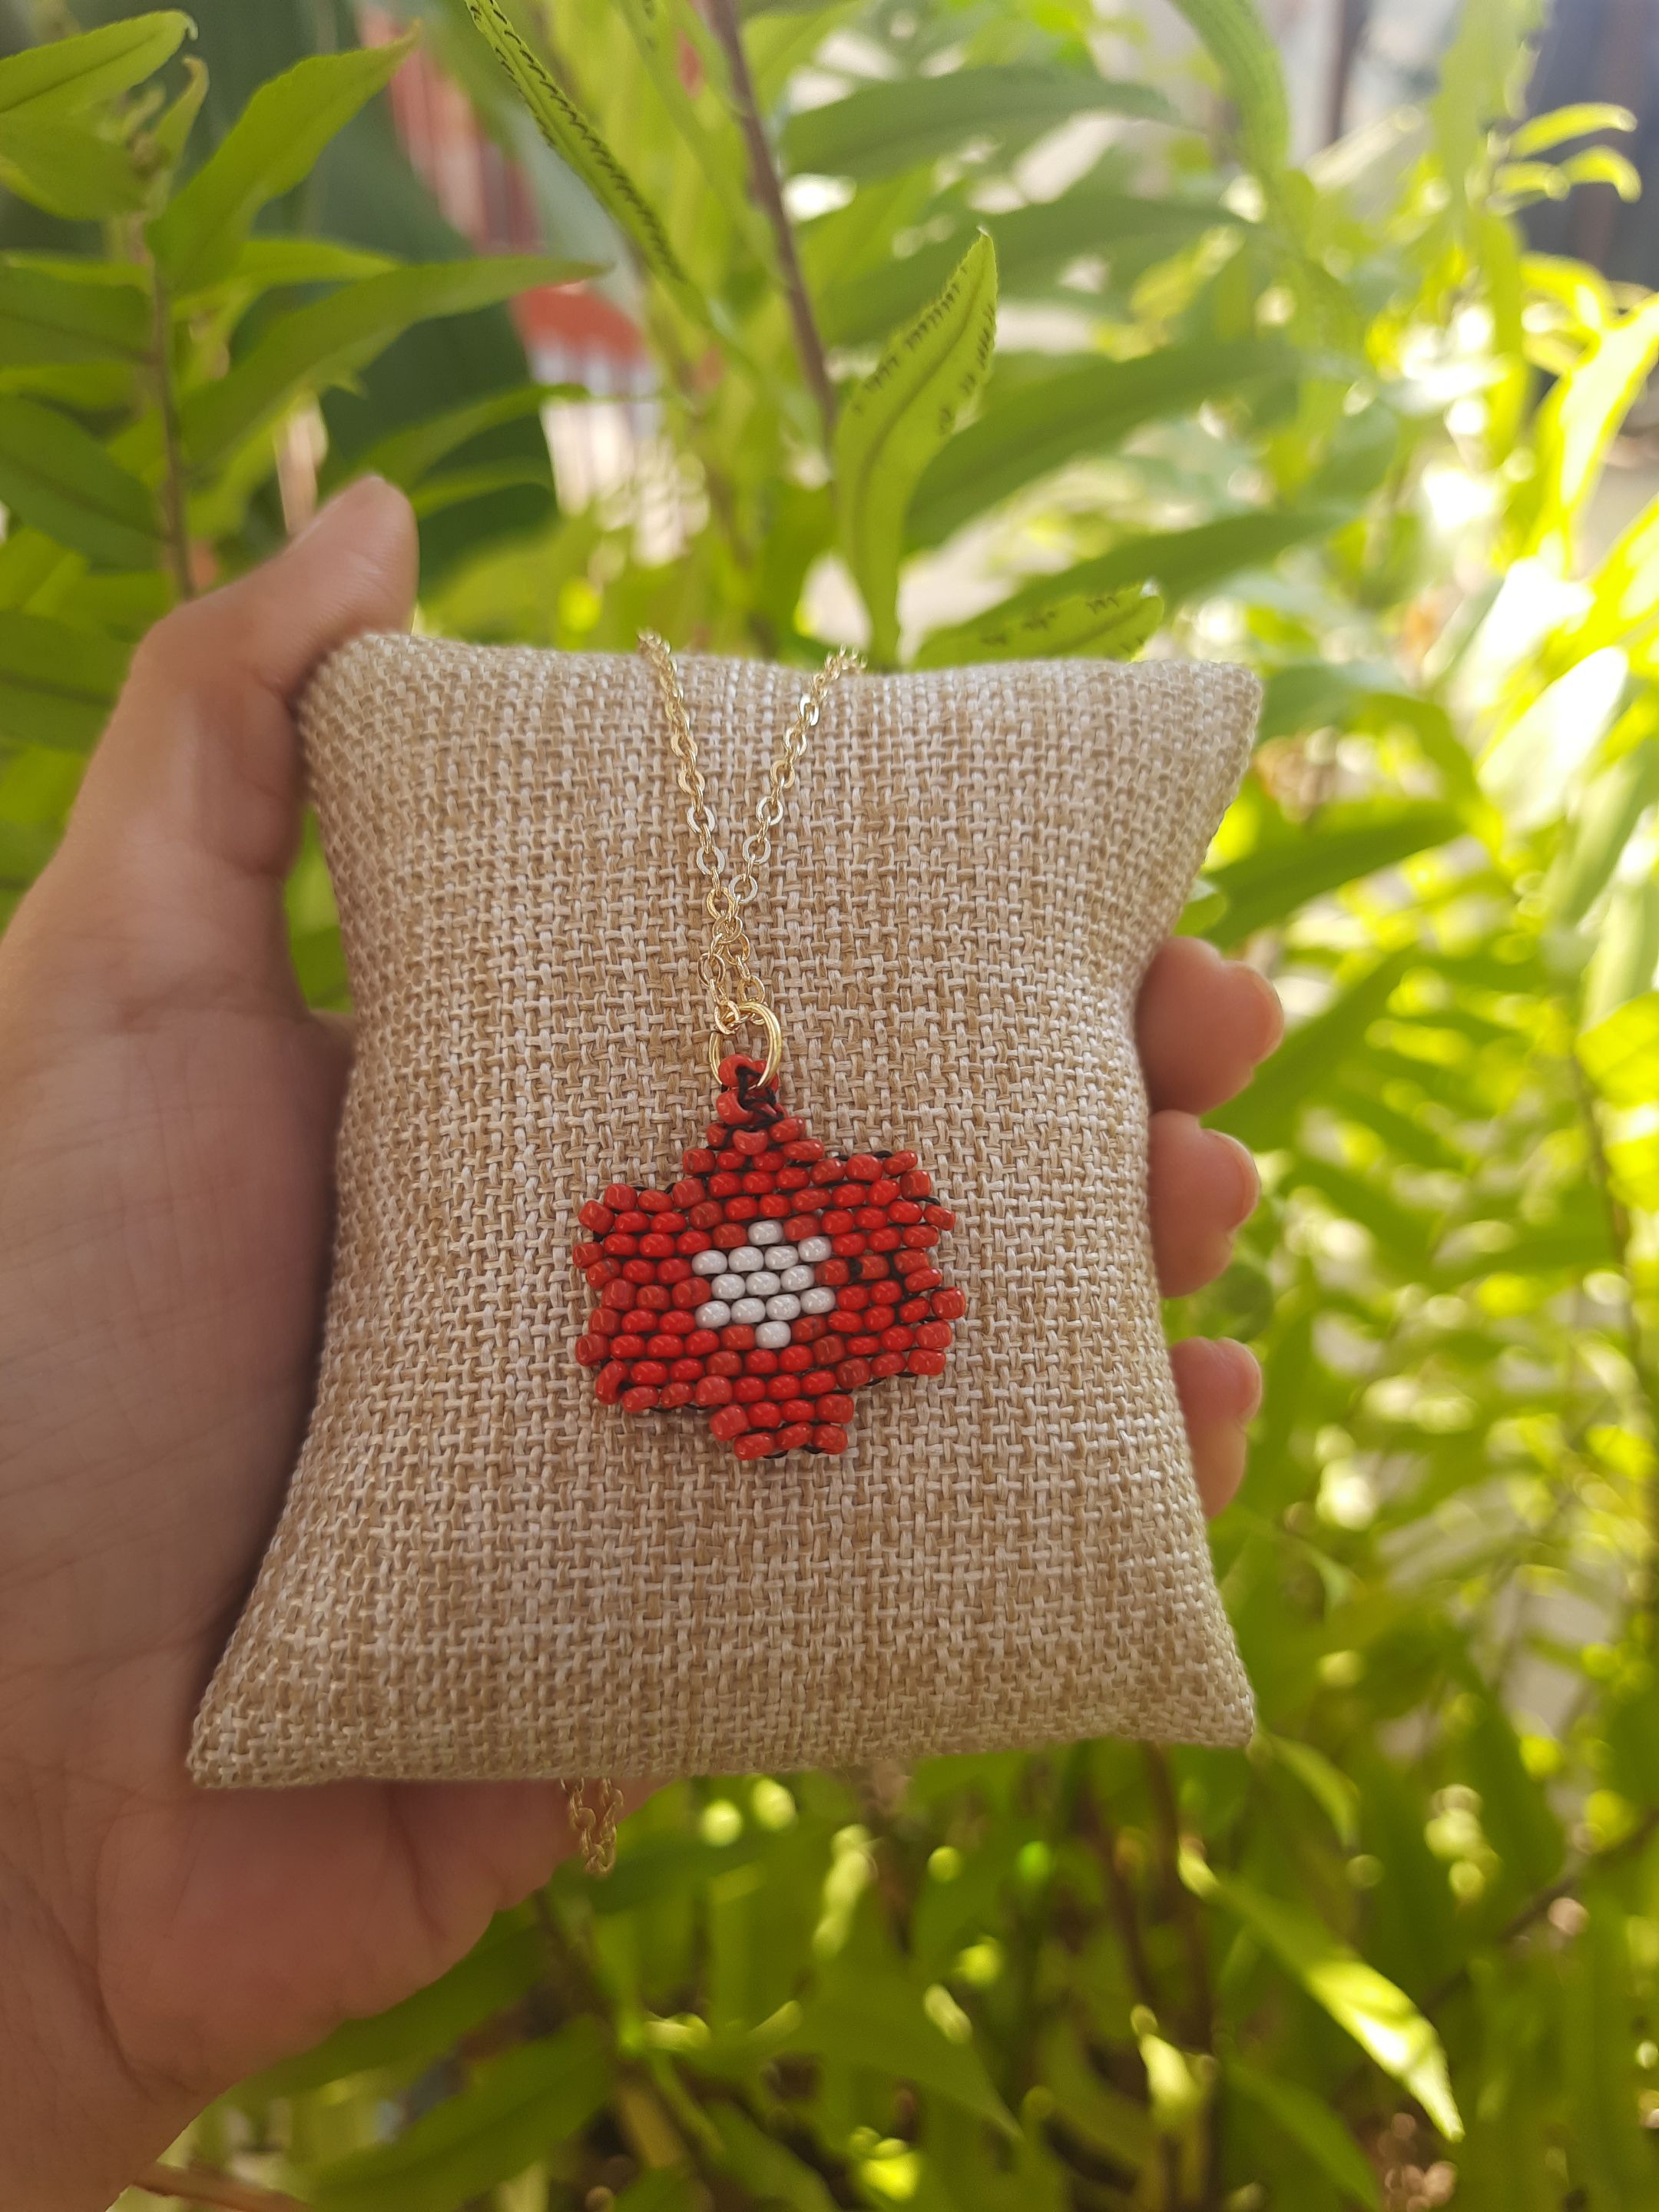
Así ha quedado listo nuestro accesorio dedicado a nuestro fanart y así ha quedado nuestro sencillo tutorial, espero que sea de su agrado, tanto como me ha gustado a mi esta pequeña y hermosa creación y mi participación al concurso de arte de @Splinterlands
Gracias por estar aquí y ser parte de mi blog y de la comunidad @jewelry 😉
This is how our accessory dedicated to our fanart and our simple tutorial is ready, I hope you like it, as much as I liked this beautiful little creation and my participation to the @Splinterlands art contest.
Thank you for being here and being part of my blog and the @jewelry community 😉.
Les invito a suscribirse a la comunidad de @Jewelry y poder así mostrar todas sus creaciones de accesorios, tanto de adultos como de niños; nos encanta ver y apoyar a todos los artesanos, manualistas y orfebres, puedes crear accesorios para damas, caballeros y niños, así que tu creatividad es el límite 😉
I invite you to subscribe to the @Jewelry community to showcase all your accessory creations for both adults and children; we love to see and support all the artisans, crafters and goldsmiths, you can create accessories for ladies, gents and kids, so your creativity is the limit 😉.
"Los accesorios tienen el poder de hacer sentir a la mujer única y especial"
Accessories have the power to make a woman feel unique and special"
Fotos principal editada con Canva.
Separadores de mi Autoría
Fotos de mi Autoría derechos reservados
Cámara: Samsung M31
Traducido con www.DeepL.com/Translator (versión gratuita)
Photos edited with Canva
Separators by me
Photos by me Author's rights reserved
Camera: Samsung M31
Translated with www.DeepL.com/Translator (free version)