¡¡Felices fiestas para todos!! 🎉🎄
¡¡Happy holidays to all!! 🎉🎄
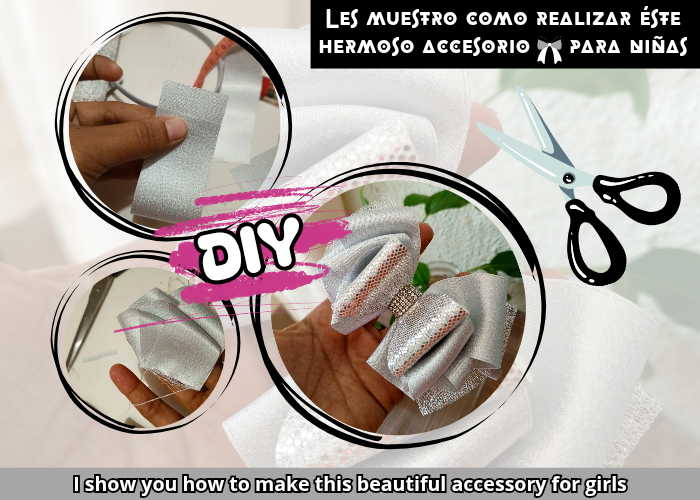
Para no perder la costumbre, antes de la Navidad 🎄 acepté realizar unos lazos o accesorios, de acuerdo a las características que pidió la mamá de la niña, más que todo partiendo de los colores y texturas de la tela del vestido a combinar.
So as not to lose the custom, before Christmas 🎄 I agreed to make some bows or accessories, according to the characteristics that the girl's mother requested, mostly starting from the colors and textures of the fabric of the dress to match.
El lazo que les mostraré es sencillo de elaborar, personalizado, hermoso, en color plateado, y a pesar del tiempo que tengo sin hacer éste tipo de accesorios, quedó hermoso 💯.
The bow that I will show you is easy to make, personalized, beautiful, in silver color, and despite the time I have not made this type of accessories, it turned out beautiful 💯.
Quédense conmigo y les muestro el paso a paso 📝...
Stay with me and I will show you the step by step 📝...
Materiales- Materials
🔅 Cinta #4 satinada - Ribbon #4 satin.
🔅 Pistola de silicón caliente - Hot silicone gun.
🔅 Cuerina brillante en plateado - Shiny leather in silver.
🔅Tull - Tull.
🔅 Cintillo forrado en gris - Grey lined headband.
🔅 Tijera - Scissors.
🔅 Cinta métrica para costura - Tape measure for sewing.
🔅 Línea de cristales - Line of crystals.
🔅 Encendedor - Lighter.
🔅 Patron - Pattern.
🔅 Aguja e hilo - Needle and thread.
Procedimiento - Procedure
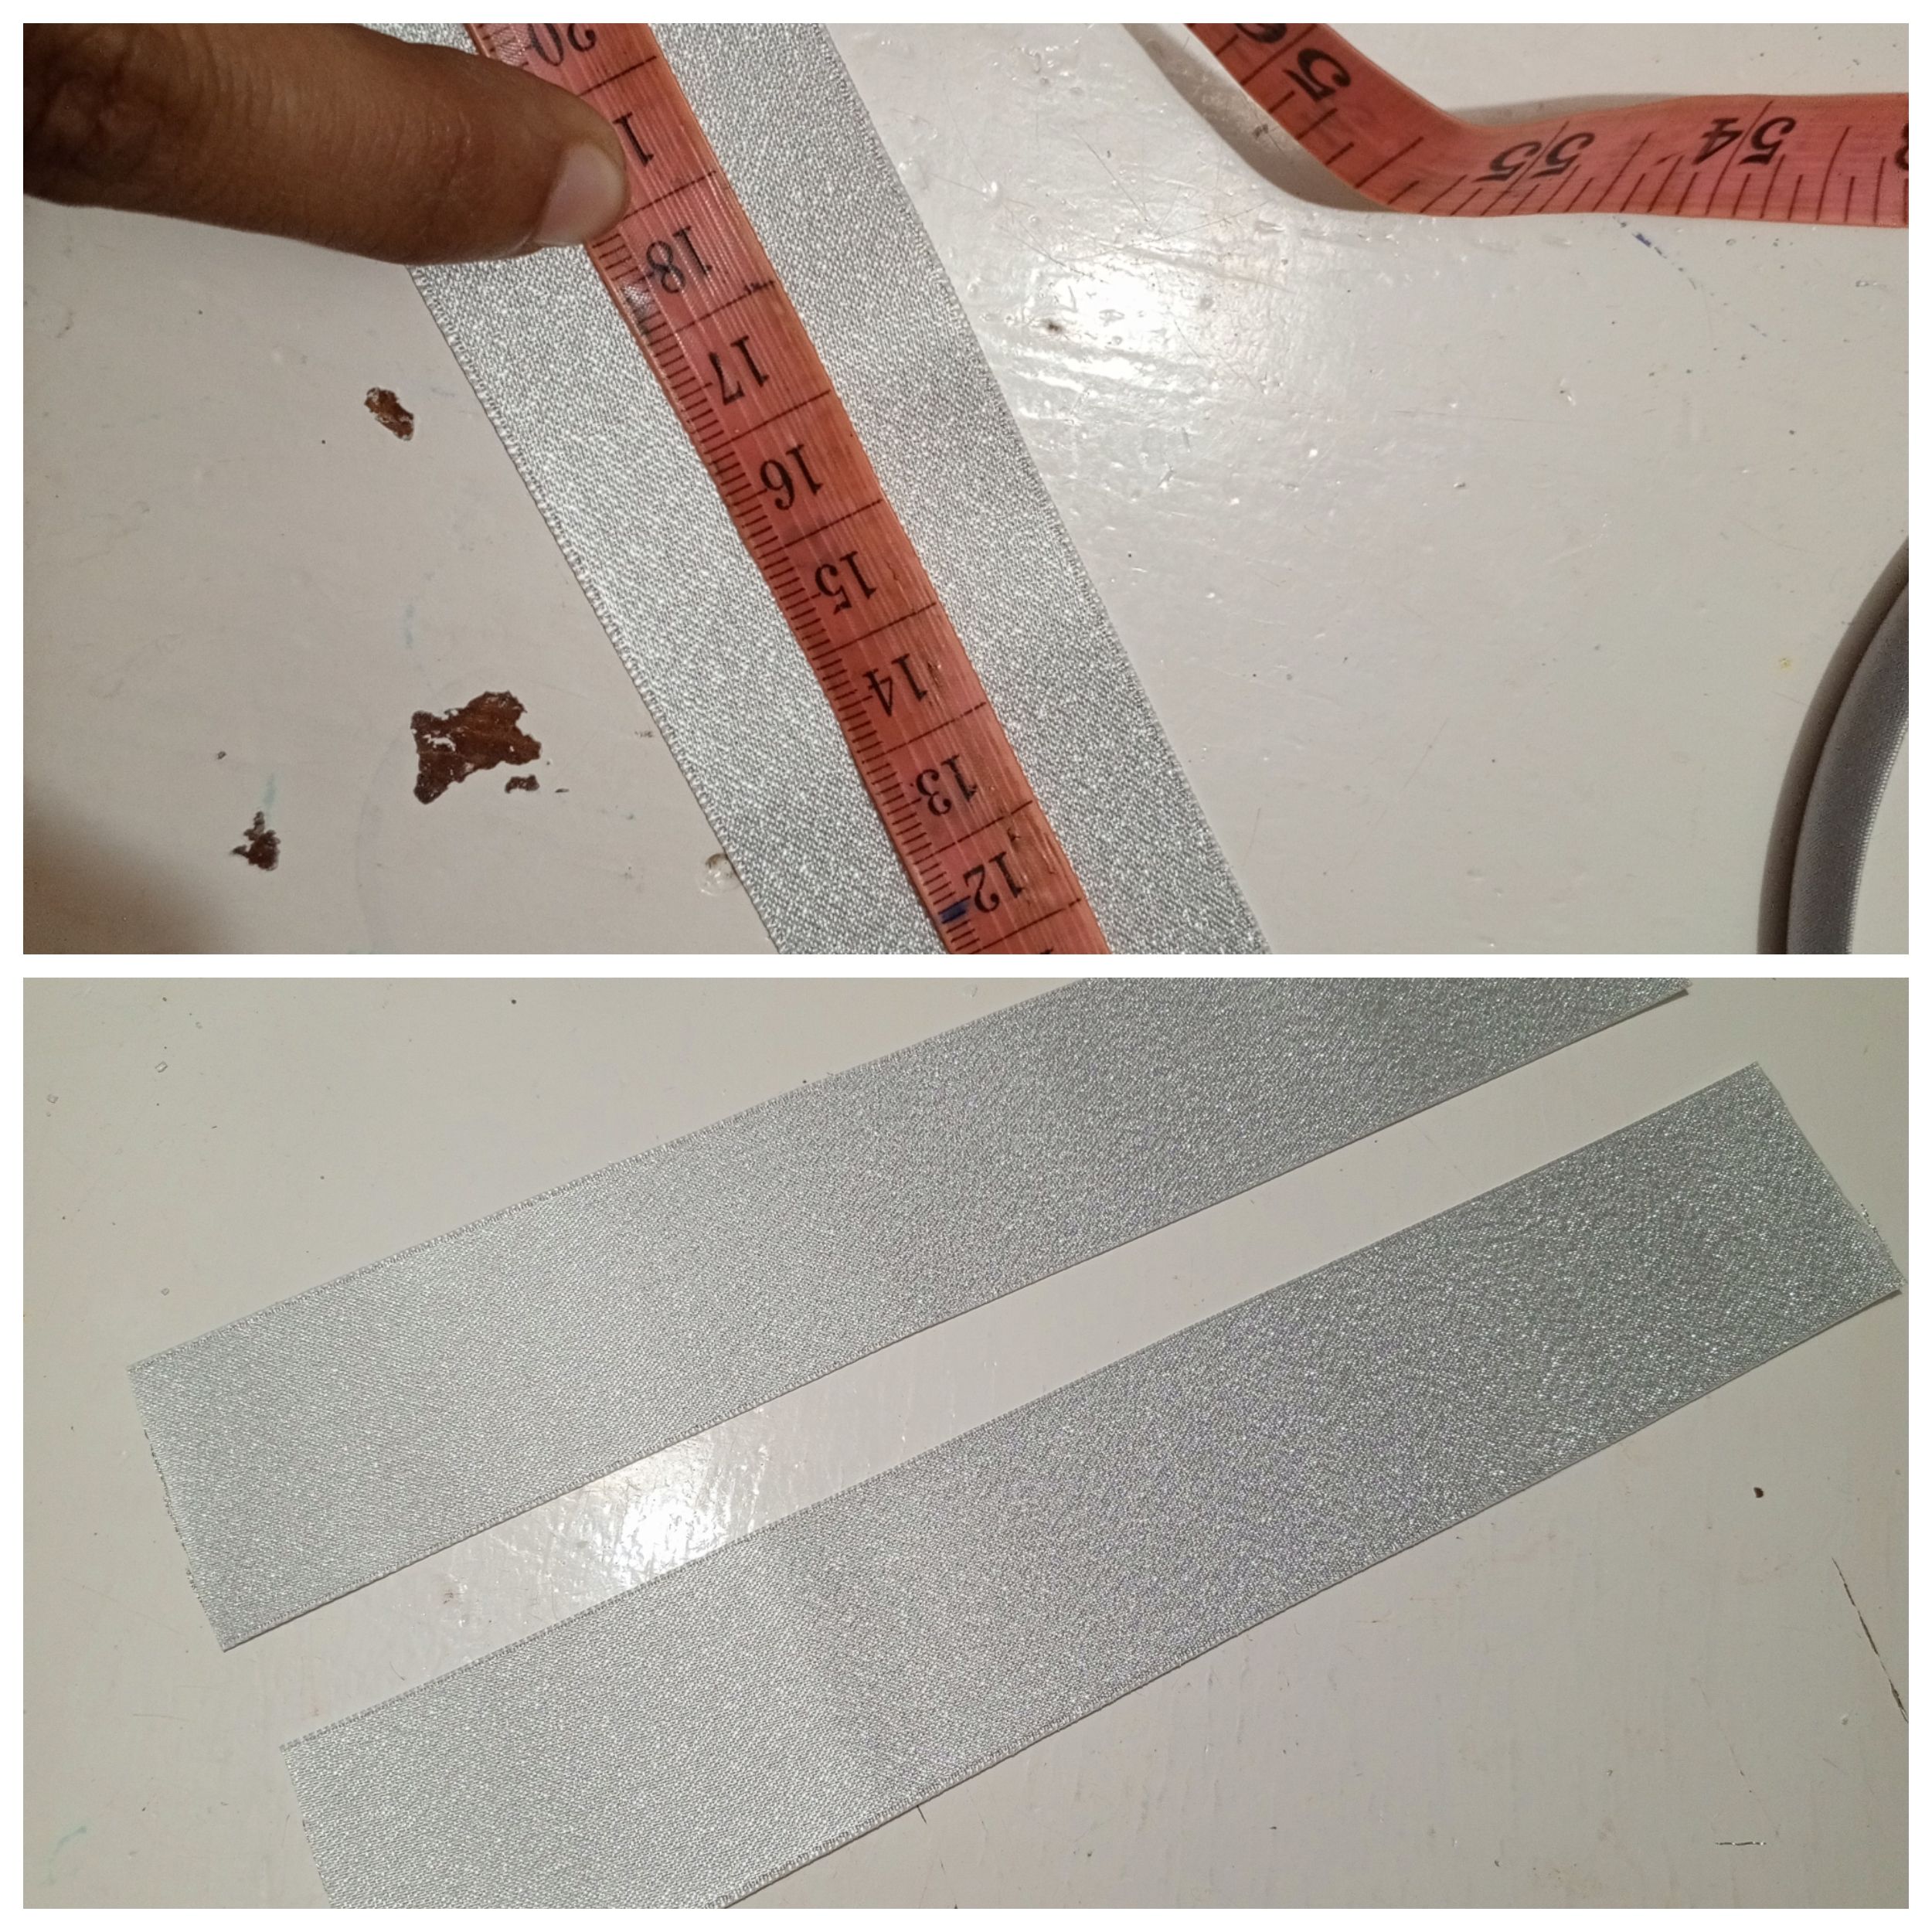
Para comenzar vamos a realizar 4 cortes en la cinta satinada. (2) con medidas de 16 cm, y (2) cortes de 22 cm.
To start we are going to make 4 cuts in the satin ribbon. (2) with measurements of 16 cm, and (2) cuts of 22 cm.
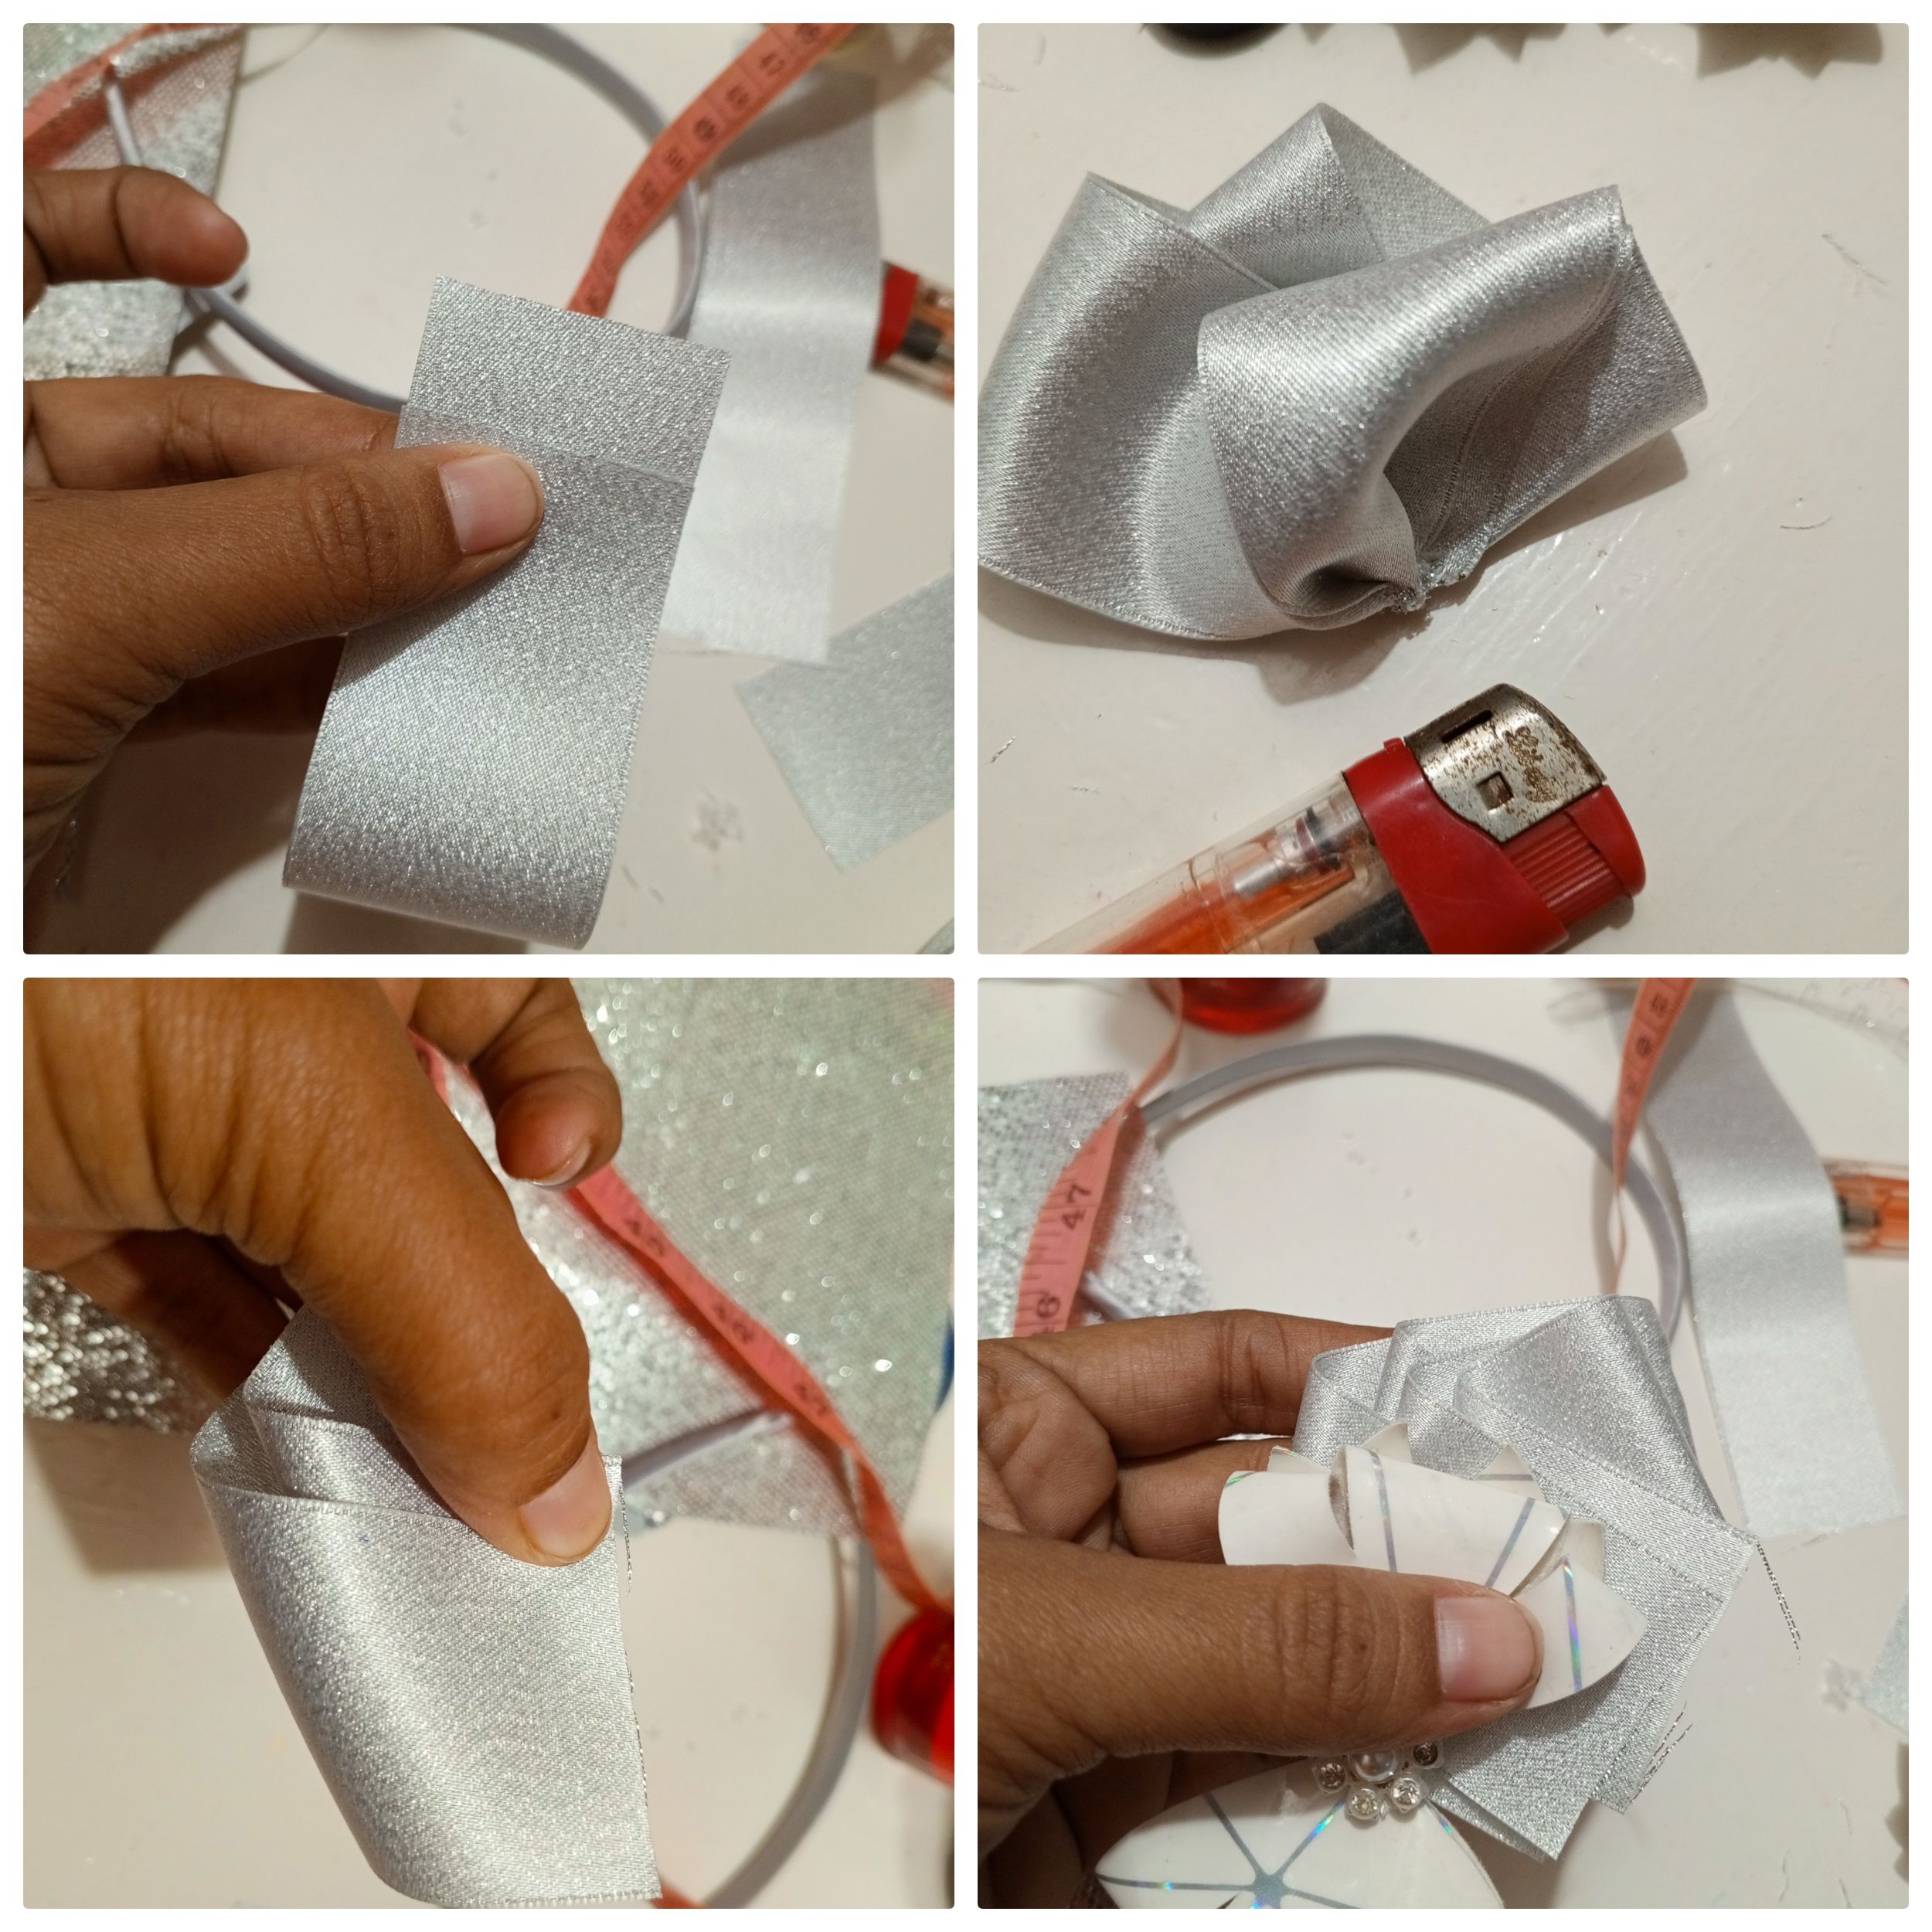
Para darle forma a la cinta, lo primero que vamos a realizar es tomar una de las cintas y doblarla de manera que dos cm de la misma queden expuestos. Teniendo la medida precisa vamos a tomar uno de los lados de la cinta más corta y la vamos a colocar dónde comienzan los 2 cm hacia el lado derecho, y lo mismo con el otro extremo. Éste procedimiento se aplica para ambos lados de los lazos que se formaran, lo que cambia es al lado izquierdo.
To shape the ribbon, the first thing we are going to do is take one of the ribbons and fold it so that two cm of it are exposed. Having the precise measurement, we are going to take one of the sides of the shorter ribbon and we are going to place it where the 2 cm begins towards the right side, and the same with the other end. This procedure is applied to both sides of the bows that will be formed, what changes is on the left side.
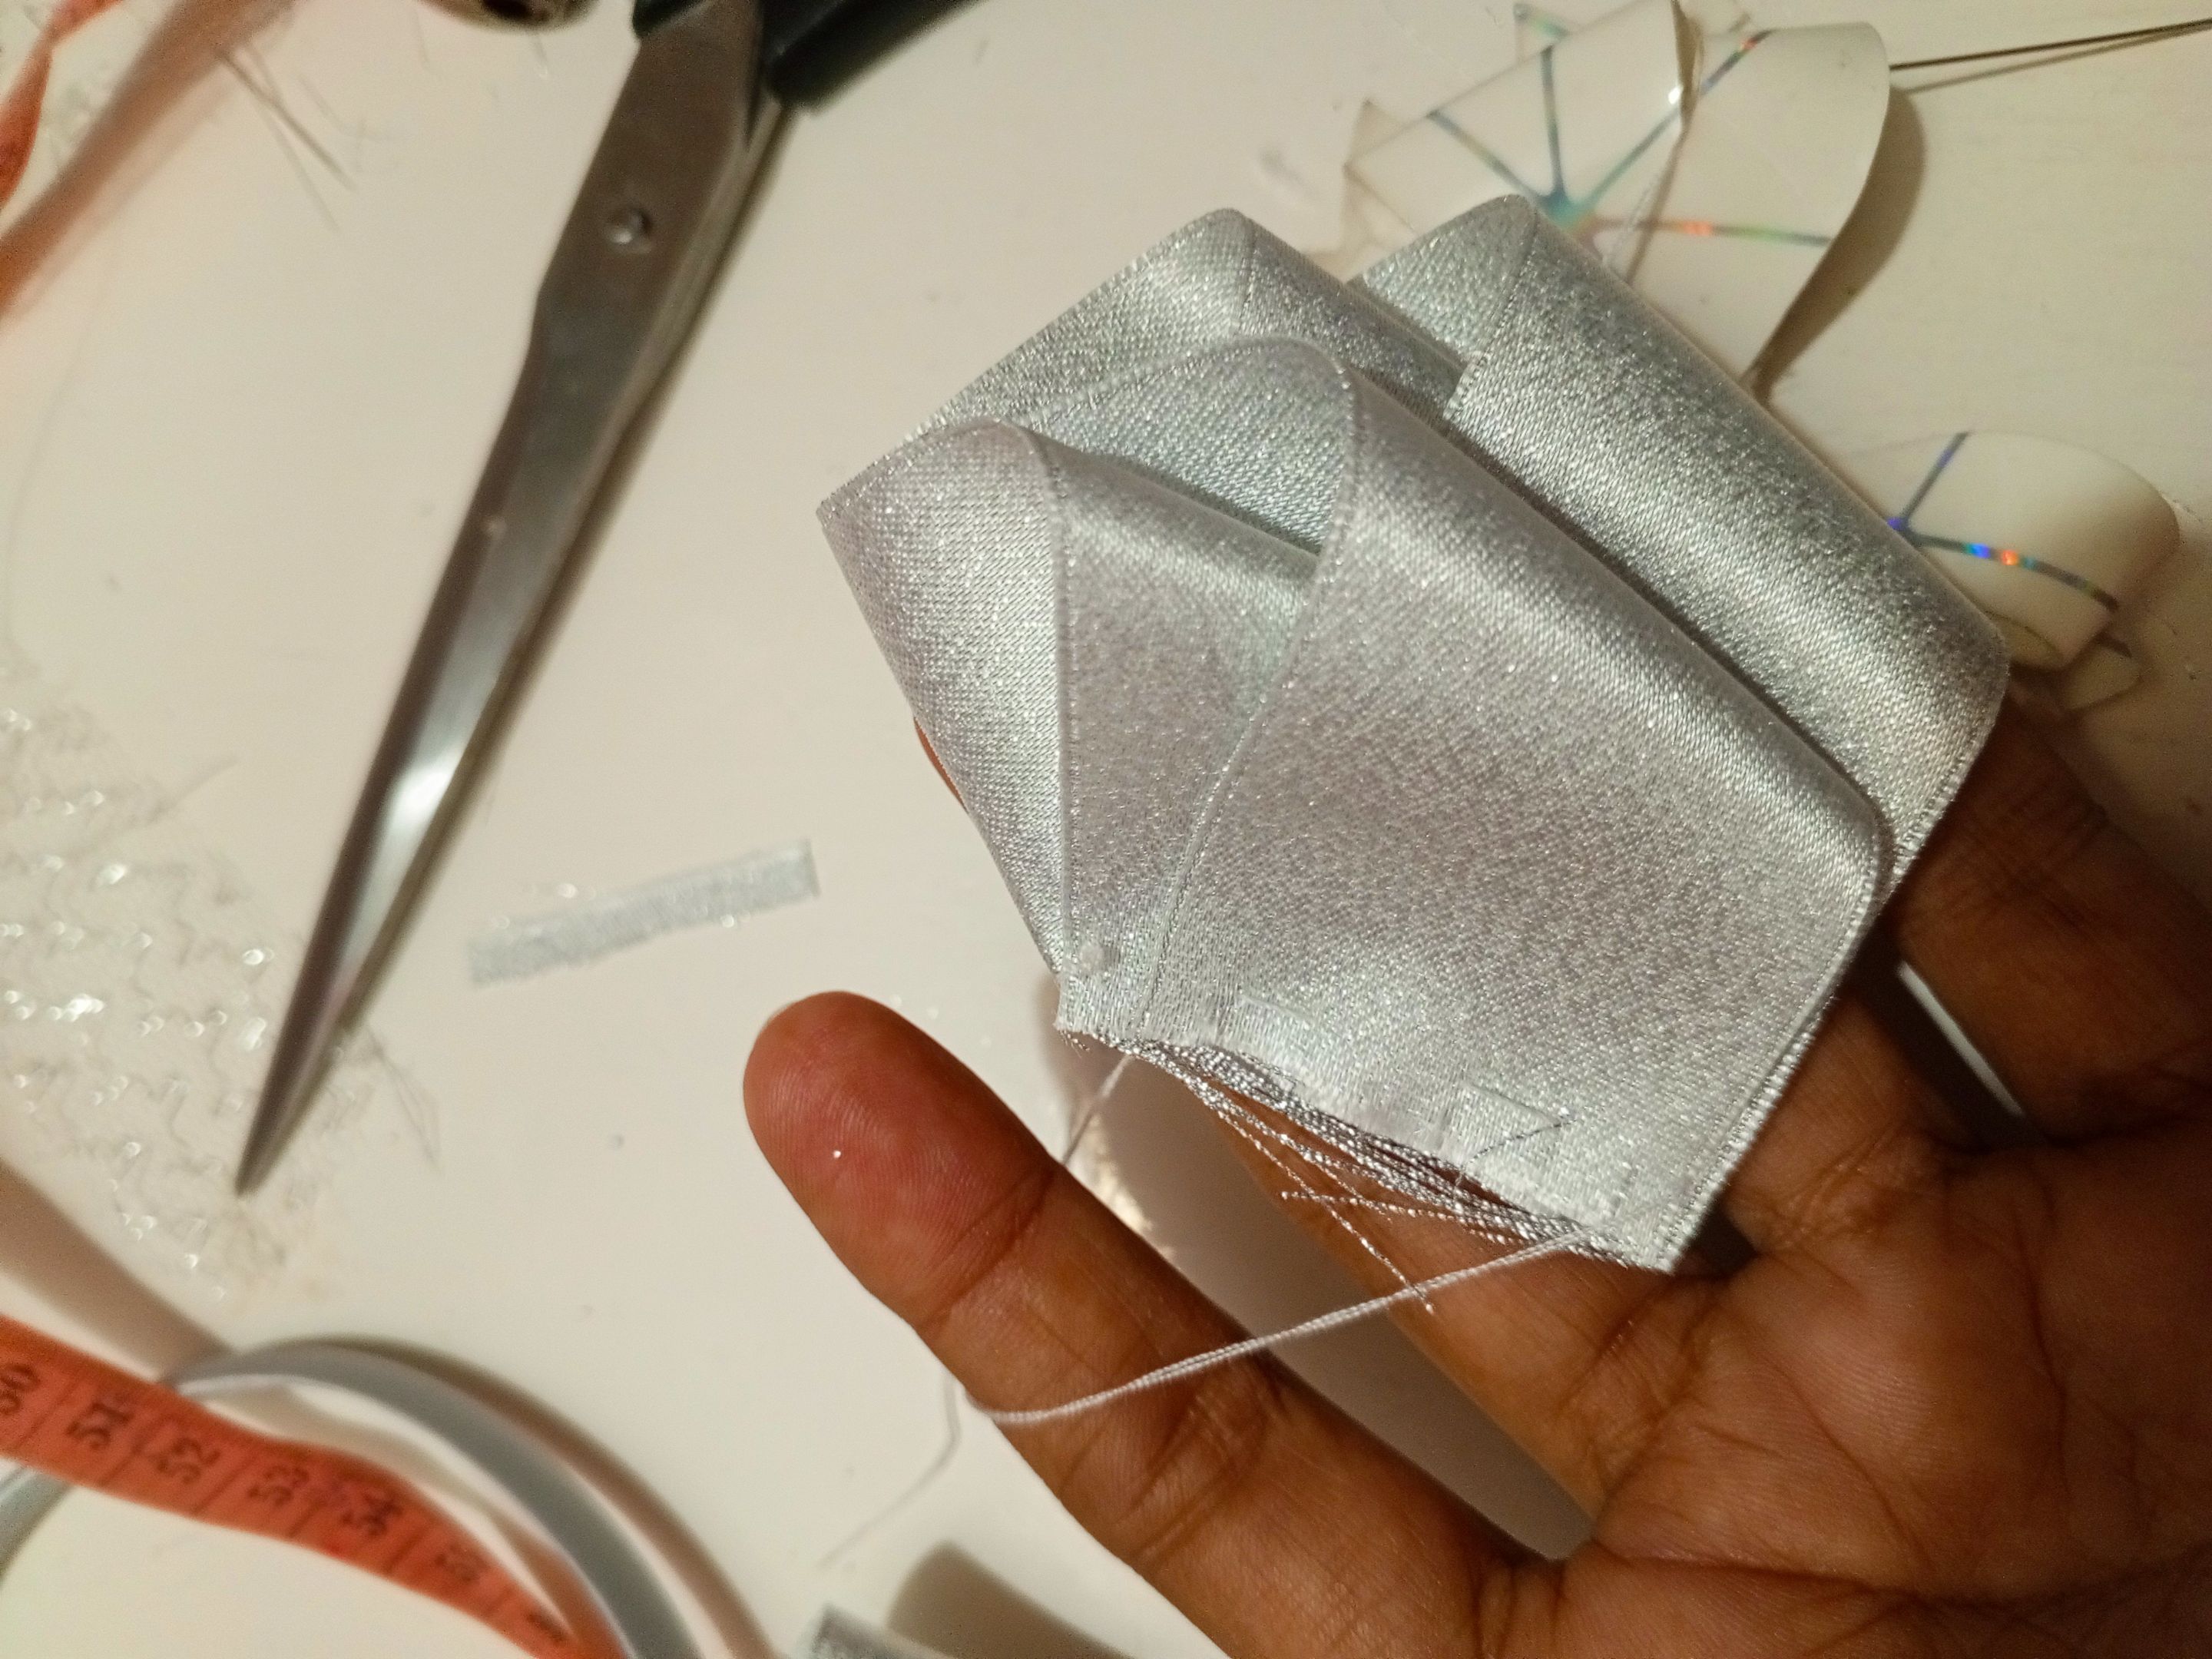
Teniendo el procedimiento listo en las 4 cintas que cortamos vamos a comenzar asegurando con aguja e hilo. La cinta de 22 cm género una base más grande y sobre ella, el mini lazos que se formó con la cinta de 16 cm. Al pasar costura sellamos las puntas con el encendedor.
Having the procedure ready on the 4 ribbons that we cut, we are going to start securing with needle and thread. The 22 cm ribbon created a larger base and on it, the mini bows that were formed with the 16 cm ribbon. When sewing, we seal the ends with the lighter.
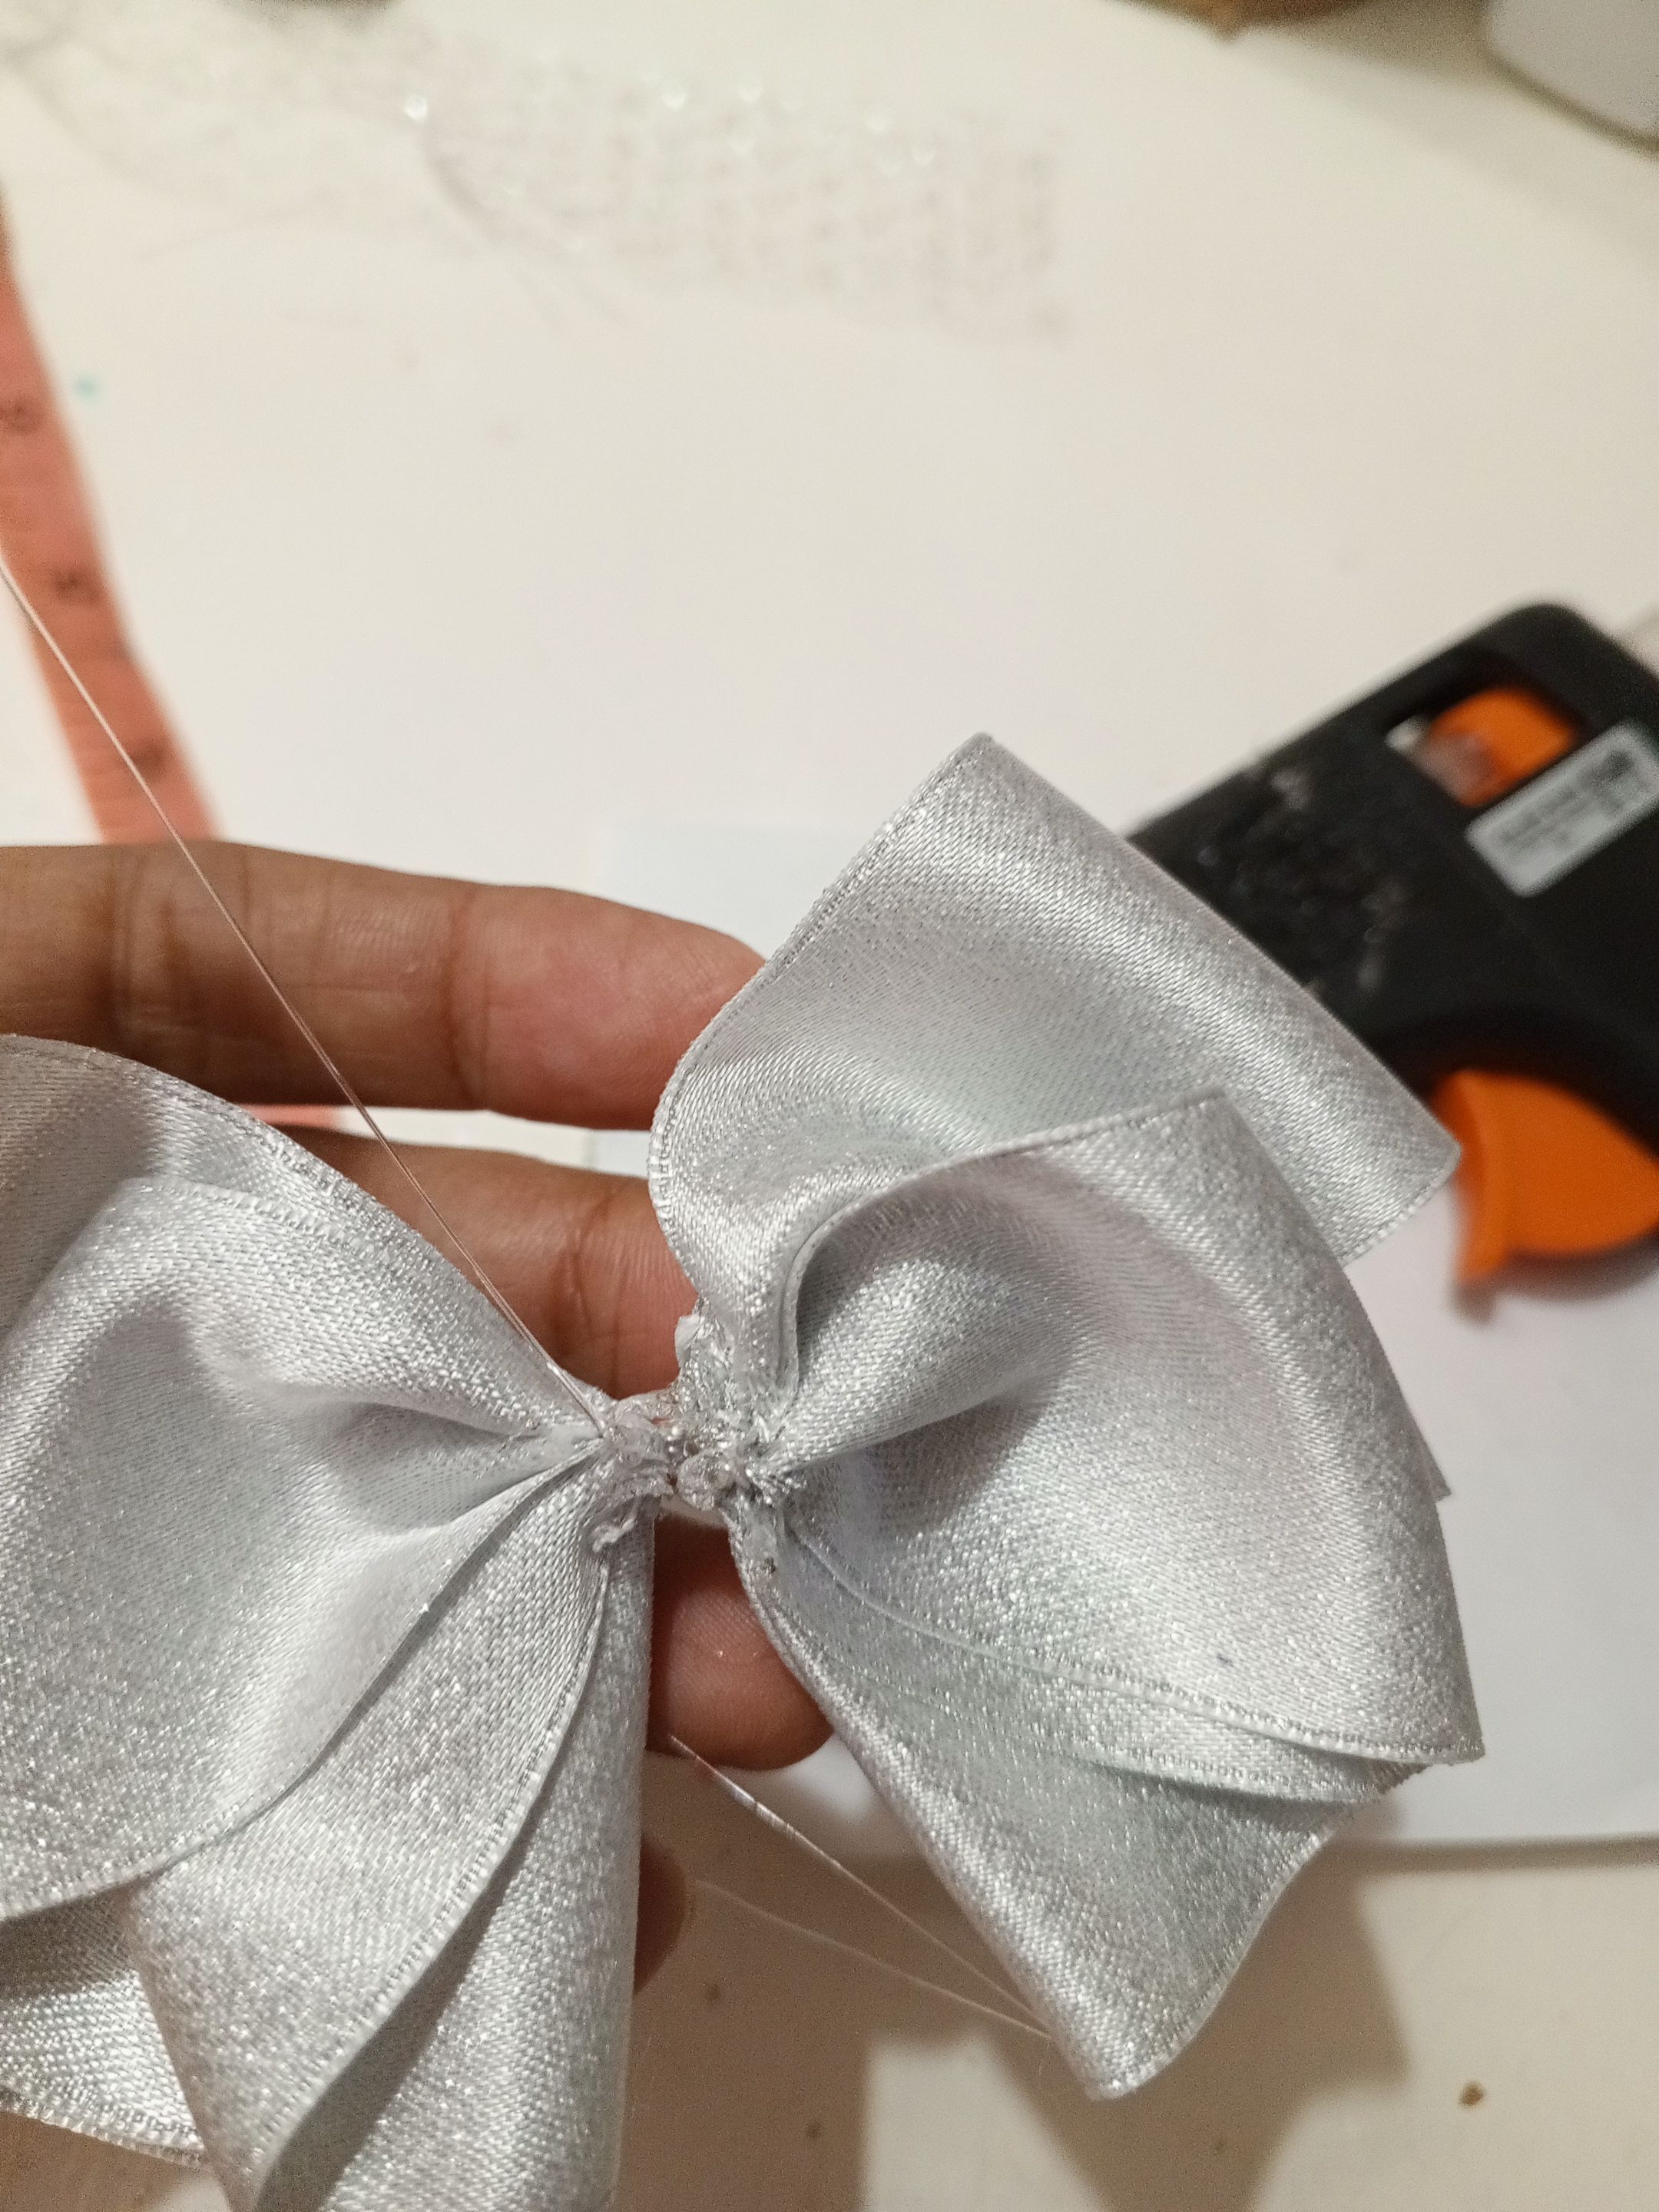
Tenemos los 2 dos lados listos, vamos a pegar utilizando la pistola de silicón caliente.
We have the 2 sides ready, we are going to glue them using the hot glue gun.
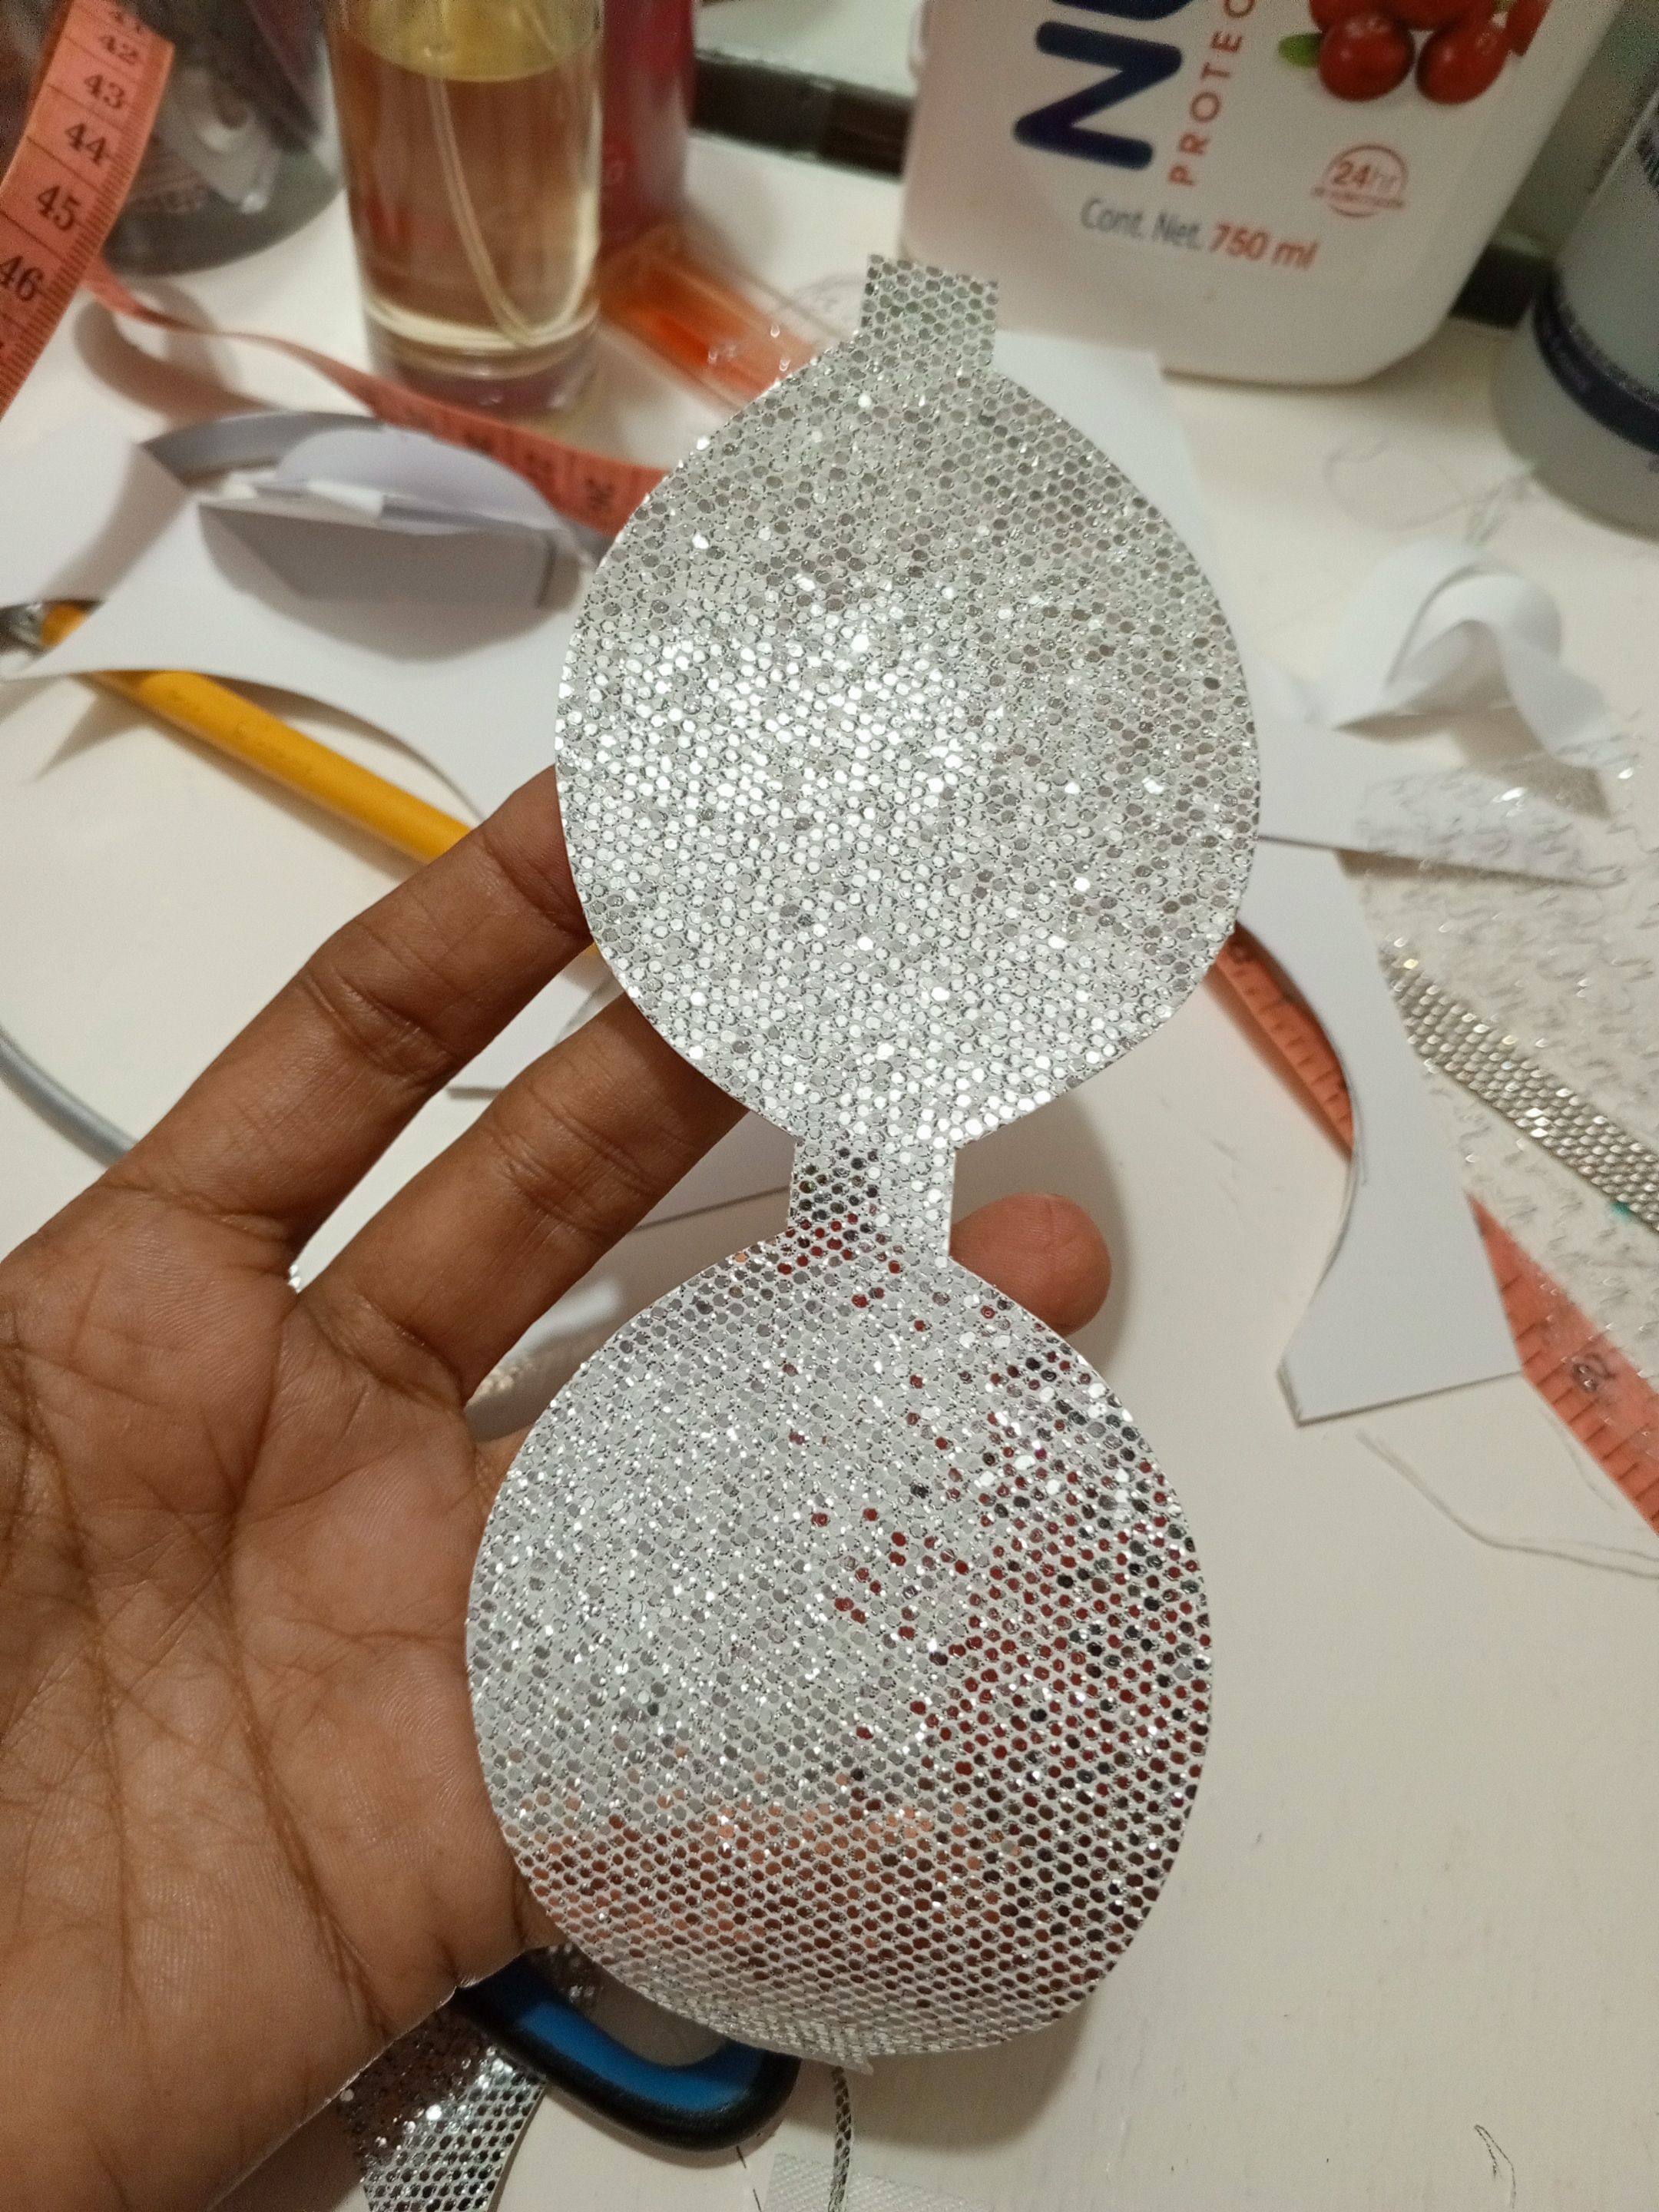
Lo próximo será formar nuestro lazo 🎀 superior, tomando el patrón en cartón reciclado, para luego marcar y recortar en la cuerina brillante.
The next step is to form our upper bow 🎀, taking the pattern on recycled cardboard, then marking and cutting it out on the shiny leather.
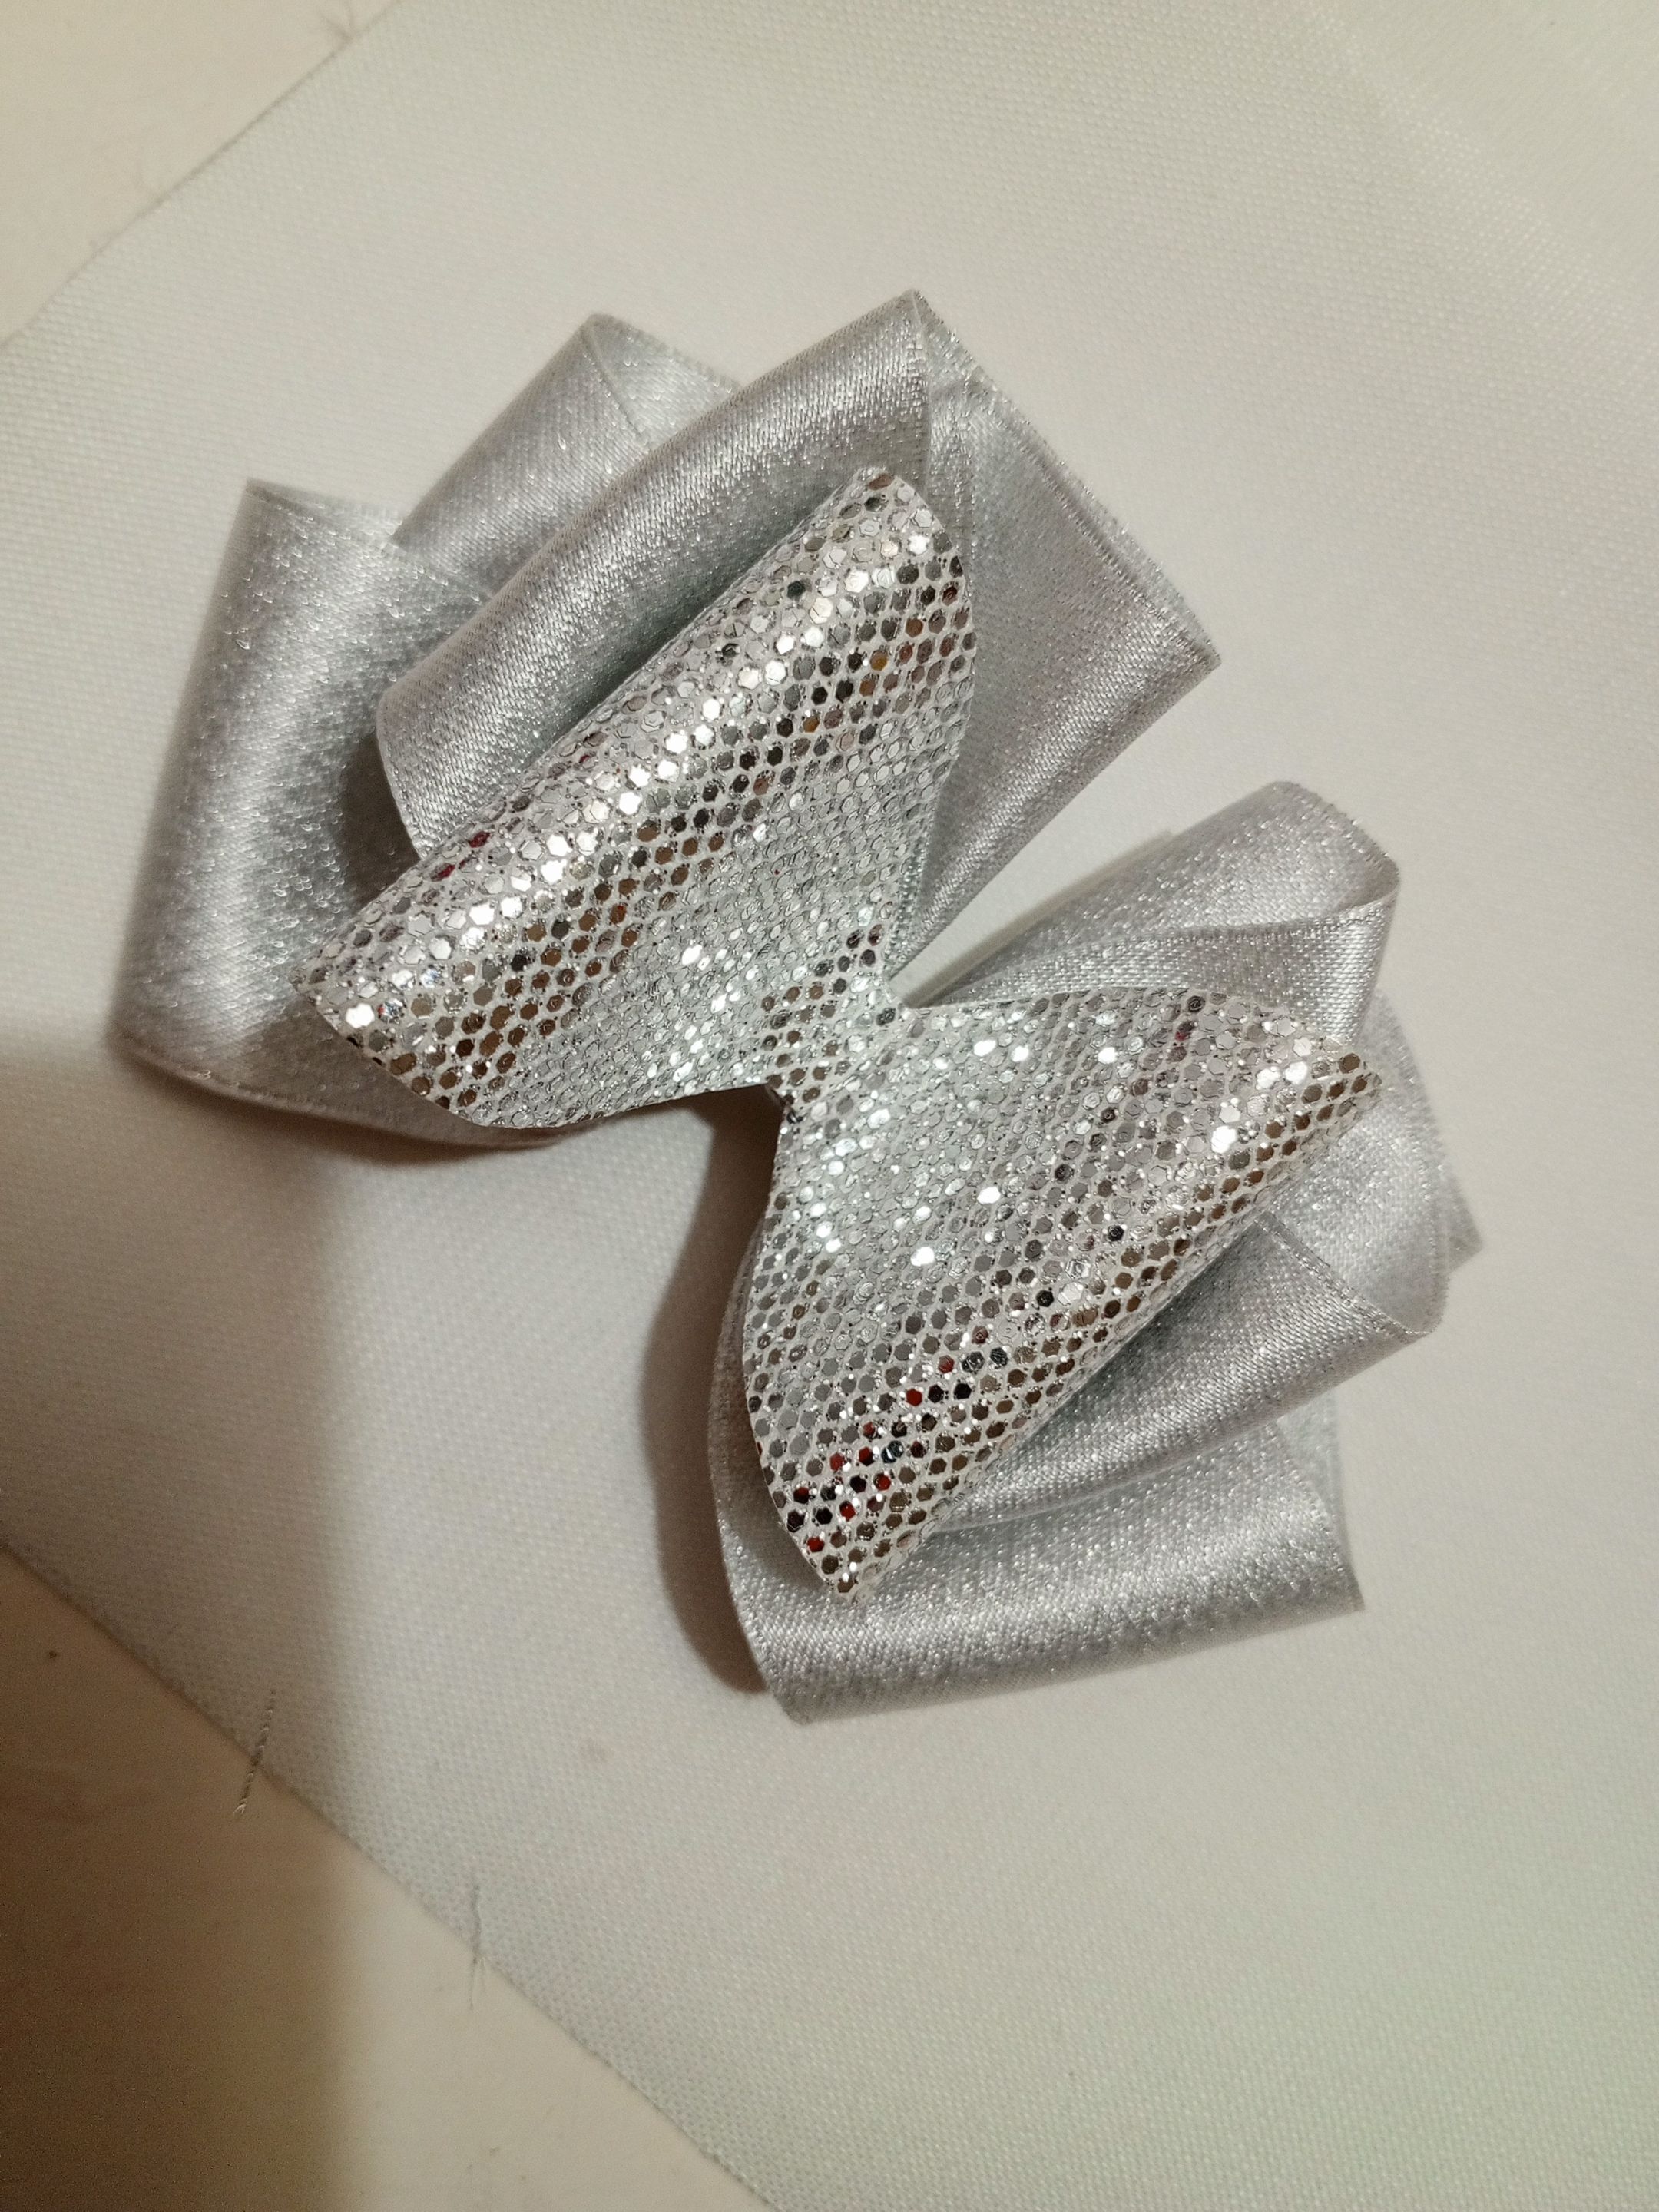
Lo siguiente es darle forma al lazo que se forma con el patrón, para ello utilizamos silicón caliente como pegamento.
The next step is to shape the bow that is formed with the pattern, for this we use hot silicone as glue.
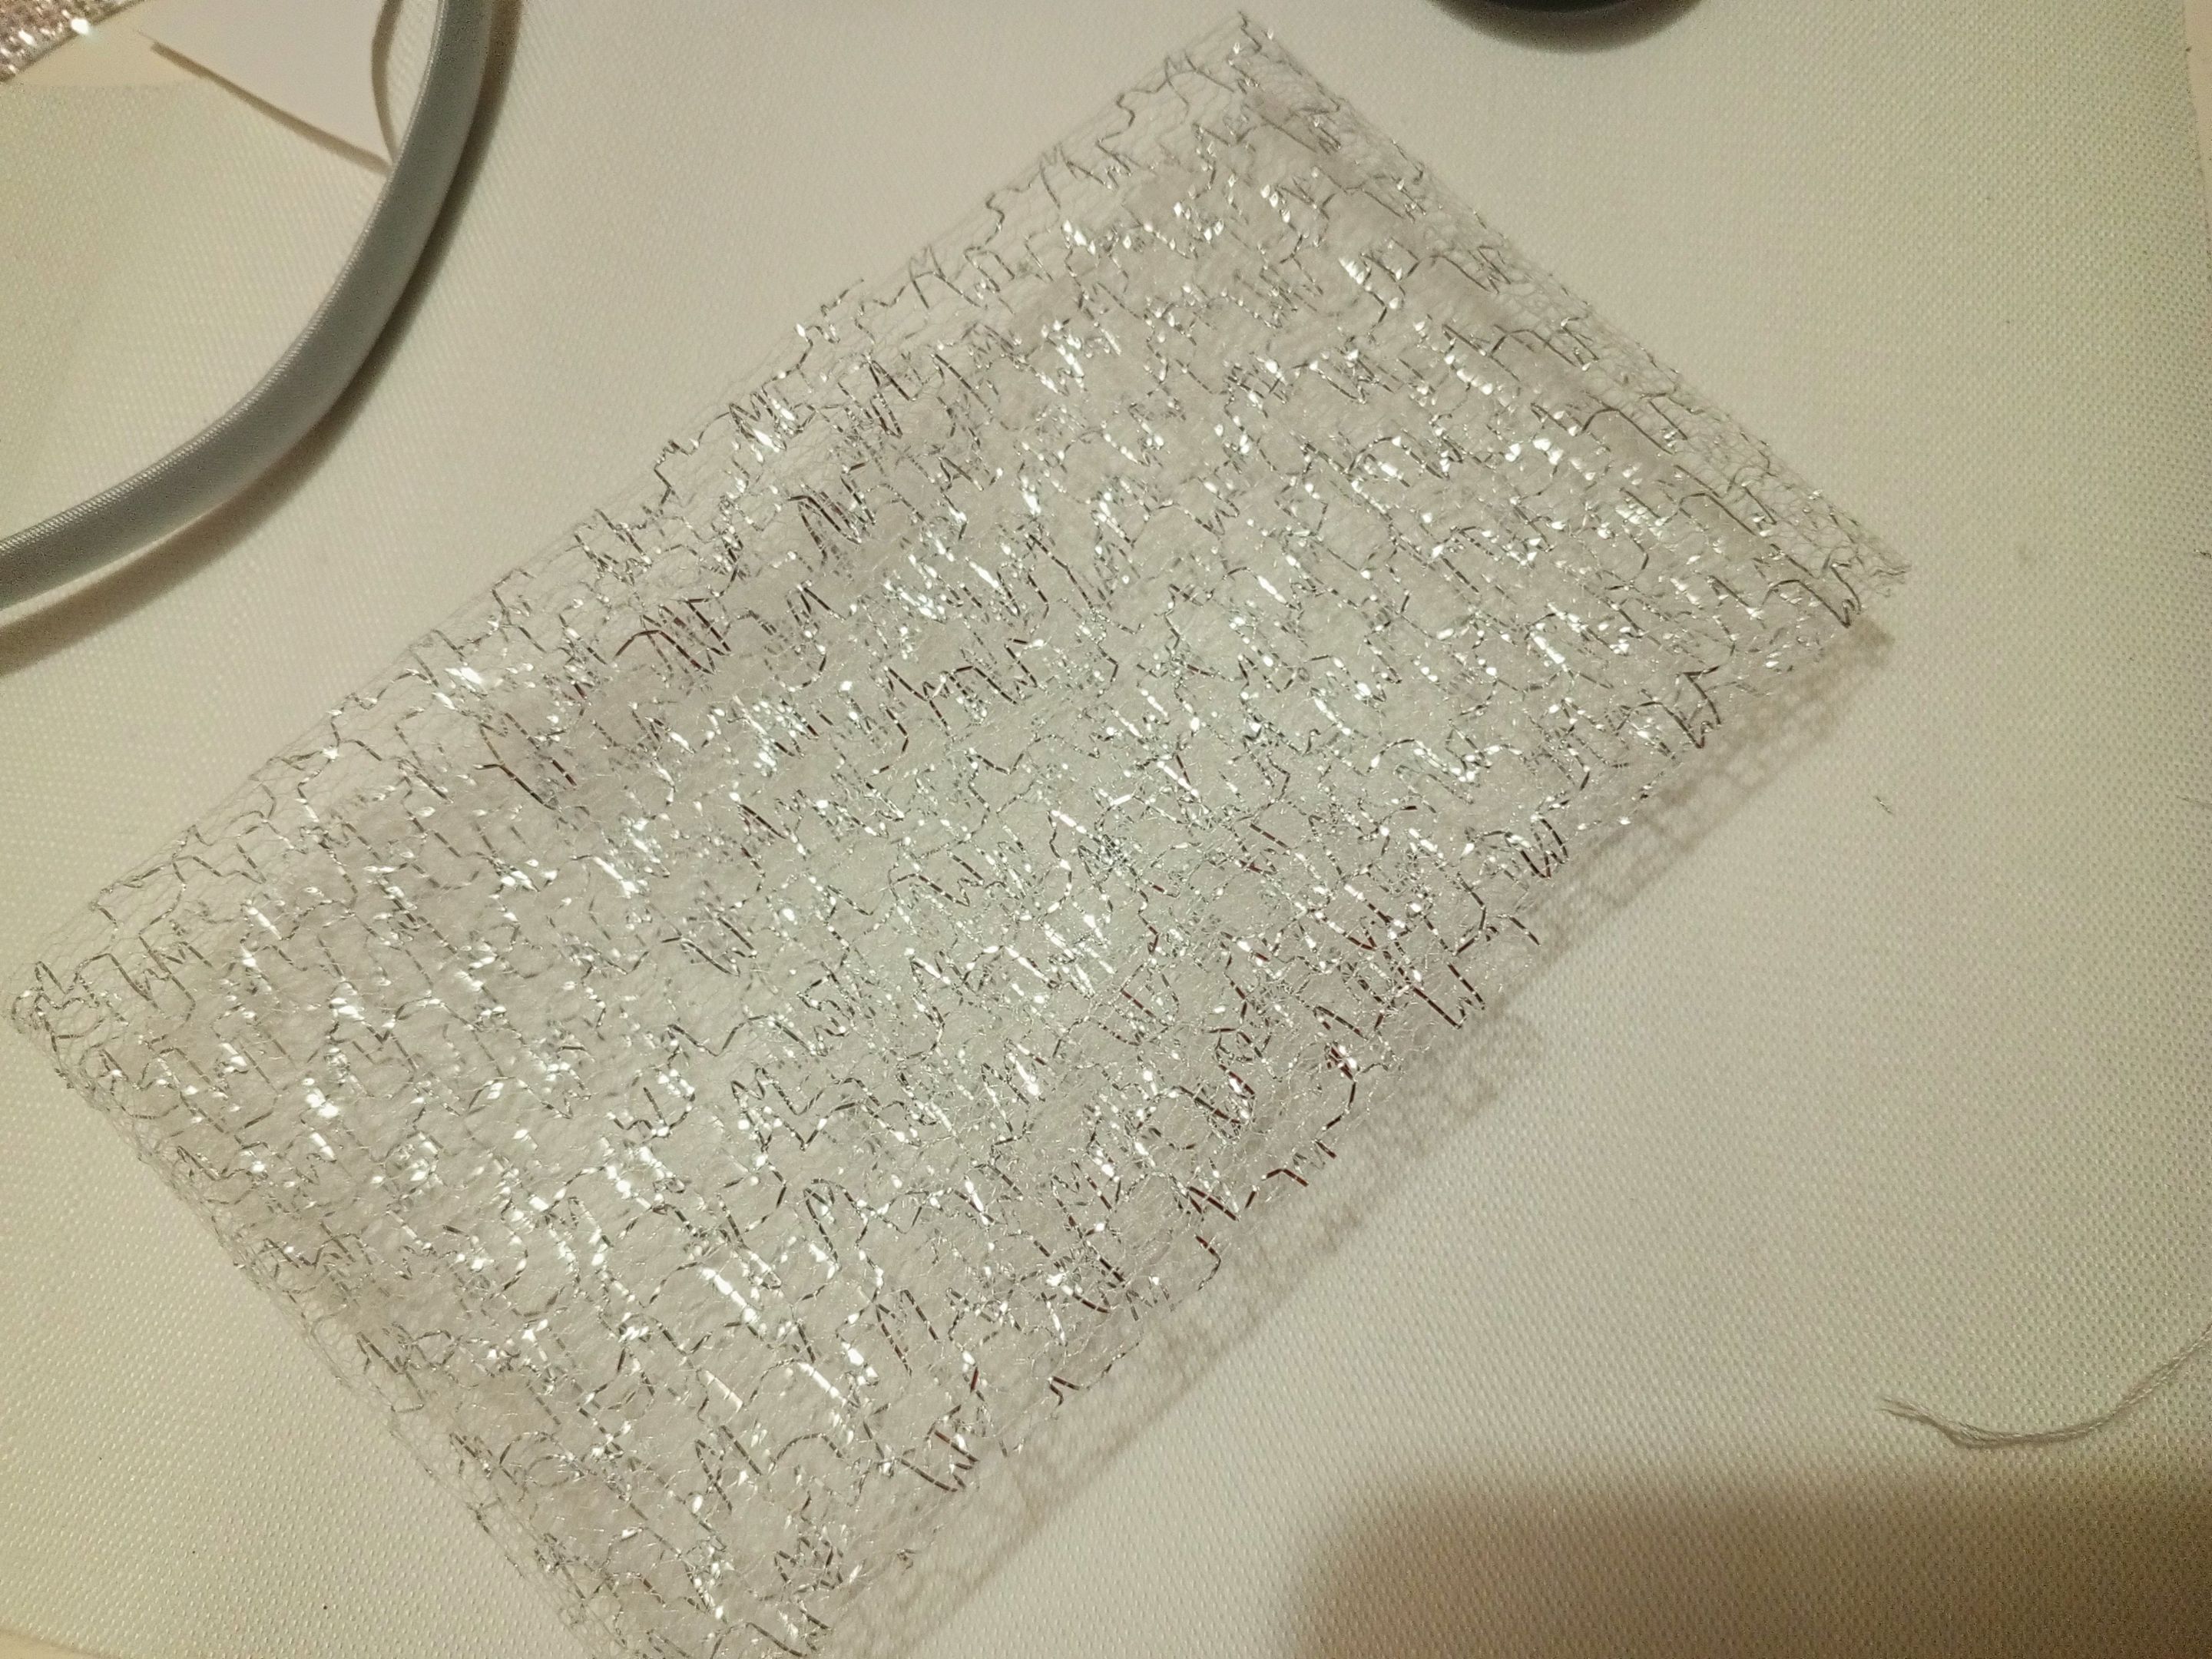
Para darle un toque aún más elegante, y a la vez chick, podemos tomar un retazo de Tull brillante, calculando las medidas, para que funcione como base para el lazo que se formó con la cinta satinada. Igualmente tendrá forma de lazada.
To give it an even more elegant and chic touch, we can take a piece of shiny tulle, calculating the measurements, so that it works as a base for the bow that was formed with the satin ribbon. It will also have the shape of a bow.
Todo está listo para montar el lazo final en el cintillo. La idea es no colocar demasiado pegamento, para que sea solo el centro del lazo que se asegure.
Everything is ready to mount the final bow on the headband. The idea is not to put too much glue, so that only the center of the bow is secured.
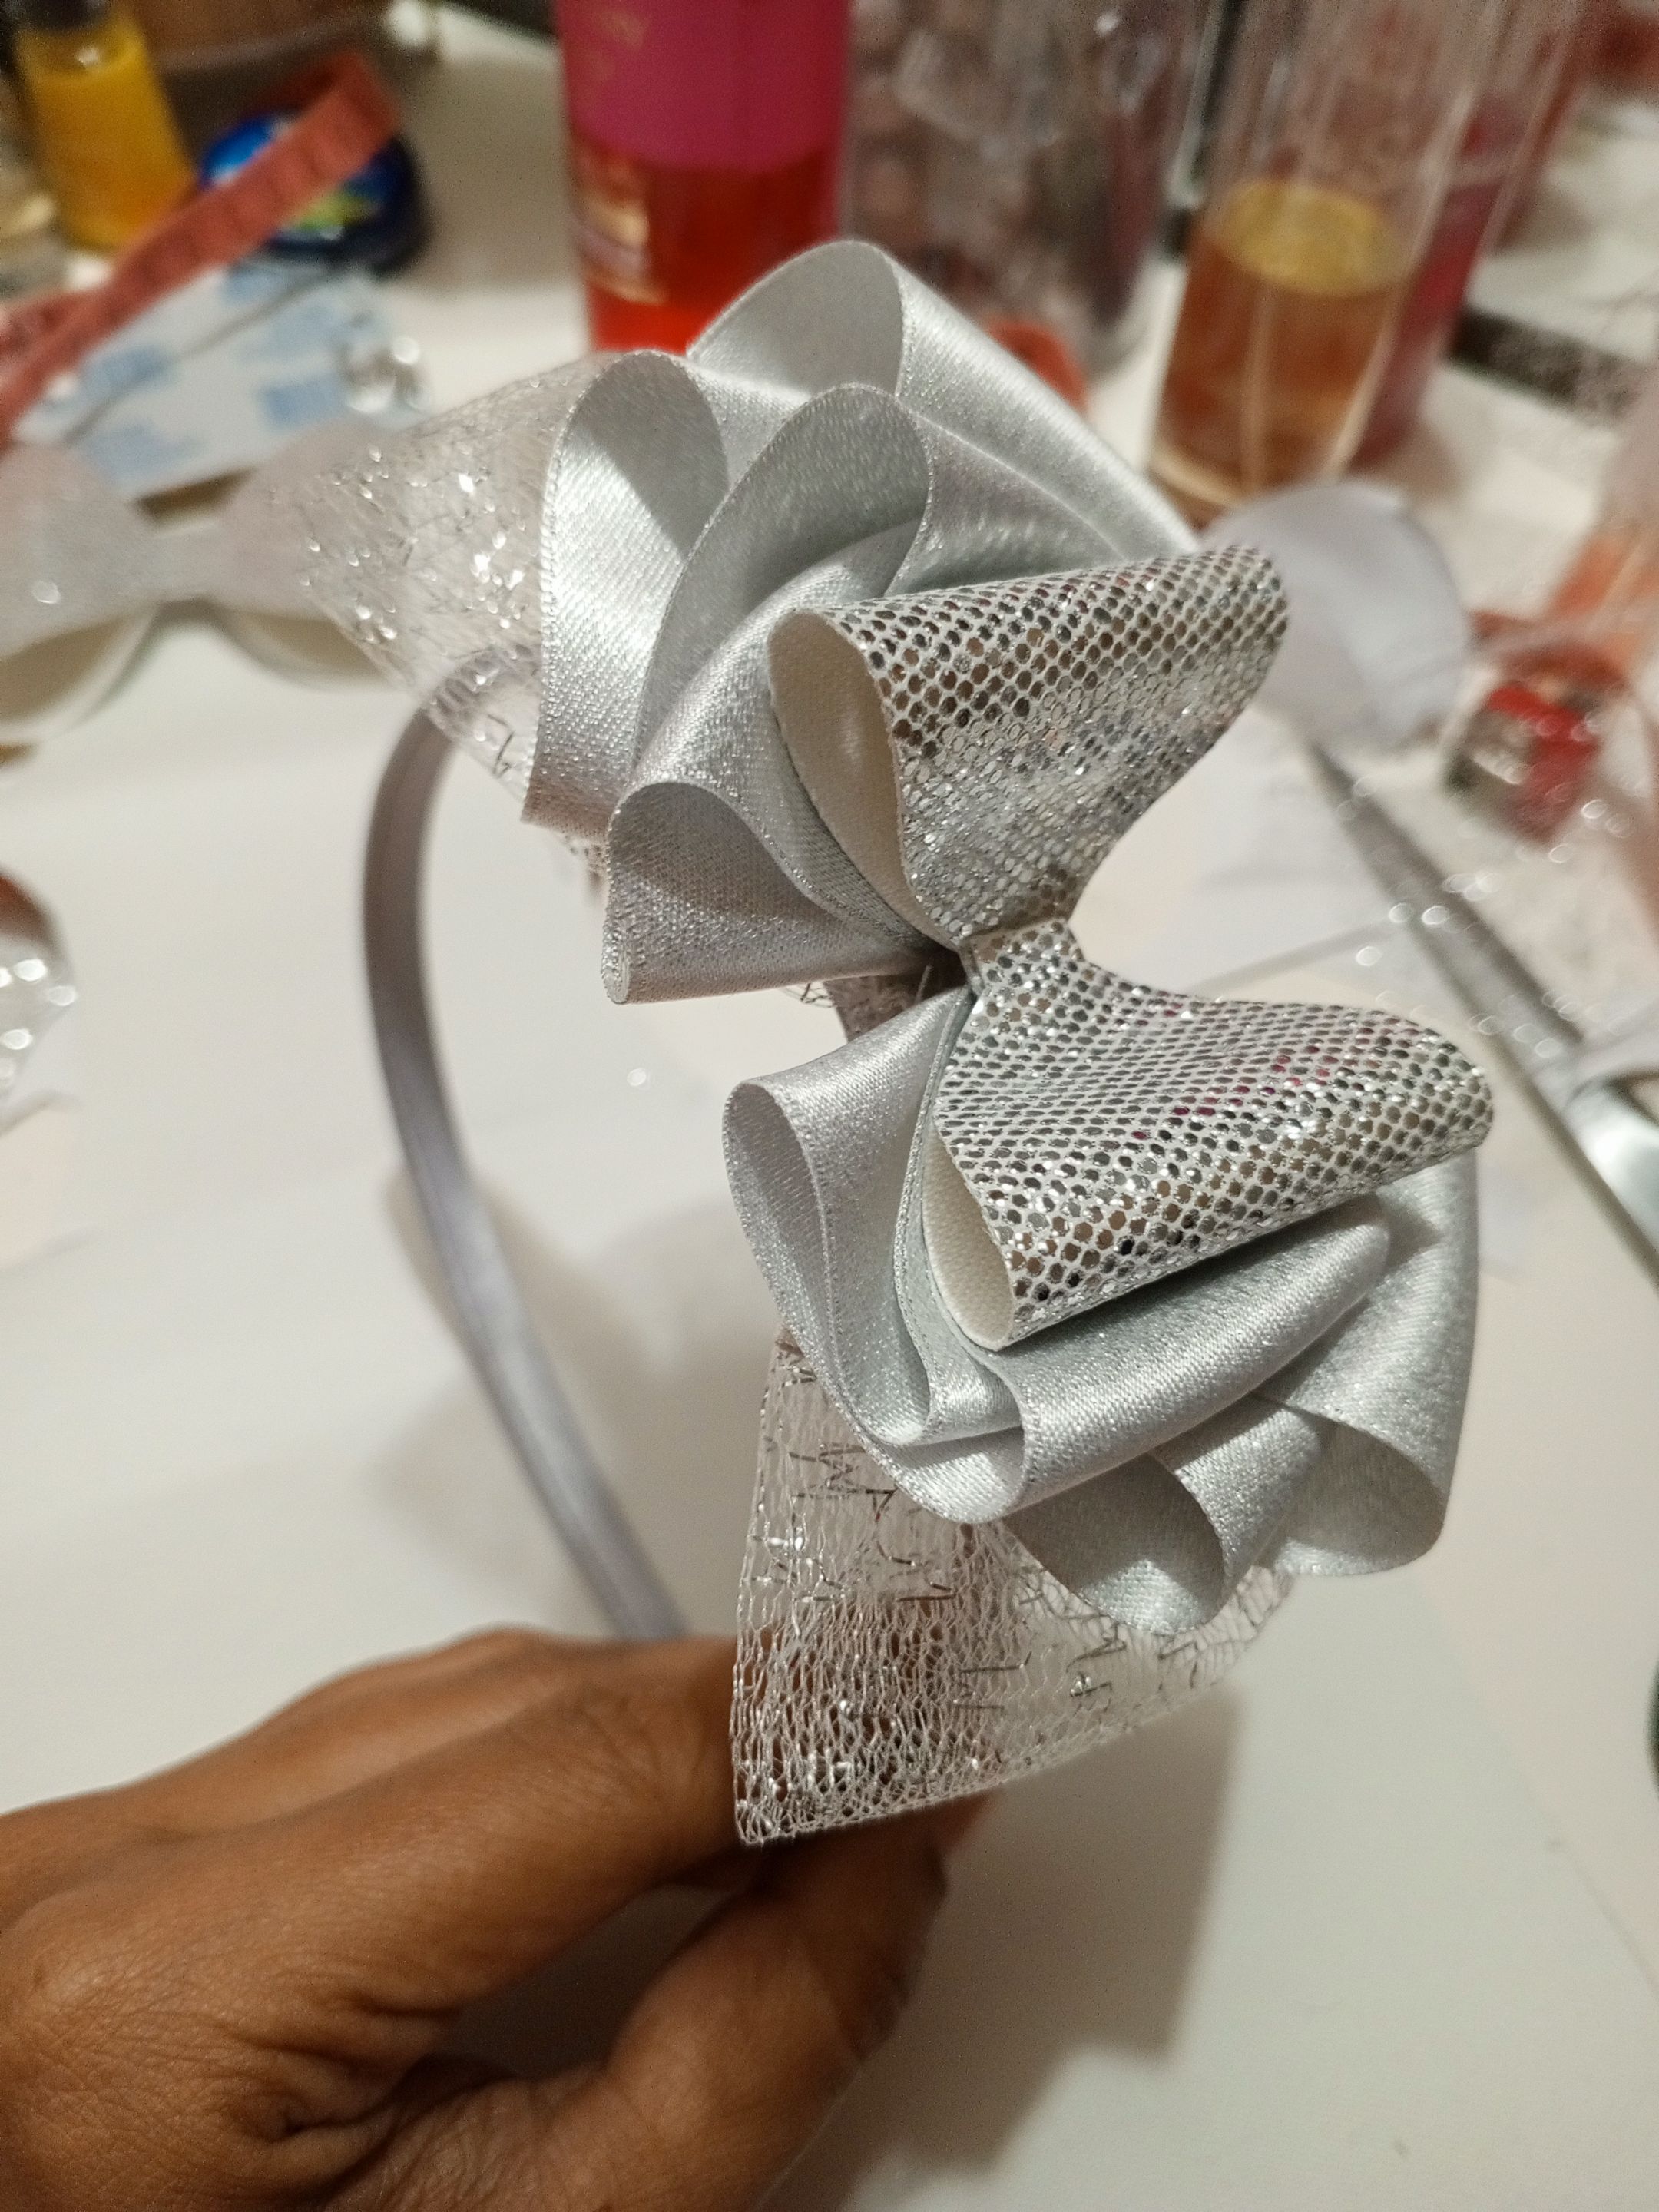
Para finalizar, le damos agregamos mucho más brillo a éste accesorio, colocando una linea de cristal autoadhesiva que servirá de centro, y a la vez cubrirá cualquier detalle. La linea de cristal partira de la parte inferior del cintillo subiendo por el lazo, y asegurándose en el otro extremo del cintillo.
Finally, we added a lot more shine to this accessory by placing a self-adhesive crystal line that will serve as a center, and at the same time will cover any detail. The crystal line will start from the bottom of the headband going up the bow, and securing itself at the other end of the headband.
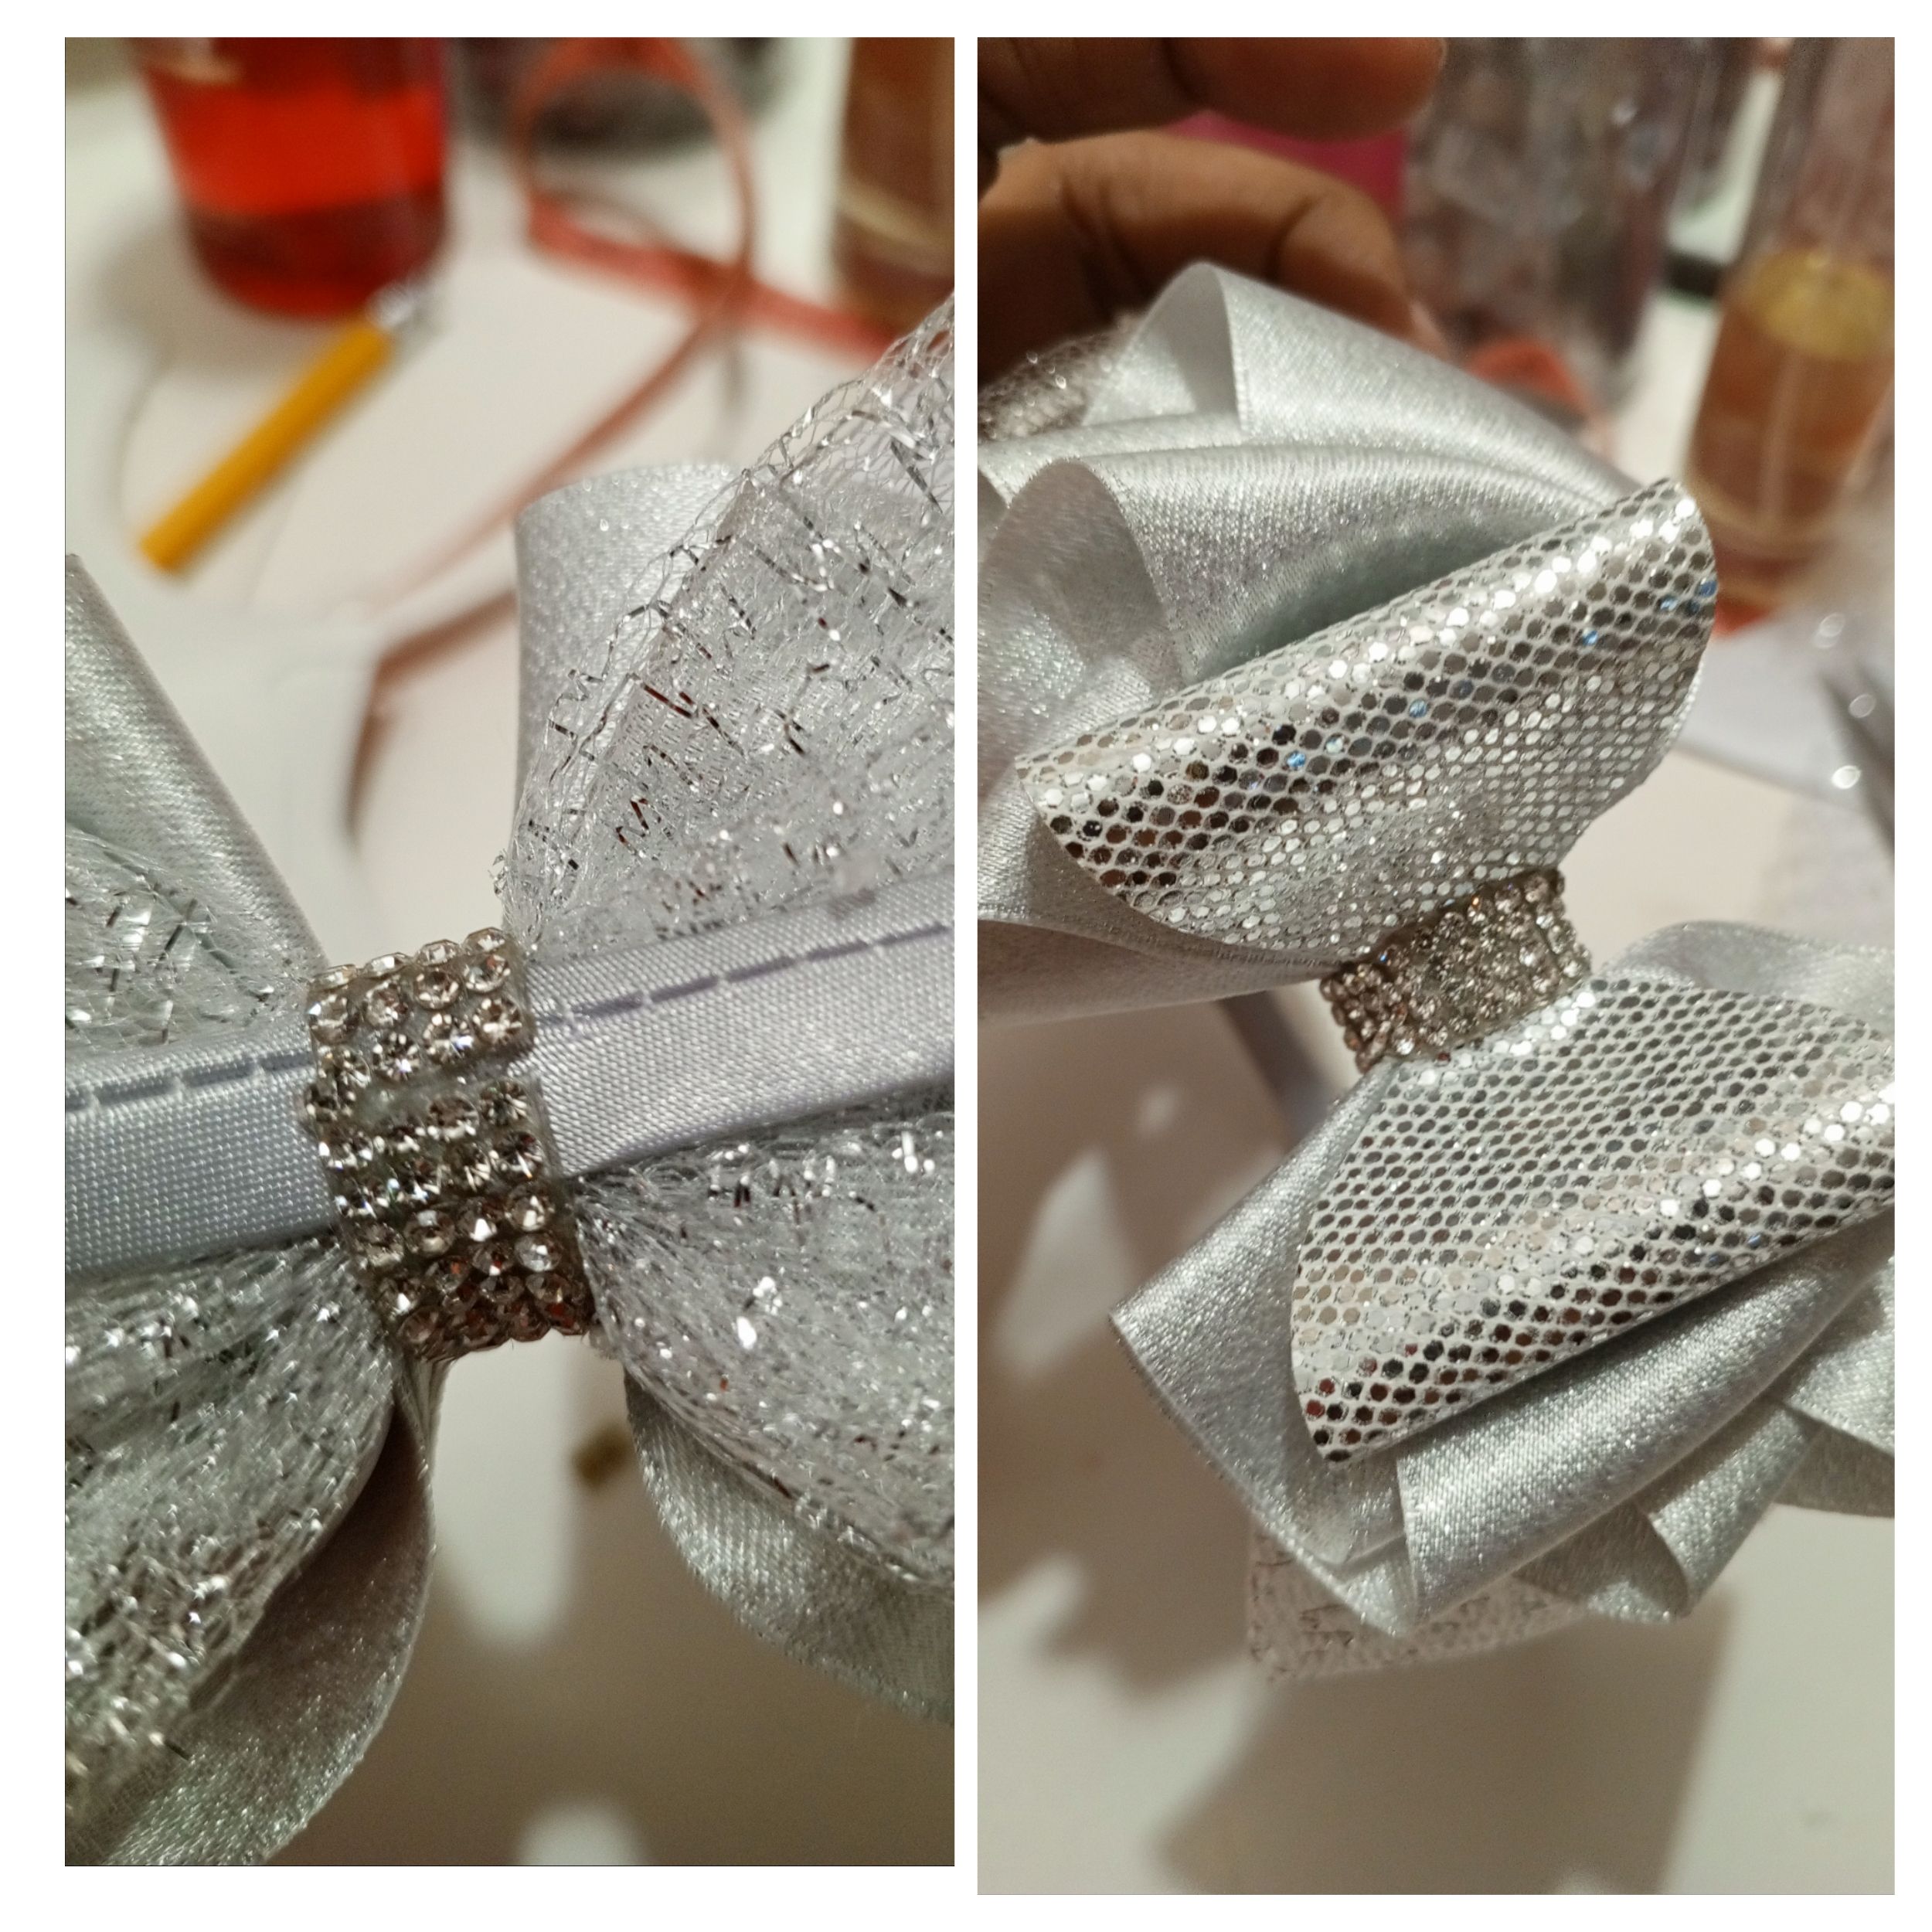
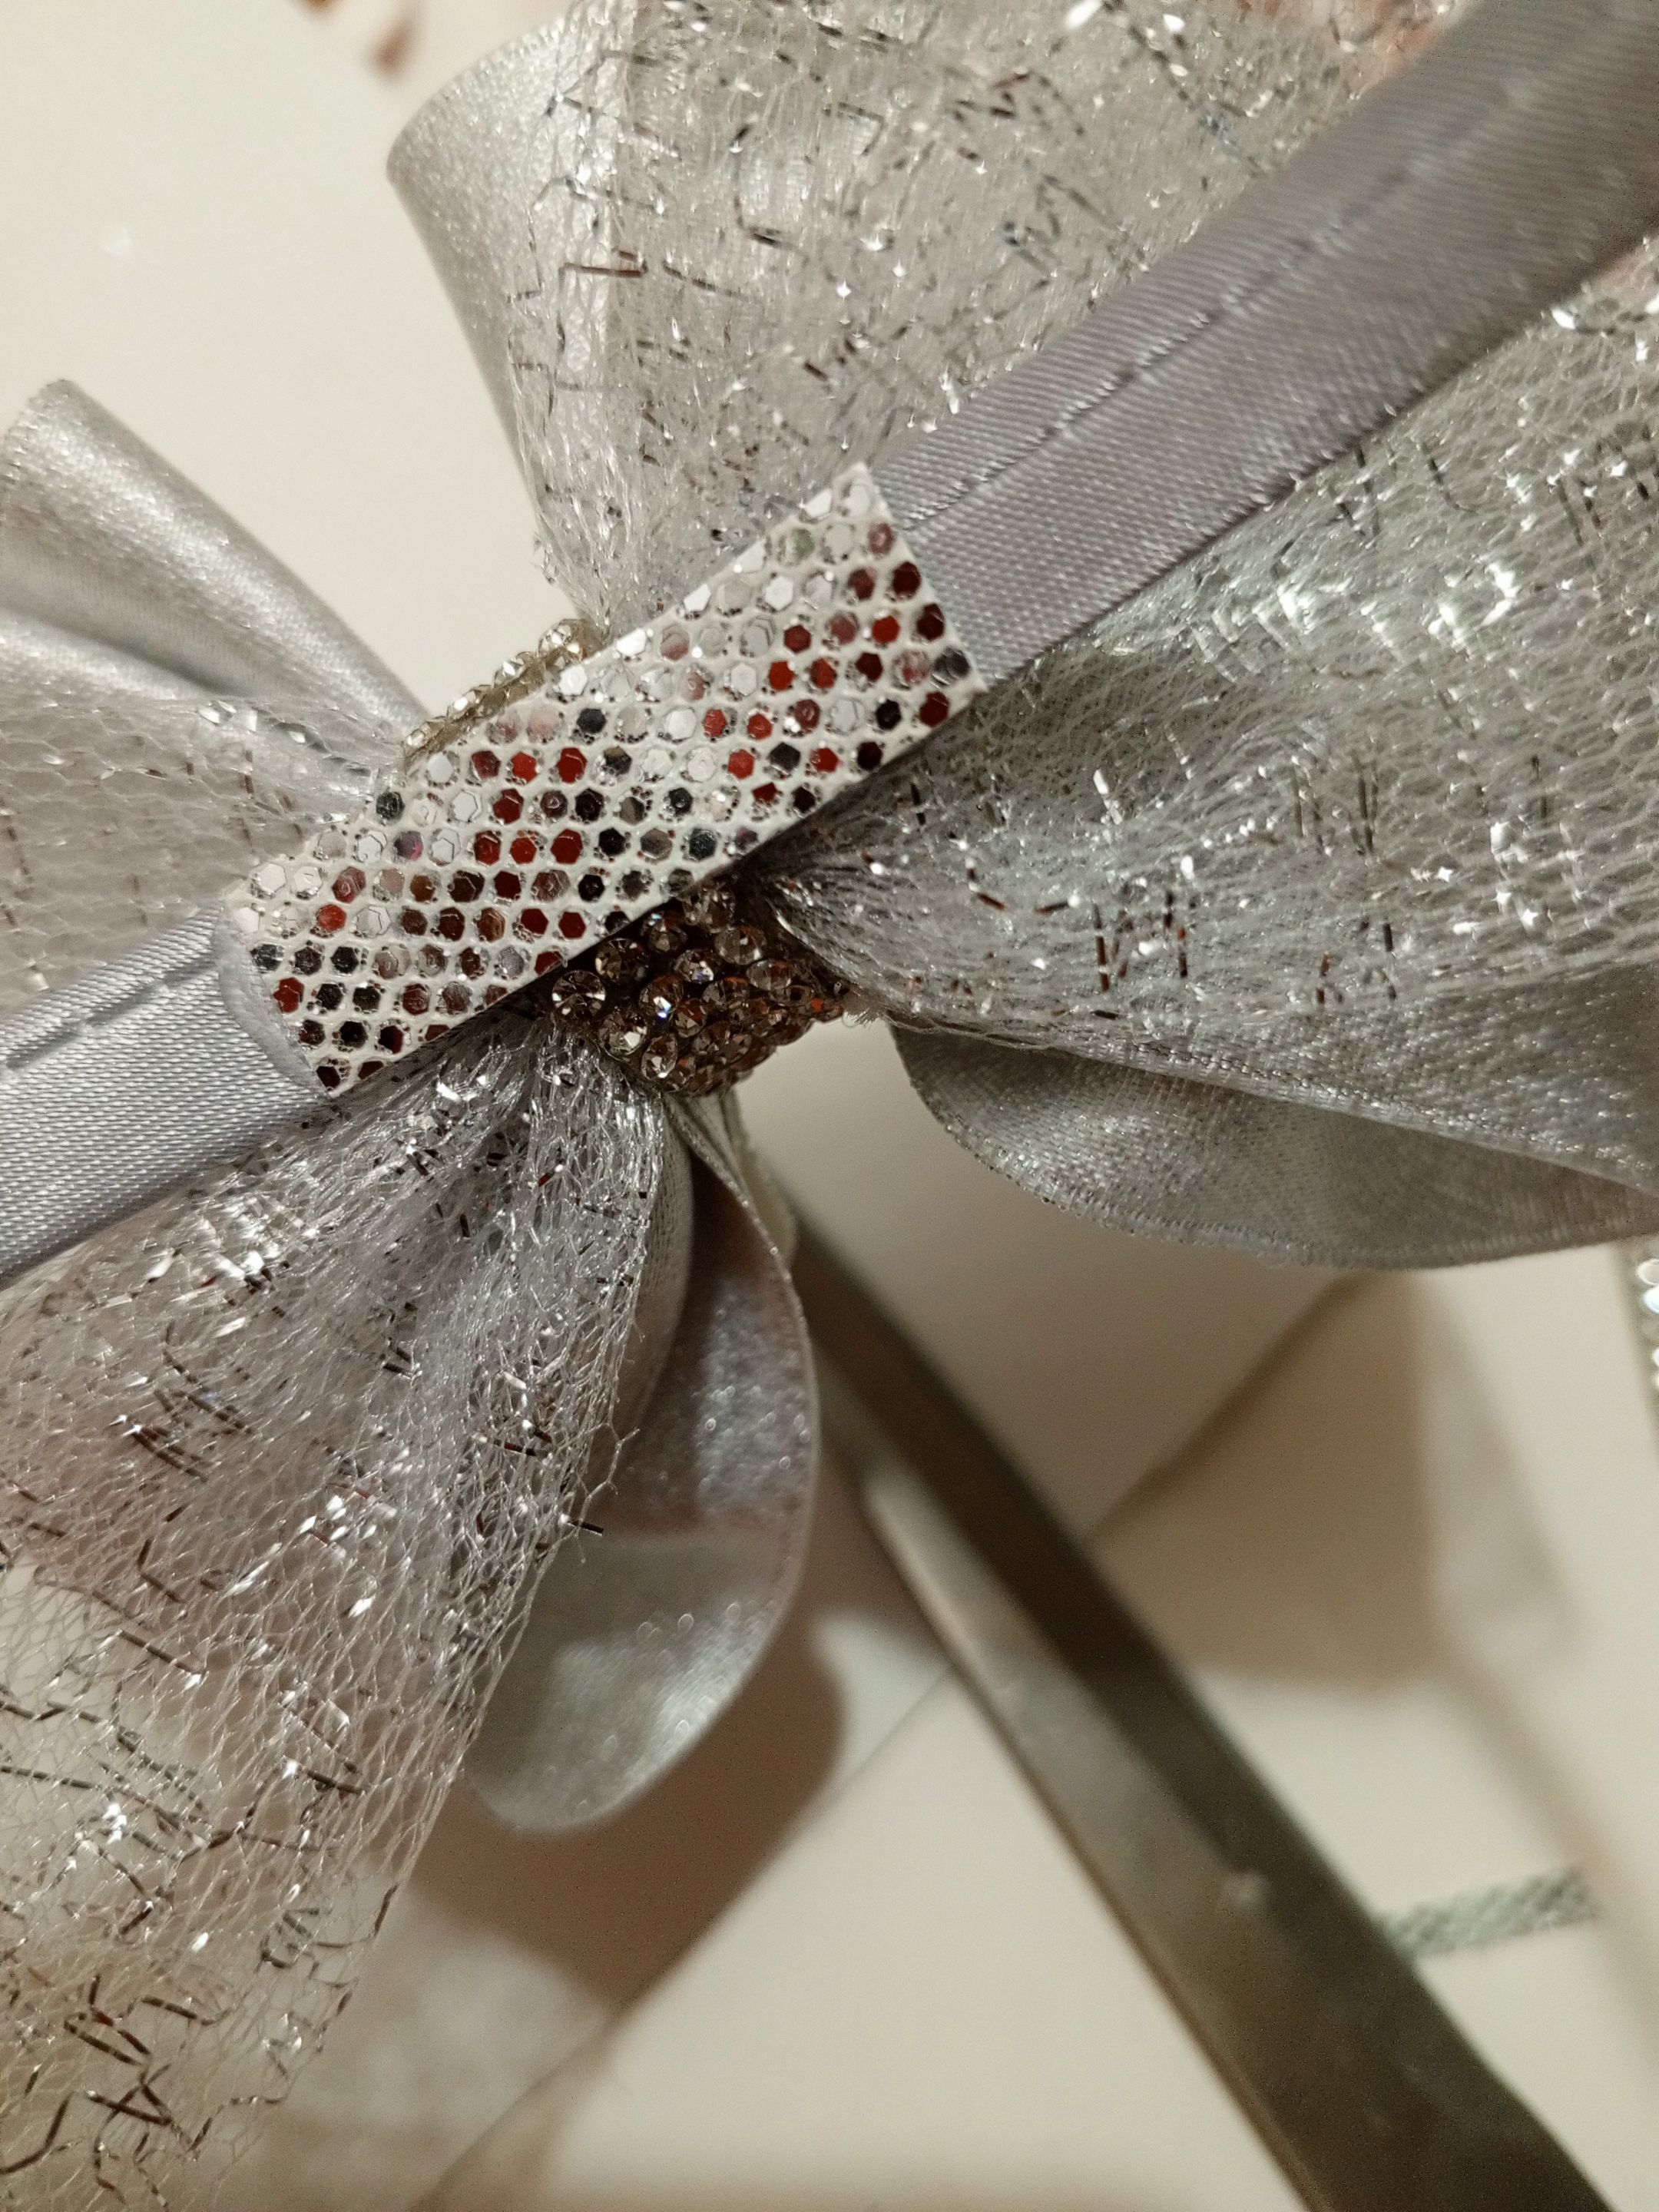
Para darle más seguridad a nuestro accesorio, le agregué un sello con la misma cuerina brillante a la unión de los dos extremos de la linea de cristal. Con ella cubrimos detalles, además que éste tipo de cuero, se sella perfectamente con un poco de silicón caliente ♨️.
To give more security to our accessory, I added a seal with the same shiny leather to the union of the two ends of the crystal line. With it we cover details, plus this type of leather seals perfectly with a little hot silicone ♨️.
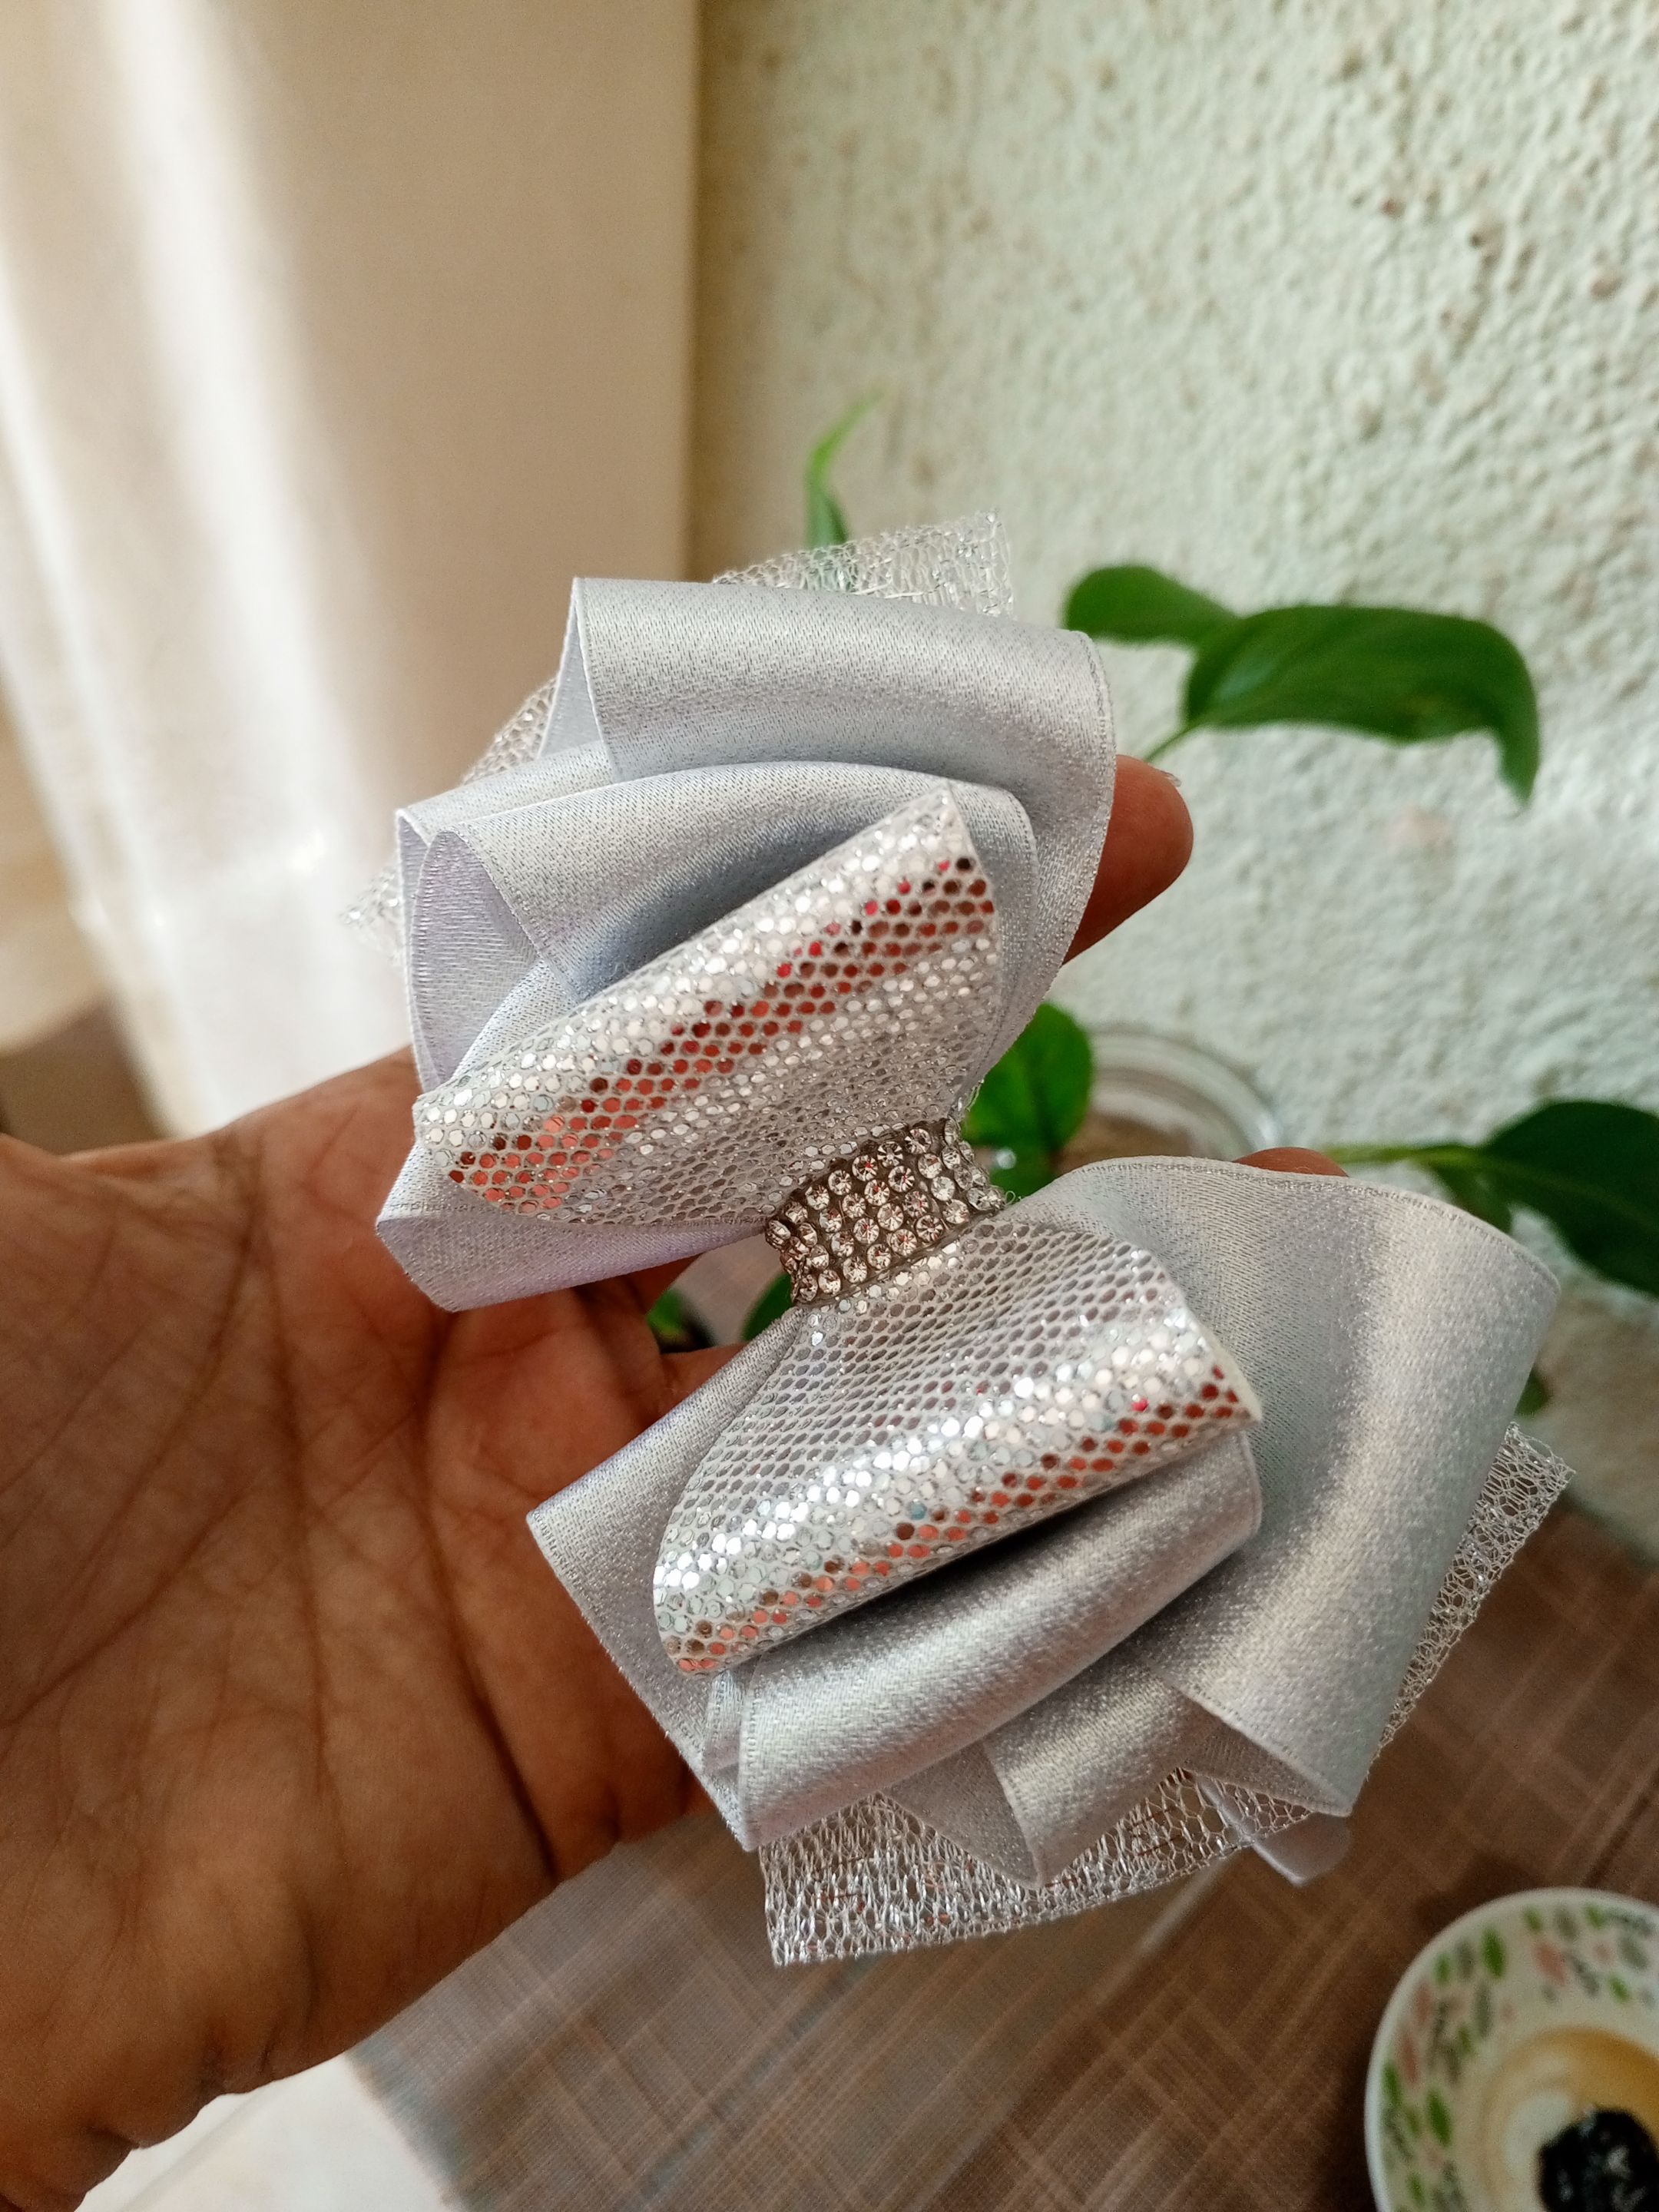
Simplemente hermoso, coqueto, elegante, éste tipo de accesorios complementan funcionan con cualquier outfit, al ser unicolor puede llevarse con todo. La niña que lo llevó puesto tiene 5 años, es súper coqueta, le encantan los accesorios y el maquillaje, y éste lazo definitivamente la hizo brillar aún más. Un detalle personalizado, para celebrar la época más bonita del año, y para mi fue un placer seguir creando estas bellezas, a pesar del tiempo sin hacerlas 🎀.
Simply beautiful, flirtatious, elegant, this type of accessories complement and work with any outfit, being a single color it can be worn with everything. The girl who wore it is 5 years old, she is super flirtatious, she loves accessories and makeup, and this bow definitely made her shine even more. A personalized detail, to celebrate the most beautiful time of the year, and for me it was a pleasure to continue creating these beauties, despite the time without making them 🎀.
Es todo por éste post tutorial. Gracias a todos los que han llegado hasta aquí☝️📝. Feliz año nuevo 2025🎉🙏🫂...
That's all for this tutorial post. Thanks to everyone who has made it this far☝️📝. Happy New Year 2025🎉🙏🫂...
Creditos - Credits
Traductor English translator

Stickers realizado en Bitmoji | Stickers made in Bitmoji.
Fotografias capturadas con mi teléfono Tecno Spark 10 pro | Photos captured with my Tecno Spark 10 pro phone.
