


[Esp]
Es normal que en estos tiempos estemos visitando tiendas y pensando en comprar por adelantado los estrenos para diciembre, mi guarda ropa está como para renovar, mi ropa está vieja, deteriorada y no vibra con mi espíritu alegre de ahora y más porque estoy saliendo mucho a compartir con amigas y mis seres queridos.
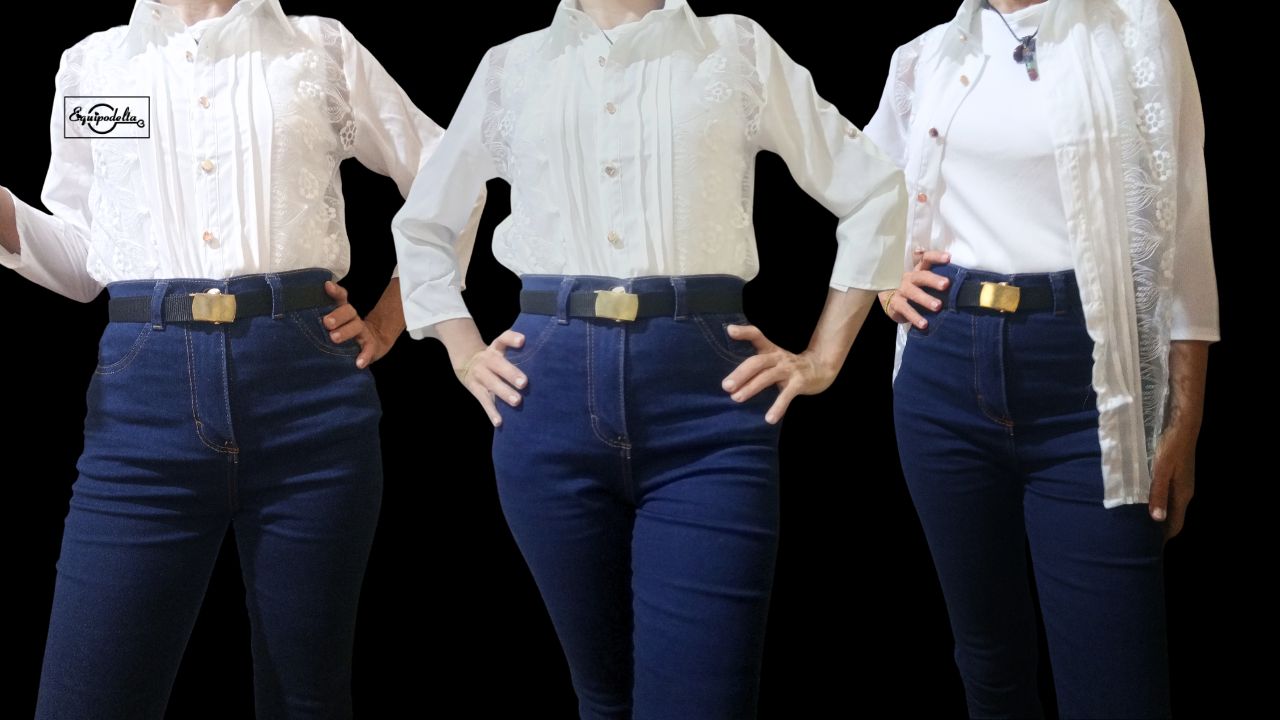
Aprovechando un descuento, encontré una blusa que me enamoré, se ve super elegante pero tenía un problema; Tiene transparencias, no soy muy cómoda mostrando tanto asi y a mi edad dudo que se vea adecuado. Entonces pensé: Puedo comprar una guardacamisa y ponerla debajo y usar la blusa de varias formas como muestro en las imágenes.
Recordé que tenía un gran trozo de tela blanca y me dije ¿Para qué comprarla si puedo hacerla? Entonces te muestro, cómo puedes hacer tu propia guardacamisa y no morir en el intento.
! [English version]
It is normal that in these times we are visiting stores and thinking about buying in advance the premieres for December, my clothes closet is like to renew, my clothes are old, deteriorated and does not vibrate with my cheerful spirit now and more because I'm going out a lot to share with friends and my loved ones.
Taking advantage of a discount, I found a blouse that I fell in love with, it looks super elegant but it had a problem; It has transparencies, I'm not very comfortable showing so much and at my age I doubt it looks appropriate. Then I thought: I can buy a shirt sleeve and put it underneath and wear the blouse in various ways as I show in the pictures.
I remembered that I had a big piece of white fabric and I said to myself: Why buy it if I can make it? So I'll show you, how you can make your own shirt guard and not die trying.

Materiales / Materials

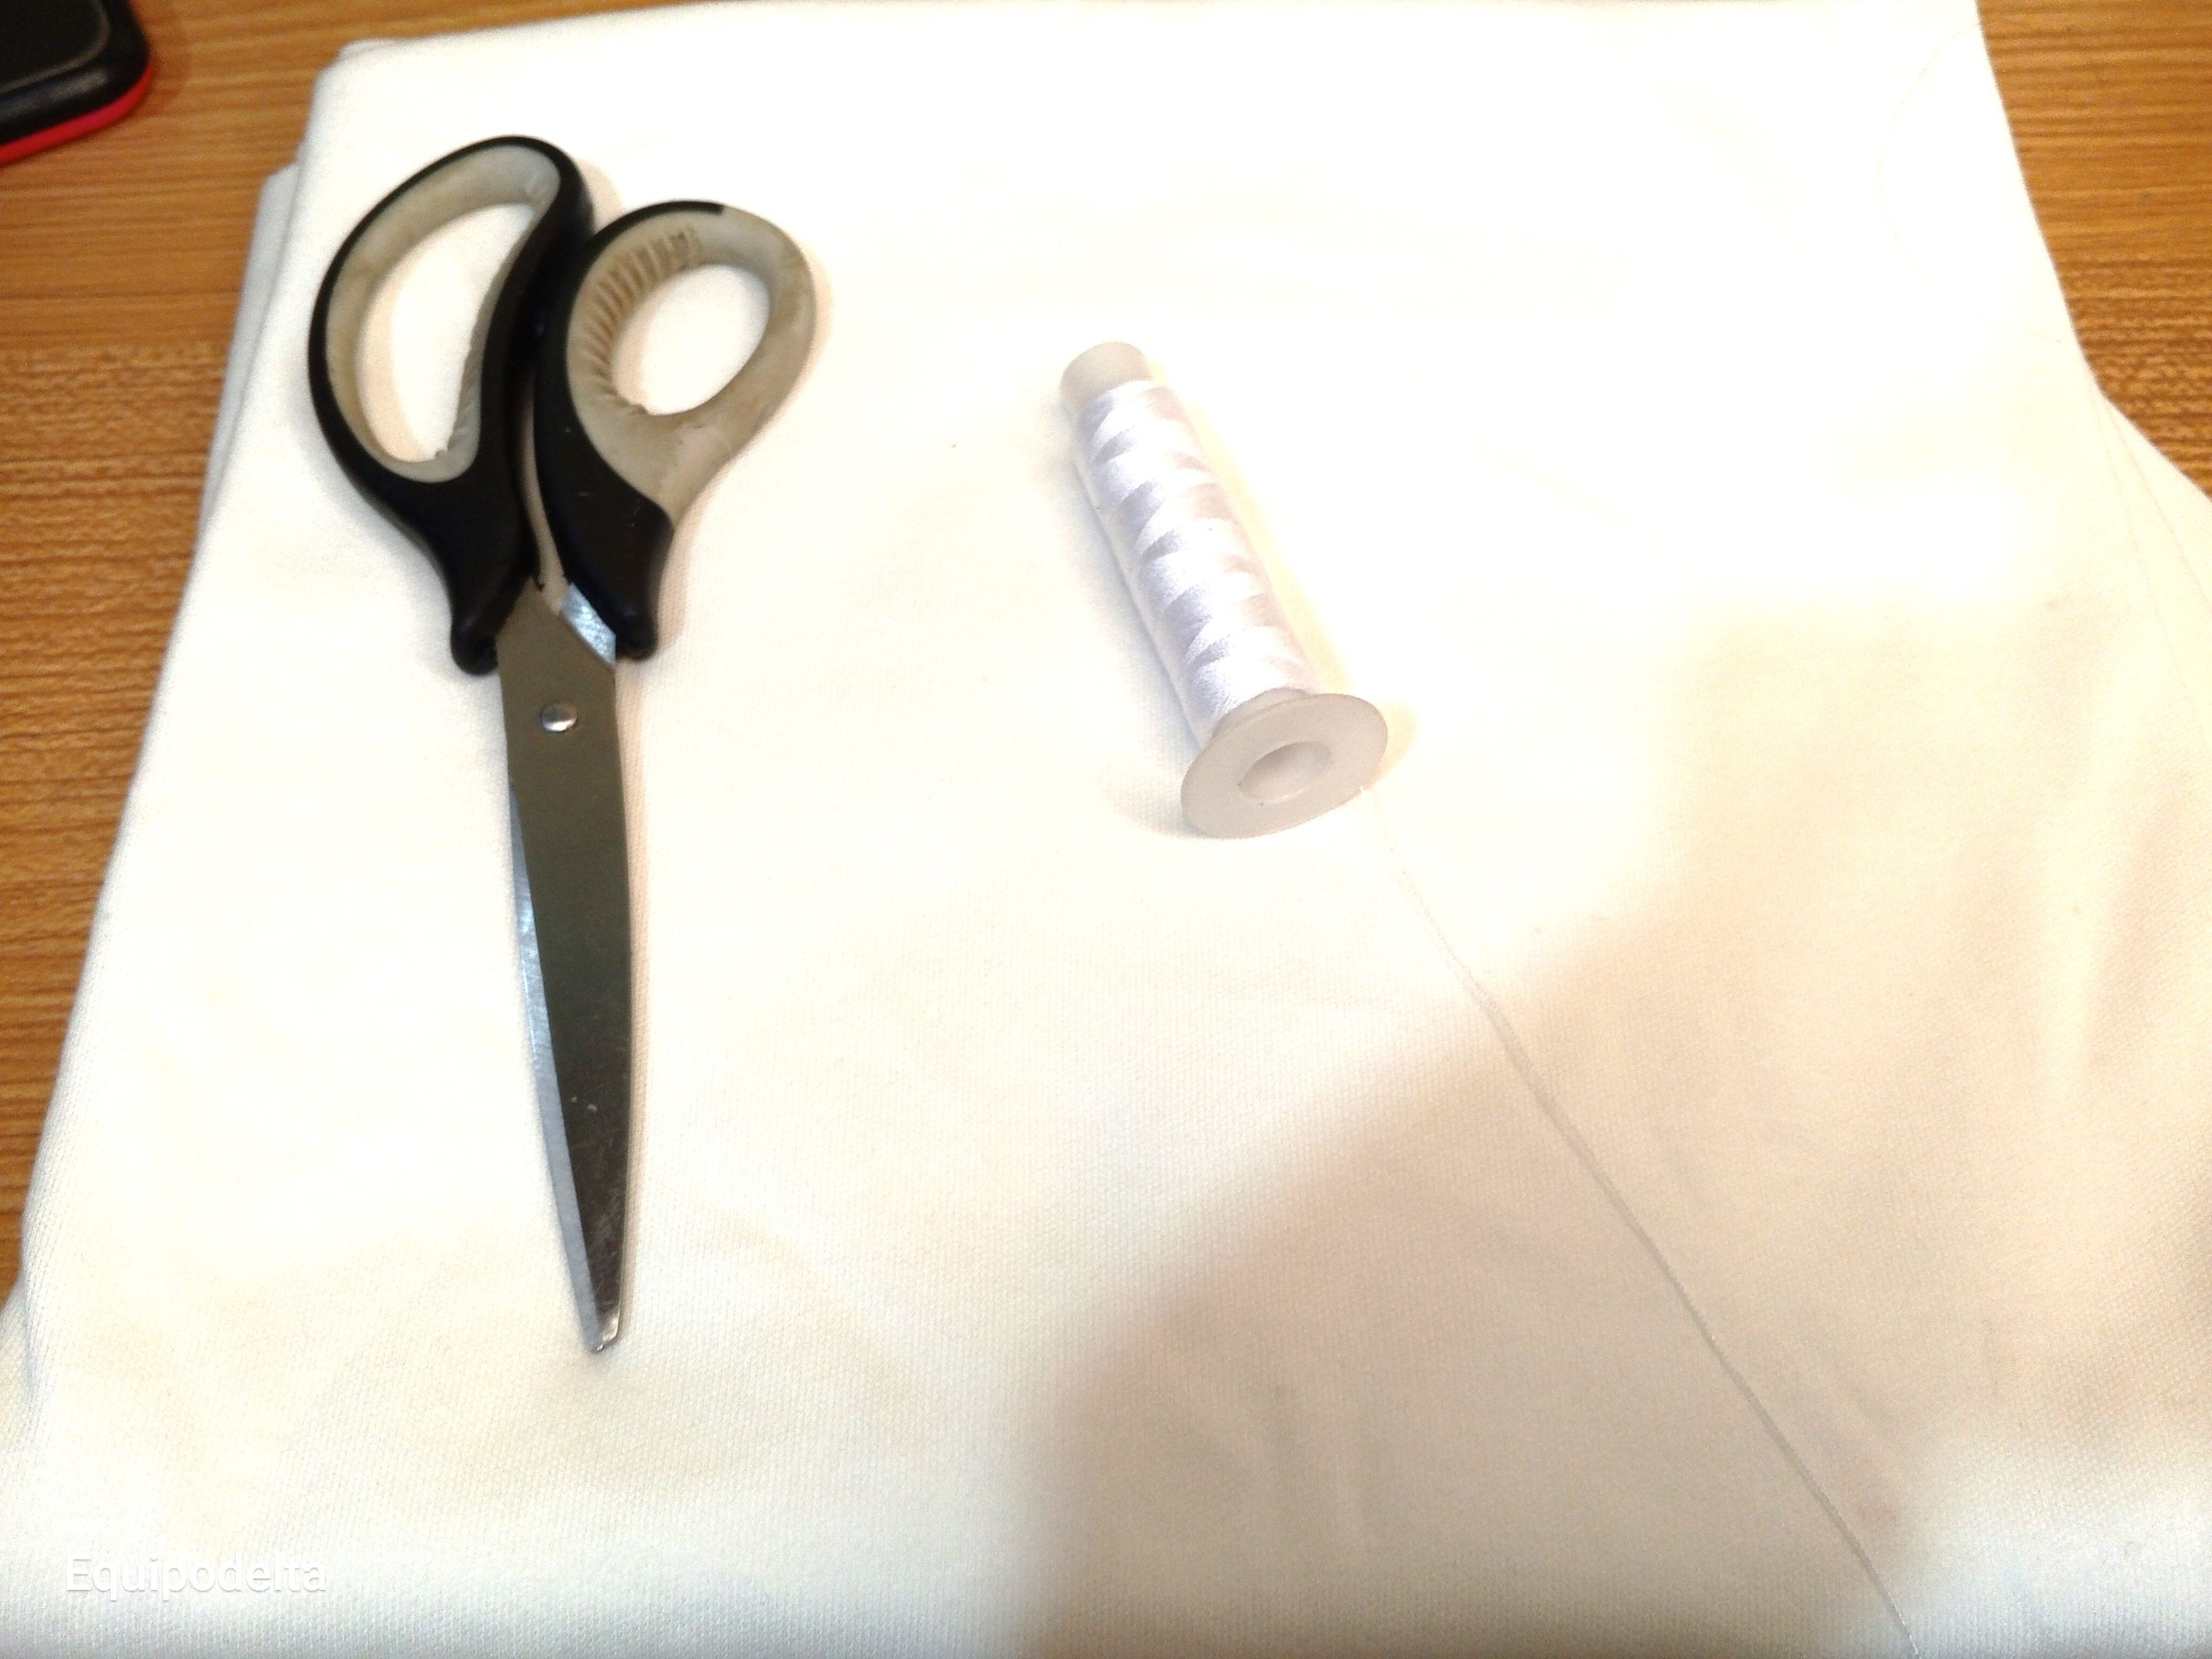
| Spanish | English | |
| Tela de franela o strech | Flannel or stretch fabric | |
| Maquina de coser | Sewing machine | |
| Hilo blanco | White thread | |
| Tijera | Scissors | |
| Alguna franela que sirva de patrón | Some flannel to serve as a pattern |


Paso a paso / Step by Step


Step 1️⃣/ Paso 1️⃣
 |  | |
 |  |
[Esp]
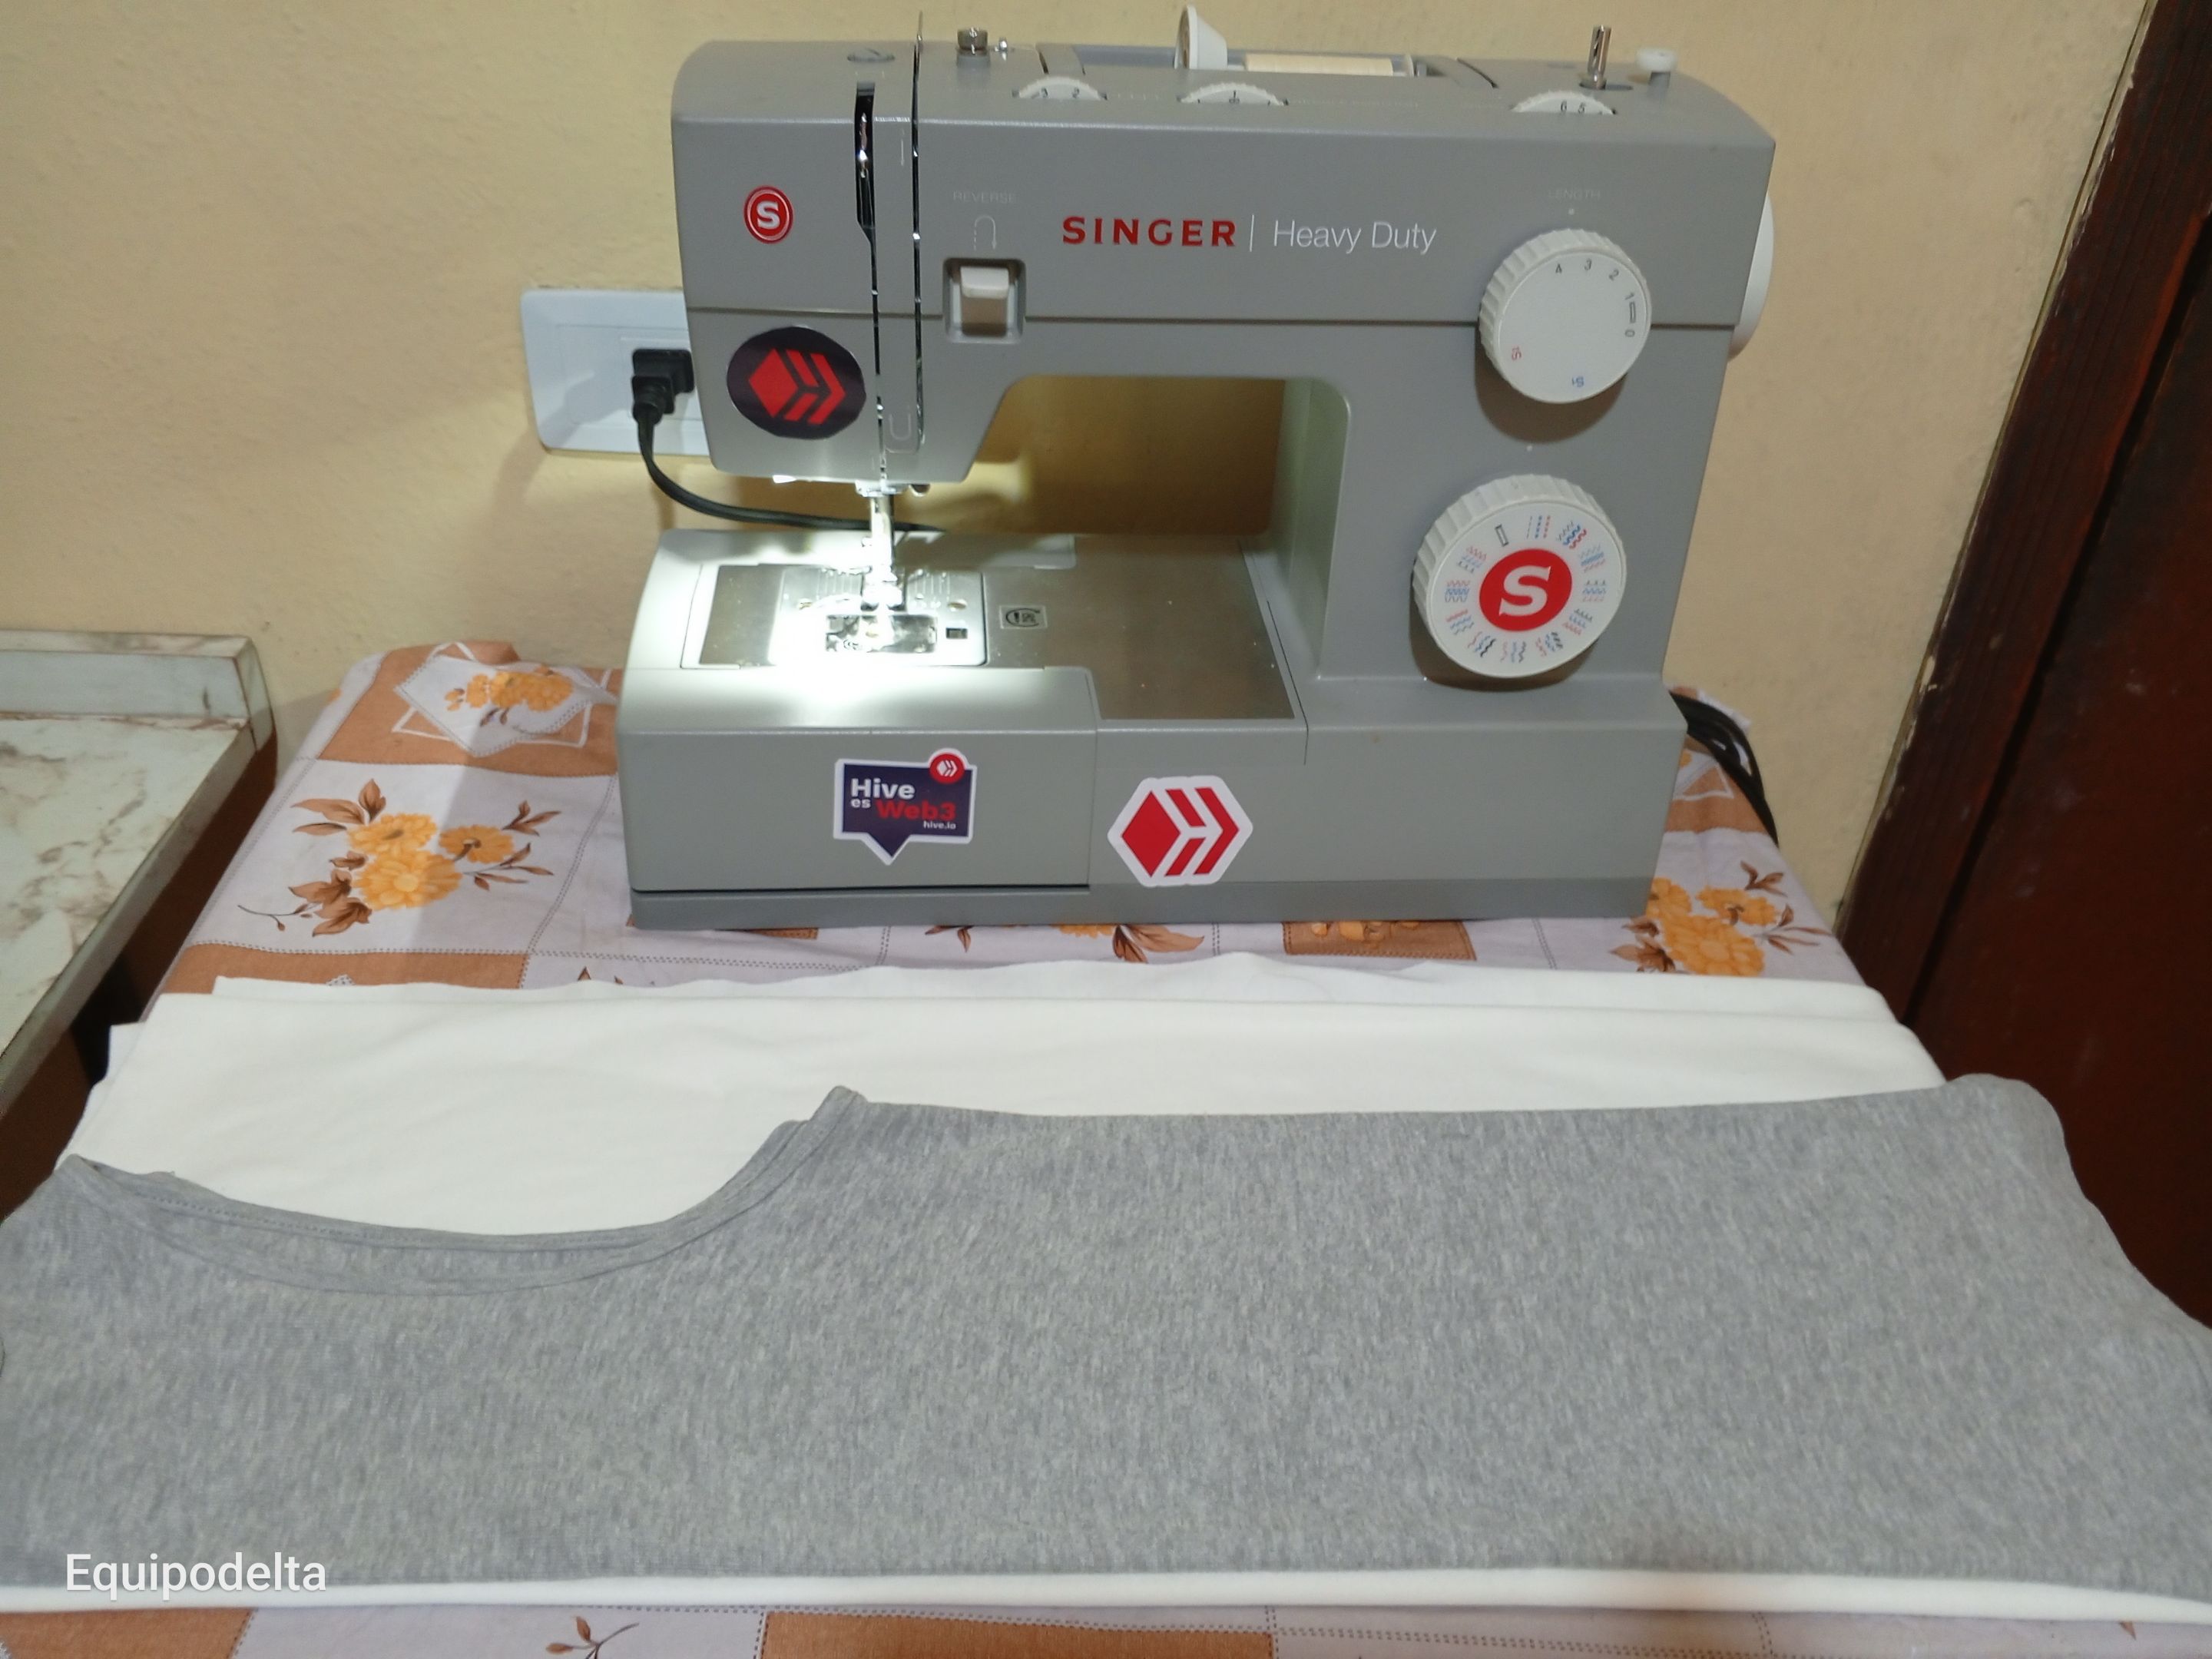
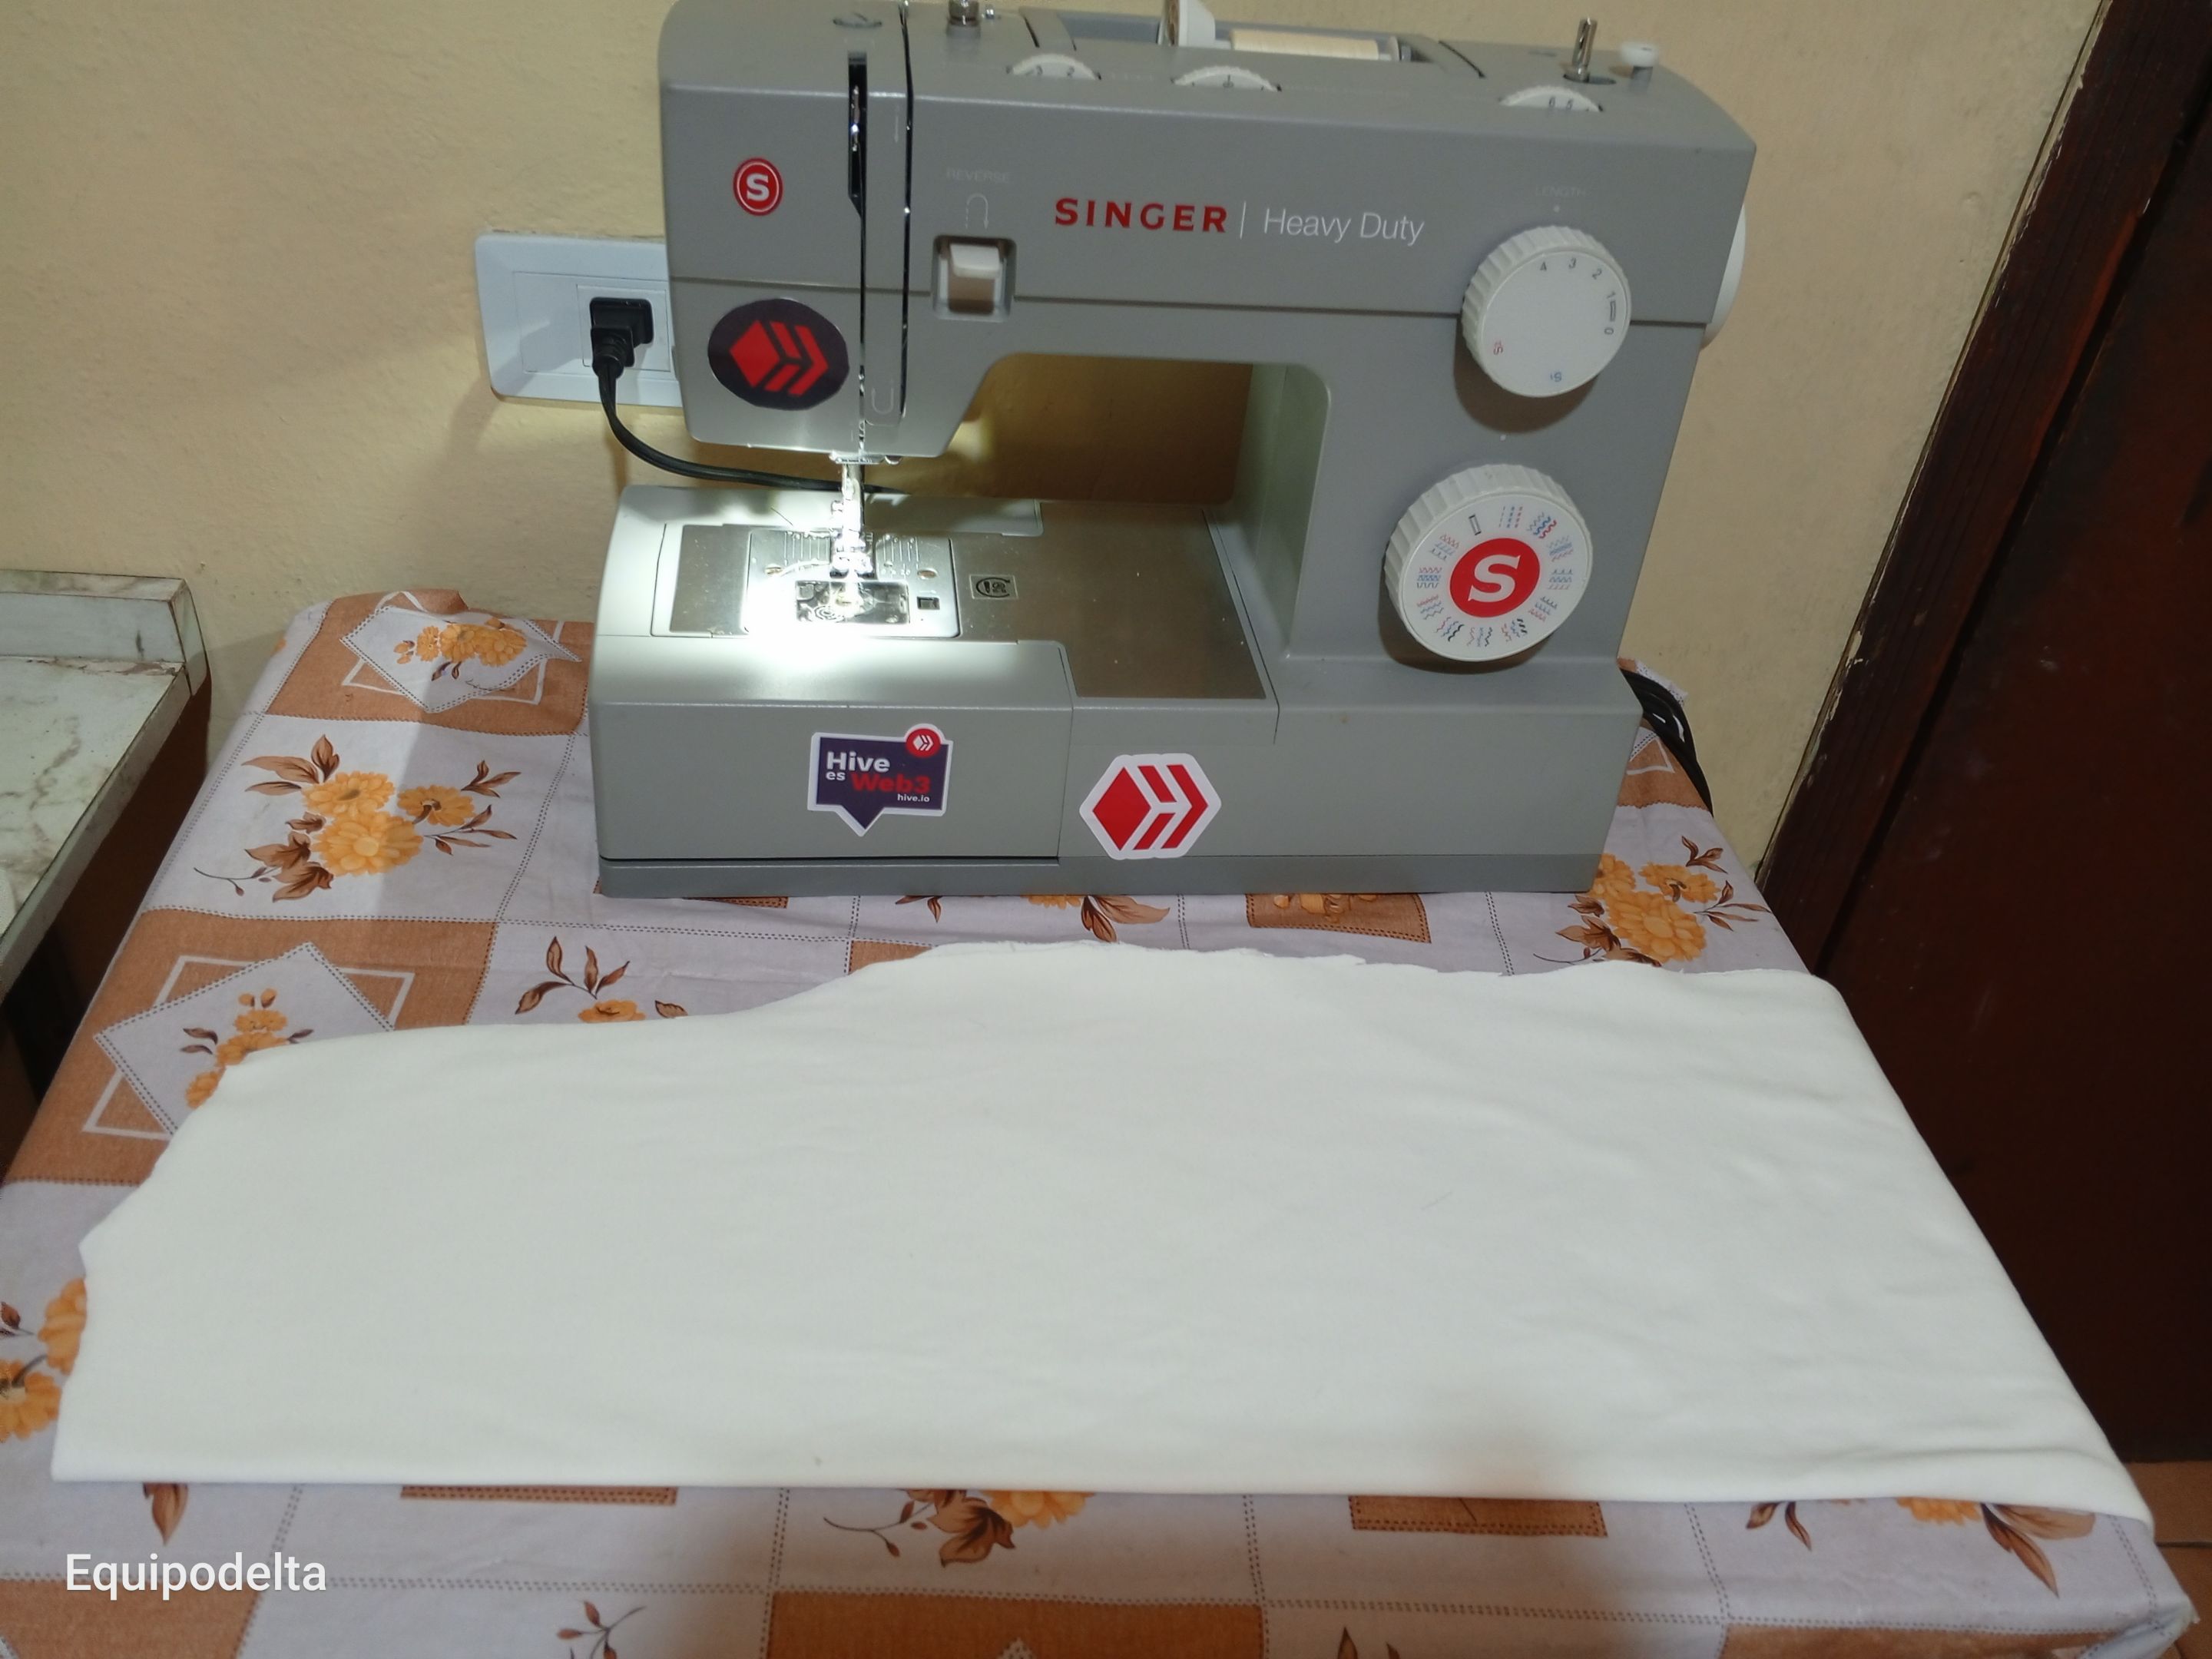
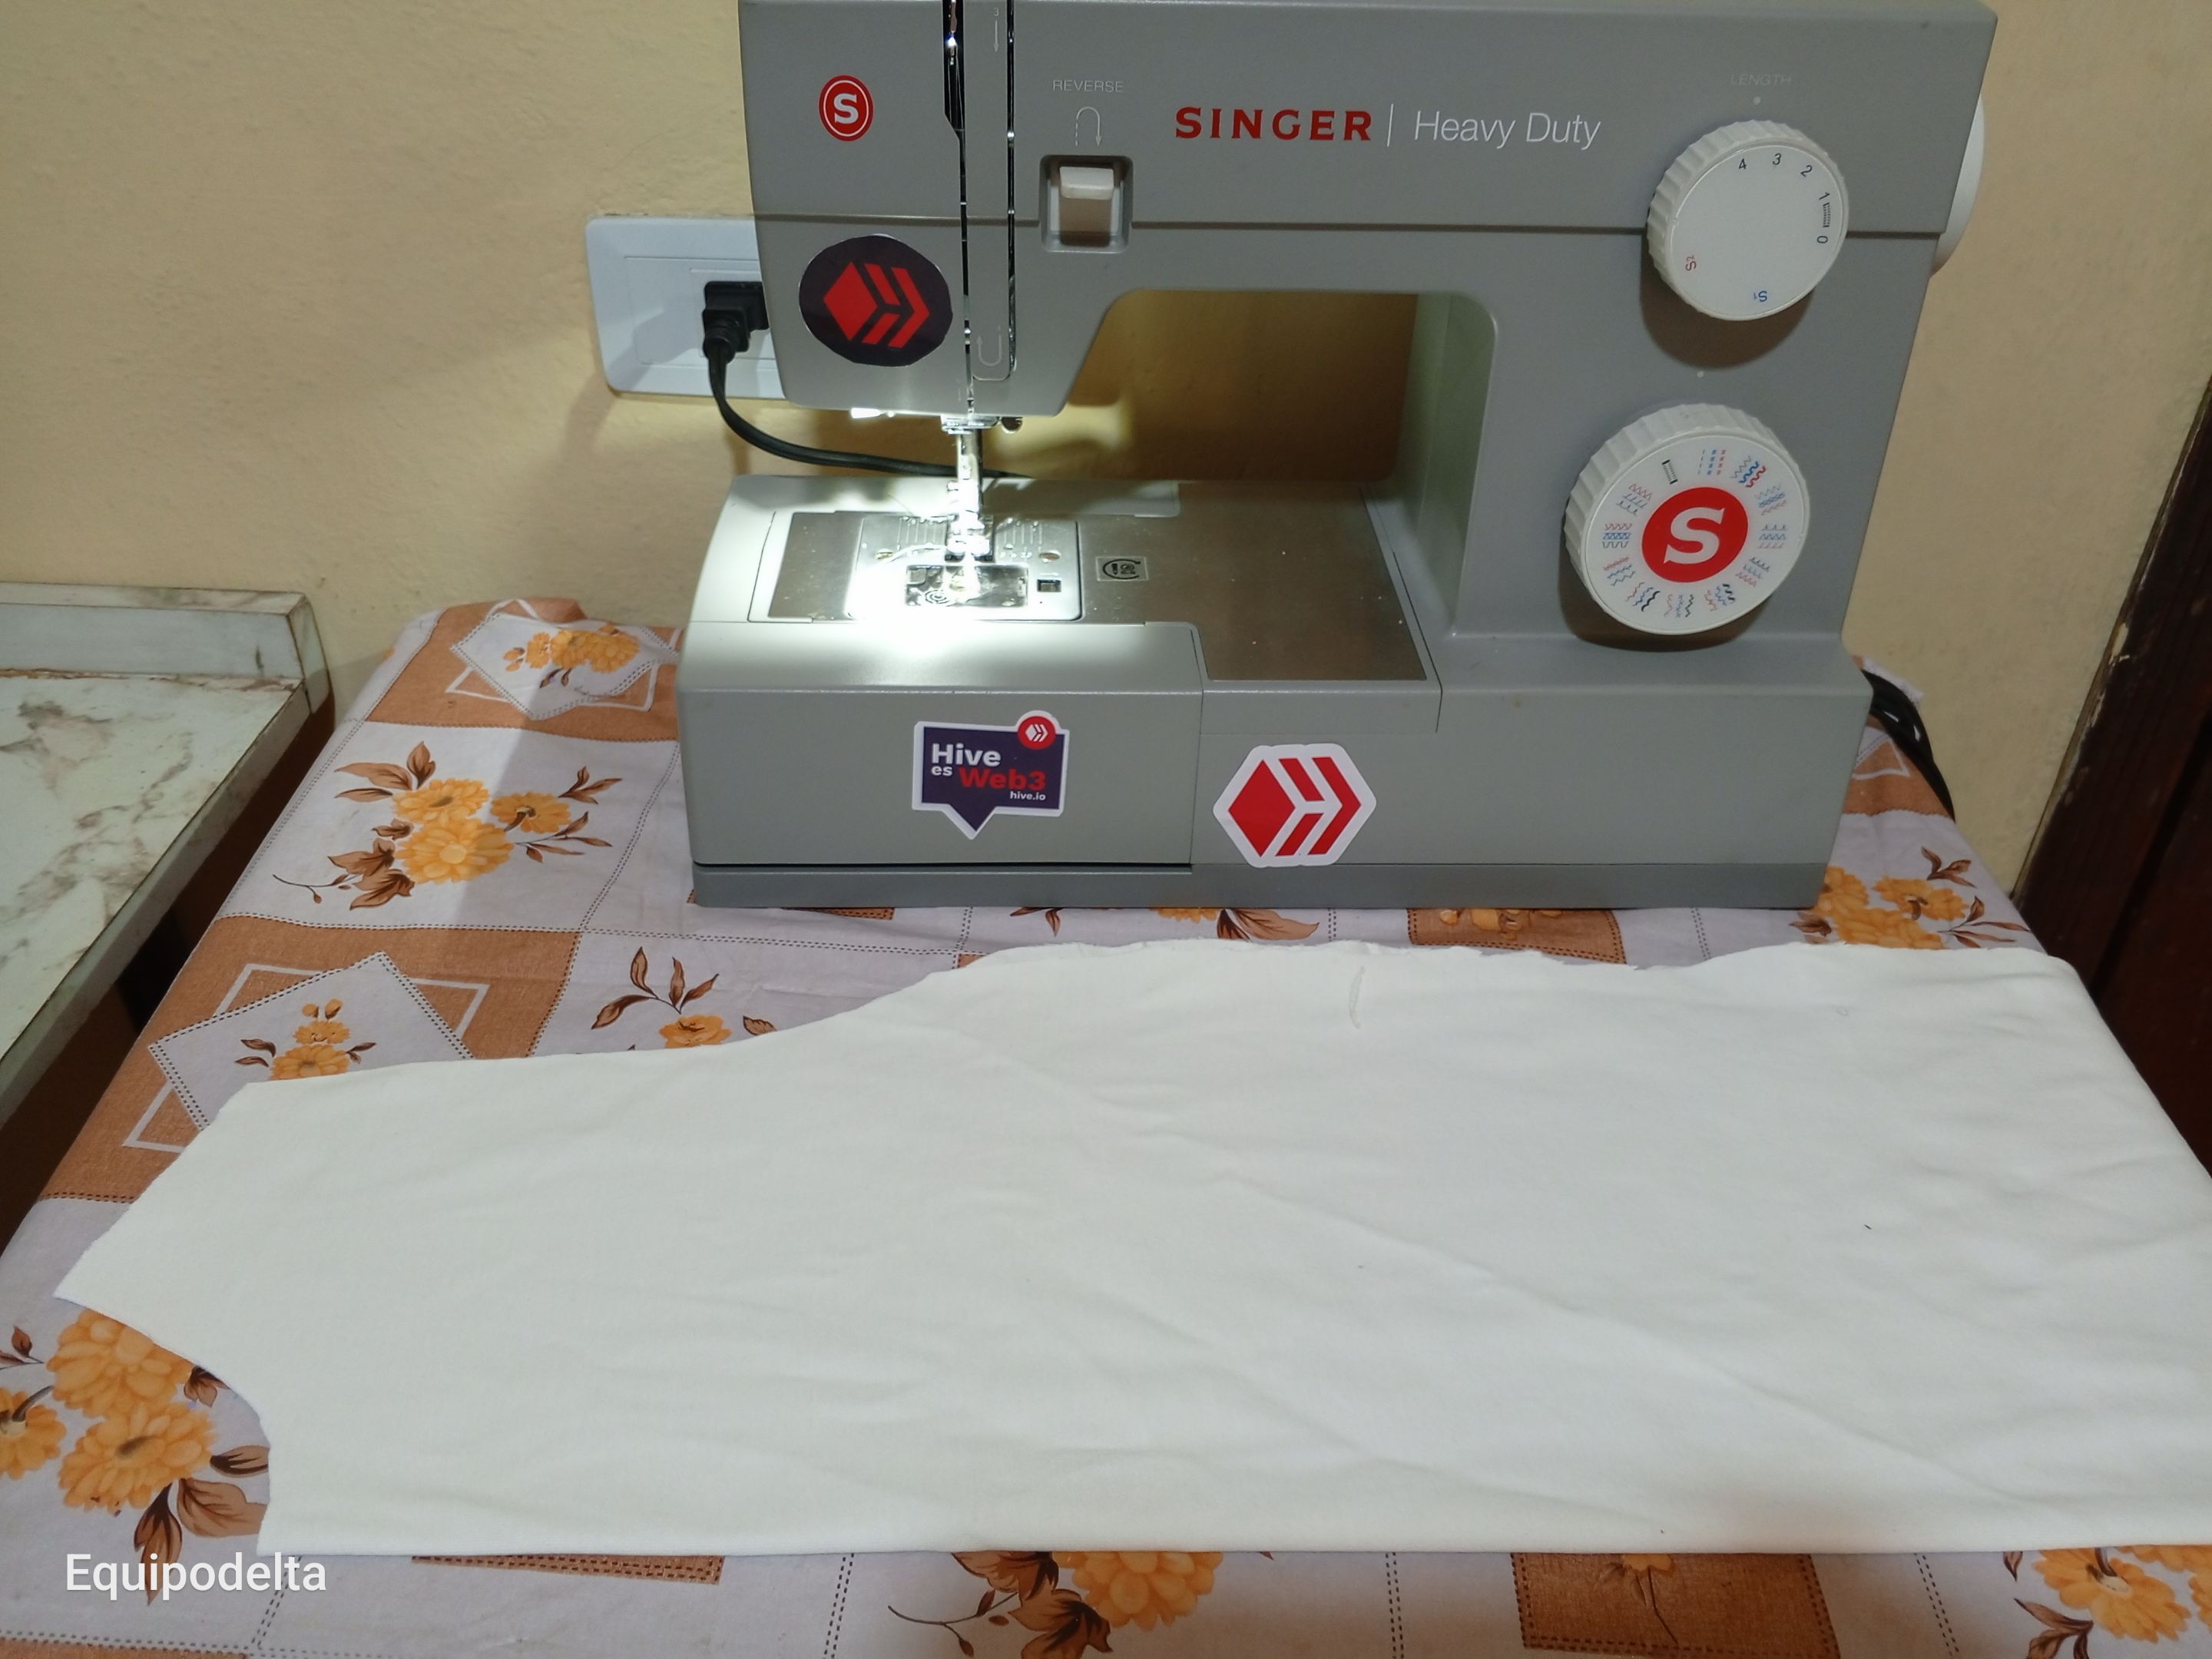
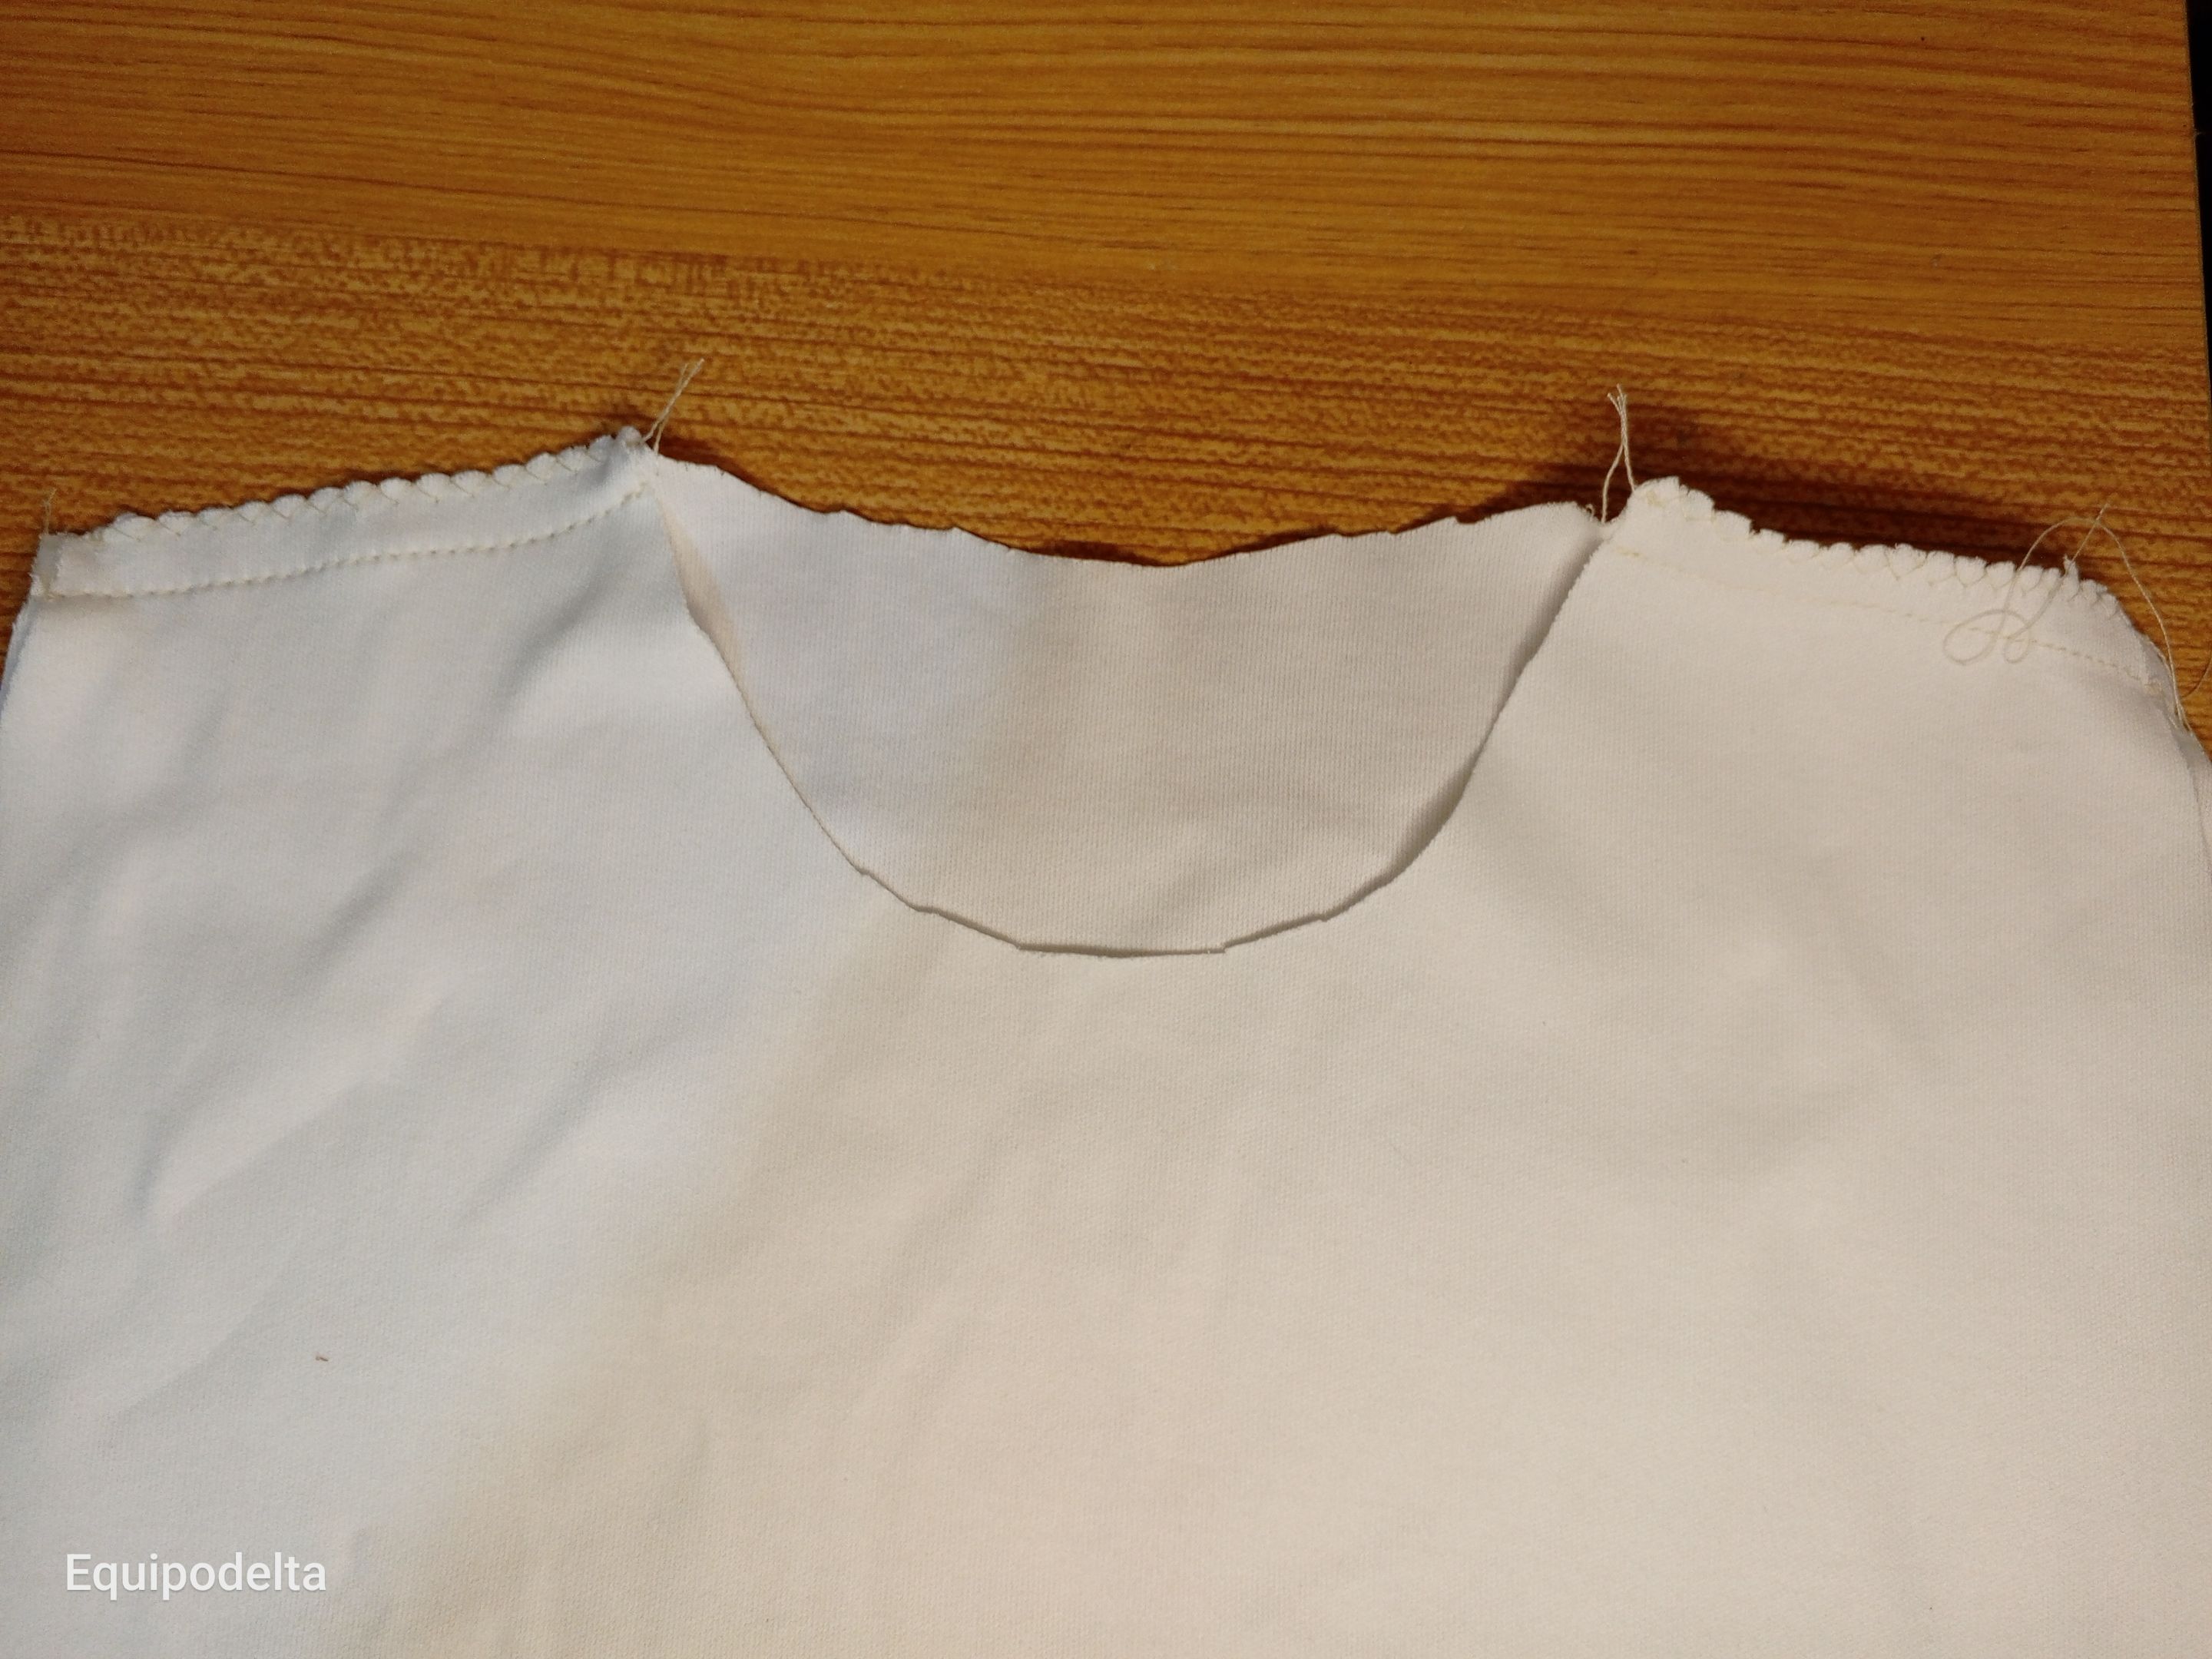
Toma una franelilla que tengas que te quede bien de talla, dobla la tela por la mitad, recorta siguiendo la forma de la franela procurando dejar al menos 2 centímetros de más. Este paso lo harás con la pieza trasera y delantera, ambas tienen diferencia en el cuello, la parte delantera tiene el cuello más abierto.
Cose la parte de los hombros, primero con zig Zag luego con costura recta.
! [English version]
Take a flannel that fits you well, fold the fabric in half, cut it following the shape of the flannel trying to leave at least 2 centimeters extra. This step will be done with the back and front piece, both have a difference in the neck, the front part has a more open neck.
Sew the shoulder part, first with a zig zag and then with a straight seam.

Step 2️⃣/ paso 2️⃣

 |  | |
 |  |
[Esp]
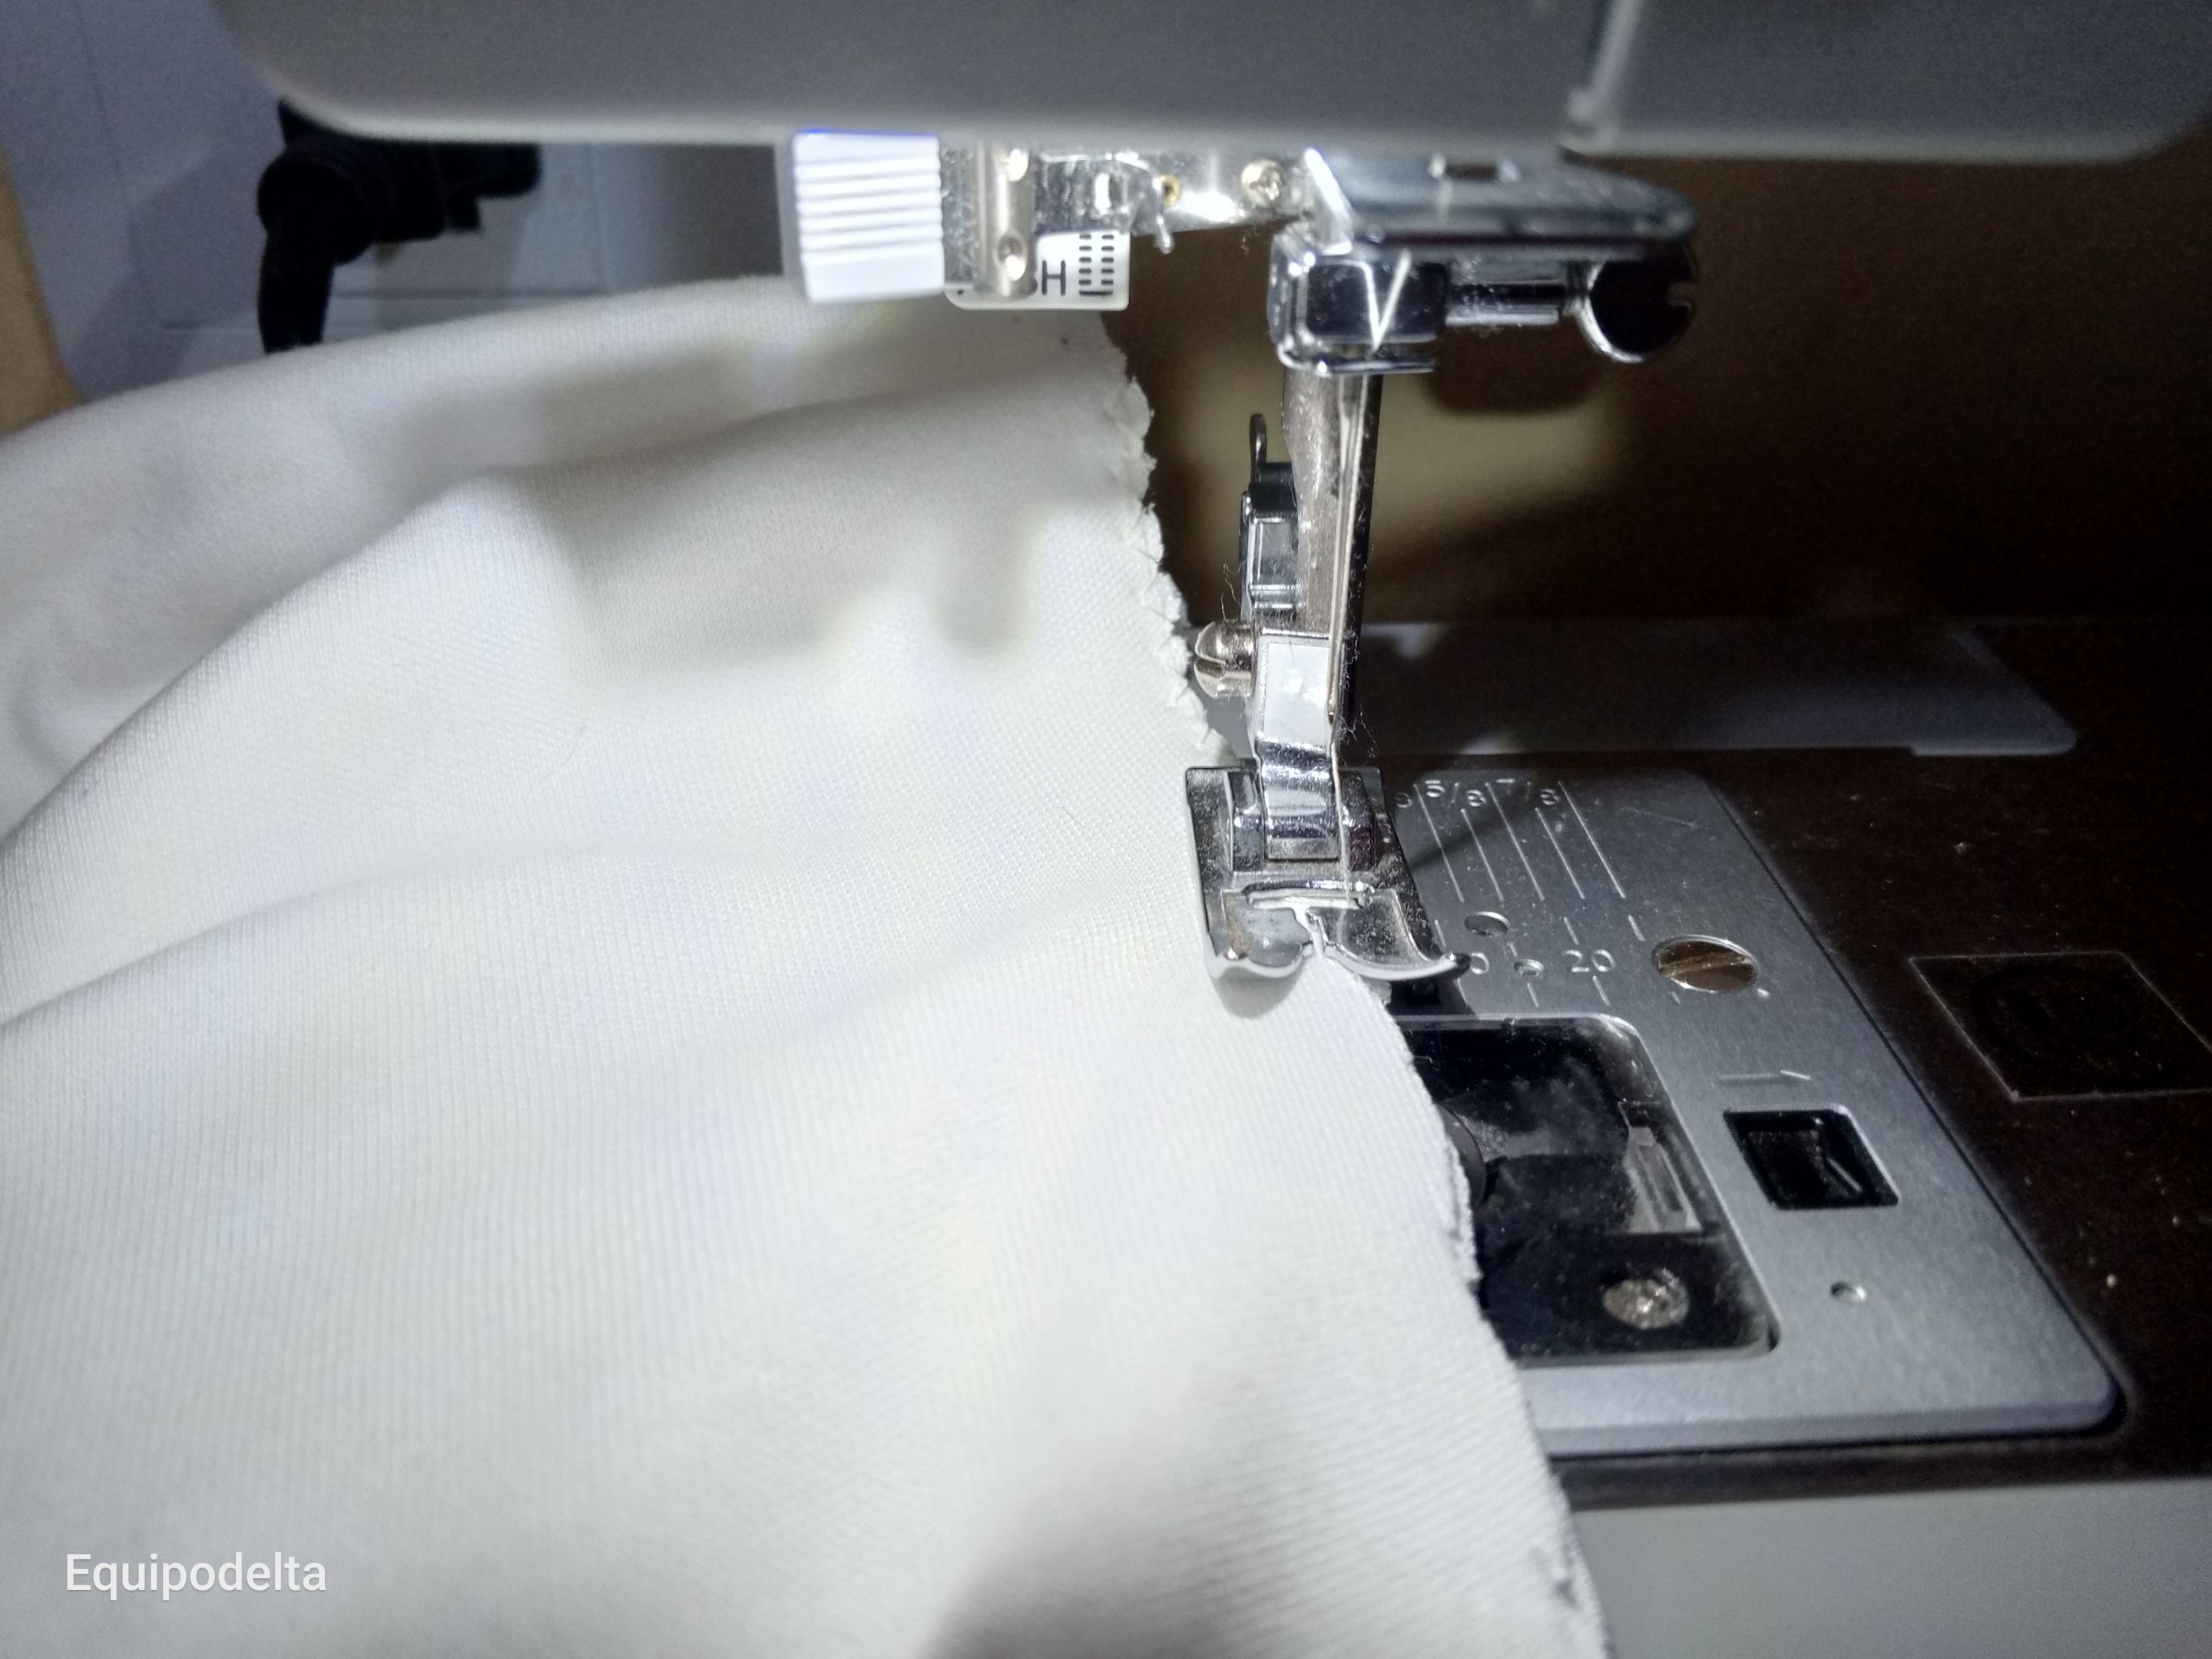
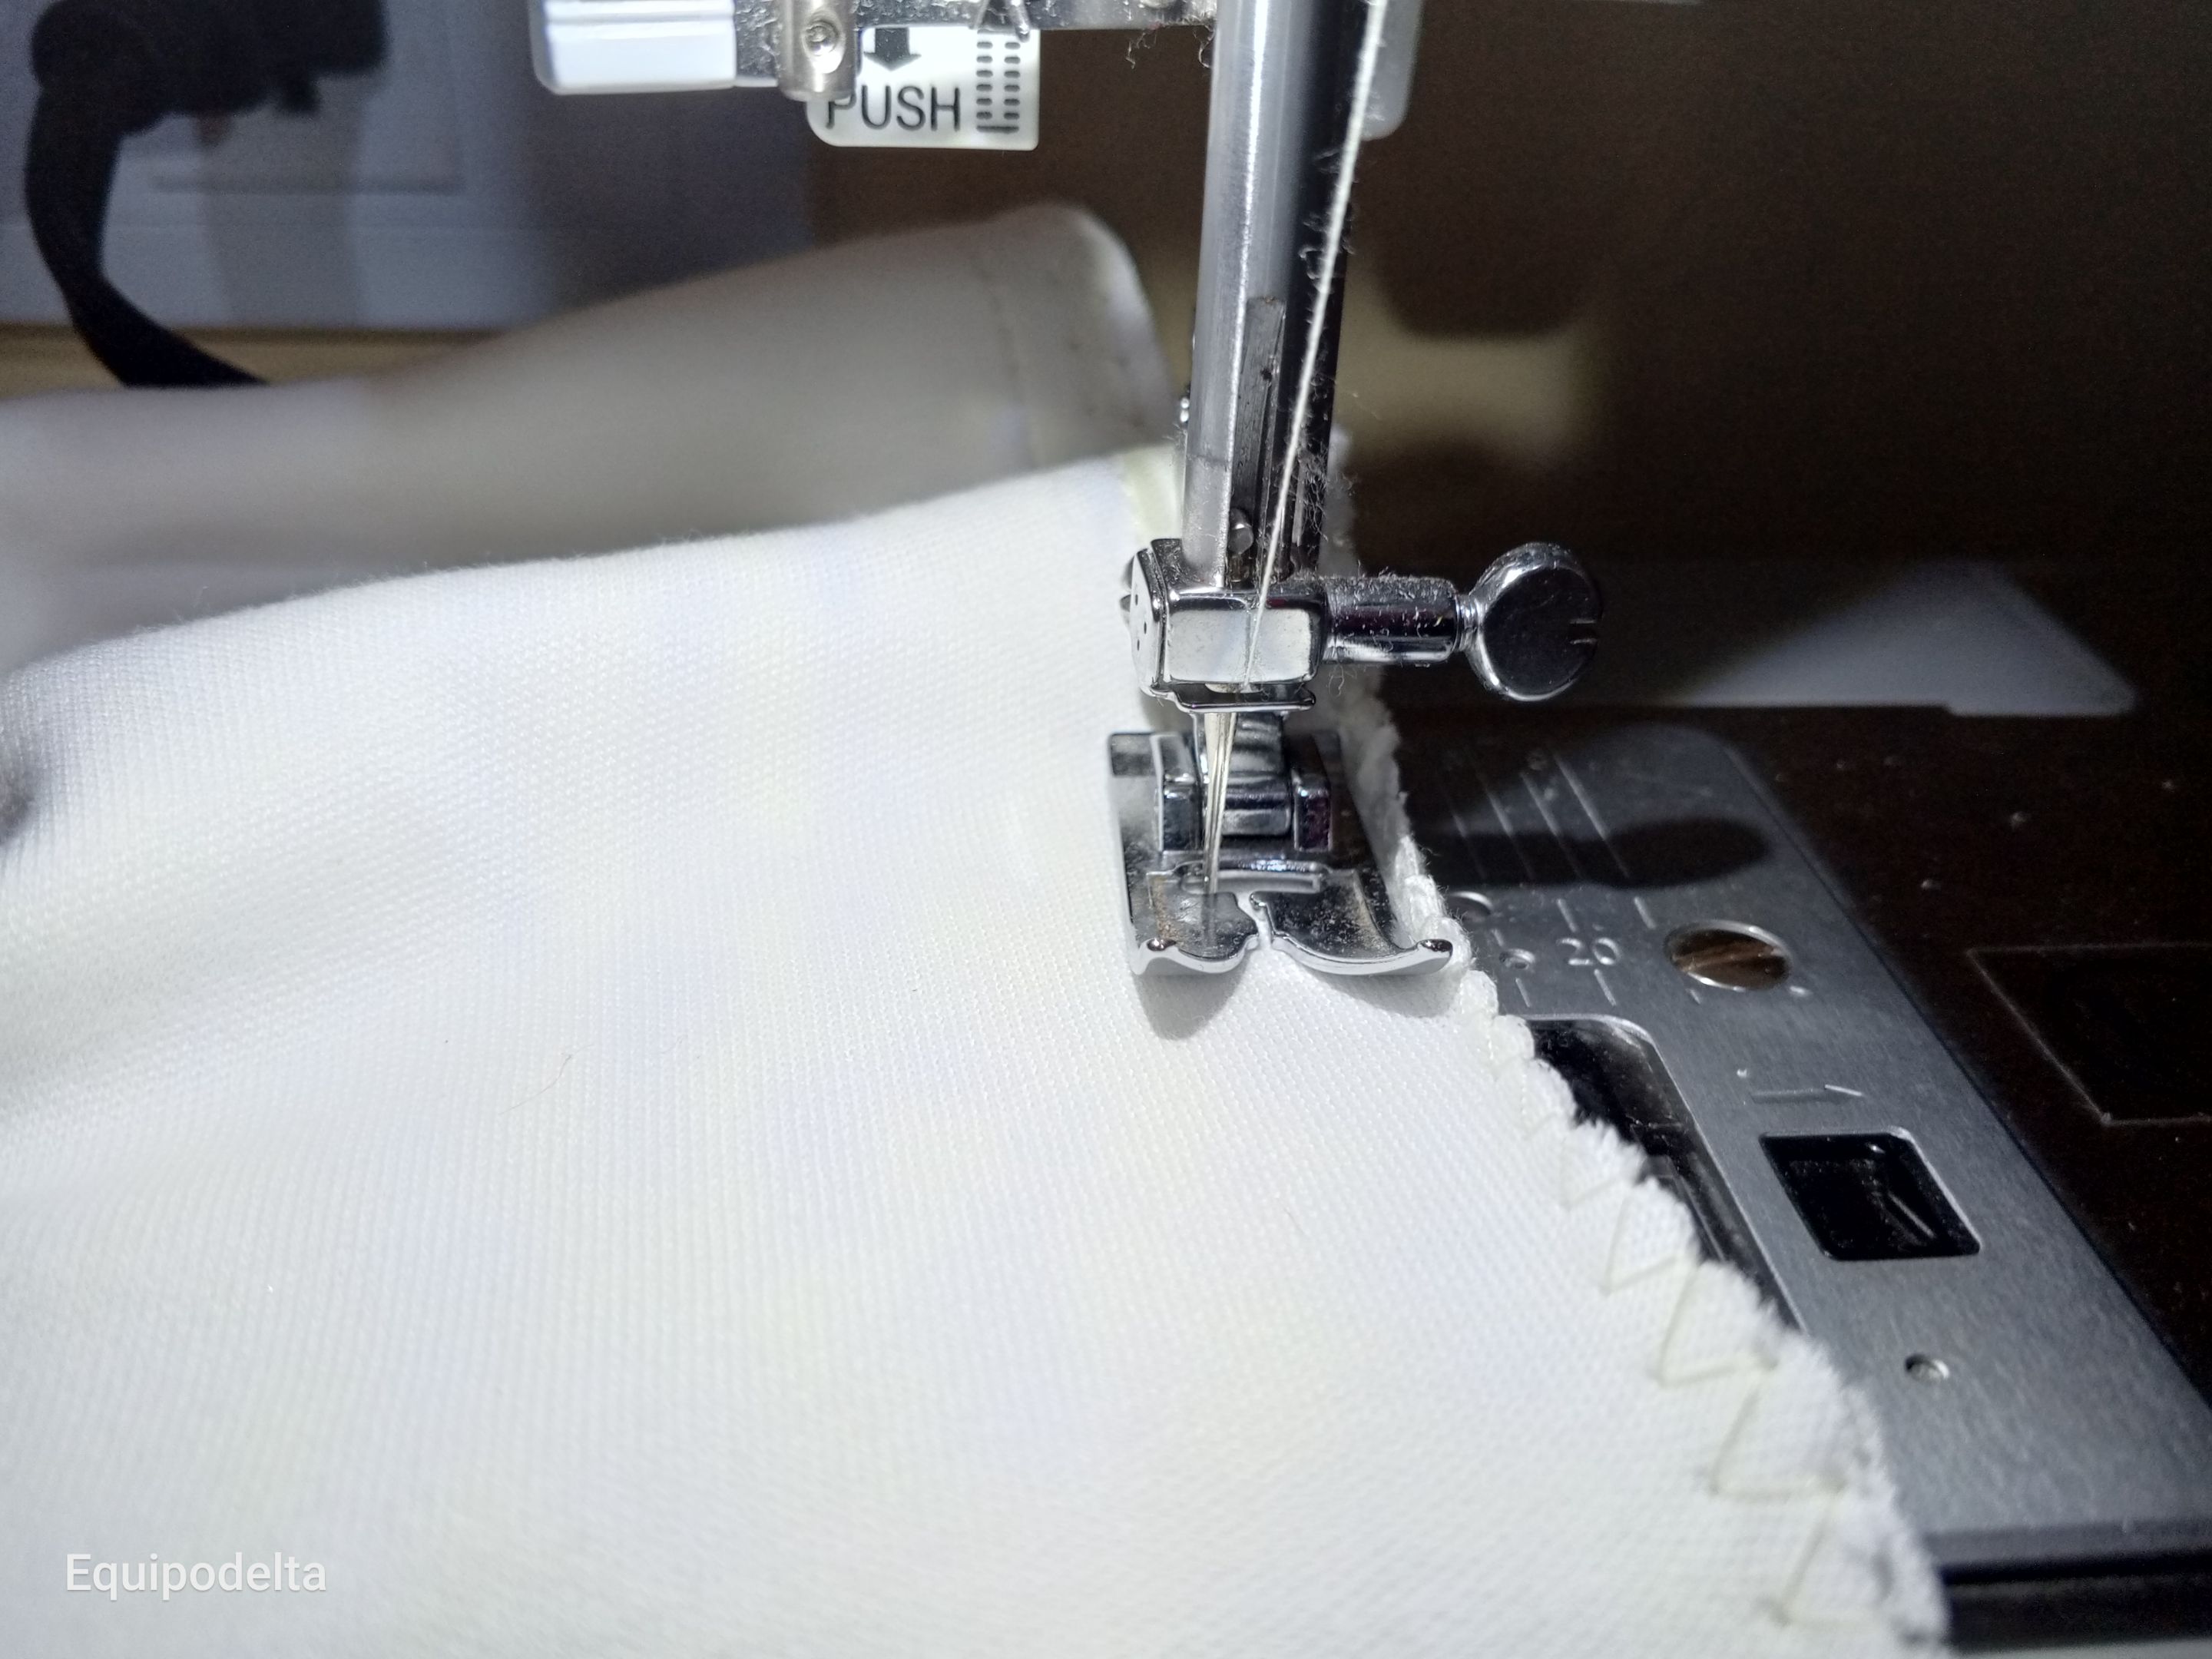
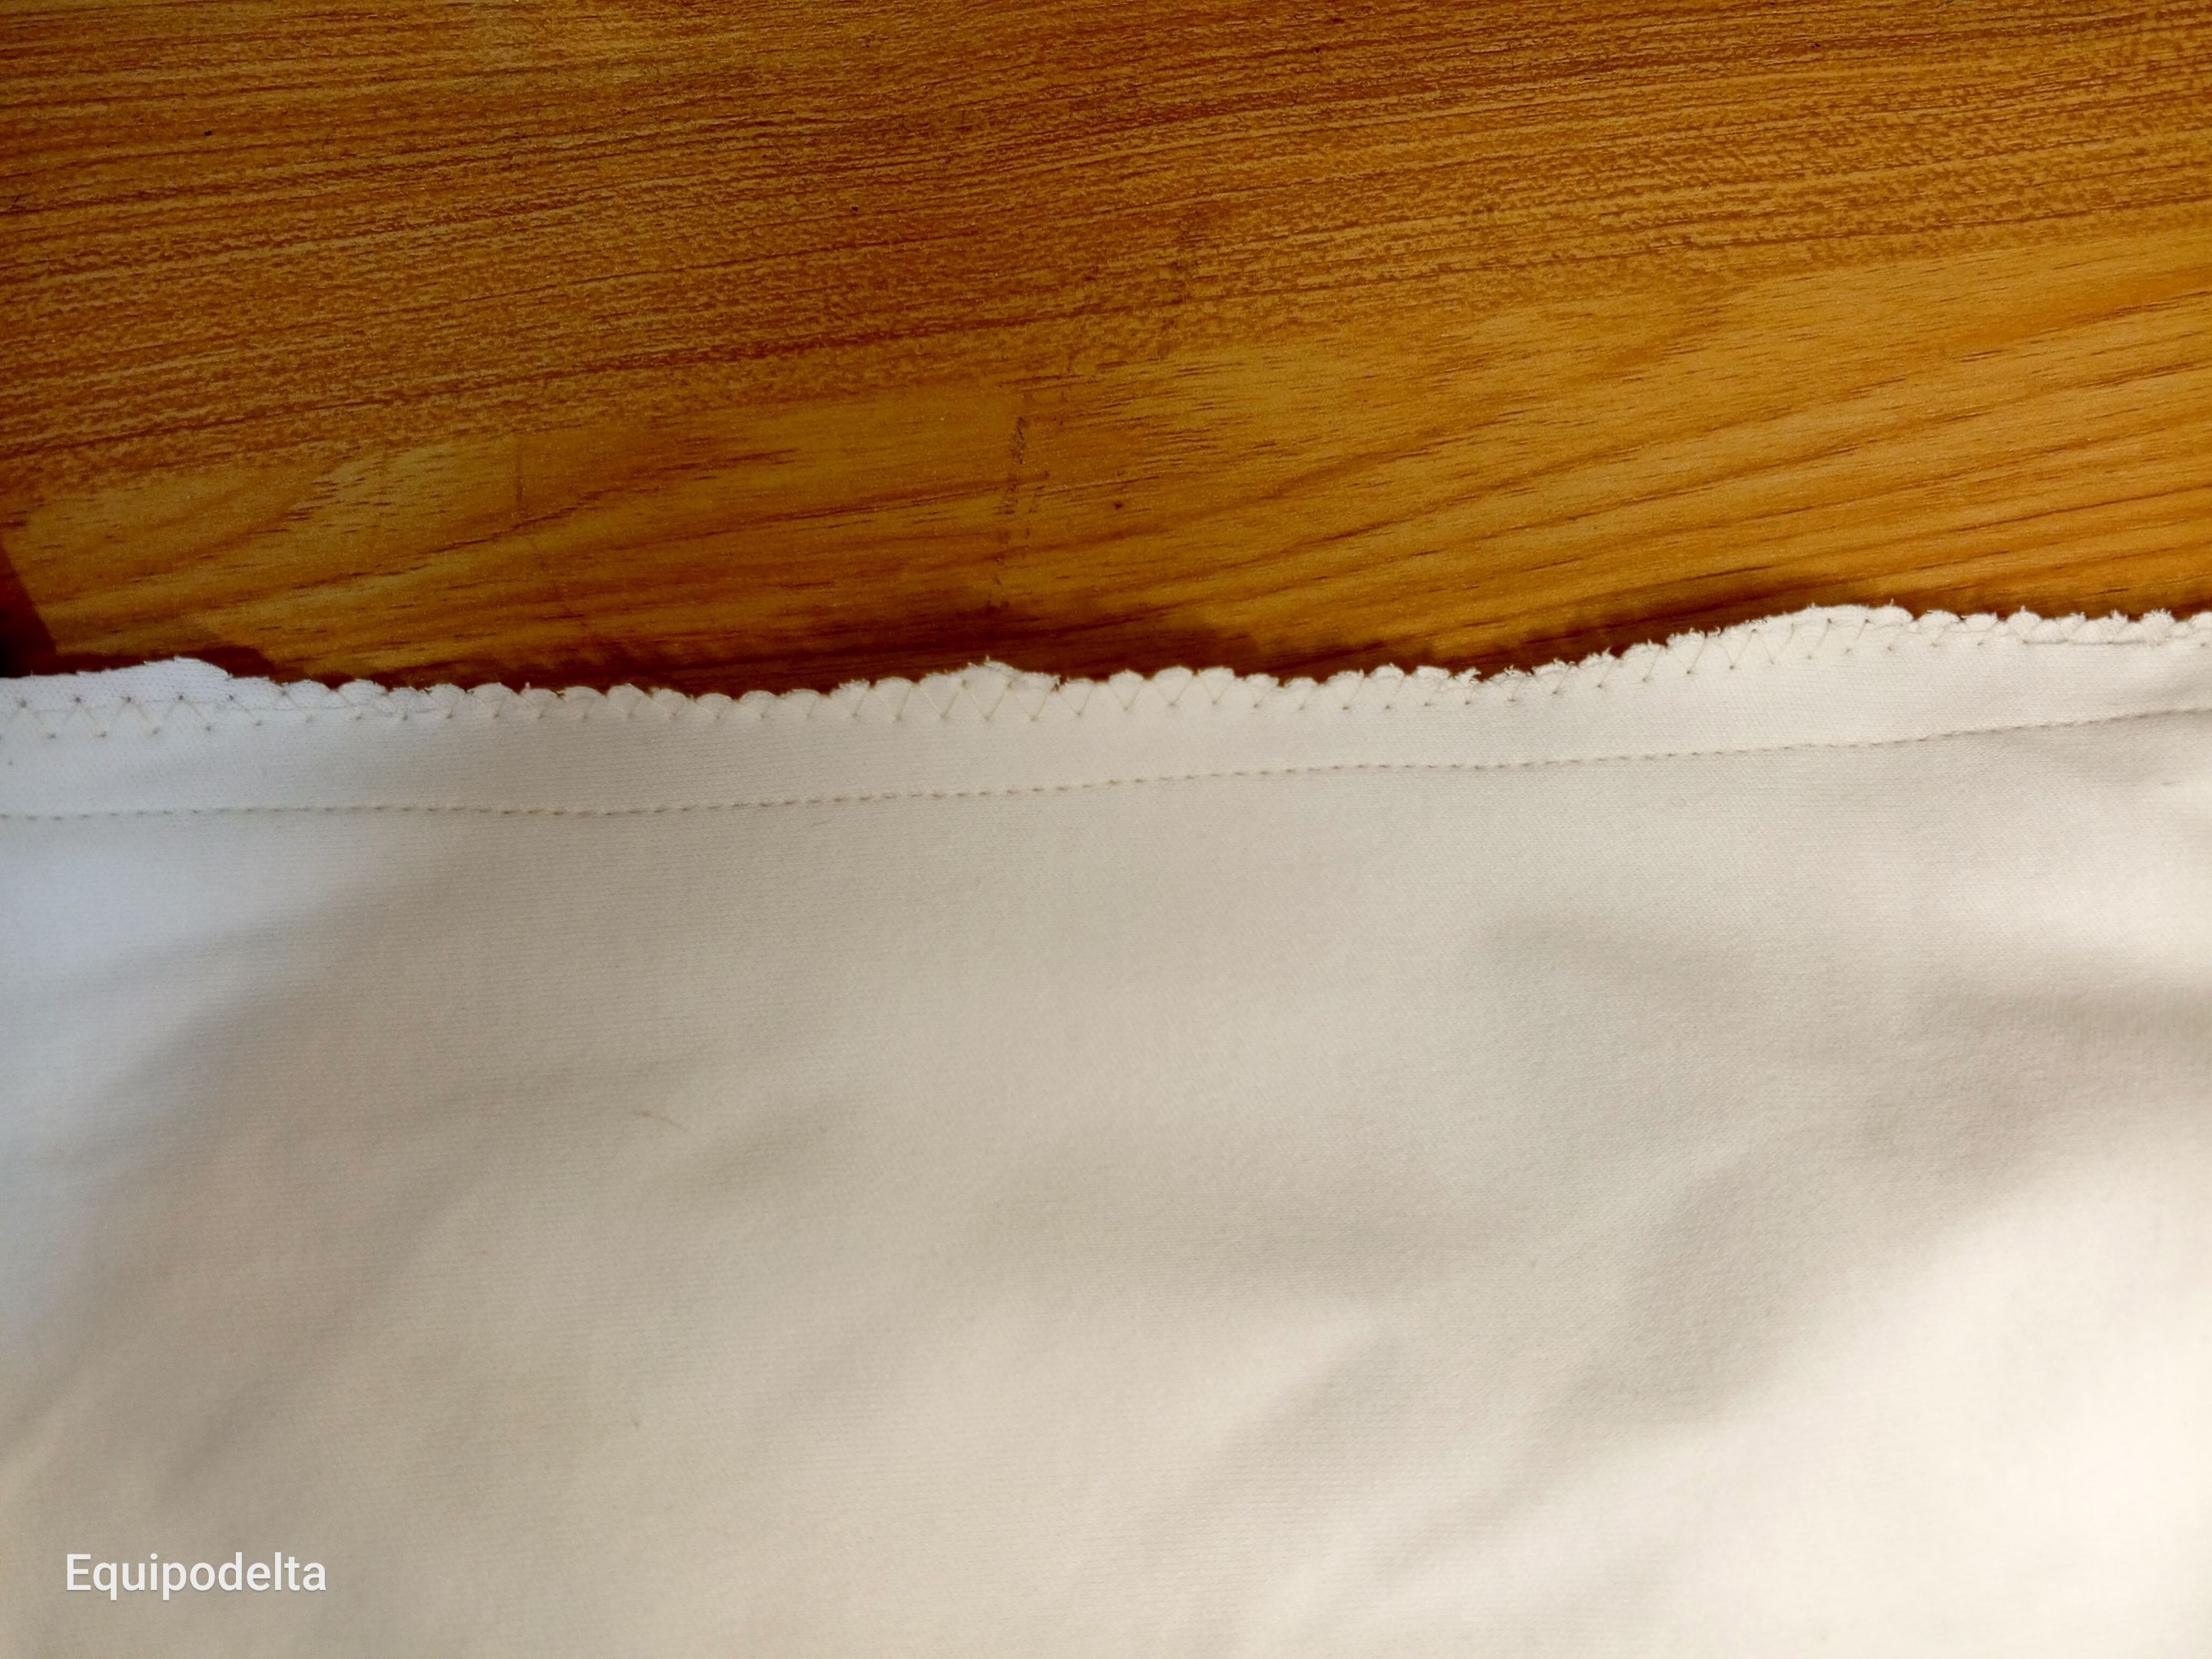
Cierra los laterales de la franela, primero con zig zag y luego pasa una recta.
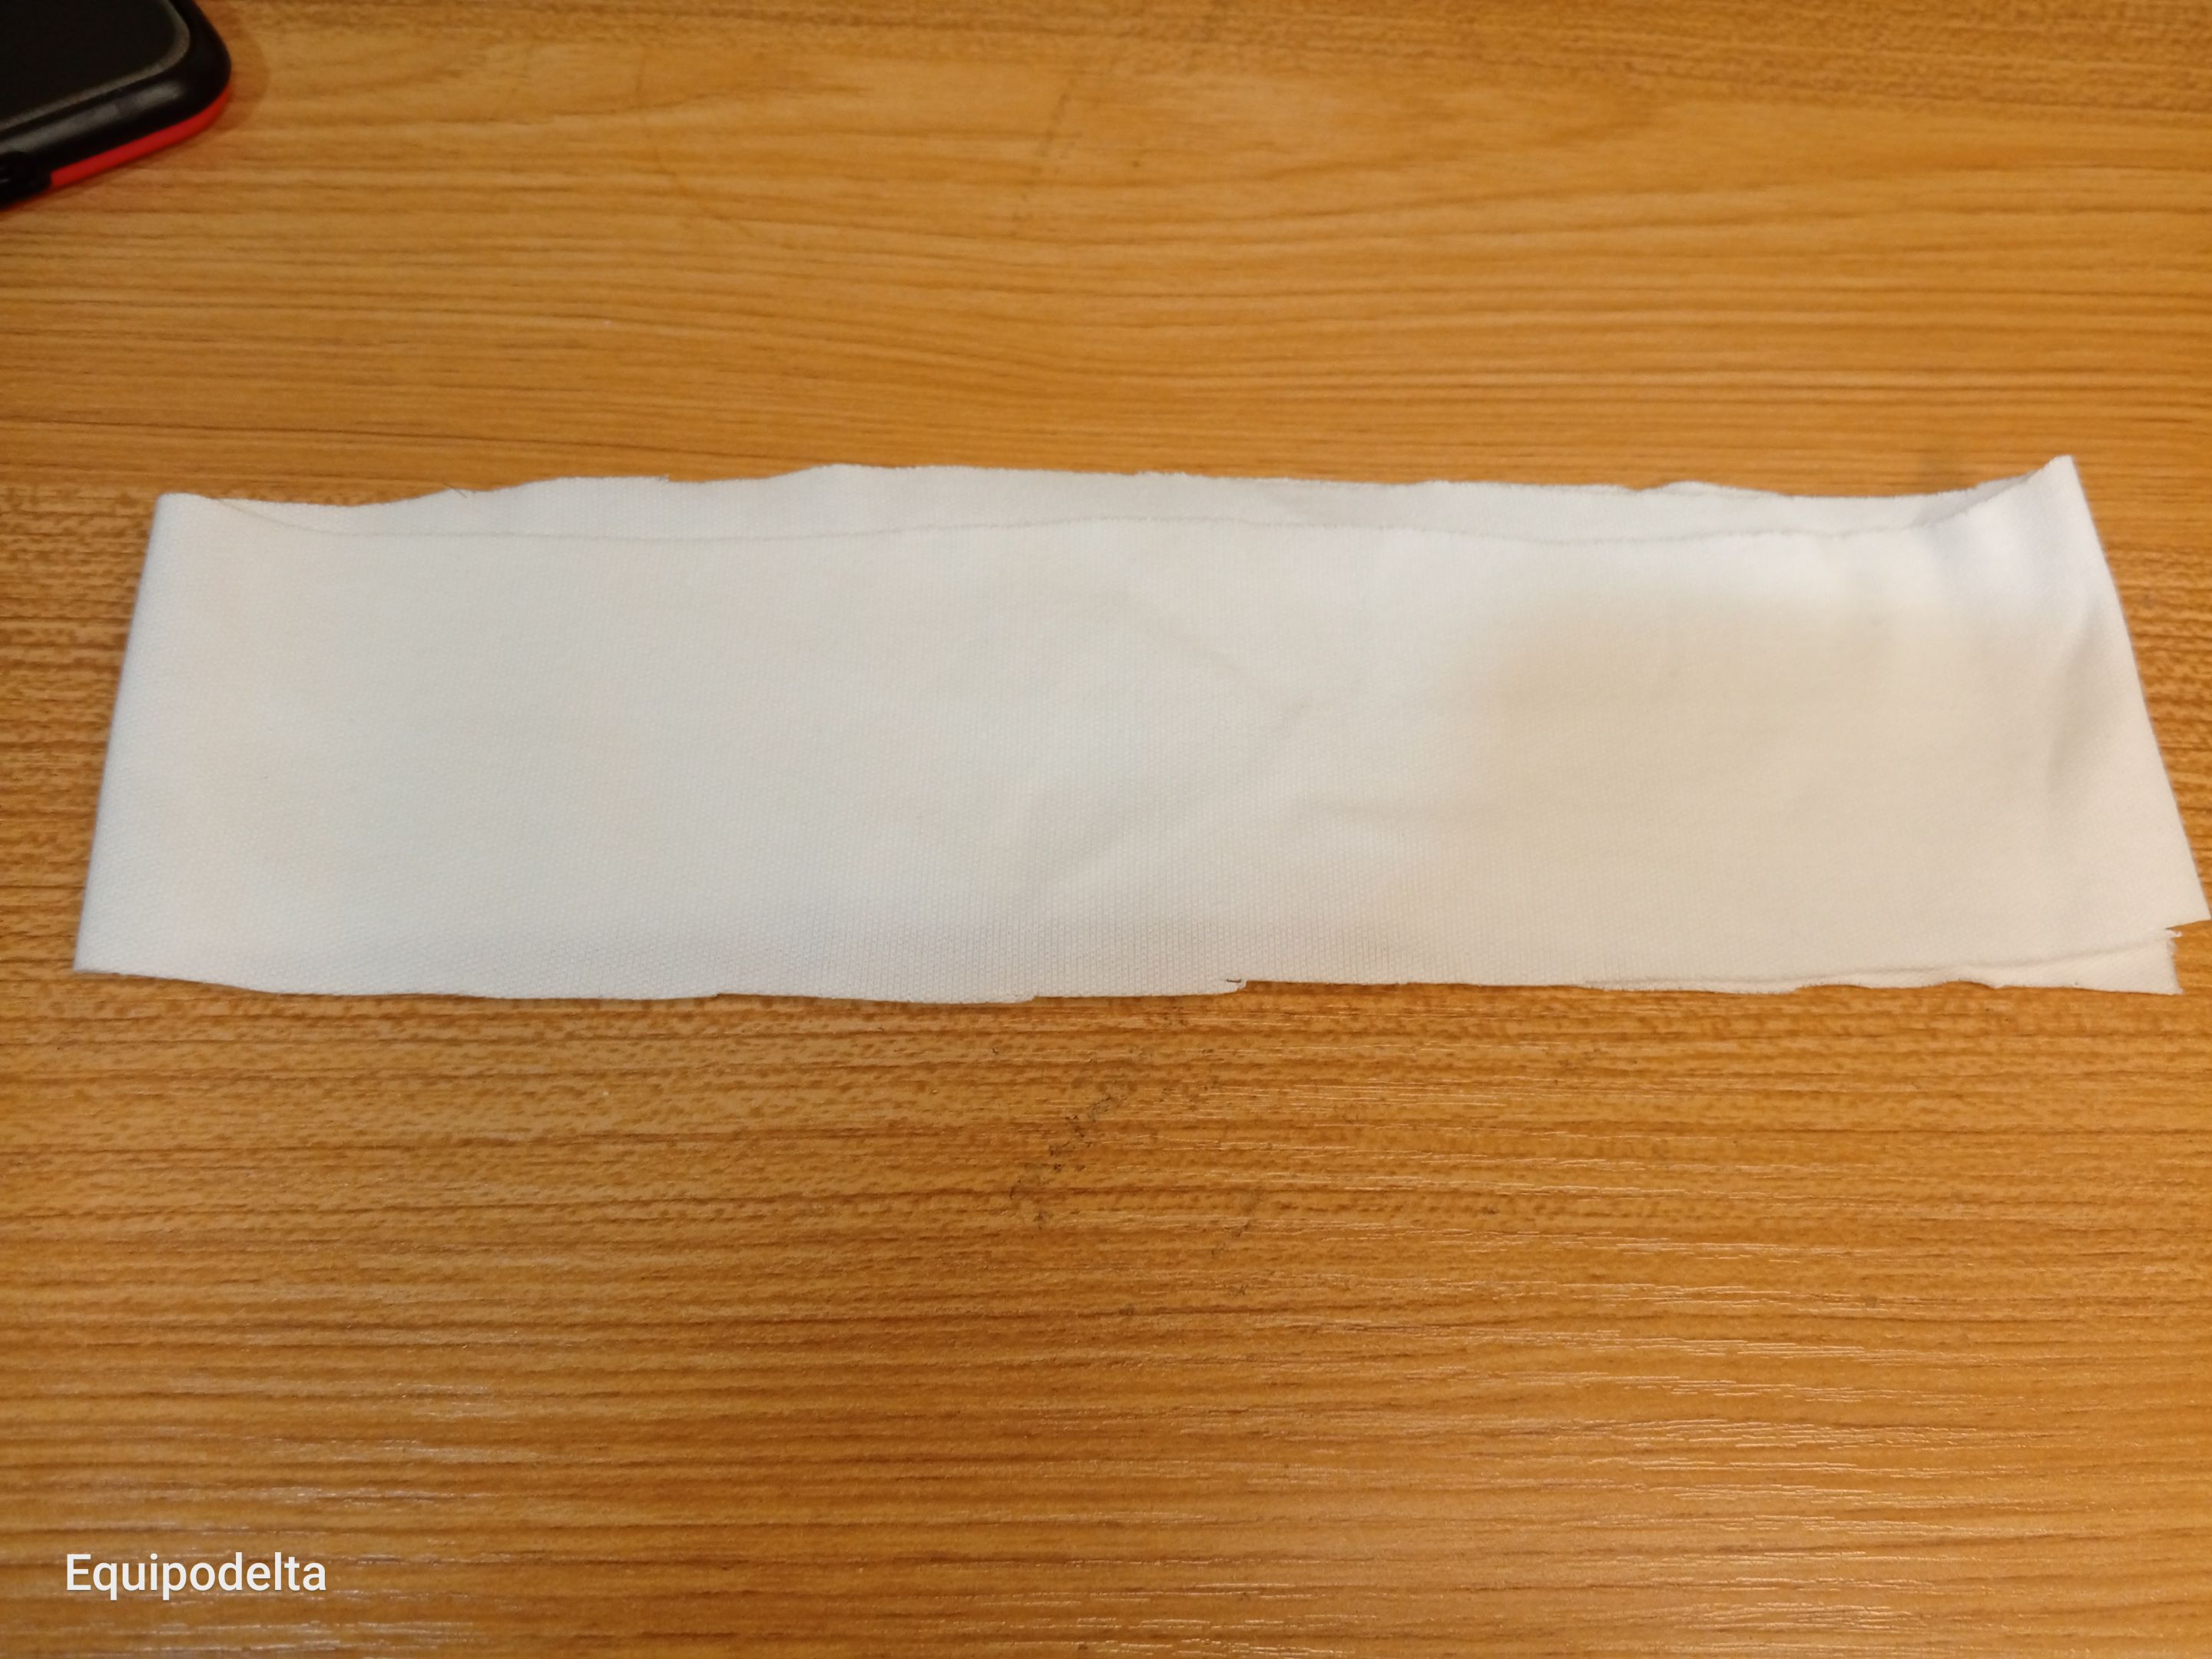
Recorta una tira de 4 centímetros de ancho, esta será para el dobladillo de las mangas.
! [English version]
Close the sides of the flannel, first zig zag and then pass a straight.
Cut a 4 cm wide strip, this will be for the hem of the sleeves.

Step 3️⃣/ paso 3️⃣

 |  | |
 |  |
[Esp]
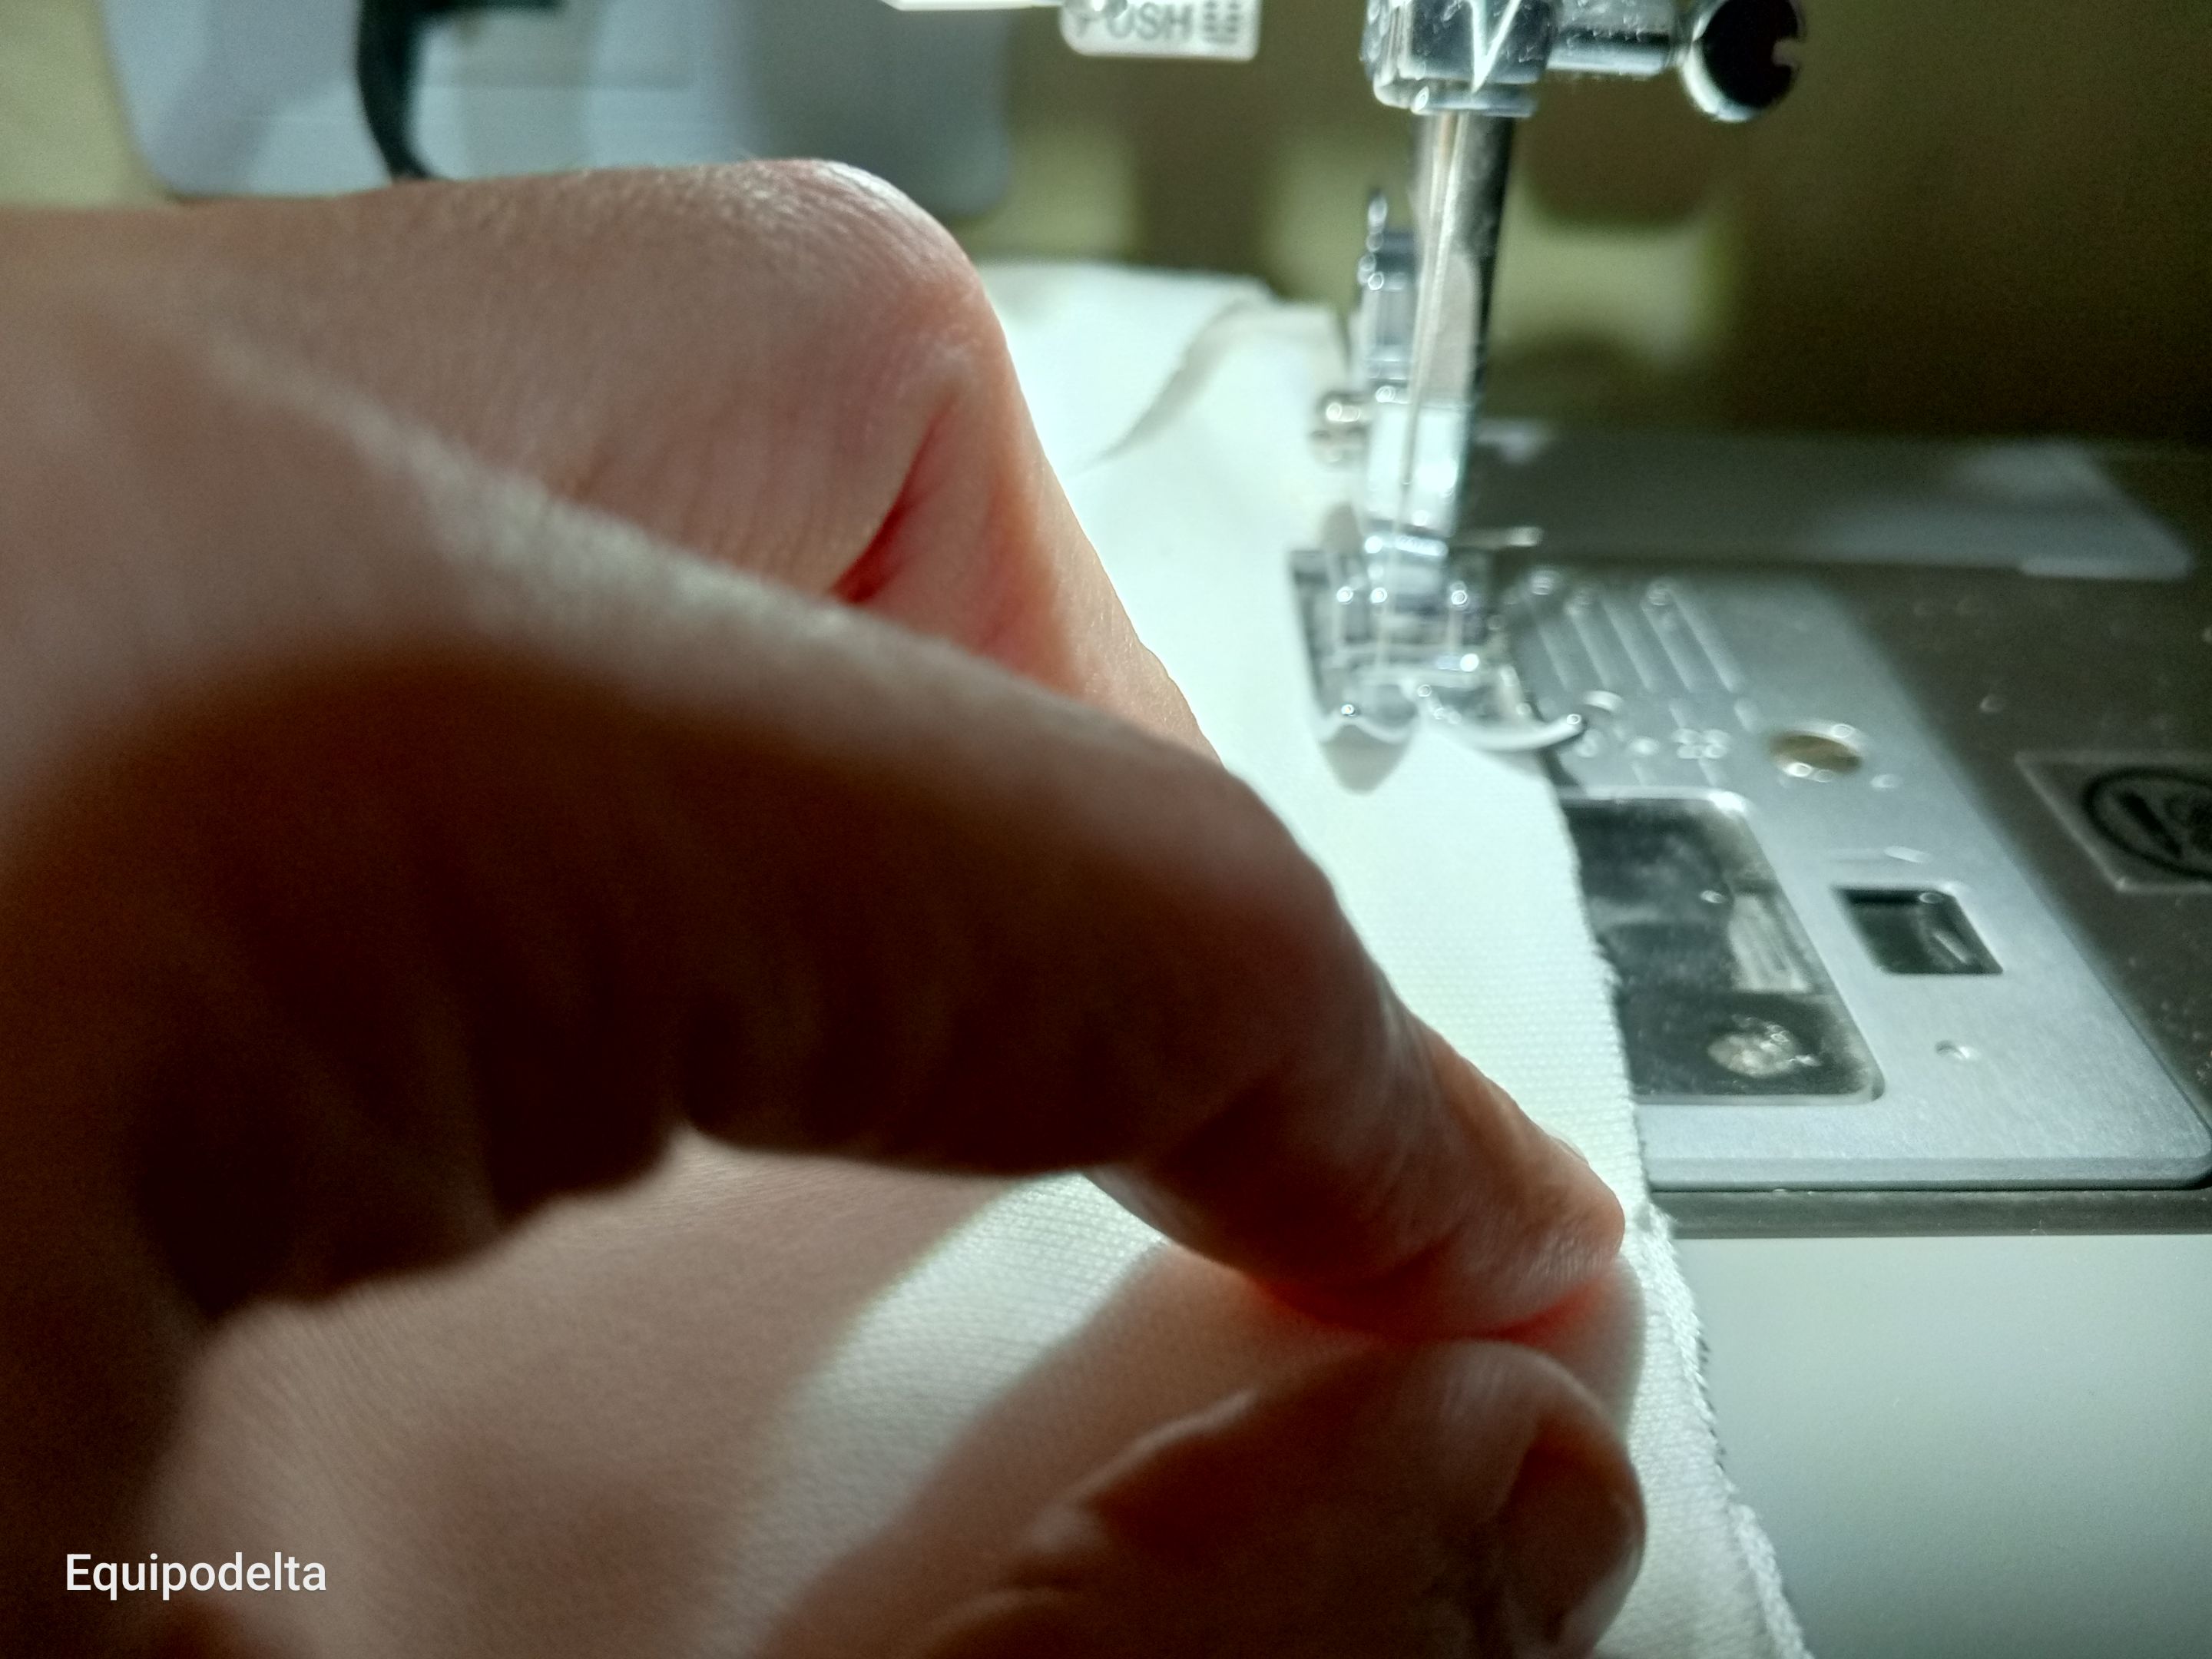
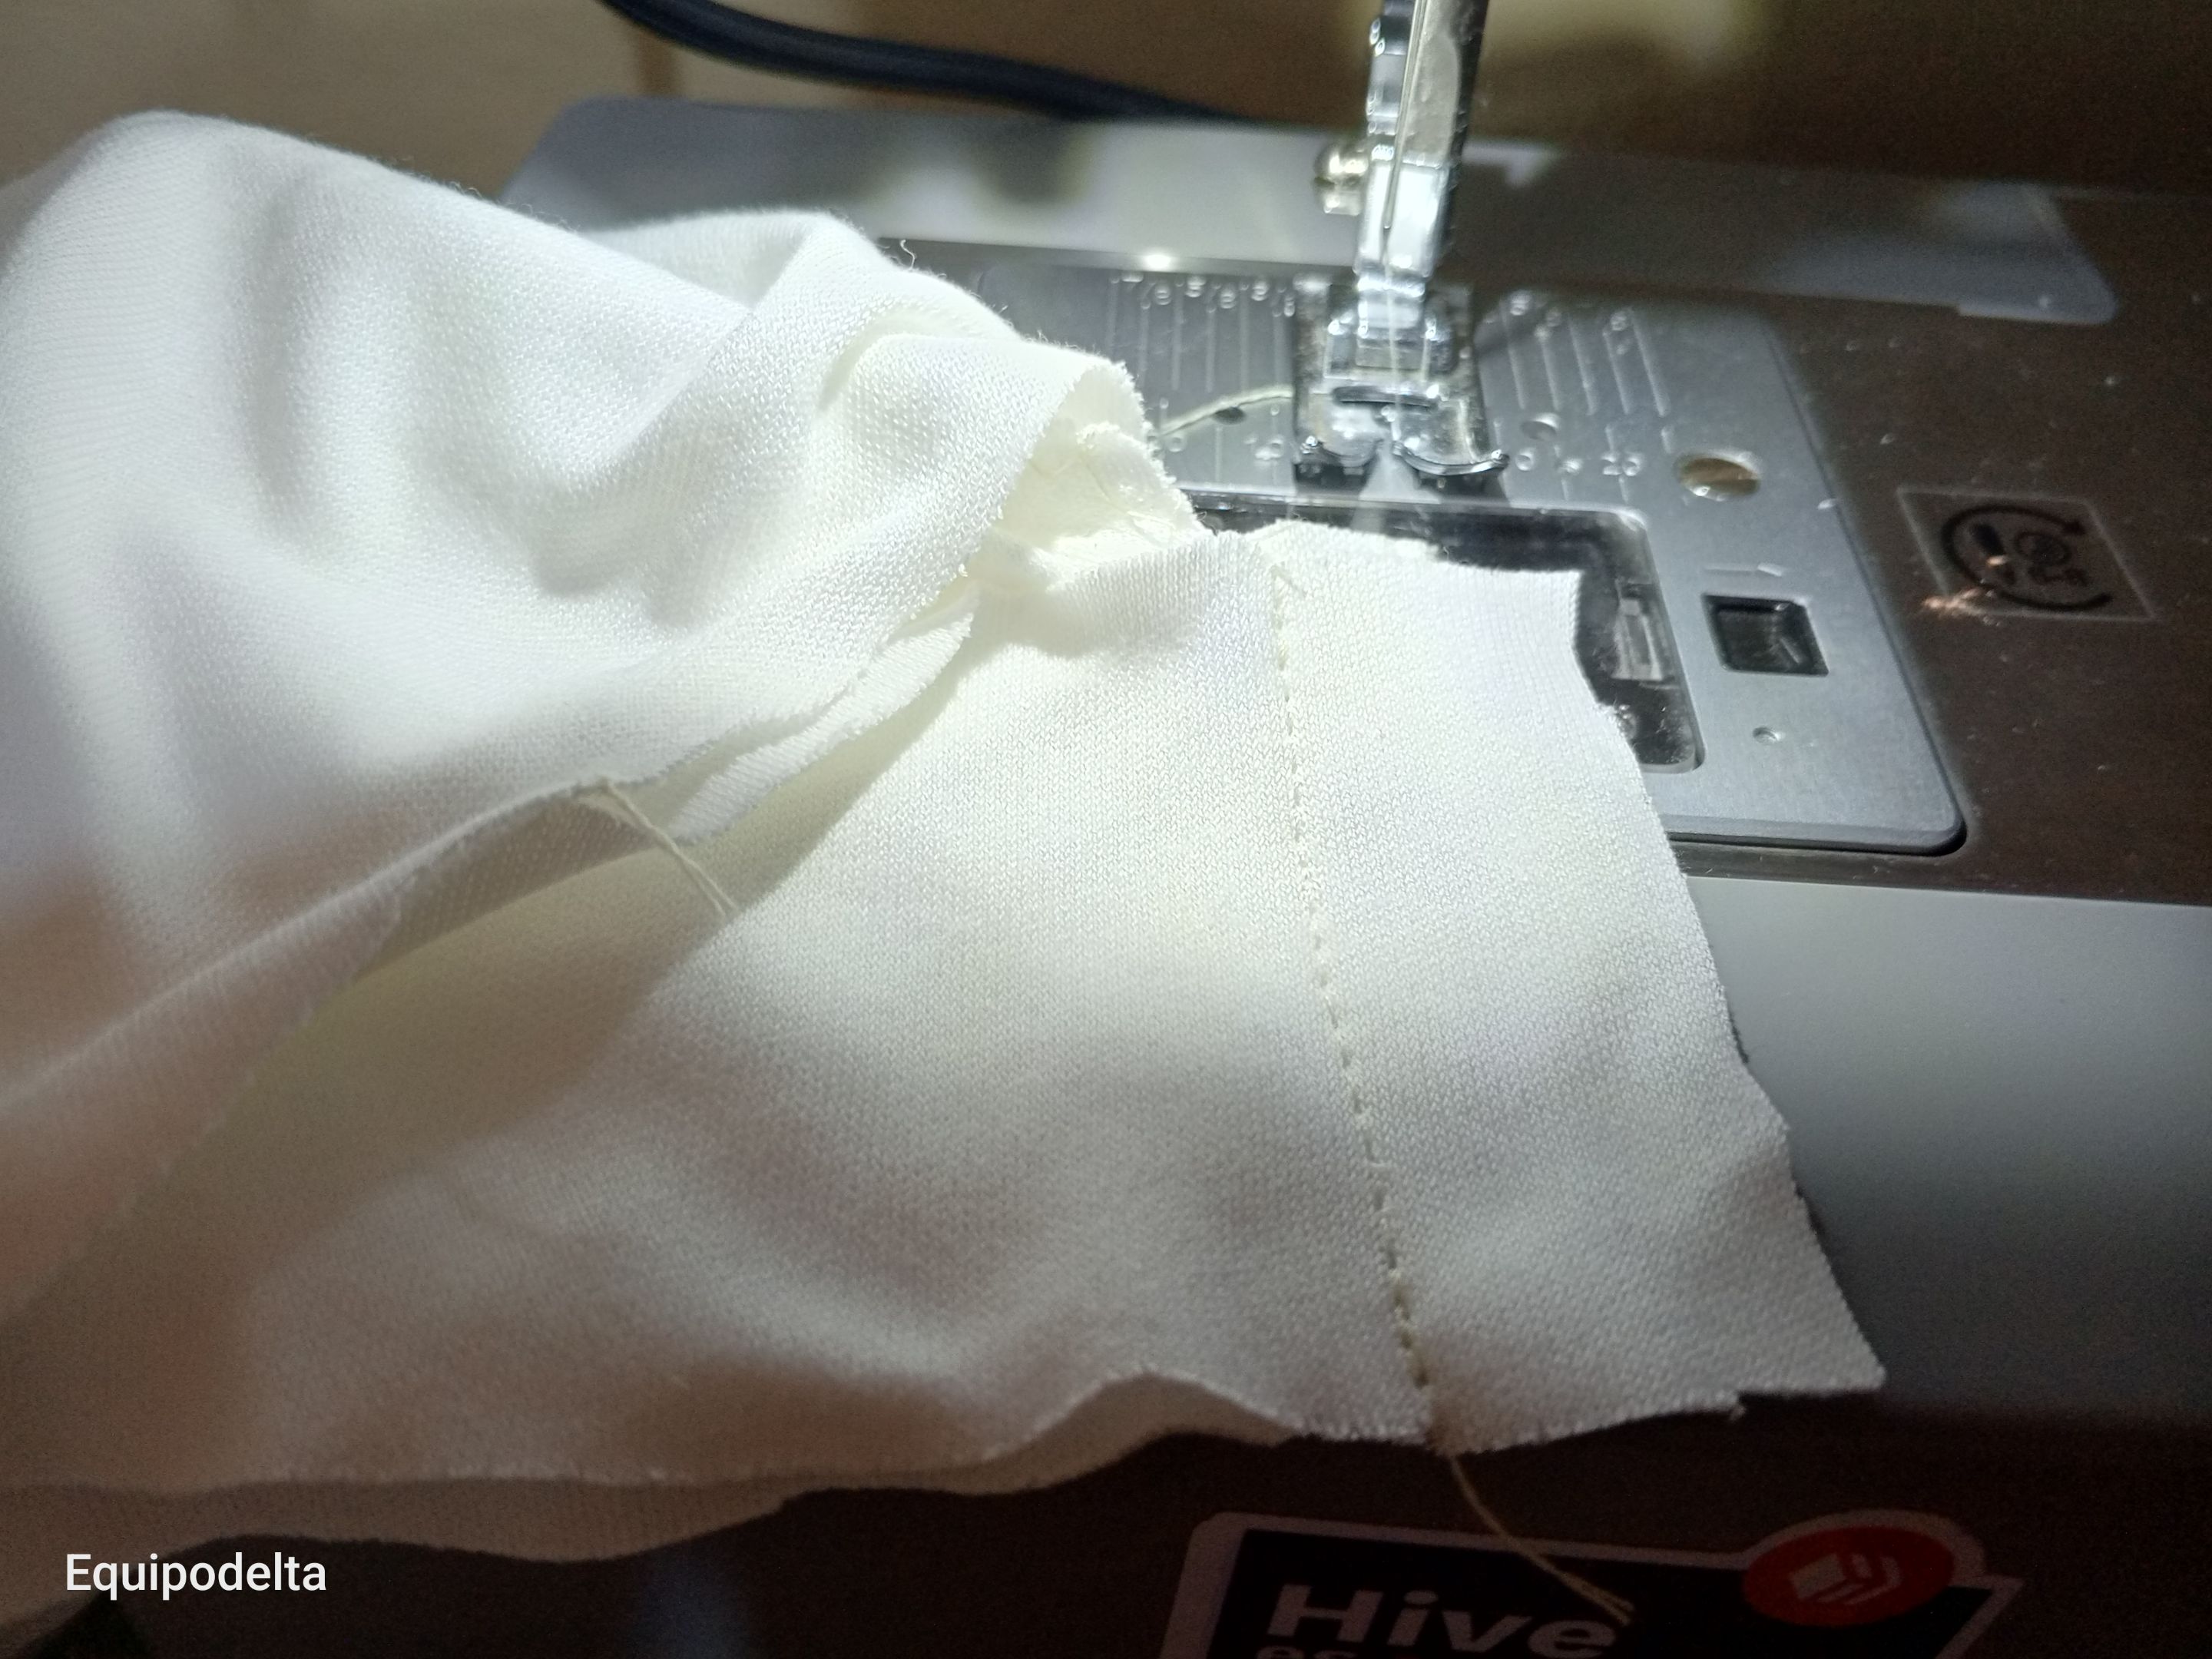
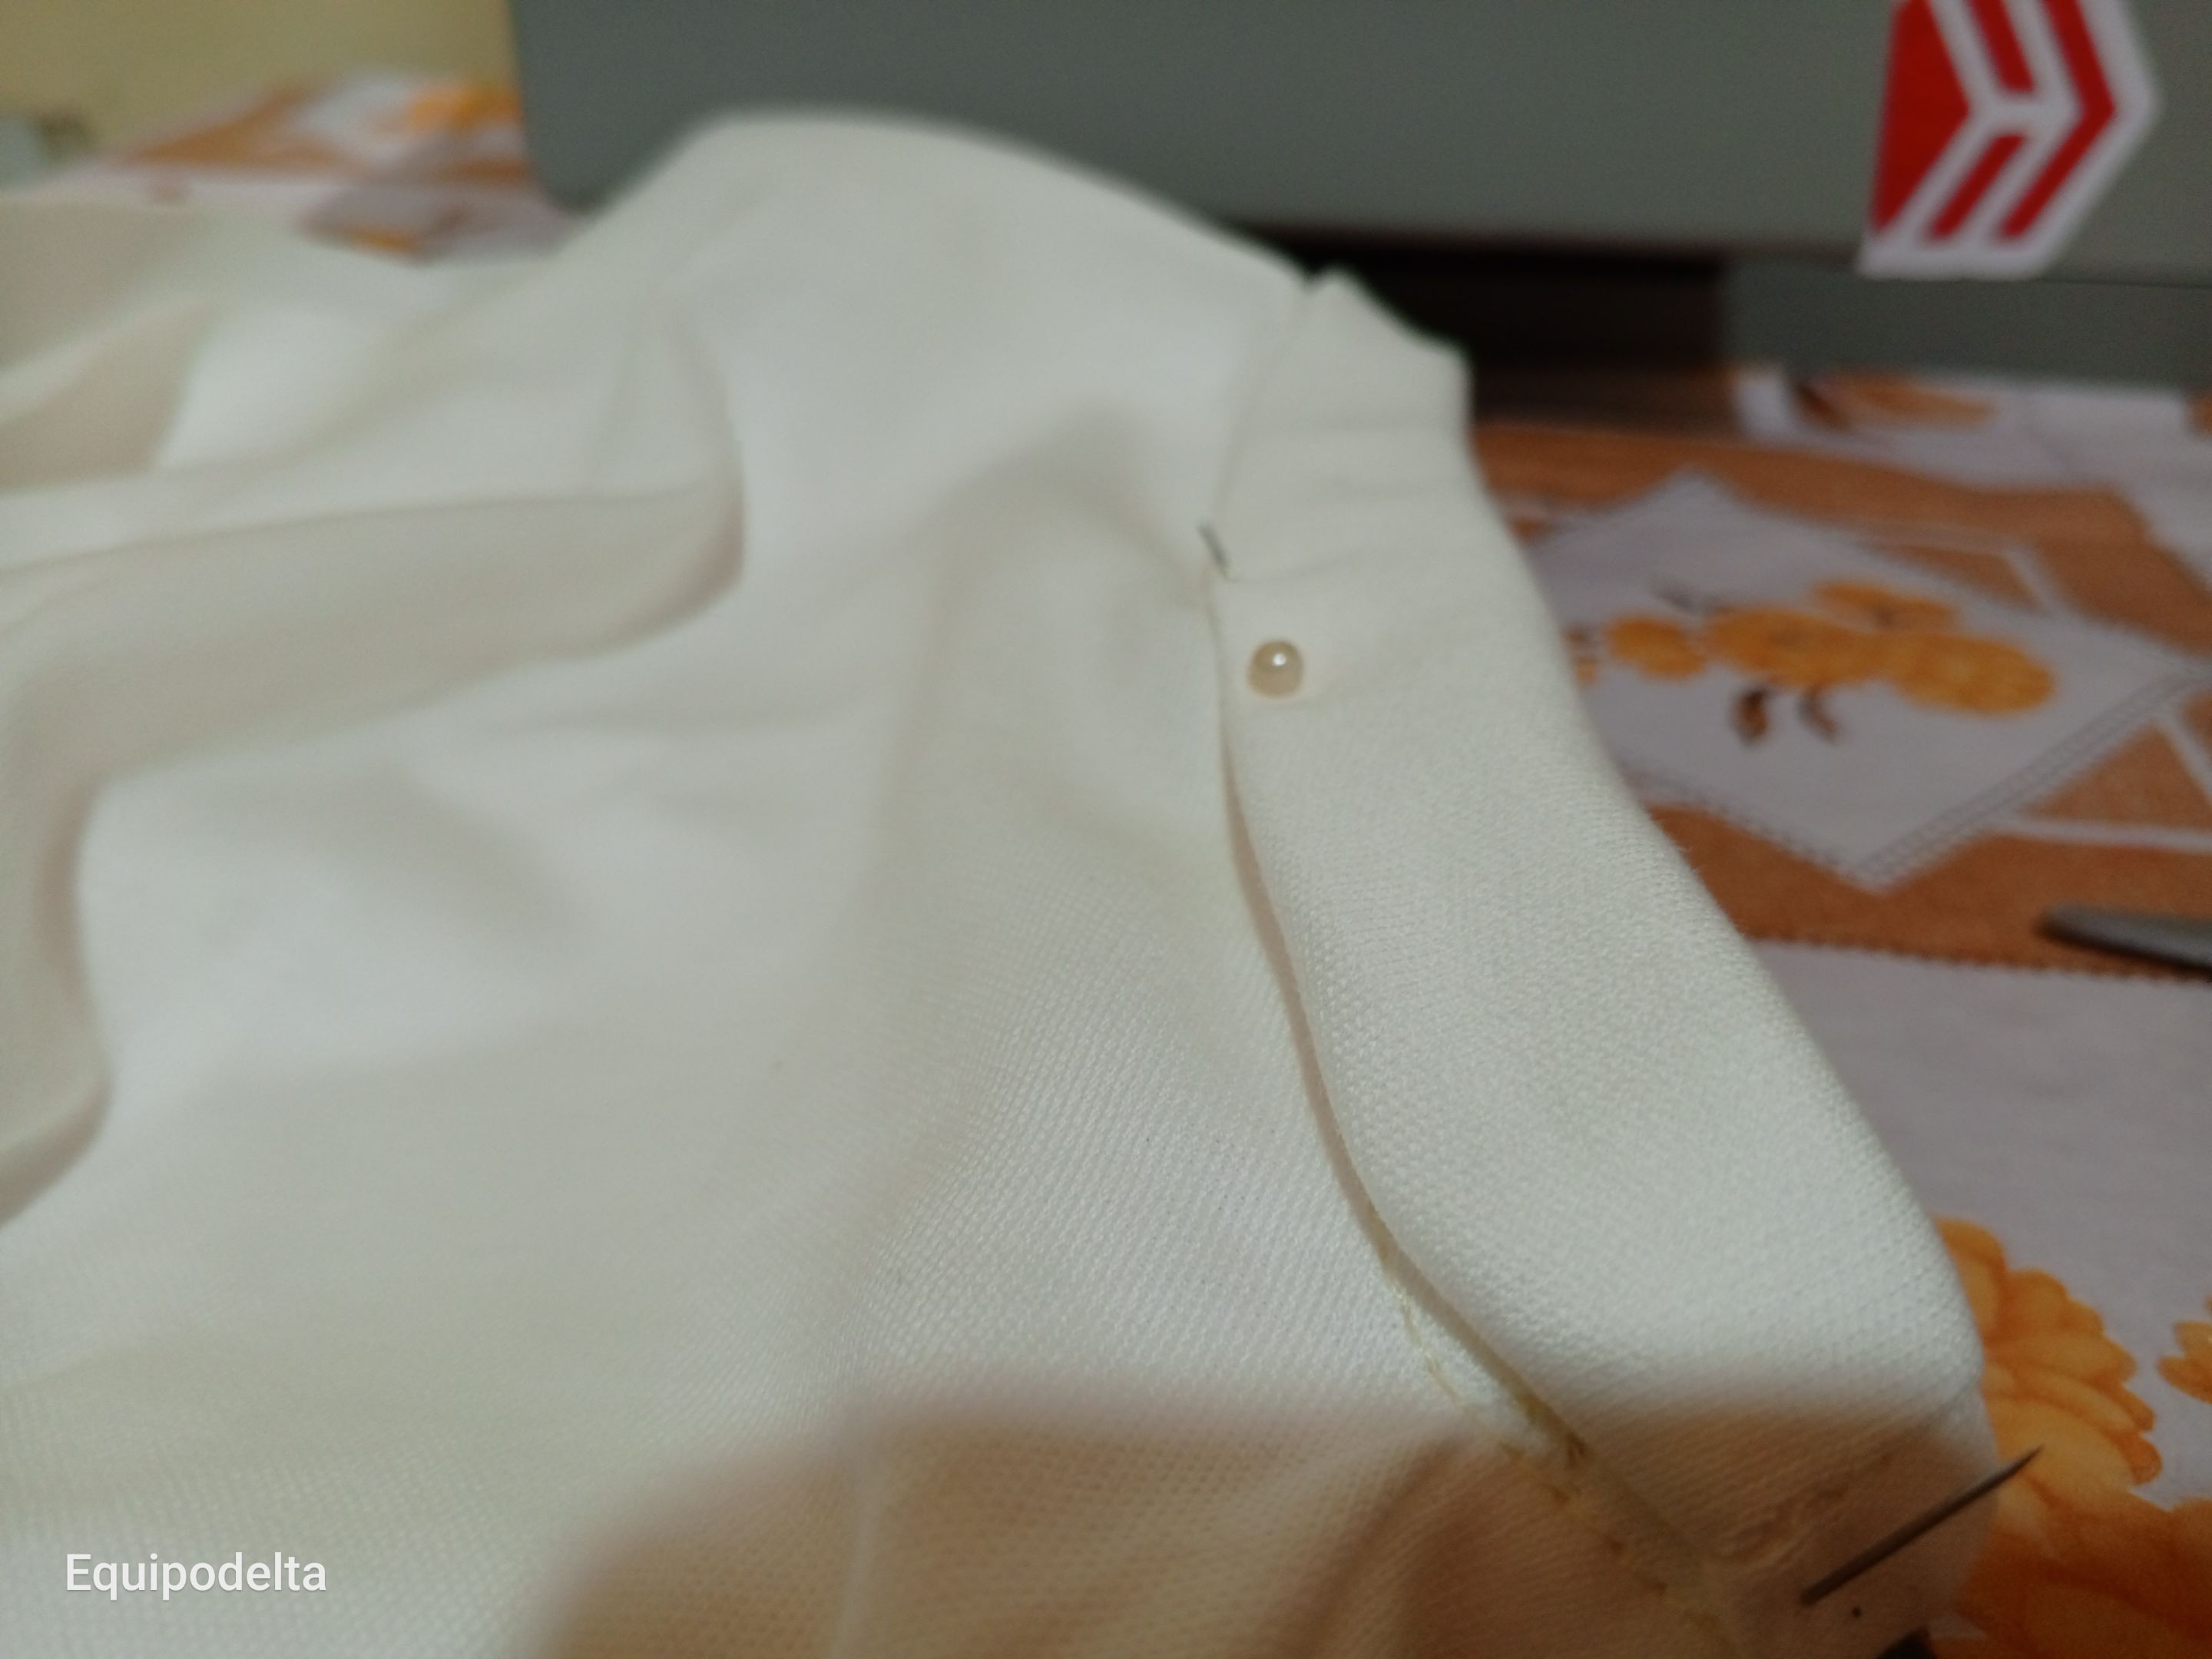
Toma el trozo de tela de 4 Centímetros, voltea la tela para coserla en el revés, cose una recta uniendo la parte de la manga con la tela del ruedo o dobladillo.
Procura que los empates de la costura queden a la par de la costura la manga.
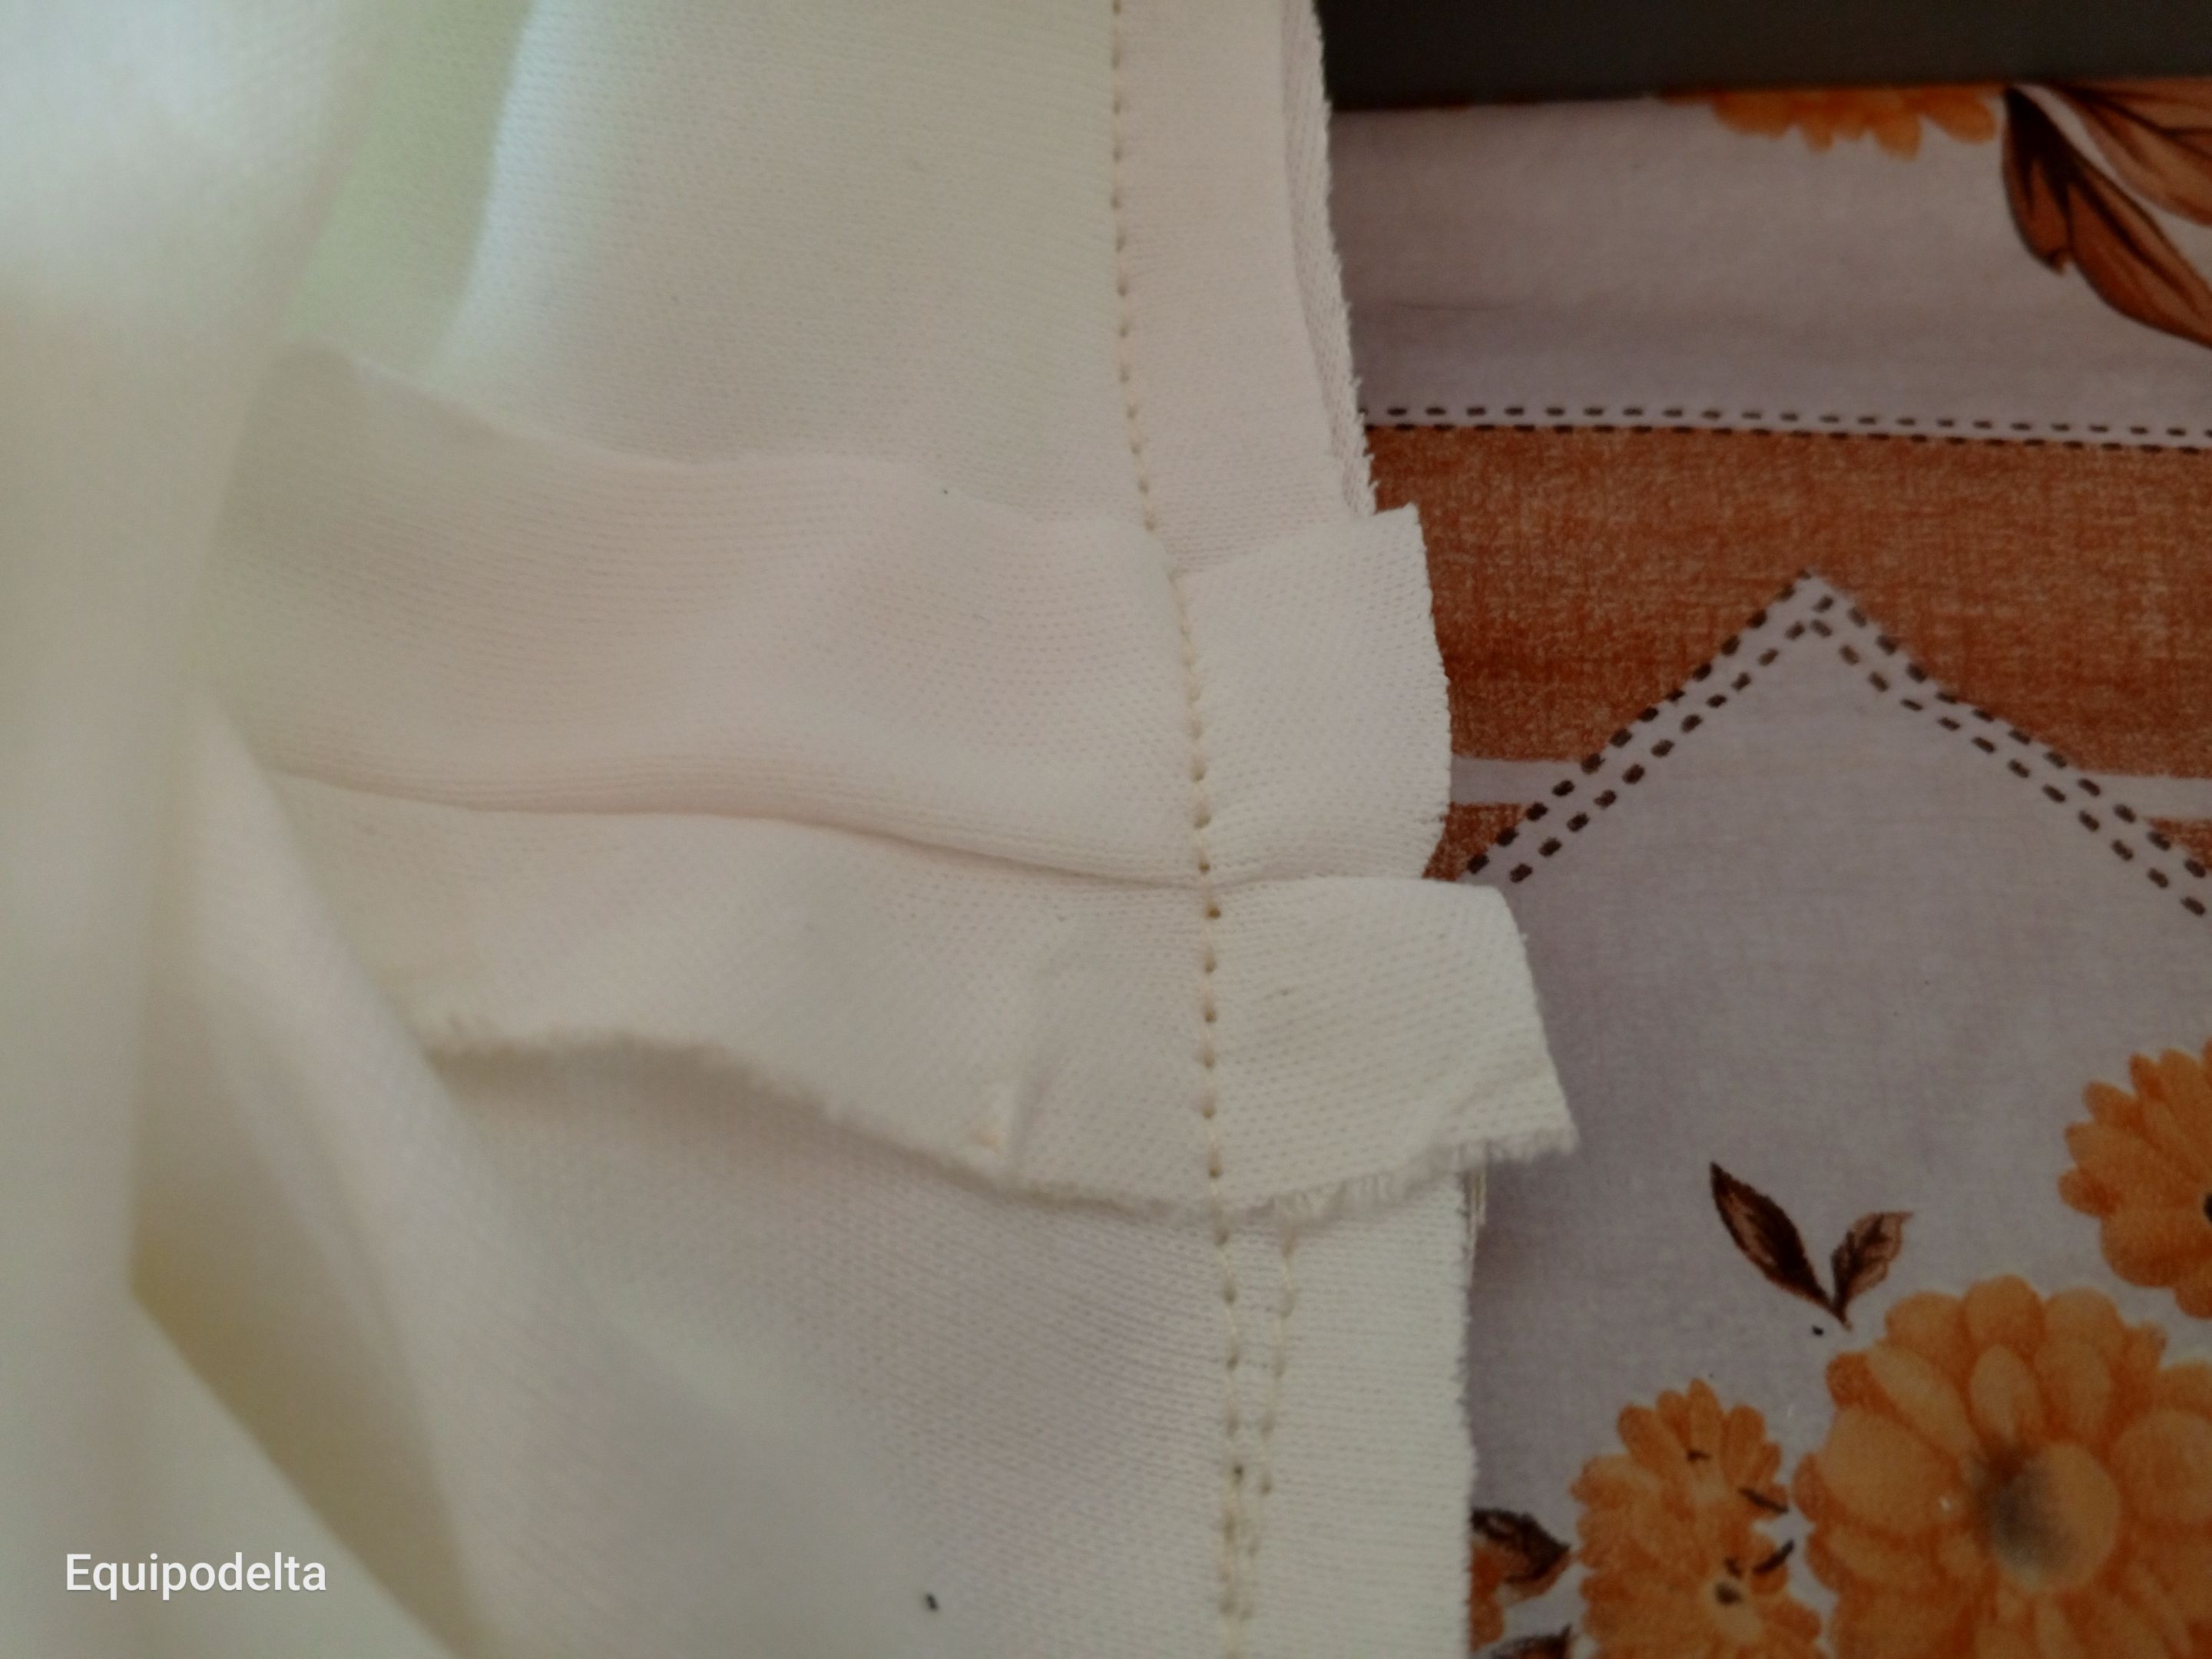
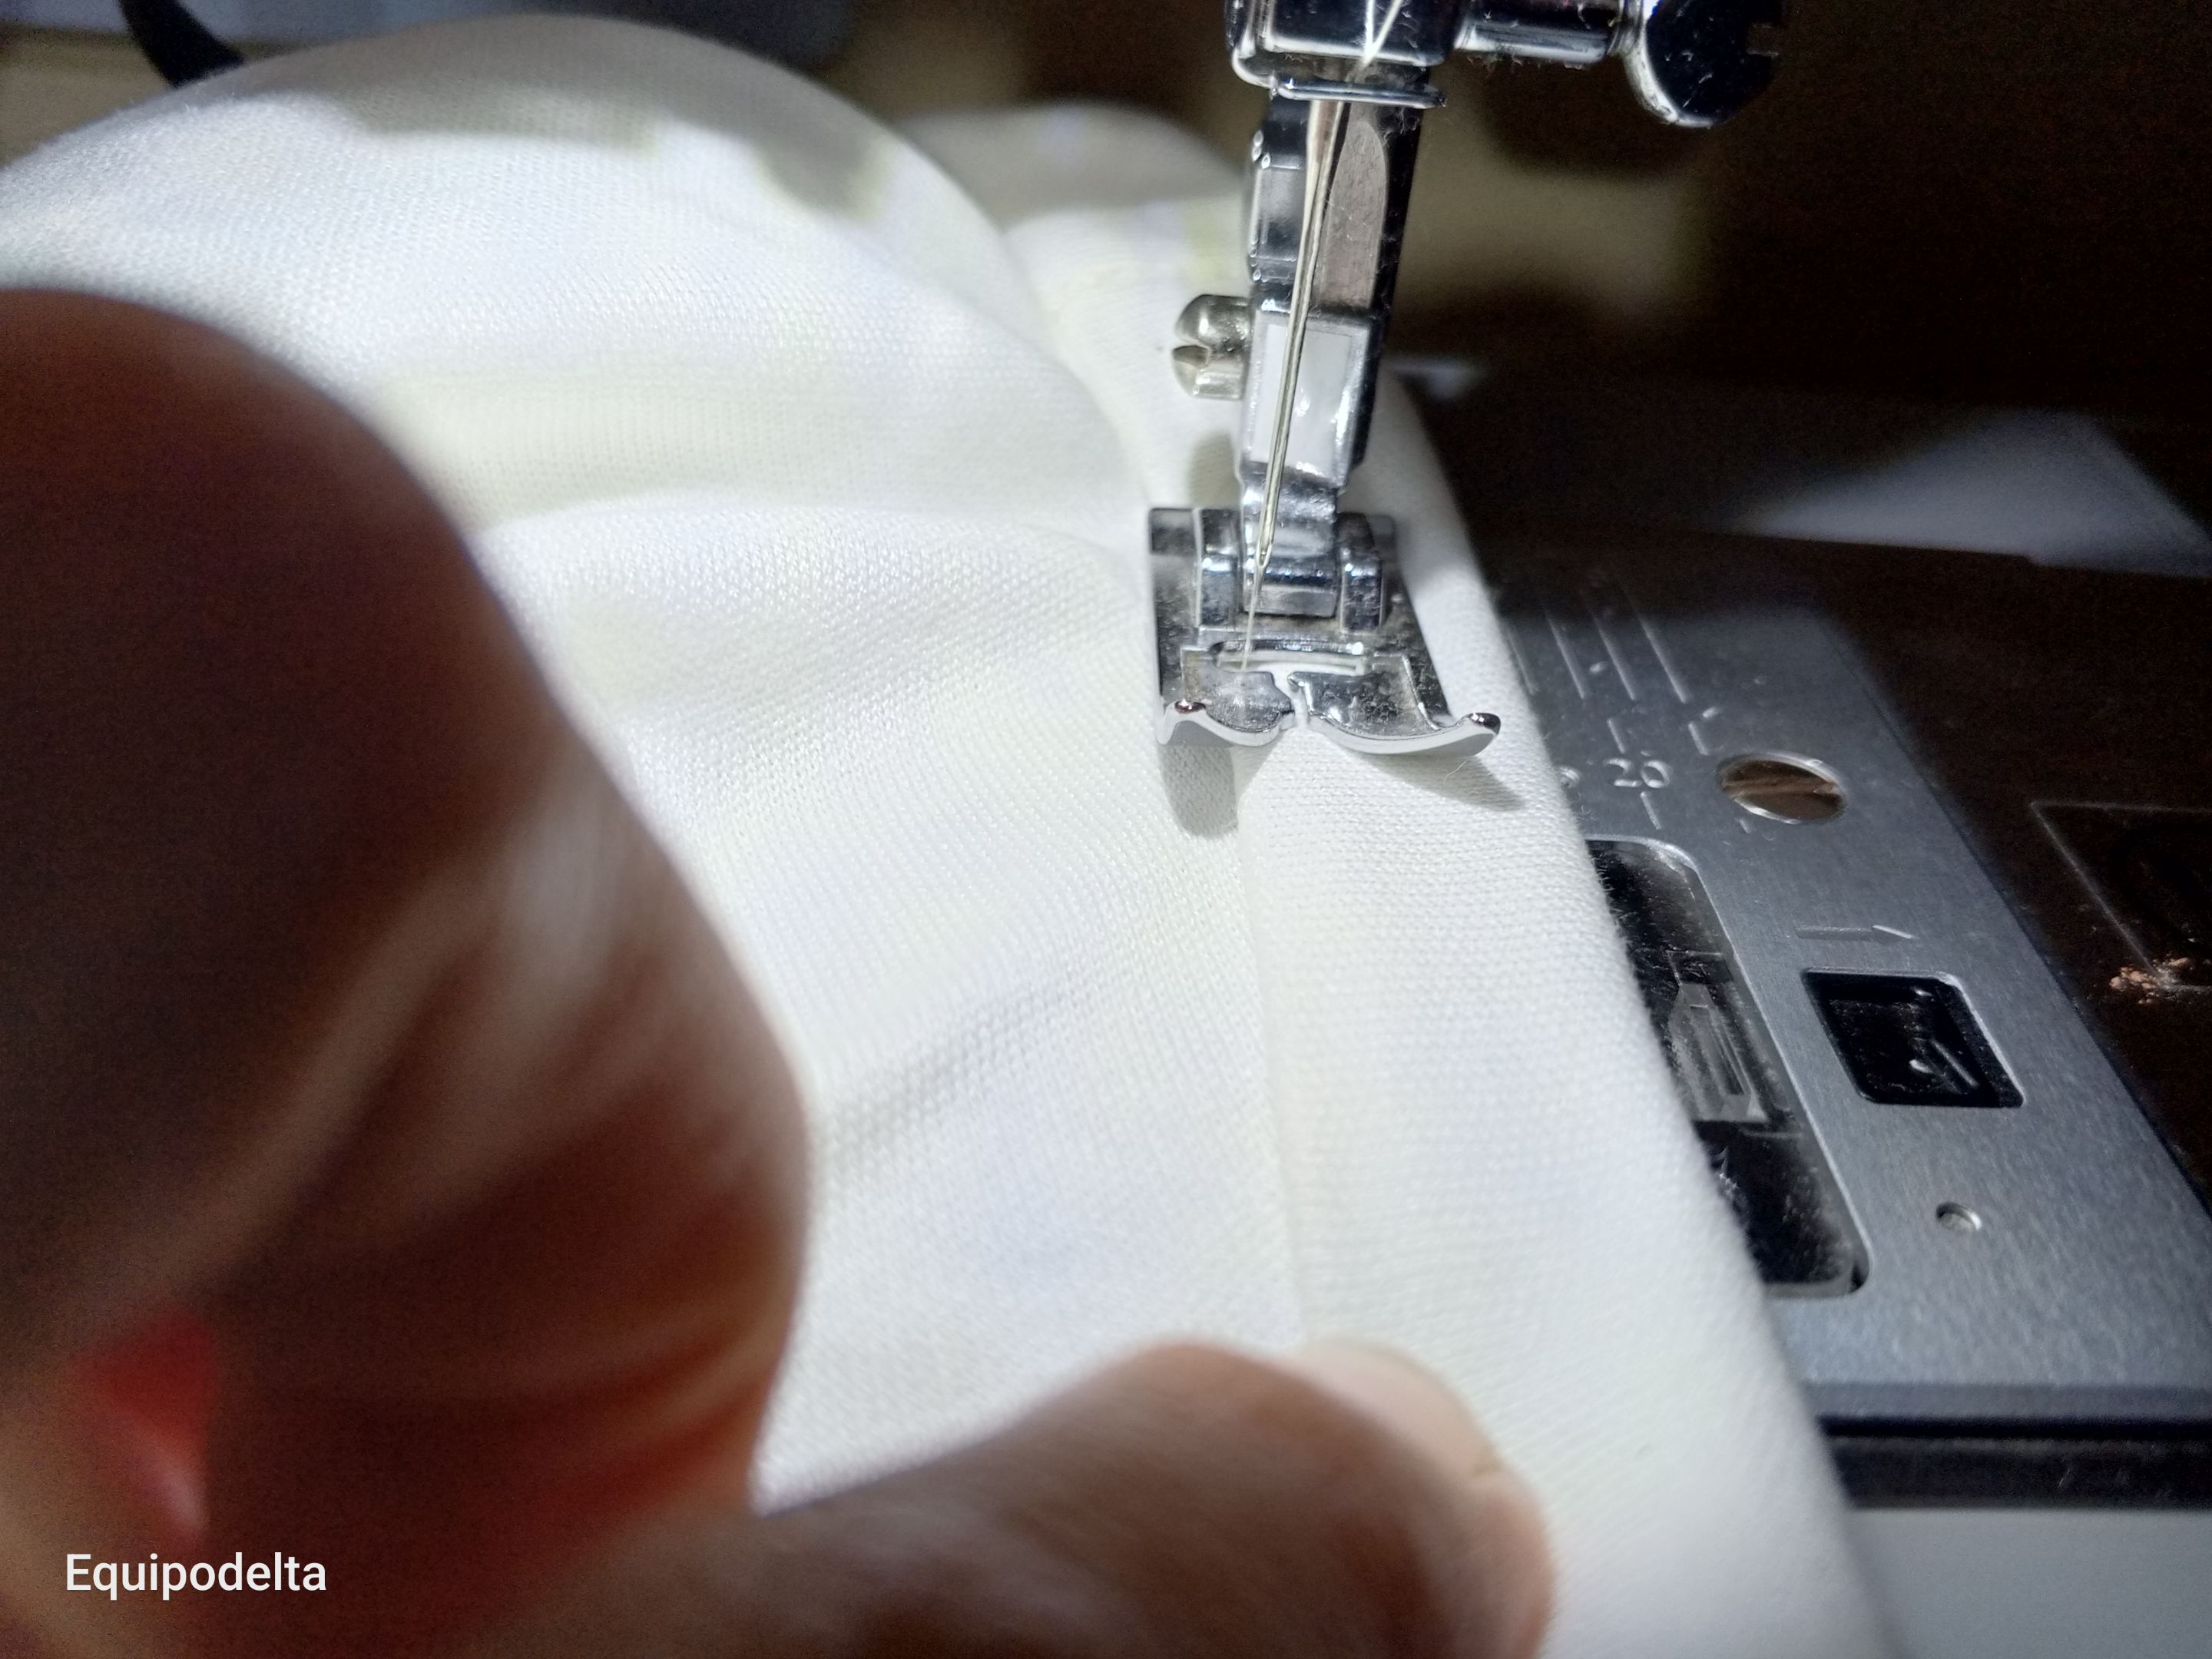
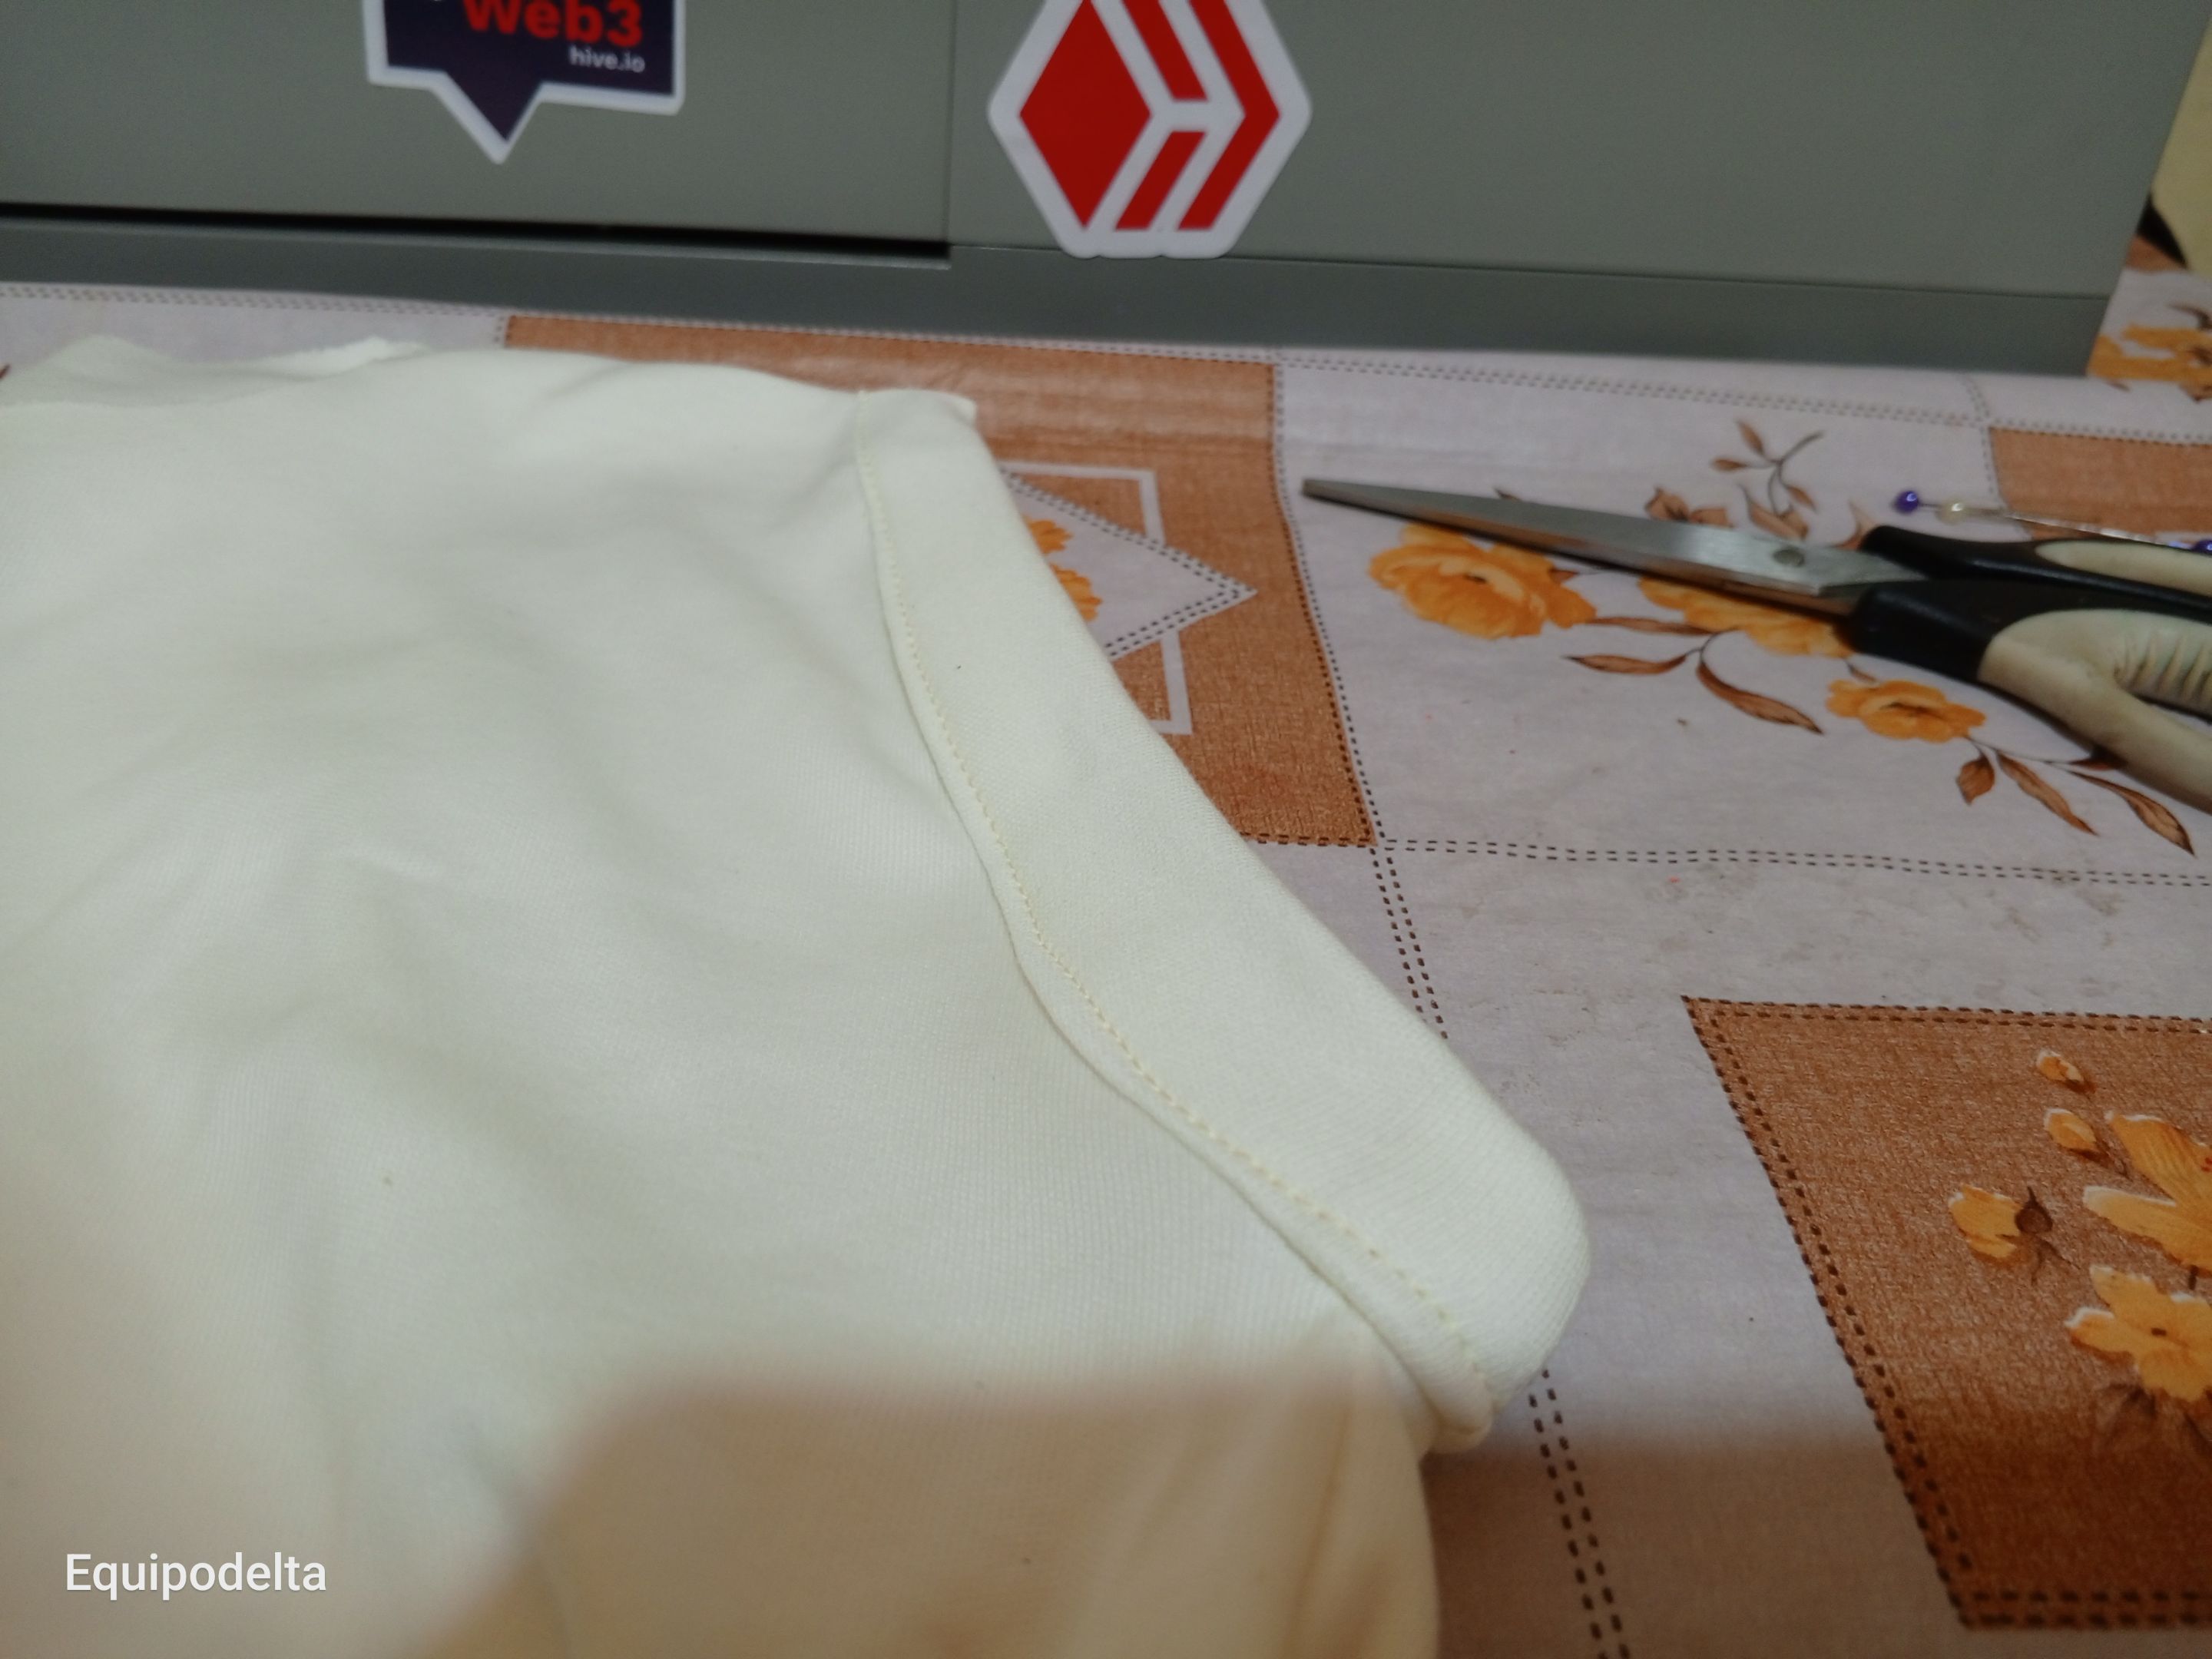
Une la pieza de dobladillo con costura recta y continua cerrando.
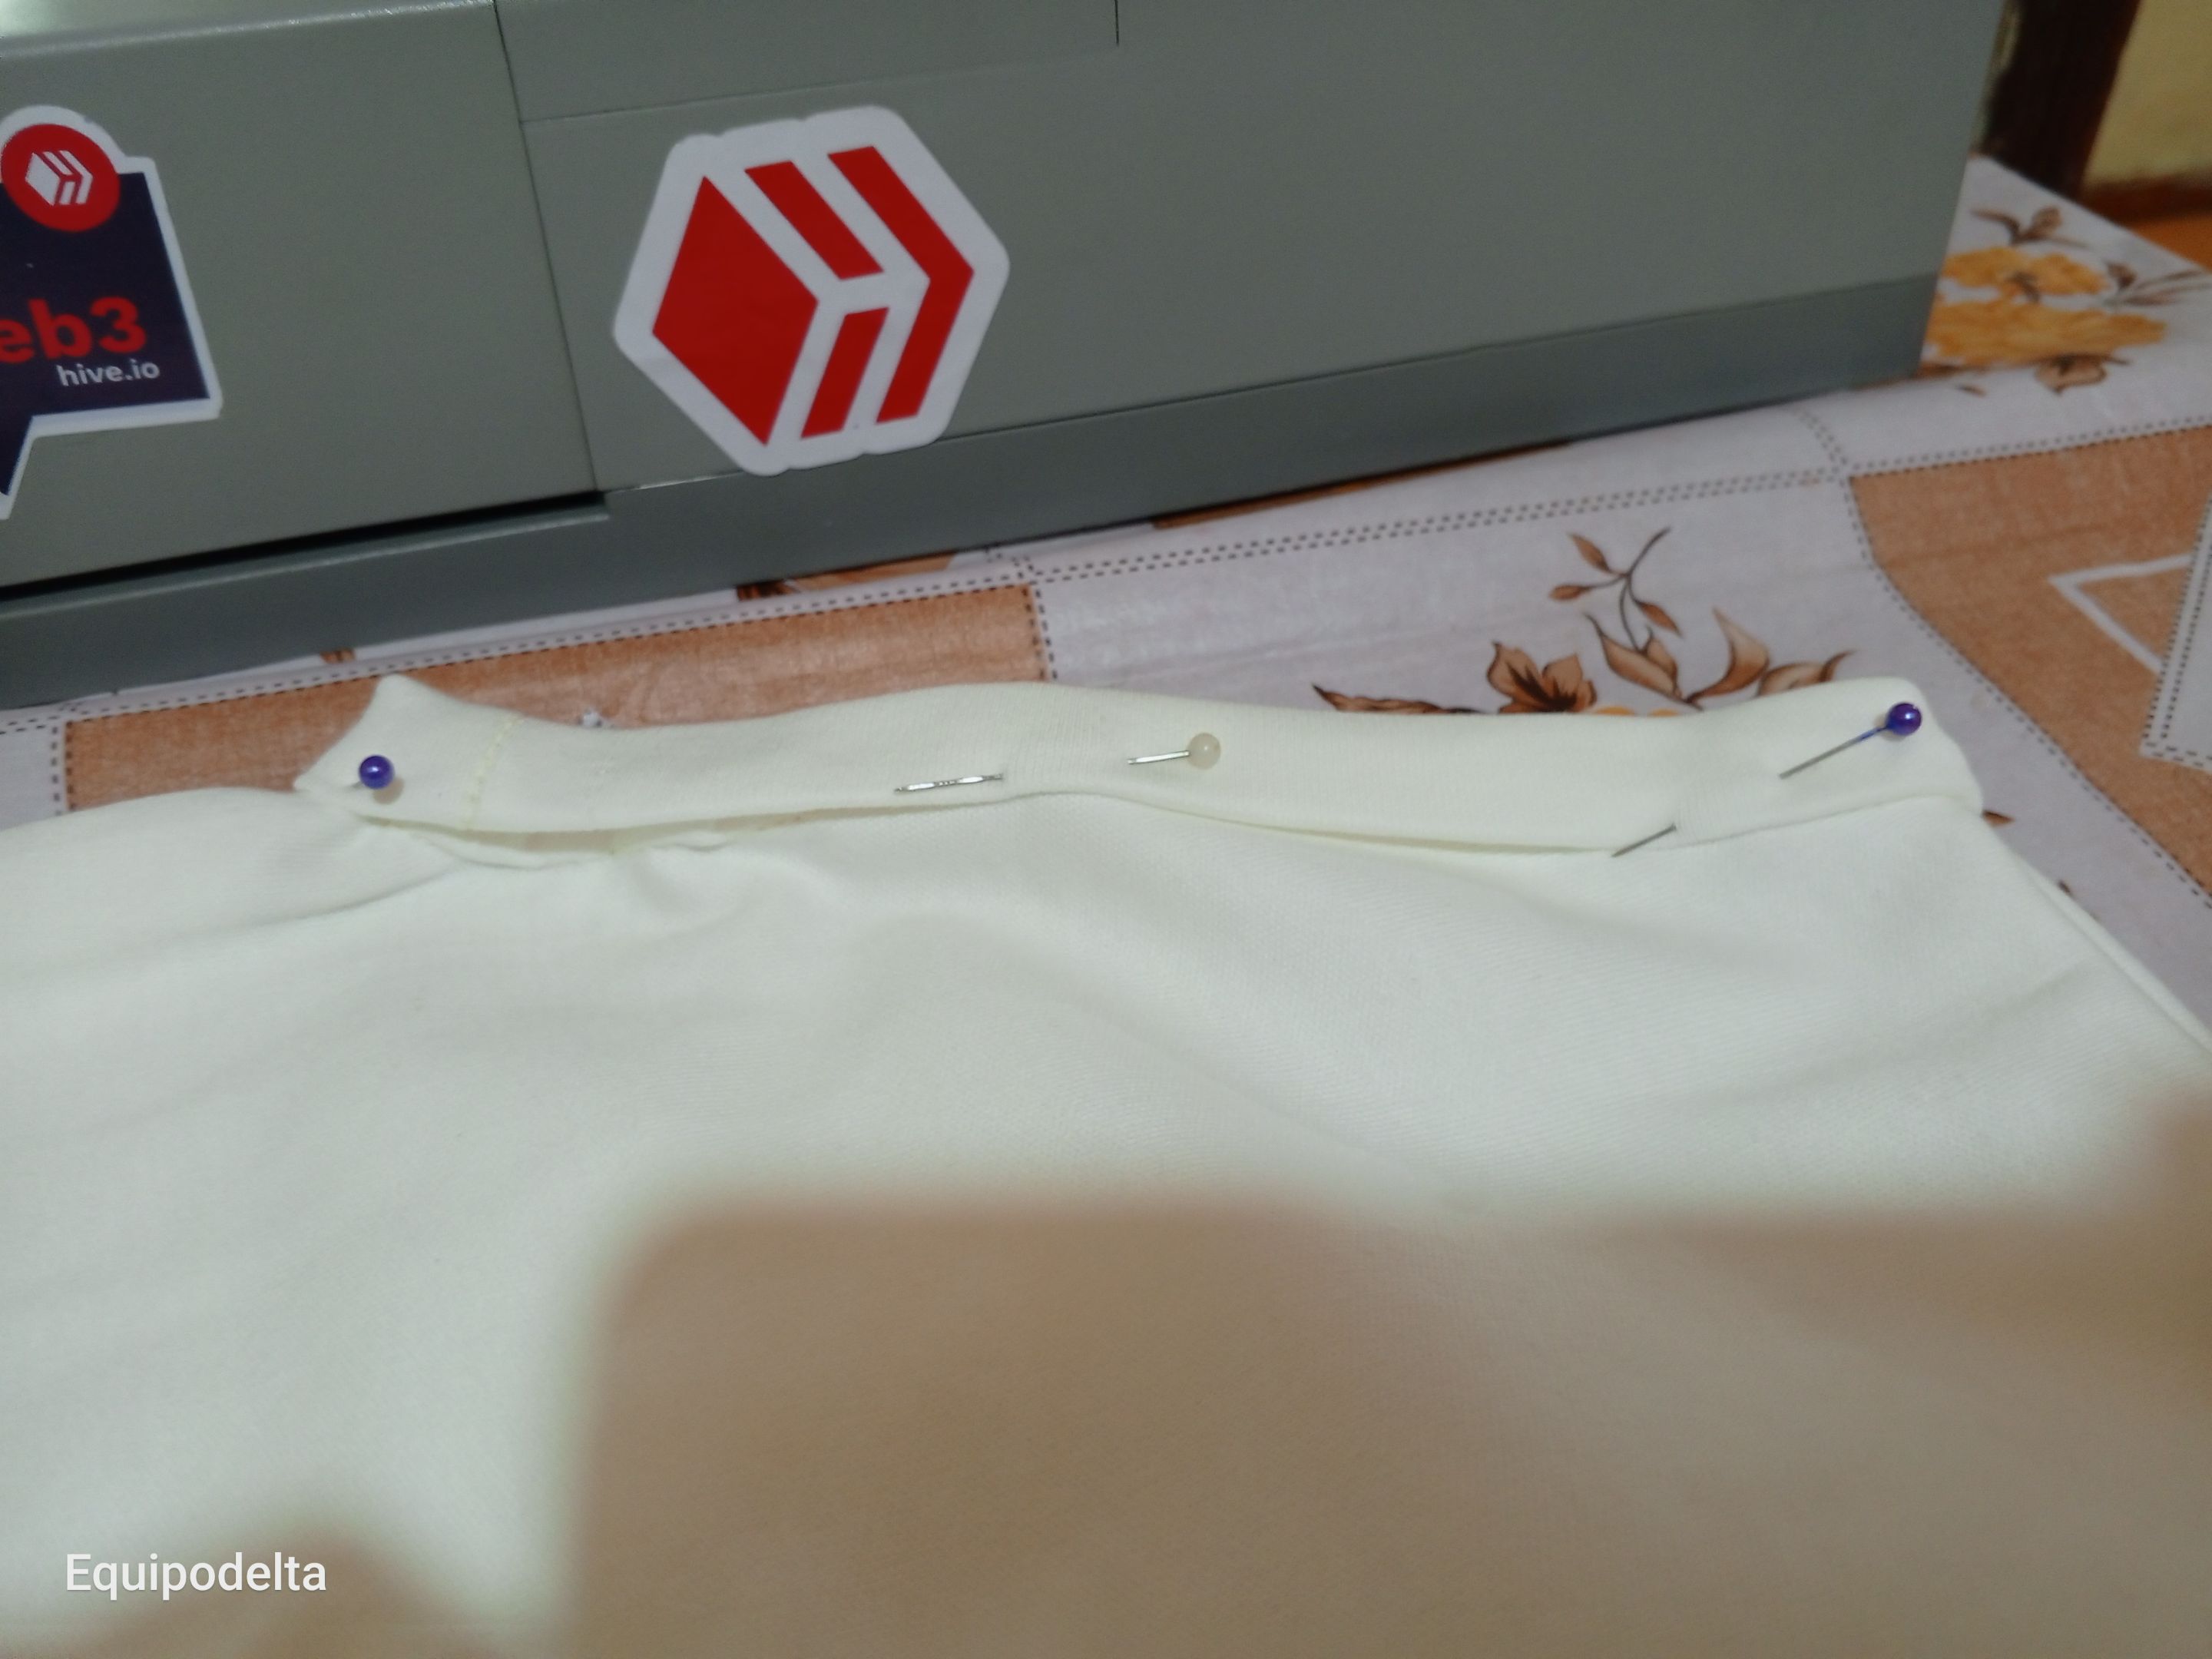
Con ayuda de alfileres realiza el doblez.
! [English version]
Take the 4 centimeter piece of fabric, turn the fabric inside out, sew a straight seam joining the sleeve part with the hem fabric.
Make sure the seam allowances are even with the sleeve seam.
Join the hem piece with a straight seam and continue sewing.
With the help of pins, make the fold.

Step 4️⃣/ paso 4️⃣

 |  | |
 |  |
[Esp]
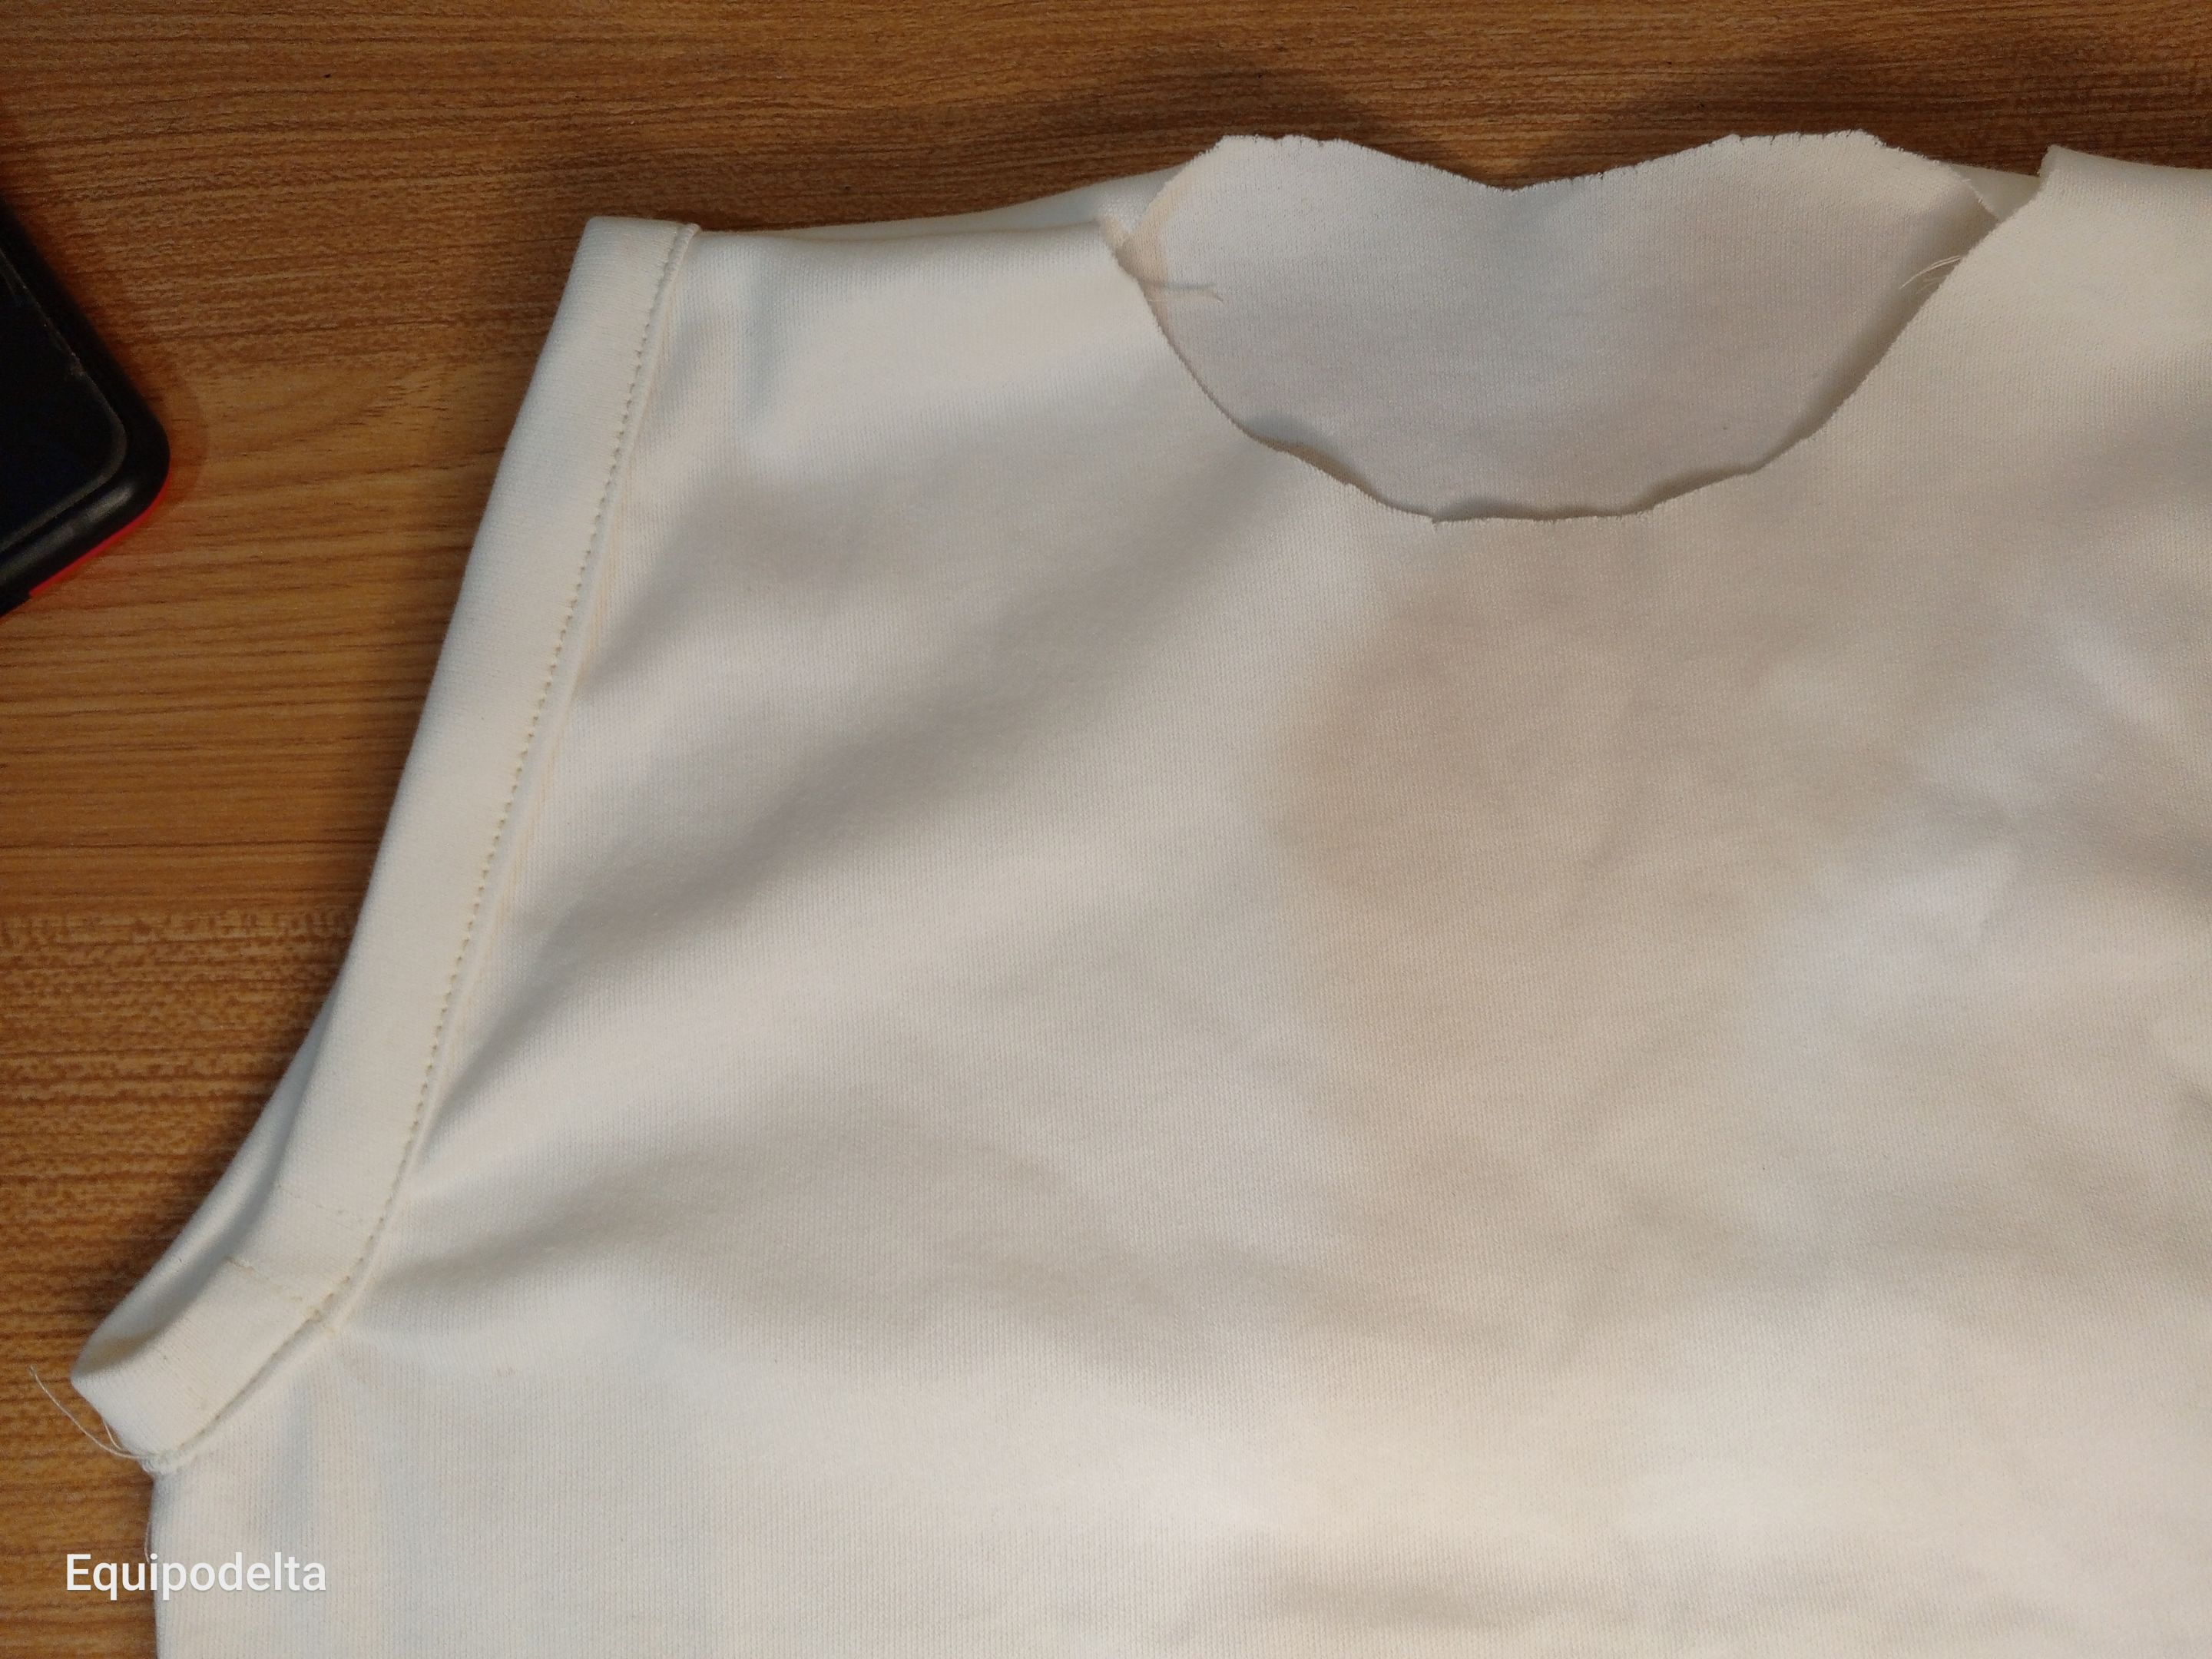
Cose el borde de la pieza para el ruedo.
Repite el paso anterior con el otro lado de la franela.
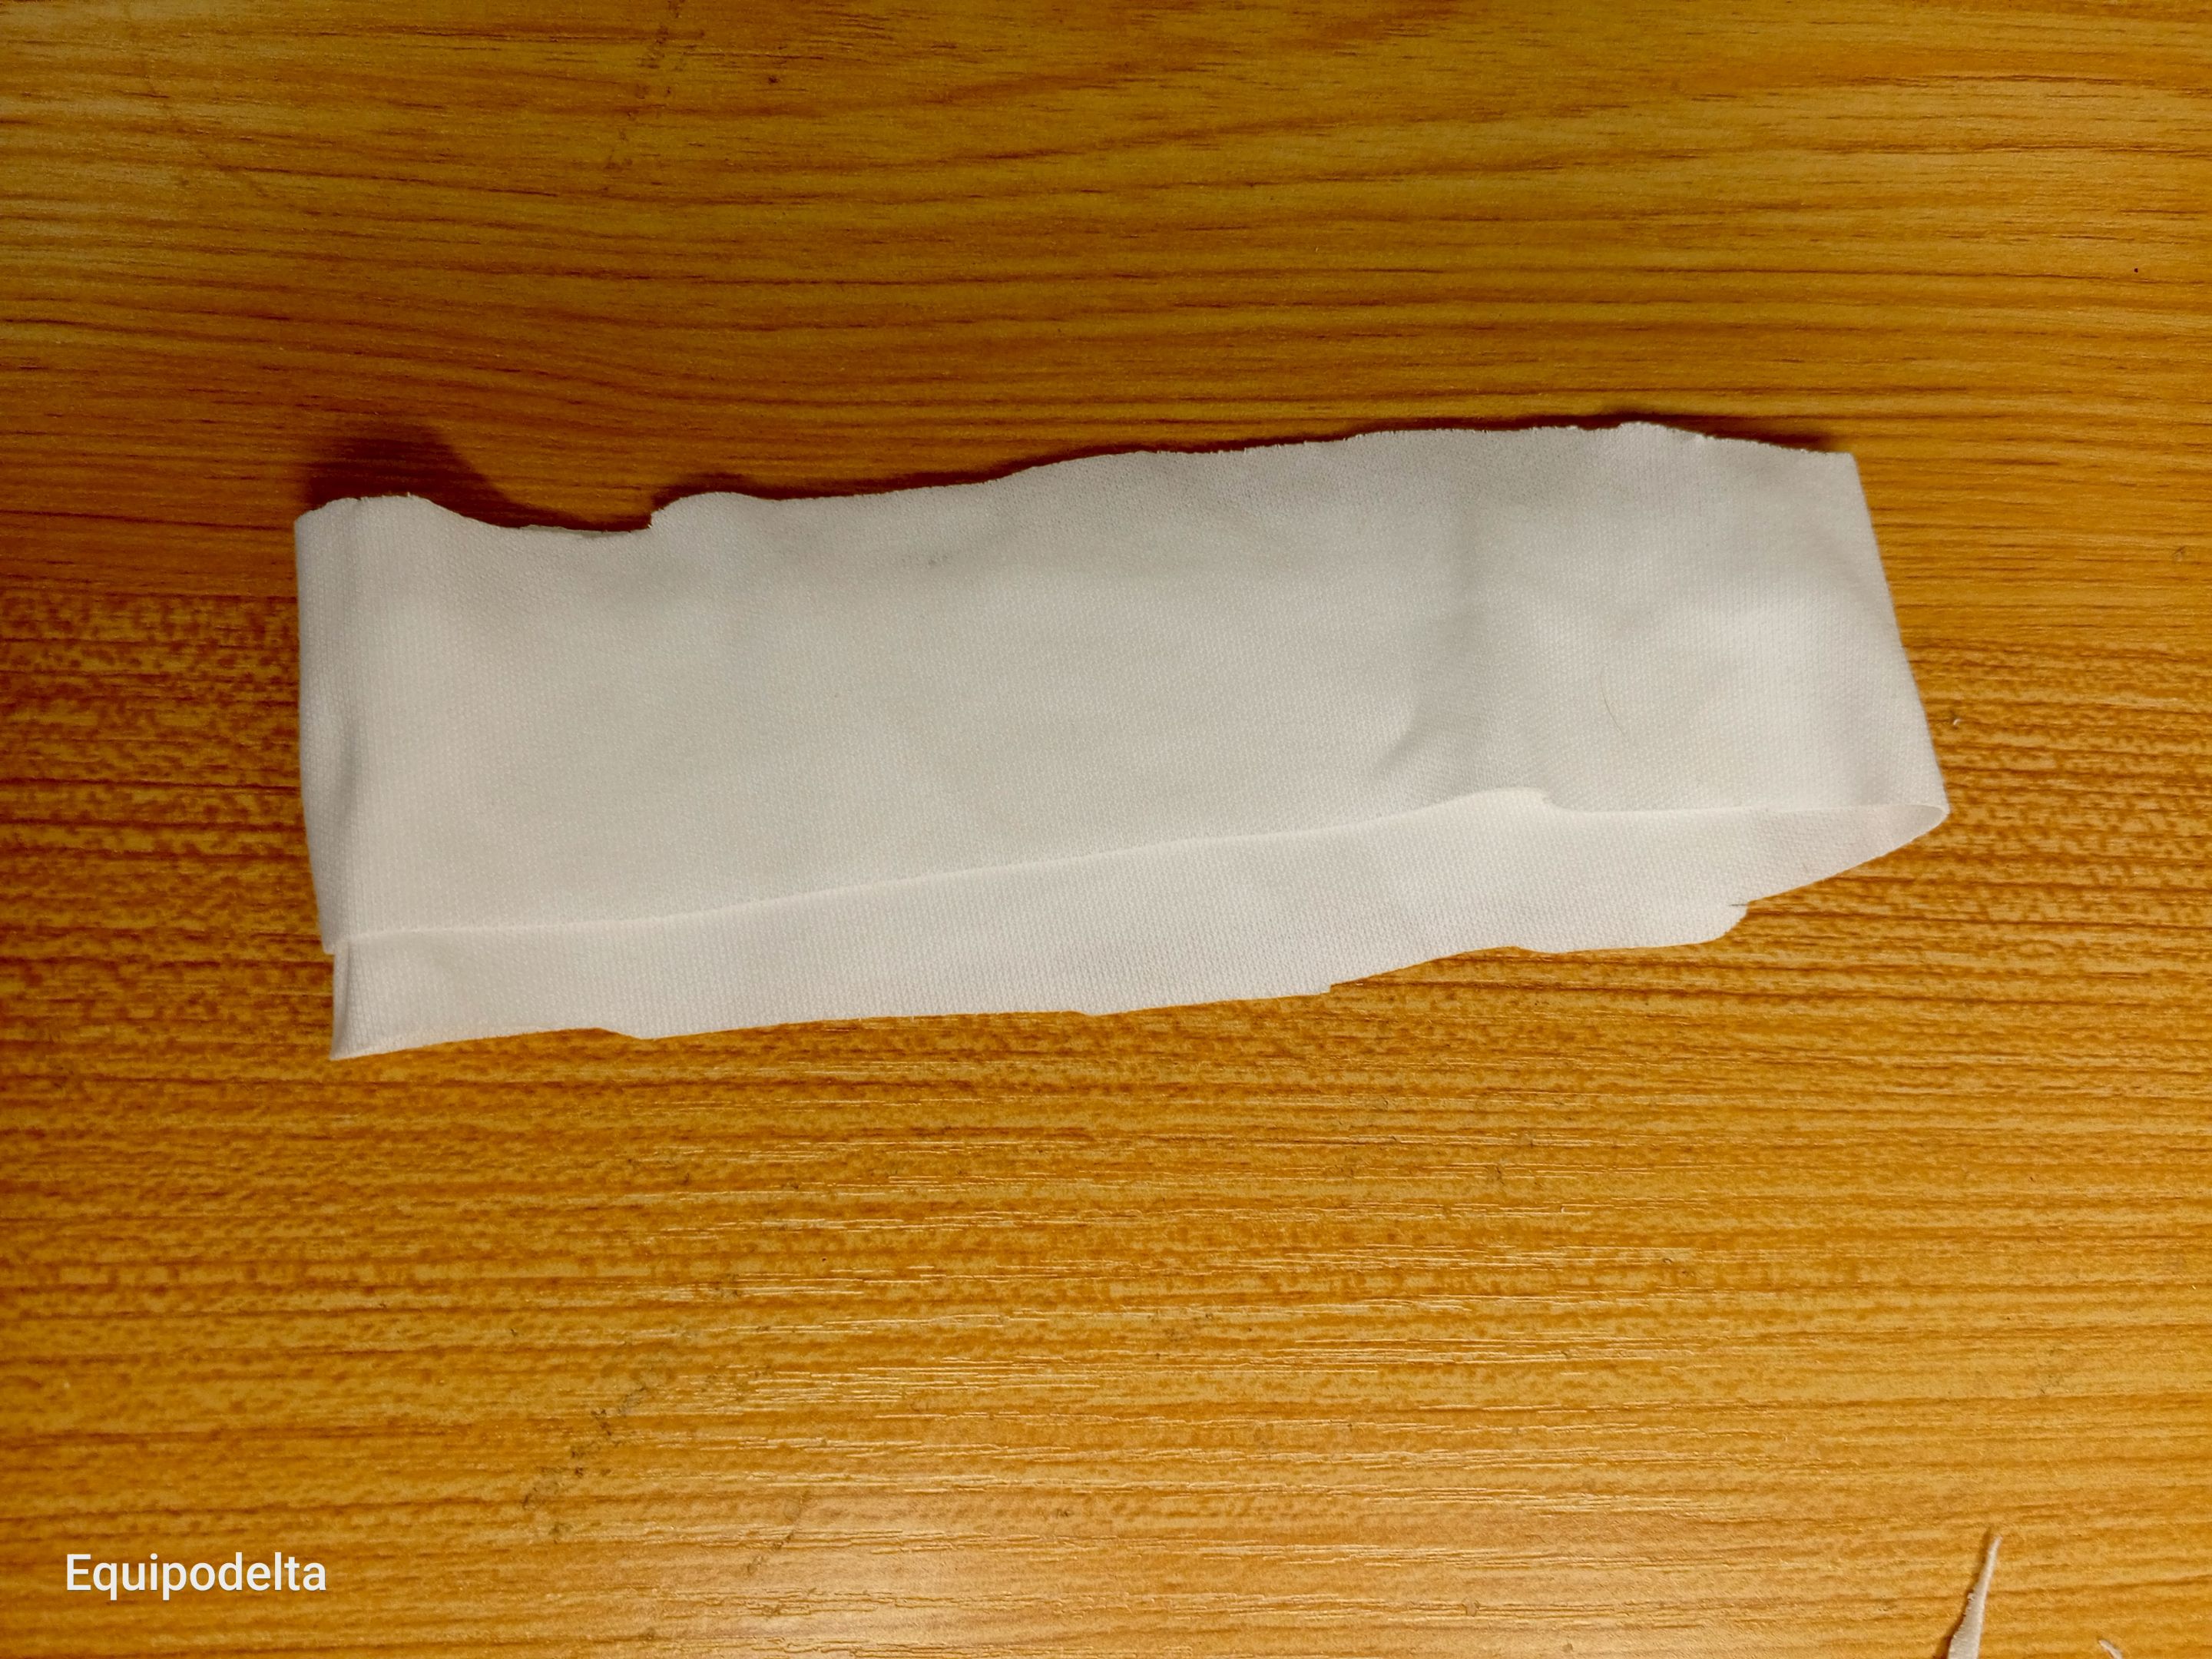
Recorta una tira de 3 centímetros de ancho, esta será para el dobladillo o ruedo del cuello.
! [English version]
Sew the edge of the hem piece.
Repeat the previous step with the other side of the flannel.
Cut a 3 cm wide strip, this will be for the hem of the collar.

Step 5️⃣/ paso 5️⃣

 |  |  |
 |  |  |
[Esp]
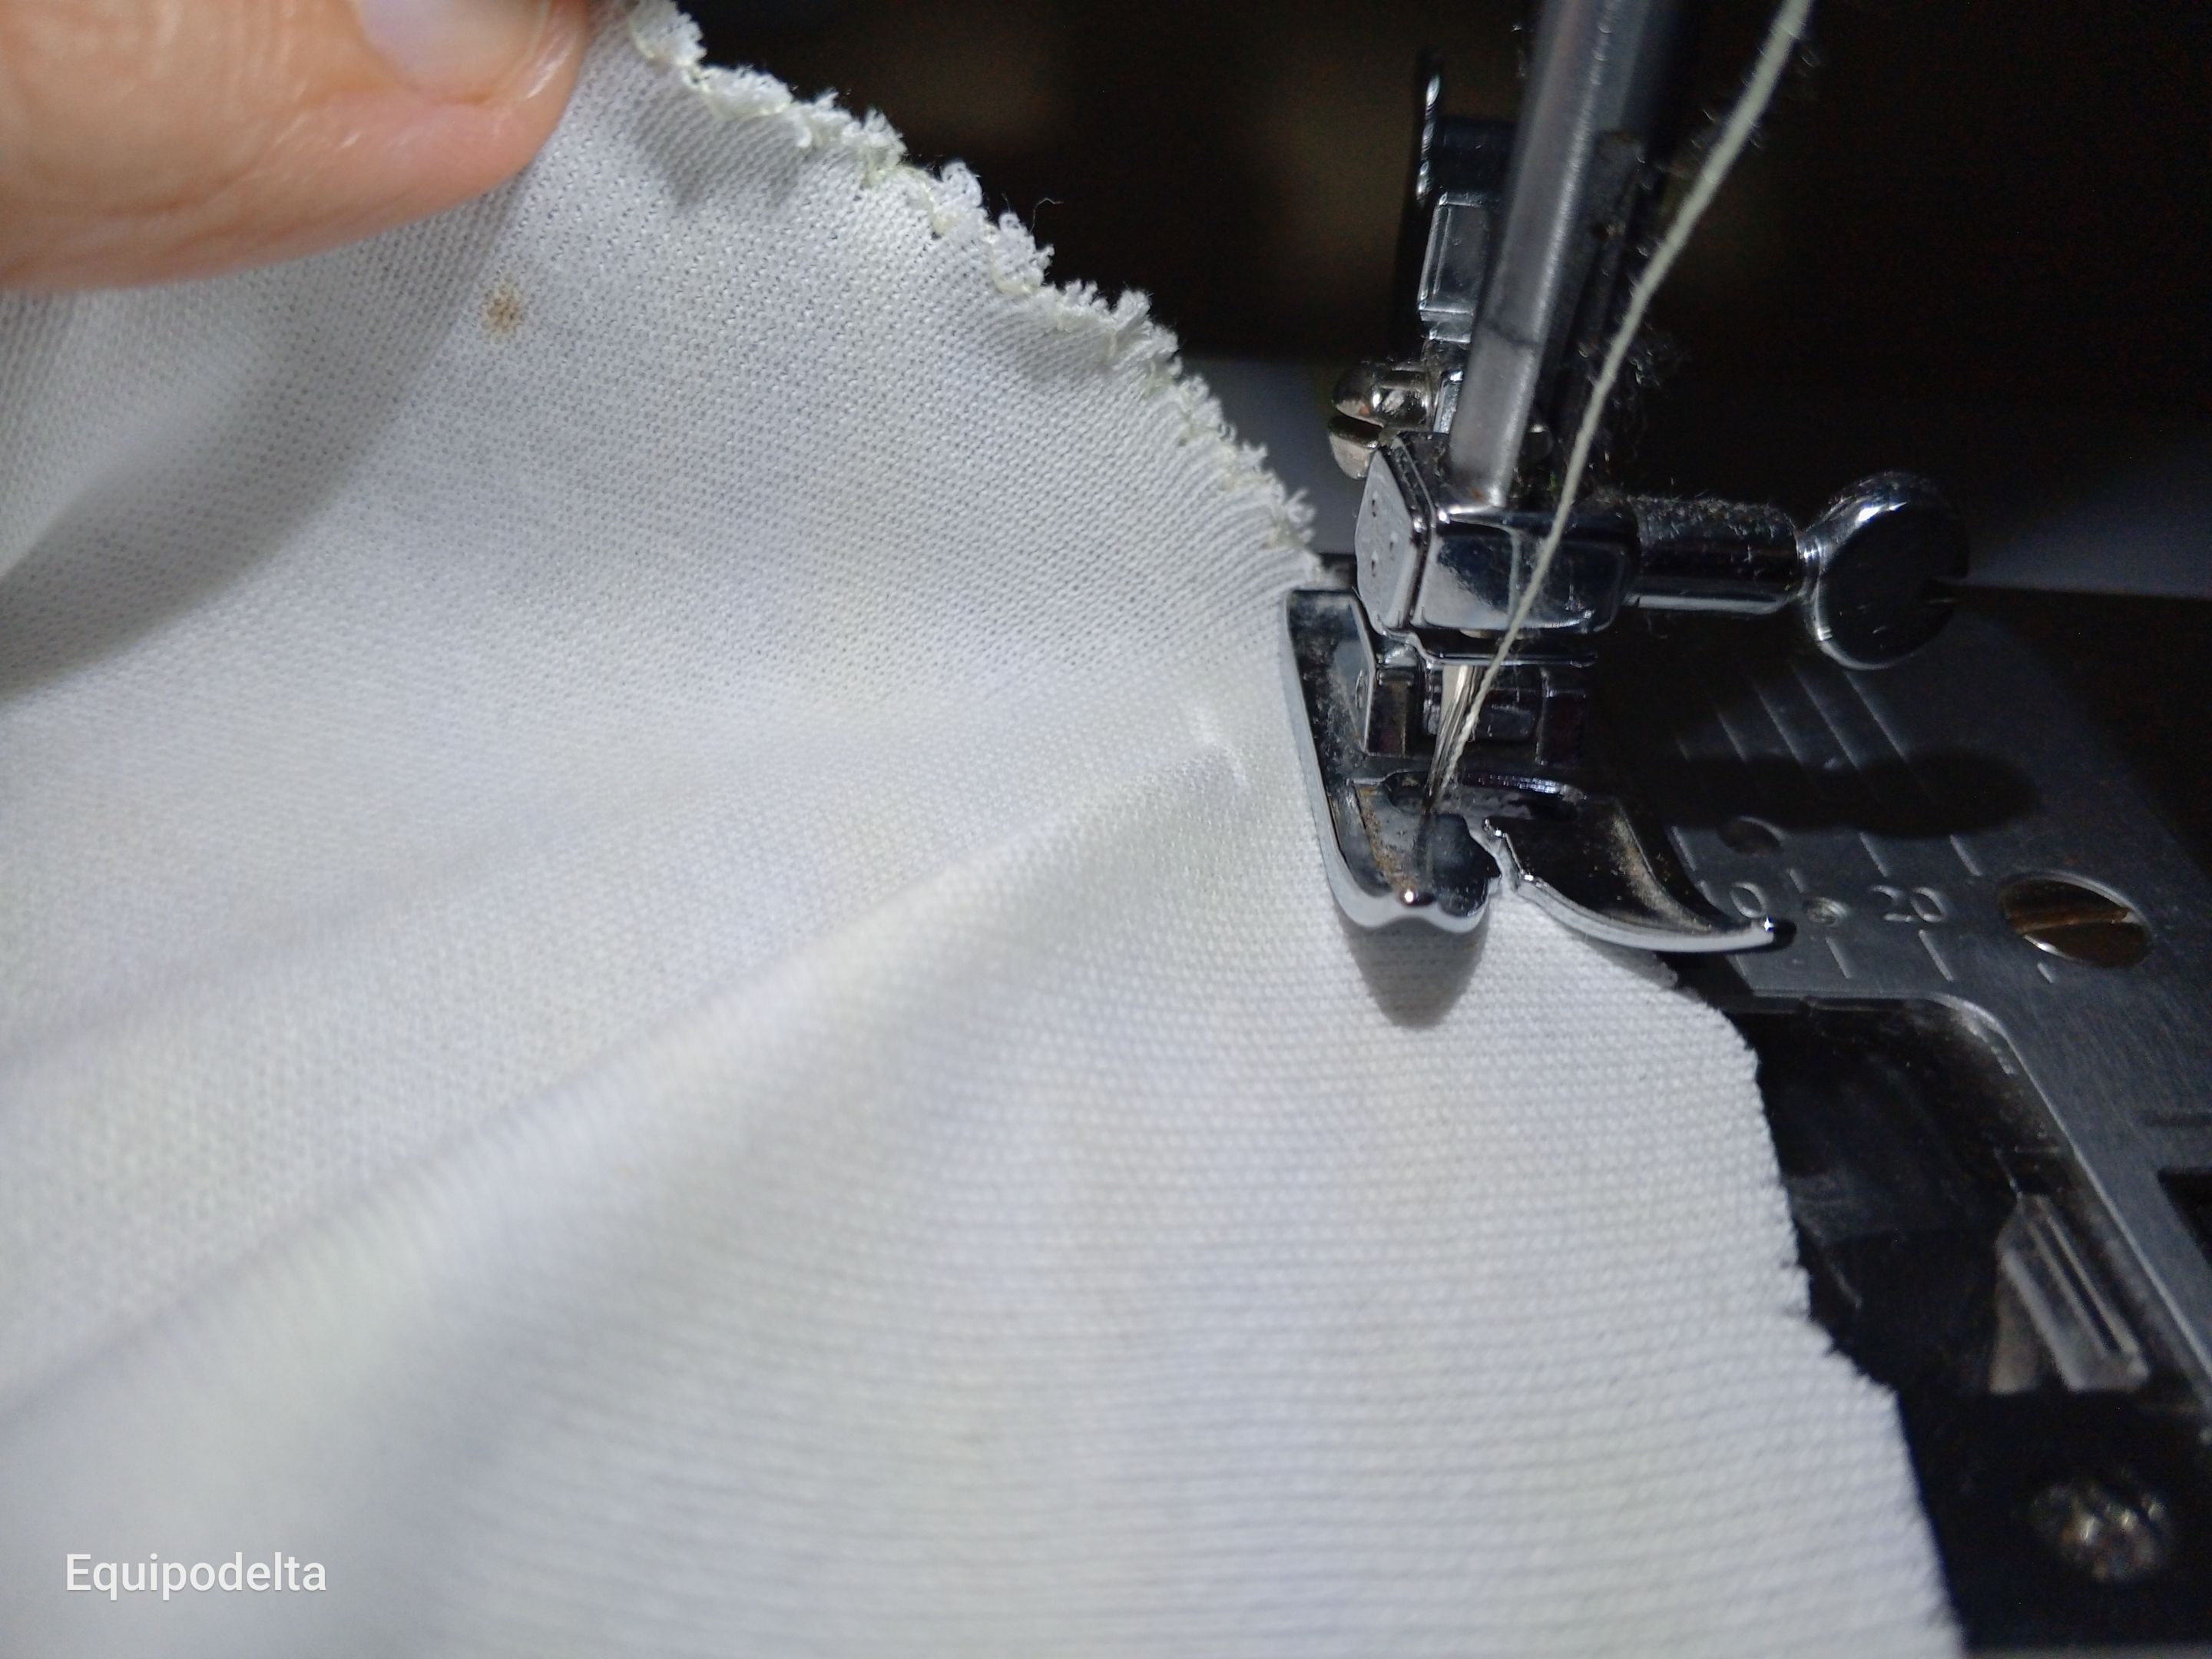
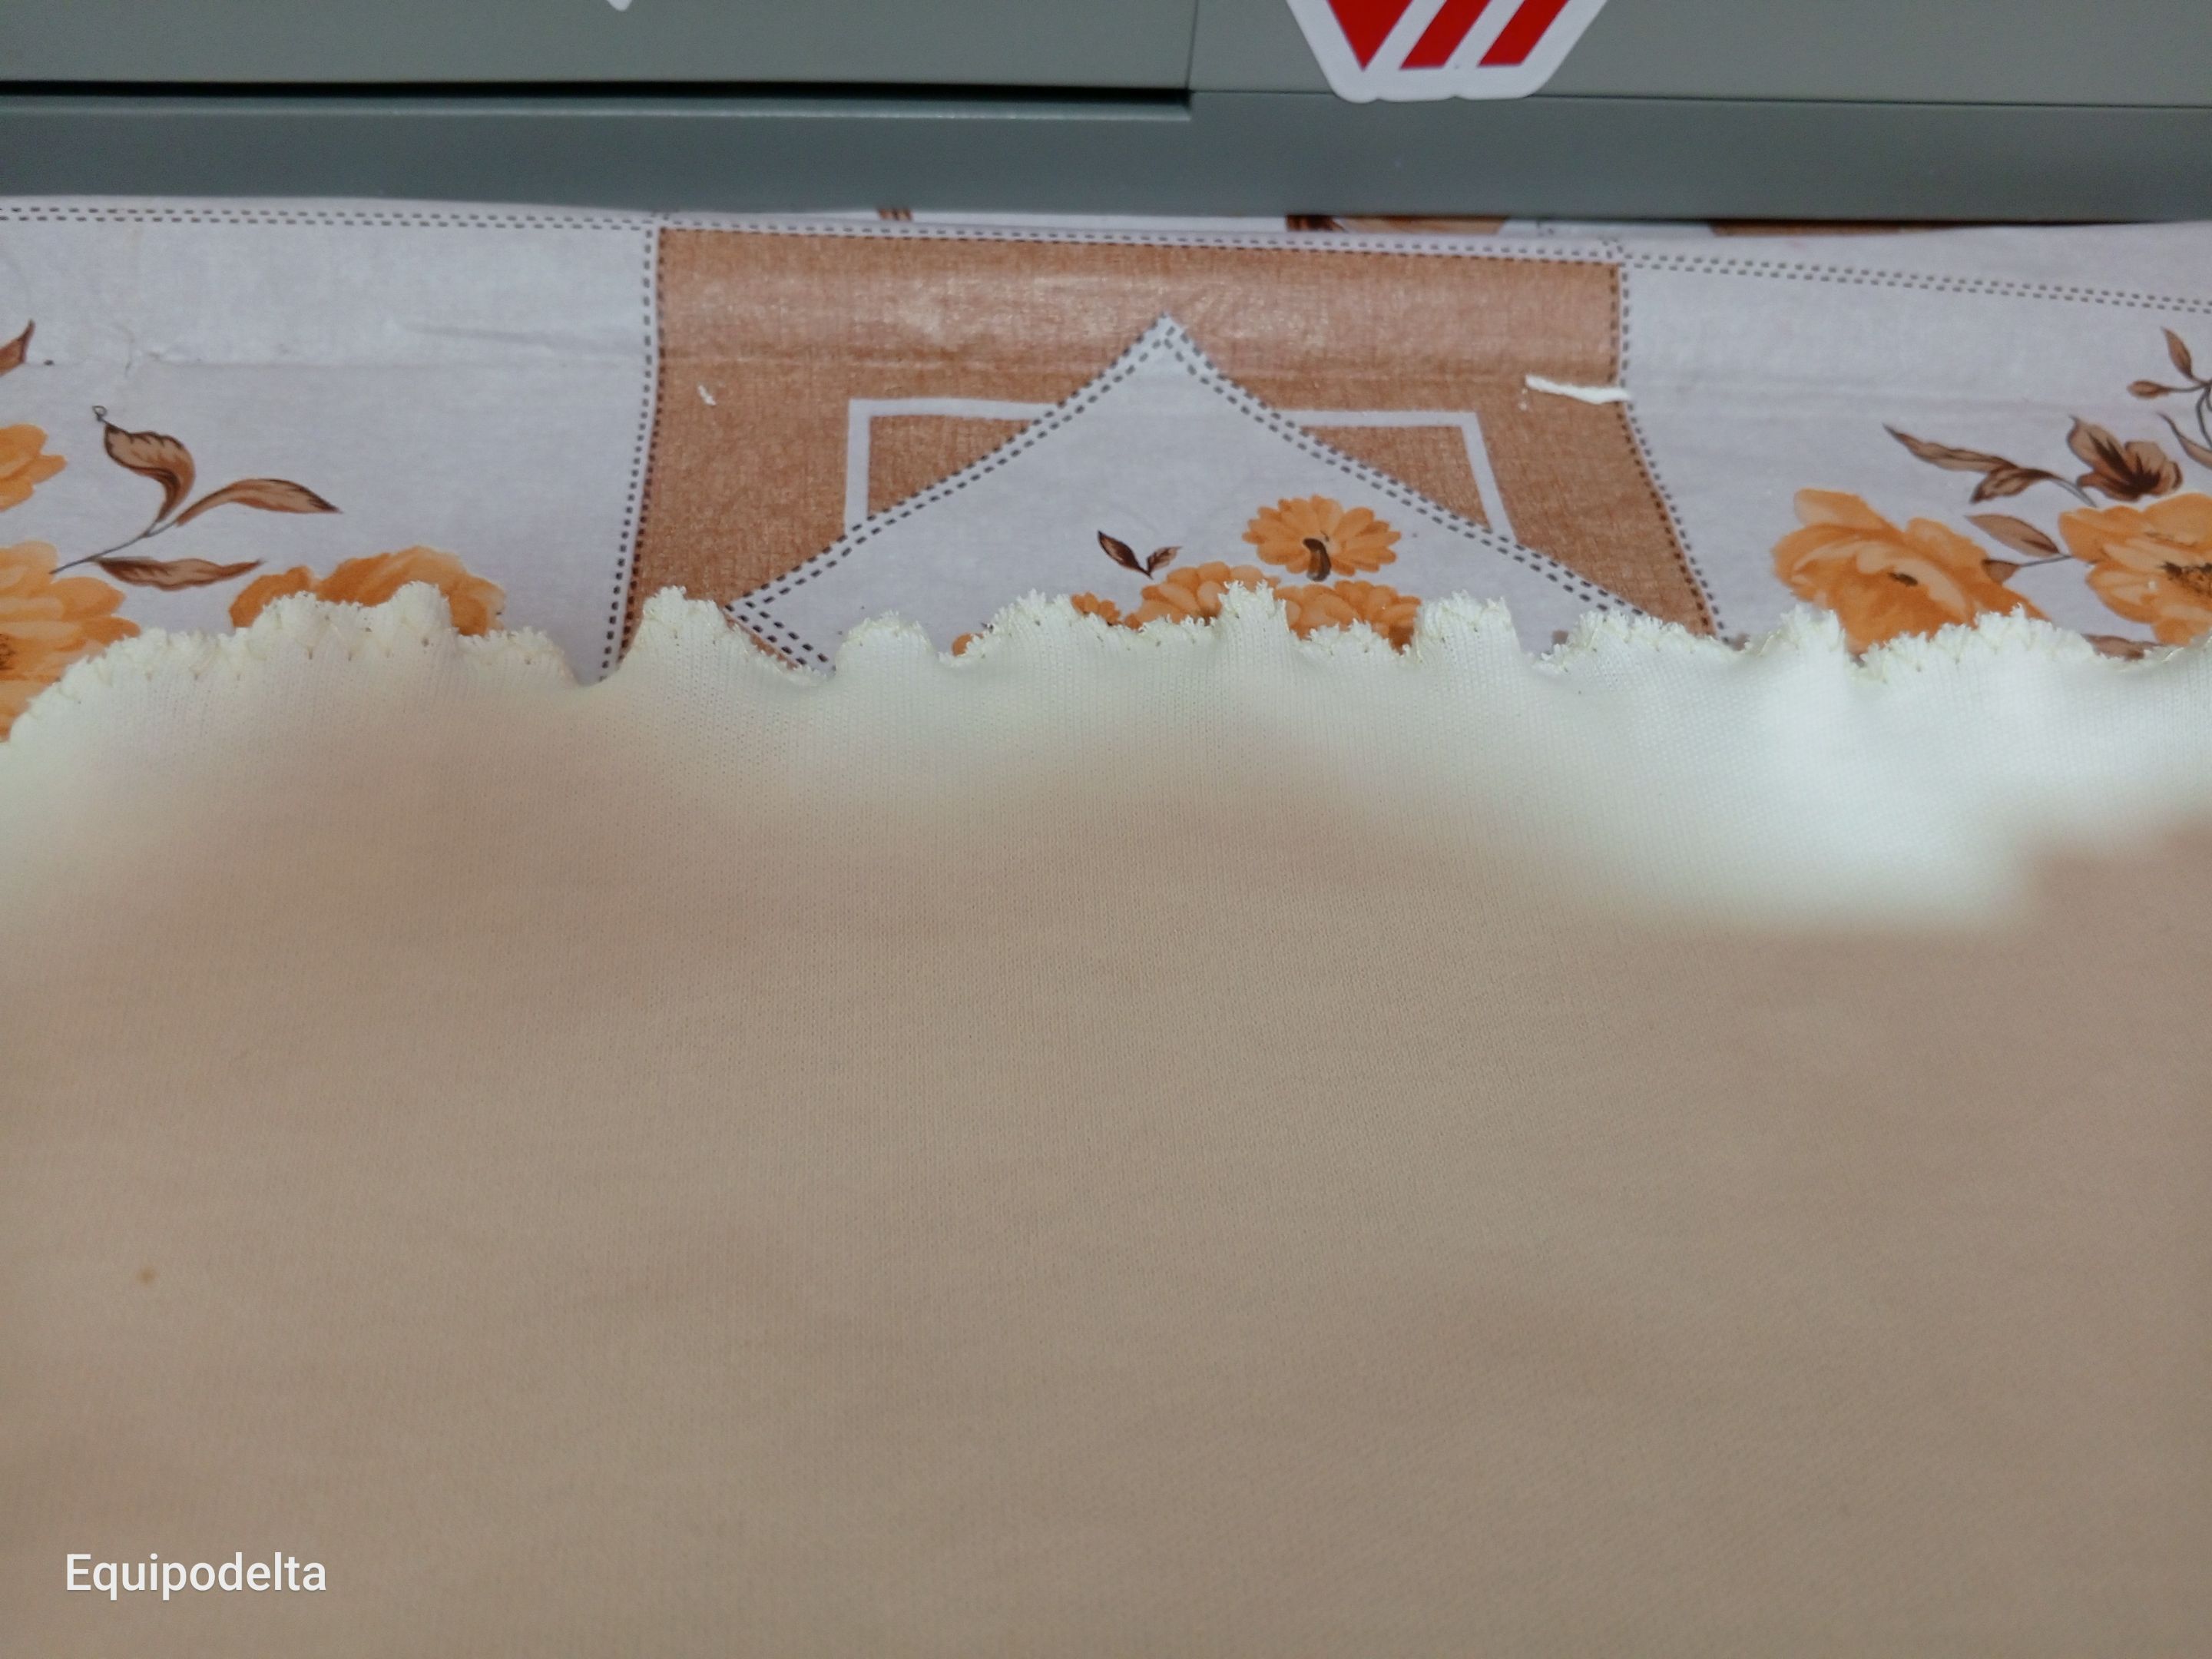
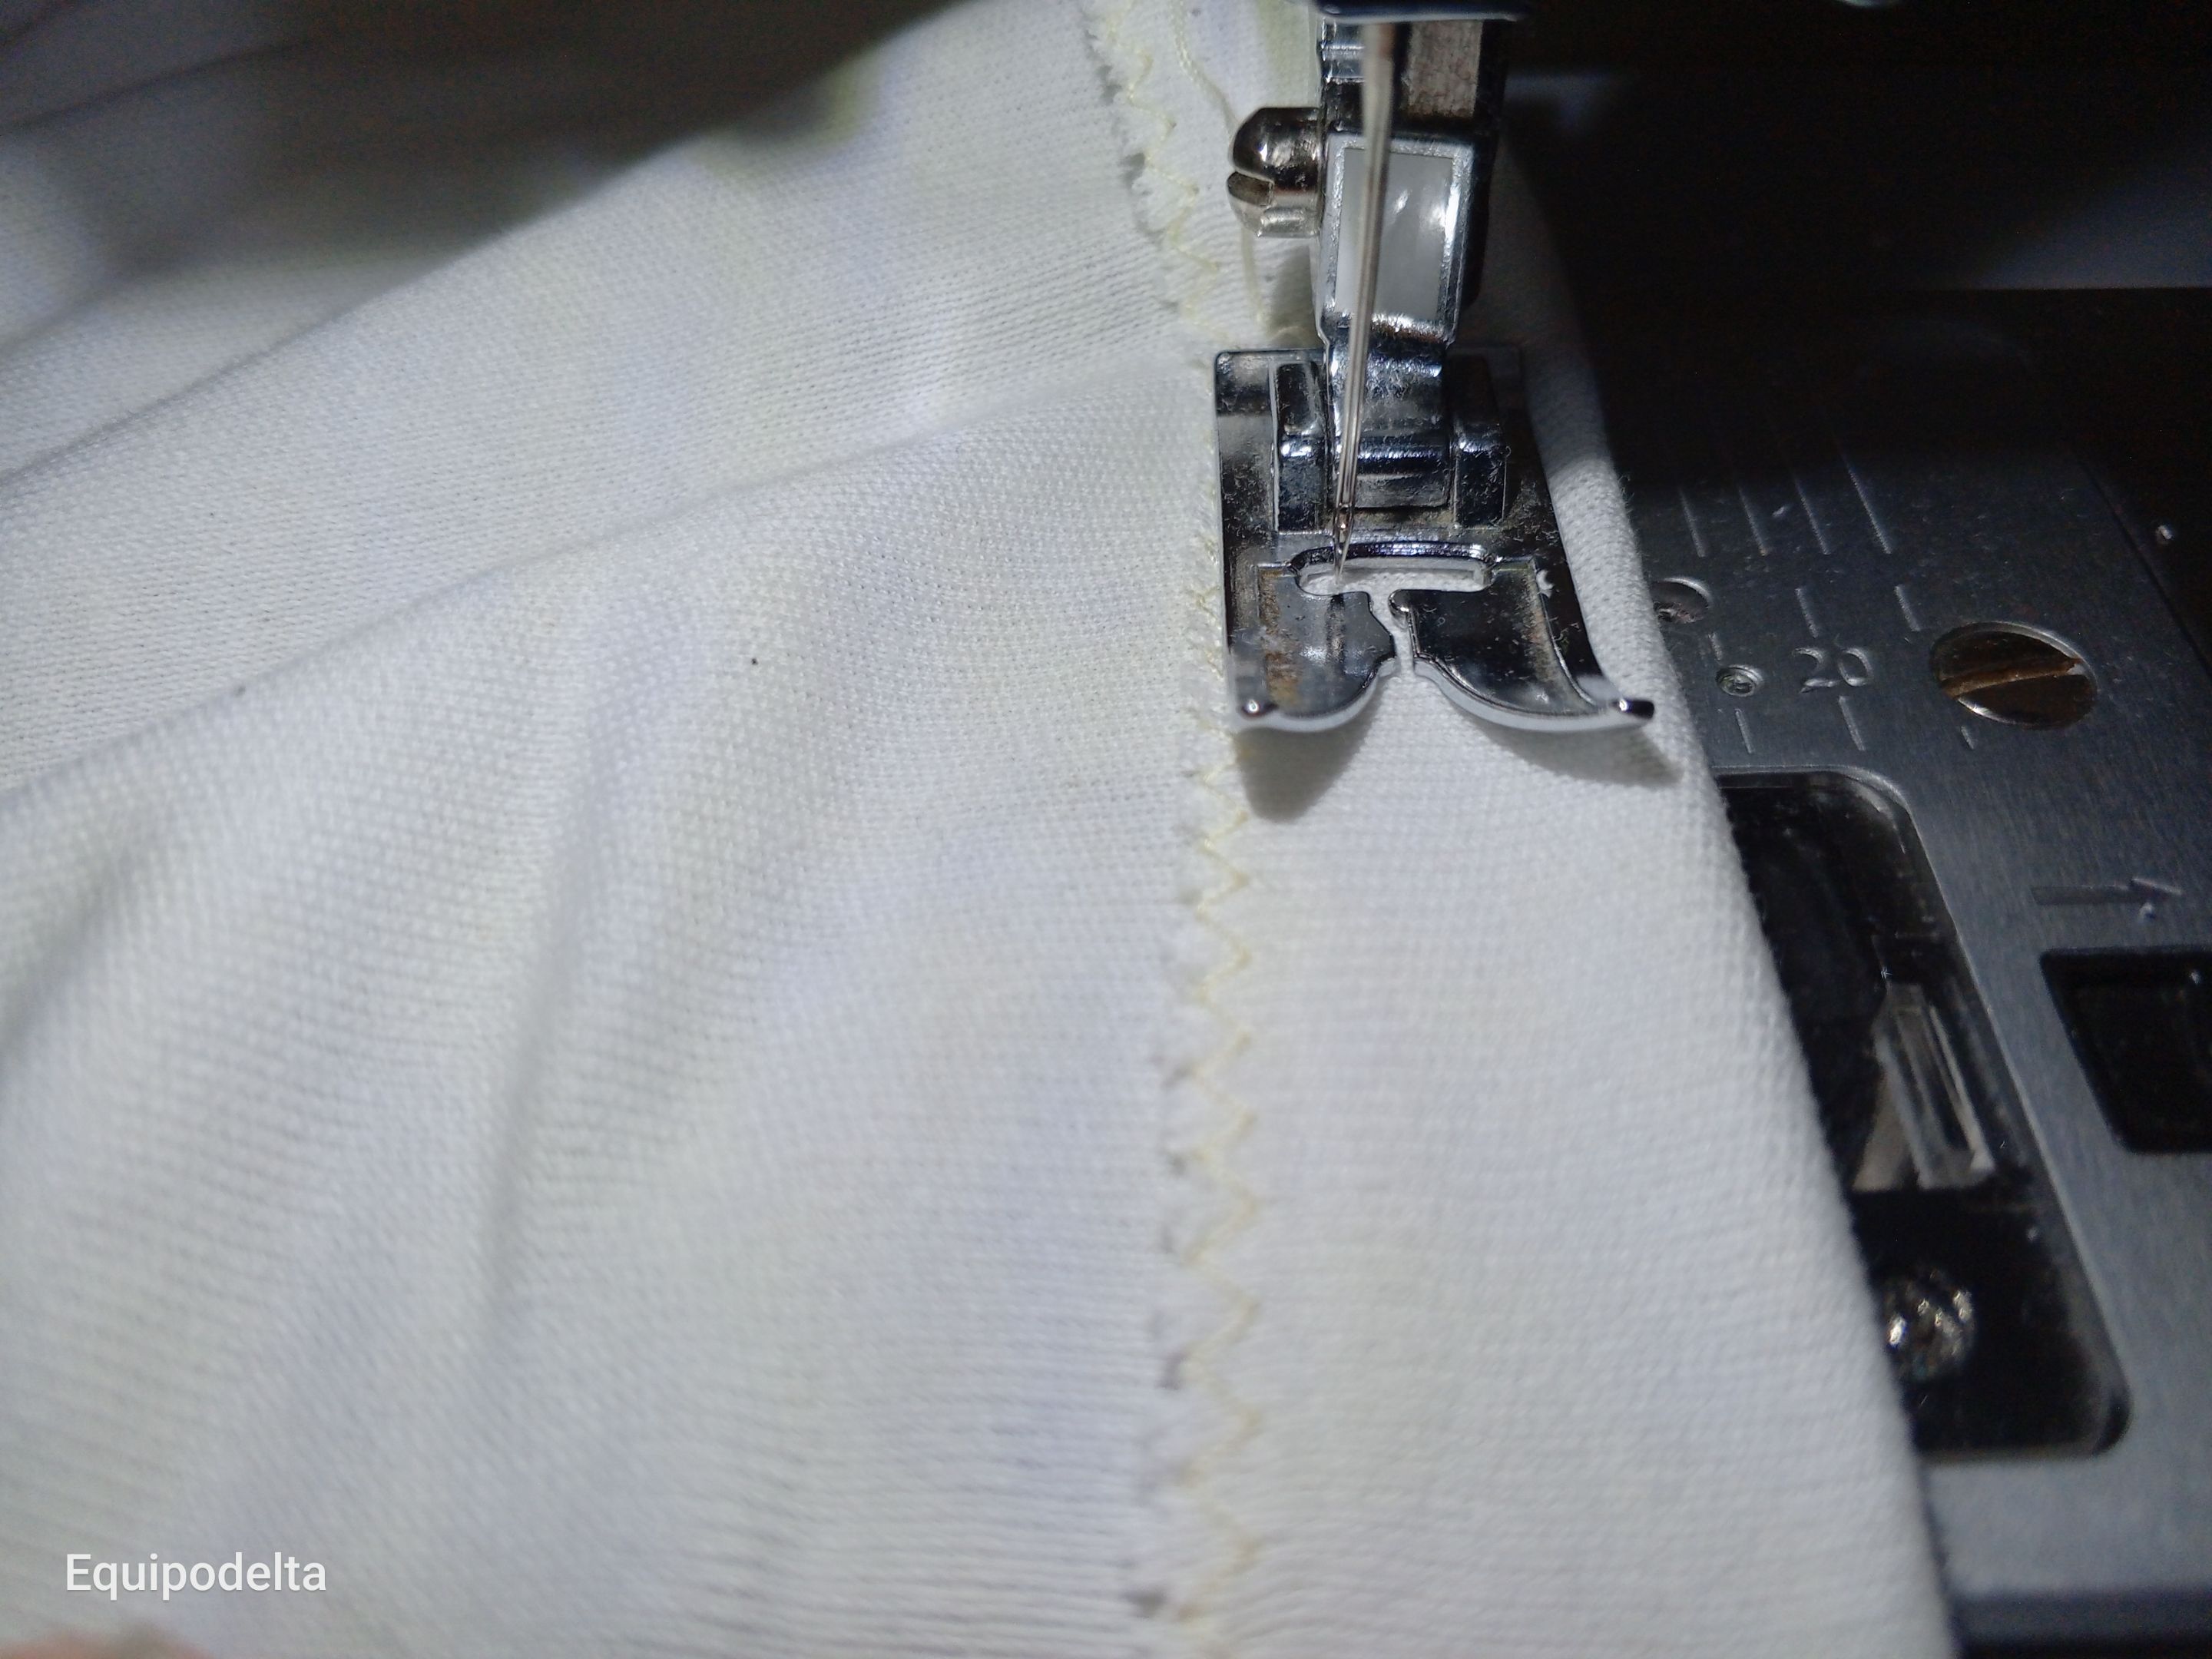
El ruedo de abajo, no quise que fuera grueso por el tema de que se marque en el pantalón, así que es bueno hacer un ruedo sencillo solo con zig zag, luego doblas una pestaña hacia adentro de 1 centímetro y coses la recta.
Es importante que durante esta costura estires un poco la tela, porque la tela estira y así cuando te la pongas no se rompa el hilo.
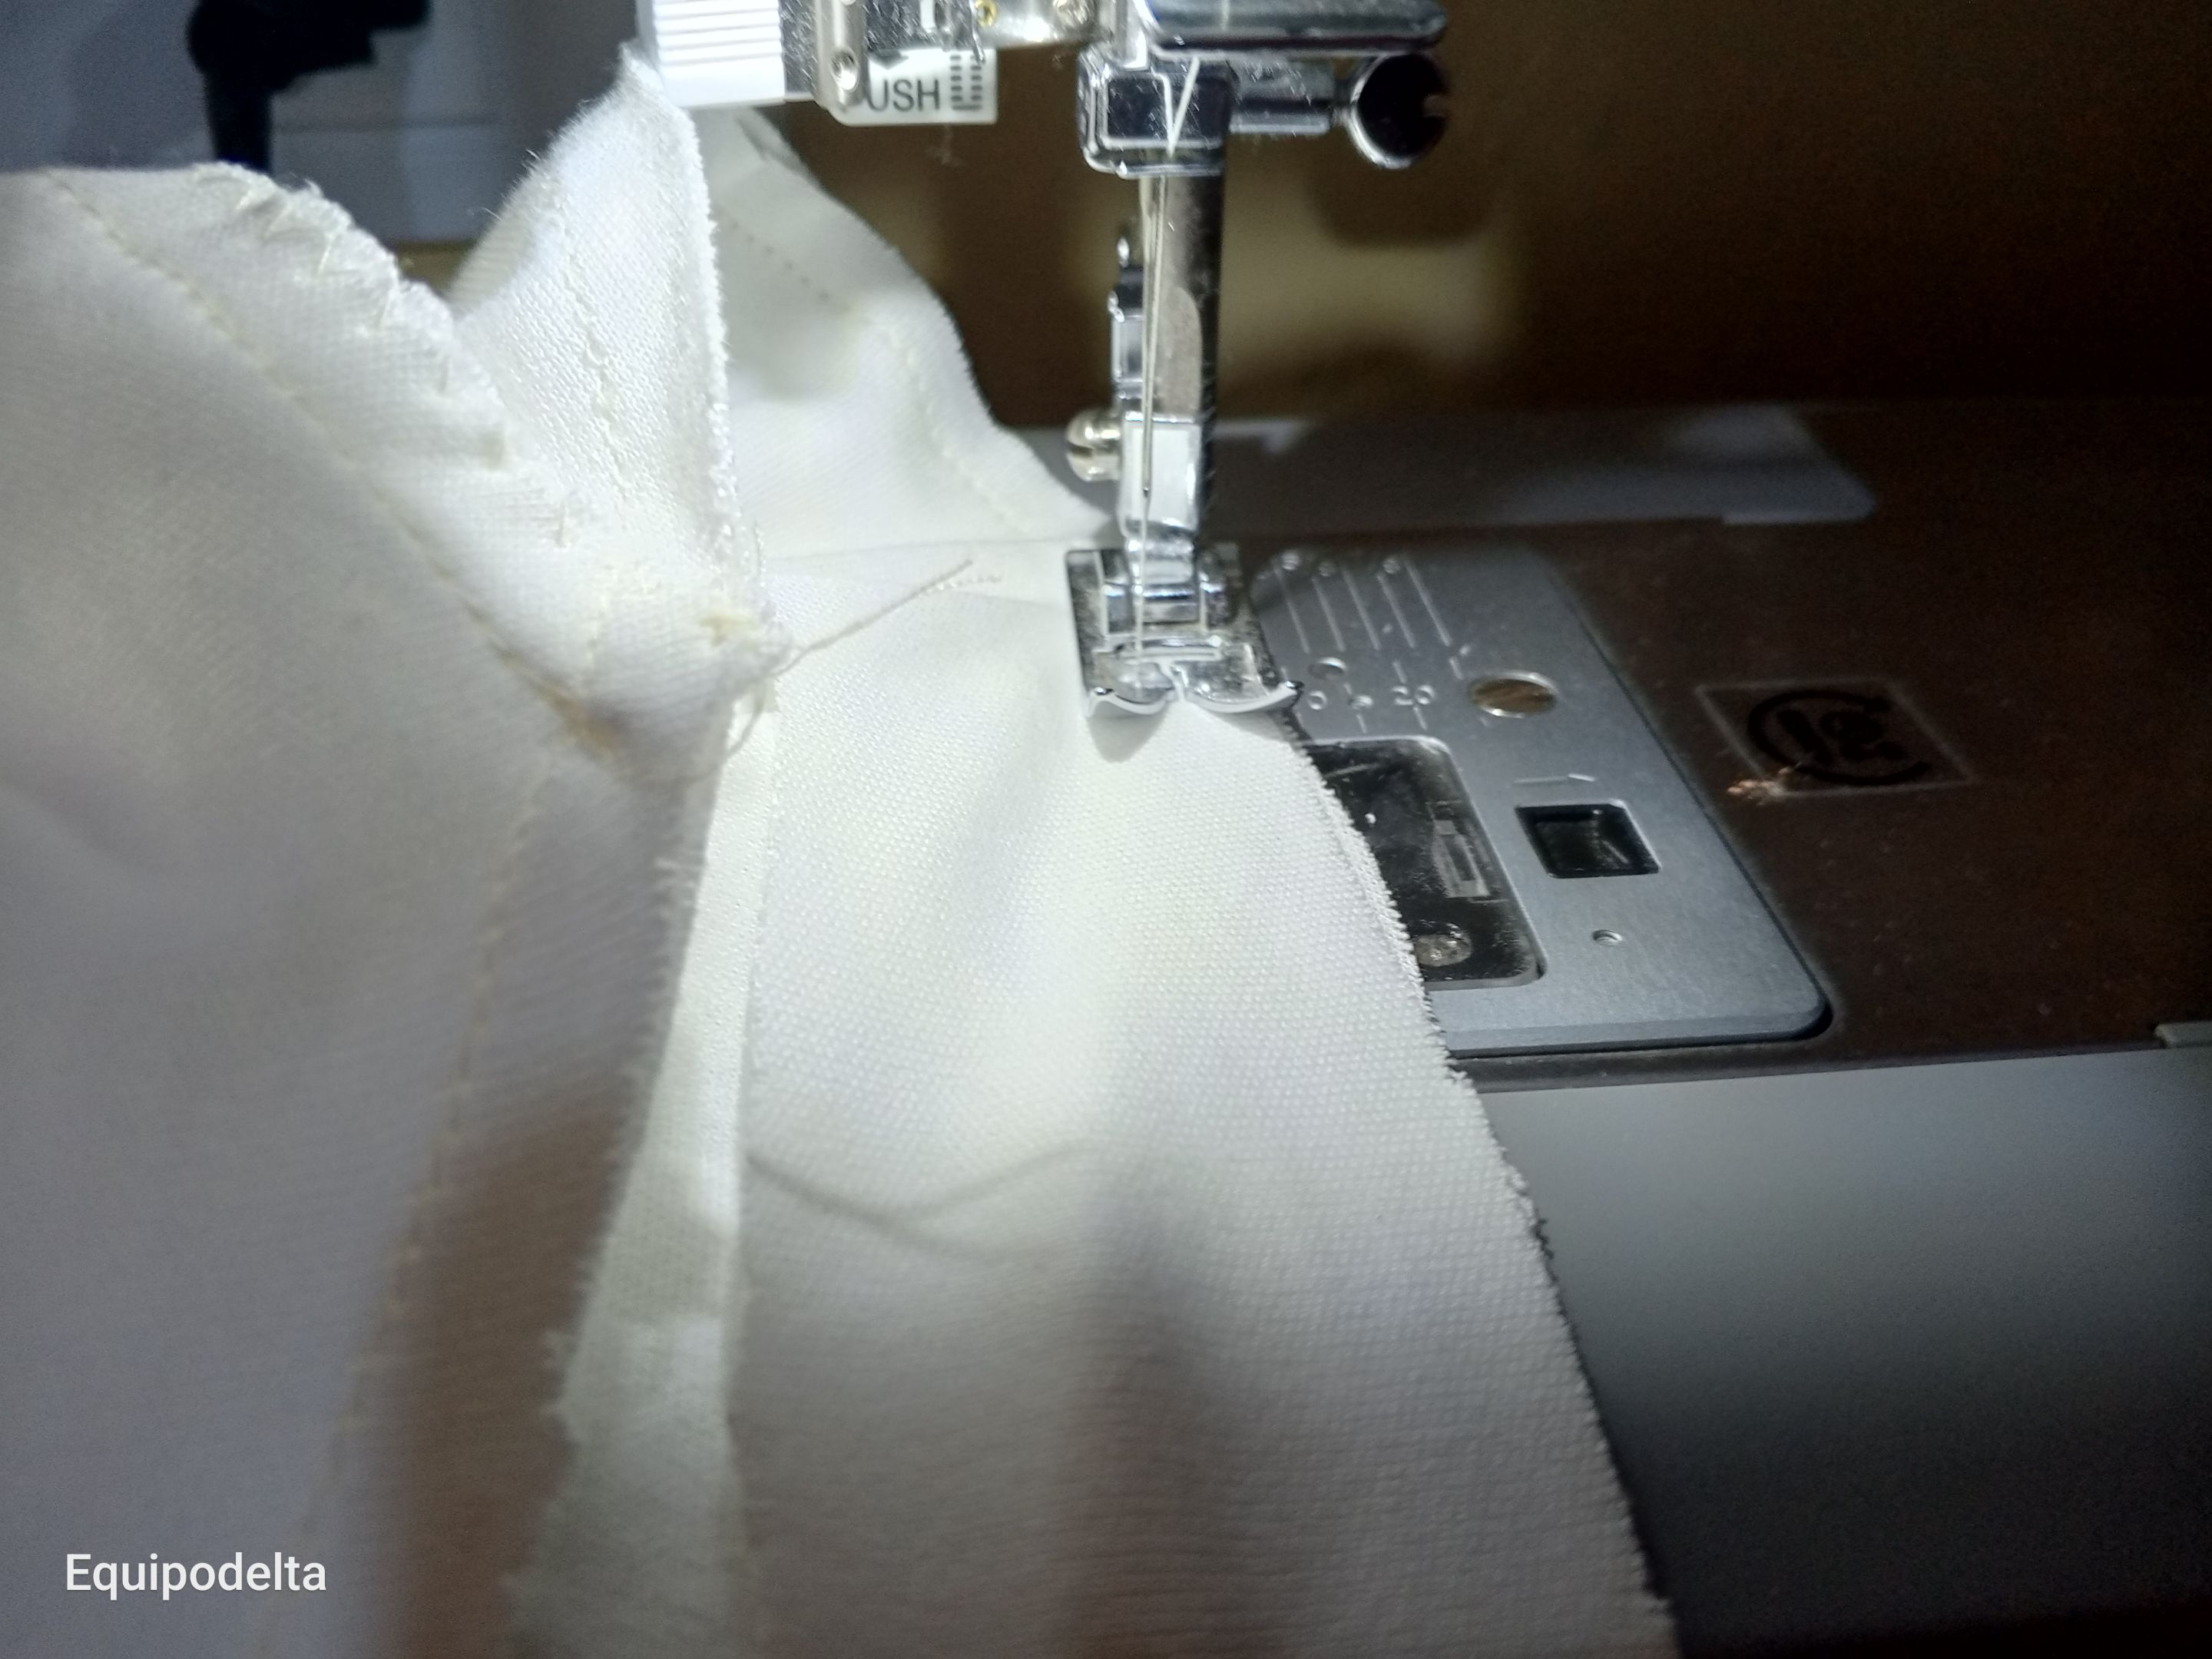
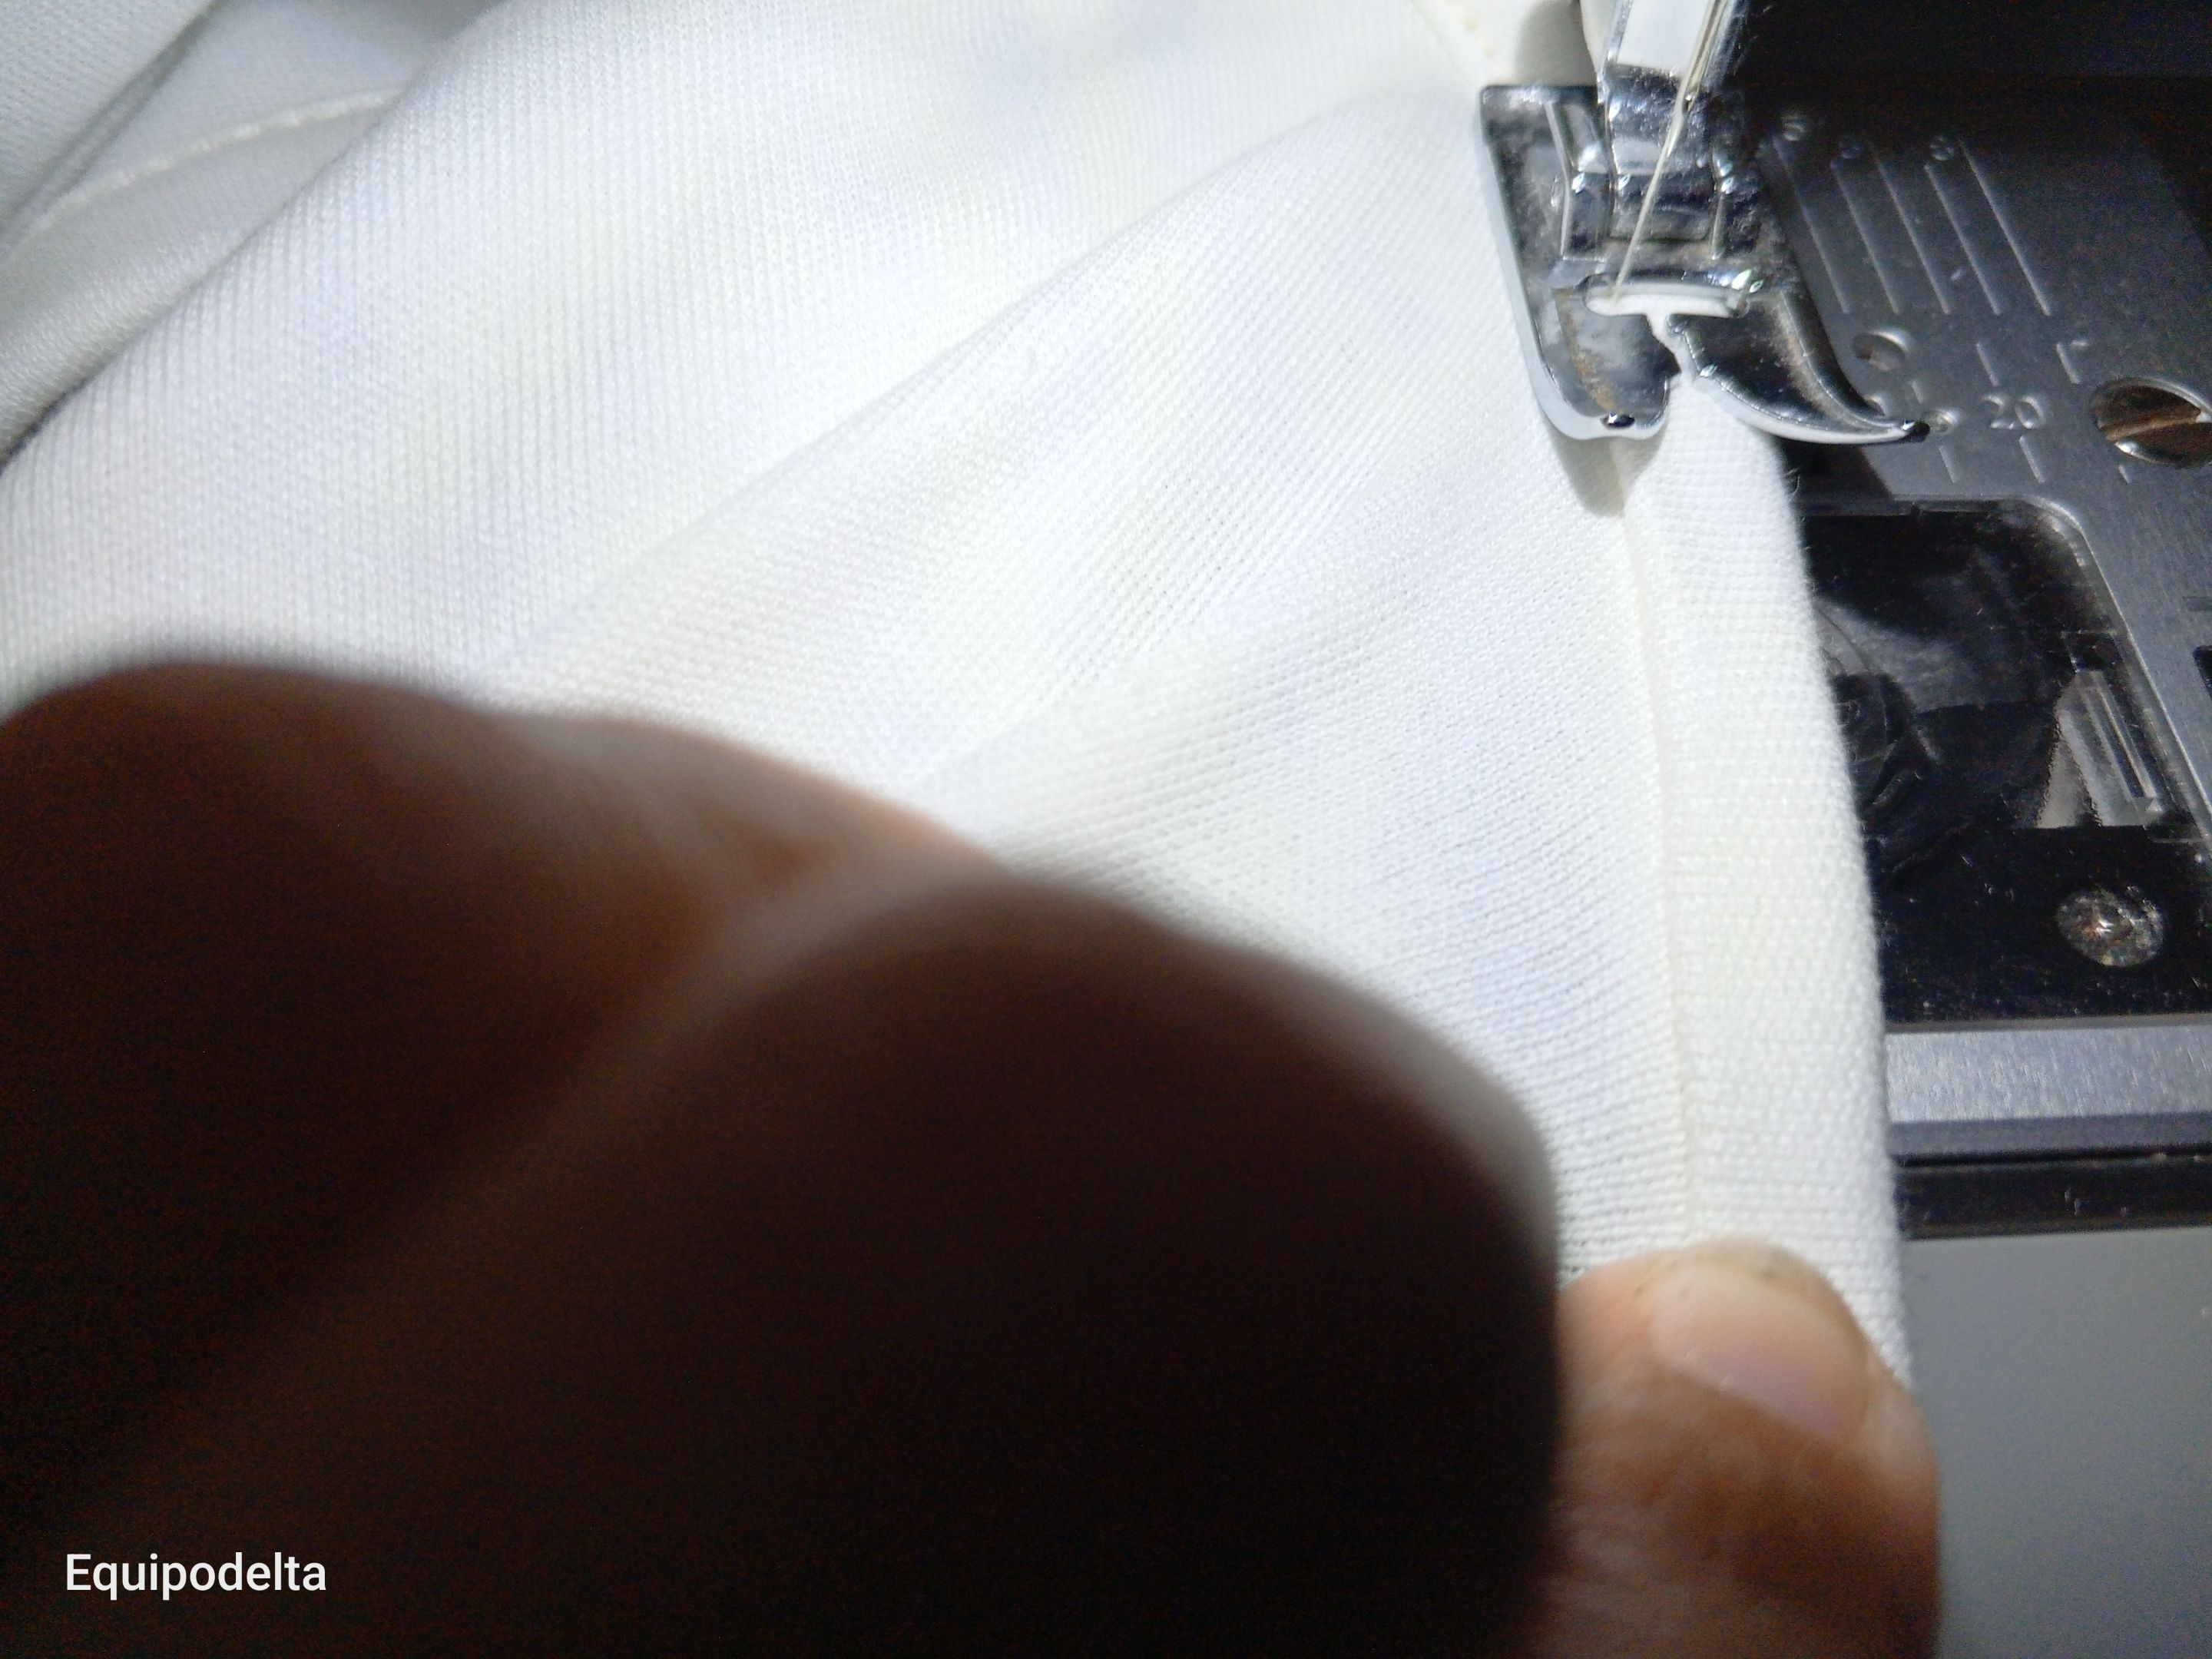
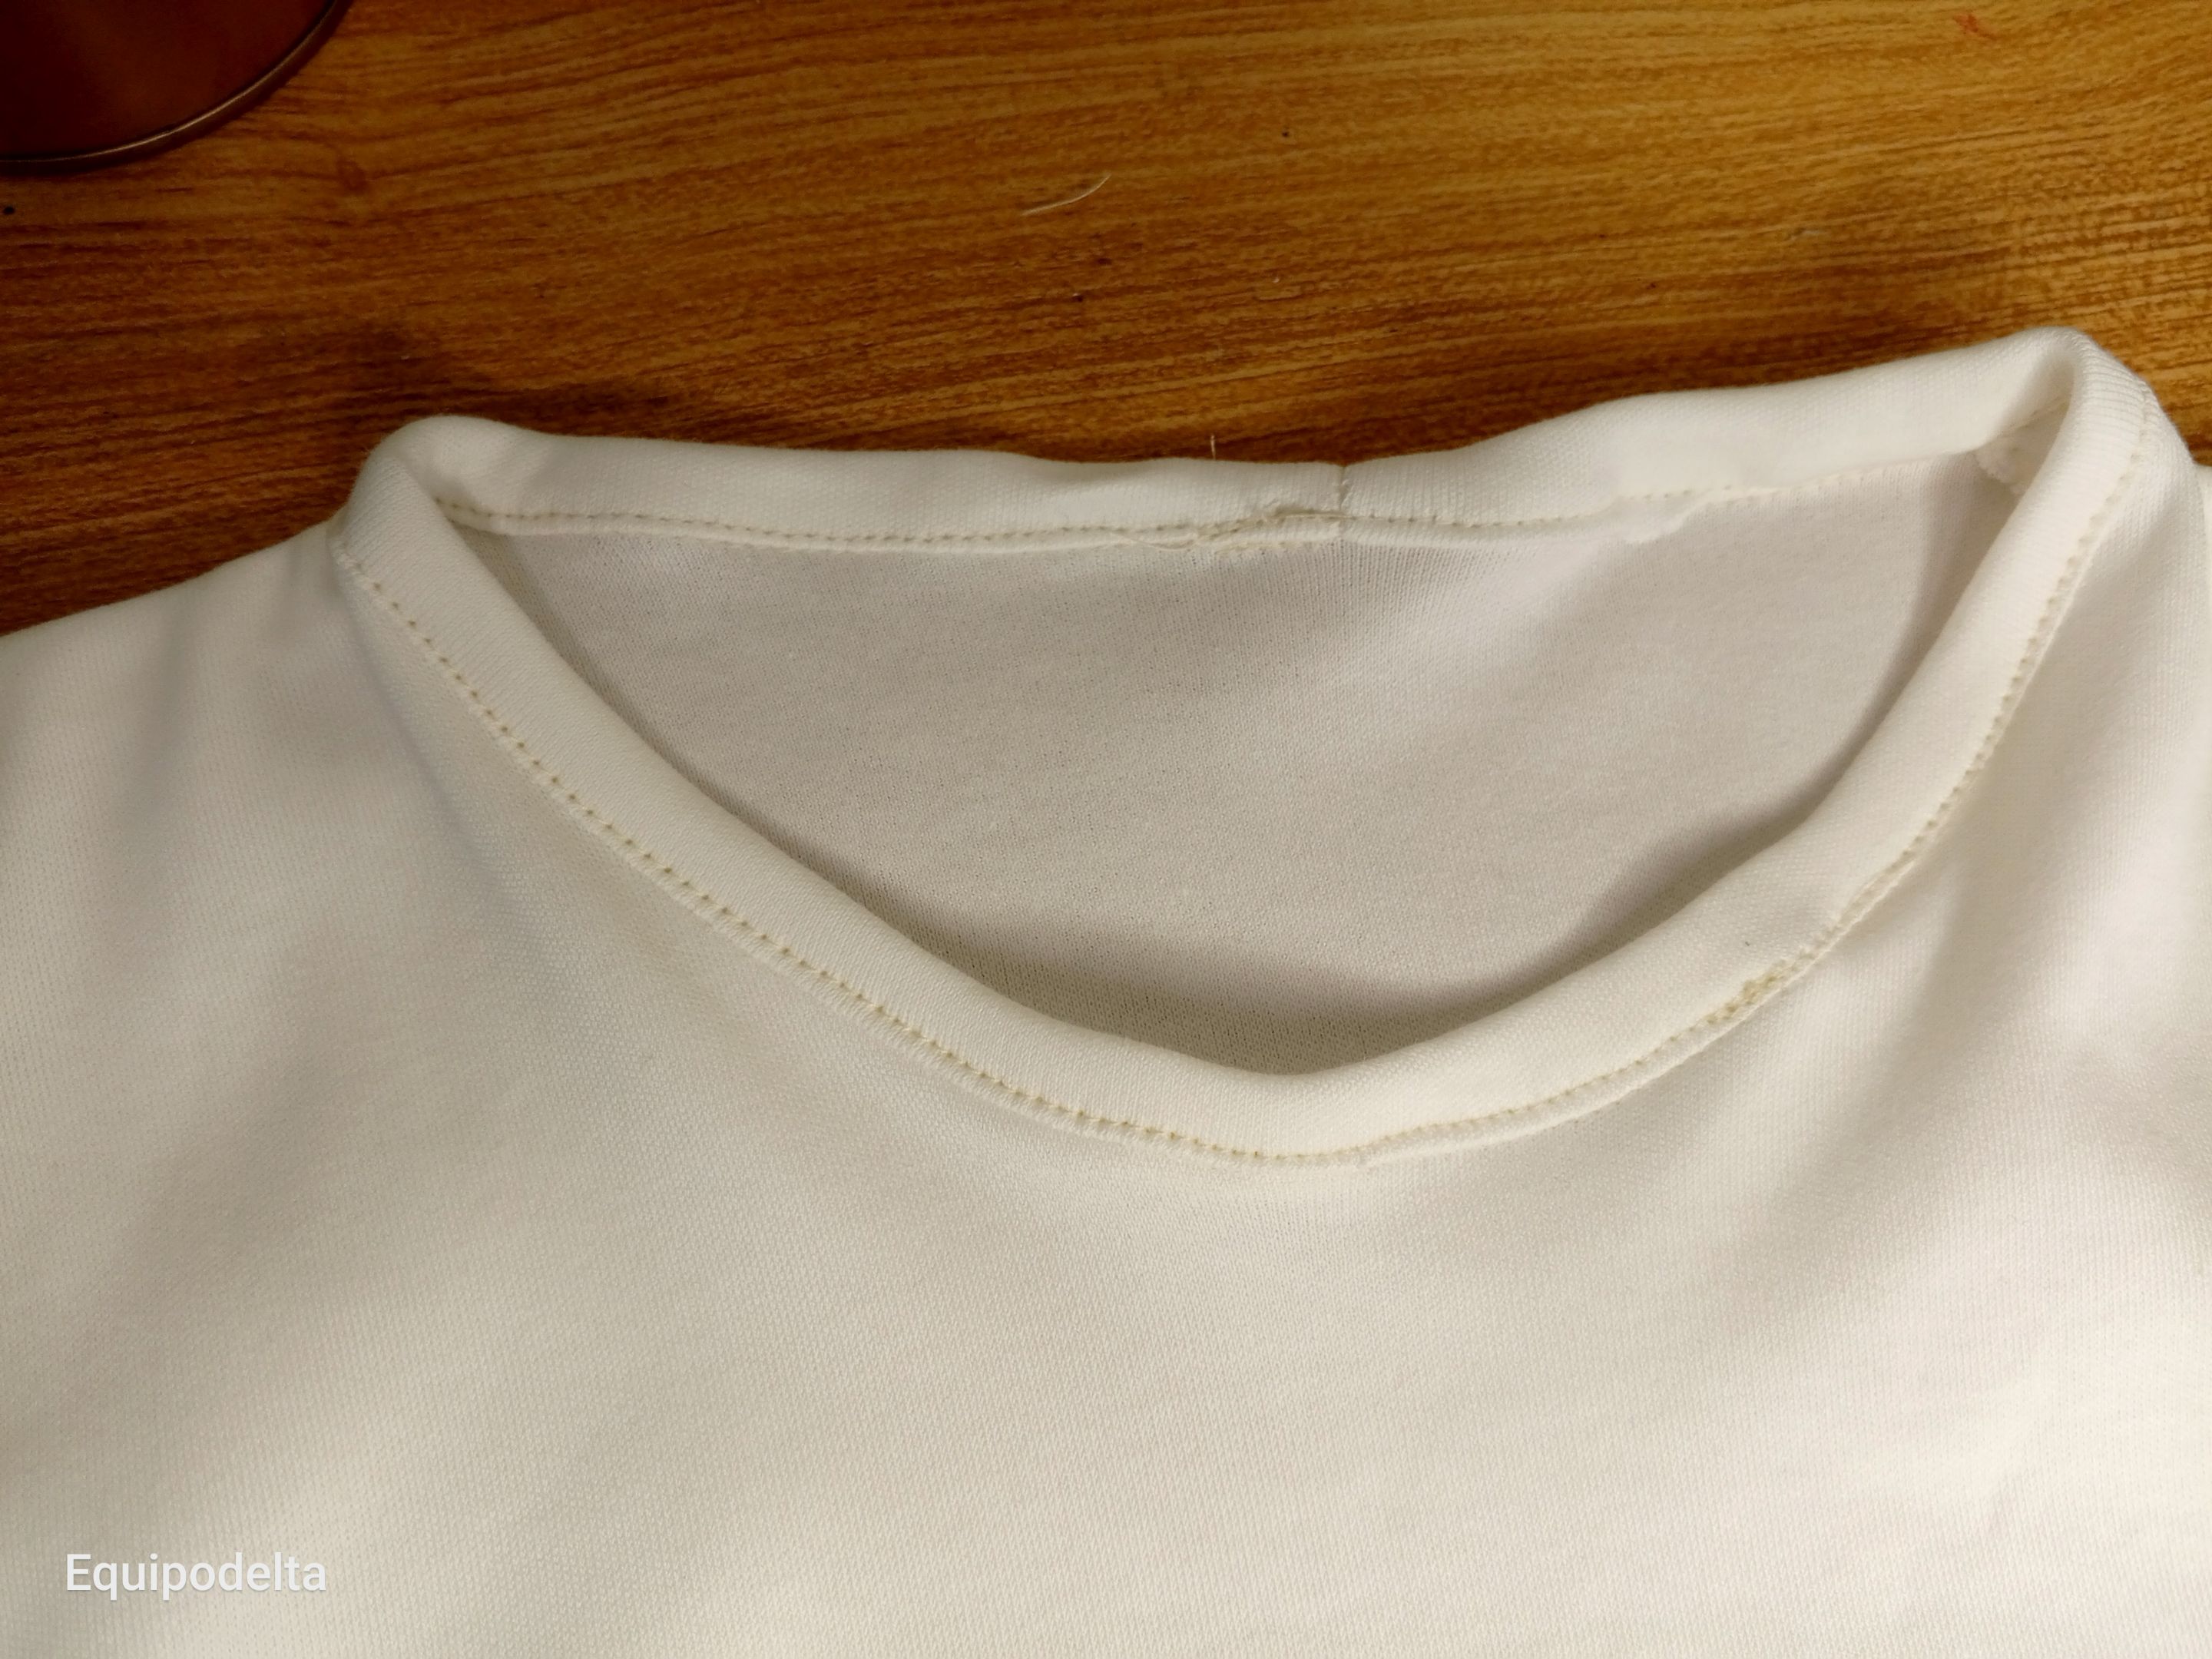
Ahora cose la tela de 3 centímetros al cuello de la misma forma que hiciste con las mangas, solo que esta es más delgada.
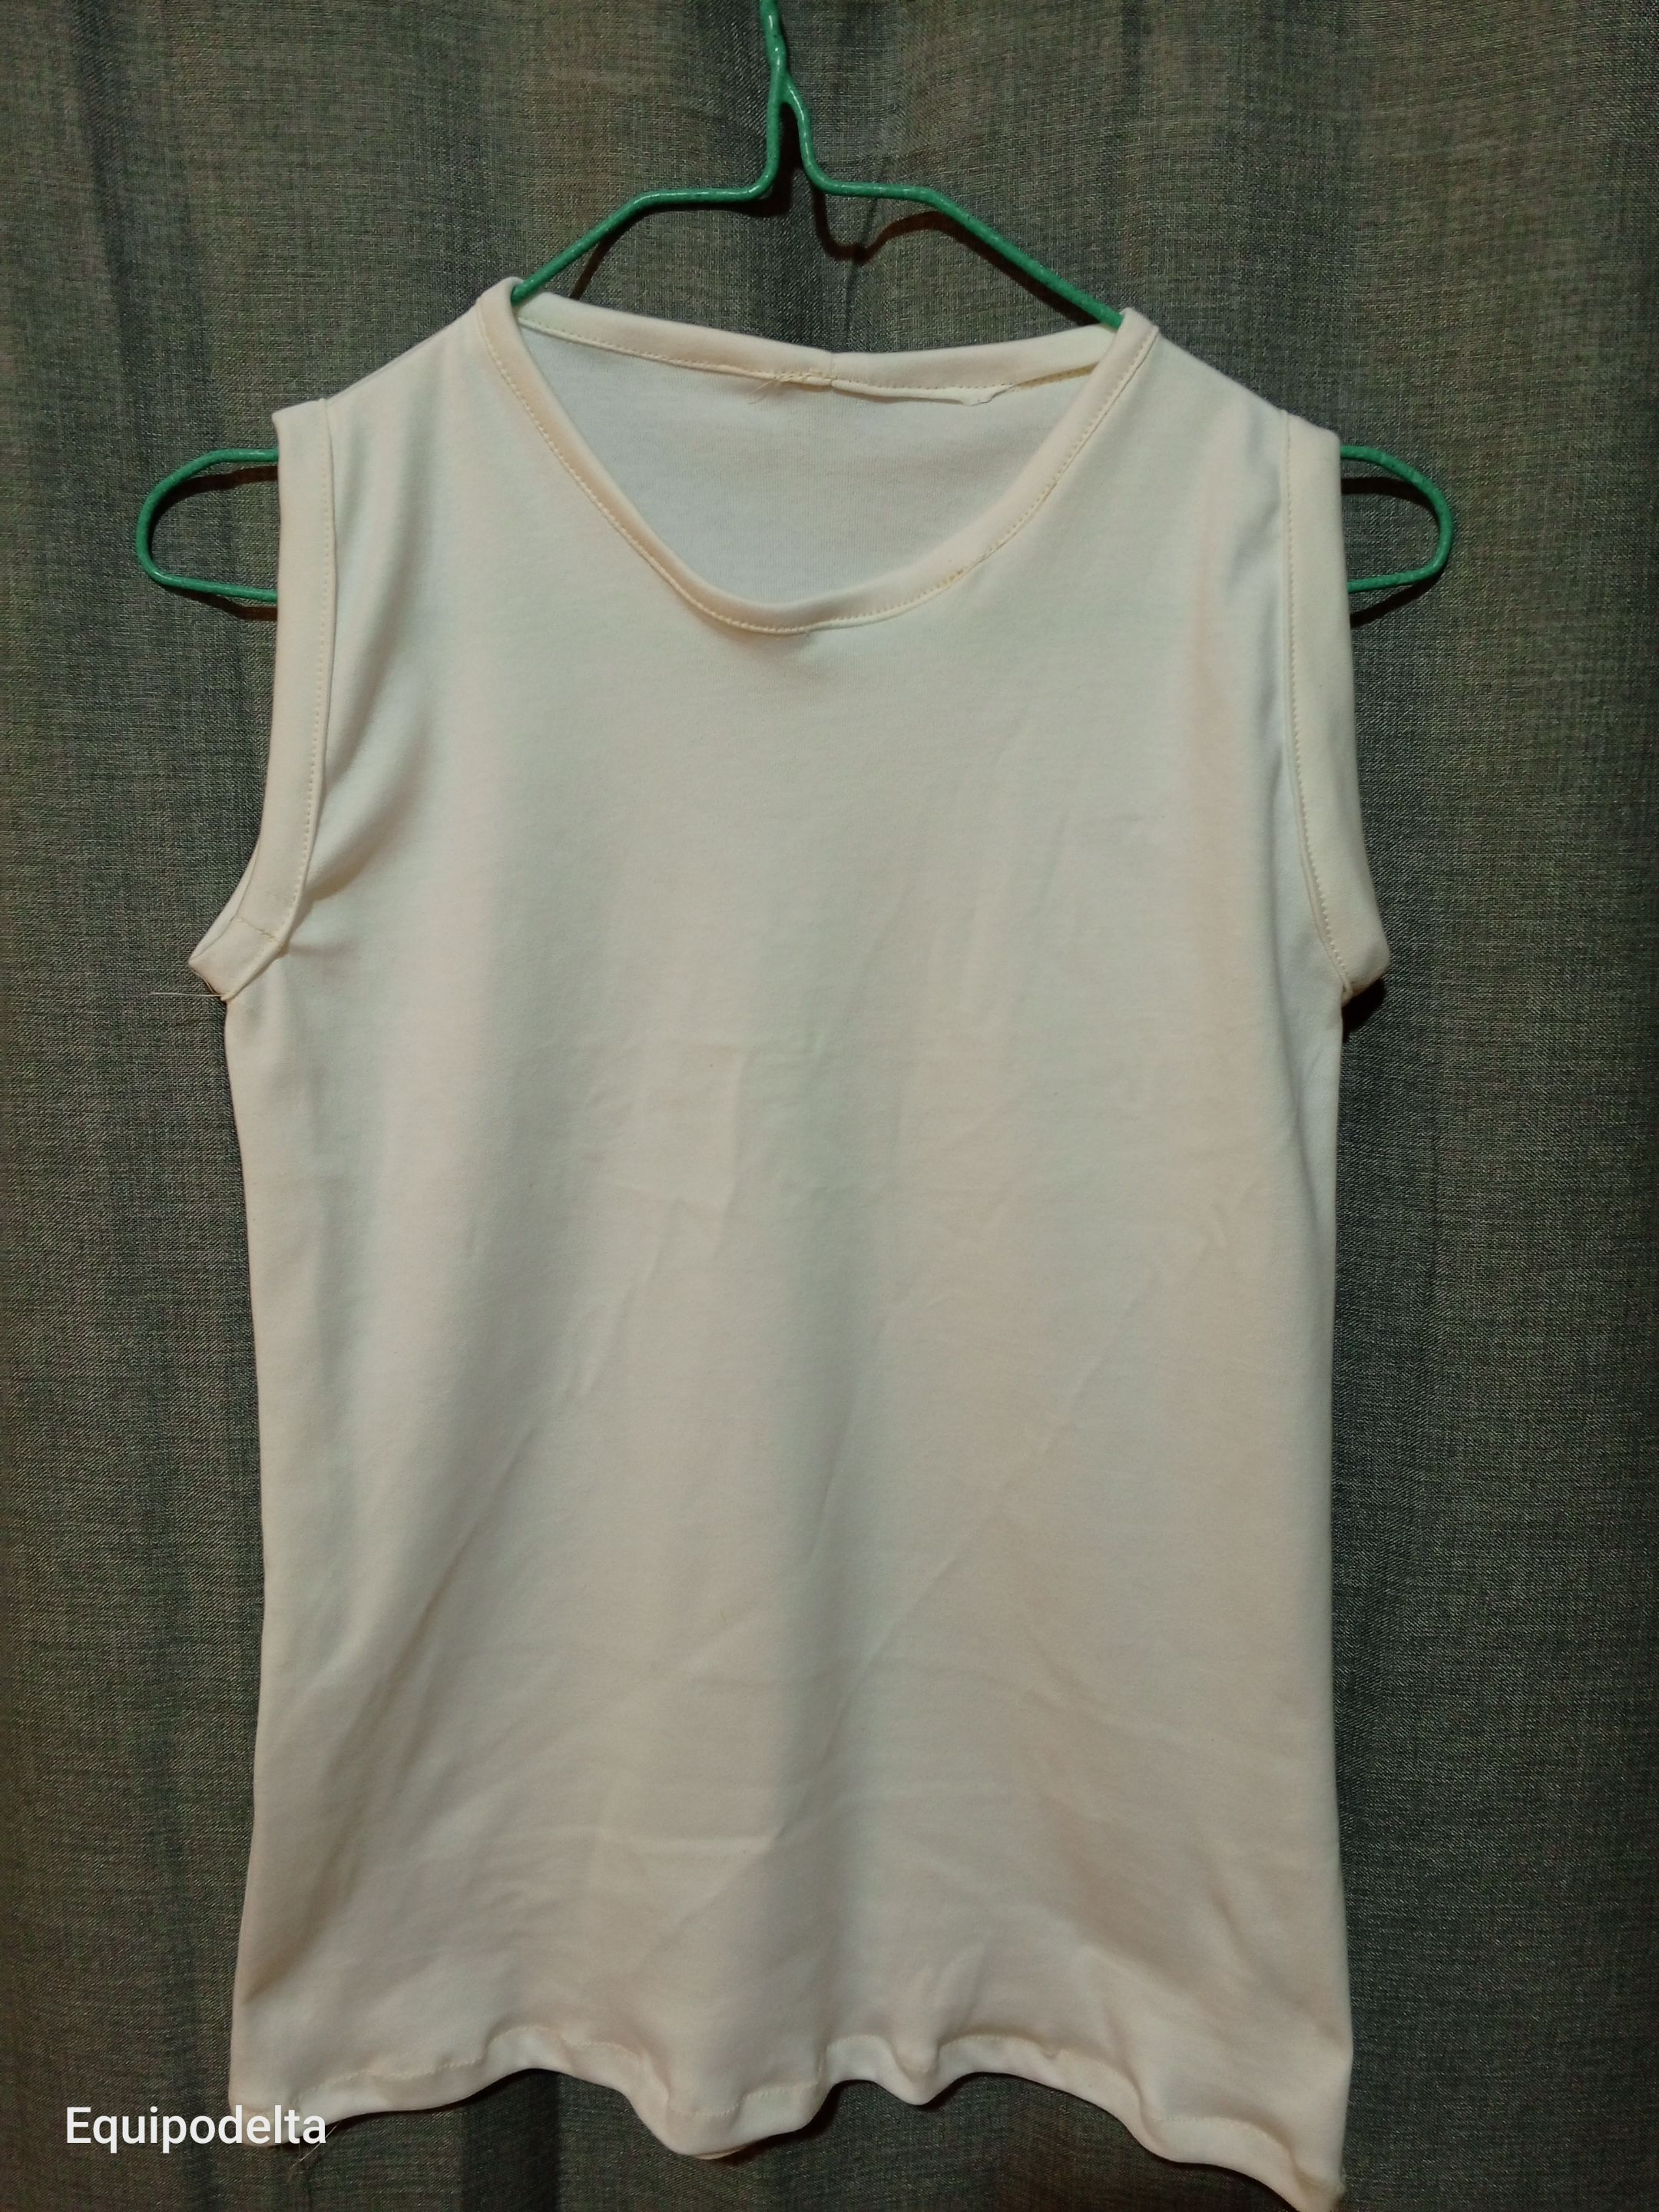
Con ello terminamos nuestro proyecto.
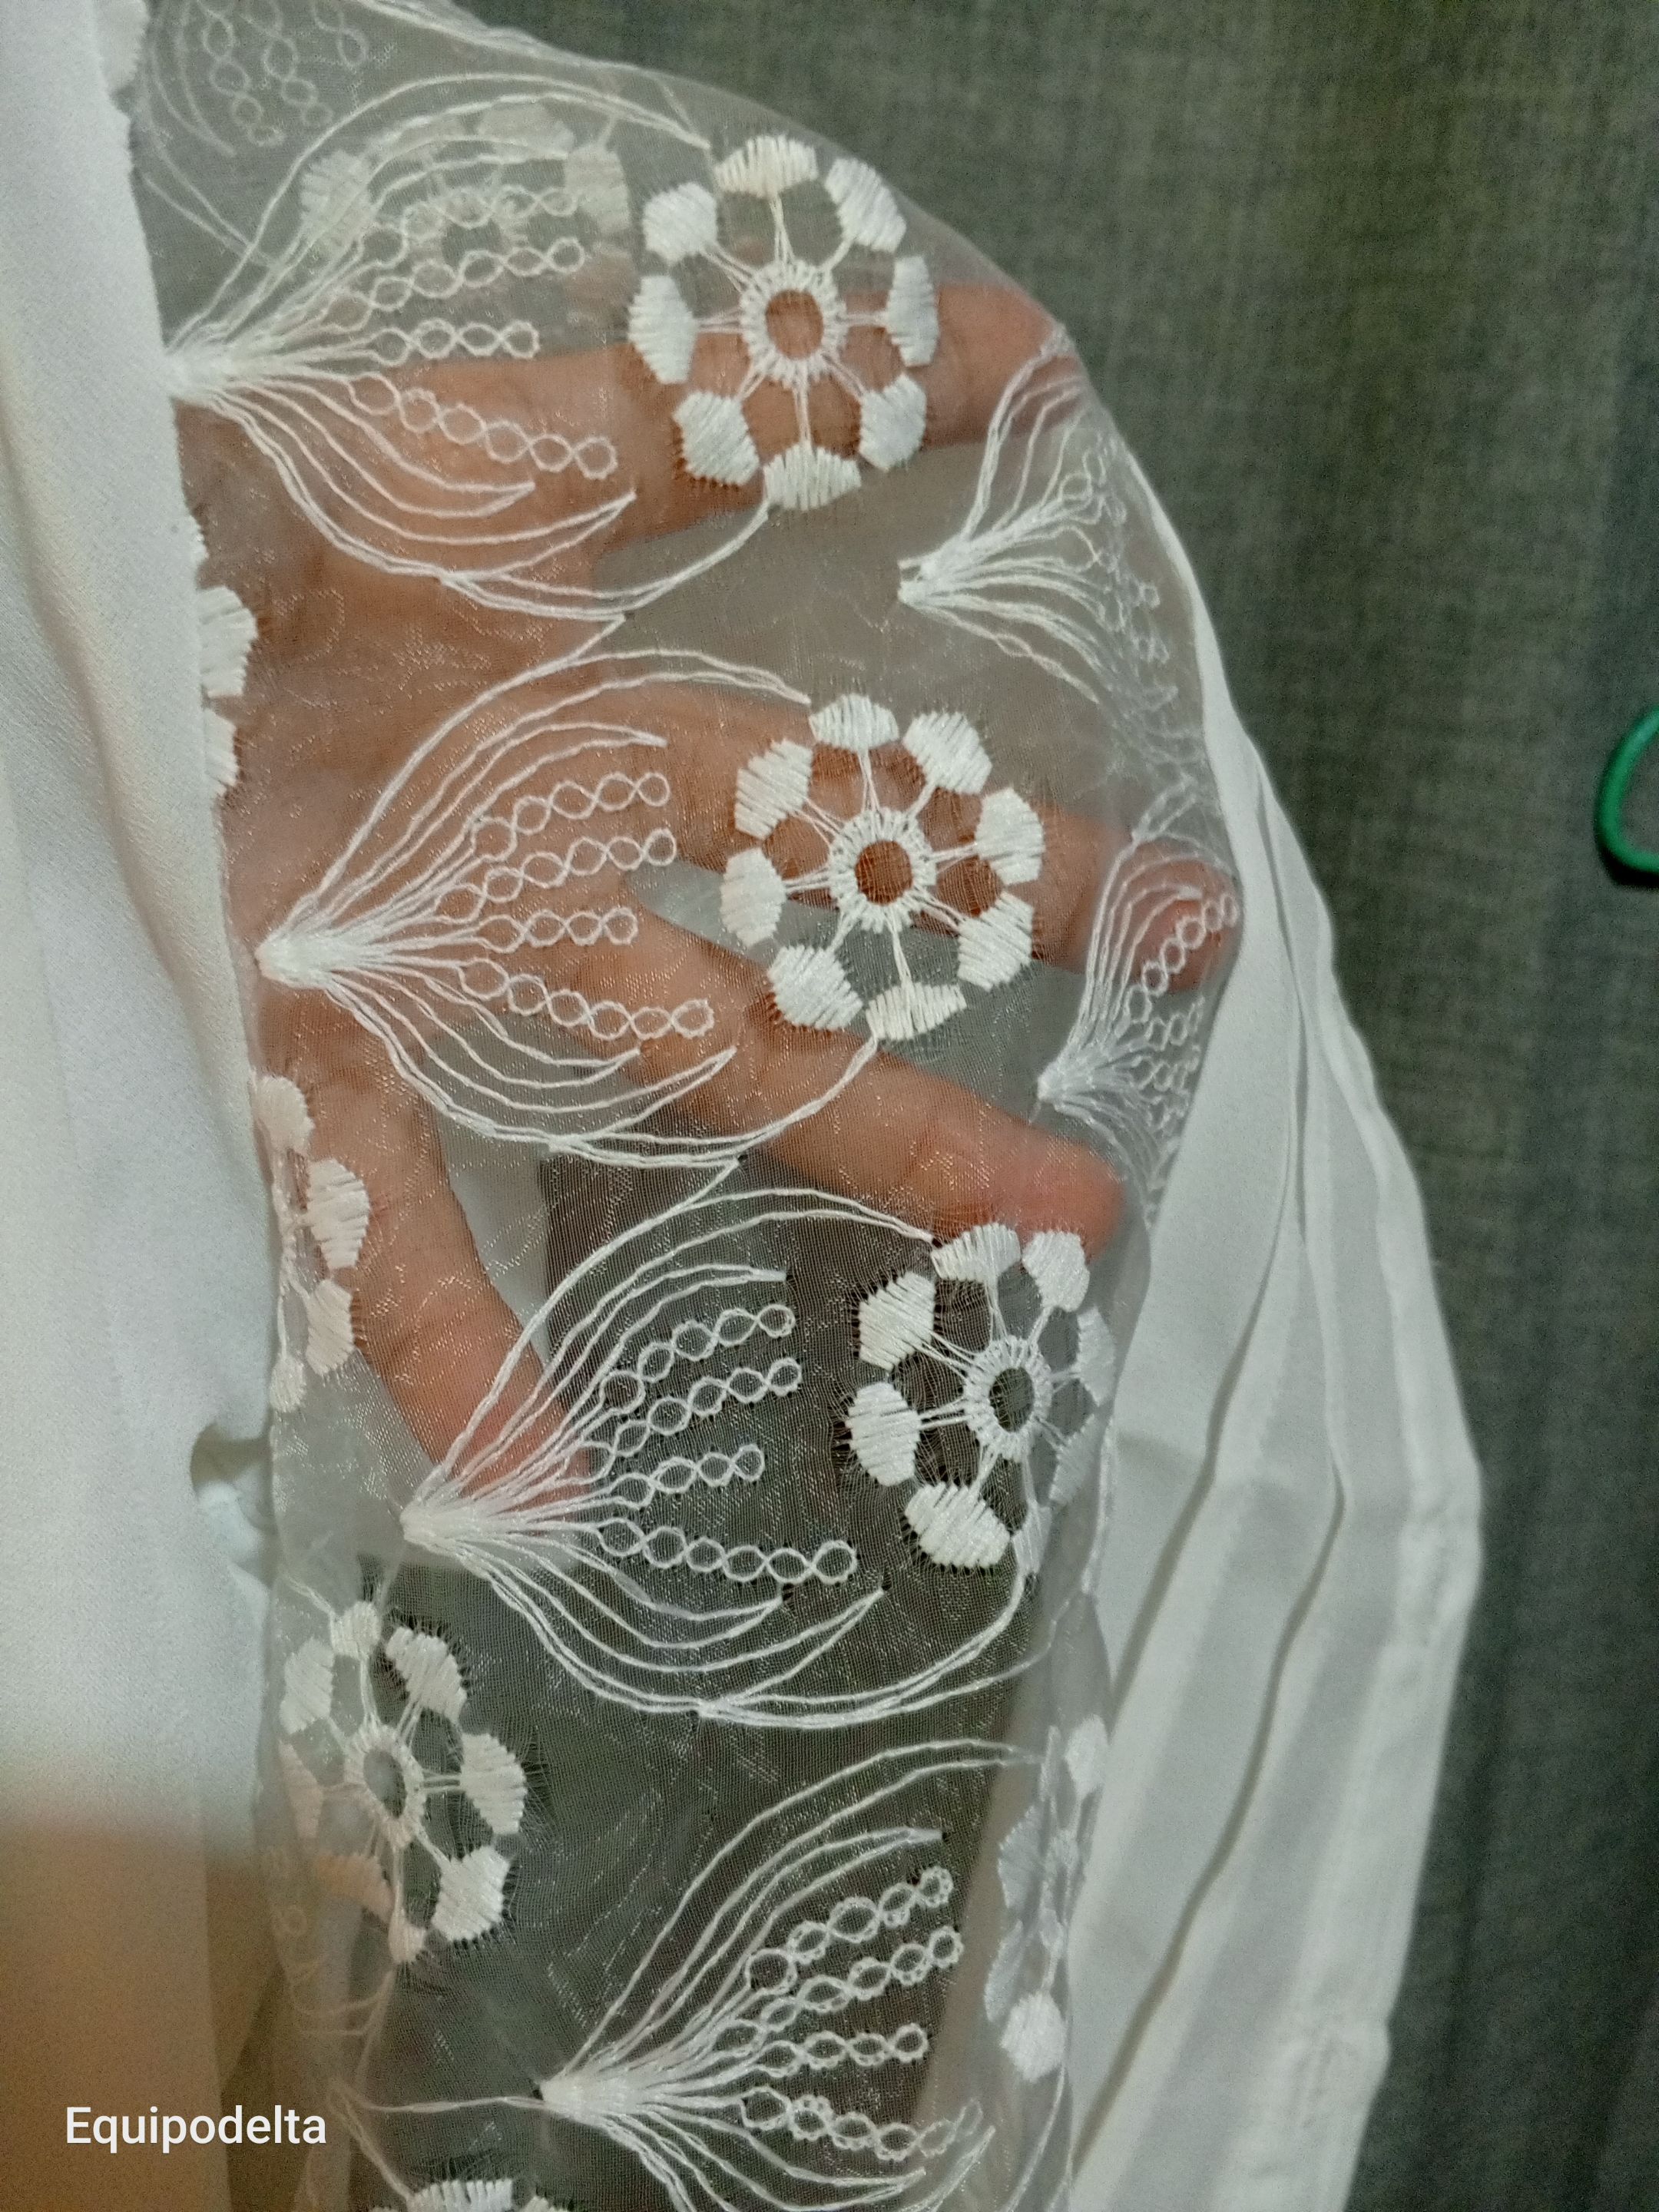
Les muestro la transparencia de la blusa. La tela es super delicada y hay que lavarla a mano con cuidado, pero me encanta.
Hemos resuelto el dilema de la transparencia con una linda guardacamisa hecha por nosotros.
Espero te guste.
! [English version]
The bottom hem, I didn't want it to be thick because of the issue of marking it on the pants, so it is good to make a simple hem with zig zag, then fold a flap inward of 1 centimeter and sew the straight seam.
It is important that during this sewing you stretch the fabric a little, because the fabric stretches and so when you wear it the thread will not break.
Now sew the 3 centimeter fabric to the neck in the same way you did with the sleeves, only this one is thinner.
This is the end of our project.
I show you the transparency of the blouse. The fabric is super delicate and you have to hand wash it carefully, but I love it.
We have solved the transparency dilemma with a cute shirt keeper made by us.
I hope you like it.


Créditos / Credits




💜💜💜


![]() 👉
👉  👉
👉  👉
👉  👉
👉 
Here / Bríndame un café
