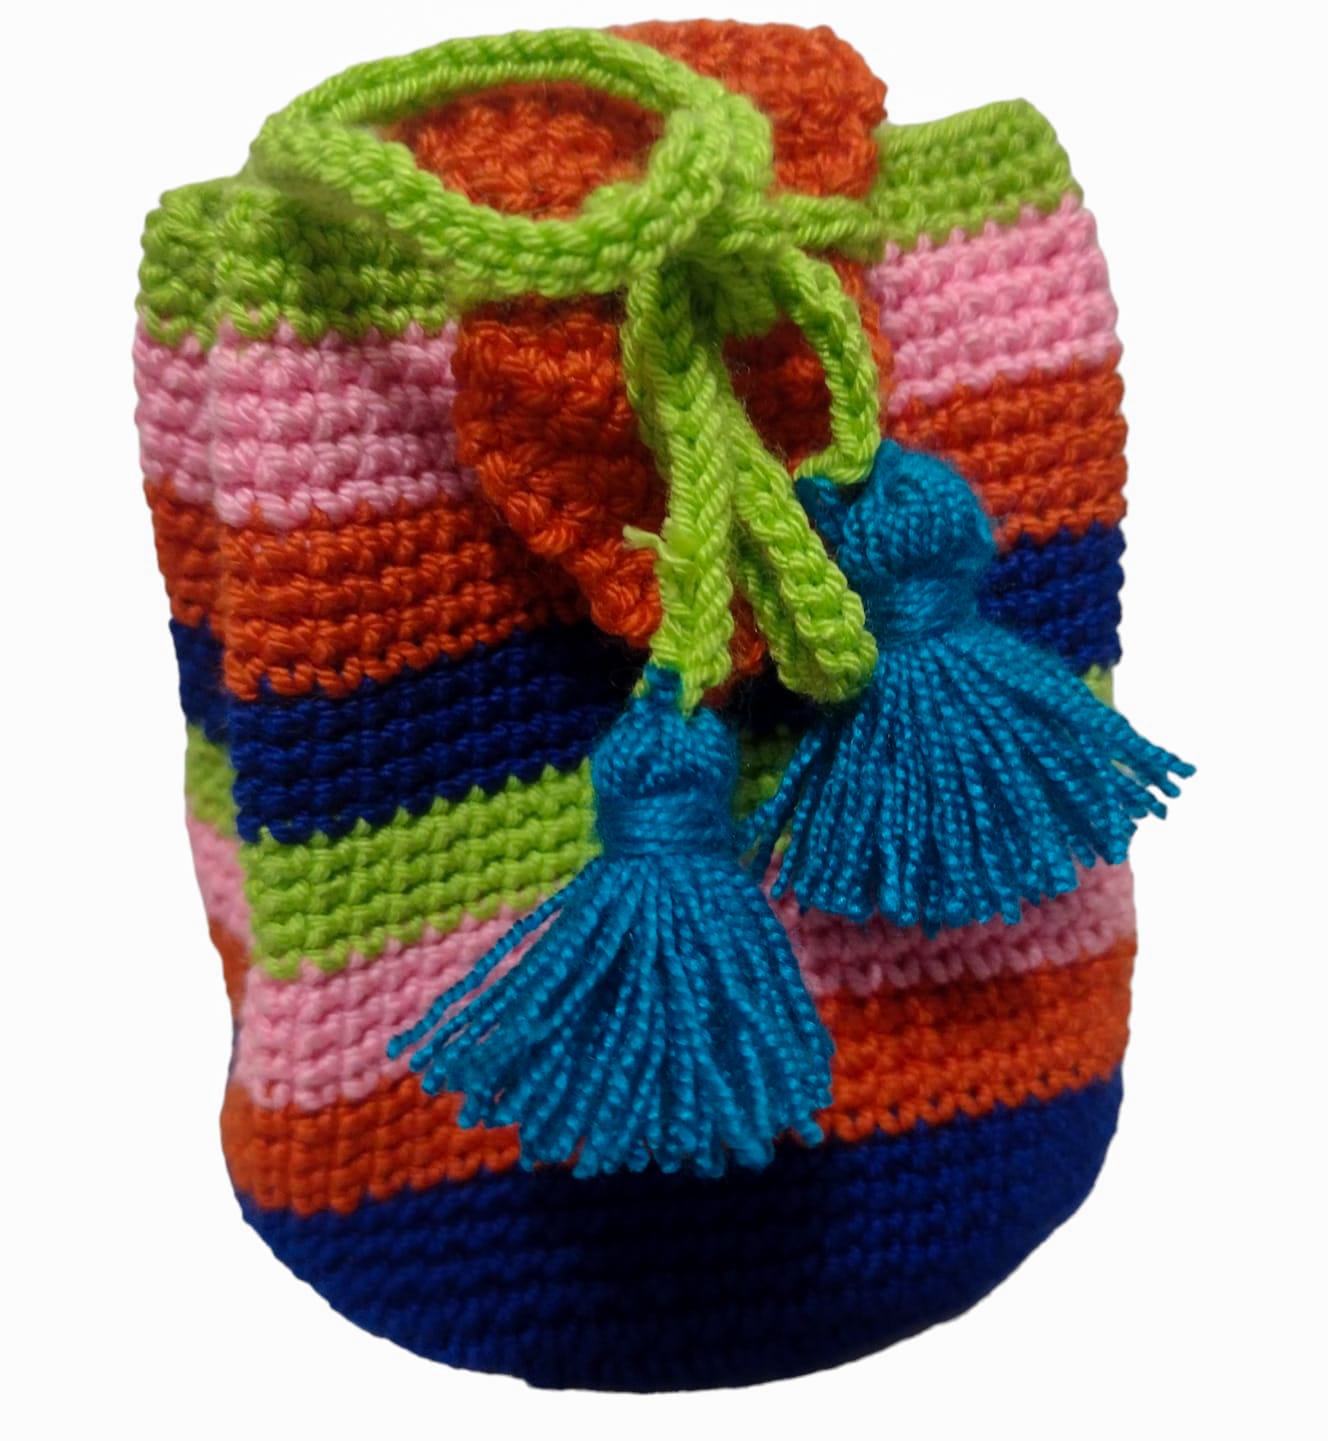
Hola a mis amigos de hive hoy les traigo algo muy especial para mí. Cómo habrán notado la mayoría de las cosas que hago son en especial para mí hija, está vez quise hacerle un monedero en forma de mochila ya que para esta época en mi ciudad Barranquilla estamos de carnaval y a ella le gusta mucho estas fechas por la rumba, y me pareció la mejor manera de que pudiera llevar con ella sus documentos personales y algo de efectivo sin complicarse tanto con bolsos o carteras. Así que empecemos con la explicación.
_________________😍😍😍😍_________________
Hello to my hive friends, today I bring you something very special for me. As you may have noticed, most of the things I make are especially for my daughter, this time I wanted to make her a purse in the shape of a backpack since at this time in my city Barranquilla we are having carnival and she really likes these dates because of the rumba, and it seemed like the best way for her to carry her personal documents and some cash without having to worry so much about bags or wallets. So let's start with the explanation
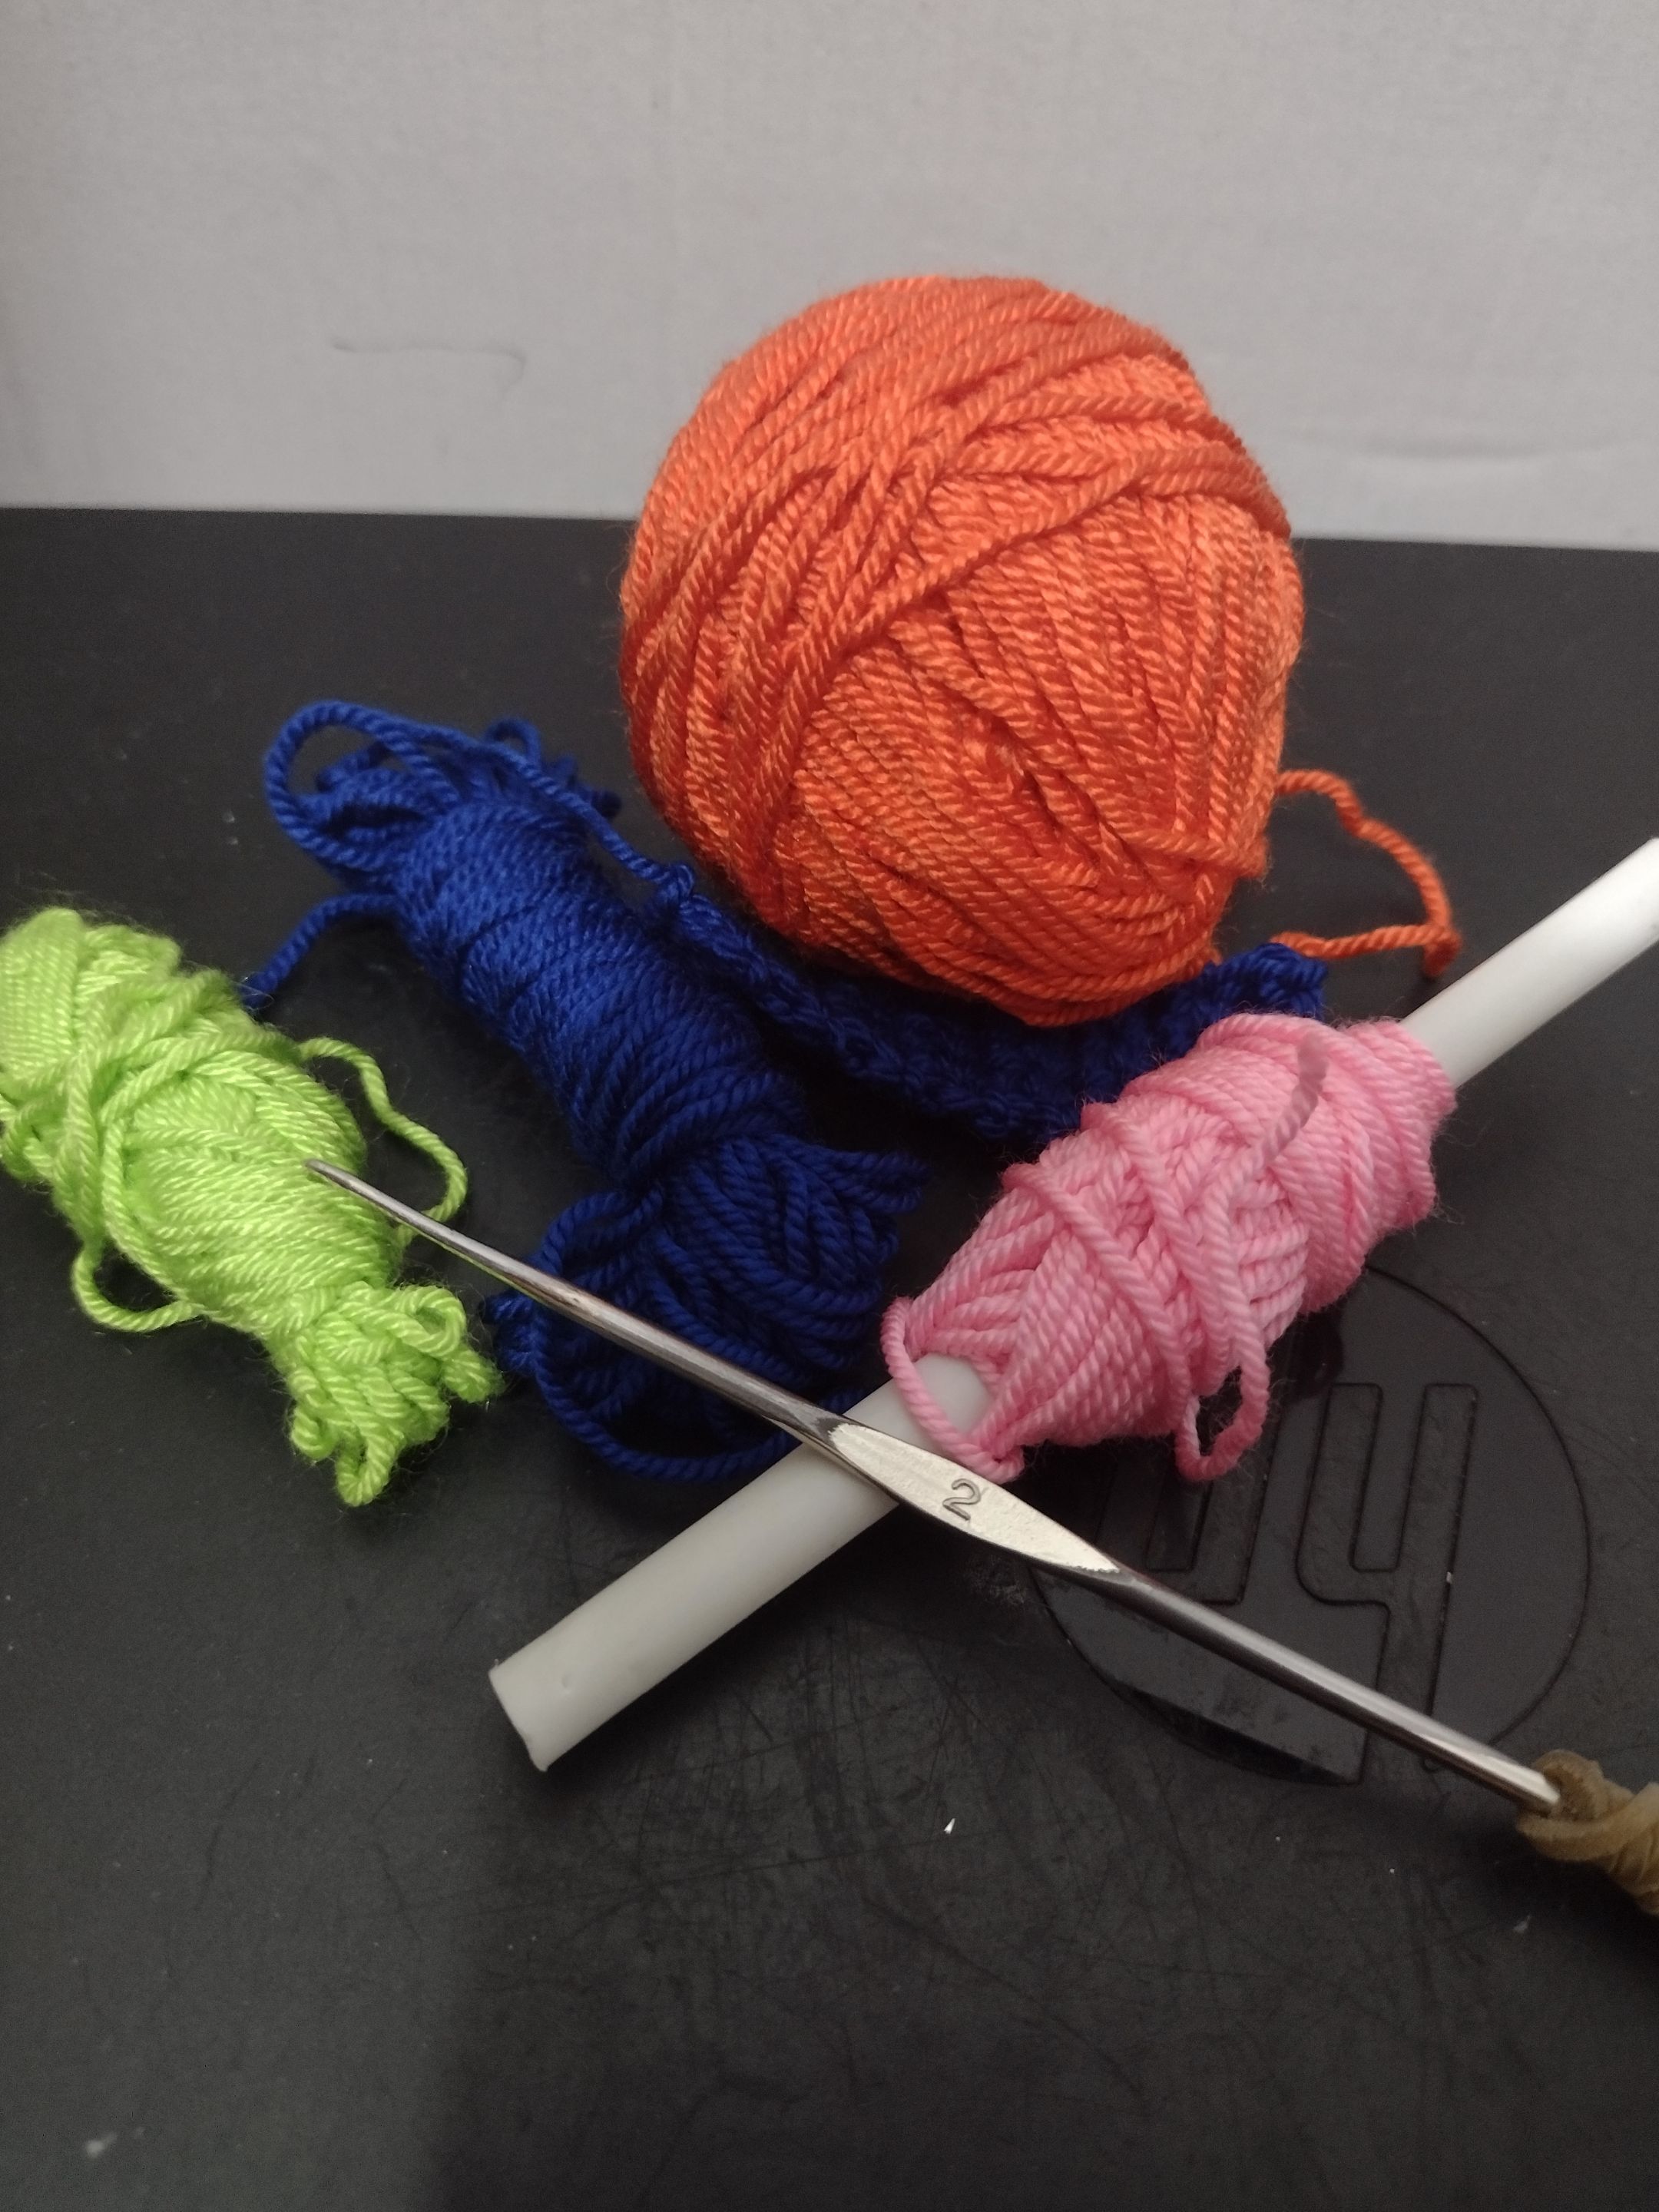
Materiales / Materials
Hilos sobrantes de otros trabajos / Leftover threads from other jobs
Aguja crochet / crochet needle
Tijeras / Scissors
Marcador de puntos / Point marker.
Aguja lanera / wool needle.
===============✨✨✨✨✨✨=============
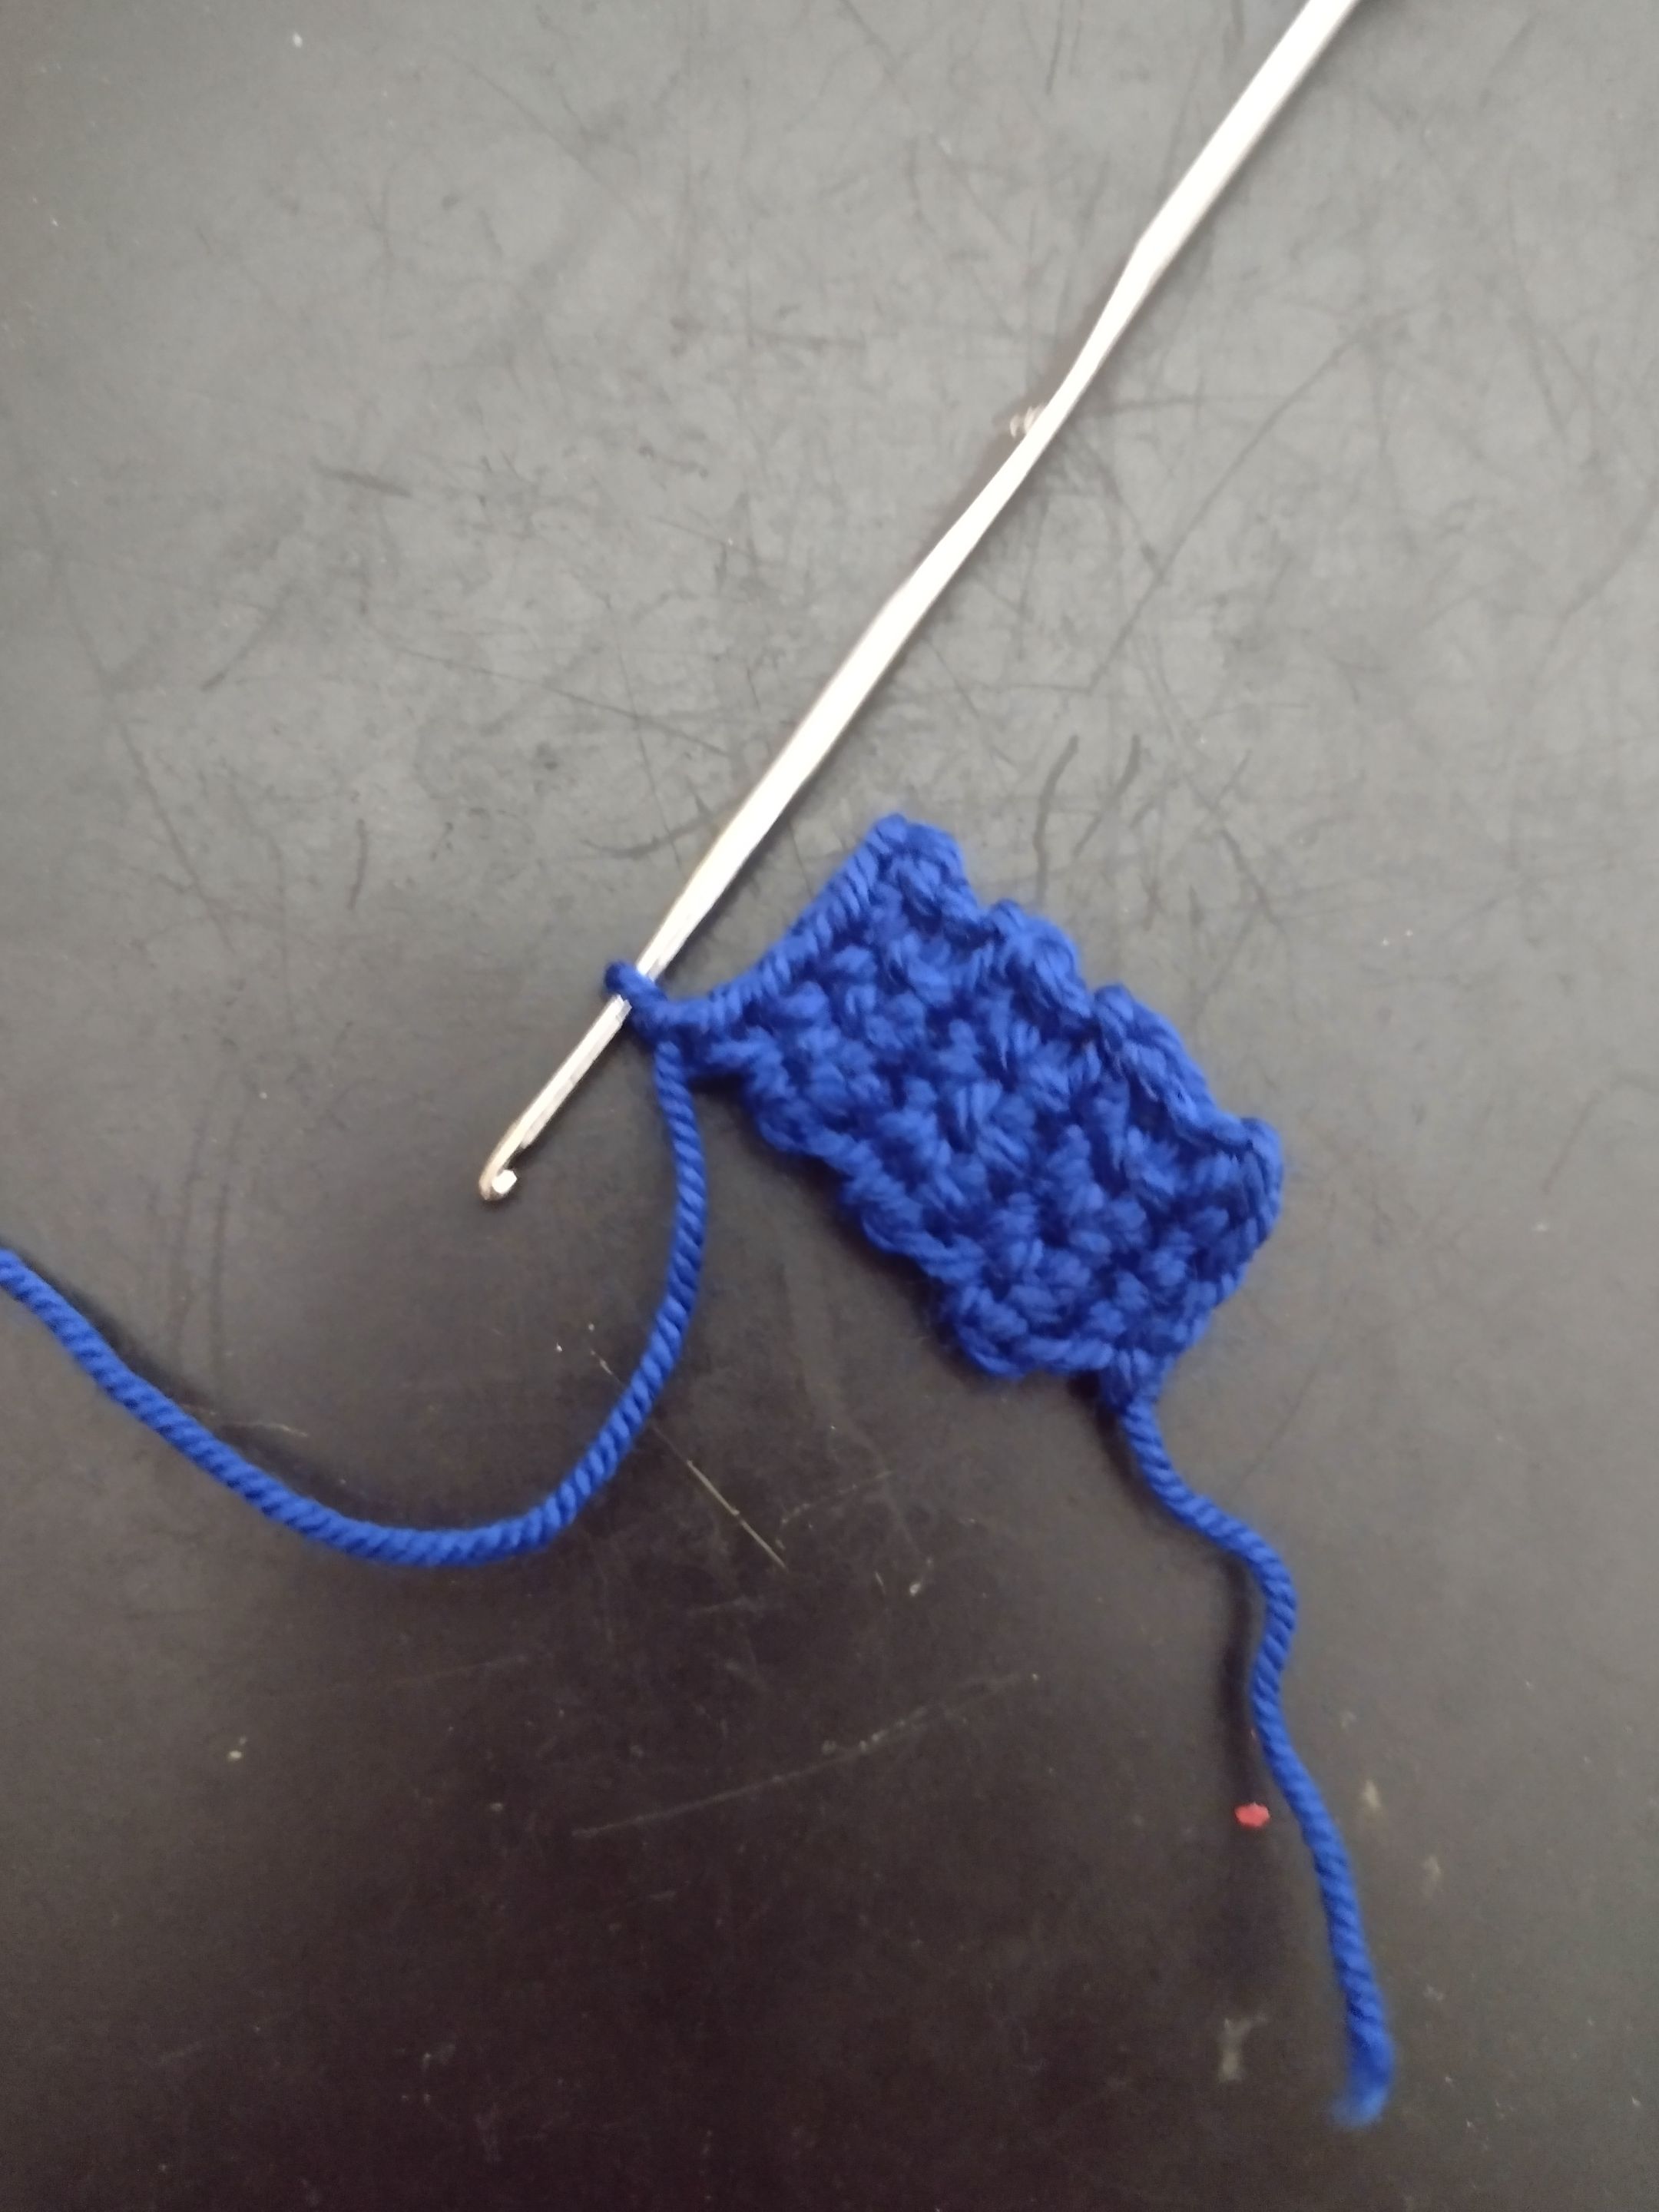
Para empezar este proyecto haremos una cadeneta de 5 cadenas la cuál uniremos con un punto deslizado para formar un círculo pequeño.

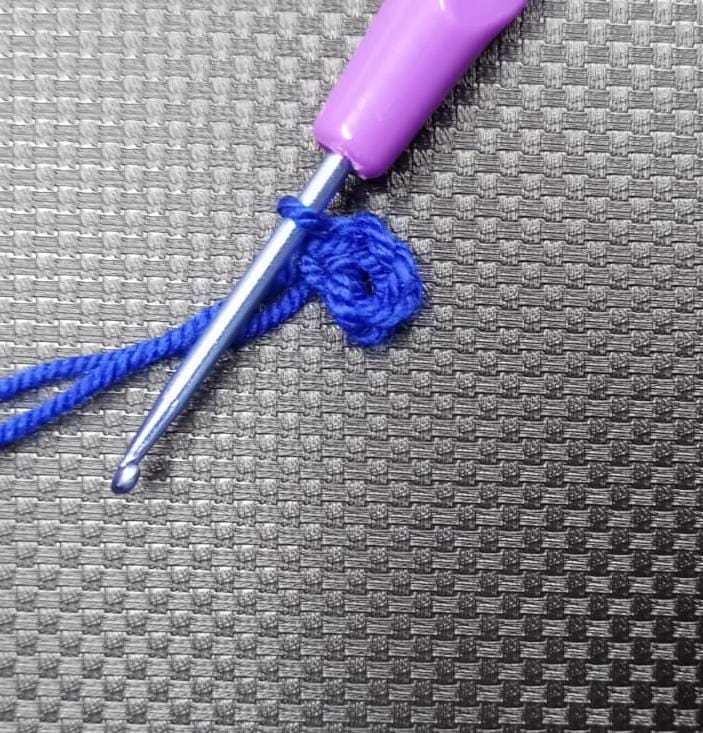
To start this project we will make a chain of 5 chains which we will join with a slipped stitch to form a small circle.
============✨✨✨✨✨✨✨✨===========
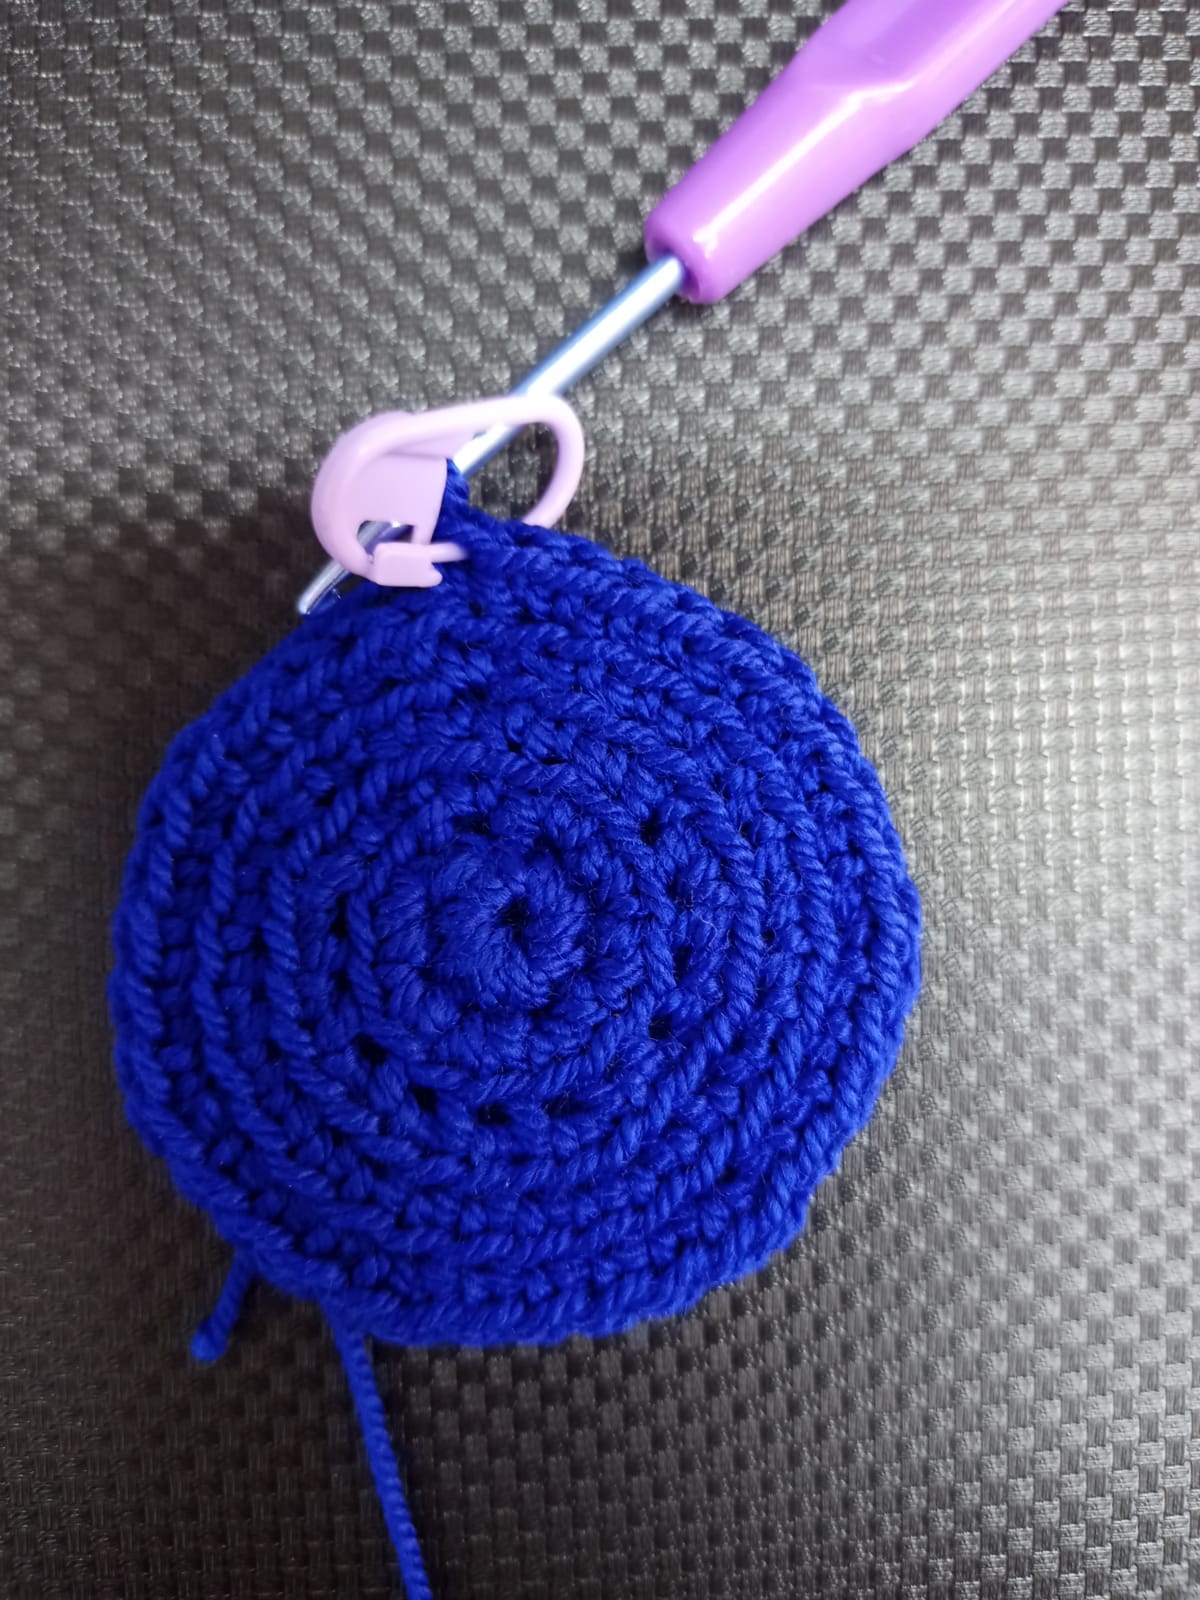
Este trabajo lo haremos en forma de espiral sin necesidad de cerrar las vueltas para eso utilizaremos el marcador de puntos, para colocarlo en el primer punto que haremos. Dada está explicación, continuaremos haciendo aumentos de puntos bajos en cada punto de la cadeneta. Haciendo eso tendremos la primera vuelta con 10 puntos bajos.


We will do this work in a spiral shape without needing to close the loops. For this we will use the stitch marker to place it in the first stitch we will make. Given this explanation, we will continue making increases in single crochets in each stitch of the chain. By doing that we will have the first round with 10 low points.
============✨✨✨✨✨✨✨===========
La siguiente vuelta seguiremos haciendo aumentos en cada punto así que en la segunda tendremos 20 puntos y así hasta la 5 vuelta.
The next round we will continue making increases in each stitch so in the second round we will have 20 stitches and so on until the 5th round.
==========✨✨✨✨✨✨✨============
debemos estar pendientes que el tejido no se este encogiendo o tenga muchas ondas.
We must be careful that the fabric is not shrinking or has many waves.
ya de la sexta vuelta en adelante se harán puntos bajos haciendo aumentos solo cada 8 puntos hasta terminar lo que sería el fondo de mi mochila. En mi caso el fondo o base fue de 9 centímetros.
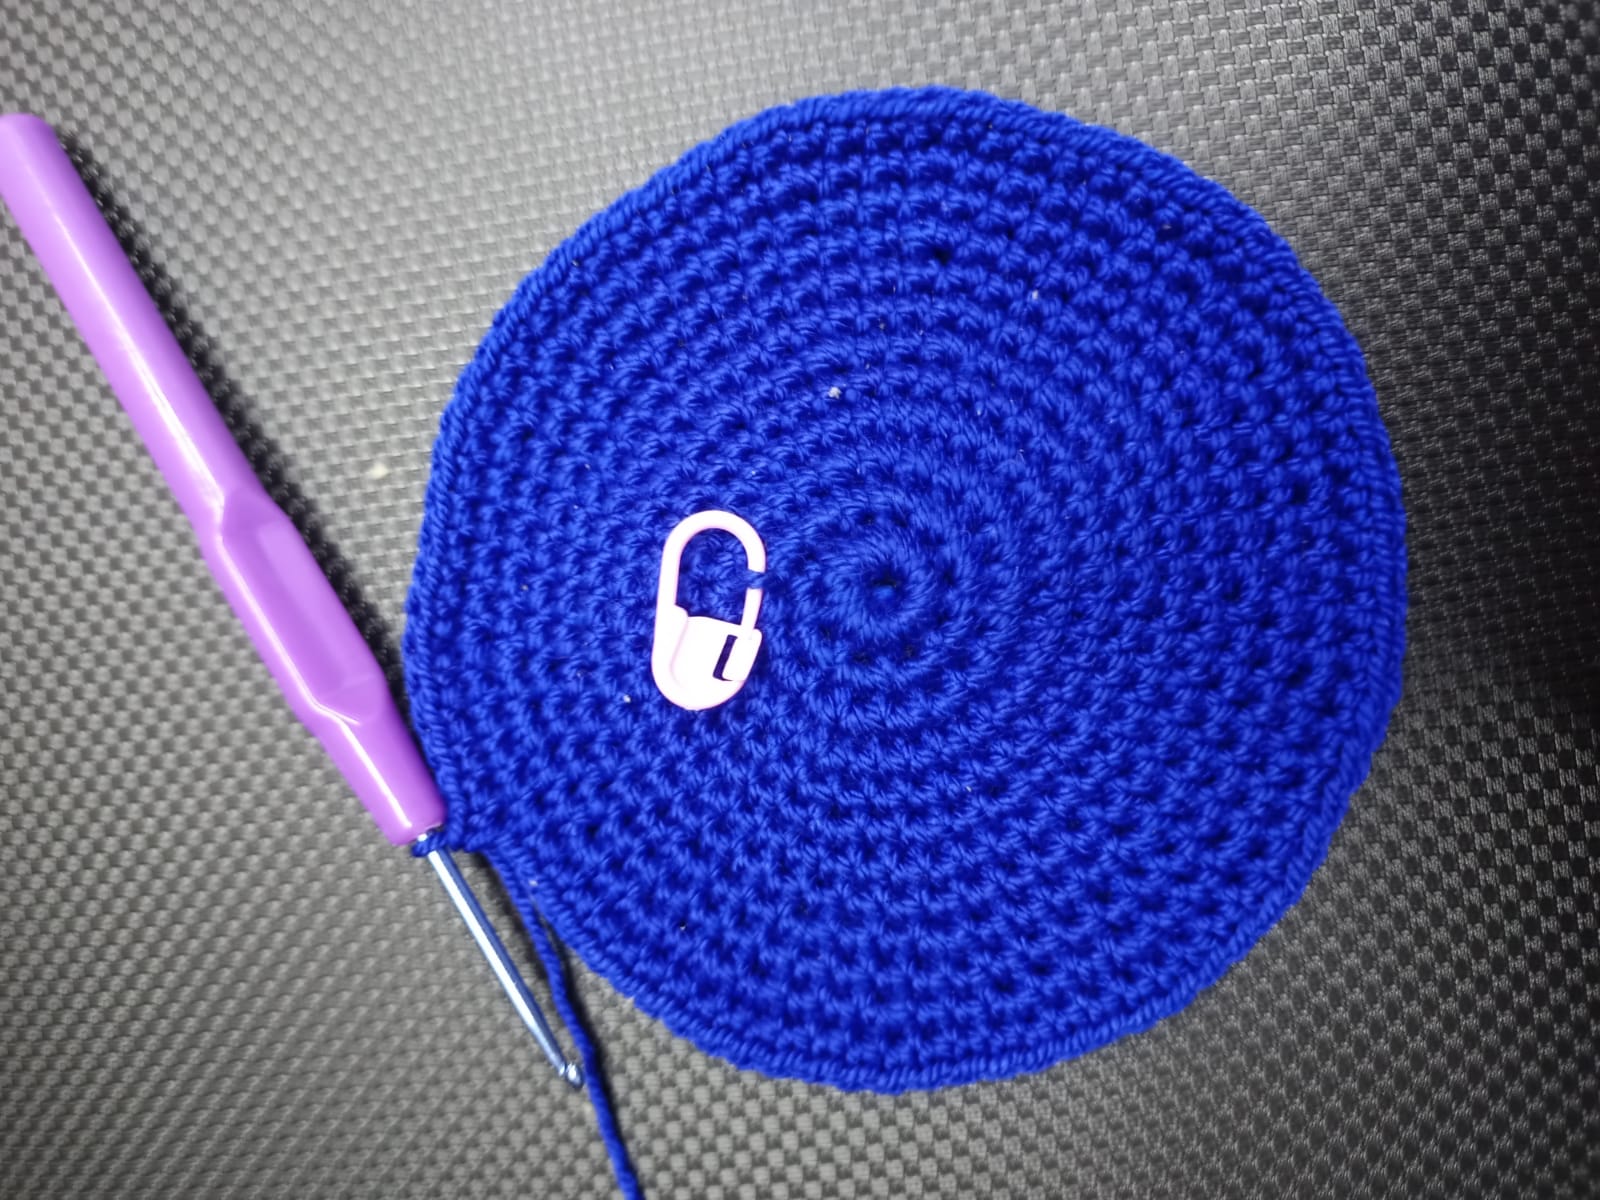
From the sixth round onwards, single crochets will be made, increasing only every 8 stitches until finishing what would be the bottom of my backpack. In my case the bottom or base was 9 centimeters.
==========✨✨✨✨✨✨✨==========
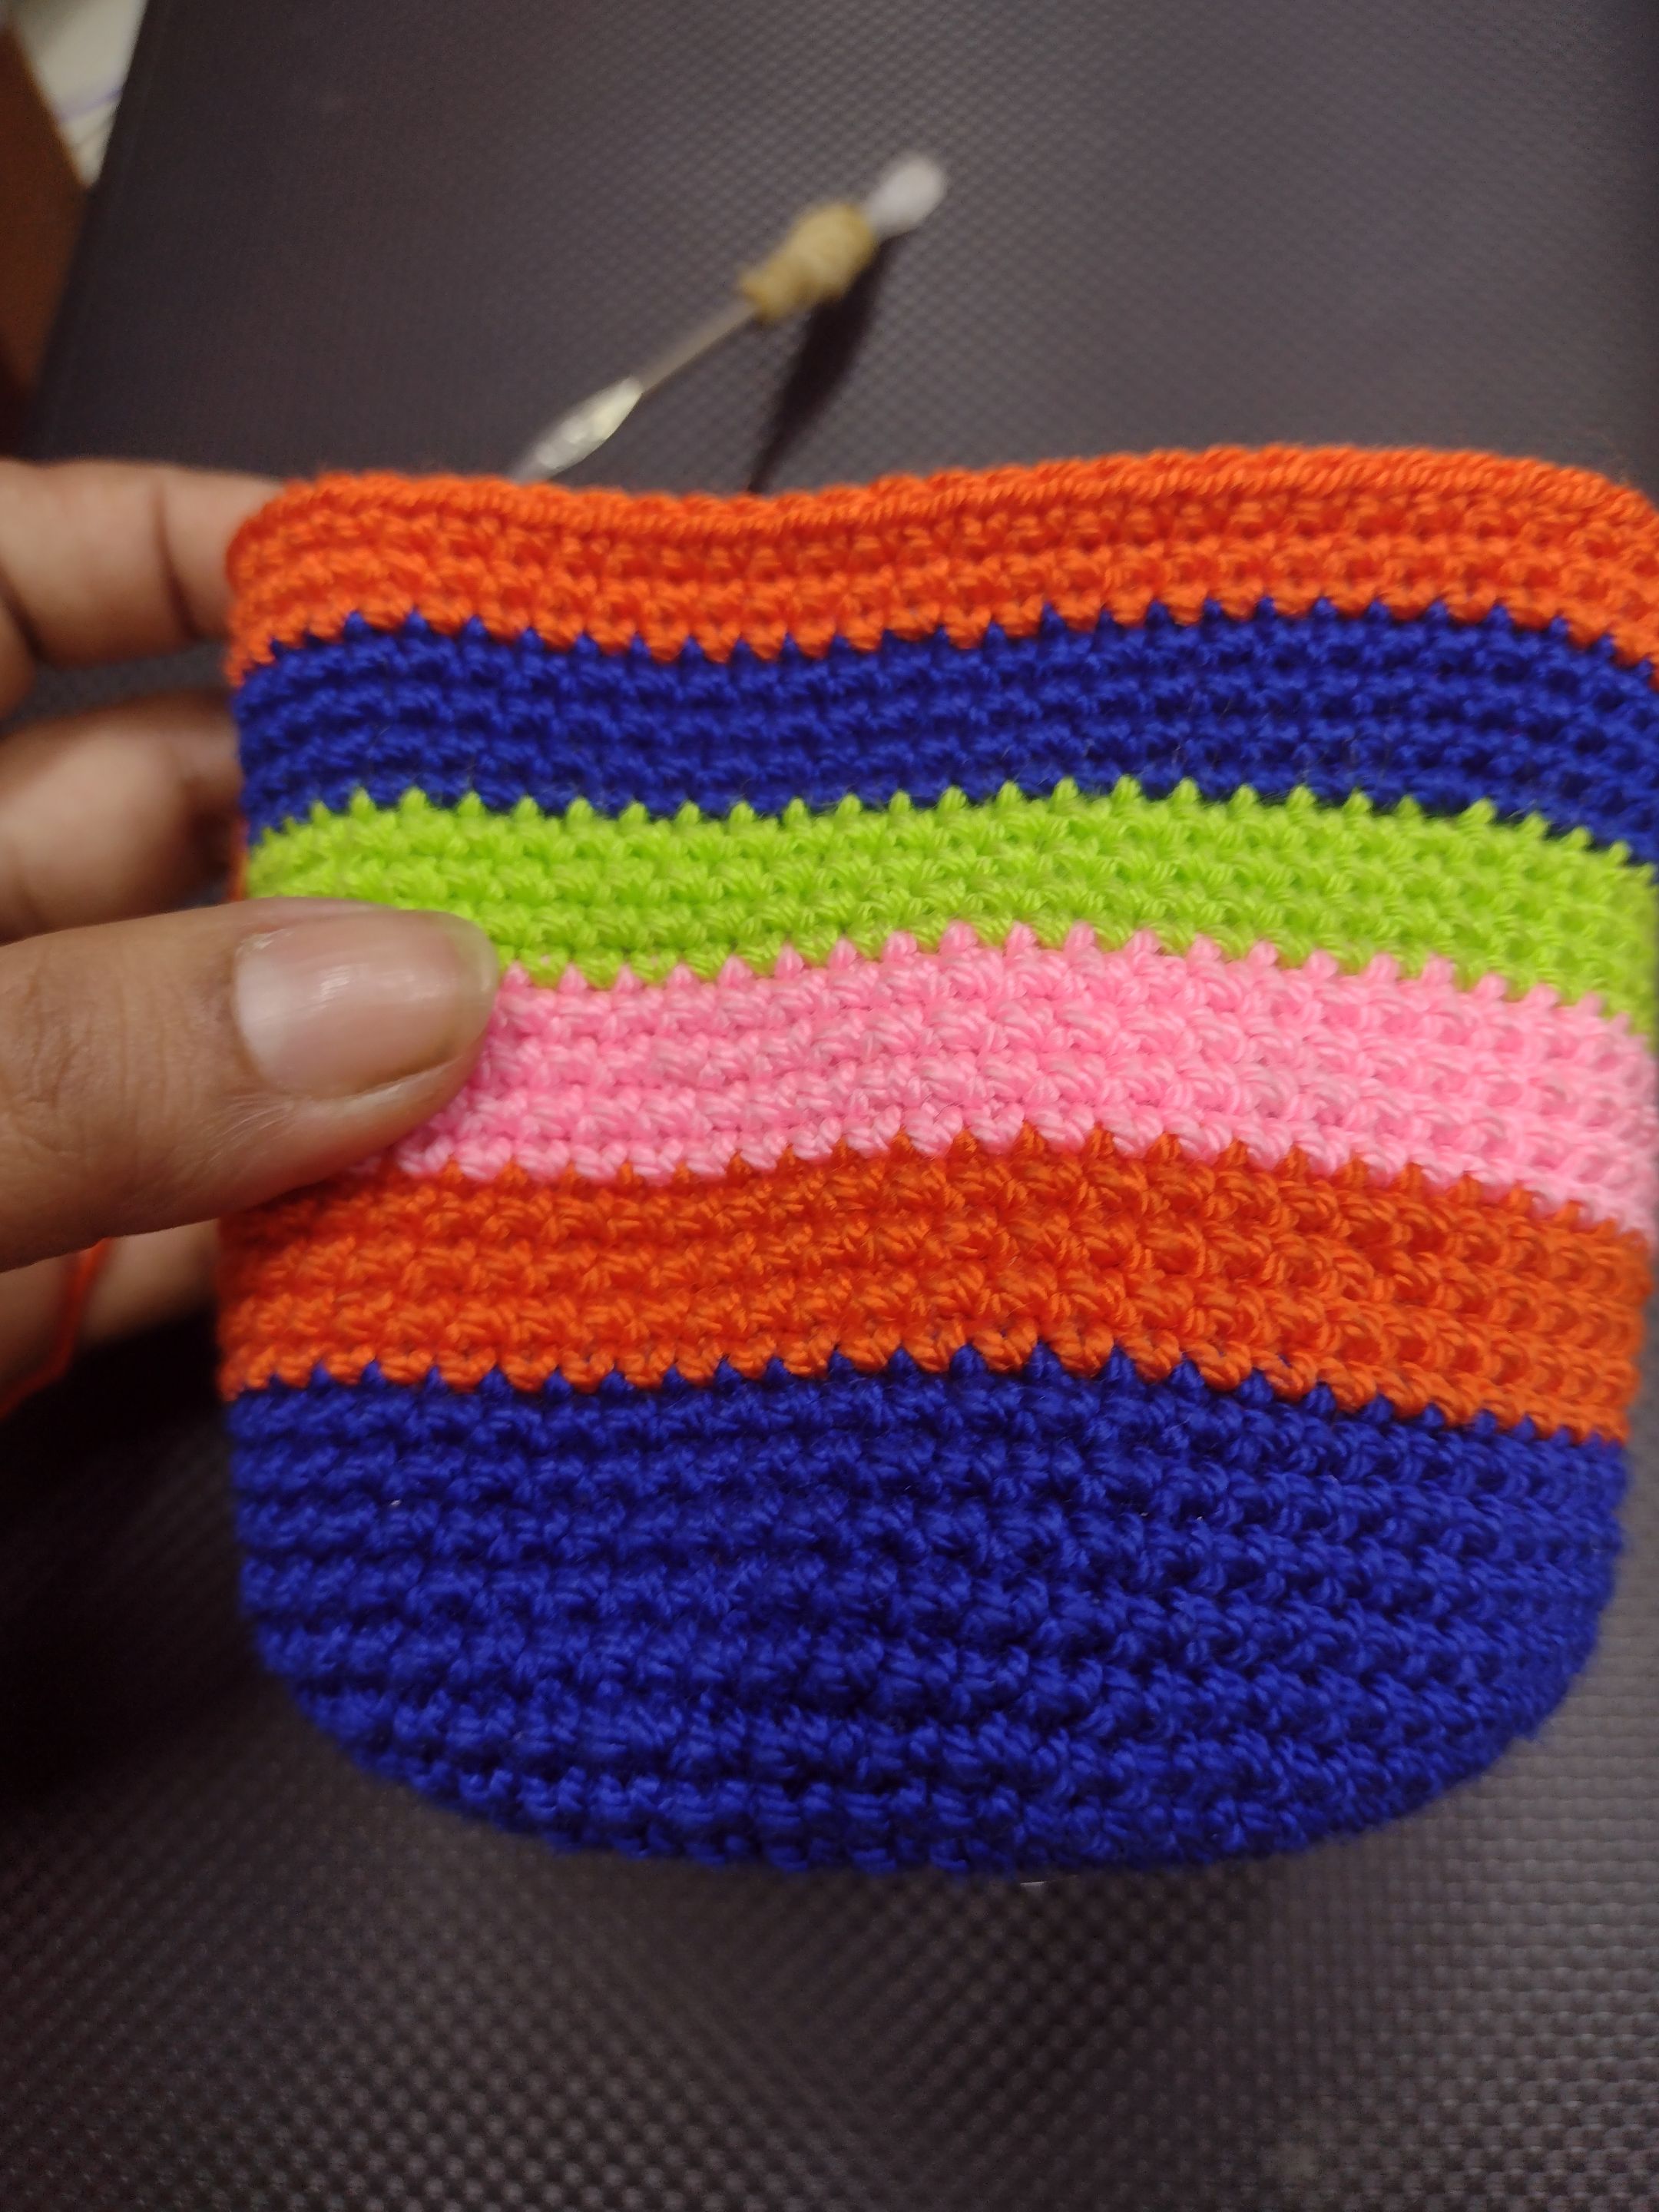
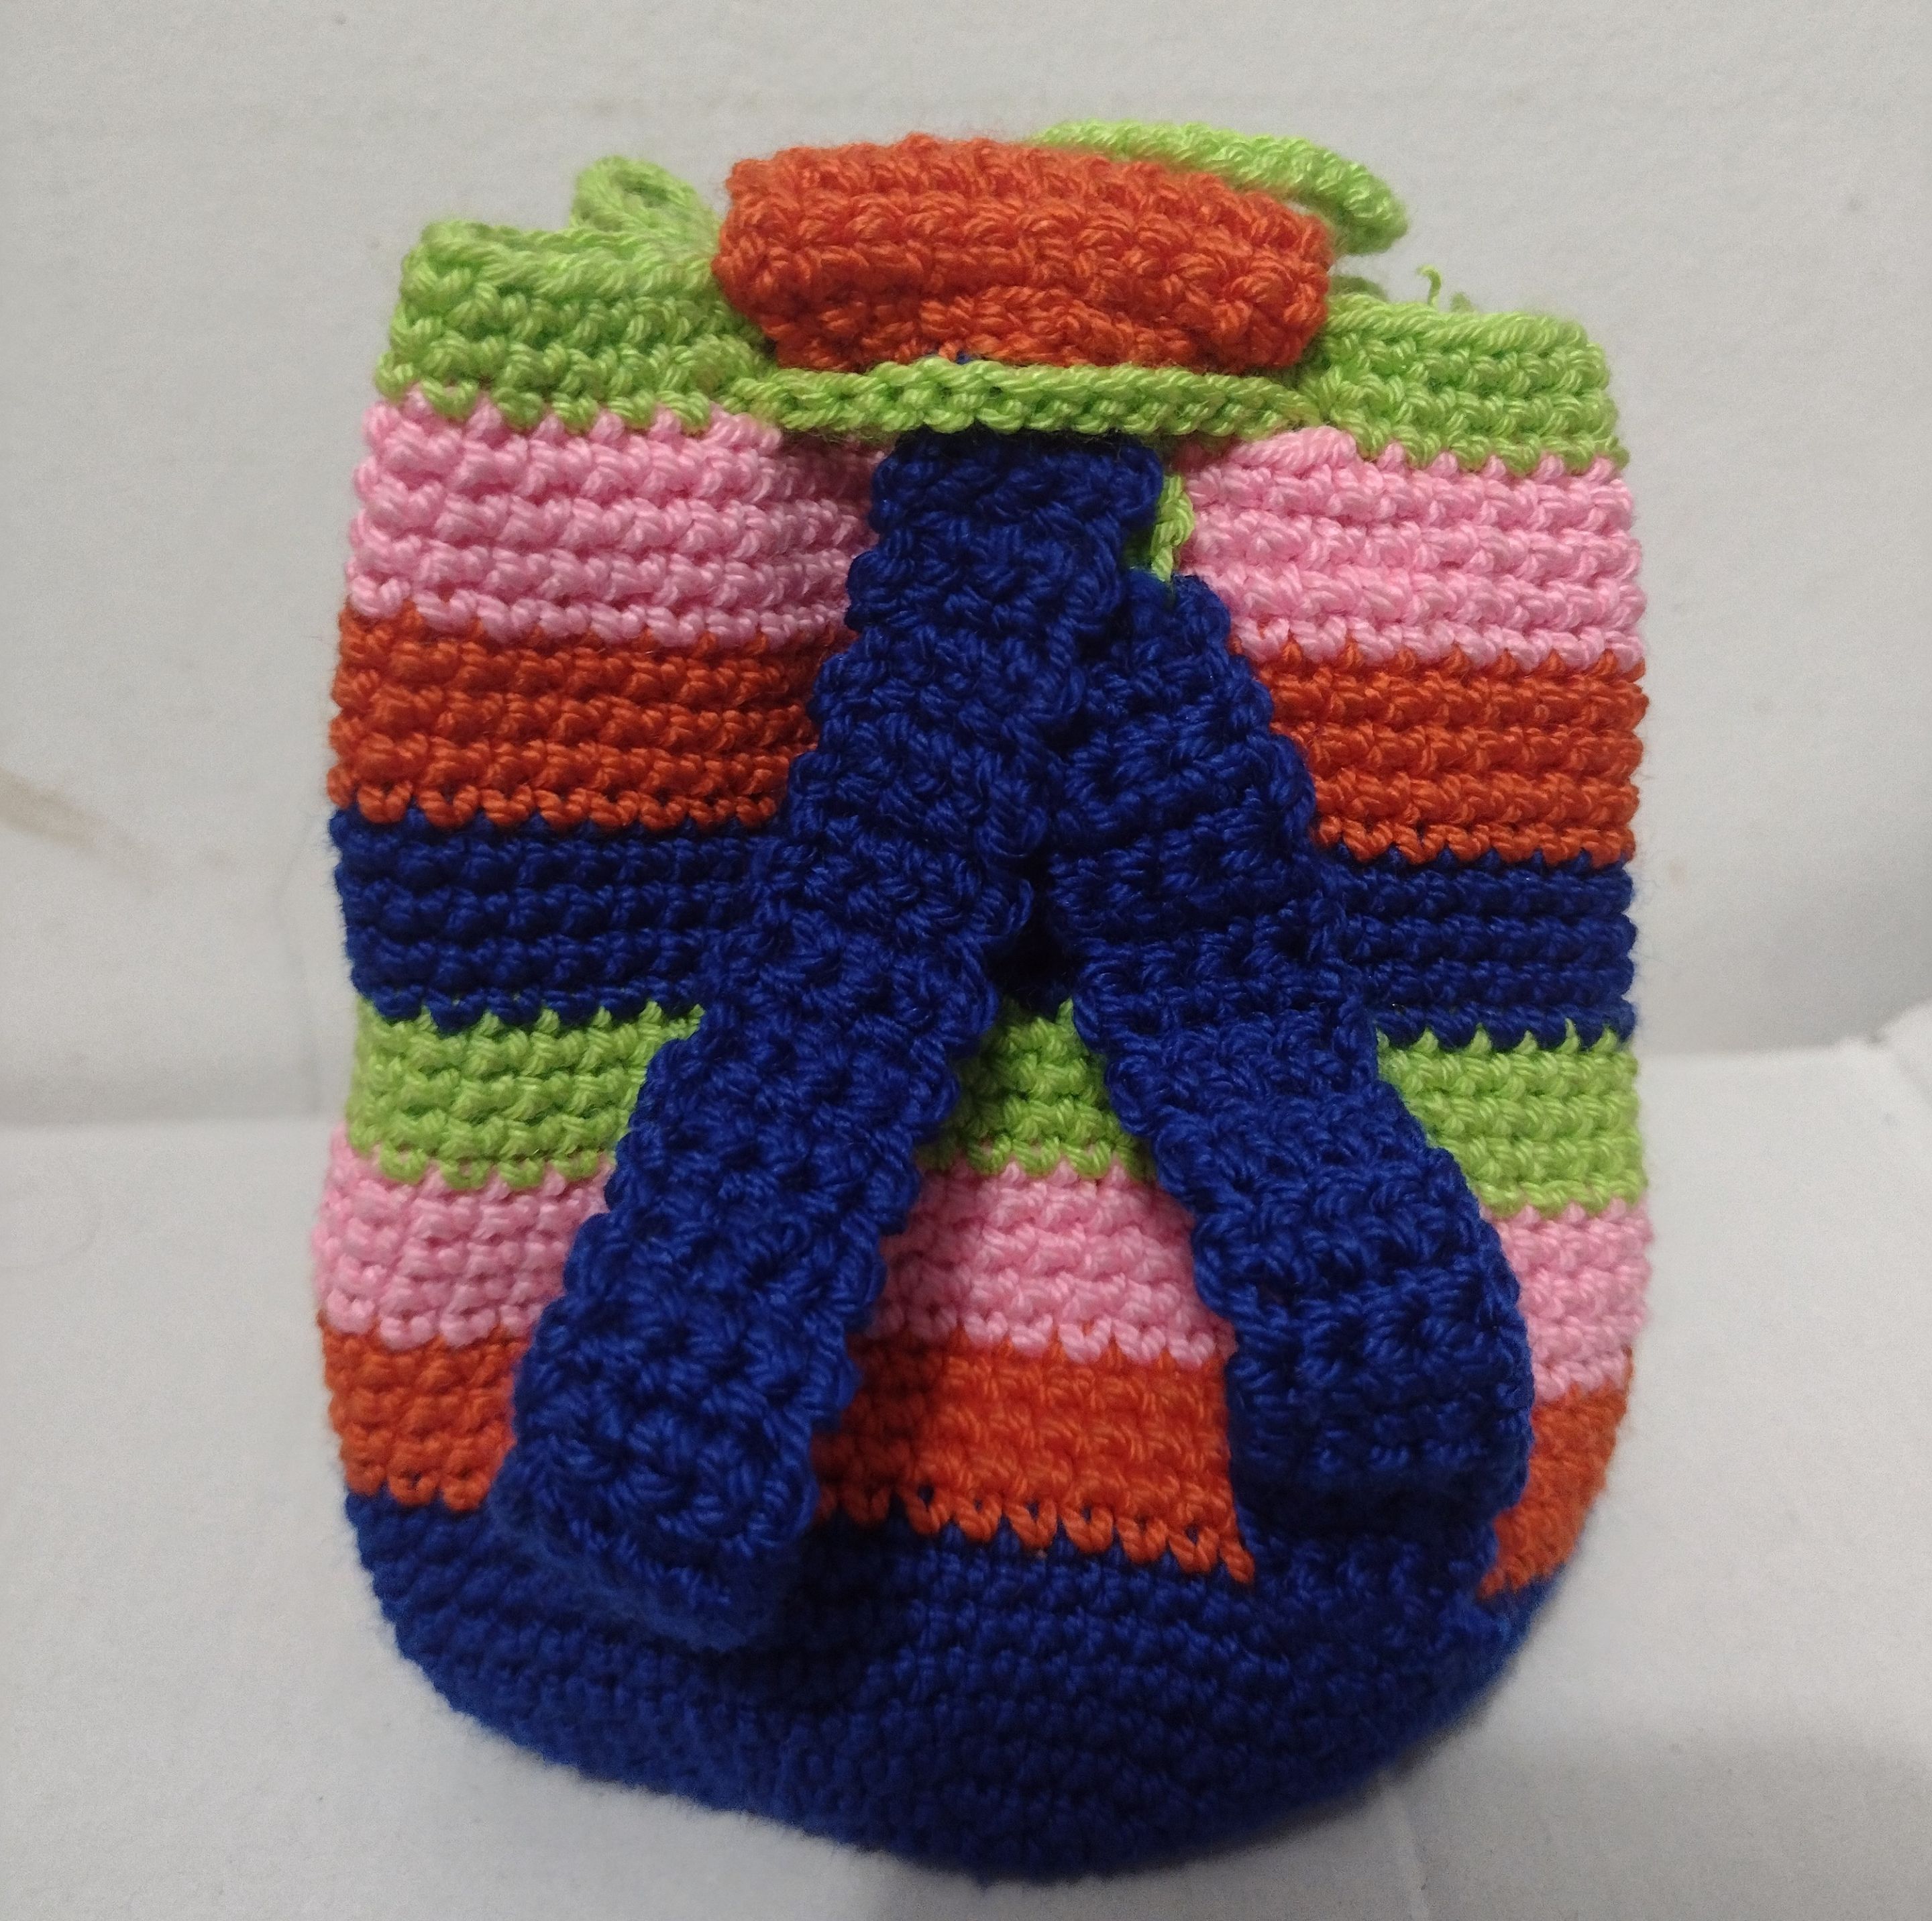
ya para que el tejido suba no se hacen más aumentos, sólo se hace puntos bajos en cada punto y vamos cambiando de color cada 4 vueltas.
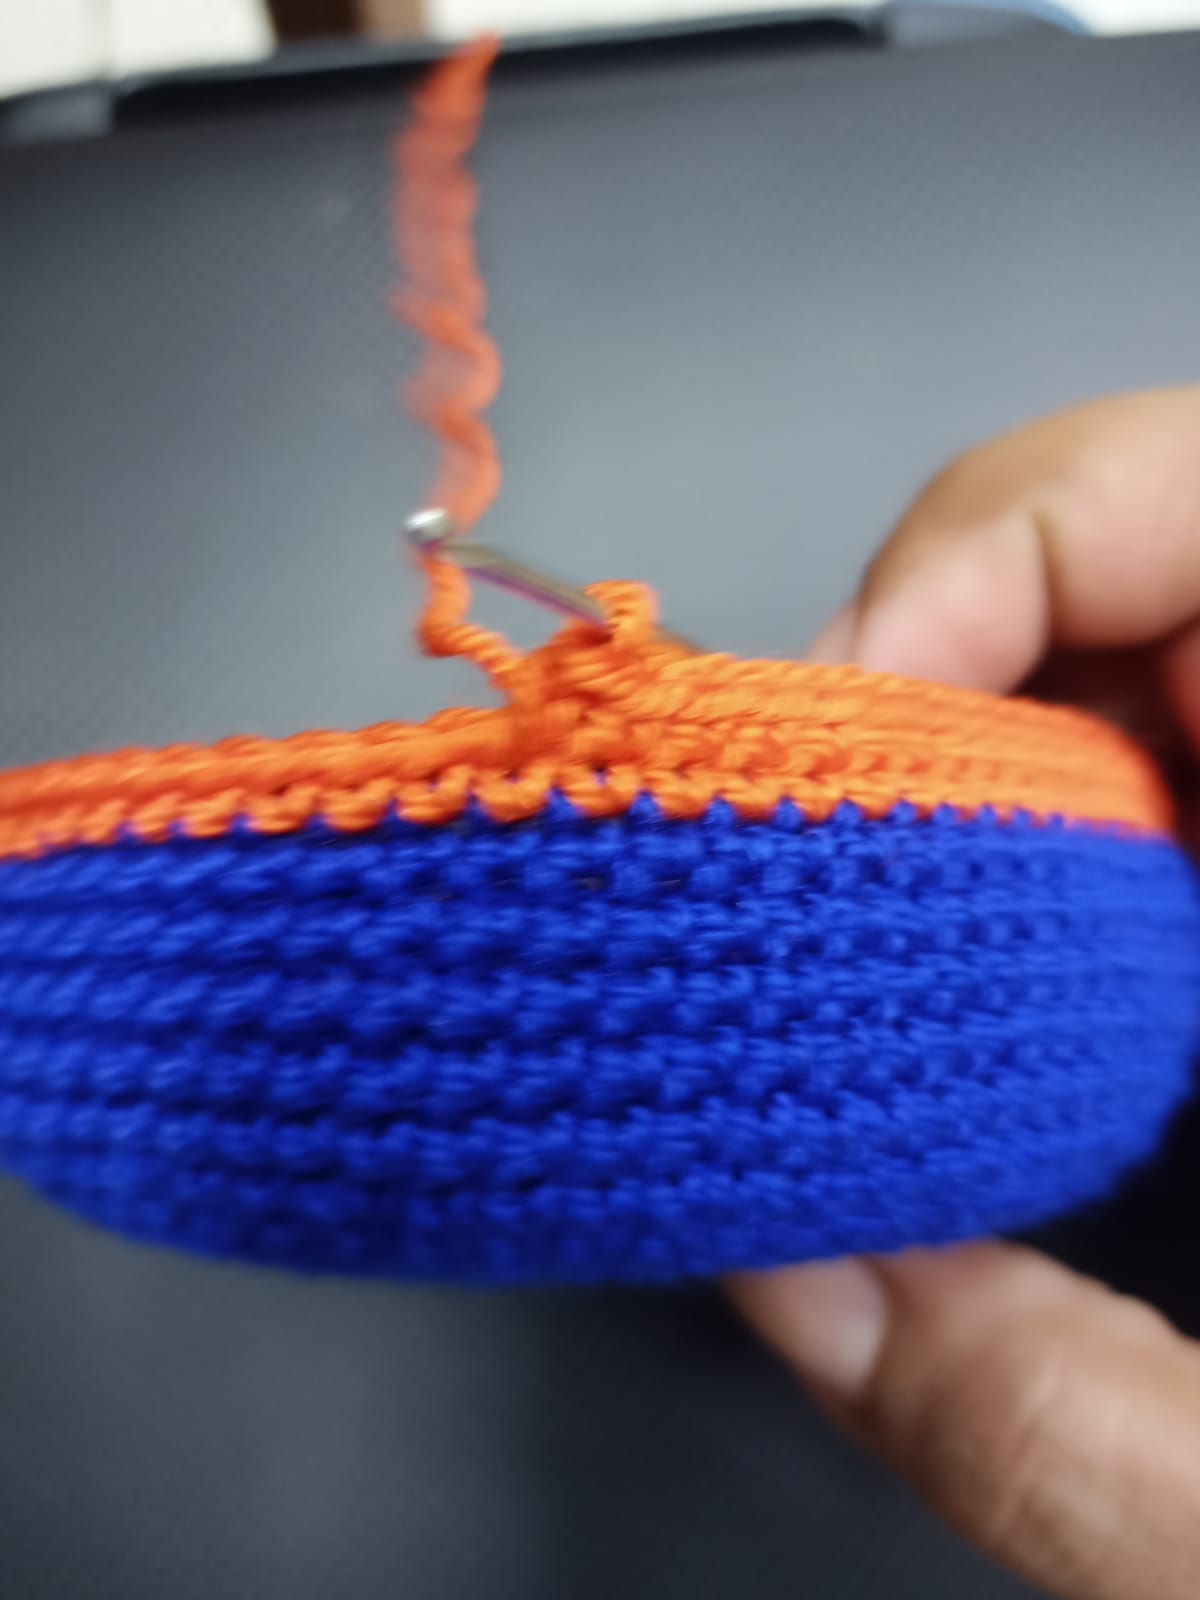
So that the fabric rises, no more increases are made, only single crochets are made in each stitch and we change color every 4 rounds.
=========✨✨✨✨✨✨✨============
Para hacer los ojales para pasar el cordón hacemos 7 puntos bajos y los separamos con 3 cadenetas dejando también 3 puntos para seguir la secuencia de 7 puntos bajos y 3 cadenetas por toda esa vuelta. En la siguiente vuelta hacemos puntos bajos sobre cada punto incluyendo las cadenetas al aire. Y subimos 3 vueltas más para terminar la altura del bolsito. Ya terminando a la altura que queremos nuestro tejido cerramos con un punto deslizado y cortamos la hebra.
To make the buttonholes to pass the cord through, we make 7 single crochets and separate them with 3 chain stitches, also leaving 3 stitches to follow the sequence of 7 single crochets and 3 chain stitches throughout that row. On the next round we make single crochets over each stitch including the open chains. And we go up 3 more laps to finish the height of the bag. Once we have finished at the height we want our fabric, we close with a slipped stitch and cut the thread.
==========✨✨✨✨✨✨✨==========
Para hacer la tapa para nuestro bolsito hacemos 10 cadenetas para empezar y luego en cada cadeneta hacemos puntos bajos. Volteamos nuestro trabajo y seguimos haciendo puntos bajos hasta completar 16 vueltas luego hacemos 4 vueltas haciendo disminuciones al inicio y al final de cada vuelta. En total tendremos 20 vueltas.
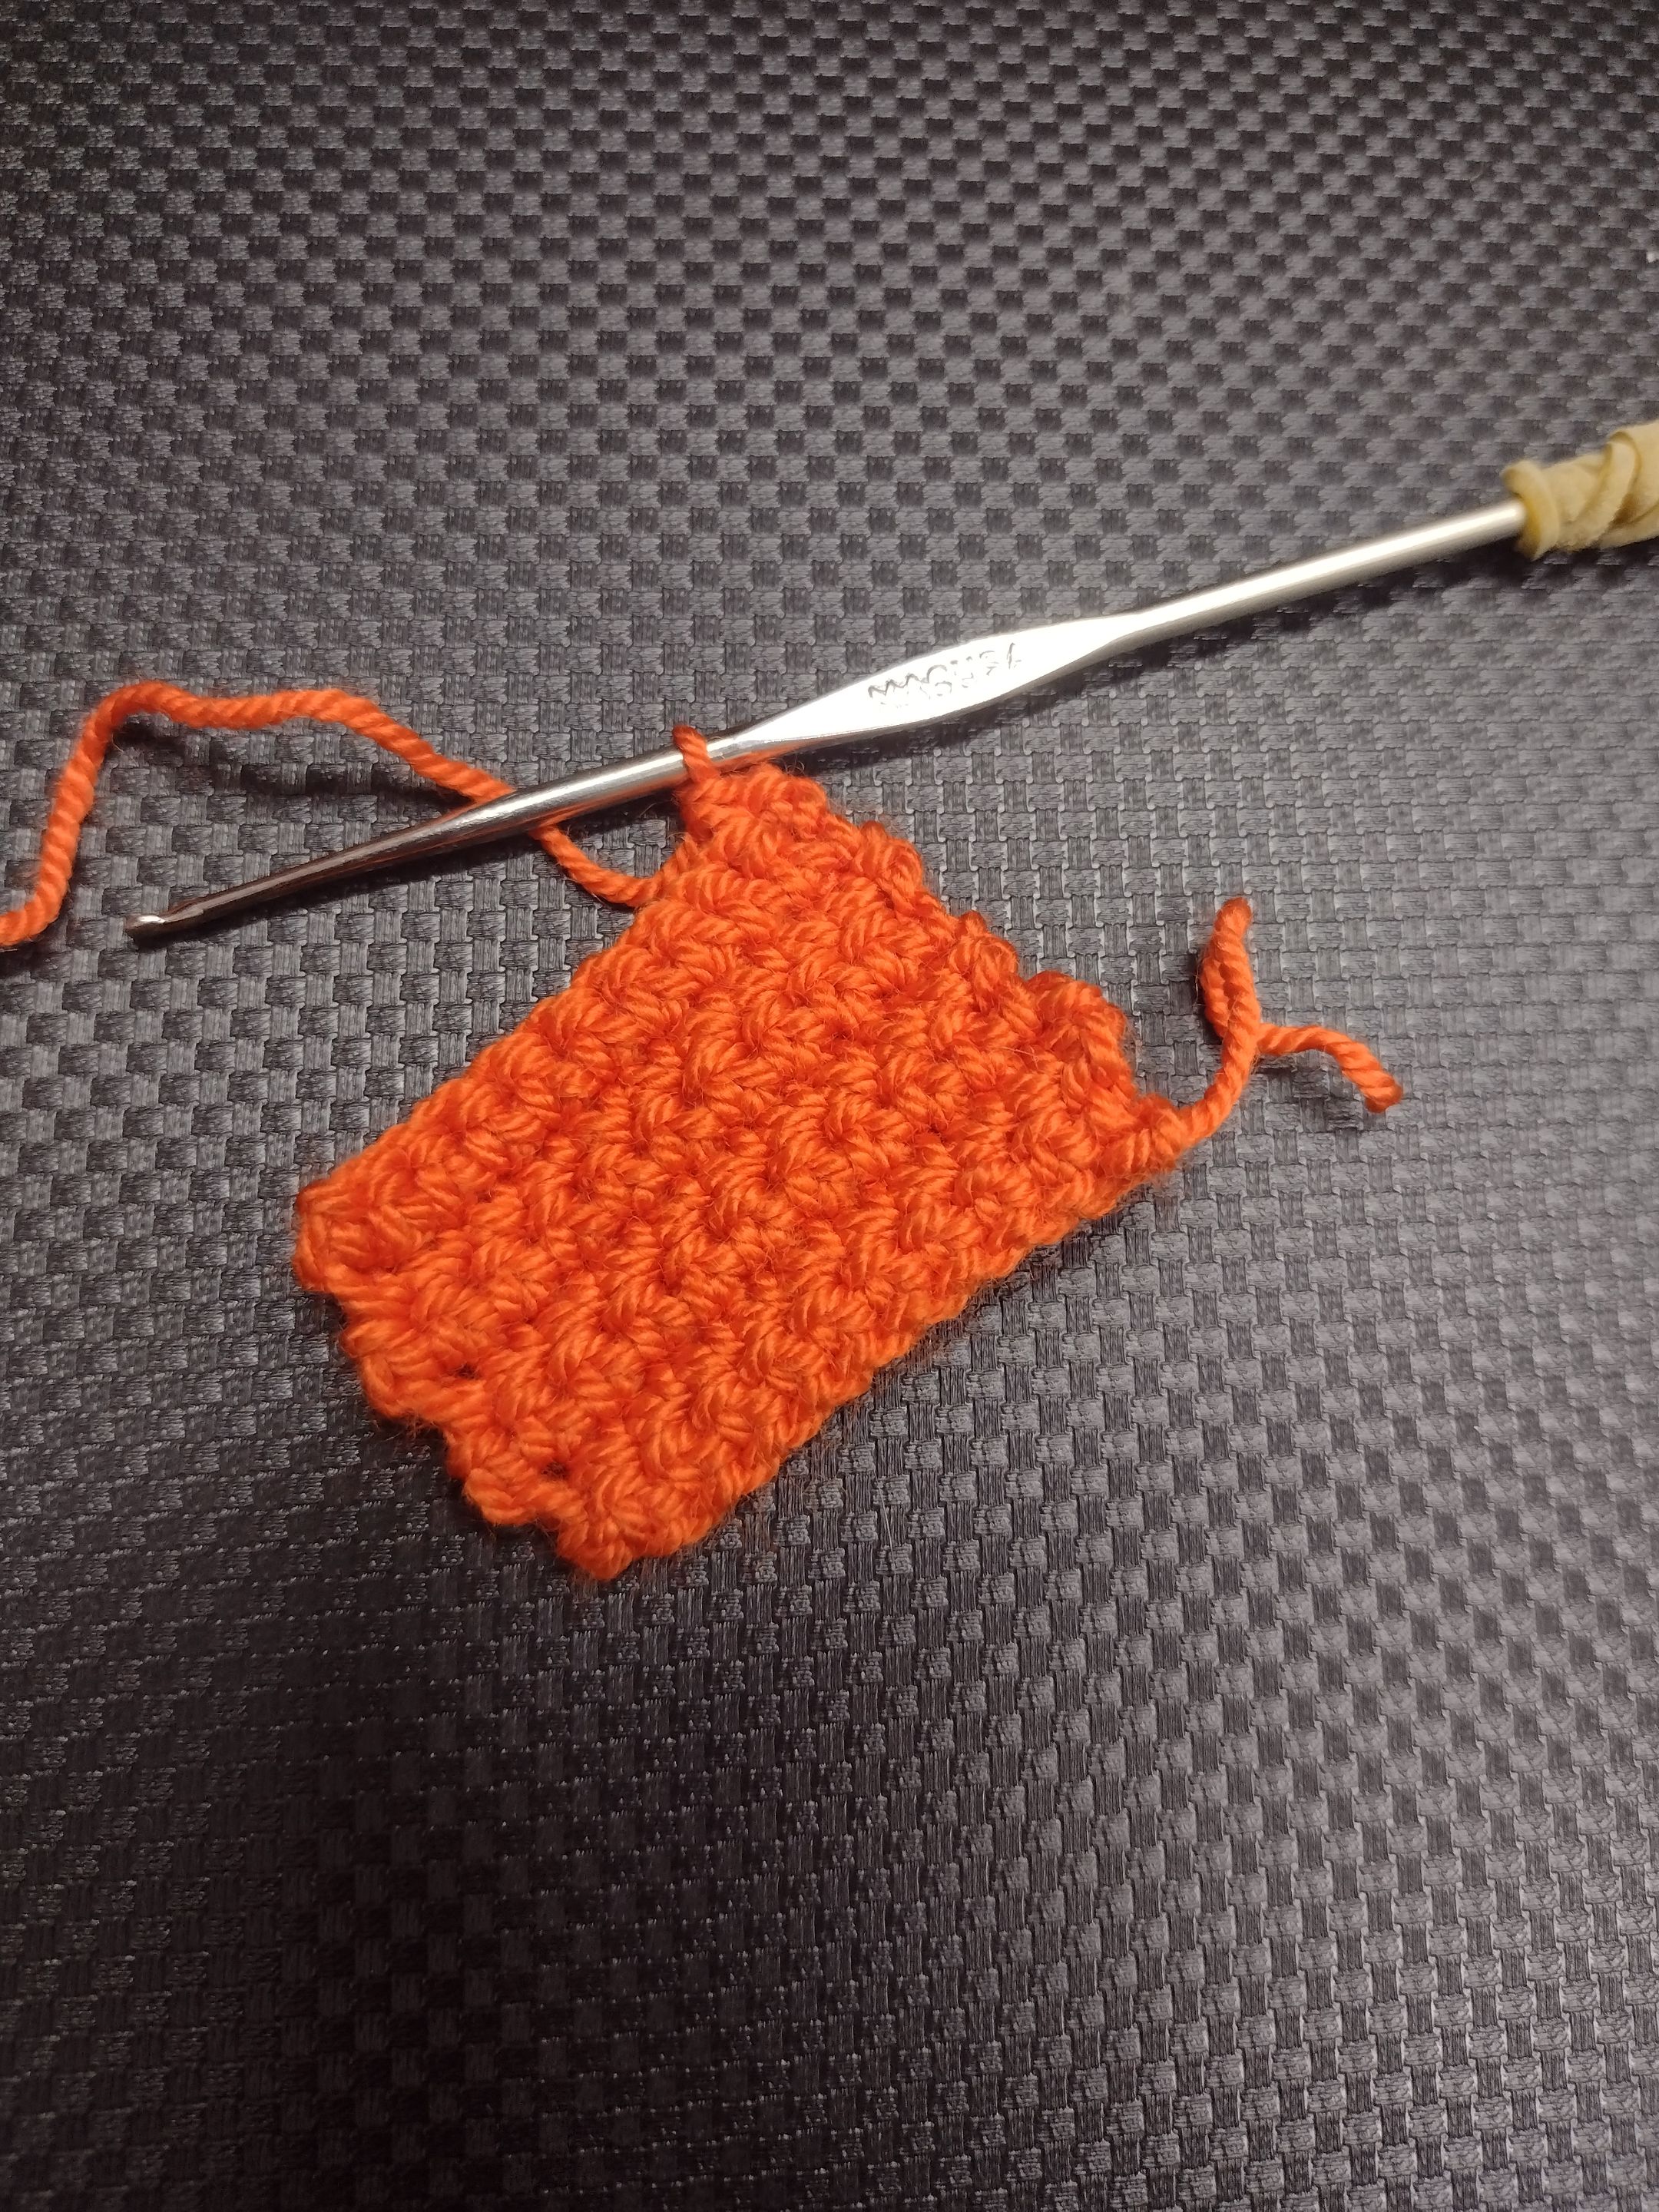
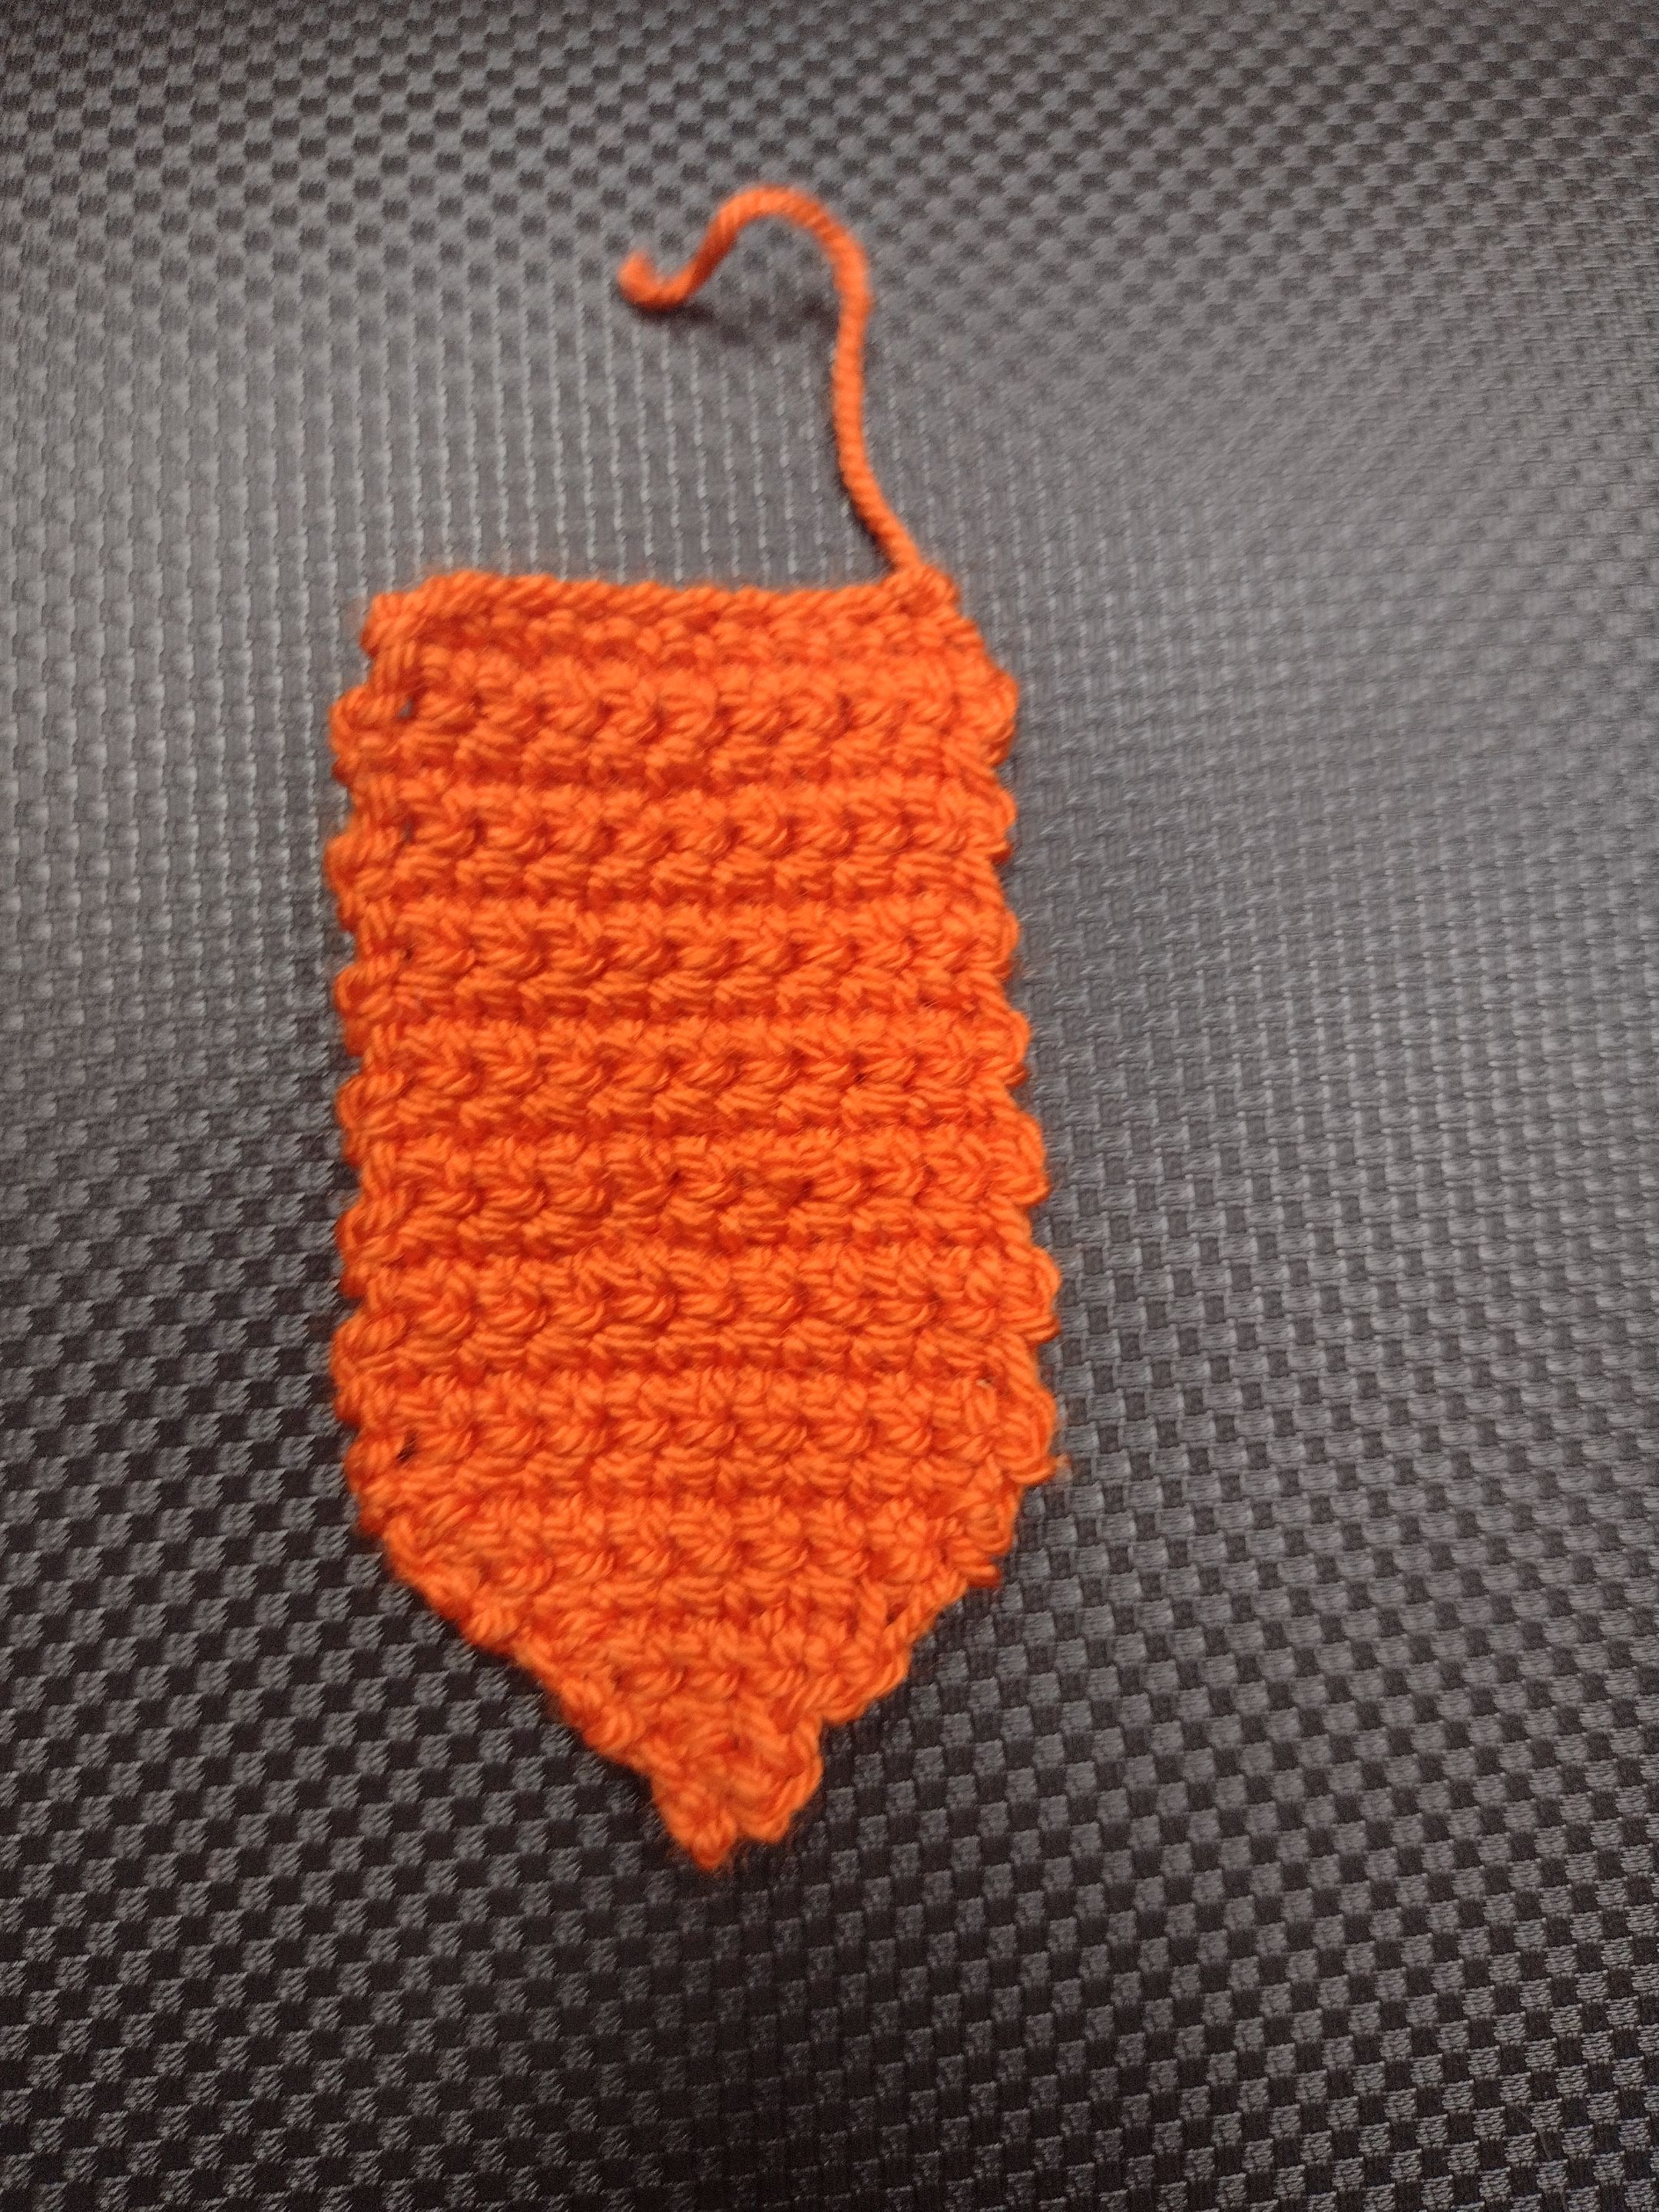
To make the cover for our bag we make 10 chains to start and then in each chain we make single crochets. We turn in our work and continue making single crochets until completing 16 rounds, then we make 4 rounds, making decreases at the beginning and at the end of each round. In total we will have 20 laps.
==========✨✨✨✨✨✨✨============
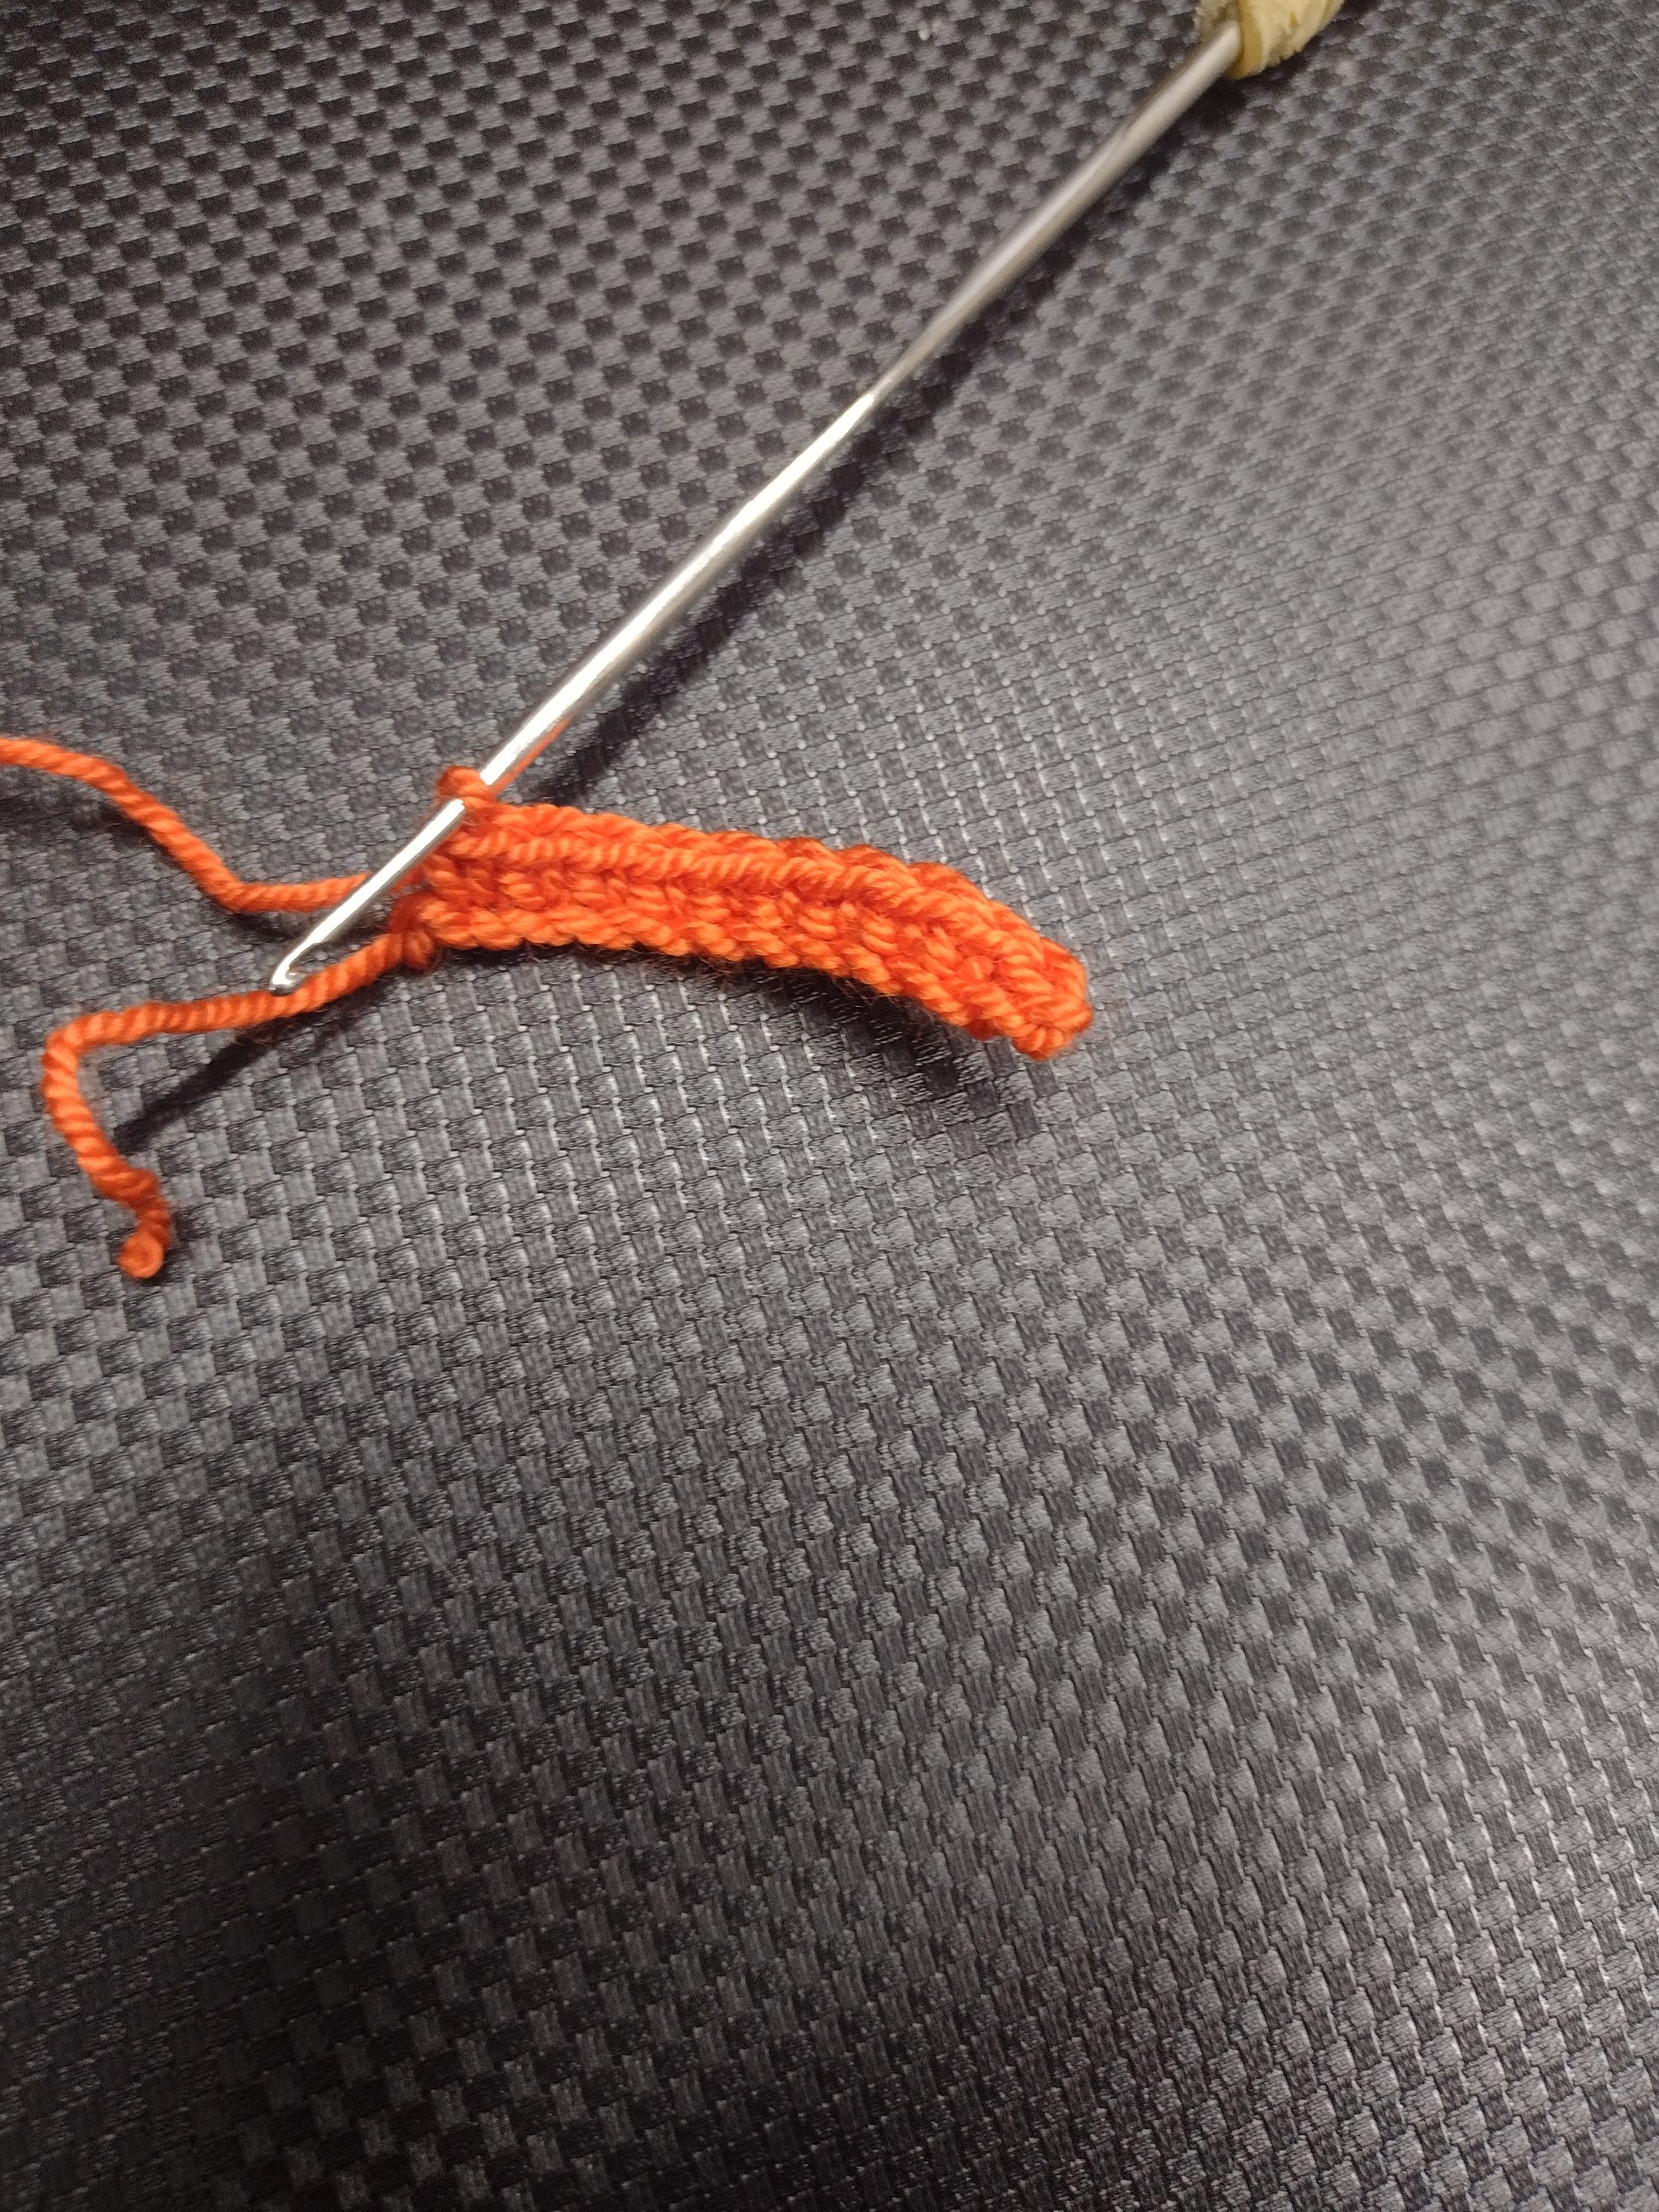
Para las tirantes del bolso hacemos una cadeneta de 4 puntos luego subimos con medios puntos osea 4 medios puntos por cada cadena por 30 vueltas.
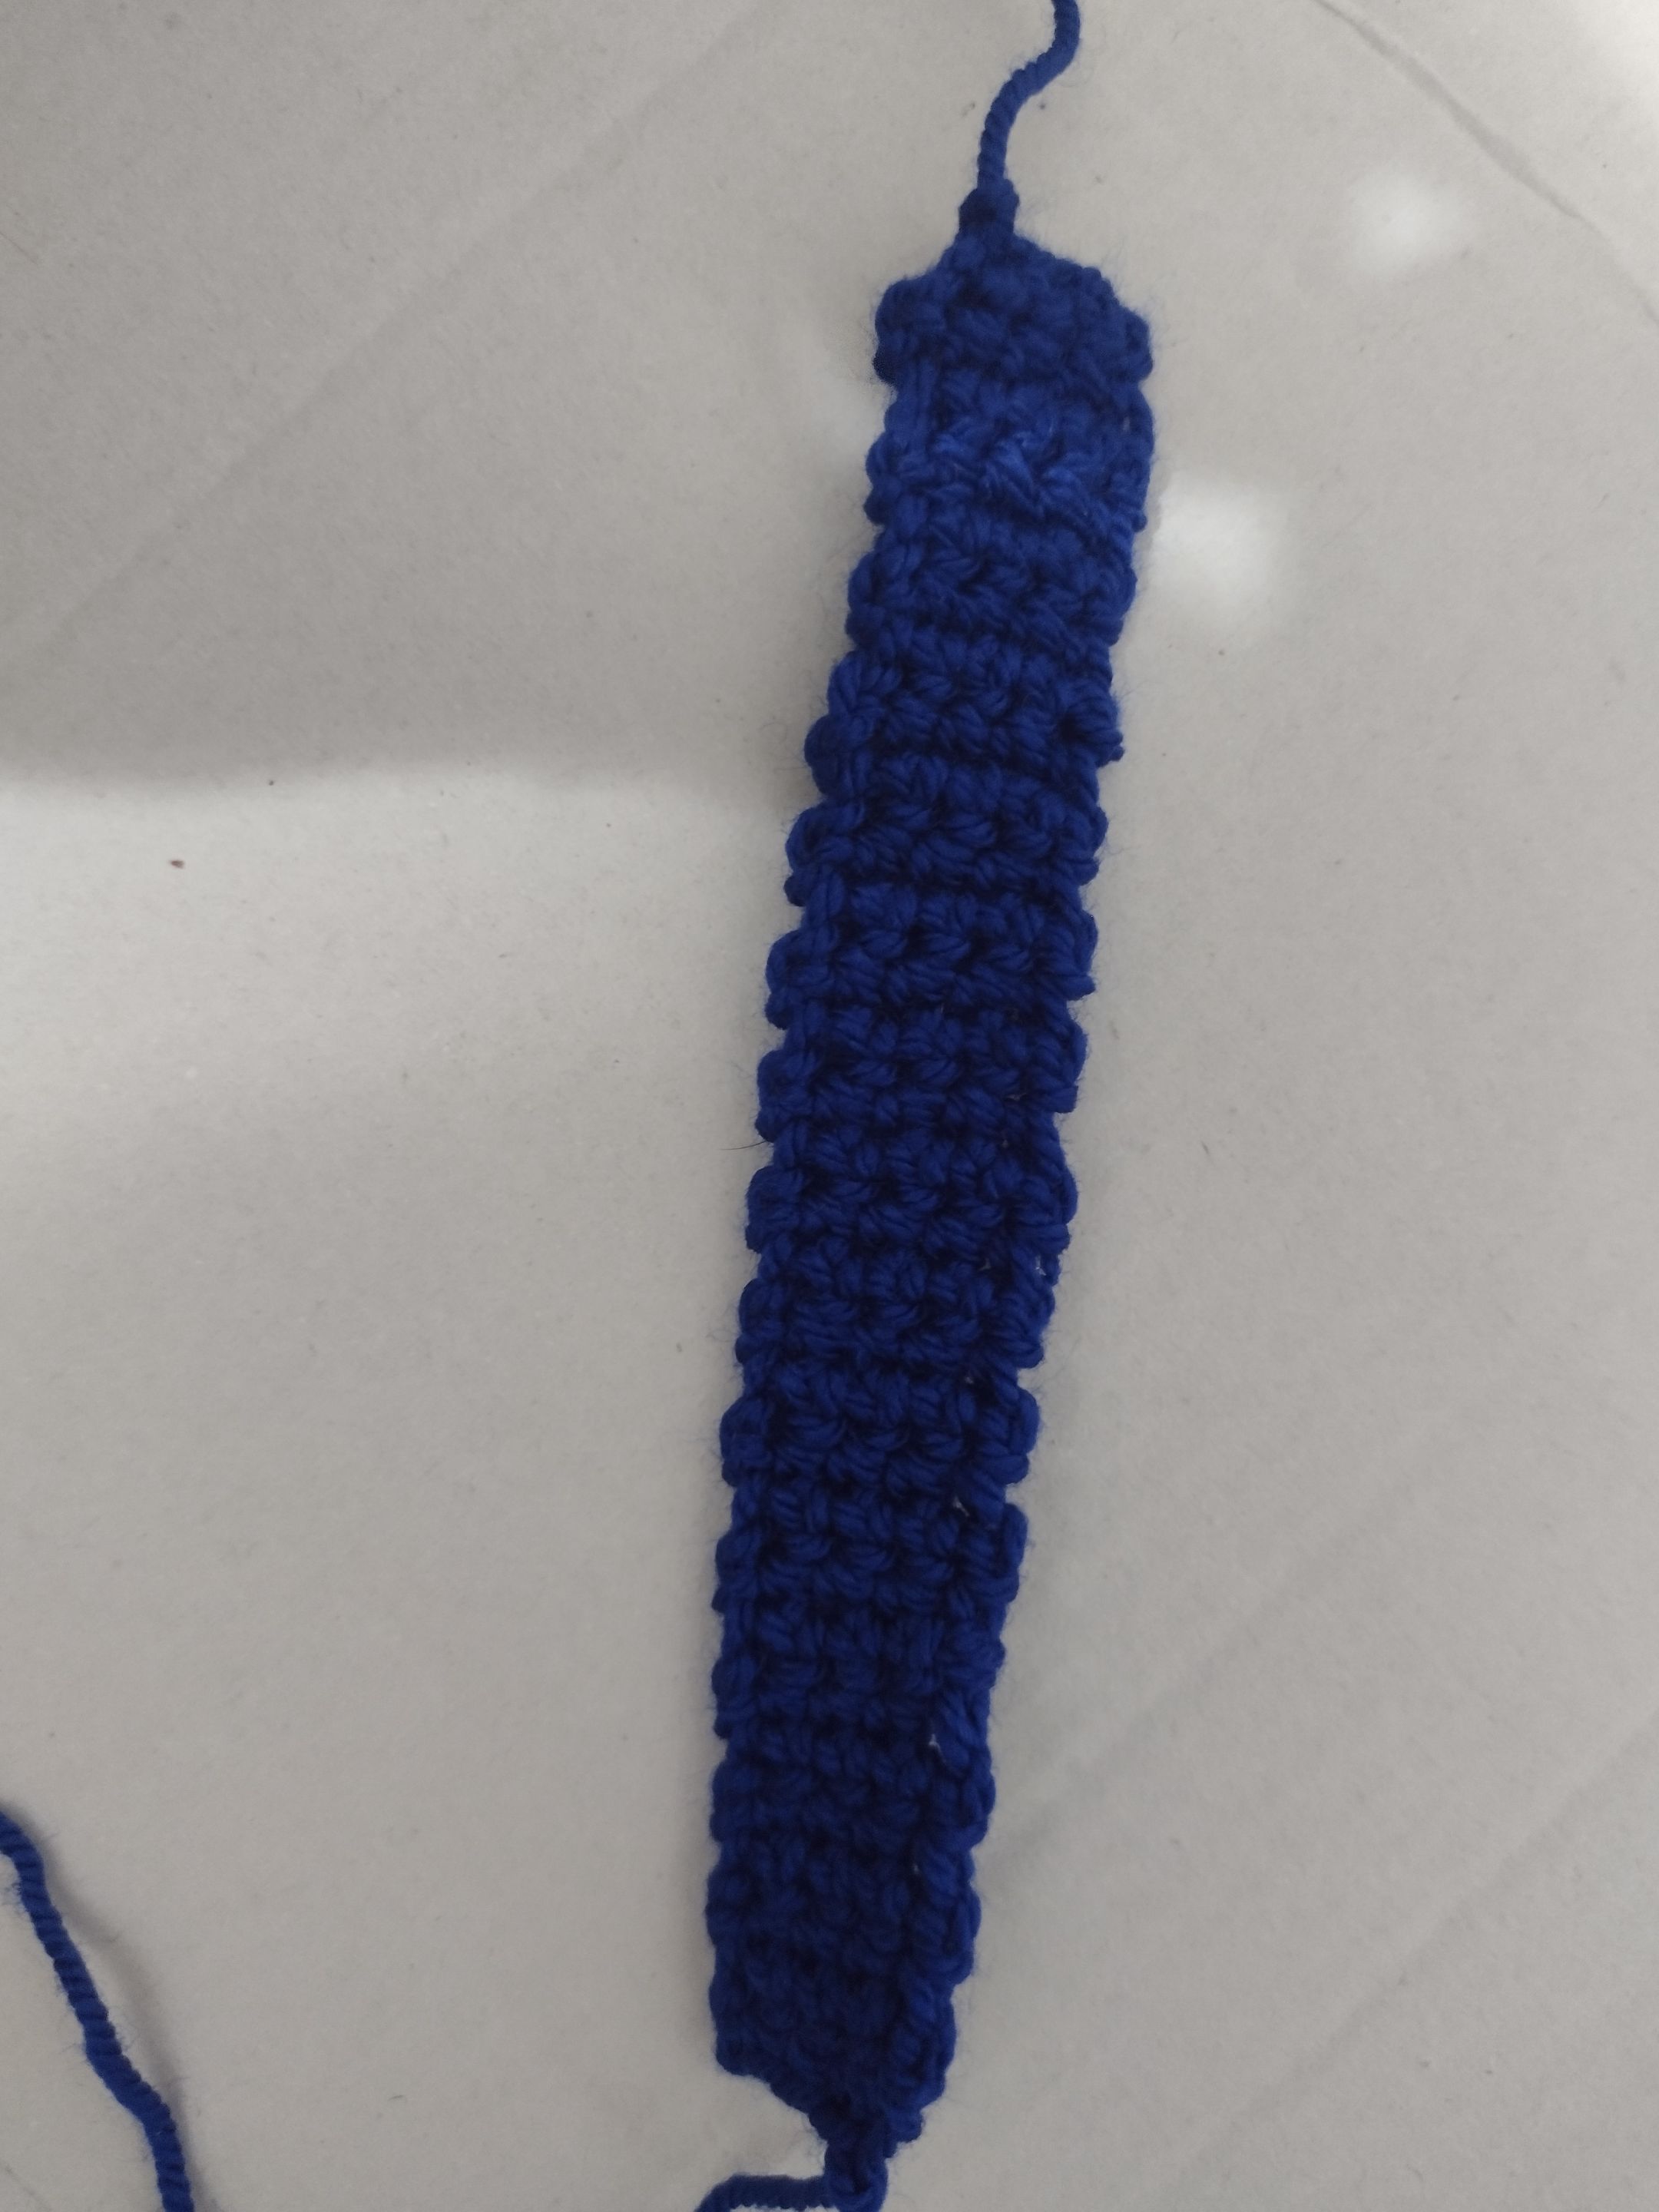
For the straps of the bag we make a chain of 4 stitches then we go up with half stitches, that is, 4 half stitches for each chain for 30 rows.
==========✨✨✨✨✨✨==========
Ahora, unimos las partes con la aguja lanera.
Now, we join the parts with the wool needle.
Para hacer el cordón ponemos el hilo doble para que quede más grueso y hacemos un largo de cadenetas de 50 centímetros. lo anudamos en las puntas para que no se nos suelte y está listo.
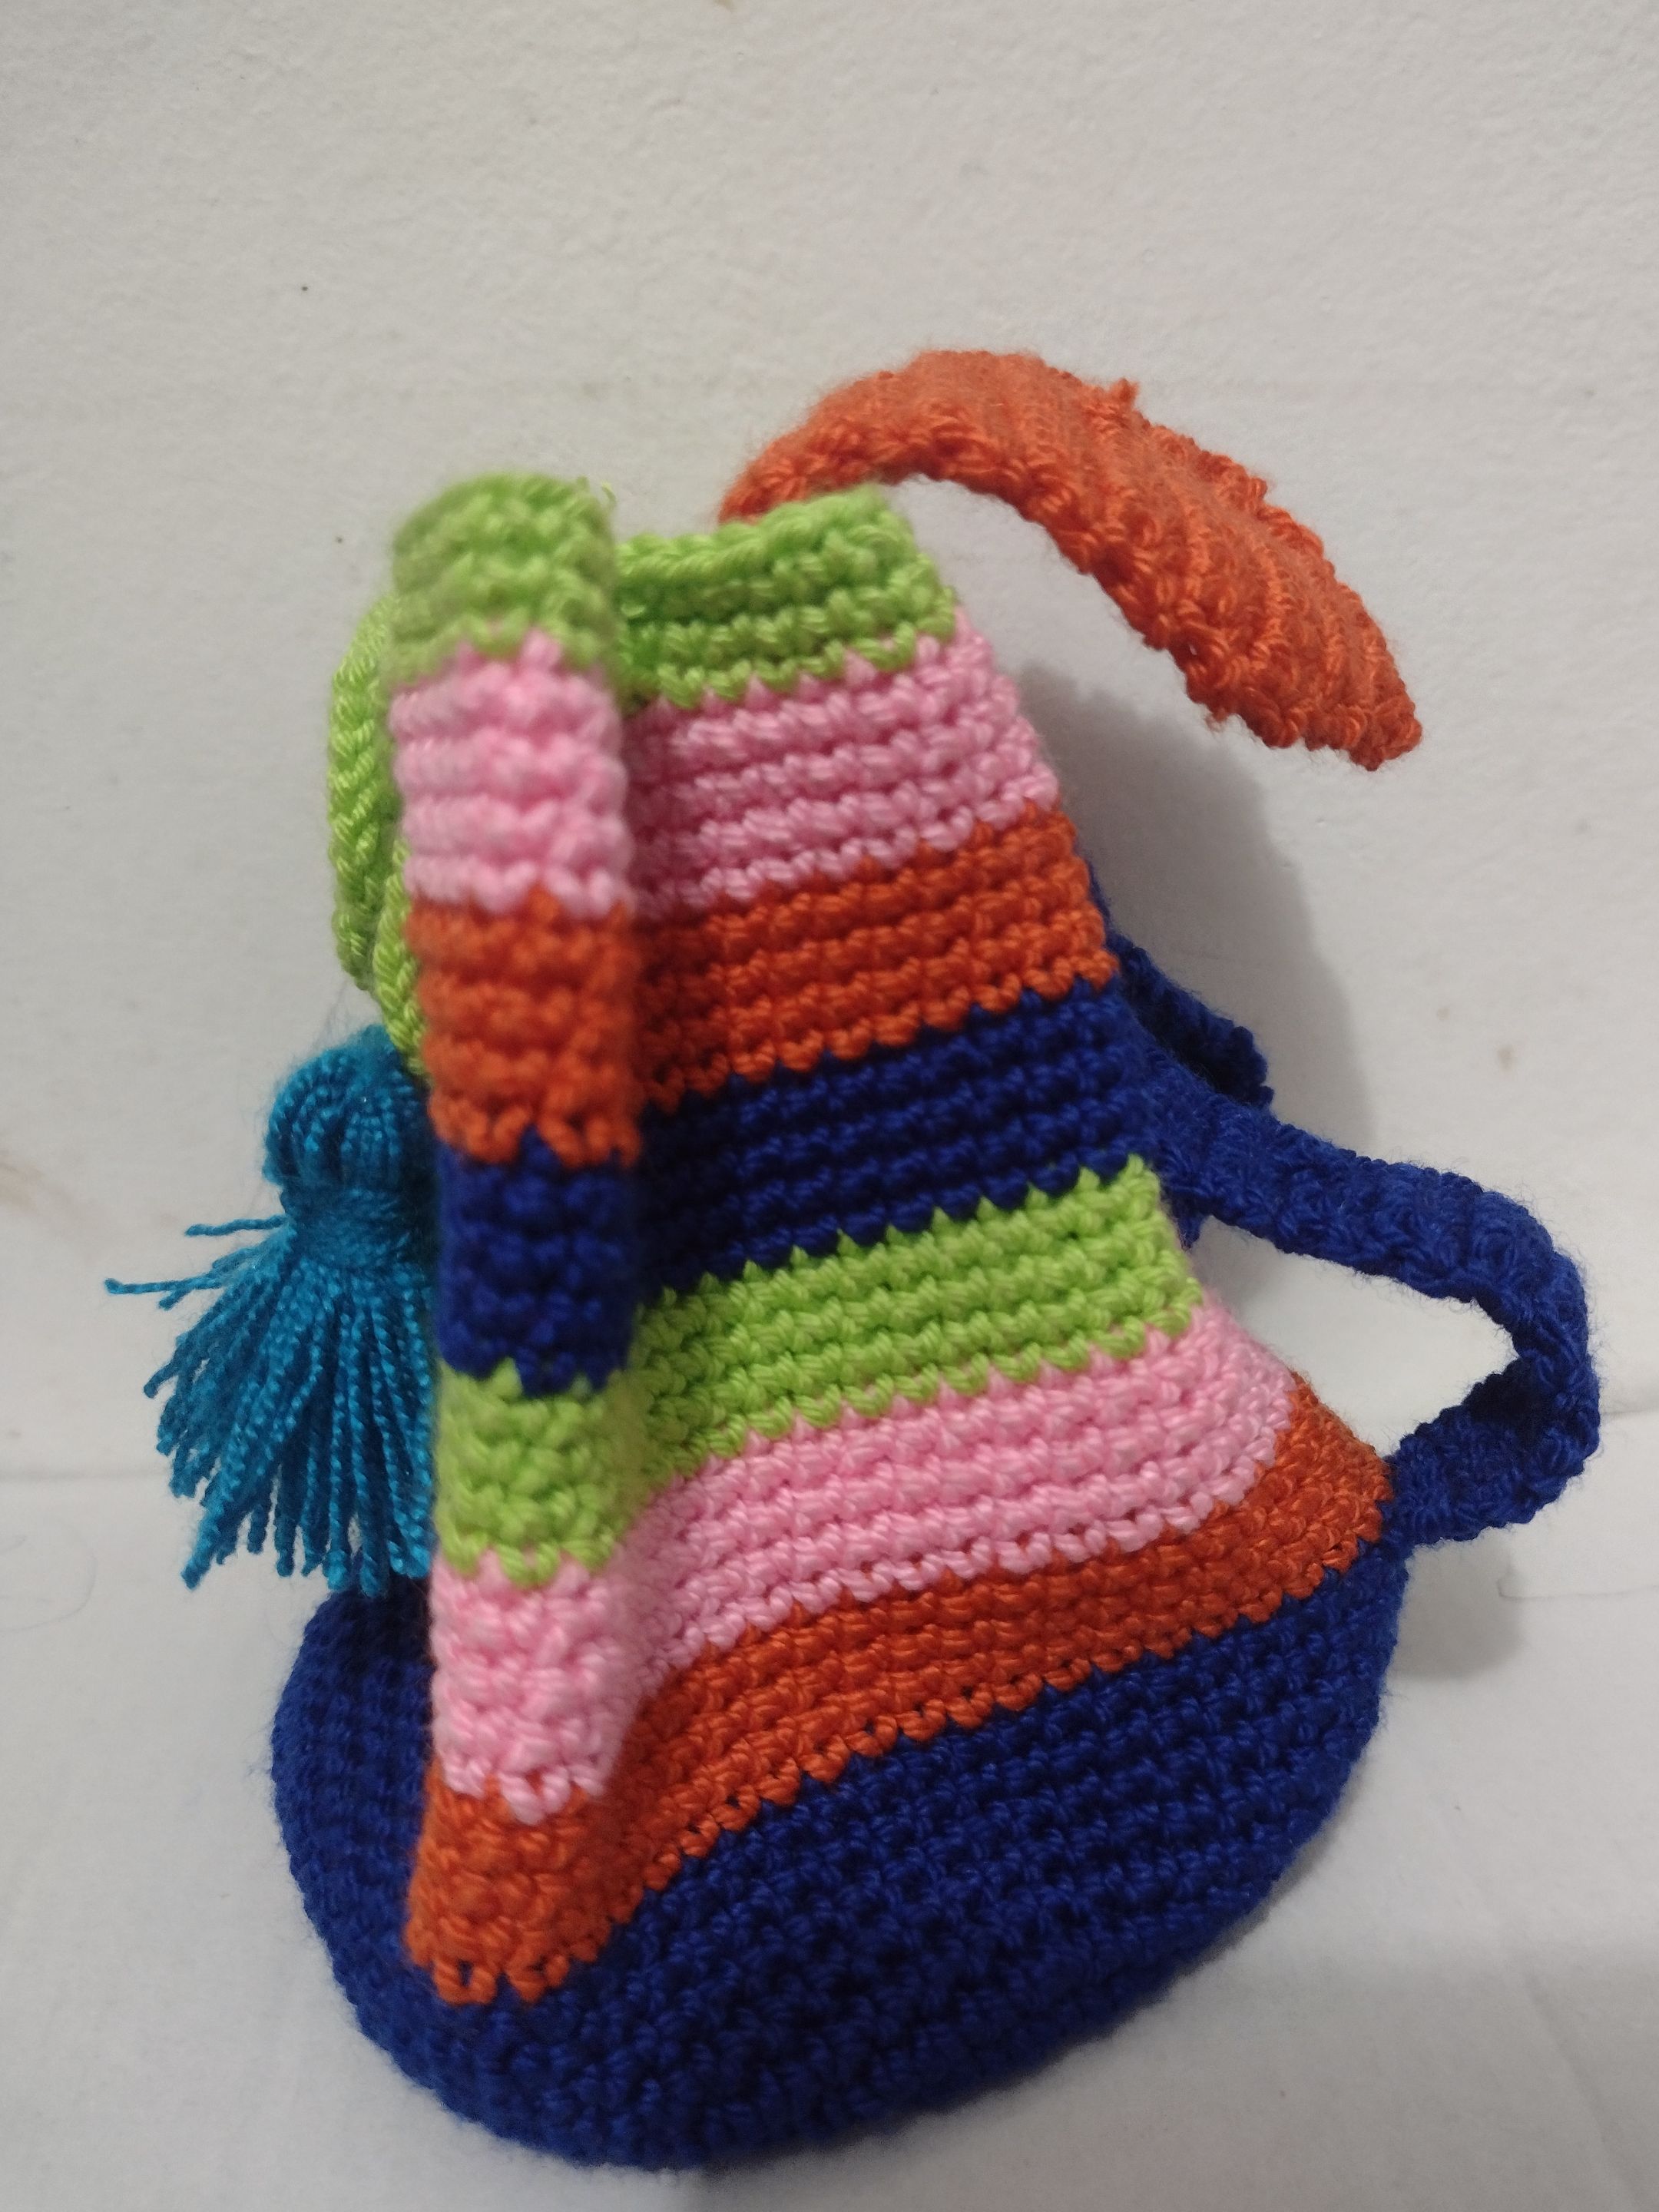
To make the cord, we use the double thread to make it thicker and we make a chain length of 50 centimeters. We knot it at the ends so that it does not come loose and it is ready.
==========✨✨✨✨✨✨✨==========
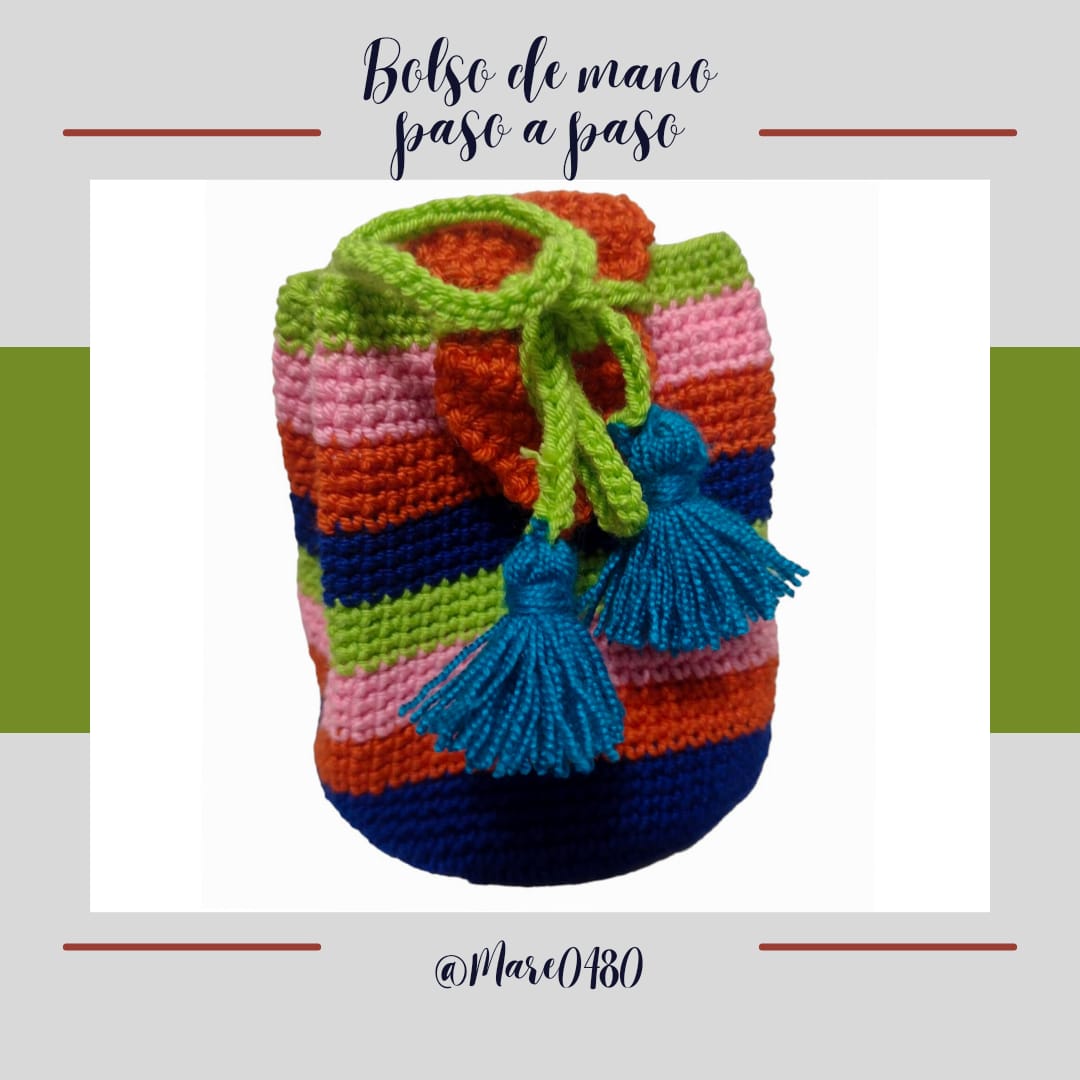
Espero que les guste, lo hice con mucho cariño como todas las cosas que hago.
I hope you like it, I did it with great love like all the things I do.