How are you all, I hope you are all well. And I am well, by the grace of God, I am here with you today. This is a colored paper dress. Today, after a long time, I am sharing with you a post on paper. In fact, making things out of paper takes a lot of time. But try sharing the post to bring in a variety of posts. Even though these things take a long time, I think it's great. I hope you enjoy my coloring project today.
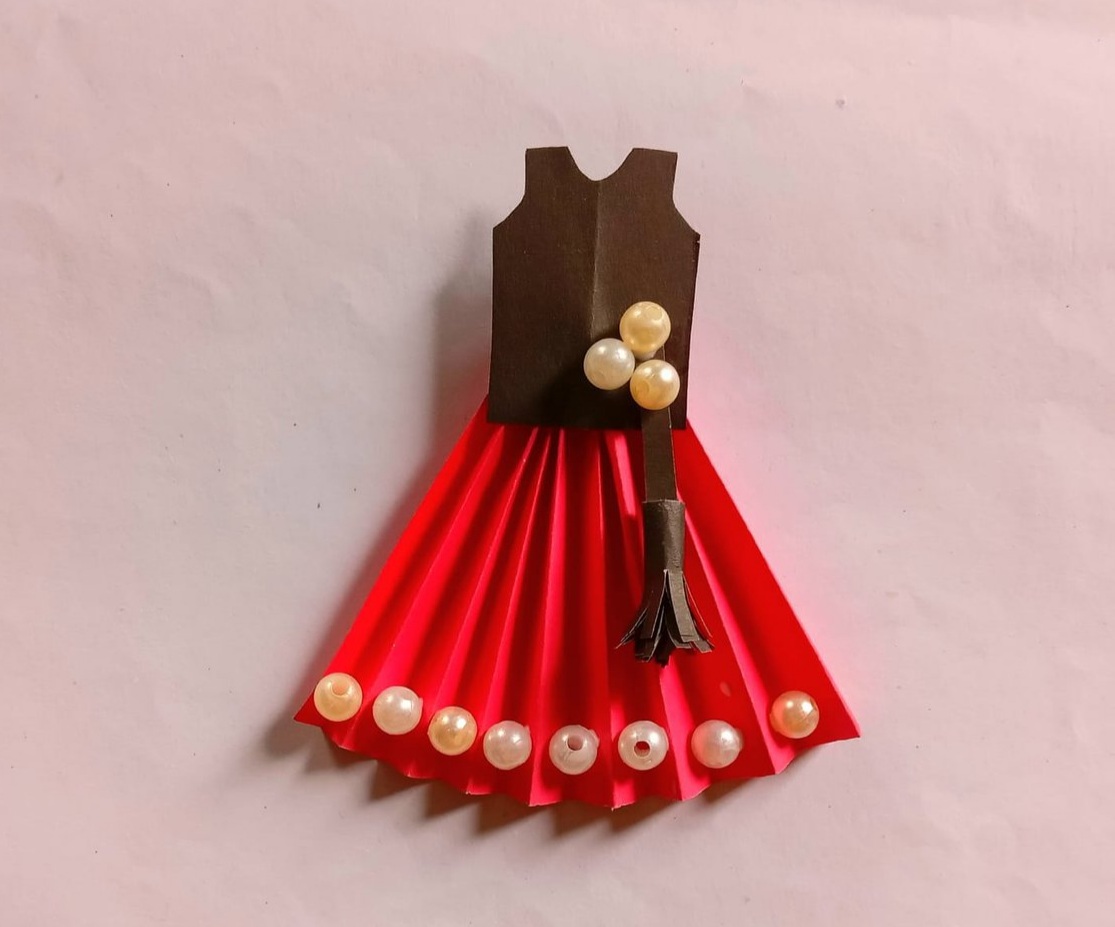
Latest photo of colored paper dress
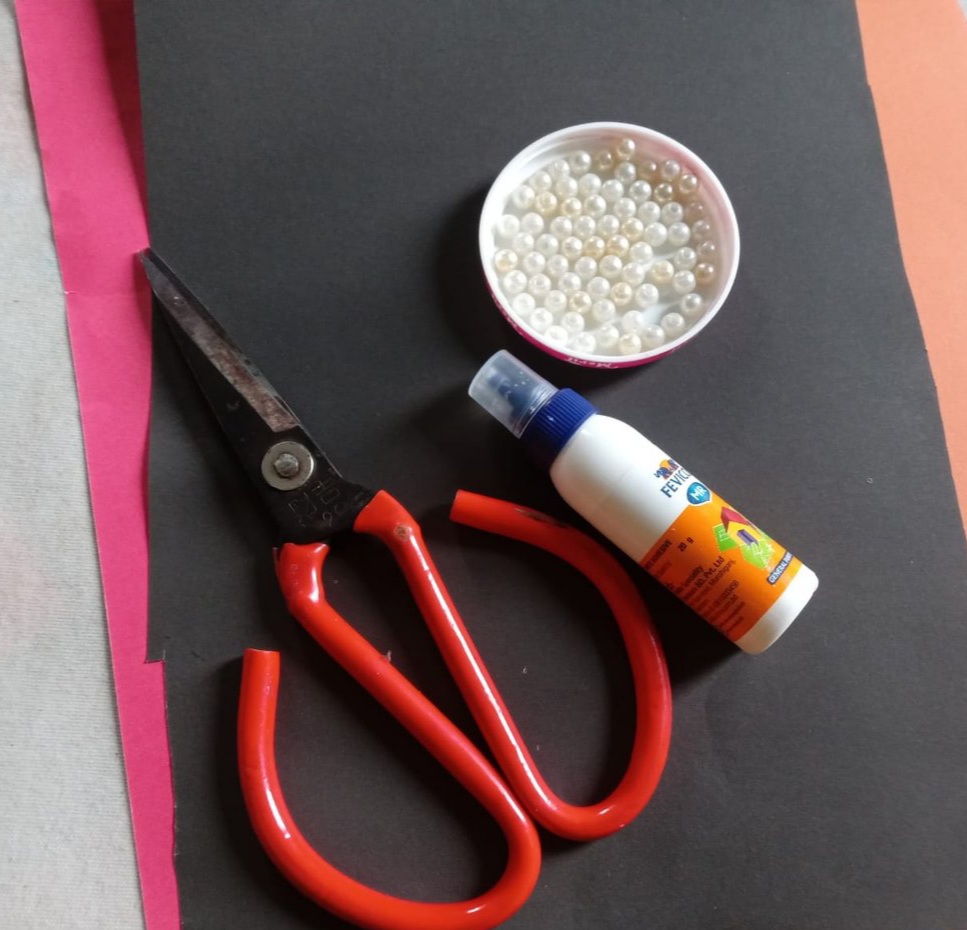
Necessary materials
- colored paper
- Scissors
- glue
- The white lady
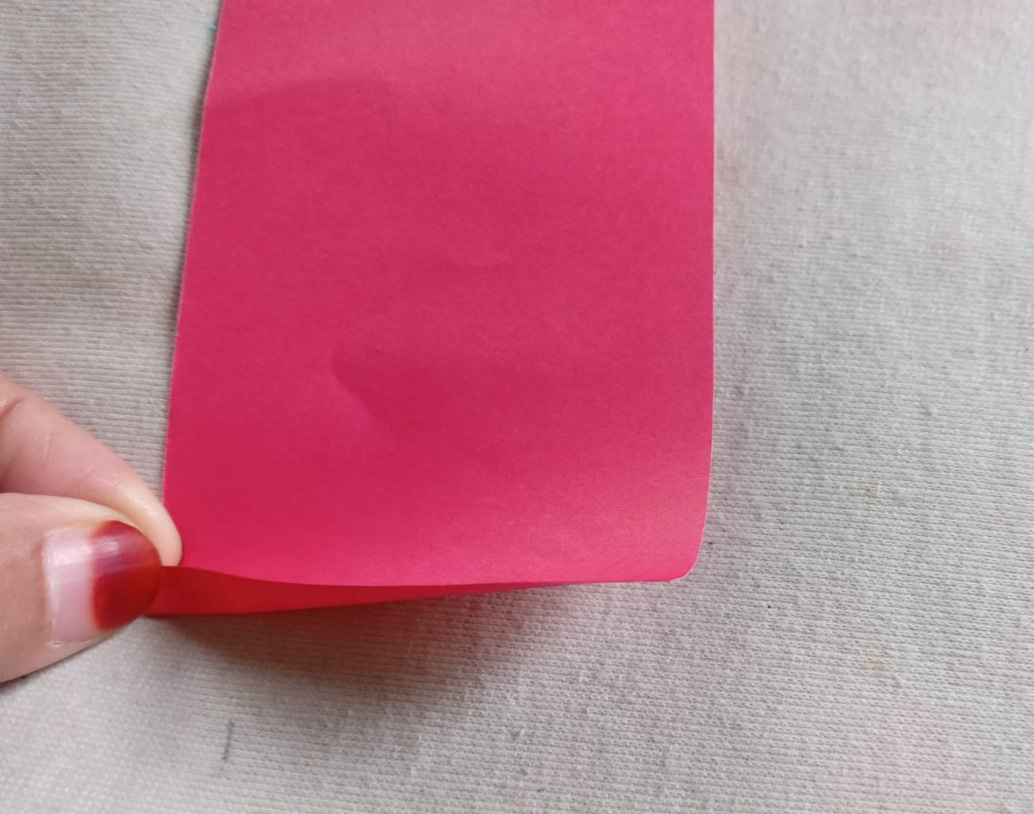
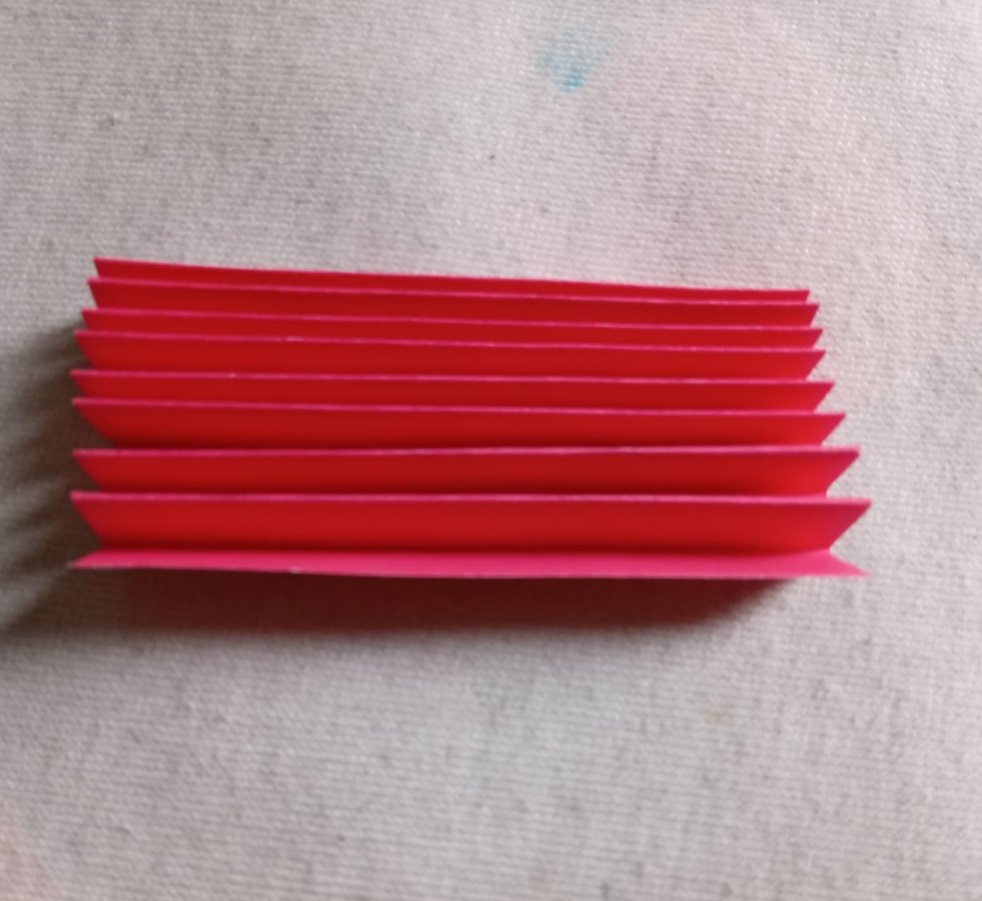
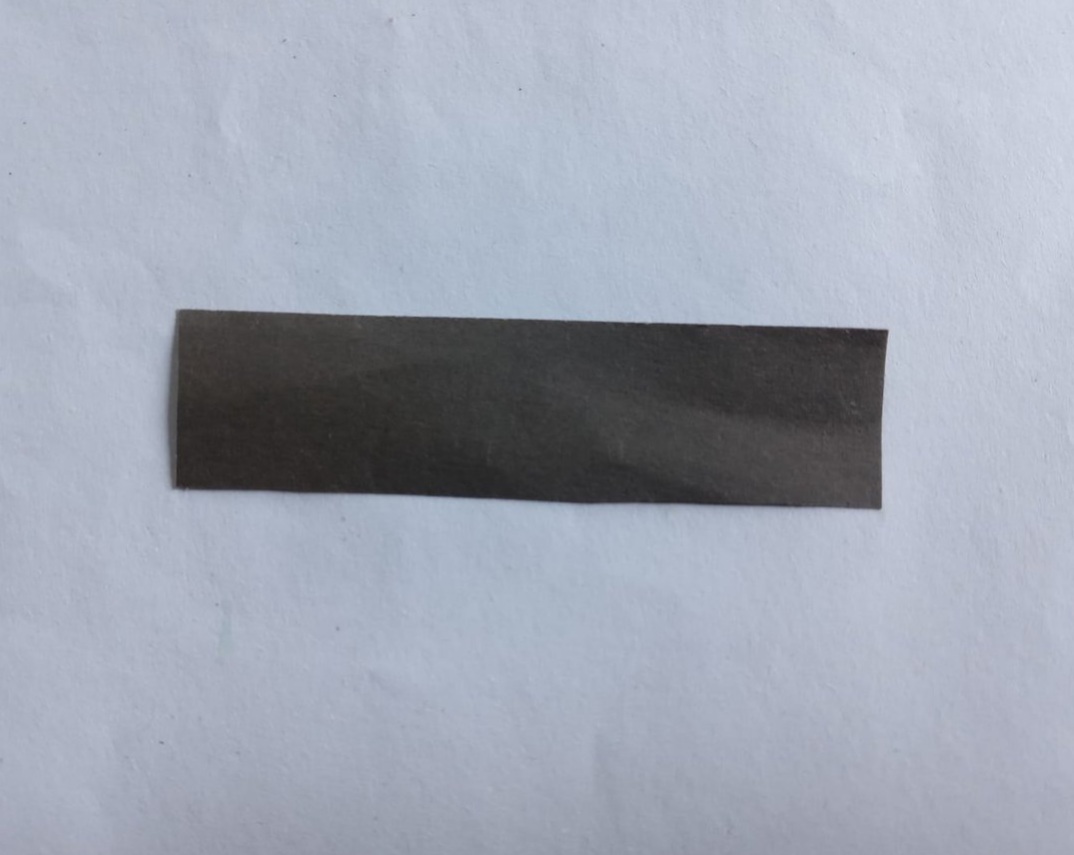
Step 1
First, I cut the red paper in half lengthwise. And then I started frying it from one end. After folding part of one end, I flipped it over and fried the other end.
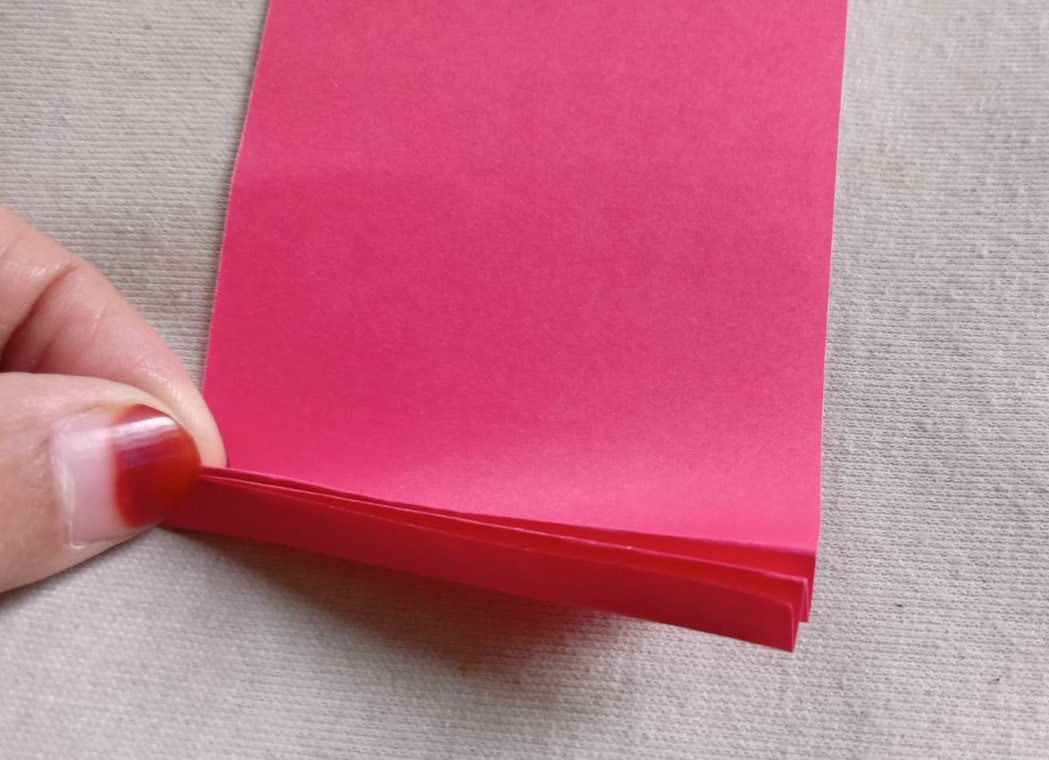
Step - 2
In this way, once from the upper side, and the second time by turning and bending the smaller part from the lower side. I folded the whole paper like this.
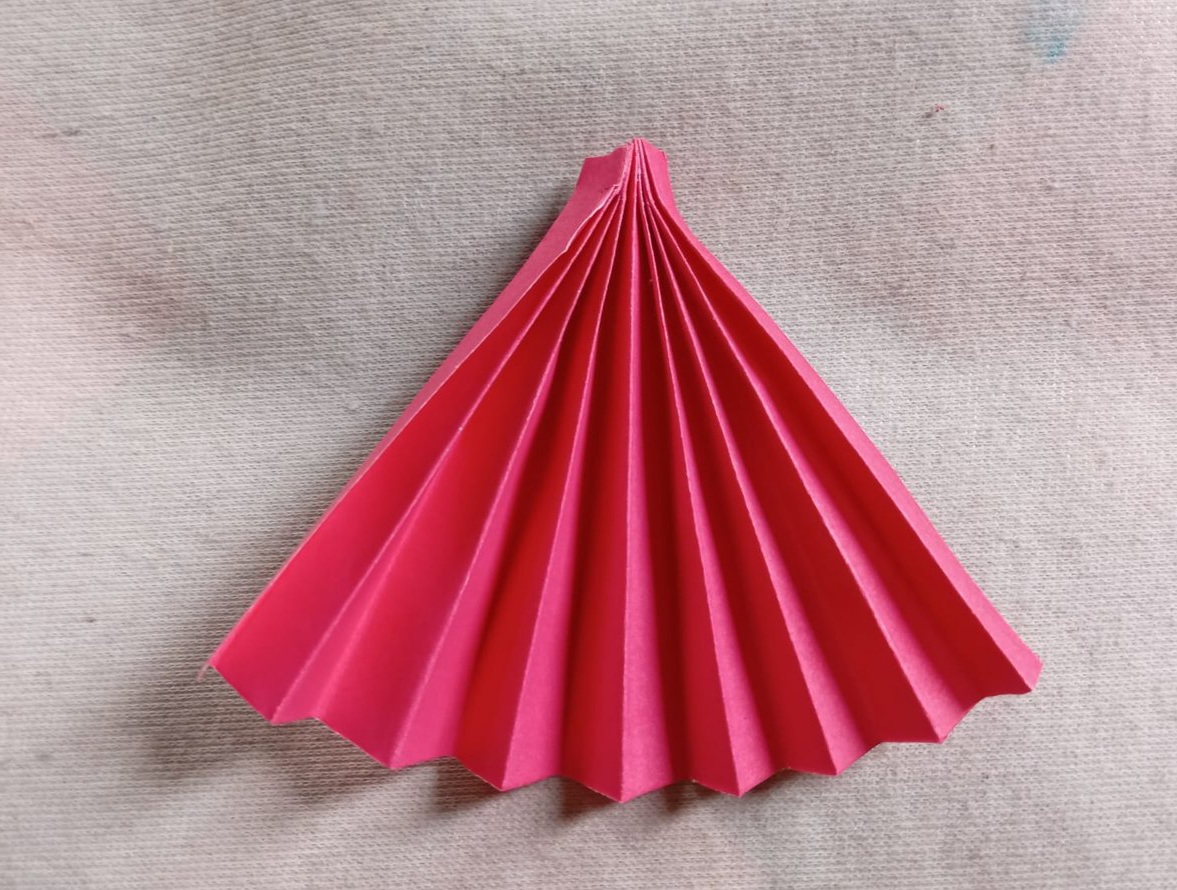
Step - 3
After folding the whole sheet like this, I glued either side with glue. And make the other side a little wider. This is how I made the bottom of the dress.
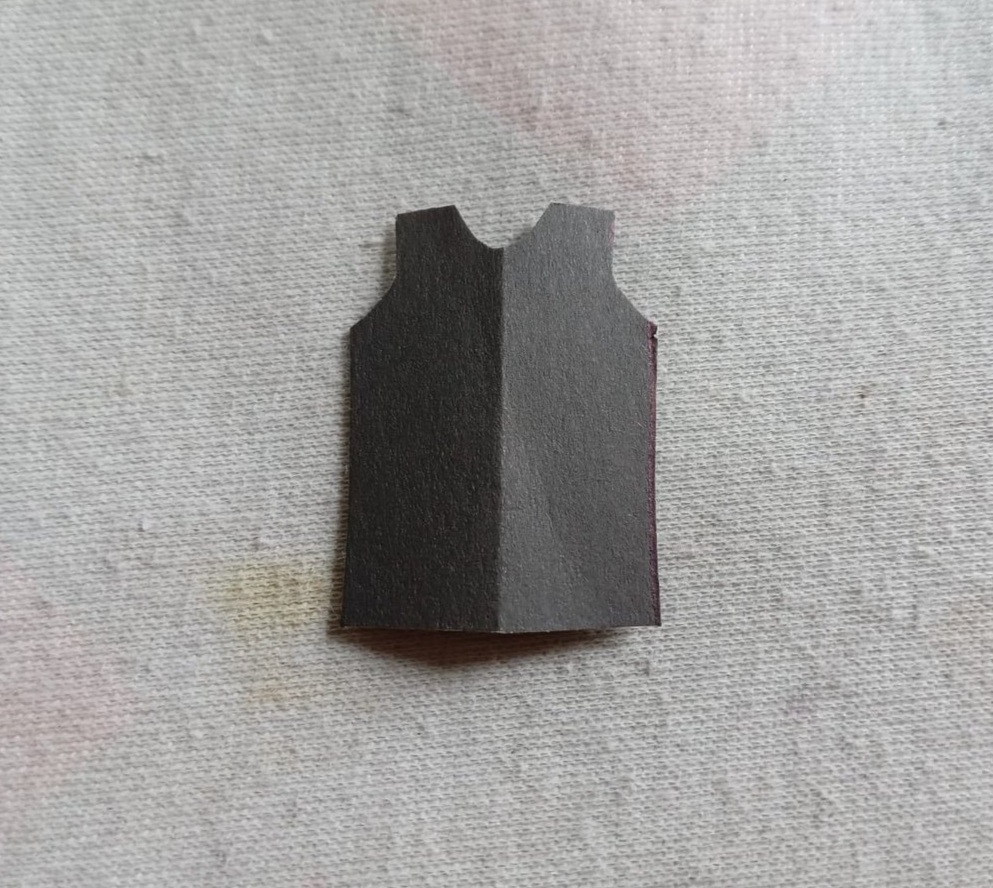
Step - 4
I then cut a small piece of paper out of black colored paper. And cut it like a T-shirt. This is how I made the top of the dress.
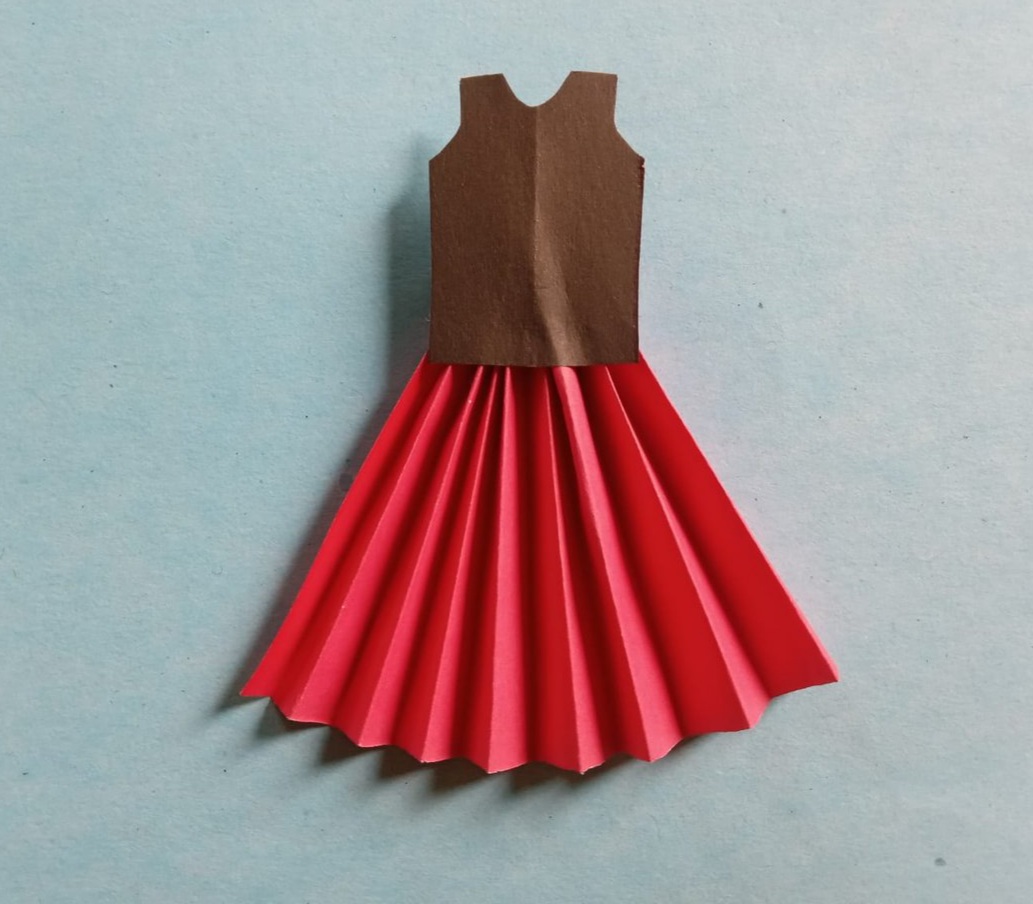
Step - 5
Then I glued the top and bottom of the dress with glue.
Step - 6
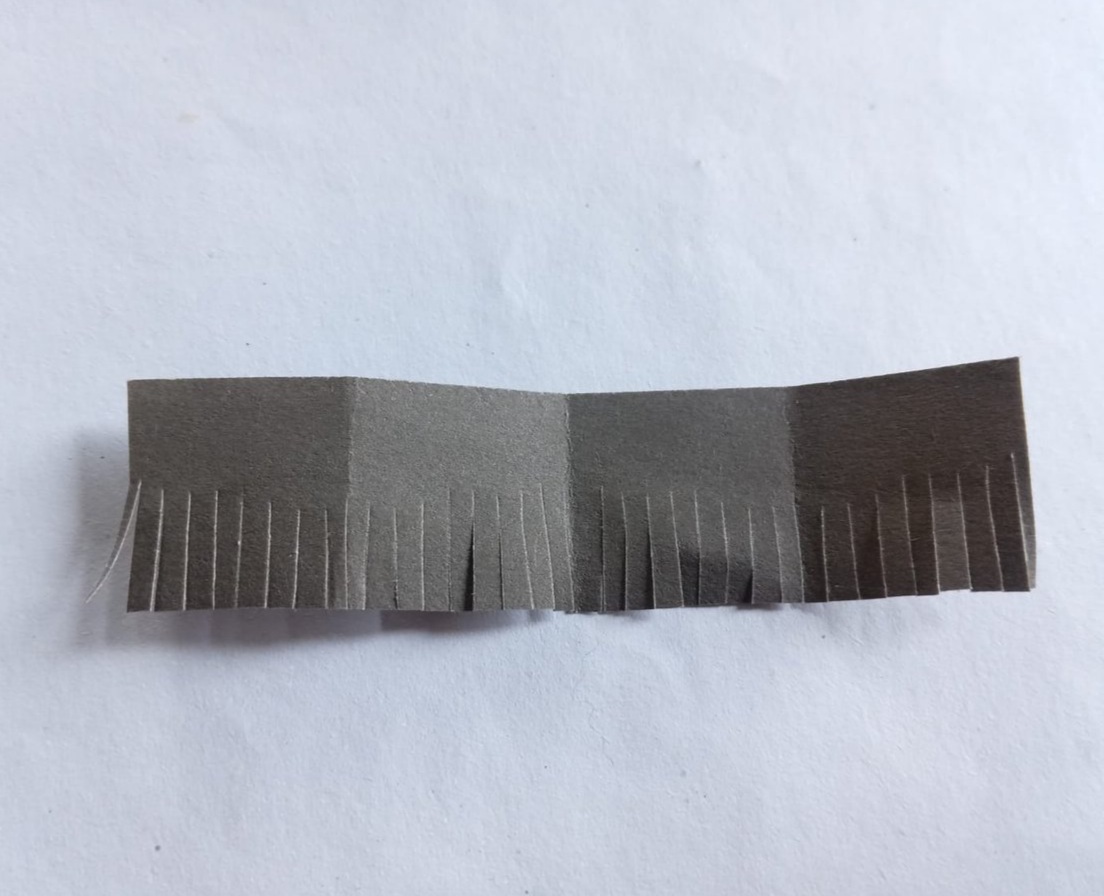
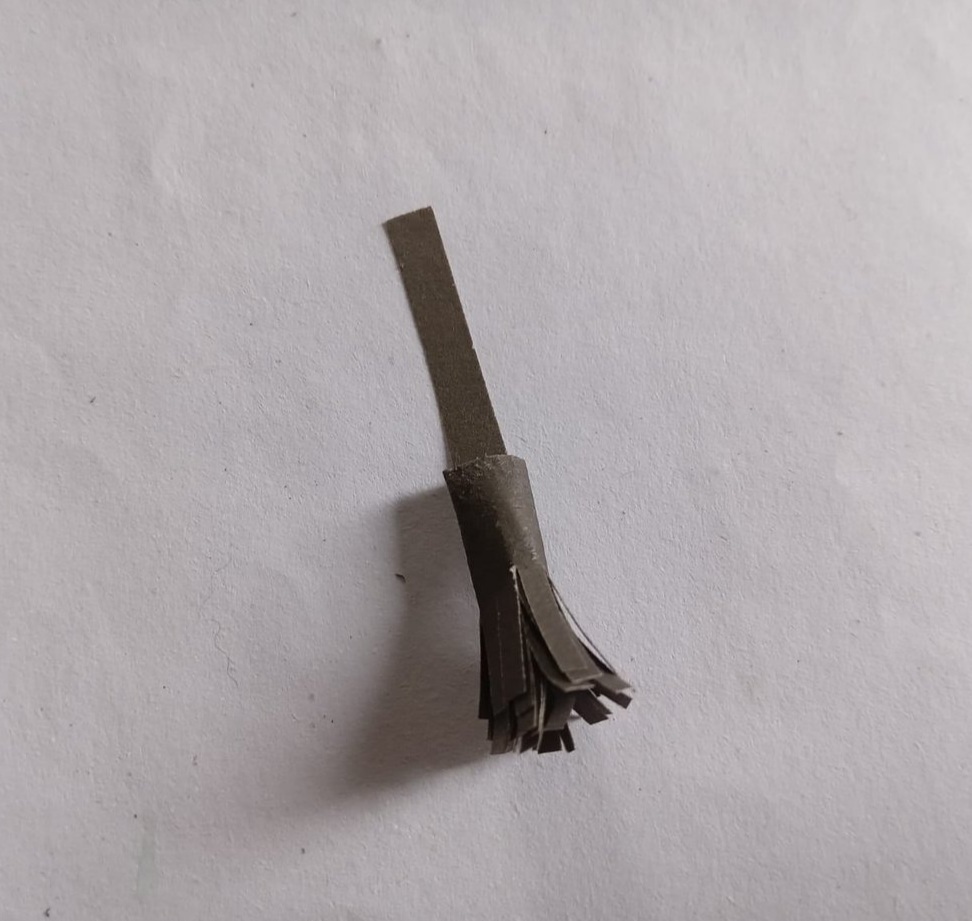
Then I cut the long and thin black paper again. Then I cut the paper thinly. A little excess at the top cannot be trimmed. This should be taken care of.
Step - 7
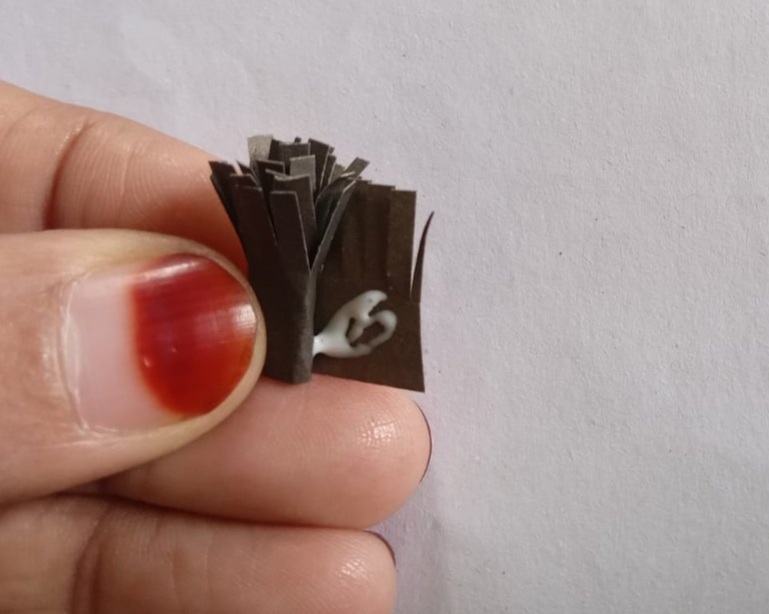
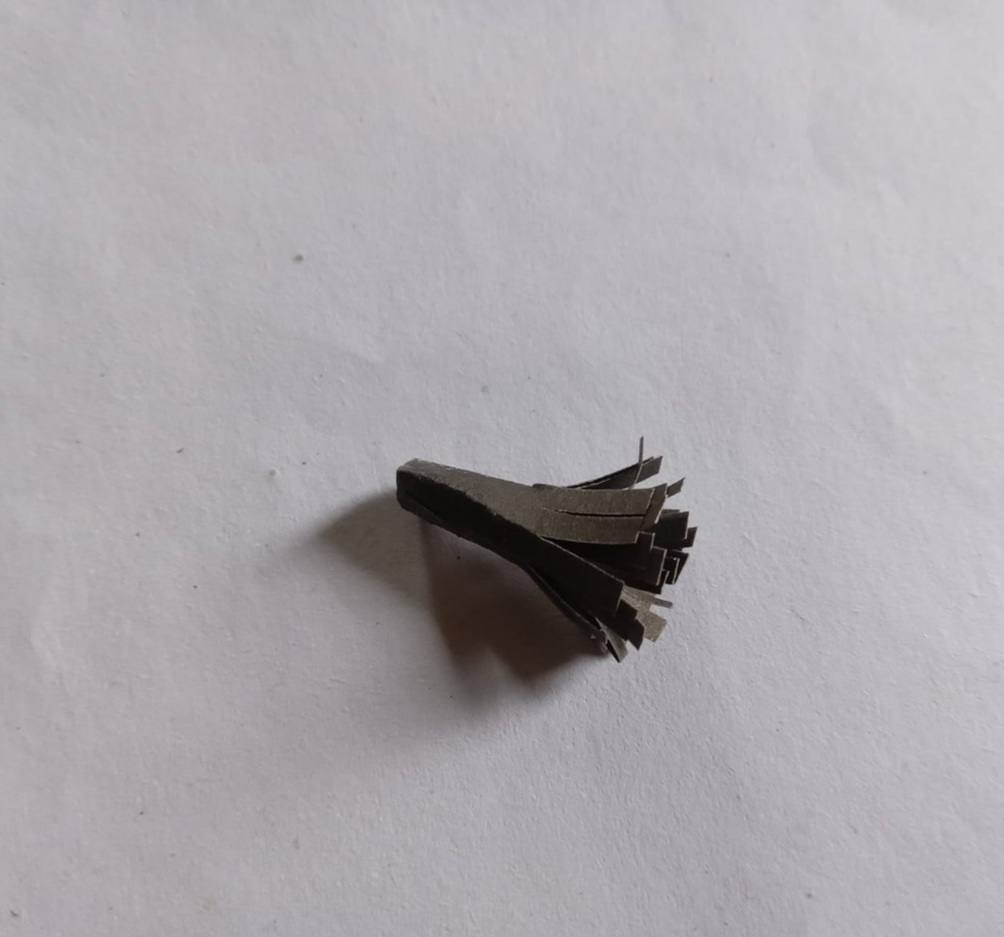
Then I made a small flower by circling the black paper.
Passage - 8
I thinly cut a piece of paper and glued it to the top of the flower.
Passage - 9
Then I put this little flower in the shirt to give the shirt a little design.
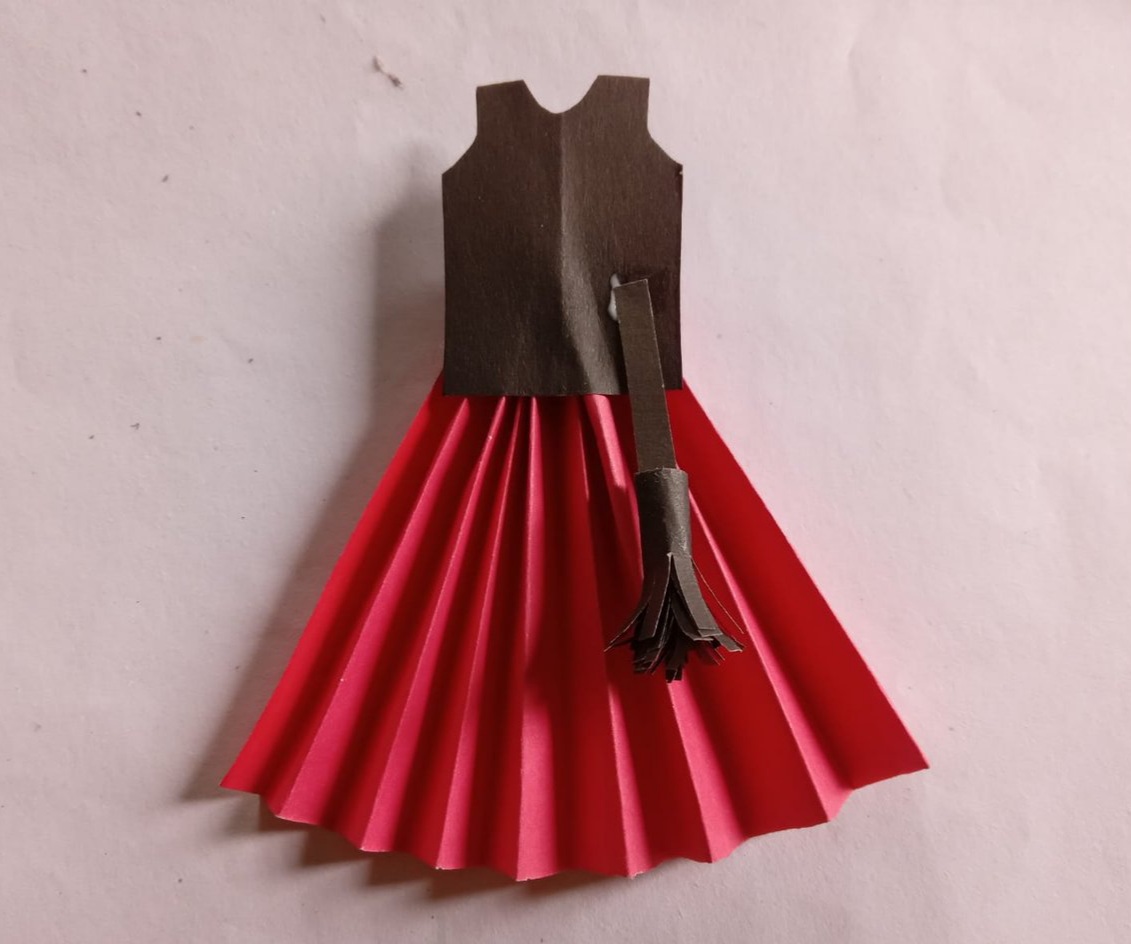
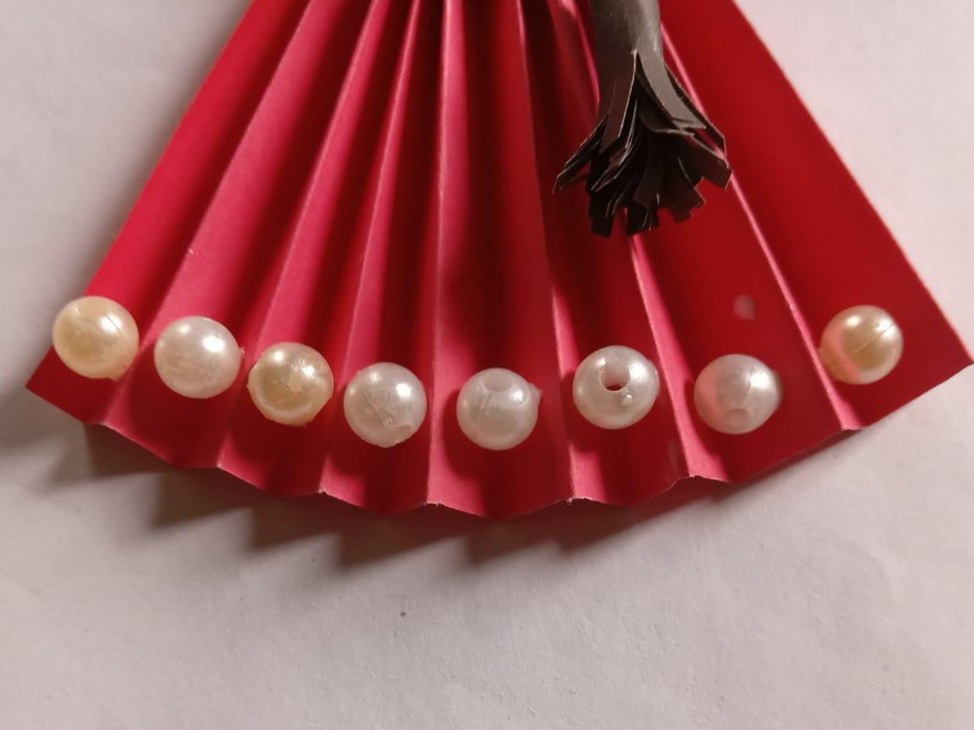
Step - 10
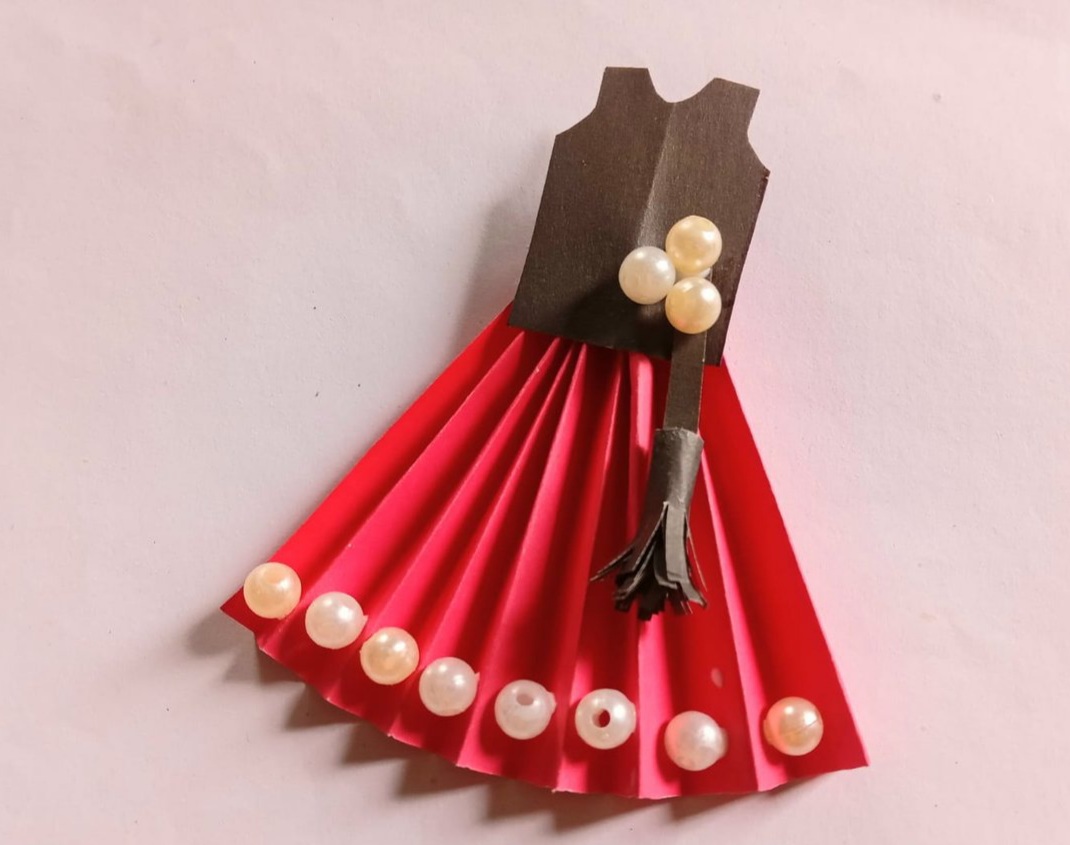
I then created more designs by adding white dots to the top and bottom of the dress.
That's how colored paper dresses were created
This was my post today. I hope you like it. Be sure to comment how you like it. If there is a mistake, you will look at it with a forgiving eye. Today I leave and come back with something new