Greetings friends who love handicrafts! I welcome you once again to my Bricolaje DC workshop In this opportunity I would like to invite you to develop a sewing project that I have been working on for a few days, it is a fan art of Aves Sturgis on a blouse using the embroidery technique. Join me to see the creative process.
¡Saludos amigos amantes de las artes manuales! Les doy la bienvenida una vez más a mi taller Bricolaje DC en esta oportunidad me gustaría invitarlos a desarrollar un proyecto de costura que tengo algunos días trabajando, se trata de un fan art de Aves Sturgis en una blusa aplicando la técnica de bordado. Acompáñenme a ver el proceso creativo.
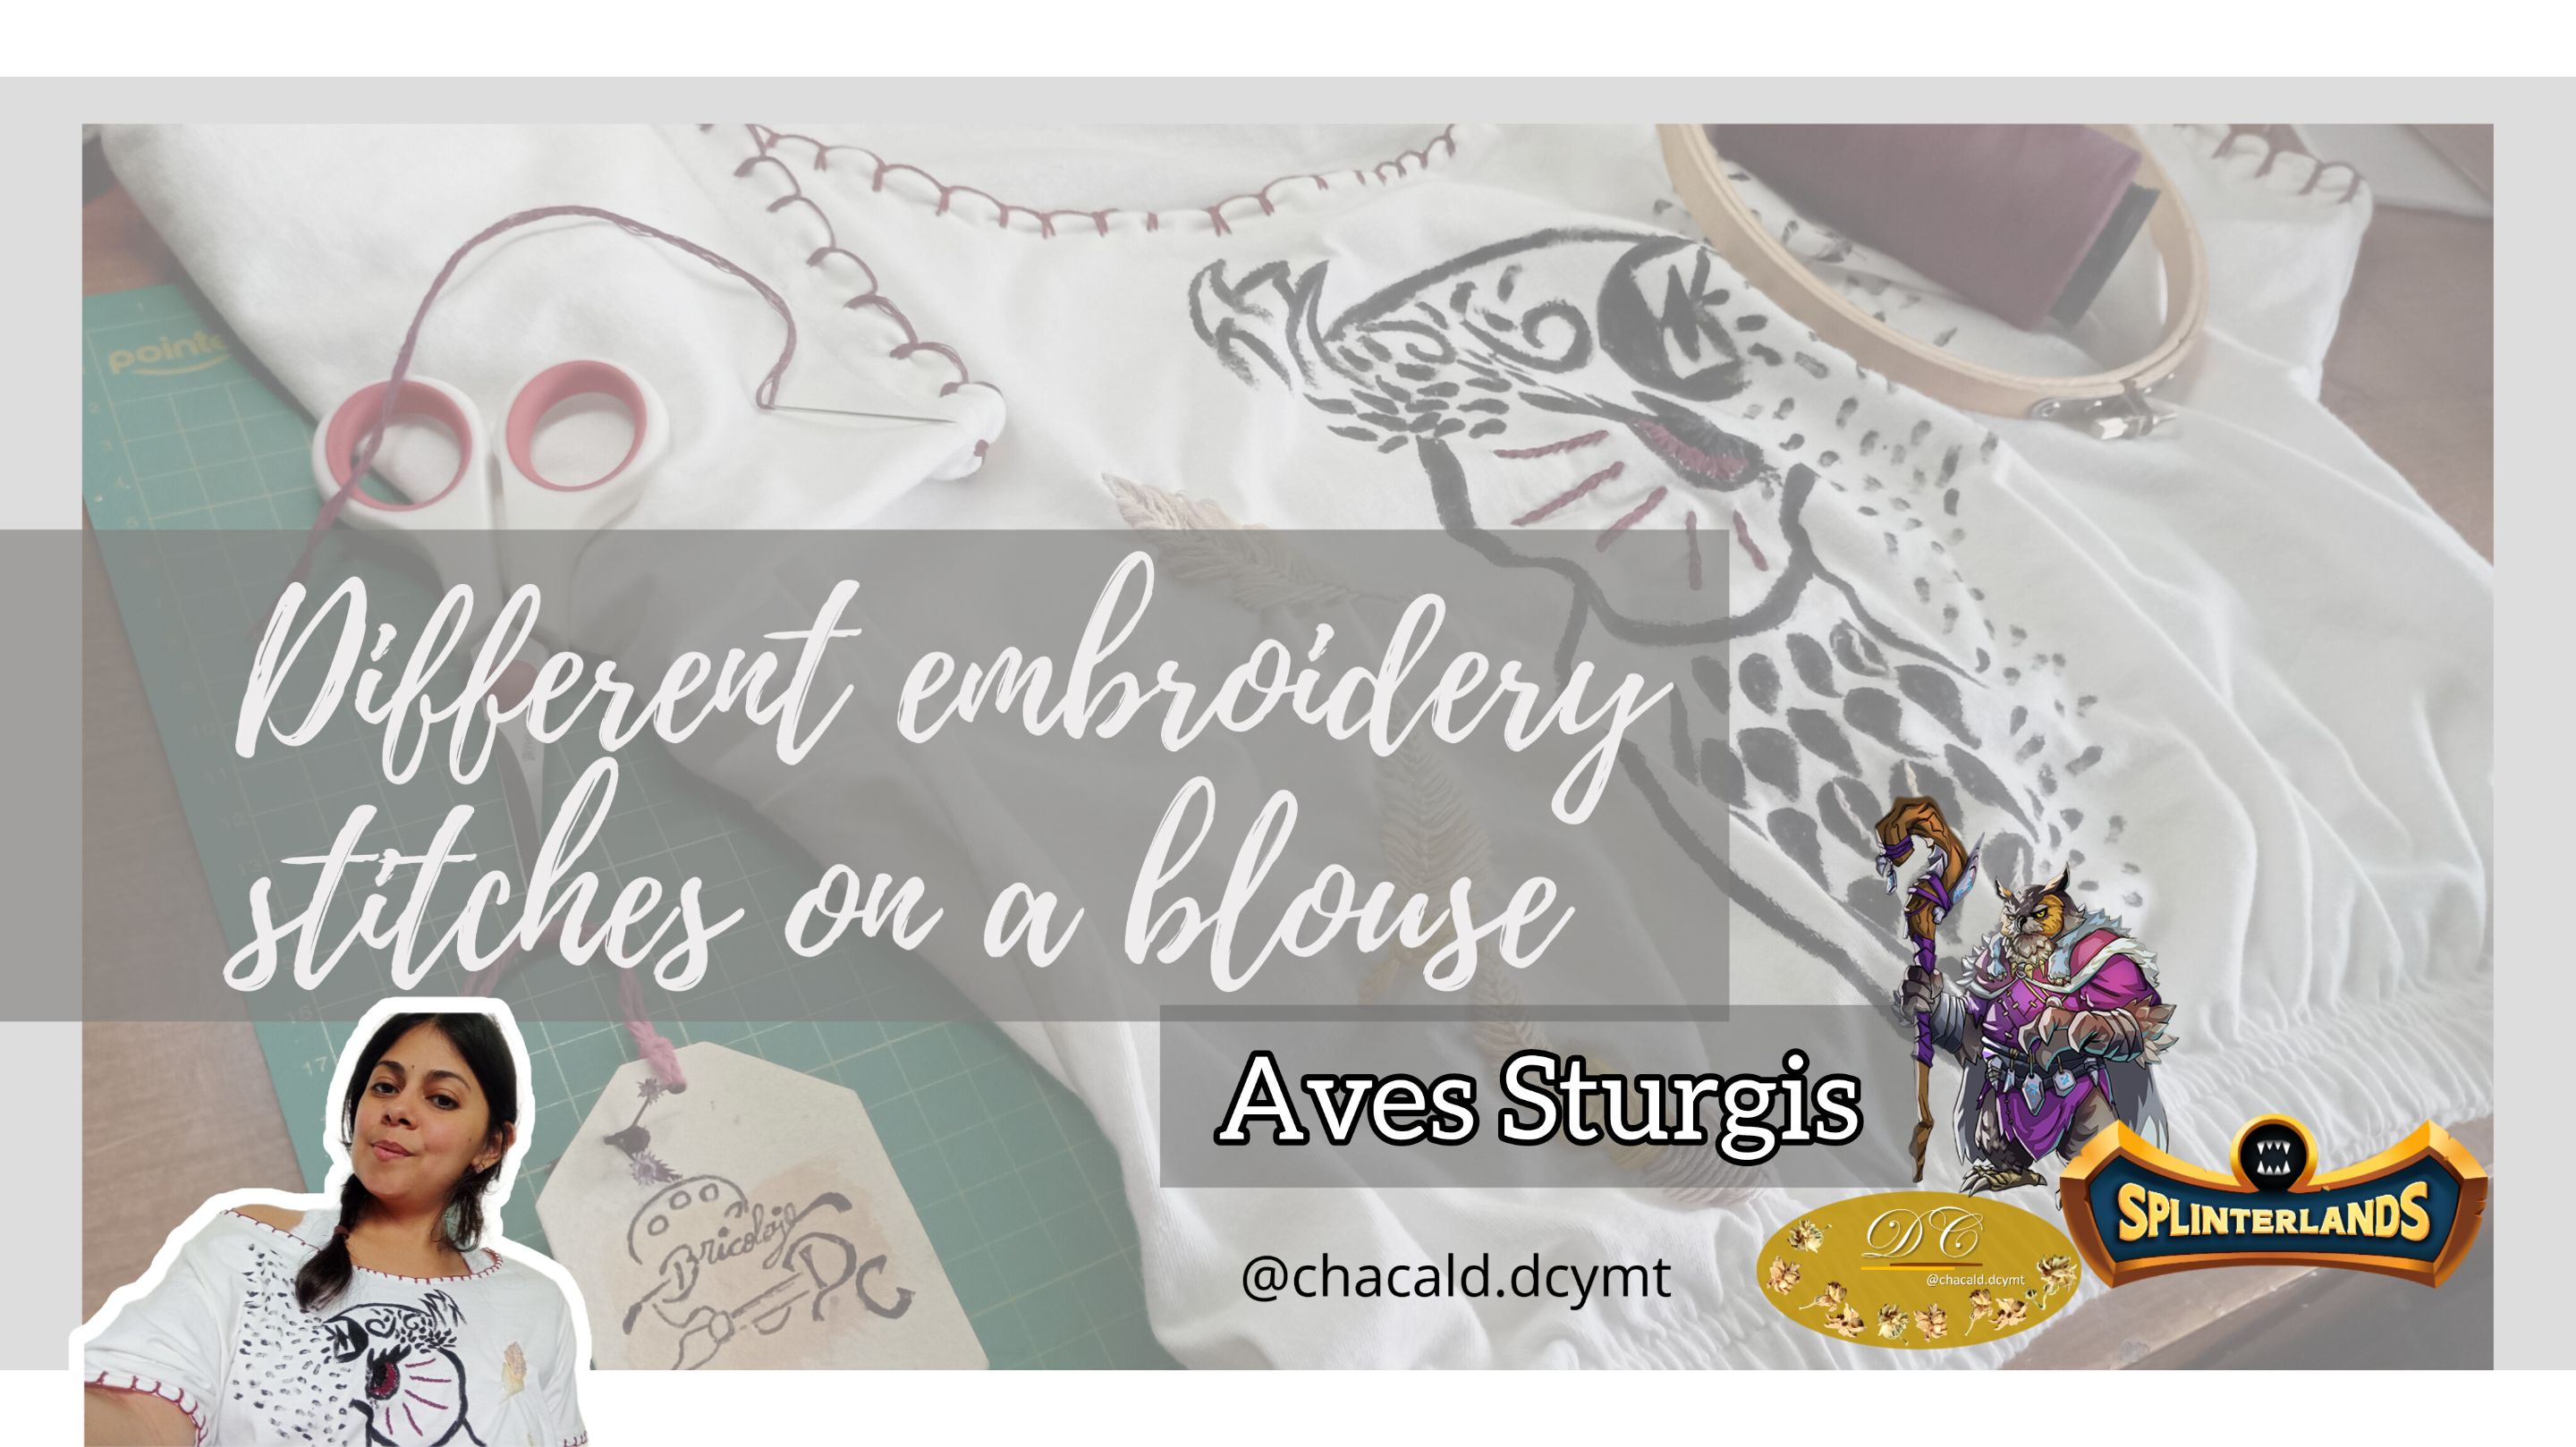
This is one of my favorite characters from Splinterlands, I have made several fan art because I love it. This time I took a white blouse and I wanted to give it a new style and I think that with this character I will achieve a great result.
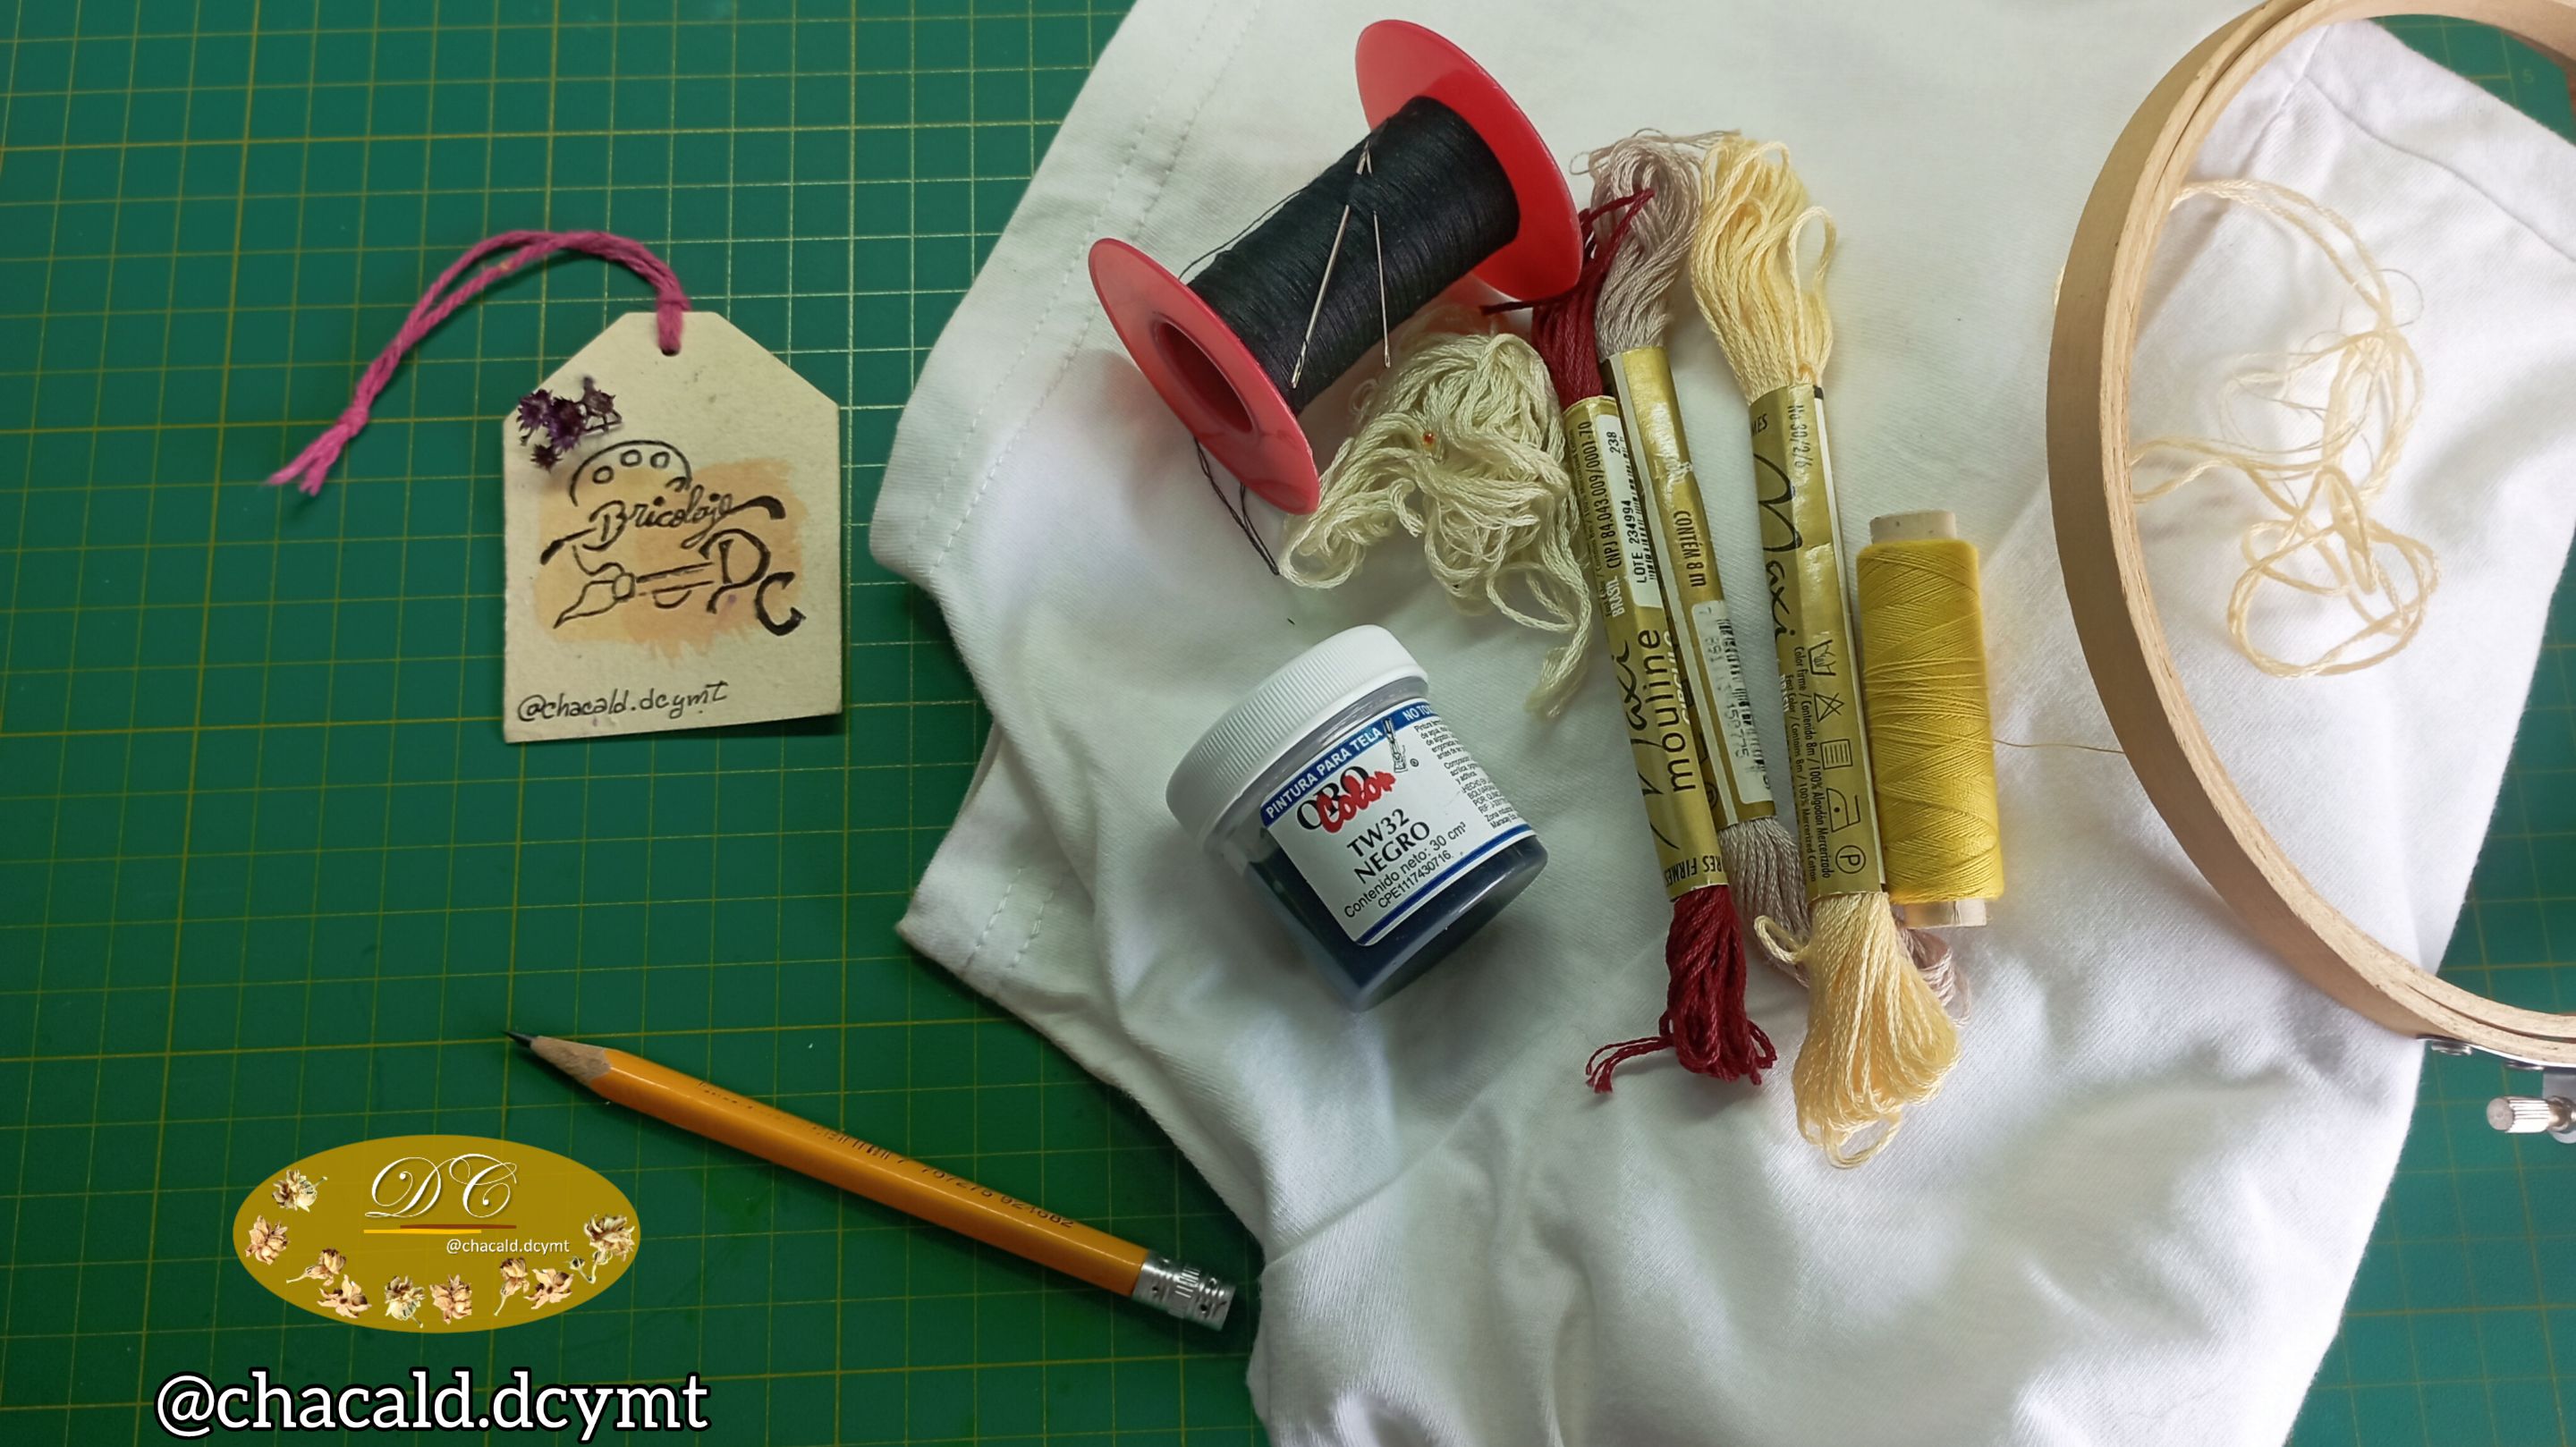
Materials:
White blouse
Black fabric paint
Beige, yellow, black, wine, light brown, cream, beige, yellow, black, wine
Scissors
Needle
6" embroidery drum
Paper and pencil
Este es uno de mis personajes favoritos de Splinterlands, he hecho varios fan art porque me encanta. Esta vez tomé una blusa blanca y quise darle un estilo nuevo y me parece que con este personaje lograré un resultado estupendo.
Materiales:
Blusa blanca
Pintura para tela de color negro
Sedalina de color beige, amarillo, negro, vino, marrón claro, crema
Tijera
Aguja
Tambor para bordar de 6"
Papel y lápiz
Creative process
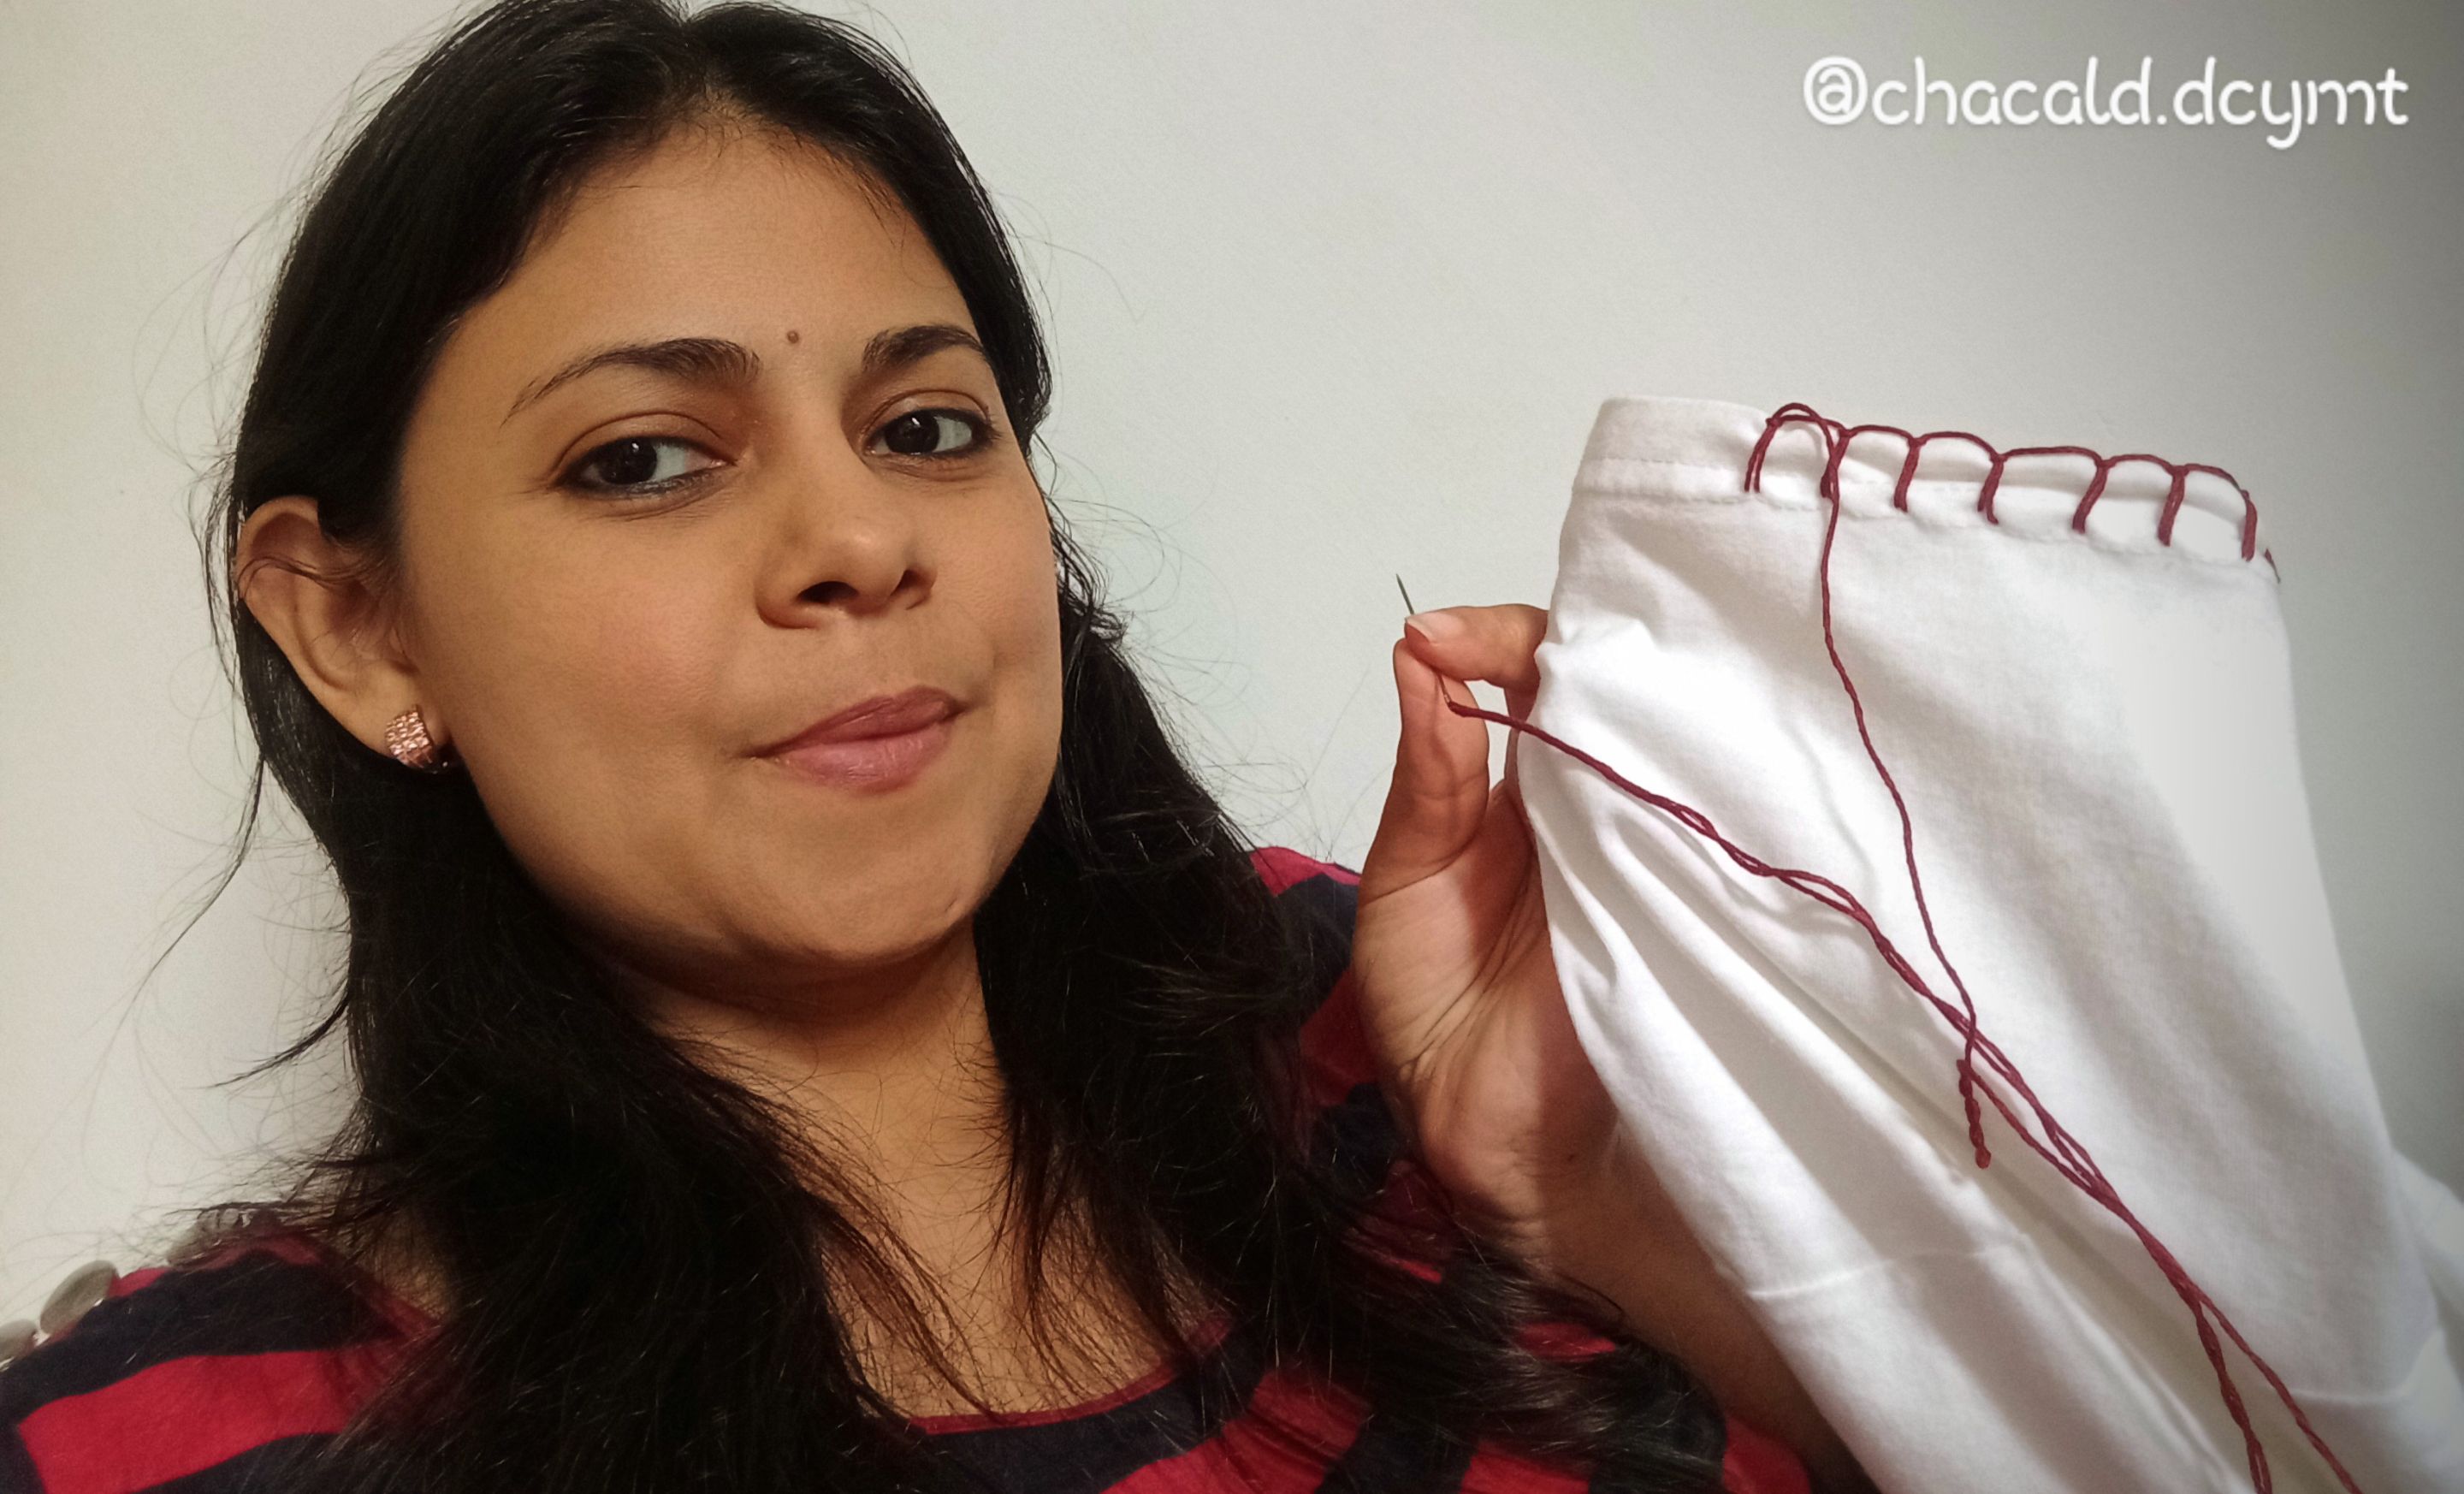
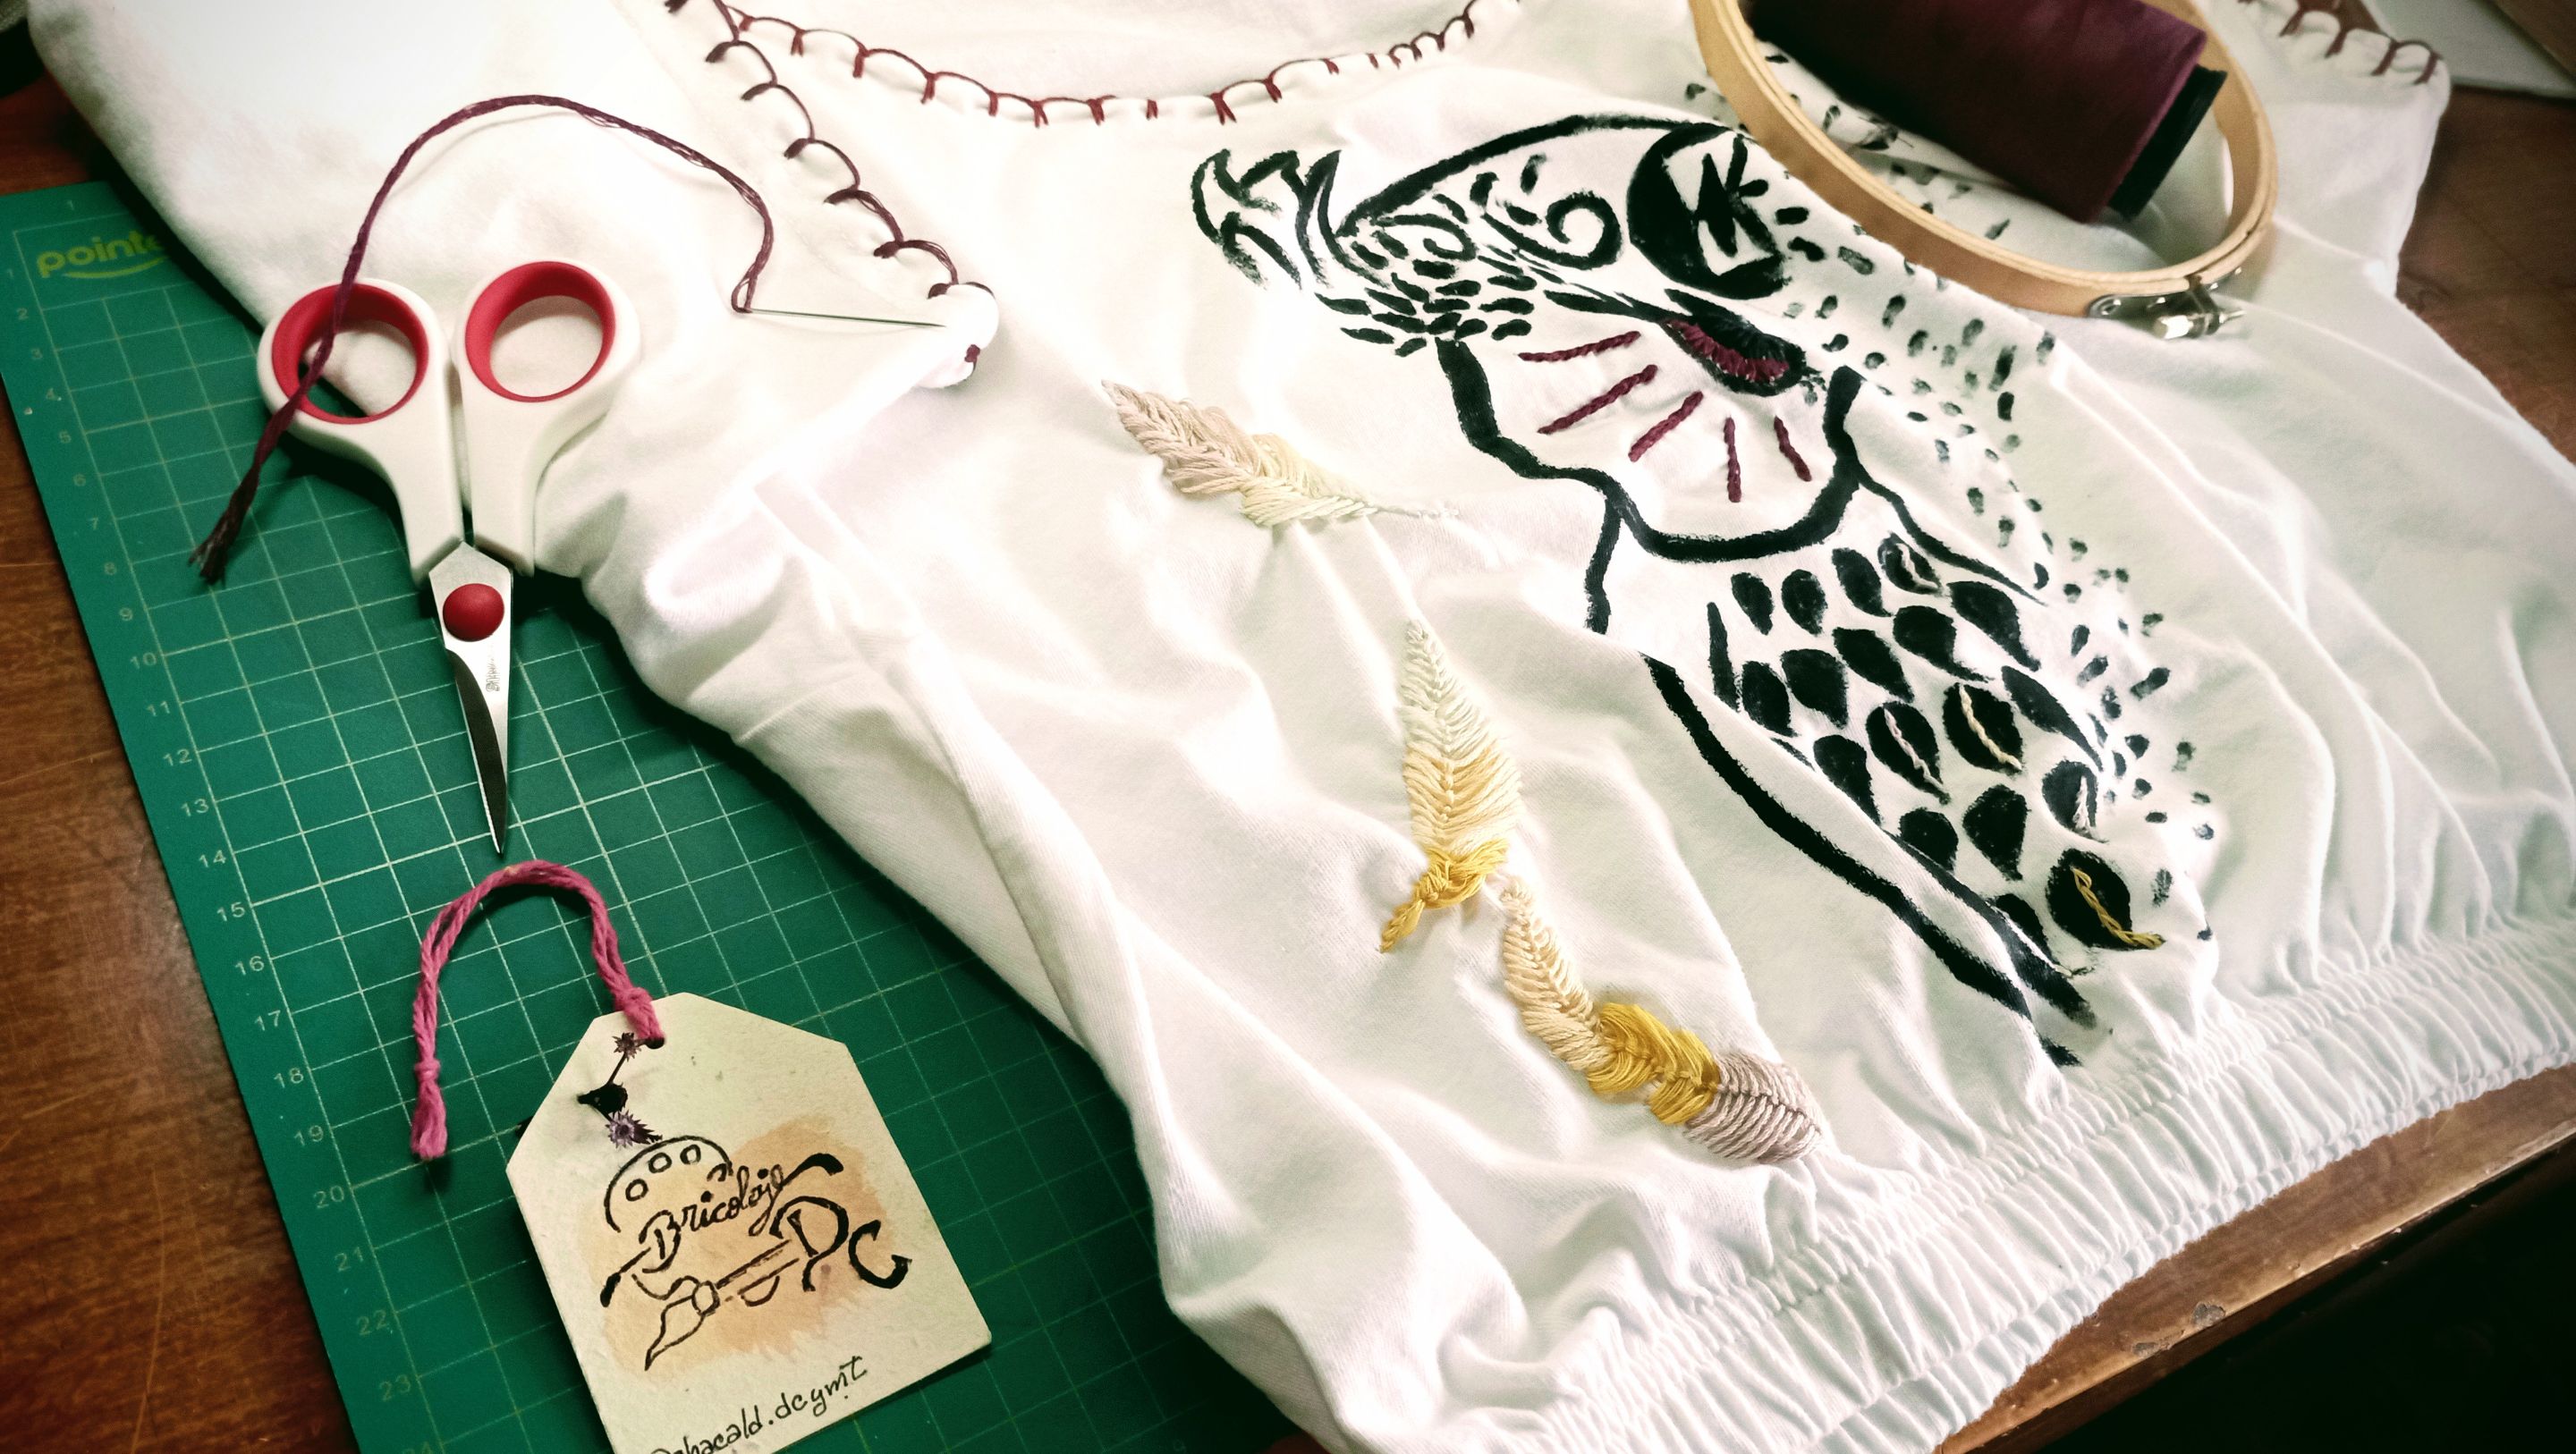
I started by embroidering the collar and sleeves of the blouse. I must say that the blouse had a high collar and I don't like that kind of design, so I cut it with the scissors, leaving a big opening so that it would be over my shoulders.
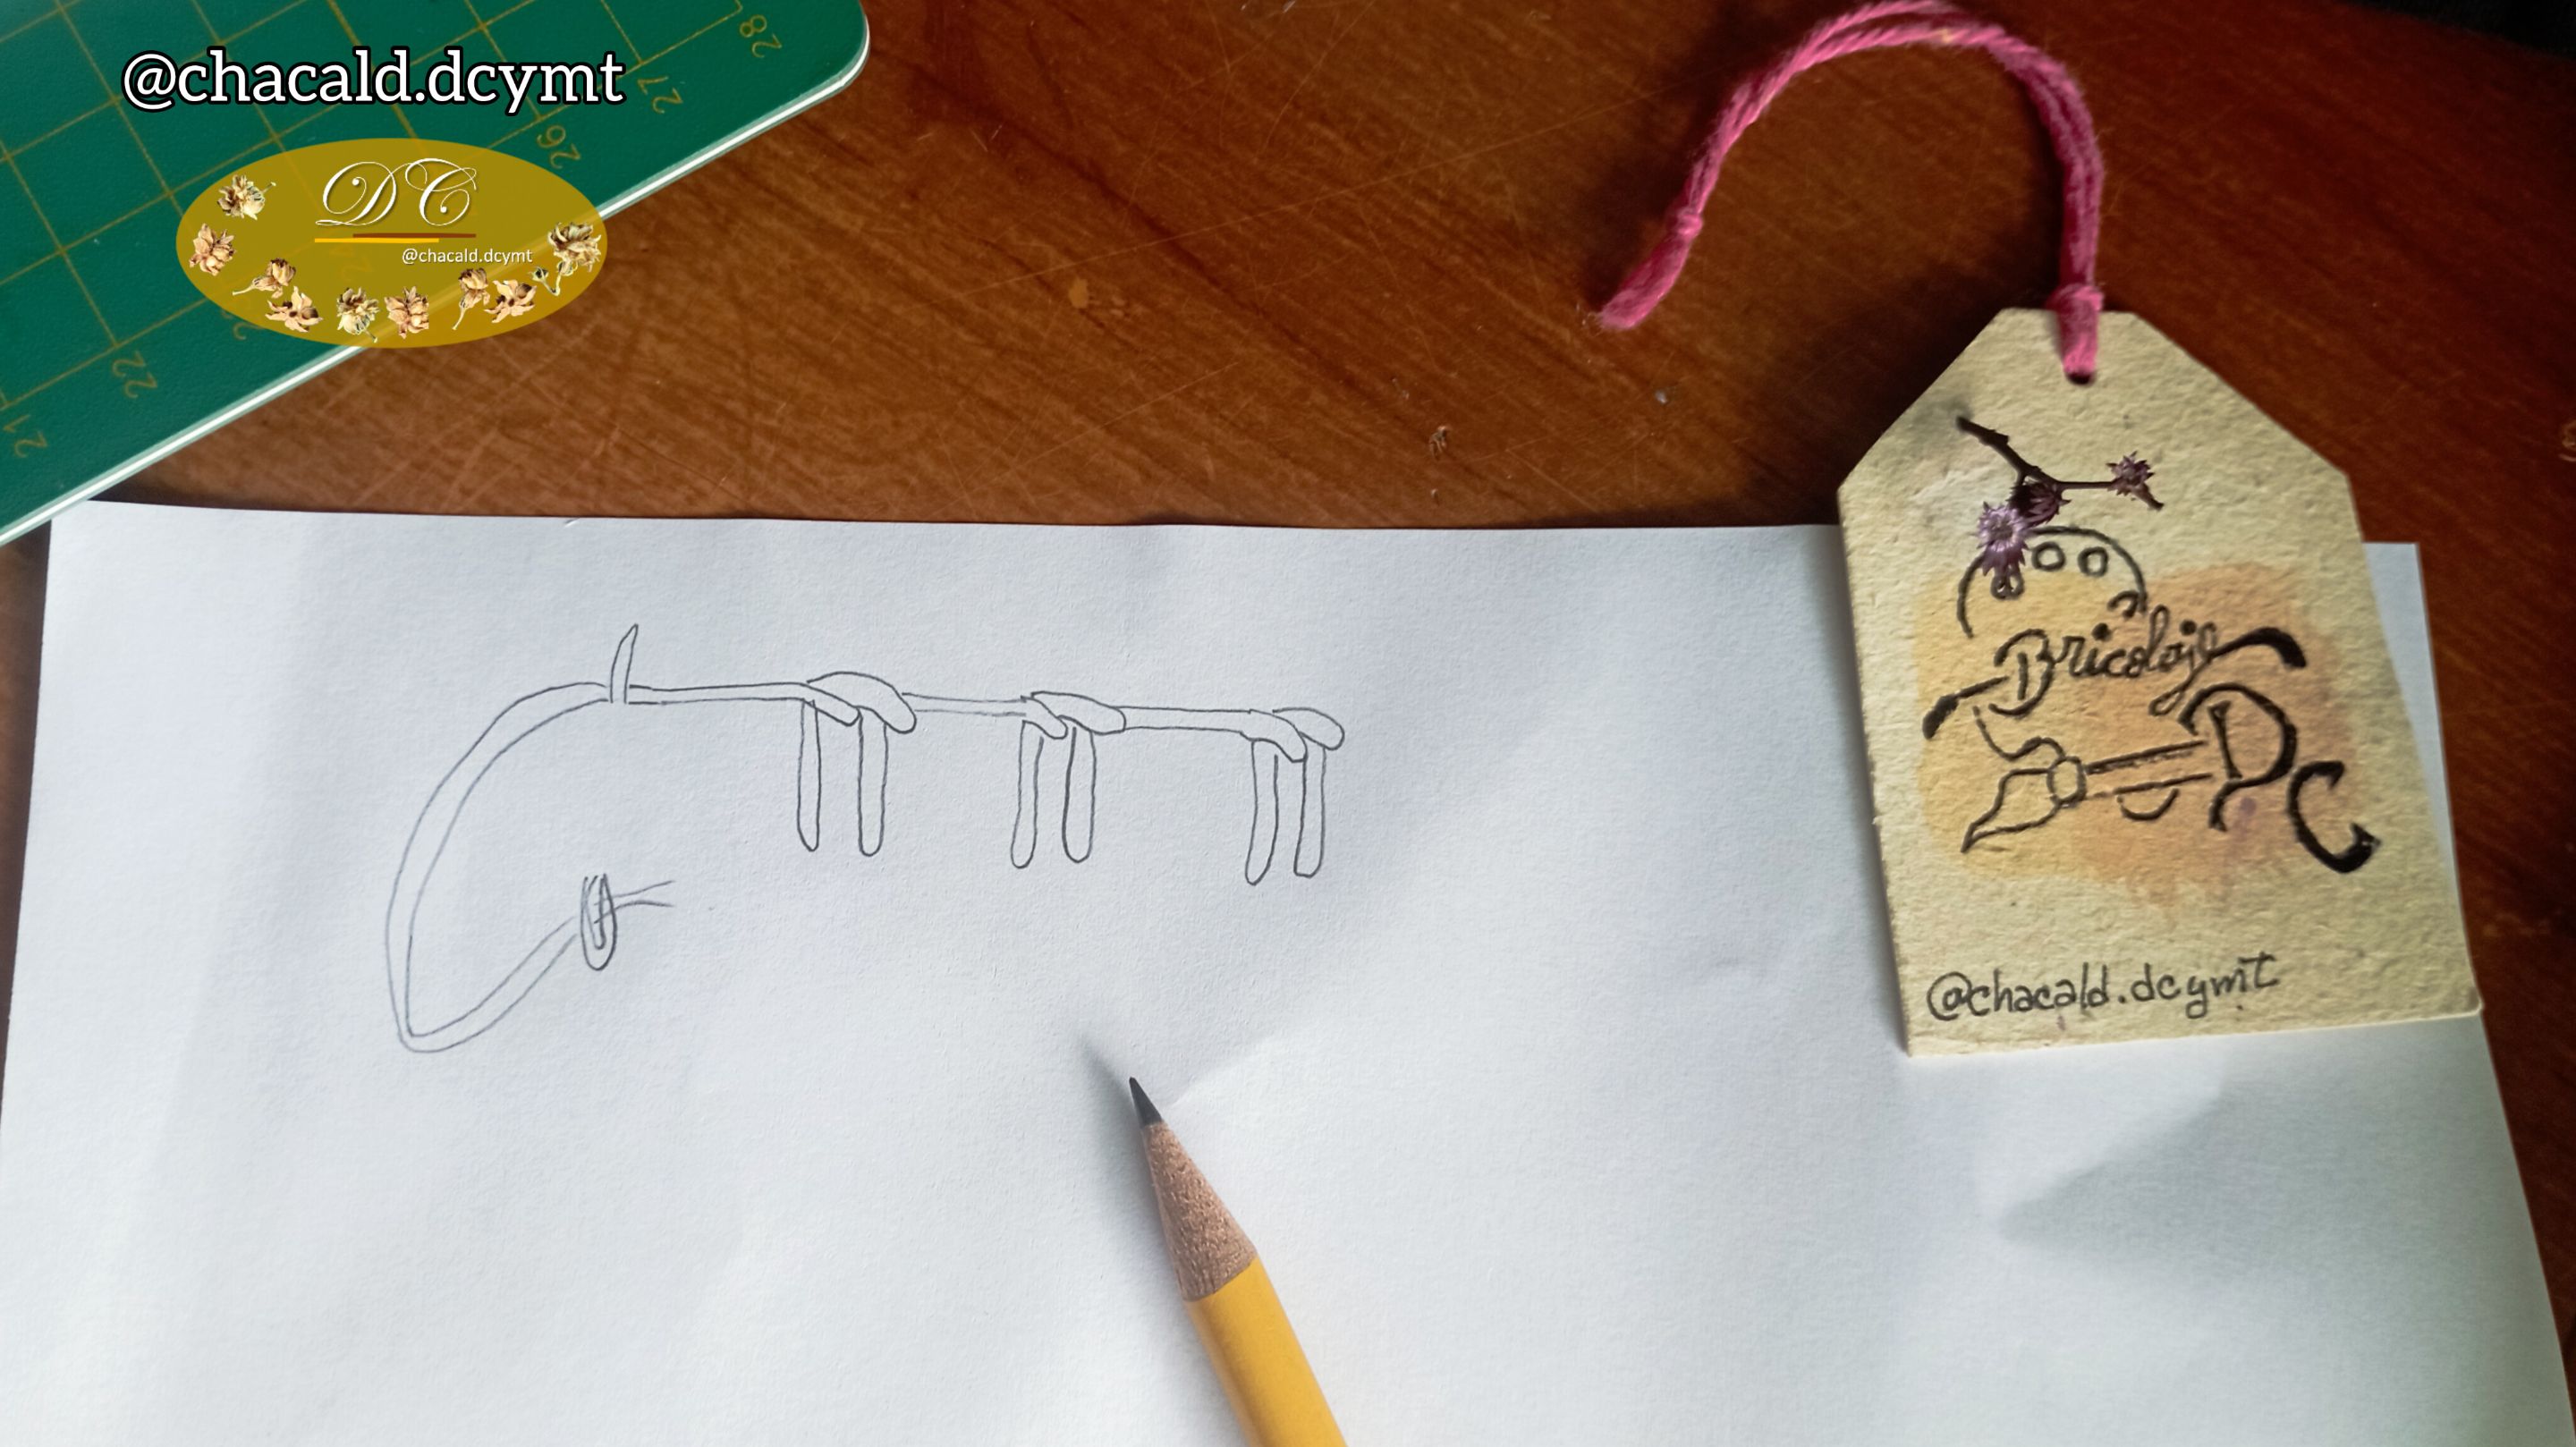
With wine-colored fishing line (6 strands of yarn) I did the mirrored scallop stitch. I looked for some information about this stitch on the internet and to be honest I didn't find enough. So I will explain a little bit what it is all about.
mirrored scallop stitch
It consists of passing the needle from the back to the front and leaving the yarn of the previous stitch (or the first stitch) crossed. That would be the normal stitch.
Proceso creativo
Comencé bordando el cuello y las mangas de la blusa. Debo decir que la blusa tenía un cuello alto y no me gusta ese tipo de diseño, así que lo corté con la tijera, dejando una gran abertura para que quedara sobre mis hombros.
Con sedalina de color vino (6 hebras de hilo) hice el punto de festón reflejado. Busqué un poco de información sobre este punto en internet y para ser honesta no encontré lo suficiente. Así que explicaré un poco de qué se trata.
Punto festón reflejado
Consiste en pasar la aguja de atrás hacia adelante y déjamos cruzado el hilo del punto anterio (o del primer punto). Ese sería el punto festón normal.
Now to make the reflection, right next to the first stitch, we are going to introduce the needle in the same way from front to back but going down.
Ahora para hacer el reflejo, justo al lado del primer punto, vamos a introducir la aguja igual de adelante hacia atrás pero bajando.
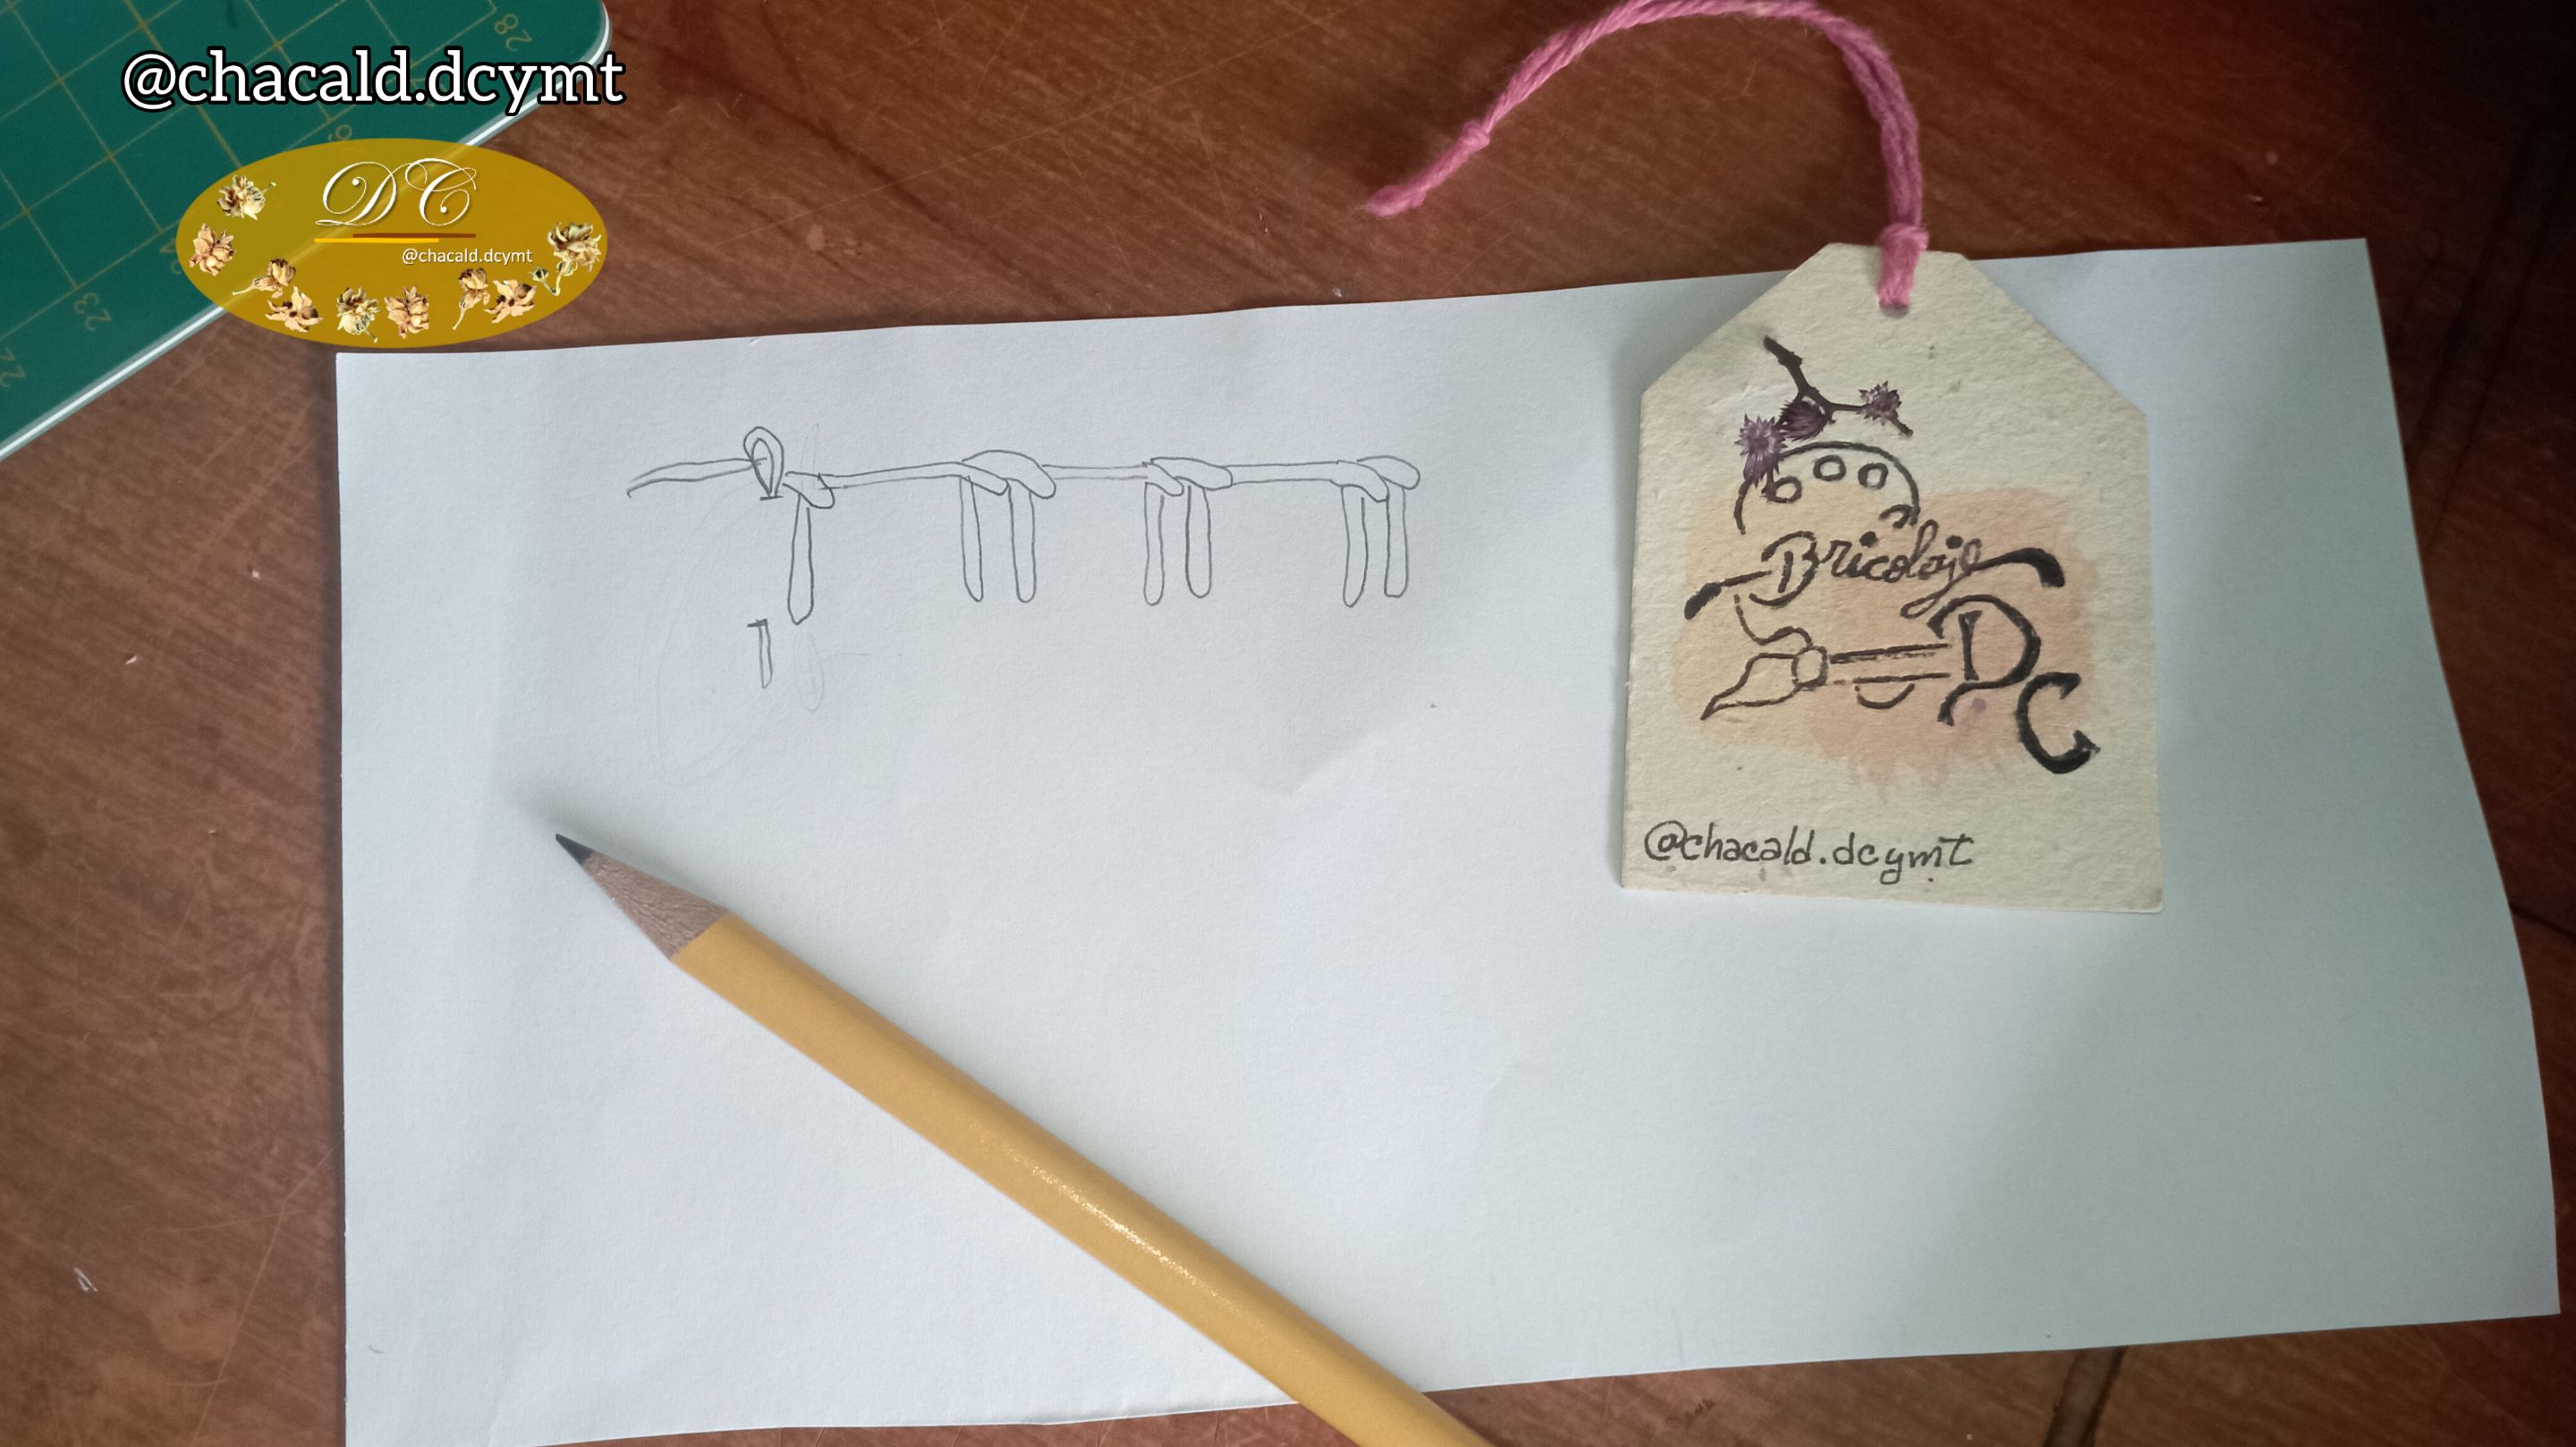
We are left with a knot at the junction of the two stitches. Return the needle from the bottom up through the knot without grabbing the fabric.
Nos queda un nudo en el cruce de ambos puntos. Regresamos la aguja de abajo hacia arriba atravesando el nudo sin agarrar la tela.
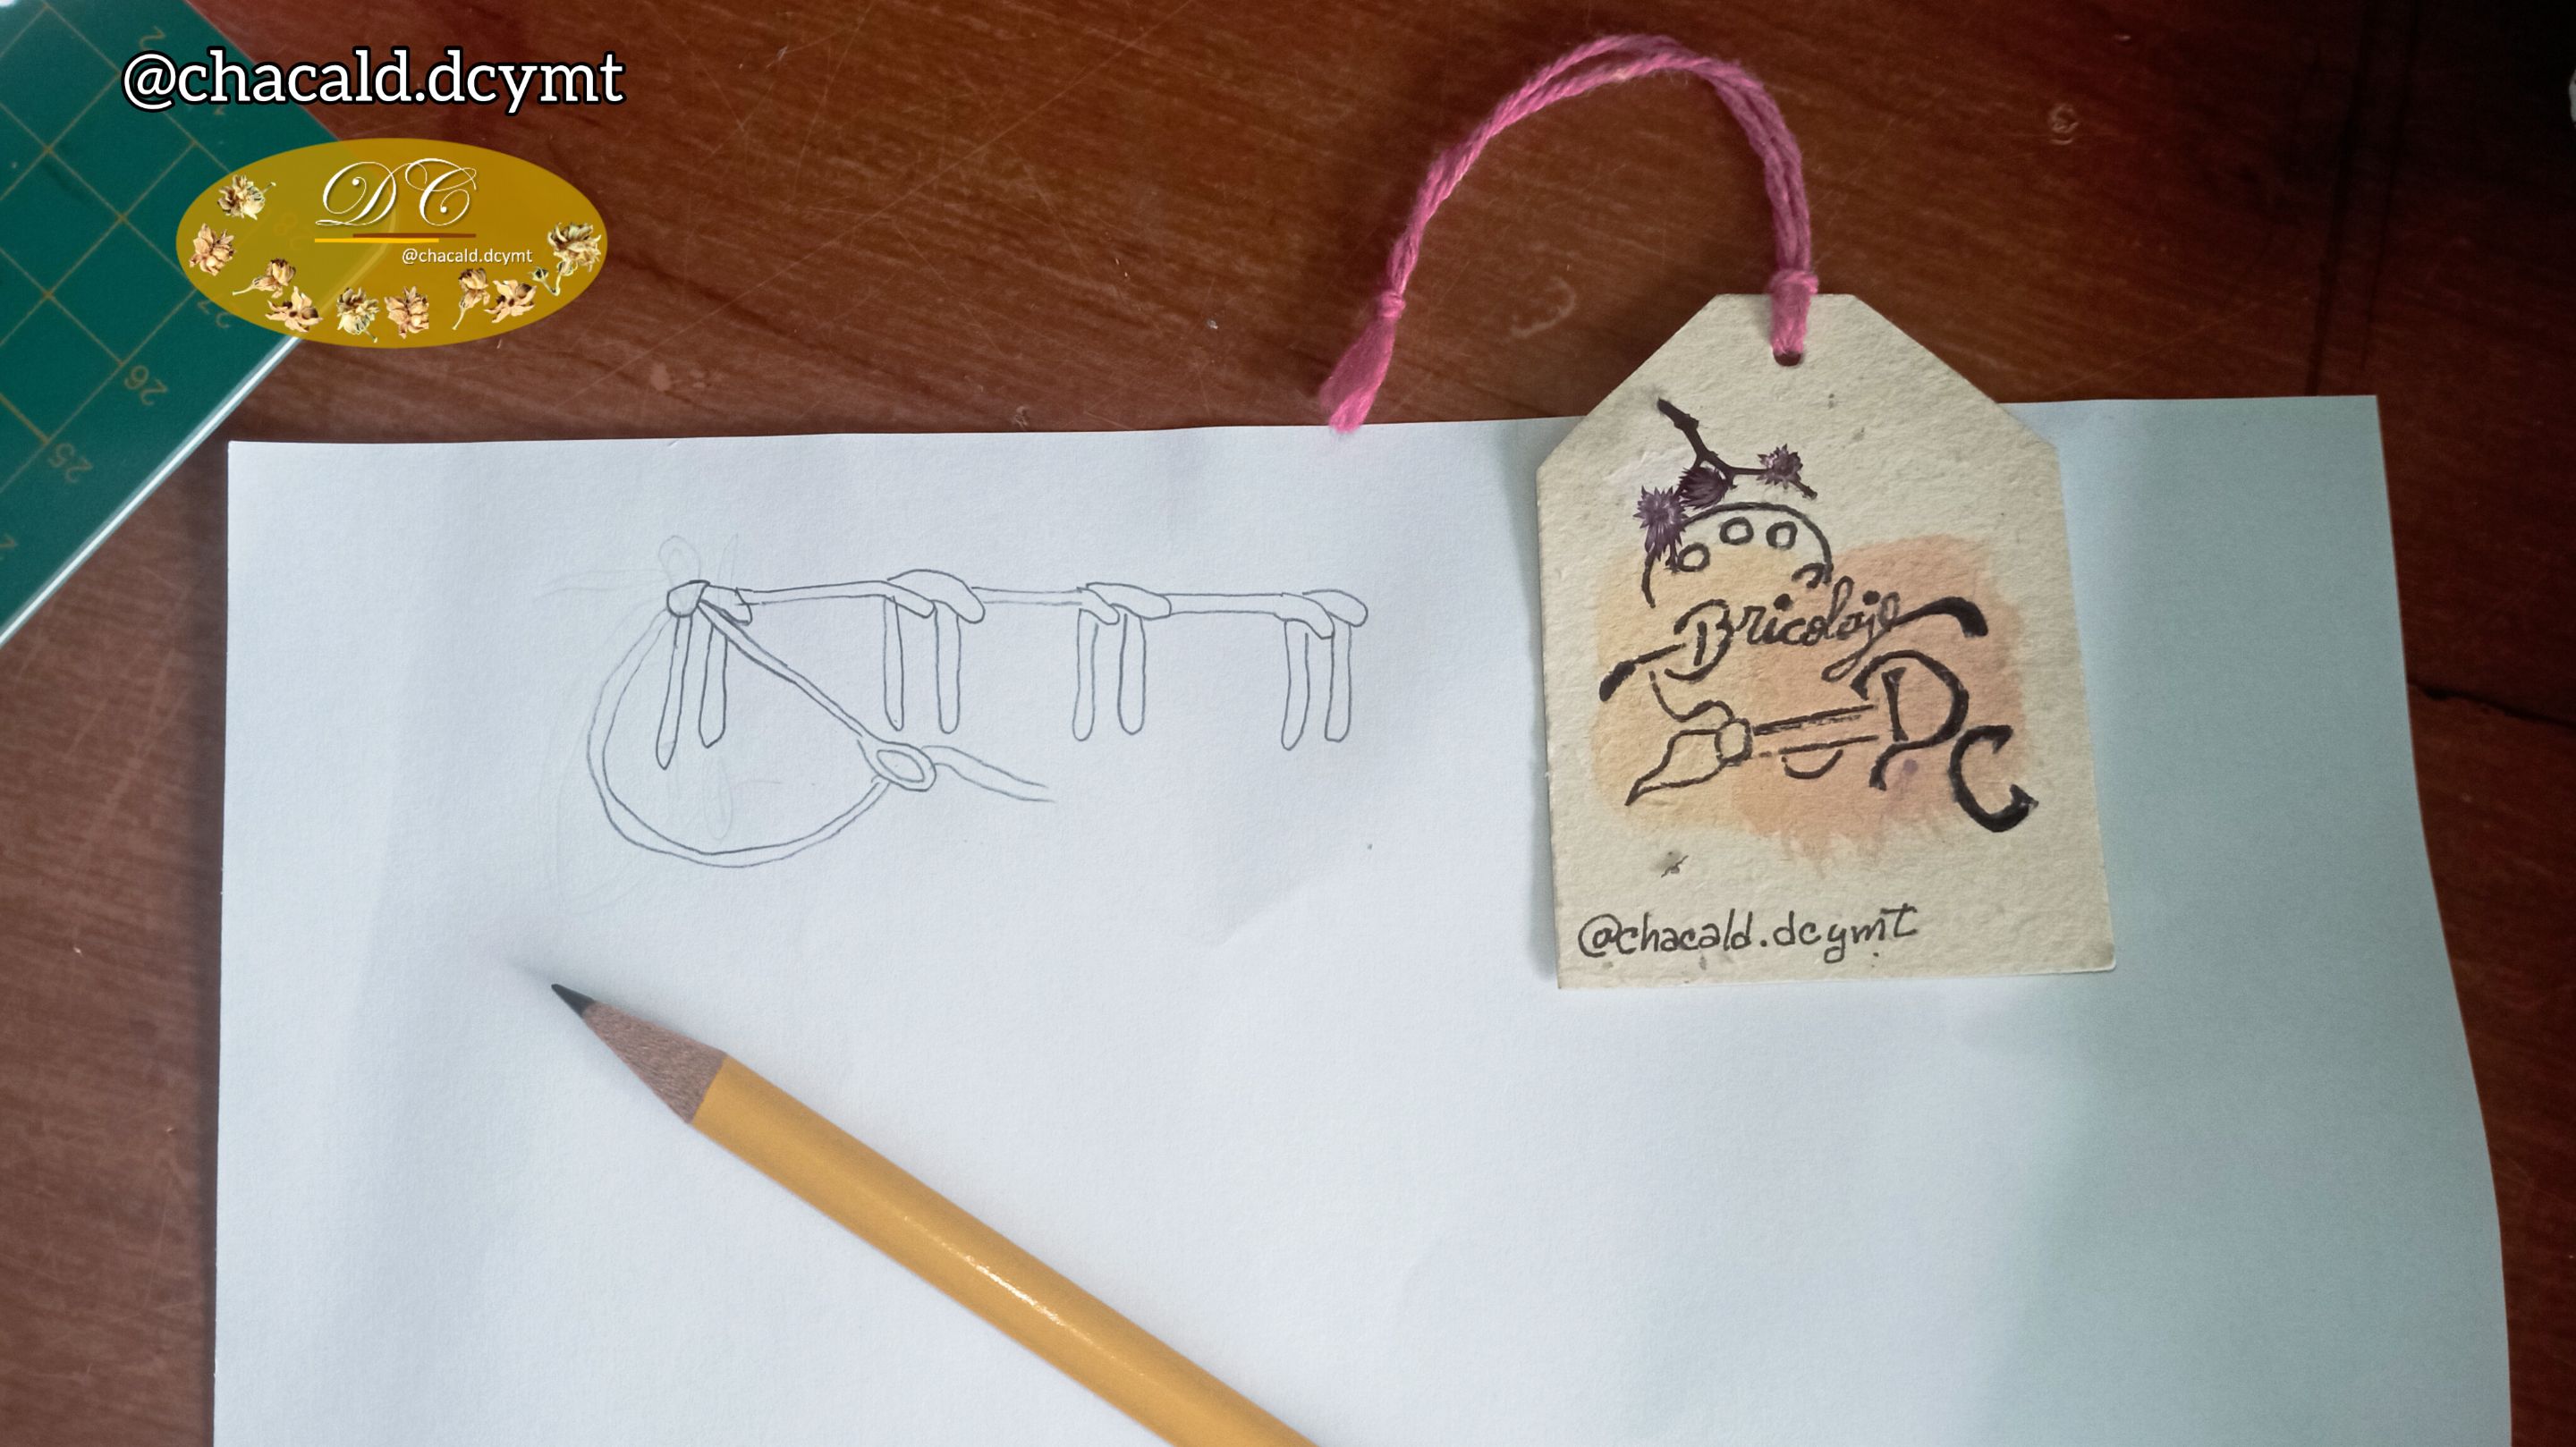
And that's how easy it is to achieve a mirrored scalloped stitch. I show you in a gif how I did it (I made the patterns used for the explanation by hand, exclusively for this publication).
Y así de sencillo logramos un punto festón reflejado. Les enseño en un gif cómo lo hice. (Los patrones utilizados paral explicación los hice a mano, exclusivos para esta publicación).

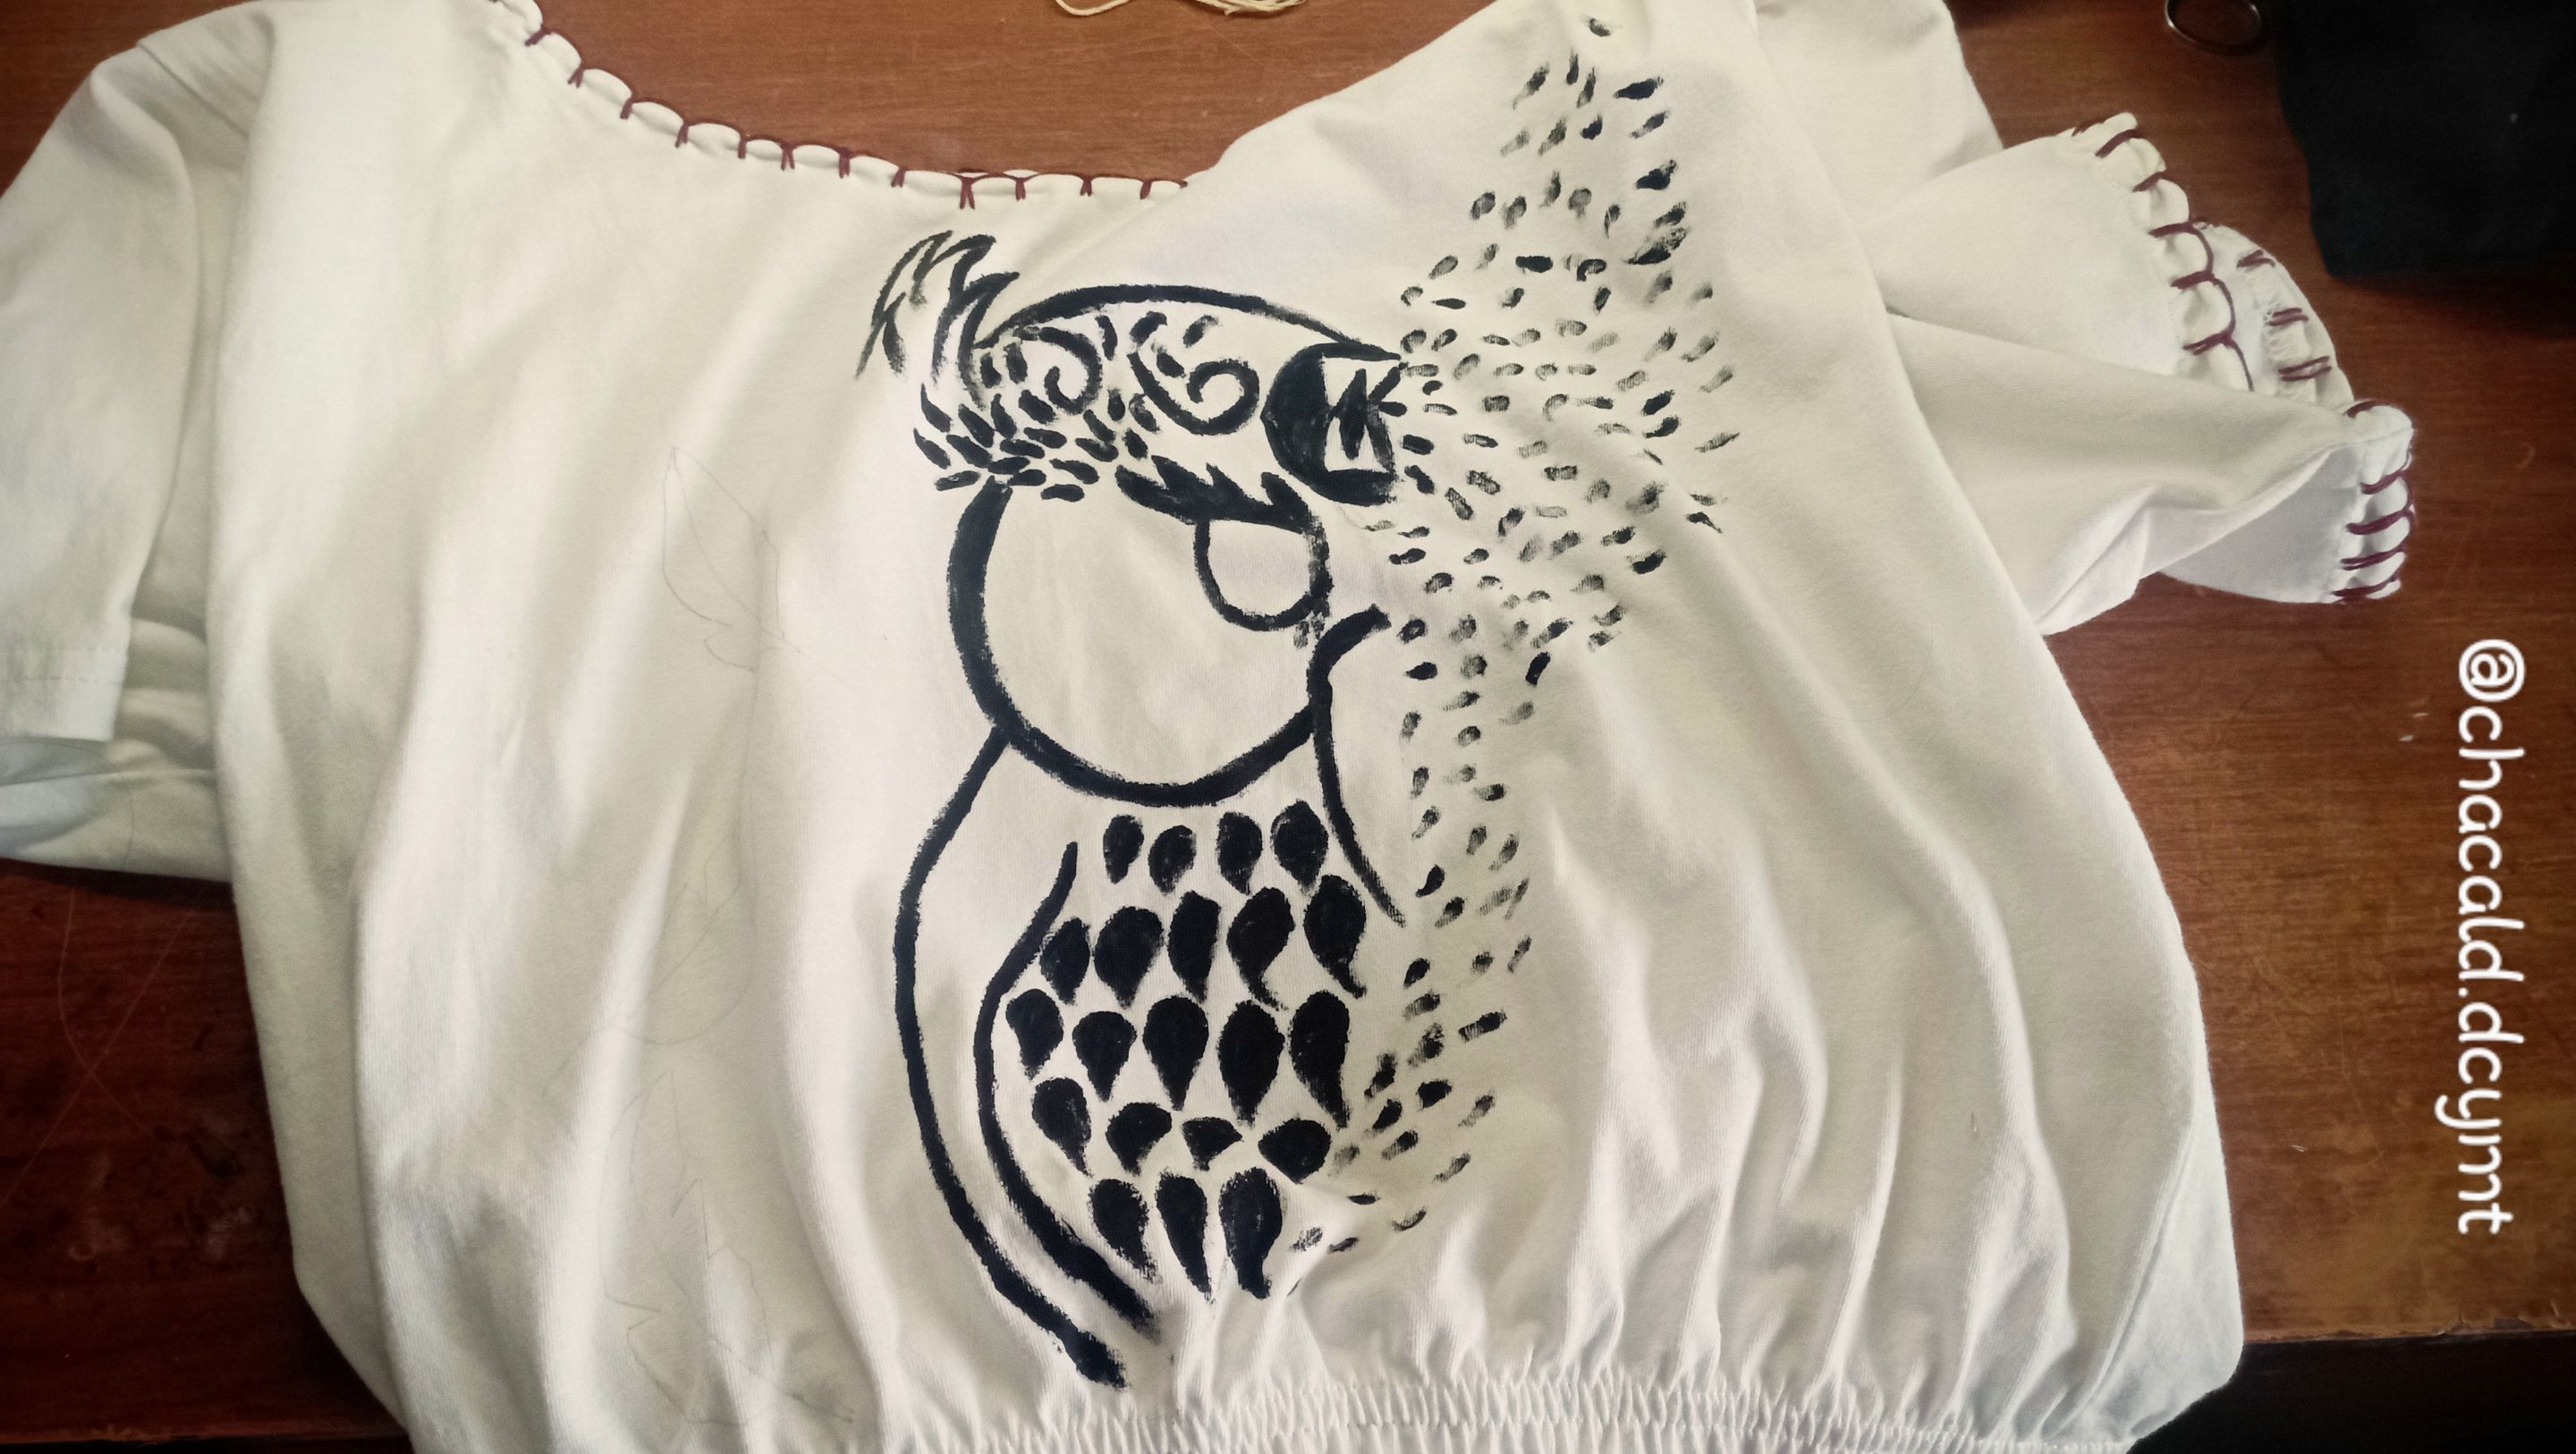
Base paint
With the border embroidery ready, I transferred the owl design to the fabric. With a spatula I mixed the paint very well until it became homogeneous and the characteristic lumps of this type of paint were removed. I painted all the outline of the drawing and let it dry for 12 hours.
Base de pintura
Ya con el bordado de los bordes listo, transferí el diseño de búho a la tela. Con una espátula mezclé muy bien la pintura hasta que se volvió homogénea y se quitaron los grumos característicos de este tipo de pintura. Pinté todo el contorno del dibujo y dejé secar por 12 horas.
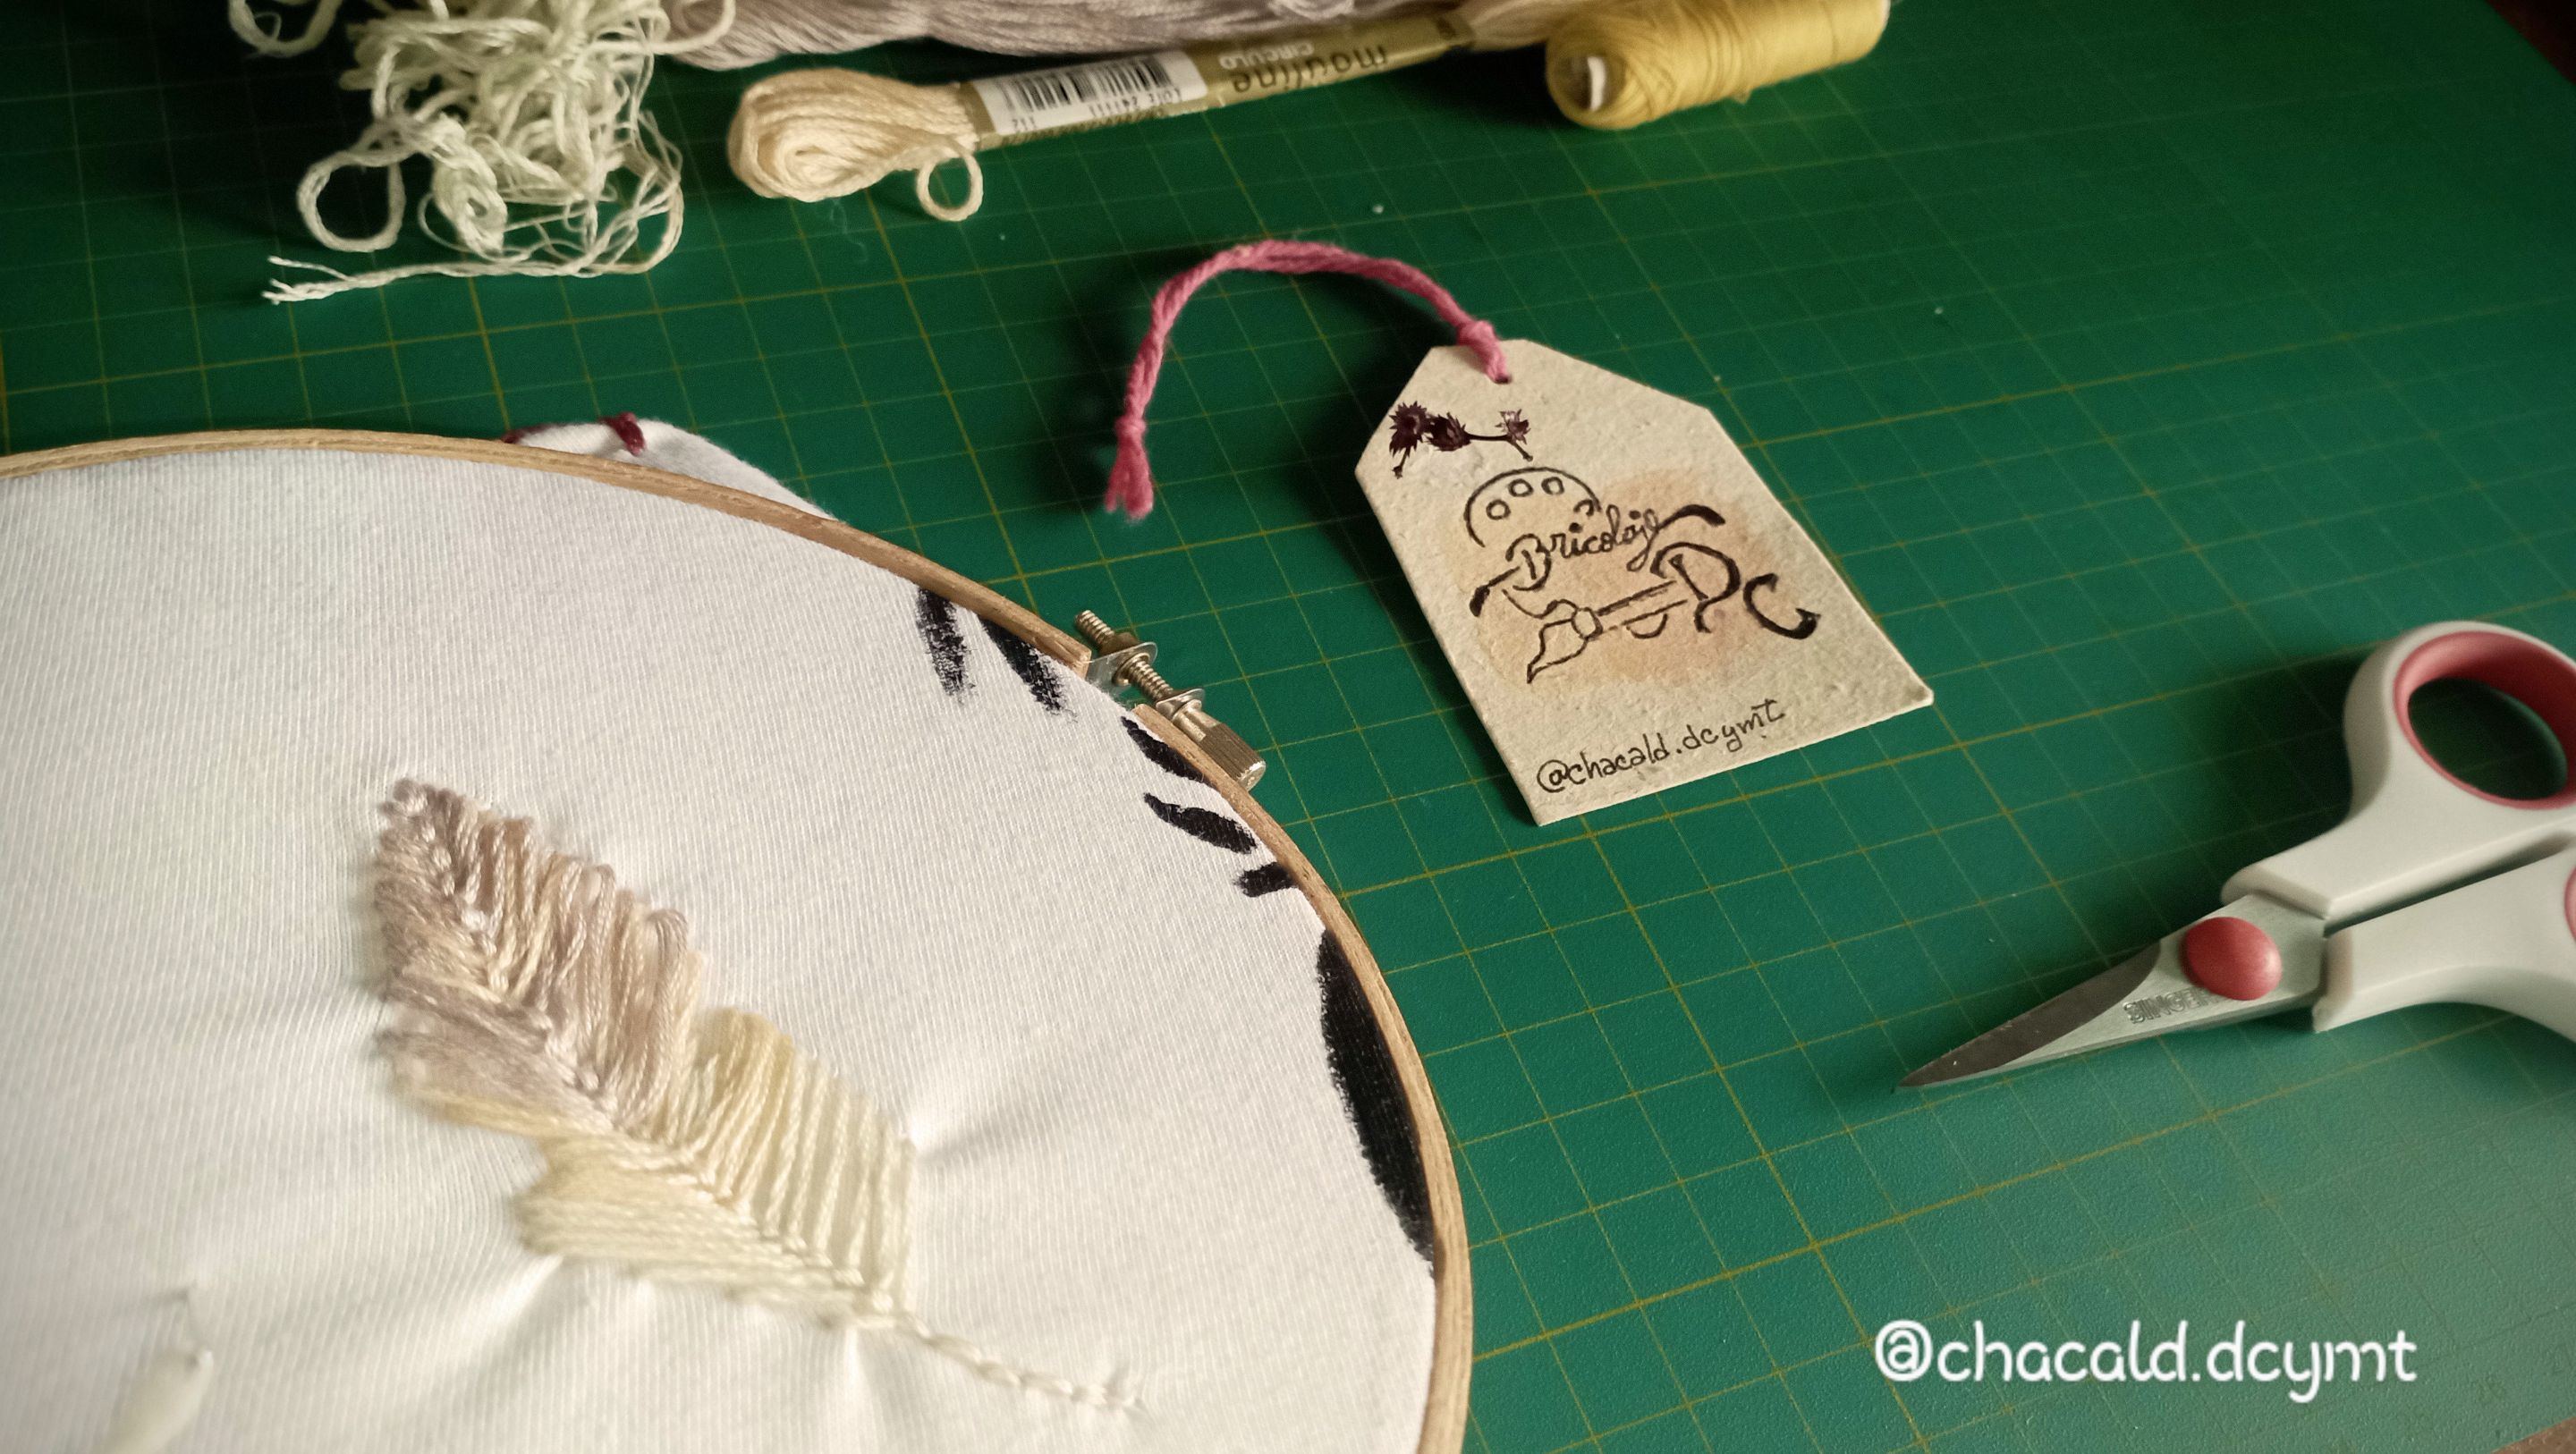
Feather or coral stitch
To embroider the feathers that I made on the side of the owl, I used the feather or coral stitch. It consists of passing the needle on both sides of the feather design through the top of the fabric (following the original design of the feathers) and then returning through the back to the front in the center and taking the previous thread back to the back.
It is very easy to do this stitch and the result is very nice. I combined it among several light colors to give a shade to the feathers.
Punto pluma o coral
Para bordar las plumas que hice al lado del búho, utilicé el punto pluma o coral. Consiste en pasar la aguja a ambos lados del dibujo de la pluma por la parte de arriba de la tela (siguiendo el diseño original de las plumas) y luego regresamos por la parte de atrás hacia adelante en el centro y tomamos la hebra anterior regresando hacía atrás.
Es muy sencillo hacer este punto y el resultado es muy lindo. Lo combine entre varios colores claros para darle un matiz a las plumas.
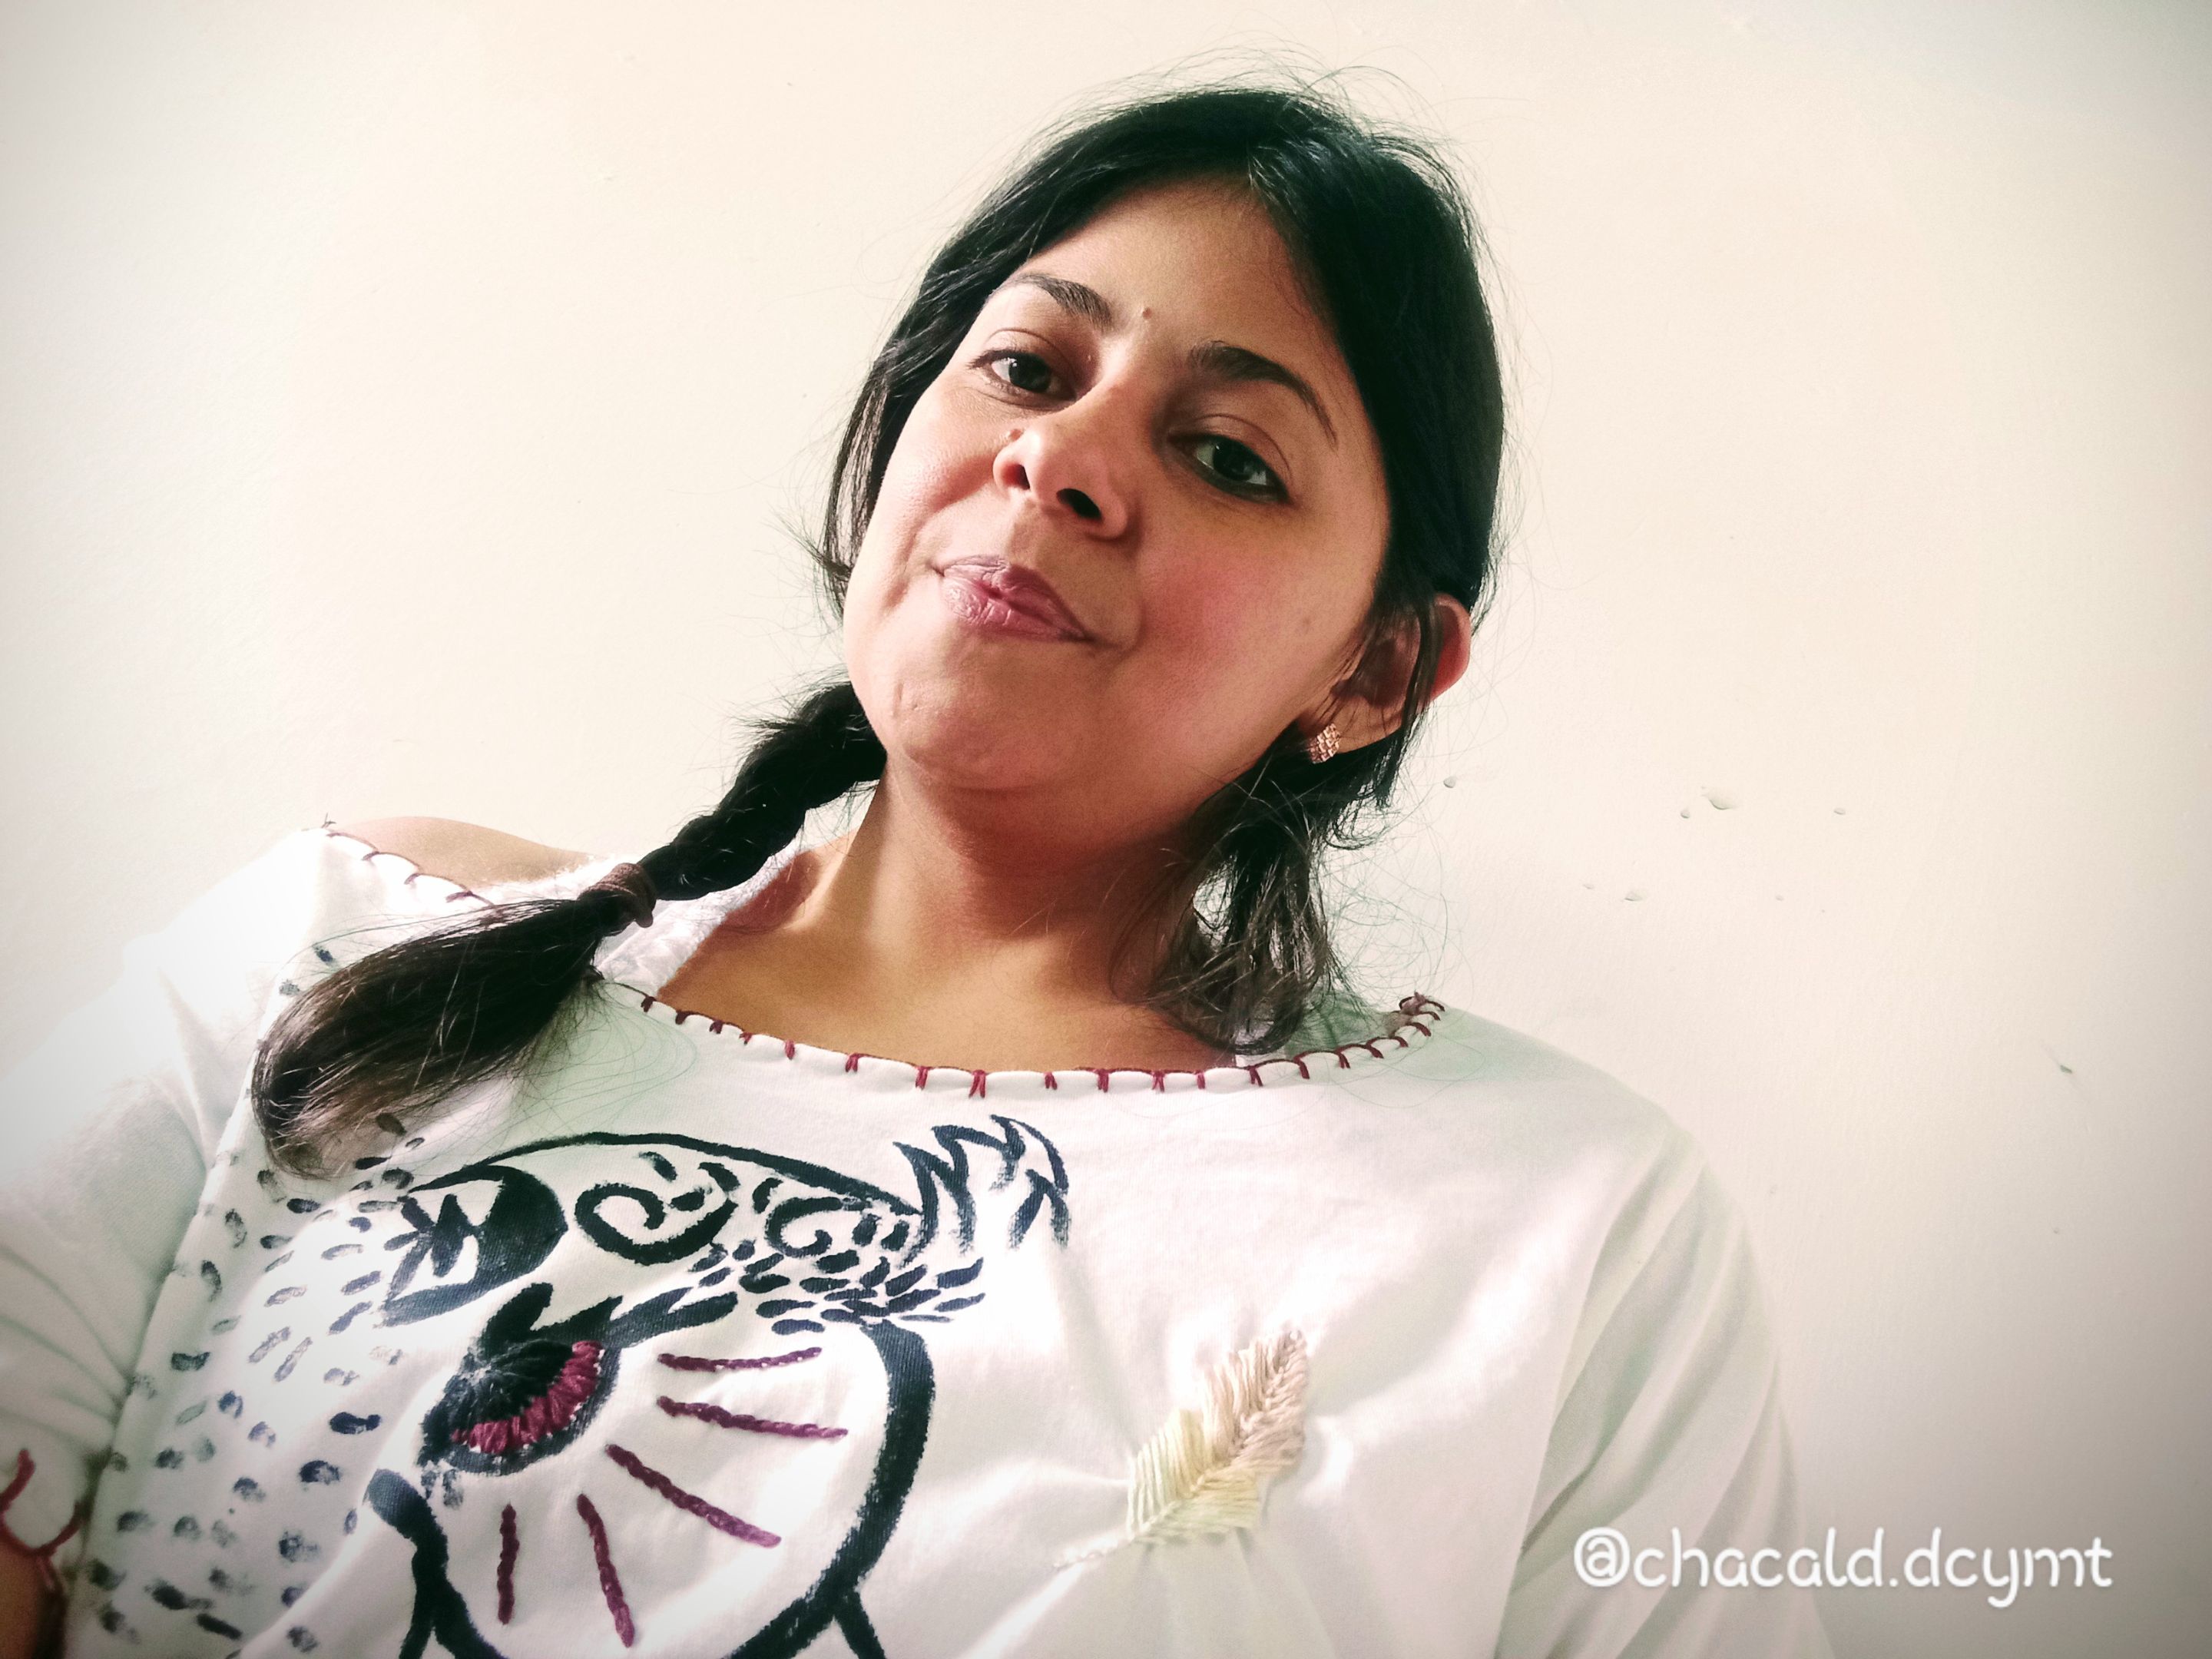
I added other embroidered details like the bird's eye and the feathers on the chest. And I was ready to show off my new Splinterlands themed top.
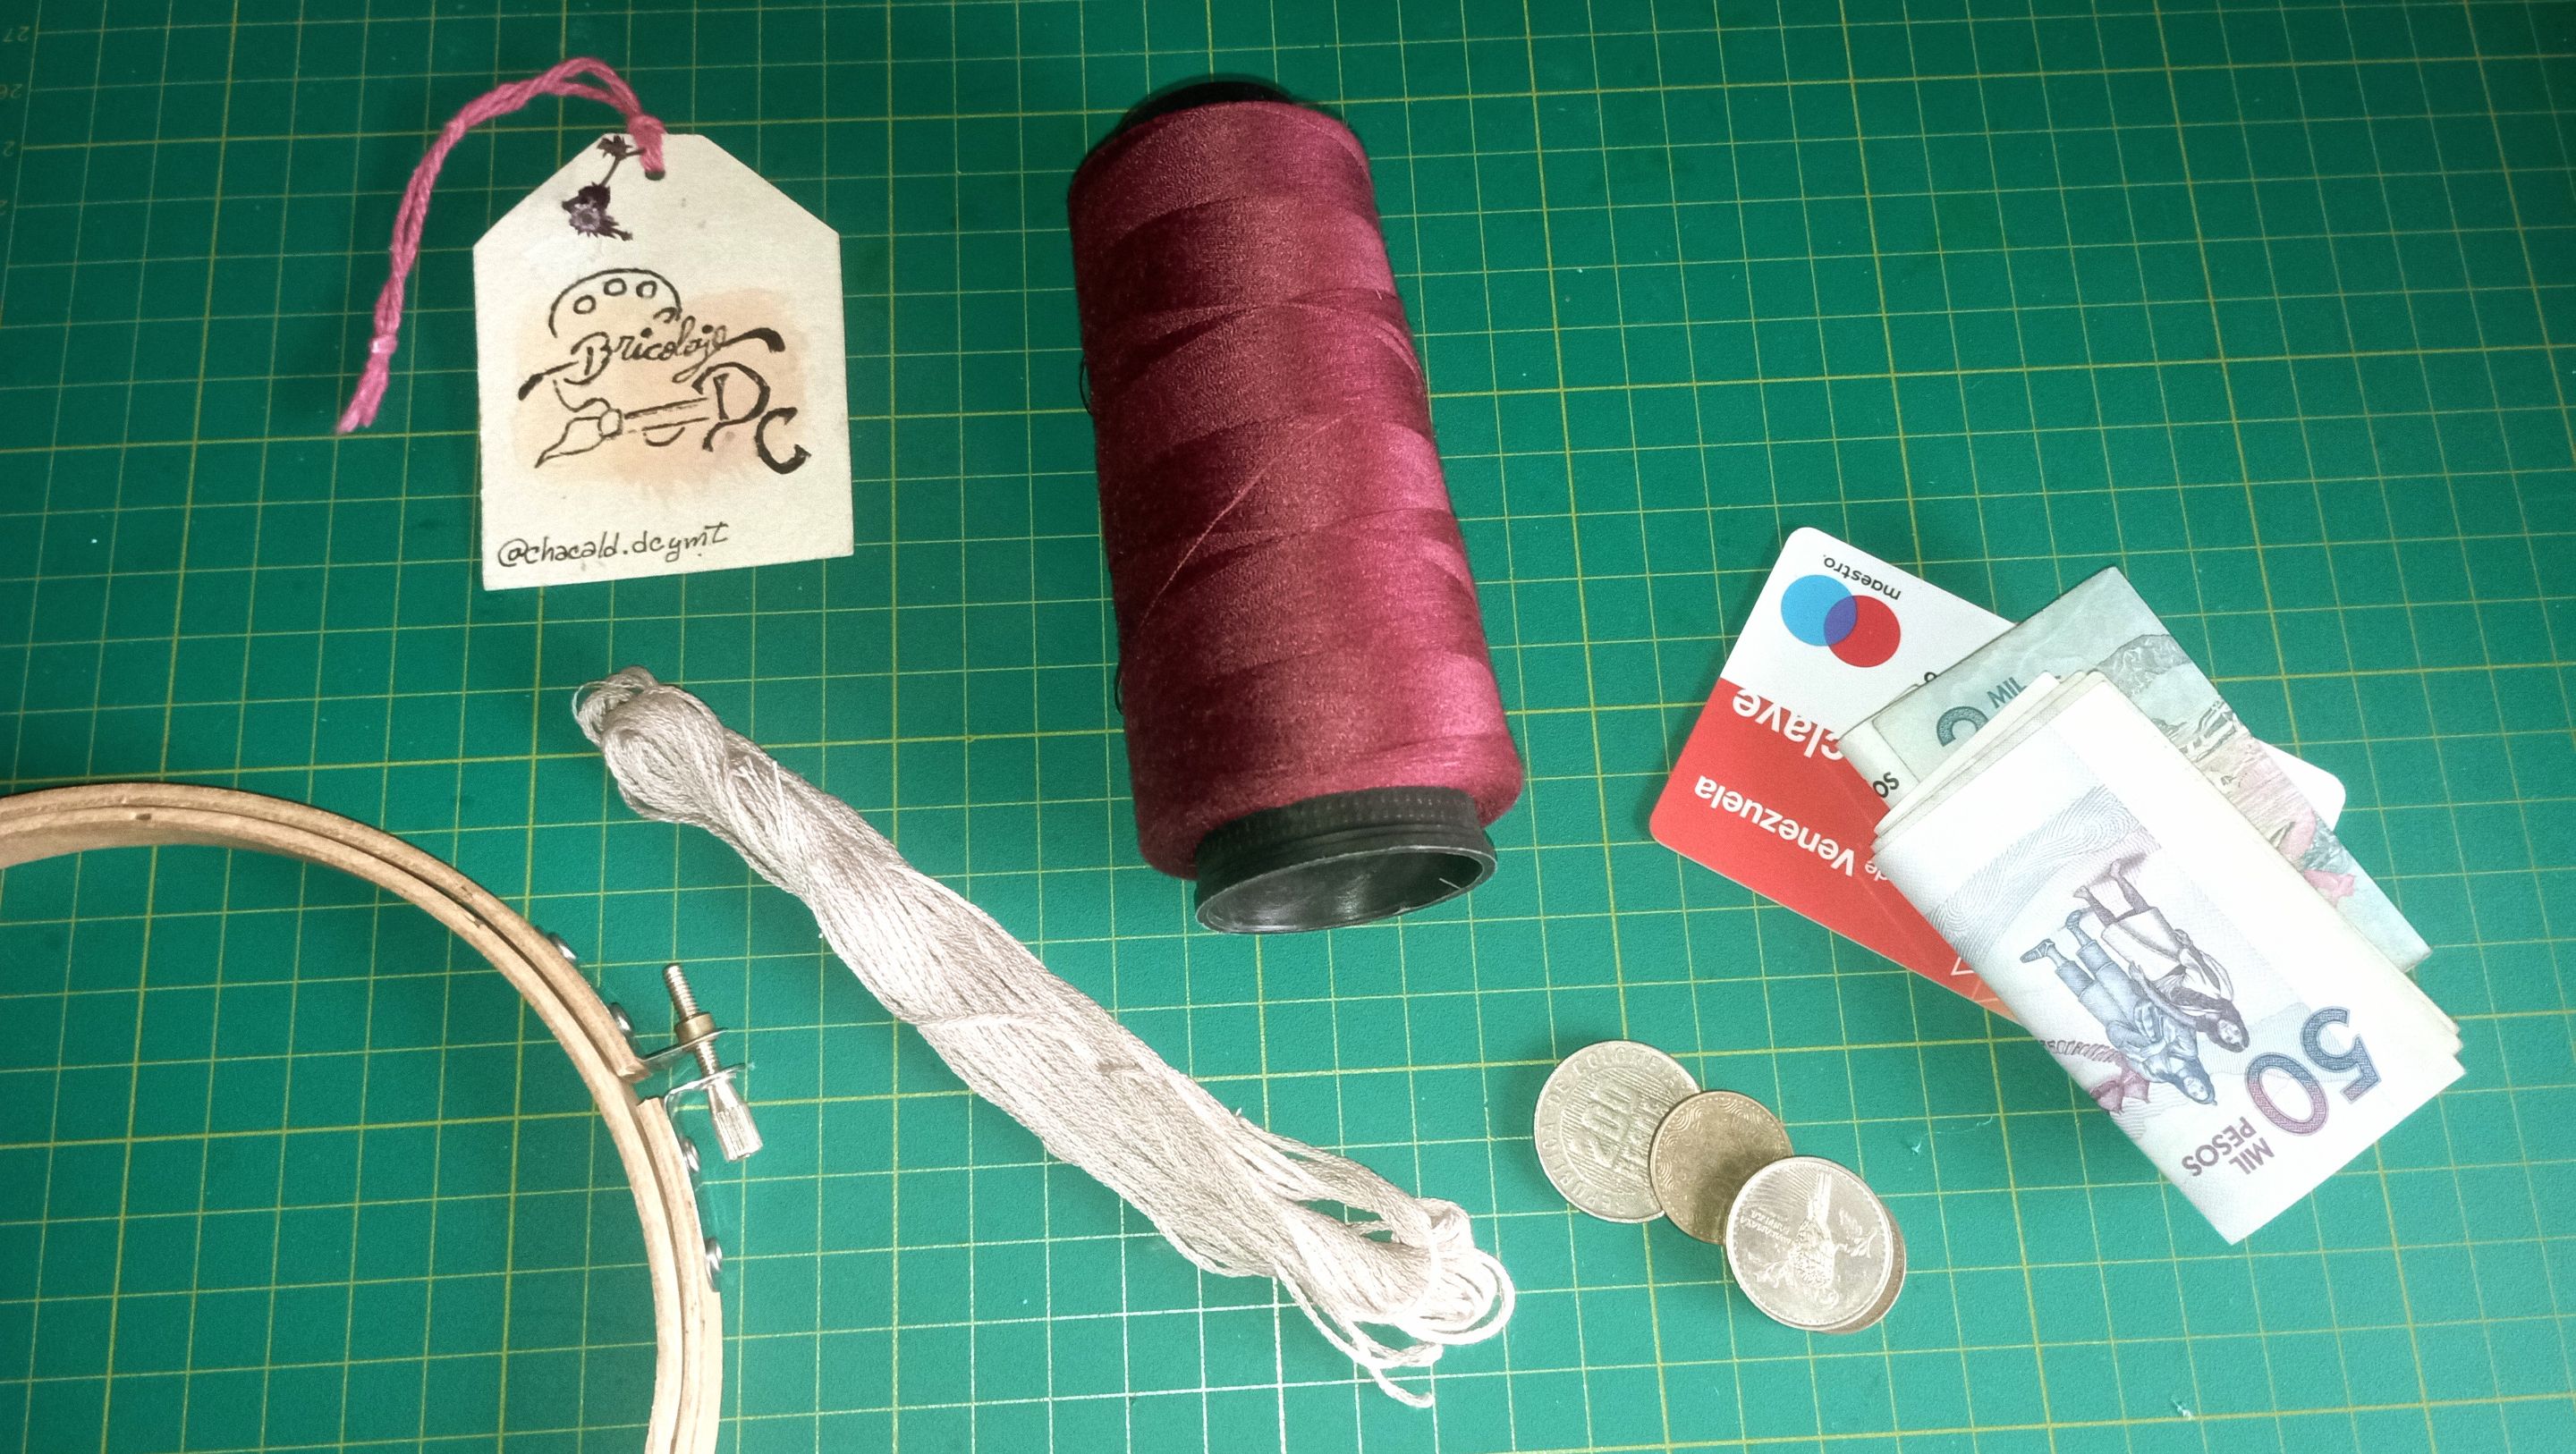
For this project, I had to buy a spool of wine colored yarn and a beige fishing line, also the 6" drum that I didn't have of this number. It was 3.5$. In the state of Táchira where I live, in Venezuela, 3 types of exchange are used: dollars in cash, Colombian pesos in cash for being next to the border with Colombia and bolivares in digital payment. I used Colombian pesos so I changed my HBDs to bolivares and then to Colombian pesos. I paid a total of 10,500 pesos.
I hope you like this project as much as I enjoyed making each embroidery stitch and then seeing my shirt. See you next time. Bye!
Agregué otros detalles bordados como el ojo del Ave y las plumas del pecho. Y quedó lista para lucir mi blusa renovada con el tema Splinterlands.
Para este proyecto, tuve que comprar un rollo de hilo de color vino y una sedalina beige, también el tambor de 6" que no tenía de este número. Fueron 3.5$. En el estado Táchira donde vivo, en Venezuela, se utilizan 3 tipos de cambio: dólares en efectivo, pesos colombianos en efectivo por estar junto a la frontera con Colombia y los bolivares en pago digital. Utilicé los pesos colombianos así que cambié mis HBD a bolivares y luego a pesos colombianos. Pagué un total de 10.500 pesos.
Espero les guste este proyecto tanto como yo disfruté elaborando cada punto de bordado y luego viendo mi camiseta. Nos vemos en una próxima oportunidad. Chao!

If you are not yet playing Splinterlands go here and join the adventure.
Si todavía no estás jugando Splinterlands entra aquí y únete a la aventura.
Original content by the author.
Resources: App: Canva / Giphy / Inshot
📷 Redmi 10 Smartphone
Translation done with Deepl.com
✿ All Rights Reserved || © @chacald.dcymt 2024✿
💌 Discord: chacald.dcymt#3549
X: @chacald1
Reddit: chacald
_
Contenido original del autor.
Recursos: App: Canva / Giphy / Inshot
📷 Redmi 10 Smartphone
Traducido con Deepl.com
✿ Todos los Derechos Reservados || © @chacald.dcymt 2024✿
💌 Discord: chacald.dcymt#3549
X: @chacald1
Reddit: chacald
Posted Using InLeo Alpha