¡Bienvenidos a mi blog!
Welcome to my blog!
¿Cómo están, mis queridos hivers artísticos?
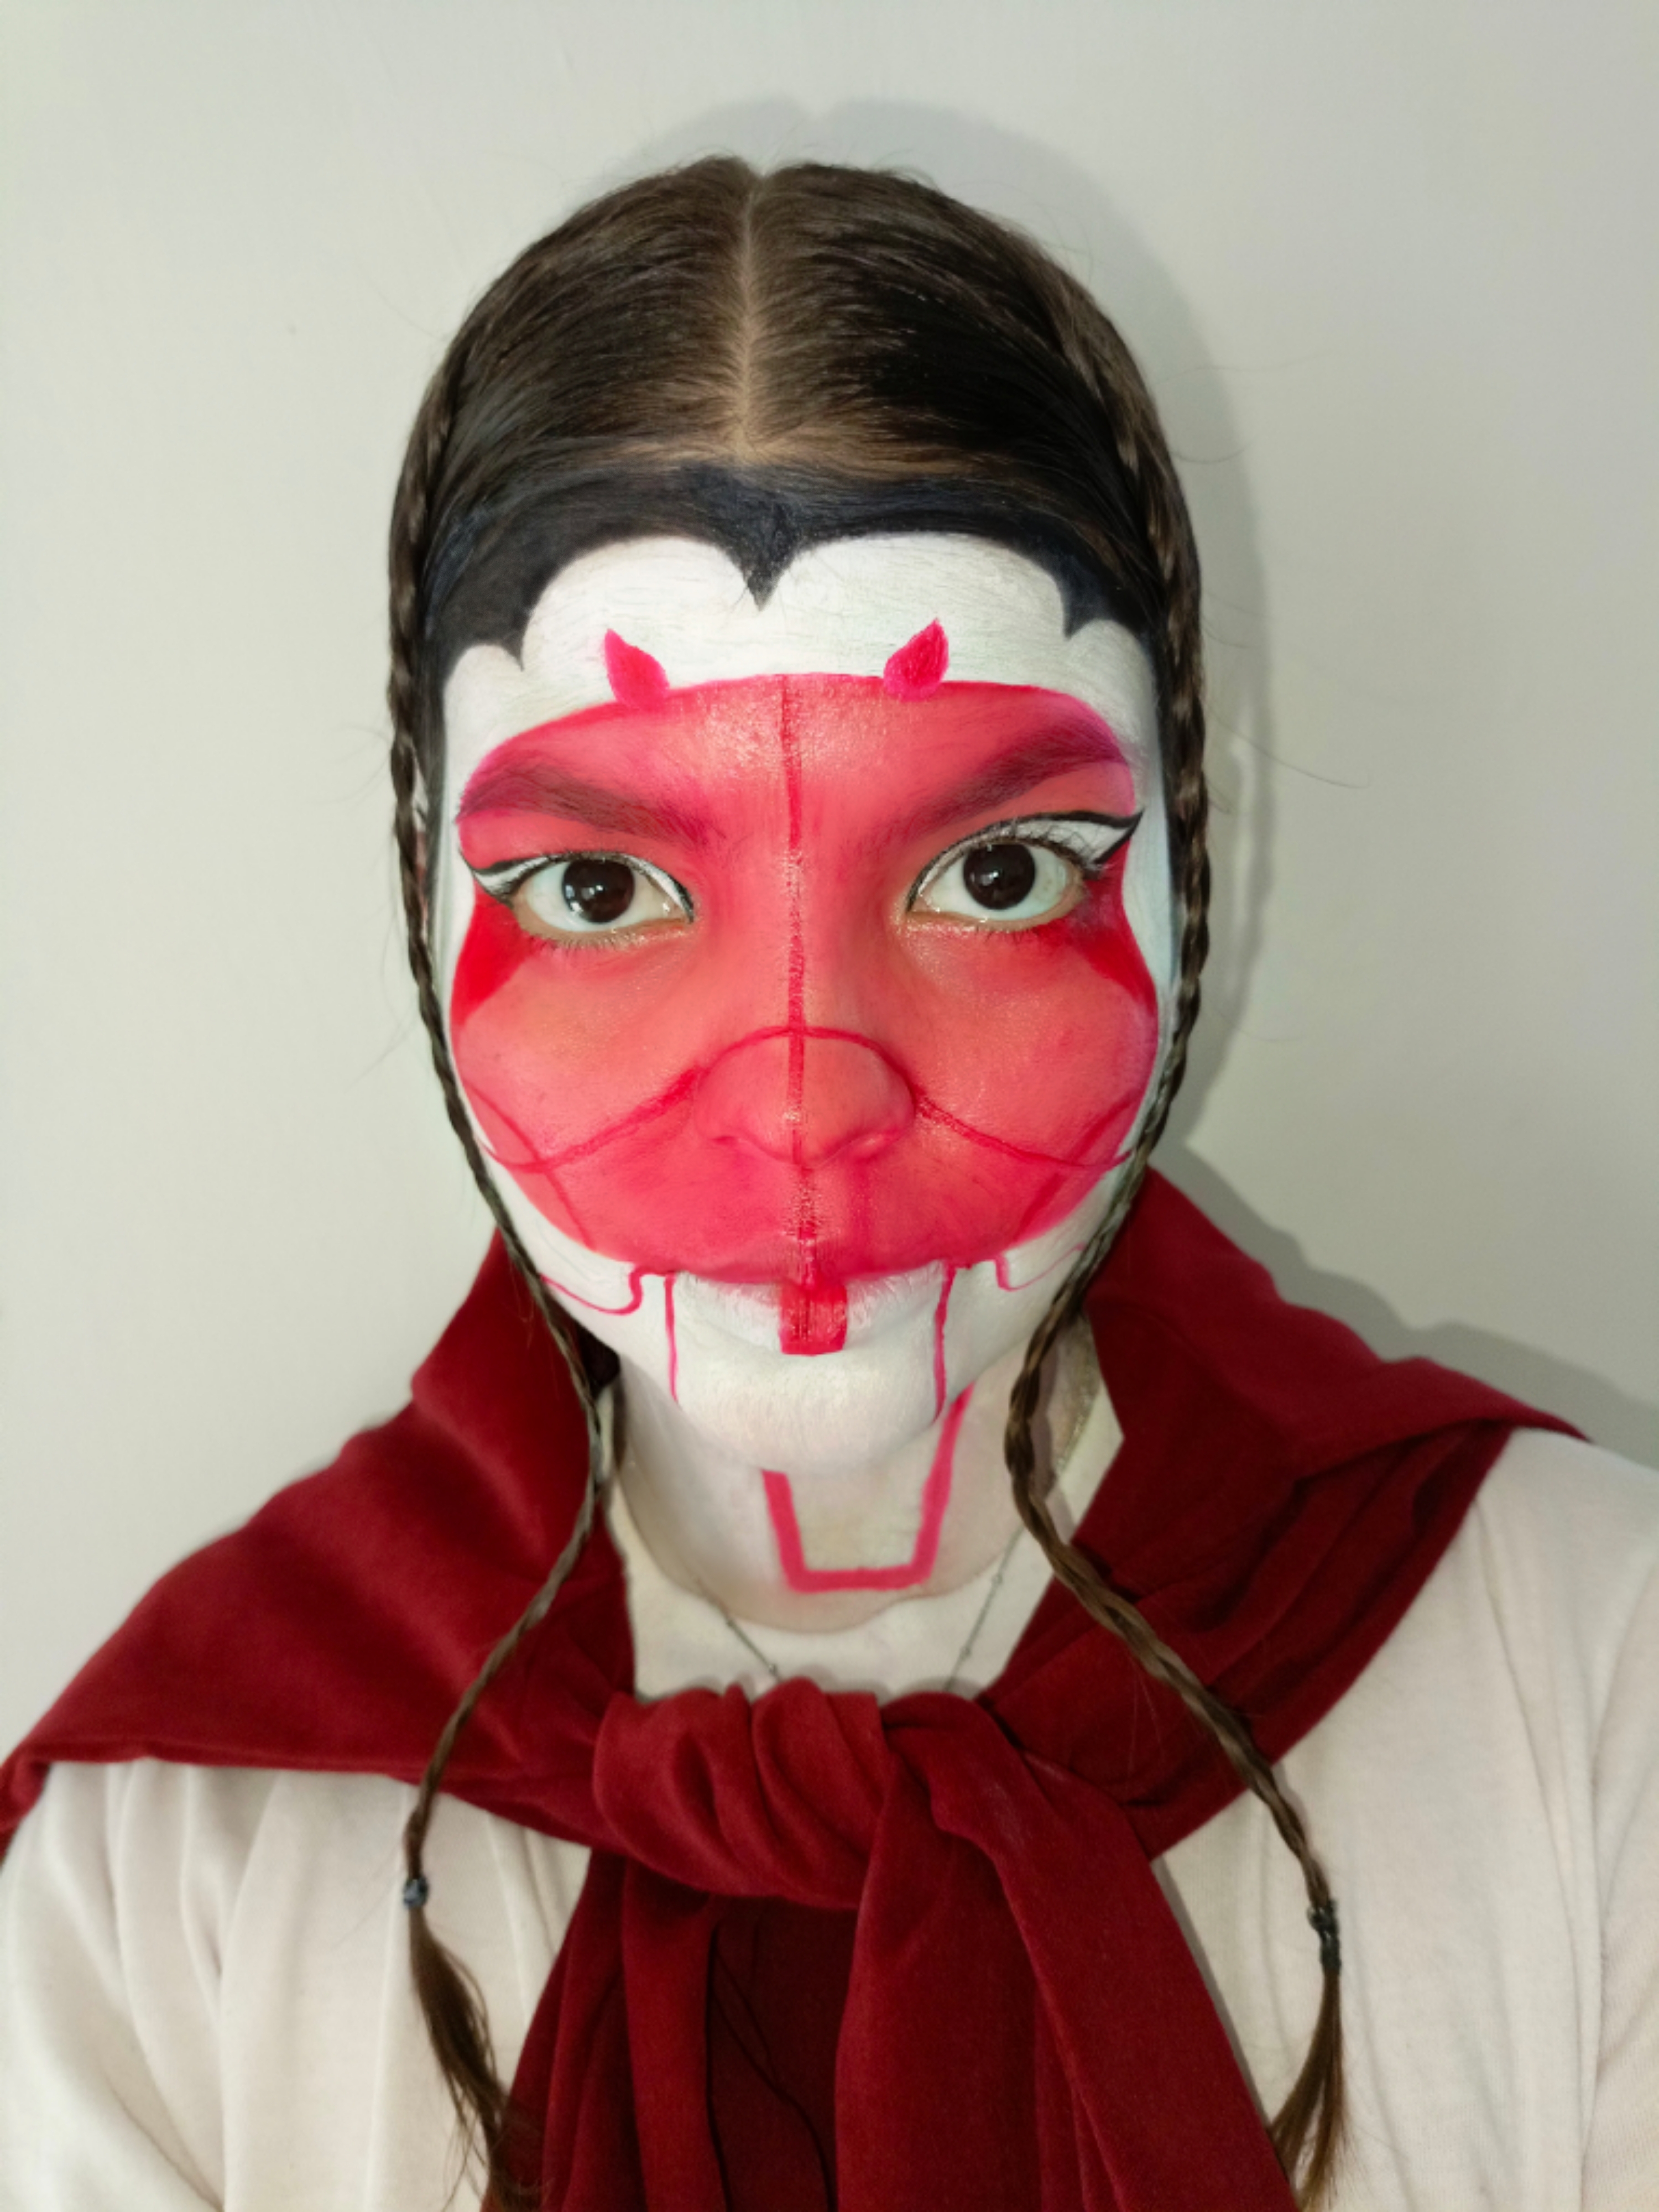
Ya saben como son las cosas últimamente en mi blog, nueva semana es sinónimo de un nuevo maquillaje, y continúa la onda asiática para no perder la bonita costumbre de hacer series de todo 😅. Esta idea la encontré por la página de Pinterest, pero mi recreación tiene mucha menos producción y es que en la imagen original la modelo tiene un kimono tradicional y un tocado espectacular, y ya saben que en este perfil nuestro presupuesto es limitado XD. Igualmente, espero que sea de su agrado y que entiendan que el arte es costosa, sin embargo no nos limitamos y aquí sigo aprendiendo y creando.
You know how things are lately on my blog, new week is synonymous with a new makeup, and continues the Asian wave not to lose the nice habit of making series of everything 😅. I found this idea through Pinterest page, but my recreation has much less production and is that in the original image the model has a traditional kimono and a spectacular headdress, and you know that in this profile our budget is limited XD. Anyway, I hope you like it and that you understand that art is expensive, however we do not limit ourselves and here I continue learning and creating.
Materiales/Materials:
|
|
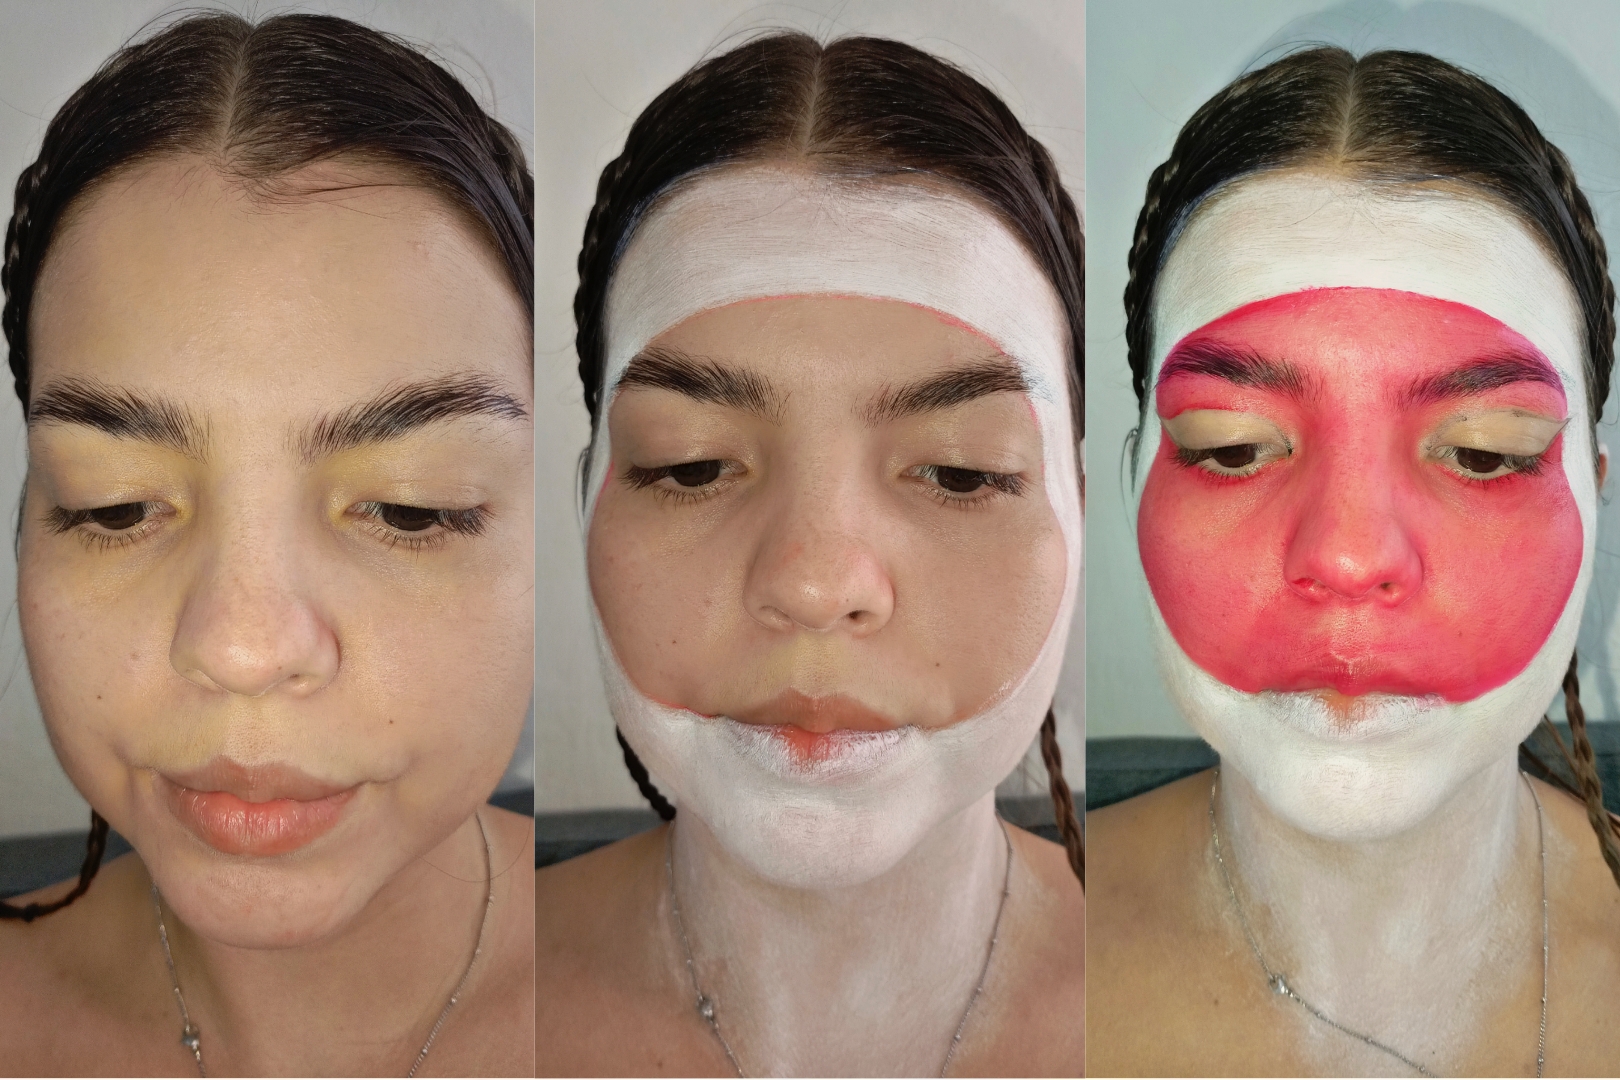
Proceso/Process:
|
|
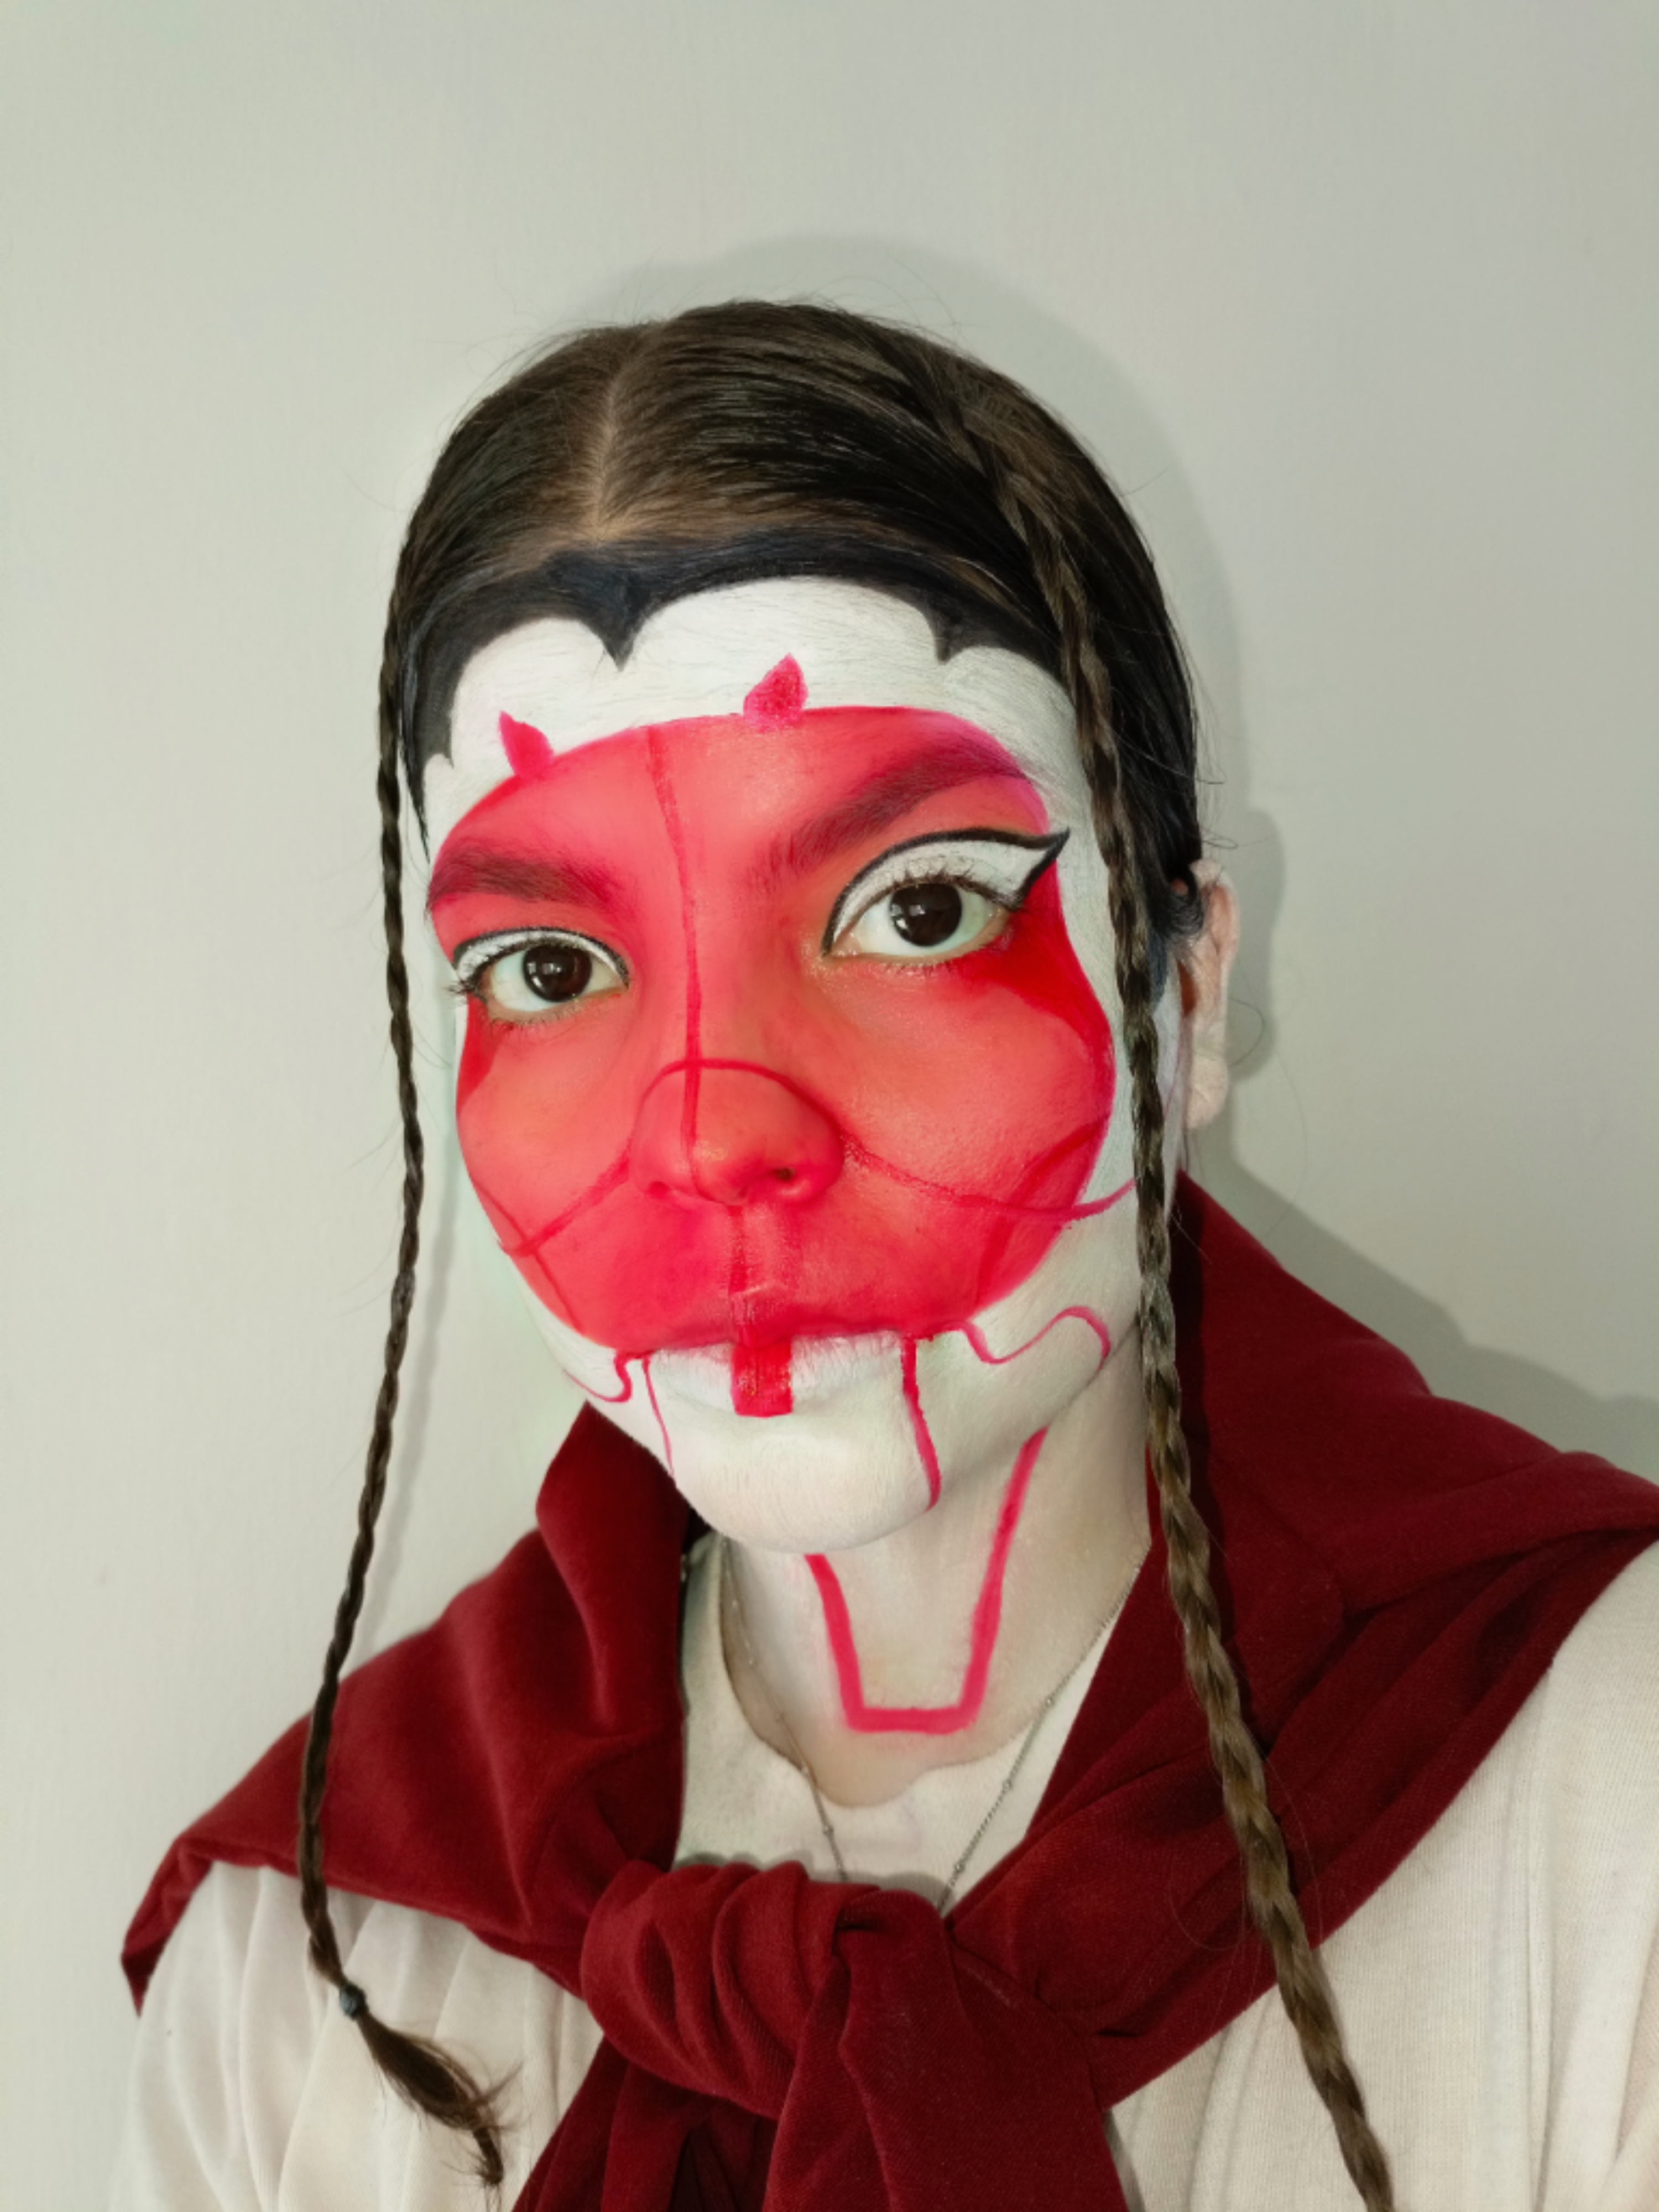
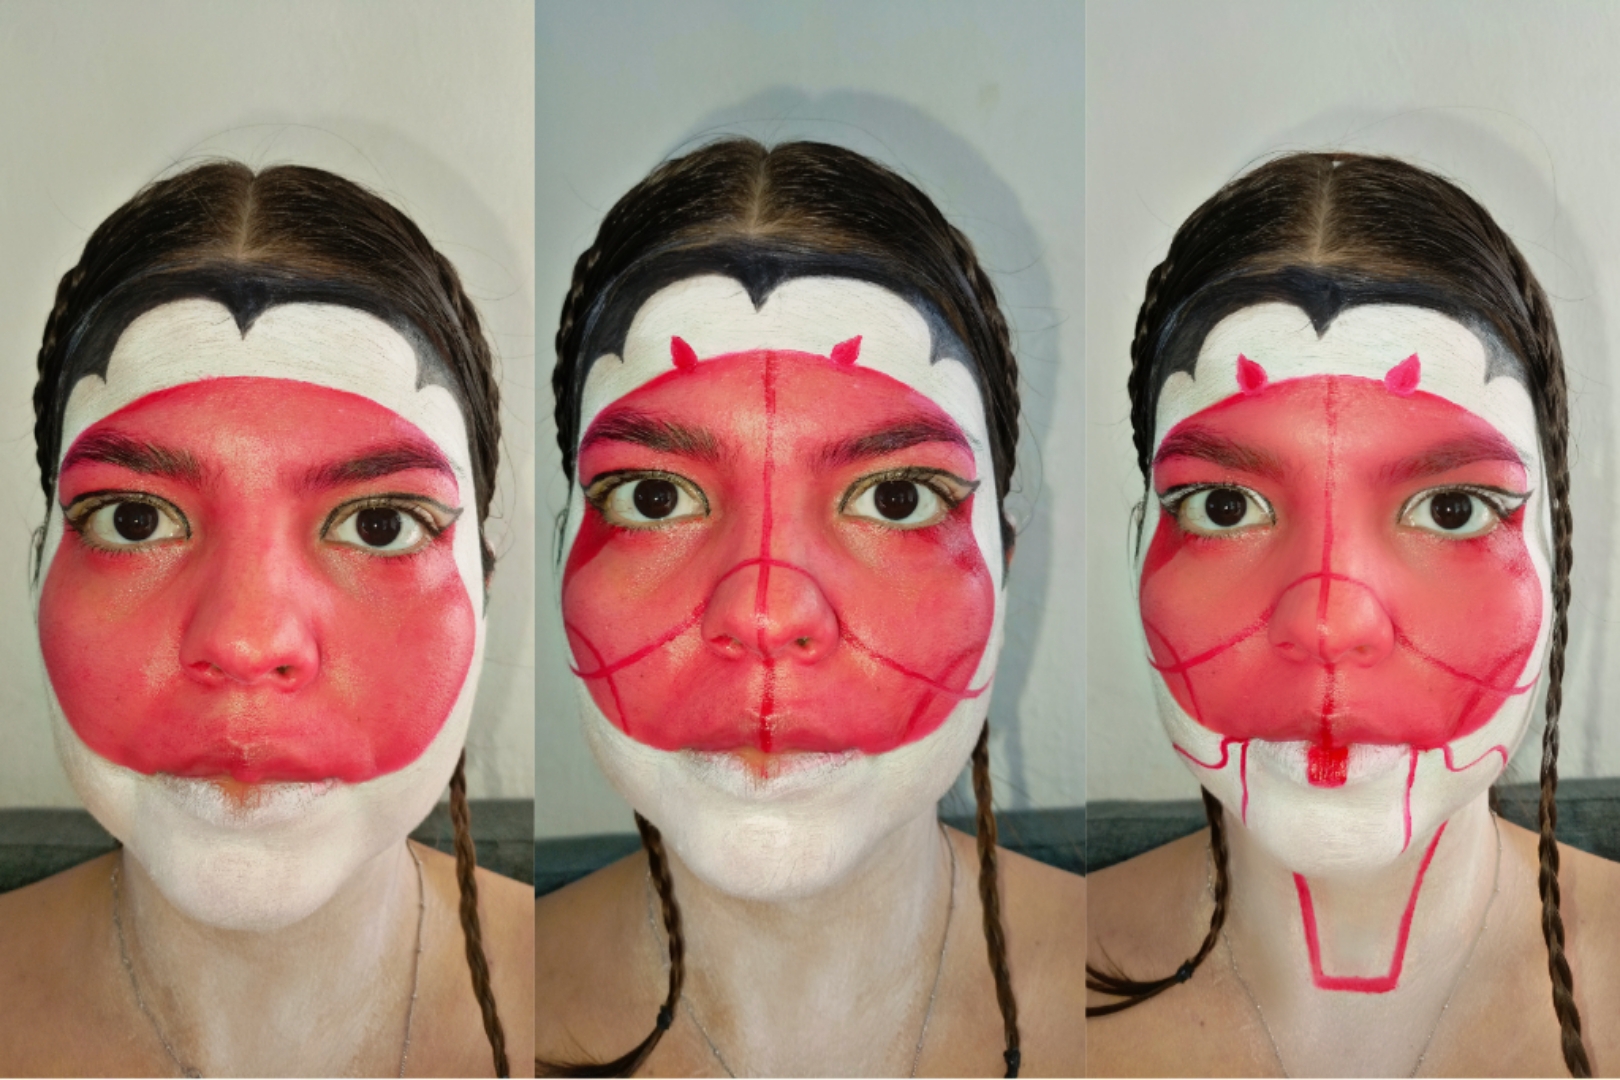
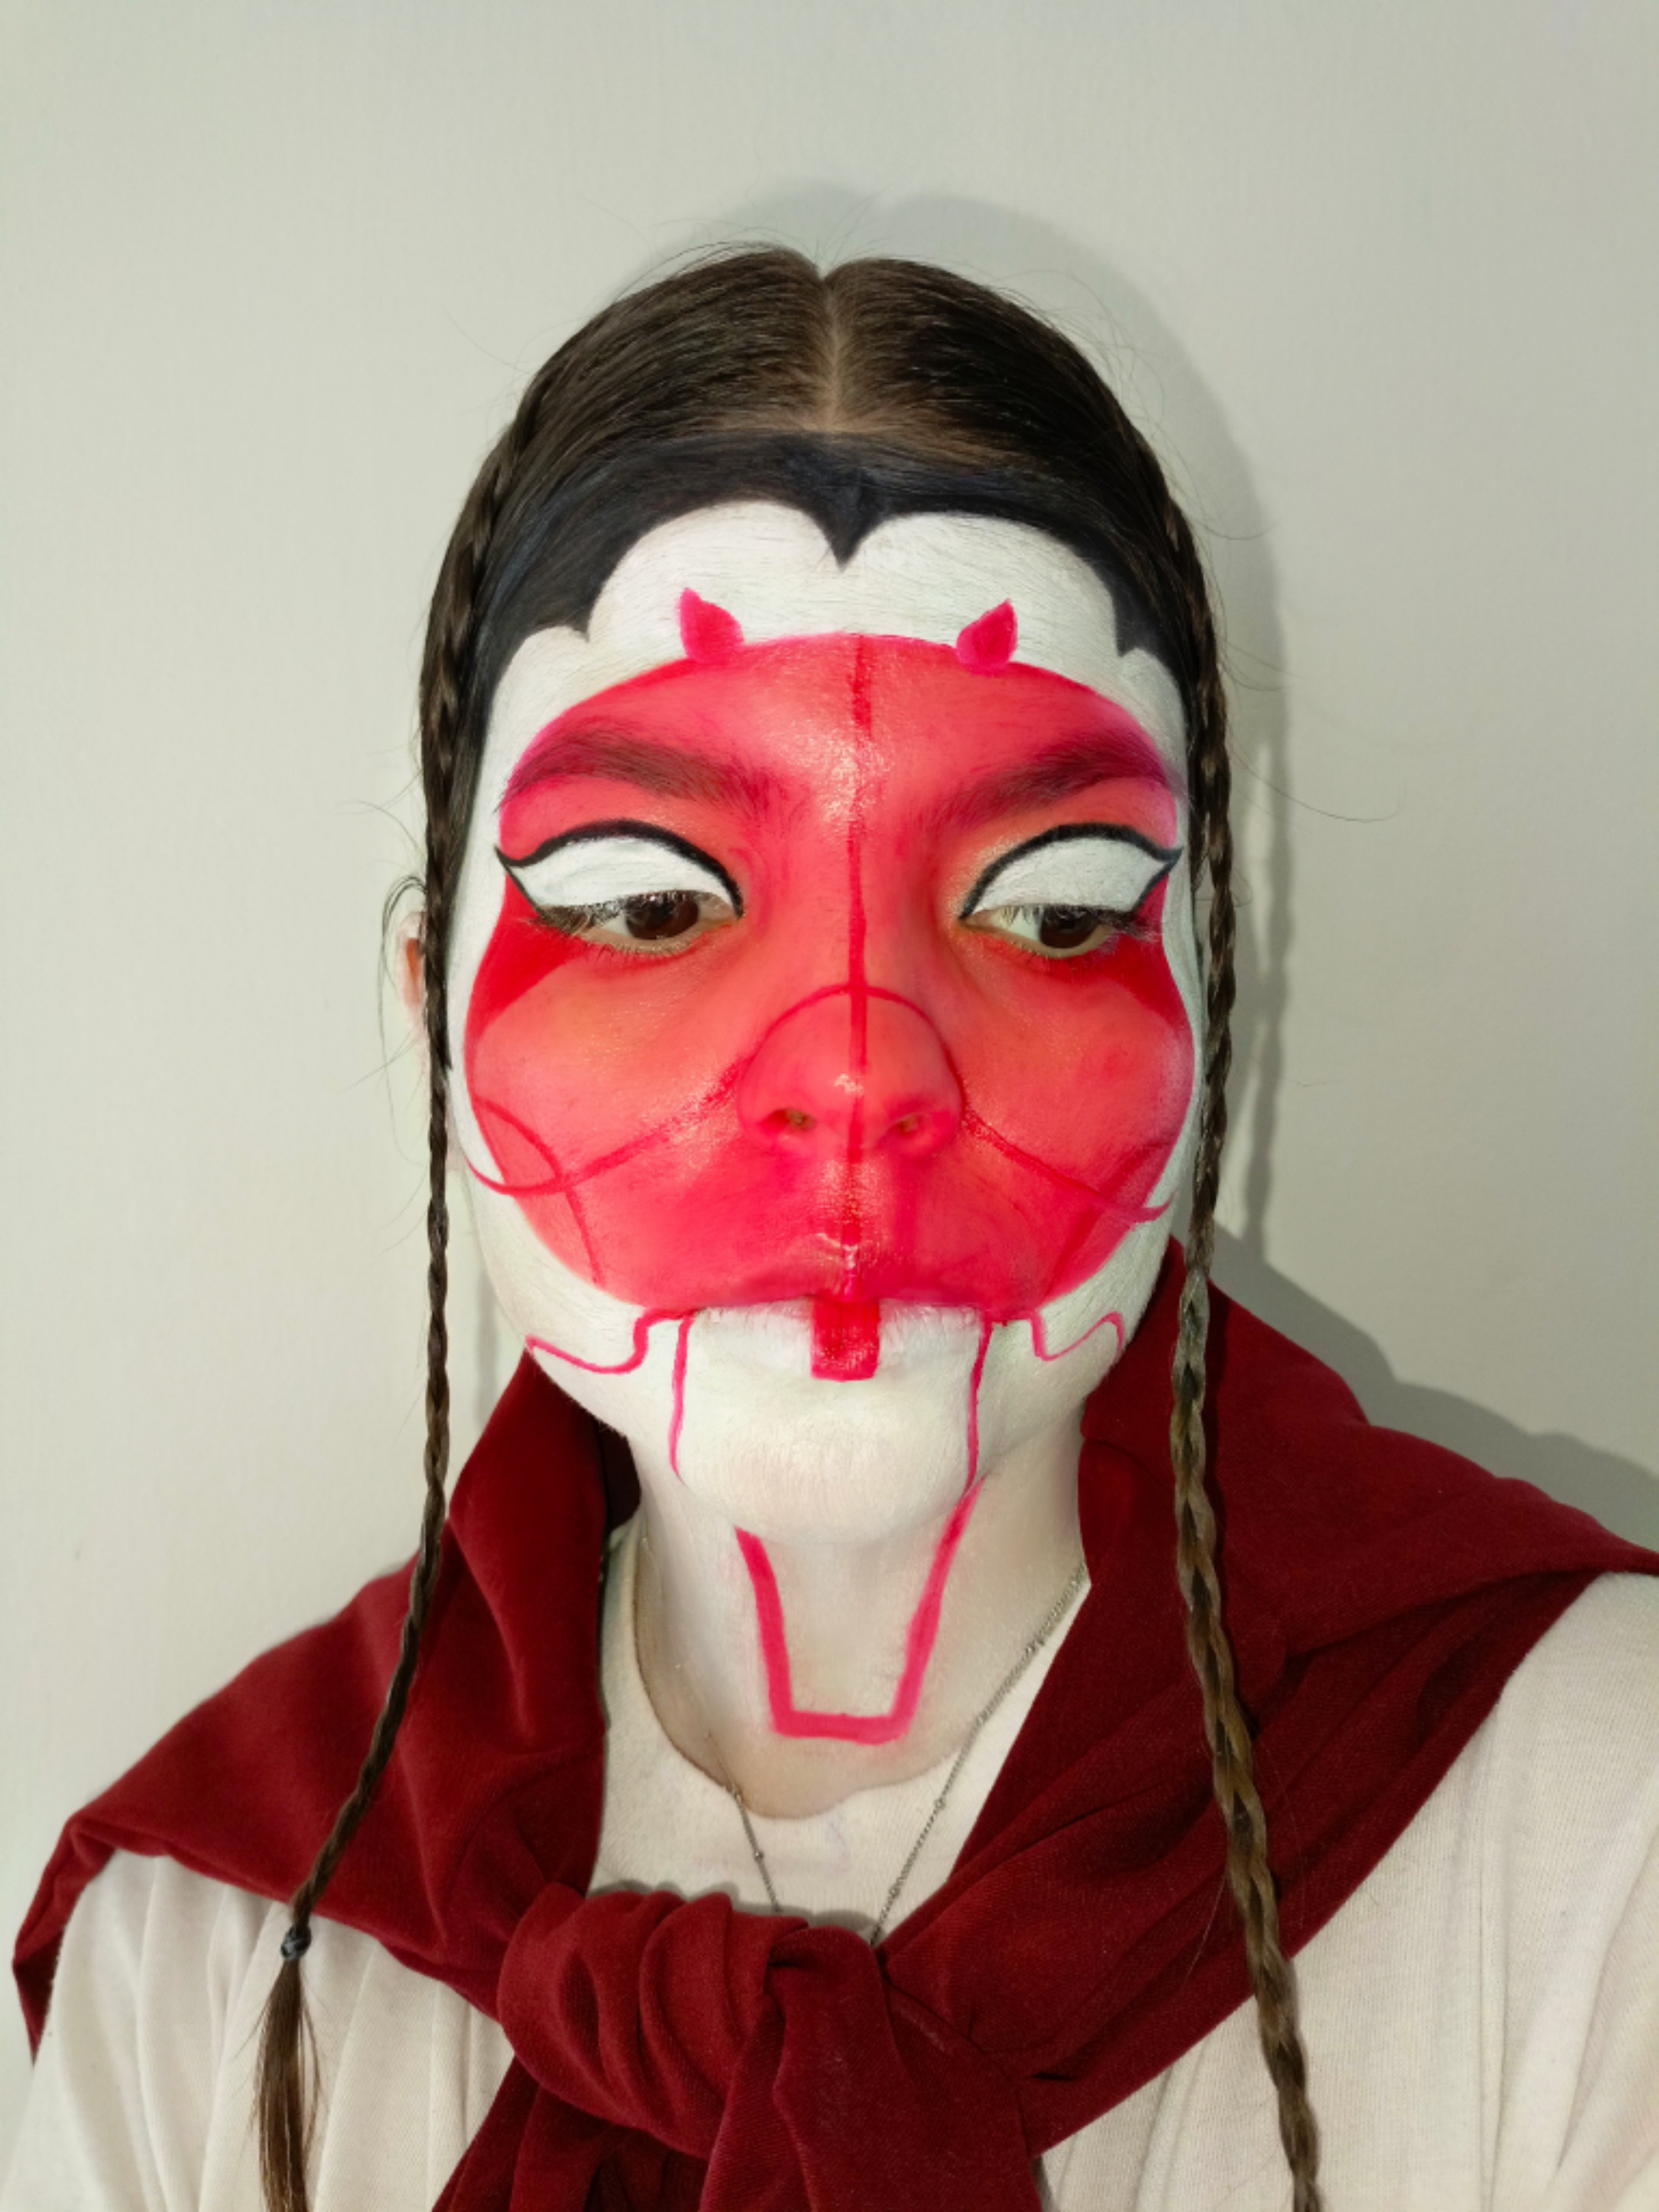
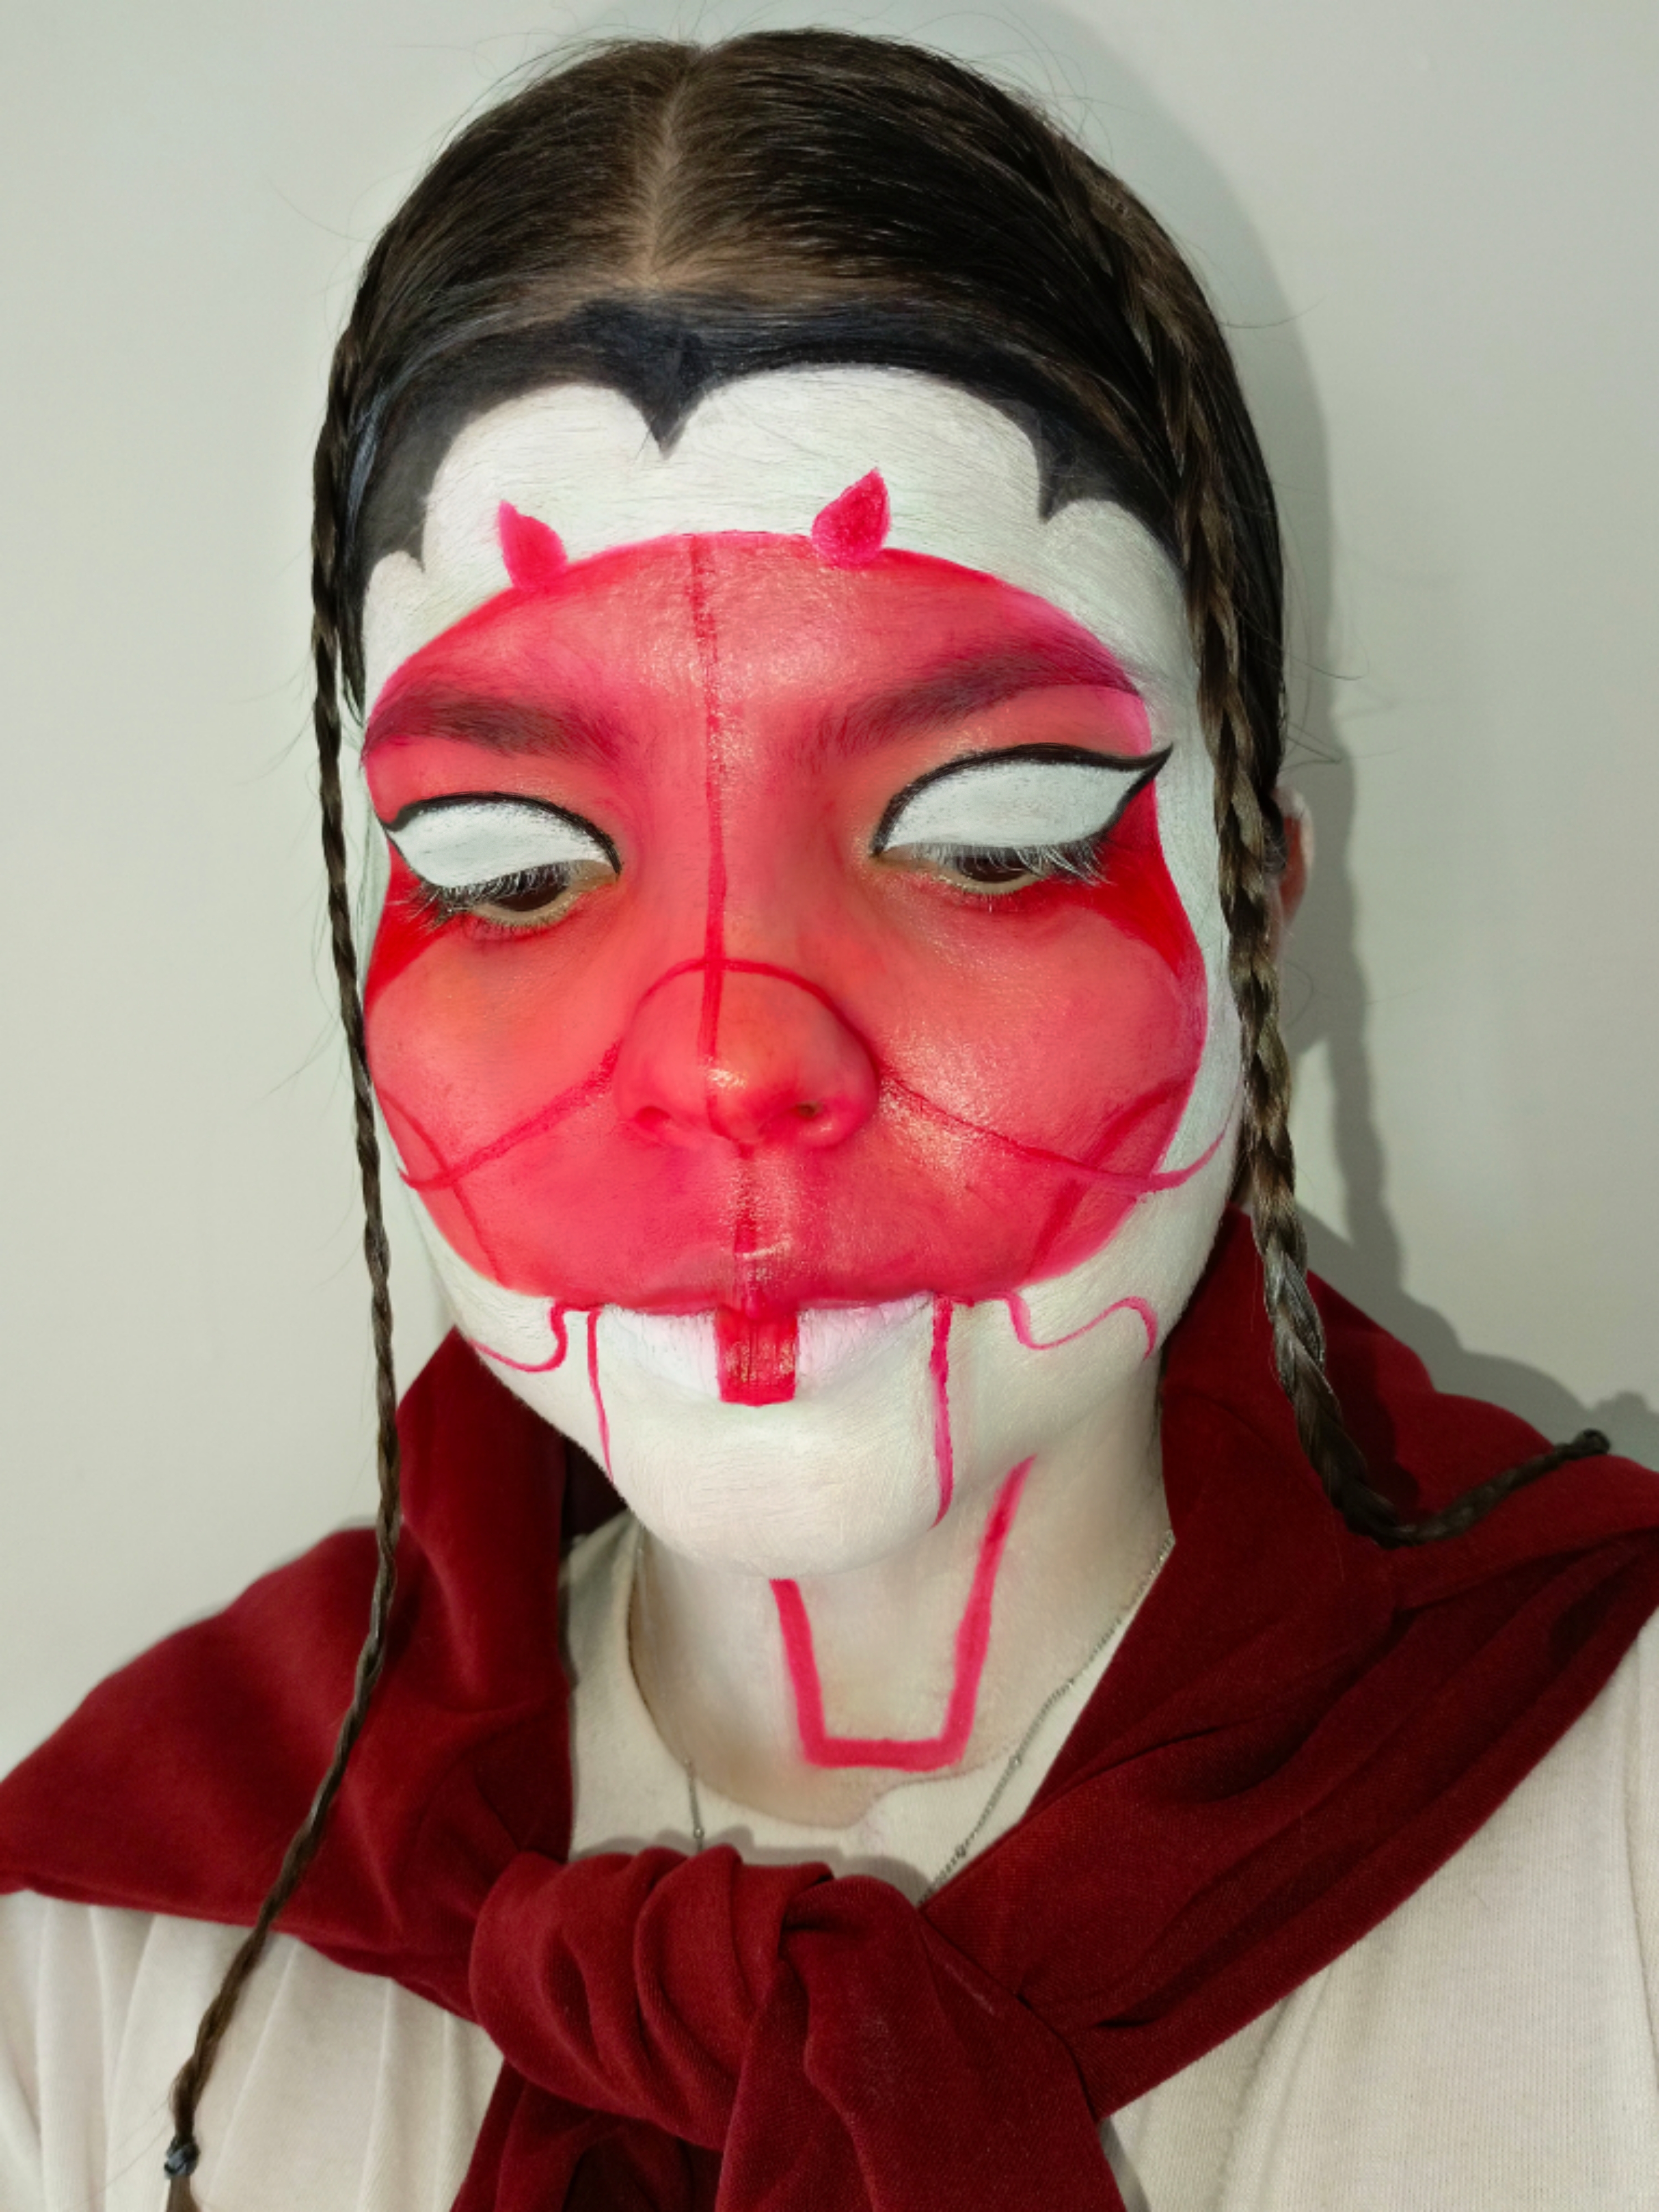
- En esta parte podrán ver el por qué de que el círculo quedara más claro, puesto que comencé a dibujar varias líneas y figuras en el mismo tono, pero esta vez tratando de hacerlo resaltar, es decir, que se viera como un rojo oscuro. Por otro lado, pinté el borde de la cara con un tono negro creando un diseño en ondas, cuya idea es dar la impresión de ser parte del cabello, pero debido a que el mío en castaño y no tengo peluca en negro, pues lo agregué como para del diseño normal.
En el párpado hice un delineado sutil en color negro y rellené esa area con la pintura blanca. Luego, procedí a cubrir mi cuello y orejas de pintura blanca, e hice un diseño como en forma de "V" en todo el centro del cuello. ¡Y listo!
- In this part you can see why the circle was lighter, since I began to draw several lines and figures in the same tone, but this time trying to make it stand out, that is to say, to make it look like a dark red. On the other hand, I painted the edge of the face with a black tone creating a design in waves, whose idea is to give the impression of being part of the hair, but because mine is brown and I don't have a black wig, I added it as part of the normal design.
On the eyelid I did a subtle black eyeliner and filled in that area with the white paint. Then, I proceeded to cover my neck and ears with white paint, and made a "V" shaped design in the center of the neck, and that was it!
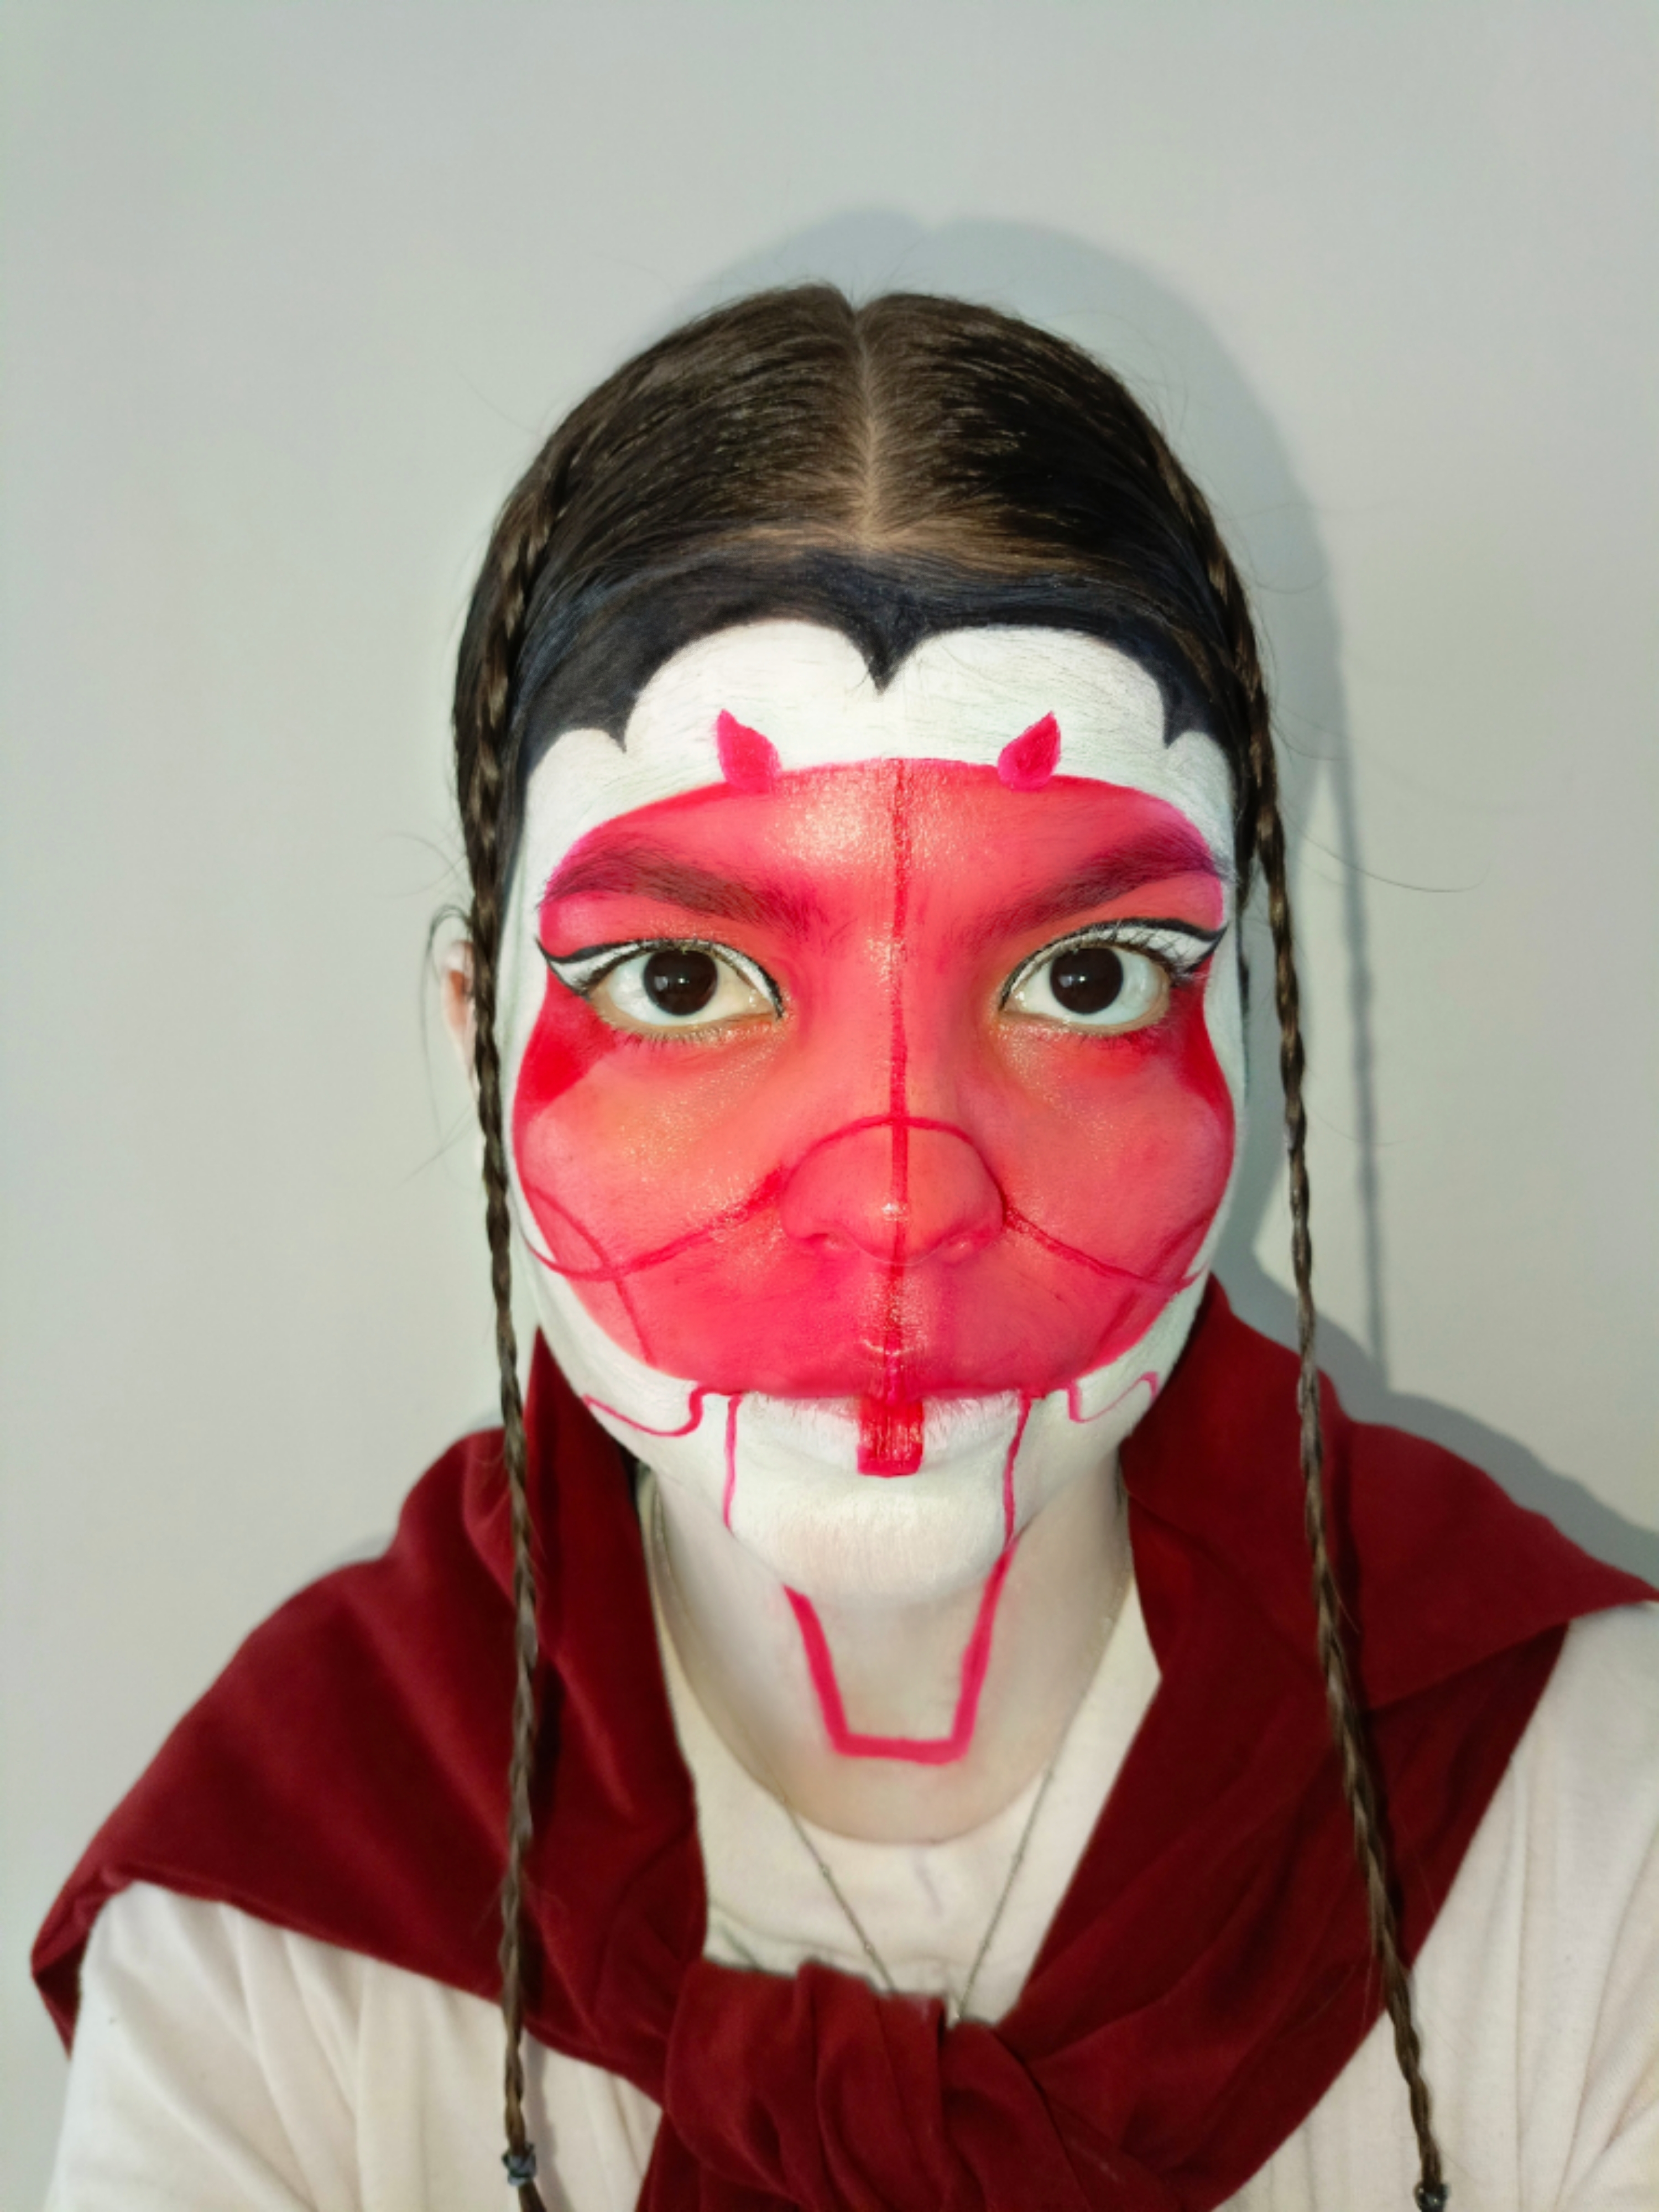
| Lo que más me gustó de esta propuesta es el hecho de que no necesité muchos materiales y también que tiene una vibra algo tenebrosa(o al menos así lo percibo) y me encanta recrear este tipo de contenido. Esta vez le puse un poco más de atención al estilismo para darle un toque diferente, ya que no tenía materiales para hacer un tocado, entonces me hice un moño y dos trenzas a los lados, solo que al tener poco cabello no resalta tanto, pero al menos lo intenté y eso es lo que cuenta 😁 | What I liked the most about this proposal is the fact that I didn't need a lot of materials and also that it has a somewhat spooky vibe (or at least that's how I perceive it) and I love to recreate this kind of content. This time I put a little more attention to the styling to give it a different touch, since I didn't have materials to make a headdress, so I made a bun and two braids on the sides, only that having little hair it doesn't stand out so much, but at least I tried and that's what counts 😁. |
La traducción está hecha con la app Deepl.
Banner editado con la aplicación Canva
Editada con la app PicsArt