Hola amigos amantes del maquillaje, de los monstruos y las criaturas fantásticas en esta oportunidad quiero contarle que las cosas han cambiado en el mundo de los gatos después que por siglos tuvieron abundantes riquezas ahora las cosas han cambiado, los gatos corporativos invadieron sus tierras y desde ahora tienen que buscar un trabajo.
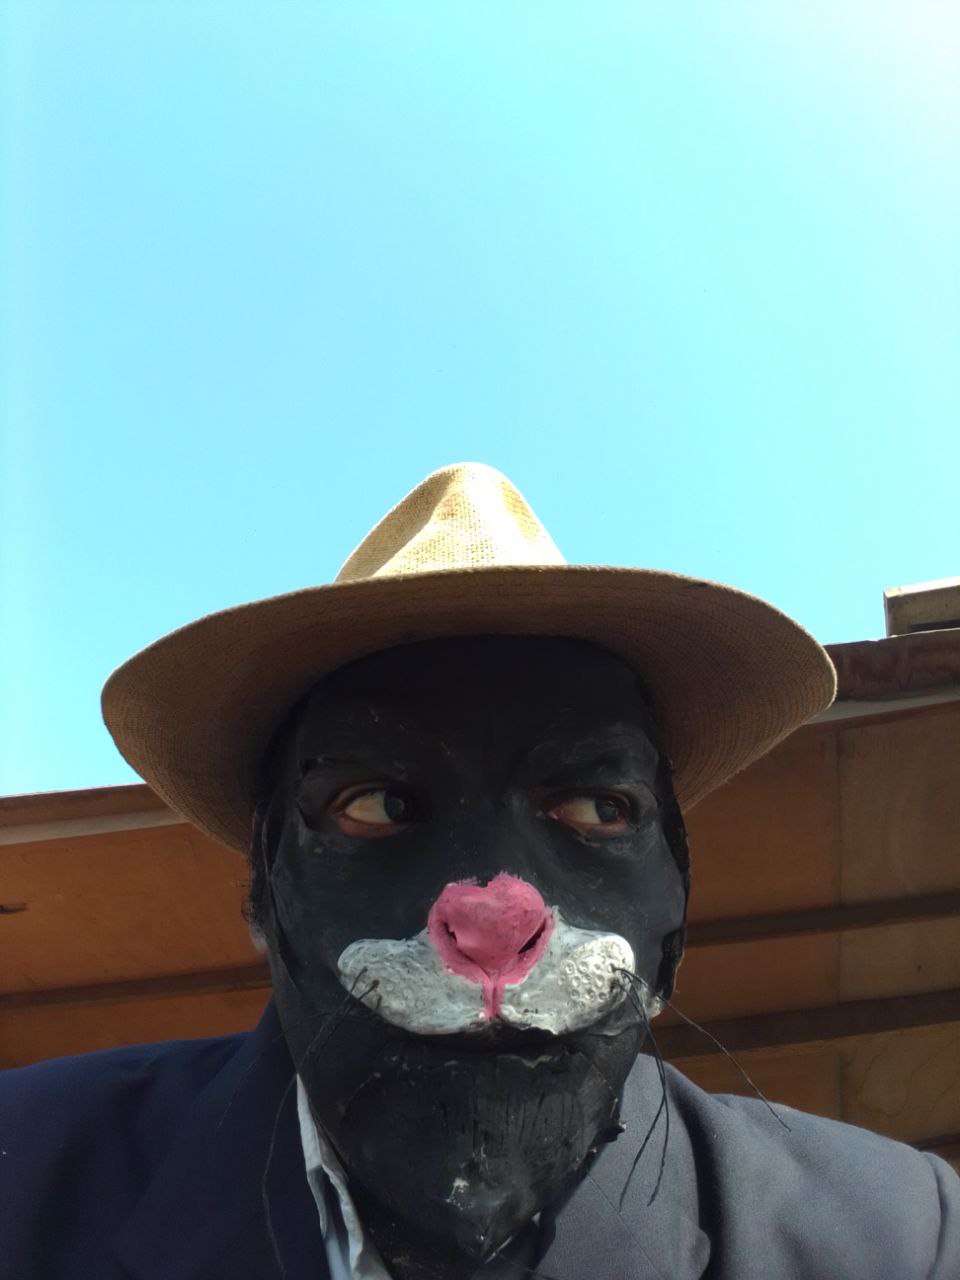
Inspirado en esta pequeña historia decidí realizar un maquillaje de un gato humanoide, el cual este rumbo a trabajar en las oficinas miaucorp . Nunca se quita su sombrero porque así recuerda sus tierras que antes fueron suyas y que pronto va a recuperar.
Maquillaje gato humanoide elaboración:
materiales:
Látex líquido para moldeo
algodón
Plasticerá o plastilina industrial para escultura.
Tempera negra
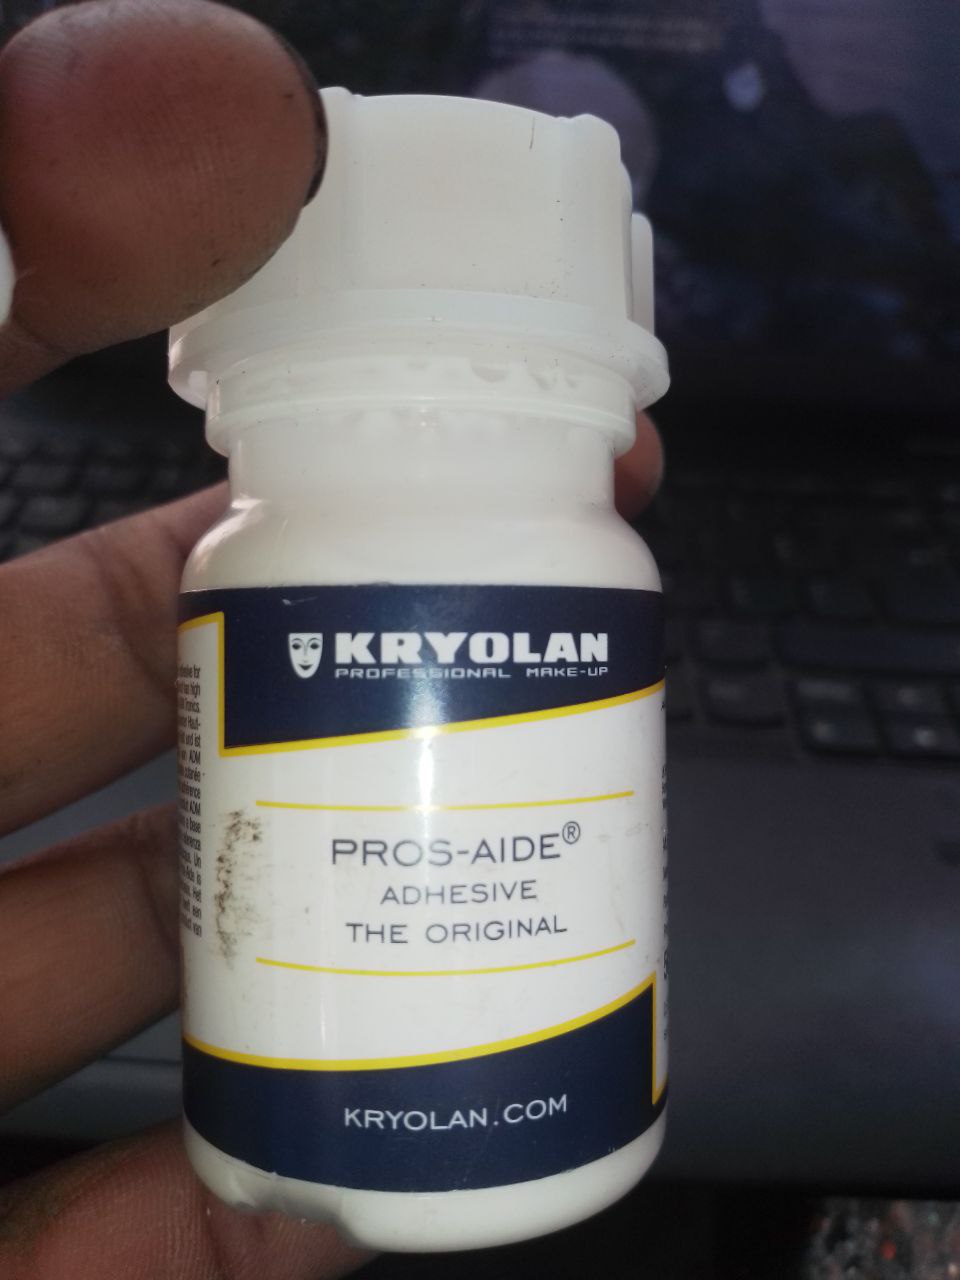
pegamento para prótesis" Pros-Aide".
Hisopos
hilo y aguja
rostro del modelo en yeso.
Secador de cabello
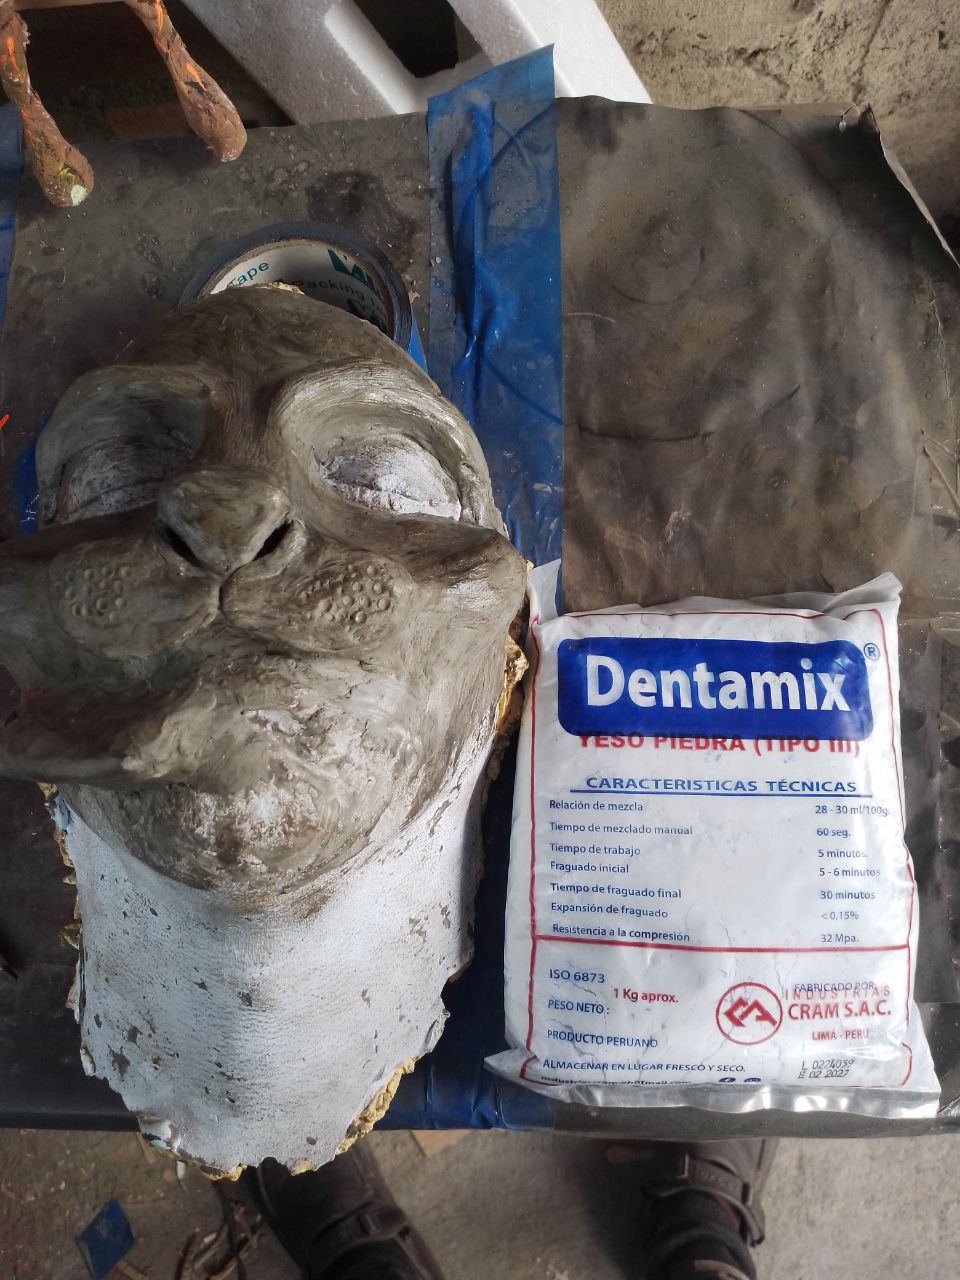
yeso en polvo
Elaboracion:
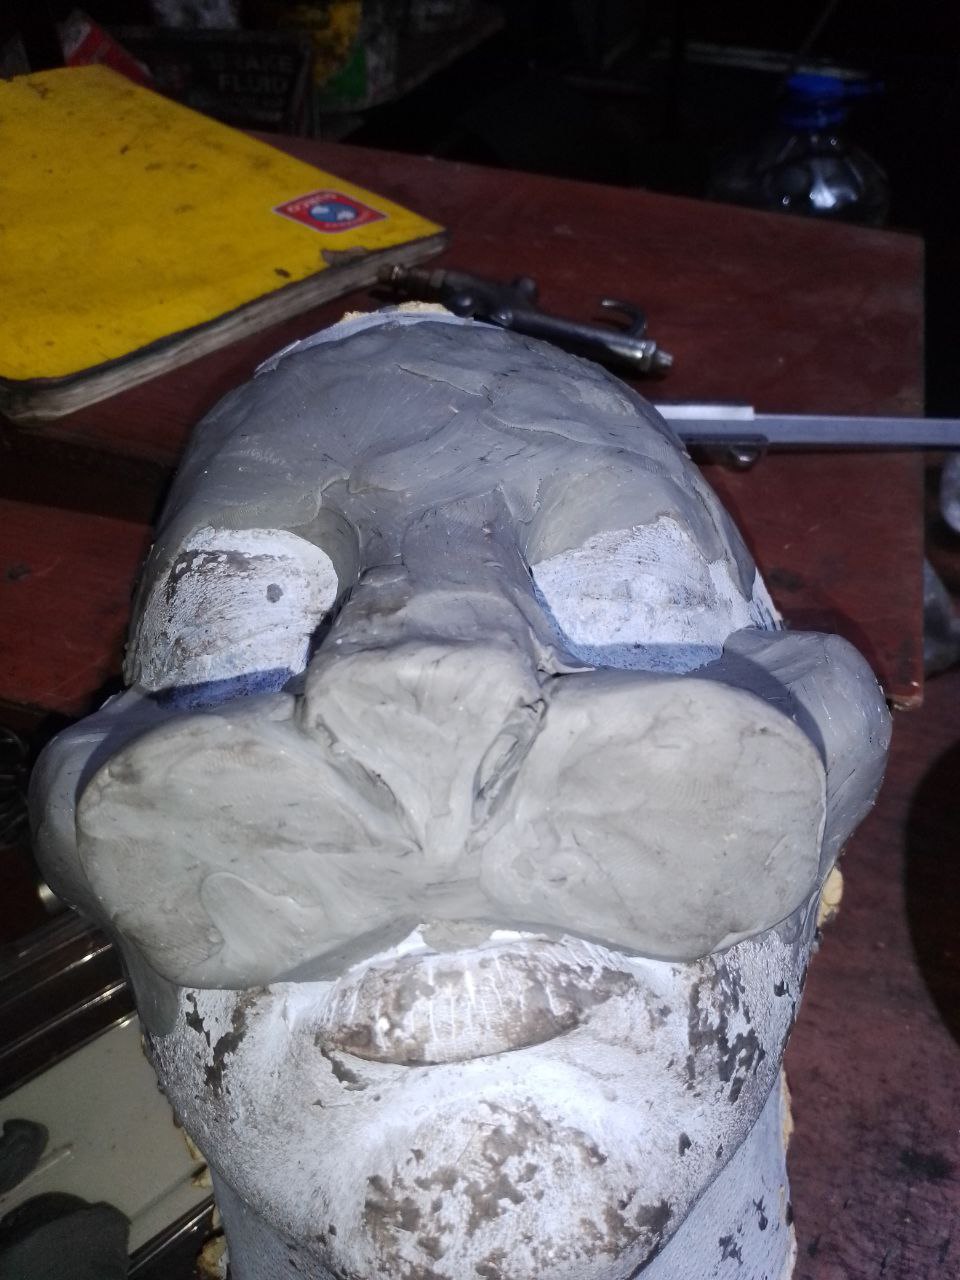
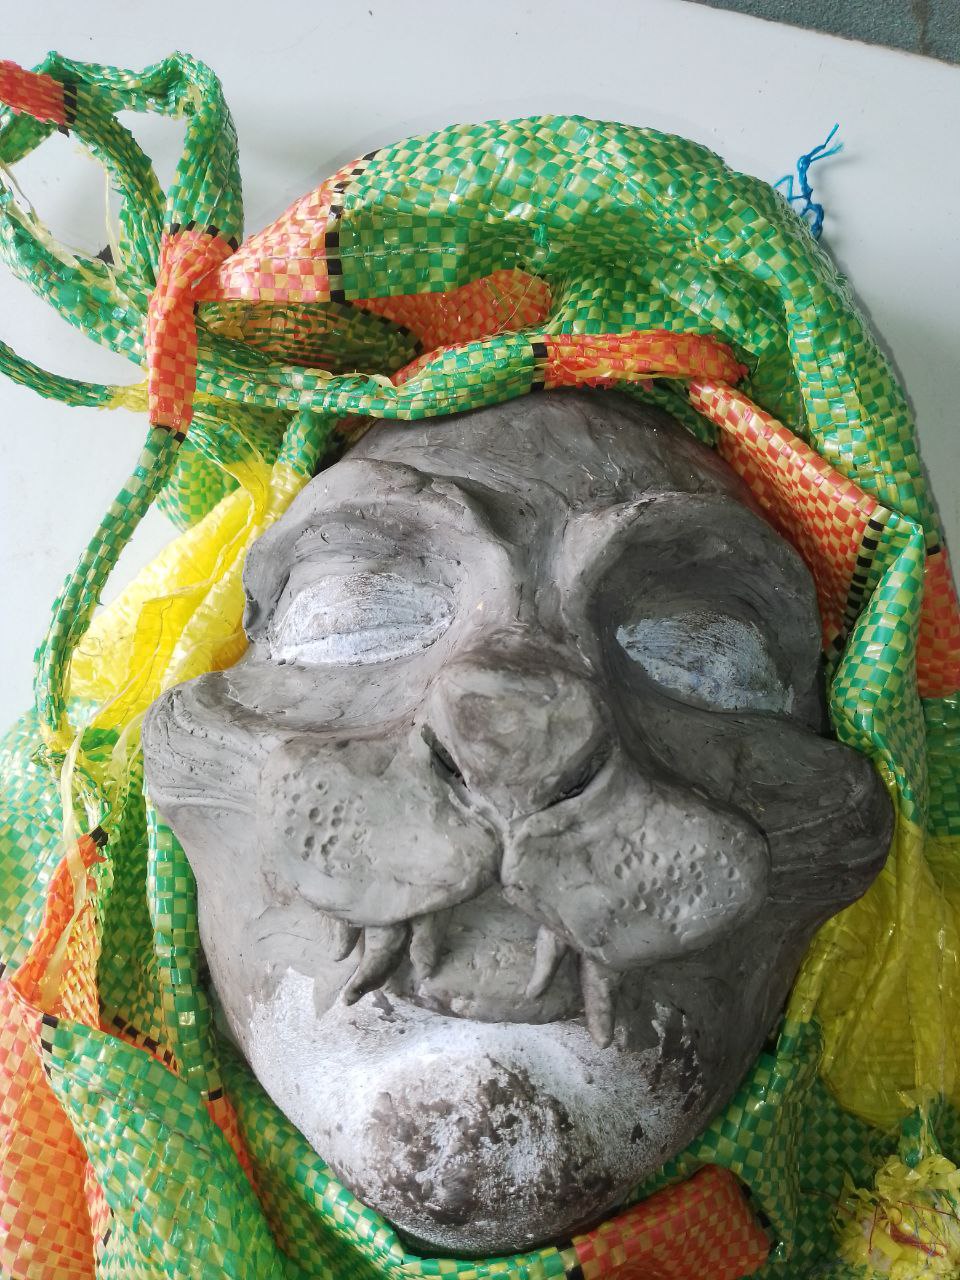
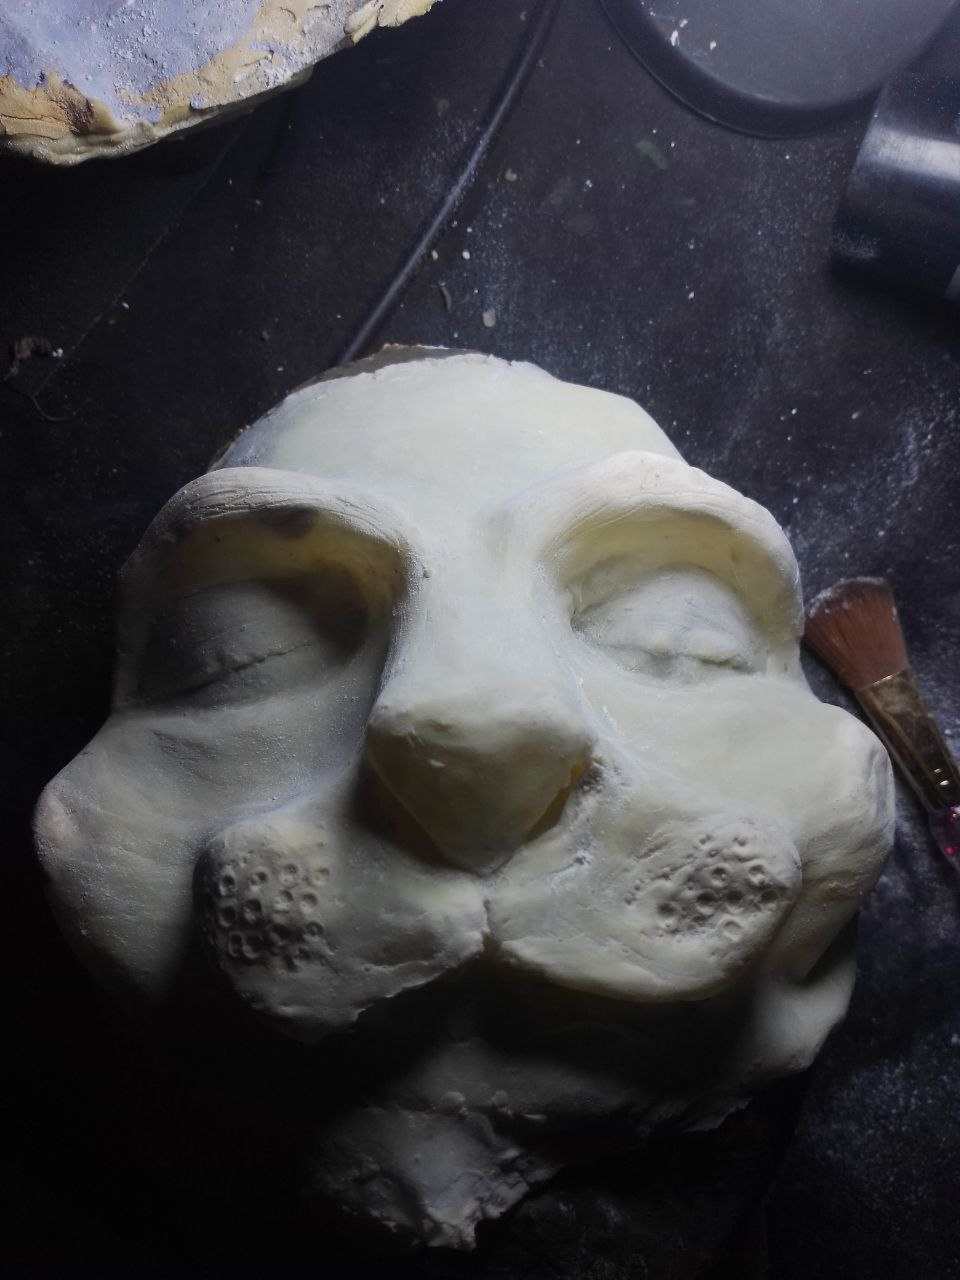
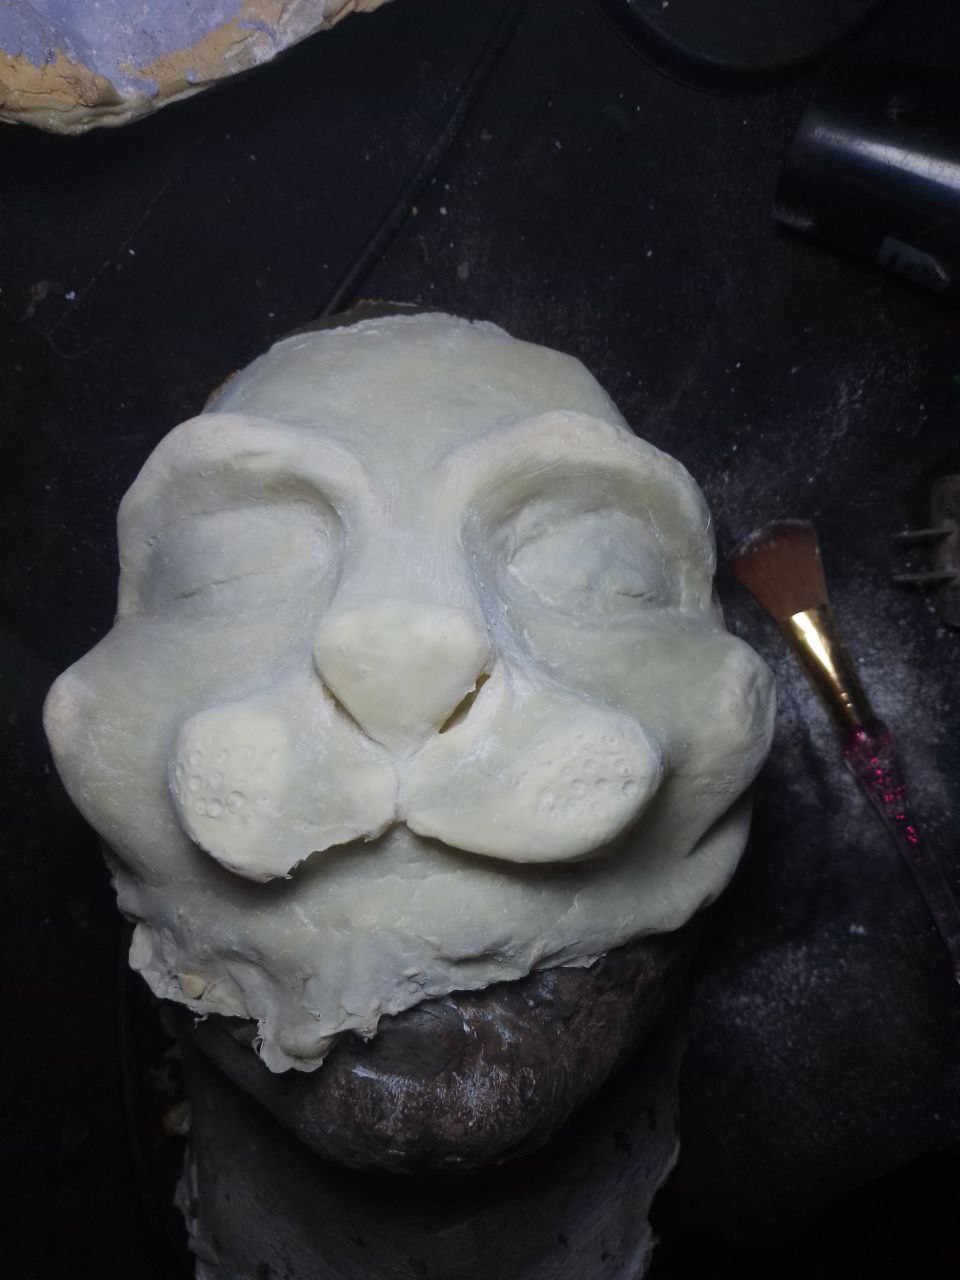
lo primero que hice fue sobre el rostro del modelo en yeso, elabore la escultura del el personaje (Gato)
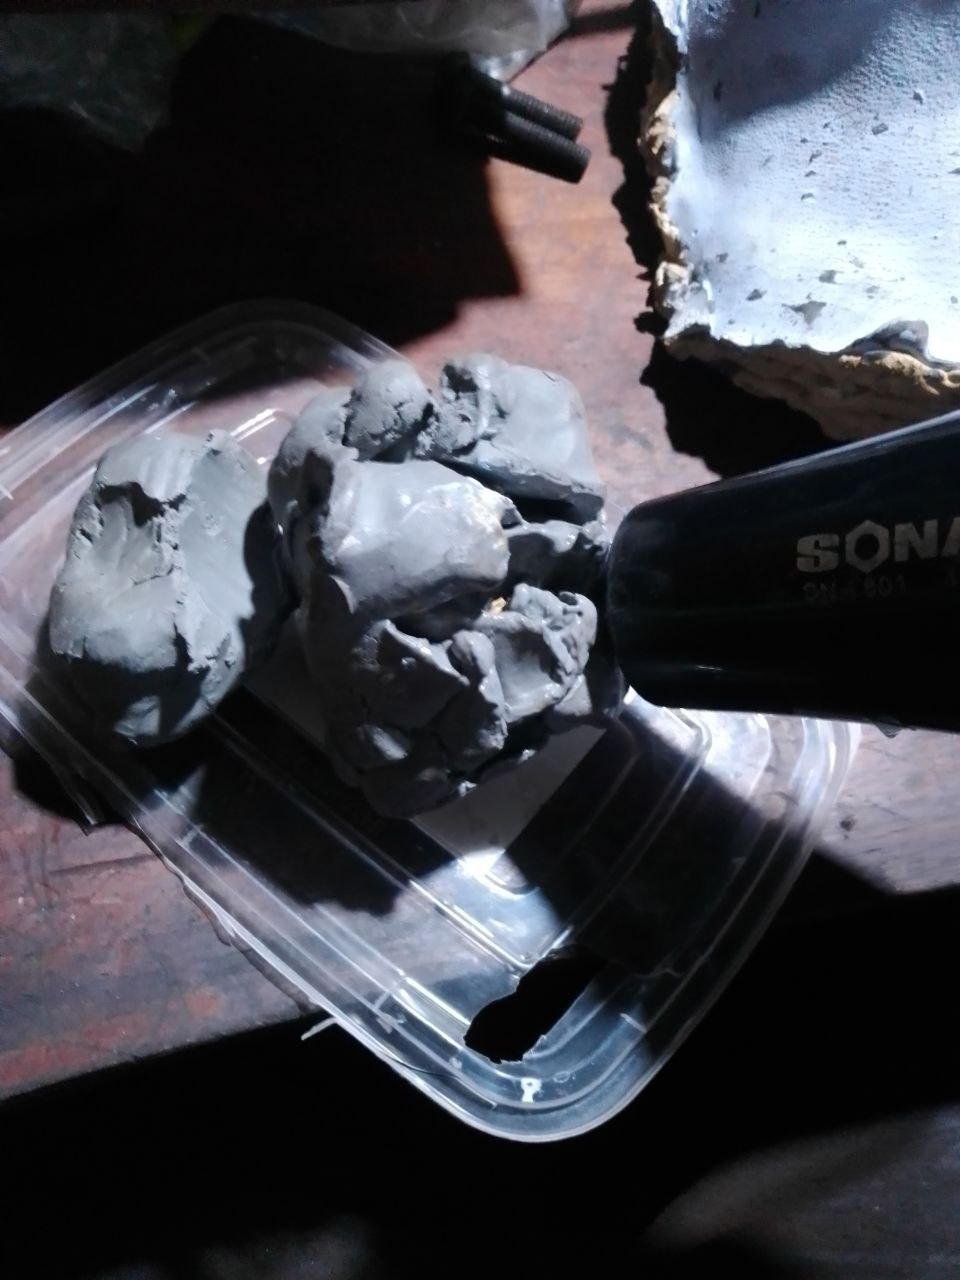
usando plasticerá por lo que con el secador caliente primero la plastilina para que estuviera suave y se pueda usar.
| column1 | column2 | column3 |
|---|---|---|
 |  |  |
| column1 | column2 | column3 |
|---|---|---|
 | ||
 |  | |
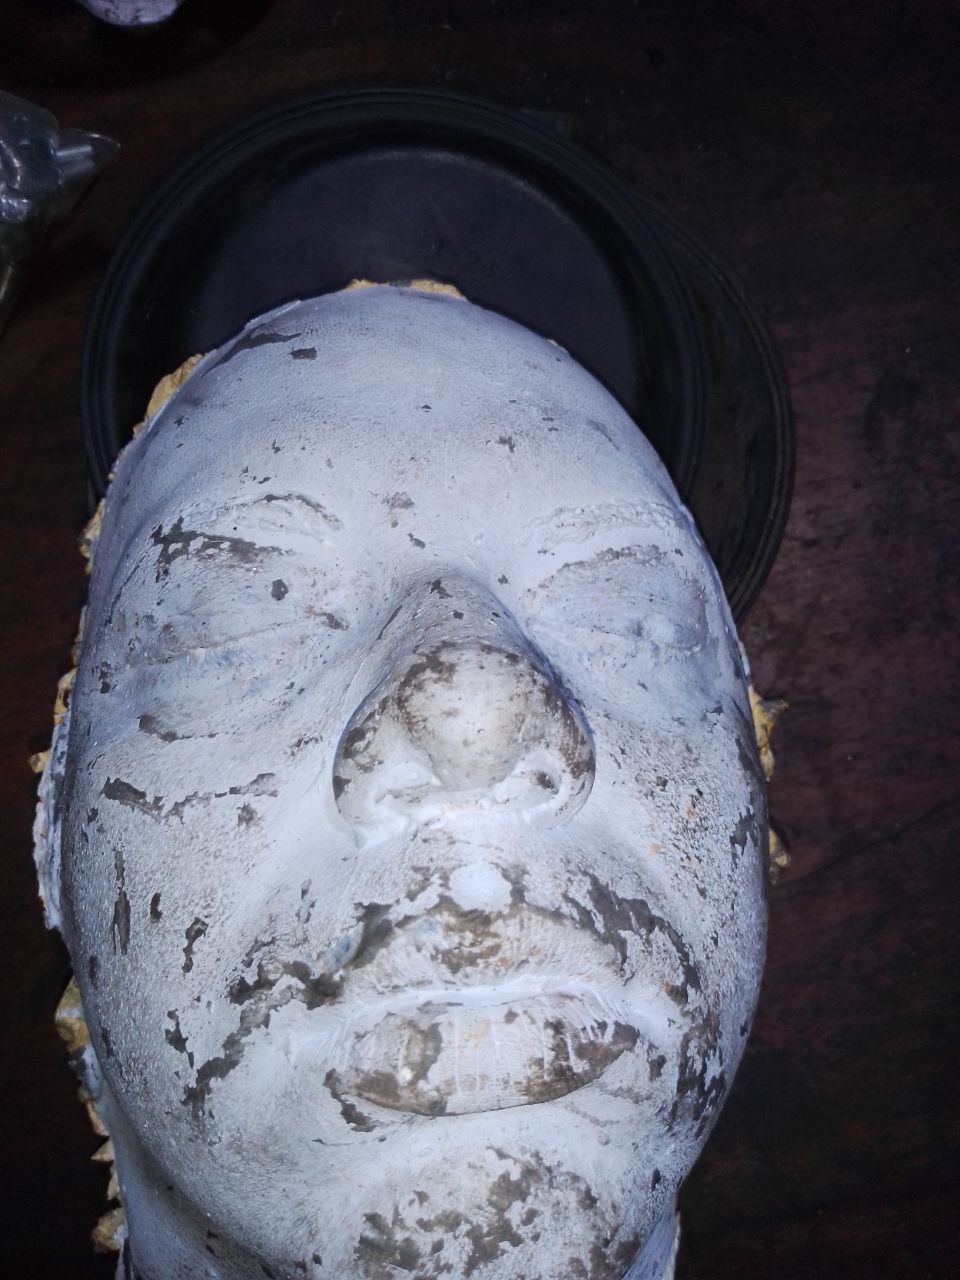
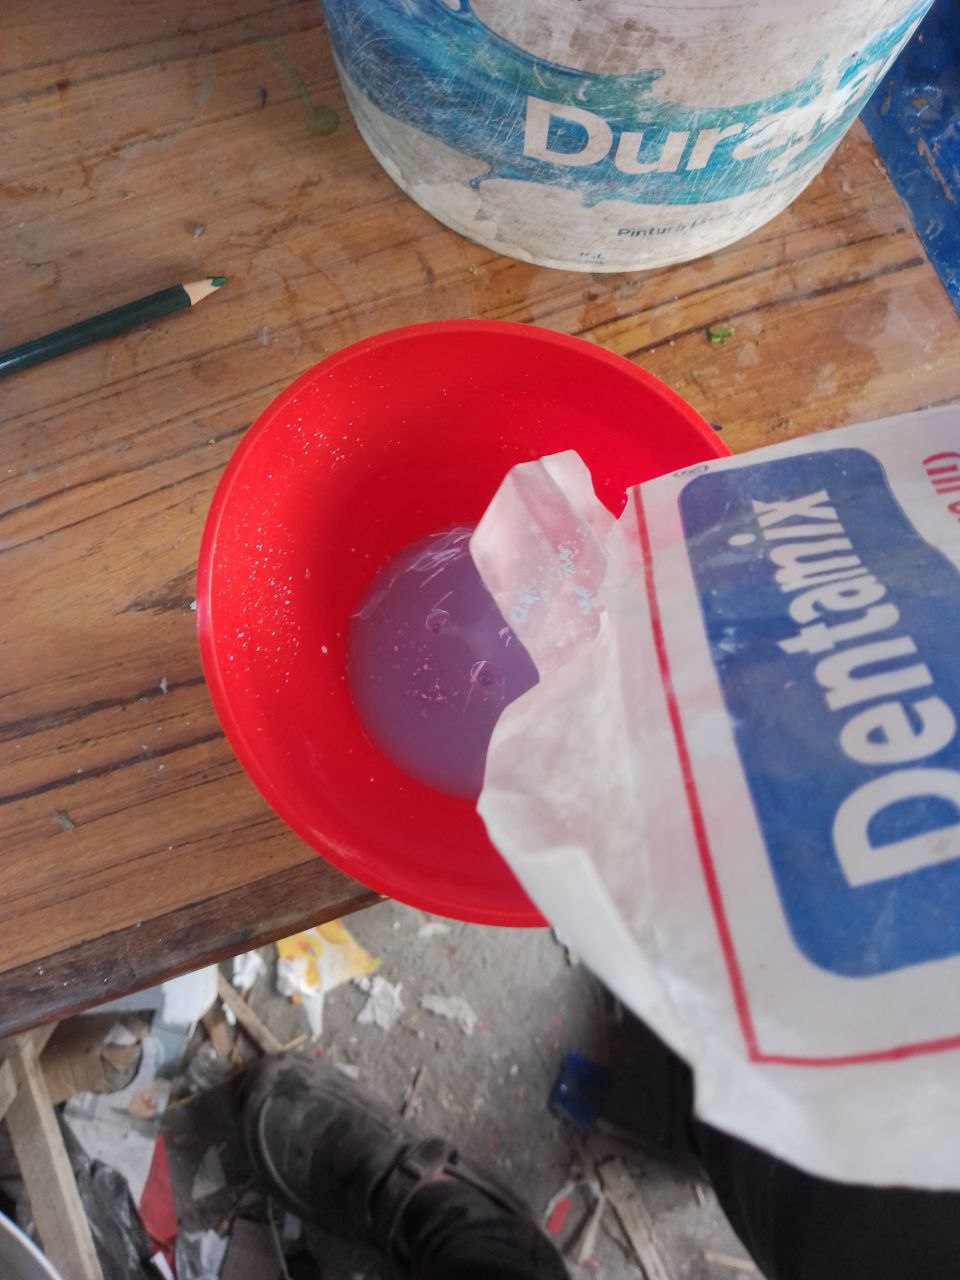
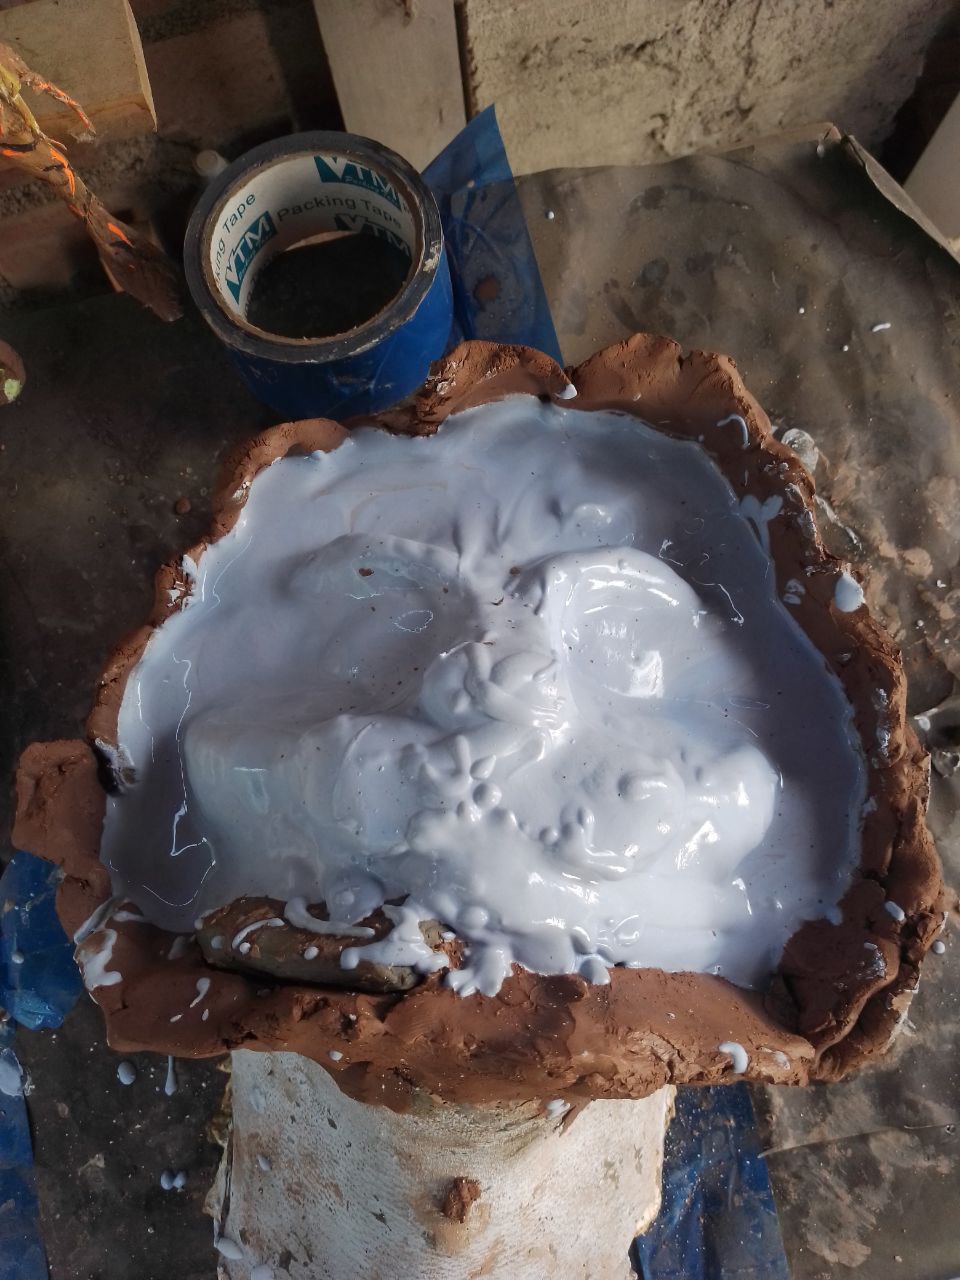
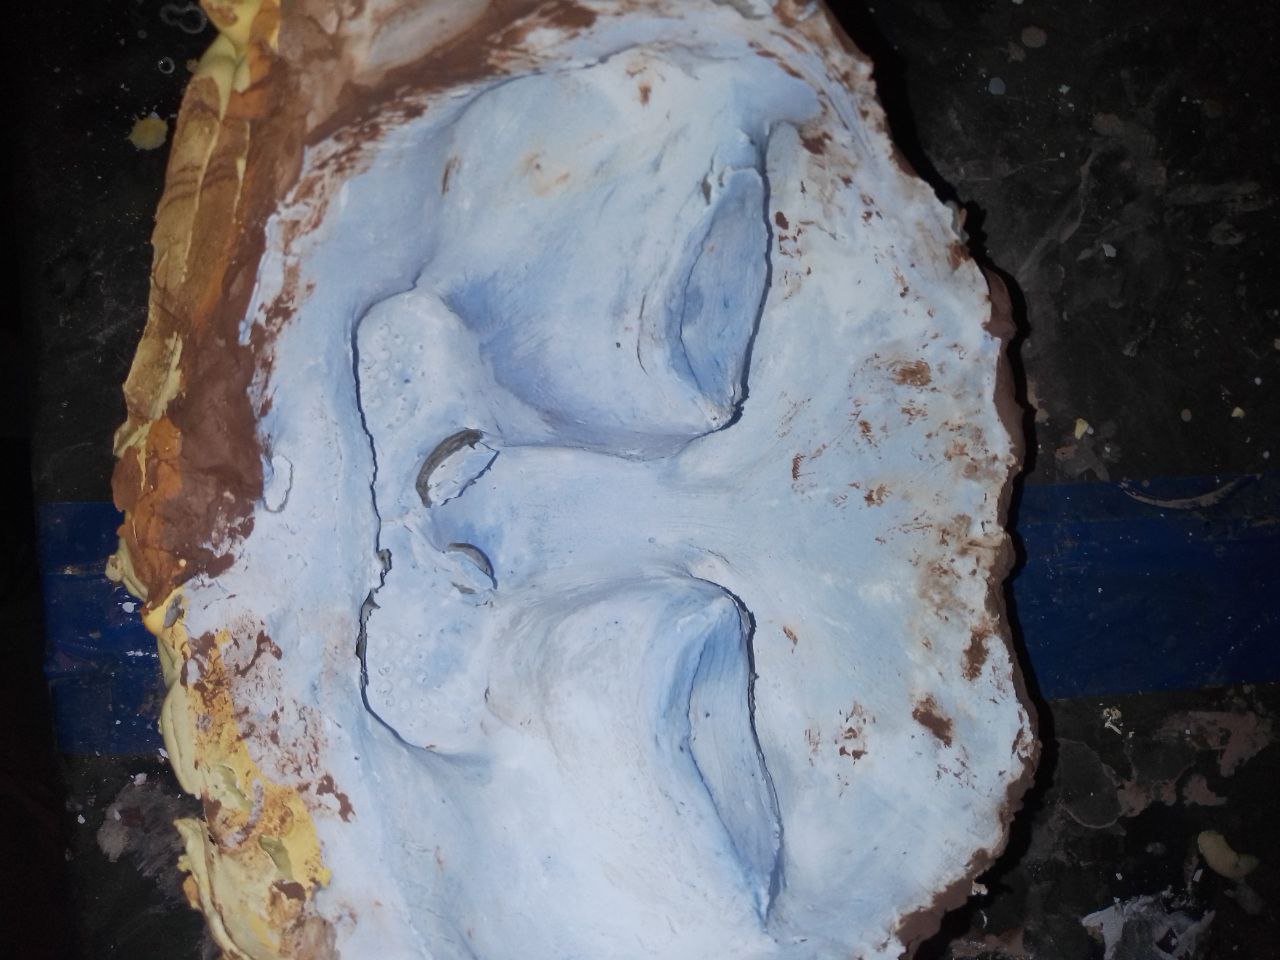
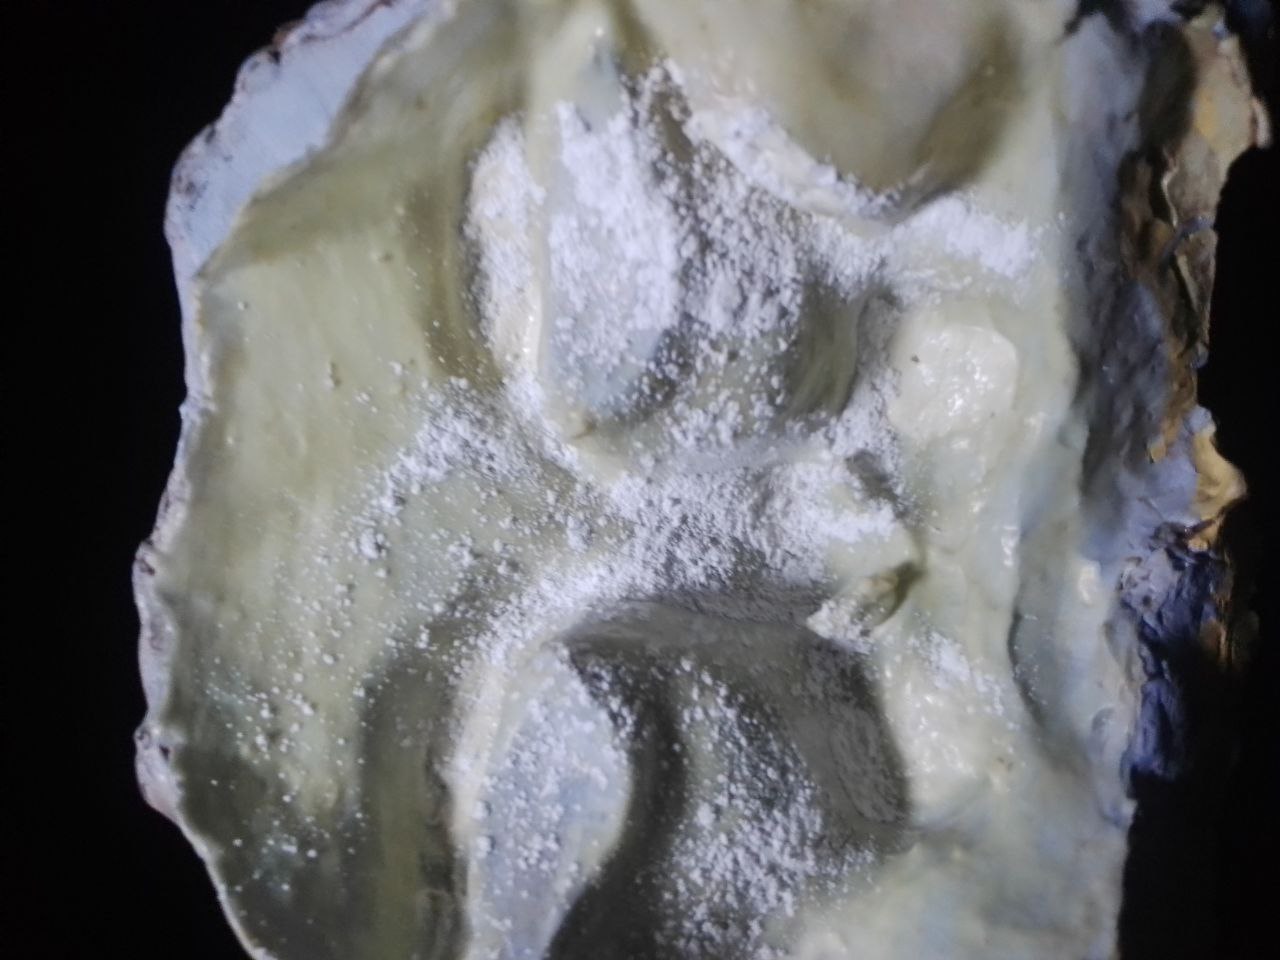
una listo la escultura del personaje procedi a imprimirlo en yeso para ello bordee mi escultura con plastilina y arcilla luego tome yeso en polvo y mezclando con agua fui vaciando sobre mi escultura capa por cada y deje secar
 |  |  |
 |  |  |
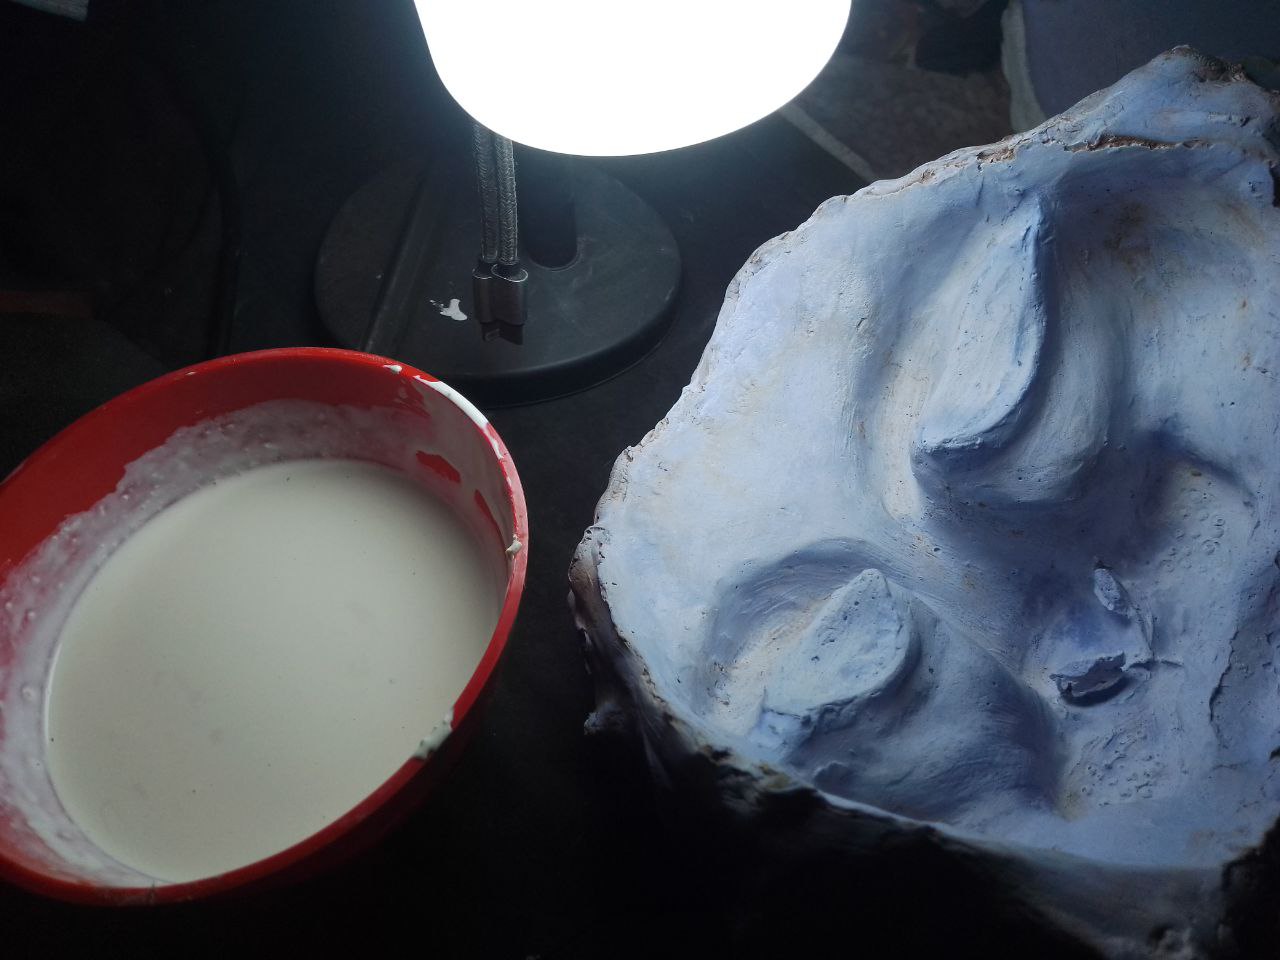
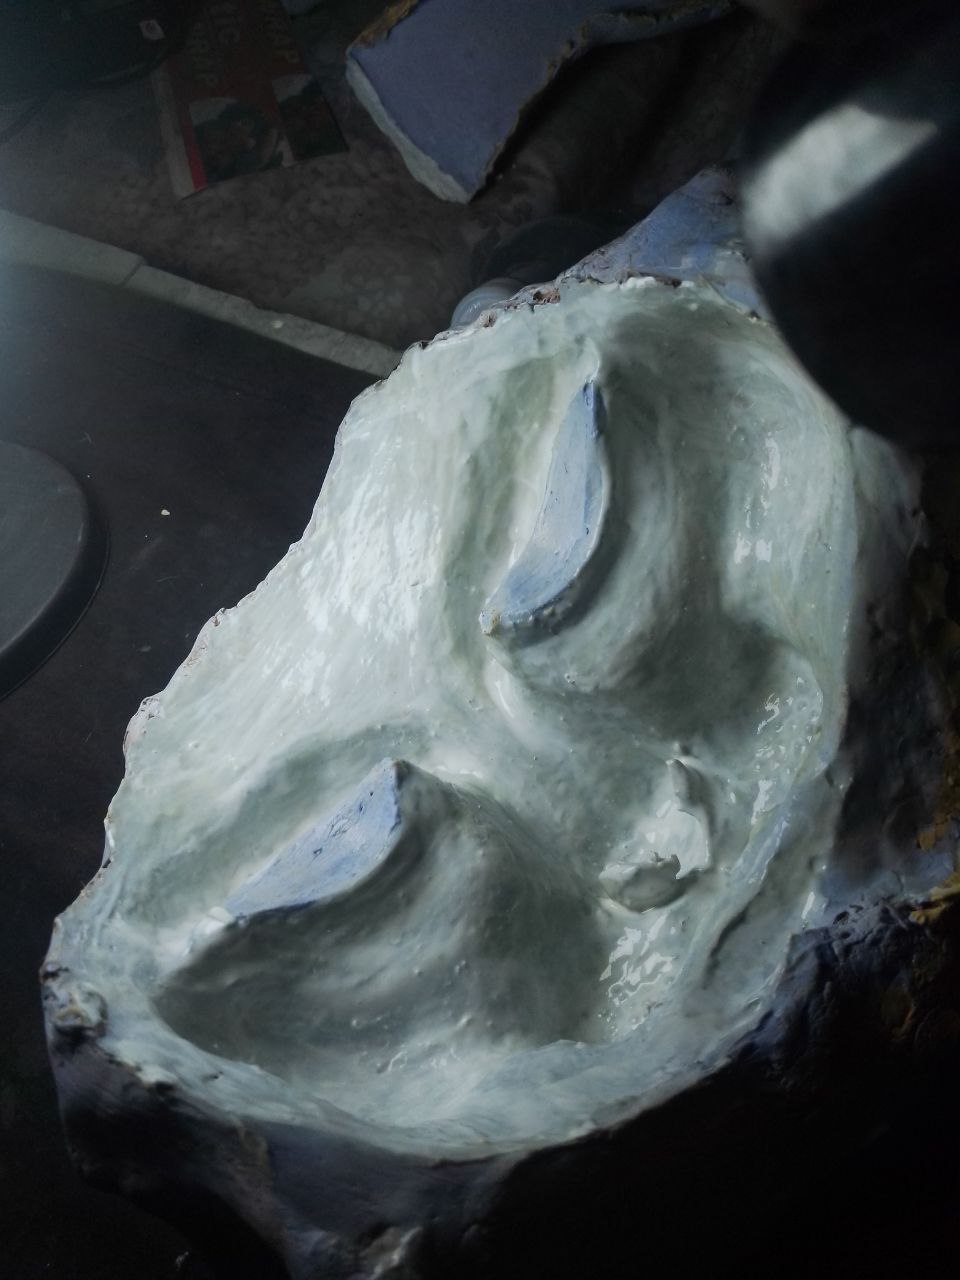
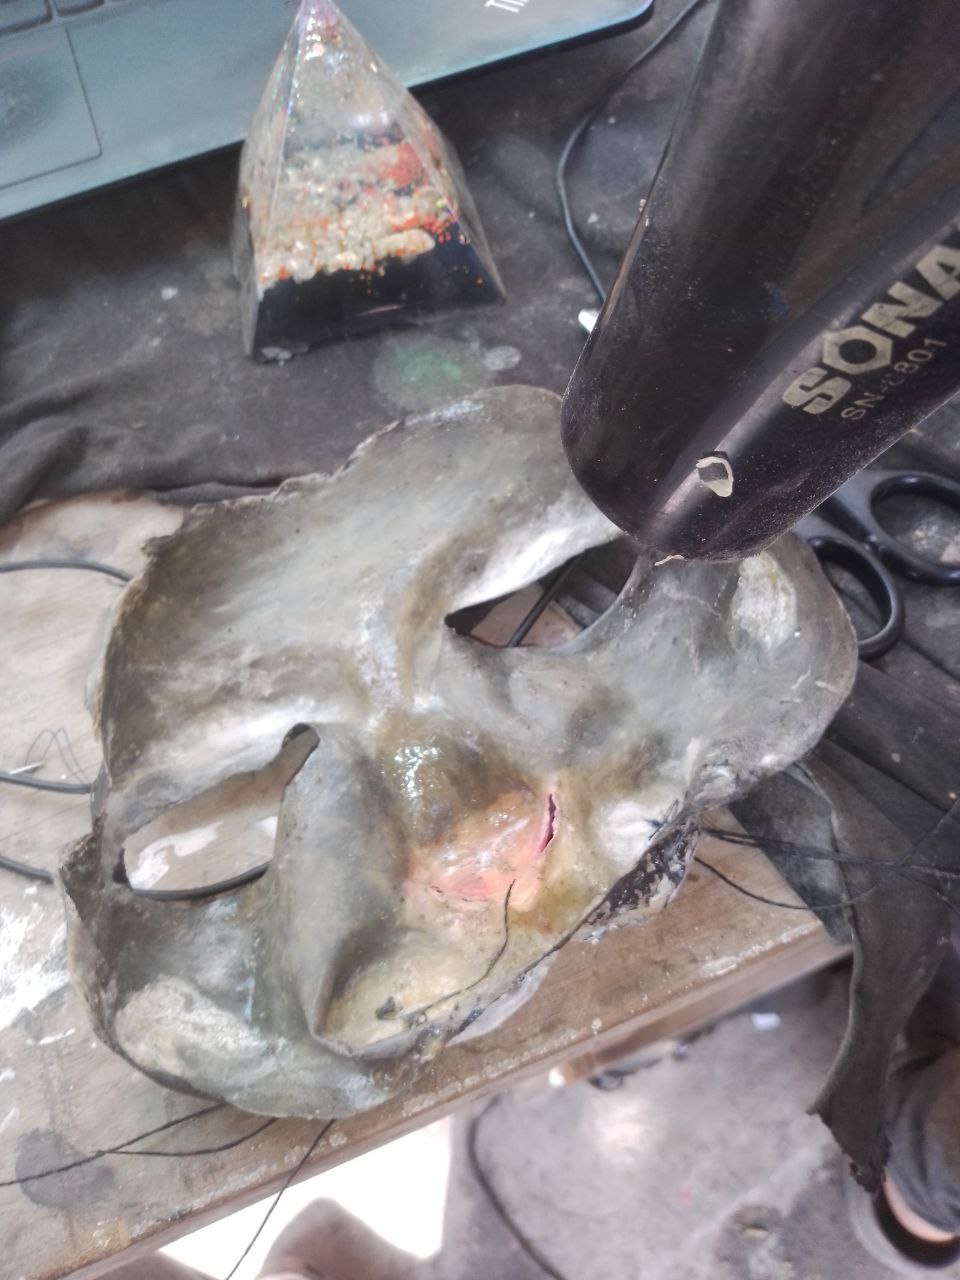
una vez listo el molde en negativo de mi personaje procedi a crear la protesis facial usando latex liquido aplicando con hisopos y algodon capa por capa y secando con el secador de cabello para acelerar el proceso aproximadamente 8 capaz
| column1 | column2 | column3 |
|---|---|---|
 |  | 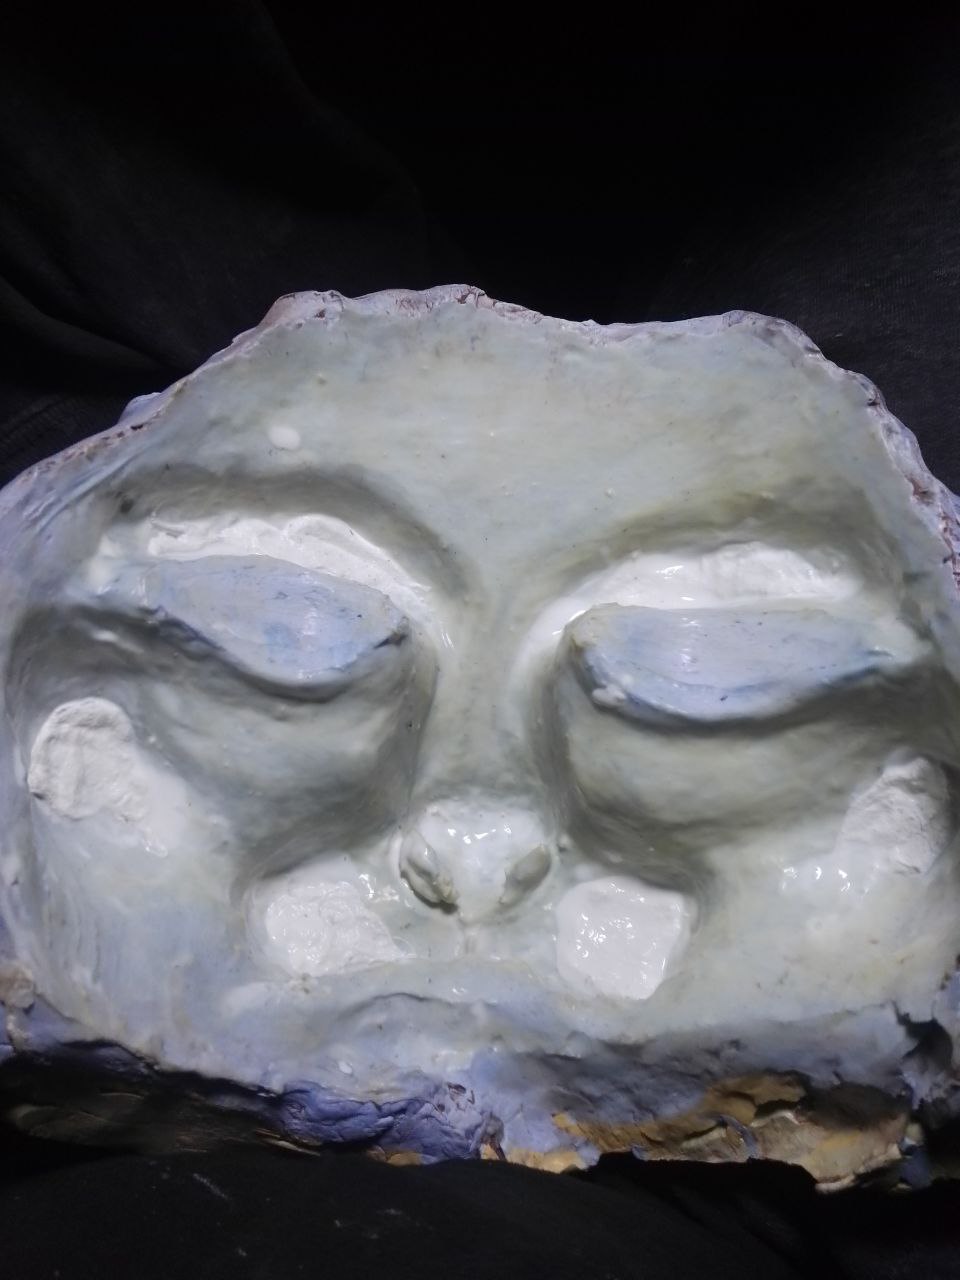 |
después que seco todas las capaz de látex le aplique talco por fuera y dentro para sellar y que no se pegue la prótesis al retirarla del molde
| column1 | column2 | column3 |
|---|---|---|
 |  |  |
lista mi protesis la maquille con sombra y la guarde para continuar al siguiente dia con la parte de abajo
Aplicacion de la protesis:
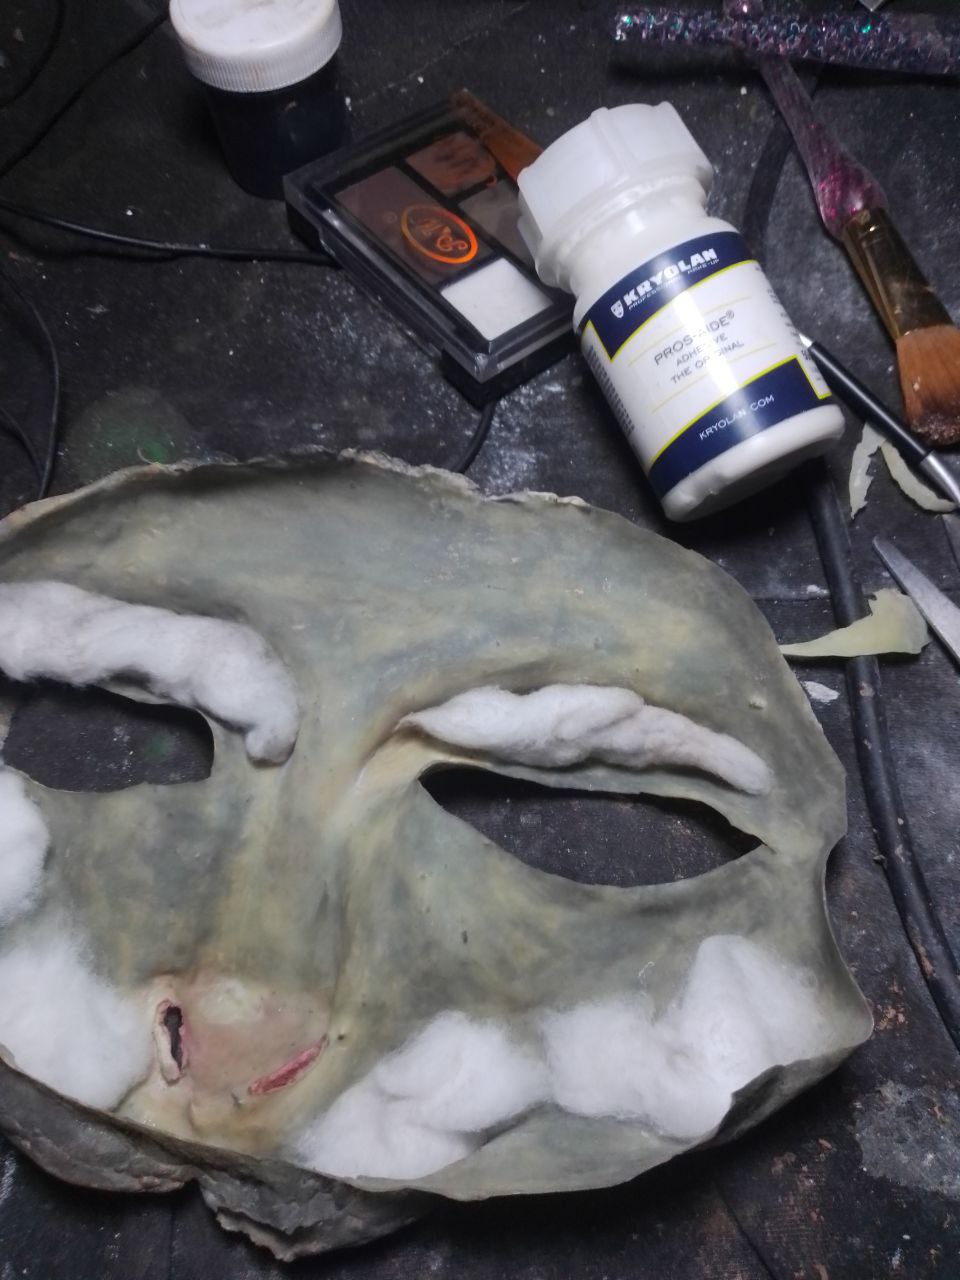
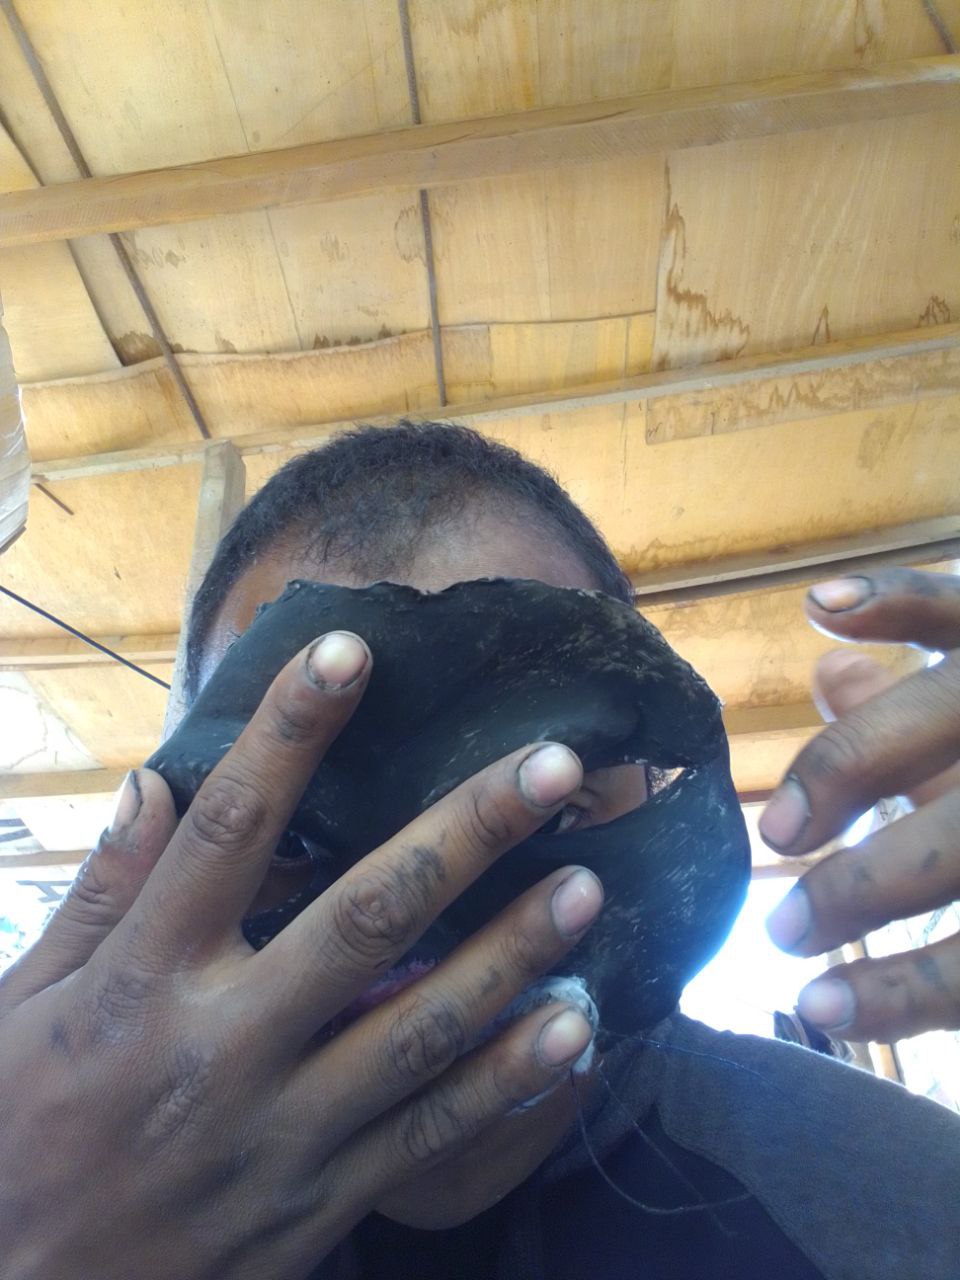
una vez realizado la parte de abajo de la protesis del gato que ya tenia de mi trabajo anterior procedi a colocarme la protesis
lo primero fue tomar un poco de pegamento para protesis Pro-Aide de Kryolan y aplique sobre los borde de la protesis y lo coloque sobre el rostro y luego me lo quite esto lo hice para marcar la zona en donde debo aplicar el adhesivo Pro-Aide
| column1 | column2 | column3 |
|---|---|---|
 |  |  |
 | ||
 | ||
|
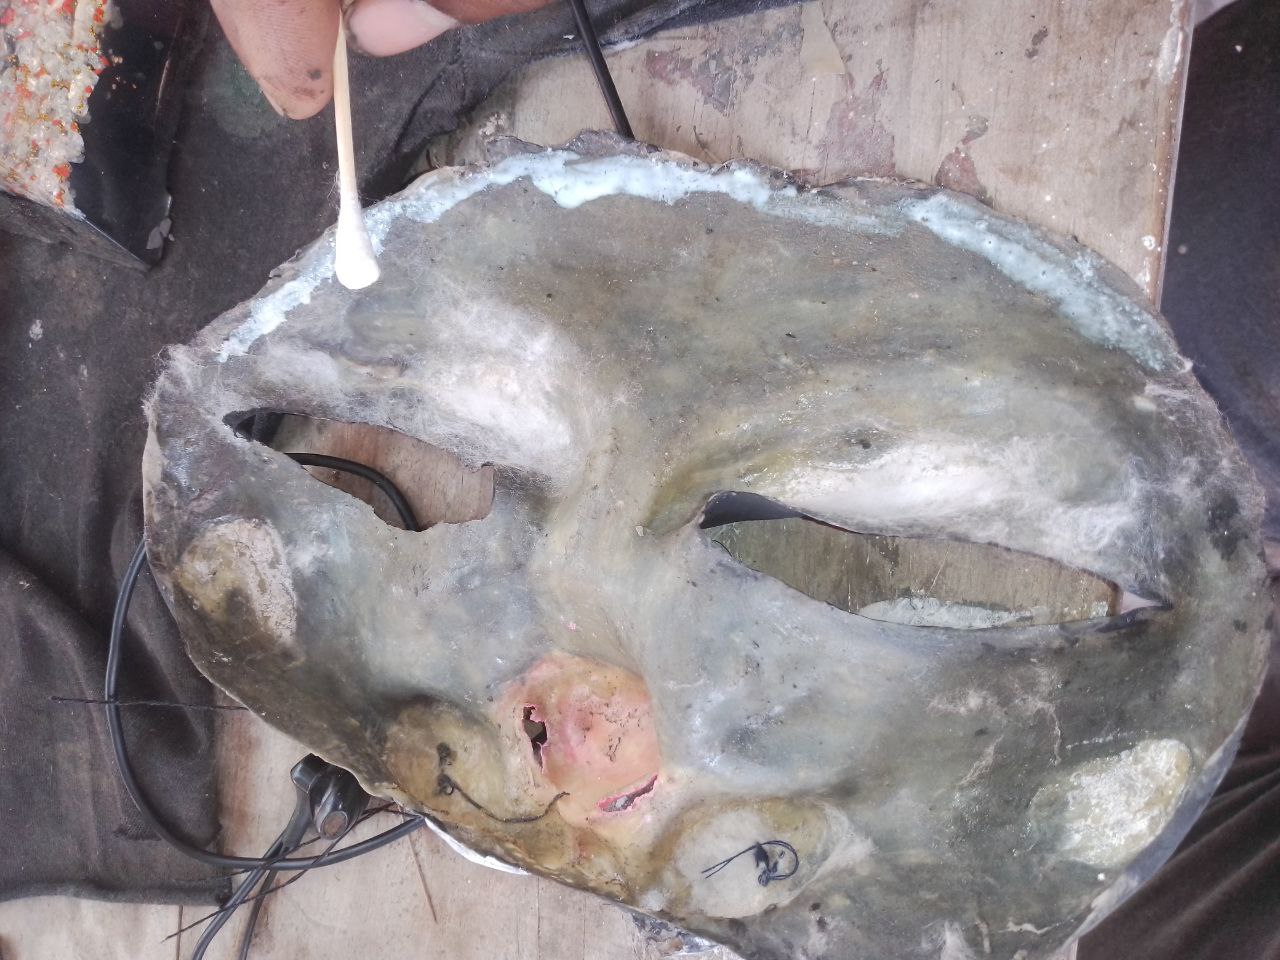
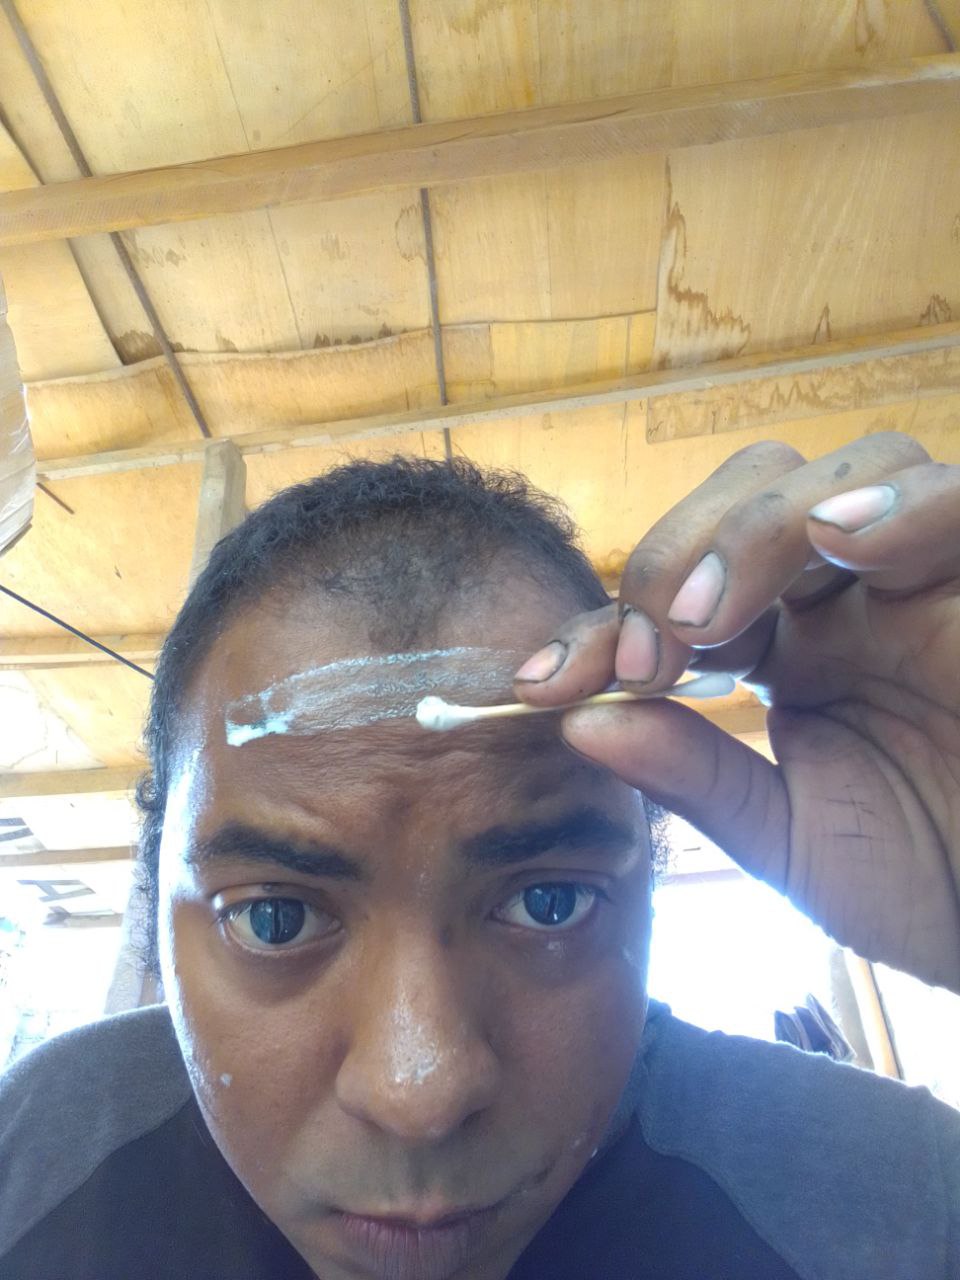
Luego aplique pegamento en el rostro y deje secar tambien en la mascara use el secador para acelerar el proceso
| column1 | column2 | column3 |
|---|---|---|
 |  |  |
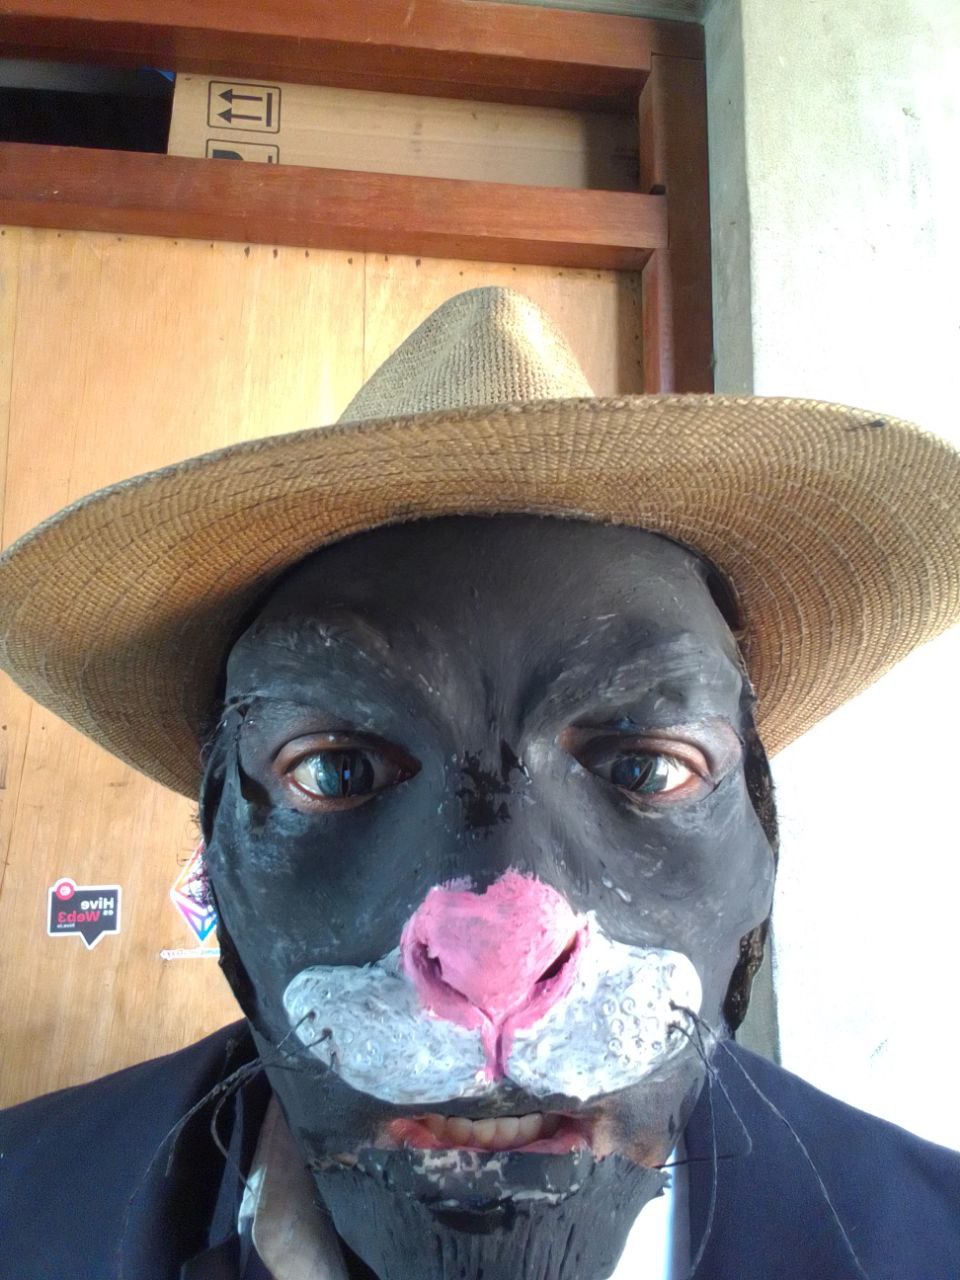
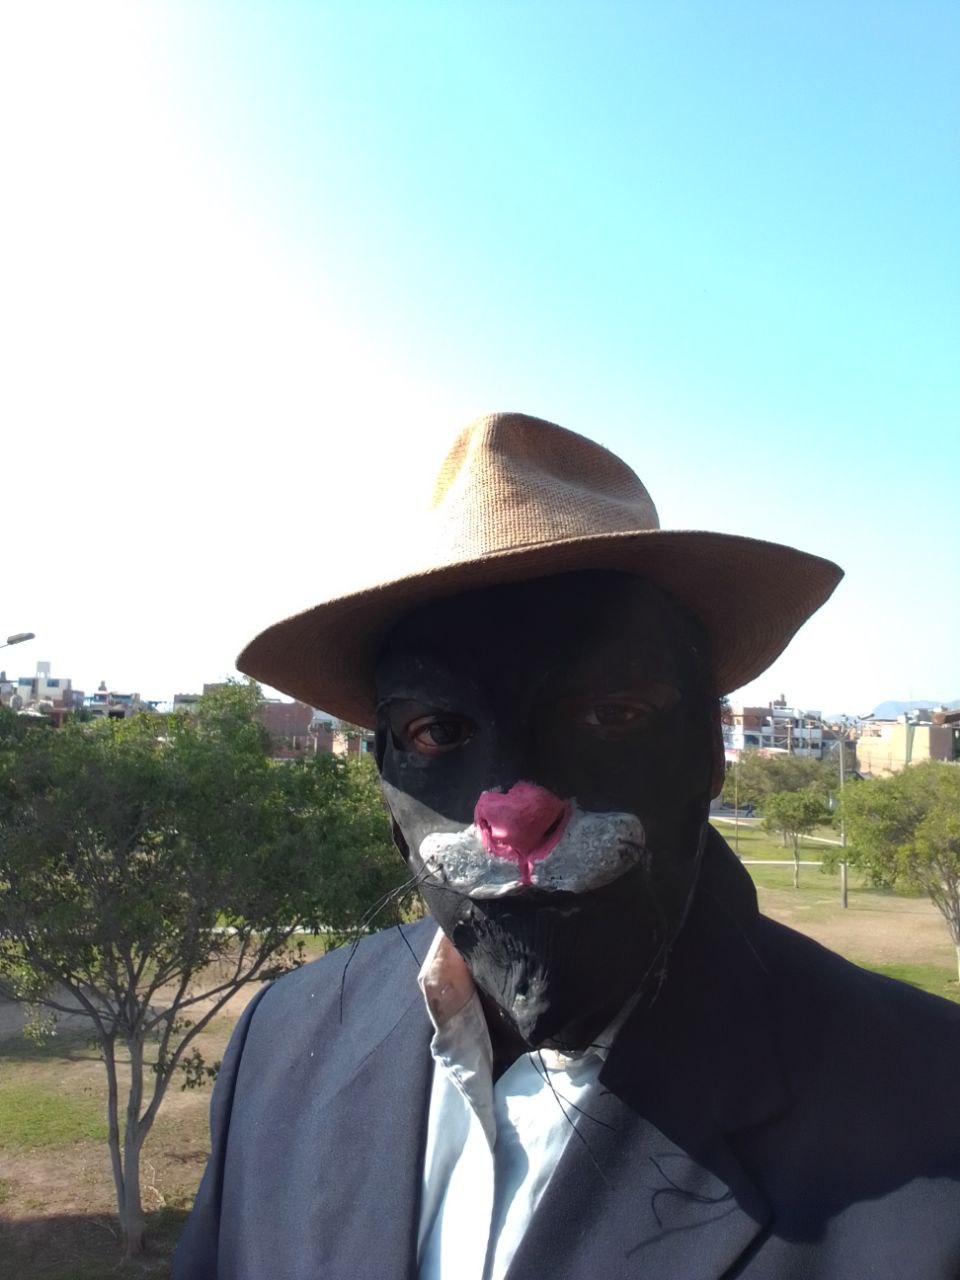
y listo luego que aplicar la prótesis me aplique sombra negra en los ojos y en las mejillas también los lentes de contacto y me coloque el vestuario de mi personaje . muchas gracias por pasar por aquí espero le guste mi personaje


Hello makeup-loving friends, monsters, and fantasy creatures enthusiasts, this time I want to tell you that things have changed in the world of cats after centuries of abundant wealth. Corporate cats have invaded their lands and now they have to look for a job.
Inspired by this little story, I decided to create a makeup look of a humanoid cat, who is on his way to work at the miaucorp offices. He never takes off his hat because it reminds him of his lands that were once his and that he will soon reclaim.
Humanoid cat makeup creation:
Materials:
Liquid latex for molding
Cotton
Plasticine or industrial clay for sculpting
Black tempera
Pros-Aide prosthetic glue
Cotton swabs
Thread and needle
Plaster face of the model
Hair dryer
The first thing I did was on the plaster face of the model, sculpt the character (Cat) using plasticine, so I first heated the clay with a hairdryer to make it soft and usable.
| column1 | column2 | column3 |
|---|---|---|
| | |
| column1 | column2 | column3 |
|---|---|---|
| ||
| | |
Once the character sculpture was ready, I proceeded to print it on plaster. To do this, I outlined my sculpture with plasticine and clay, then I took plaster powder and, mixing it with water, poured it over my sculpture layer by layer and let it dry.
| | |
| | |
Once the negative mold of my character was ready, I proceeded to create the facial prosthetic using liquid latex, applying it with cotton swabs and cotton layer by layer and drying it with a hairdryer to speed up the process, approximately 8 layers.
| column1 | column2 | column3 |
|---|---|---|
| | |
After drying all the latex layers, I applied talcum powder inside and outside to seal and prevent the prosthesis from sticking when removing it from the mold.
| column1 | column2 | column3 |
|---|---|---|
| | |
Once my prosthetic was ready, I applied eyeshadow and stored it to continue with the lower part the next day.
Prosthesis application:
Once I had finished the lower part of the cat prosthetic that I already had from my previous work, I proceeded to apply the prosthetic. The first step was to take a bit of Pro-Aide prosthetic glue from Kryolan and apply it on the edges of the prosthesis, then placed it onto my face and removed it. I did this to mark the area where I should apply the Pro-Aide adhesive.
| column1 | column2 | column3 |
|---|---|---|
| | |
| ||
| ||
|
Next, I applied glue on the face and let it dry, also using the hairdryer on the mask to speed up the process.
Finally, after applying the prosthetic, I did black eyeshadow on the eyes and cheeks, put on contact lenses, and dressed up my character. Thank you very much for stopping by, I hope you like my character.
Translated and formatted with Hive Translator by @noakmilo.
Posted Using InLeo Alpha