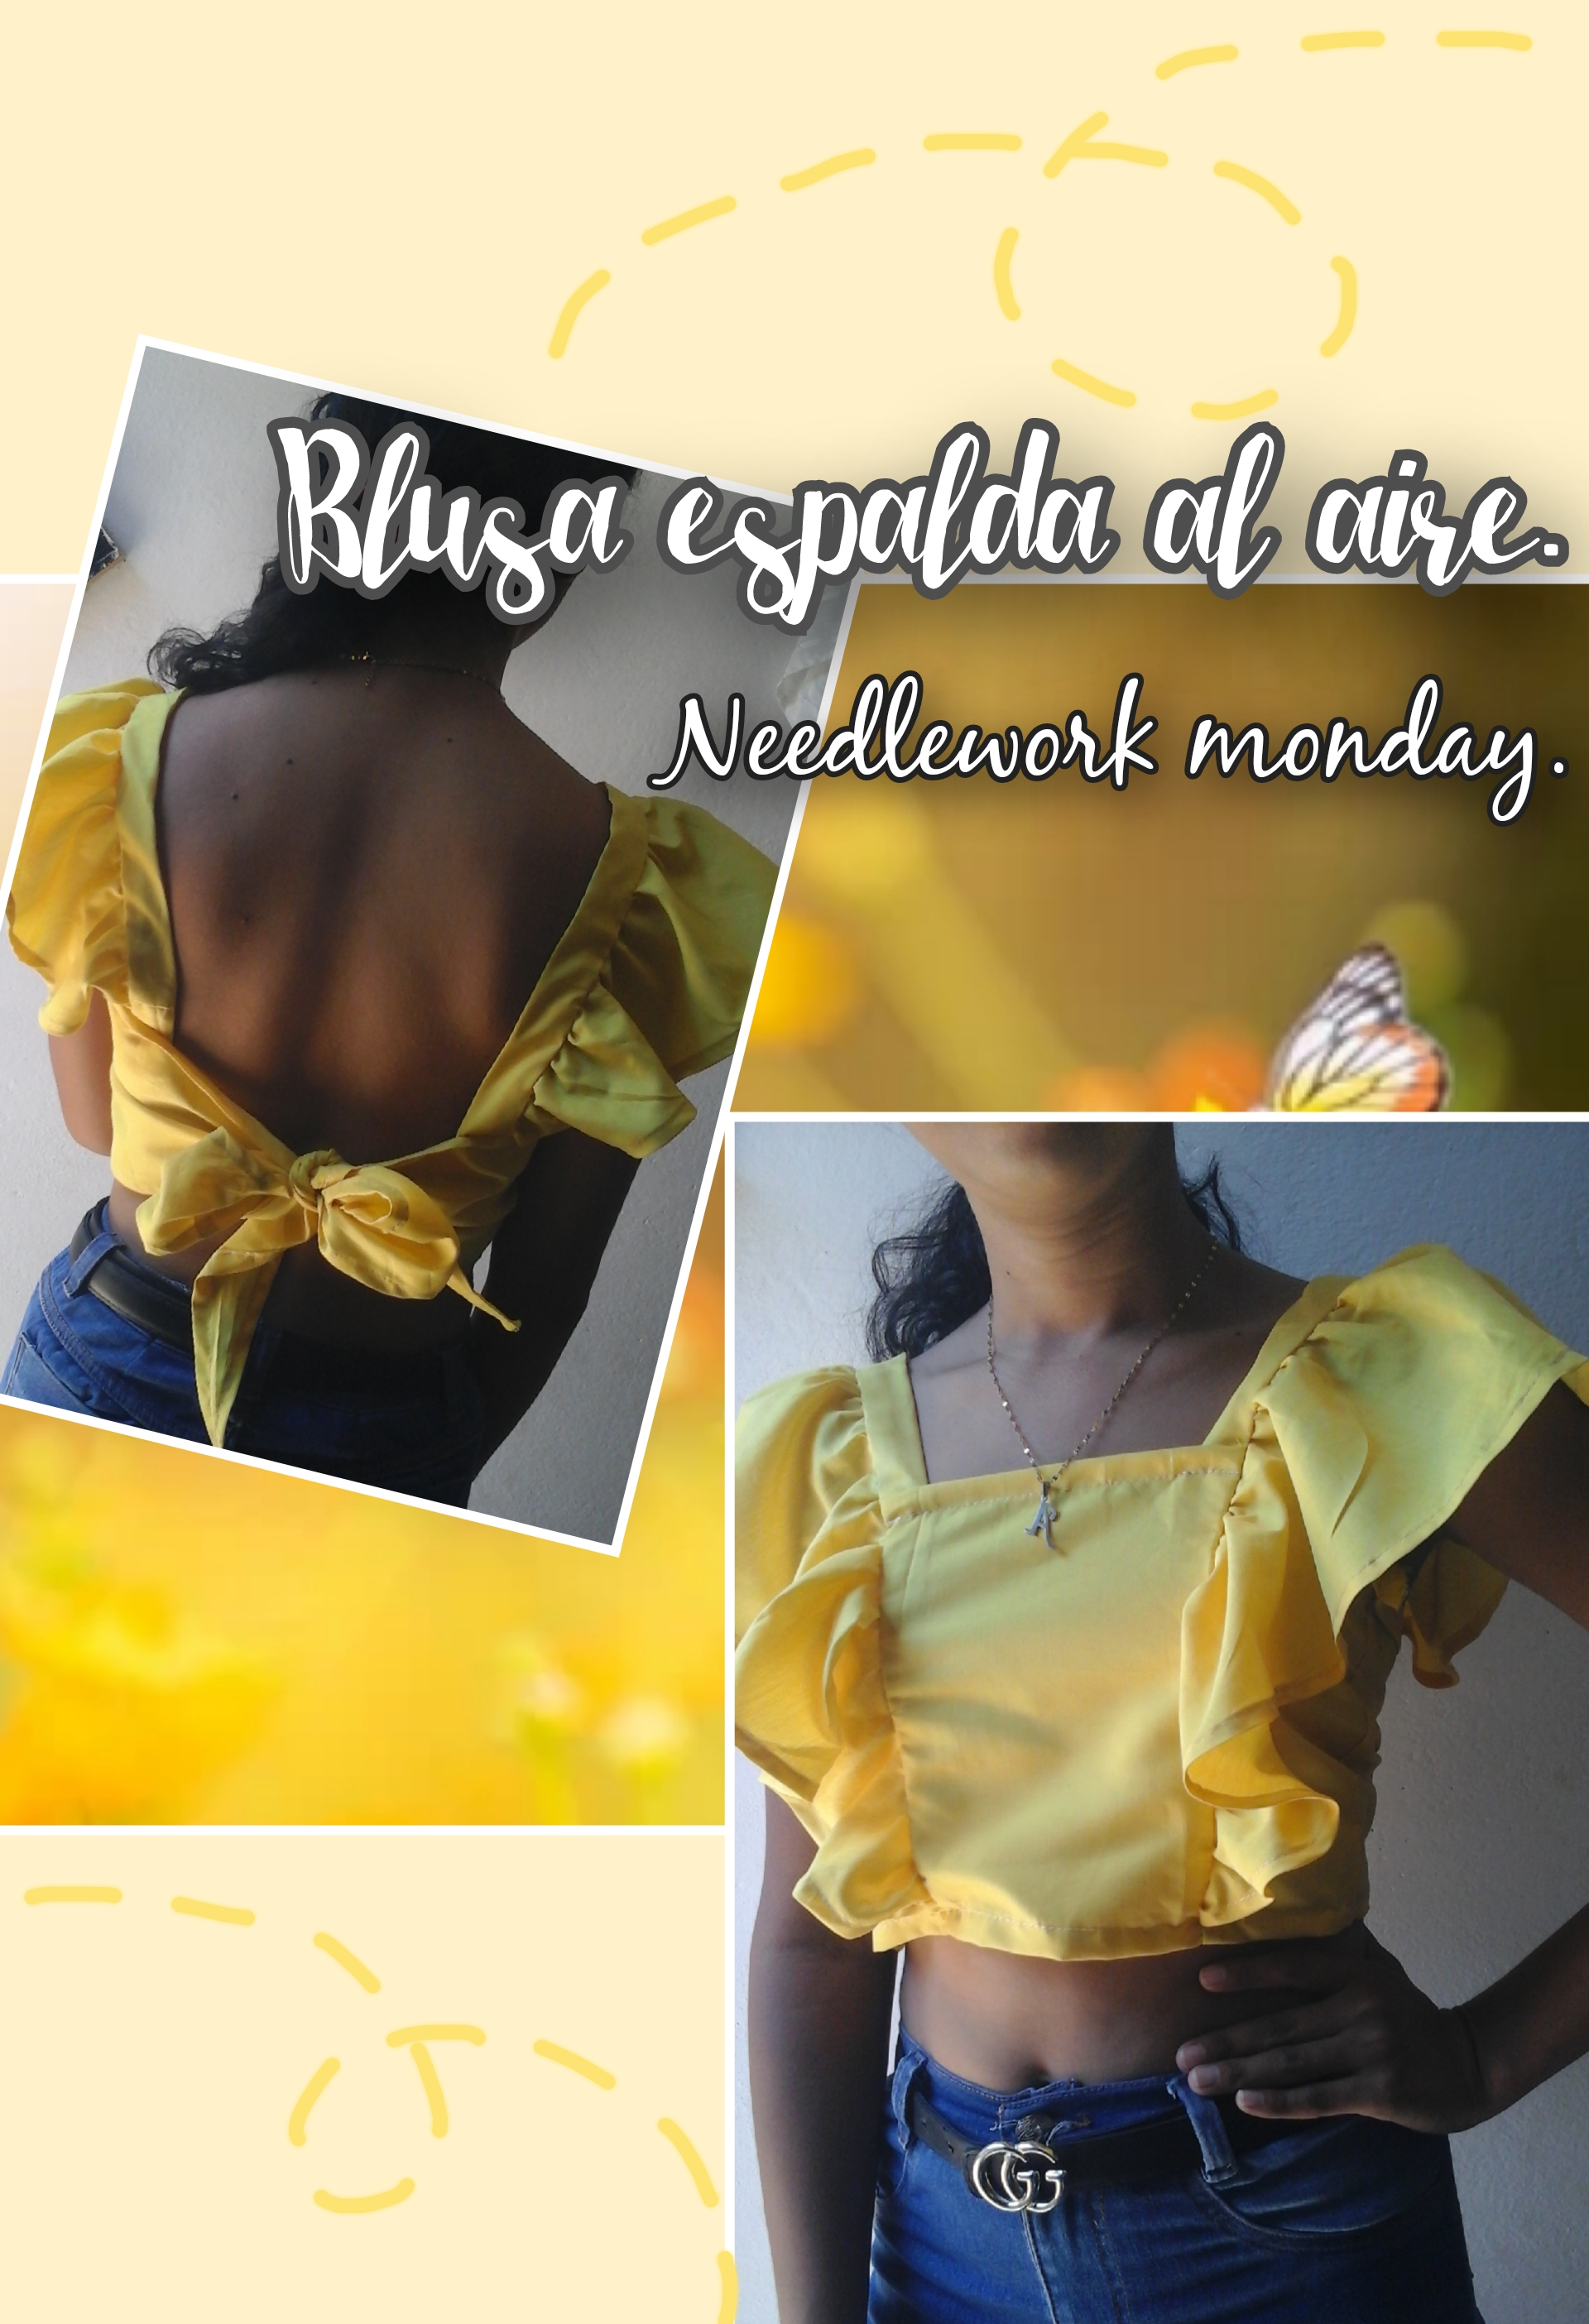
Feliz lunes mis queridos amigos costureros de hive, casi termina un día más y le damos gracias a Dios por ayudarnos en nuestras labores y cuidarnos. En esta preciosa noche Los saludo con cariño deseándoles mucha paz y dulces sueños😊. Siempre que tengo la oportunidad de compartir con todos ustedes, me llena de mucha alegría ya que no solamente puedo mostrarles mis trabajos de costura sino que disfruto mucho interactuar con ustedes a través de la Comunidad 😊. En esta ocasión quiero empezar mi proyecto con esta bonita frase "Amarilla y bonita como el girasol". Les cuento que llevo días haciendo blusas con diseños bonitos e innovadores como éste que les muestro a continuación. Se trata de una coqueta y elegante blusa amarilla con la espalda abierta (estilo bohemio) que apuesta por prendas fluidas y con movimiento para que a la hora de vestir nos sintamos cómodas y libres al momento de salir. Para algunas personas puede resultar un poco complicado lucir outfits con tonalidades llamativas como este color, pero también sé que muchas se arriesgan a usarlos sin ningún problema y quedan genial. Aunque ayer tuve muchos problemas con el sistema eléctrico, finalmente pude terminar mi blusa con mucho éxito. Amigos, si les gusta esta propuesta pueden seguirme hasta el final de mi post.
Happy Monday my dear seamstress friends of hive, another day is almost over and we thank God for helping us in our work and taking care of us. On this beautiful night I greet you with love, wishing you much peace so that you may have sweet dreams😊. Whenever I have the opportunity to share with all of you it fills me with great joy, since not only can I show you my sewing work but I really enjoy your virtual company😊. On this occasion I want to start my project with this beautiful phrase "Yellow and pretty like the sunflower". I tell you that I have been making blouses for days with beautiful and innovative designs like this one that I show you below. It is a flirty and elegant yellow blouse with an open back (bohemian style) that opts for fluid and moving garments, so that when it comes to dressing we feel comfortable and free when going out. For some people it may be a little complicated to wear outfits with striking shades like this color, but I also know that many take the risk of wearing them without any problem and they look great. Although I had a lot of problems with the electrical system yesterday, I was finally able to finish my blouse very successfully. Friends, if you like this proposal you can follow me to the end of my post.
EMPECEMOS.
LET'S START.
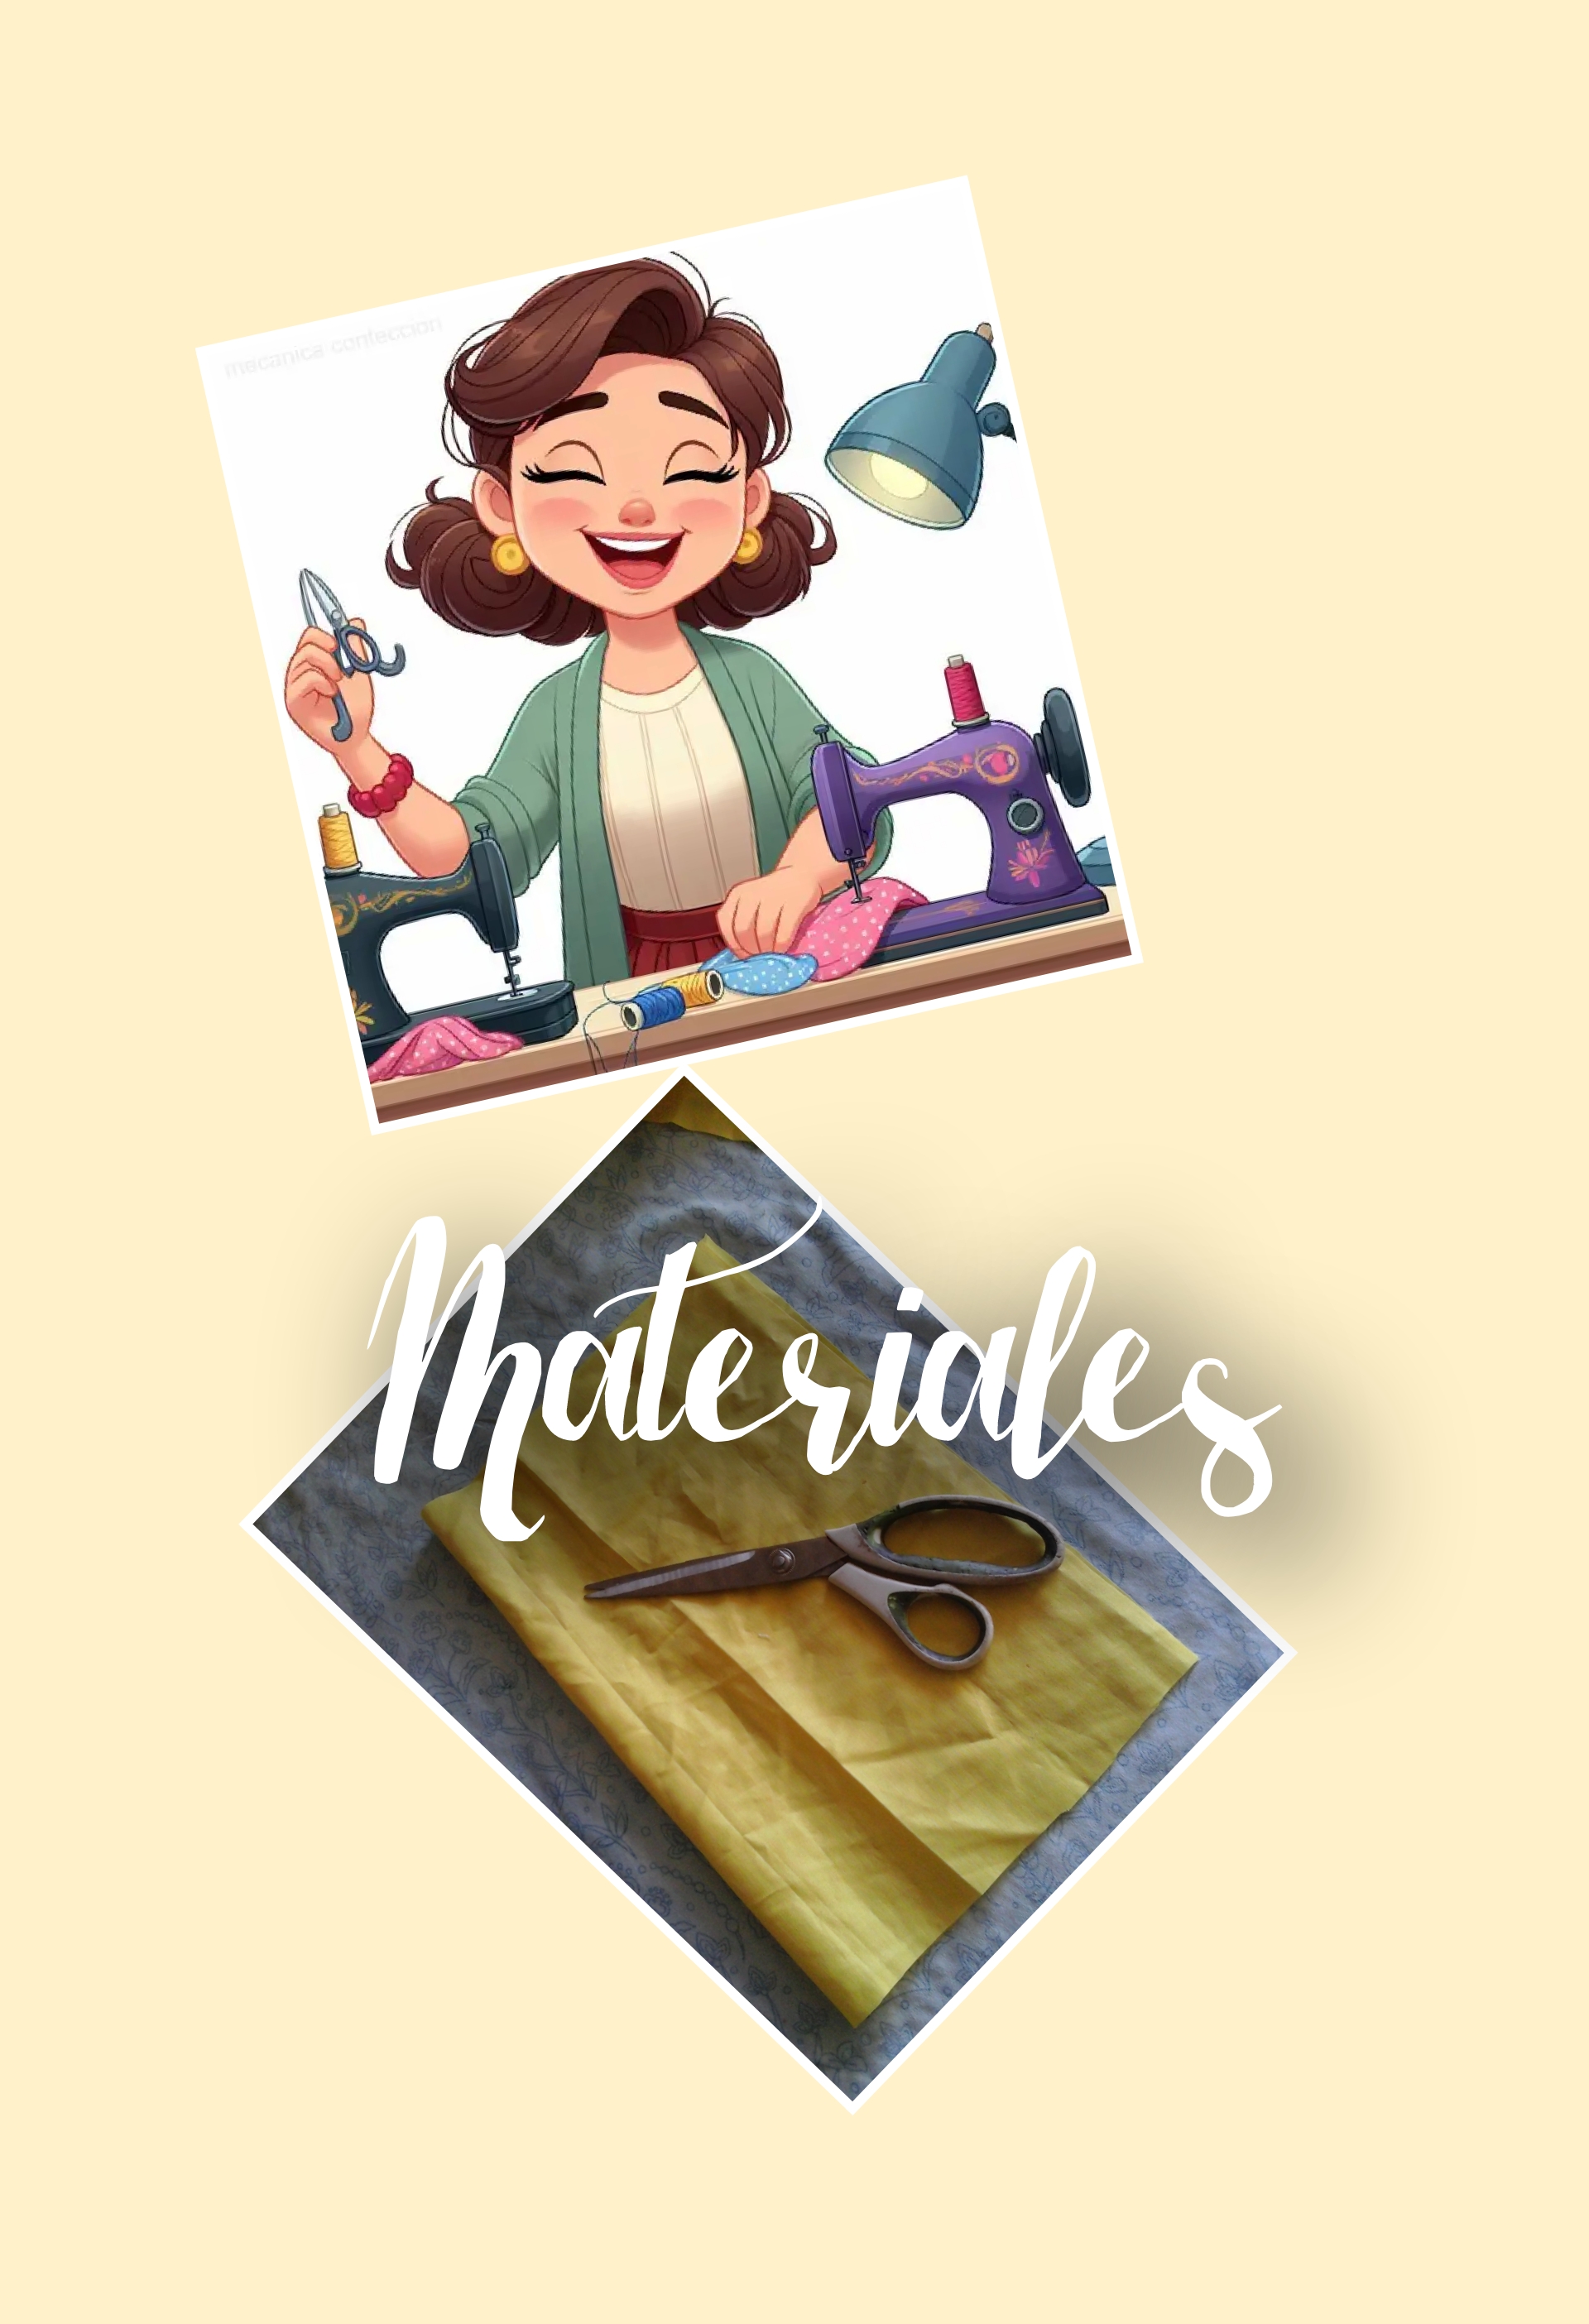
Para confeccionar la blusa necesitaremos los siguientes materiales.
- 1m de tela, puede ser de popelina, piel de durazno, algodón, o cualquier otro tipo de textil que sea suave y ligero.
- Tijera.
- Agujas e hilo.
- Reglas o cinta métrica.
- Patrones o algun top rectangular.
- No olvidemos la plancha.
To make the blouse we will need the following materials.
- 1m of fabric, it can be poplin, peach skin, cotton, or any other type of textile that is soft and light.
- Scissors.
- Needles and thread.
- Rulers or tape measure.
- Patterns or some rectangular top.
- Let's not forget the iron.
Paso 1.
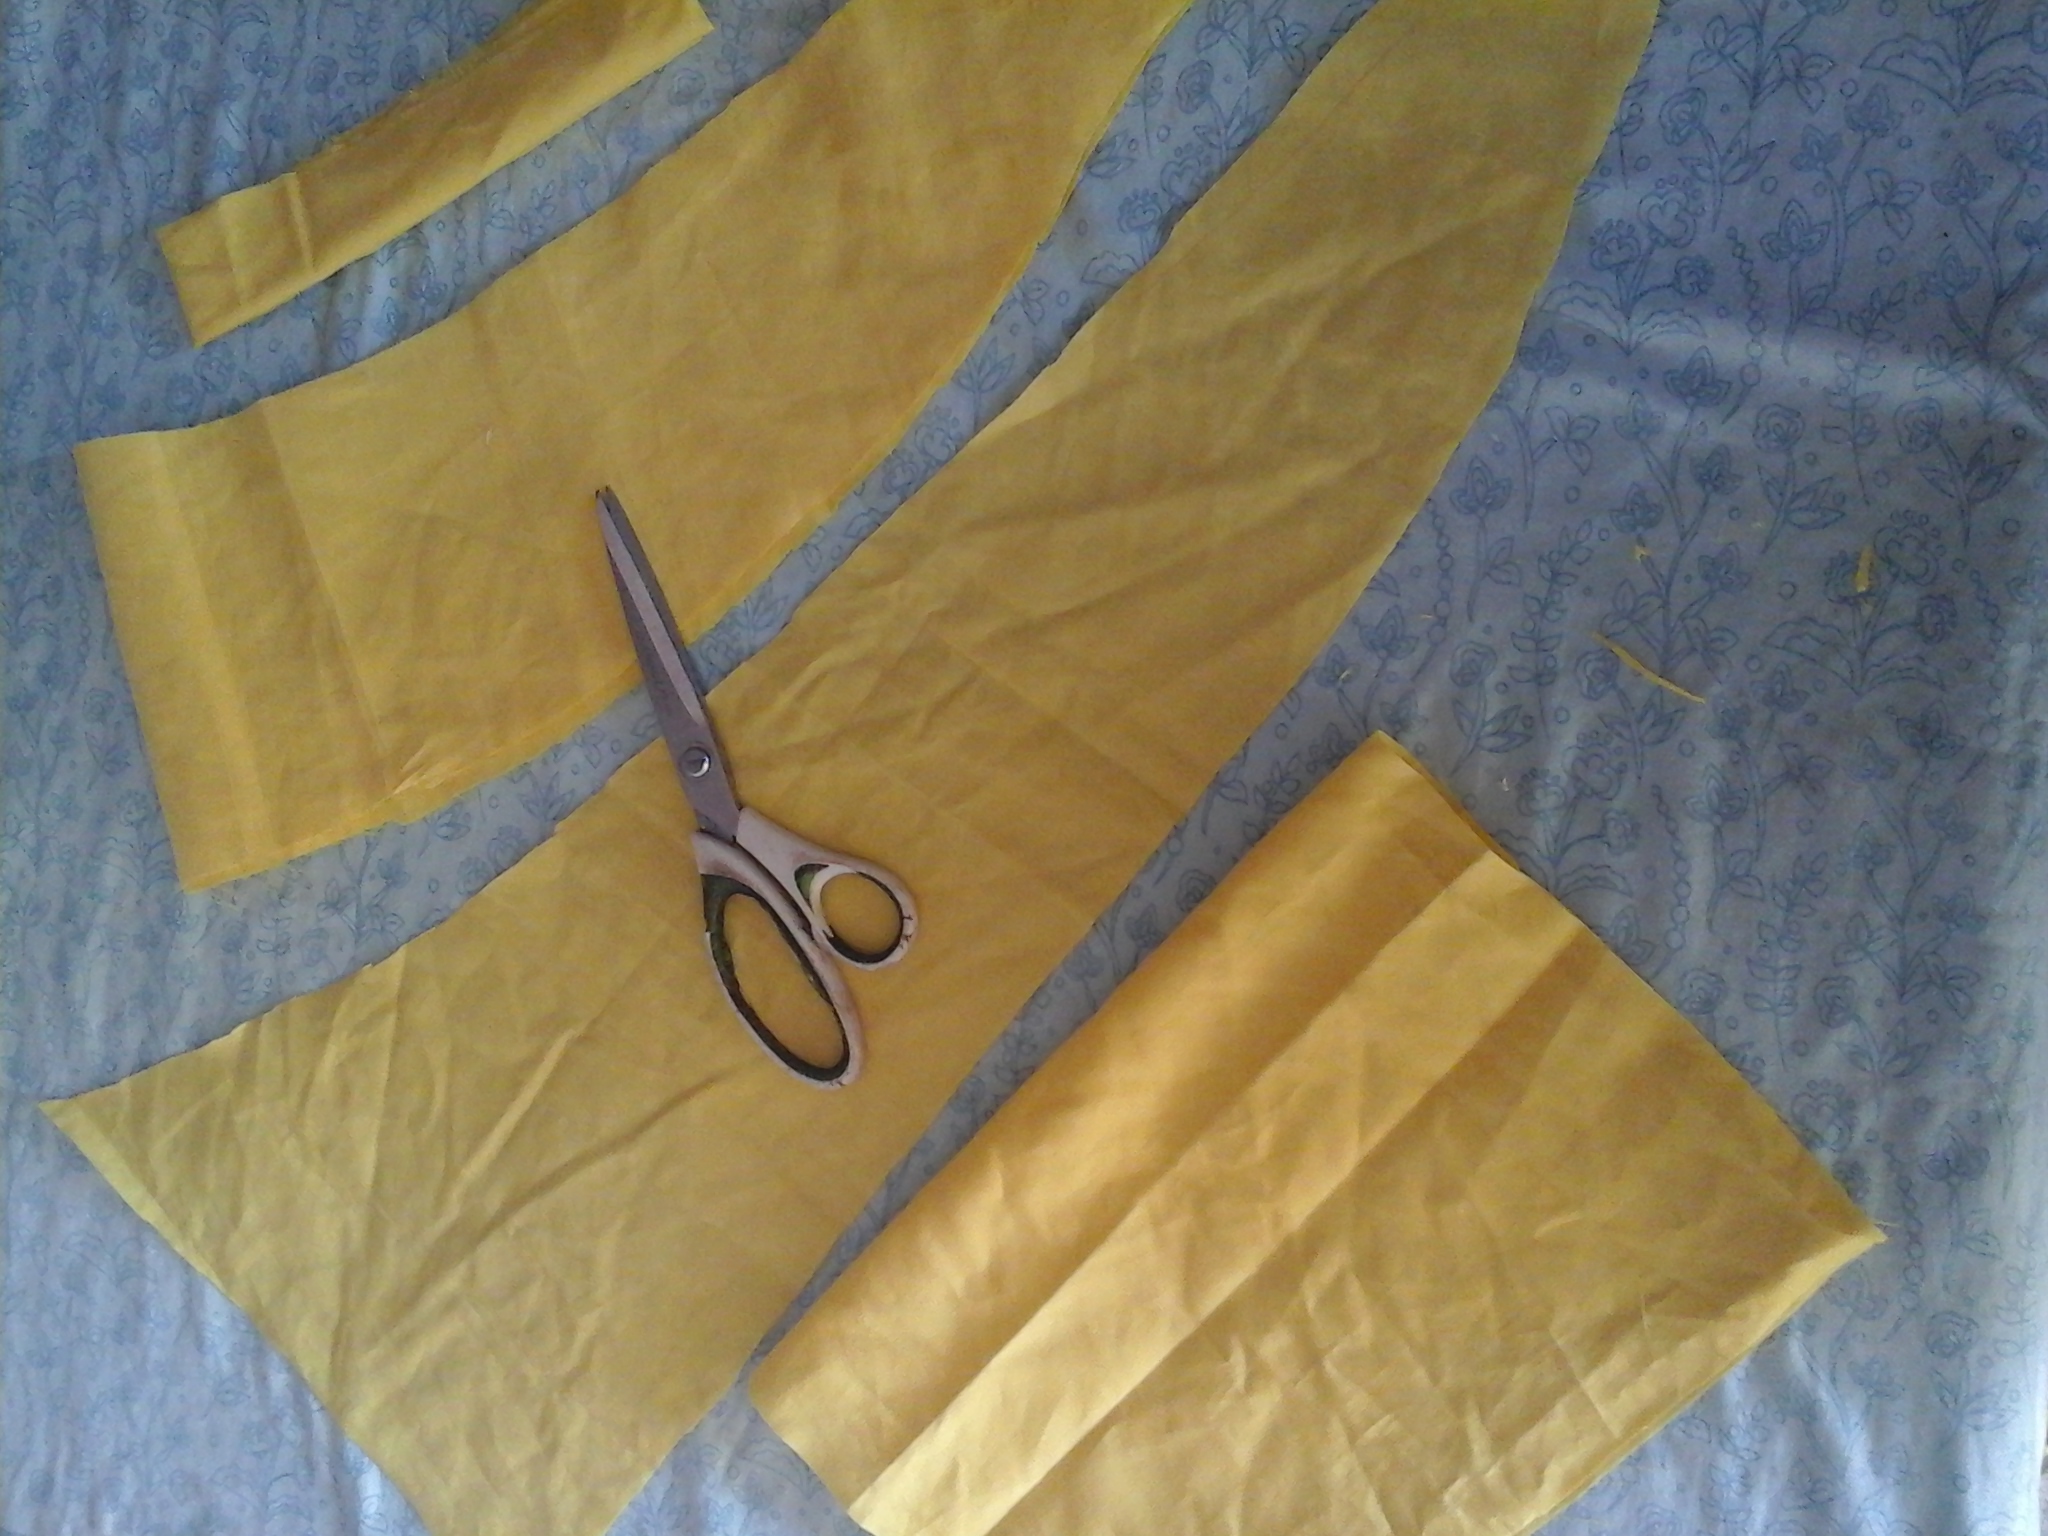
Para iniciar debemos recortar las piezas necesarias para la confección de la blusa. Recortamos un rectángulo el cual será la parte delantera, un par de alas para volado, un par de sesgos para tirantes y la espalda.
Step 1.
To start we must cut out the pieces necessary to make the blouse. We cut out a rectangle which will be the front part, a pair of wings for ruffles, a pair of biases for straps and the back.
Paso 2.
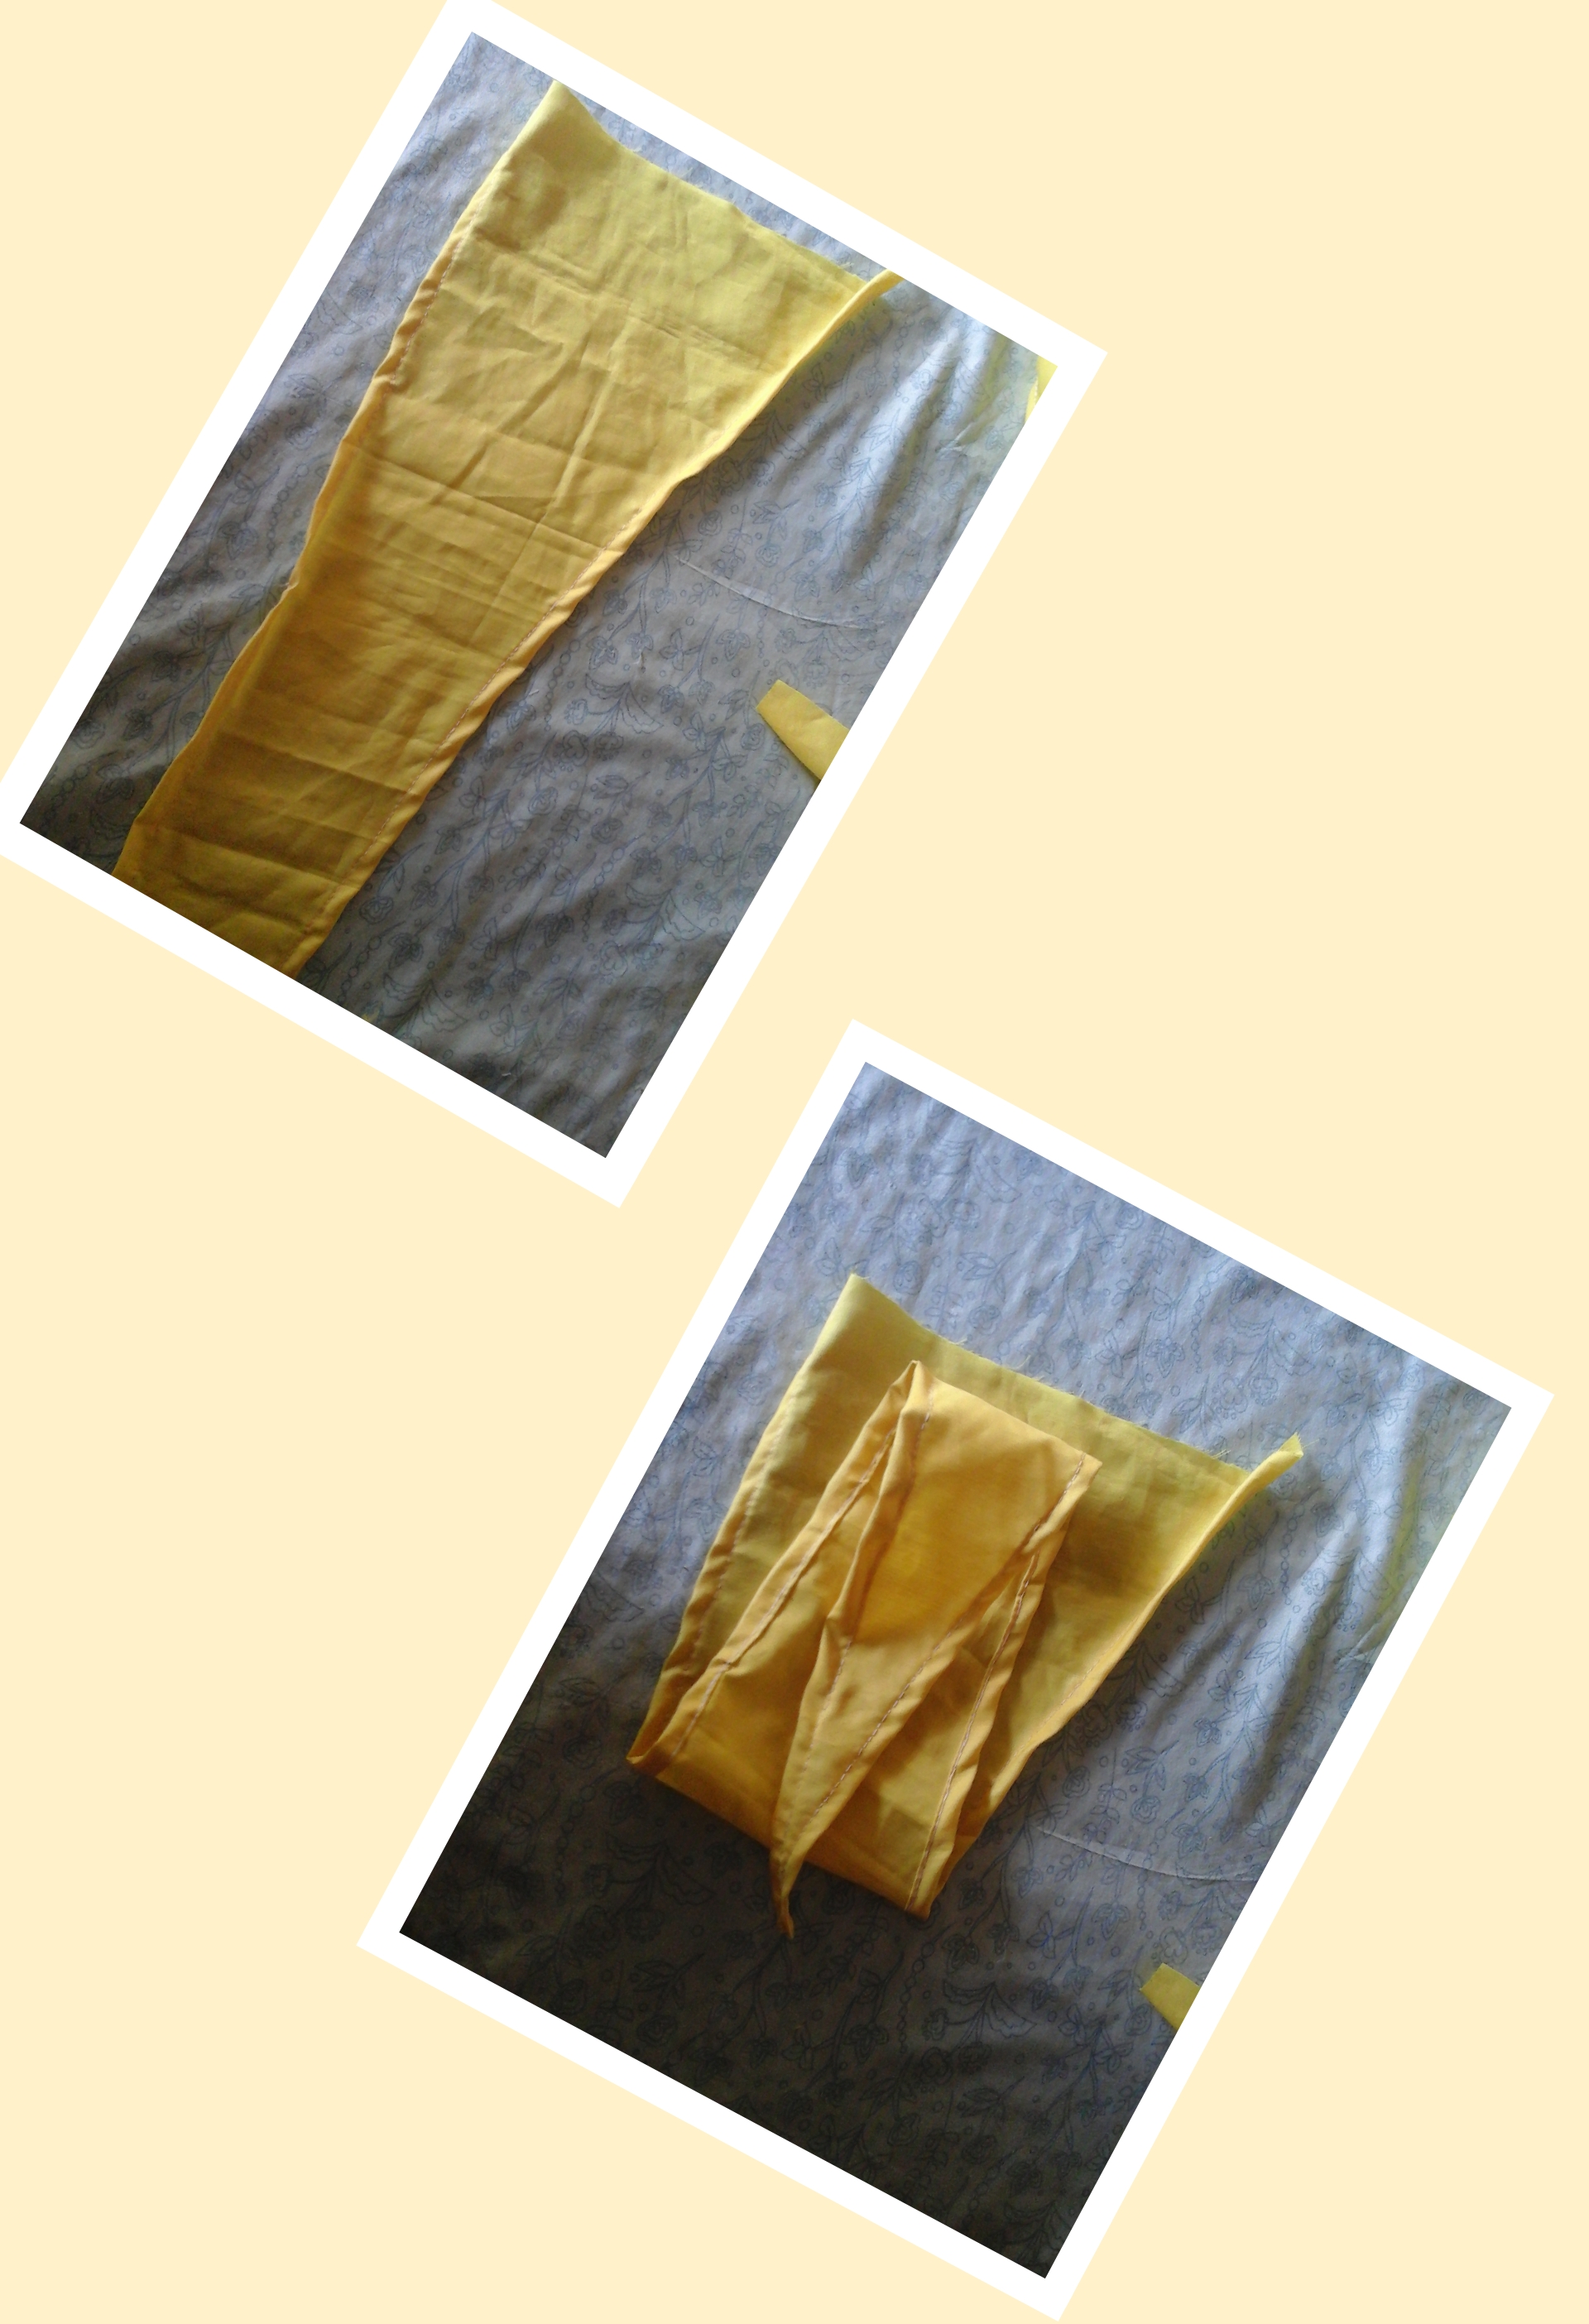
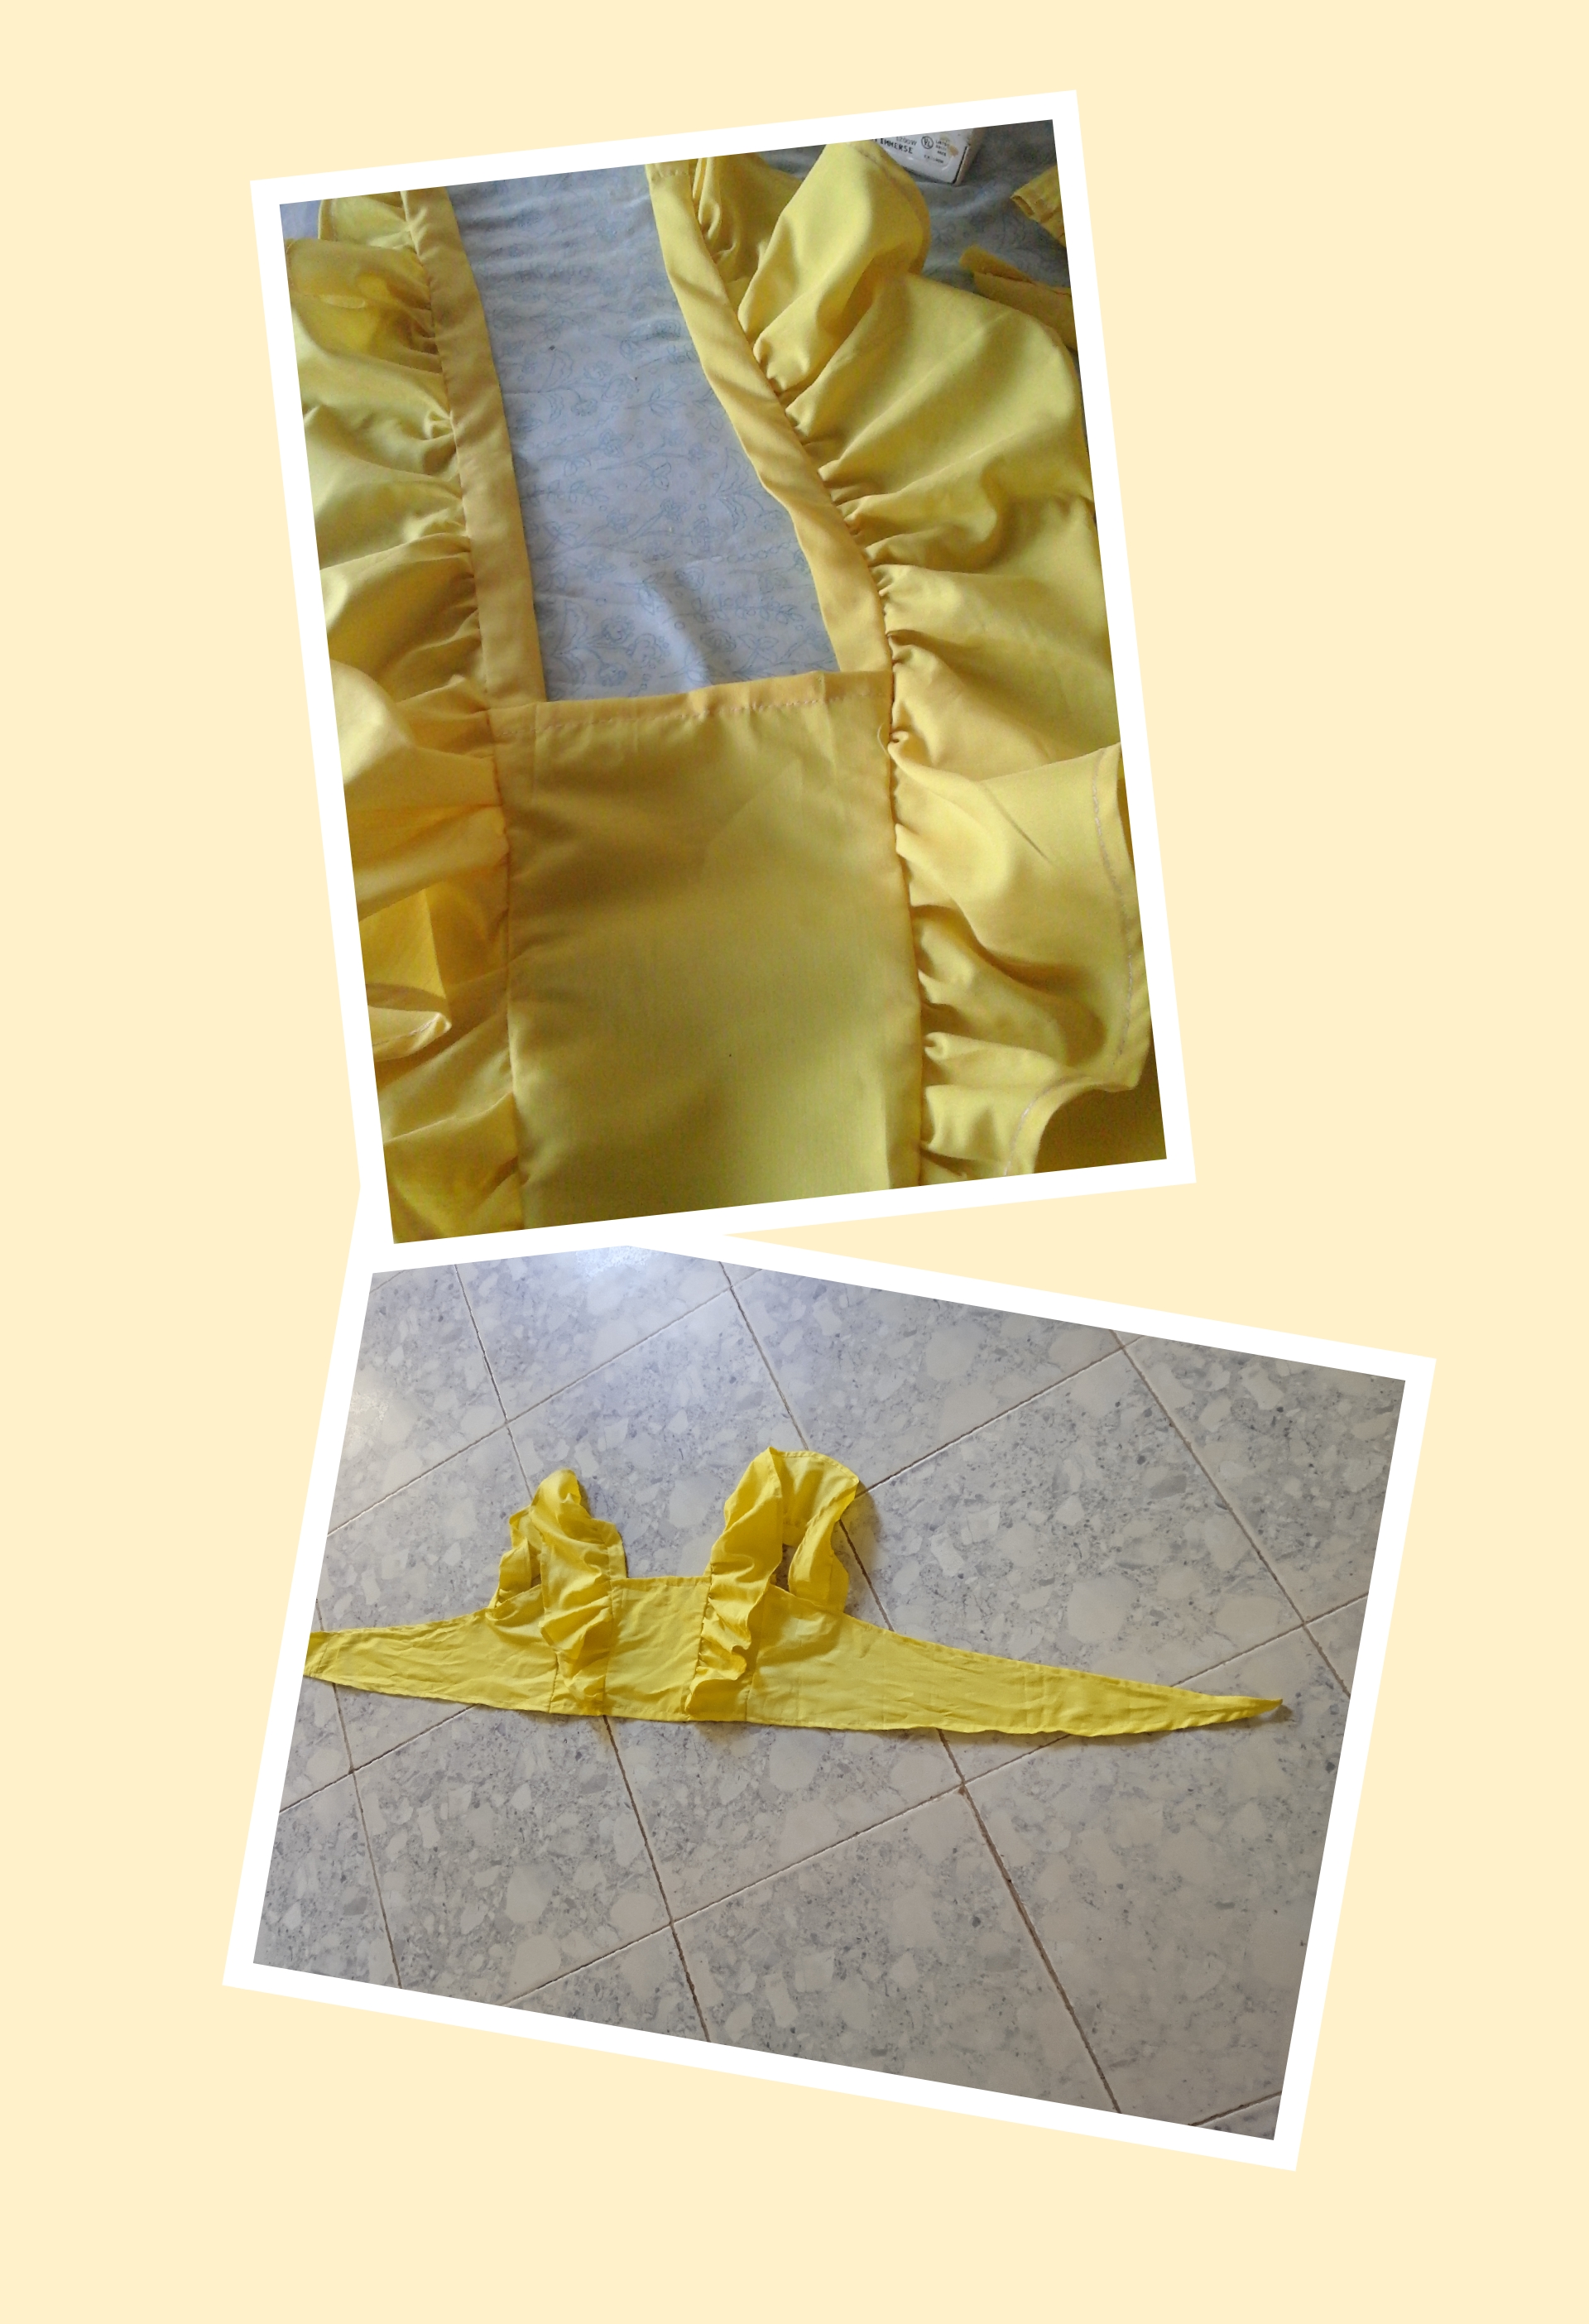
Como les había comentado antes tuve dificultades con la electricidad y no pude planchar mi tela antes de cortar, así que, pido disculpas. Para recortar estas piezas debemos usar un patrón elaborado en papel con las medidas de nuestra preferencia y colocamos sobre la tela, como pueden observar, esta pieza tiene una forma de triángulo pero un poco más largo, para realizar un lazo con los extremos. Una vez terminado, procedo a coser cada una para luego unirlas, aquí les muestro que he terminado de coser las piezas de la espalda.
Step 2.
As I told you before, I had difficulties with the electricity and I couldn't iron my fabric before cutting, so I apologize. To cut out these pieces we must use a pattern made on paper with the measurements of our preference and place it on the fabric, as you can see, this piece has a triangle shape but a little longer, to make a bow with the ends. Once finished, I proceed to sew each one and then join them, here I show you that I have finished sewing the back pieces.
Paso 3.
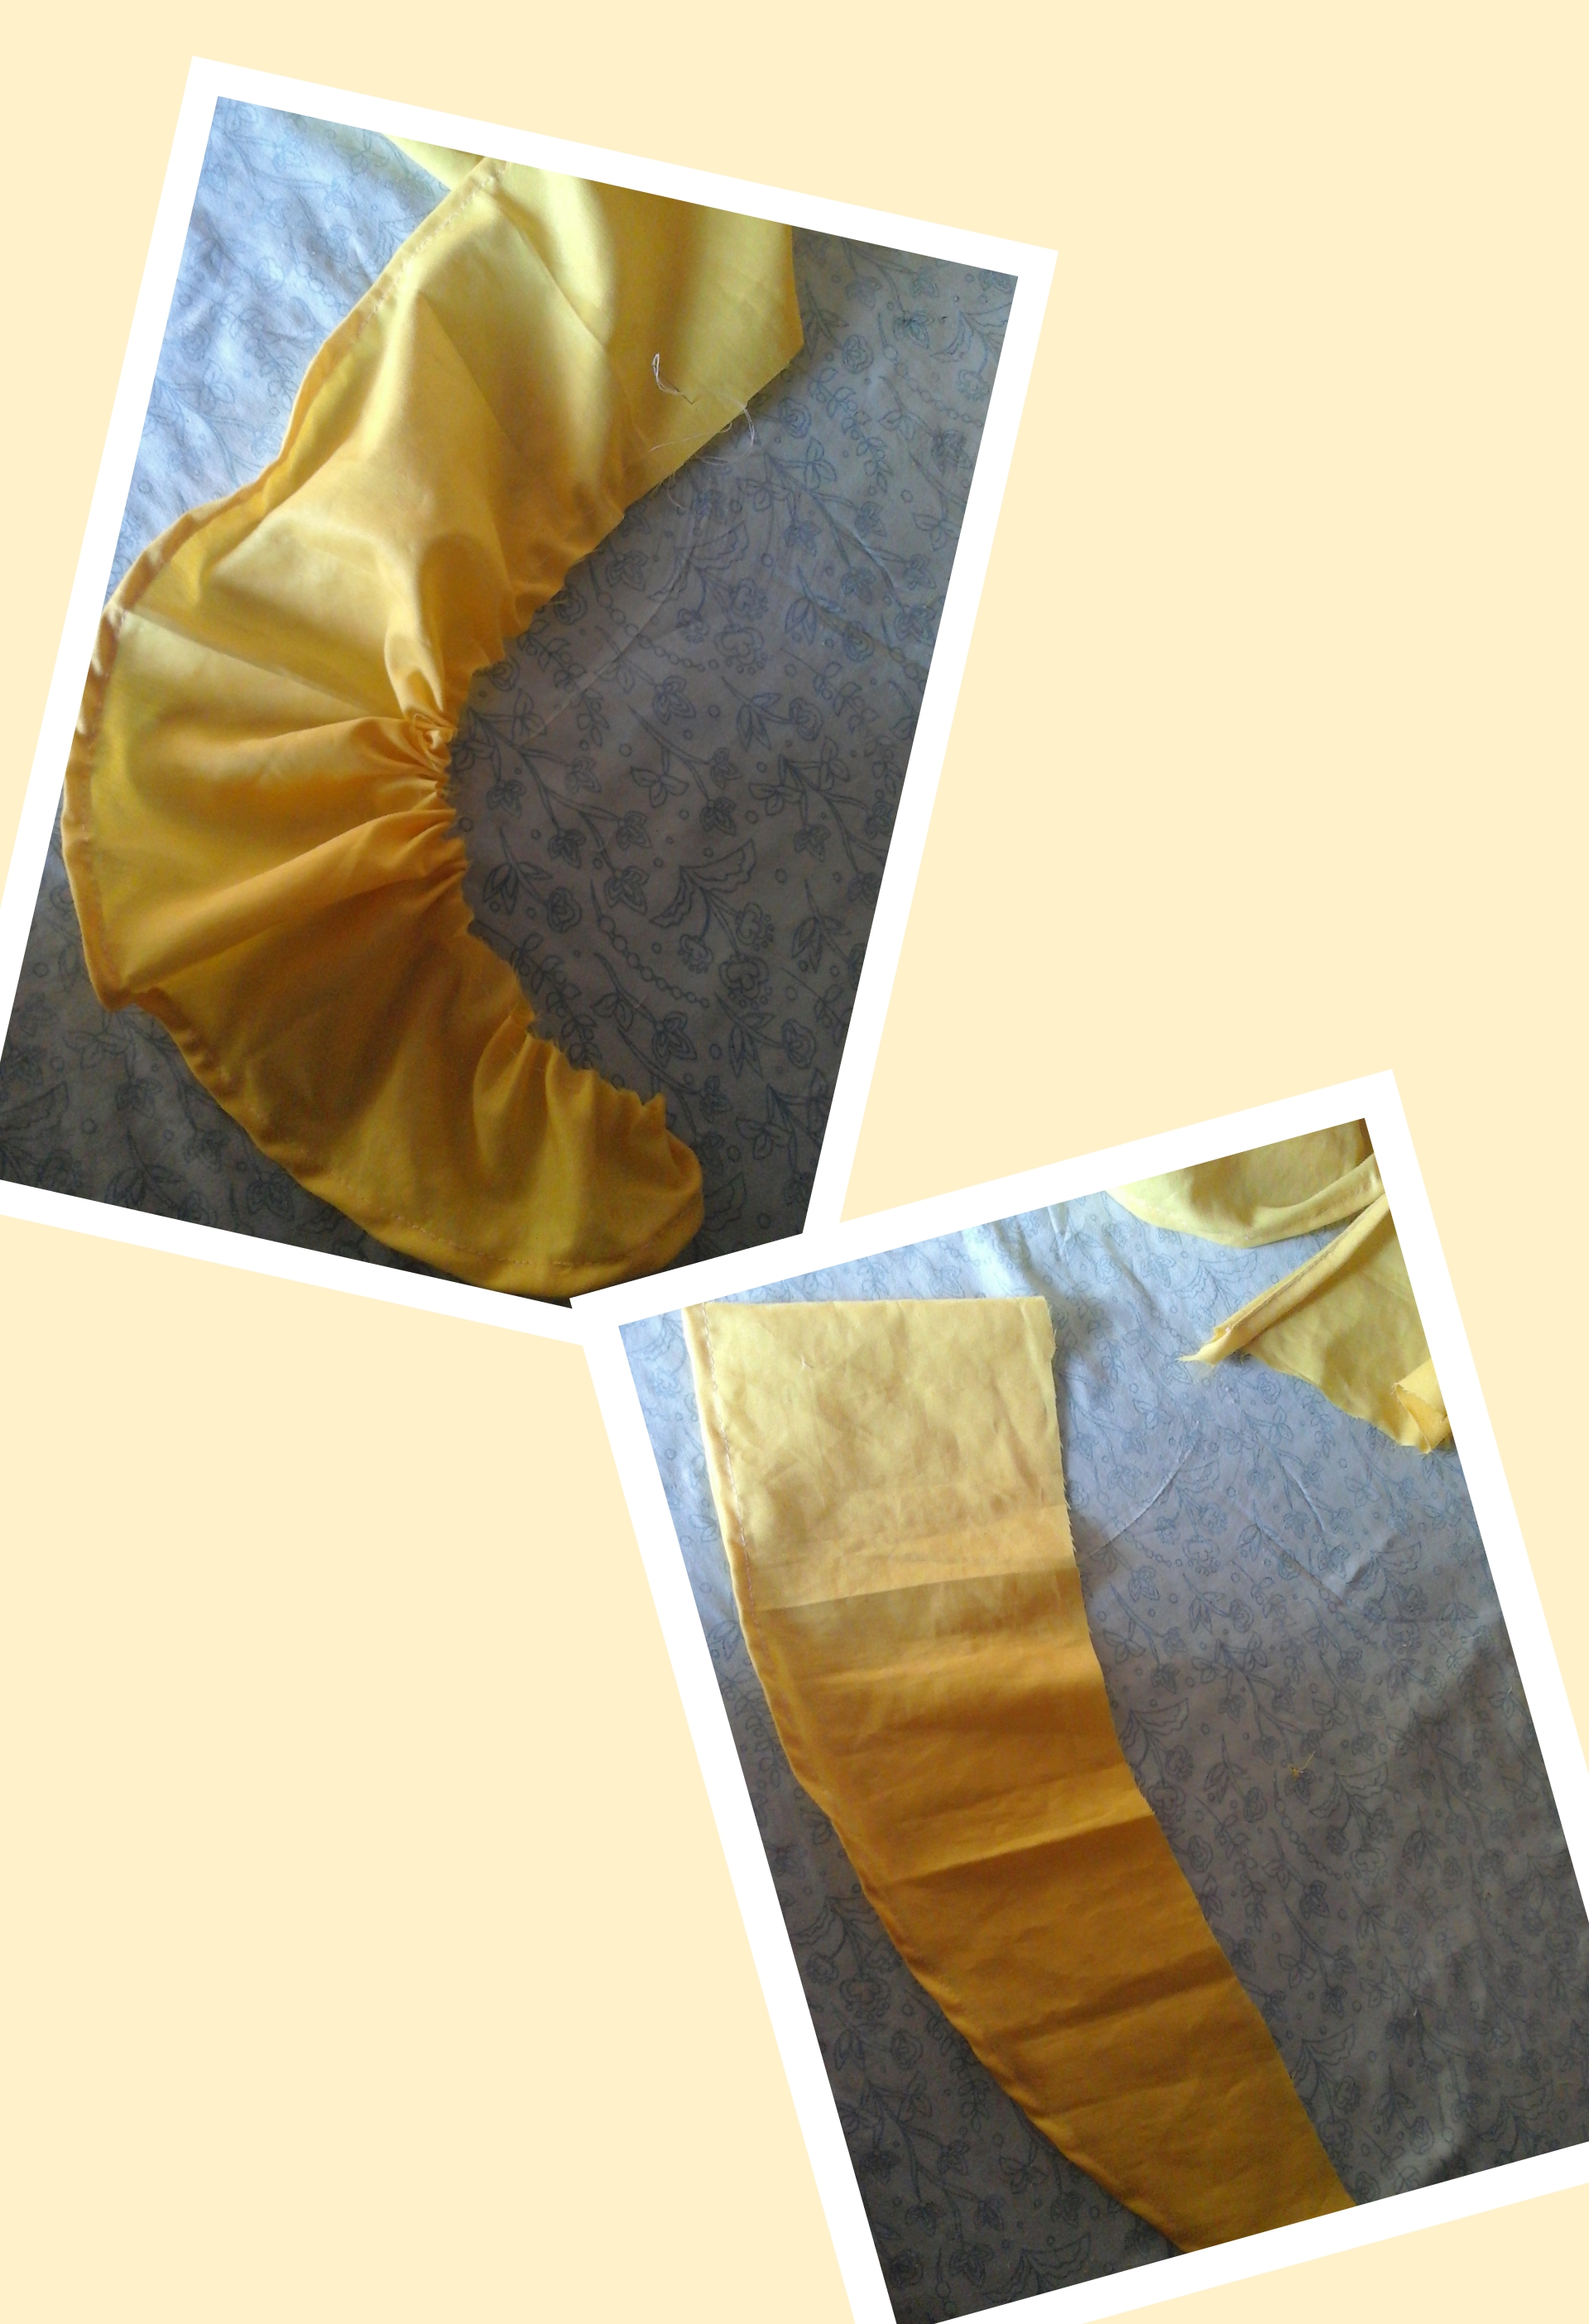
Ahora hare el volado, esta pieza es muy fácil de hacer, debe ser curva y muy larga para que quede un lindo volado. hago costura recta en el dobladillo y luego con una aguja manual y un poco de hilo hice costura floja o bastilla. También pueden hacer costura recta en la máquina y luego halar el hilo hasta ir creando el frunce.
Step 3.
Now I will make the ruffle, this piece is very easy to make, it should be curved and very long so that it has a nice ruffle. I make a straight stitch on the hem and then with a manual needle and a little thread I made a loose or hem seam. You can also do straight sewing on the machine and then pull the thread until you create the gather.
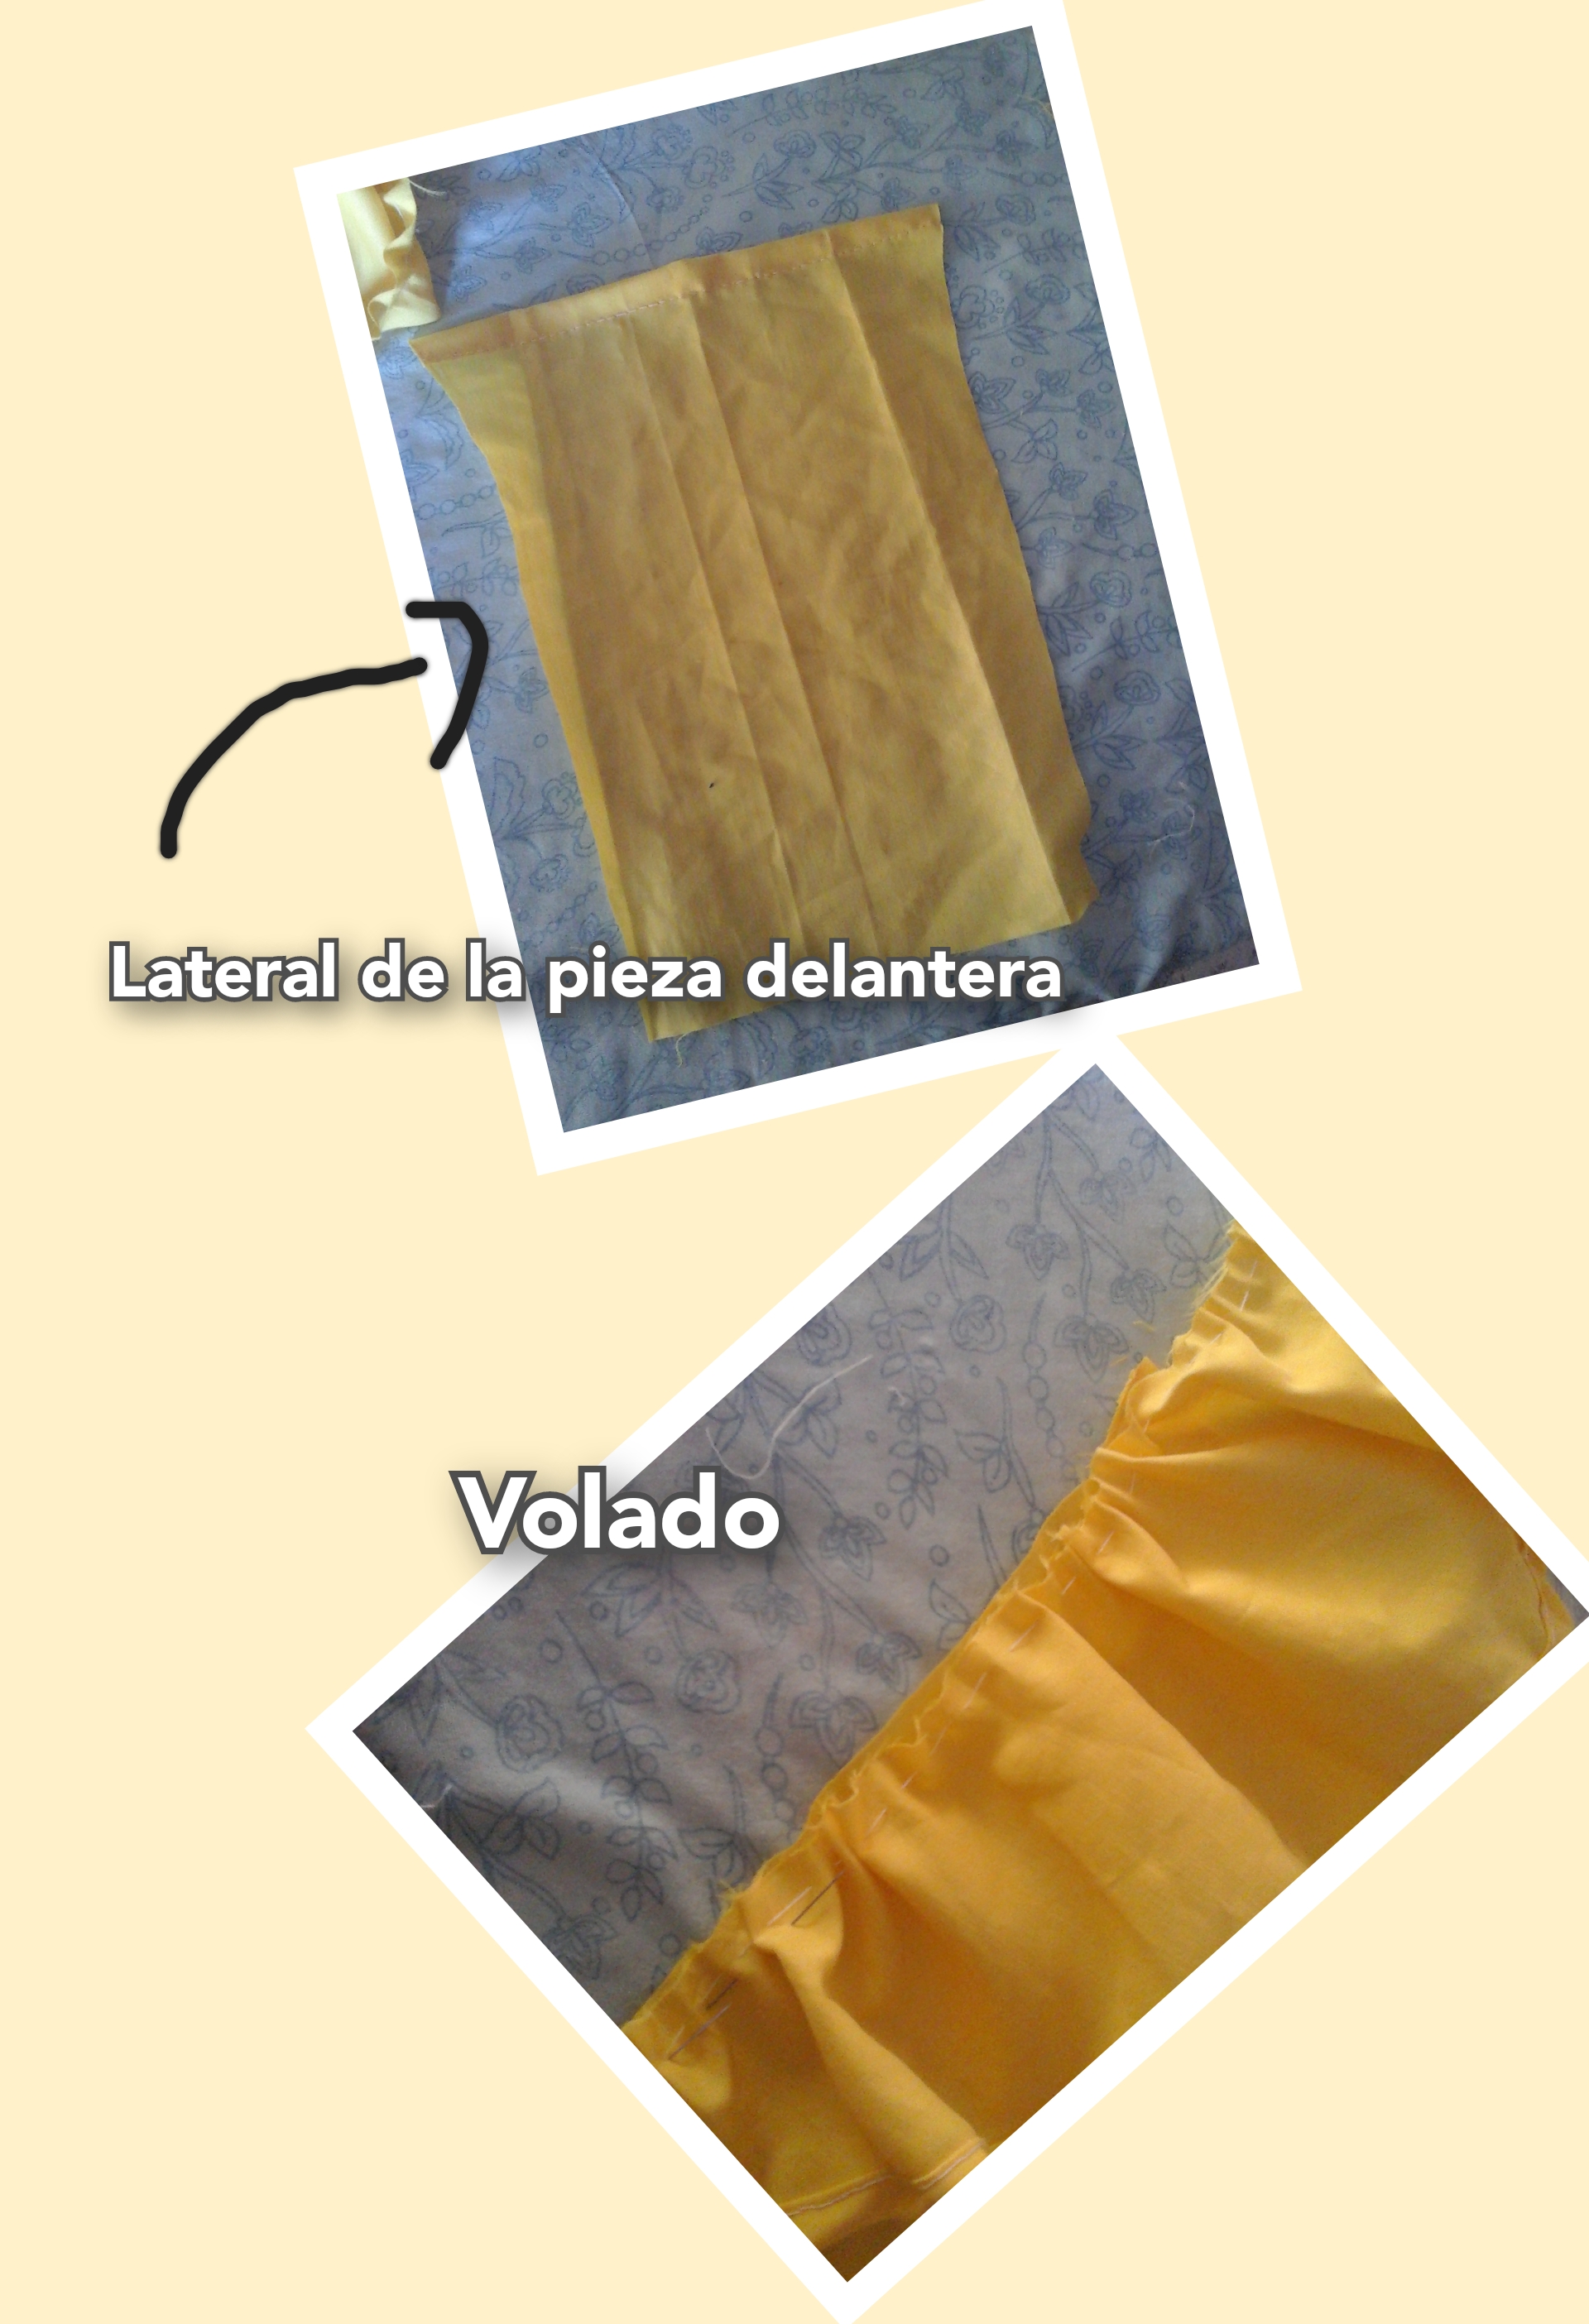
Paso 4.
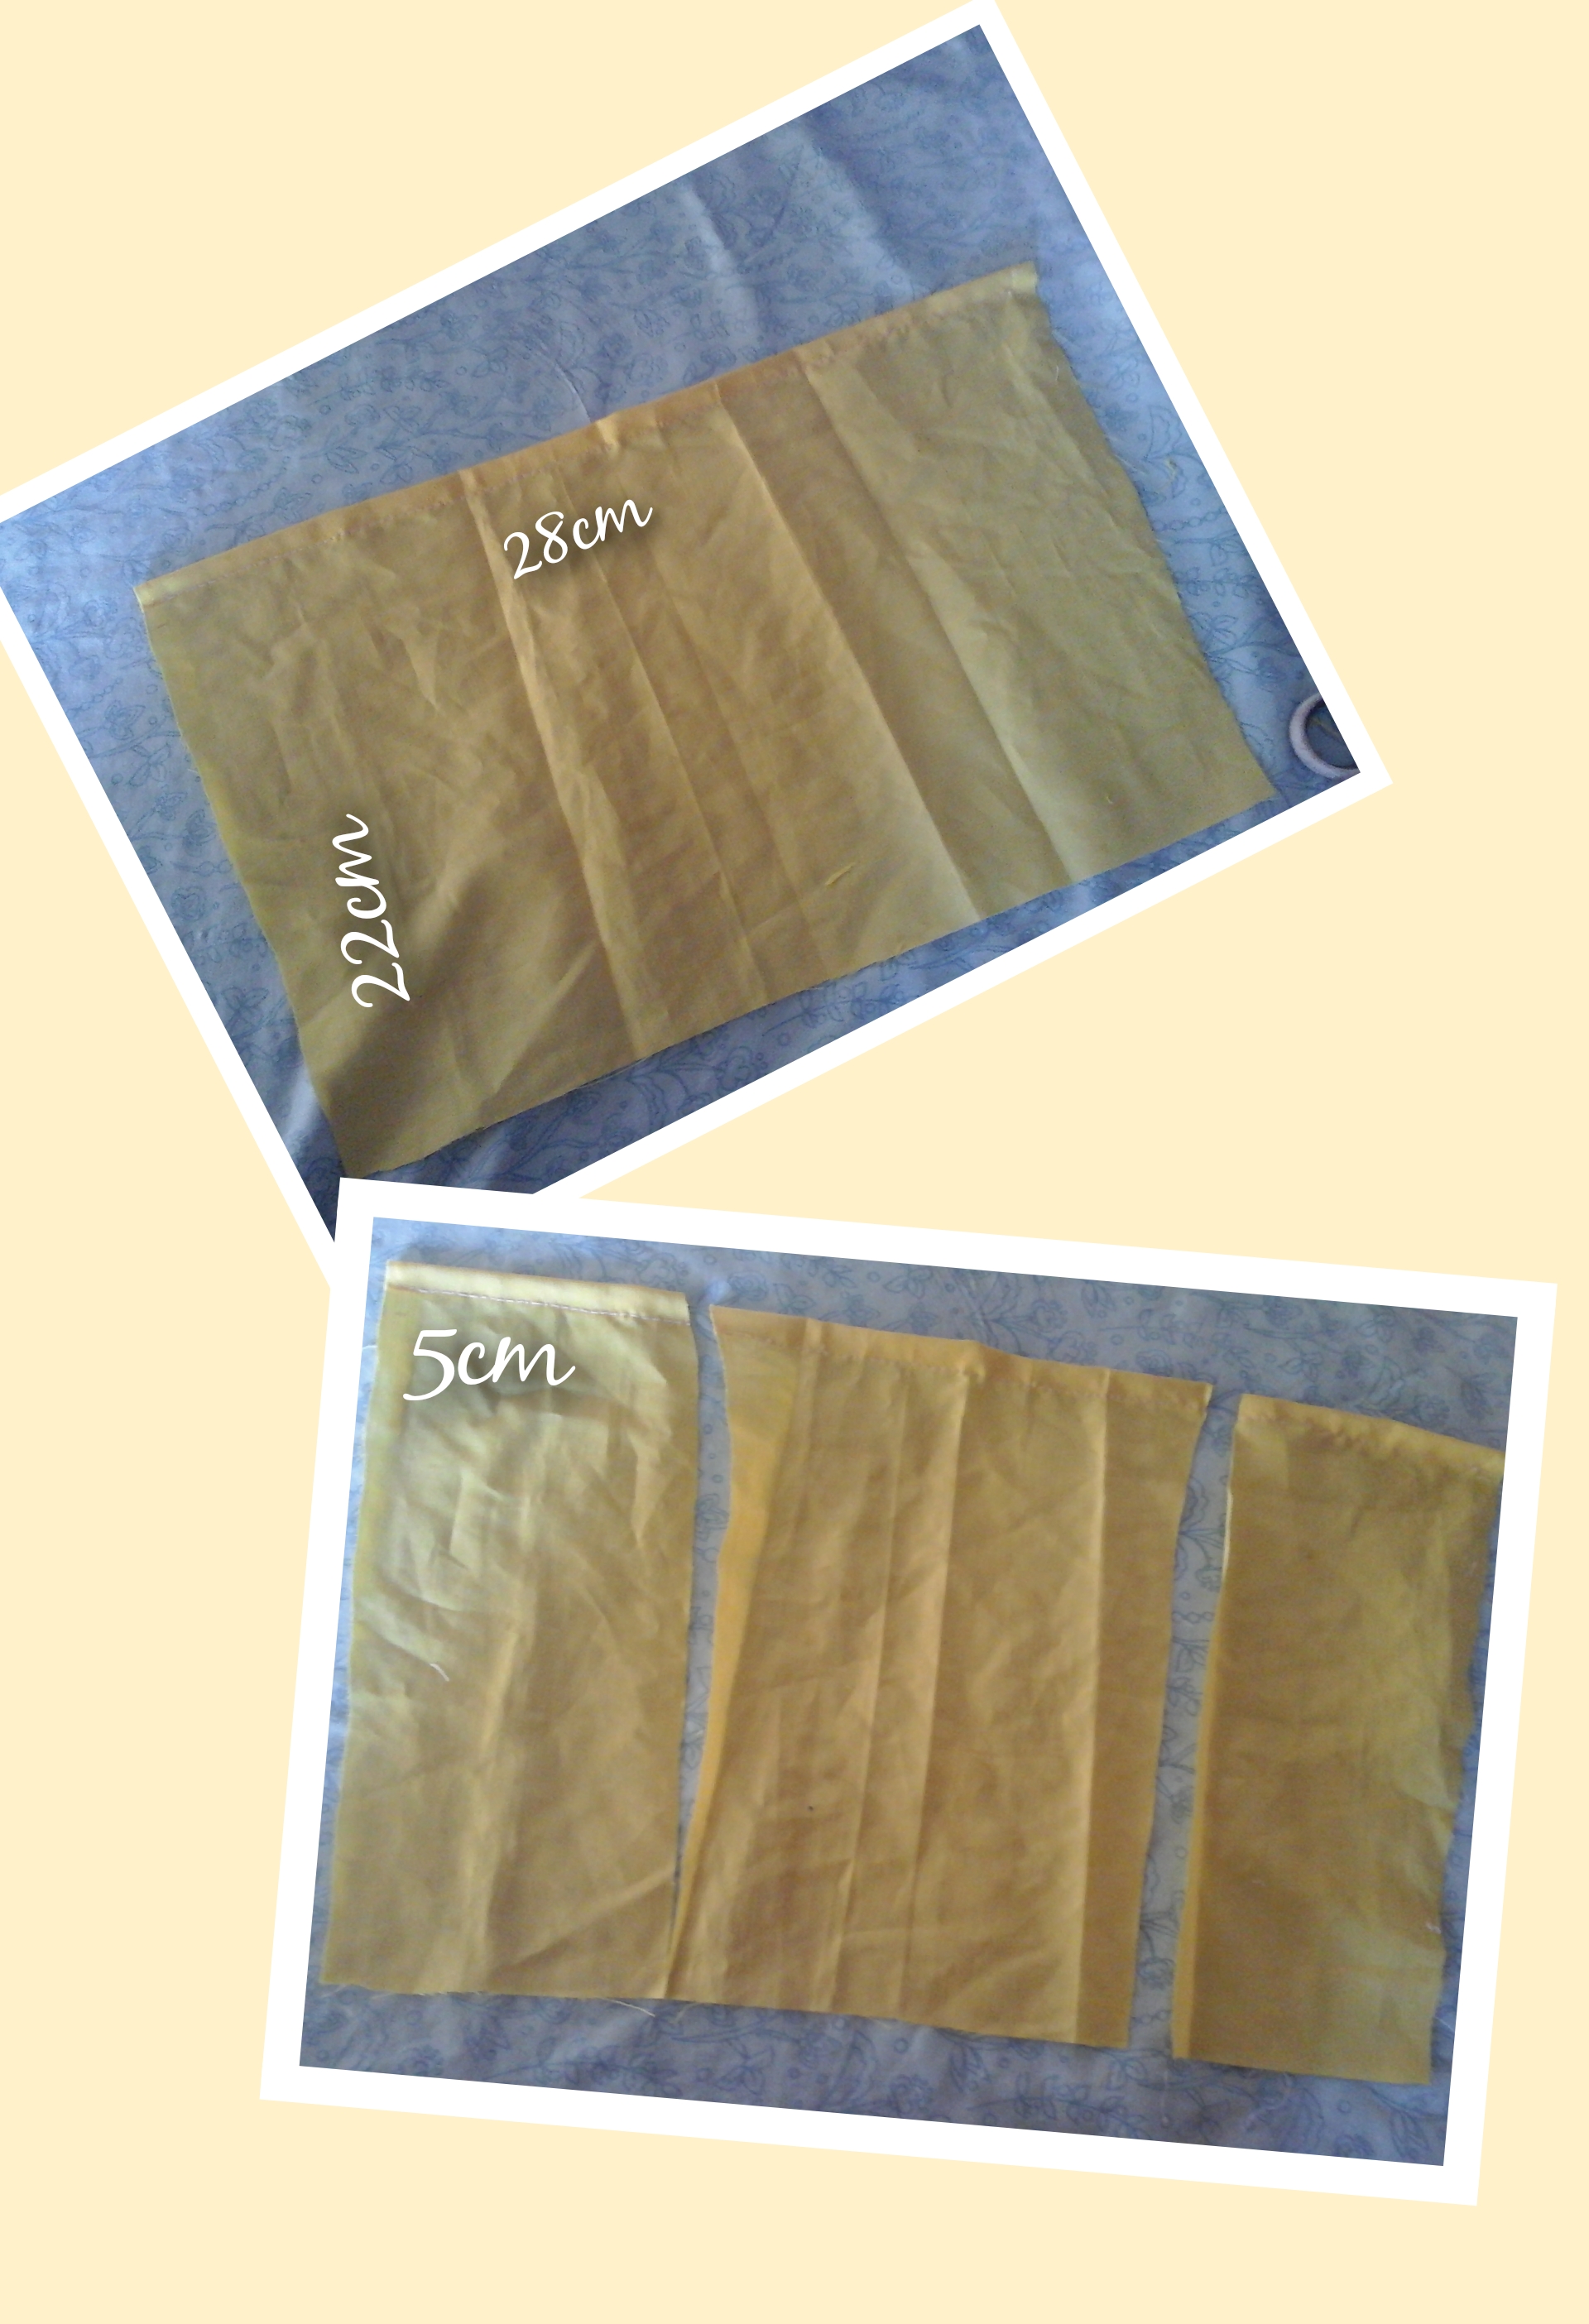
Continúo cosiendo la parte delantera, en este paso cosi dobladillo superior de esta pieza rectangular. Una vez que he terminado de coser, dividi la pieza en tres partes.
Step 4.
I continue sewing the front part, in this step I sew the top hem of this rectangular piece. Once I have finished sewing, I divide the piece into three parts.
Paso 5.
Ahora les muestro como coser el volado a la parte delantera, lo que hice fue tomar la pieza y colocarla sobre el lateral dejando el resto del volado para hacer los hombros. Sujete con alfileres antes de colocar la pieza que sigue.
Step 5.
Now I show you how to sew the ruffle to the front, what I did was take the piece and place it on the side, leaving the rest of the ruffle to make the shoulders. Pin before attaching the next piece.
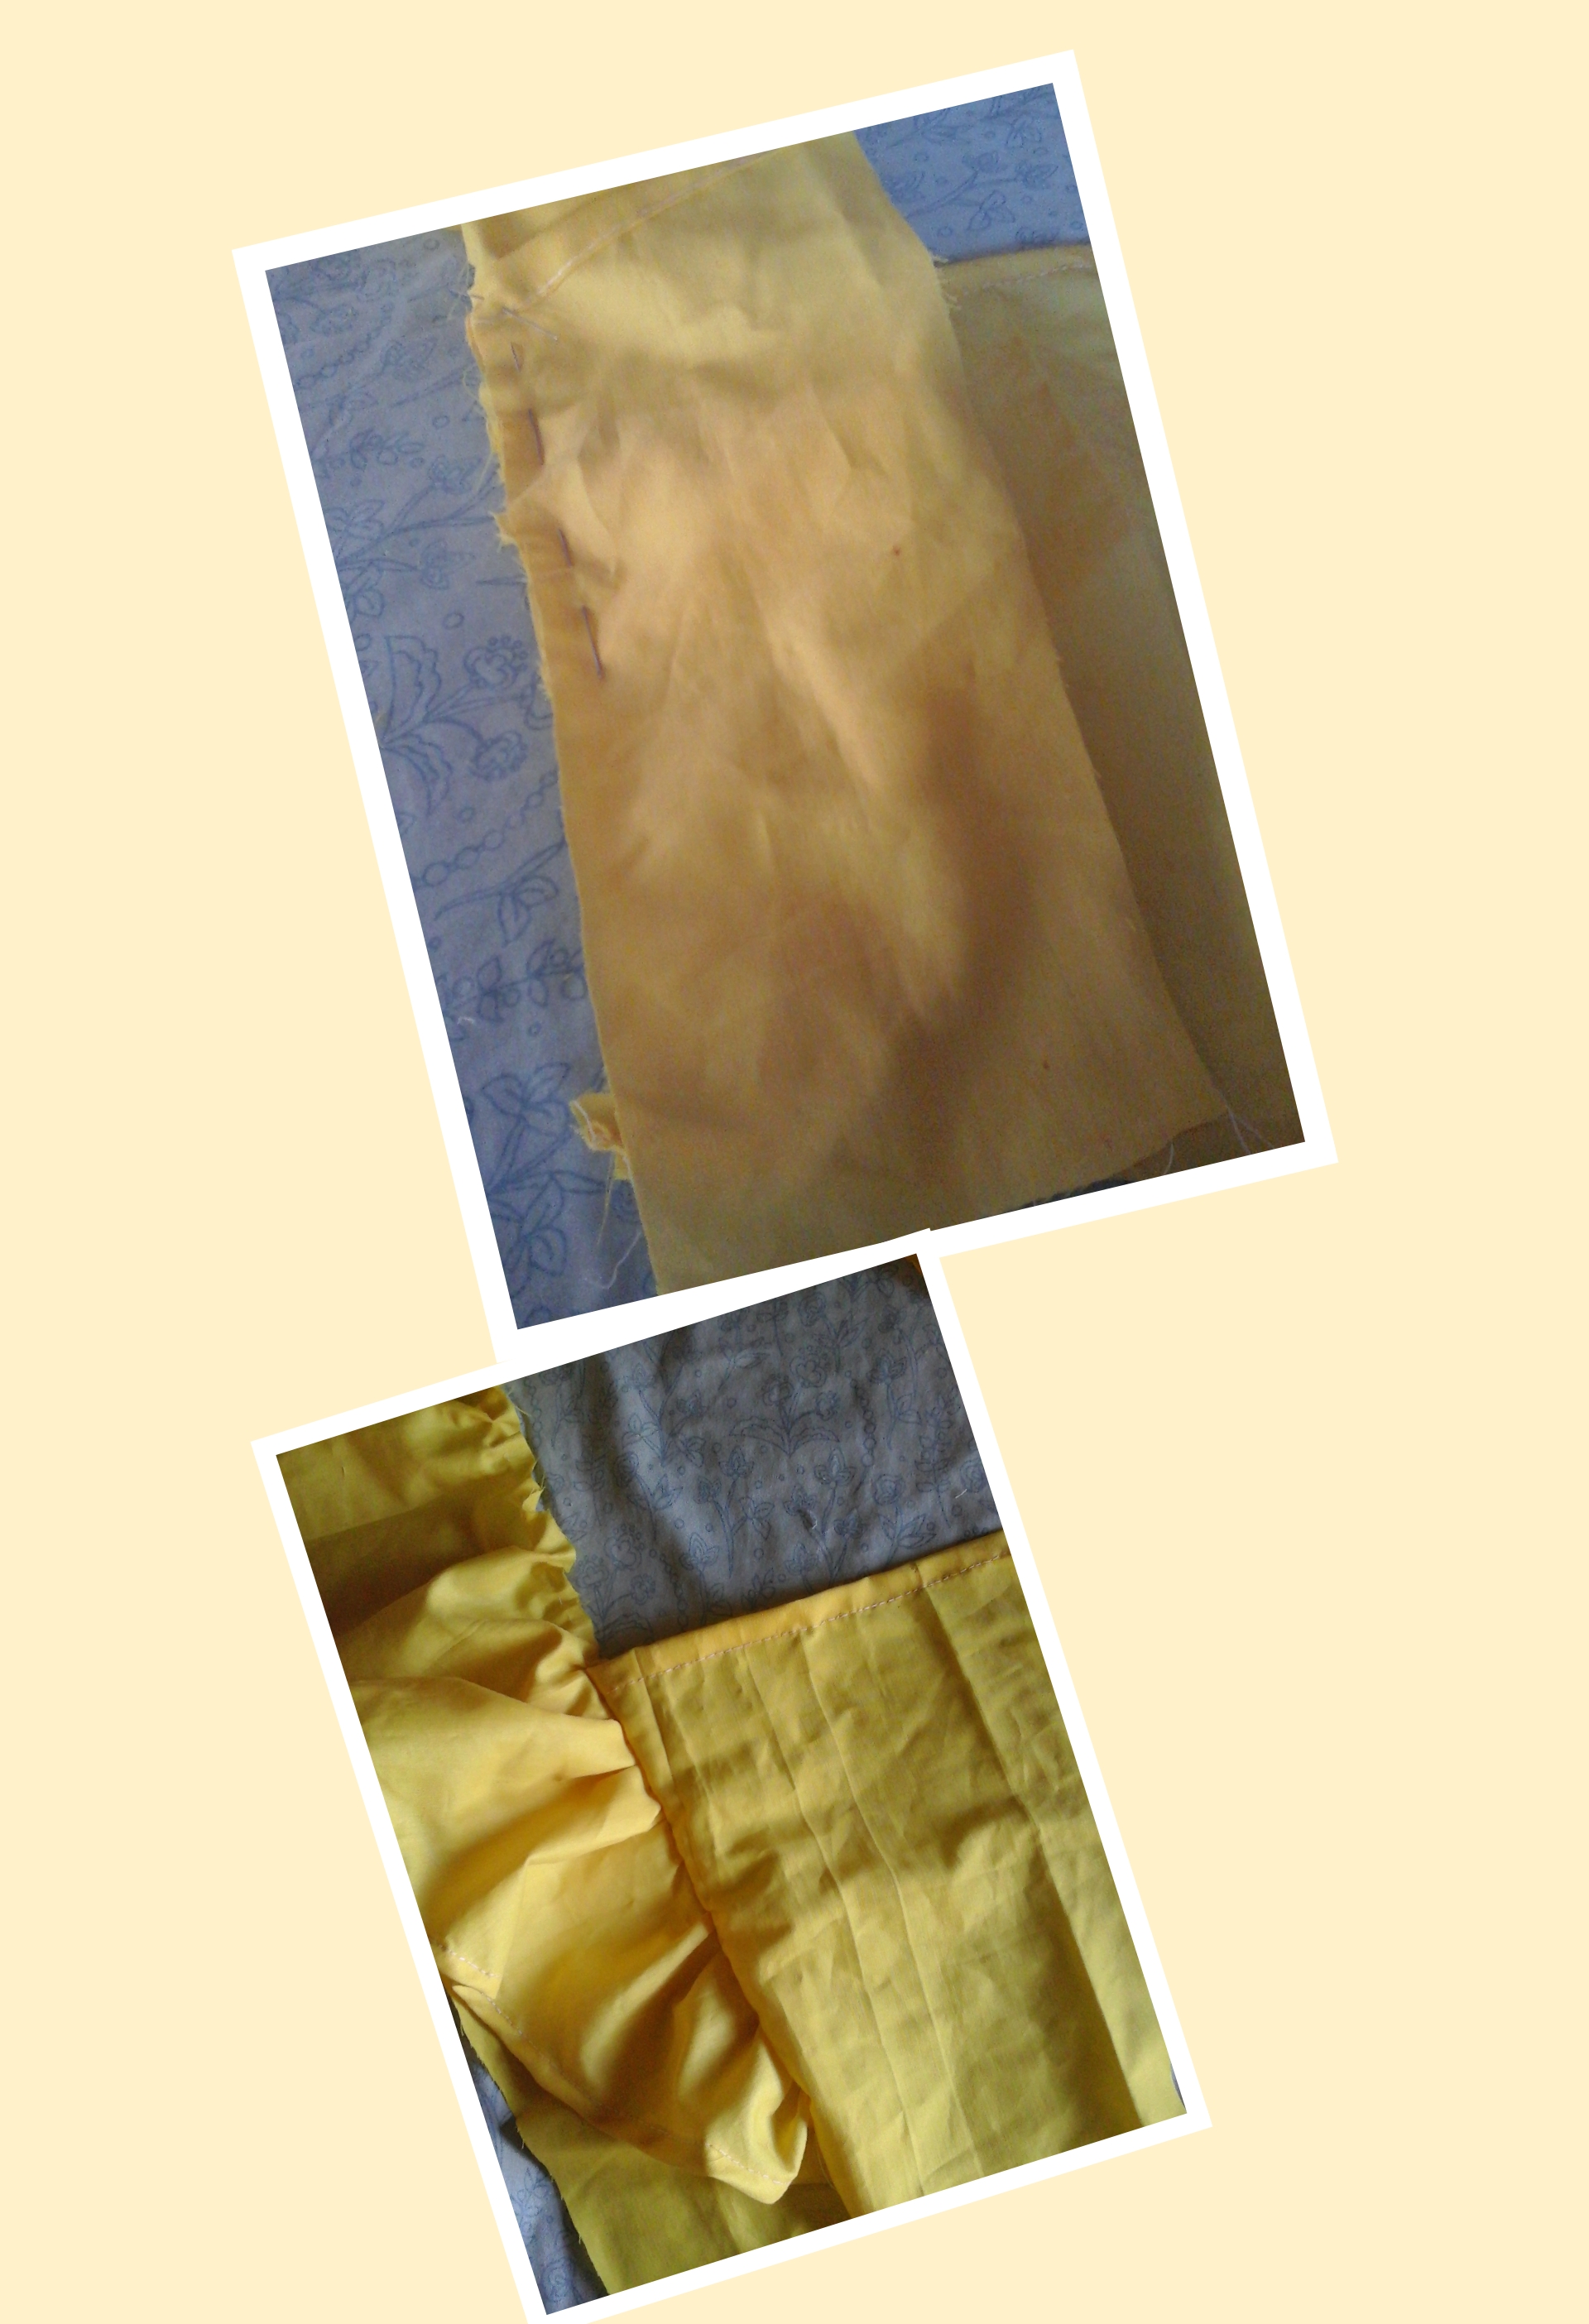
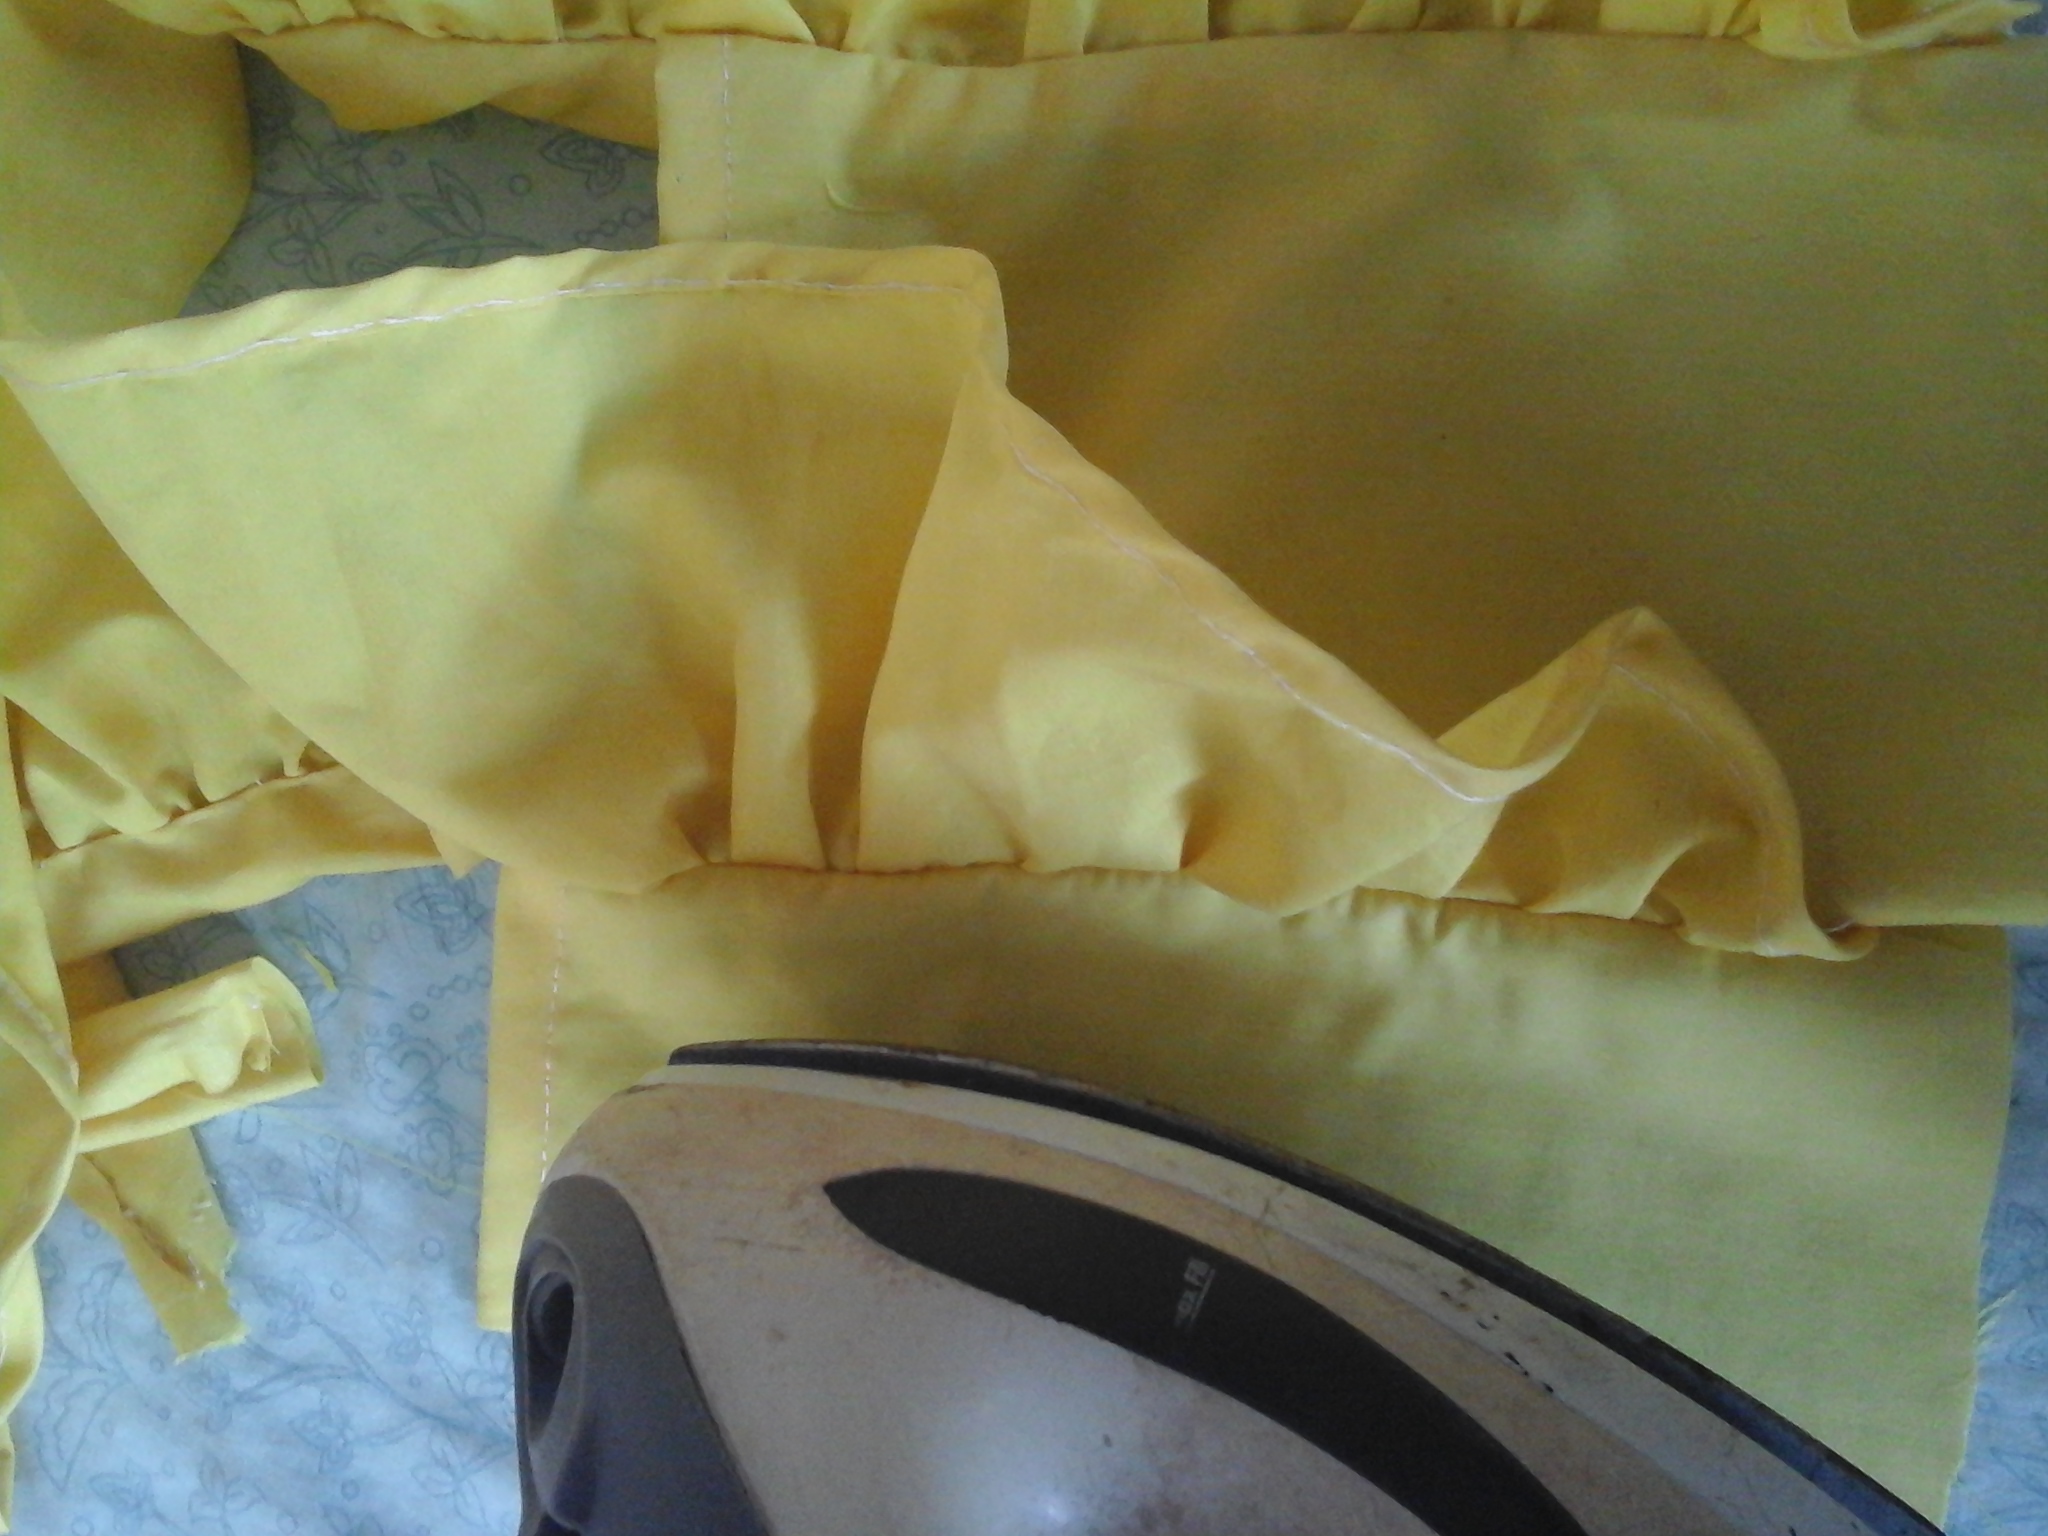
Paso 6.
Ahora voy a colocar la pieza lateral de la parte delantera sobre el volado y sujete con alfileres e hice costura recta. Al terminar voltee la pieza para que vean como debe quedar. Vamos planchando nuestras piezas.
Step 6.
Now I'm going to place the front side piece over the ruffle and pin and sew straight. When finished, turn the piece over so you can see how it should look. We are ironing our pieces.
Paso 7.
Para hacer los hombros, tomé una de las tiras y coloqué sobre el volado, luego hice costura recta justo en el borde, seguidamente doble la tira llevando el resto hacia la parte de atrás.
Step 7.
To make the shoulders, I took one of the strips and placed it on the ruffle, then I made a straight seam right on the edge, then folde.
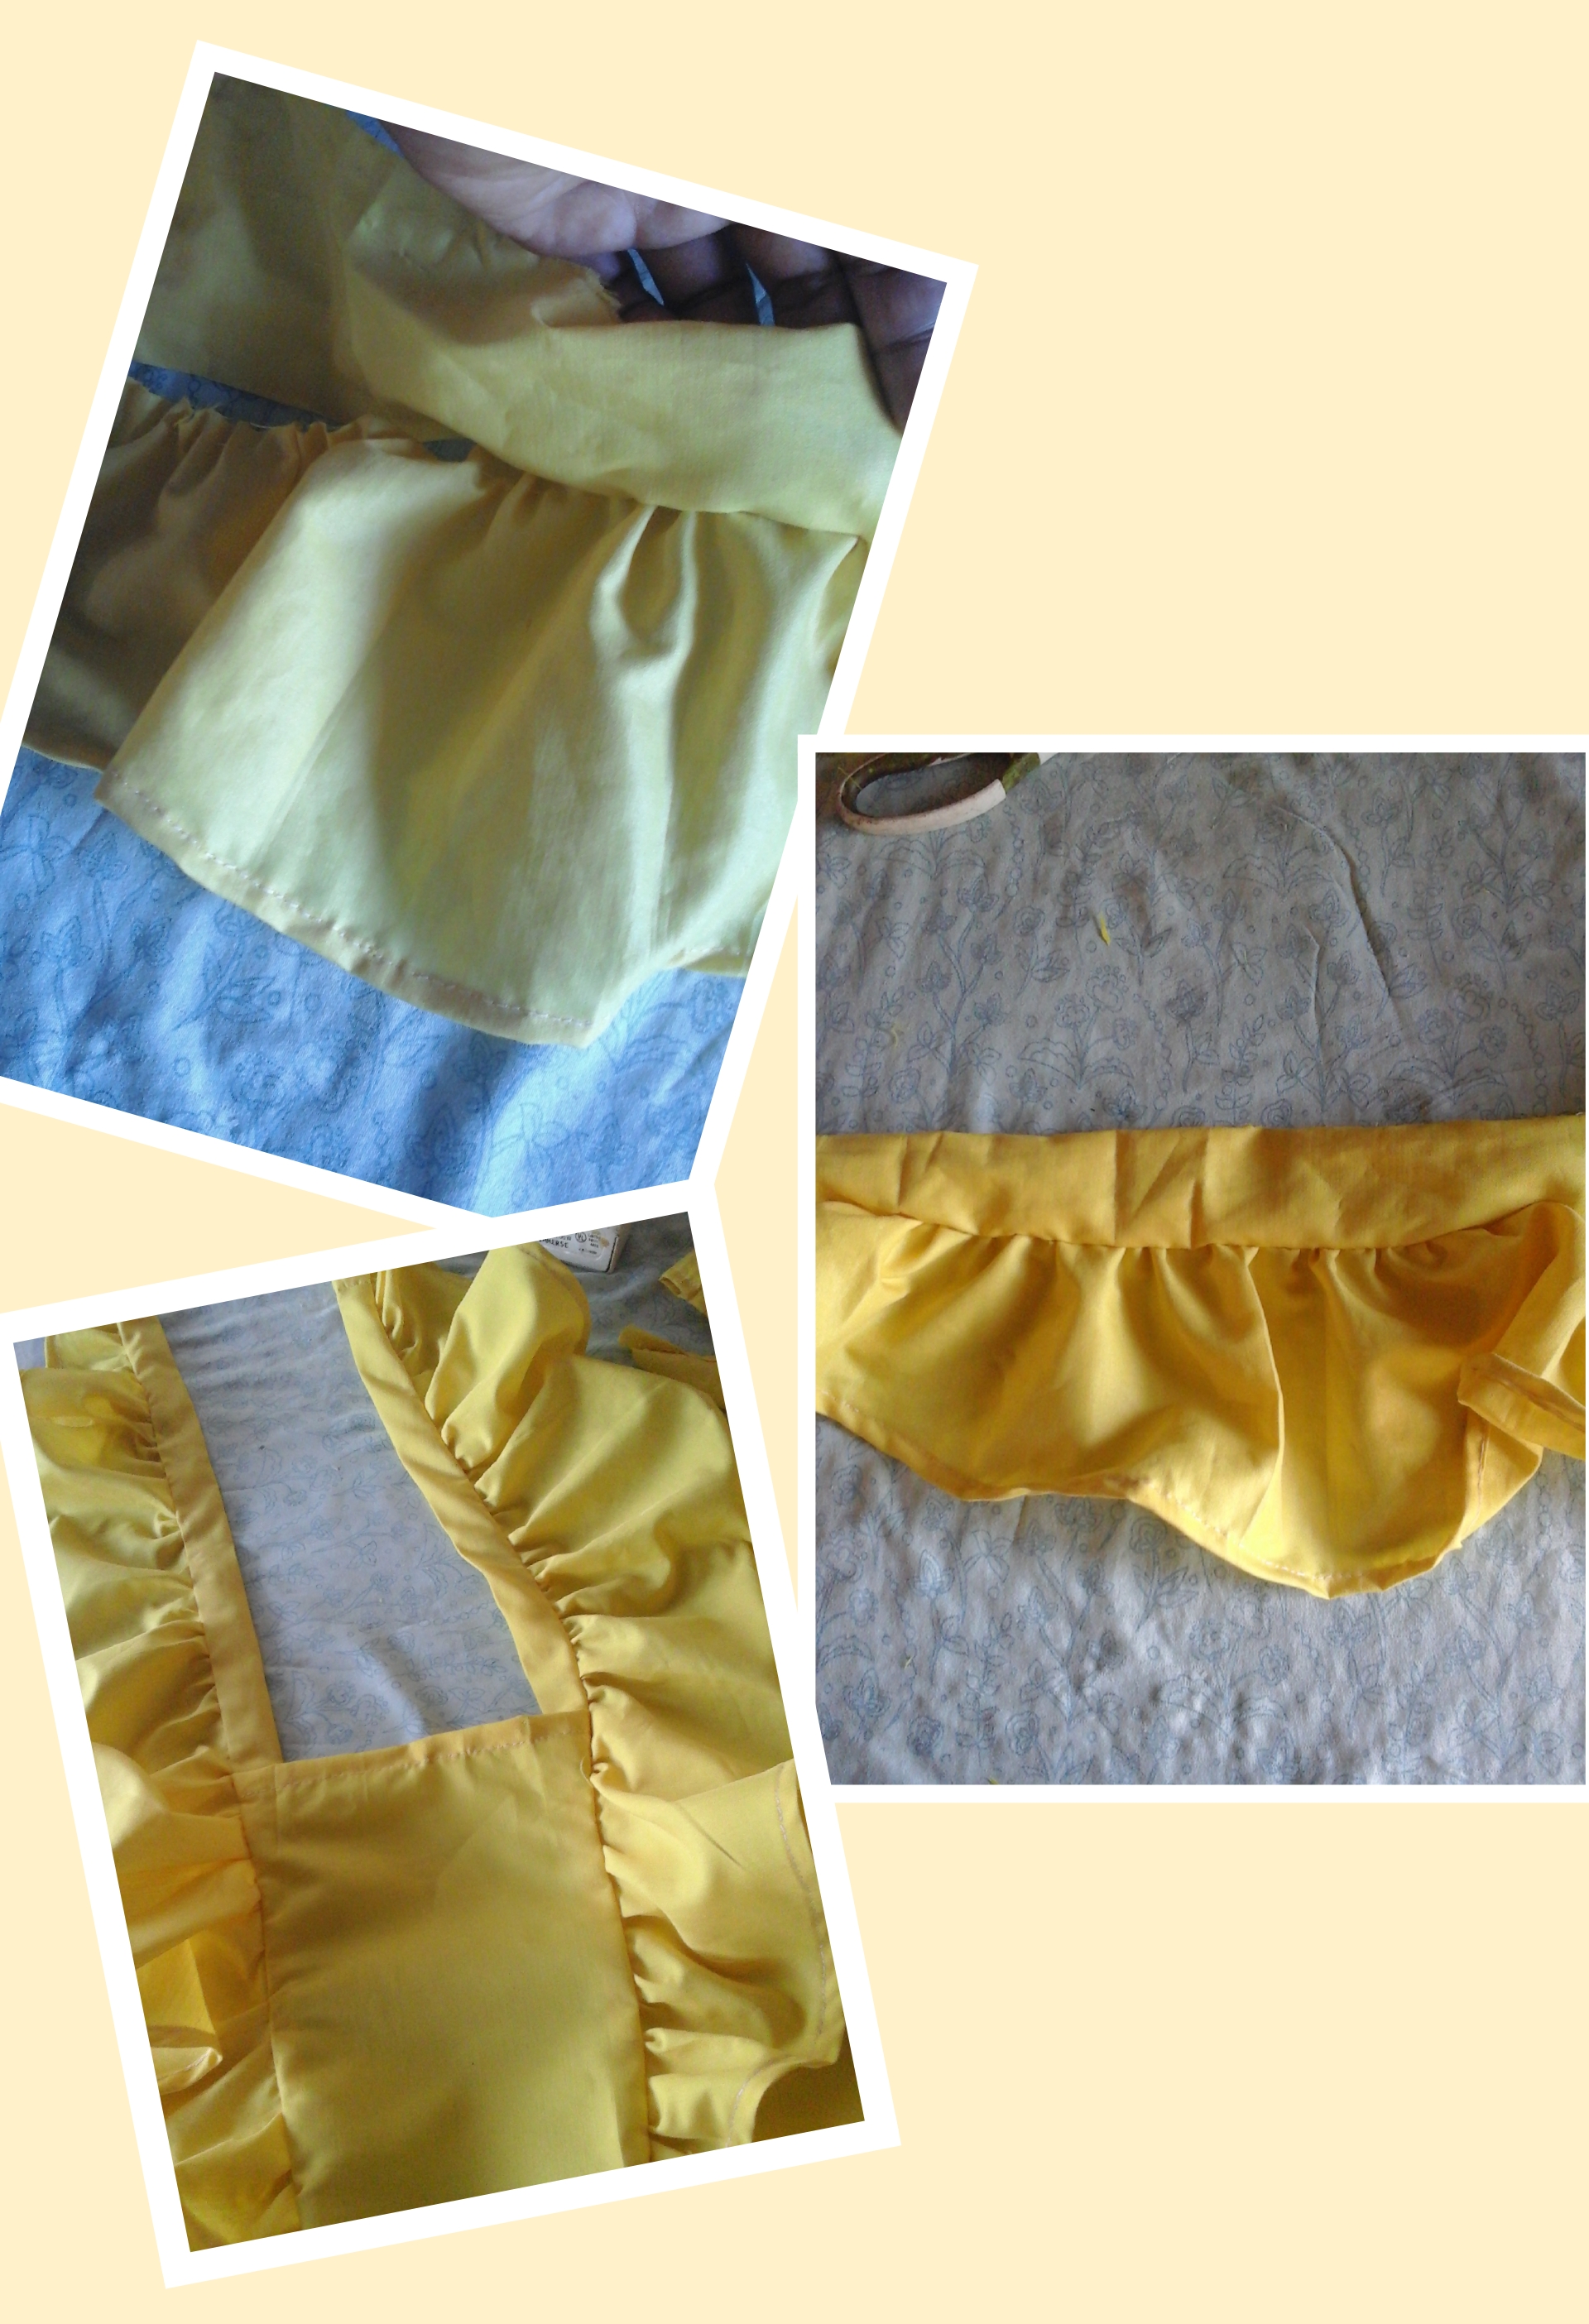
Paso 8.
Continúe dando unas puntadas por la parte trasera de la tela para que no se note la costura por la parte derecha. Por último y no menos importante uni las piezas traseras a la delantera y cosi.
Step 8.
Continue stitching on the back of the fabric, so that the seam on the right side is not noticeable. Last but not least I joined the back pieces to the front and sewed.
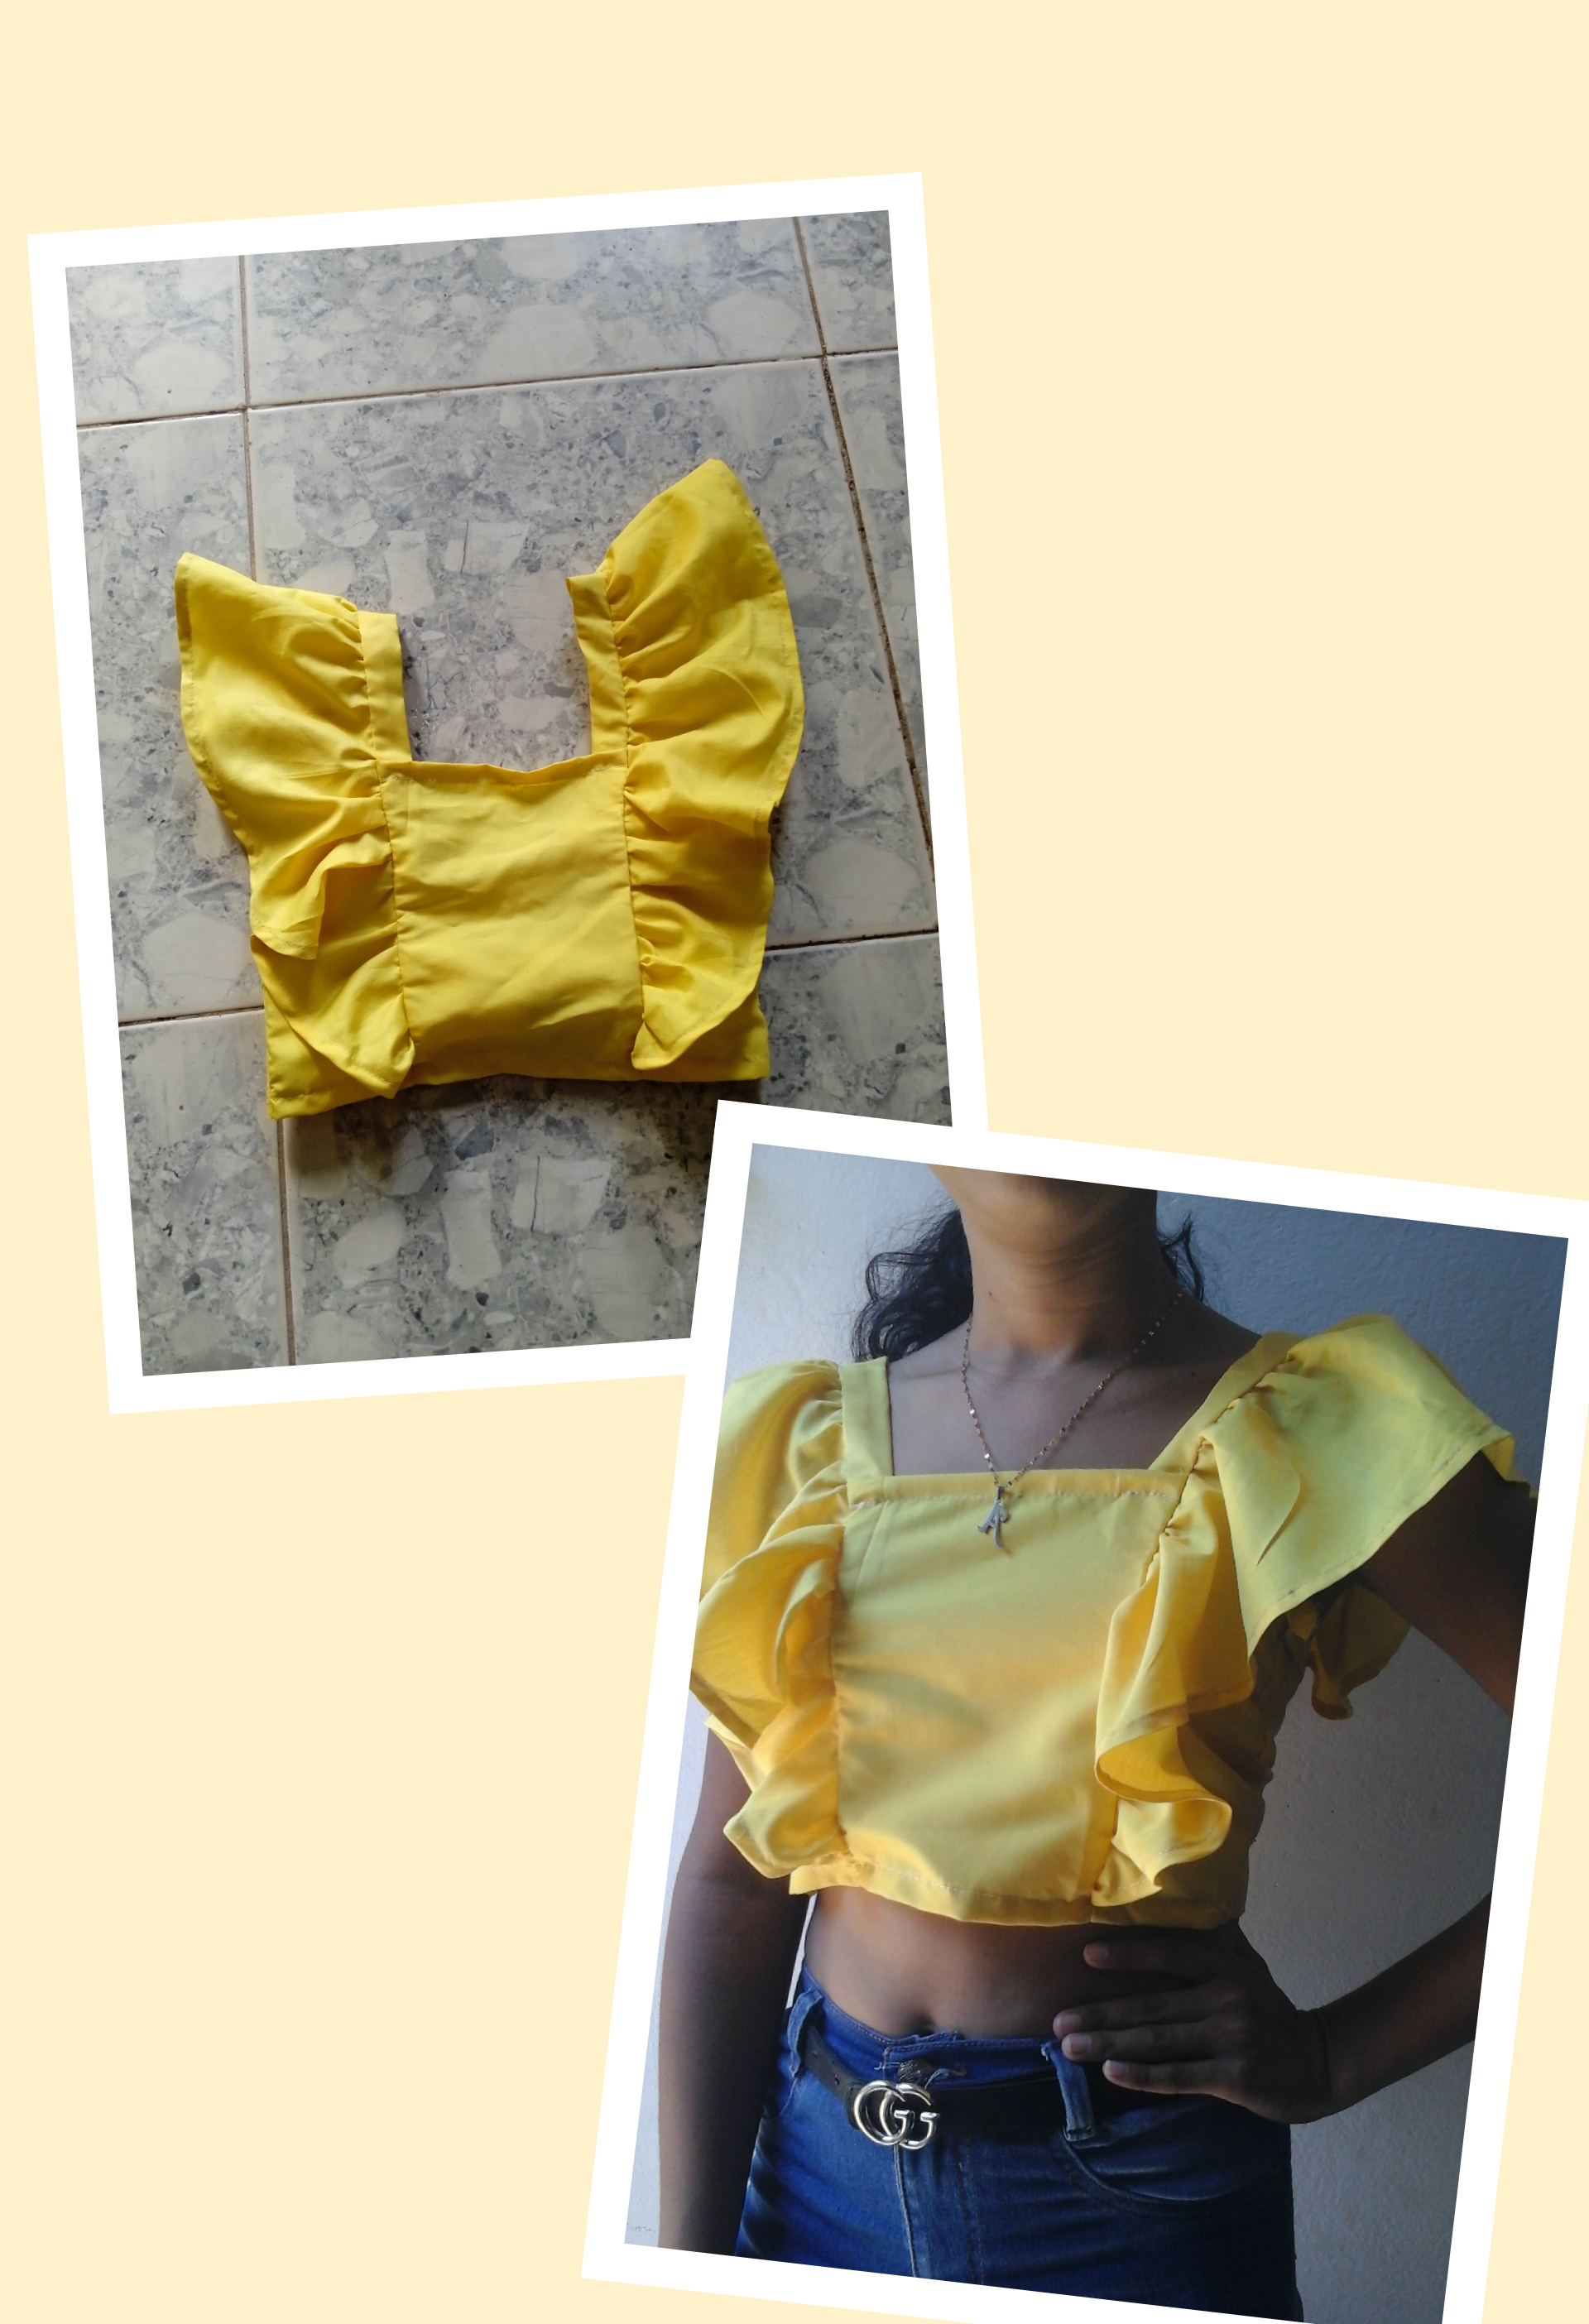
Finalmente pude terminar esta linda blusa con mucho exito. Me encantó desde el momento que inicie su confección y estoy muy satisfecha con el resultado. Espero que a ustedes también haya gustado.
Finally I was able to finish this beautiful blouse with great success. I loved it from the moment I started making it and I am very satisfied with the result. I hope you liked it too.
Ha sido un inmenso placer haber compartido este tutorial de costura con todos, agradecida por el apoyo que me brindan en cada comentario, sin más, me despido deseandoles una feliz y bendecida noche, pasenla bien, se les quiere mucho❤.
It has been an immense pleasure to have shared this sewing tutorial with everyone, grateful for the support you give me in each comment, without further ado, I say goodbye wishing you a happy and blessed night, have a good time, he loves them very much❤.
Contenido y fotos de mi autoria.
Edición: GriadArt y Photocollage.
Traductor: Google.com
Content and photos of my authorship.
Edition: GriadArt and Photocollage.
Translator: Google.com