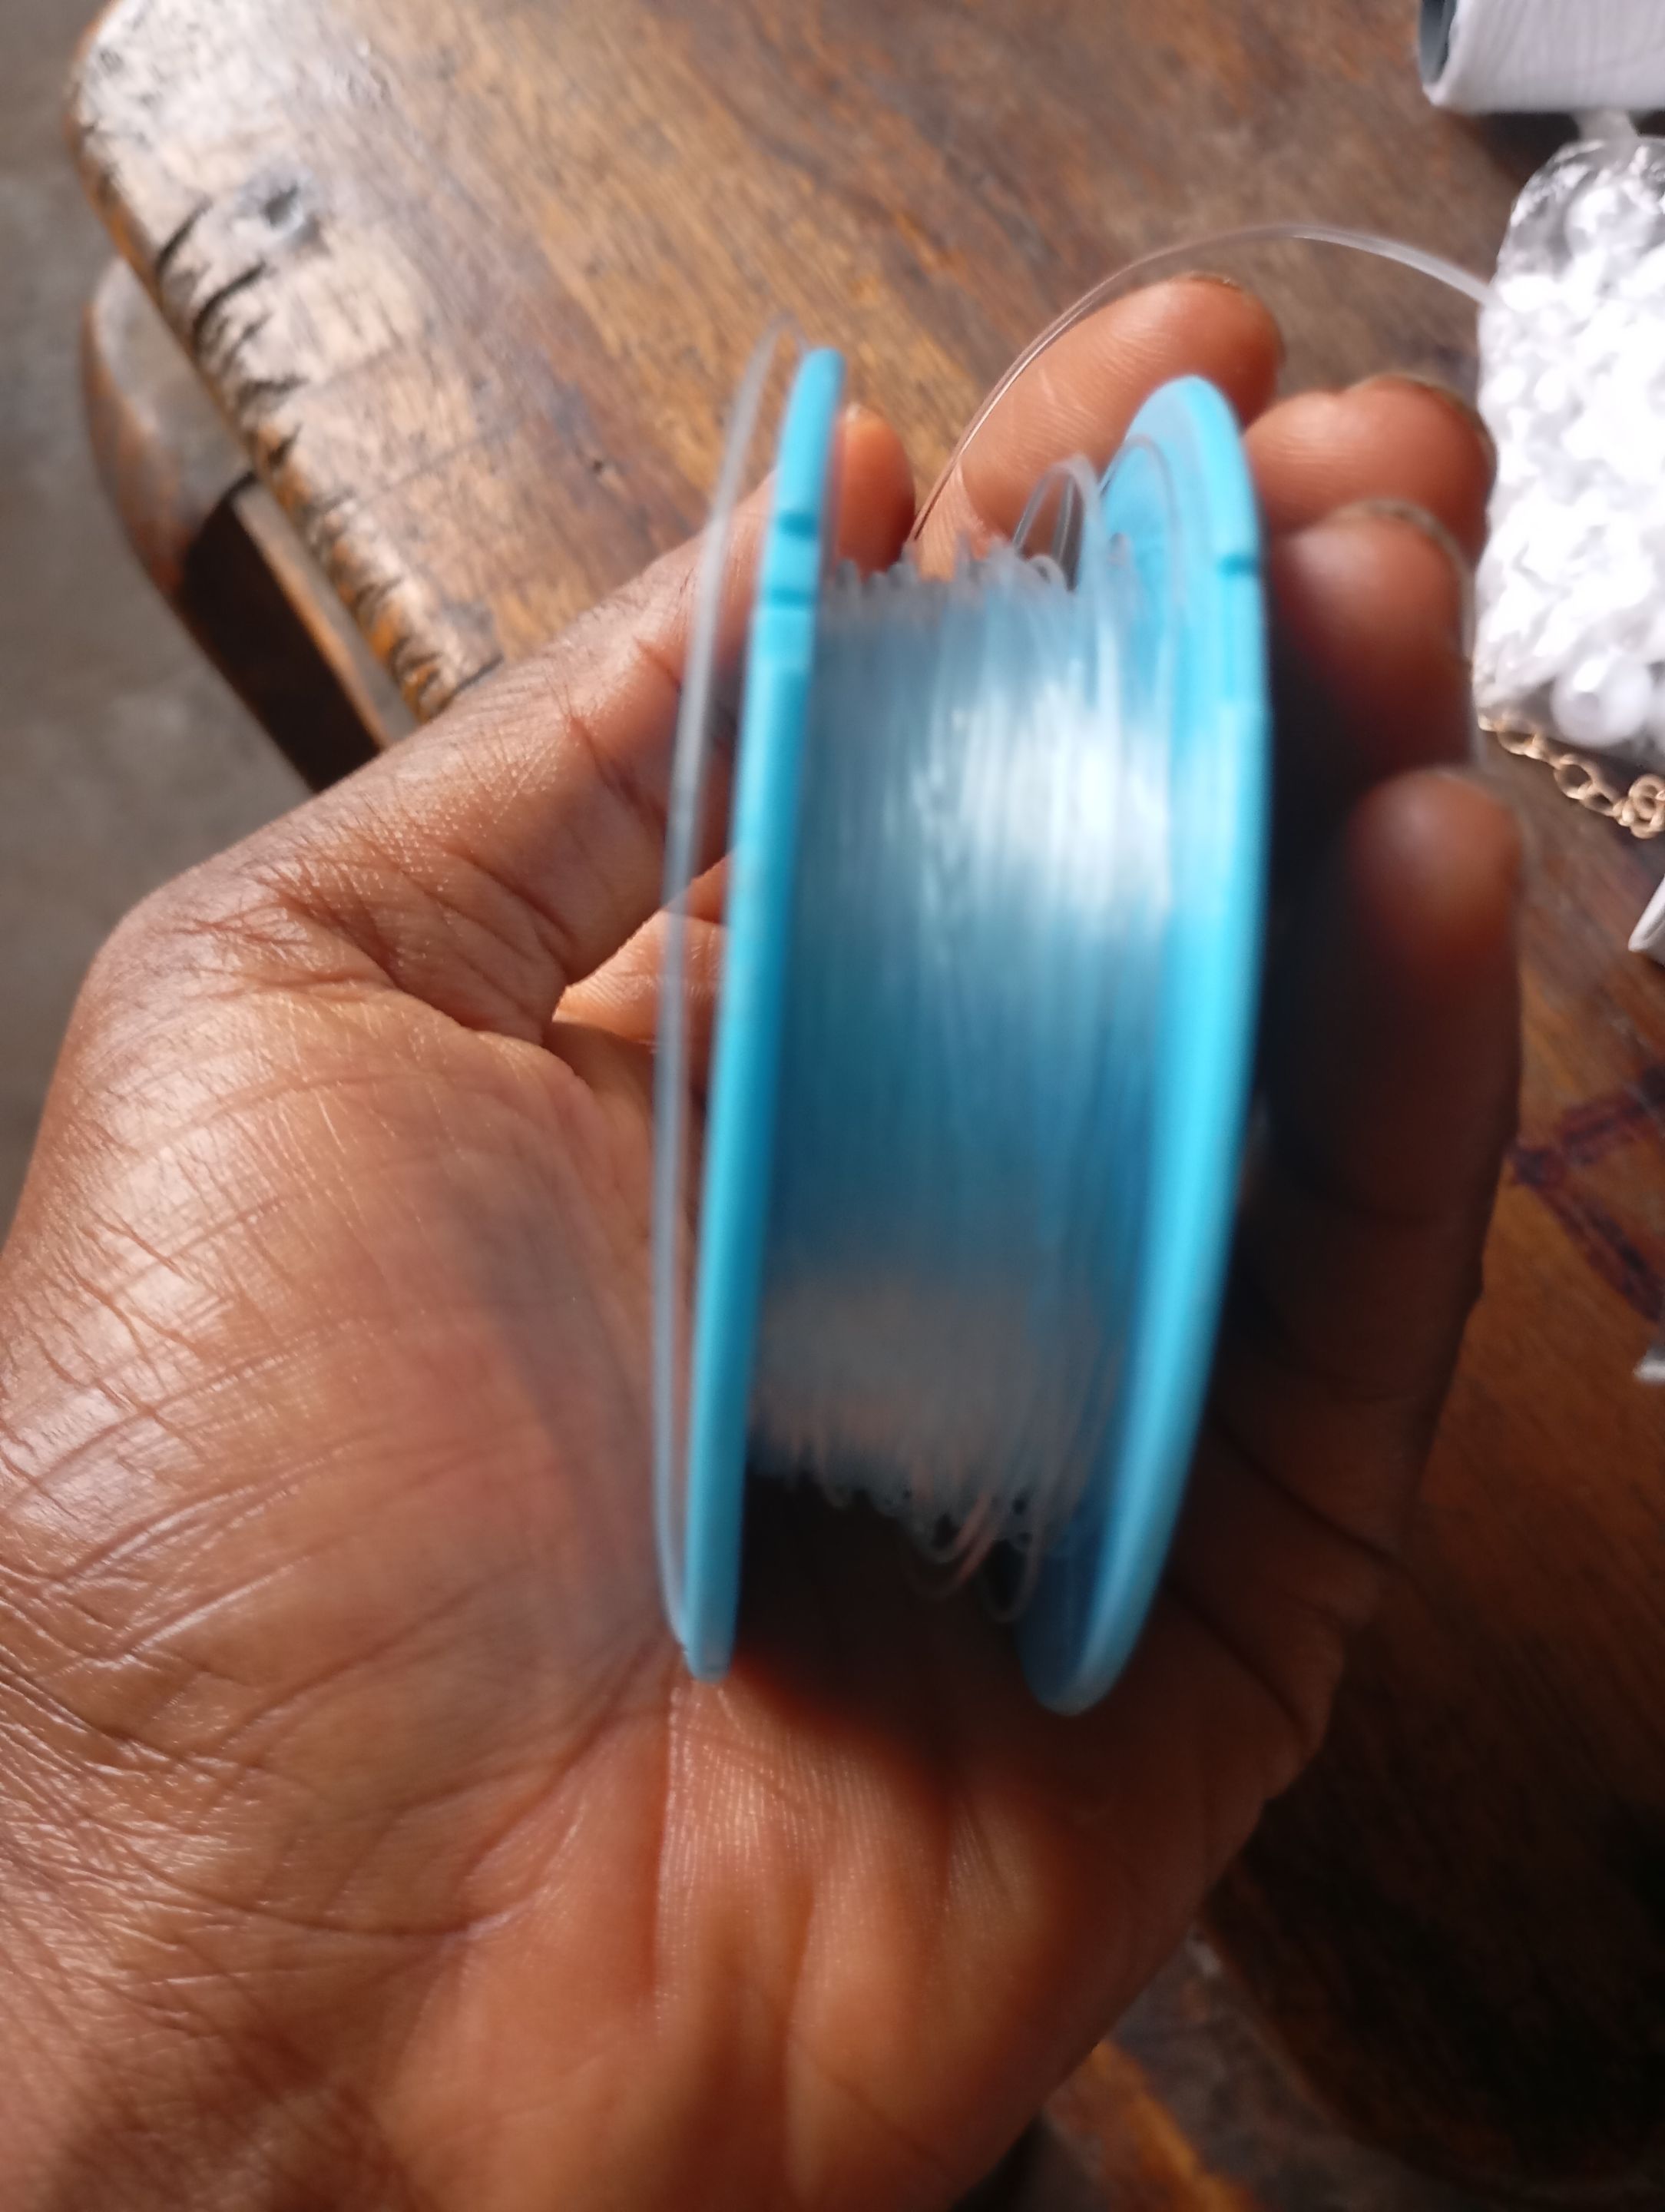
Materials
• Fisher line
• hook
• Stop
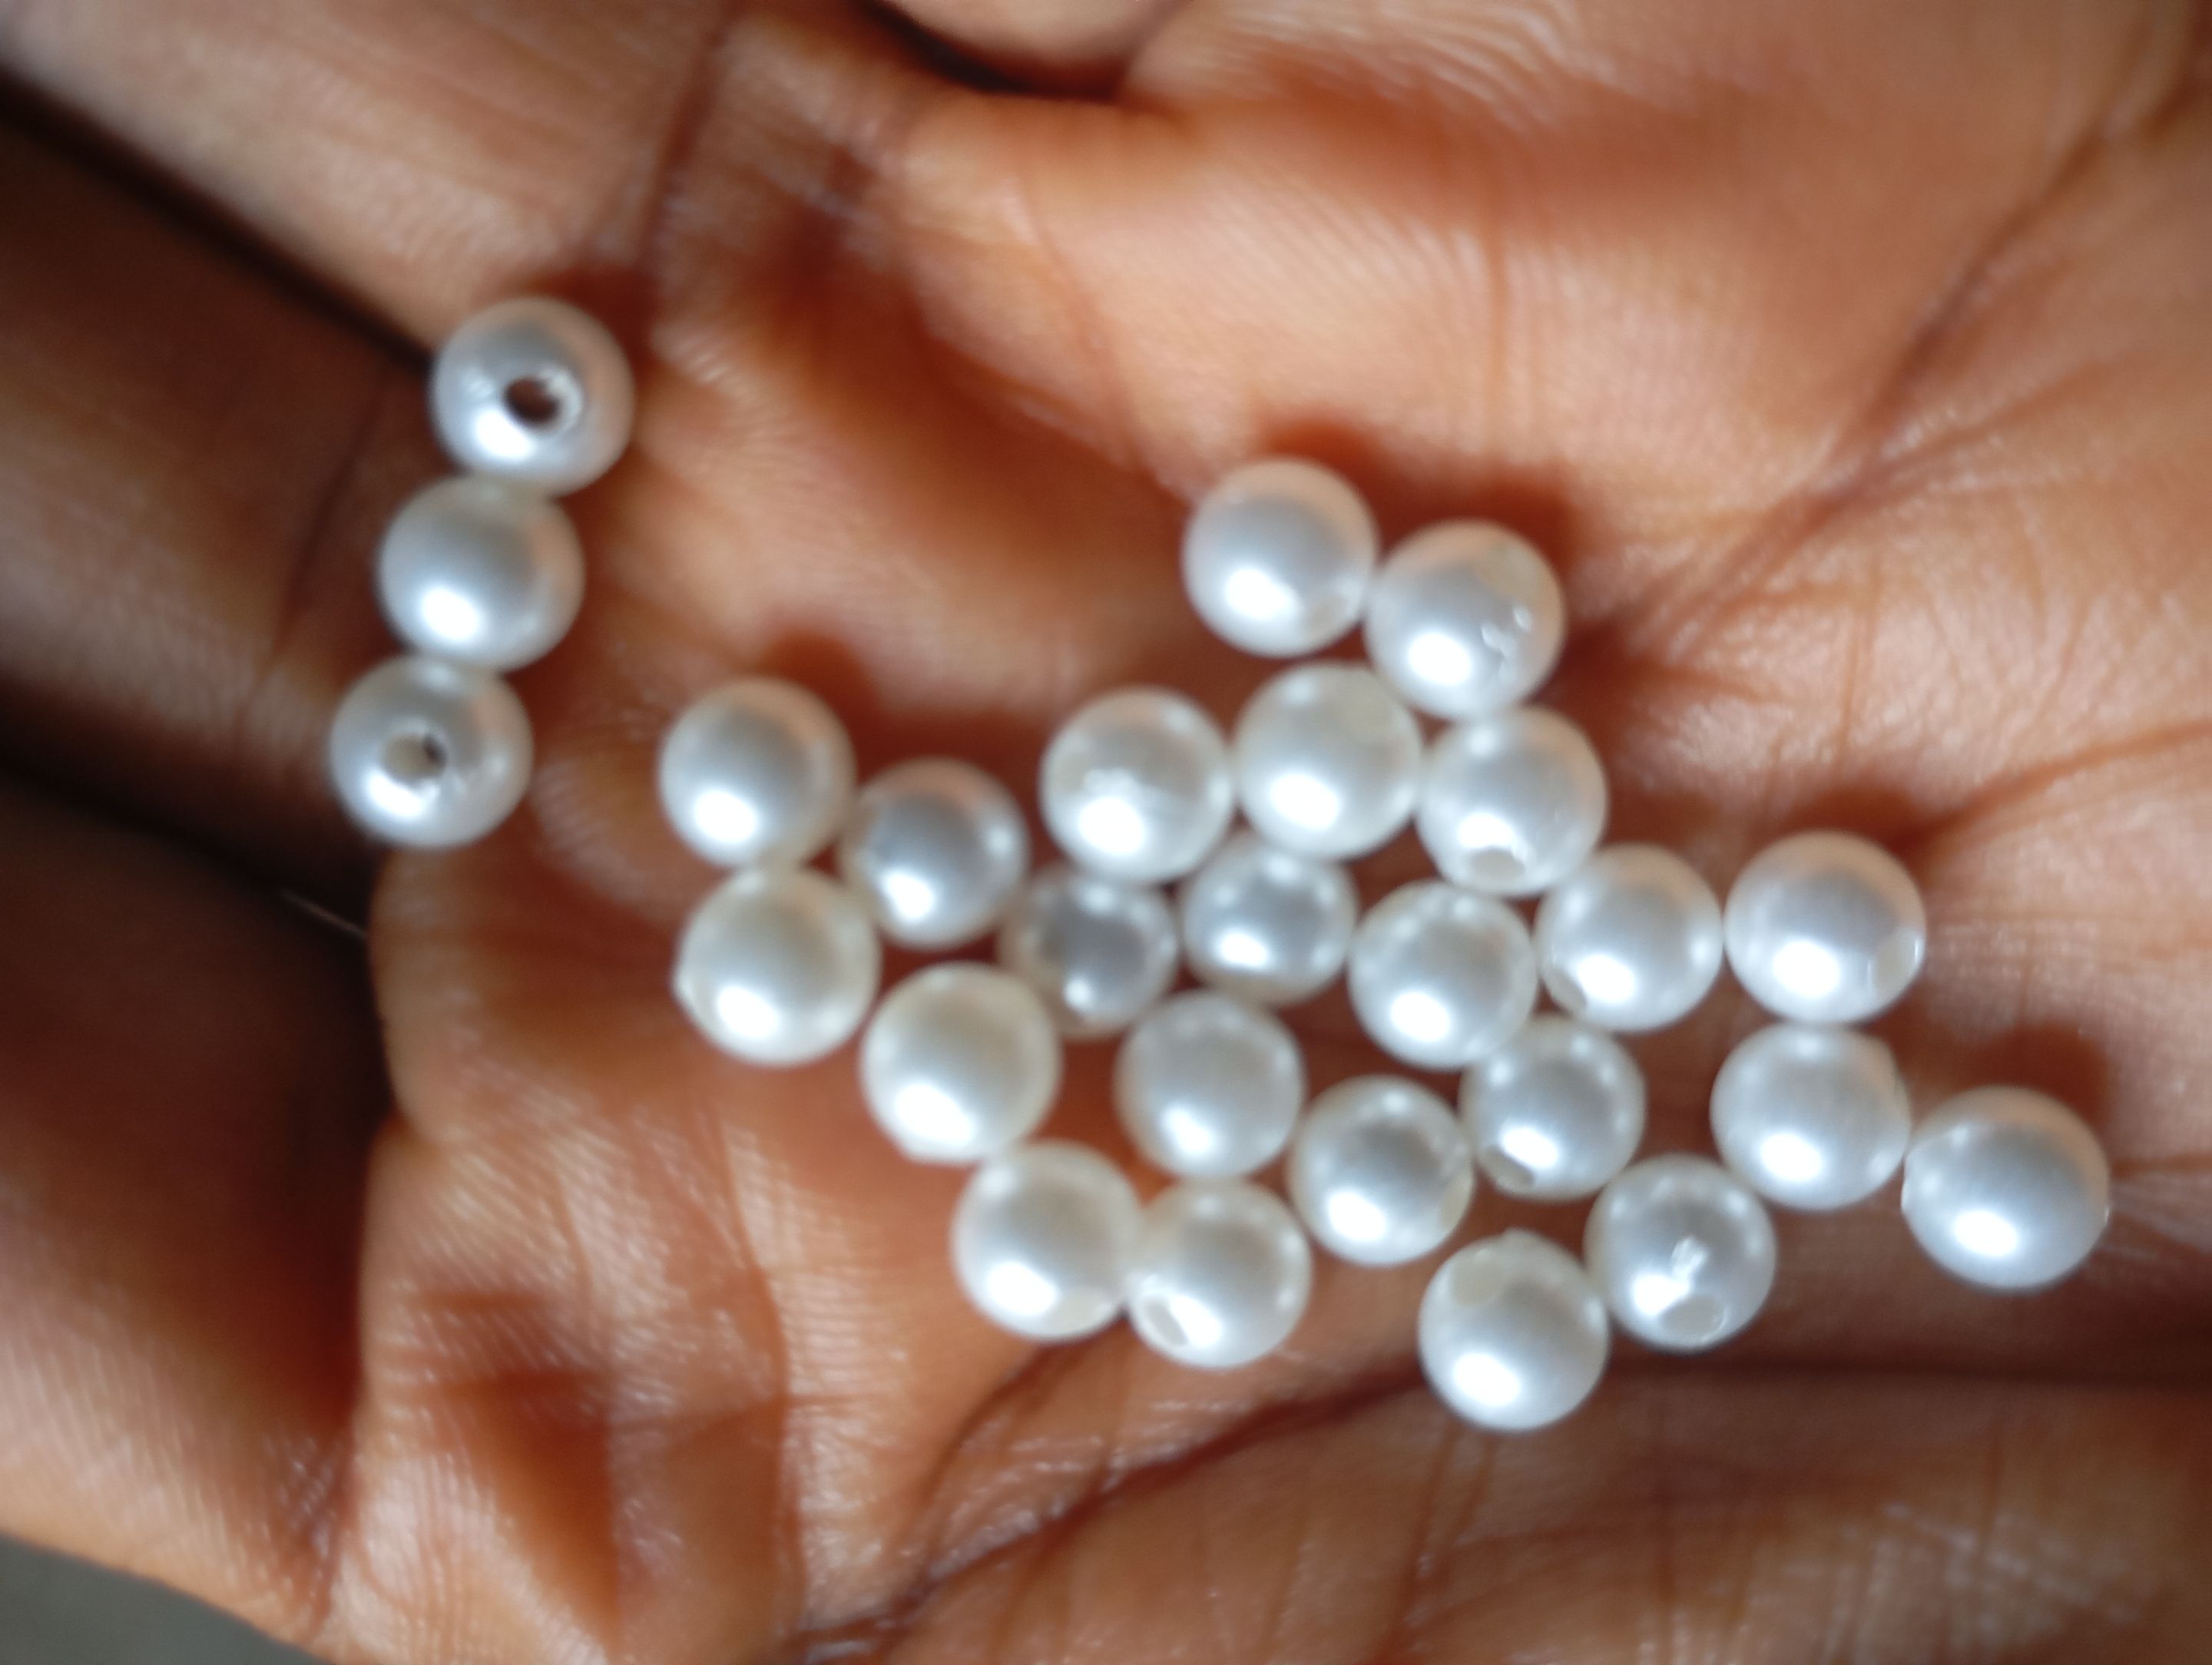
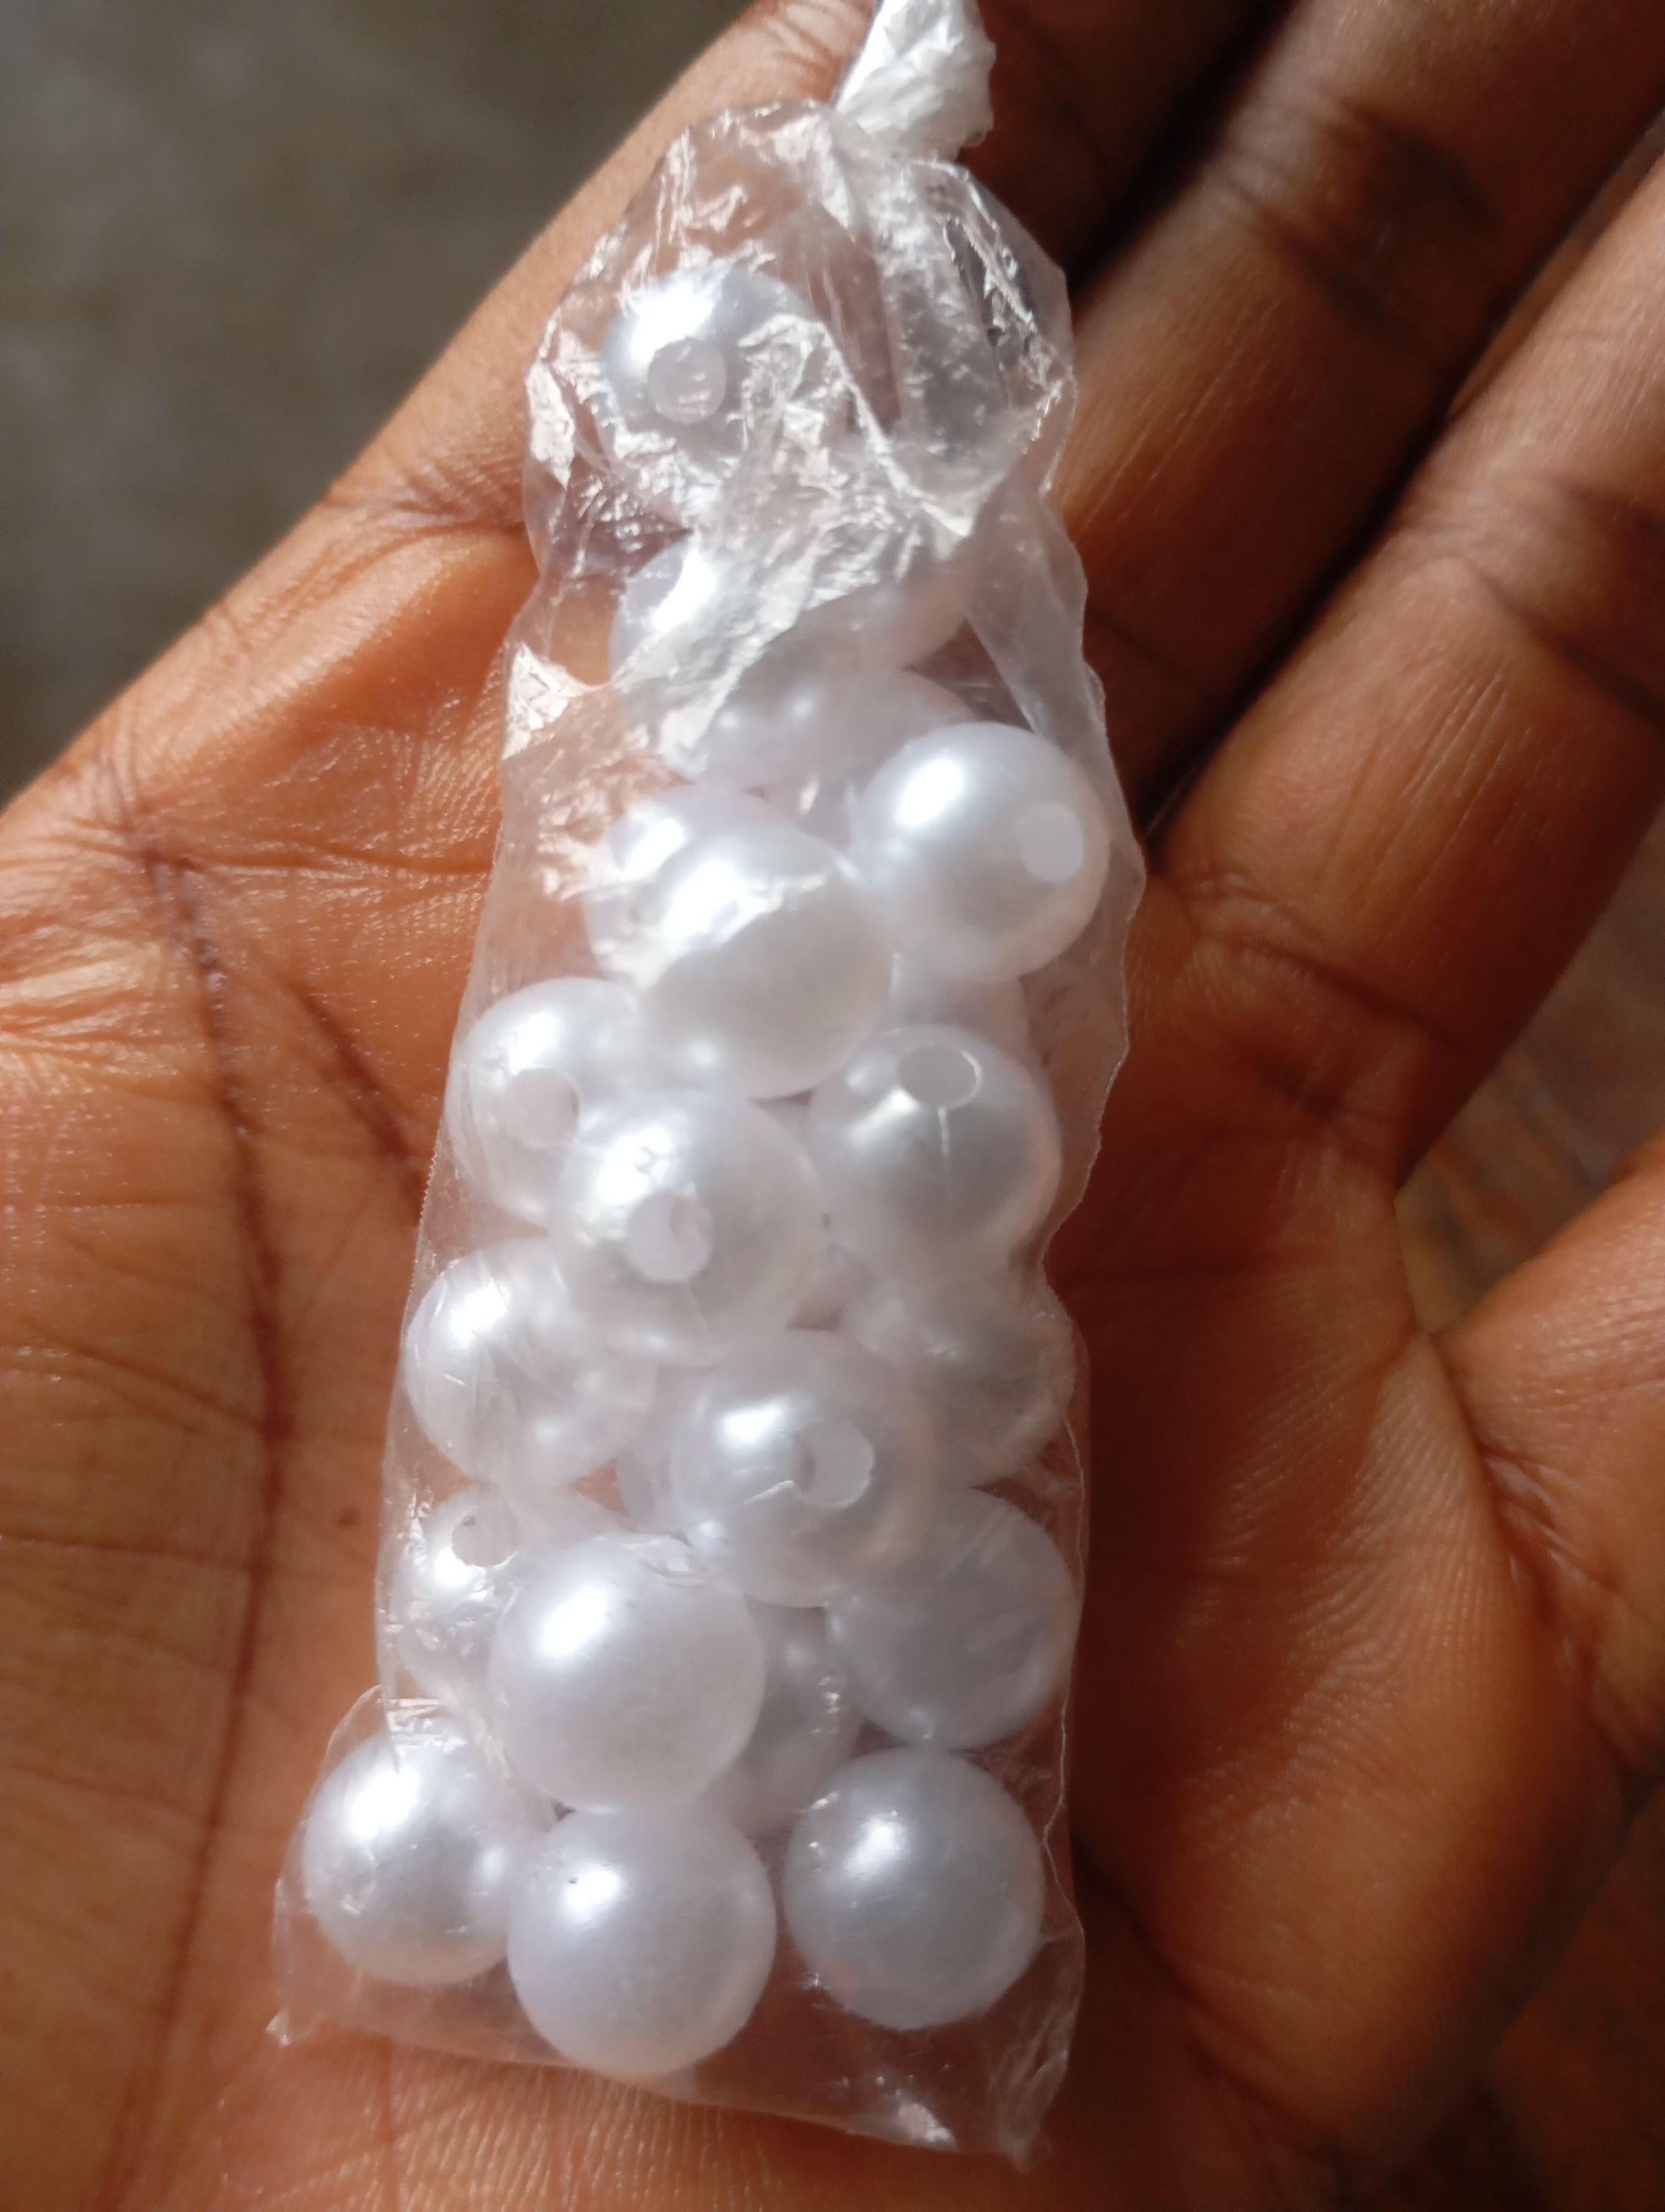
• 6 mm Pearl beads
• 8 mm pearl beads
• Scissors
• plier

Procedures
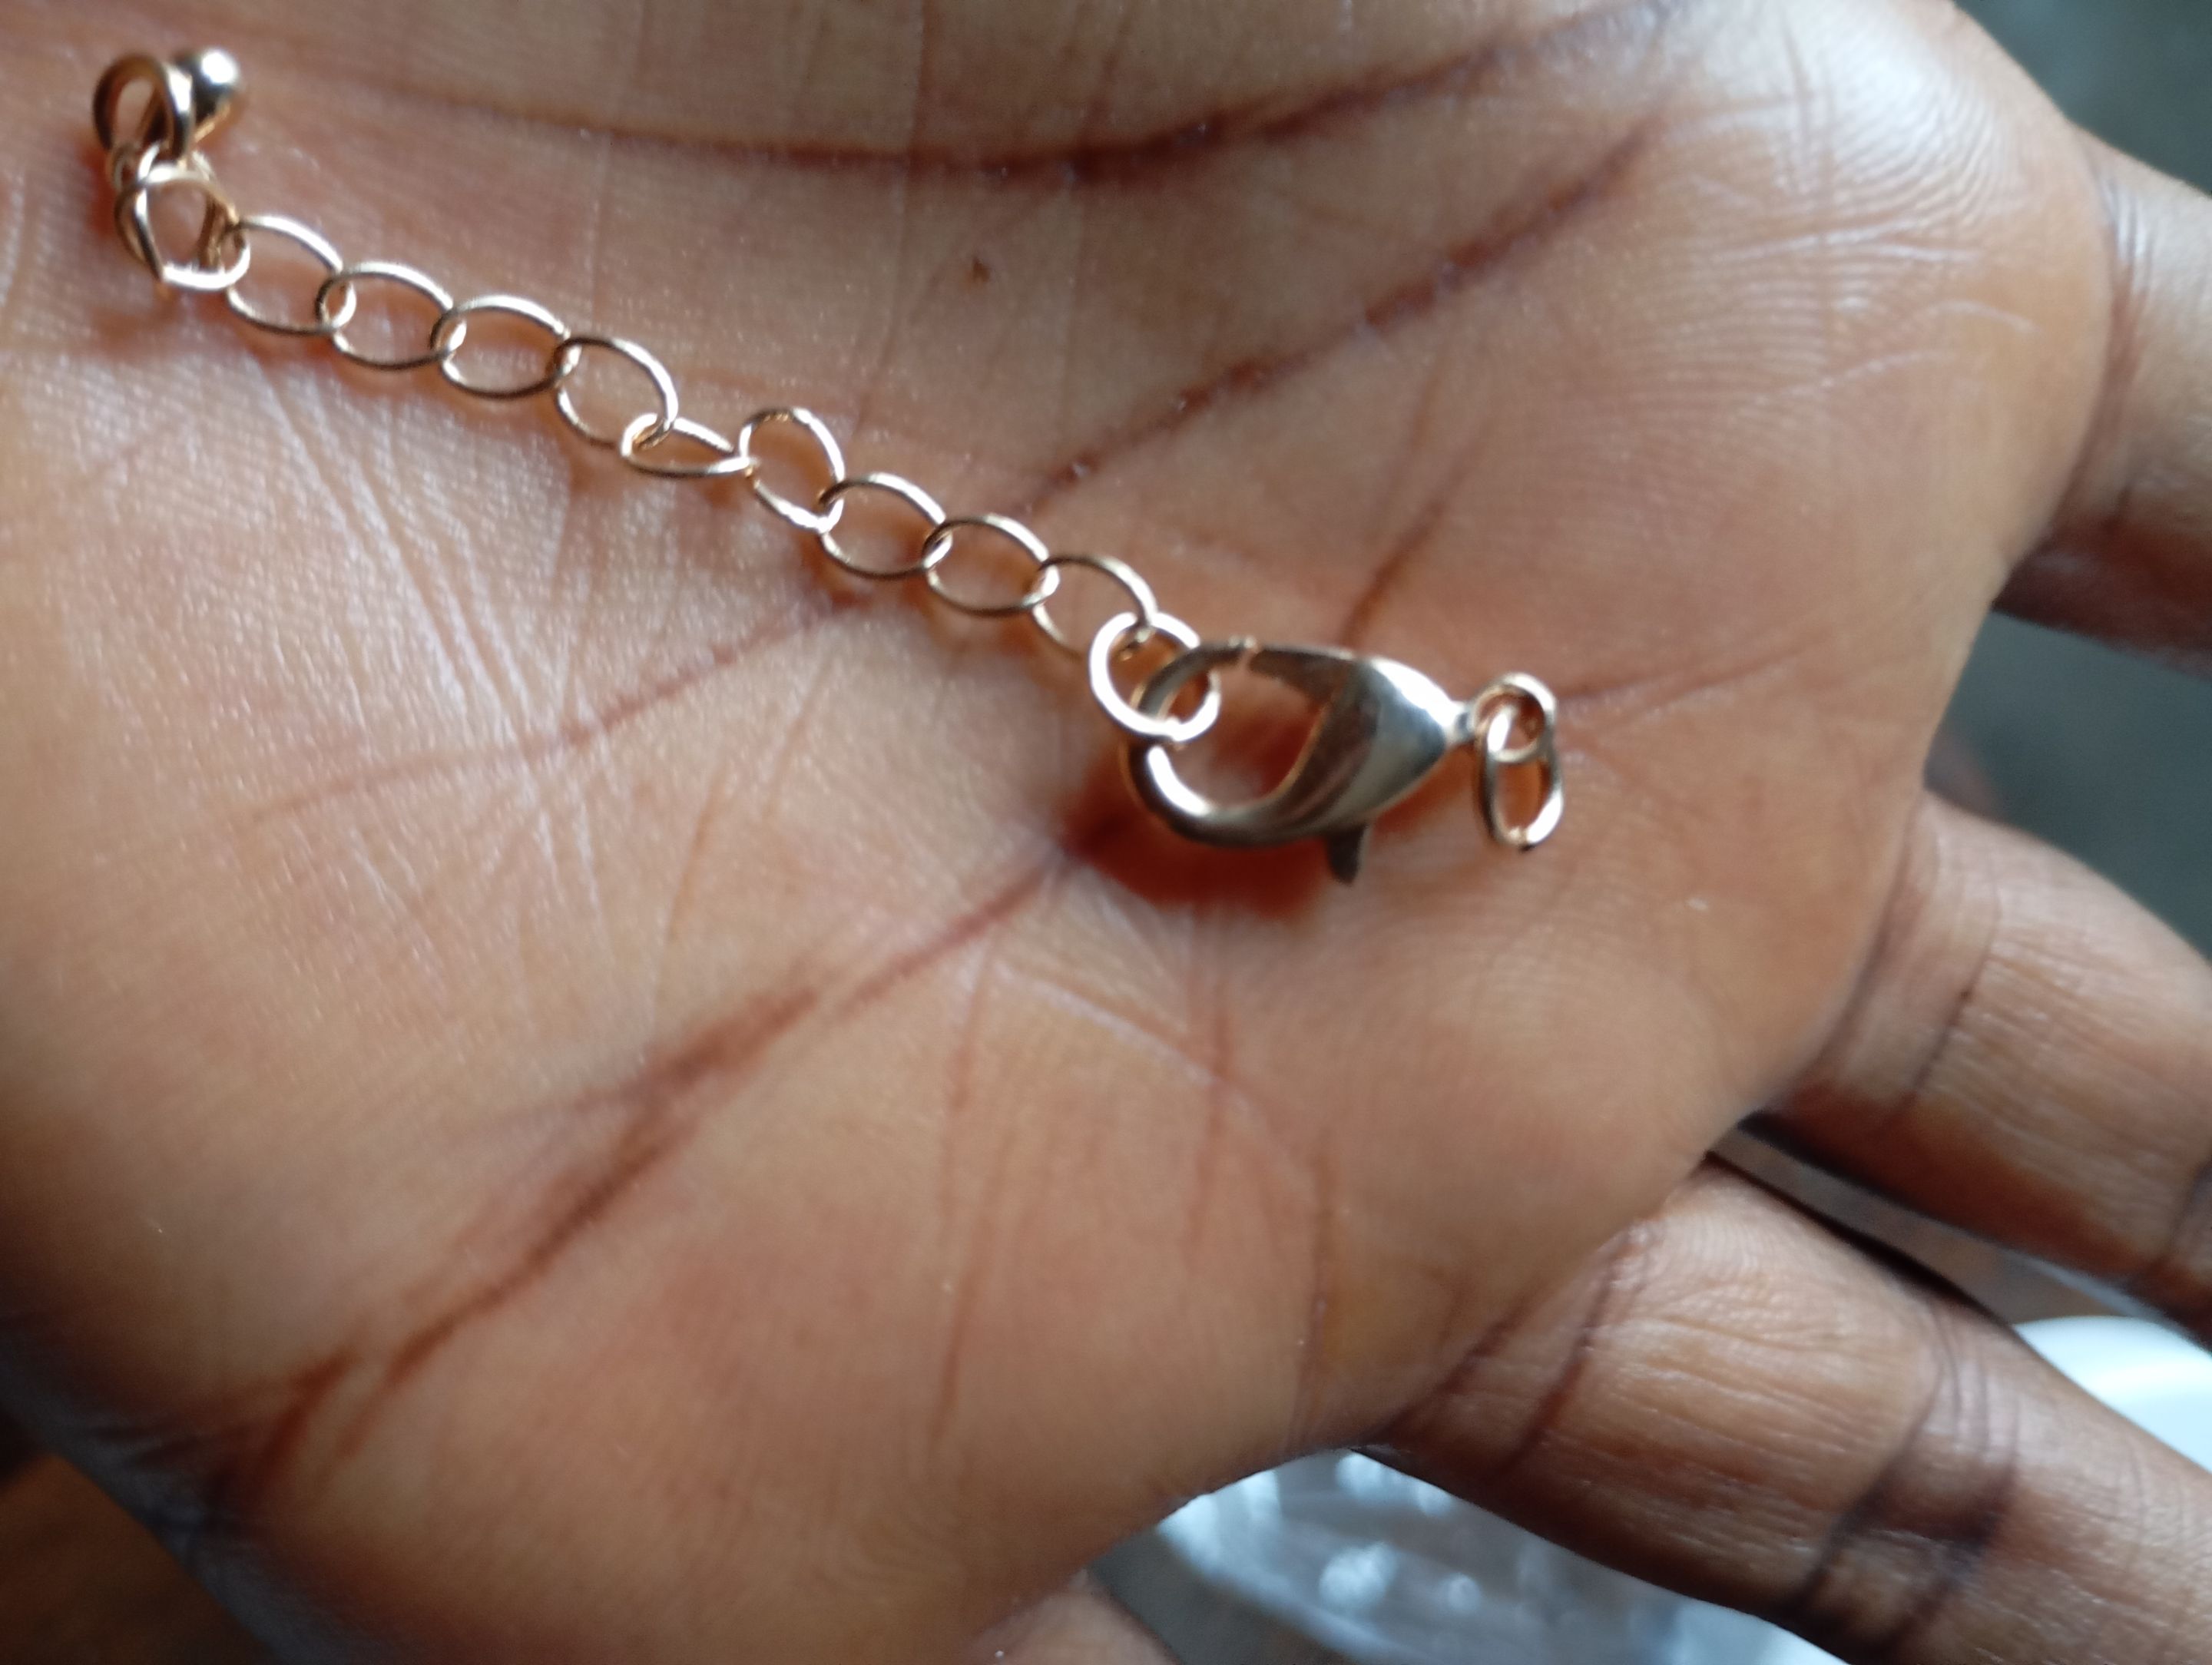
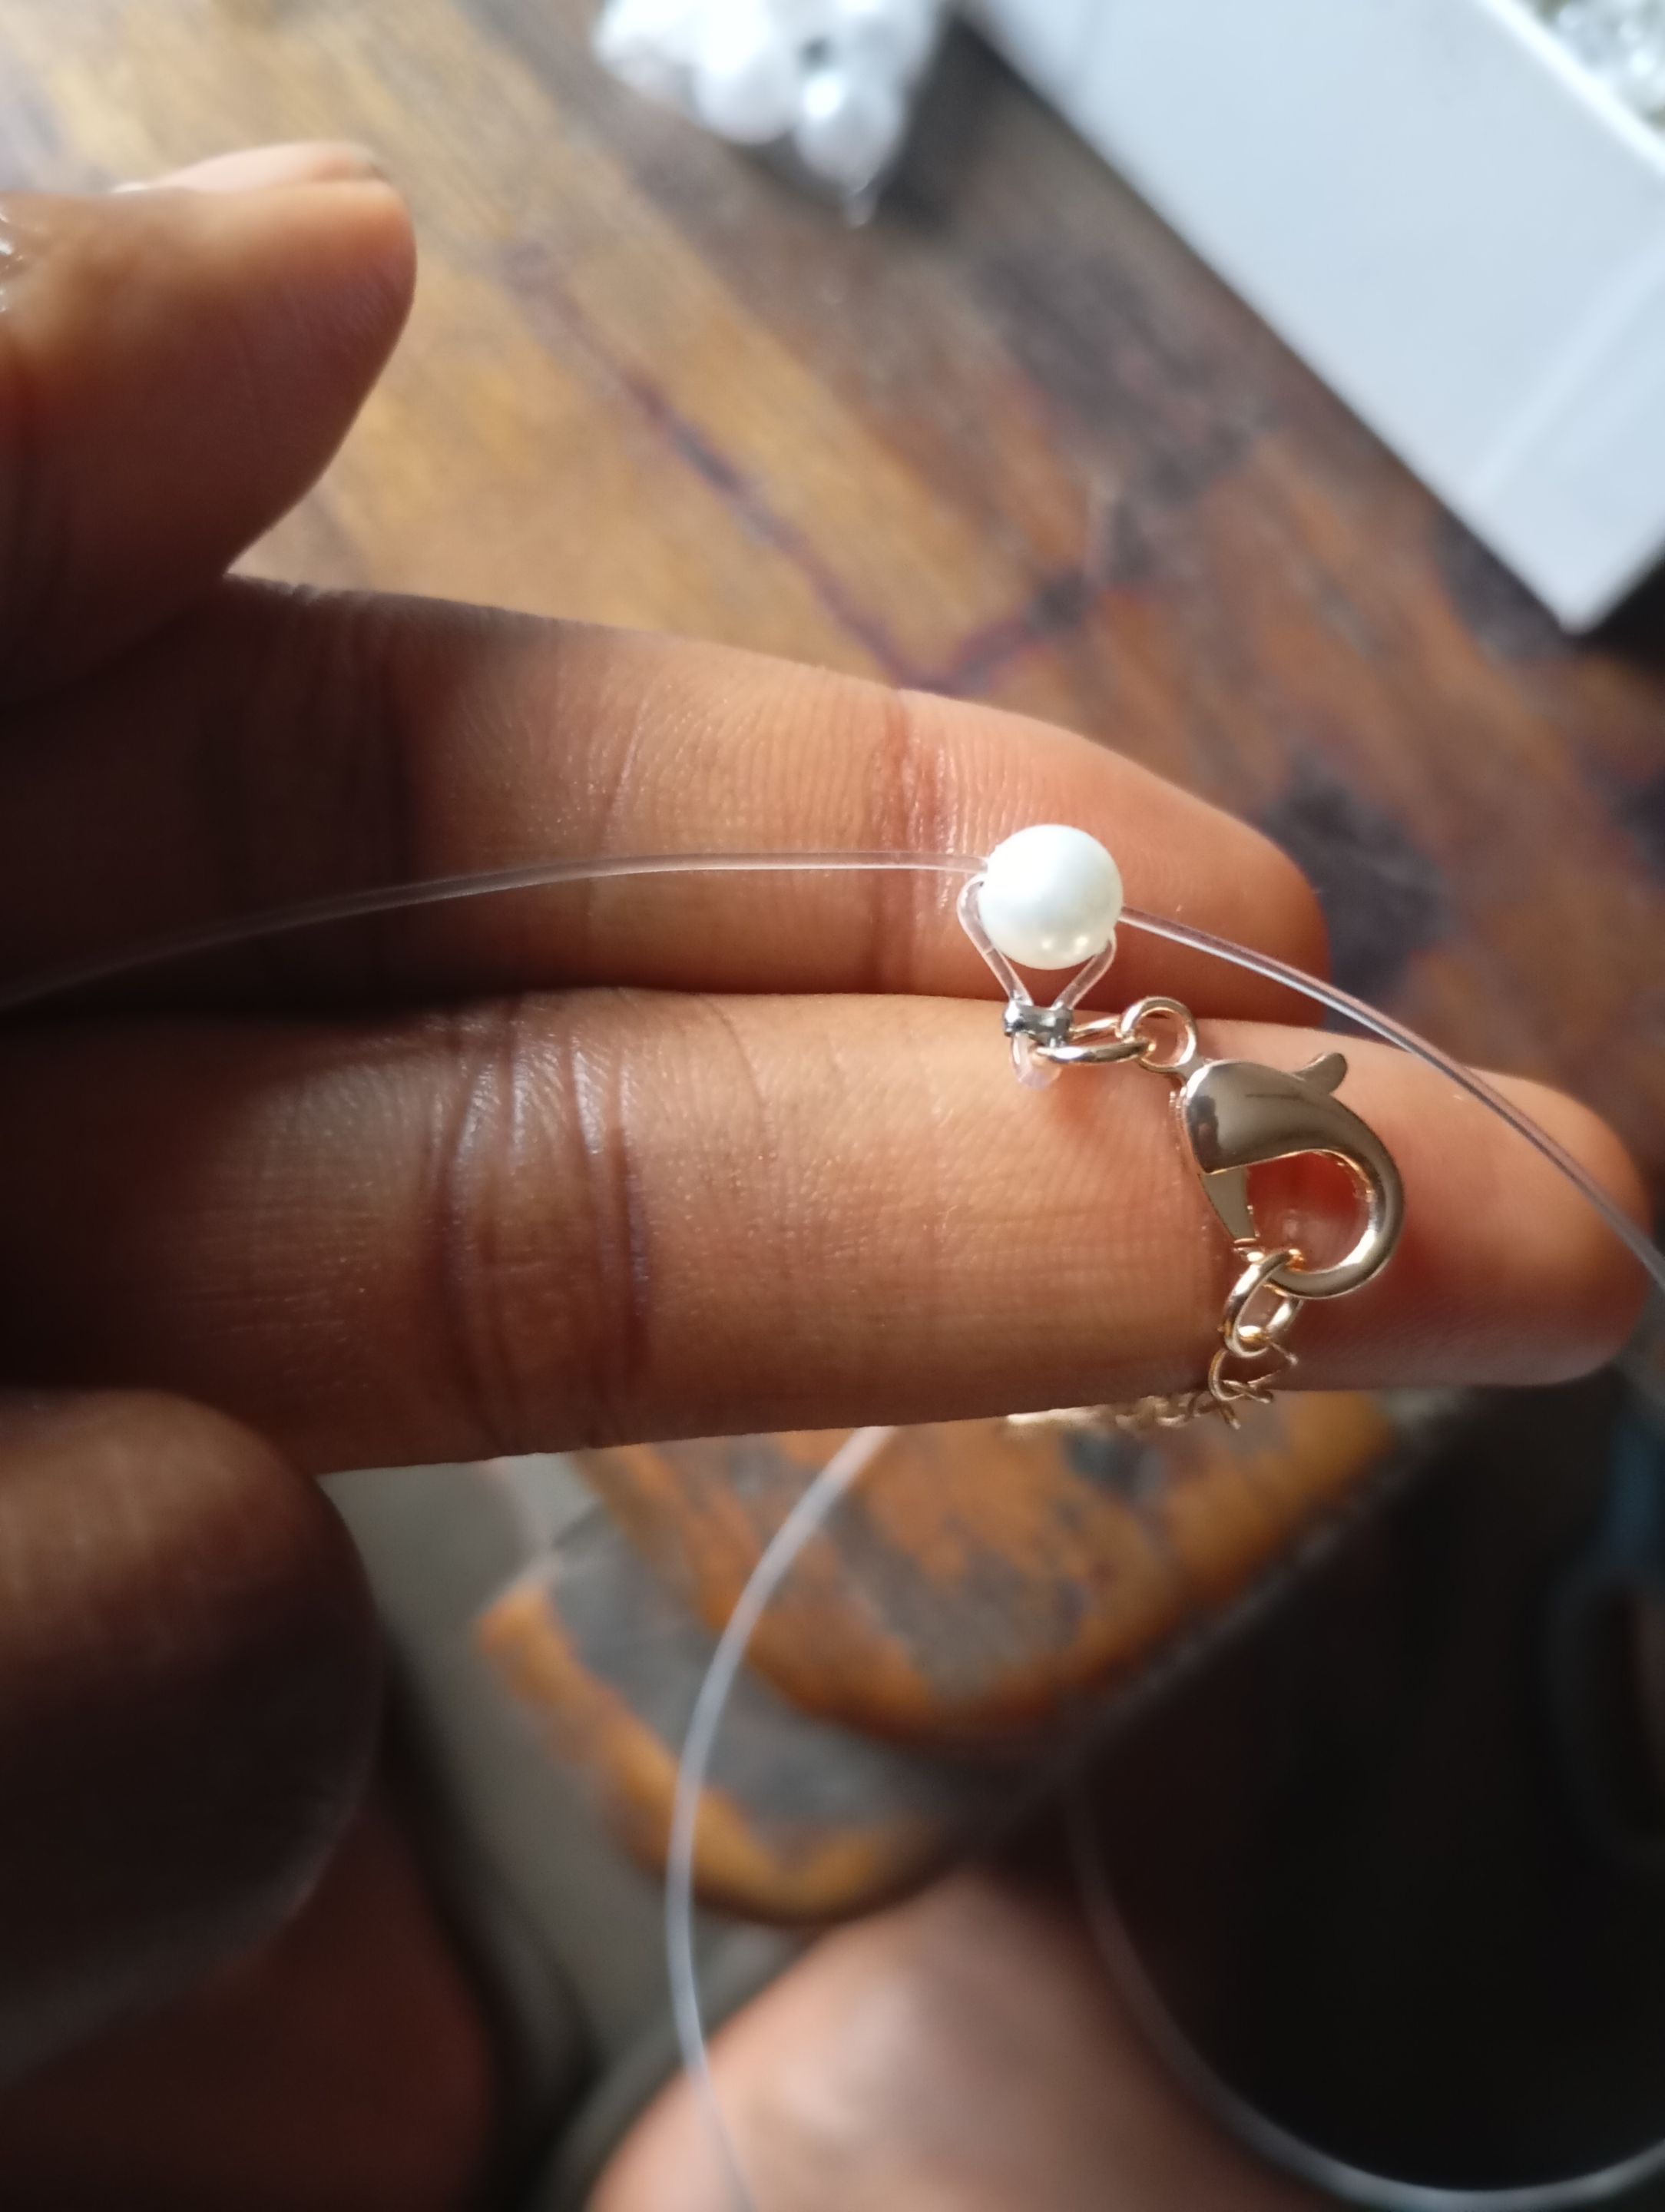
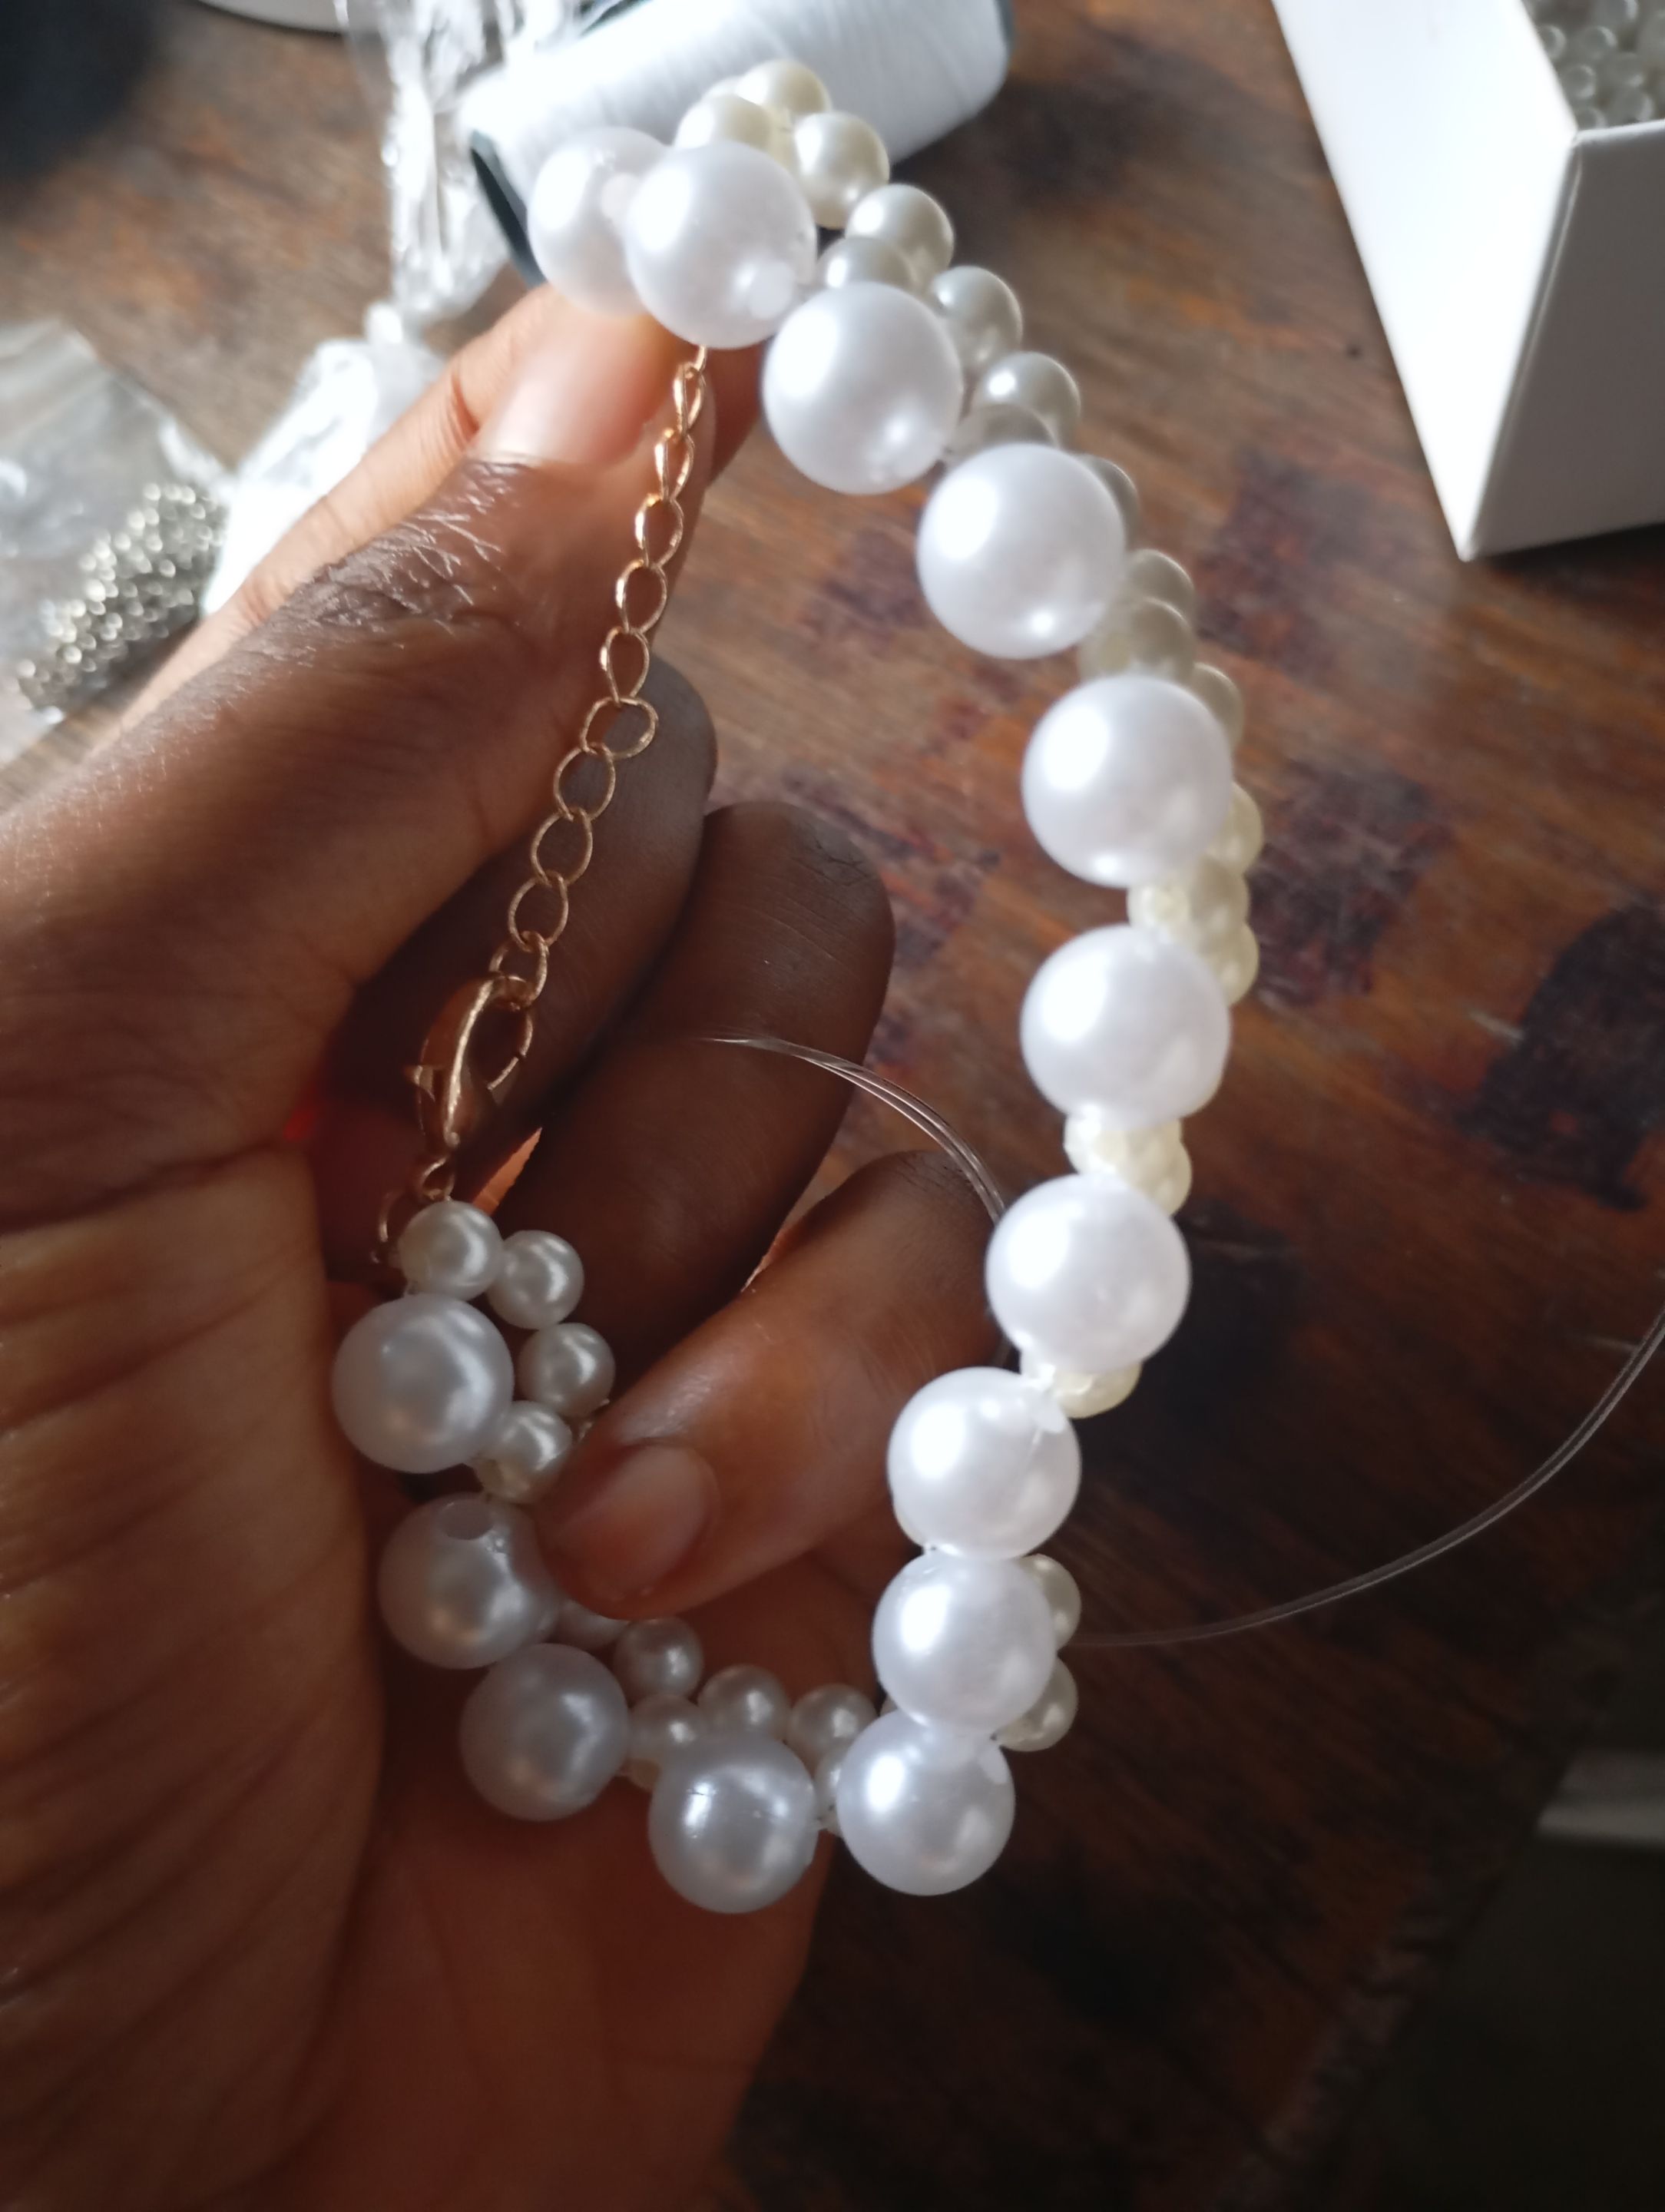
I wanted something I could adjust, if I want it tight or loose which is why I chose that kind of hook. I could easily adjust to the size I want.
Step 1
I uncoil the quantity of line I will be using making sure it wasn't too short and too long, placed my hook at the middle of my line before using stop. I close it up by using my plier, add a bit of pressure and you're good to go. I begin with my 6 mm pearl line cross it over with both my left and right line just as you saw in the image below.
Step 2
On my left line I place one 8 mm pearl beads while on my right line I placed two 6 mm pearl beads.
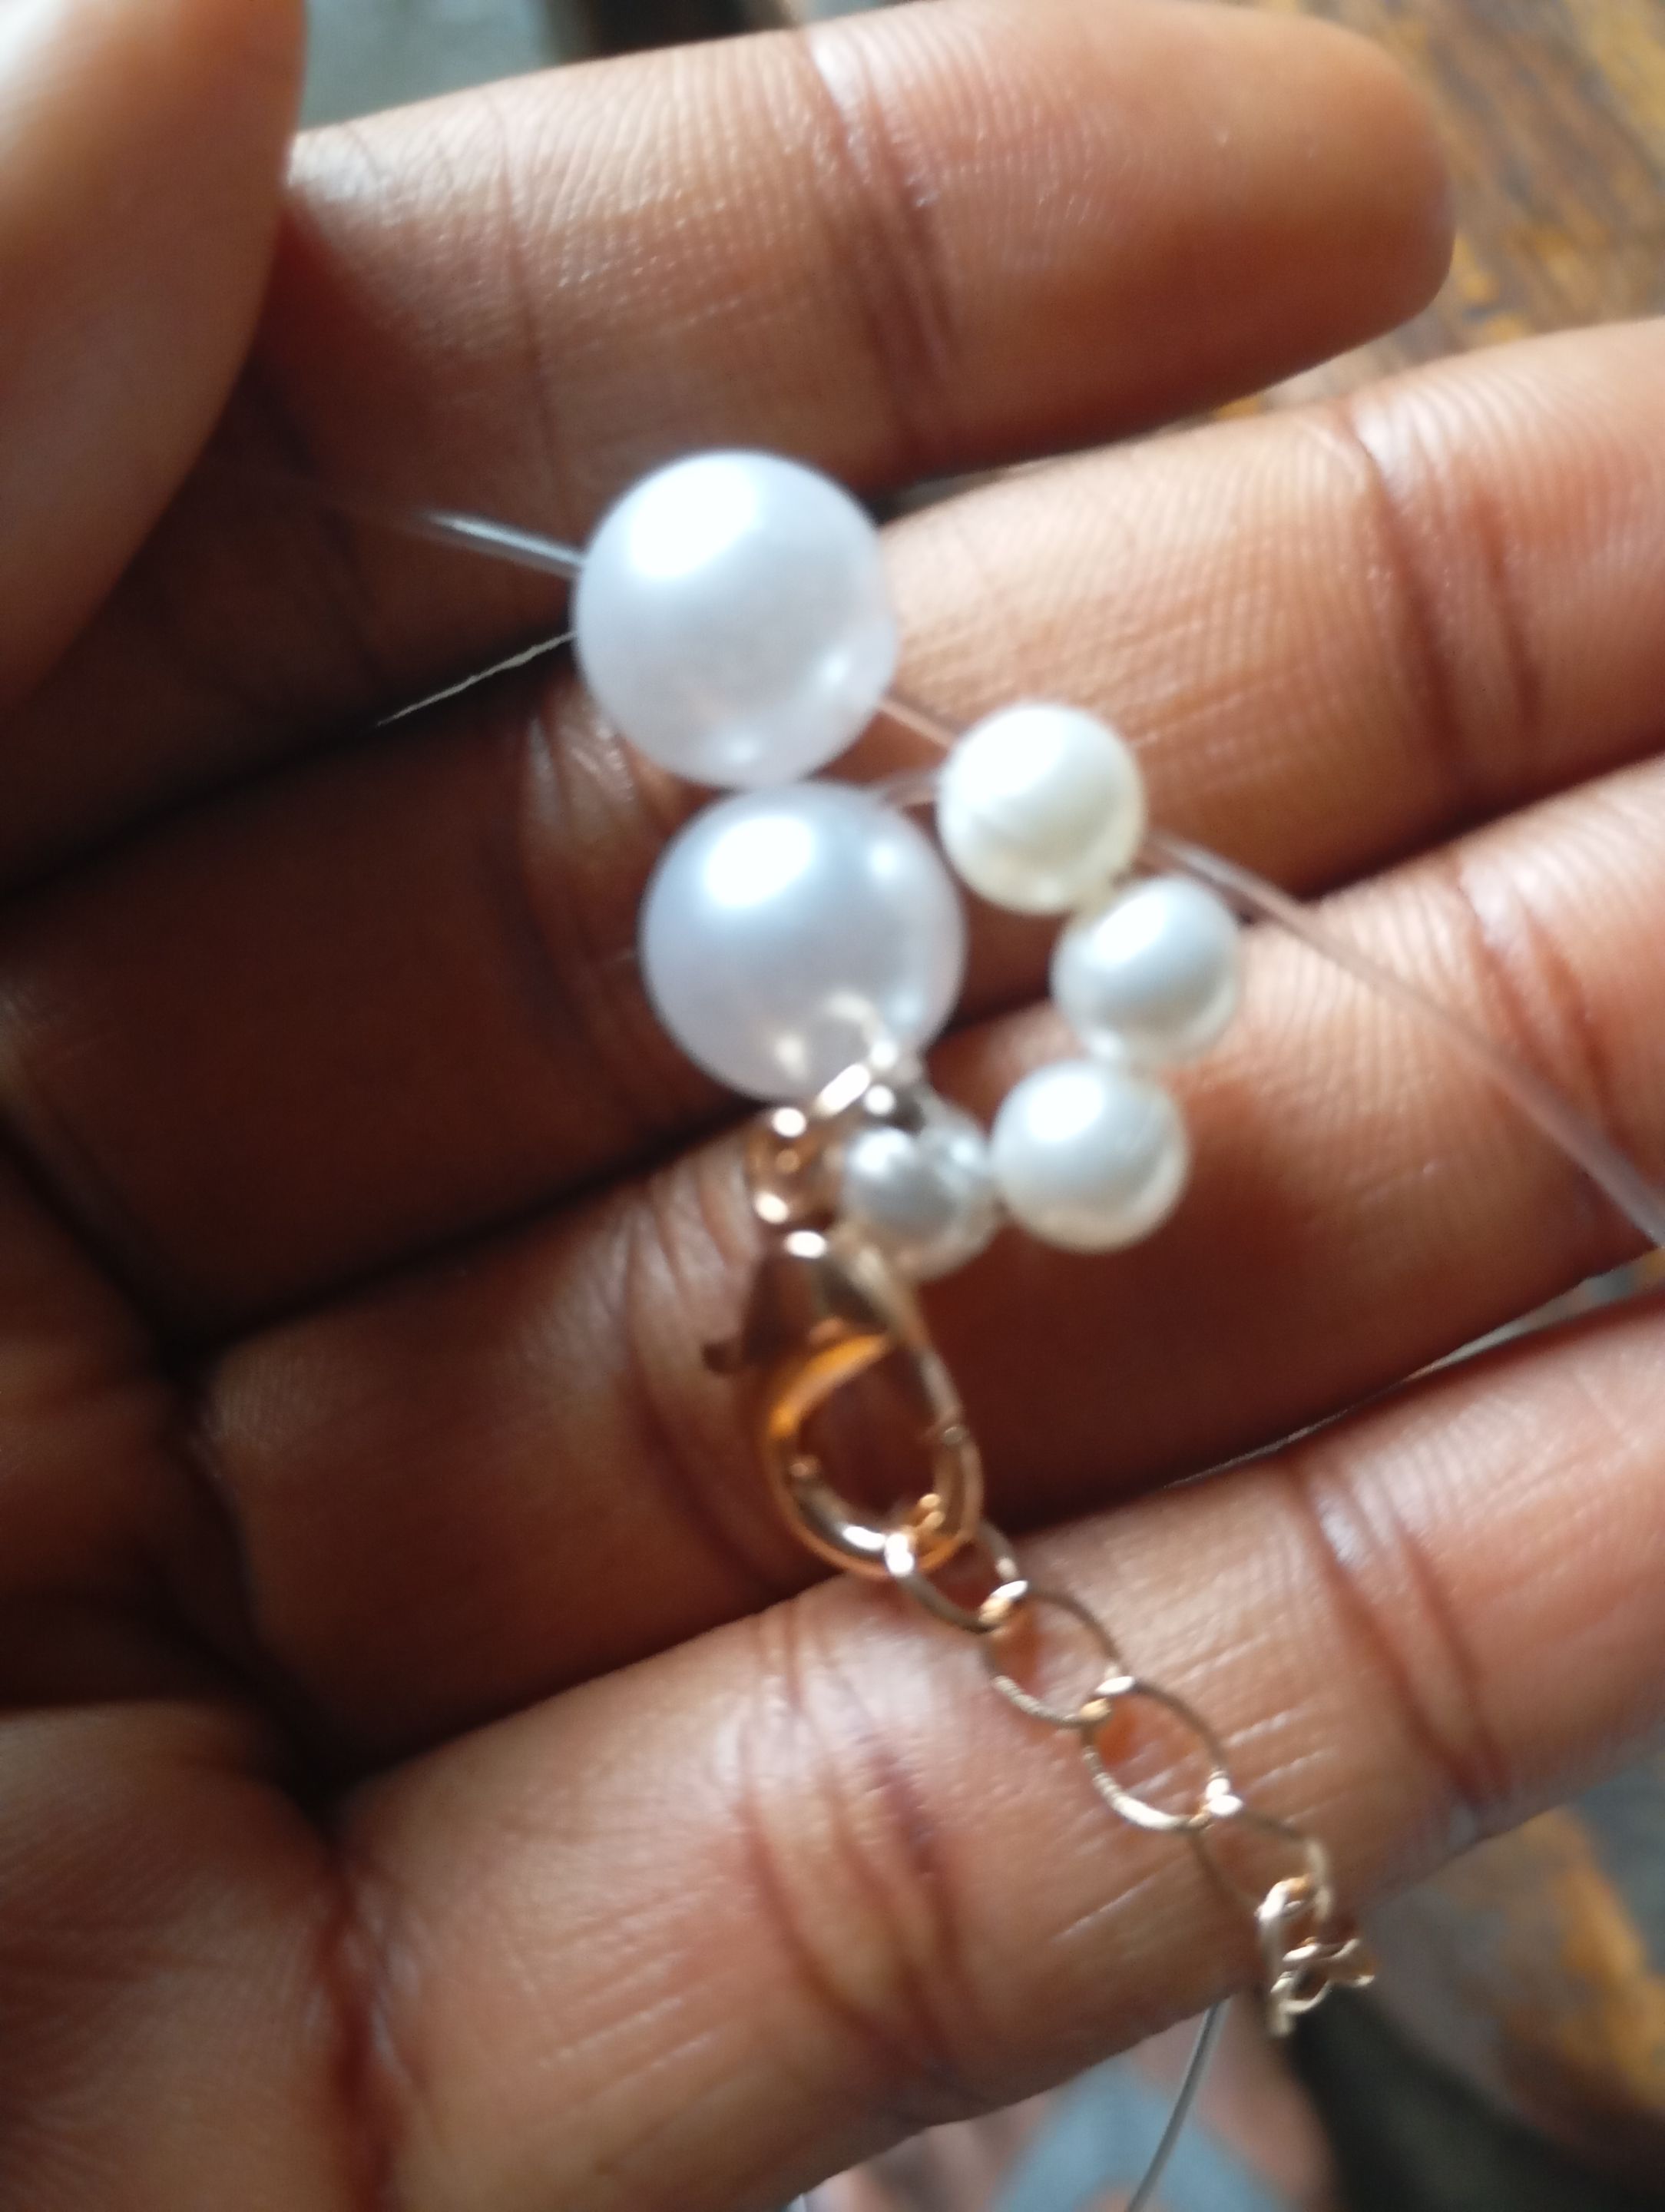
I close it up by using my 6 mm pearl bead by joining both line together in the bead. Making sure is tight so the design won't be loose.
I continue this procedure by adding 8 mm pearl bead on my left line while I add 6 mm pearl bead on my left line then close it up with my 6 mm by joining both line together to form that beautiful flower.
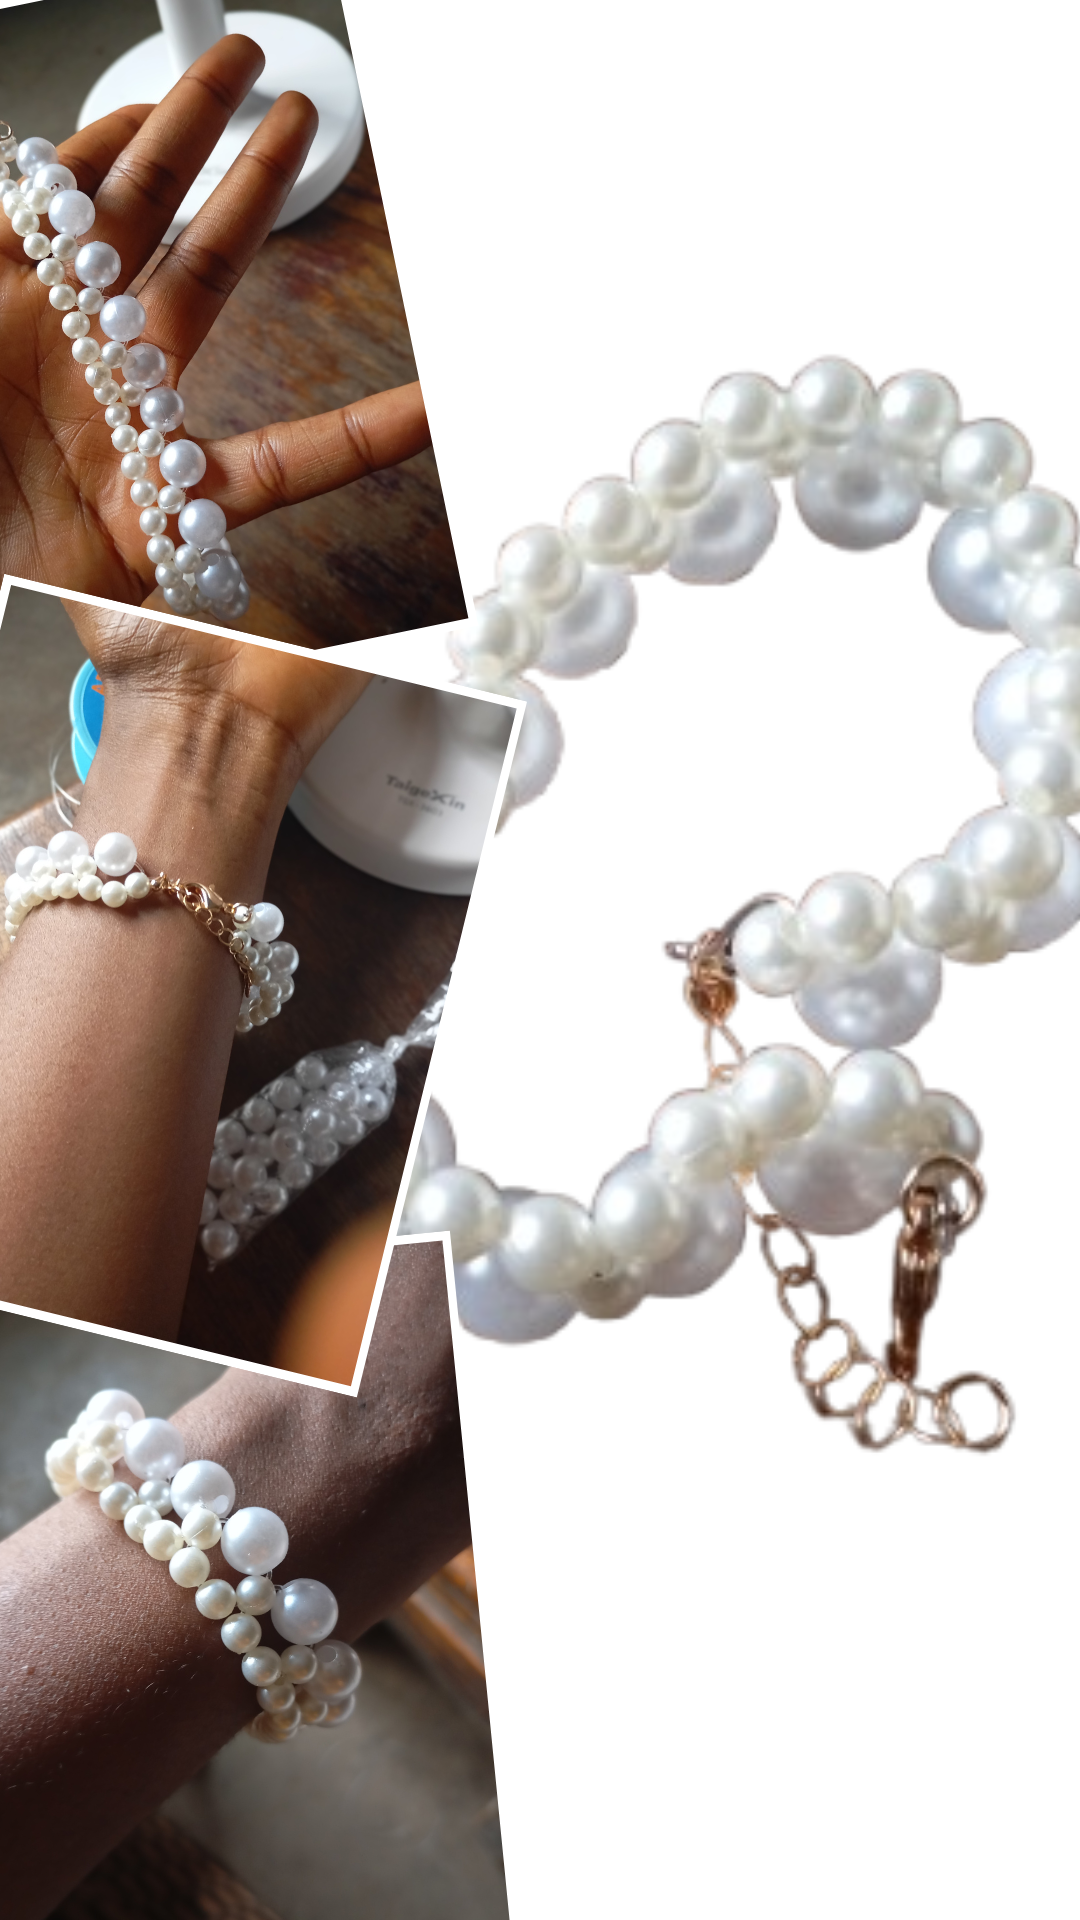
I followed the same partner till I reached the length I wanted. Occasionally I placed it on my wrist to be sure I wasn't doing so much and right on track. The first time I placed it on my wrist it was a bit tight so I have to add one more session to complete it.
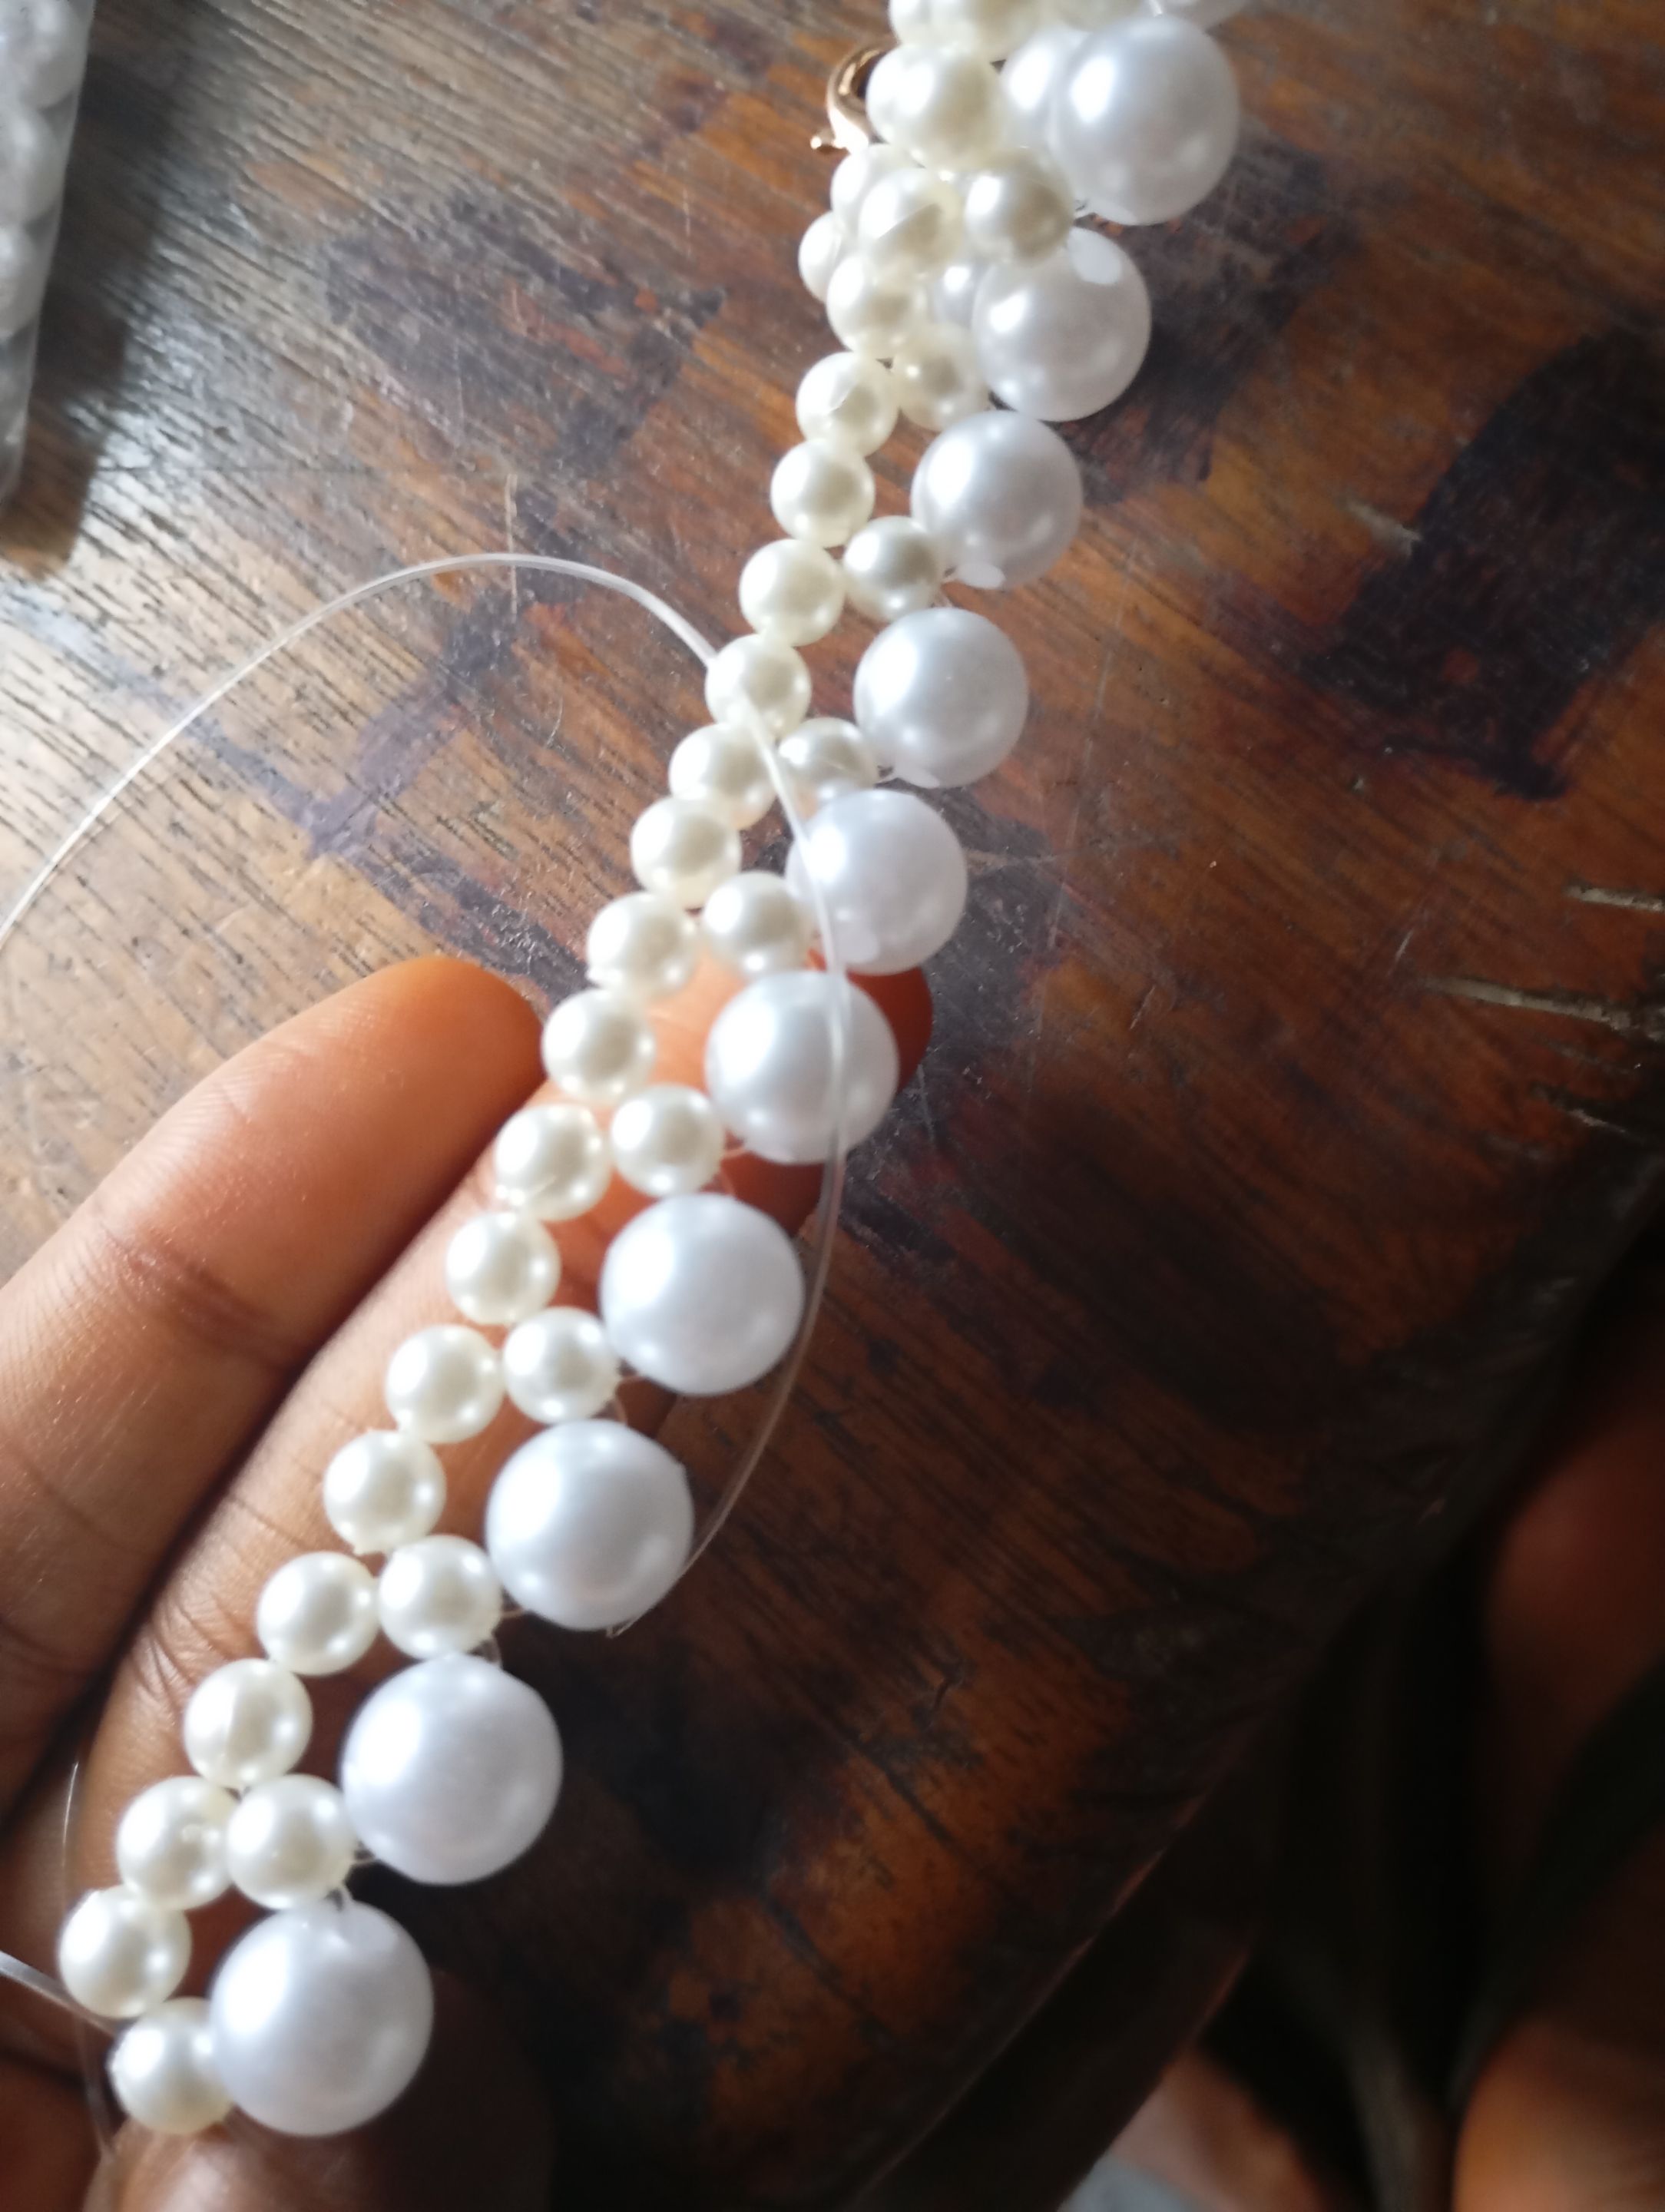
As you can see the bead is already forming a beautiful shape. I made sure to tighten it so it won't be too lose. My hook will be doing the work of adjusting so I just have to focus on making the bracelet firm.
Step 3
I got to the end of the finishing, I added my line to the other end of the hook, tightened well before locking it up with the stop using my plier to hold the stop firmly so it won't loose. I cut off the excess fisherline.
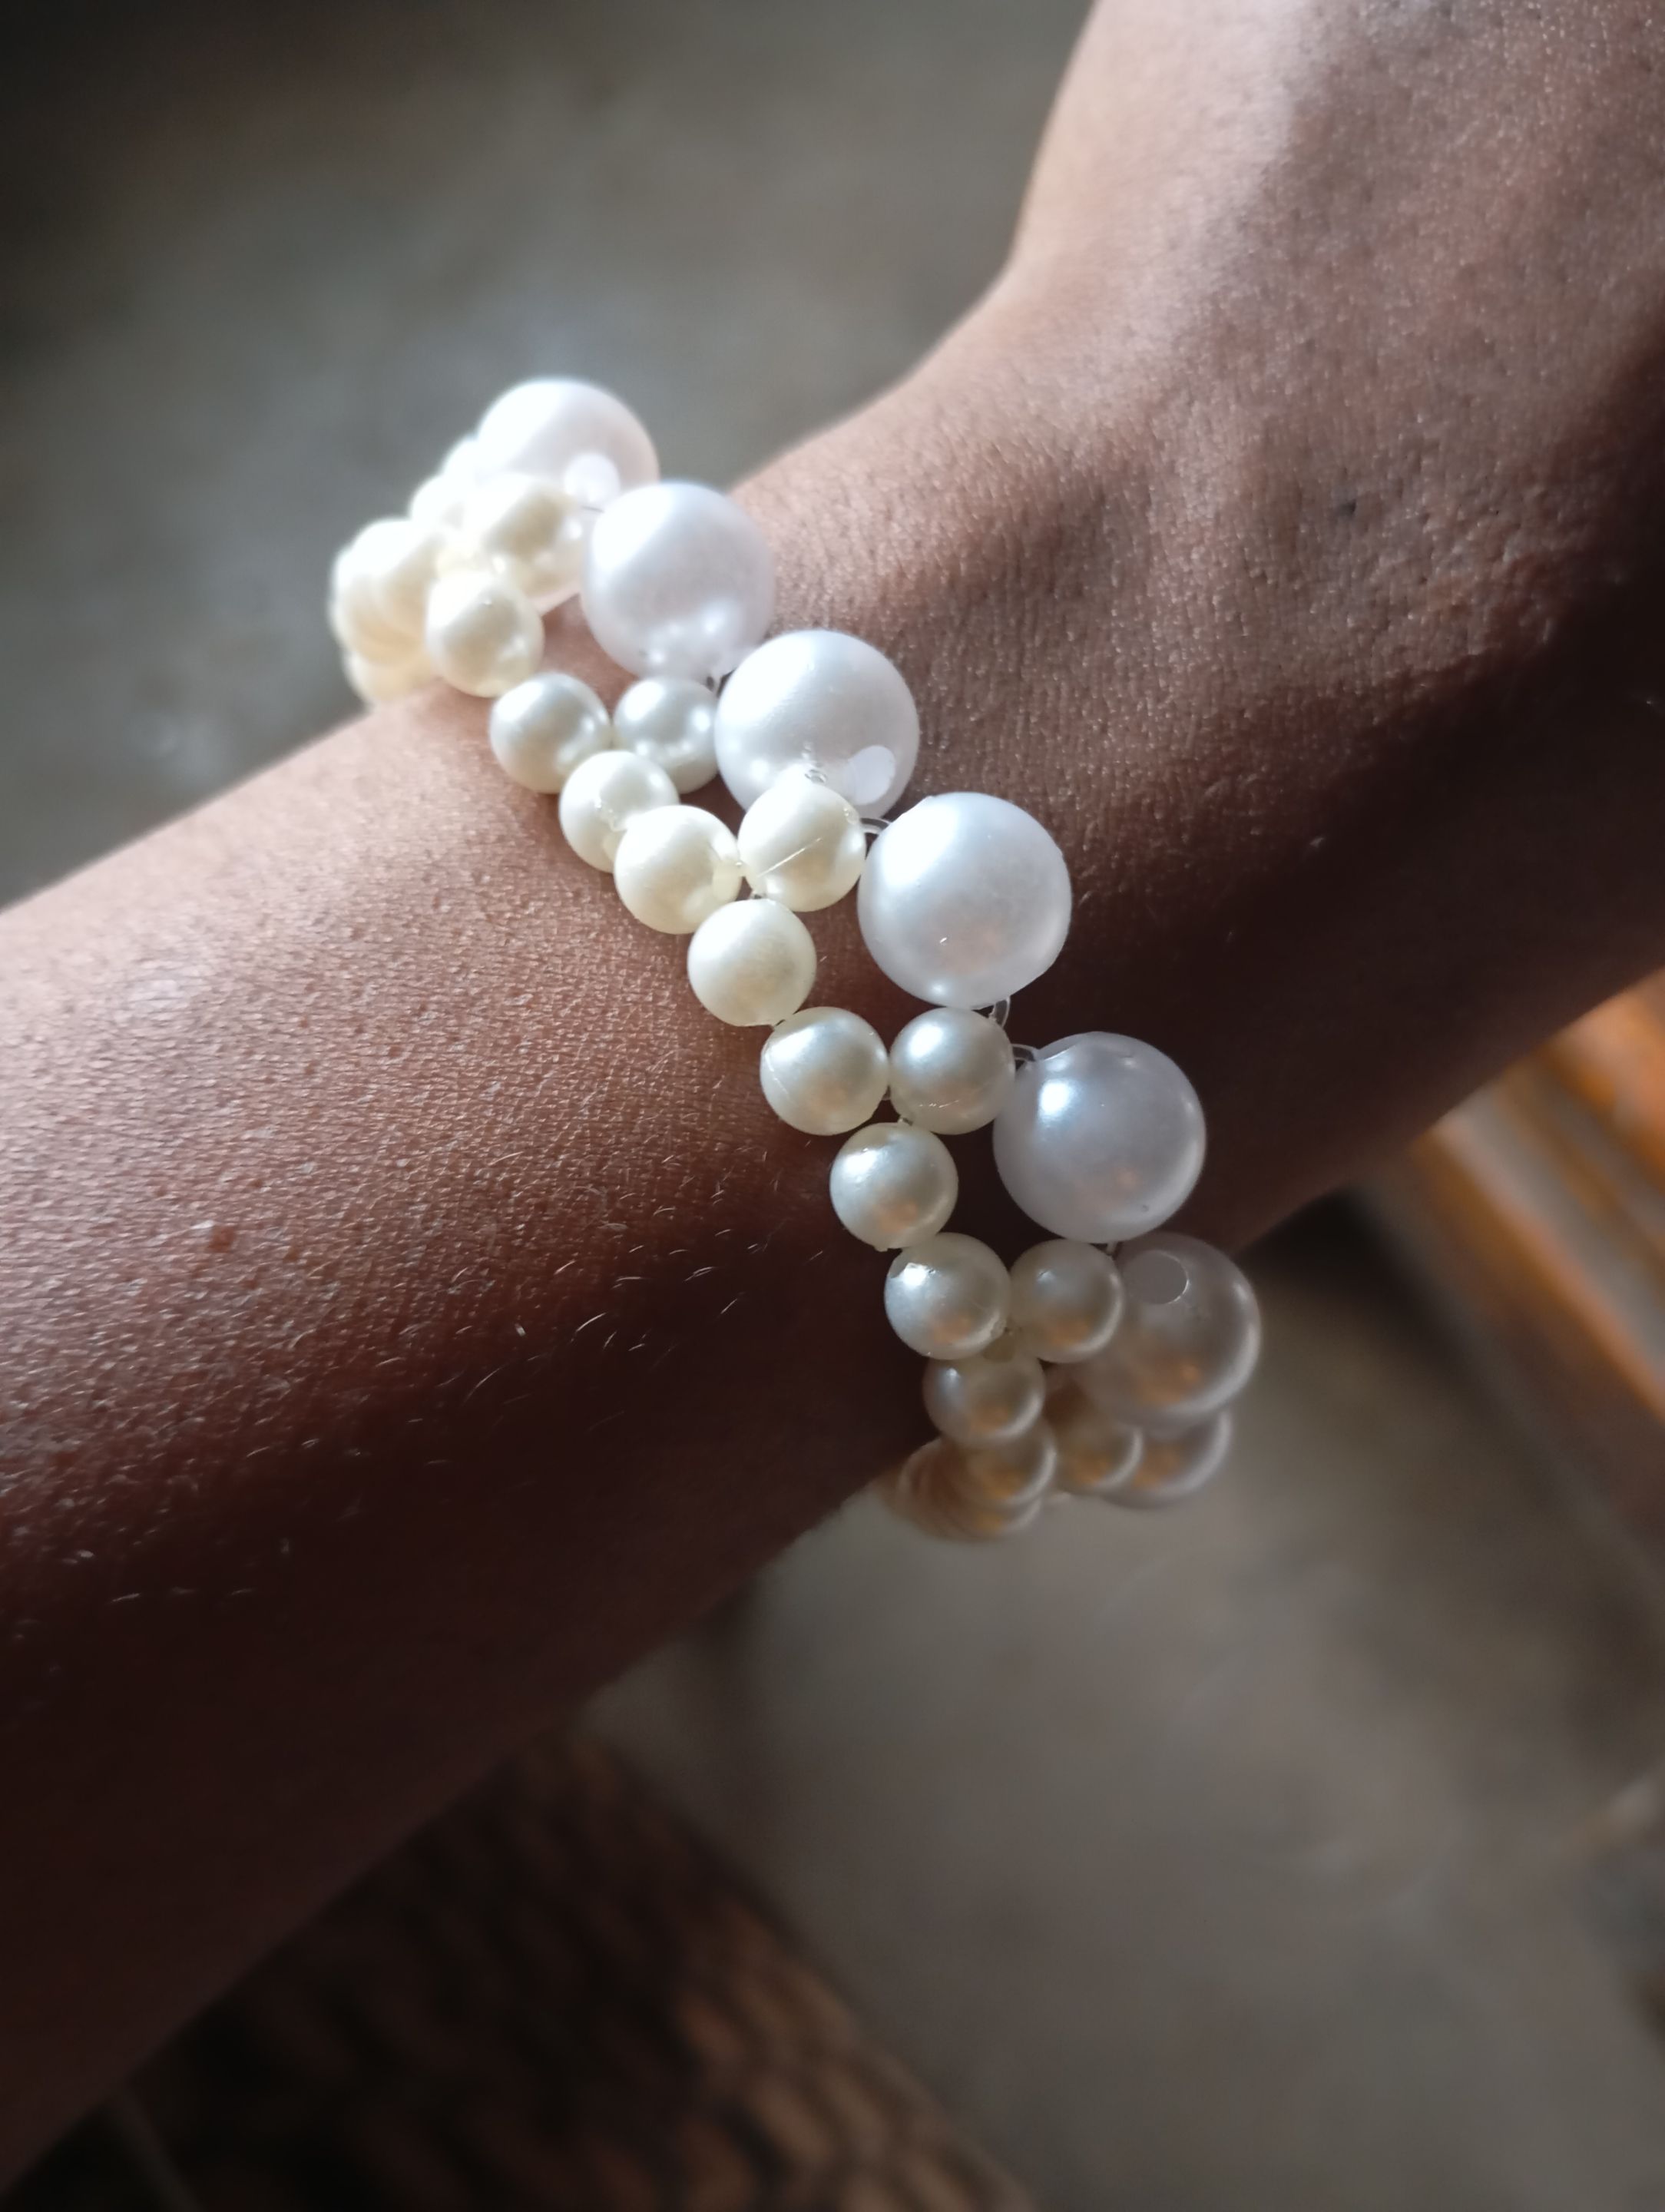
Viola! My bracelet is ready to be rocked with any kind of attire. I placed it on my wrist and it was so beautiful and elegant.
You can go on to rock it with a beautiful pearl necklace as an additional and a beautiful bead bags. What do you think about my bead? Will you be trying it out soon? Let me know in the comment session.
Thank you for visiting my blog, I will sharing more beautiful and elegant designs of pearl bracelets, necklace and bead bags.