Greetings to you all
Today I'll be showing you how I cut and sew a straight free gown .
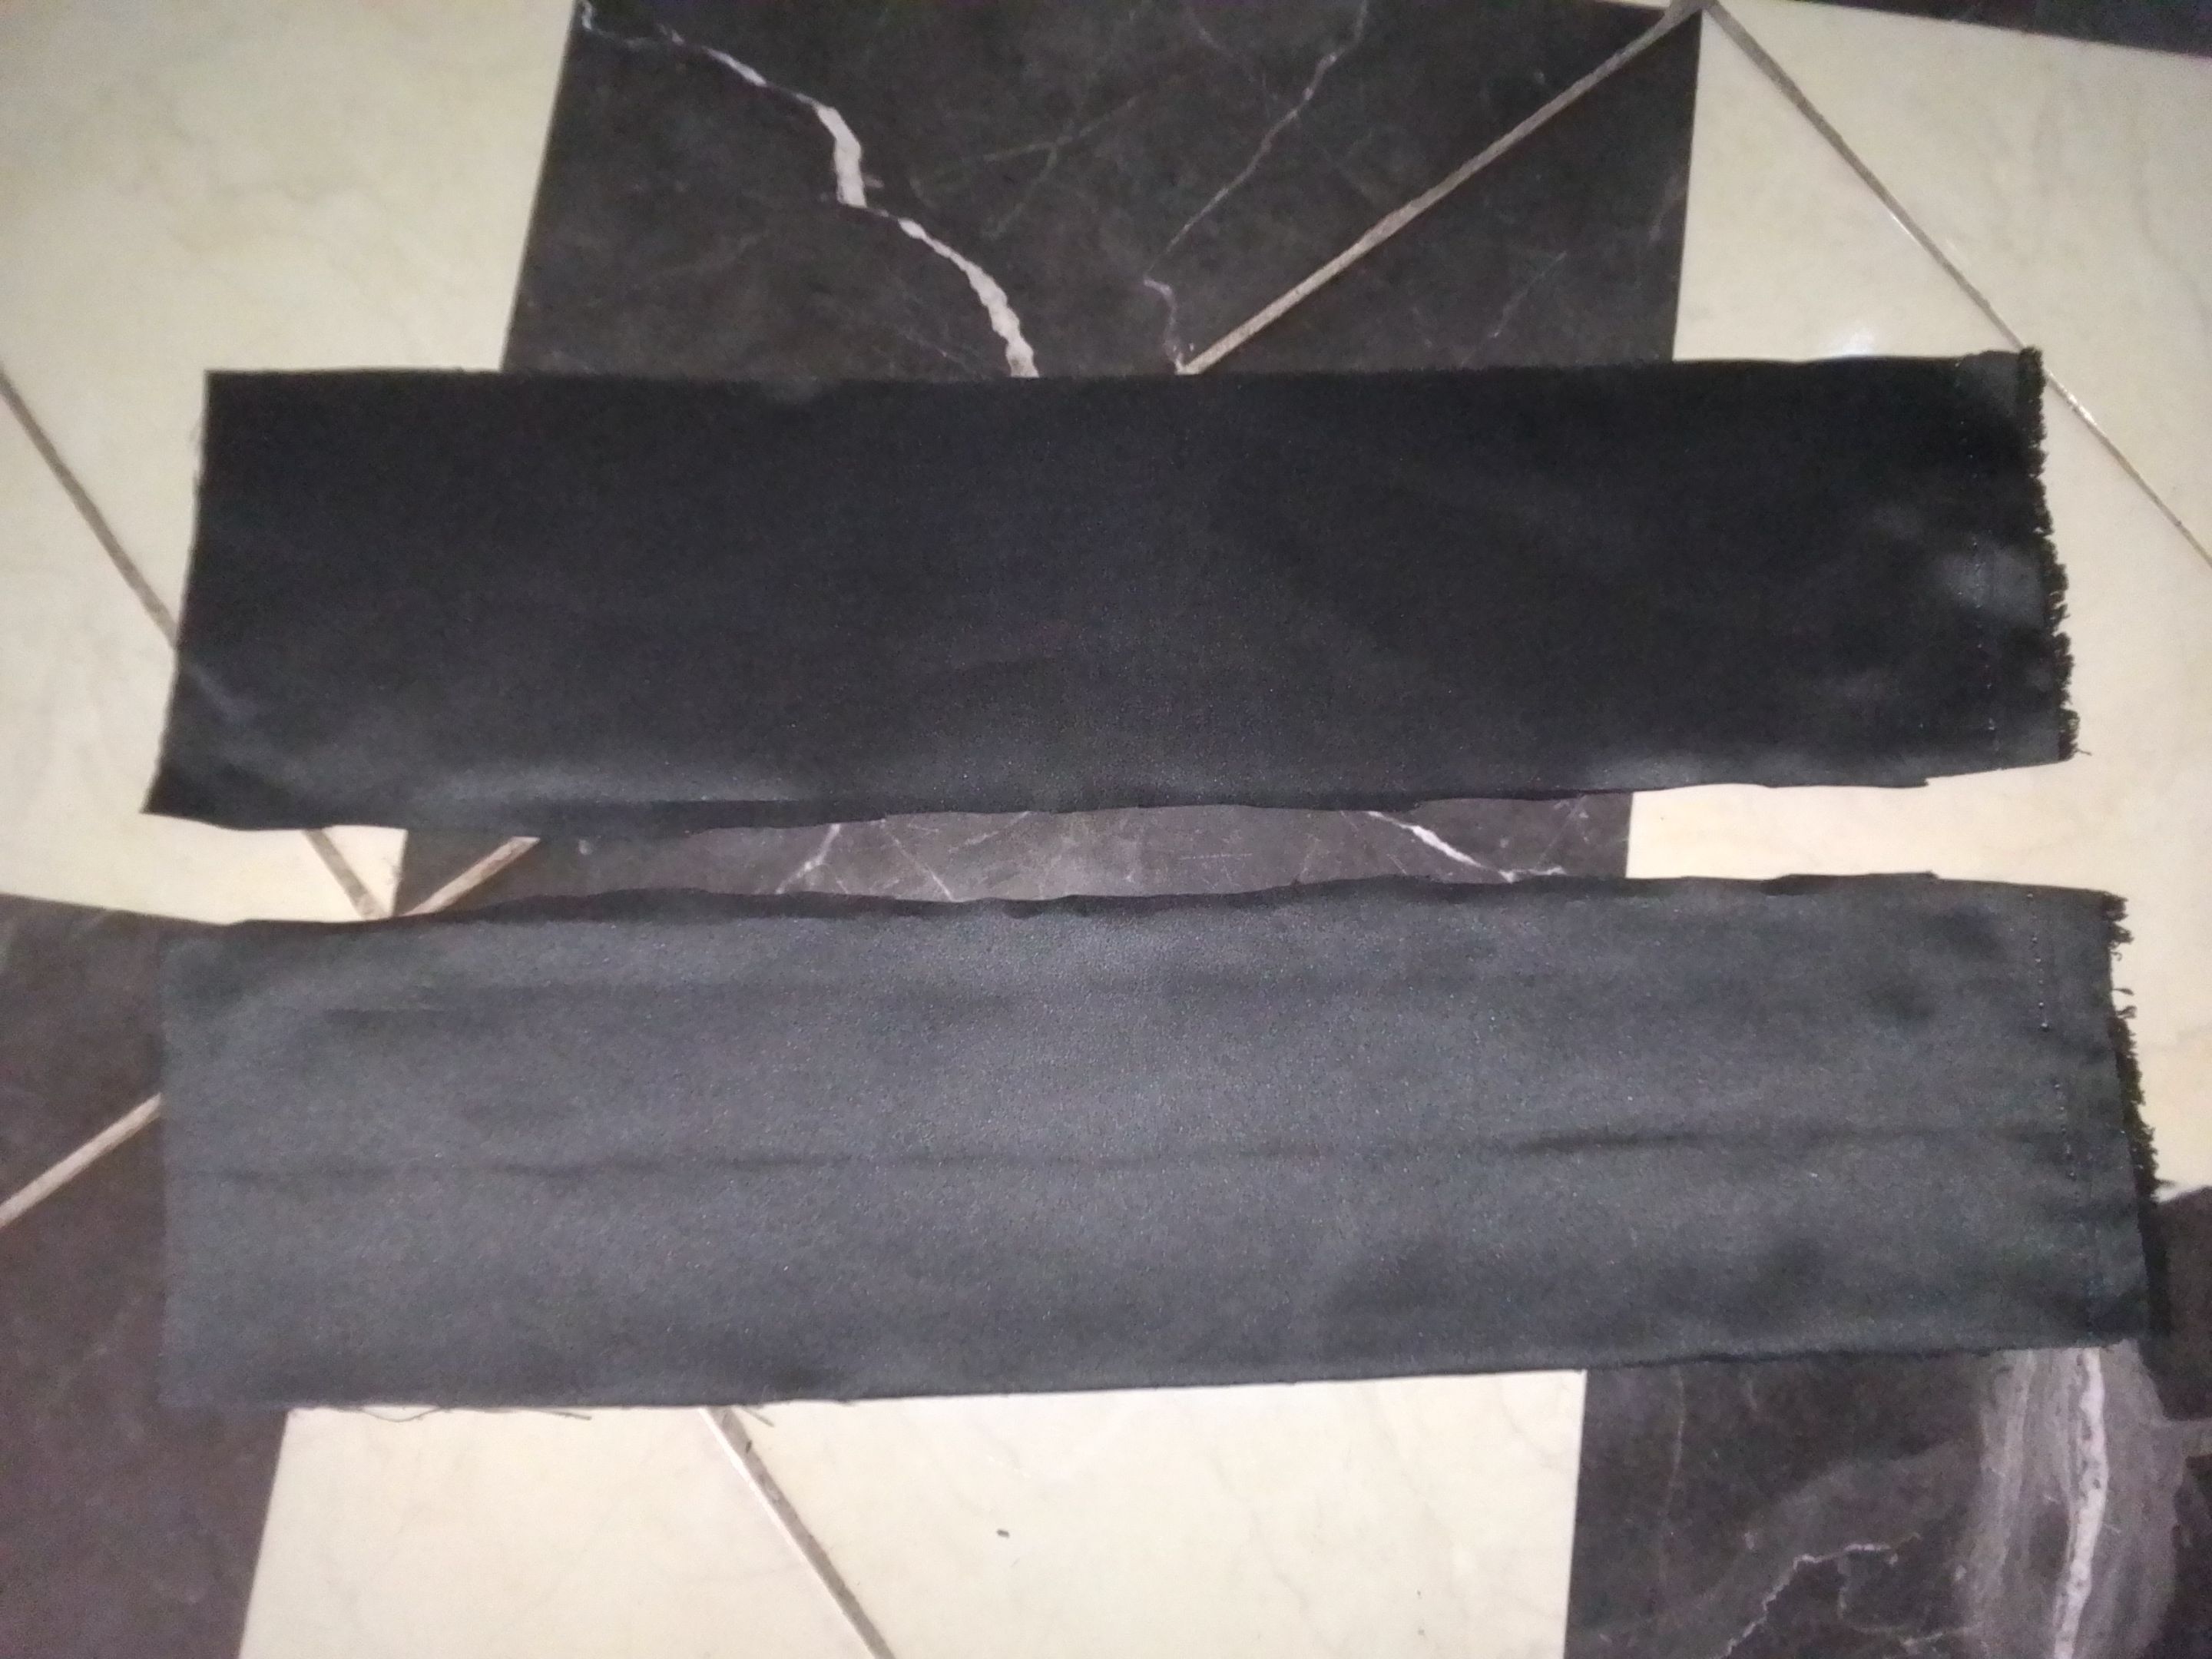
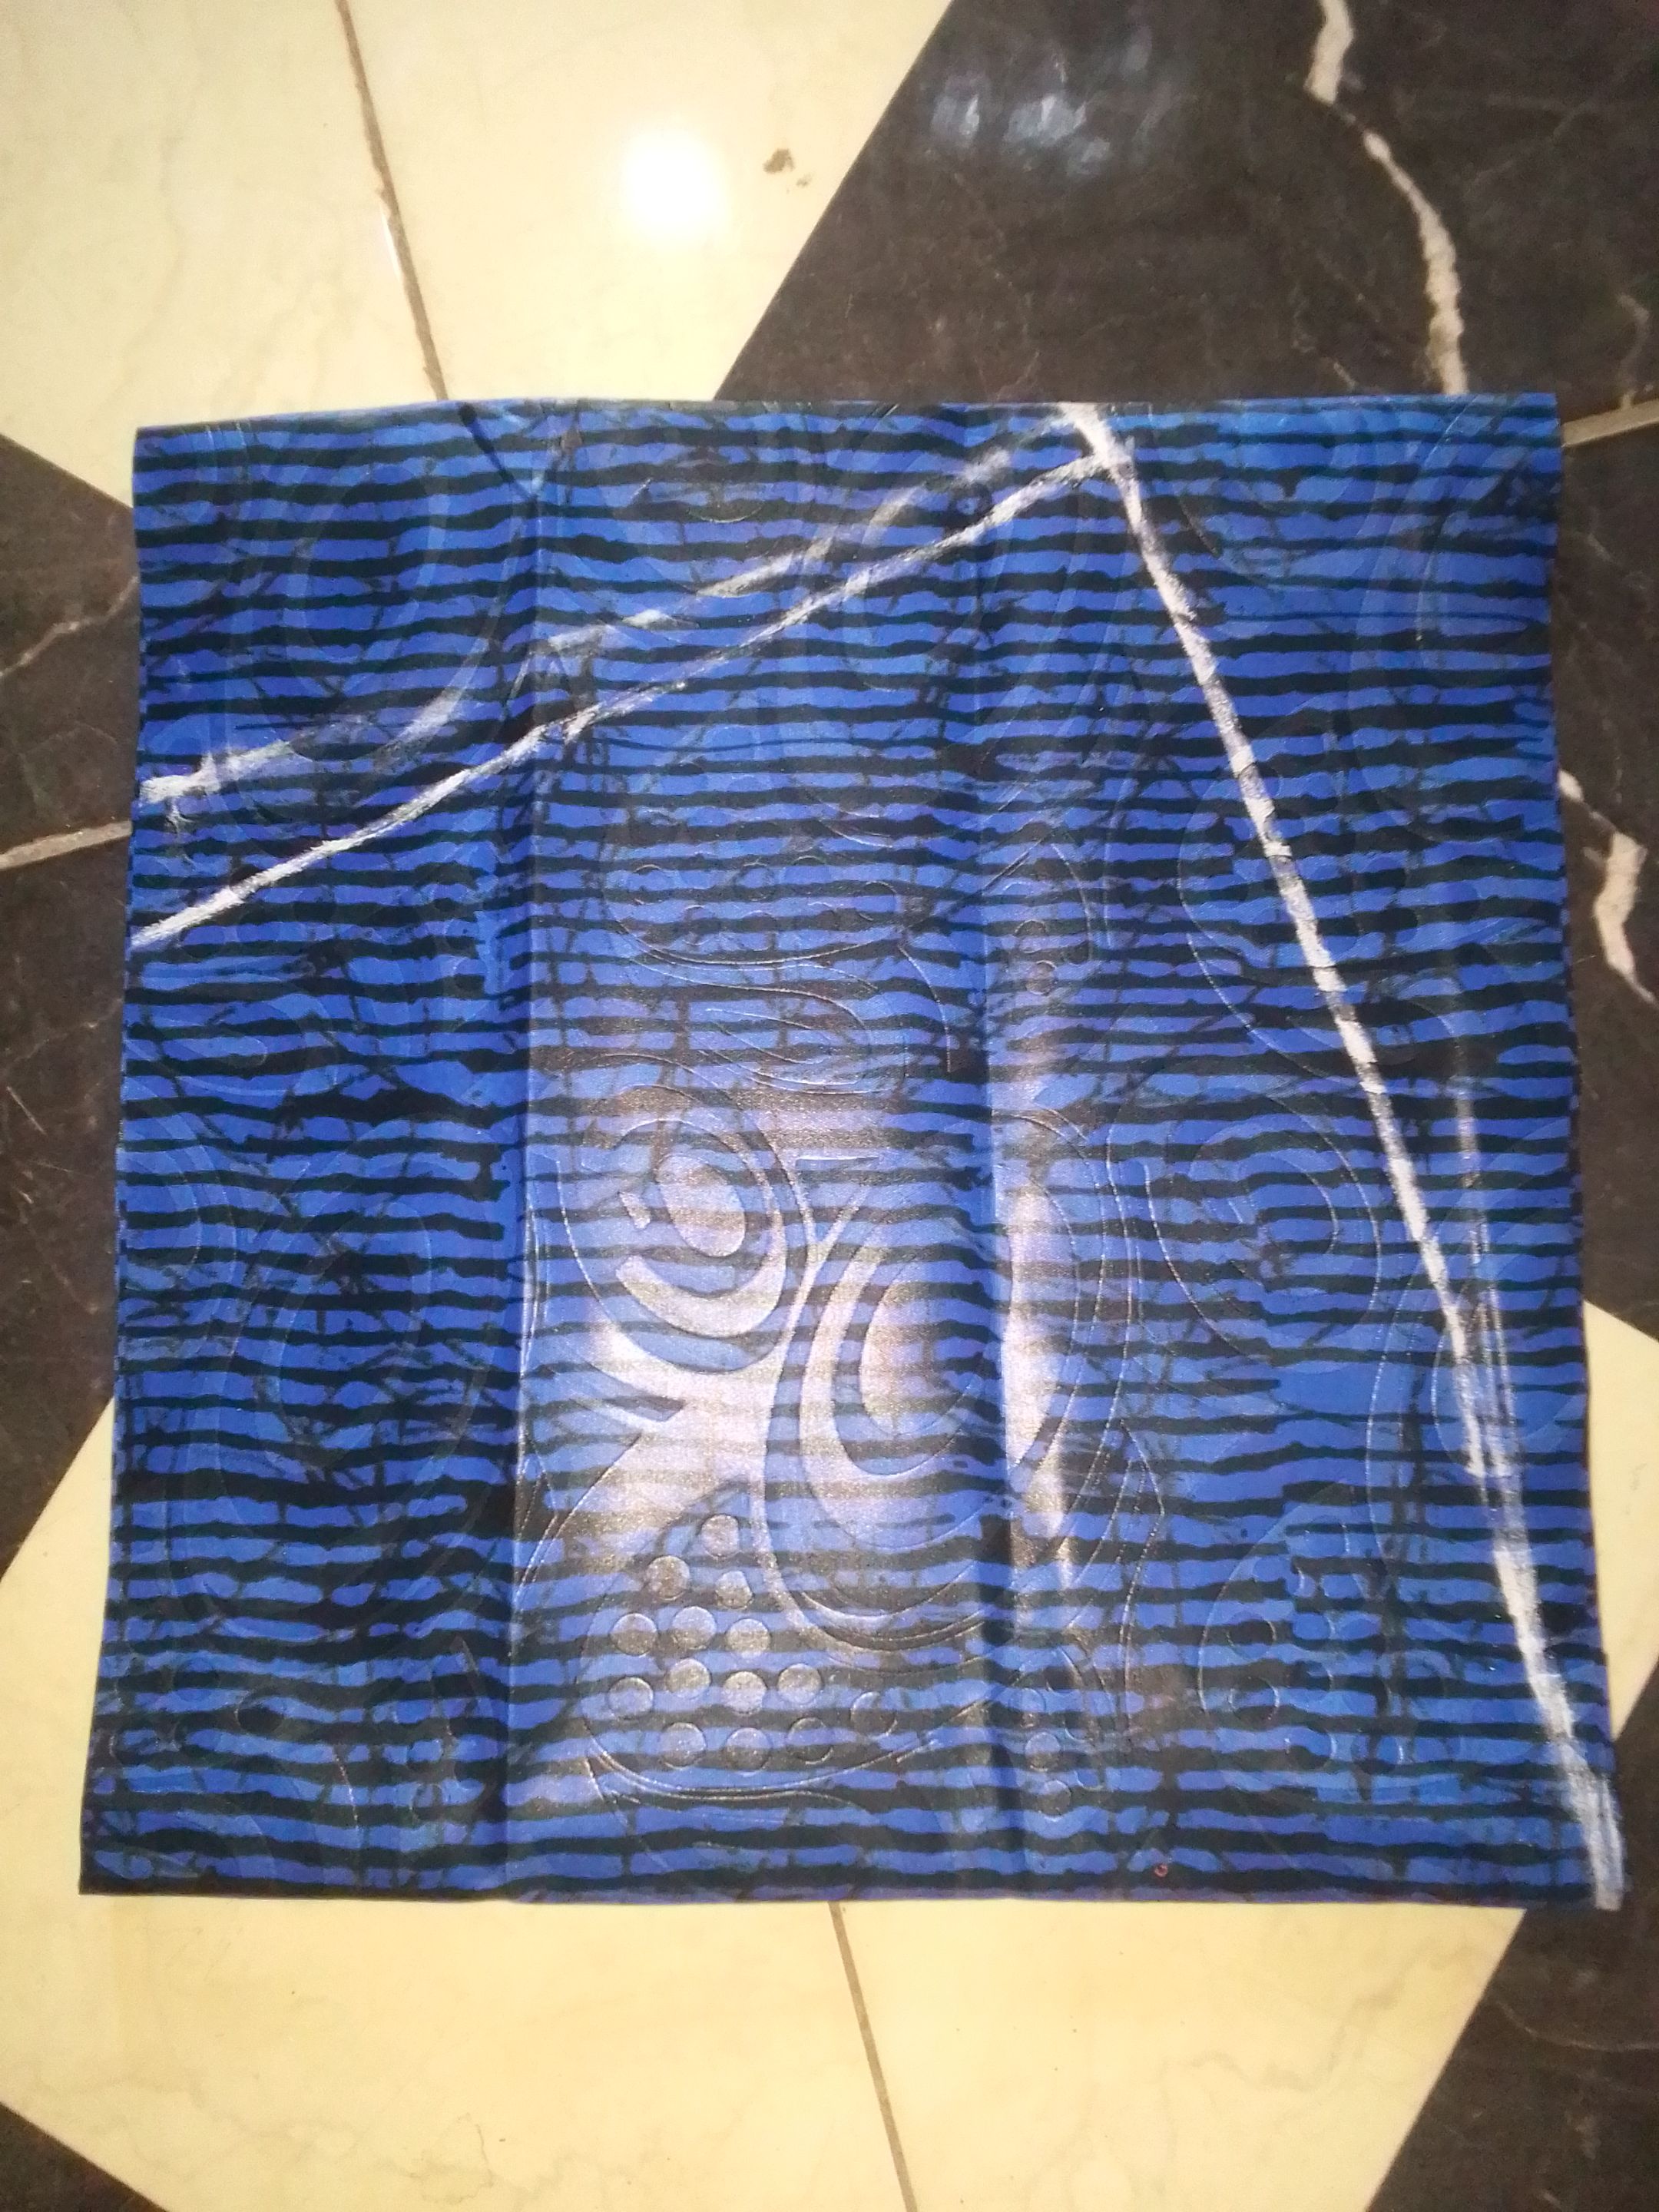
Here I have my material
Lining
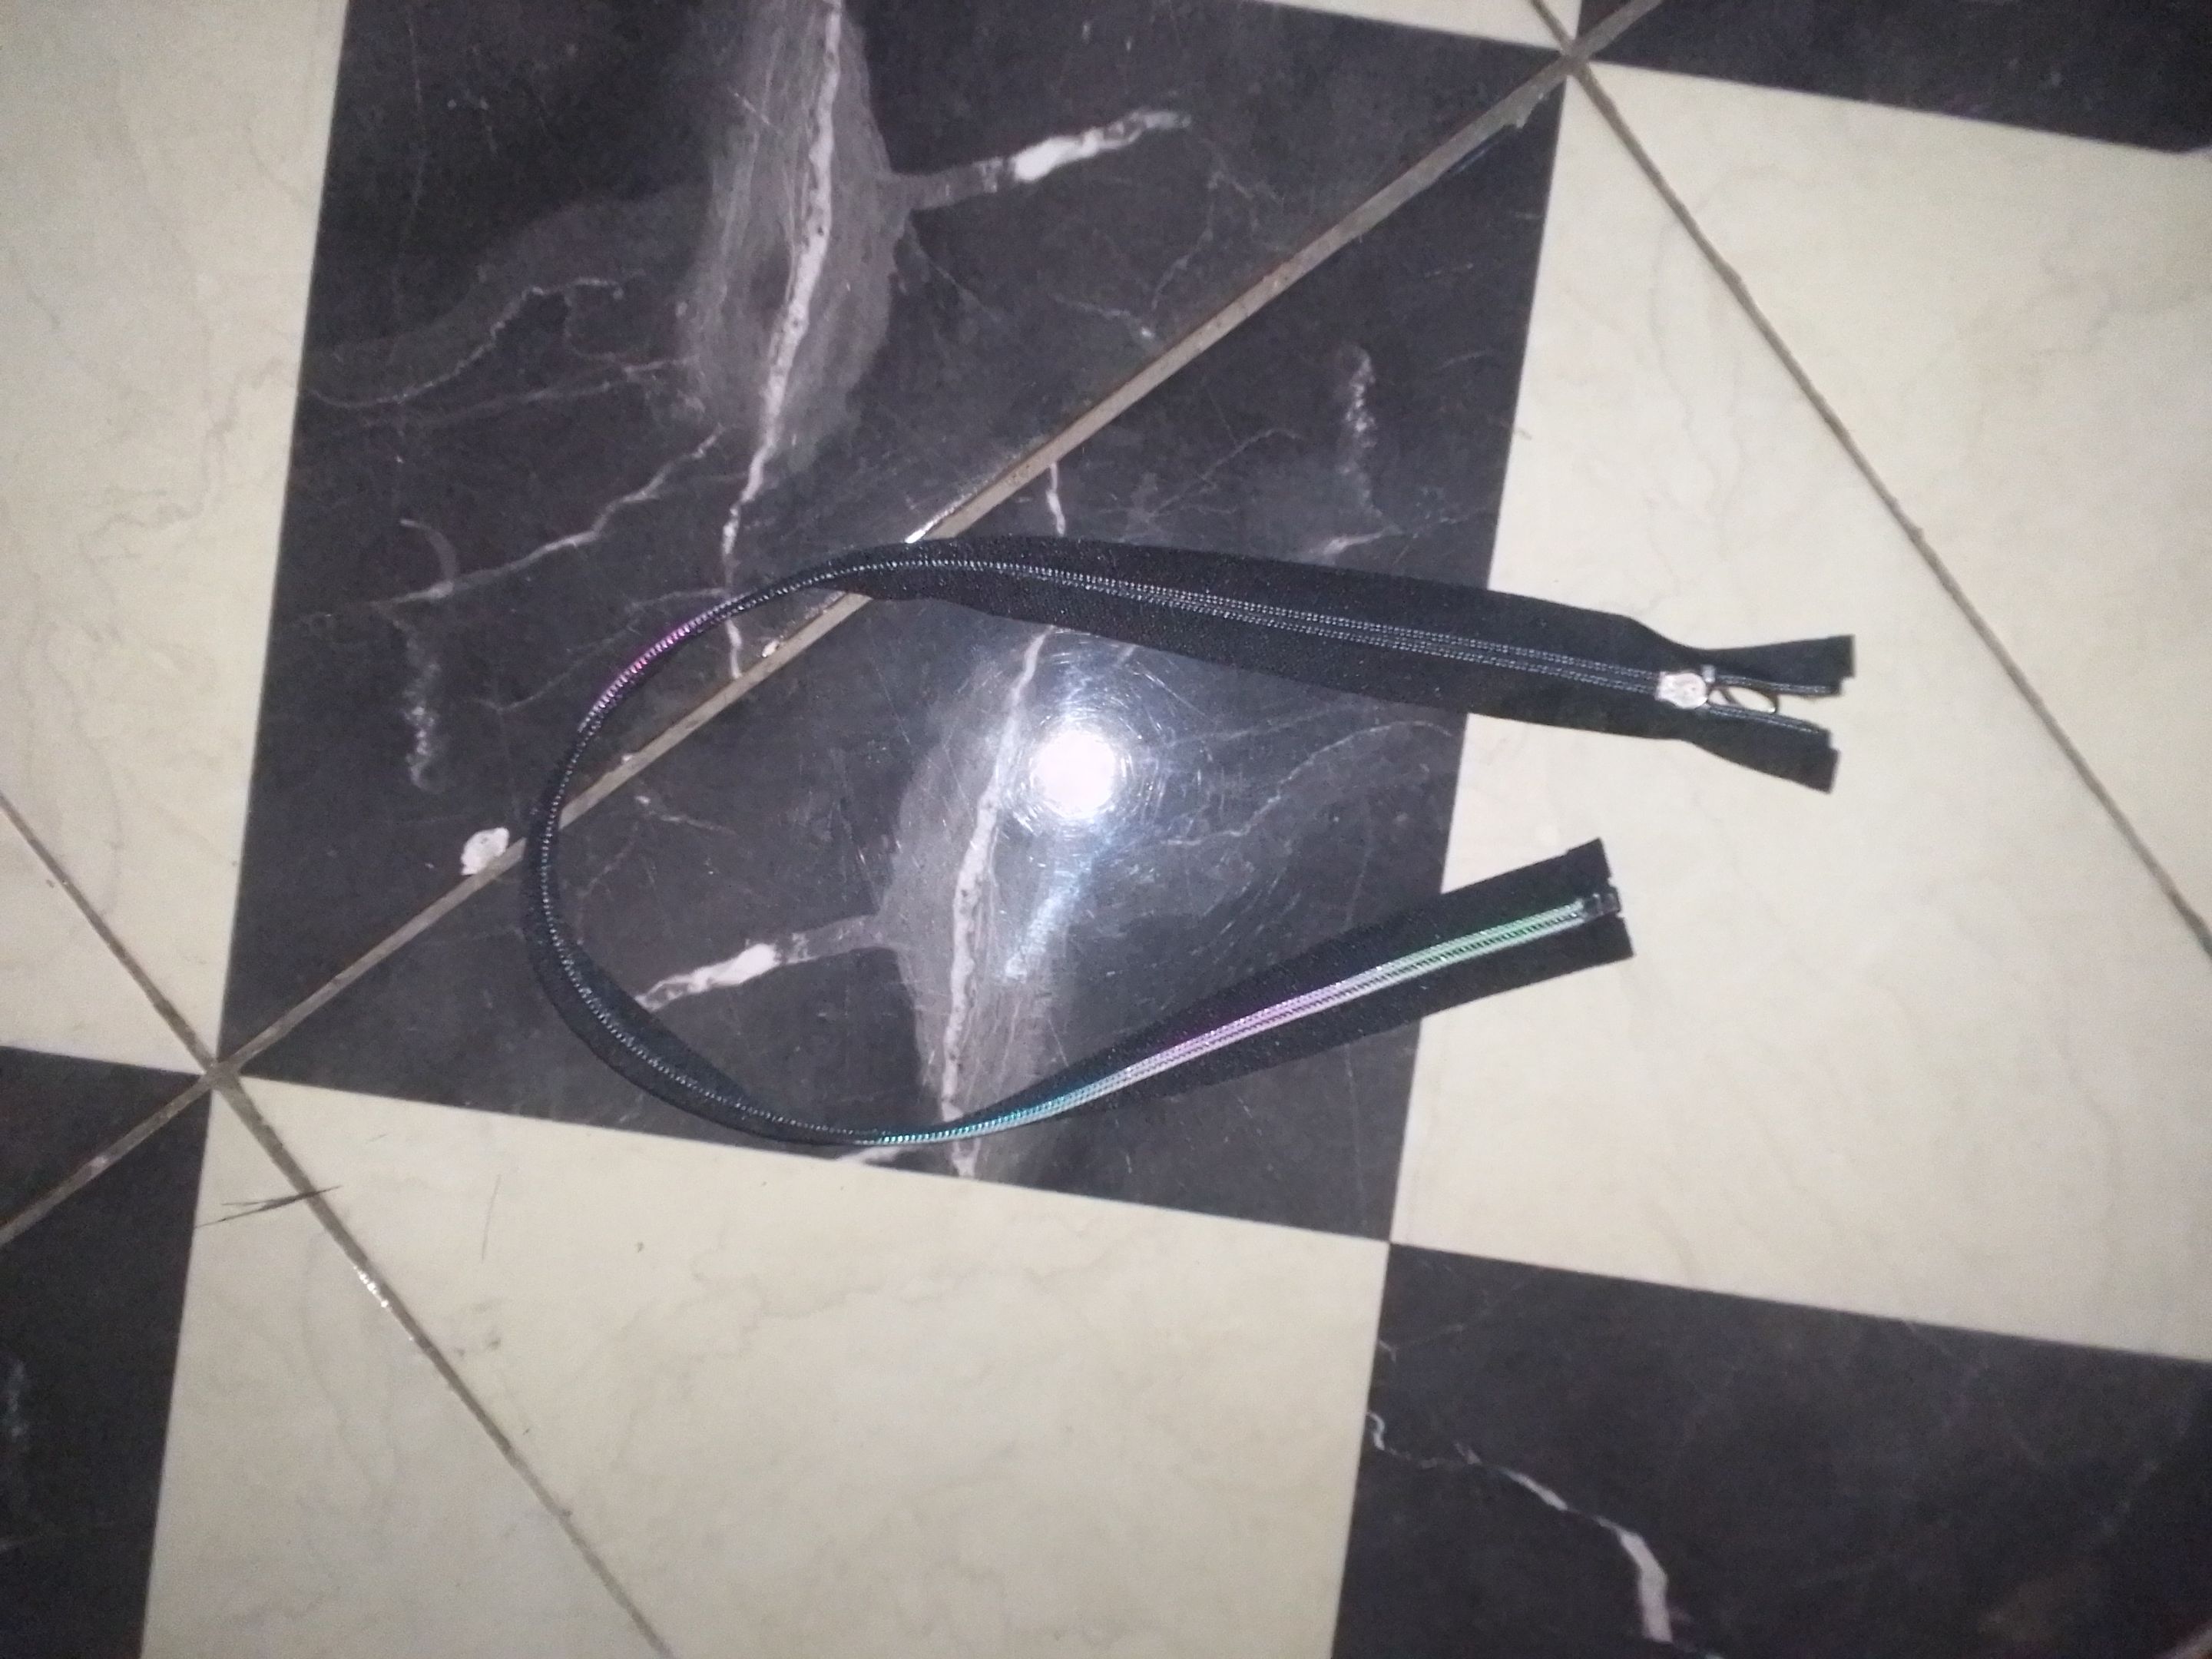
Zip
Stone
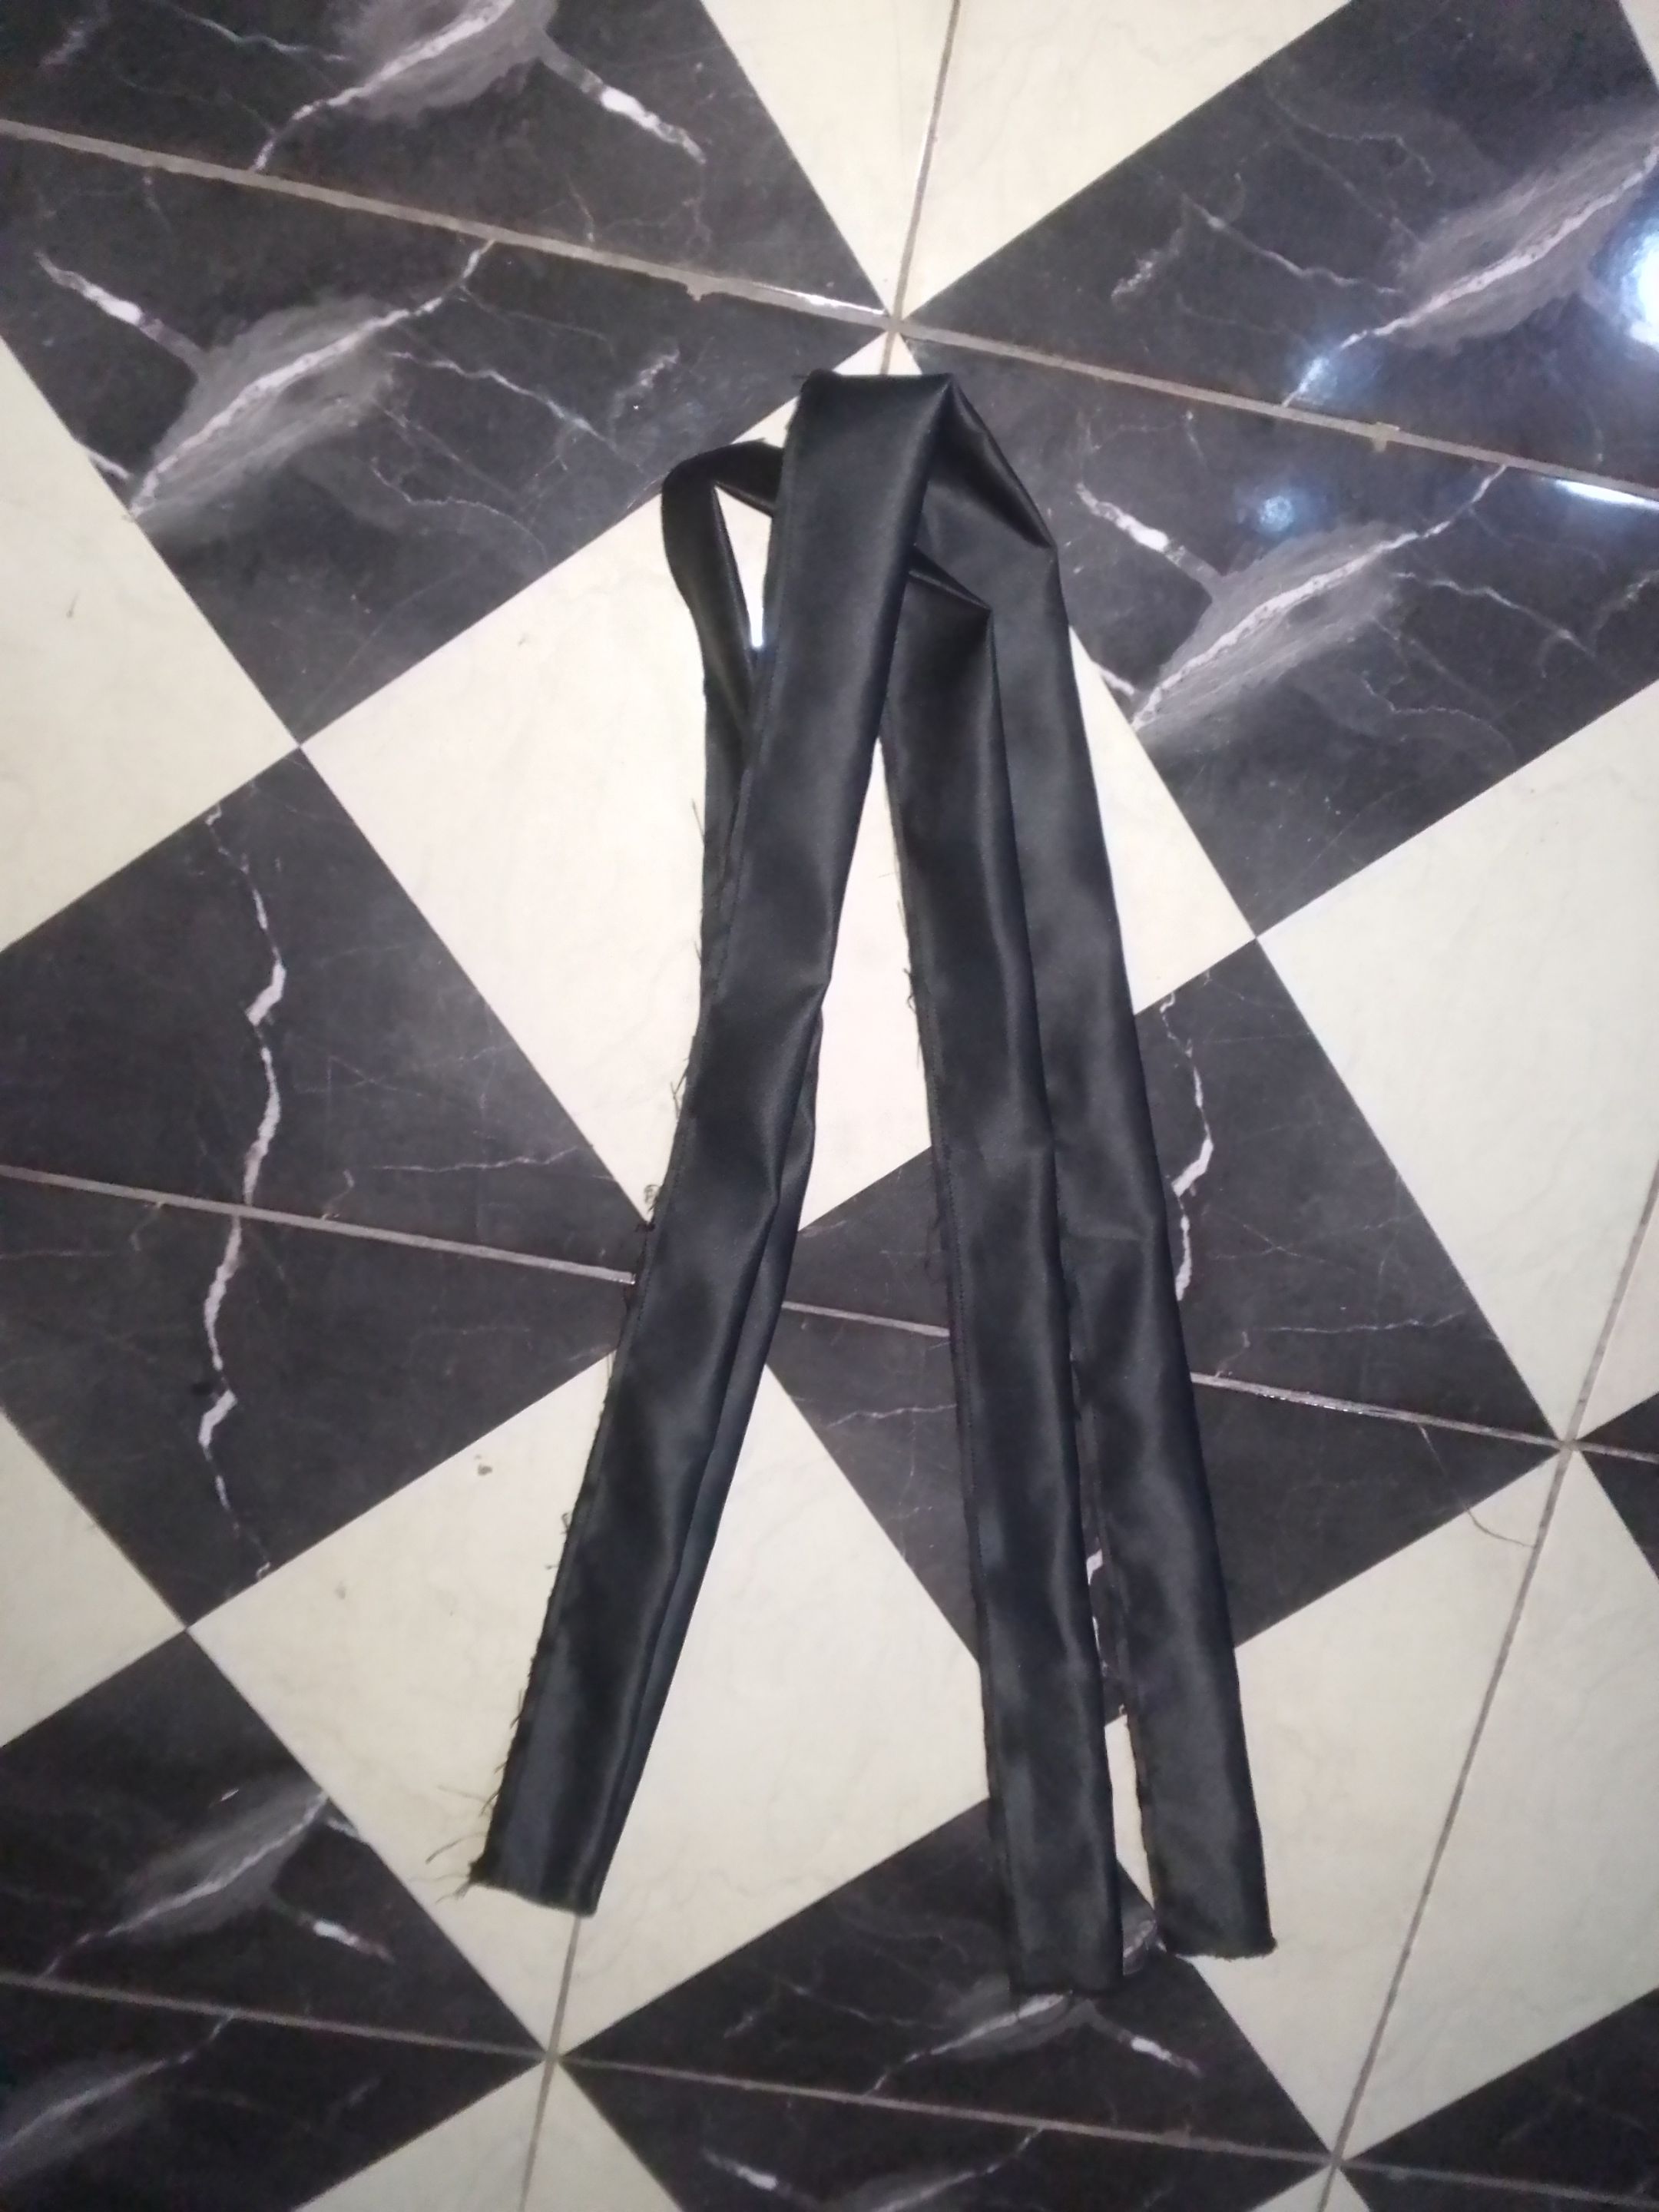
Dull-face material as well


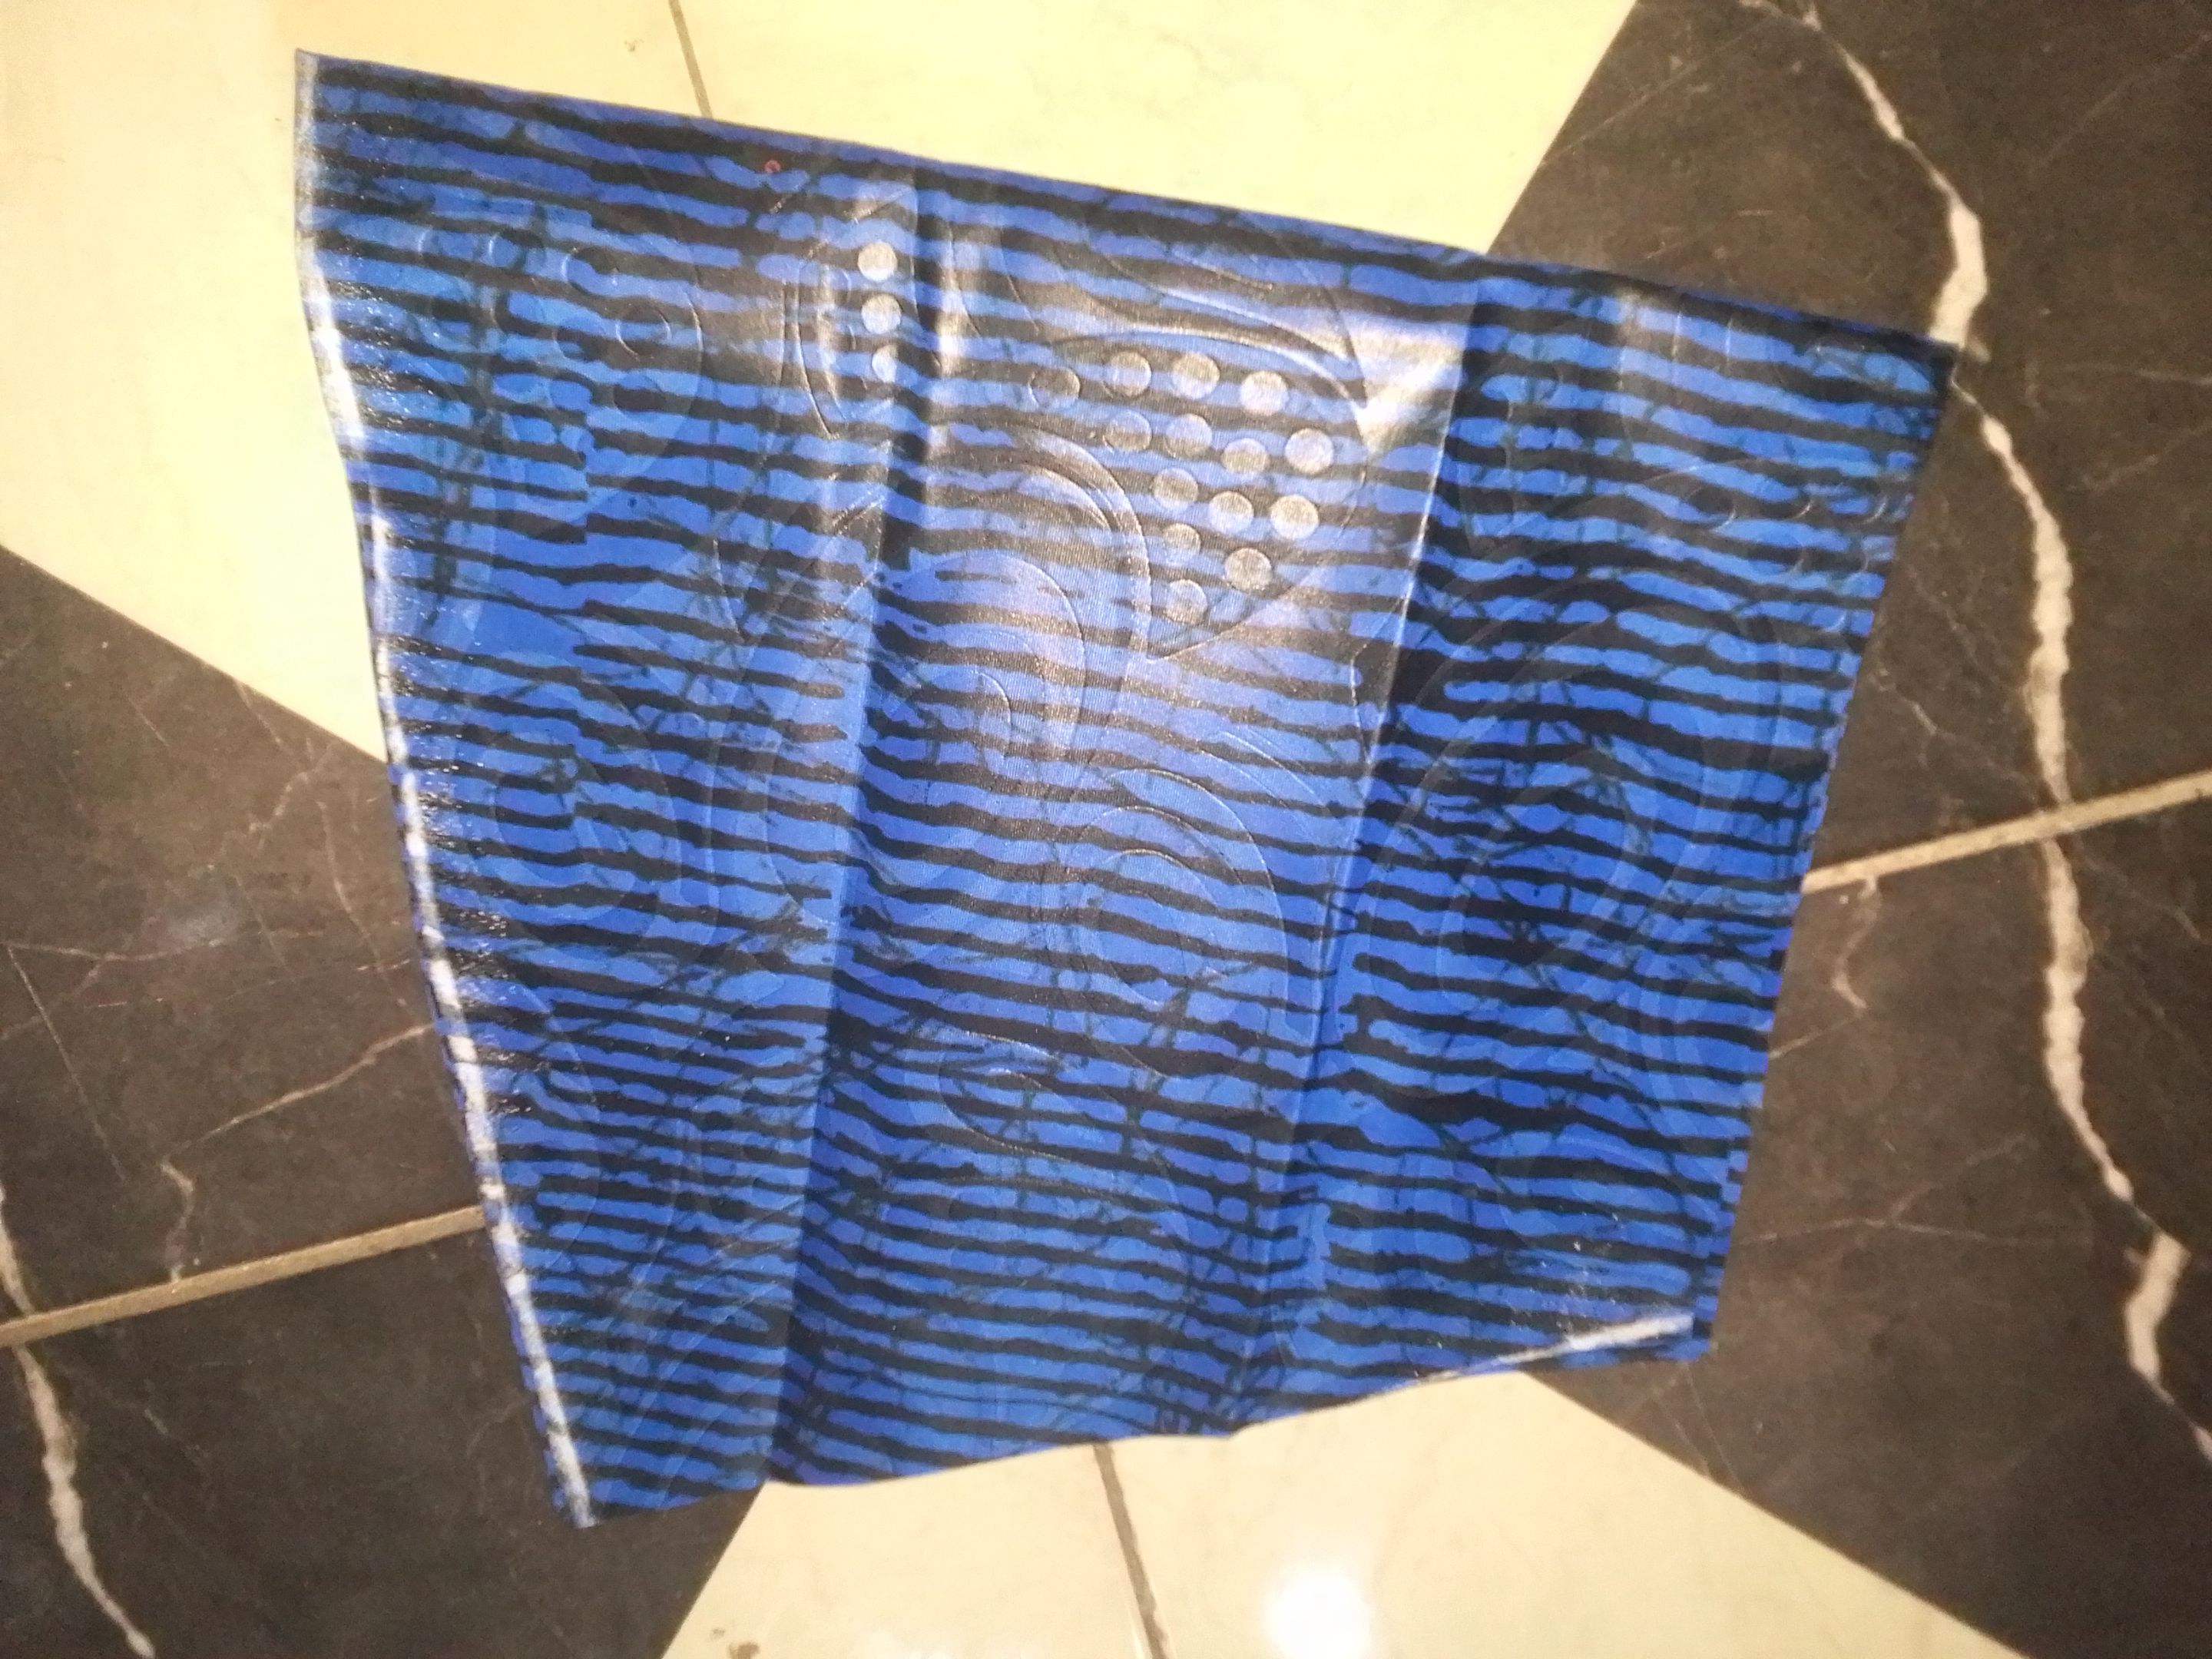
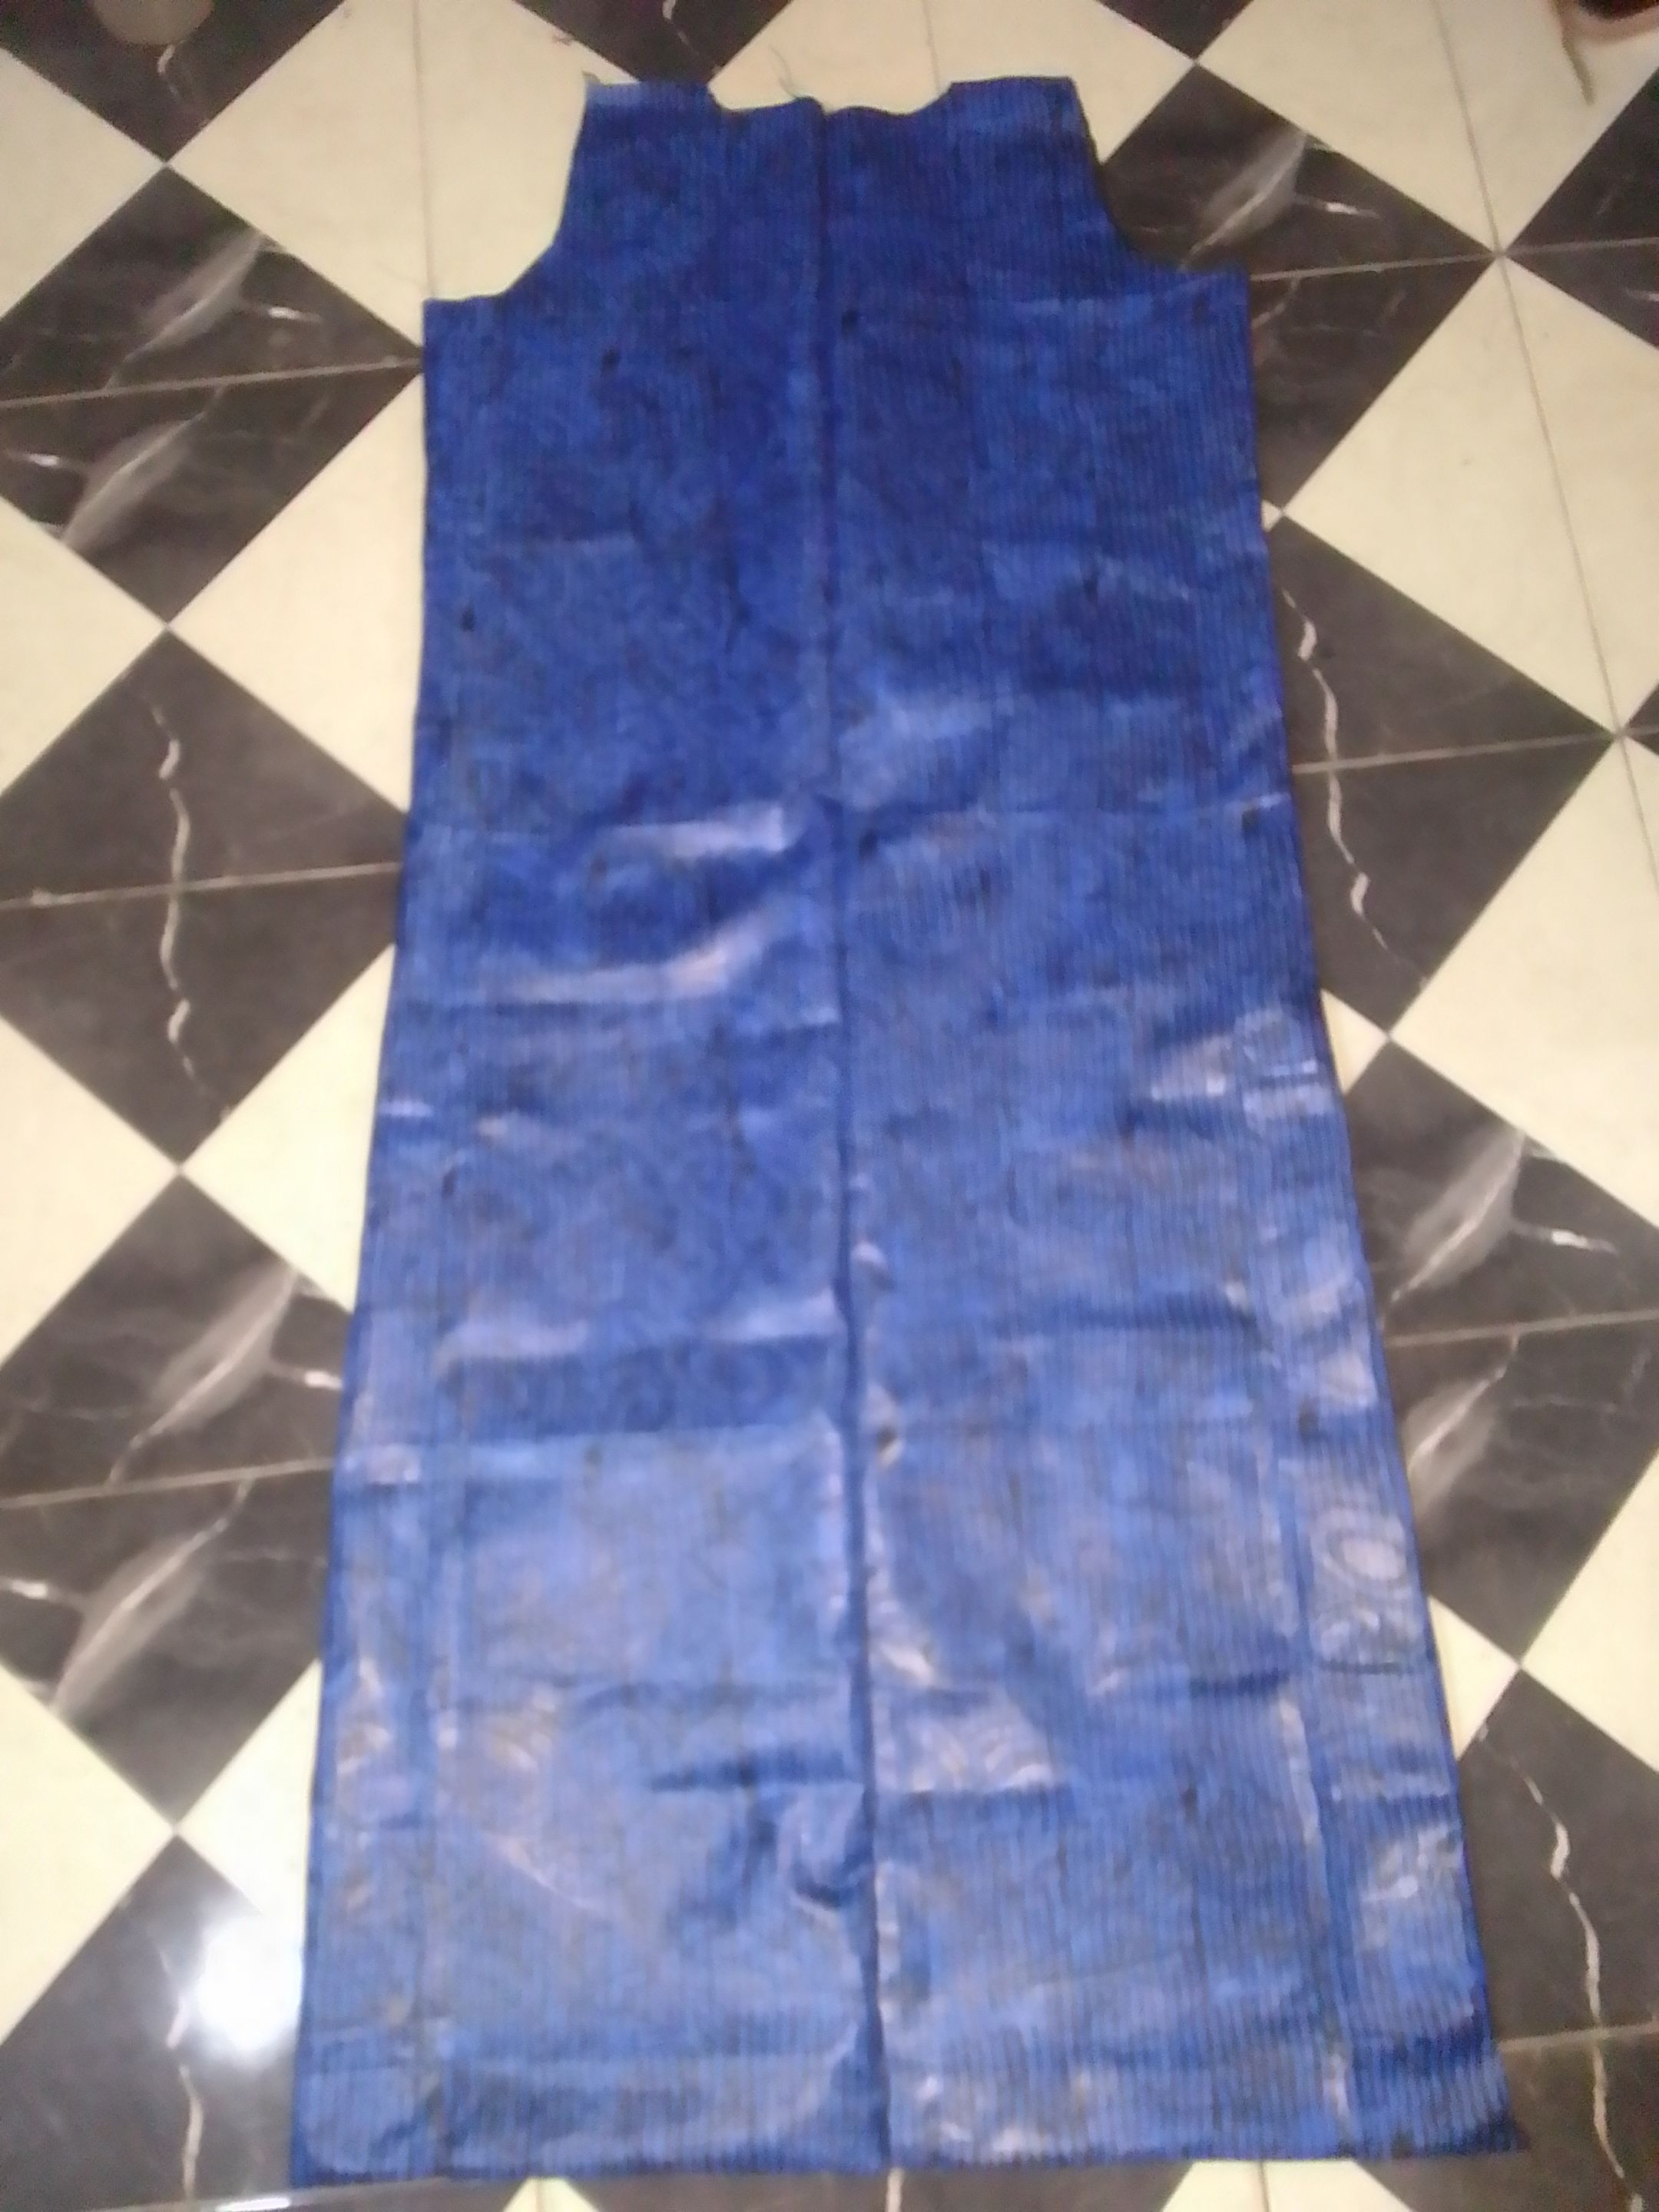
Firstly you have to cut out your material out to the full length of you want and fold it by two and also place the second part on top of the first one to cut out your back side and front side together just as seen in the photo.
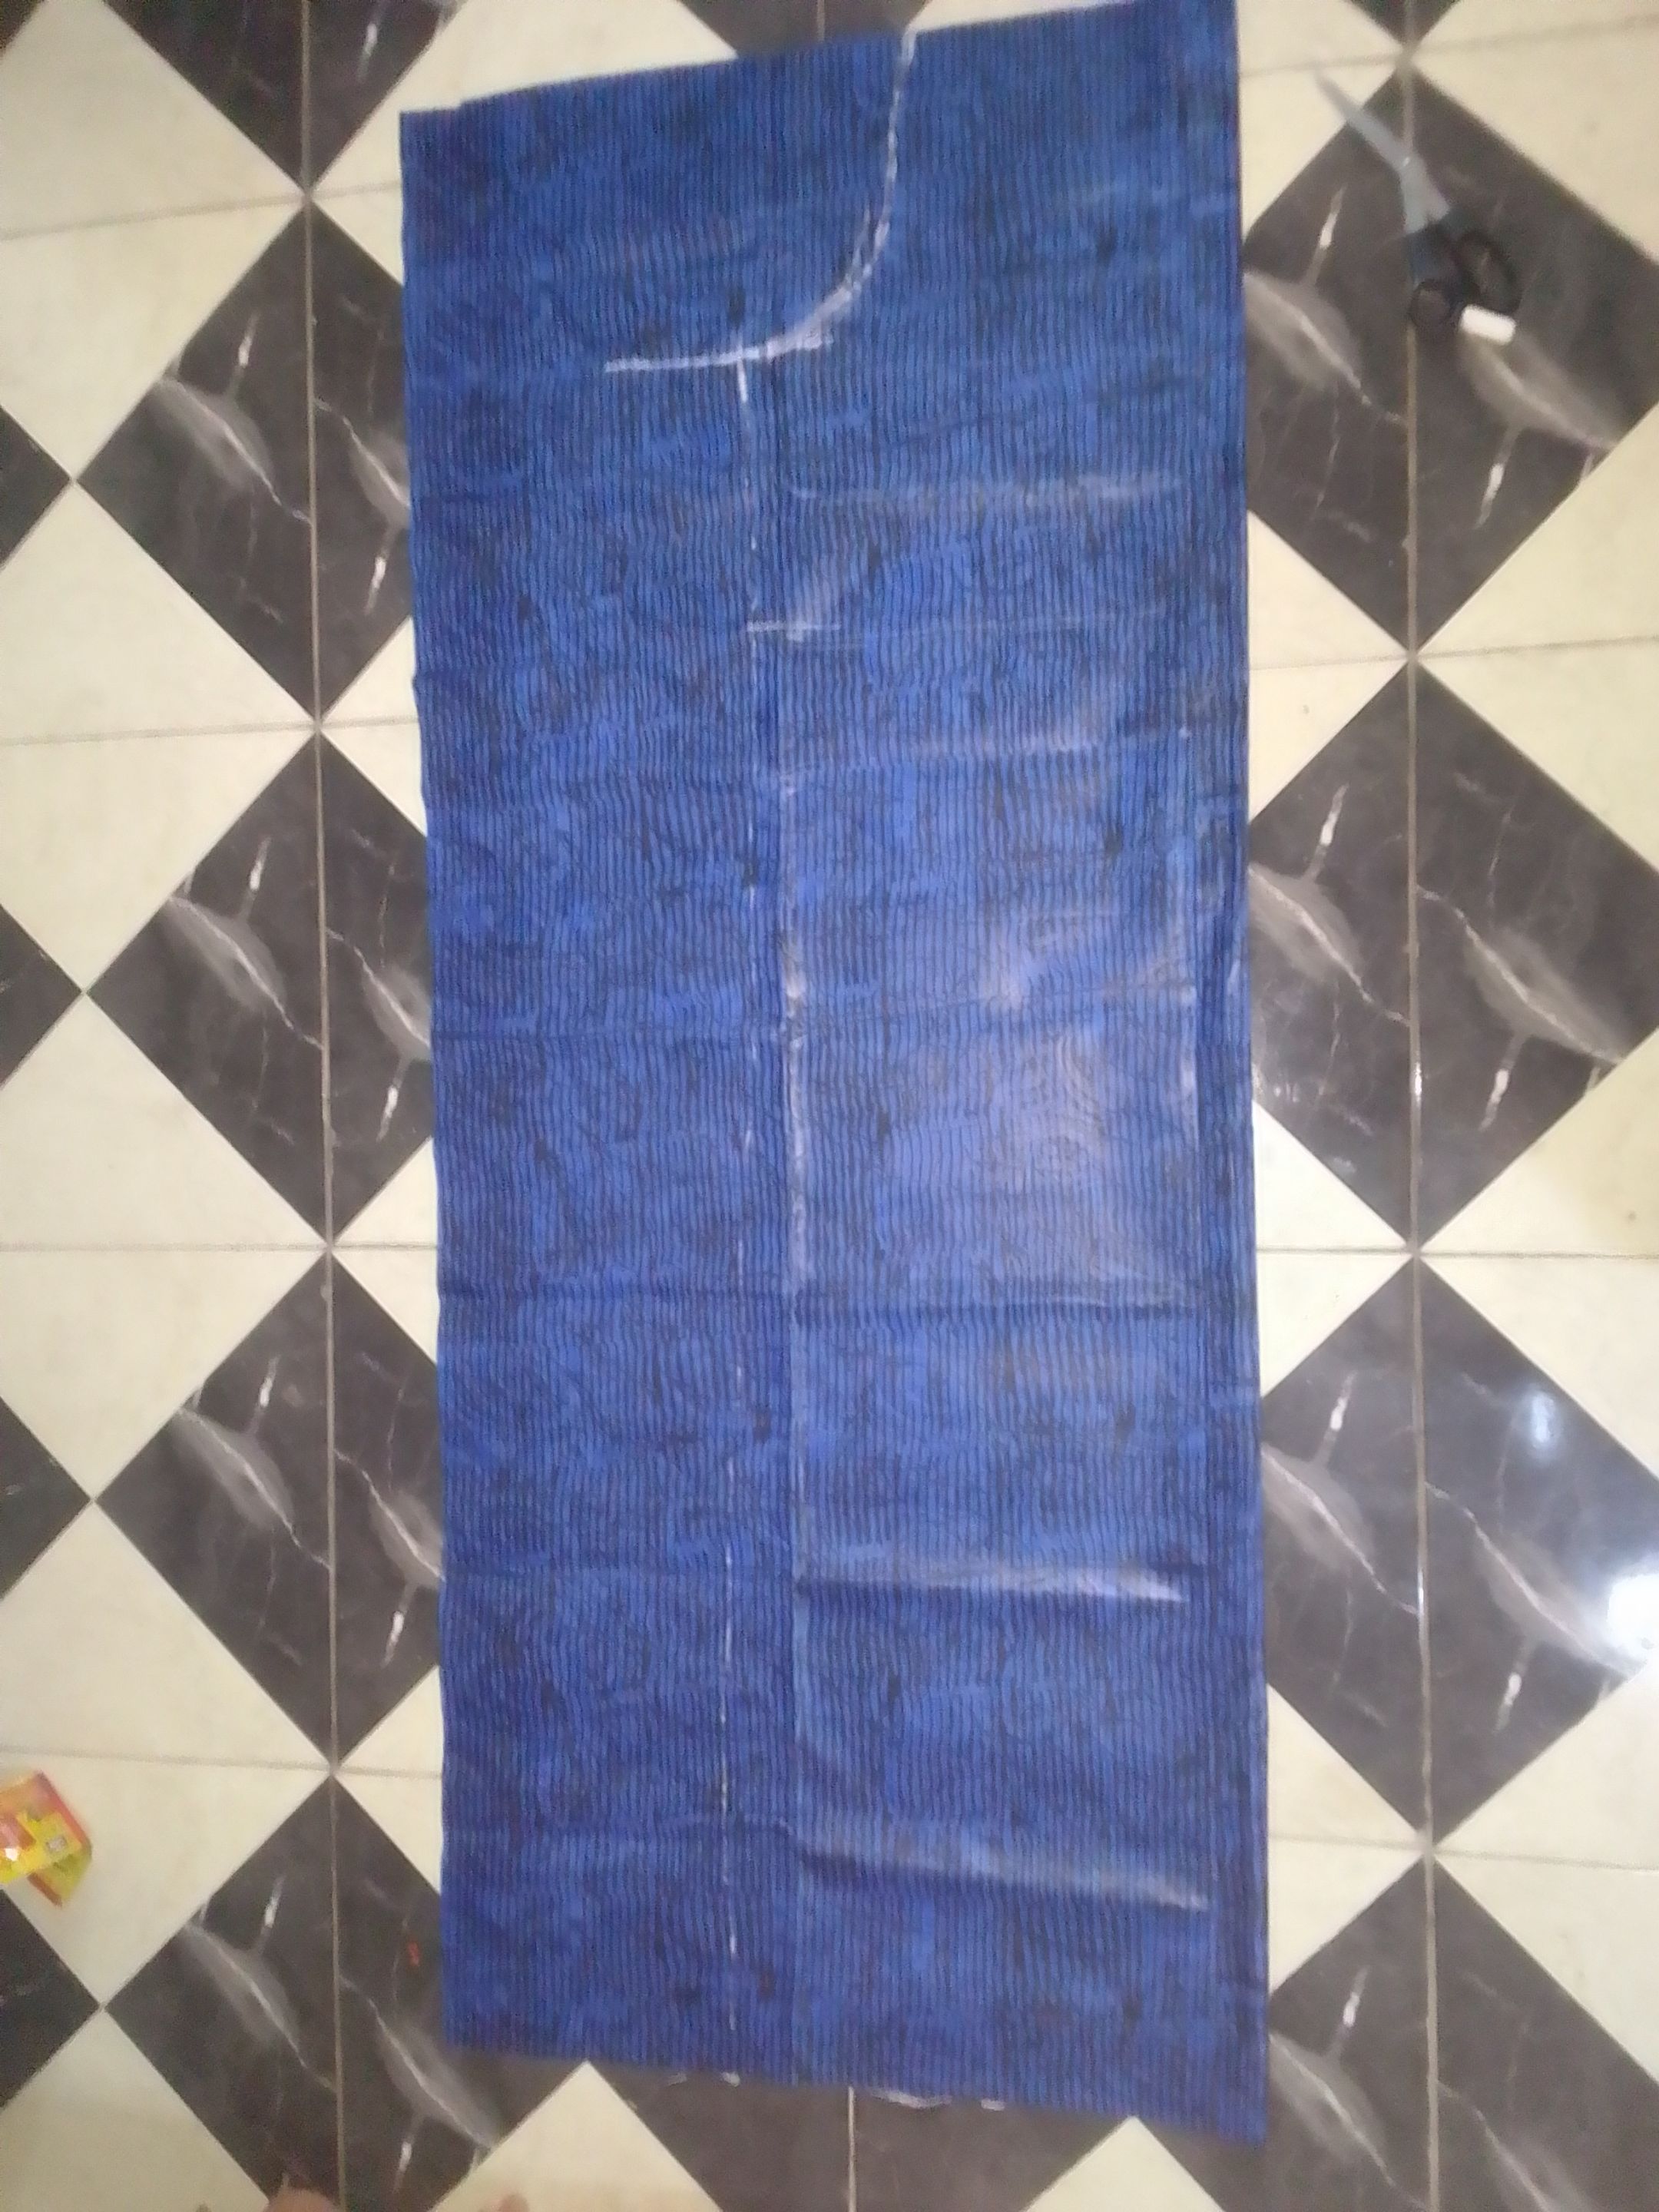
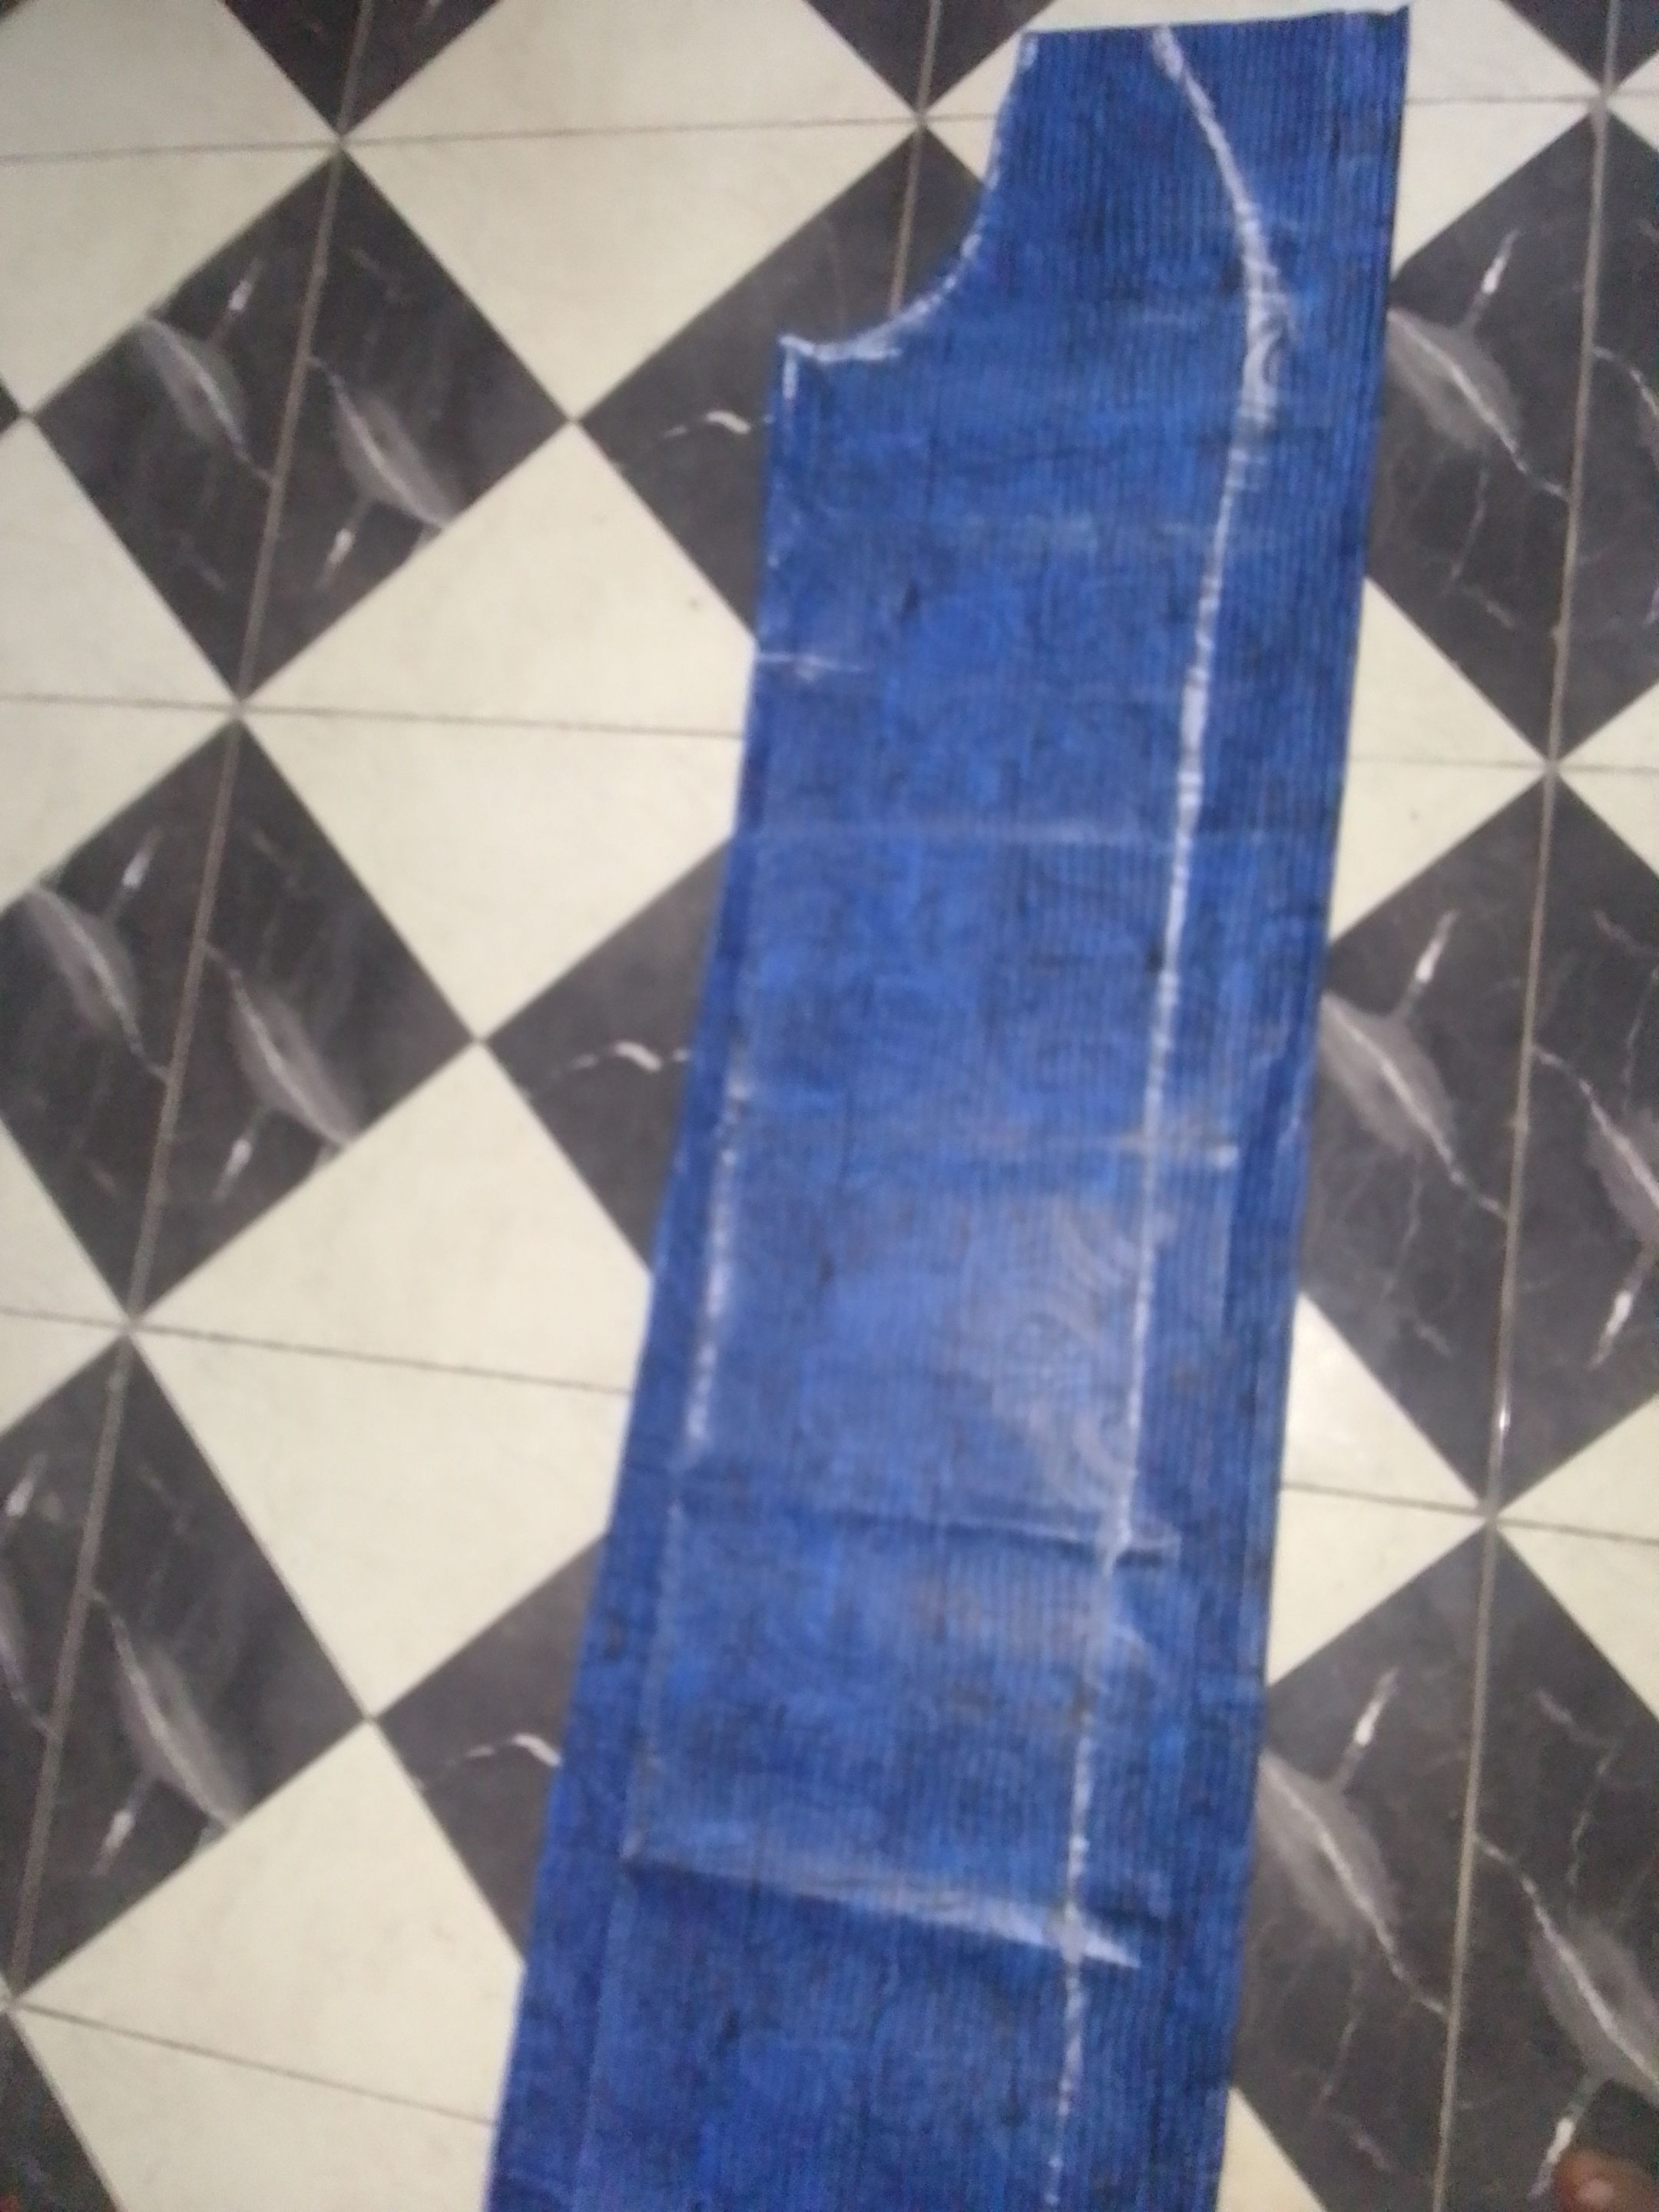
Then you proceed by cutting your hand pit, and your neck, after which you will trim out two inches from the front side of the your material cause that's were I'll attach my dull-face material in the front to have the full size and shape I wanted as you can see from the photo, as you can see I trace it out with a chalk.
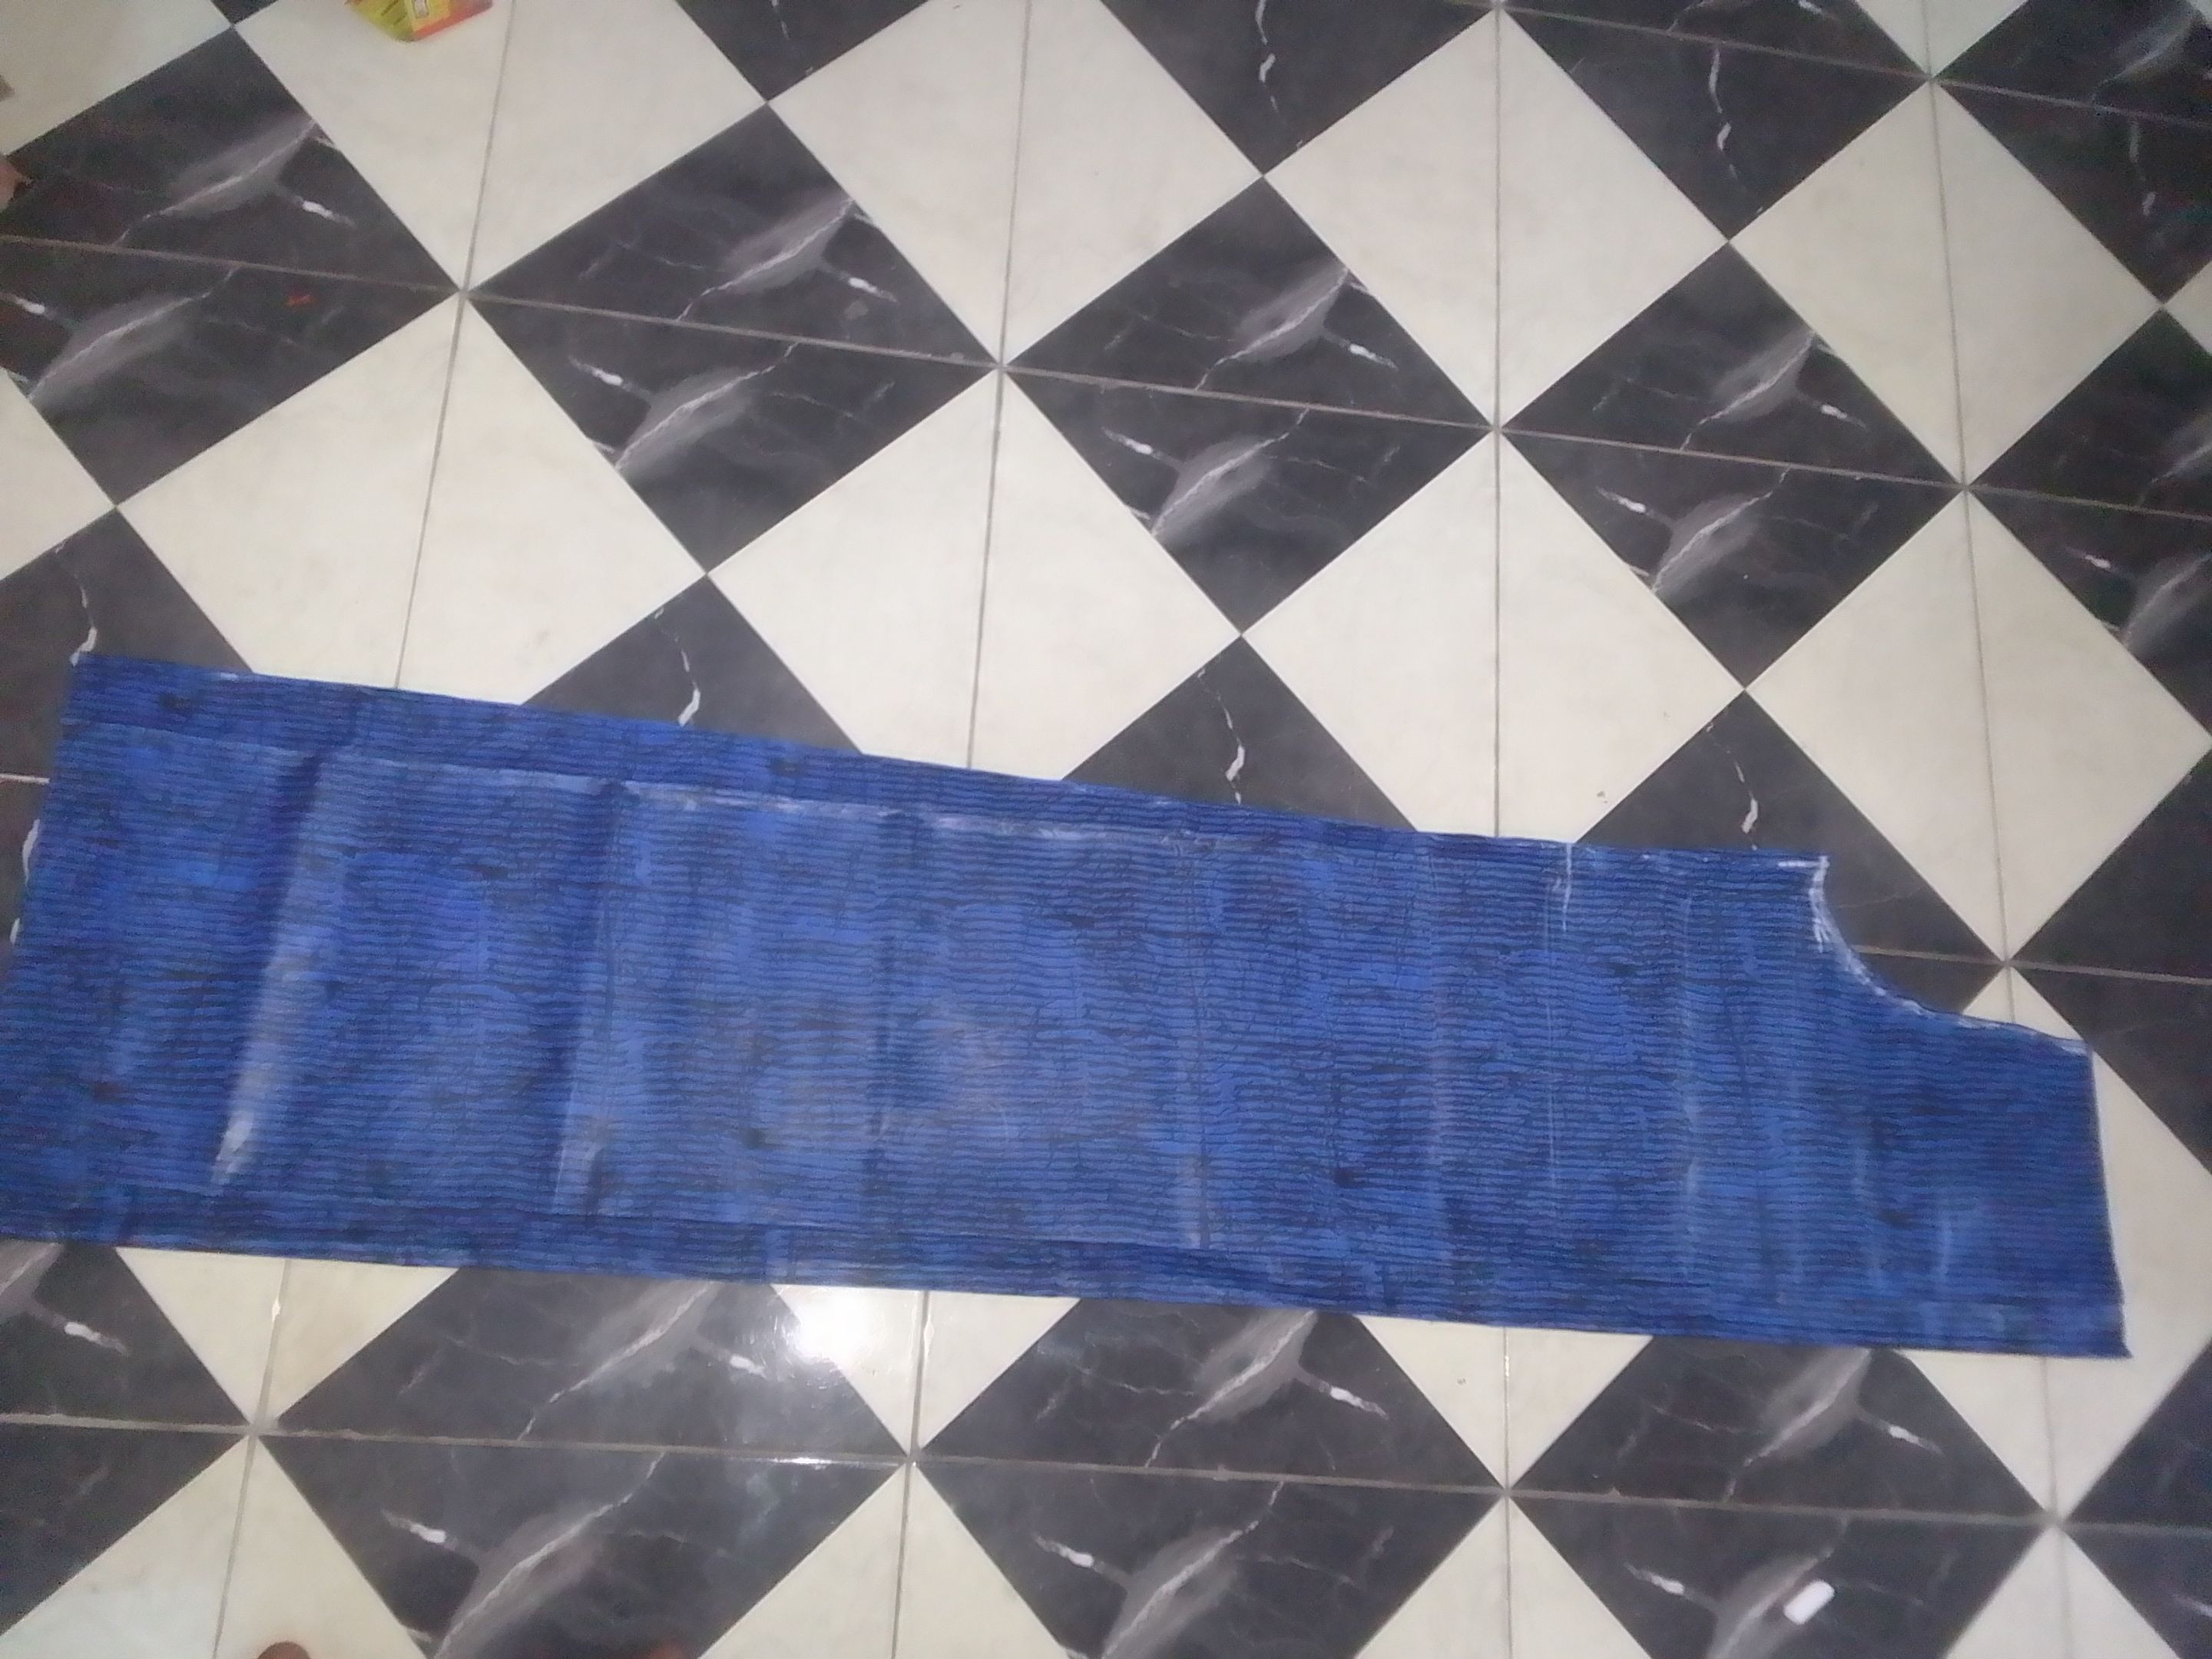
After that you cut out your lining by placing the material on it and cut it out in same shape.
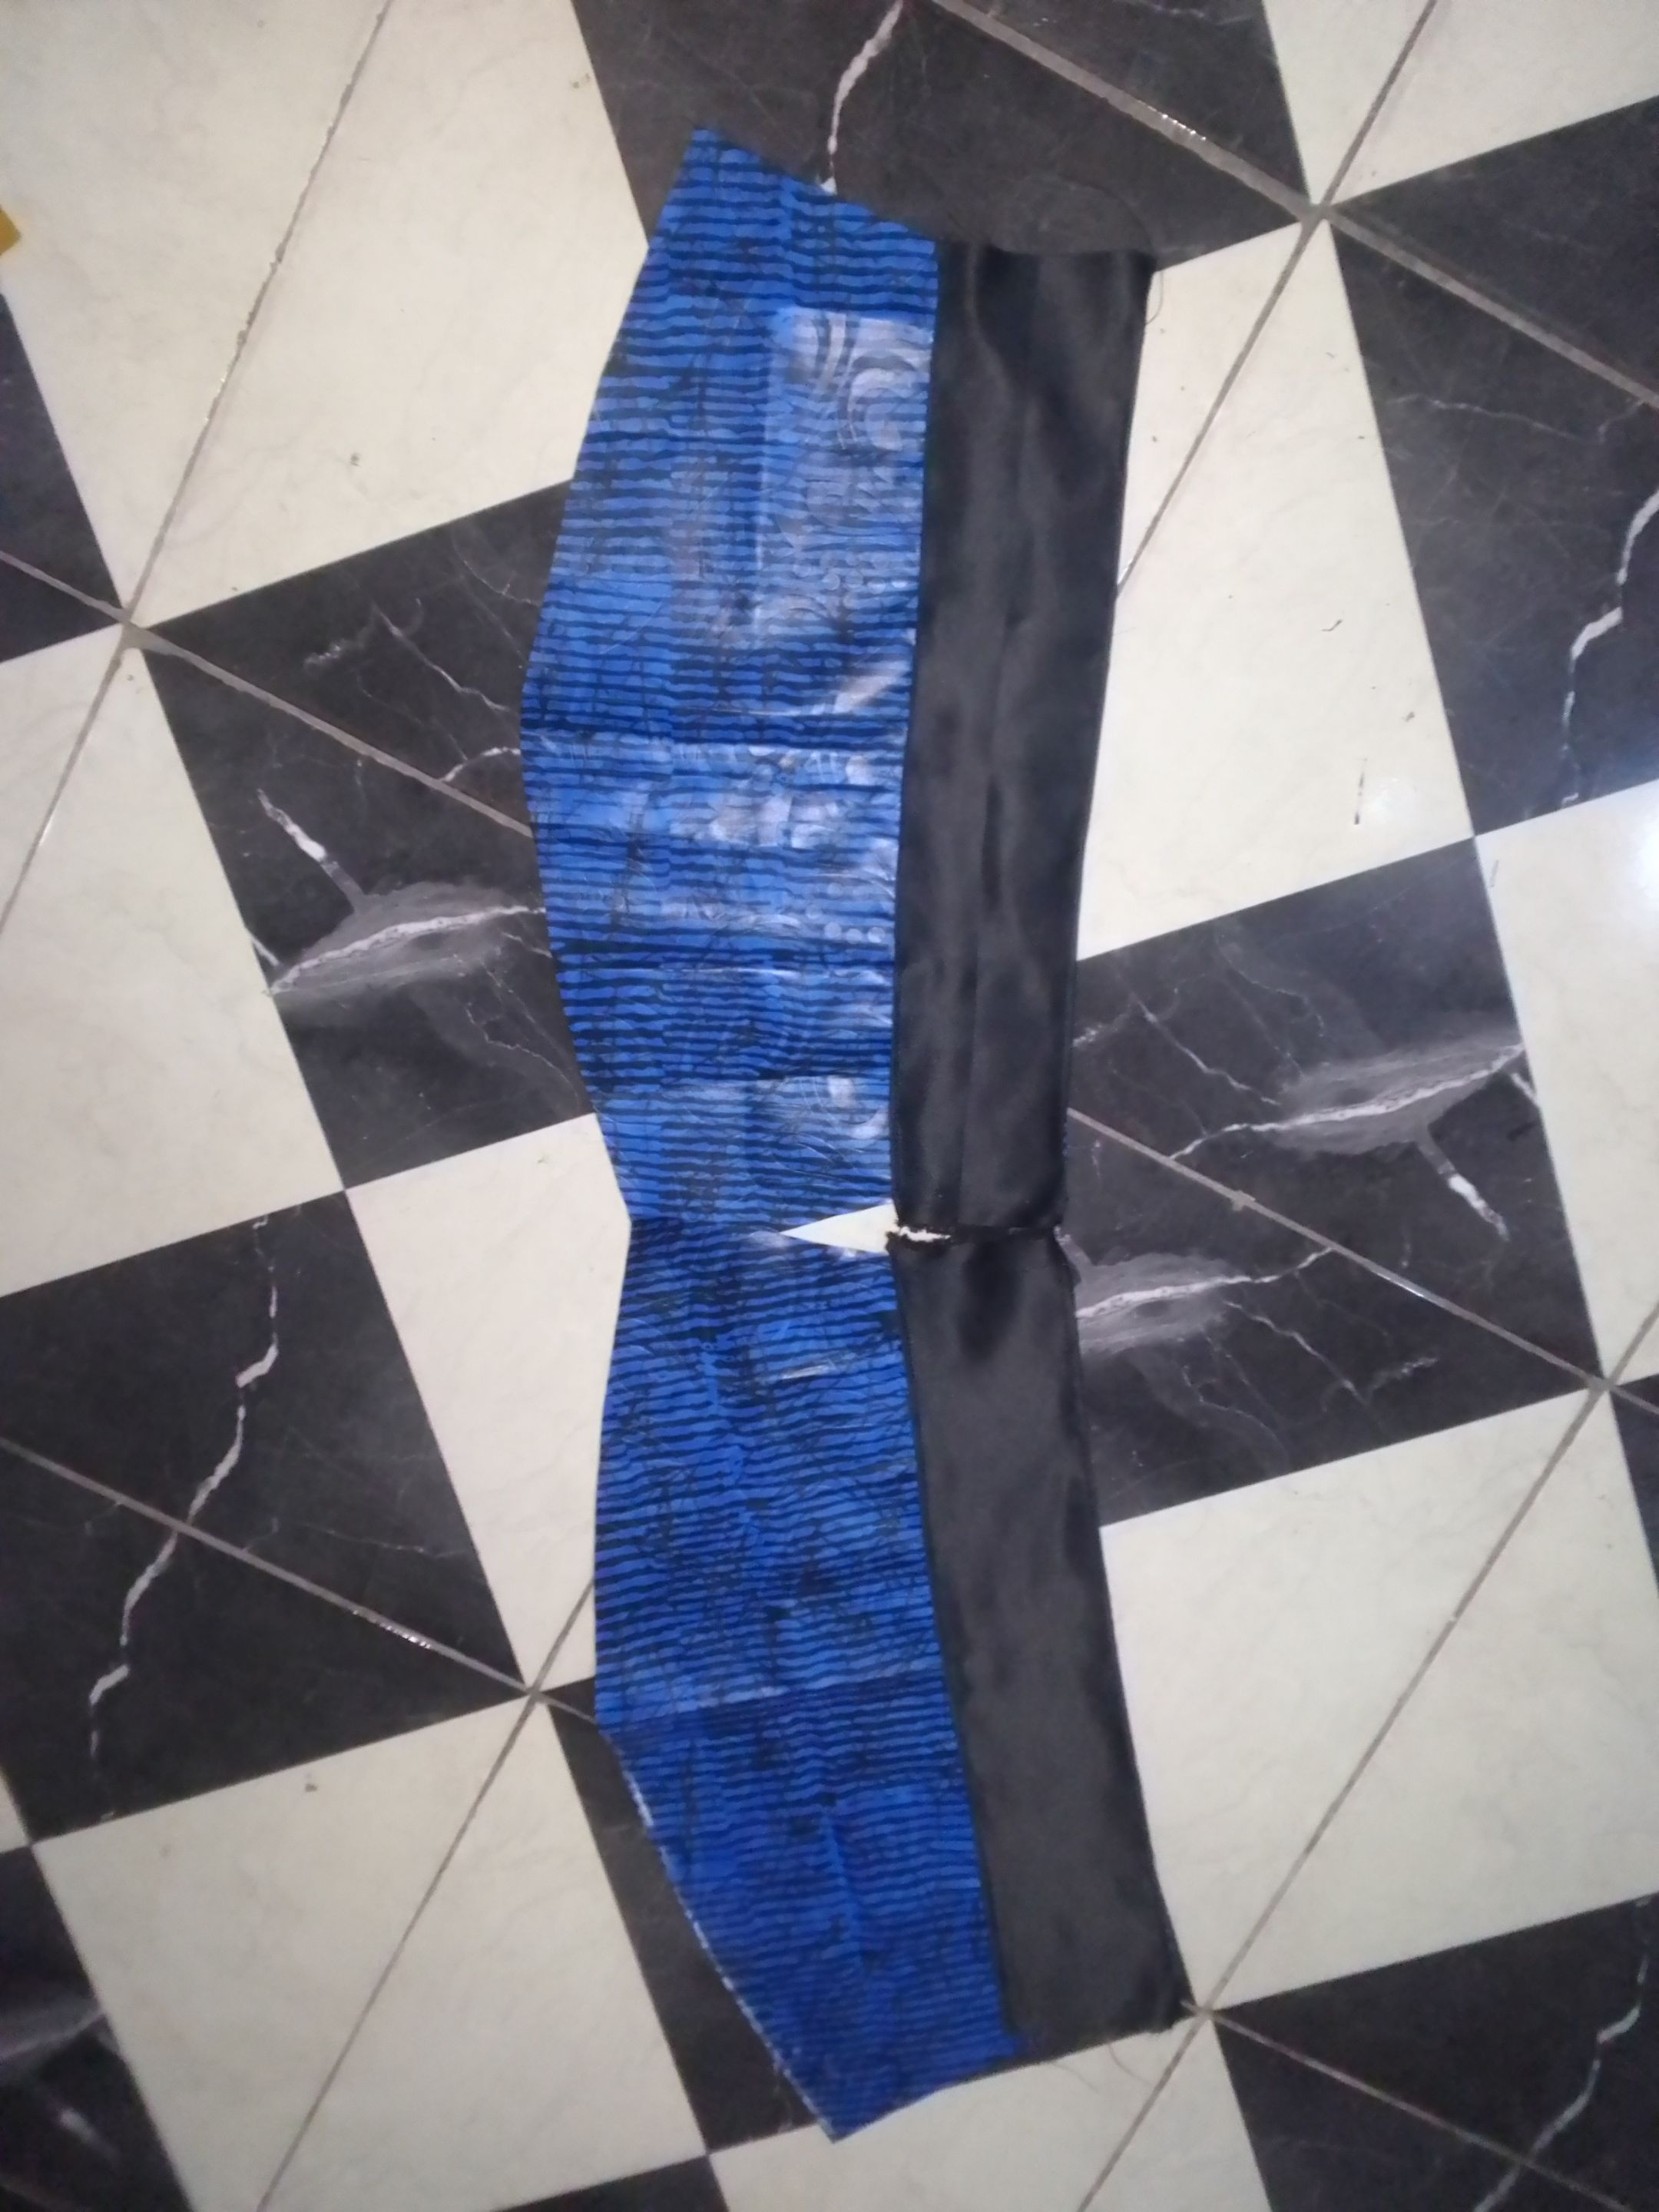
You proceed by cutting your hand just like this and also your dull-face material that you will attach to the hand just like this.
After which you also cut out your pocket and the dull-face material you'll attach at the upper side of the pocket as seen in the picture.
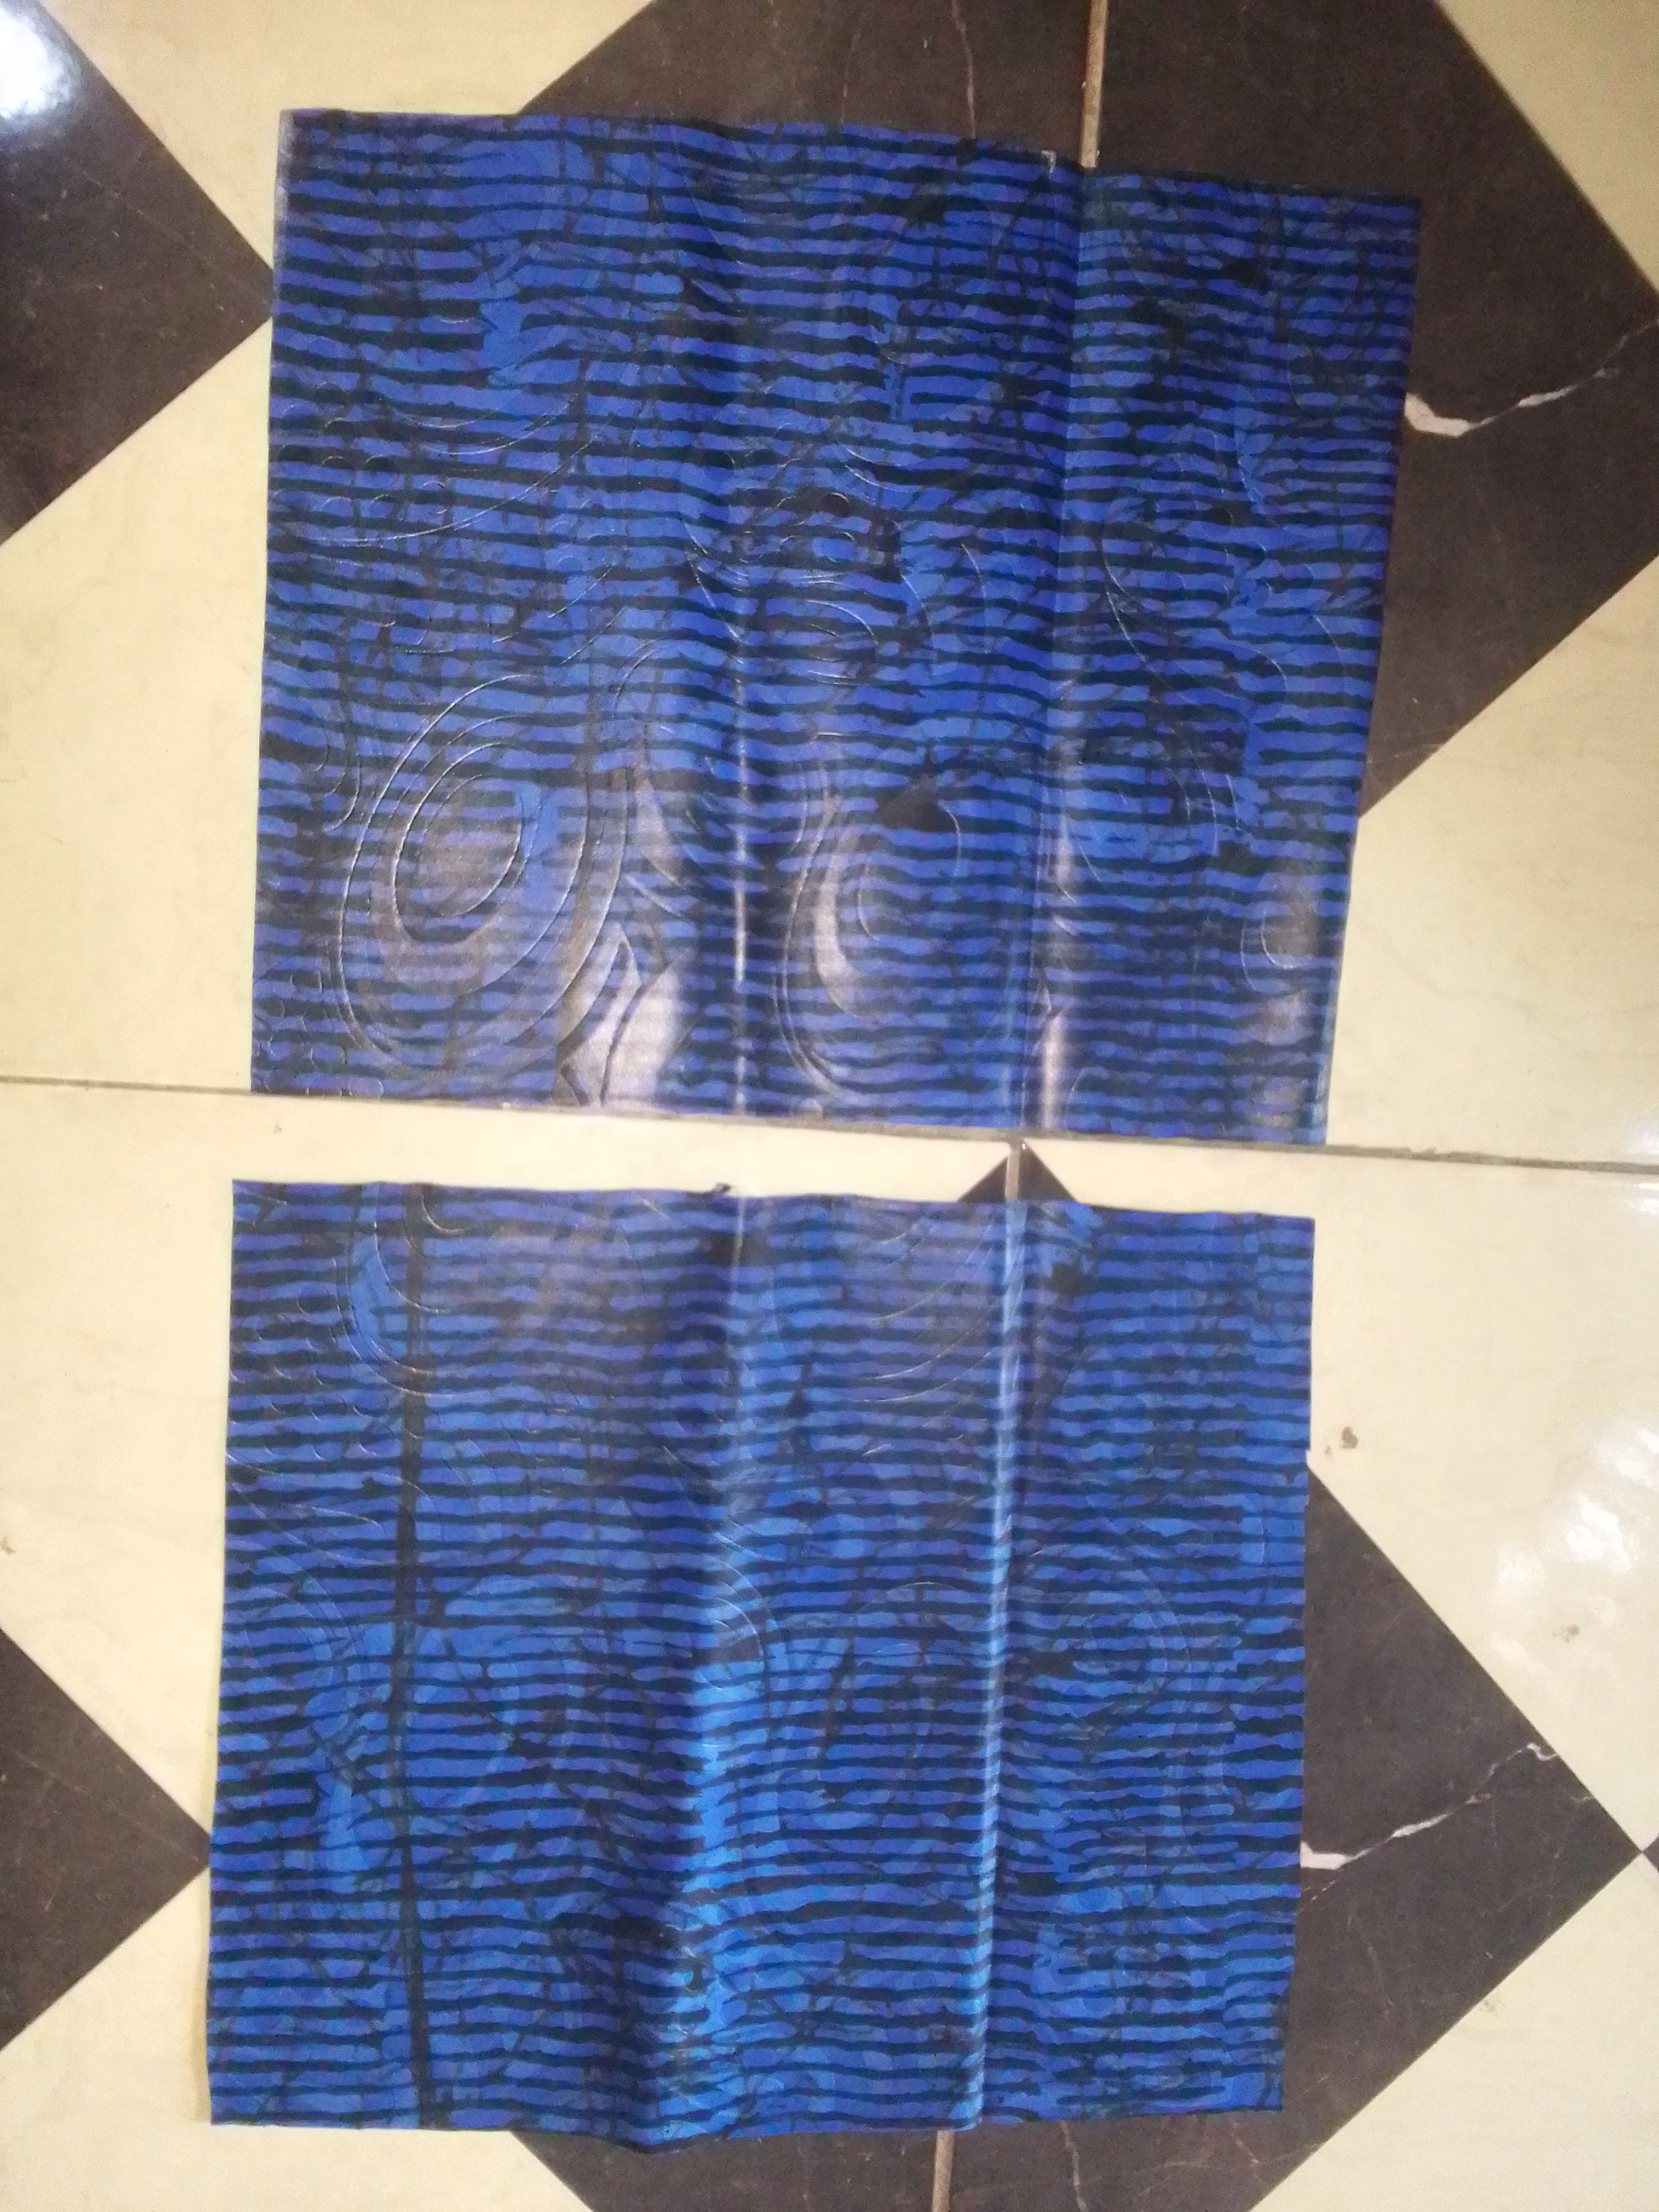
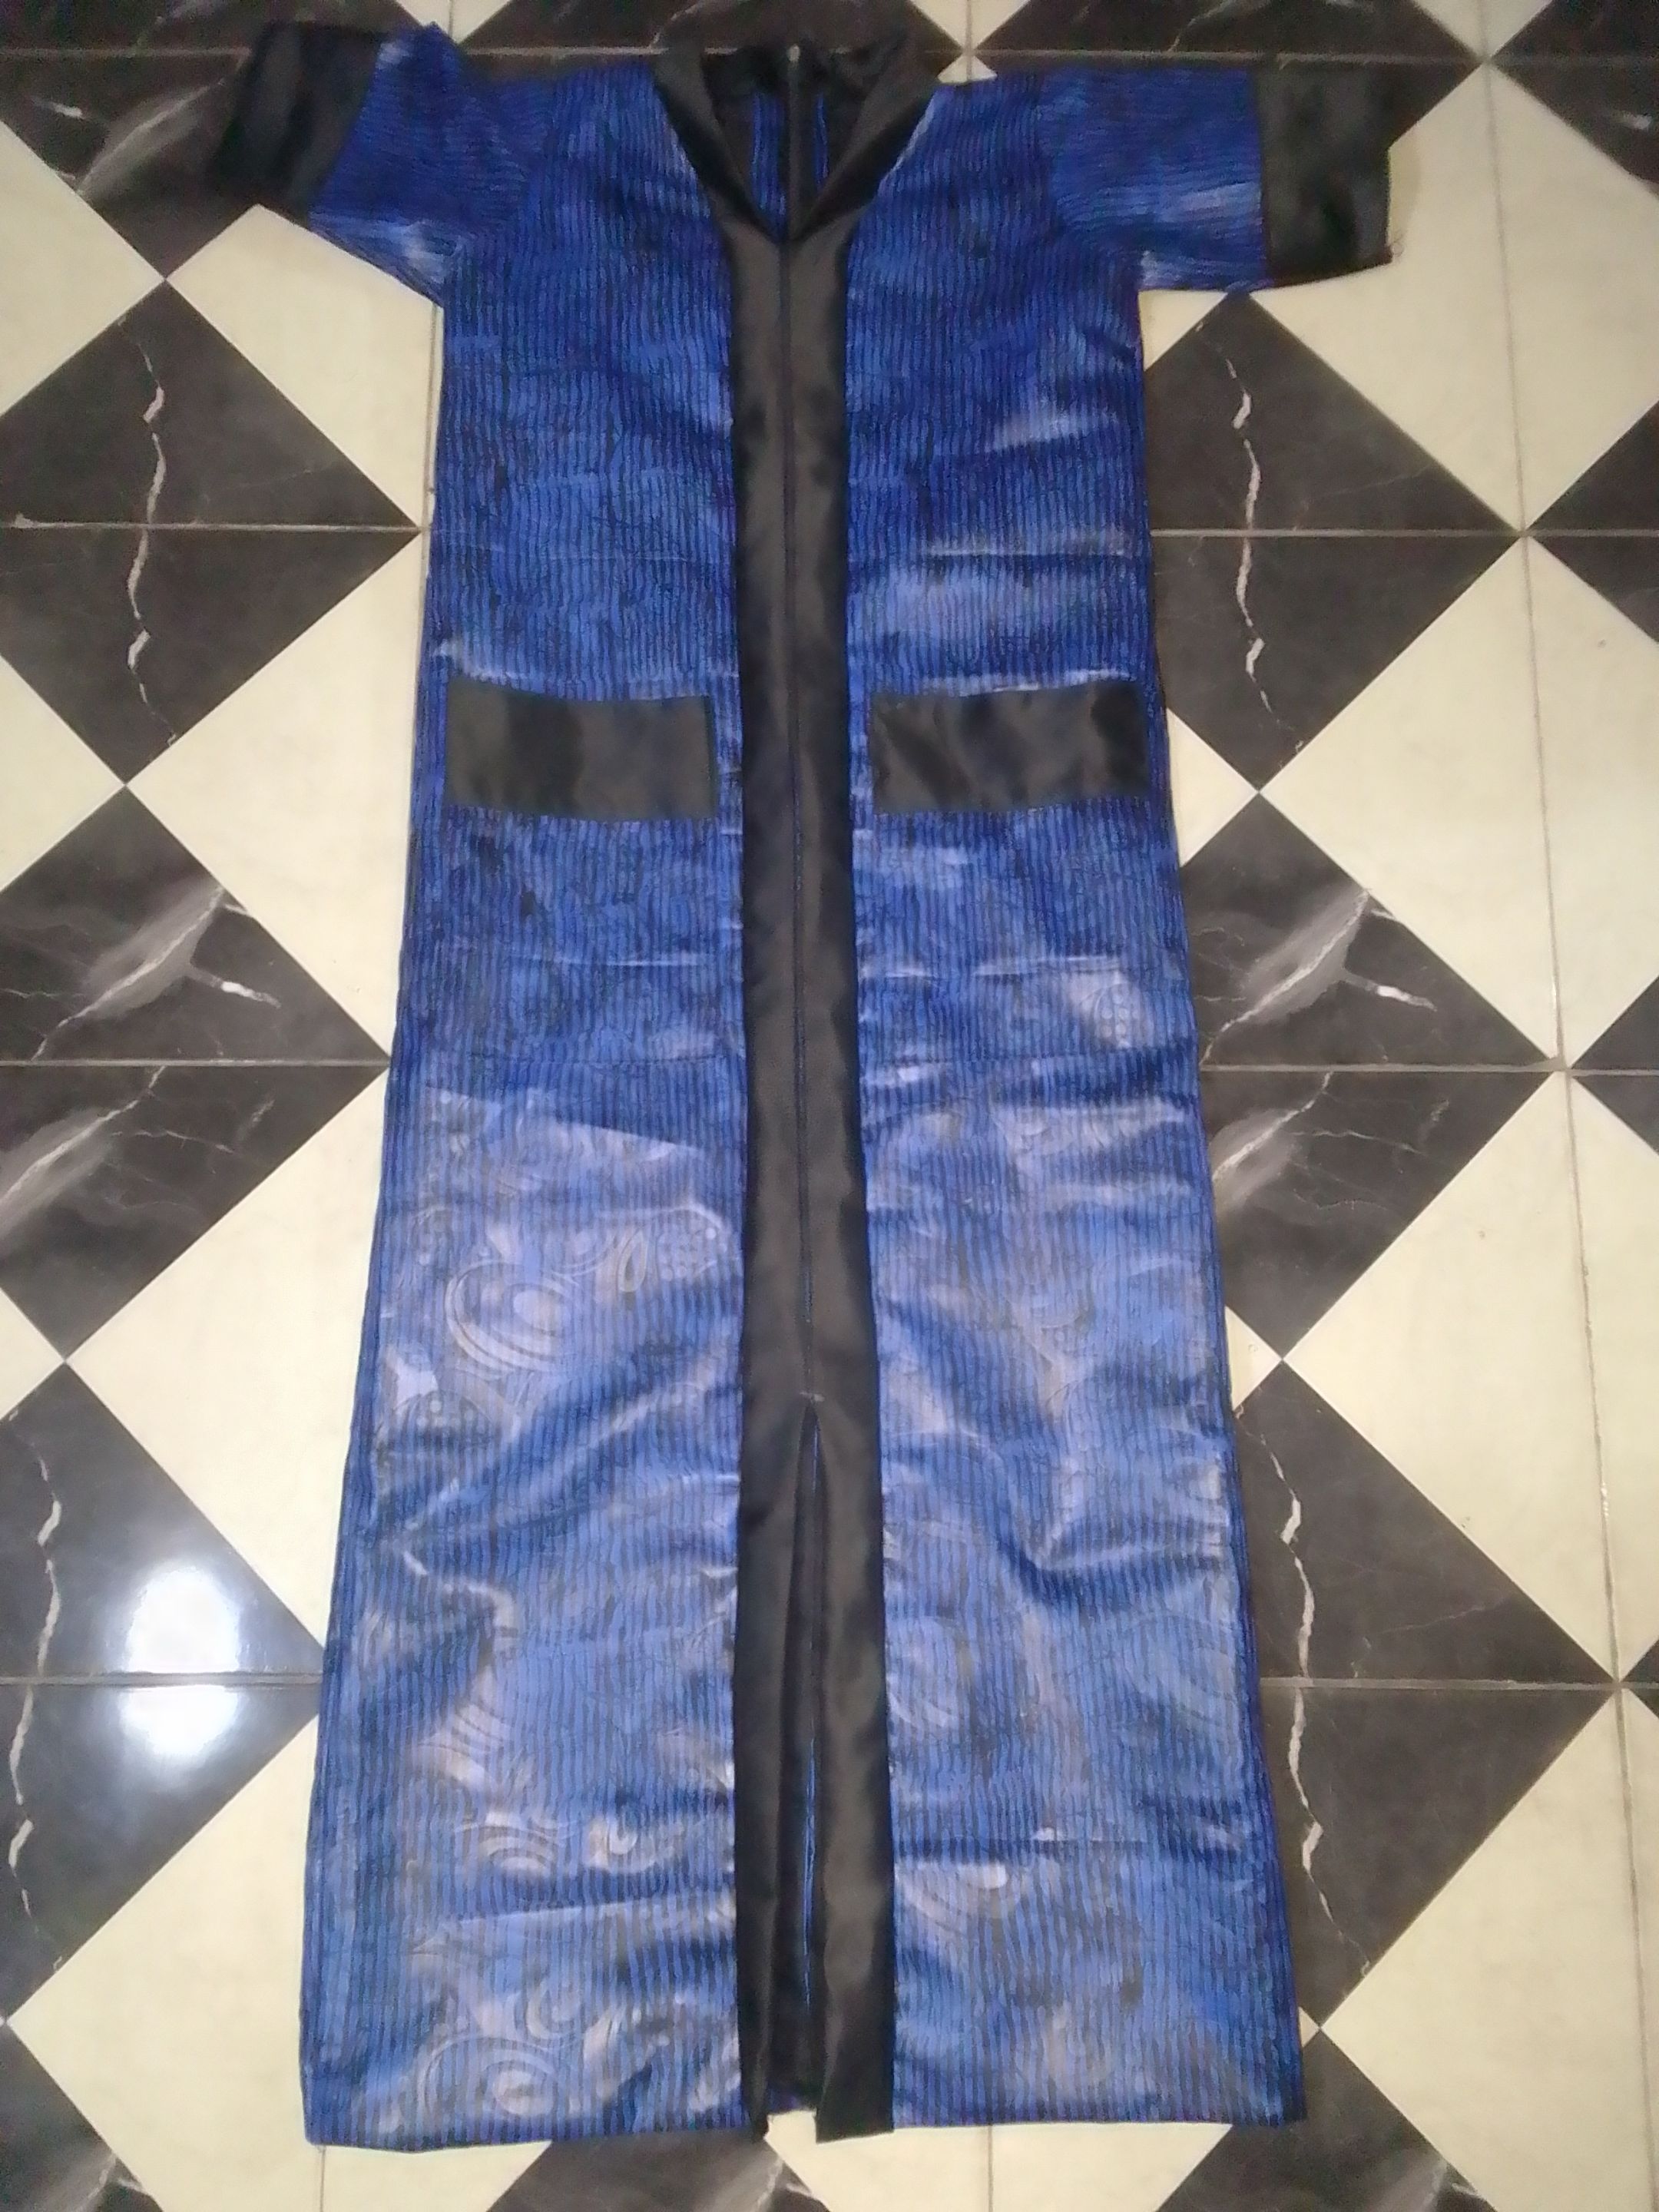
Now after cutting out all your material and lining you proceed with the lining of the cloth after which this is how the back side looks after lining, and also the front side as well

And the hand and the pocket looks after attaching your dull-face material to it this is the outcome
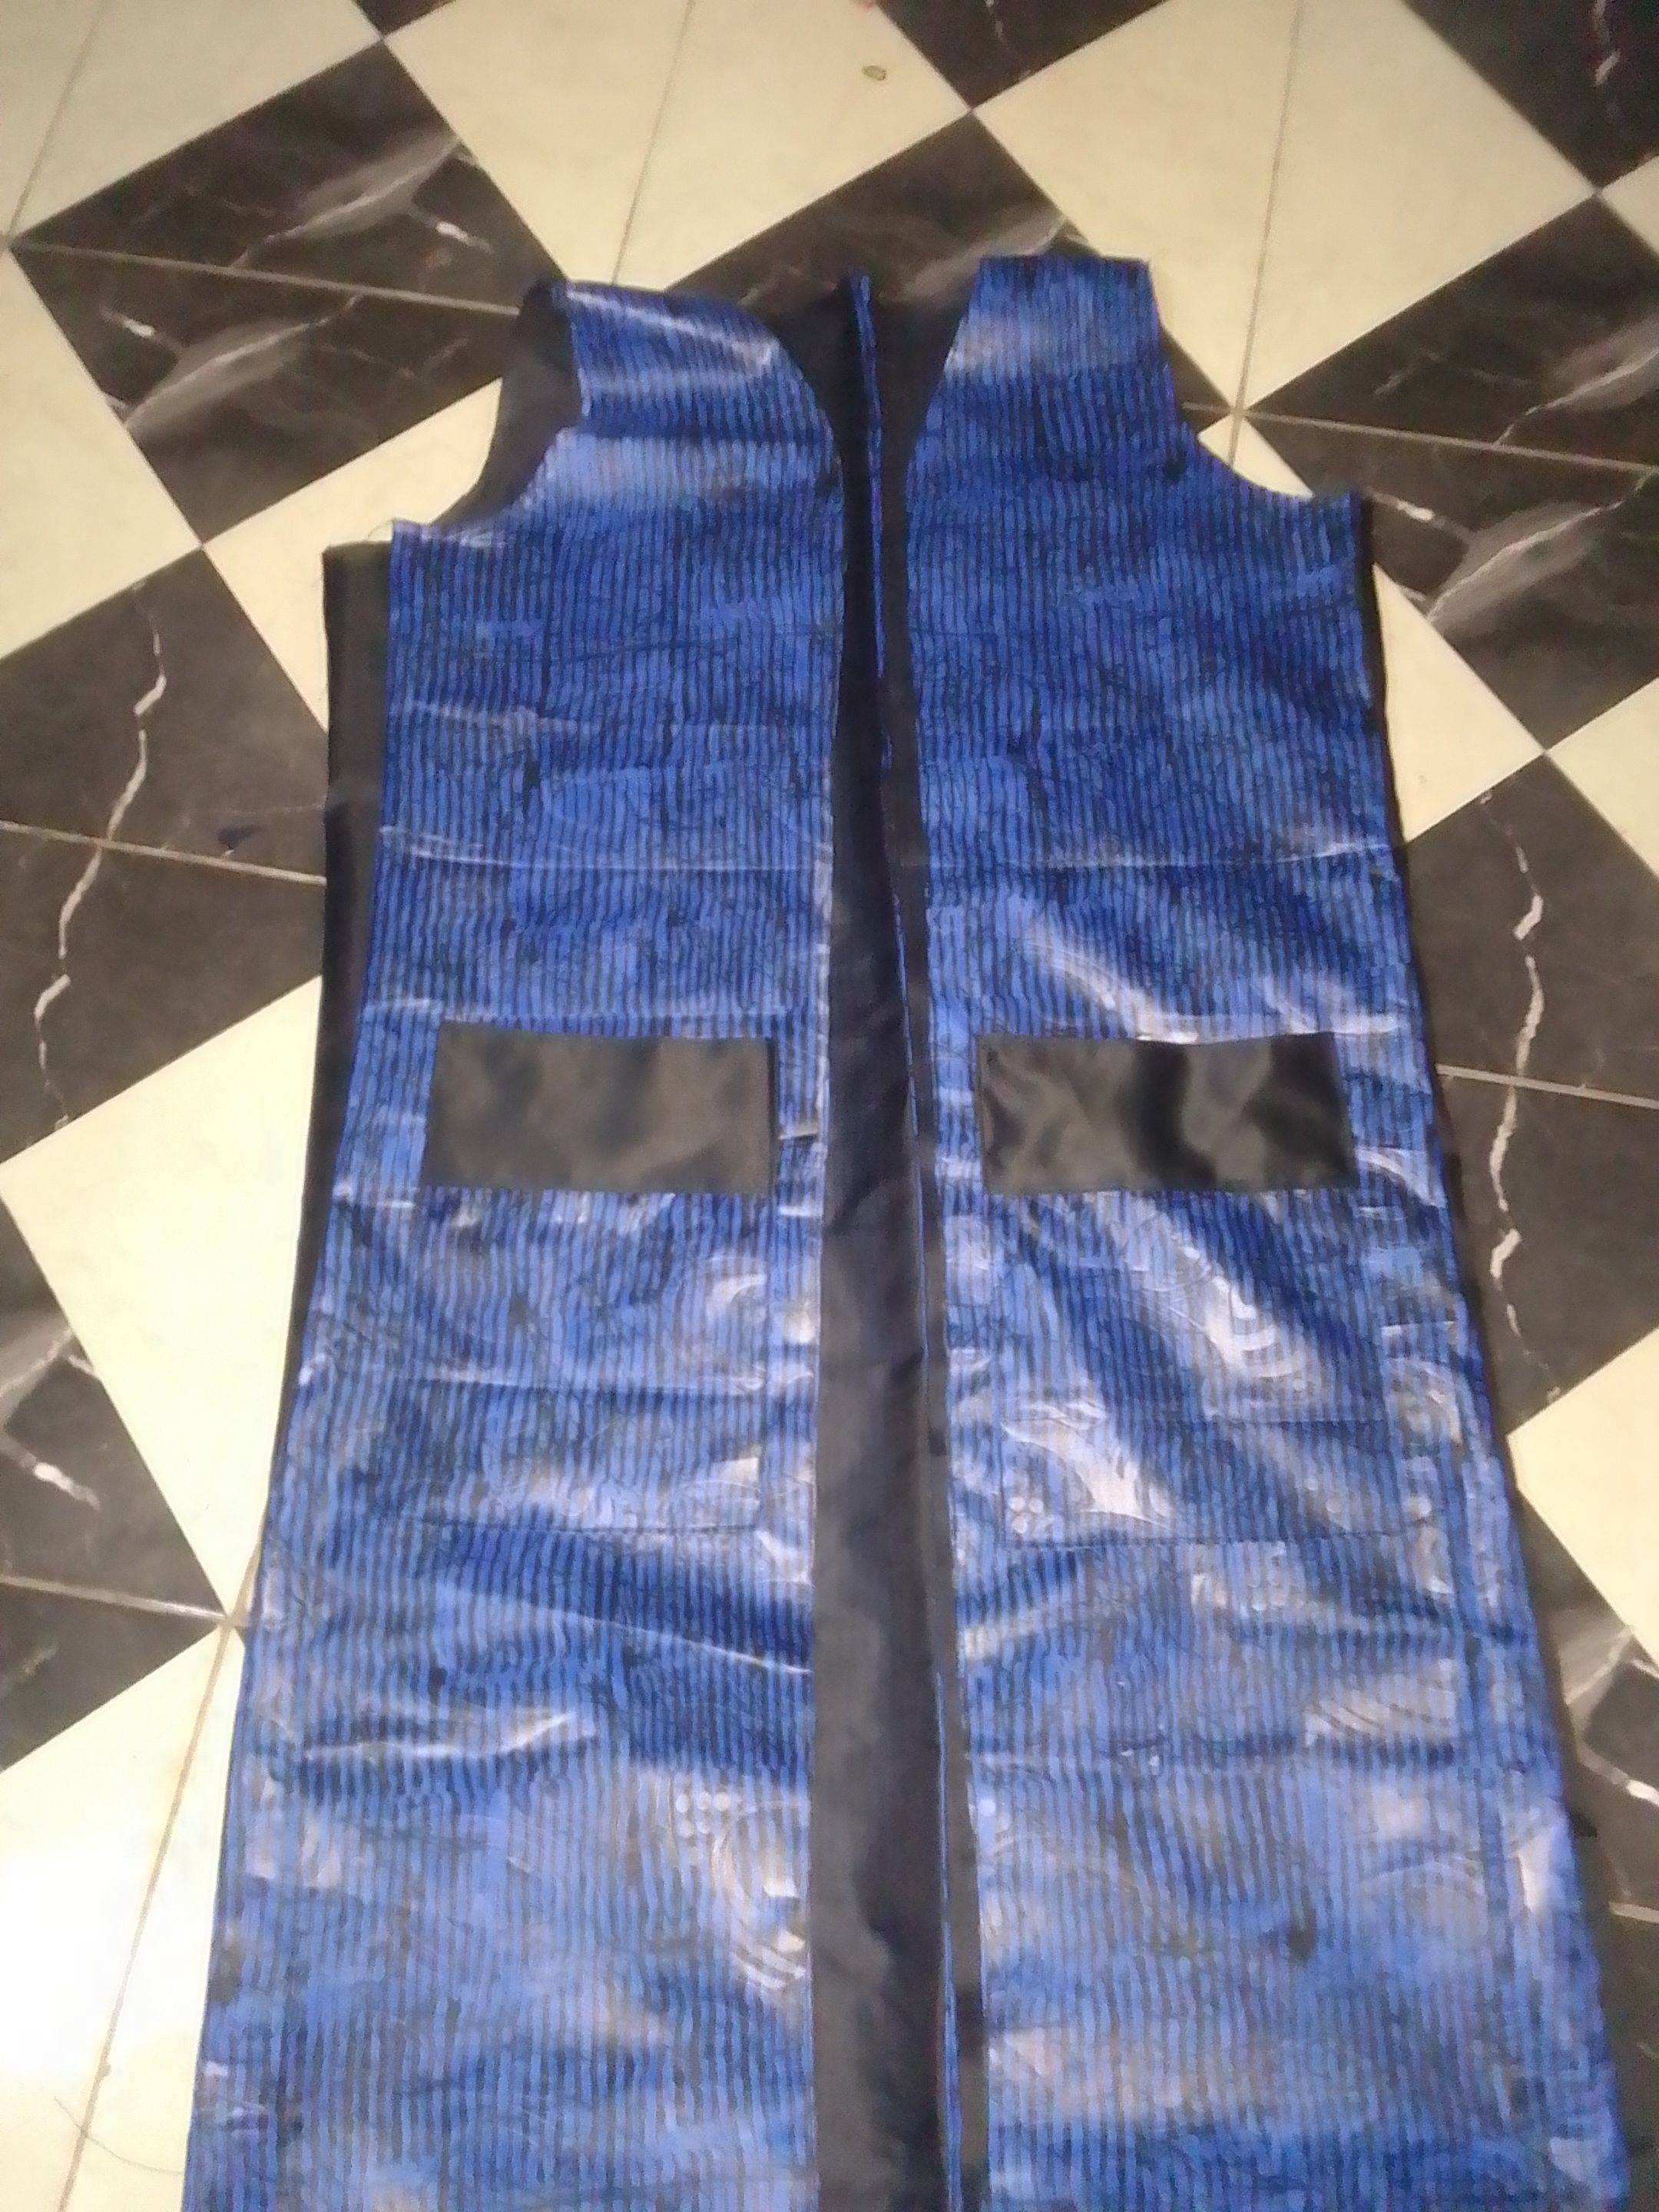
Now you proceed by joining the shoulder part before putting your pocket, and to fix your pocket you need to measure out twenty inches from your shoulder part down to fix your your pocket and it's also depends on were you want your pocket to stop but as for me I used twenty inches and this is it after fixing your pocket
Then you proceed by attaching your dull-face material that you cut out for the front and this is how it looks and fter attaching the dull-face material at the front this is the outcome.
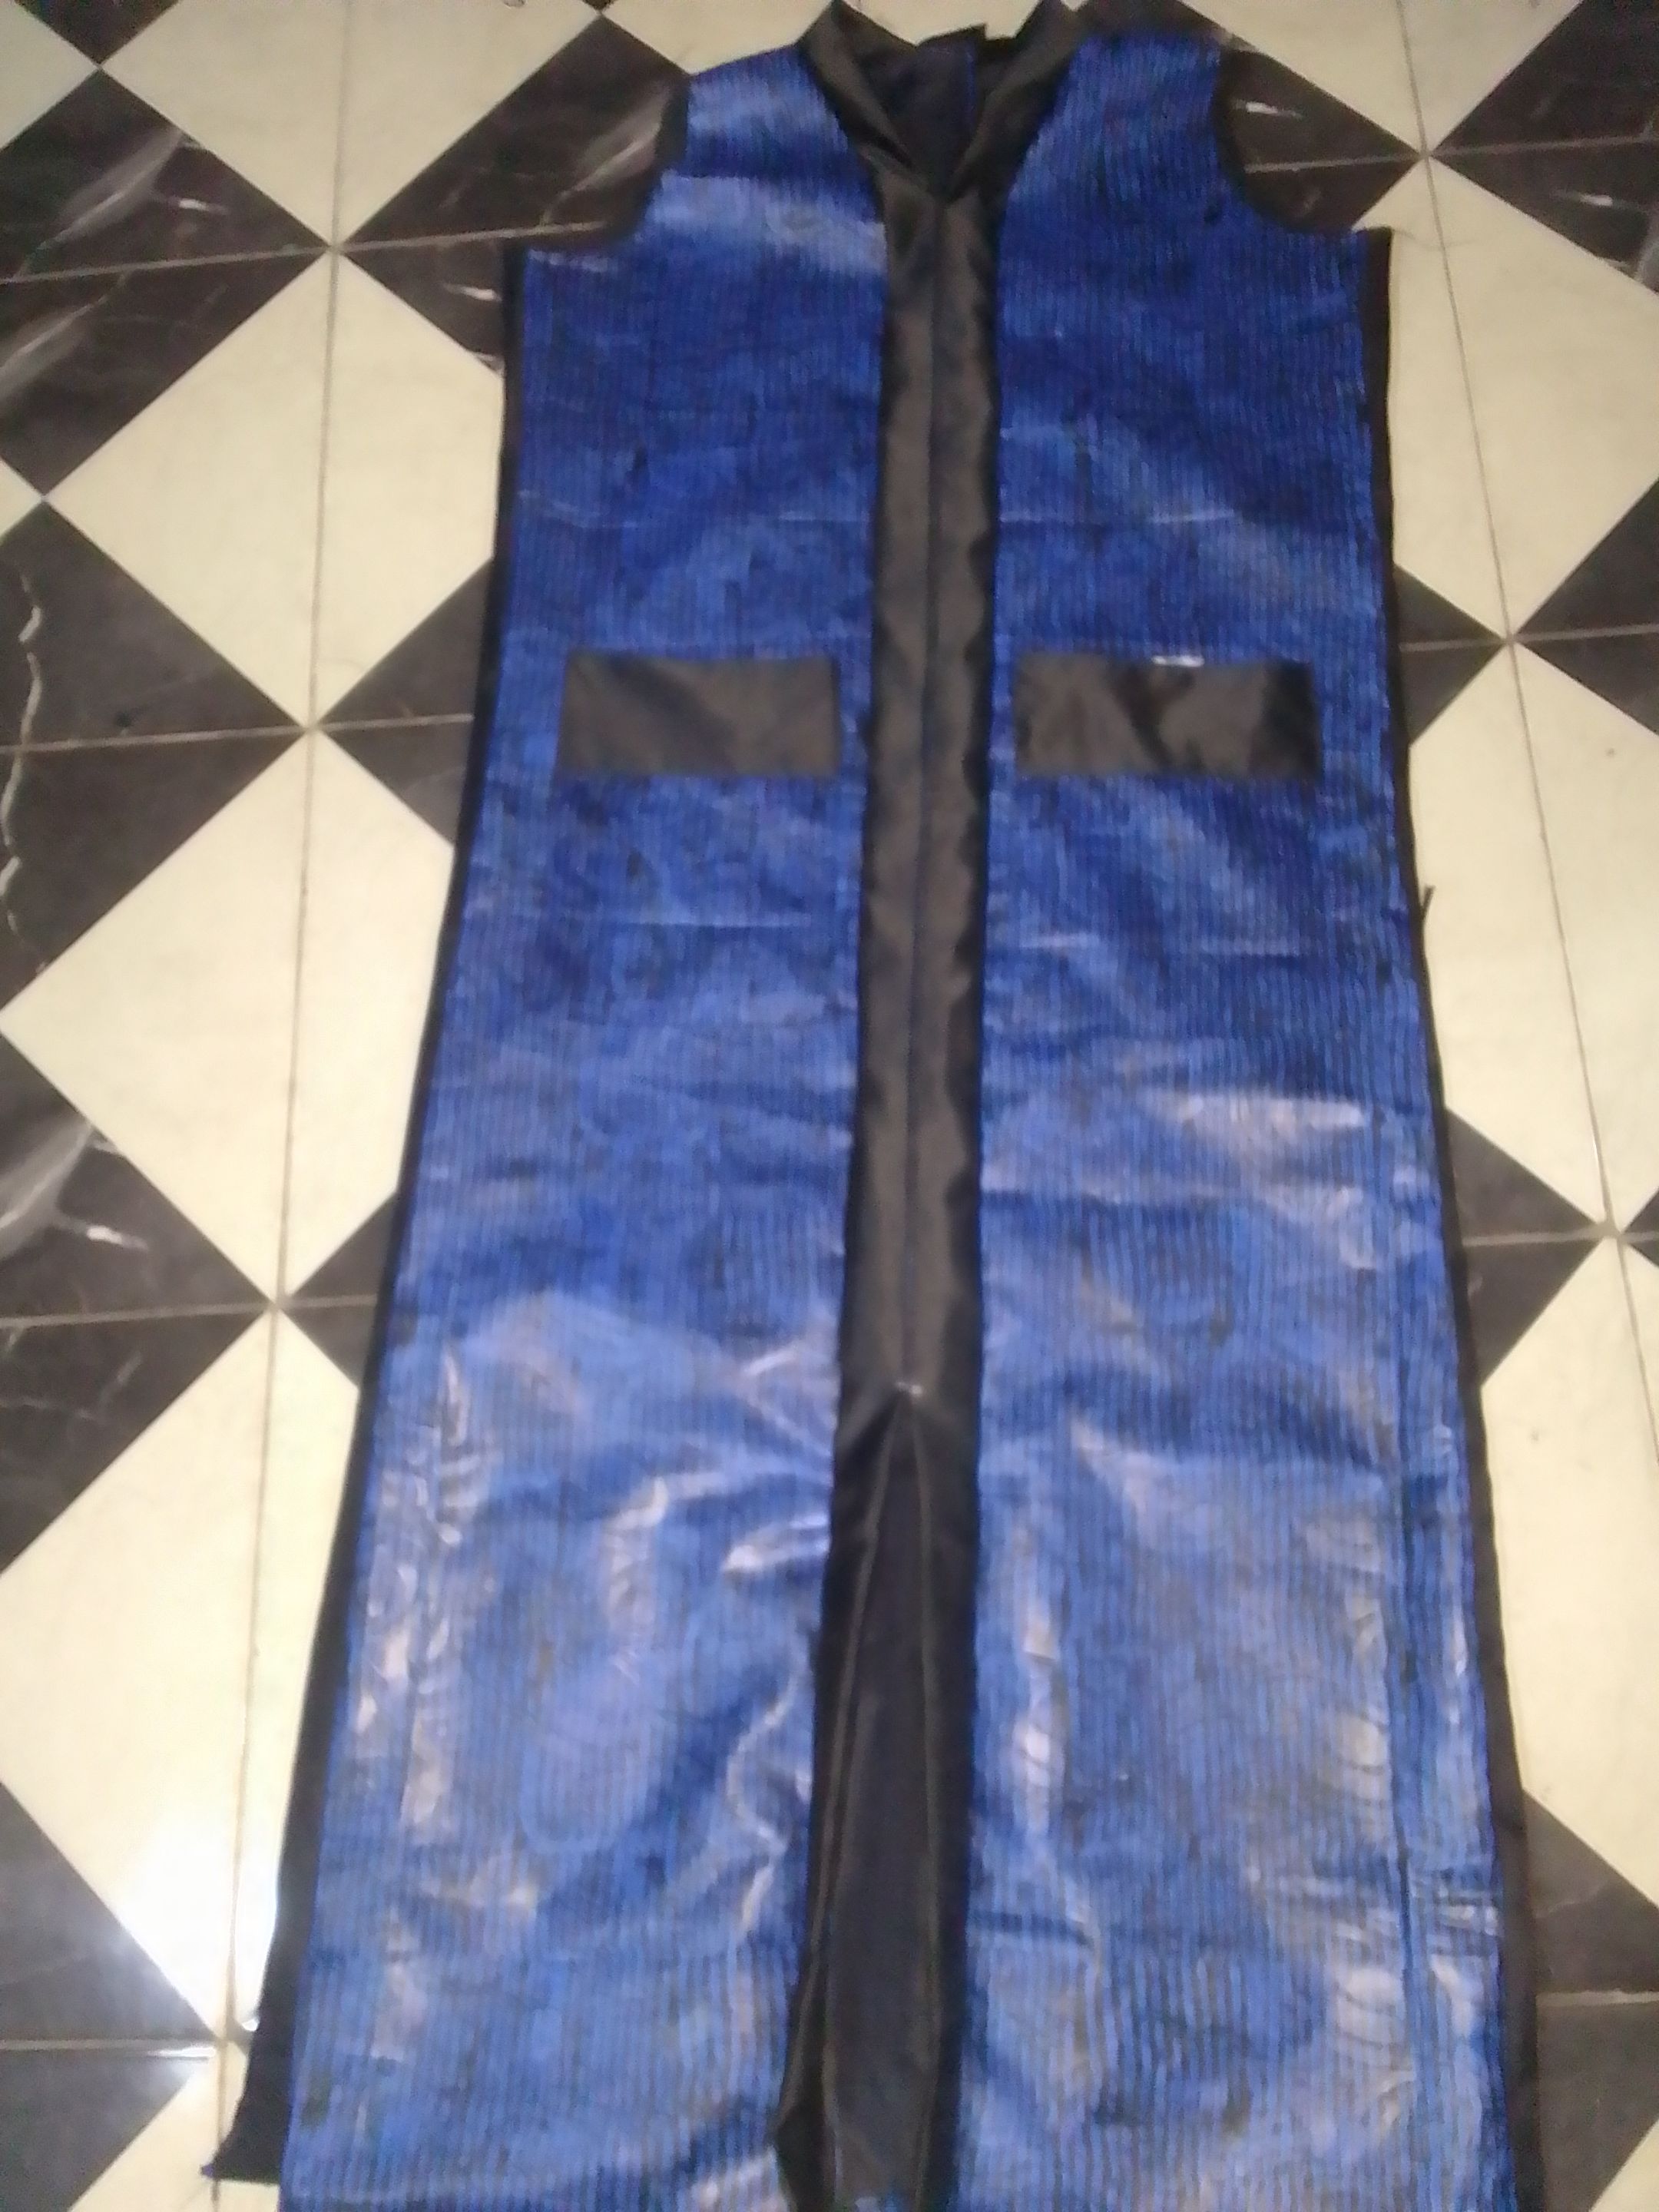
And you proceed by fixing your hand and your zip then you join it and this is the outcome after joining it
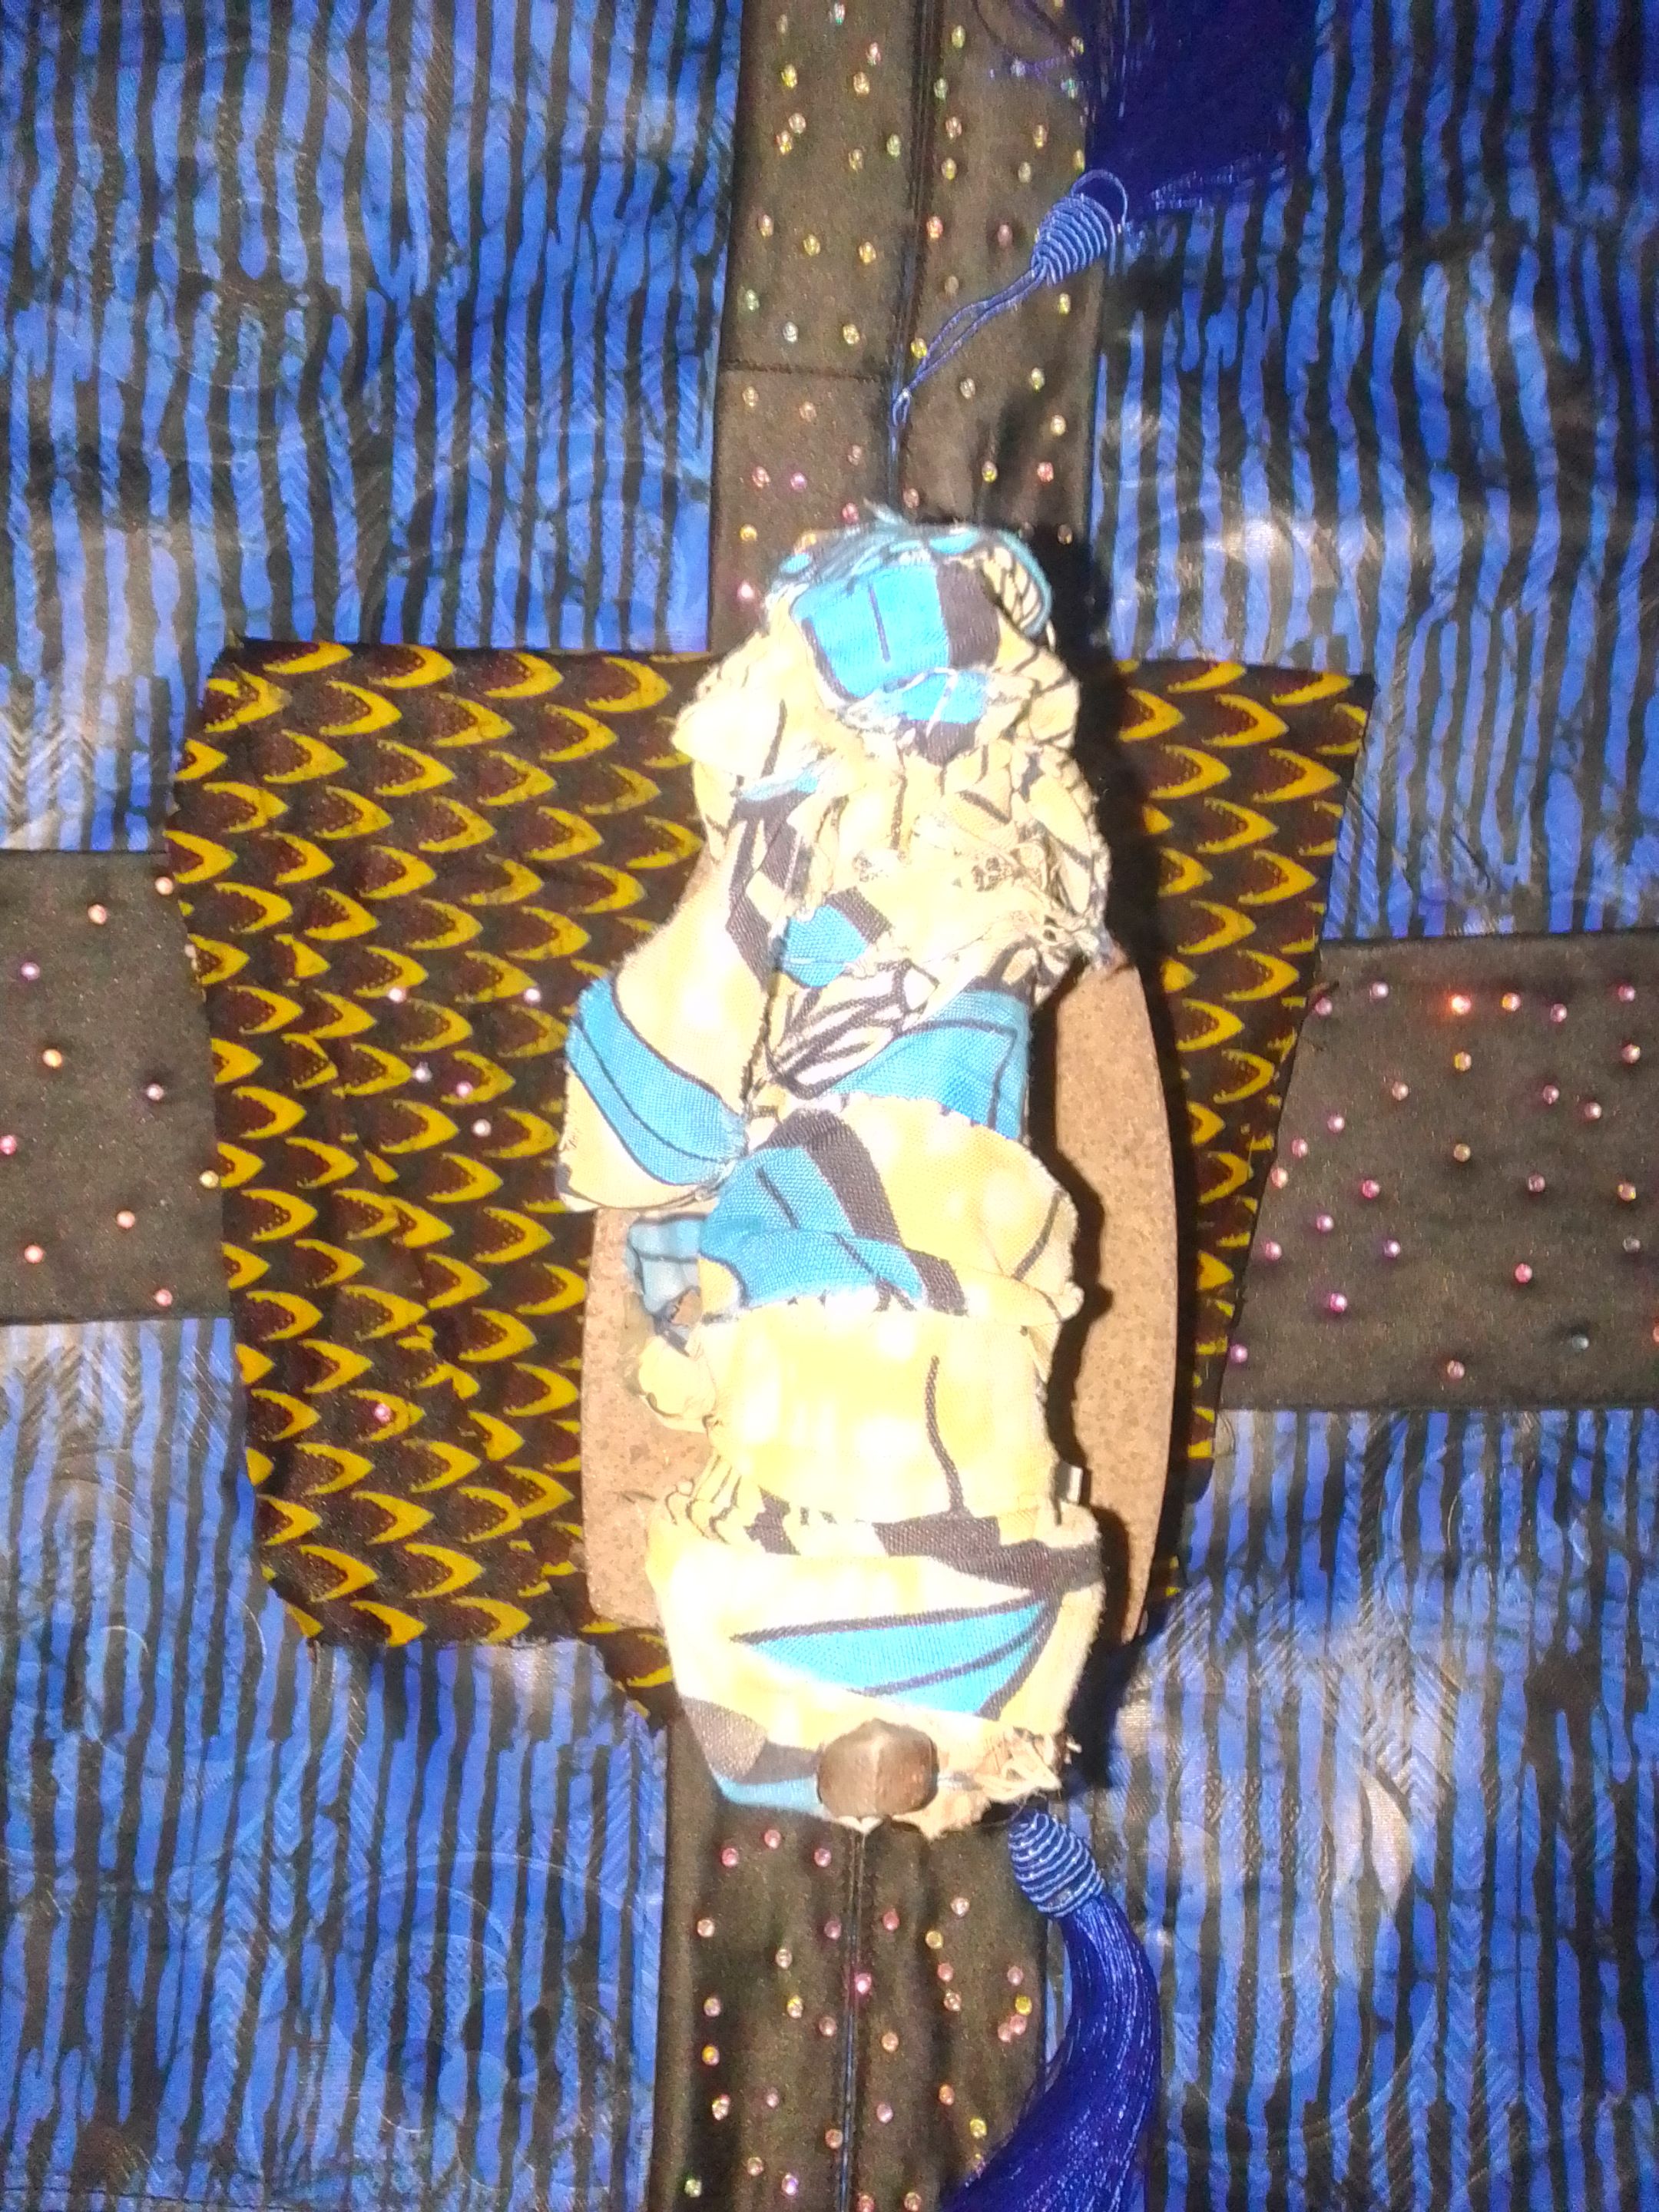
Now you proceed by putting your stone just like this, you firstly arrange your stone, and then look for another separate material and put it inside the water after the arrangement of the stones, you take out the socked material and place it on where you arrange your your stones and place your iron on it and make sure the iron is not that hot to avoid burning the cloth, as you can see from the photo.
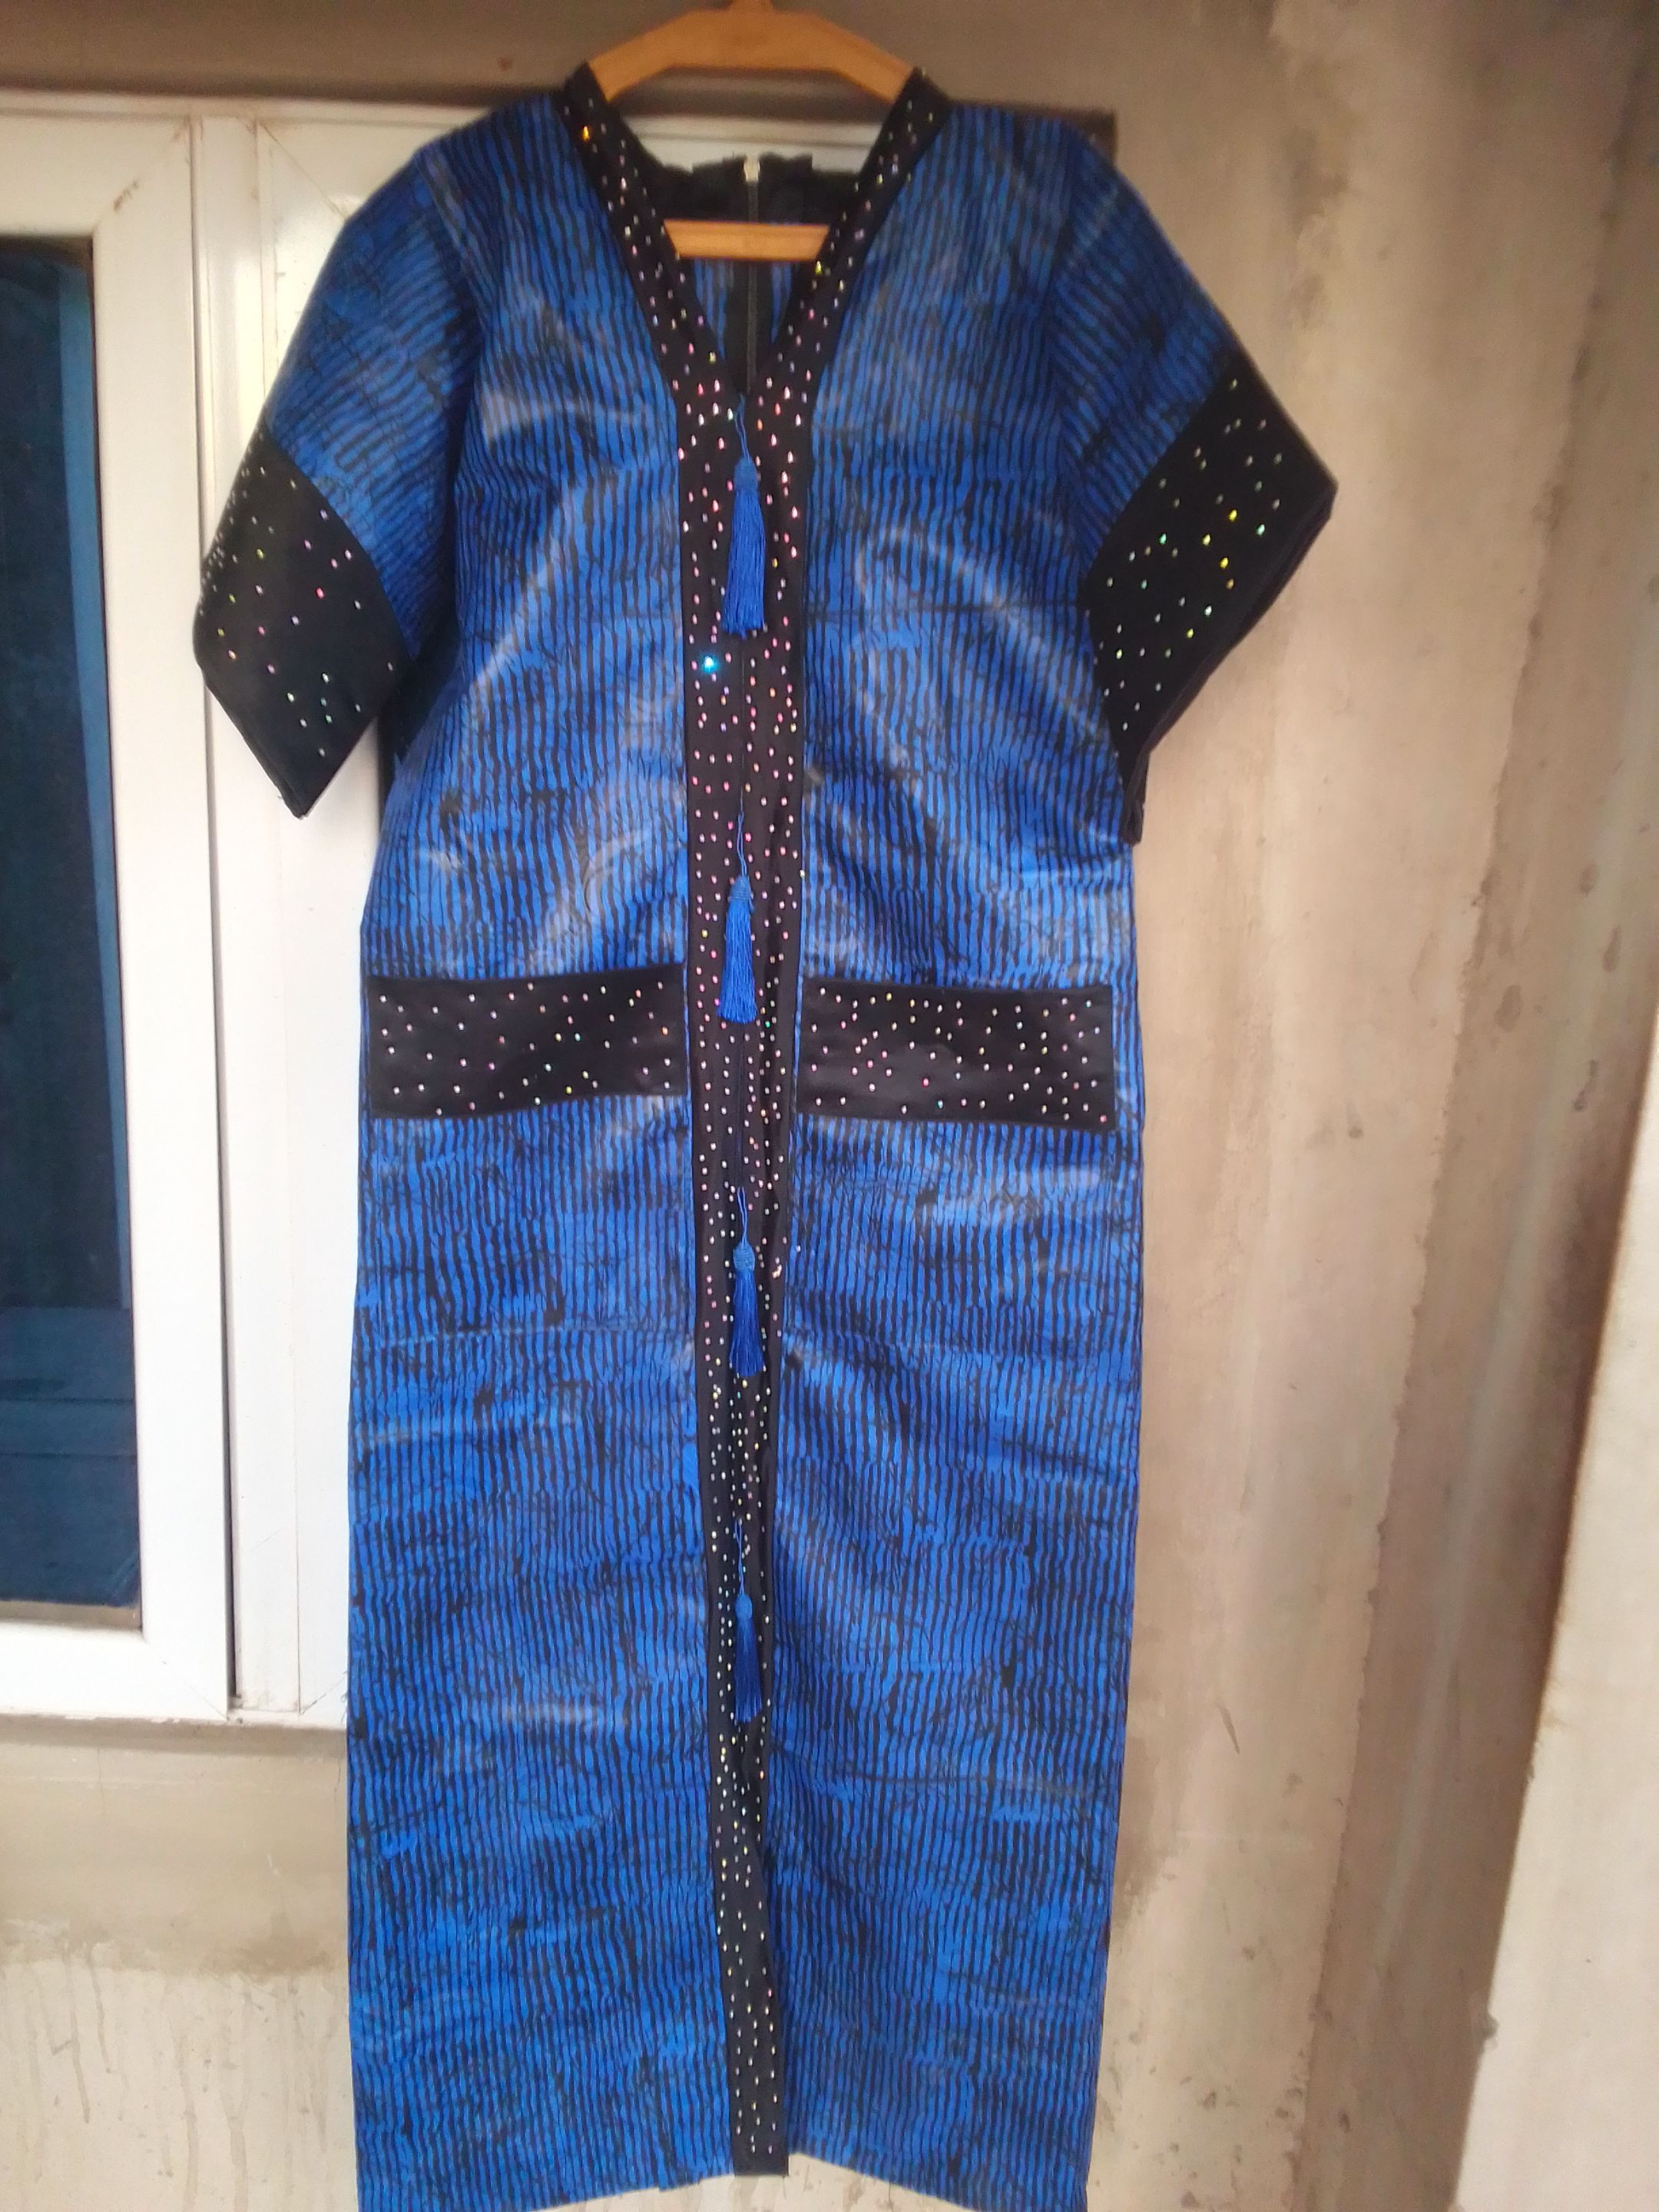
And after putting your stones in all the part you fixed your dull-face material this is how it looks and now our gown is ready.

Thank you.