Hi hivers, good day. It's me again, Hyundais. Have a great day! How's your day? Hope you're doing well. Today I would like to share about the 'PROTOTYPE FAN' using the cartoon.
Our teacher gave a task for her students to make a prototype using cardboard. I don't have an idea about the prototype, so what I'm going to do is search it on YouTube what a prototype is. I saw that there are many kinds of prototypes, like Frame, Water dispenser, and also the Stove. And other things. Based on YouTube, a prototype is made from cardboard.

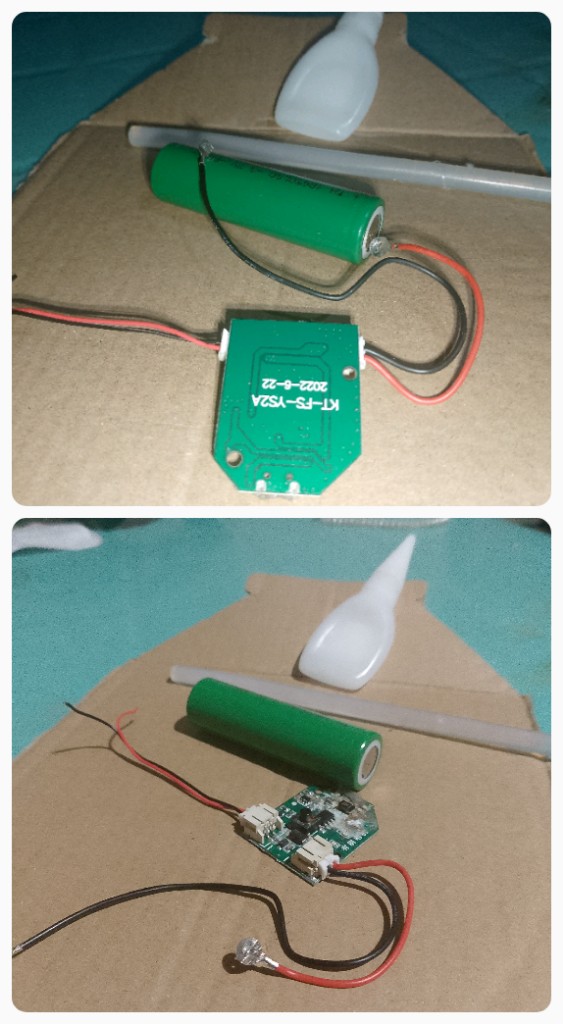
Meanwhile, I decided to make a stand fan. The materials I used are one Dynamo, battery, wires, shoe glue, cutter, scissor, switch, and also cartoon.
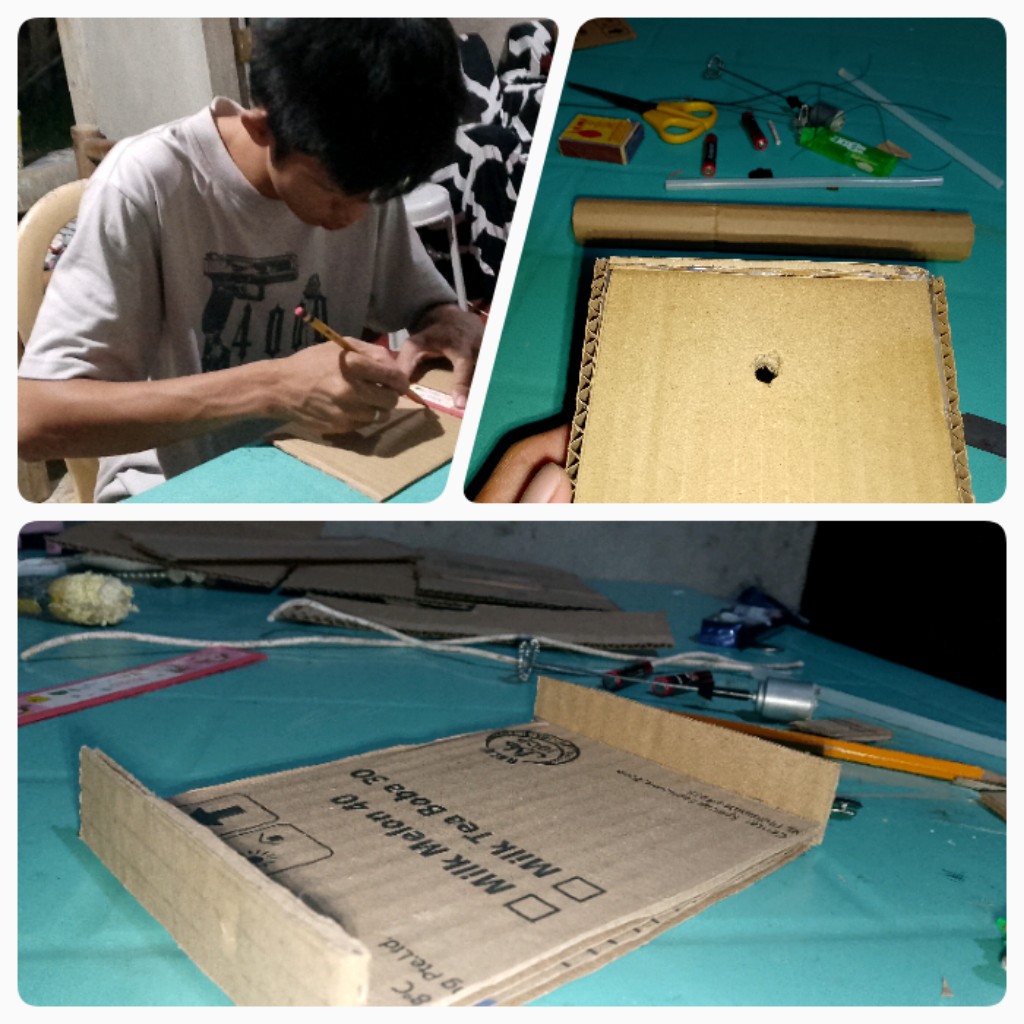
First, I got two recyclable carton pieces and cut them into seven inches to form them into a square. After that, I cut cartoon again into one-inch pieces of carton and put glue sticks to attach them to the tail of the stand fan. Also, I put a small hole in the center of the tail.
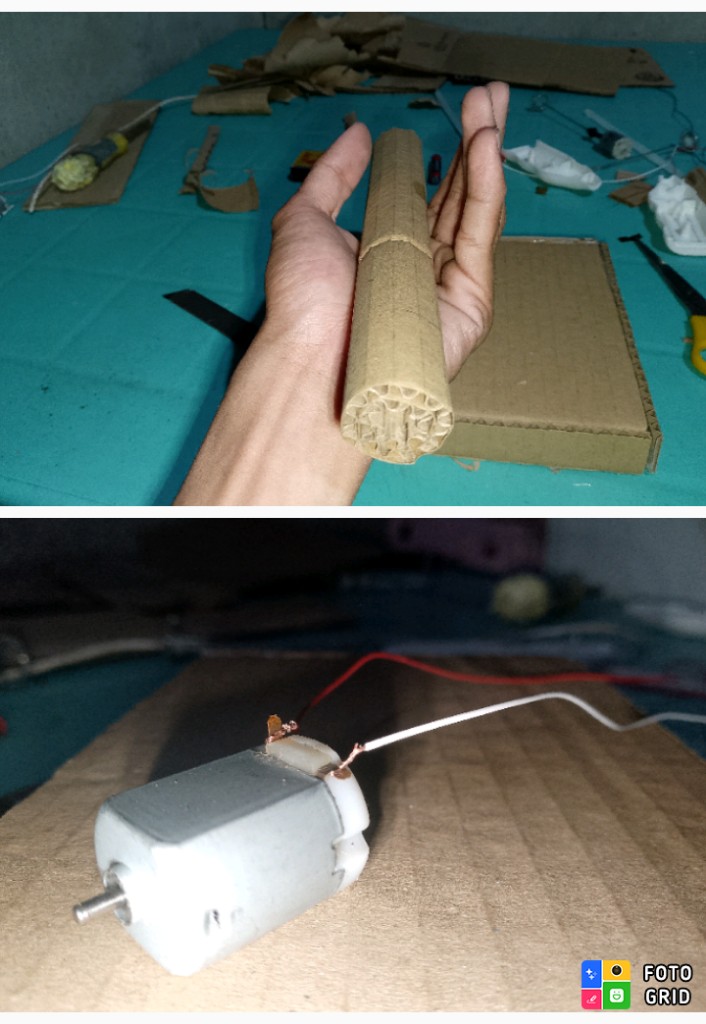
After that, I roll the cartoon to form a circle, and at the center of that, there is a small hole. I also put the wires in dynamo, such as the Negative and Positive.
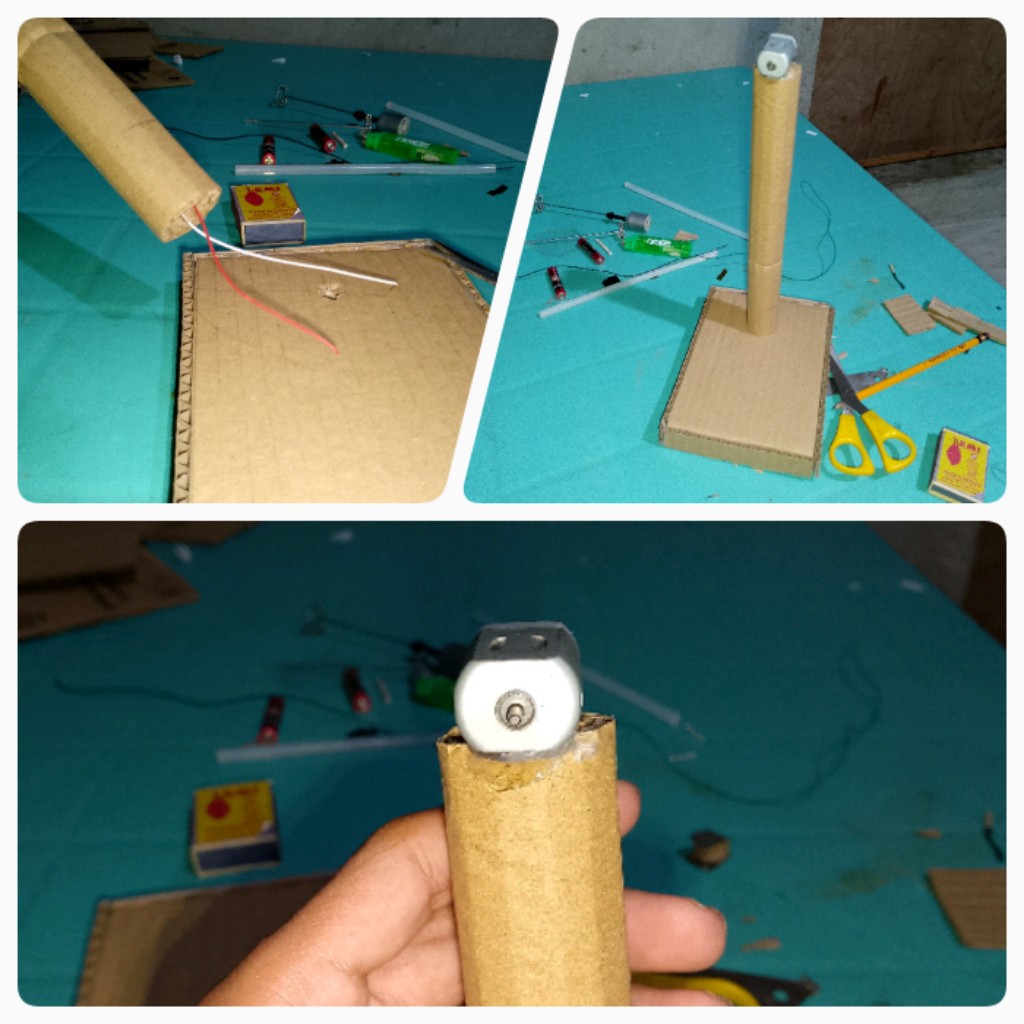
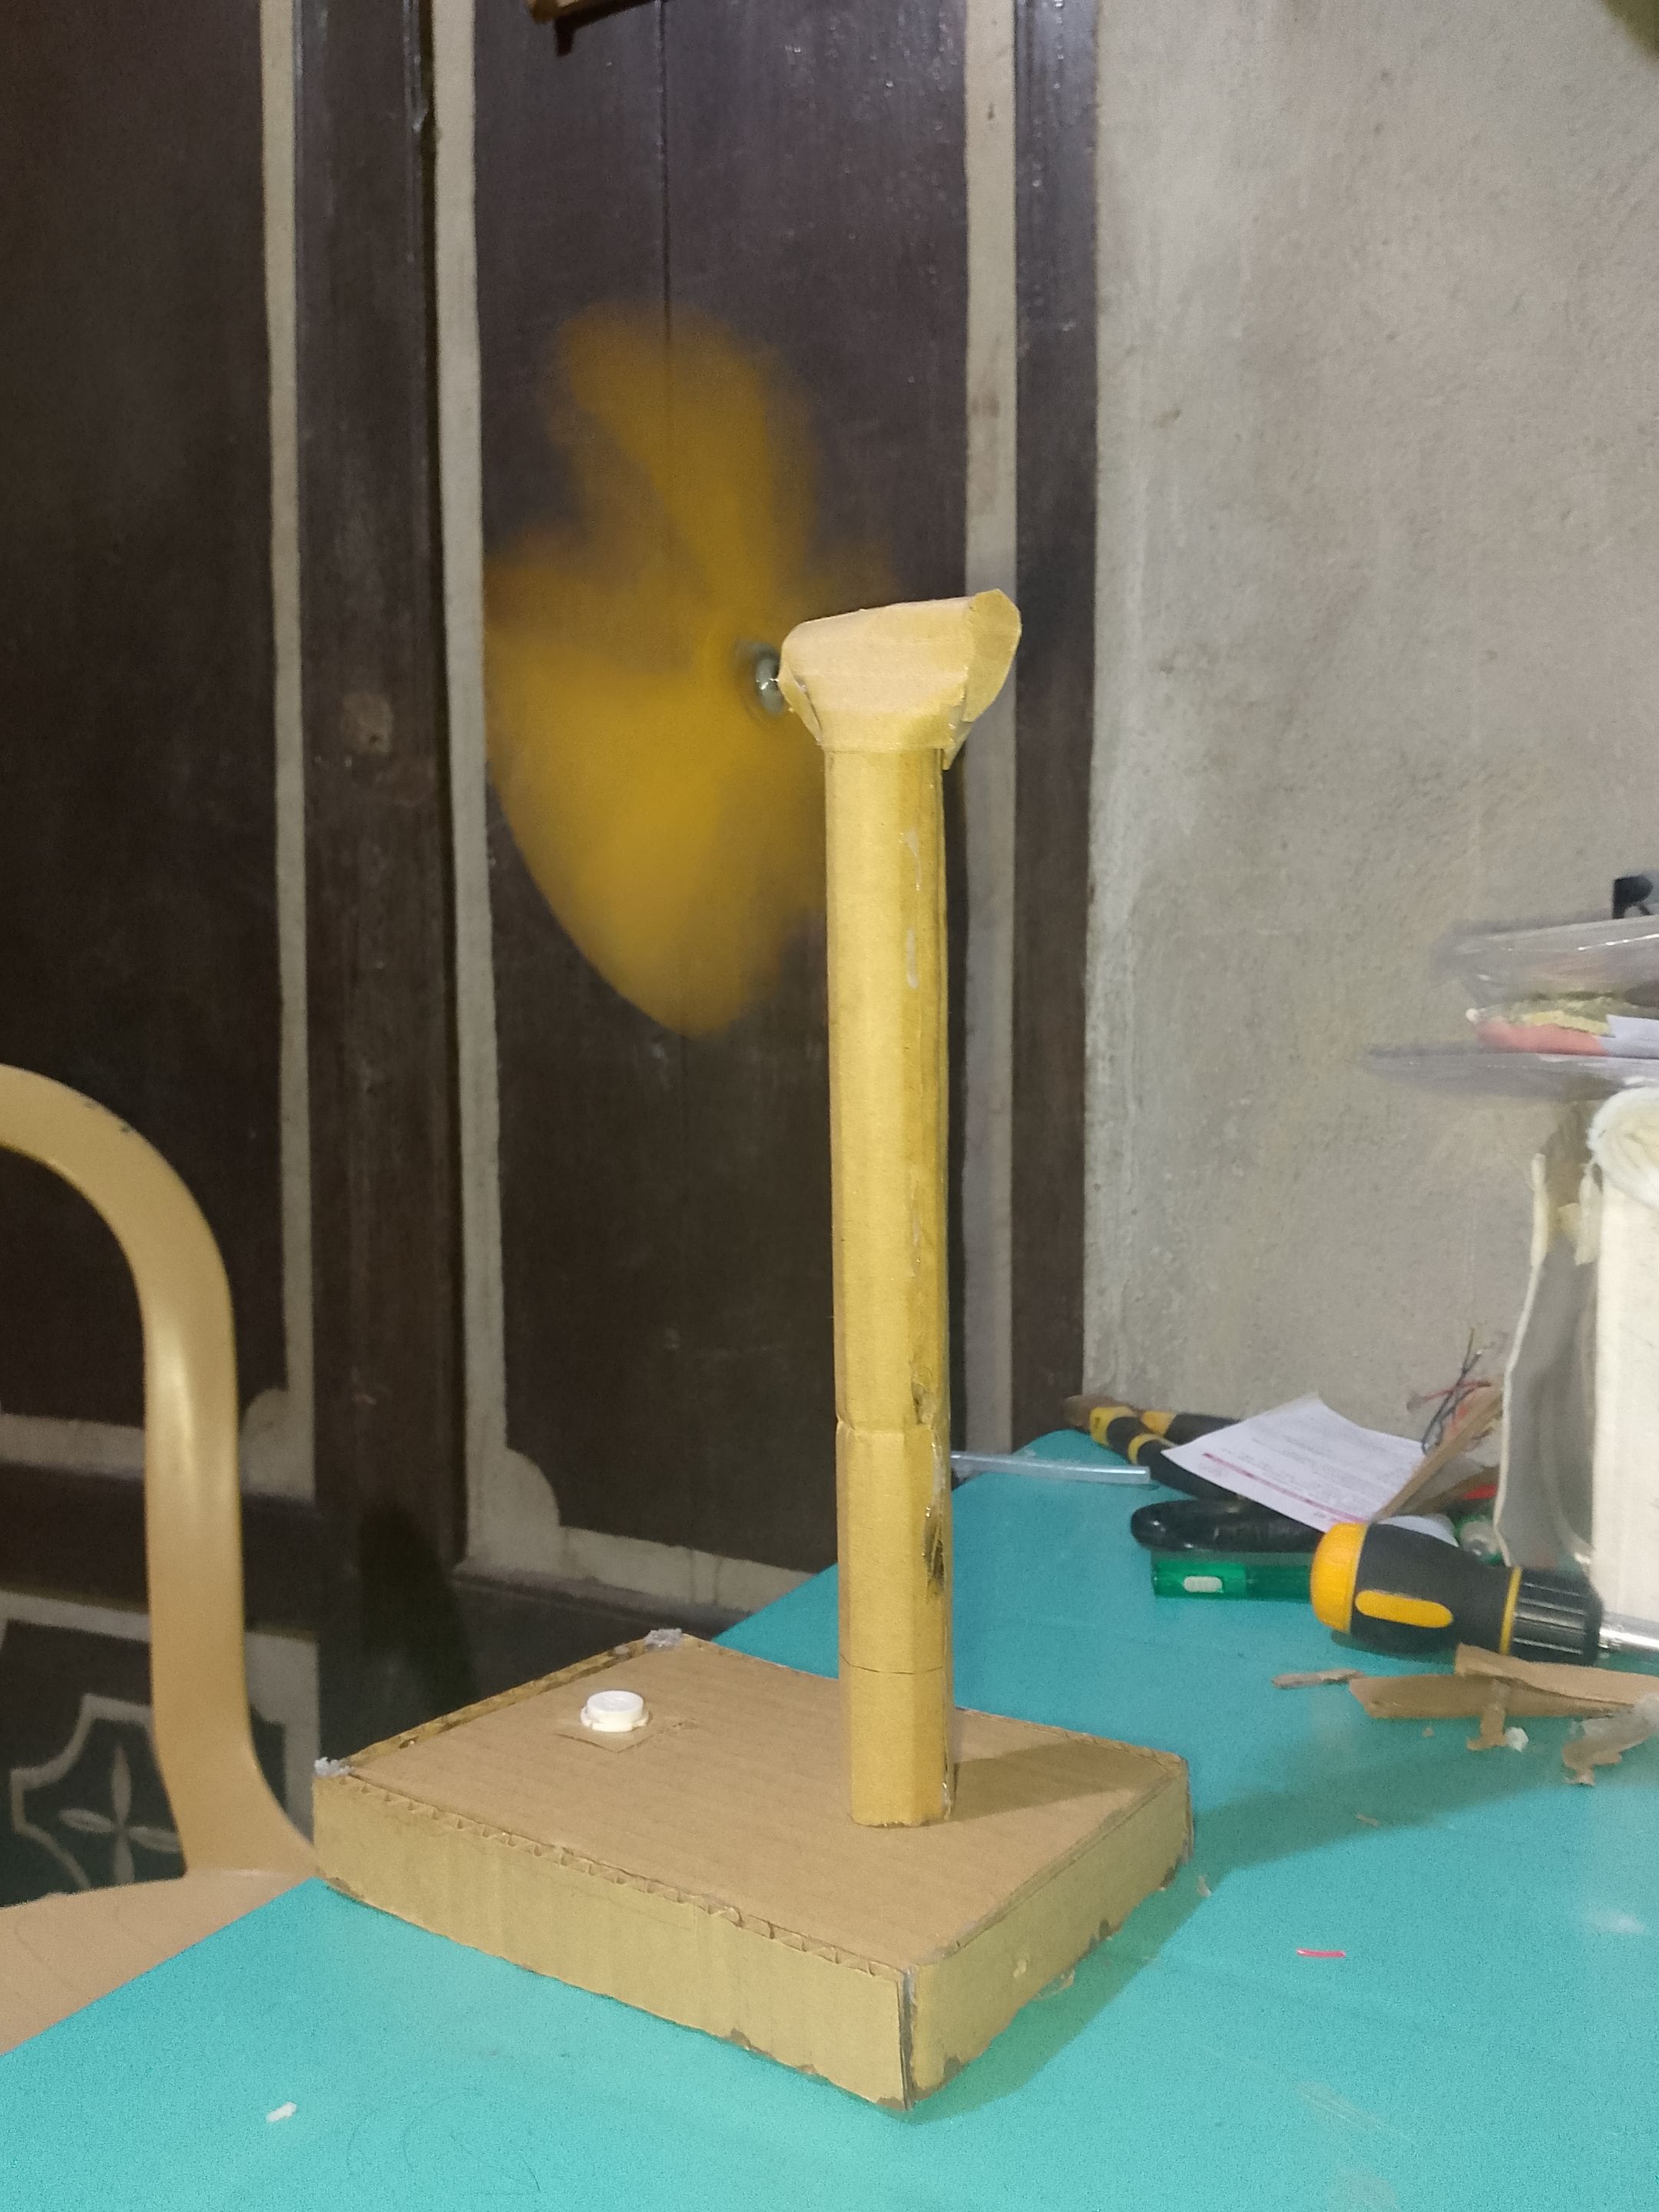
Then I put the two wires of the dynamo inside the small hole in the stand to look it clean as there were no wires outside. On the top of the stand, I put the dynamo and I use glue sticks to stick it to the small hole on the tail. I put the two wires through and glued the stand on the tail, so this is the shape of our current prototype.

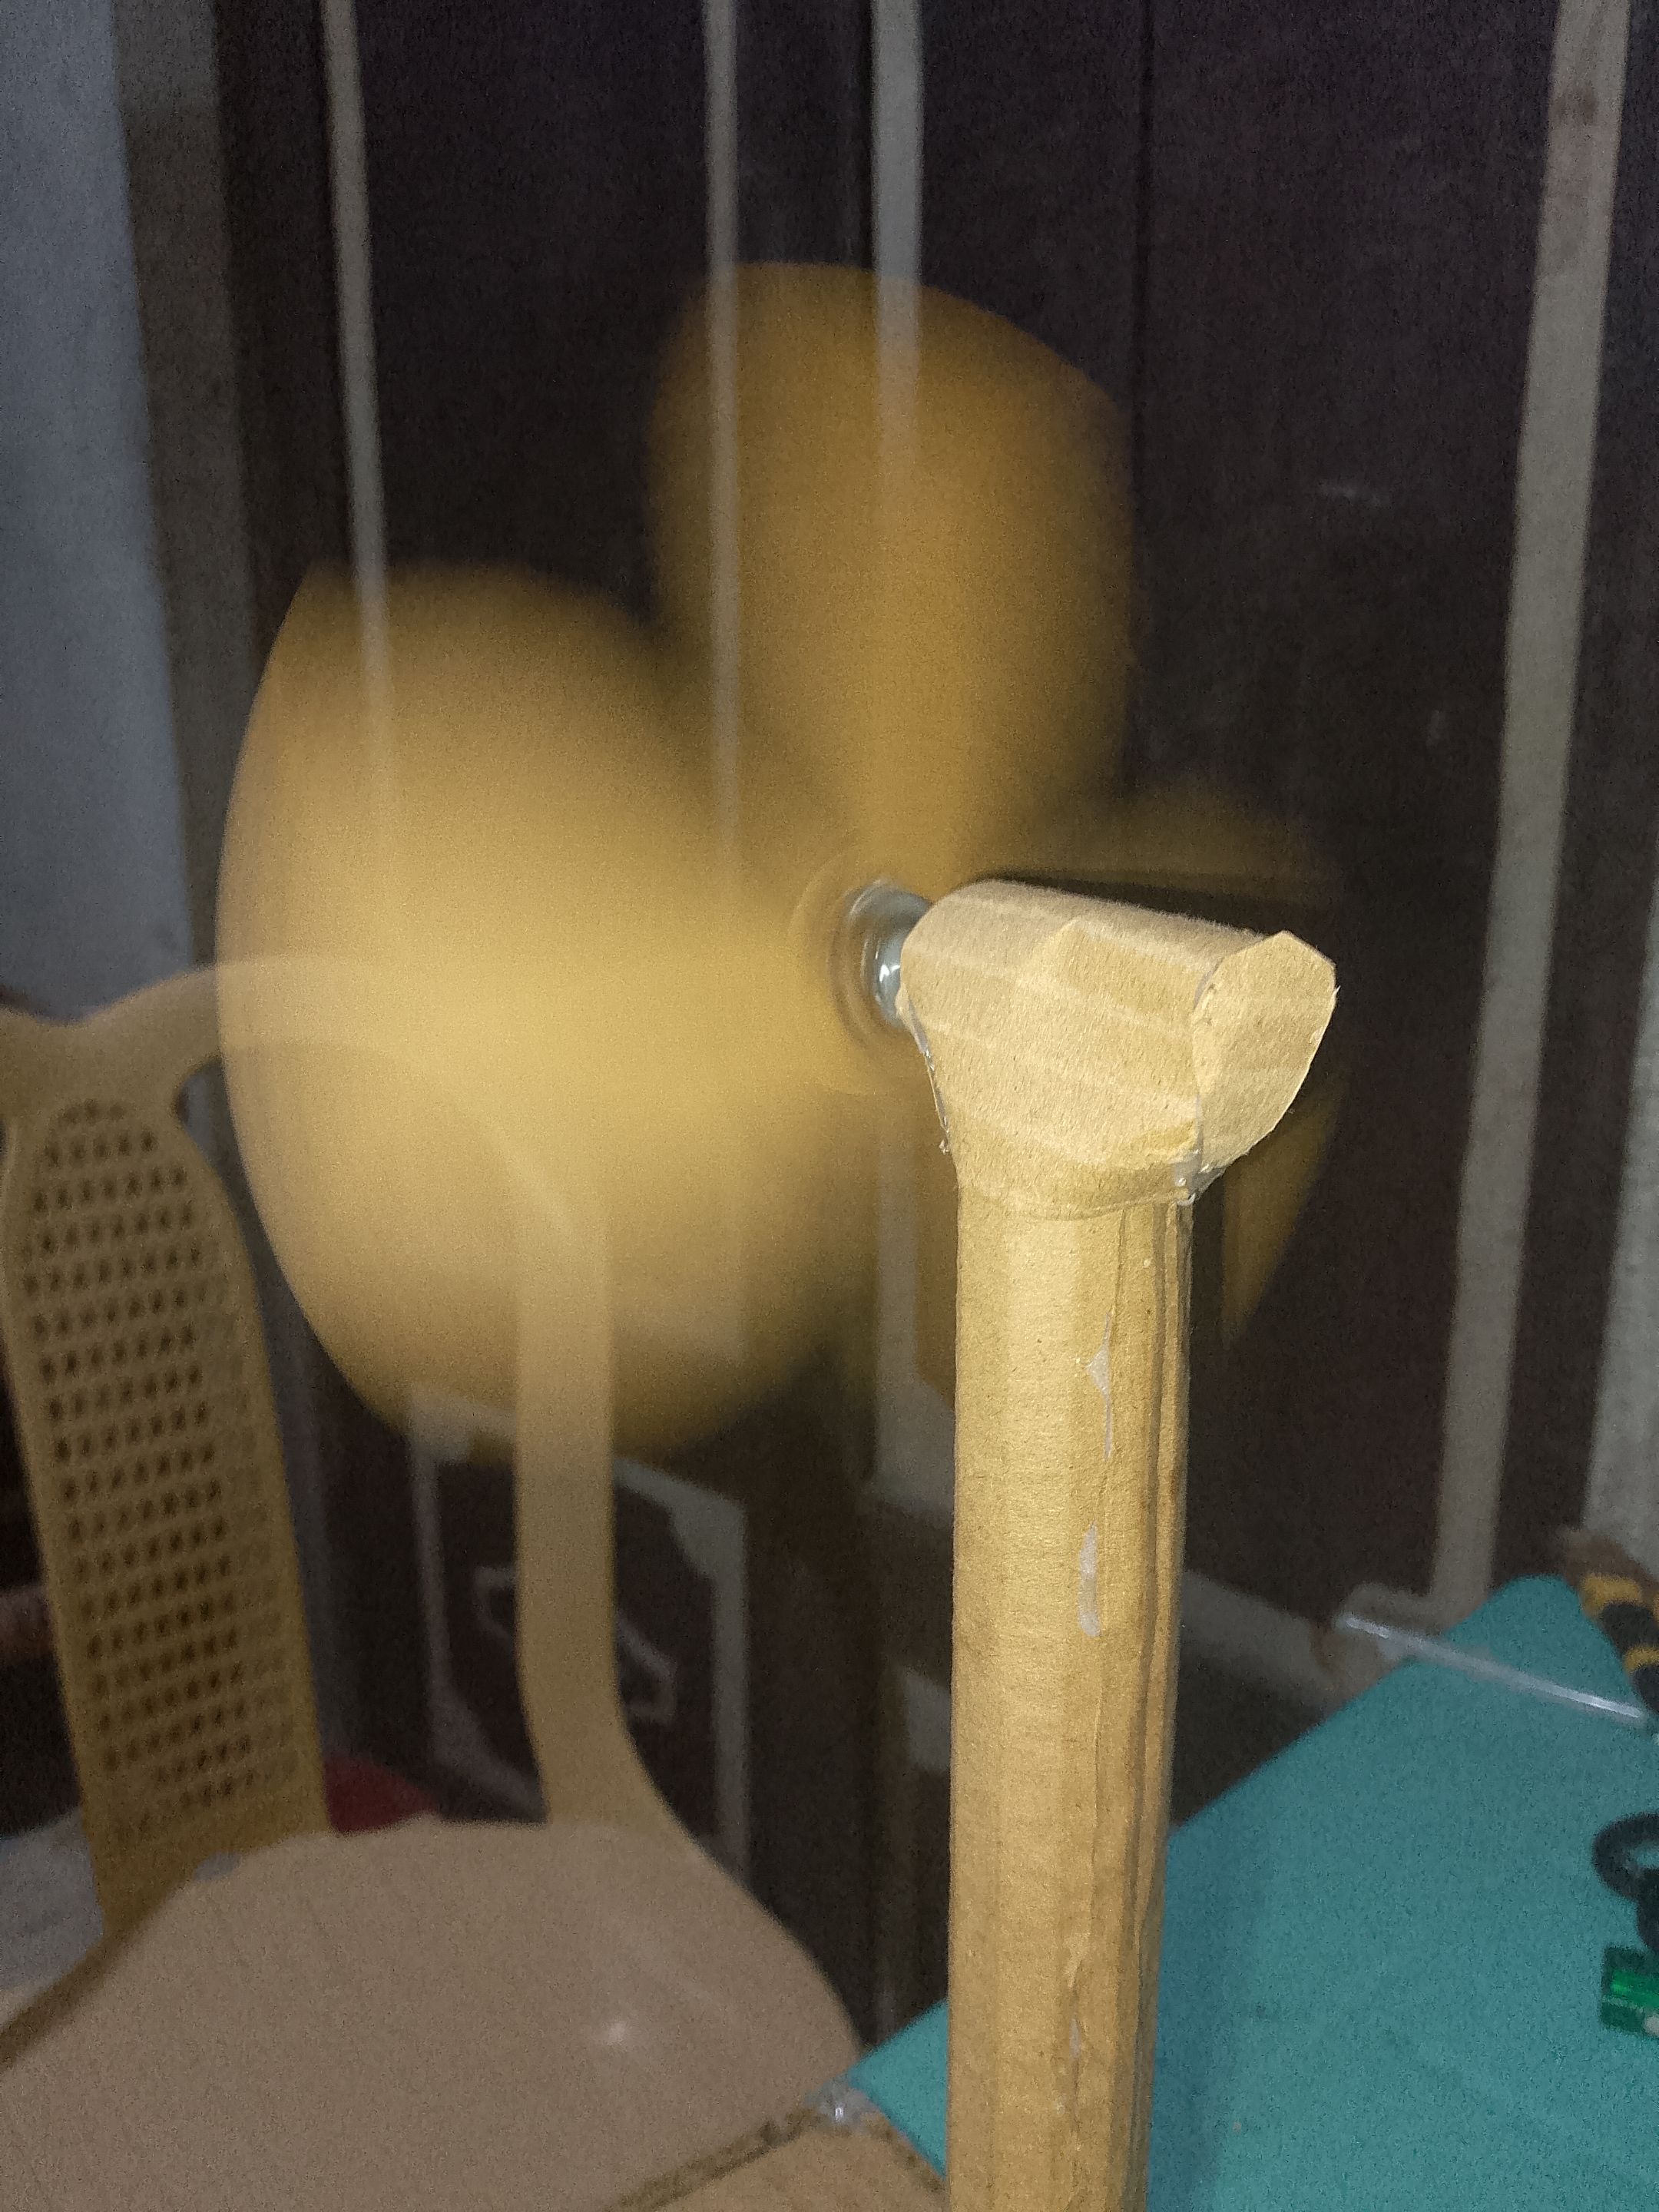
Now, I cut the cartoon using the cutter to form an oblong and a small circle, then put it in the center using shoe glue. I use shoe glue for this part because shoe glue is stronger than the glue sticks.
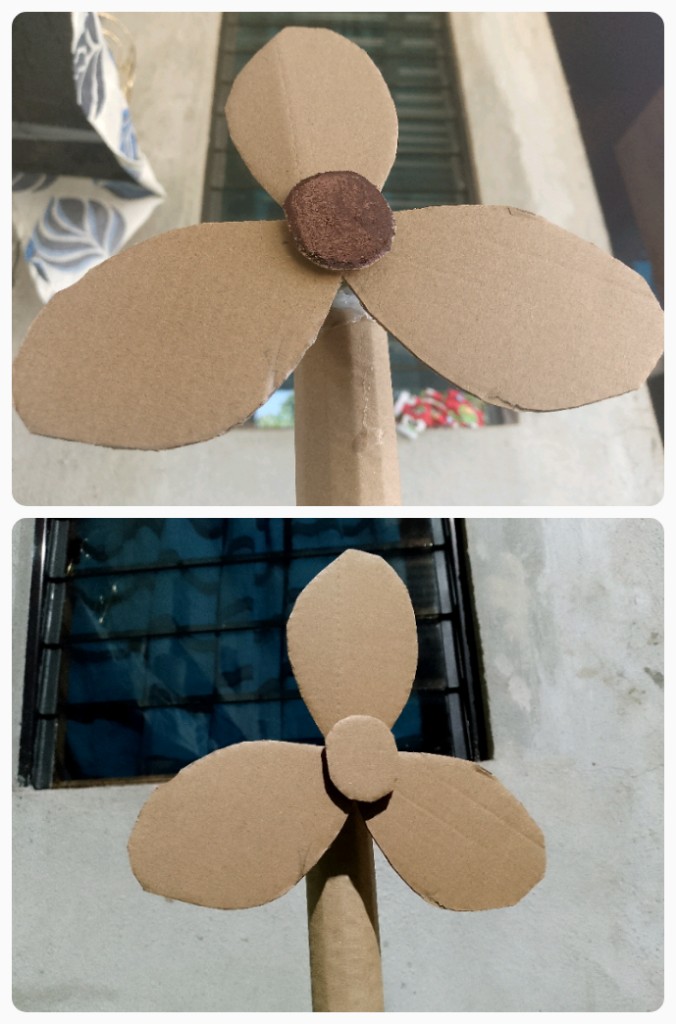
This time to be honest, I had a hard time gluing the Dynamo and palabad. I was confused about how to glue them because the Dynamo has very little space. Then you can't put the shoe glue on the stainless. So, I looked for a small rubber to connect it to the Dynamo. After a few minutes, I found a rubber stick and connected it to the Dynamo. After that, I put ink in the center of the palabad so that it looks nice when it rotates.
Now I will use a switch. Then I will measure the size of the switch and make a hole in the tail of my prototype. This time, I don't know what to do next because I have no experience with these wirings. So, I will try my best. After I drilled a hole in the tail and put a brace on the switch to make it stronger.
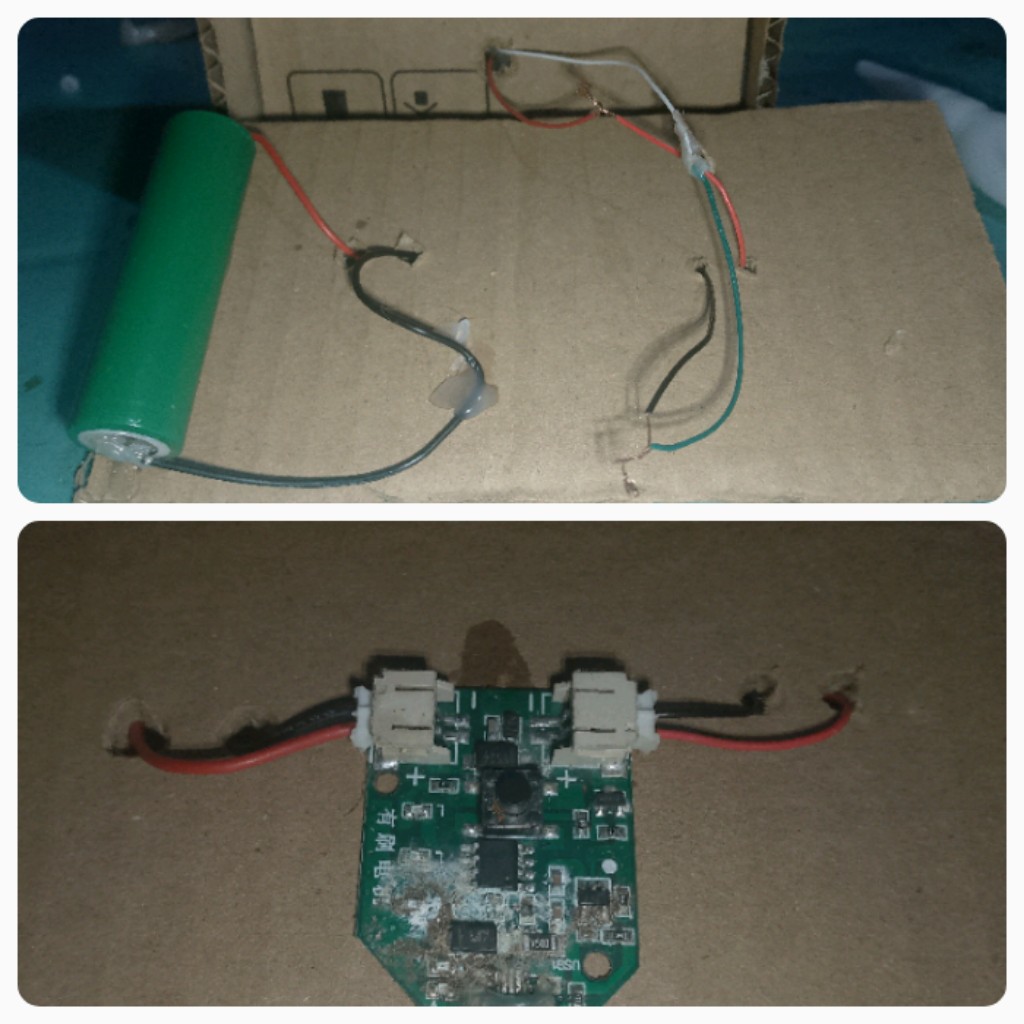
"TEMPORARY BATTERY / WIRES"
This is a temporary battery for now. I will test it with my prototype stand fan. I have glued the battery under the stand fan near the hole in the switch, and the two wires are the positive and negative. I have glued the positive wire into the switch, and also the negative wire into the battery.
Our prototype stand fan is almost done! The saddest part is my prototype stand fan is running slowly because the battery is small, and the switch is sometimes useless. What we are going to do is find another switch and also the battery.
After a few hours, I found a switch button with wires, then I bought shoe glue and a battery. I have no choice but to break the tail of the stand fan I made. It must be broken because I will also change the wires.
Now I cut a cartoon which is seven inches for the tail again, And put holes for the wires, then connect the negative and positive into the battery, and connect the other two wires from the switch. After that, I put glue sticks.
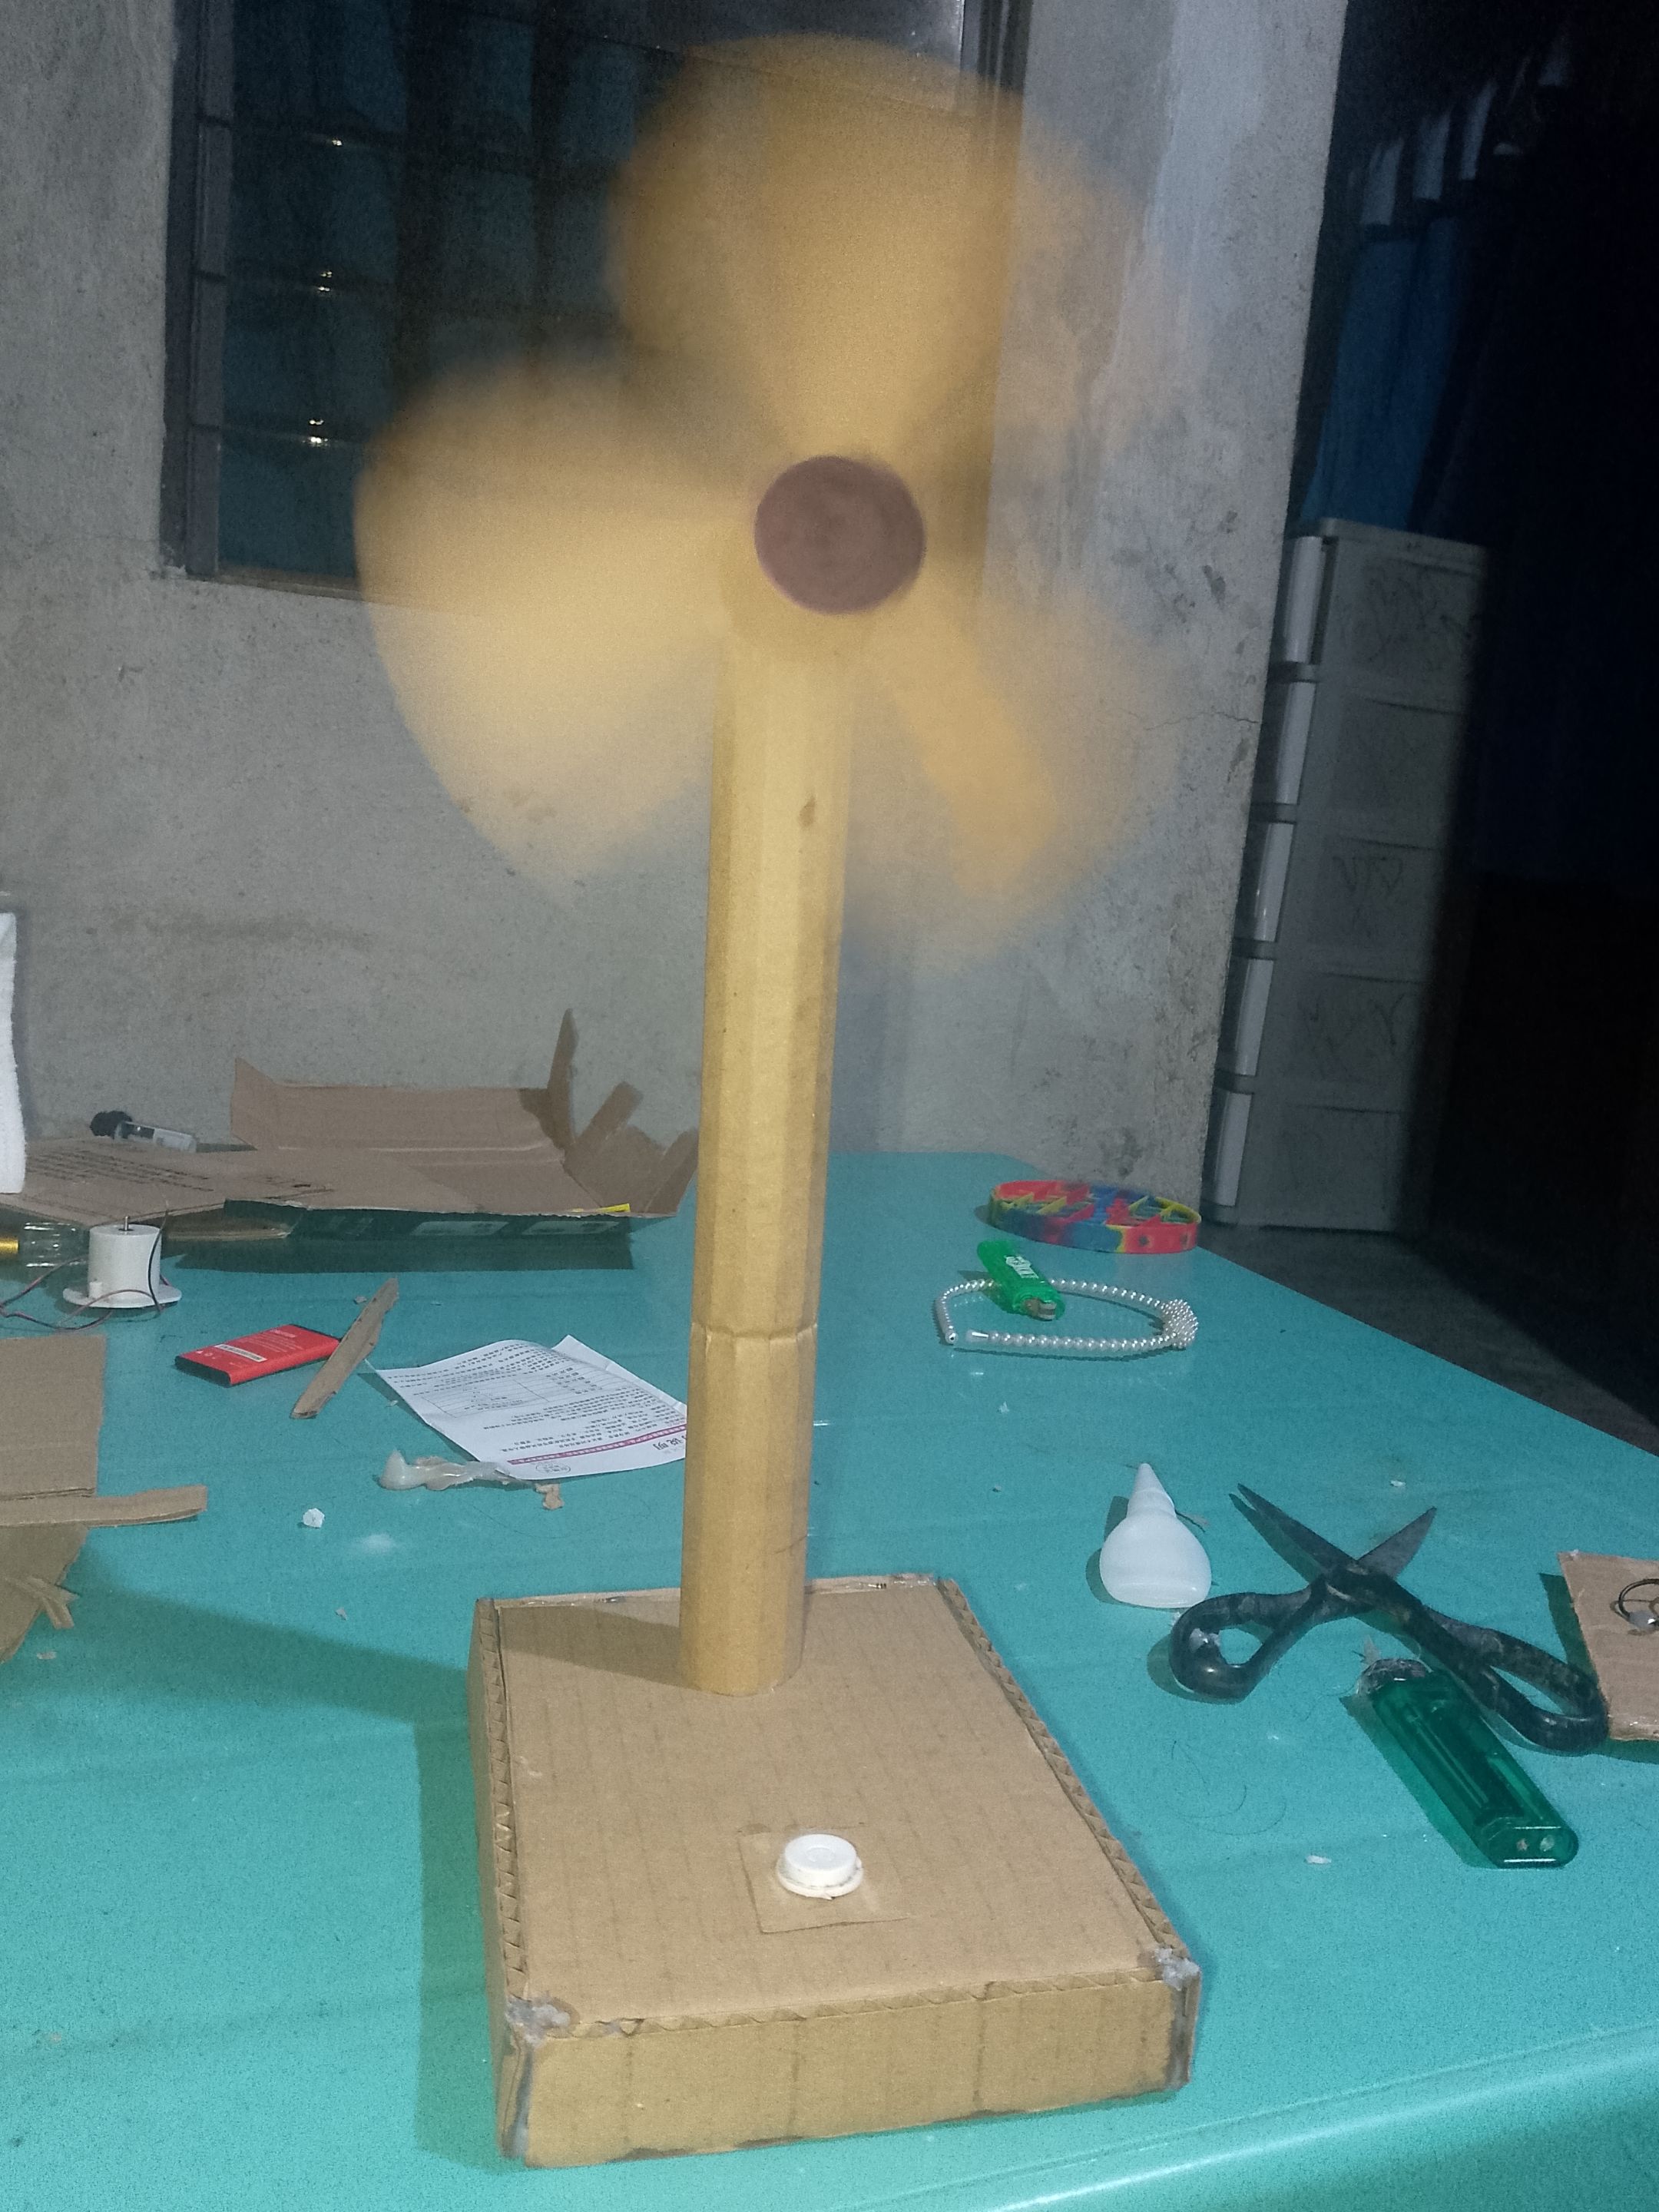
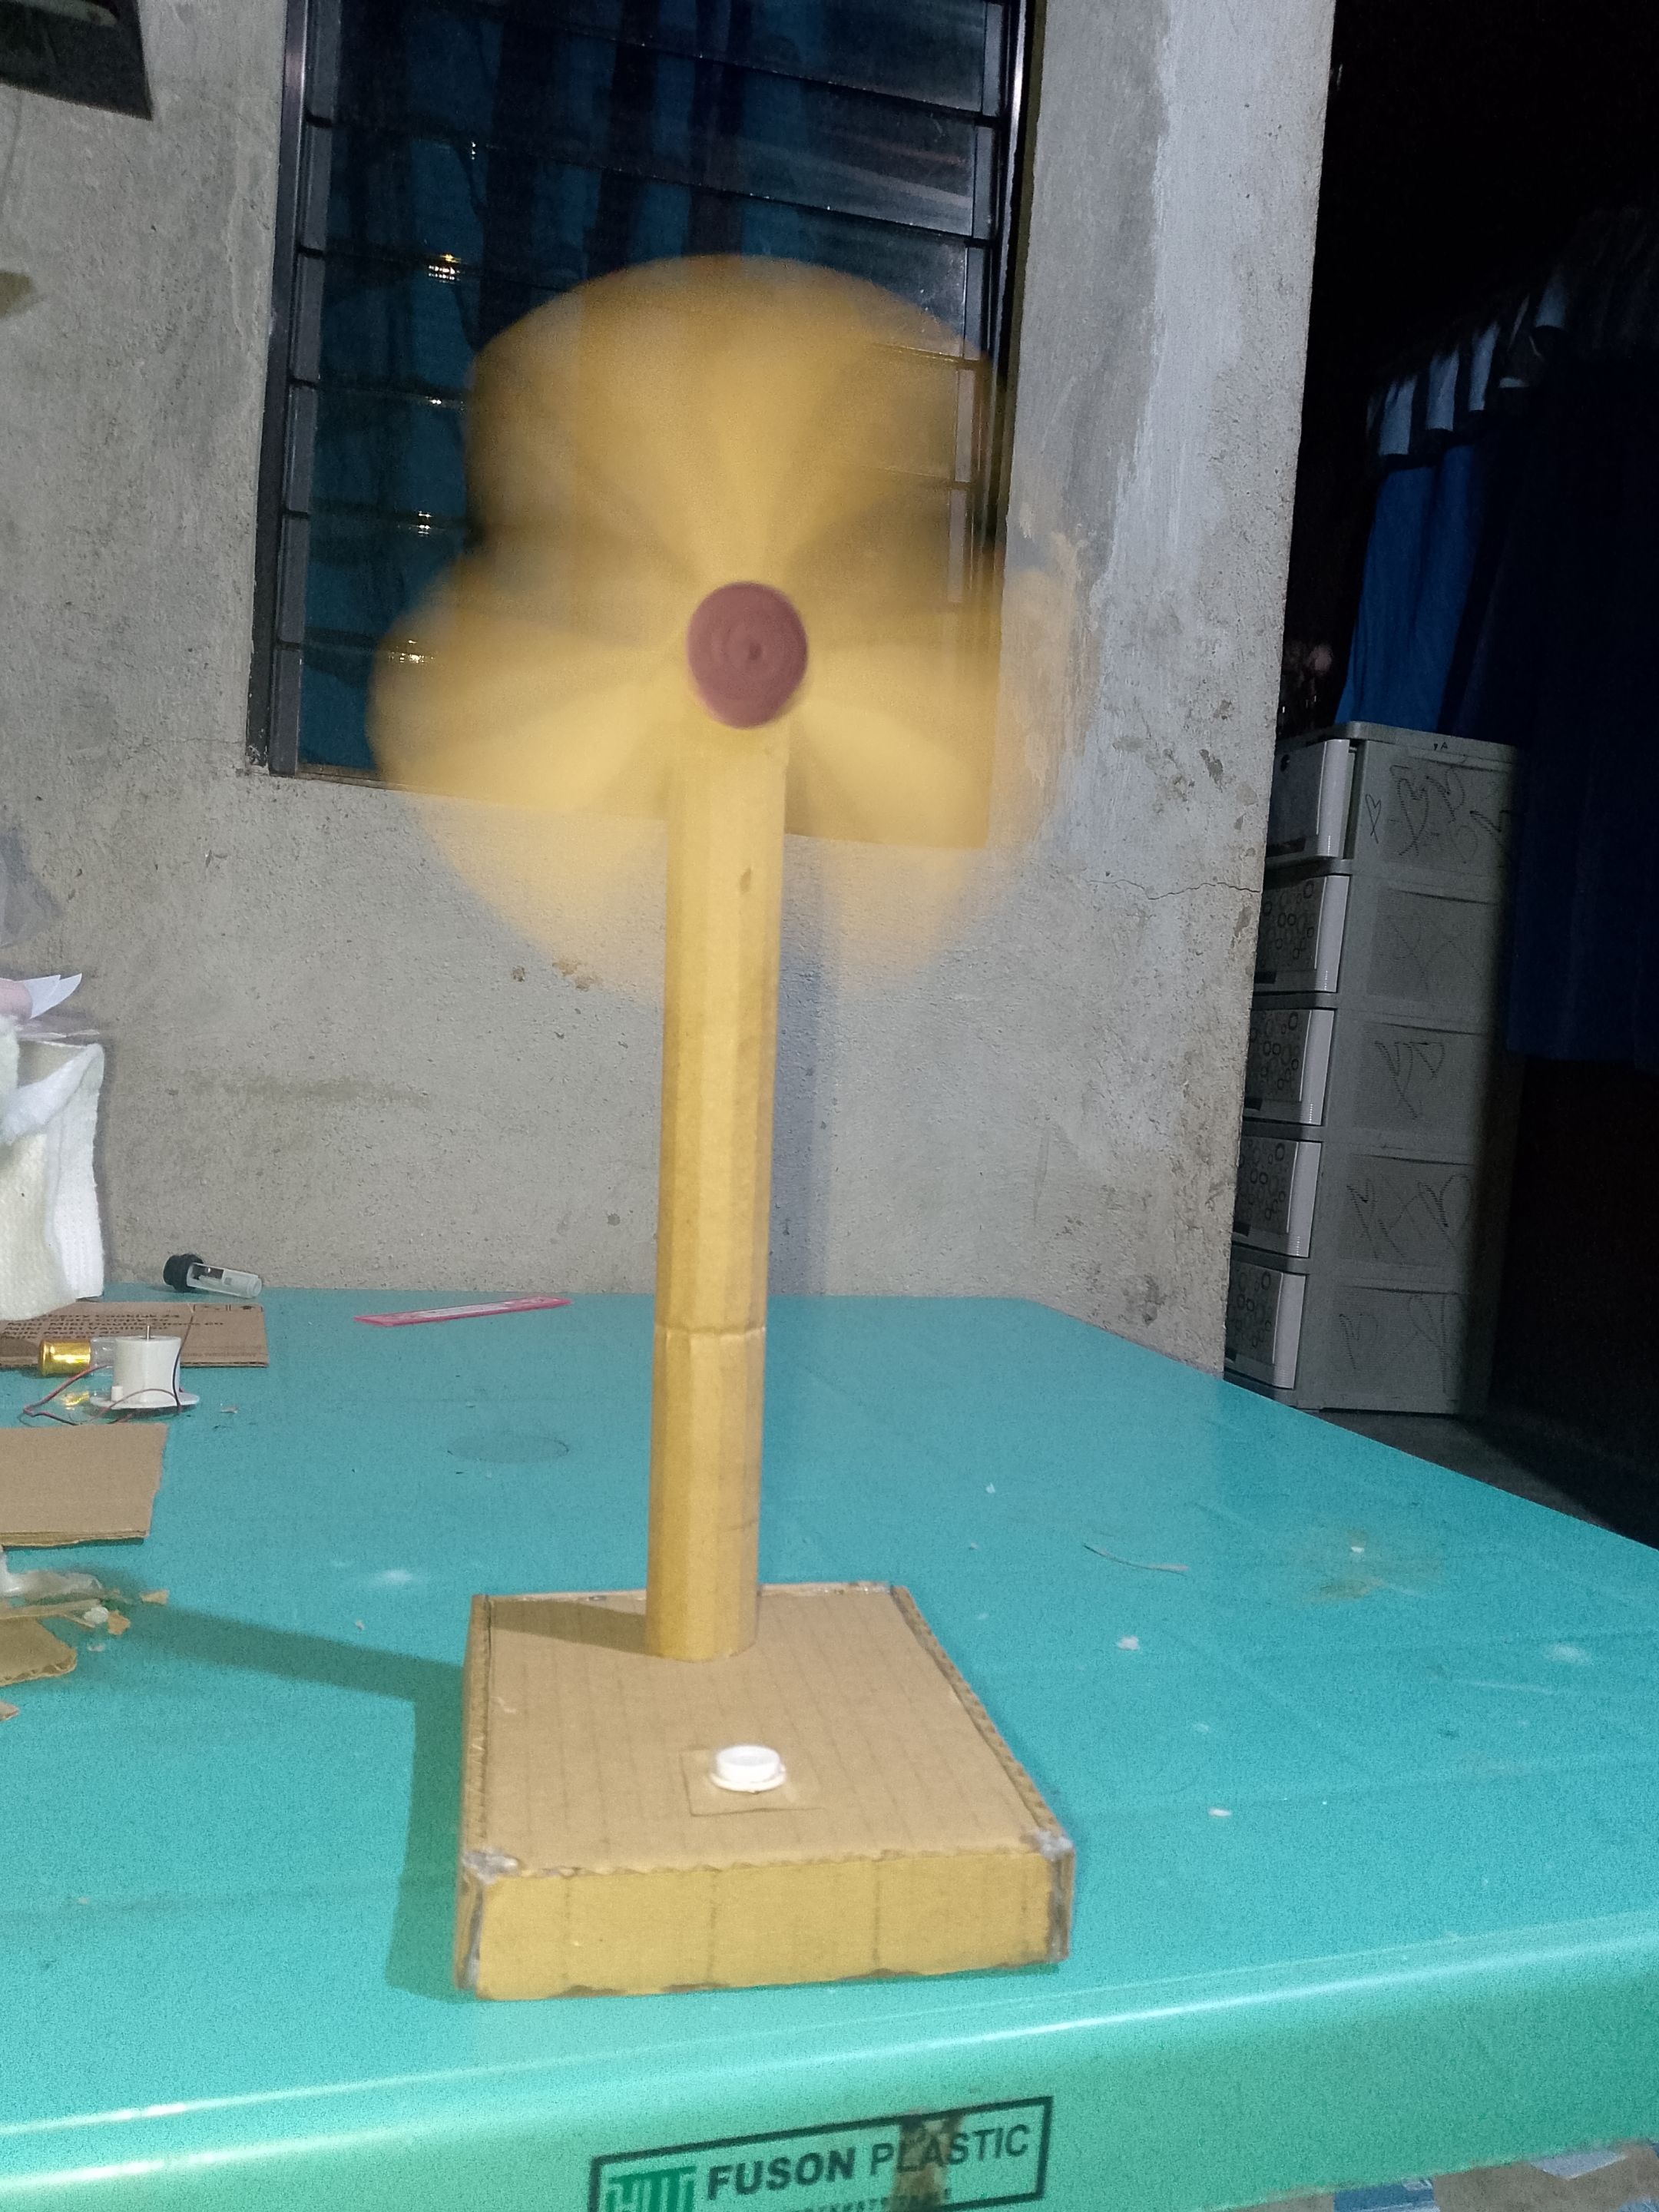
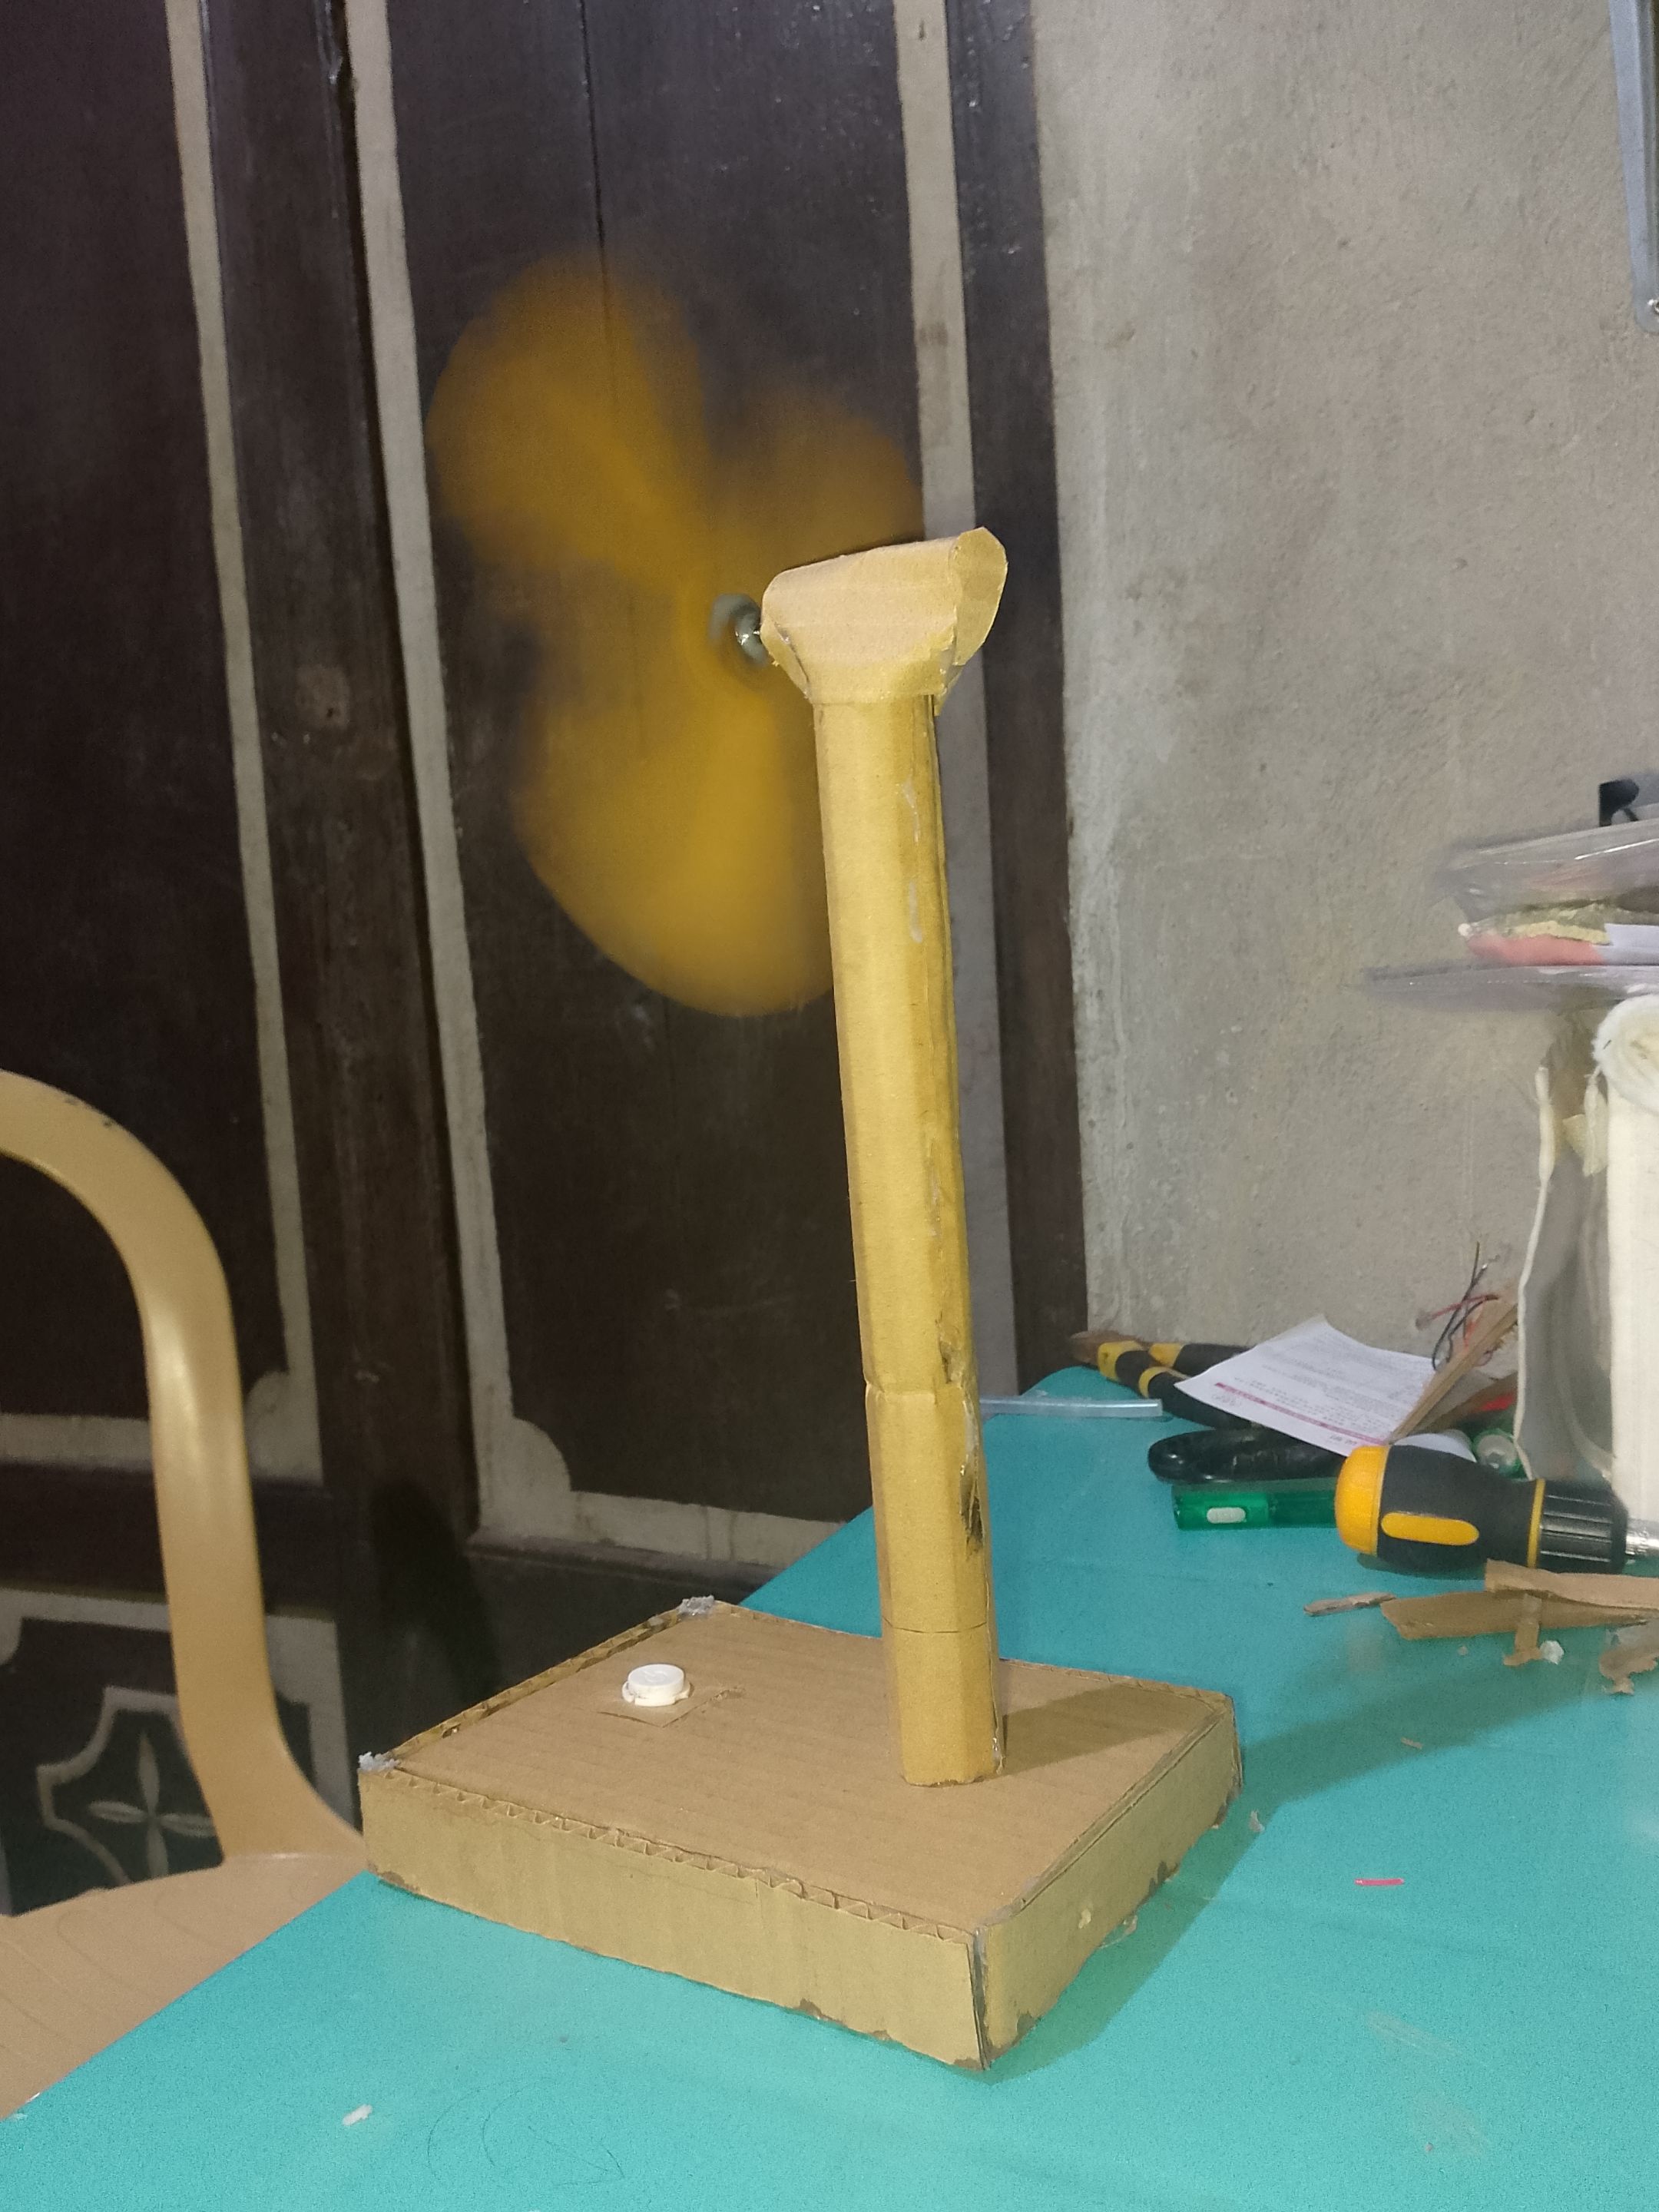

My project, a prototype stand fan, is already done. The wires of the switch are perfect for replacement. I am very happy, imagining that I have made something beautiful. This is my first time making a prototype stand fan with a battery. My hard work is worth it.
That's all for today. Hope you enjoy. Thank you for your time and supporting my blogs. The support is much appreciated. God bless you all. See you in my next blog! 💗