Felíz miércoles comunidad Hive Diy, saludos y bendiciones para cada uno de ustedes espero hayan tenido excelente día, en estos días ha sido lluvioso y por suerte hoy no me tocó salir a trabajar, me encuentro en casa descansando y les traigo un nuevo trabajo que realicé esta semana para el comienzo de clases.
Happy Wednesday Hive Diy community, greetings and blessings to each of you, I hope you had a great day, these days it has been rainy and luckily I didn't have to go out to work today, I am at home resting and I bring you a new job that I did this week for the start of school.
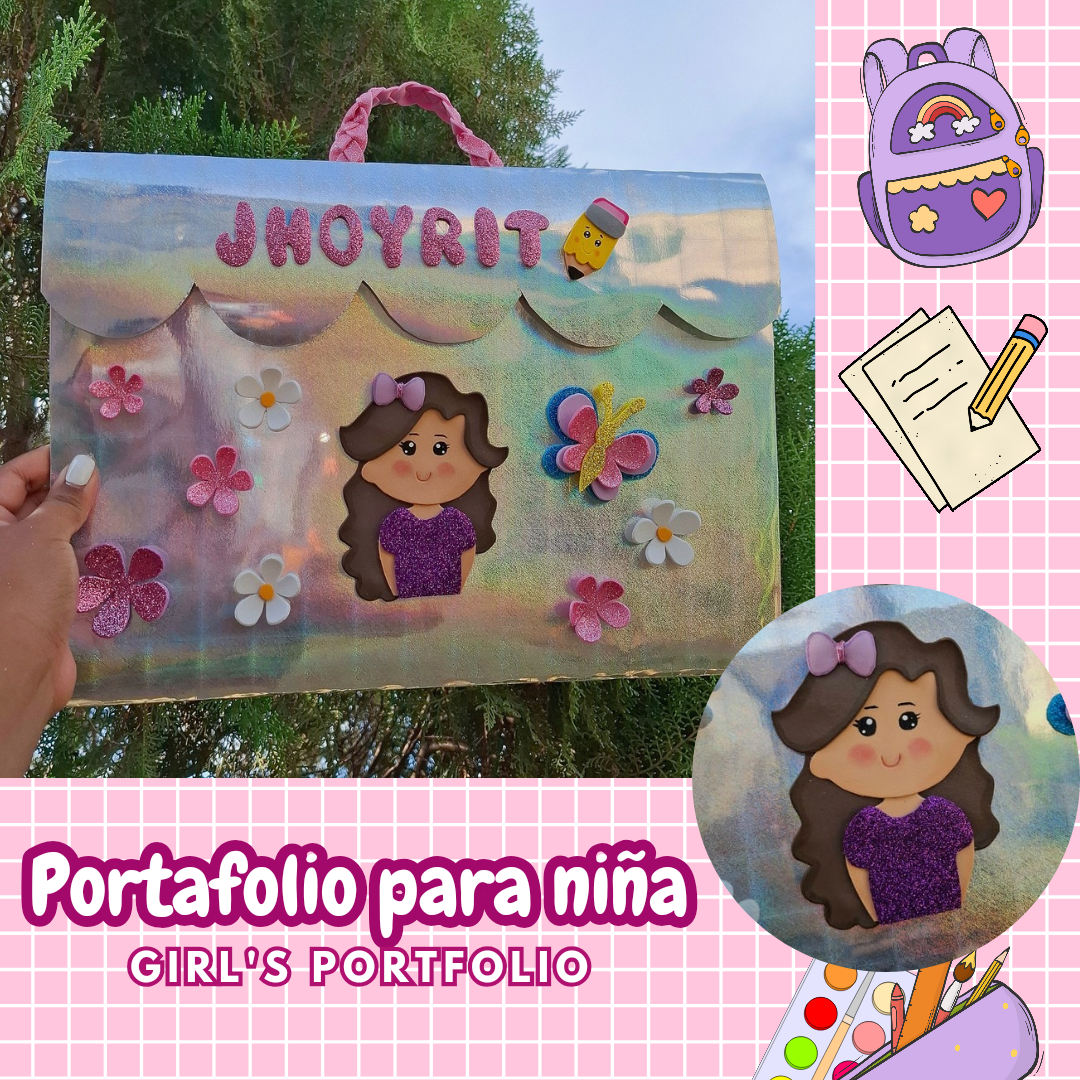
Hace unos días una vecina me pidió si podía realizar un portafolio escolar para su pequeña niña, y por supuesto que le dije si, le mostré algunos trabajos que realicé anteriormente y le gustaron varias ideas pues yo felíz por la confianza y oportunidad de crear algo lindo para ella, este portafolio es fácil de realizar y lo puedes decorar a tu gusto, a continuación les muestro el paso a paso, espero les guste el resultado.
A few days ago a neighbor asked me if I could make a school portfolio for her little girl, and of course I said yes, I showed her some work that I had done previously and she liked several ideas because I was happy for the confidence and opportunity to create something nice For her, this portfolio is easy to make and you can decorate it to your liking, below I show you the step by step, I hope you like the result.
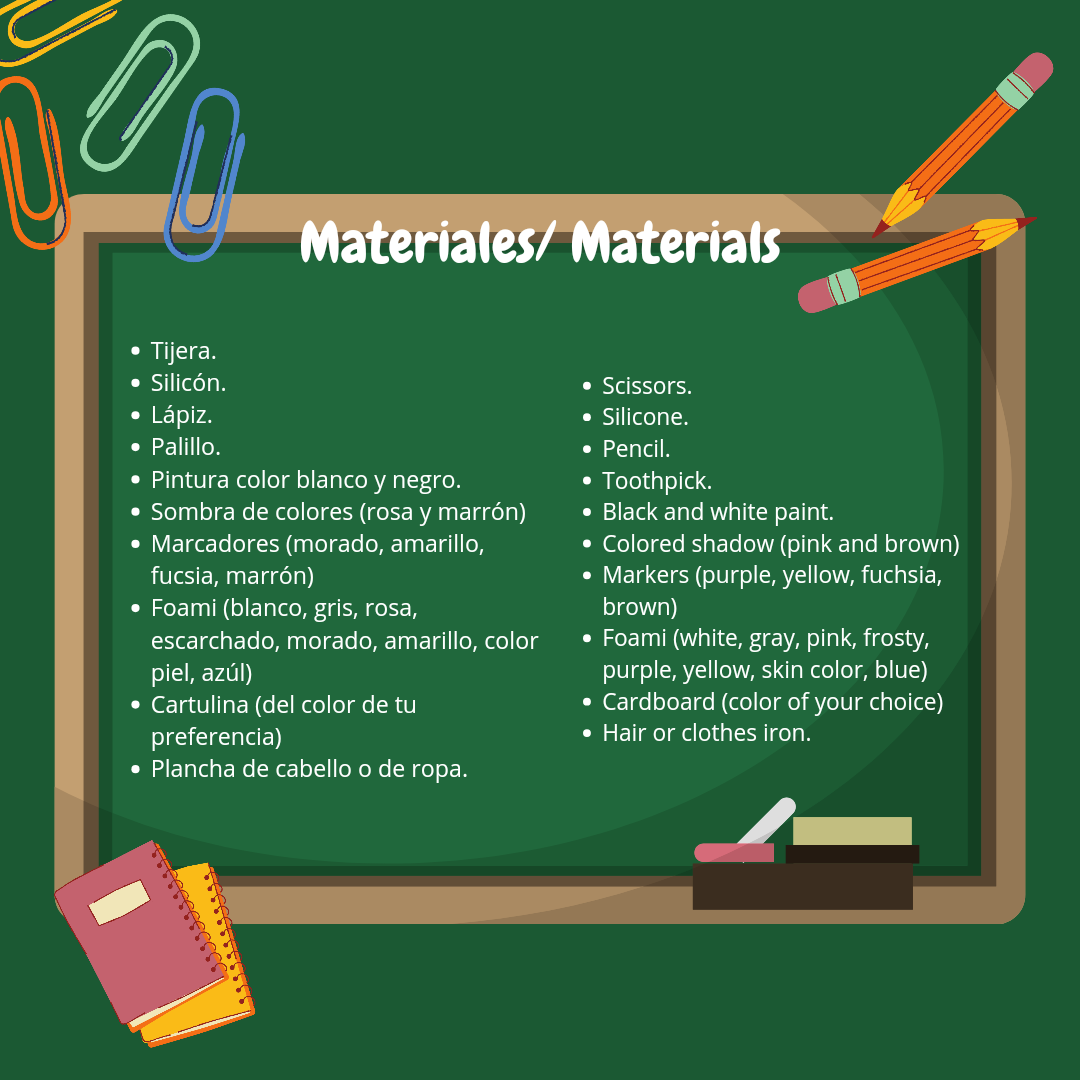

Paso a paso / Step by step
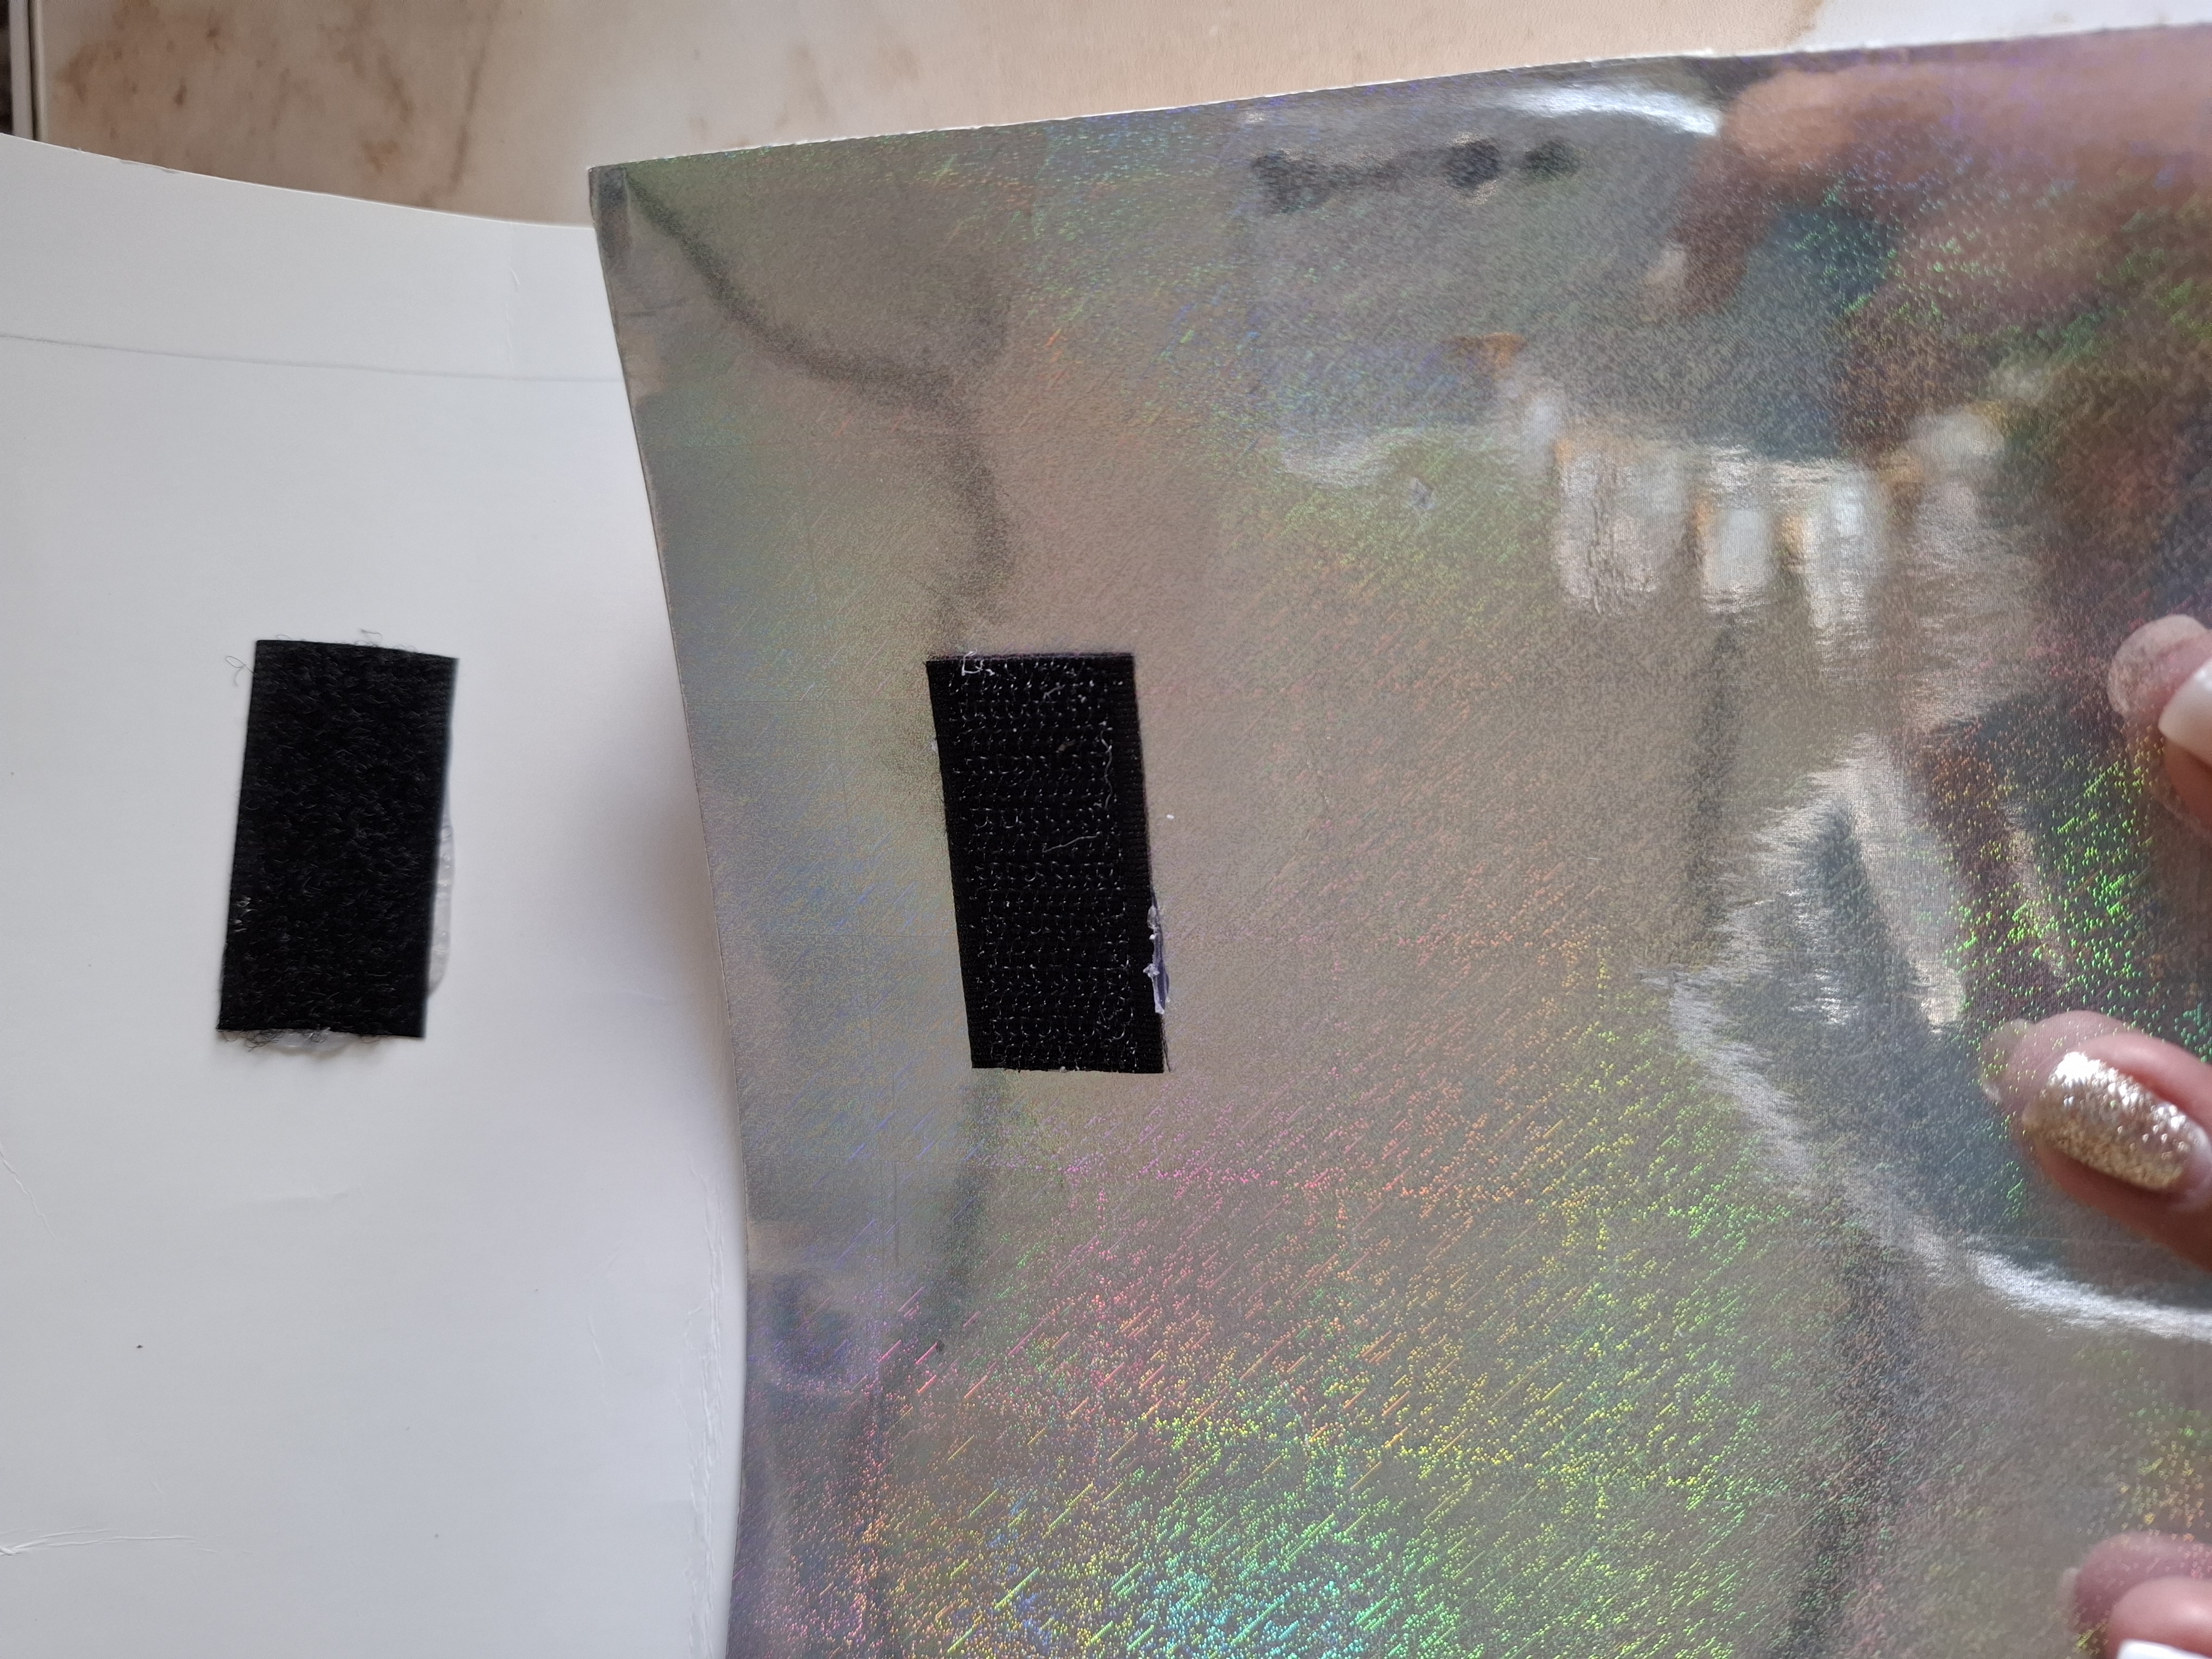
El primer paso de trata de doblar la cartulina que quede en una medida de 37 cm de ancho y 28 cm de largo, debemos dejar una pestaña que servirá para abrir y cerrar el portafolio, voy a darle forma la pestaña con la tijera en forma semi circular, corté dos partes de cierre magico y los ubiqué en la parte interna de la pestaña.
The first step is to fold the cardboard so that it measures 37 cm wide and 28 cm long. We must leave a tab that will be used to open and close the portfolio. I am going to shape the tab with the scissors in a semi-finished form. circular, I cut two parts of the magic closure and placed them on the inside of the tab.

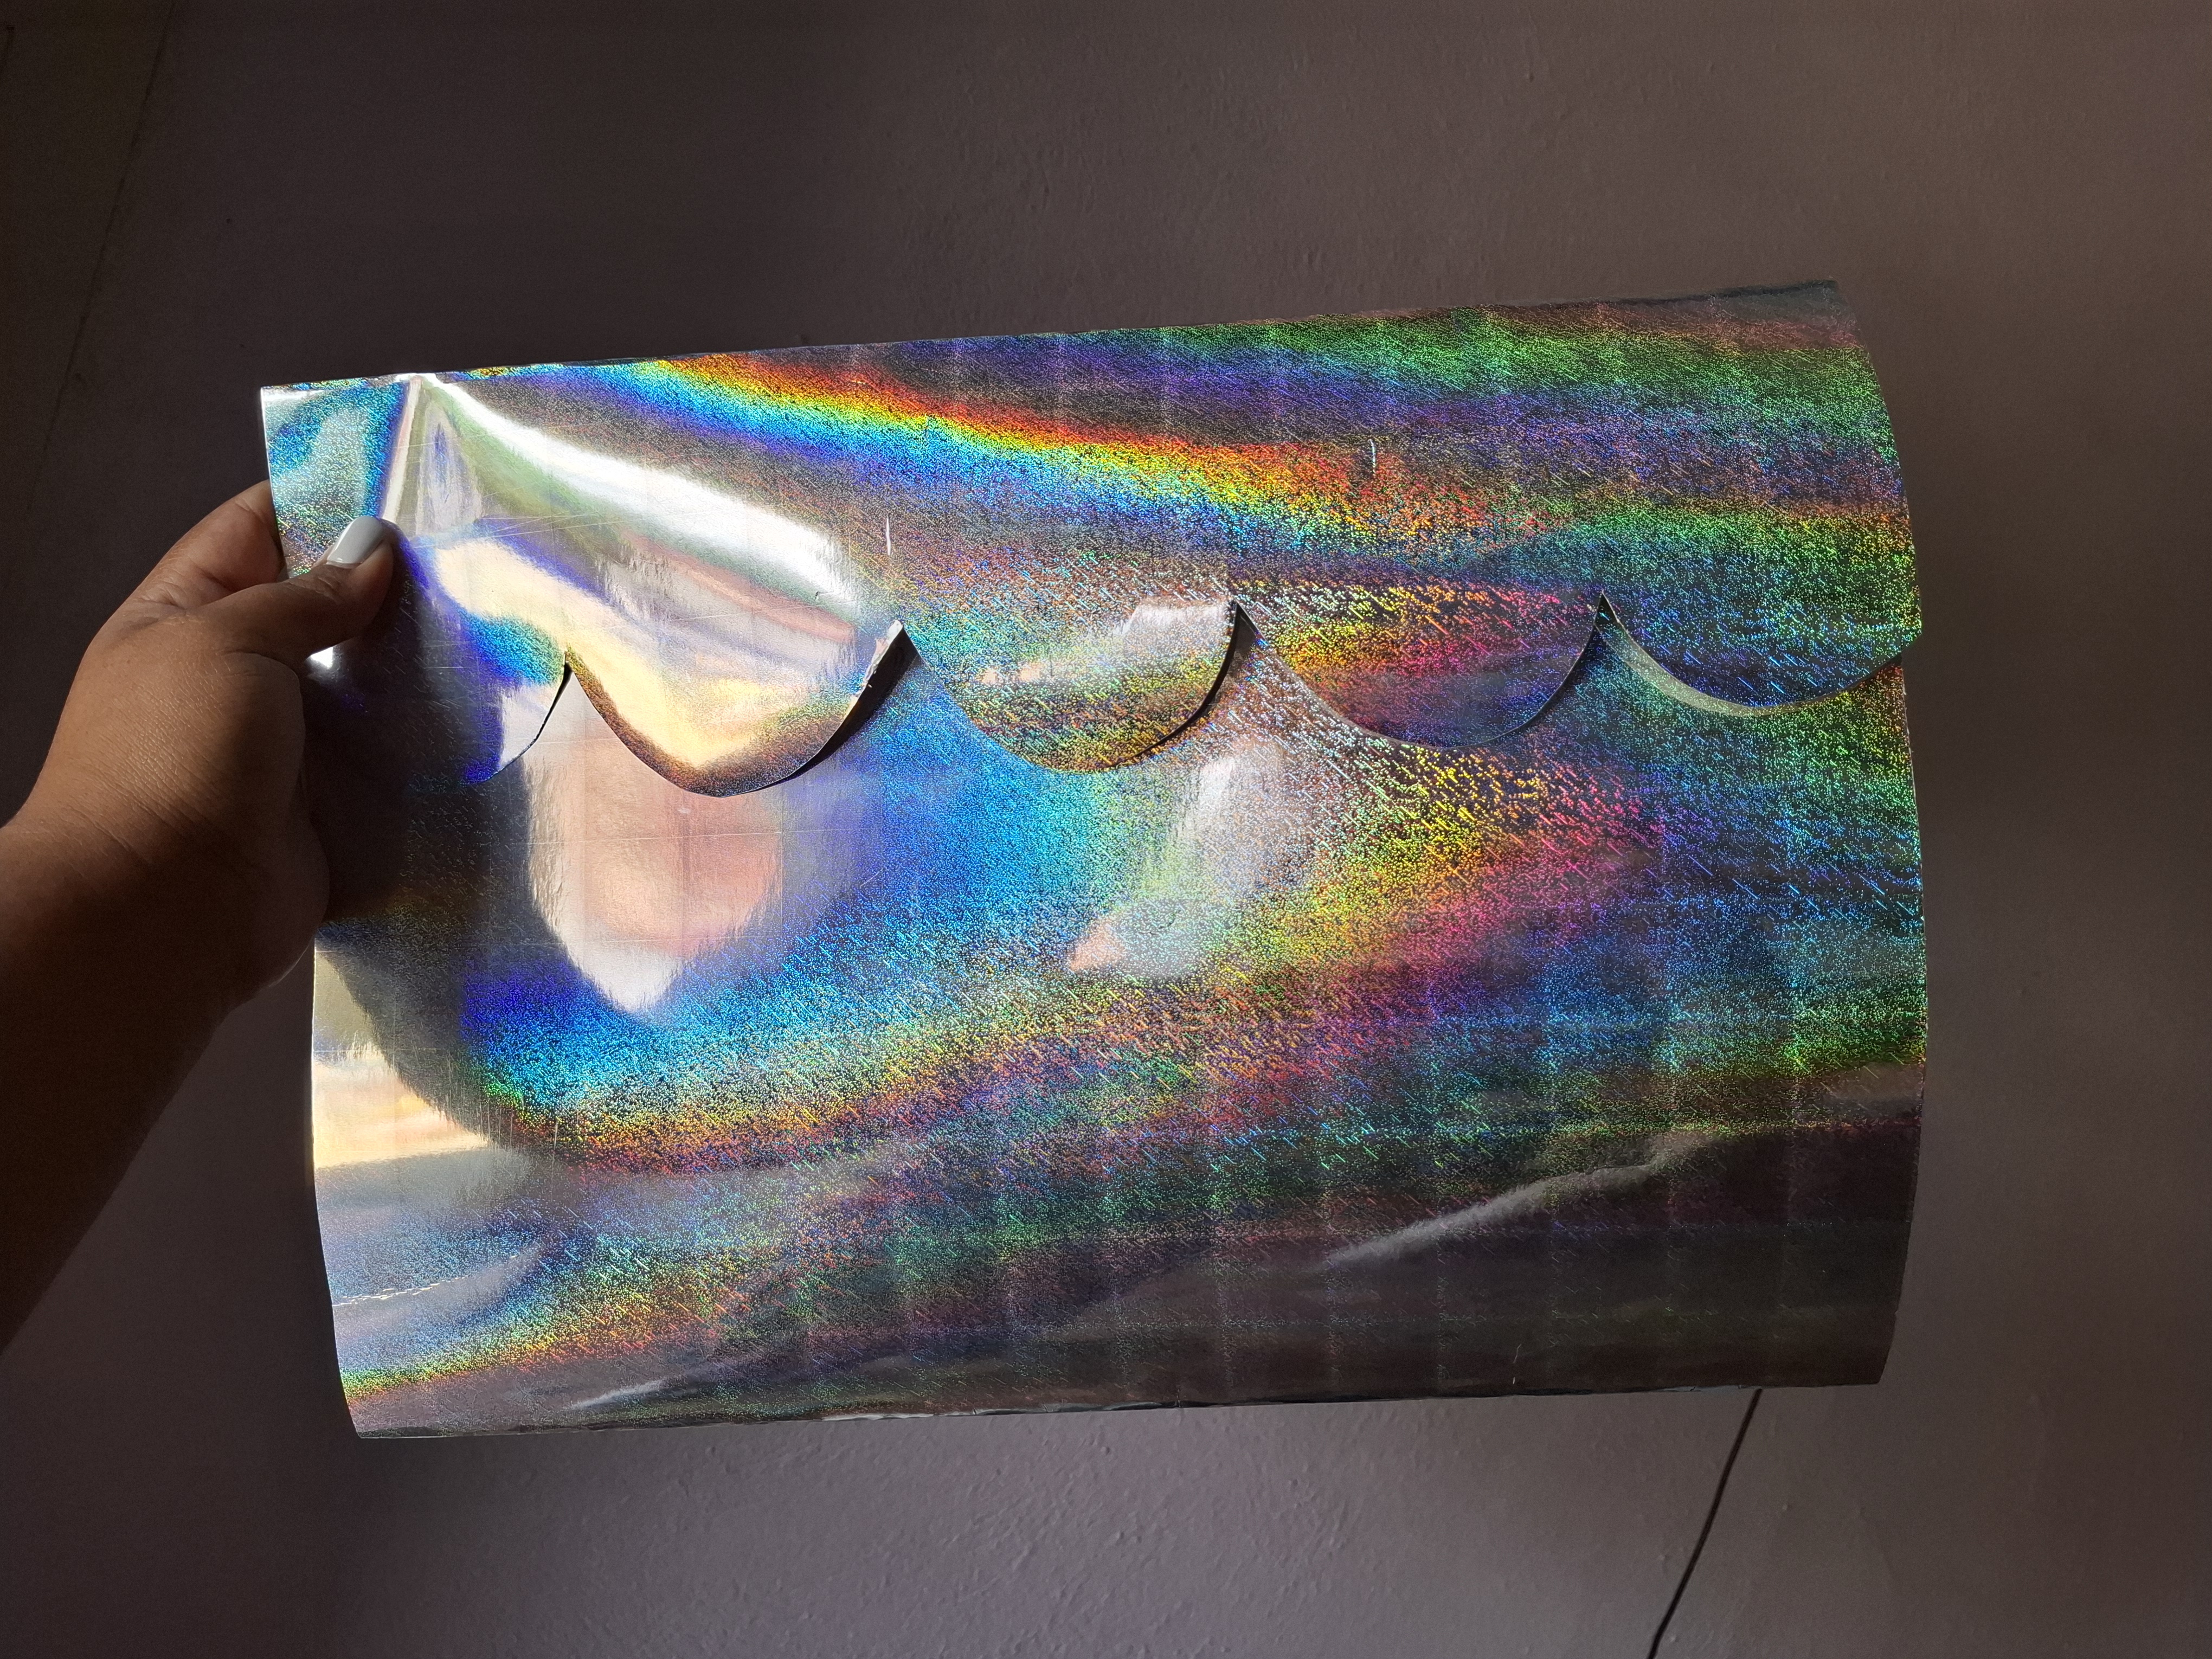
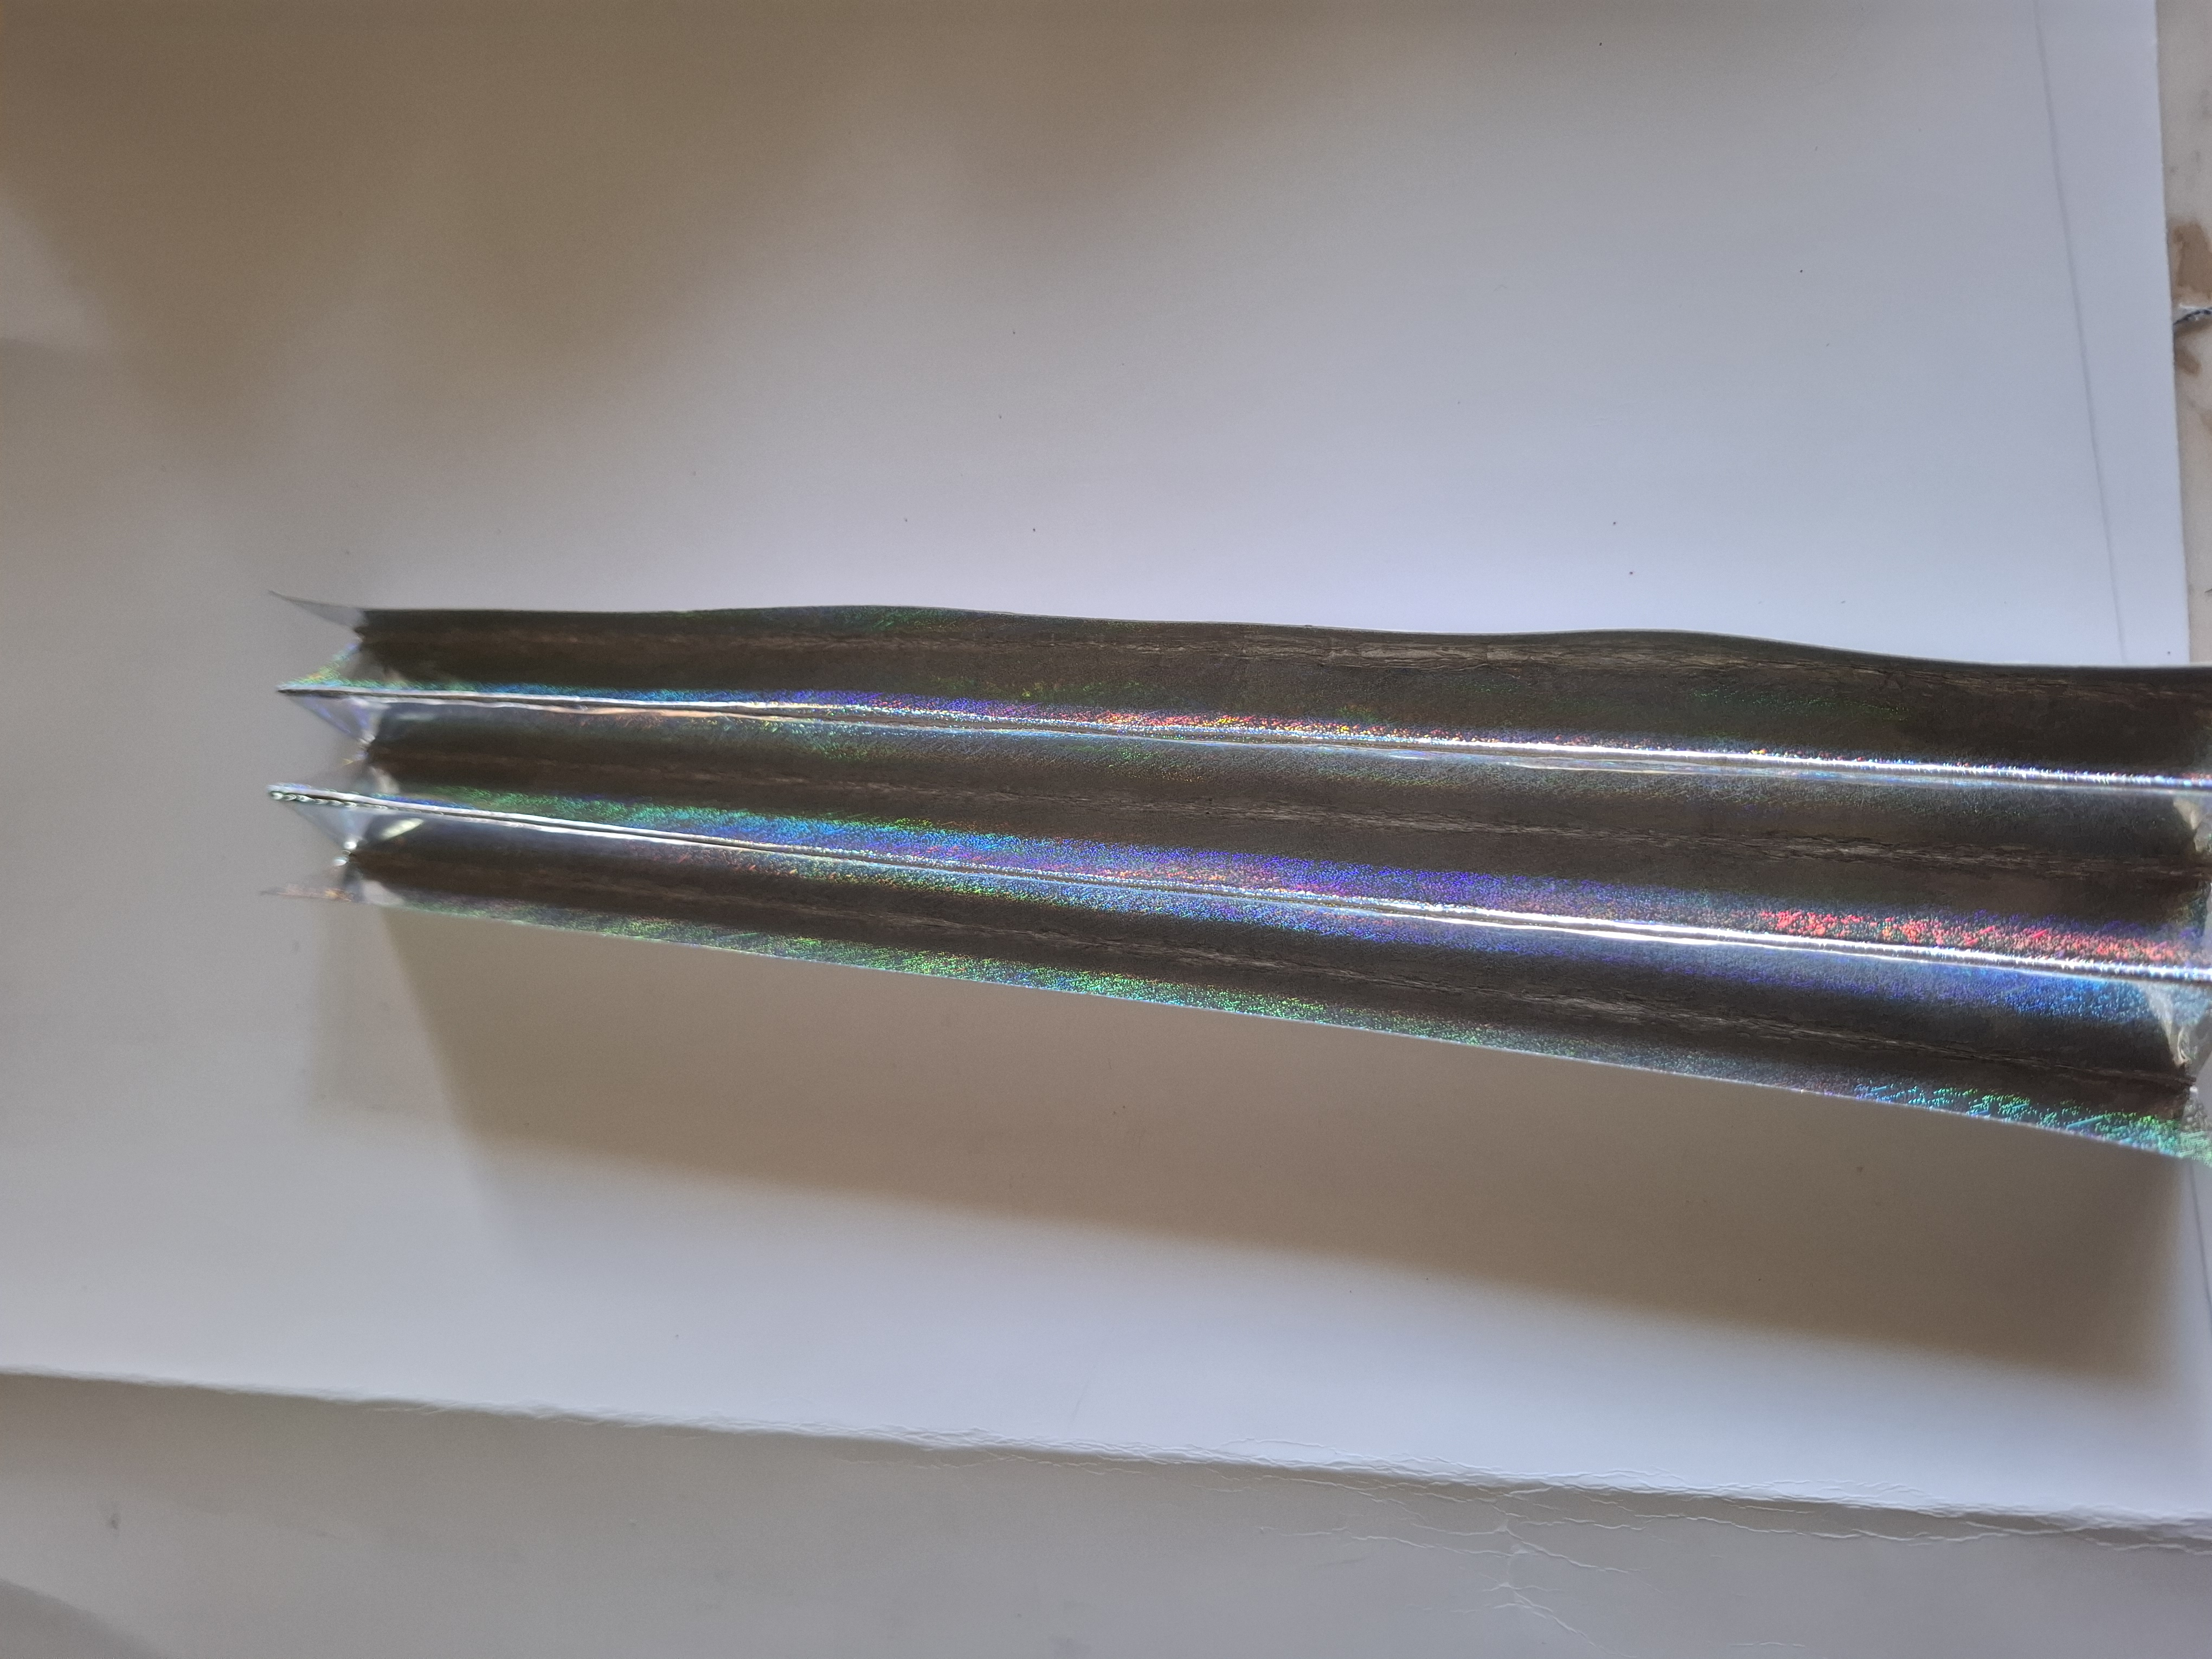
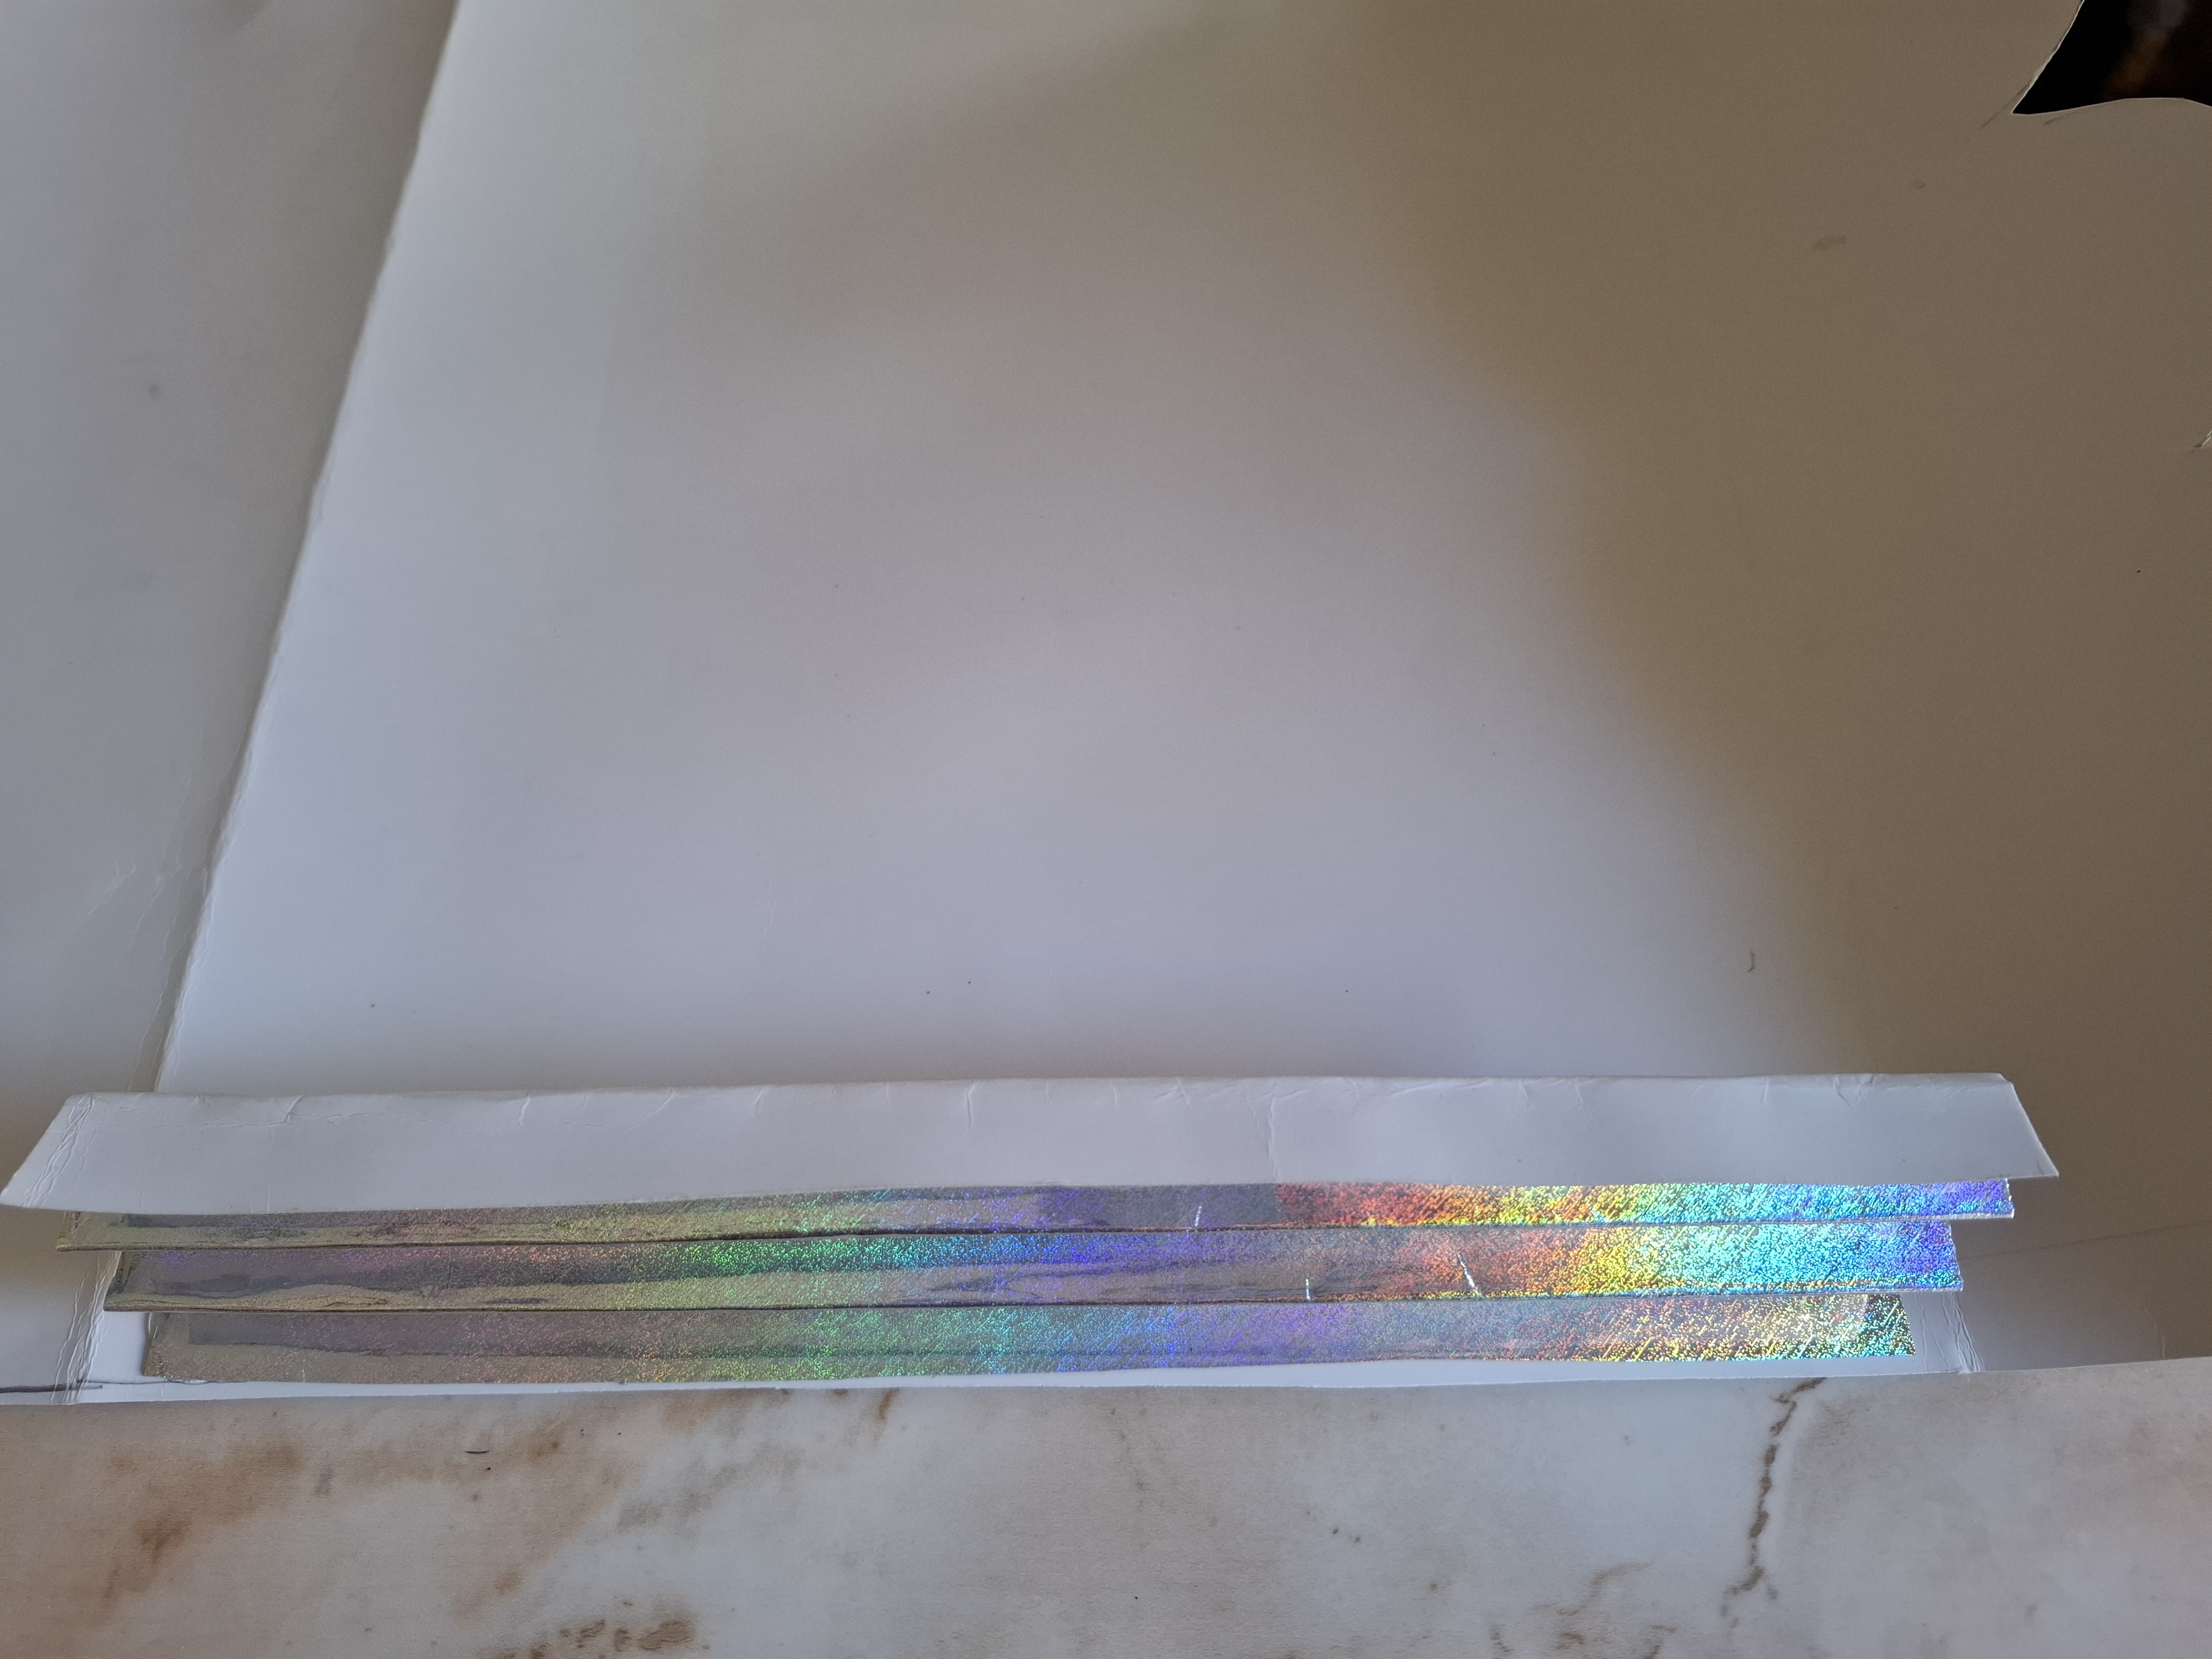
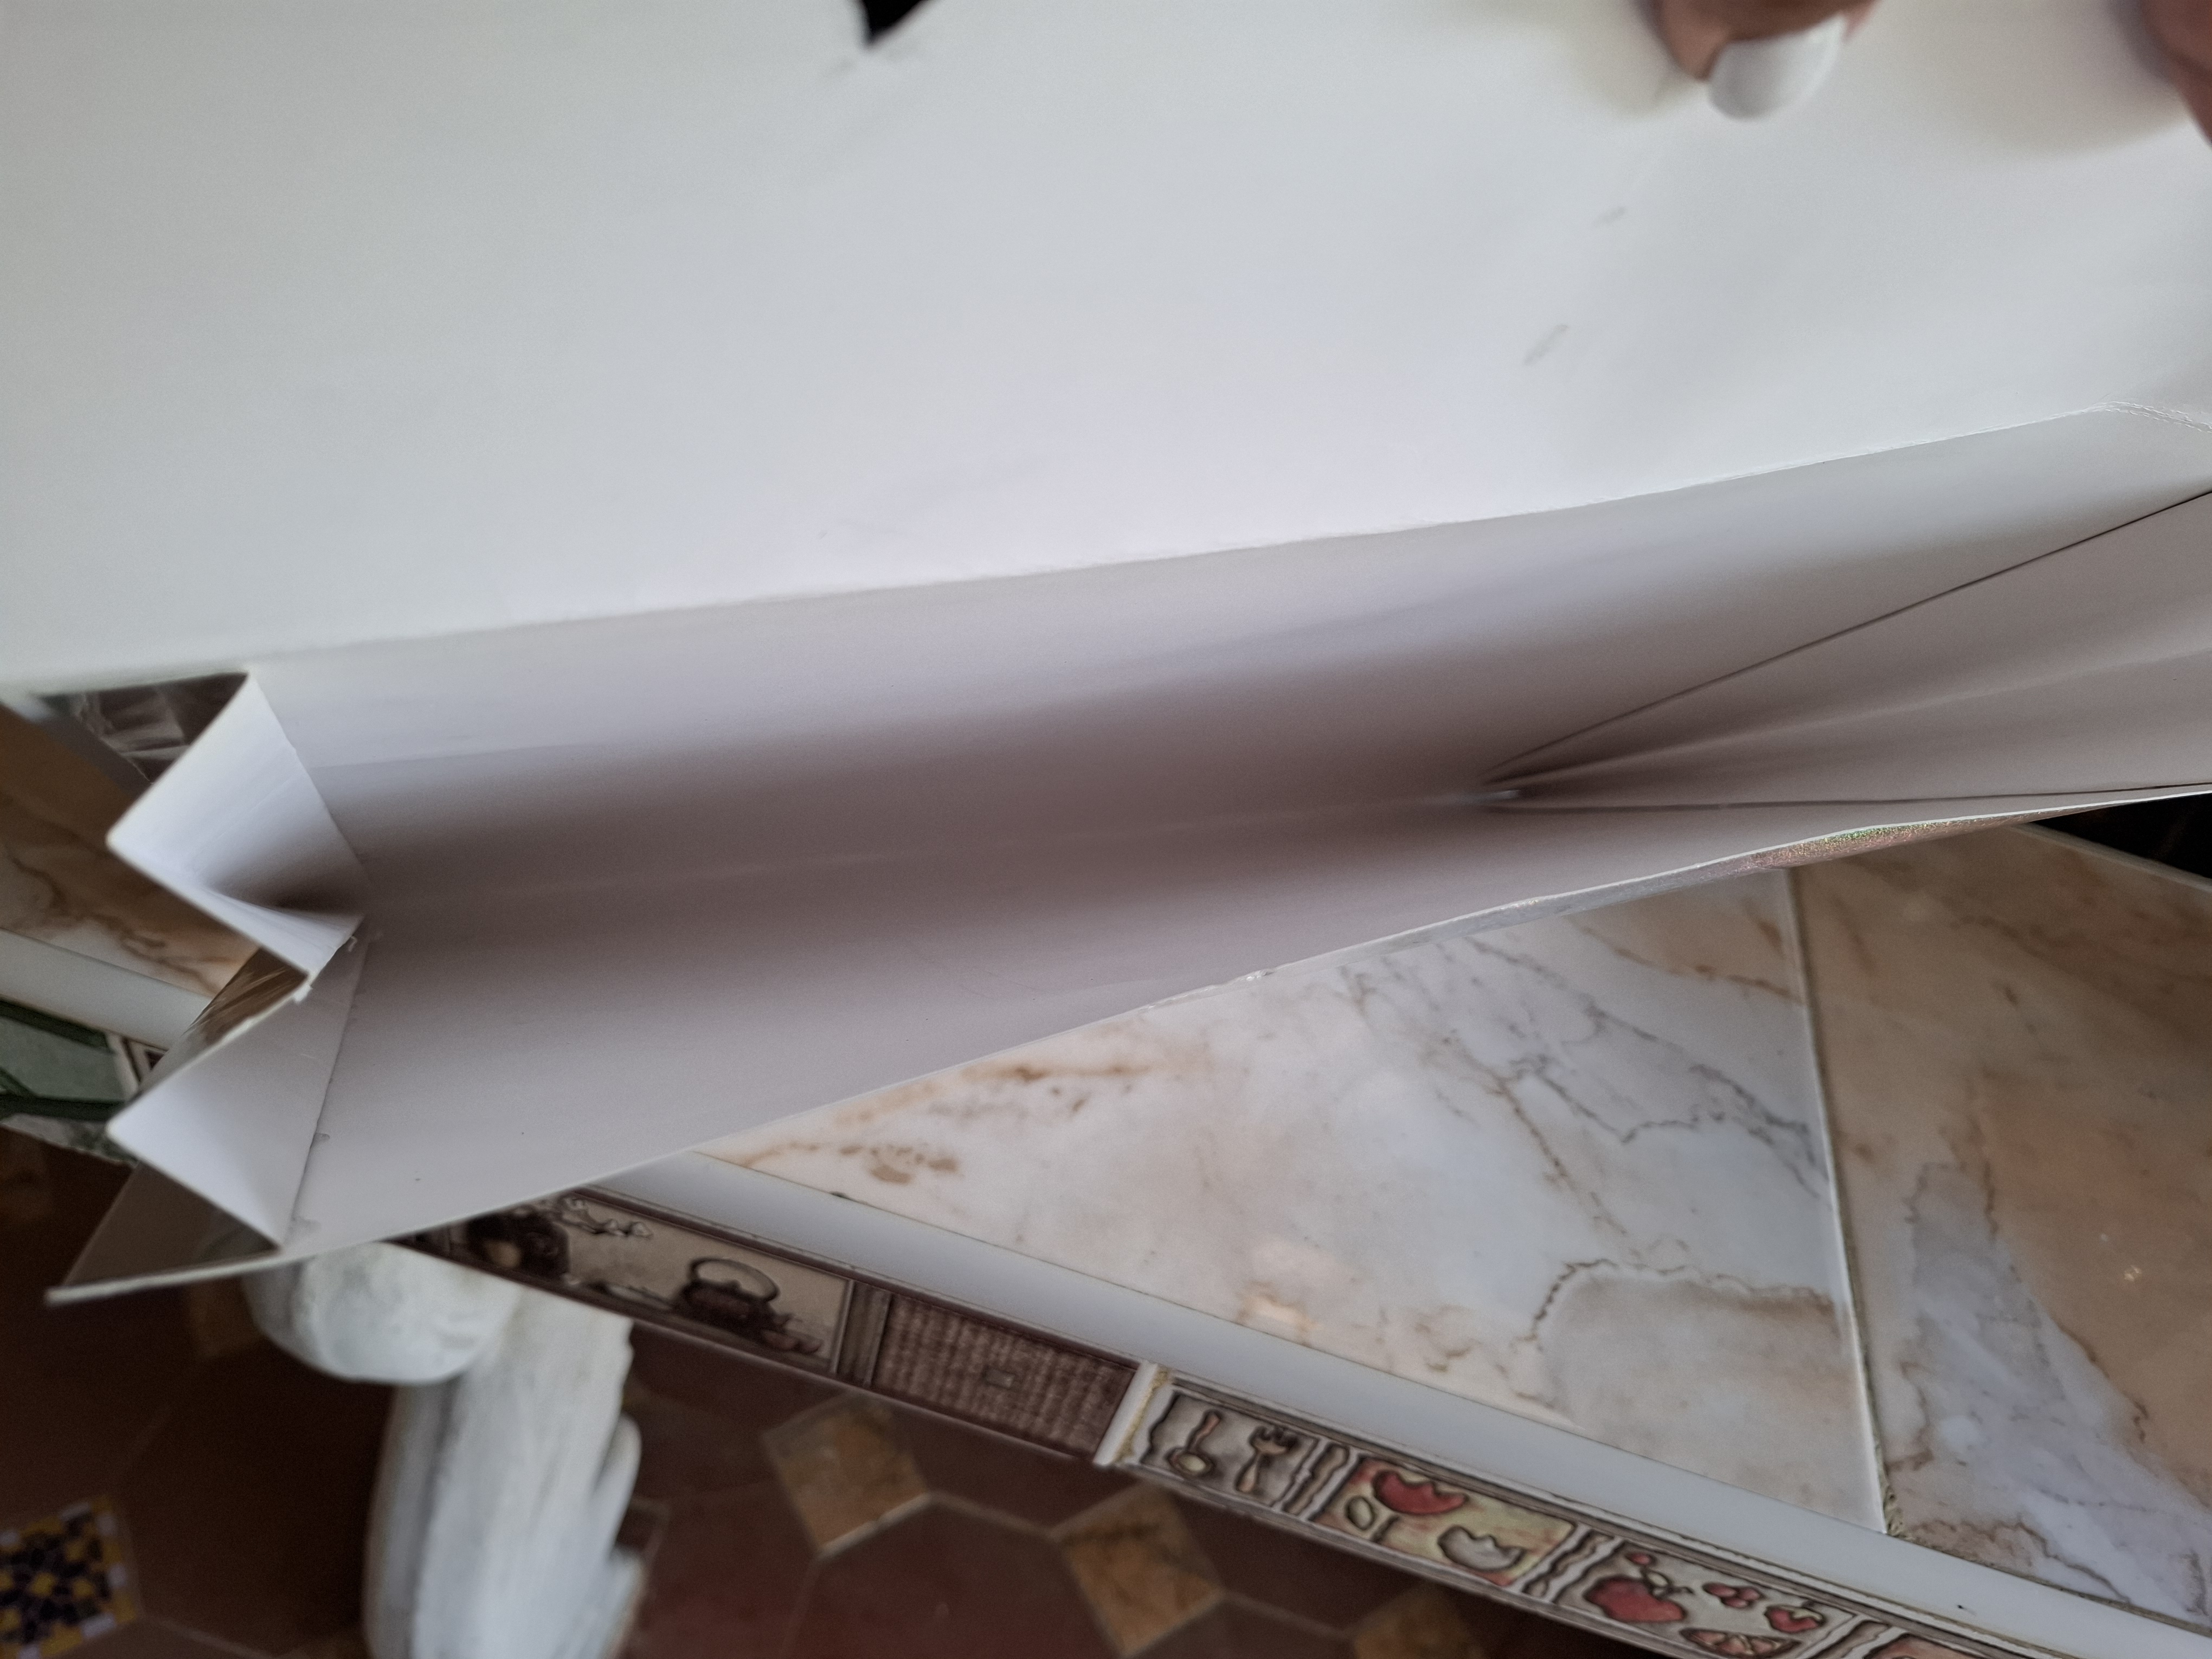
Luego con la cartulina sobrante voy a doblar en forma de abanico, y voy a pegarla en ambos lados, pegamos bien con silicón, una vez ya armamos la paete principal voy a comenzar a realizar las figuras en foami para decorar.
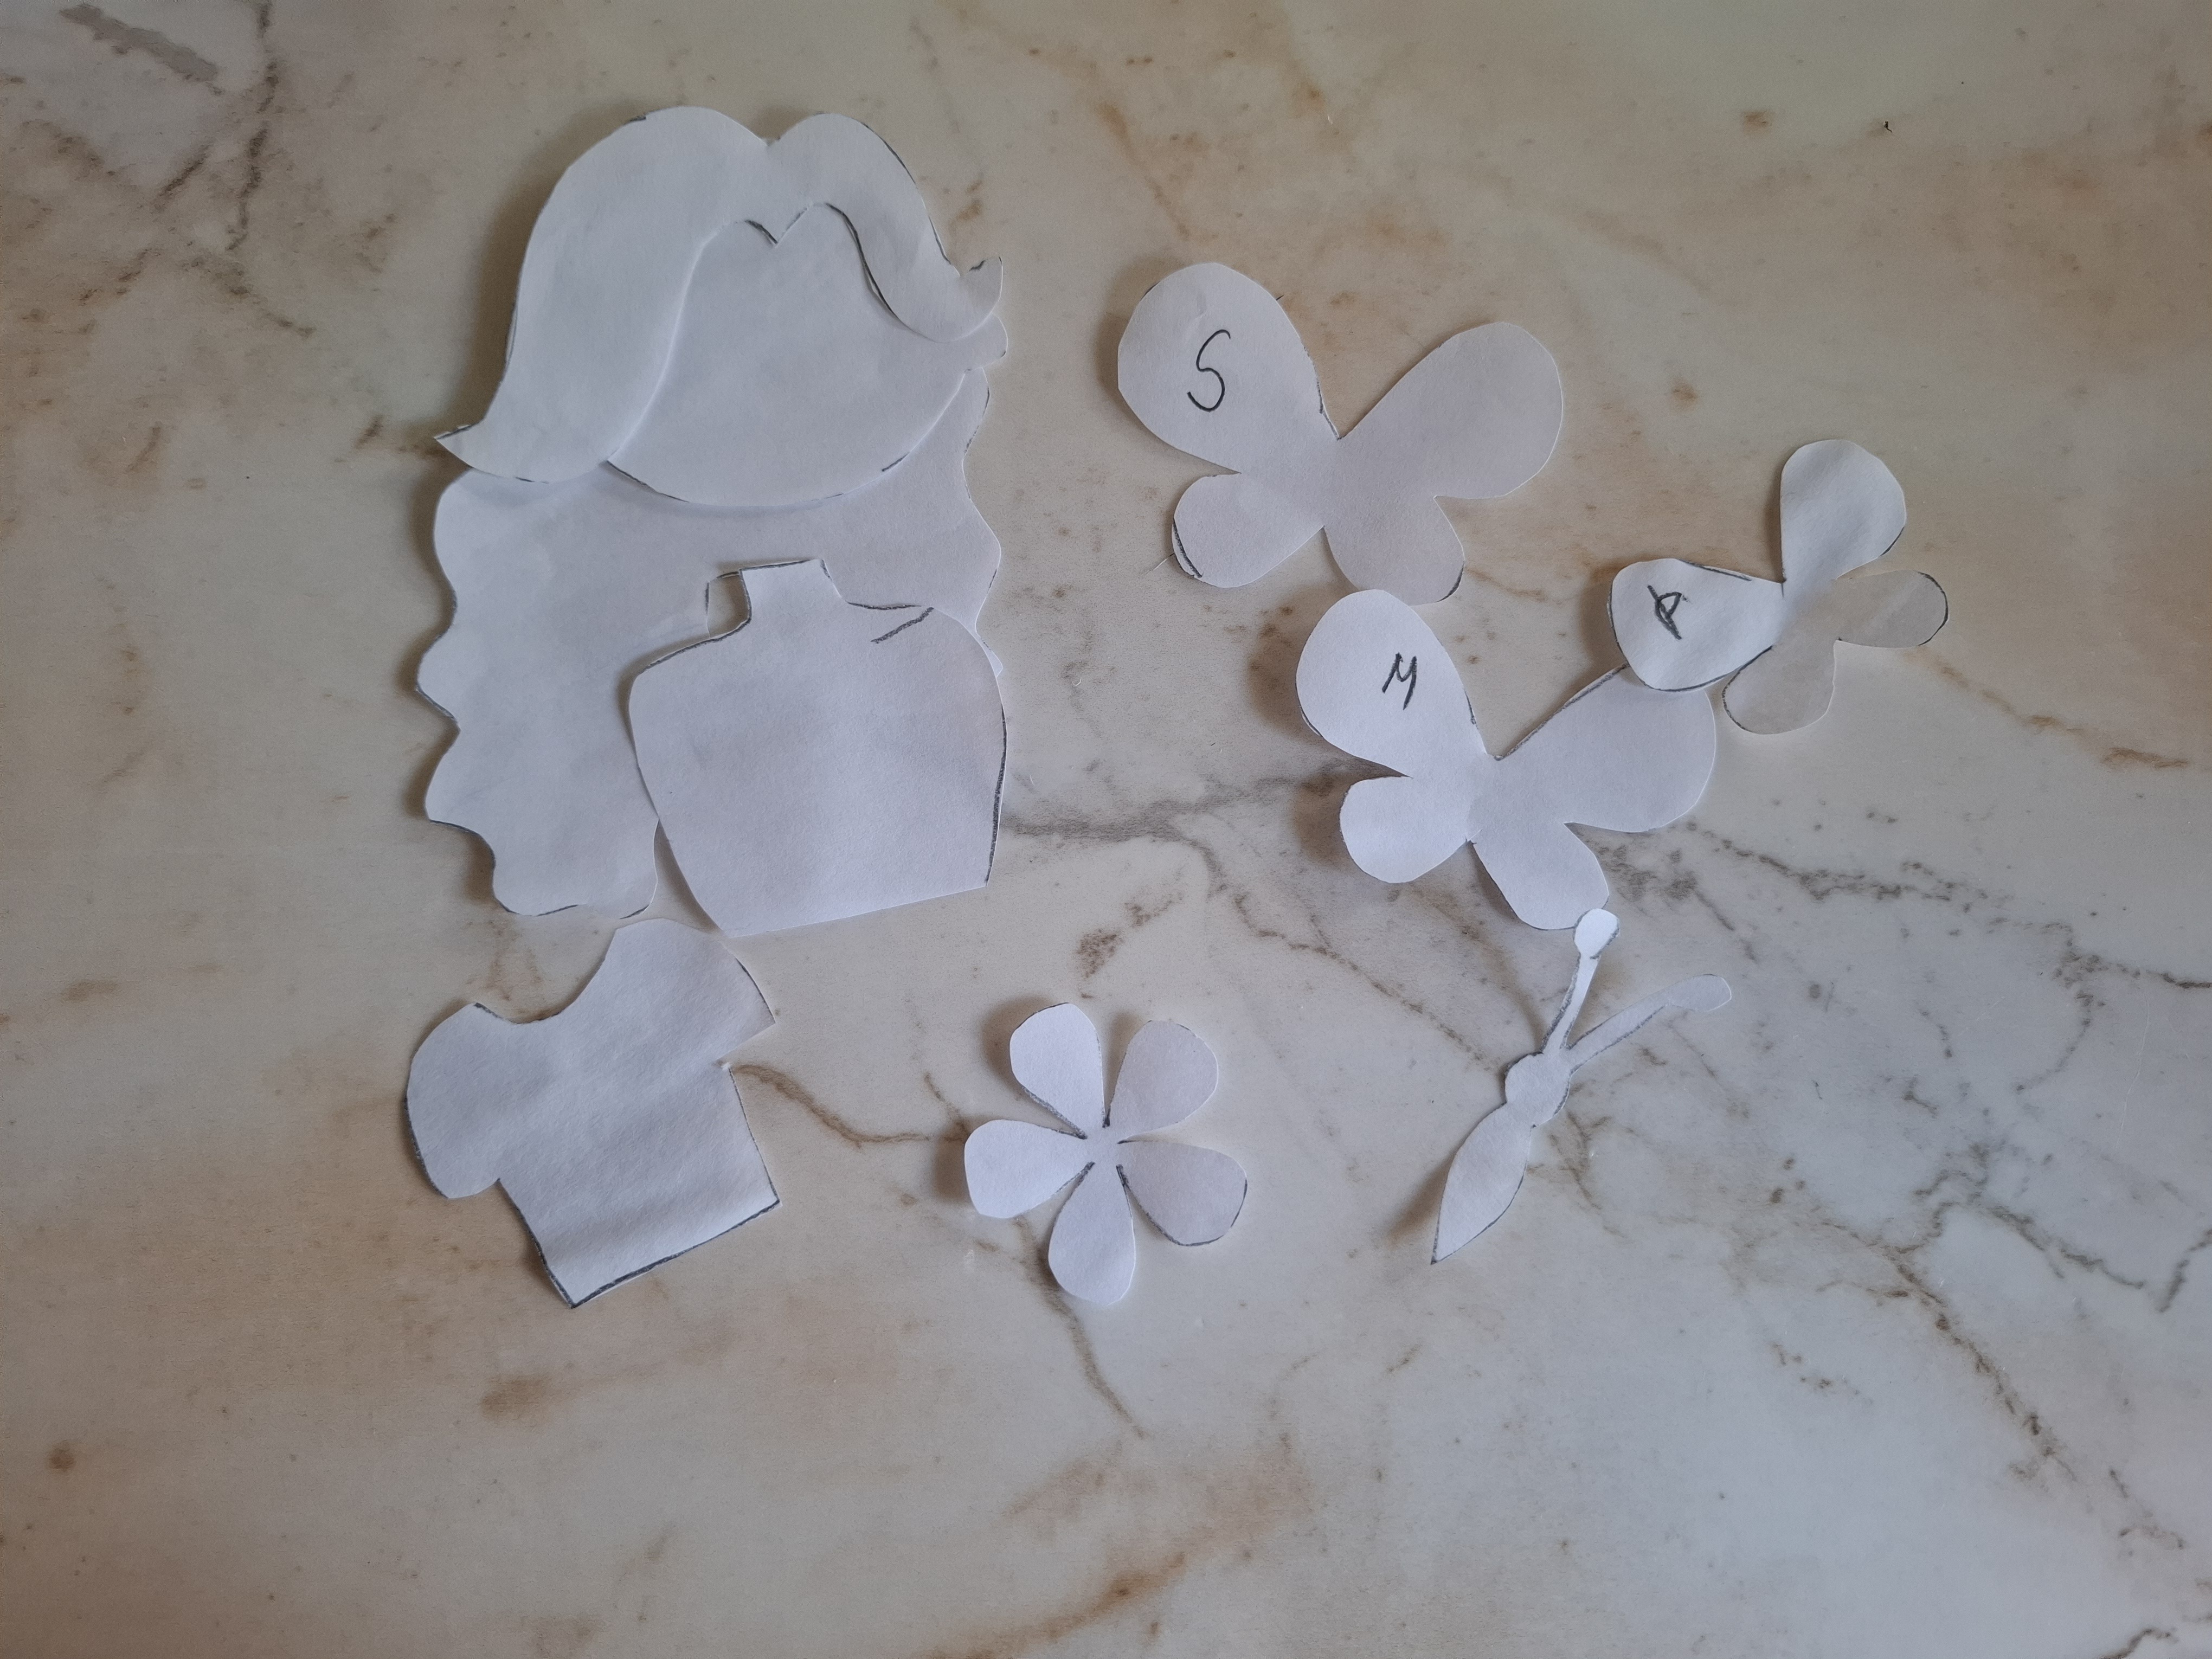
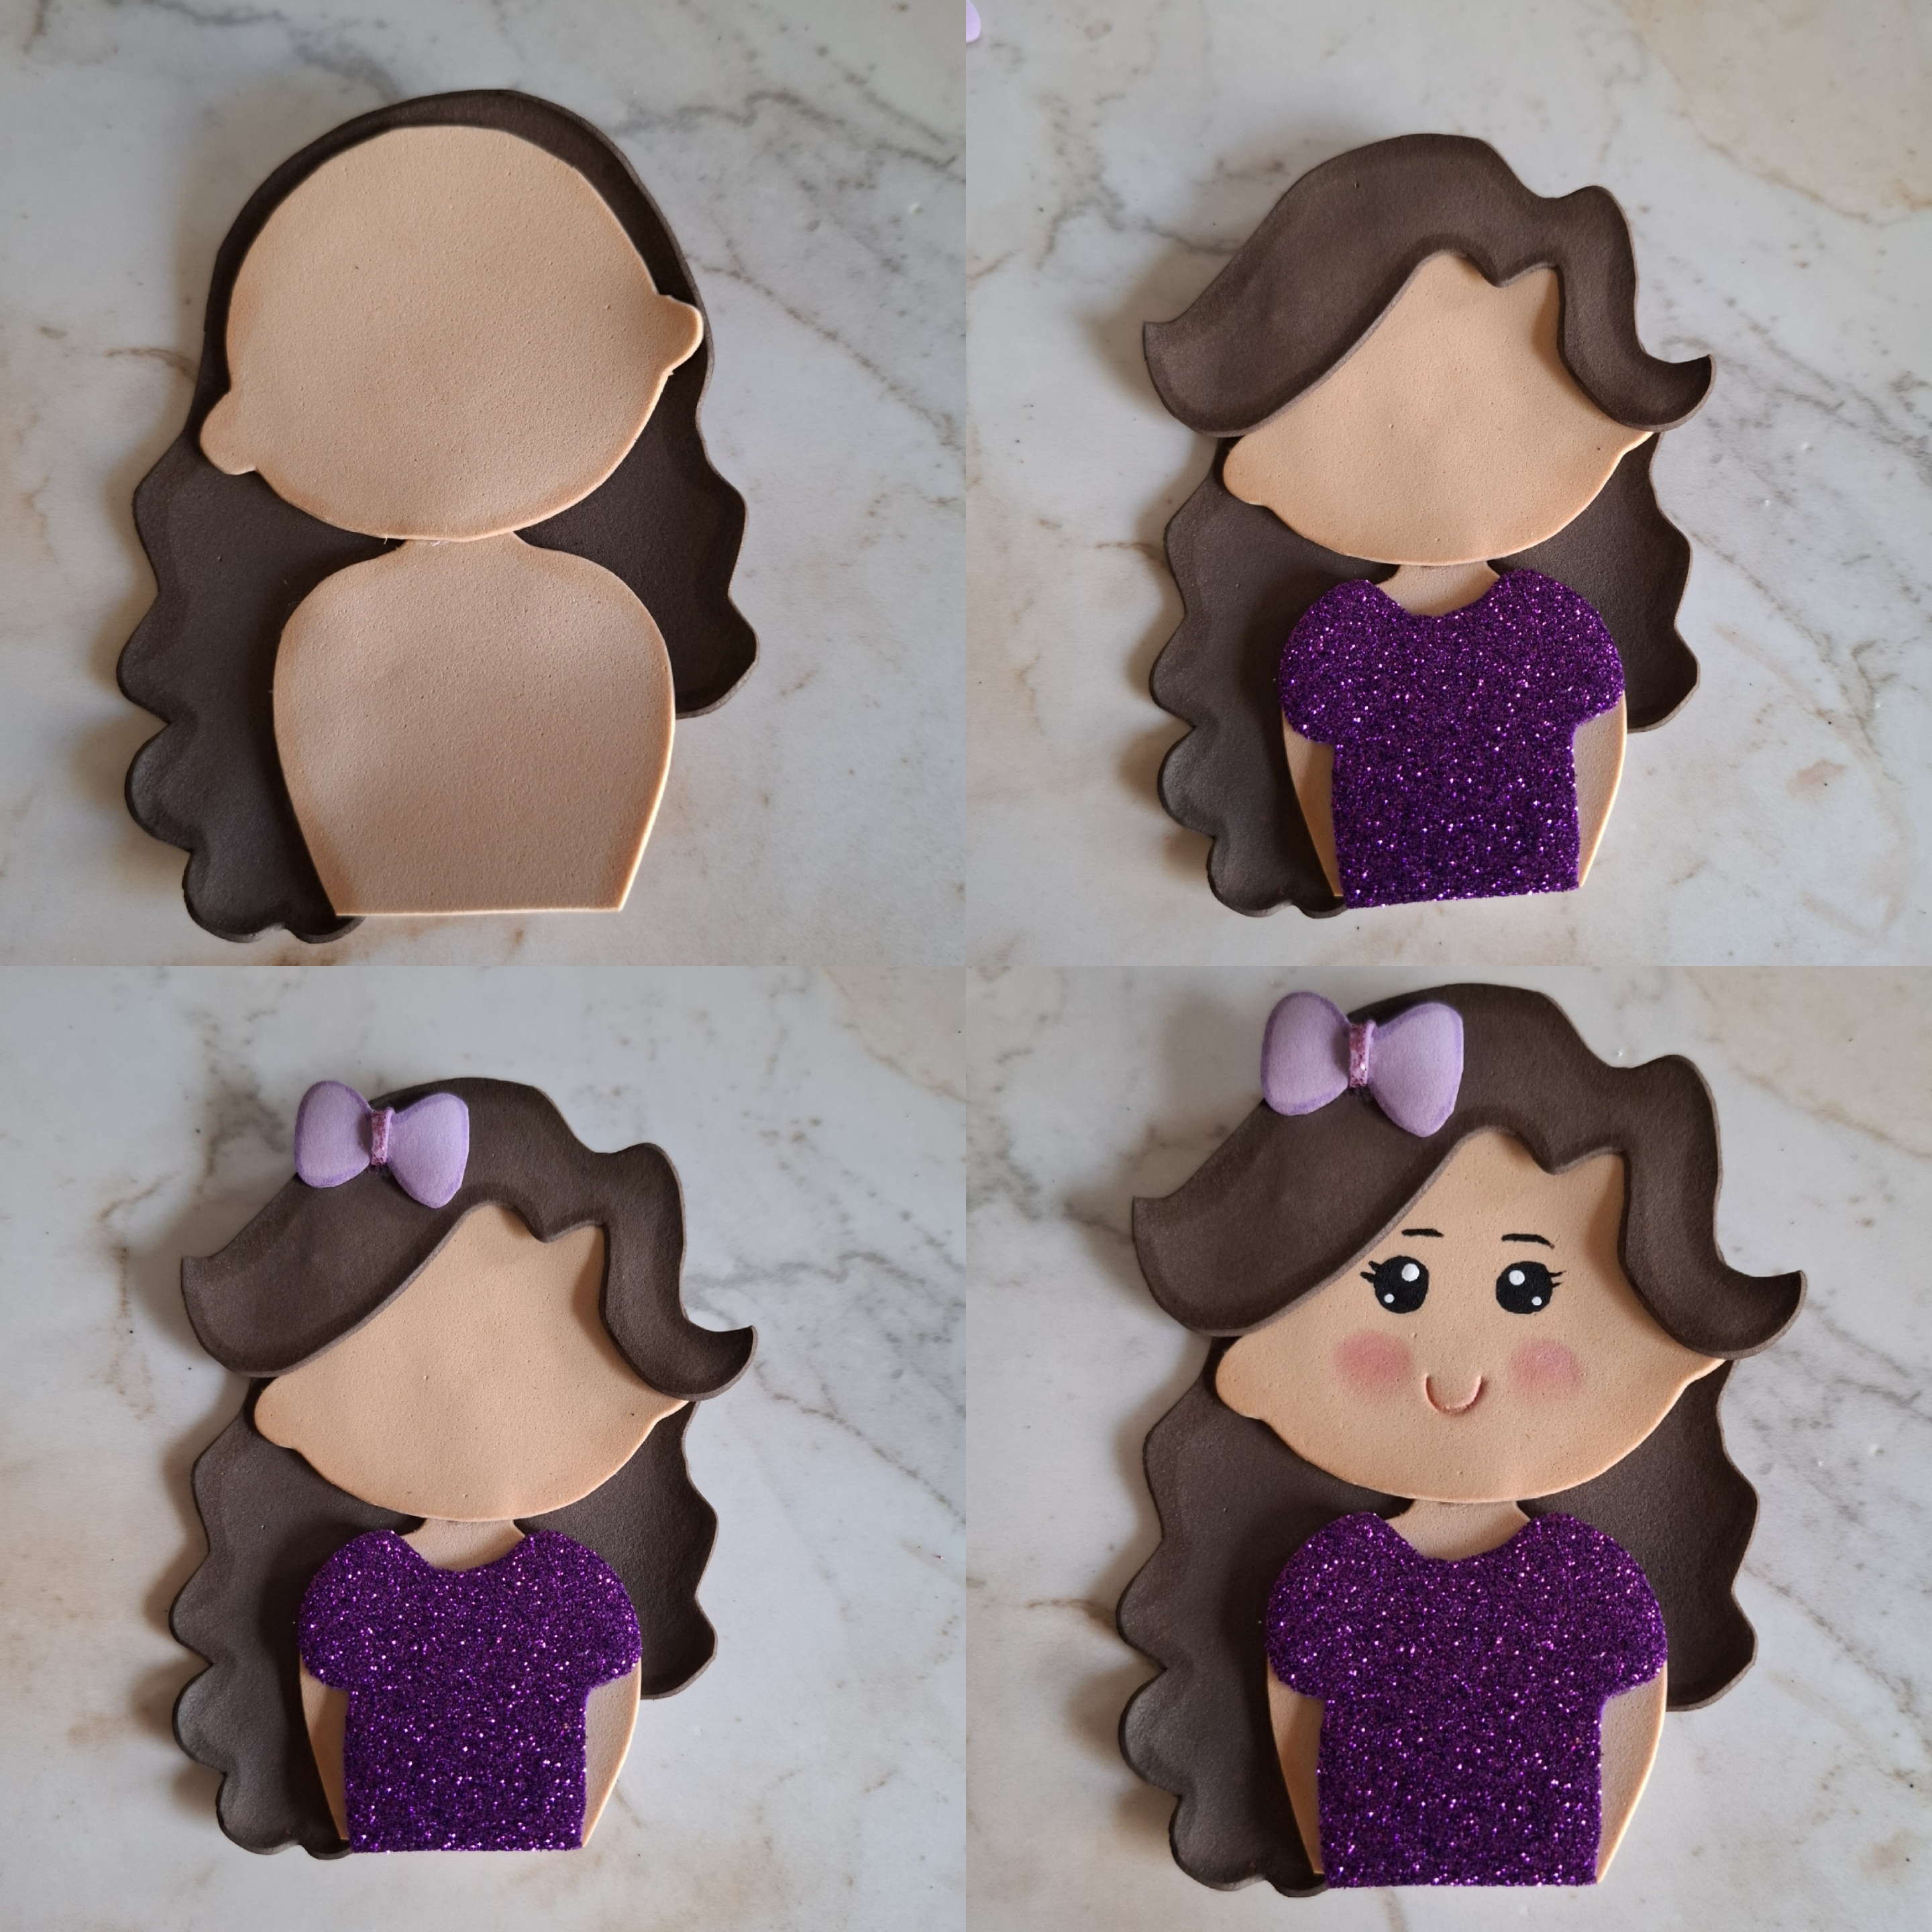
Voy a comenzar a realizar un niña en foami, antes de esto dibuje todos los moldes para luego pasarlo al foami, usé foami color piel para la cara y cuerpo, foami marrón para el cabello y foami morado escarchado para la camisa. Apliqué sombreado a los bordes del foami marrón con marcador y a la cara, brazos con sombra en tono marrón.
Then with the leftover cardboard I am going to fold it into a fan shape, and I am going to glue it on both sides, we glue it well with silicone, once we have assembled the main panel I am going to start making the foam figures to decorate. I am going to start making a girl in foam. Before doing this, I drew all the molds and then transferred it to the foam. I used skin-colored foam for the face and body, brown foam for the hair, and frosty purple foam for the shirt. I applied shading to the edges of the brown foam with a marker and to the face and arms with brown shadow.

También realicé un pequeño lazo en foami morado y ubiqué en el cabello, con pintura realicé sus ojos y cejas, con un palillo marqué la silueta de la boca sonriente y apliqué color en las mejillas utilizando sombras, por otra parte con una plancha apliqué calor a los bordes del foami marrón del cabello.
I also made a small bow in purple foam and placed it in the hair, with paint I made her eyes and eyebrows, with a toothpick I marked the silhouette of the smiling mouth and applied color to the cheeks using shadows, on the other hand with an iron I applied heat to the edges of the brown hair foam.

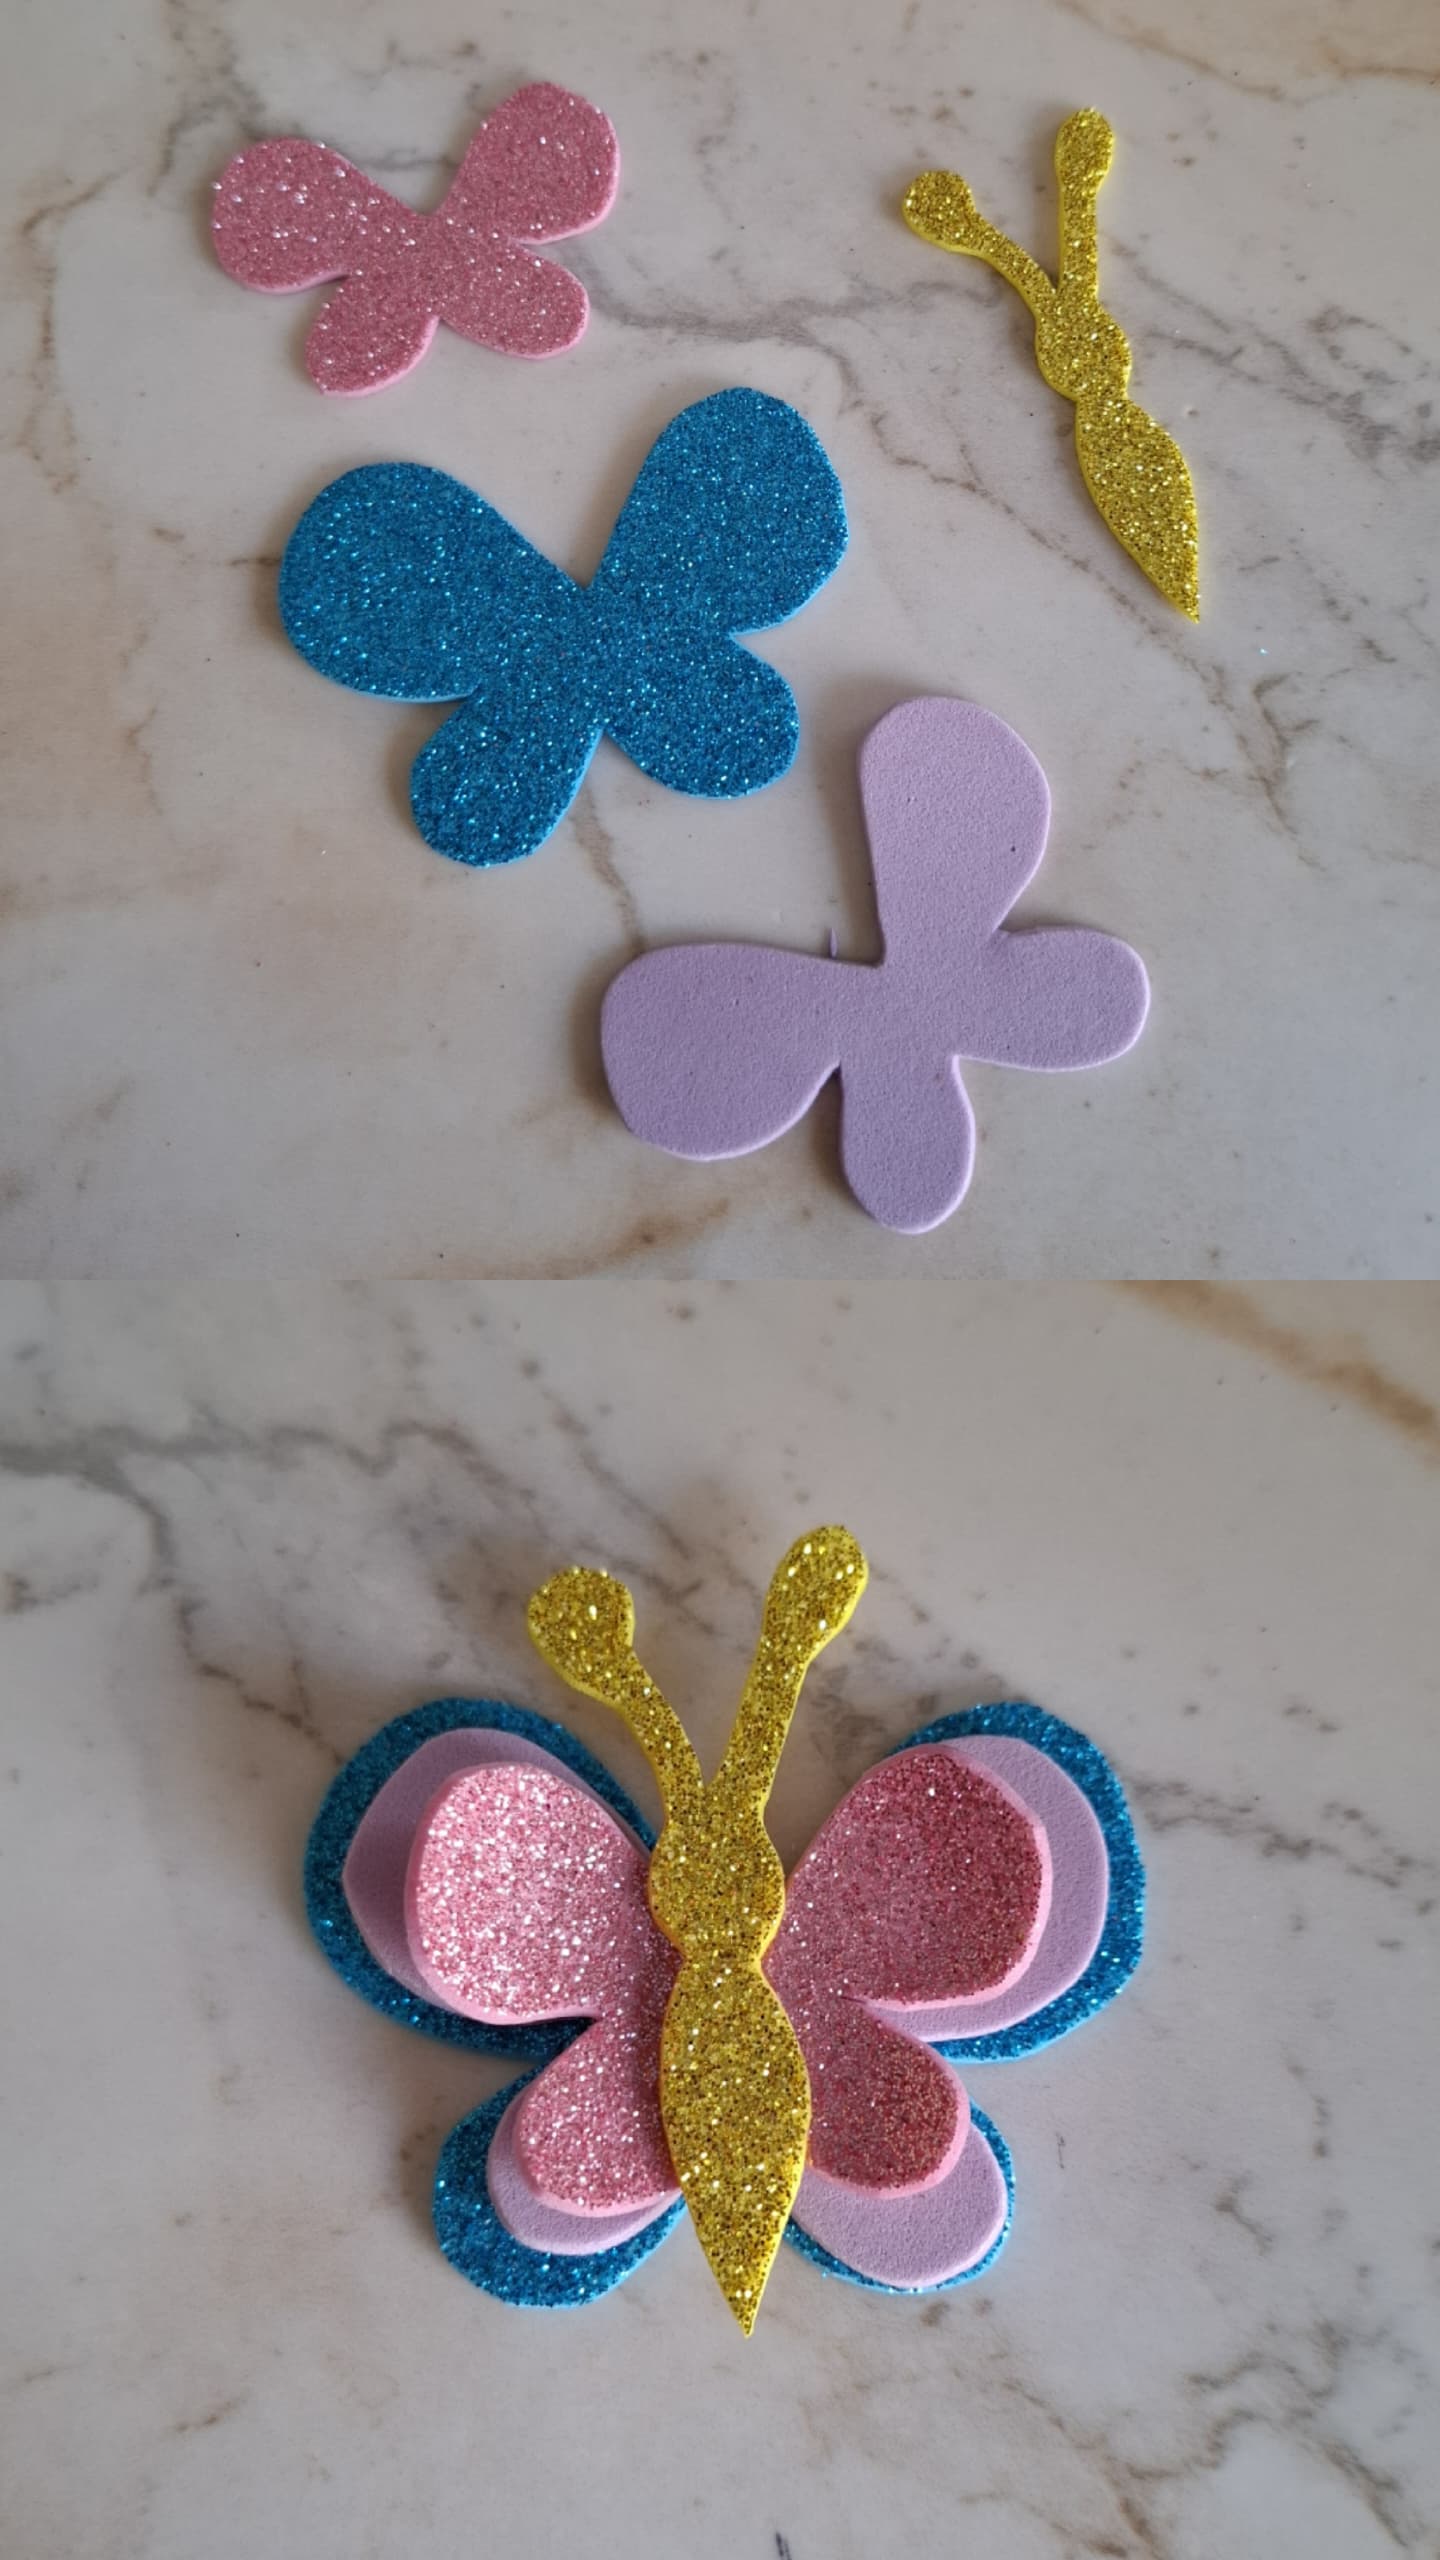
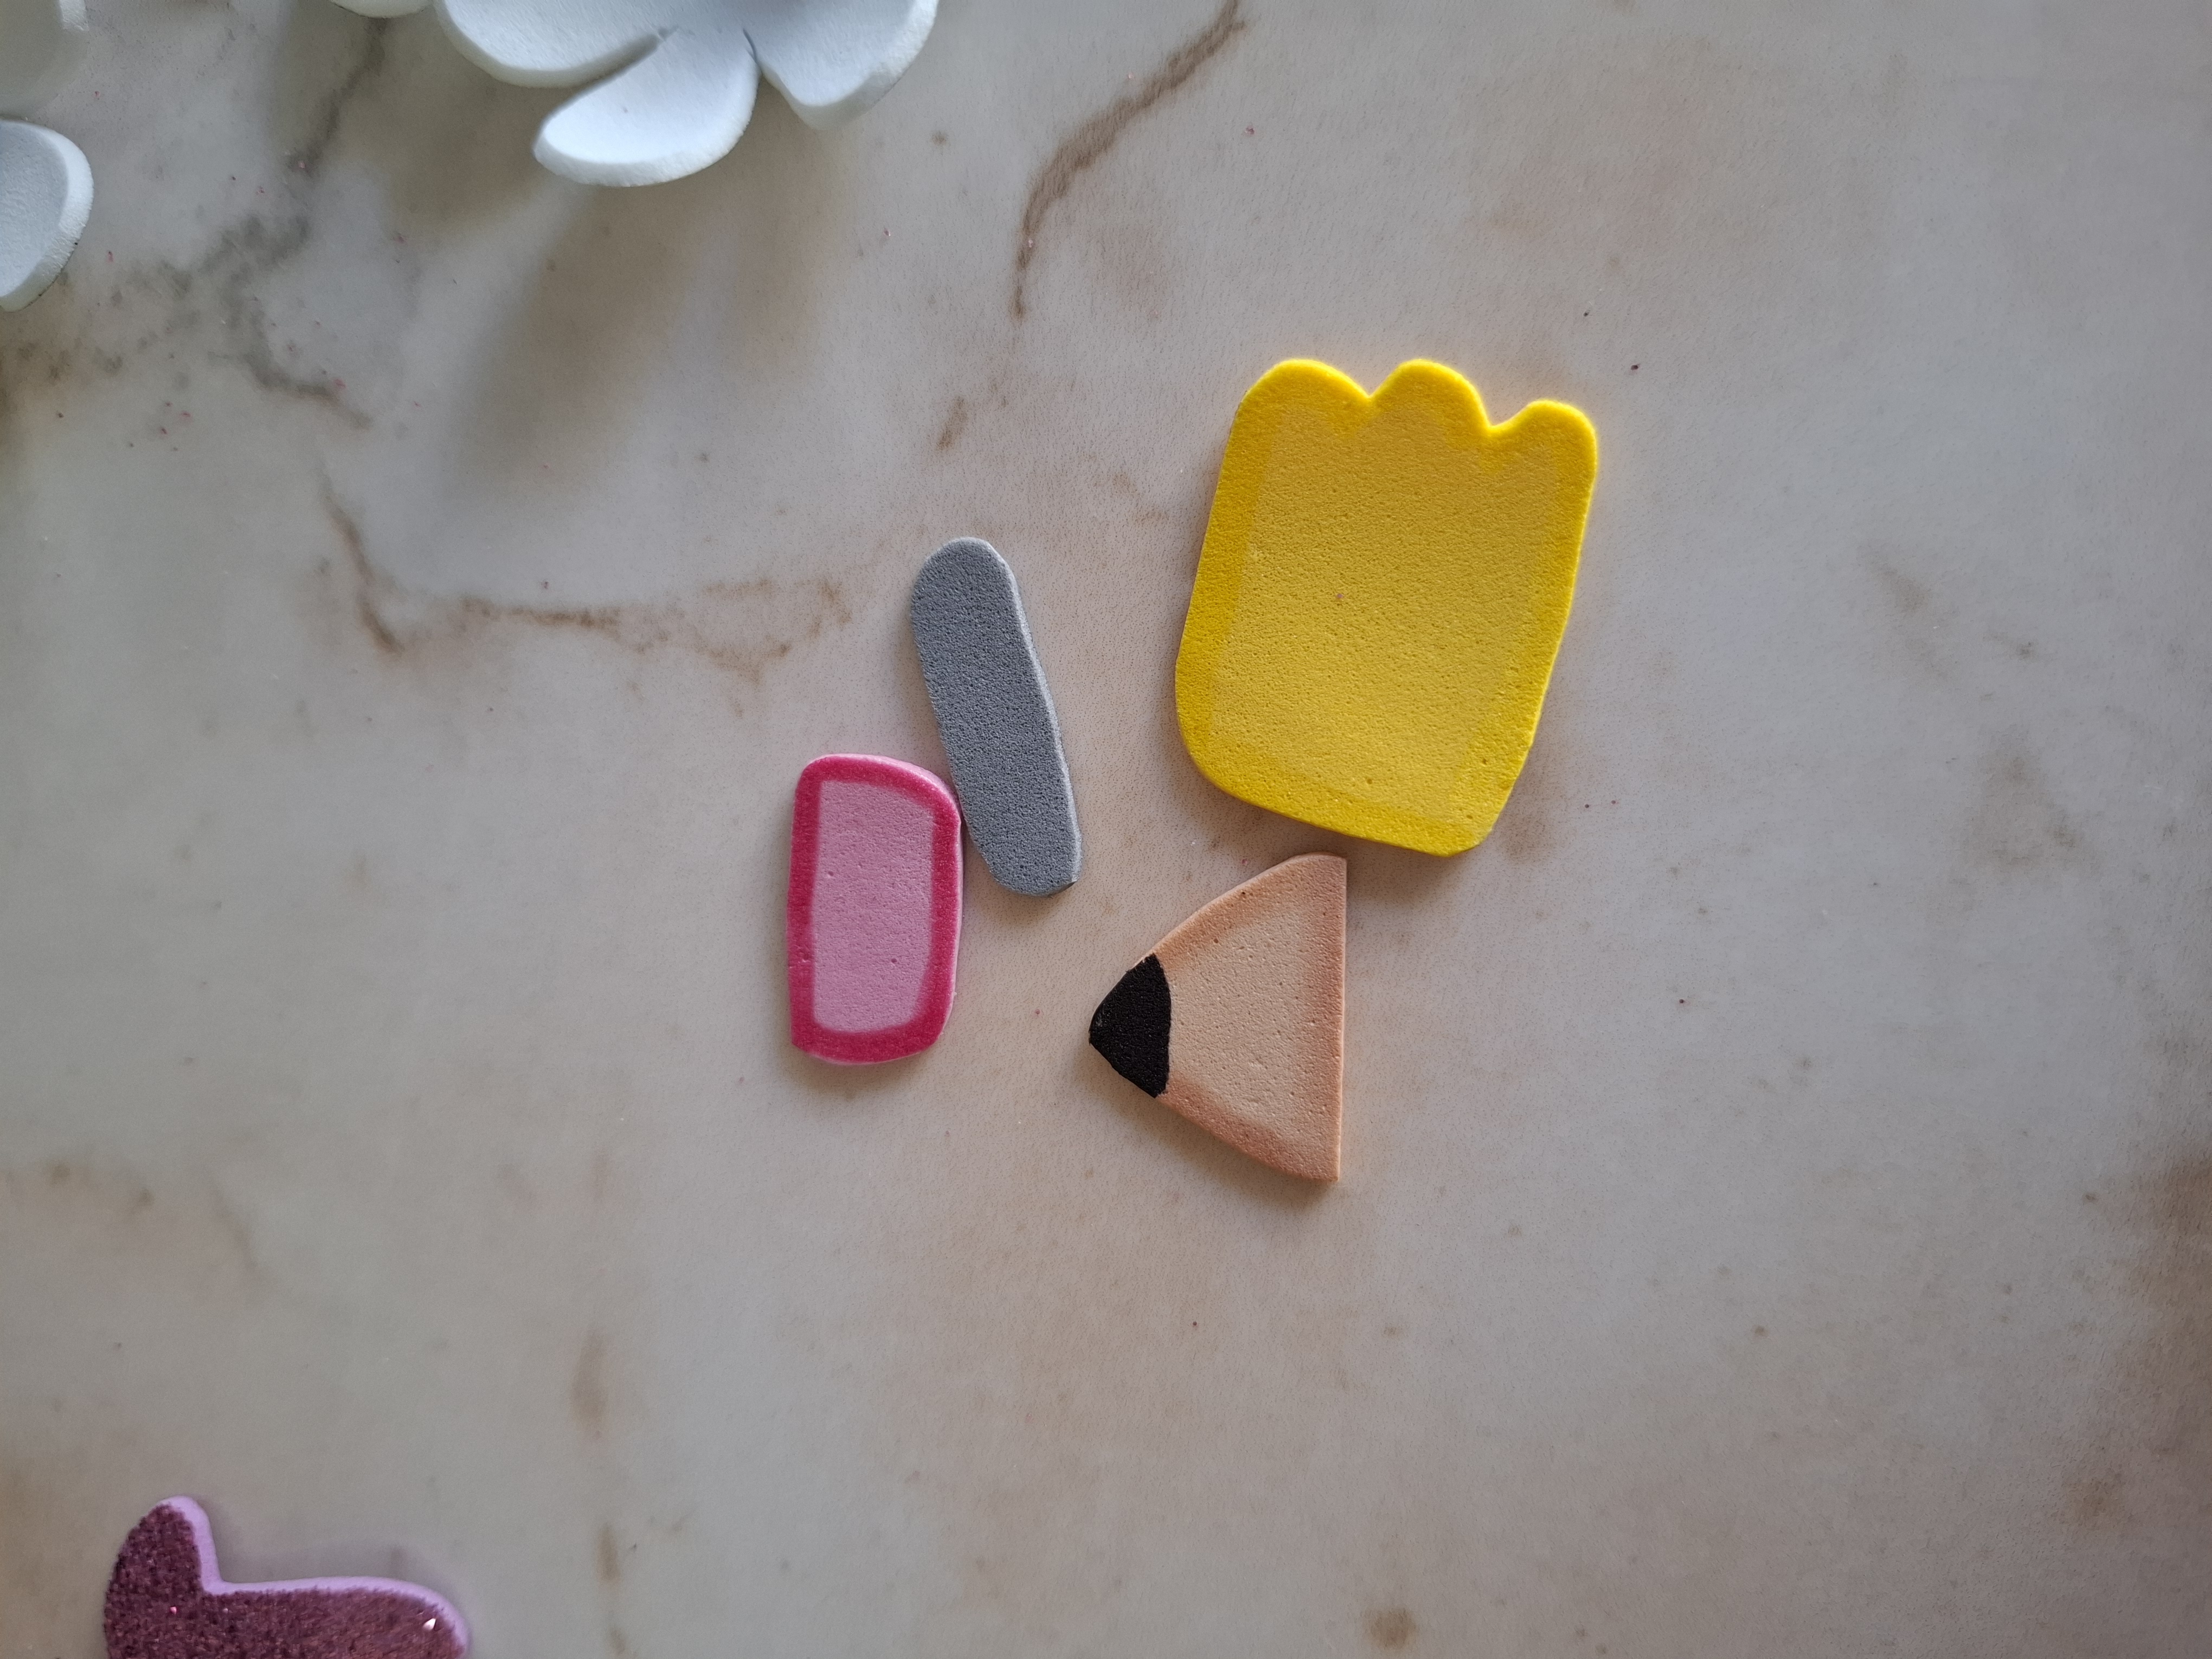
Realicé una mariposa de tres capas comenzando con una grande, mediana y pequeña, con foami azul escarchado, morado y rosa, apliqué color con una plancha a la mariposa rosa el cual la ubiqué de primera. También como parte de la decoración realicé un pequeño lápiz y dibuje una carita feliz de igual forma como hice con la muñeca.
I made a three-layer butterfly starting with a large, medium and small one, with frosty blue, purple and pink foam, I applied color with an iron to the pink butterfly which I placed first. Also as part of the decoration I made a small pencil and drew a happy face in the same way as I did with the doll.
Realicé flores en color blanco, rosa escarchado y morado, apliqué calor con una plancha para dar forma, por último realicé las letras para el nombre de la niña en foami morado escarchado, con foami rosa realicé una trenza que servirá como agarradero, la ubicamos en la parte posterior del portafolio, pegamos bien con silicón y reforzamos con un cuadro de foami en cada extremo.
I made flowers in white, frosty pink and purple, I applied heat with an iron to shape them, lastly I made the letters for the girl's name in frosty purple foam, with pink foam I made a braid that will serve as a handle, we placed it in On the back of the portfolio, we glue it well with silicone and reinforce it with a foam square at each end.
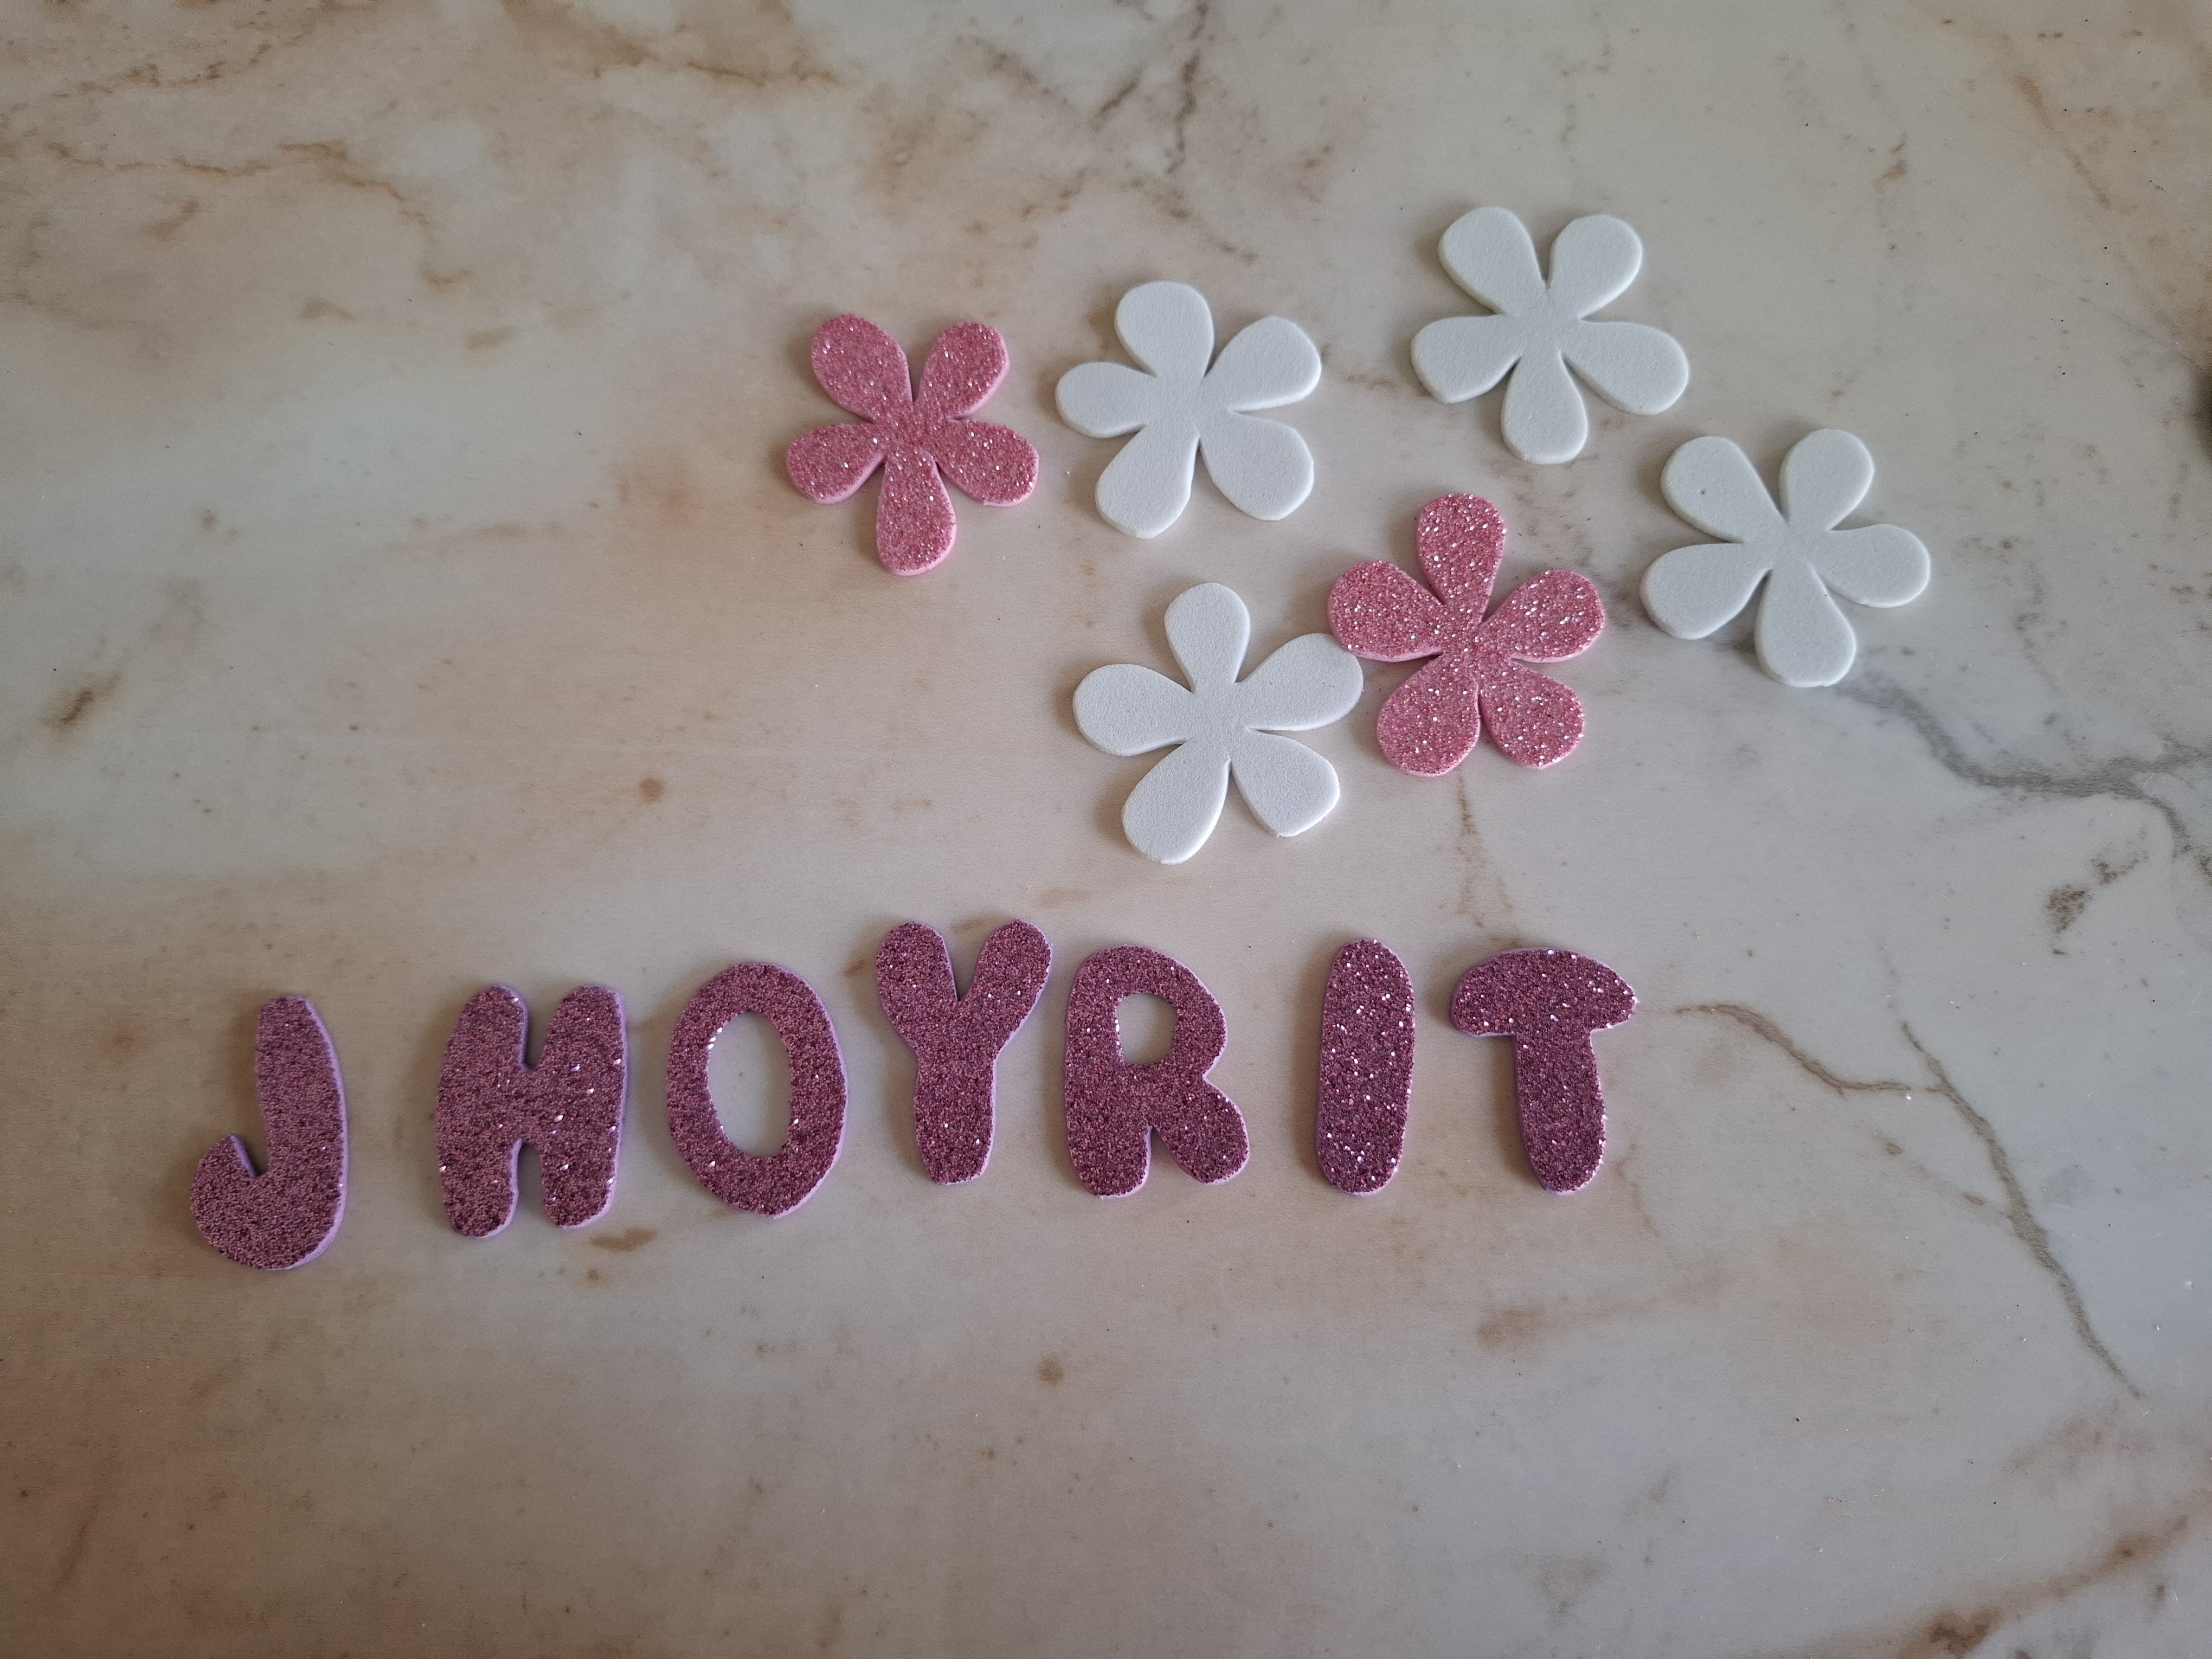
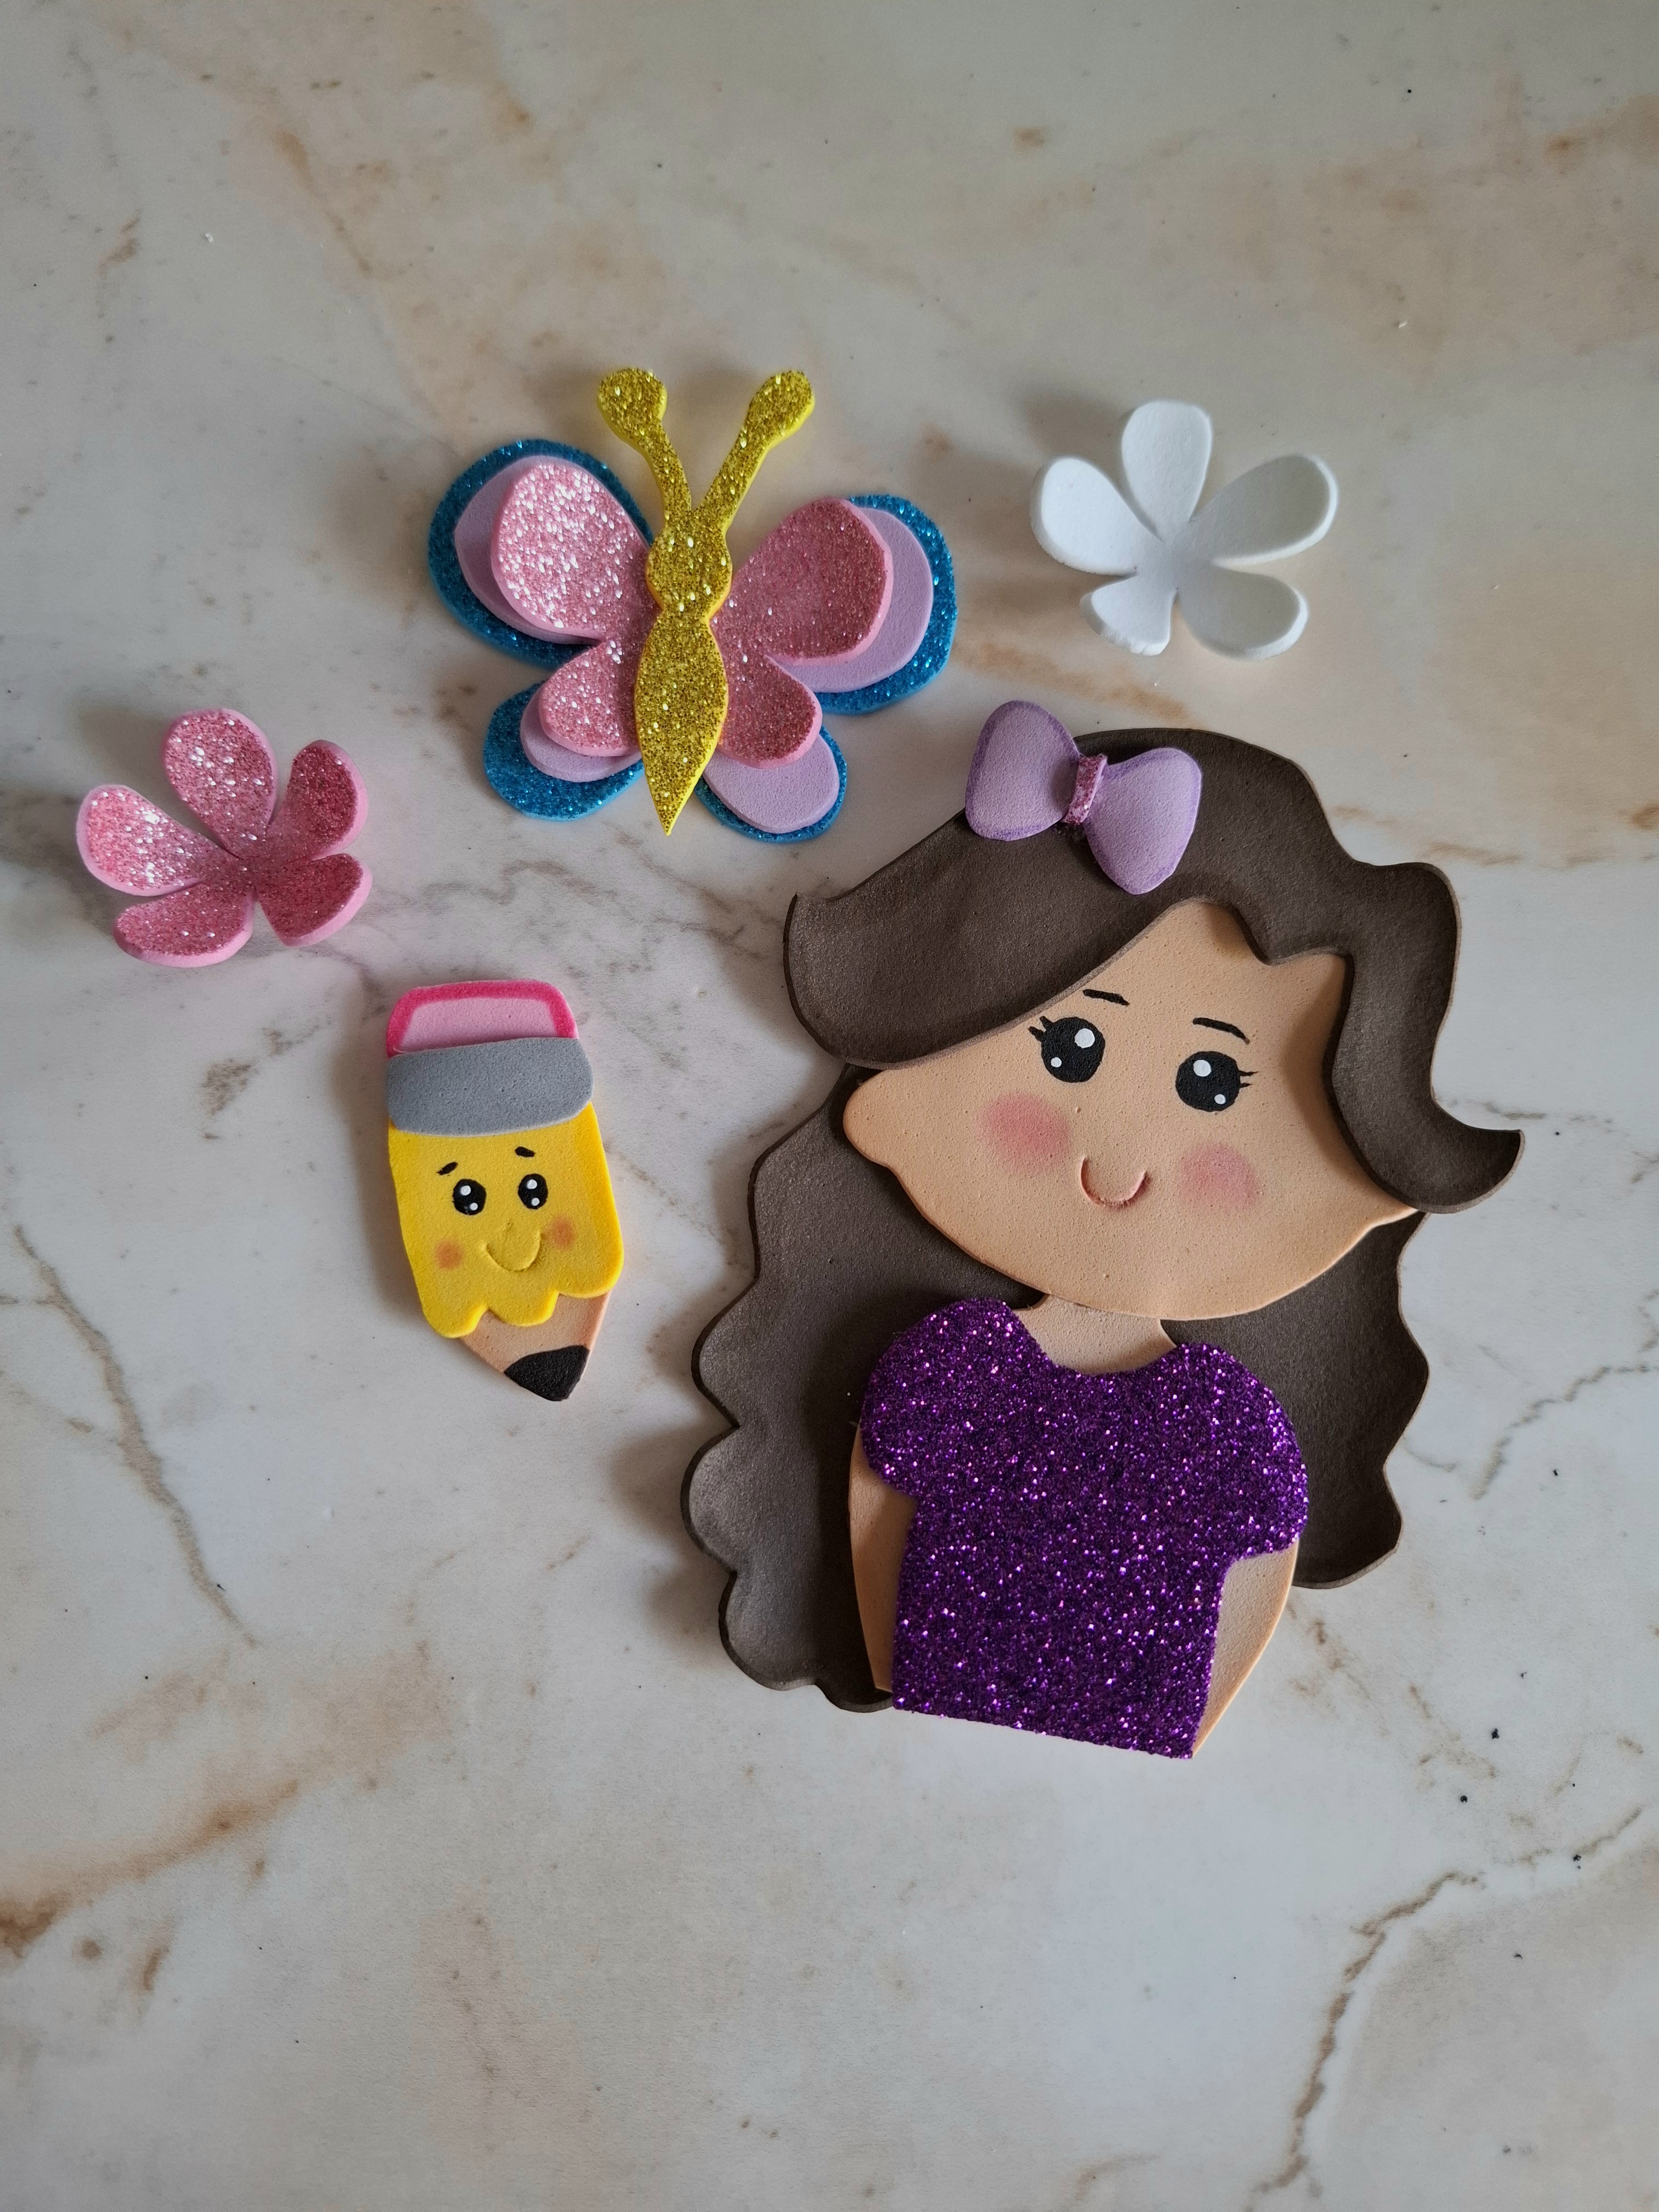
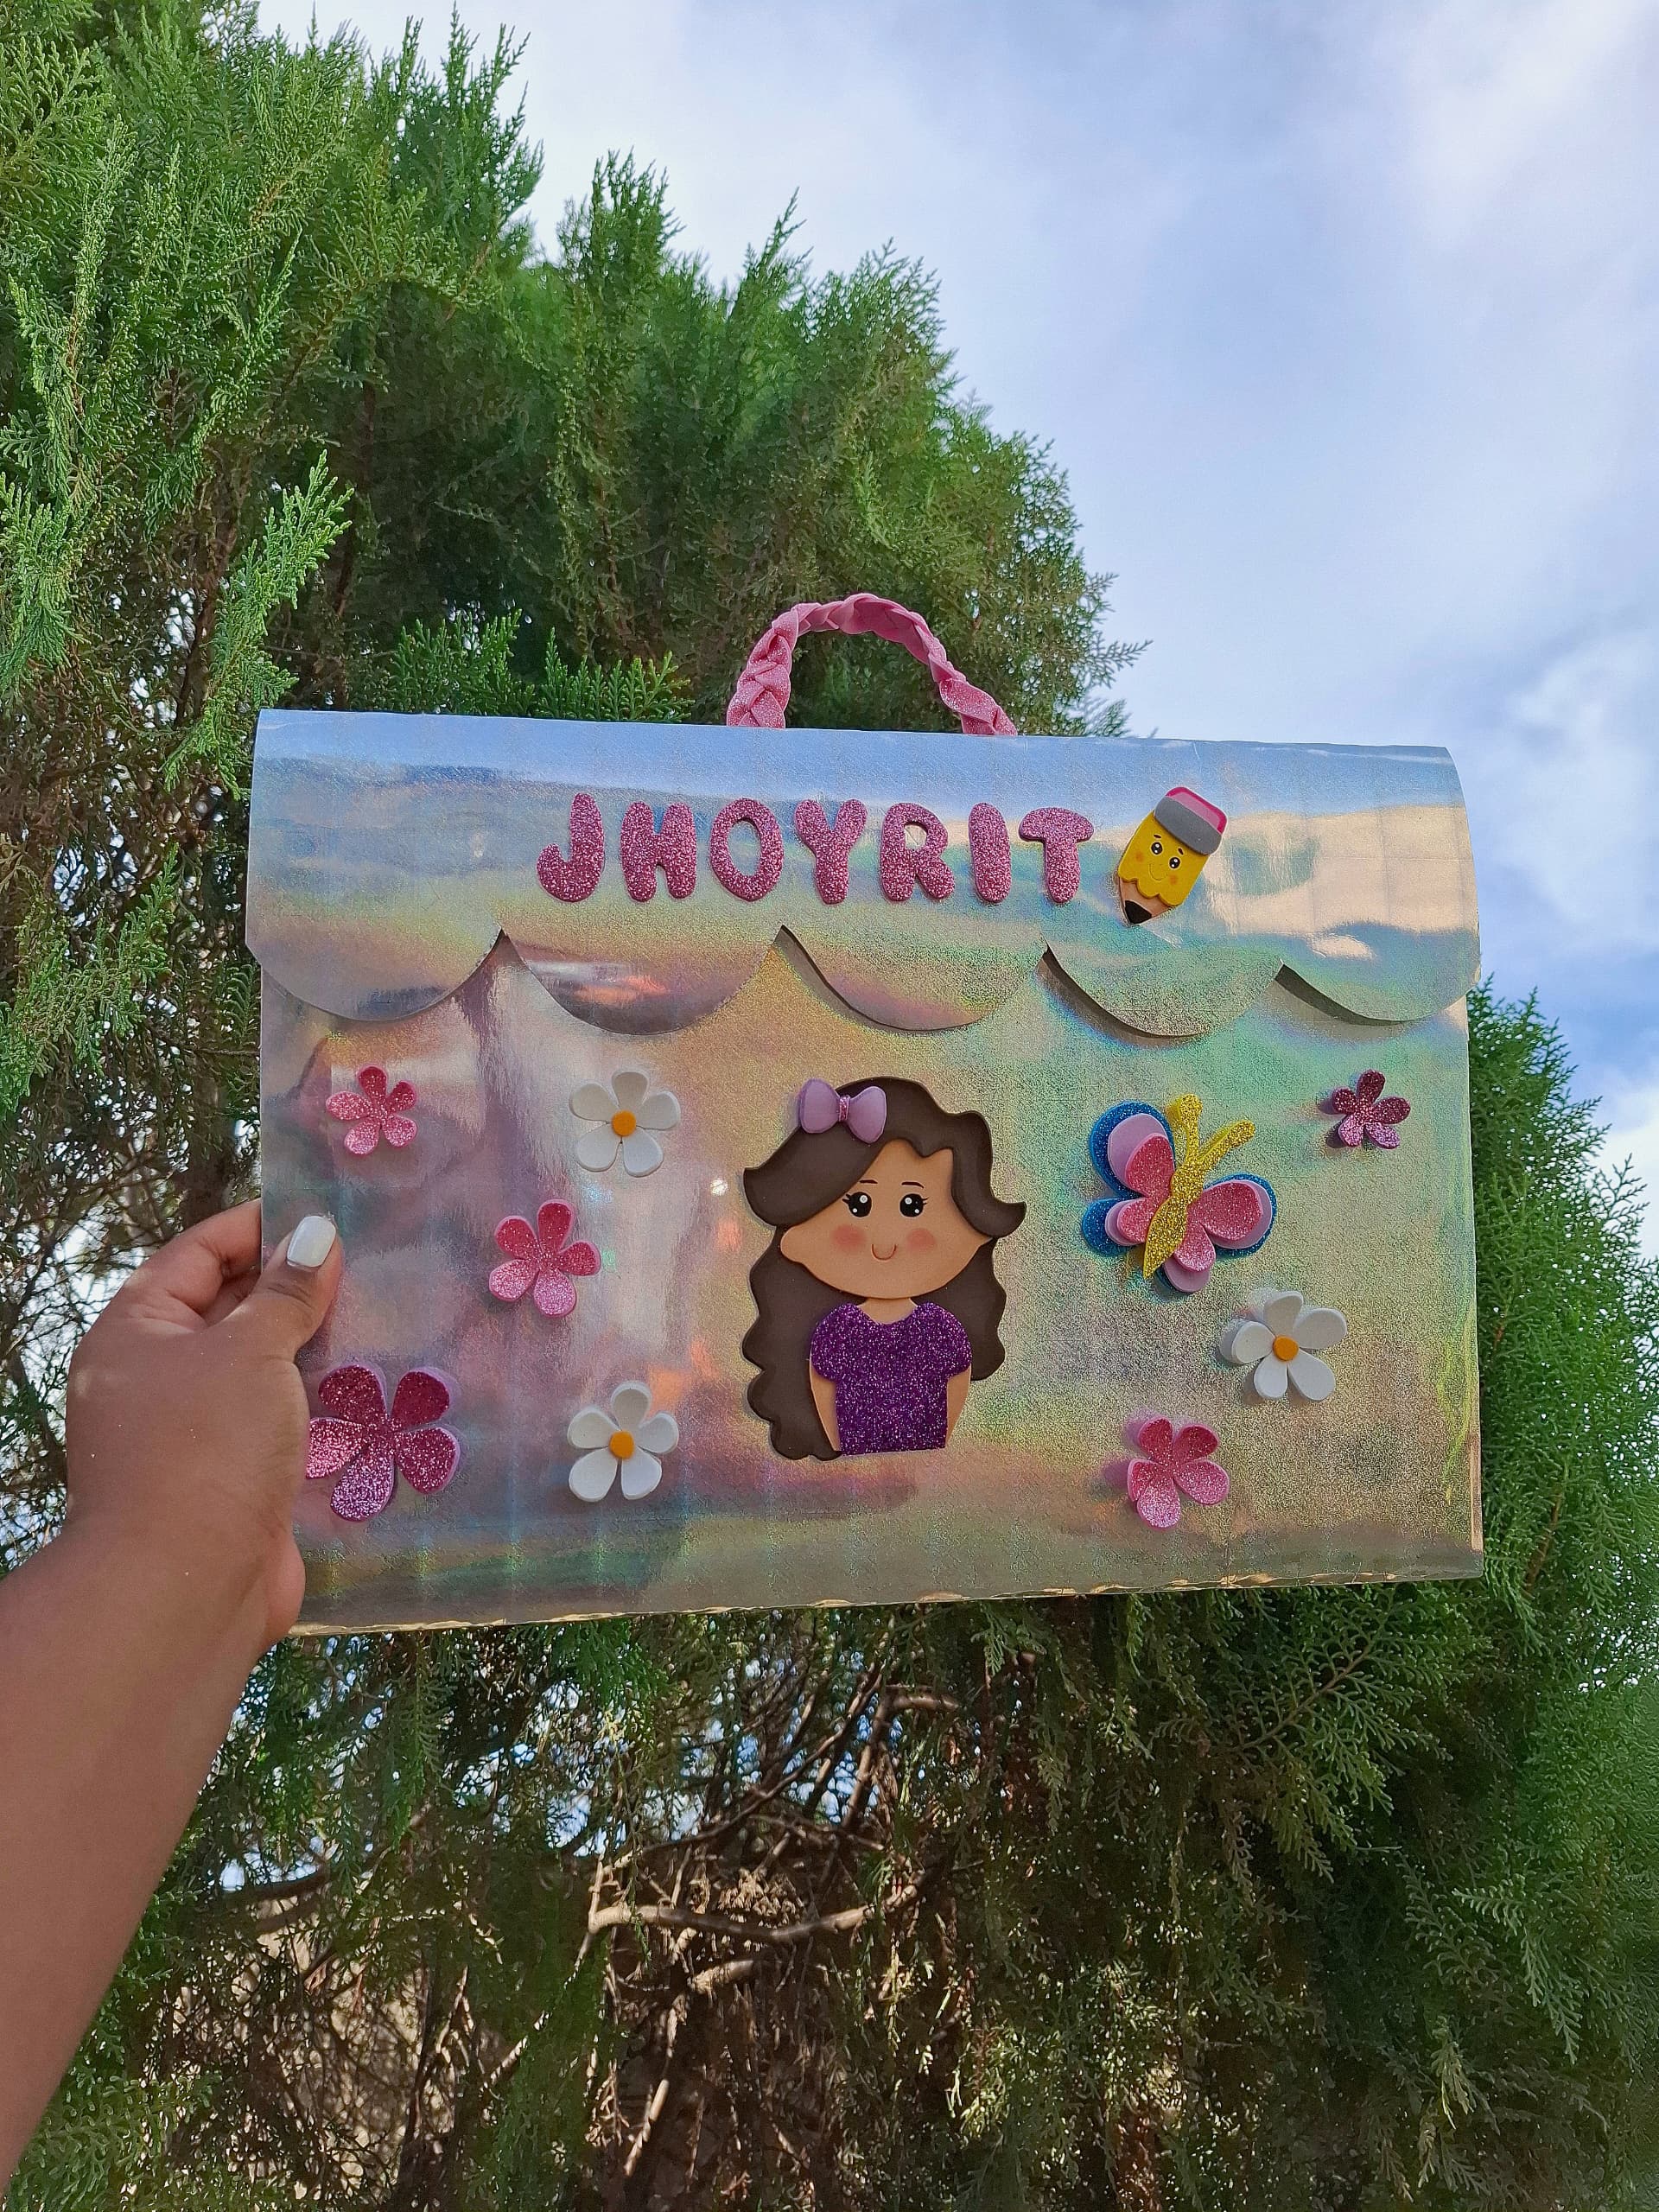
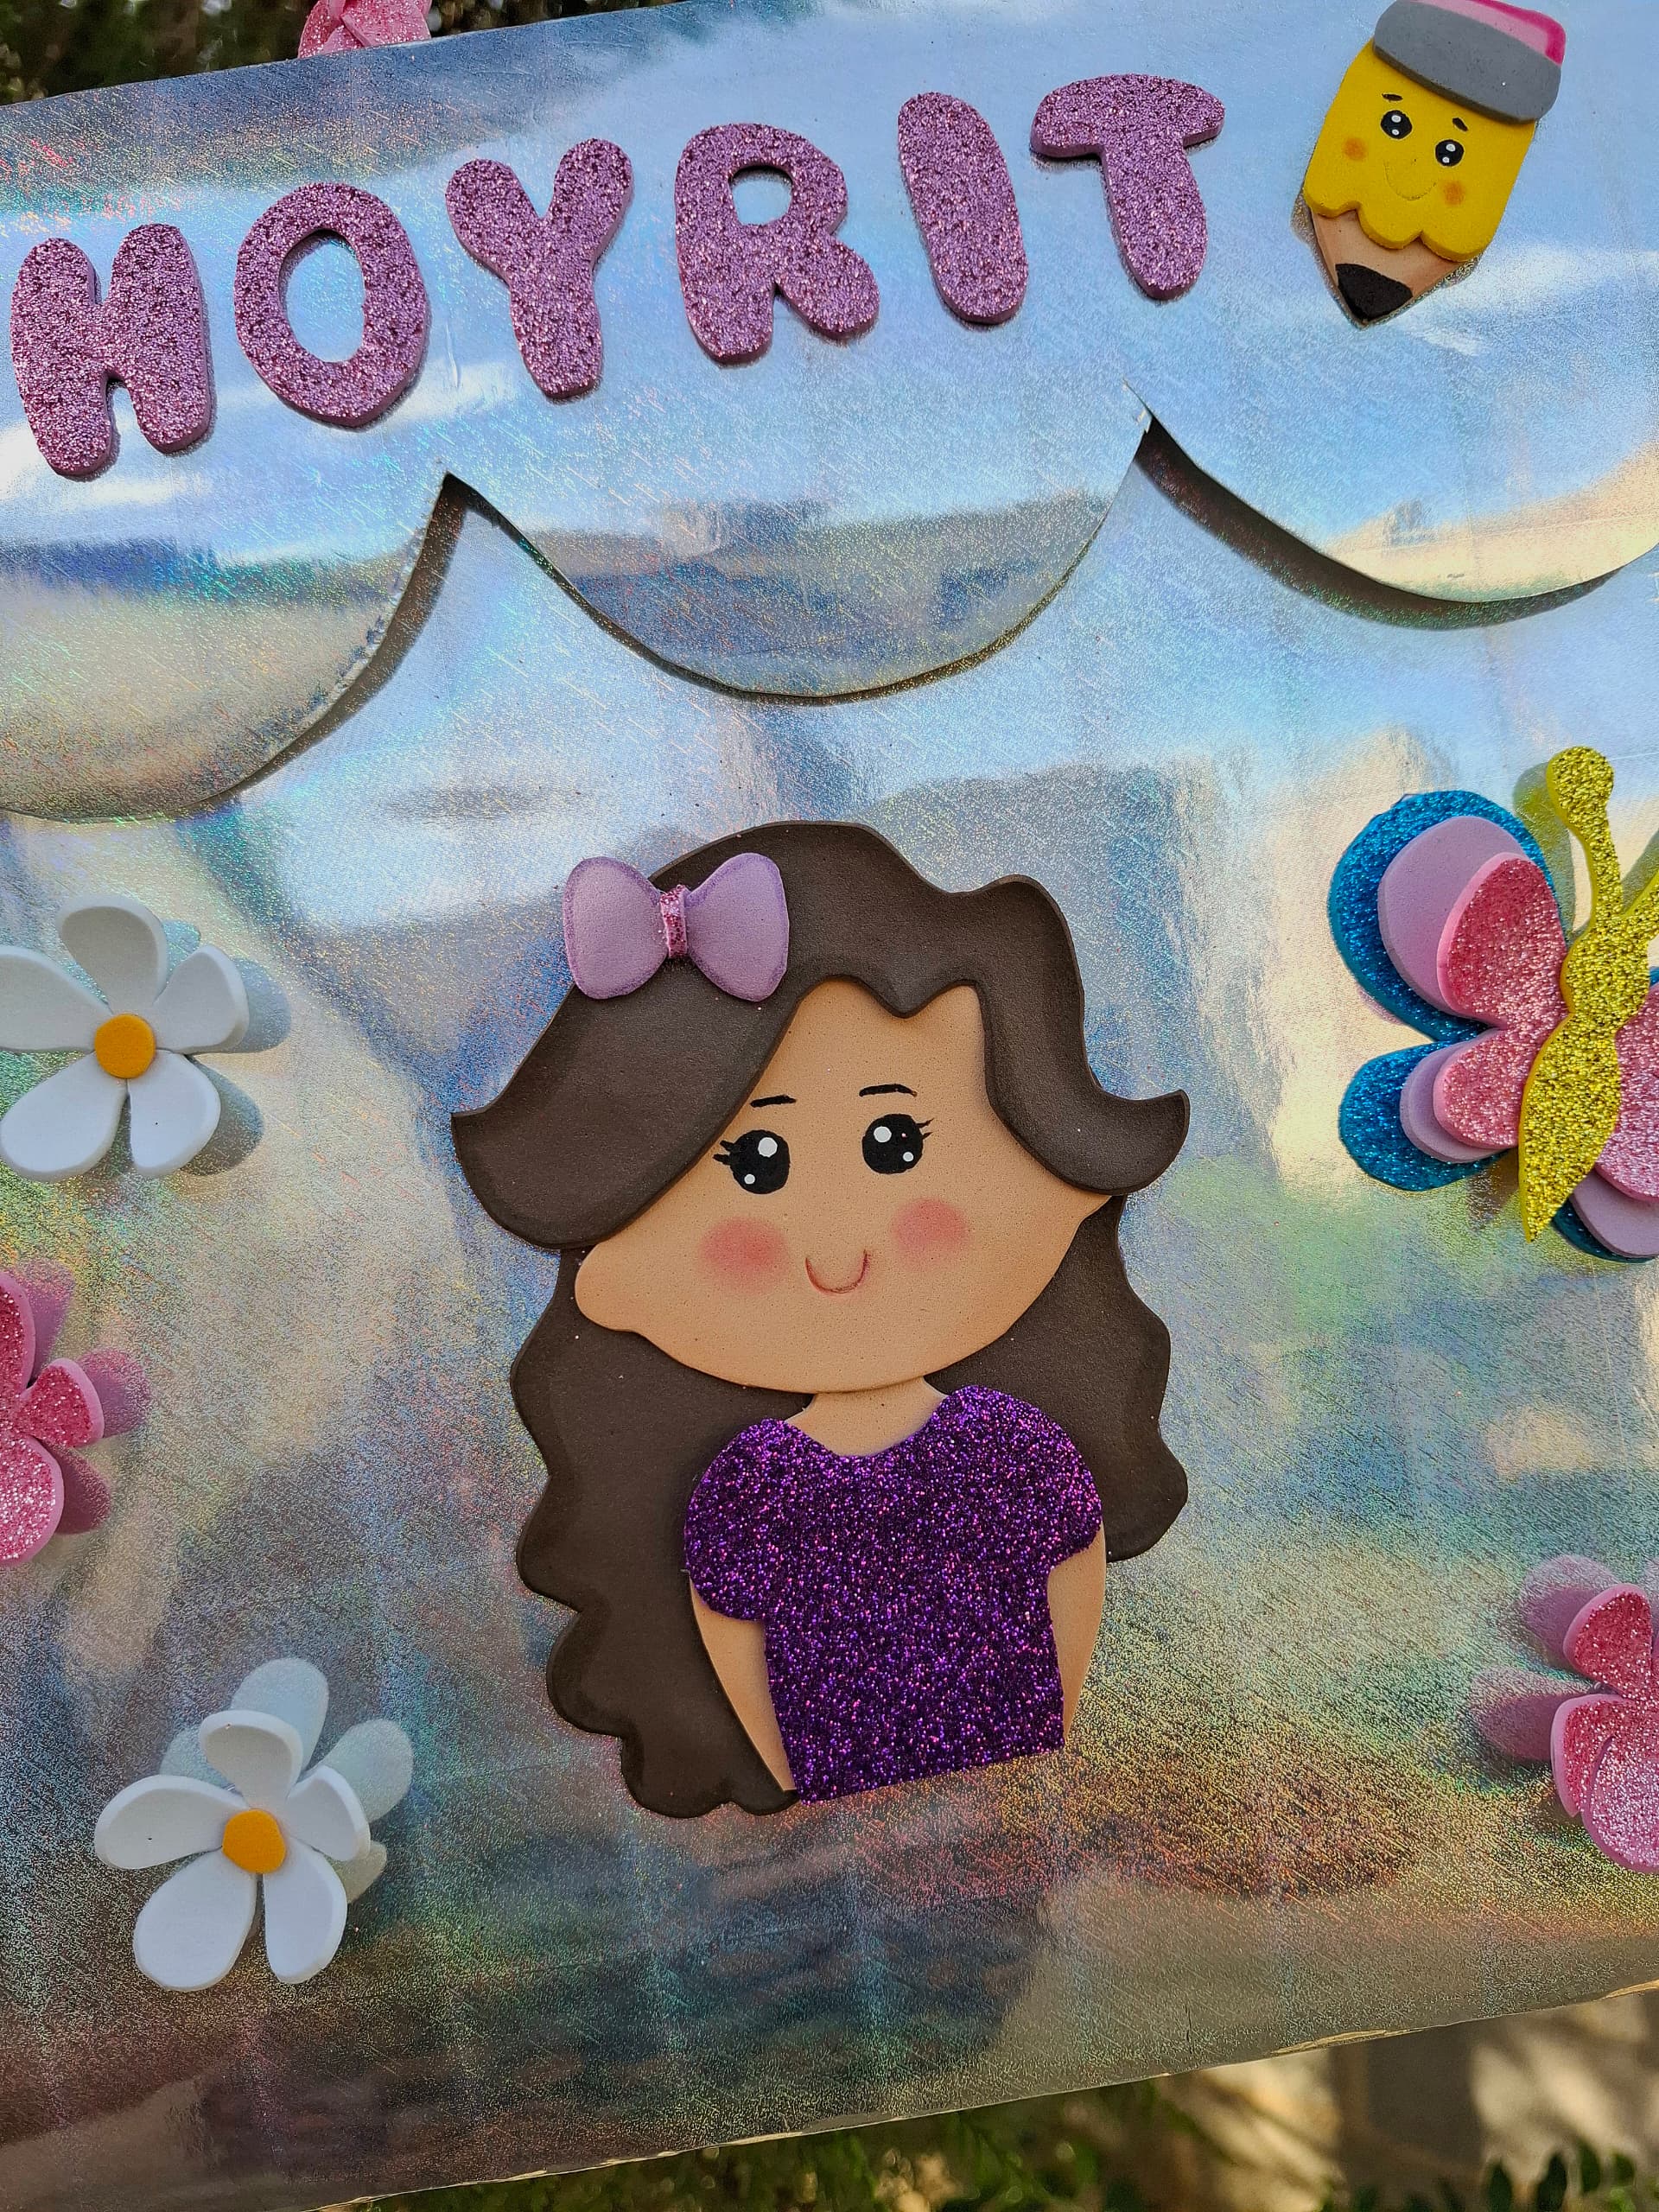
El último paso es ubicar los adornos en la parte delantera del portafolio, la muñeca en medio, al rededor las flores, mariposa, en la parte superior el nombre y lápiz. De esta forma terminé este lindo portafolio para niña, espero les haya gustado el resultado, muchas gracias por su apoyo y nos vemos en una próxima oportunidad con más ideas creativas.
The last step is to place the decorations in the front part of the portfolio, the doll in the middle, around the flowers, butterfly, at the top the name and pencil. In this way I finished this beautiful portfolio for a girl, I hope you liked the result, thank you very much for your support and see you next time with more creative ideas.

Contenido original. - original content.
Los separadores y banner fueron realizados en Canva. - The dividers and banner were made in Canva.
Las fotografias son tomadas con mi teléfono Redmi Note 11s y editadas en PicsArt - The photographs are taken with my Redmi Note 11s phone and edited in PicsArt.
Traducción de: Google traductor - Translation of: Google translator.
