Queridos emprendedores hoy estoy aquí de nuevo con ustedes, esta vez les traigo la segunda parte de mi primer tutorial en esta gran comunidad. En el primer tutorial aprendimos como registrarnos y abrir paso a paso nuestra primera tienda digital utilizando Shopify una excelente plataforma que tiene todo lo que necesitamos. Hoy te mostraré los pasos complementarios para la finalización del inicio de tu próspero negocio 🤞. Si estás leyendo esto y te estás preguntando de qué se trata, pues solo tienes que hacer clic aquí para ver mi primer tutorial, siempre recuerda que LAS GRANDES OPORTUNIDADES NACEN DE HABER SABIDO APROVECHAR LAS PEQUEÑAS.
Dear entrepreneurs, today I am here again with you, bringing the second part of my first tutorial in this great community. In the first tutorial, we learned how to register and step by step set up our first digital store using Shopify, an excellent platform that has everything we need. Today, I will show you the complementary steps to complete the start of your prosperous business 🤞. If you are reading this and wondering what it's all about, just click here to see my first tutorial. Always remember that GREAT OPPORTUNITIES COME FROM HAVING SEIZED THE SMALL ONES.

Imagen de mi Tienda desde la vista del cliente / Image of my Store from the customer's perspective
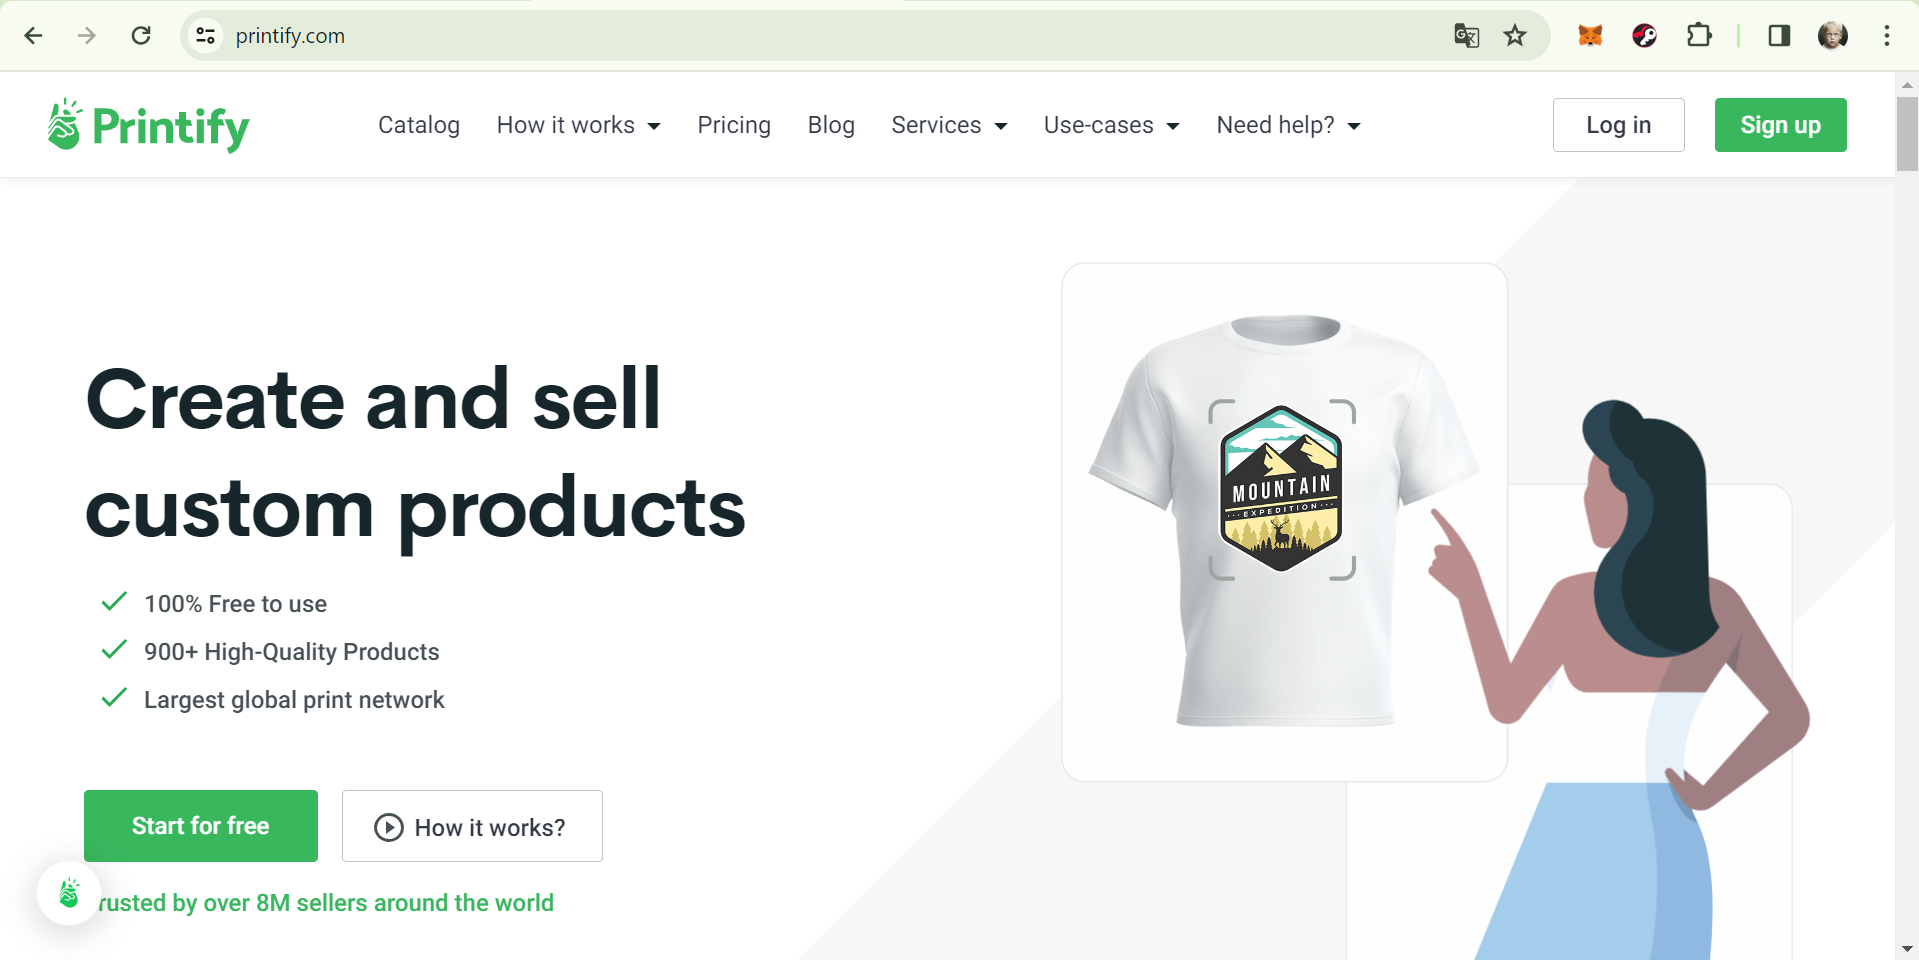
Como había dicho anteriormente, esta vez aprenderás a conectar Printify con nuestra tienda pero antes de comenzar con los primeros pasos necesitas entender qué es:
Printify es una plataforma de impresión bajo demanda que permite a los emprendedores crear y vender una amplia variedad de productos personalizados en línea. Con Printify, puedes conectar tu tienda en línea, como Shopify, con una red de proveedores de impresión y fabricación de todo el mundo. Esta integración te permite ofrecer una amplia gama de productos, desde camisetas y tazas hasta pósteres y fundas de teléfono, sin necesidad de mantener un inventario físico.
Sabiendo esto, creo que ya estamos encaminados hacia la creación de un prometedor negocio, a continuación te muestro el paso a paso:
As I mentioned earlier, this time you will learn how to connect Printify with our store, but before we start with the first steps, you need to understand what it is:
Printify is an on-demand printing platform that enables entrepreneurs to create and sell a wide variety of custom products online. With Printify, you can connect your online store, such as Shopify, with a network of printing and manufacturing providers worldwide. This integration allows you to offer a wide range of products, from t-shirts and mugs to posters and phone cases, without the need to maintain physical inventory.
Now that you understand this, I believe we're on the right track towards creating a promising business. Here's the step-by-step process
Paso 1: Crear una cuenta en Printify
- Abre tu navegador y ve a Printify
Step 1: Create an account on Printify
- Open your browser and go to Printify
- Haz clic en "Star for Free"(Empieza Gratis) en la esquina inferior izquierda.
- Click on "Start for Free" in the bottom left corner.
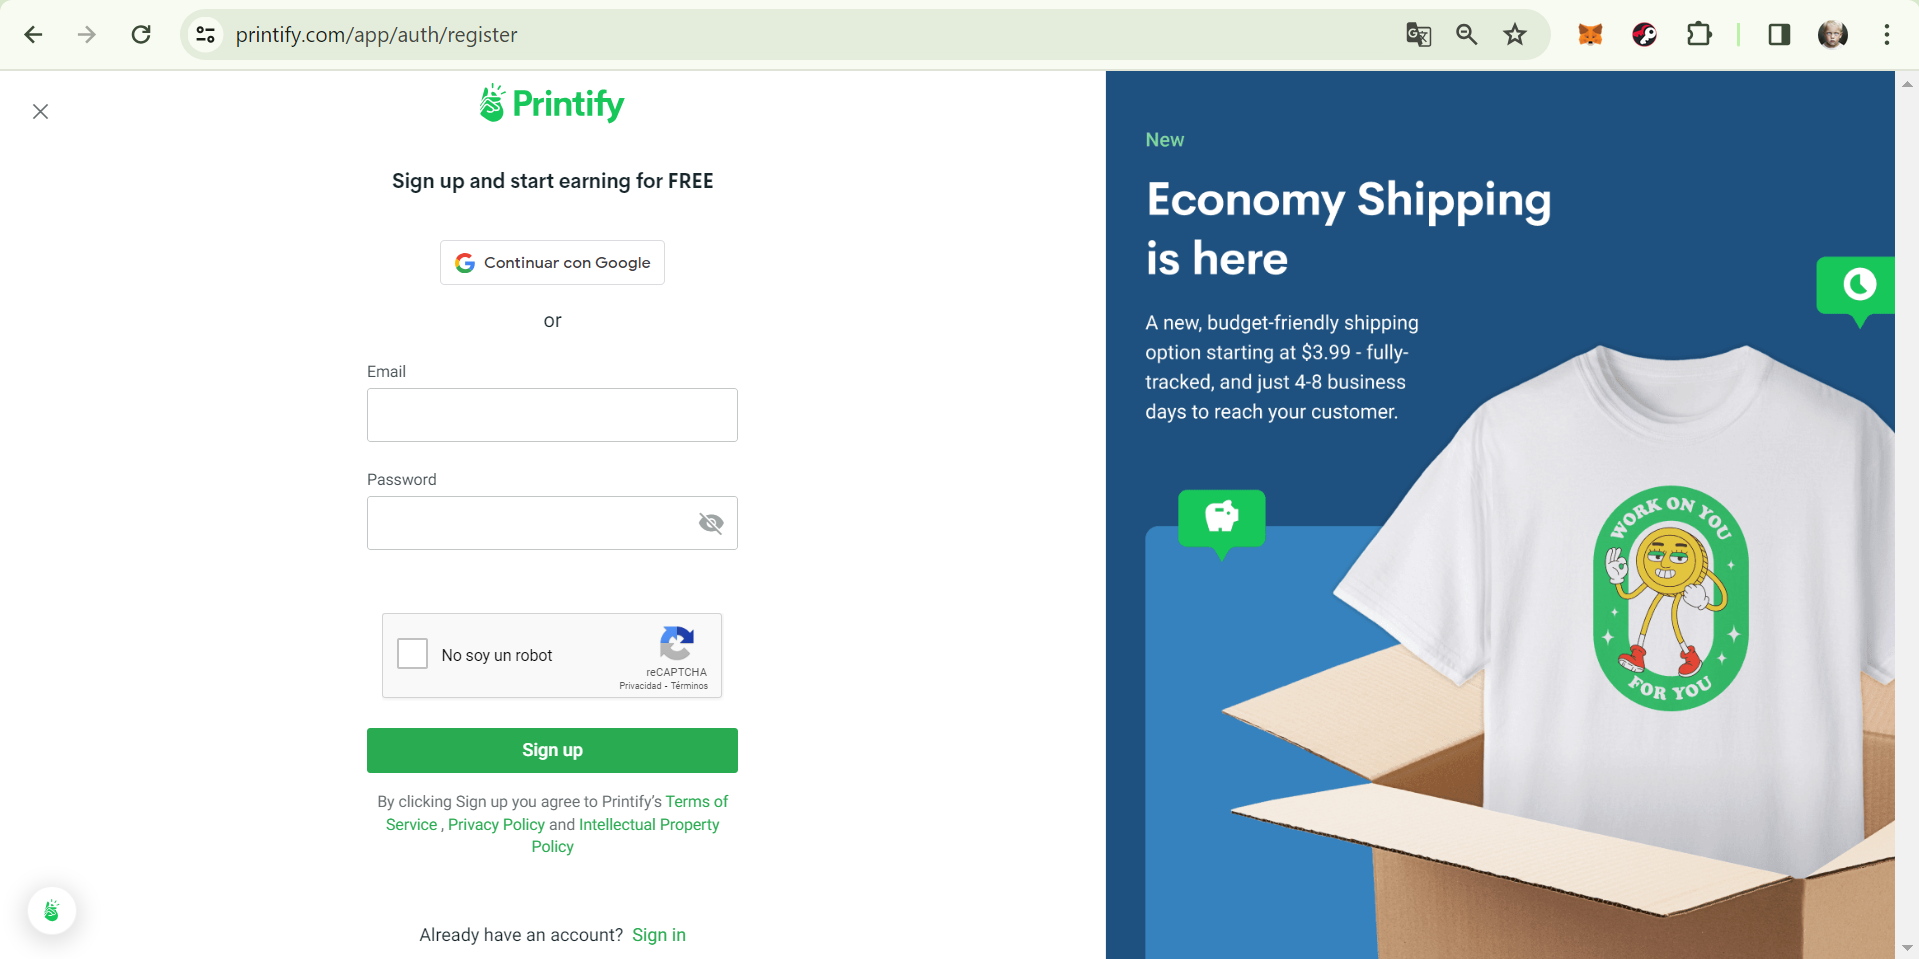
- Completa el formulario de registro con tu información requerida.
- Complete the registration form with your required information.
- Una vez registrado, inicia sesión en tu cuenta de Printify.
- Once registered, log in to your Printify account.
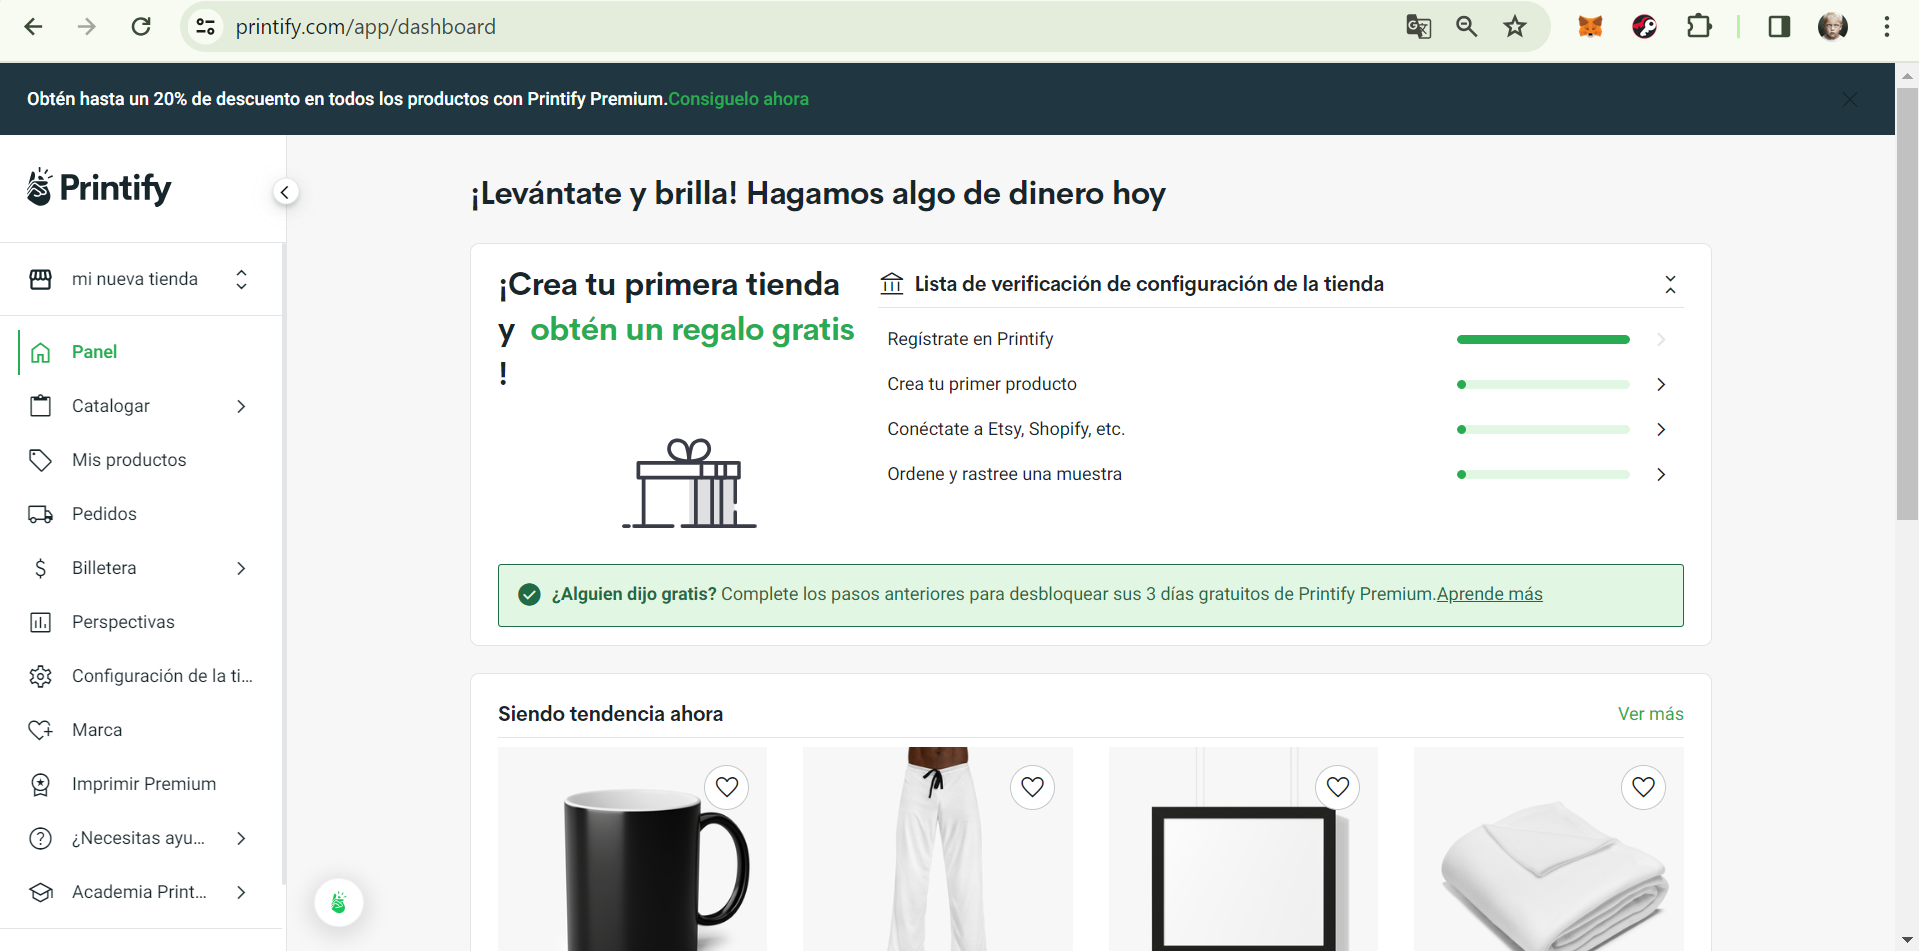
Una vez que tengamos lista nuestra cuenta, debemos regresar a nuestra tienda de Shopify (ya deberías tenerla lista como aprendimos en el tutorial anterior) para instalar la aplicación de Printify en esta, lo que nos llevaría al paso 2.
Paso 2: Instalar la aplicación de Printify en Shopify
Step 2: Install the Printify App on Shopify
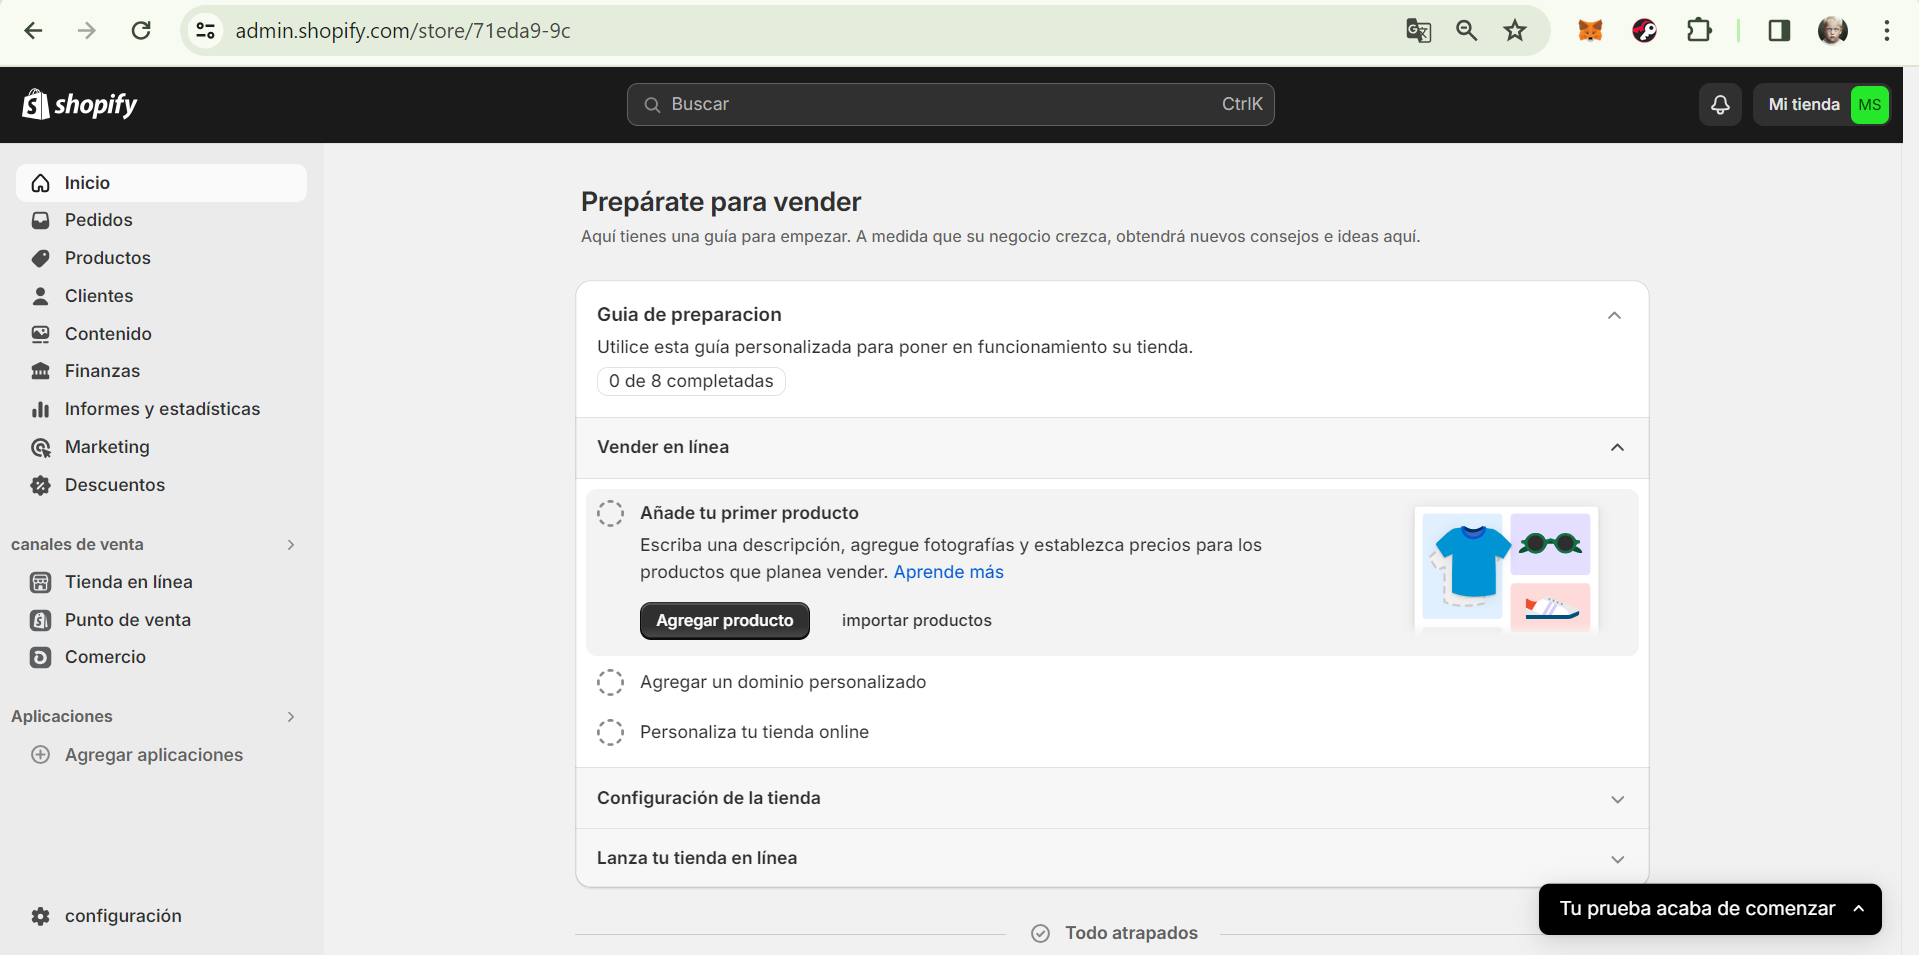
- En tu panel de administración de Shopify (menú a la izquierda de la pantalla), haz clic en "Apps" (Aplicaciones).
- In your Shopify admin panel (left menu of the screen), click on "Apps".

- Haz clic en "Visit the Shopify App Store" (Visitar la tienda de aplicaciones de Shopify).
- Busca "Printify" en la barra de búsqueda.
- Selecciona la aplicación "Printify ‑ Print on Demand".
- Click on "Visit the Shopify App Store".
- Search for "Printify" in the search bar.
- Select the "Printify - Print on Demand" application.
- Haz clic en "Add app" (Agregar aplicación) y sigue las instrucciones para instalarla en tu tienda.
- Click on "Add app" and follow the instructions to install it on your store.
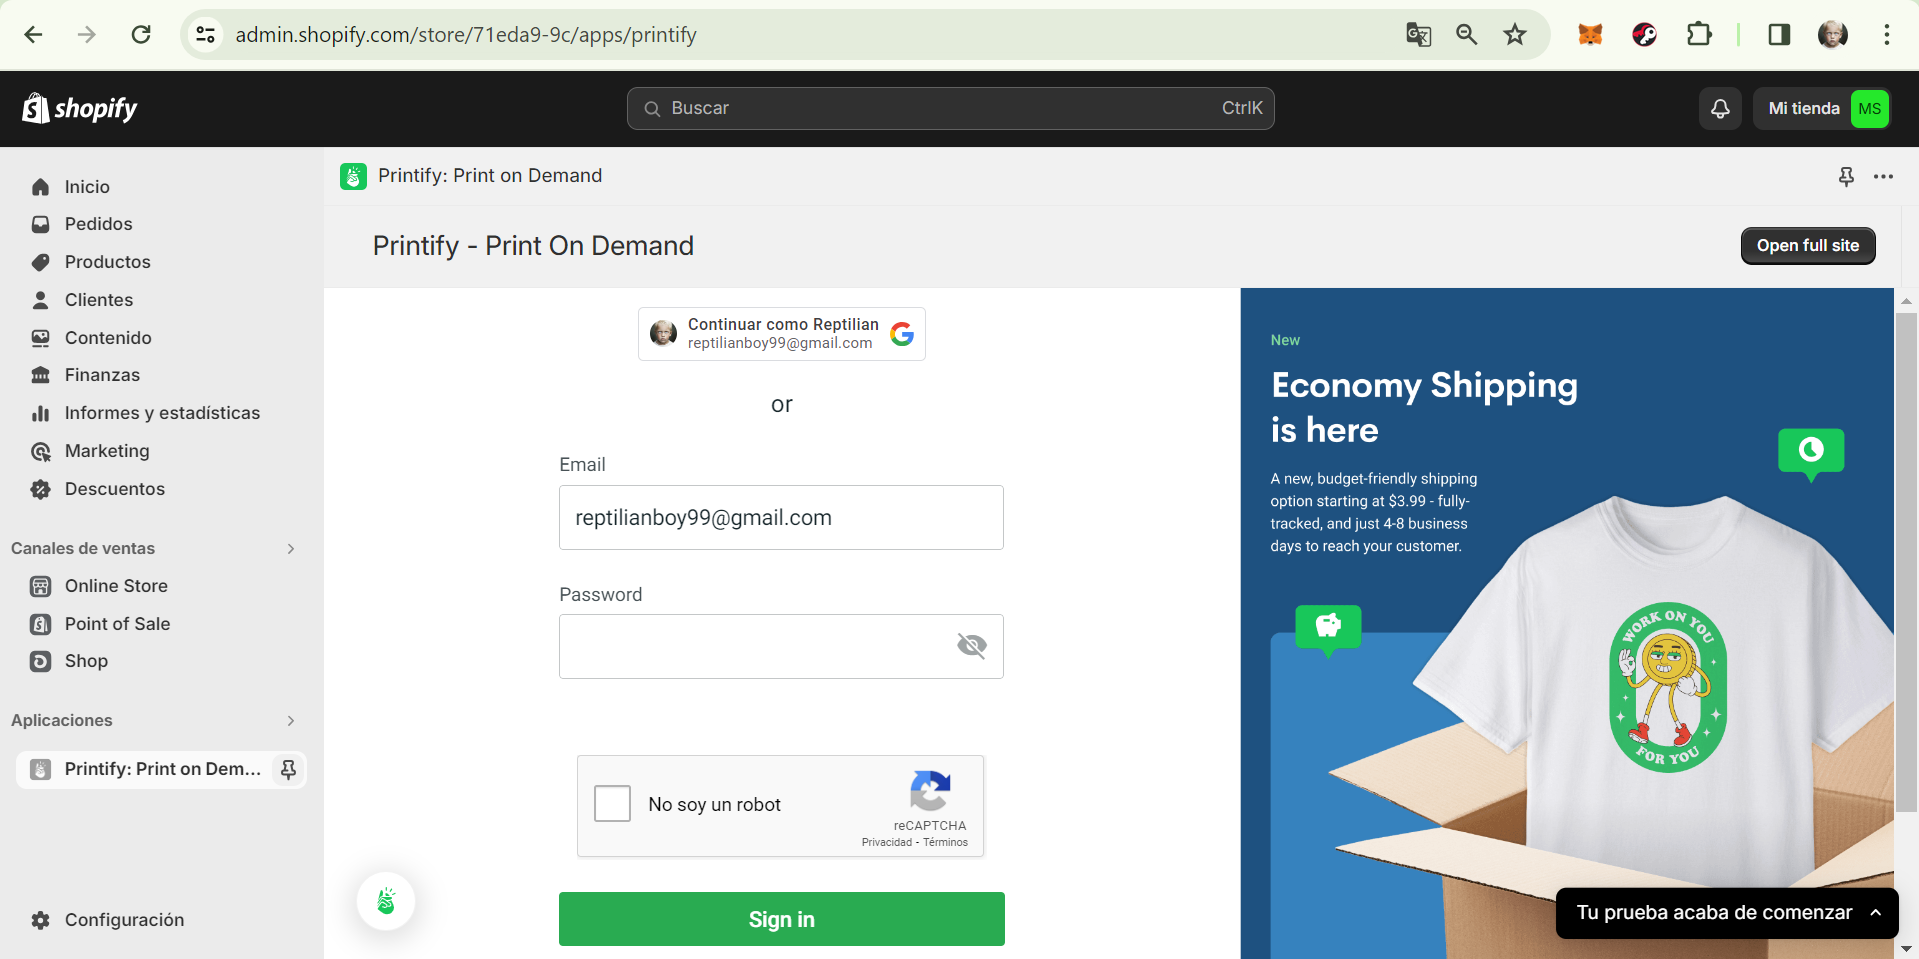
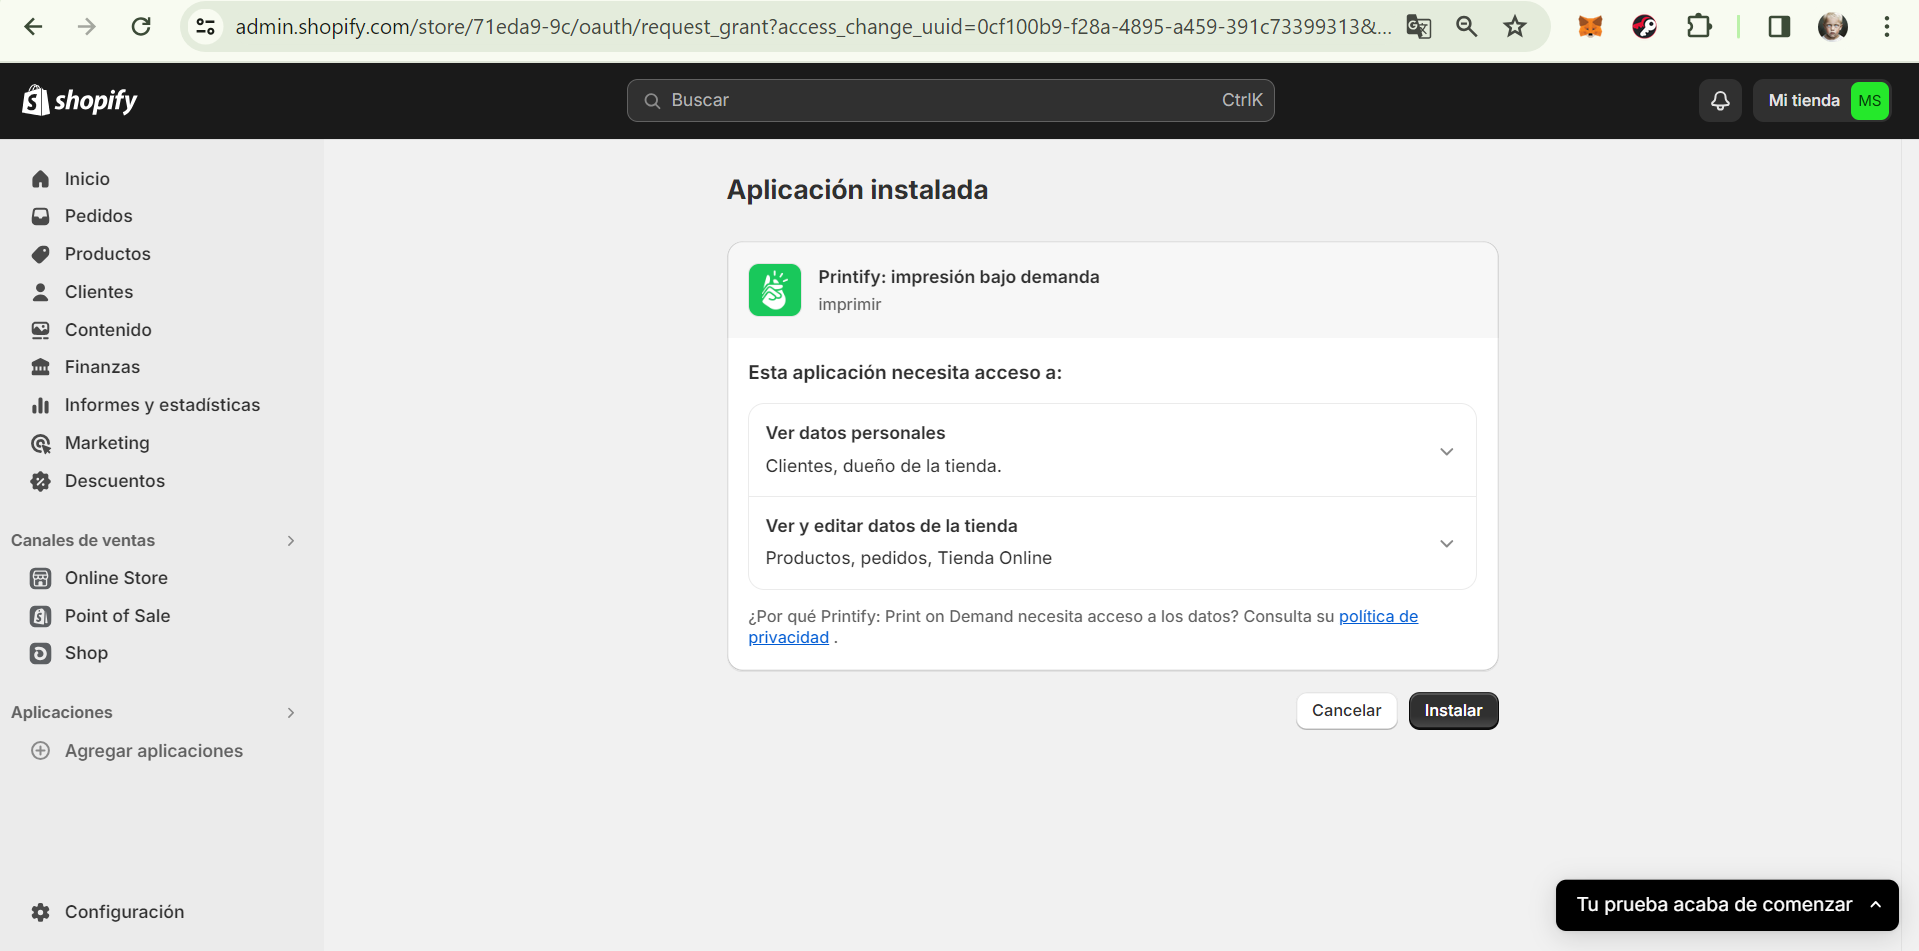
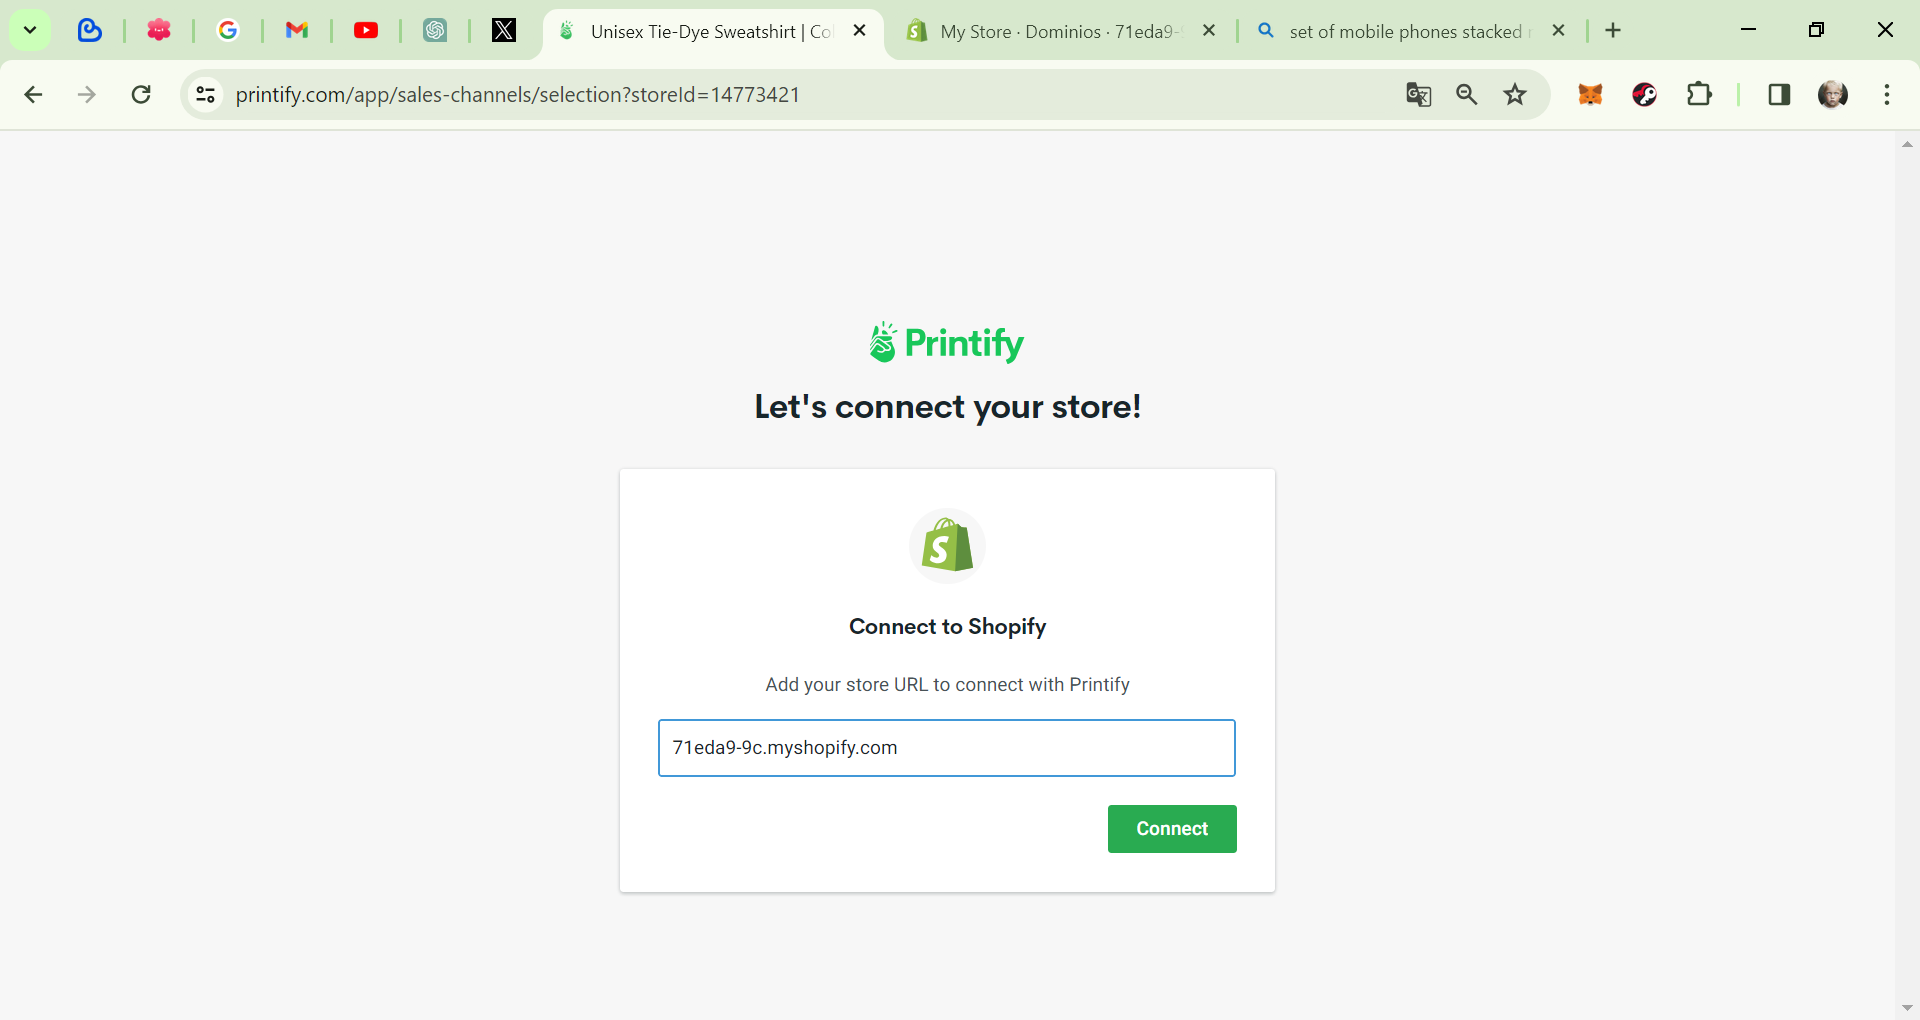
Paso 3: Conectar Printify con Shopify
- Después de instalar la aplicación de Printify, haz clic en "Apps" (Aplicaciones) en tu panel de administración de Shopify.
- Selecciona la aplicación de Printify.
- Haz clic en "Connect" (Conectar) y sigue los pasos para autorizar la conexión entre Printify y Shopify.
Step 3: Connect Printify with Shopify
- After installing the Printify application, click on "Apps" in your Shopify admin panel.
- Select the Printify application.
- Click on "Connect" and follow the steps to authorize the connection between Printify and Shopify.
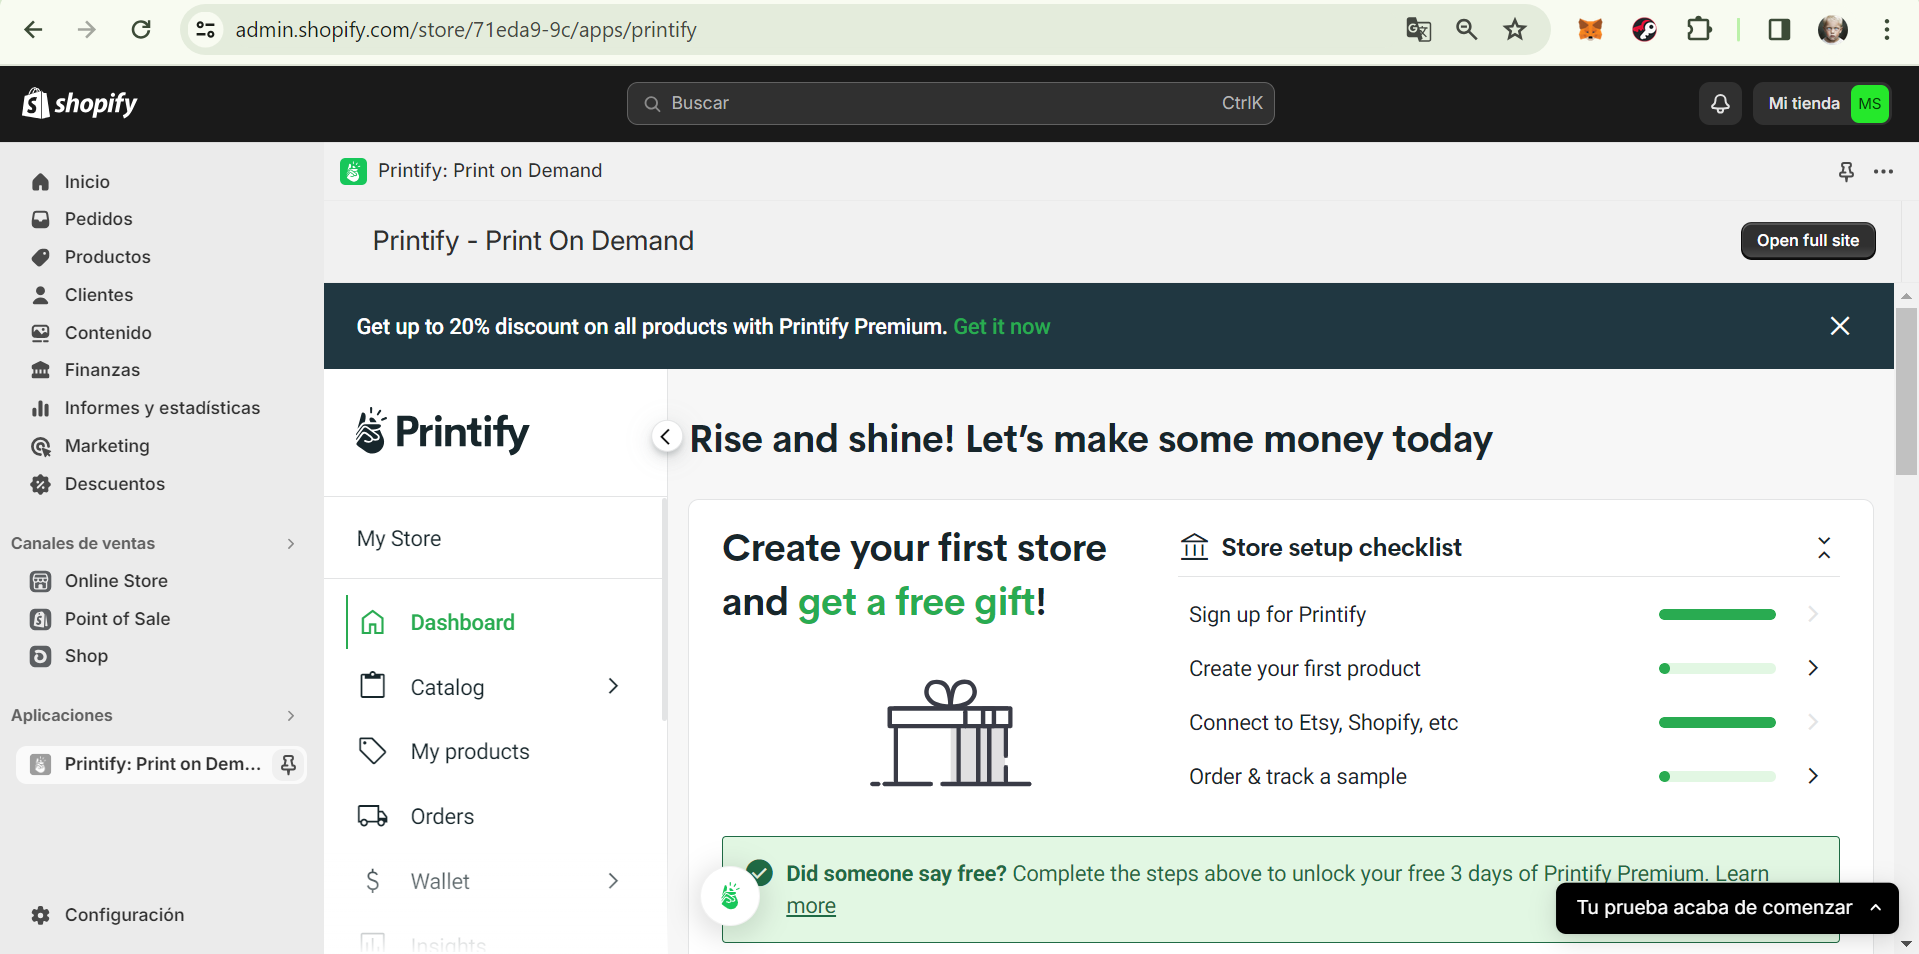
- Una vez conectadas las cuentas, podrás comenzar a gestionar tus productos de Printify directamente desde tu tienda Shopify.
- Once the accounts are connected, you can start managing your Printify products directly from your Shopify store.
Paso 4: Agregar productos en Printify
Step 4: Adding Products in Printify
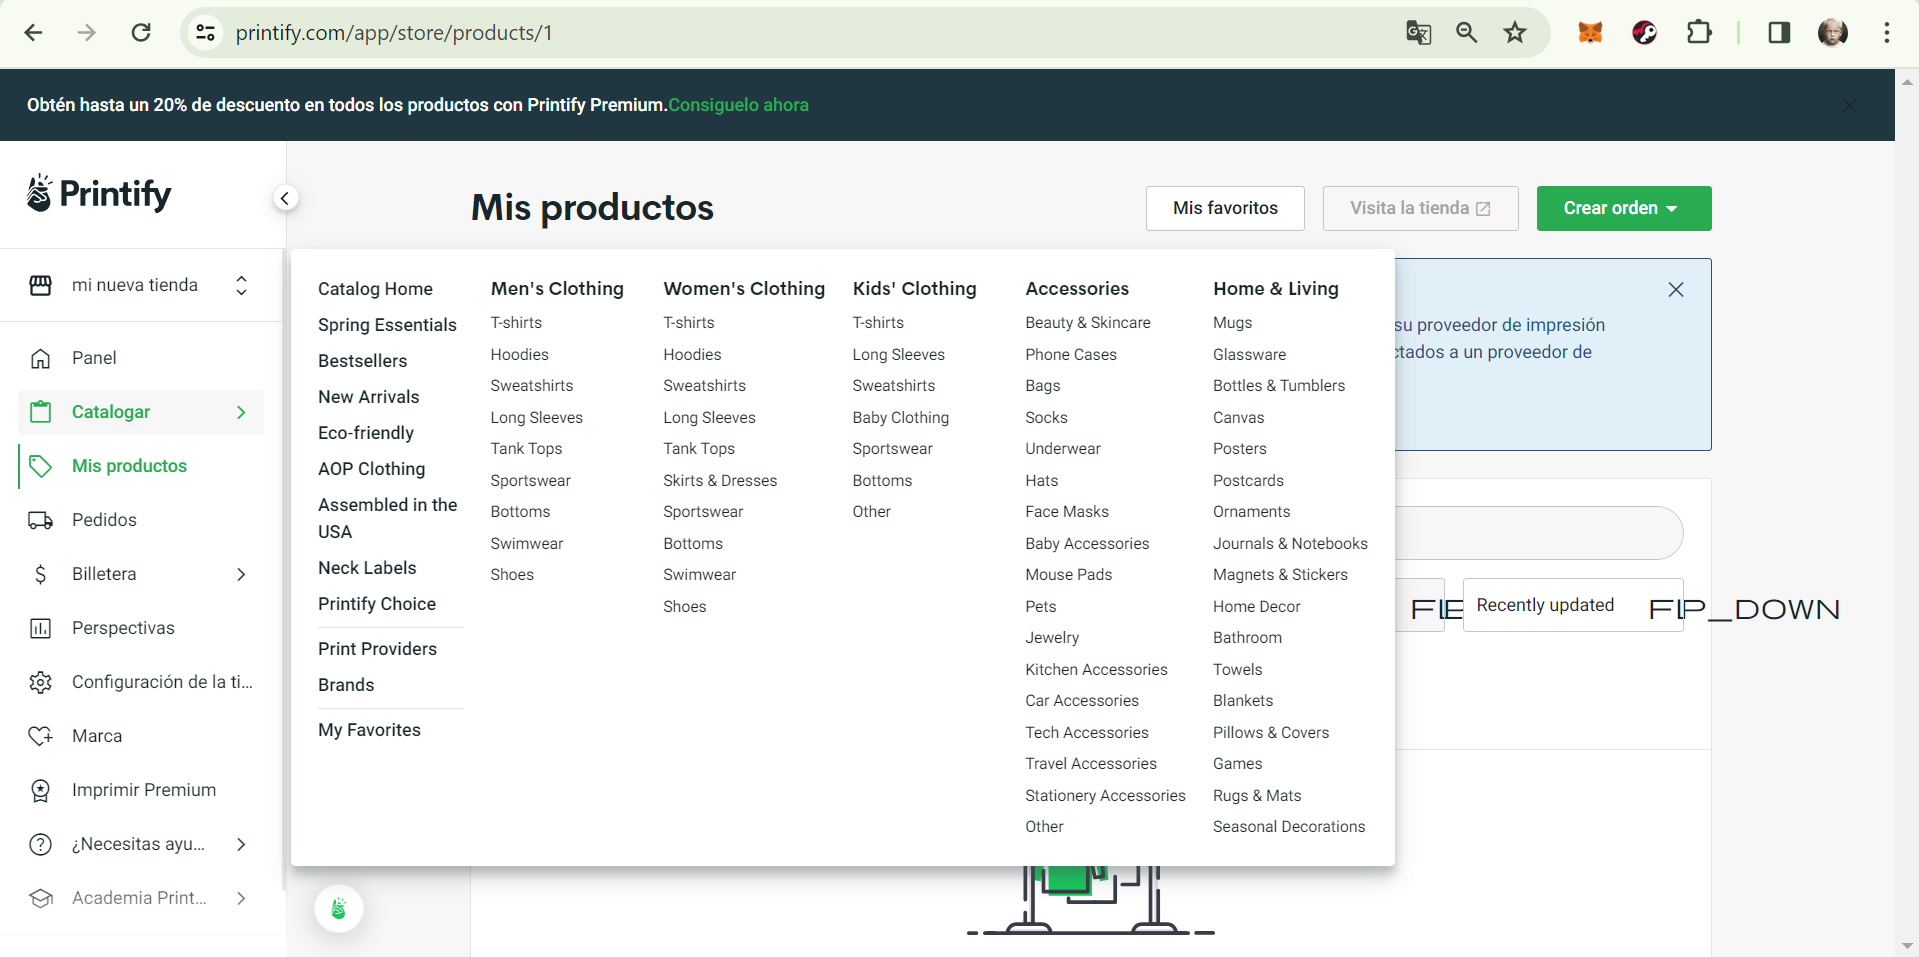
- En tu cuenta de Printify, haz clic en "Catálogo" en la barra de navegación. Aquí encontrarás un sinnúmero de productos a tu disposición
- In your Printify account, click on "Catalog" in the navigation bar. Here, you'll find a countless of products at your disposal.
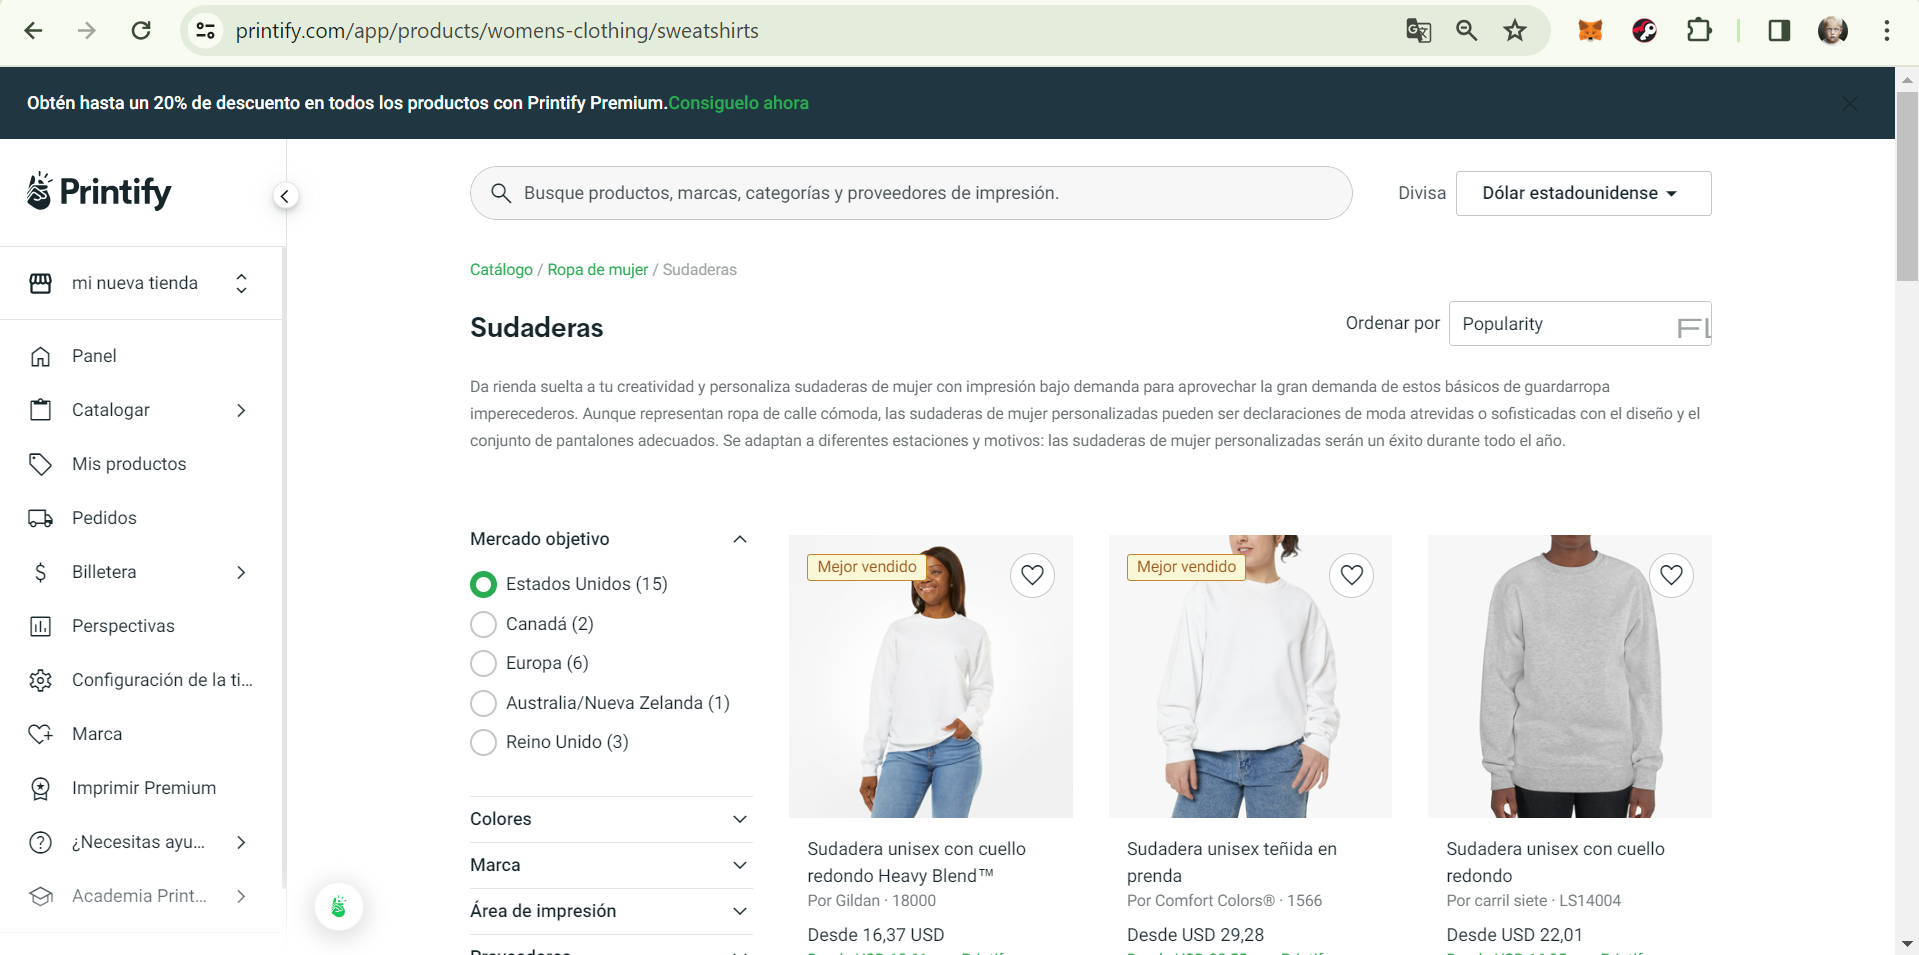
- Como ejemplo tomé el nicho "Sudaderas de Mujer"
- As an example, I chose the niche "Women's Hoodies".
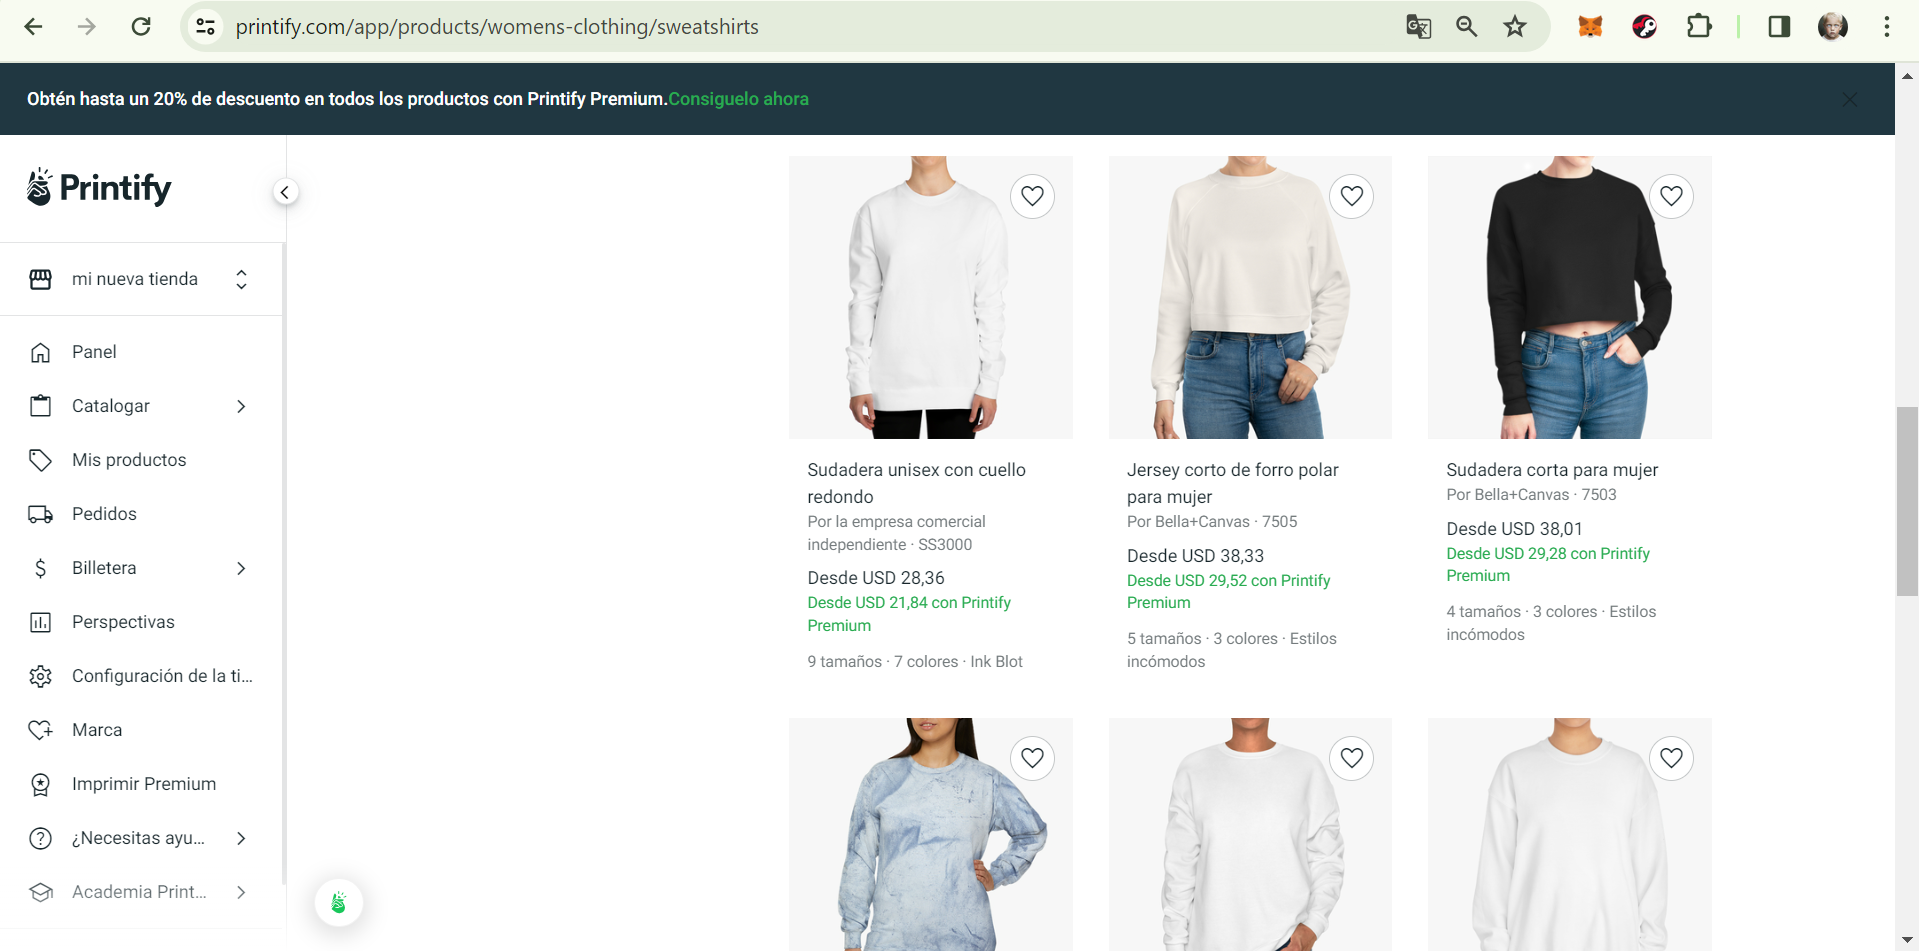
- Explora los productos disponibles y elige los que deseas vender en tu tienda Shopify.
- Explore the available products and choose the ones you want to sell in your Shopify store.
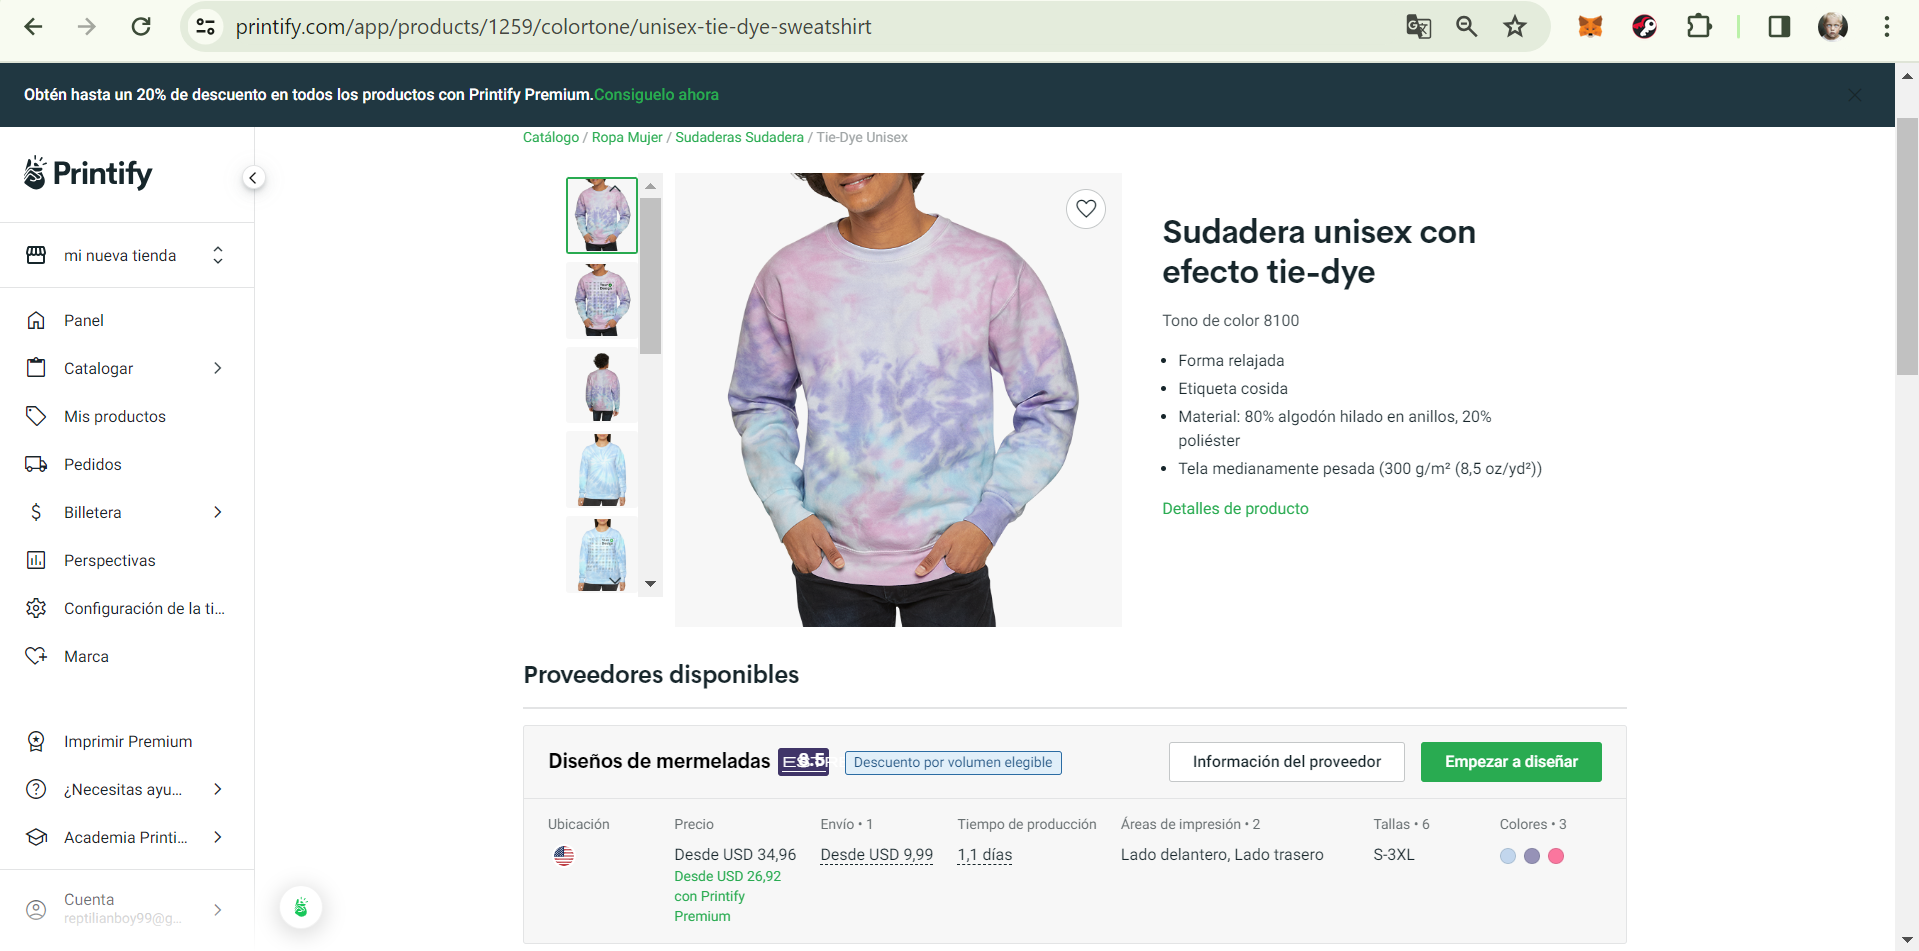
- Haz clic en un producto para ver los detalles y las opciones de personalización.
- Click on a product to view the details and customization options.
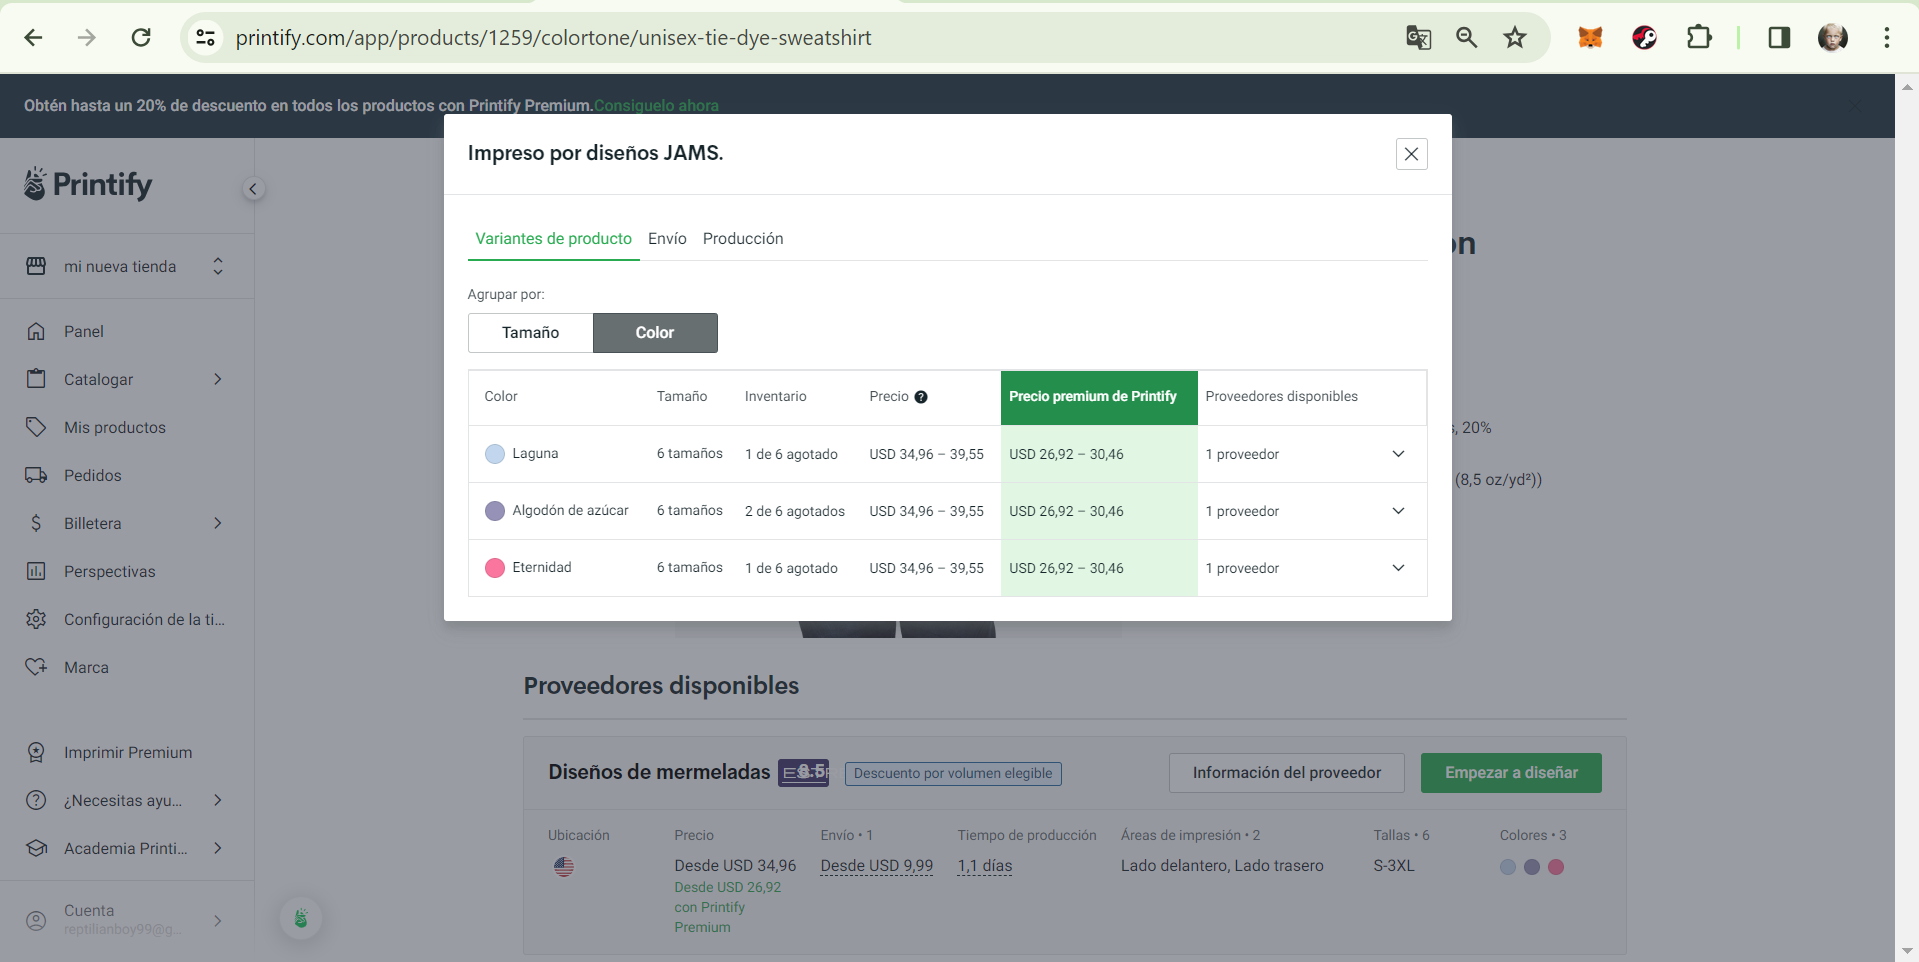
- Selecciona un proveedor y elige las variantes de productos que deseas ofrecer.
- Select a supplier and choose the product variants you want to offer.
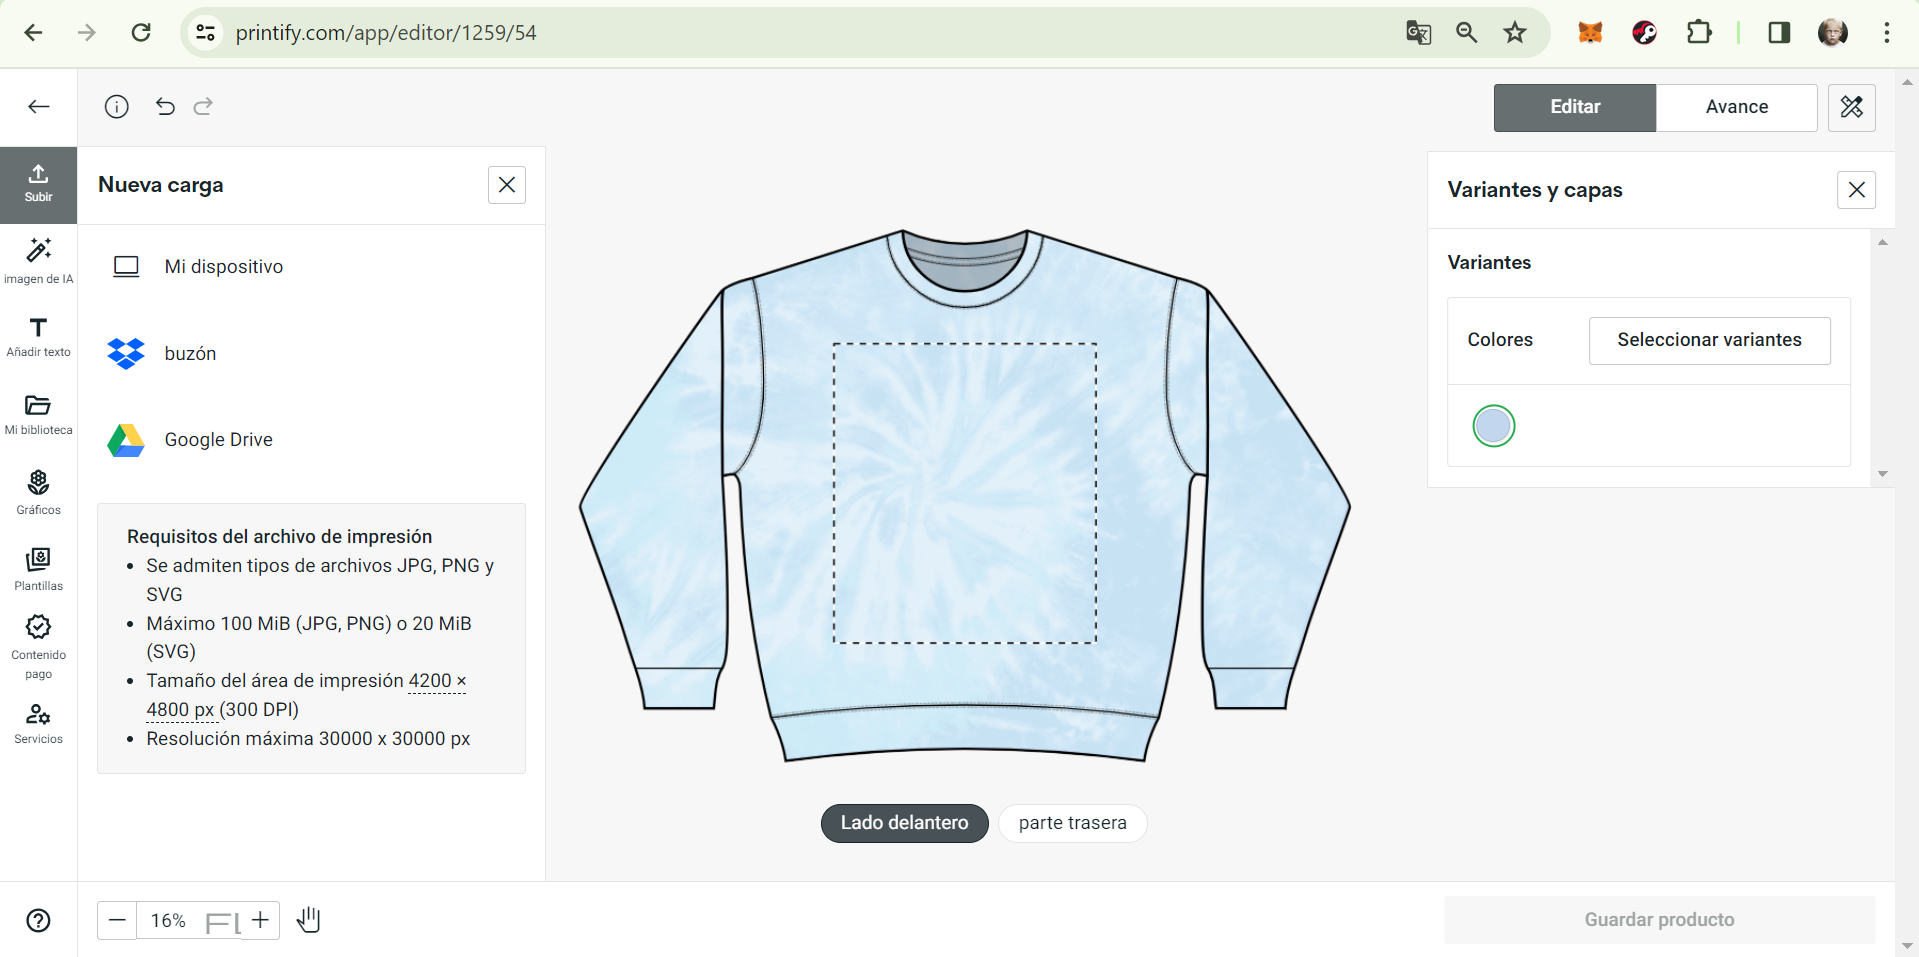
- Una vez dentro de la pantalla de personalización del producto, tenemos a la izquierda de nuestra pantalla las herramientas que necesitamos, por ejemplo, la primera opción que aparece "Subir" es donde seleccionamos la imagen para iniciar la personalización del producto.
- Once inside the product customization screen, we have the tools we need on the left side of our screen. For example, the first option that appears, "Upload", is where we select the image to start customizing the product.
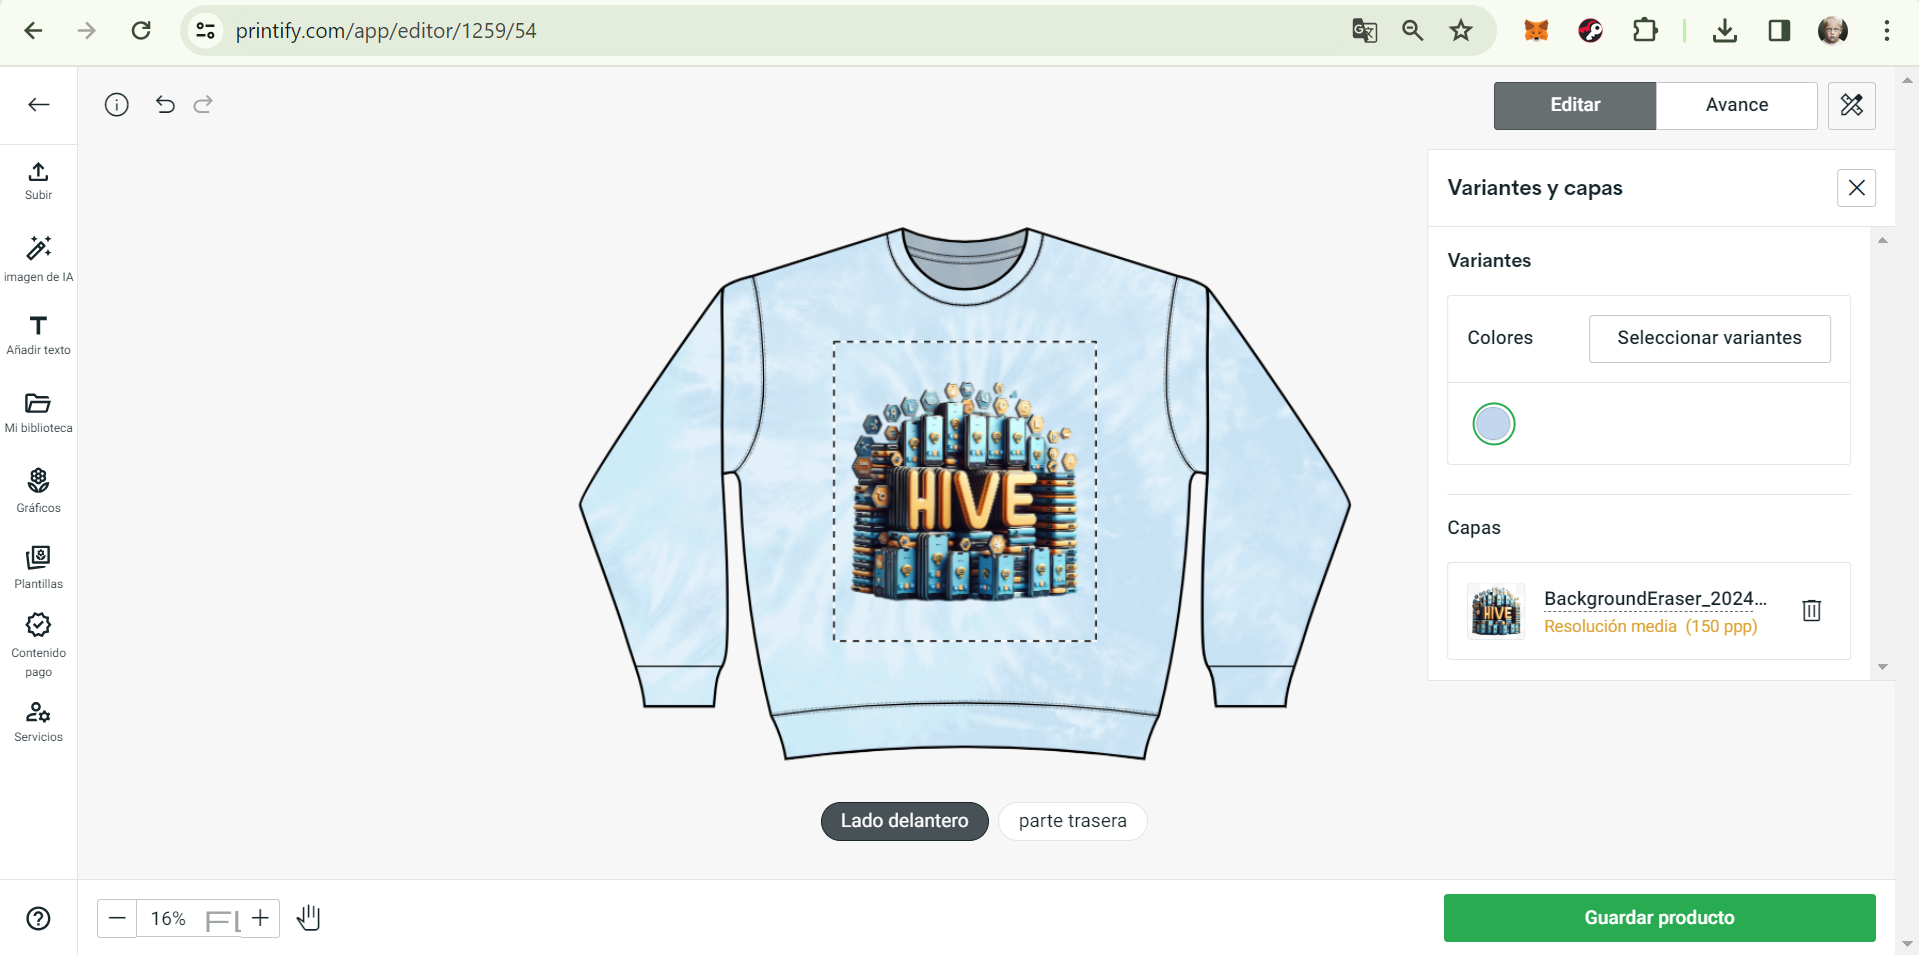
- Seleccionamos la imagen y comenzamos el proceso, ya será tu deber explorar y relacionarte con todas estas opciones.
- Select the image and begin the process. It will now be your responsibility to explore and familiarize yourself with all these options.
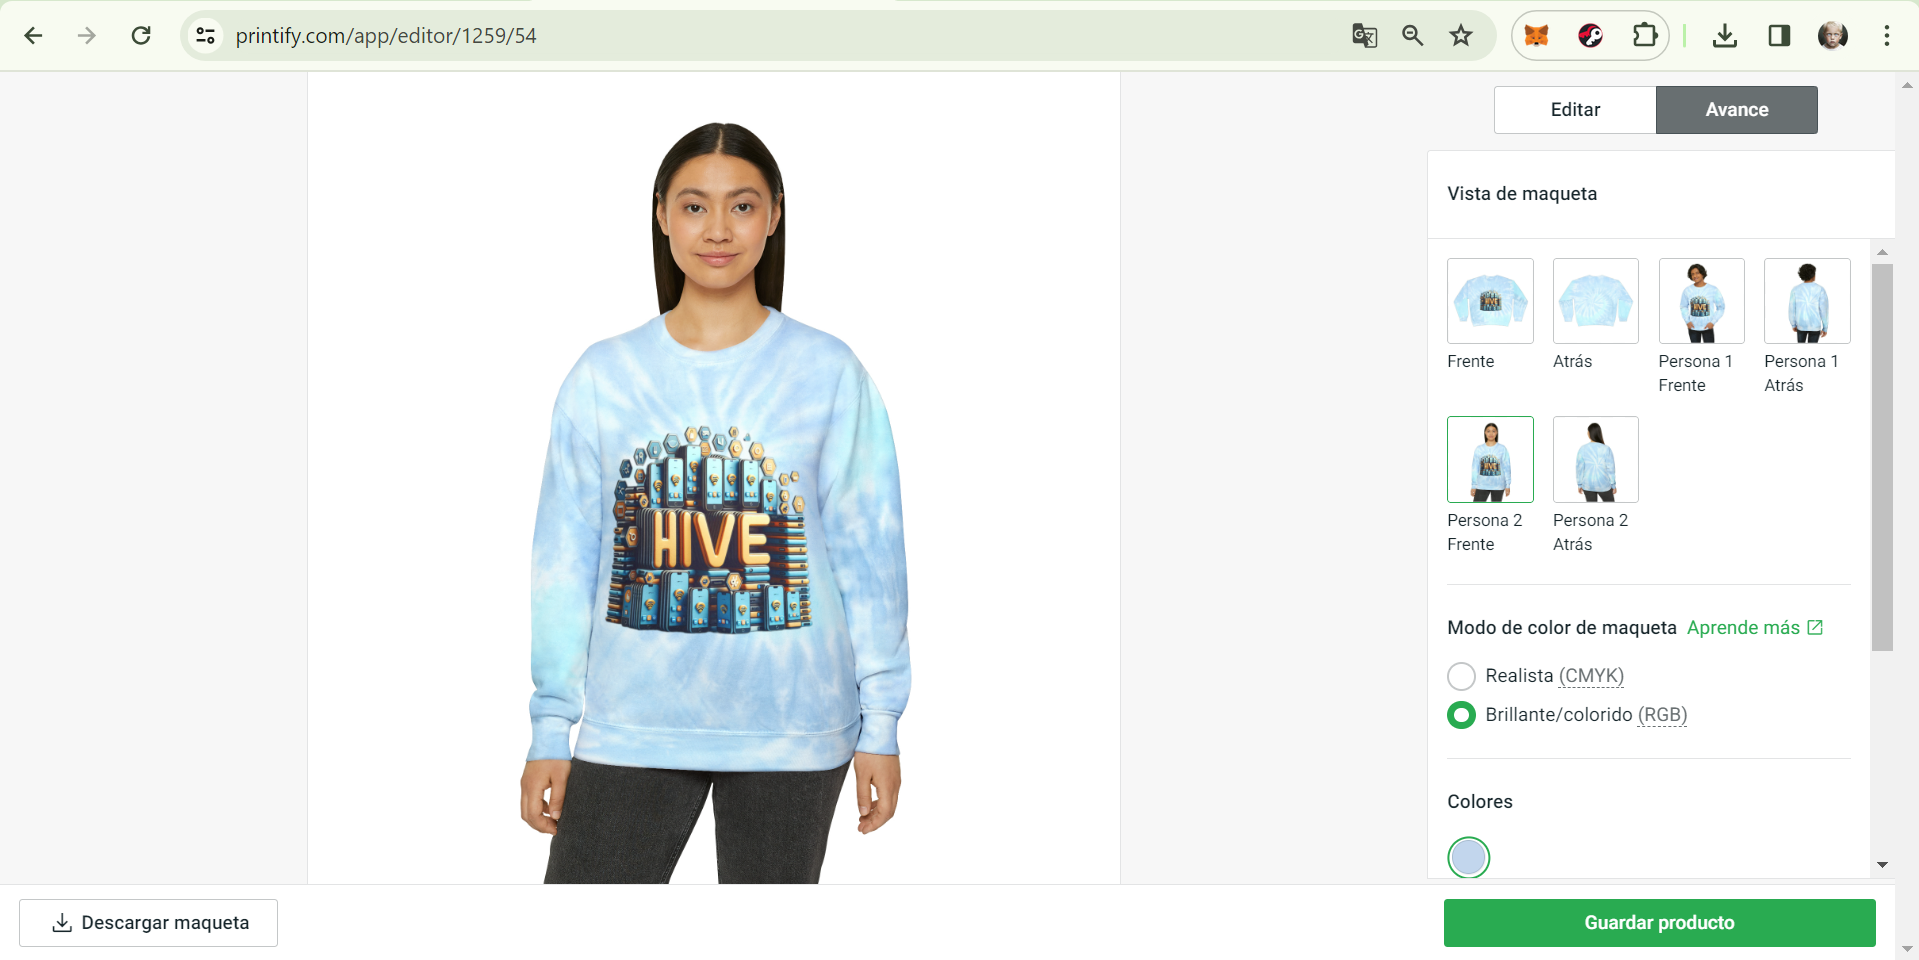
- Si estás satisfecho con tu diseño final, toca en "Avance" esquina superior derecha, para revisar el trabajo
- If you're satisfied with your final design, click on "Preview" in the top right corner to review the work.
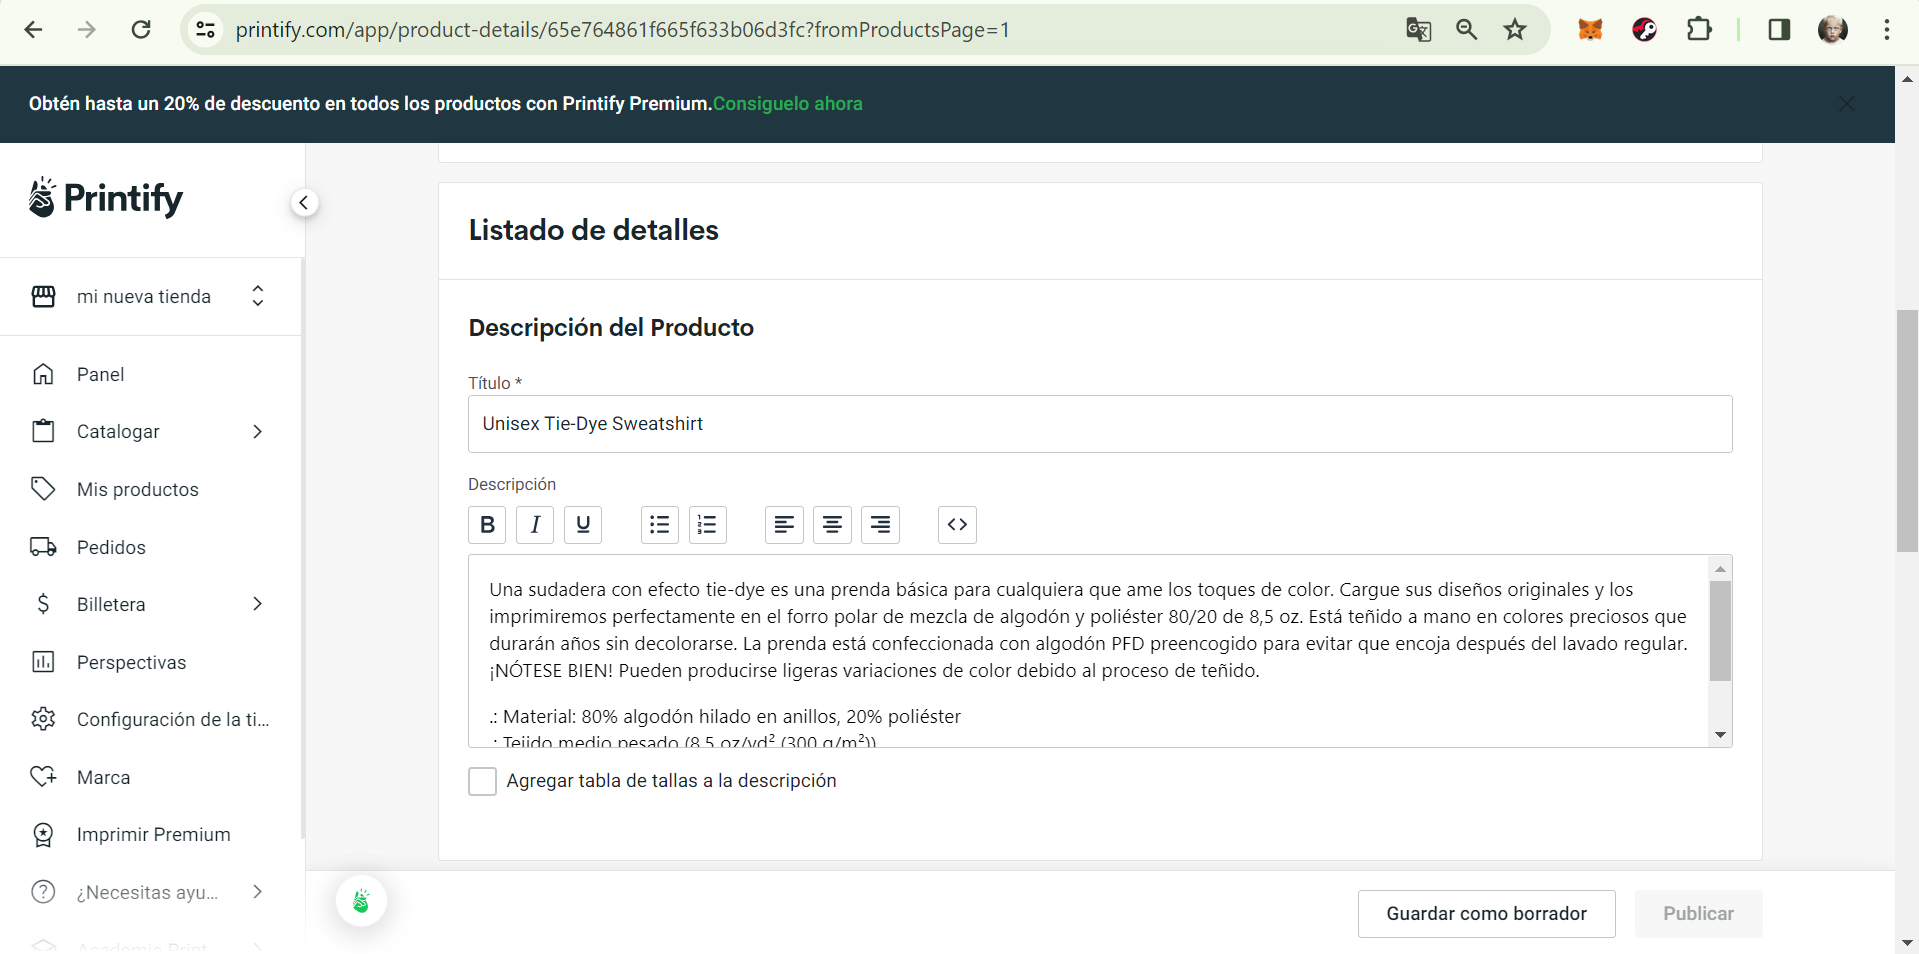
- Ya guardado el producto, nos saldrá la pantalla de "Listado de detalles", aquí es donde nos toca agregar toda la información, incluyendo el precio, talla, descripción, etc...
- Once the product is saved, you'll see the "Details Listing" screen, where you need to add all the information, including price, size, description, etc...

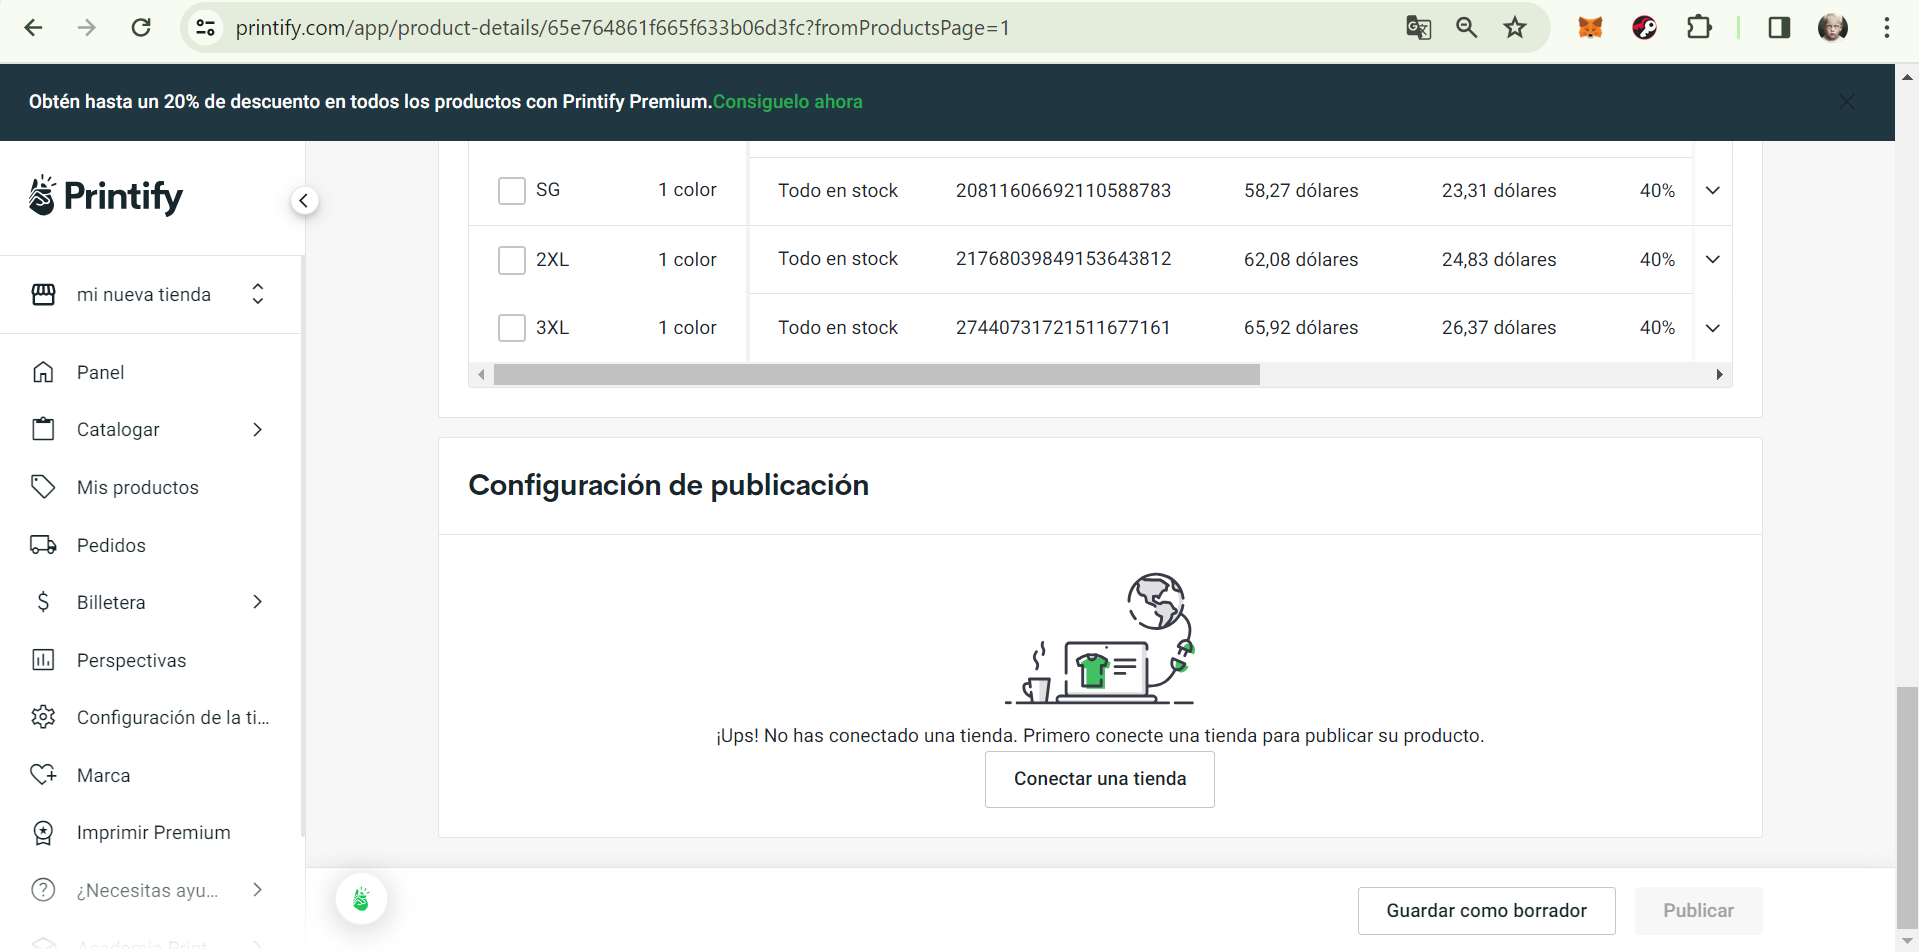
- Para finalizar haz clic en "Conectar una tienda" para conectar el producto a tu tienda Shopify.
- Finally, click on "Connect a store" to connect the product to your Shopify store.
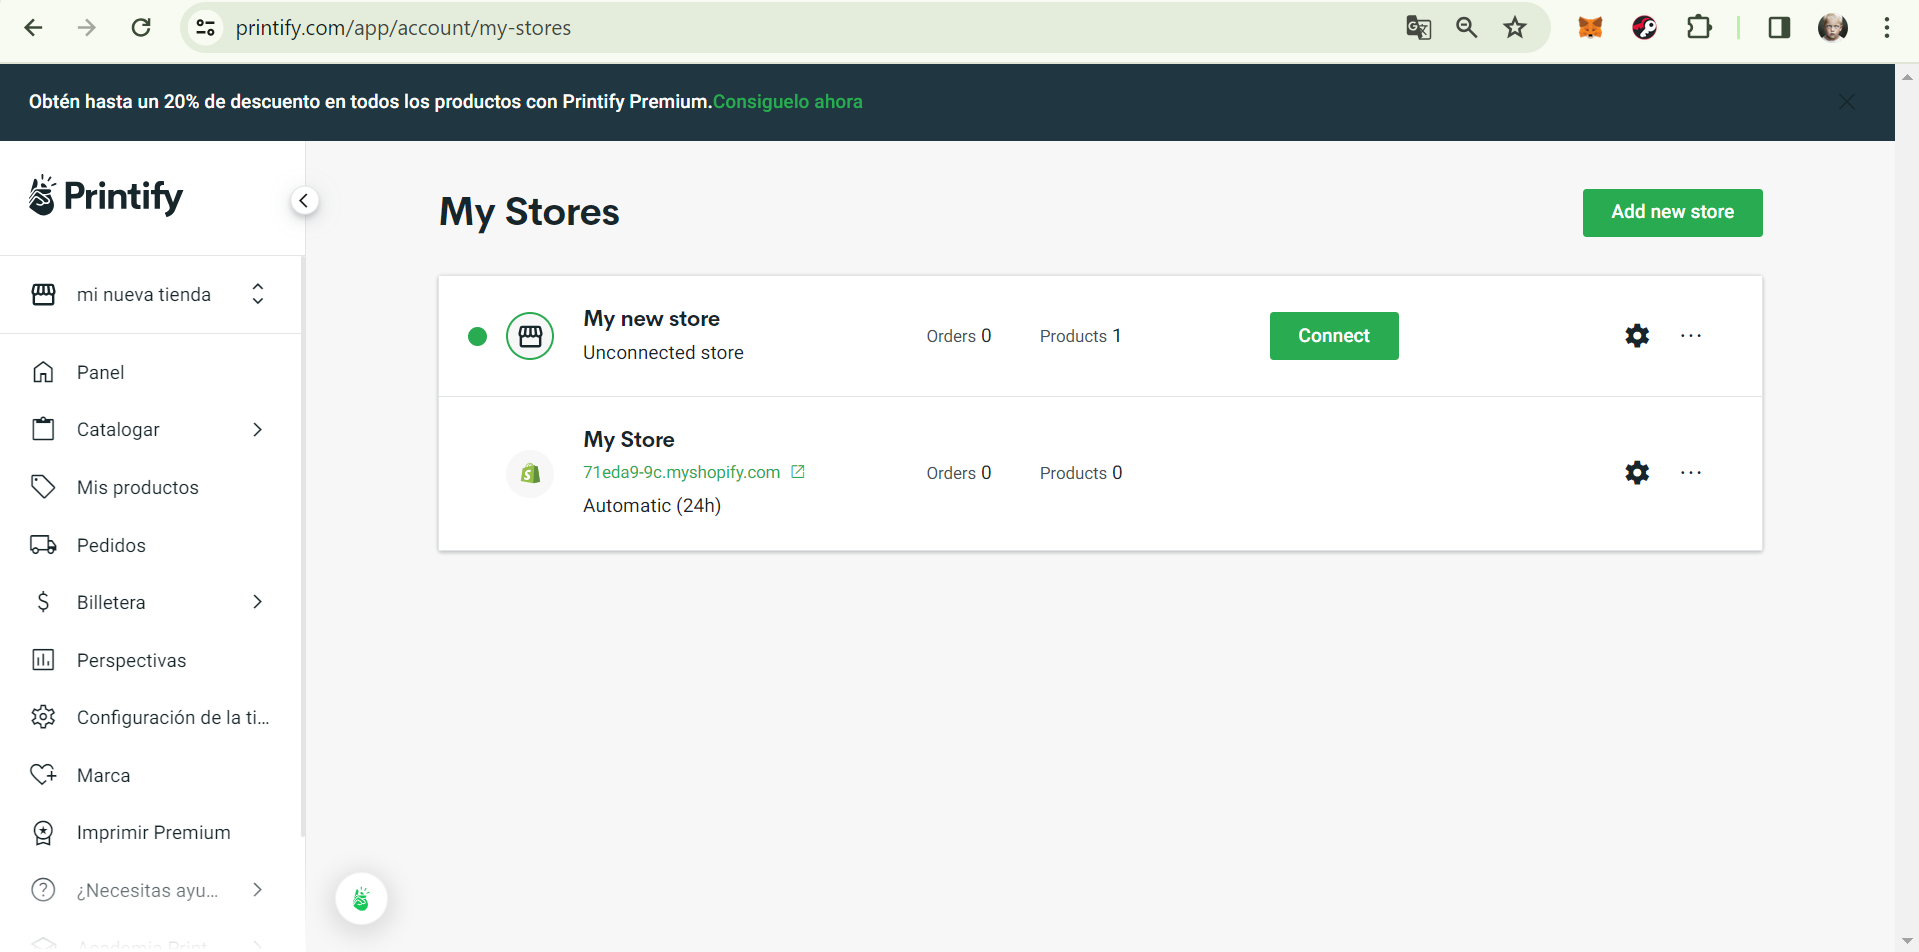
- Seleccionamos nuestra tienda de Shopify, clic en "Connect"
- Select your Shopify store, then click on "Connect".
Ya casi estamos listos para empezar a vender, solo quedará un último paso y es el más fácil, ya que es la primera vez que agregamos un producto.
We're almost ready to start selling, with just one last step left, and it's the easiest one since it's the first time we're adding a product.
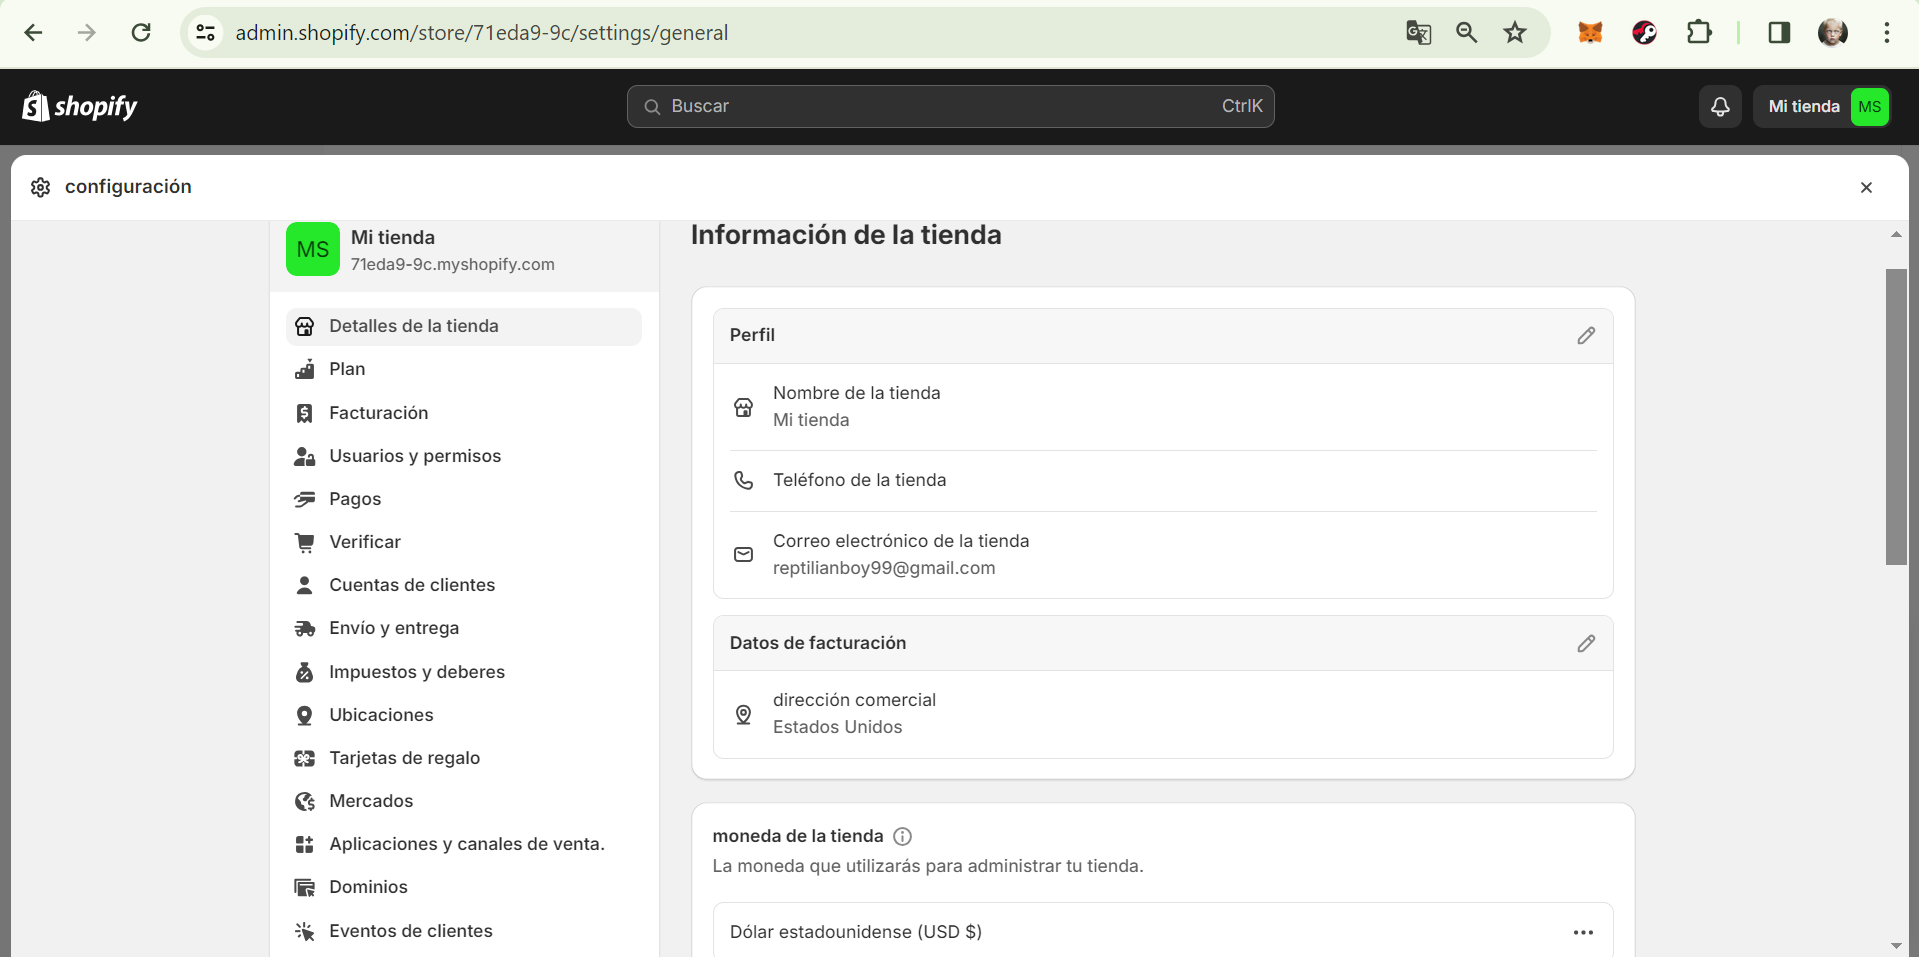
- Entramos nuevamente en Shopify, en el menú de la izquierda cliqueamos en "Configuración" en la parte inferior, luego nos dirigimos a Dominios.
- Go back to Shopify, in the left menu click on "Settings" at the bottom, then navigate to "Domains".
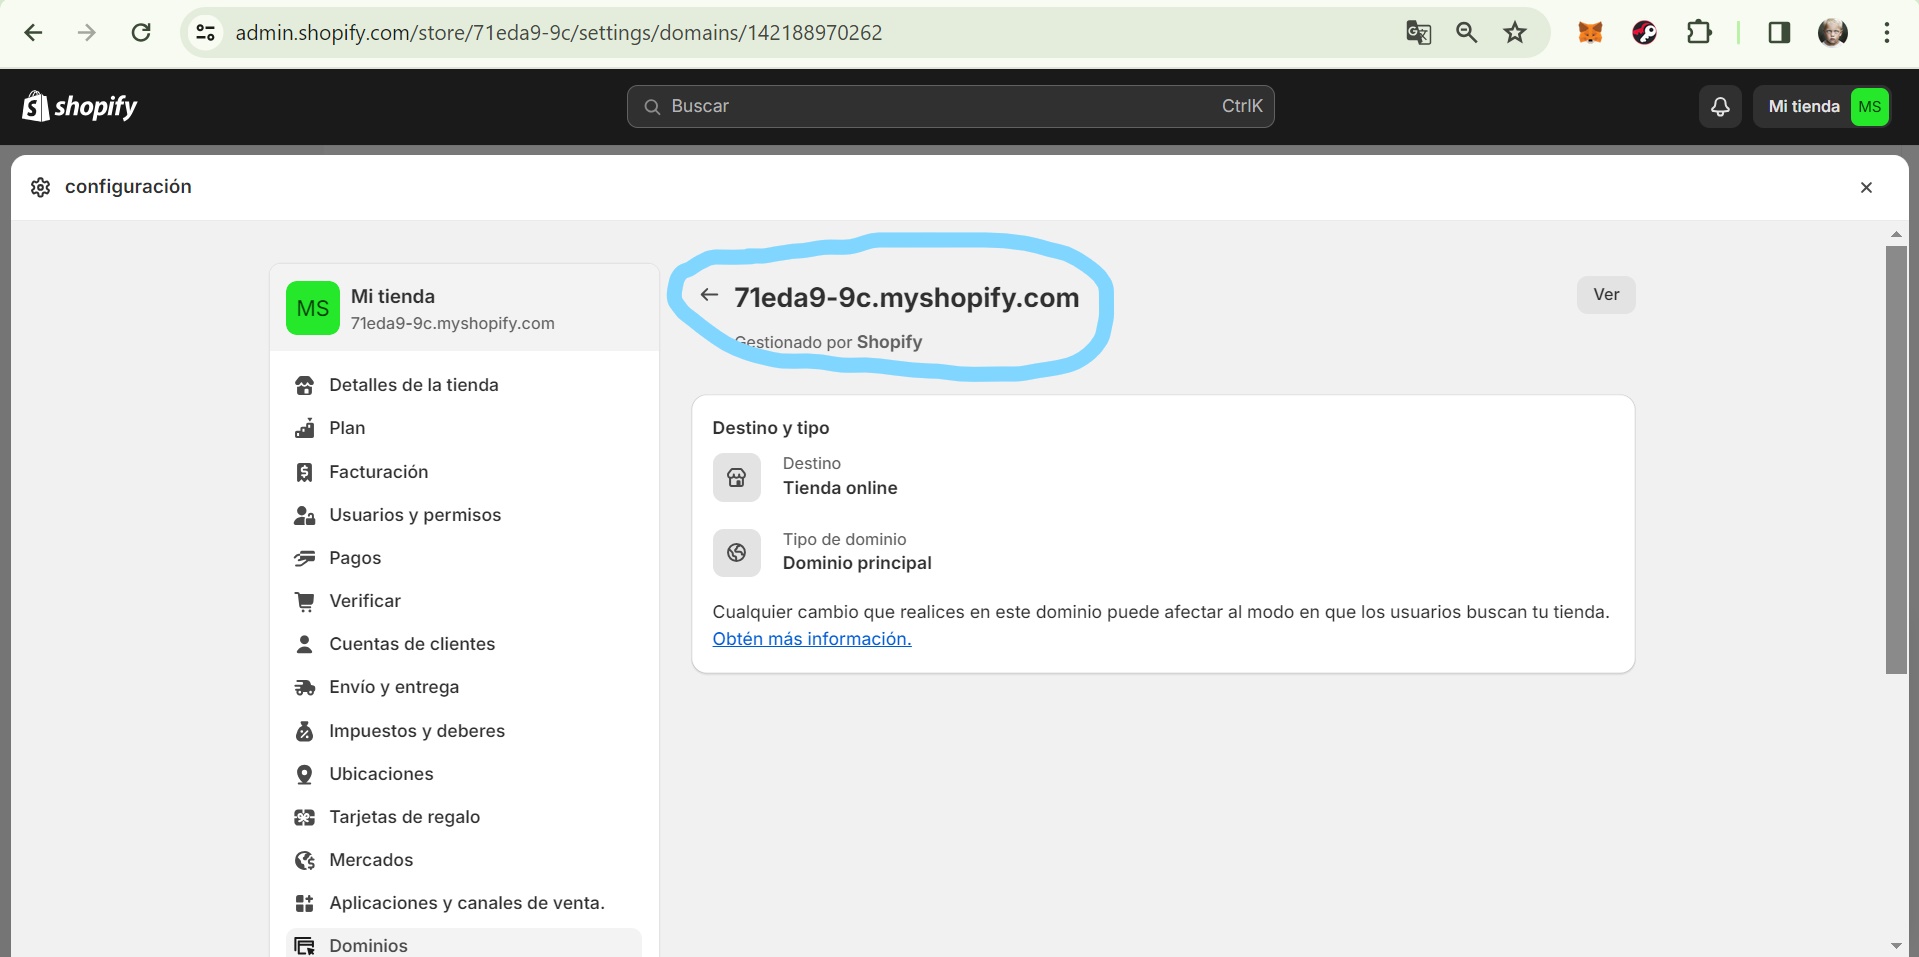
- Copia el dominio de tu tienda (aparece marcado en la imagen) y pégalo en la ventana que aparece cuando conectas la tienda dos pasos atrás.
- Copy the domain of your store (it appears marked in the image) and paste it into the window that appears when you connect the store two steps back.
Este tutorial te brinda la oportunidad de crear una tienda en línea altamente personalizada y rentable sin la necesidad de mantener un inventario físico, puedes gestionar fácilmente tus productos, pedidos y envíos, lo que te permite centrarte en hacer crecer tu negocio y ofrecer una experiencia de compra excepcional a tus clientes. No dudes notificarme de tu progreso, mi intención es que tú como emprendedor crezcas, creo que todos merecemos al menos una guía para llevar a cabo estos inicios en nuestros negocios, por lo cual, puedes tener total confianza al plantearme tus inquietudes y yo con gusto te ayudaré.
En el próximo tutorial, exploraremos una serie de tips y consejos fundamentales para elevar el nivel de profesionalismo de tu tienda en línea. Desde la optimización del diseño y la experiencia del usuario hasta estrategias de marketing efectivas, descubrirás cómo destacar en un mercado competitivo y ofrecer una experiencia de compra excepcional para tus clientes. ¡Prepárate para llevar tu tienda Shopify al siguiente nivel de éxito!
This tutorial provides you with the opportunity to create a highly customized and profitable online store without the need to maintain physical inventory. You can easily manage your products, orders, and shipments, allowing you to focus on growing your business and providing an exceptional shopping experience for your customers. Don't hesitate to notify me of your progress; my intention is to help you, as an entrepreneur, grow. I believe that everyone deserves at least a guide to navigate these beginnings in our businesses, so you can have complete confidence in presenting me with your concerns, and I'll gladly assist you.
In the next tutorial, we'll explore a series of essential tips and advice to elevate the professionalism of your online store. From optimizing design and user experience to effective marketing strategies, you'll discover how to stand out in a competitive market and offer an exceptional shopping experience for your customers. Get ready to take your Shopify store to the next level of success!
Todas las imágenes son de mi autoría
All images are my author