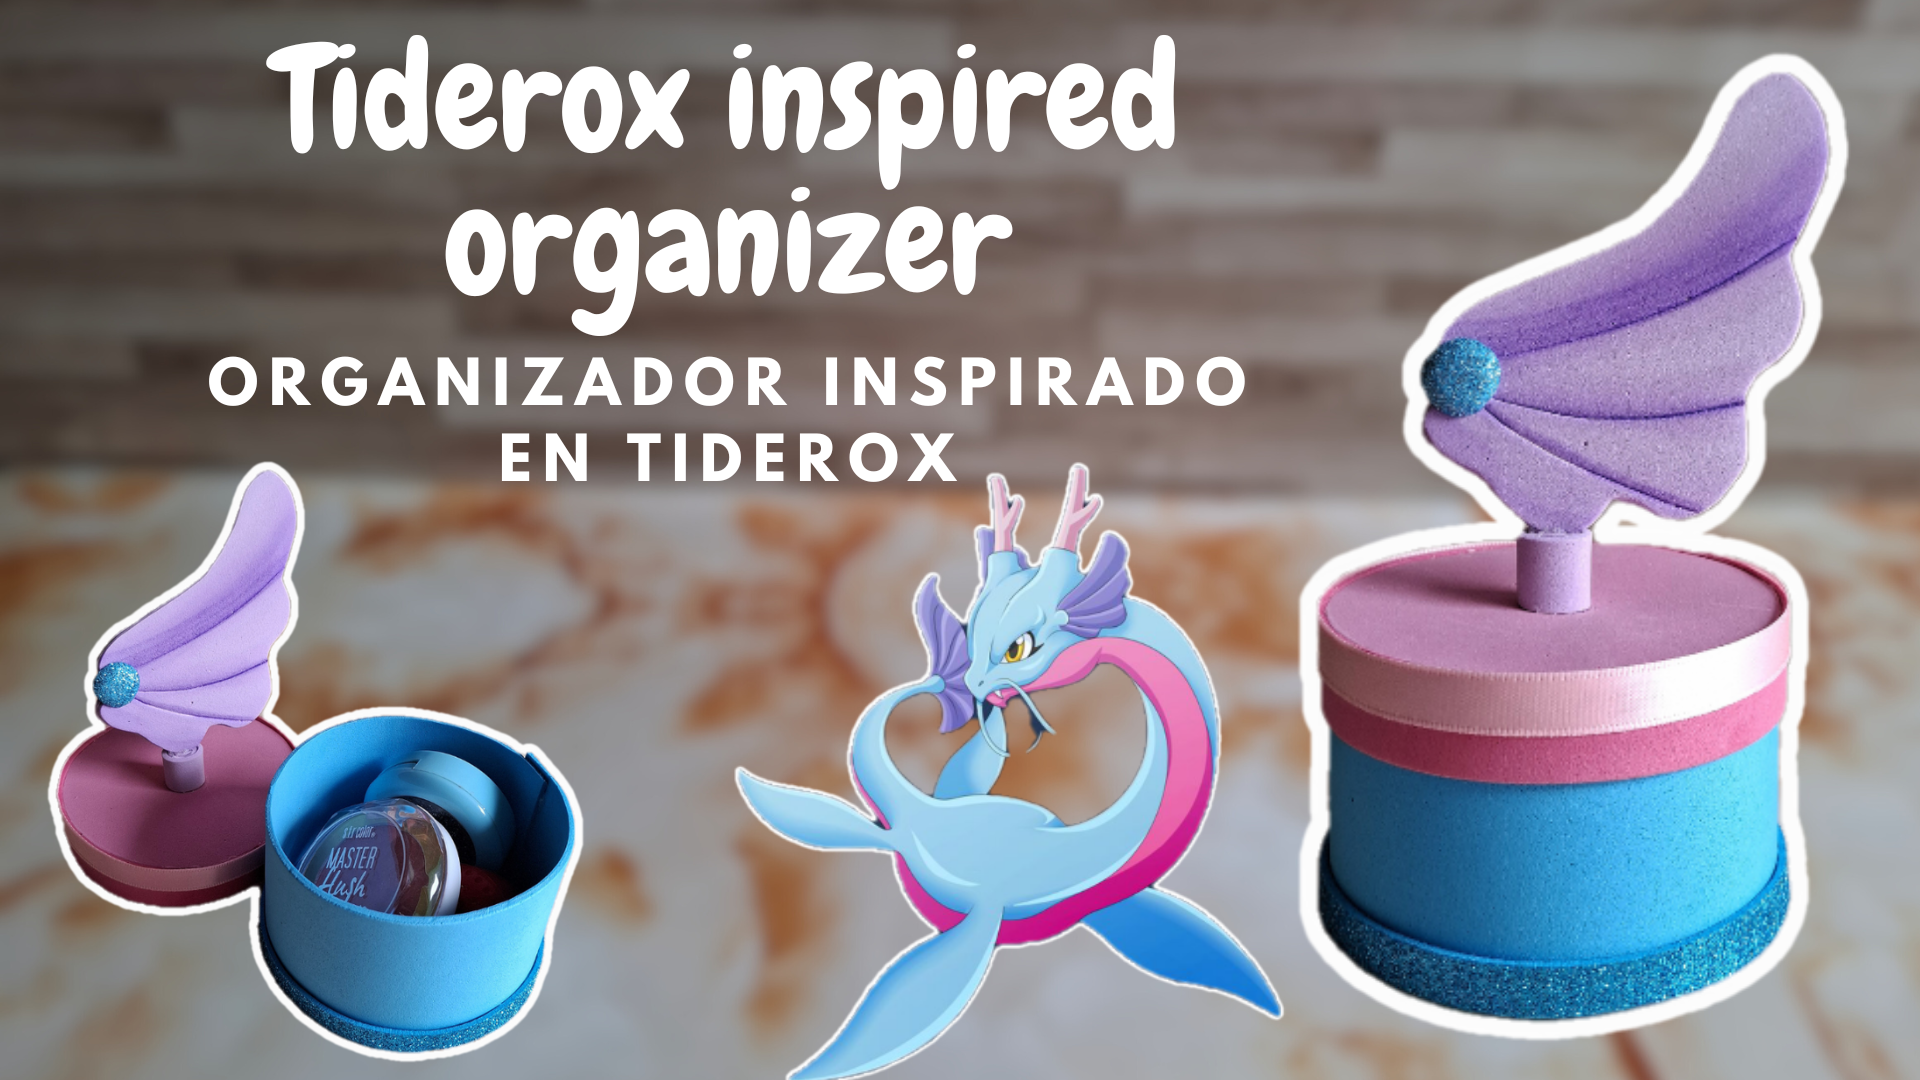
Saludos comunidad Holozing, espero se encuentren bien y que puedan culminar su semana de forma exitosa, el día de hoy les quiero compartir una nueva publicación de manualidades creativas inspiradas en las criaturas más recientes del juego. En esta ocasión me enfoqué en Tiderox.
Greetings Holozing community, I hope you are all well and that you can end your week successfully. Today I want to share with you a new post of creative crafts inspired by the most recent creatures in the game. This time I focused on Tiderox.
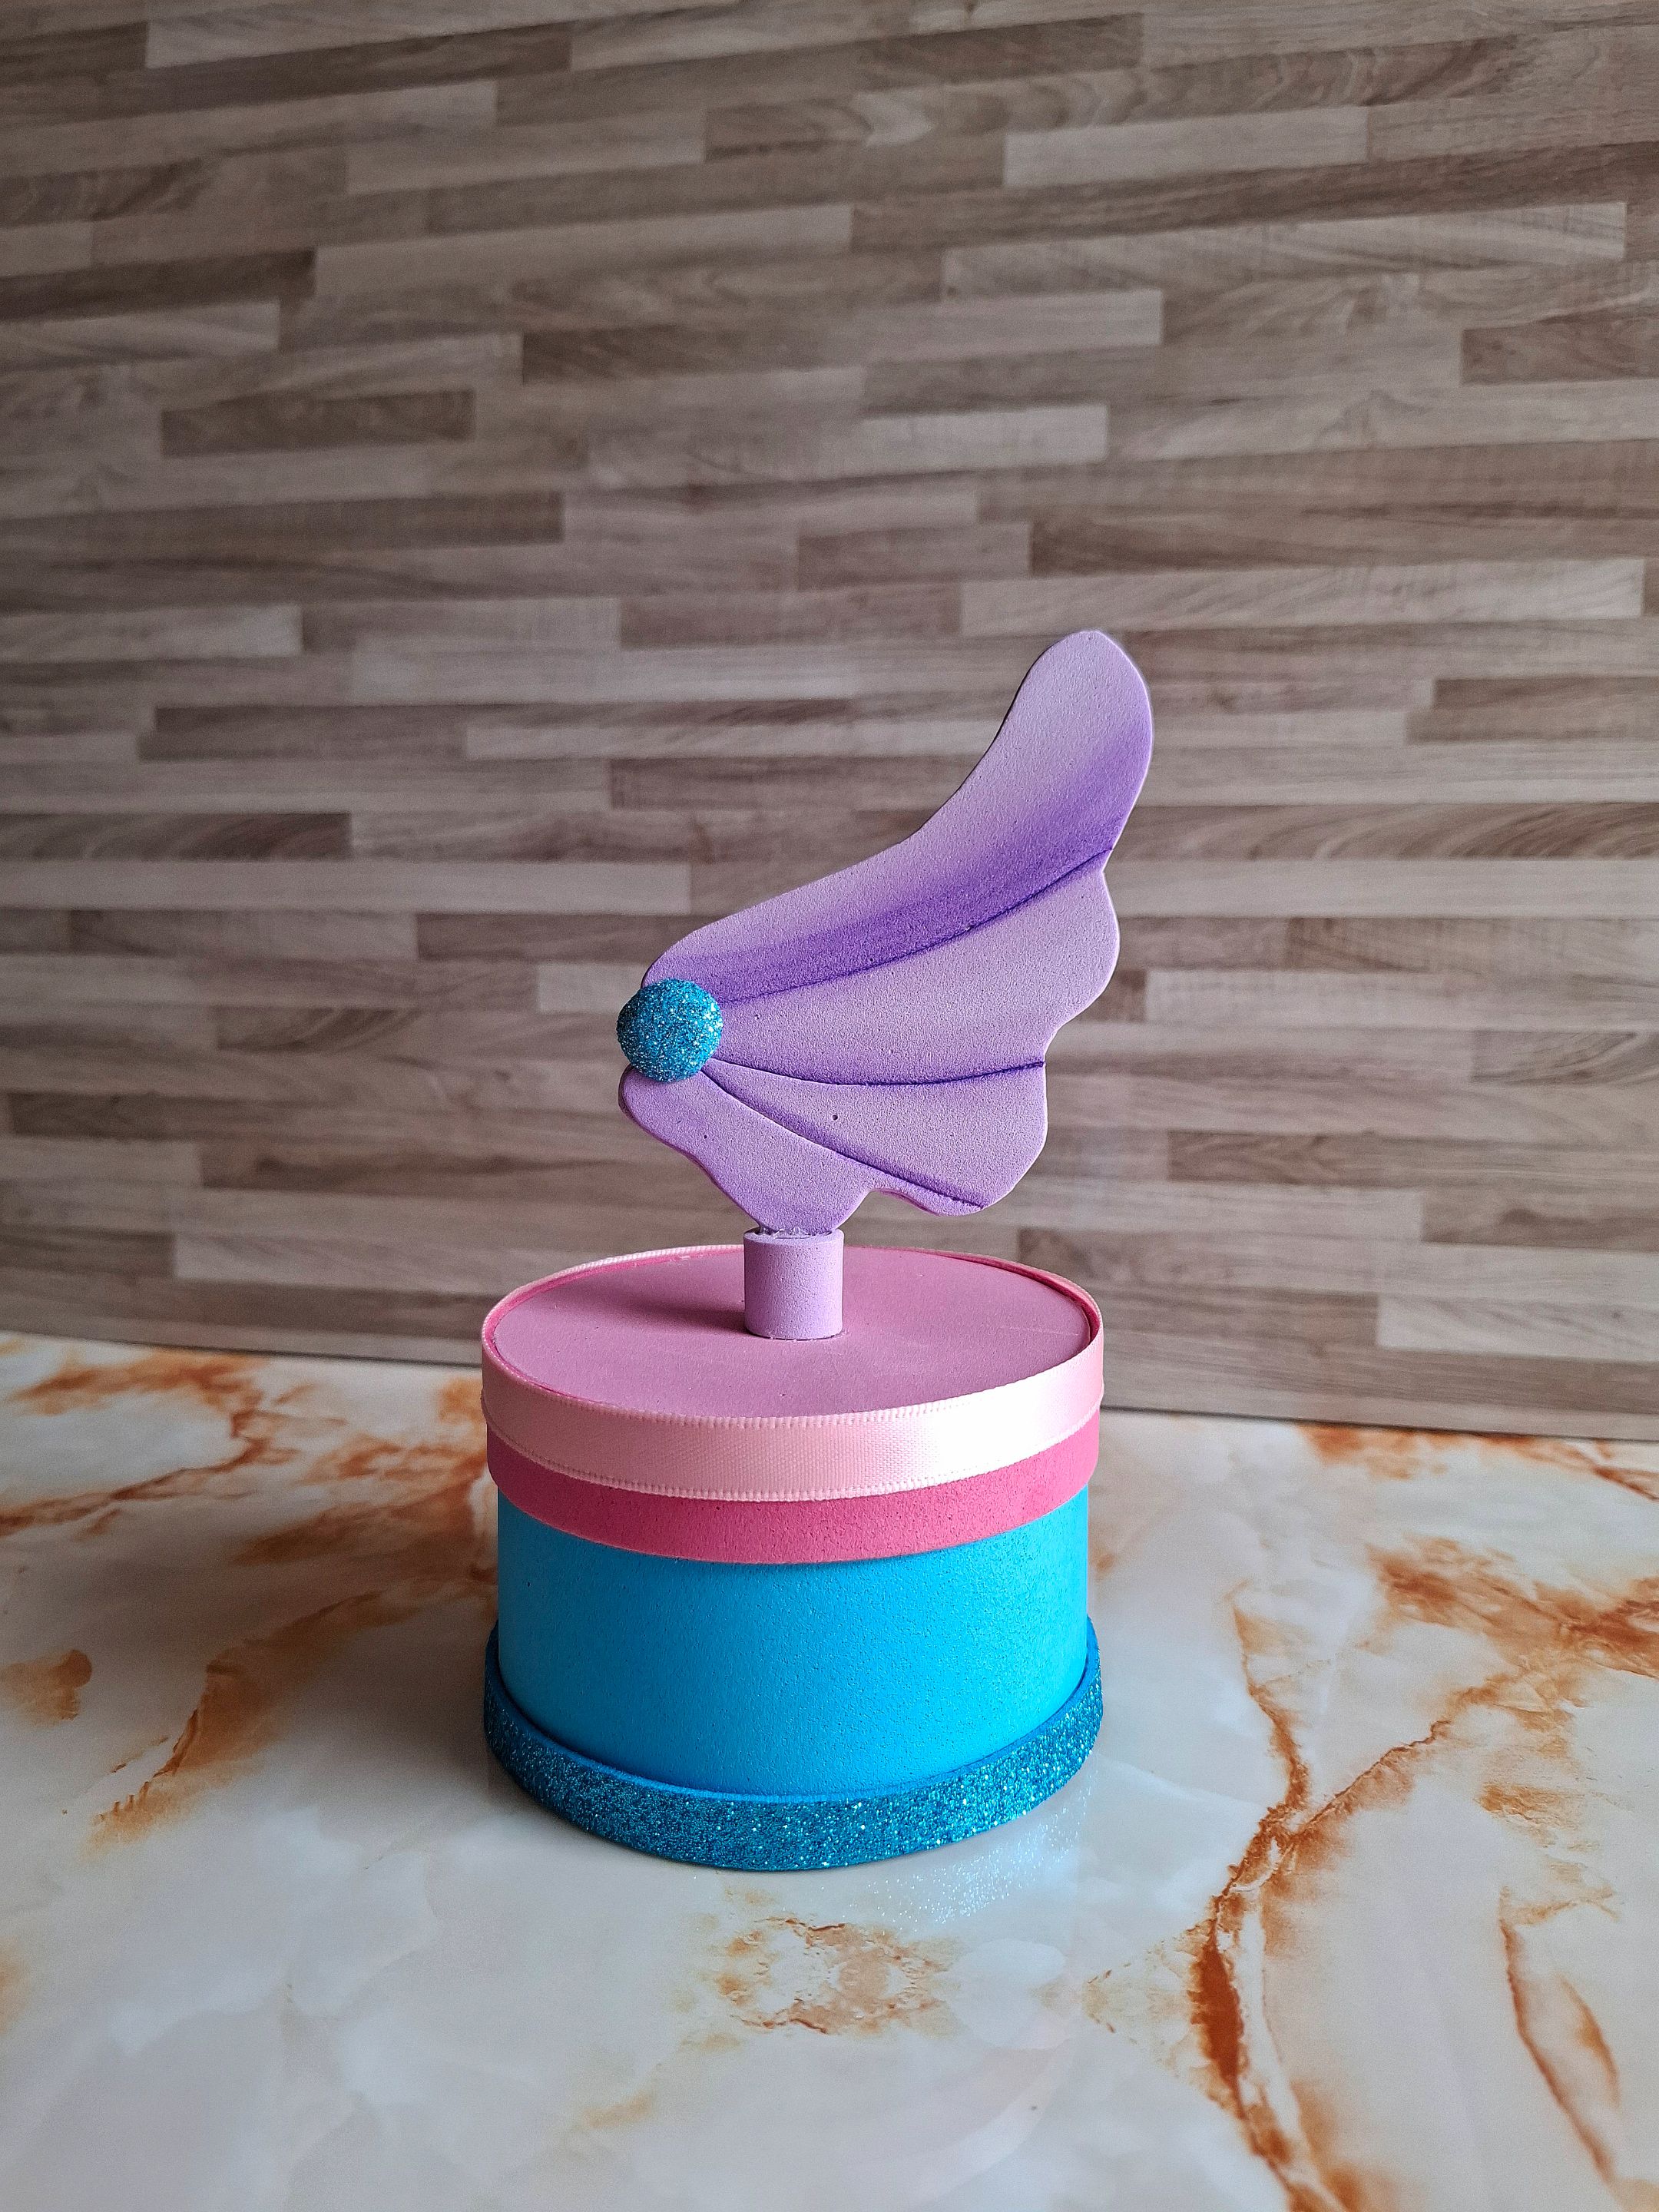
Estuve observando los colores y detalles de esta criatura y lo que más me gusta es sus colores de piel, también el detalle de la cola y orejas, es por ello que decidí crear está lindo organizador en foami recopilando los detalles que más me gustaron, espero sea de su agrado y sin más preámbulos les muestro los materiales y el paso a paso.
I was observing the colors and details of this creature and what I like the most is its skin colors, also the detail of the tail and ears, that is why I decided to create this nice foam organizer collecting the details that I liked the most, I hope you like it and without further ado I show you the materials and the step by step.
| Materiales | Materials |
|---|---|
| Foami azul | Blue foam |
| Foami rosa | Pink foam |
| Foami morado | purple foam |
| Cinta color rosa | Pink ribbon |
| Marcadores | Bookmarks |
| Tijera | Scissors |
| Silicón | Silicone |

Paso a paso / Step by step
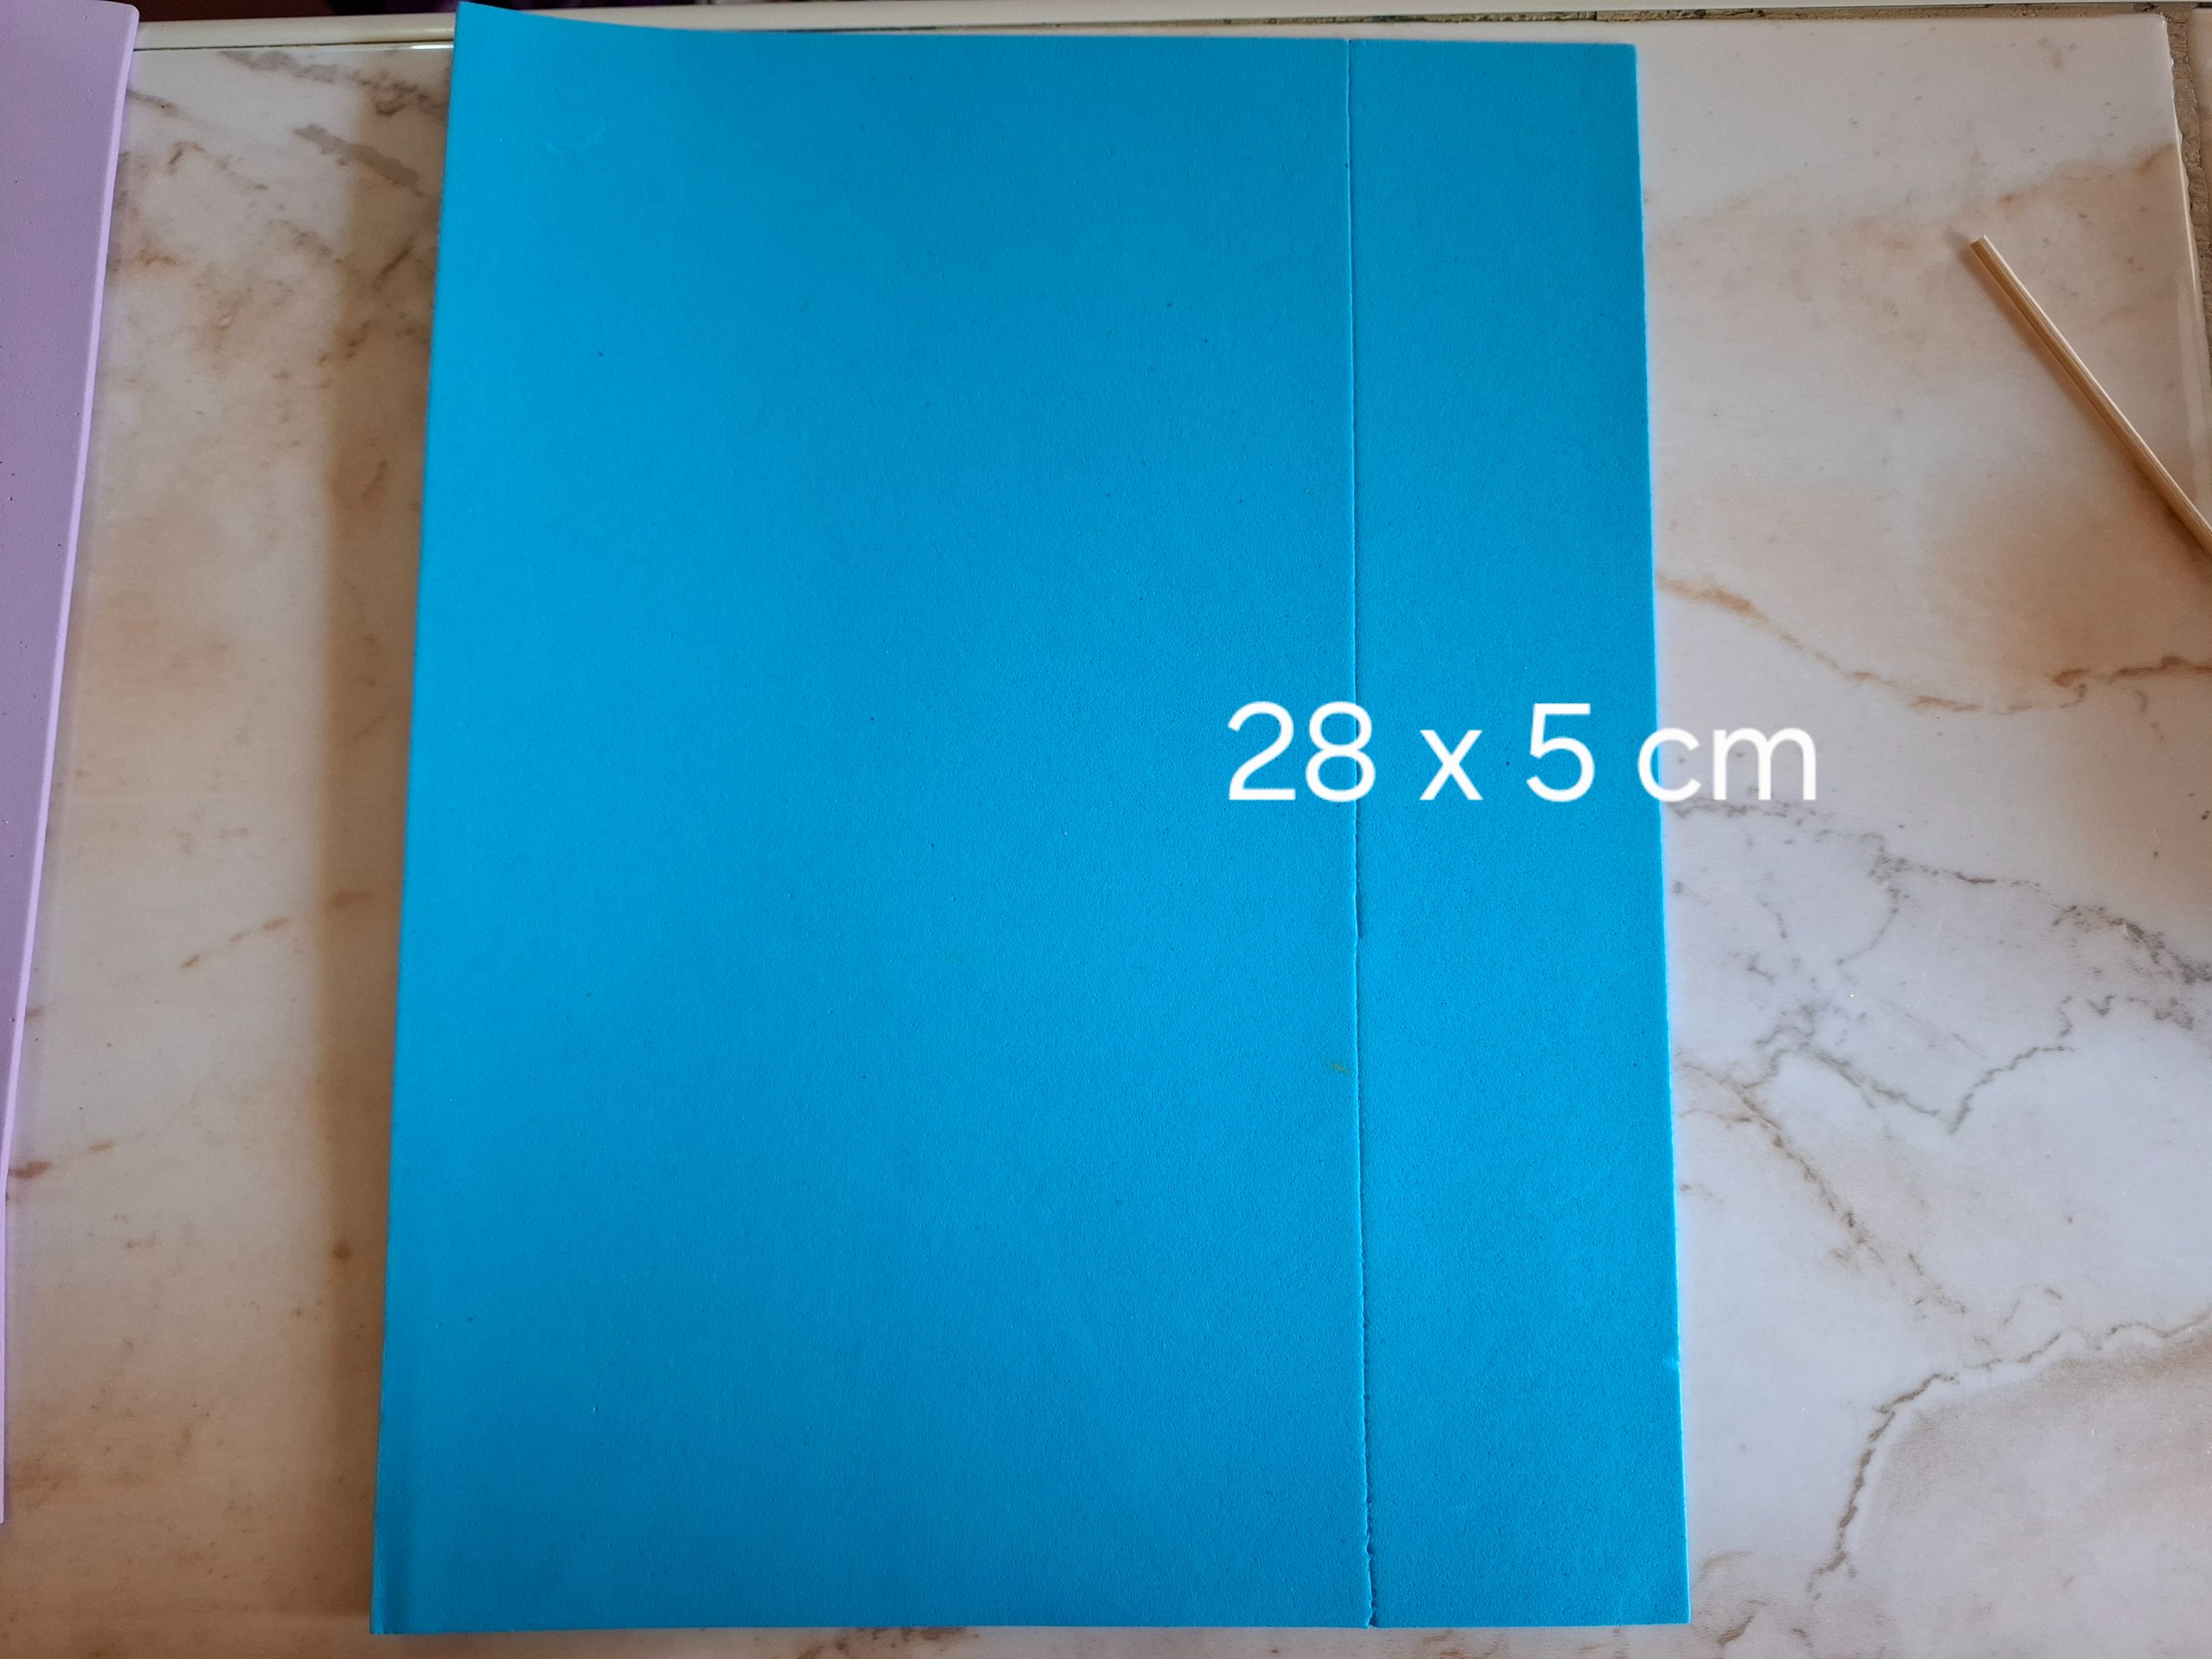
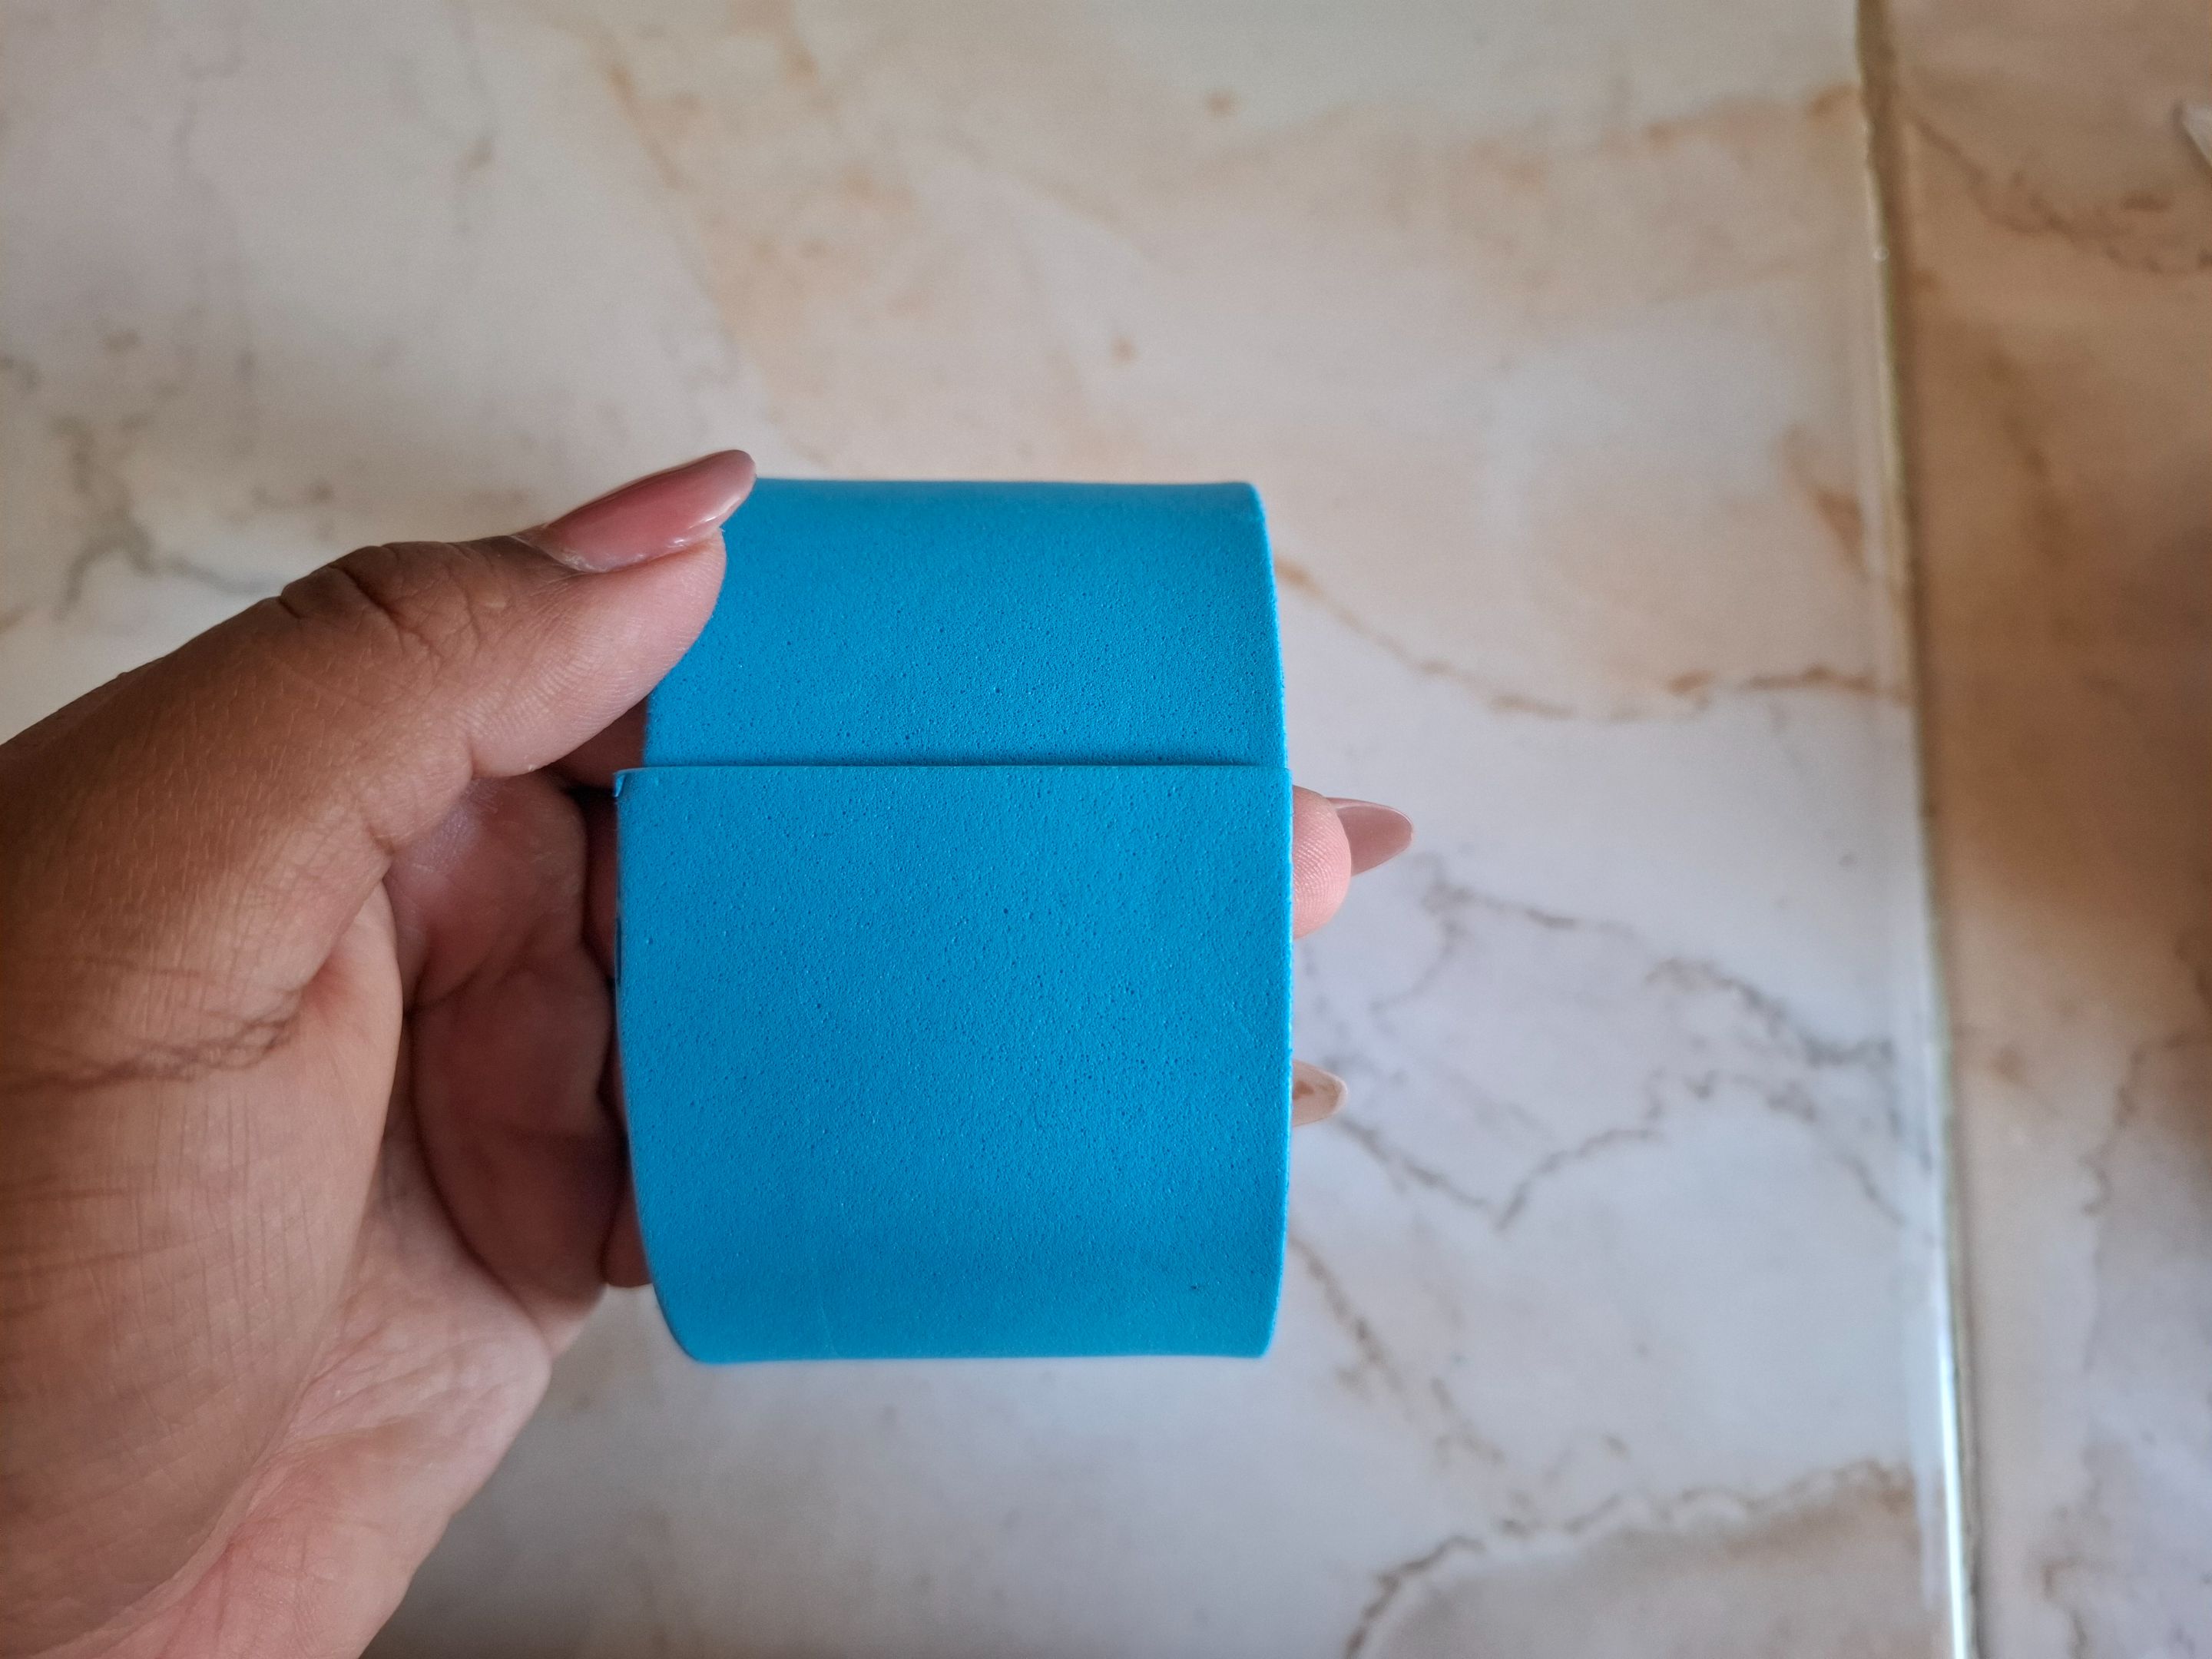
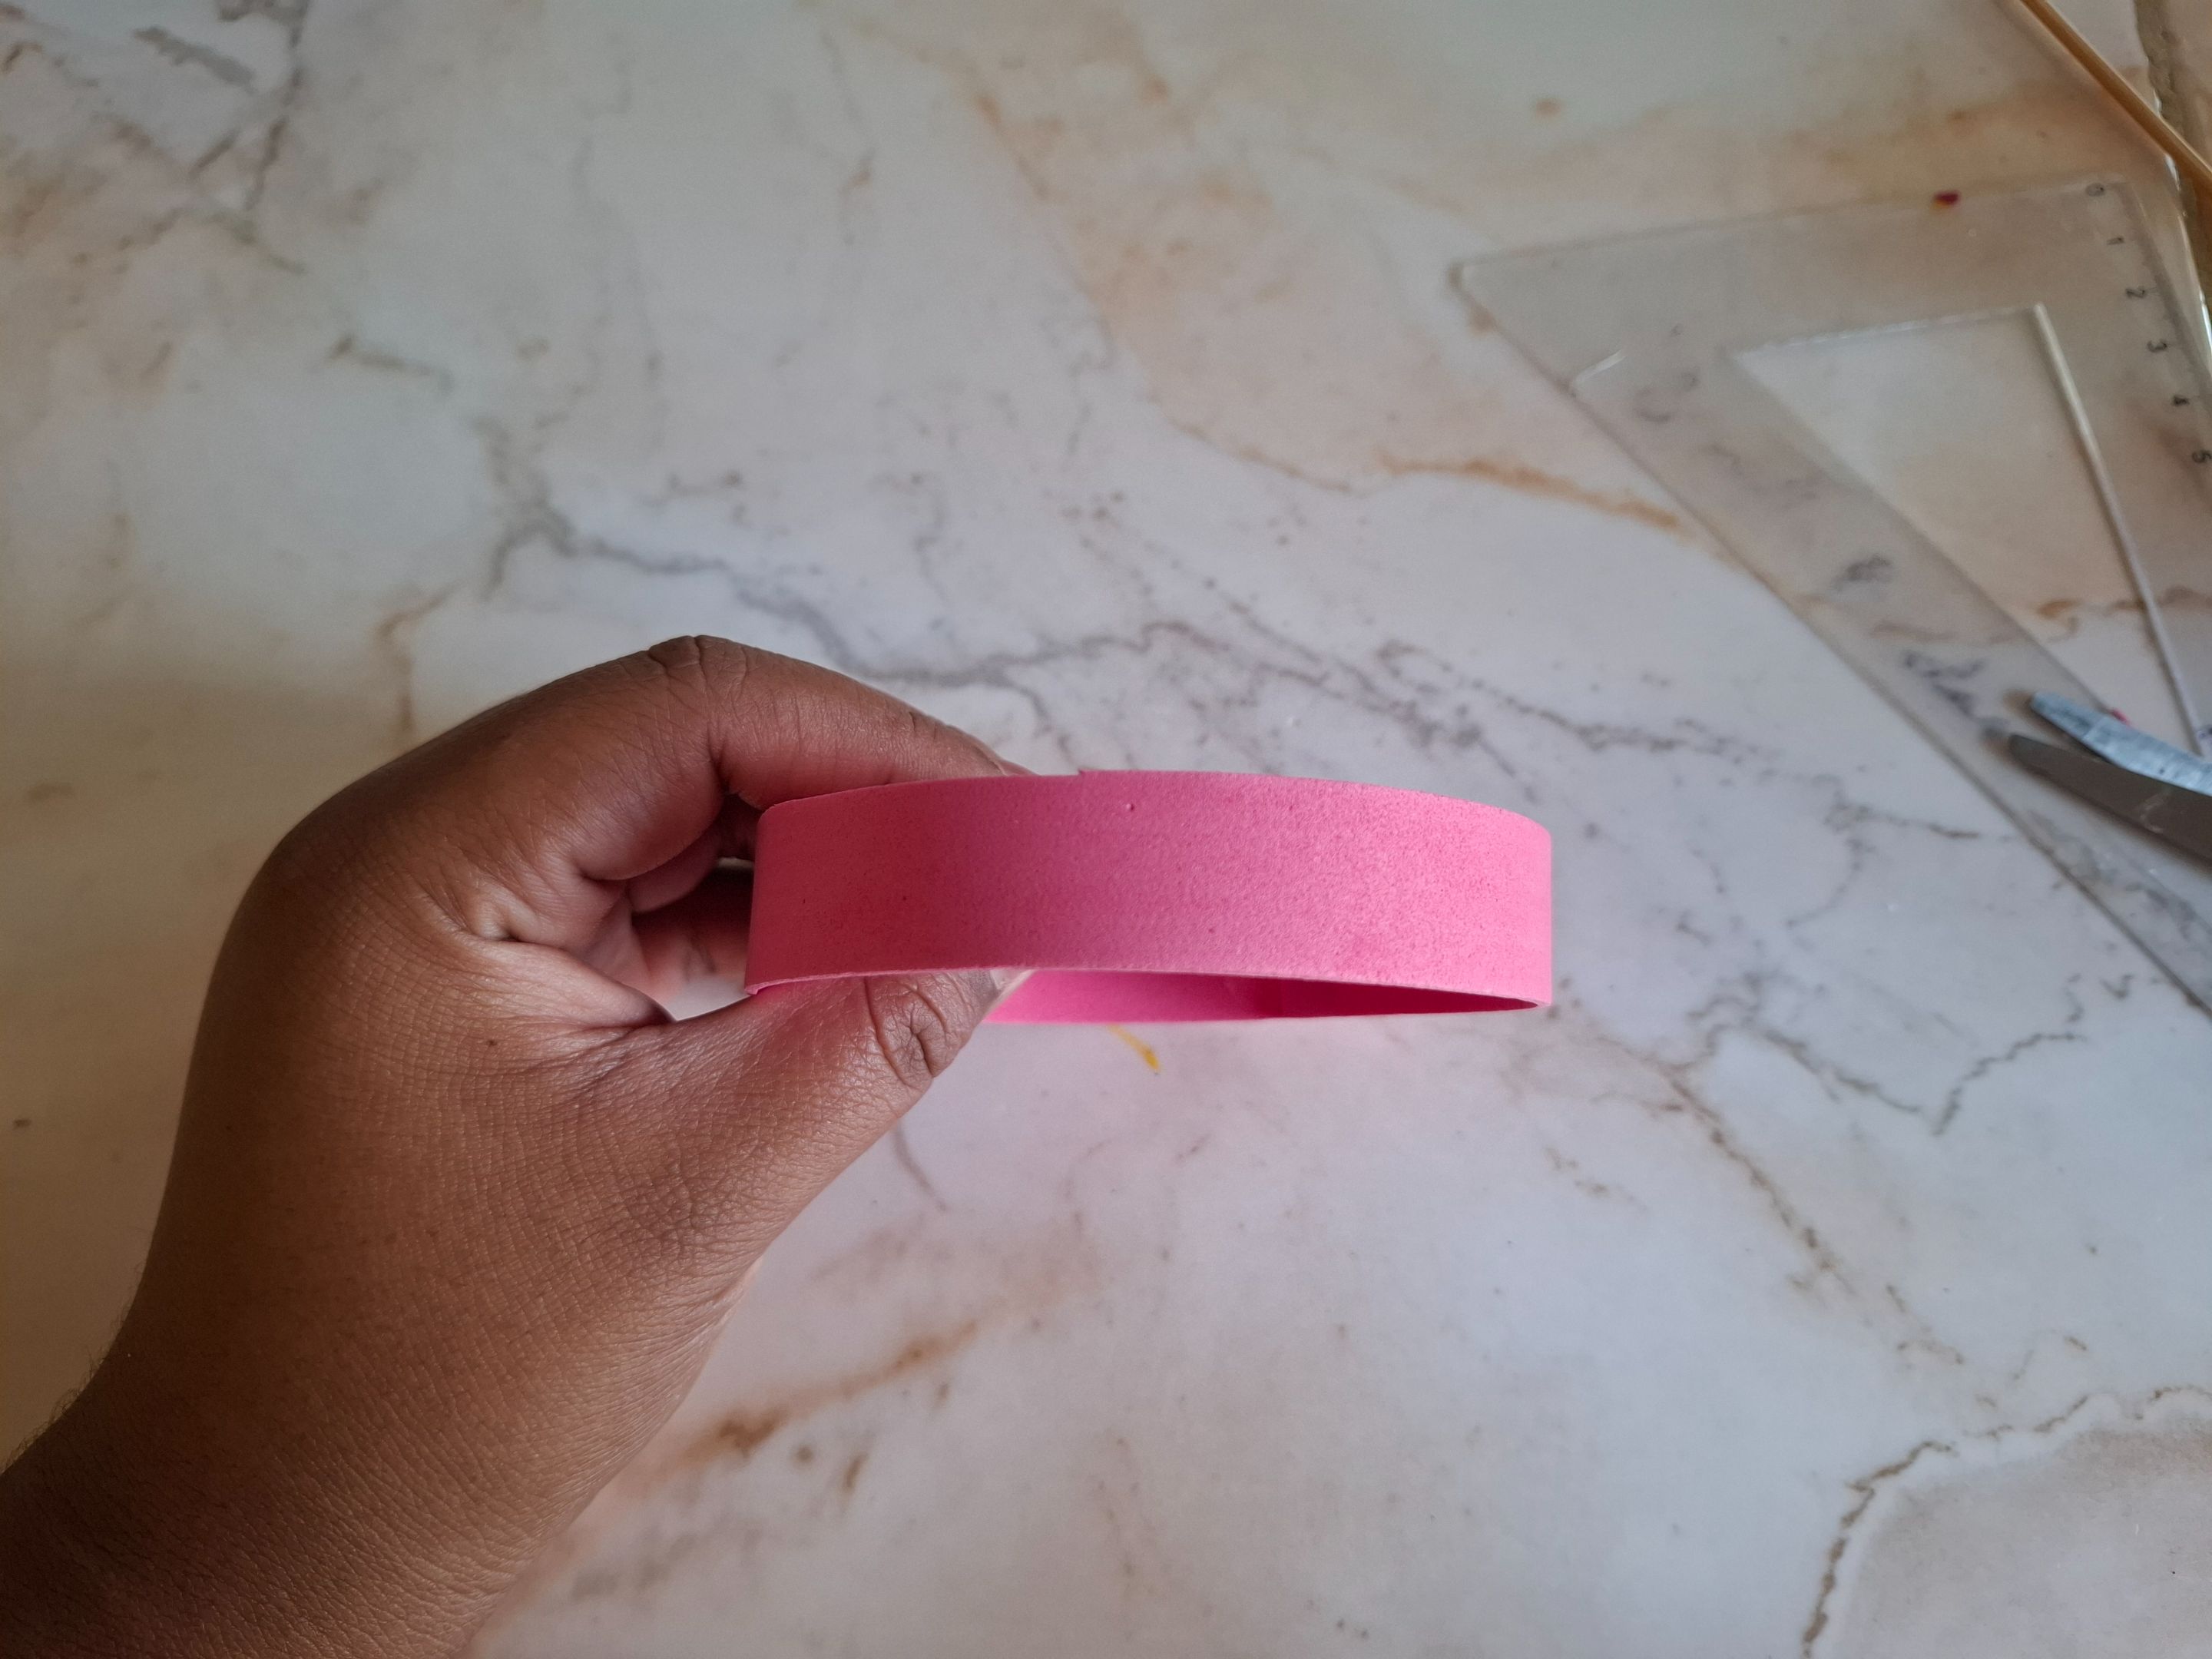
El primer paso se trata de cortar una franja de foami azul de tamaño 28 x 5 cm voy a unir las puntas del foami con silicón formando un círculo.
The first step is to cut a strip of blue foam measuring 28 x 5 cm. I will join the ends of the foam with silicone to form a circle.
 |  |  |
|---|
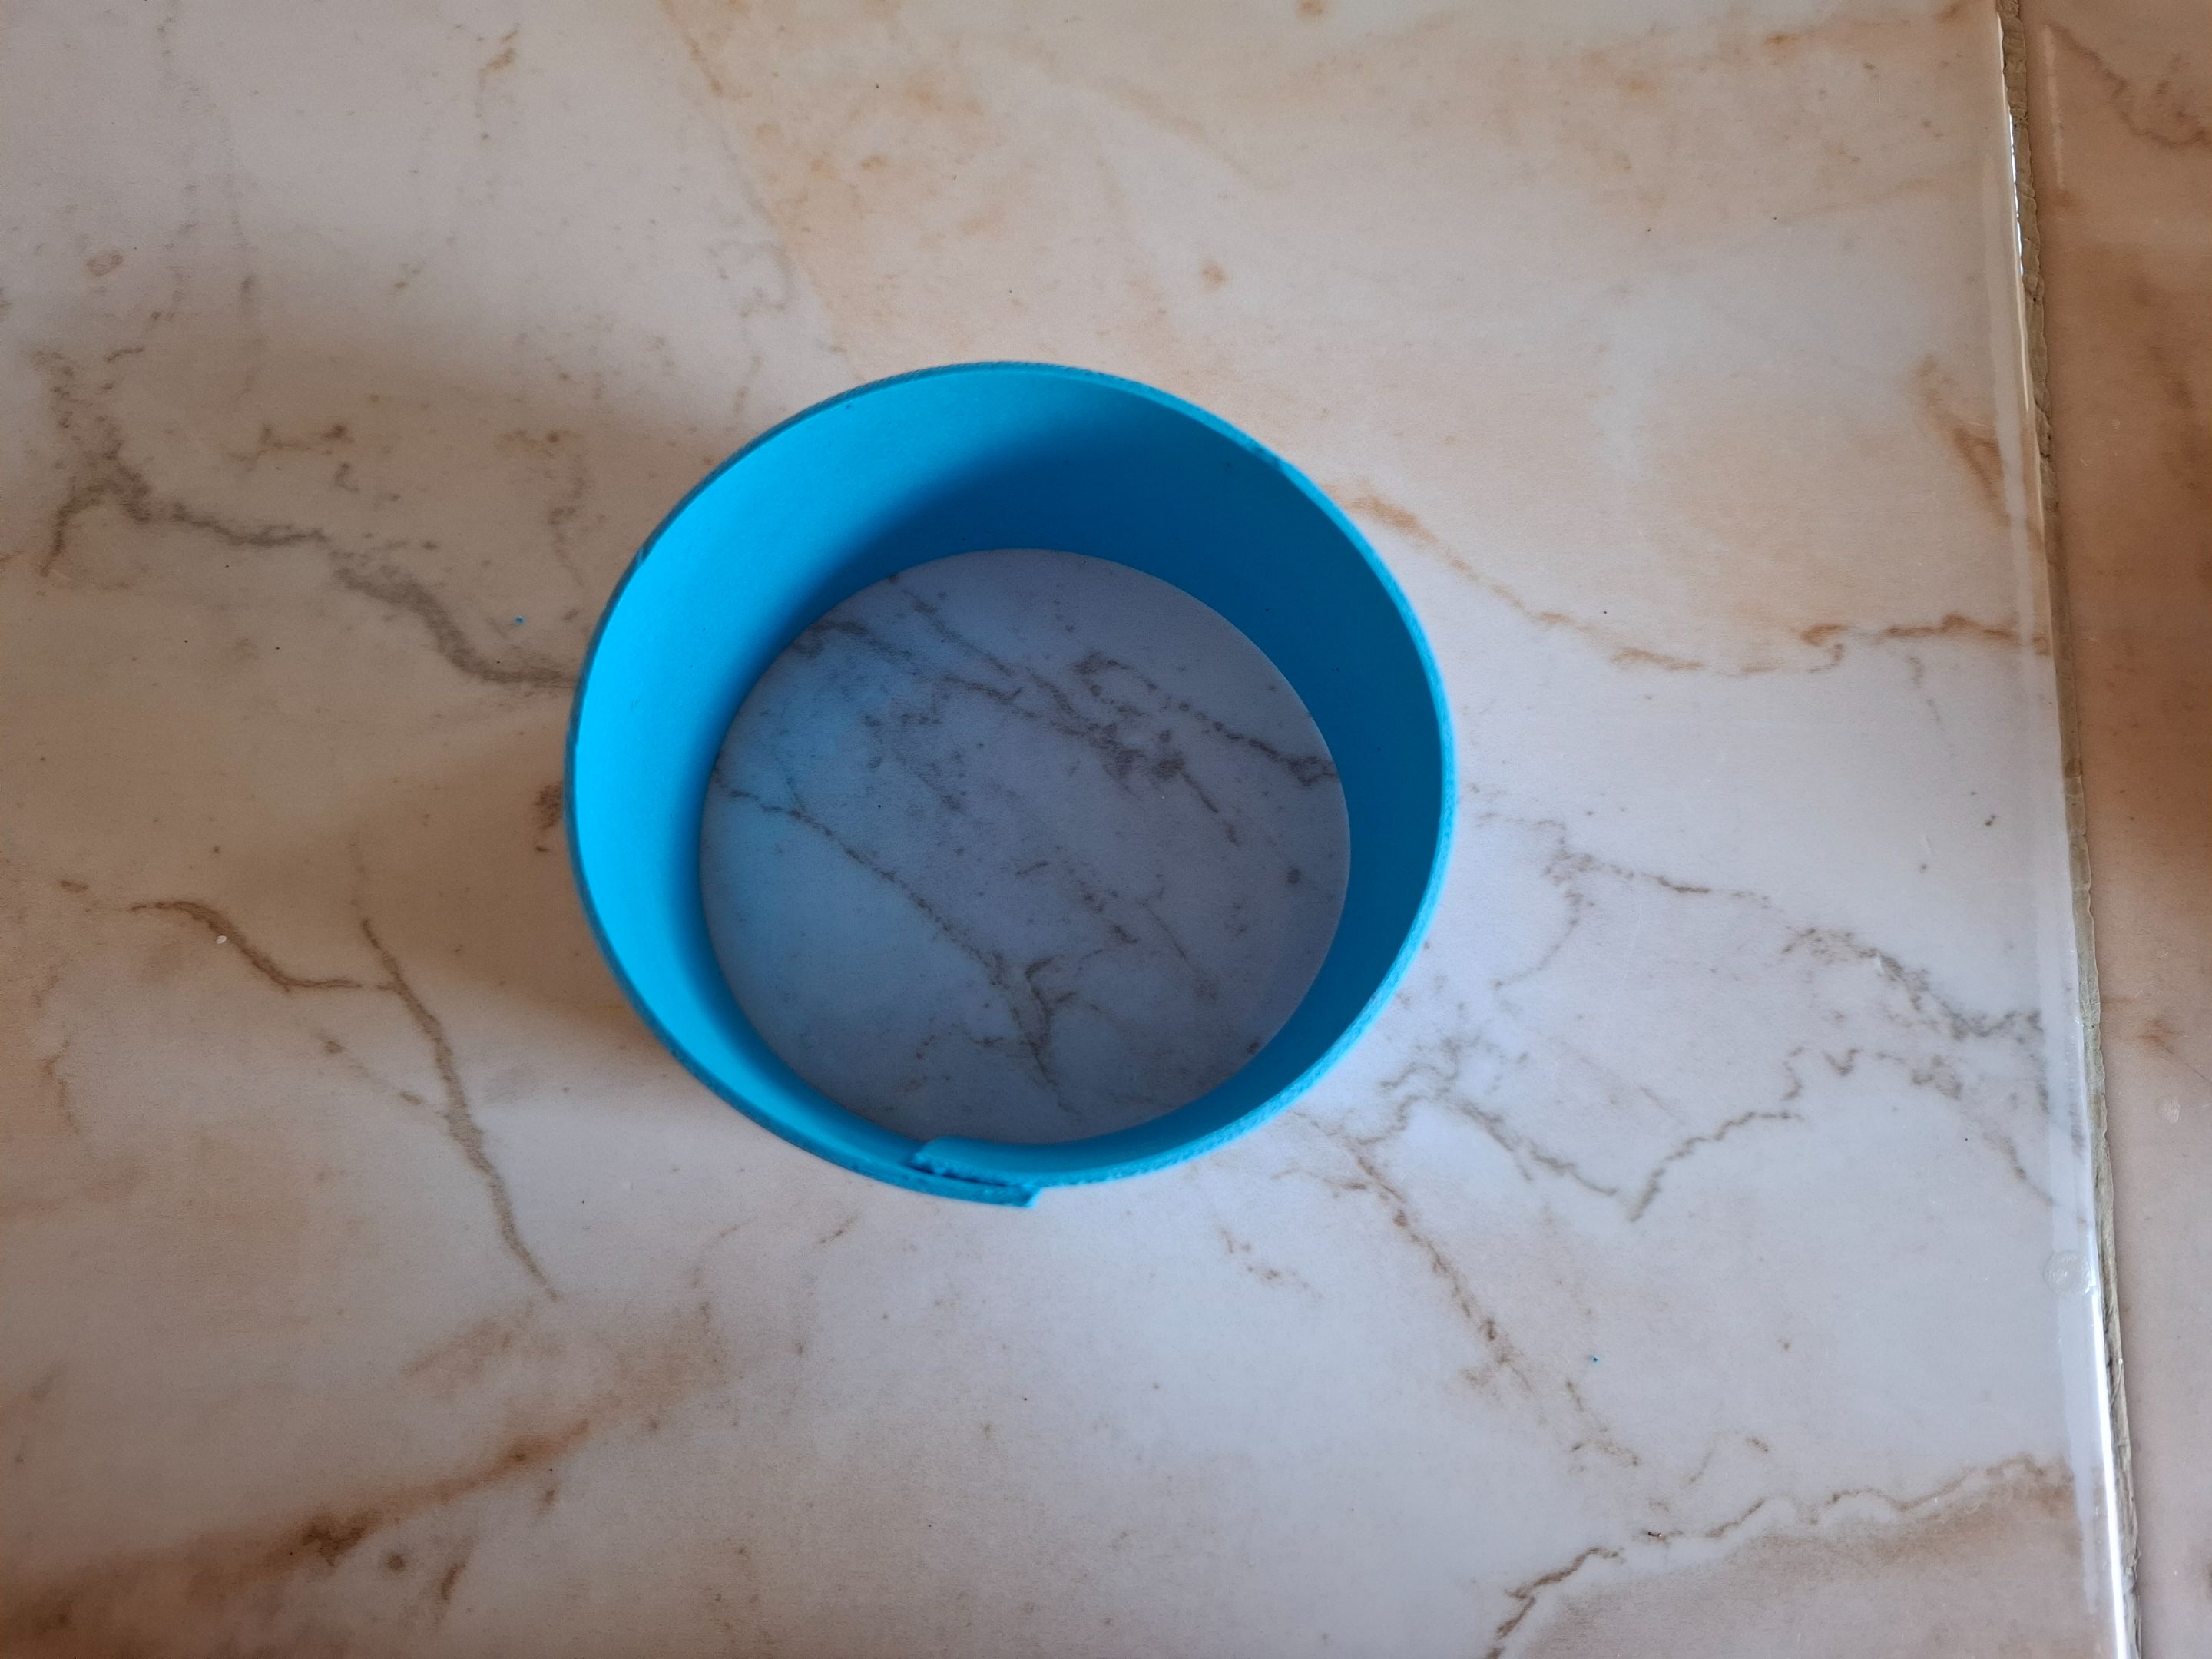
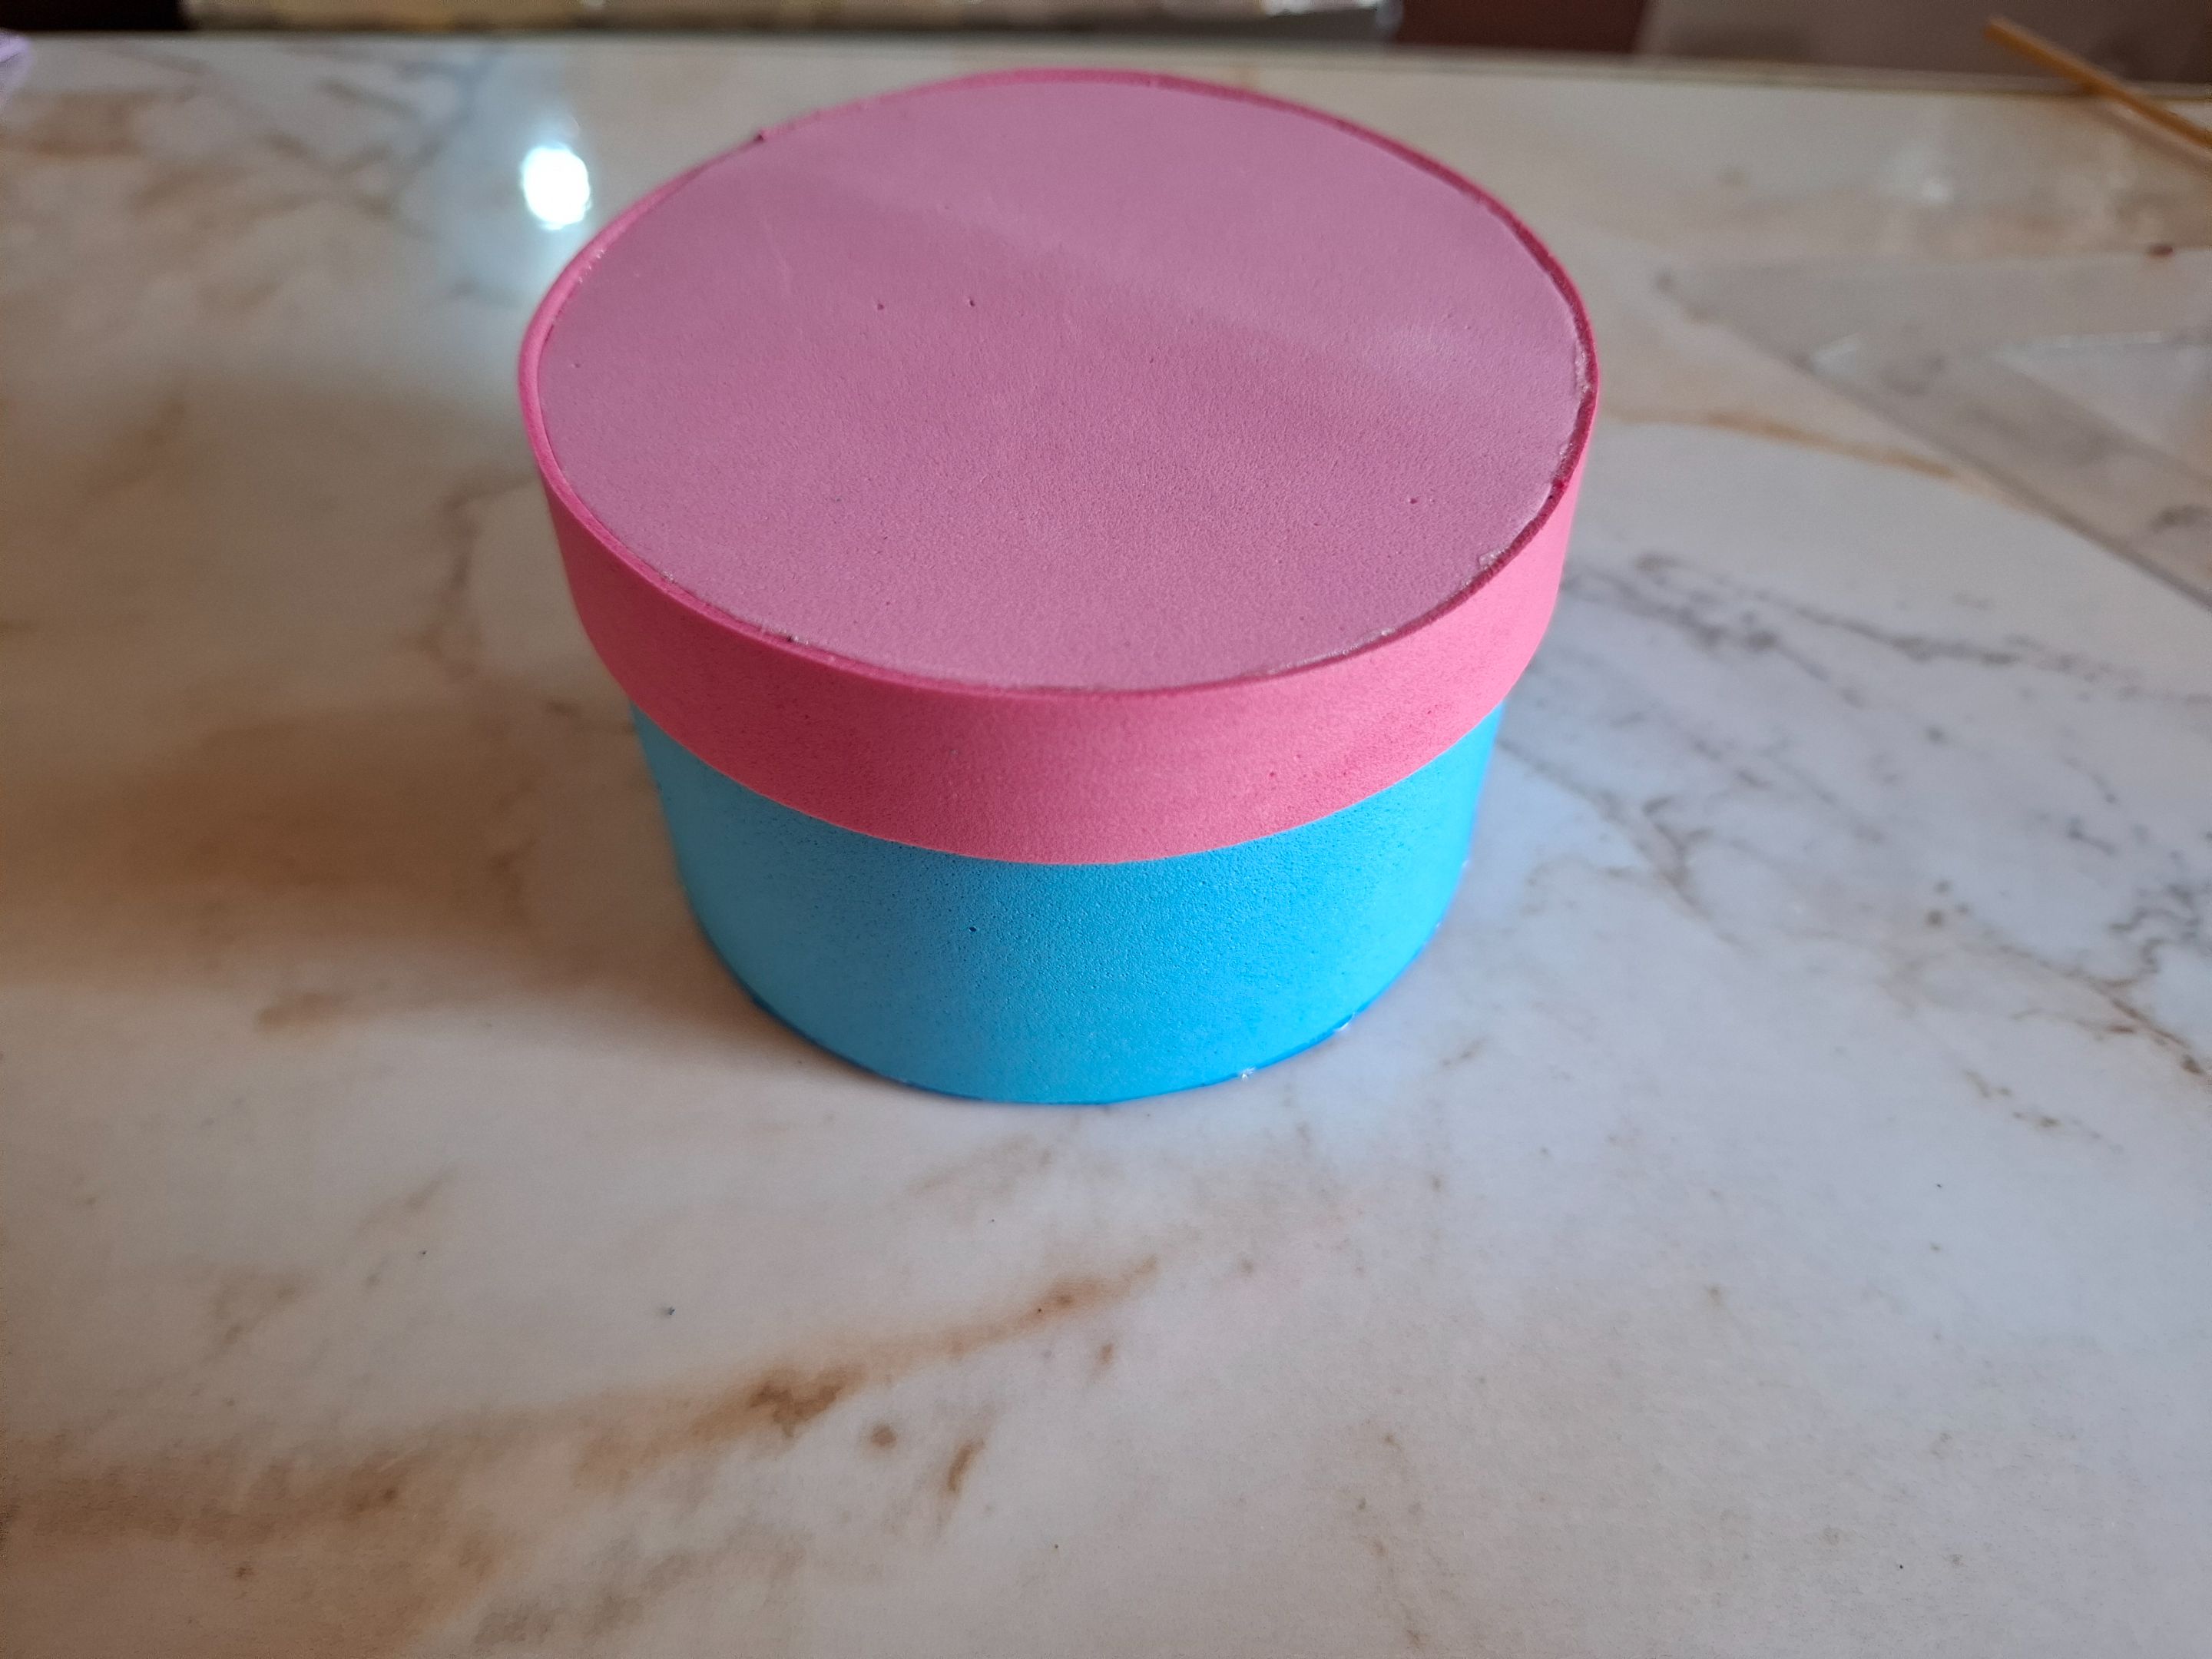
Luego en foami azul voy a marcar un círculo que será la pasé del organizador y pegamos, para realizar la tapa voy a marcar un círculo de color rosa del mismo tamaño de la base, y cortaré una franja fina de foami fucsia para cubrir al rededor.
Then, in blue foam I will mark a circle that will be the base of the organizer and we will glue it. To make the lid, I will mark a pink circle the same size as the base, and I will cut a thin strip of fuchsia foam to cover the surroundings.
 |  |
|---|
 |  |
|---|
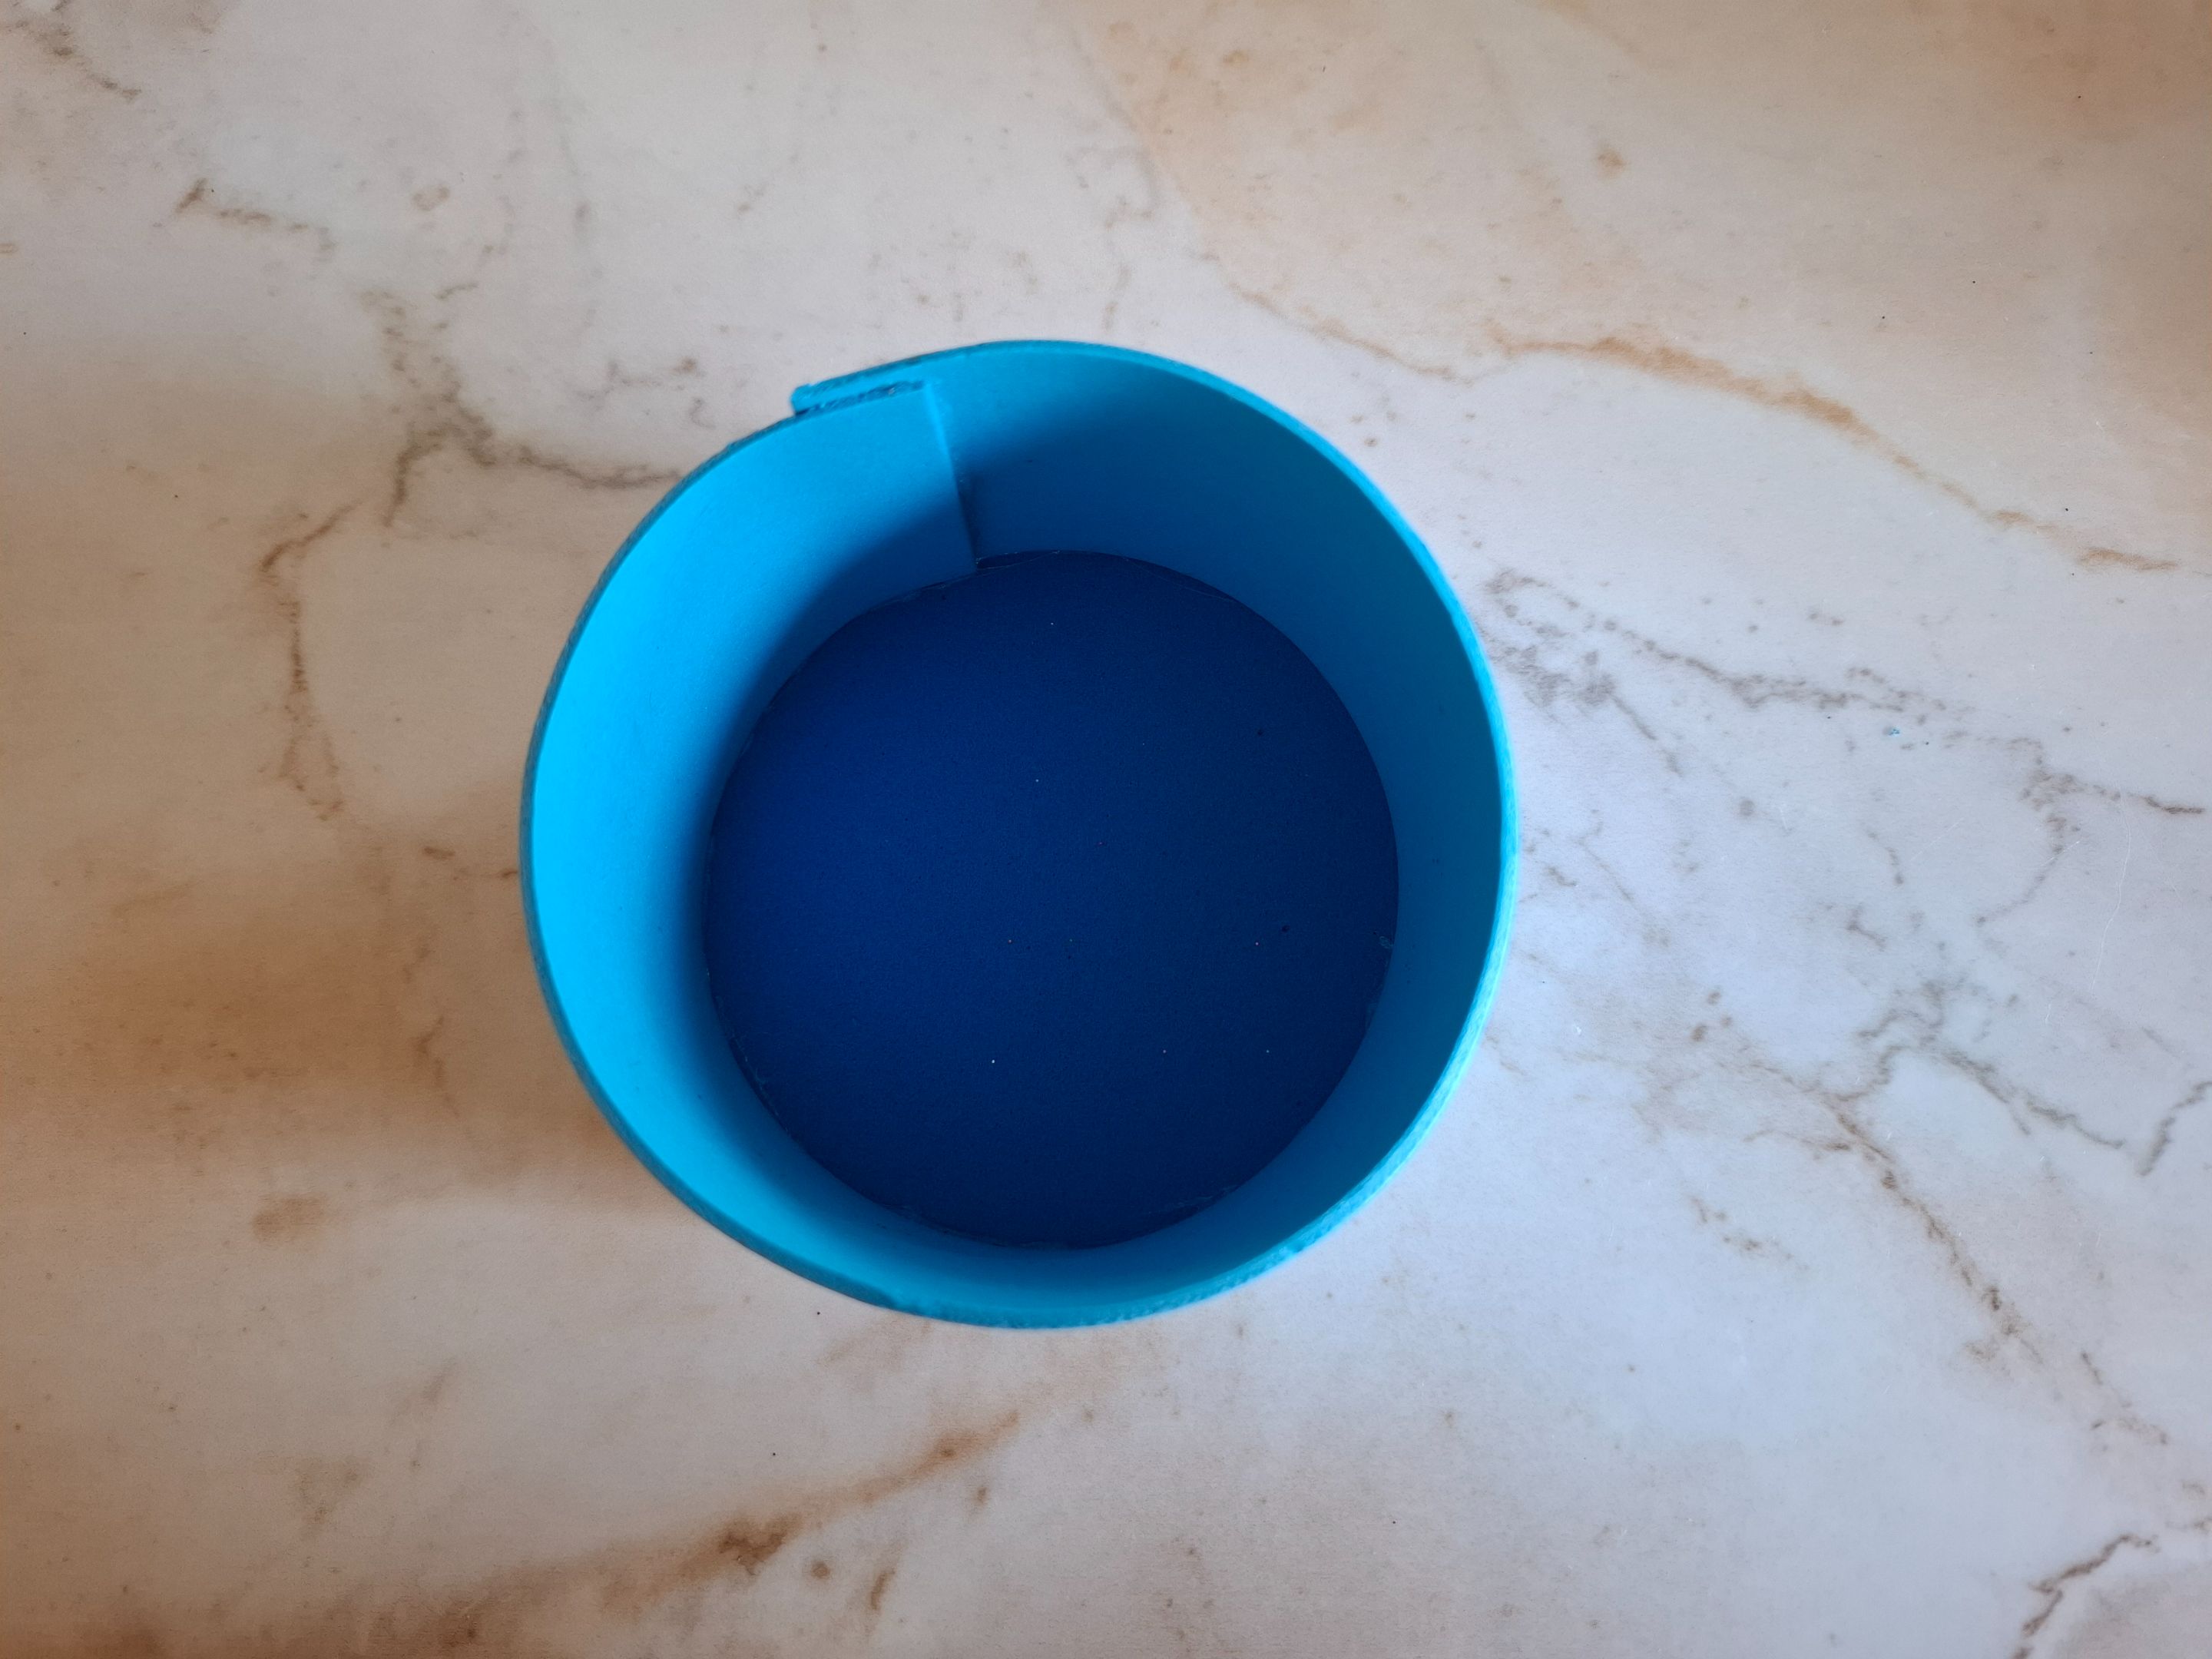
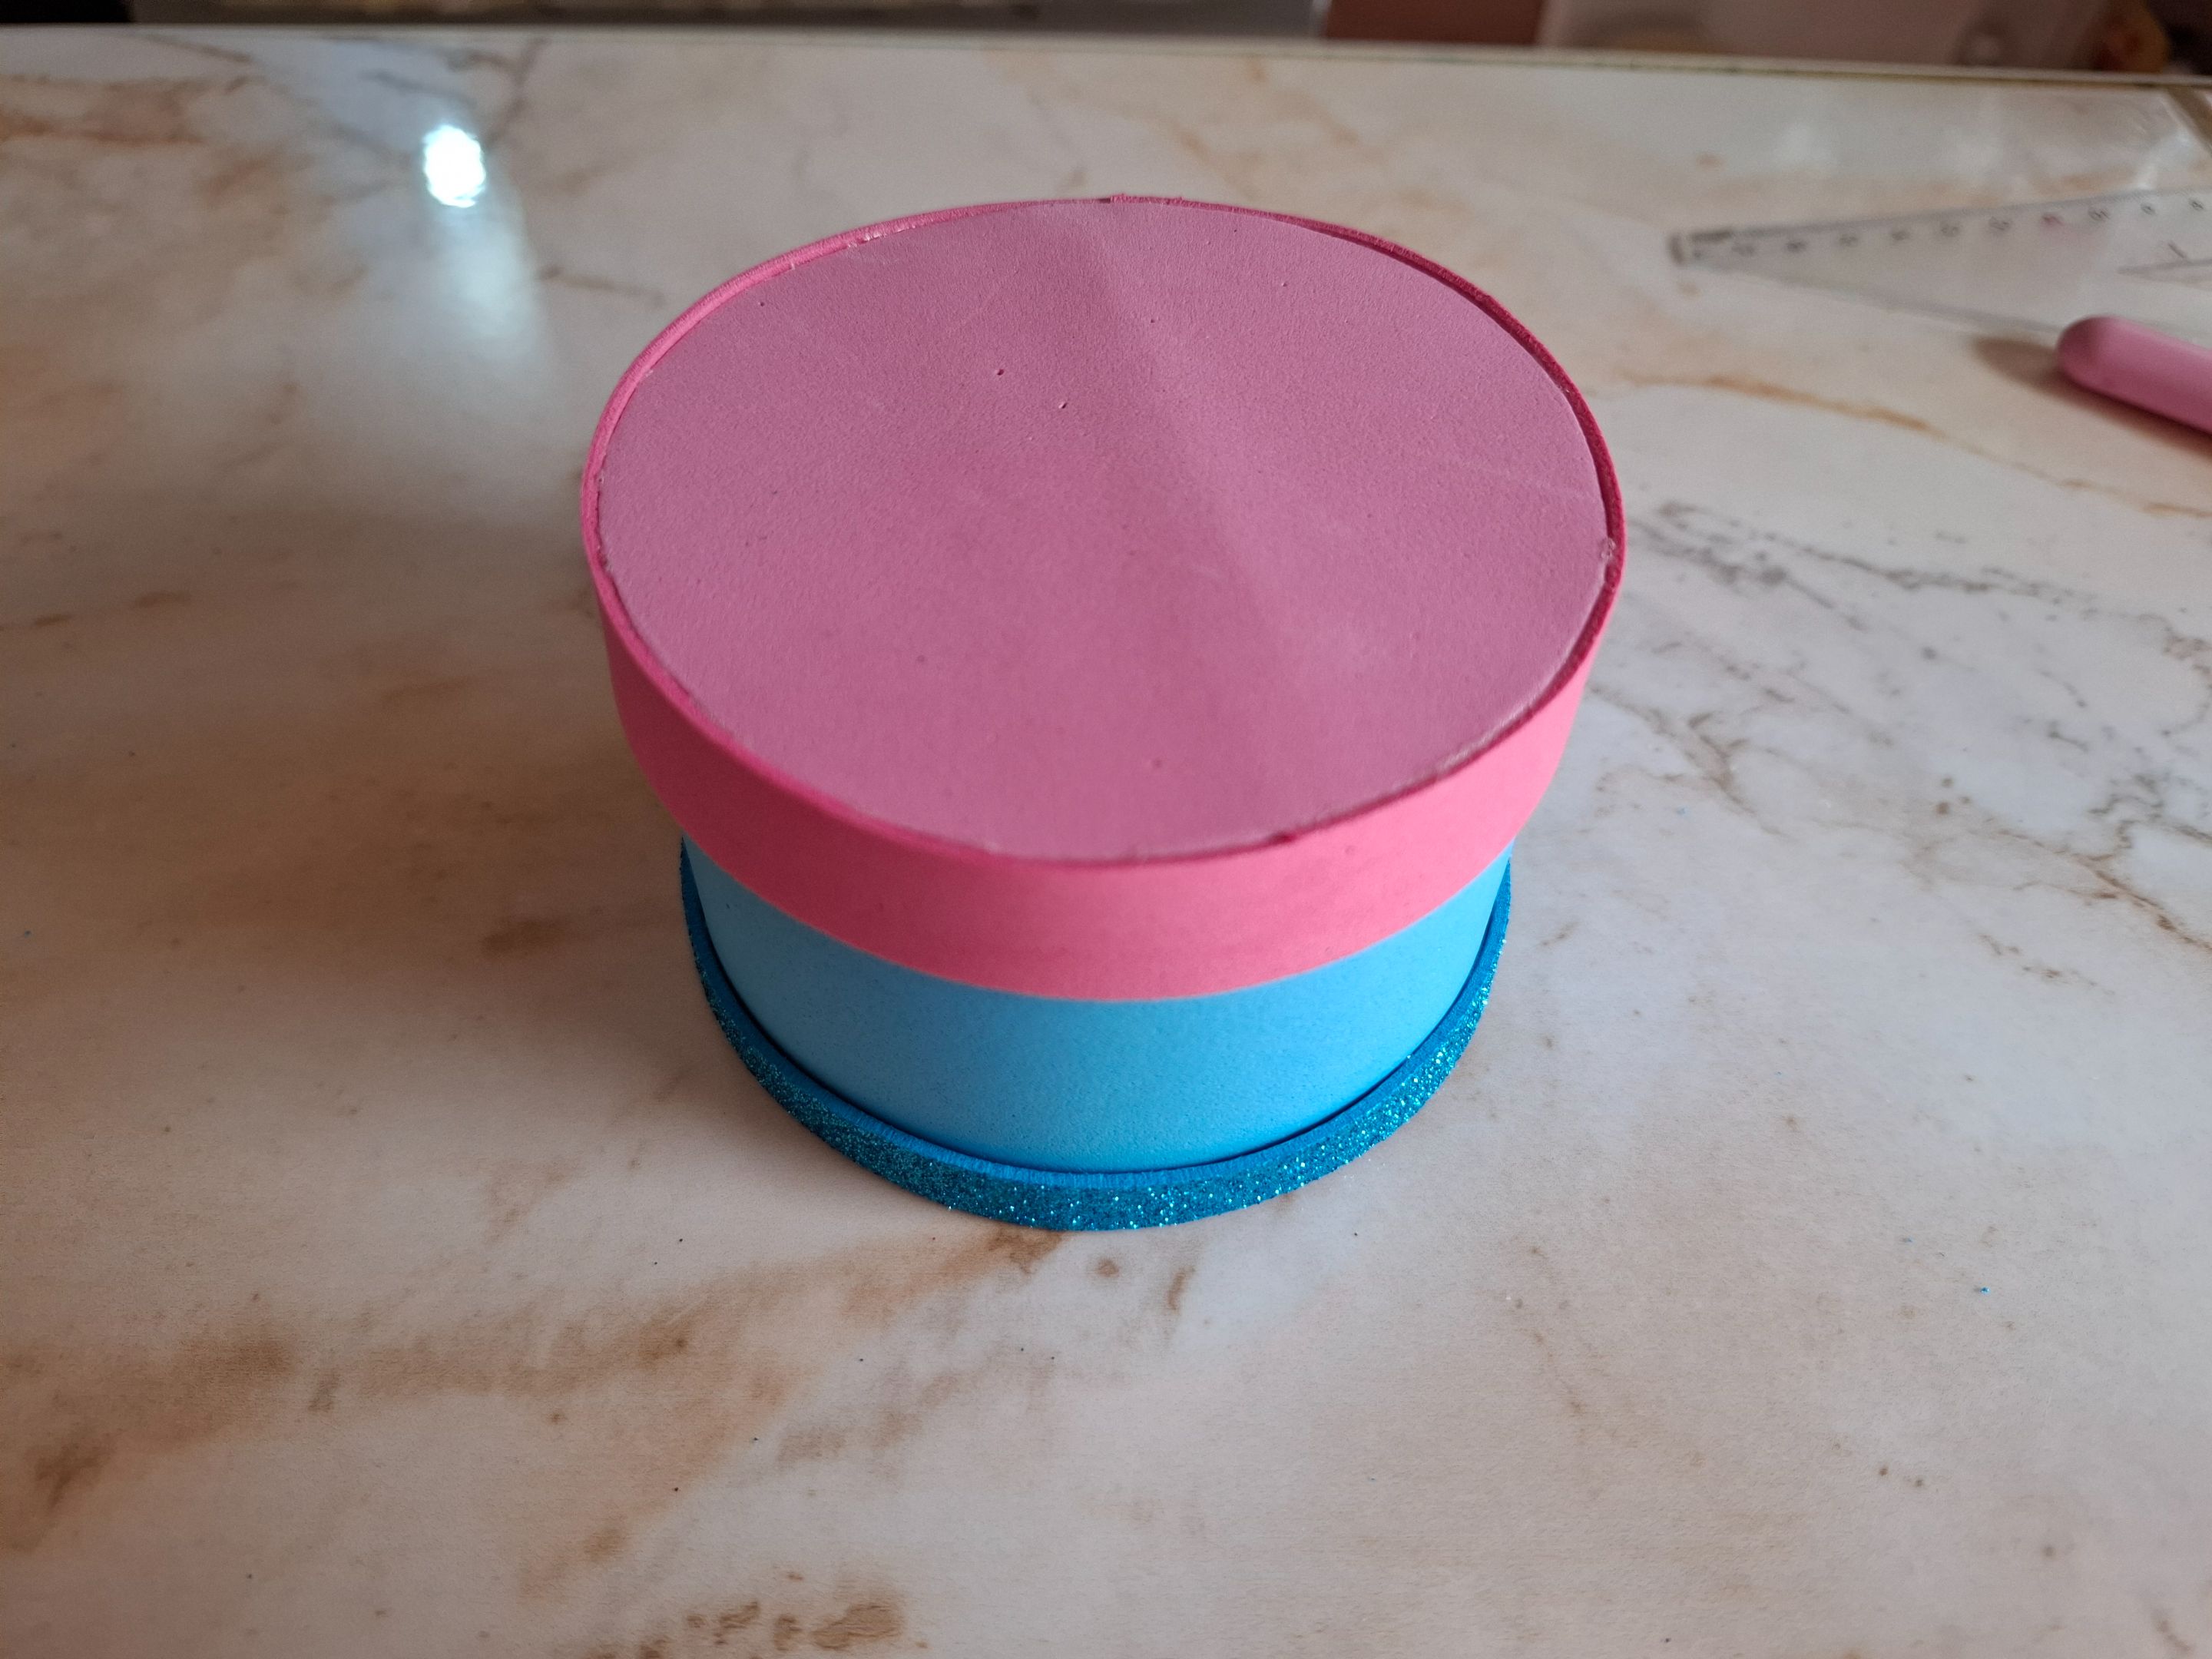
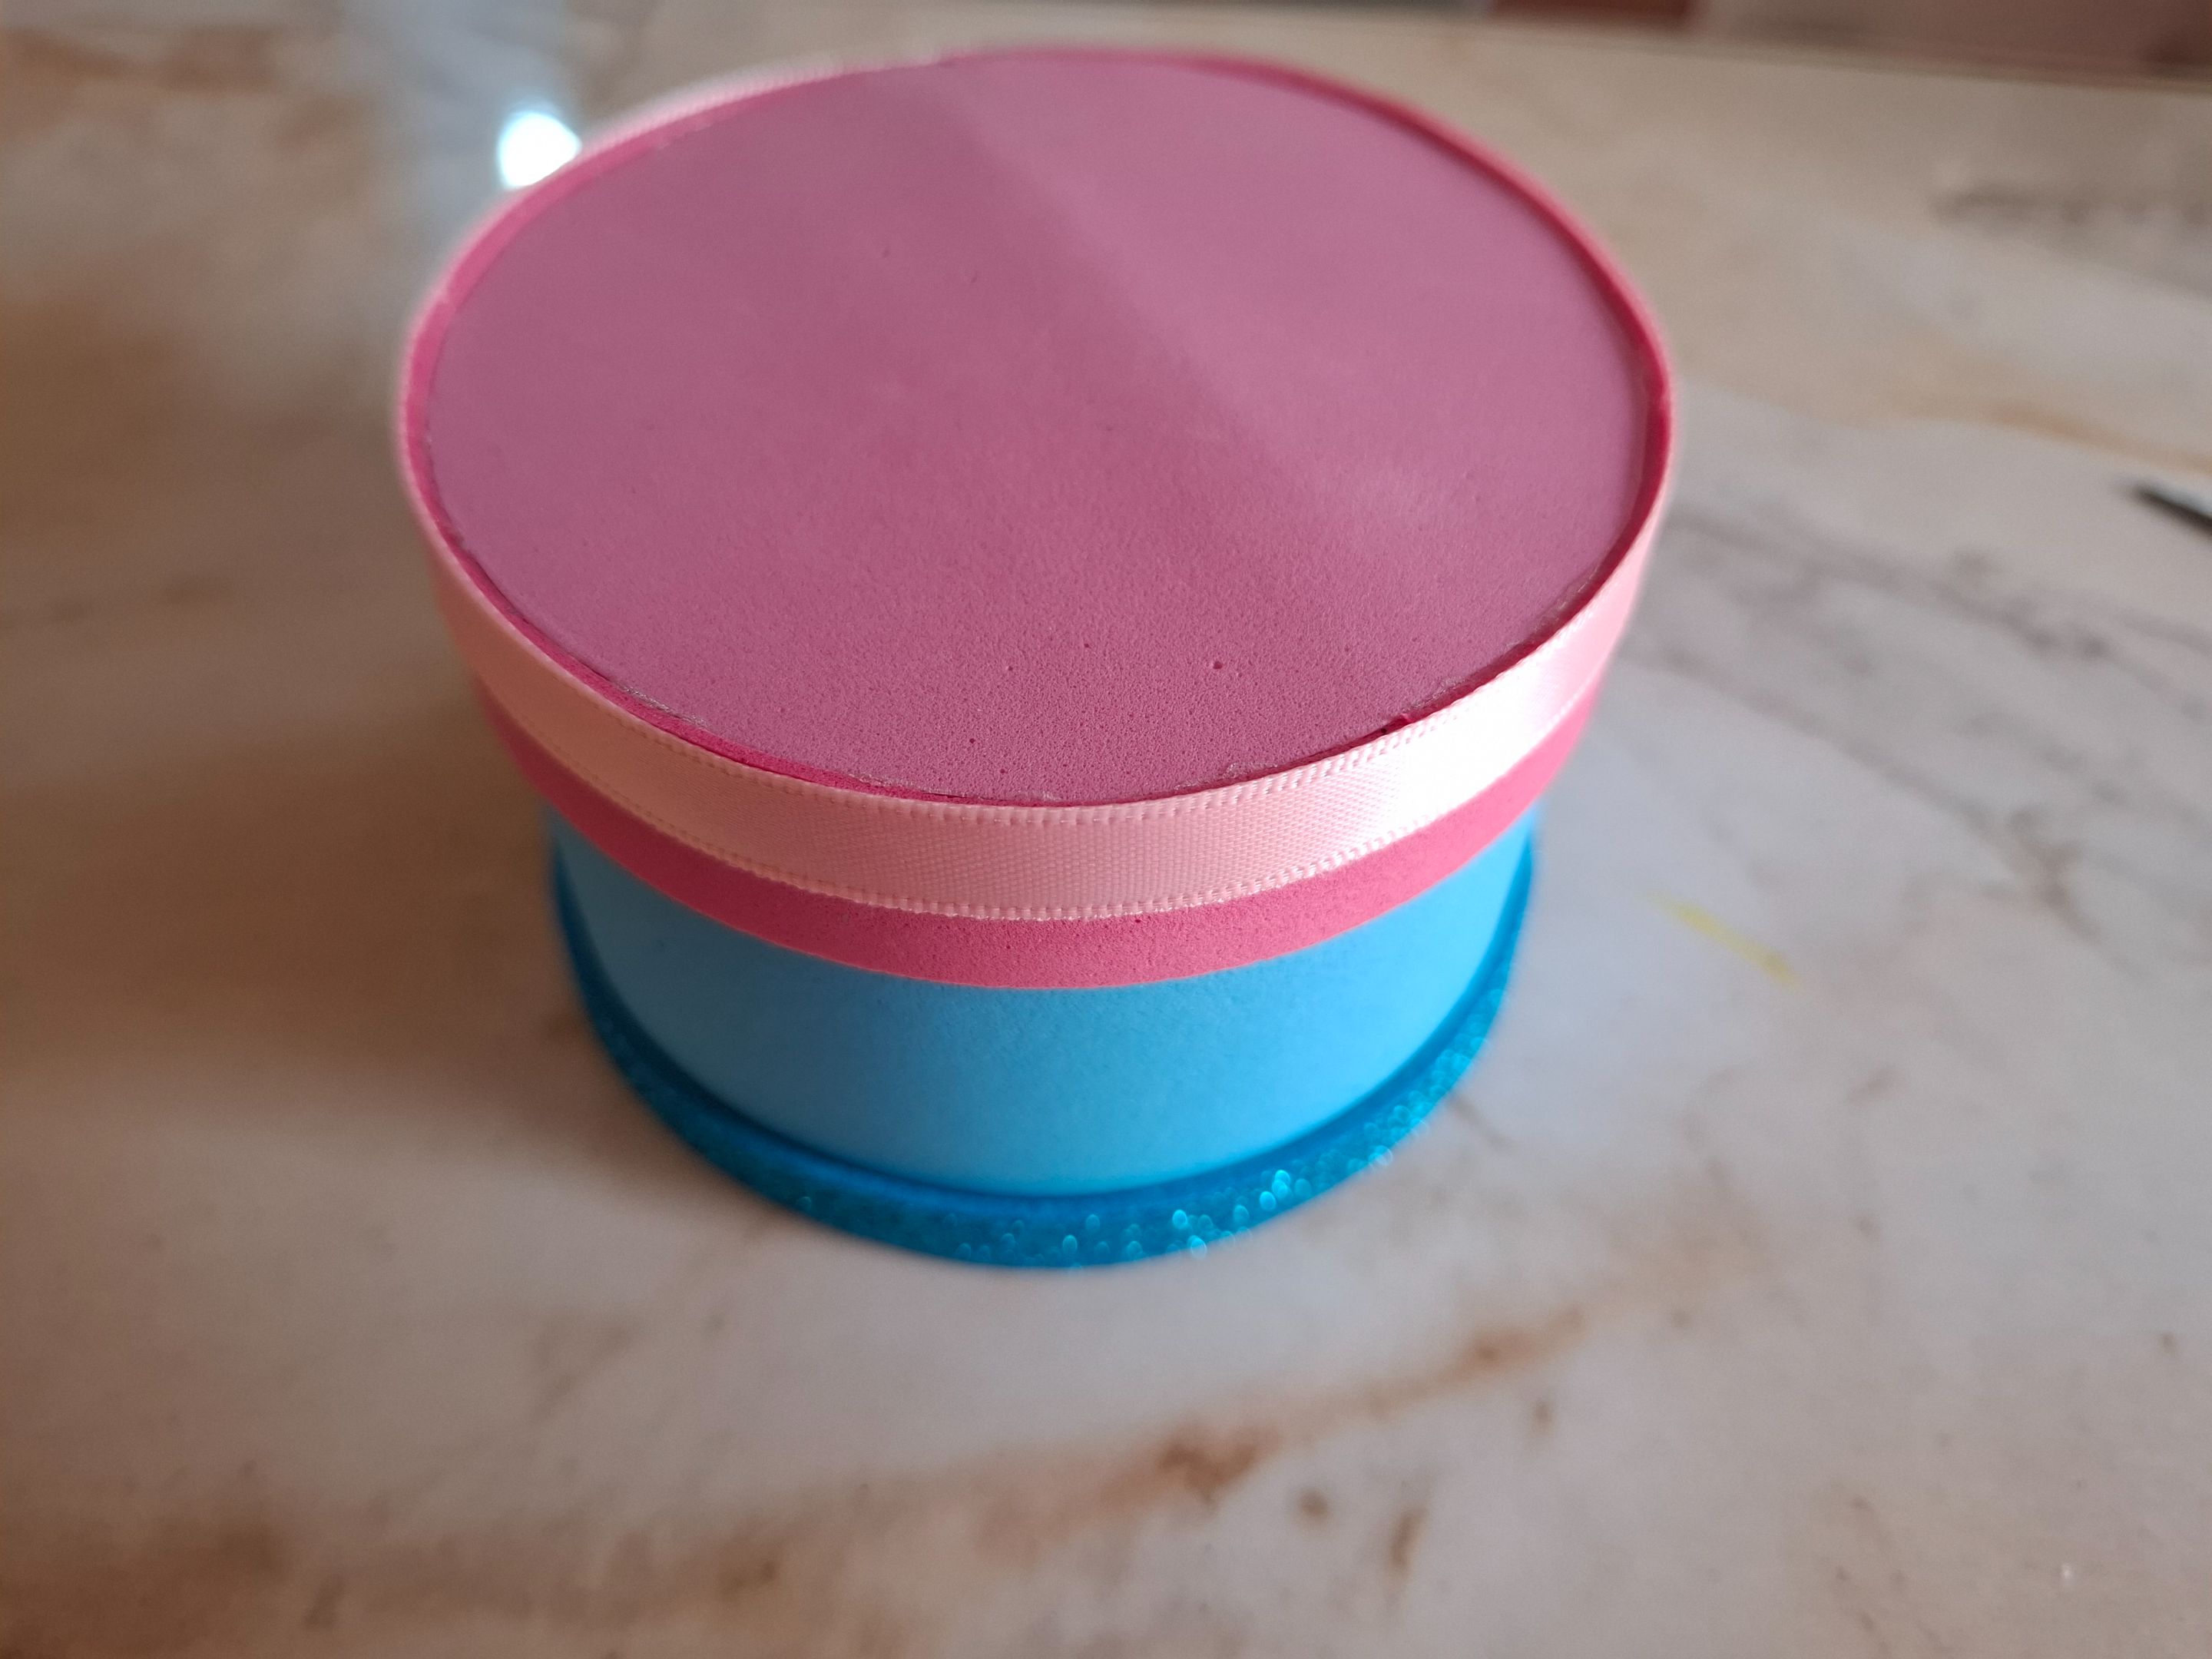
Luego en la parte inferior coloqué una franja fina de foami azul escarchado, y en la parte superior cubri la parte fucsia con cinta color rosa, ya tenemos el organizador ahora realizamos la decoración.
Then on the bottom I placed a thin strip of frosted blue foam, and on the top I covered the fuchsia part with pink ribbon. We already have the organizer, now we do the decoration.
 |  |
|---|
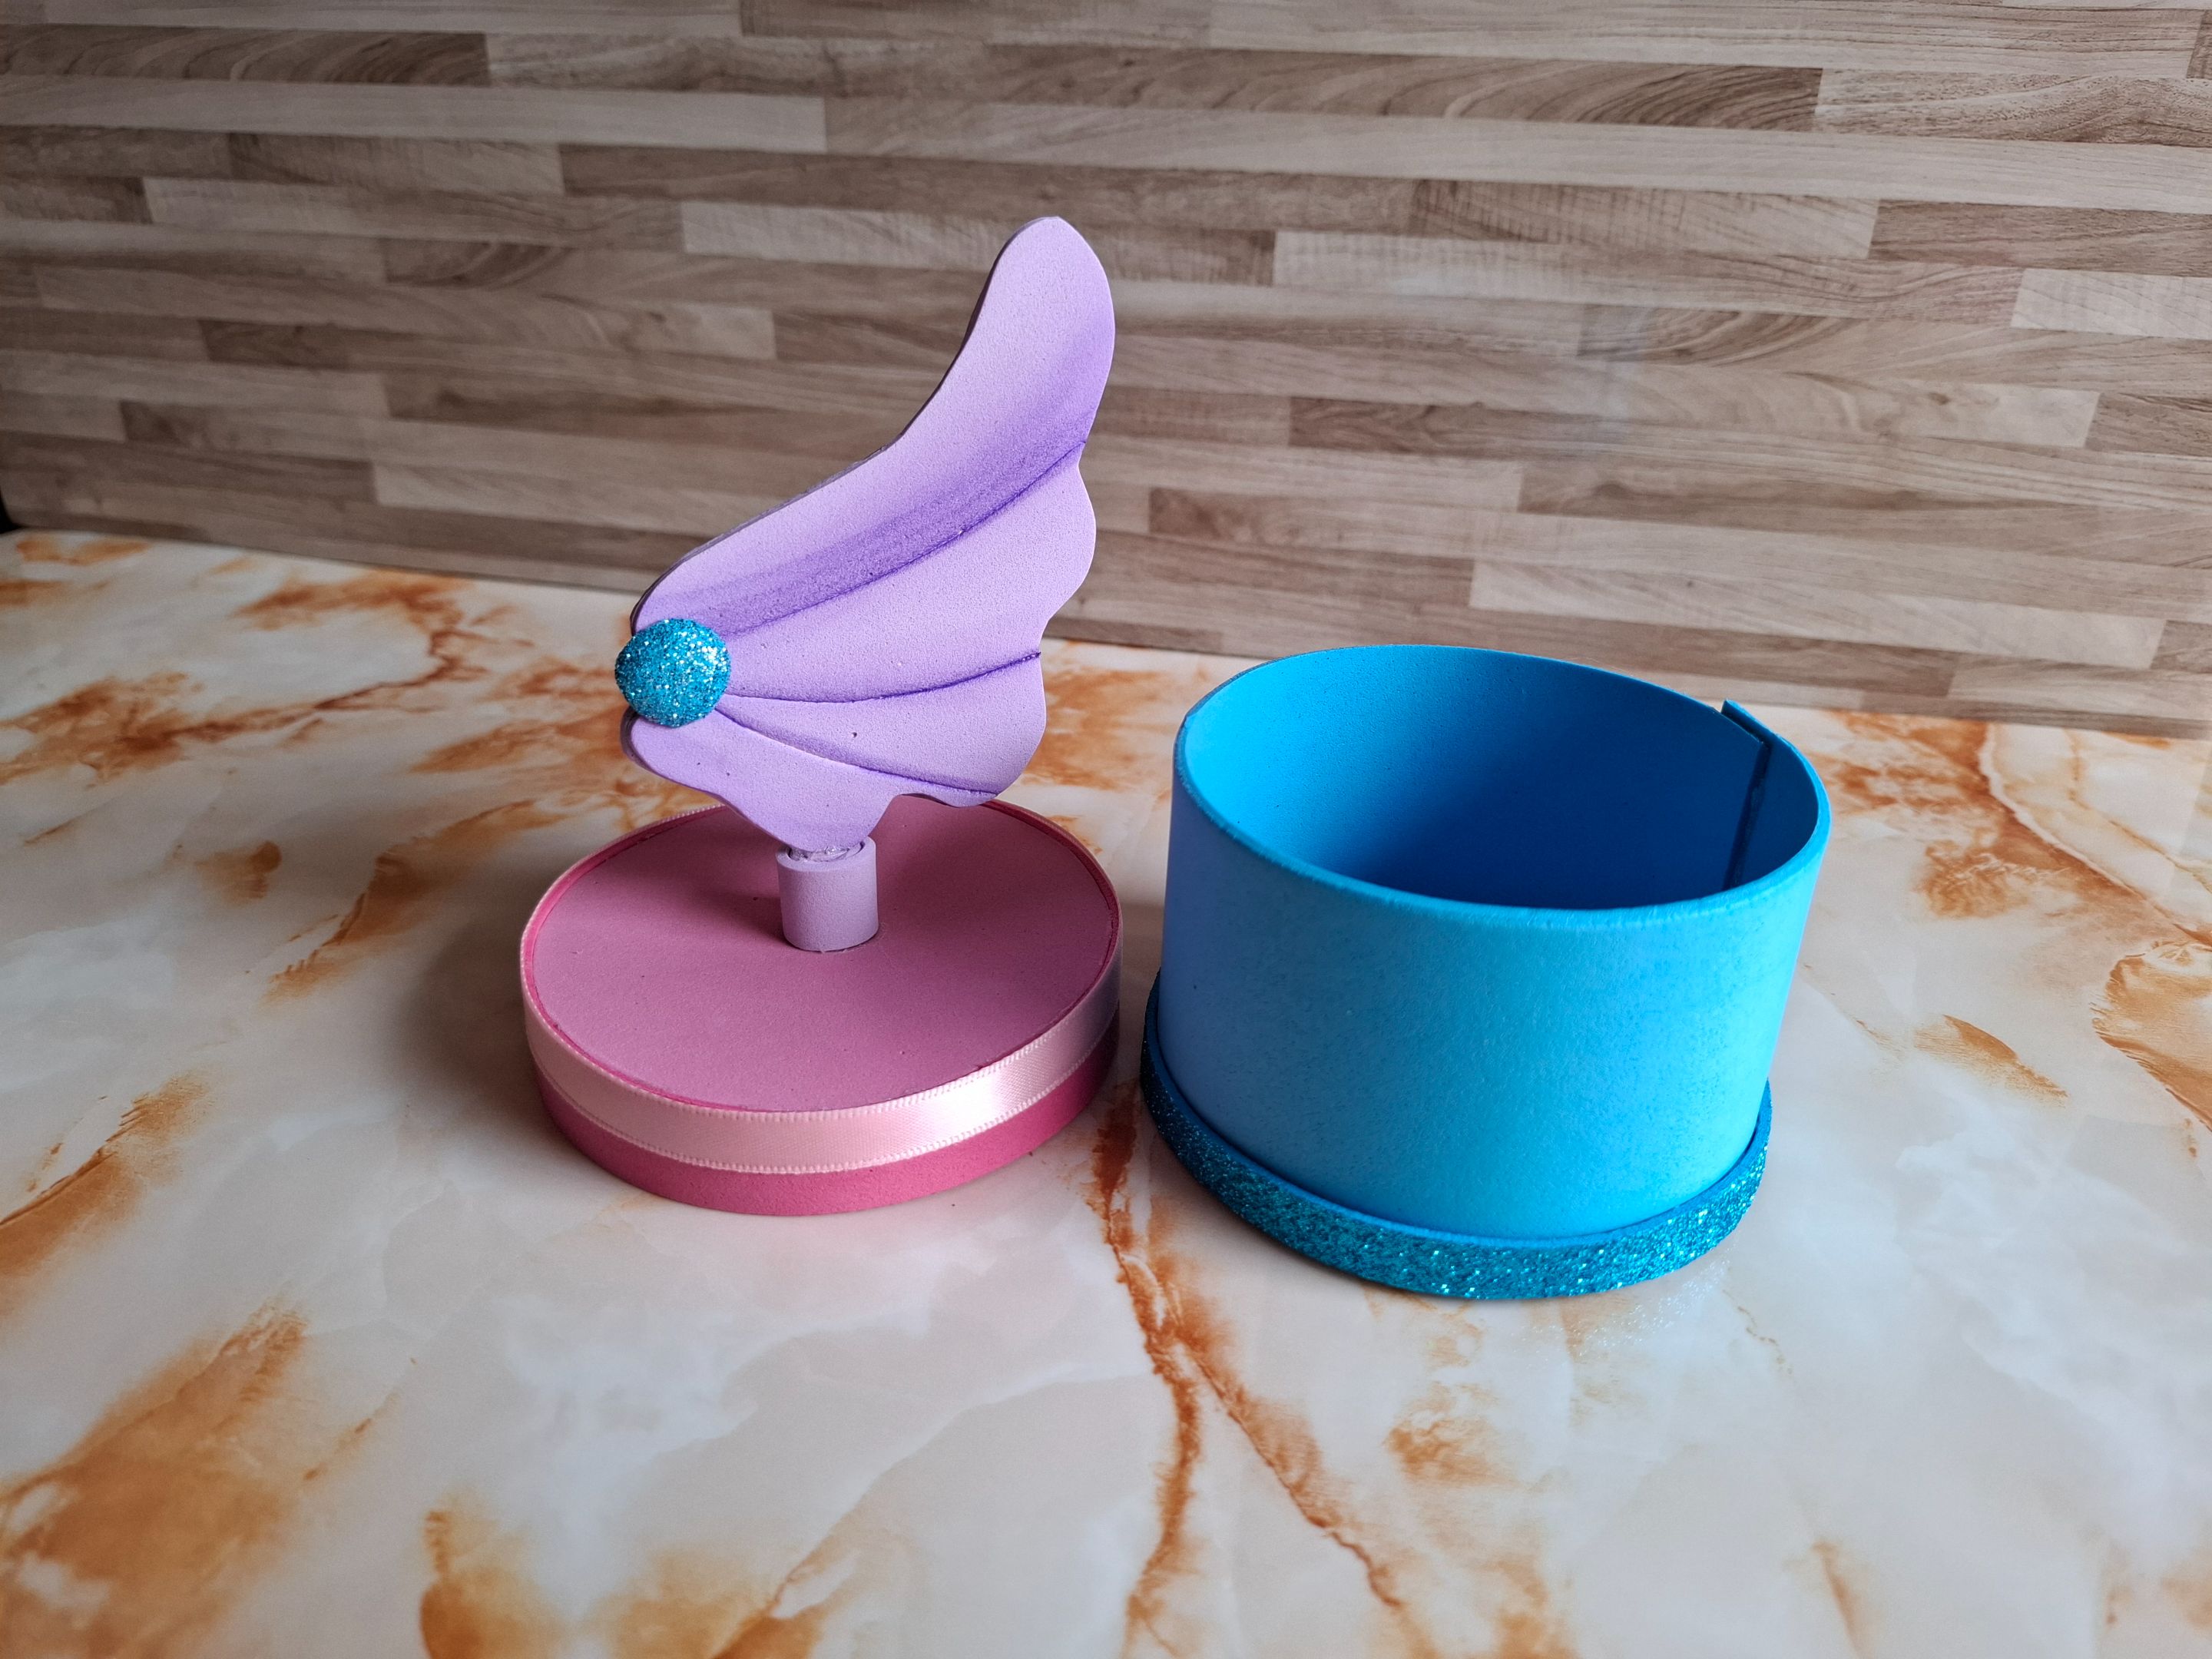
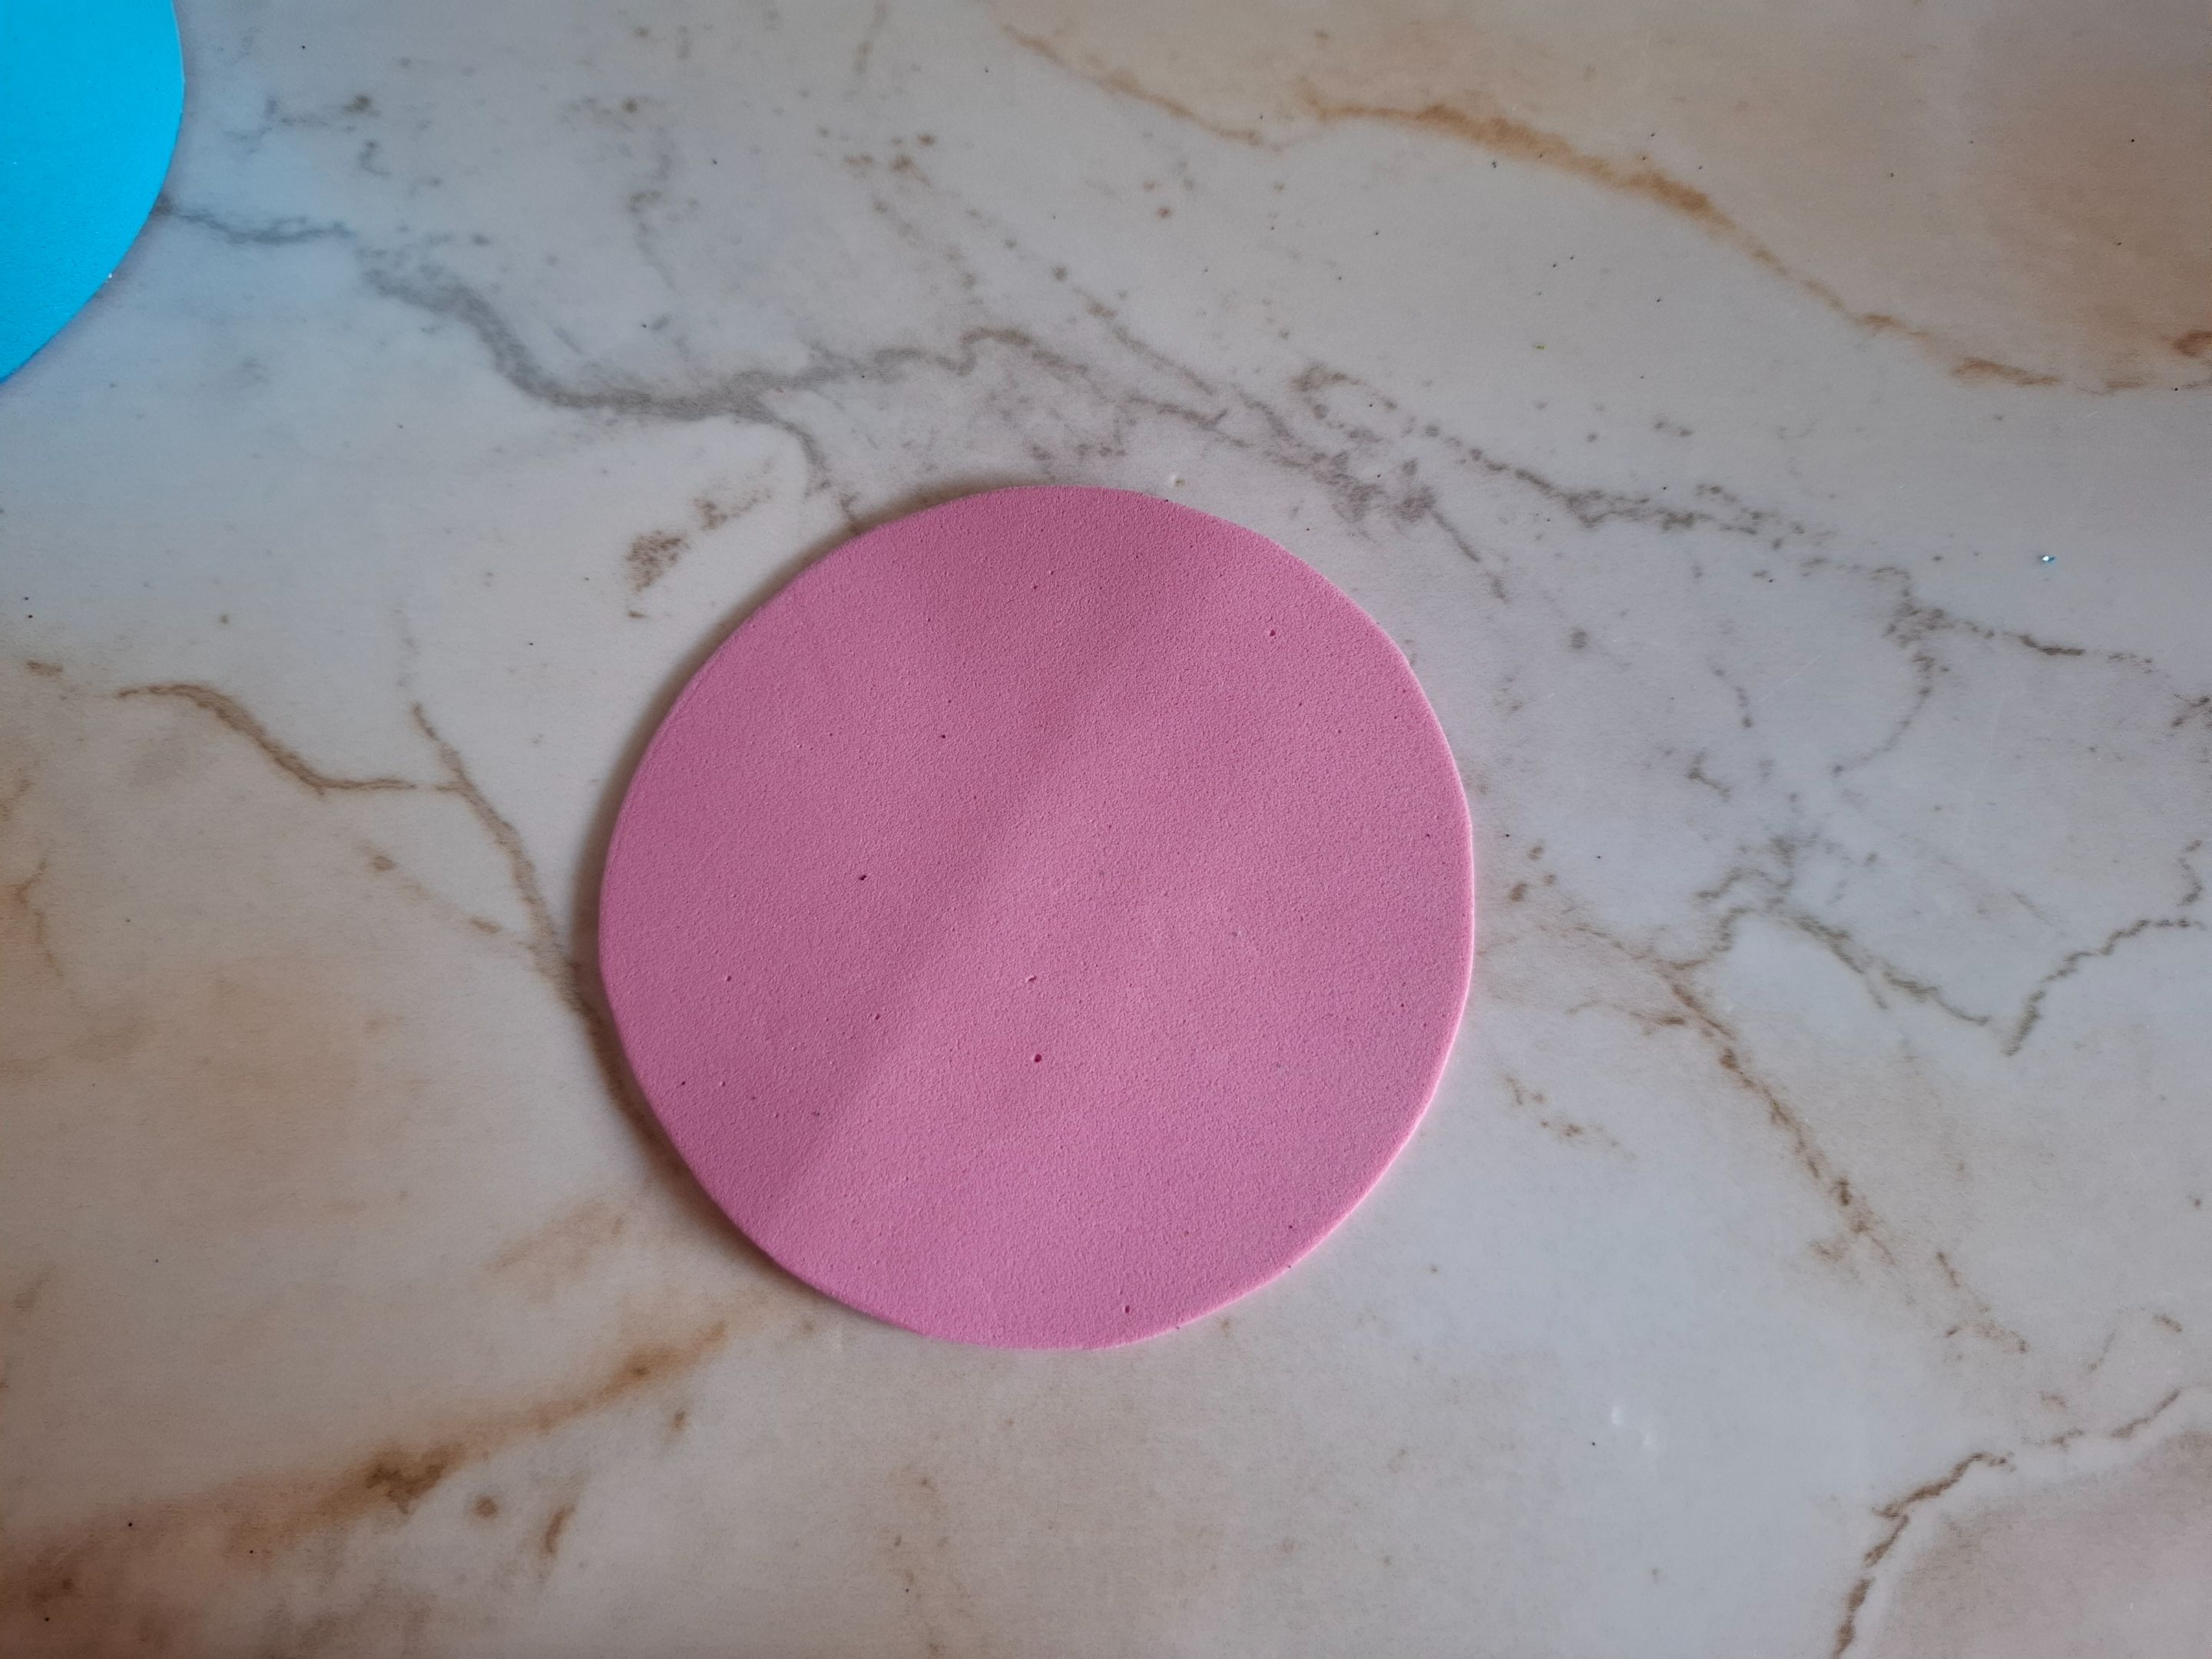
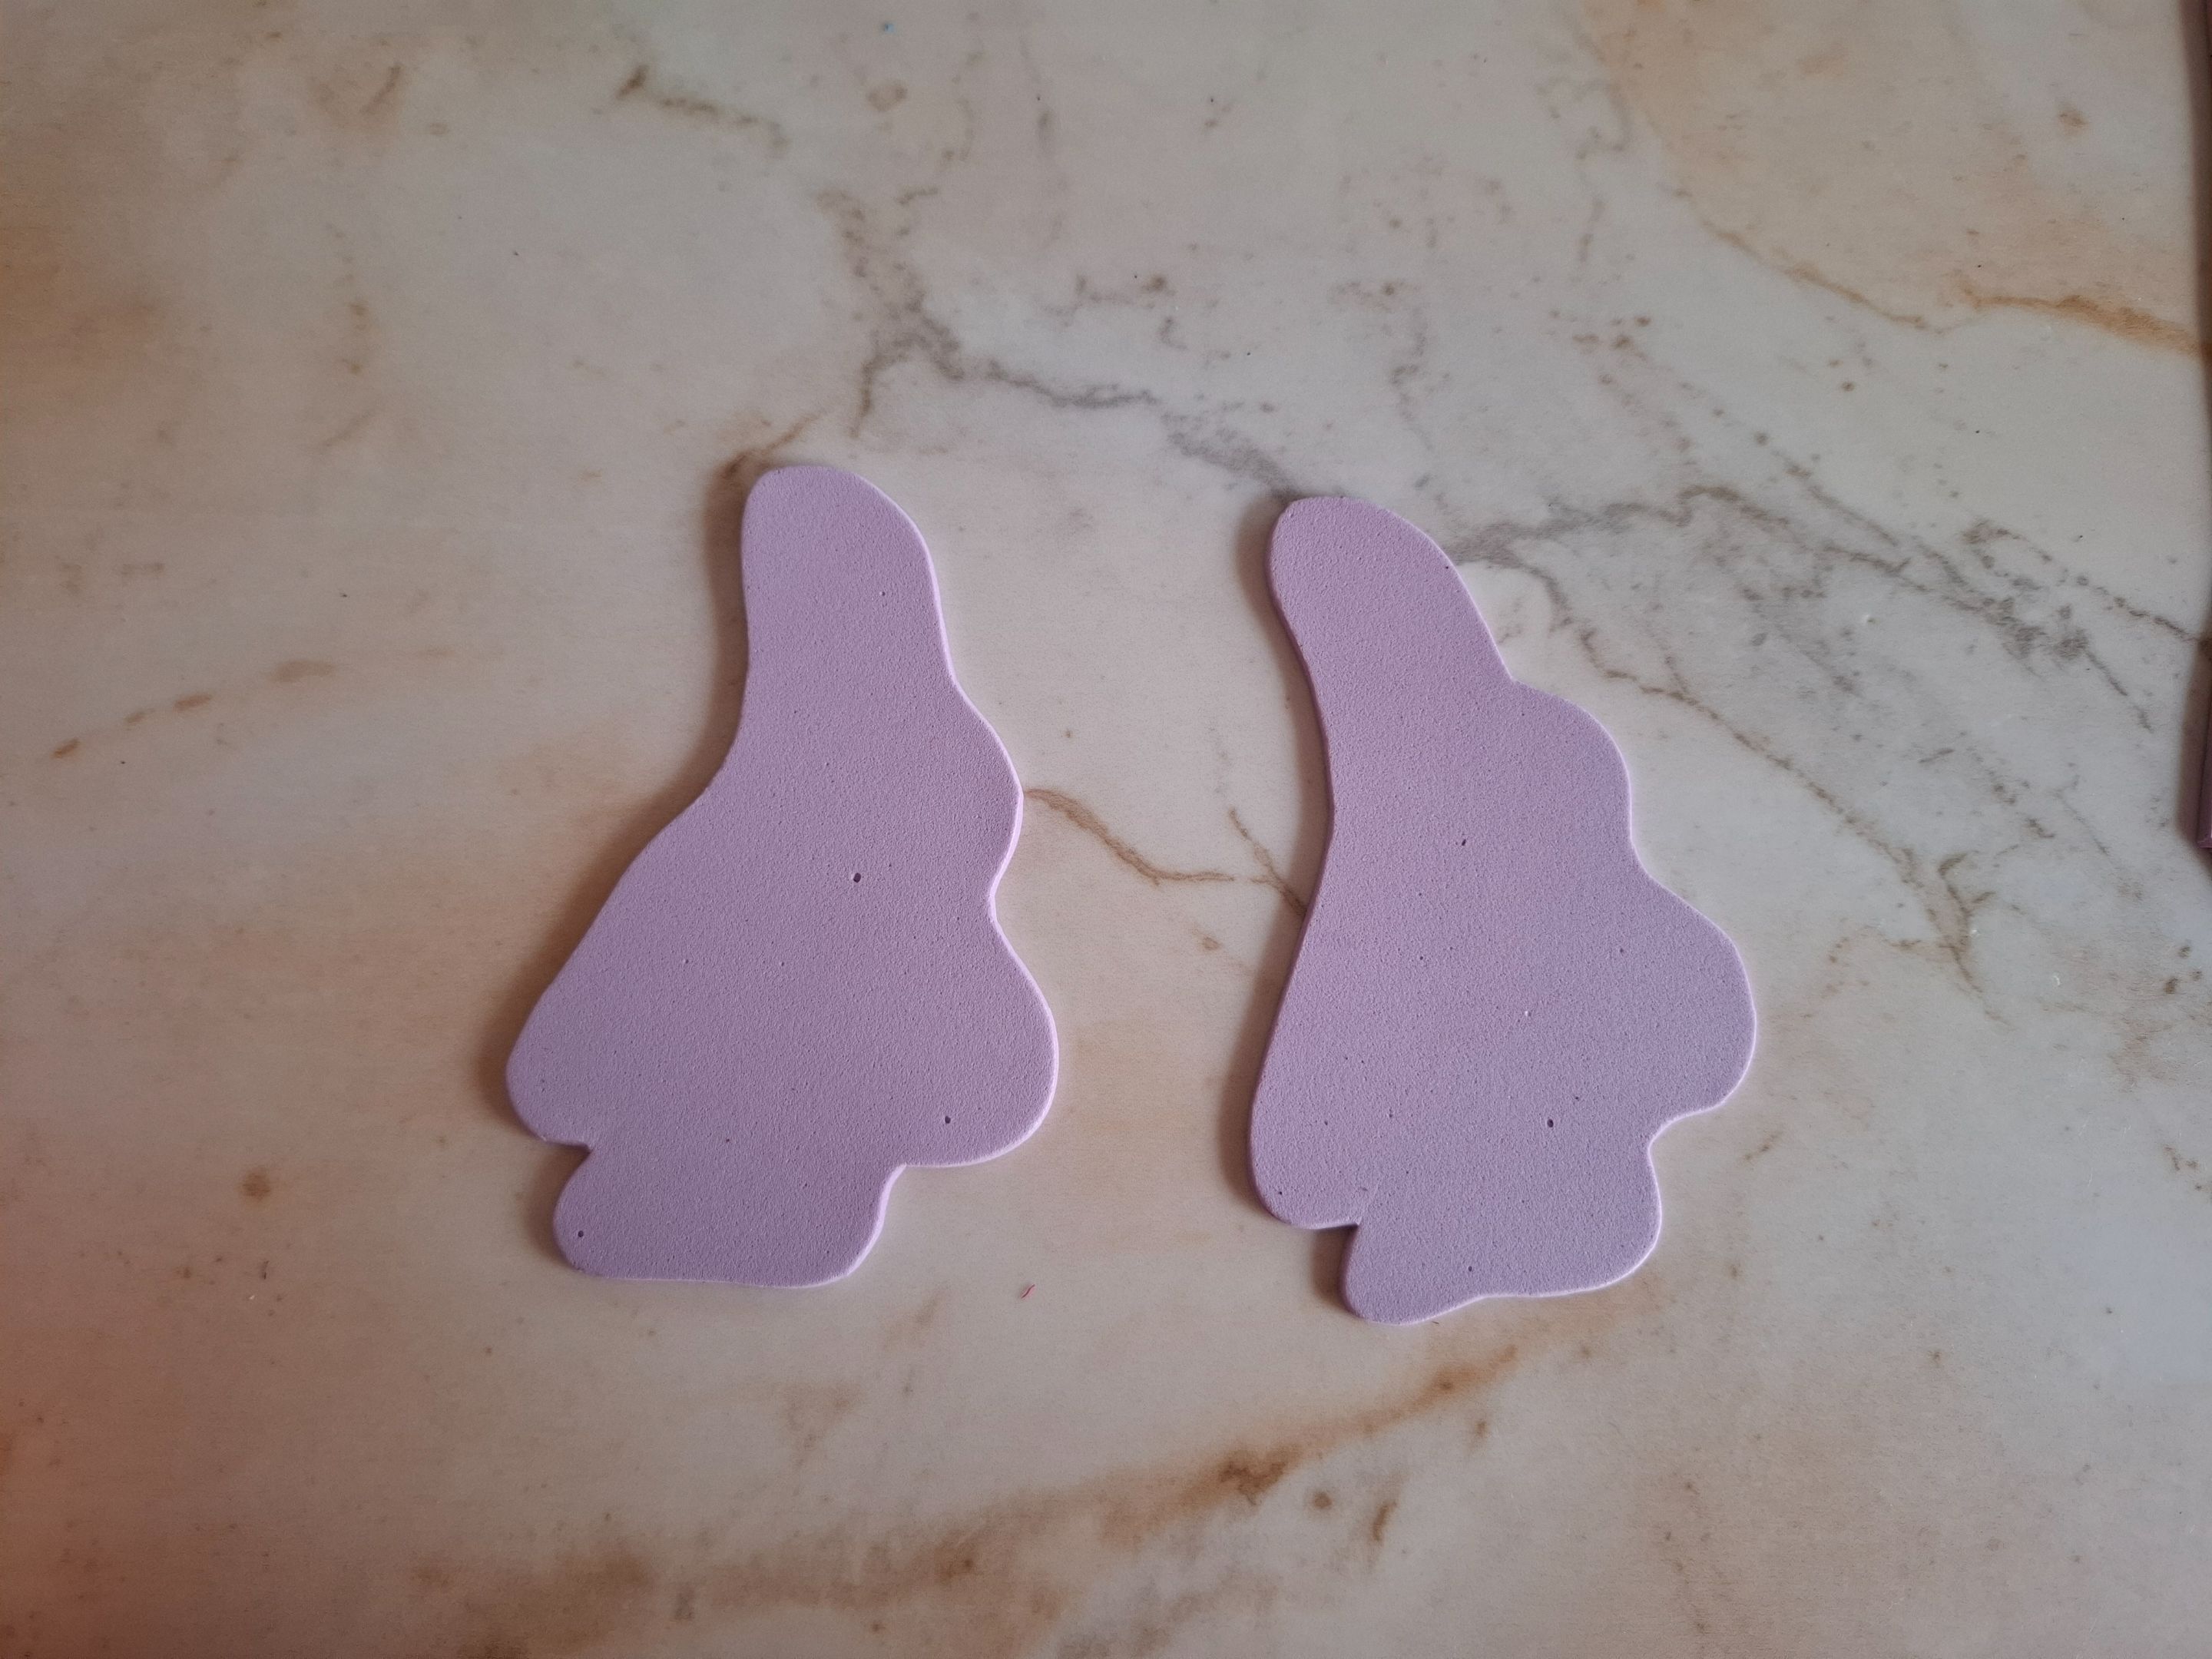
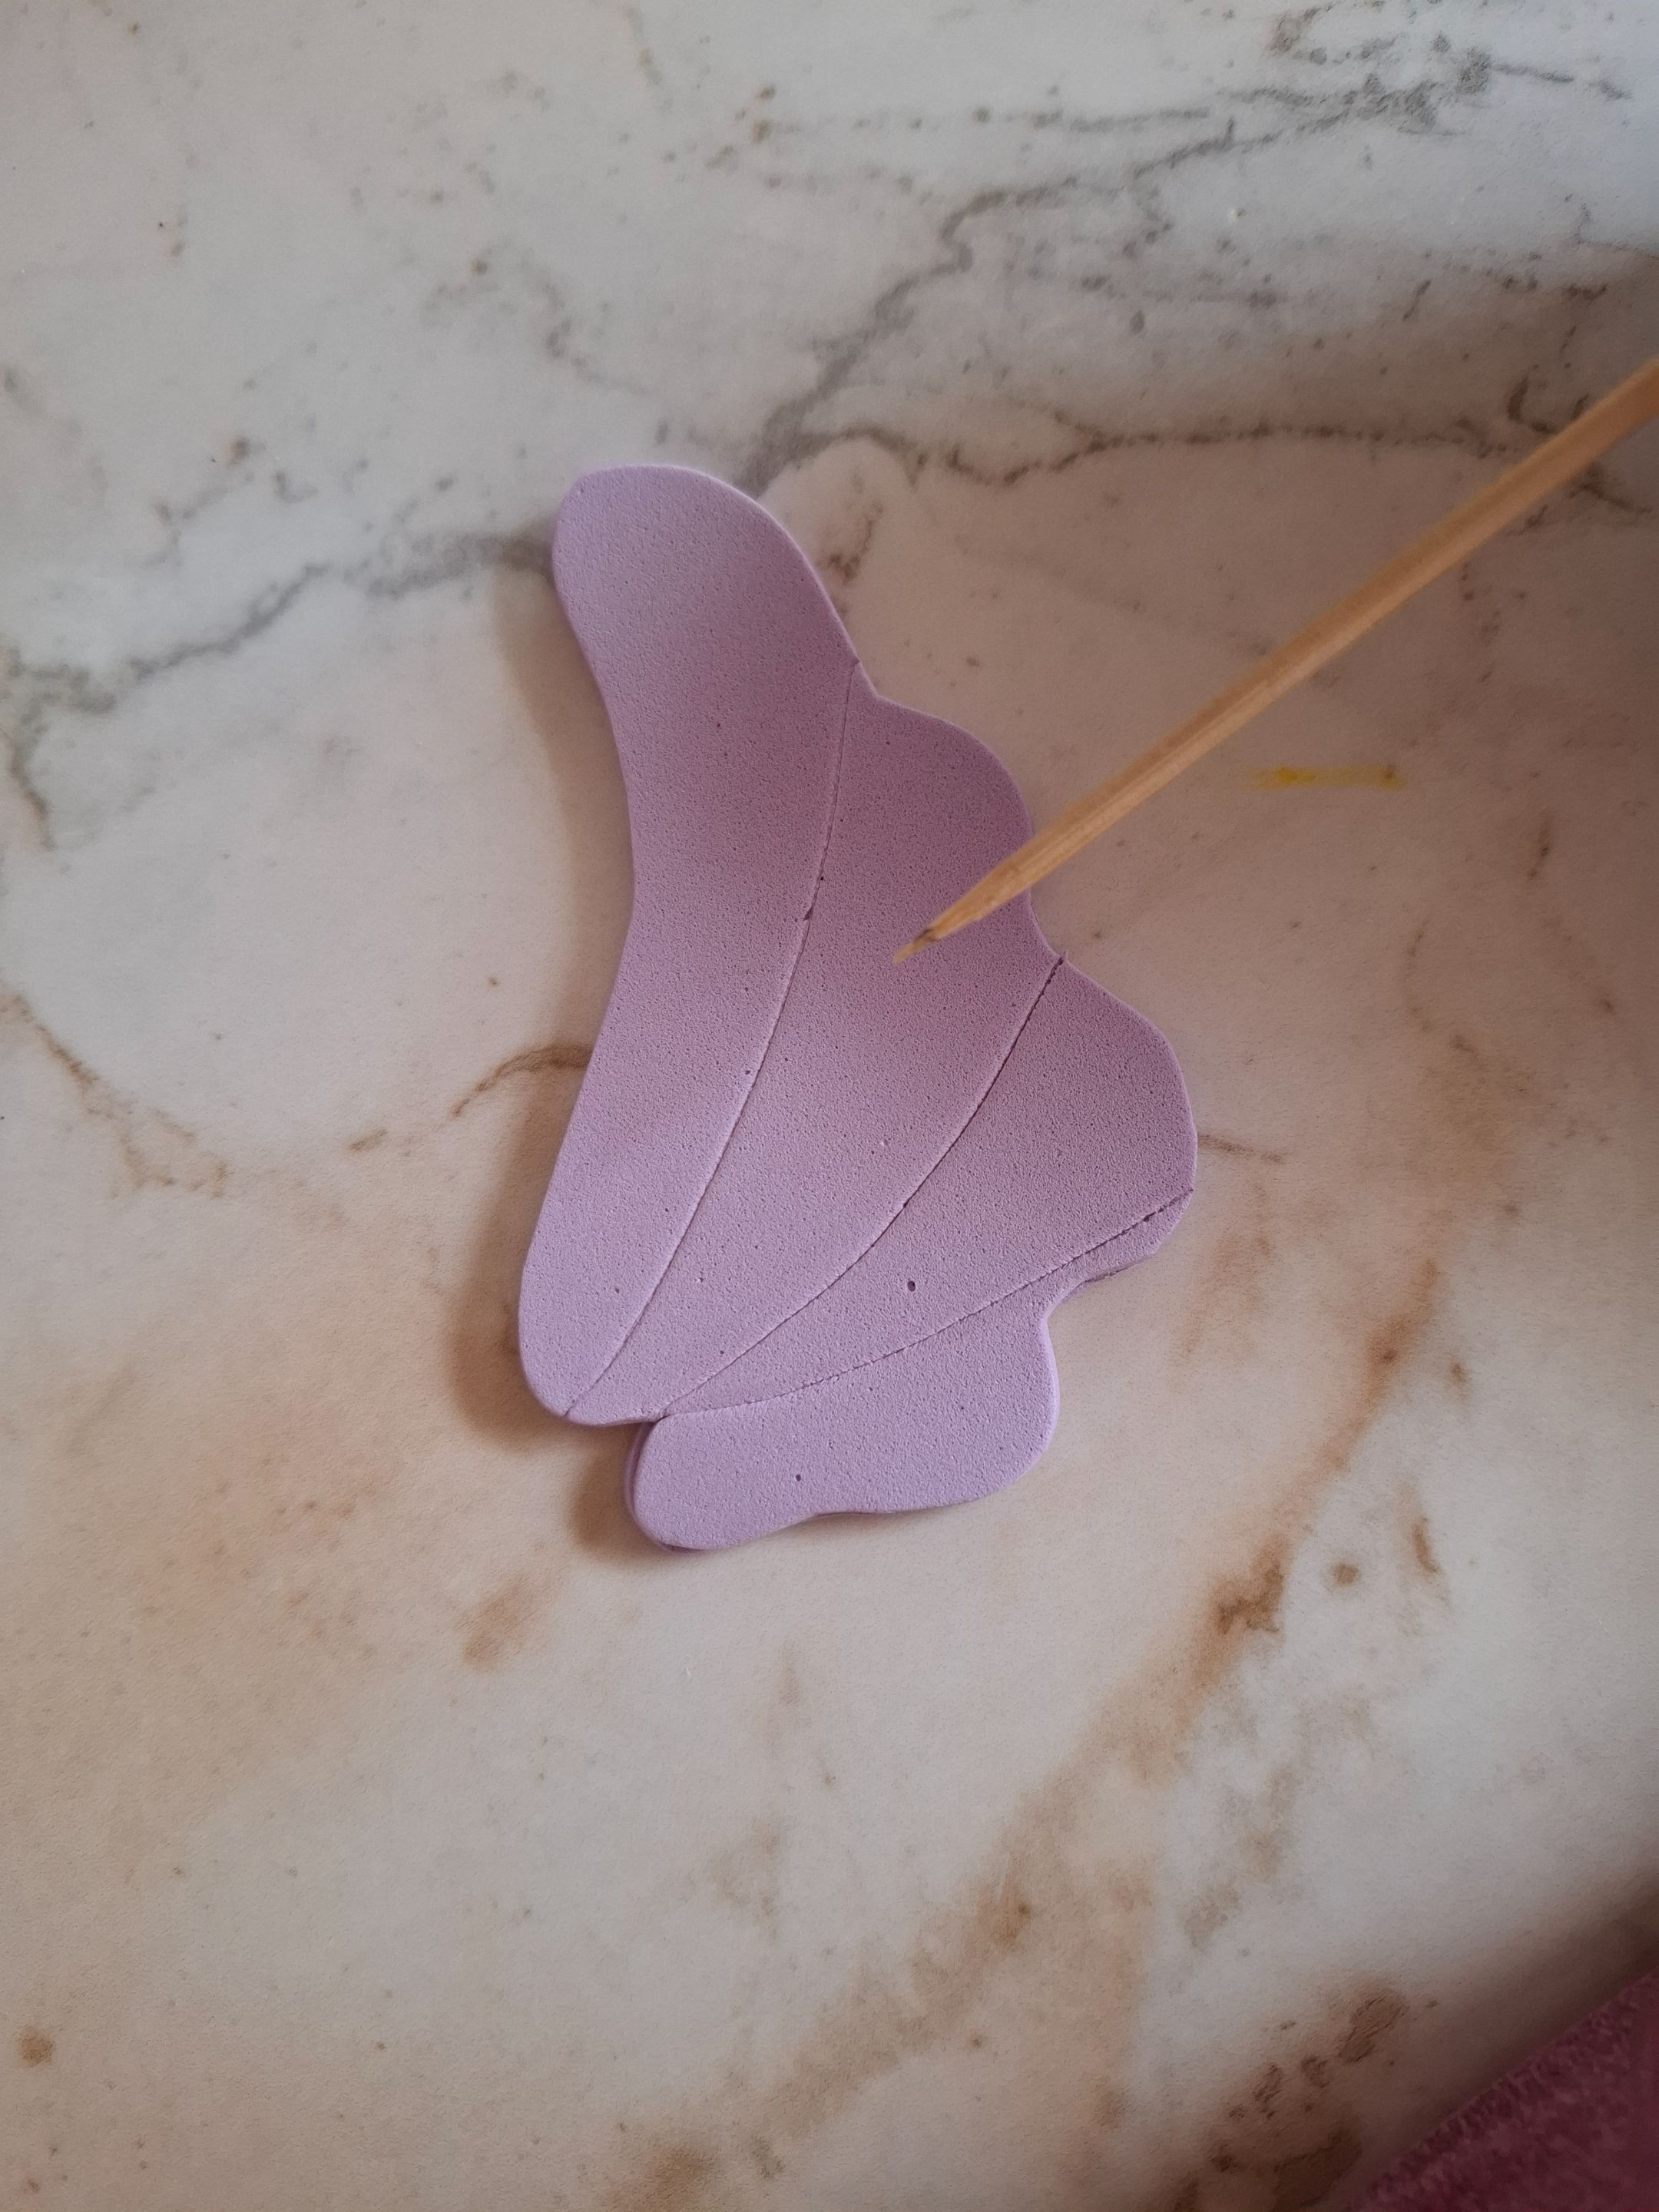
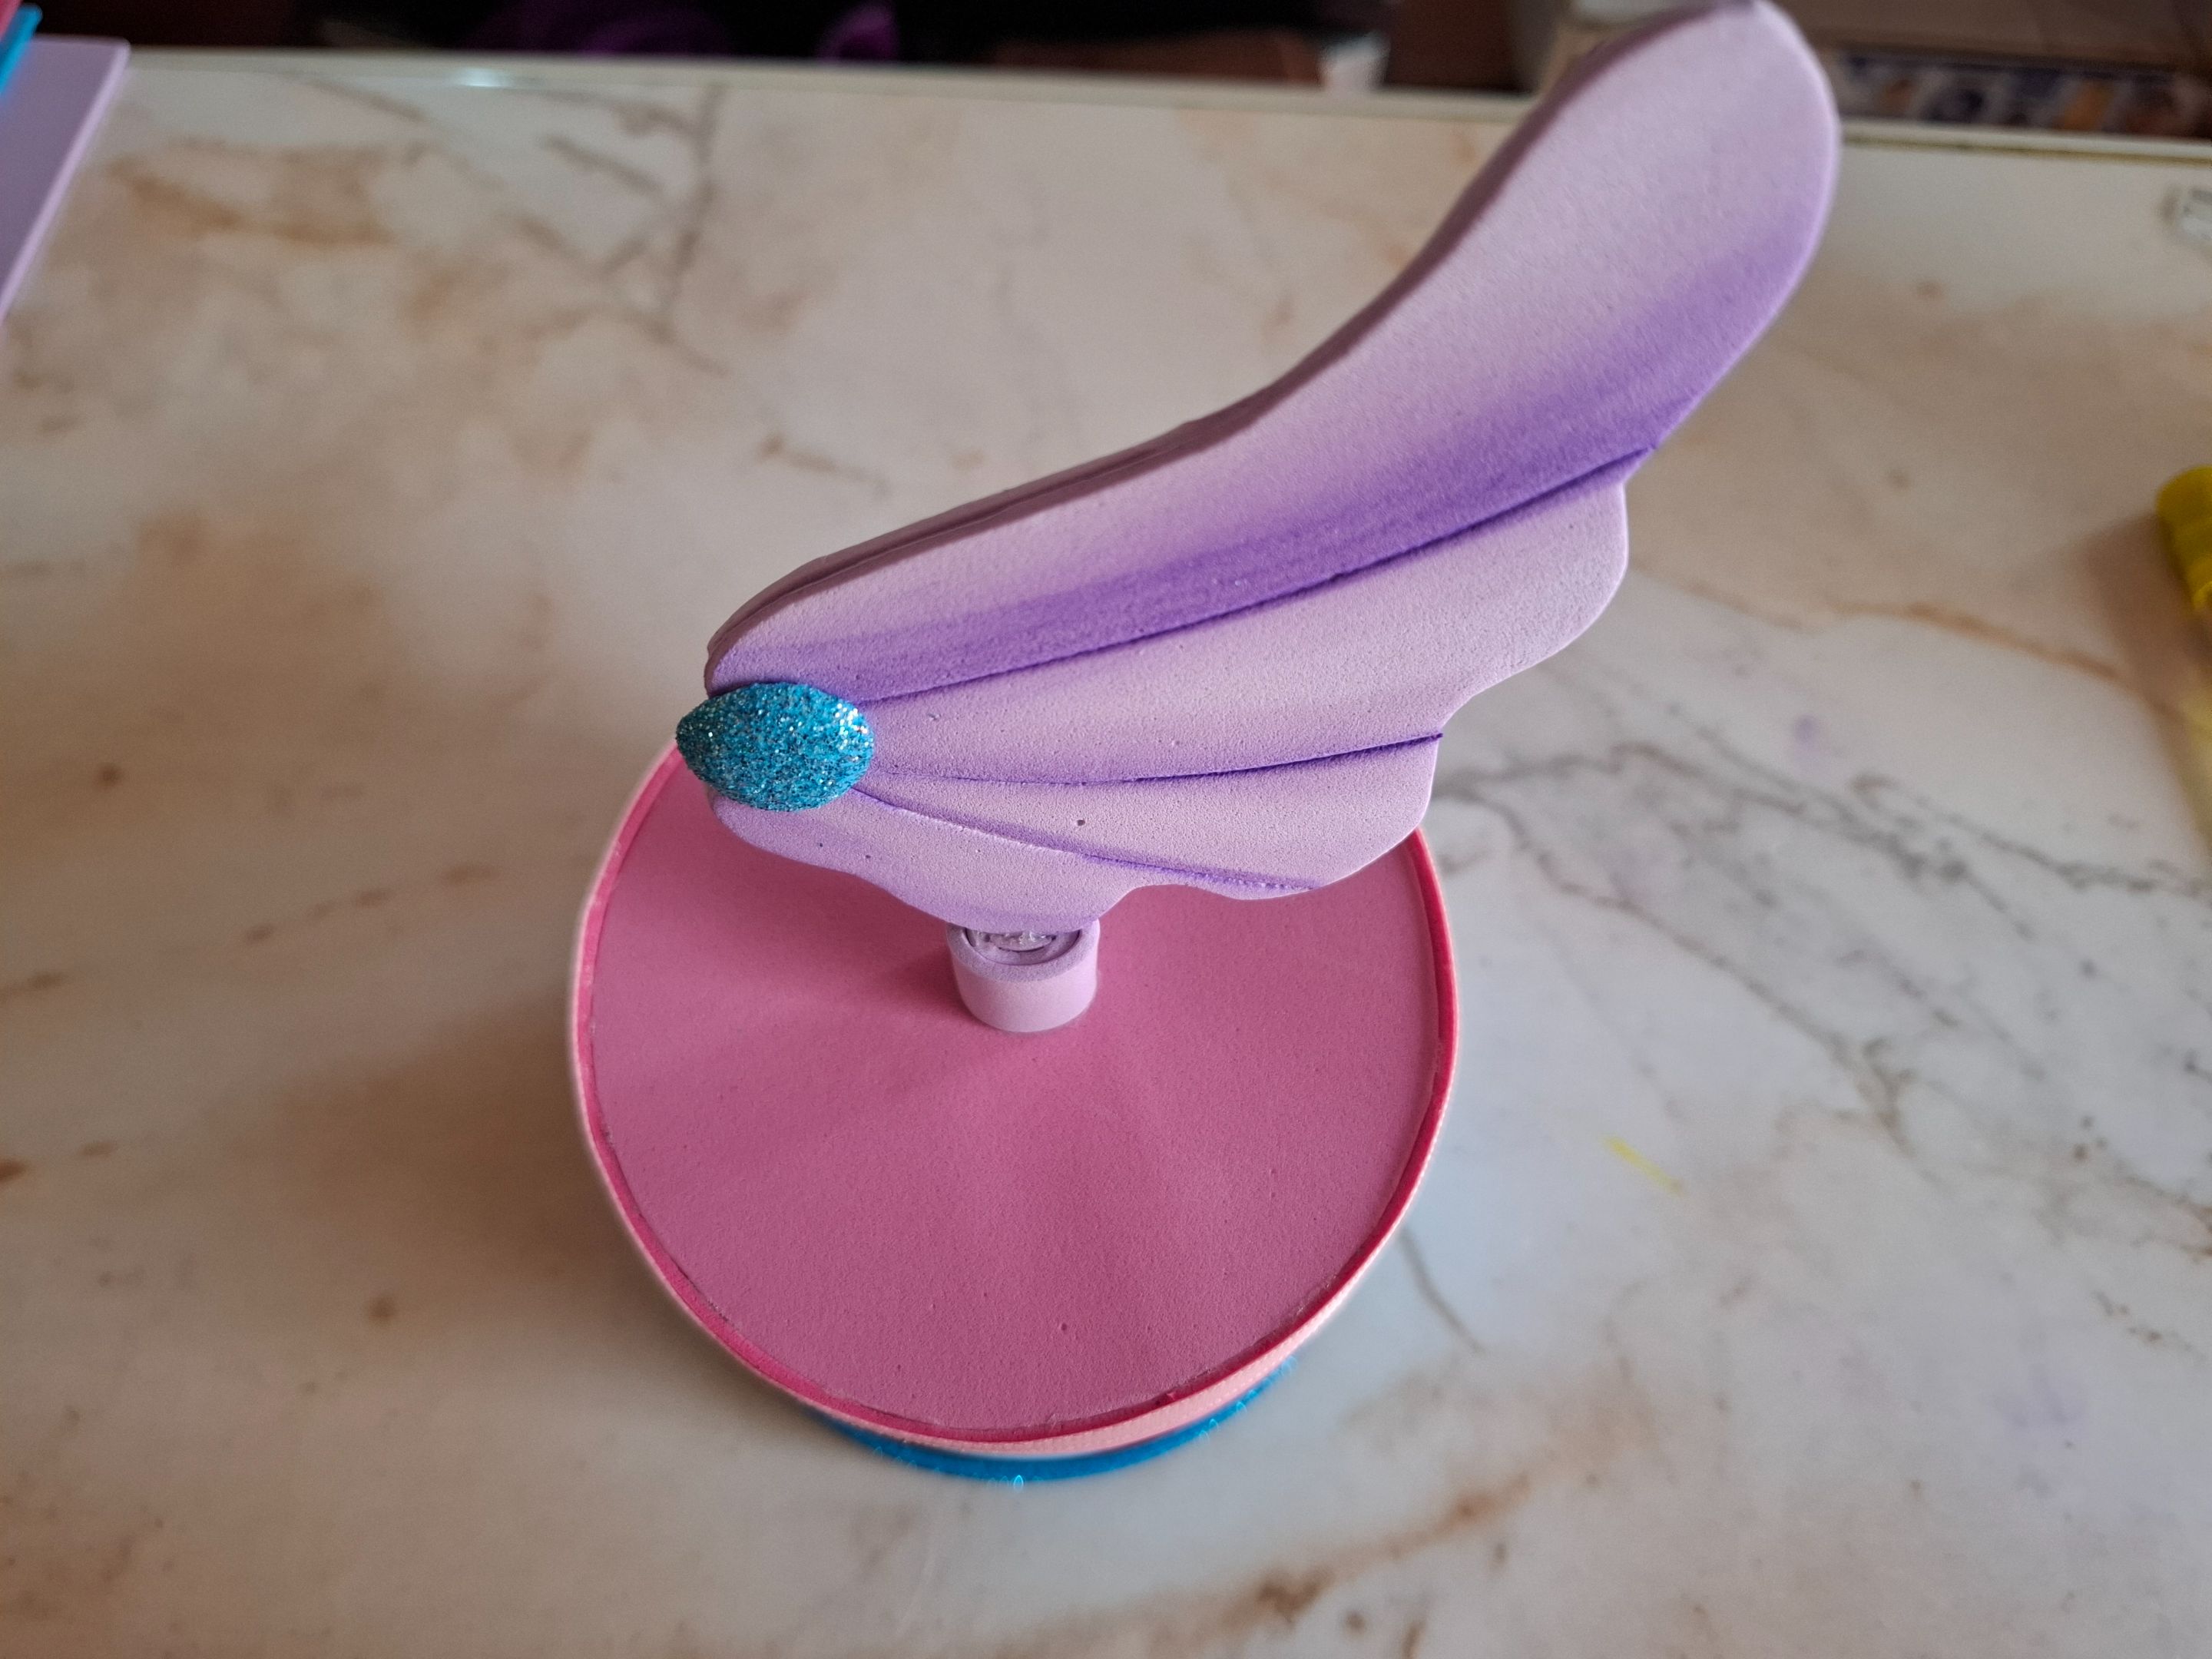
Realicé el detalle de las orejas de la imágen principal, en foami color morado claro voy a cortar dos figuras iguales pegamos ambas esto para que nos quede más firme, con un palillo voy a marcar algunas líneas además de aplicar marcador color morado para dar un toque de sombreado.
I made the detail of the ears in the main image, in light purple foam I am going to cut two identical figures, we glue both of these together so that it is firmer, with a toothpick I am going to mark some lines and also apply a purple marker to give a touch of shading.
 |  |  |
|---|
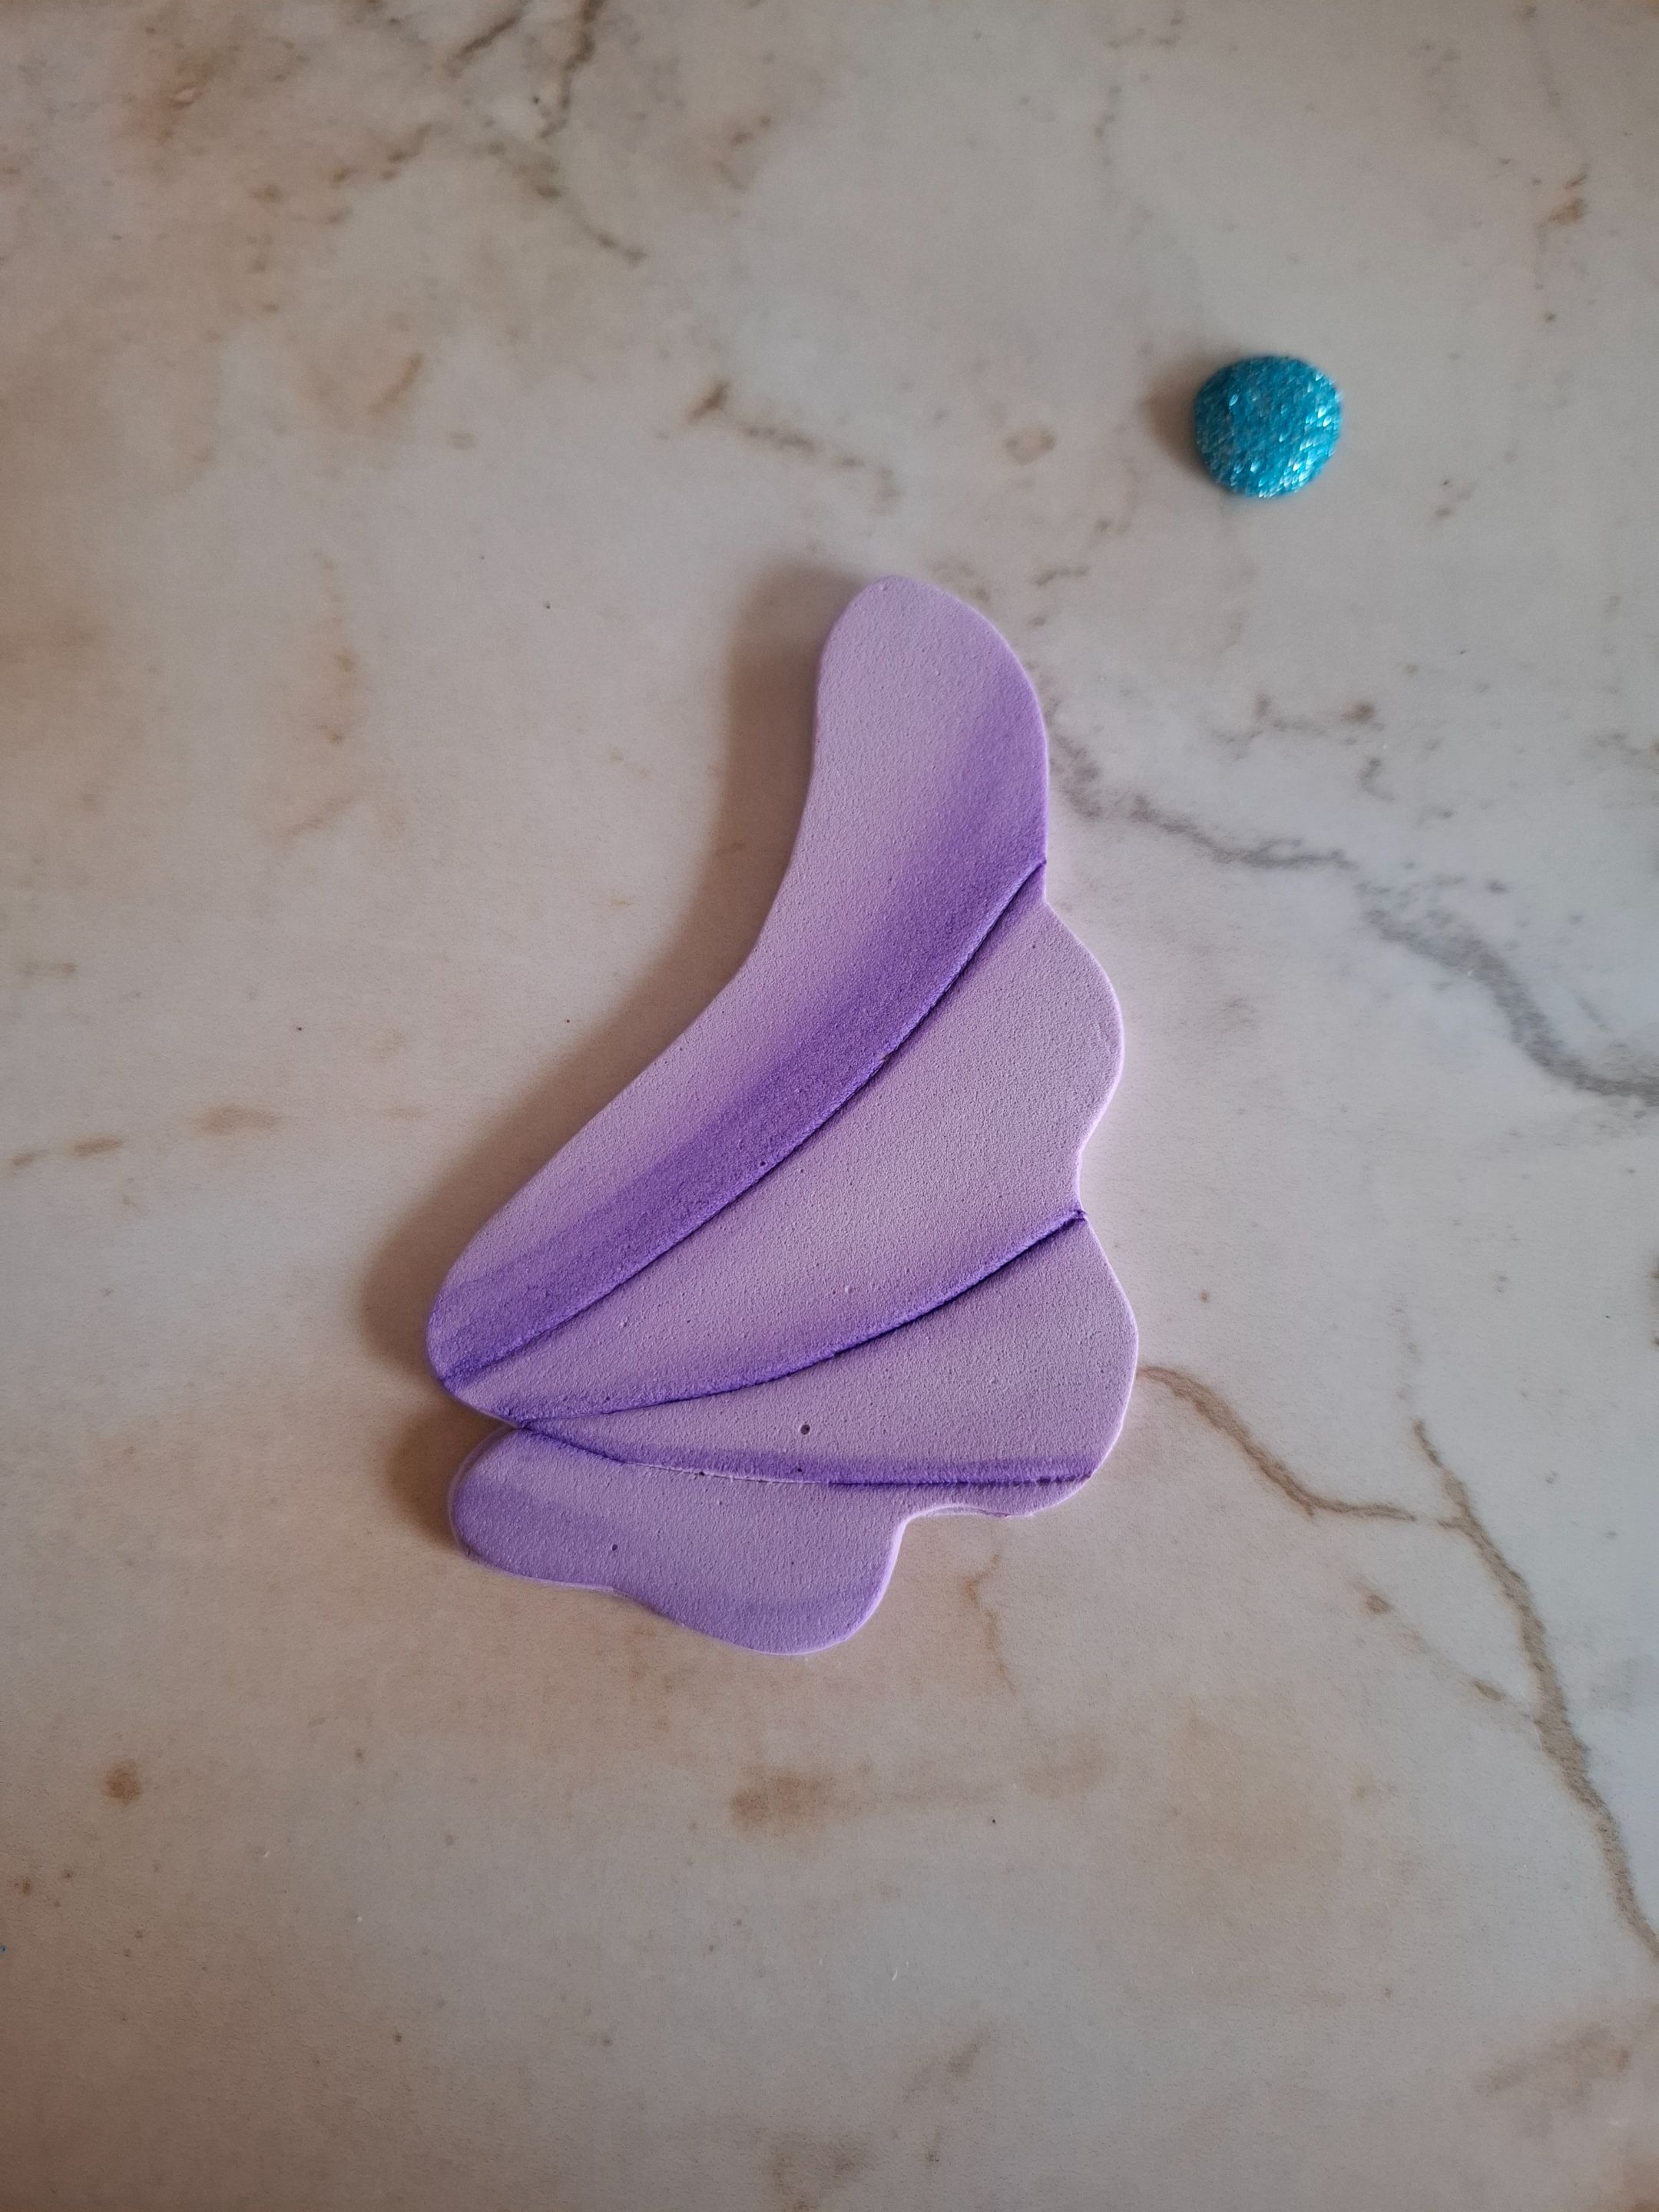
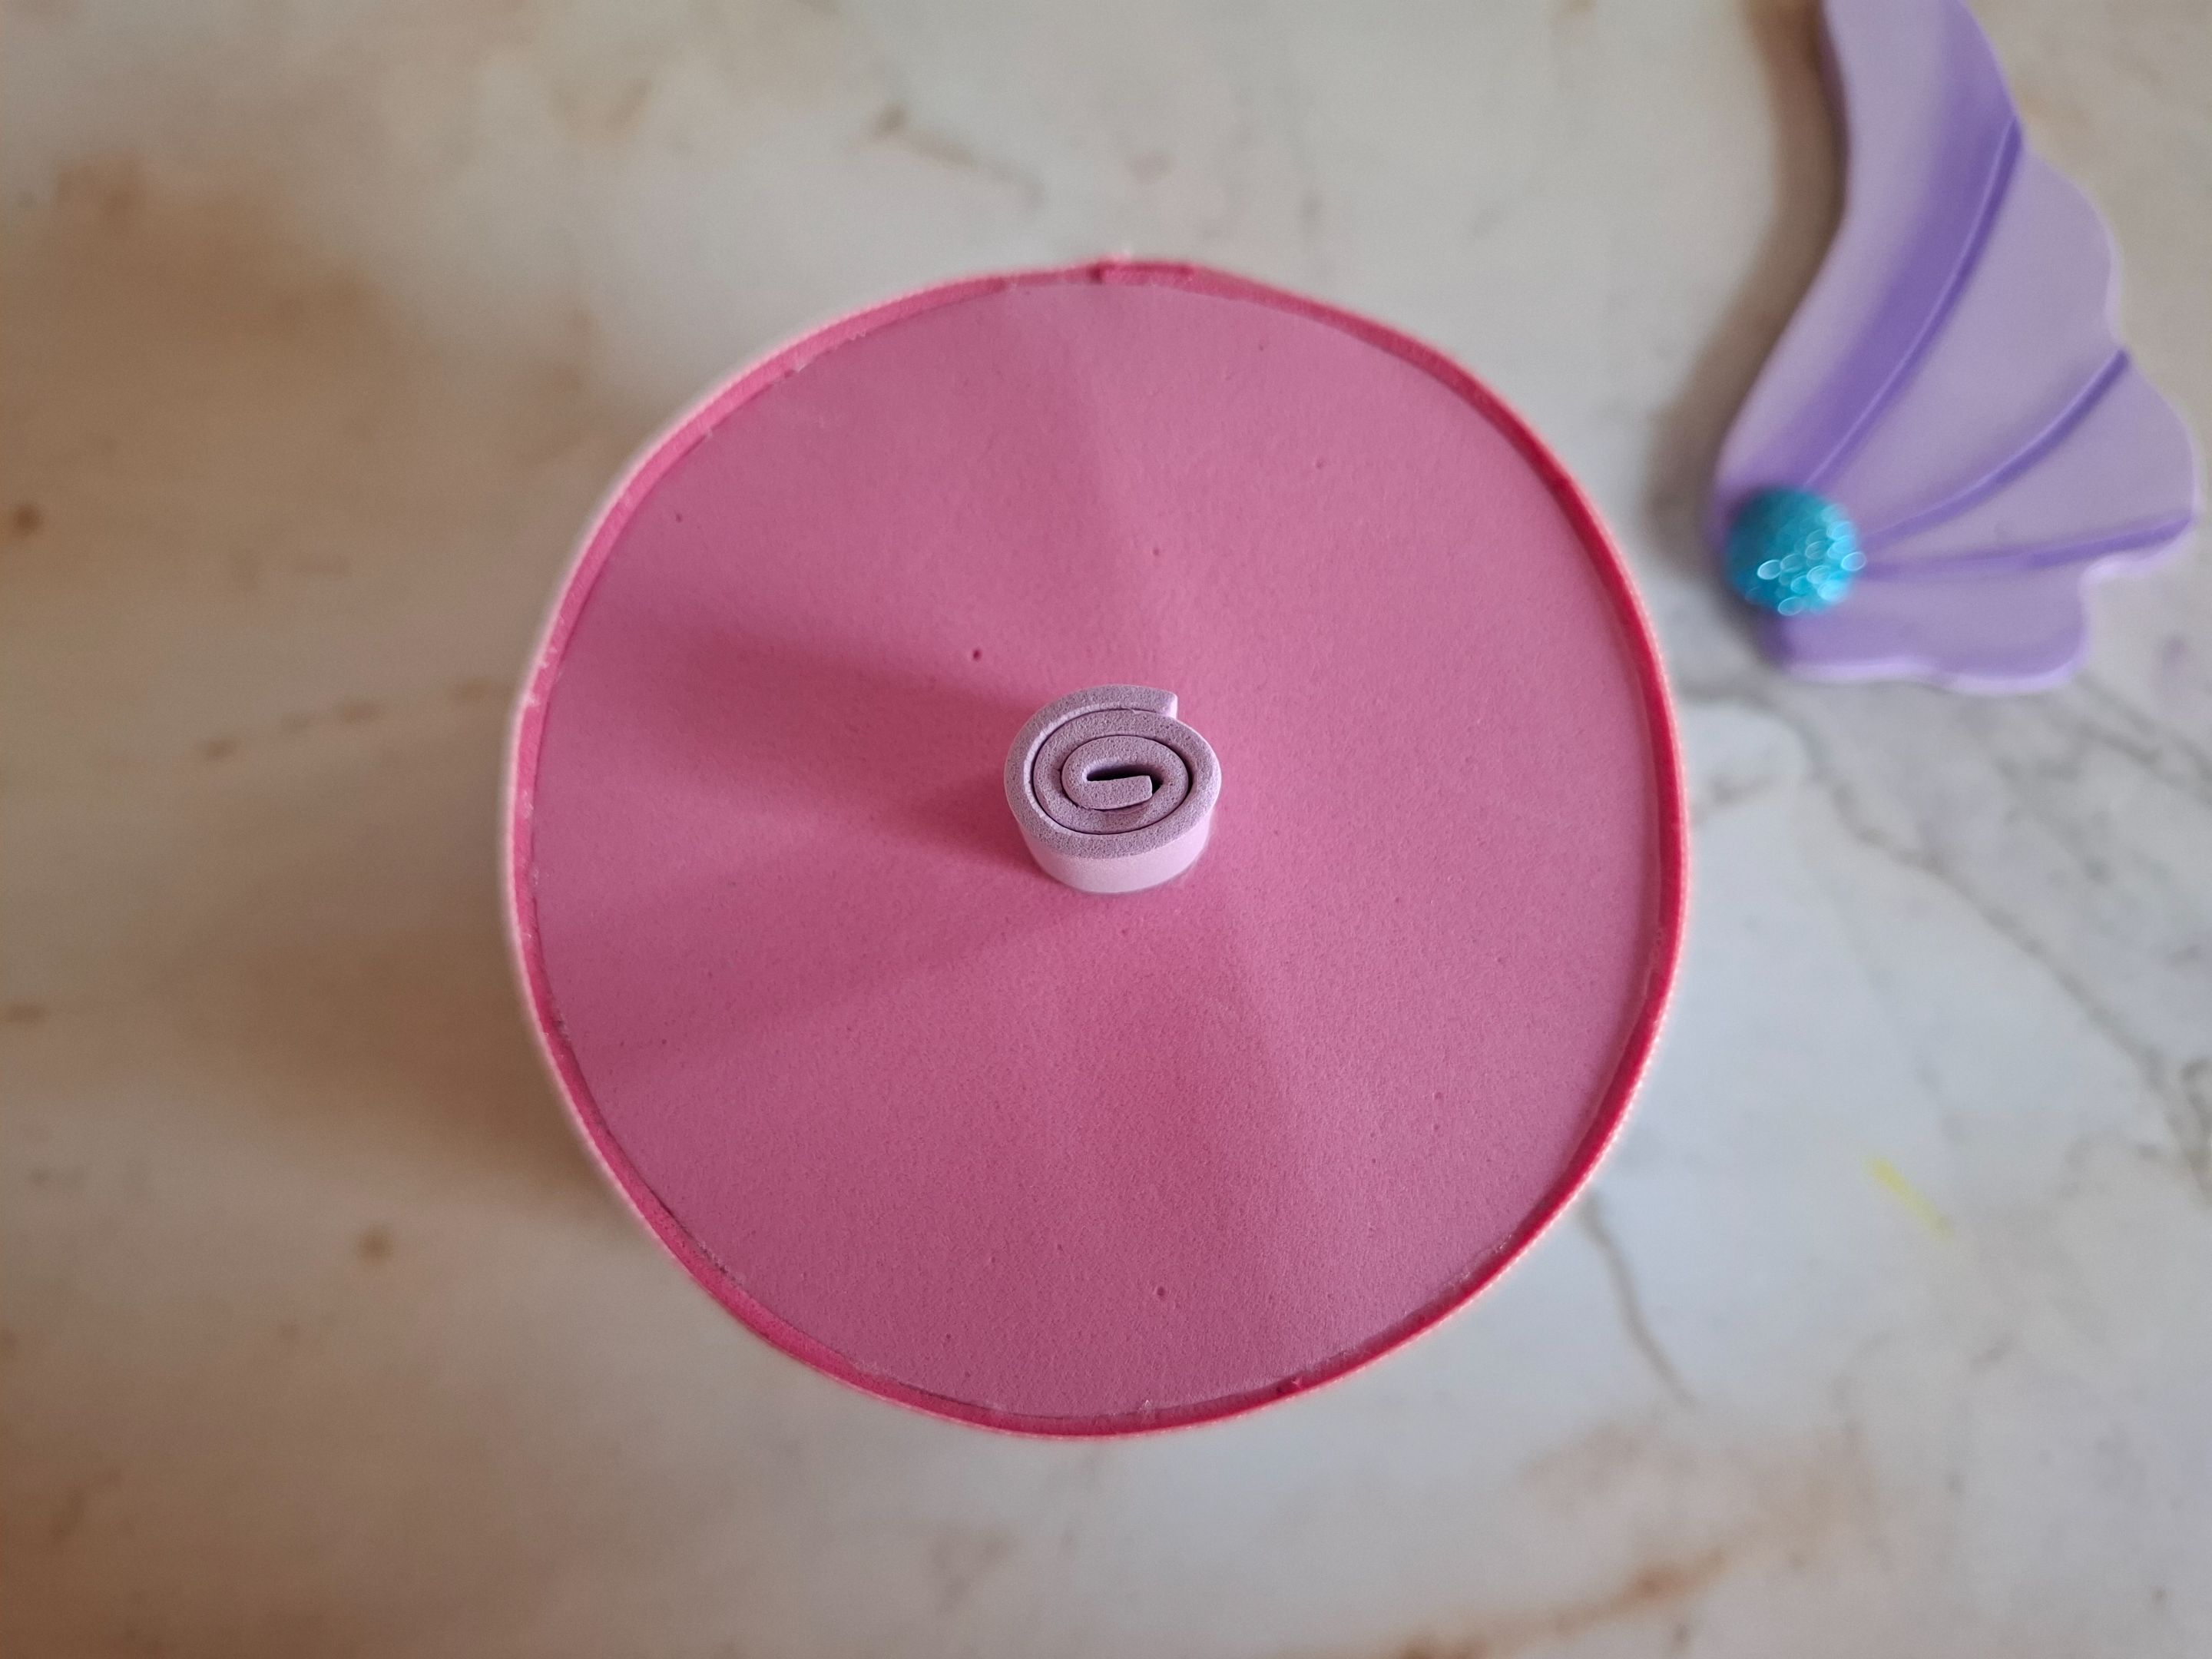
Ahora voy a cortar un pequeño circulo en color azul, y lo colocamos en un la esquina de nuestra figura, por último realizamos un rollito de foami morado para pegar la figura sobre la tapa. Y de esta forma terminé el pequeño organizador que puede cumplir múltiples funciones.
Now I'm going to cut a small circle in blue, and we'll place it in the corner of our figure. Finally, we'll make a purple foam roll to stick the figure on the lid. And this way I've finished the small organizer that can serve multiple functions.
 |  |
|---|
Espero les haya gustado muchas gracias por visitar mi publicación nos vemos en una próxima oportunidad con más ideas creativas.
I hope you liked it, thank you very much for visiting my post. See you next time with more creative ideas.