
Hello, fellow Hivers! I would like to share this with you guys my latest client, which is my Teacher in my High School Years. Meet Ma’am Prudente, Ma’am Prudente is my teacher who is teaching Science in 9th Grade. She is one of my favorite teachers back then, because she is very kind, smart and beautiful as well. I’ve learned a lot about science when I’m in my 9th Grade because Ma’am Prudente is very good when it comes to teaching. But now, Ma’am Prudente is currently living with her husband which is in Netherlands.
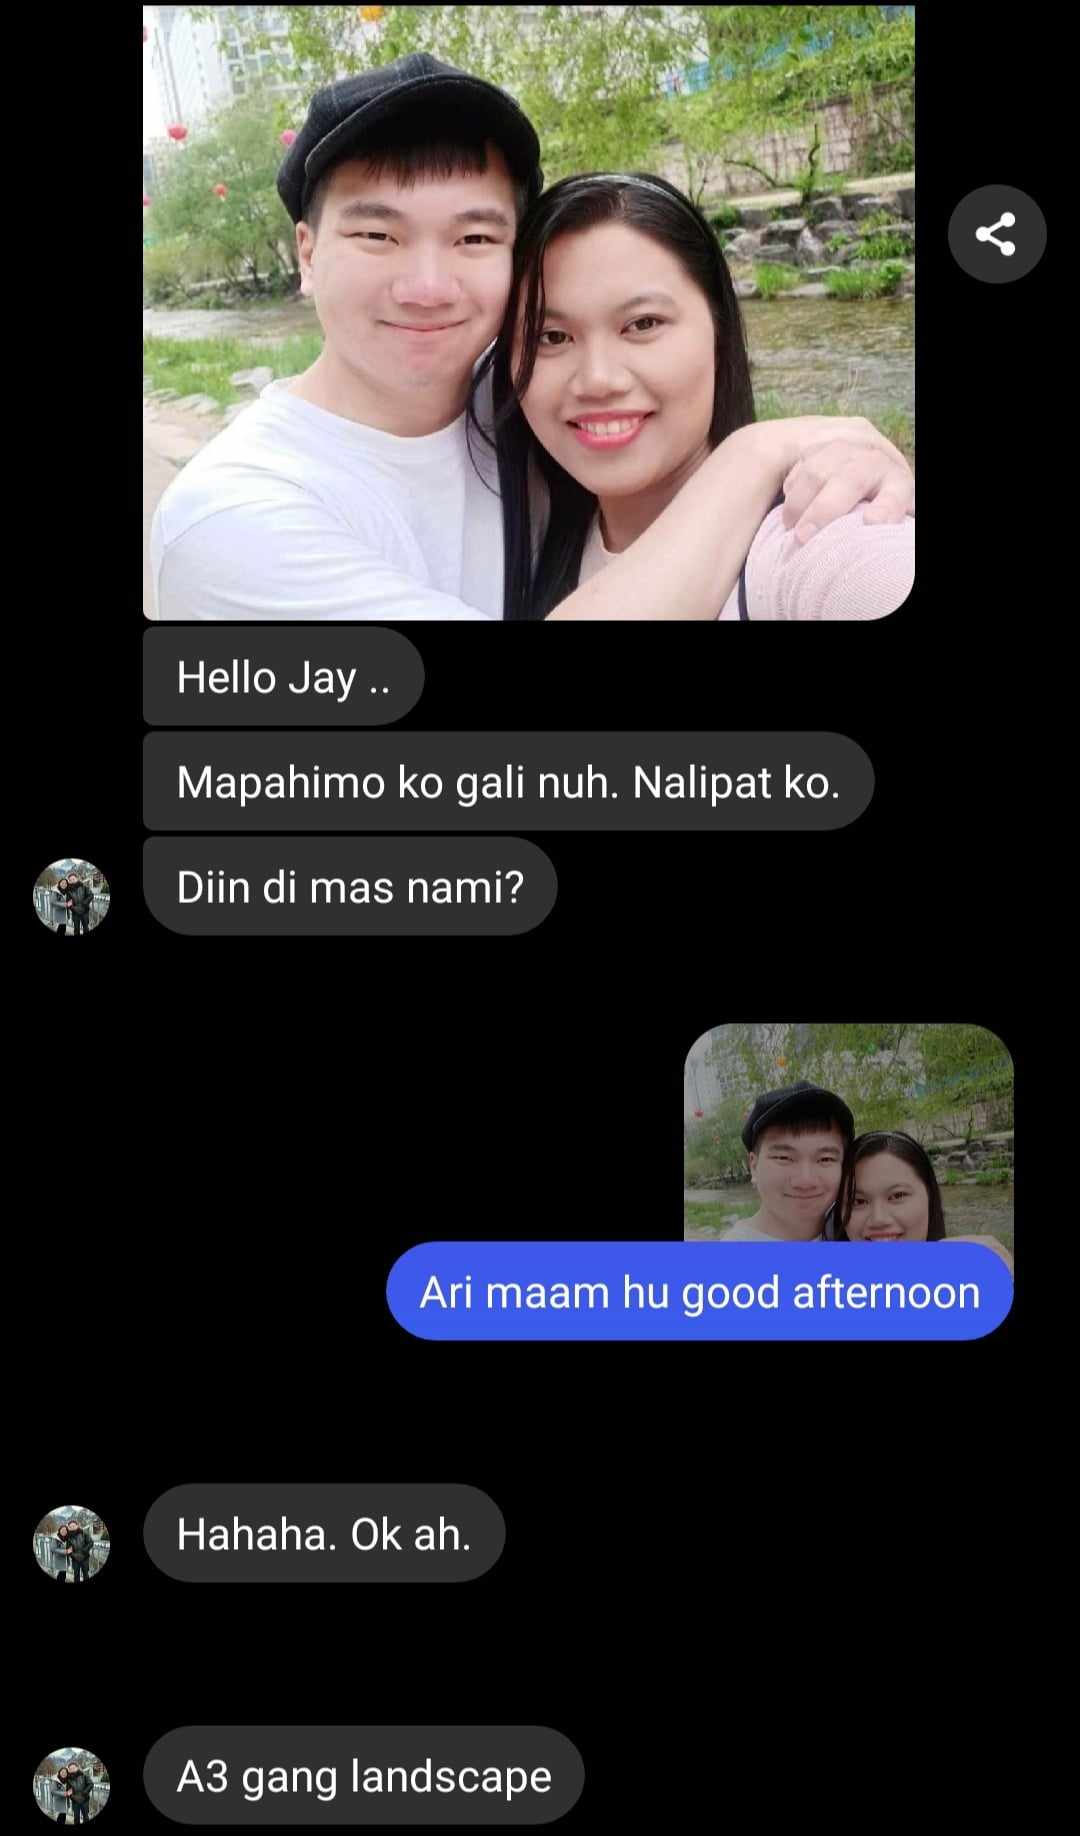
But then, she contacted me on my Social Media Account, she told me that she wants me to draw her and her husband for their anniversary. I didn’t think twice before accepting the commission because it’s my privilege to draw her and her Husband. She told me that this commission will be her surprise anniversary gift for her husband, so I asked her, “Ma’am how would you get the Portrait when it is finished?” She replied, “I will be visiting Philippines this month, then I’ll be back in Netherland after a week,” so that she can surprise her husband with a Charcoal Portrait.
So, I begin my Charcoal Portrait.
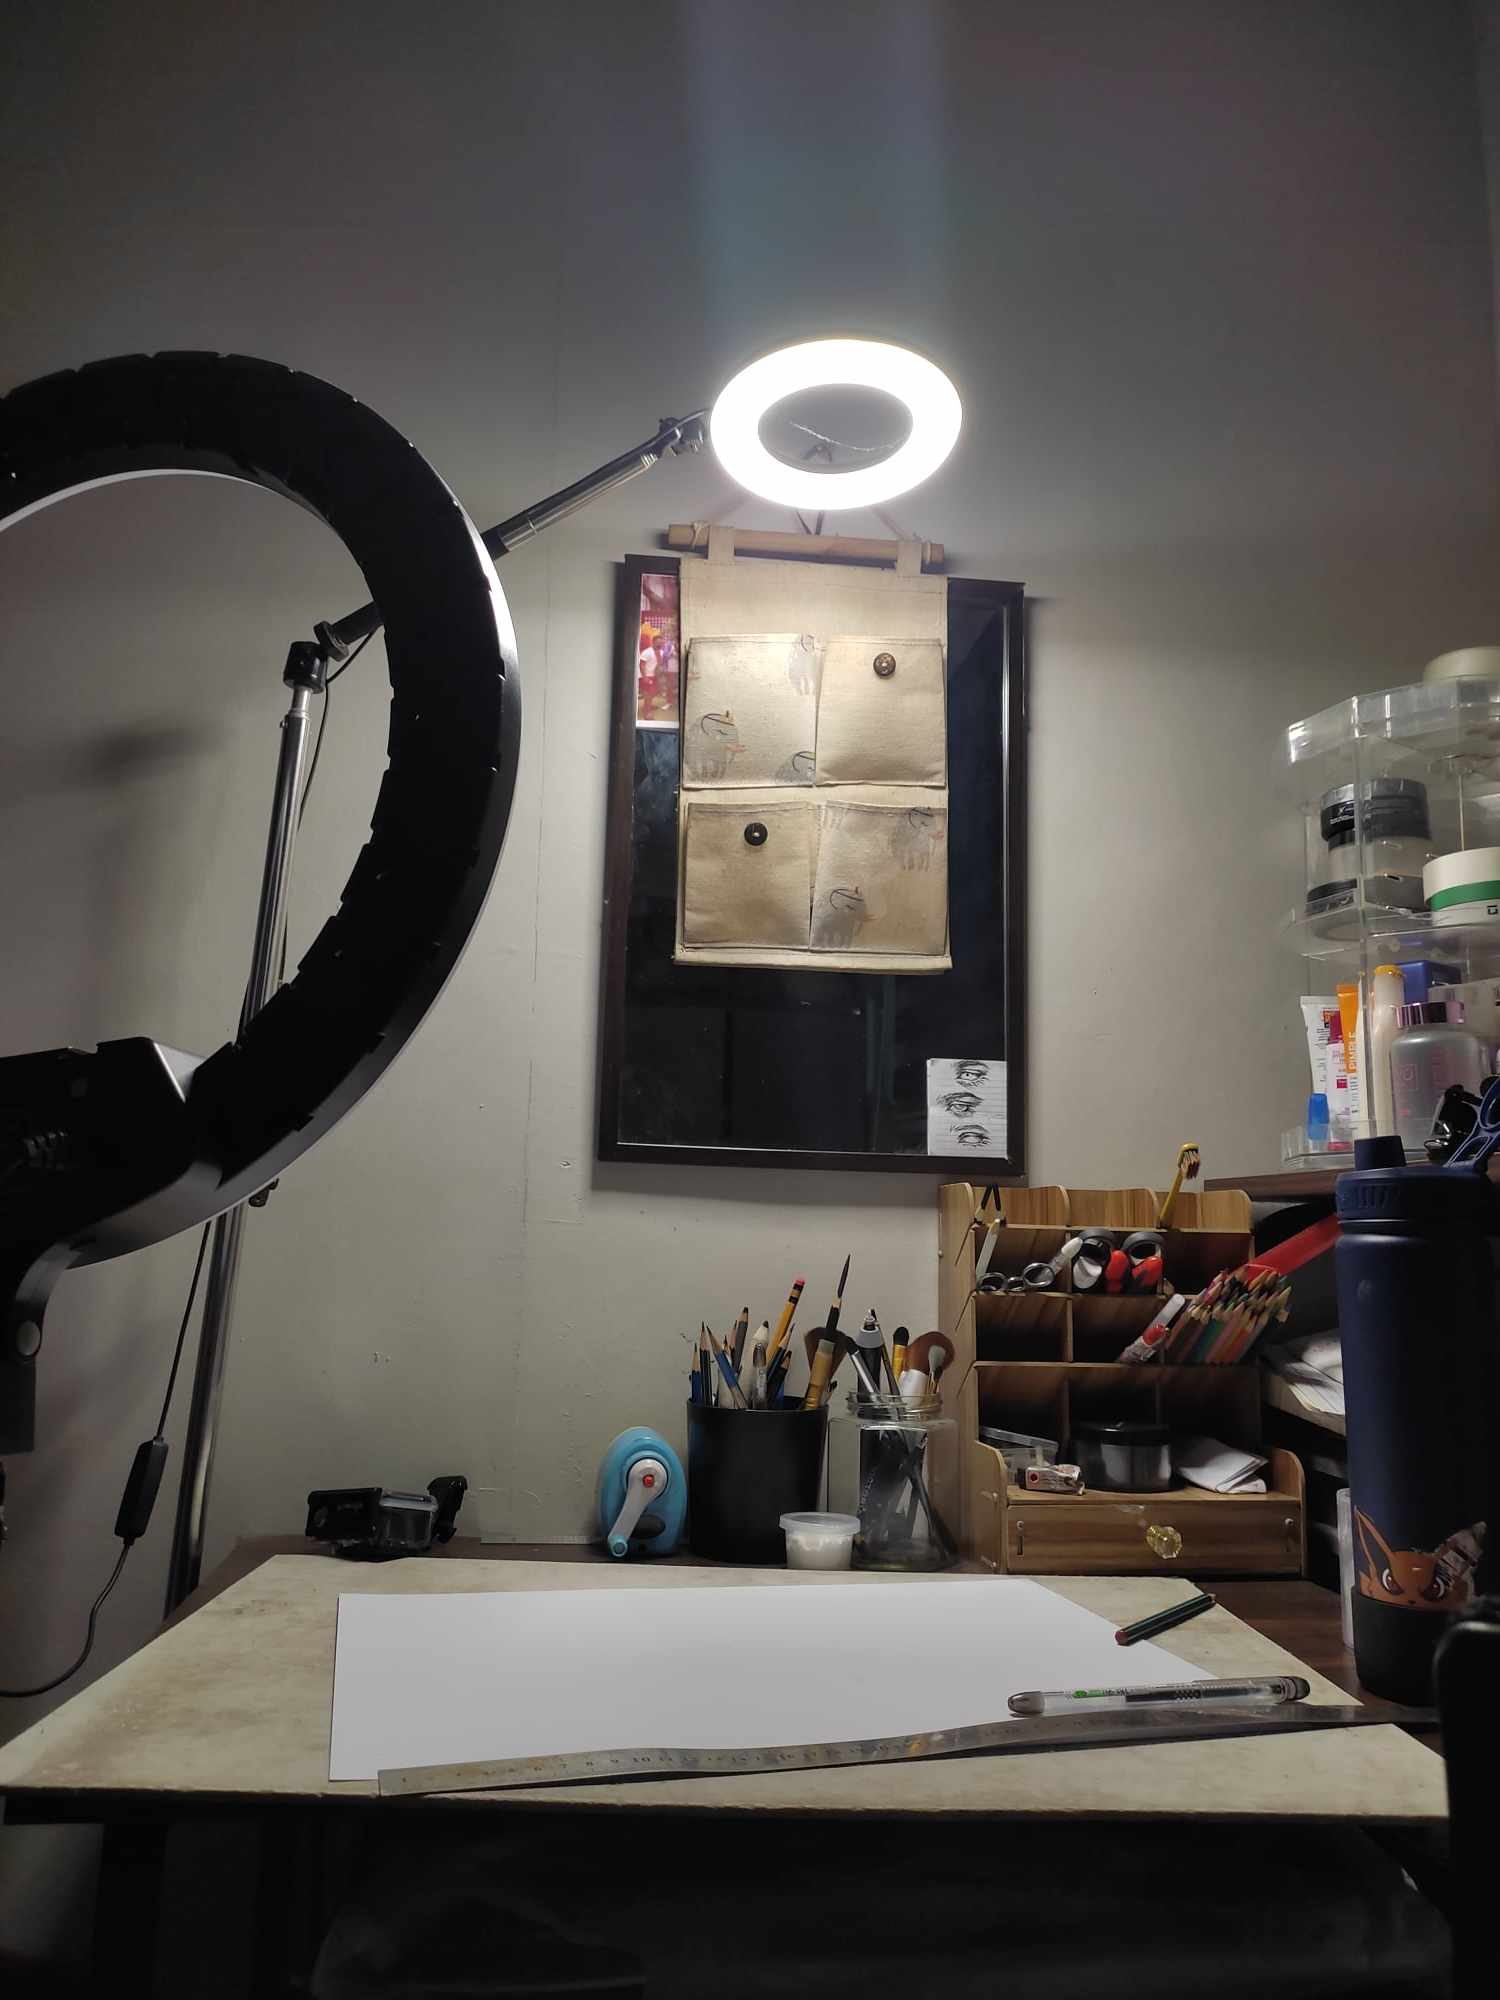
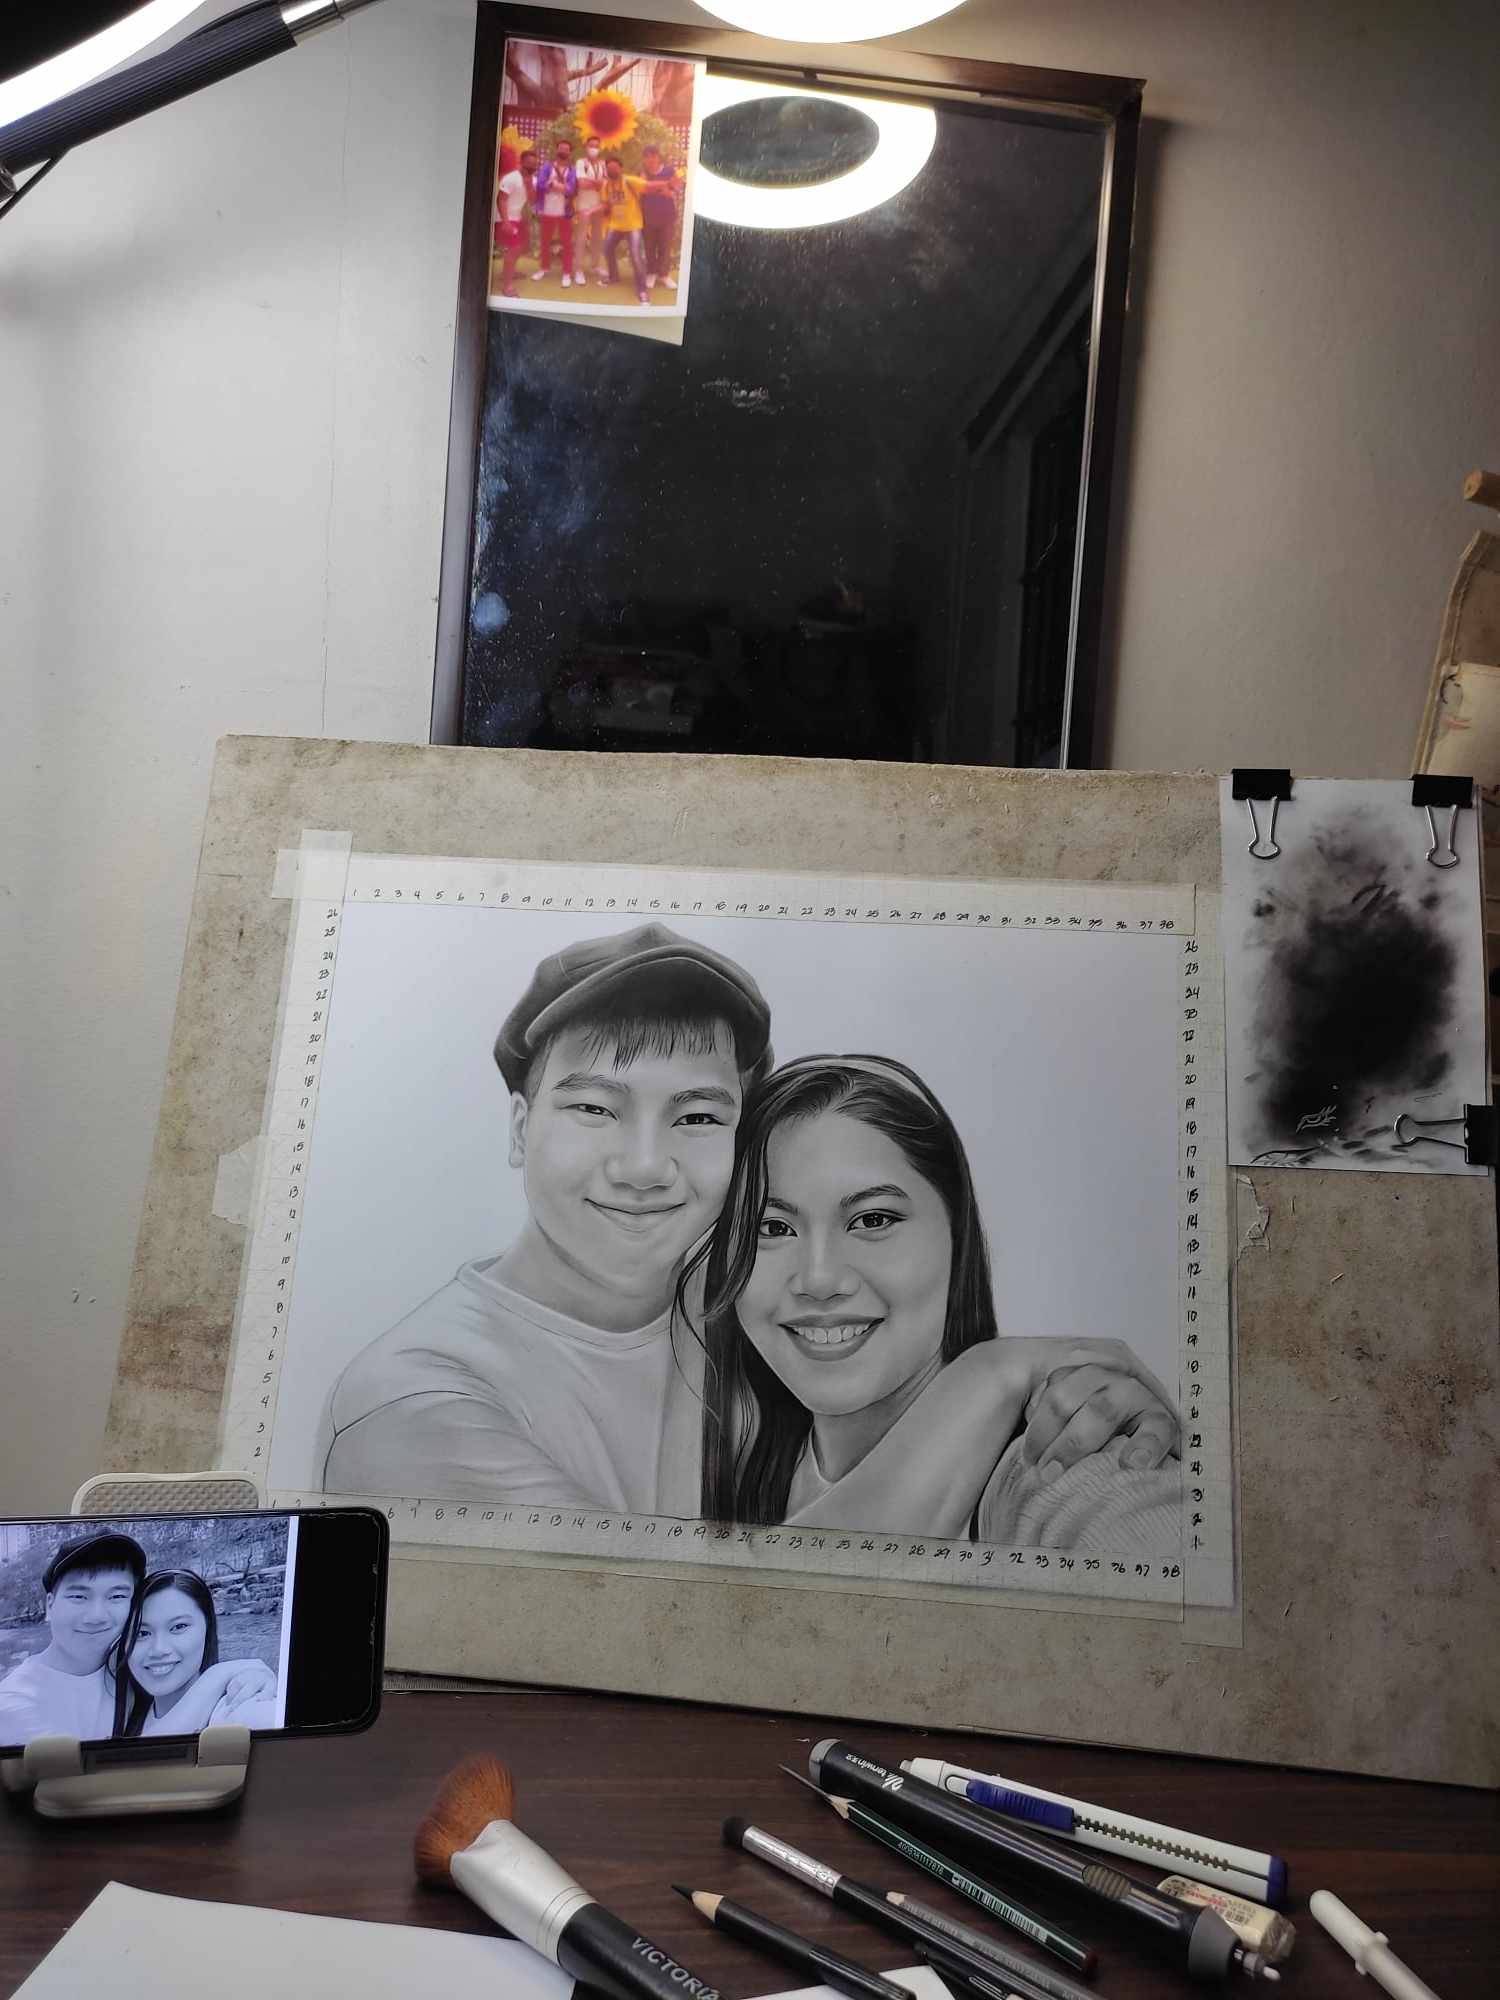
First, I prepared all the materials that I will be using like the lights, the size of the paper, and the Charcoal Pencil. For the Paper, I’m using the Vellum Board, because Vellum board has a 200gsm because it's much smoother and it’s thicker that a regular paper, and for the Pencil, I’m using the Berkely Charcoal Pencil. For the for the light, I'm using two different sizes of ring lights, 6 inches above and 18 inches in the left.

As you can see here, I started Sketching the reference from above and taking time to copy all of the features of the face, as much as possible because this sketch will be our guidelines later on when we are going to put the Charcoal. Also, sketching is determining where are the placement of the eyes and the mouth and nose are located that's all in sketching.
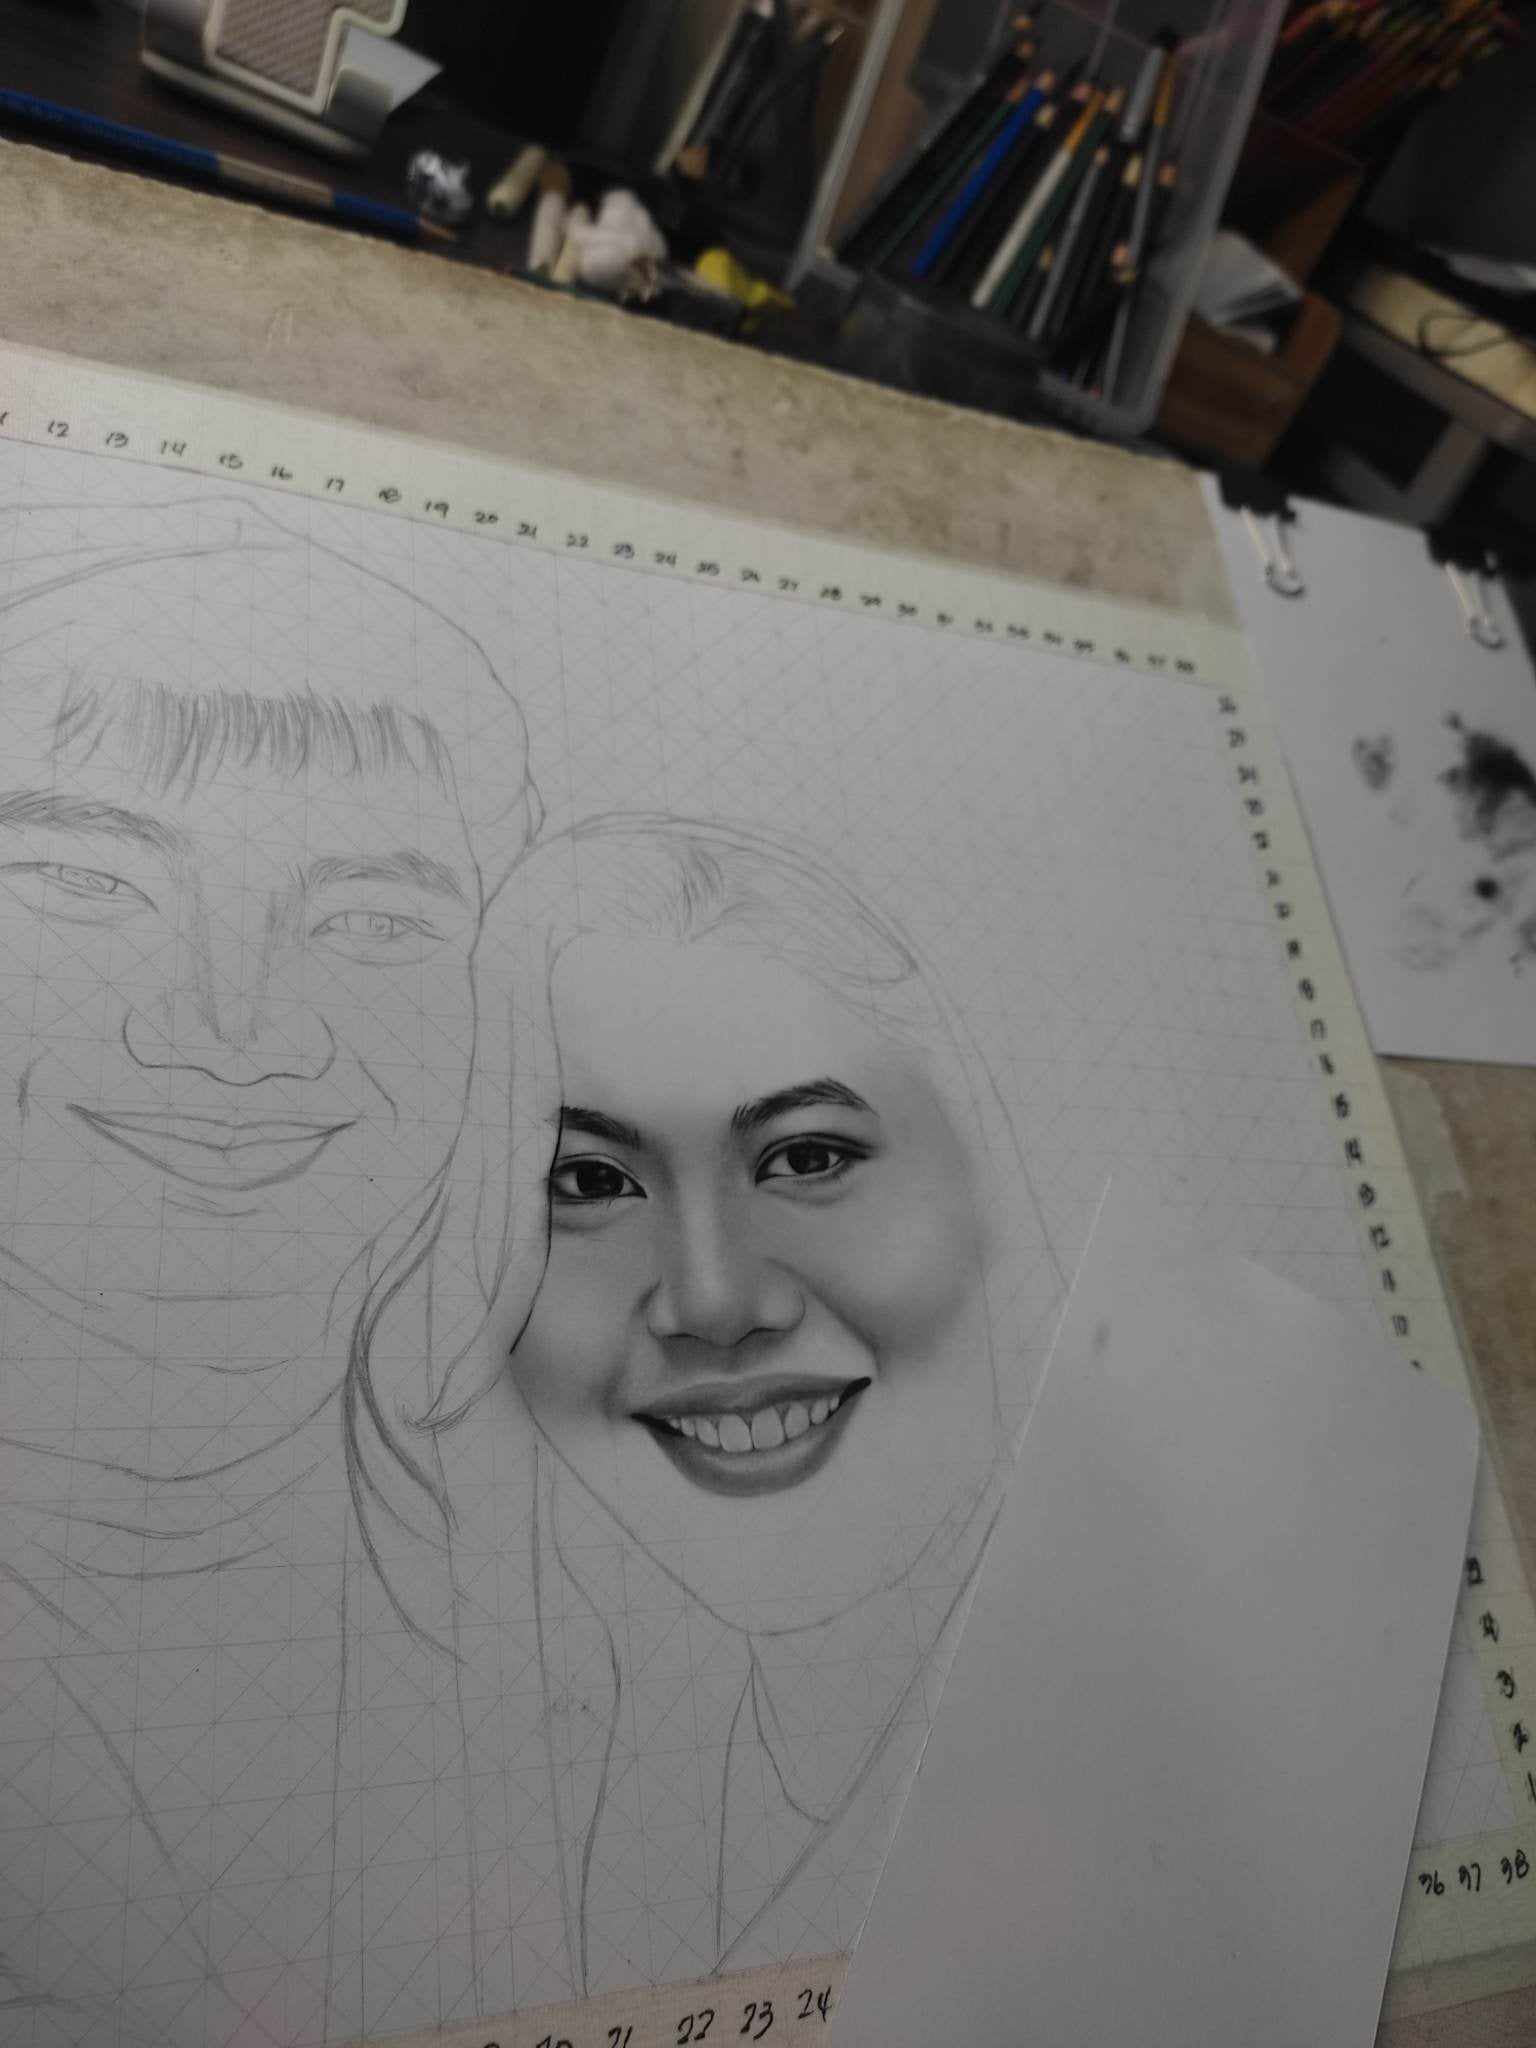
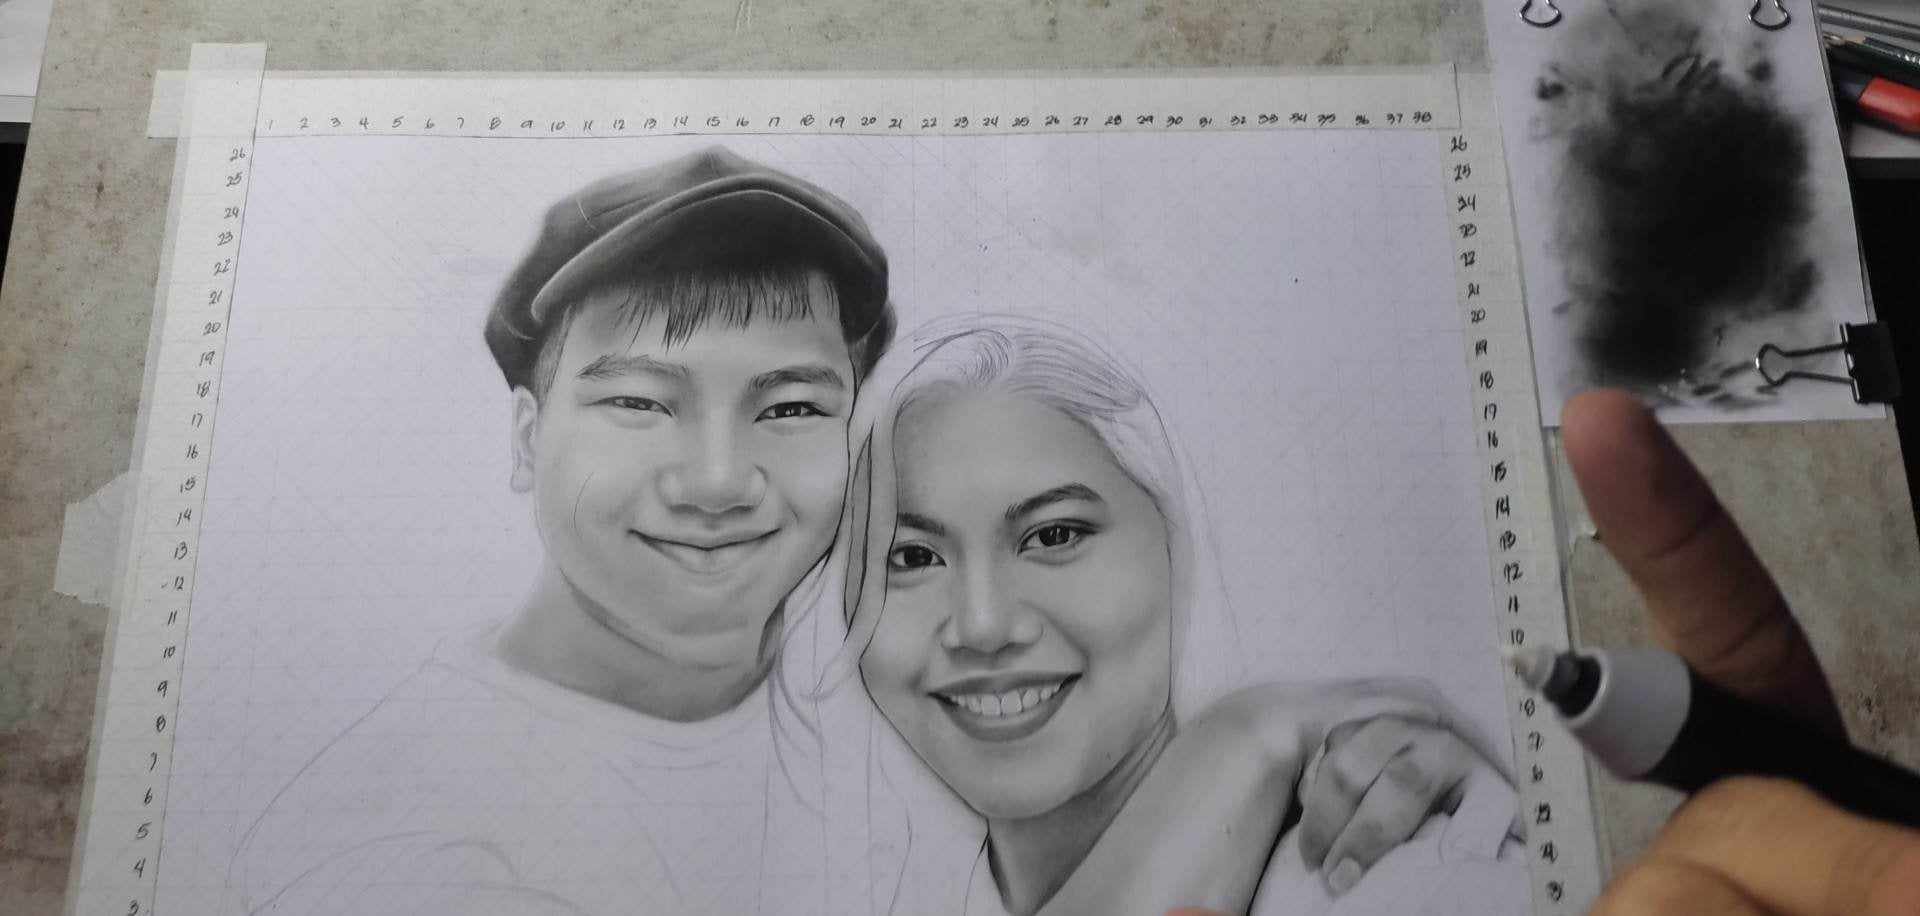
In here guys, you’ll see that I’m halfway done in Ma’am Prudente’s face. In our previous photo, I’ve shown you the basic sketching; now, we are putting a charcoal powder and darkening the area with our charcoal pencil. By using a Charcoal Pencil first, I darkened the eye area that are needed to be darken like the pupils of the eye, the lashes and hair of the eyebrows. All of the sharpened parts, you need to use the Pencil. Then using the powdered charcoal, I used a brush. You will need a small ang large brush by applying dab to the brush to the charcoal powder then tap the extra powder so that it is not going to be too dark, dab it in your extra paper which you see in the upper right corner of the picture. By using a brush, use a circular motion for a smoother texture of the skin.
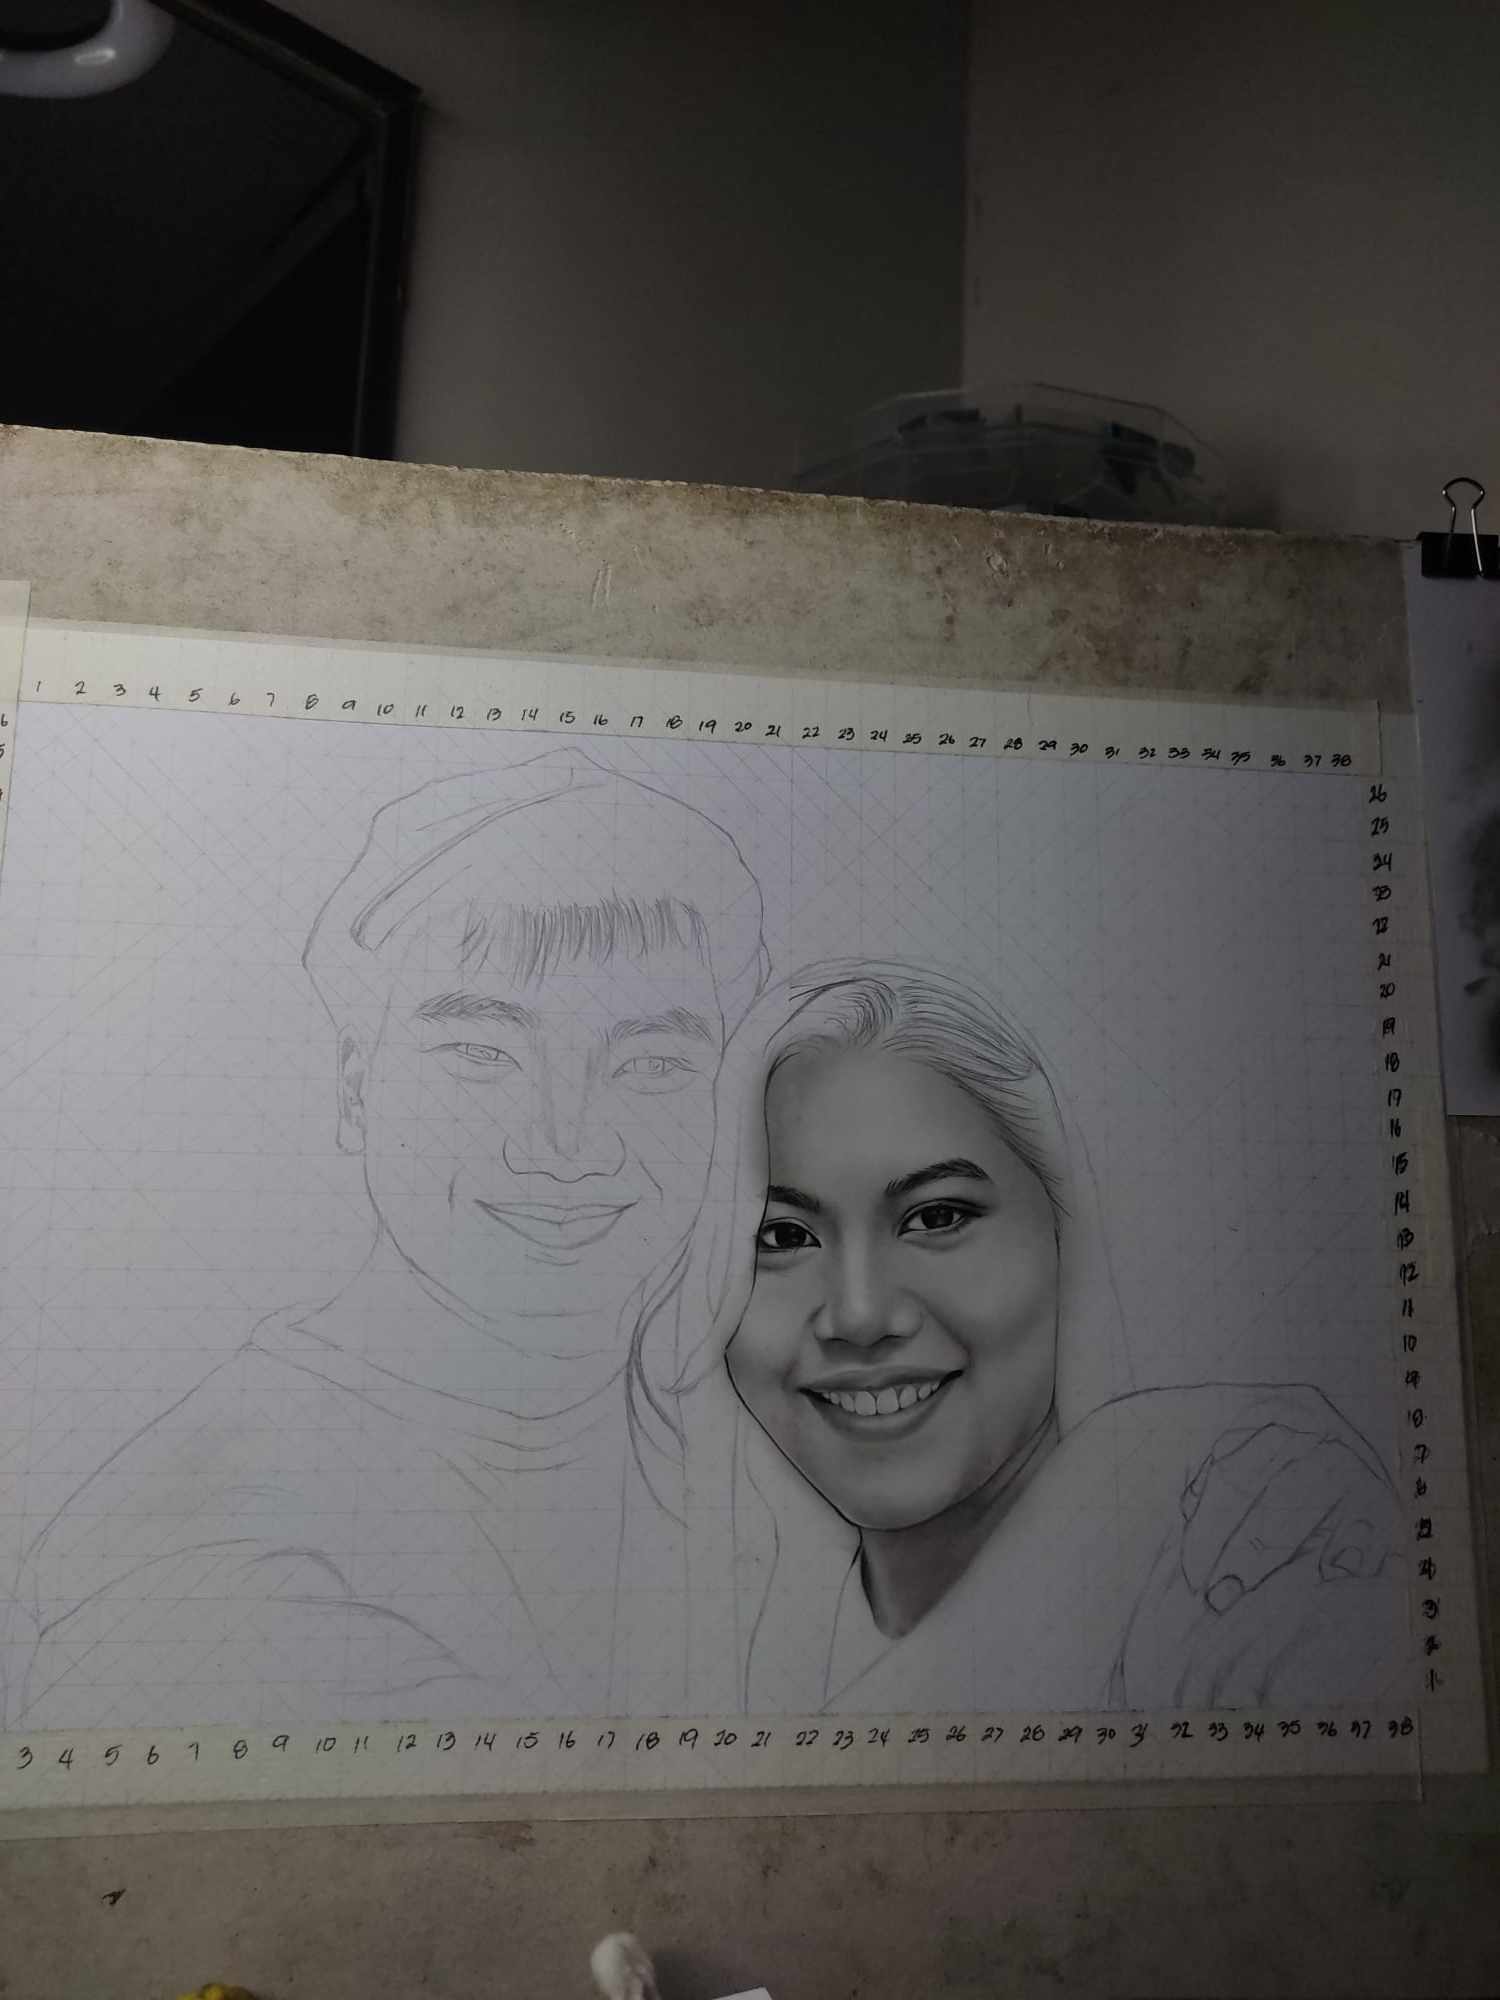
Now that you know how to use a brush and a pencil, we are finished with Ma’am Prudente’s face, so let's move on with her husband.
In here, you should know where you should put the lighter shade and the darker shade. In lighter shade, that's gonna be your highlight of the face, that’s where the highest point of the face which is the cheeks, bridge of the nose forehead and the lips area. I’m using a kneaded eraser to lessen some of the Charcoal that I put, so it will become lighter and what I’m holding there is an electrical eraser. I used it in the teeth area and lips which are the lightest part of the face. Then, for the darker area, you should layer the charcoal powder, put a charcoal powder layer by layer until it becomes dark. Darker areas are the deepest part of the face it’s where the shadows are located like the contour of the face cheekbones, under the nose, lips and the smile lines.
For the hair, I used a very sharp Charcoal Pencil, then I used that to manipulate and make a hair strands, make sure that your pencil is always sharp when drawing a hair so that the strands of the hair that you are making will be fine. Now that you know the procedures, we are done drawing. Next will be the finishing touch, where you needed to finalize all of the parts that are needed to have a darker part and highlighting. Don’t be afraid when putting a charcoal in the darker part, just follow the procedures that I taught you in the layering method.
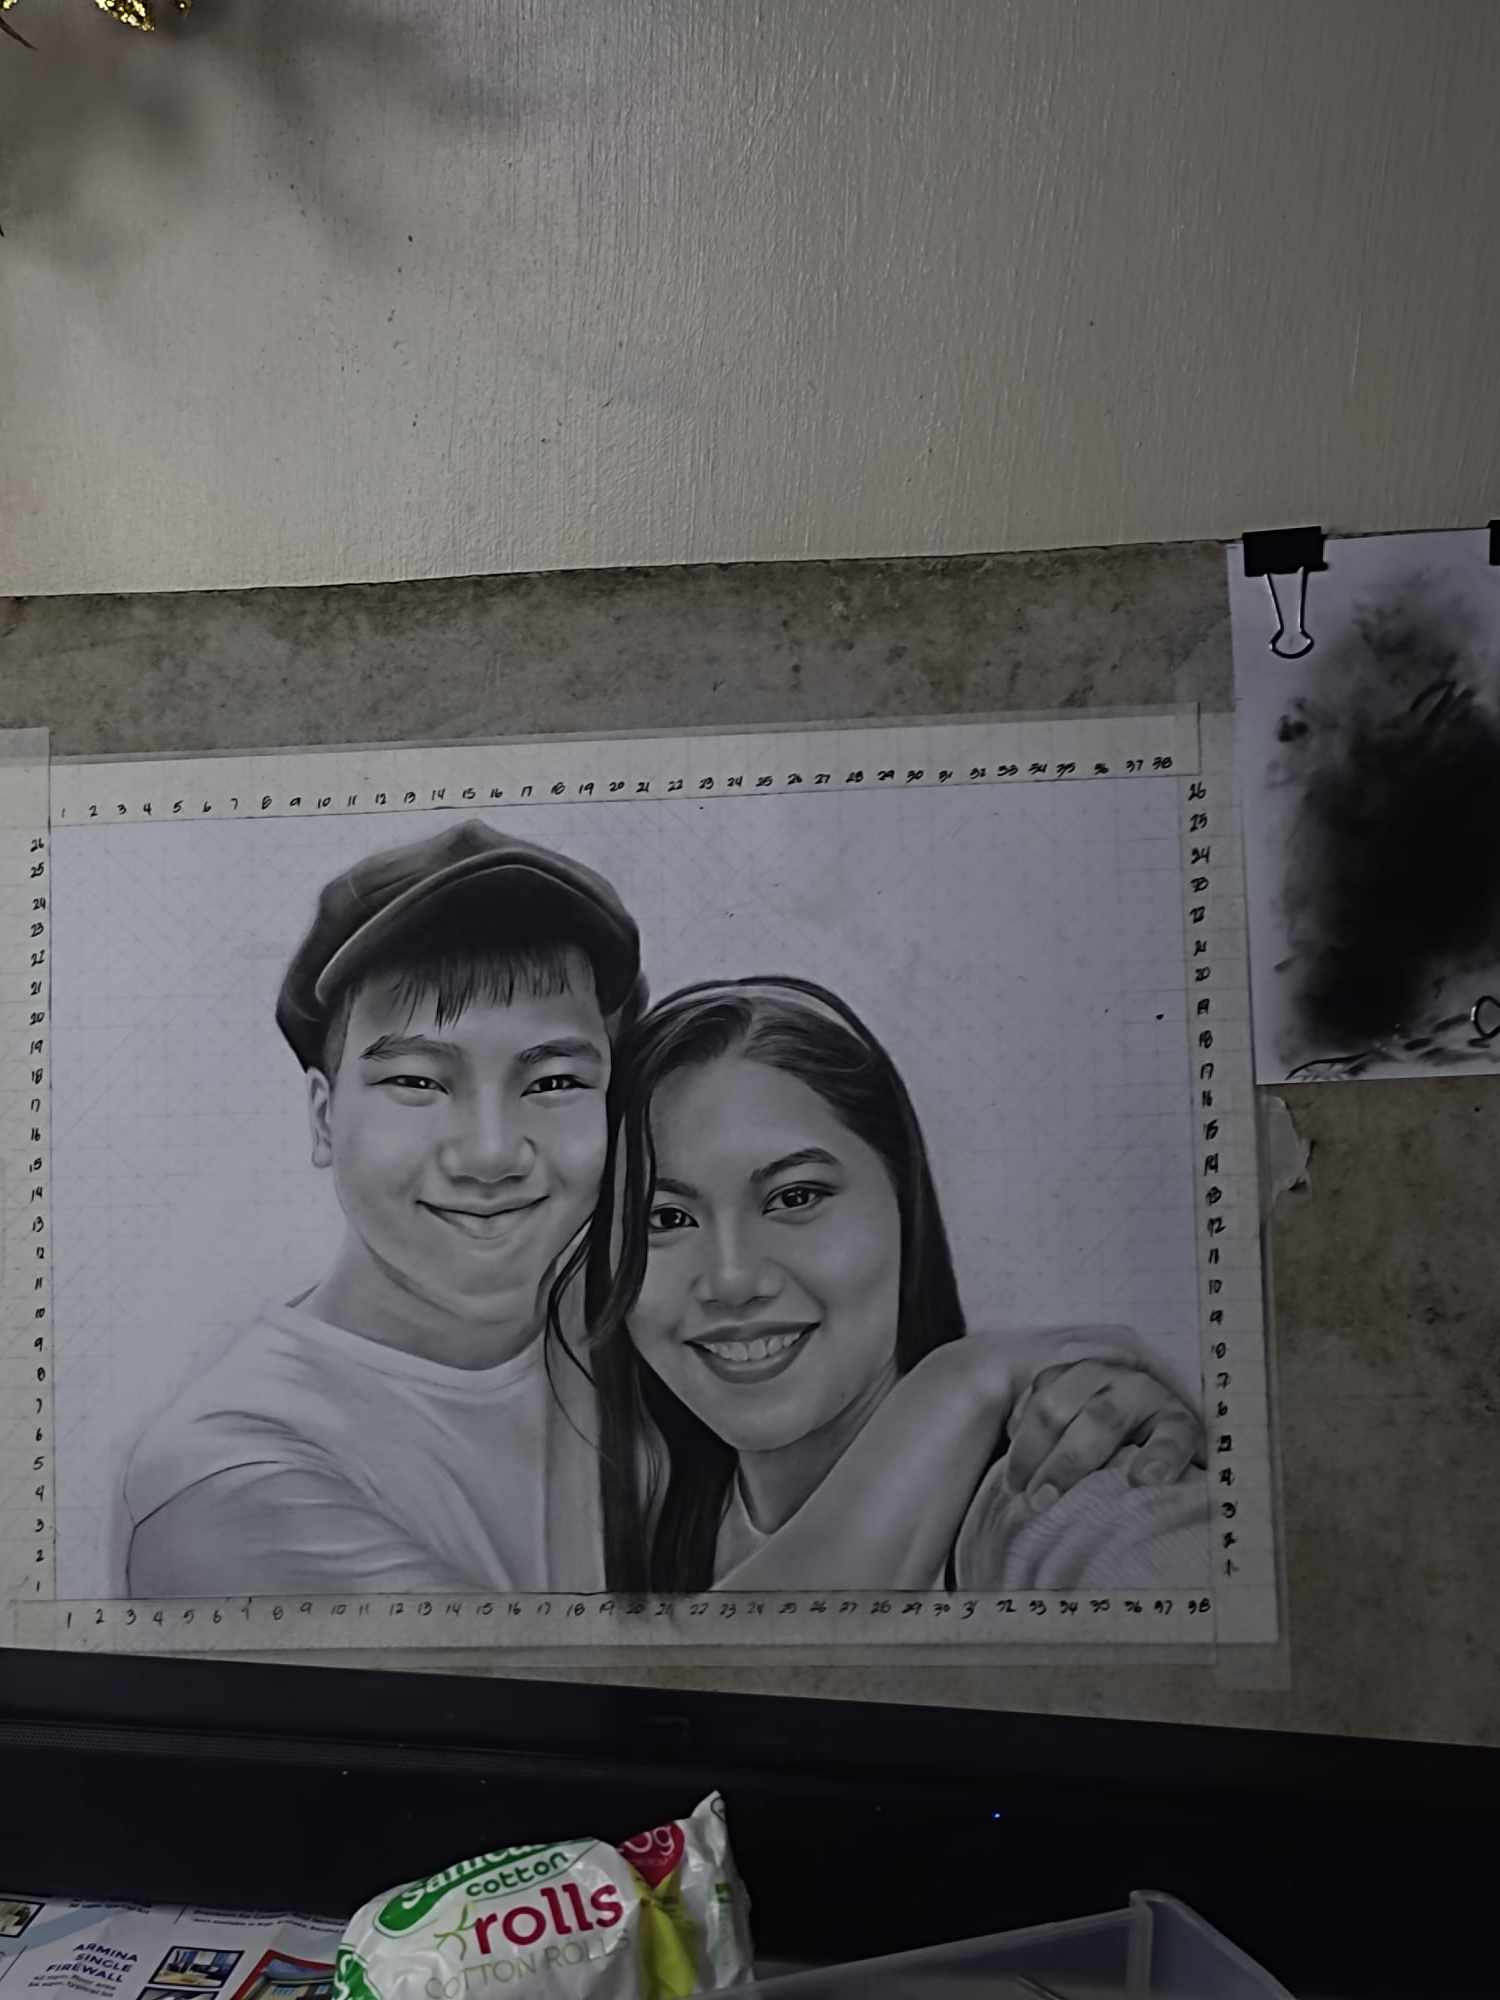
Now that we are done drawing guys we can now finish it by erasing all the flaws, taking off the tapes that we’ve put.
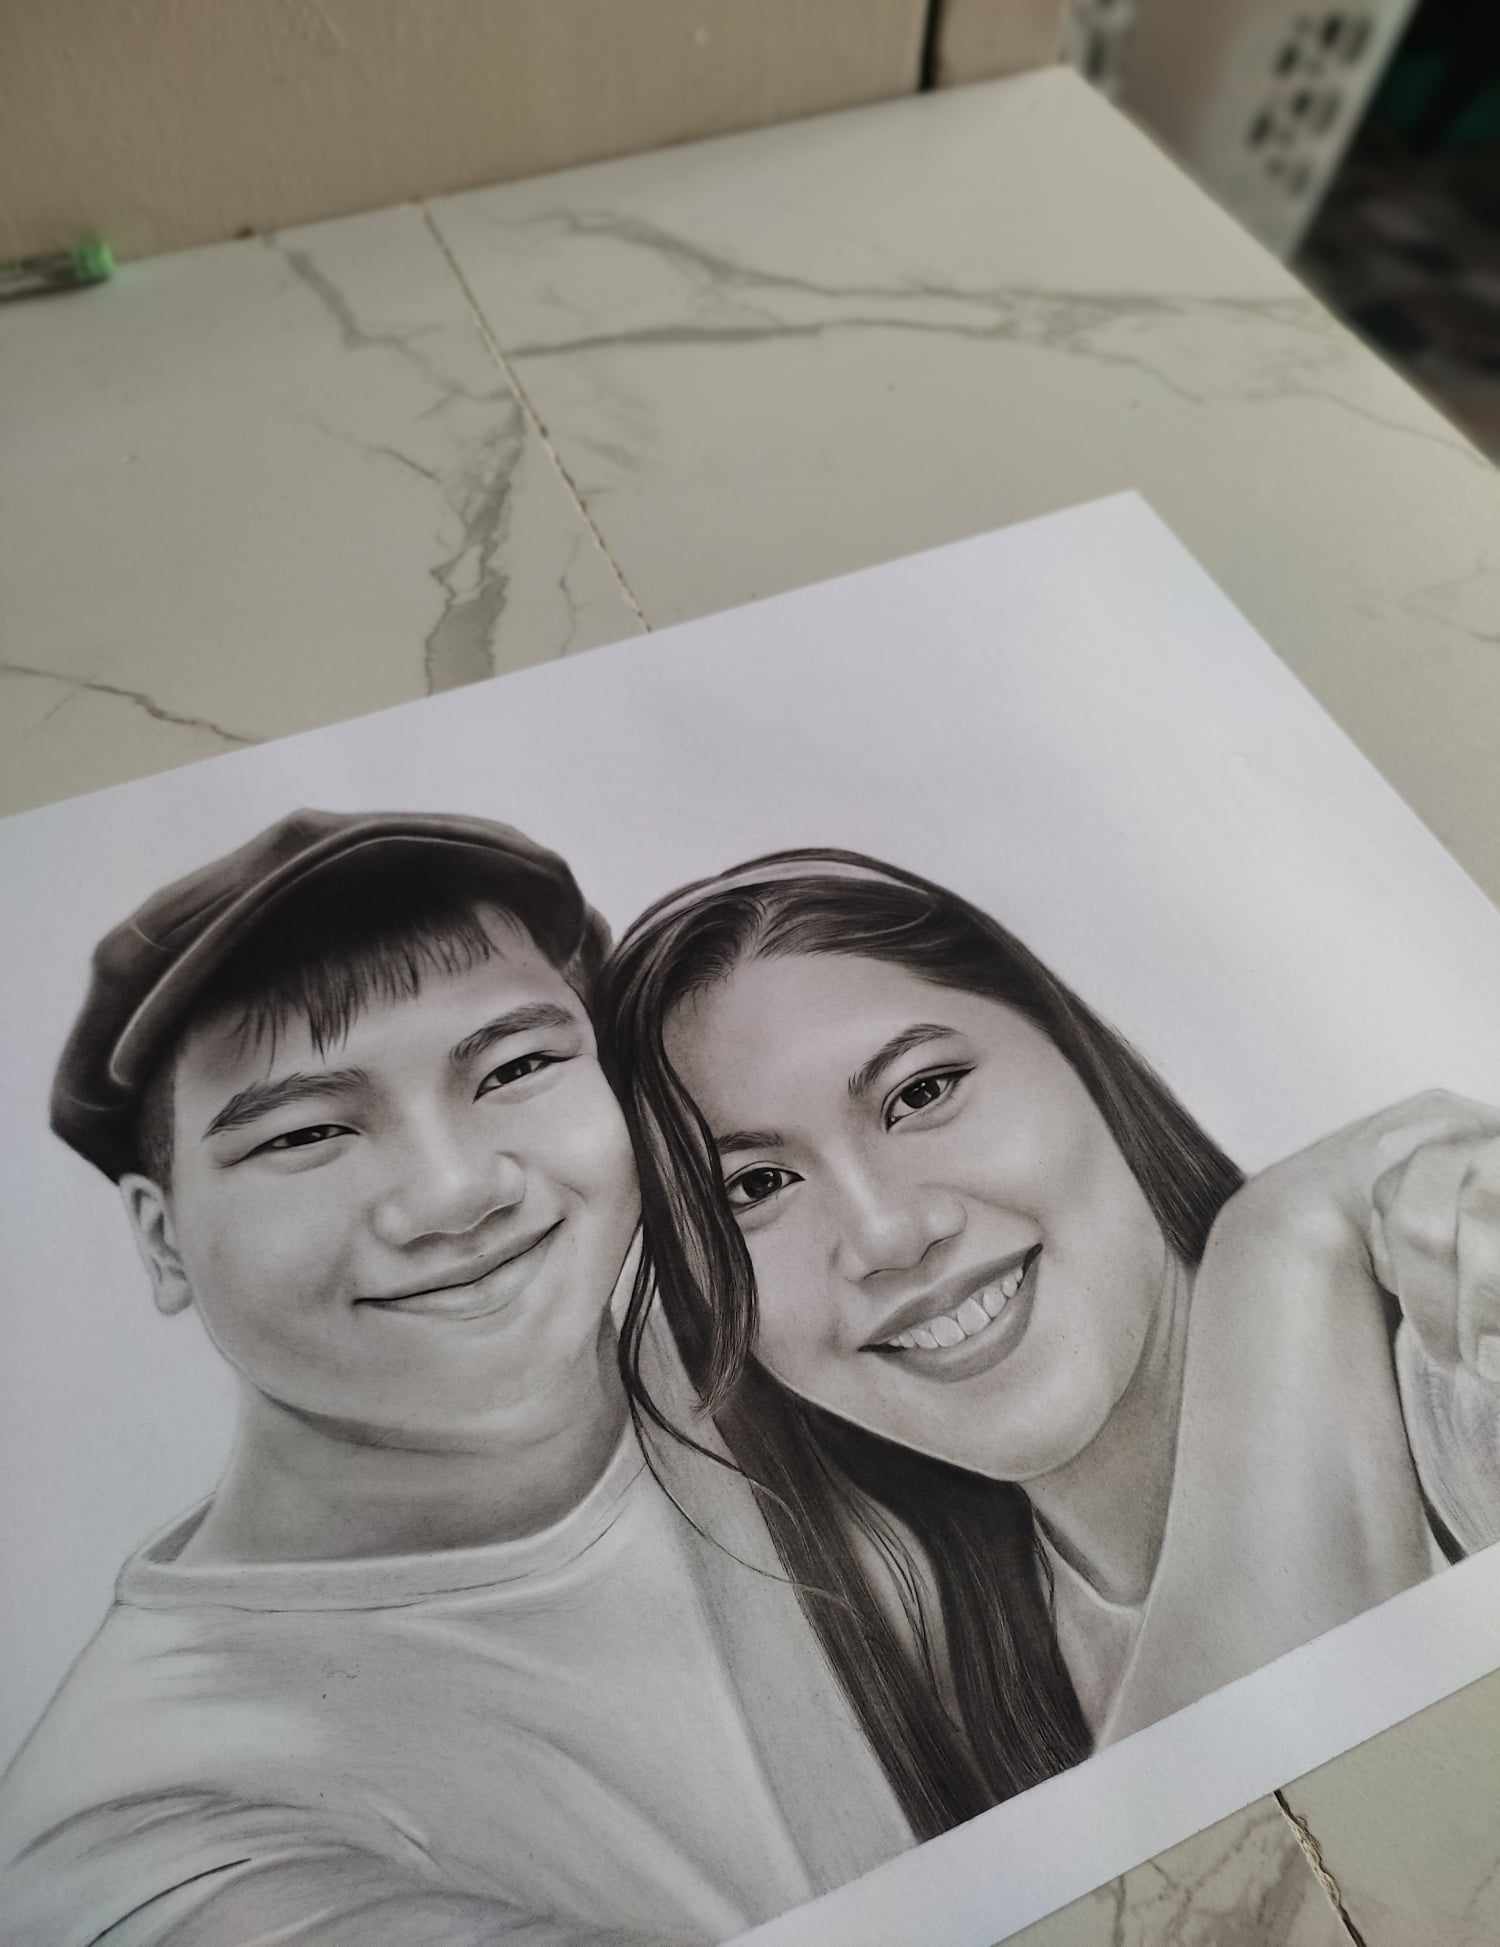
Here’s the close up shoot guys, we are now done with our Charcoal Commission Portrait and ready to hand it over to Ma’am Prudente.
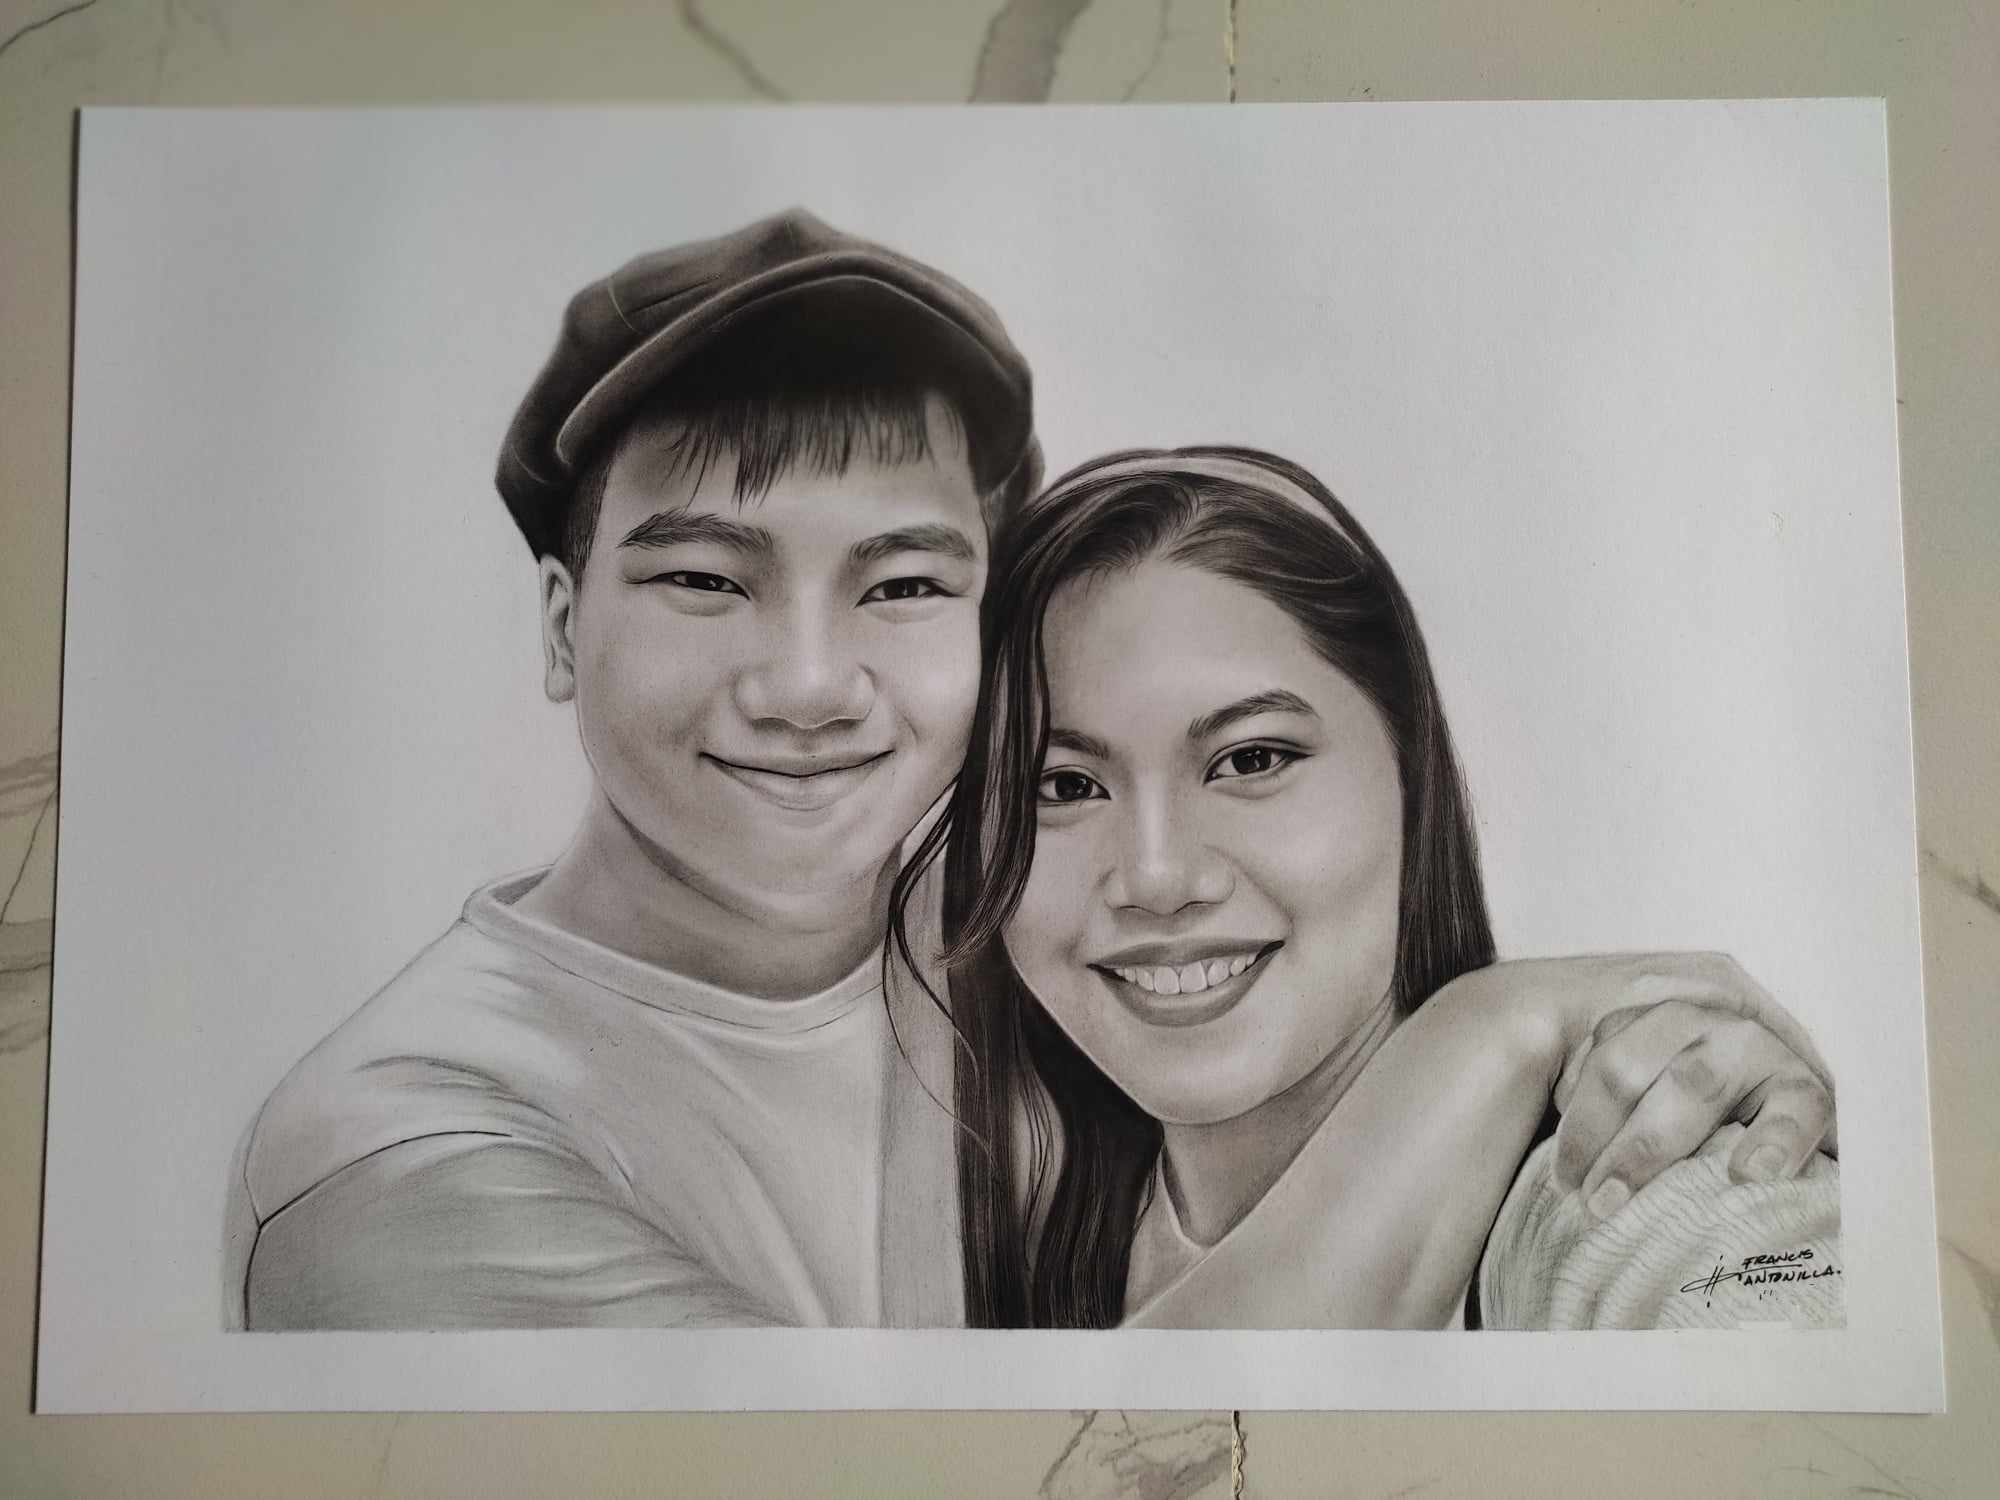
As I finished this drawing guys, I’m so very proud and grateful about this commission because our artwork will be reaching outside the Philippines. It's my honor and privilege to make such kind of masterpiece. And to my fellow Artists there, keep drawing and making yourself proud of what you have made (My hands are pretty tired now).
That's all for today’s blog guys, hope you have learned how to use and draw from a charcoal.