CÁMARA DE PAPEL / PAPER CAMERA [ESP/ENG]

in voilk •  5 months ago
    Hola, creativos de Hive! El día de hoy les traigo una hermosa cámara hecha de papel que está perfecta para regalar el día de hoy a esa persona especial que tanto quieren; recuerden que siempre es un buen momento para dar un detalle y nunca caerá mal una sorpresita hecha por nosotros mismos. Aquí les dejo el paso a paso detallado, espero les guste ❤️

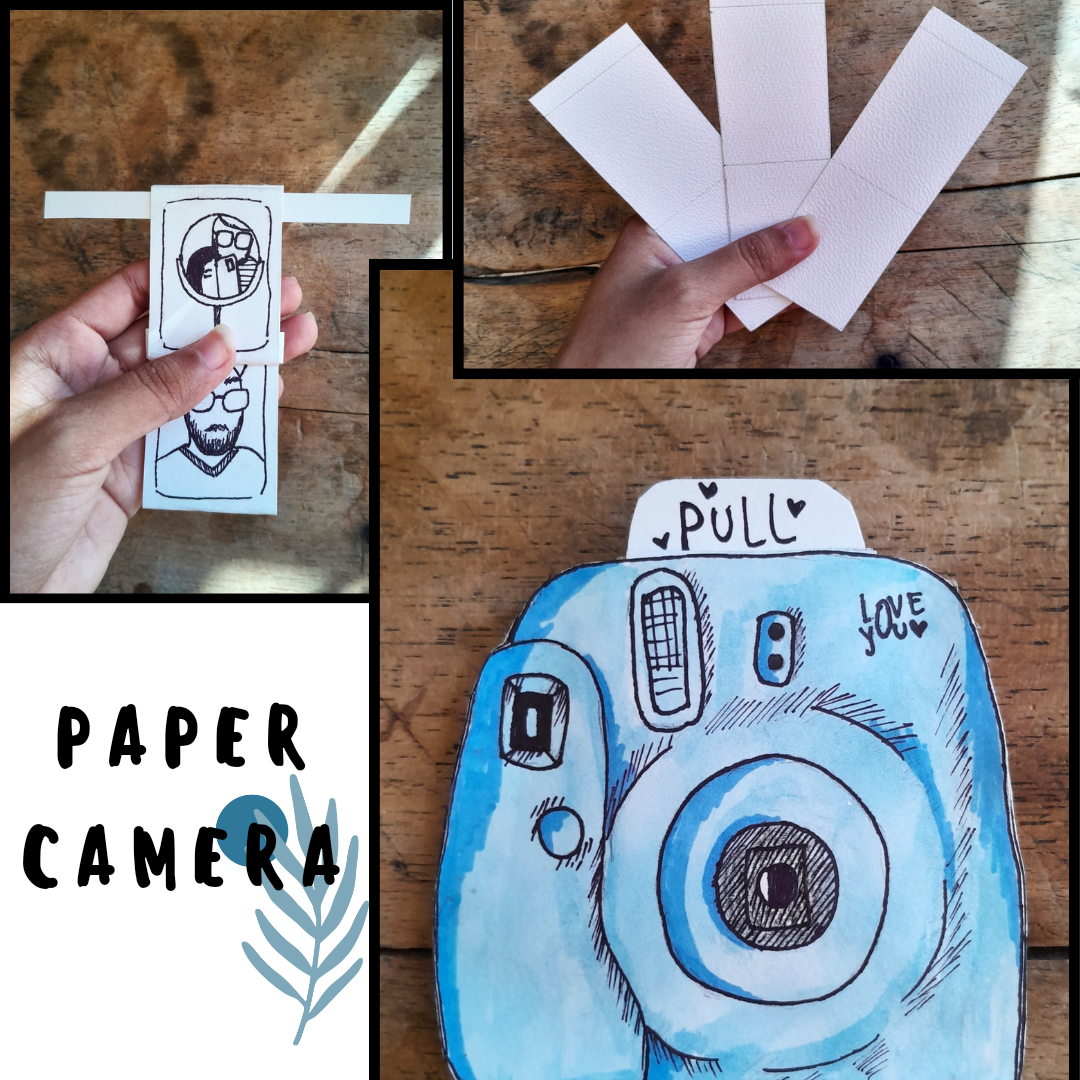
    Hello, Hive Creatives! Today I bring you a beautiful camera made of paper that is perfect to give today to that special person you love so much; remember that it is always a good time to give a detail and it never hurts a little surprise made by ourselves. Here is the detailed step by step, I hope you like it ❤️

    Fotografía de mi autoría editada en Canva / Photograph of my authorship edited in Canva

    PROCESO // PROCESS

    Lo primero que haremos será el boceto de la cámara; la dibujaremos en un papel que no sea muy delgado, pero tampoco muy grueso, yo les recomiendo que en este caso usen cartulina o papel de acuarela, con cualquiera de los dos les saldrá perfecto.

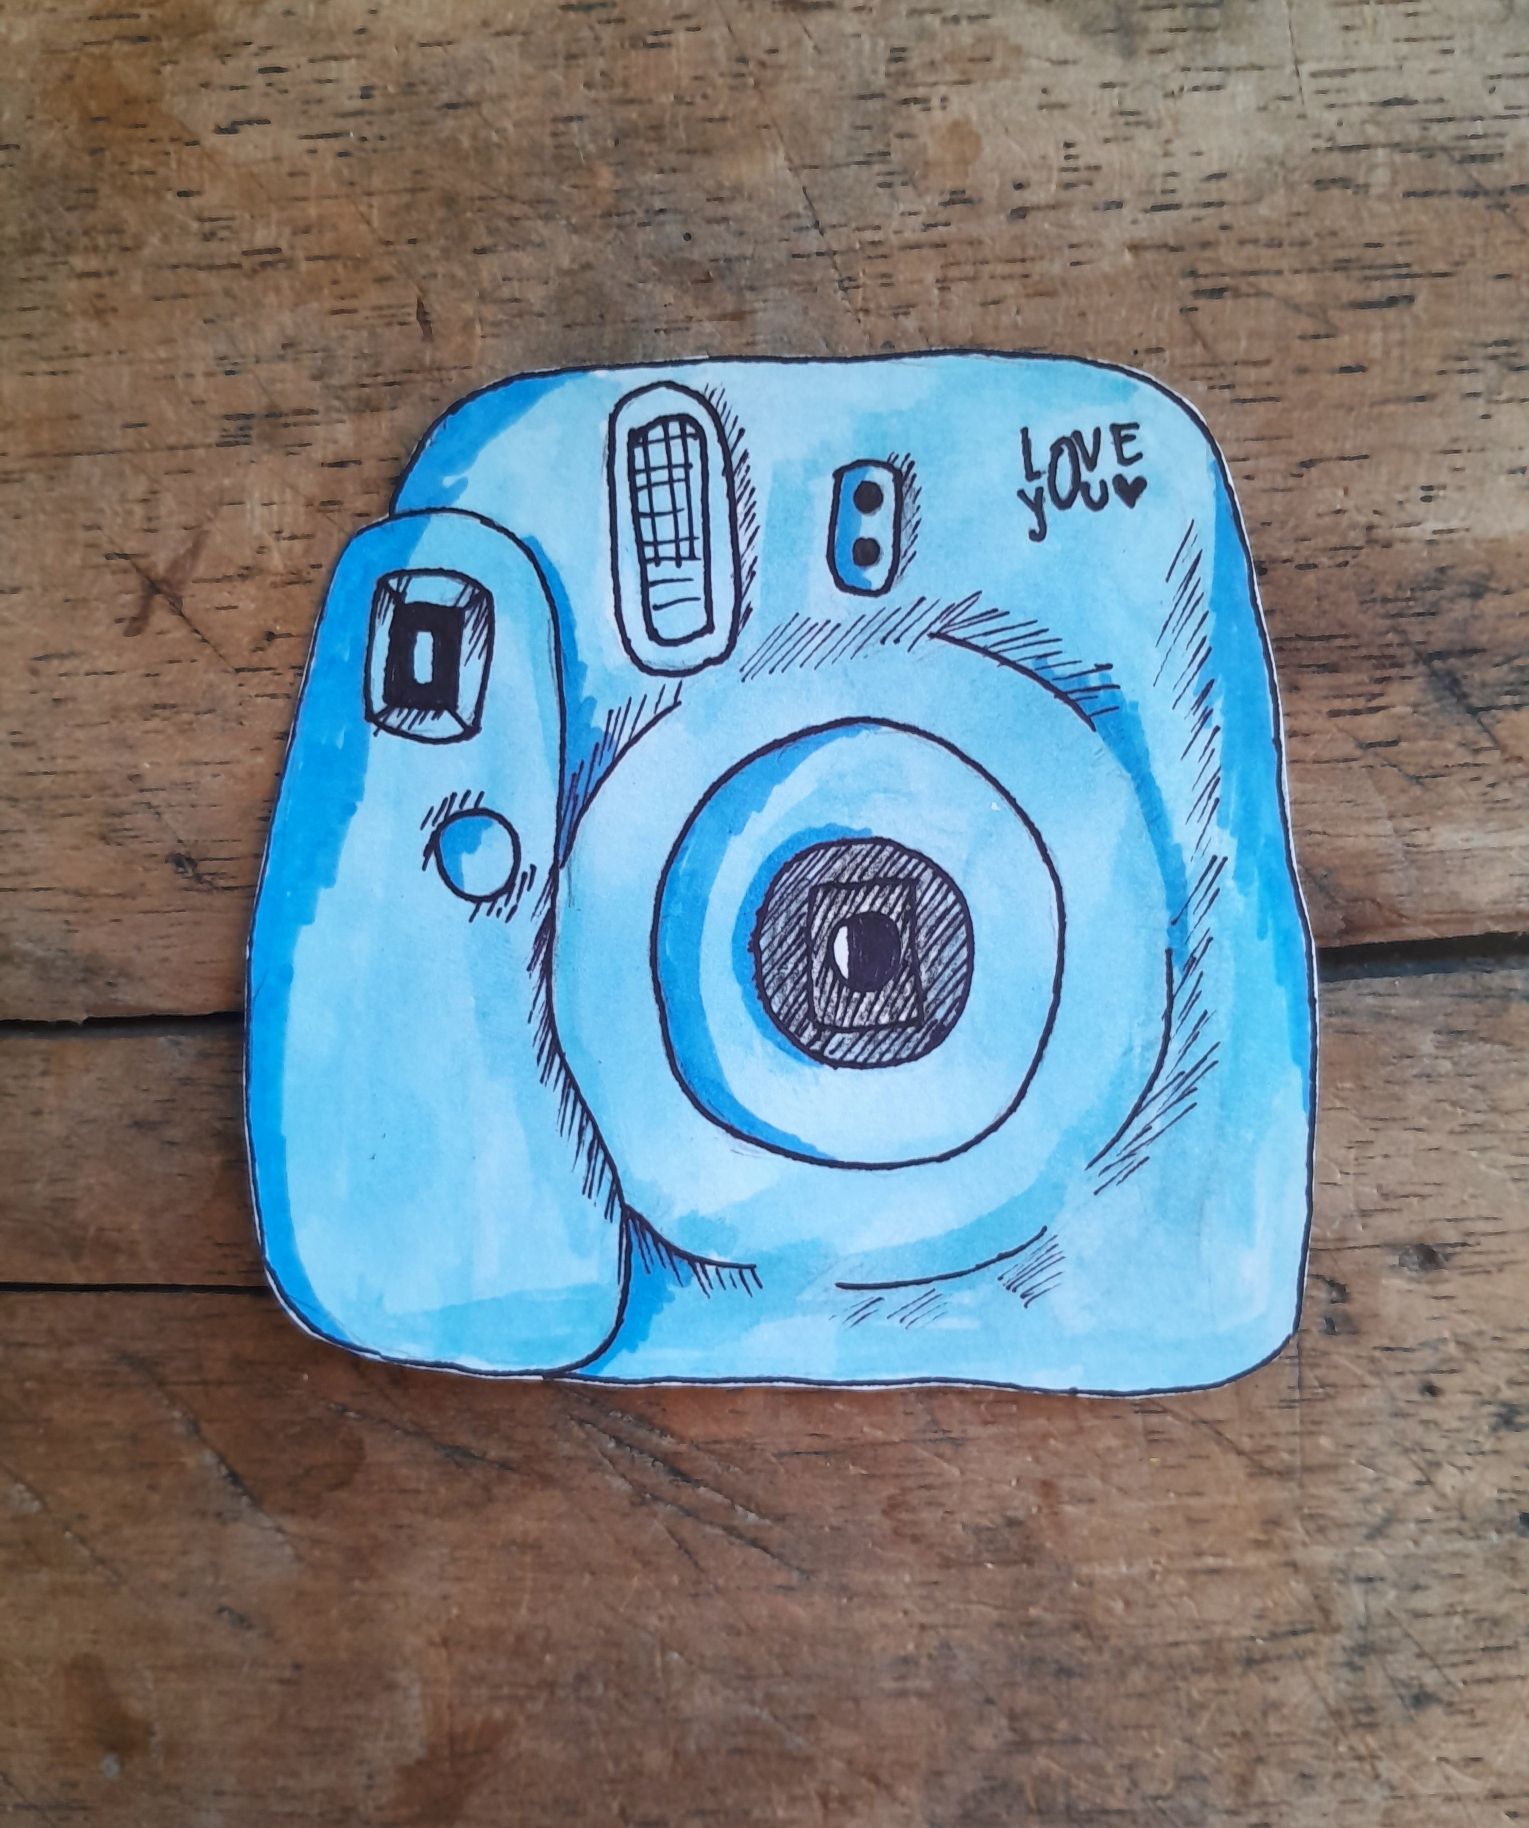
    The first thing we will do will be the sketch of the camera; we will draw it on a paper that is not too thin, but not too thick, I recommend that in this case you use cardboard or watercolor paper, with either of the two will be perfect.

    Luego de eso, la pintamos del color que queramos, la delineamos y cuando ya esté lista, la recortamos por todo el borde. Nos debes quedar así:

    After that, we paint it in the color we want, outline it and when it is ready, we cut it all around the edge. It should look like this:

    Luego de tenerla de esta forma, calcamos en otra cartulina su contorno y lo recortamos.

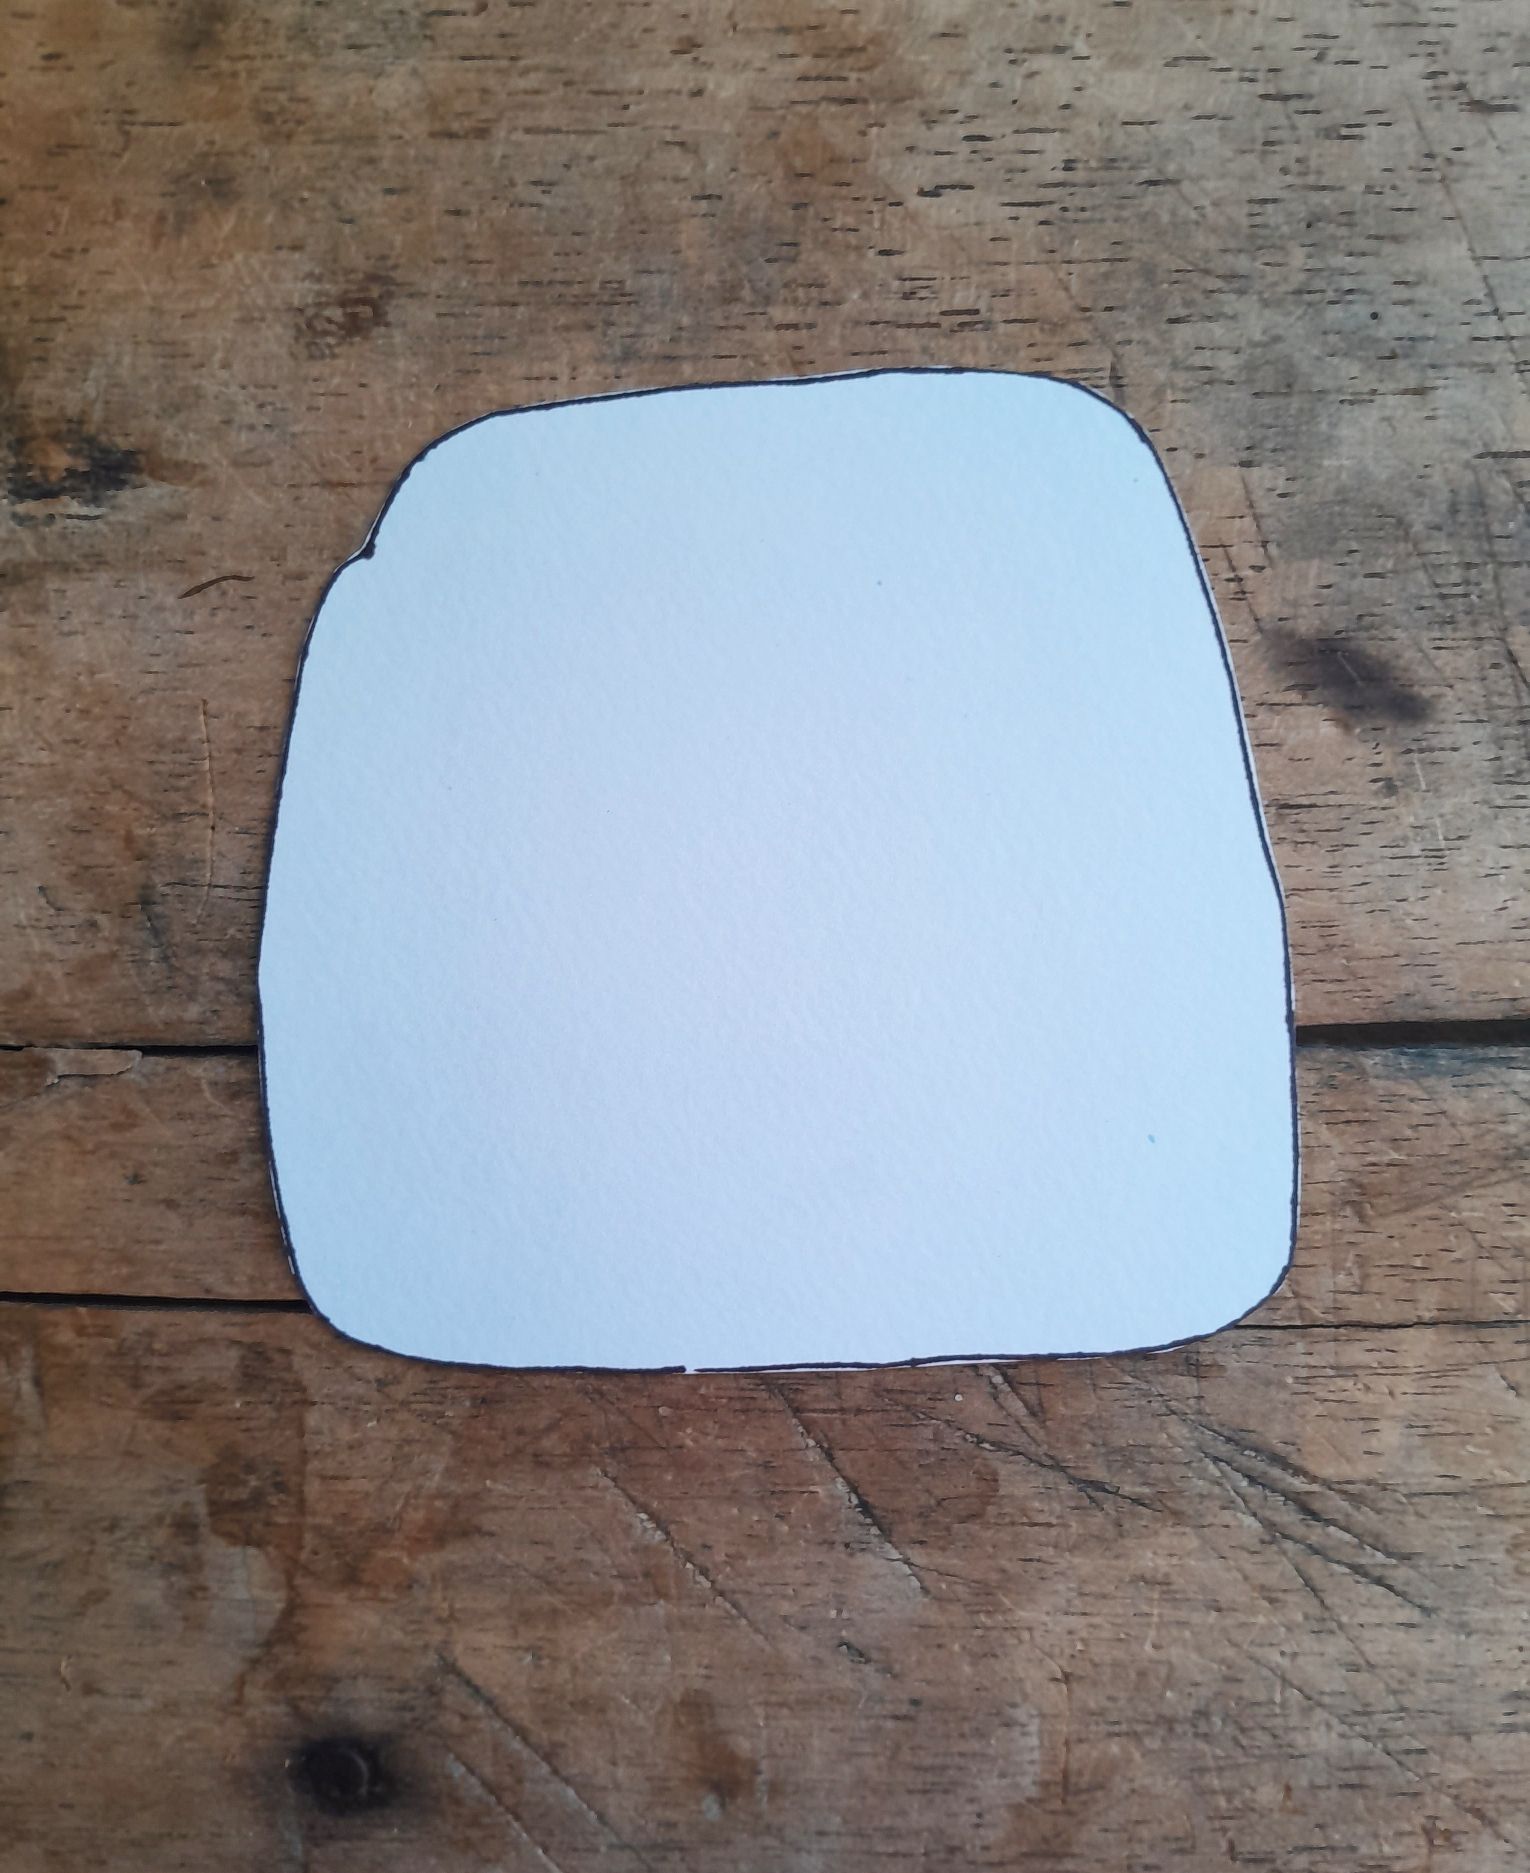
    After having it in this shape, we trace its outline on another piece of cardboard and cut it out.

    Ya tenemos lista la primera parte de la cámara y ahora si viene lo más difícil que son las fotos c:

    Para las fotos haremos dos cuadrados pegados de 4cm de ancho y 5.5cm de largo y al final, añadiremos 1cm más, el cual ya verán para que es. La figura debe quedar así:

    We already have the first part of the camera ready and now comes the most difficult part, which are the photos:

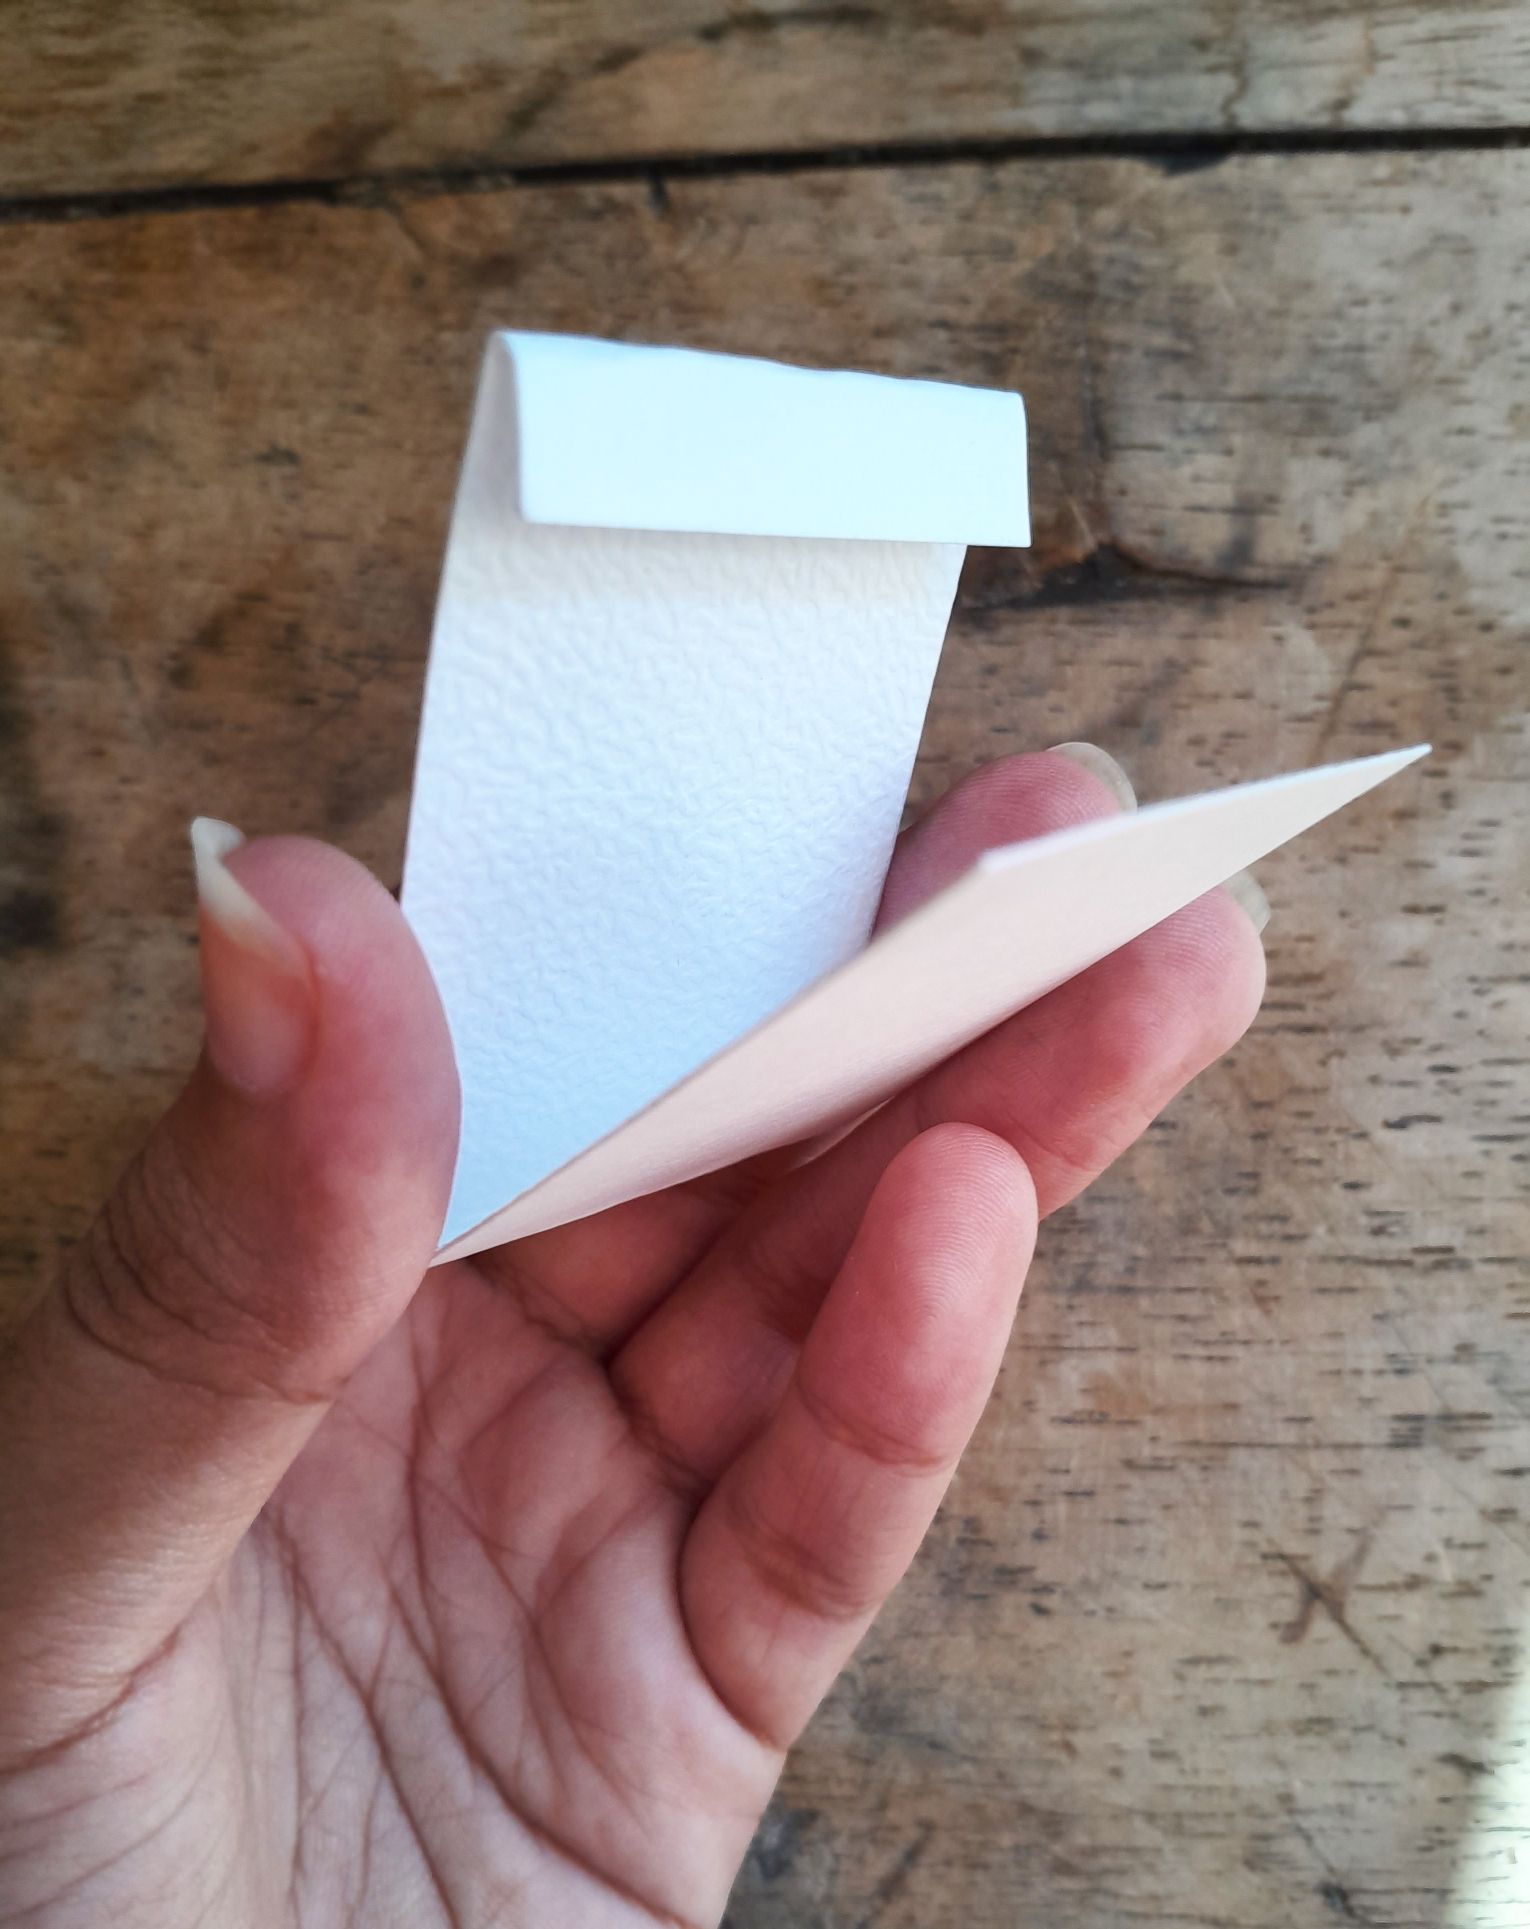
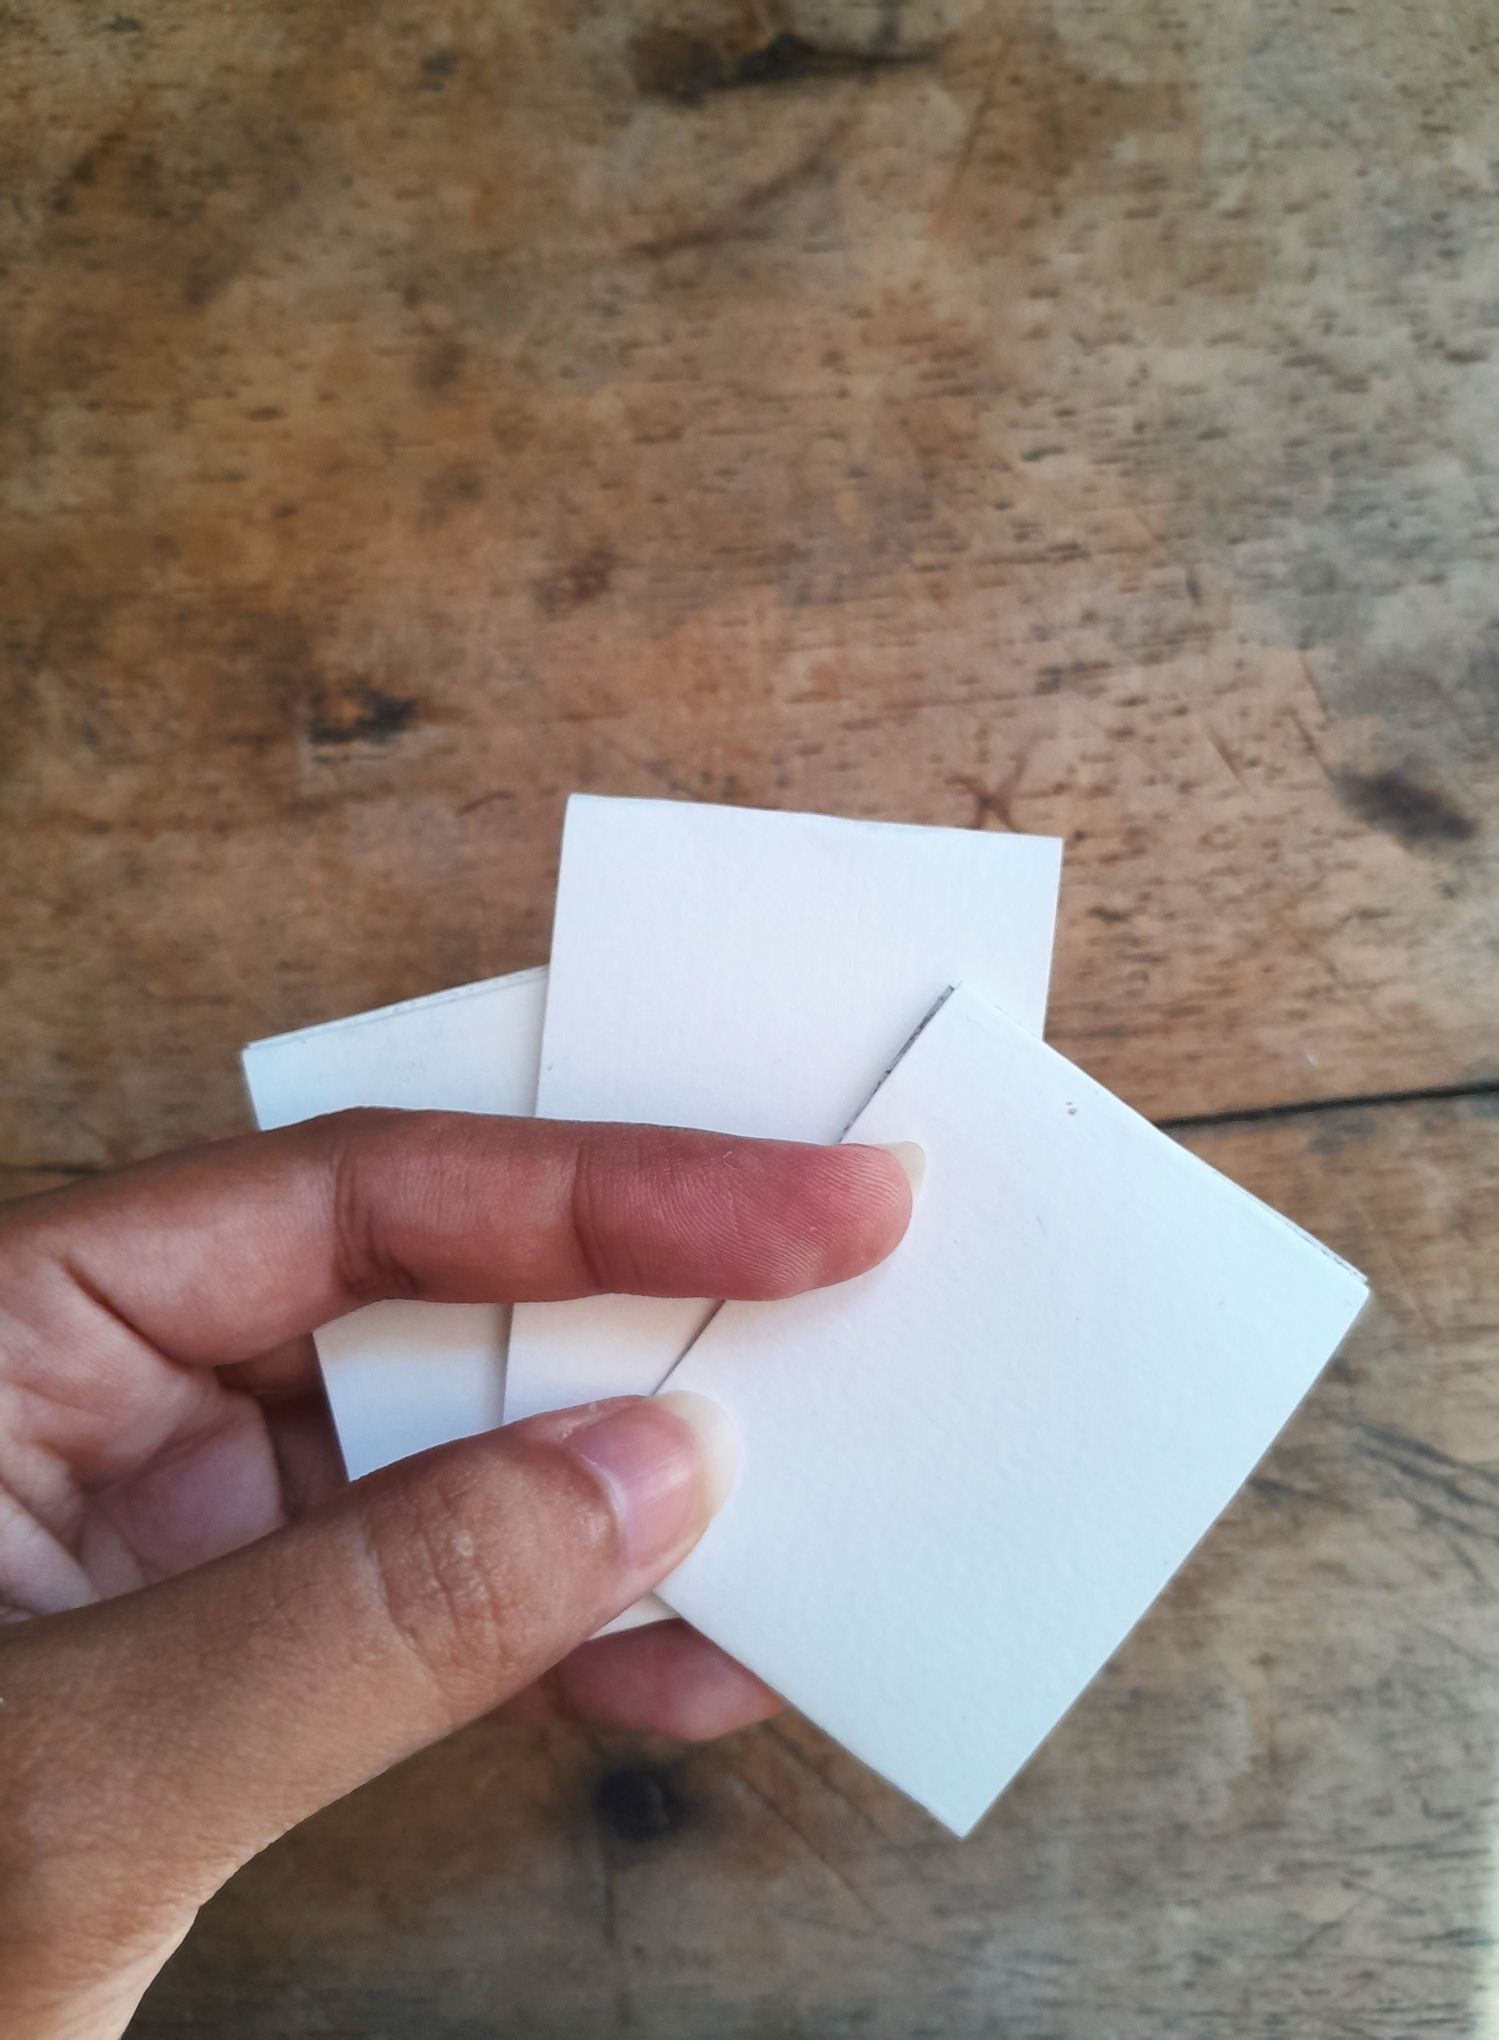
    For the photos we will make two glued squares of 4cm wide and 5.5cm long and at the end, we will add 1cm more, which you will see what it is for. The figure should look like this:

    Luego de esto, lo que haremos será doblar hacia adentro guiándonos de las líneas que hicimos, lo pegamos solamente en la parte de arriba y debe quedar de esta forma:

    After this, what we will do is to fold it inwards following the lines we made, we glue it only on the upper part and it should look like this:

    En mi caso hice tres más, porque quería retratar tres fotos, pero, ustedes pueden añadir las que quieran. Al terminar de pegar todos los cuadros, podemos agregarle lo que queramos, ya sea una foto, una pegatina, e incluso dibujar algo, que fue lo que yo hice.

    In my case I made three more, because I wanted to portray three photos, but you can add as many as you want. When we finish gluing all the pictures, we can add whatever we want, whether it is a photo, a sticker, or even draw something, which is what I did.

    Me pareció más bonito dibujar las fotos que imprimirlas y pegarlas, pero como les dije, eso ya va en cada quien.

    I thought it was nicer to draw the photos than to print and paste them, but as I said, that's up to each person.

    Luego de esto, cortamos una tirita larga y la metemos de esta forma por la parte superior del cuadro, dejando los extremos de la tira por fuera.

    Al tenerlo así, vamos a meter la tira por el siguiente cuadrado, pero por la parte posterior, para poder voltearlo y que la imagen quede en la parte de enfrente, de esta forma:

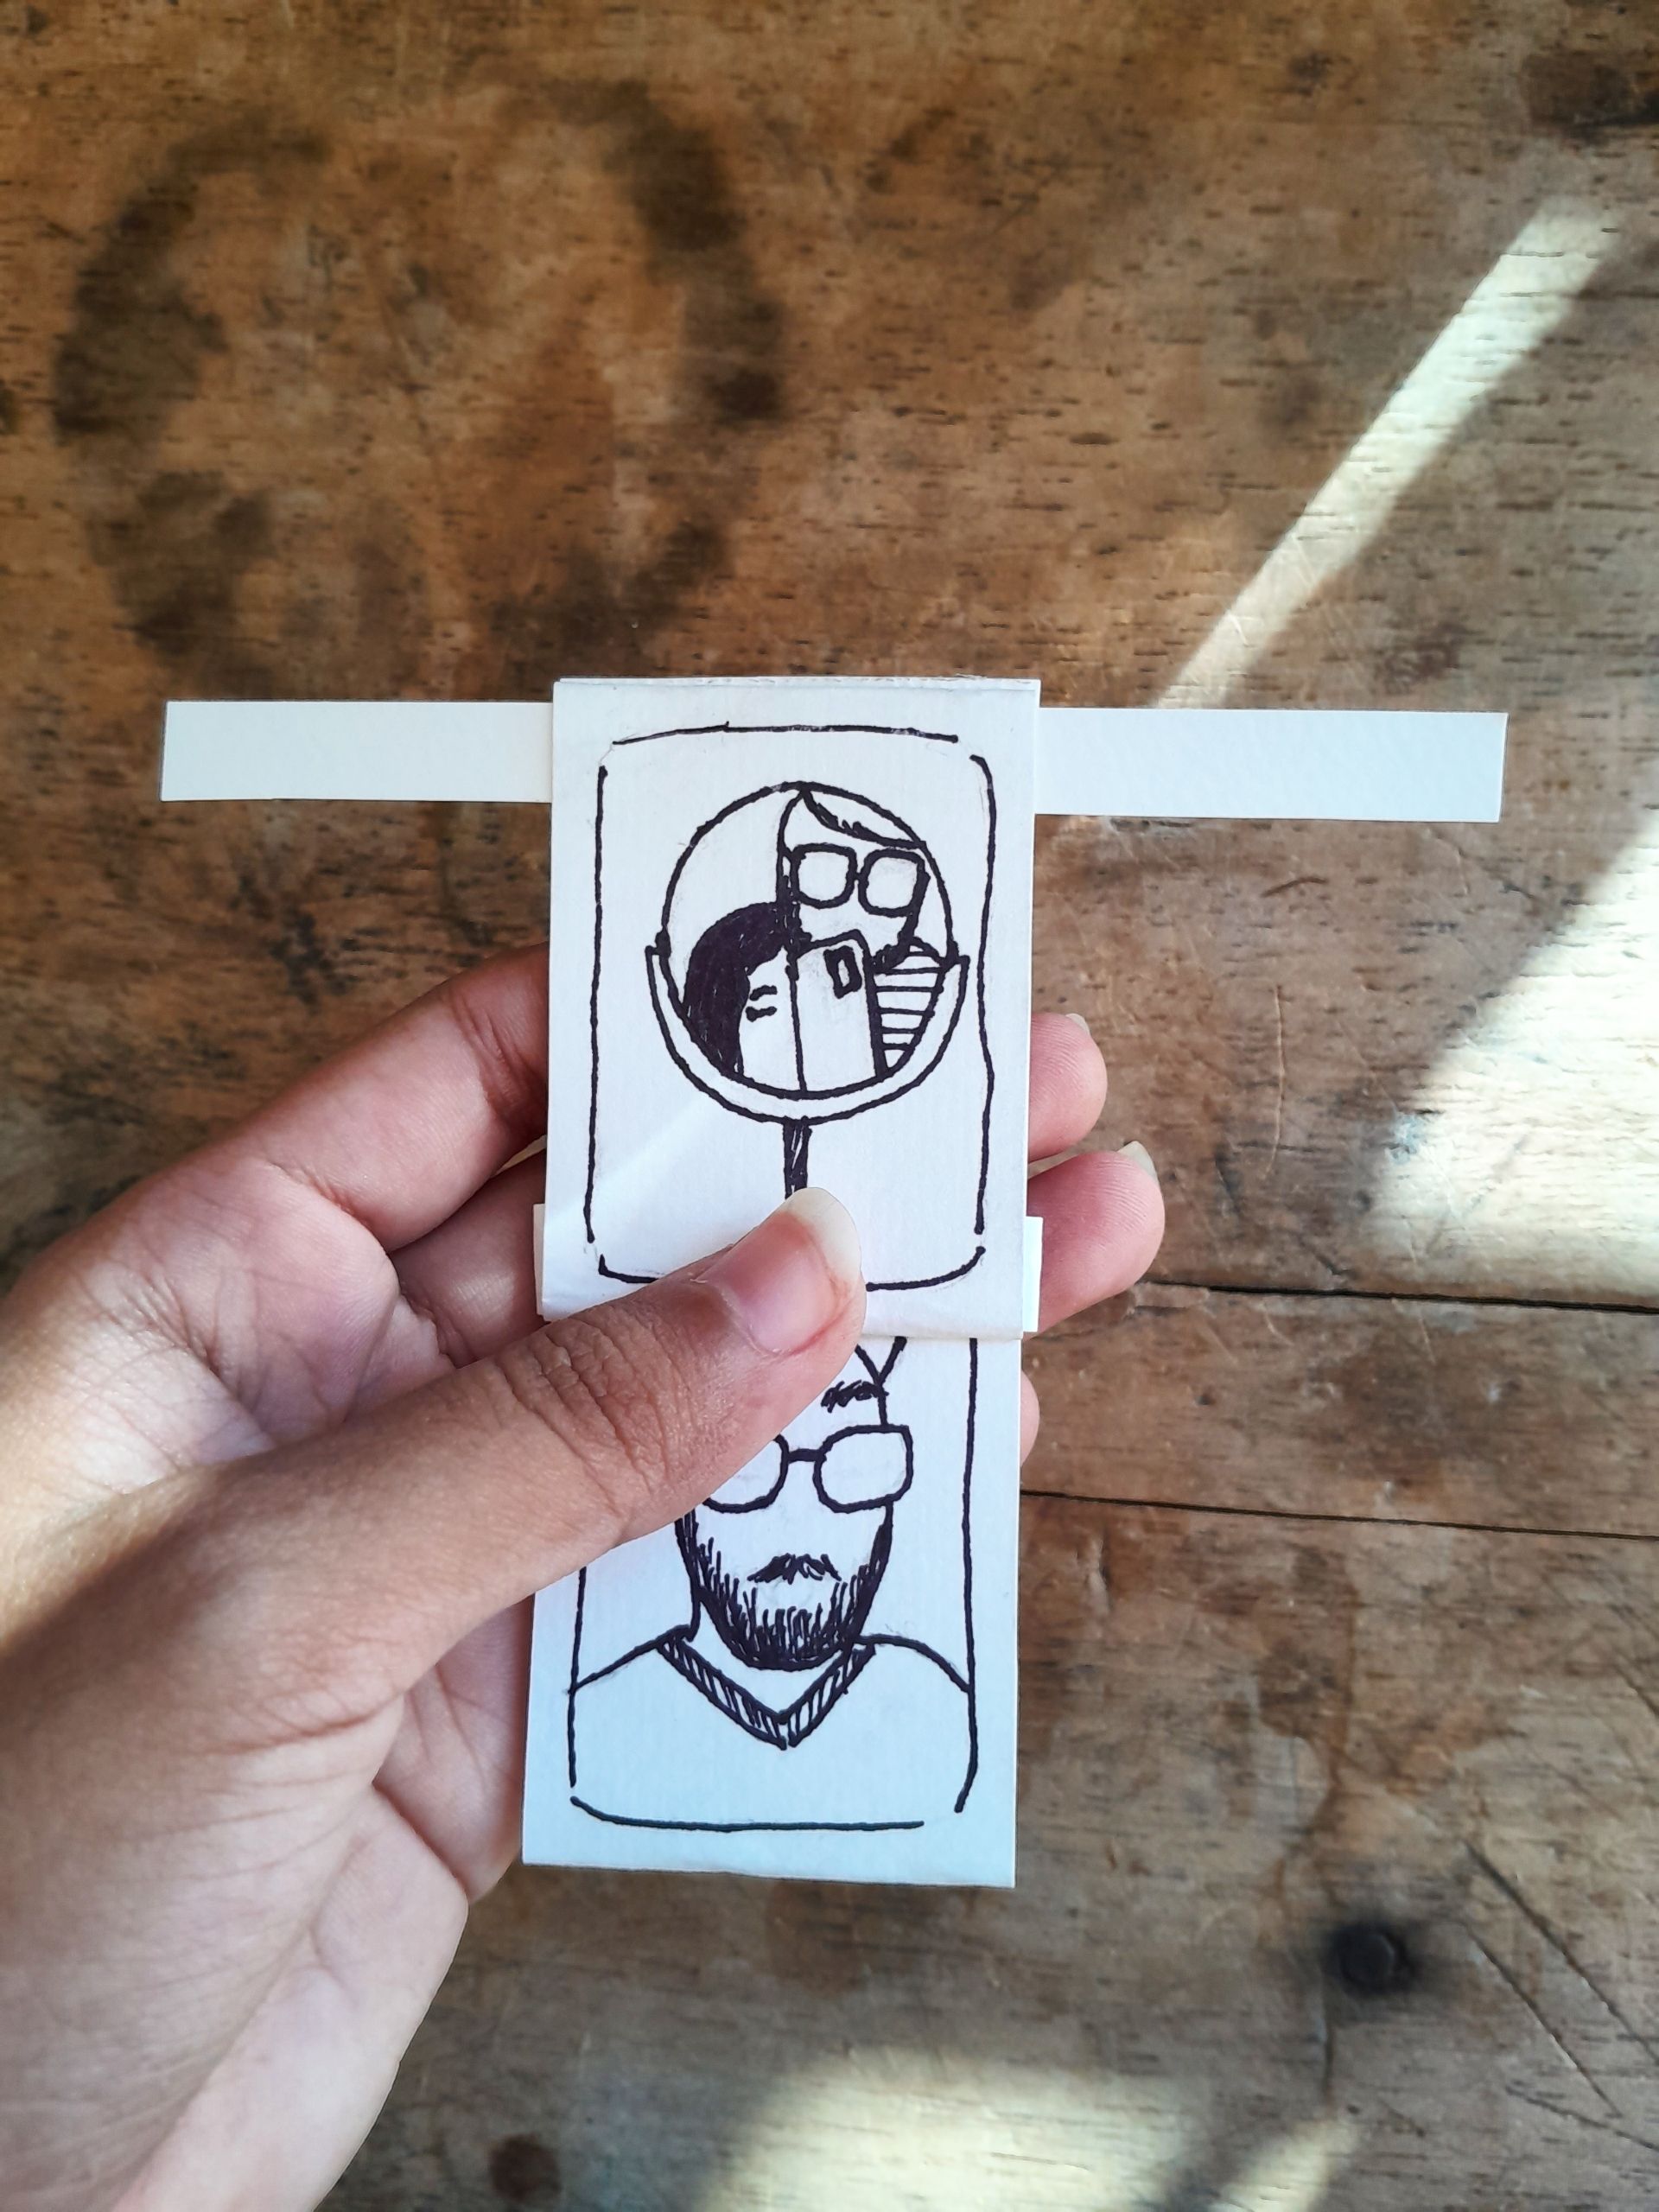
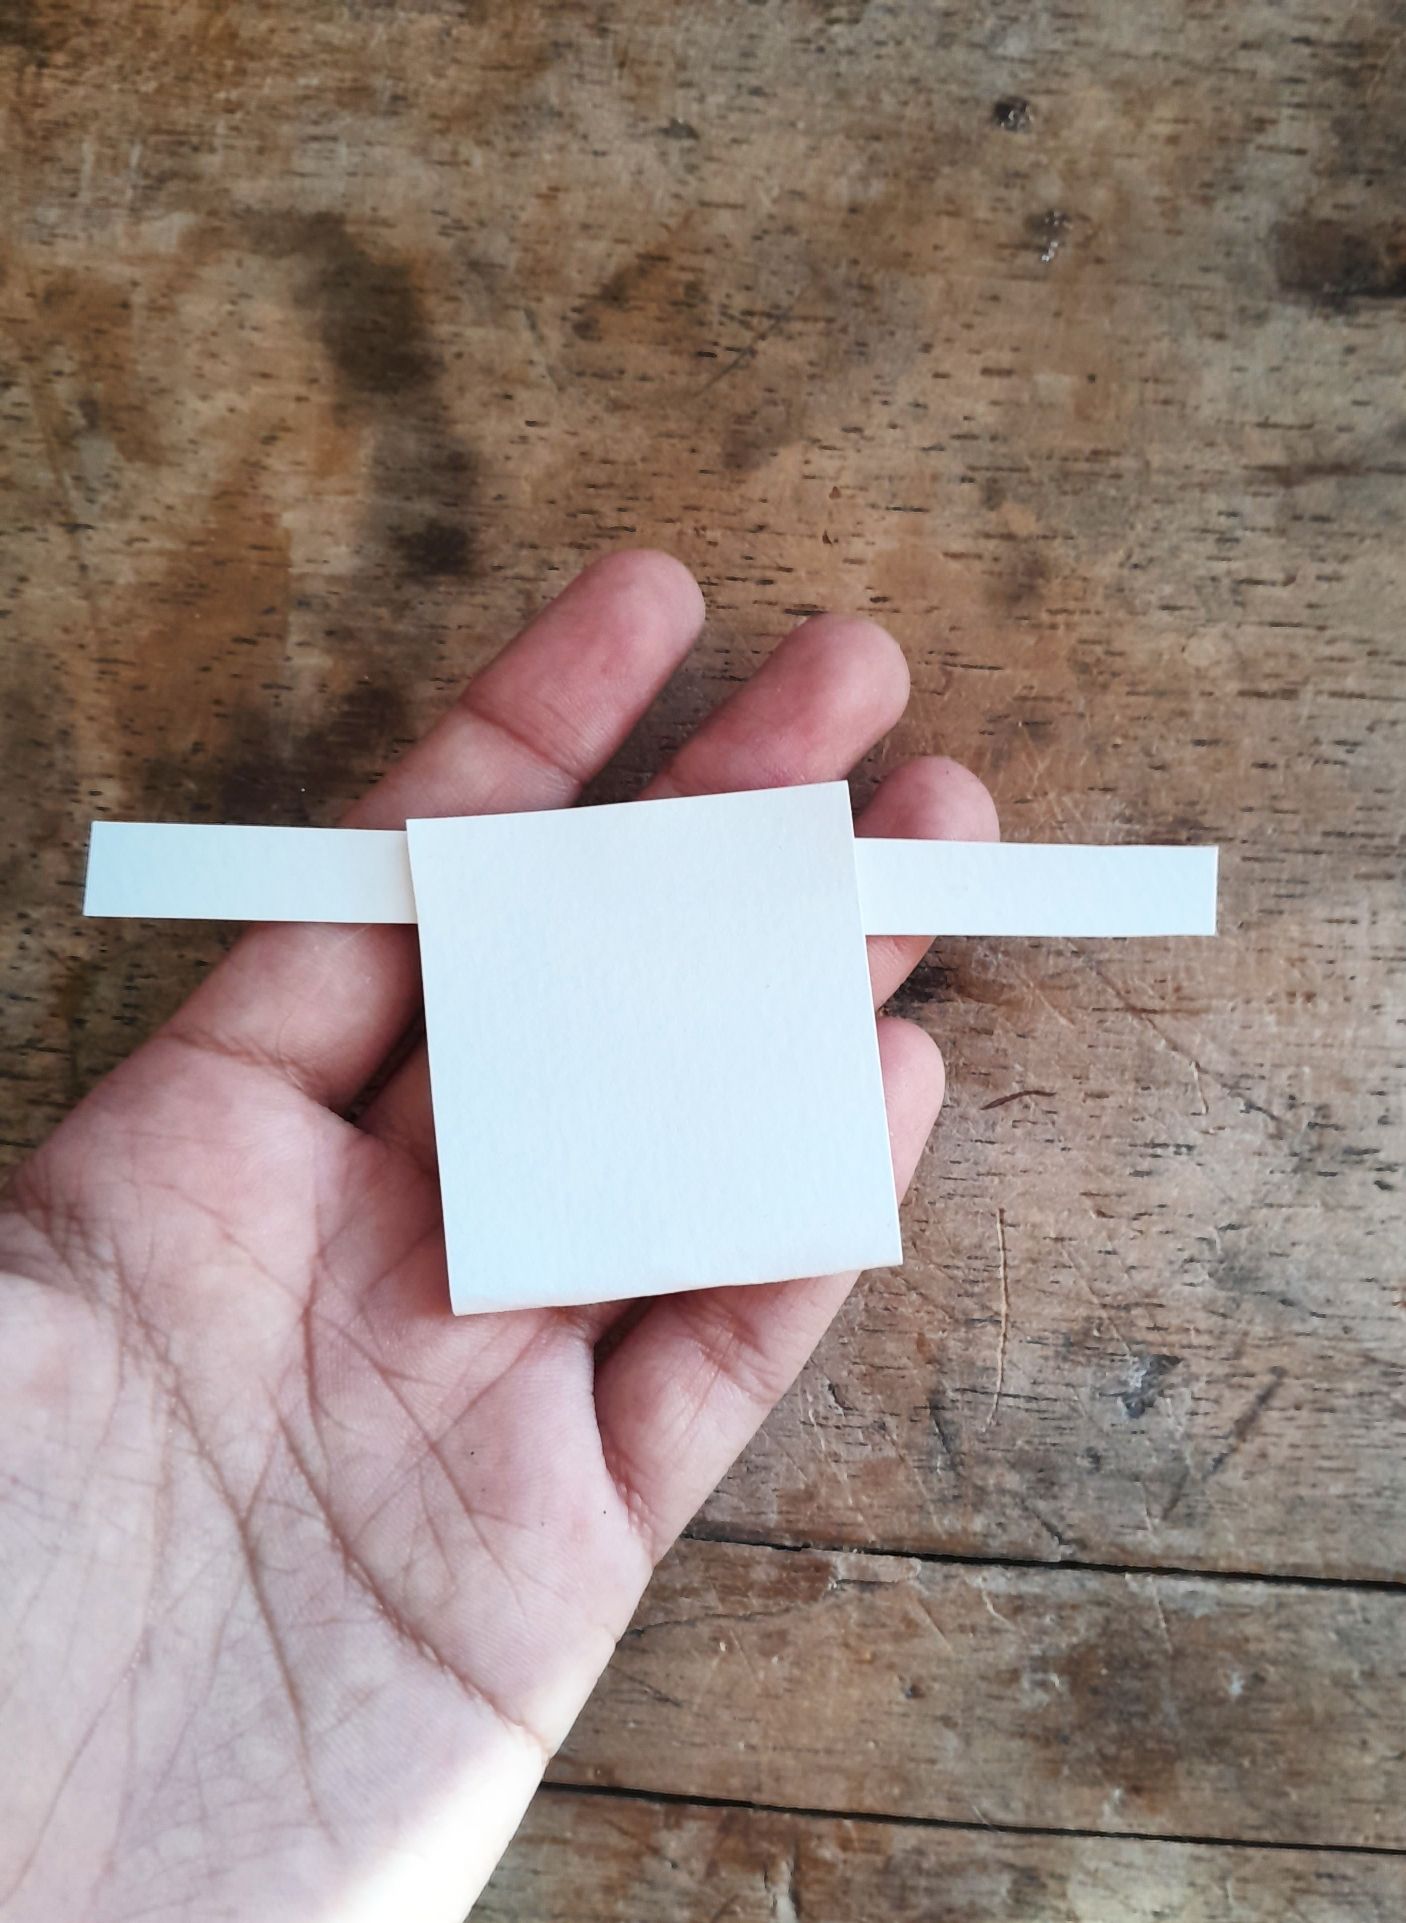
    After this, we cut a long strip and we put it in this way through the upper part of the square, leaving the ends of the strip outside.

    Once we have it like this, we are going to put the strip through the next square, but on the back side, so we can flip it over and the image will be on the front side, like this:

    La parte que nos sobra de la tira, la vamos a doblar de esta manera:

    The remaining part of the strip, we are going to fold it in this way:

    Luego, hacemos una pequeña figura que es la que irá pegada en la parte de arriba de la última foto.

    Así debe quedar:

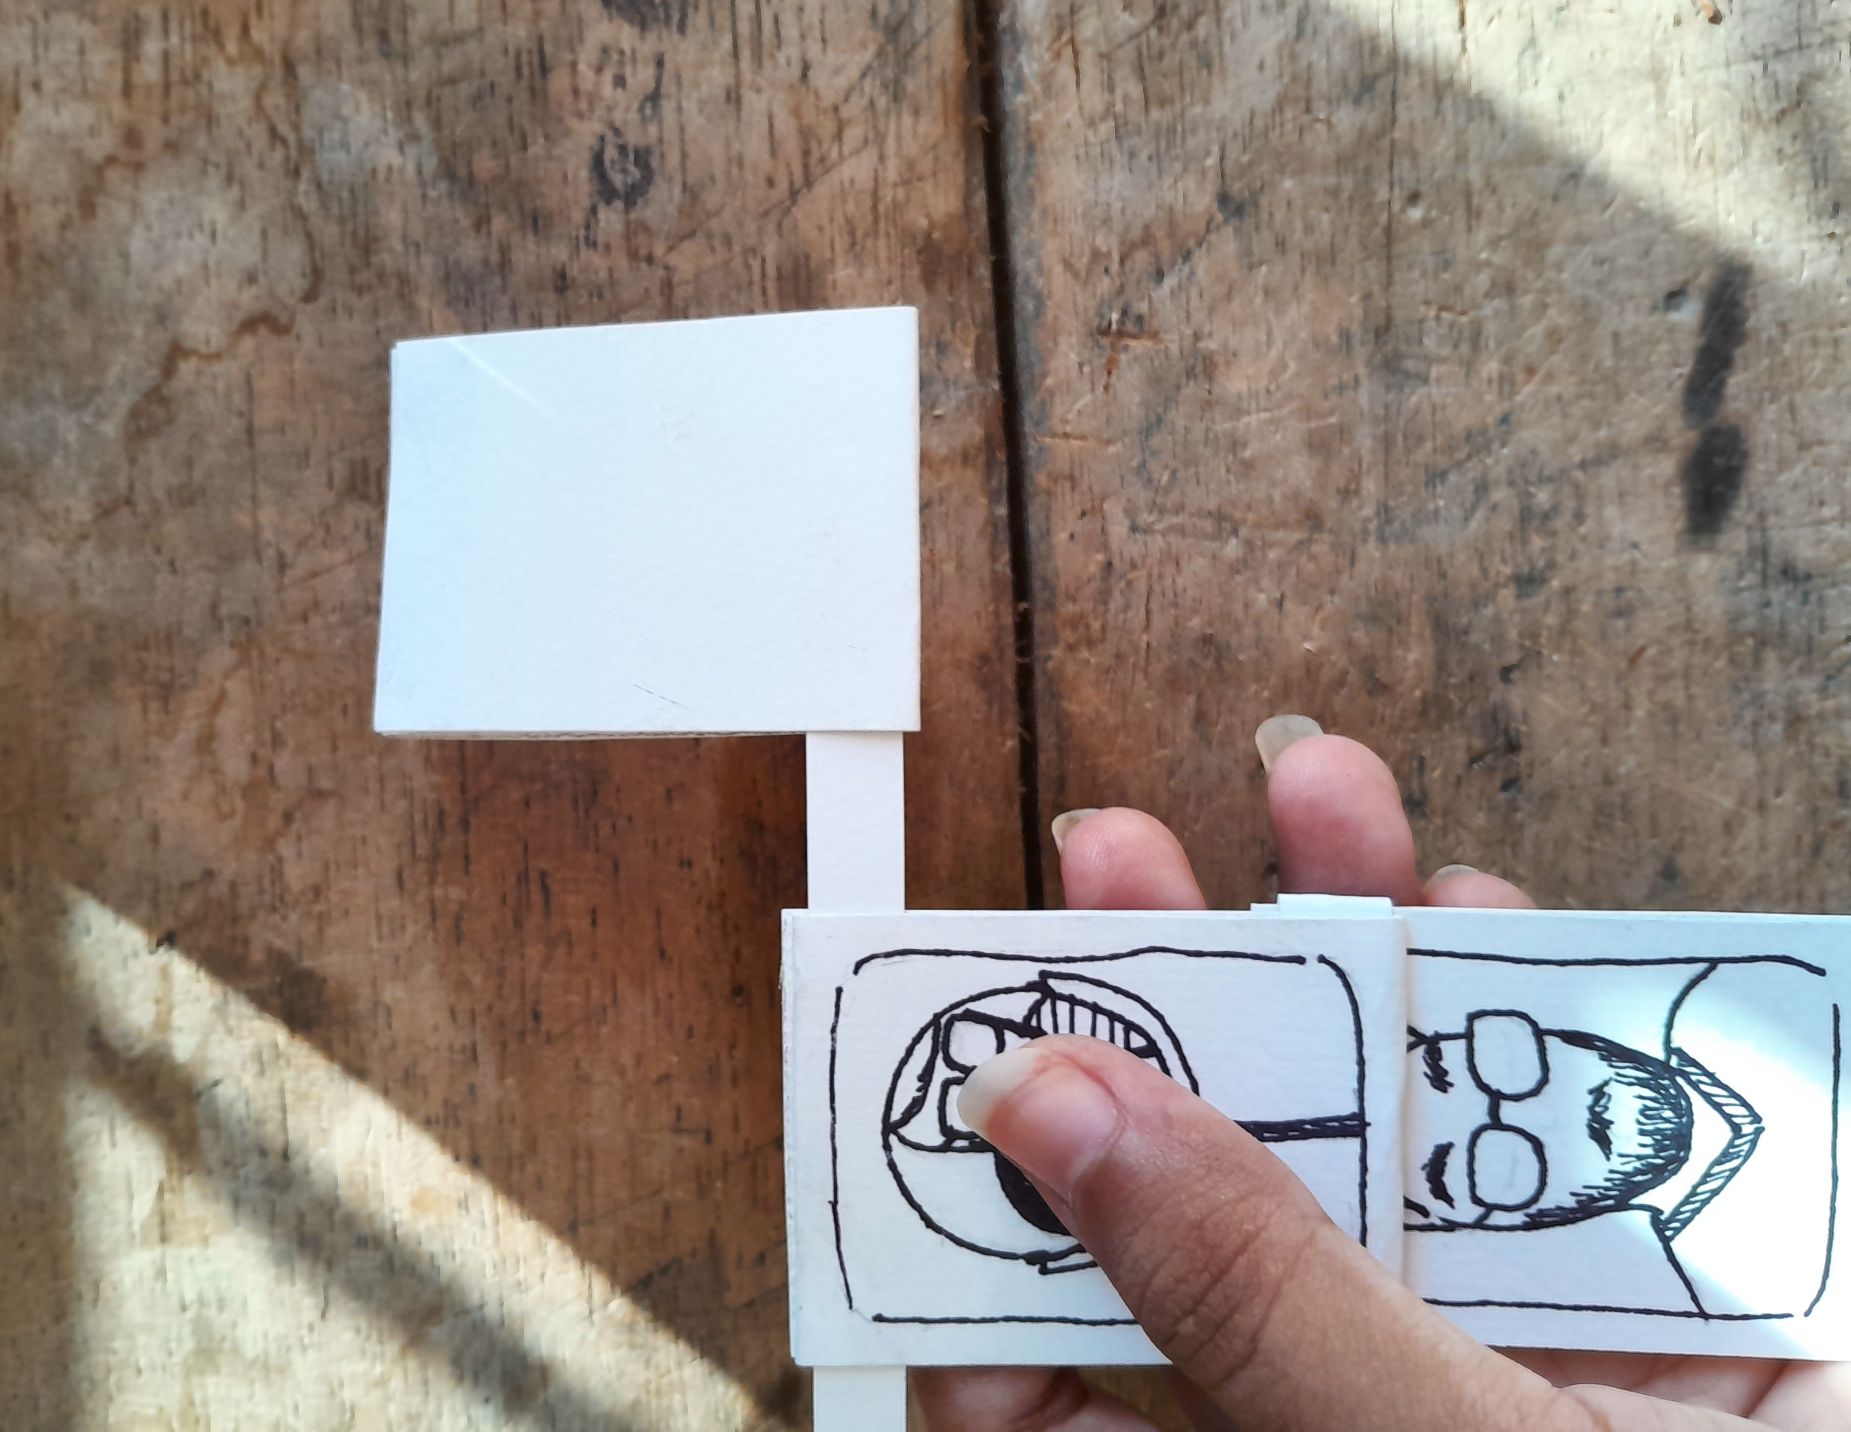
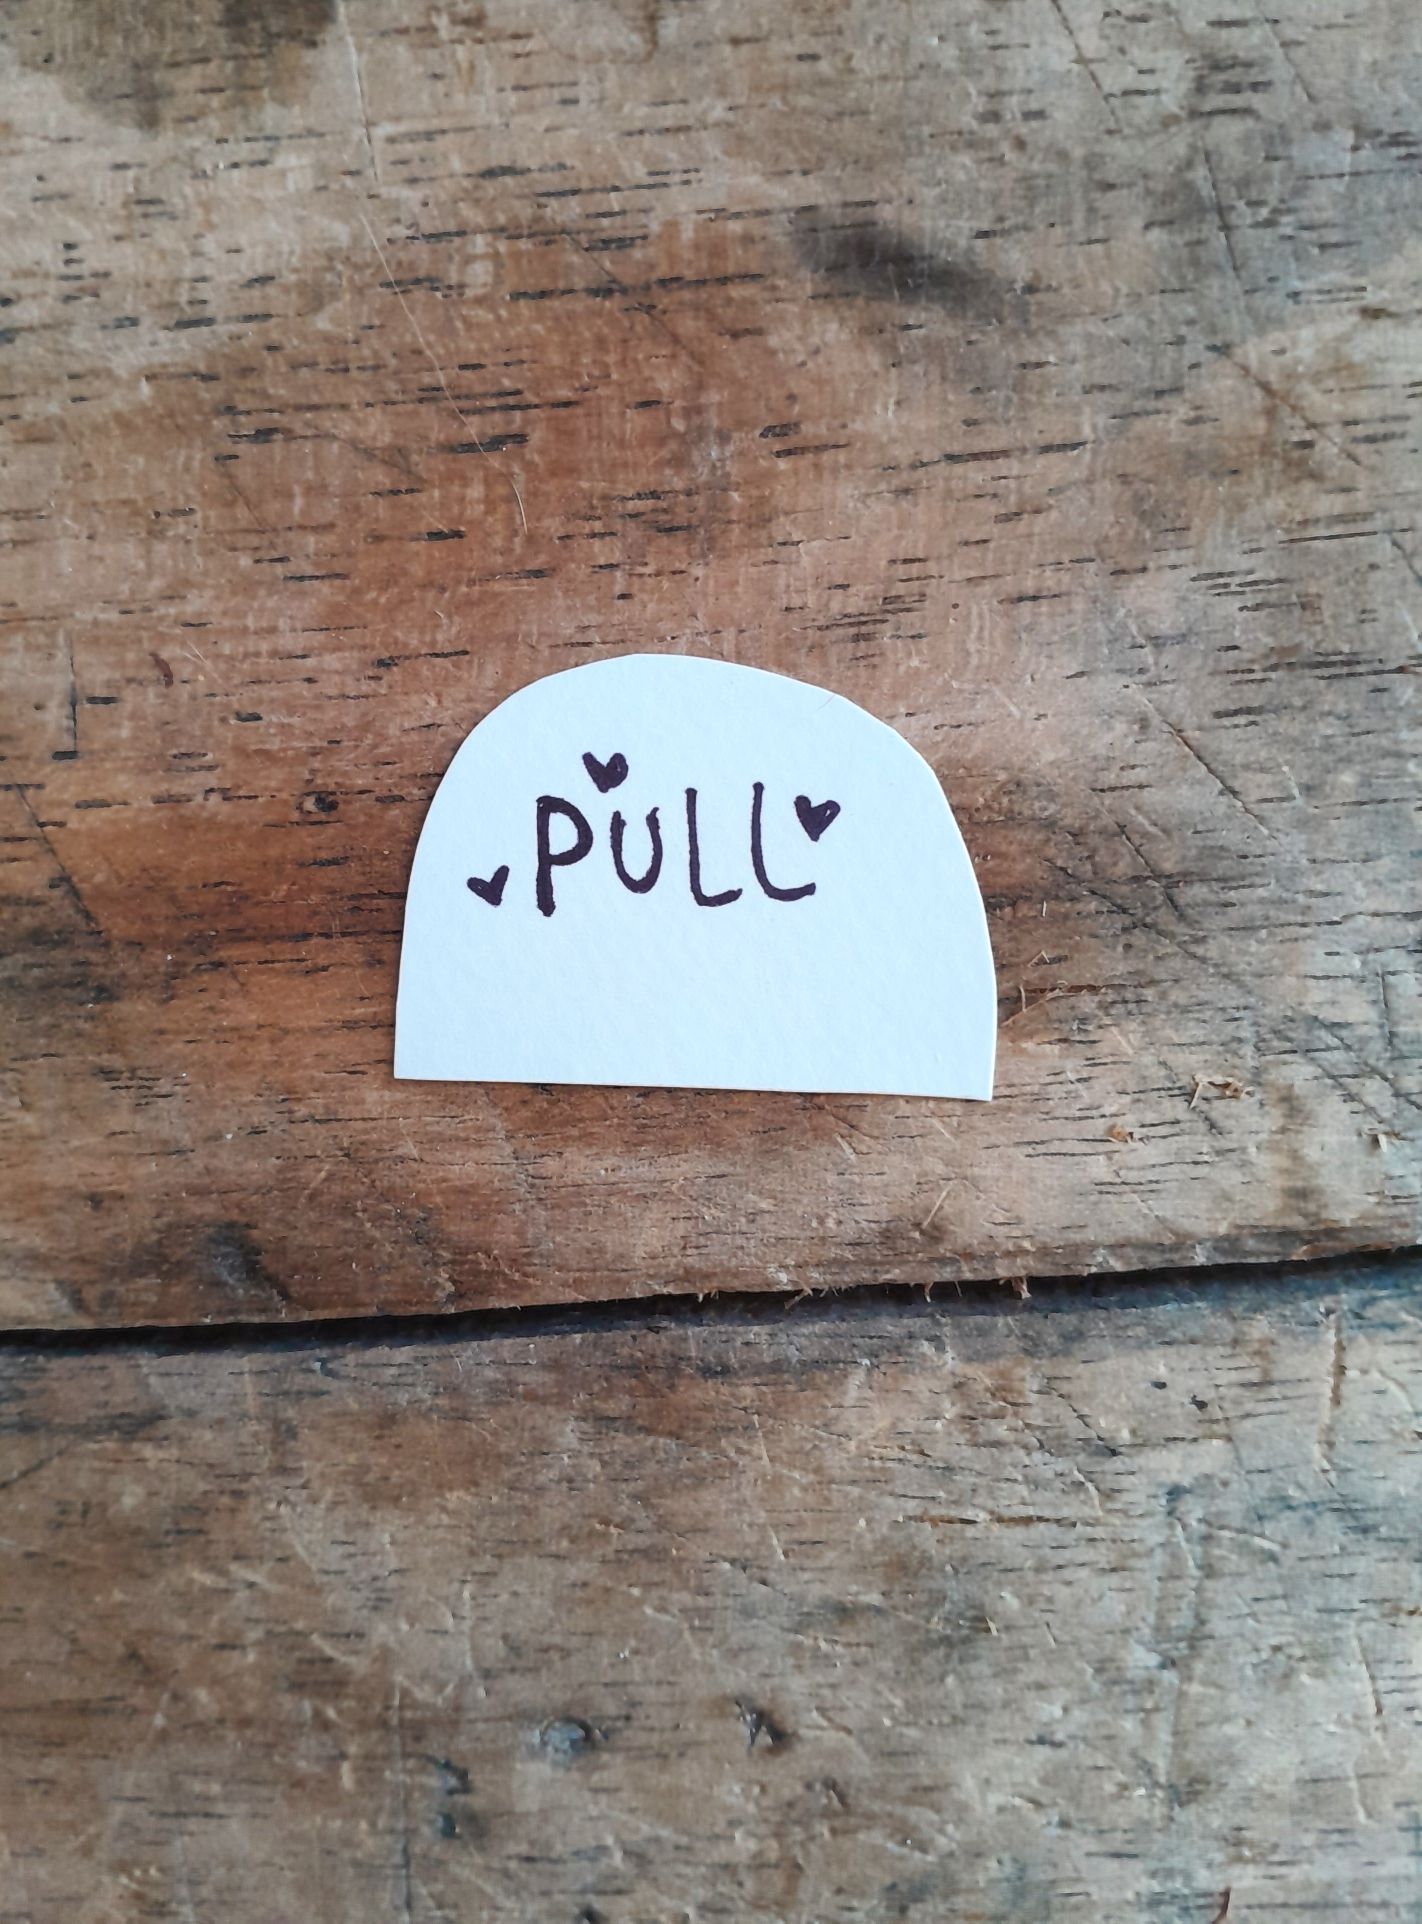
    Then, we make a small figure that will be glued to the top of the last photo.

    This is how it should look:

    Luego de esto, yo hice otro cuadro más como los de el principio y una tira también. Éste lo agregue abajo del primer cuadro que hice, pues, este debe ir pegado en la parte trasera de la cámara (la figura que calcamos y recorcortamos) y así podemos sacar las fotos sin problemas.

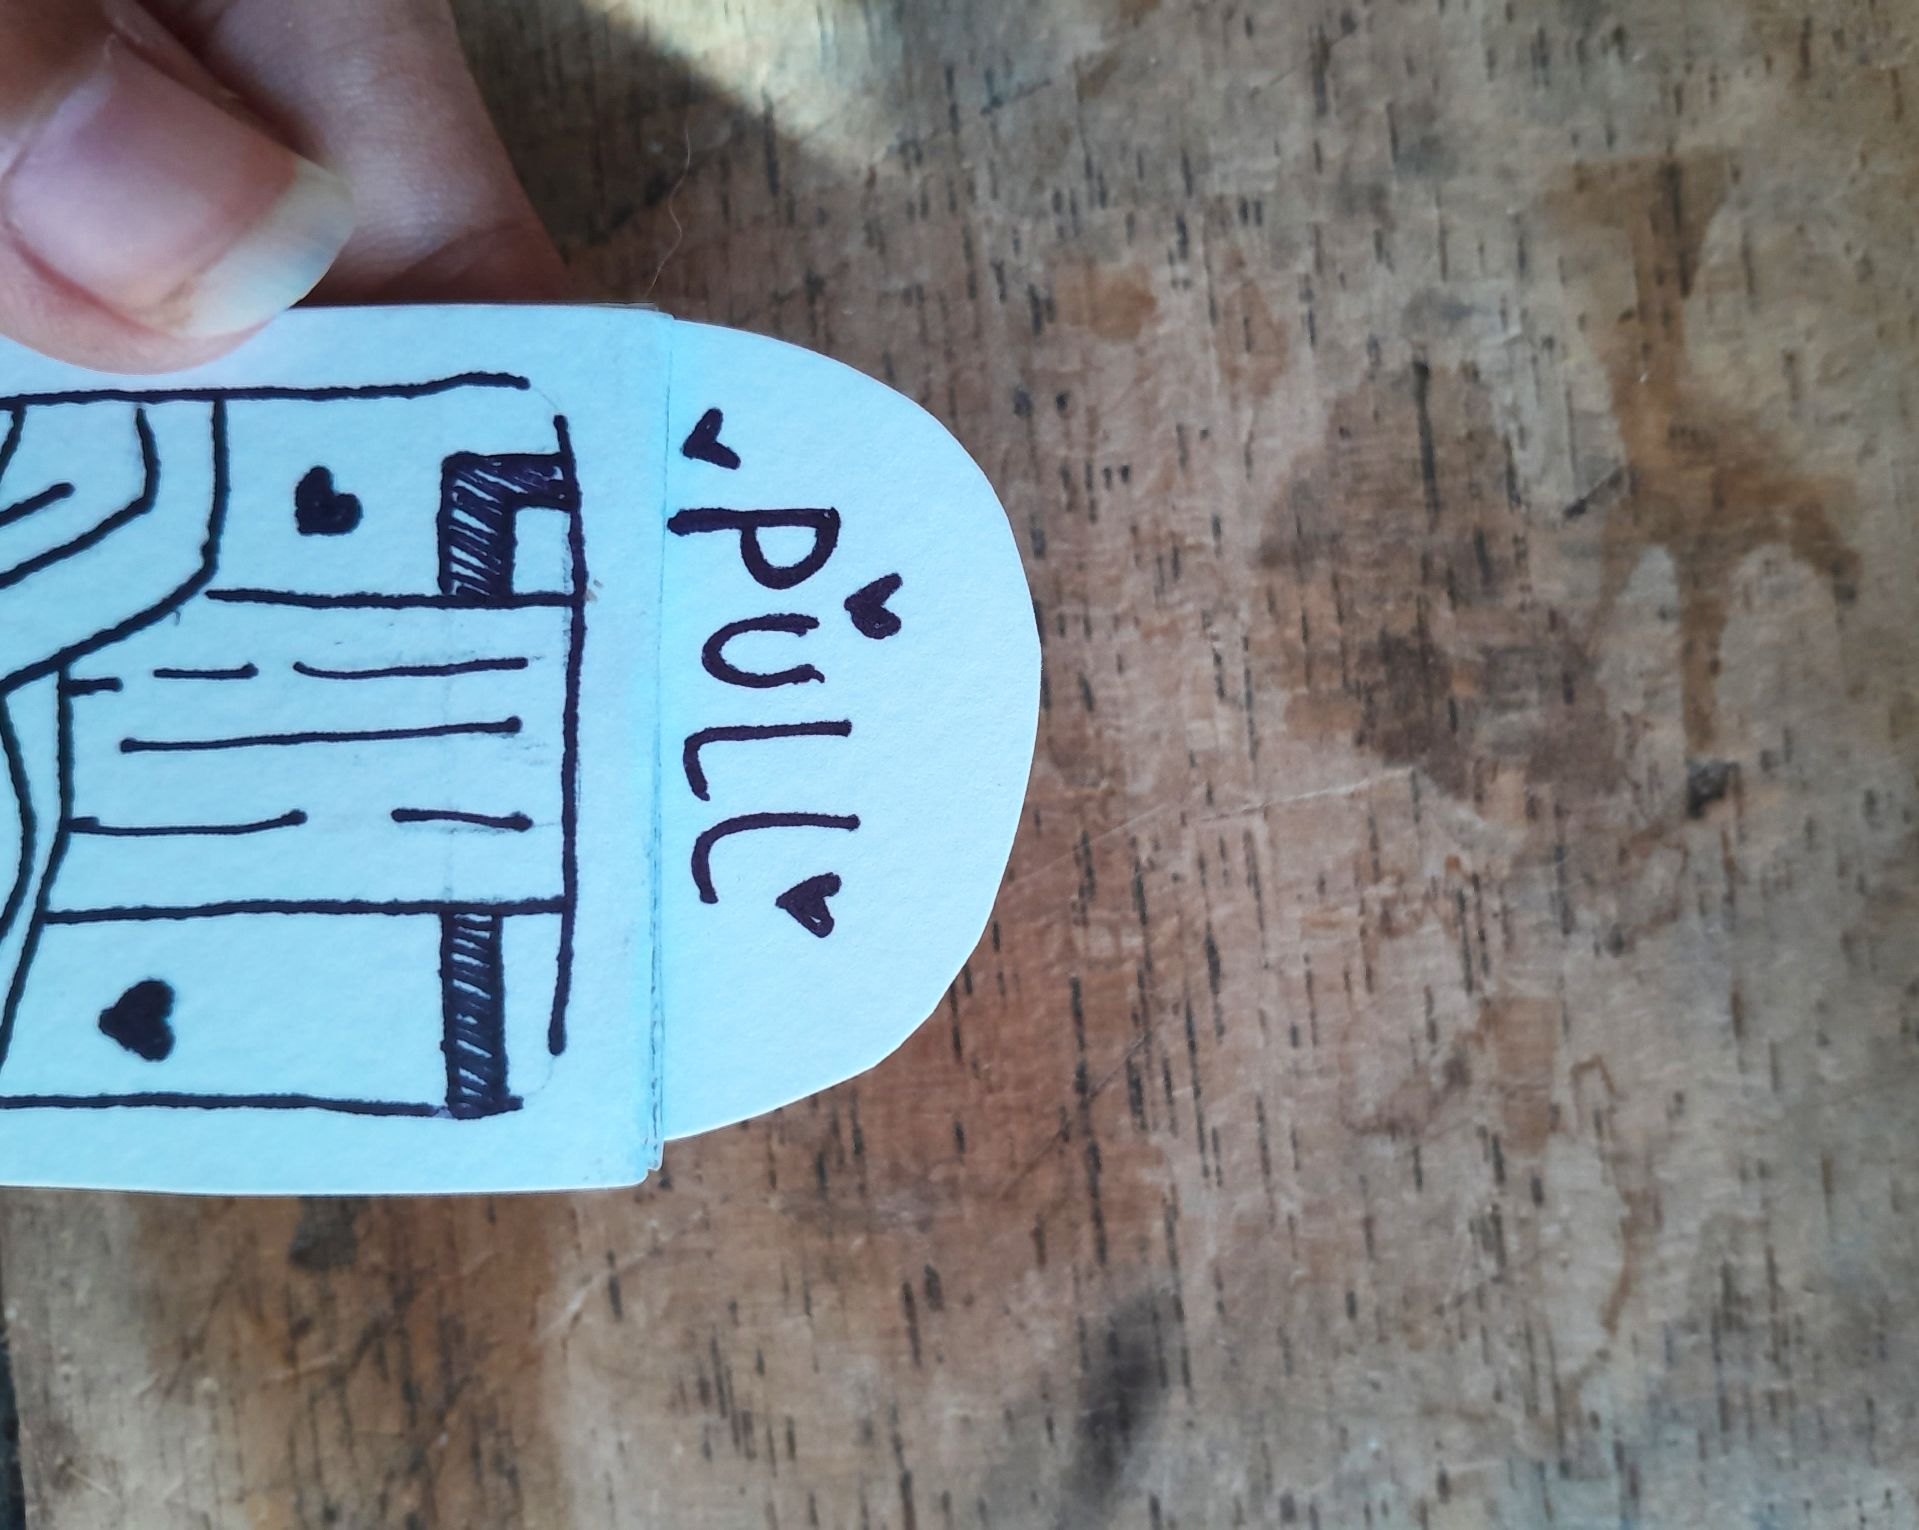
    After this, I made another frame like the ones at the beginning and a strip as well. I added this one below the first picture I made, because this one should be glued to the back of the camera (the figure we traced and cut out) so we can take the pictures without any problems.

    Pegamos esa parte y pegamos la parte de arriba de la cámara solo por los lados.

    Nos debe quedar asi:

    We glue that part and glue the top of the camera only on the sides.

    It should look like this:

    Y, la idea de esto, es que al momento de jalar donde dice "pull" se vea, de esta forma💕

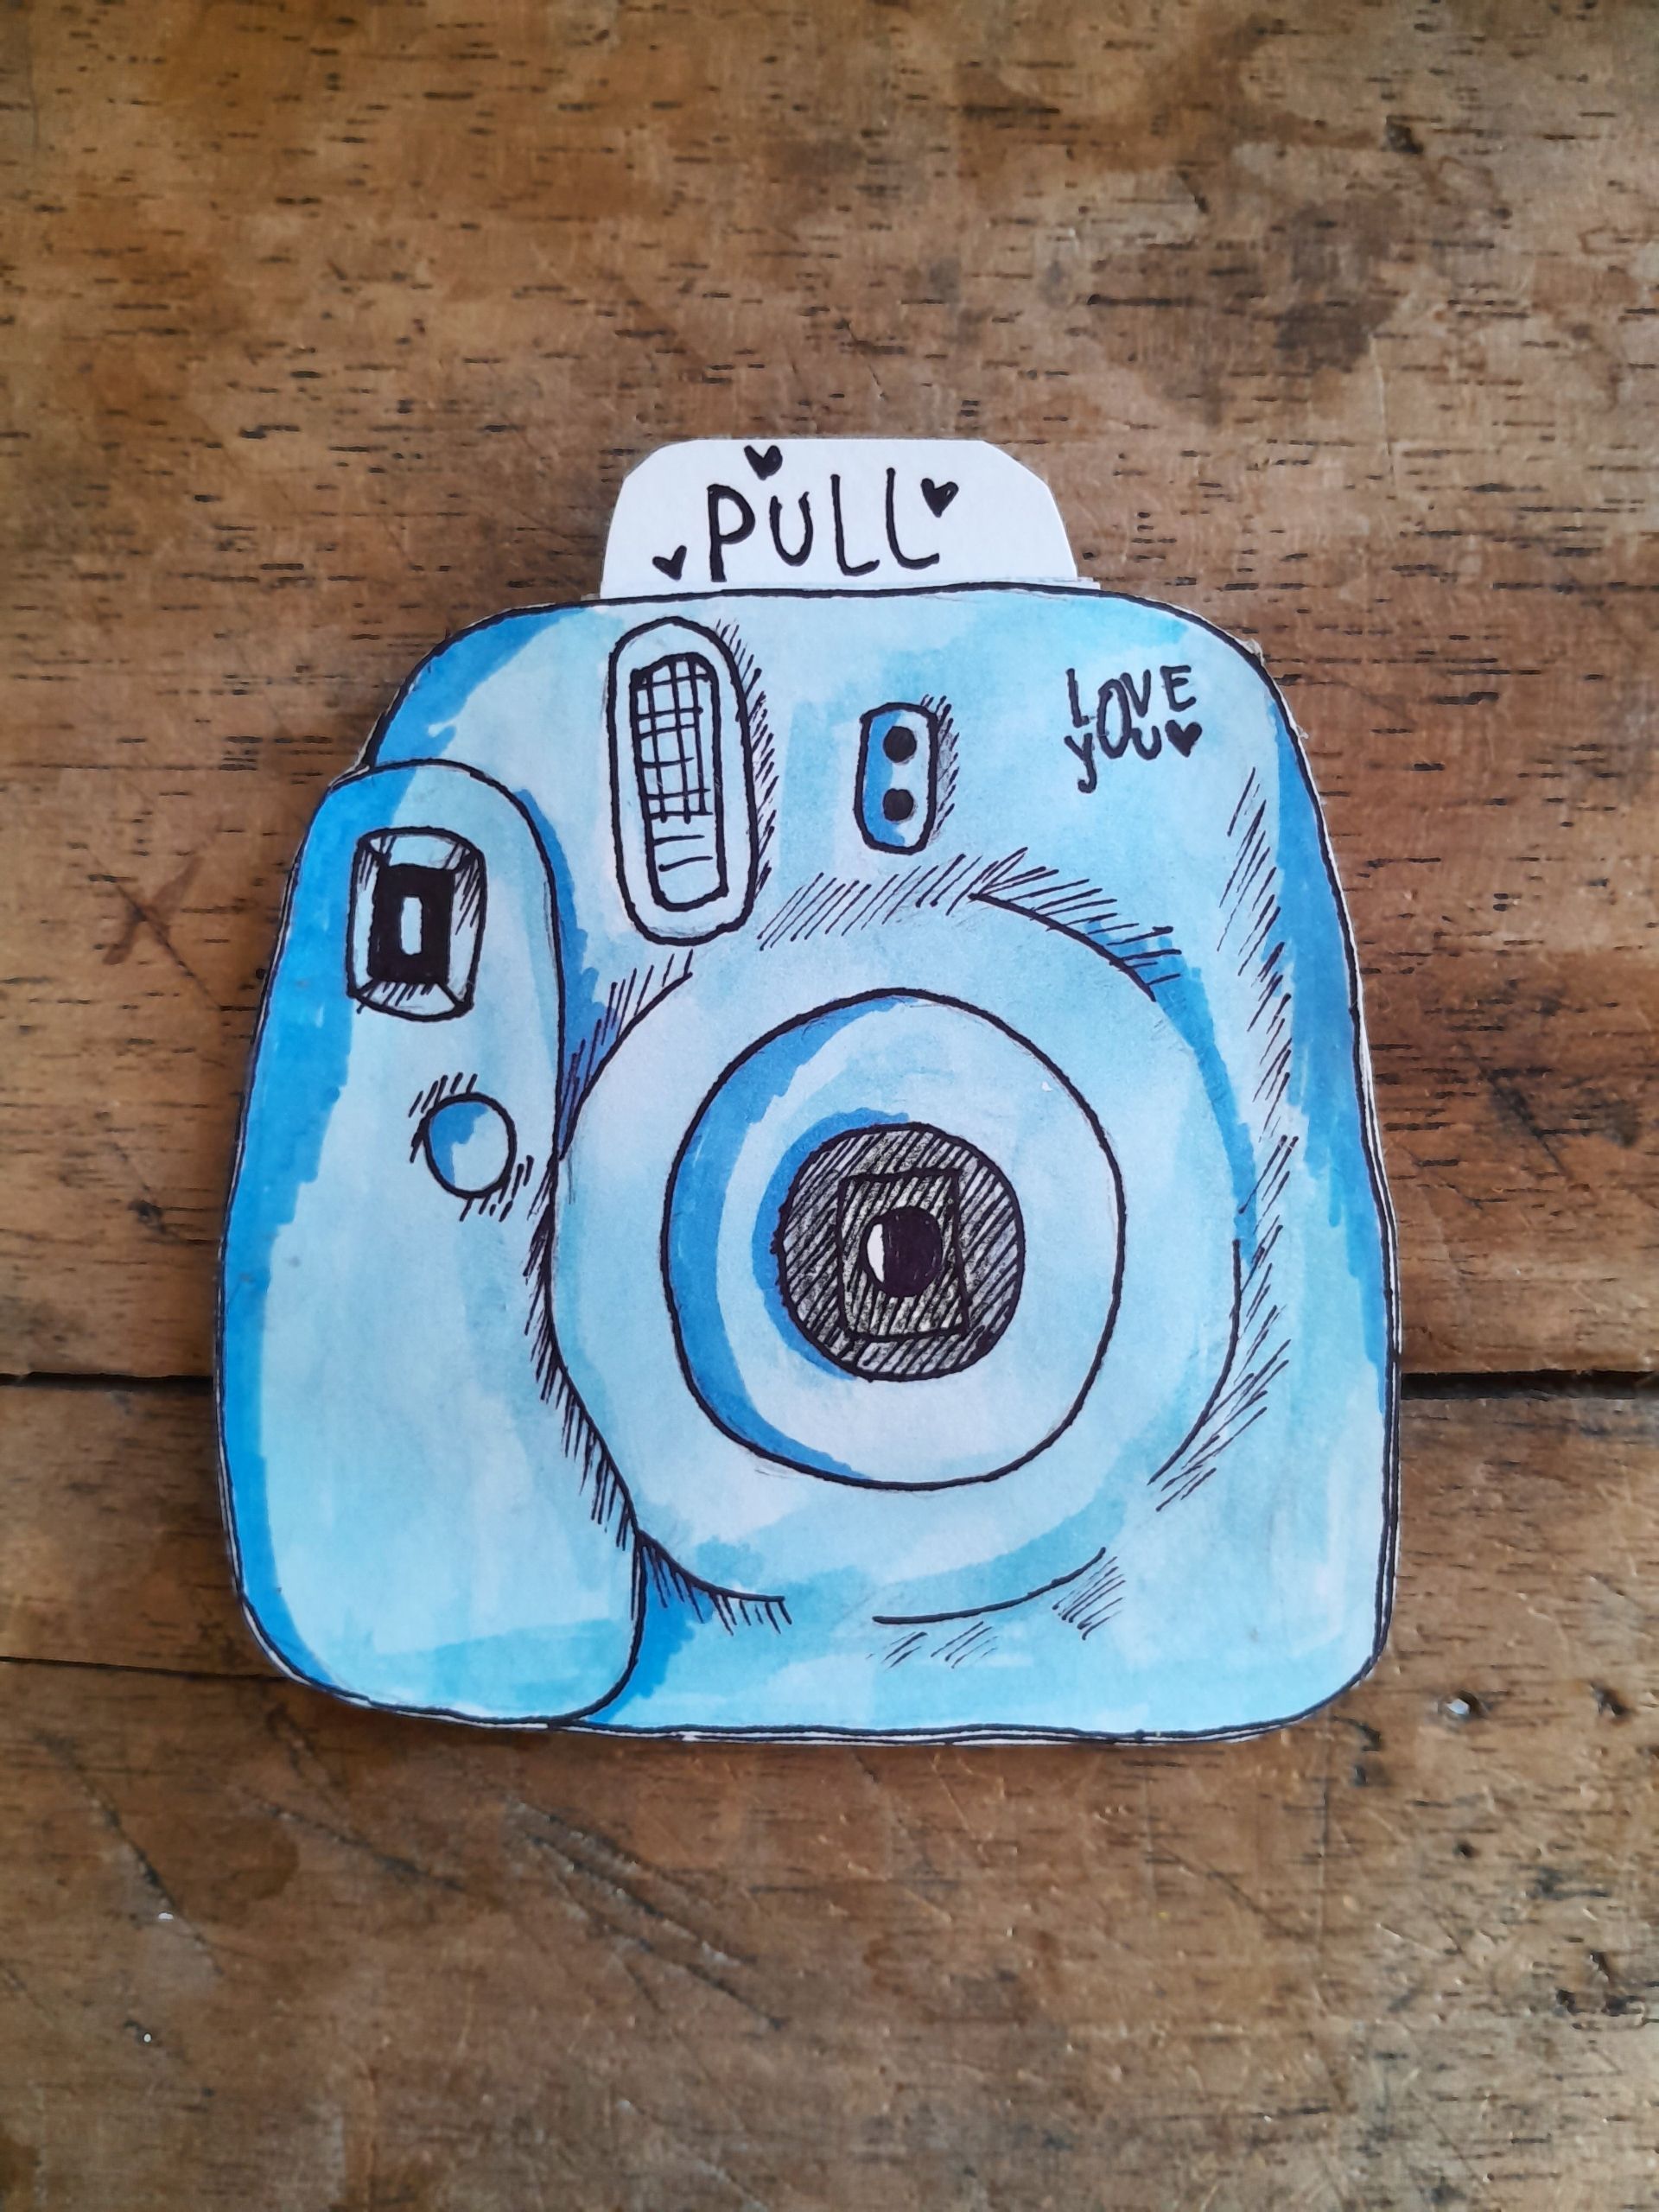
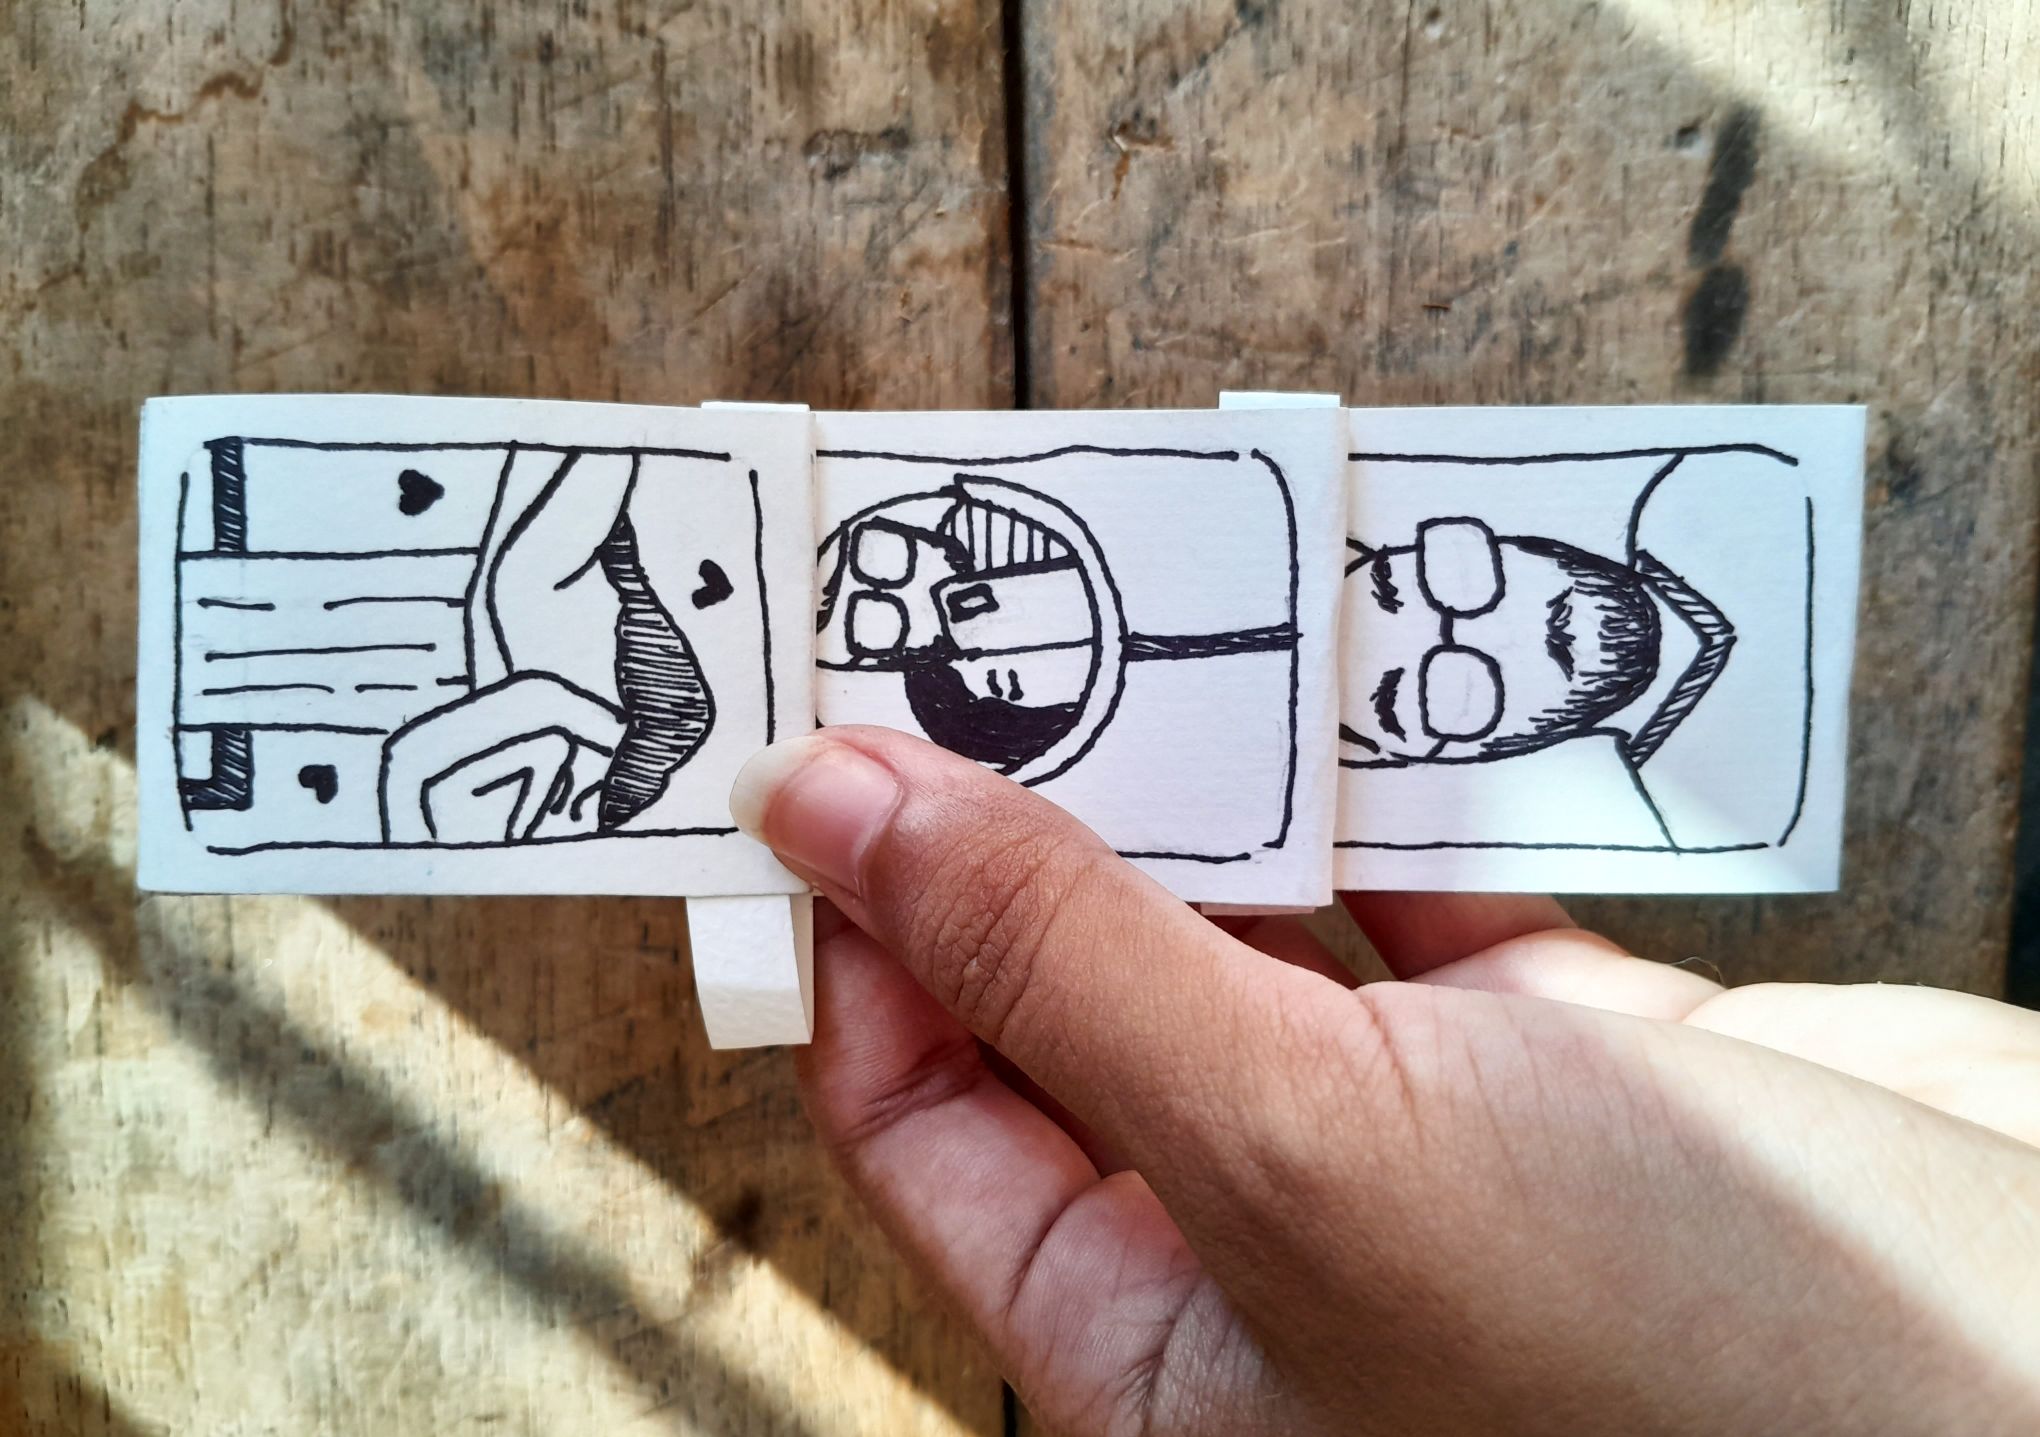
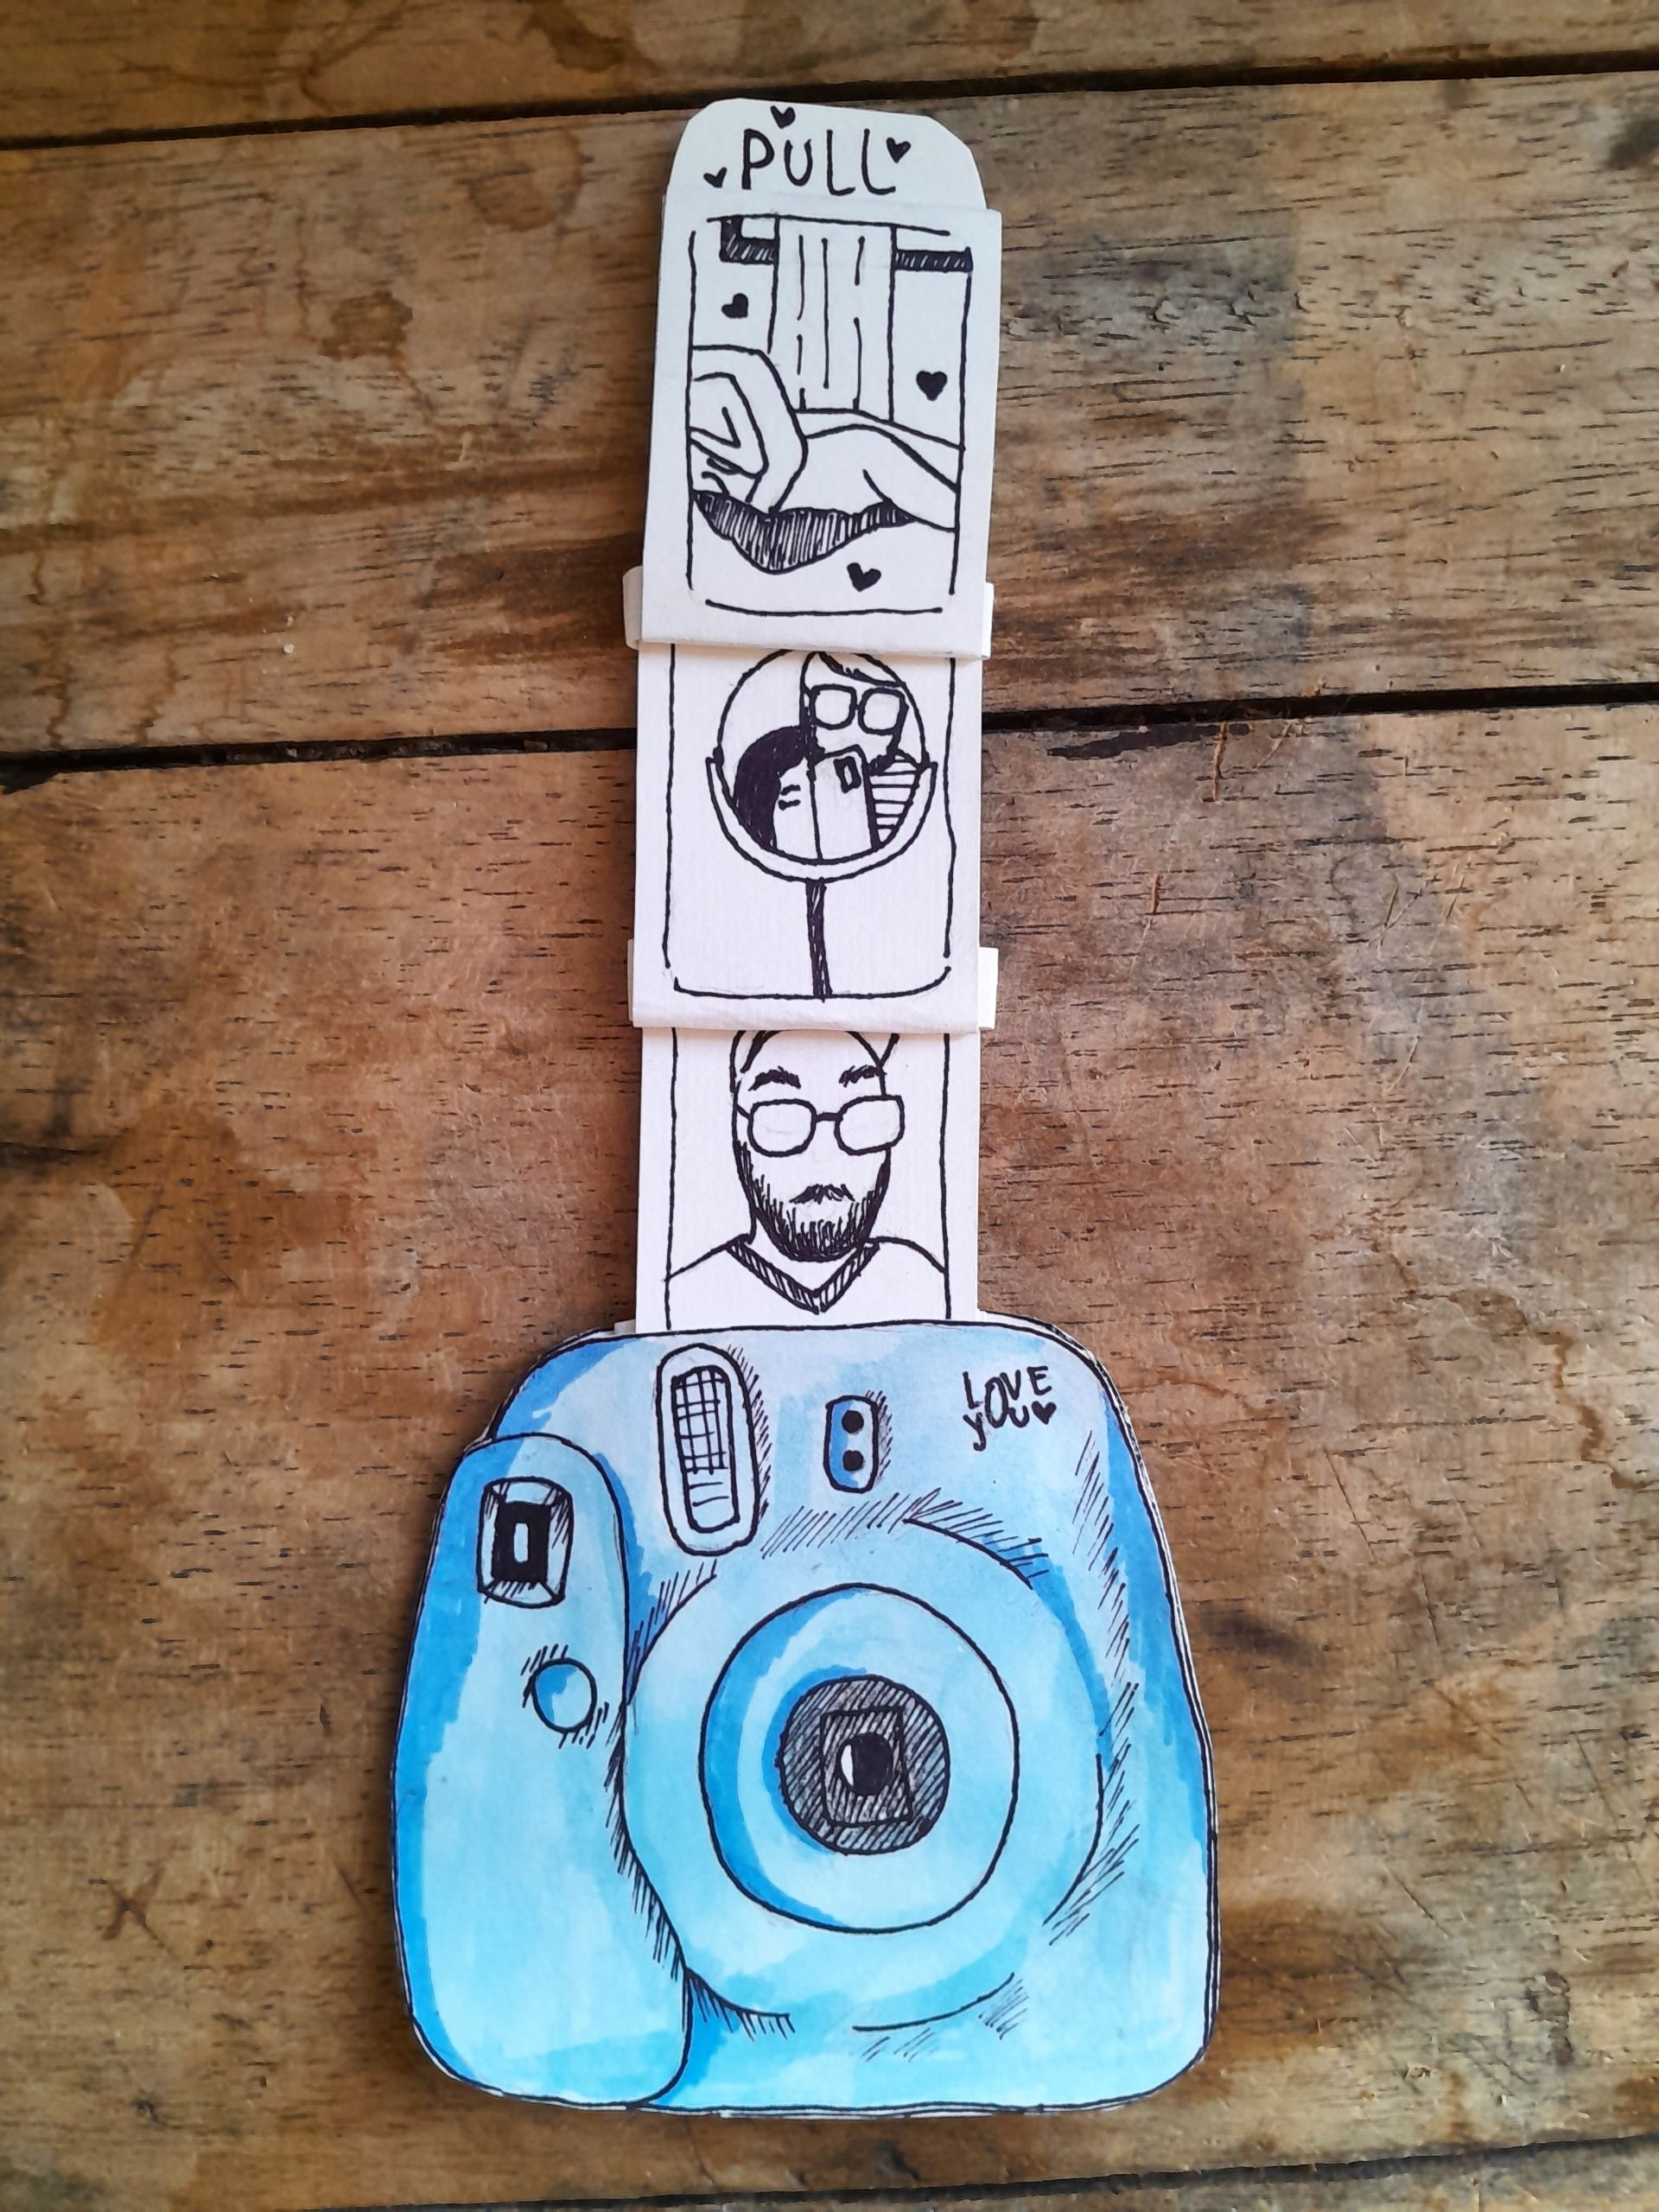
    And, the idea of this, is that when you pull where it says "pull" it looks like this💕.

    Y listo!. Espero les haya gustado mucho el tutorial, volveré con más muy pronto!!

    And that's it. I hope you liked the tutorial, I'll be back with more very soon!

    Gracias por leer y observar.

    Thanks for reading and watching.

    Texto traducido en: DeepL

    Instagram

      Authors get paid when people like you upvote their post.
      If you enjoyed what you read here, create your account today and start earning FREE VOILK!