How is my beautiful creative community @hivediy ❤️, what a thrill to be here to share with you what I like to do most, which are crafts and sewing. I am happy today because I have made something that I really like, which are pins and in this case the Strawberries, who does not like this delicious and striking fruit in our eyes, they are juicy, rich and very appetizing, today I show you here in this new blog how to make this cute and simple pincushion. I invite you to stay until the end of the super easy process. Well, without anything else to mention, let's get to the materials.
🍓Materiales:🍓
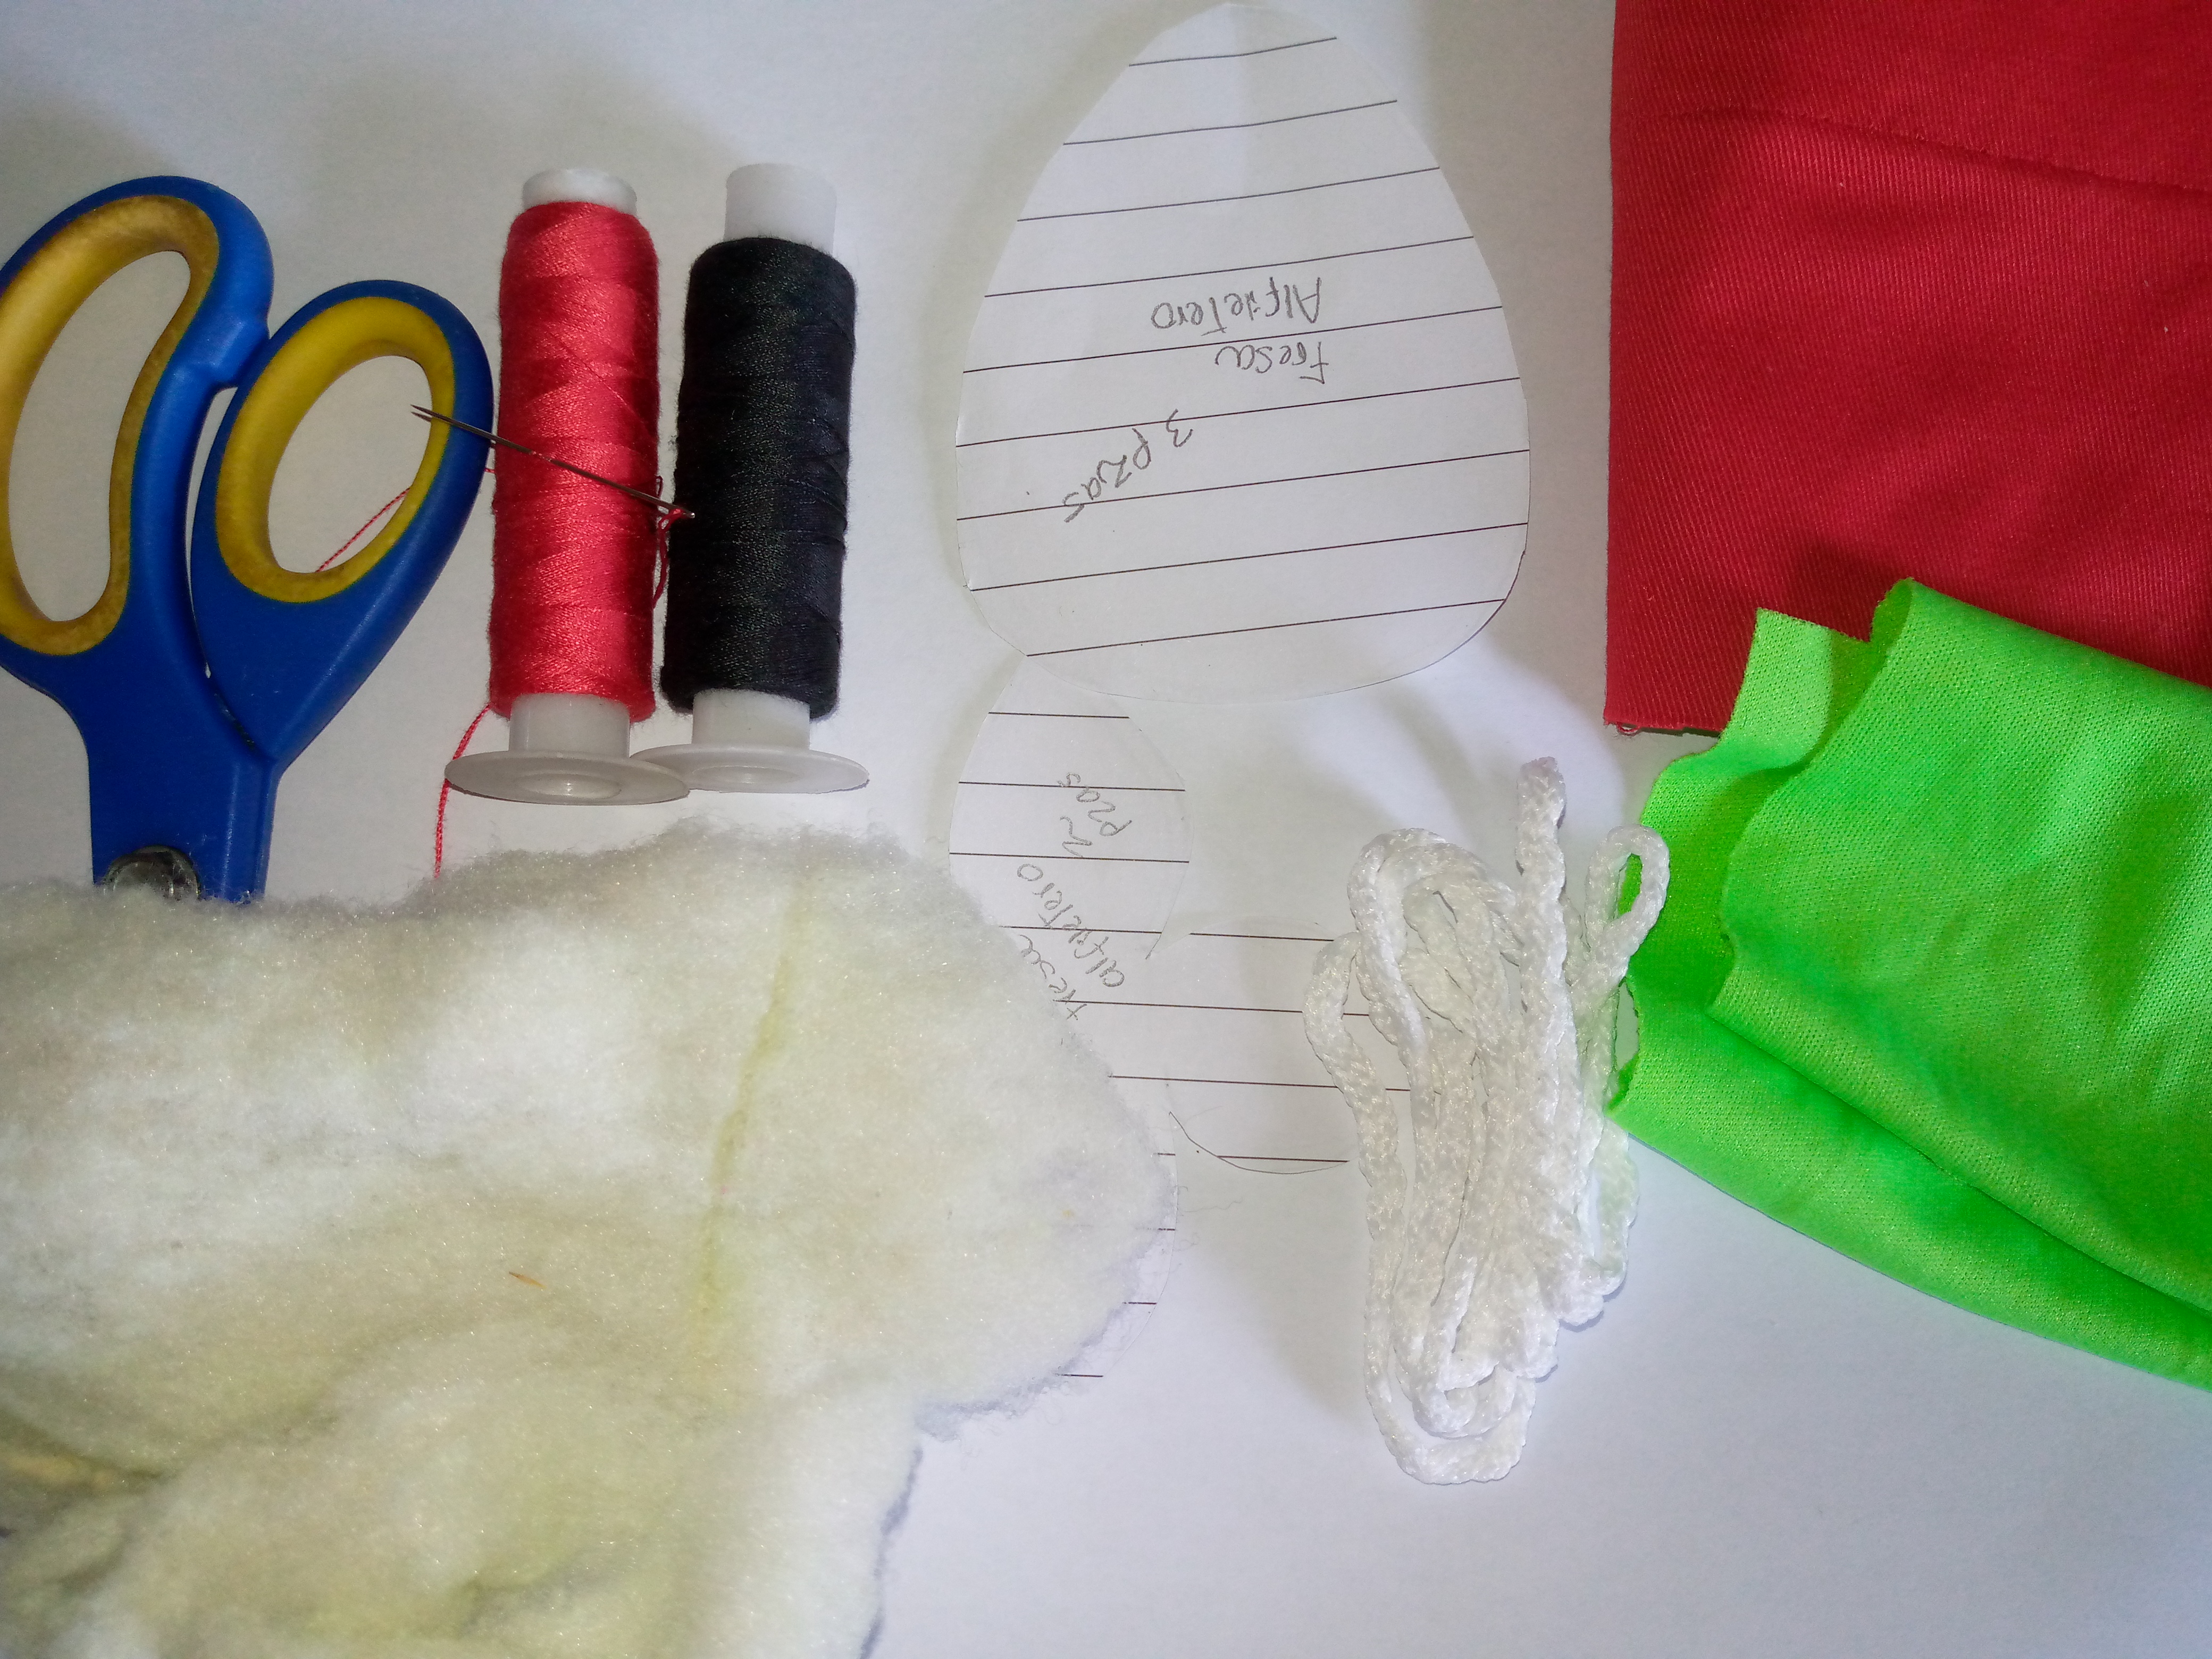
Materials :
- Retazos de tela en verde y rojo
- Hilos de coser en los siguientes colores:⚫🔴🟢
- Relleno
- Aguja
- Tijera
- Patrones de fresa
- Cordón de aproximadamente 12 cm
- Scraps of fabric in green and red
- Sewing threads in the following colors:⚫🔴🟢
- Stuffed
- Needle
- Scissors
- Strawberry patterns
- Cord about 12 cm
🍓Pasos a seguir:🍓
Steps to follow:
Paso 01
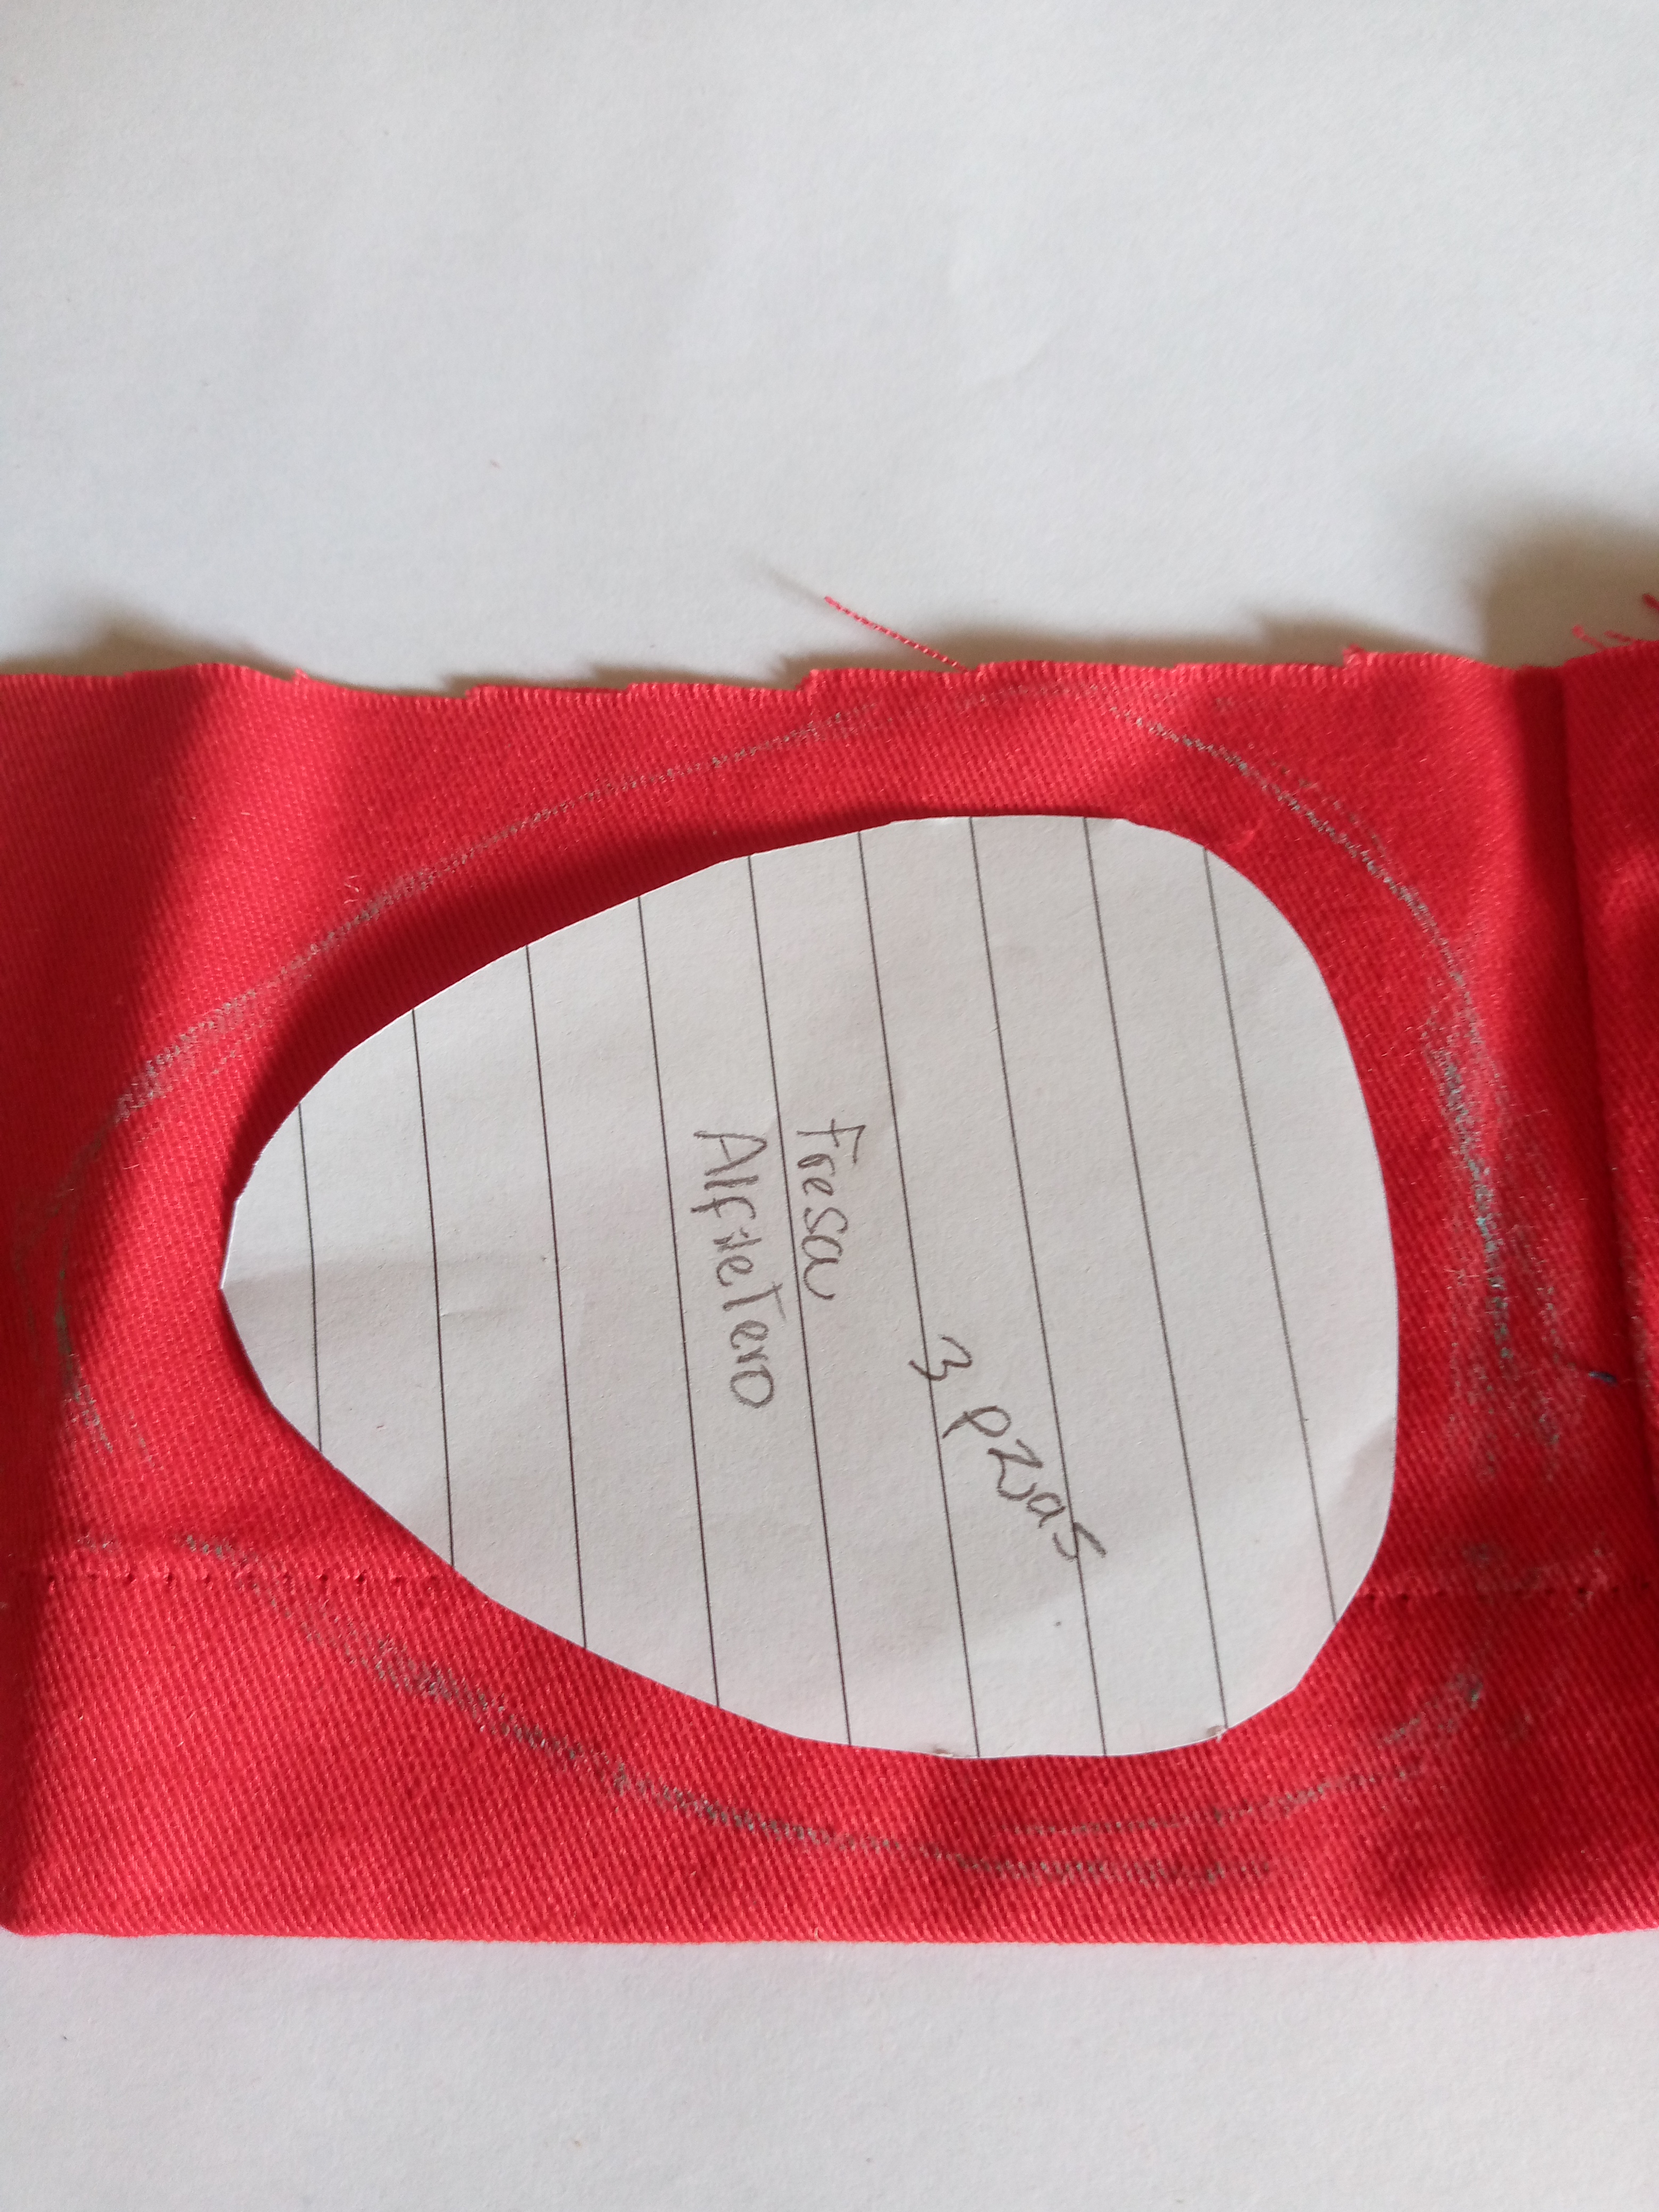
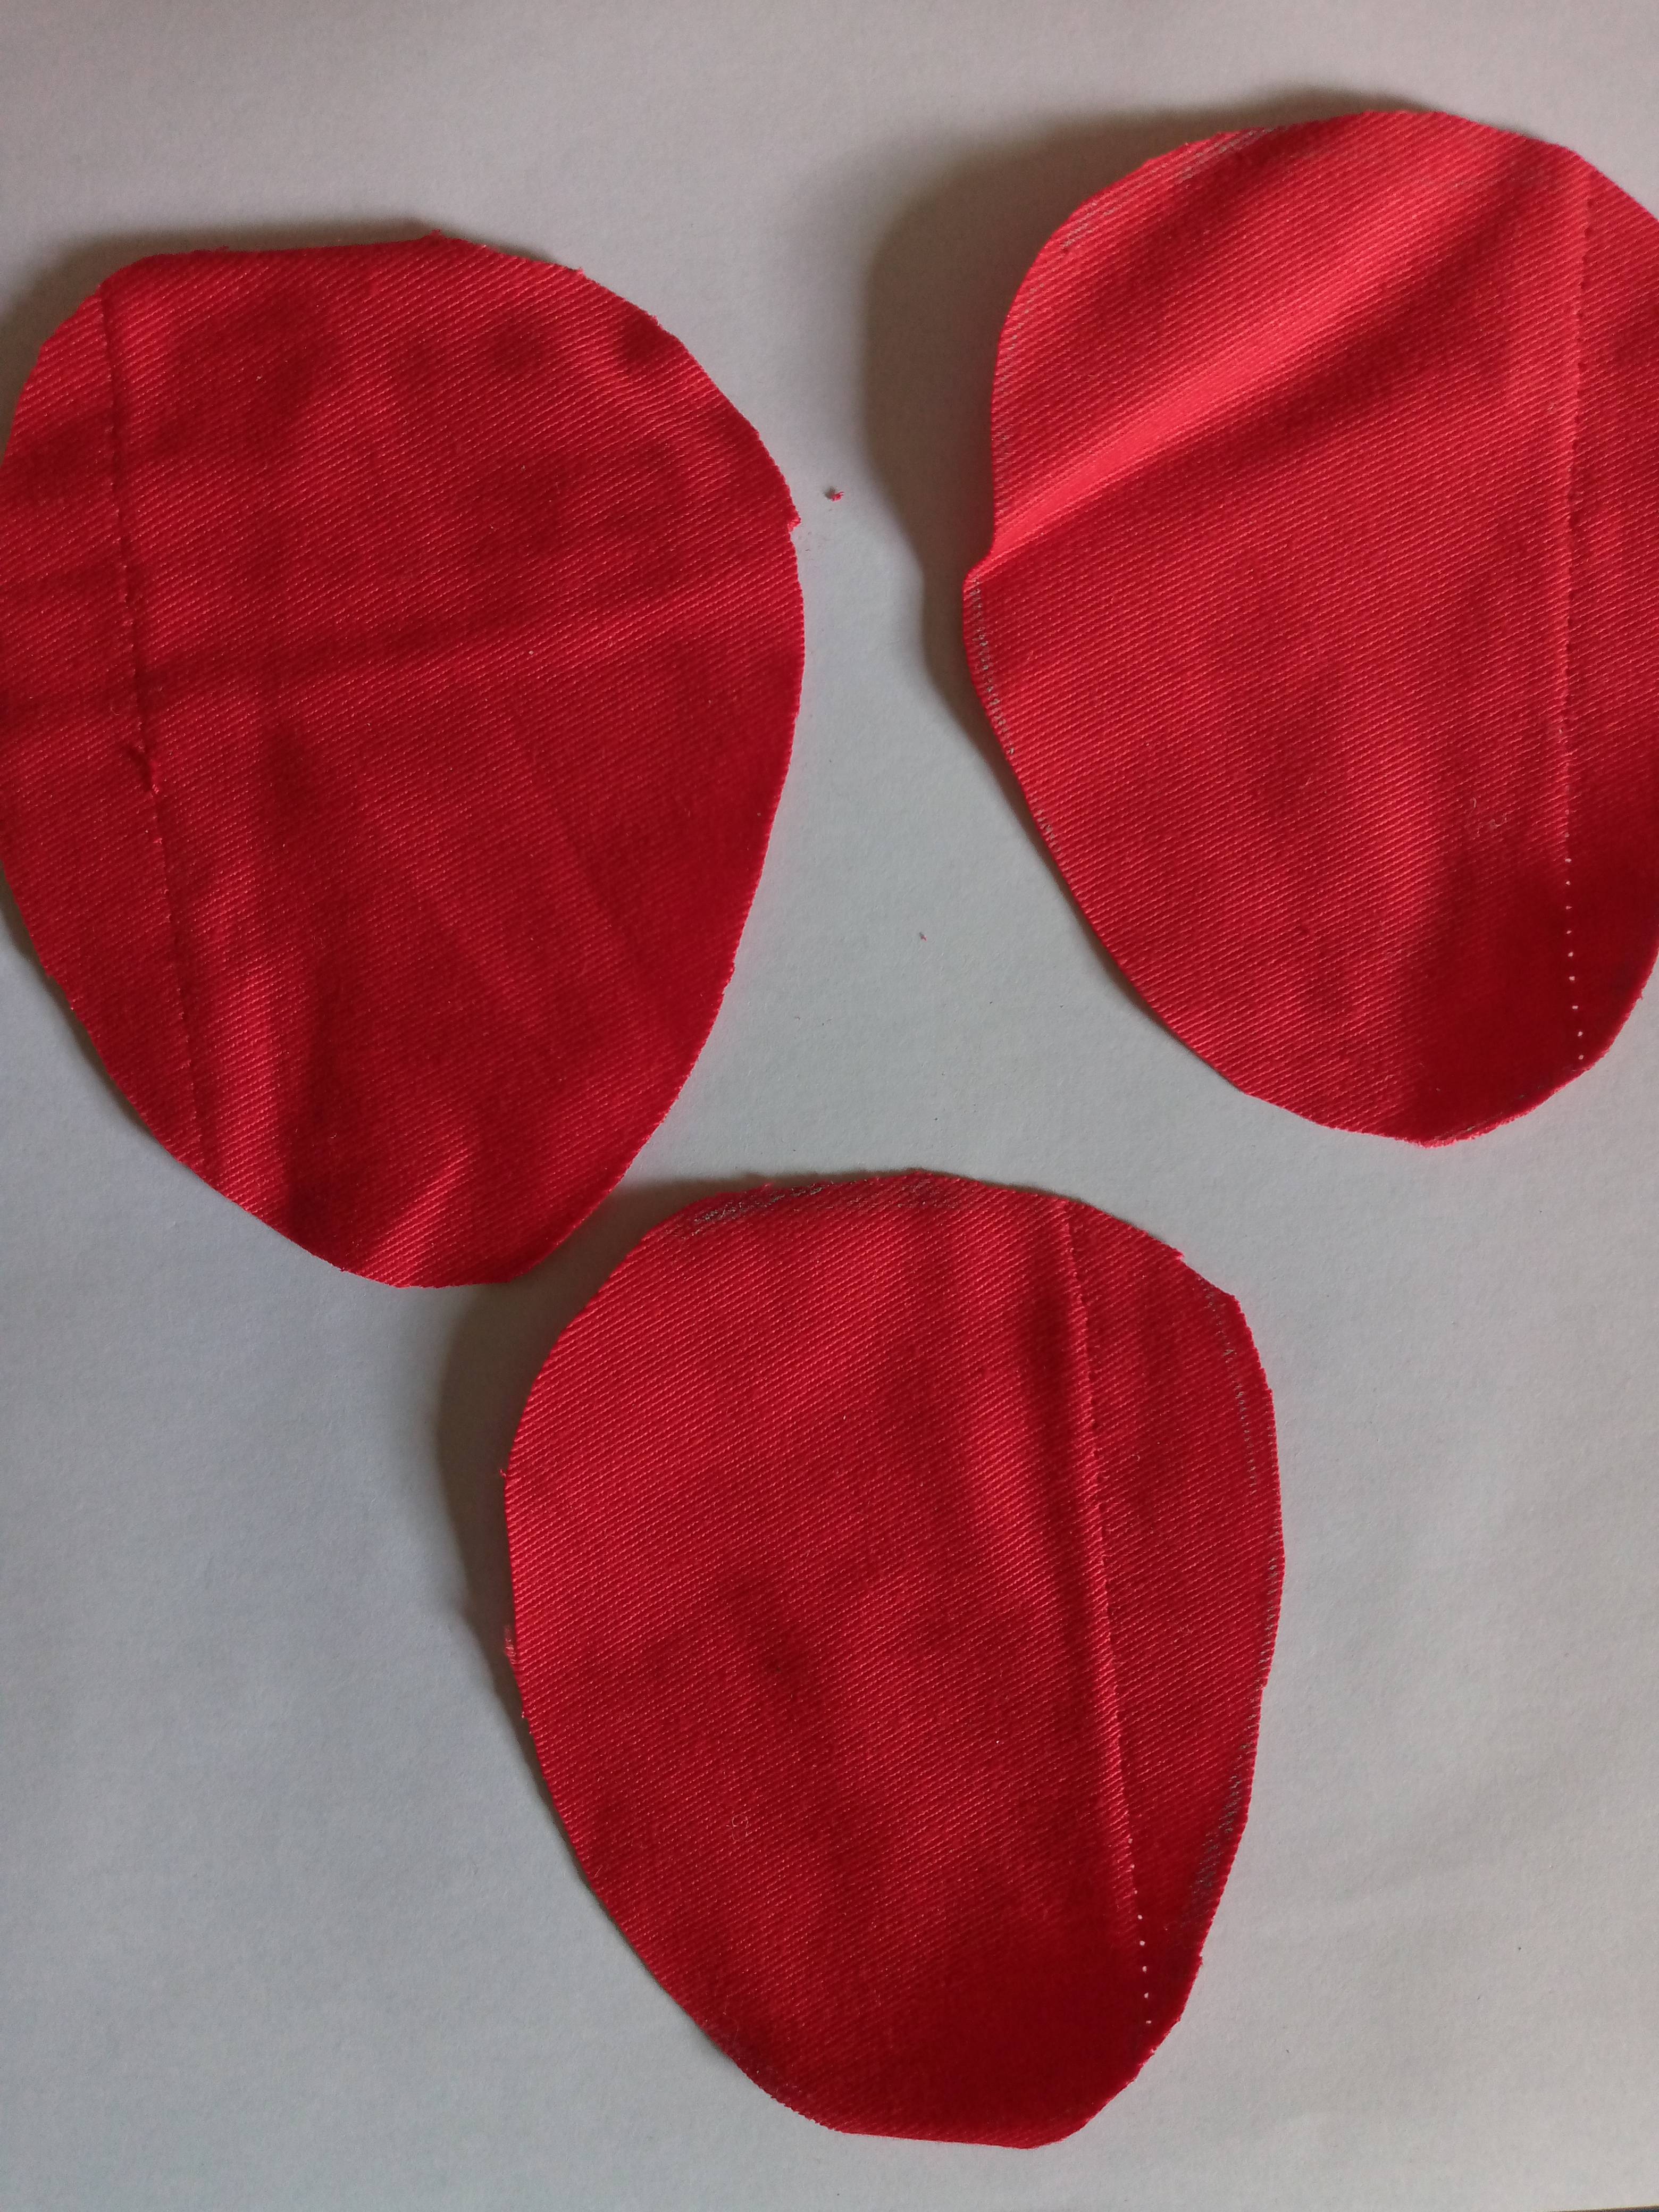
Step 01
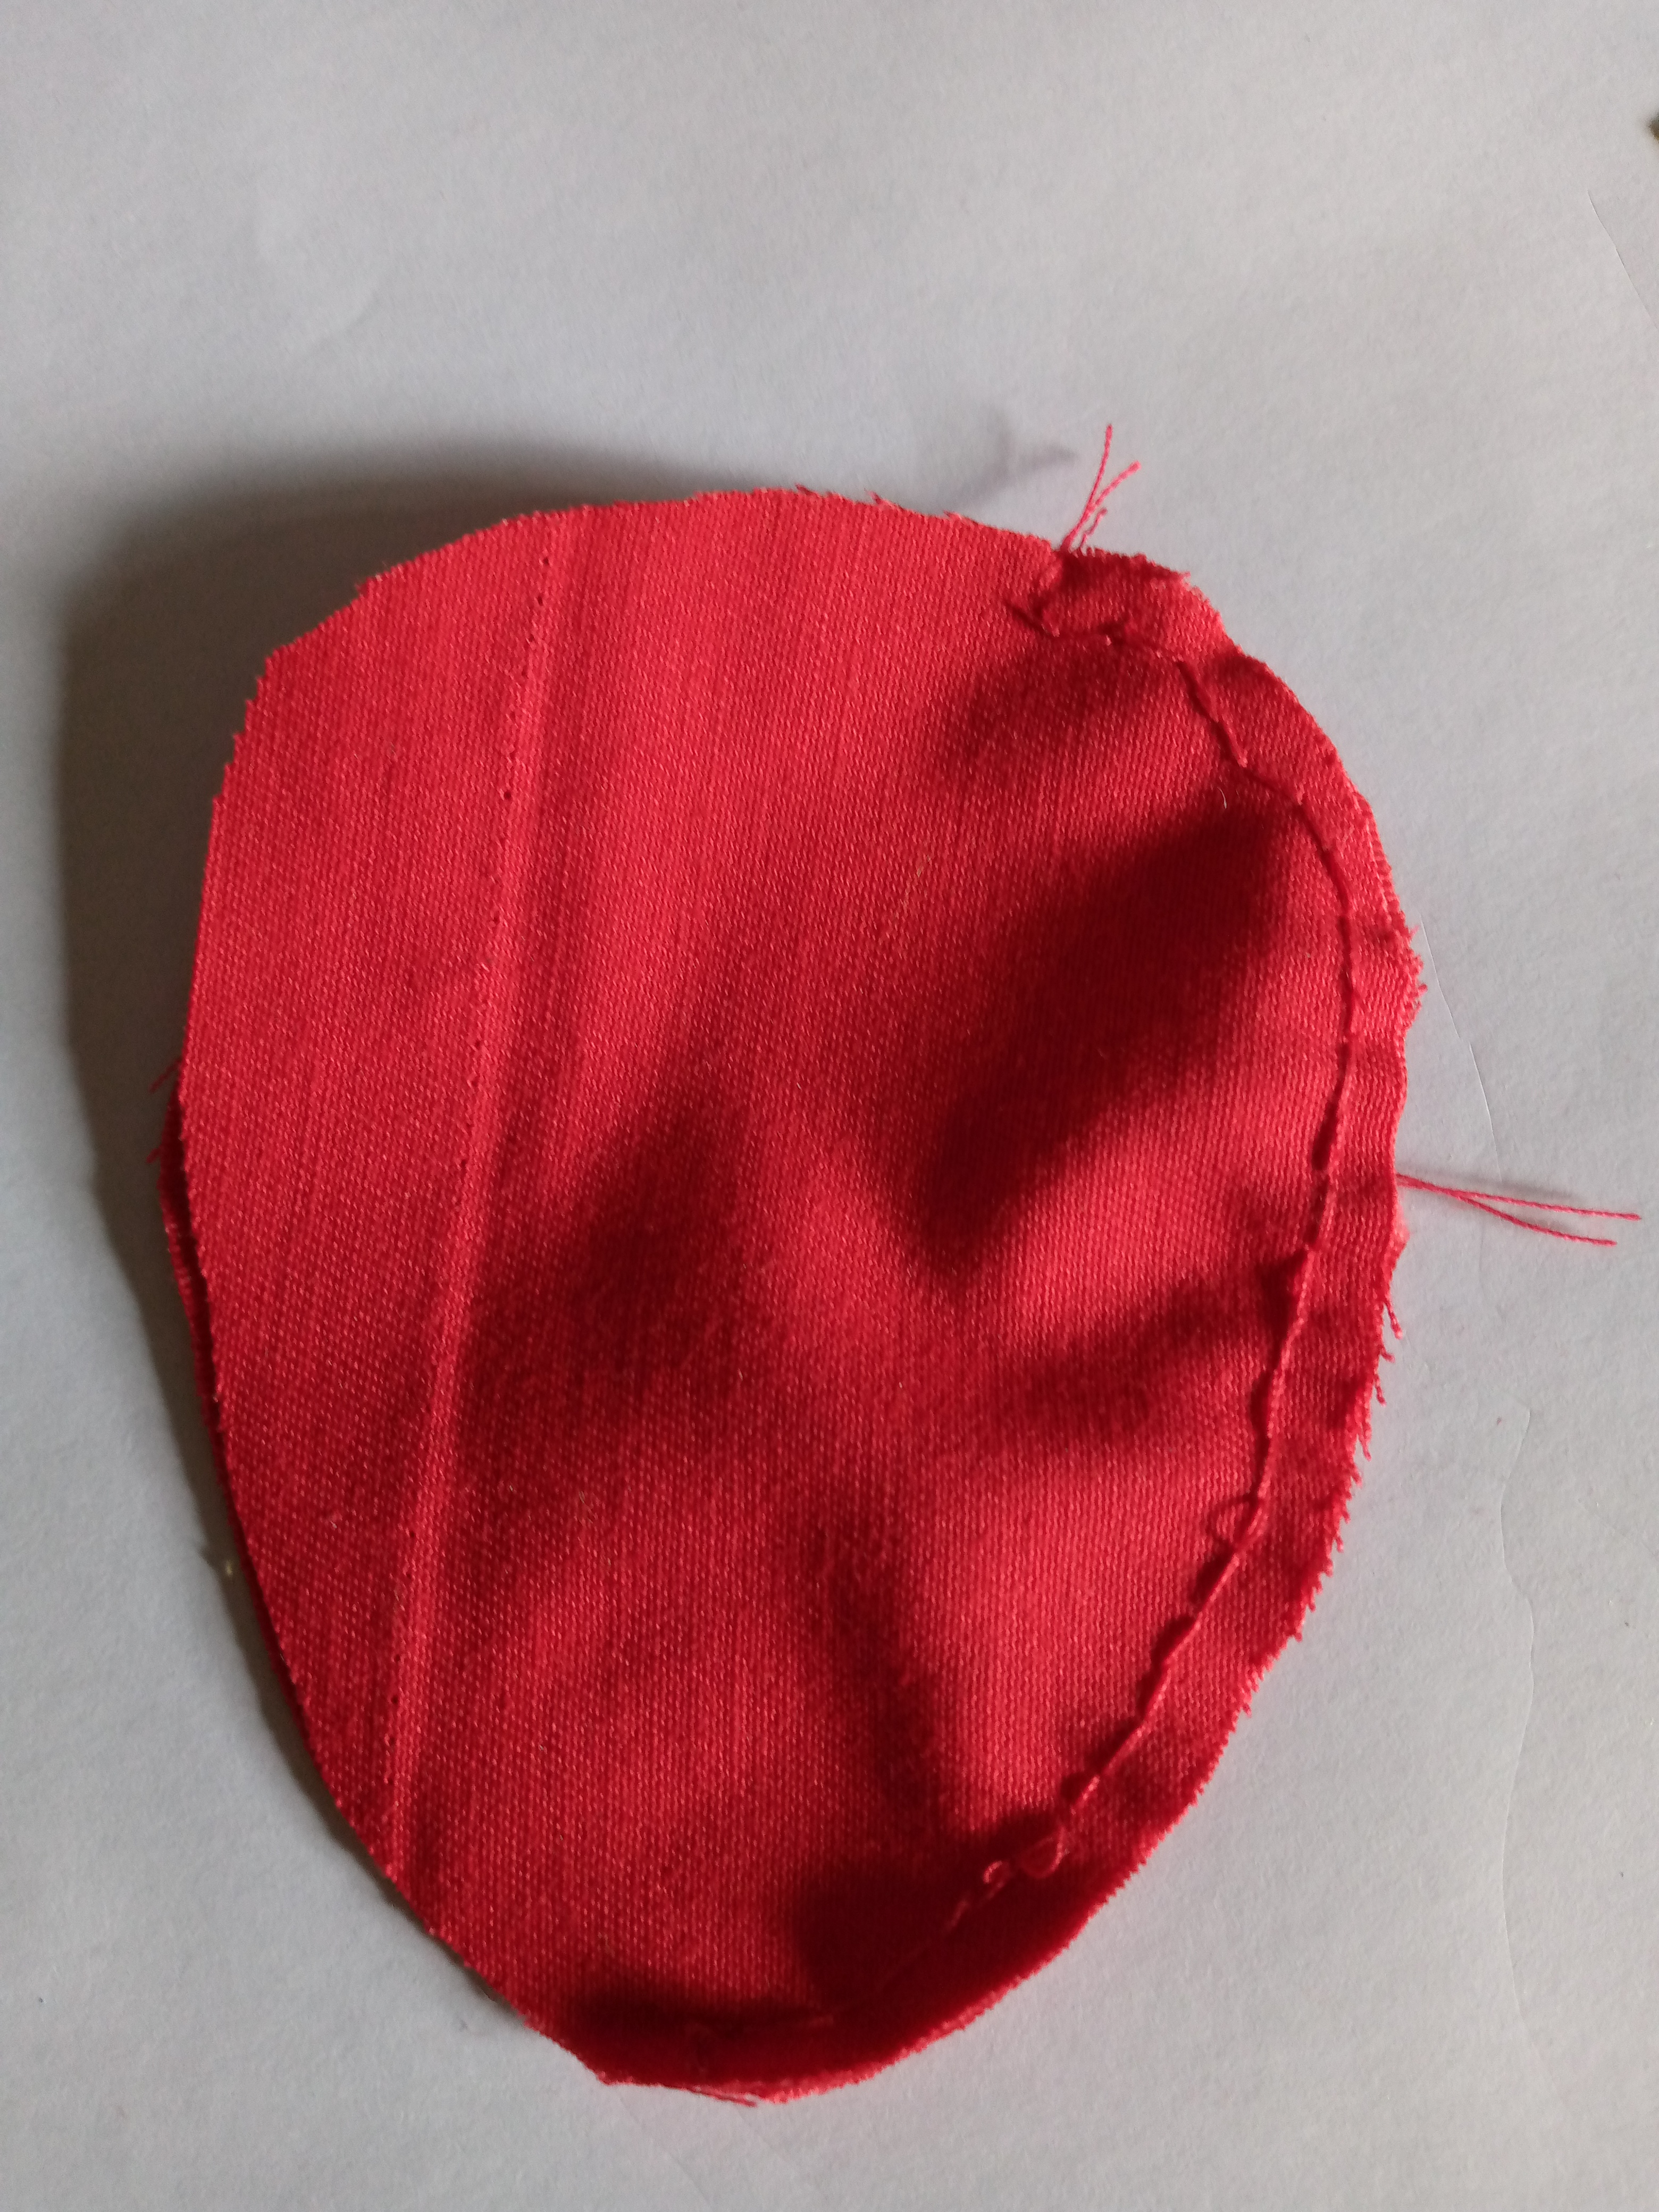
We are going to start by first making our pattern. I did it in the following way. I looked in my browser for a centered image of a strawberry on a white background and I drew it on a piece of paper. You can do it too. I proceeded to make the little leaf with four leaves together in one. I only did this separately so that the leaf could be seen above our pincushion like a real strawberry or in 3D. Well, once this is done, we start marking the pieces on our fabric. The bottom piece, as you can see, is red, so for this we will use three pieces of red fabric from the bottom of our strawberry, just three pieces, friends.
Paso 02
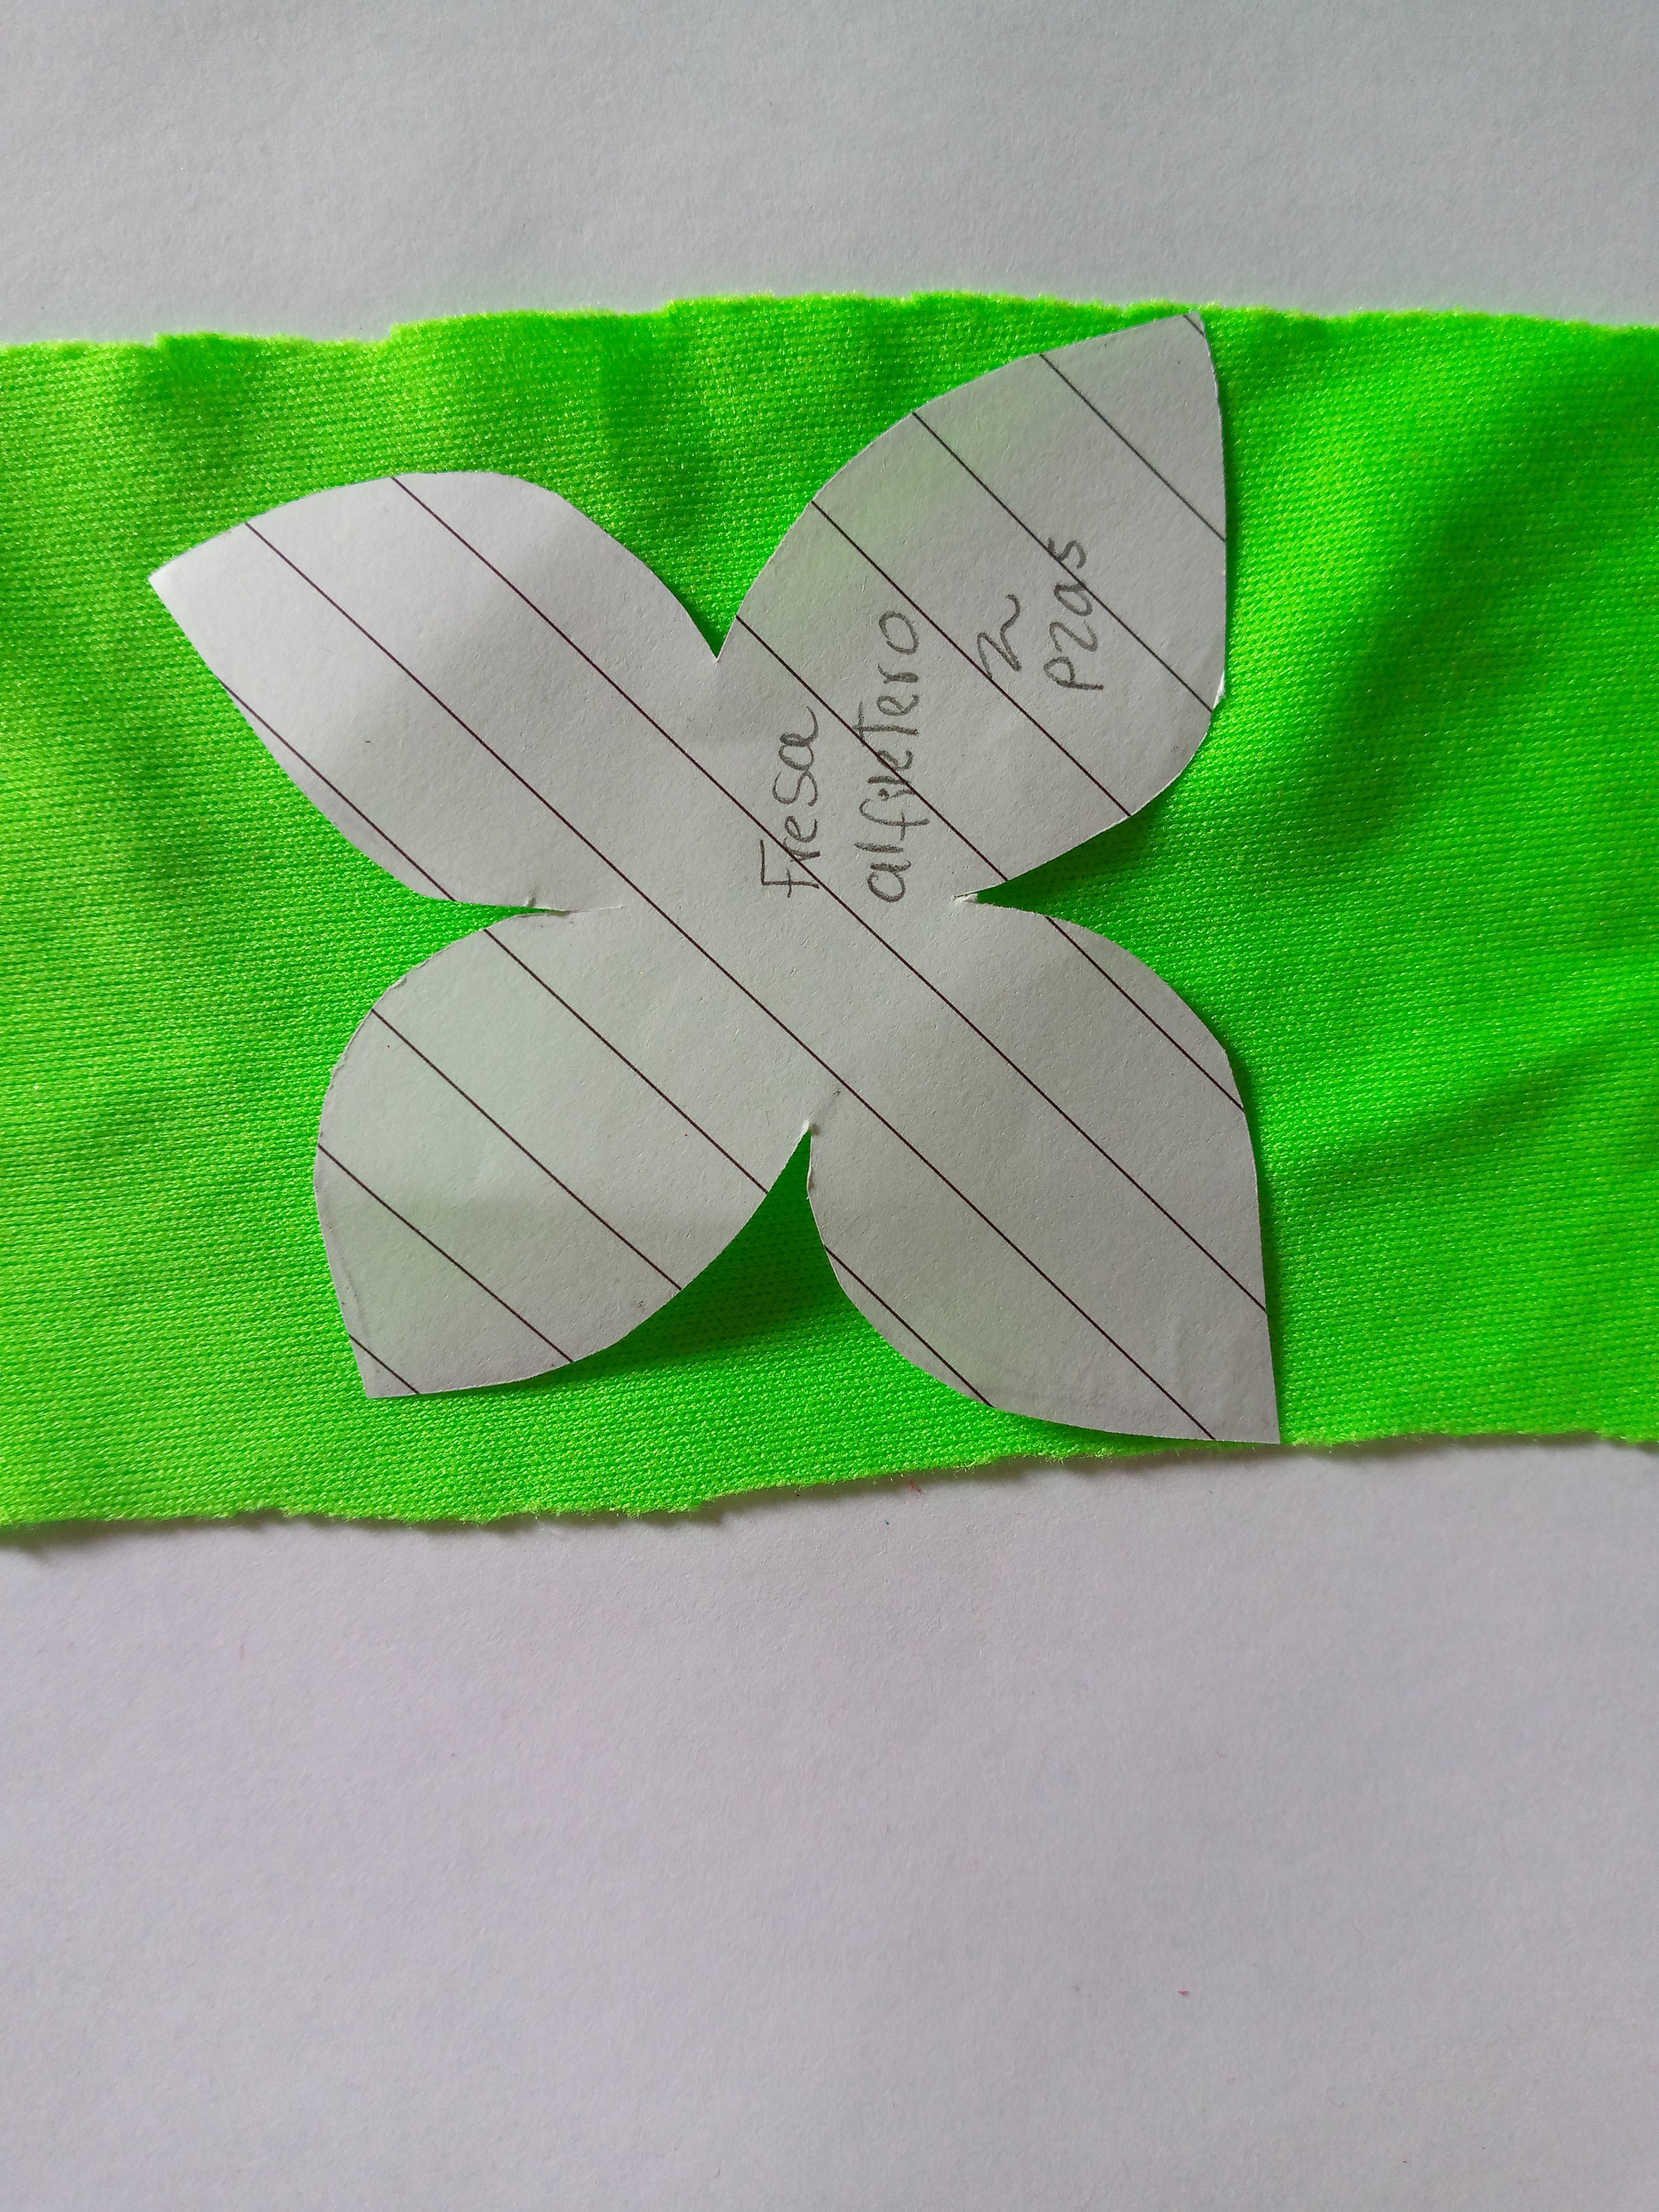
Step 02
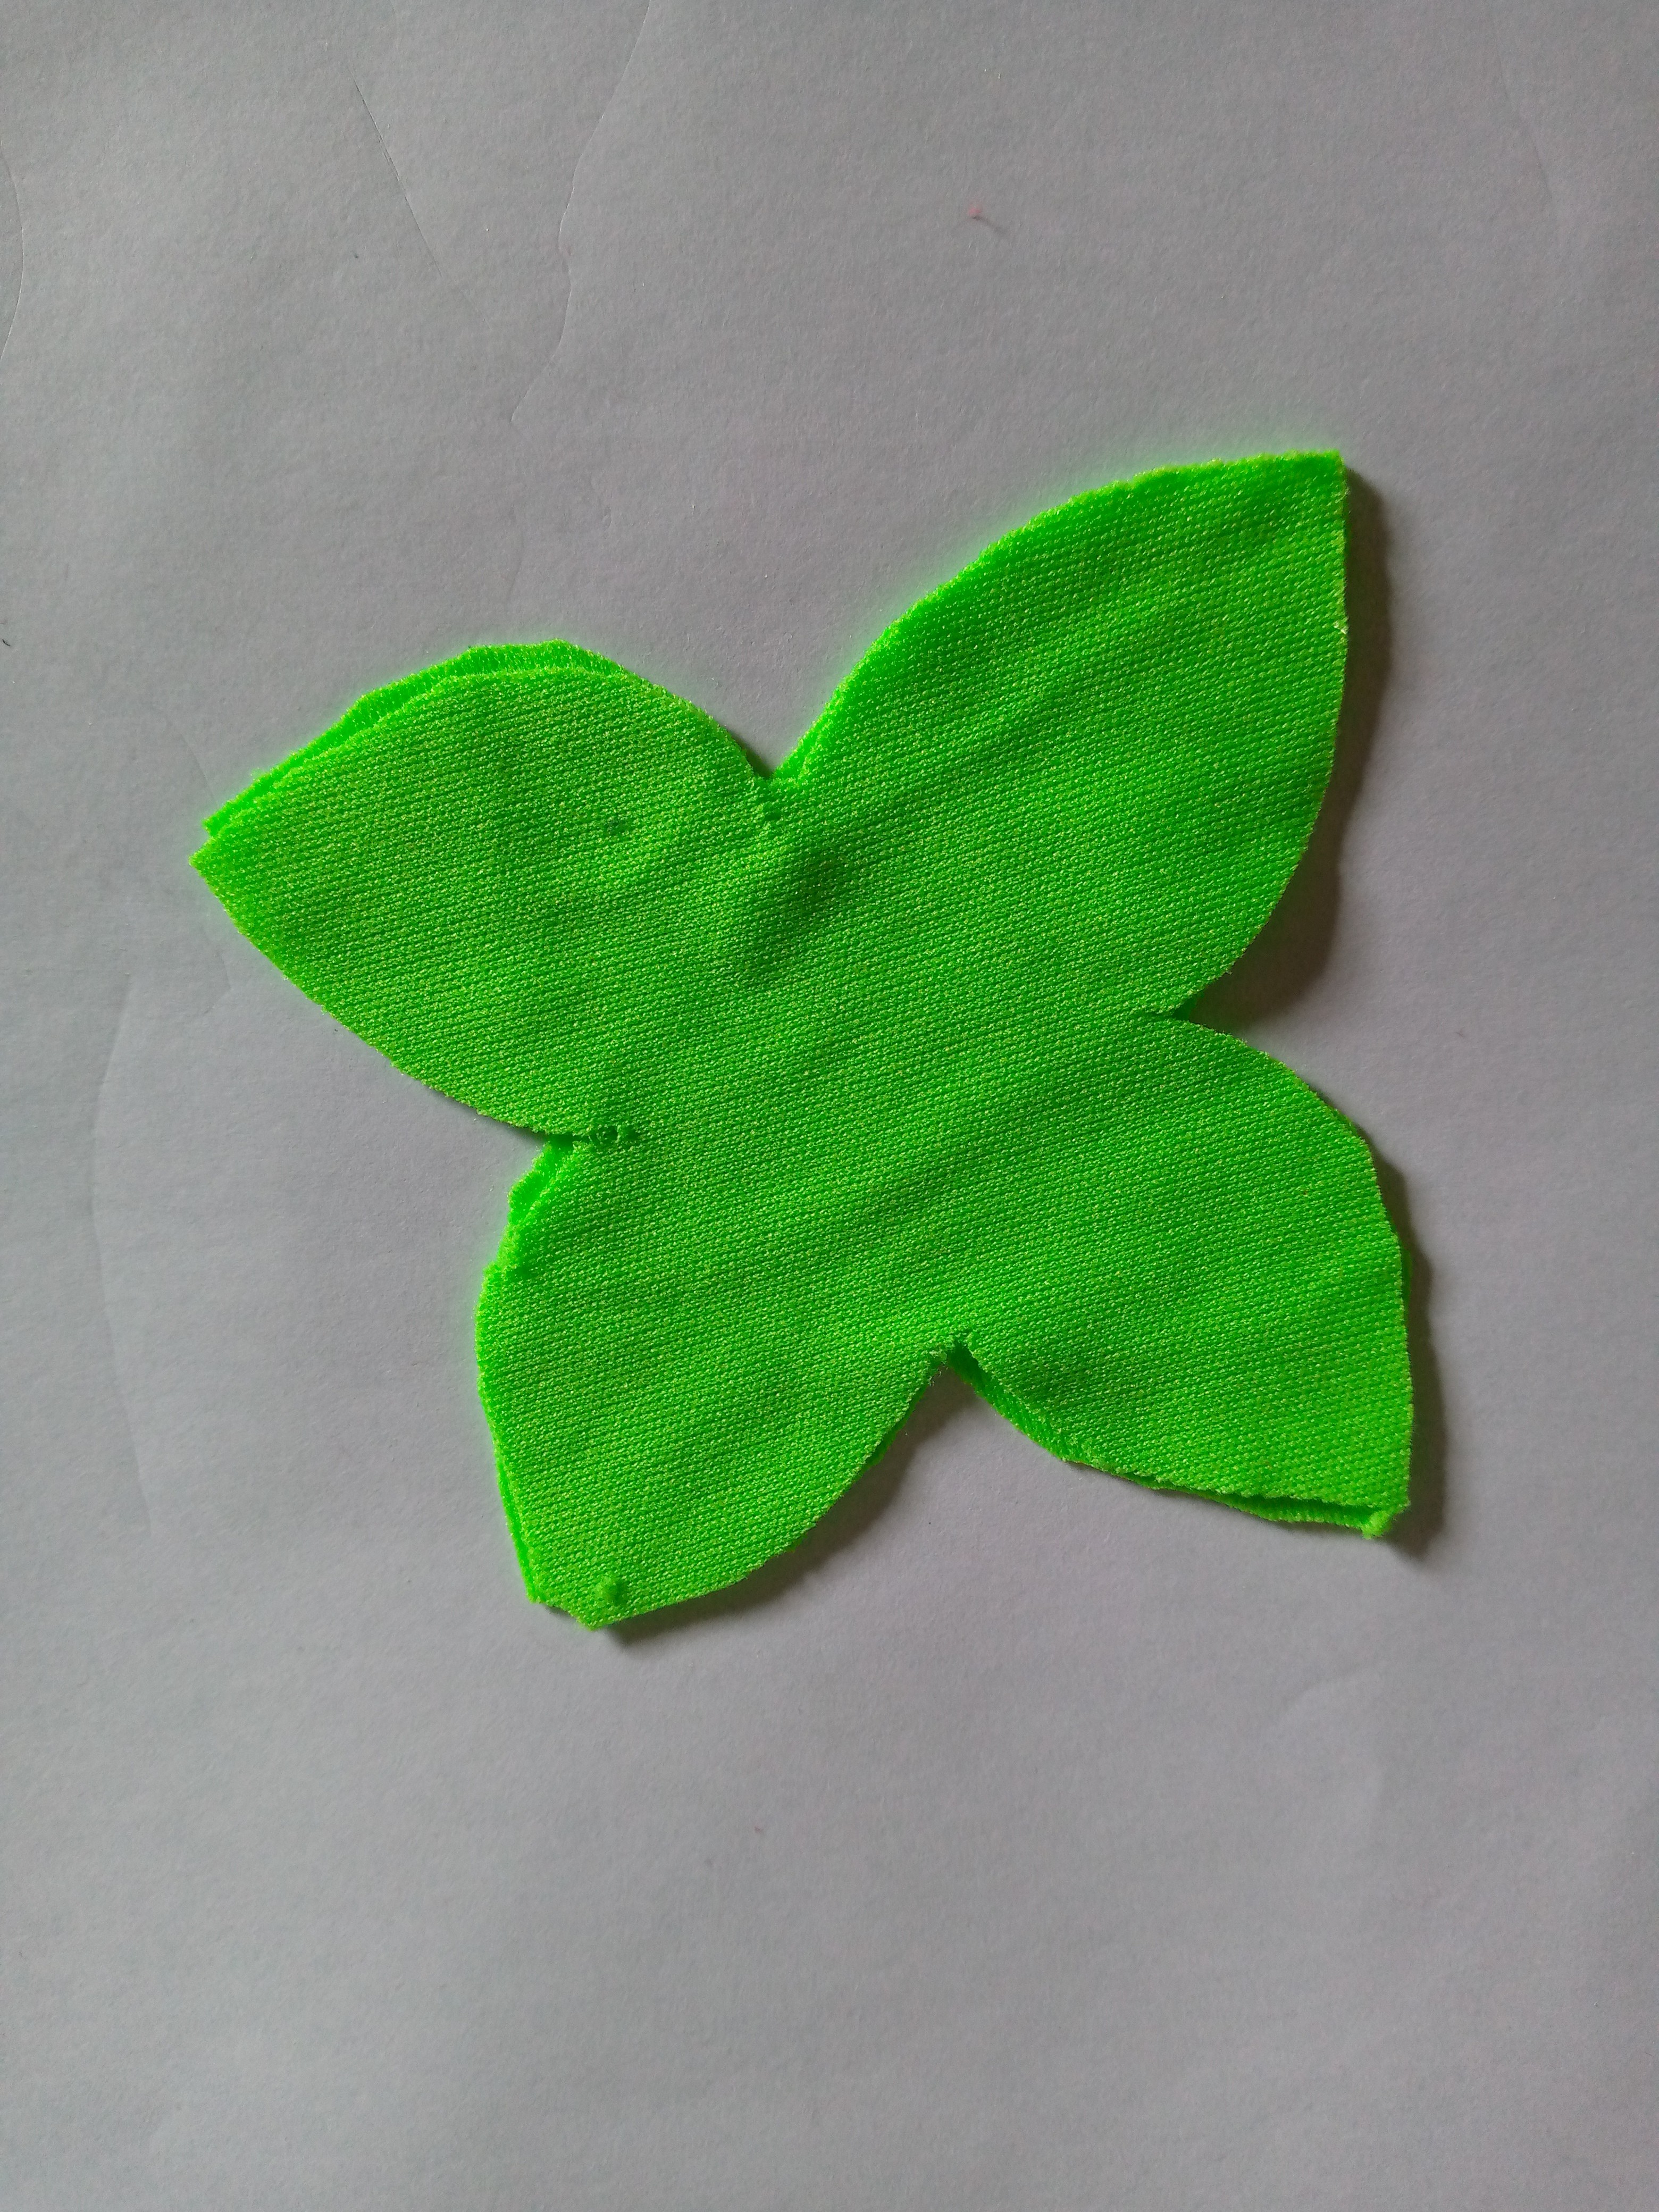
We continue cutting the pieces and to do this we are going to cut the complete piece of the leaf that I told you at the beginning, it has four small leaf petals.
Paso 03
Step 03
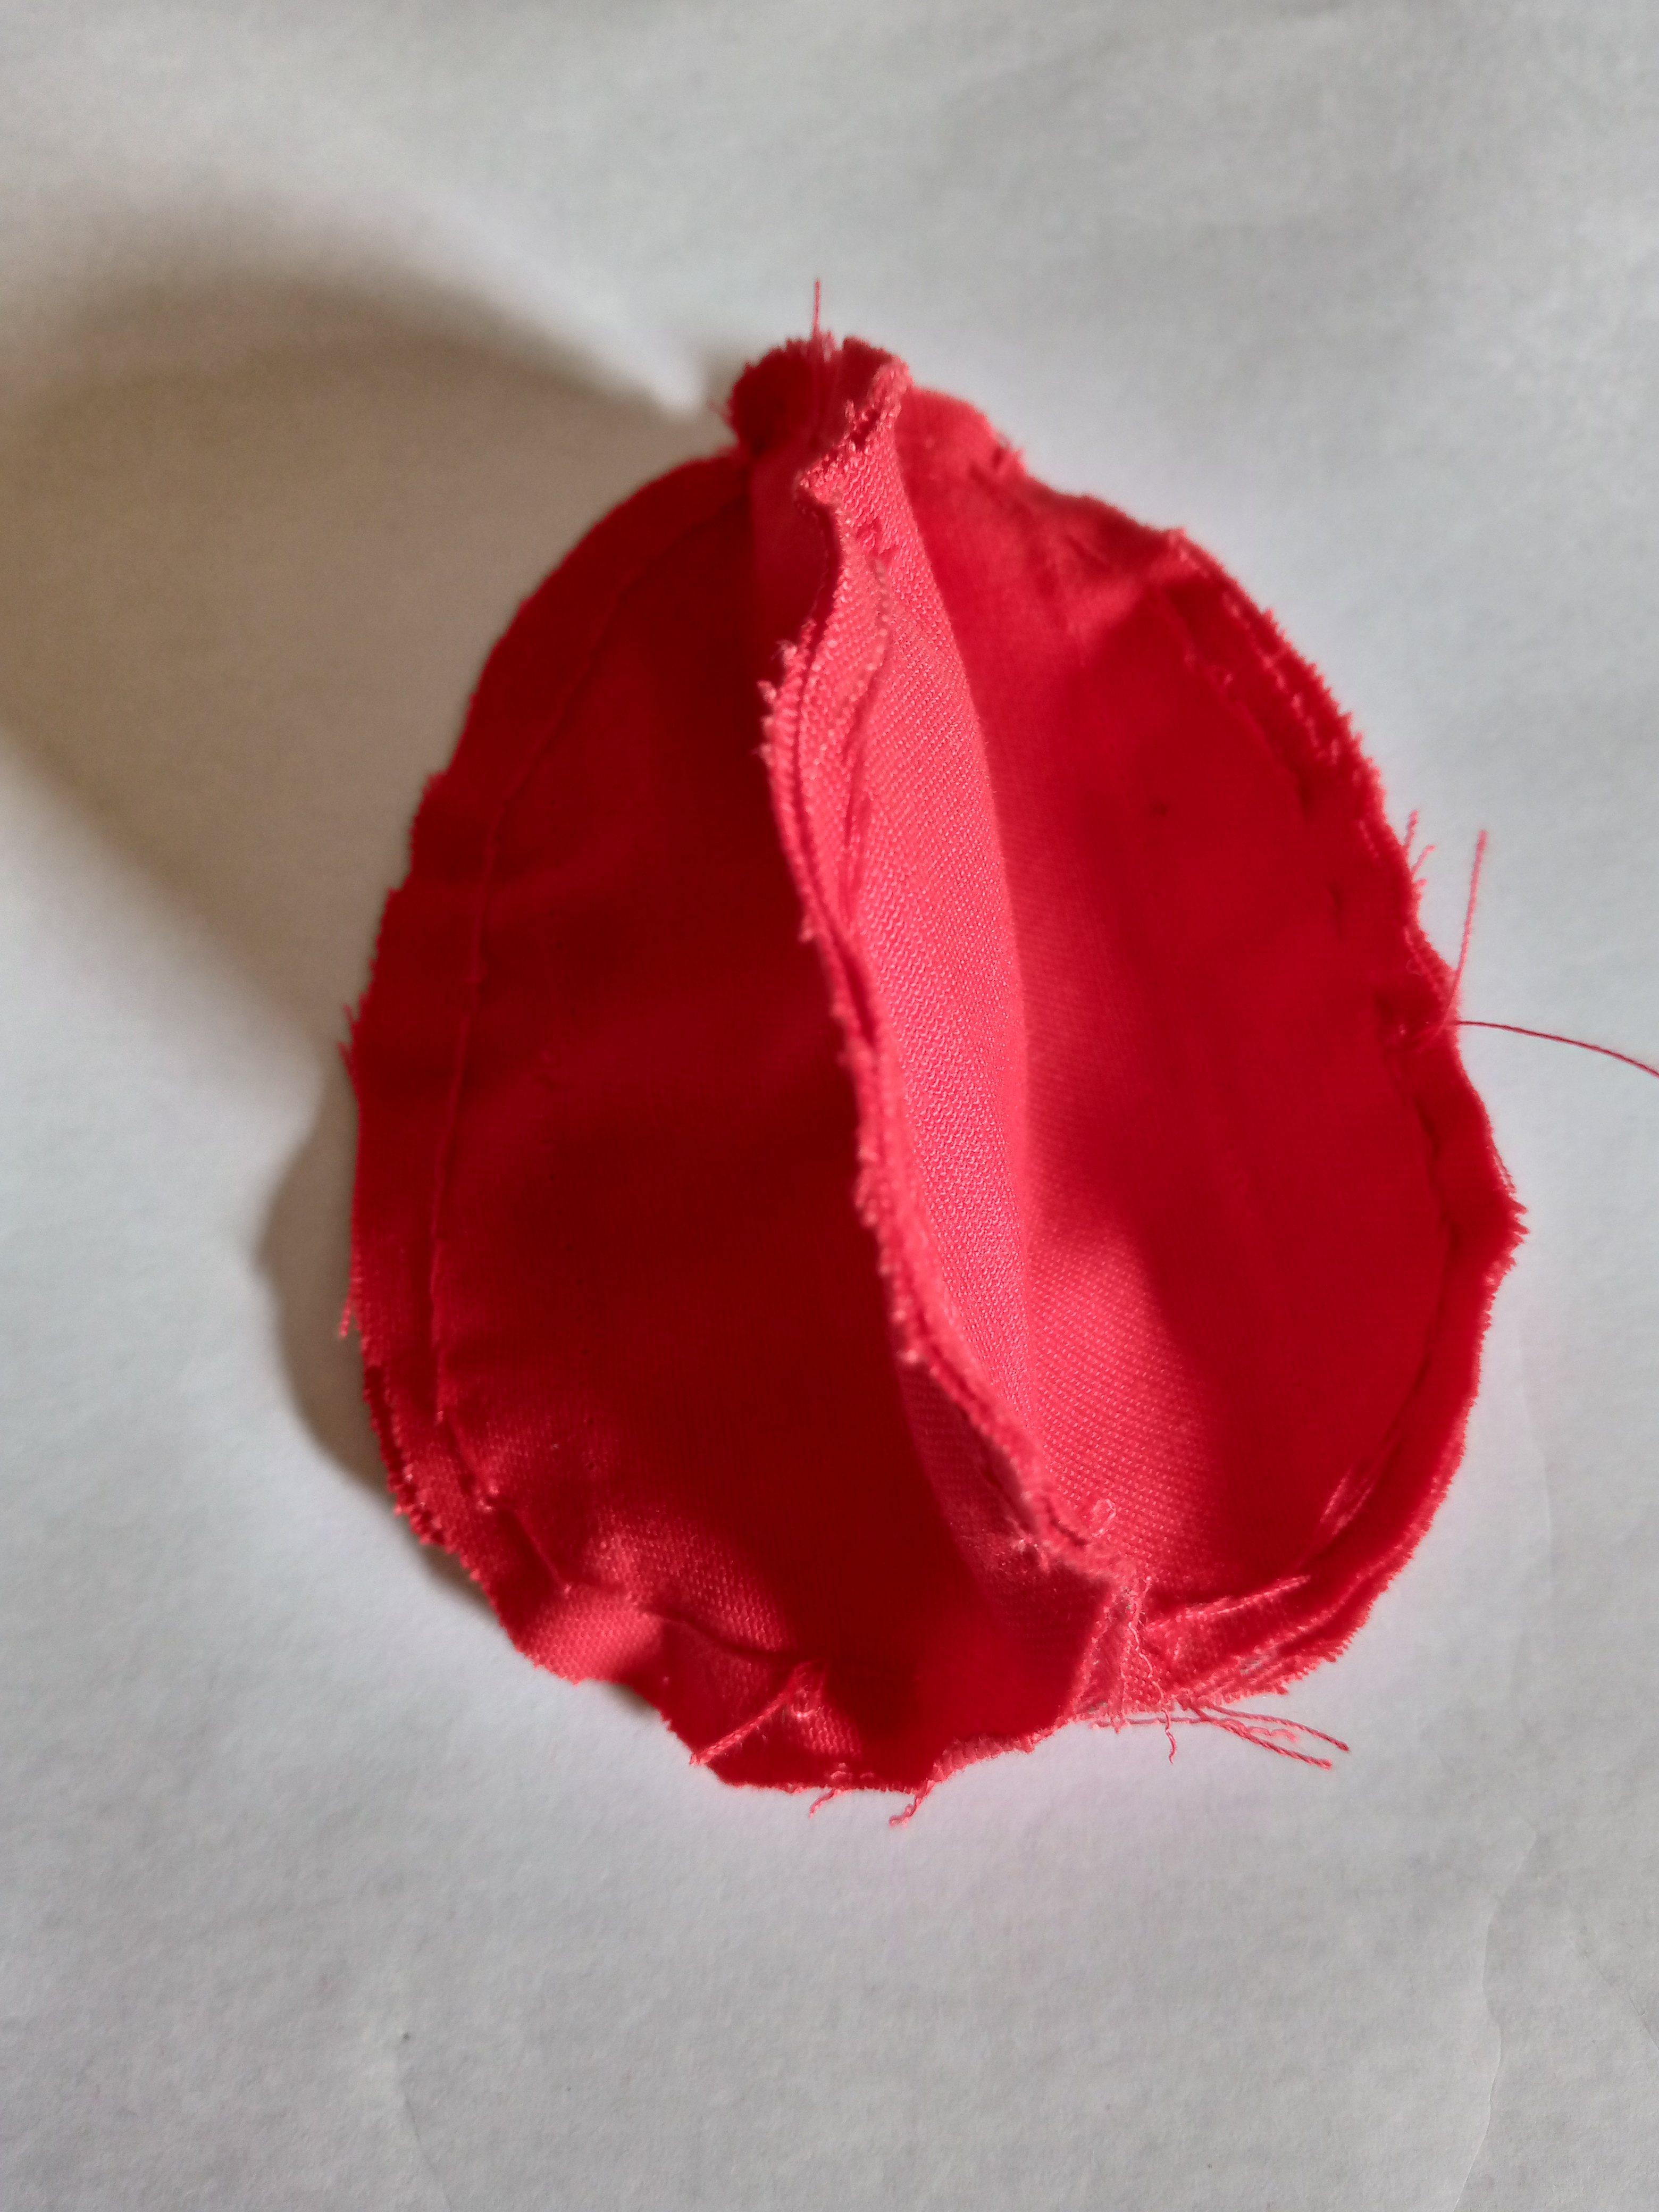
We proceed to sew our red strawberry piece, we sew two on the right side halfway, then we place the third piece and we also sew it together with the other two, forming something like a pyramid. Remember that at the top you must leave a small space, which is where we we're going to turn the piece over and insert the filling.
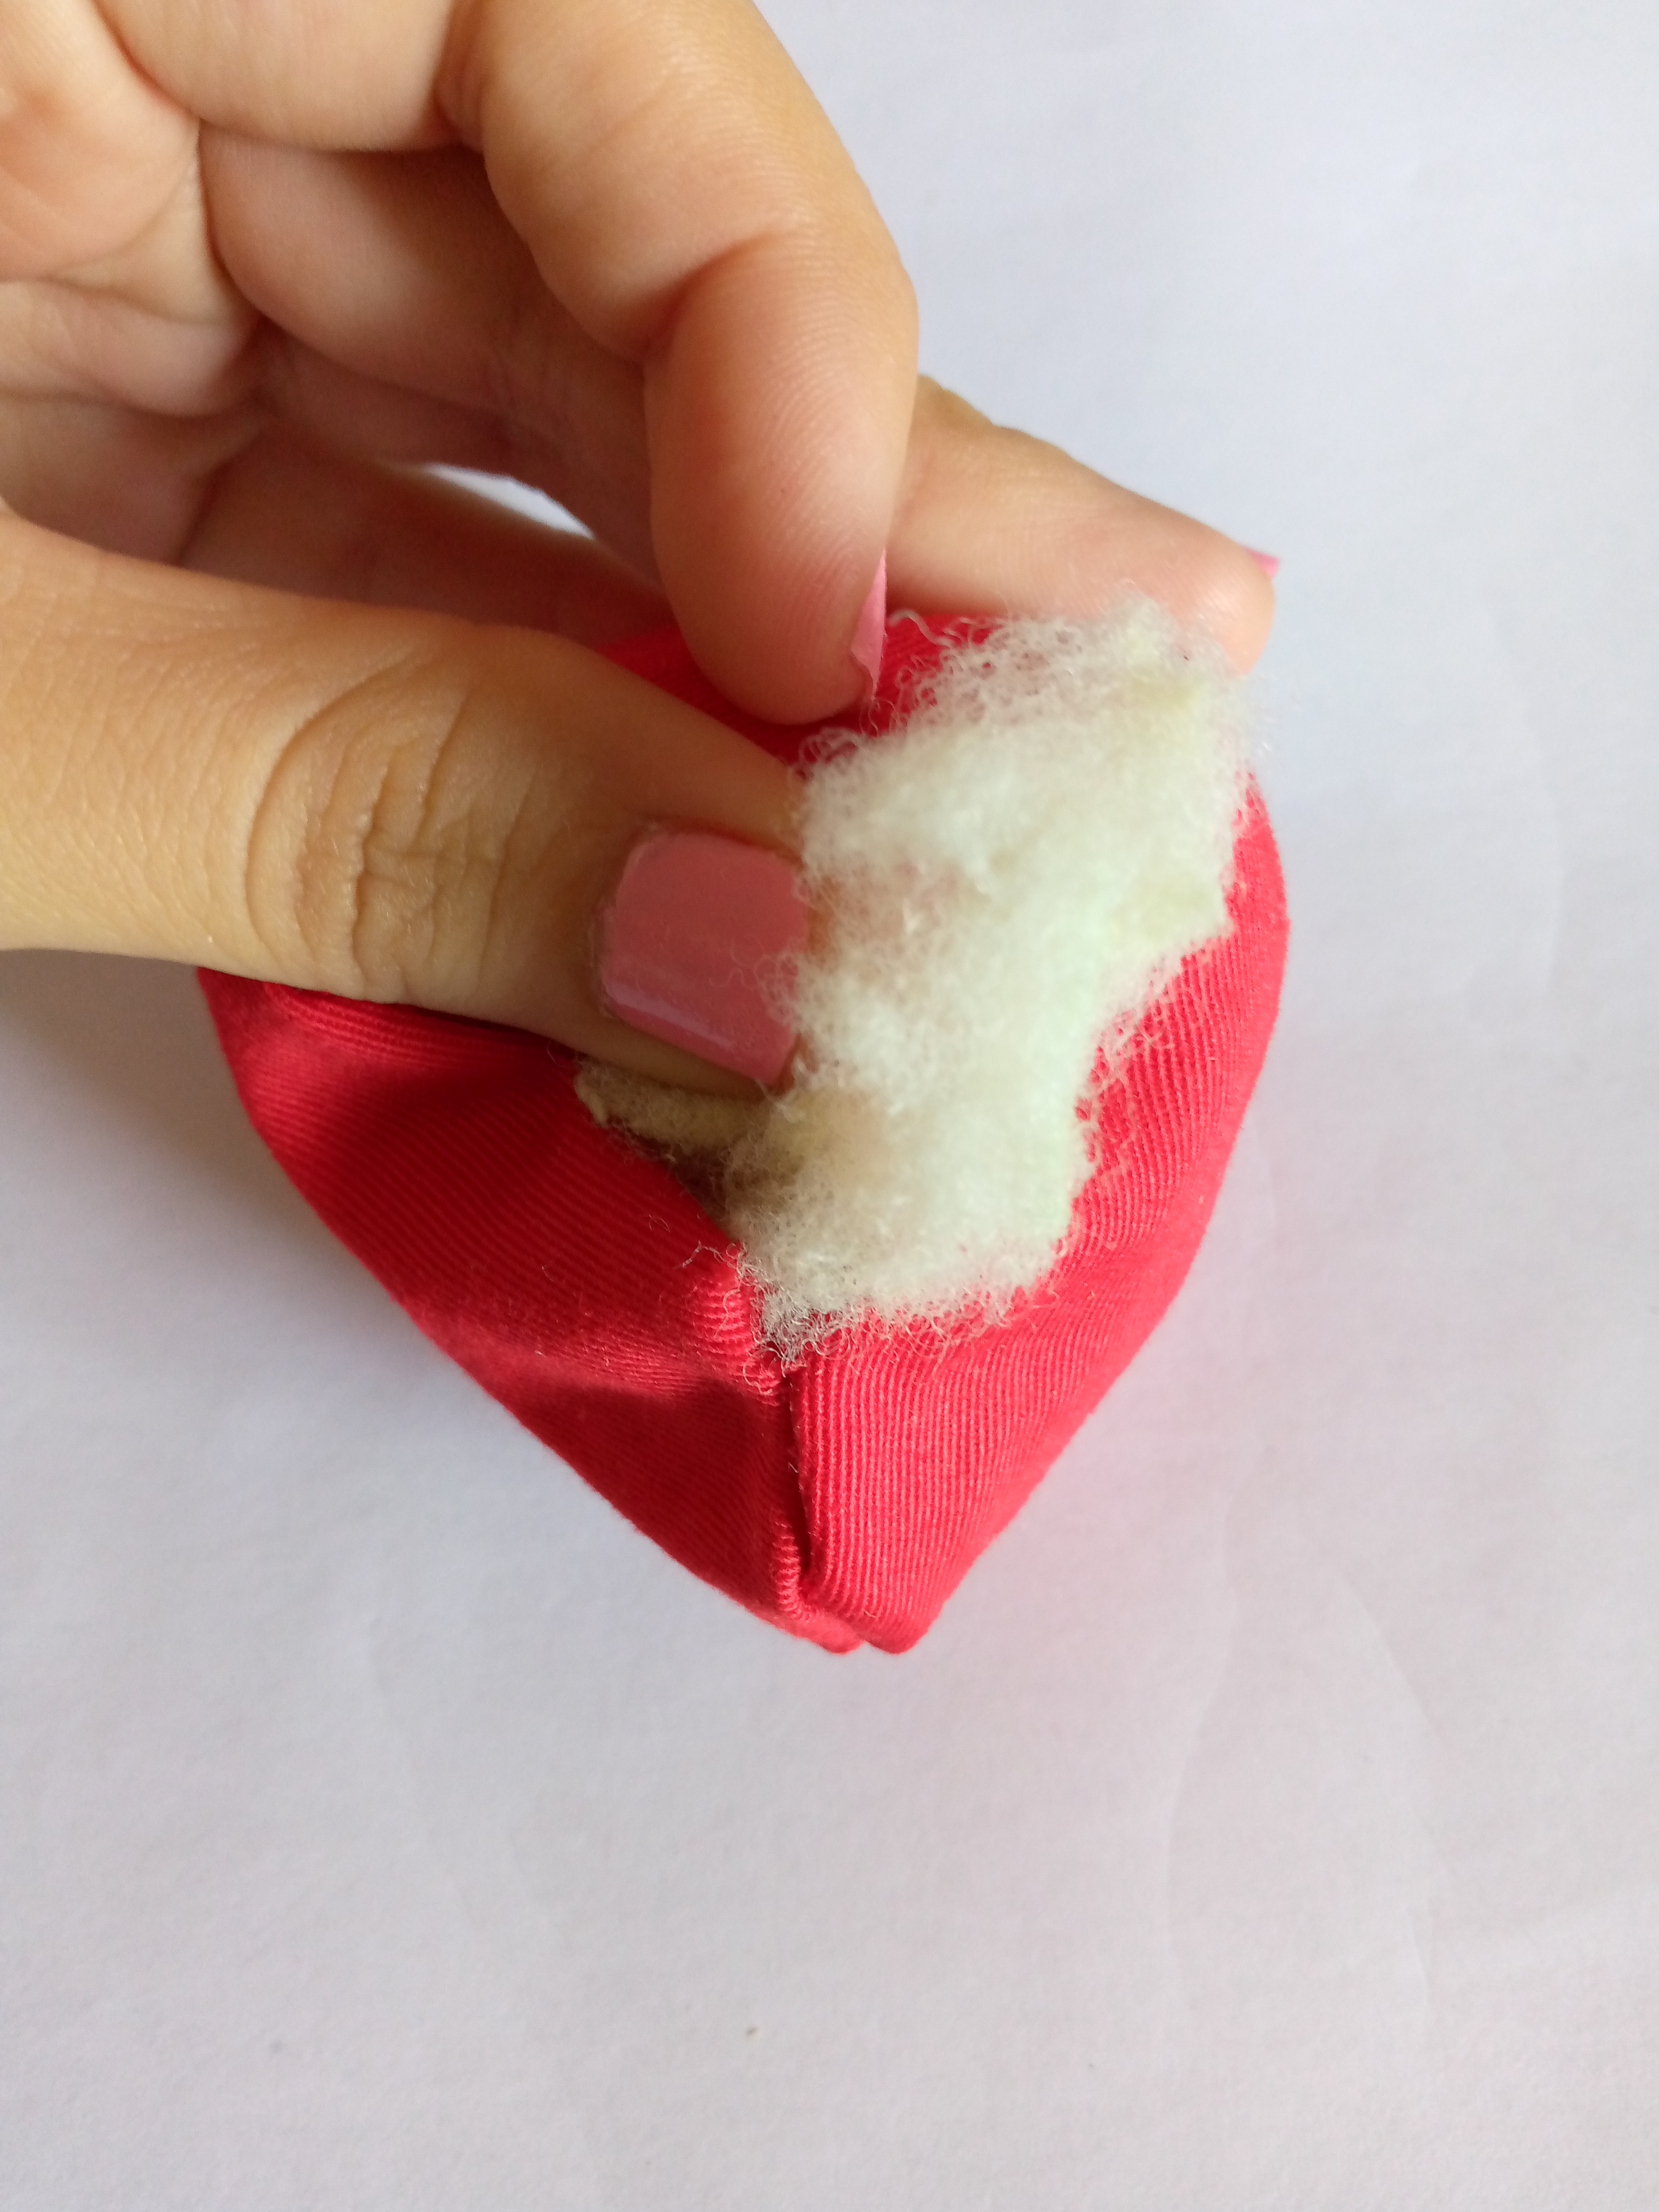
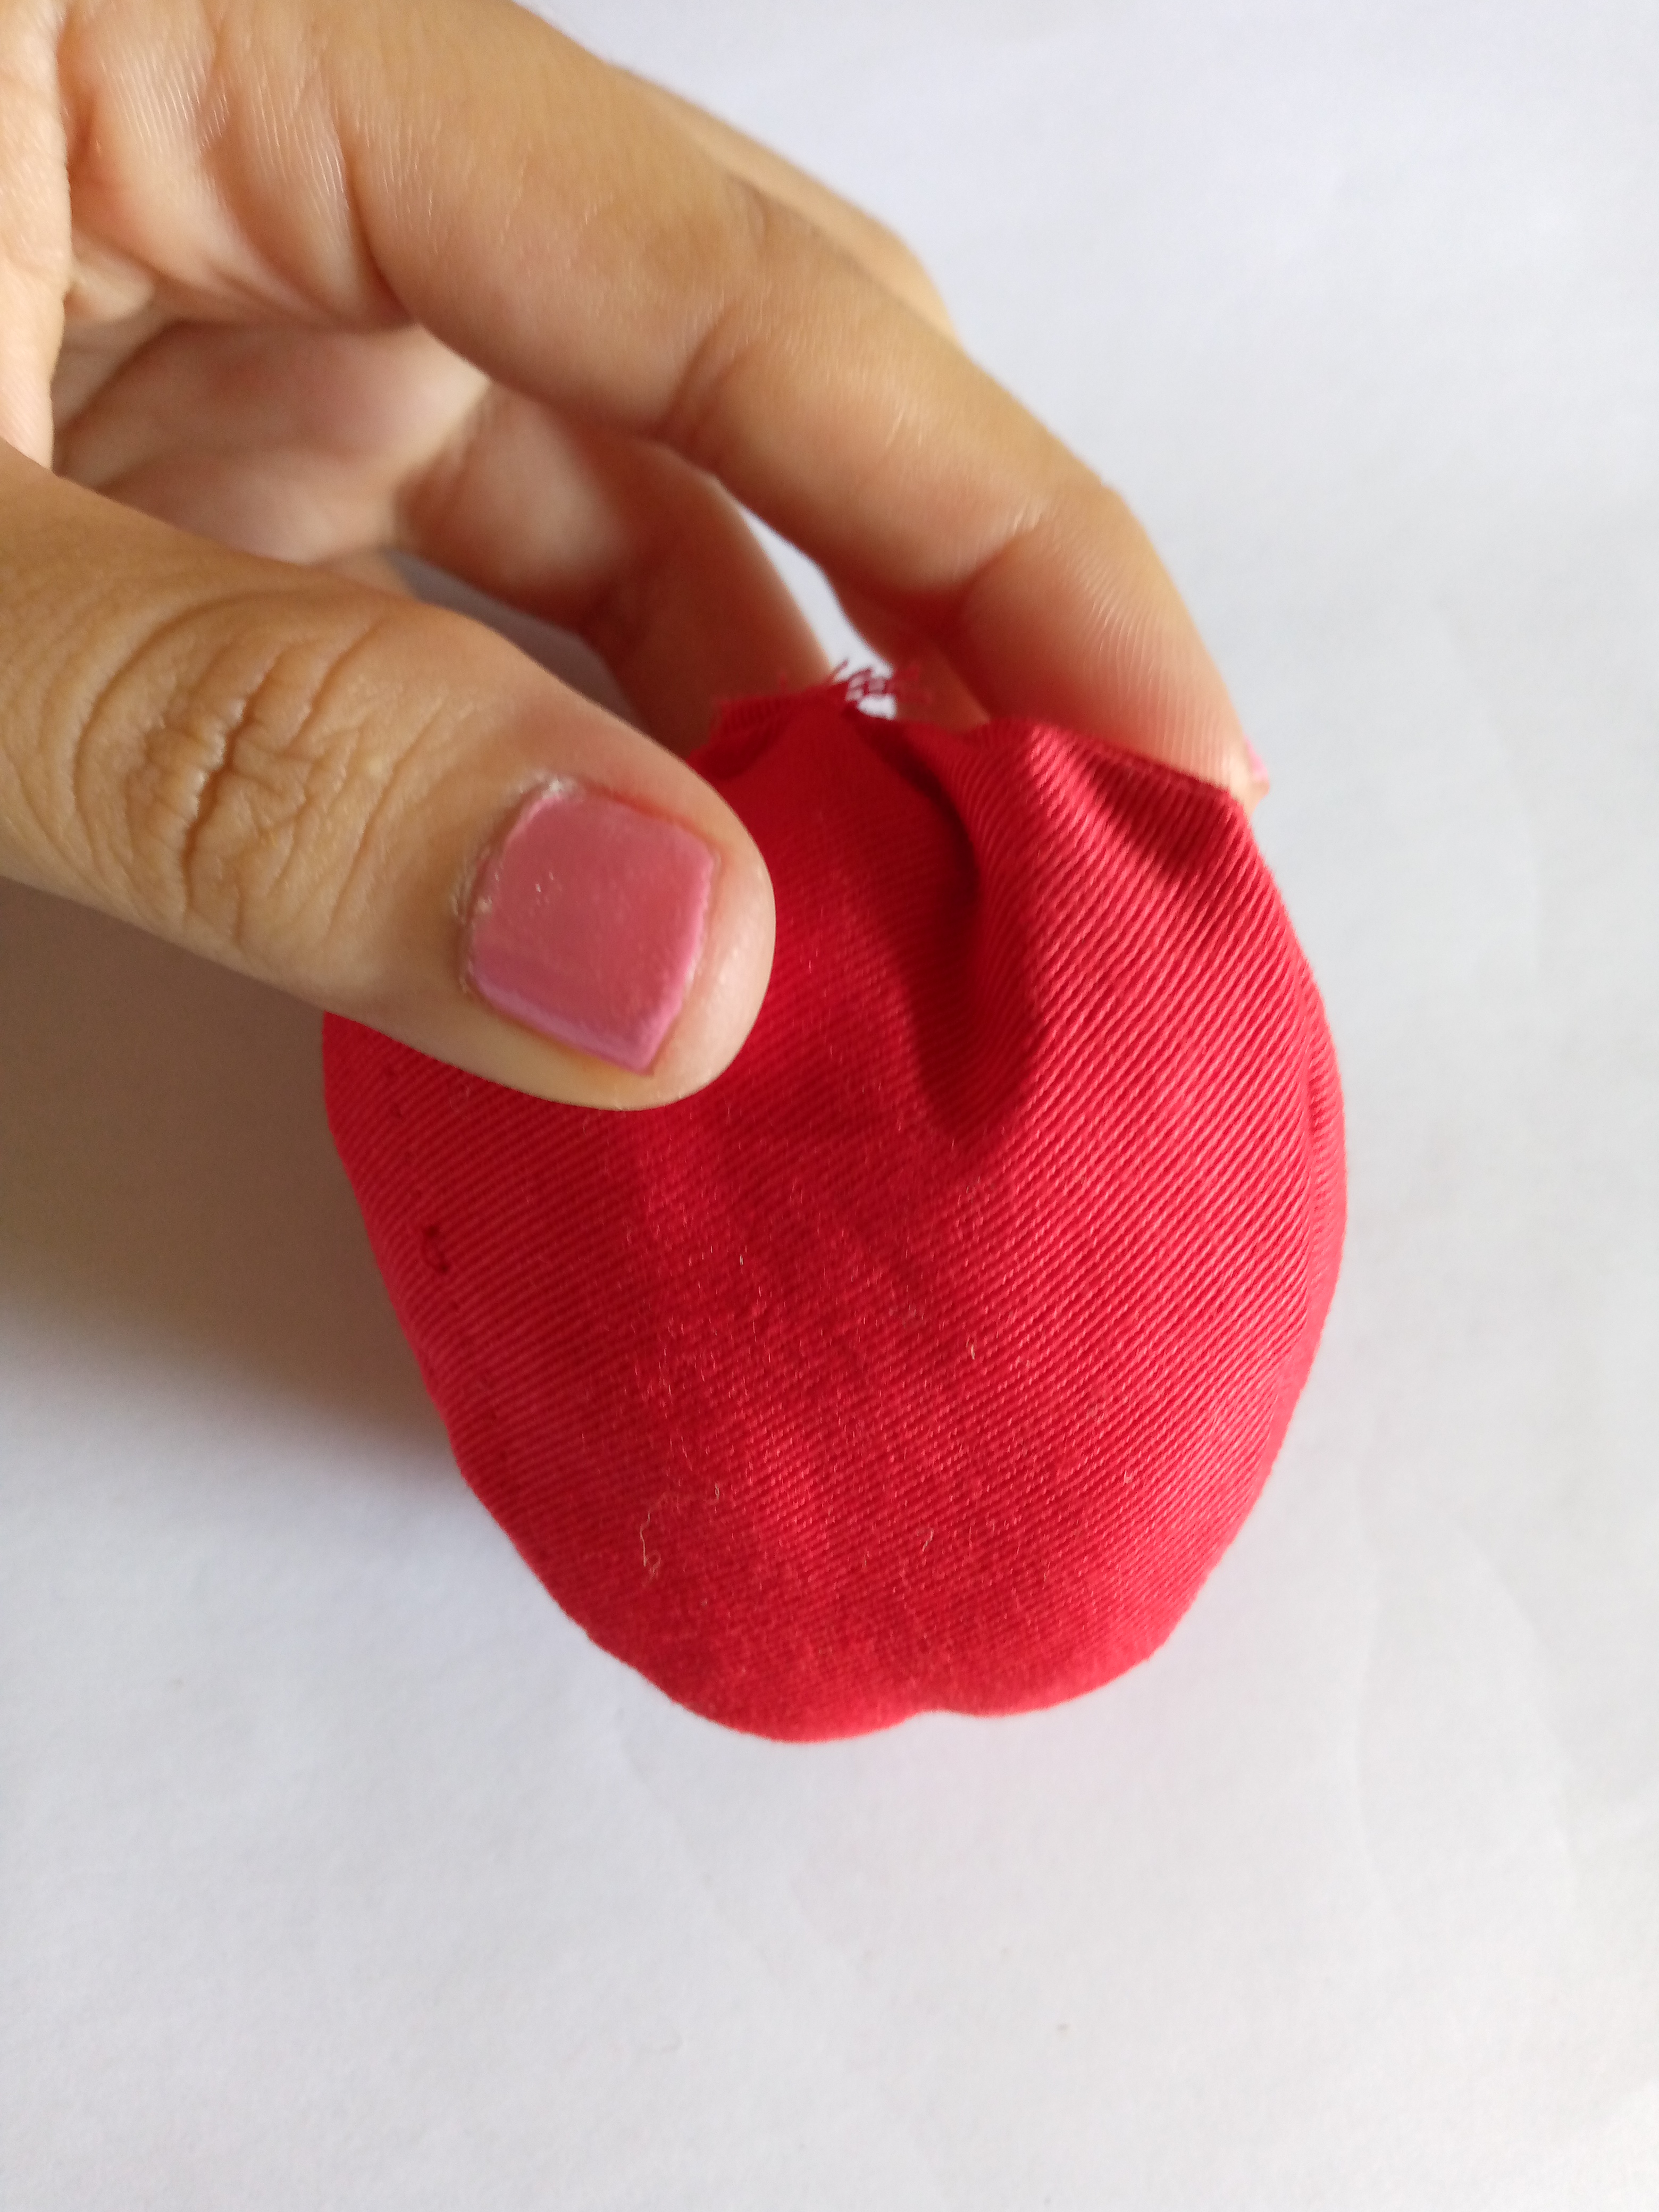
Paso 04
Step 04
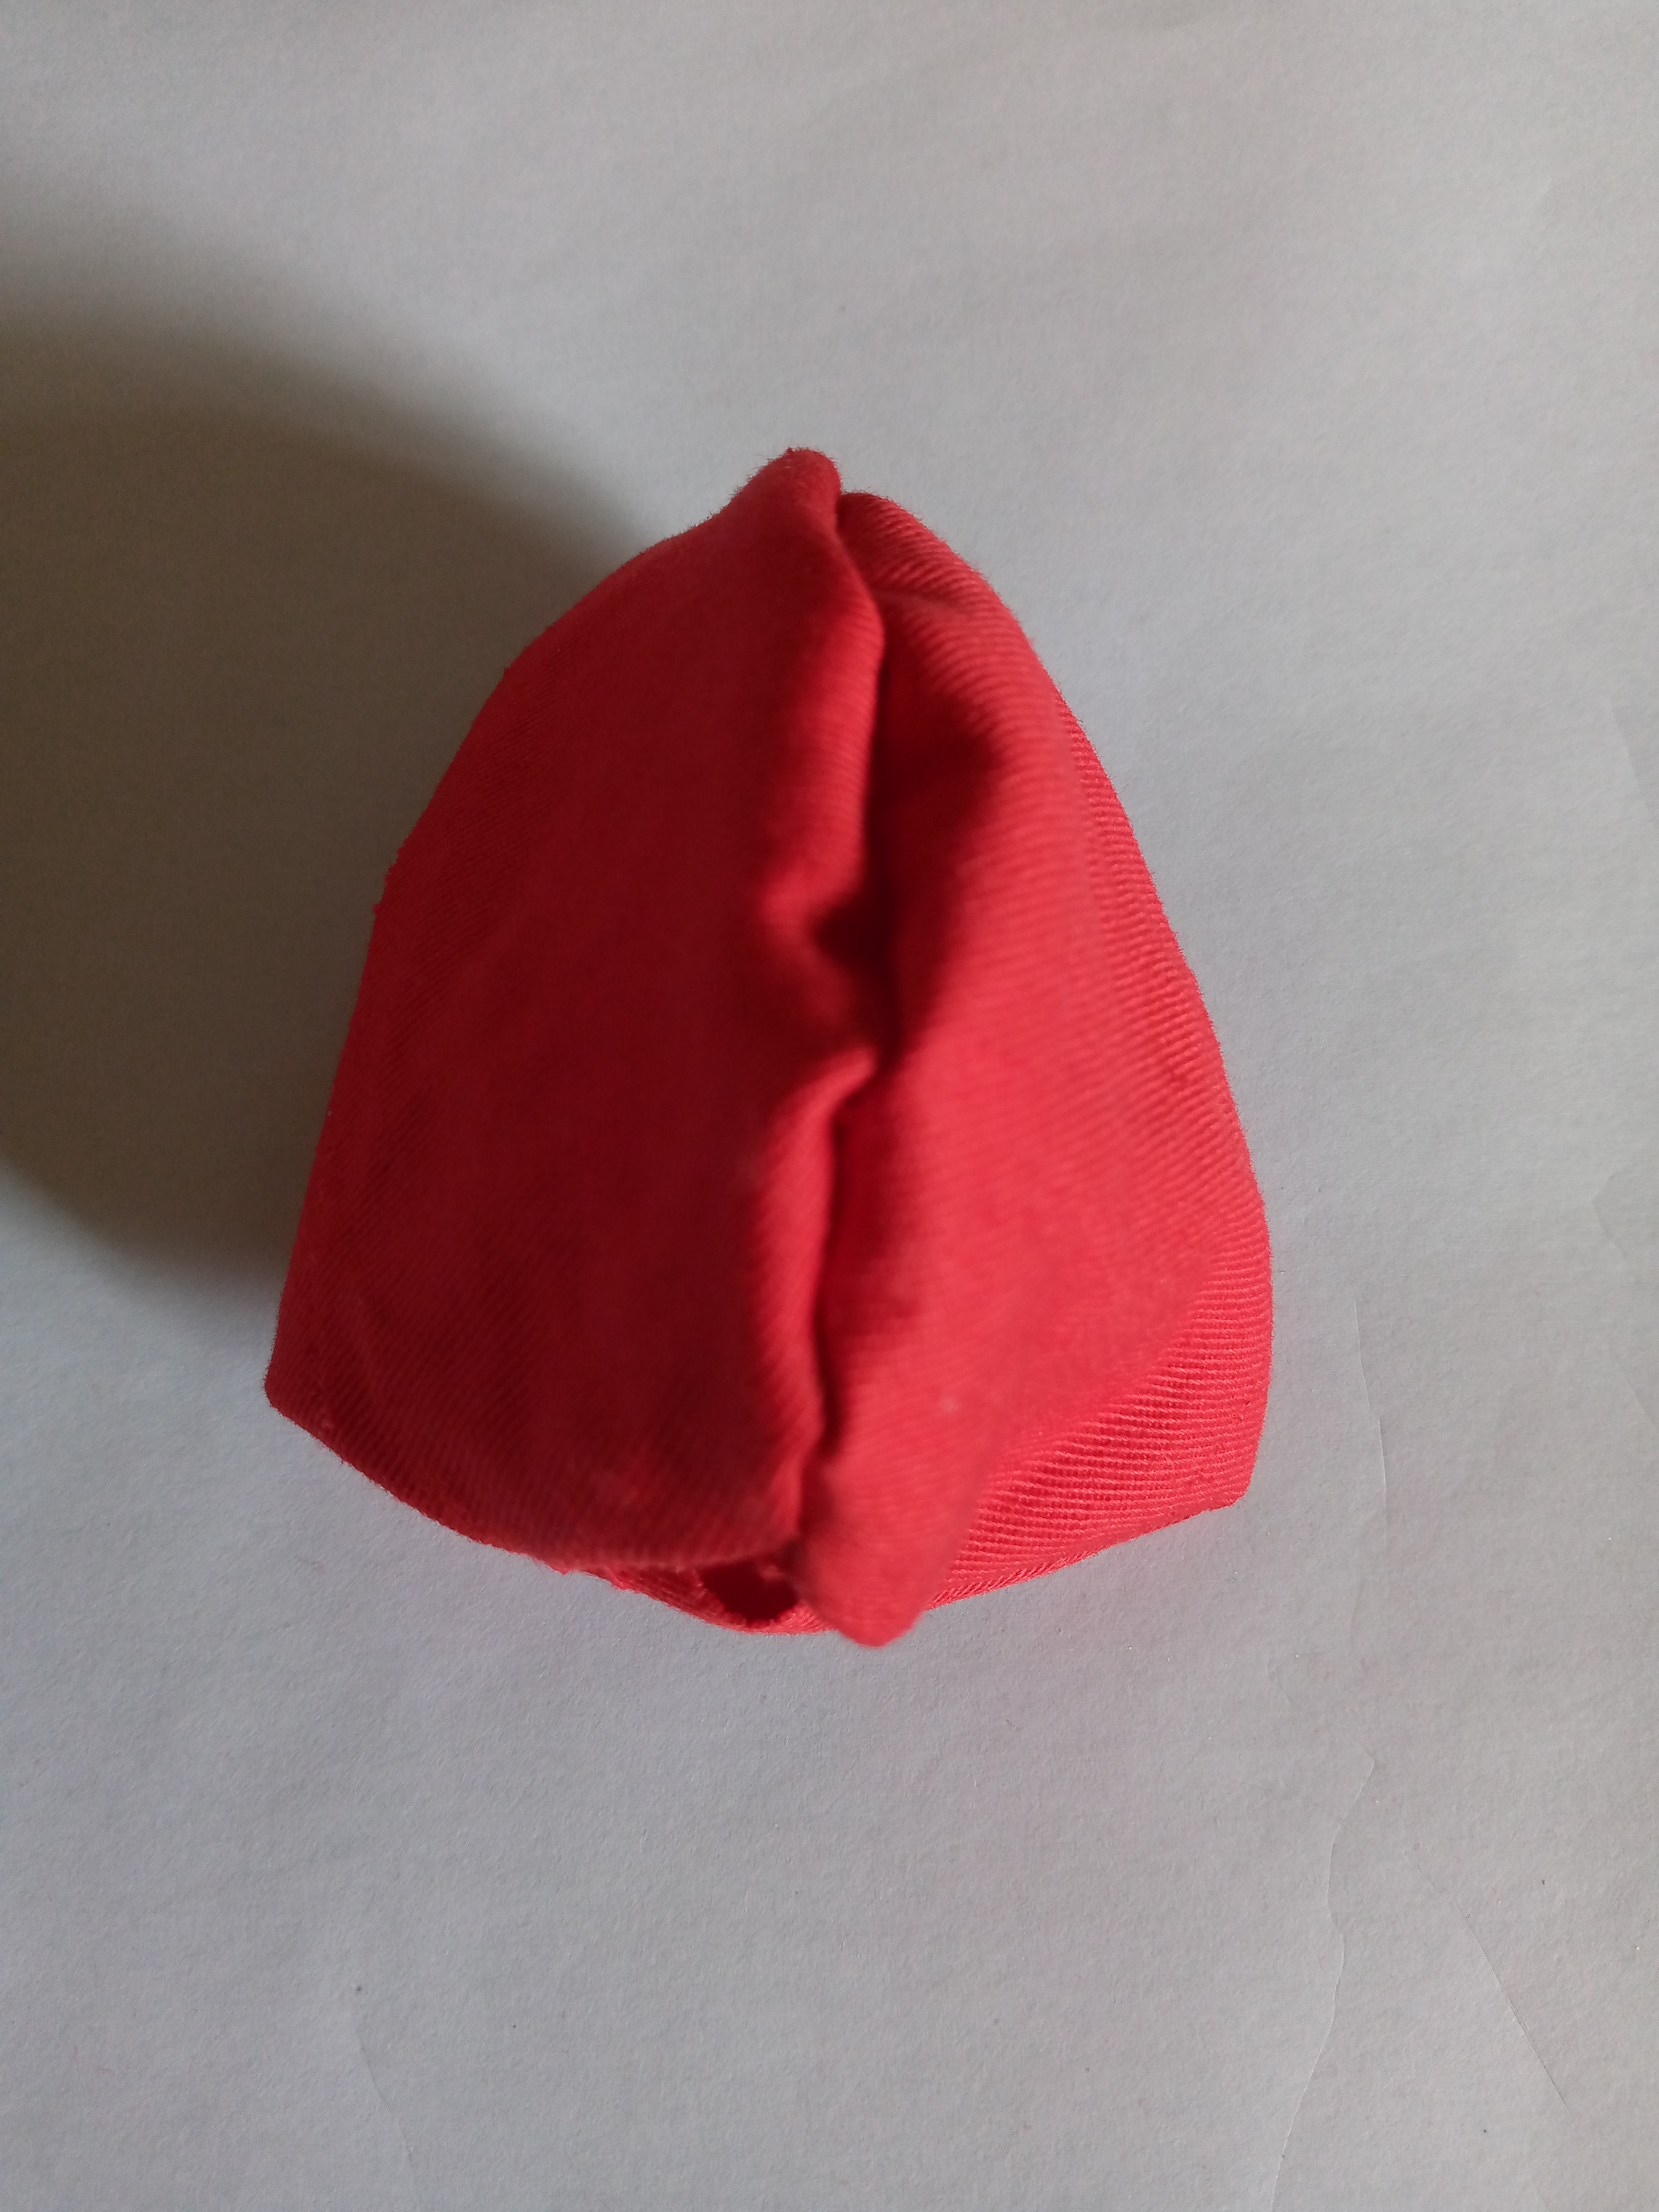
We fill our piece with the filling that we have available at home, we fill well so that the strawberry is not deformed at the bottom, when we finish filling in the upper part where I mentioned to leave an opening where the filling was inserted There we are going to sew and gather to give shape to our piece and we seal the thread so that it does not come loose and that's it.
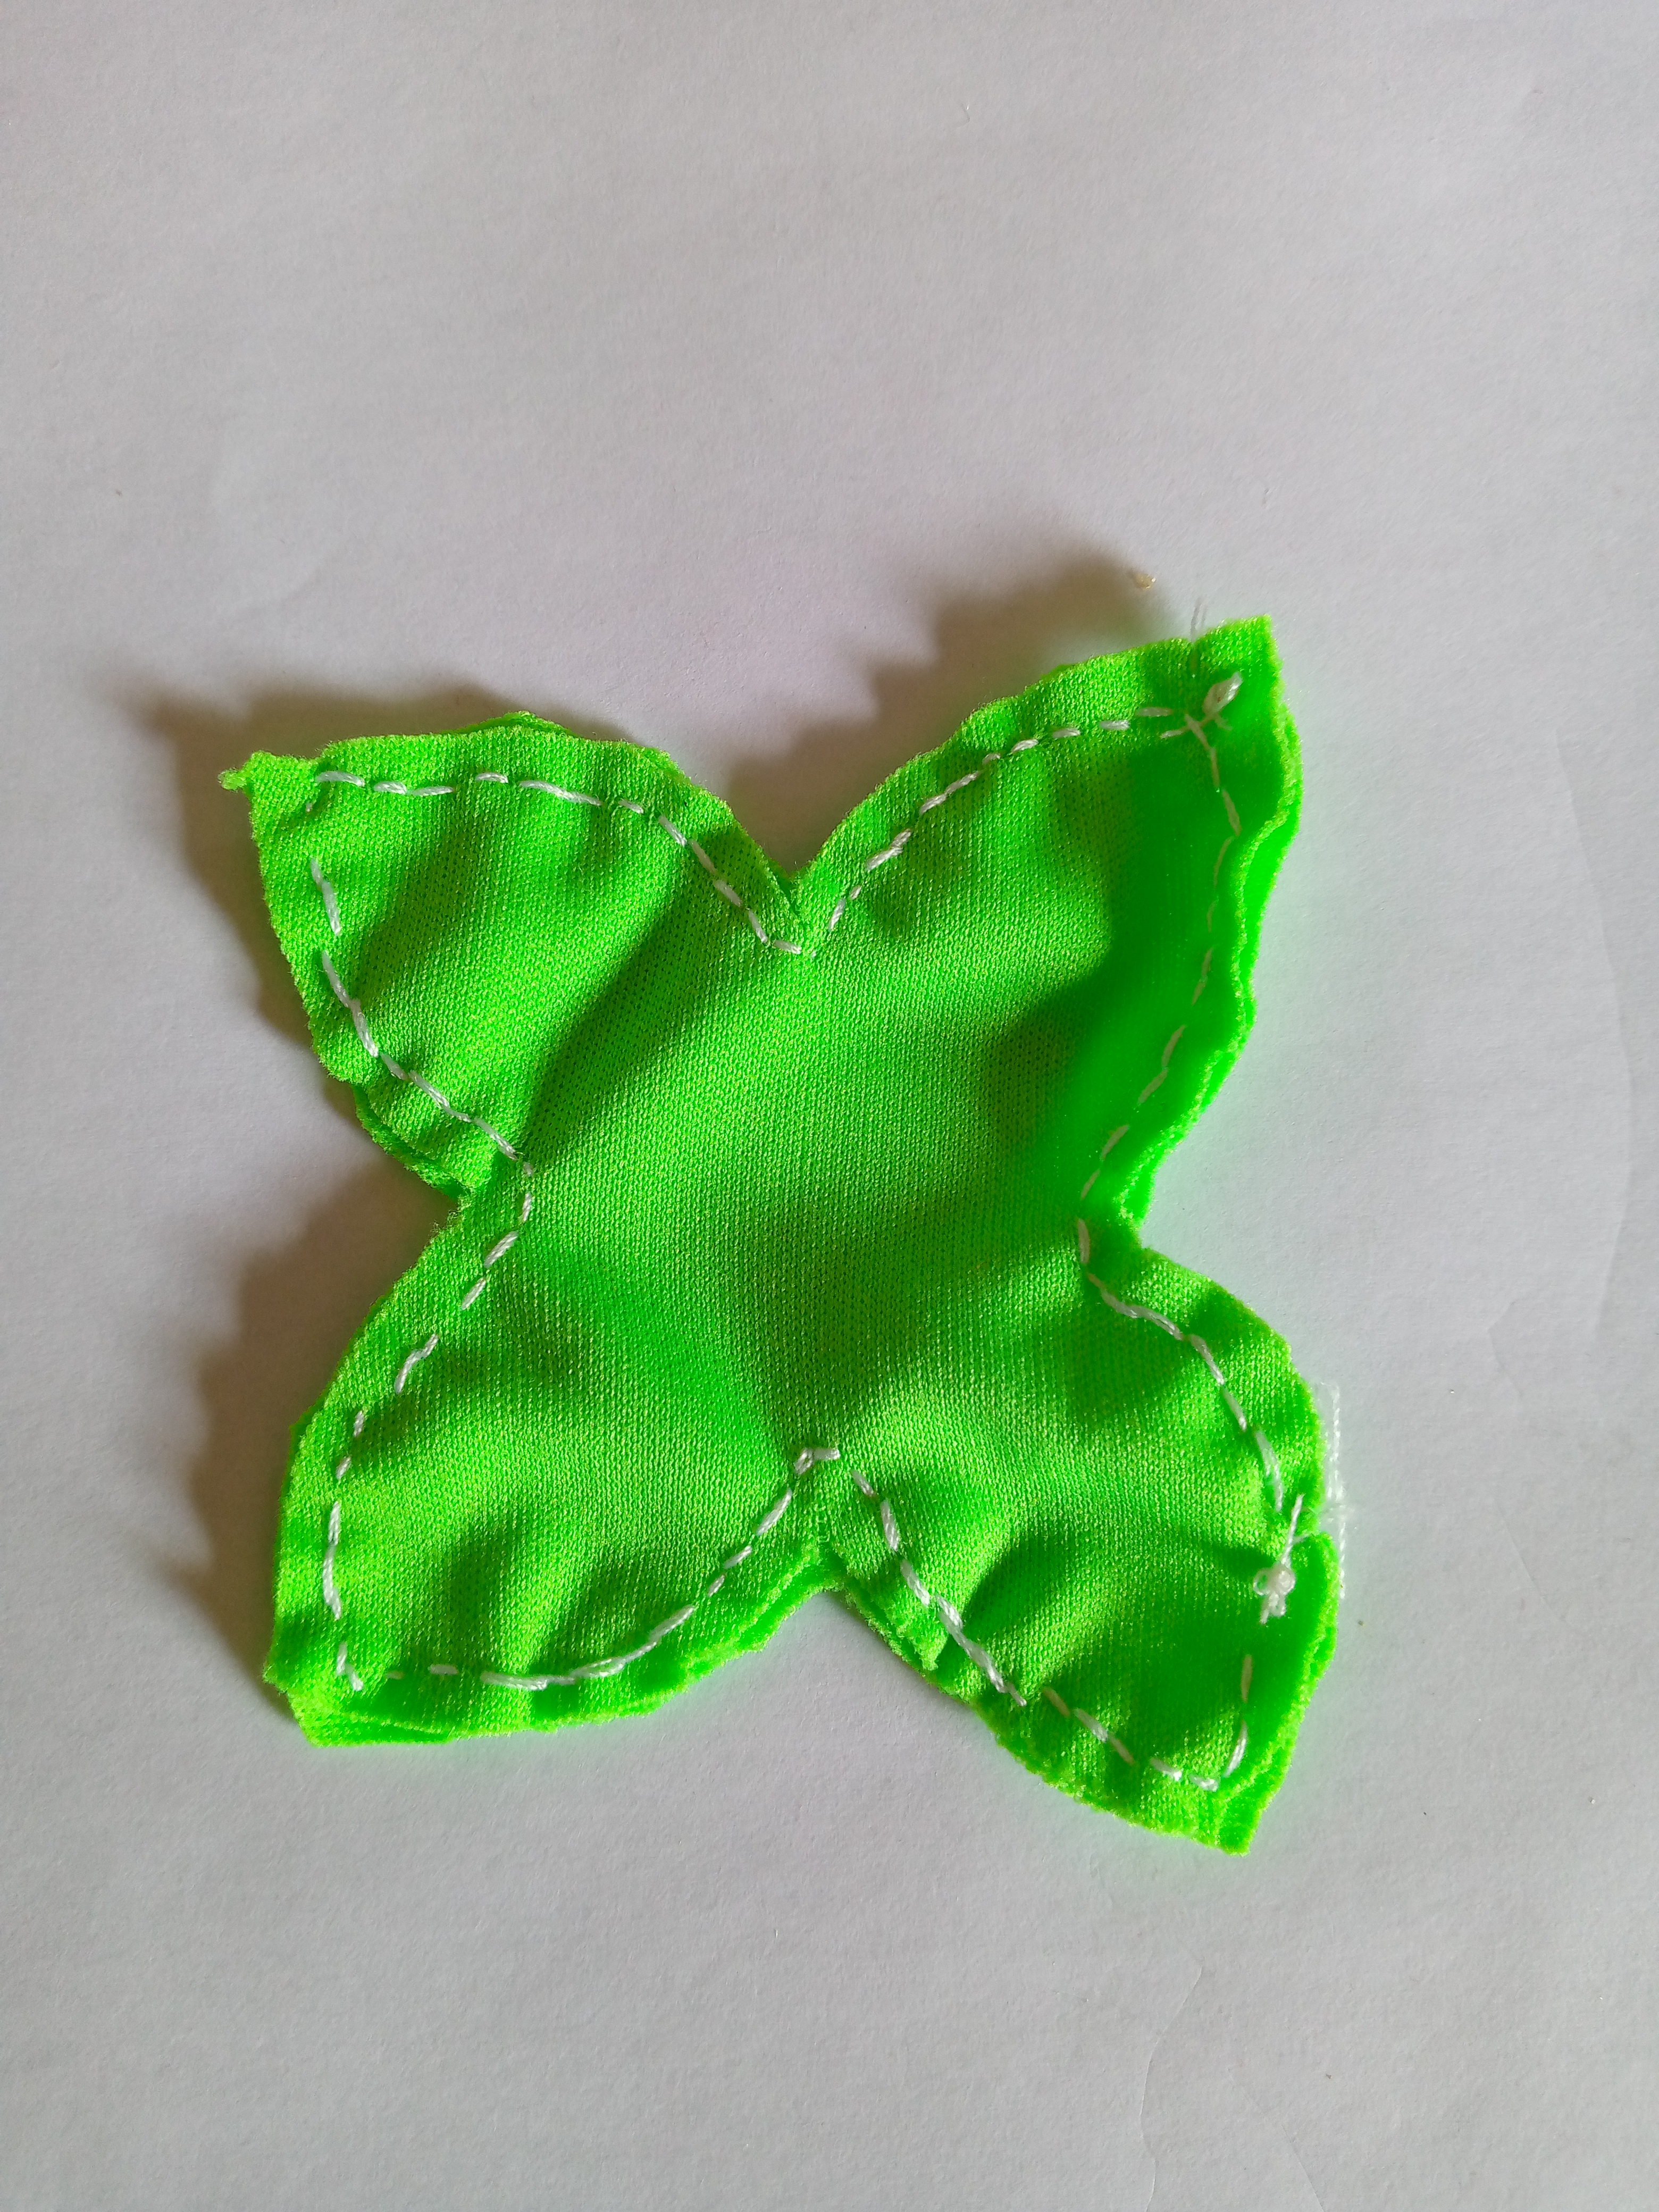
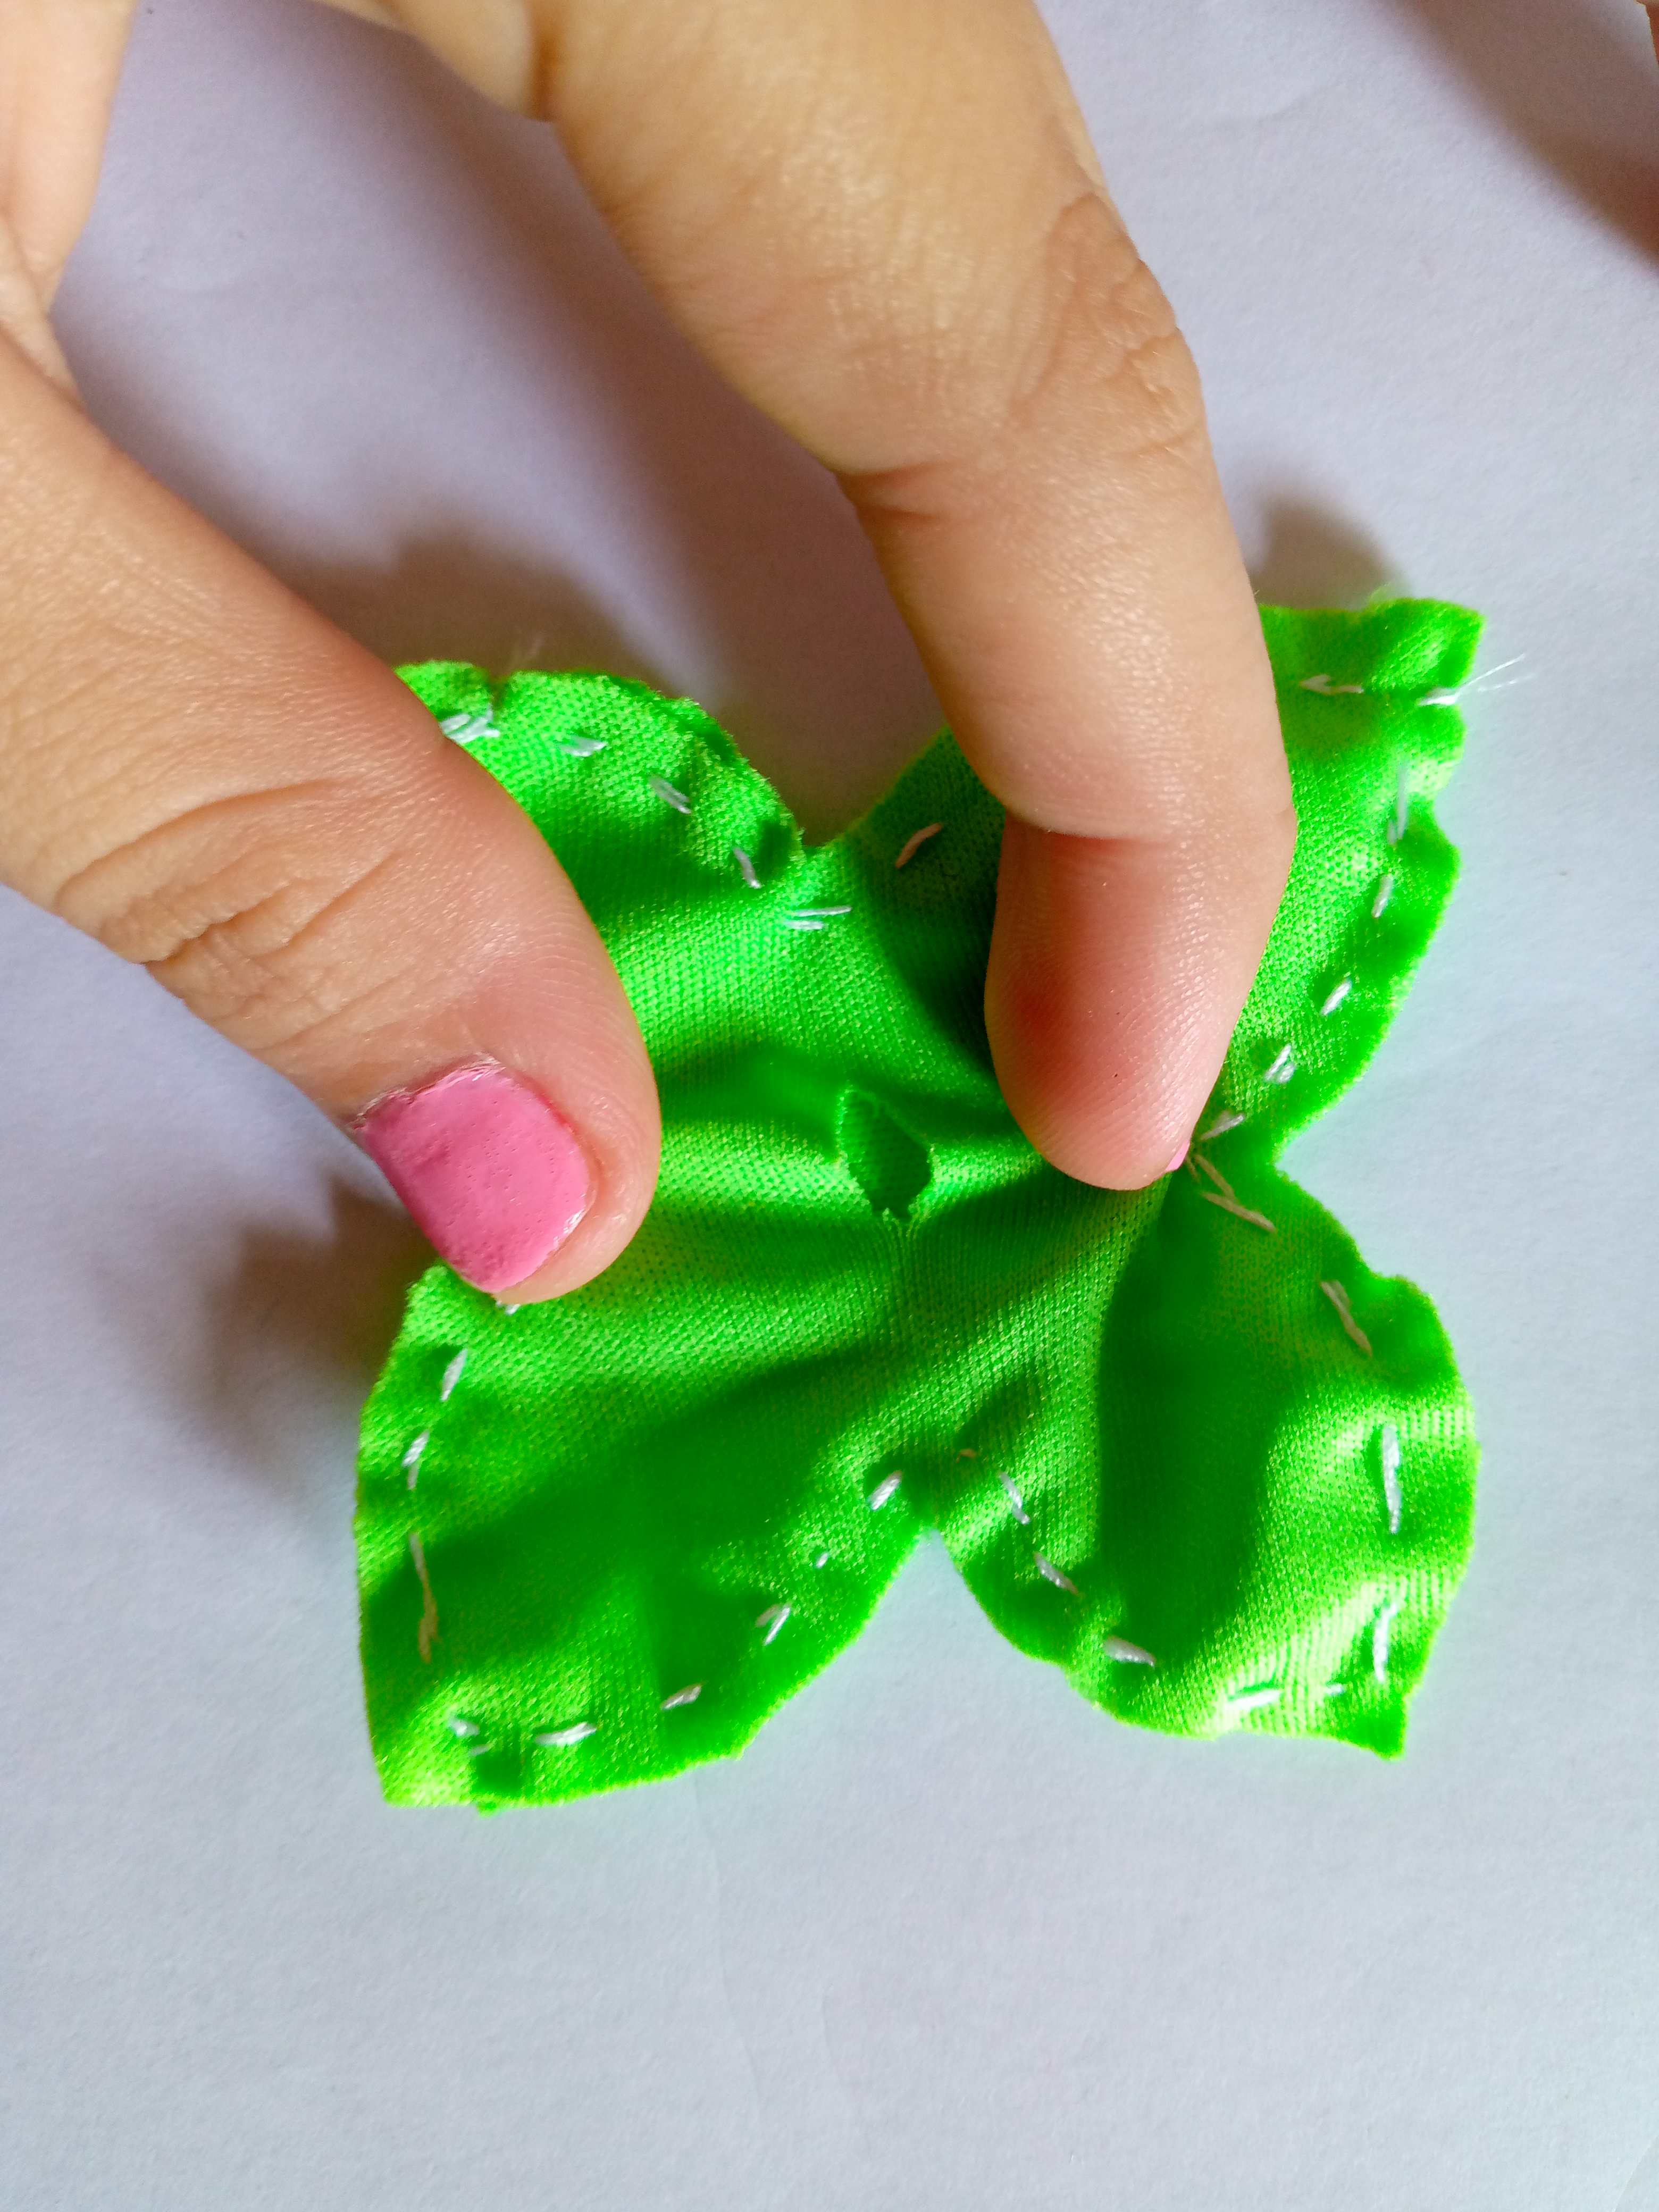
Paso 05
Step 05
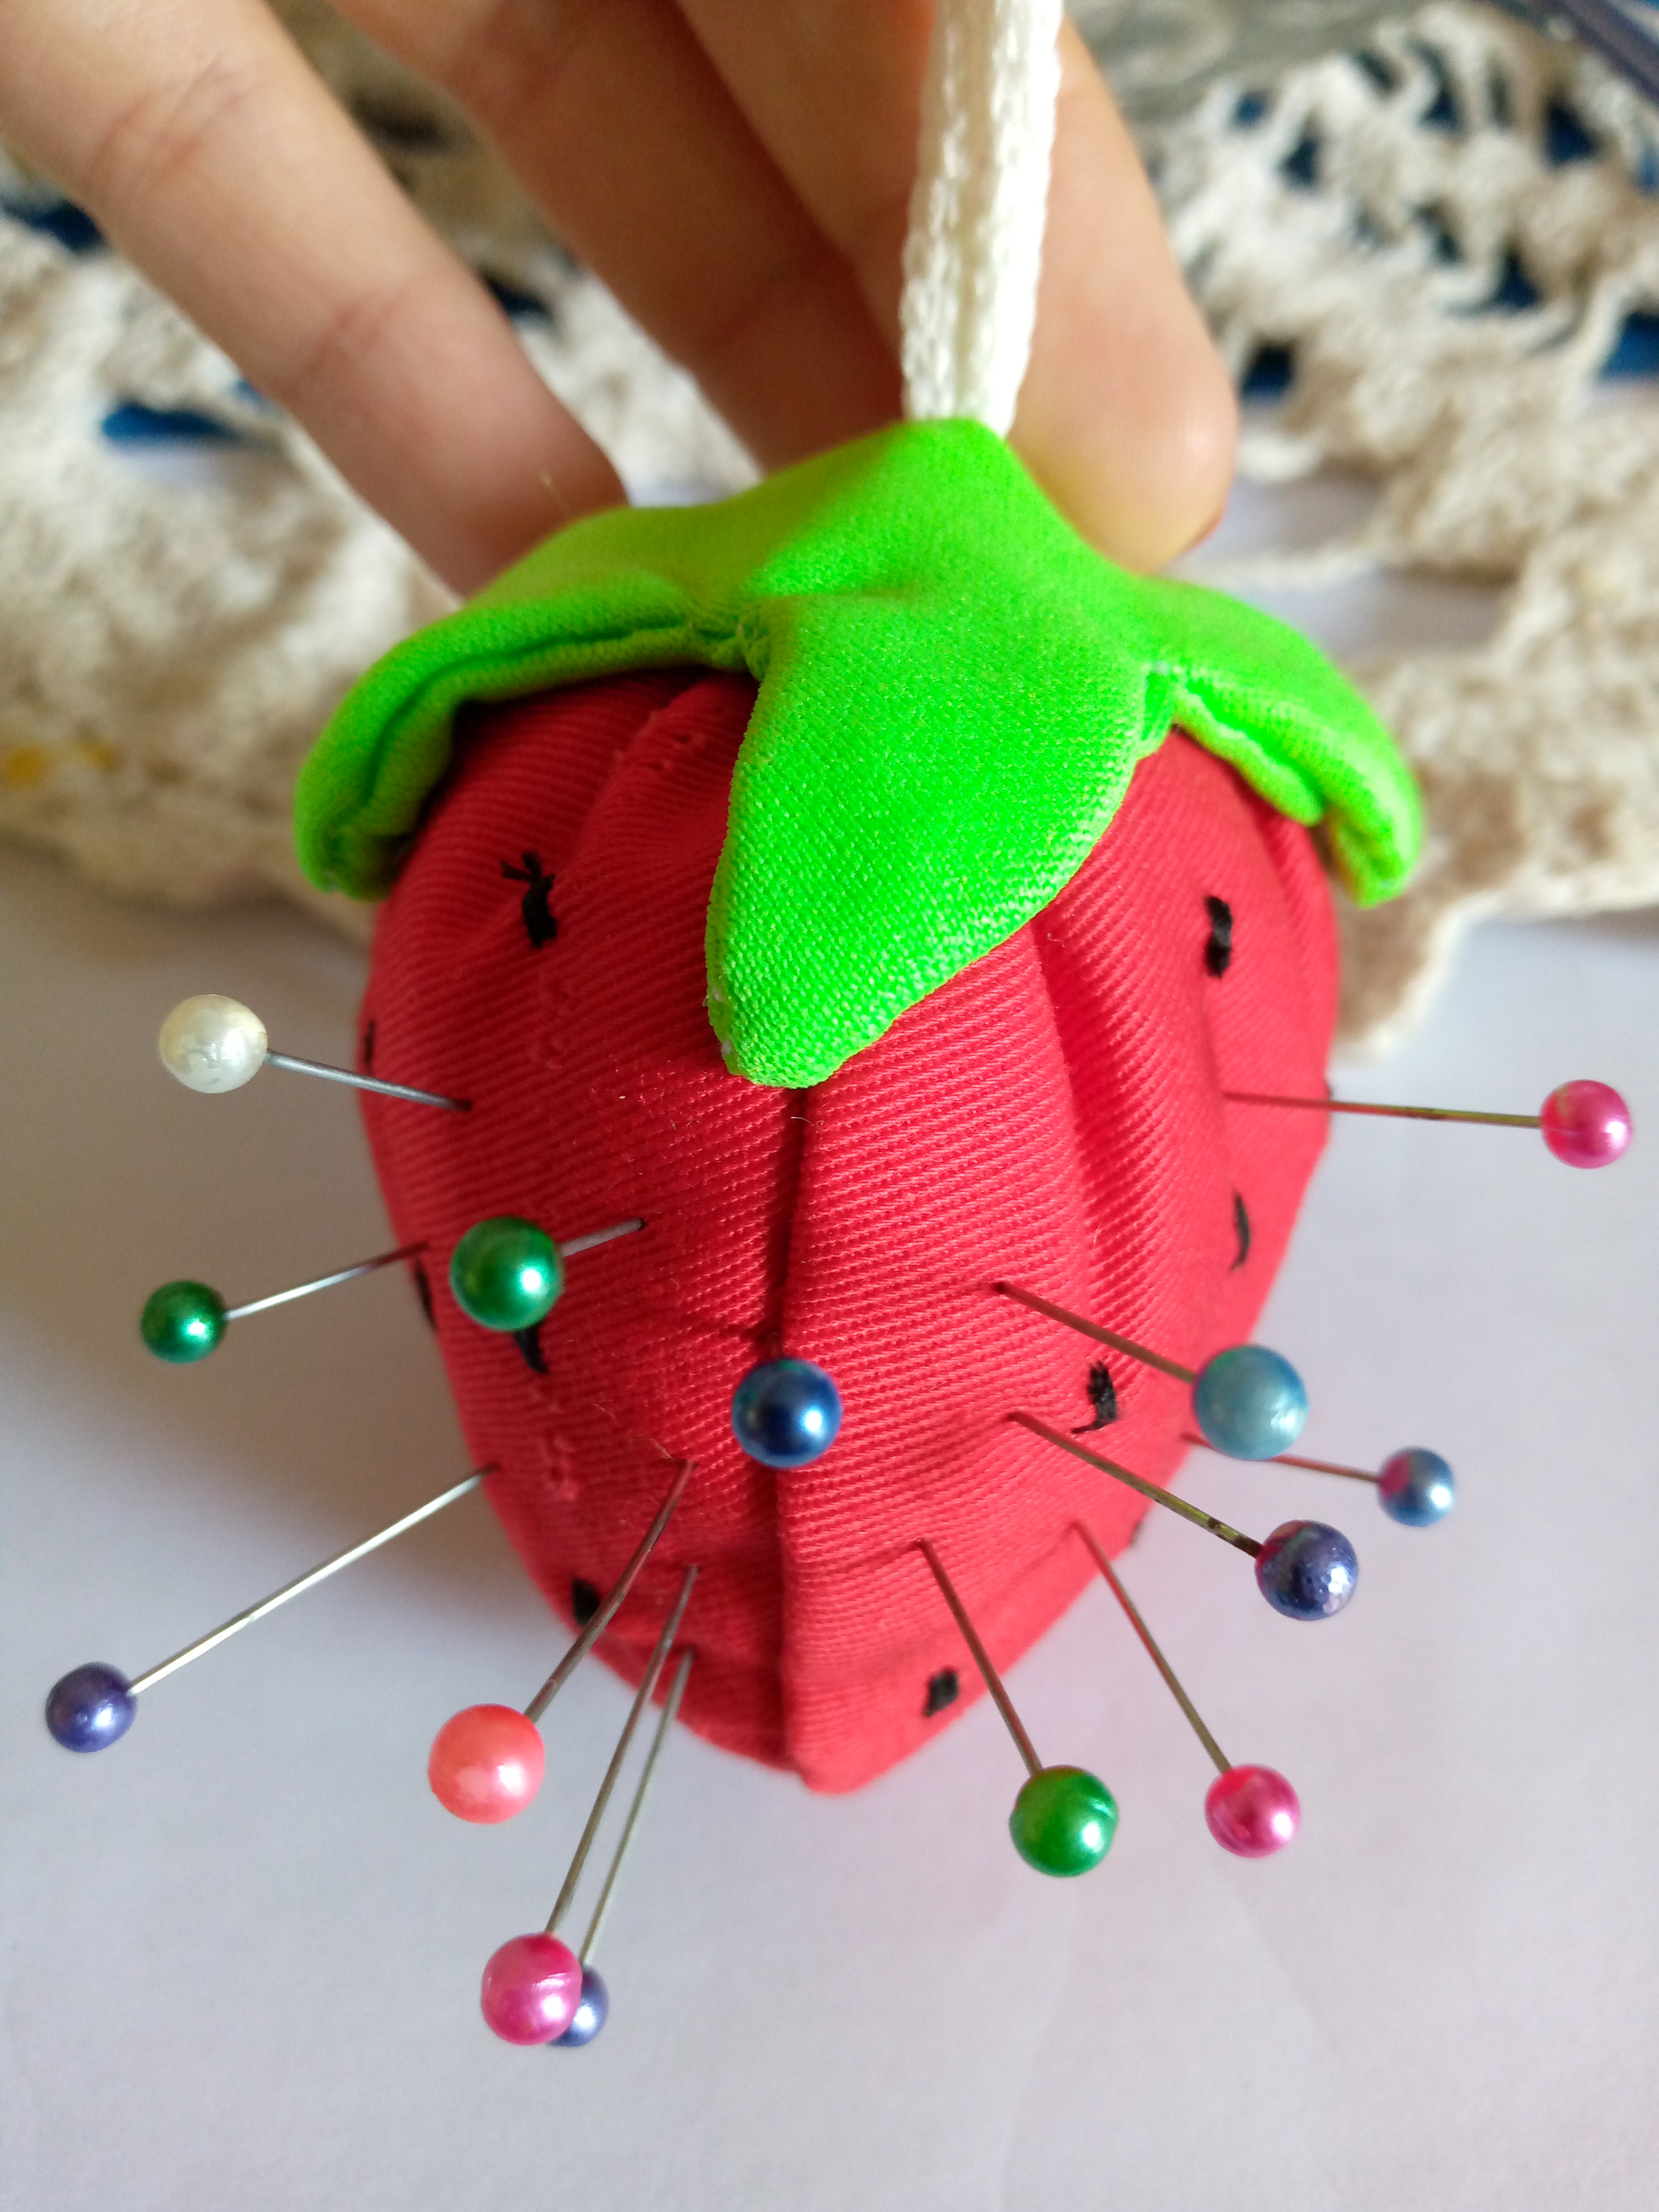
We went on to sew our leaf, in this case it did not have green thread but as I told you, if you have this green thread at home, it is fine, you can use it, but since we are going to turn our piece, it will not be visible, that is why this applies if it really does not. You have green thread, I sewed it with white thread, after I sewed it I made an opening in the middle where I will insert my cord, through that same opening we are going to turn our leaf, we introduce the cord and we tie a small knot to hold it. this way we can hang it

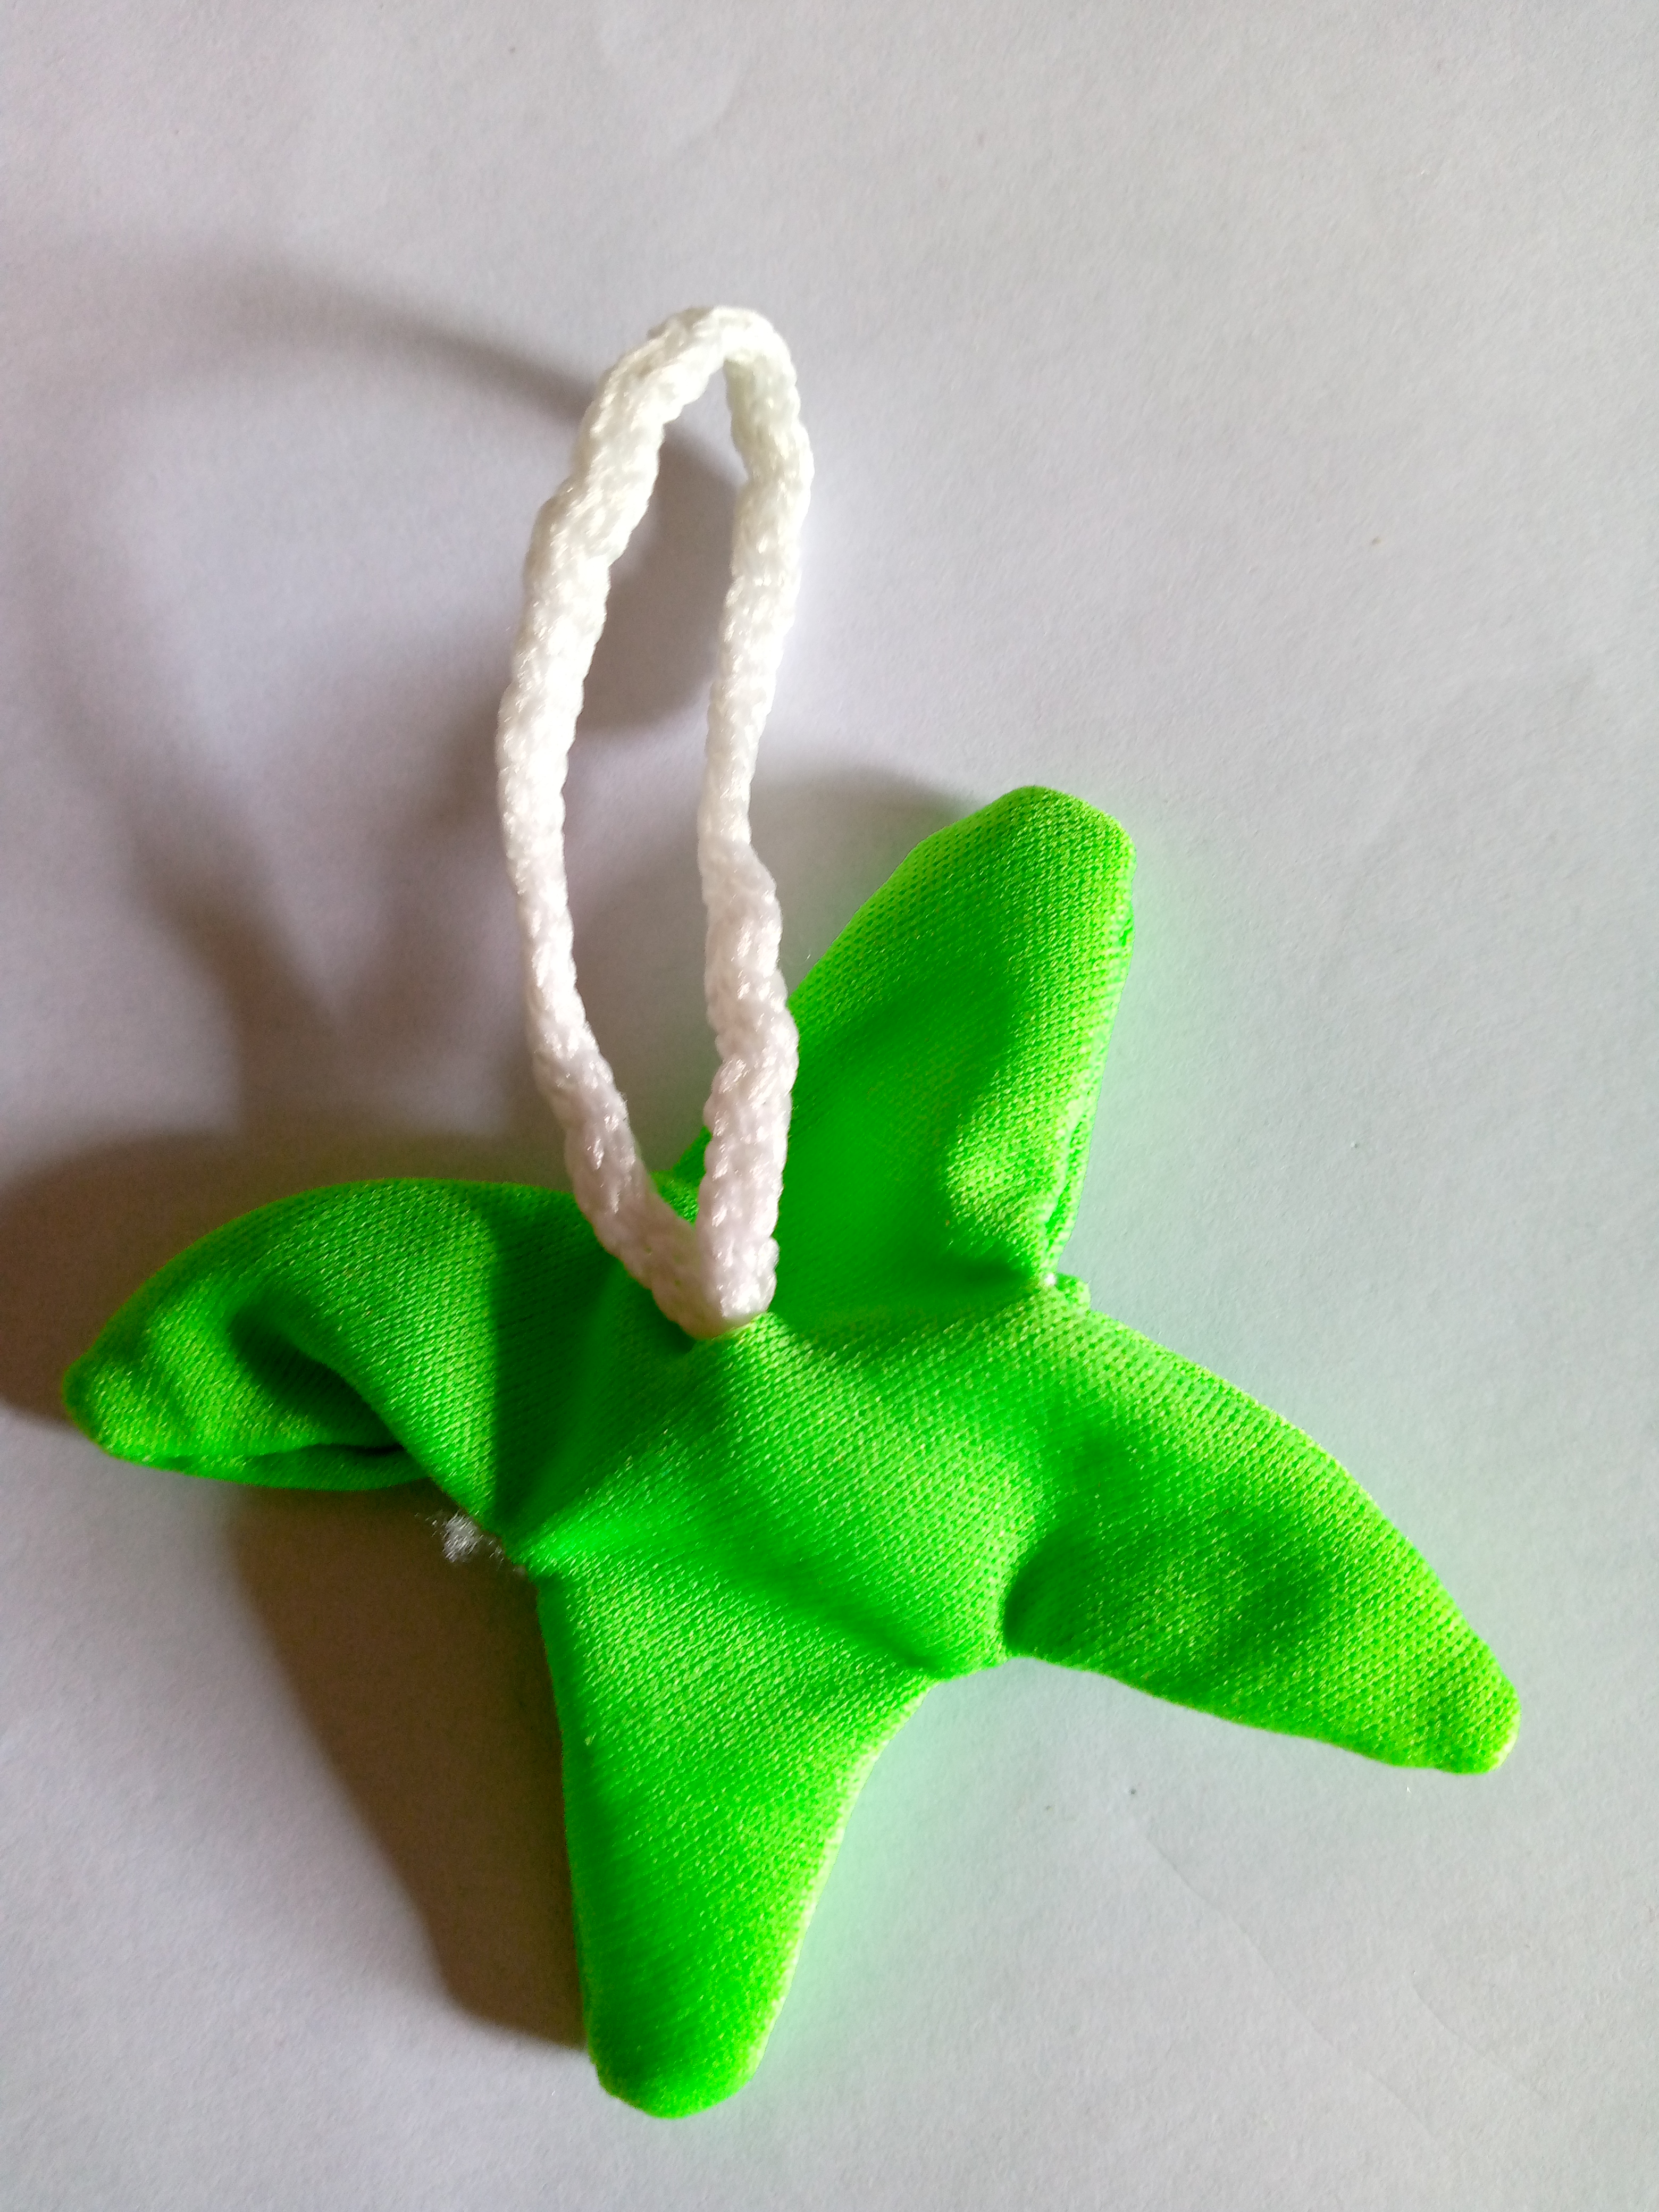
Paso 06
Step 06
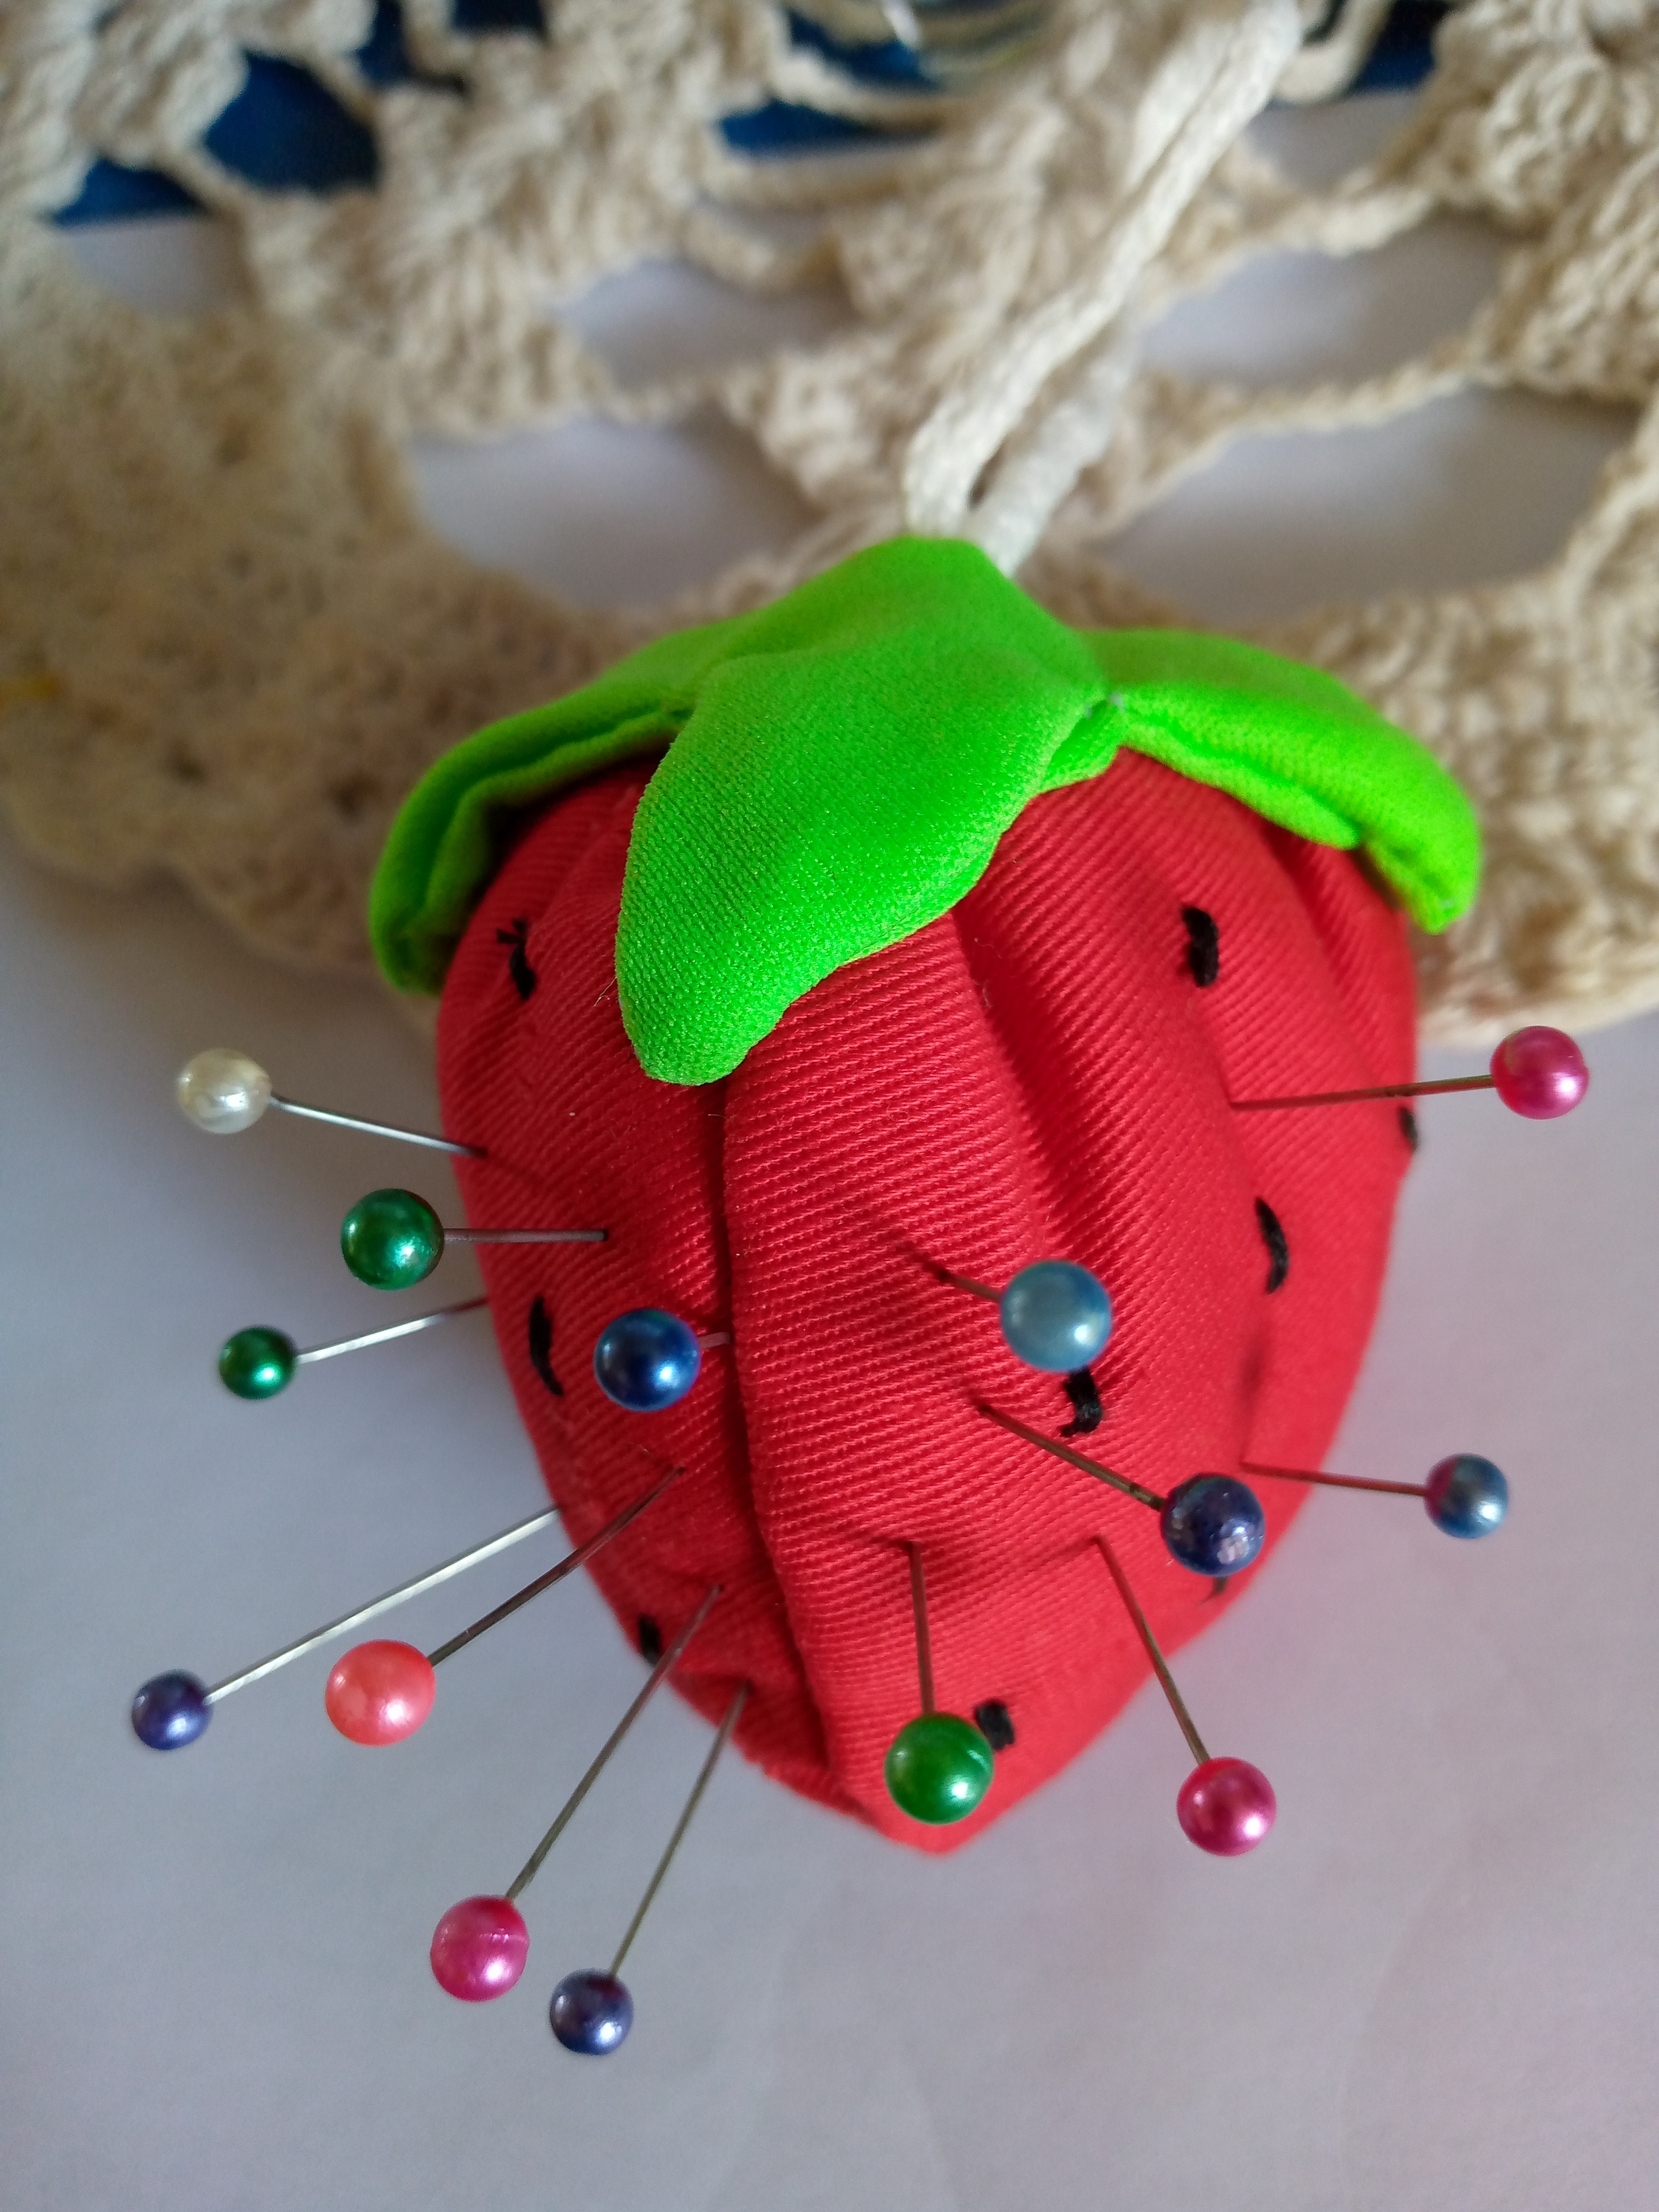
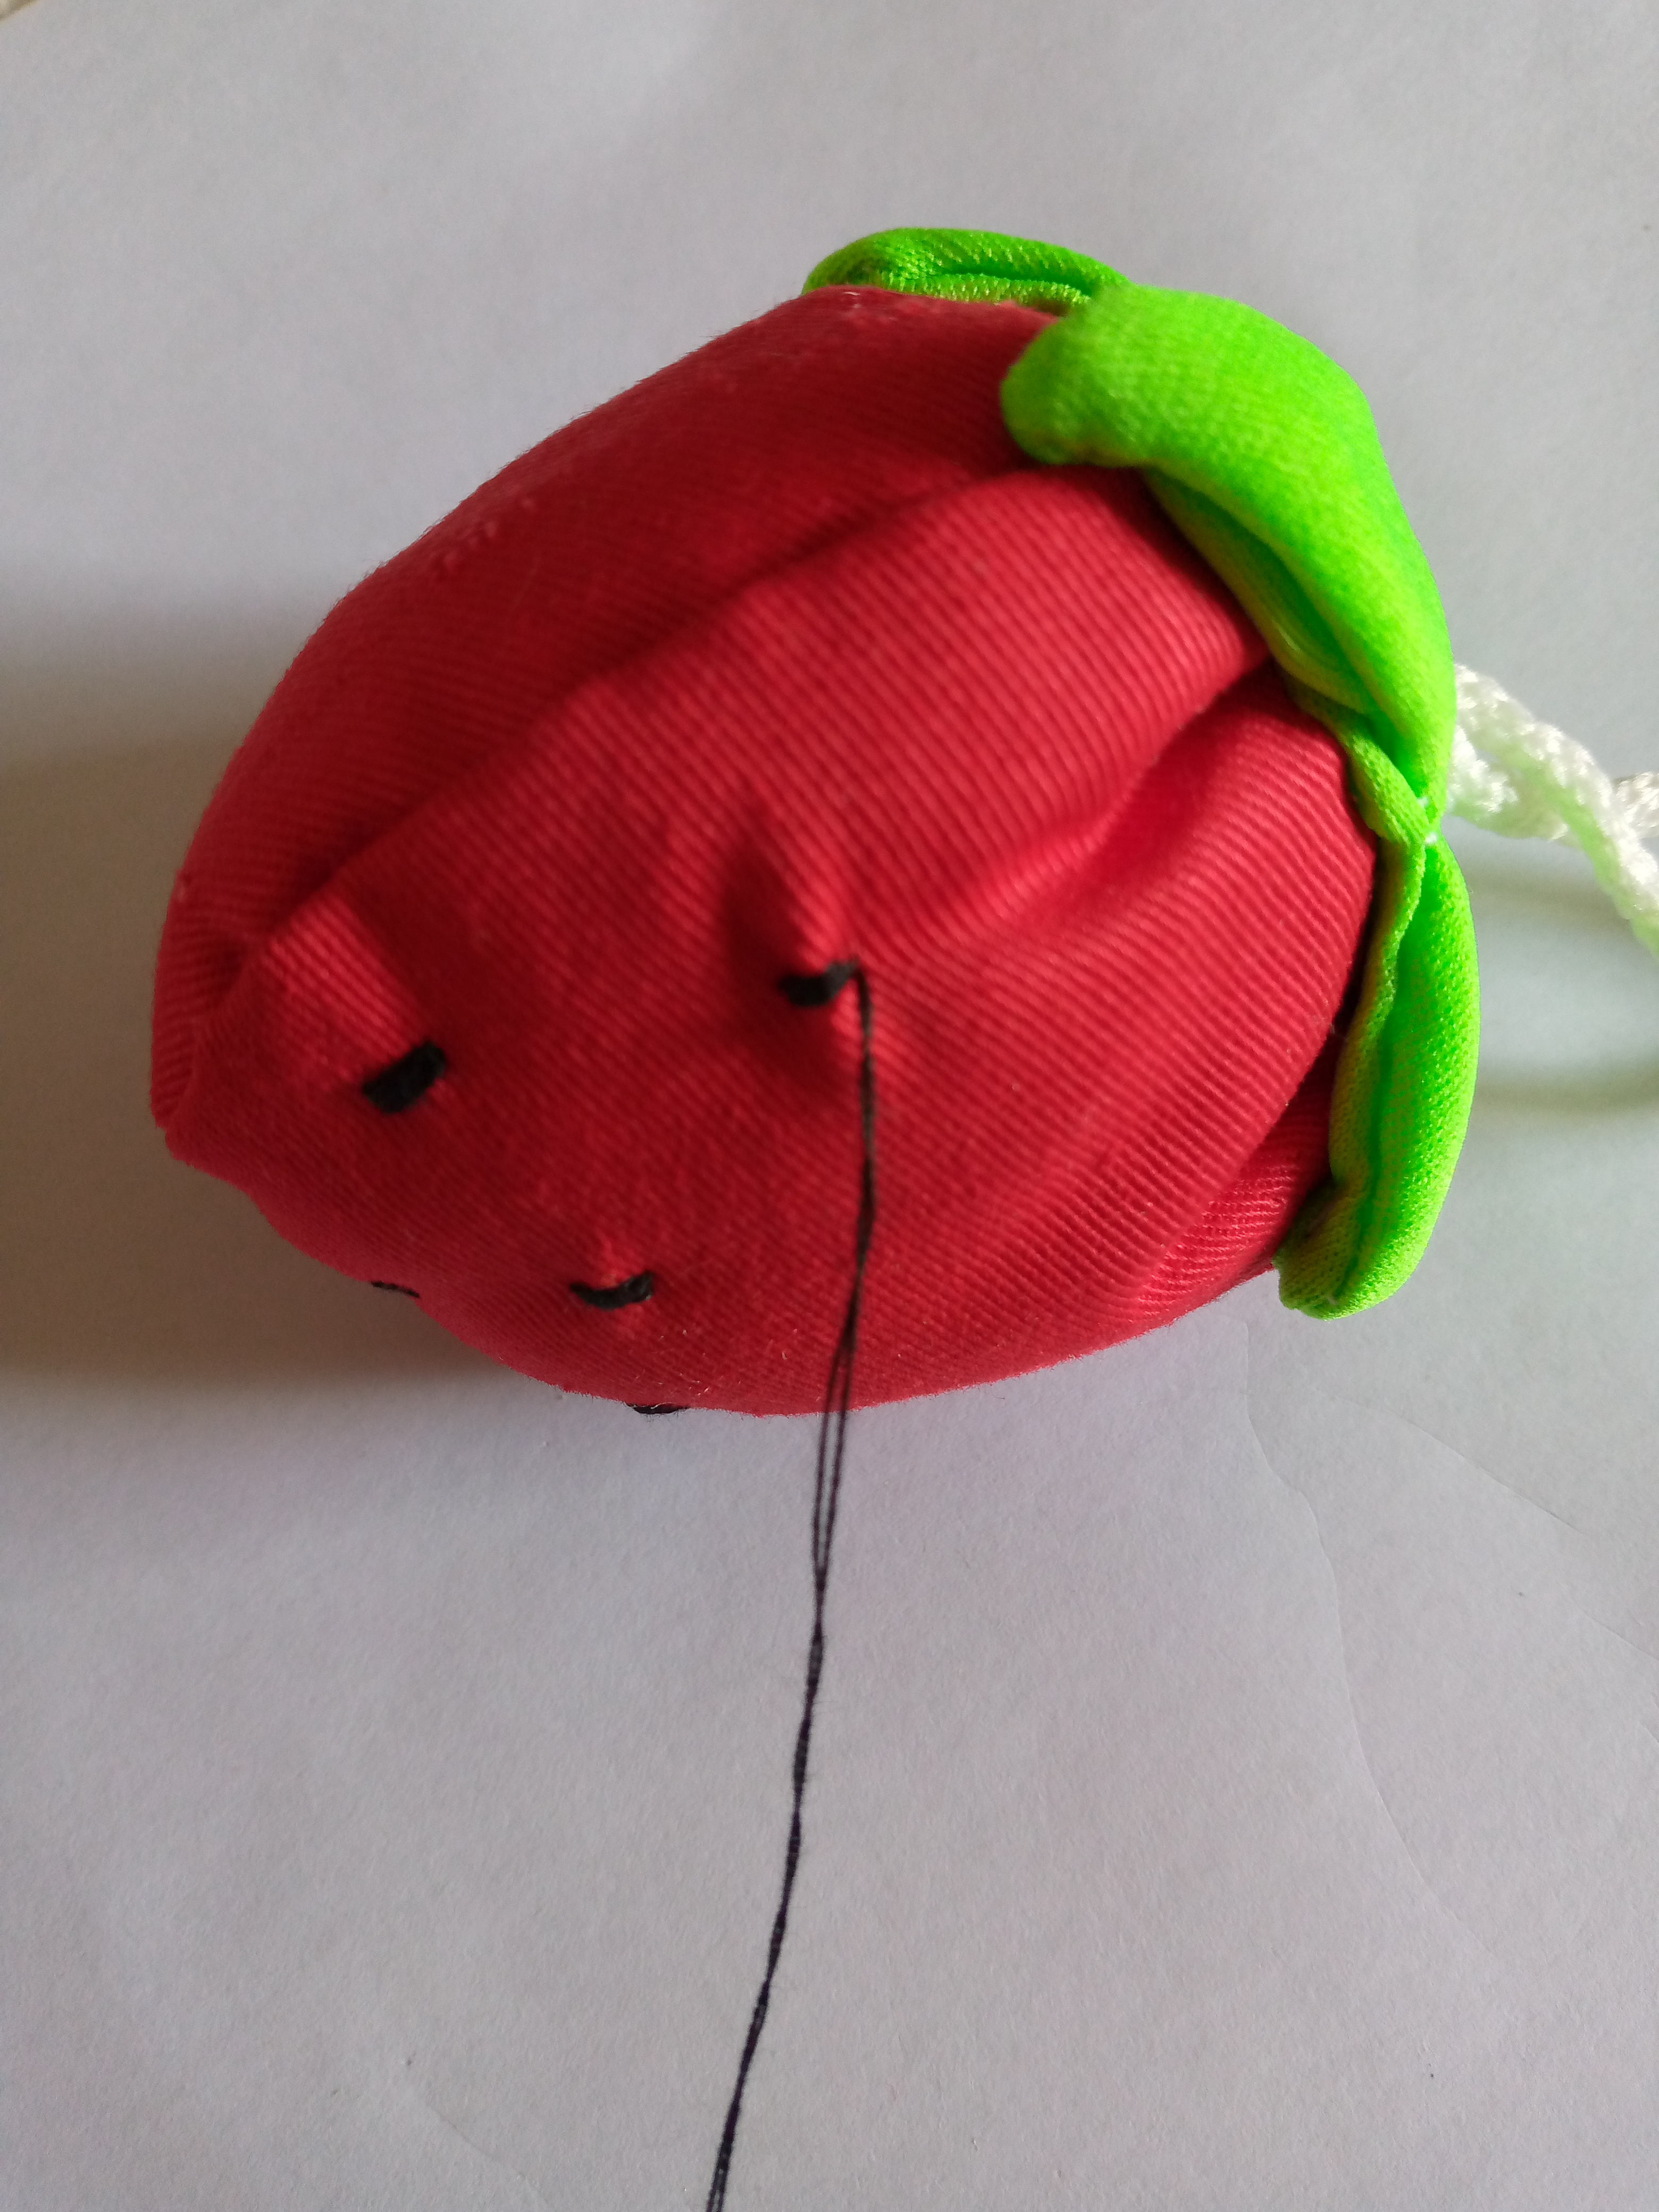
To finish we sew the leaf piece on top of our strawberry and we sew with the black thread our black seeds that the strawberry has on the outside, we sew five times in the same place to form the seeds. We do this for each seed that we make to our strawberry and that's it, so our pincushion is finished.
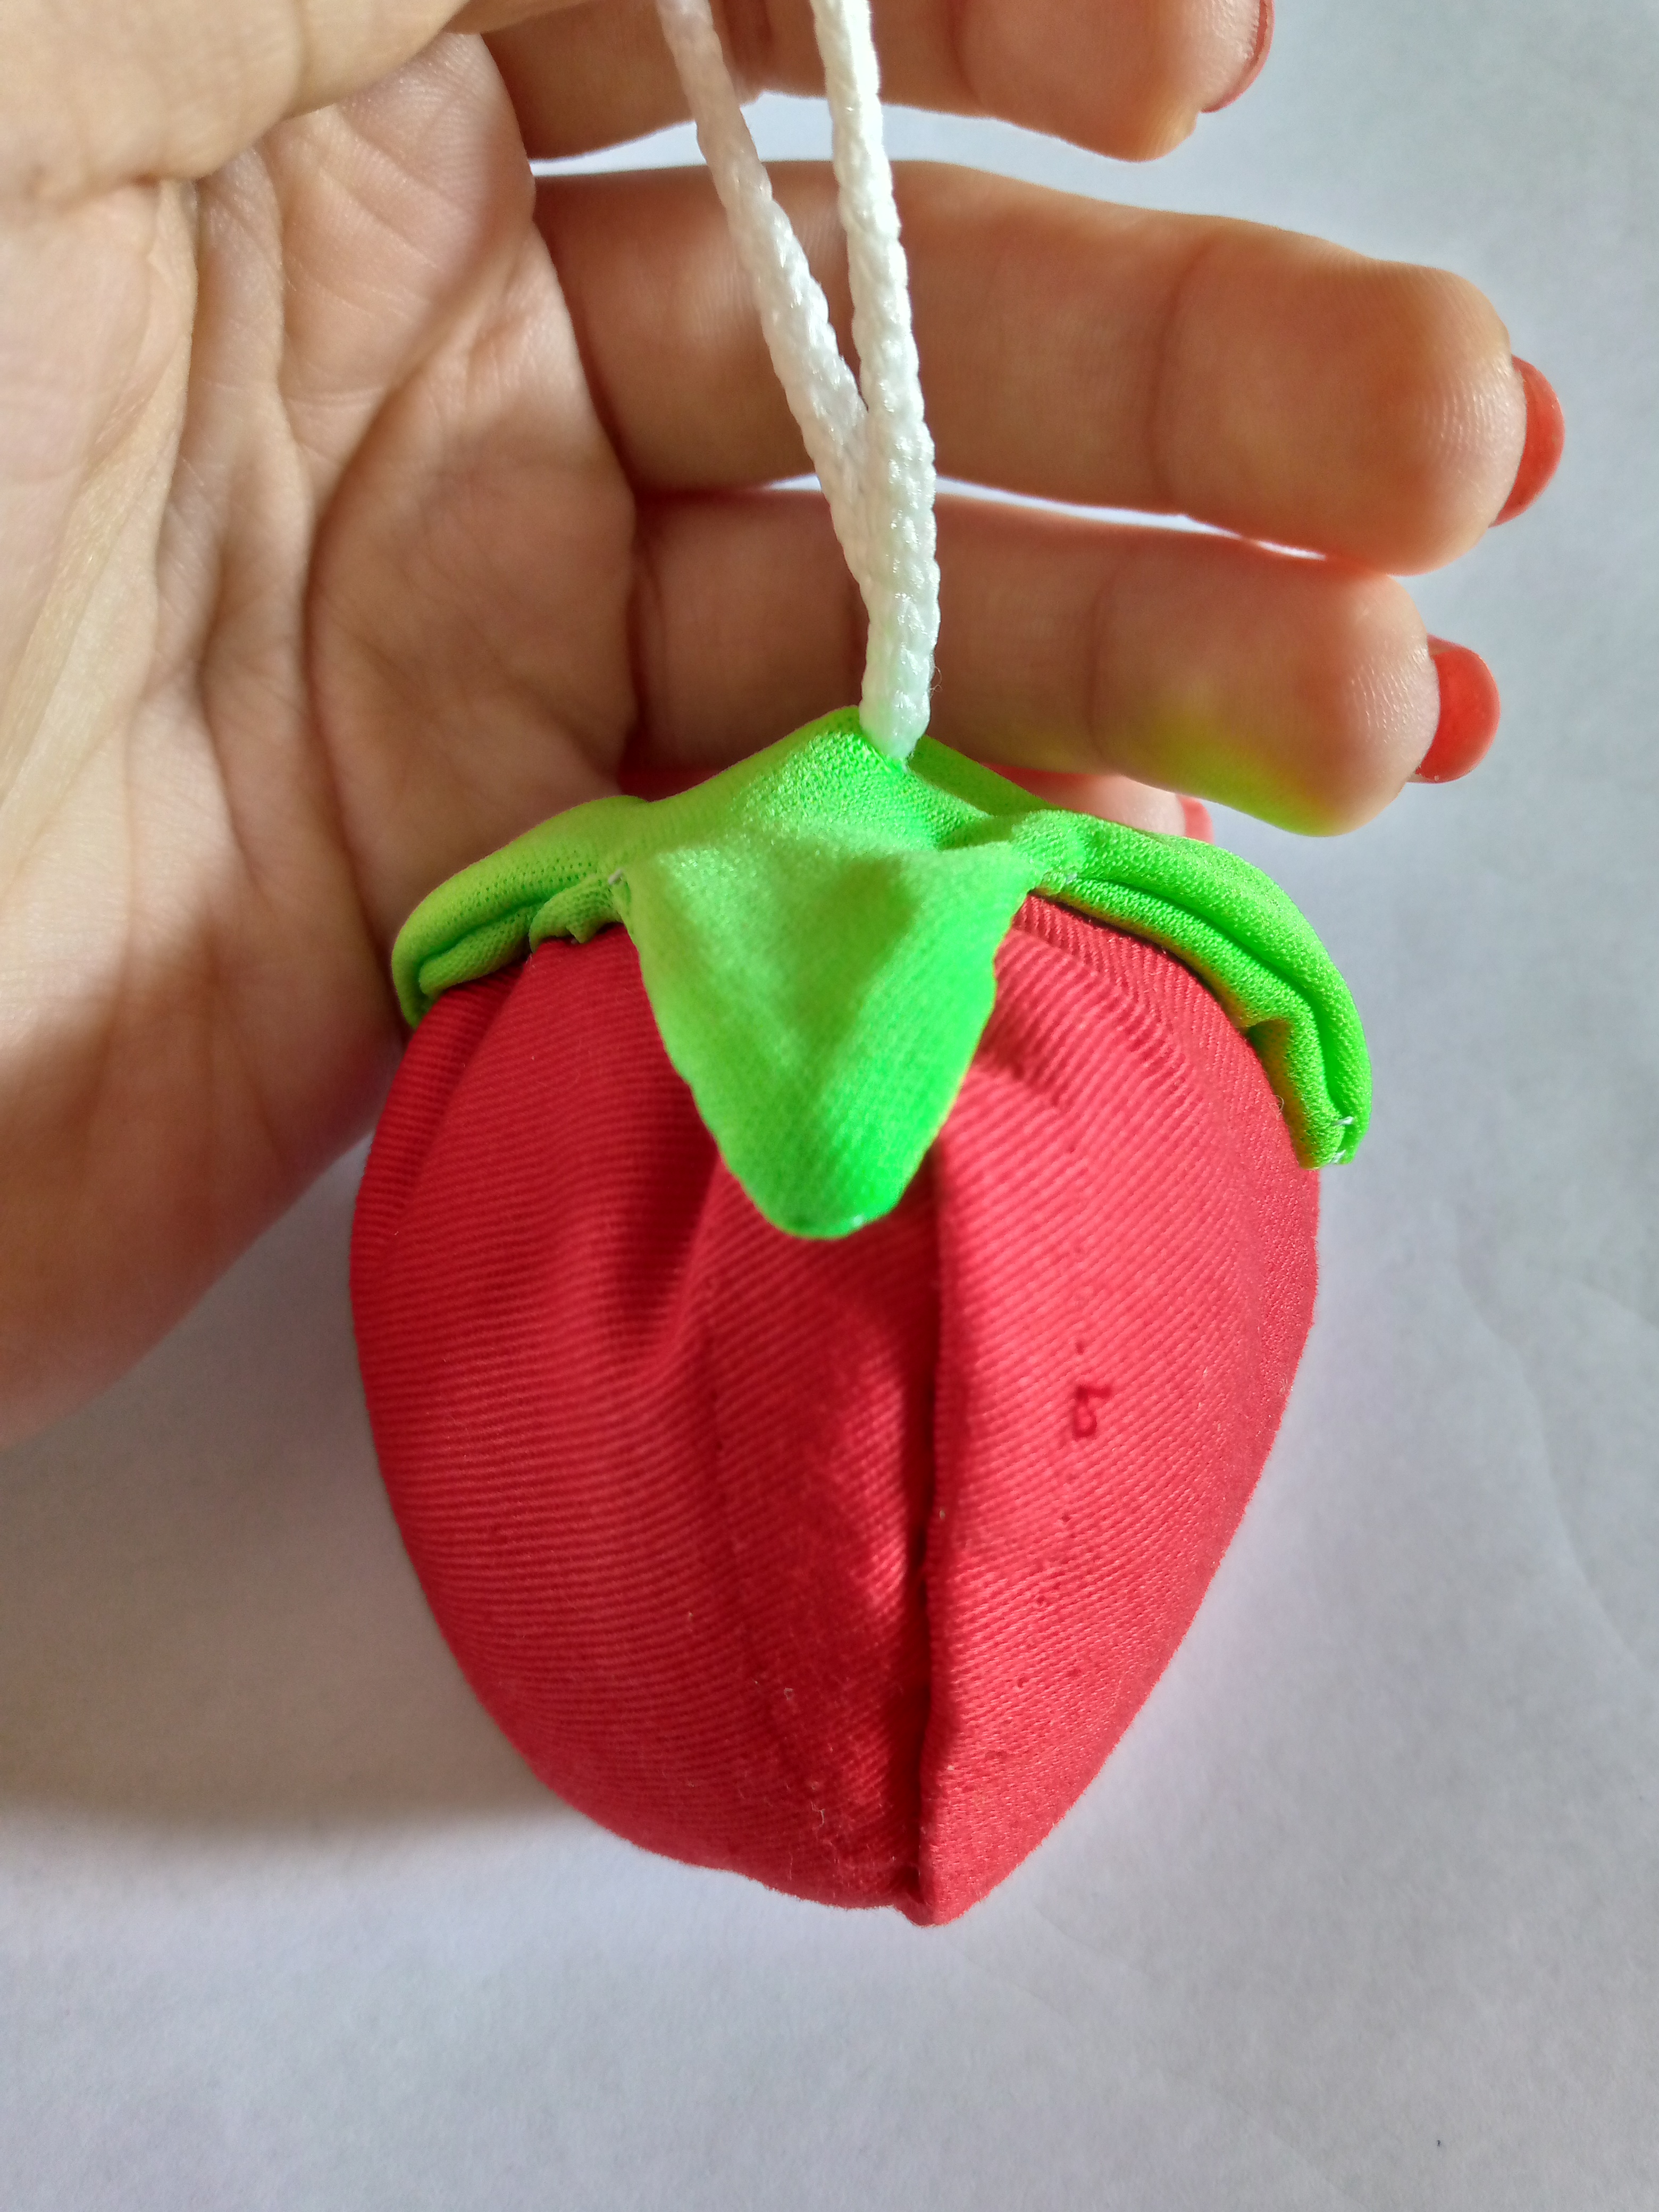
Resultado
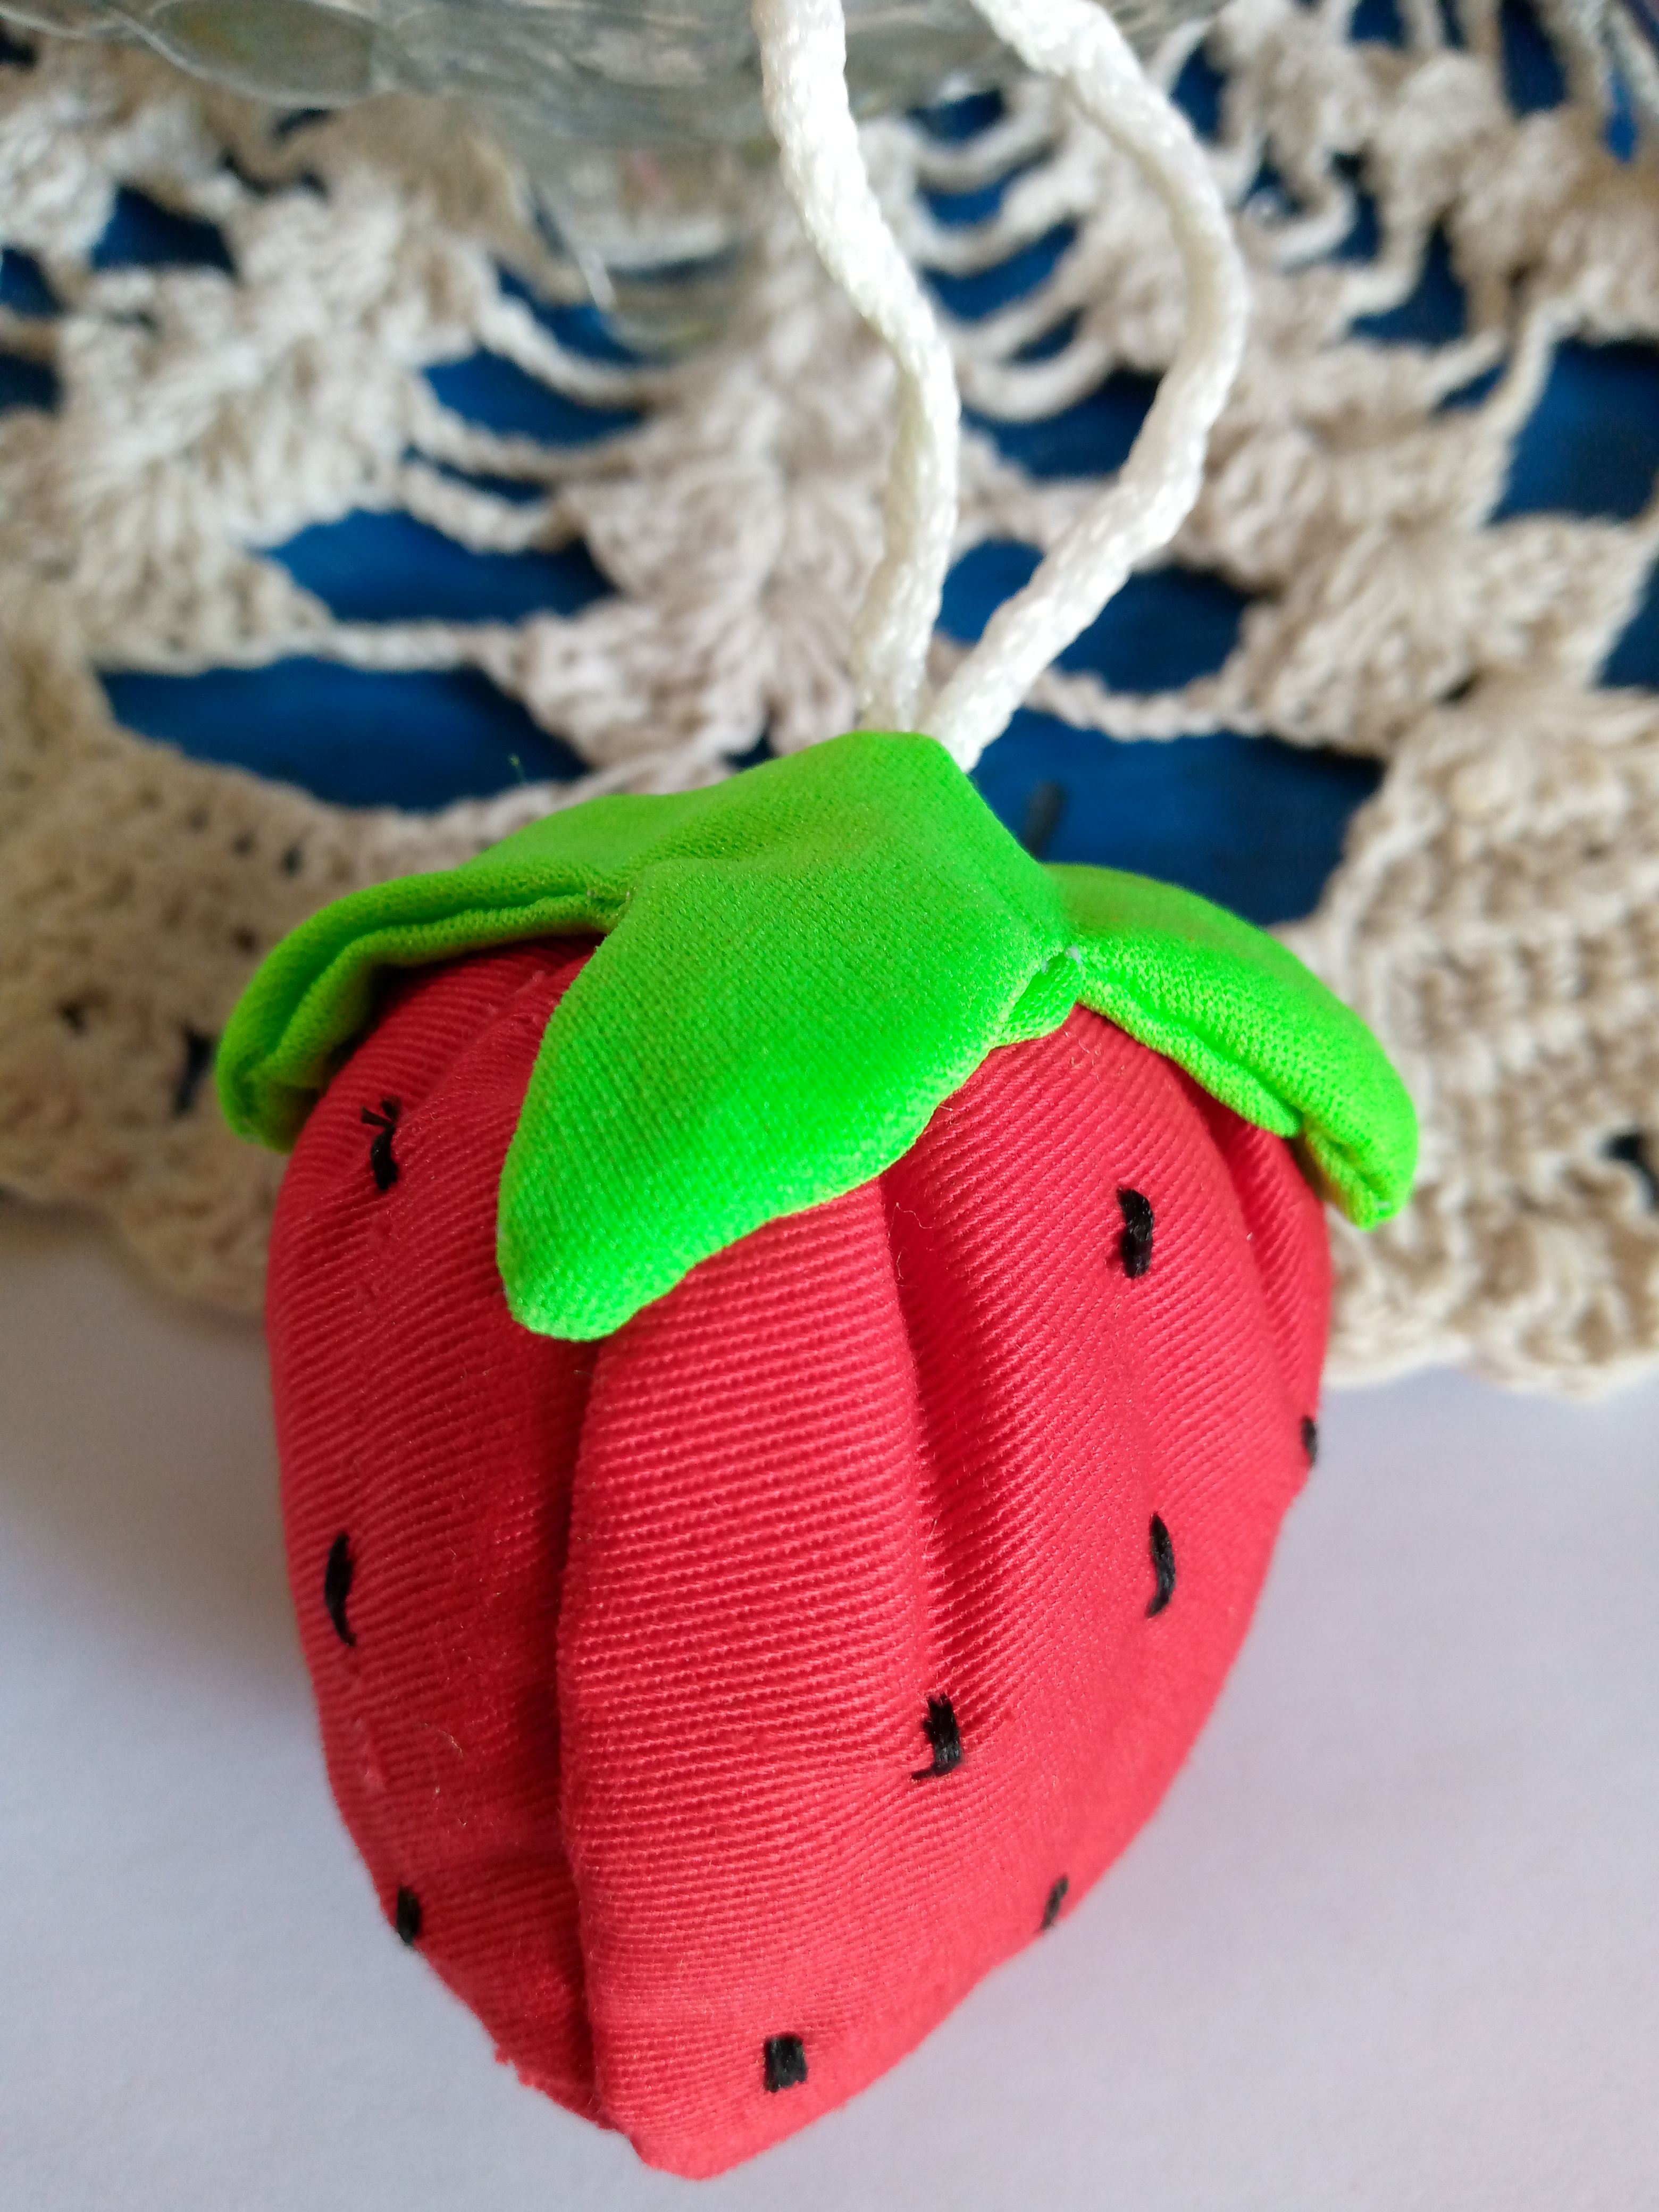
Resultado
This is how my friends turned out. I admit that I fell in love with this pincushion. I love it, without a doubt. I really like it. The colors stand out a lot. It should be noted that the piece of green fabric is in neon color and this color without a doubt. It looks very striking on the strawberry leaf. I encourage you to make this cute, super easy and simple pincushion with those little fabric scraps that we have here at home. In my next blog I will be showing you how to make another pincushion but in the shape of a turtle. Stay tuned my friends and well I say goodbye to you with a big hug, see you.