
¡Hola comunidad de Hive! Espero se encuentren muy bien, estaba bastante perdida por acá, mucho tiempo sin compartirles de bordados, hoy quiero mostrarles el proceso de elaboración de este que esta inspirado en el nombre de mi hija Aurora, muchas personas cuando la ven la llaman Aurora de la mañana.
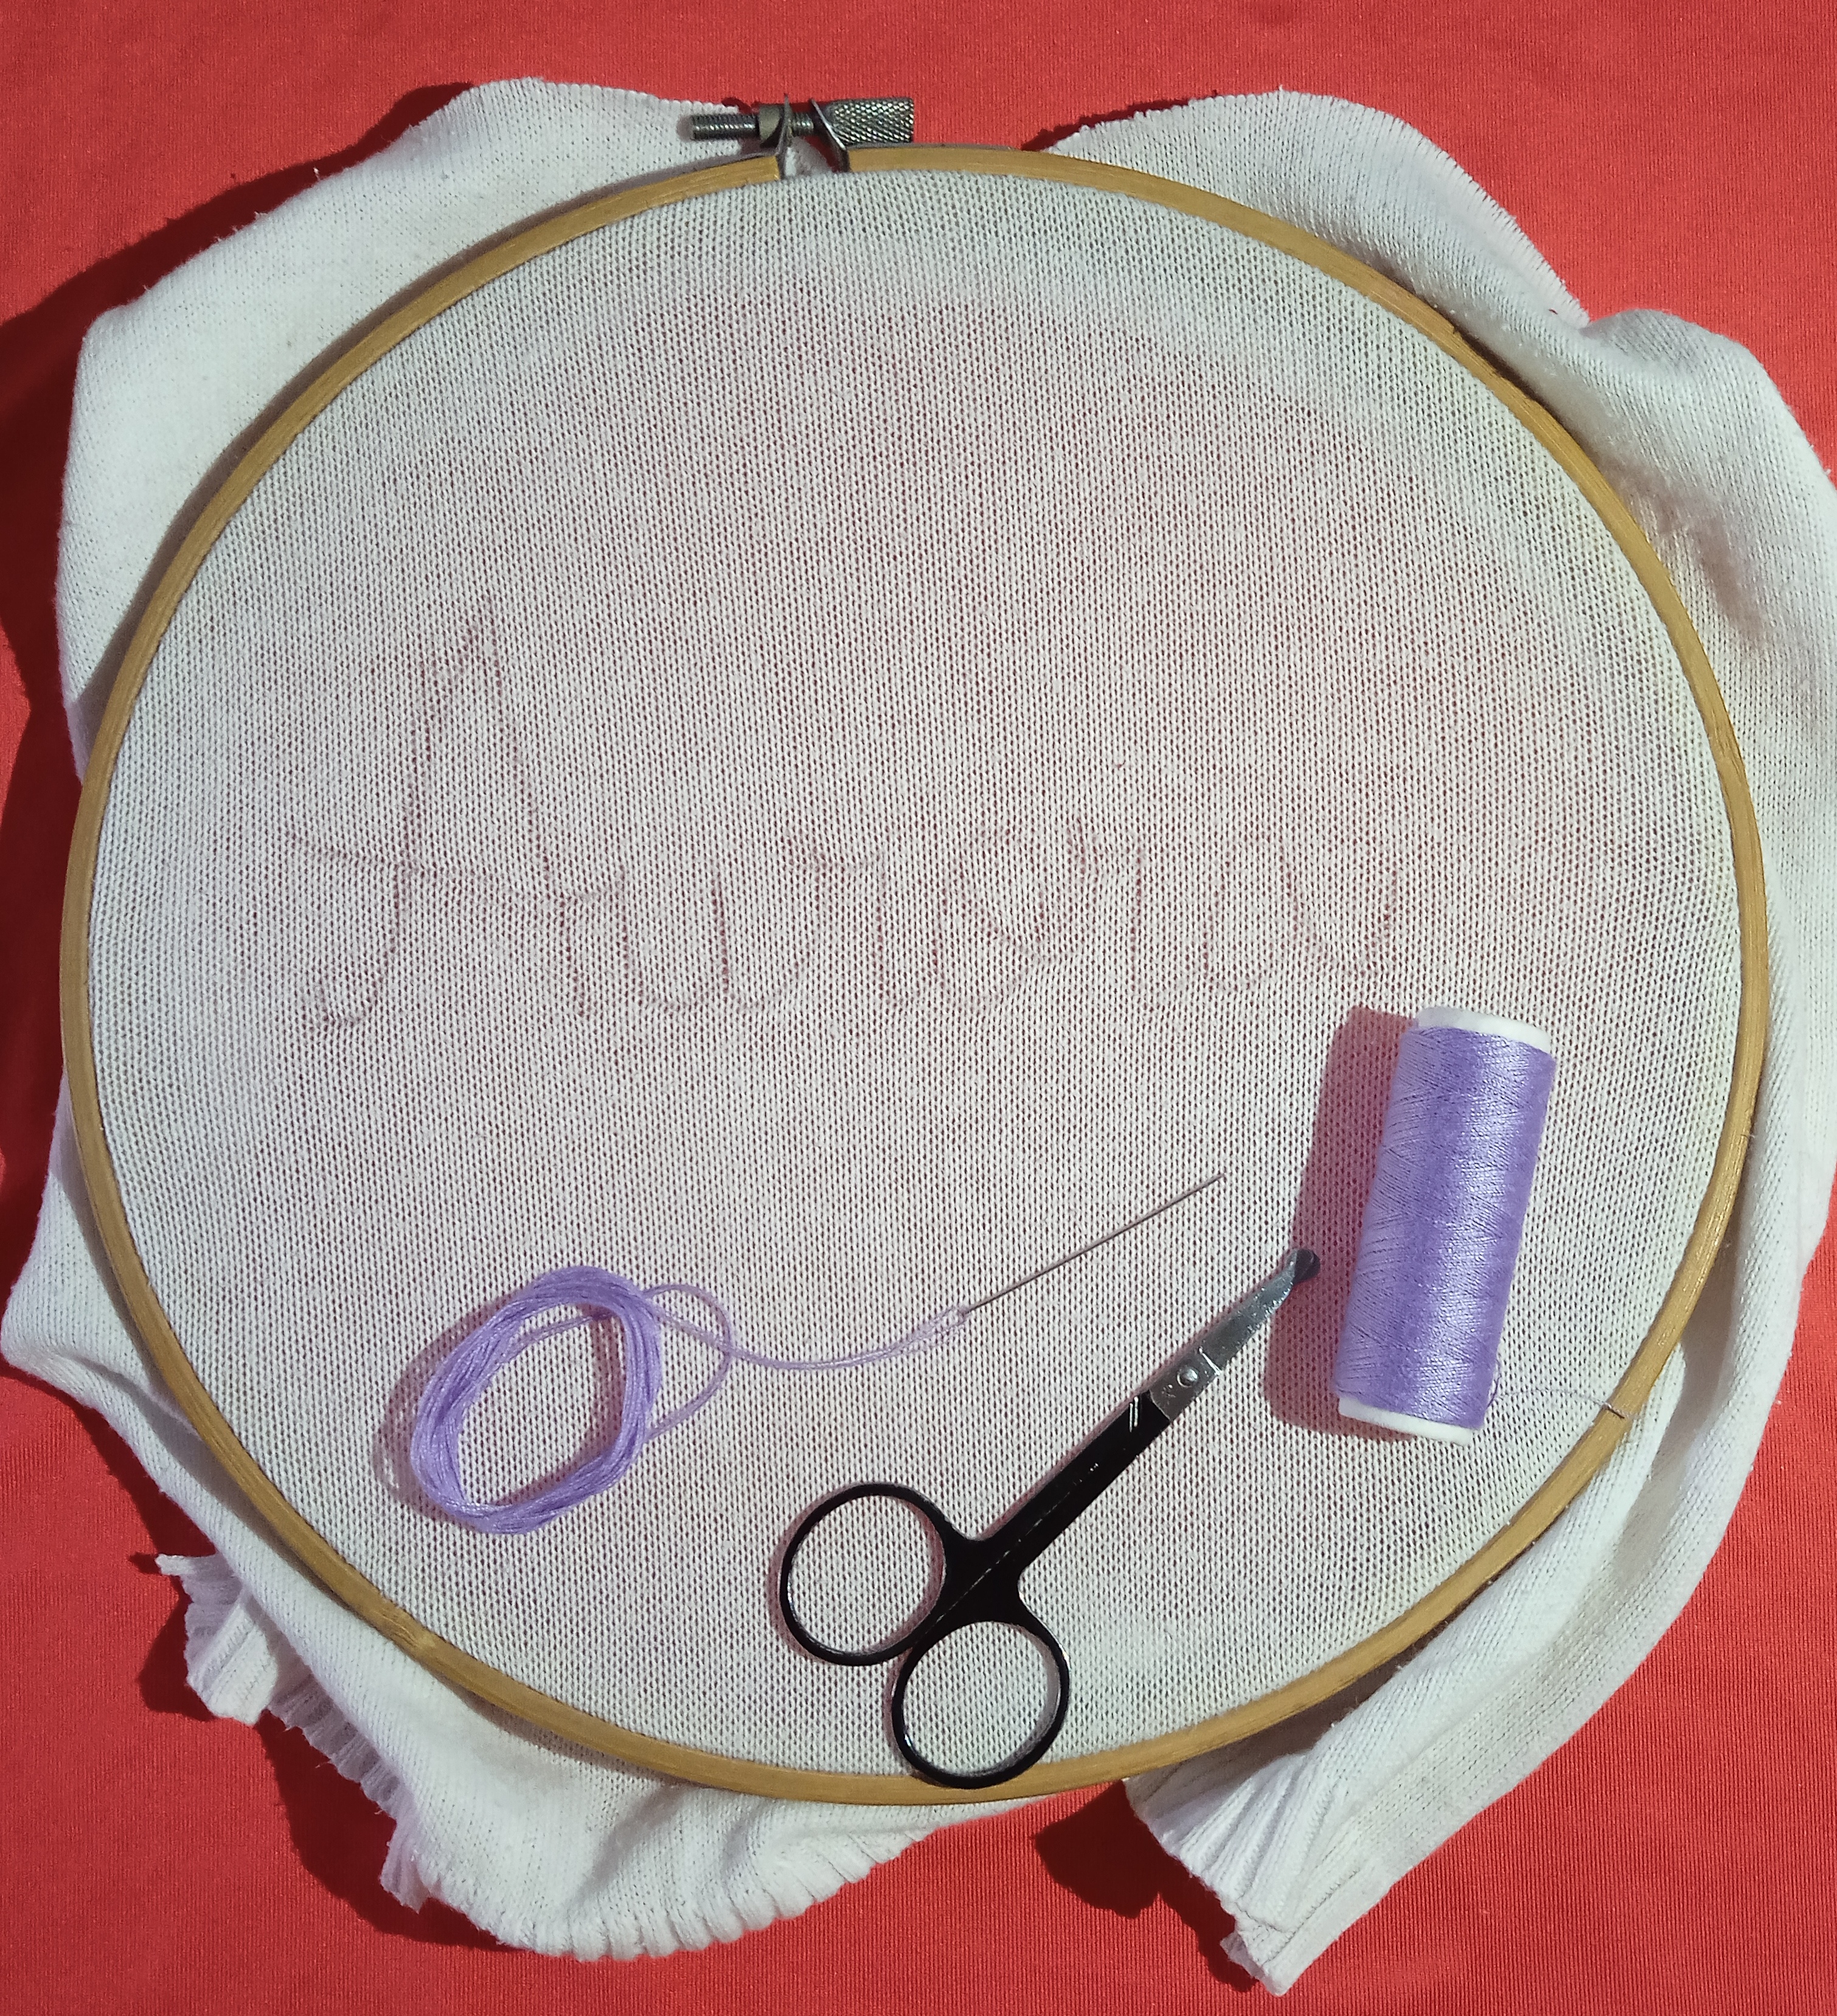
Para comenzar como no cuento en estos momentos con telas para bordar, decidí tomar la tela de un suéter viejo blanco, cuando quede embarazada el color que más me gustaba para ese tiempo eran los lilas, violetas claros y también pasteles, y estos colores los relaciono mucho con ella, así que para esta ocasión los que usare son; lila, rosado claro y dos tonos de naranja claro, aguja y tijera.
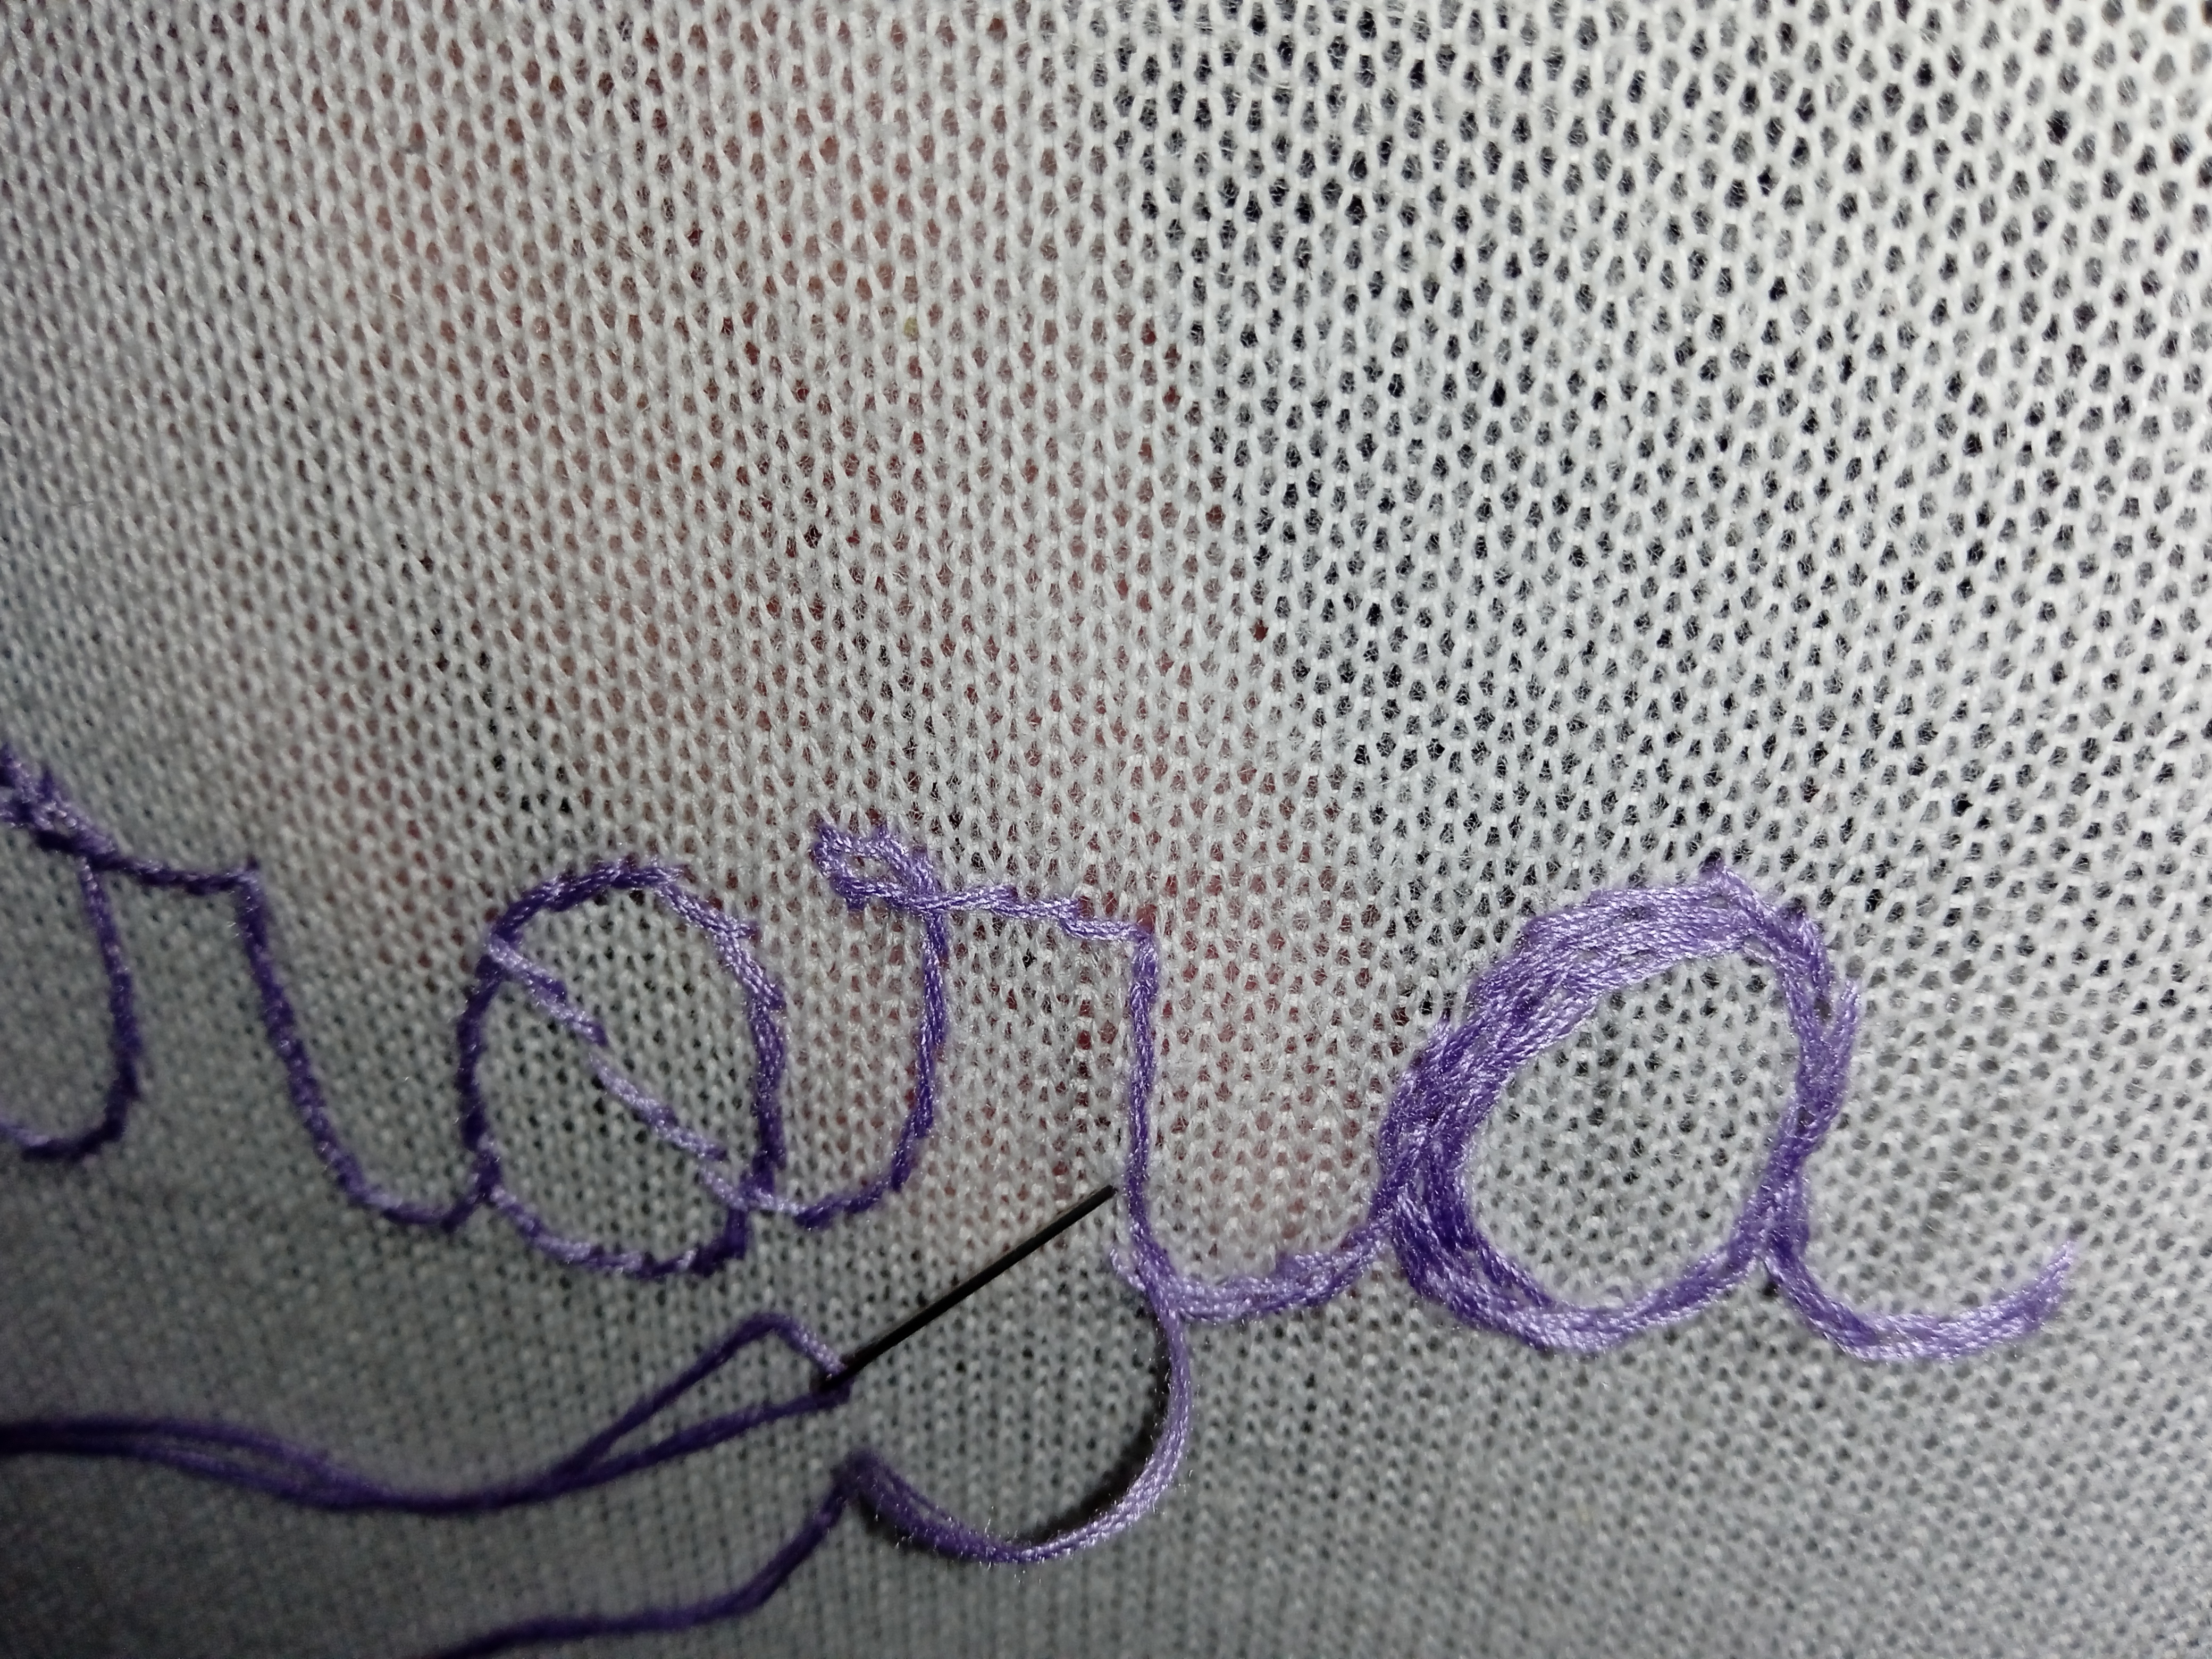
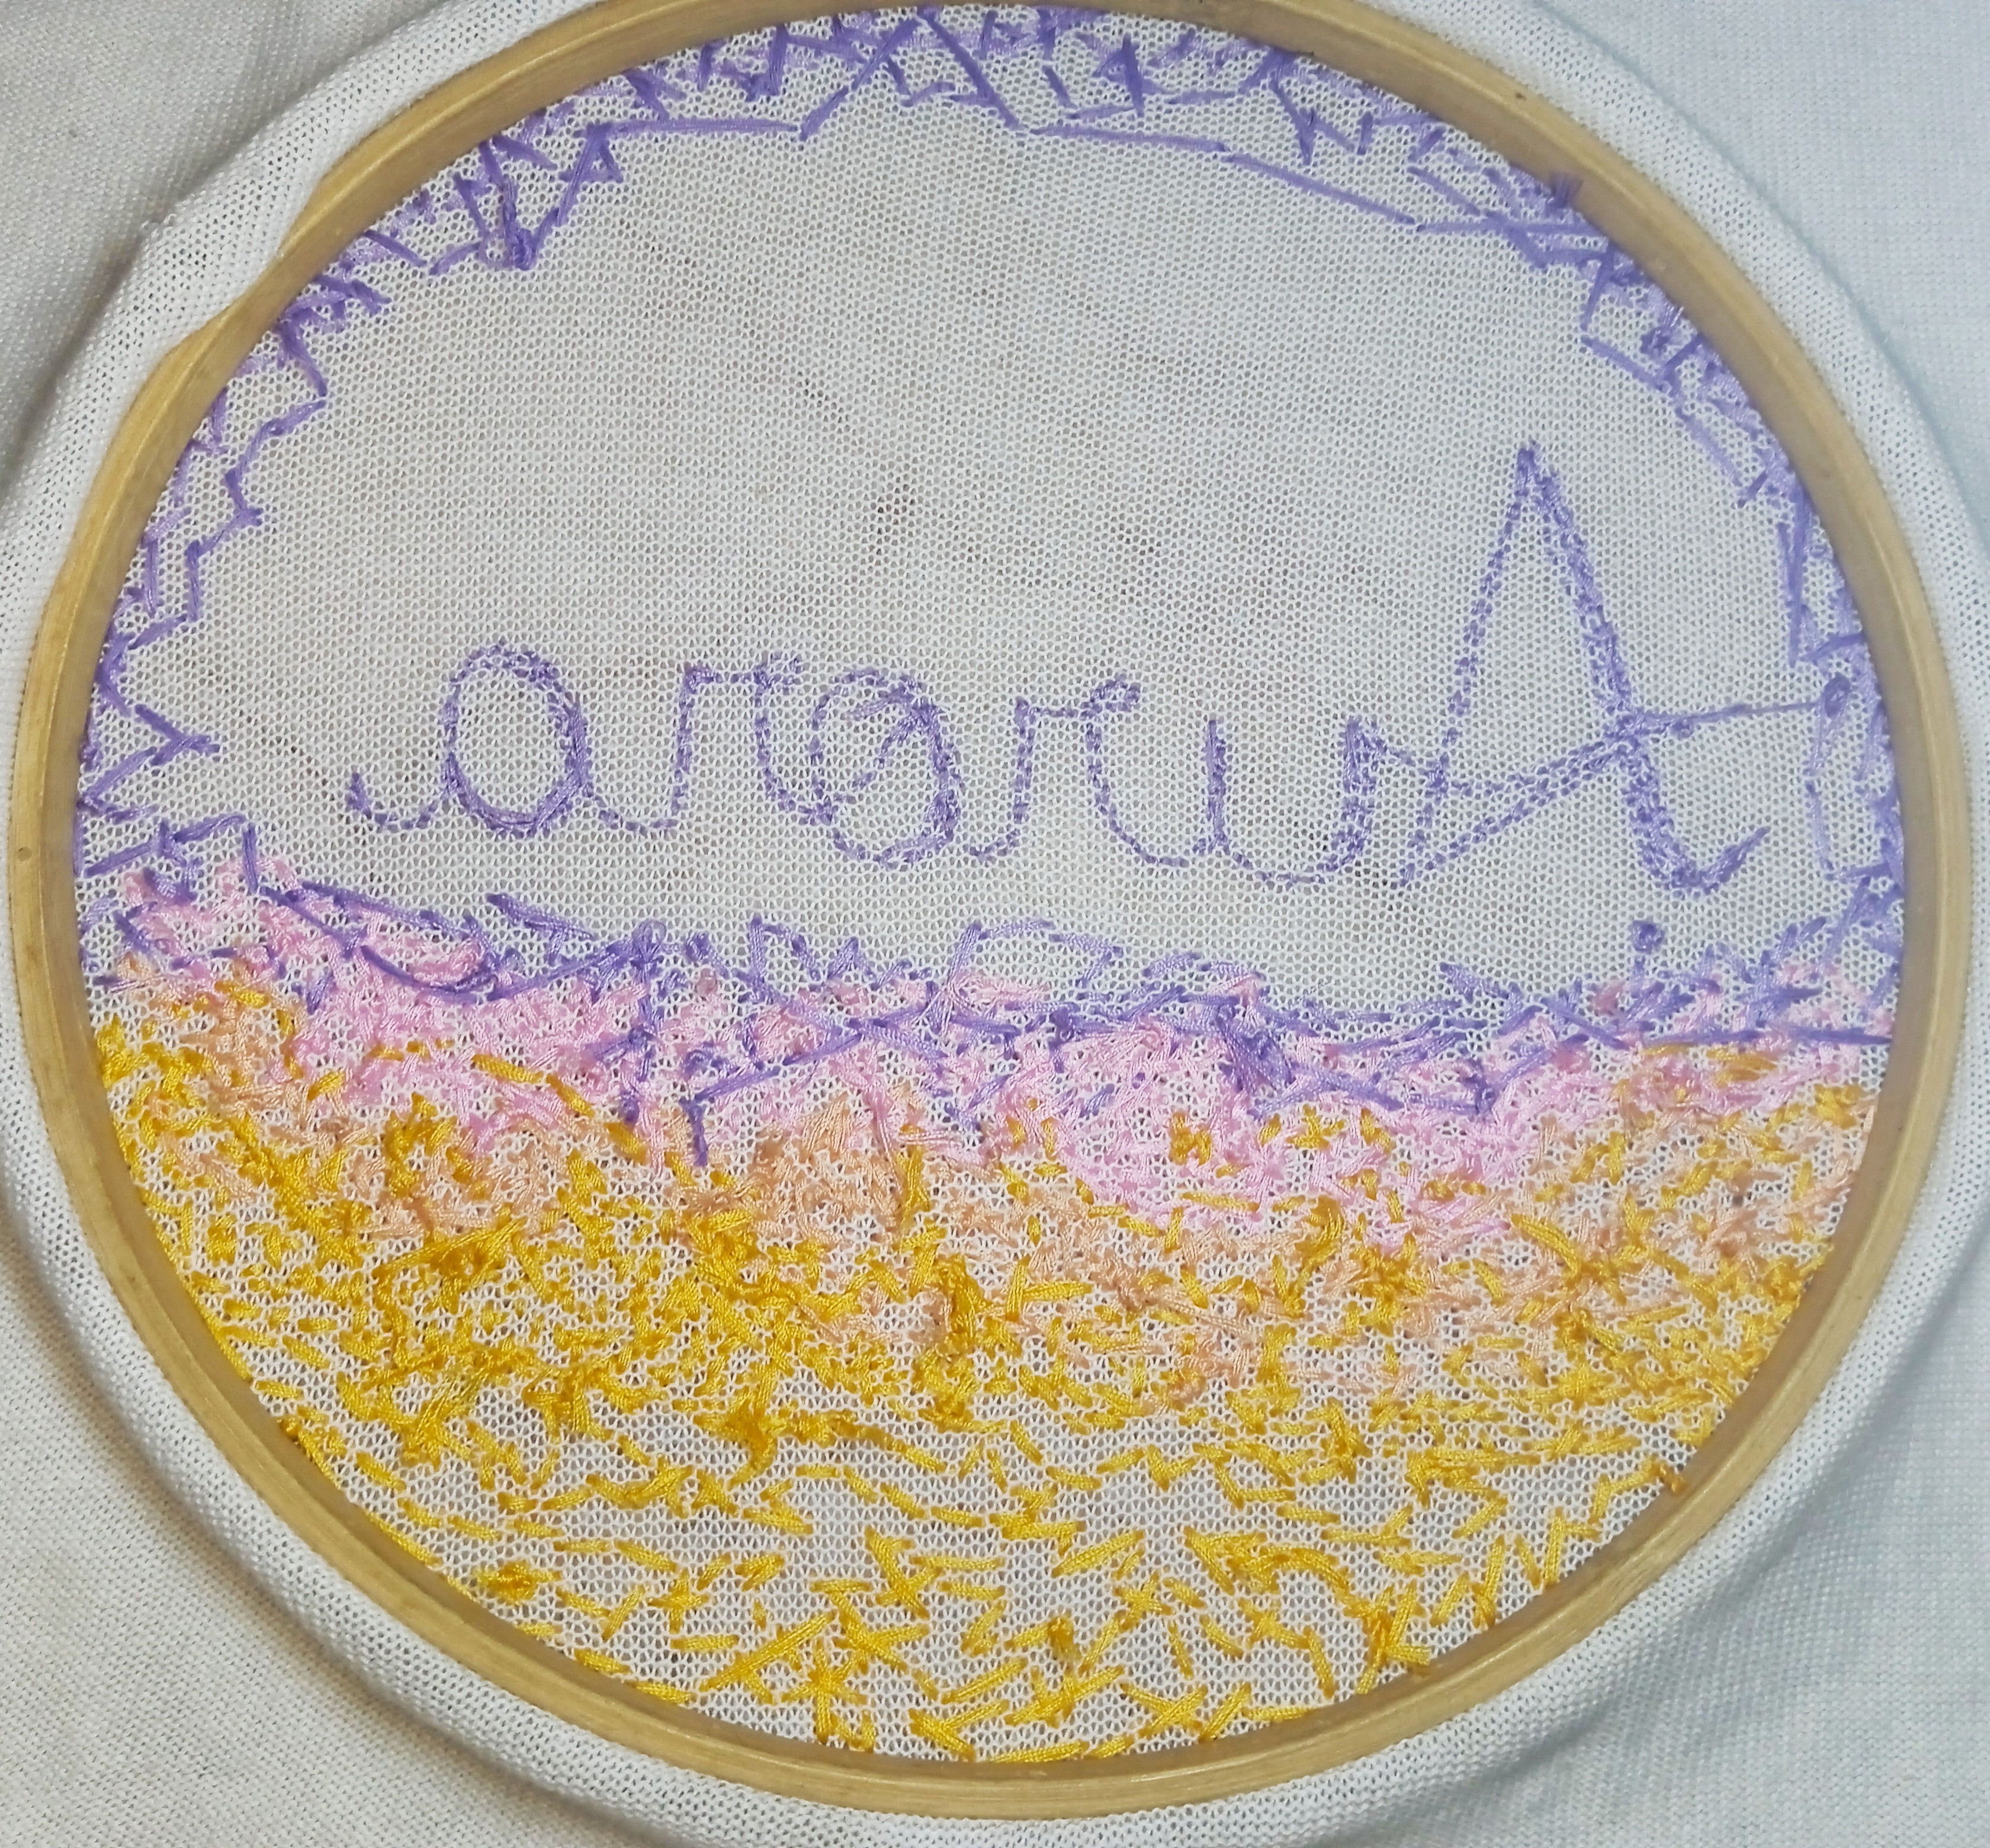
Primero que todo trazo muy claro el nombre centrado para tener una guía.
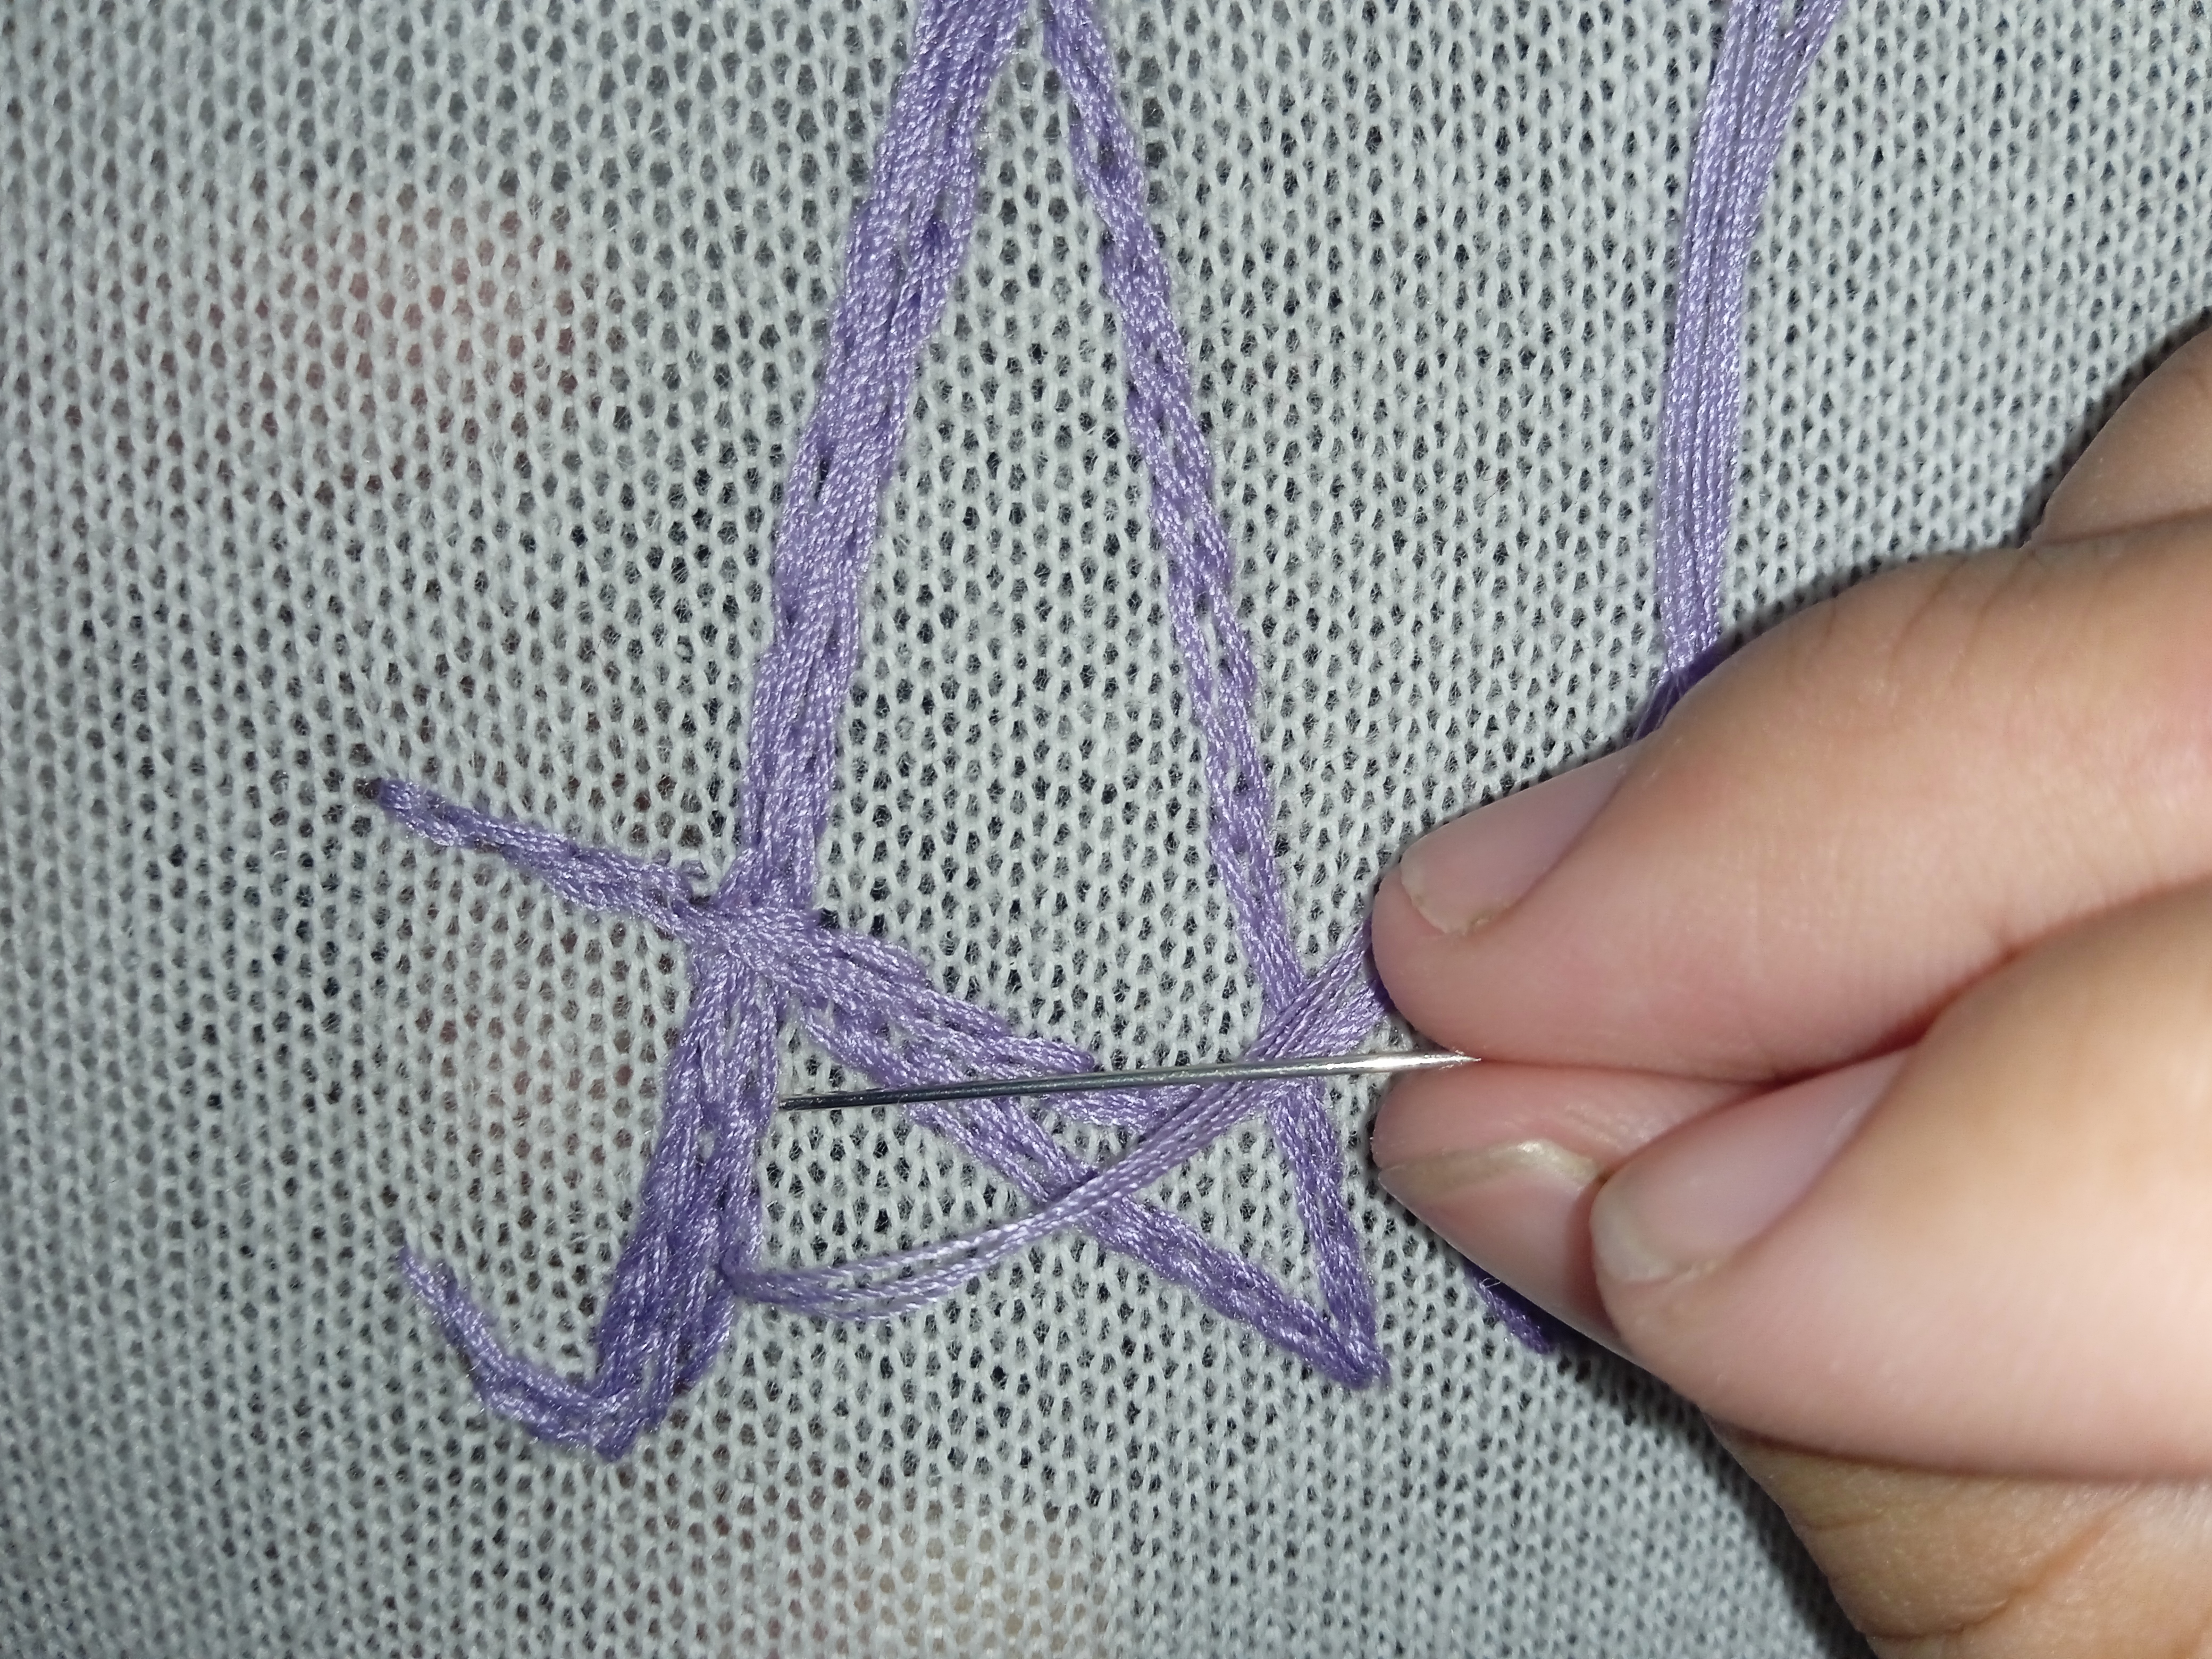
El punto que utilice que lo veo como una variación, es el punto de atrás y el punto de tallo, el punto de atrás que es como se conoce, lo utilizo al reverso, lo que quiero decir; es una puntada inversa, ya que la parte superior queda atrás de la tela y la inferior de frente a la tela.

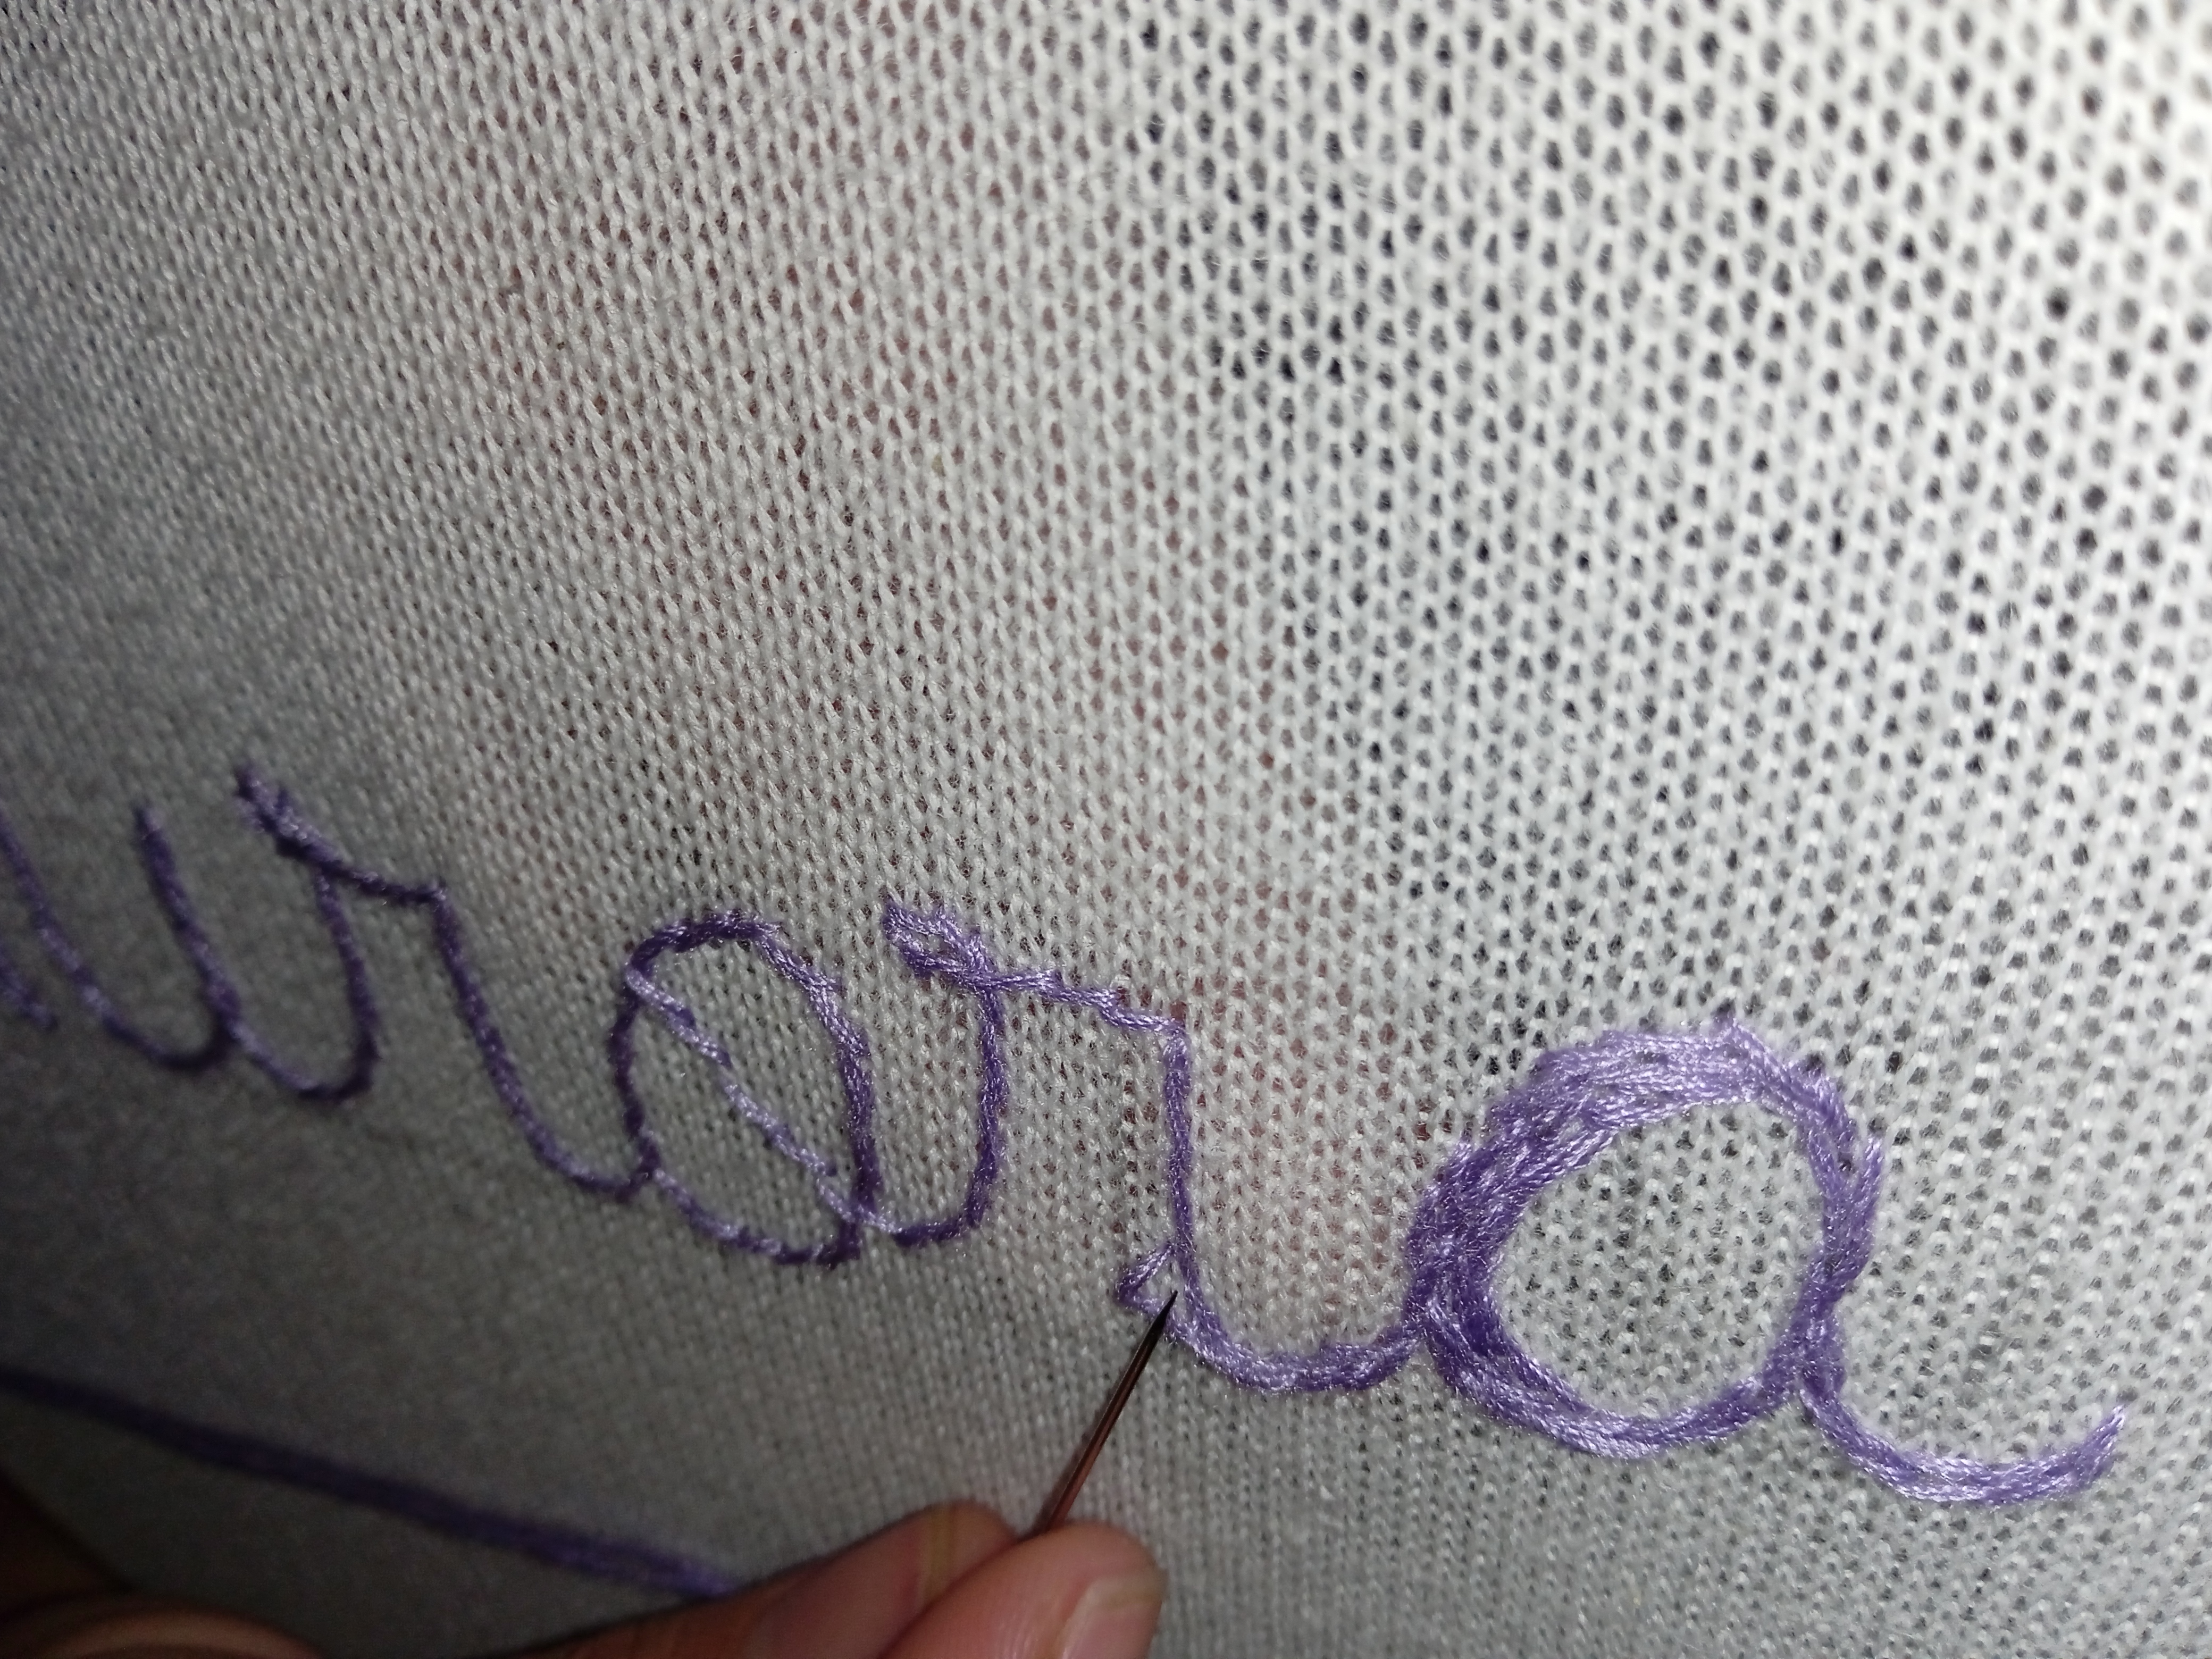
Punto de atrás: a la vista parece puntada de maquina de coser, la cual no lo es, ya que por la parte superior de la tela se ve como una puntada seguida, pero por la parte inferior los puntos son mas largos.
Punto de tallo: es similar a al punto de atrás pero mas abierto en la parte superior de la tela.
Estas definiciones las veras mucho en mis post por si es la primera ve que lo lees.
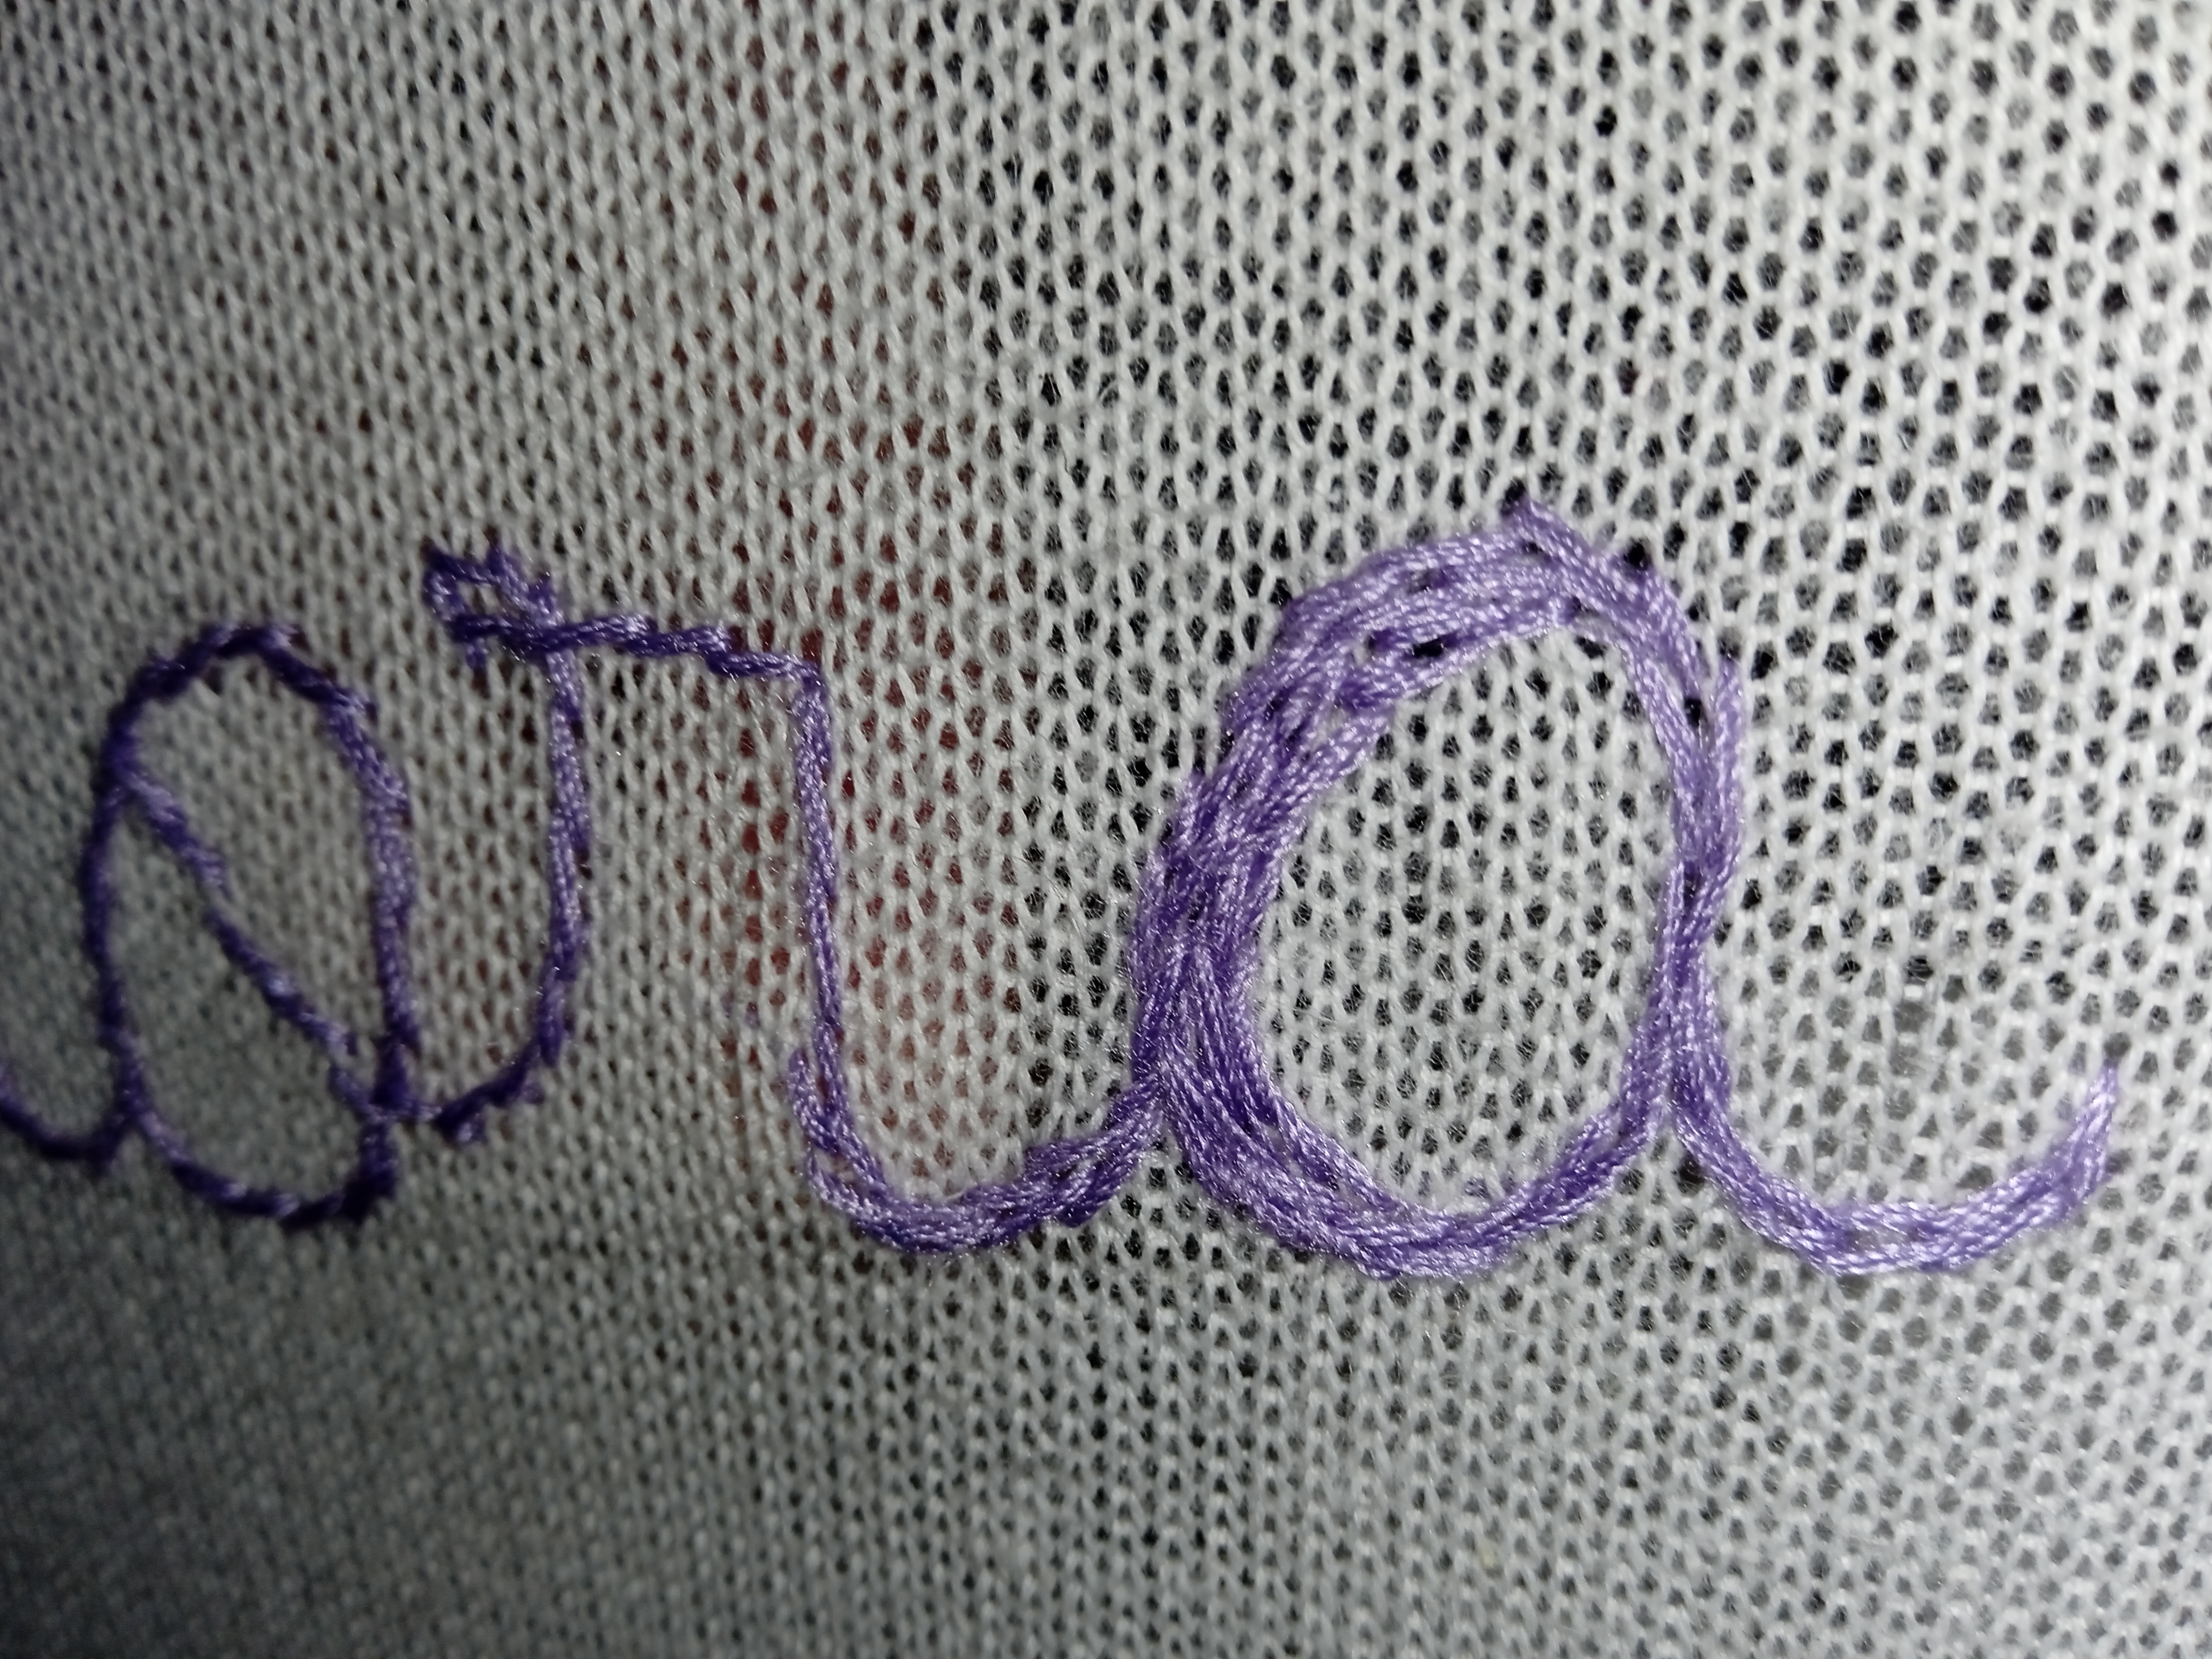
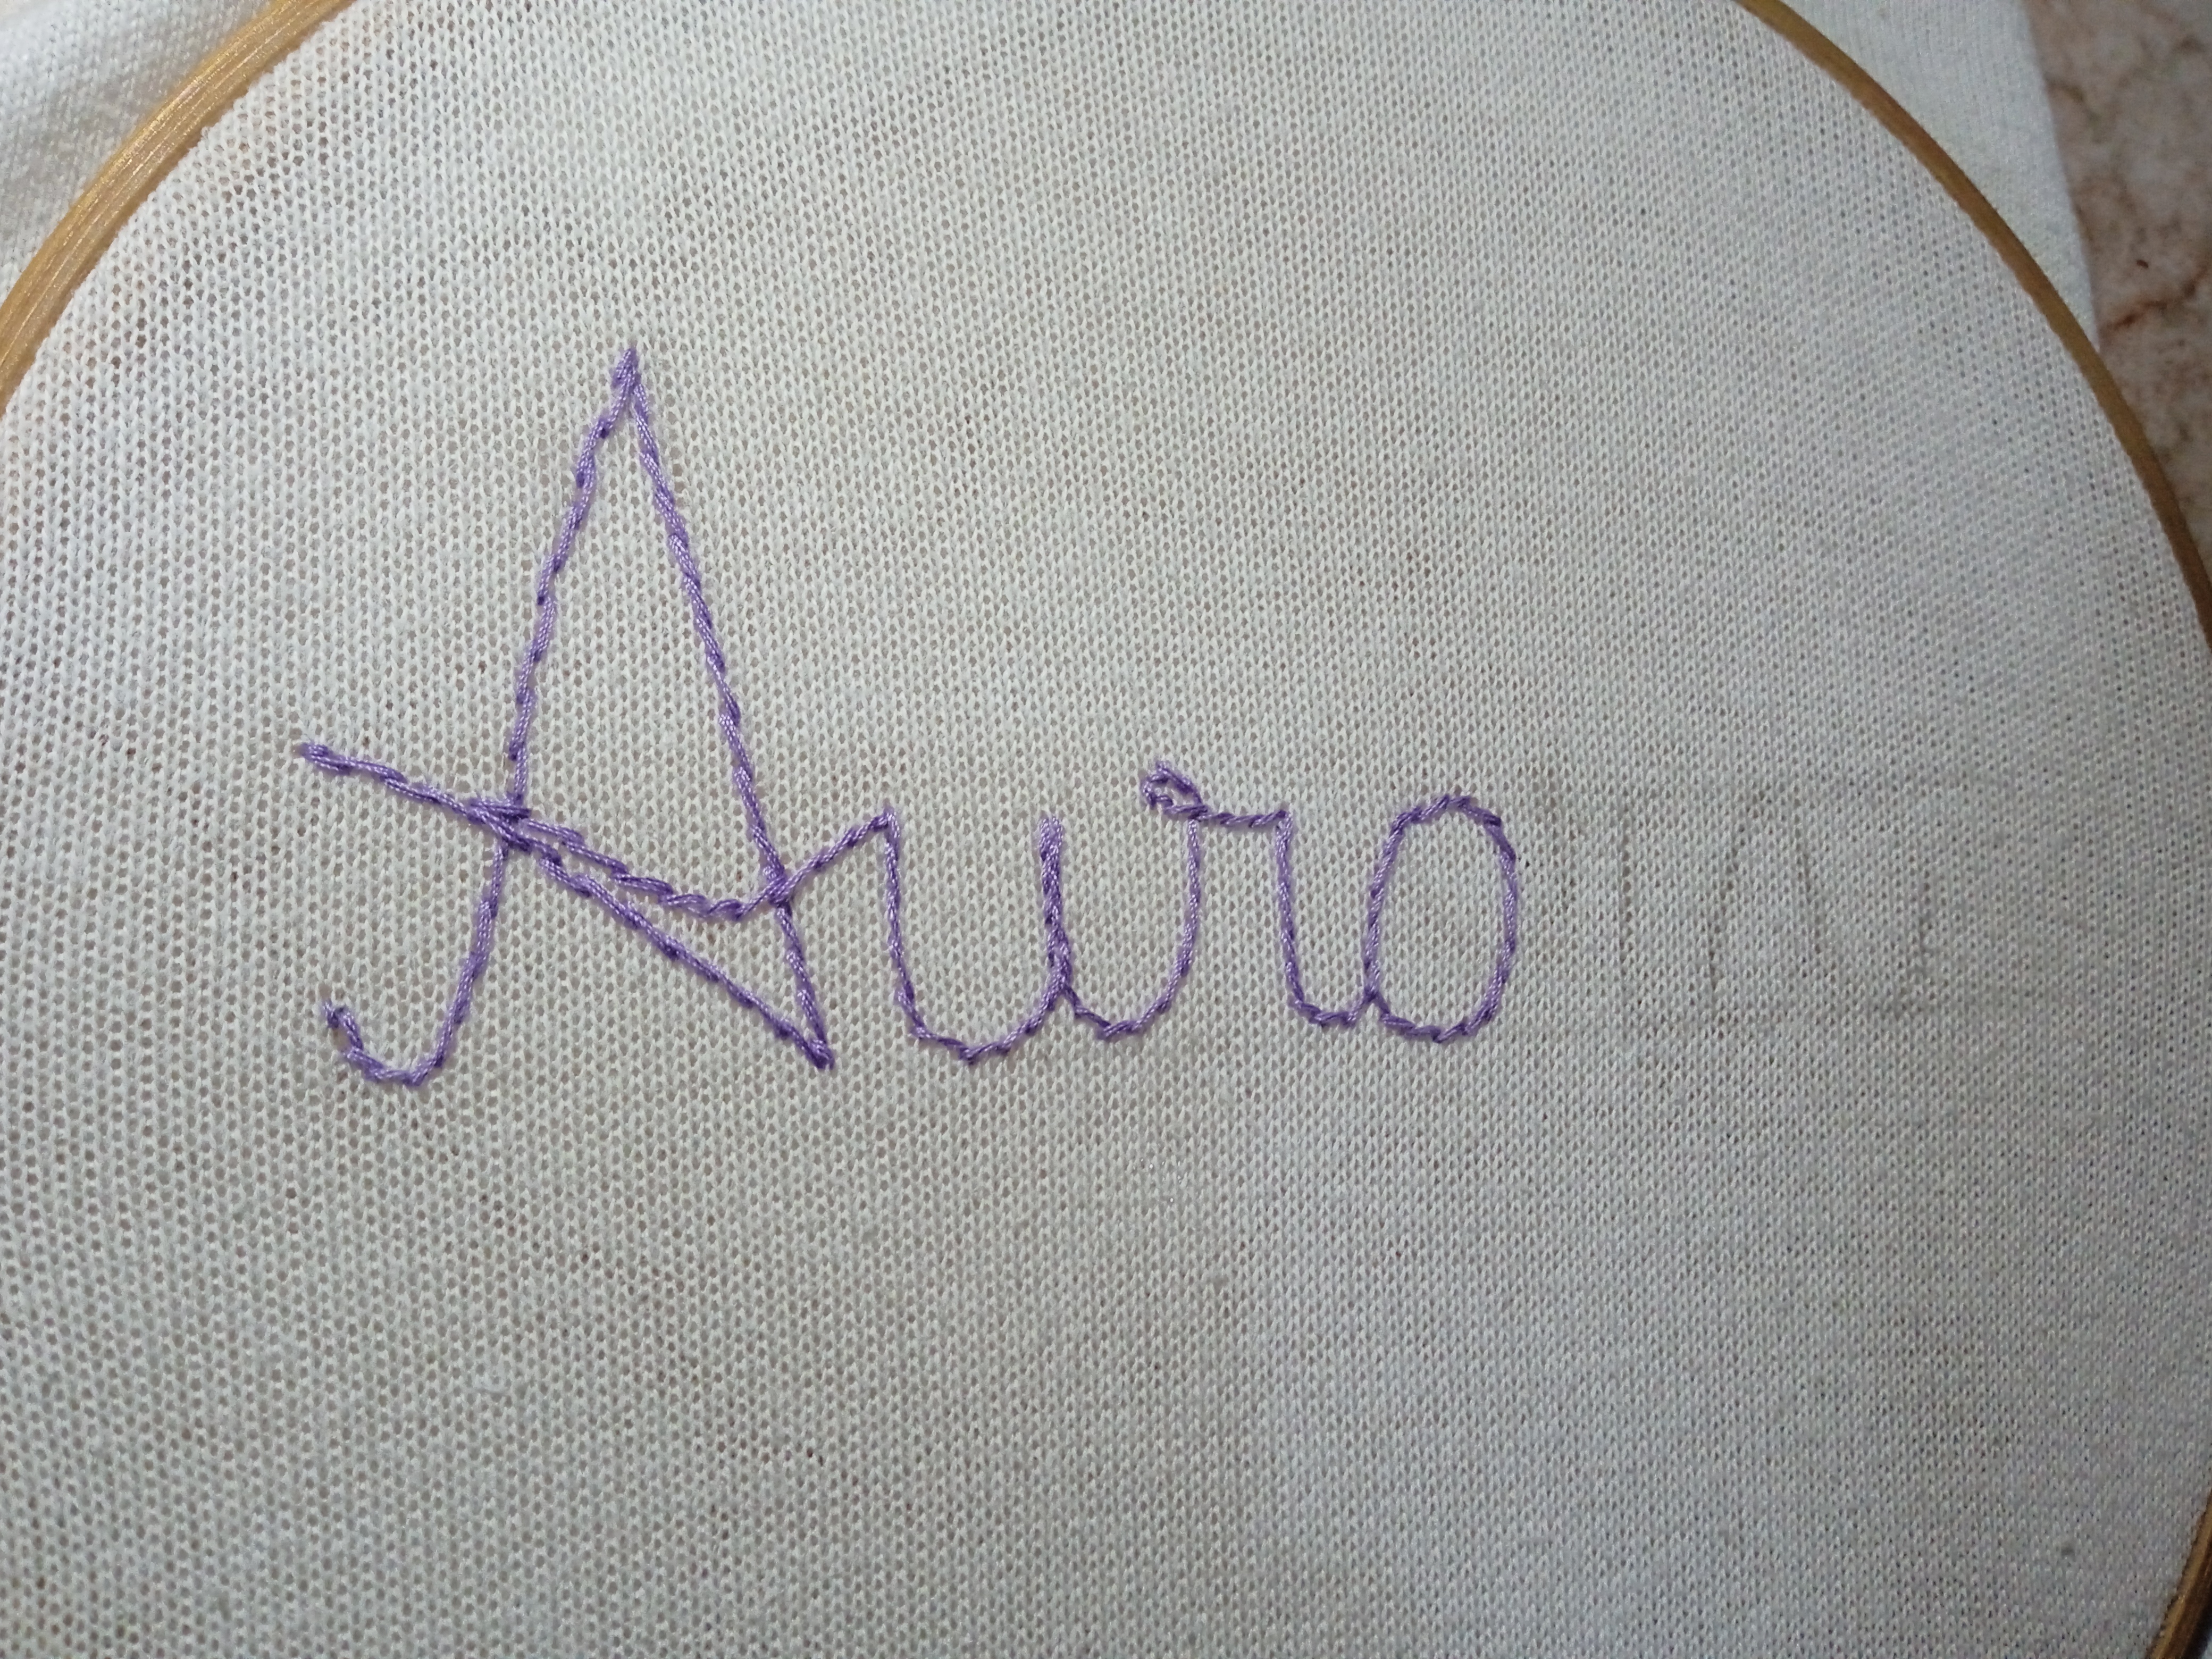
Este punto es muy sencillo de realizar como puedes notar, al terminar las letras sencillas, se realizo de repaso otra ve el punto para engruesarlas un poquito.
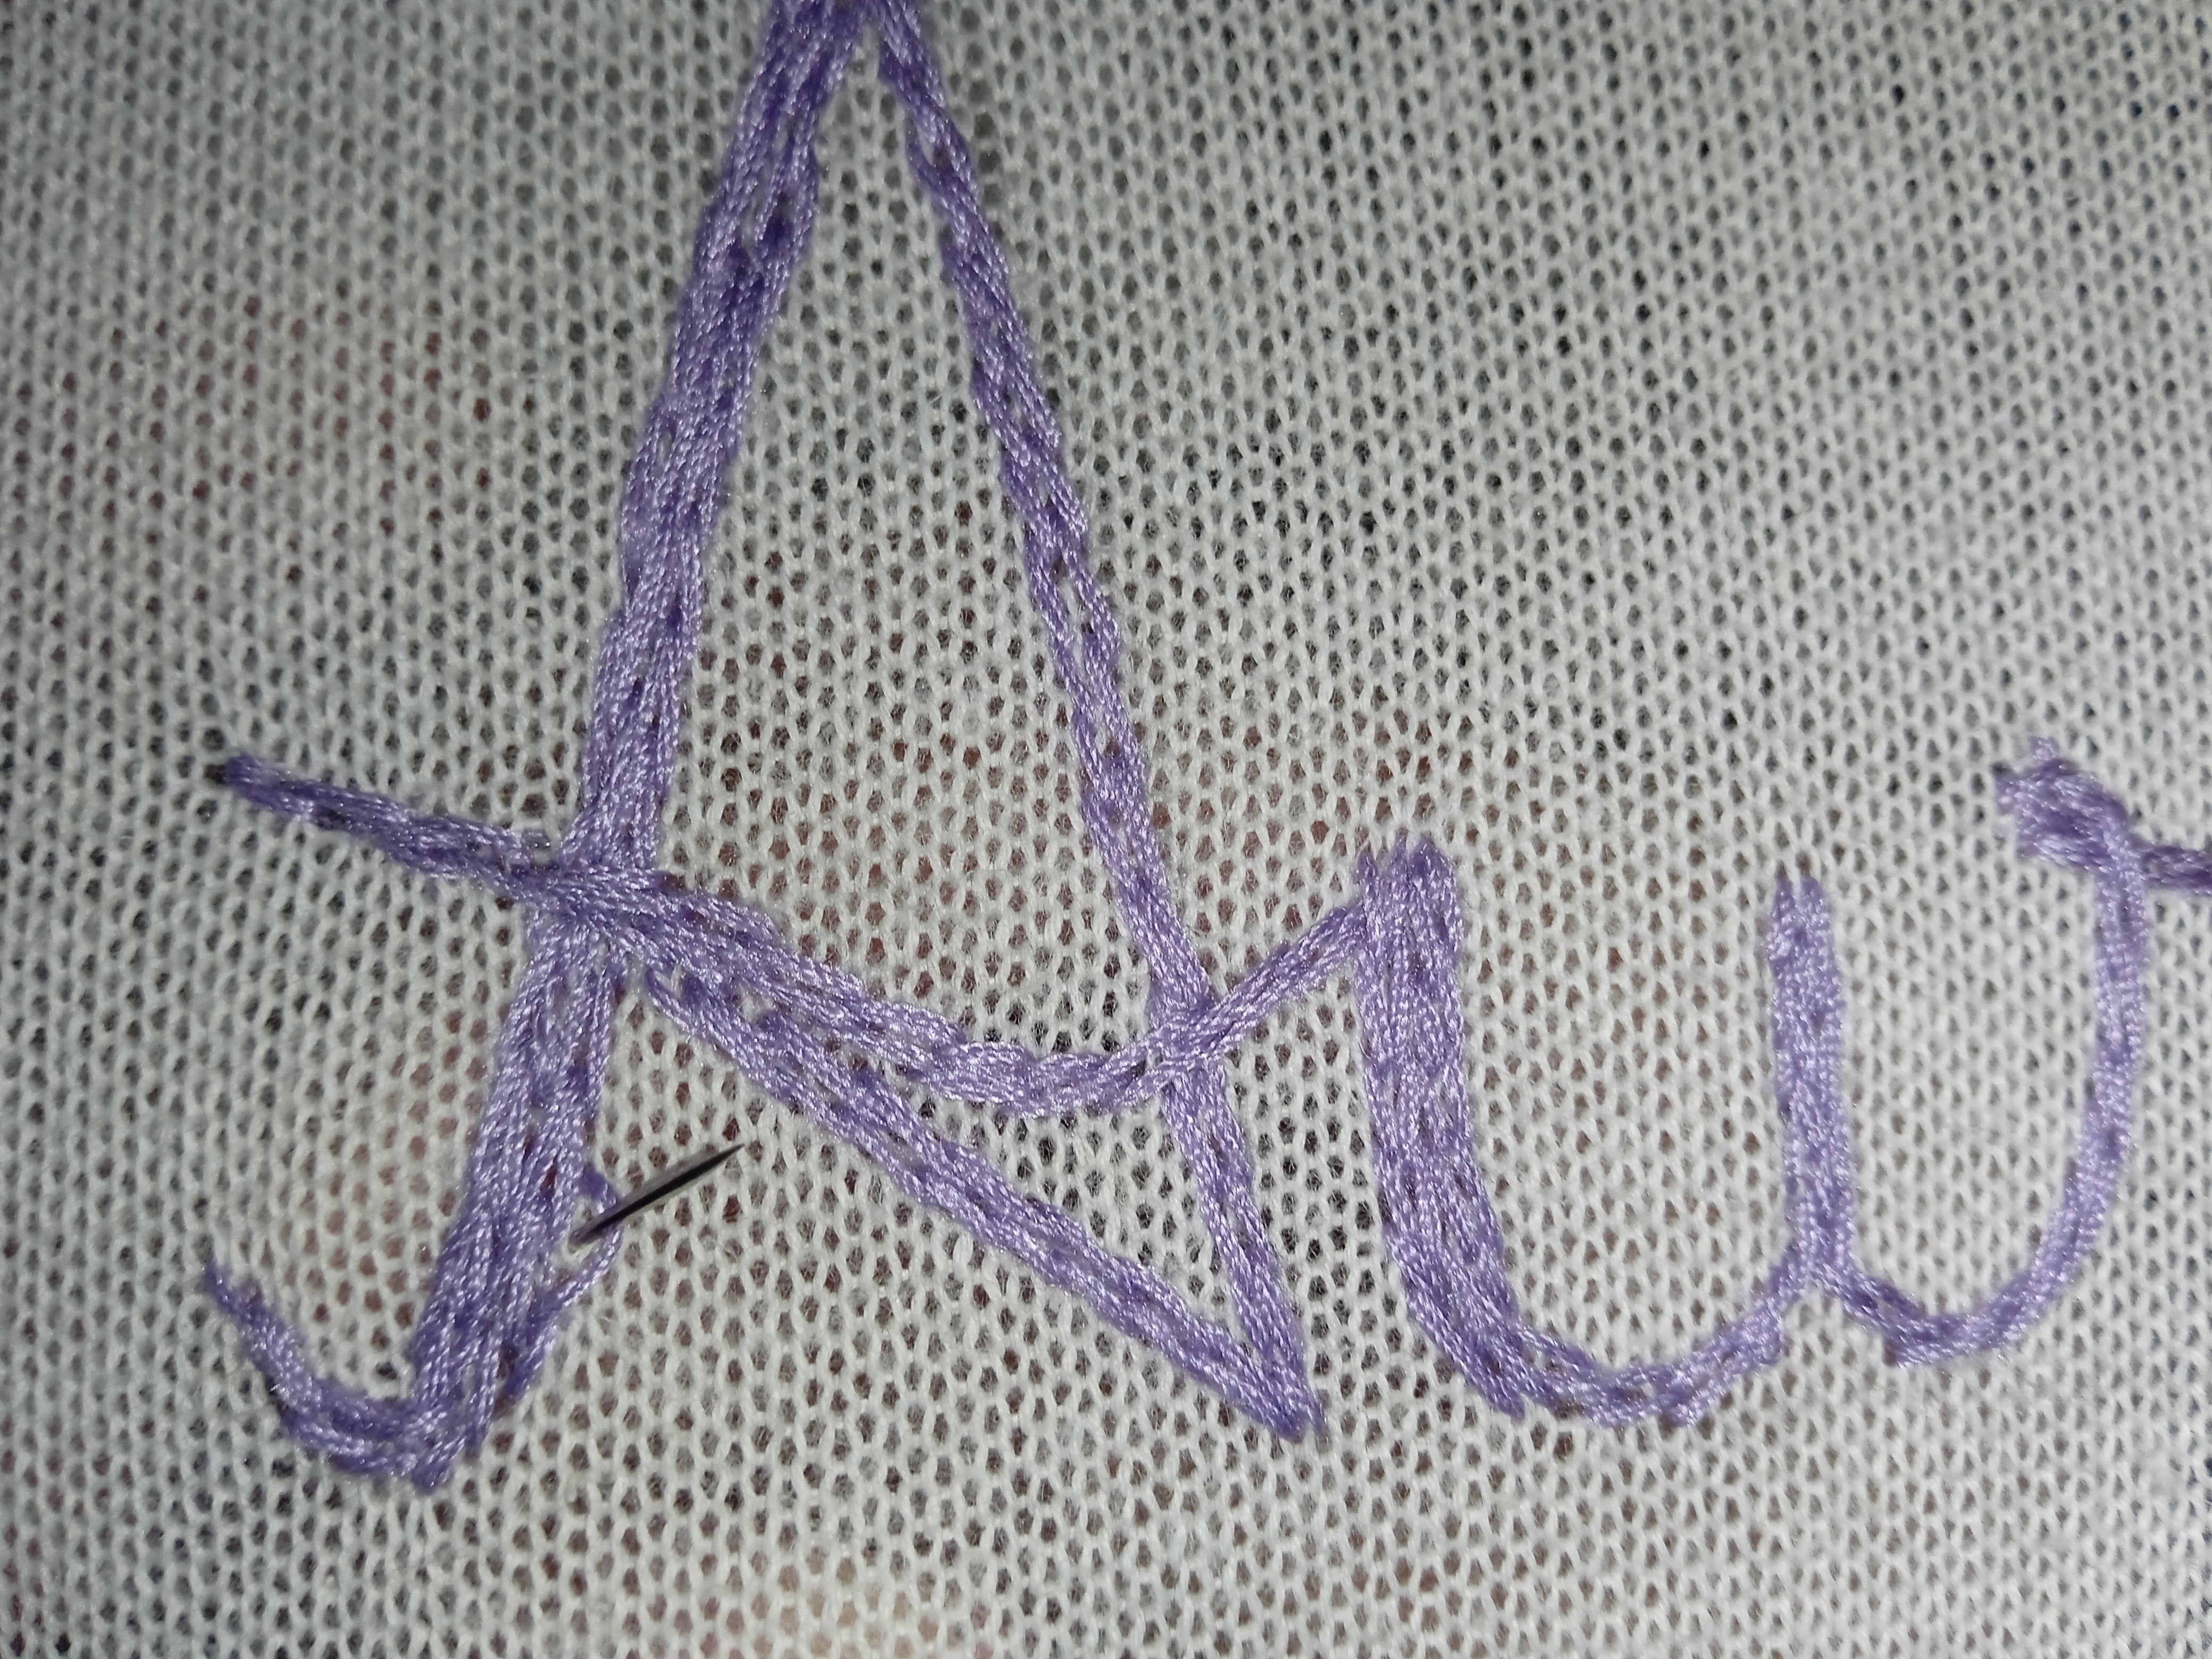
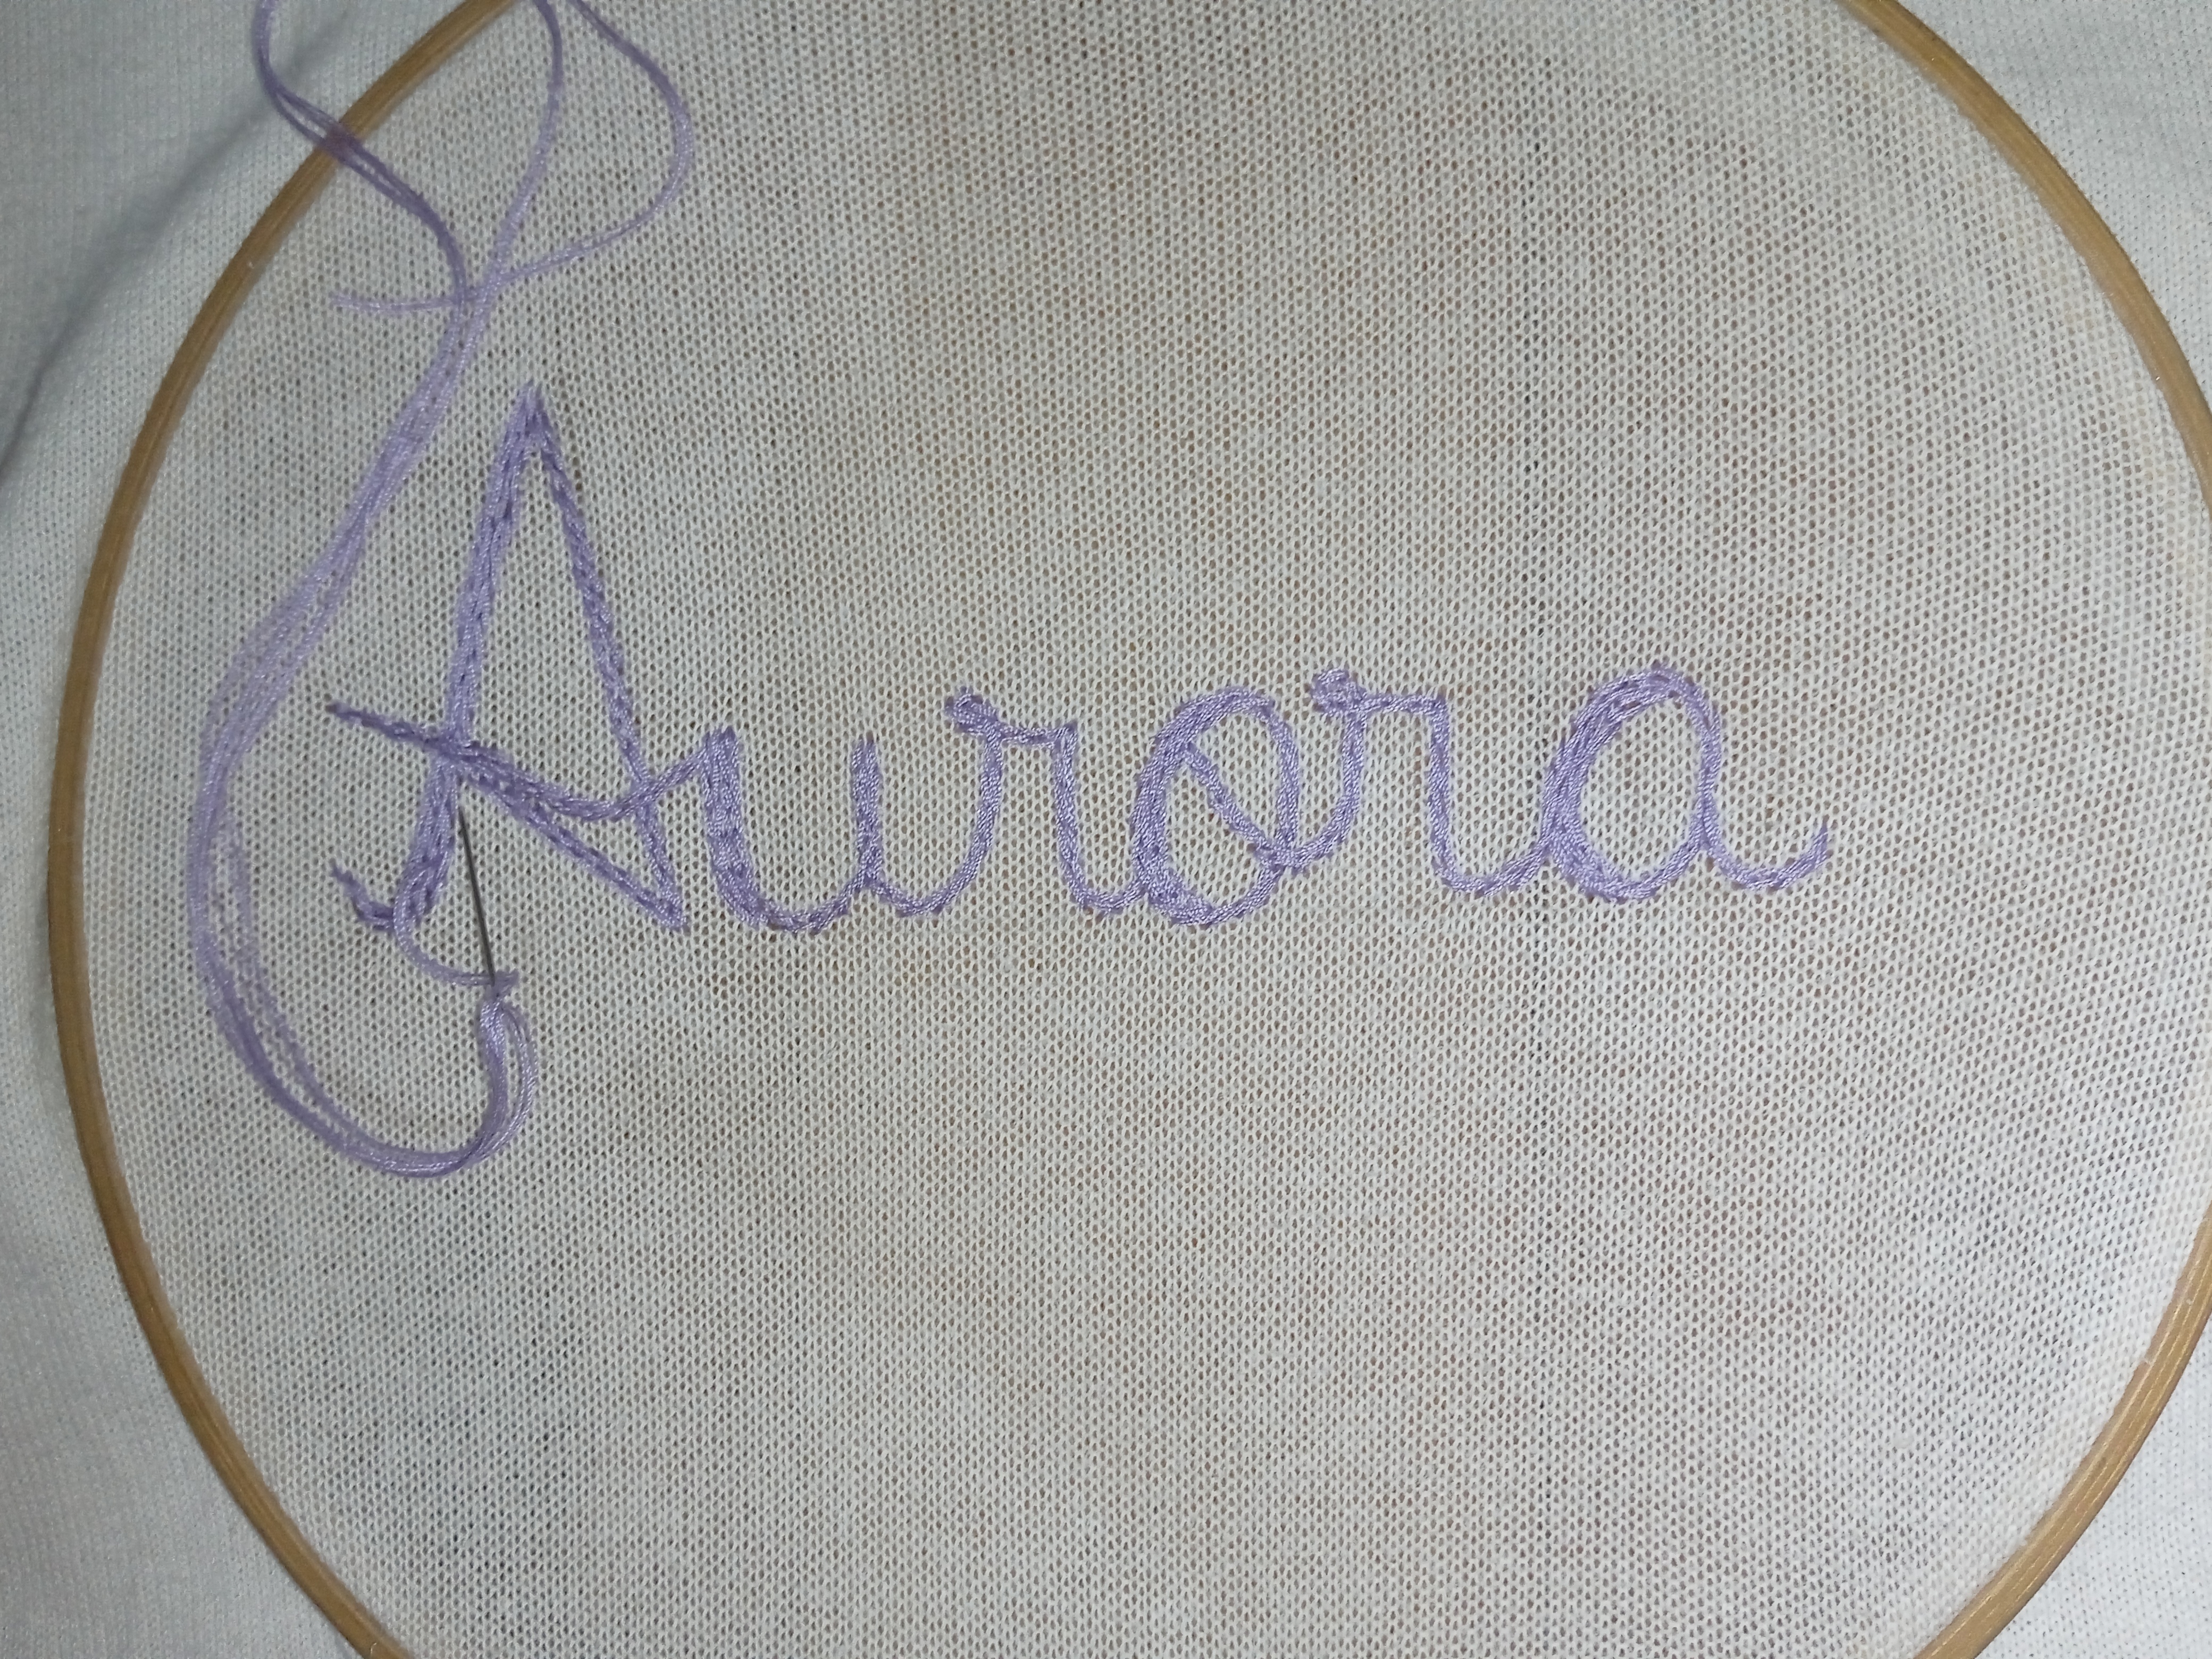
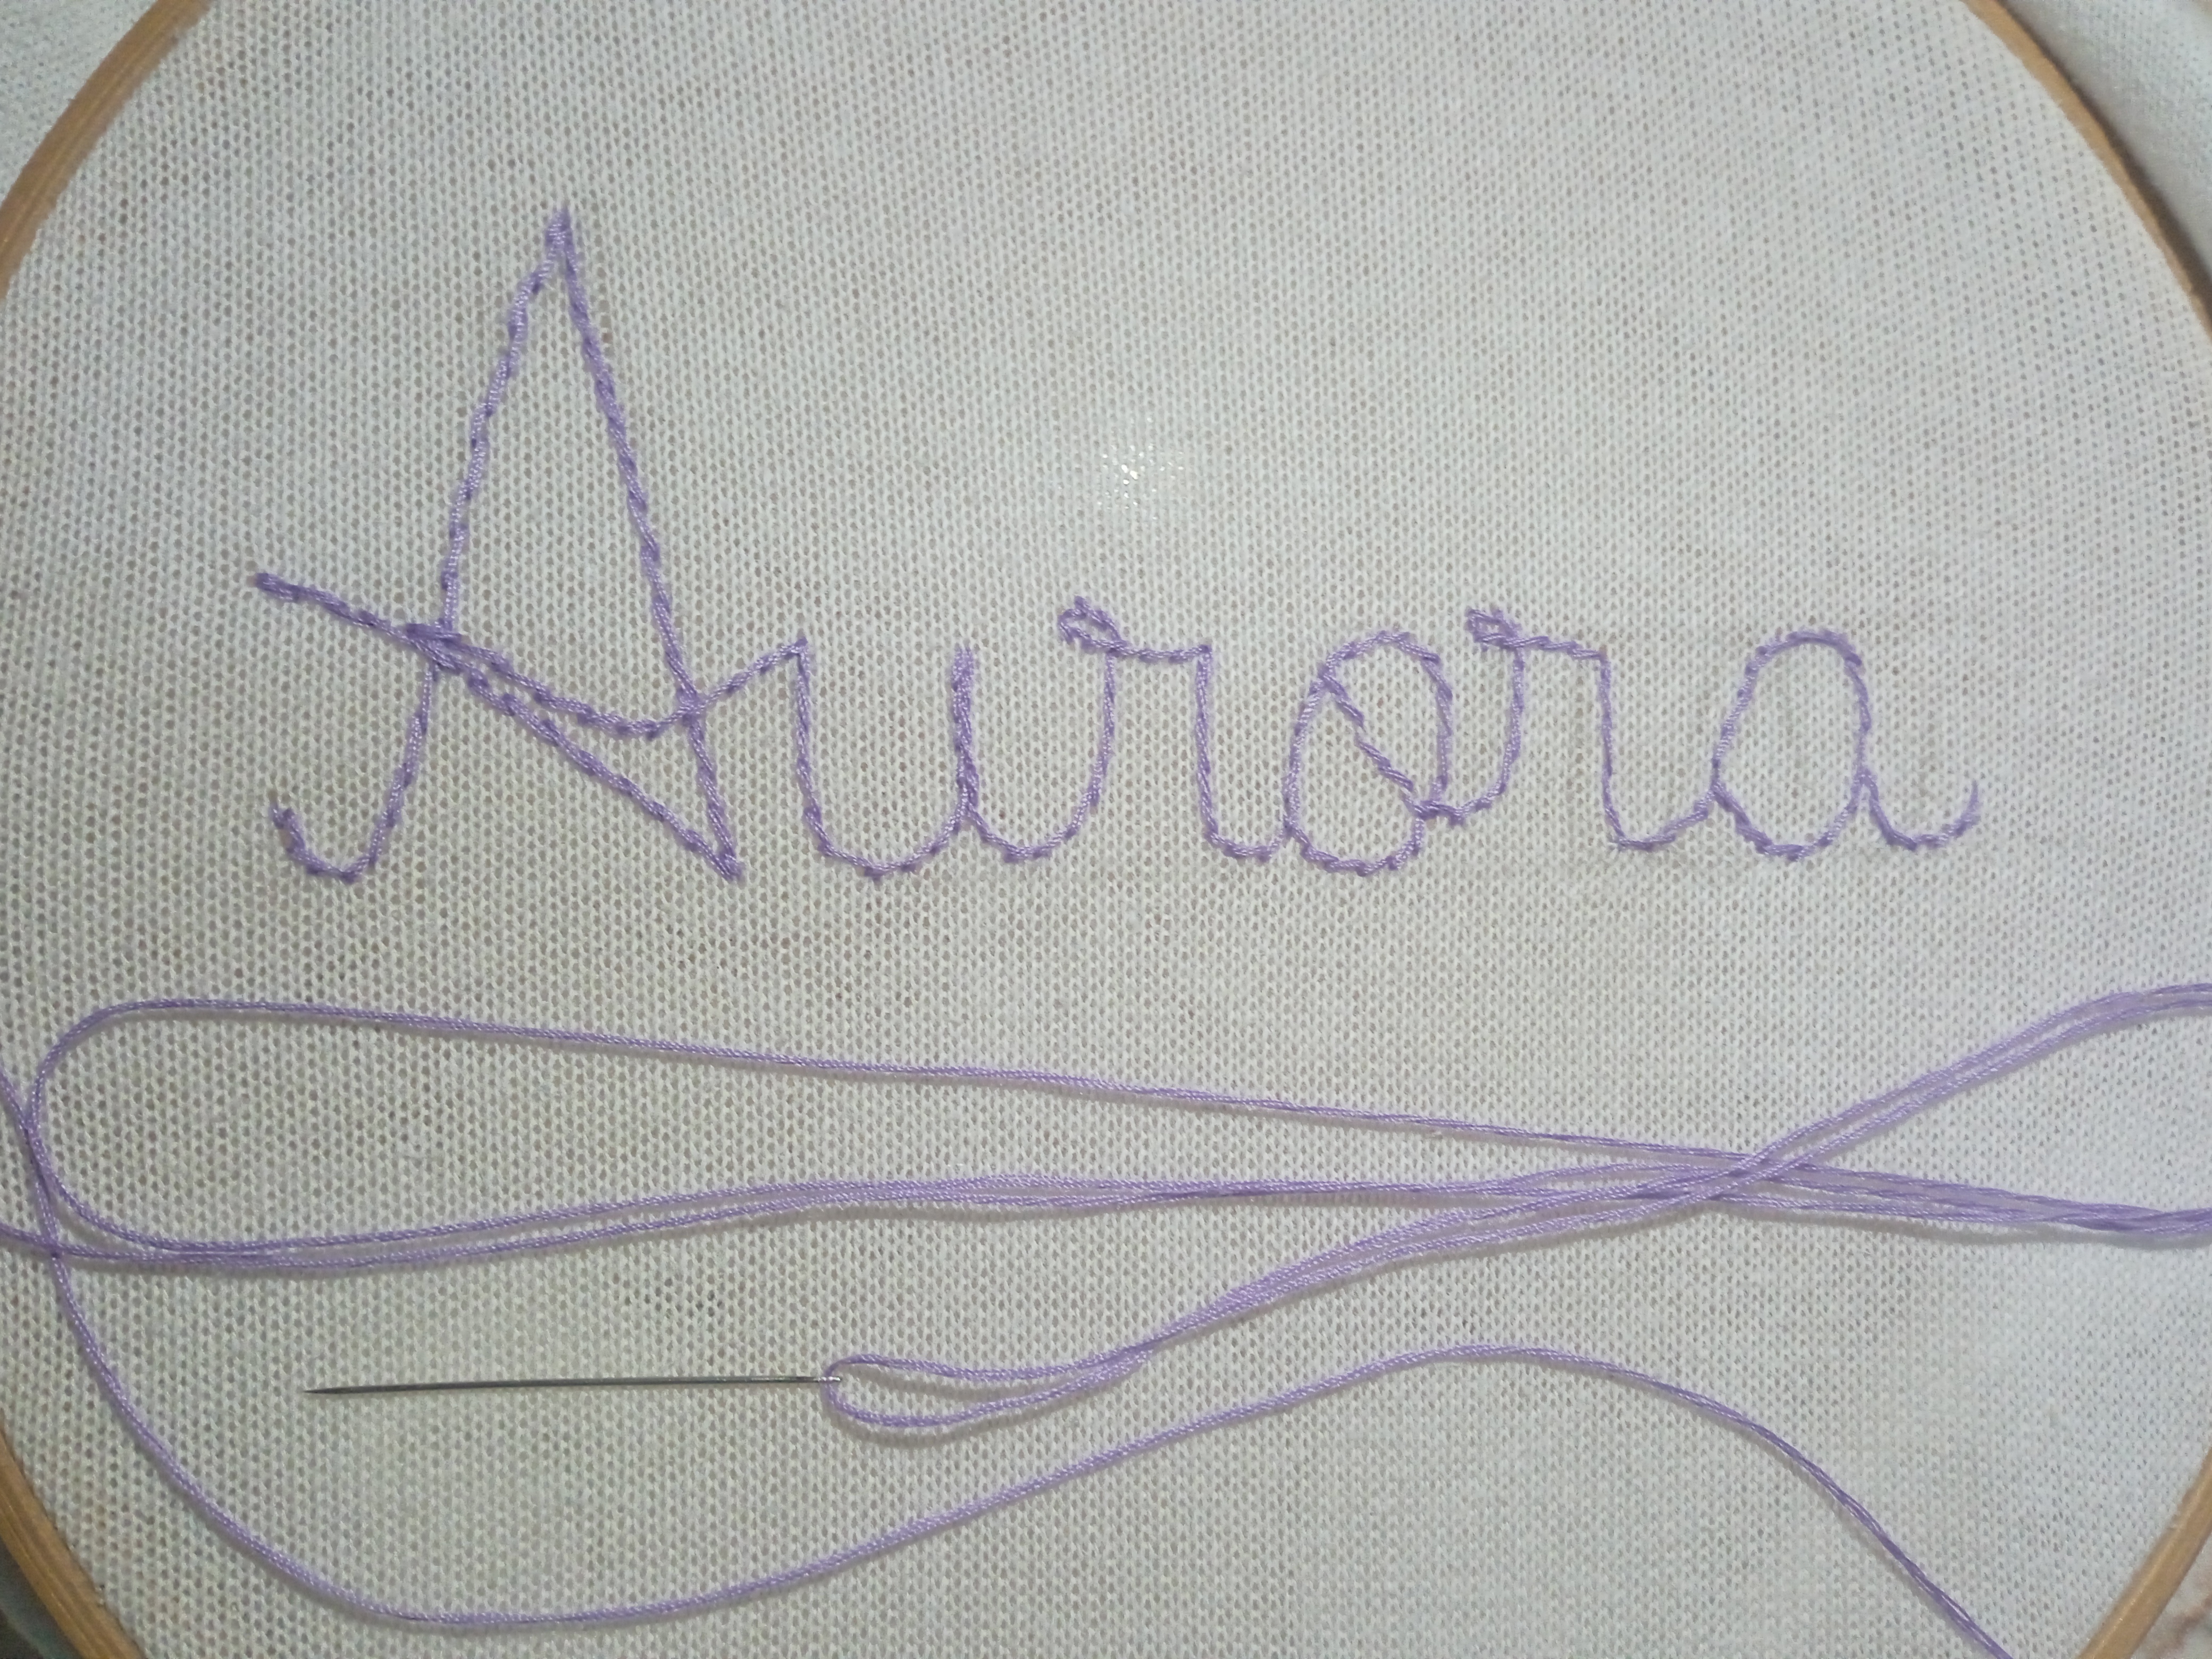
Lo siguiente es engrosar las letras A, U, O se bordo varias veces con el punto hasta llegar al grosor que se deseaba y quedar limpia la tipografía.
Los colores de Aurora de la mañana

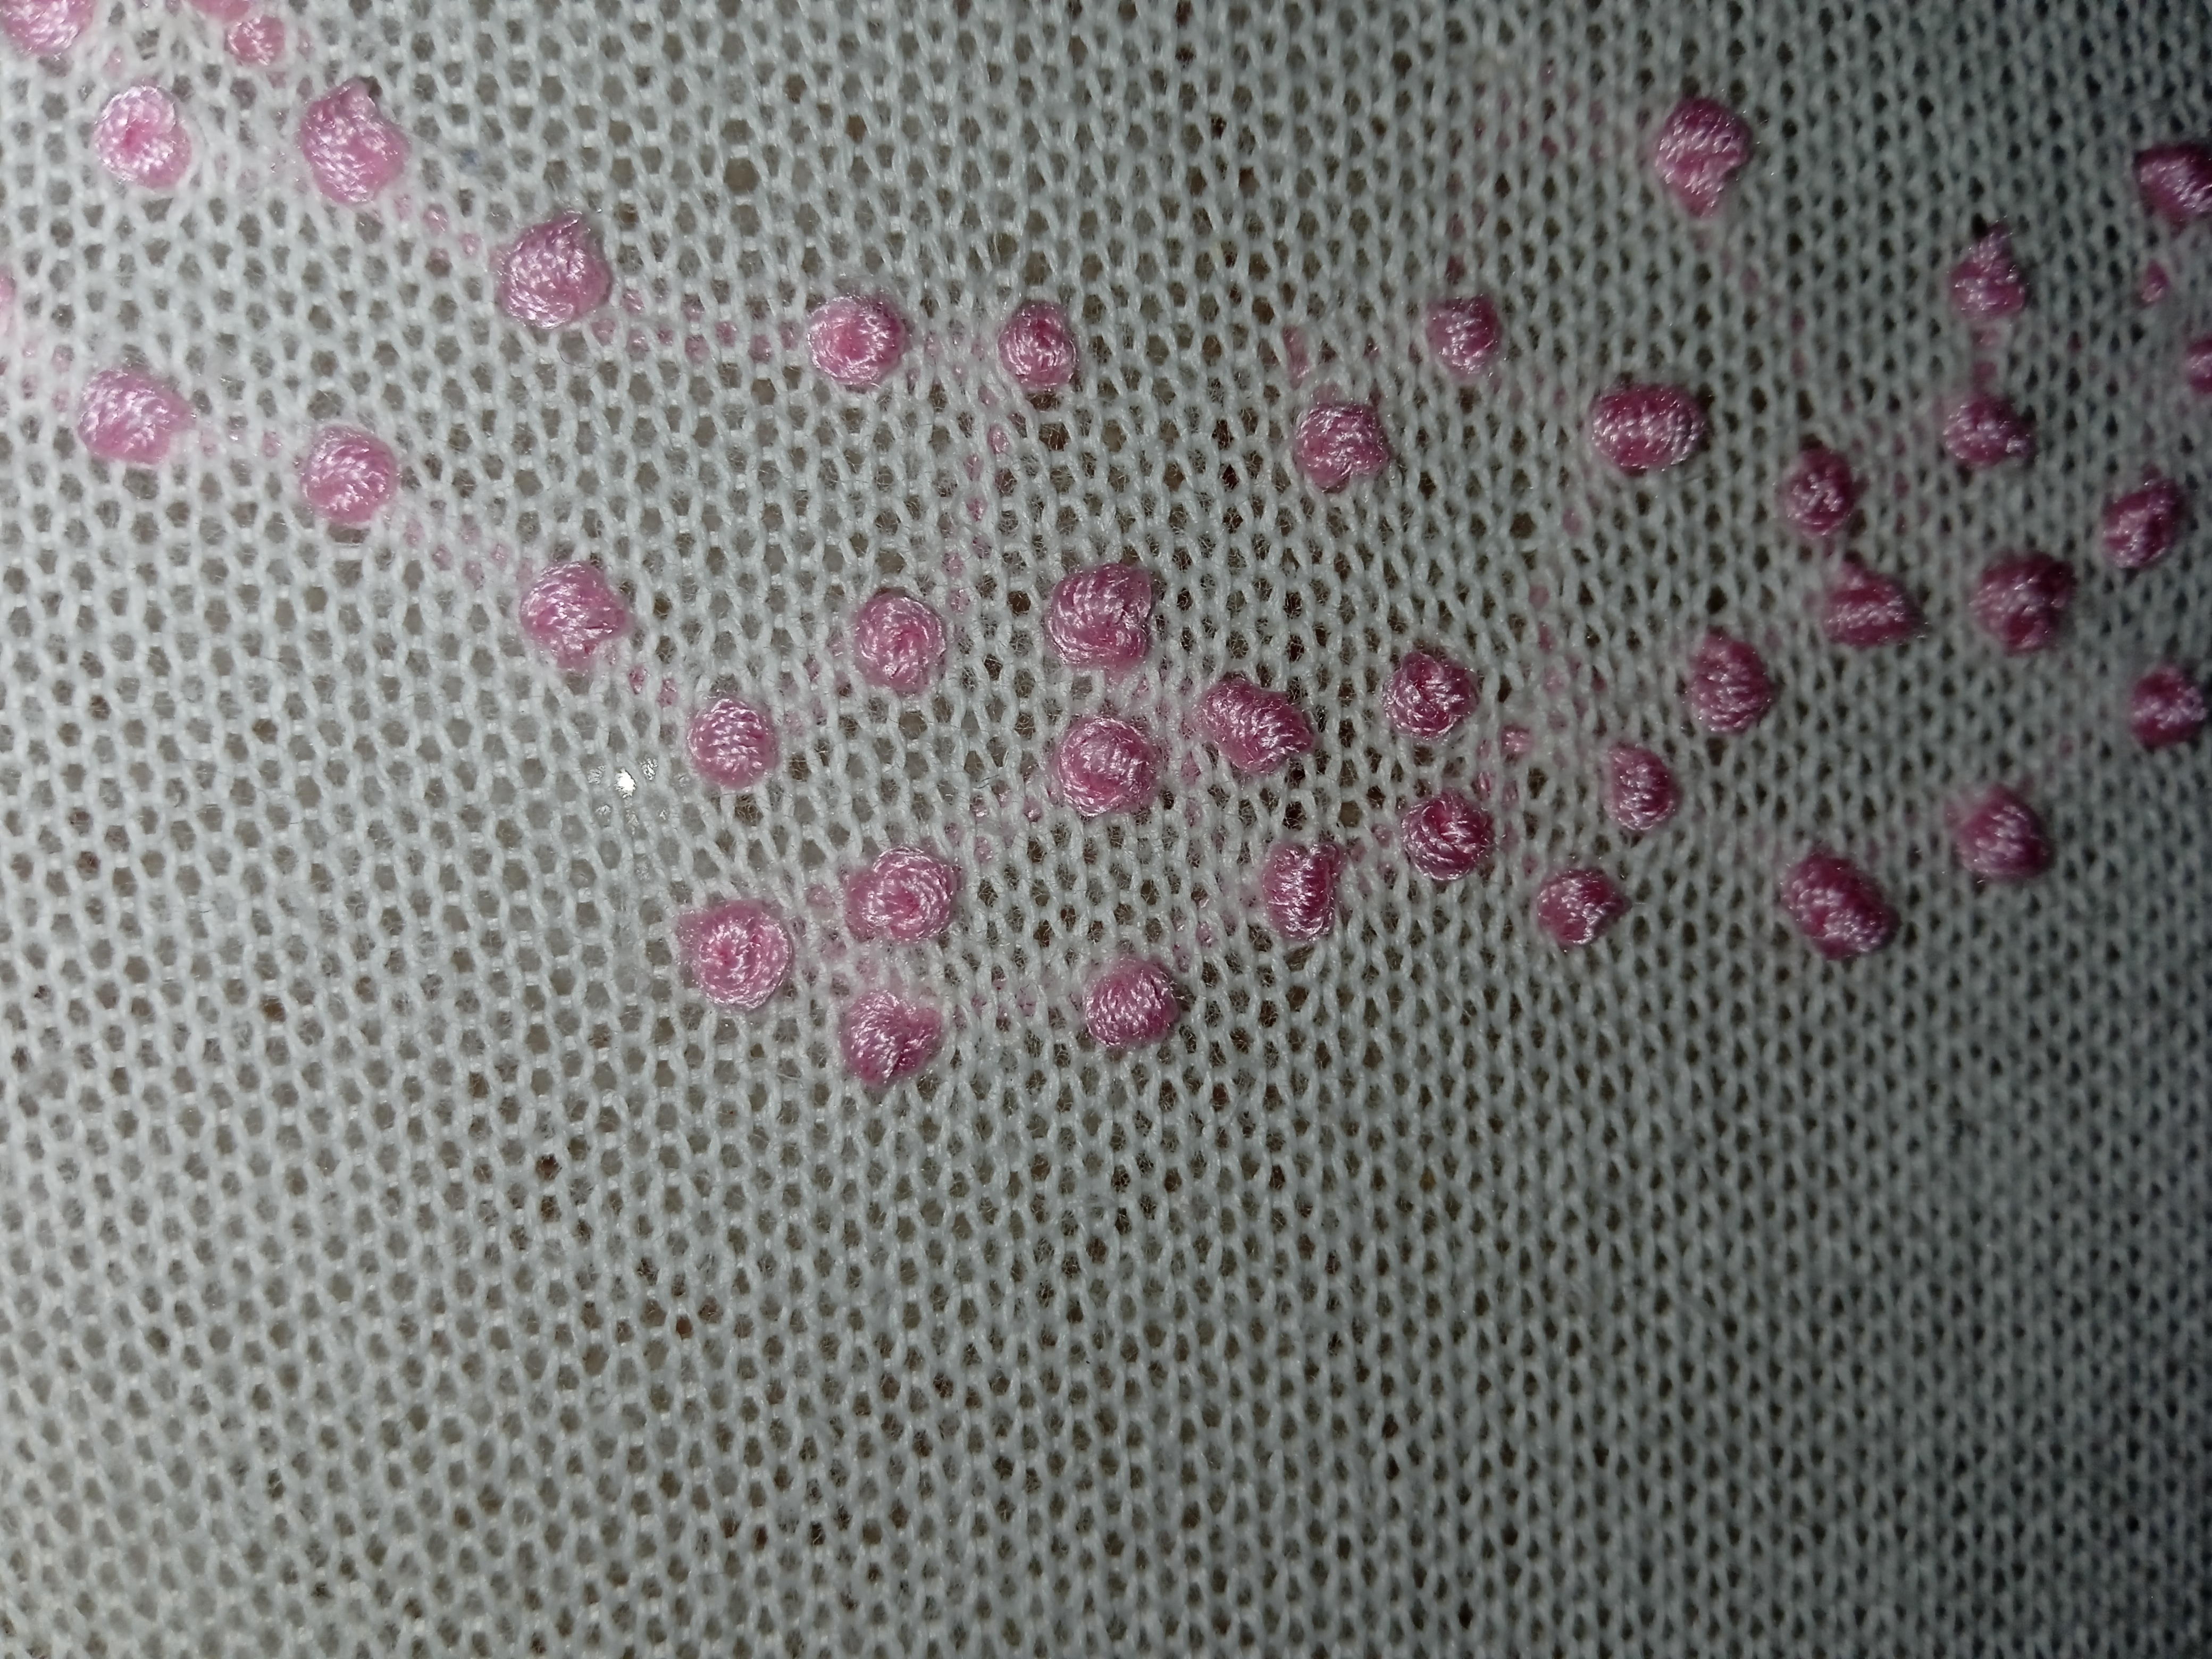
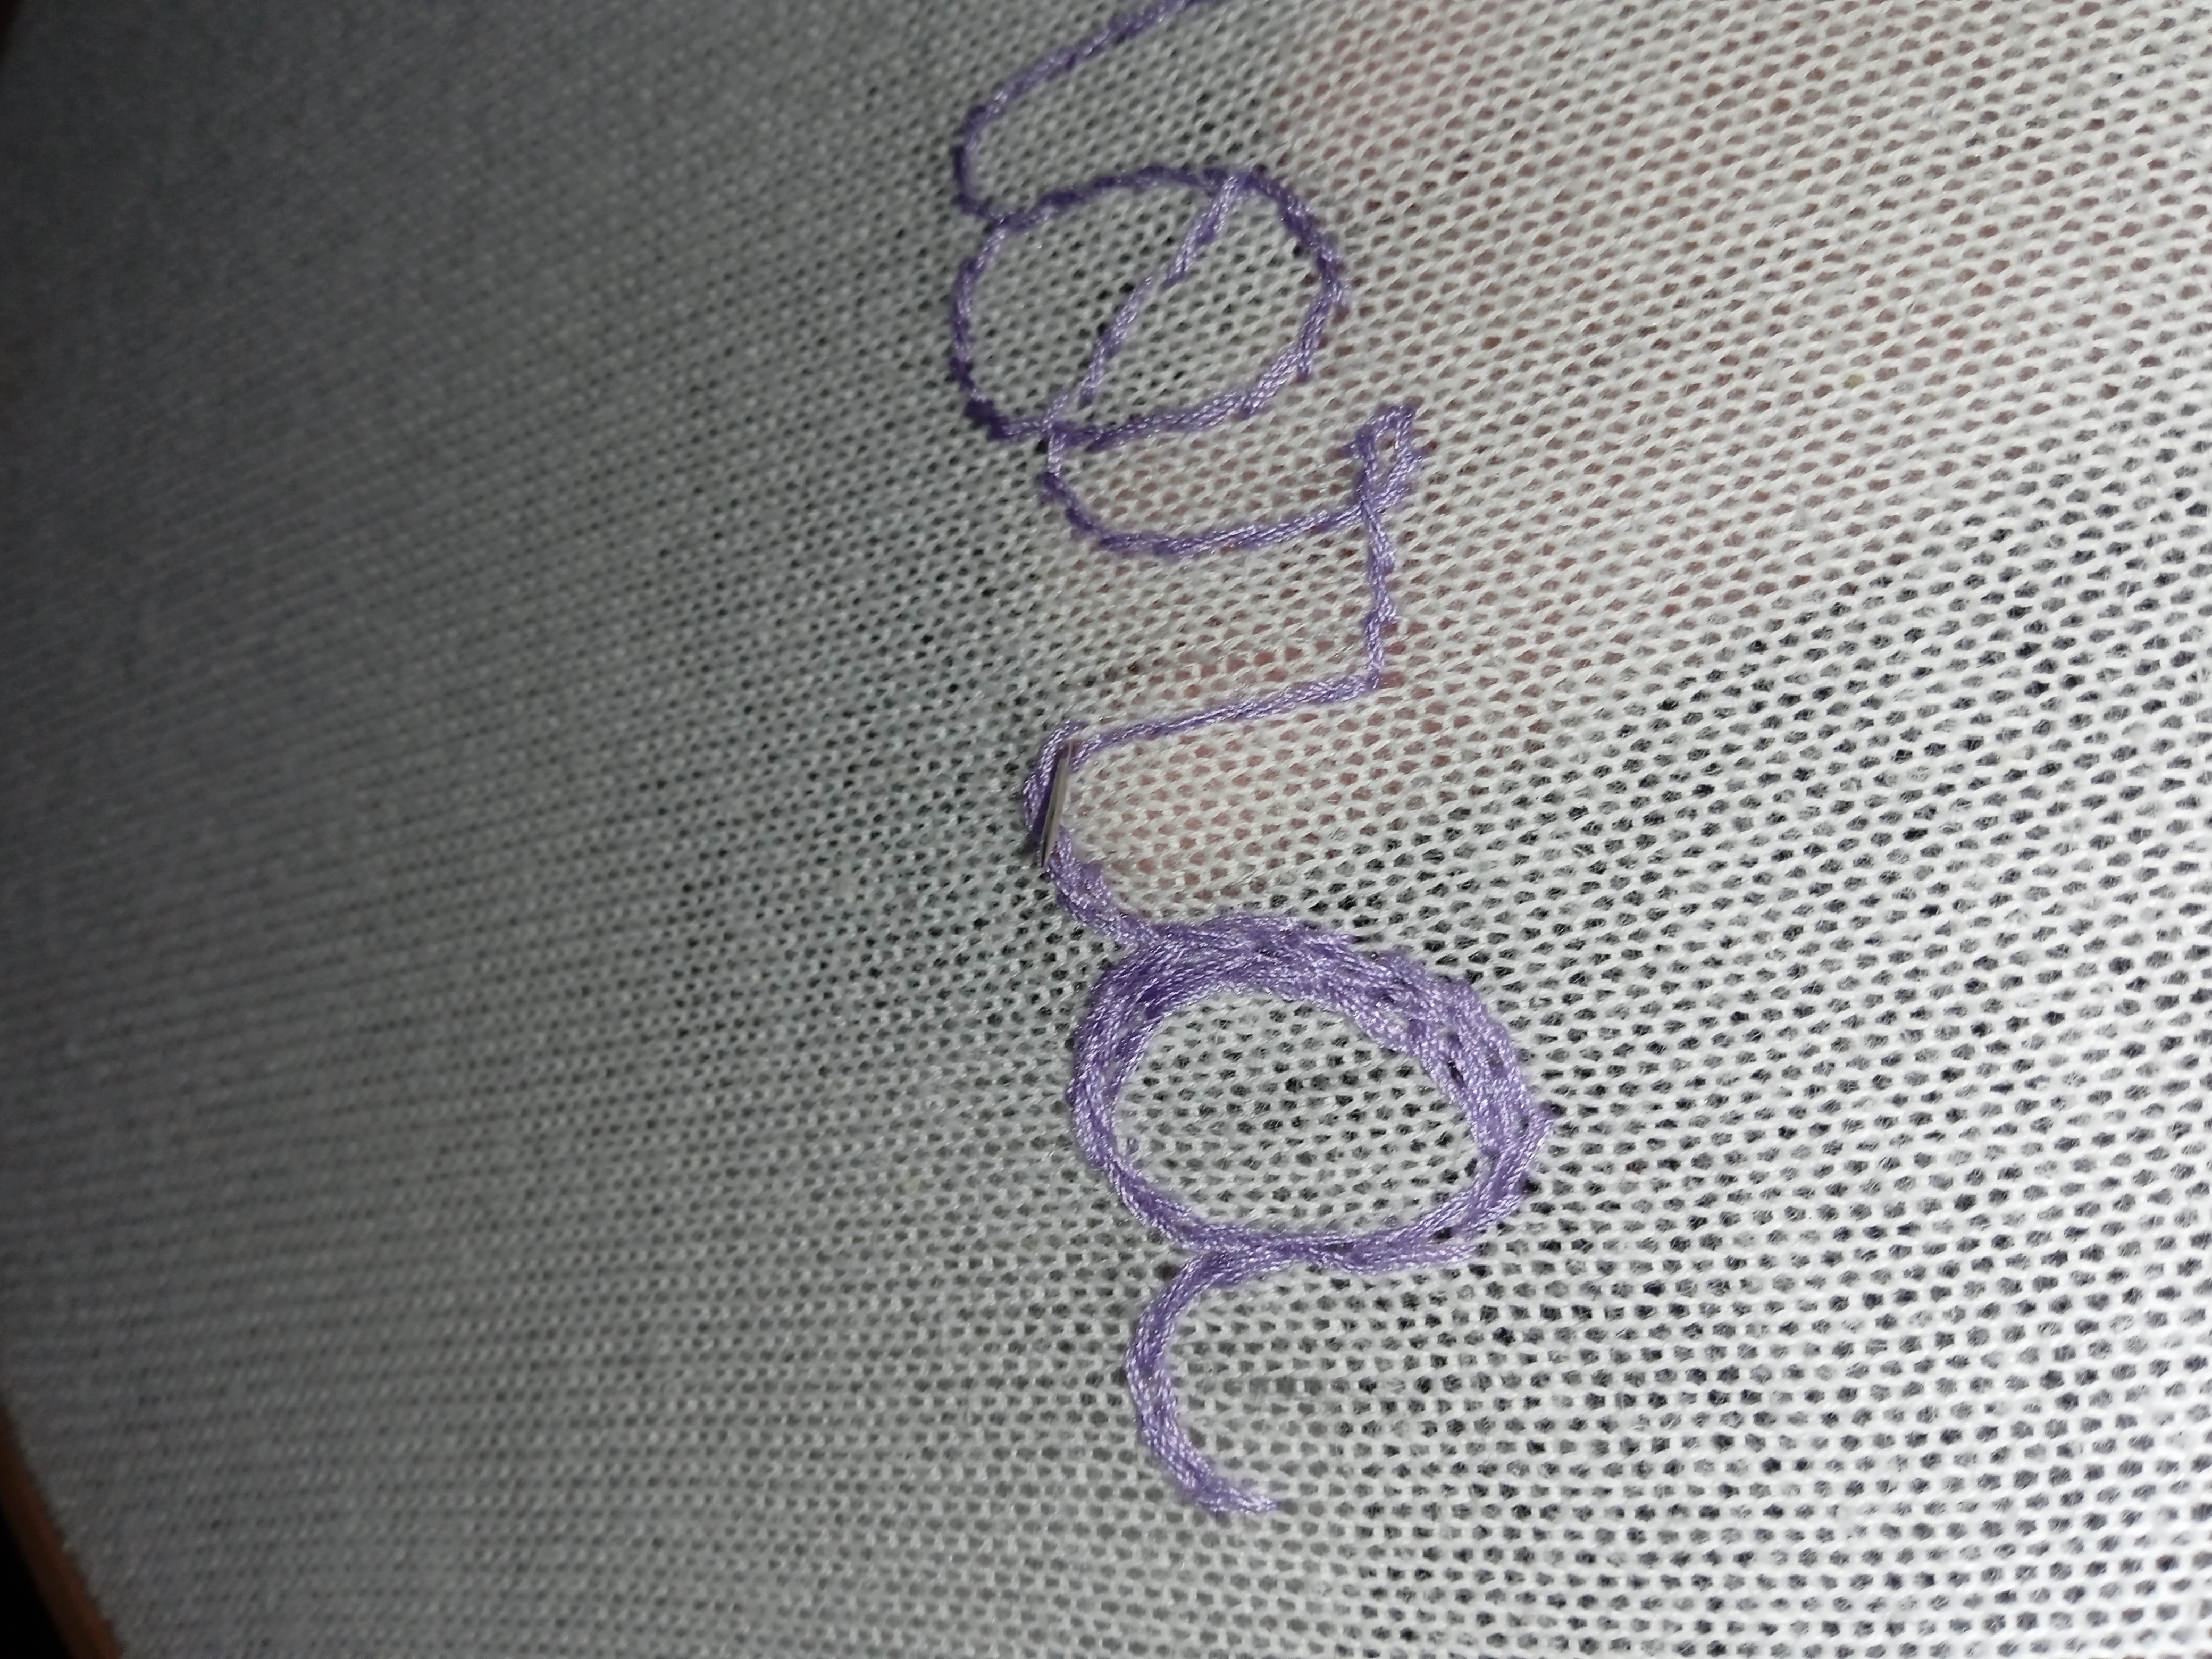
El punto botón como lo llamo, pero es conocido como punto francés o punto botón francés; es el siguiente con el trabajare y es el que mas tiempo me tomo, ya que tenia mucho que no lo hacia y me toco practicar porque se me deshacía.
Punto botón: utilizado para bordados florales ya que da esa apariencia de florecita, parece un botón, o punto con relieve, también solo parece un nudo.
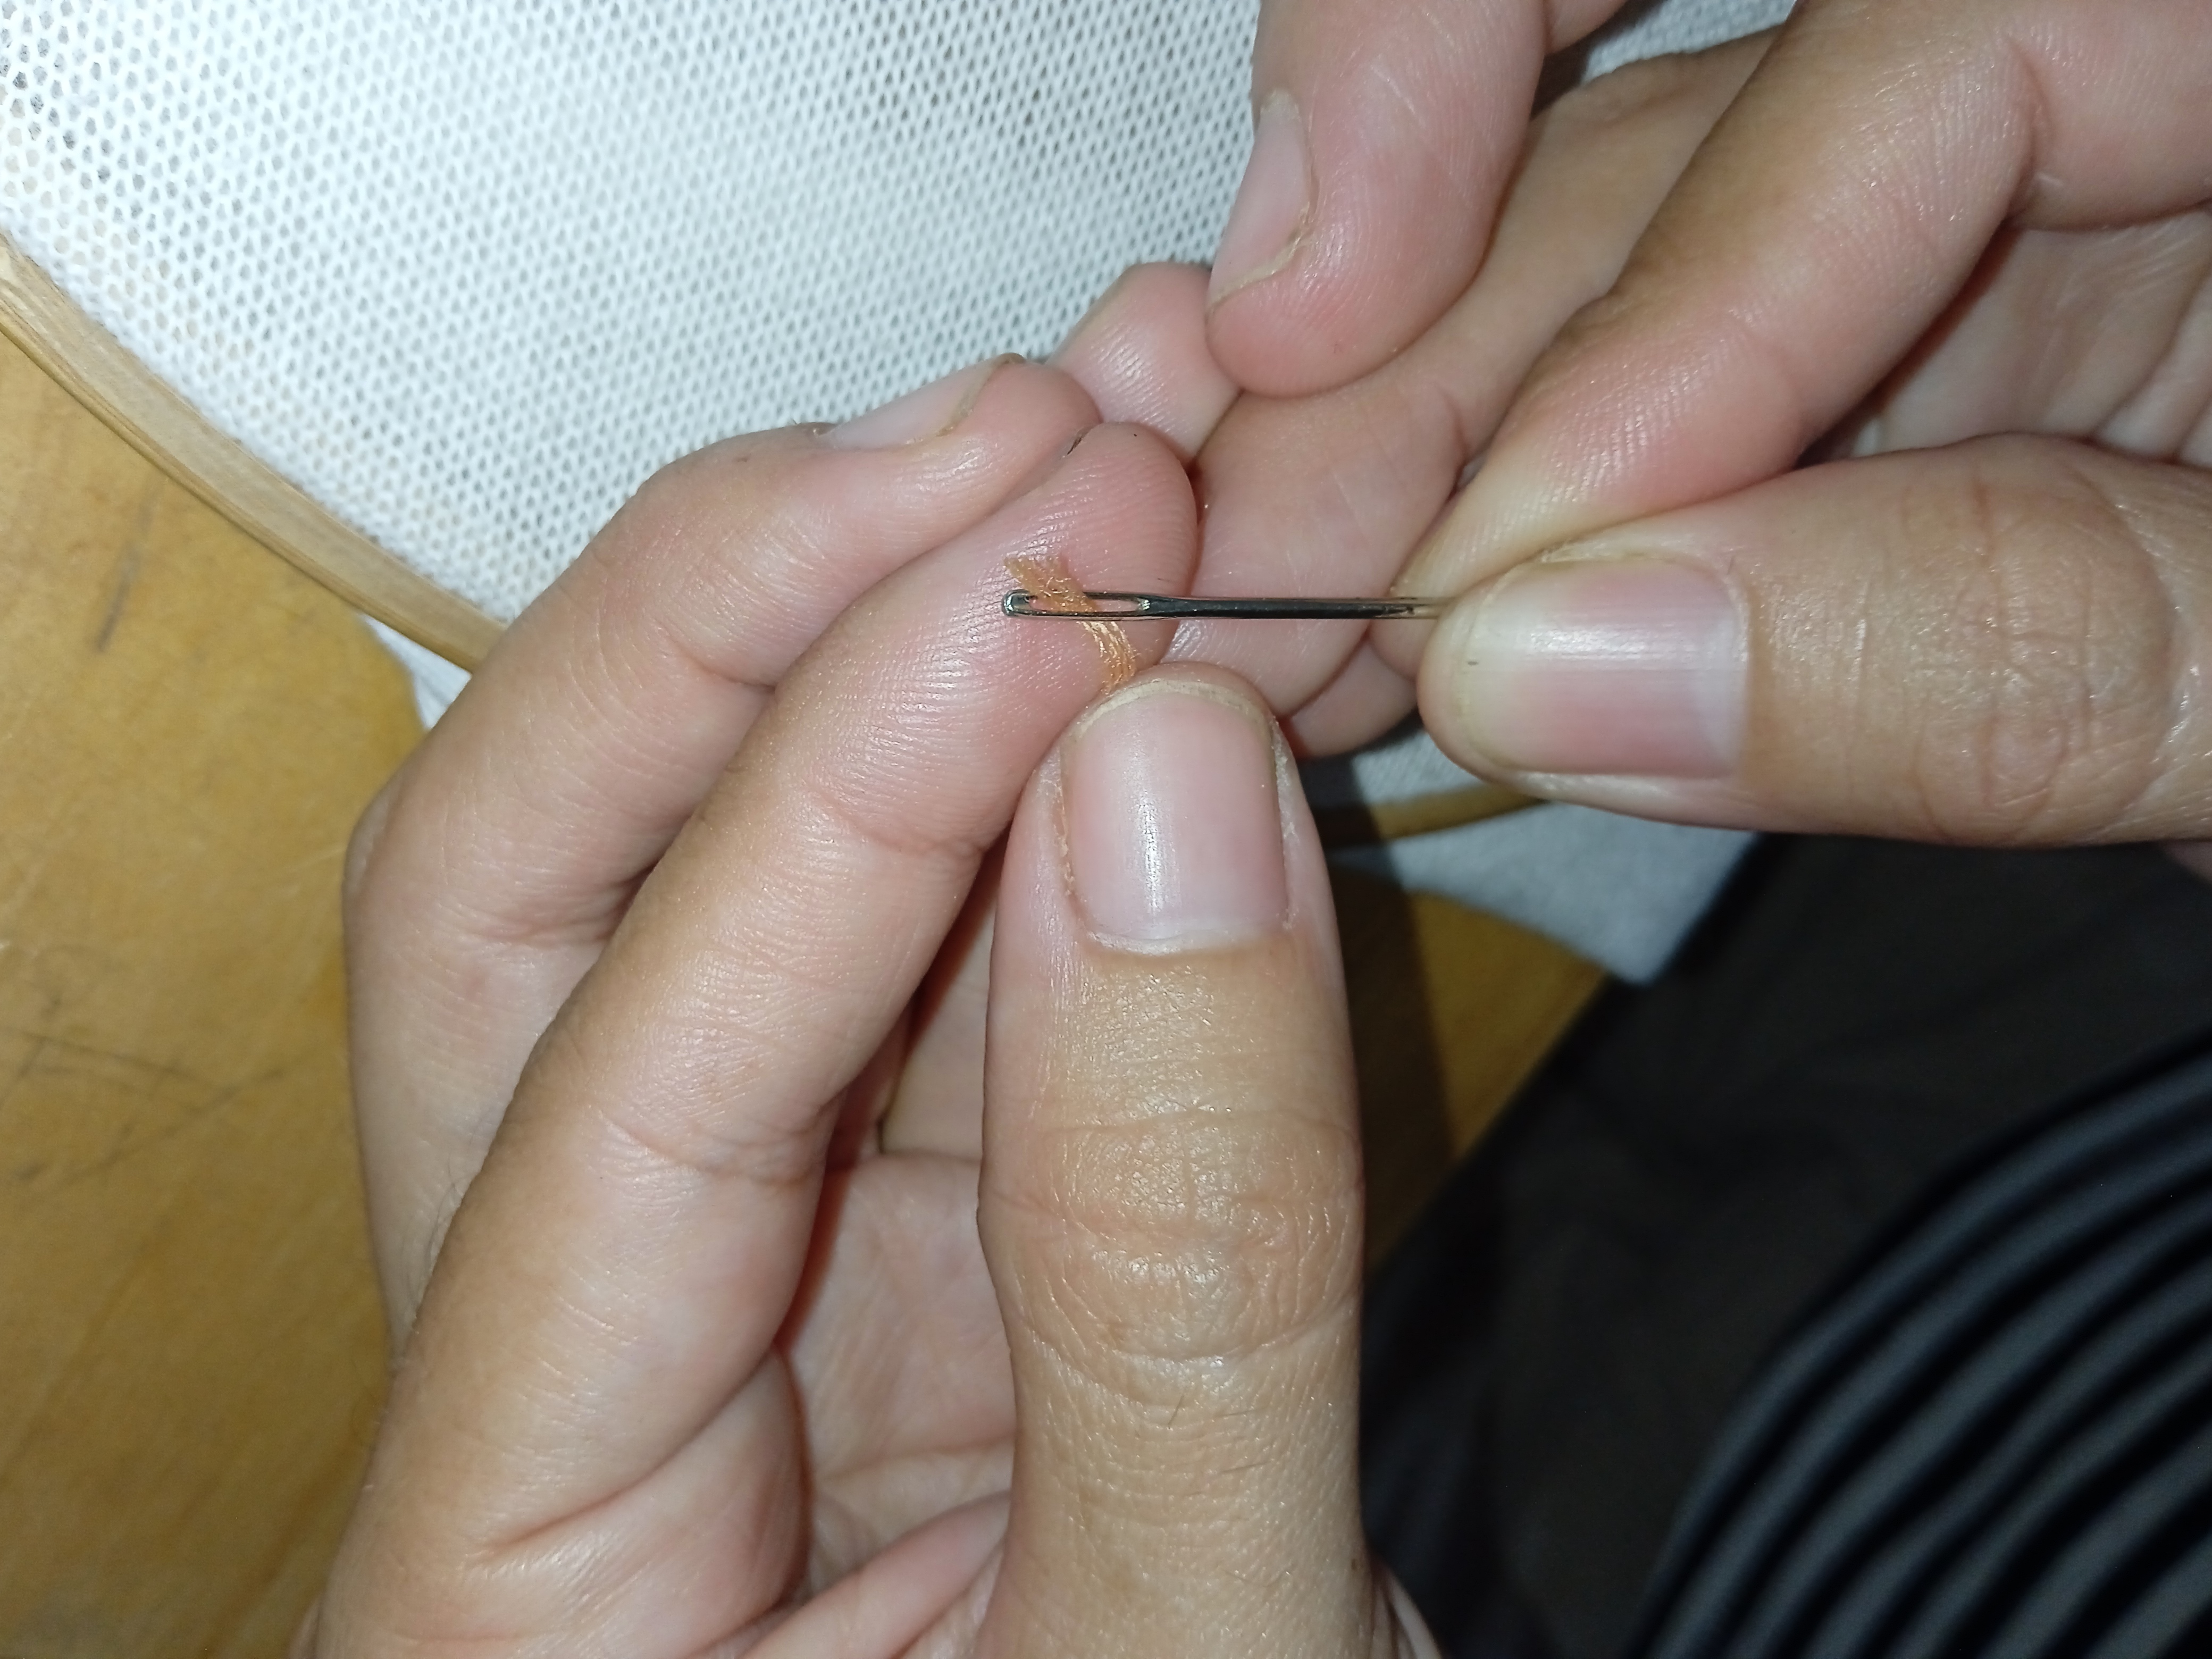
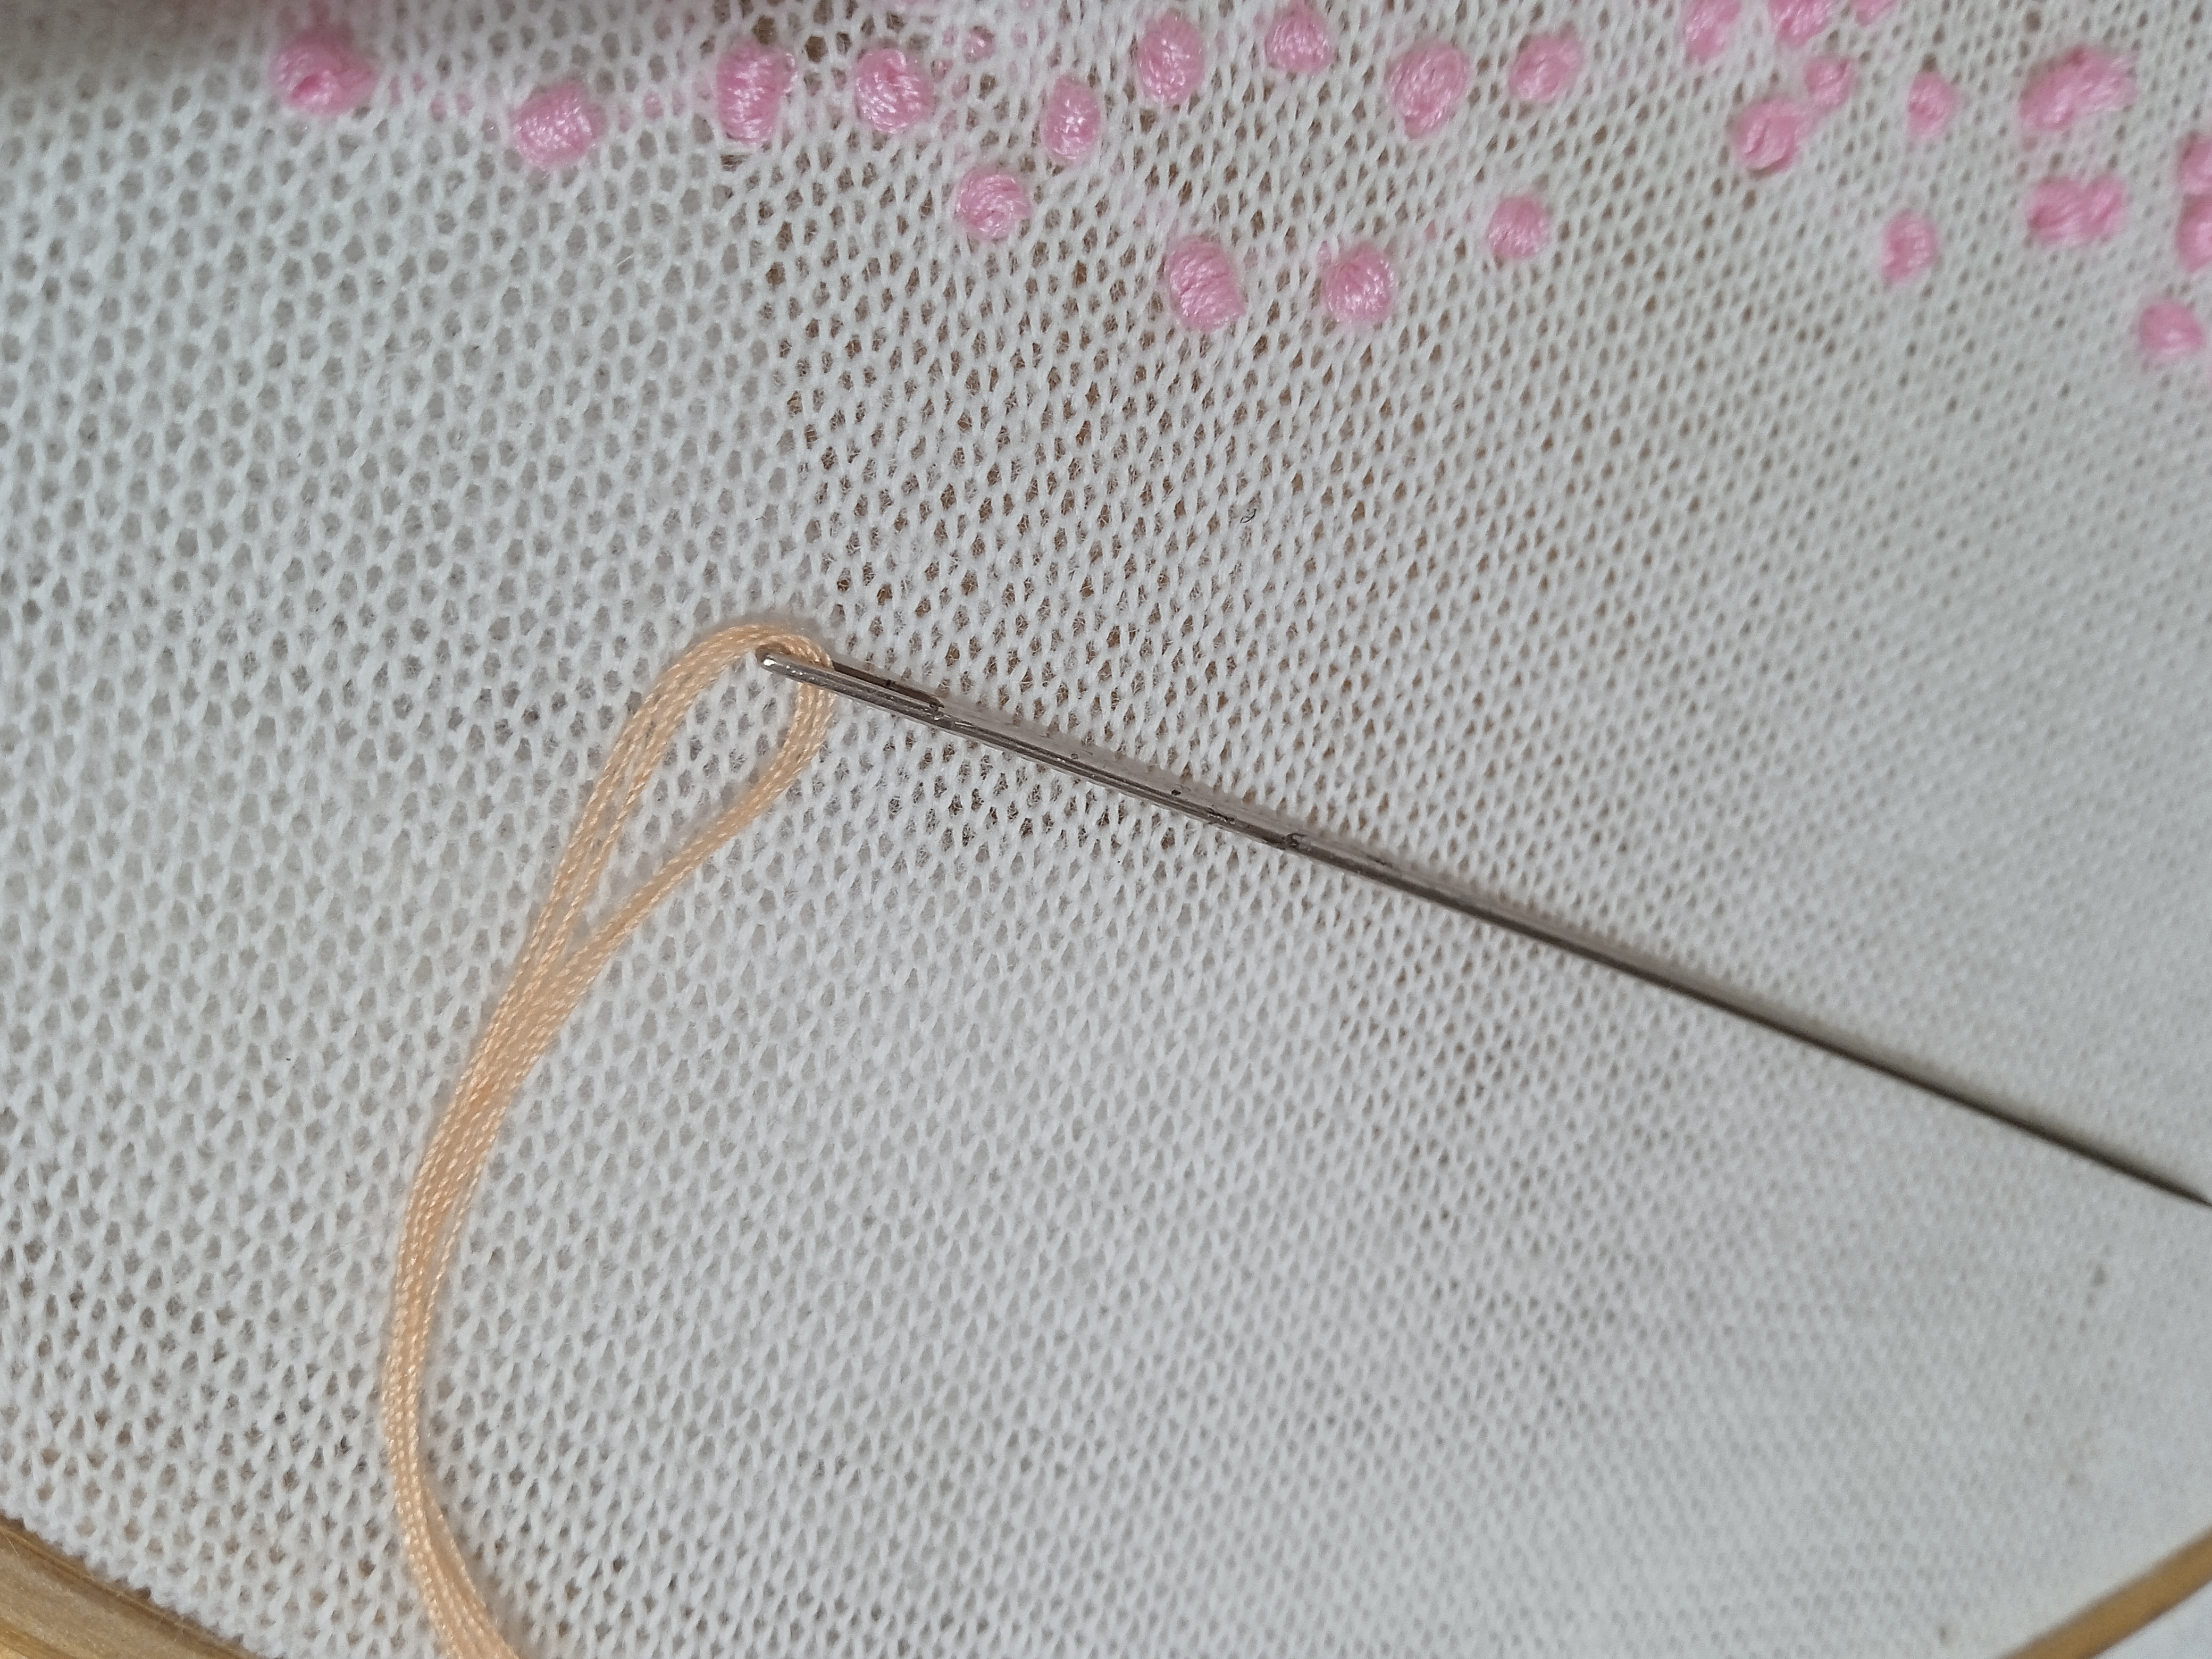
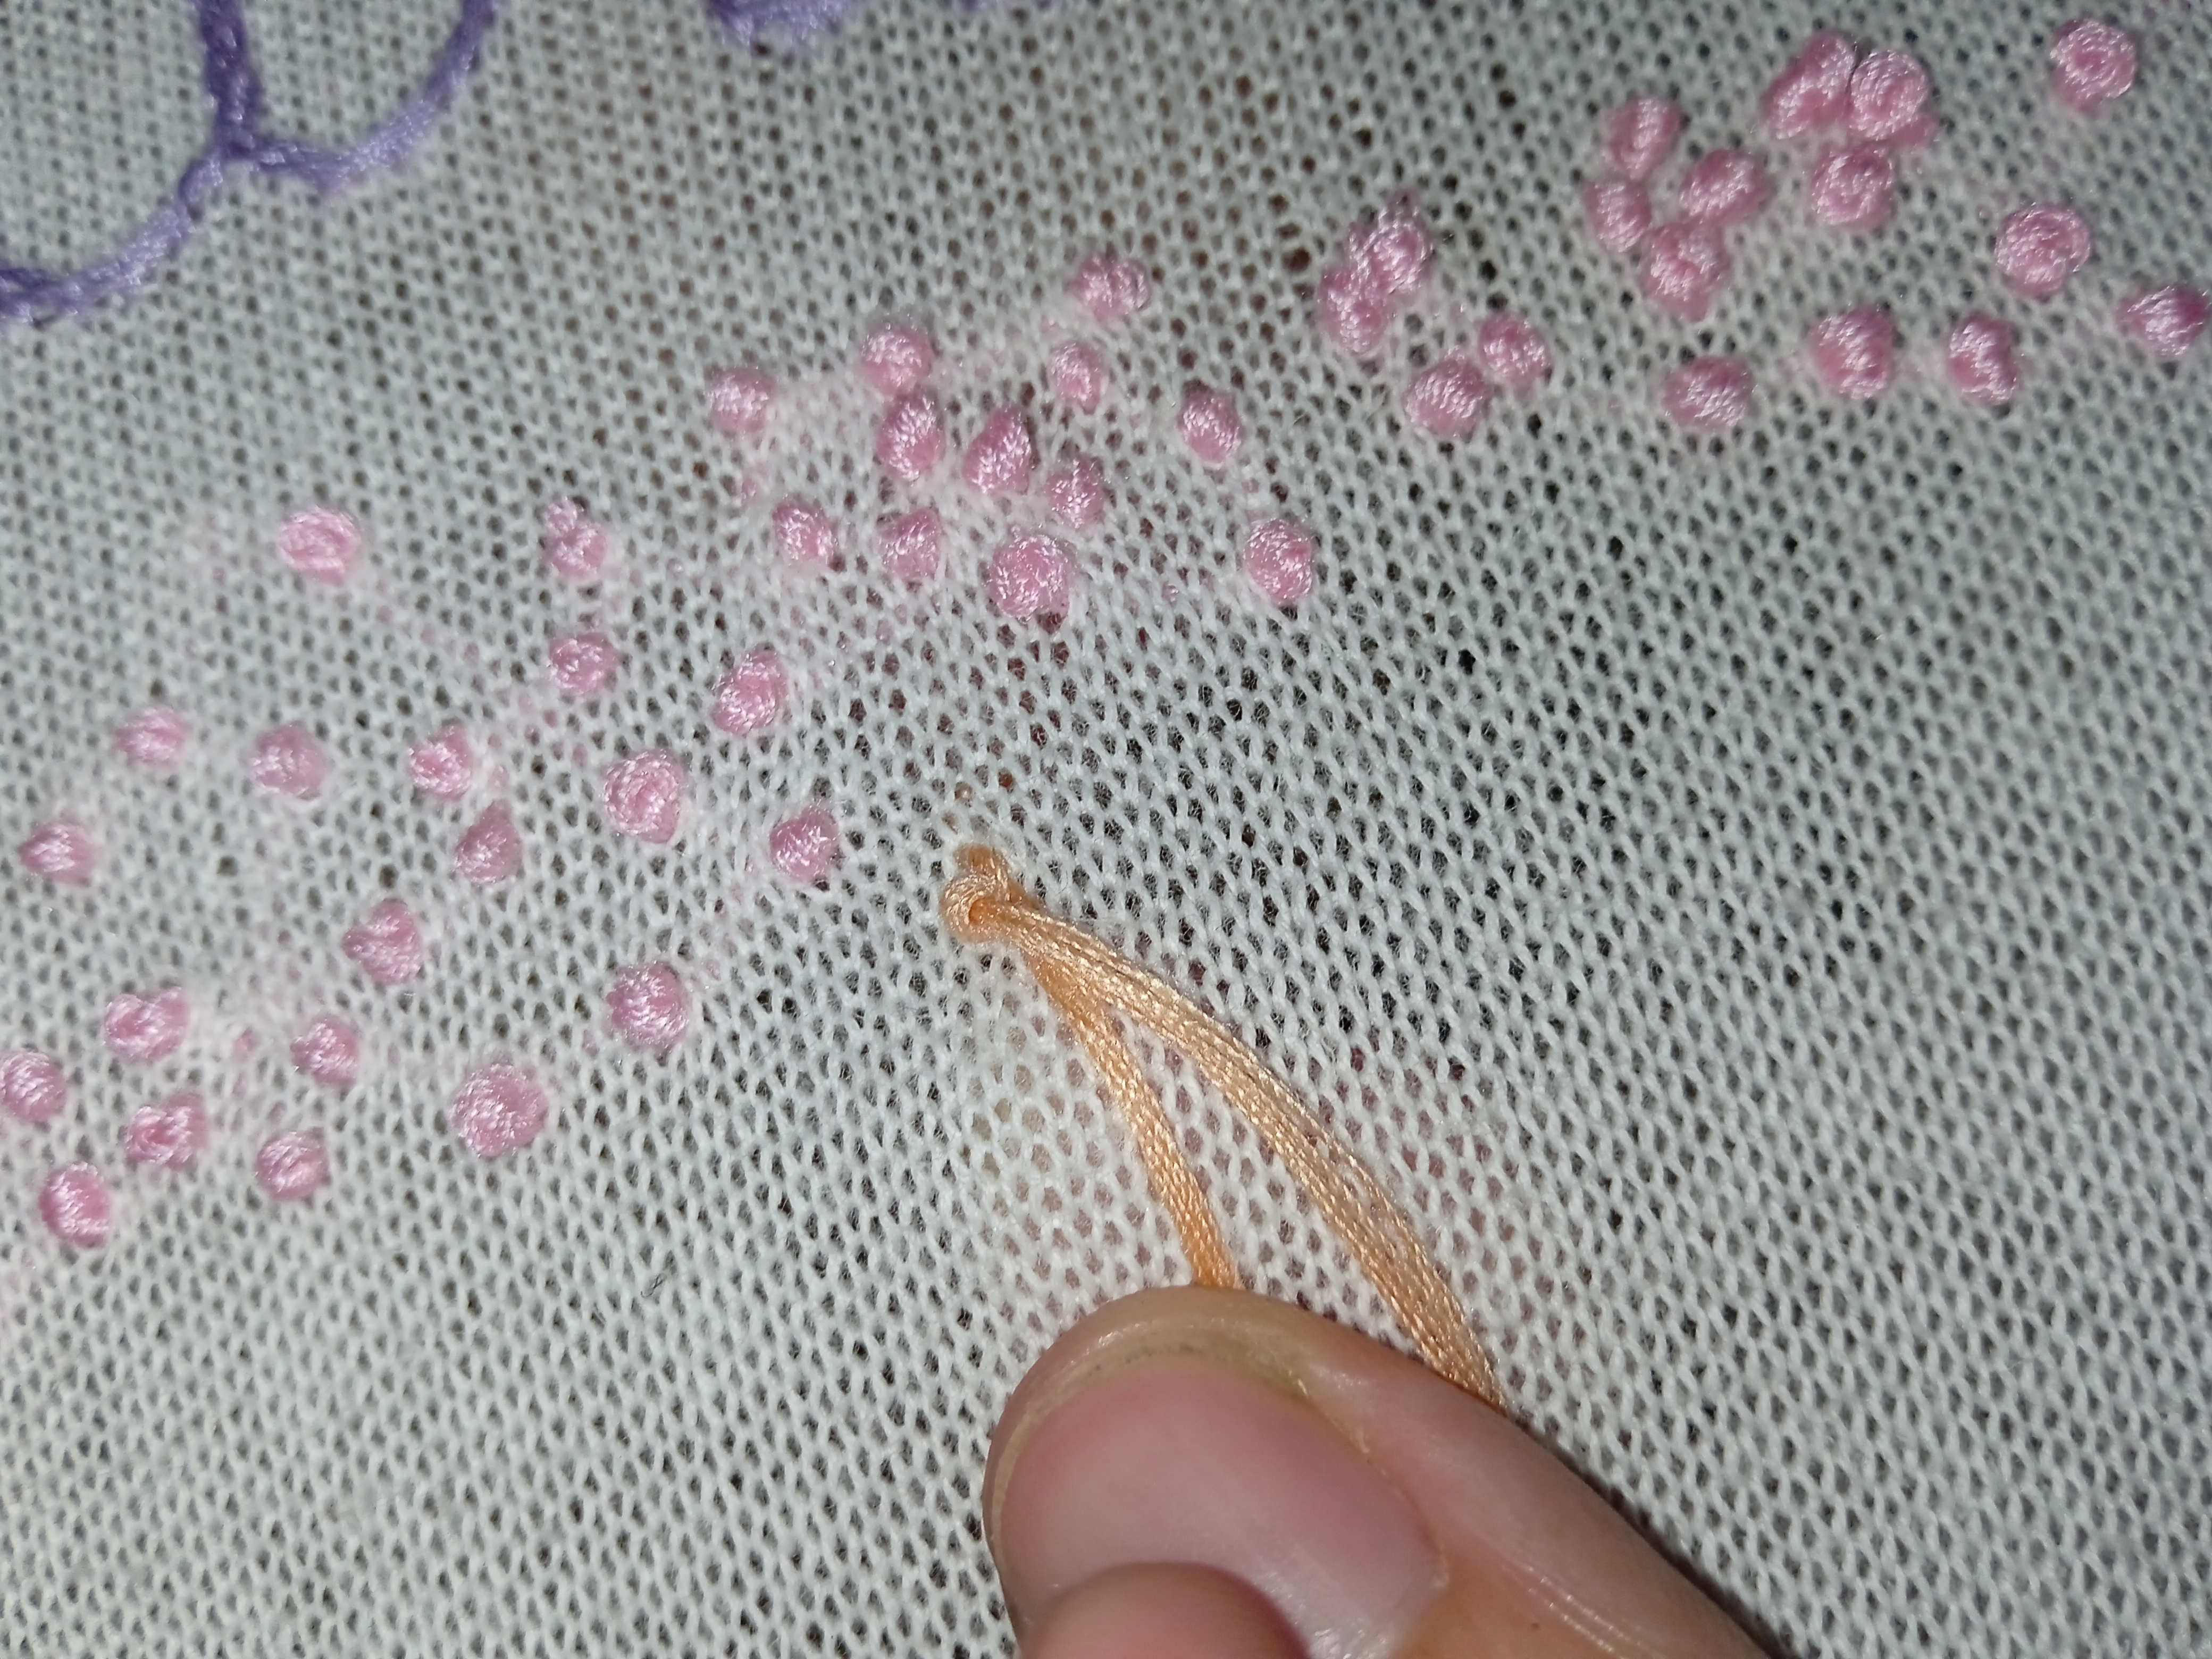
Para realizar este punto se necesitan 8 hebras de hilo, es decir pasar 4 hebras por la aguja y doblar para que sean 8, anudar bien, para asegurar el hilo en la tela, se pasara la aguja de atrás hacia adelante y casi donde salio la aguja se pasara para atrás y se asegurara pasando la aguja por entre los hilos y se estira, listo, ya esta asegurado.
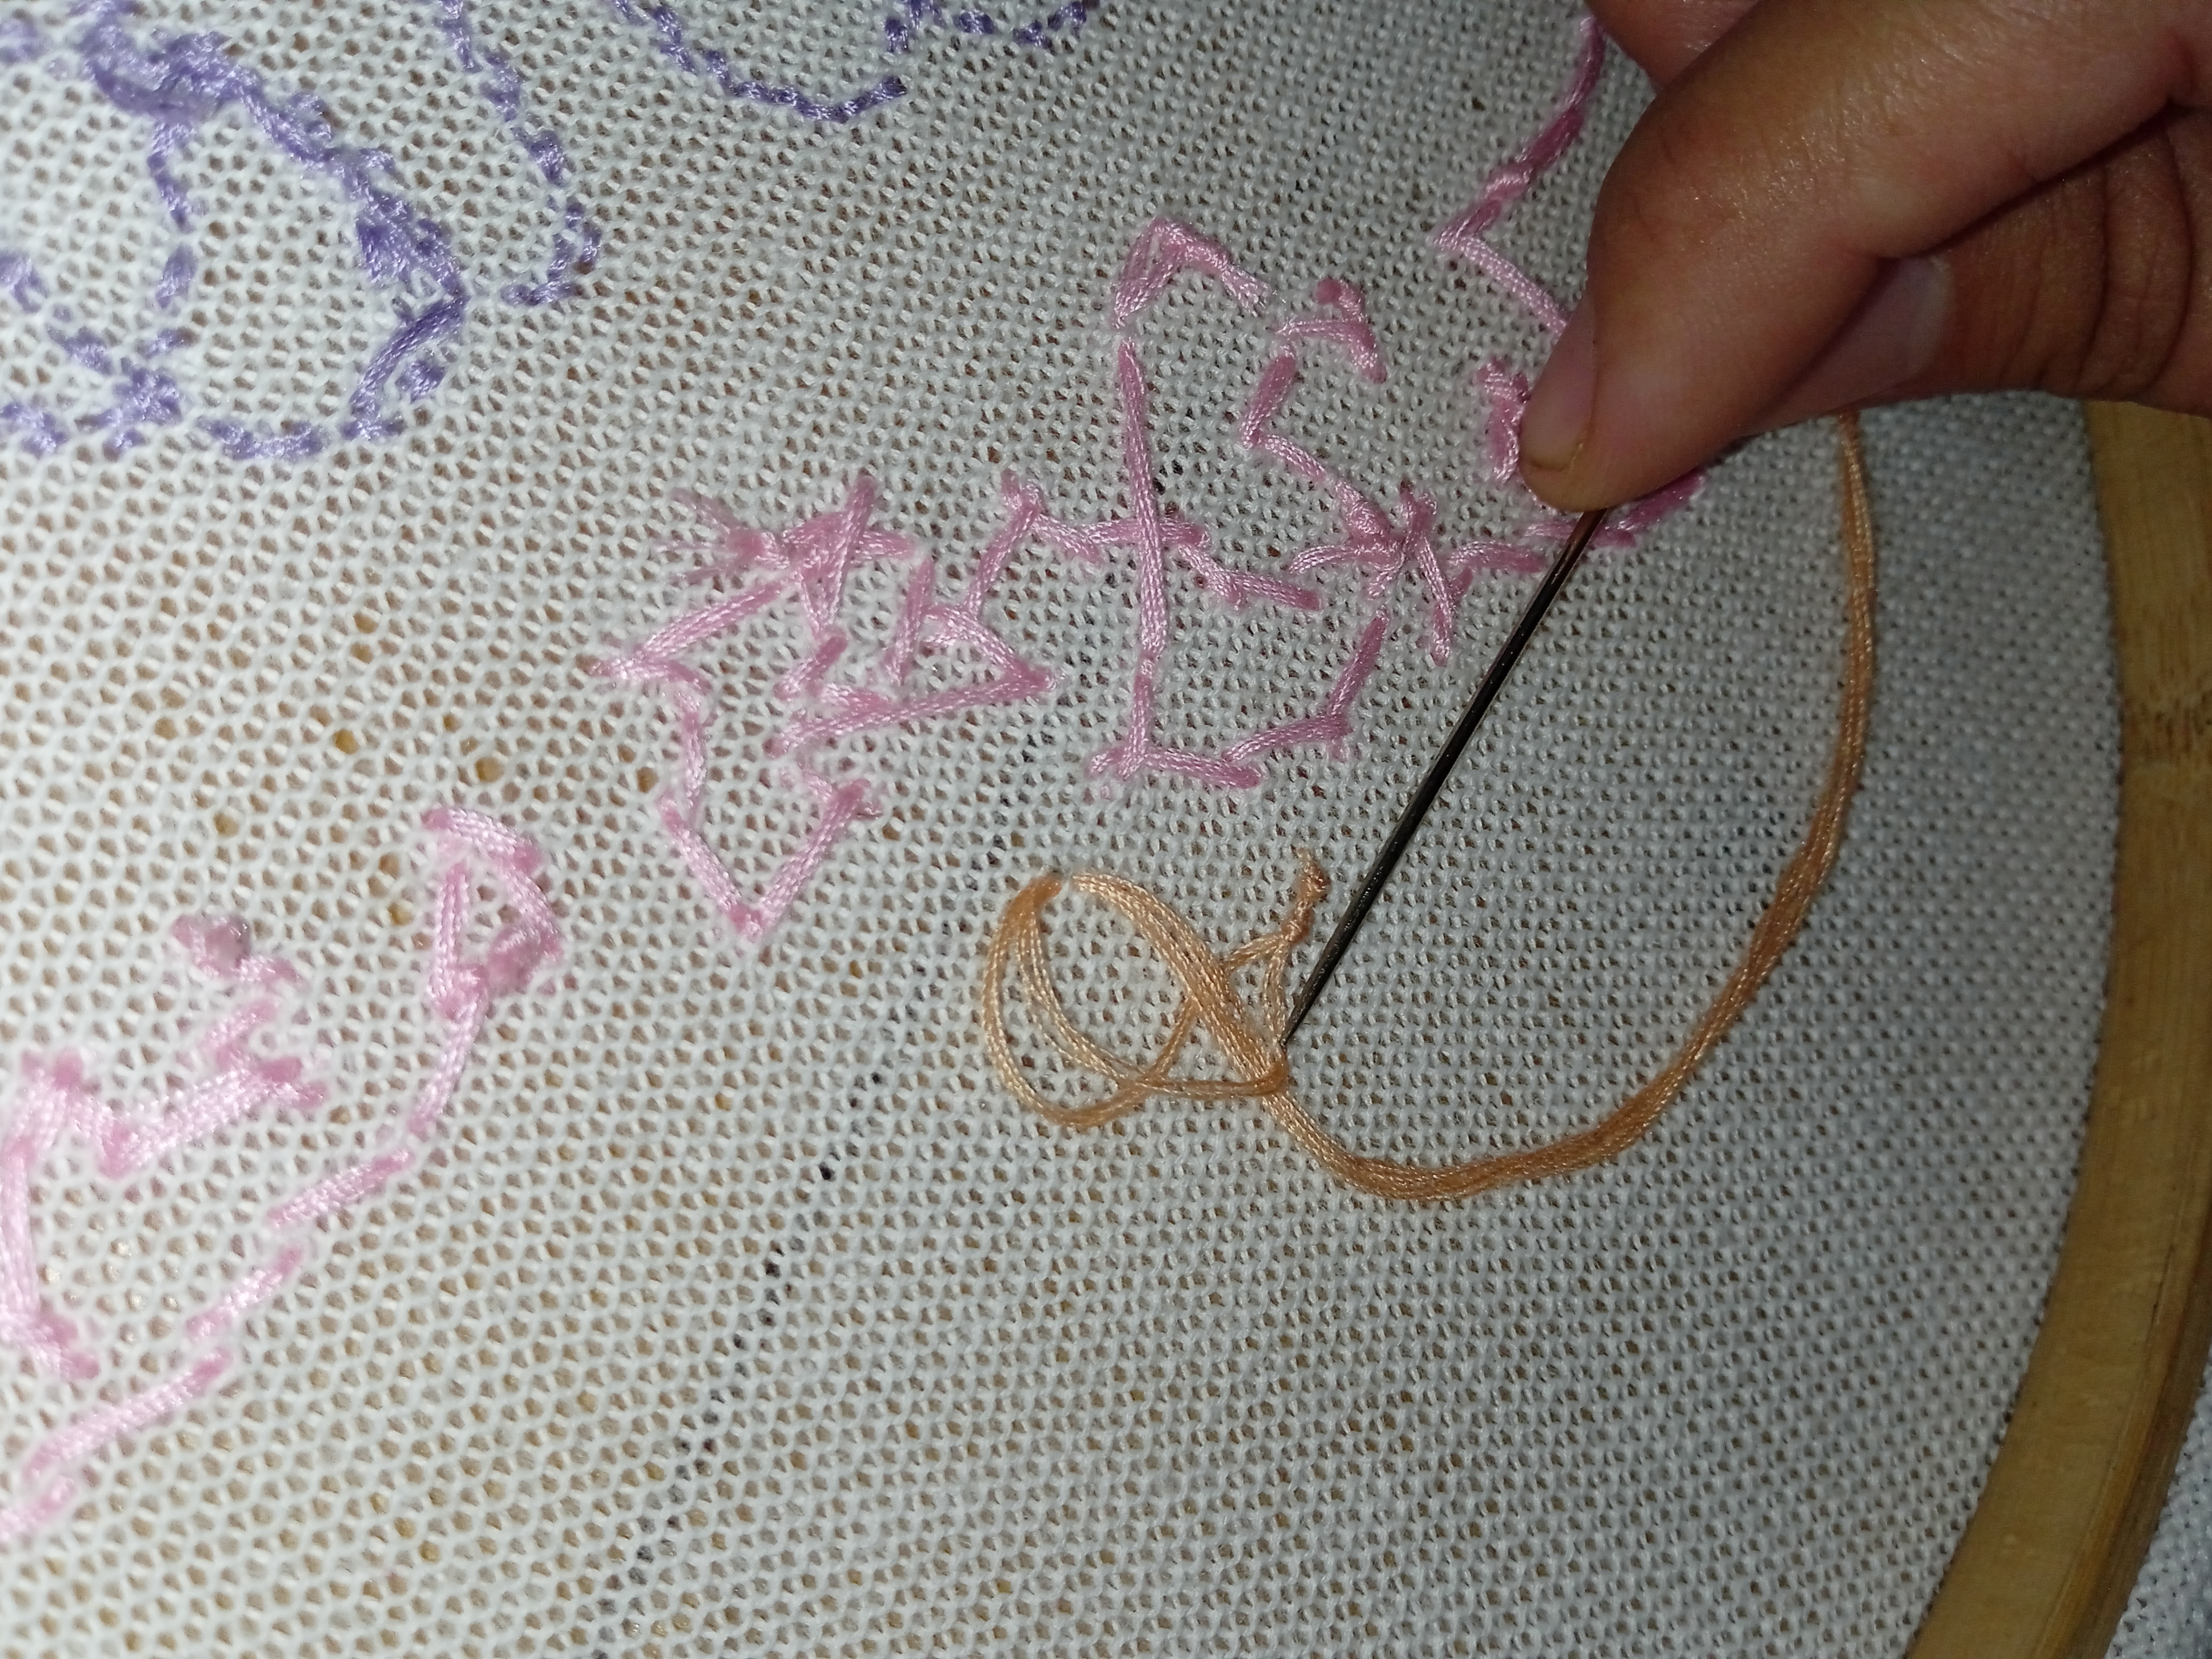
Pasar la aguja de nuevo para el frente de la tela, ahora si, para este punto se necesitan las dos manos, estirar el hilo.
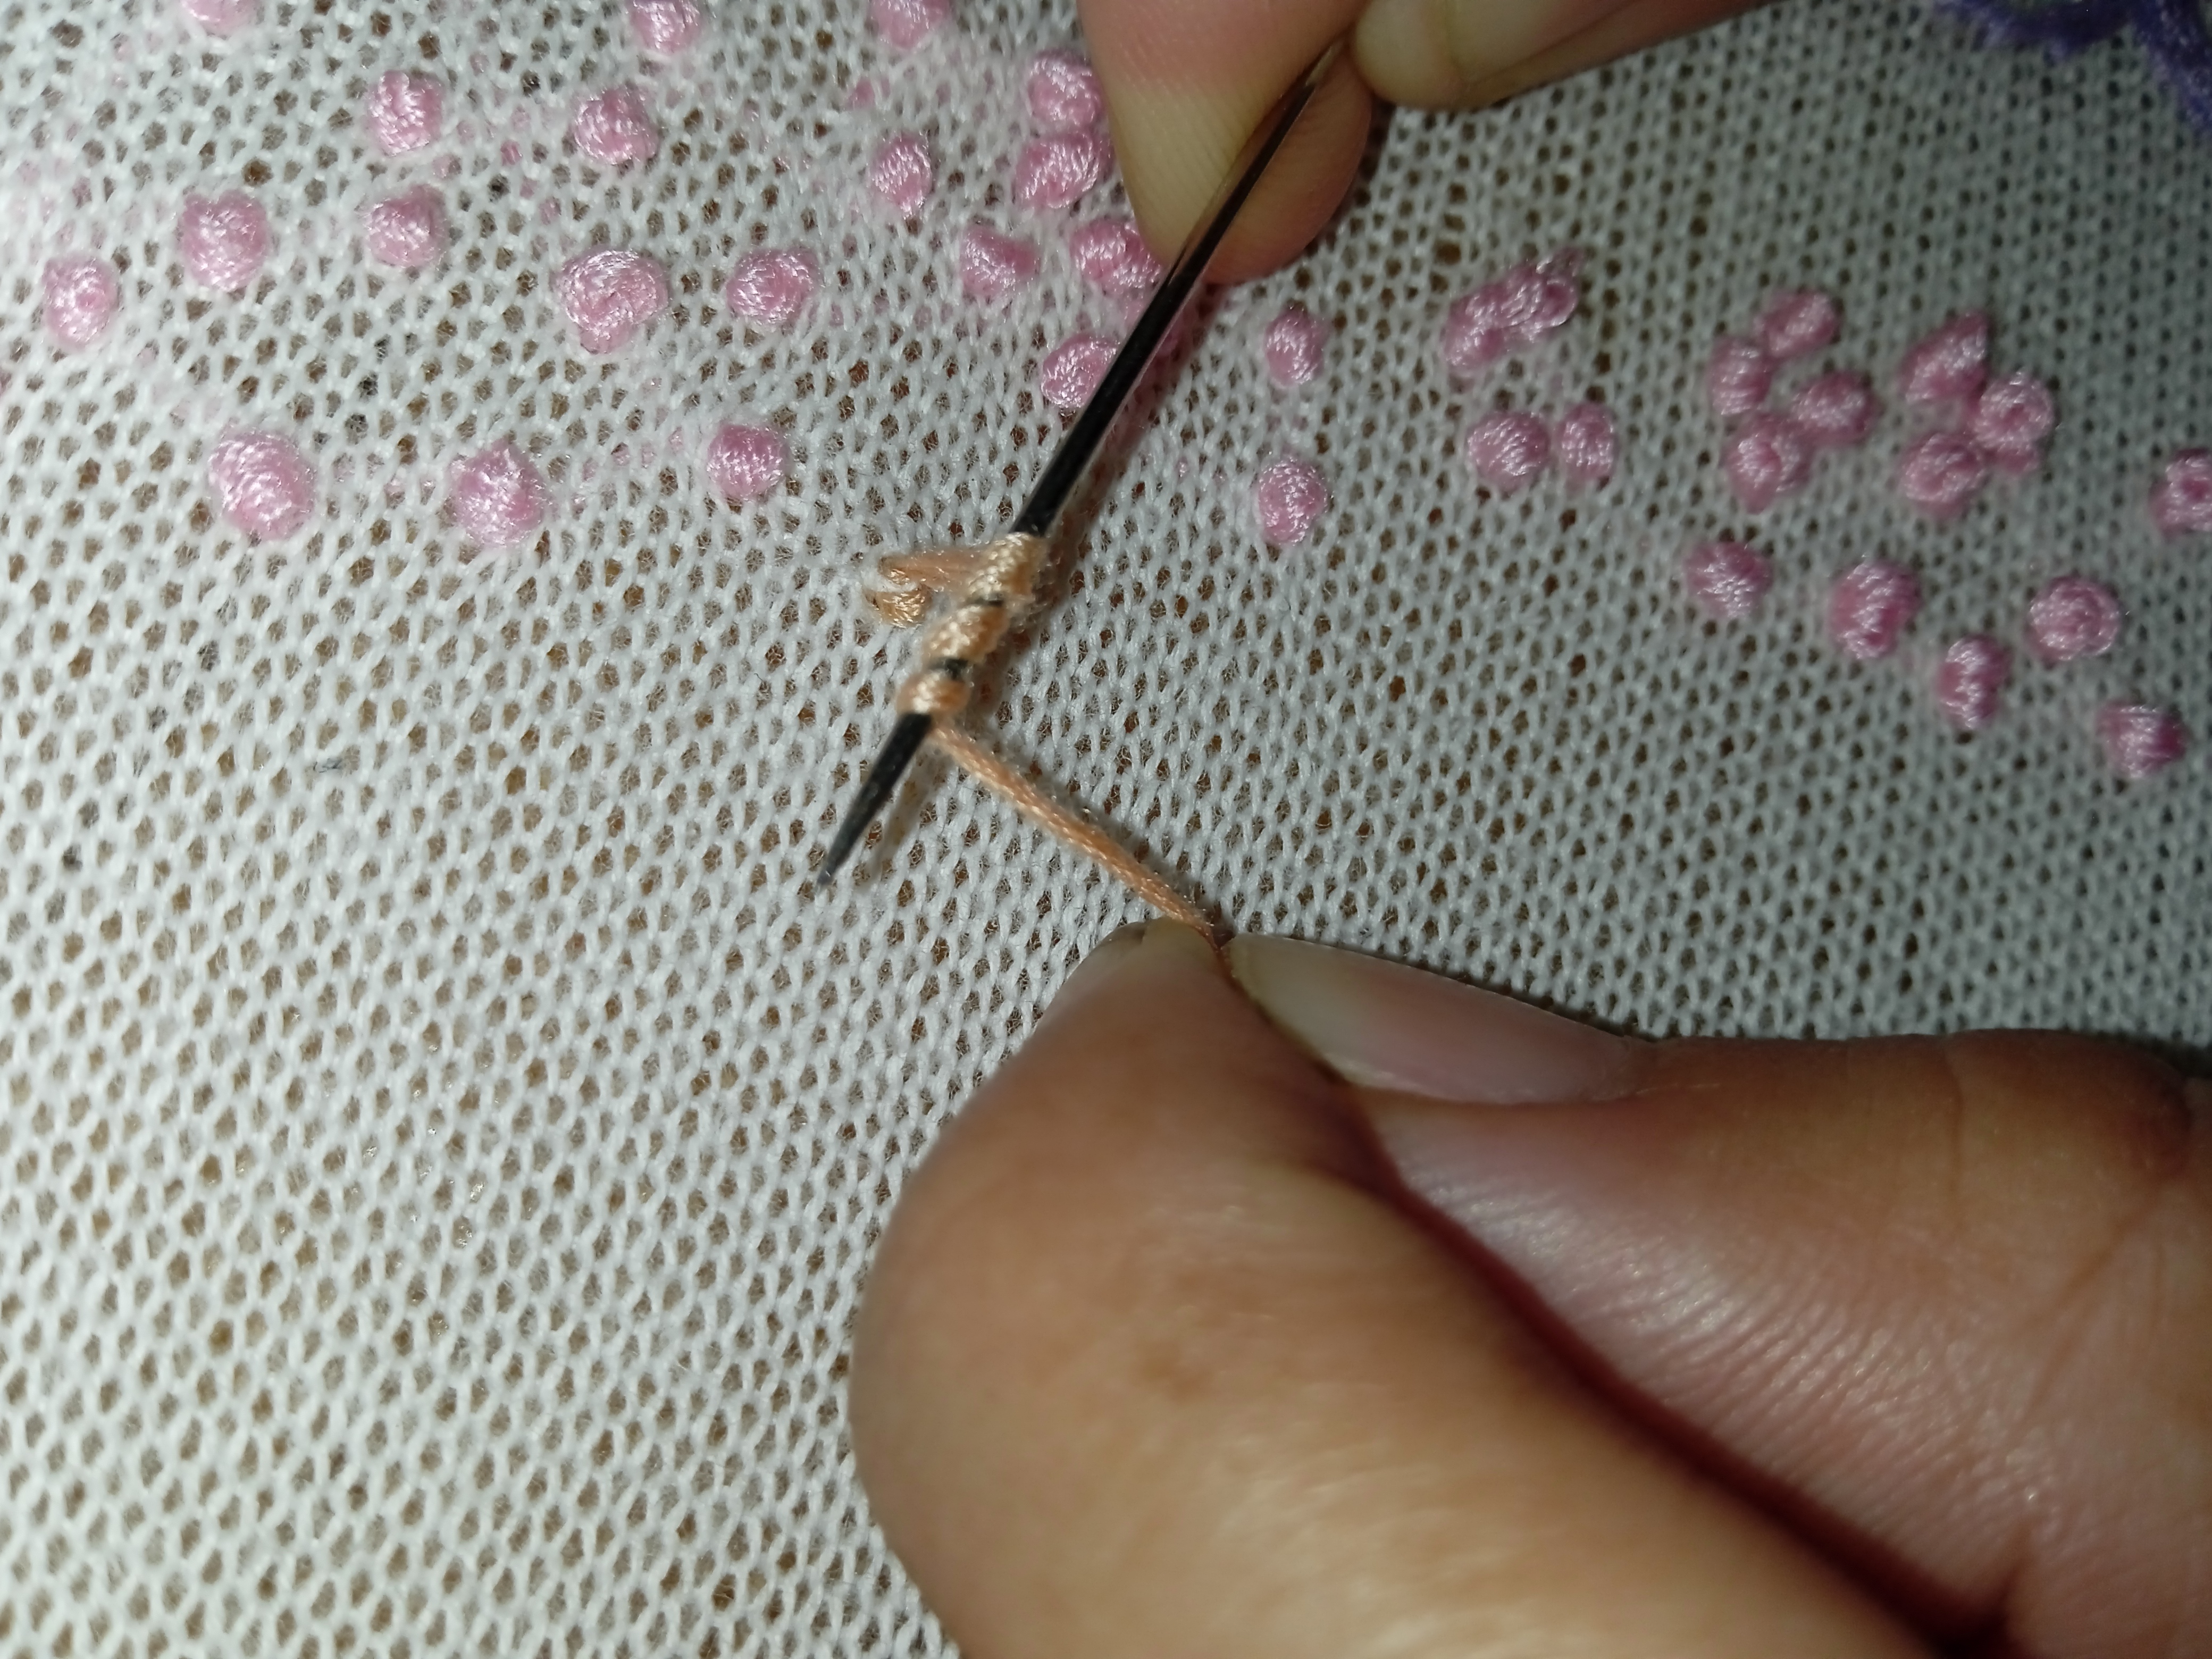
Darle 3 vueltas en la aguja
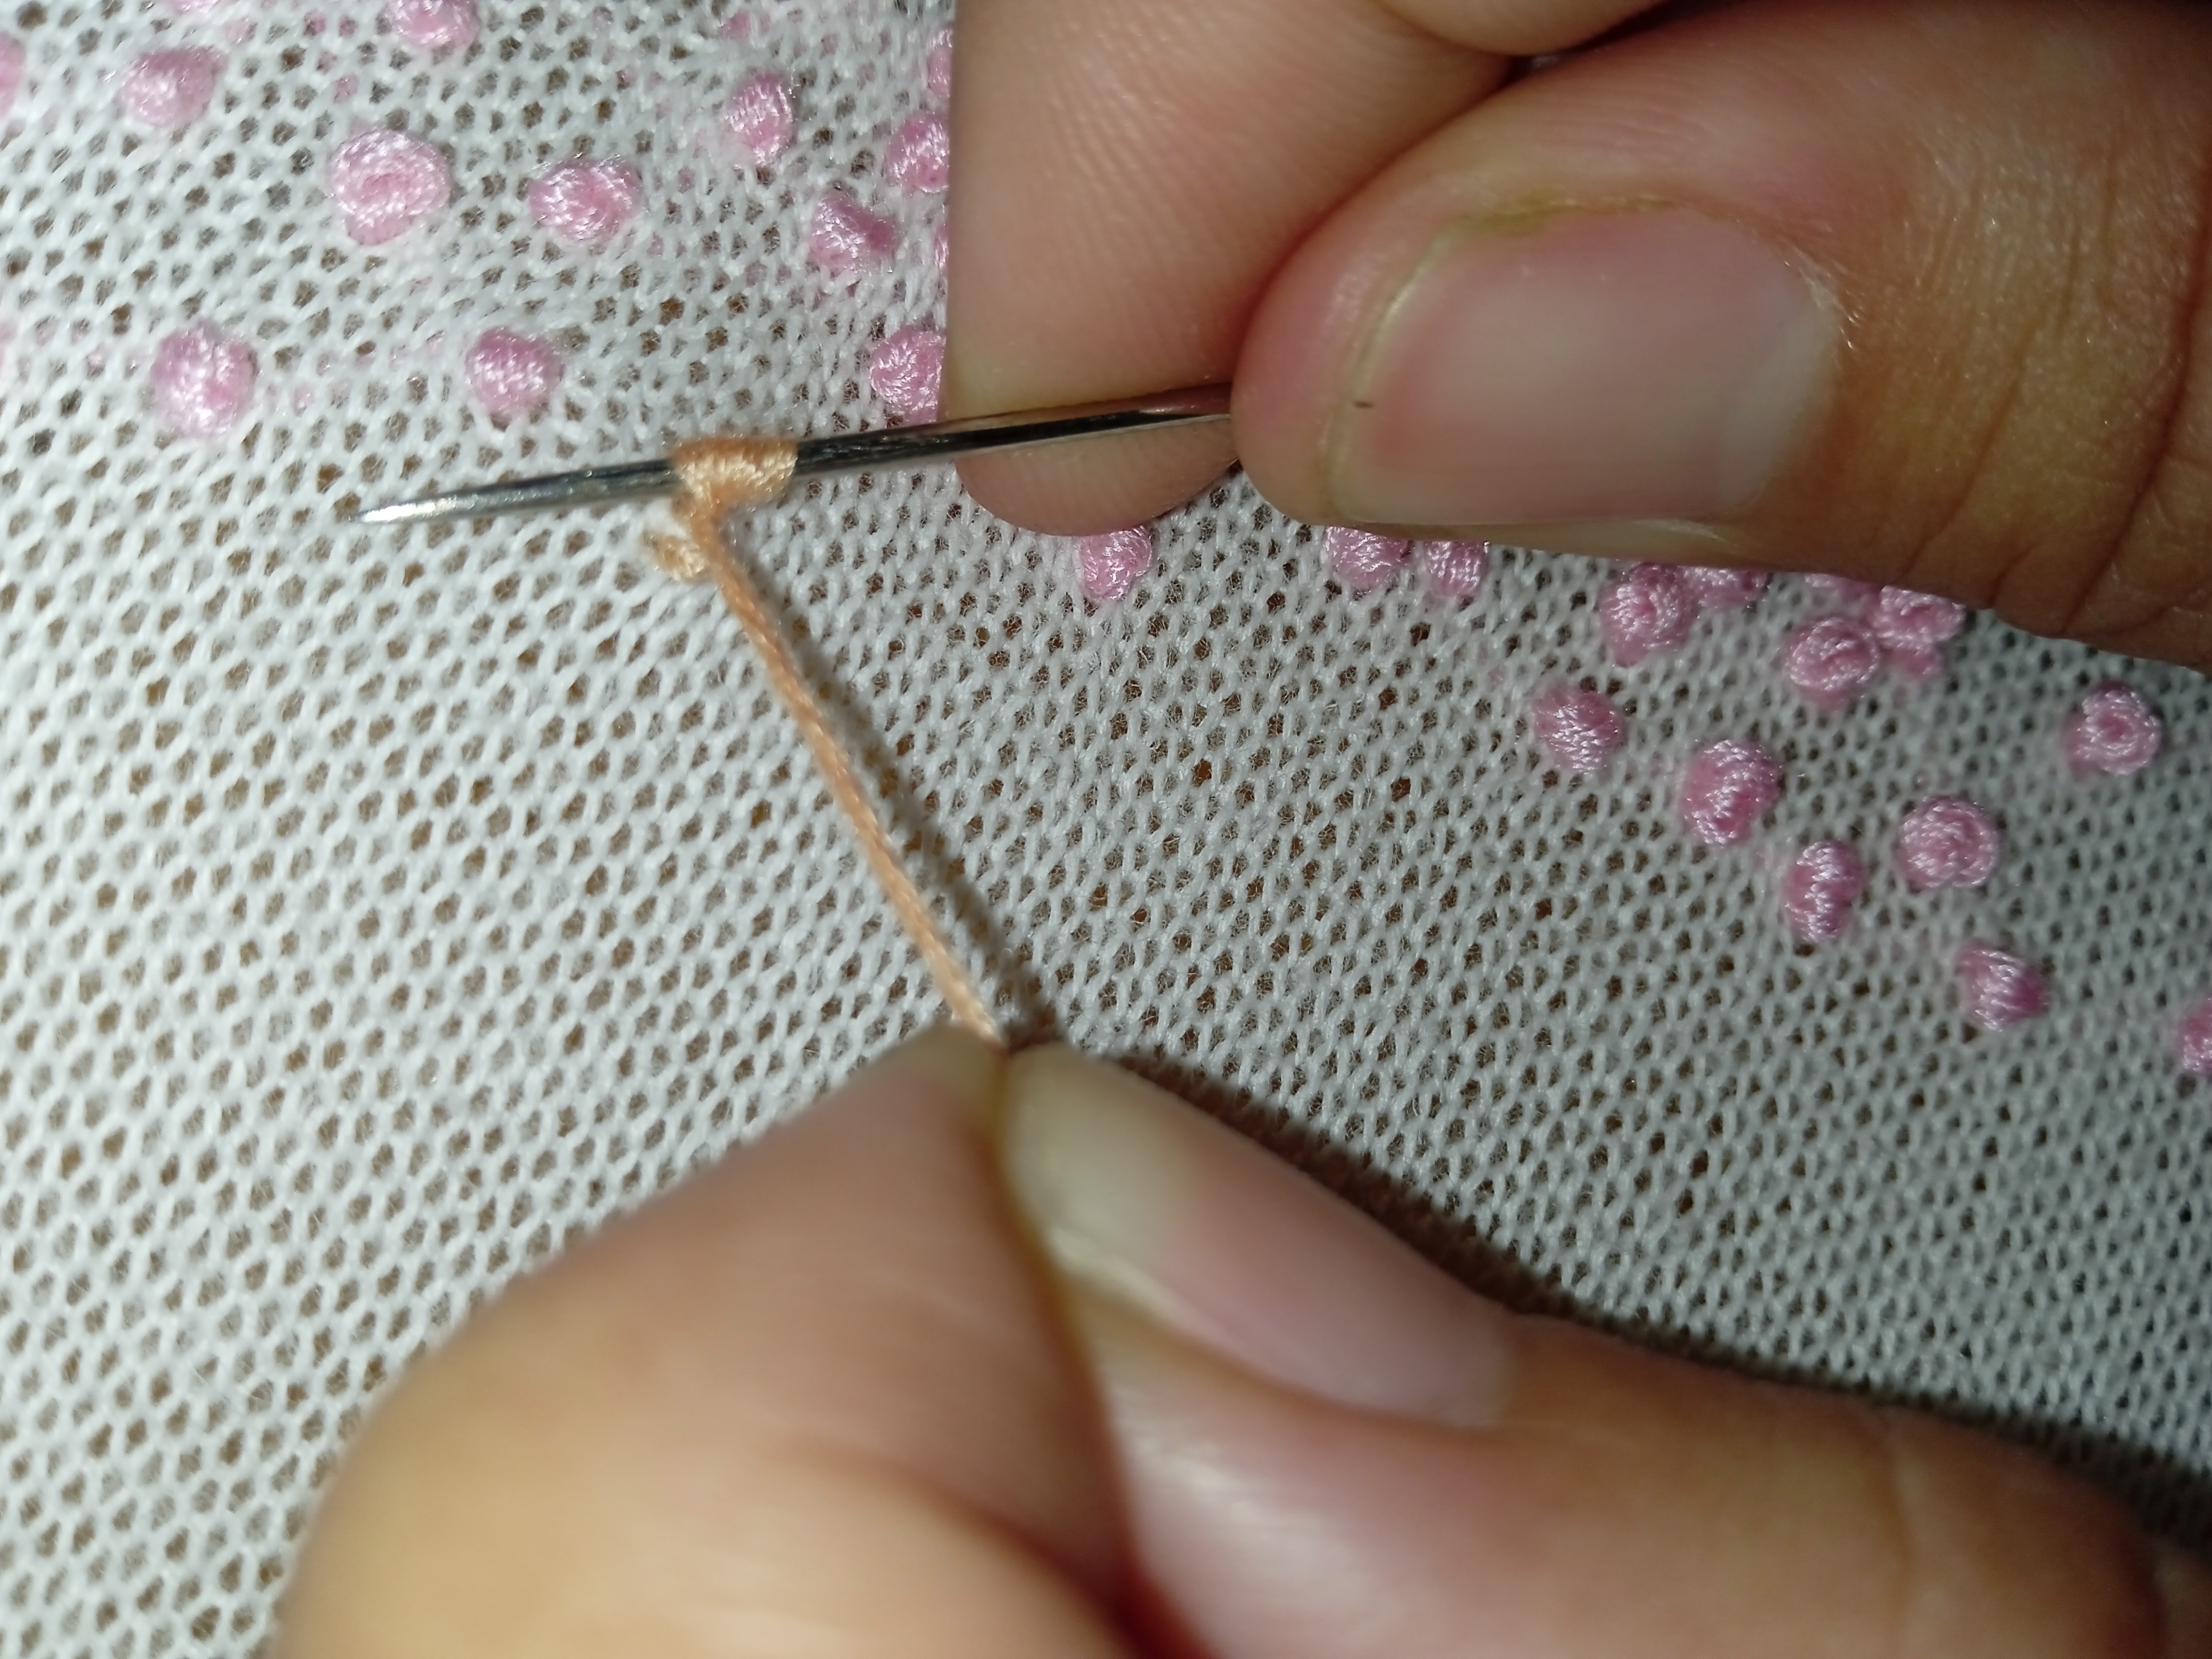
Mientras se le dan las vueltas en la aguja al hilo, la aguja se debe mantener con presión y bien agarrada, al mismo tiempo se estira el hilo y la aguja se le da una vuelta a la aguja o al hilo, cuando ya este como anudada.
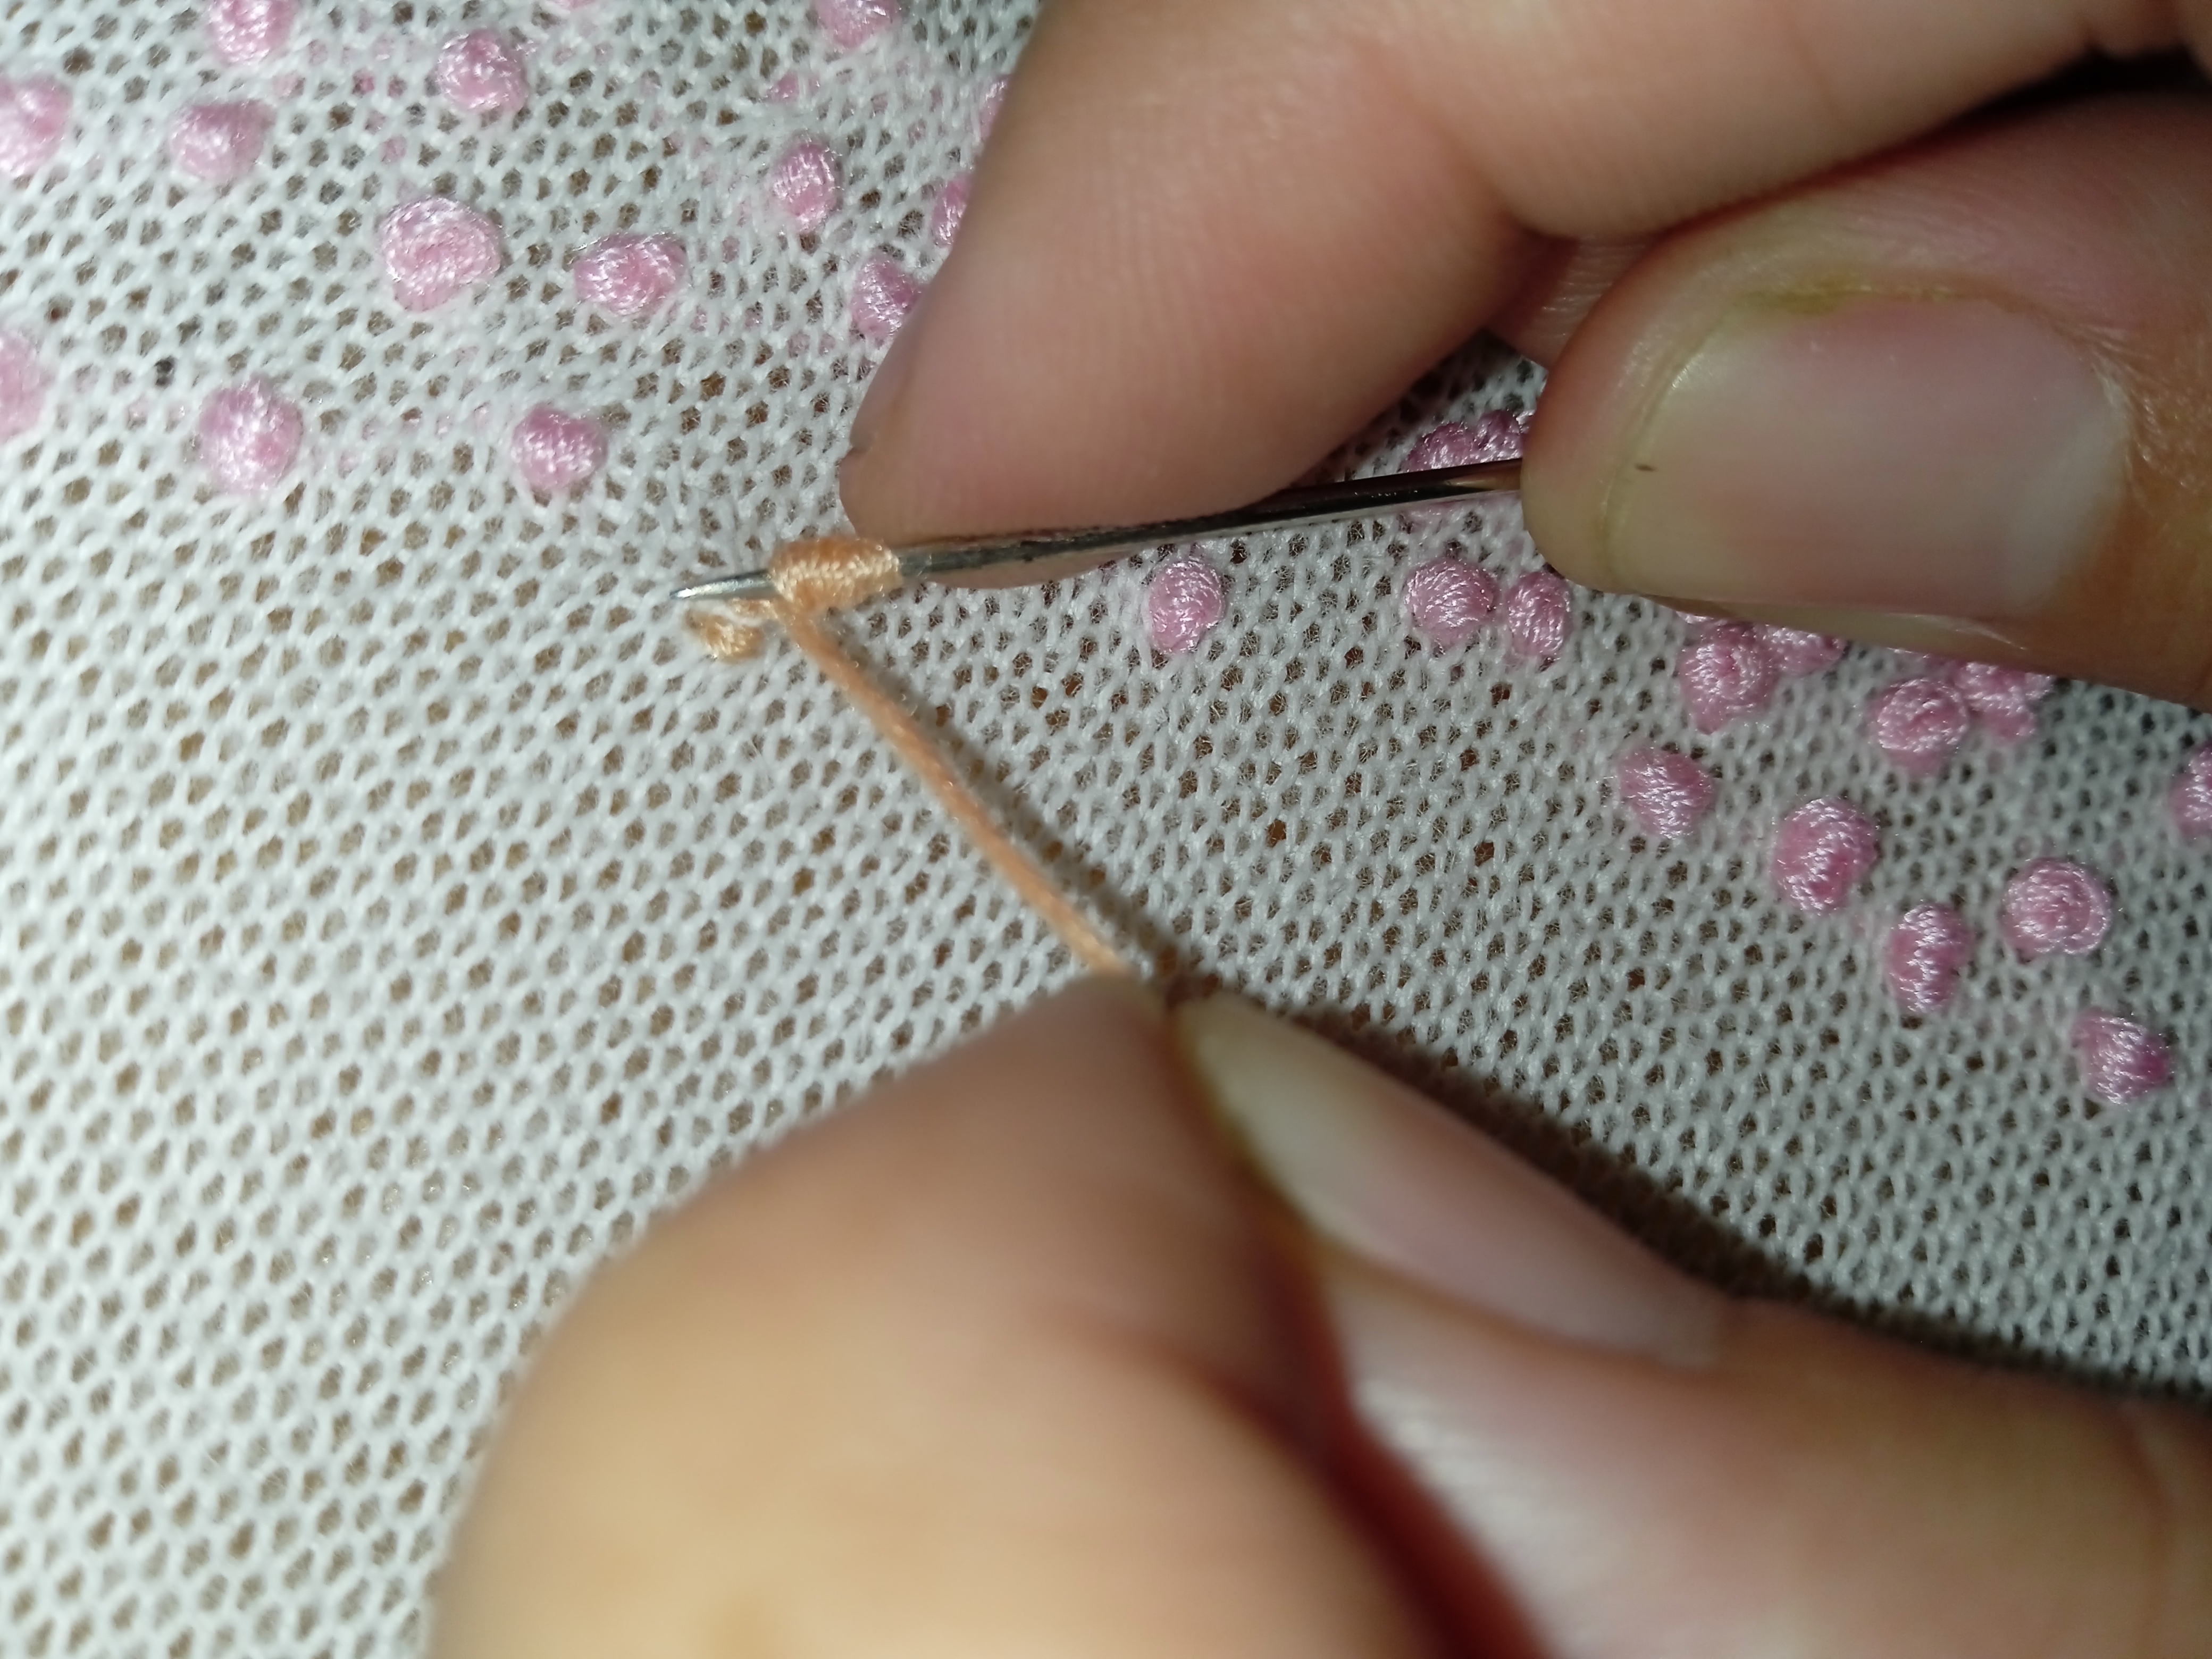
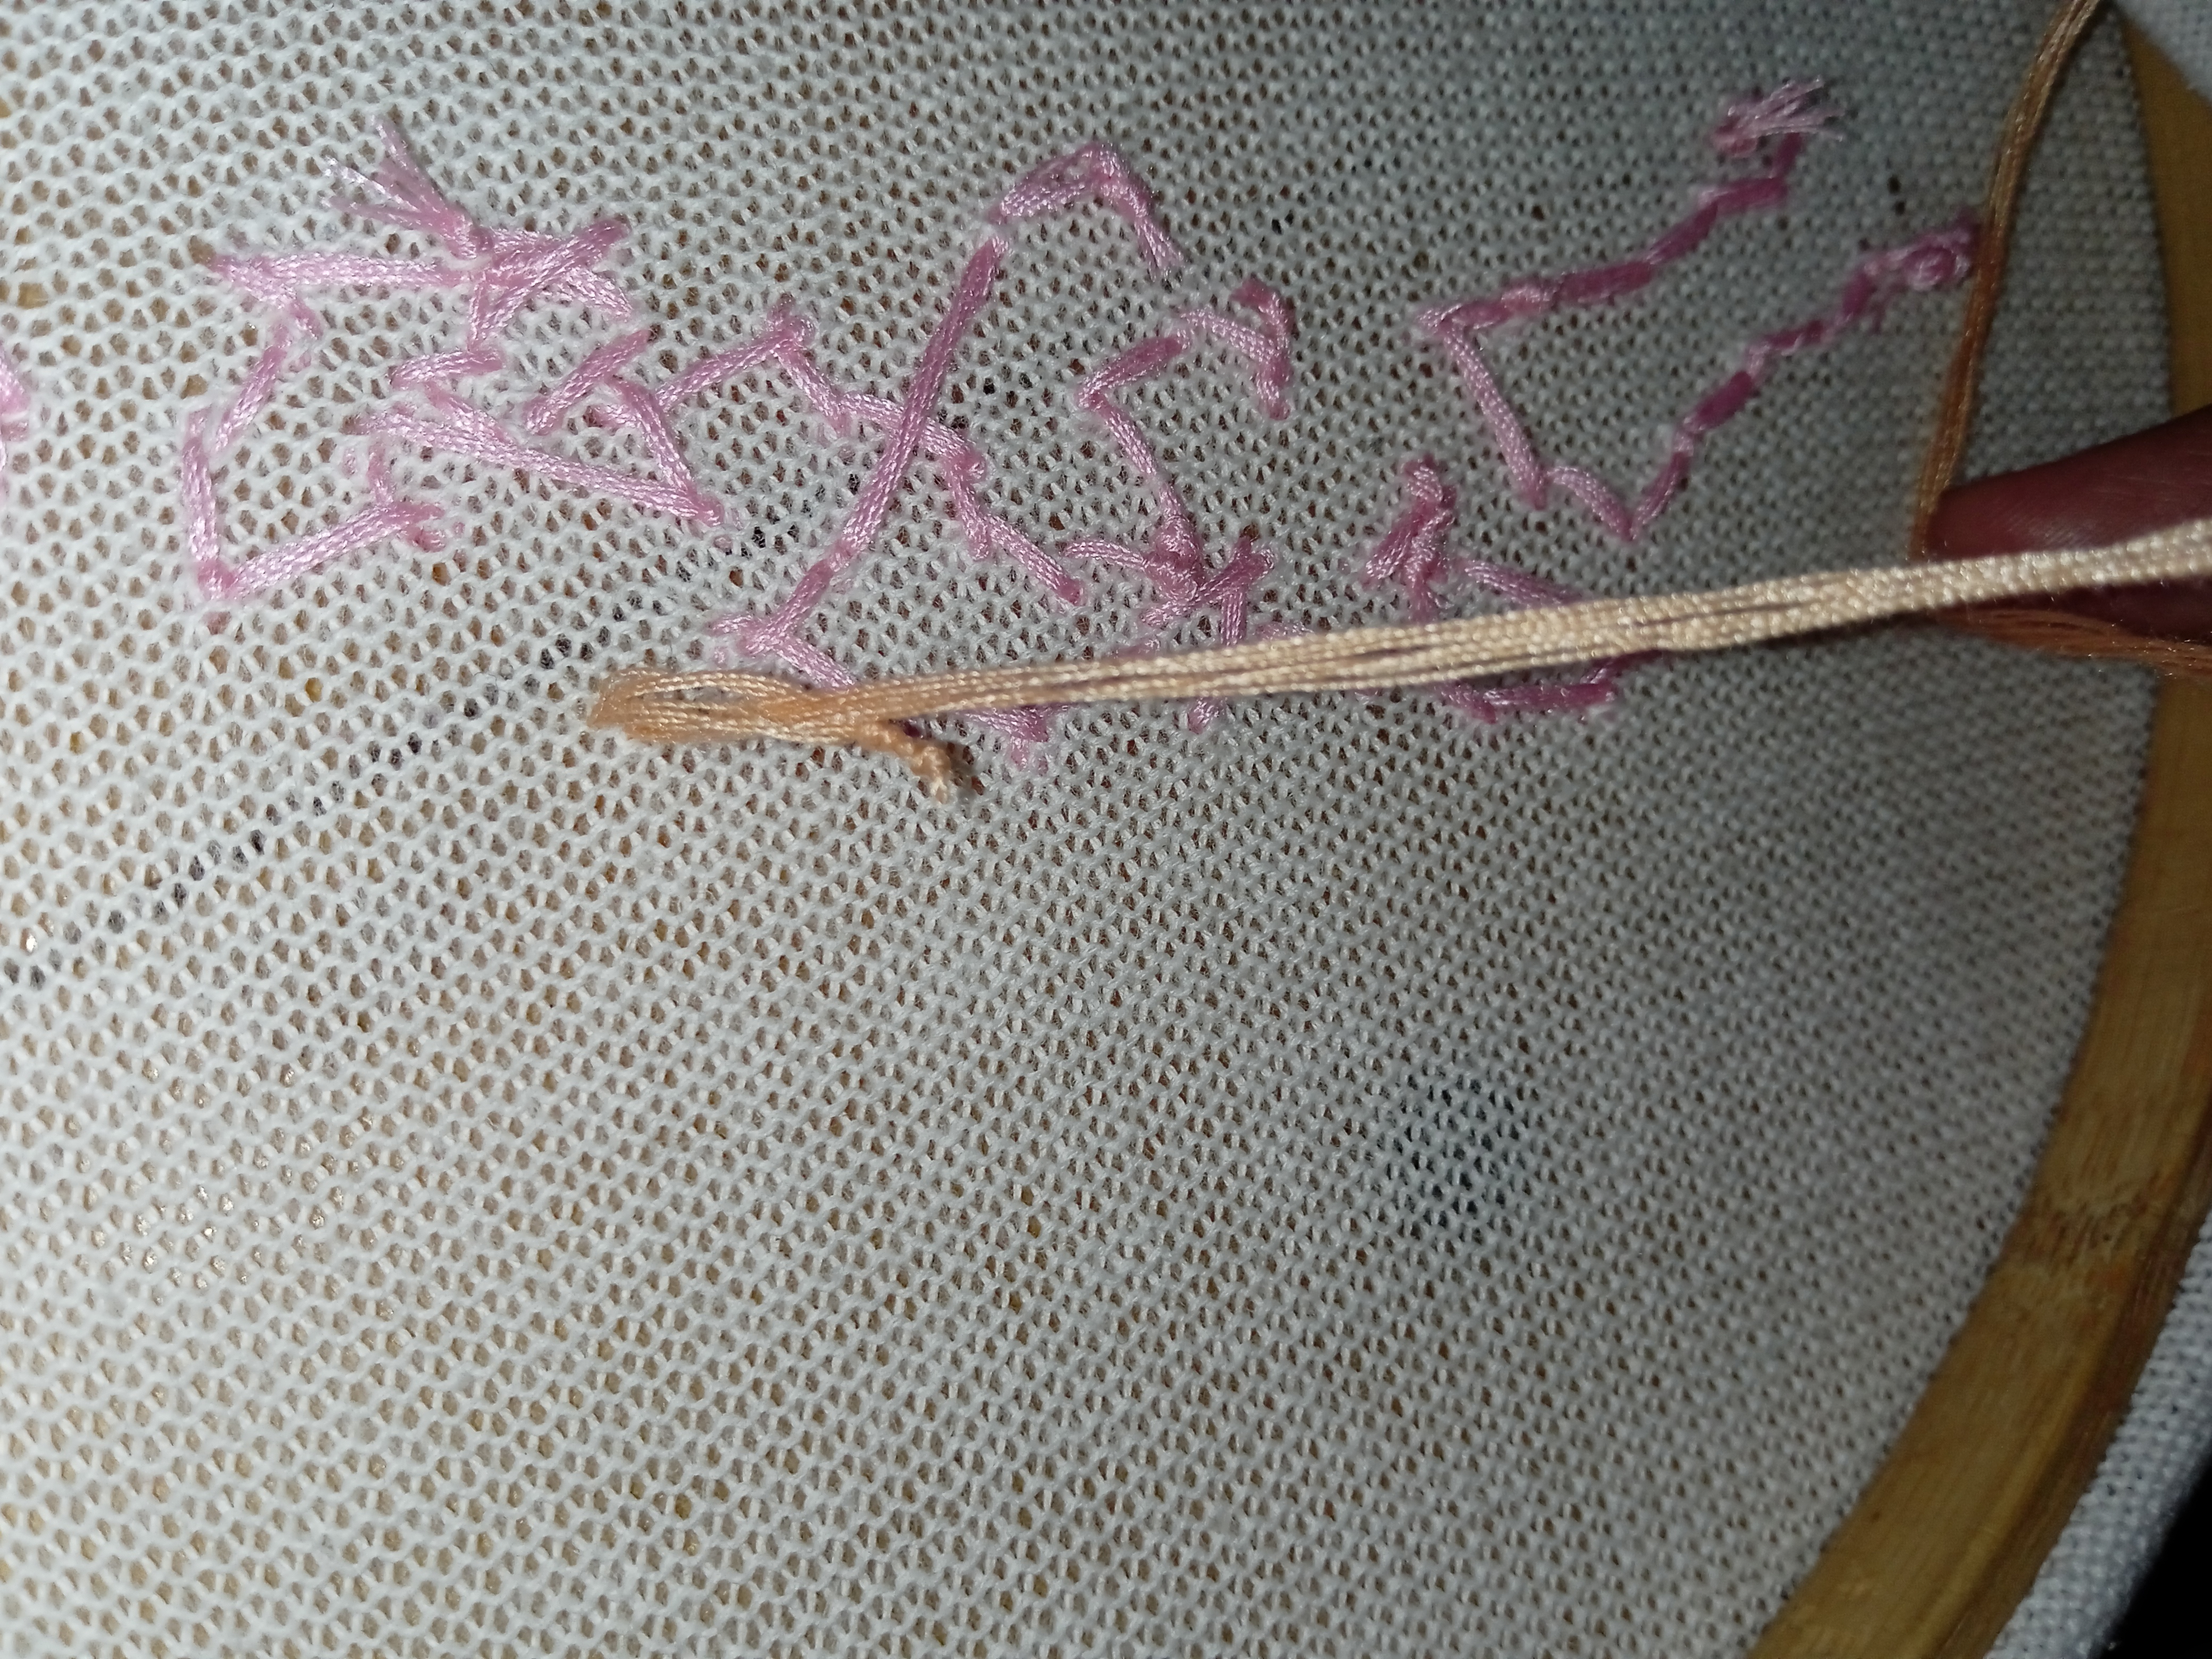
Se pasa la aguja por el mismo punto donde sale el hilo, pero yo no lo hago así, yo la paso al milímetro de donde sale el hilo, me gusta mas porque siento que queda mas asegurada.
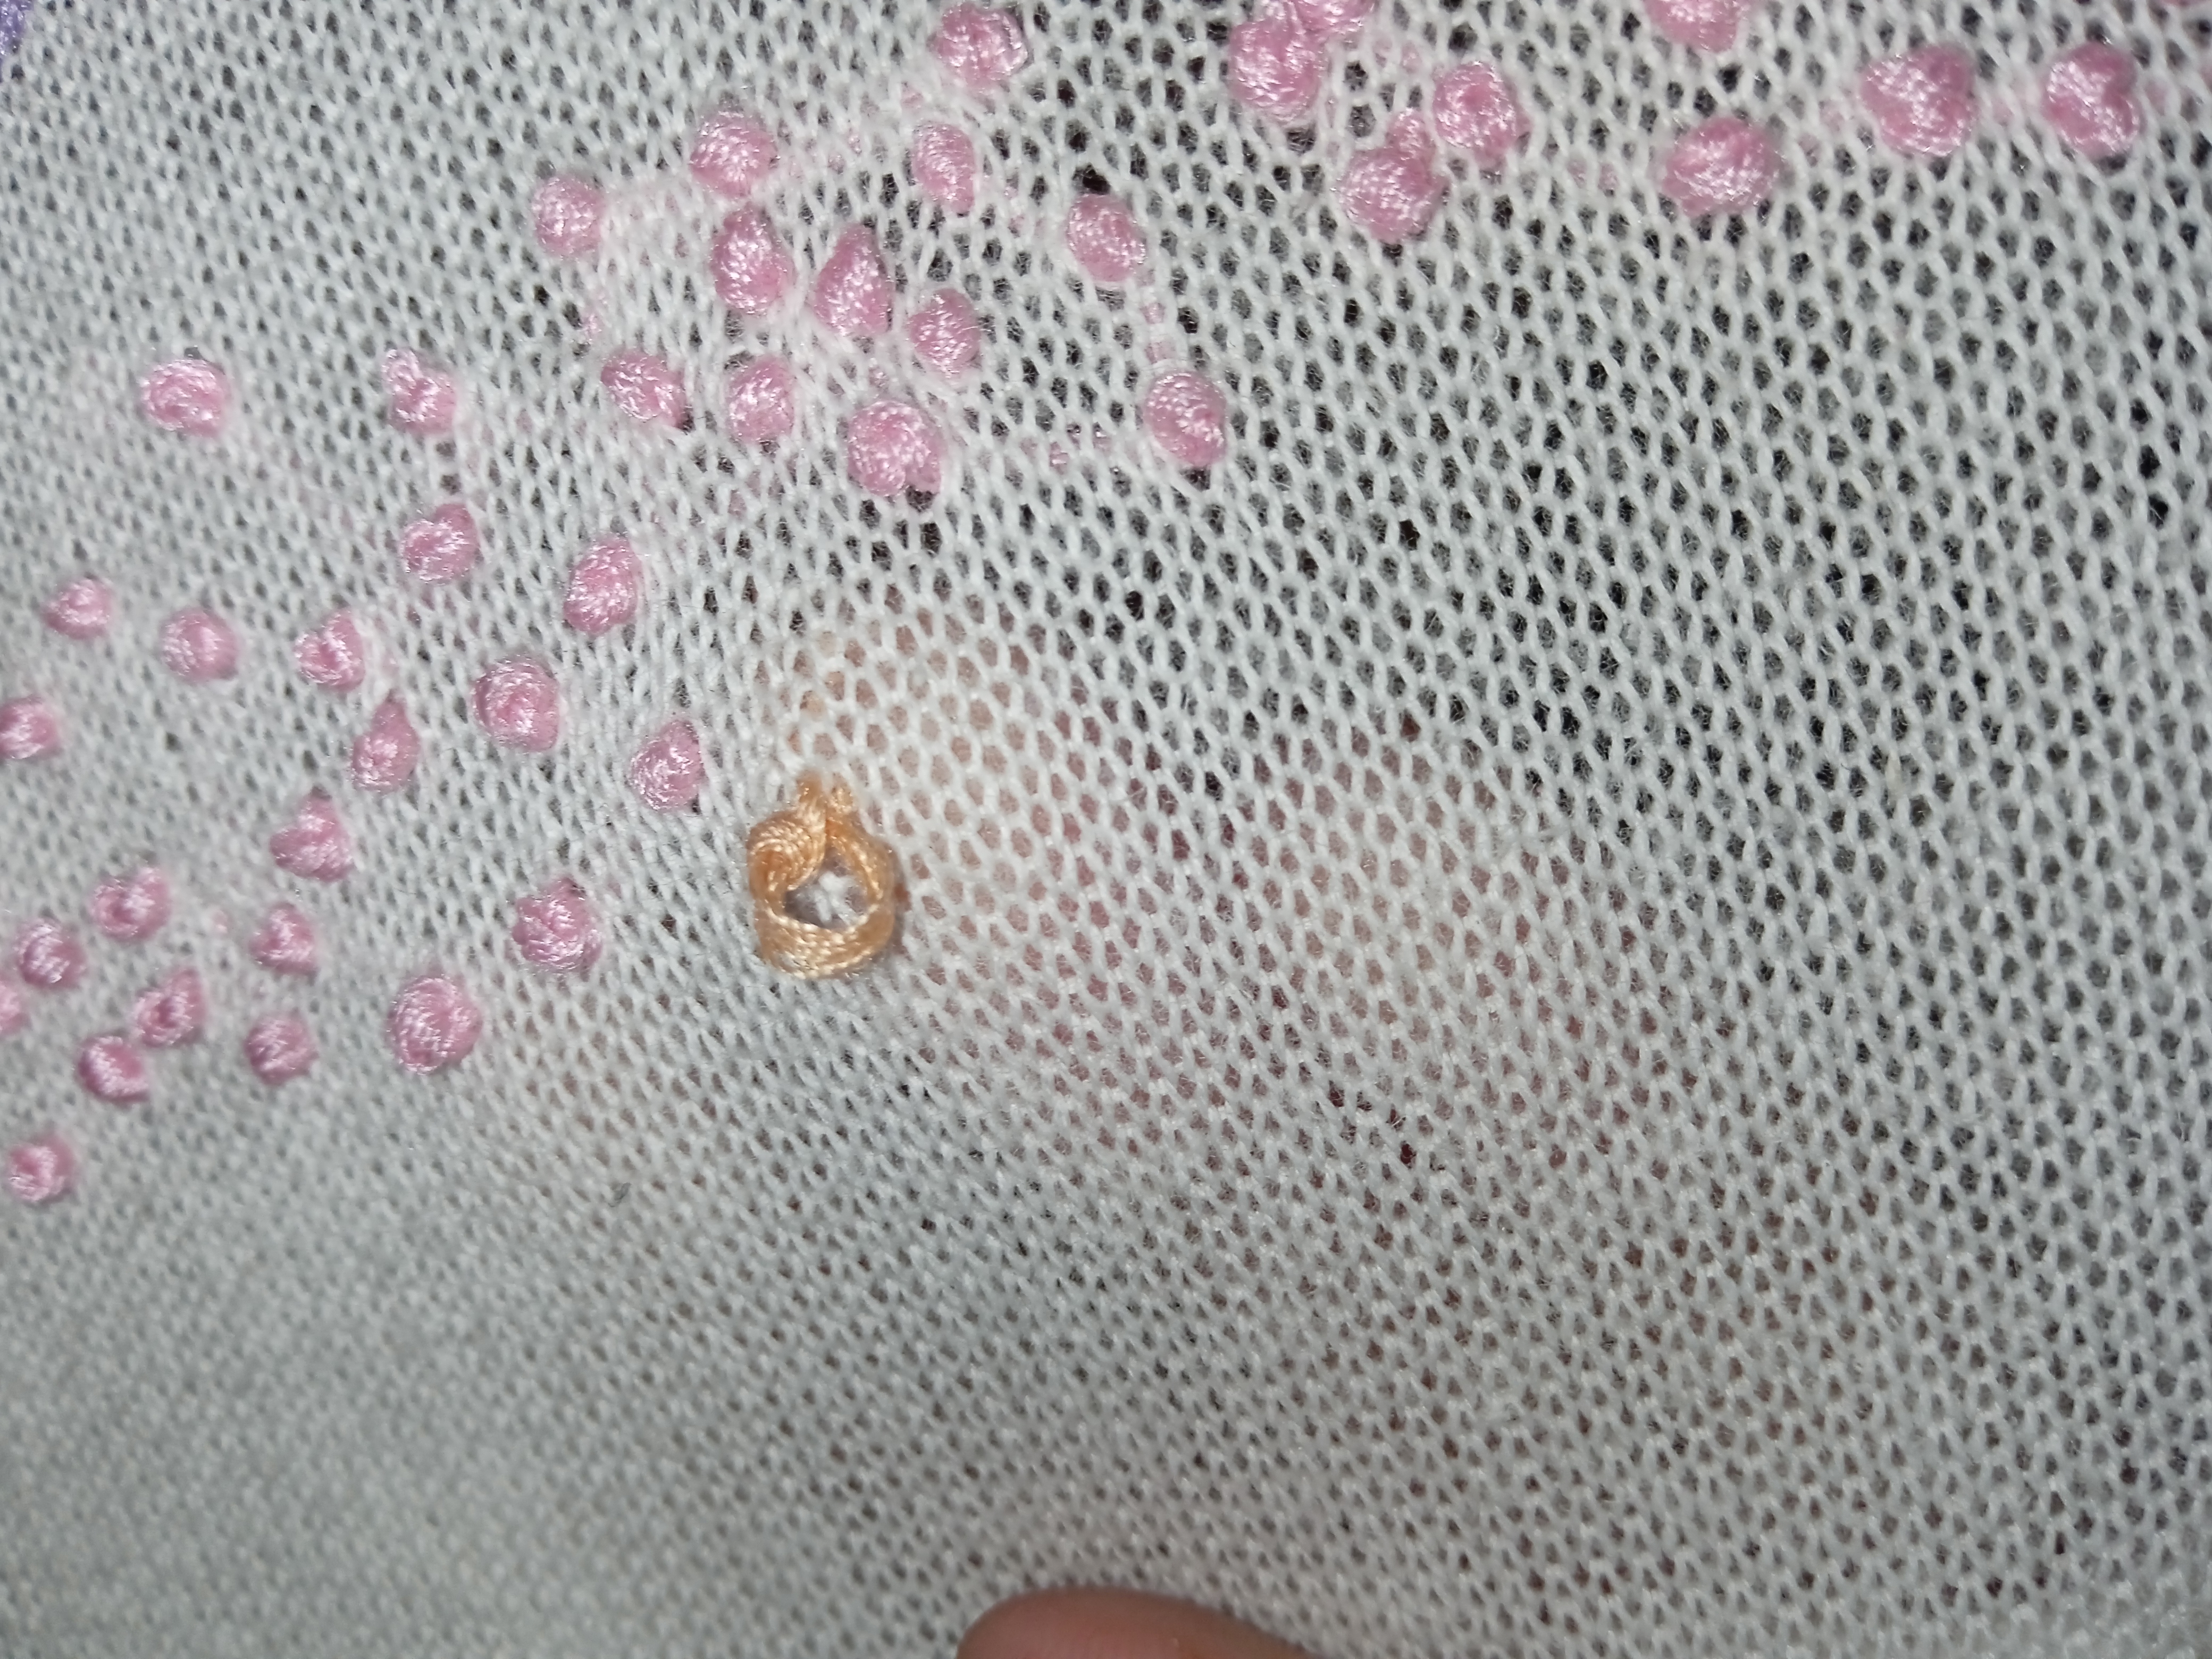
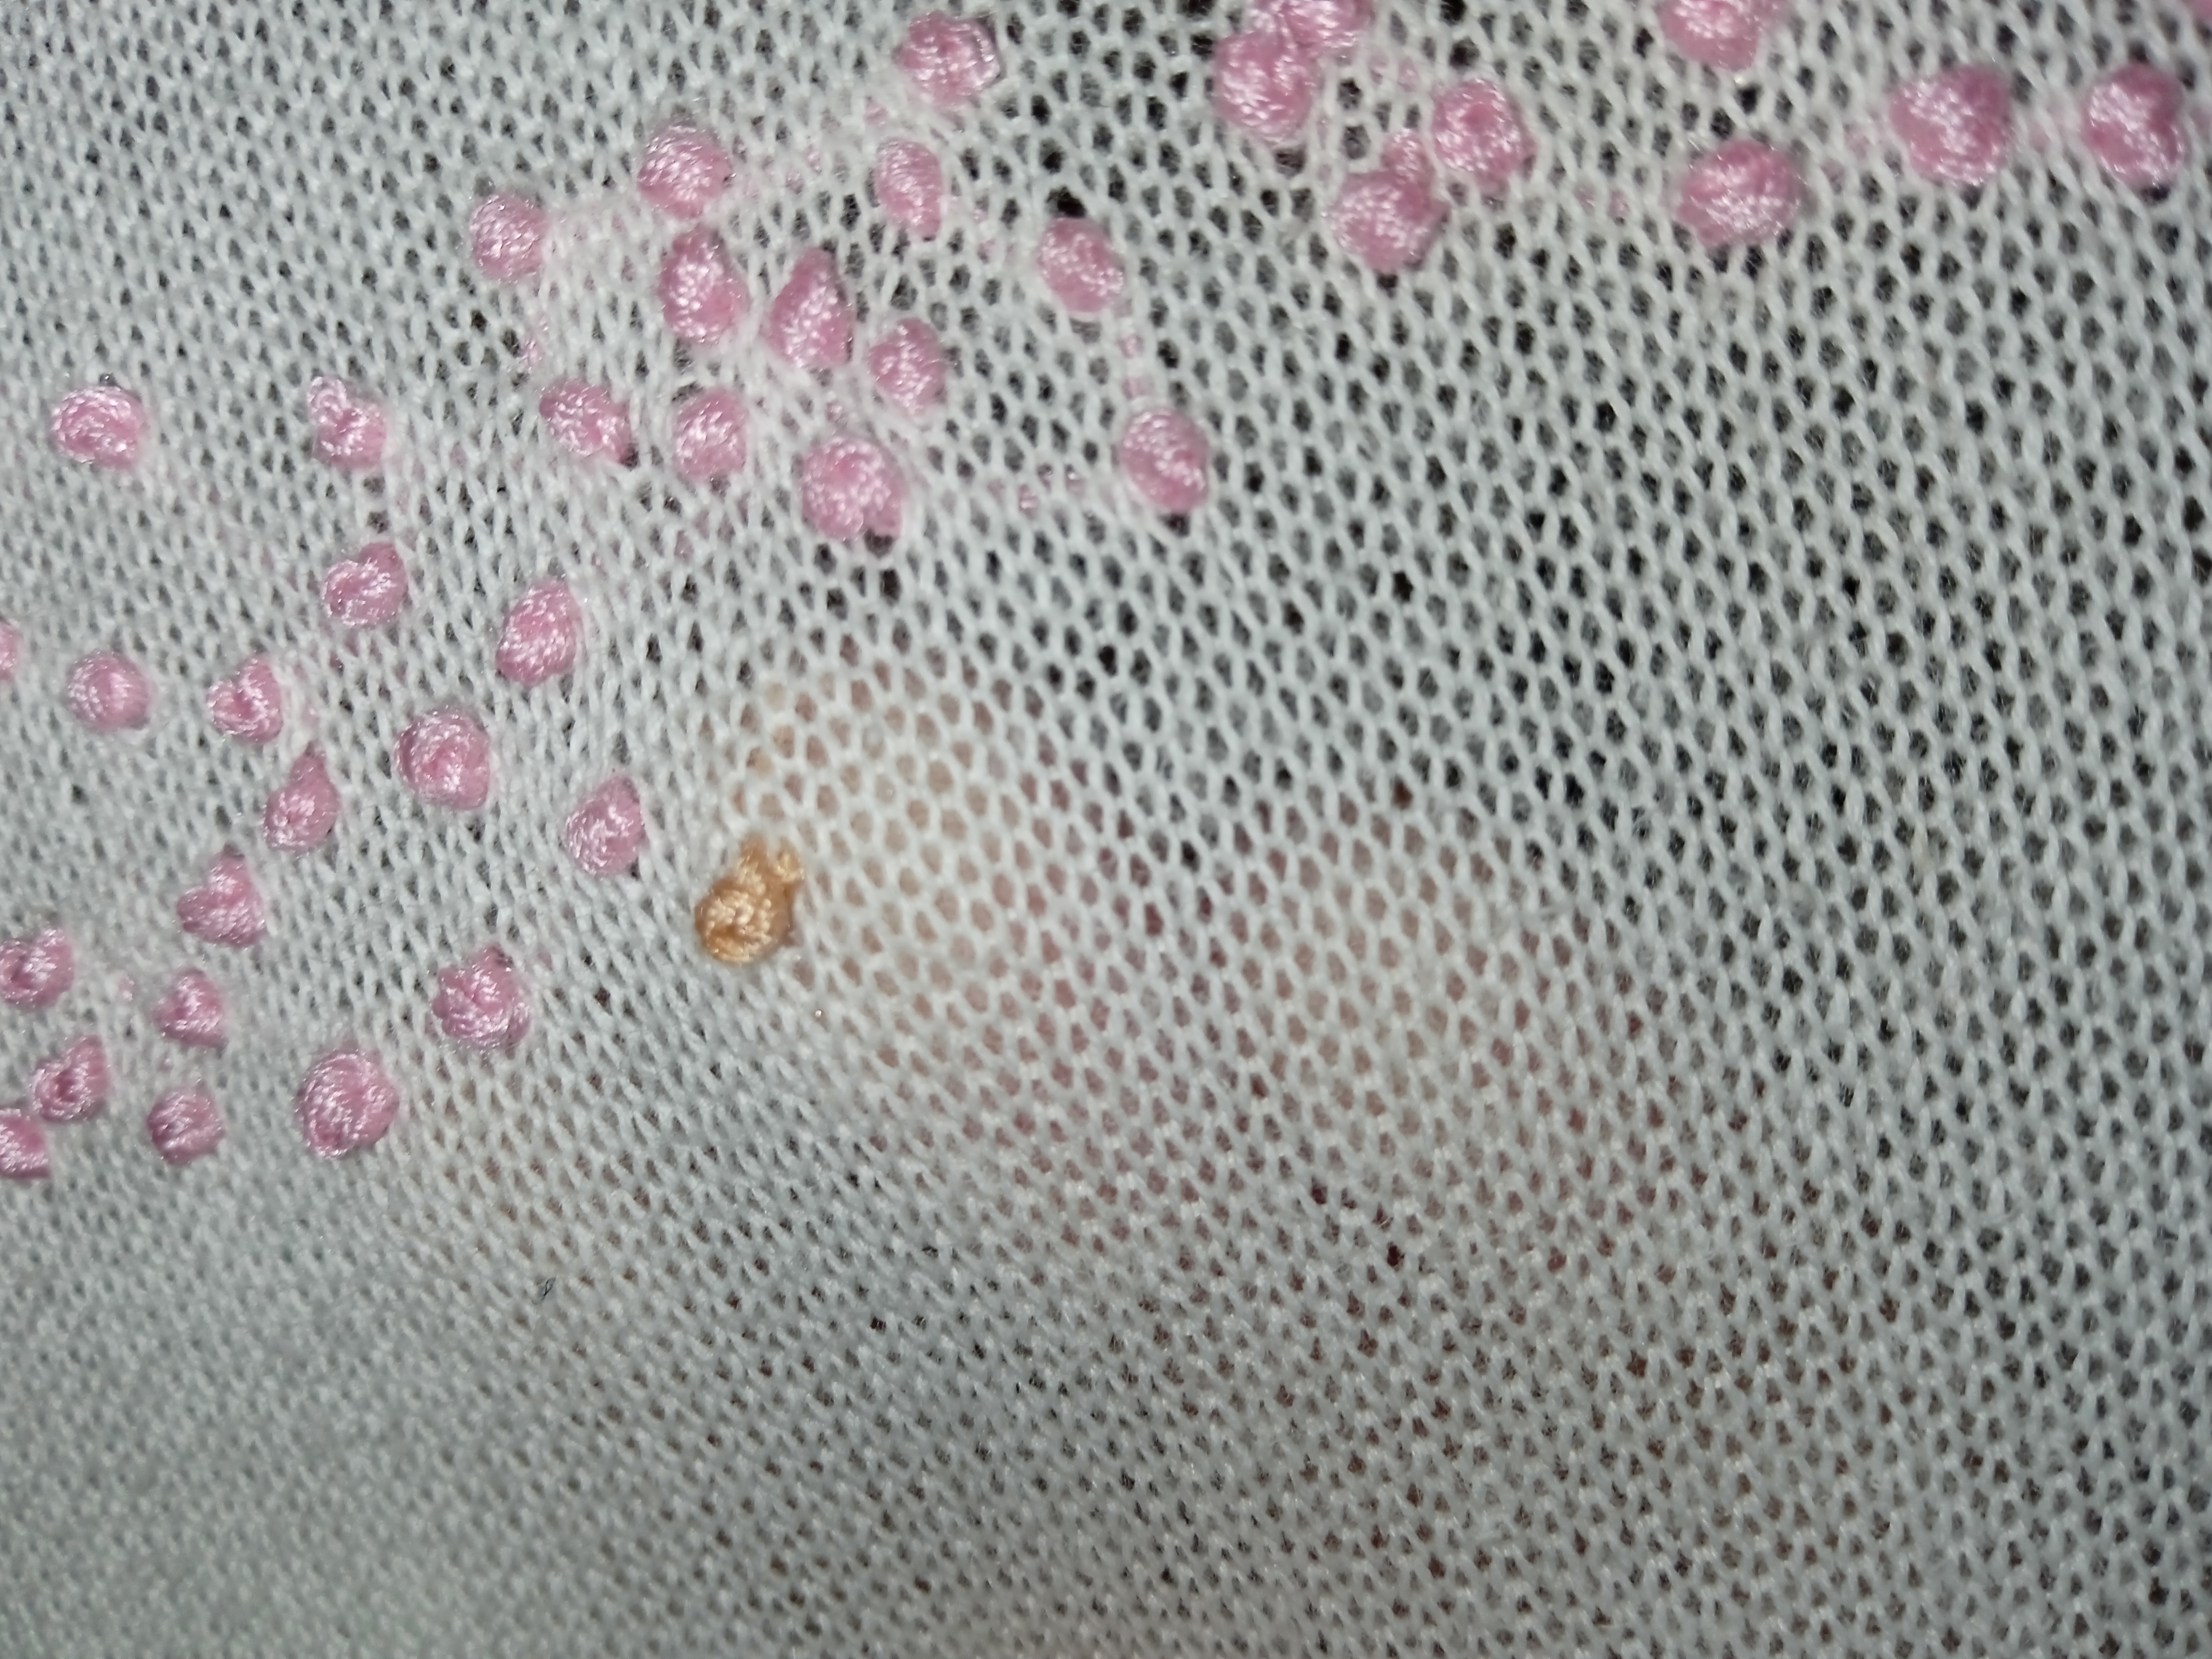
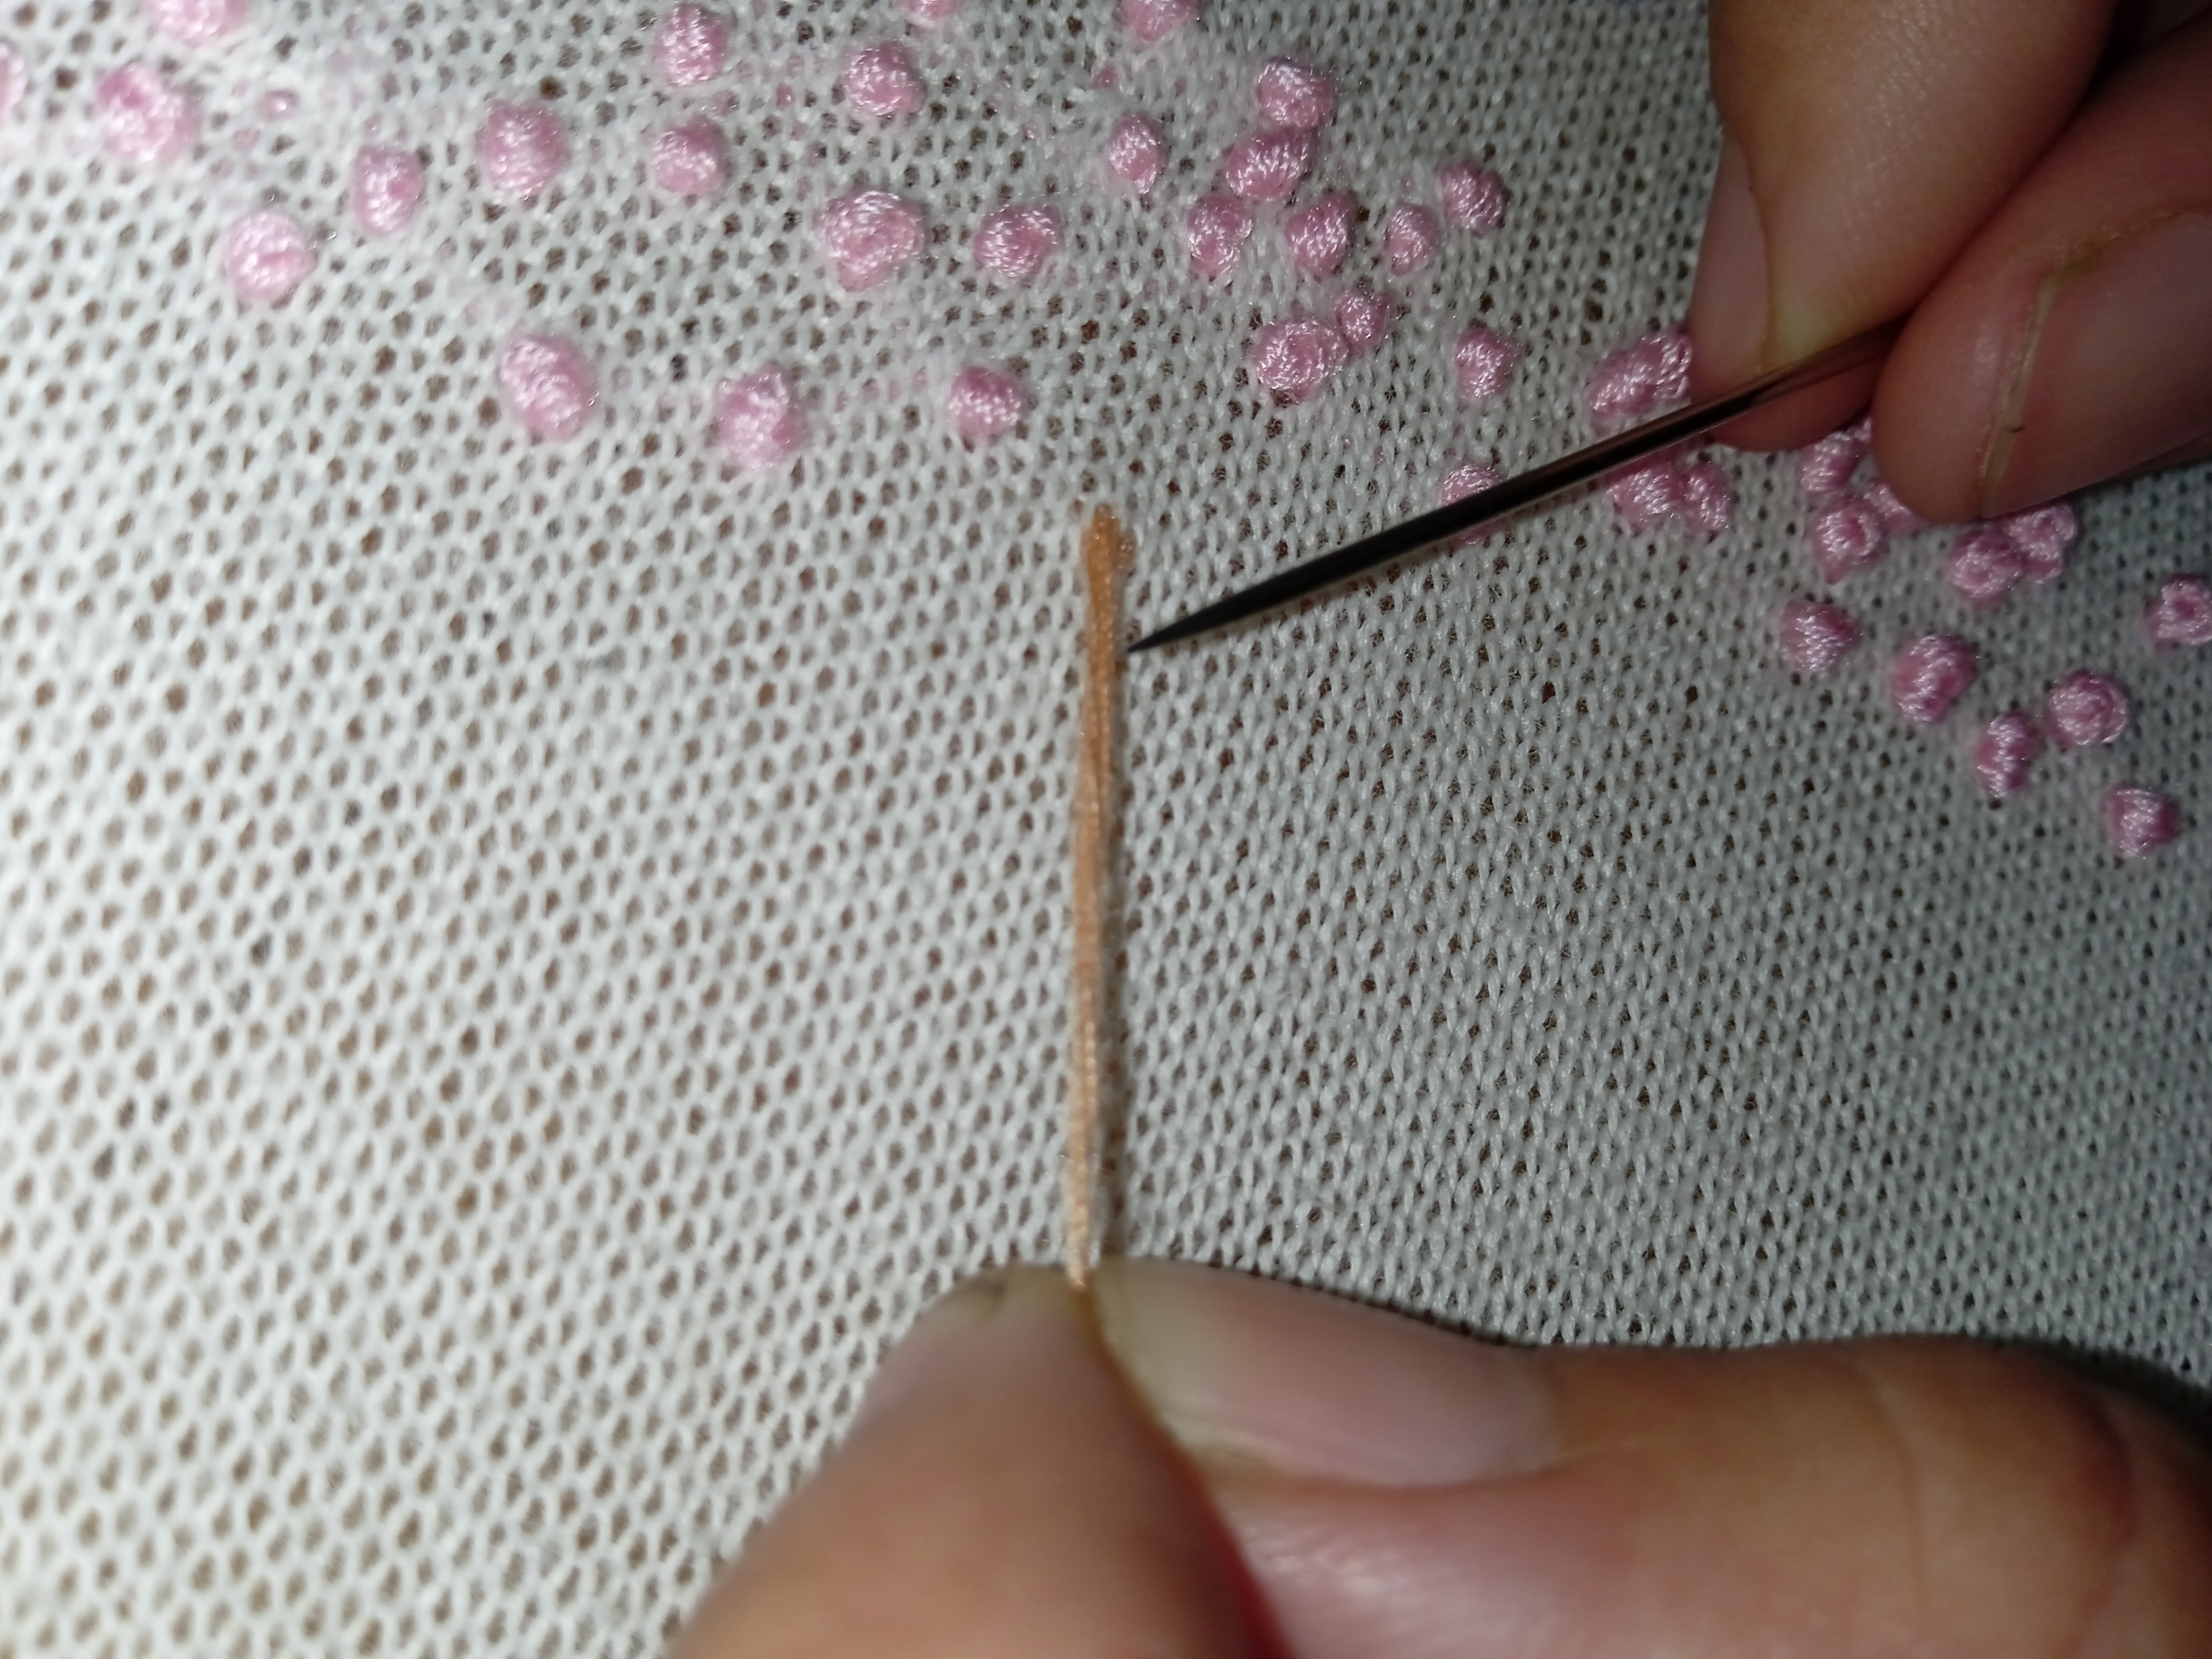
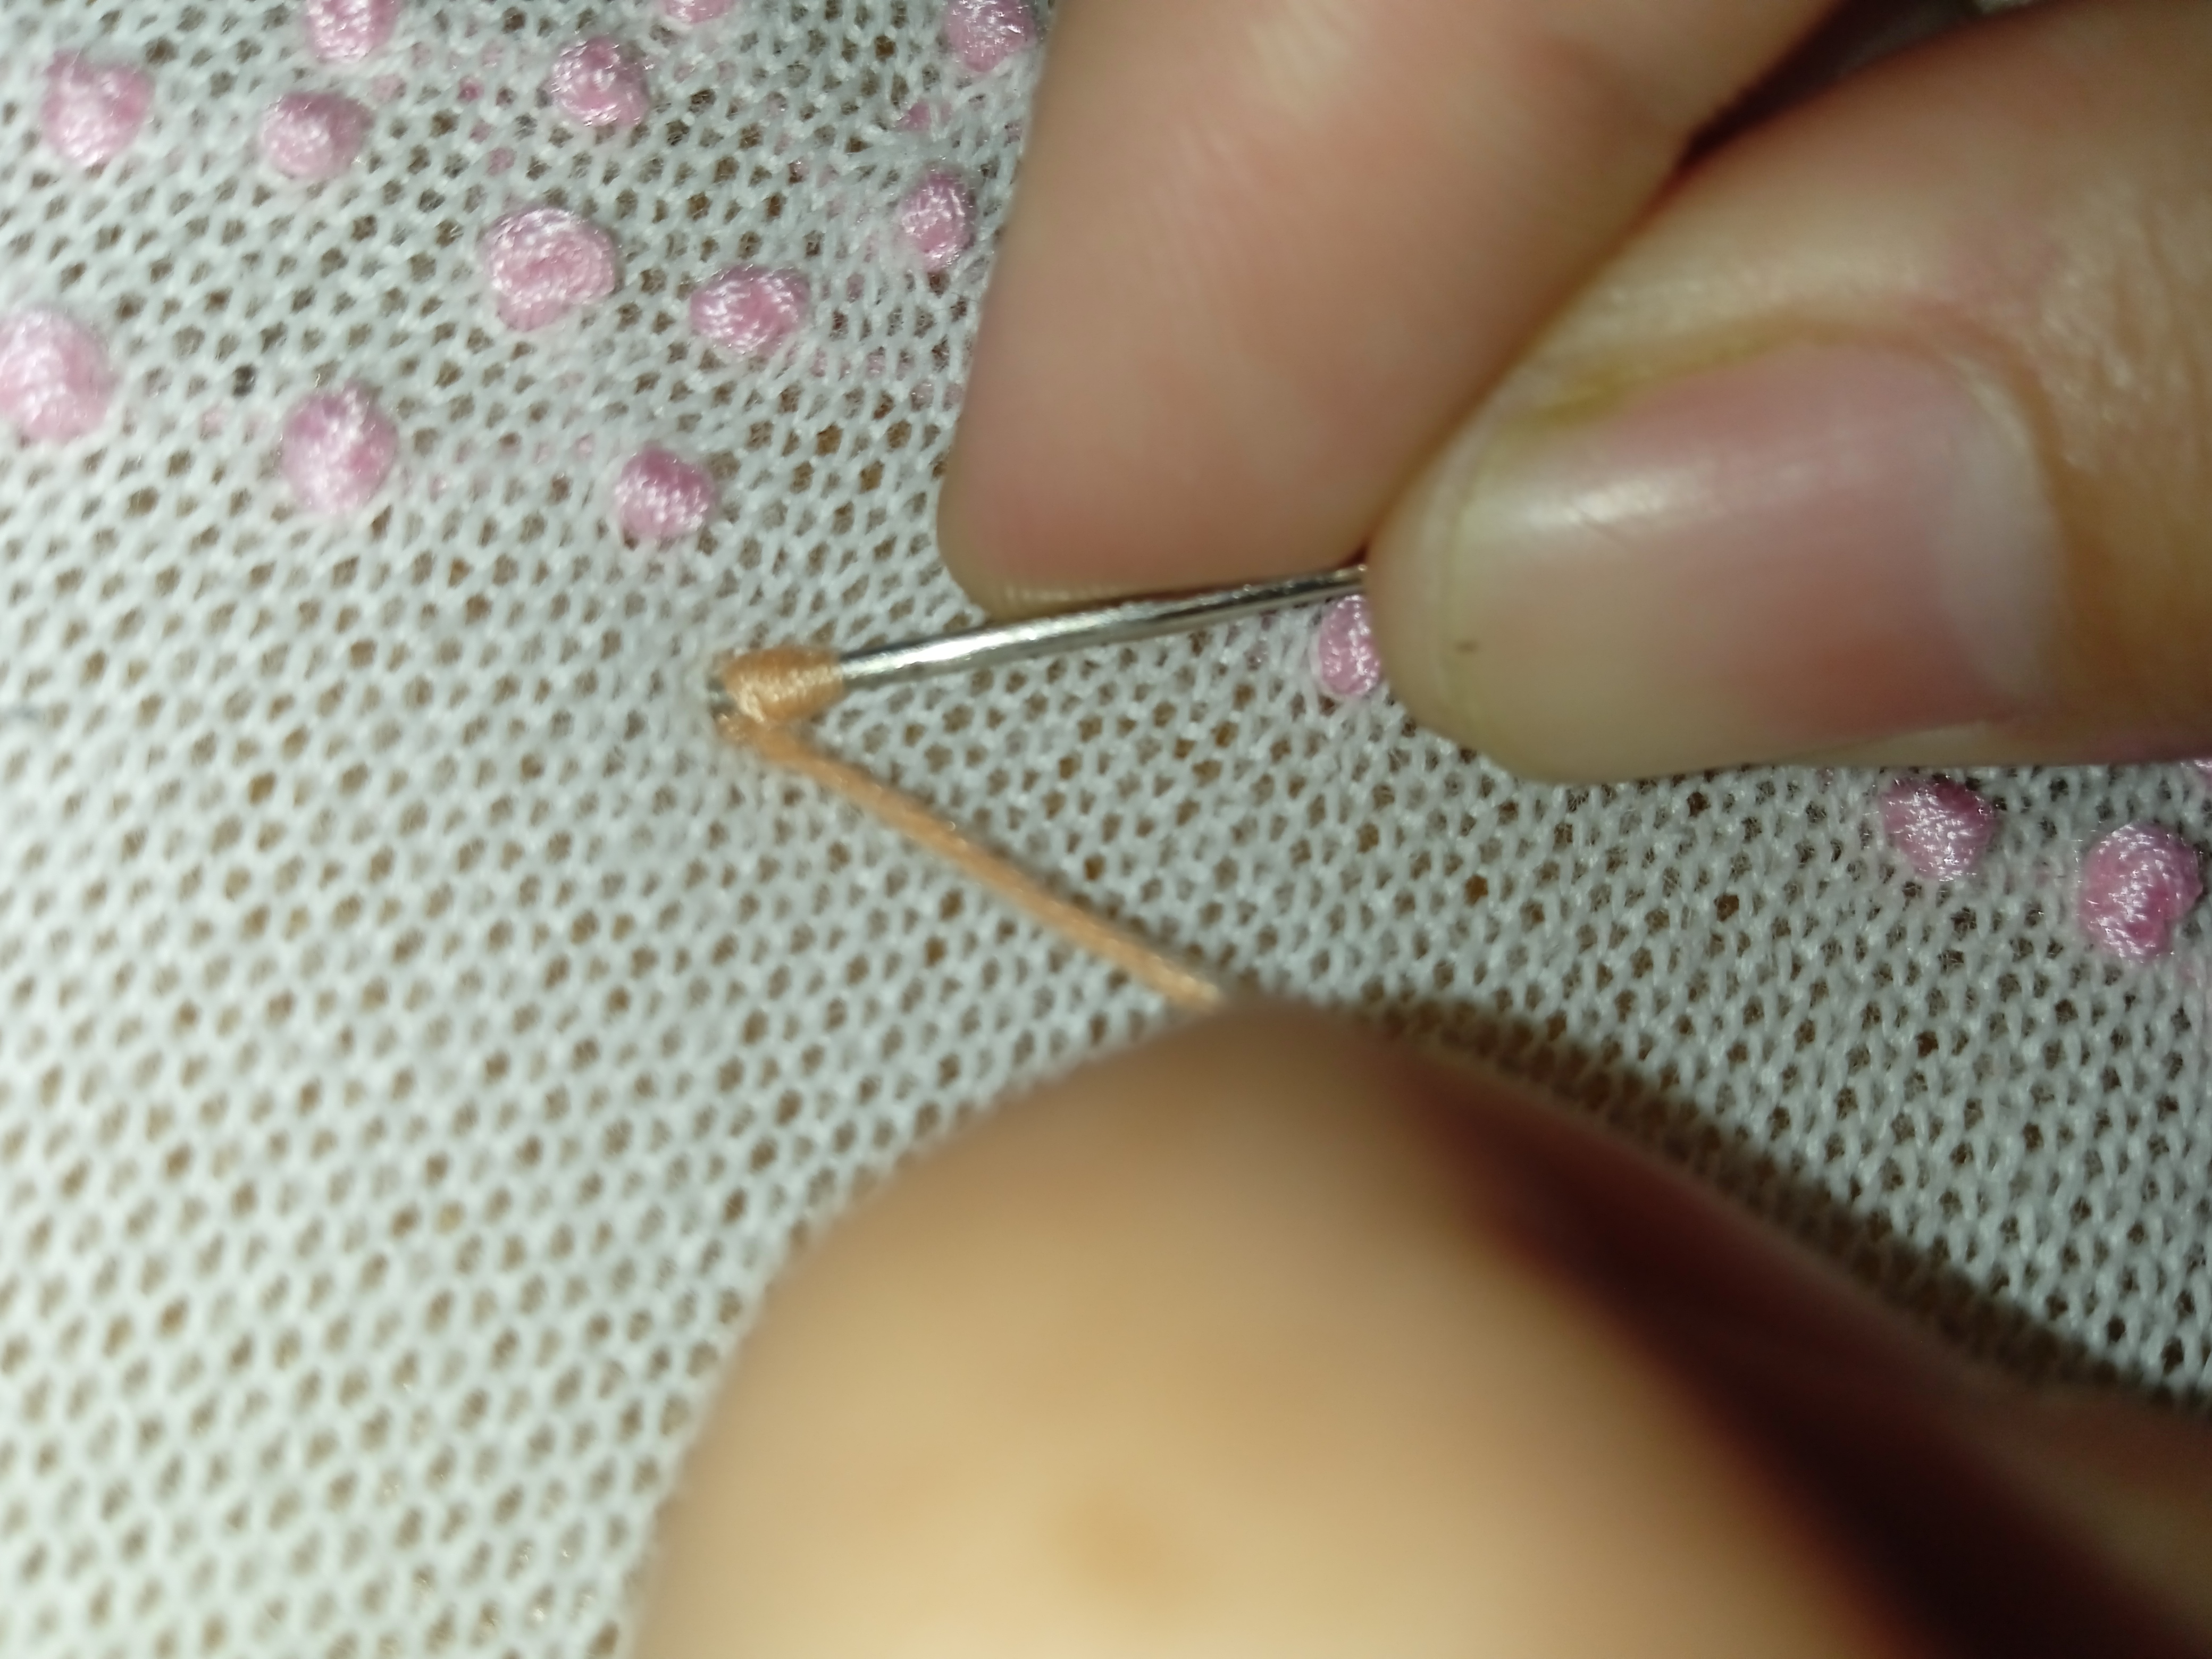
Se va jalando con cuidado para que no se enrede el hilo arriba hasta que quede el botón. Es recomendable ir estirando con el dedo el hilo que va entrando para que no se haga un nudo feo.
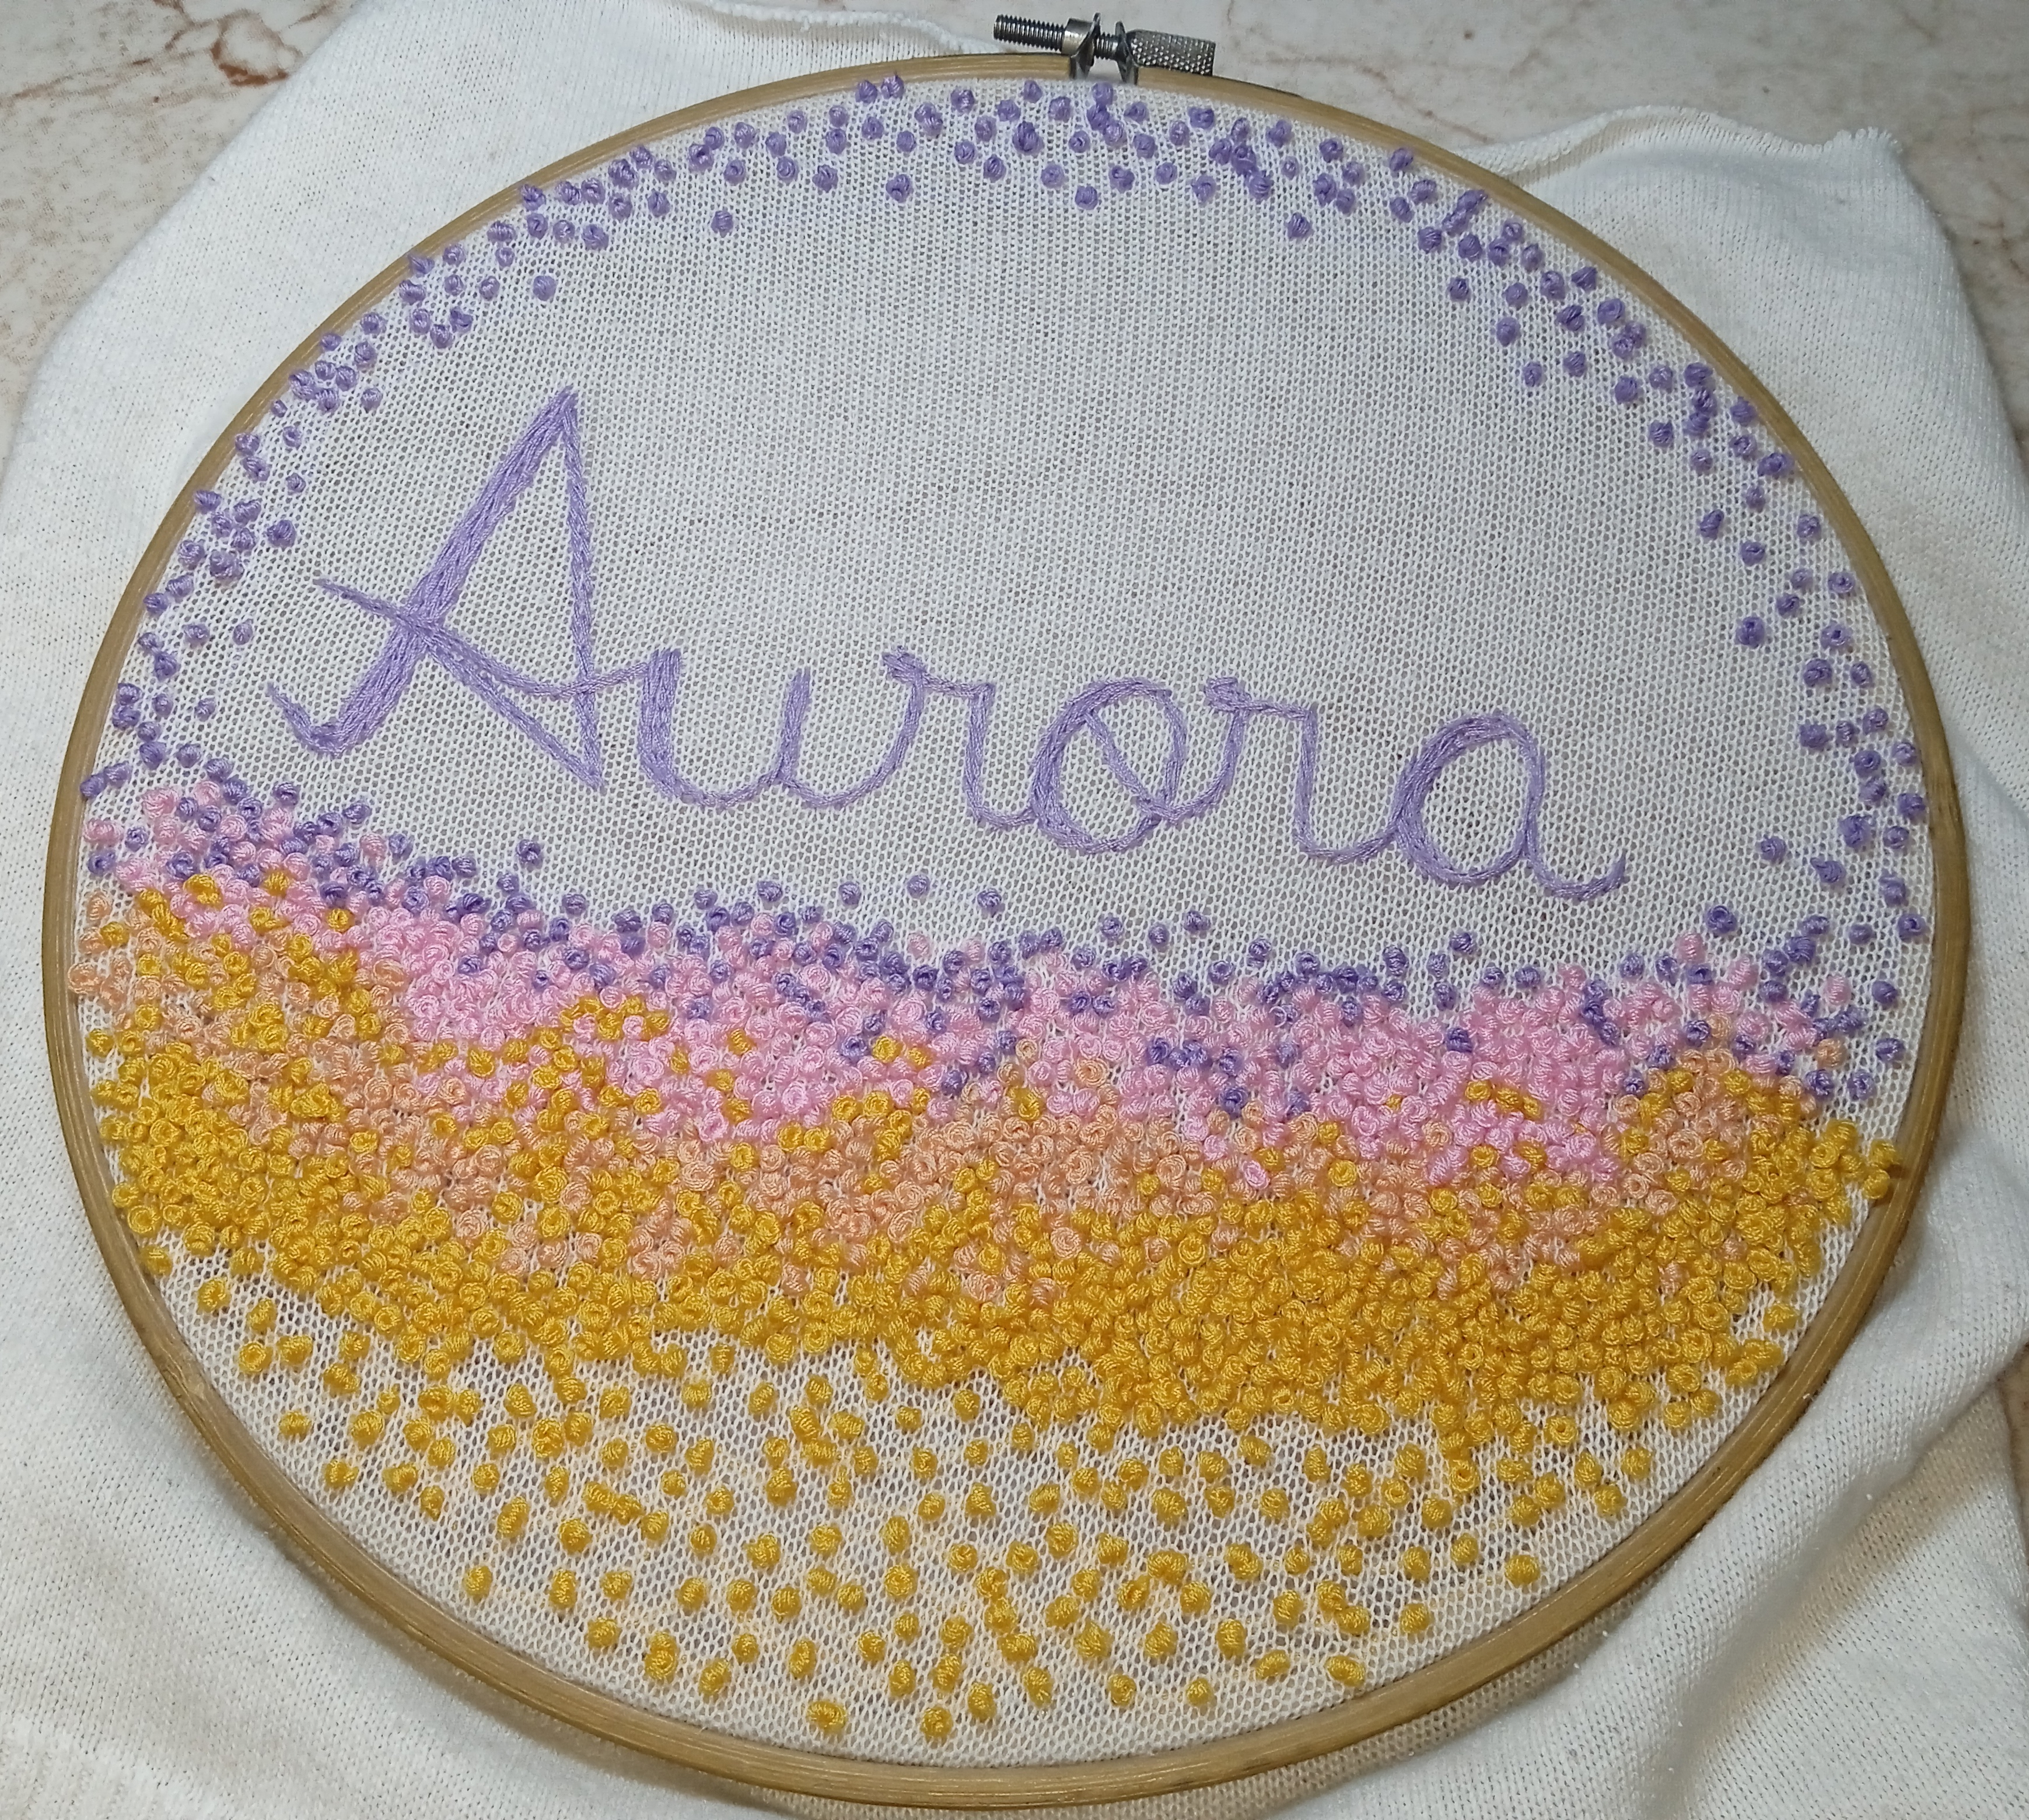
Seguí utilizando este punto para agregar los demás colores.
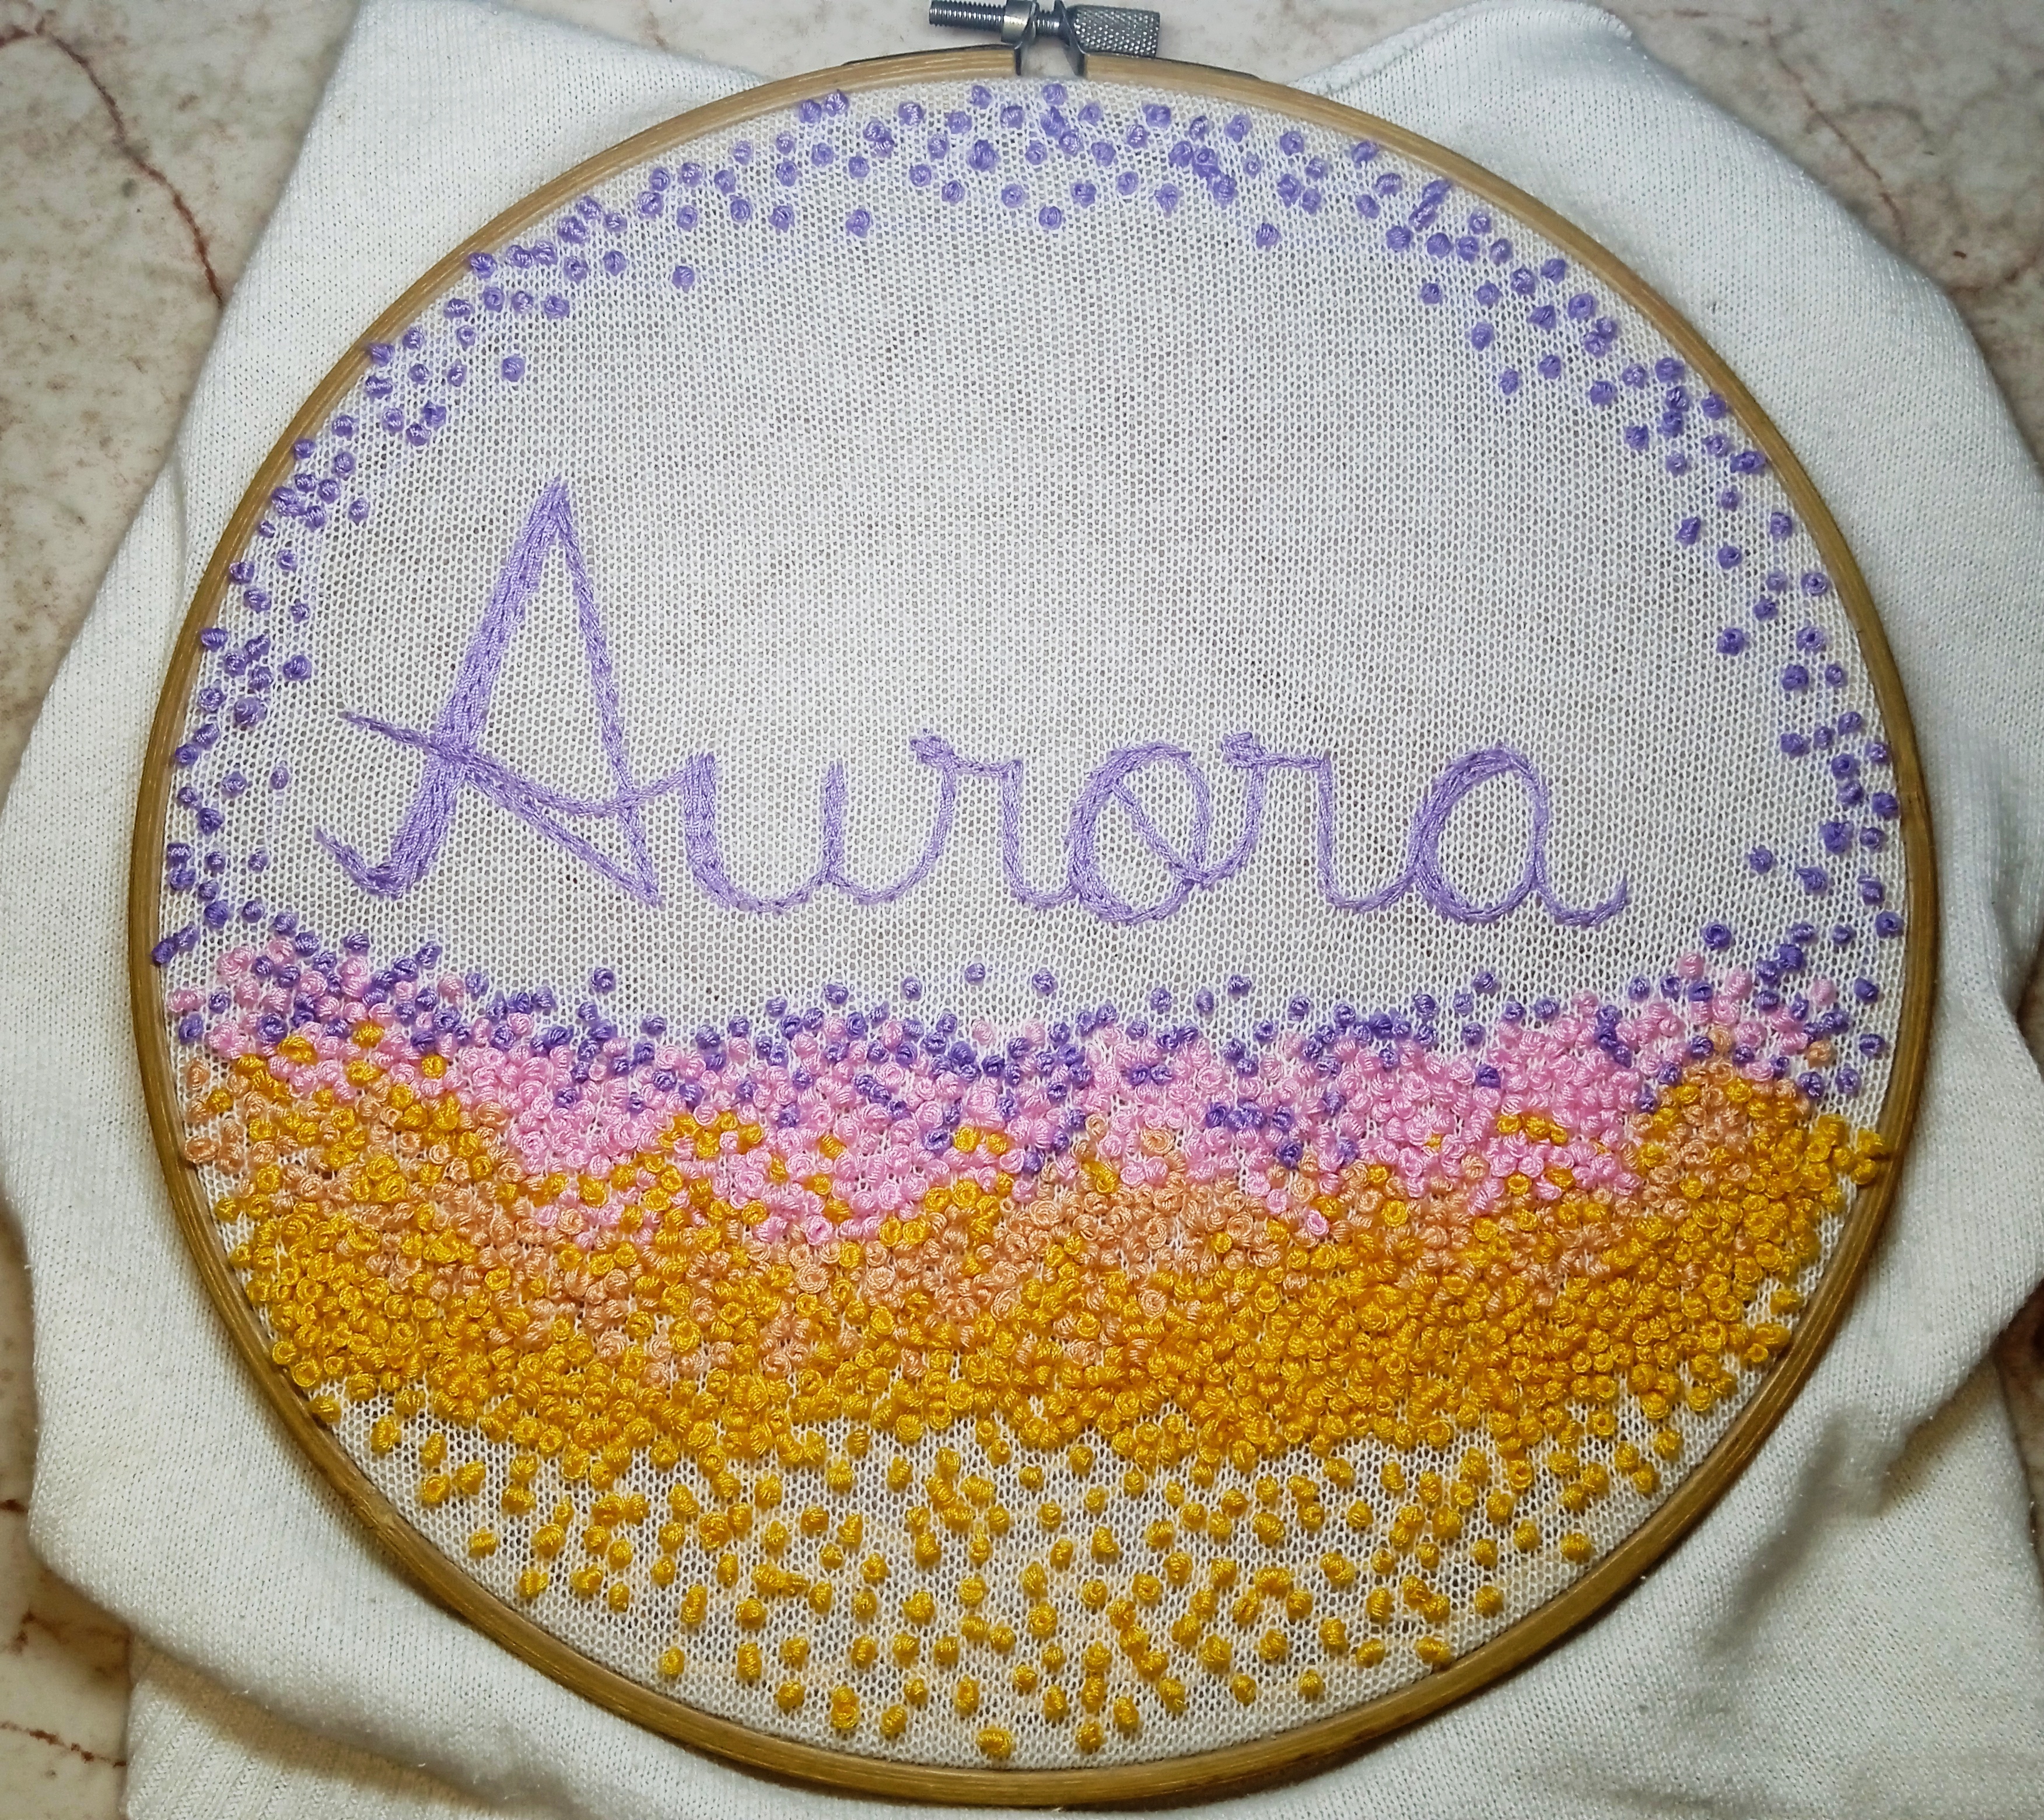
La idea la plasme y me encanto el resultado de que se diera la sensación de ver la aurora de las mañanas, así termine el bordado para mi hija, espero les guste ¿Ves la aurora? gracias por leerme hasta un nuevo post!
(ENG)
Hello Hive community! I hope you are well, I was quite lost here, a long time without sharing with you about embroidery, today I want to show you the process of making it, which is inspired by the name of my daughter Aurora, many people when they see her call her Aurora in the morning.
To start, since I don't have fabric to embroider at the moment, I decided to take the fabric from an old white sweater. When I got pregnant, the color I liked the most at that time were lilacs, light violets and also pastels, and I relate a lot to her with these colors, so for this occasion the ones I will use are; lilac, light pink and two shades of light orange, needle and scissors.
First, I draw the name centered very clearly so I have a guide.
The stitch I use, which I see as a variation, is the back stitch and the stem stitch, the back stitch as it is known, I use it on the reverse side, what I mean; It is a reverse stitch, since the upper part is behind the fabric and the lower part is in front of the fabric.
Back stitch: at first glance it looks like a sewing machine stitch, which it is not, since on the upper part of the fabric it looks like a continuous stitch, but on the lower part the stitches are longer.
Stem stitch: it is similar to the back stitch but more open at the top of the fabric.
You will see these definitions a lot in my posts in case it is the first time you read it.
This point is very easy to make, as you can see, when finishing the simple letters, the point was reviewed again to thicken them a little.
The next thing is to thicken the letters A, U, O, embroidering them several times with the point until the desired thickness is reached and the typography is clean.
The colors of Aurora in the morning
The button stitch as I call it, but it is known as French stitch or French button stitch; It's the next one I'll work on and it's the one that took me the most time, since I hadn't done it for a long time and I had to practice because it was falling apart.
Button stitch: used for floral embroidery as it gives that little flower appearance, it looks like a button, or embossed stitch, it also just looks like a knot.
To make this stitch you need 8 strands of thread, that is, pass 4 strands through the needle and fold so that there are 8, knot well, to secure the thread on the fabric, pass the needle from back to front and almost where the thread came out. The needle will be passed back and secured by passing the needle through the threads and stretched, that's it, it's secured.
Pass the needle again to the front of the fabric, now yes, for this point you need both hands, stretch the thread.
Turn the needle 3 times
While turning the thread in the needle, you must keep the needle with pressure and a good grip, at the same time stretch the thread and turn the needle once, when it is already knotted.
The needle is passed through the same point where the thread comes out, but I don't do it like that, I pass it to the millimeter where the thread comes out, I like it better because I feel that it is more secure.
It is pulled carefully so that the thread does not get tangled at the top until the button remains. It is advisable to stretch the entering thread with your finger so that an ugly knot does not form.
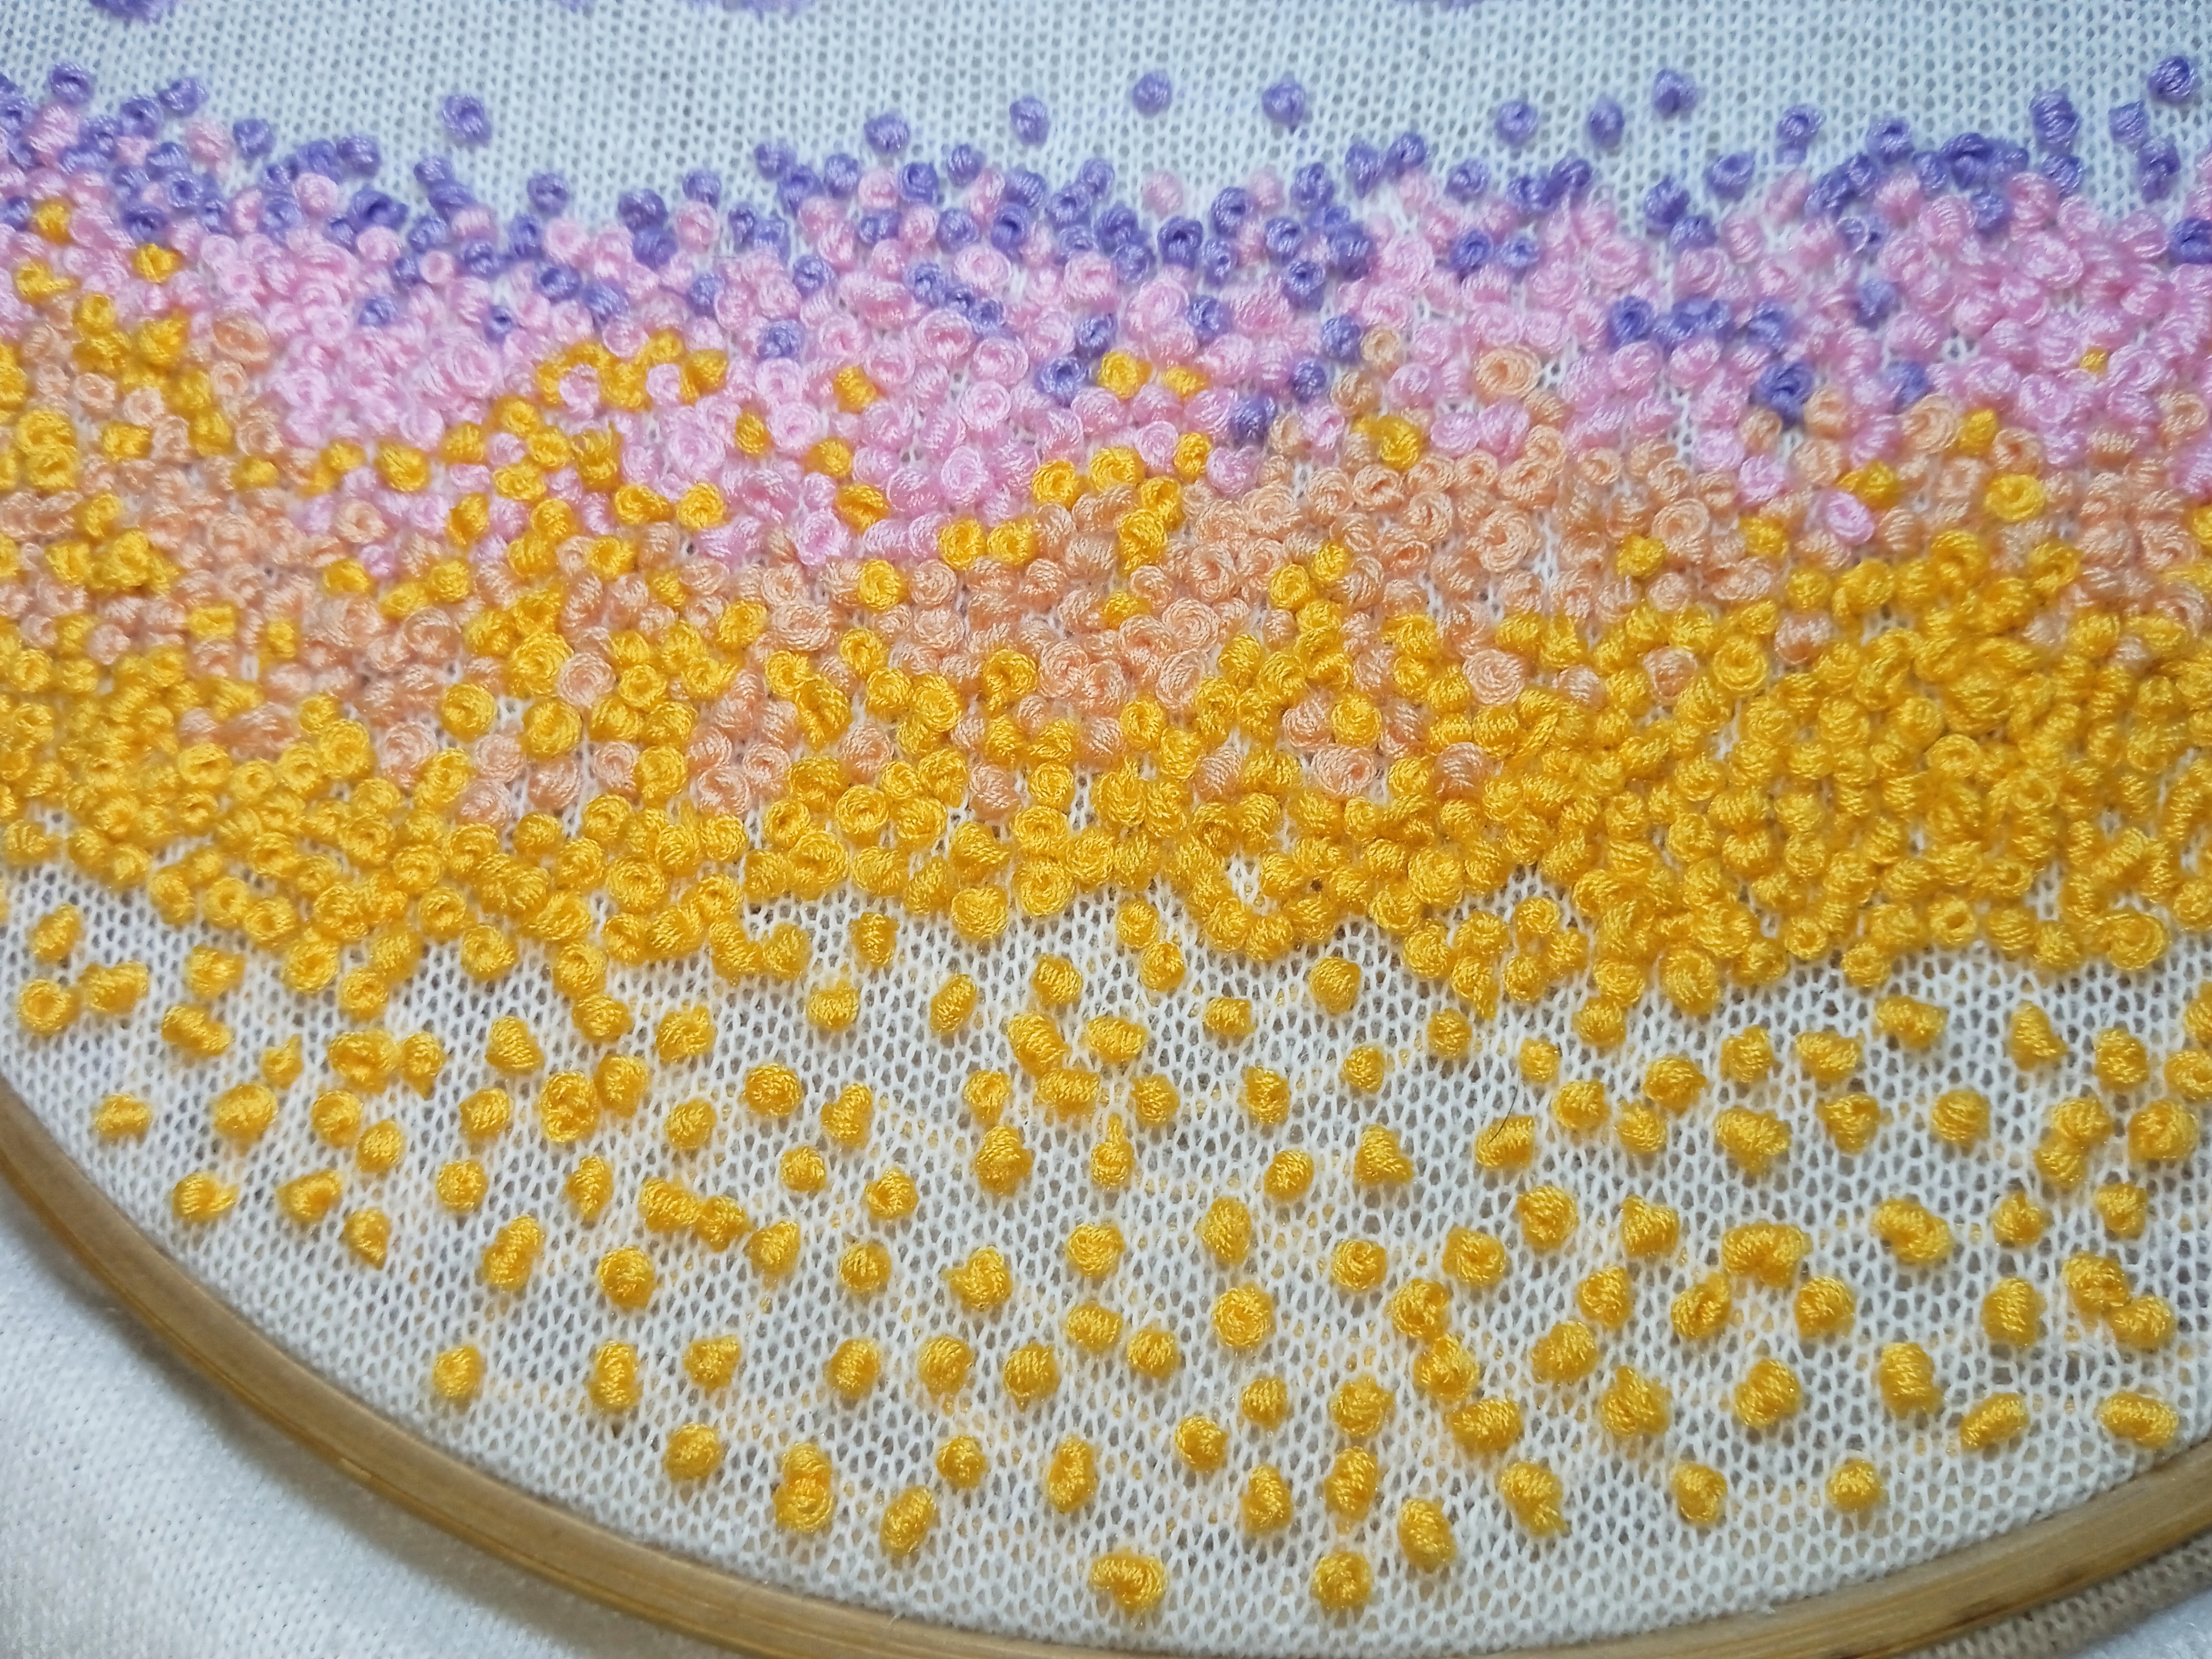
I continued using this point to add the other colors.
I embodied the idea and I loved the result that it gave the sensation of seeing the dawn in the morning, so I finished the embroidery for my daughter, I hope you like it. Do you see the dawn? Thanks for reading me until a new post!