A few years ago, I picked up a teddy bear in a shop and loved how it was made—sturdy, vintage, with button-jointed limbs. But when I saw the £250 price tag, I put it back.
I never owned a teddy I made myself, so I decided to give it a go.
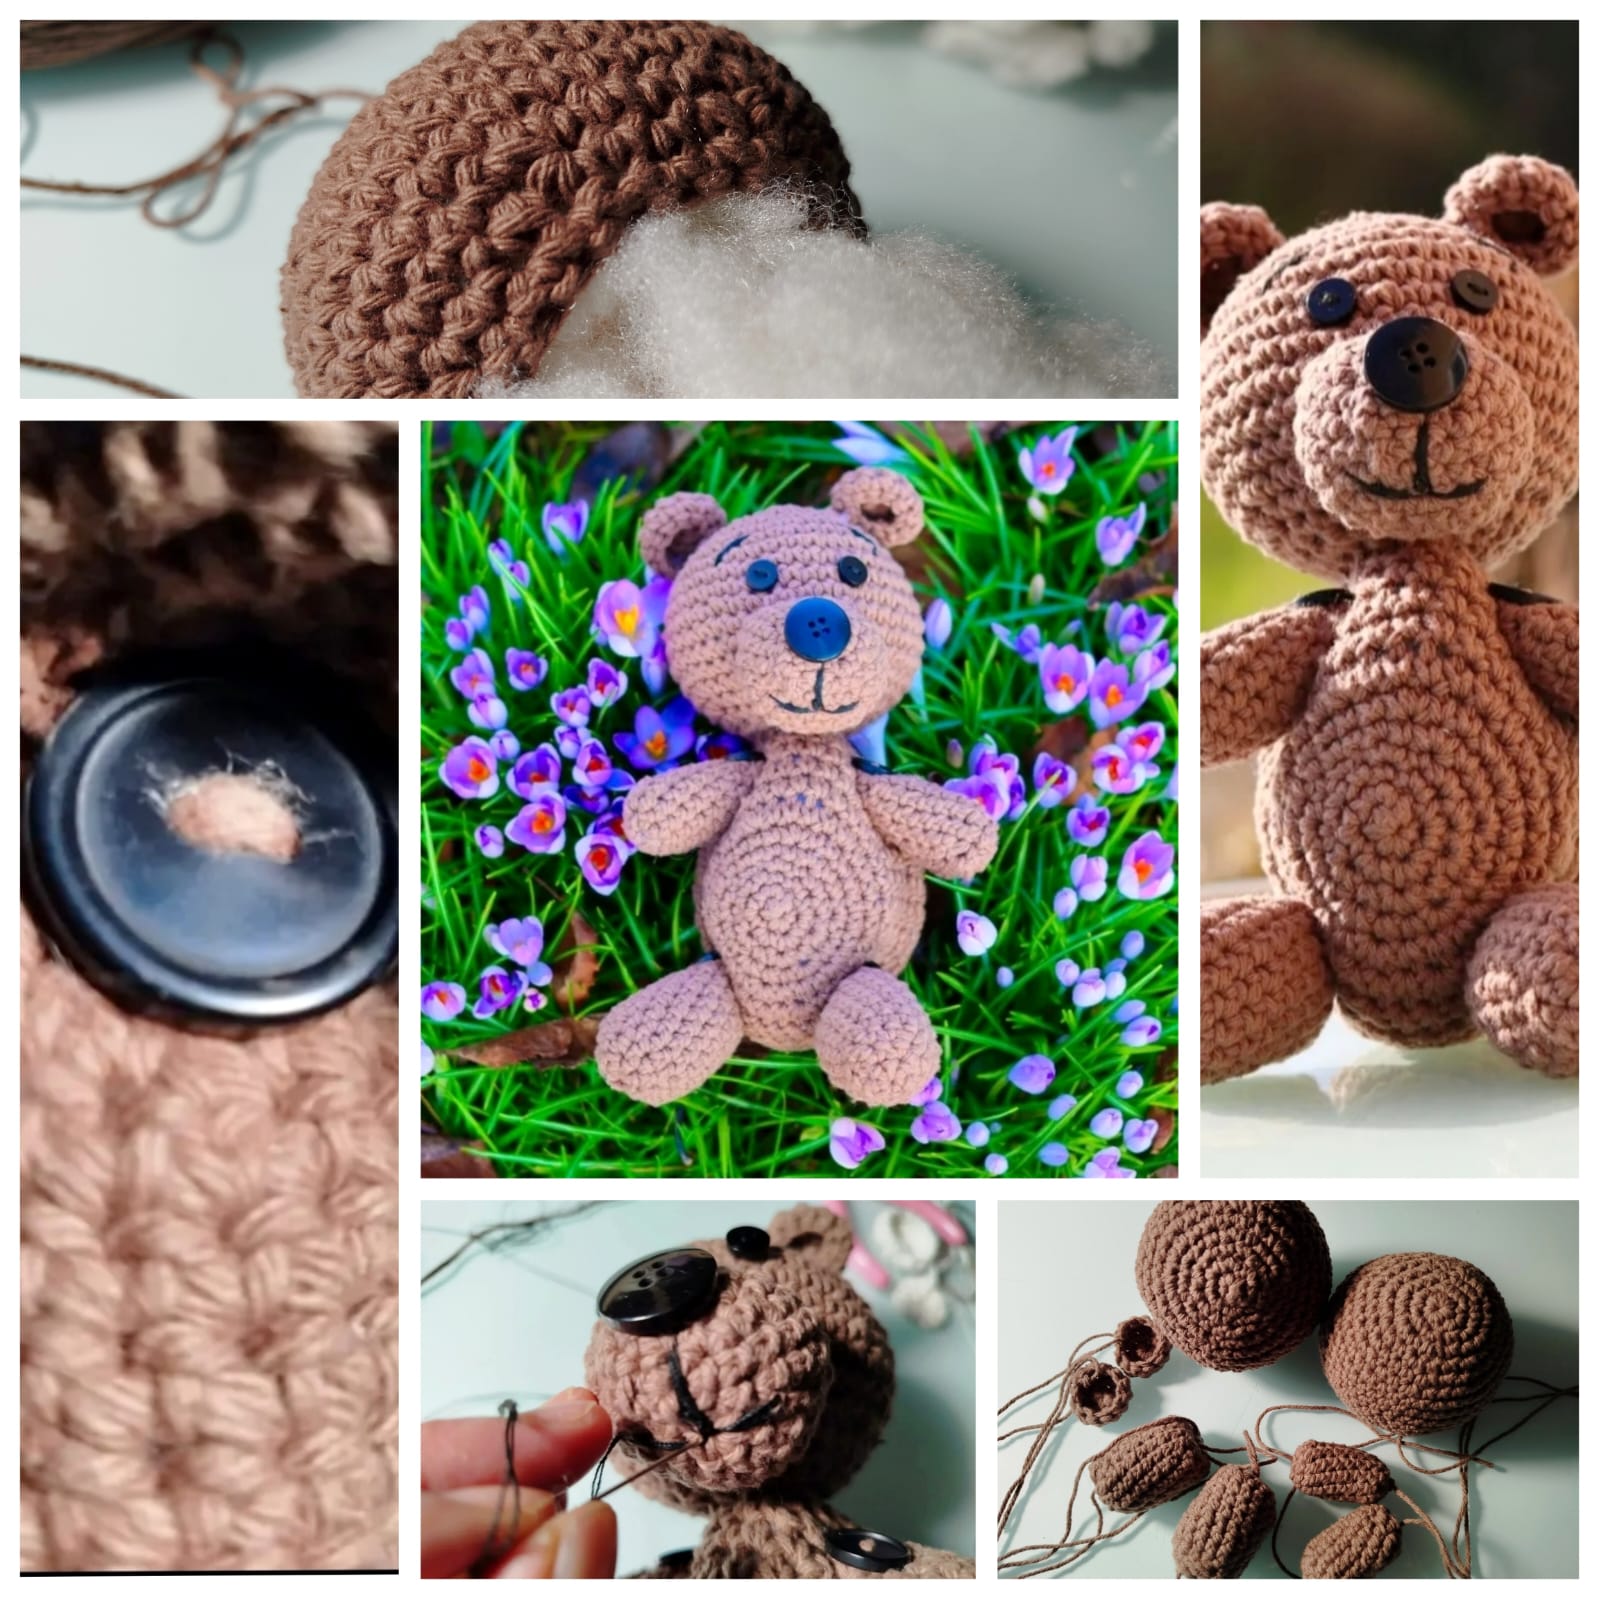
Today, I finished crocheting my own, keeping it simple with a humble brown yarn and button joints for that classic feel. It’s not perfect, but there’s something special about creating it with my own hands—a cosy little bear stitched with care.
So here is how I made it.
Crochet Teddy Bear Pattern Button-Jointed
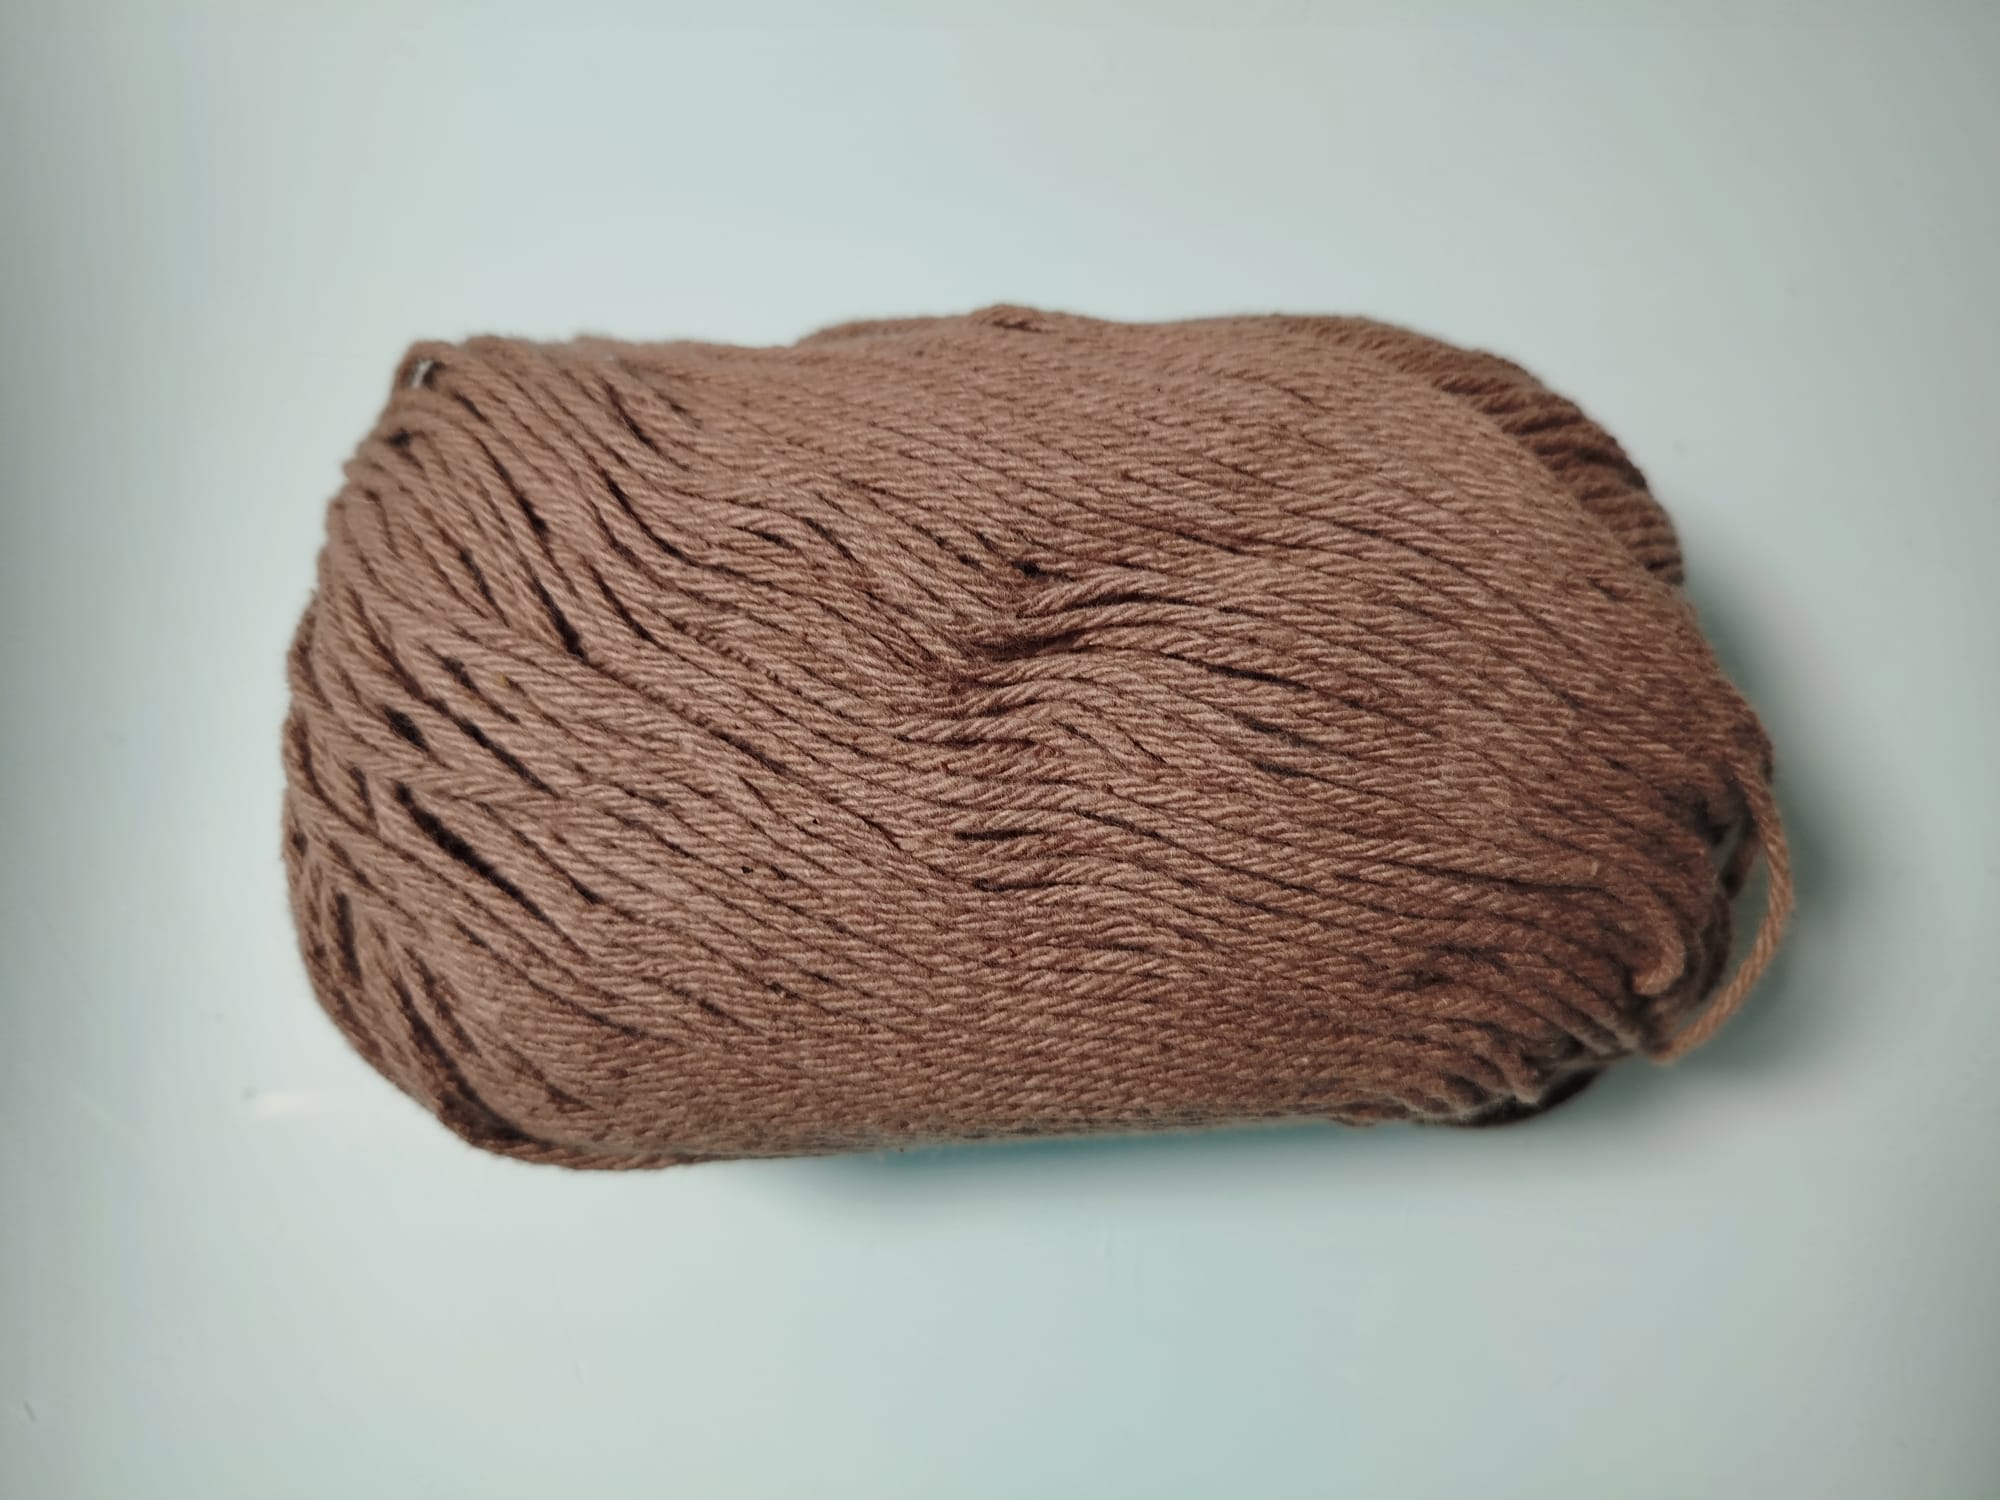
I mainly used strong cotton yarn
Materials Needed 🧸
Brown yarn (for body & limbs)
Black thread (for mouth)
6 buttons (for jointing the limbs, eyes and nose)
Stuffing
Crochet hook 4mm
Tapestry needle, long if possible
Scissors
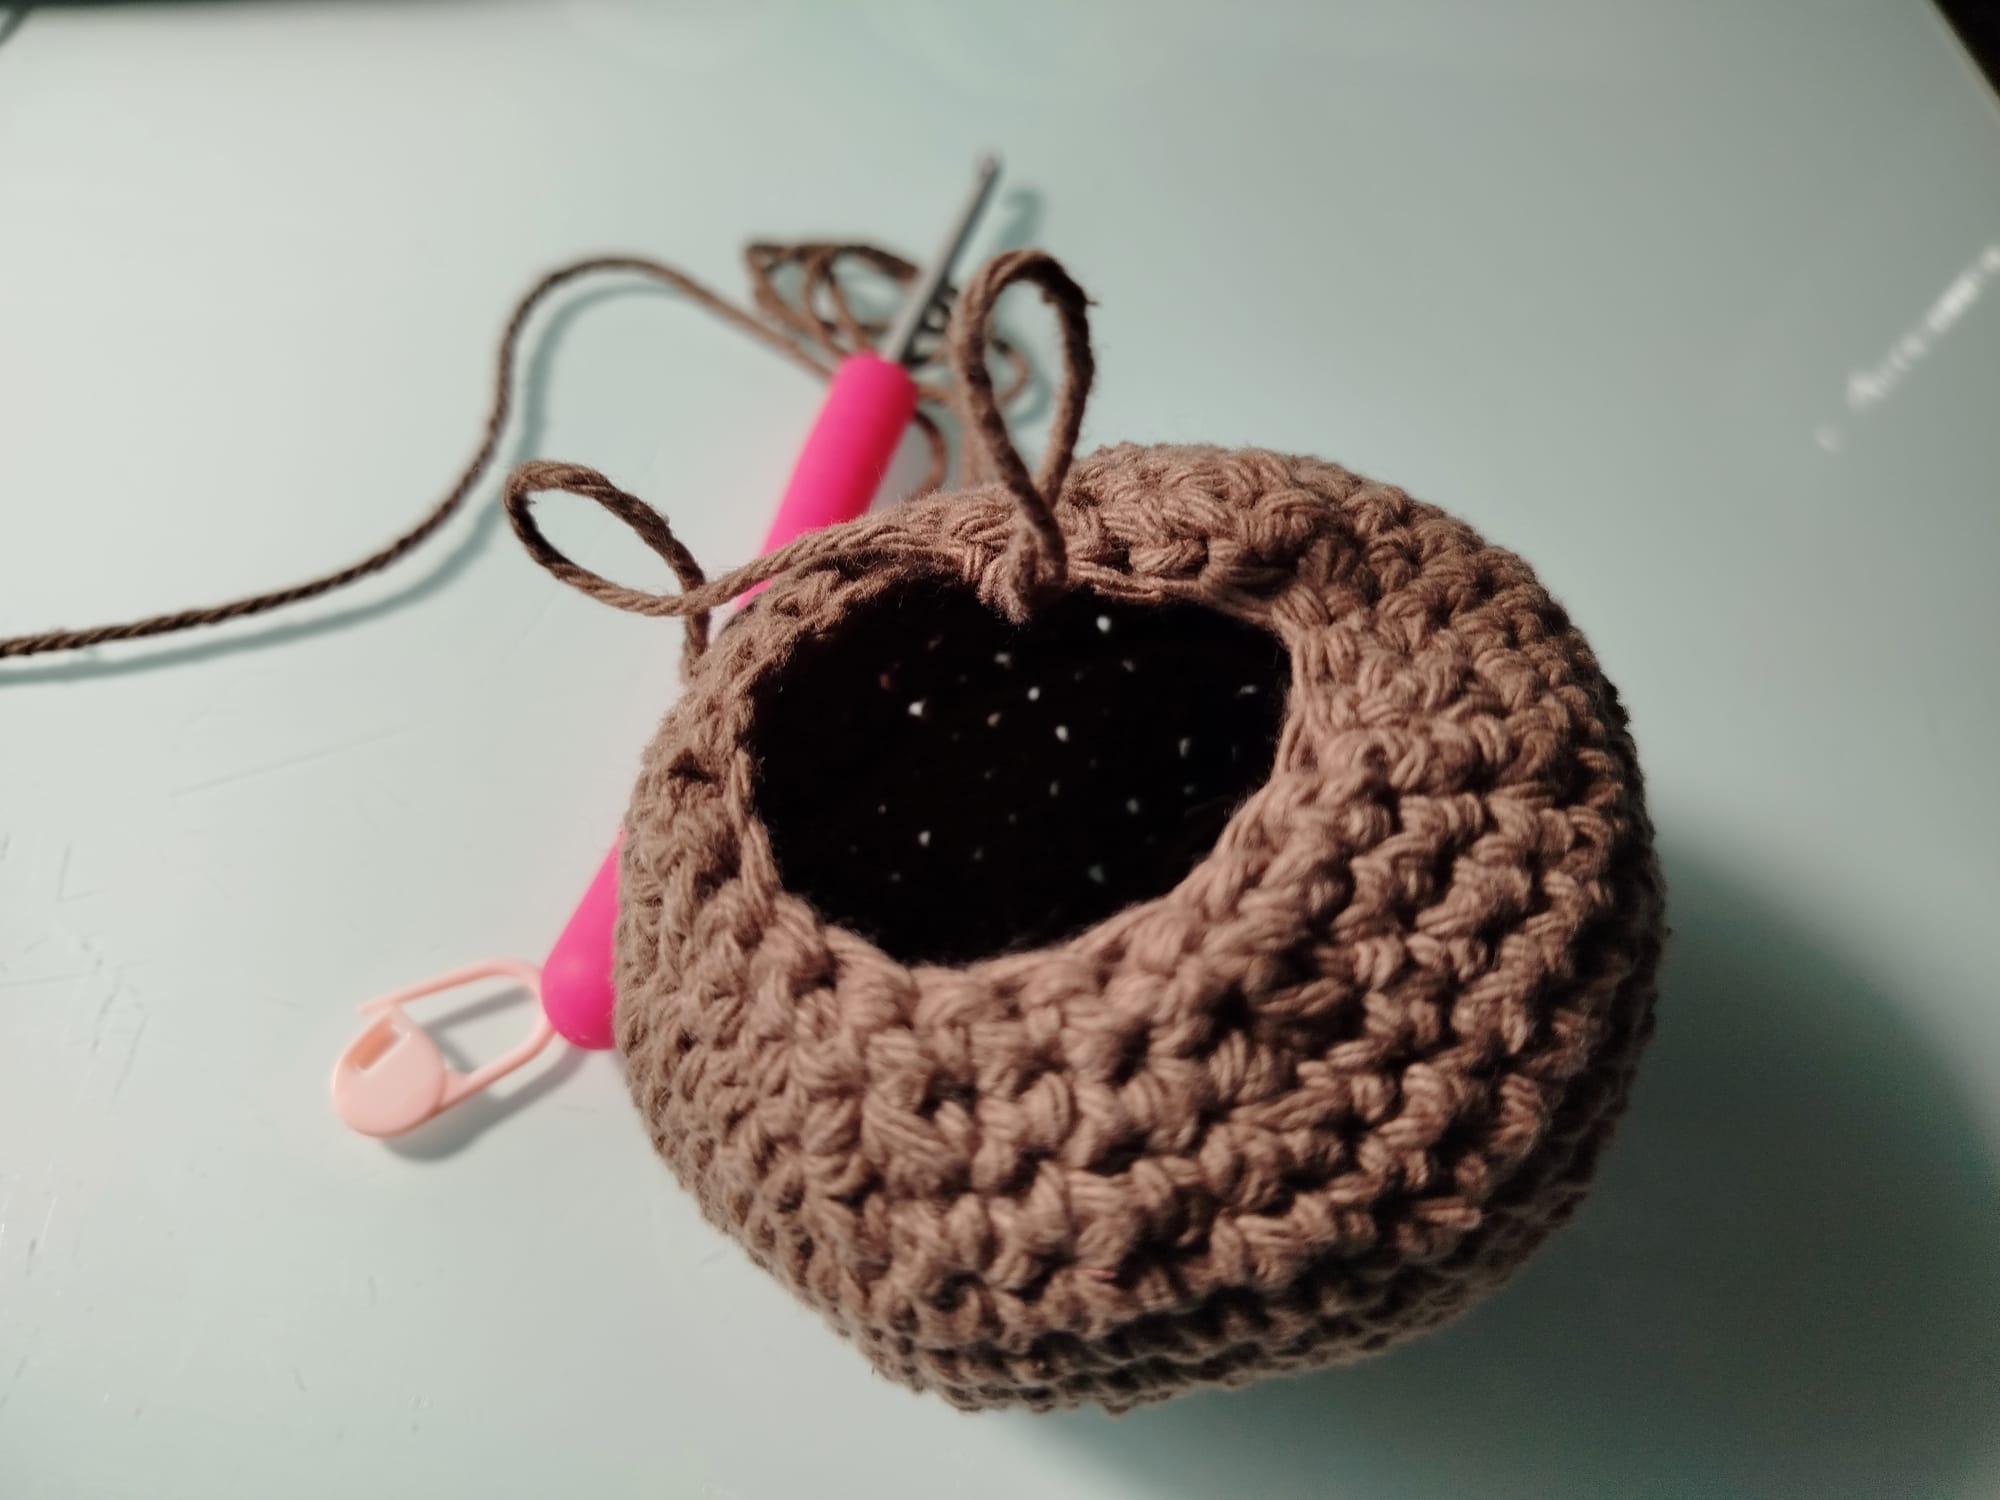
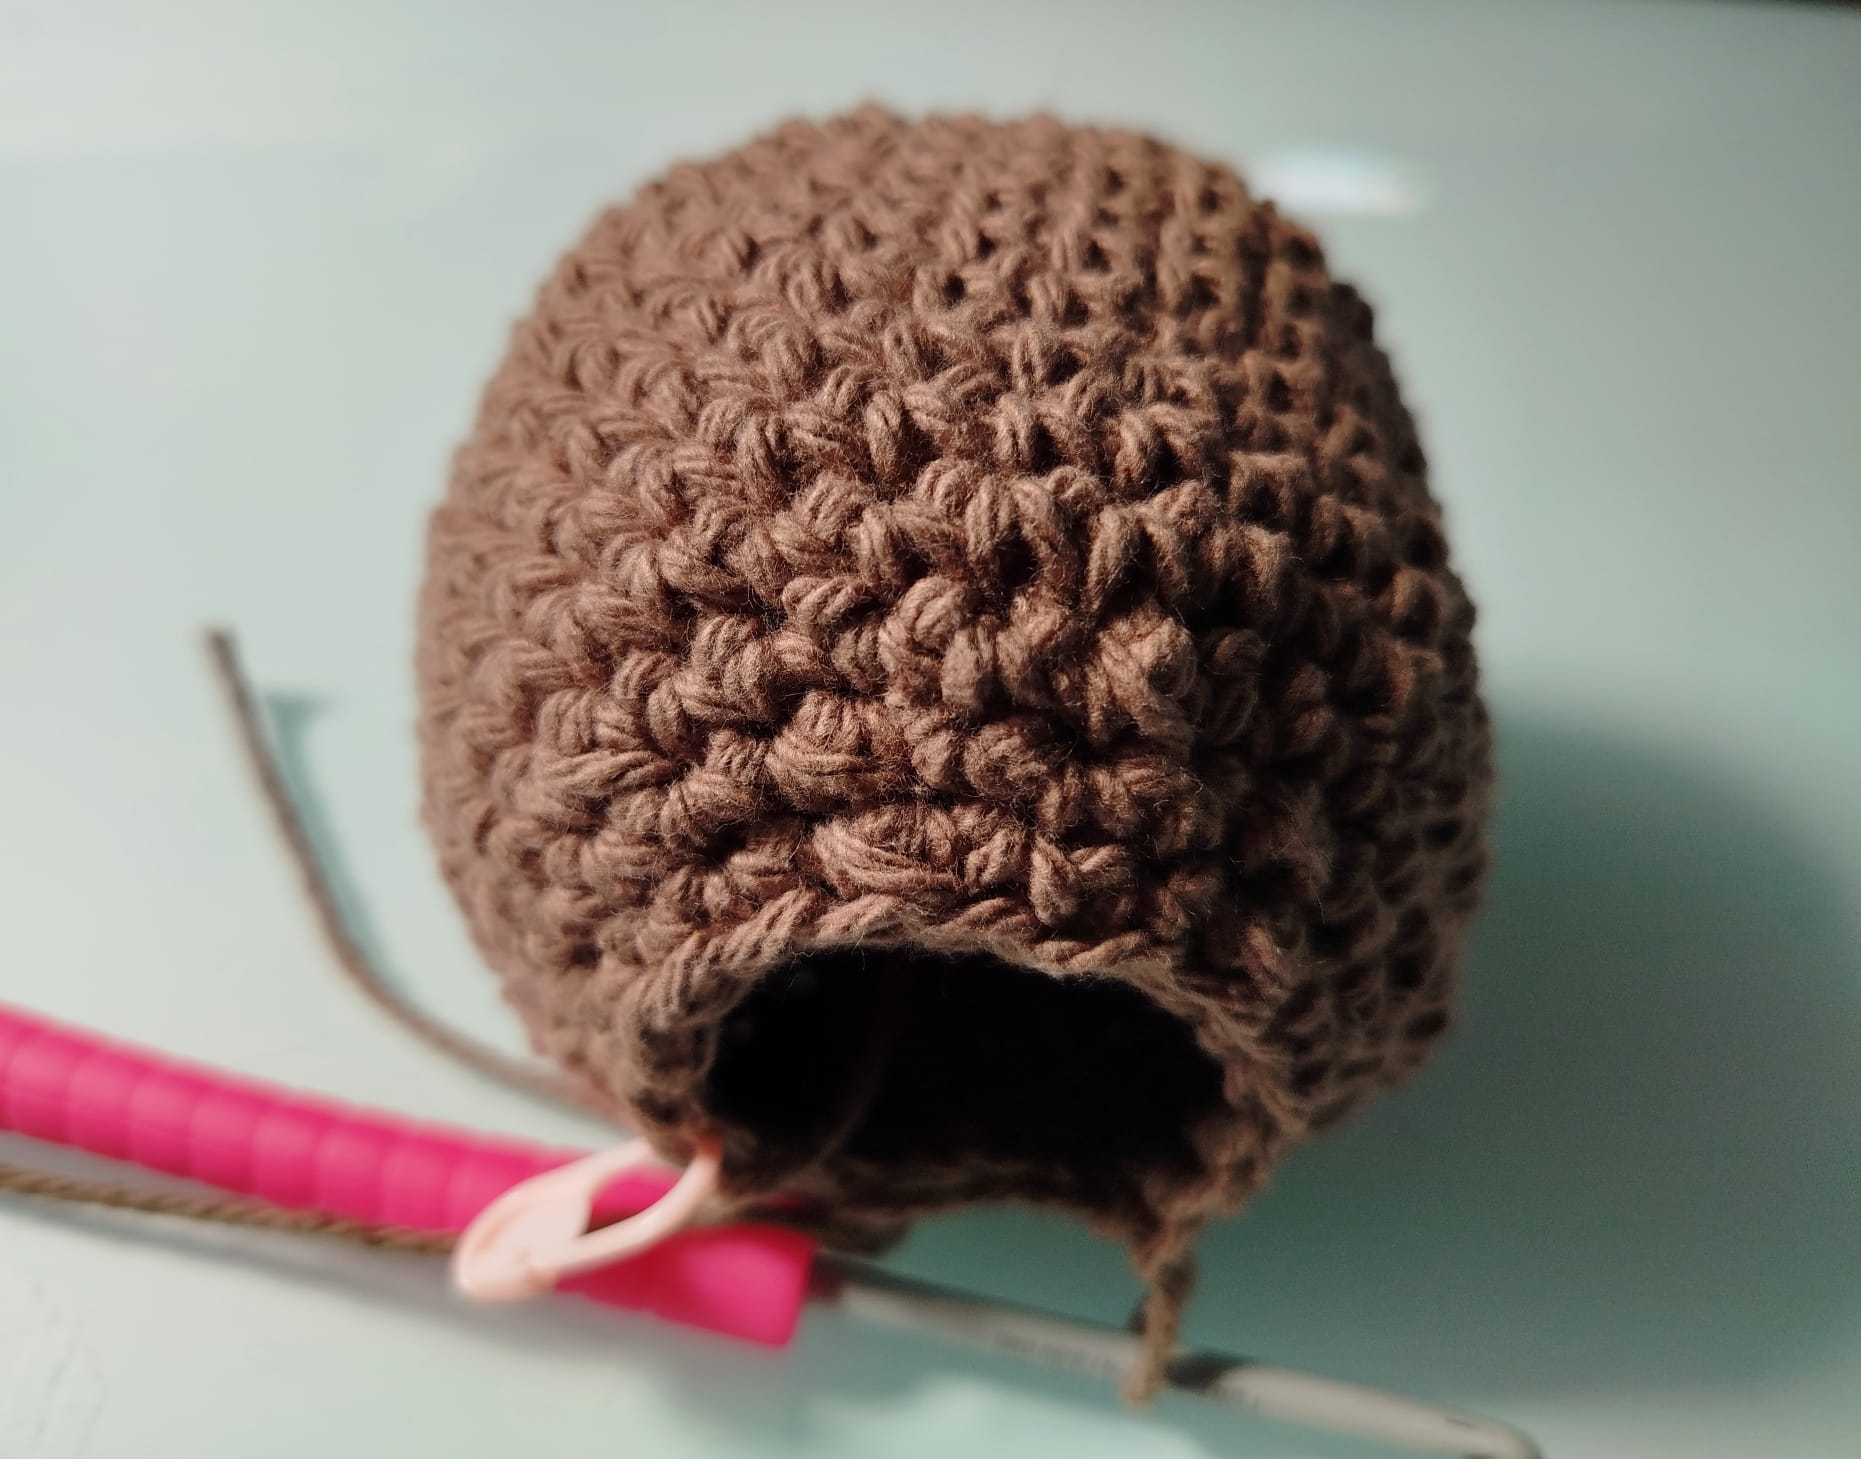
Head 🧸
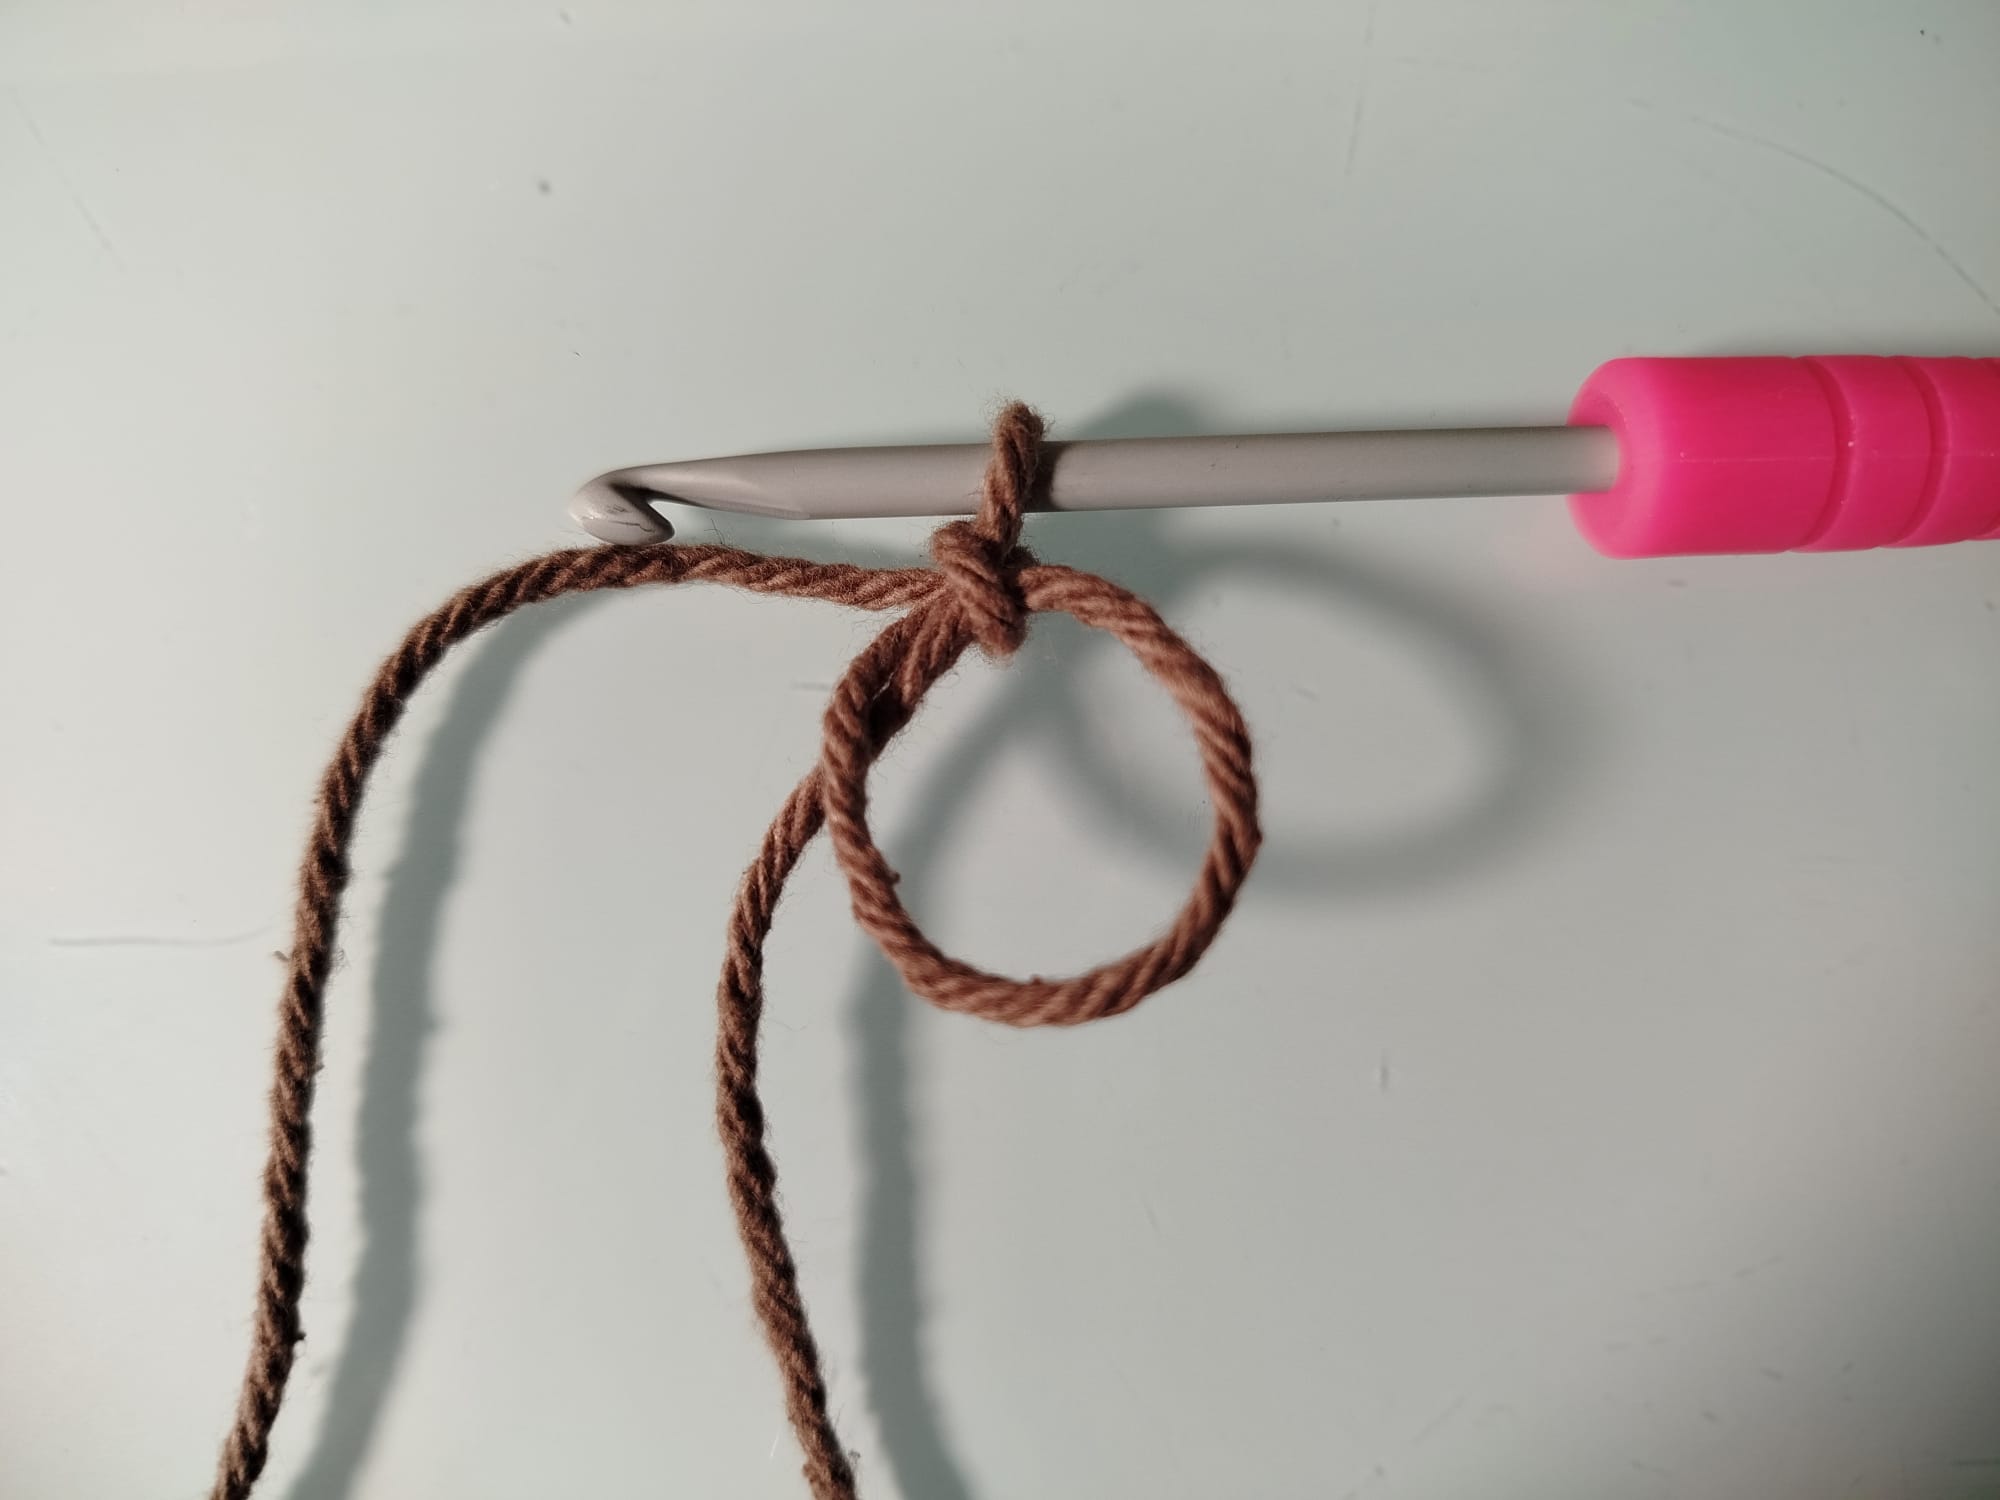
Magic ring, sc 6 (6)

Inc in each stitch (12)
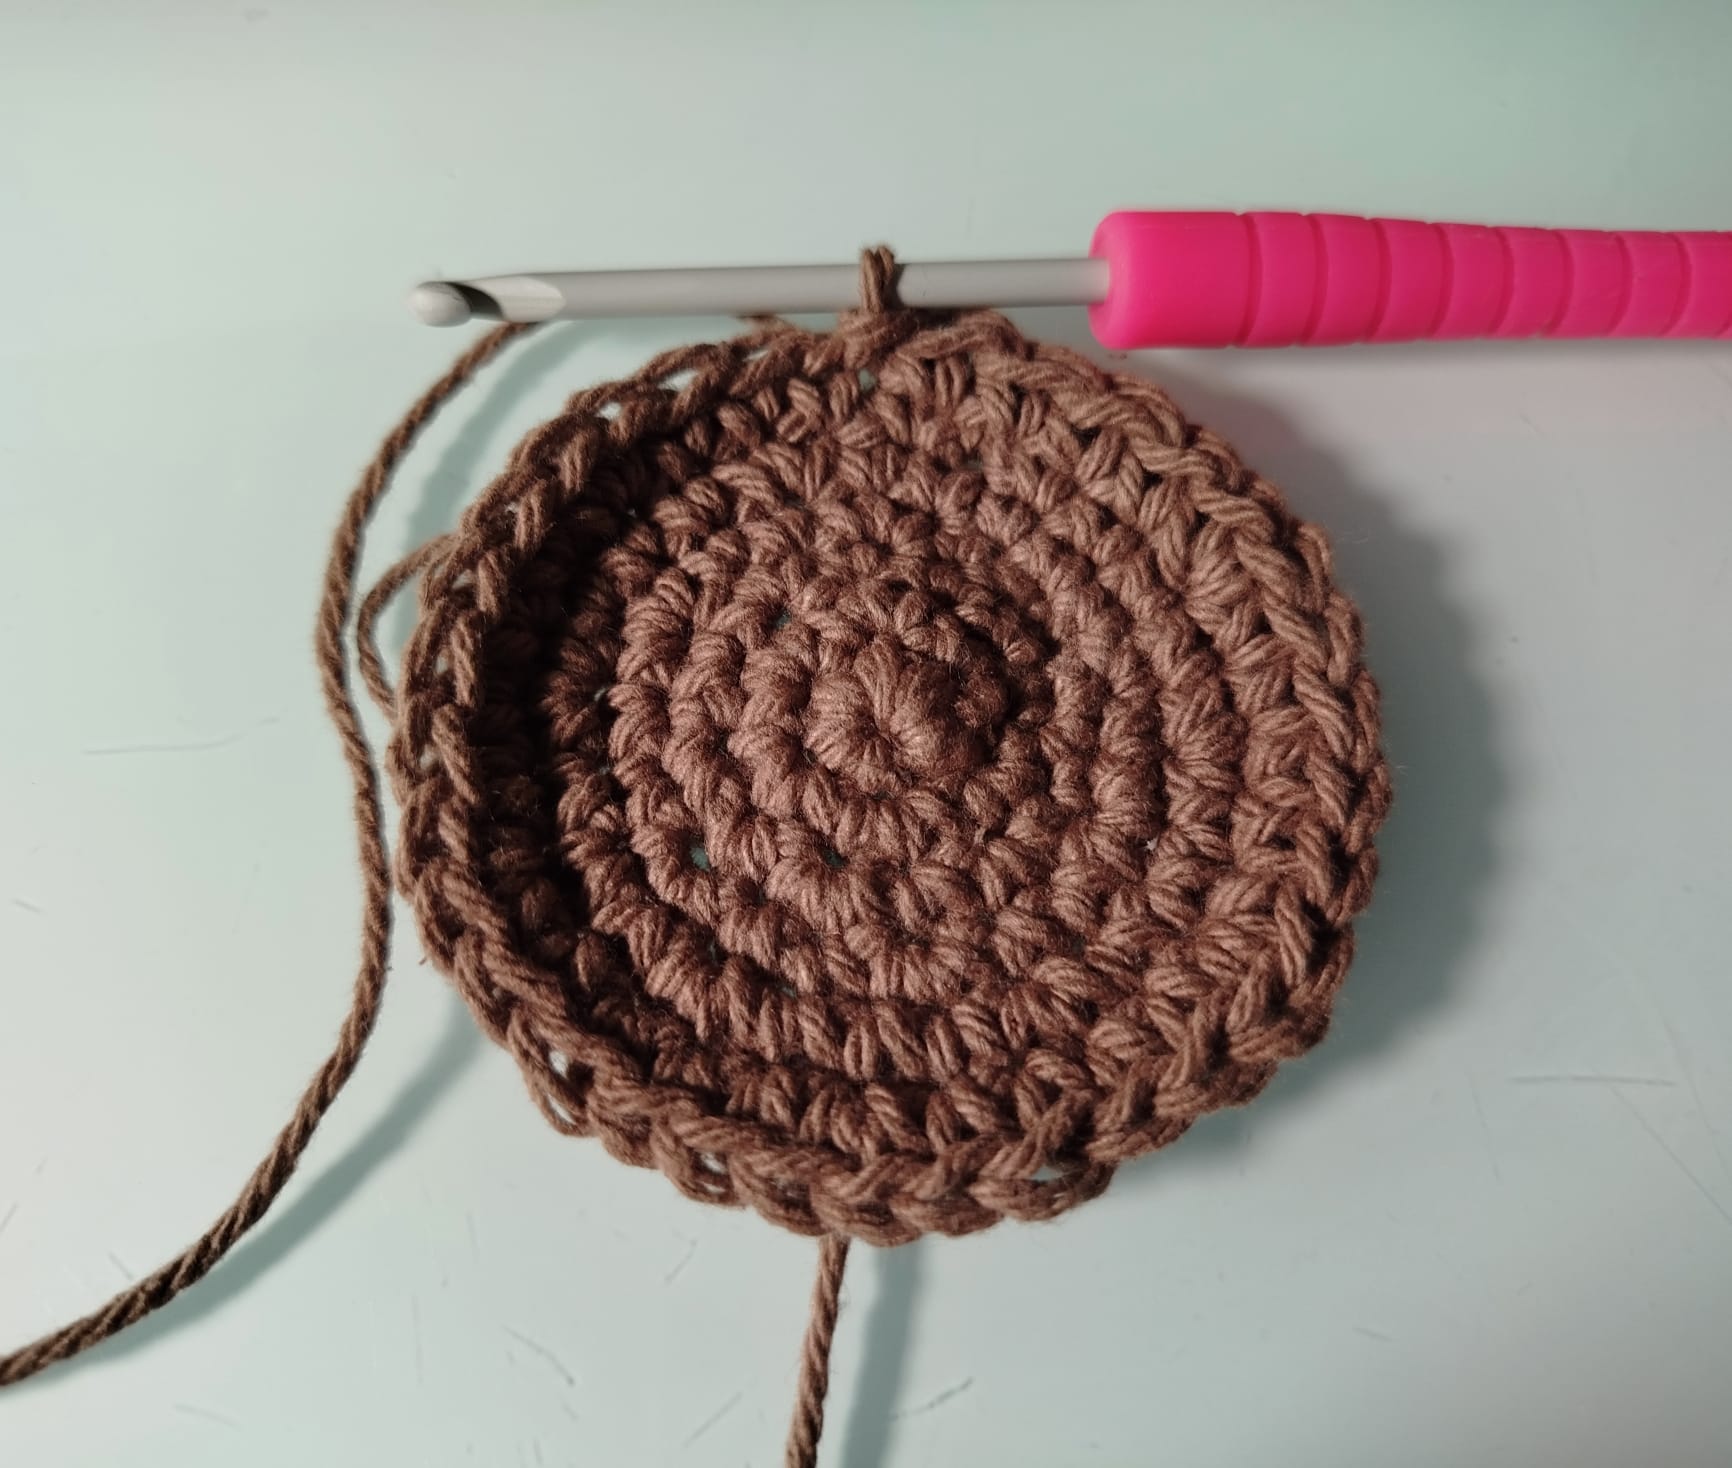
(Sc 1, inc) around (18)
(Sc 2, inc) around (24)
(Sc 3, inc) around (30)
(Sc 4, inc) around (36)
7-12. Sc around (36)
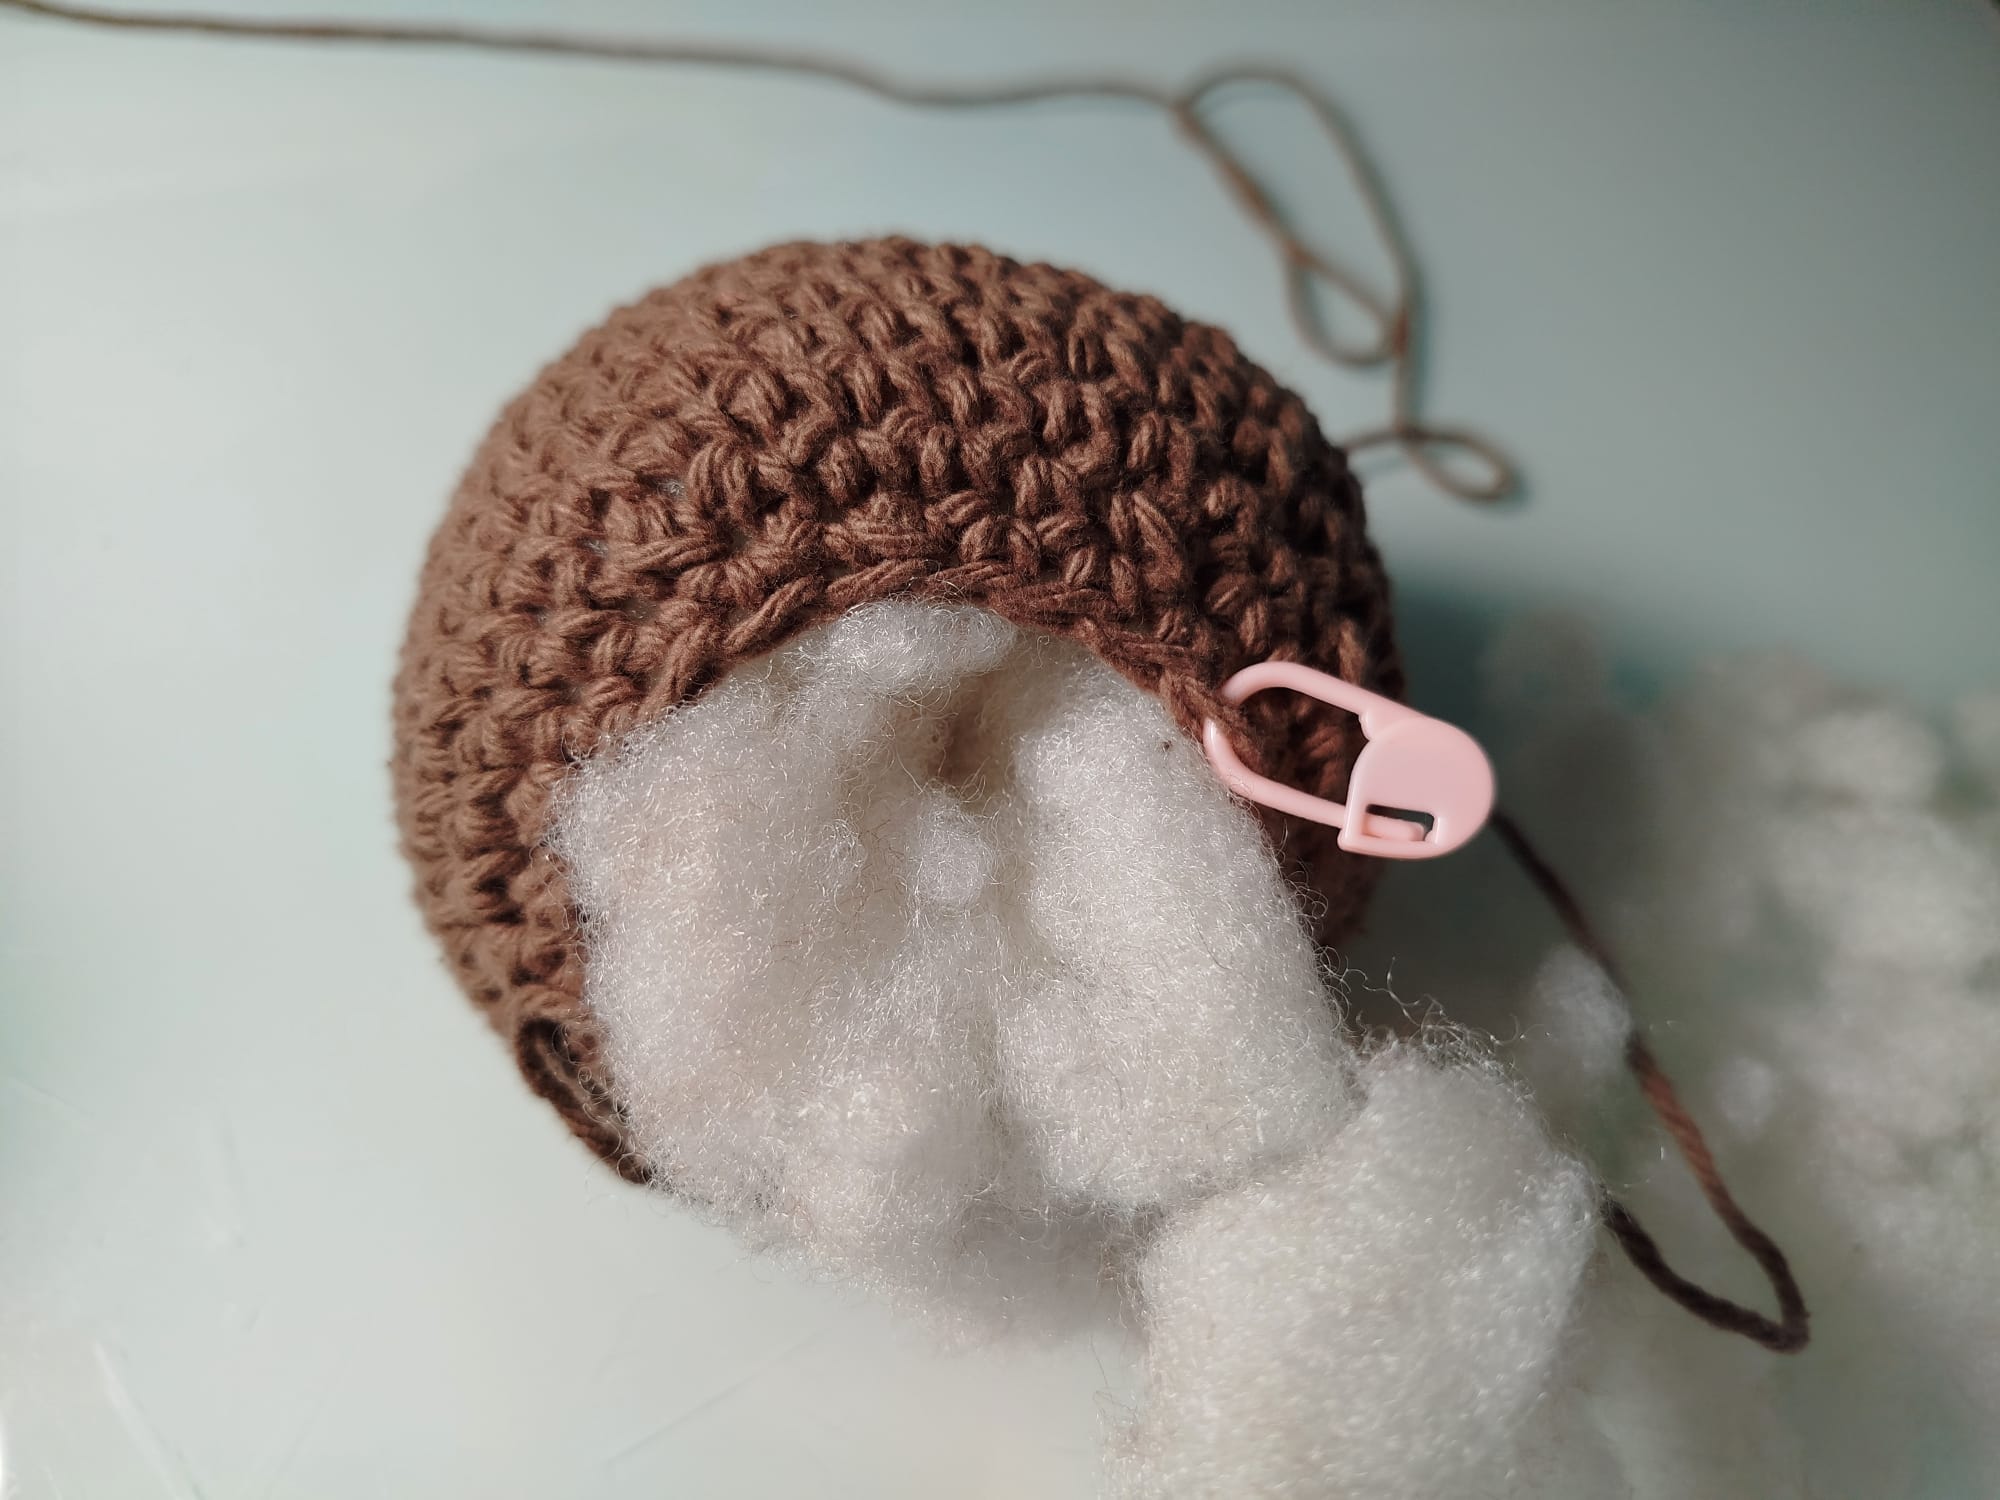
(Sc 4, dec) around (30)
(Sc 3, dec) around (24)
(Sc 2, dec) around (18)
(Sc 1, dec) around (12)
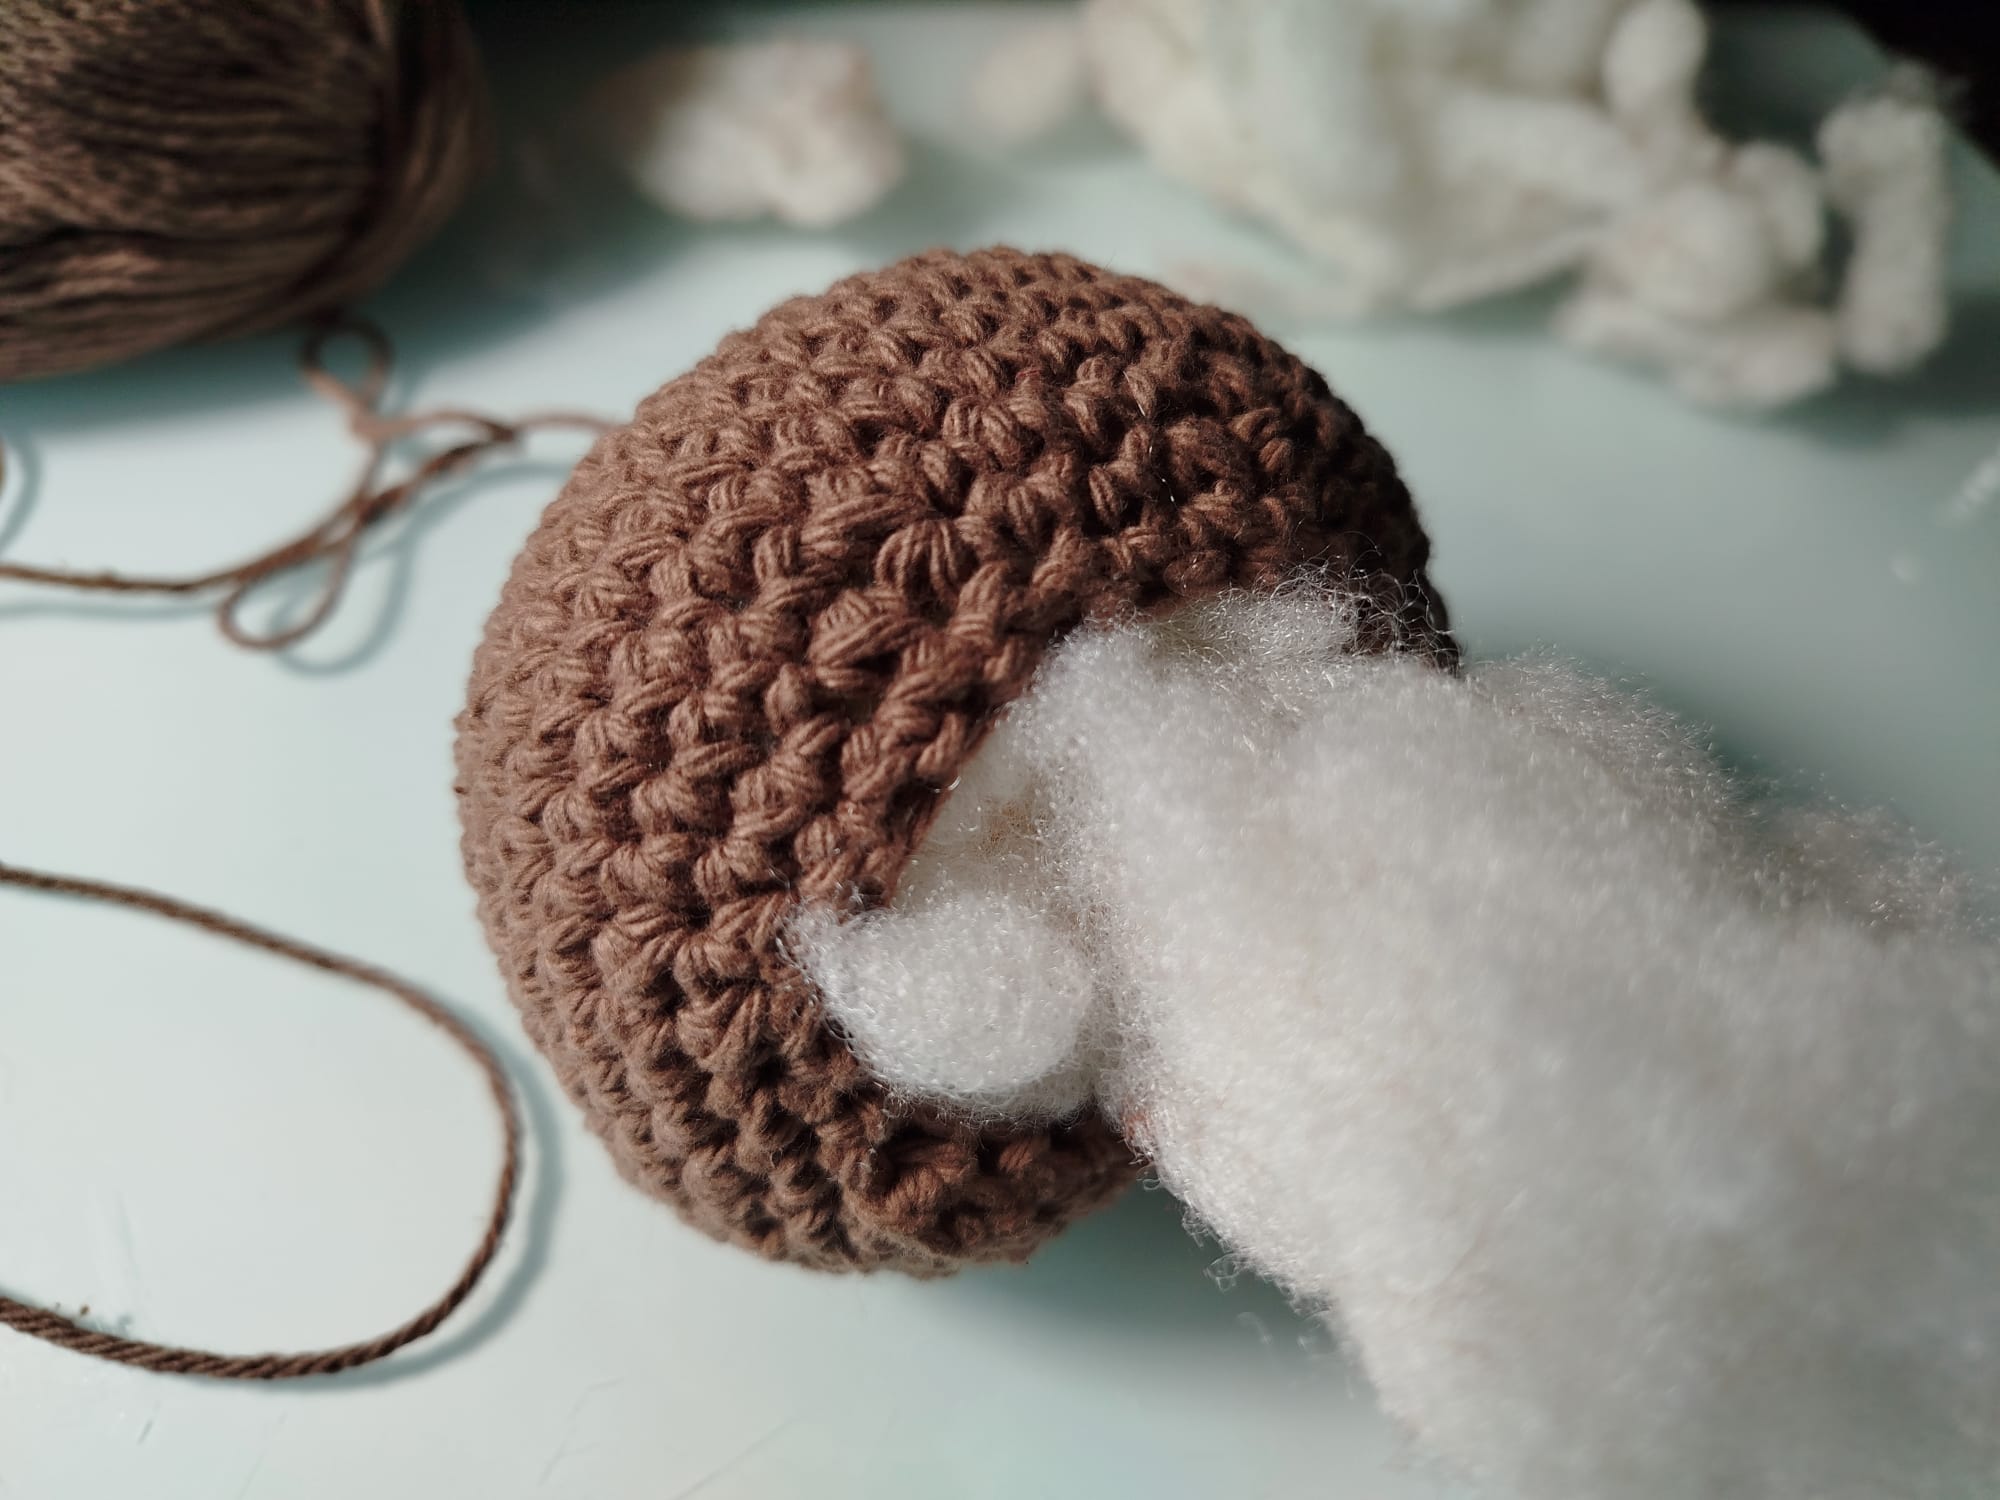
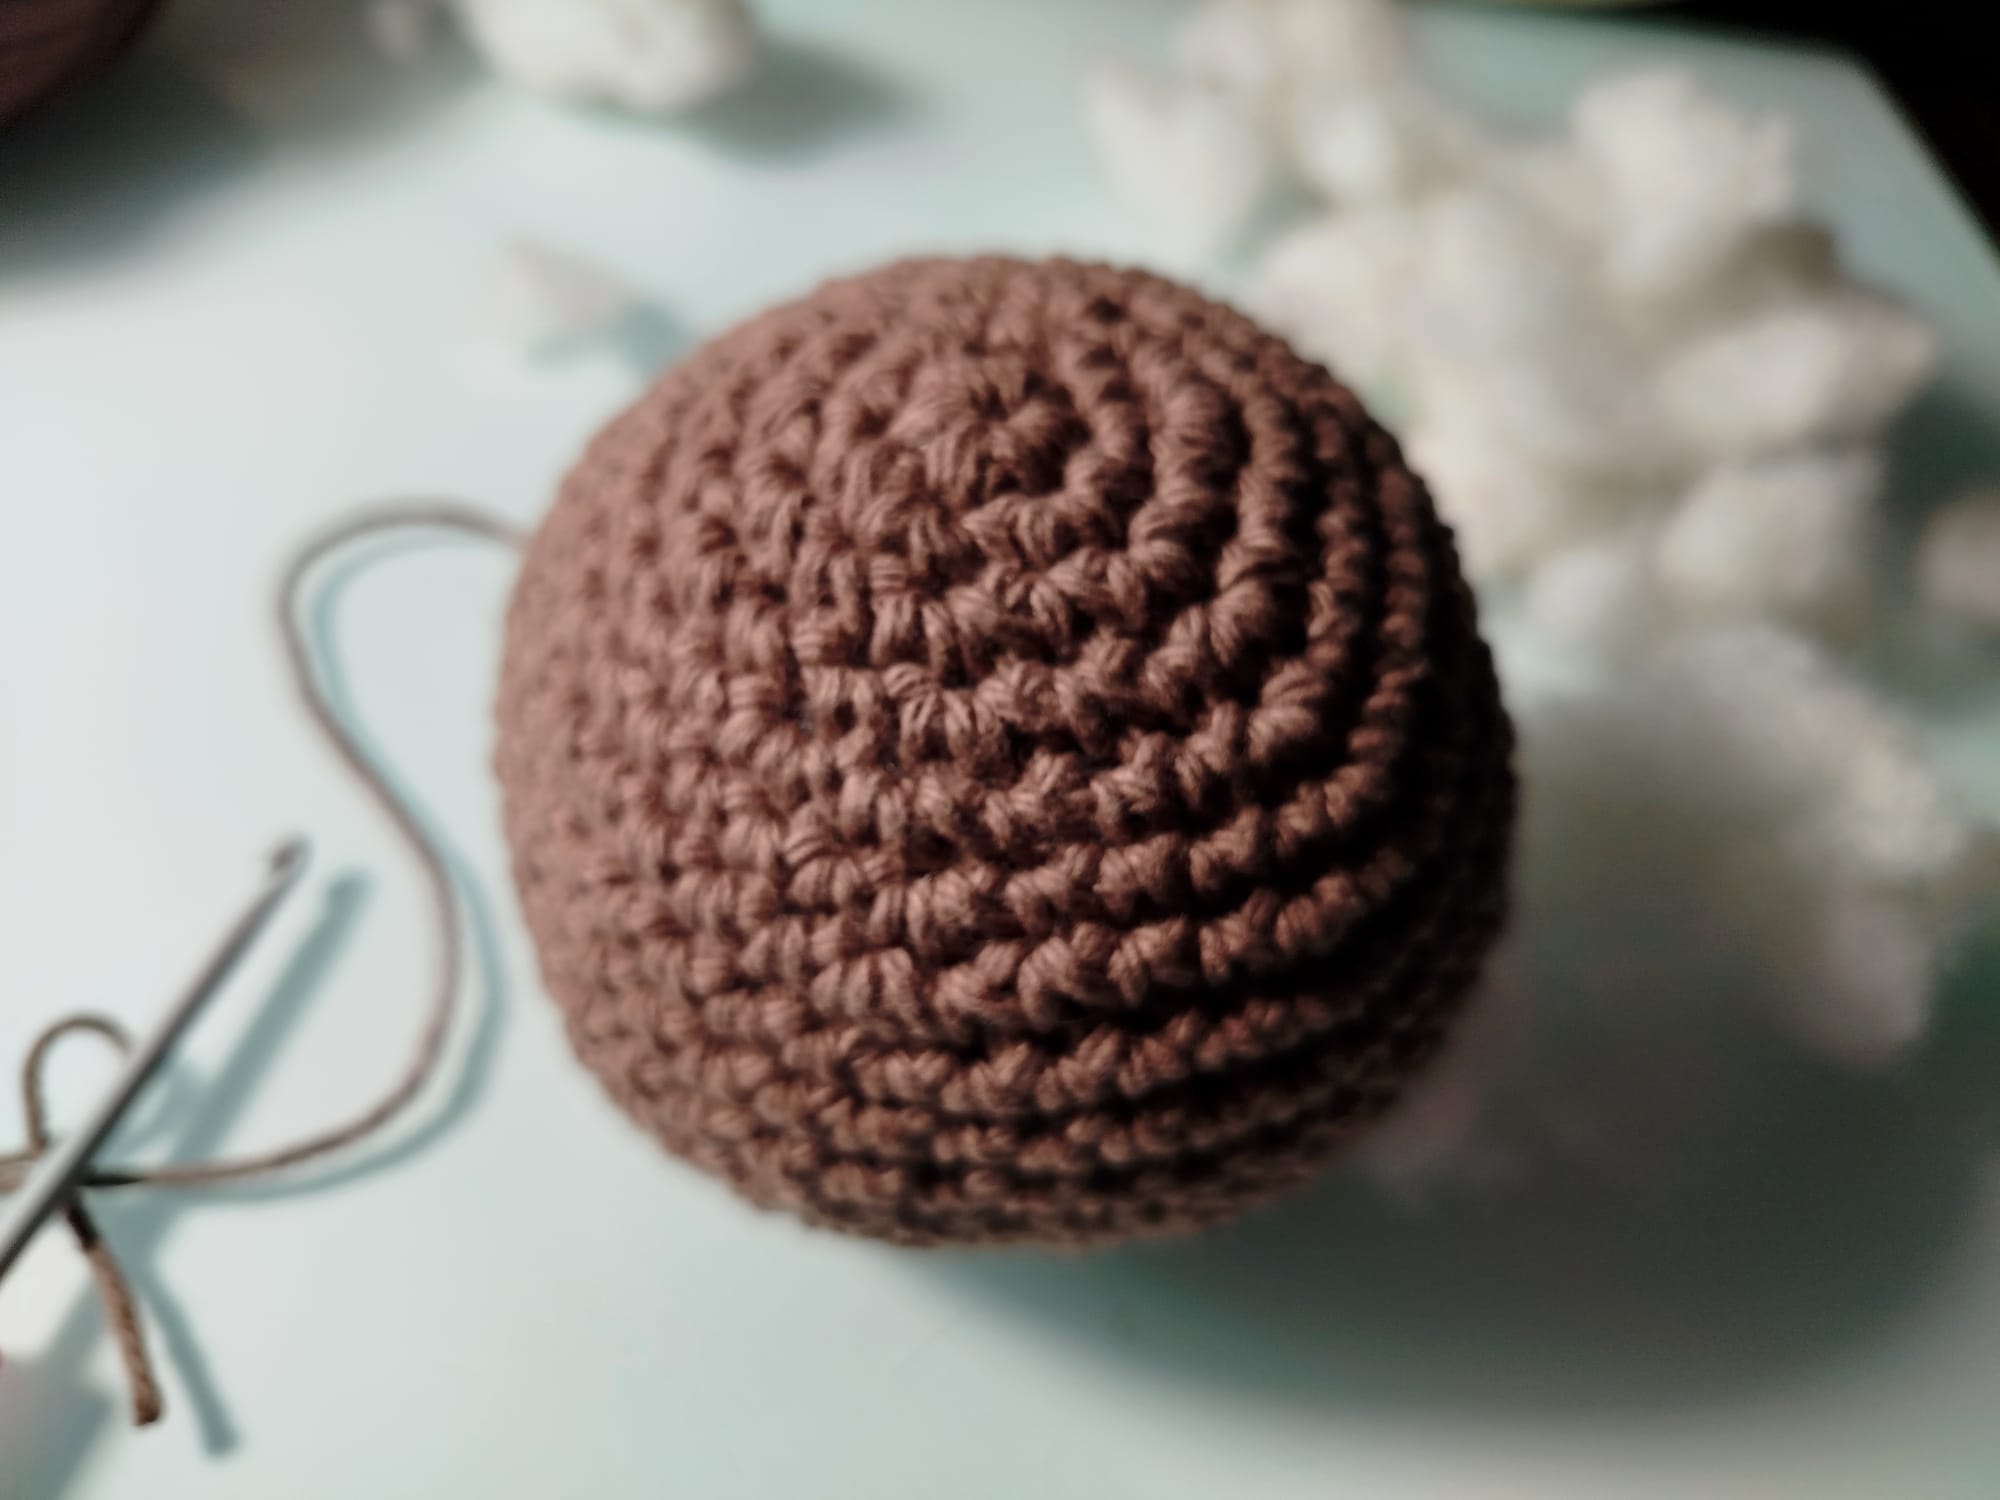
Stuff firmly
Dec around (6),
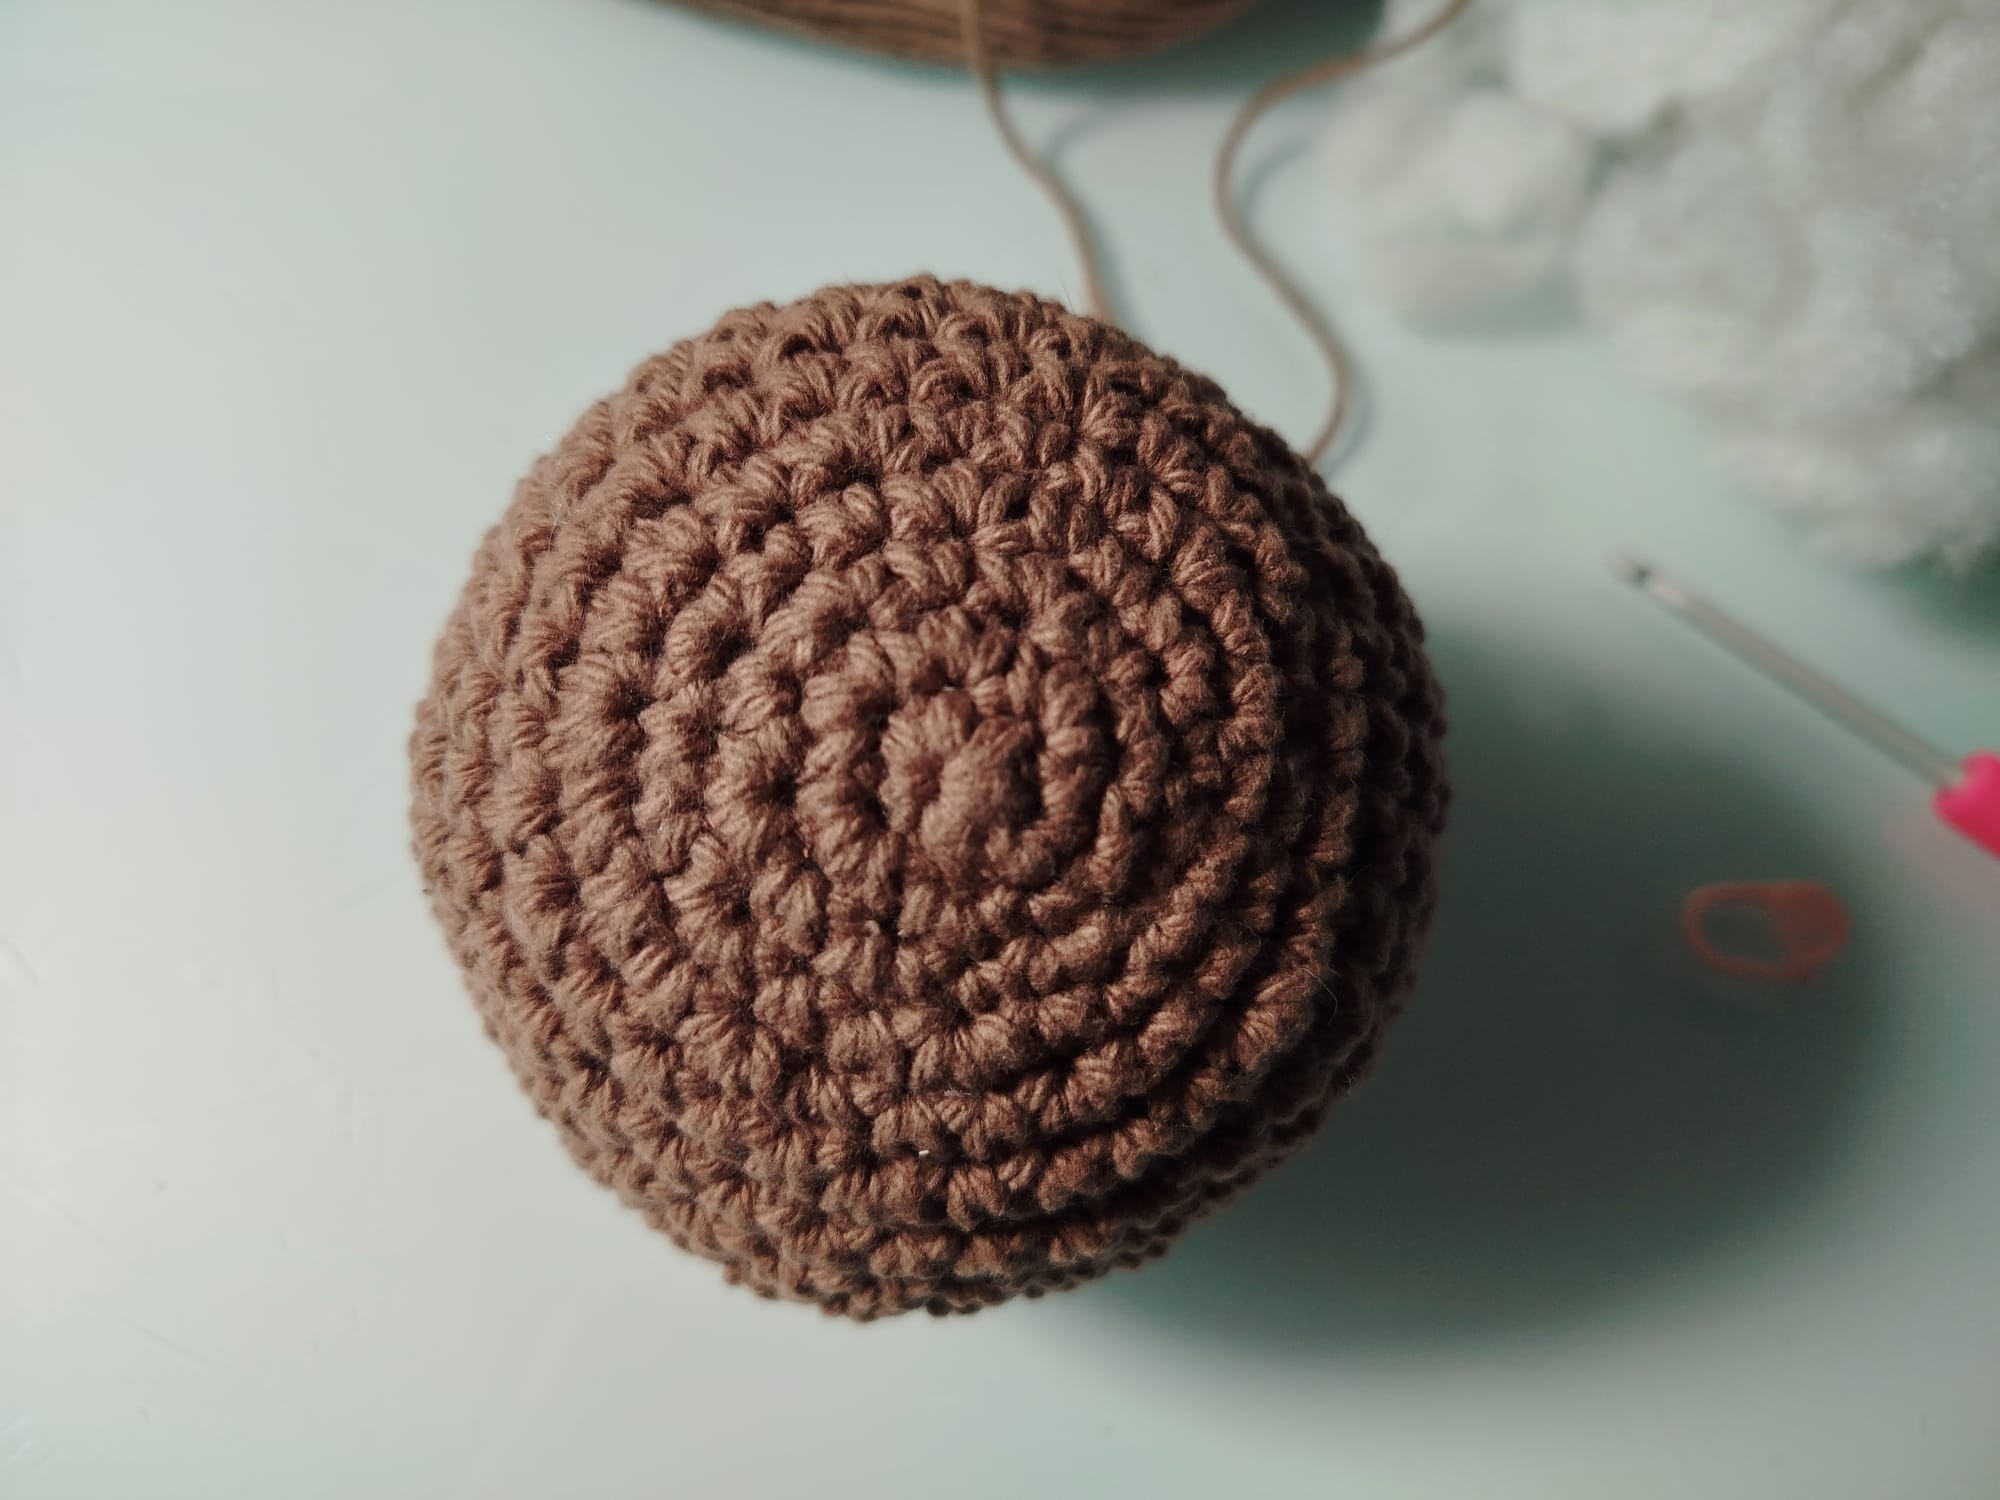
Fasten off & close.
Snout 🧸
Magic ring, sc 6 (6)
Inc in each stitch (12)
(Sc 1, inc) around (18)
(Sc 2, inc) around (24)
5-6. Sc around (24)
Stuff lightly, sew onto lower front of the head.
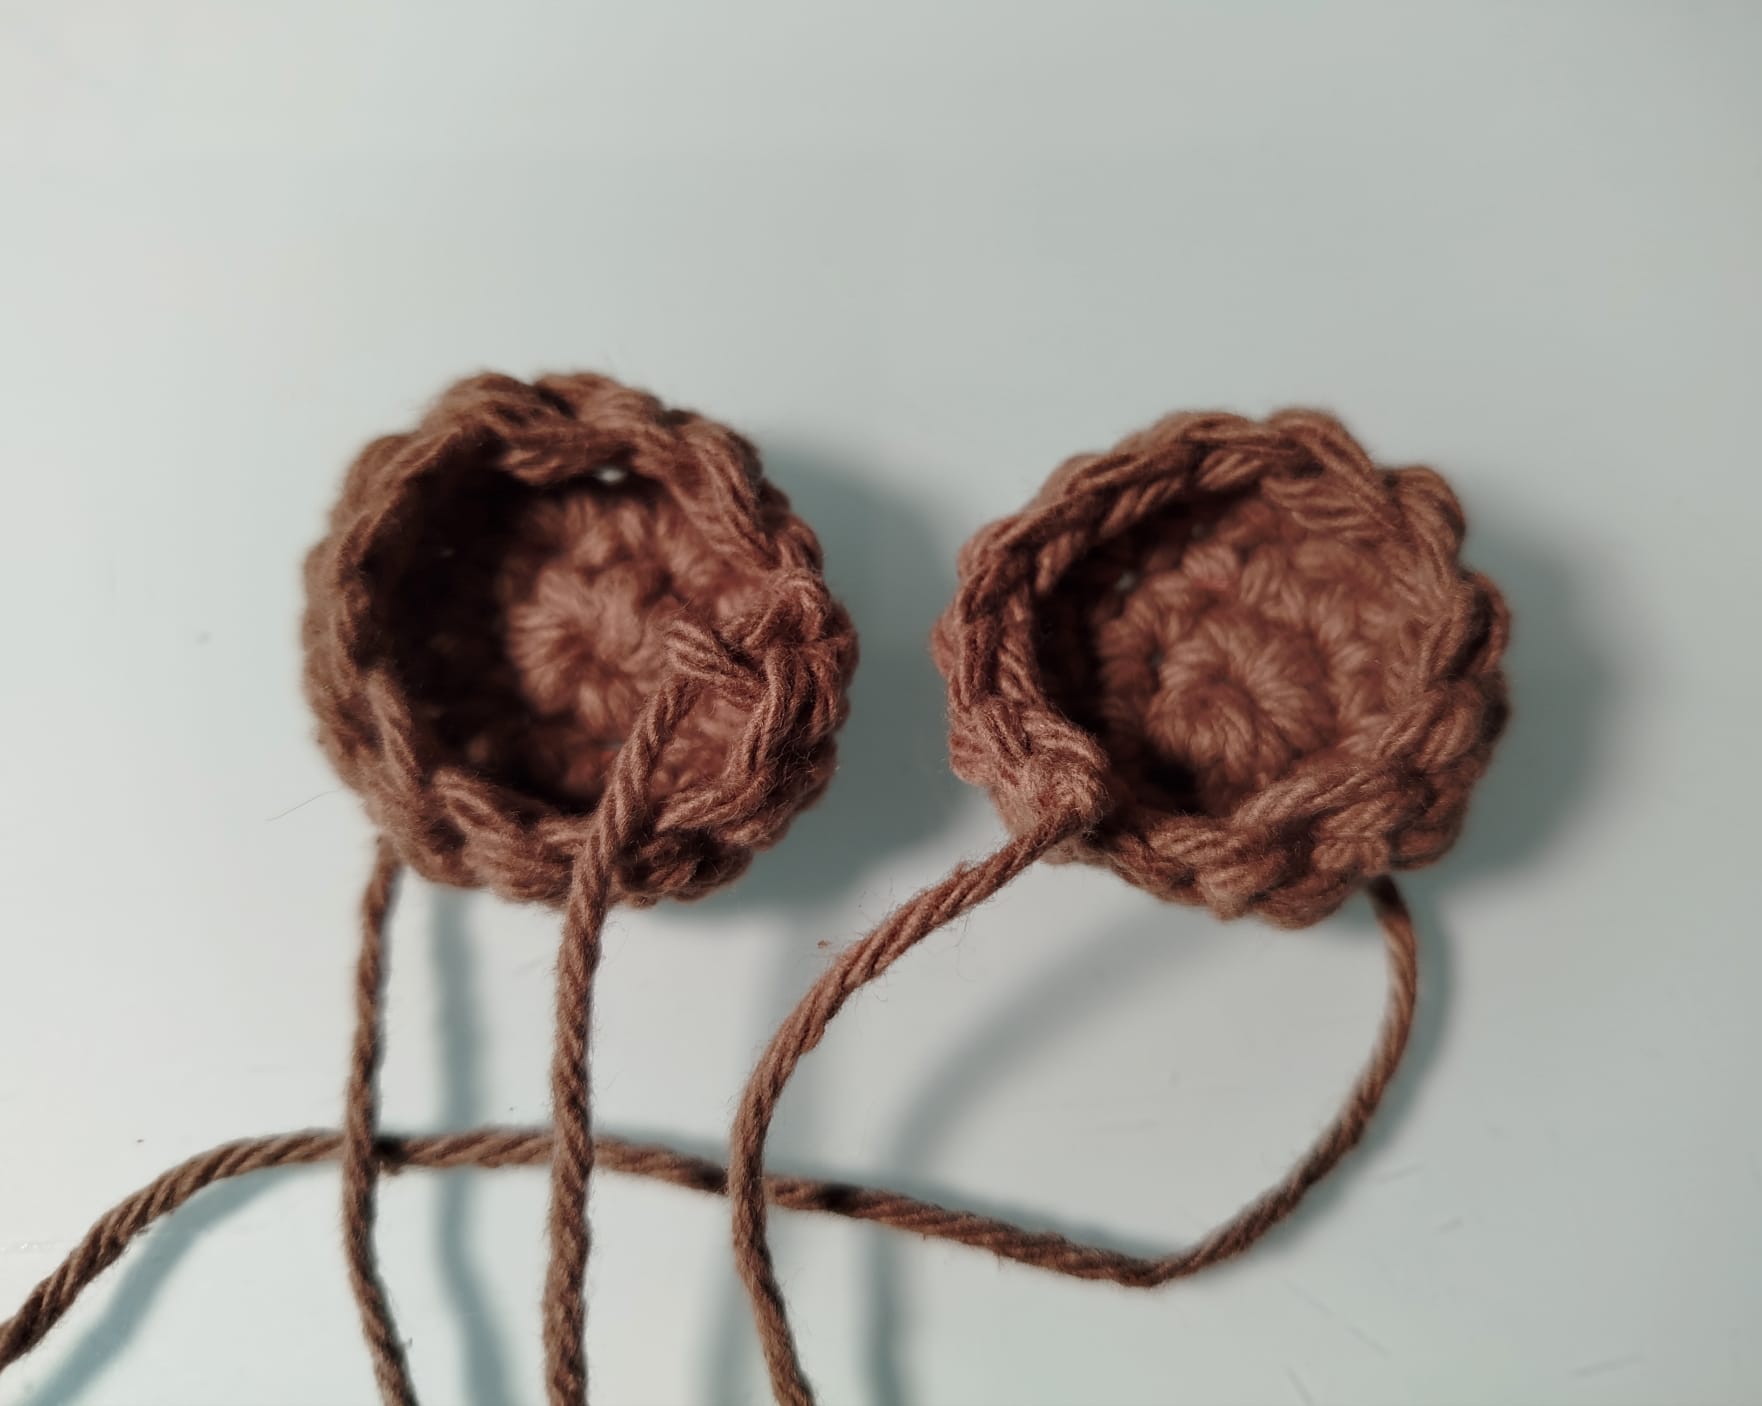
Ears (Make 2) 🧸
Magic ring, sc 6 (6)
Inc in each stitch (12)
(Sc 1, inc) around (18)
4-5. Sc around (18)
(Sc 1, dec) around (12), fasten off.
Flatten & sew on top sides of the head.
Body 🧸
Magic ring, sc 6 (6)
Inc in each stitch (12)
(Sc 1, inc) around (18)
(Sc 2, inc) around (24)
(Sc 3, inc) around (30)
6-12. Sc around (30)
(Sc 3, dec) around (24)
(Sc 2, dec) around (18)
(Sc 1, dec) around (12)
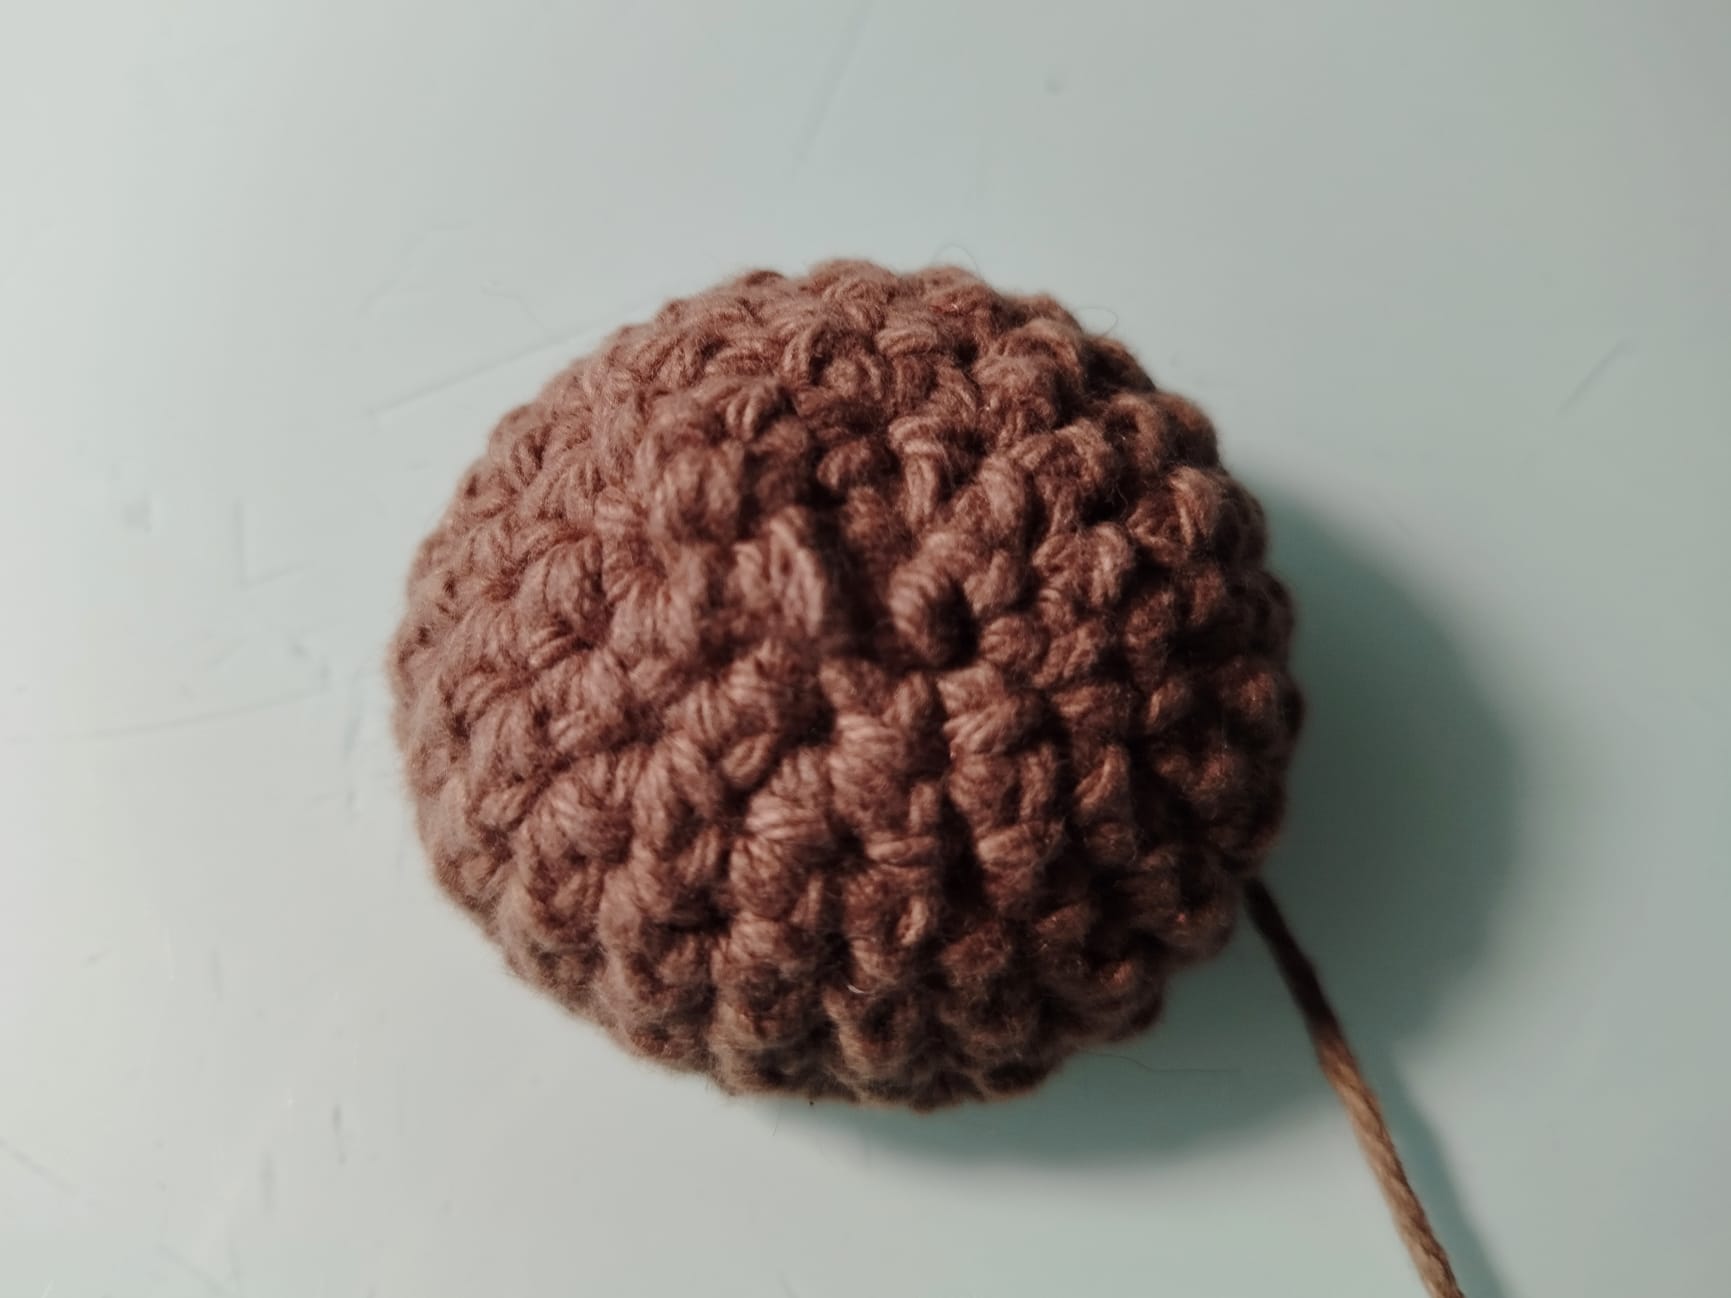
Stuff firmly,
Fasten off & close.
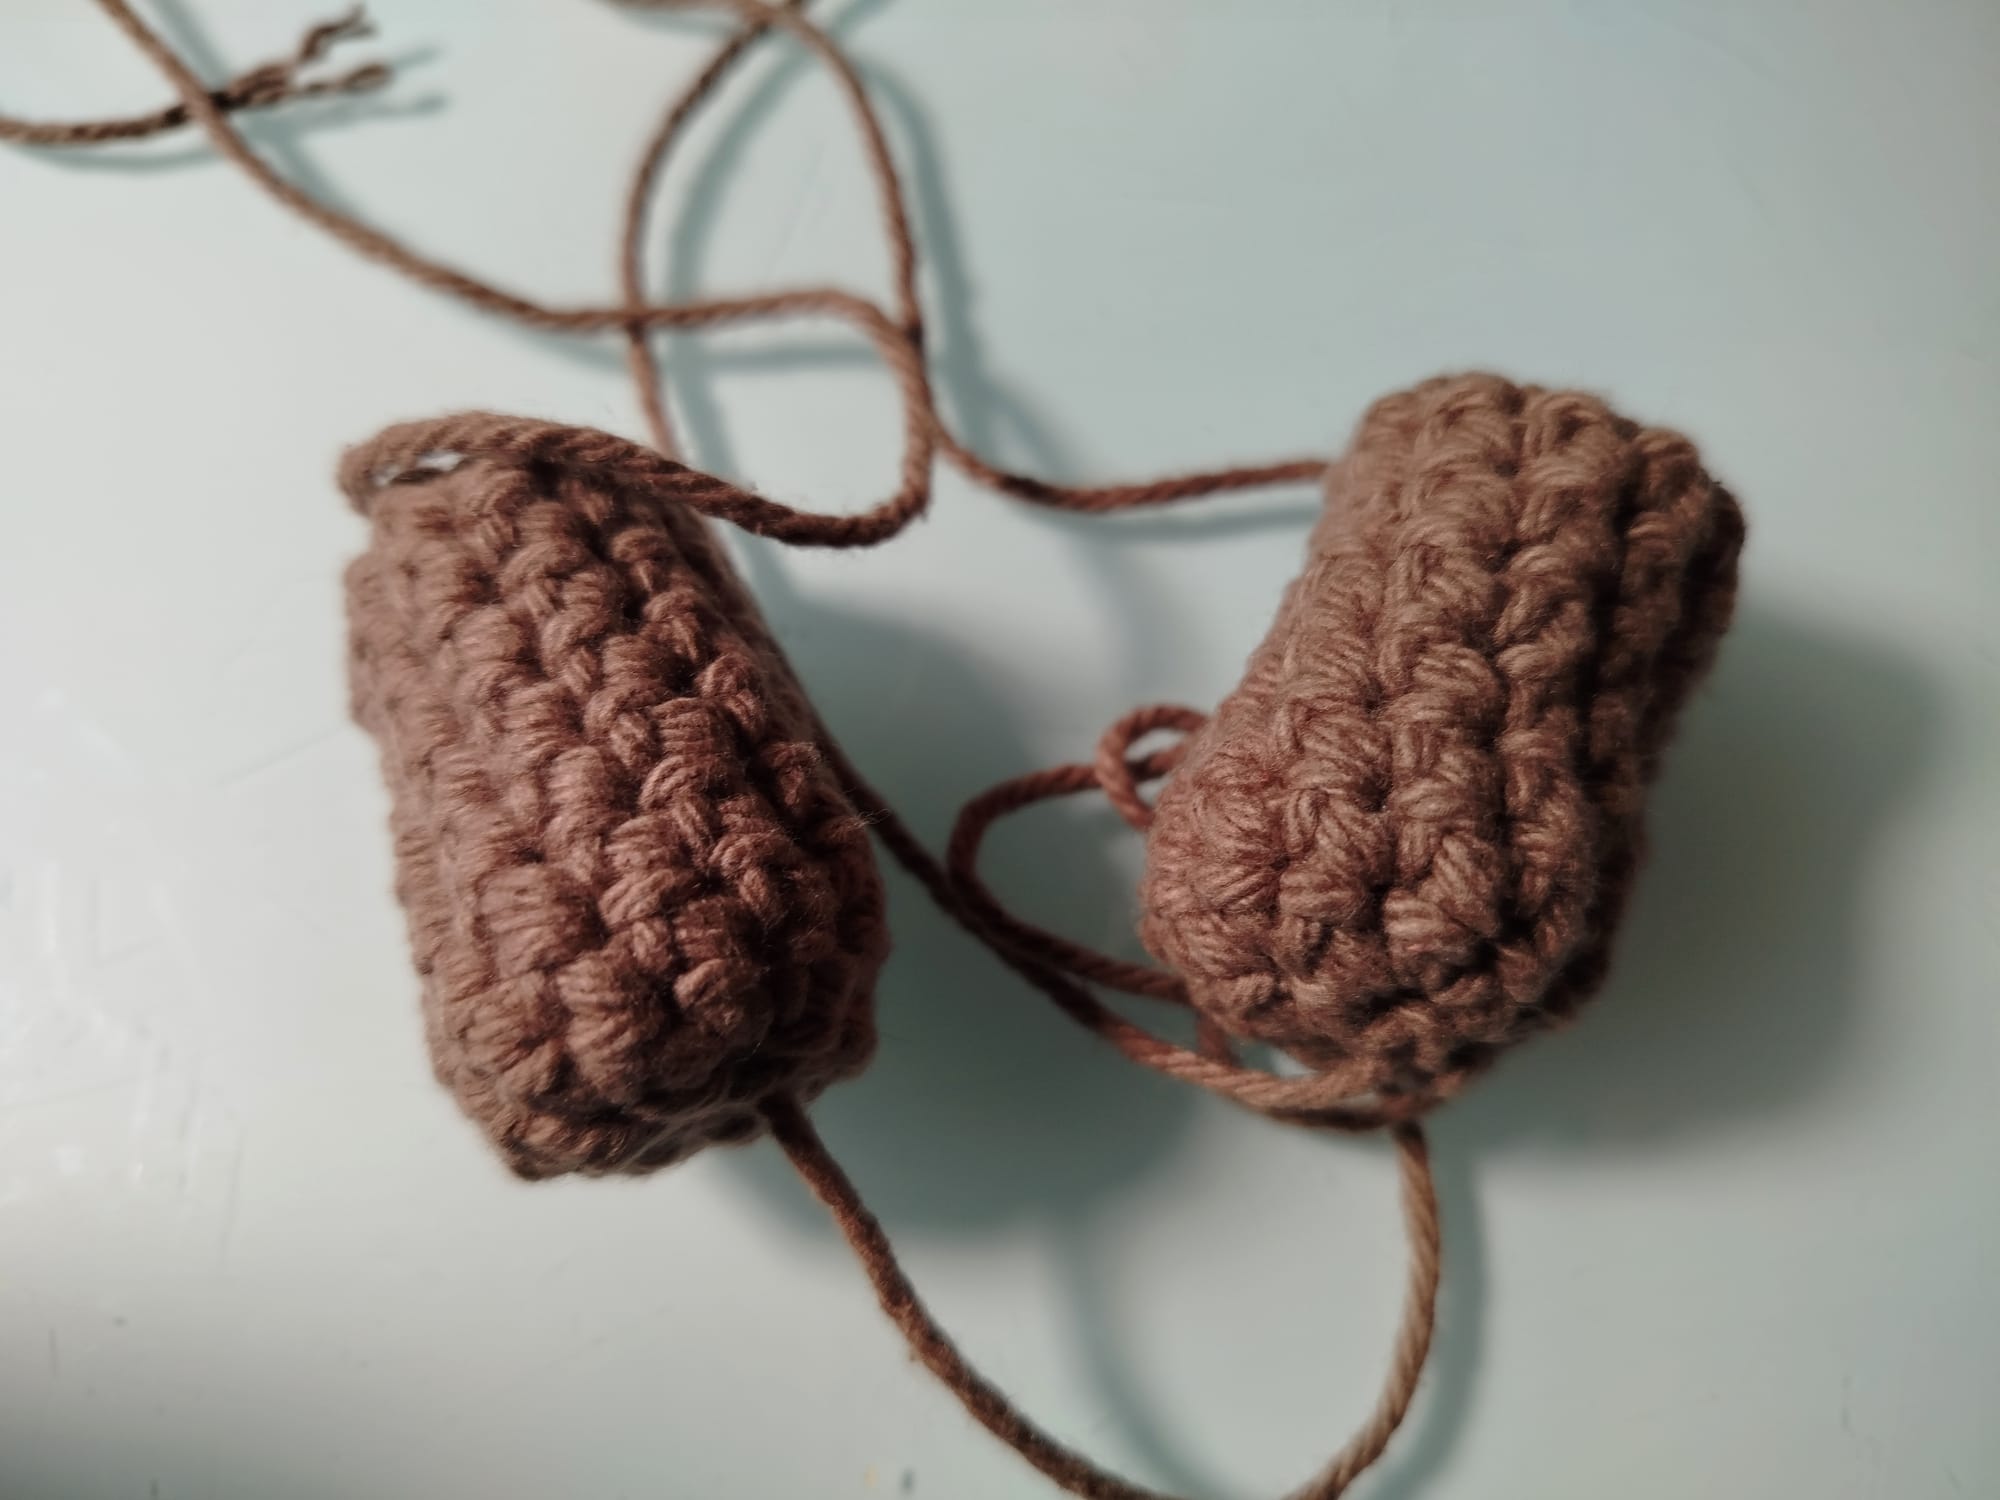
Arms (Make 2)🧸
Start with a magic ring, sc 6 (6)
Inc in each stitch (12)
(Sc 1, inc) around (18)
4-5. Sc around (18)
(Sc 1, dec) around (12)
7-12. Sc around (12)
Stuff lightly, fasten off, leave a long tail.

Legs (Make 2 ) 🧸
Magic ring, sc 6 (6)
Inc in each stitch (12)
(Sc 1, inc) around (18)
4-6. Sc around (18)
(Sc 1, dec) around (12)
8-12. Sc around (12)
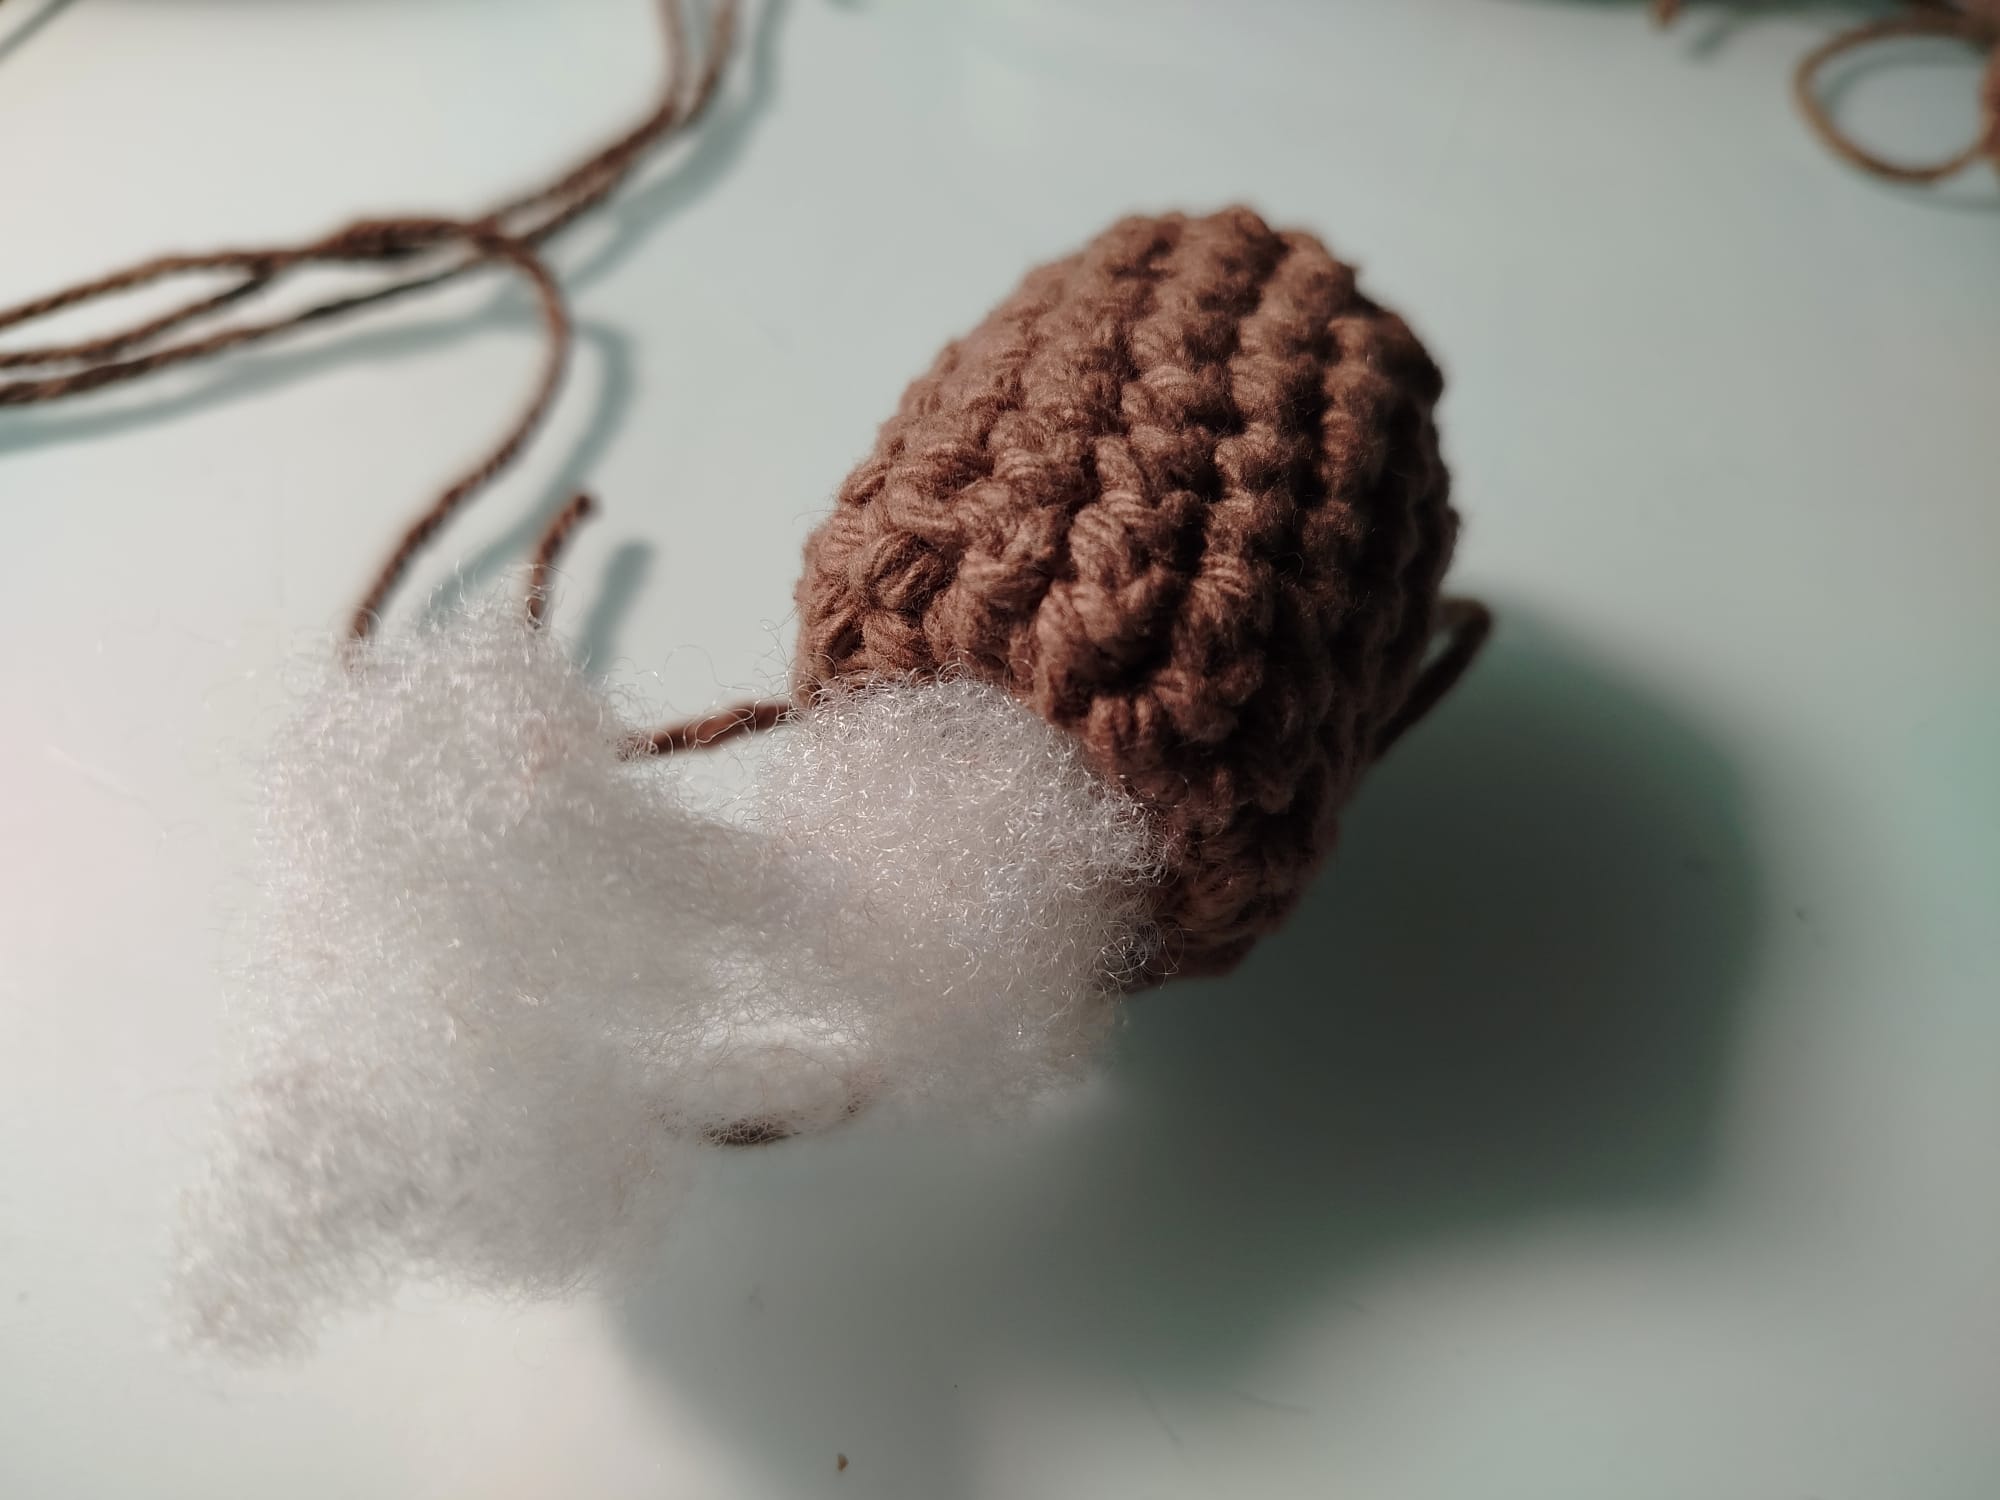
Stuff lightly, fasten off, and leave a long tail.
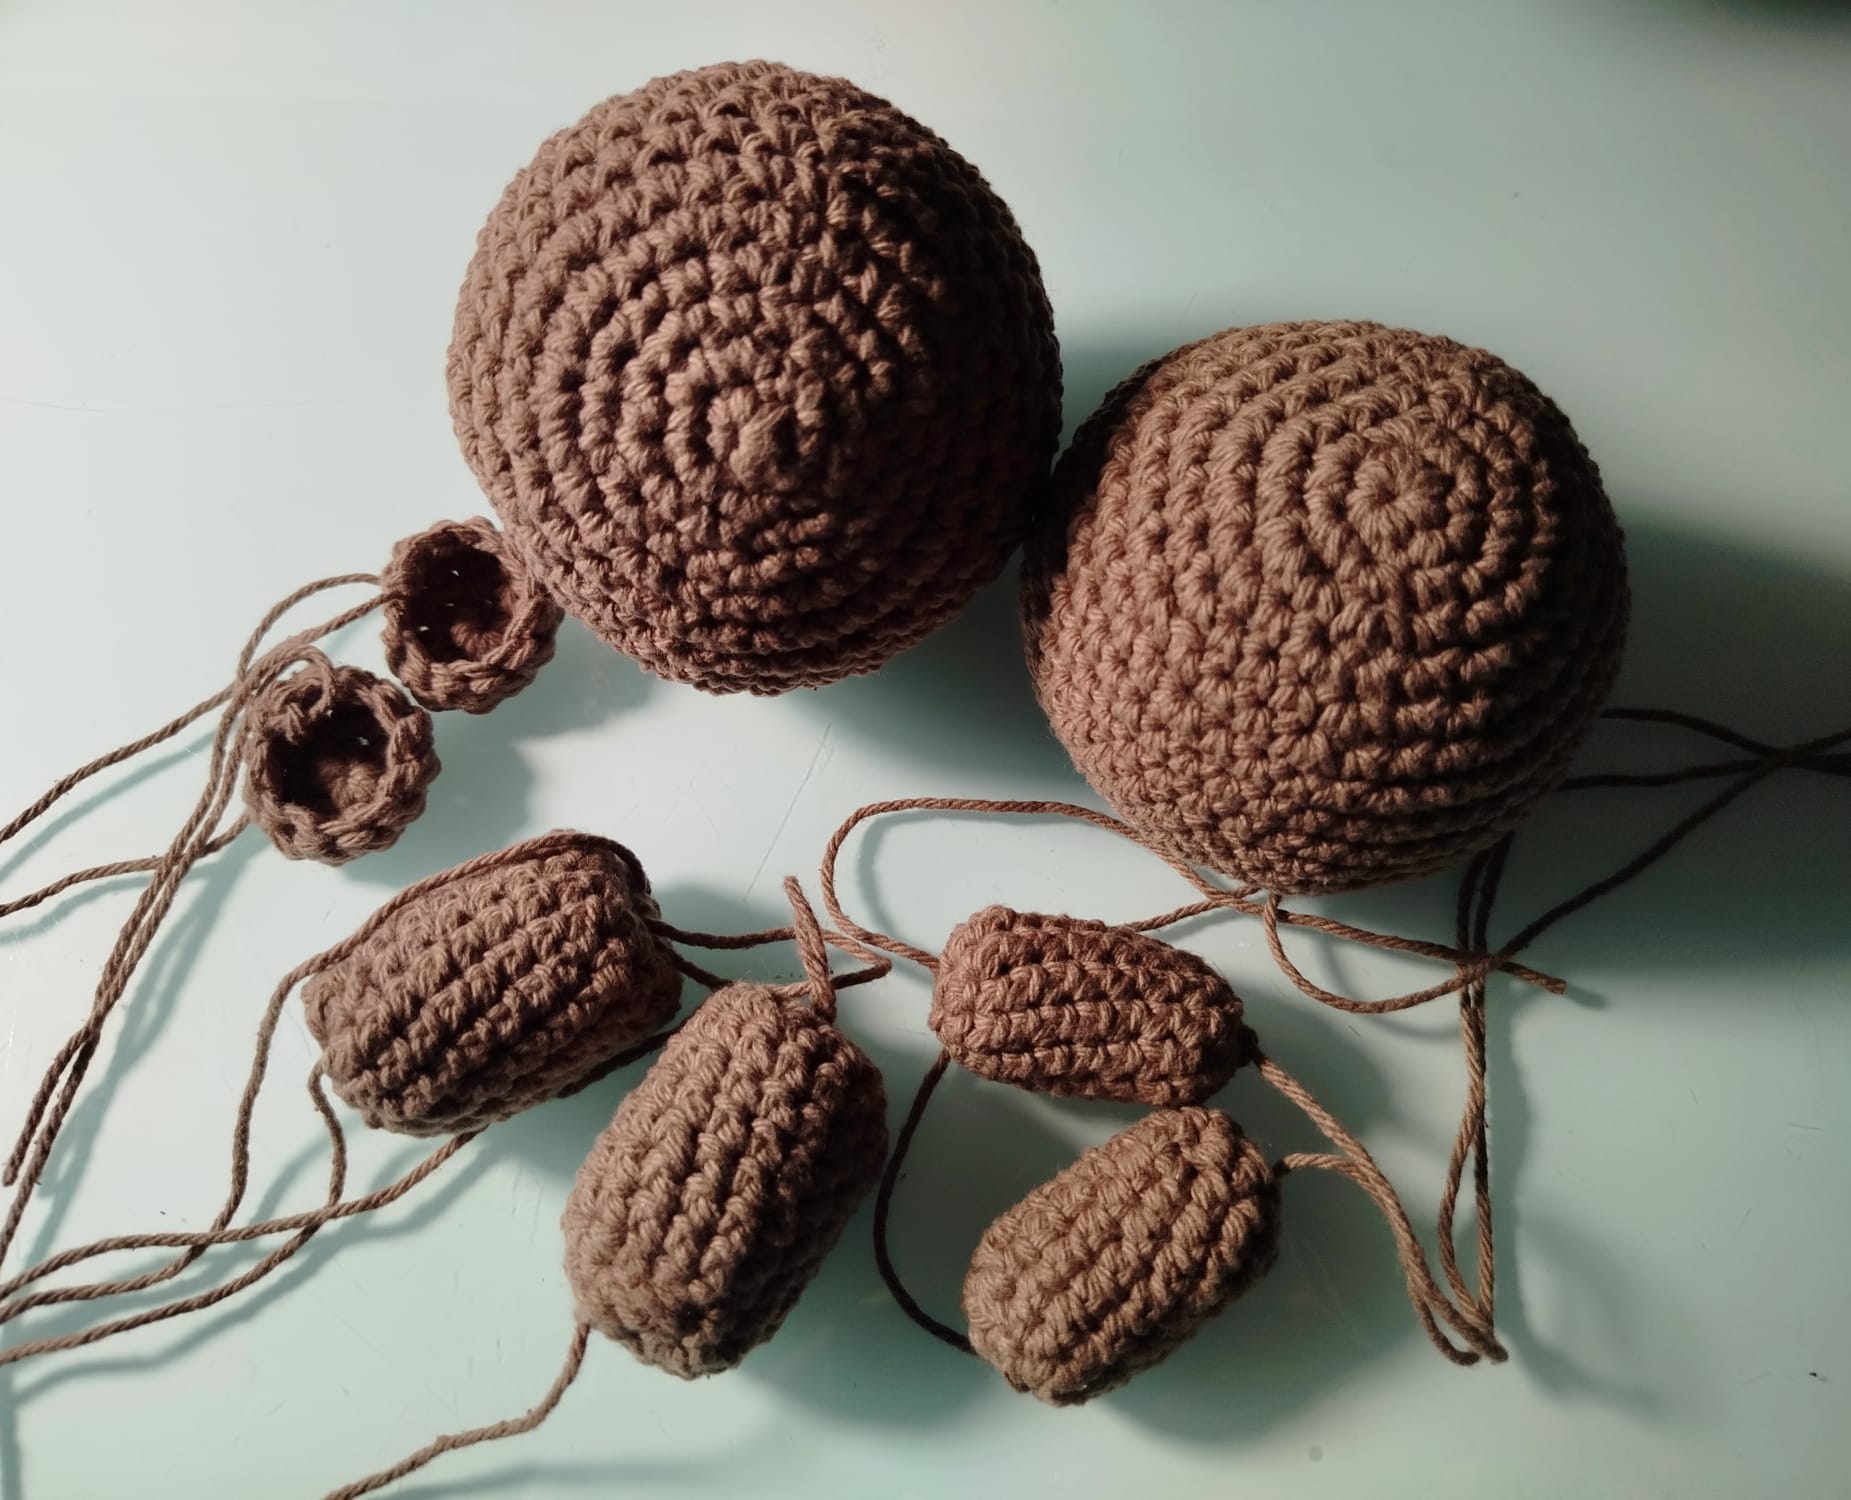
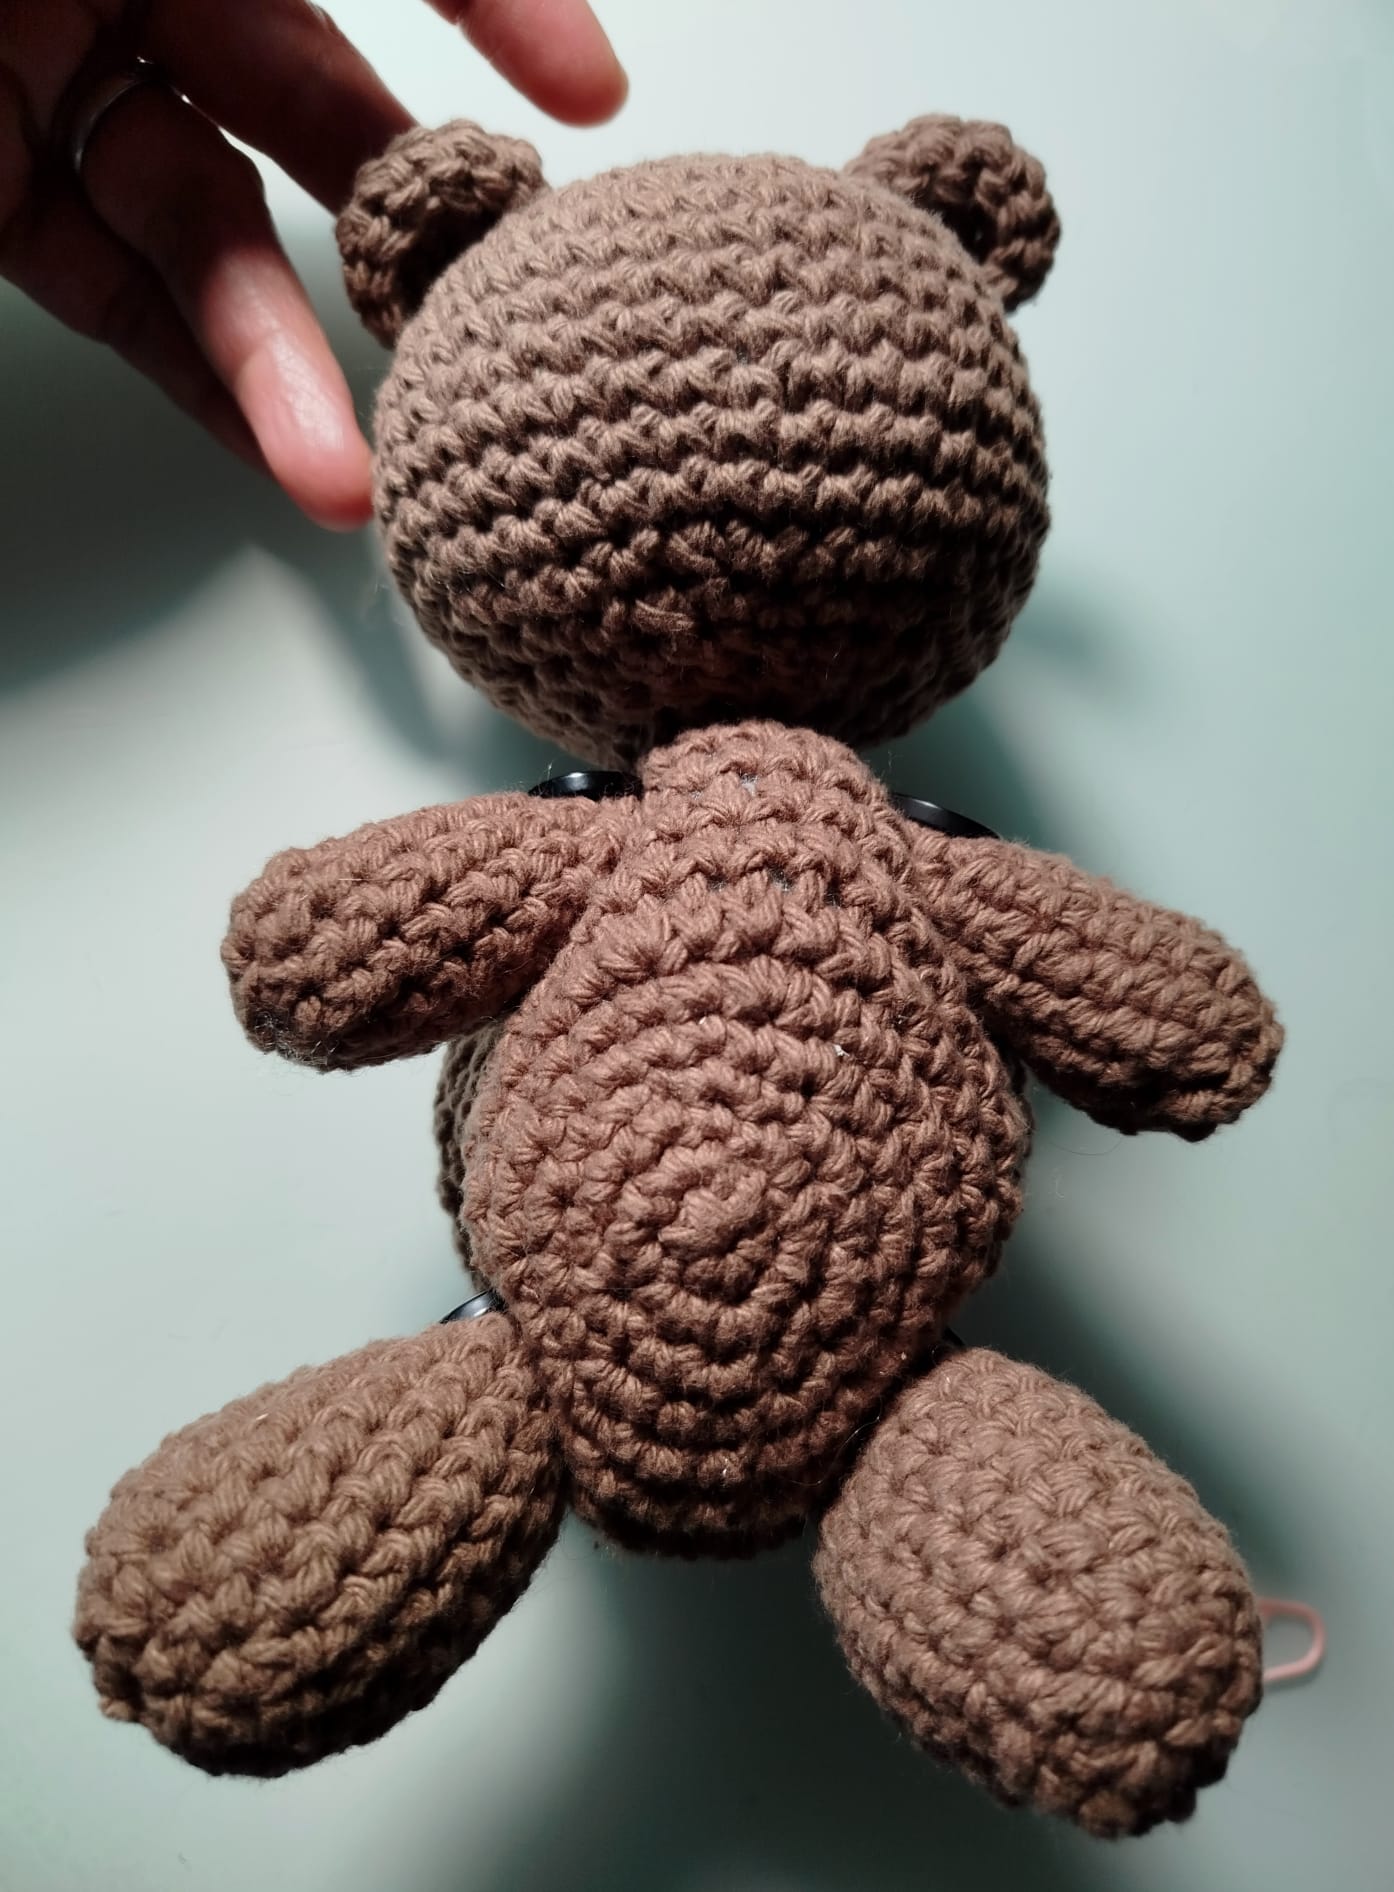
All pieces are done and ready to be connected.
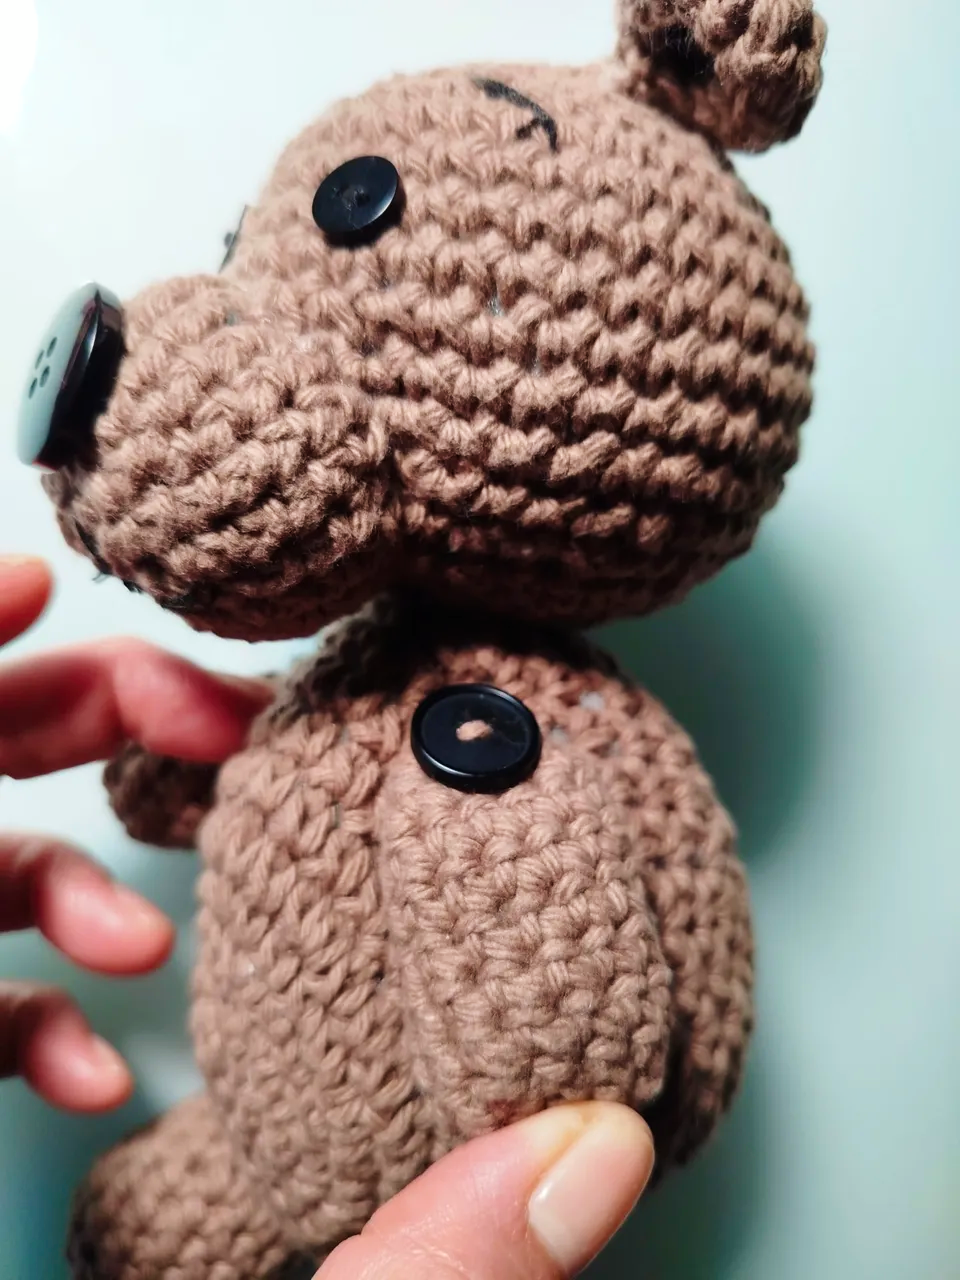
Button Joint 🧸
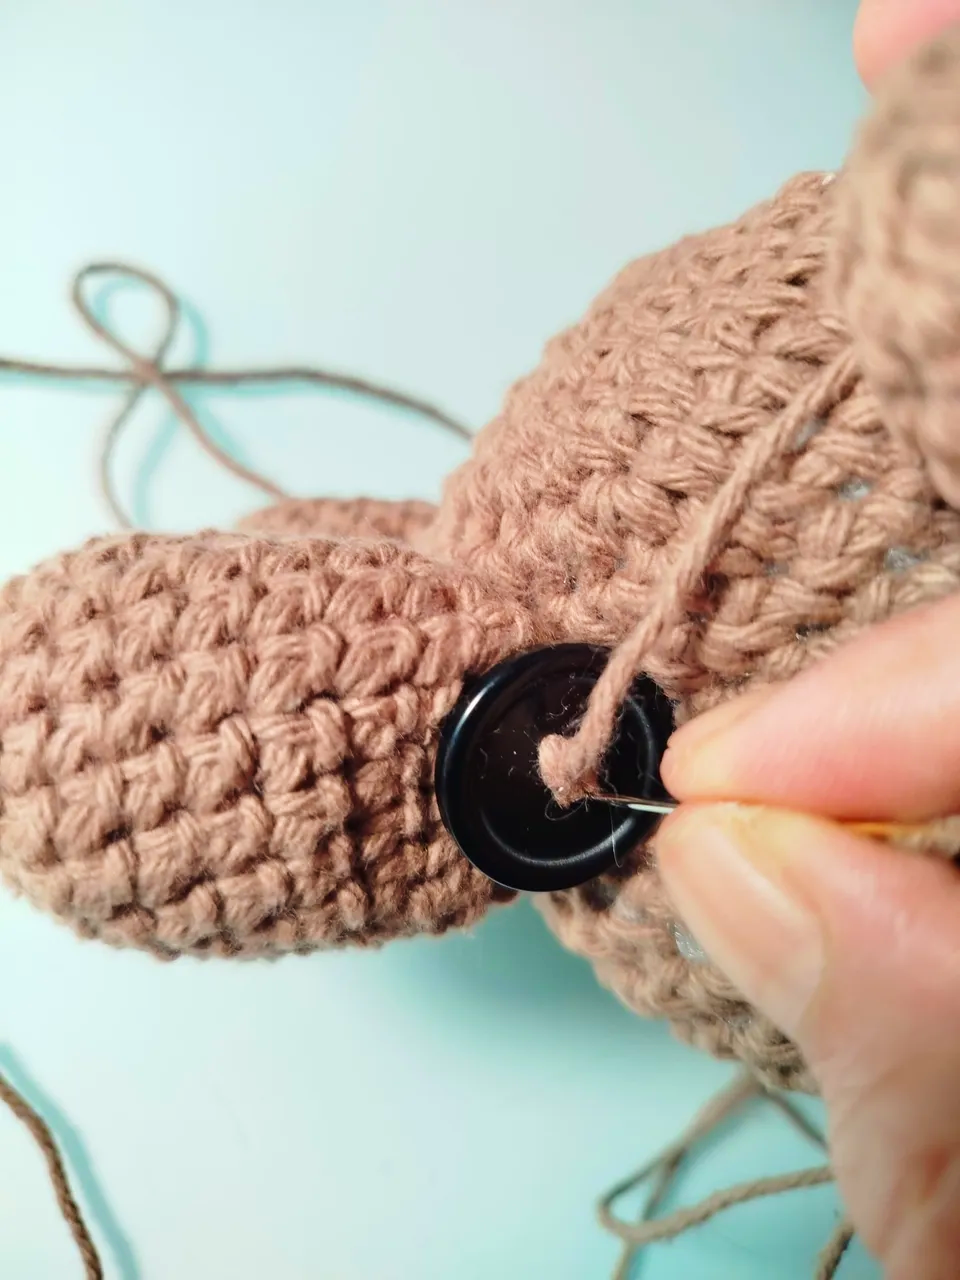
Place a button on each limb where it connects to the body.
Thread through the body to the other side, attaching a second button.
Pull tightly and secure with knots, ensuring movement but stability.
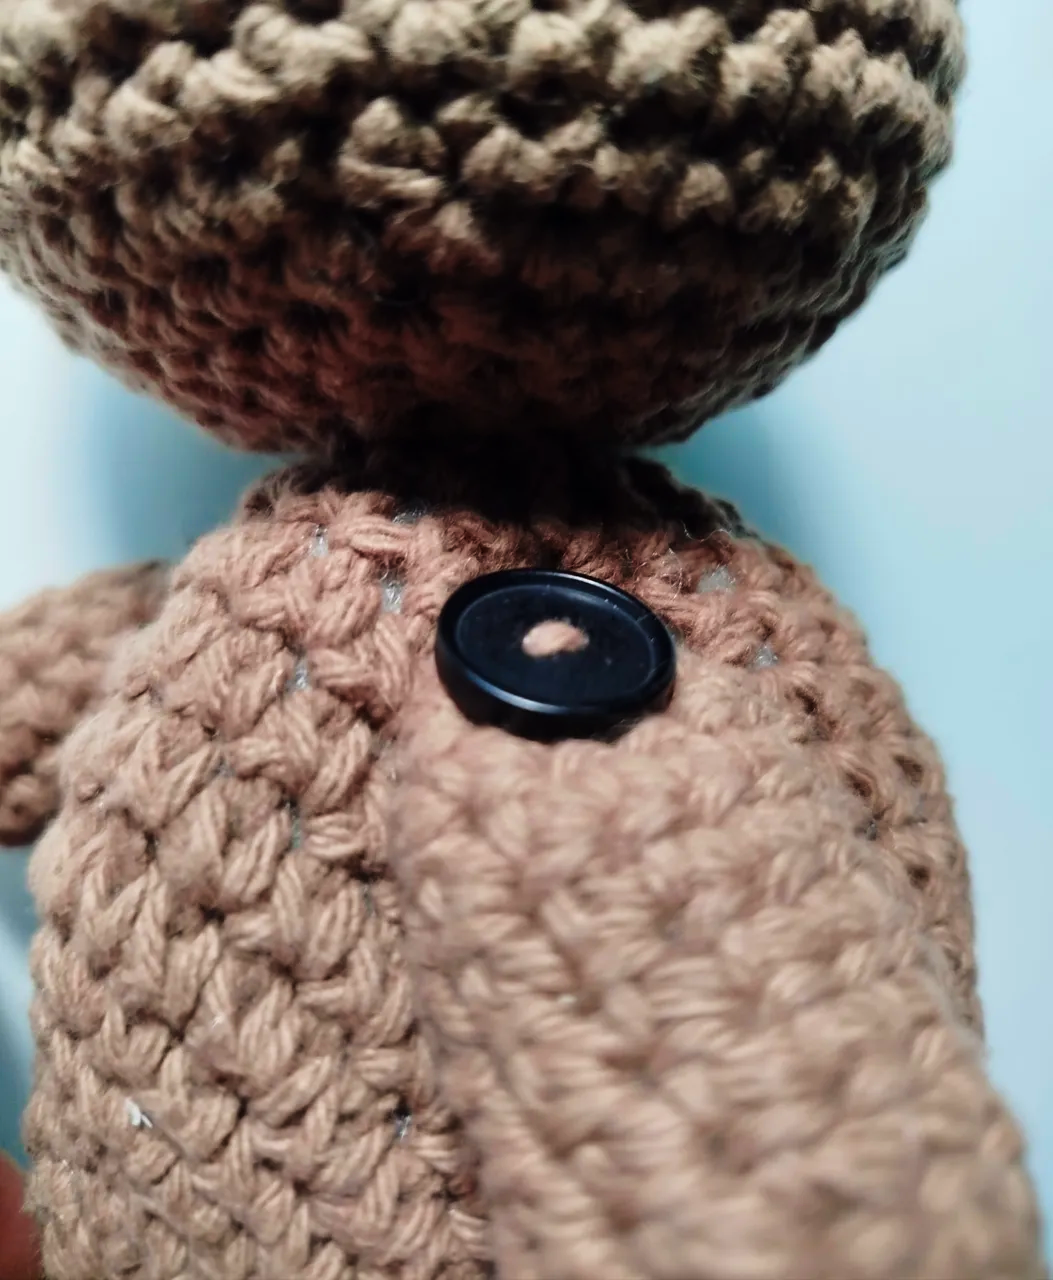

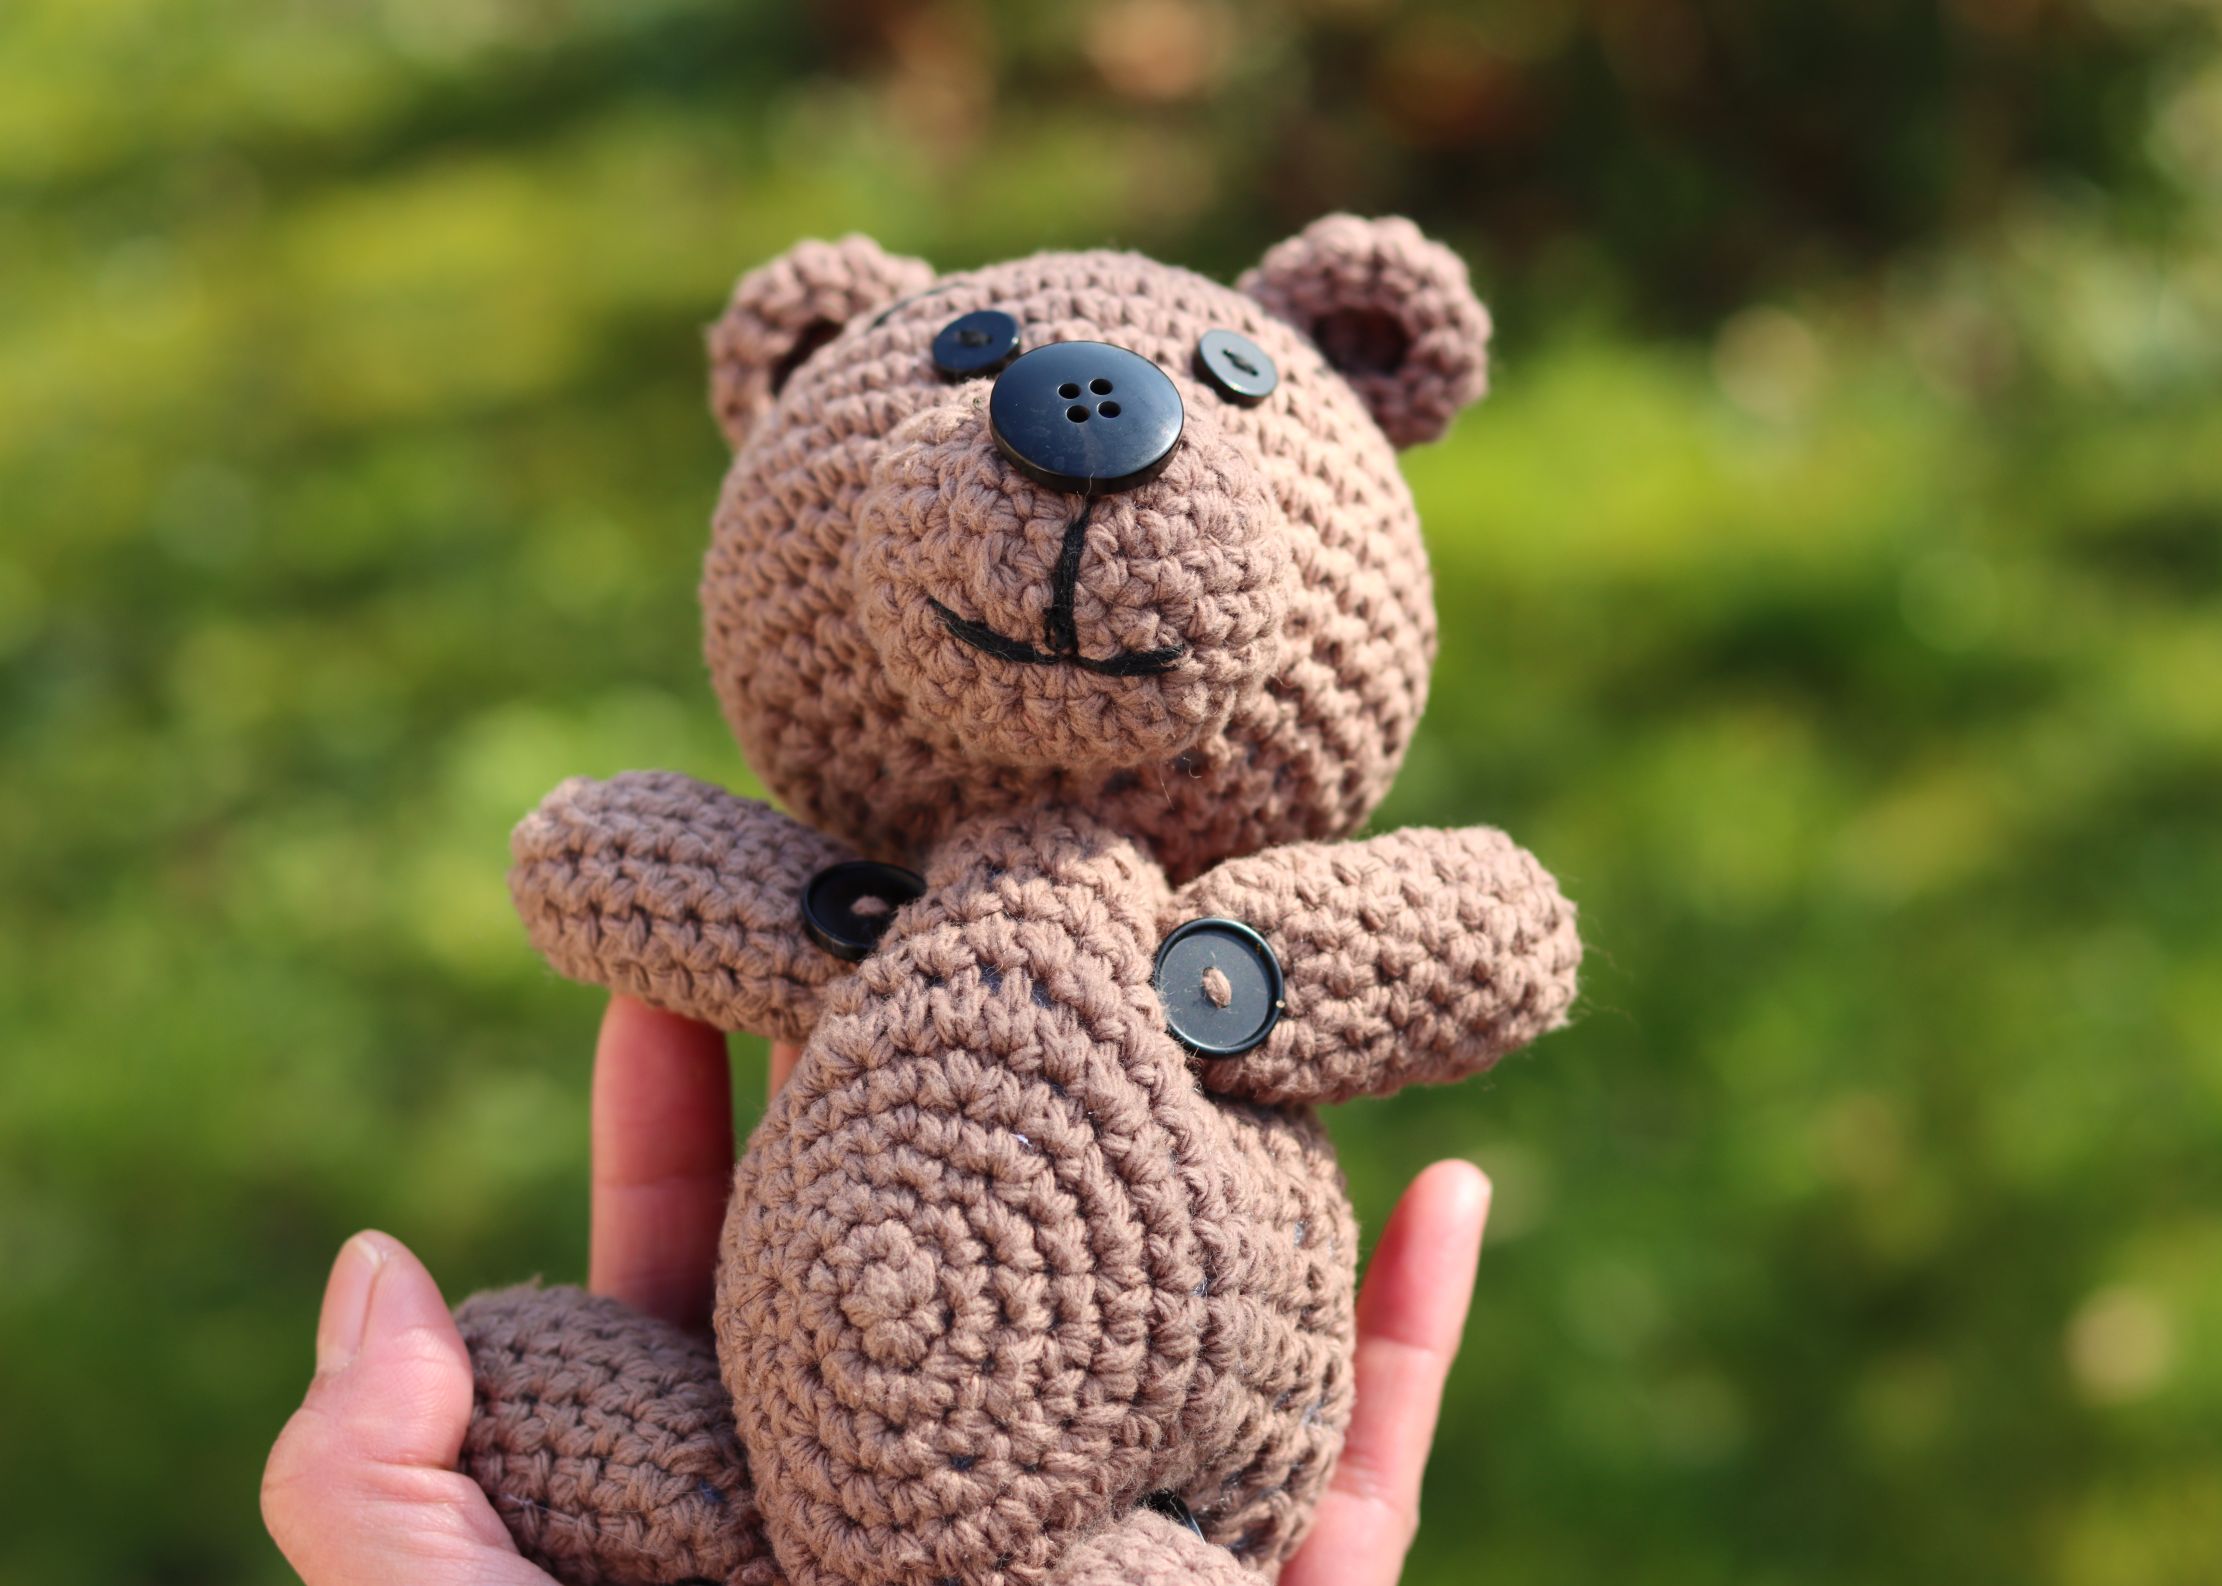
I like how the visible button looks; it is a traditional way.
The tension from the buttons gave the body a bit of character.
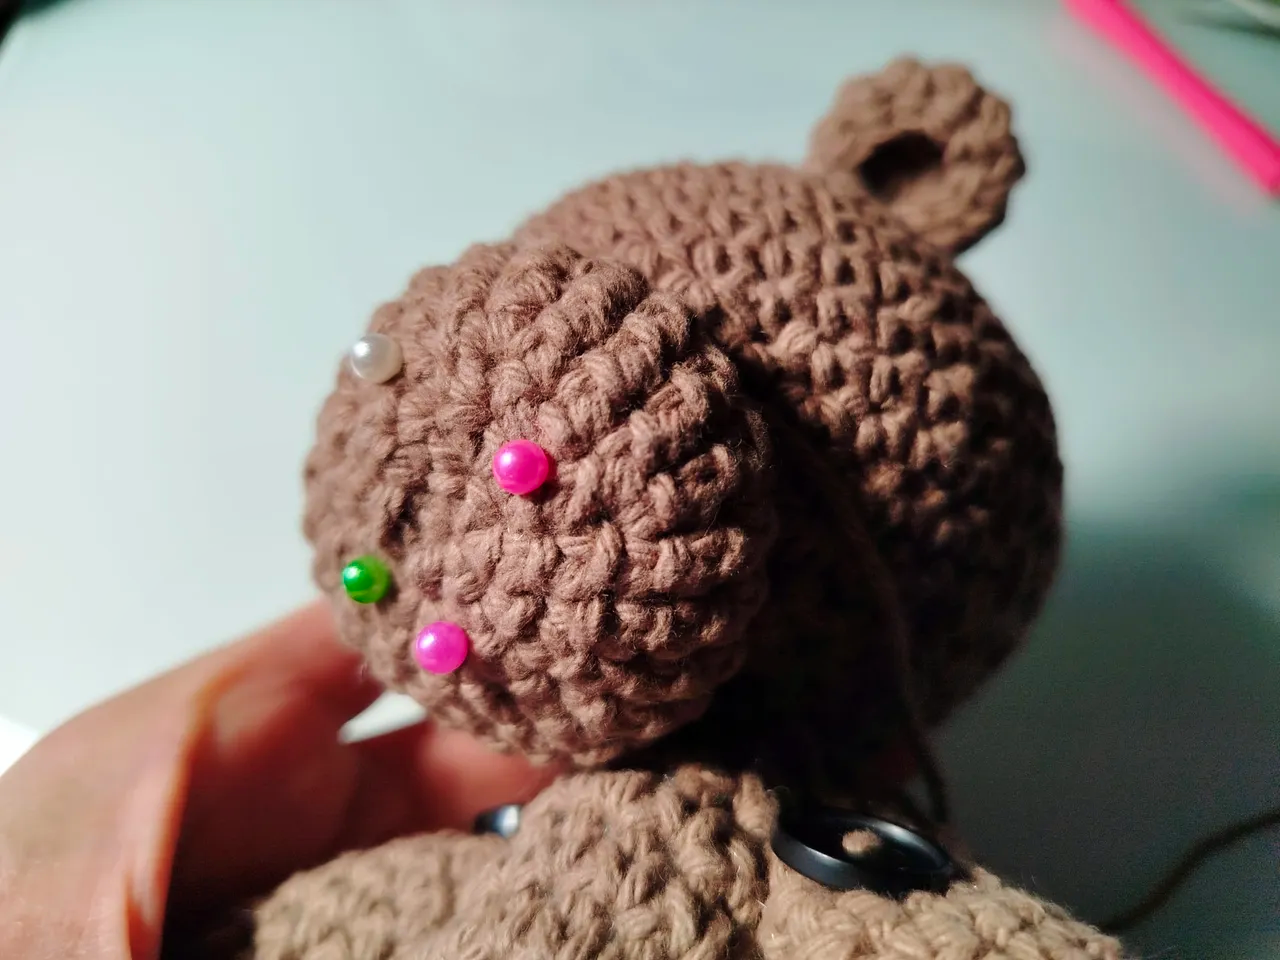
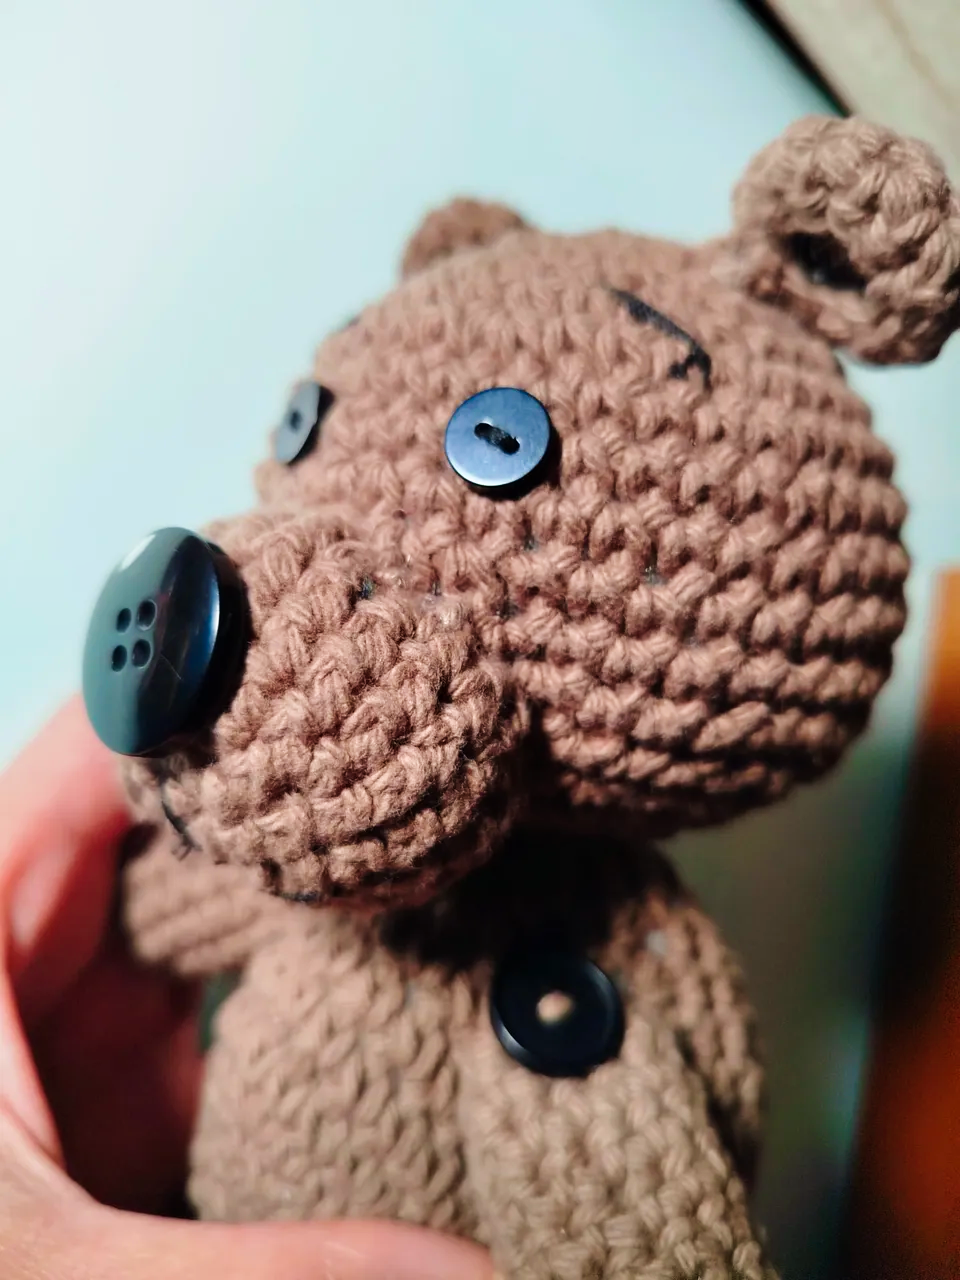
Position the snout with a few pins and sew around it to secure it.
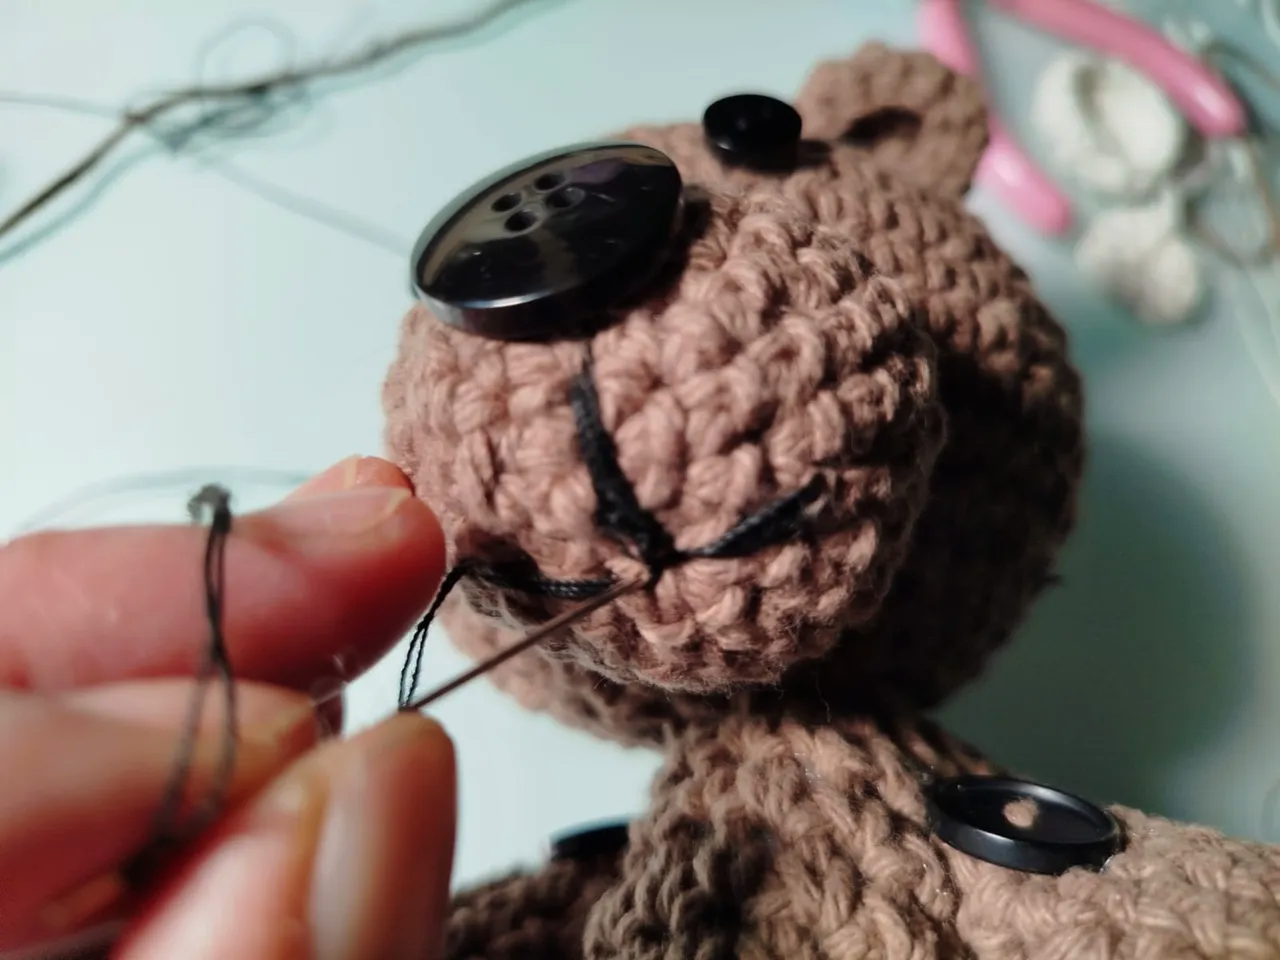
I attached the eyes and nose and embroidered the mouth and brow.
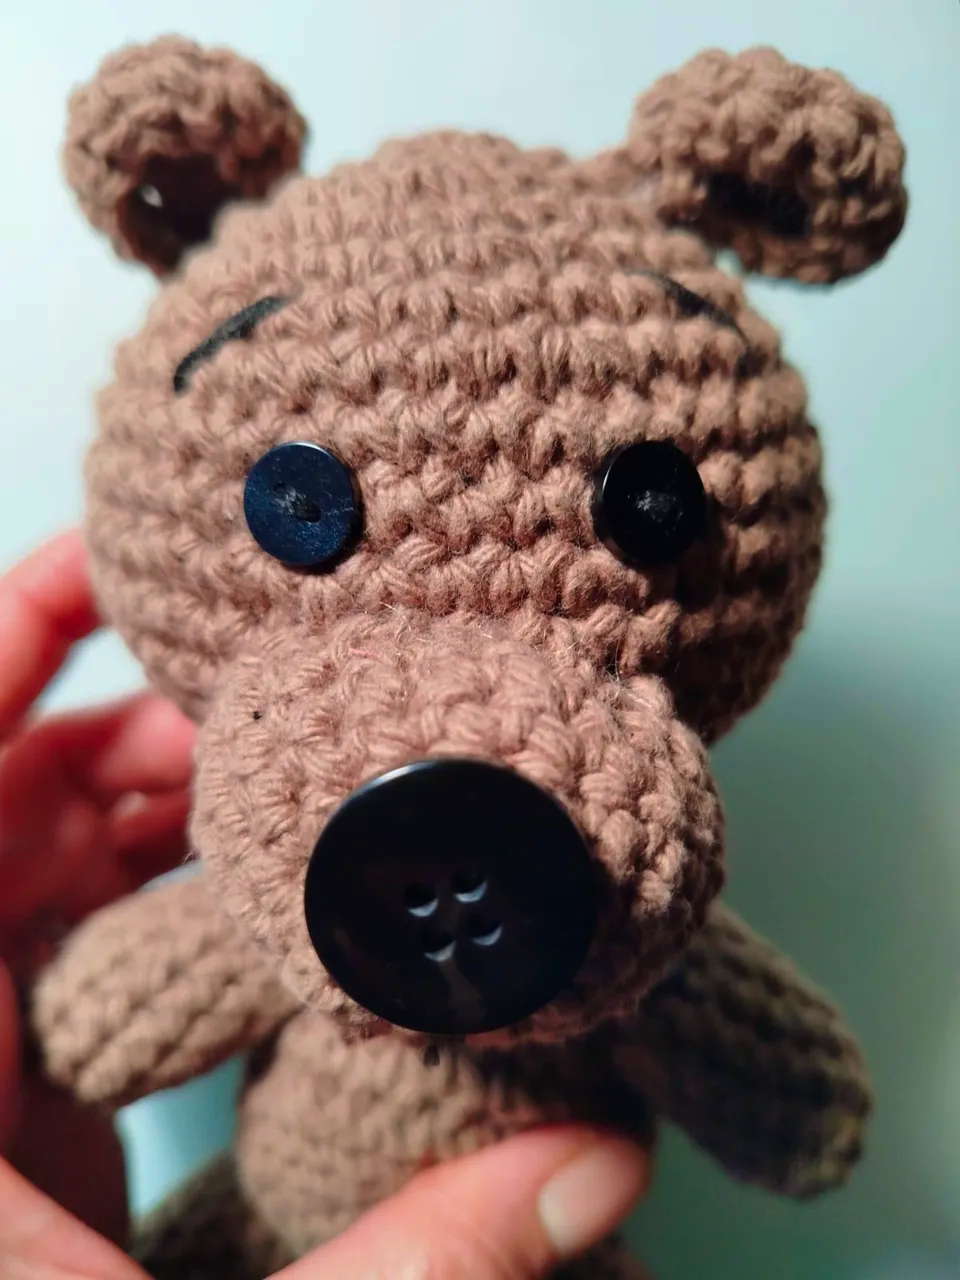
Aww he has got an inquisitive, worried look!
The arms and legs are movable.
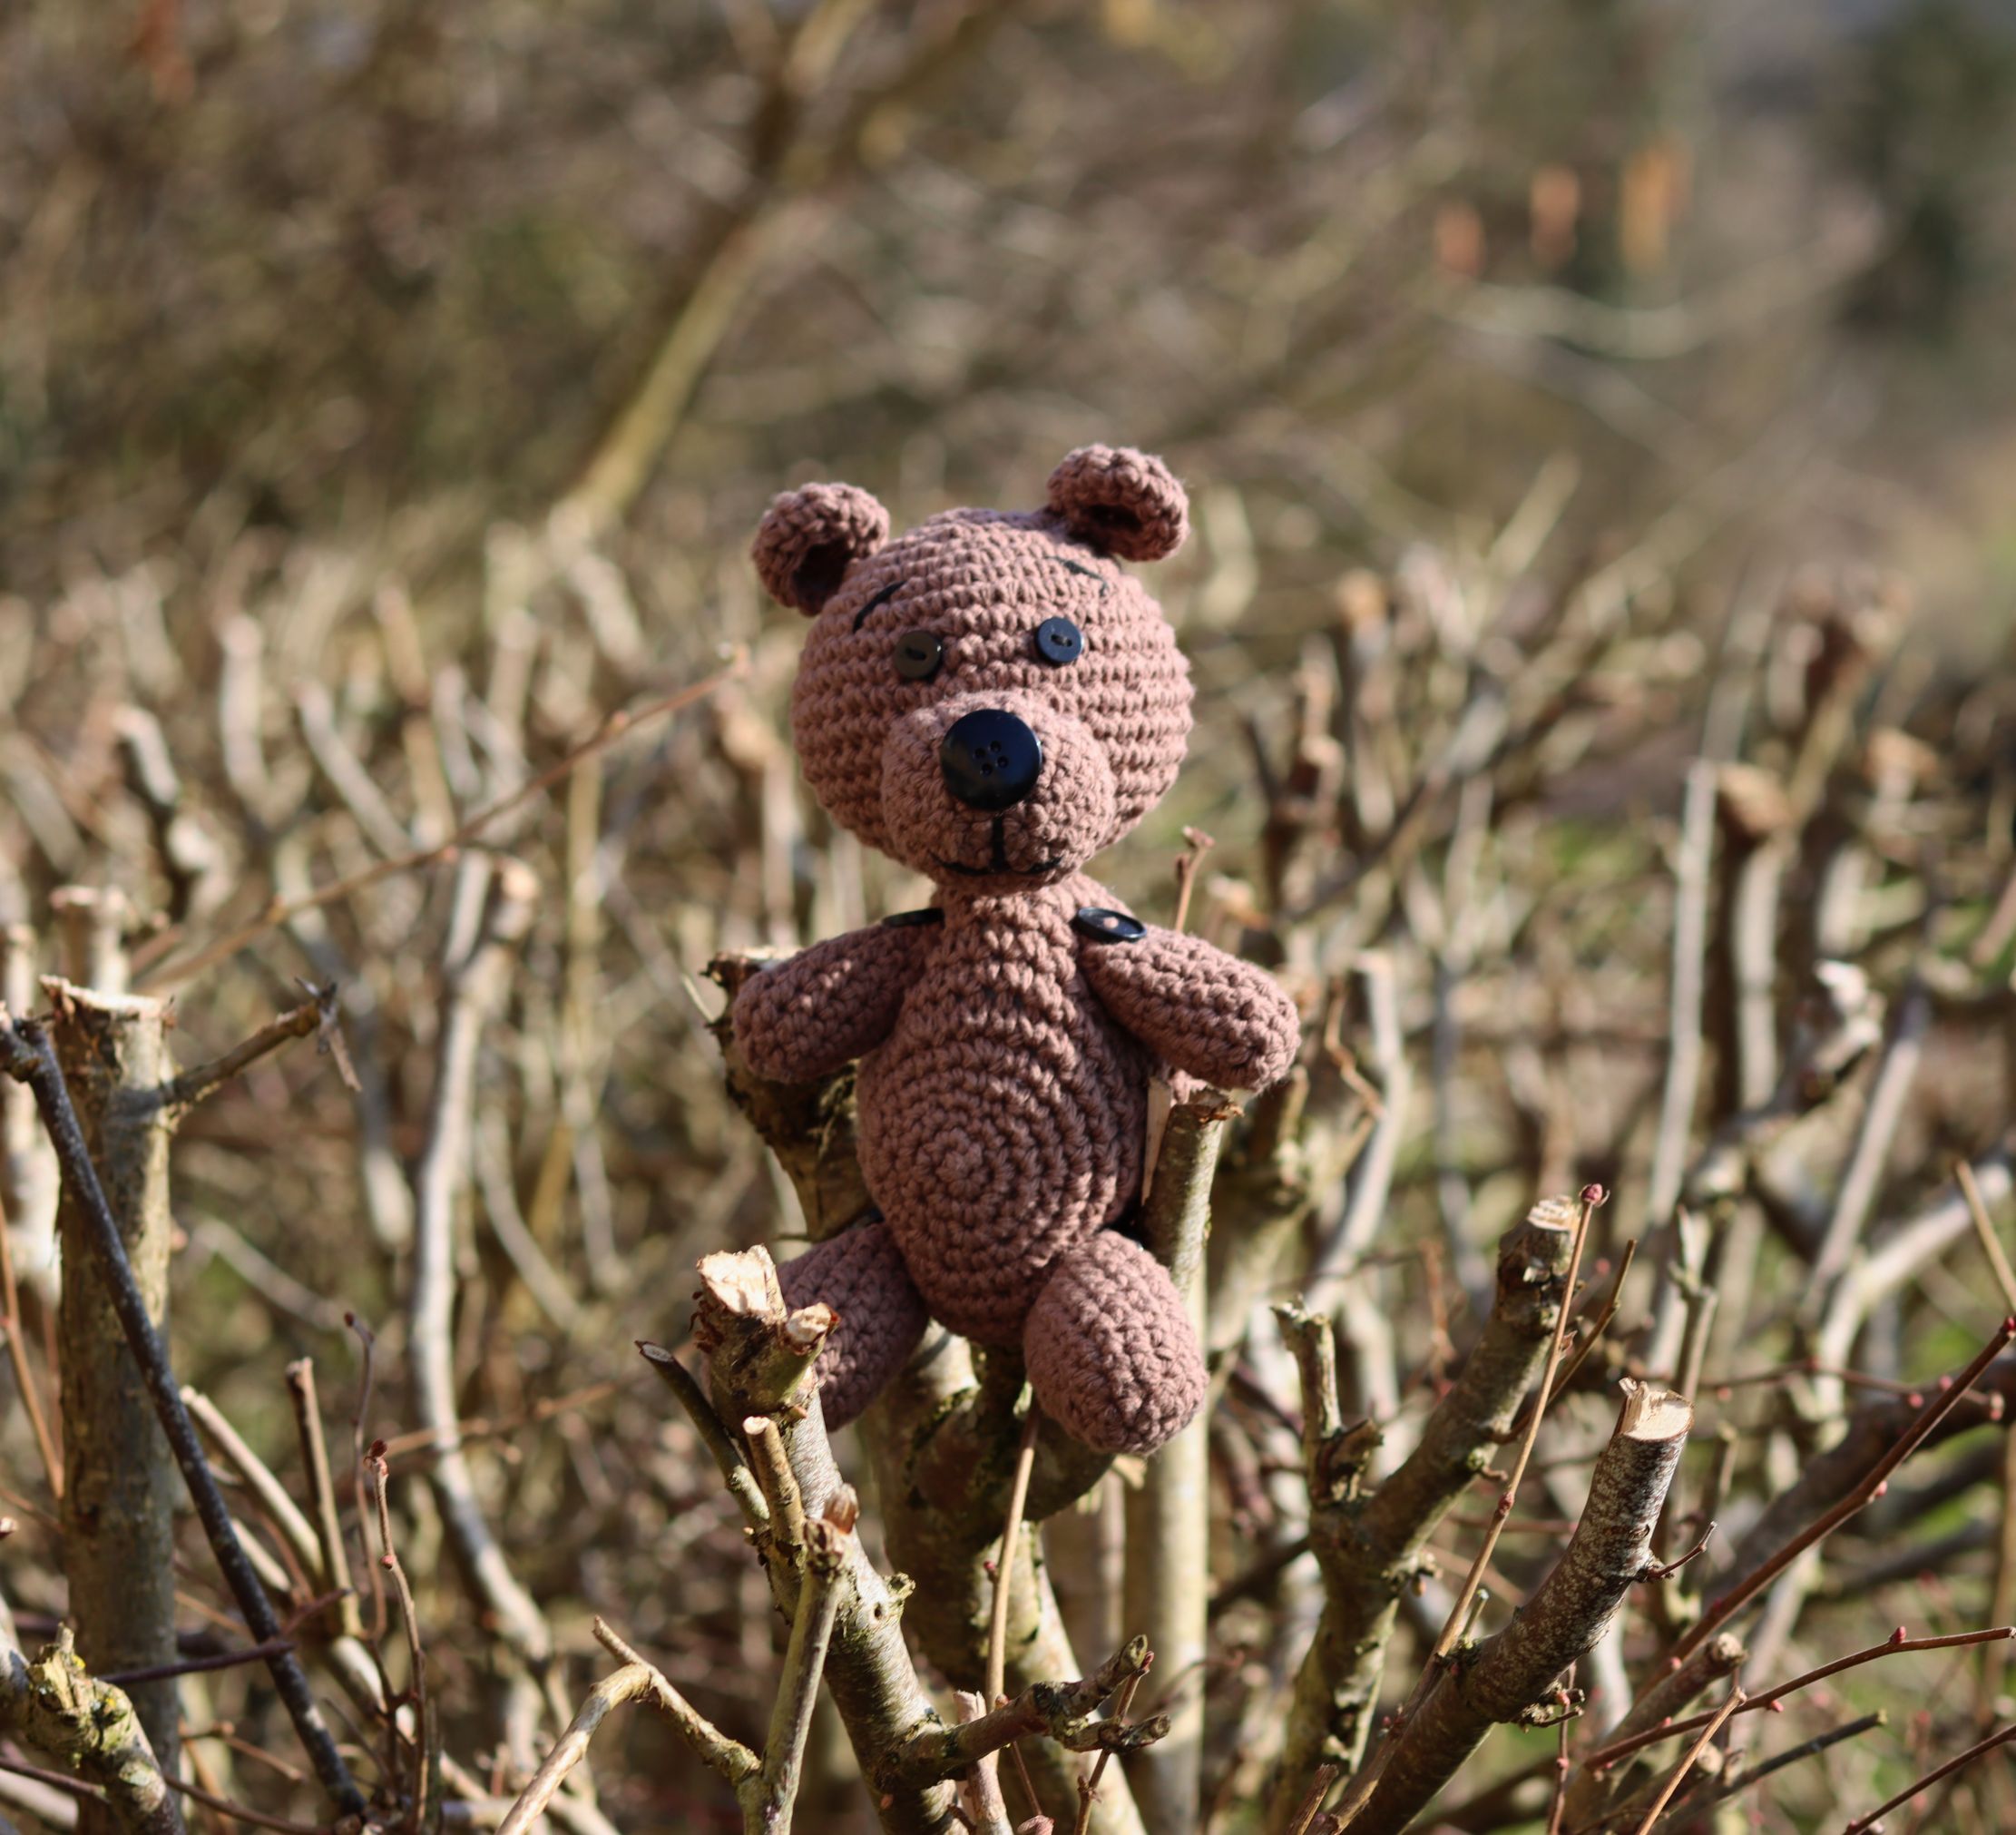
I decided to call him "Button" as he is full of buttons! 😆

The good thing is that he can sit on his own with his movable legs and arms.
It's time for outdoor photos and check any signs of spring!🌱
Sunbathing in the short burst of sun!
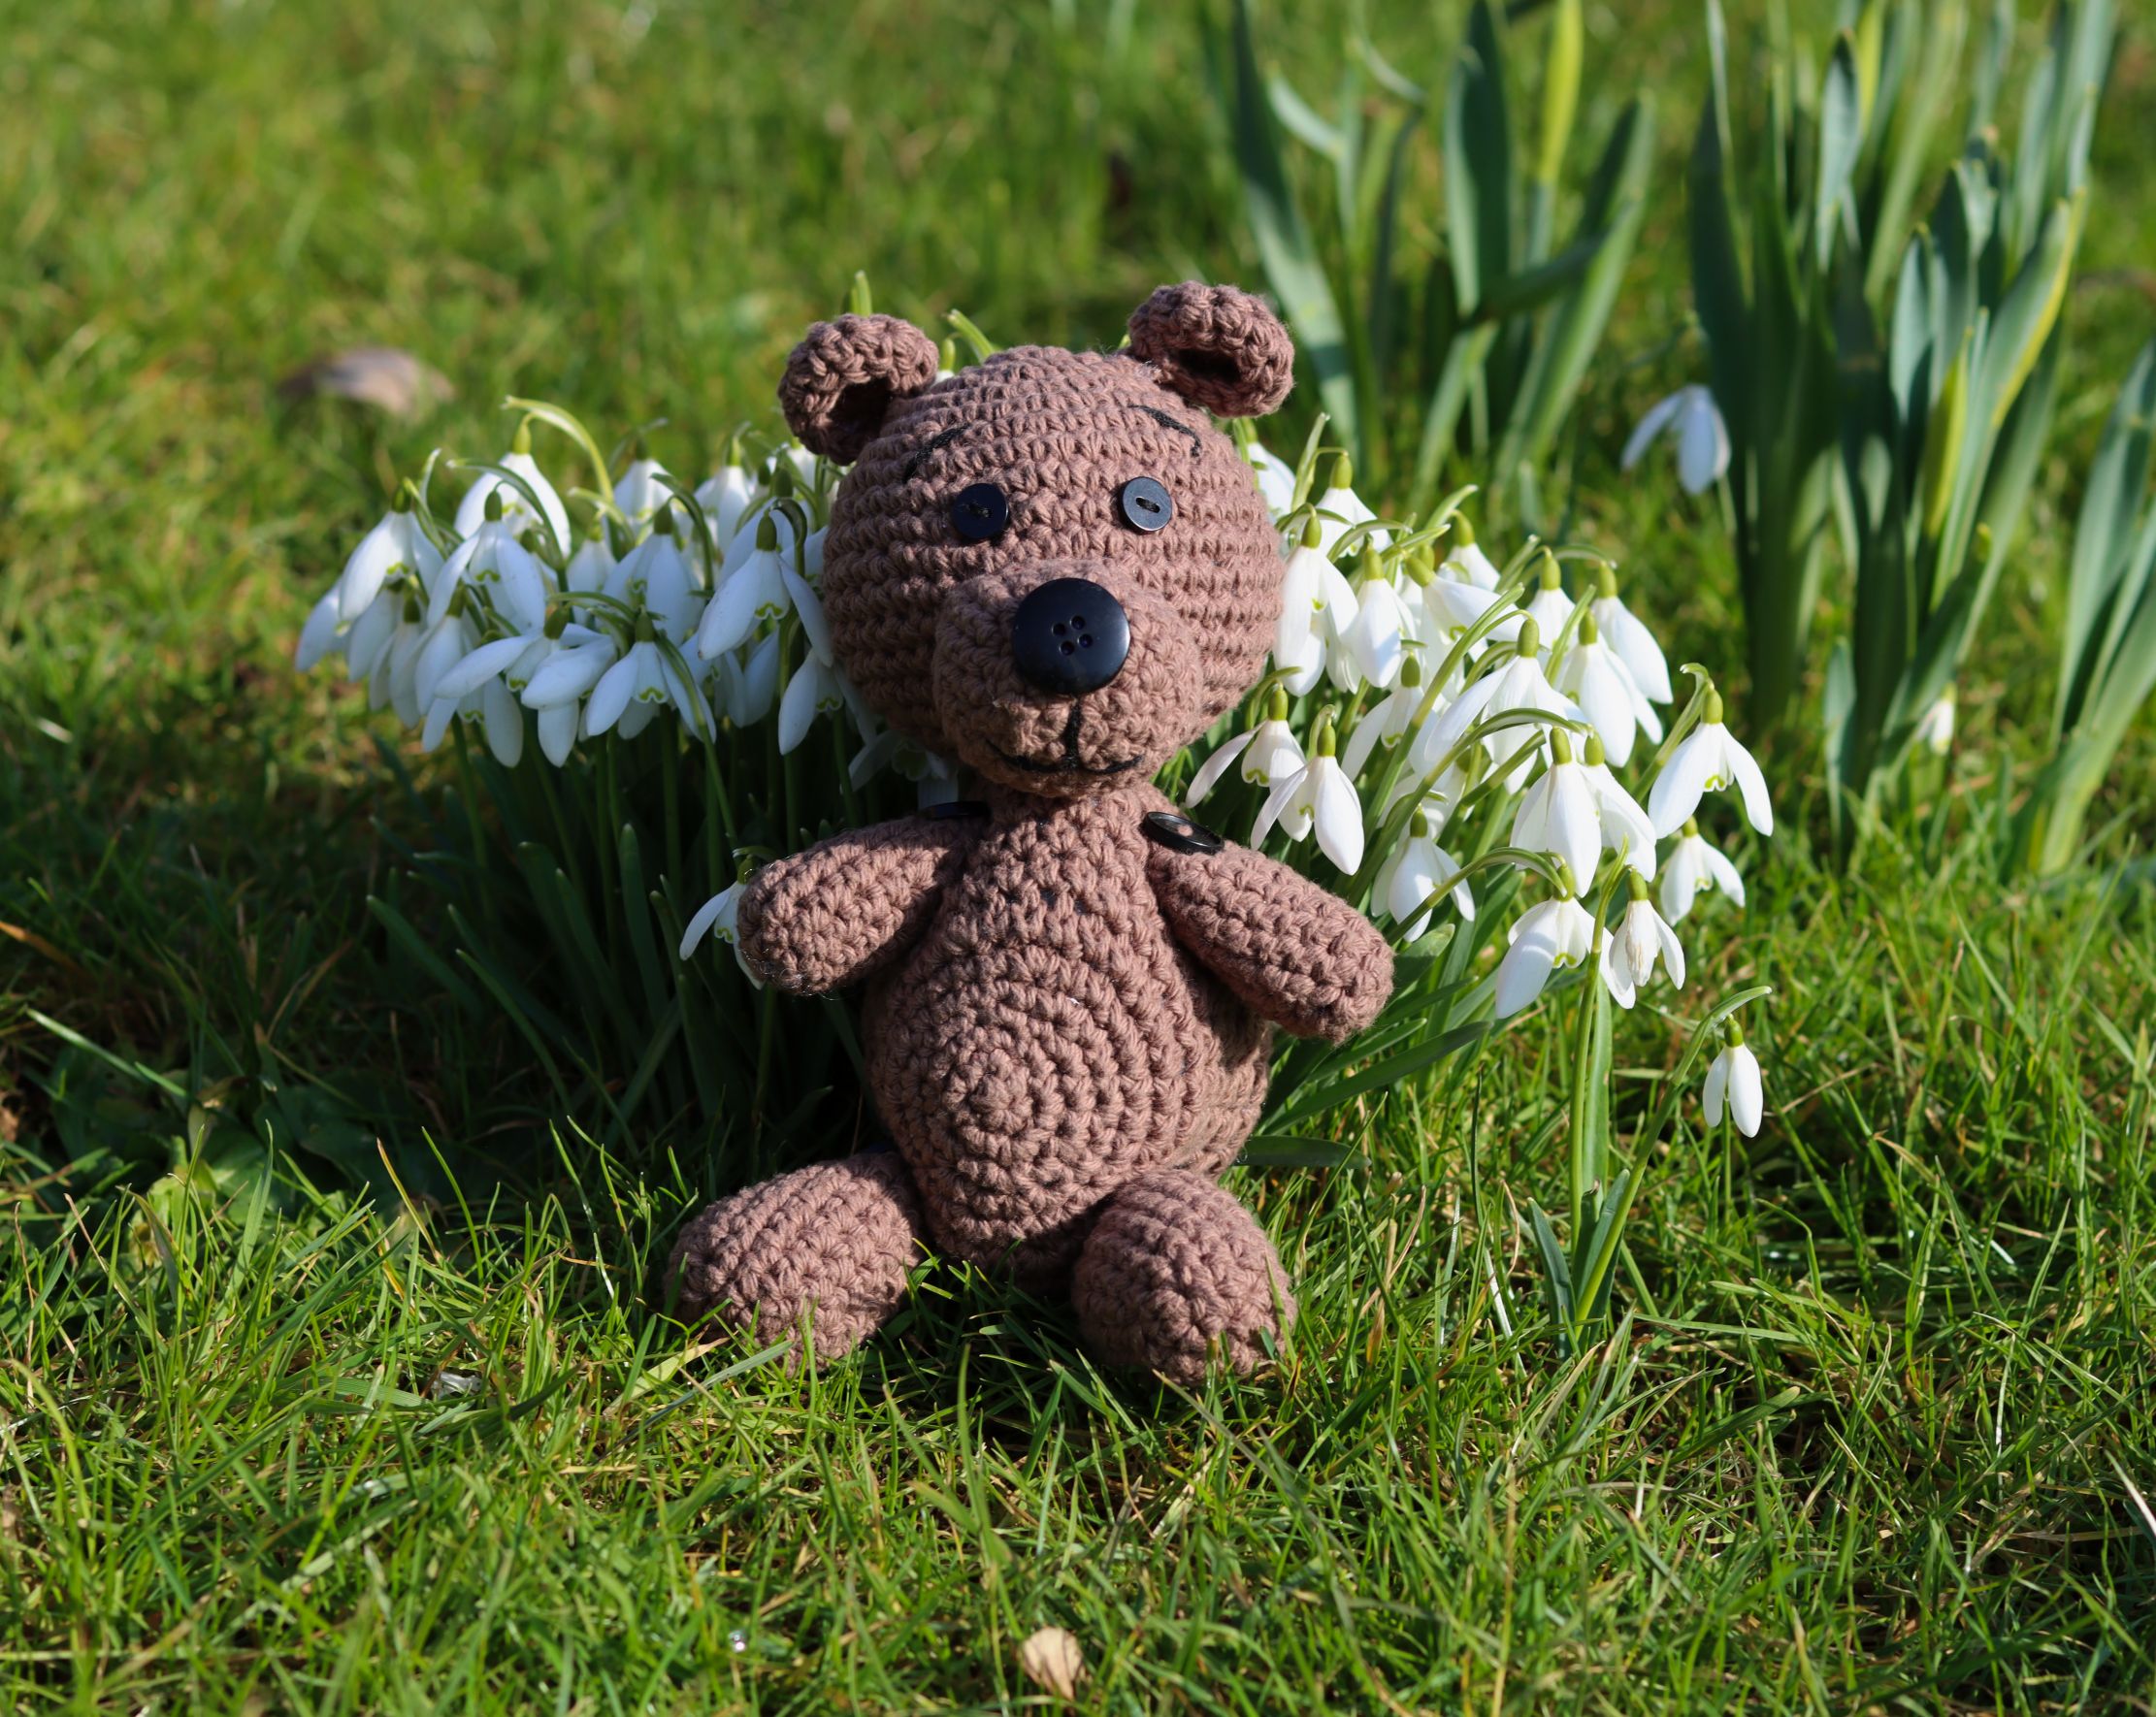
By freshly sprouted snowdrop flowers.

On a cherry blossom tree.
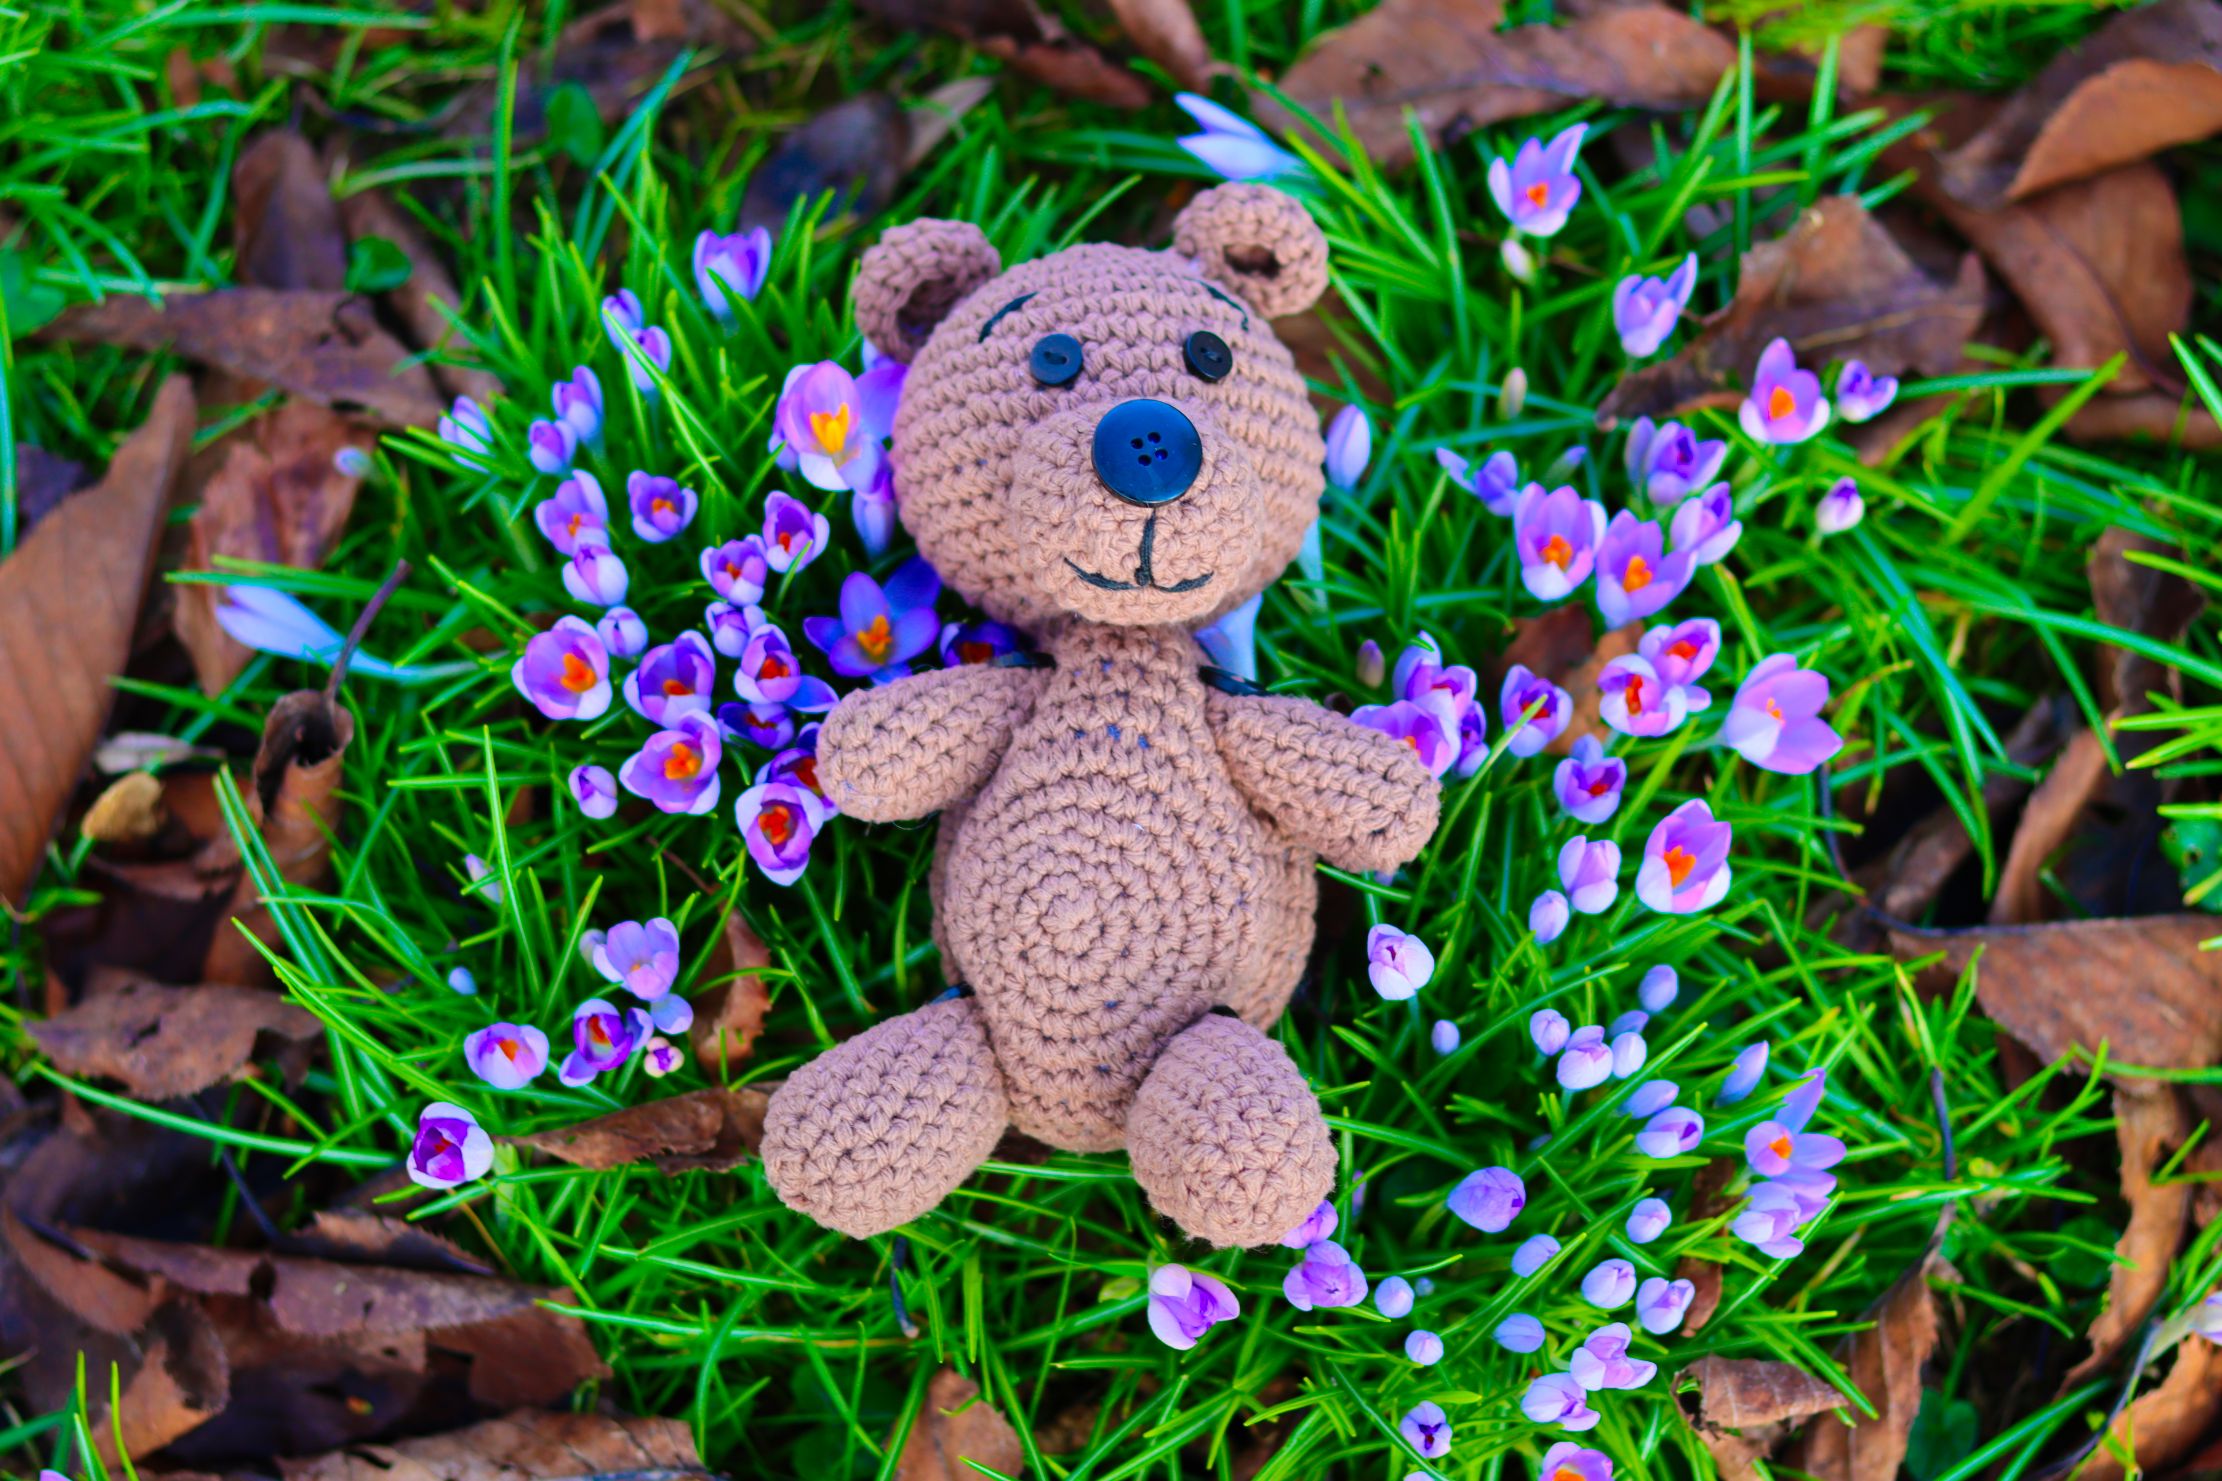
Lying on the newly appeared colchicum flowers (also called "naked ladies" as their flowers appear first before the leaves)
Button's limbs are up with happiness! What a happy day!
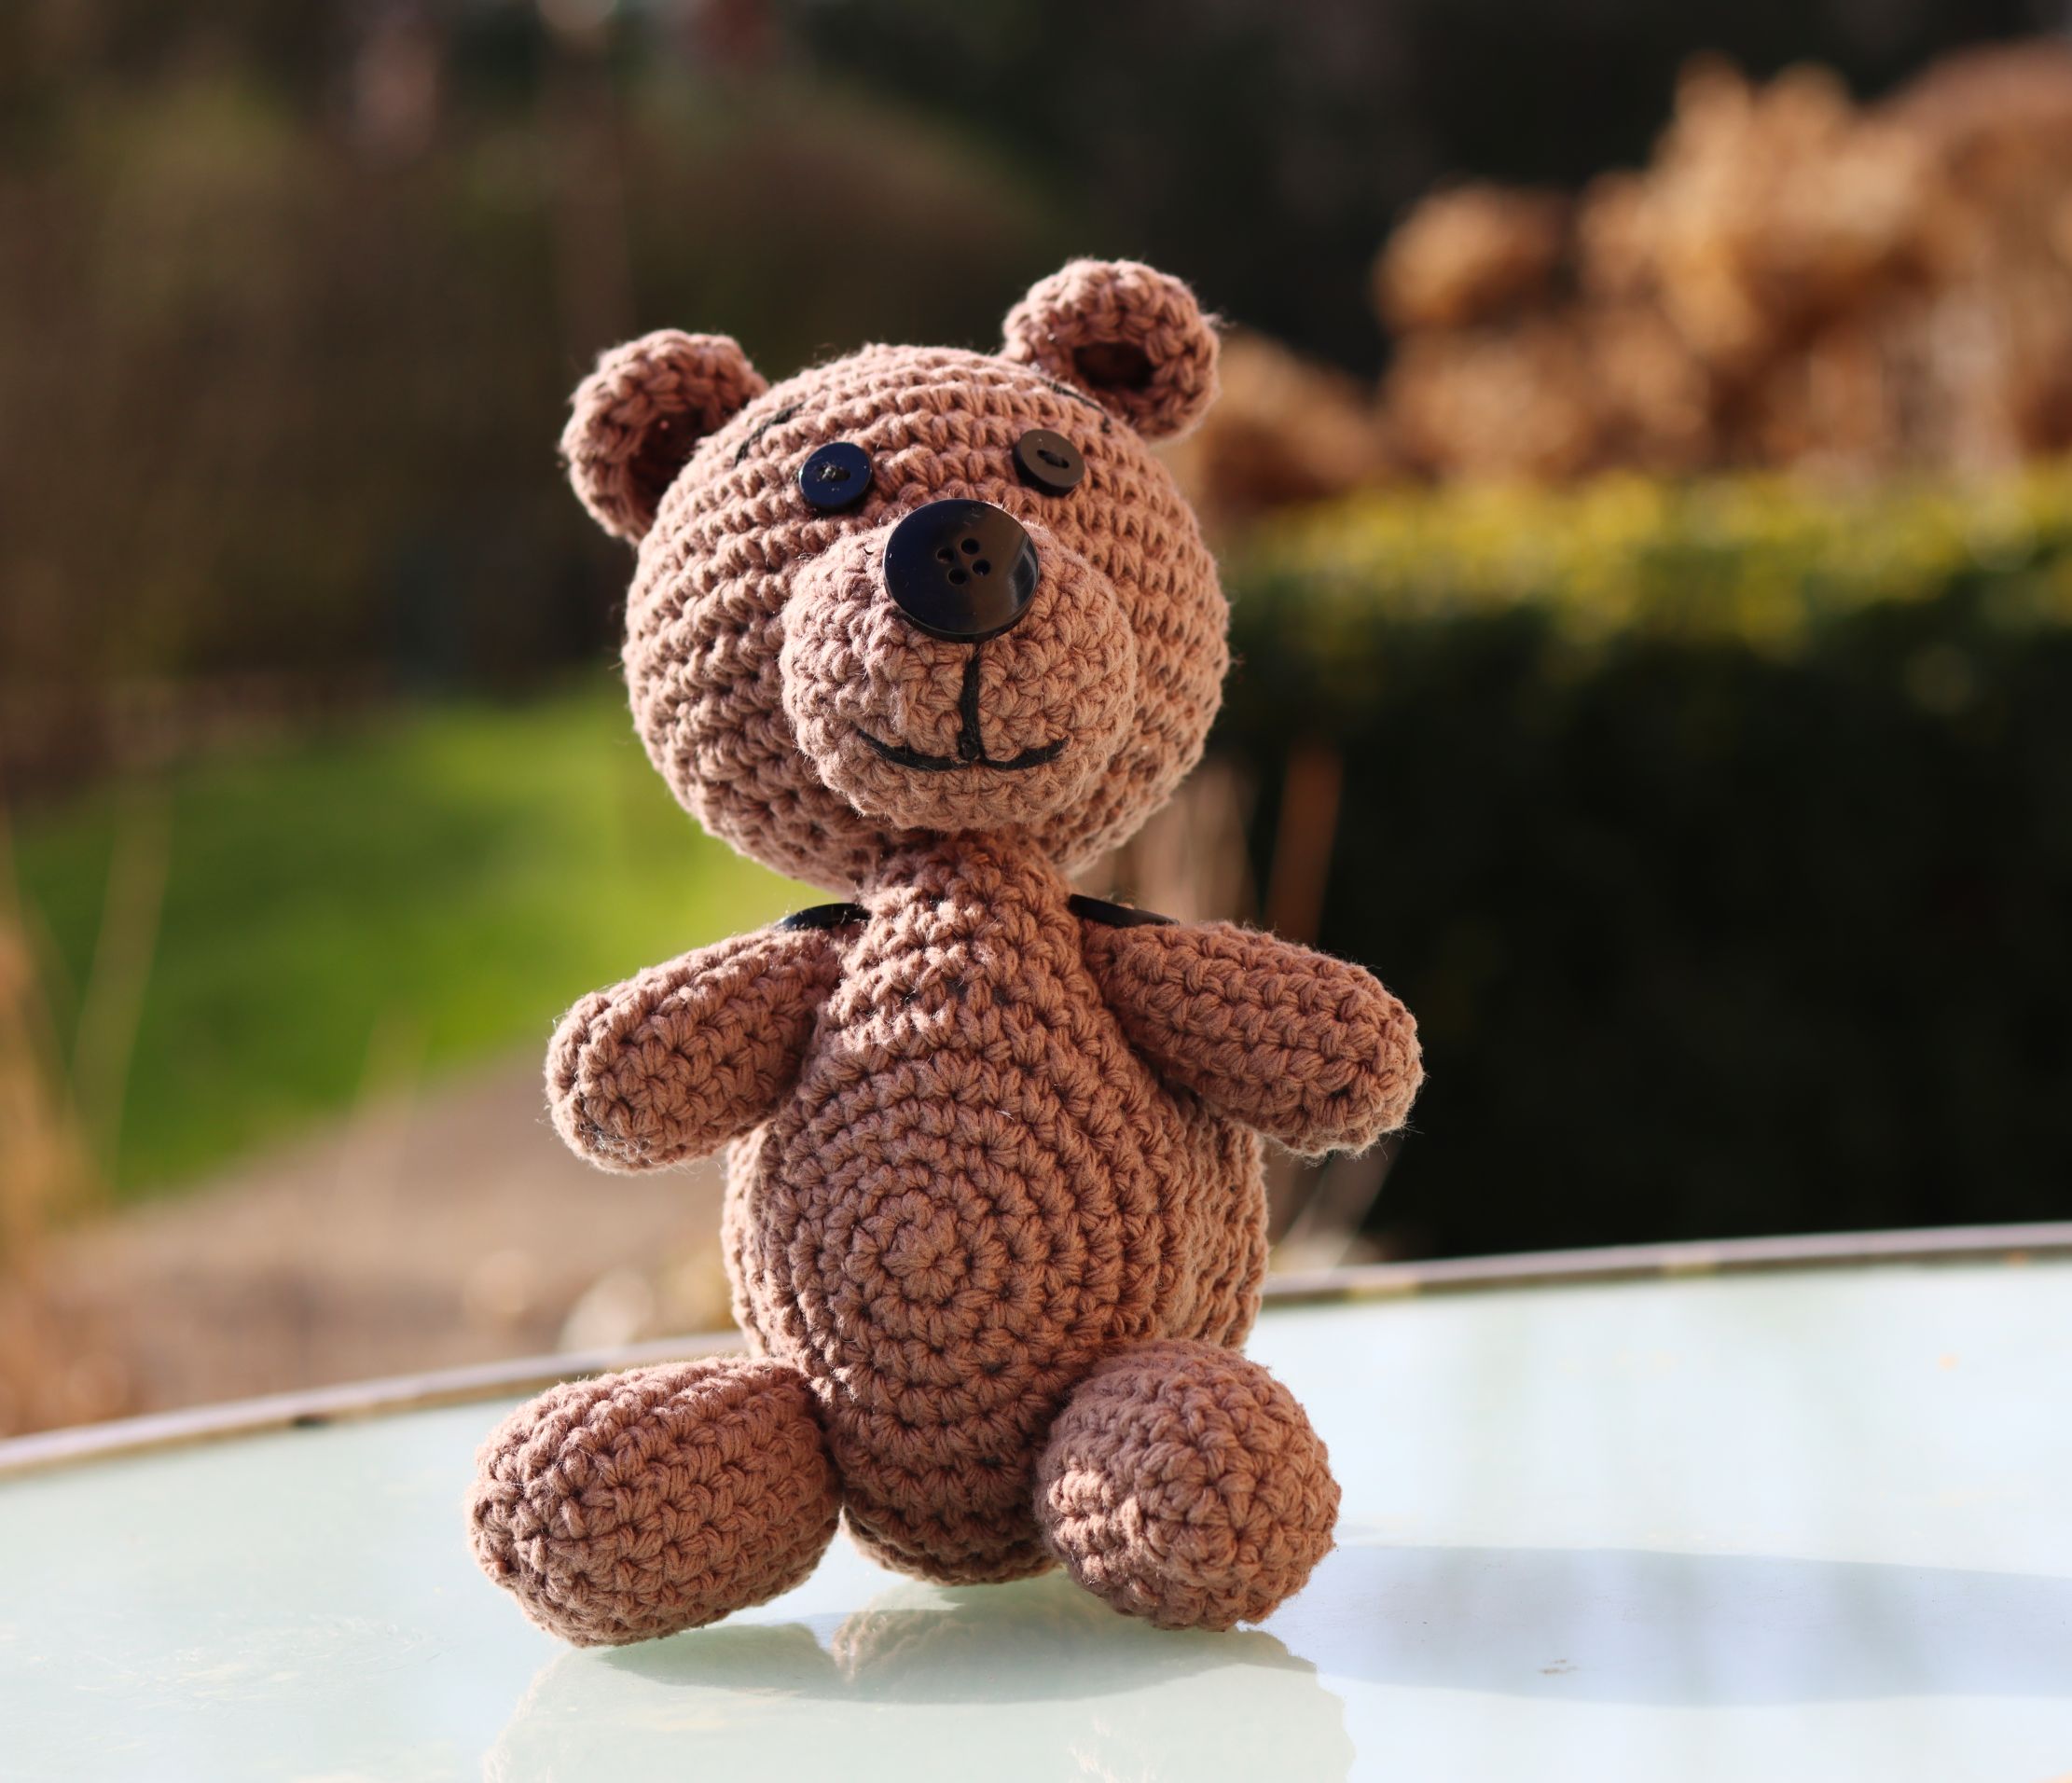
The brown yarn and button joints give it a timeless look, and the handmade touch makes it feel warmer than any store-bought bear.
Have a lovely day, everyone!
Mariah 🤎😊🧸