Bienvenidos, amigos creativos🎨💜
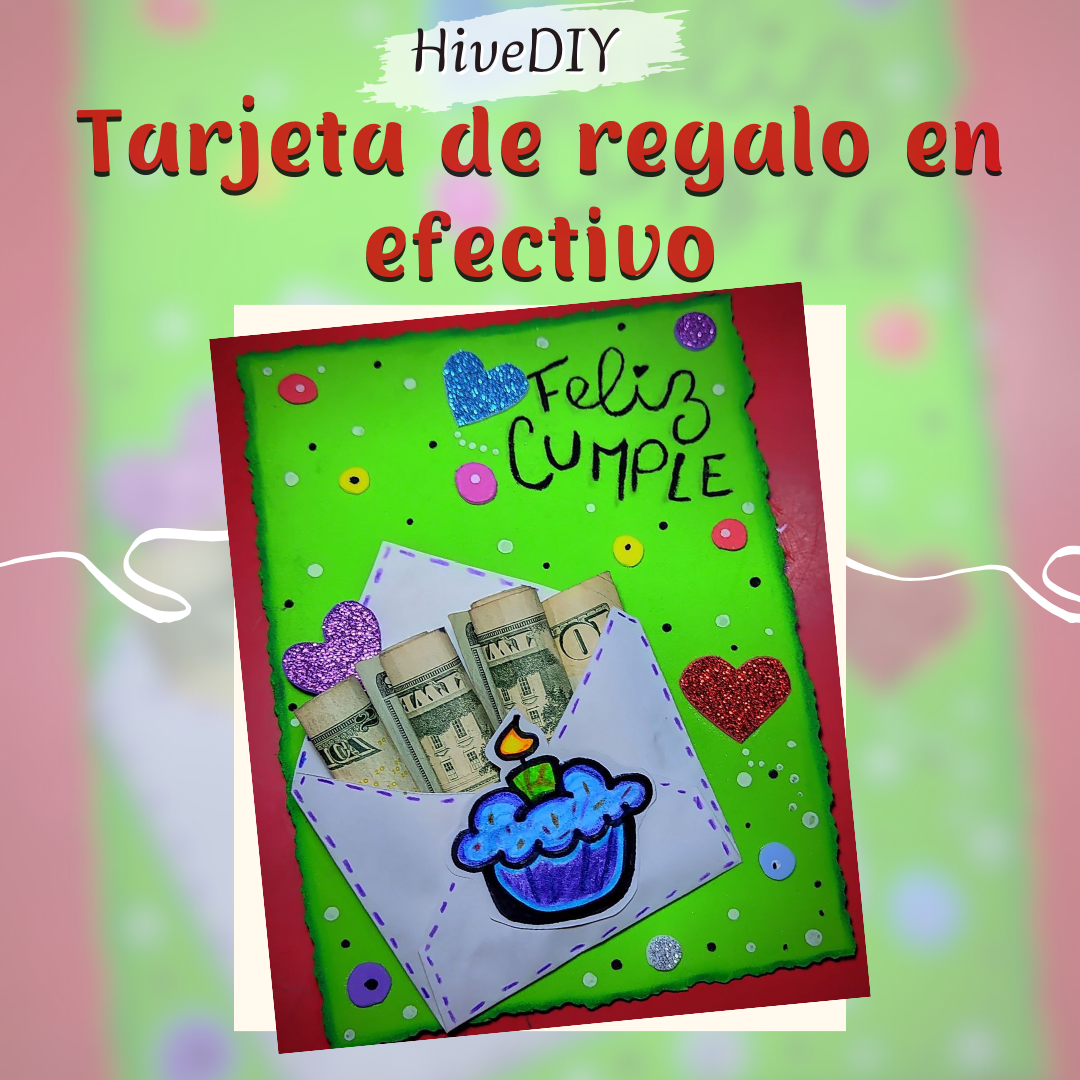
🙋♀️¡Hola a todos! Espero que se encuentren súper bien, y hayan tenido grandiosos días lleno de gratos y felices momentos, por este lado de la pantalla todo bien gracias a Dios cada vez aprendiendo más cosas en mi trabajo, y créanme que eso aparte de mantenerme ocupada me hace actualmente feliz. Luego de varios días sin pasar por esta hermosa comunidad, hoy les compartiré una creativa tarjeta para regalar dinero en efectivo como un gran toque de generosidad, sin más a que hacer referencia…
Welcome, creative friends🎨💜
🙋♀️Hello everyone! I hope you are doing great, and have had great days full of pleasant and happy moments, on this side of the screen everything is fine thanks to God I am learning more and more things in my job, and believe me that besides keeping me busy it makes me happy. After several days without going through this beautiful community, today I will share with you a creative card to give cash as a great touch of generosity, without further reference ....
¡Llegó la hora de crear! / It's time to create!🎨
|
|---|
¿Cómo la haremos? / How will we do it?⬇️
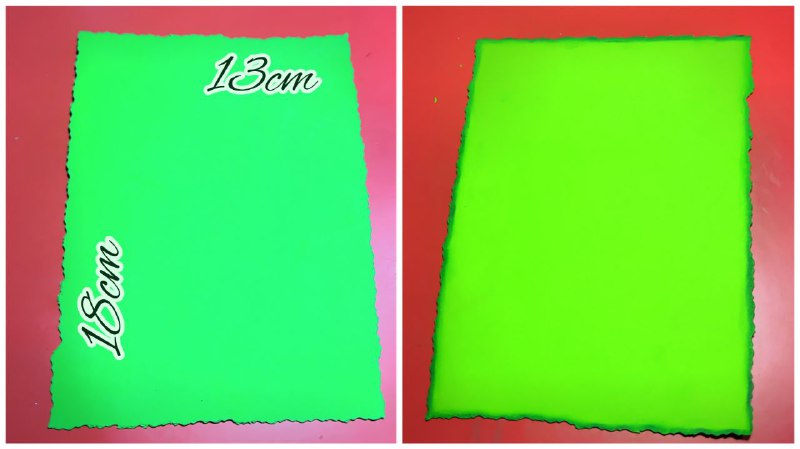
✨ Paso 1: Lo primero que hice fue medir un triángulo de 13cm de ancho por 18cm de largo, en el cual lo recorte con una tijera de figuras en forma de curvas. Seguidamente con un color verde difumine todo el borde del rectángulo.
✨Step 1: The first thing I did was to measure a triangle of 13cm wide by 18cm long, in which I cut it with a figure scissors in the form of curves. Then with a green color I blurred all the edge of the rectangle.
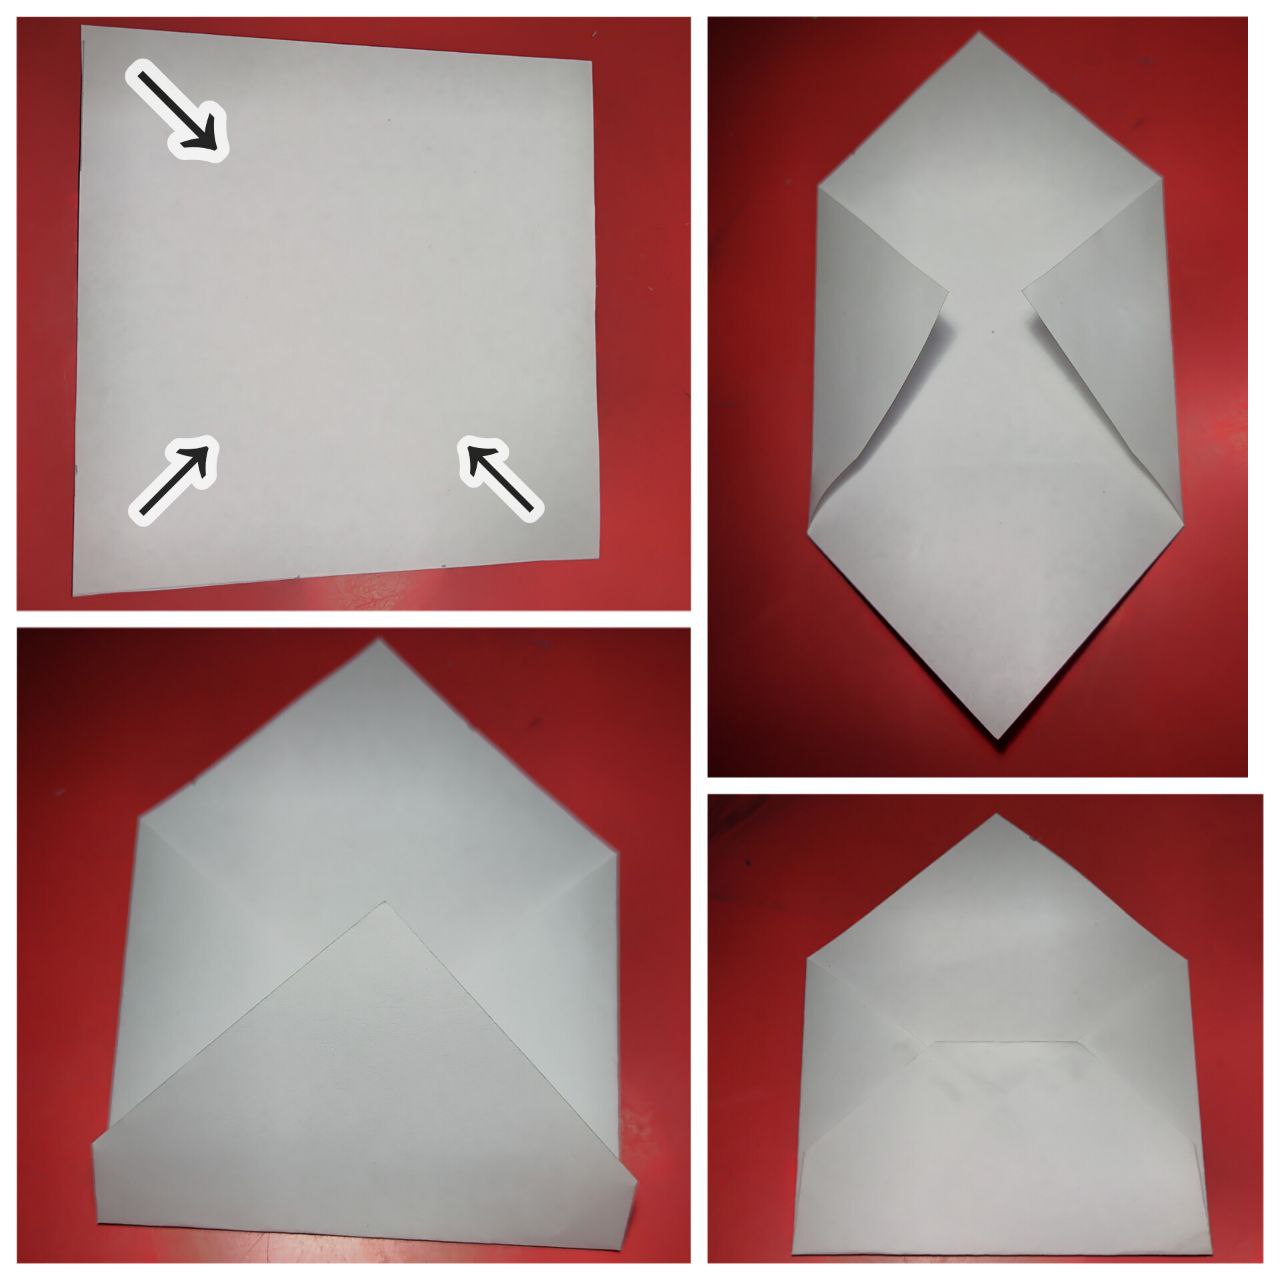
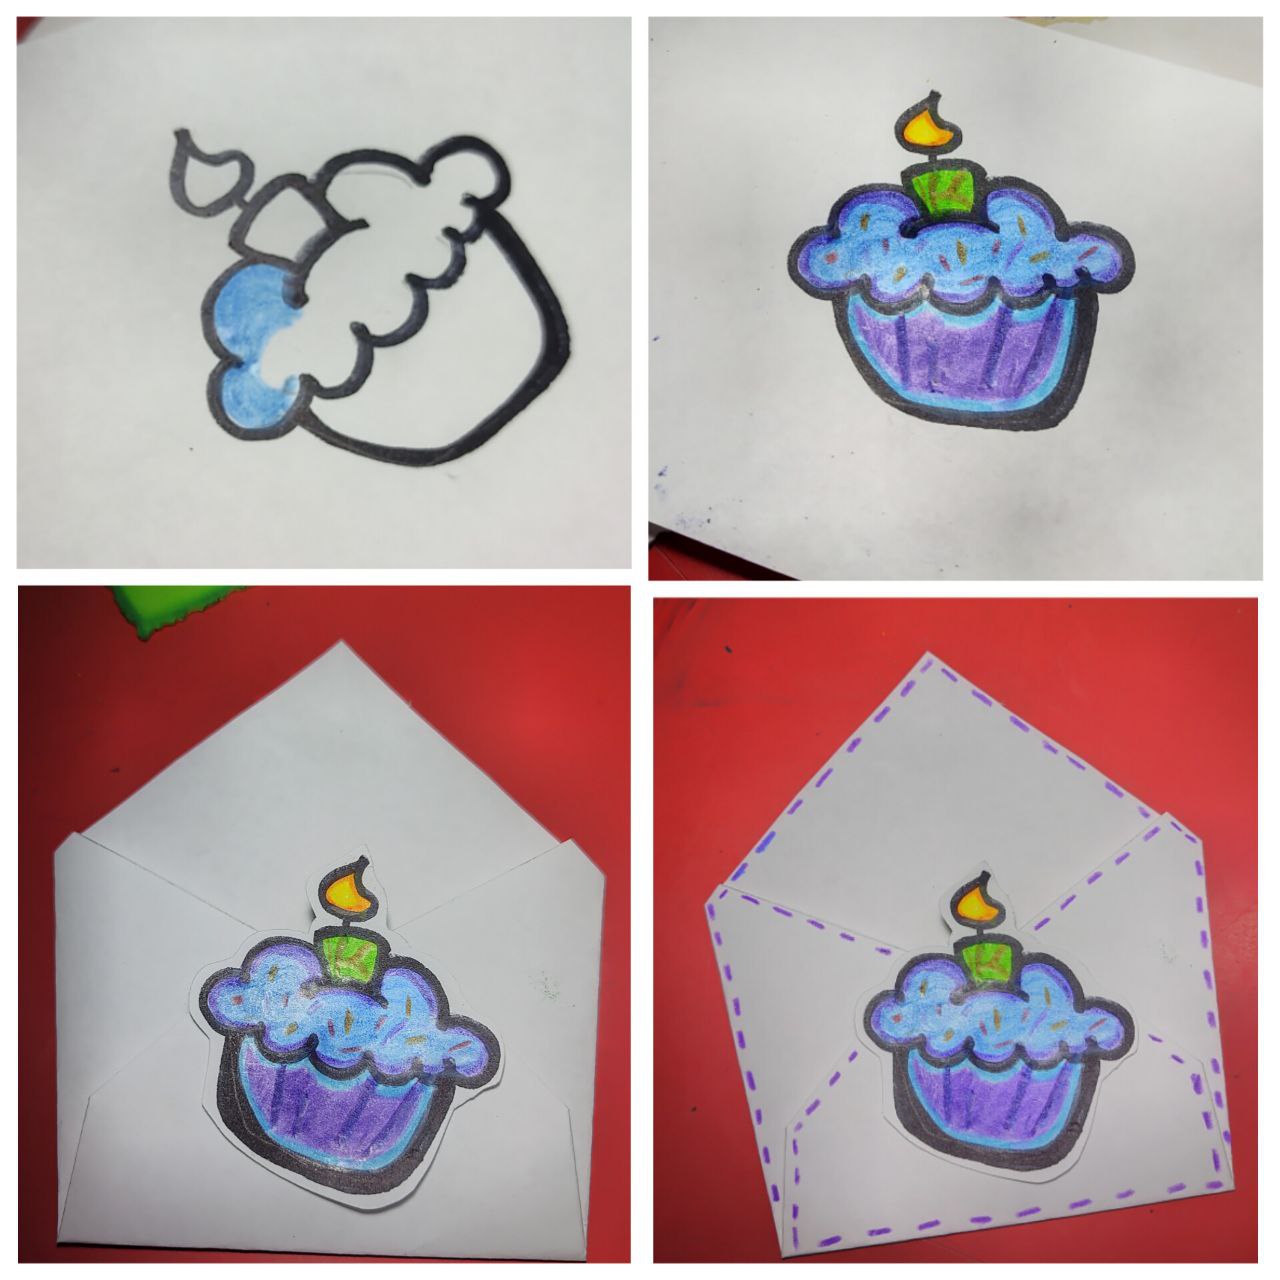
✨ Paso 2: En una cartulina blanca o en su efecto una hoja blanca, en mi caso utilice una hoja blanca, en la cual recorte un cuadrado de 6cm x 6cm este con el fin de hacer un pequeño sobre, realizando ciertos dobles, dos puntas del cuadrado llevarla hasta el centro luego otra de ellas, es decir se llevan al centro tres y una se deja de igual forma, y pegar en donde se unen.
✨ Step 2: In a white cardboard or in its effect a white sheet, in my case I used a white sheet, in which I cut a square of 6cm x 6cm this in order to make a small envelope, making certain doubles, two ends of the square take it to the center then another one of them, that is to say they take to the center three and one is left in the same way, and paste where they join.
✨ Paso 3: En un trozo de cartulina blanca realice un cupcake o ponquesito pequeño acompañado de una vela, siendo esto pintado con colores morado y azul, en cuanto a la vela verde y amarillo. Seguidamente recorte dejando un pequeño borde, luego pegue en el centro del sobre.
✨ Paso 4: Para decorar el sobre agregue pequeñas líneas en color morado alrededor del mismo, y de esta forma decorar un poco.
✨ Paso 4: Para decorar el sobre agregue pequeñas líneas en color morado alrededor del mismo, y de esta forma decorar un poco.
✨ Step 3: On a piece of white cardboard make a cupcake or small cupcake with a candle, being this painted with purple and blue colors, as for the candle green and yellow. Then cut out leaving a small border, then glue in the center of the envelope.
✨ Step 4: To decorate the envelope, add small purple lines around the envelope to decorate it a bit.
✨ Step 4: To decorate the envelope, add small purple lines around the envelope to decorate it a bit.
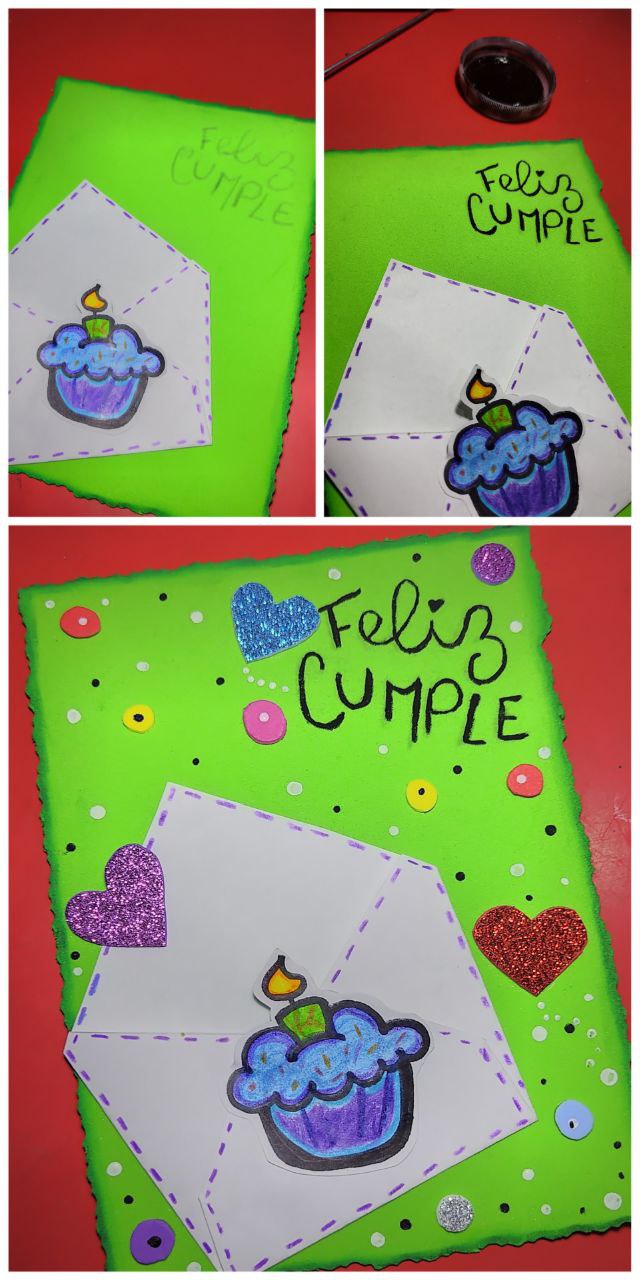
✨ Paso 5: Después el sobre realizado anteriormente lo pegue en la esquina sobre el foami verde que mostré en el paso número uno, en diagonal de este, con pintura al frío negro realice la palabra “Feliz Cumple”.
✨ Paso 6: En foami escarchado en color azul, rojo y morado realice tres corazones y peque aleatoriamente al igual que algunos círculos de varios colores. Para terminar de llenar los espacios agregué en pintura al frío color negro y blanco pequeños puntos.
✨ Paso 6: En foami escarchado en color azul, rojo y morado realice tres corazones y peque aleatoriamente al igual que algunos círculos de varios colores. Para terminar de llenar los espacios agregué en pintura al frío color negro y blanco pequeños puntos.
✨ Step 5: Then I glued the previously made envelope in the corner on the green foami that I showed in step number one, diagonally from it, with black cold paint I made the word "Happy Birthday".
✨ Step 6: In blue, red and purple frosted foami I made three hearts and some random small circles of various colors. To finish filling the spaces I added small dots in black and white cold paint.
✨ Step 6: In blue, red and purple frosted foami I made three hearts and some random small circles of various colors. To finish filling the spaces I added small dots in black and white cold paint.
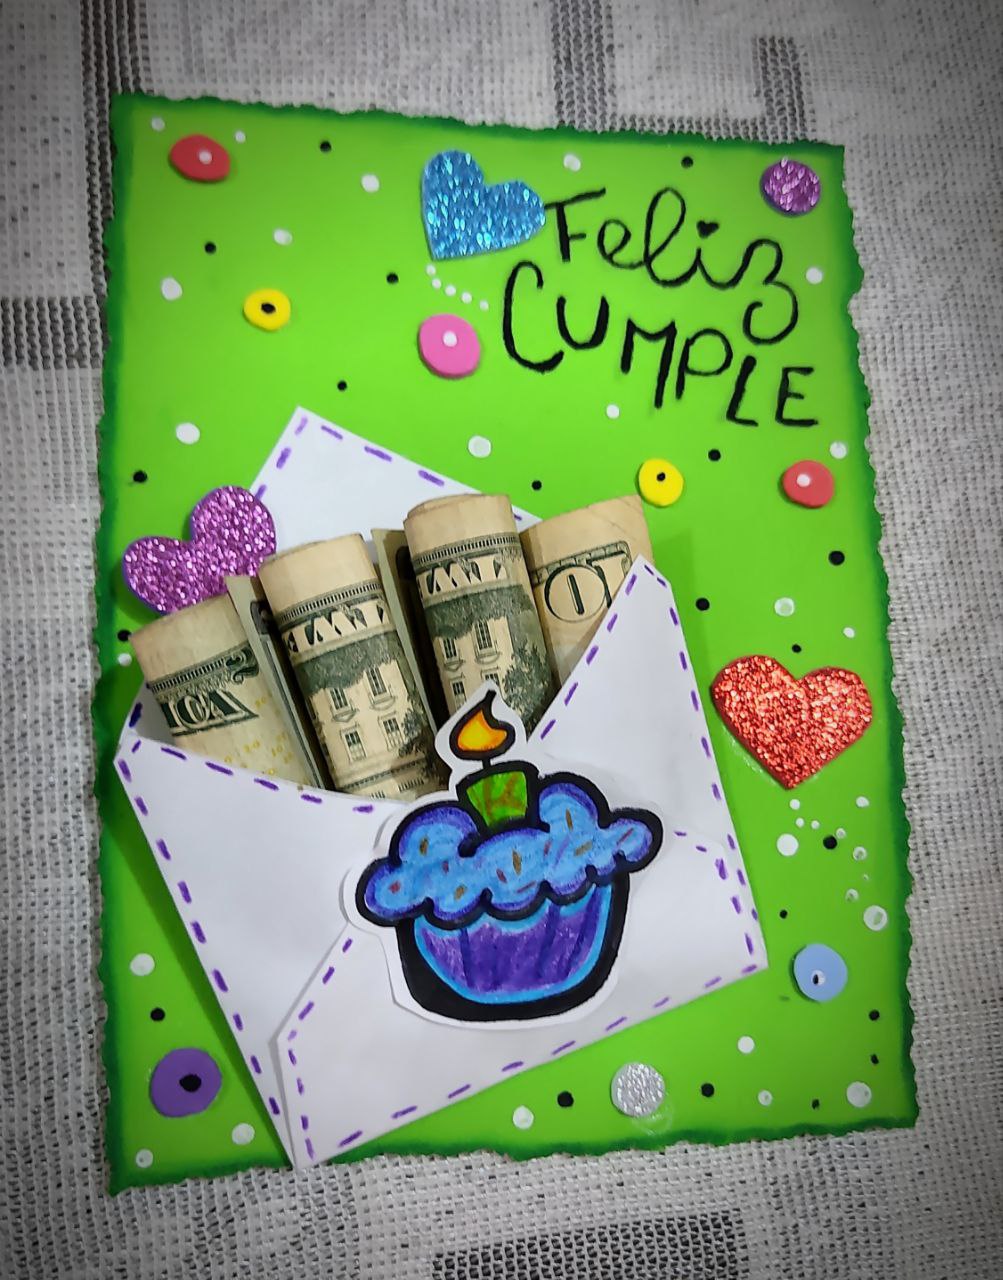
✨ Paso 7: Este sobre es perfecto si deseas regalar dinero de una forma creativa, o en su efecto una carta con un lindo mensaje, por mi parte agregué dinero para la muestra.
✨ Step 7: This envelope is perfect if you want to give money as a gift in a creative way, or in its effect a letter with a nice message, for my part I added money for the sample.
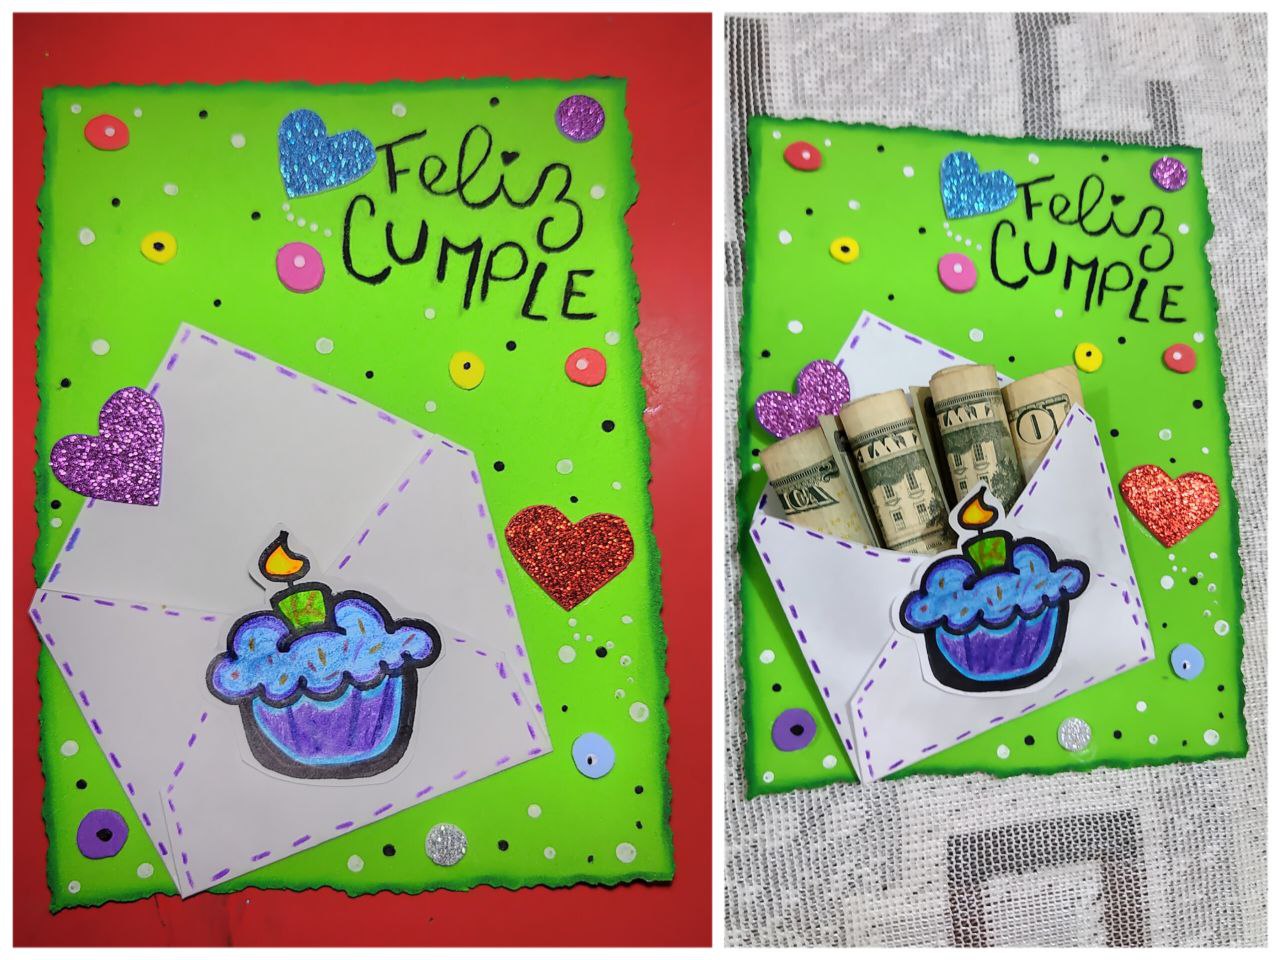
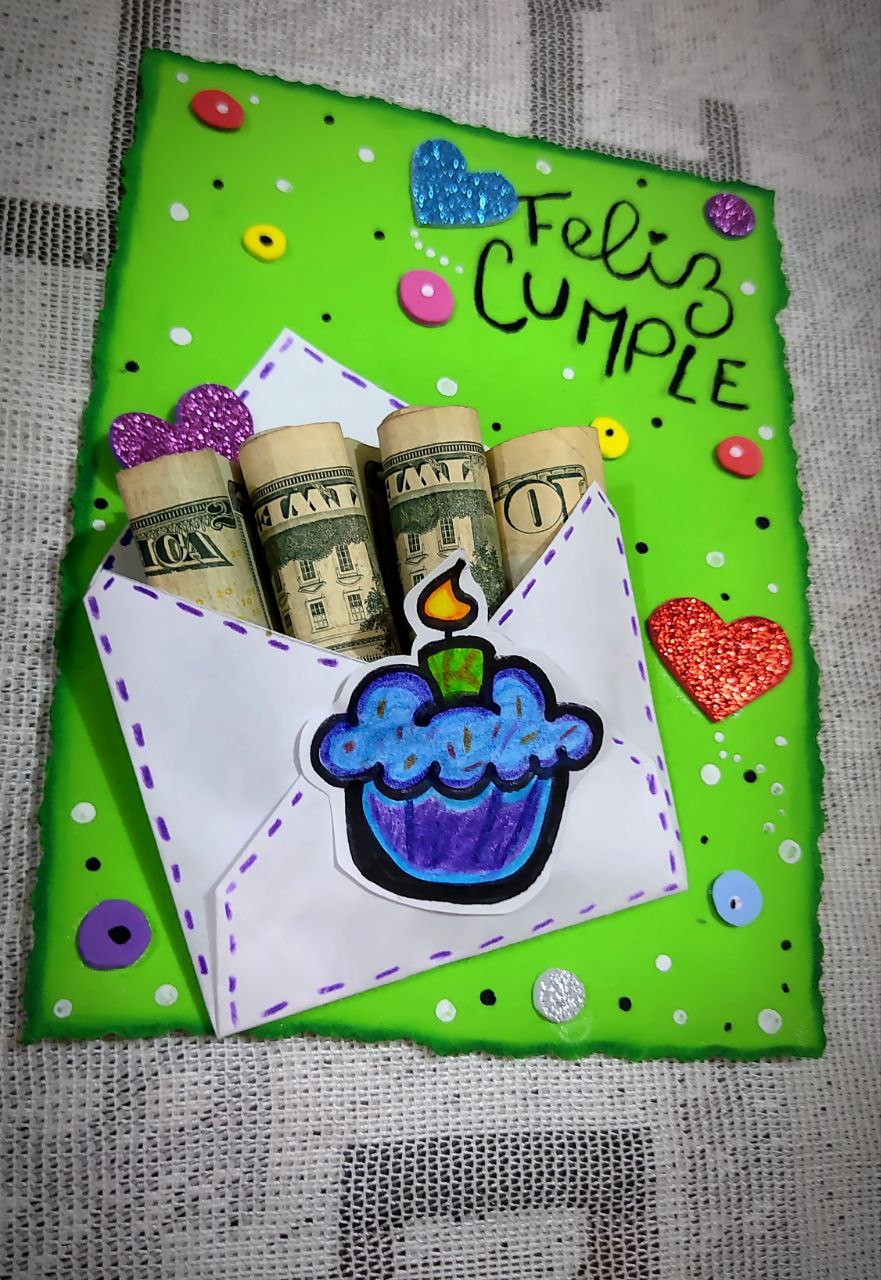
Creación finalizada / Creation completed⬇️
¡Y de esta forma se puede regalar una linda tarjeta para crear grandes sonrisas🤗!
And this way you can give a cute card to create big smiles🤗!
I was delighted with the results, being something economical, simple but with a lot of feeling to do, can be adapted to any color and occasion and not necessarily money but some candy or message, remember just let your imagination fly✨.
See you in a new creation👩🎨

Mil gracias por leerme una vez
Nos vemos en una próxima publicación.
Muchas bendiciones y abrazos digitales🤗
Thank you very much for reading me once
See you in an upcoming post.
Many blessings and digital hugs🤗