Hello Hello
About two weeks ago, I shared with the community my progress with the dress I was working on. I always wanted to make myself a crochet dress that could actually be worn out and when that opportunity came, I snatched it.
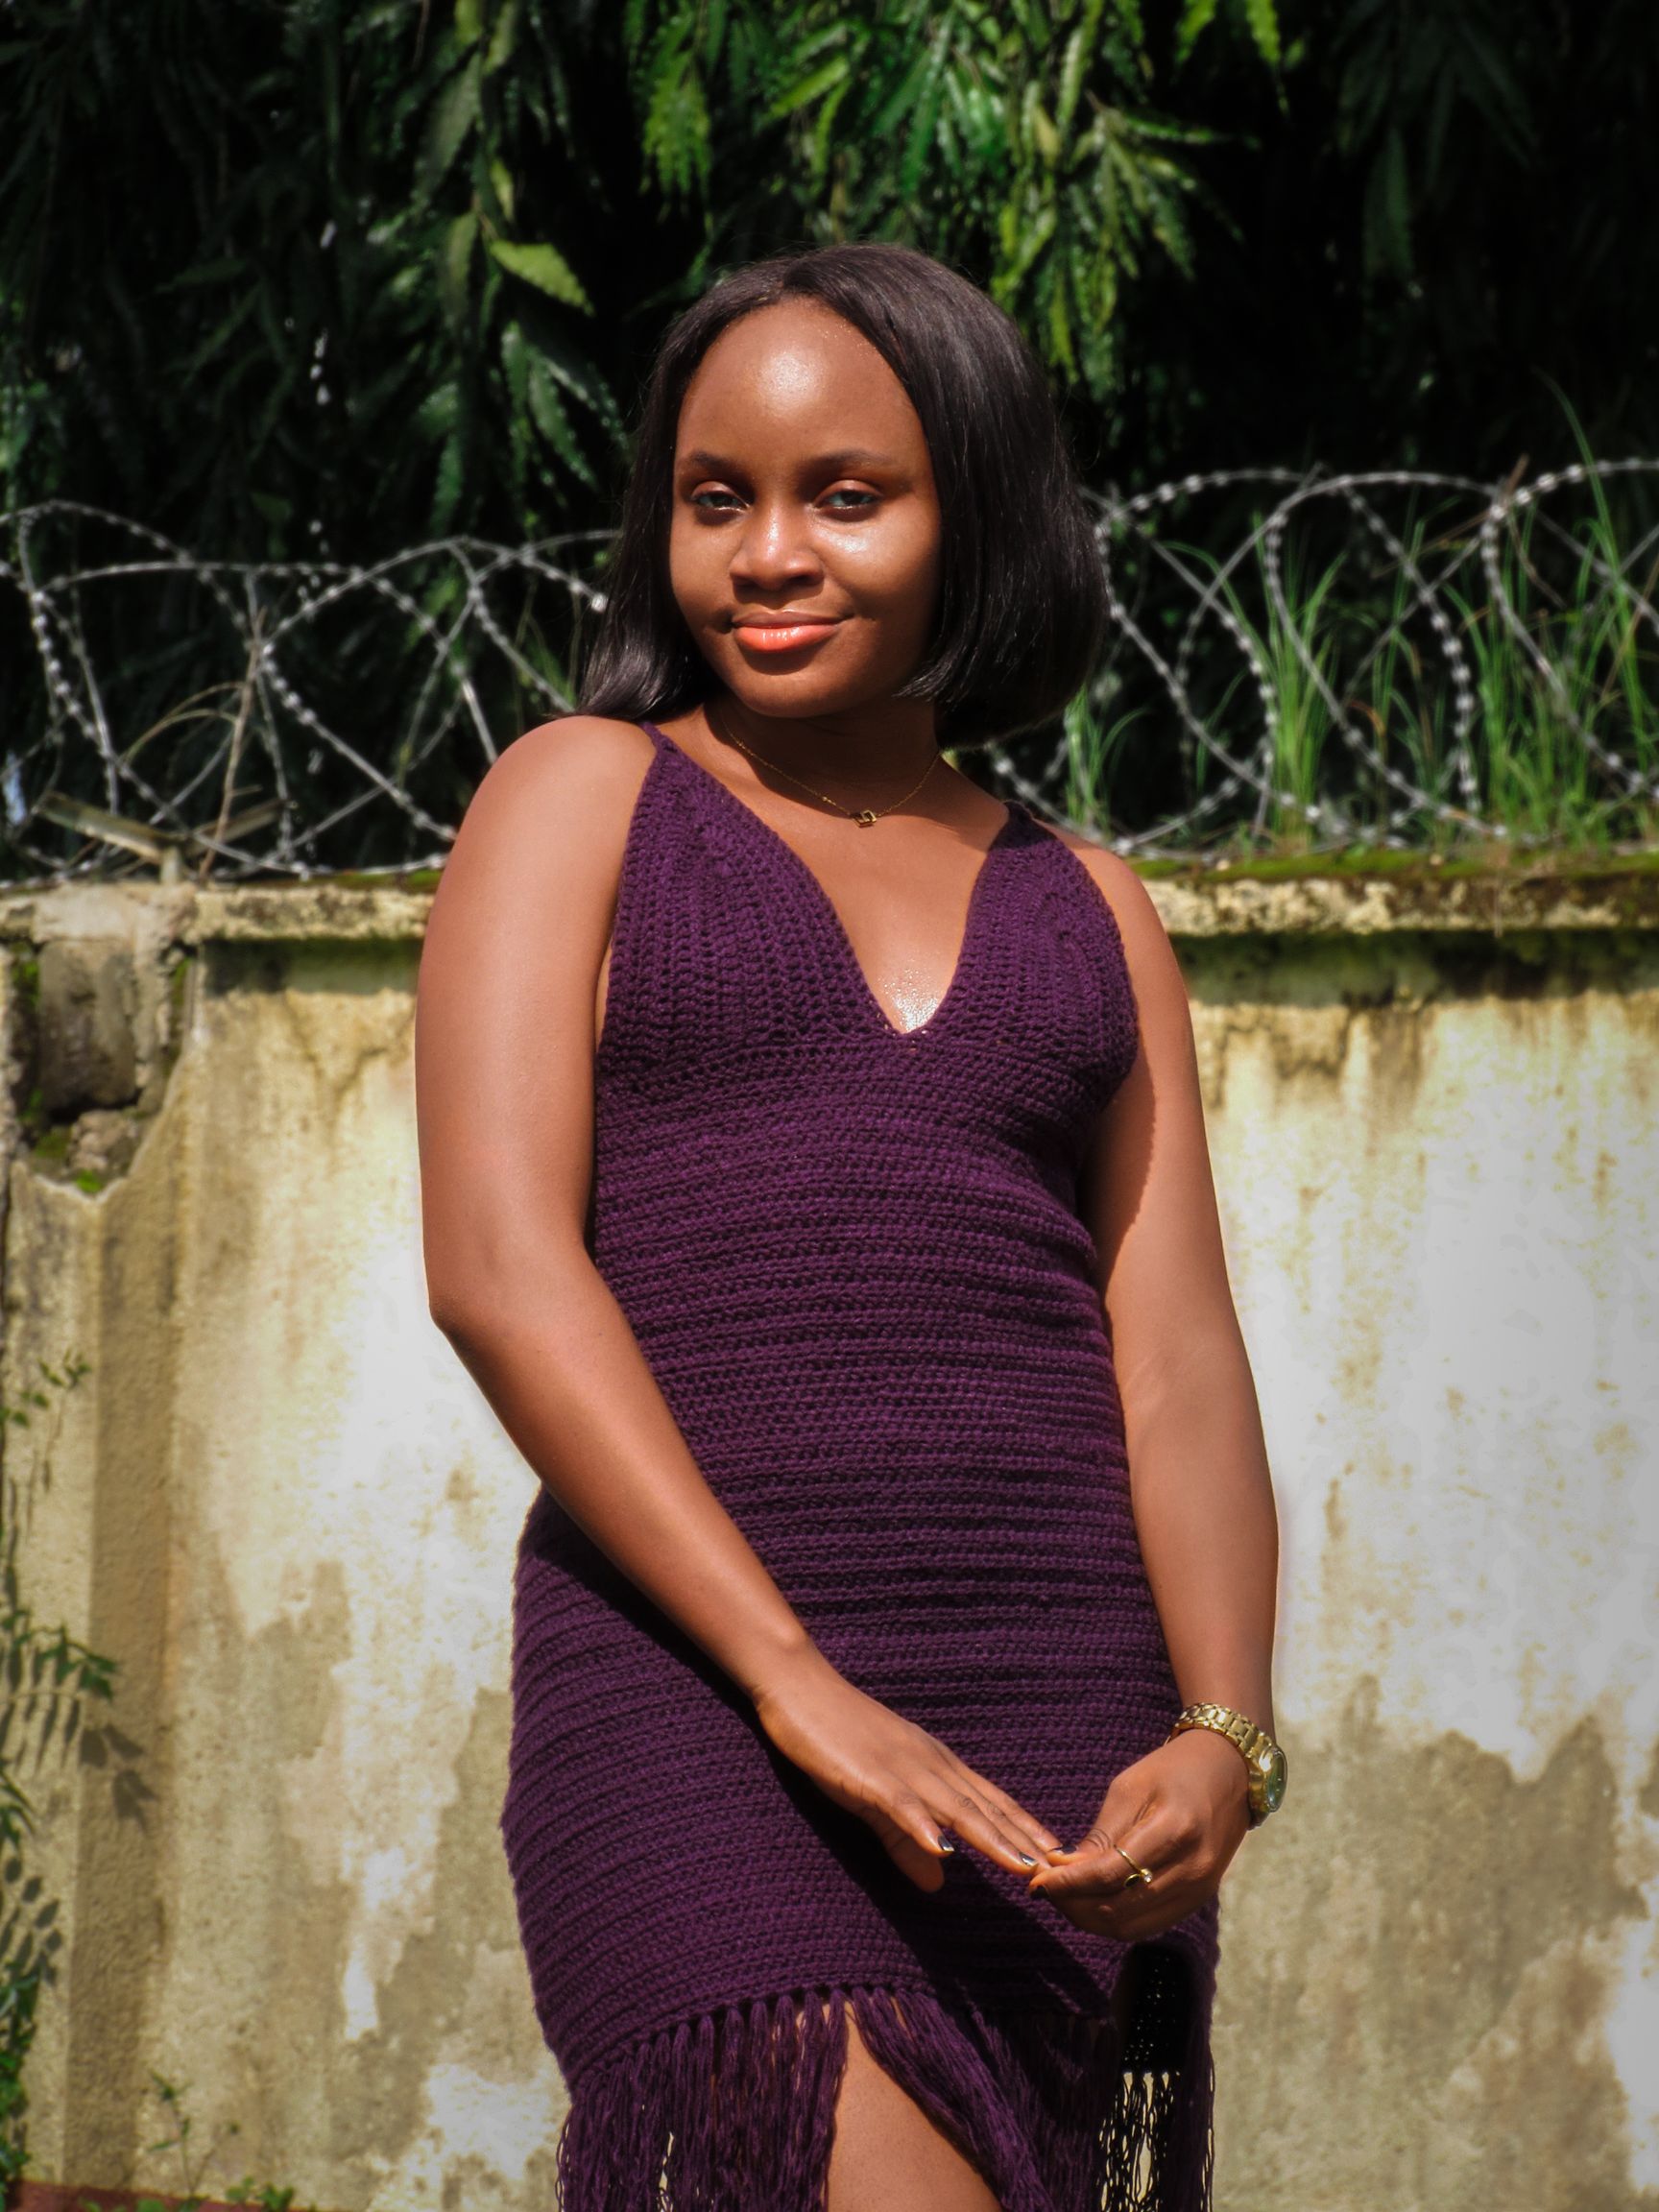
I was invited to a fashion show in my city and as the name implies, it was going to be a show where being fashionable was important. Initially, I opted to wear one of my regular yet astonishing dresses but then, the idea to make myself something kept looming. I just had to give in.
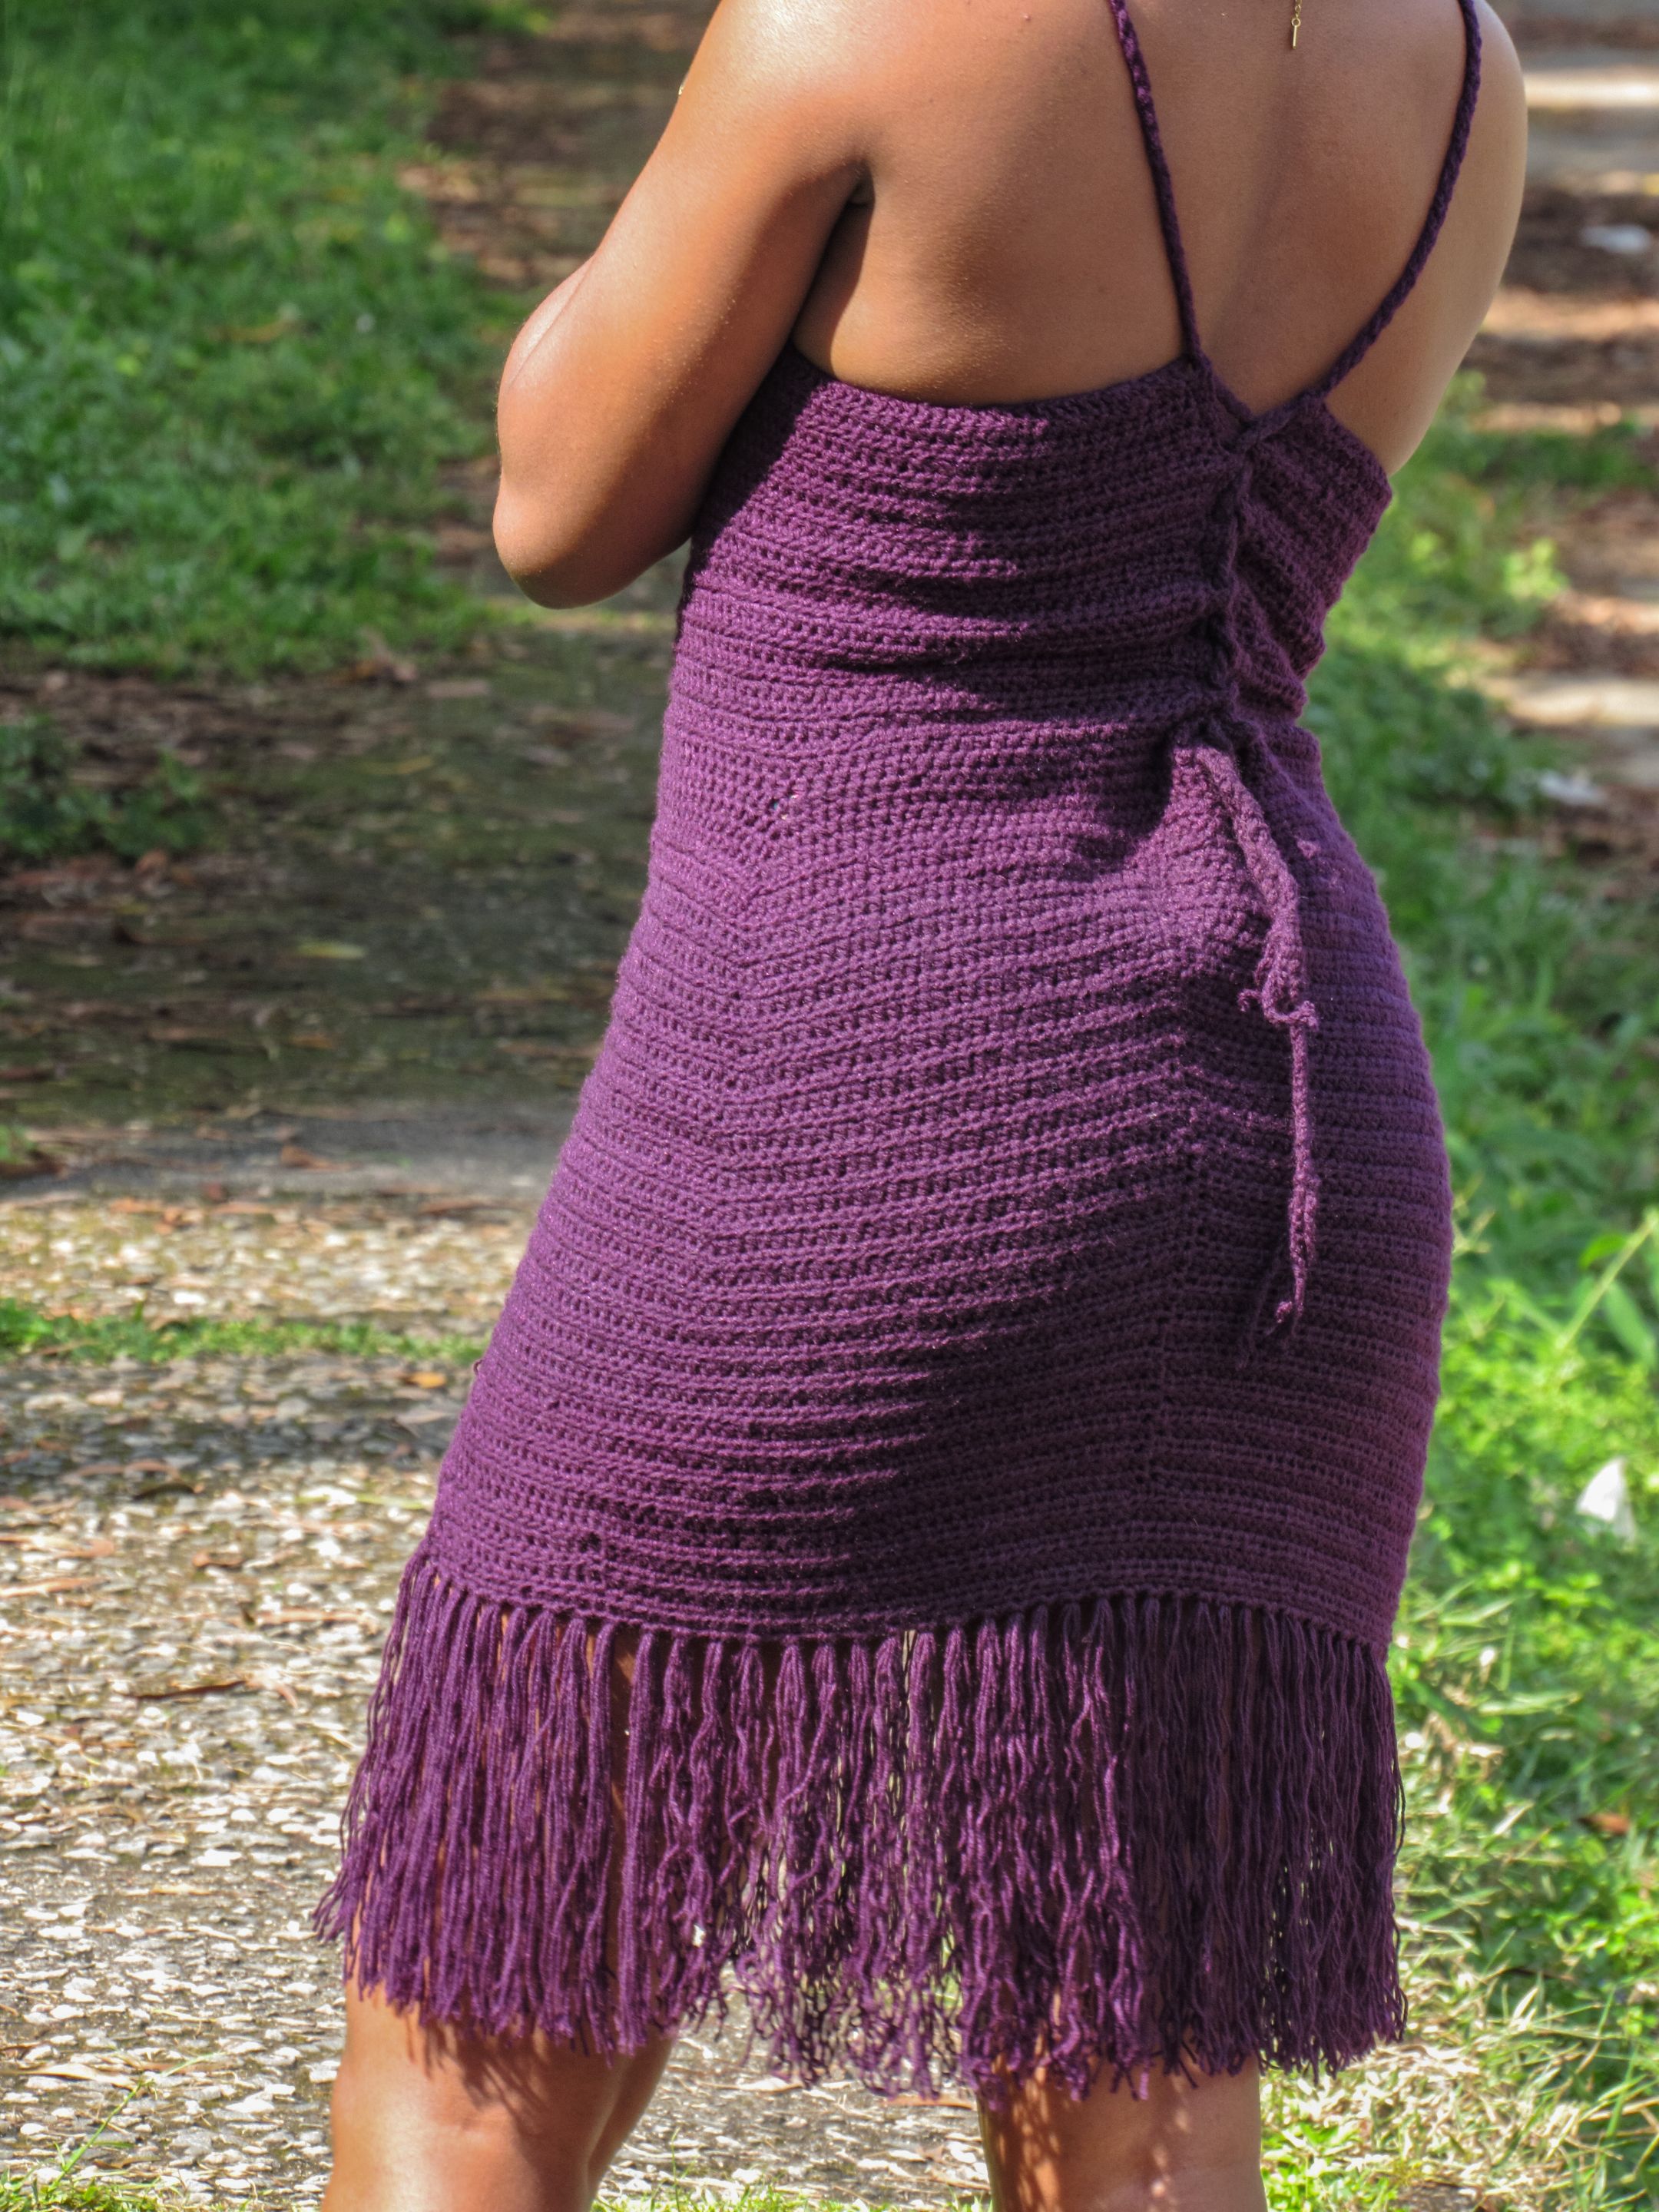
I began making the dress and for some weird reason, I felt so reluctant to complete it. Three days to the event, I got a reminder and that was when I started putting in all the work.
The first day post-reminder, I crochet the length and width from my under bust to my umbilicus. The second day, I proceeded from my navel to the hips and on the last day, which happened to be the day of the event, I added the bottom tassels, the hands and the rope loops. All together, one can say it took roughly five to seven days to complete the dress. I know, I know I took so much risk but taking risks is kind of what I like doing.
Materials Used.
- 4.0 mm and 3.0mm hooks
- Yarns
- Measuring tape
- Stitch markers
- A pair of scissors
- A comb
Procedure.
After I finished making the bra cups and proceeding to attach both cups together, I began working with half double crochet stitches.
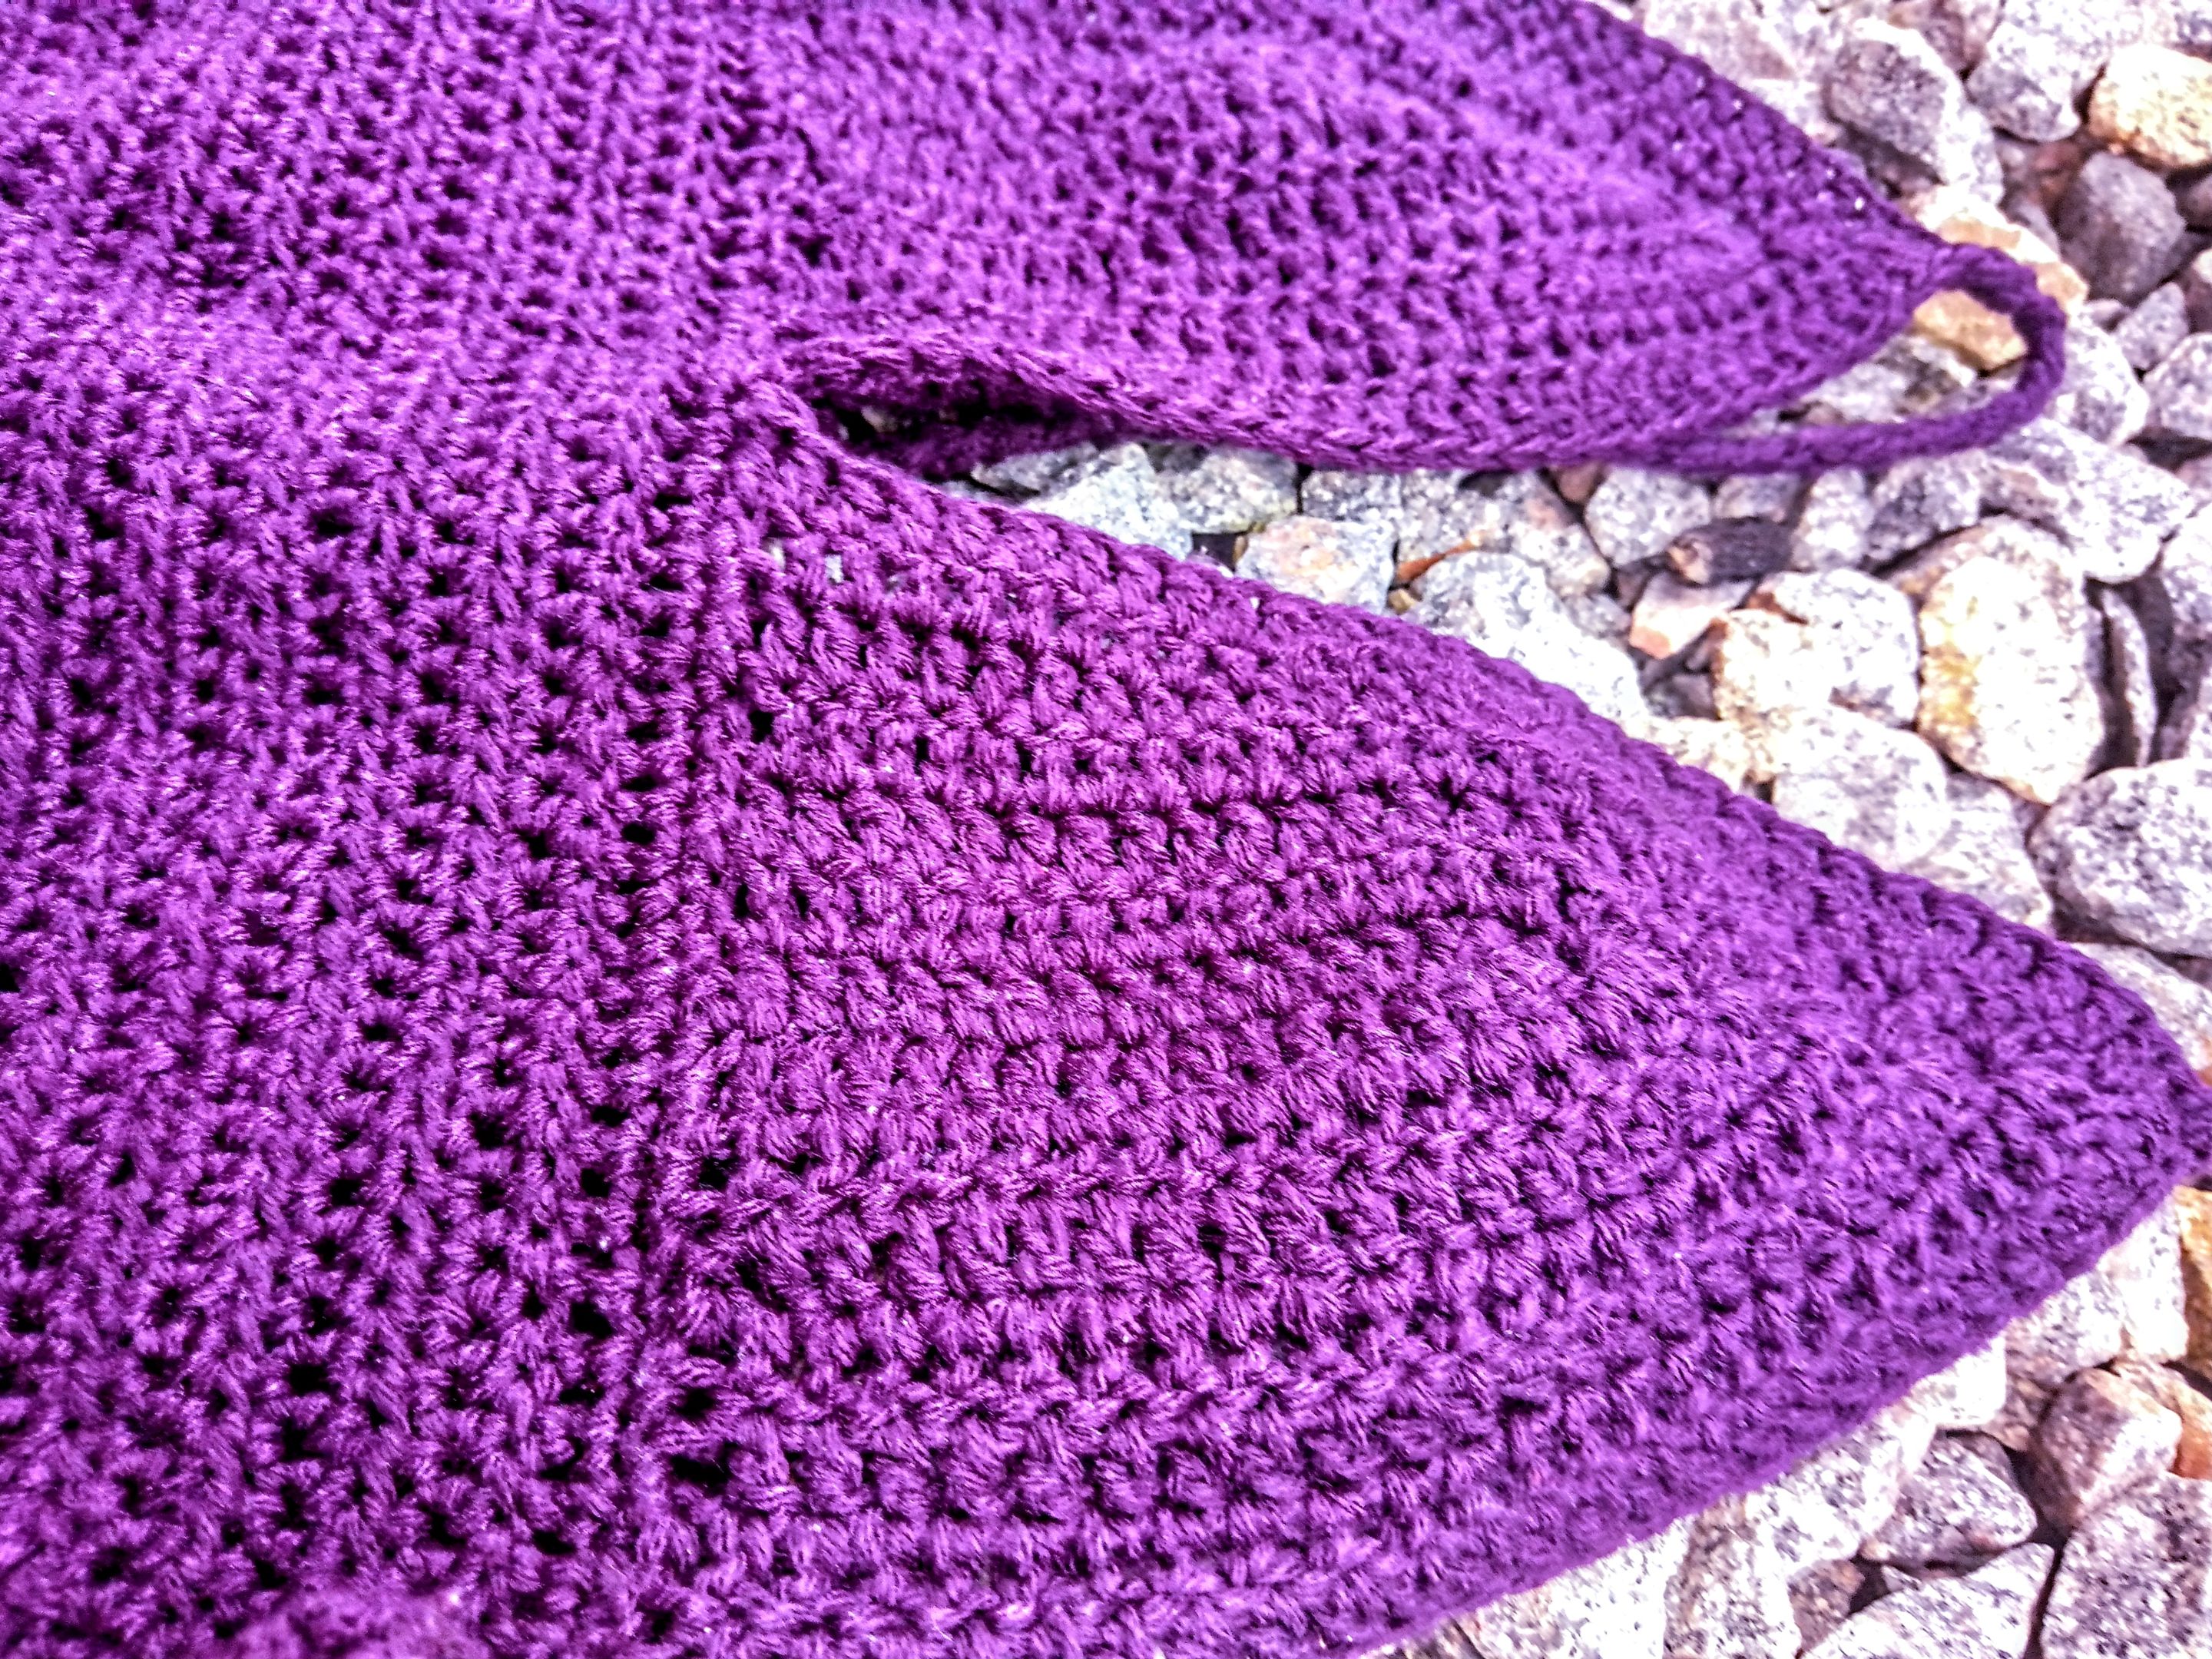
The idea was to make the upper part of the dress halter and as such, I didn't measure the centre width of my upper body. I kept about 6cm of space for the halter effect.
With the measurement, I maintained my half double crochet stitches till I reached my umbilicus (navel). One thing I ensured to check was the evenness of the upper part to avoid mistakenly adding or subtracting a few stitches.
Once I got to my umbilicus, I folded the piece in half and marked both edges with stitch markers. This signified the spots where I would be making increases.
From this point, I began making increases of two stitches at each edge and on every row. I kept making these increases till I got to the measurements of my hips. Without these increases, it would have been a tedious job attempting to put on the dress.
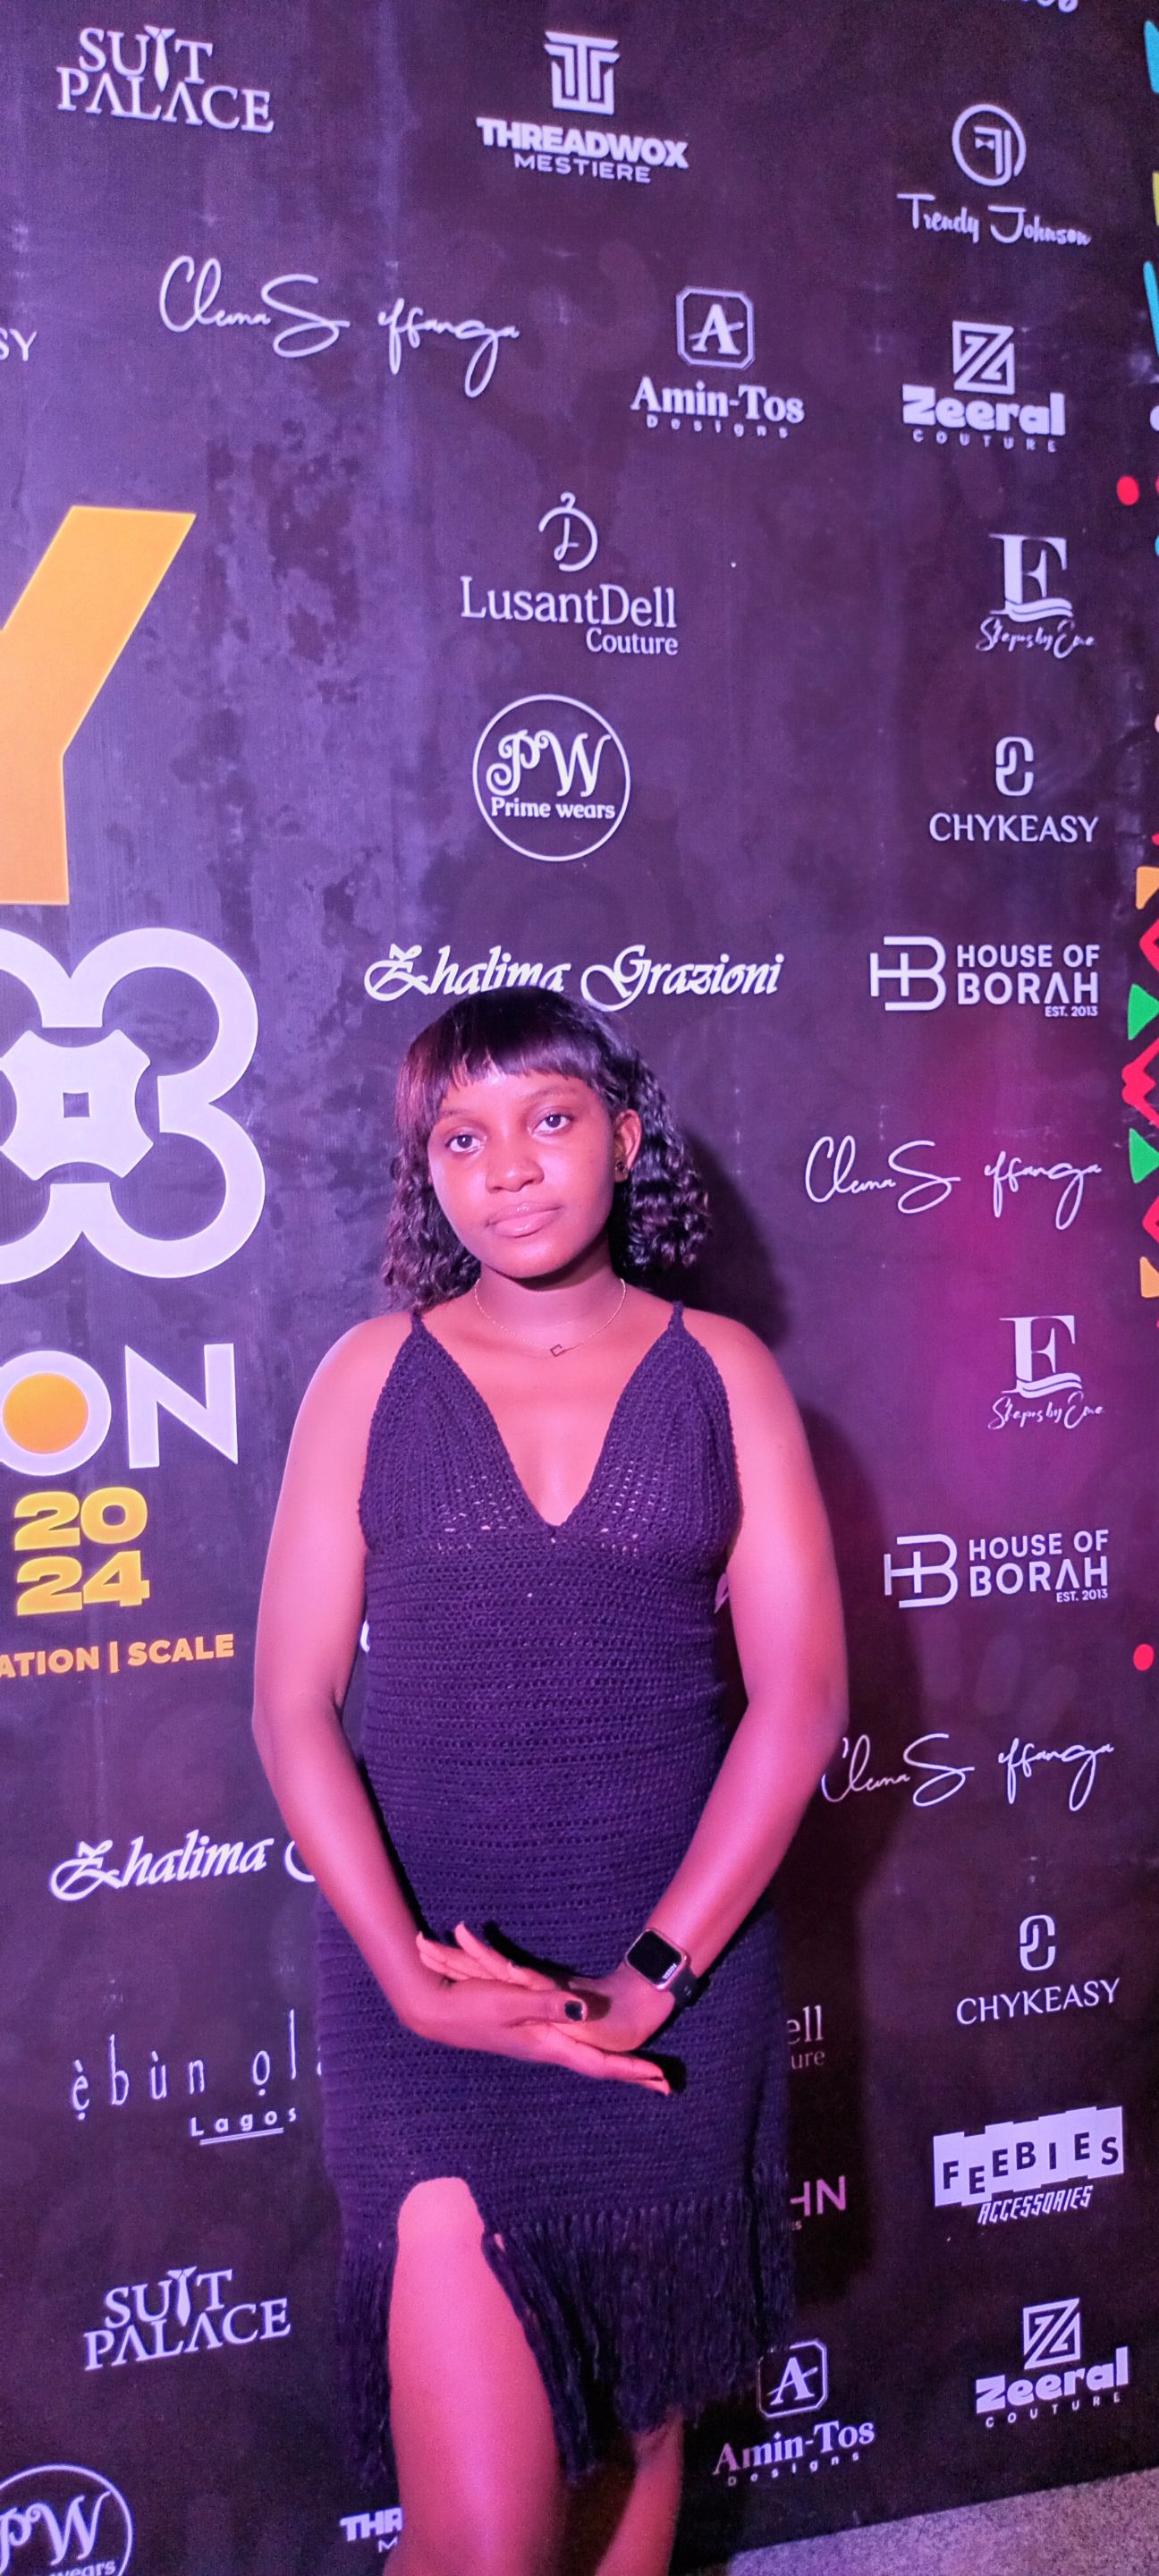
Once I obtained the measurement of my hips, I stopped increasing. From there on, I maintained the stitch count. Once I was five rows away from my desired length, I placed the dress on my body and marked out the portion I was going to be adding my slit to.
With the marked out portion, I continued crocheting but the only deviation was the fact that I created the space for the slit.
Five rows after, I was pretty much done with the body of the dress. I went round the bottom of the dress with single crochet stitches to define it properly and also give it a neat finish.
With that, it was time to make the tassels. For the tassels, I measured ten inches and with the help of a textbook, I was able to wound the yarn as many times as I wanted.
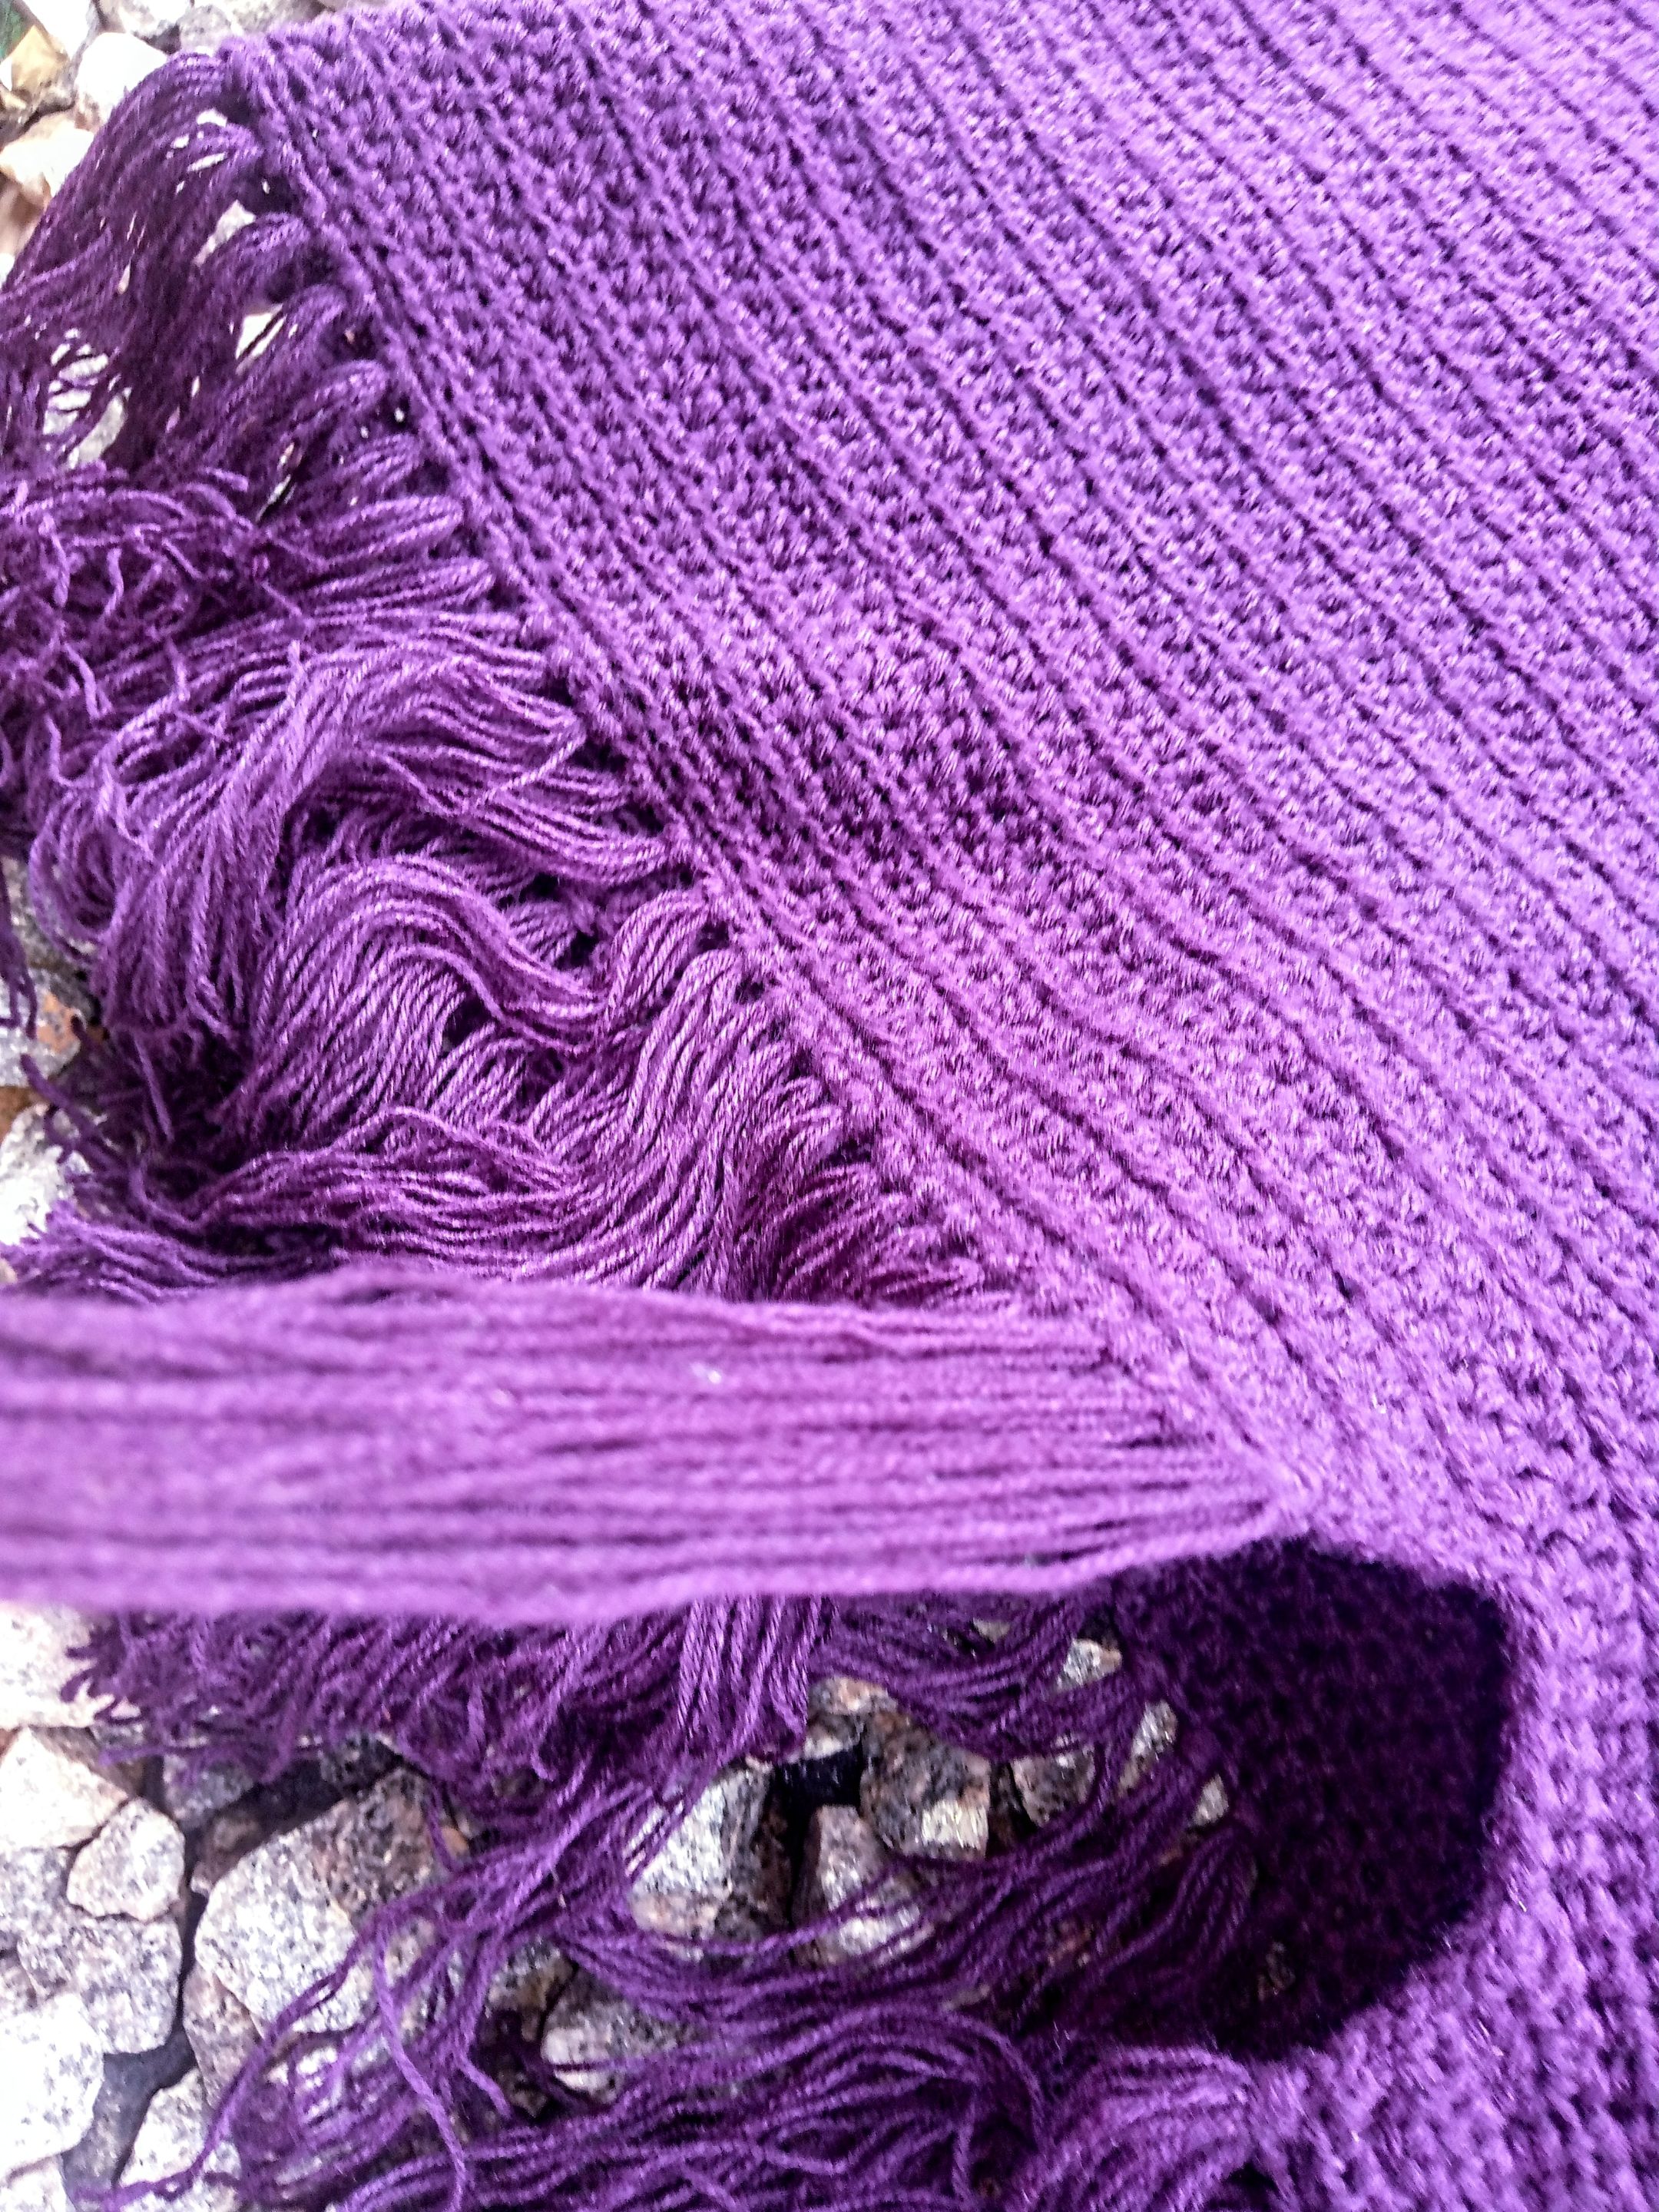
With my crocheting hook, I carefully placed five strands of yarn into every hole, making it ten because I bent them in half while attaching them. I continued this ensuring that I skipped just one loop each time. This gave the tassels some form of homogeneity.
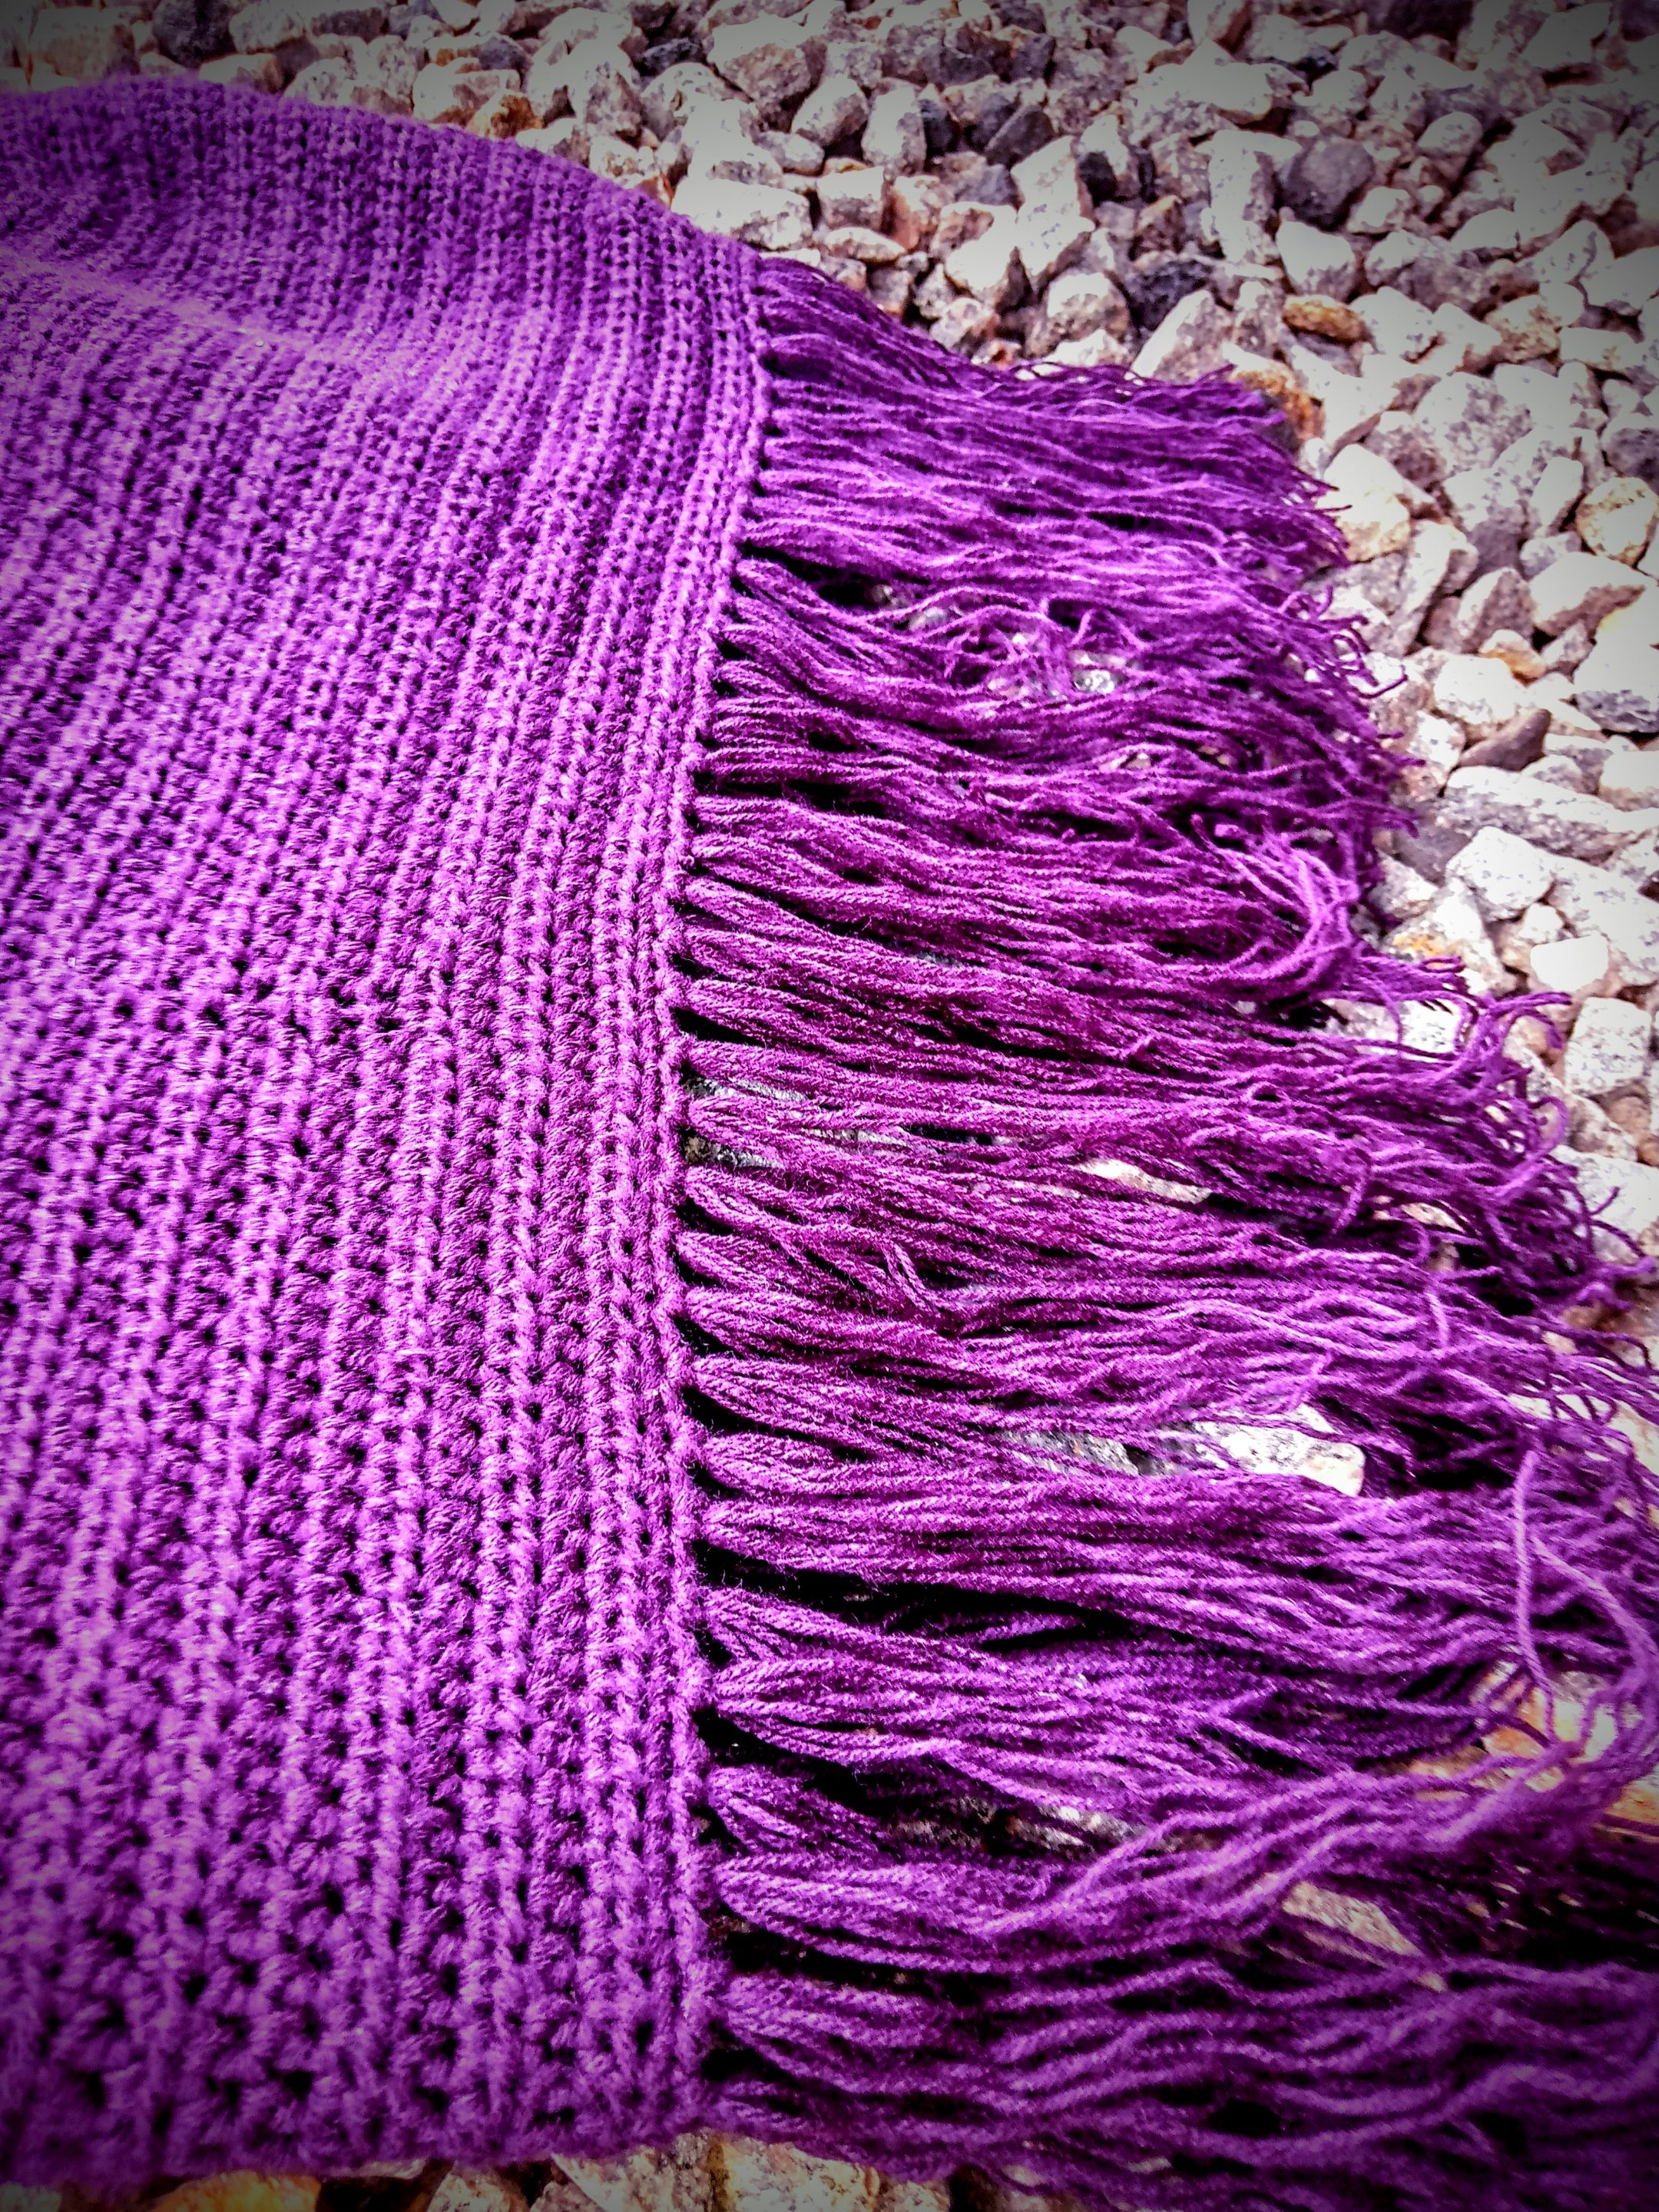
Trimming the tassels to make them even was a very tricky part. With a regular comb, I straightened out the strands and with the sharpest pair of scissors I could get, I trimmed the ends.
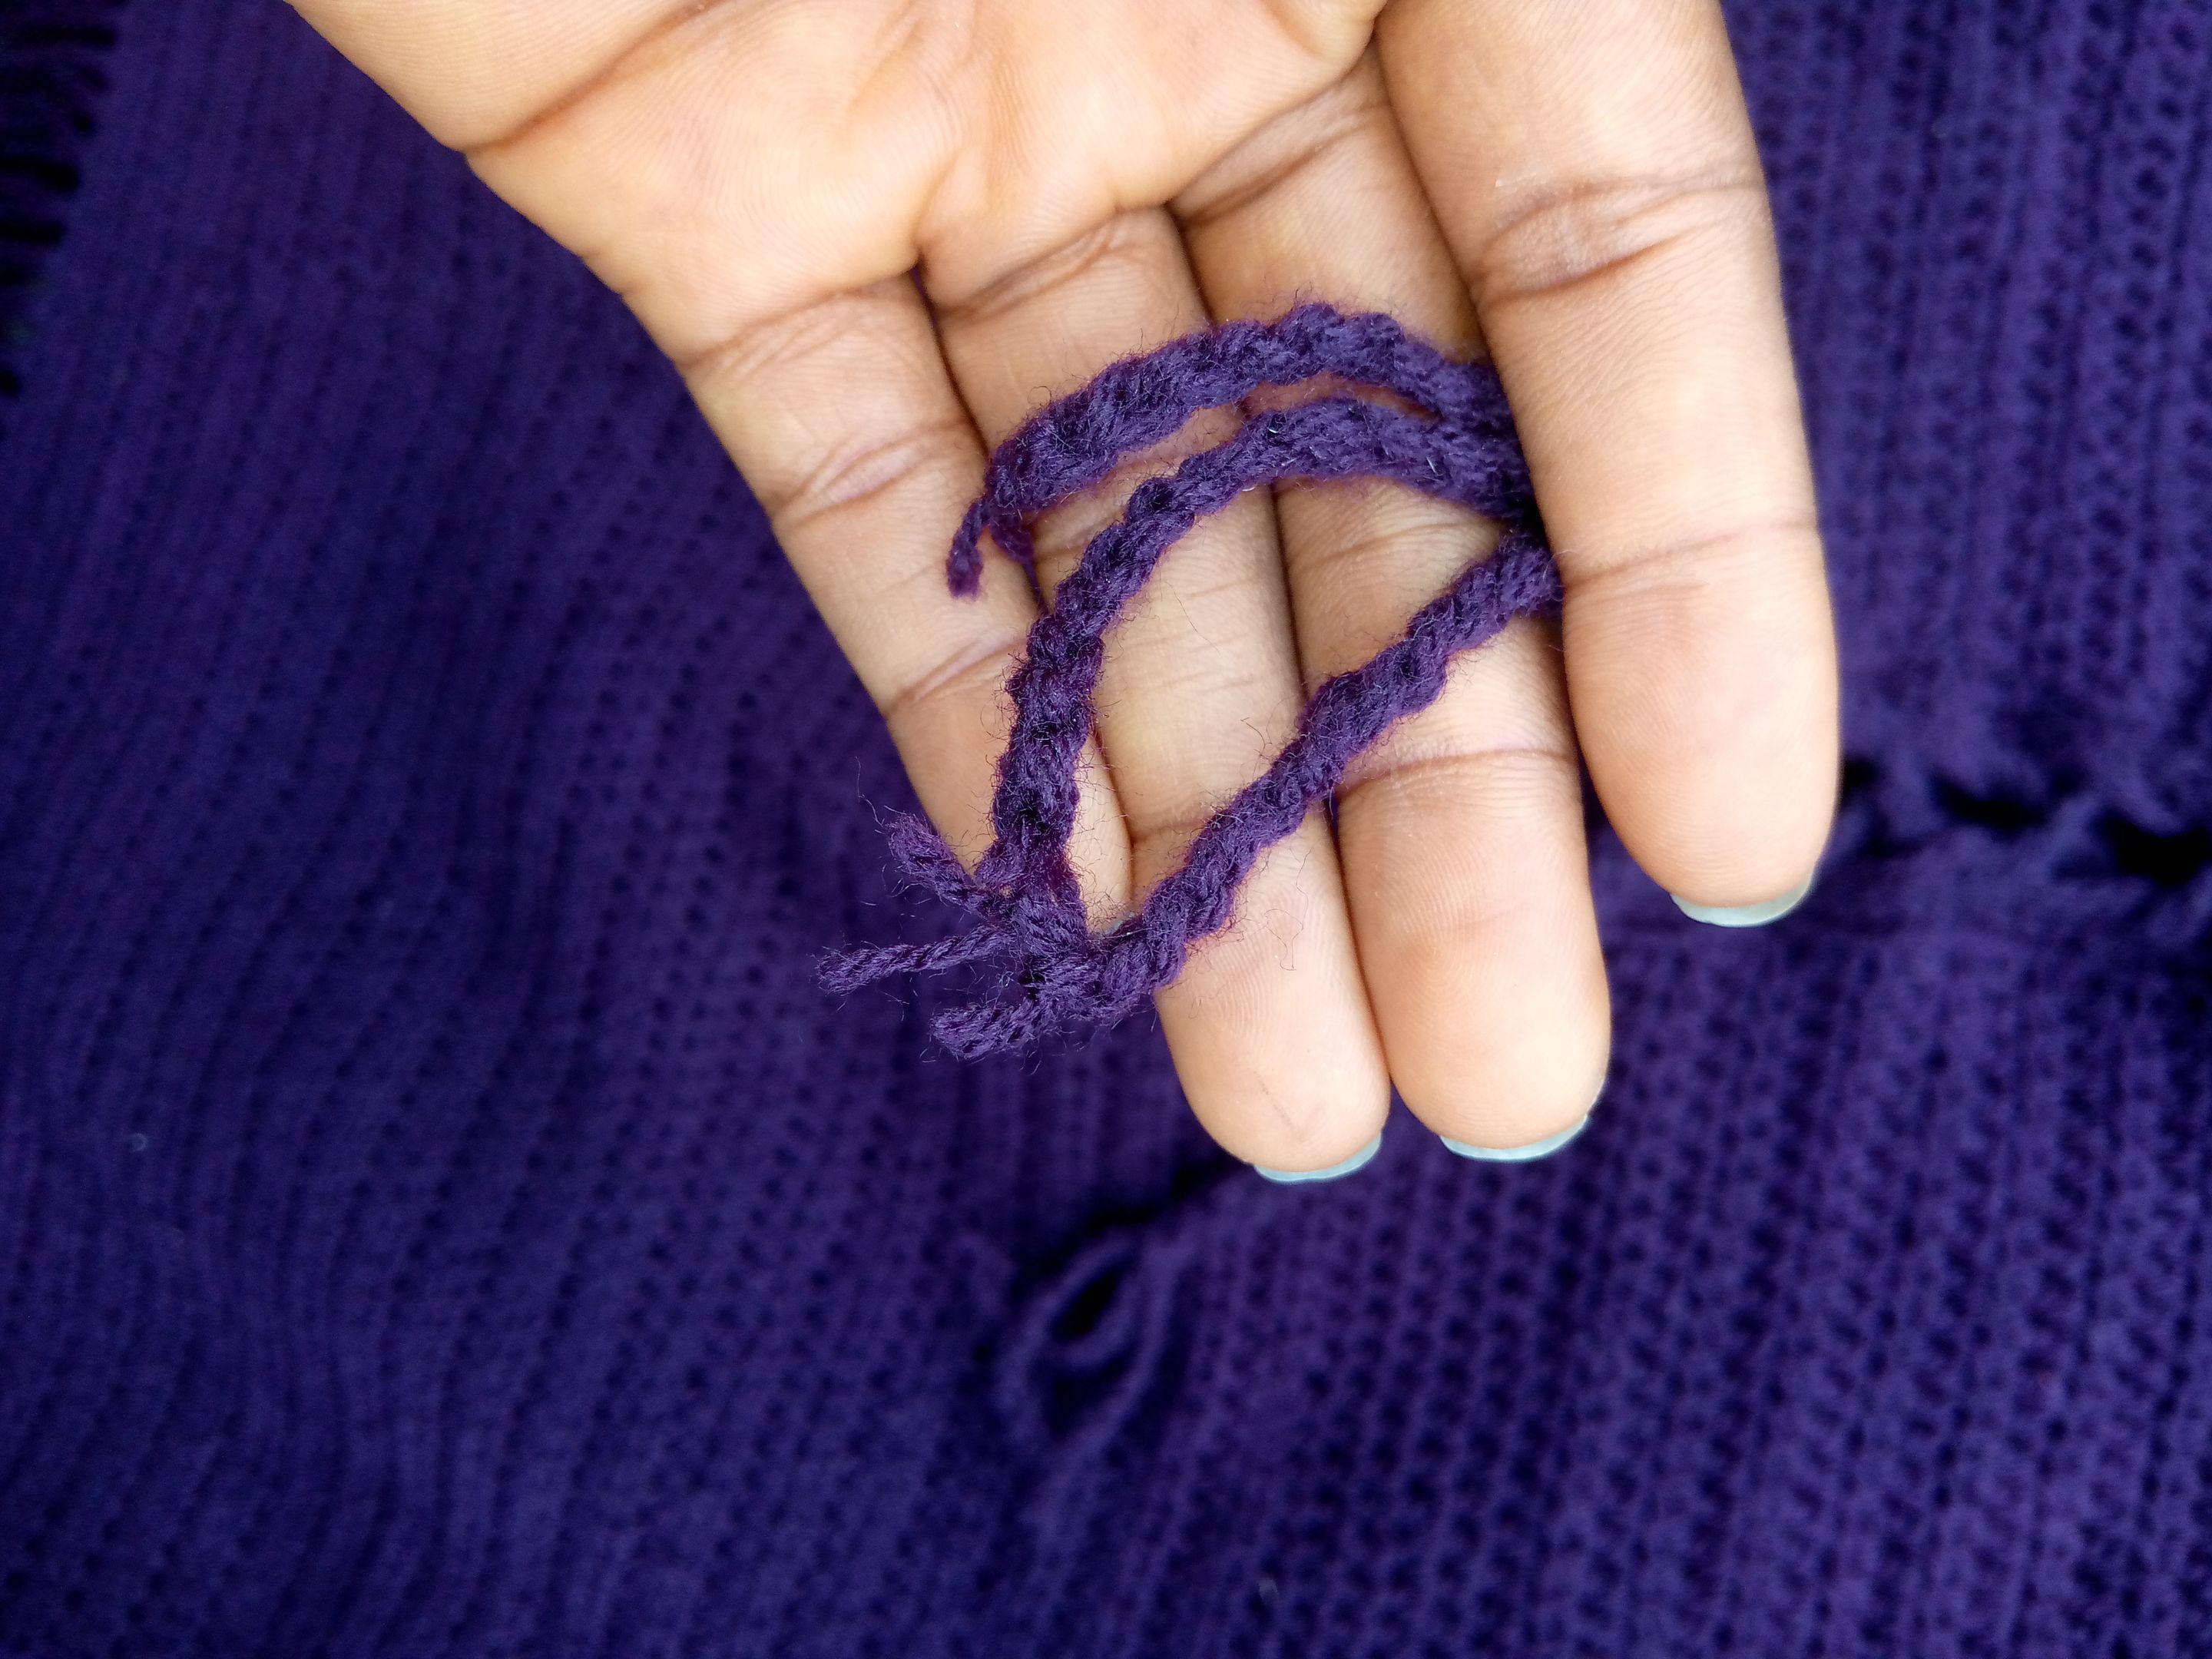
With the bottom of the dress out of the way, it was time to make the hand. From the apex of the bra cup, I attached my yarn and made a very long chain. To the left and to the right of the apex point, I did the same thing.
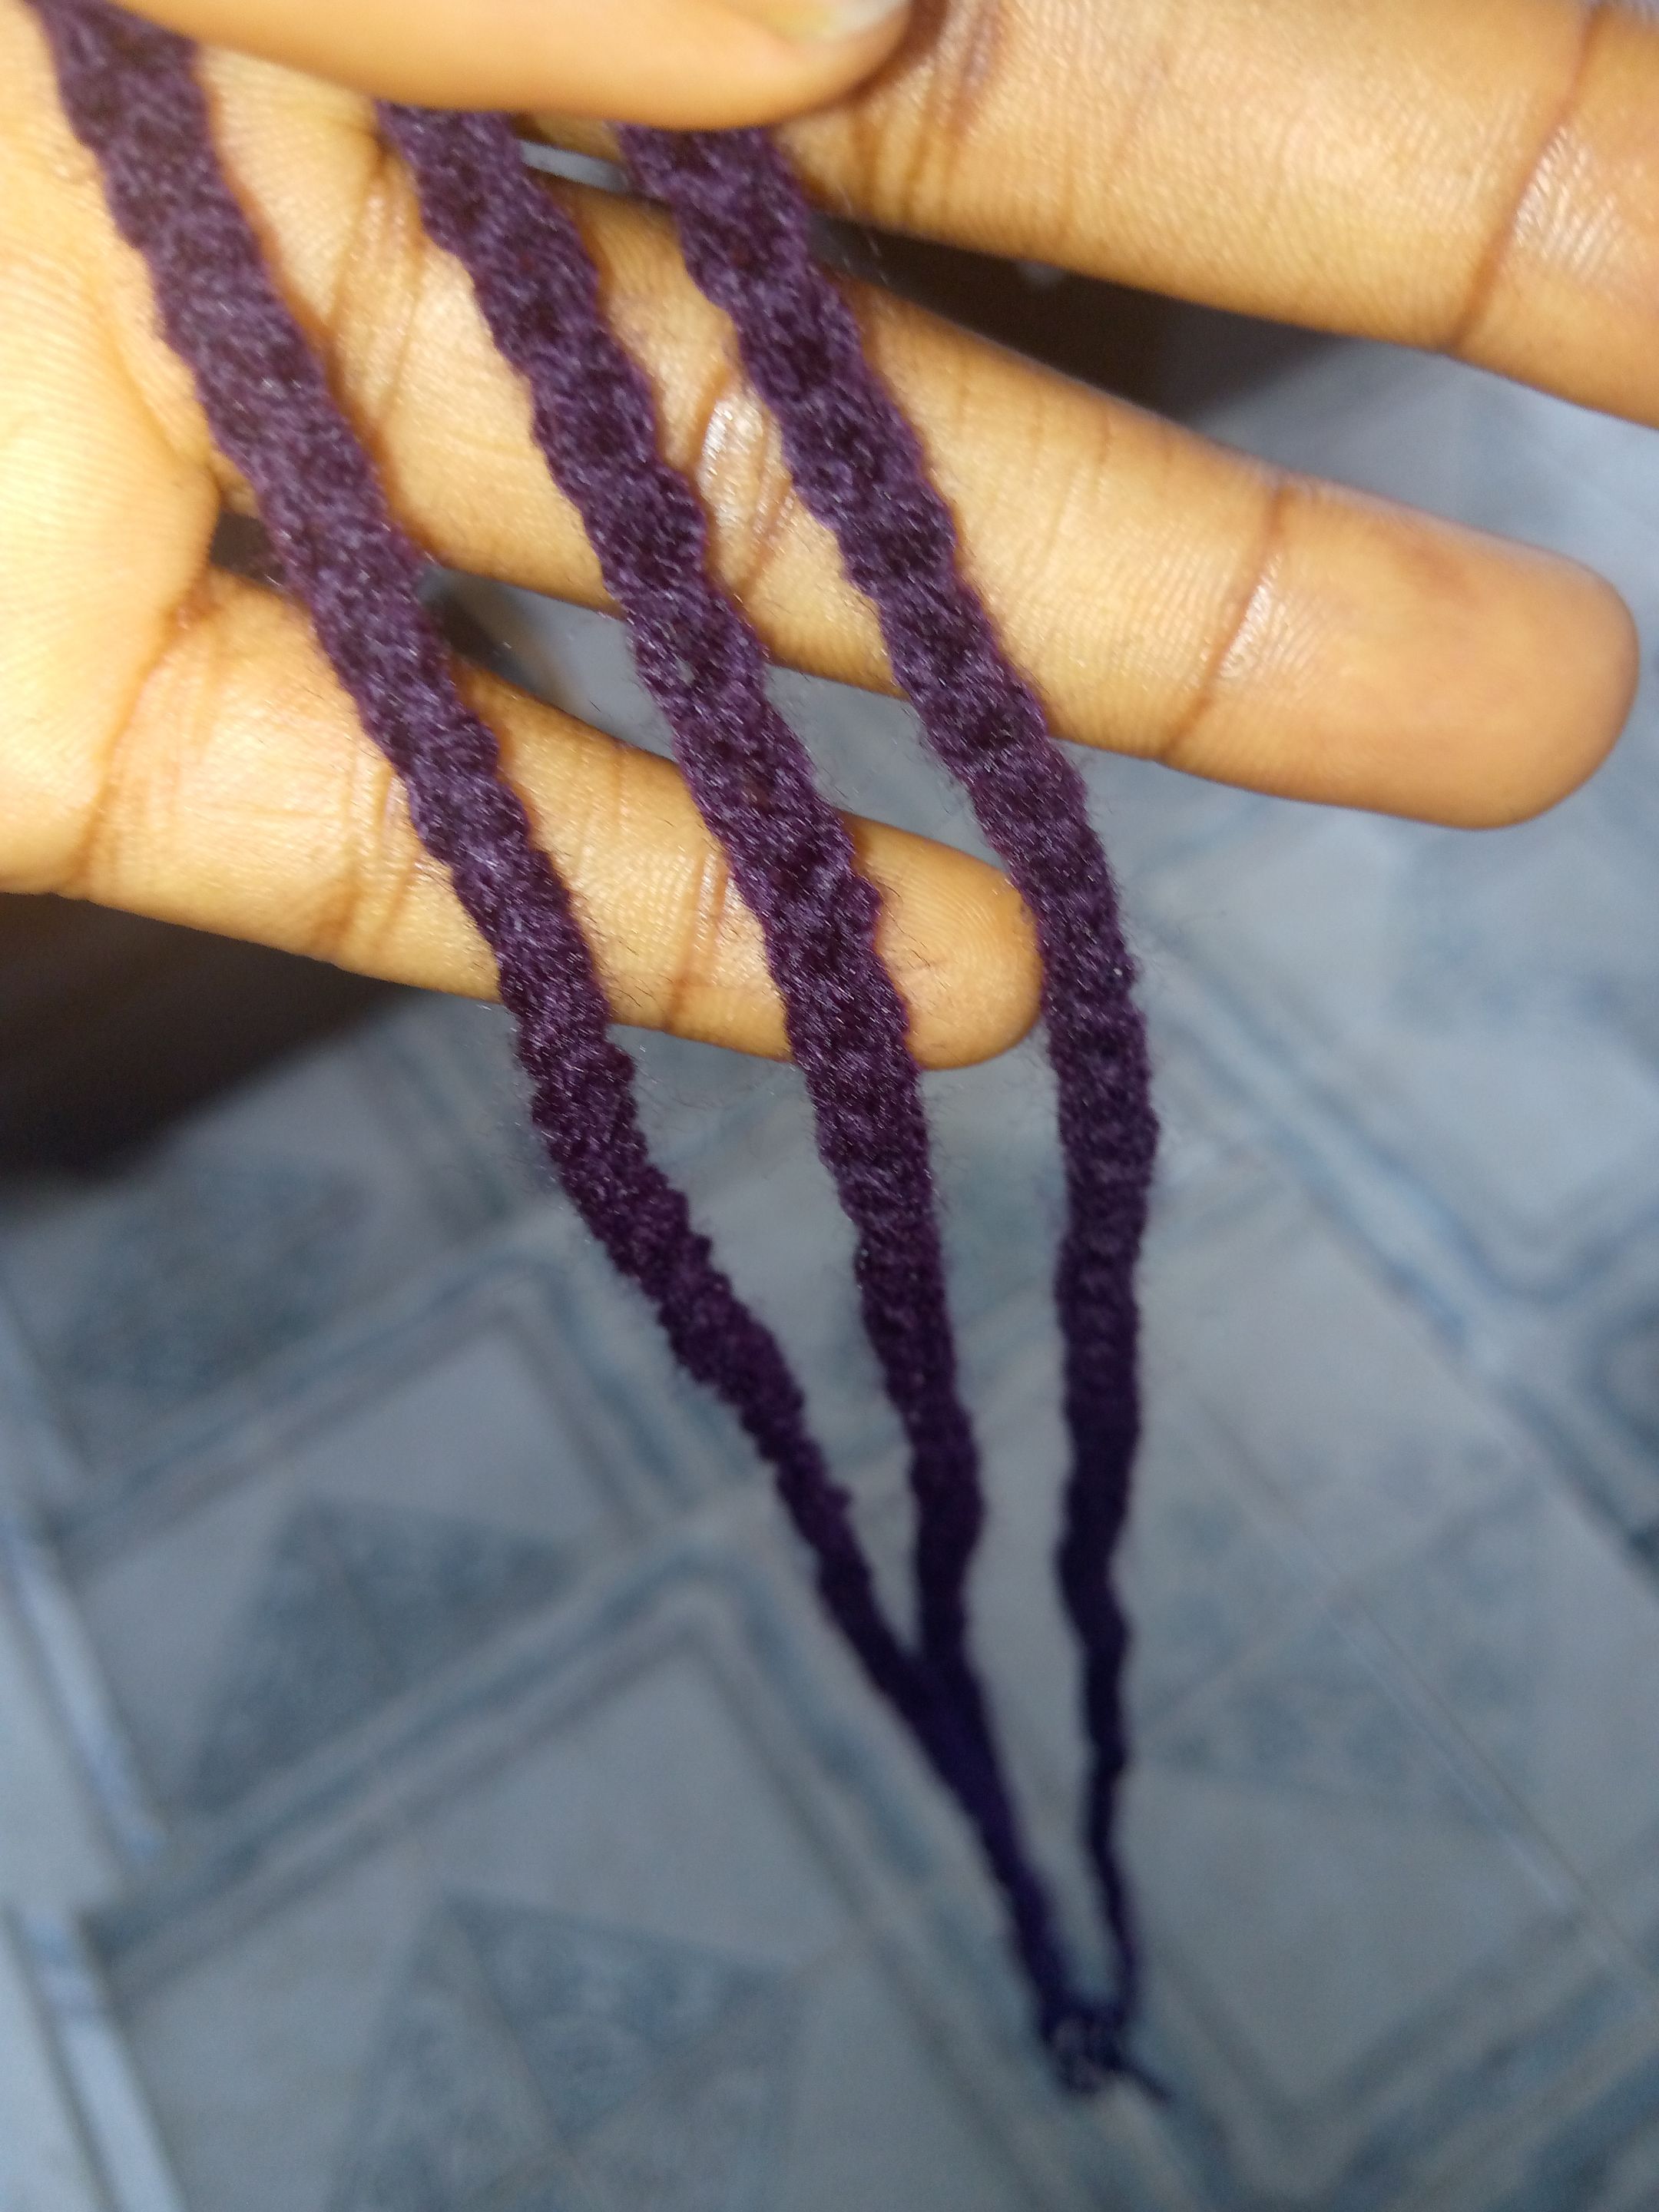
Once I got three long chains, I braided them together like a hairdresser would. I wanted to try something different with the hand of the dress, this is why I used this method. Have you tried this out or something similar before?
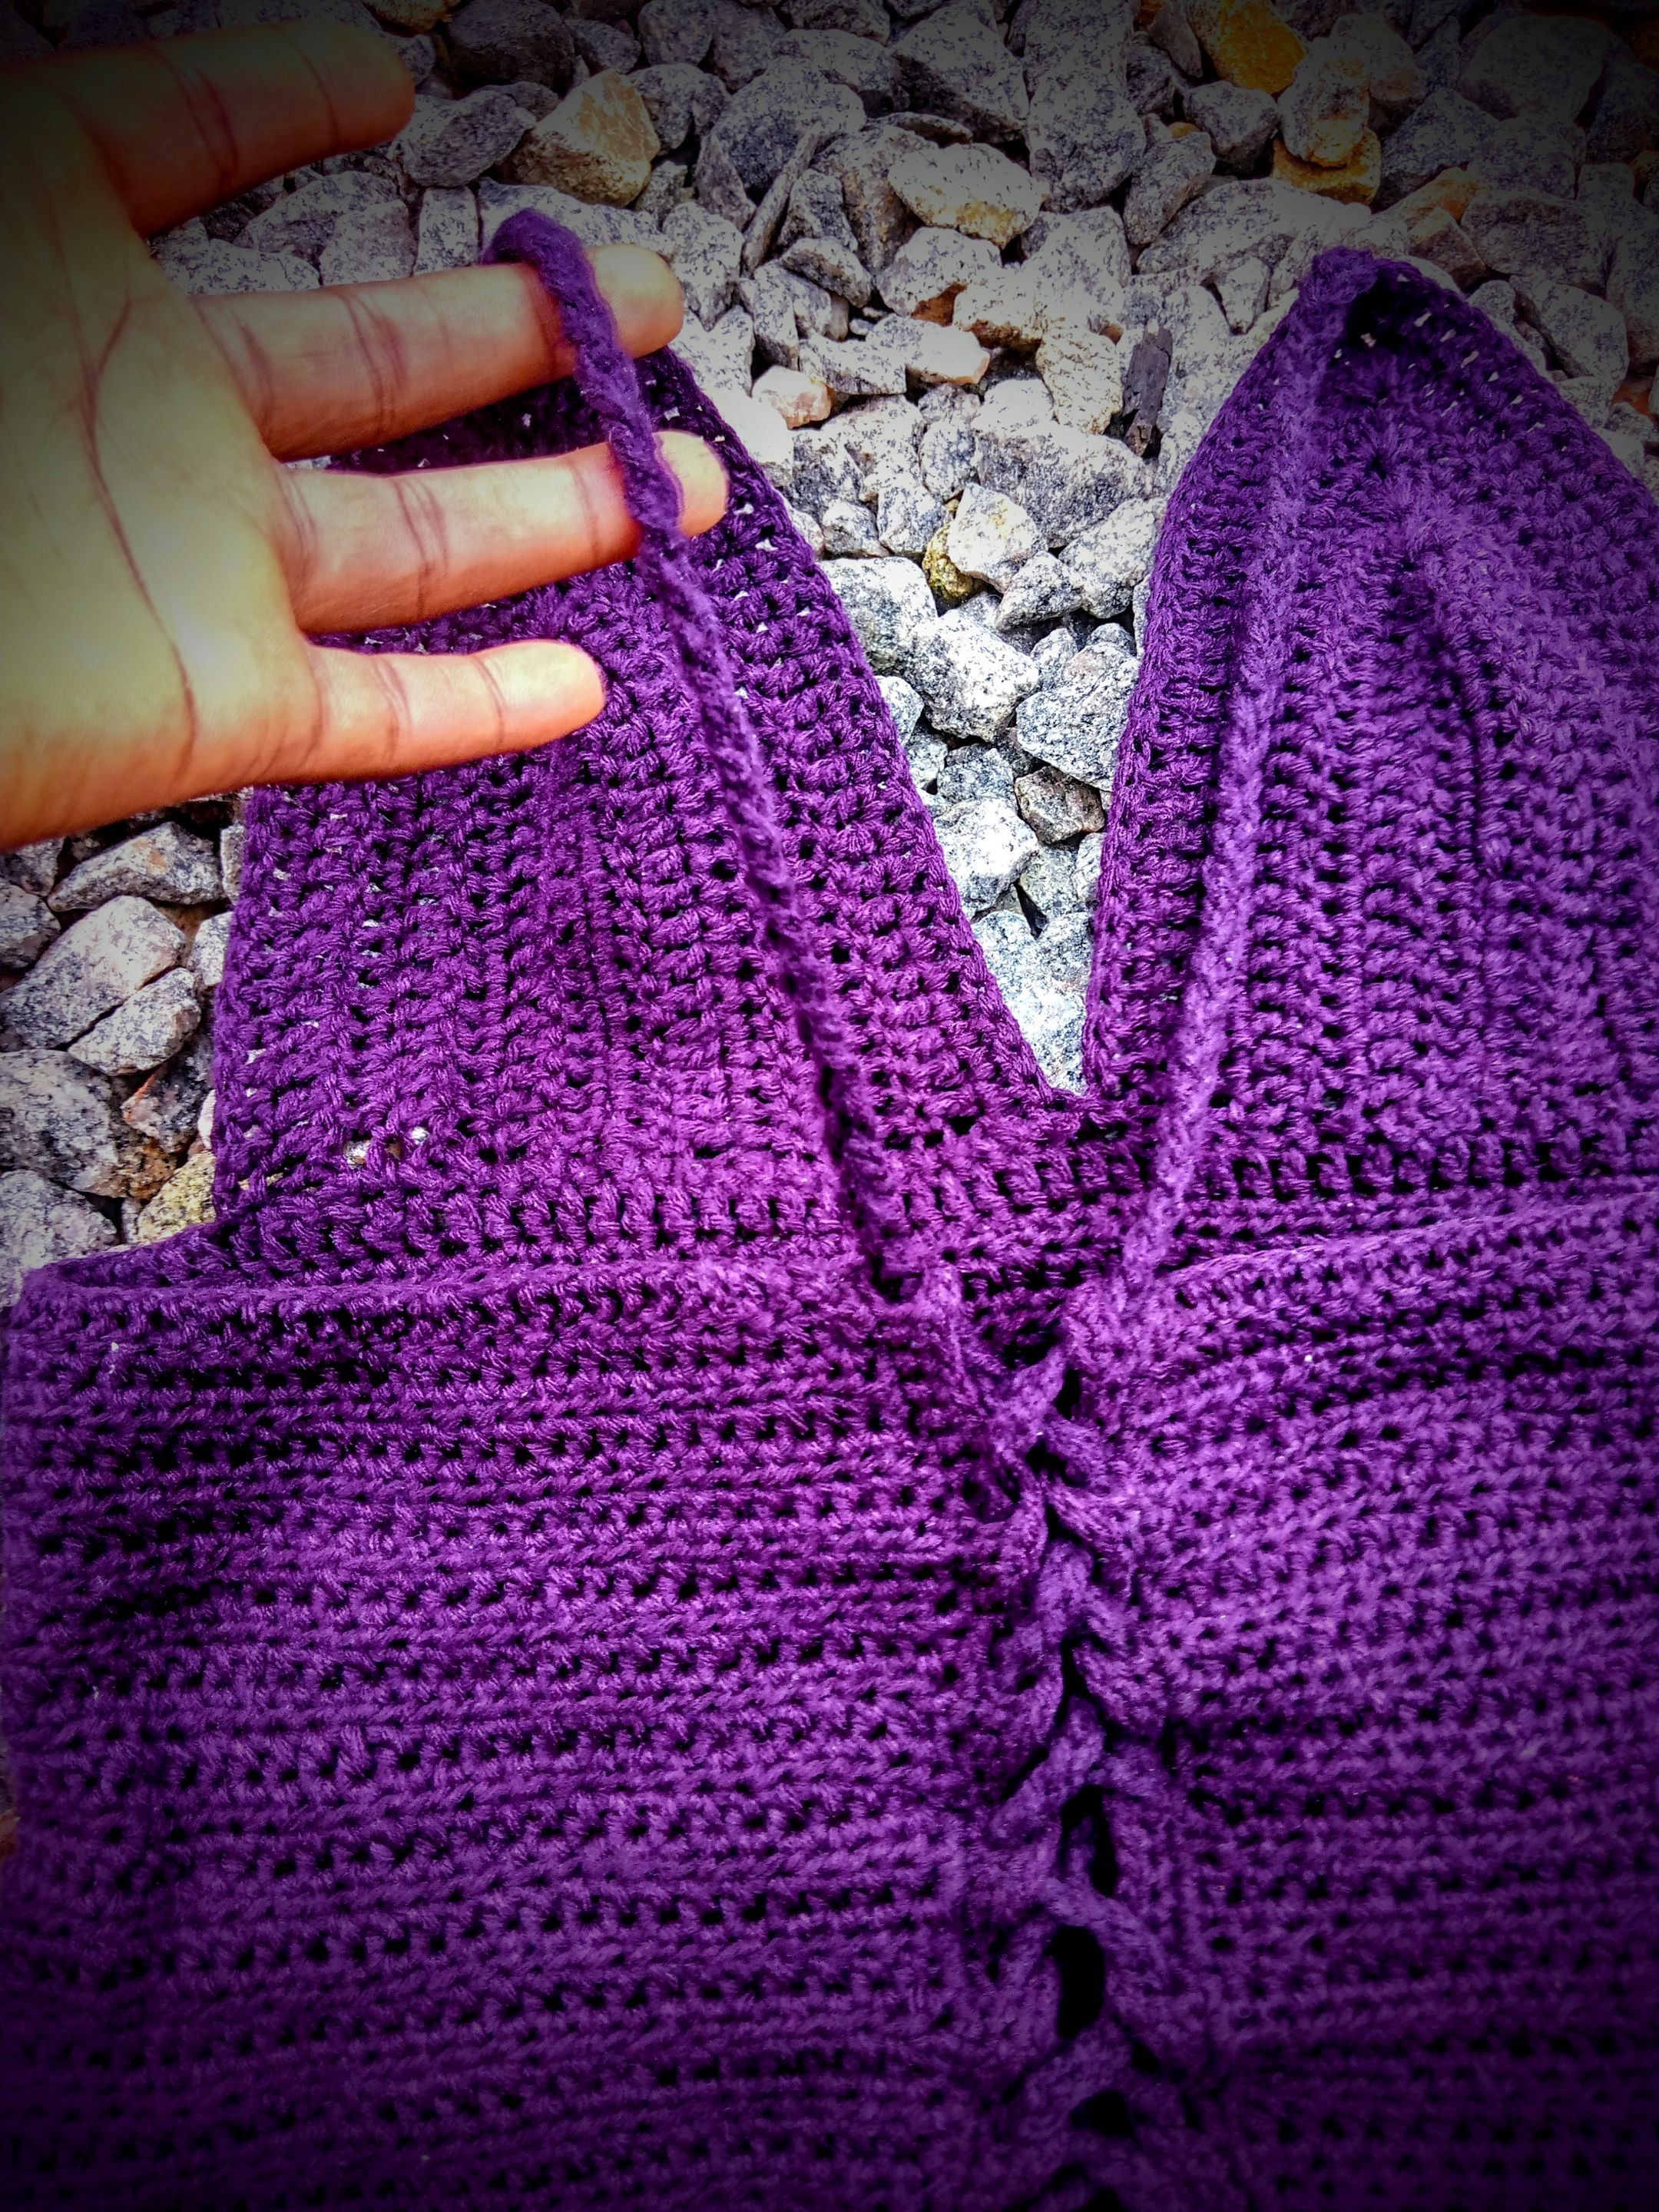
I repeated the same thing for the second part of the dress.
The next thing I did was create loop holes through which I would pass the ropes.the loops were made using half double crochet stitches as well.
The final thing I did was sew in my loose ends. Surprisingly, I worked over many loose ends during the process of making the dress, which made this final step a lot more easier.
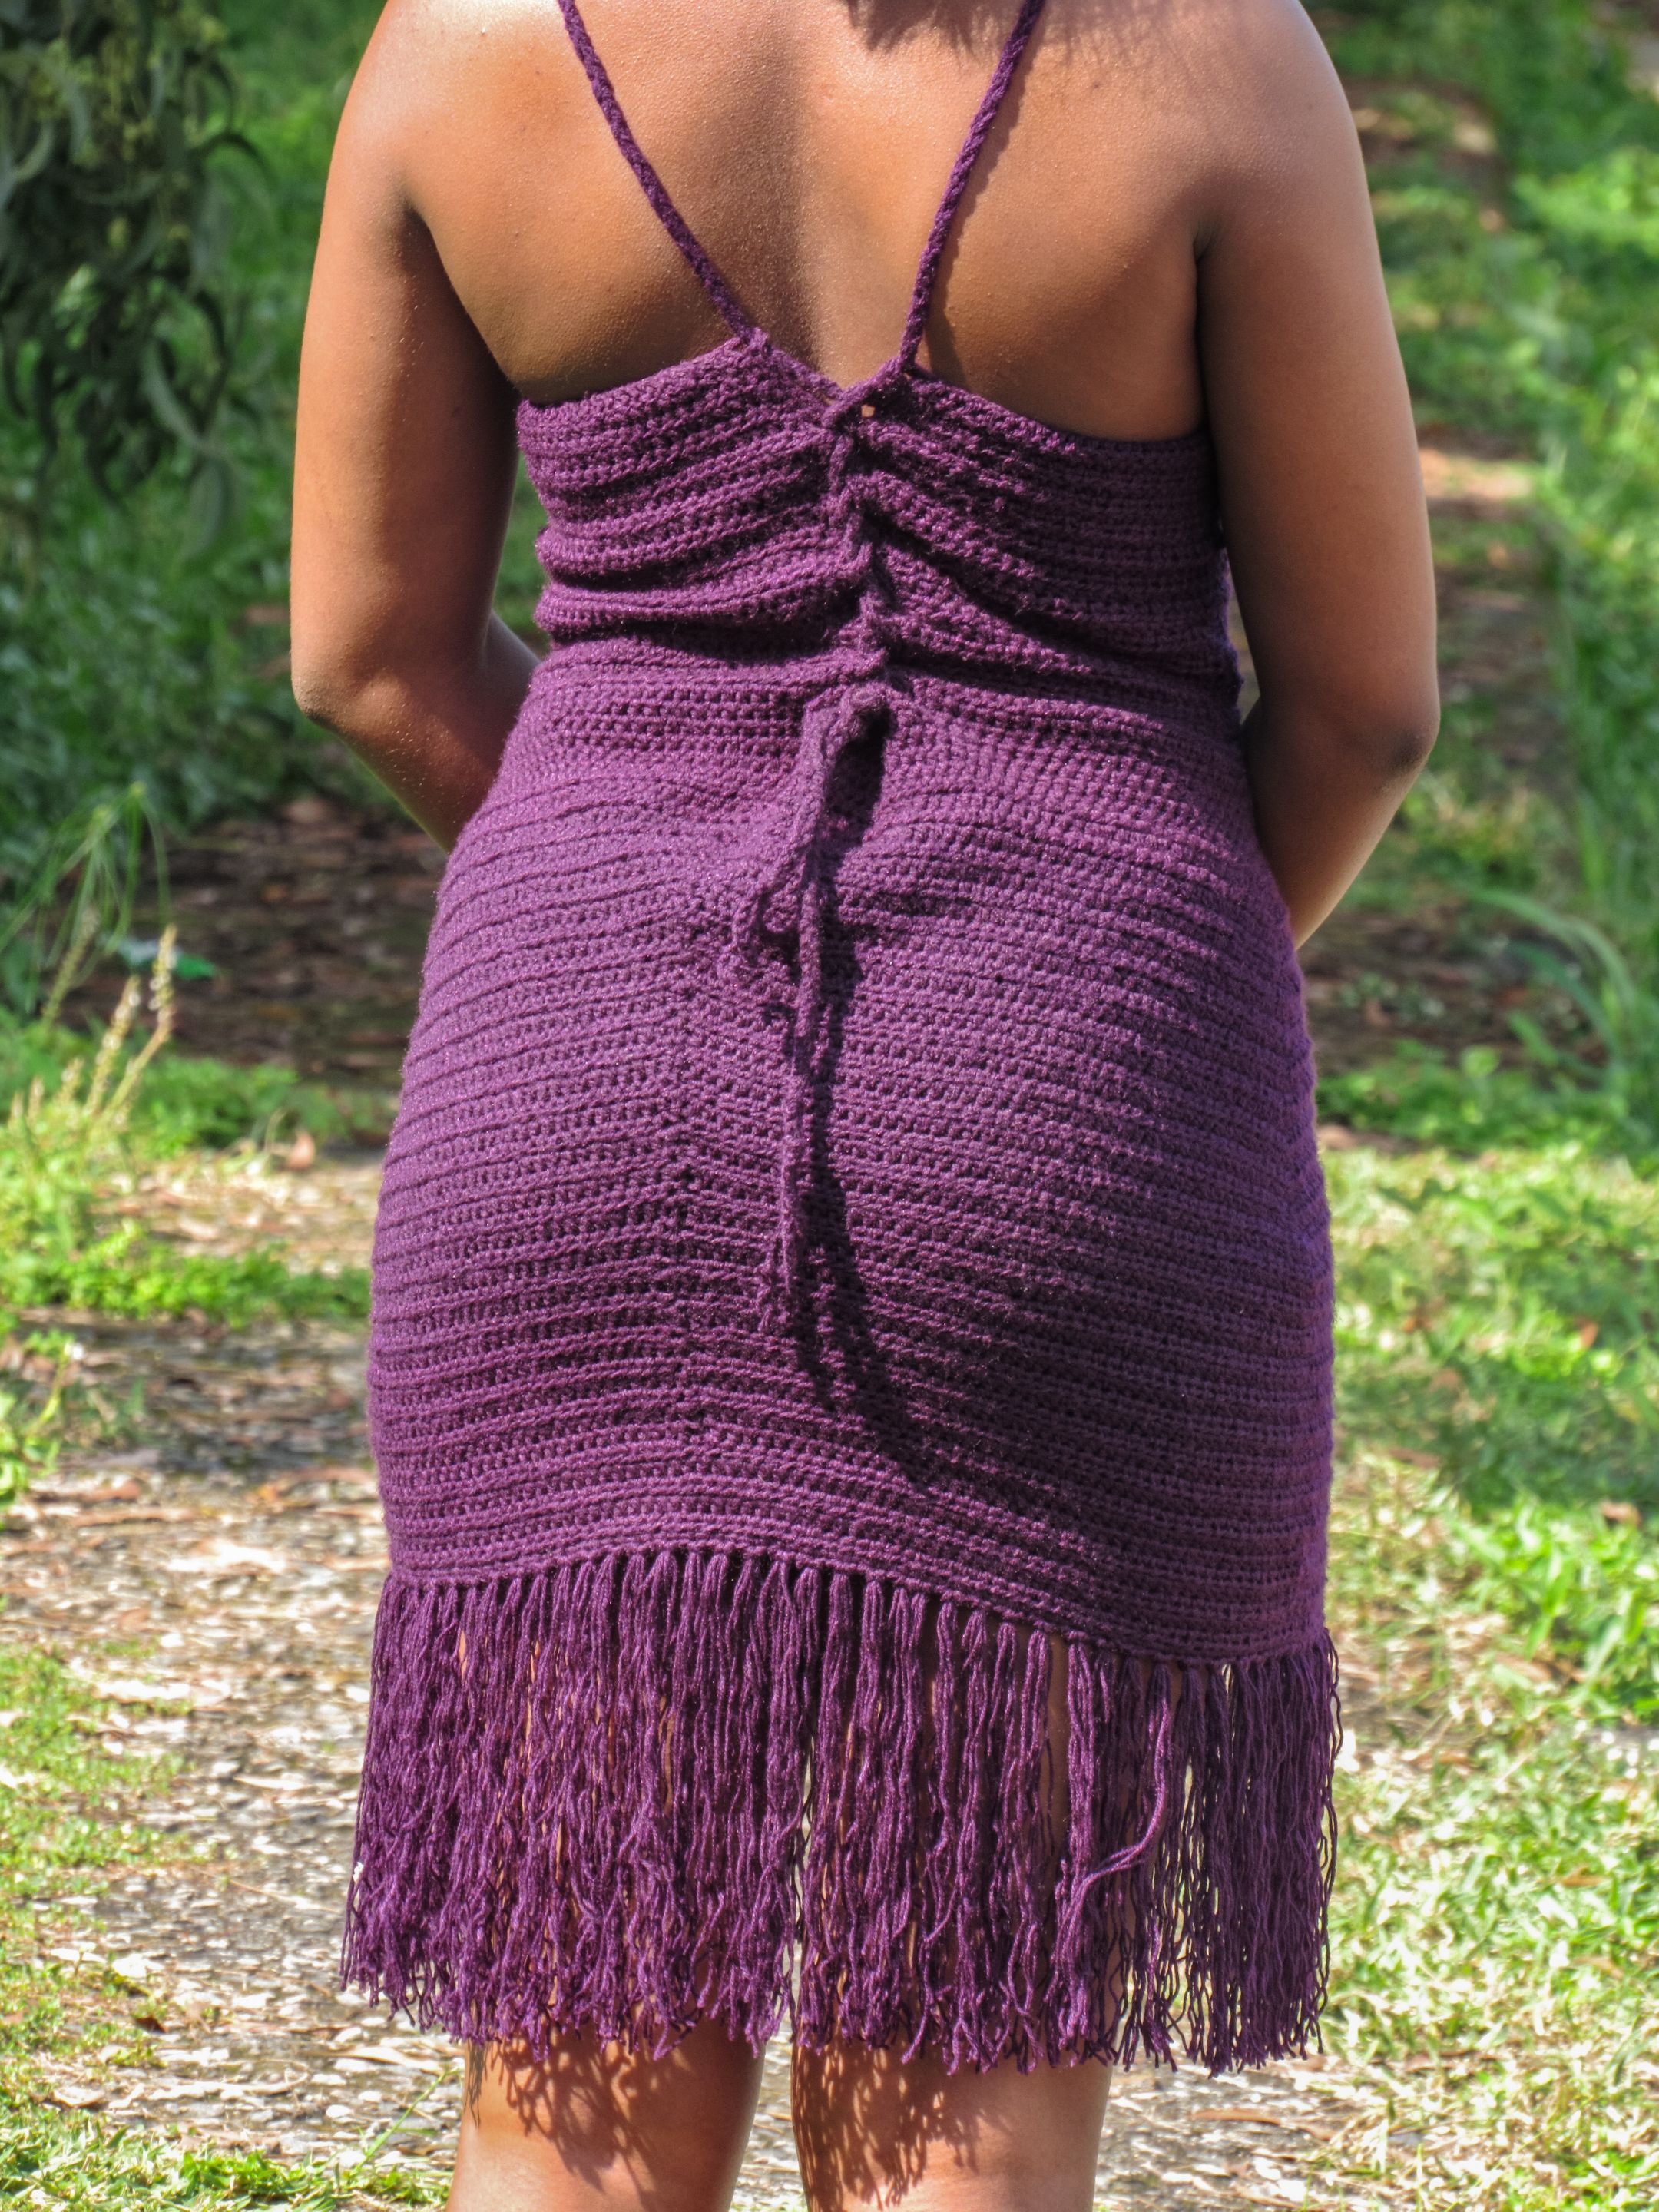
With that, I was done with the dress. And yes, I wore it the same day by dusk for the fashion show. The fashion show was an interesting one but the compliments I got for the dress were even more interesting.
All images used belong to me except stated otherwise.
Love🤍