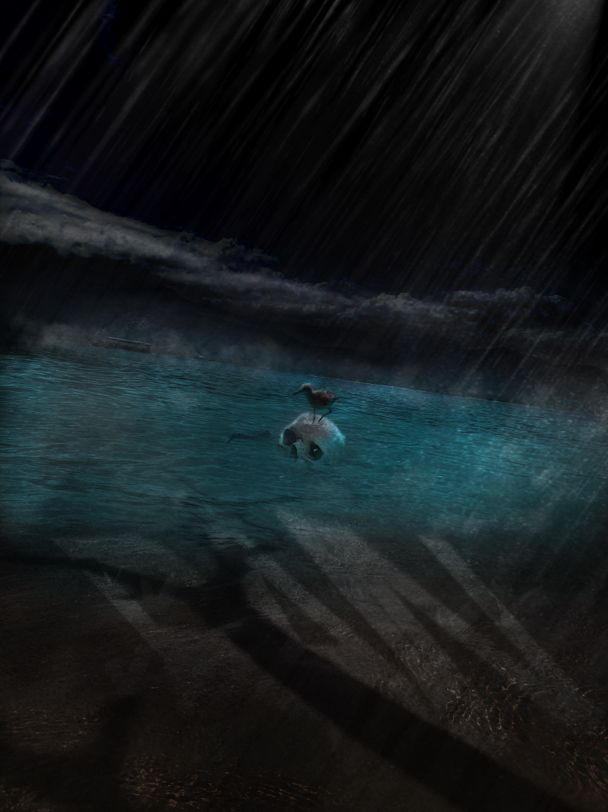
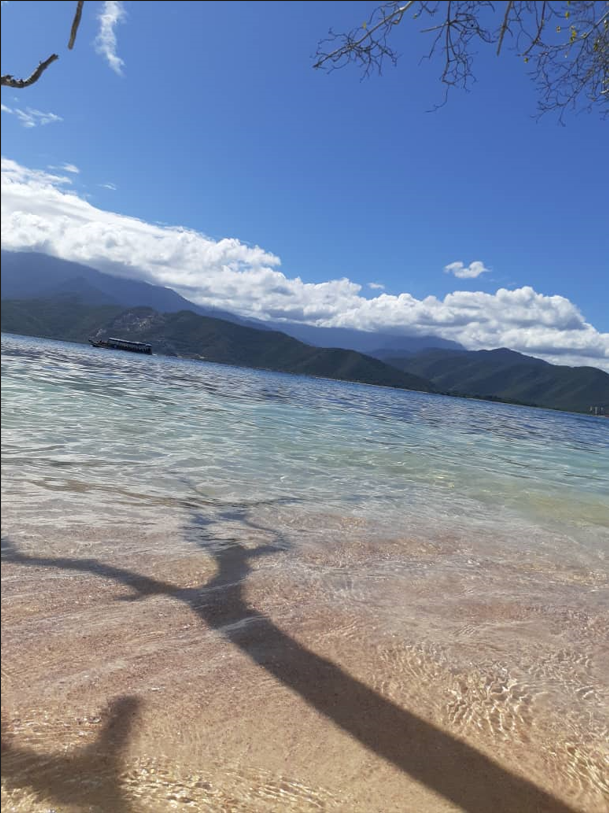
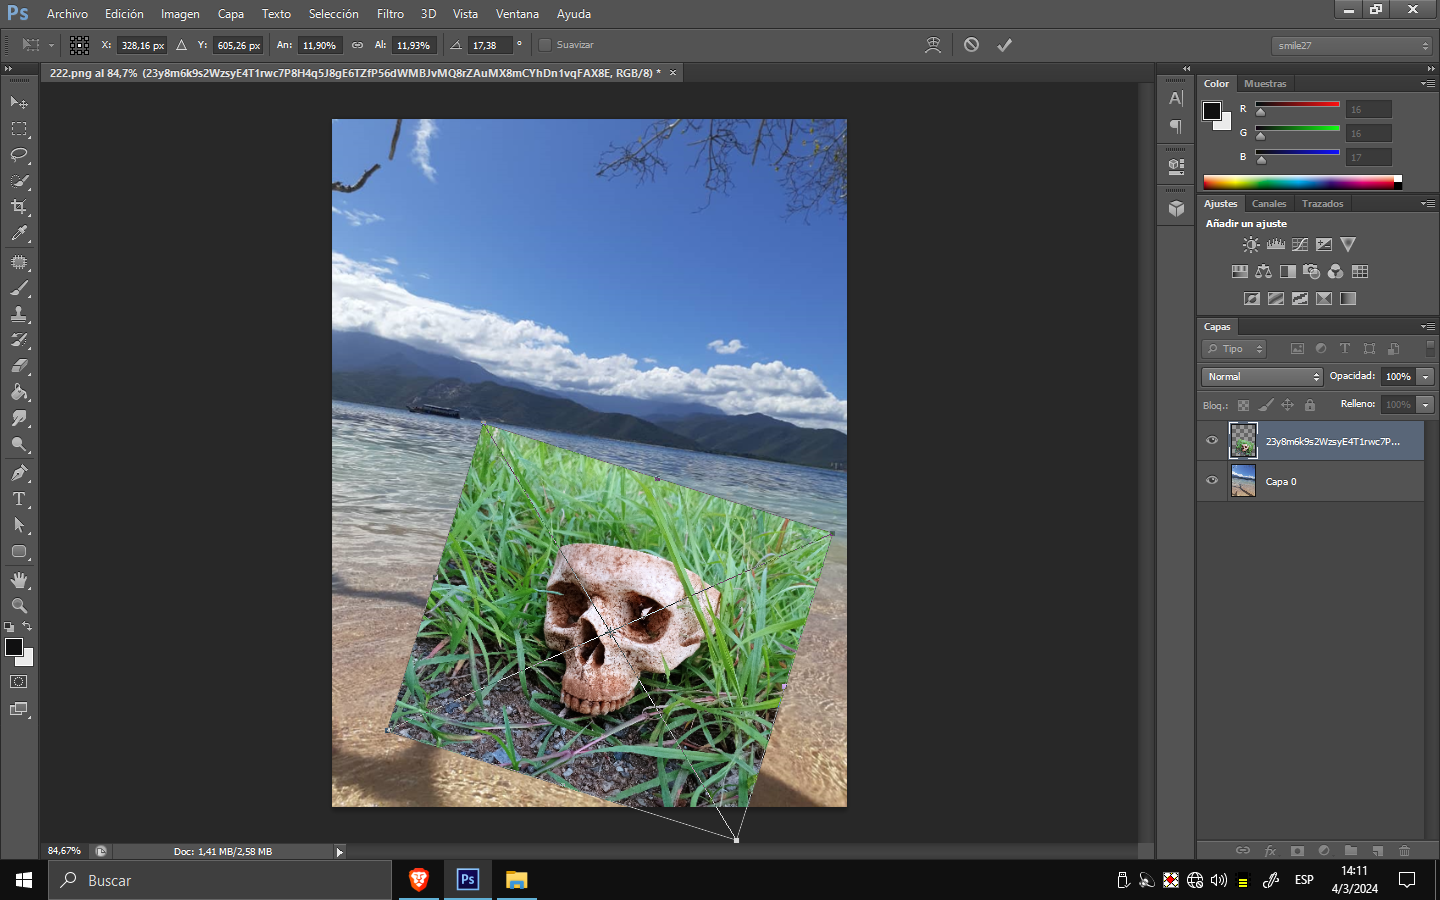
Hello LMAC community! Today I'm back with a new design, using the utility of your gallery and sharing it with you. This time, the image is composed of three elements: a bird, a skull, and the background image. Let's start by showing you the background image, and then I'll describe the design process that led to the first image.
¡Hola comunidad de LMAC! Hoy estoy de vuelta con un nuevo diseño, utilizando la utilidad de su galería y compartiéndolo con ustedes. En esta ocasión, la imagen se compone de tres elementos: un pájaro, un cráneo y la imagen de fondo. Empecemos mostrándoles la imagen de fondo y luego pasaré a describir el proceso del diseño, el cual dio como resultado la primera imagen.
background
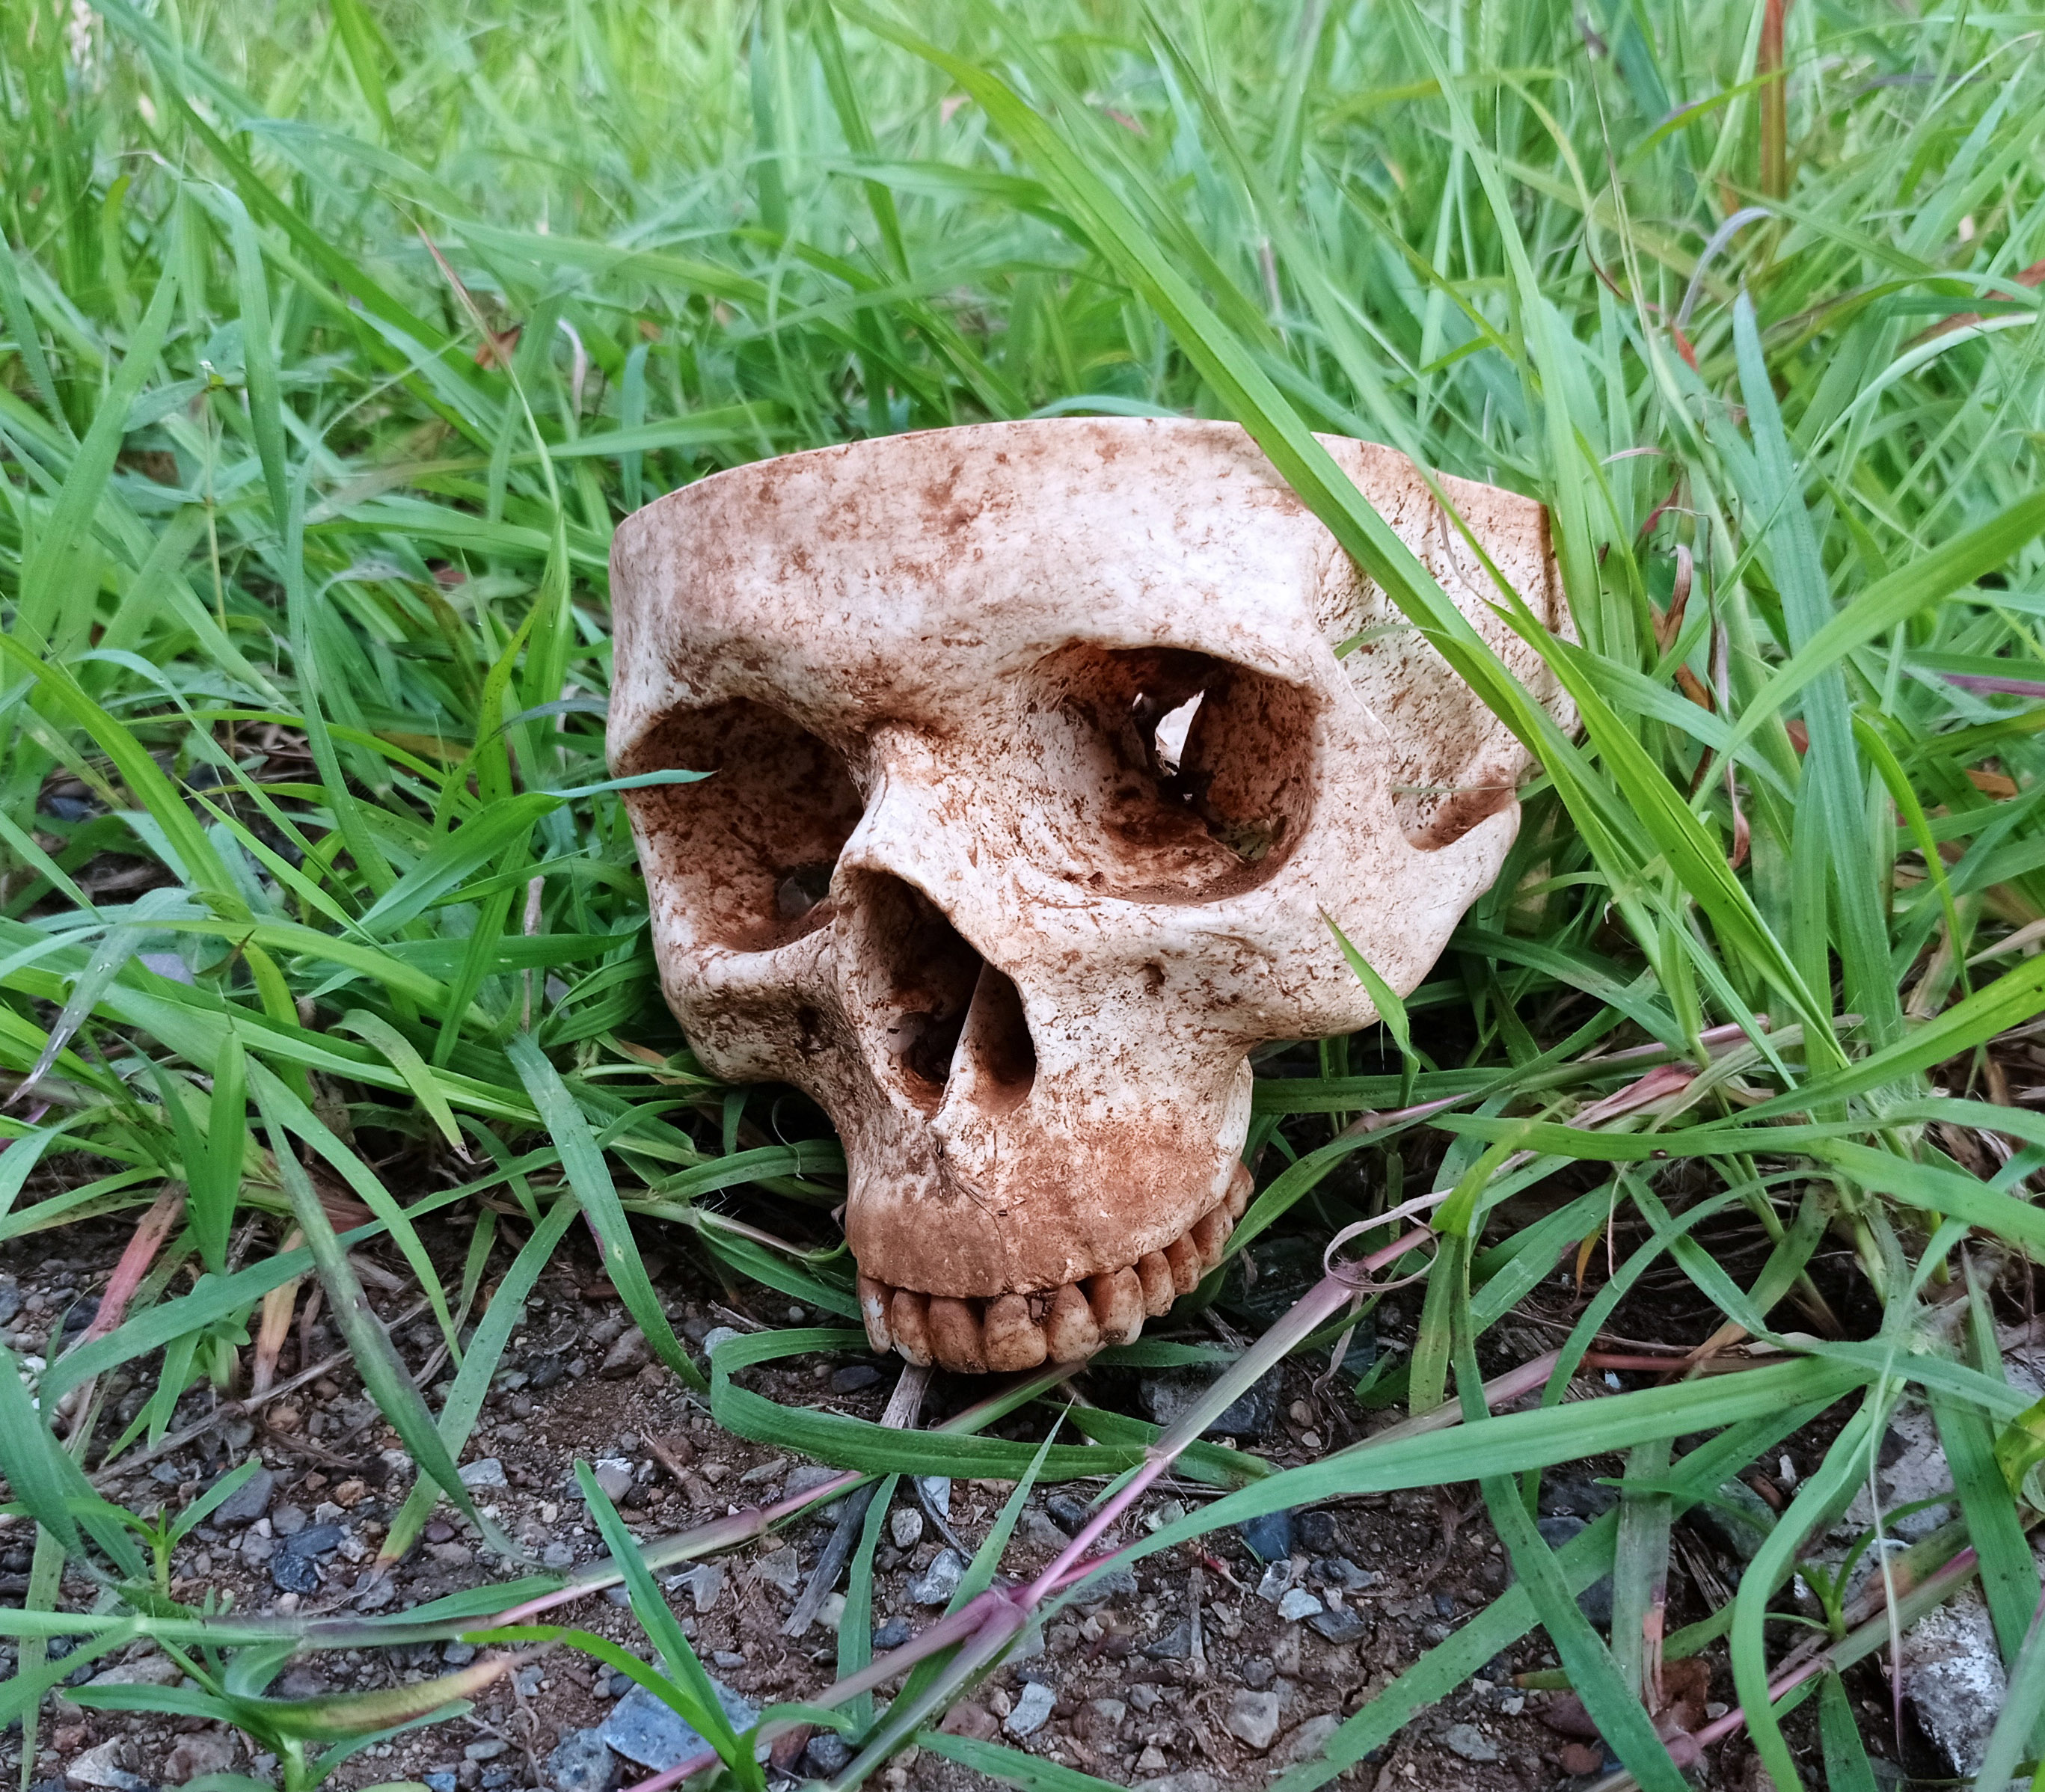
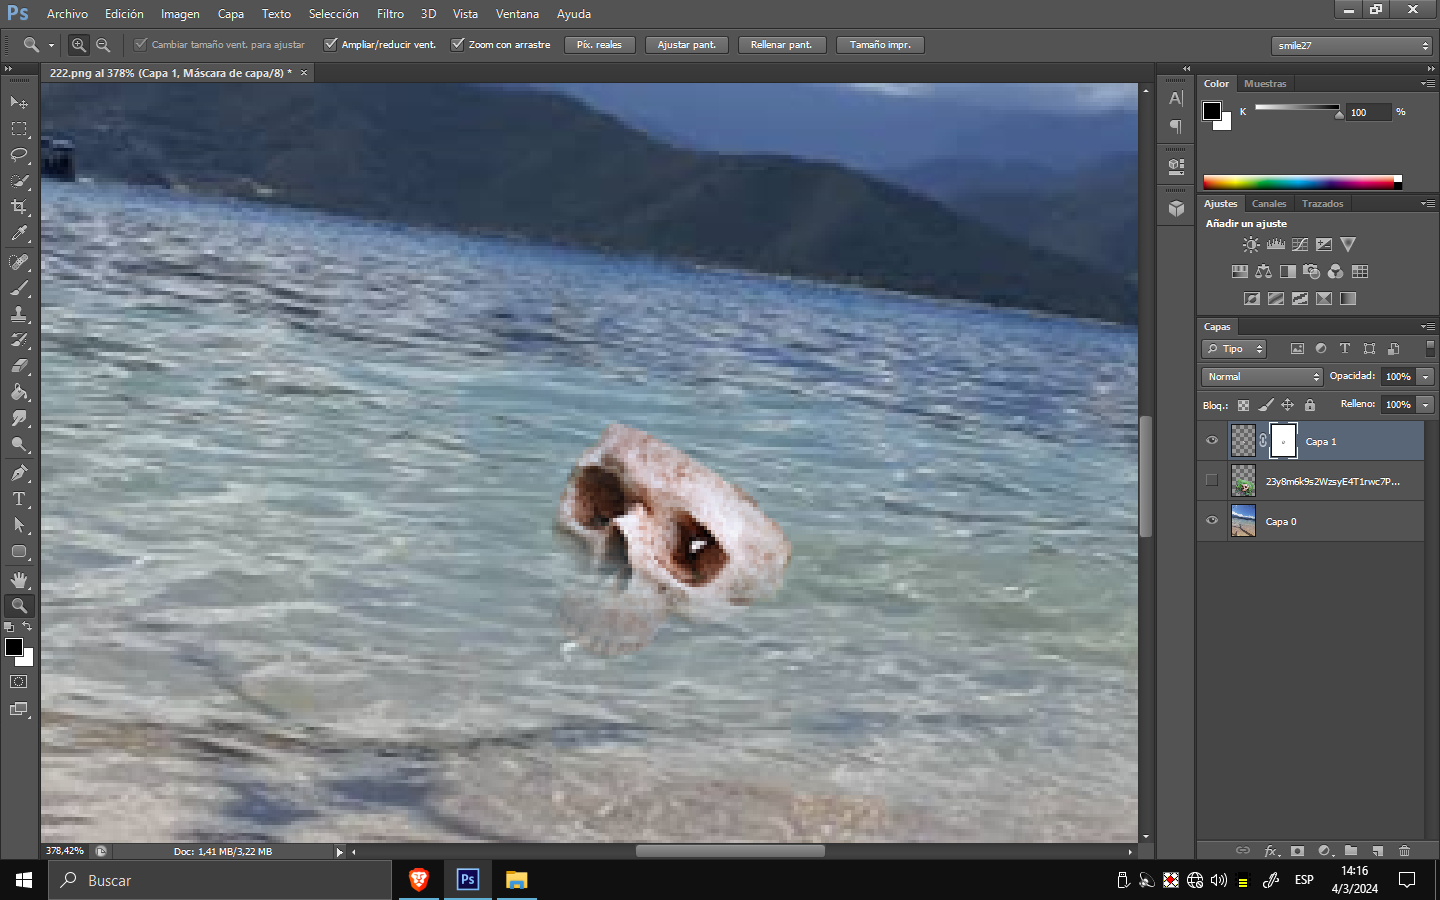
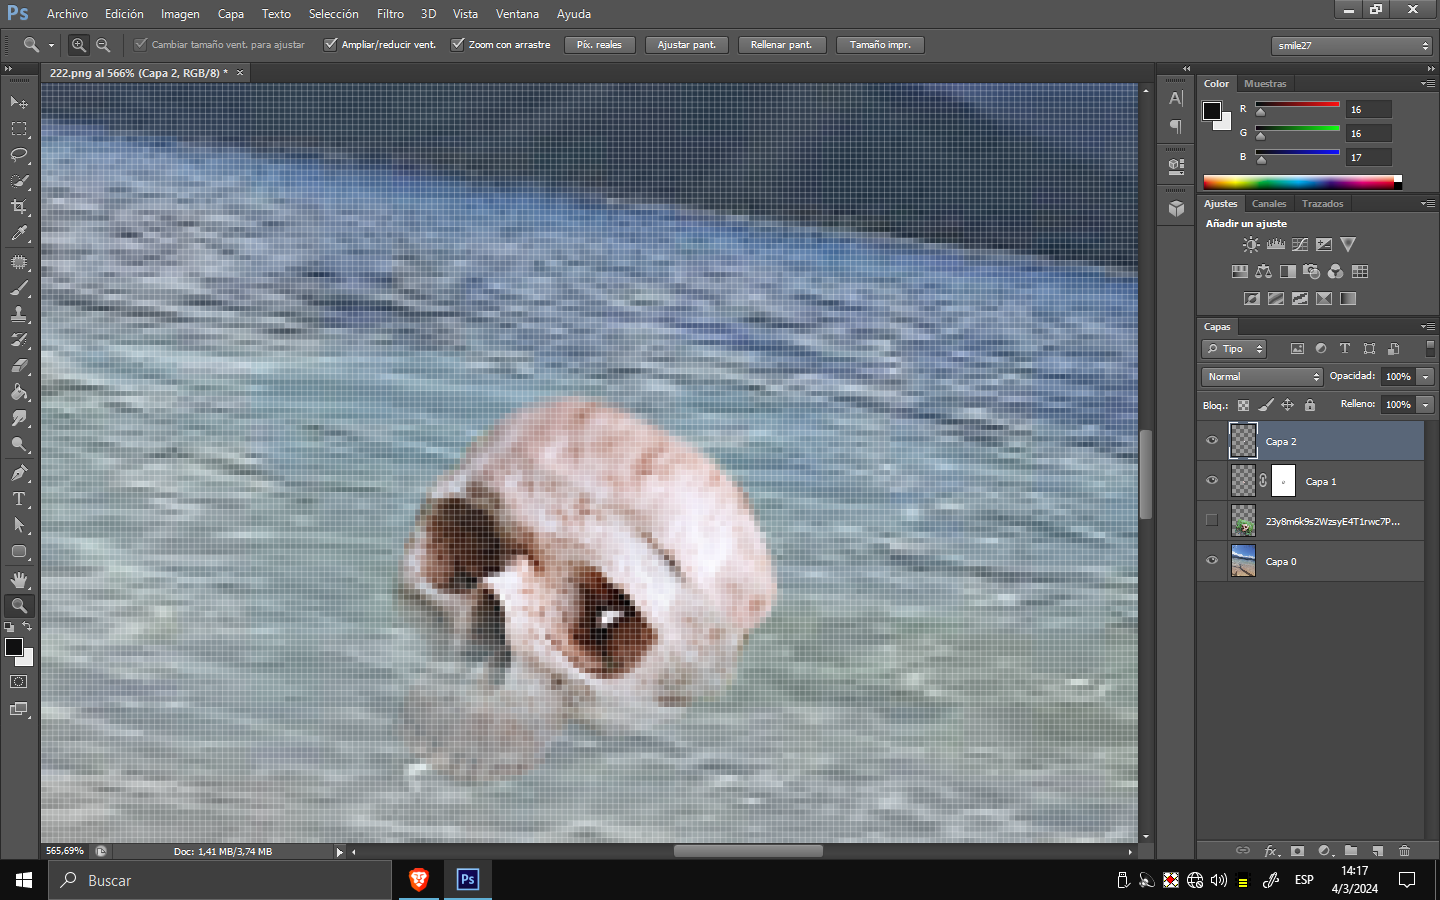
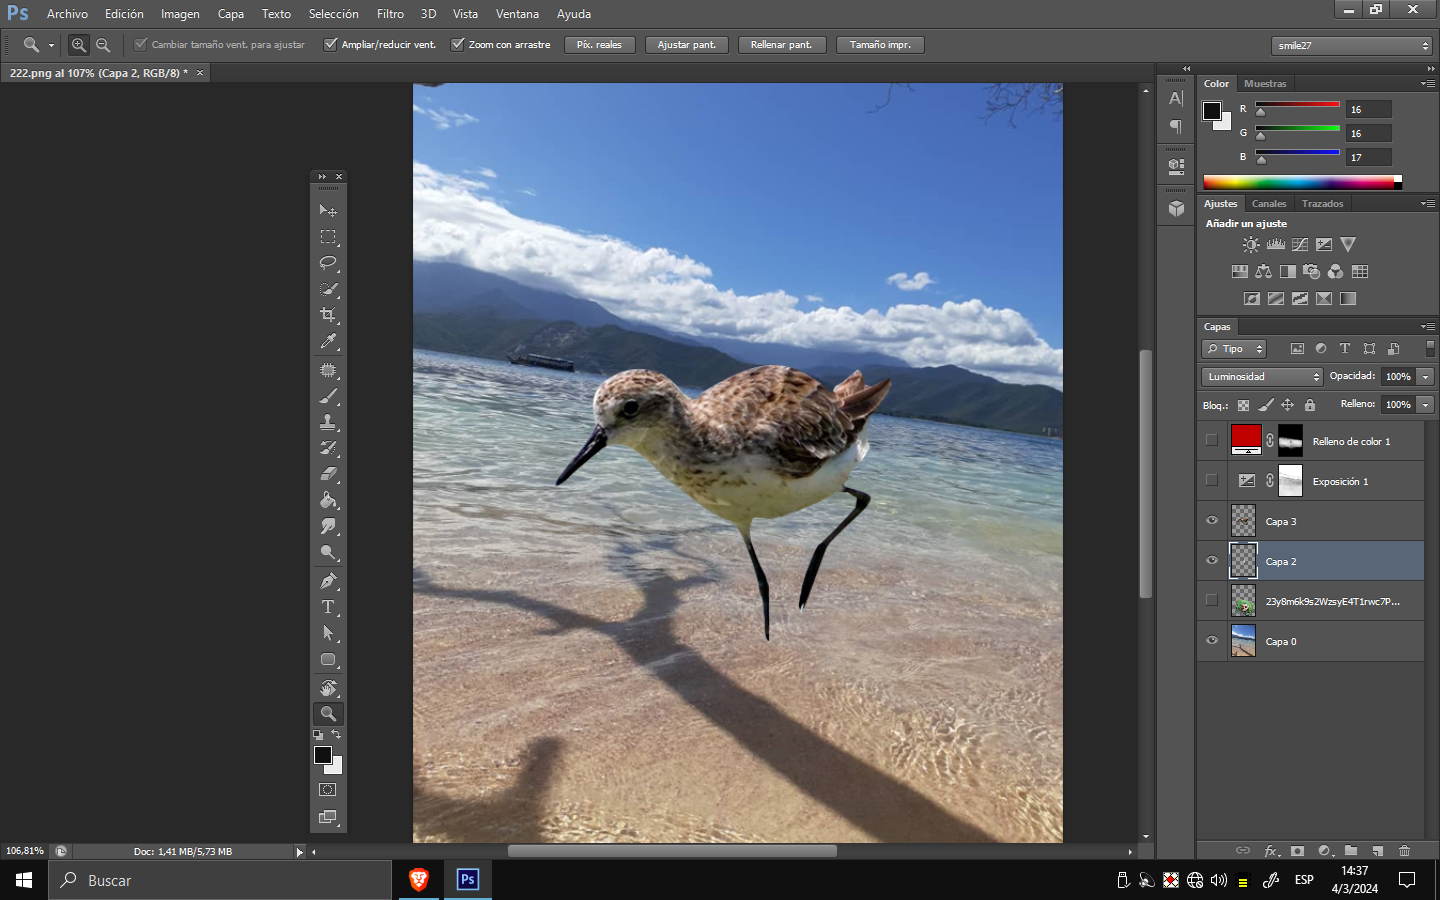
First, I started by cutting out the skull and placing it over the water. I used a layer mask to remove part of the bottom and blend it with the water. Then, I copied parts of the skull to complete the upper section before placing the bird.
Primero, comencé recortando el cráneo y colocándolo sobre el agua. Utilicé una máscara de capa para eliminar parte de la parte inferior y fusionarlo con el agua. Luego, copié partes del cráneo para terminar de formar la parte superior antes de colocar al pájaro.
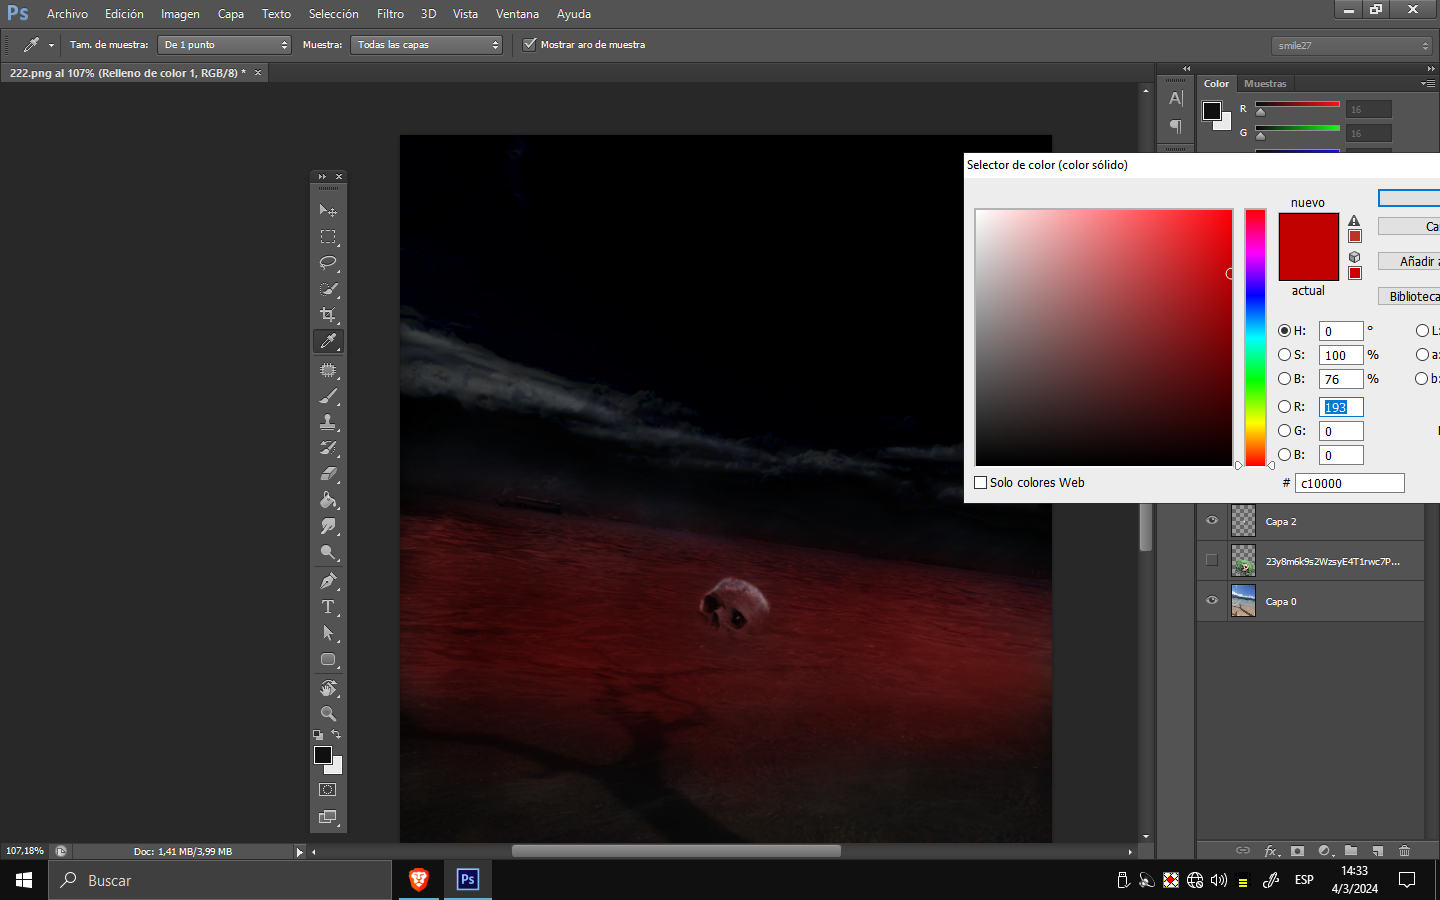
To simulate the water, I applied a uniform color, in this case, red. By inverting the layer mask, it allowed me to paint the area where I wanted the selected color to be used. After experimenting with various colors to find a well-contrasted option, I settled on blue.
Para simular el agua, apliqué un color uniforme, en este caso, rojo. Al invertir la máscara de capa, me permitió pintar la zona donde quería que se utilizara el color seleccionado. Después de experimentar con varios colores para encontrar una opción bien contrastada, me decidí por el azul.
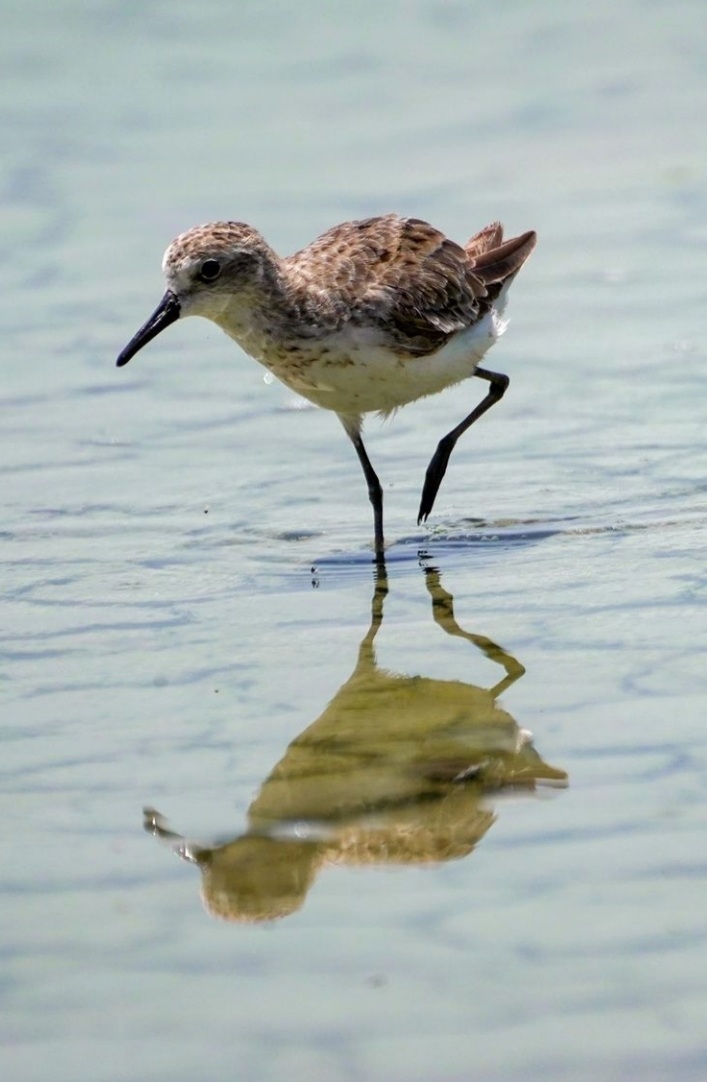
For the bird, it was the same situation: cutting, darkening certain areas with exposure, and giving it that night reflection, accompanied by the other layers. An extra layer was also created to simulate the shadow on the water.
Para el pájaro, fue la misma situación: recortar, oscurecer ciertas zonas con exposición y darle ese reflejo nocturno, acompañado de las otras capas. También se creó una capa adicional para simular la sombra sobre el agua.
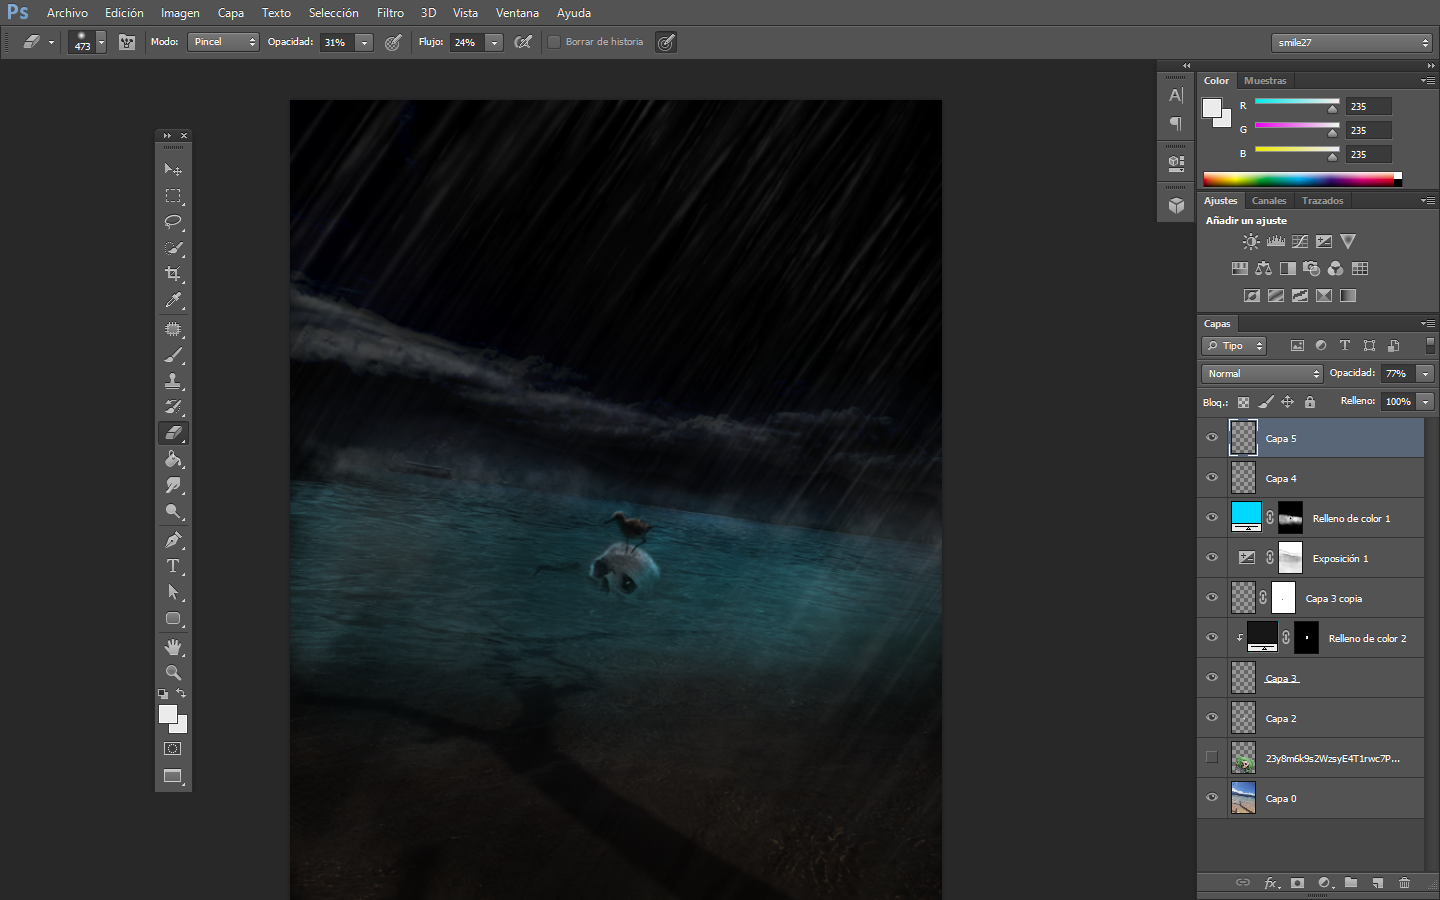
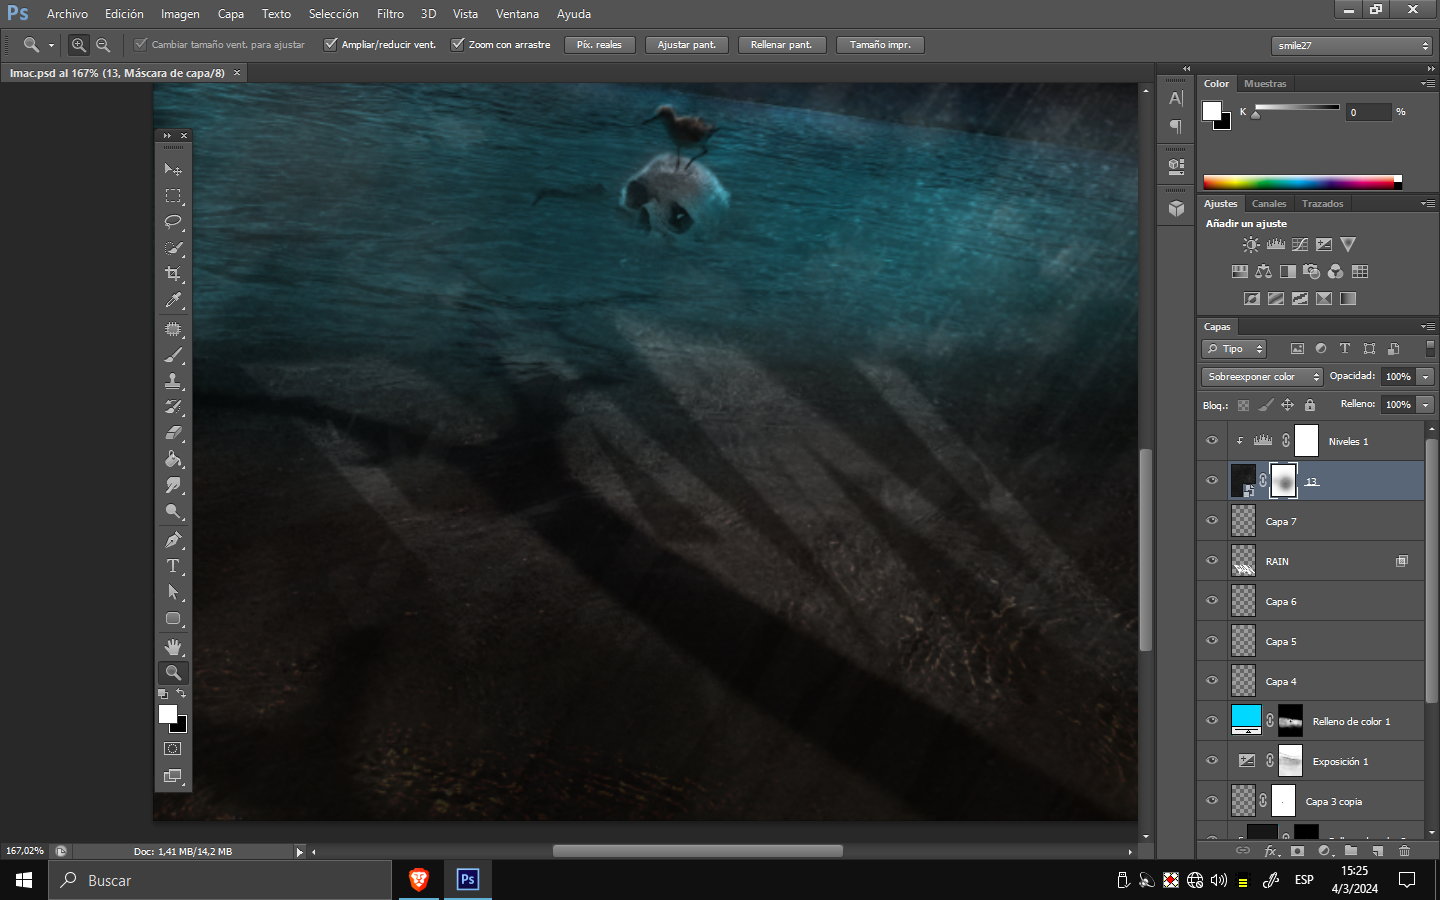
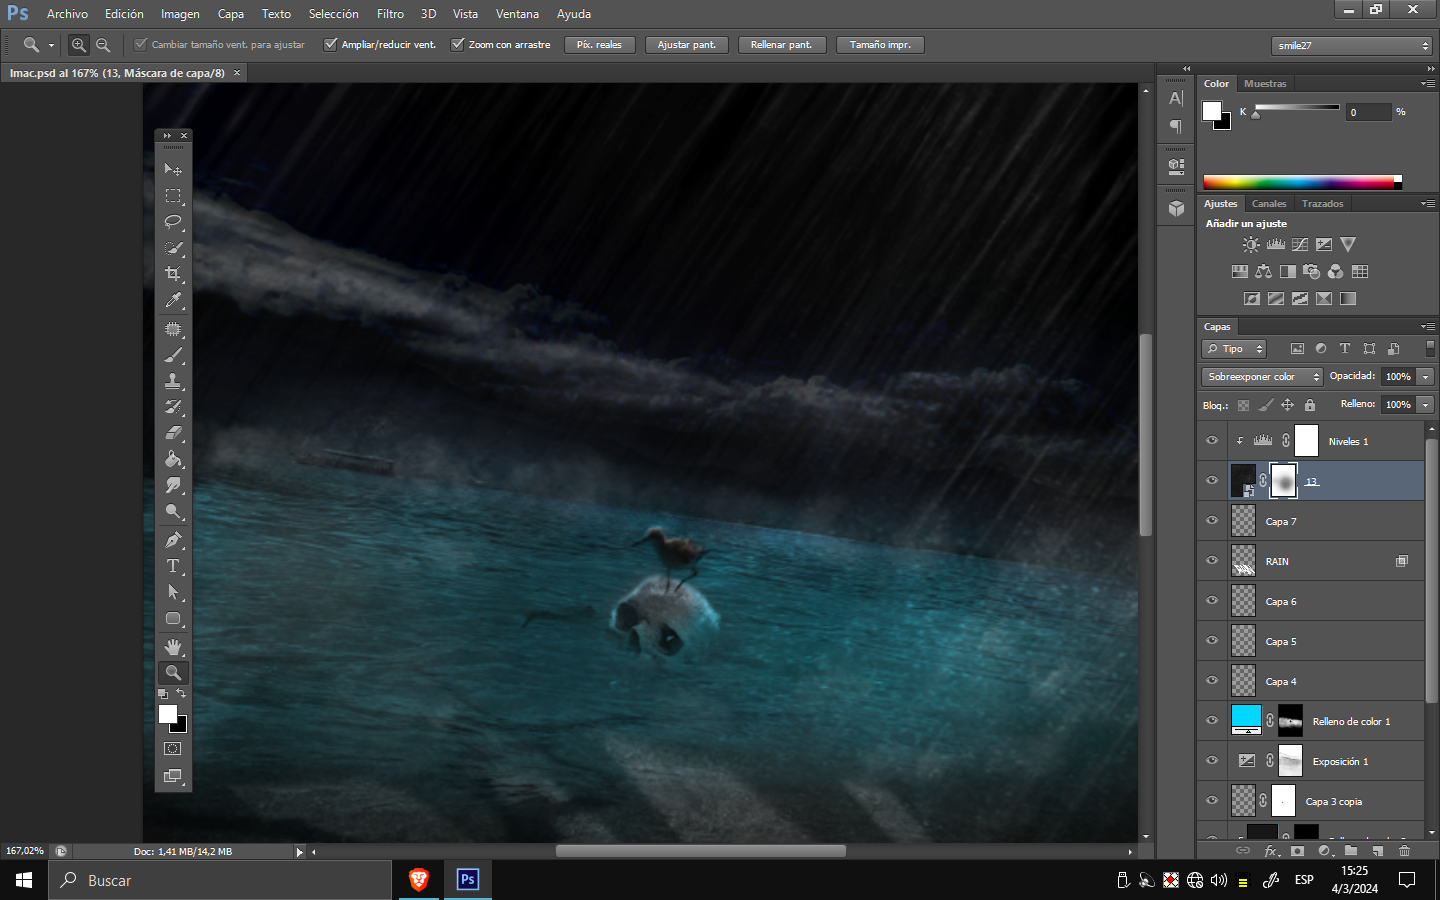
To finish, I used a fog and rain brush to create a storm effect, complemented by the title "RAIN". I chose a wide font and adjusted it to the beach perspective. Applying fusion properties with the layers below allowed for better integration. I hope you enjoyed this free session, and we'll see you in another post.
Para finalizar, utilicé un pincel de niebla y lluvia para simular un efecto de tormenta. Acompañé esto con el título "RAIN", utilizando una tipografía ancha y ajustándola a la perspectiva de la playa. Aplicando propiedades de fusión con las capas inferiores, logré una integración más efectiva. Espero que hayas disfrutado de esta sesión libre y nos veremos en otro post.

images used