Hello friends and food lovers! I hope you are all doing very well. 😊
Today, I am back to share a new recipe to make you travel! ✈️ That of Chili Con Carne. It is a dish that comes from Texas in the United States, but is also eaten in Mexico. 🌍
There are a multitude of Chili Con Carne recipes, and as usual, I mixed several recipes a little so that the dish corresponds 100% to my desires. So, I will share with you how I prepared a good Chili for 4 people.
You will see, it is not very complicated to make, you just have to add the right ingredients at the right time. However, it is a dish that requires a little time, because it must simmer for about 40 minutes.
I am sure you will love the flavors of this dish!
Here is the recipe for 4 people 👇
Ingredients

- 450 grams of ground beef (or steak that you will crumble);
- 1 onion;
- 2 tomatoes;
- 1 can of 250 grams of red beans;
- 2 cloves of garlic;
- 250 ml of beef broth;
- 1 teaspoon of cumin powder
- 1 teaspoon of paprika
- 1 teaspoon of dried oregano
- 1 teaspoon of green tabasco (jalapeno pepper);
- Salt, pepper.
Preparation steps
Cutting the vegetables
As with almost all my recipes, I started by cutting all the vegetables 👇
First, I cut the onion into small pieces:


Then, I cut the garlic:


And then, the tomatoes into small cubes:


I also crumbled the beef steaks:

Cooking
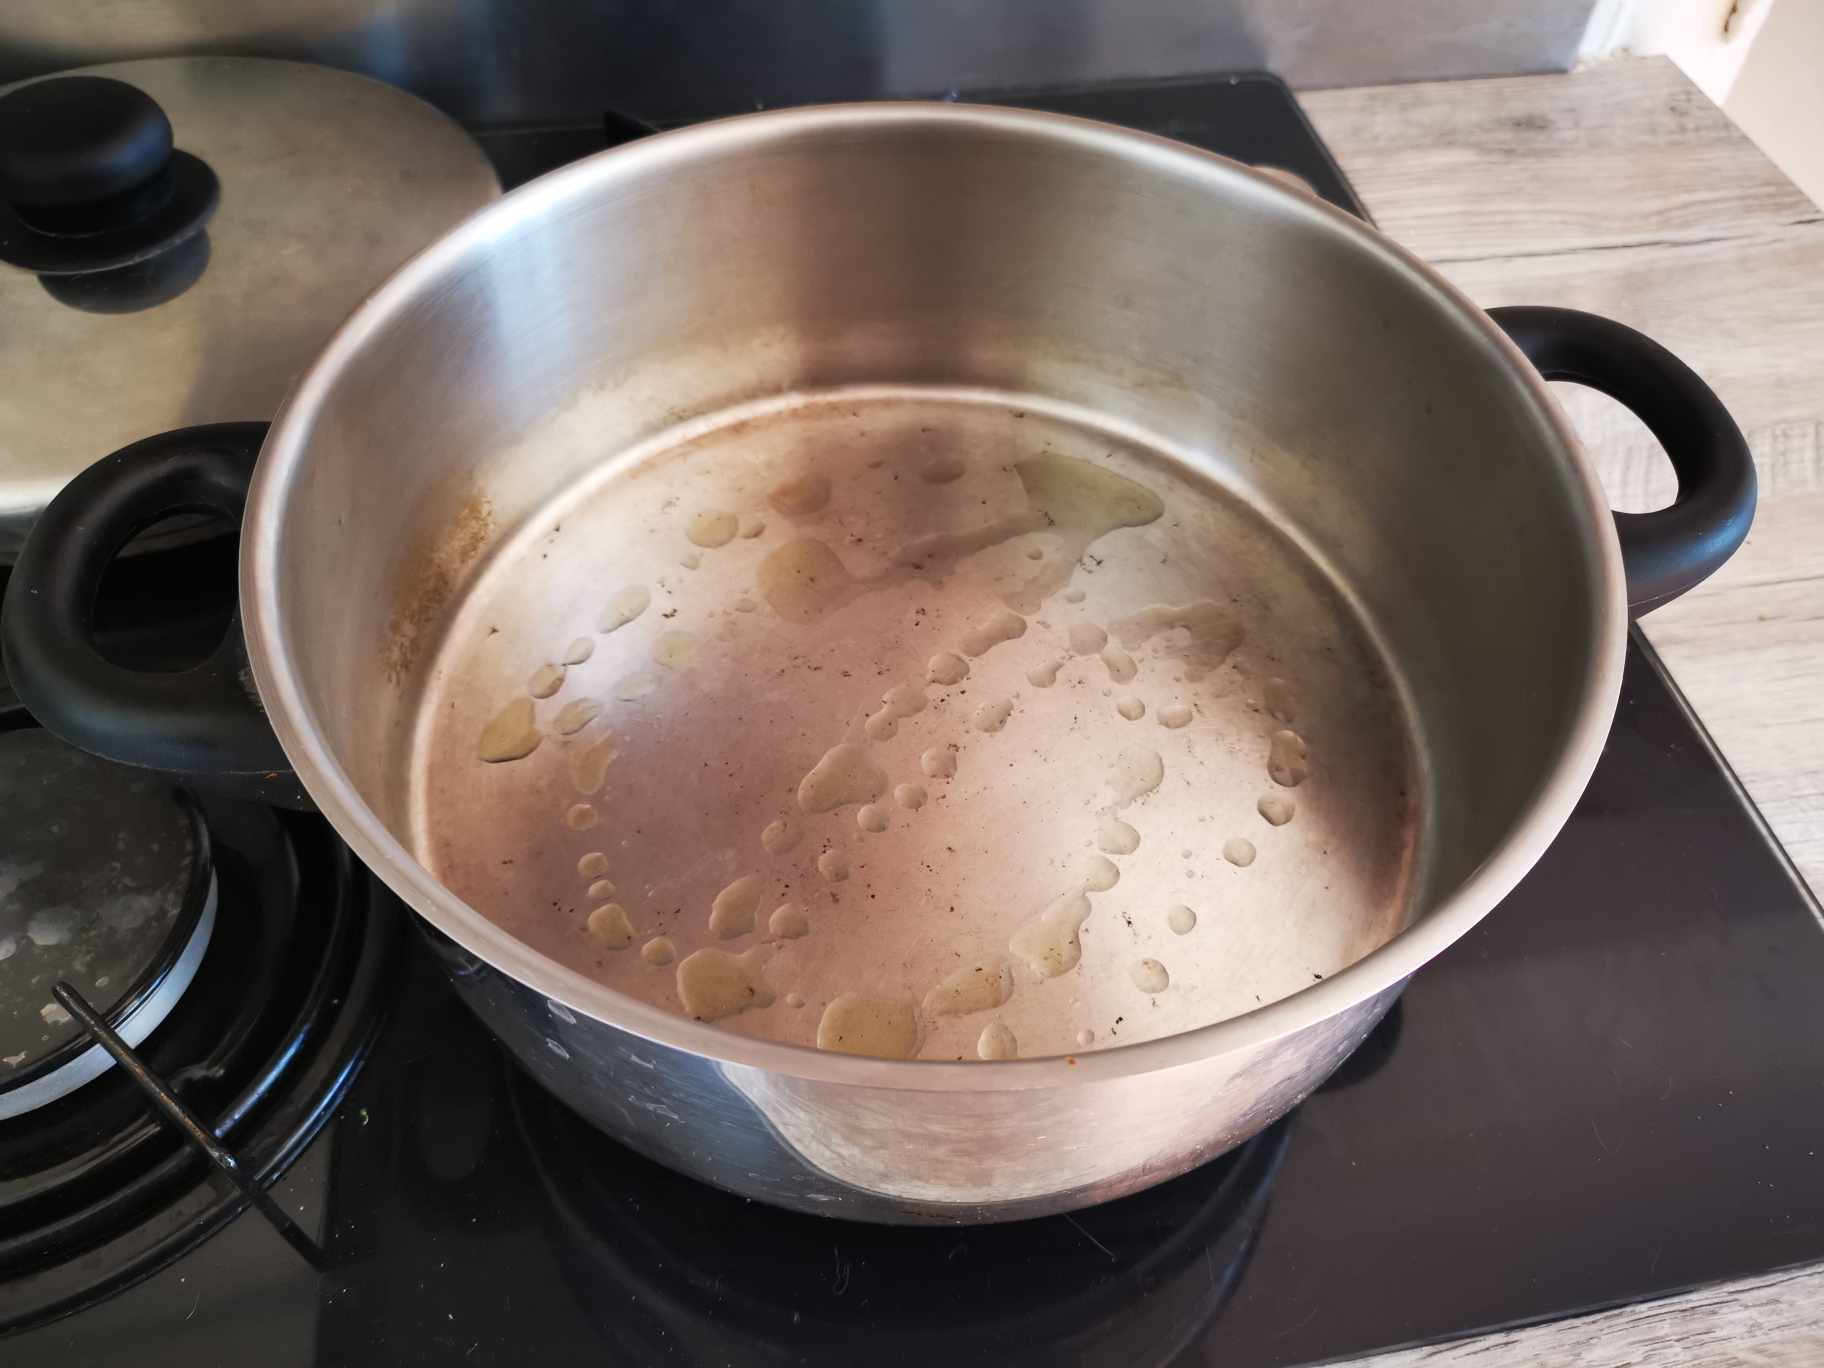
I started cooking by heating the pan. Once it was hot, I added a little olive oil:
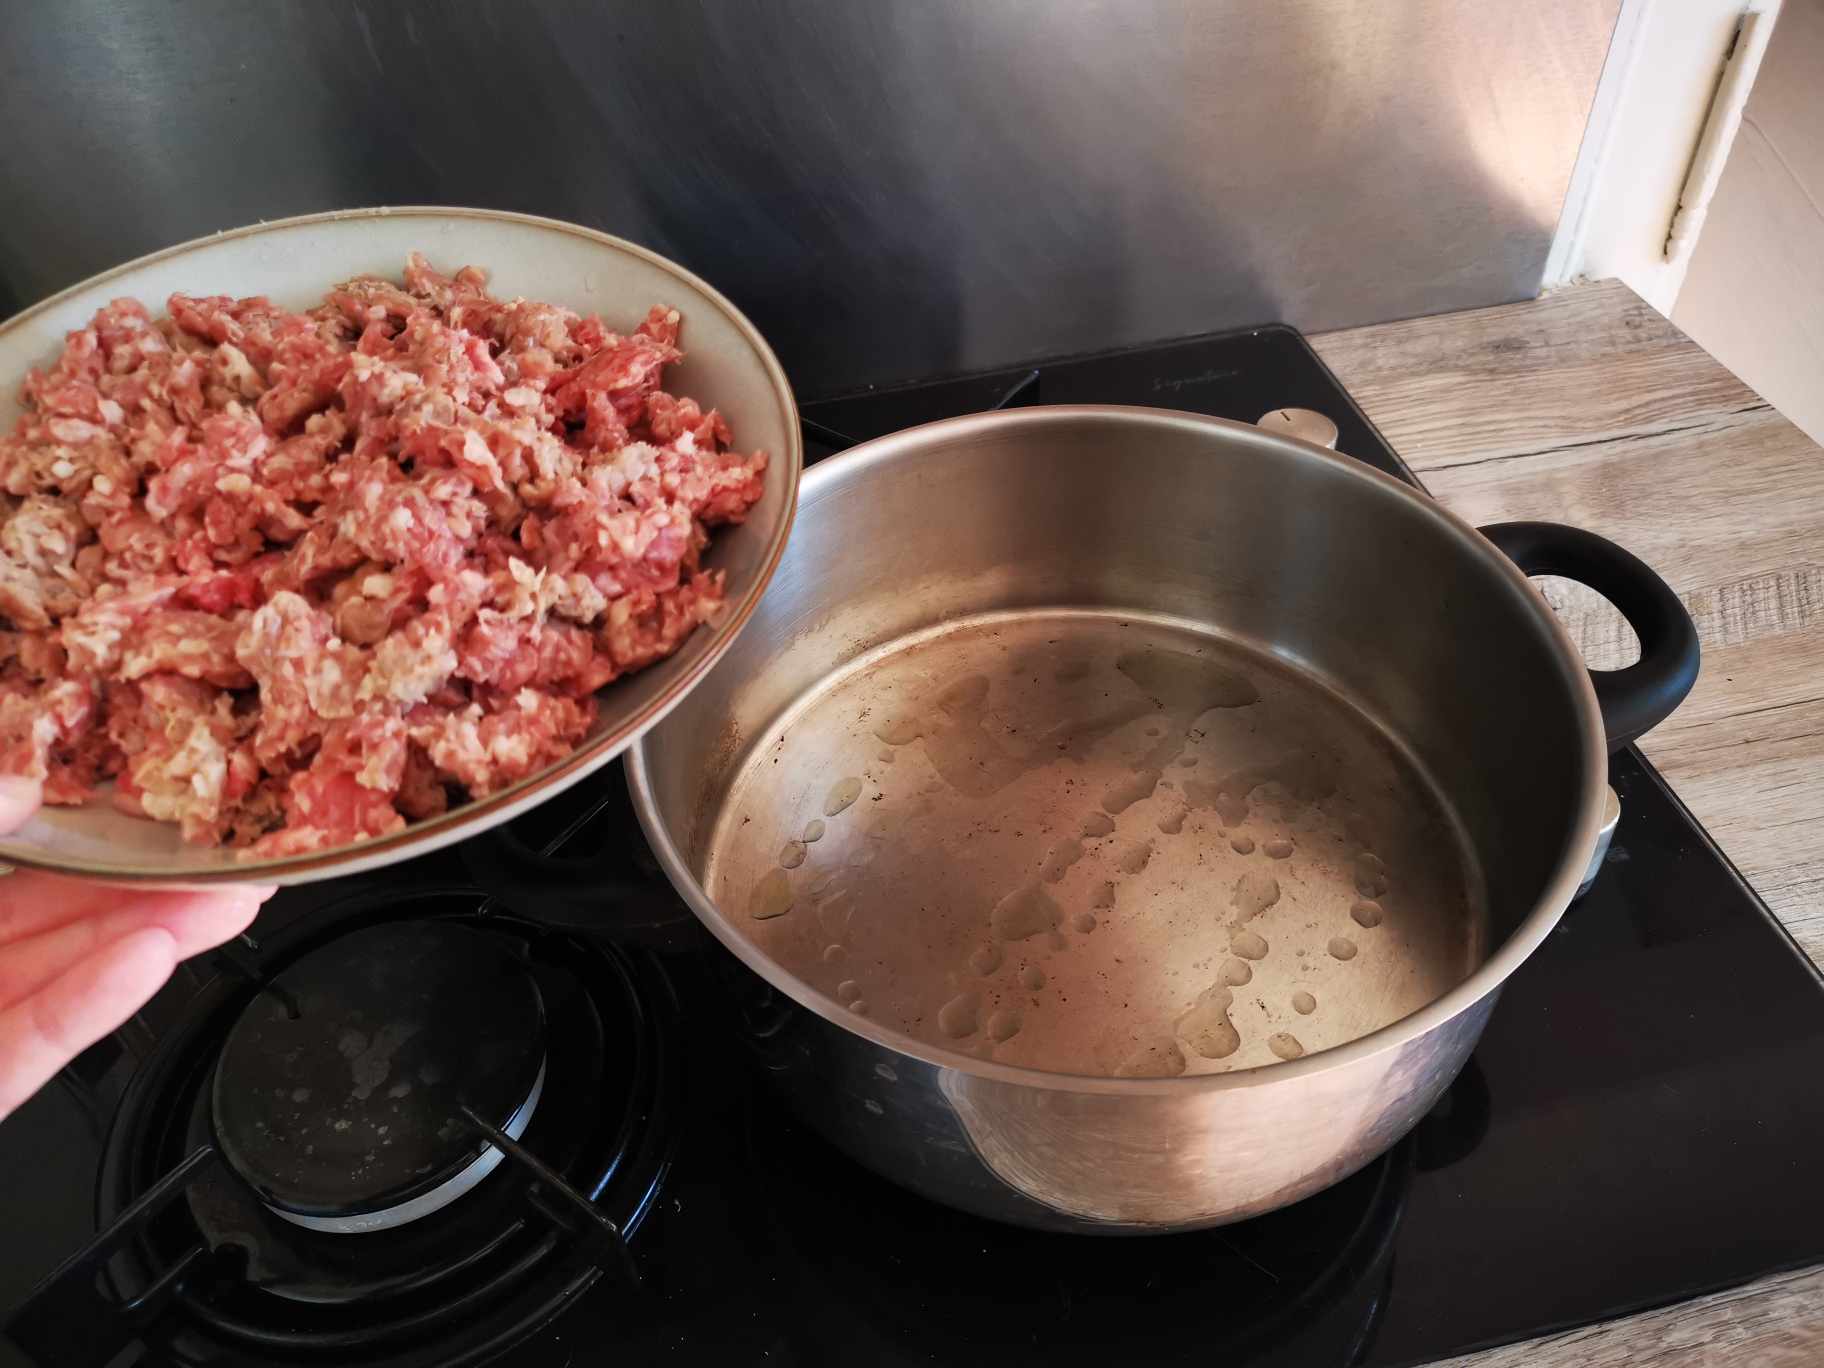
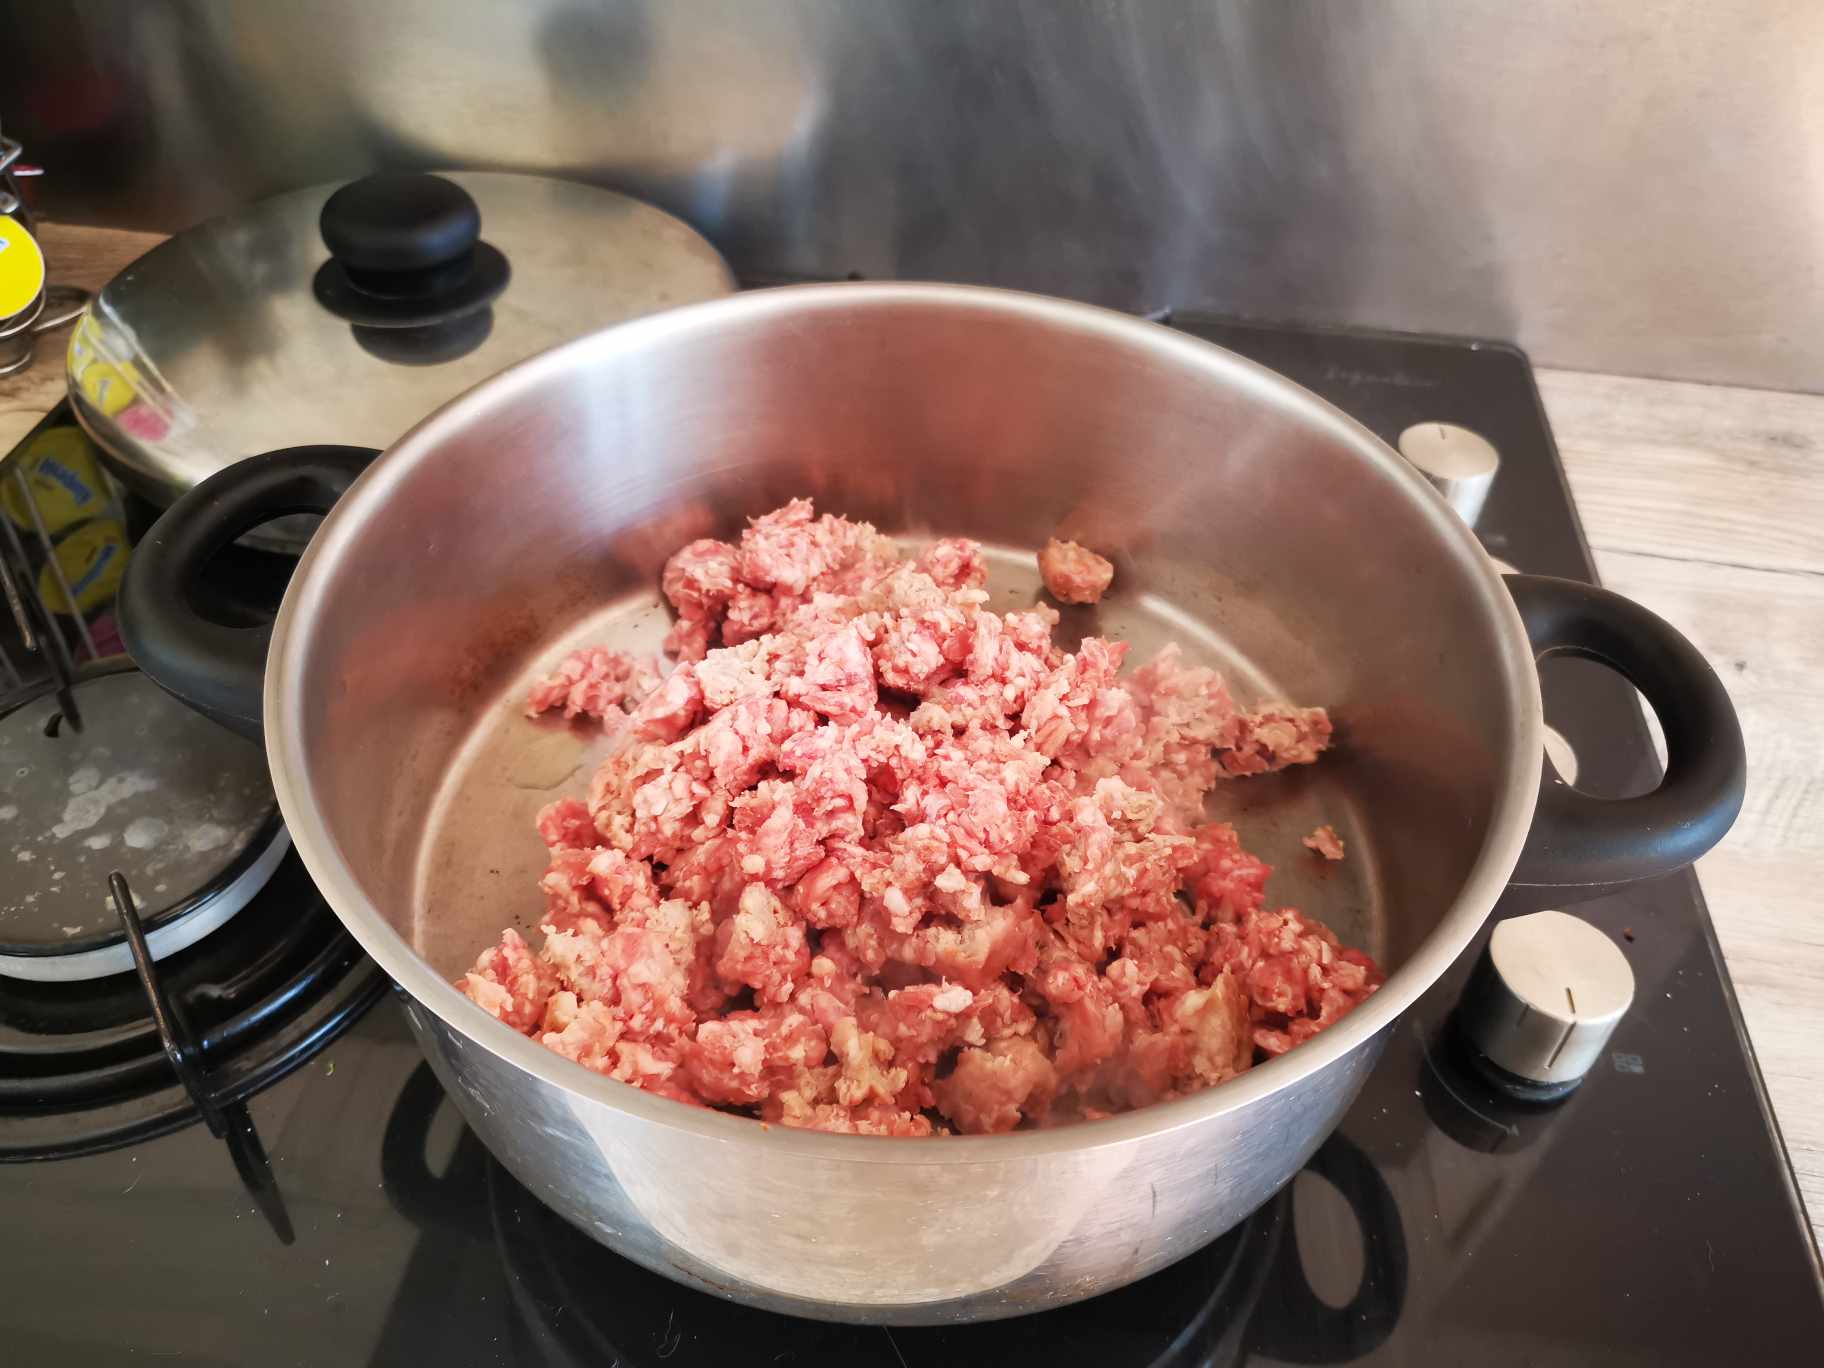
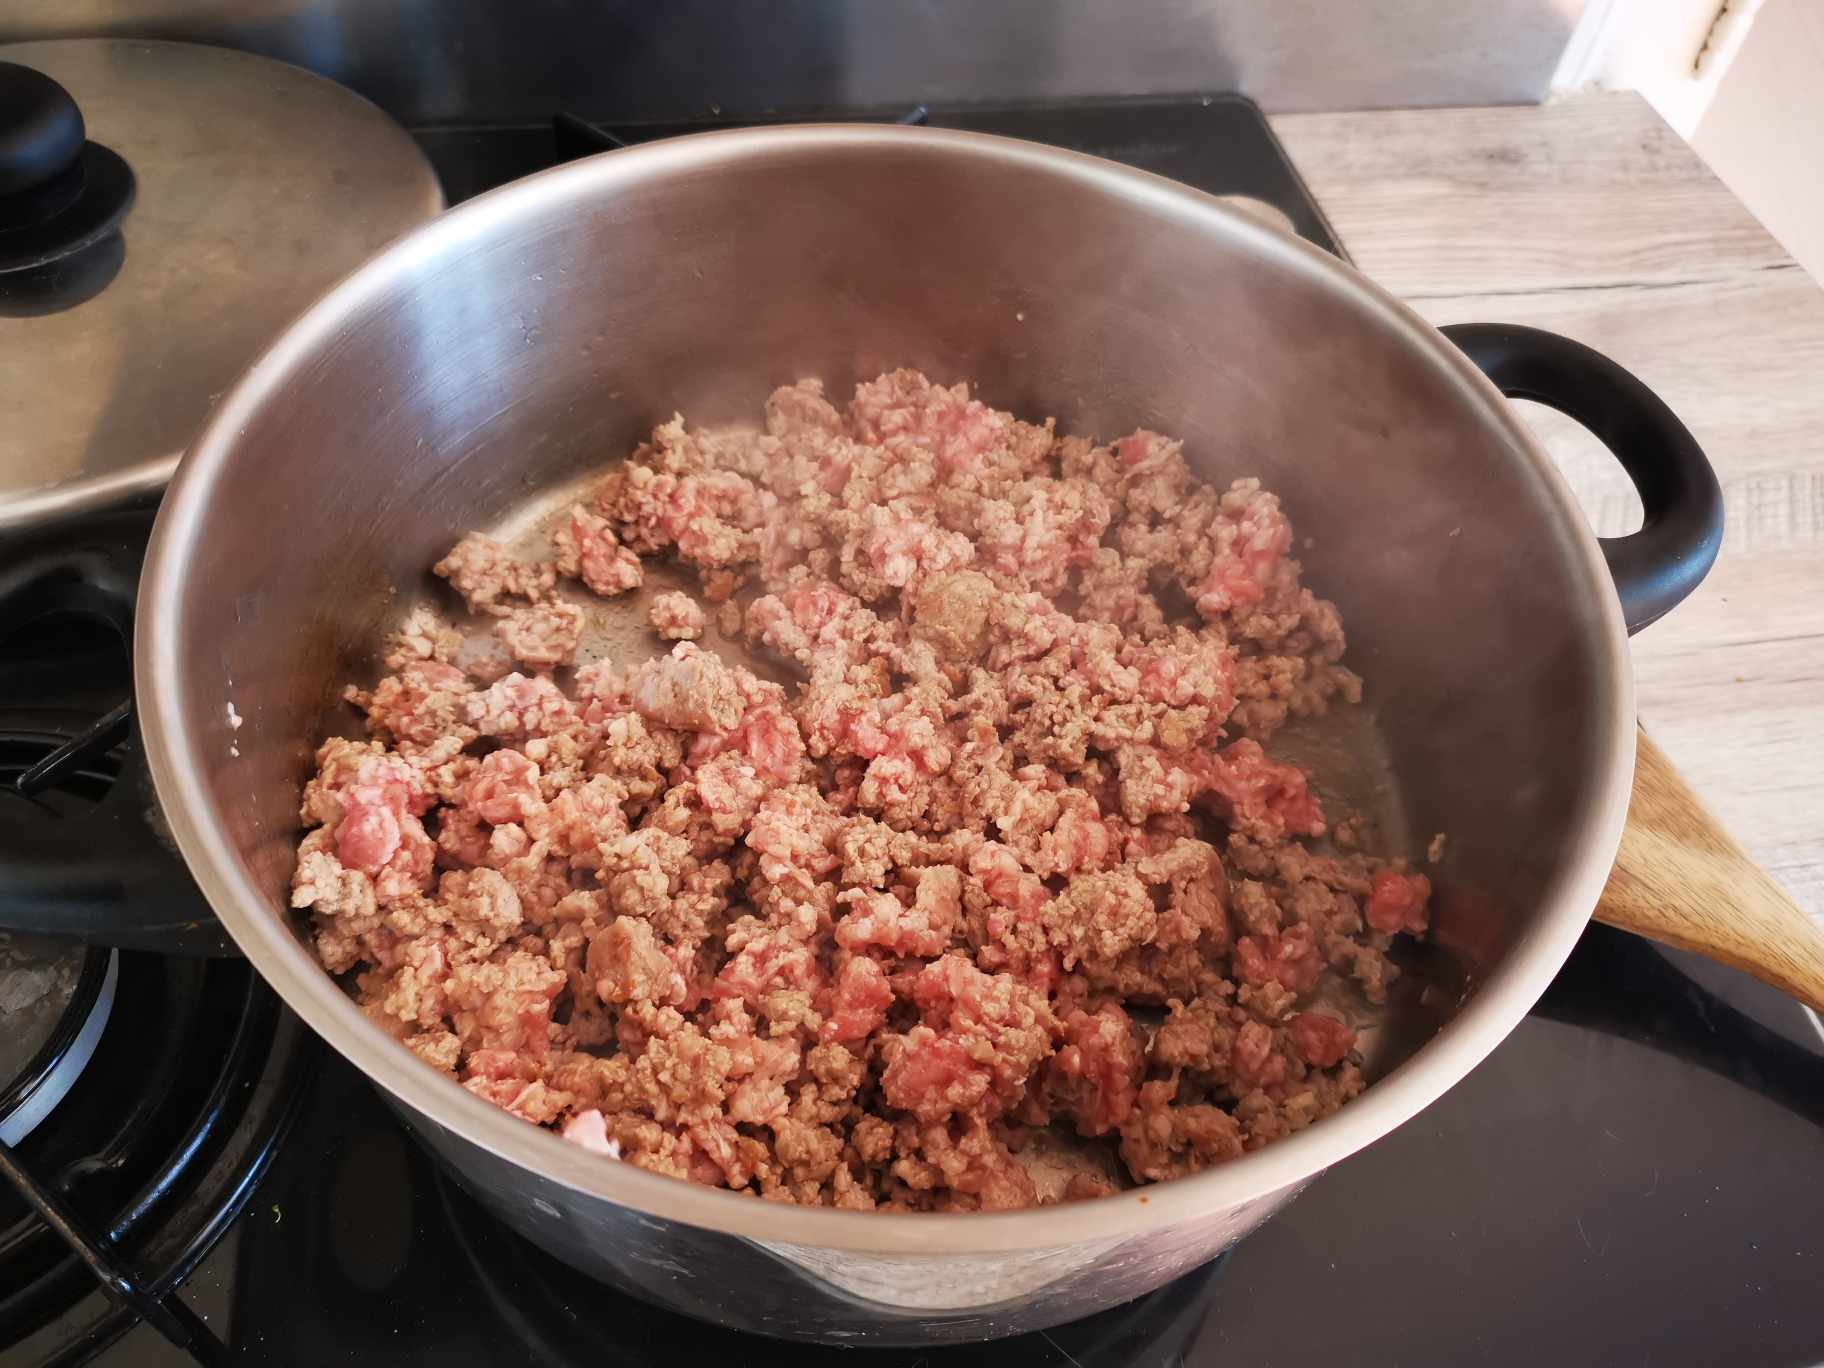
And I added the meat:
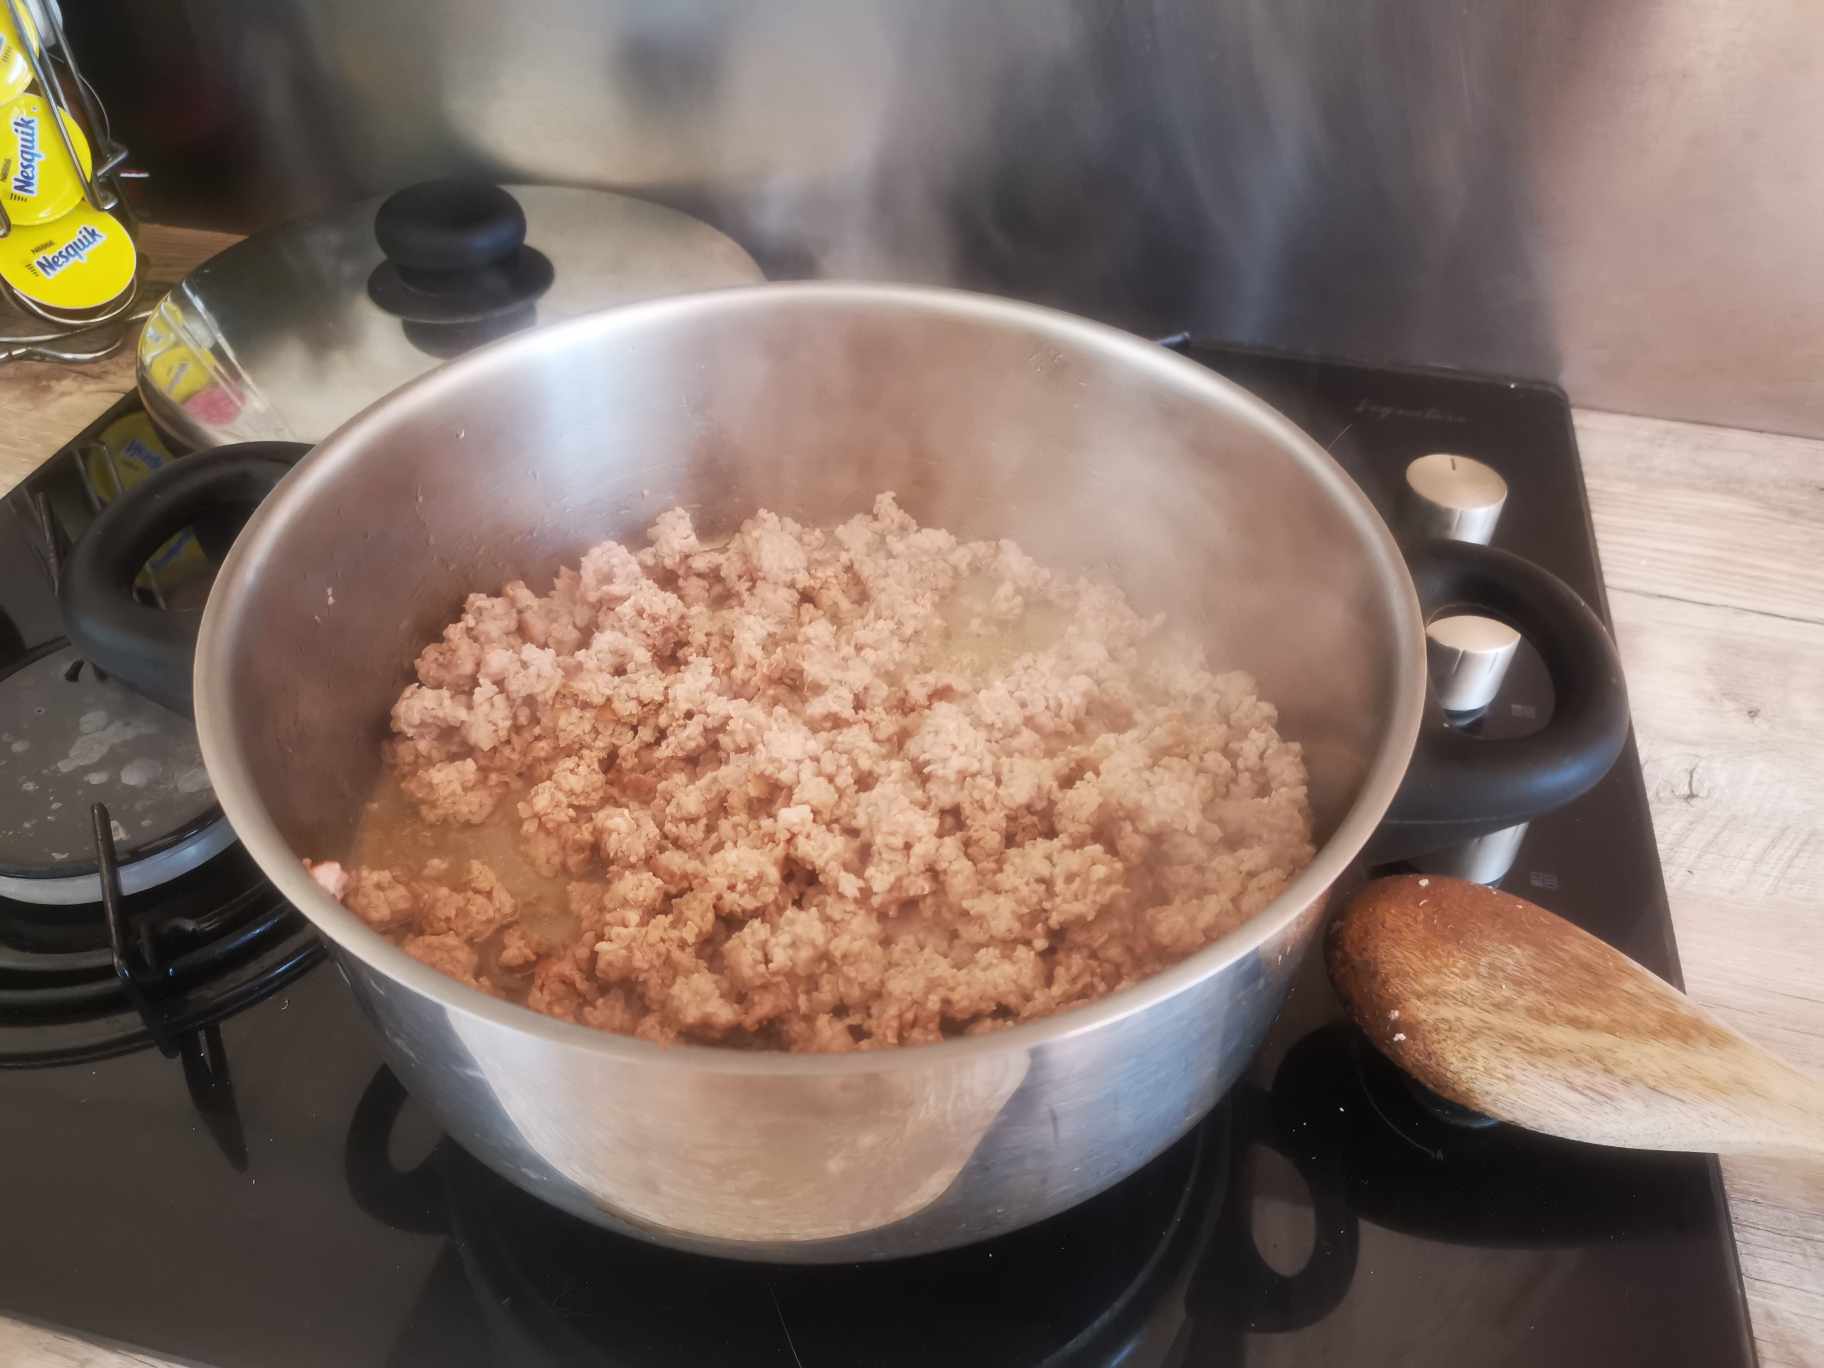
I browned the meat for about 5 minutes, until it was no longer pink.
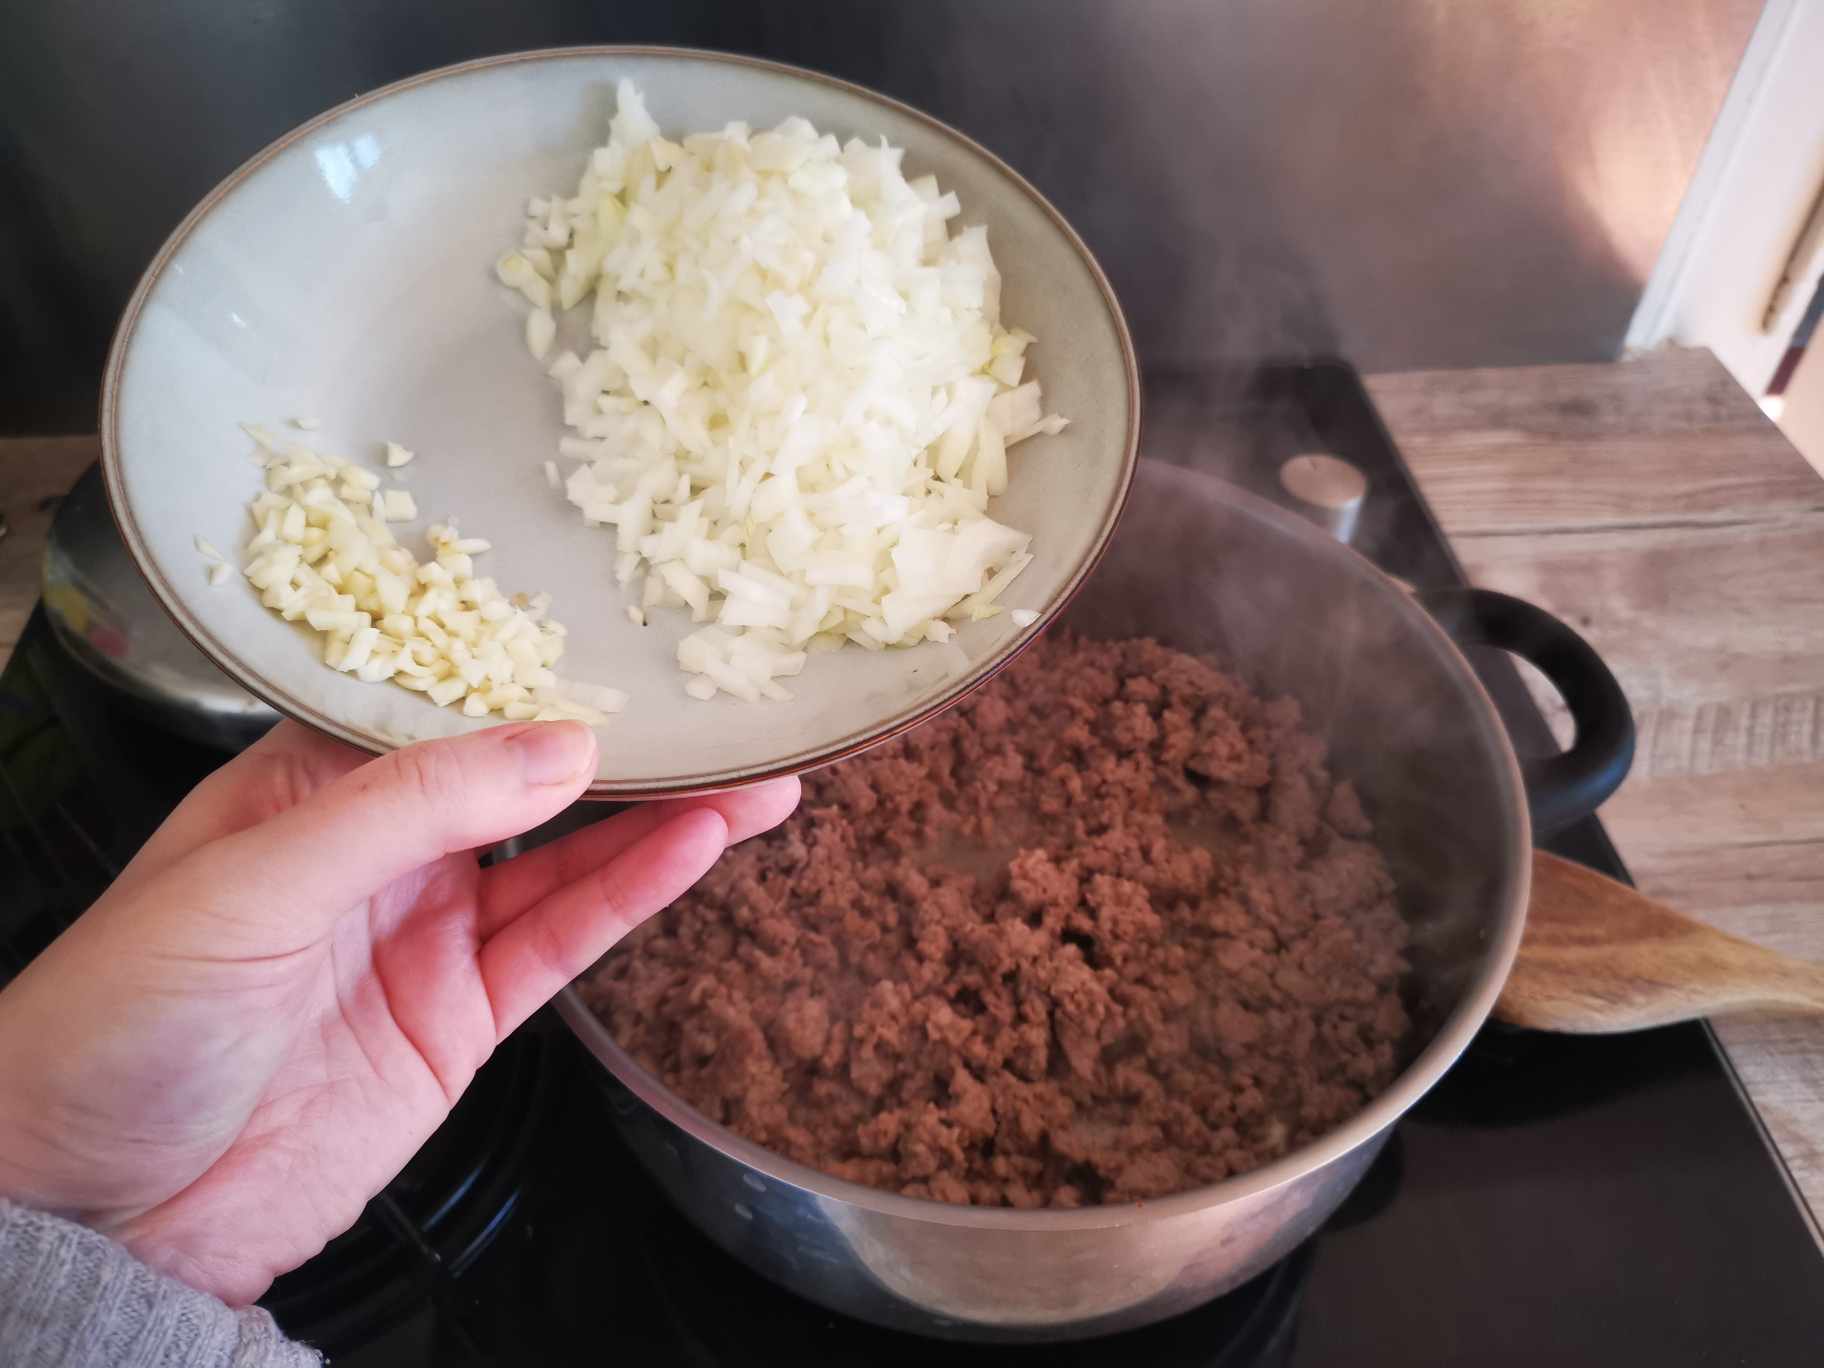
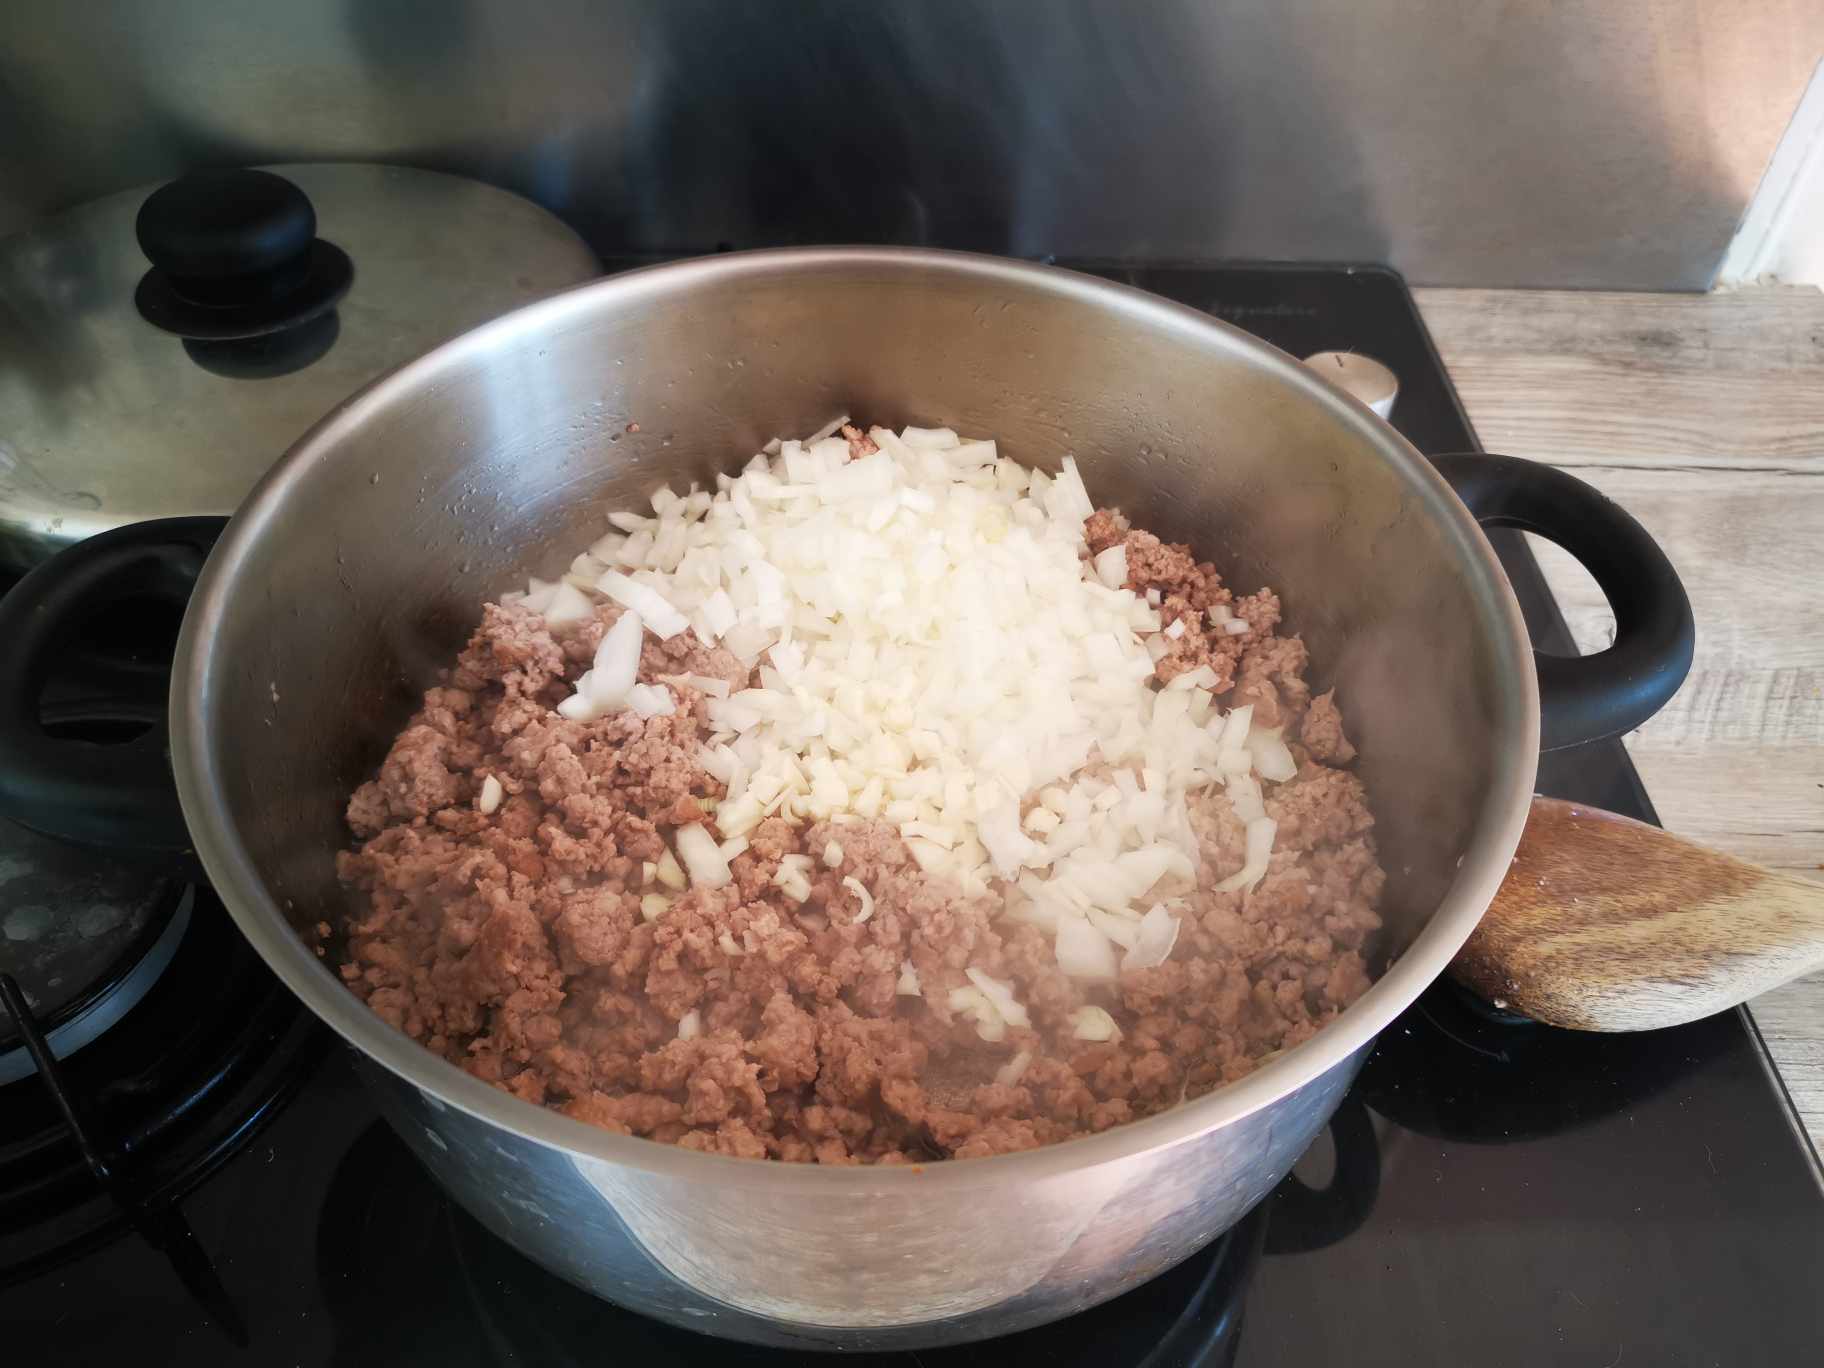
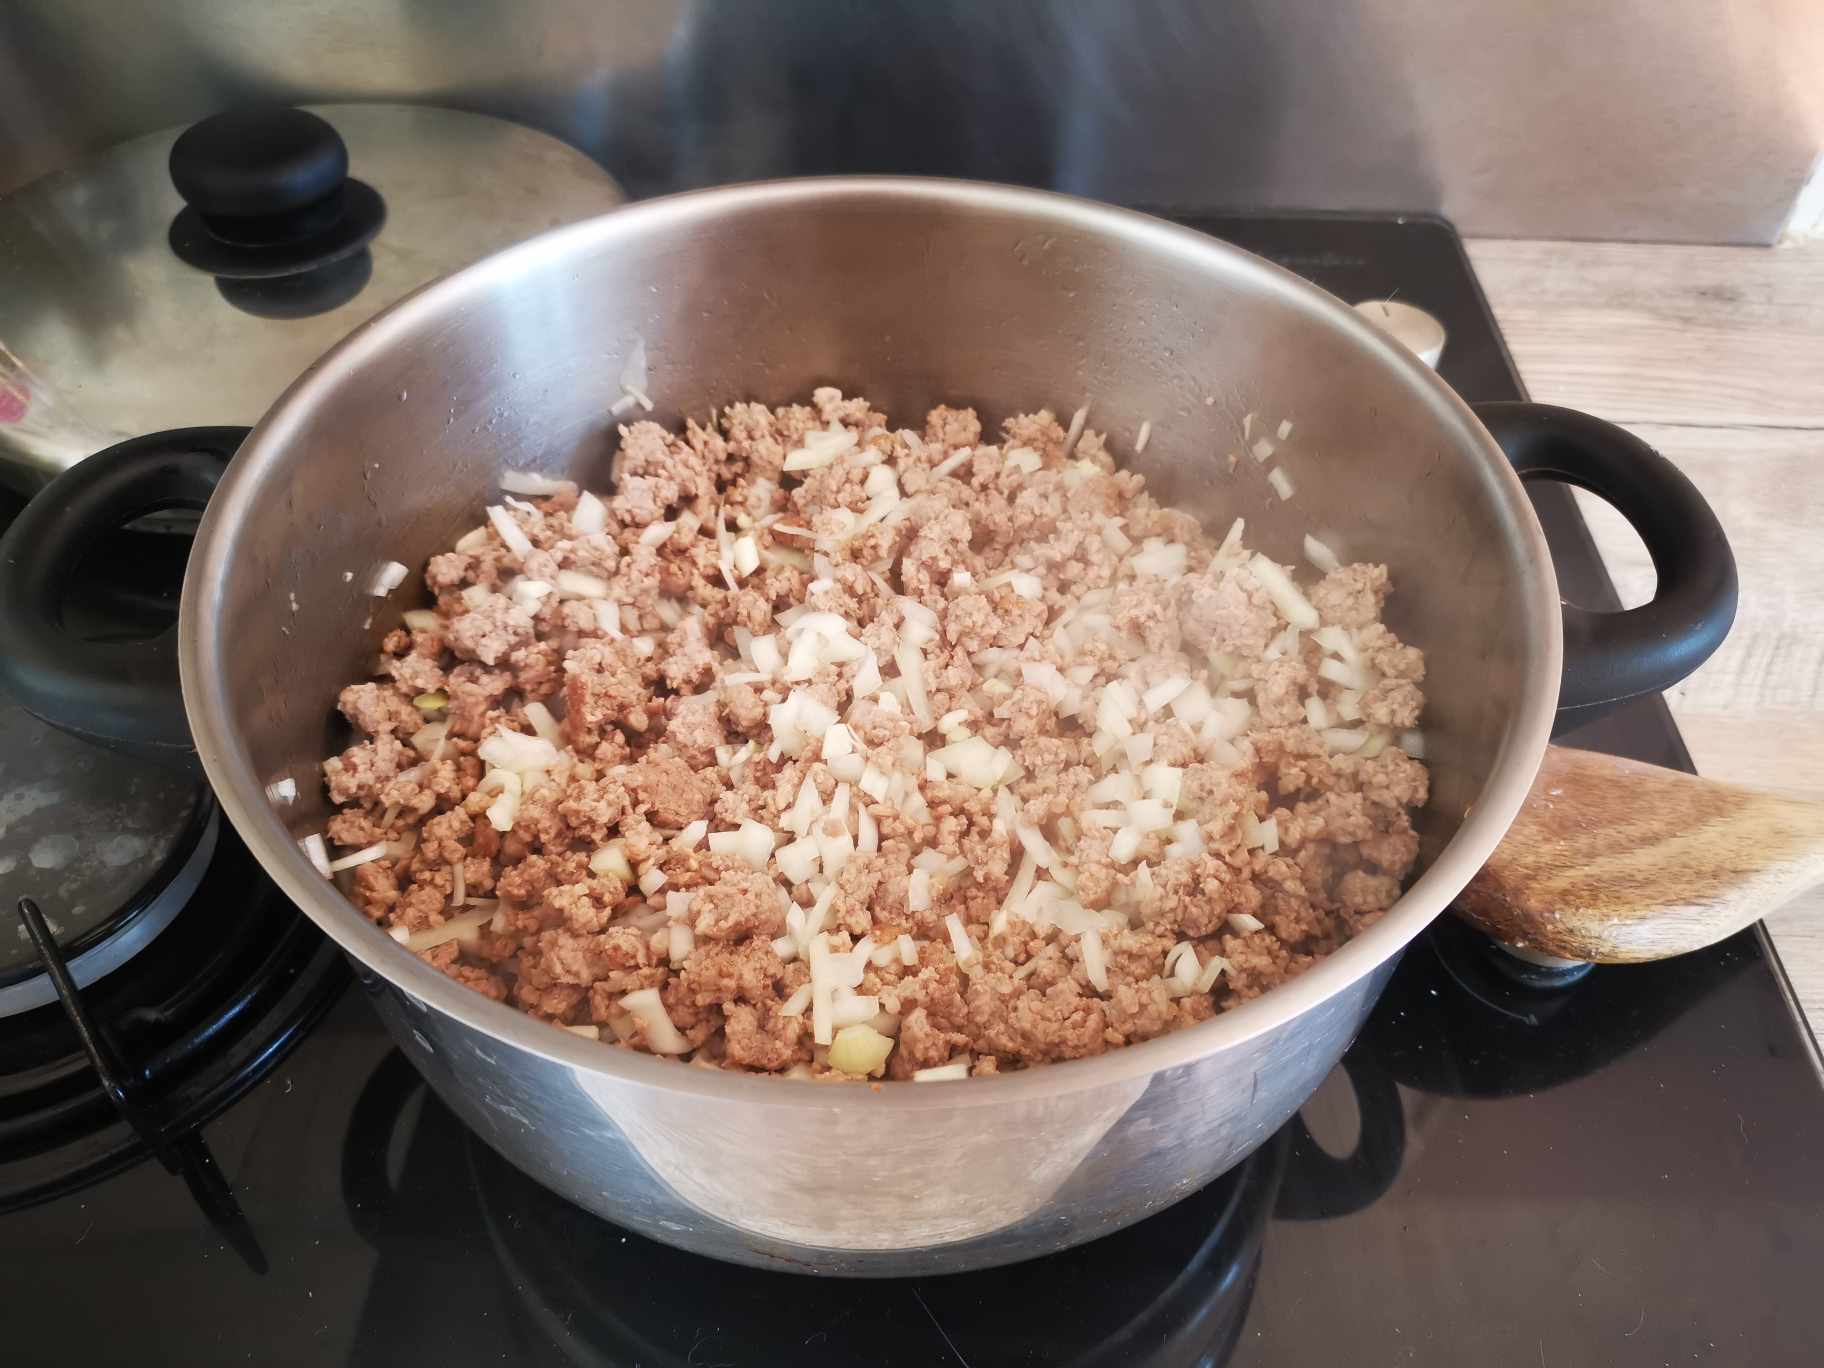
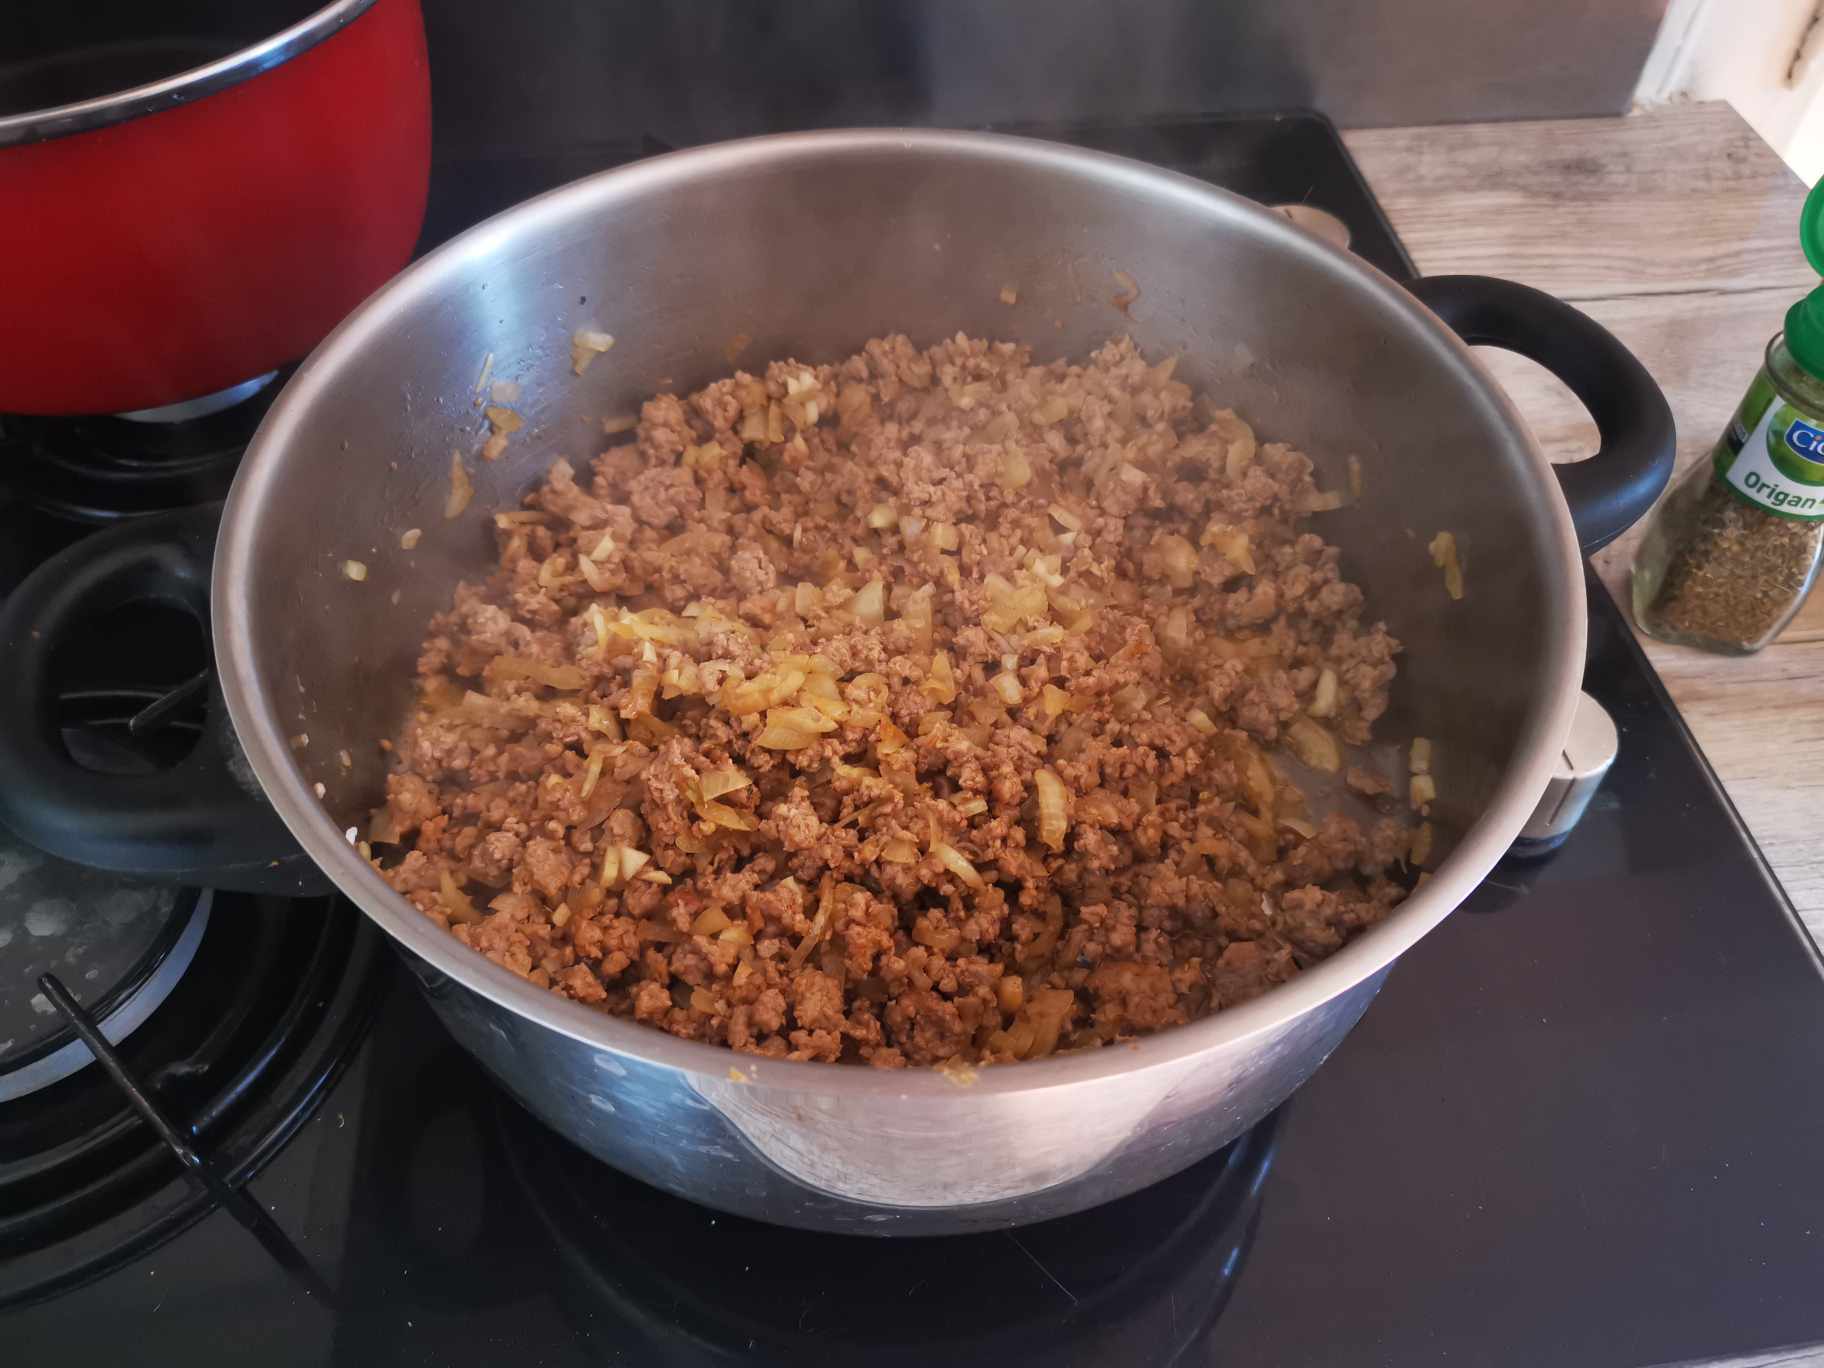
Then, I added the onions and garlic and browned everything for about 5 minutes.
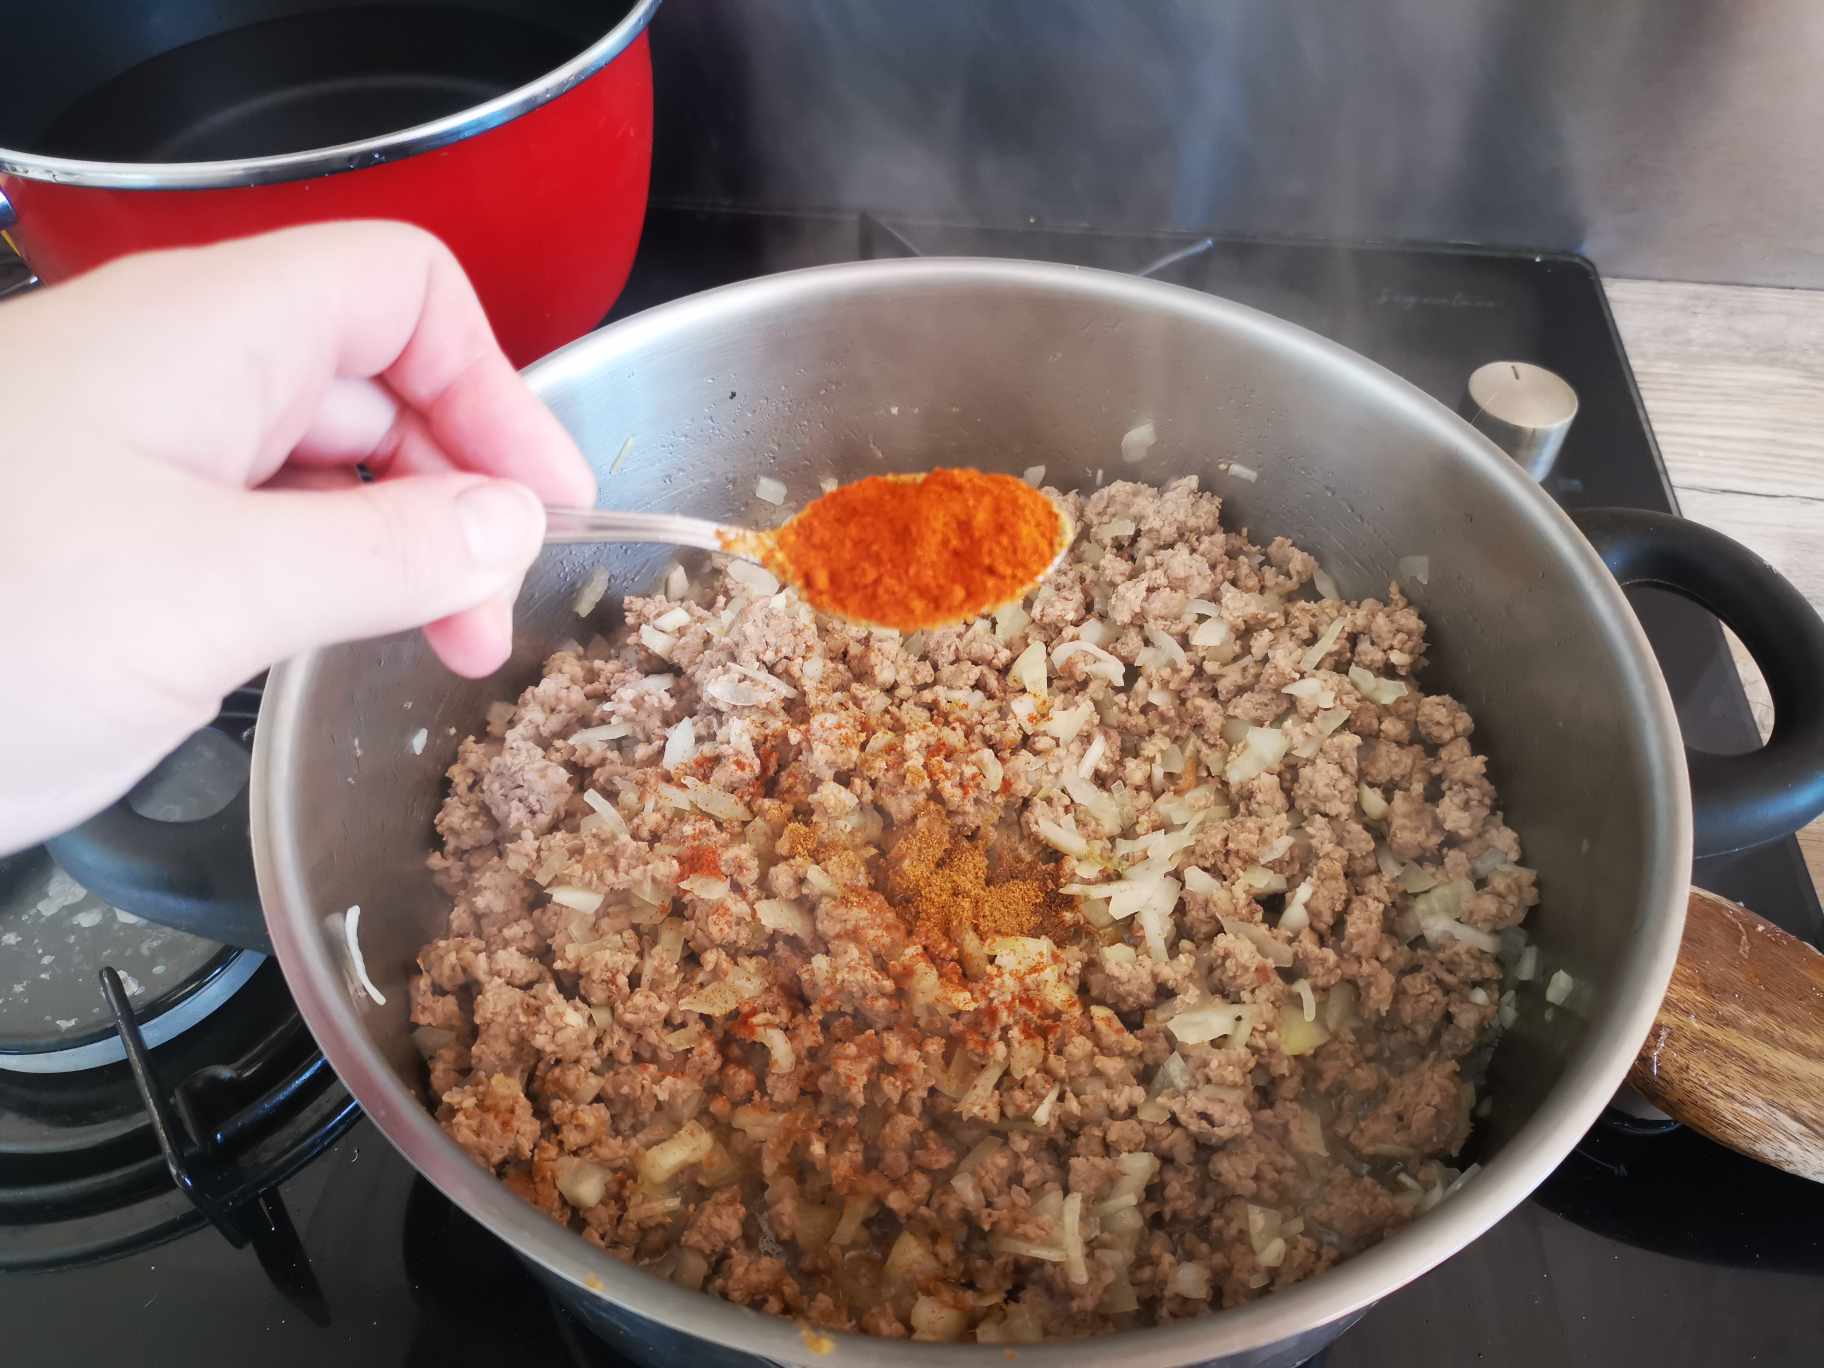
Then, I added the spices 👇
1 teaspoon of cumin:

1 teaspoon of paprika:
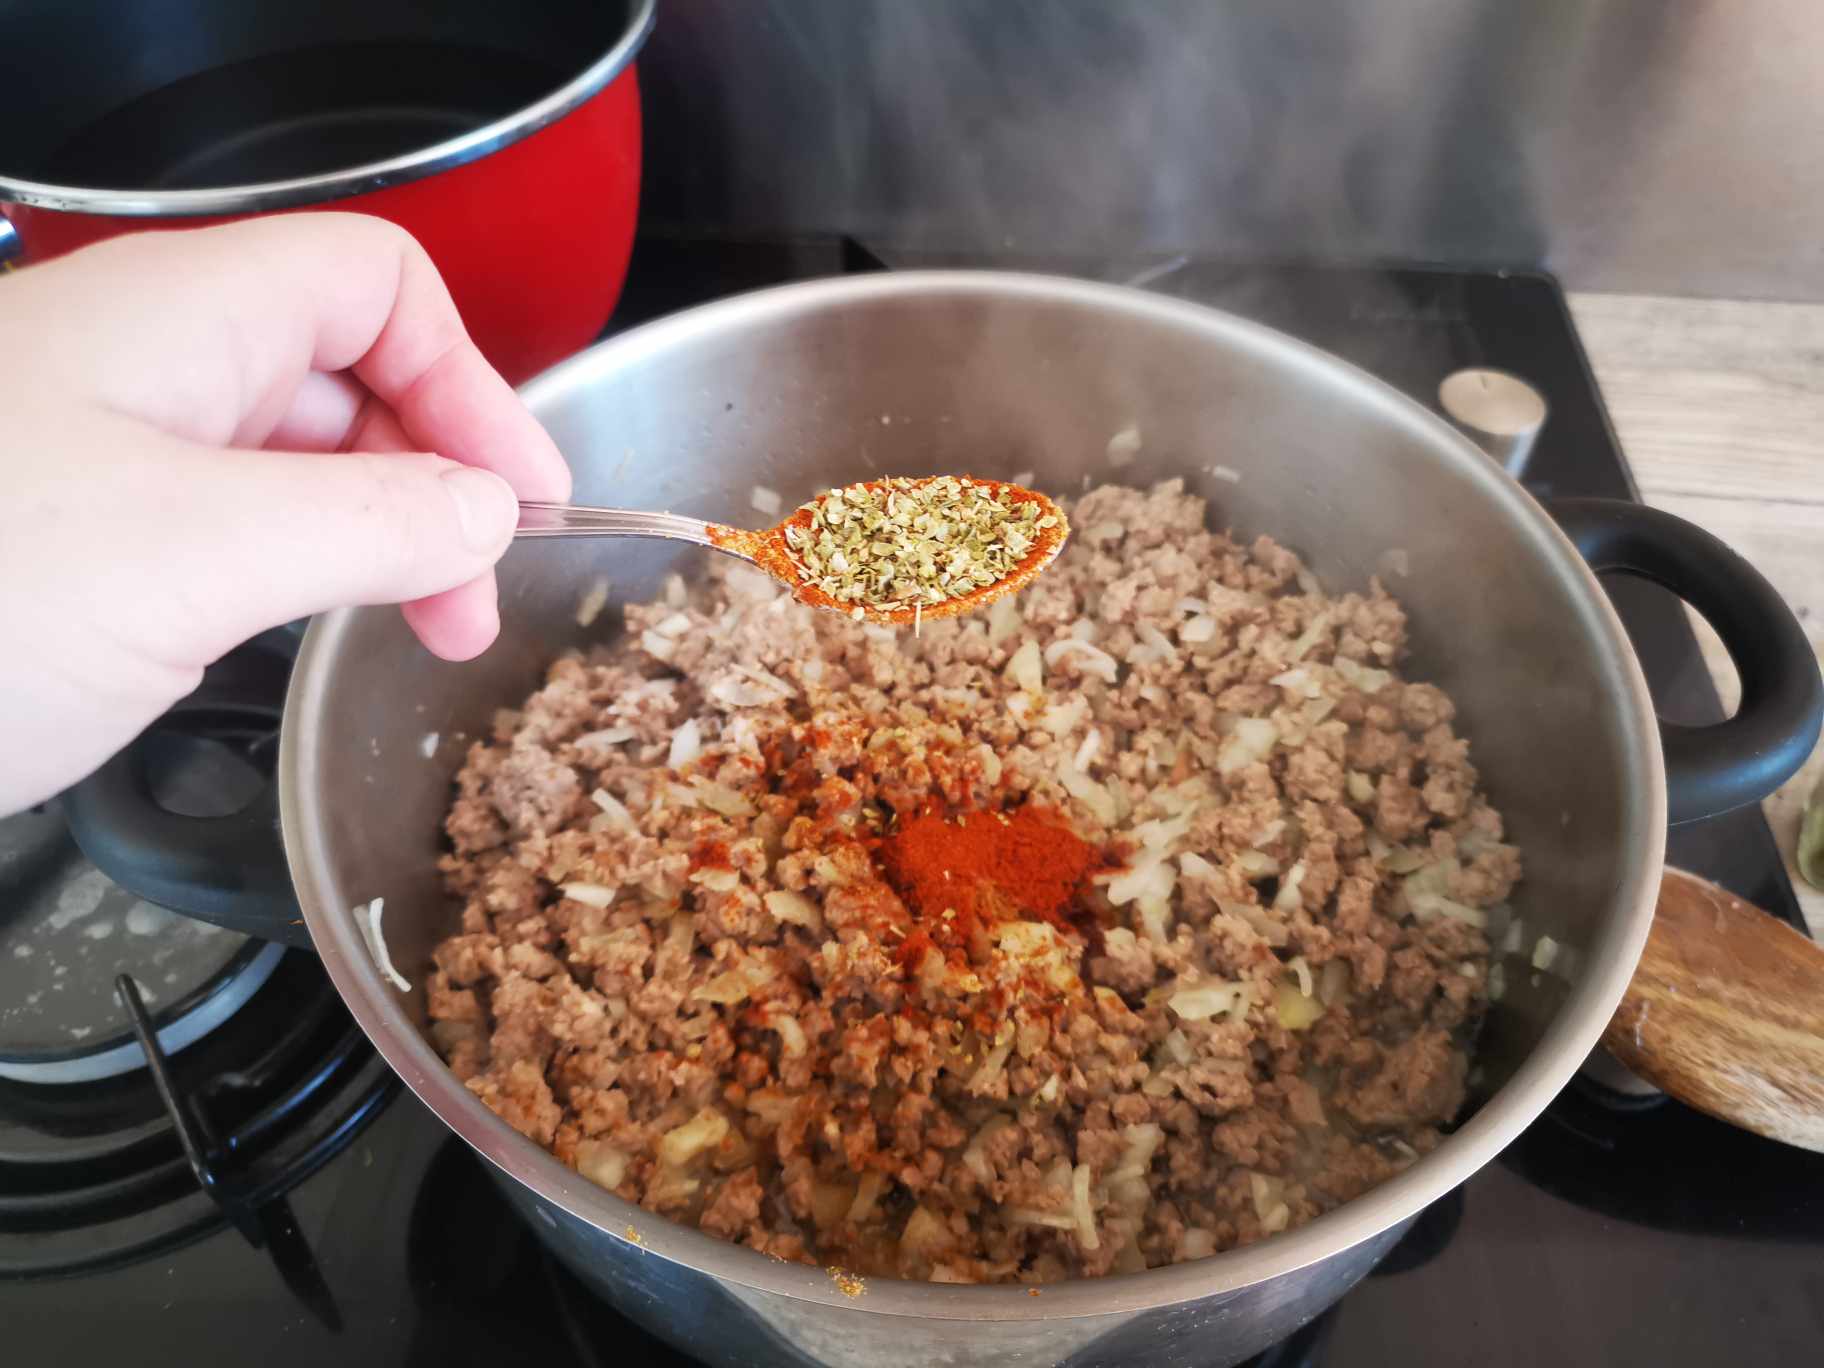
1 teaspoon of dried oregano:
1 teaspoon of Tabasco:
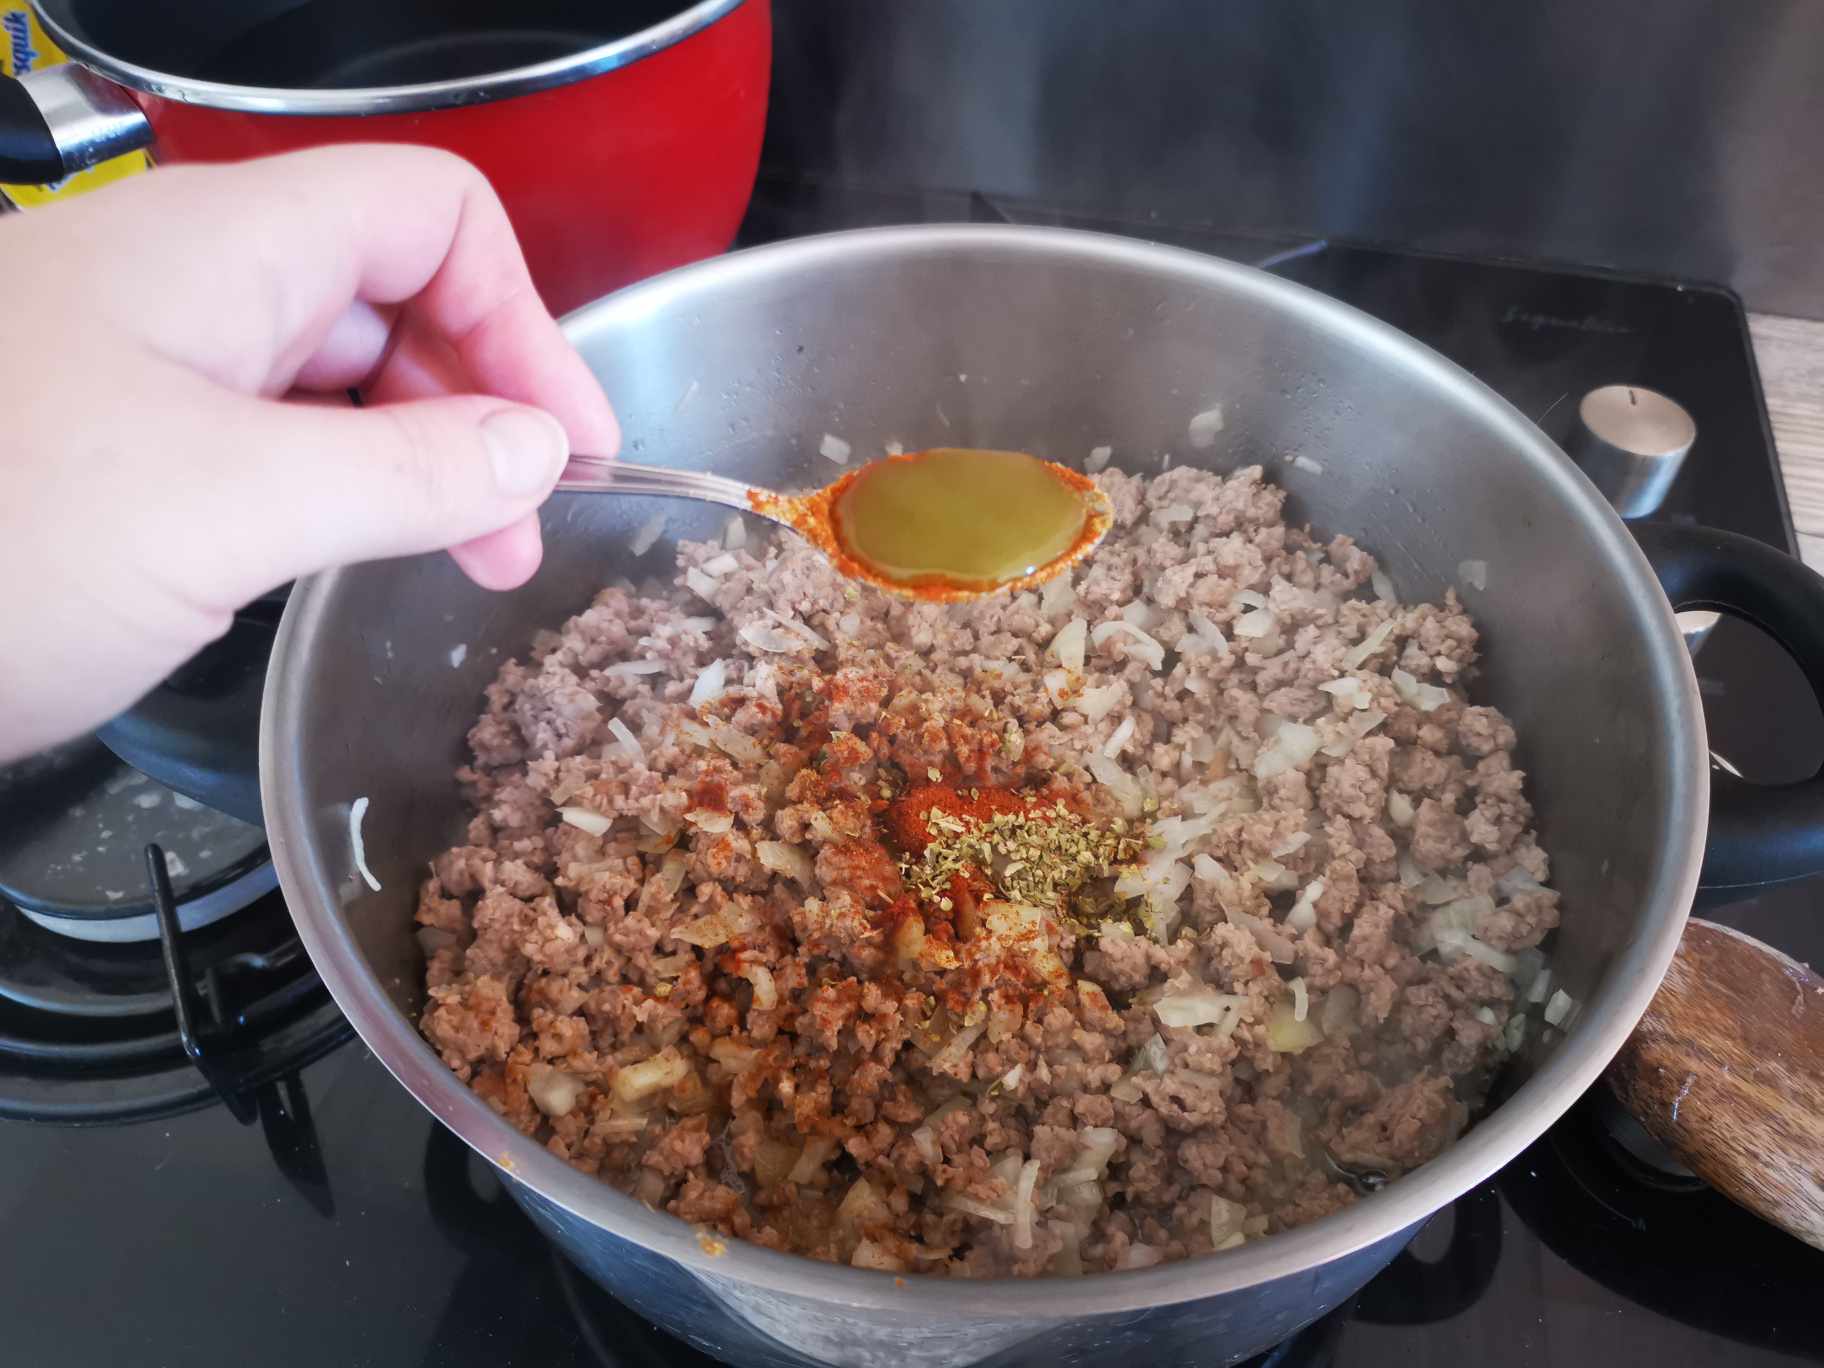
I also added salt and pepper.
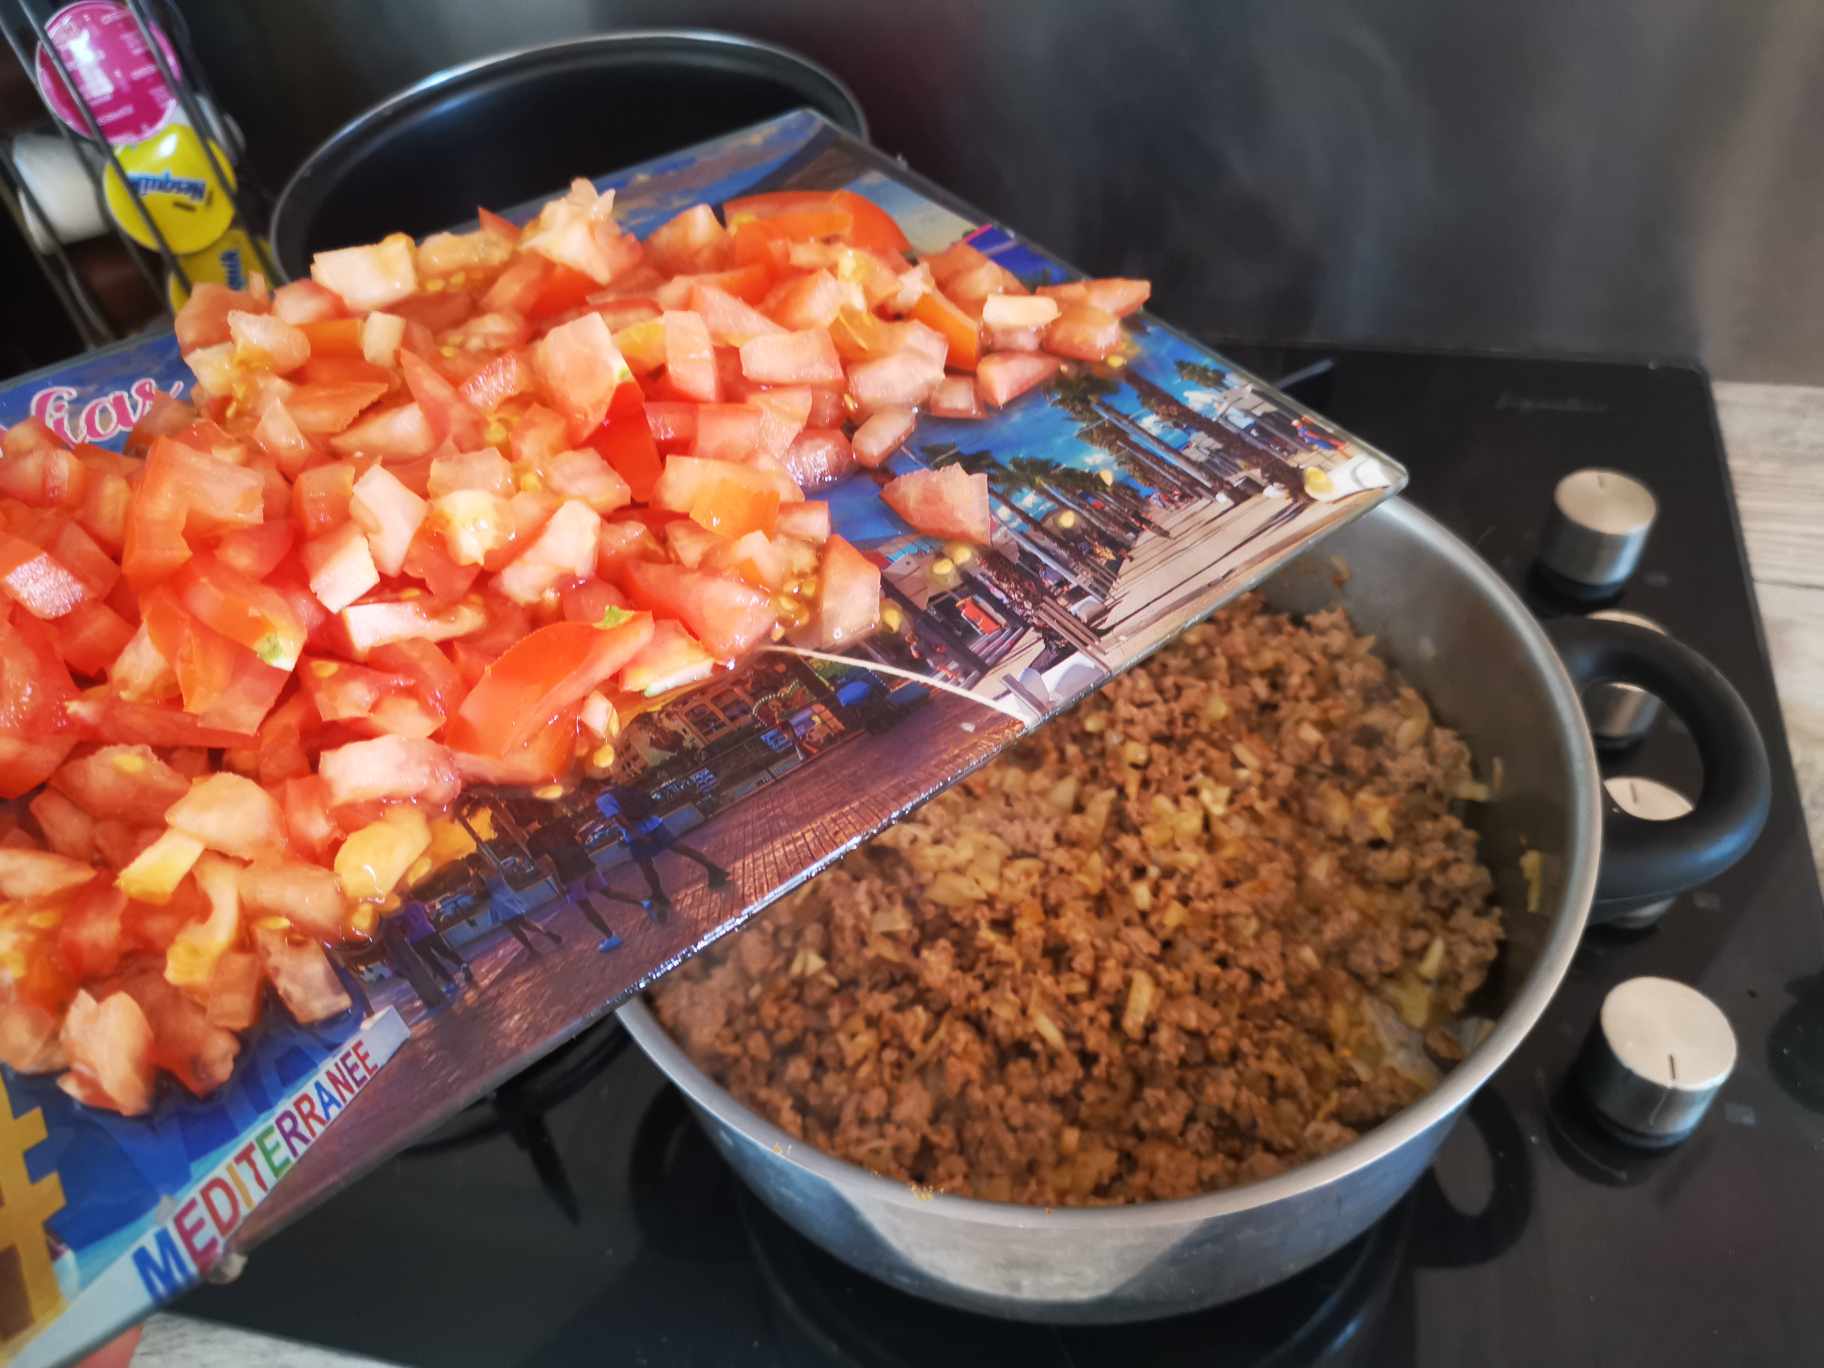
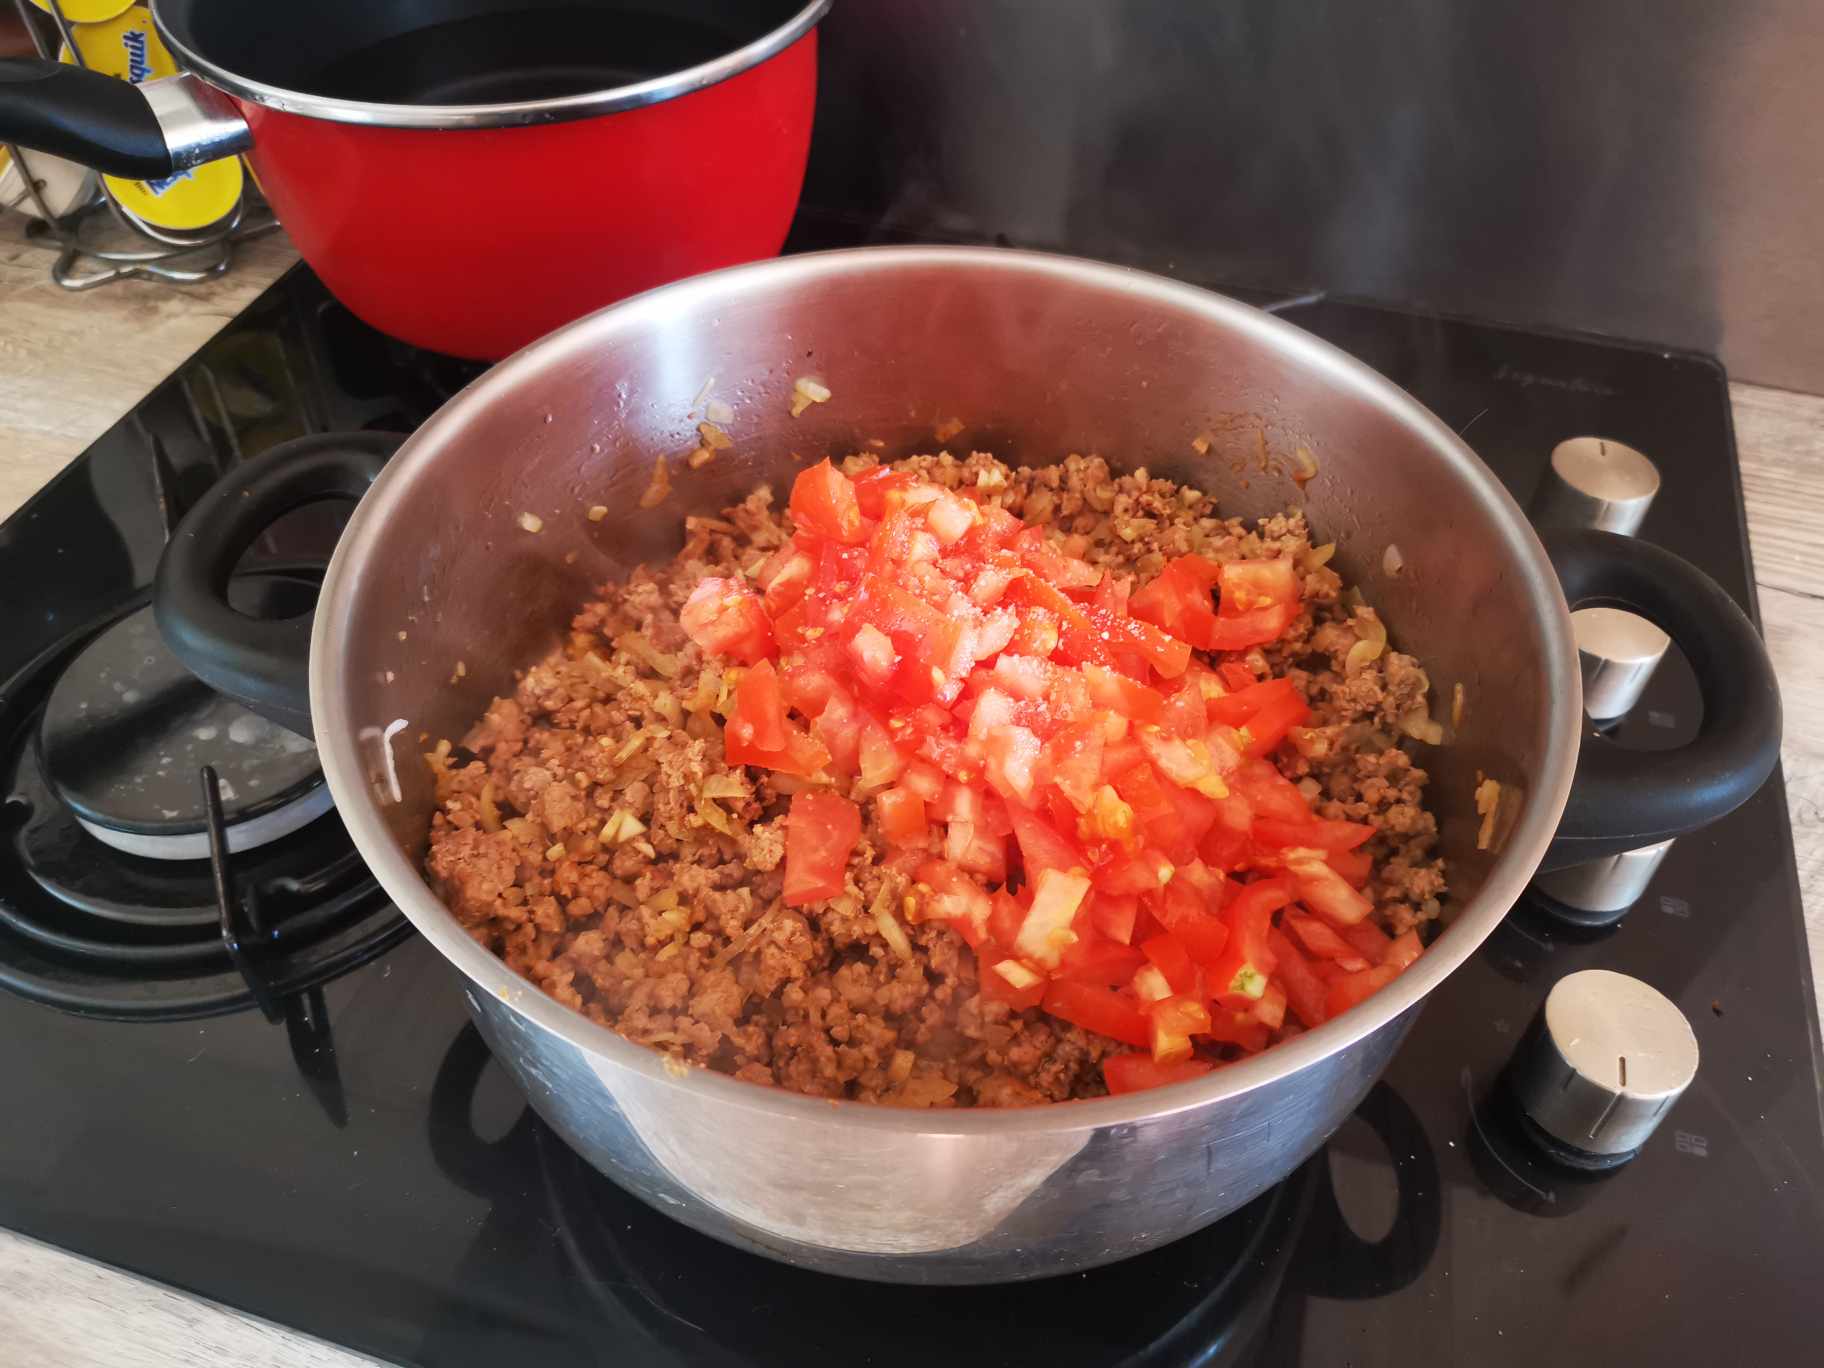
Then it was time to add the diced tomatoes:
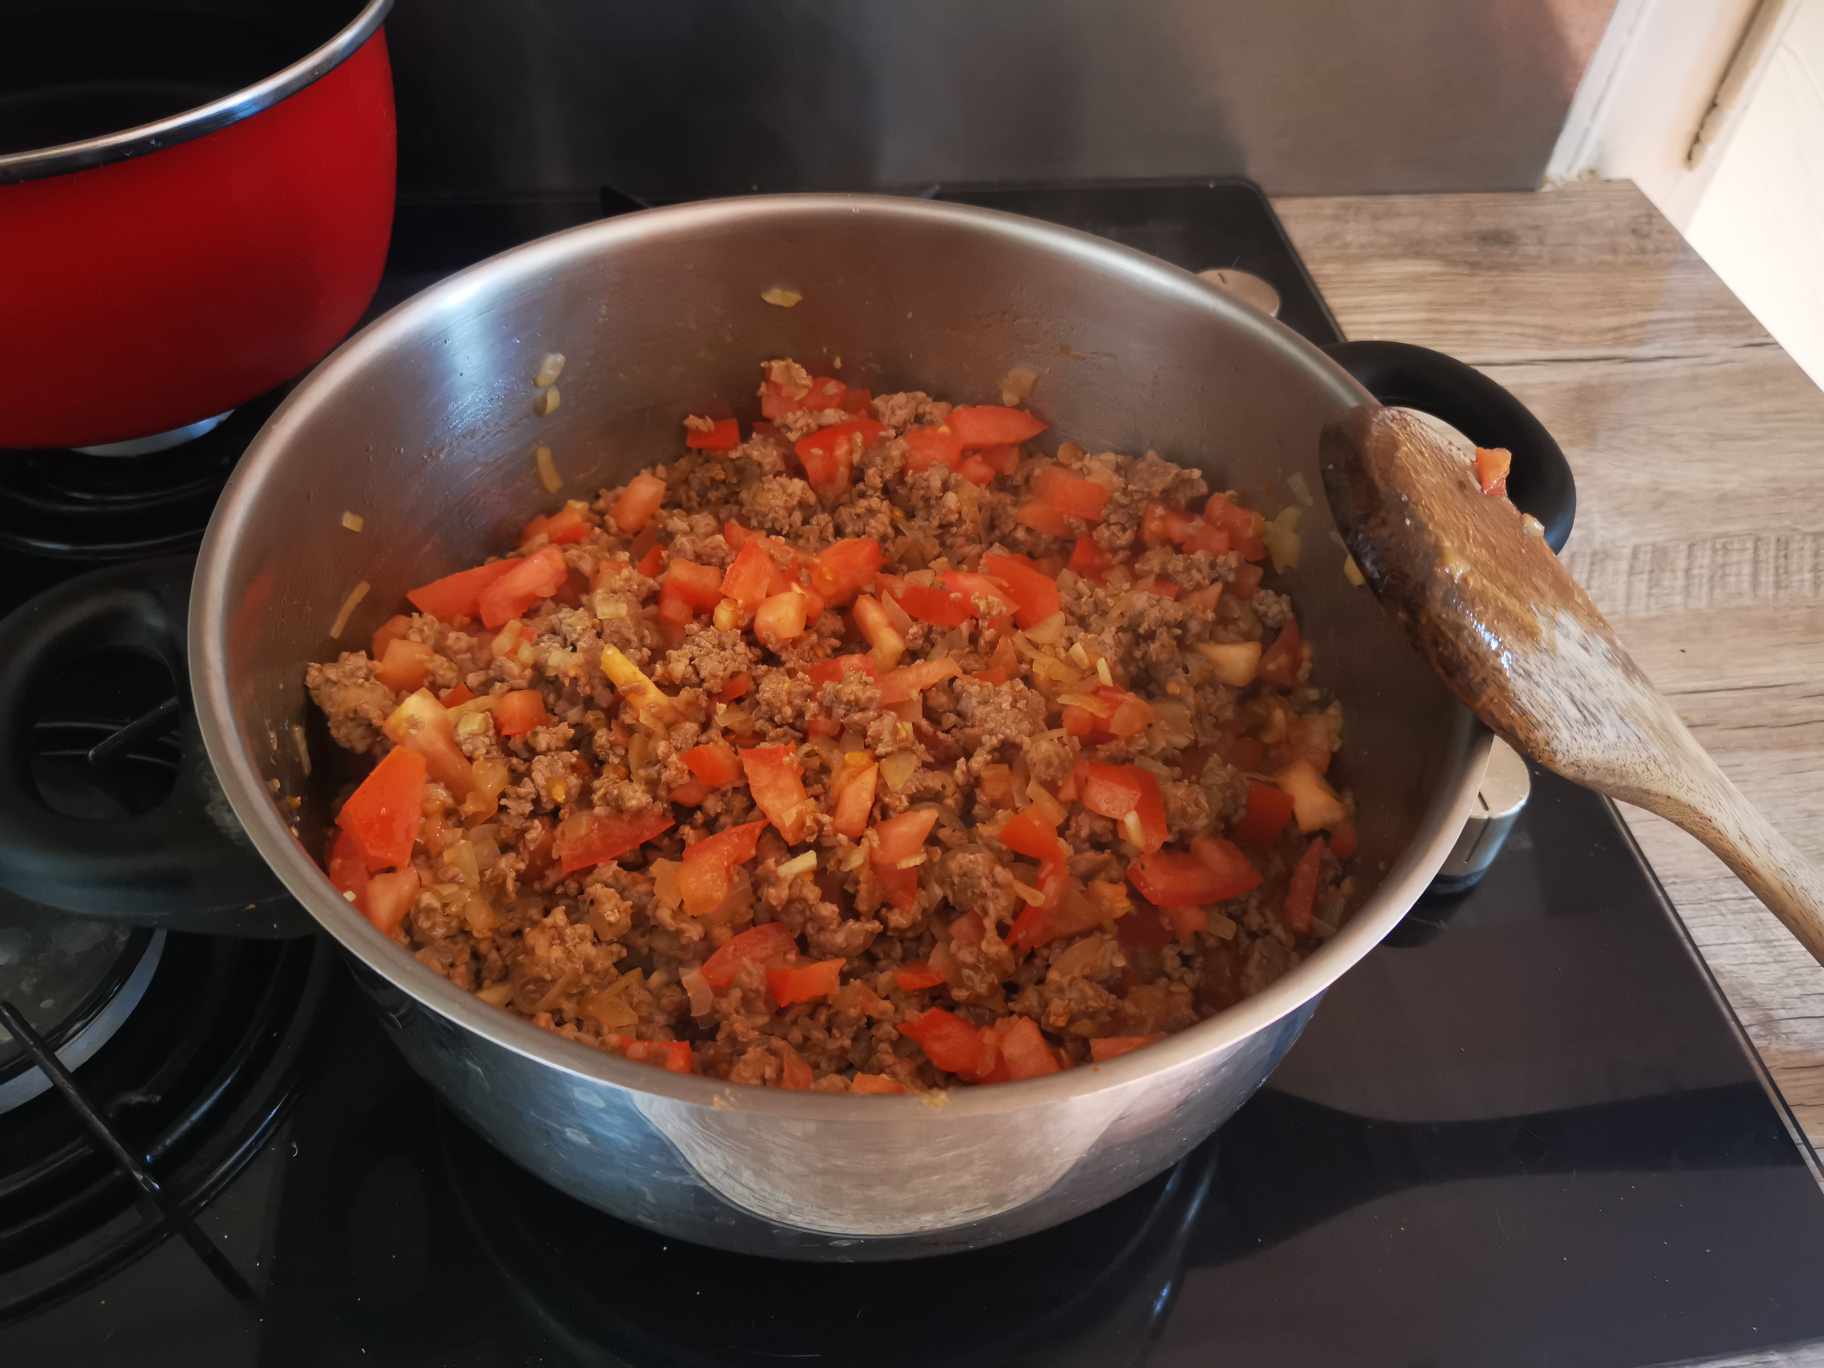
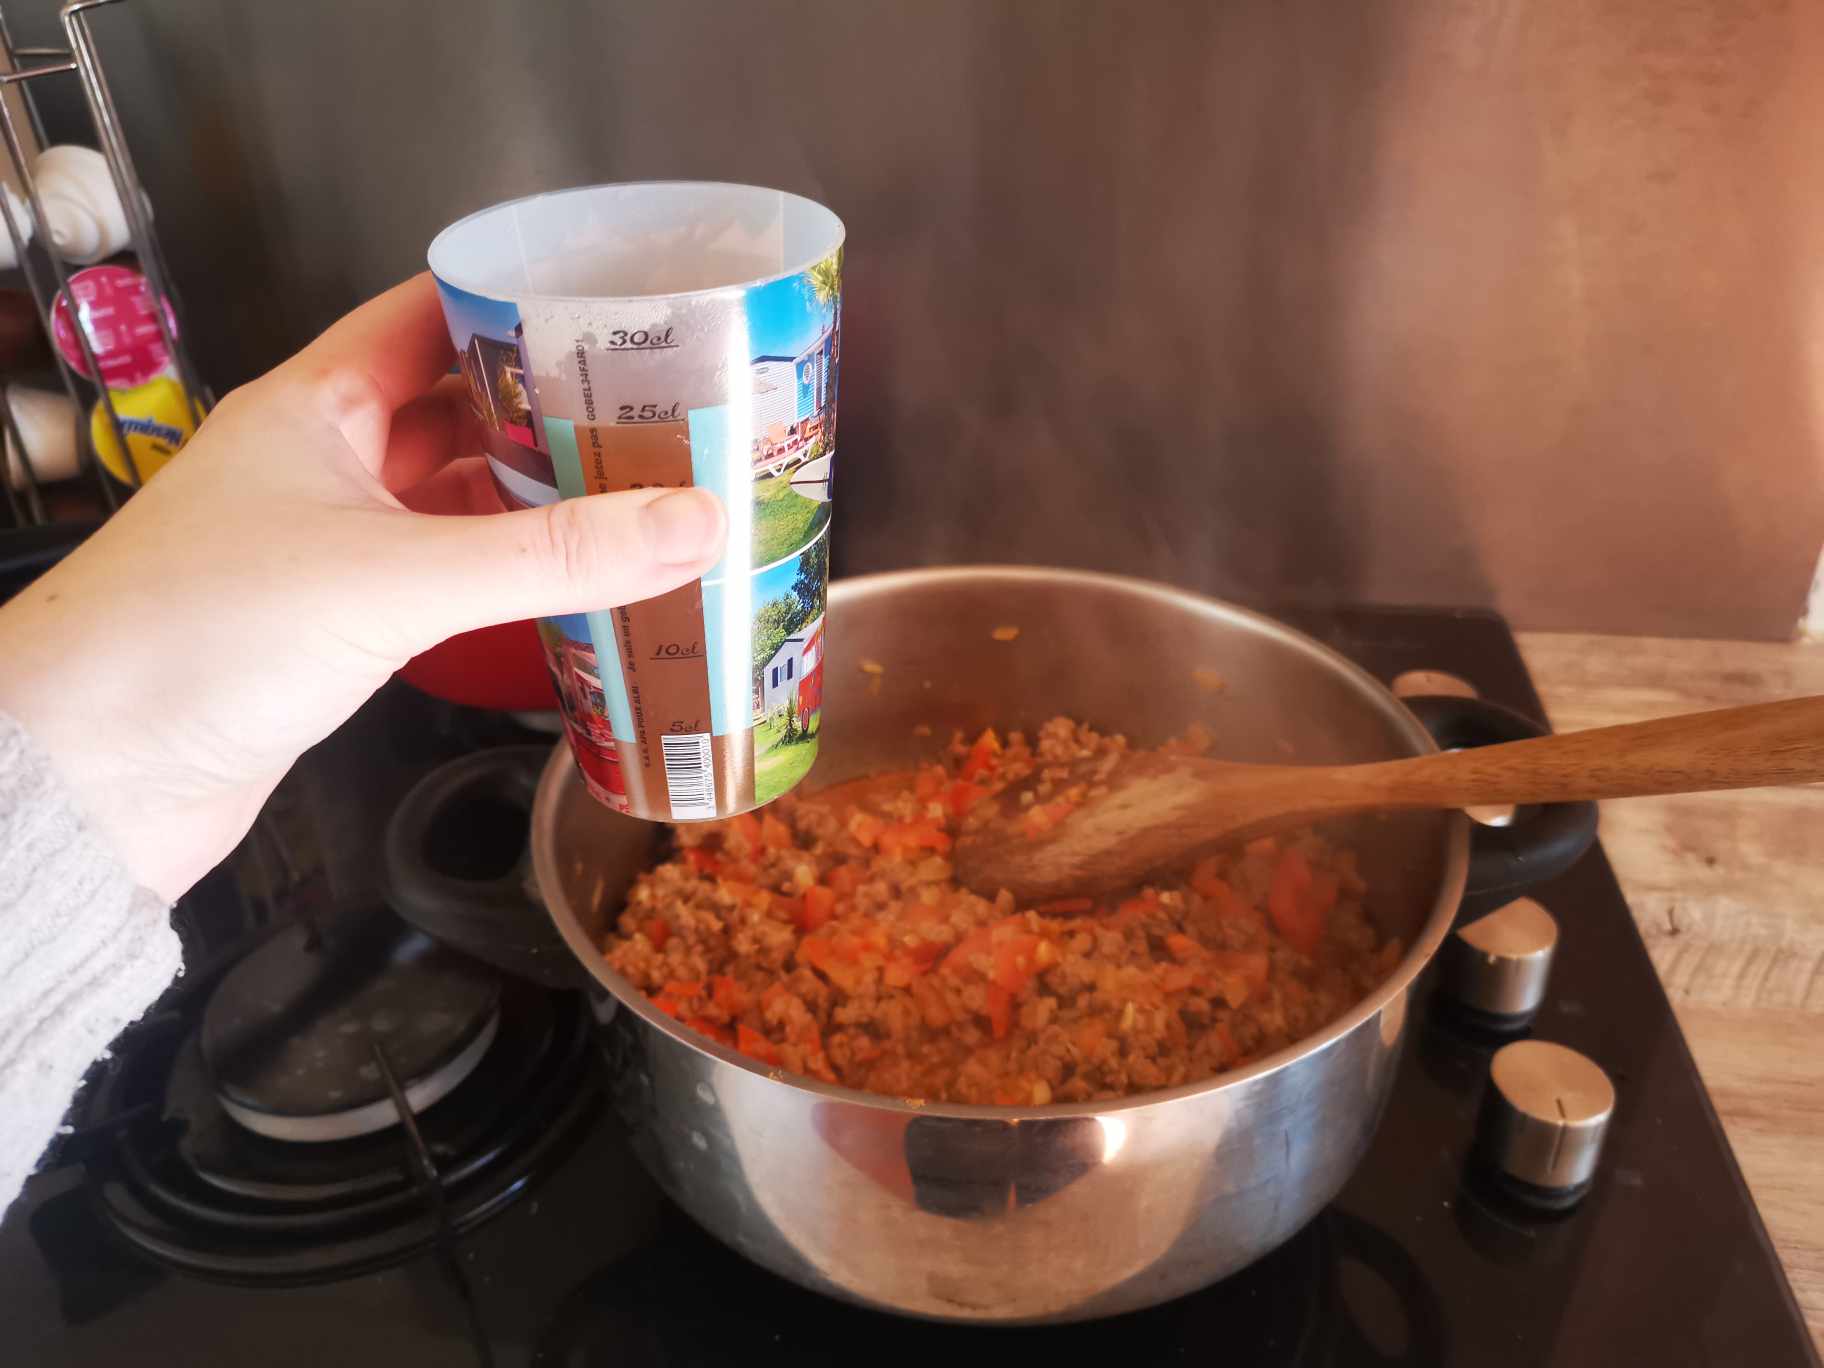
I mixed a little before adding the beef broth:
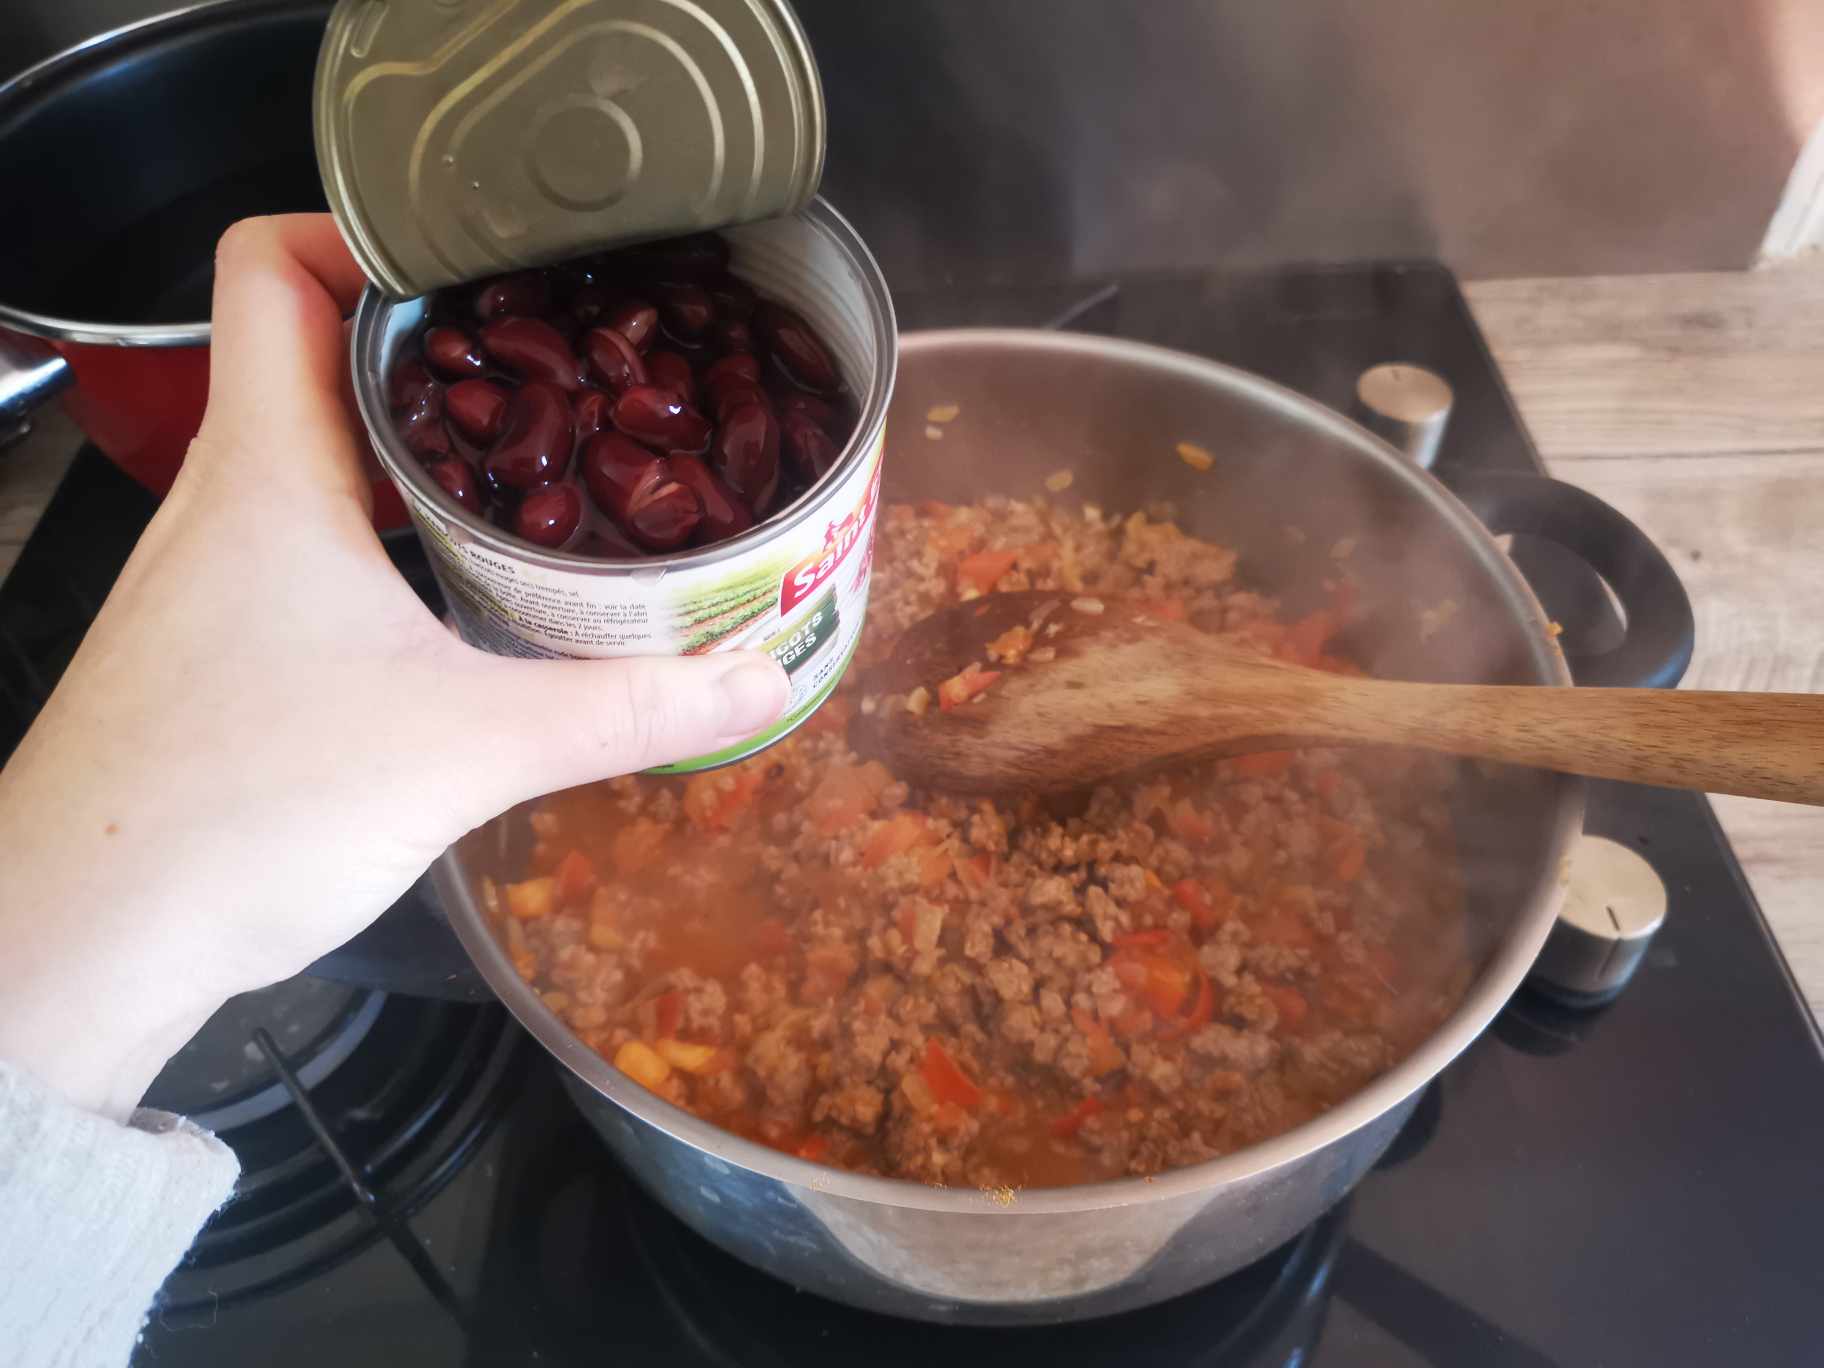
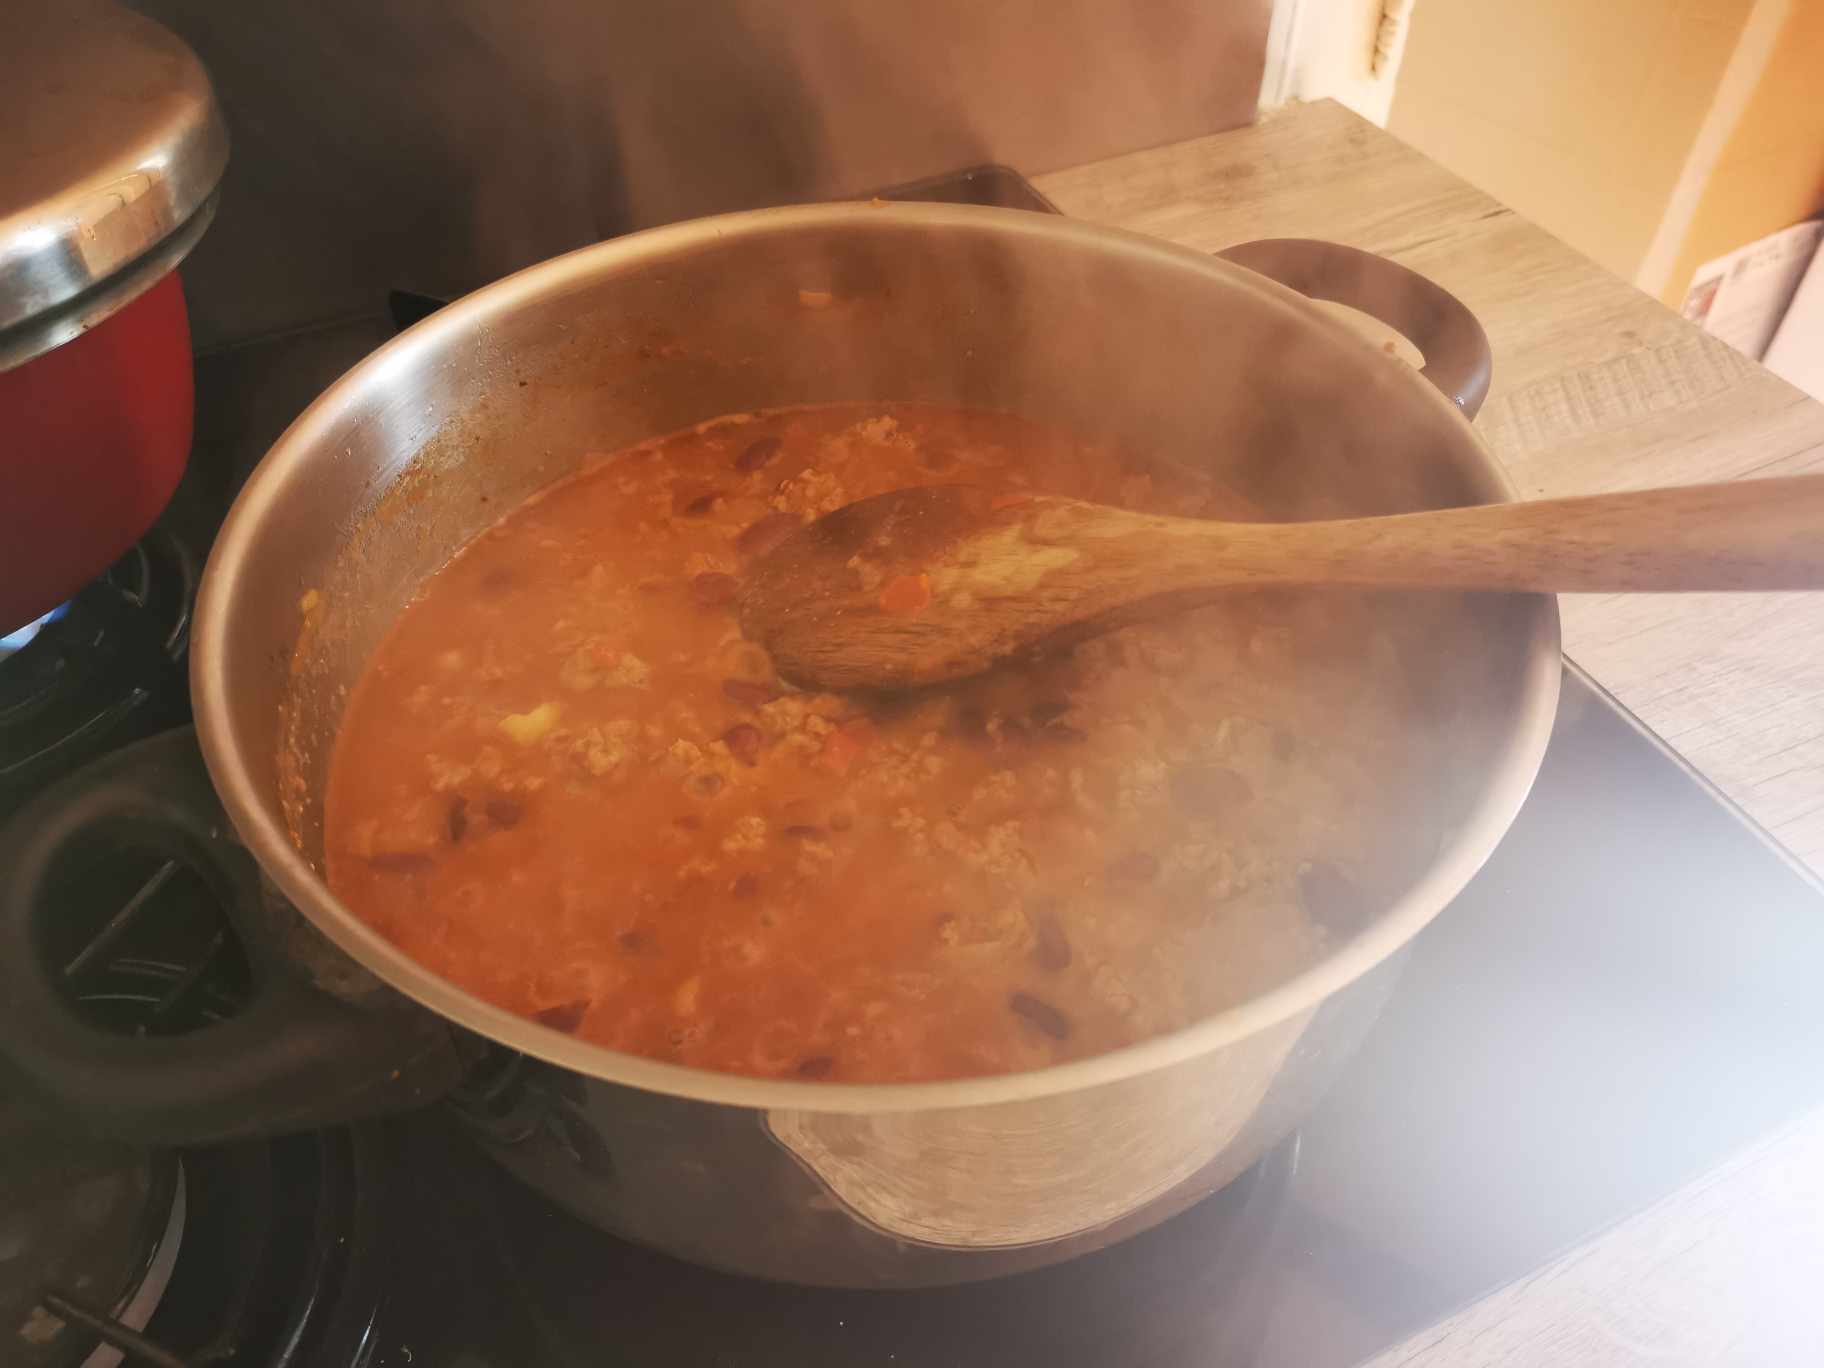
And the red beans that I drained slightly (but not completely):
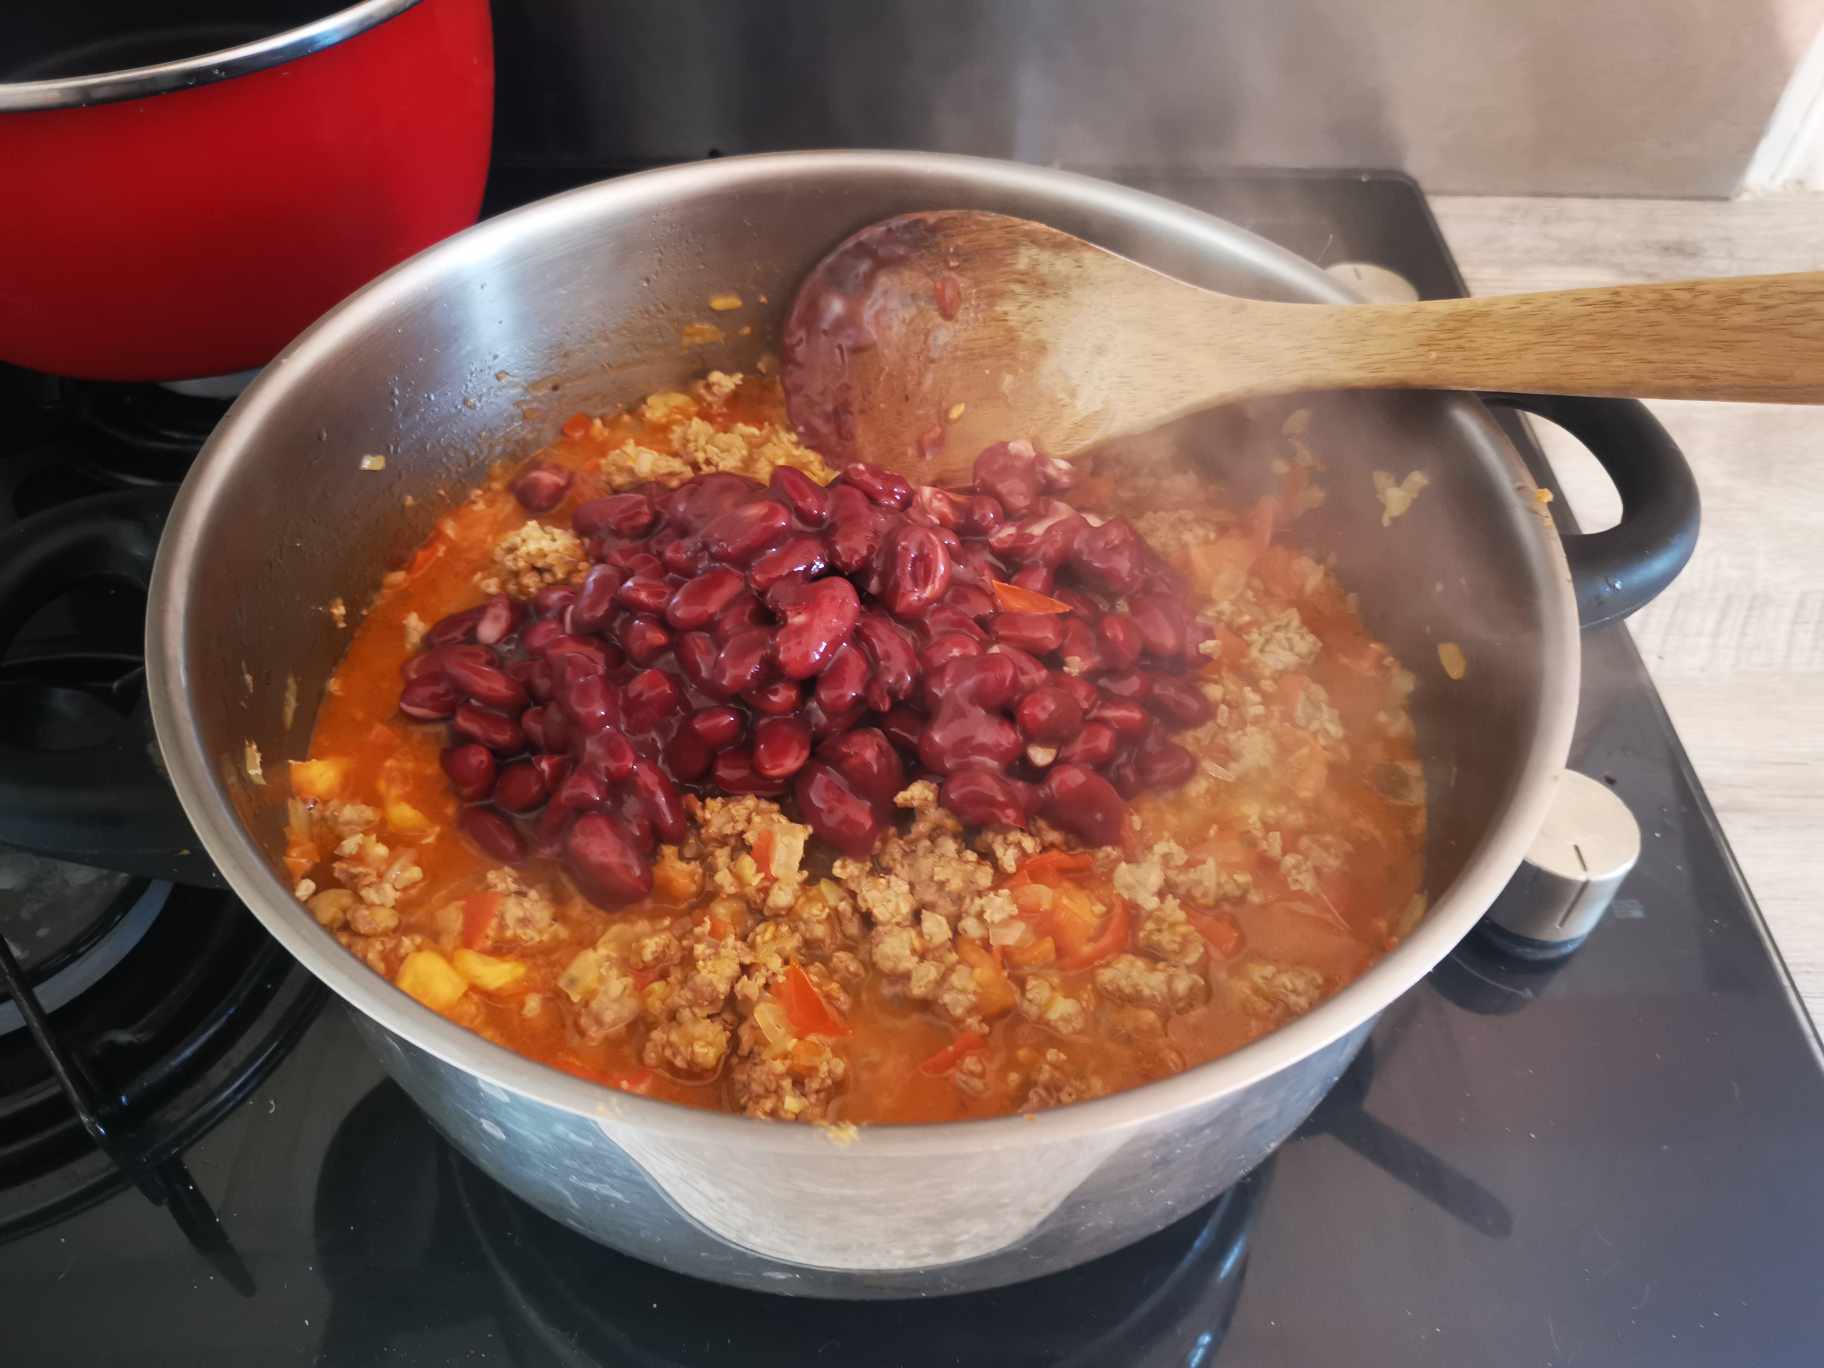
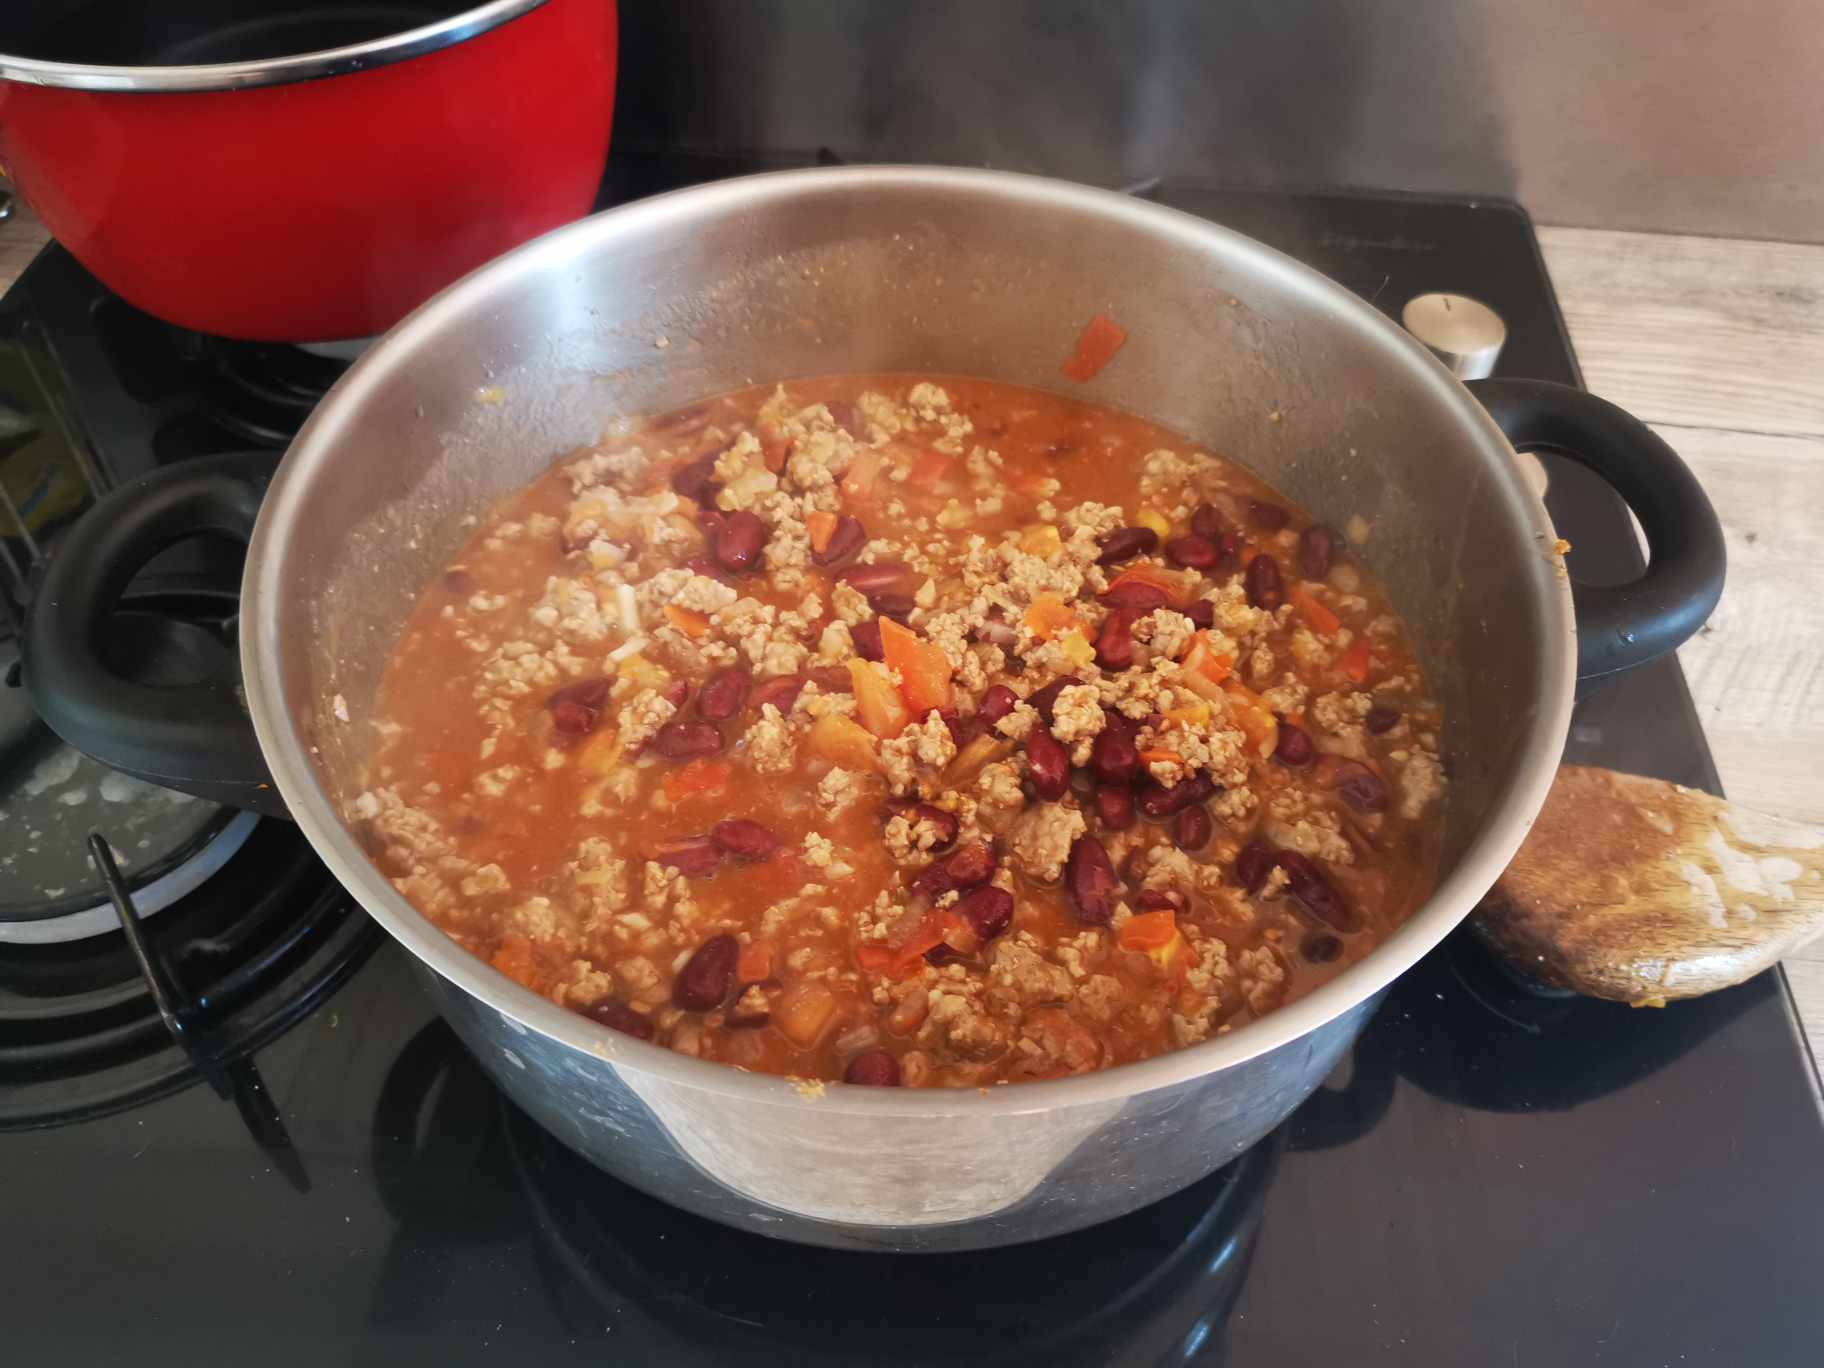
I mixed everything and let it simmer with a lid for 40 minutes. I stirred regularly with a wooden spatula, to check that it didn't stick.
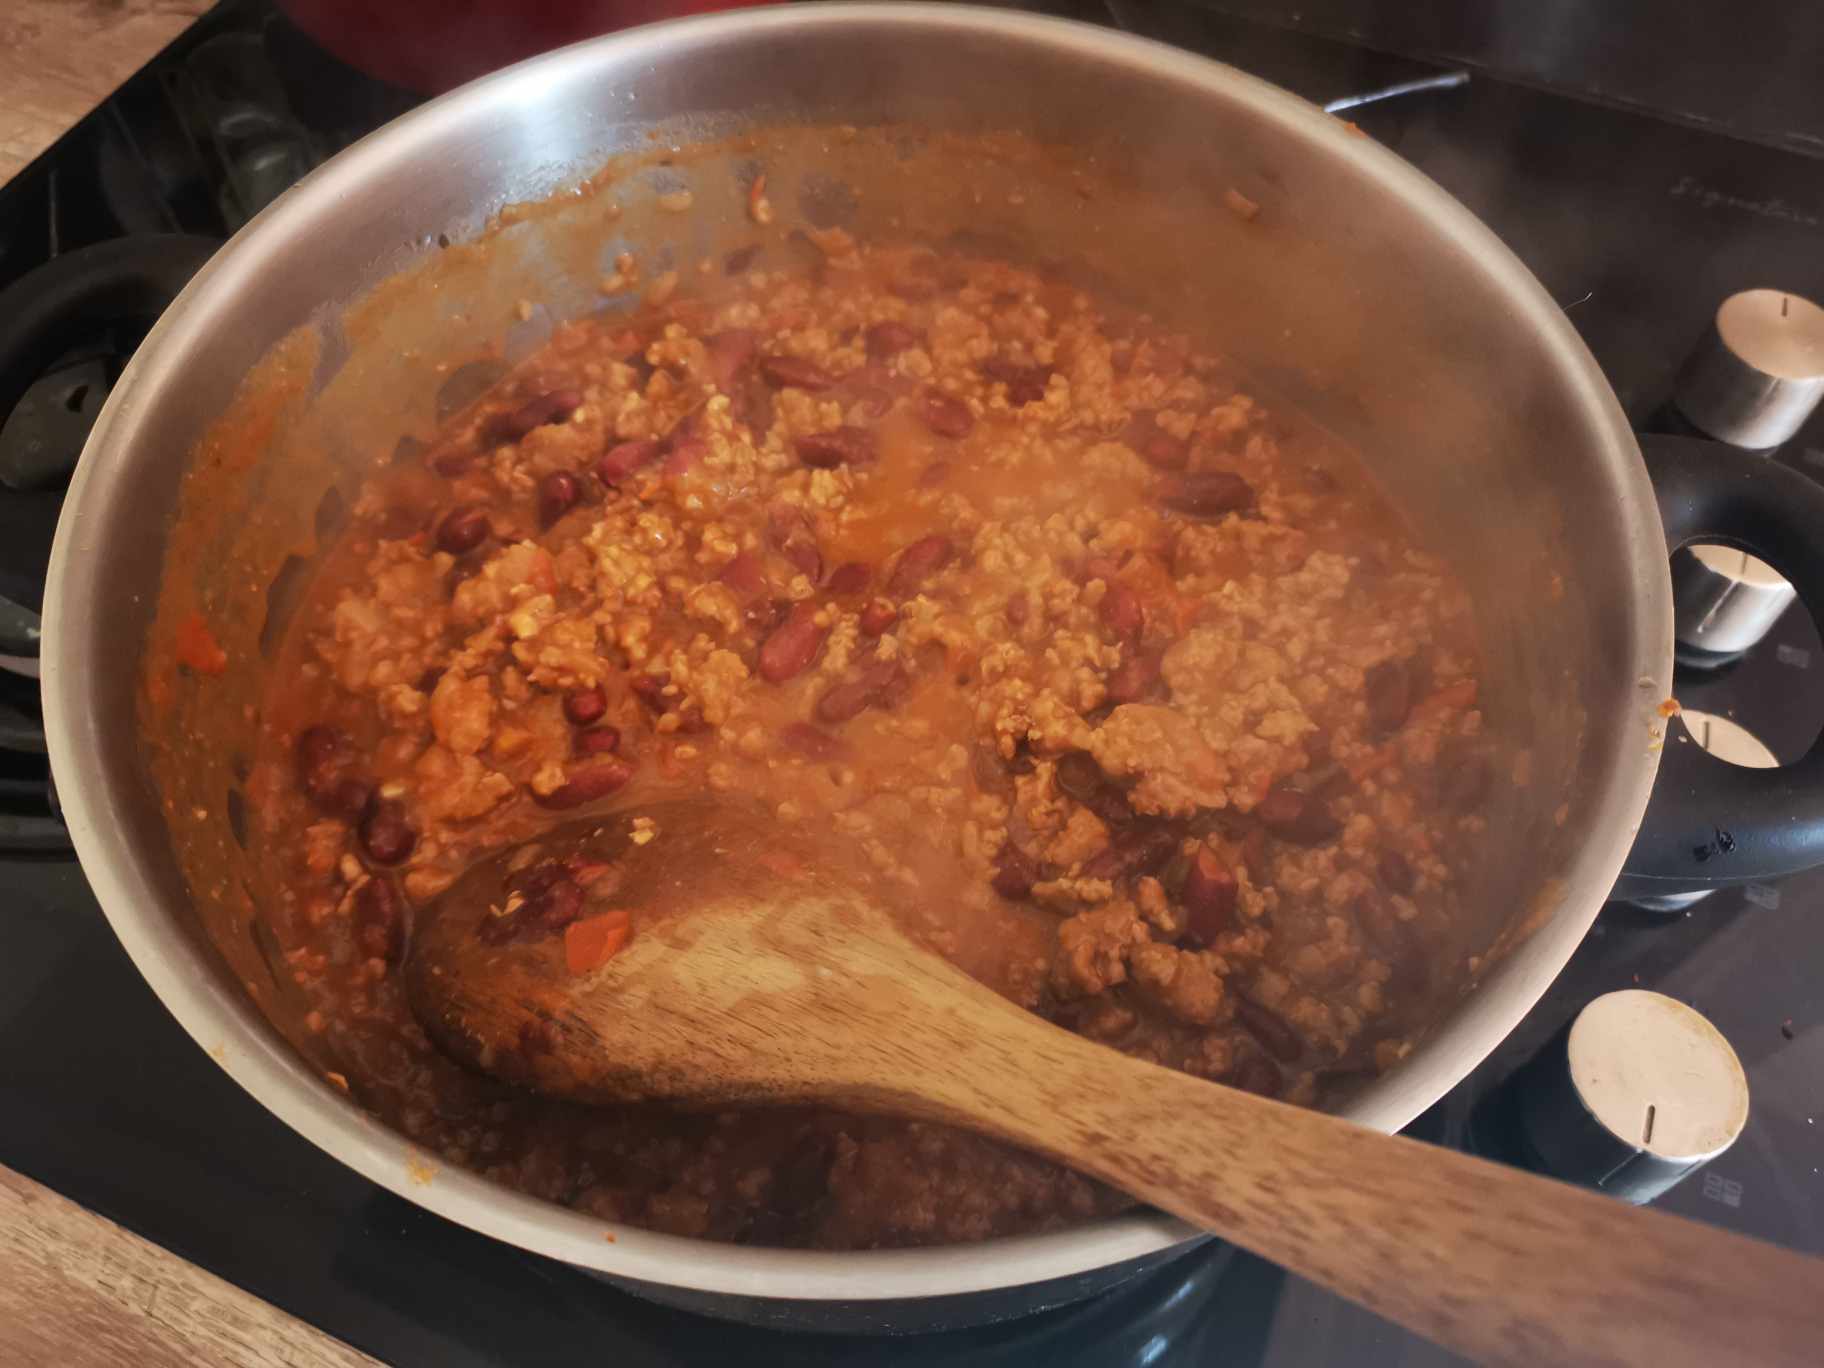
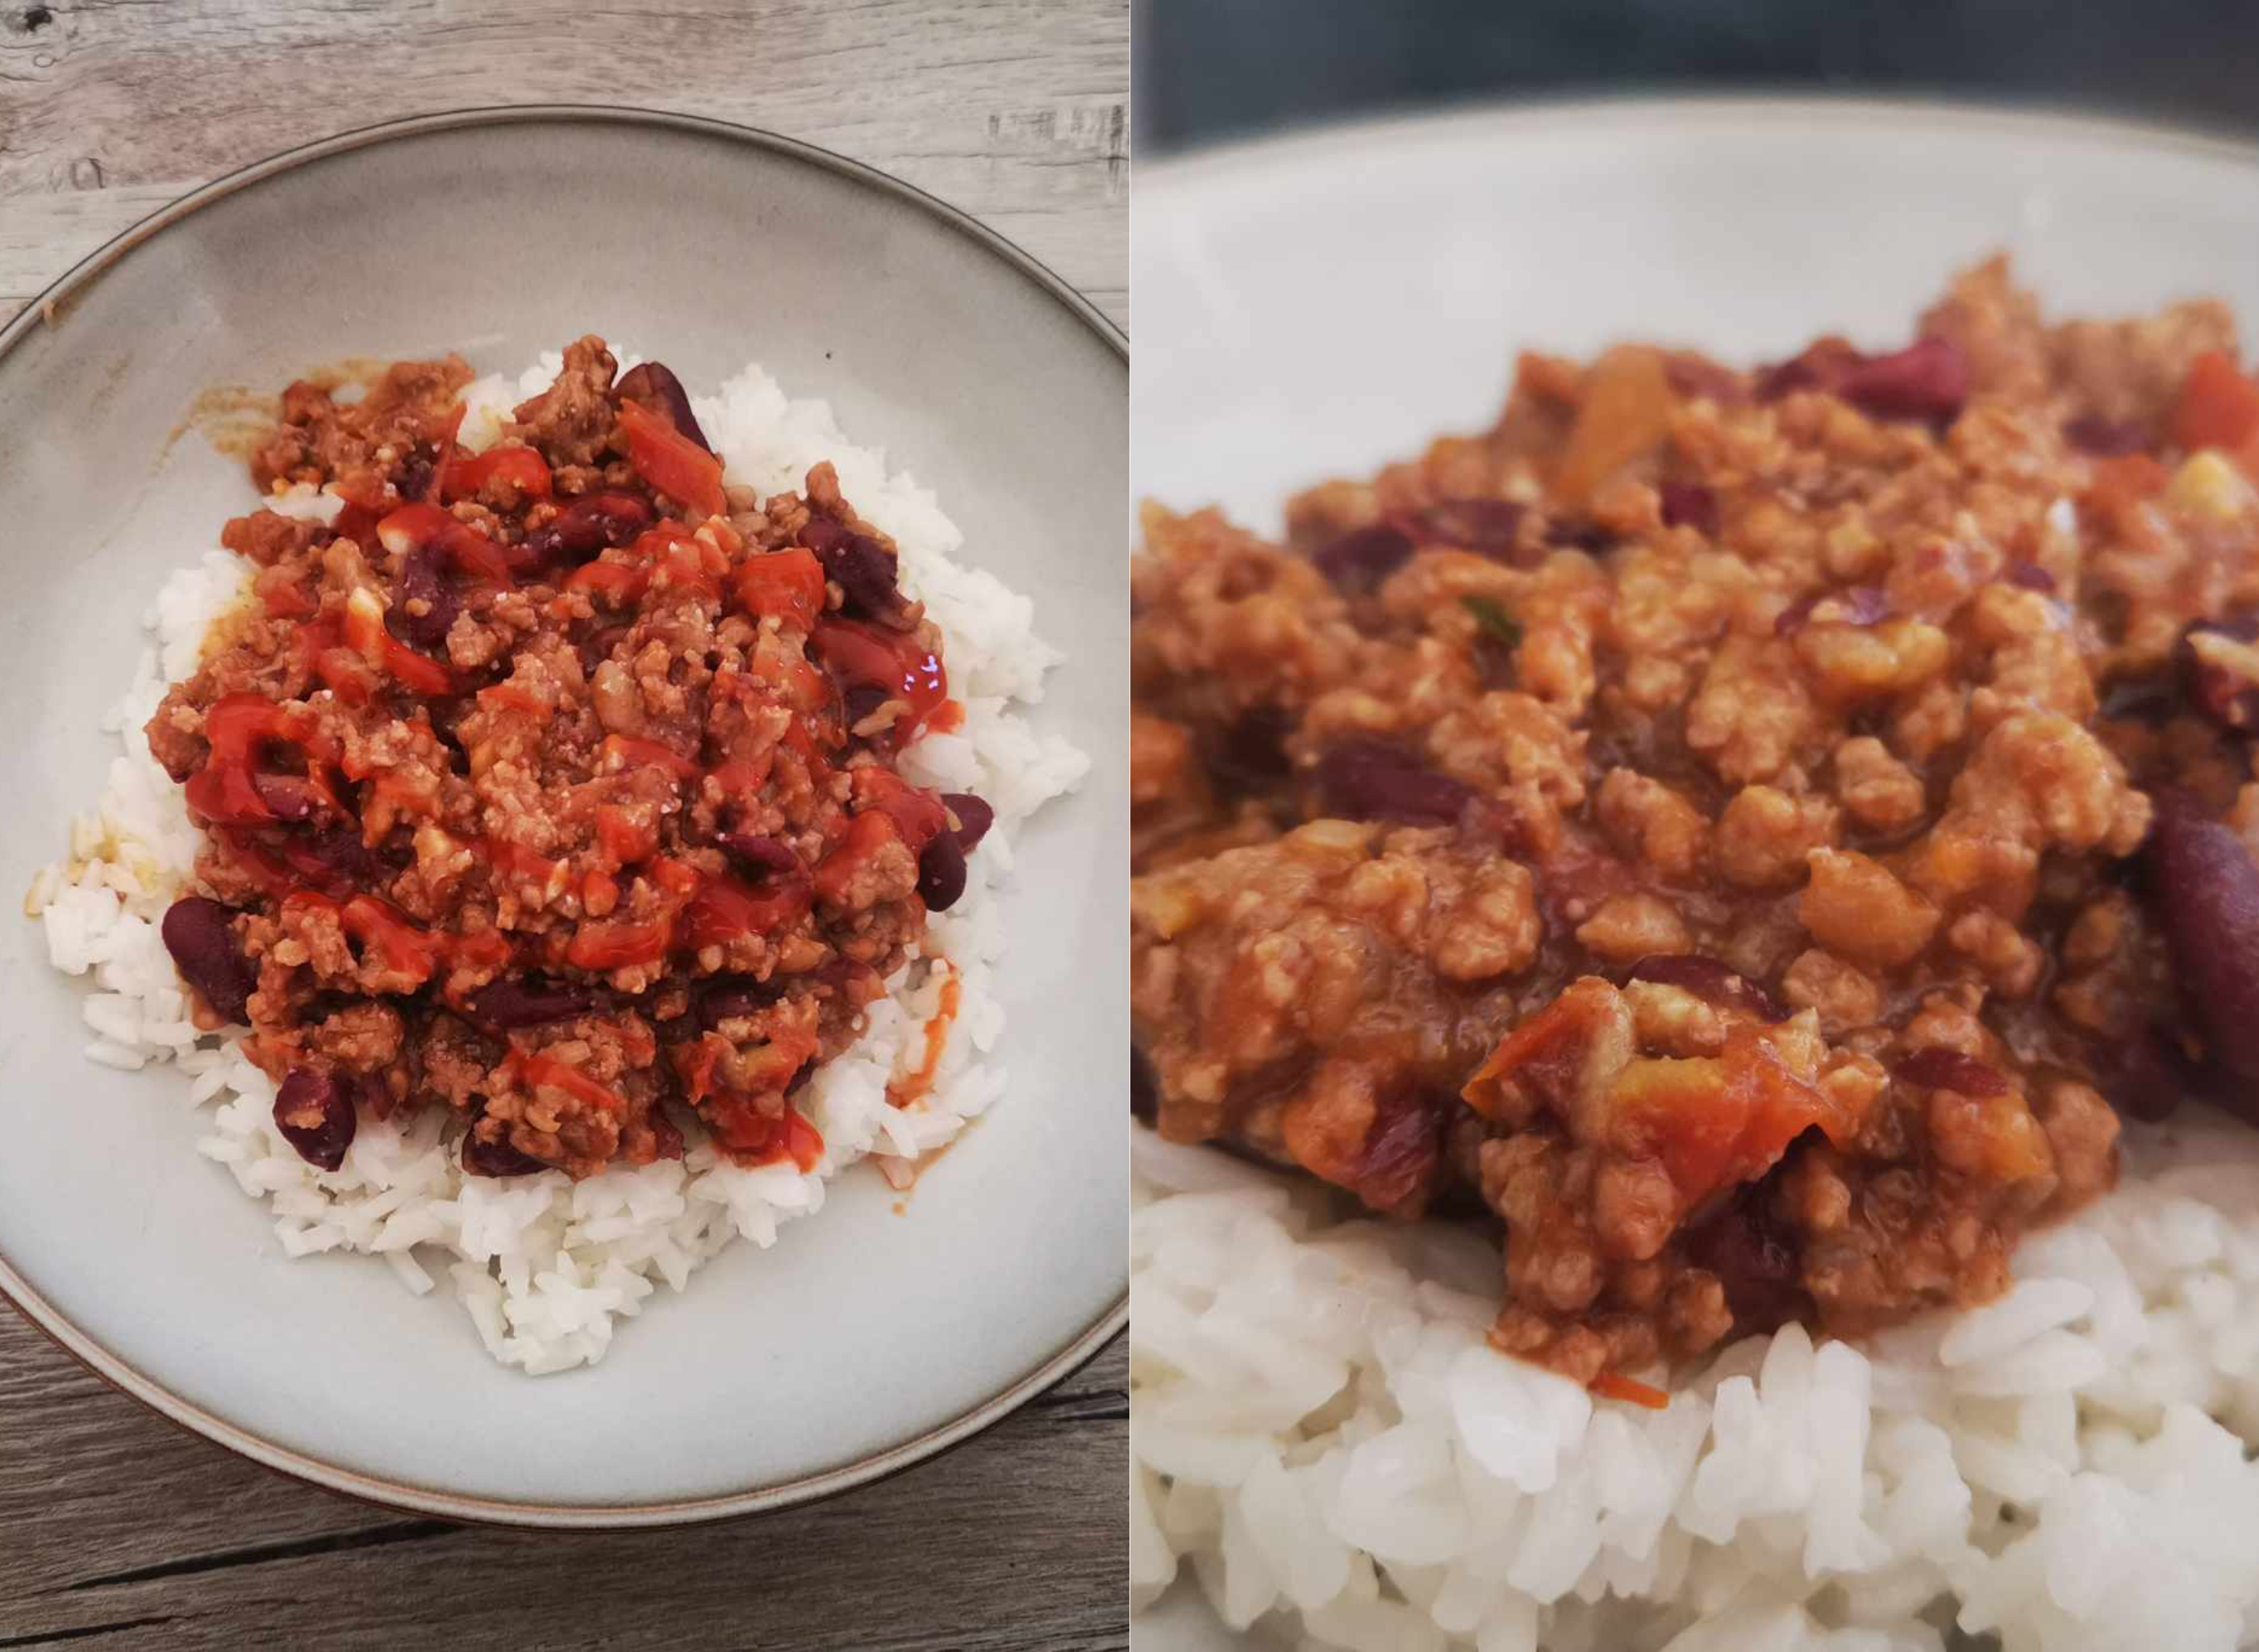
And after 40 minutes, the Chili Con Carne is ready!
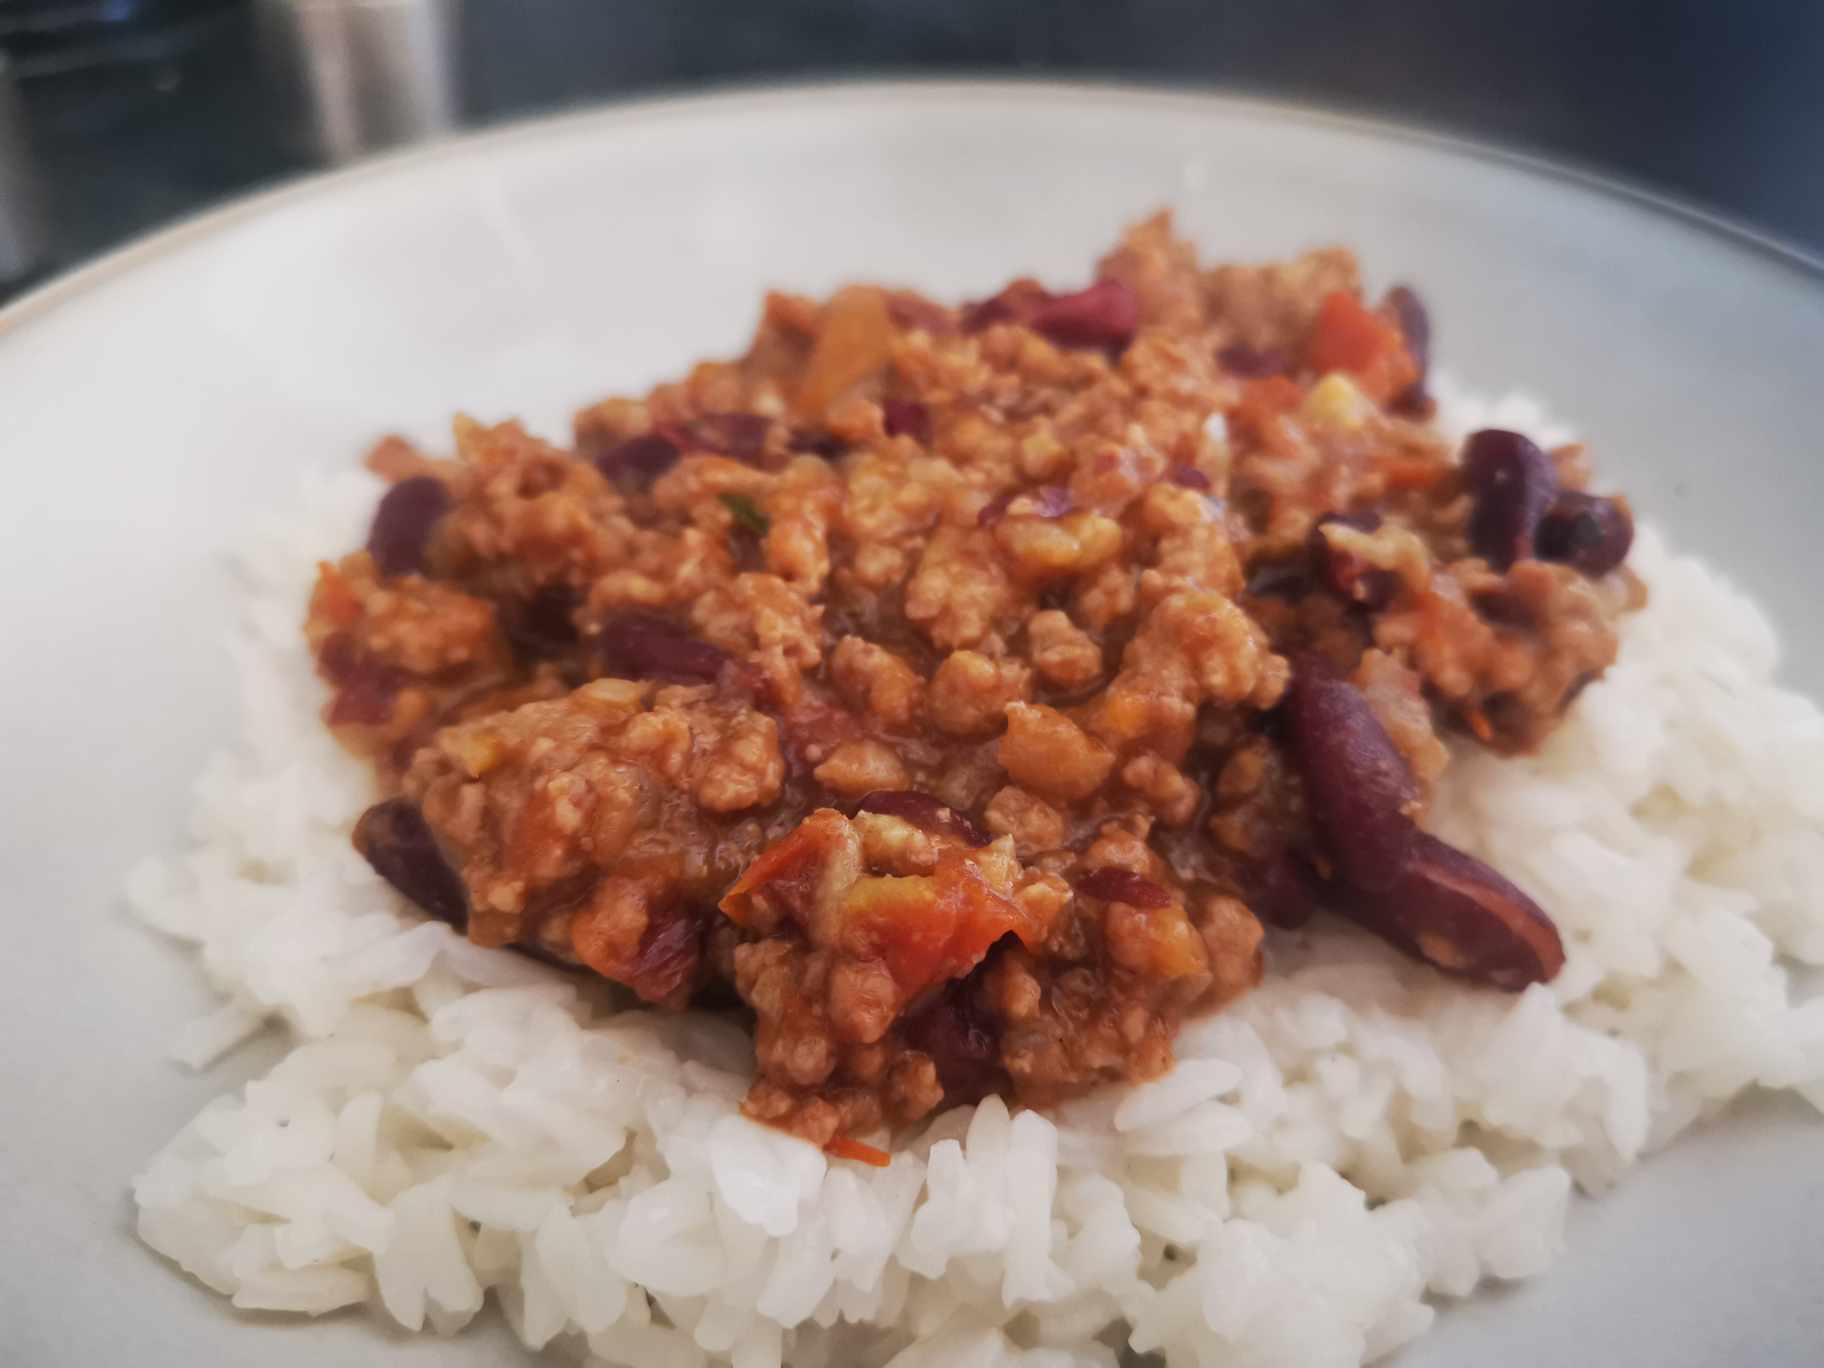
Tasting
I decided to serve the Chili with rice. I also added a few drops (ok maybe a little more than a few drops 🤣) of sriracha sauce to add a little spice to the dish! 🌶️
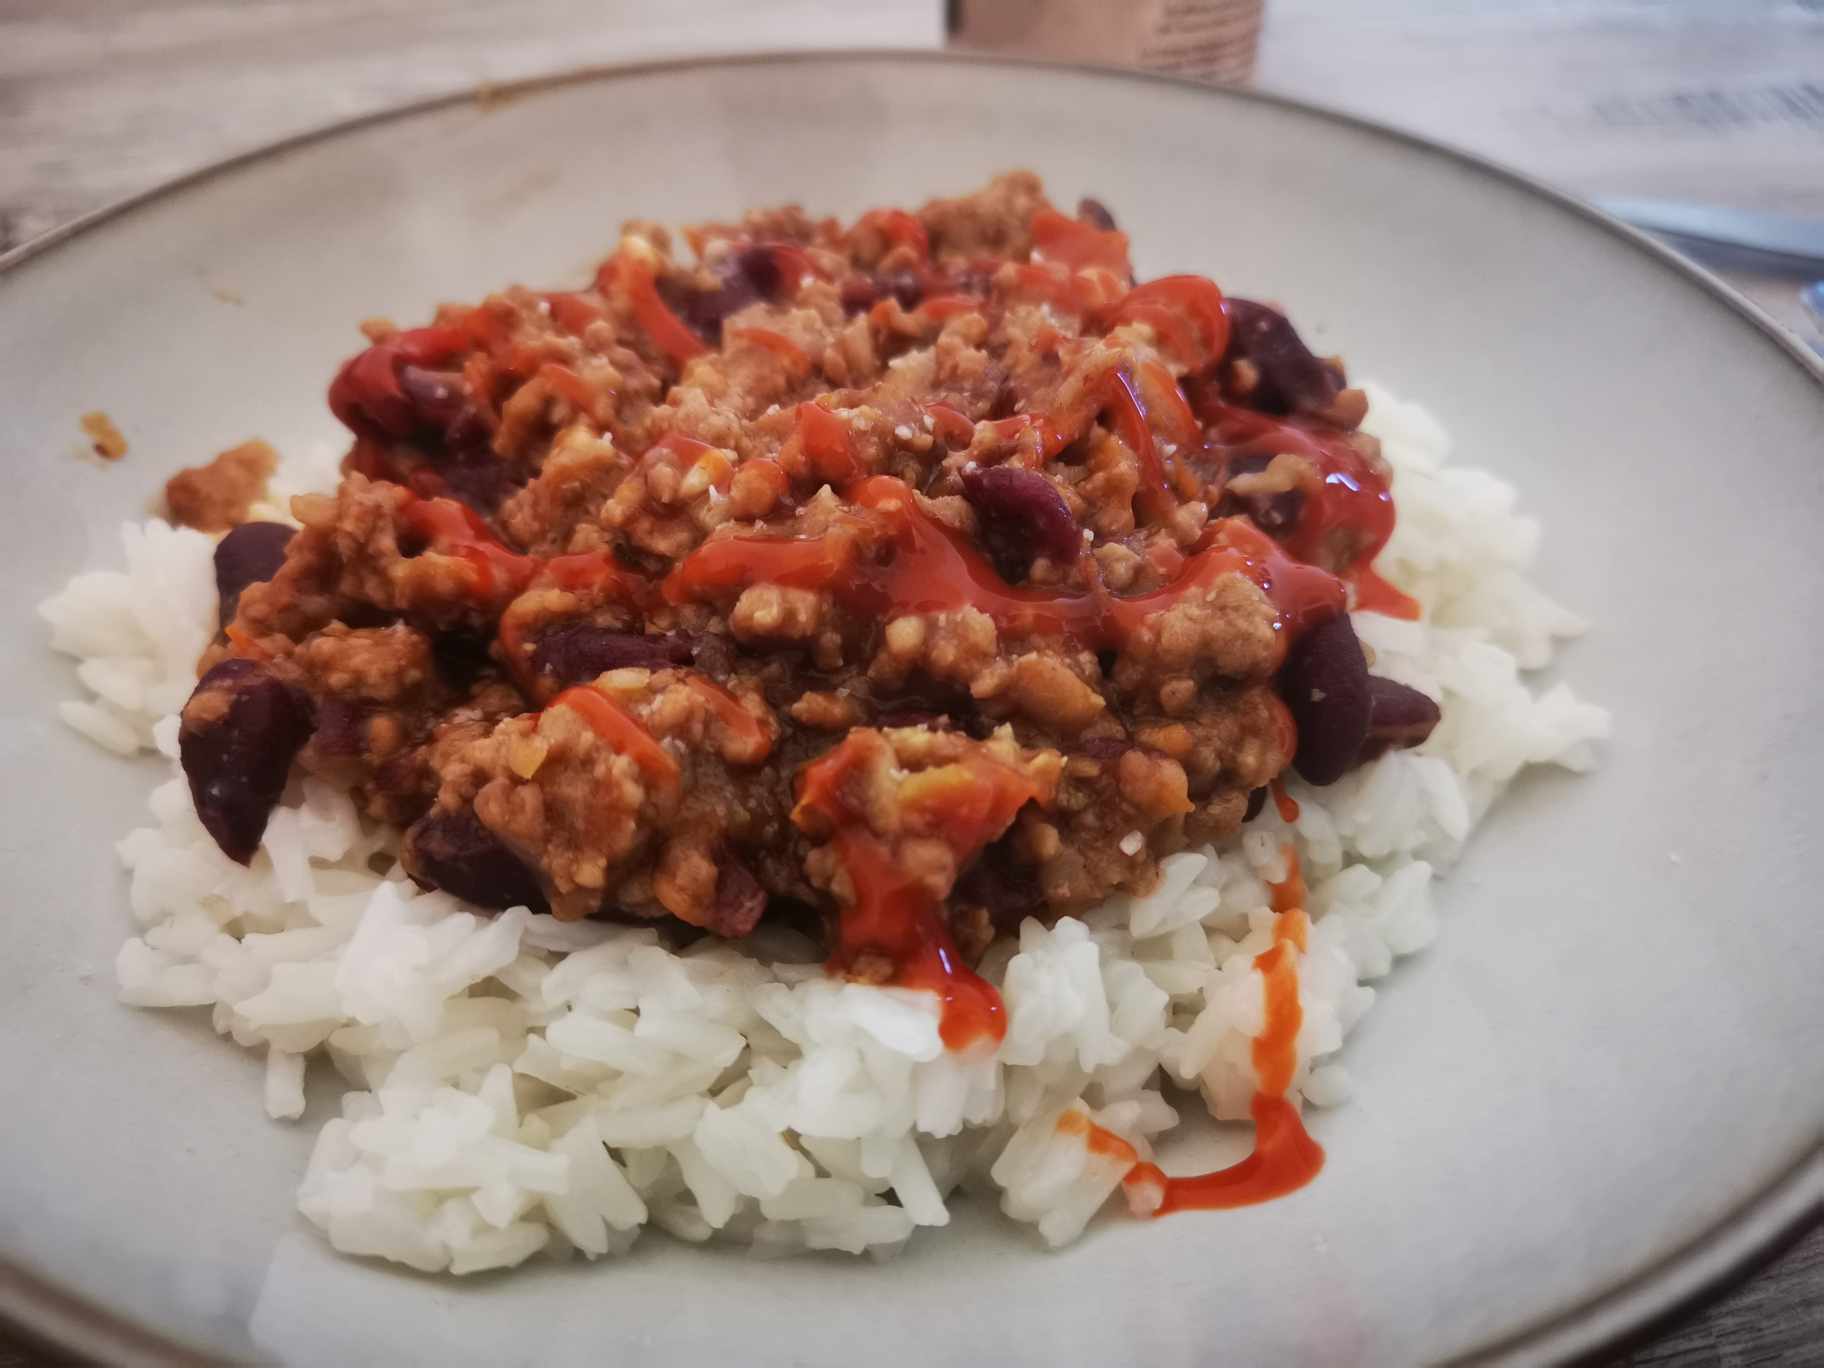
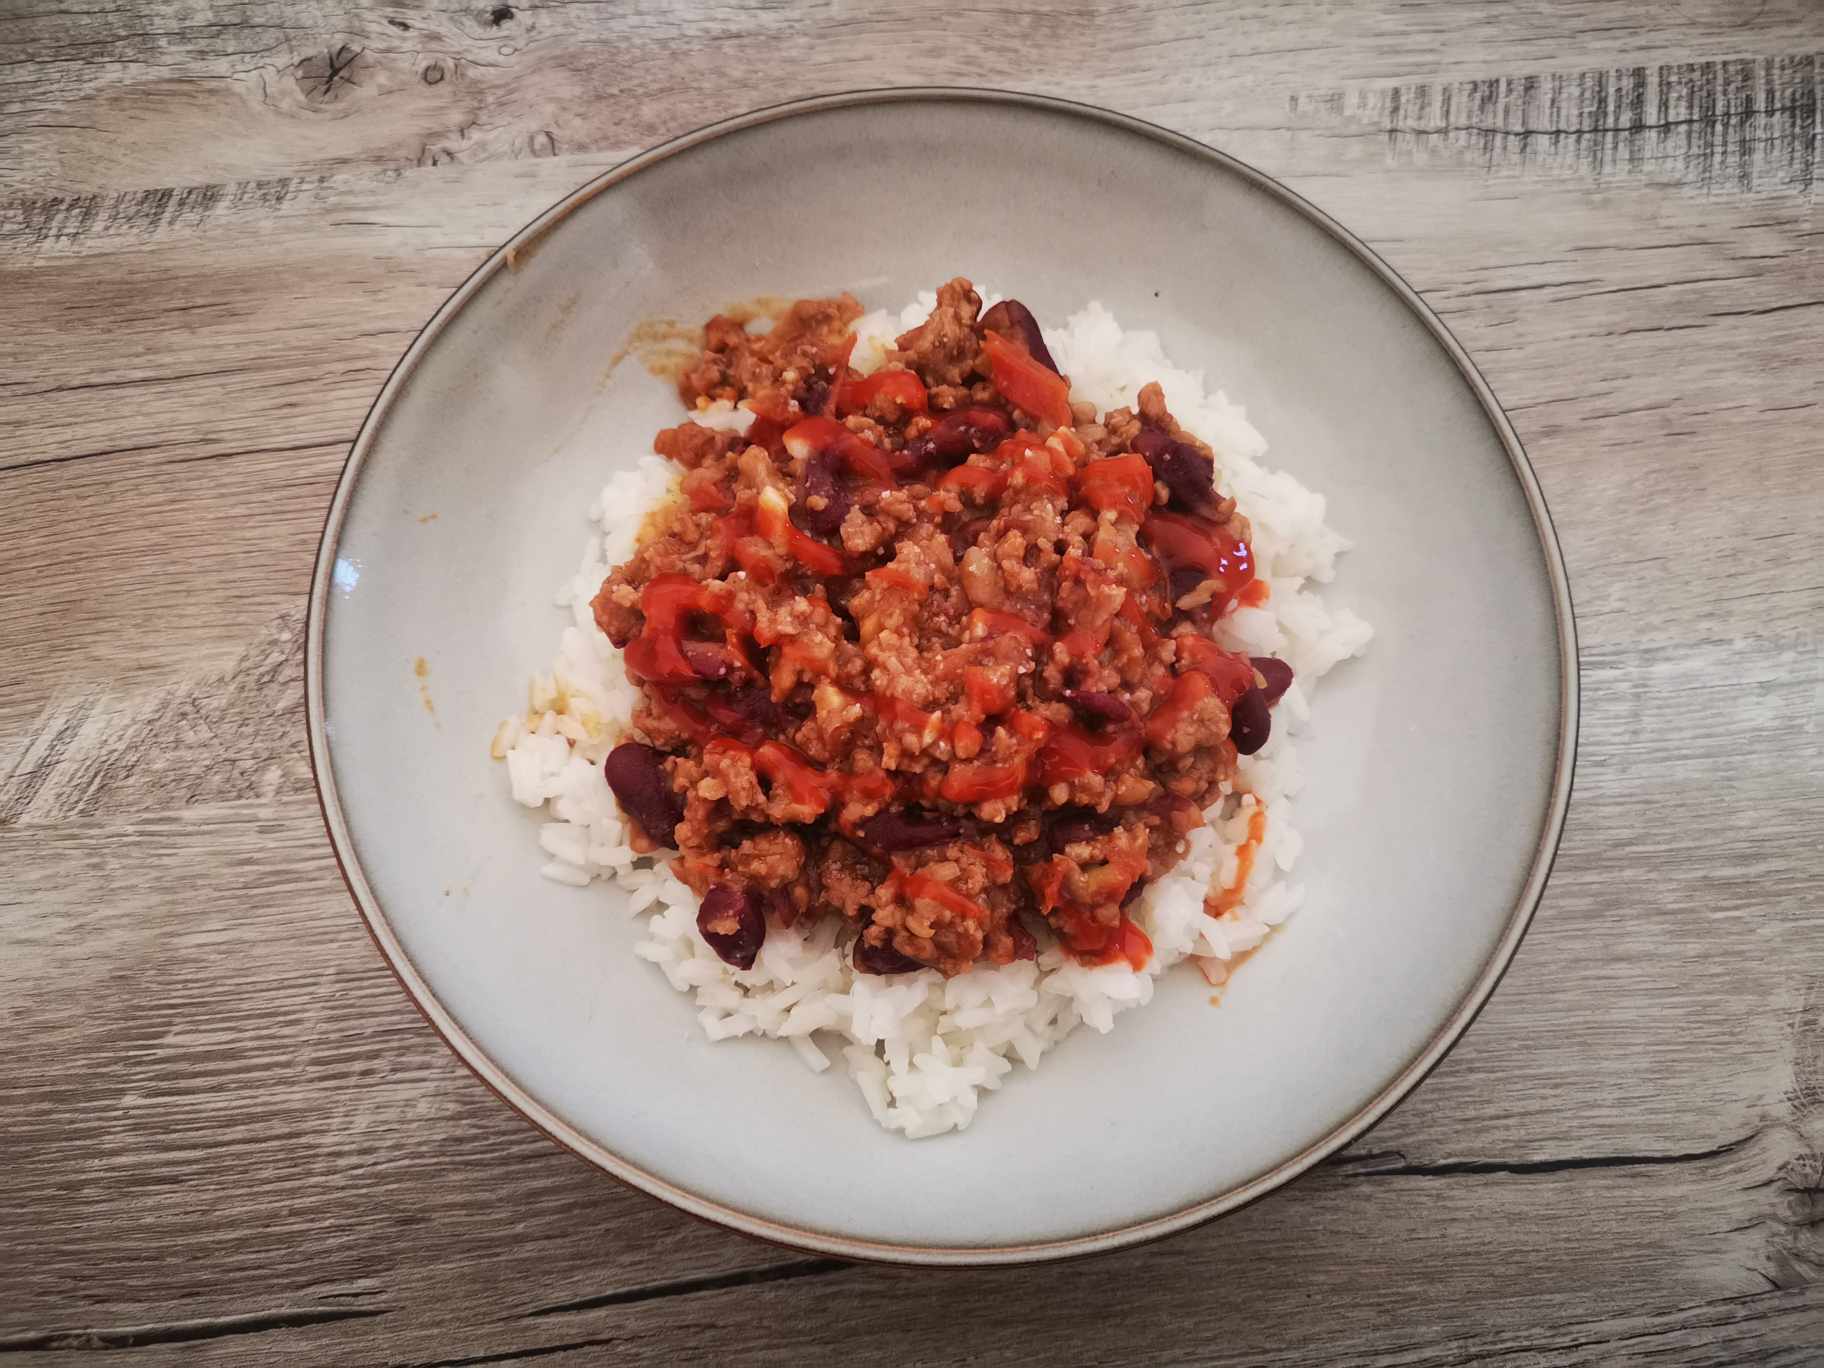

It was really good, full of flavors. And for once, it's really a dish that transports you to another country. I love it! In fact, it's one of @genesisledger's favorite dishes. 😋
I hope this recipe inspired you and that you'll enjoy trying it. 😁
See you soon,
Johanna
PS: I used Google Translate to translate the English part.
Hello les amis et les foodlovers ! J’espère que vous allez tous très bien. 😊
Aujourd’hui, je reviens pour vous partager une nouvelle recette pour vous faire voyager! ✈️ Celle du Chili Con Carne. C’est un plat qui vient du Texas aux États-Unis, mais qui est également consommé au Mexique. 🌍
Il existe une multitude de recettes de Chili Con Carne, et comme à mon habitude, j’ai un peu mixé plusieurs recettes pour que le plat corresponde à 100% à mes envies. Alors, je vais vous partager comment j’ai préparé un bon Chili pour 4 personnes.
Vous allez voir, ce n’est pas très compliqué à faire, il suffit d’ajouter les bons ingrédients au bon moment. Cependant, c’est un plat qui nécessite un peu de temps, car il doit mijoter pendant environ 40 minutes.
Je suis sûr que vous allez aimer les saveurs de ce plat !
Voici la recette pour 4 personnes 👇
Les ingrédients
- 450 grammes de bœuf haché (ou en steak que vous allez émietter) ;
- 1 oignon ;
- 2 tomates ;
- 1 boîte de 250 gramme de haricots rouges ;
- 2 gousses d’ail ;
- 250 ml de bouillon de bœuf ;
- 1 cuillère à café de cumin en poudre
- 1 cuillère à café de paprika
- 1 cuillère à café d’origan séché
- 1 cuillère à café de tabasco vert (piment jalapeno) ;
- Du sel, du poivre.
Les étapes de préparation
La découpe des légumes
Comme pour pratiquement toutes mes recettes, j’ai commencé par découper tous les légumes 👇
D’abord, j’ai découpé l’oignon en petits morceaux :
Ensuite, j’ai découpé l’ail :
Et puis, les tomates en petits dés :
J’ai également émietté les steaks de bœuf :
La cuisson
J’ai commencé la cuisson par faire chauffer la poêle. Une fois qu’elle était bien chaude, j’ai ajouté un peu d’huile d’olive :
Et j’ai ajouté la viande :
J’ai fait revenir la viande environ 5 minutes, jusqu’à ce qu’elle ne soit plus rosée.
Ensuite, j’ai ajouté les oignons et l’ail et j’ai fait revenir le tout pendant environ 5 minutes.
Puis, j’ai ajouté les épices 👇
1 cuillère à café de cumin :
1 cuillère à café de paprika :
1 cuillère à café d’origan séché :
1 cuillère à café de tabasco :
J’ai également salé et poivré.
C’est ensuite le moment d’ajouter les dés de tomates :
J’ai mélangé un peu avant d’ajouter le bouillon de bœuf :
Et les haricots rouges que j’ai légèrement égouttés (mais pas entièrement) :
J’ai mélangé le tout et j’ai laissé mijoter avec un couvercle pendant 40 minutes. J’ai mélangé régulièrement avec une spatule en bois, pour vérifier que ça ne collait pas.
Et au bout de 40 minutes, le Chili Con Carne est prêt !
La dégustation
J’ai décidé de servir le Chili avec du riz. J’ai également ajouté quelques gouttes (bon ok peut-être un peu plus que quelques gouttes 🤣) de sauce sriracha pour ajouter un peu de piquant au plat ! 🌶️
C’était vraiment très bon, plein de saveurs. Et pour le coup, c’est vraiment un plat qui vous transporte dans un autre pays. J’adore ! D’ailleurs, c’est un des plats préférés de @genesisledger. 😋
J’espère que cette recette vous a inspiré et que vous prendrez du plaisir à la tester. 😁
À bientôt,
Johanna
PS : J’ai utilisé Google Traduction pour traduire la partie en anglais.