Looking at it from the spectator's angle the sewing looks exciting, easy and quick to do but when you are not a spectator but a seamstress, sewing a piece is stressful many times, you have to mess up when there are mistakes, sometimes the design gets complicated, not to mention the situations that can arise with the sewing machine, sometimes the thread or needle gets stuck or the machine gets stuck and you have to fix the sewing machine yourself, and after analyzing, fixing here and there sometimes we give up and take it to a technician hoping that he will take pity on us and will not give us a very astronomical amount for the repair, but what can we do without our machine, it is an essential tool in most of the sewing for the finishing of any piece, it is our favorite.
I experienced something similar with this project since I had some inconveniences and headaches with sewing and my thoughts wandered saying to myself: don't you love sewing and you were excited at the thought of making a design? Well, I guess that's what's missing now, those were my thoughts, but after I finished the dress I said to myself: I'm going to buy more fabric to make a collection of dresses, hahahaha, I felt so satisfied and excited, I think I developed a love - hate for sewing inexplicable however we have a special place in our heart for it.
Well, that said, without further delay I show you the development of this dress project, then, I detail the materials that will be needed:
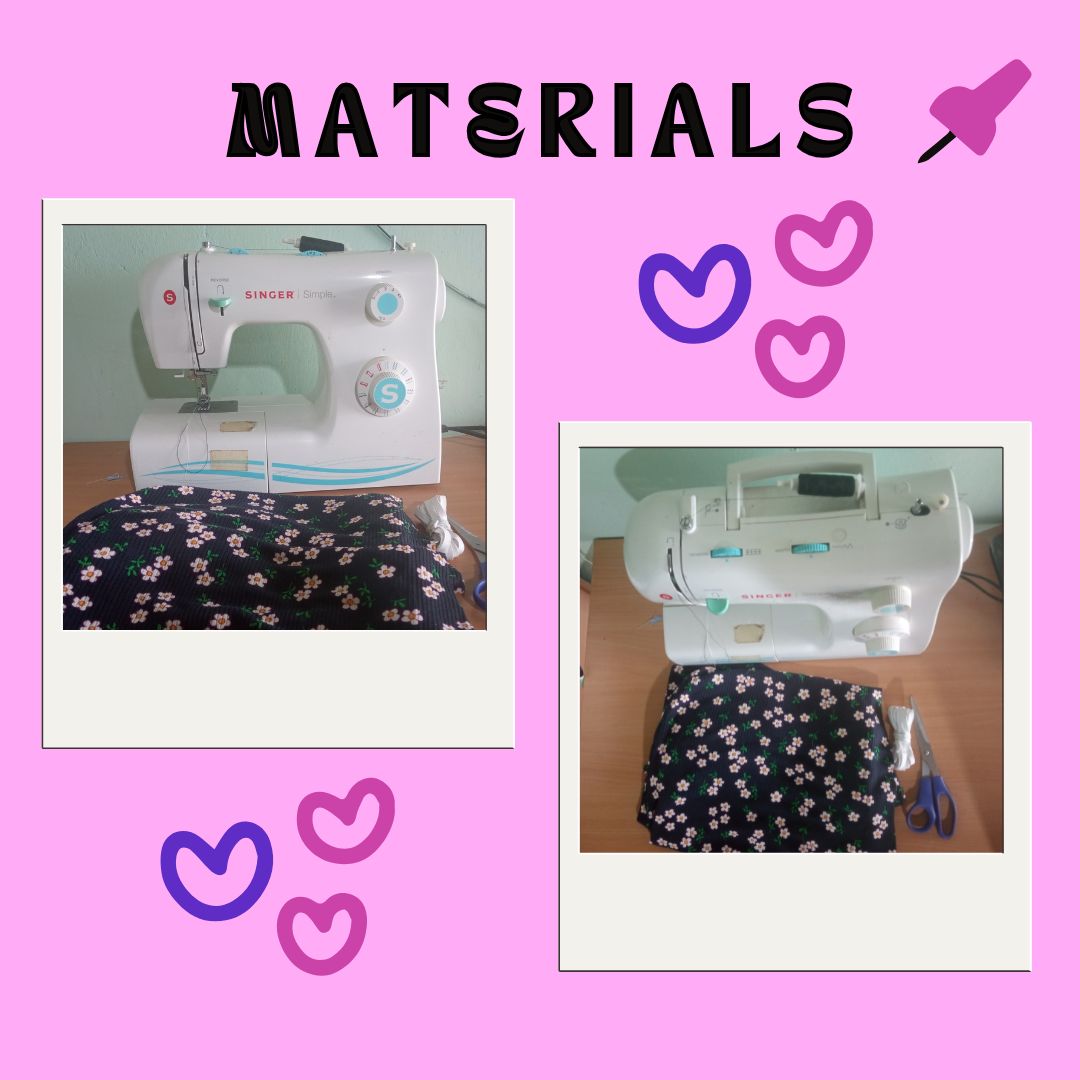
Fabric of 1 meter and a quarter.
Garter
Scissors
Sewing machine
Pins
Blouse to make the pattern
Thread
Procedure:
In this opportunity I wanted to make a dress from a shirt pattern for the top and for the bottom part which is the skirt I did it without pattern guiding me by the width of the shirt along the fabric vertically.
We place the shirt pattern and with the help of the pins we fix the shirt on the fabric in doubles that stretches across the width.
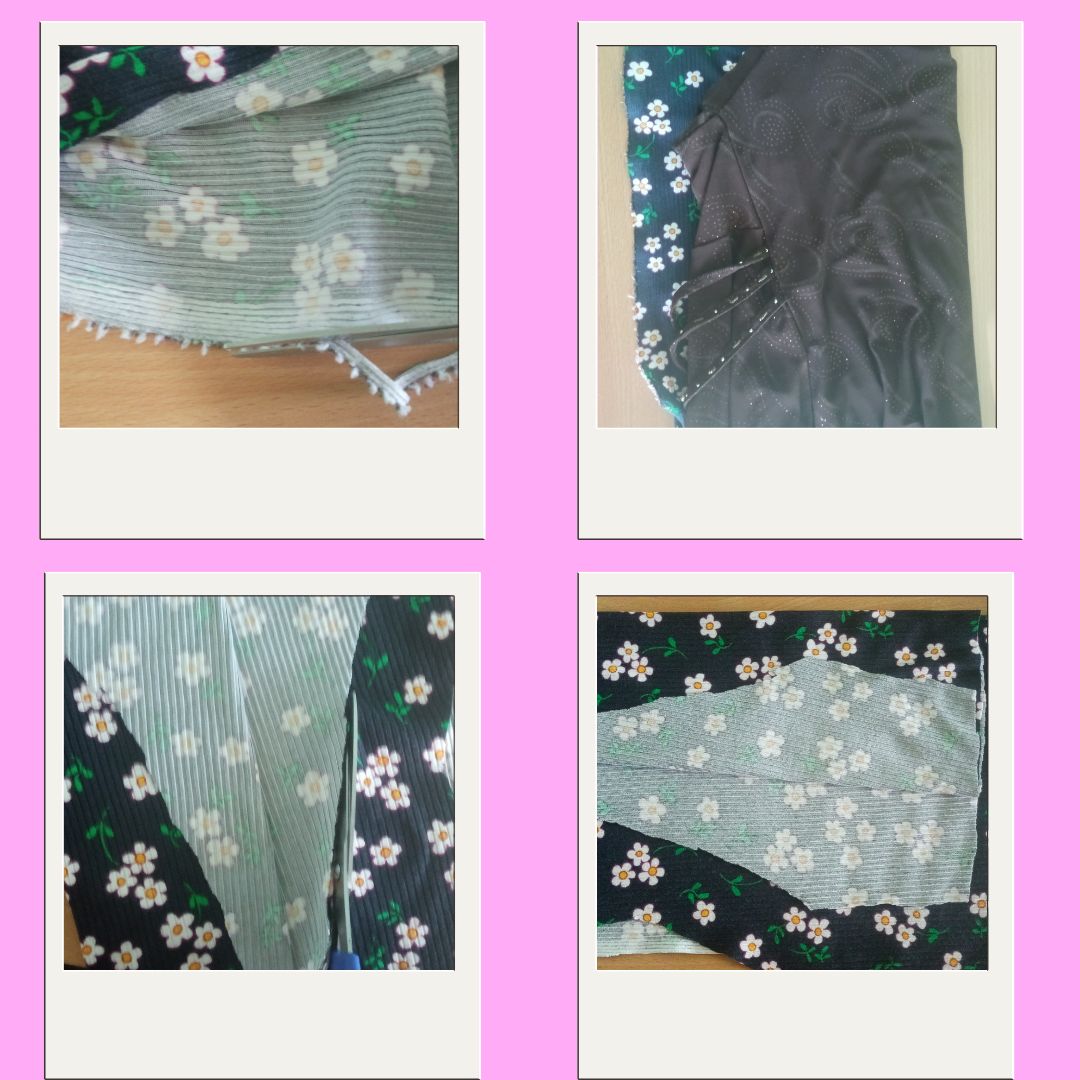
Cut out the piece leaving the fabric lengthwise.
Then cut out the sleeves, with the pieces already cut out we proceed to sew placing the piece upside down on the fabric I started with the sleeves where we sew with a straight seam leaving a centimeter of seam on the right and left side of the sleeves, then to seal we pass zigzag stitching to fix the seam.
The whole dress is sewn on both sides with straight stitching and secured with zigzag stitching.
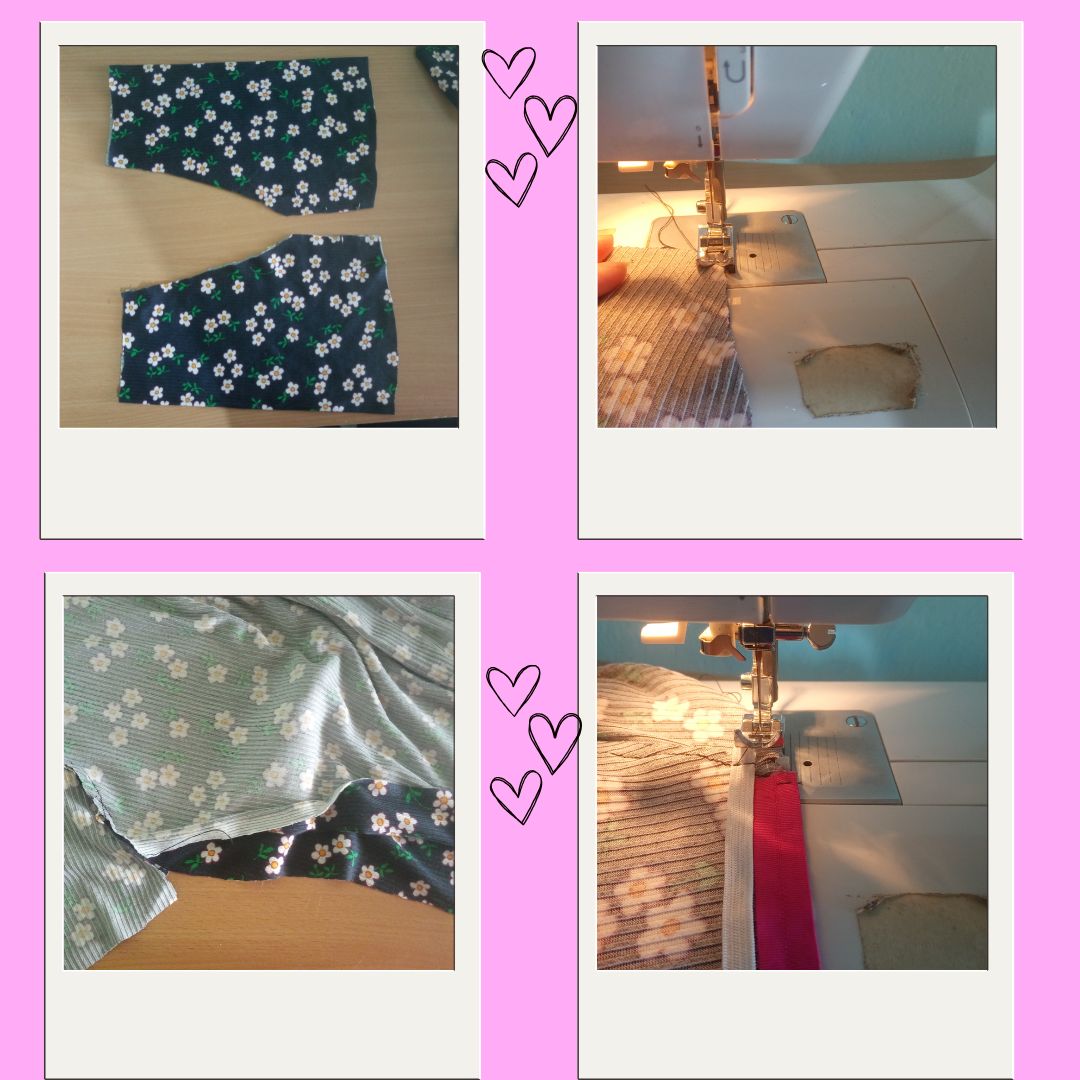
For the neckline, we place the garter with straight stitching and zigzag stitching, pulling the garter a little.
Take half of the dress and place the garter stitch around it to make the waist part narrower.
For the finishing touches, we gather the hem of the skirt and finish it off with stitching.


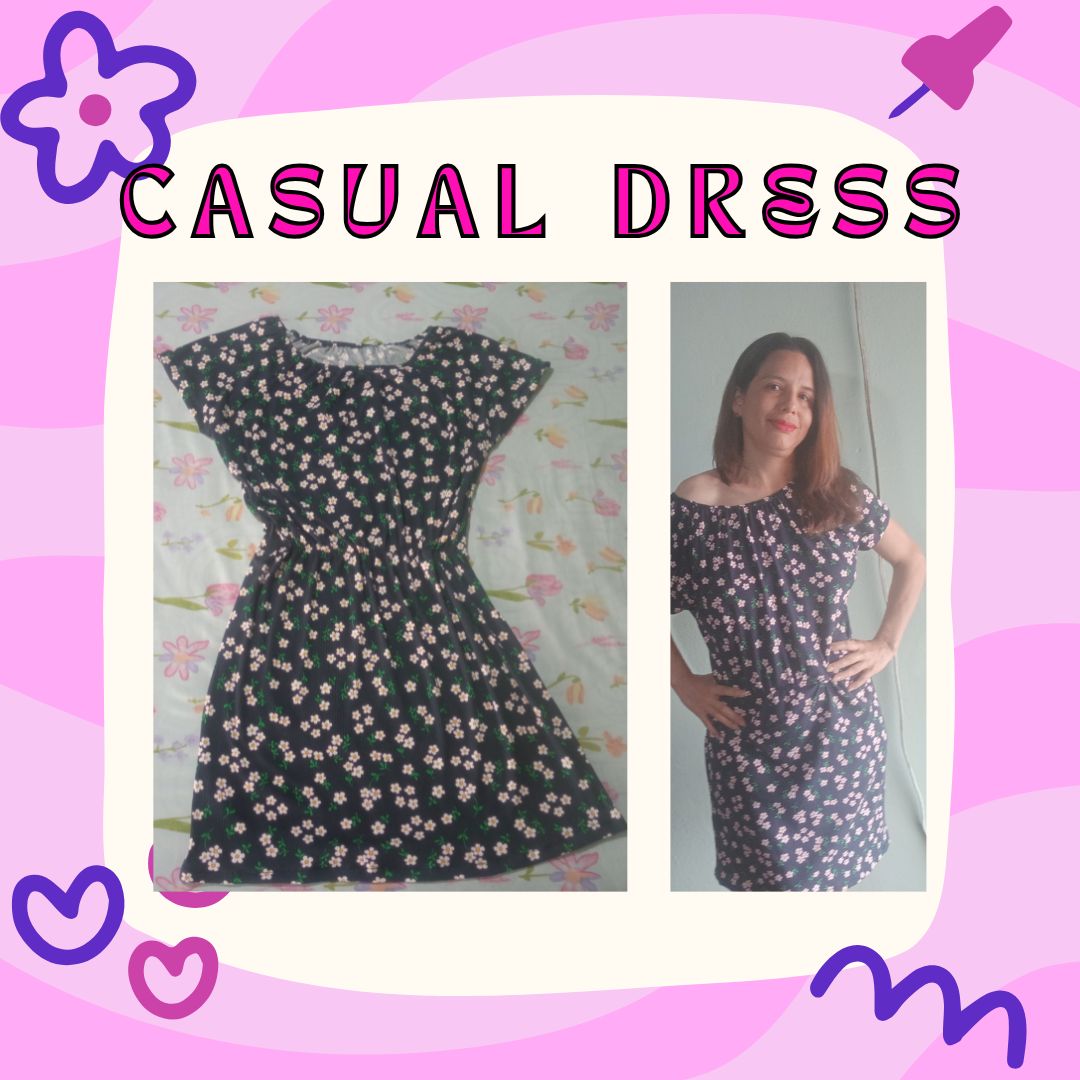
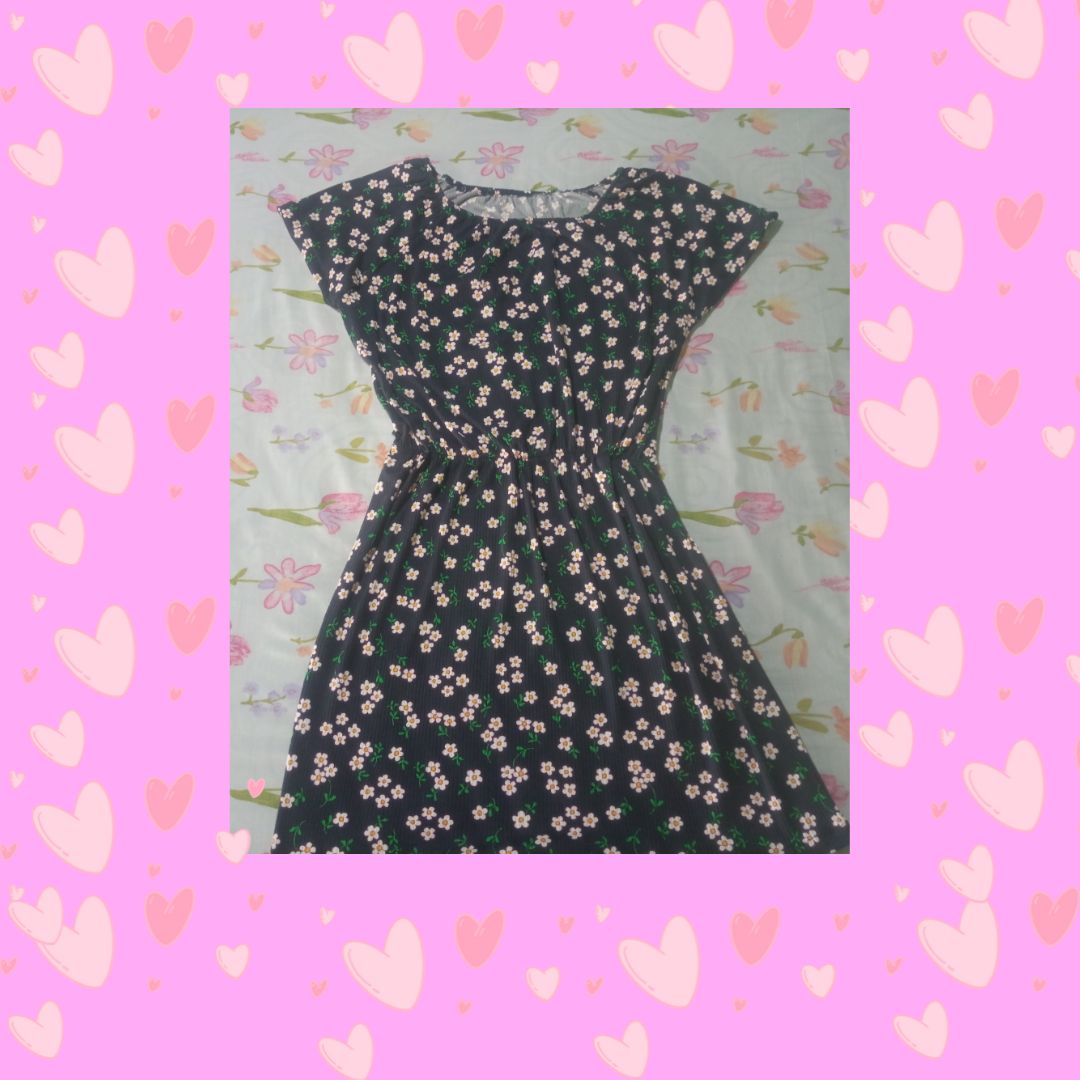
And so we have the piece of the day, a beautiful casual dress.
What do you think of the seam of the day? I hope you liked it as much as I did, when you try this dress on it feels very comfortable because it is 100% cotton fabric and even more so because it was made with dedication and love, thanks for stopping by, see you in the next craft project soon.

Viéndolo desde el ángulo del espectador la costura se ve emocionante, fácil y rápida de realizar pero cuando no eres espectador sino costurero, coser una pieza es estresante muchas veces, tienes que desbaratar cuando hay errores, a veces se complica el diseño, eso sin contar con las situaciones que se puede presentar con la máquina de coser, a veces se traba el hilo o la aguja o se traba la maquina y hay que ponerse a arreglar la maquina de coser uno mismo, y después de analizar, de arreglar por aquí y por allá a veces nos rendimos y se lo llevamos a un tecnico esperando que se apiade de nosotros y no se le ocurra darnos una cifra muy astronómica por la reparación, pero que le podemos hacer sin nuestra máquina, ella es una herramienta esencial en la mayoría de las costuras para el terminado de cualquier pieza, ella es nuestra favorita.
Yo vivi algo similar con este proyecto ya que tuve ciertos inconvenientes y dolores de cabeza con la costura y mis pensamientos divagaban diciéndome a mí misma: ¿no y que te gusta la costura y te emocionabas al pensar en hacer un diseño? Pues dele que ahora es lo que falta, esos fueron mis pensamientos, pero después de haber terminado el vestido me dije a mi misma: voy a comprar más tela para hacer una colección de vestidos, jajajaja, me sentí tan satisfecha y emocionada, creo que desarrolle un amor – odio por la costura inexplicable sin embargo tenemos un lugar especial en nuestro corazón por ella.
Pues bien, dicho esto, sin más demora les muestro el desarrollo de este proyecto de vestido, a continuación, les detallo los materiales que se van a necesitar:
Tela de 1 metro y cuarto.
Liga
Tijera
Máquina de coser
Alfileres
Blusa para hacer el patrón
Hilo
Procedimiento:
En esta oportunidad quise realizar un vestido a partir de un patrón de camisa para la parte de arriba y para la parte de abajo que es la falda lo hice sin patrón guiándome por el ancho de la camisa a lo largo de la tela en vertical.
Colocamos el patrón de la camisa y con la ayuda de los alfileres fijamos la camisa de la tela en dobles que estire a lo ancho.
Se recorta la pieza dejando la tela a lo largo.
Luego se recortan las mangas, con las piezas ya recortadas procedemos a coser colocando la pieza al revés de la tela yo comencé por las mangas donde cosemos con costura recta dejando un centímetro de costura por la parte derecha e izquierda de las mangas, luego para sellar le pasamos costura en forma de zigzag para fijar la costura.
Se cose por ambos lados de todo el vestido con costura recta y se asegura con costura zigzag.
Para la parte del cuello le colocamos la liga con costura recta y zigzag halando un poco la liga.
Tomamos mitad del vestido y colocamos liga cosiendo alrededor para que quede más angosta la parte de la cintura.
Para el acabado se le agarra ruedo a la falda y rematamos con costura.
Y así nos queda la pieza del día, un hermoso vestido casual.
Qué te parece la costura del día? Espero que te haya gustado como a mi, al probar este vestido se siente muy cómodo porque es de 100% tela de algodón y mas porque se realizo con dedicación y cariño, gracias por pasar, nos vemos en un próximo proyecto de manualidad próximamente.
Diseño en Canva.com
Fotografias propias
Translated with DeepL.com (free version)