
Hi, needleworkers, it's been a while. Today I'd love to share the story behind this beautiful mini skirt and also take you through the process of making it.
Ibk and I have shared a friendship for about four years now, and throughout my journey in building my brand, she has consistently been a huge support. Do you know those rare friends who not only pay your prices without haggling but also generously tip? Well, that's the kind of friend Ibk is to me—reliable, encouraging, and always there when I need her most.
Recently, she reached out and asked me to make some clothes for her, requesting five pieces. I typically deliver within two weeks of payment, but due to logistic challenges due to distance, I was unable to meet that deadline. To make up for the delay, I decided to surprise her with an additional cloth. I actually would have loved to make her a mini gown, but I decided to make a chic mini skirt due to its simplicity and elegance.
The fabric I used was a gift from my mum last year and has been sitting in my collection ever since then. The fabric is a beautiful blend of denim overlaid with black lace. Its quality and aesthetic made it the perfect choice for Ibk's gift because she truly deserves the best.
Now, let me walk you through a brief tutorial on how I make this stunning mini skirt. It took me approximately two hours to complete.
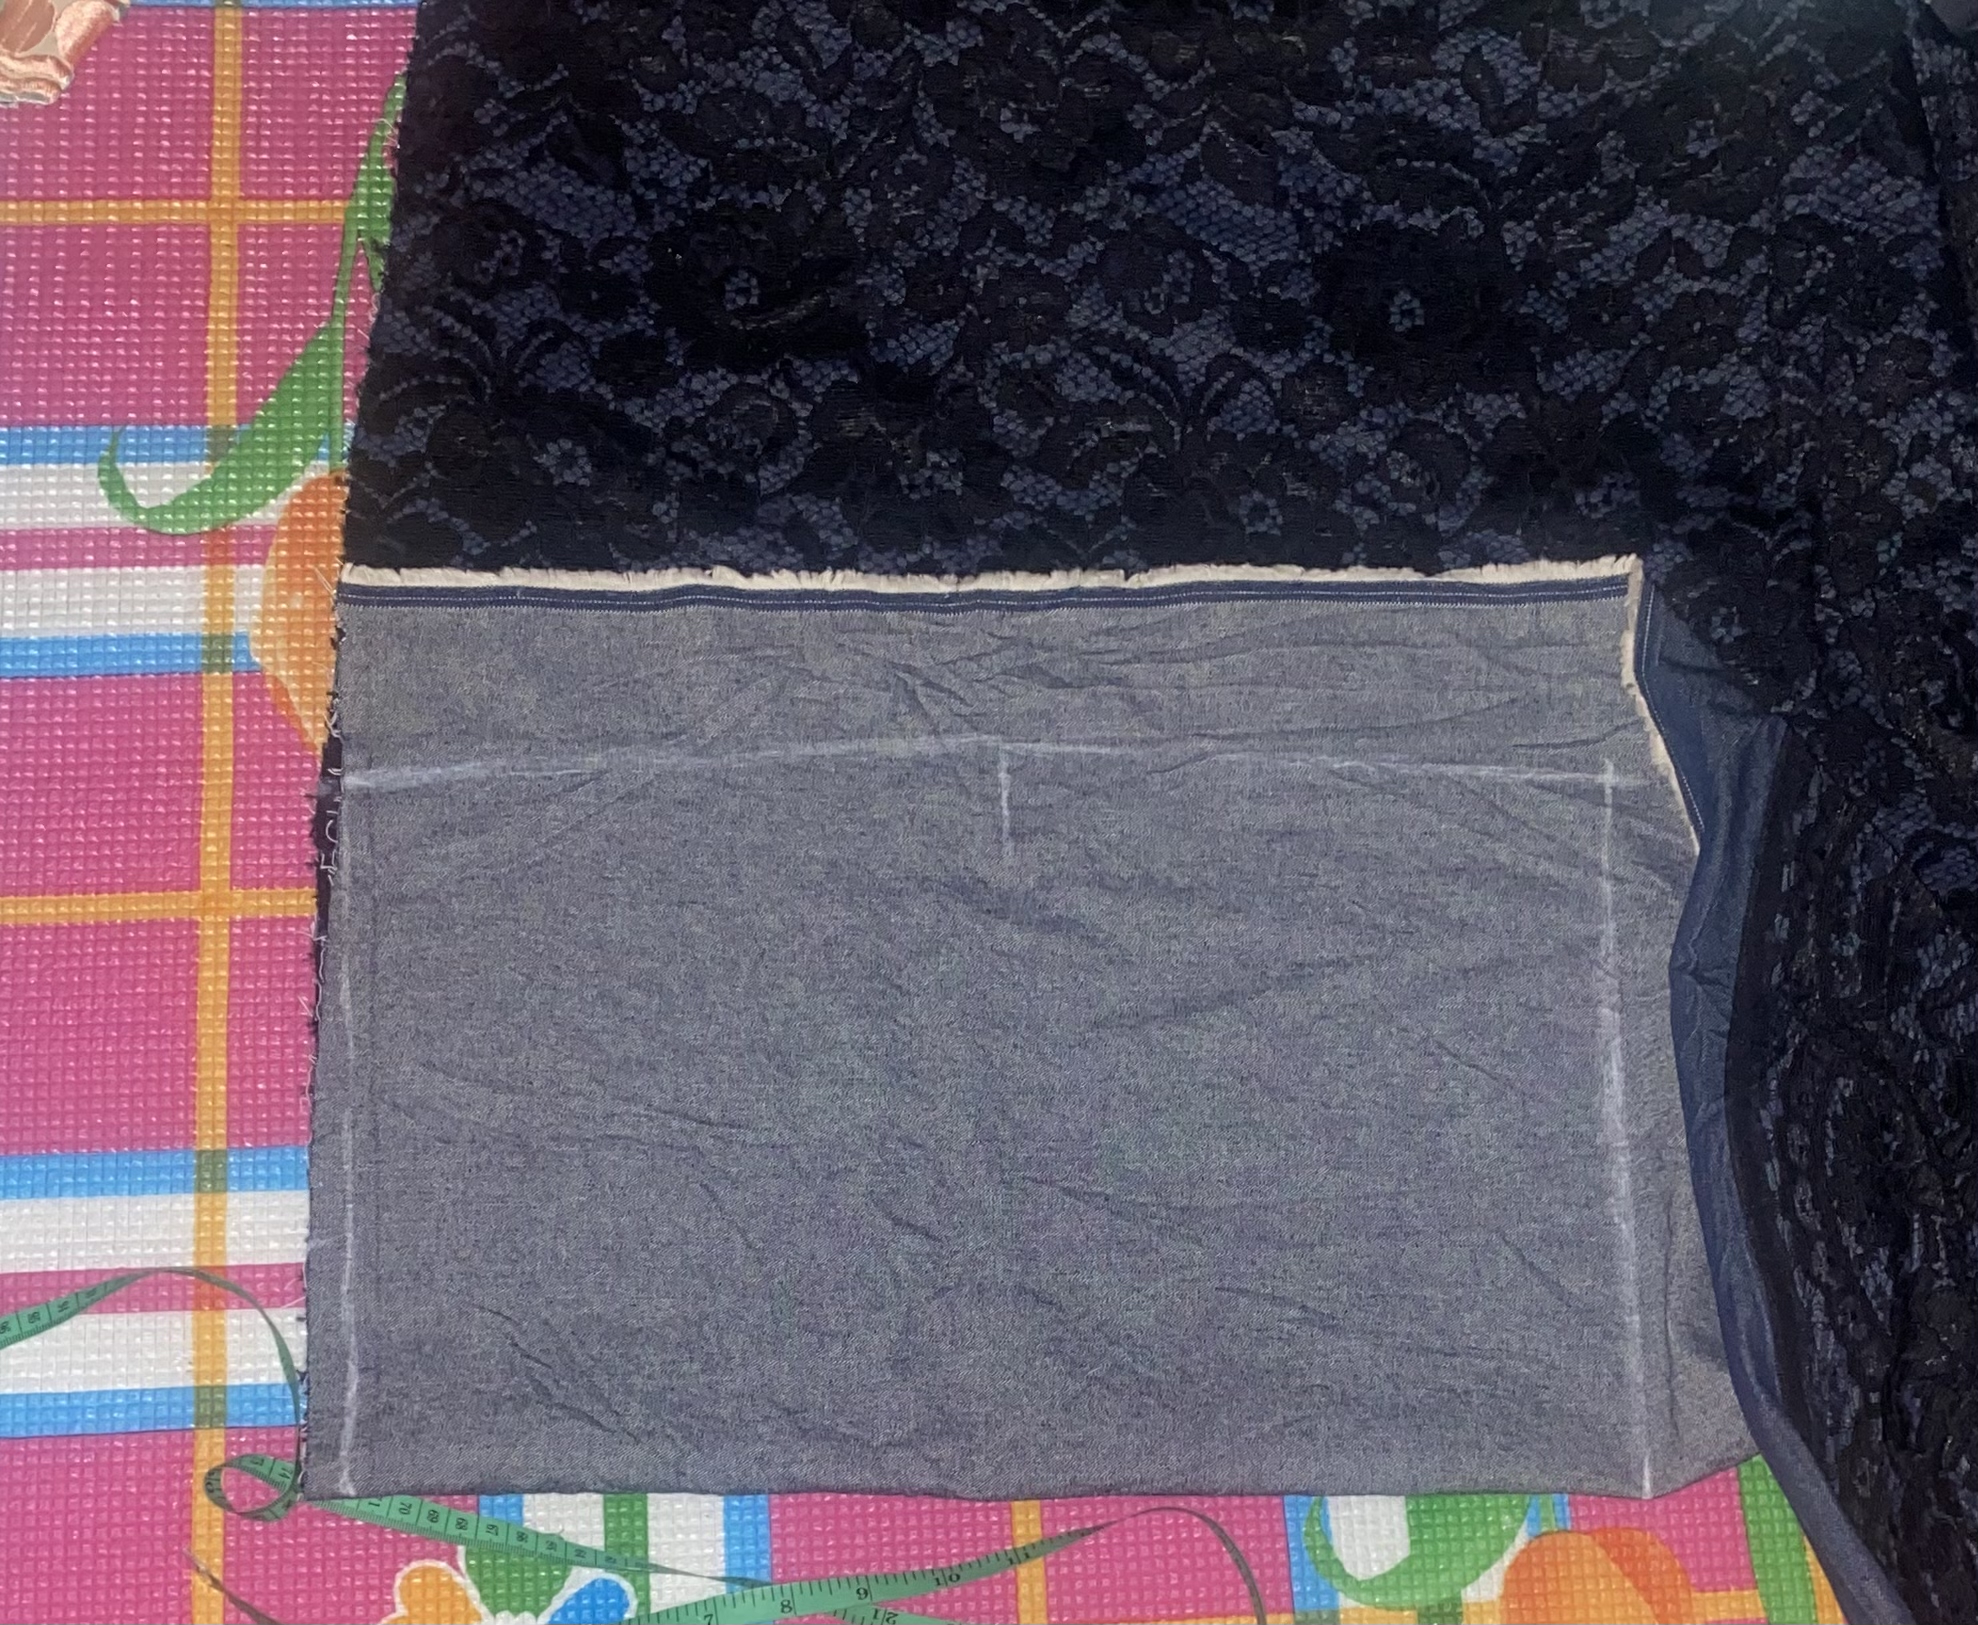
Step 1: Cutting
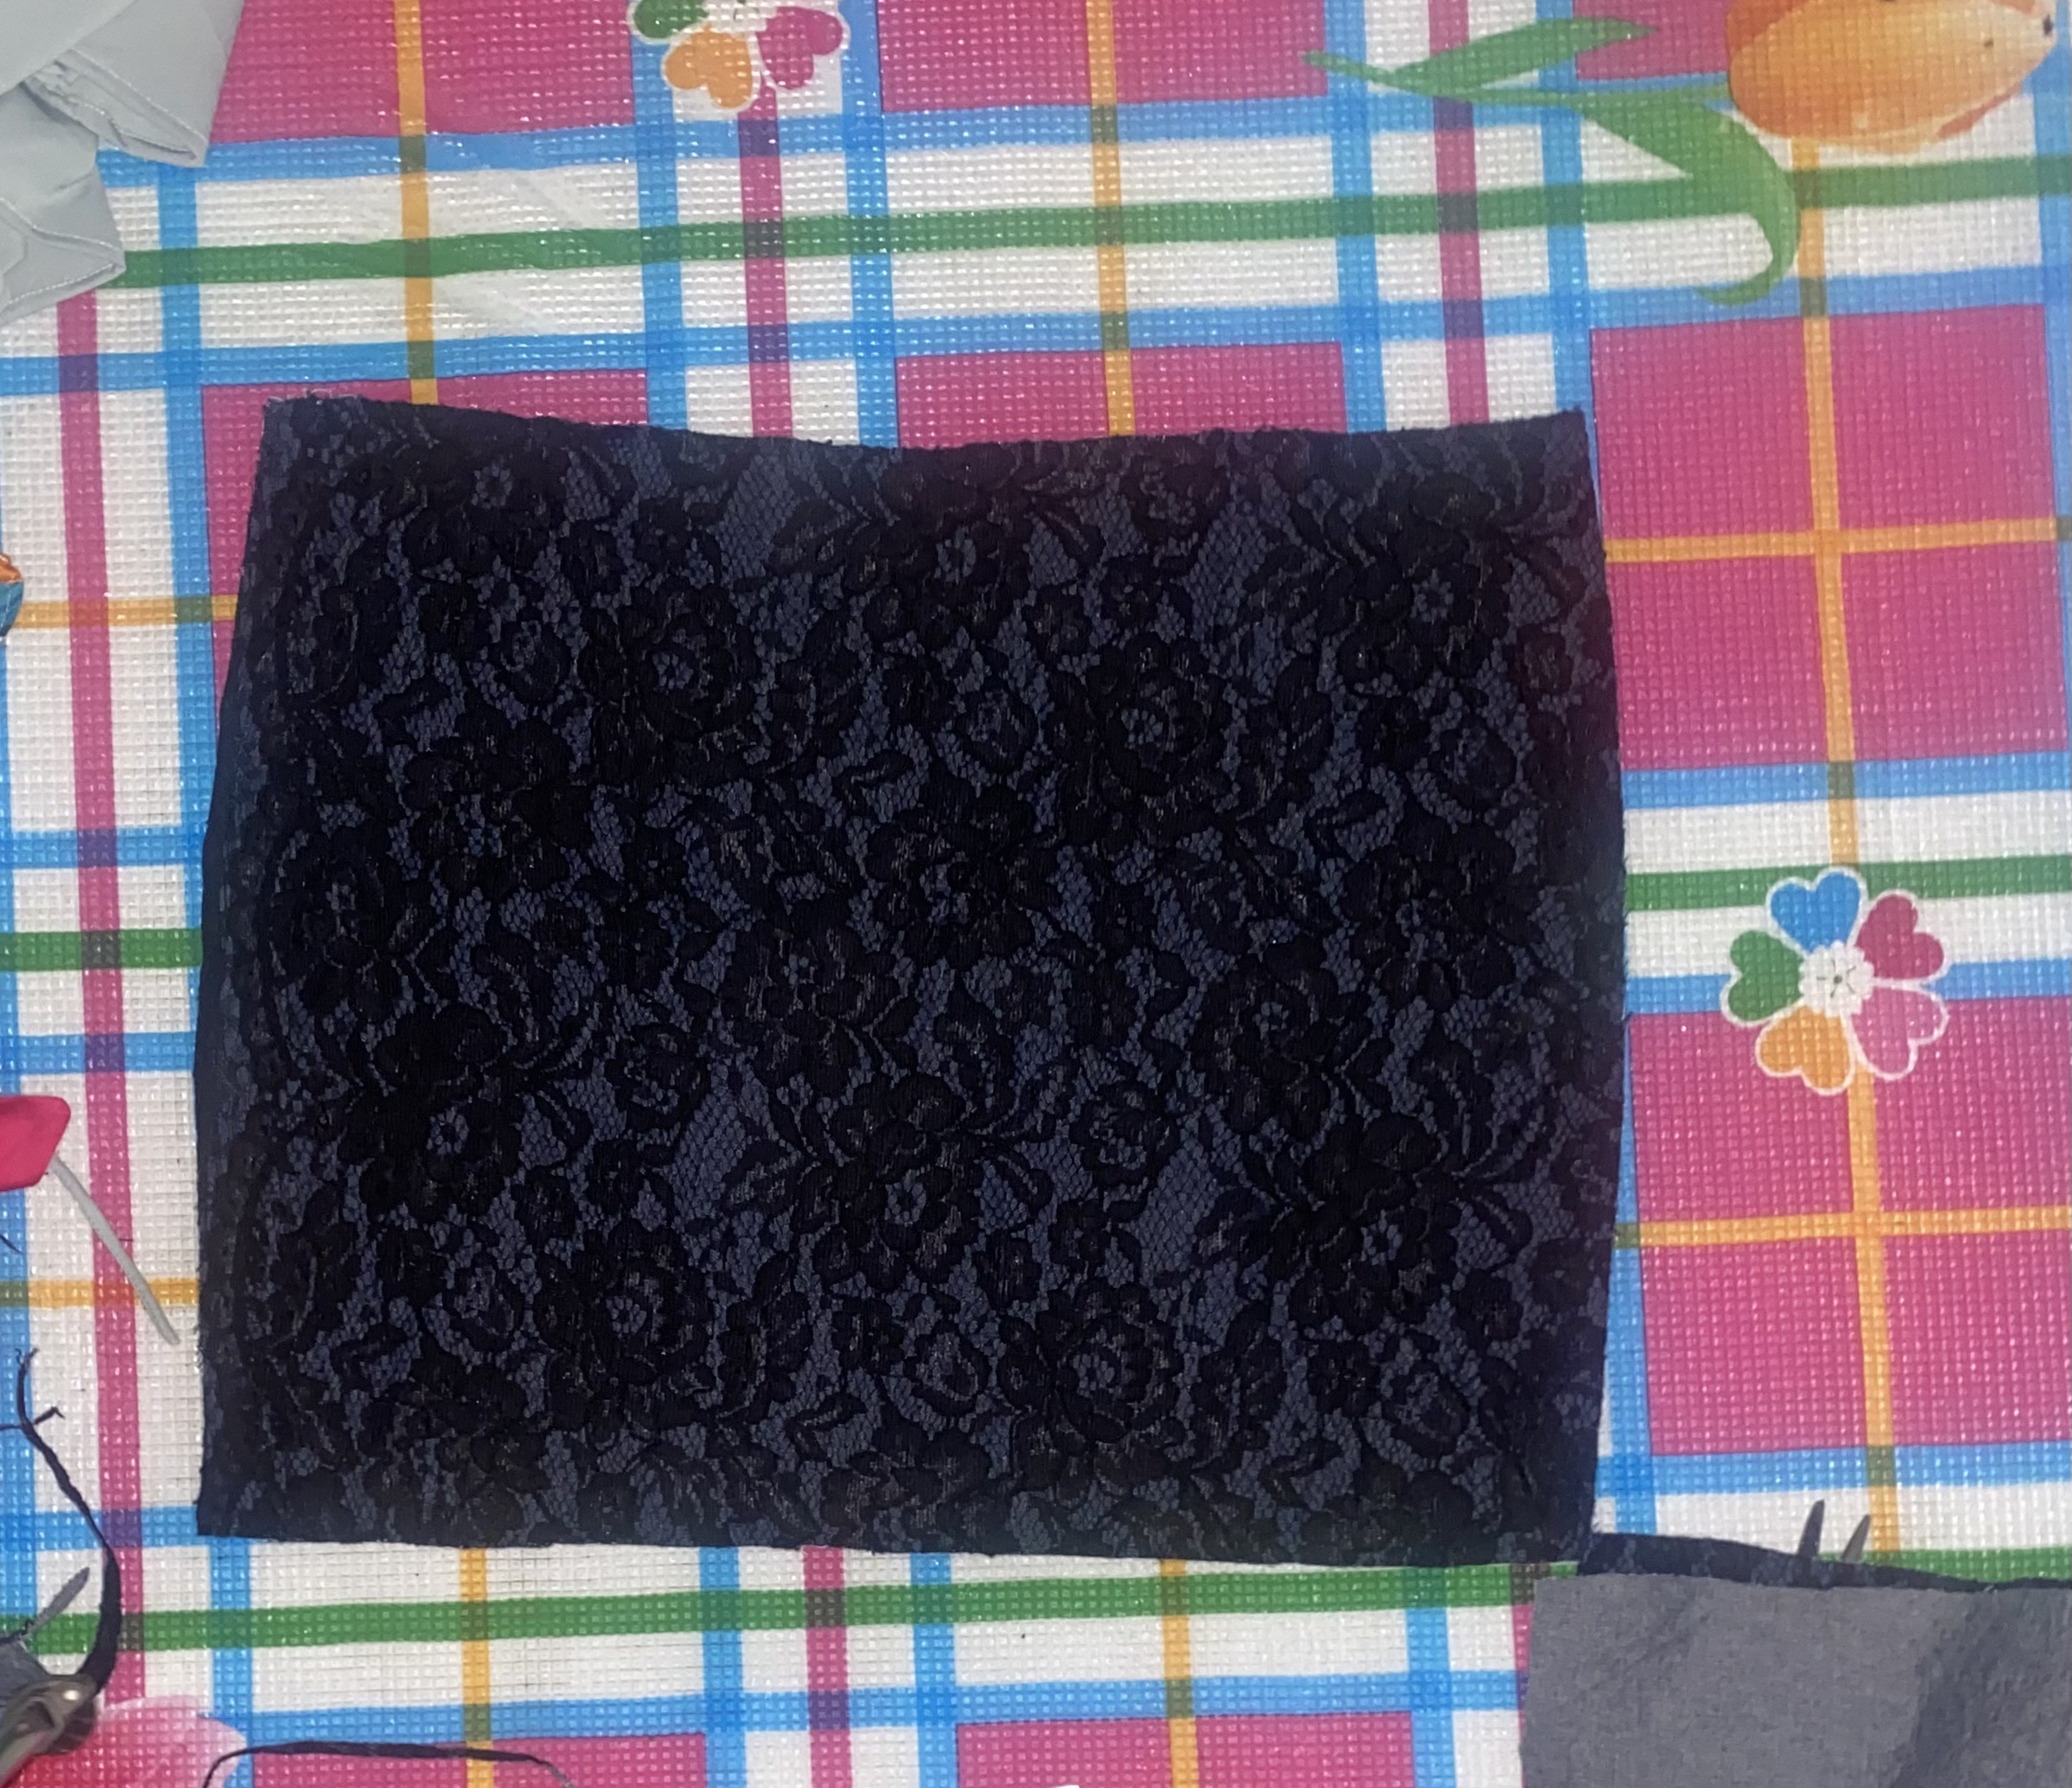
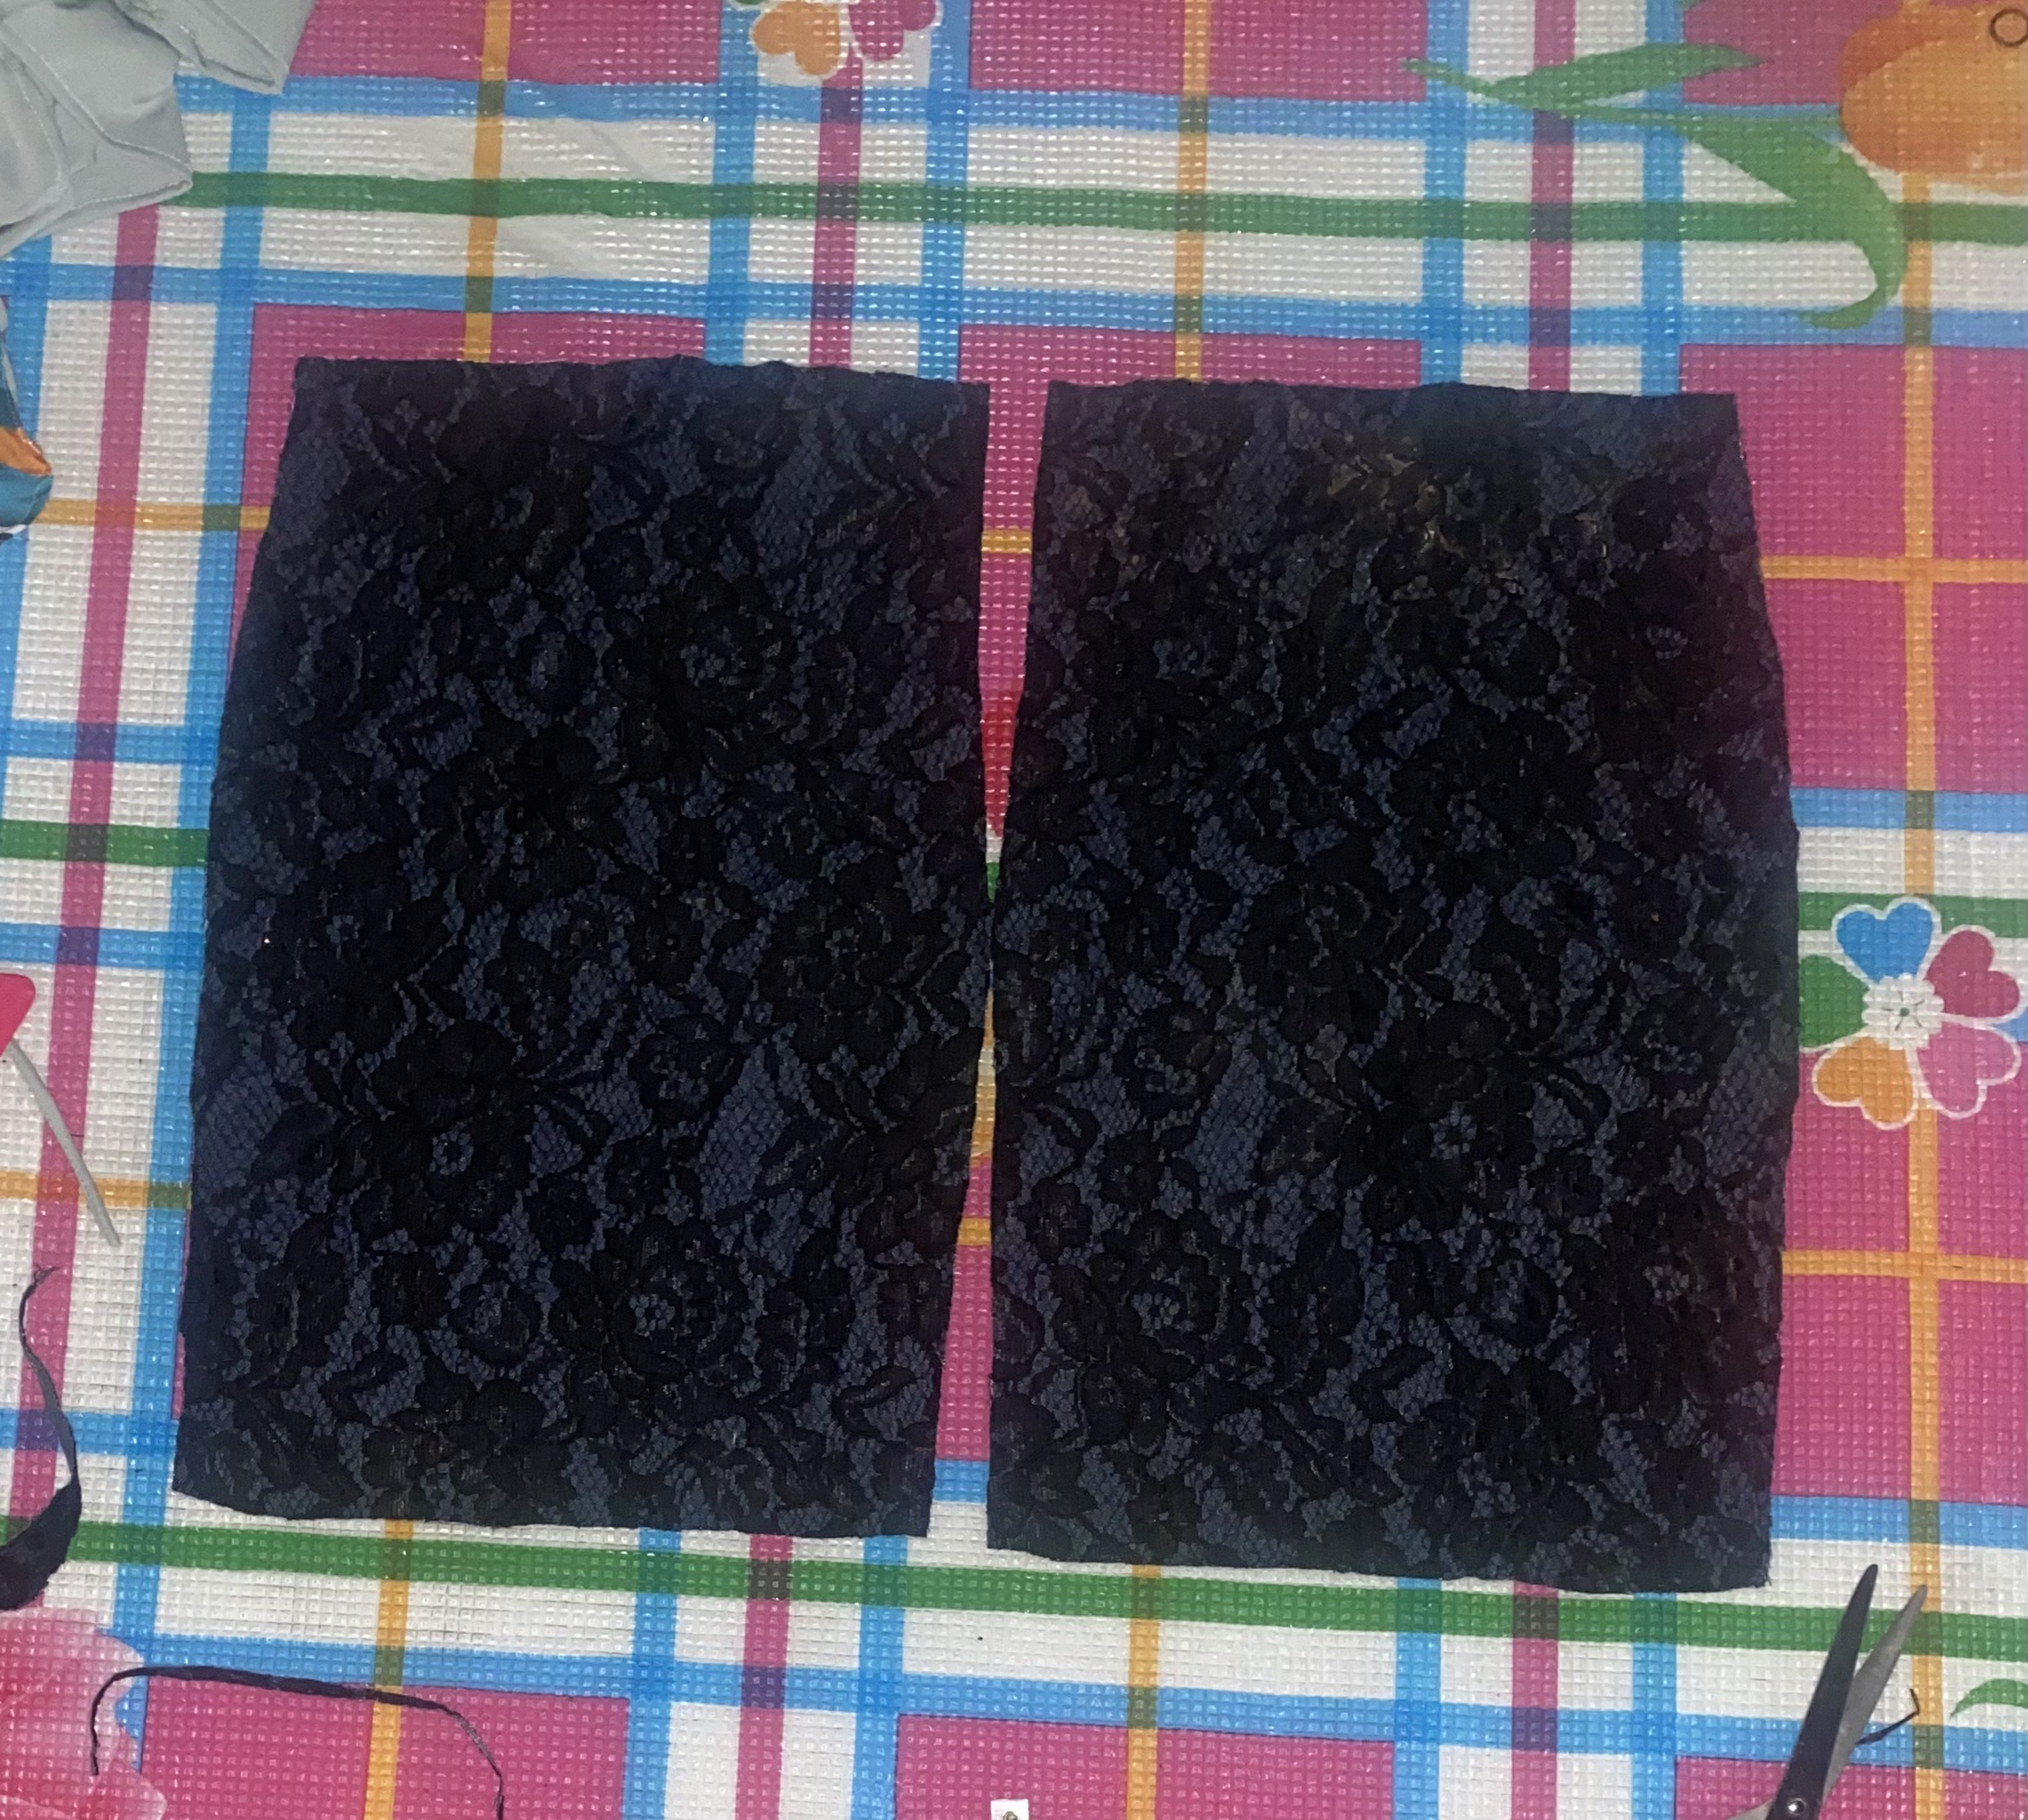
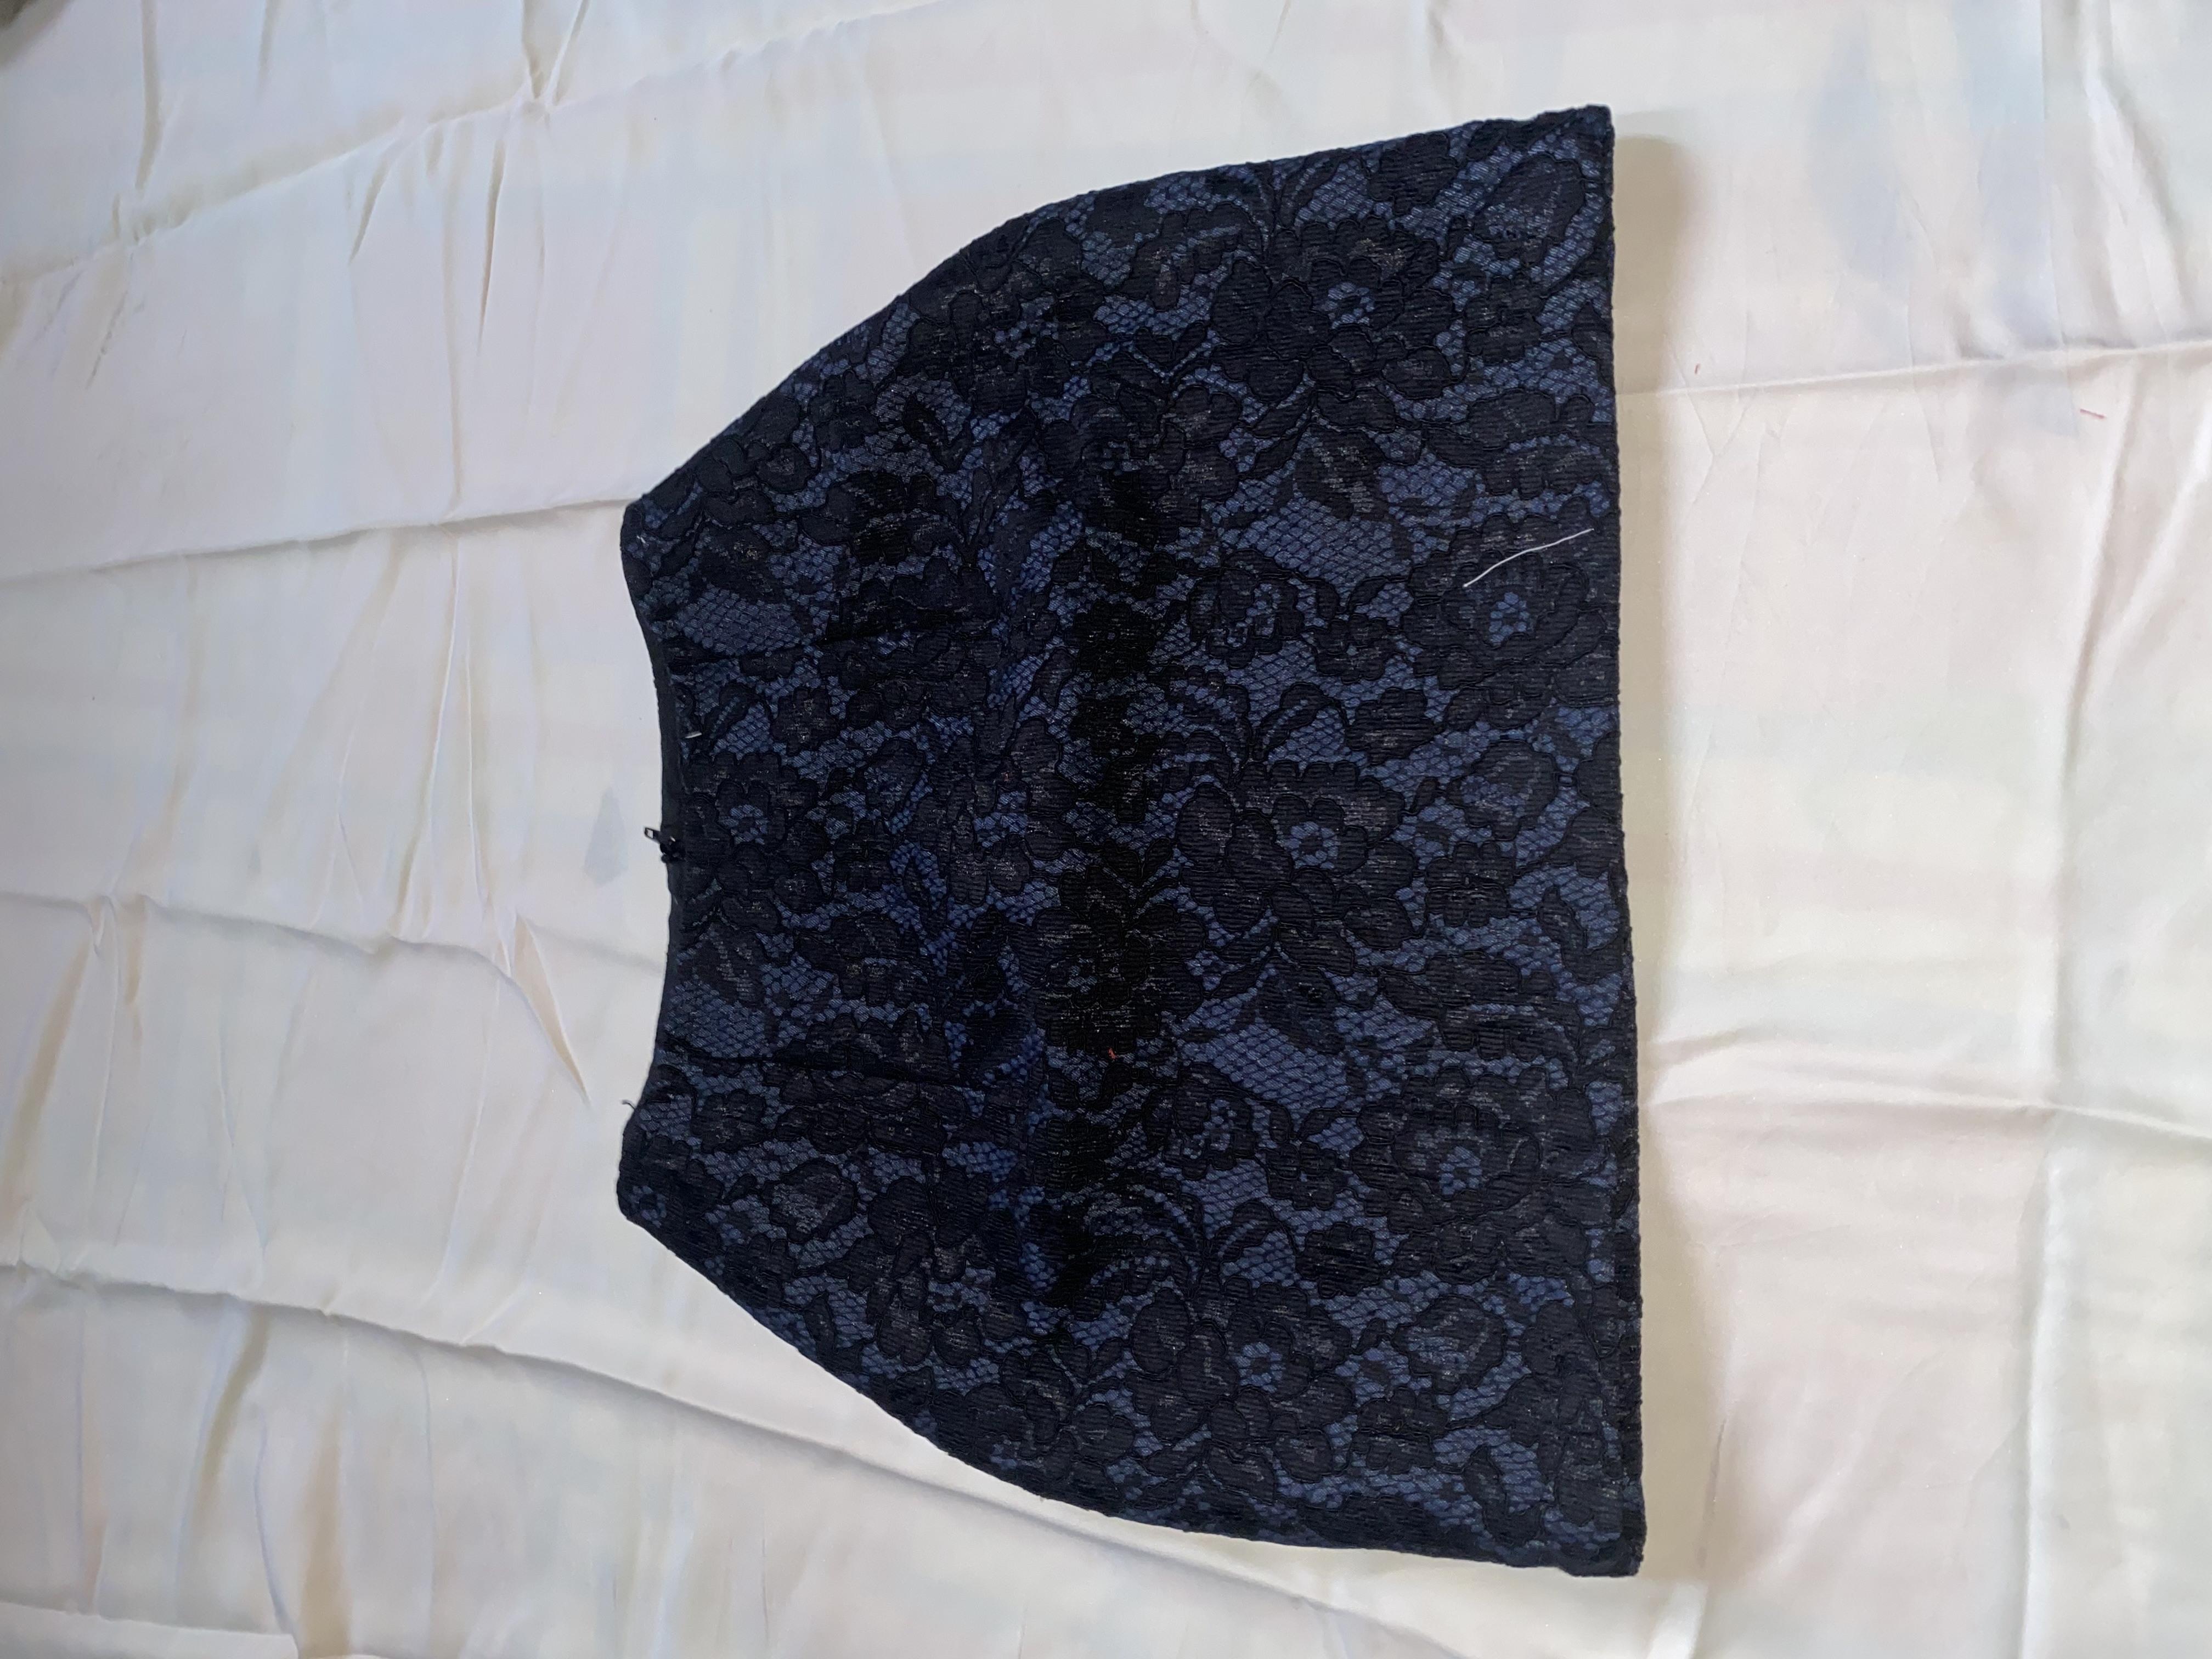
I began by measuring and cutting the front piece, ensuring the waist and hip measurements were precise. The skirt's length, at 16 inches, which is an ideal length for a mini skirt, I guess. Using the front piece as a guide, I carefully cut out the back pieces, leaving a one-inch allowance for the zipper.
The front piece cutting
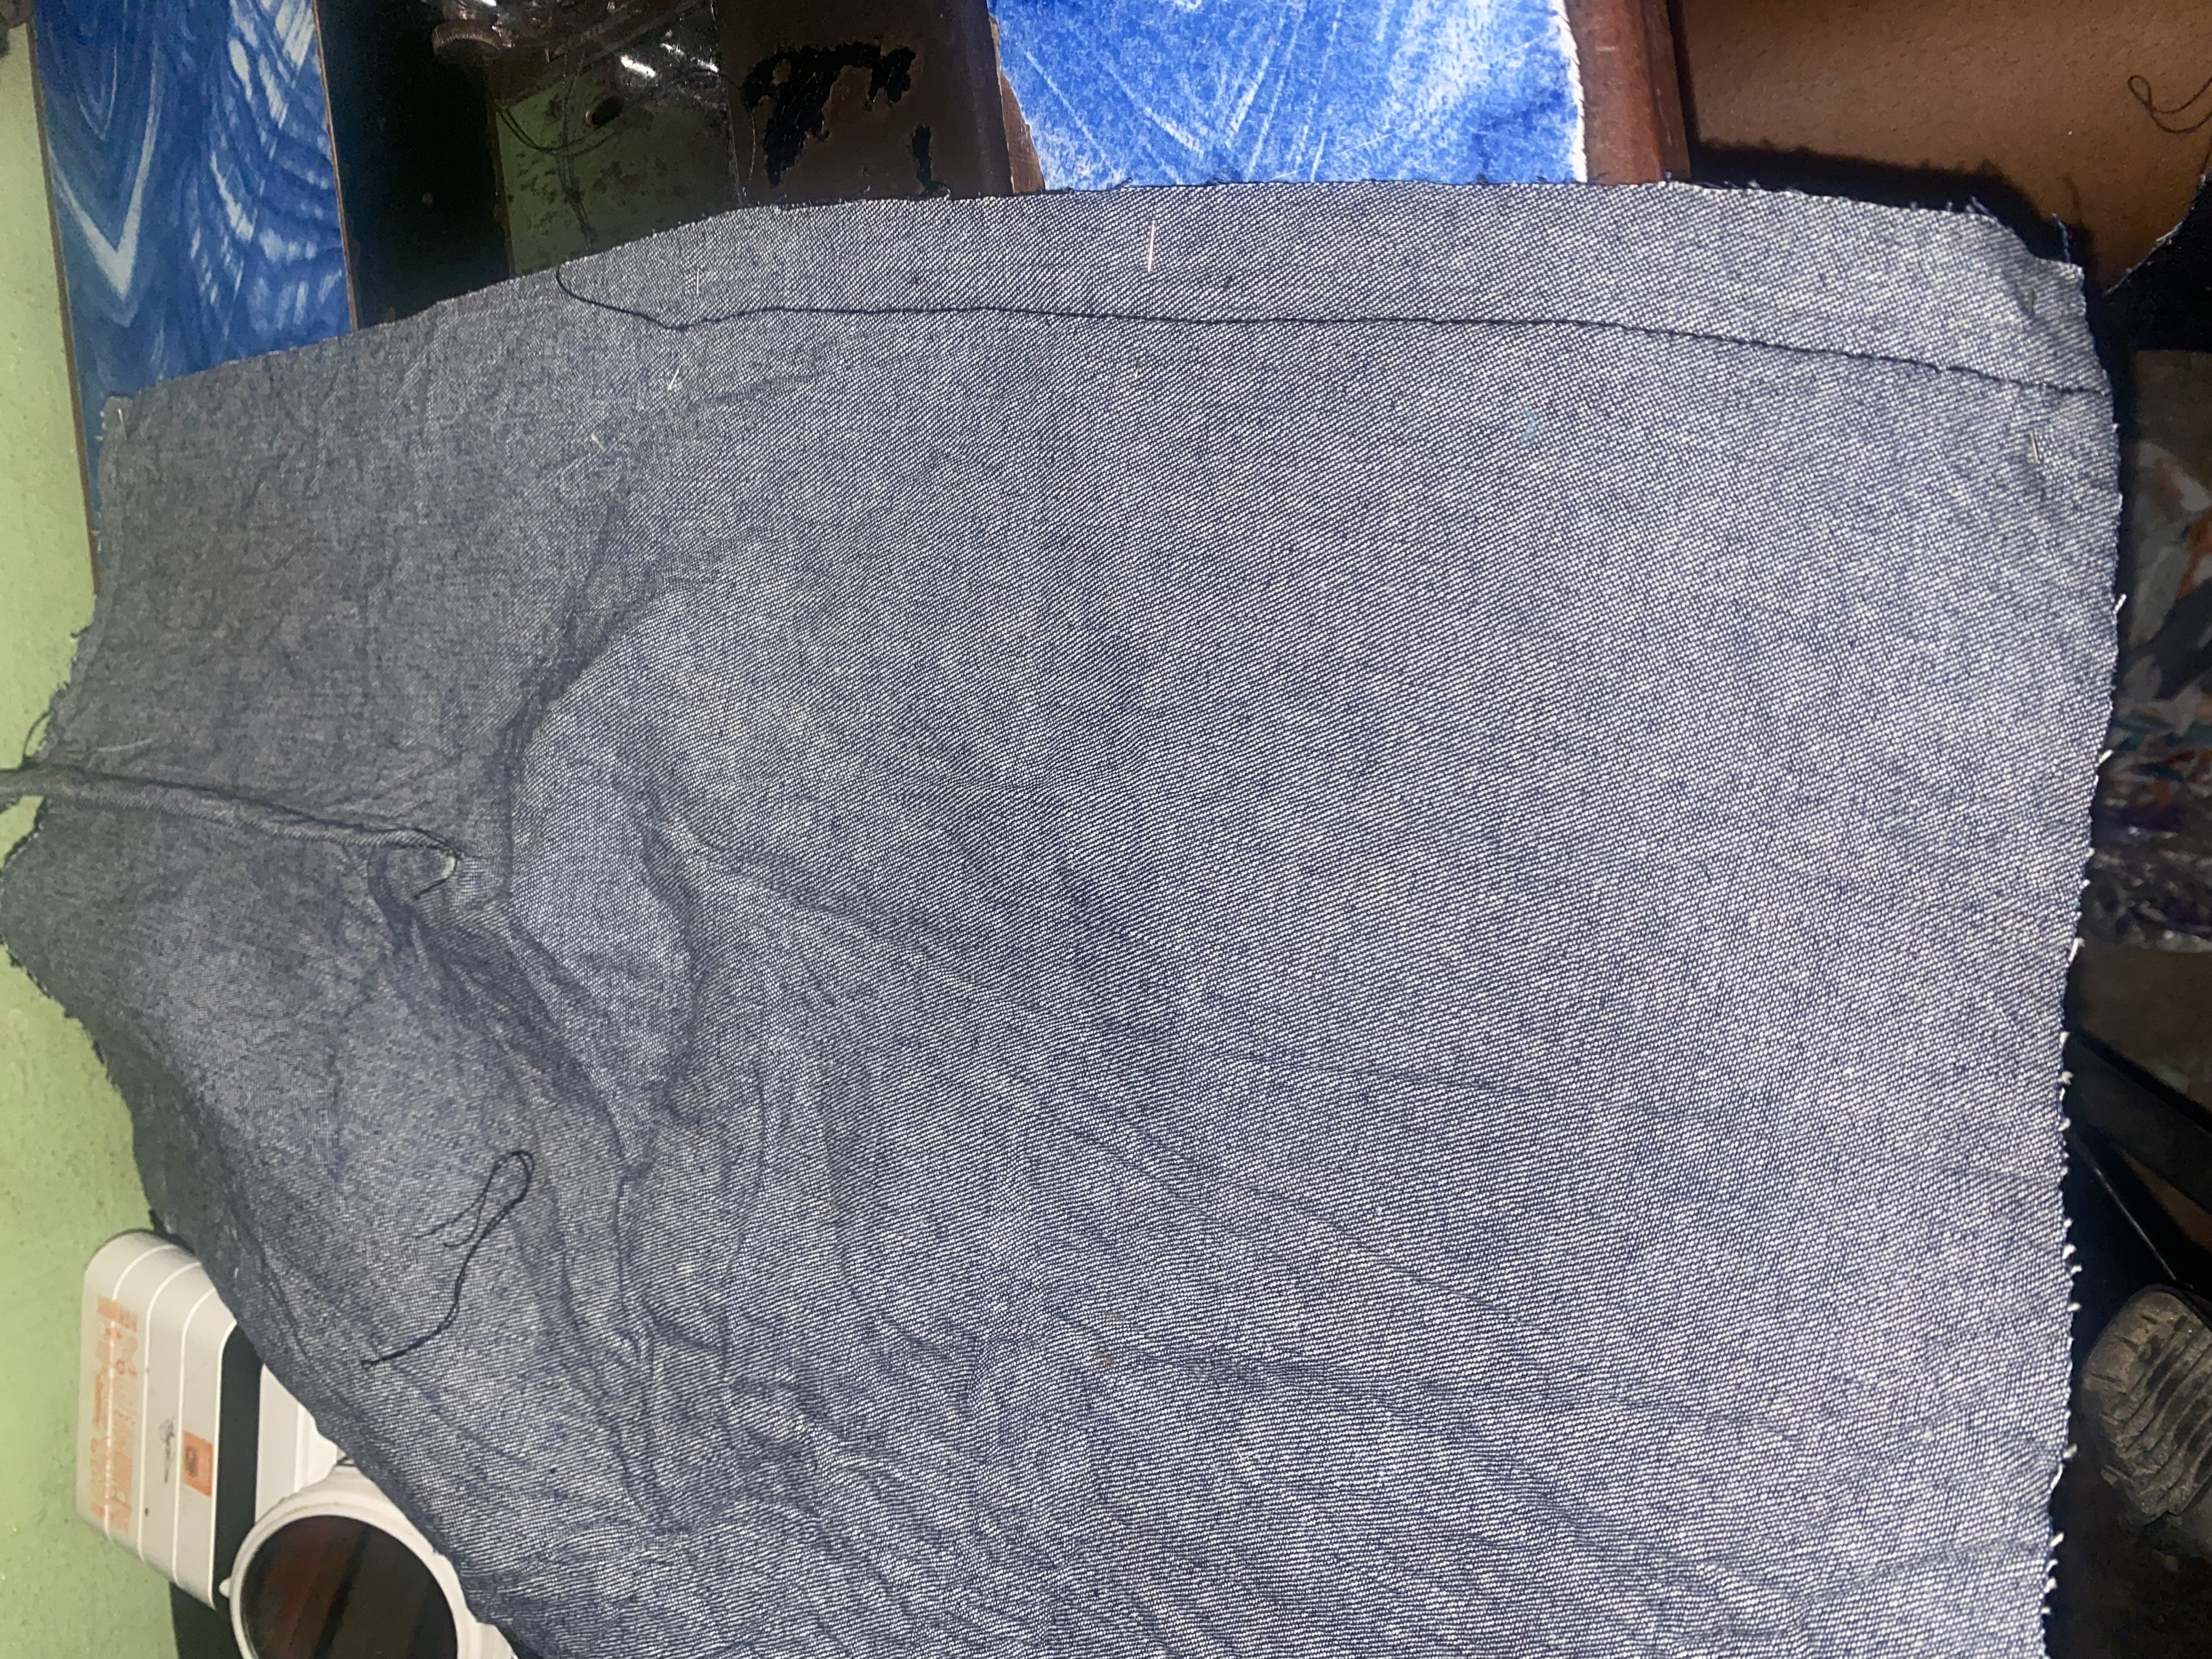
The back pieces cutting

The front piece after cutting
The back pieces after cutting
Step 2: Sewing
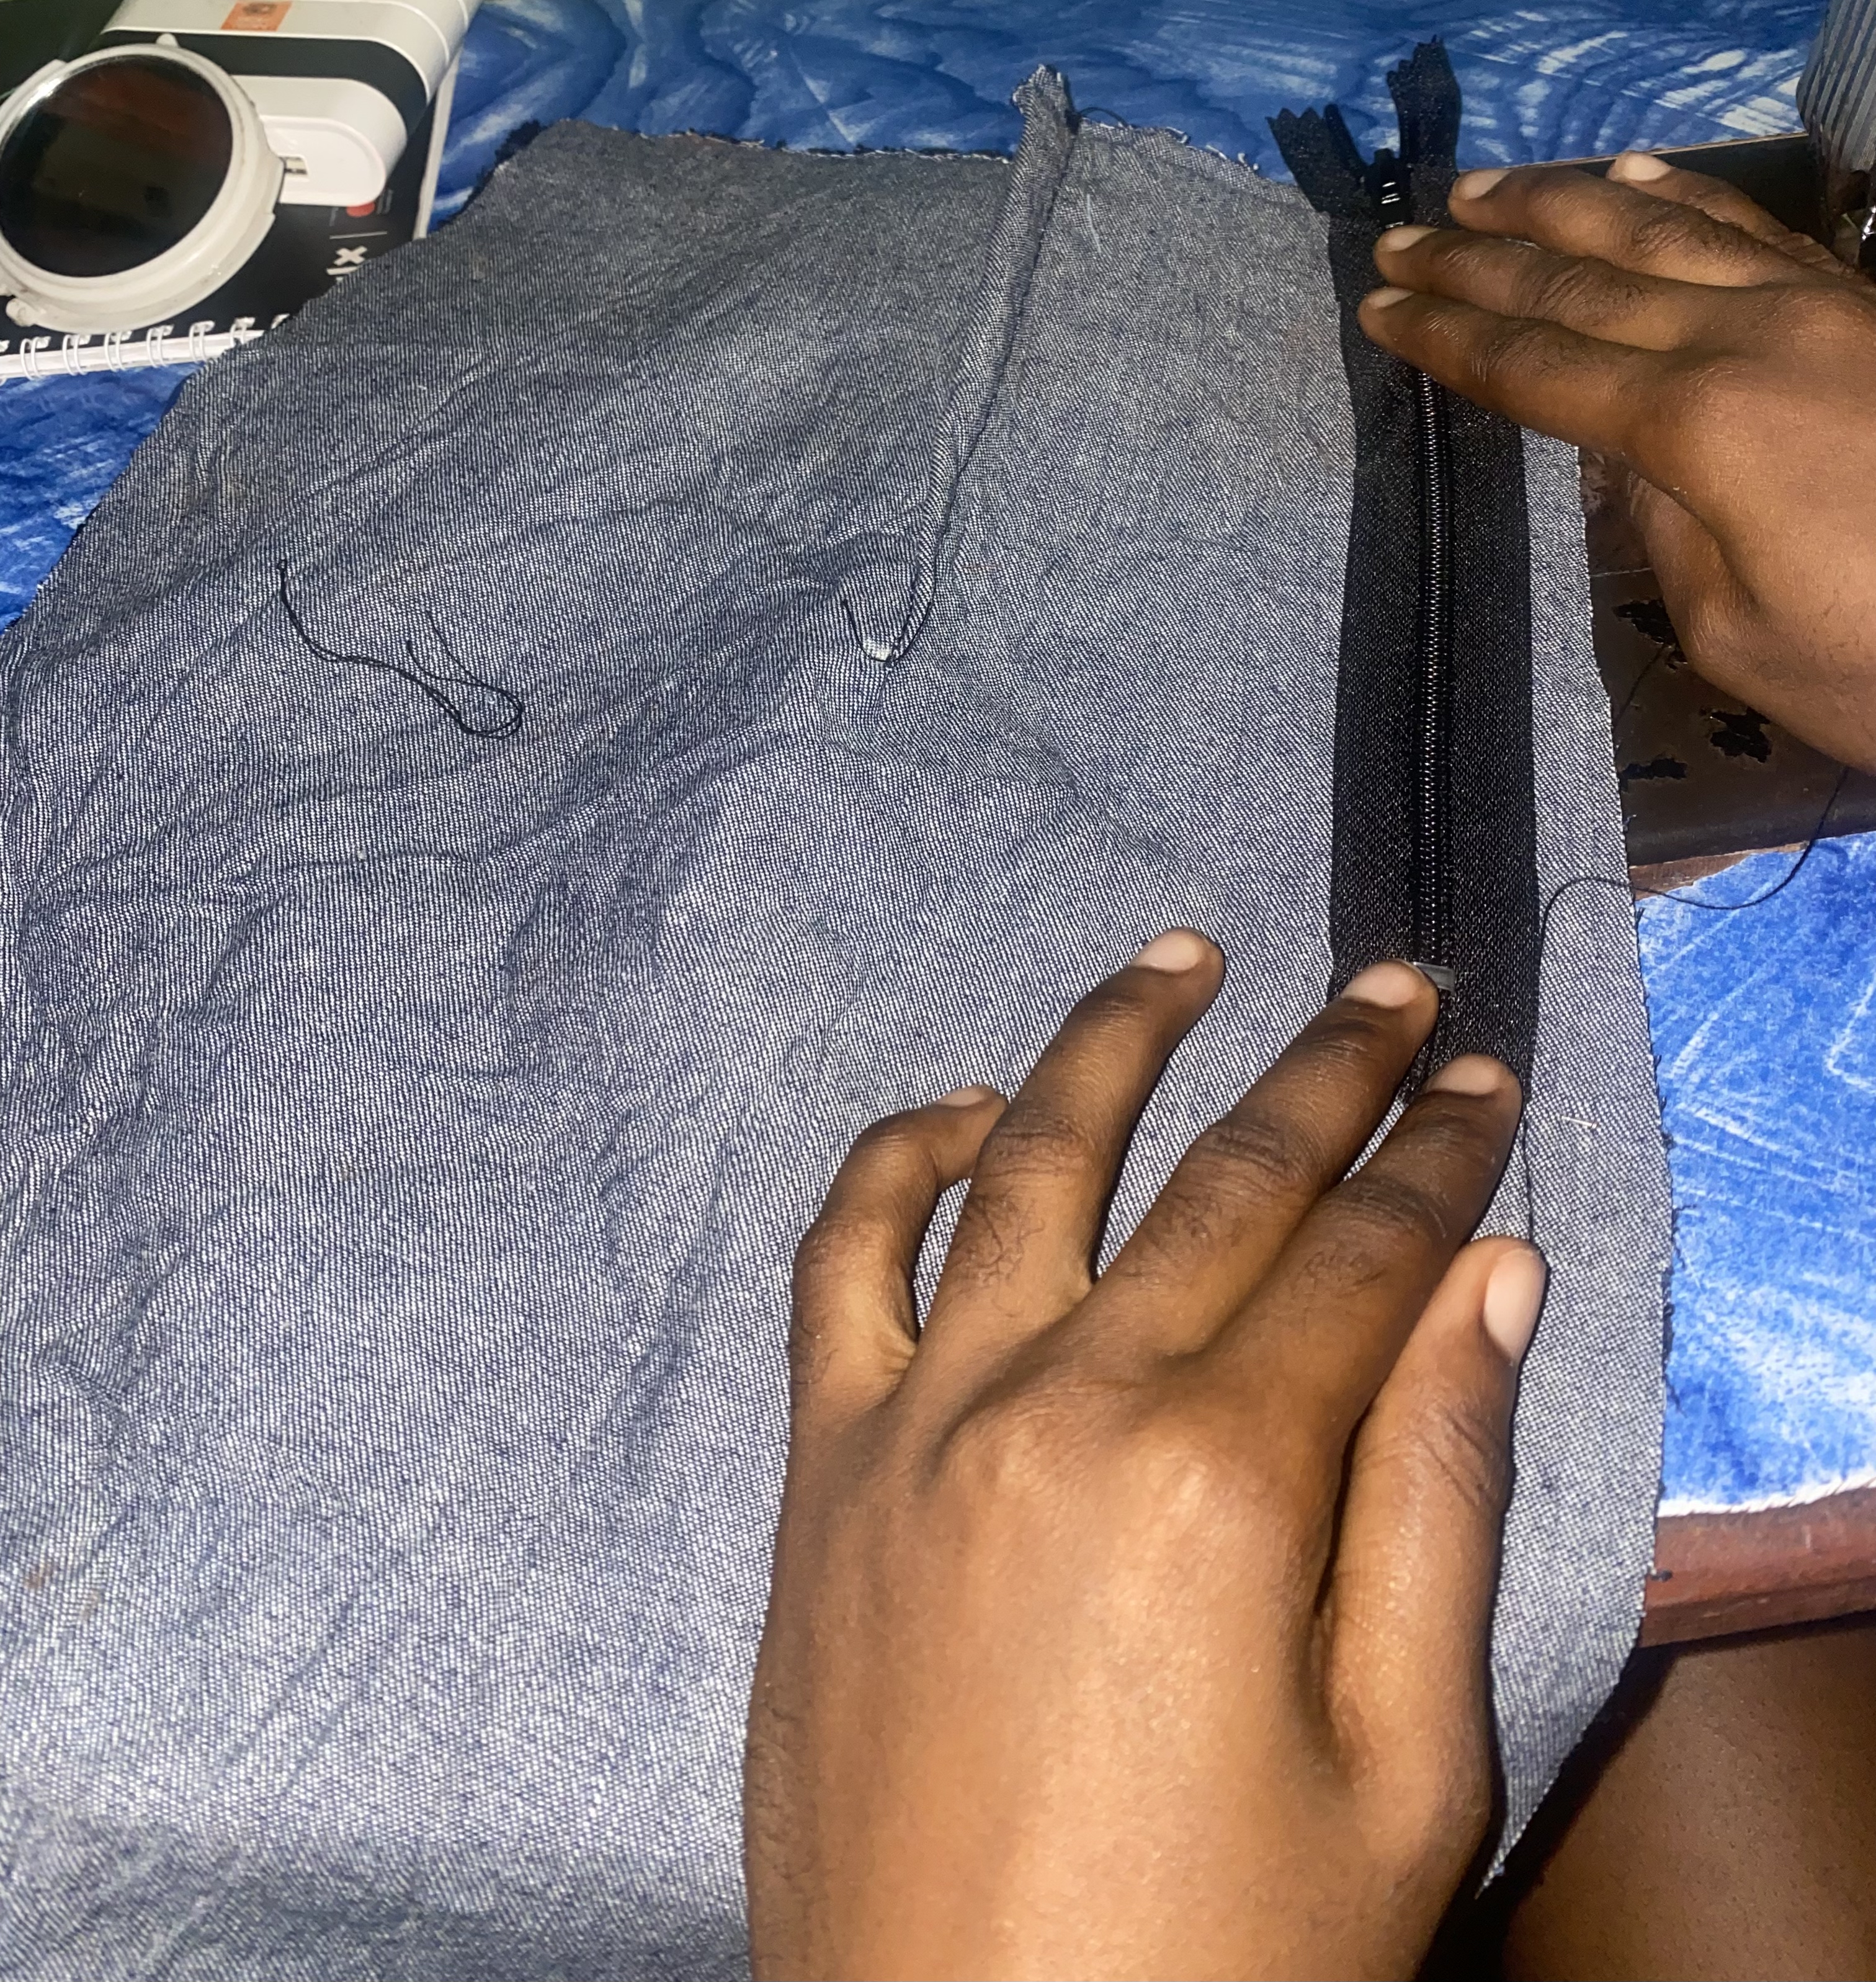
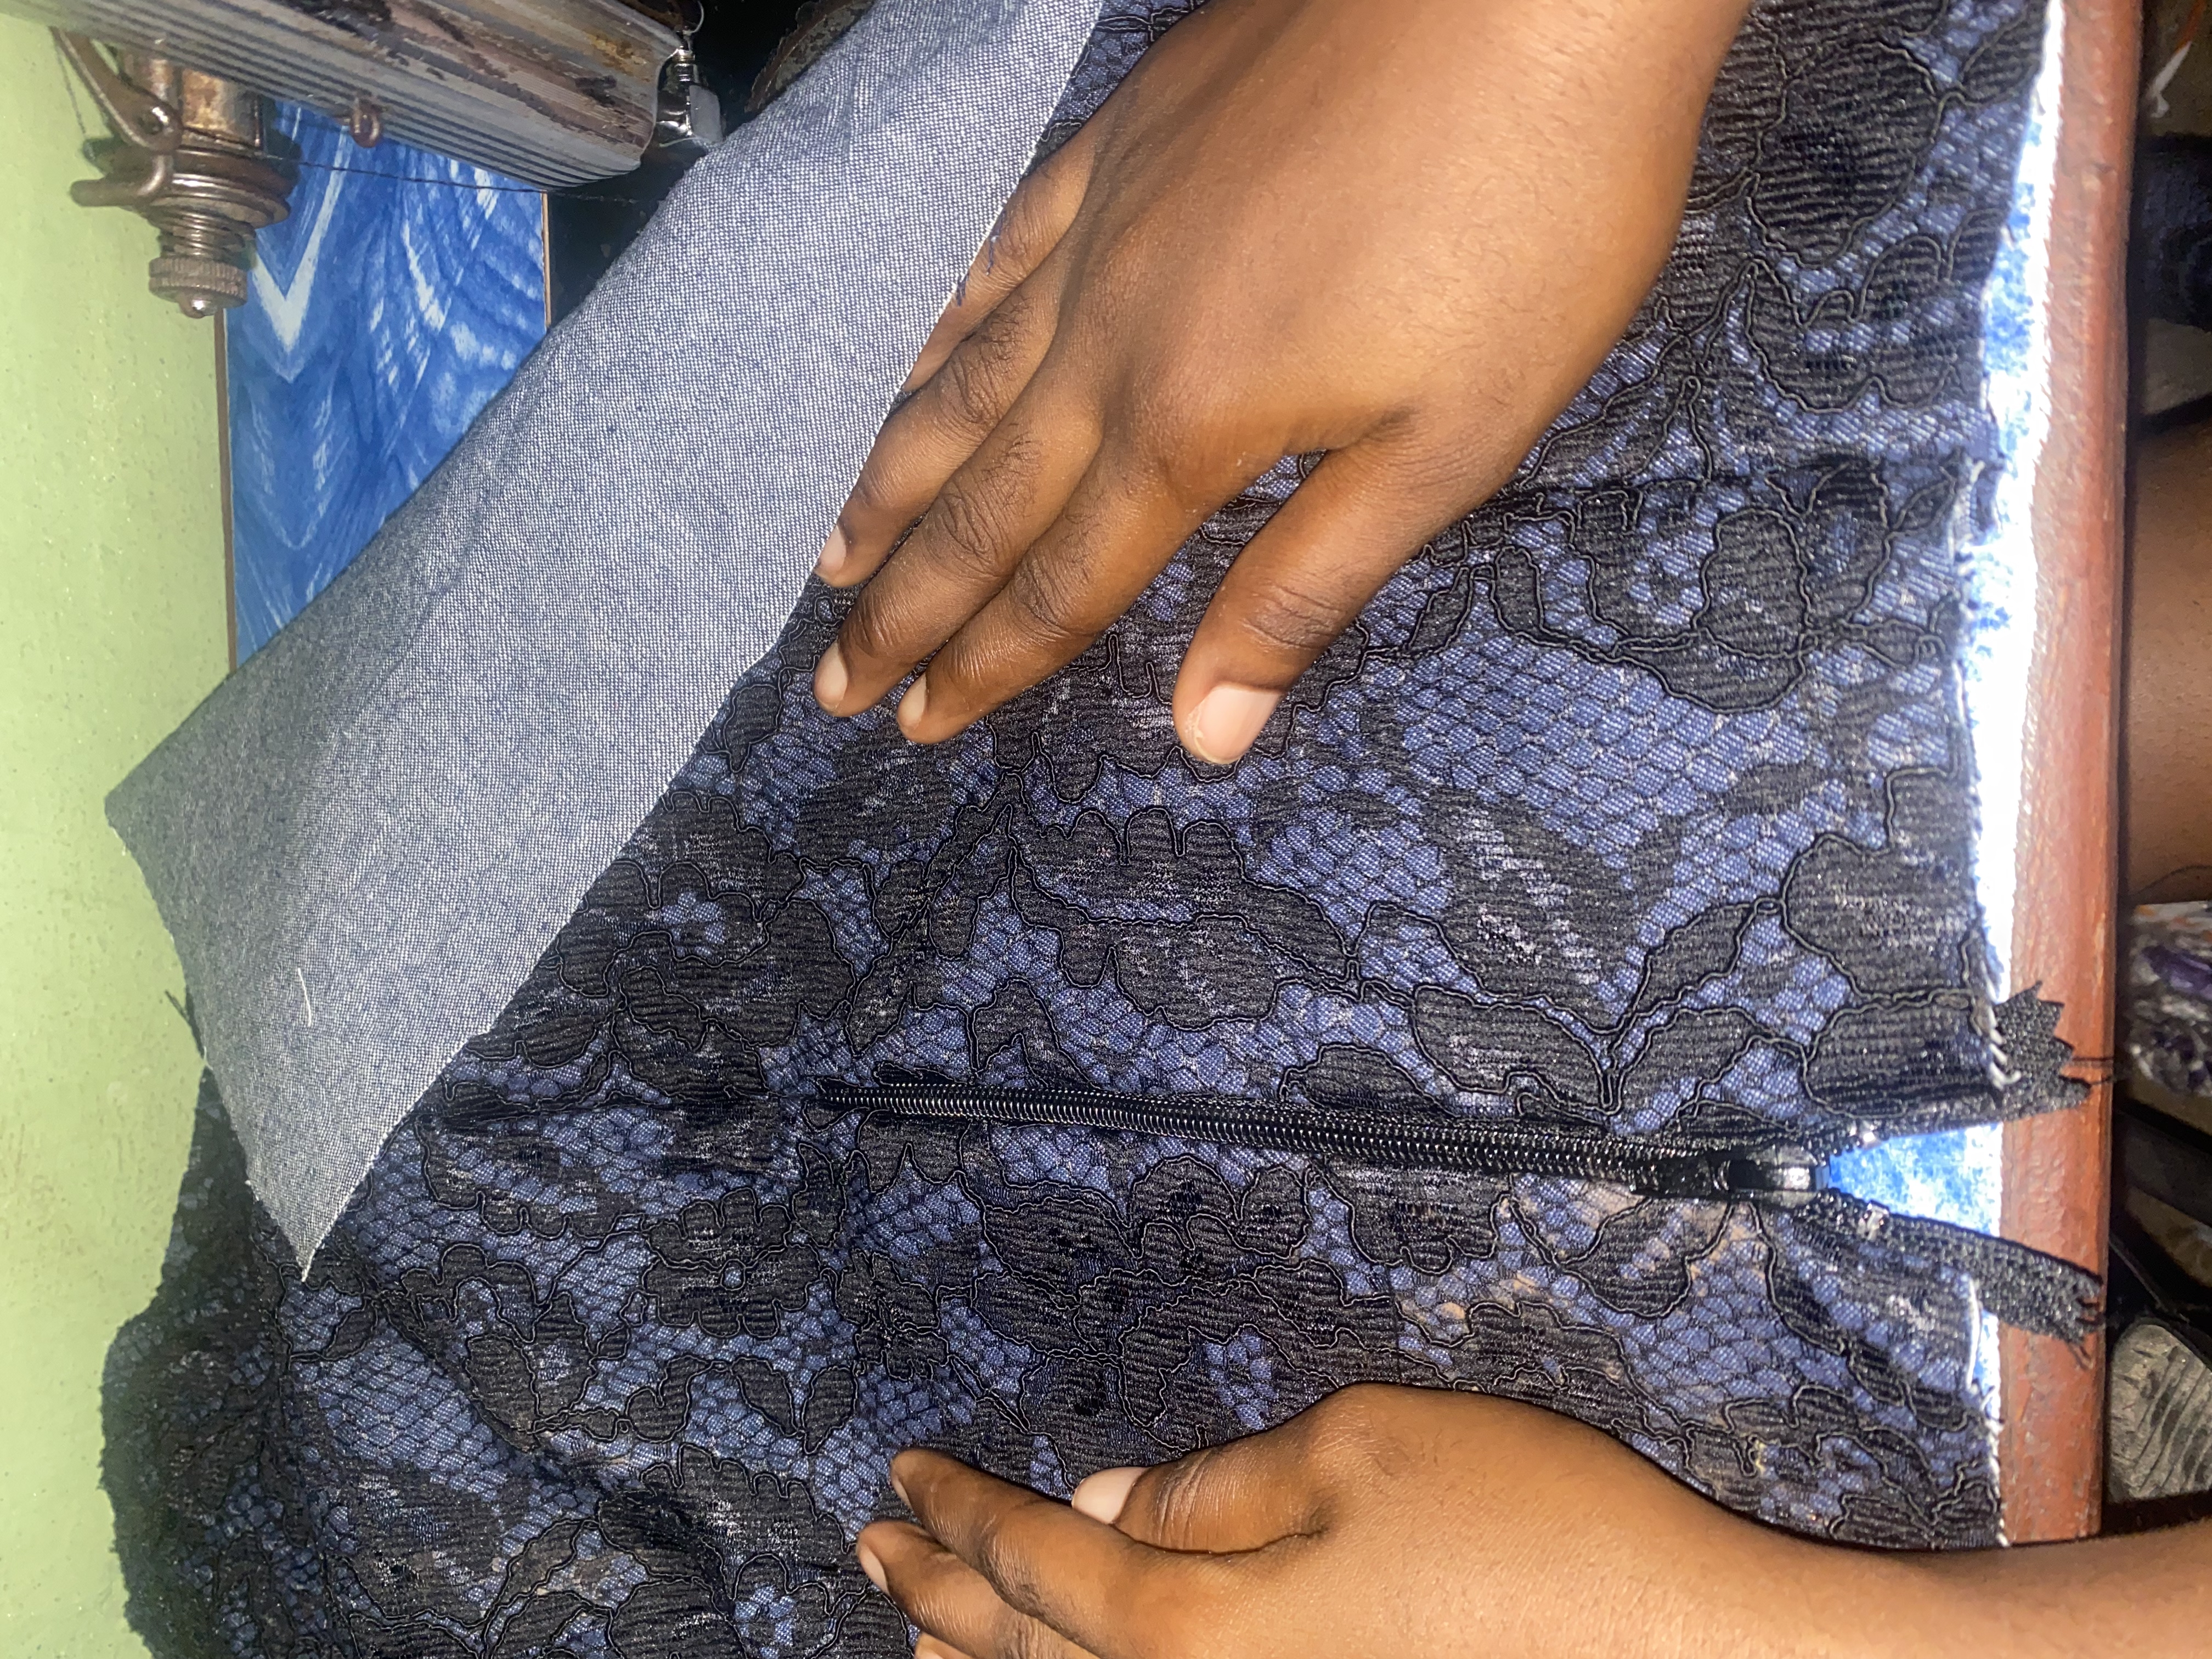
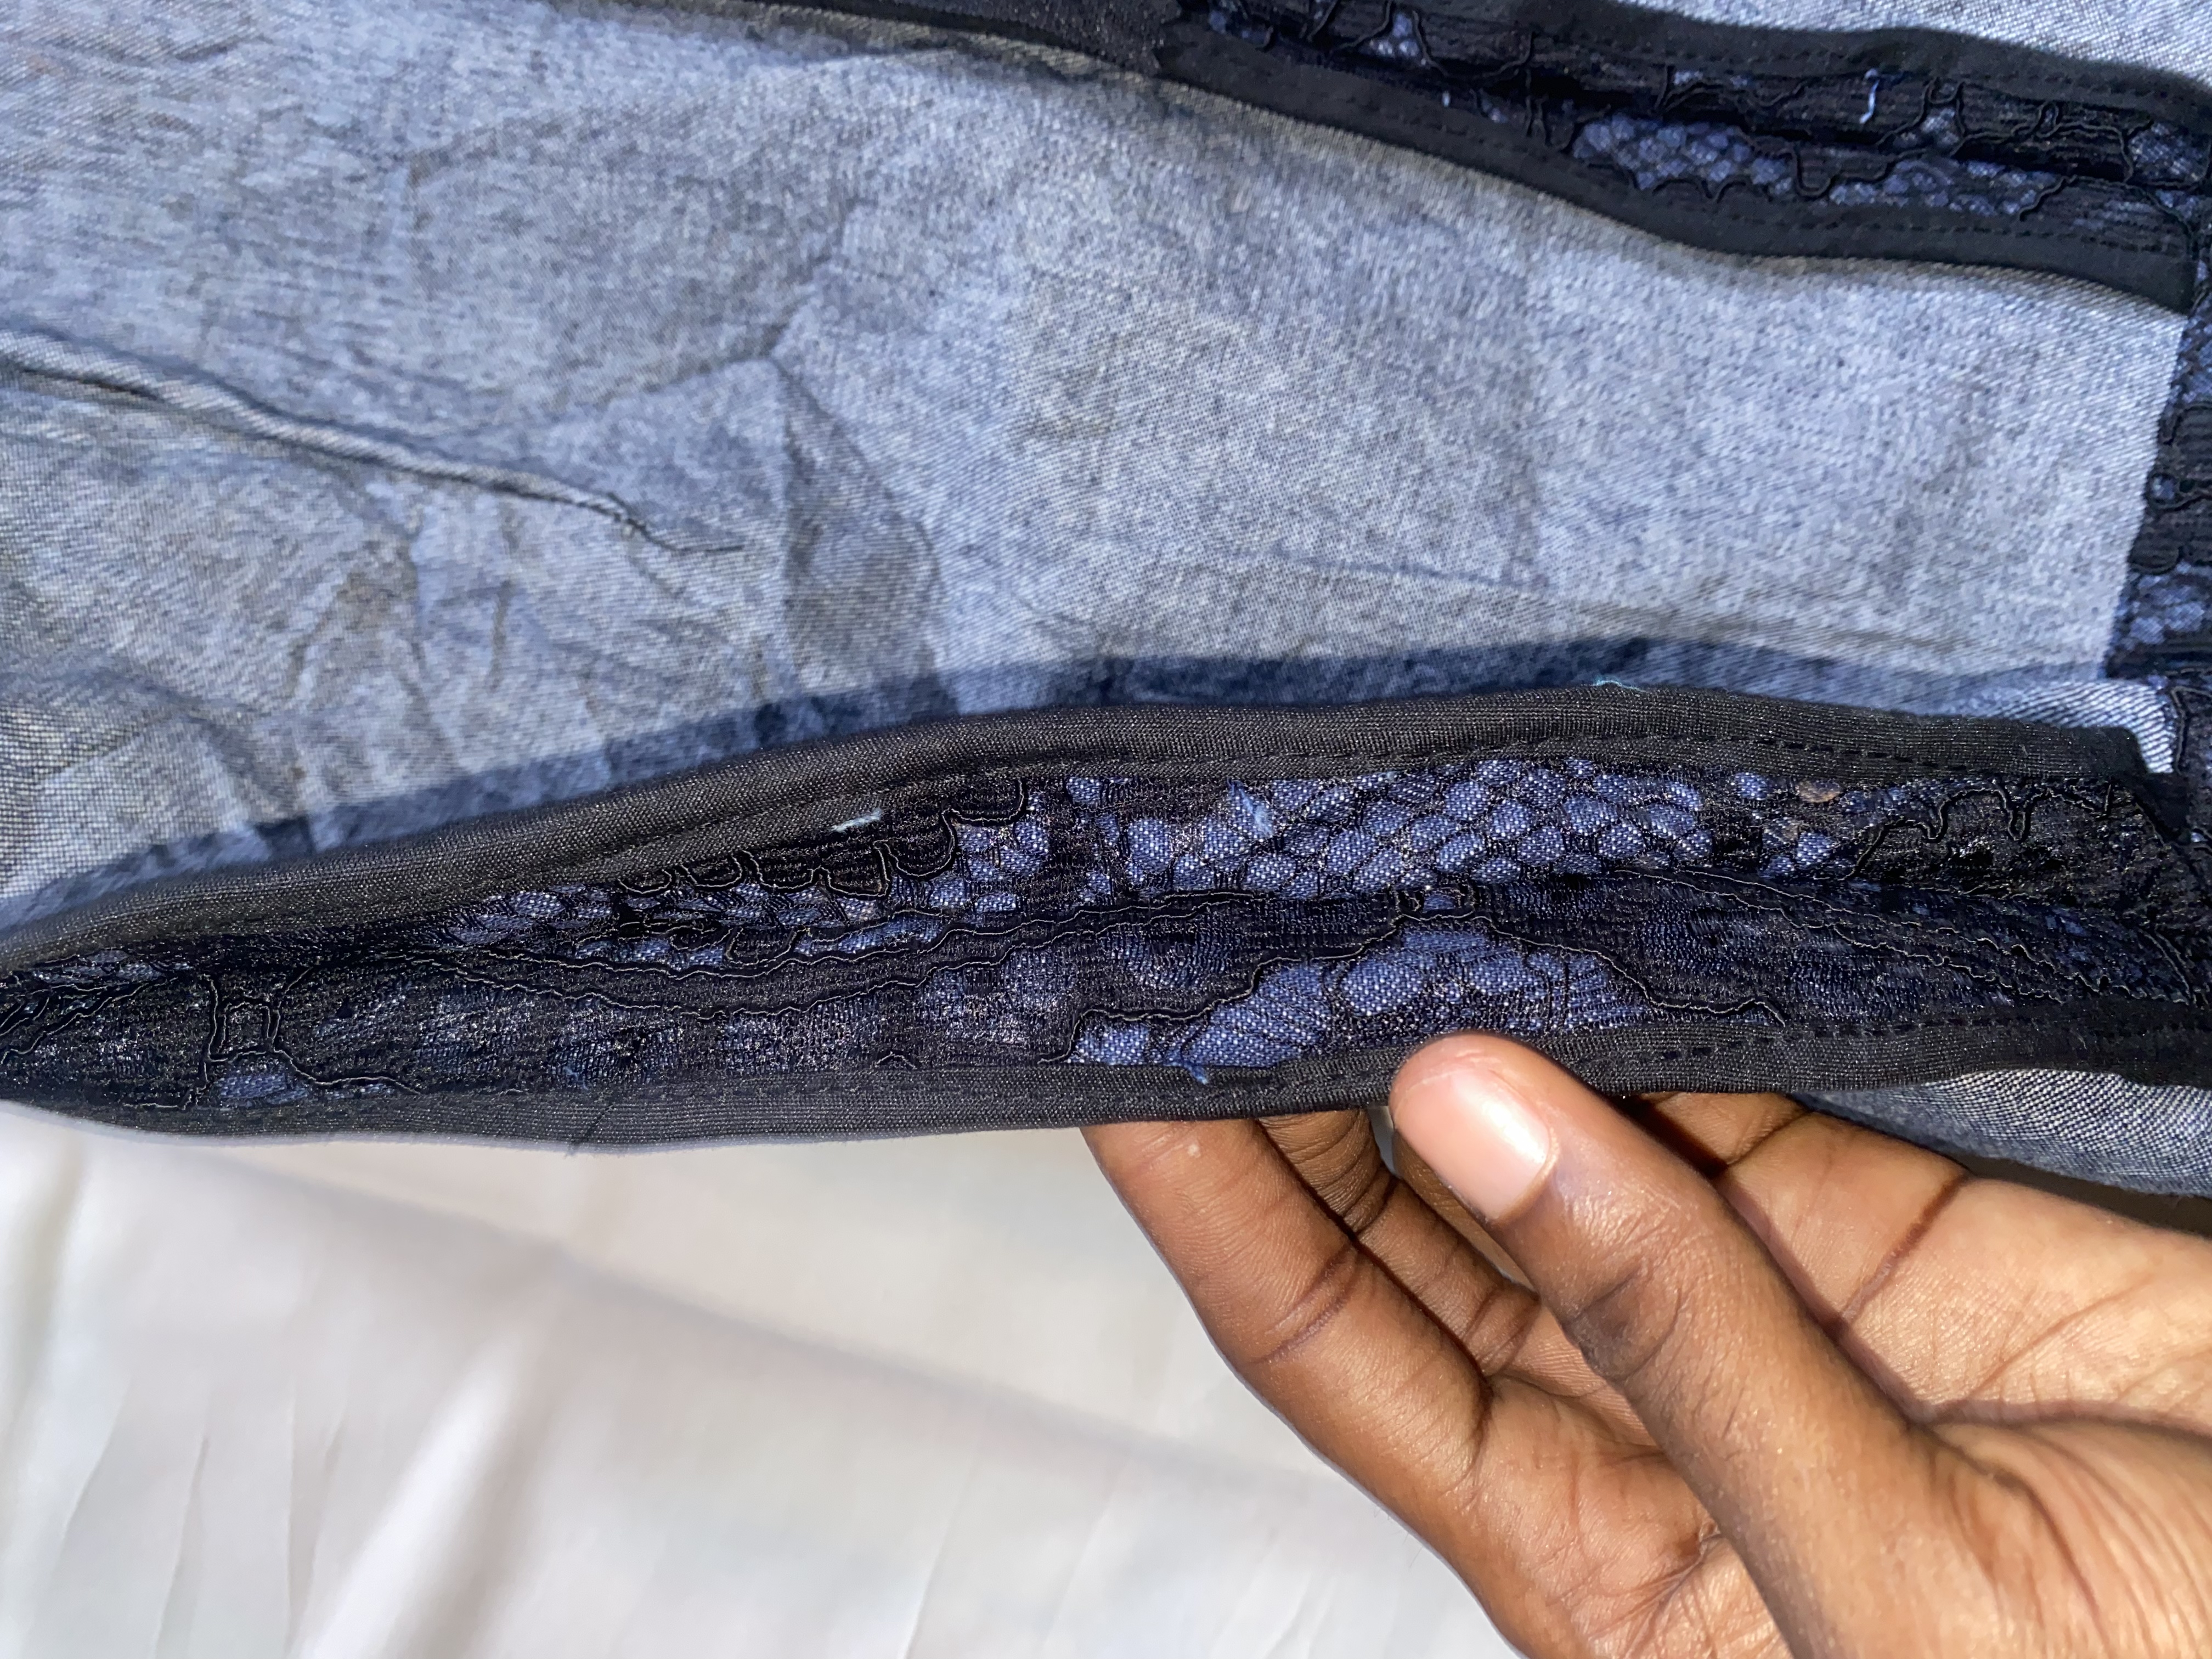
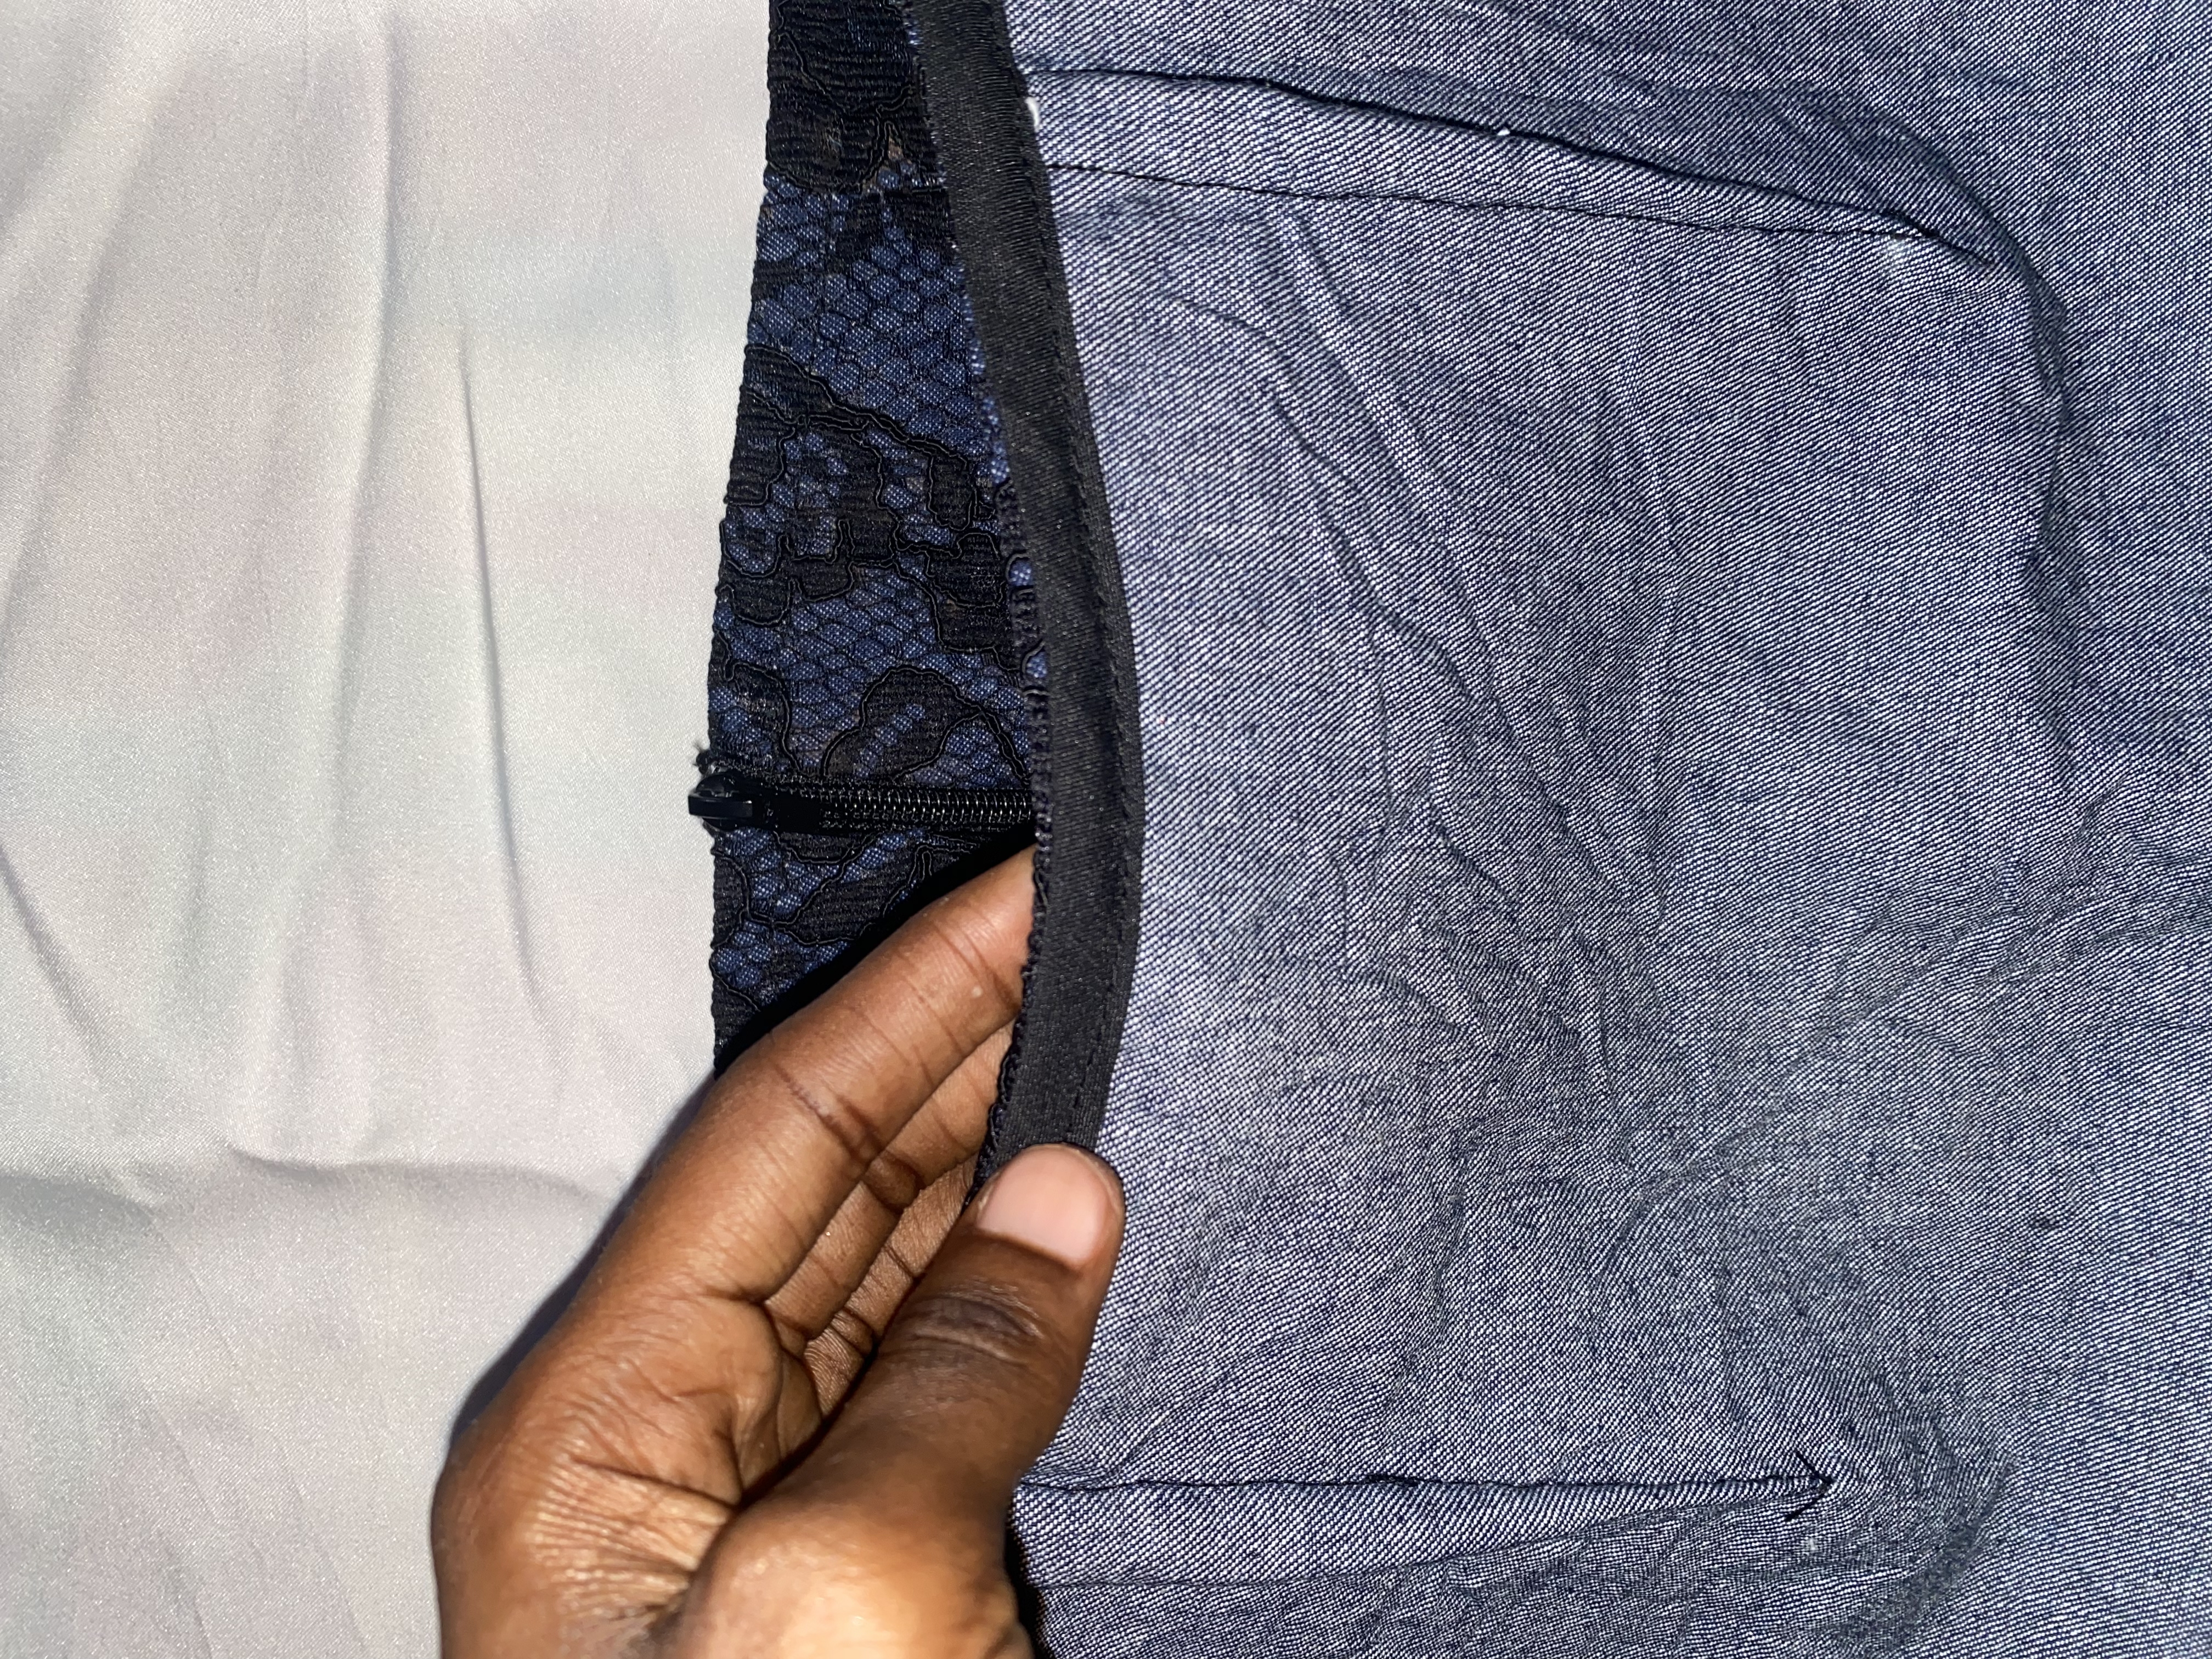
Next, I sewed the front and back pieces together, creating a six-inch dart at the waist for a flattering fit. After inserting the zipper, I neatly finished the seam allowances with bias tape to prevent fraying, since I didn't have access to a serger. Though it was a bit tedious, the end result was well worth the effort. I also folded and secured the waistband with bias tape, as well as hemmed the skirt with a two-inch fold.
I sew the front piece and back piece together
I sew the zip to the back of the skirt
fold the hem of the skirt
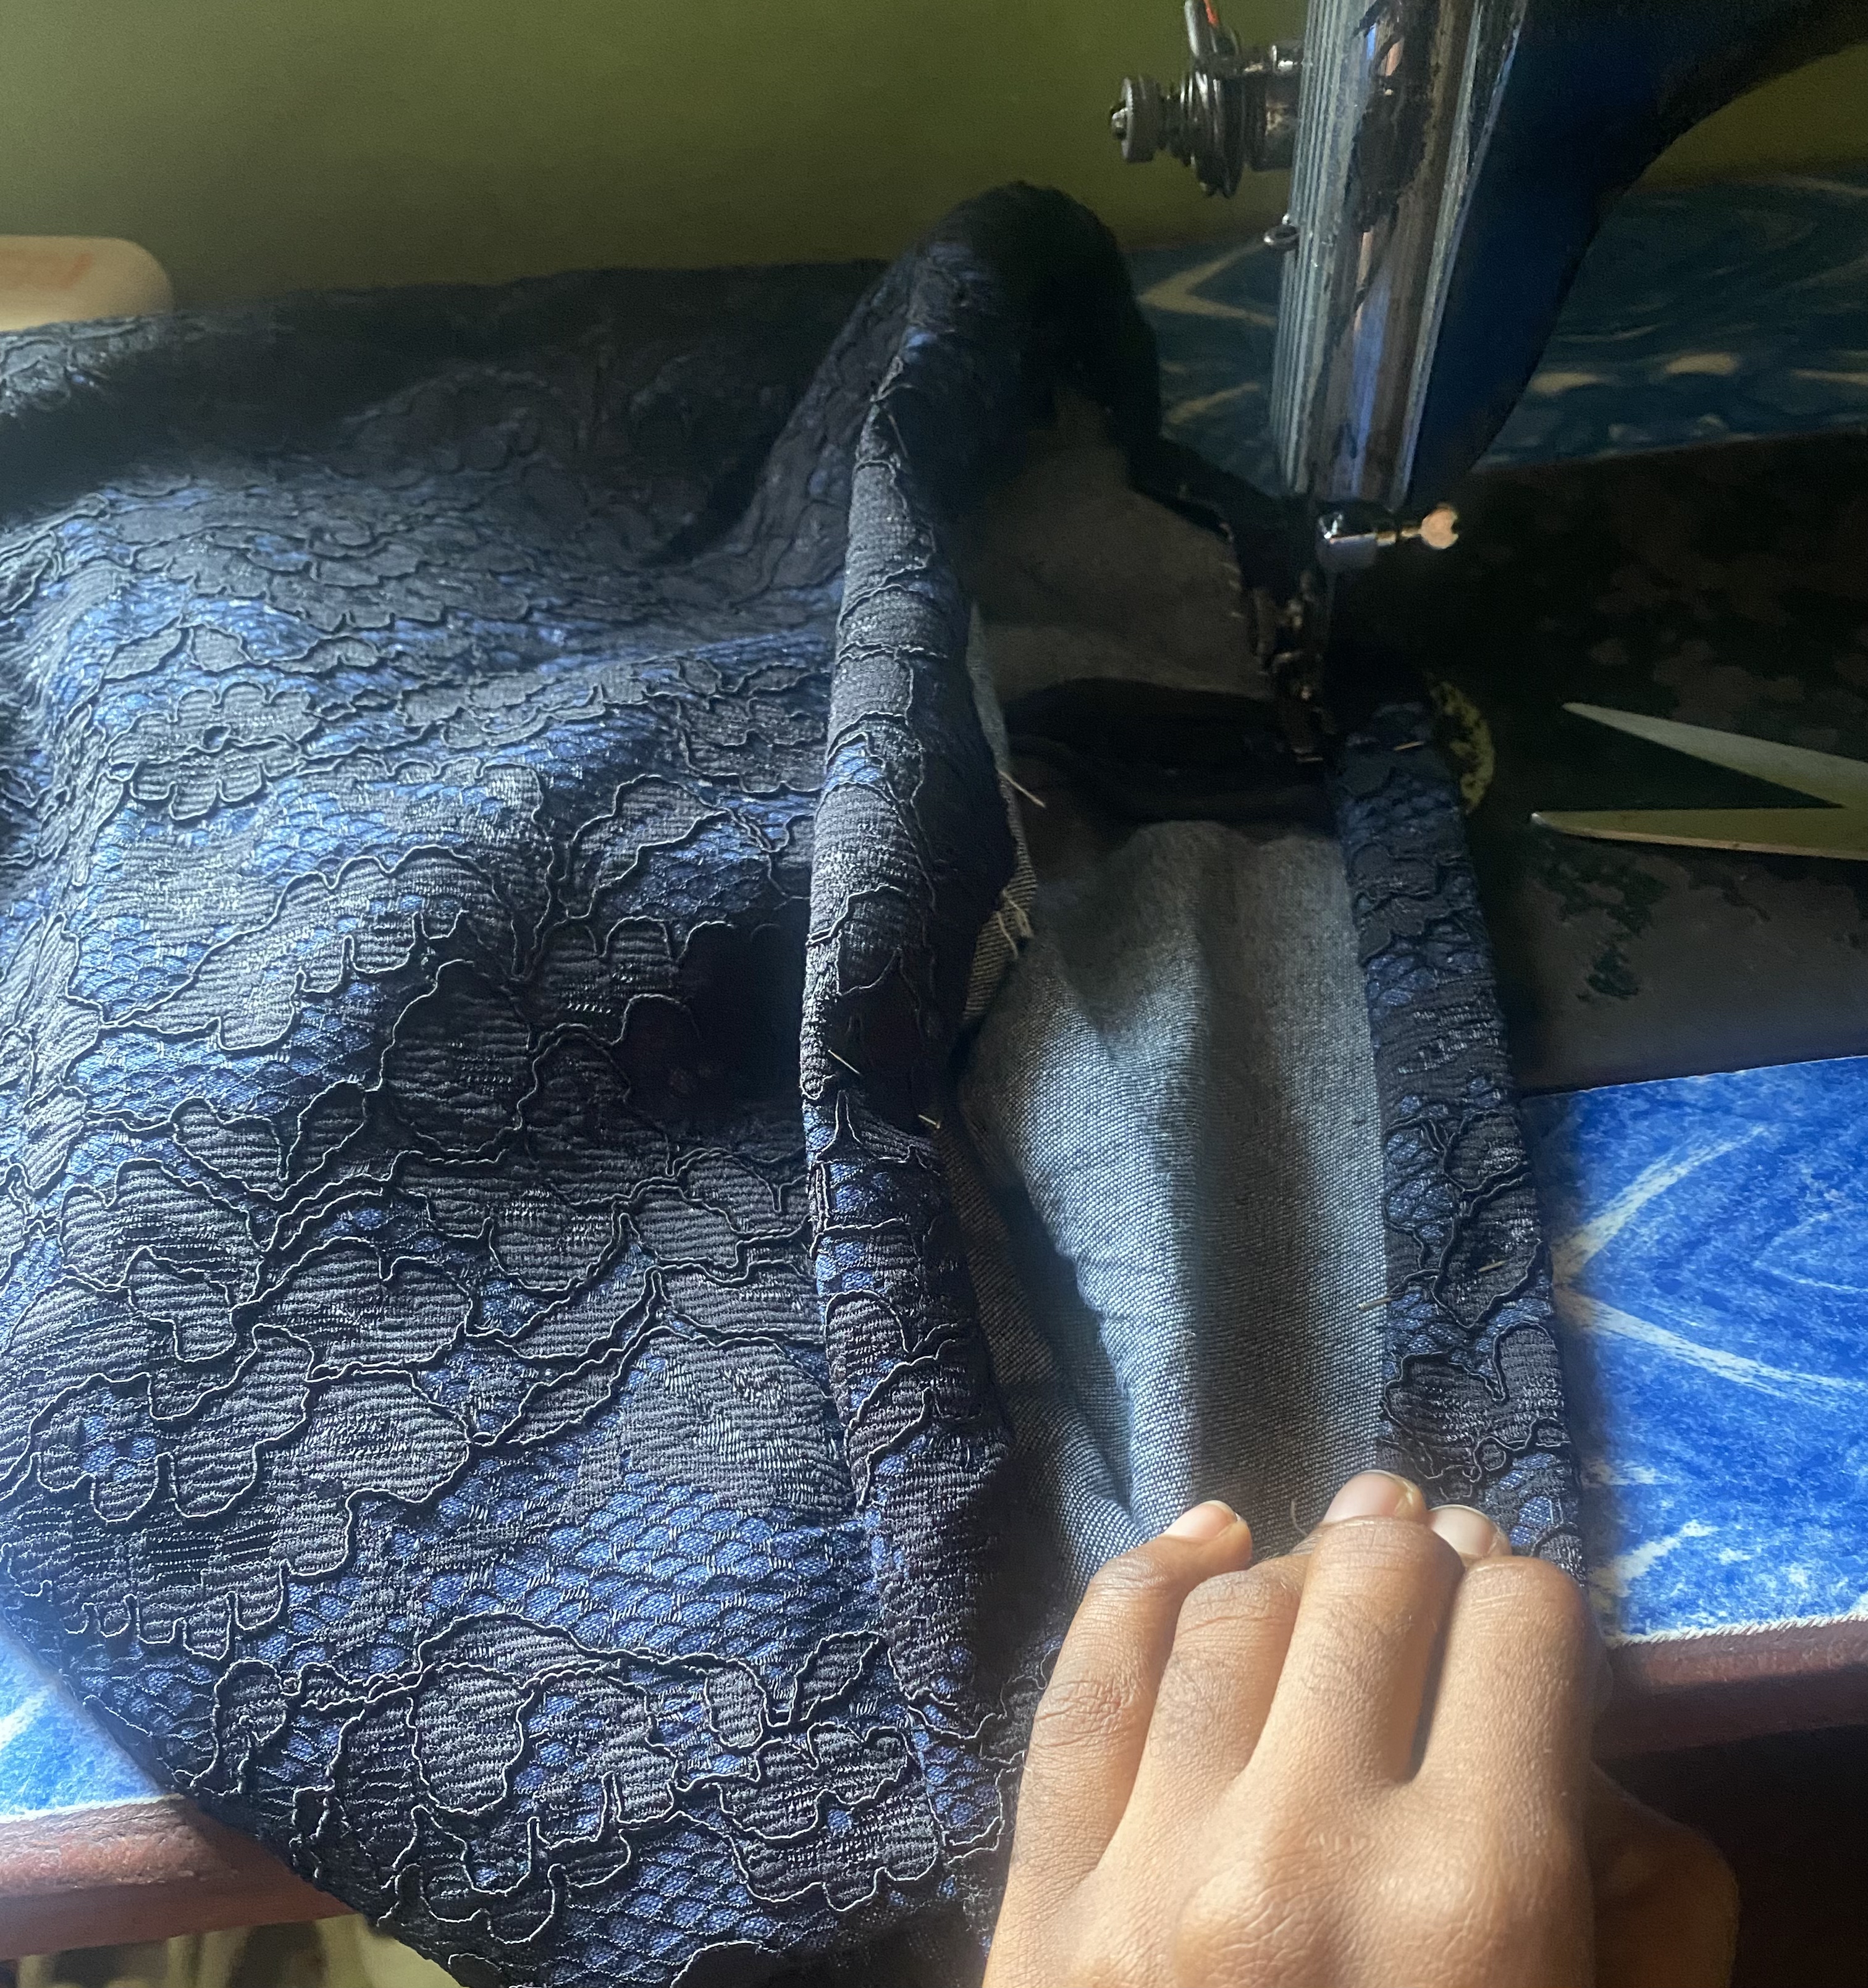
for finishing I sew bias on the edge of the seam allowance to avoid fraying
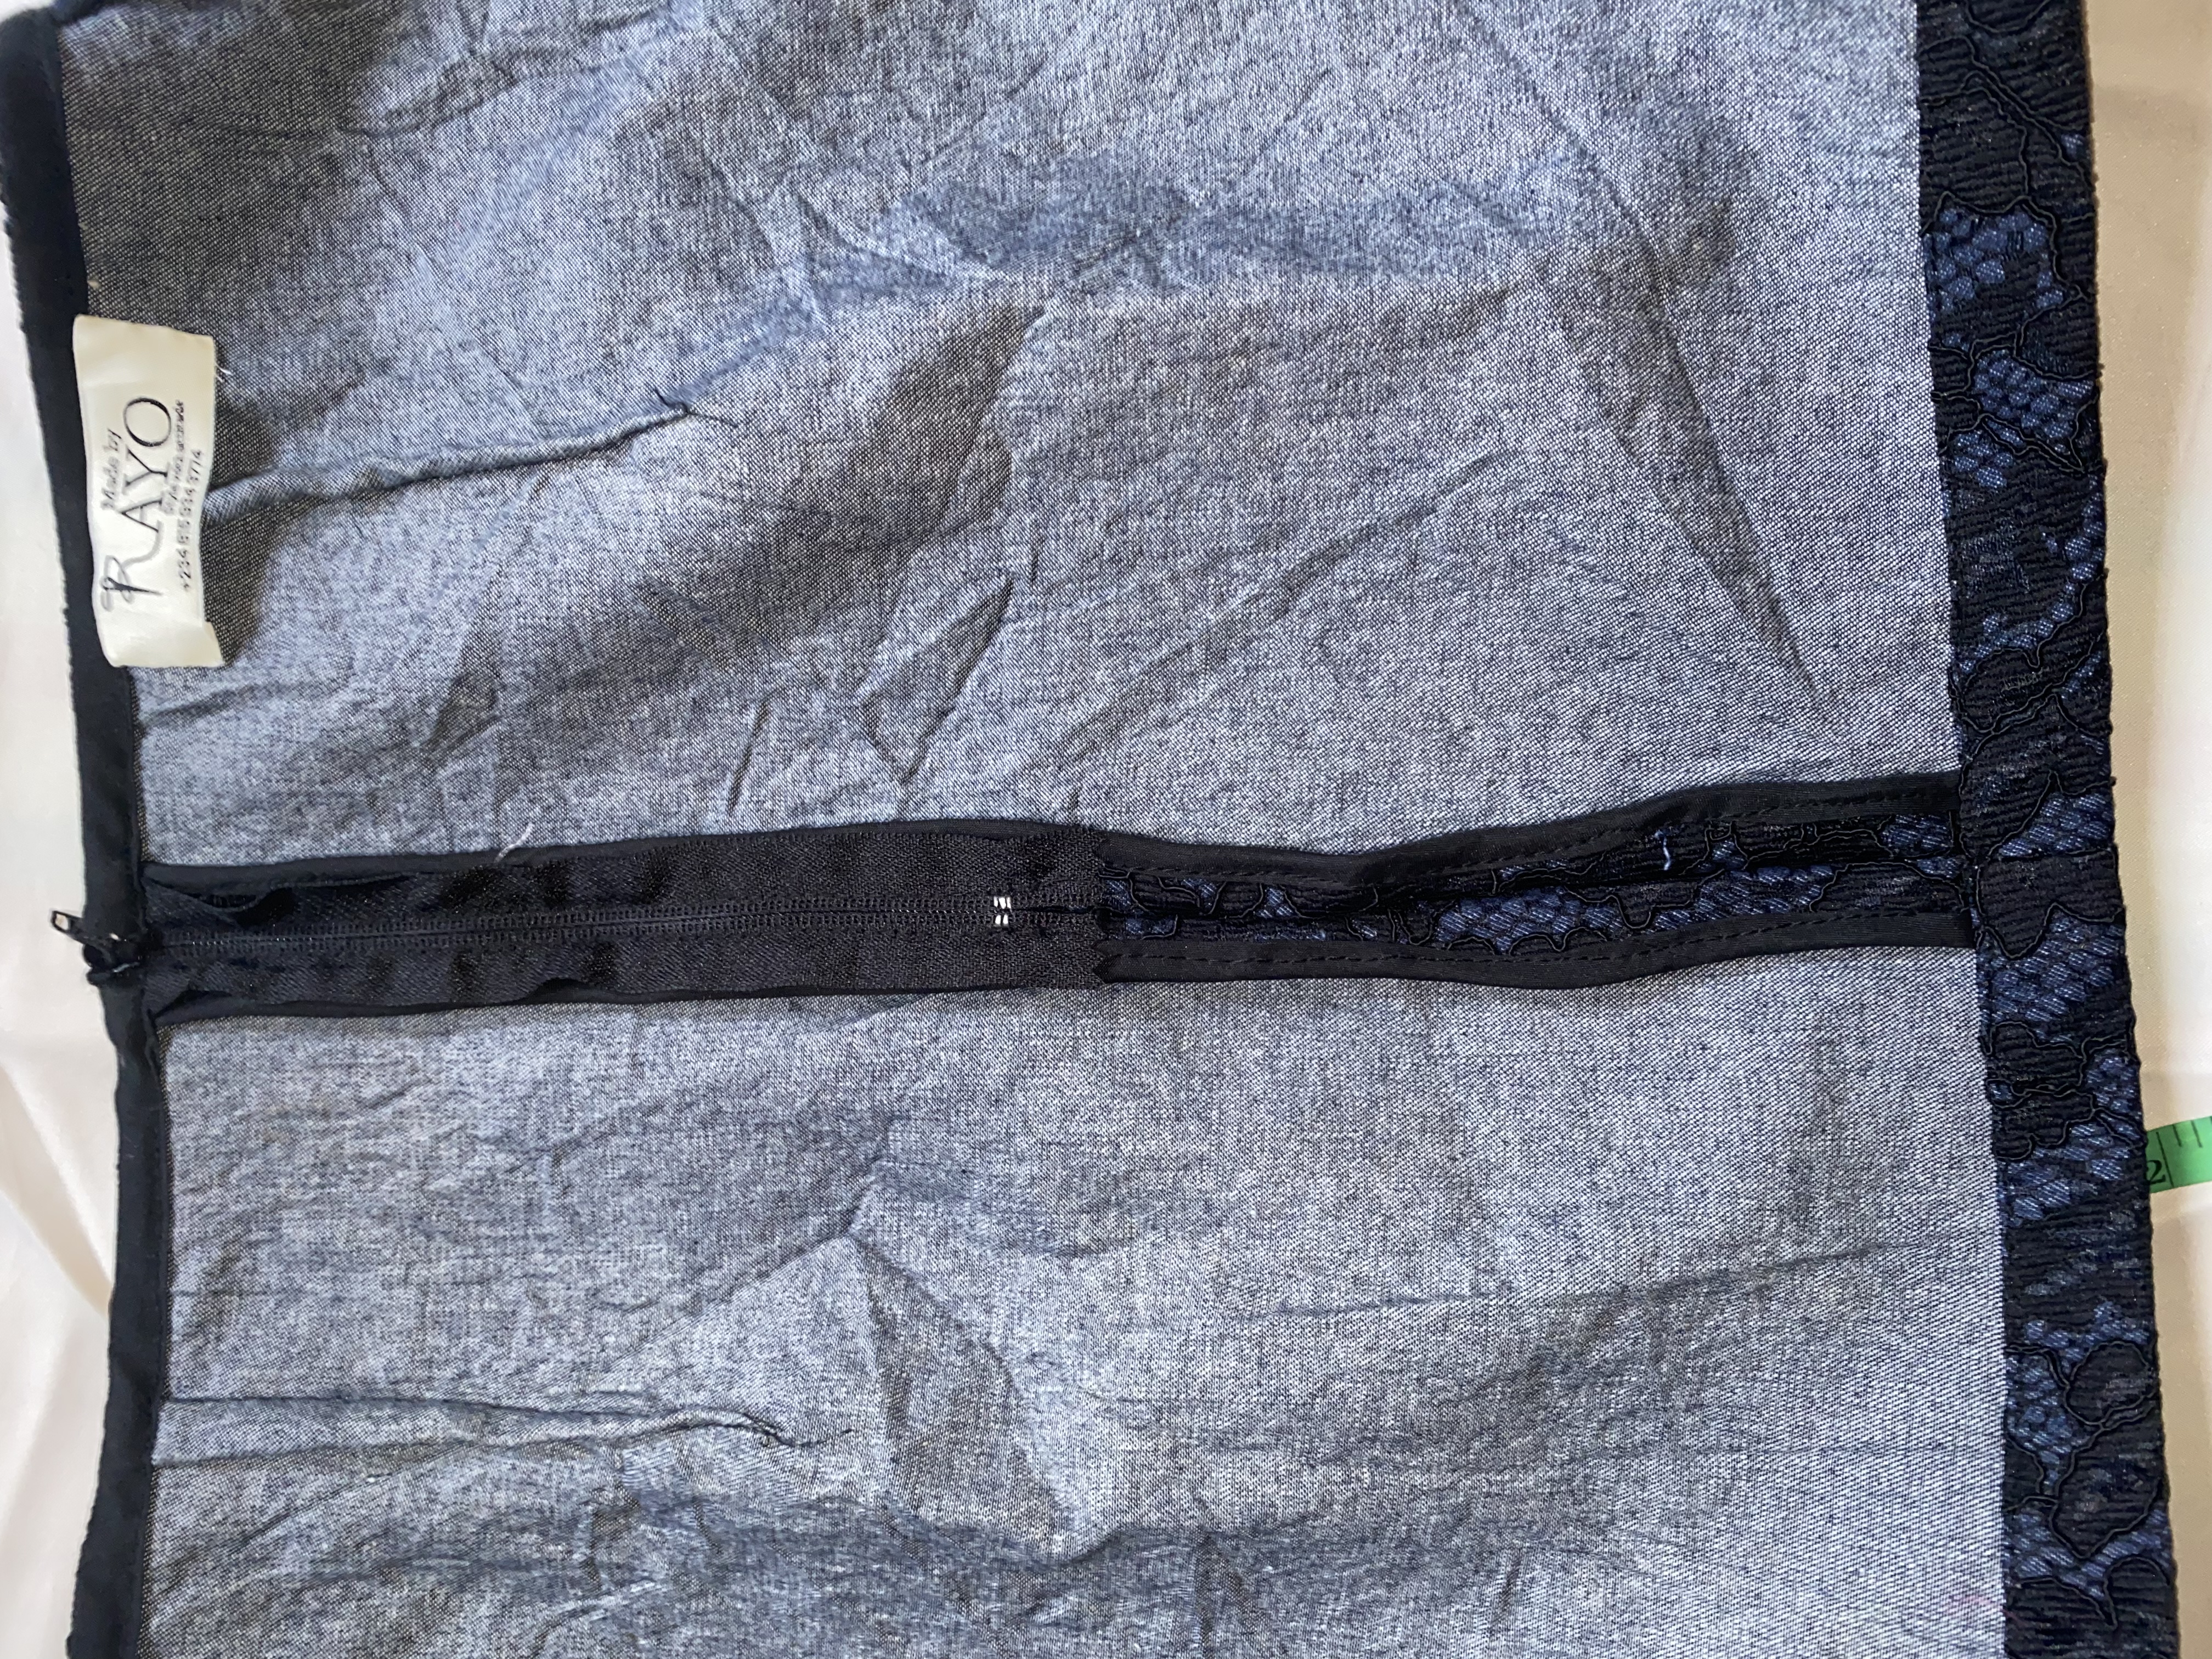
I fold the waistline with bias also
And voila! Here's the finished product. I hope you love it as much as I enjoyed making it.
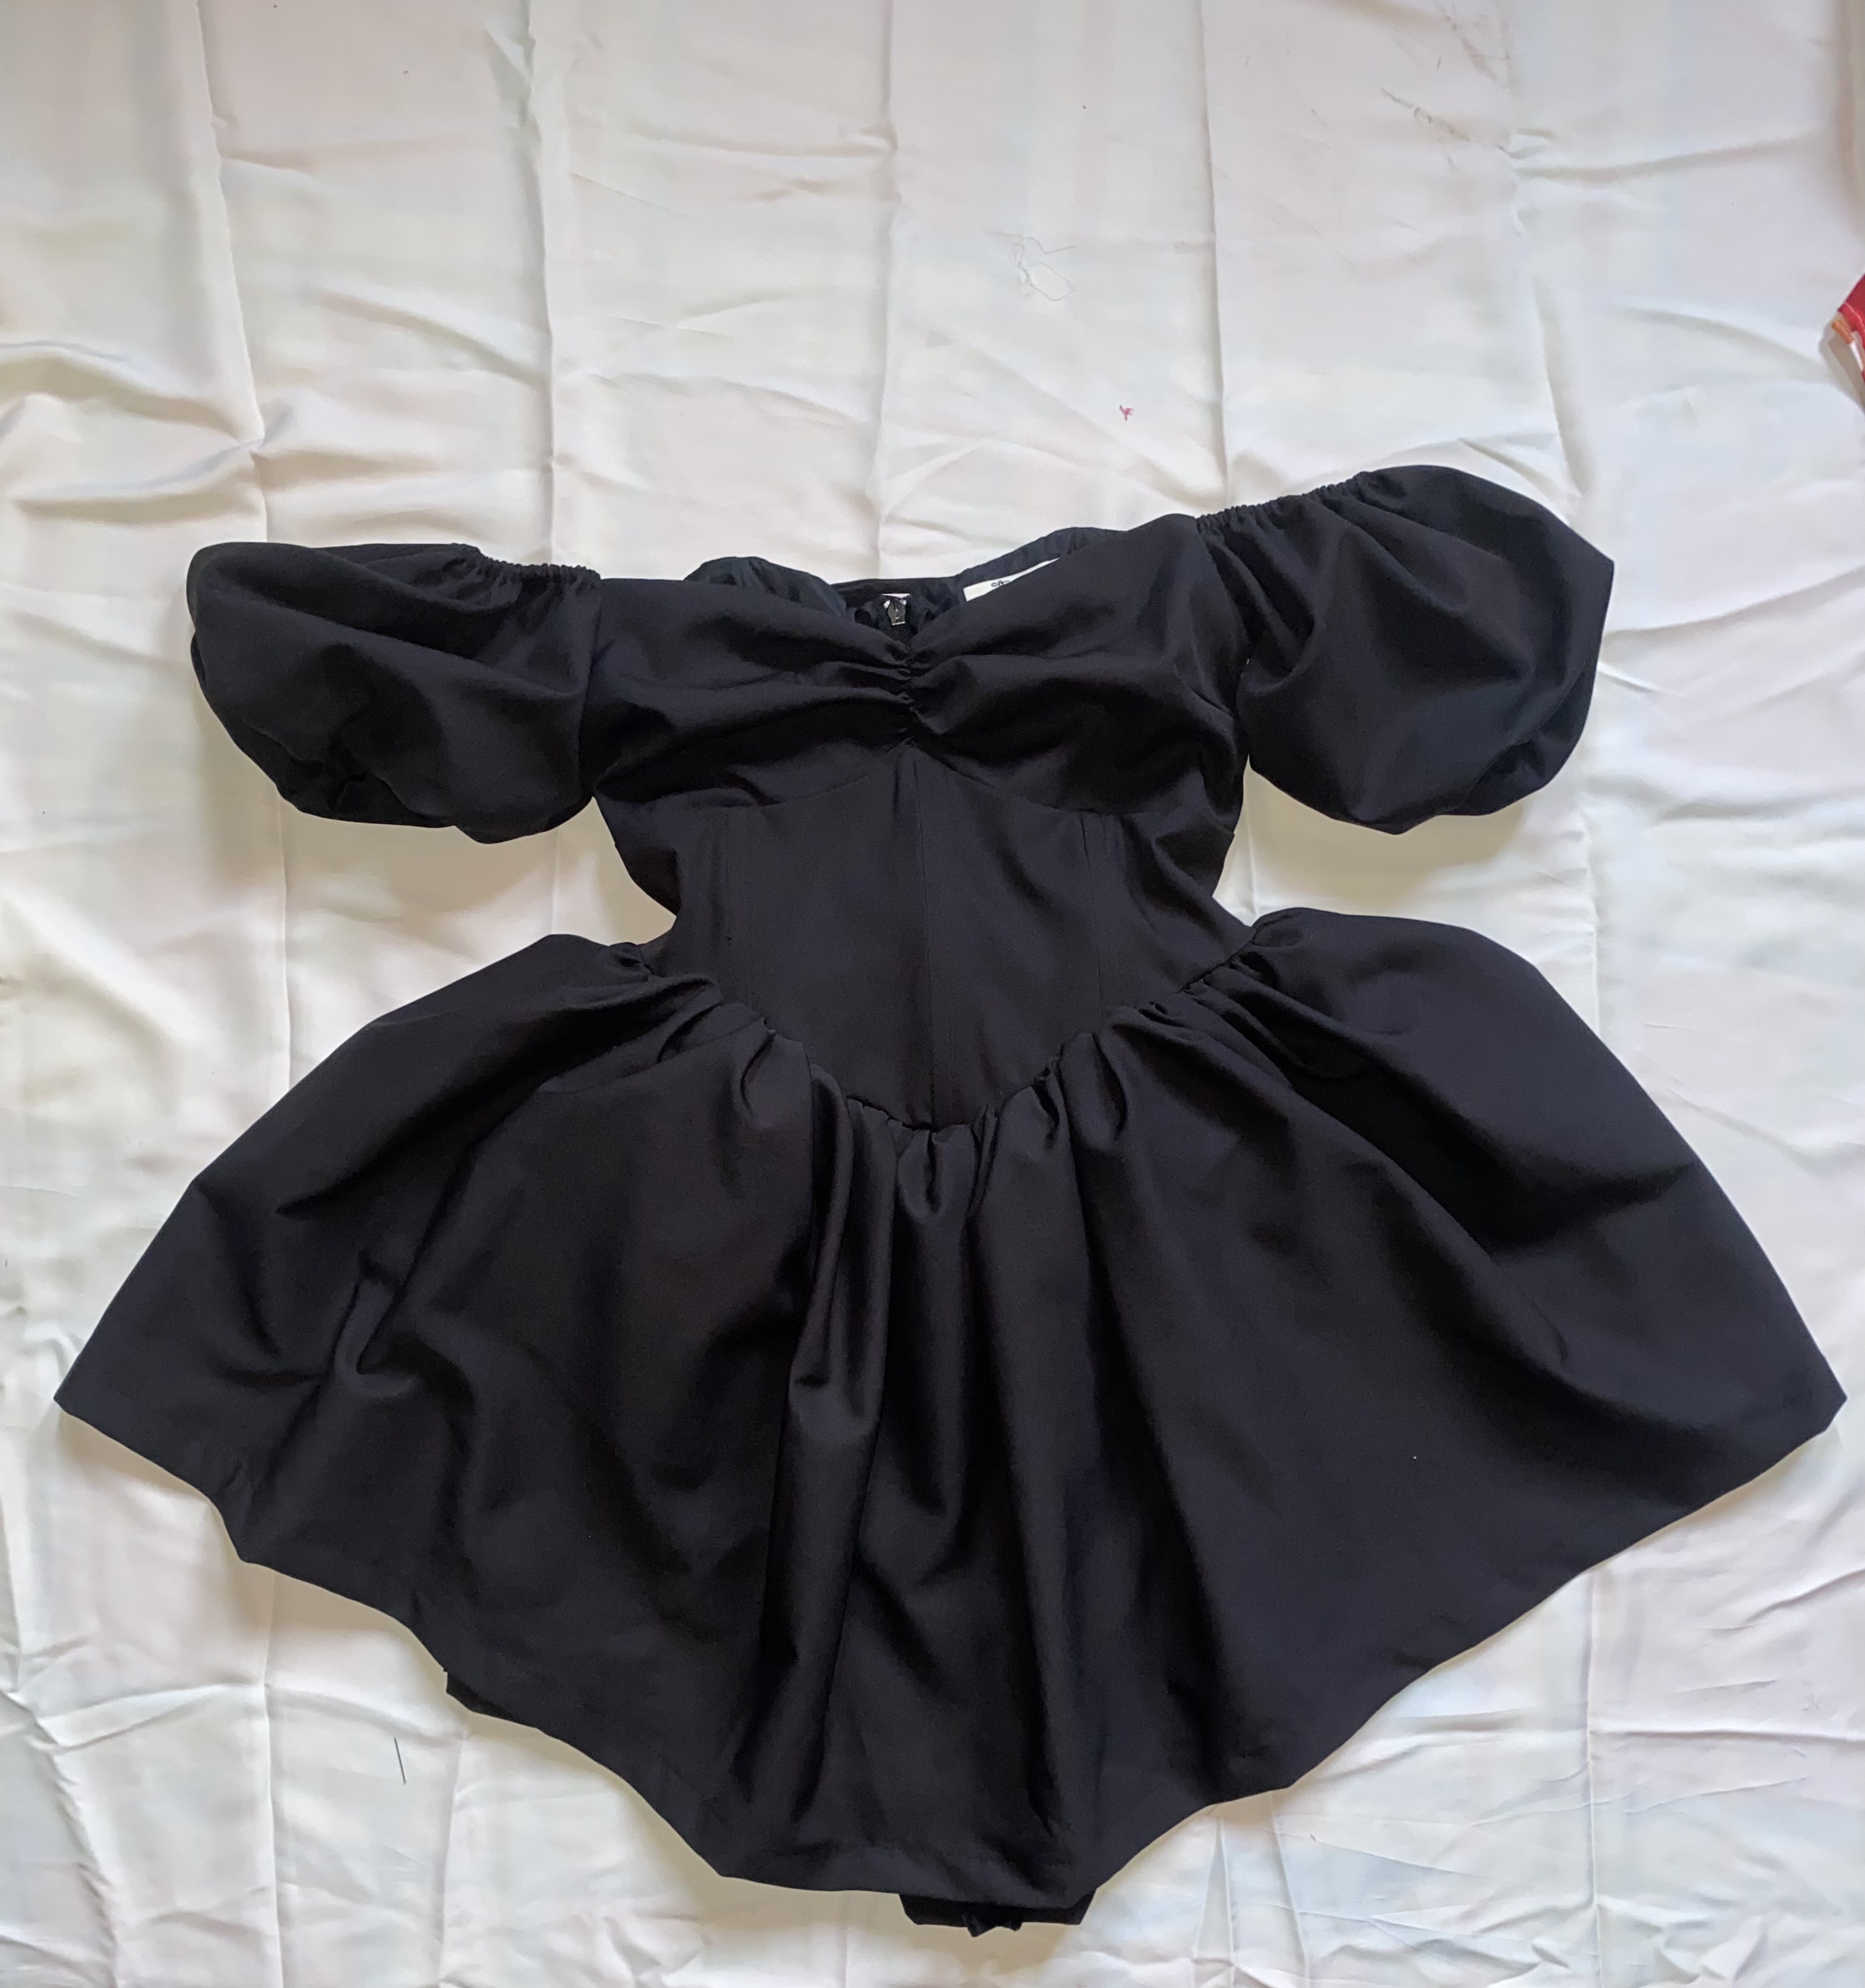
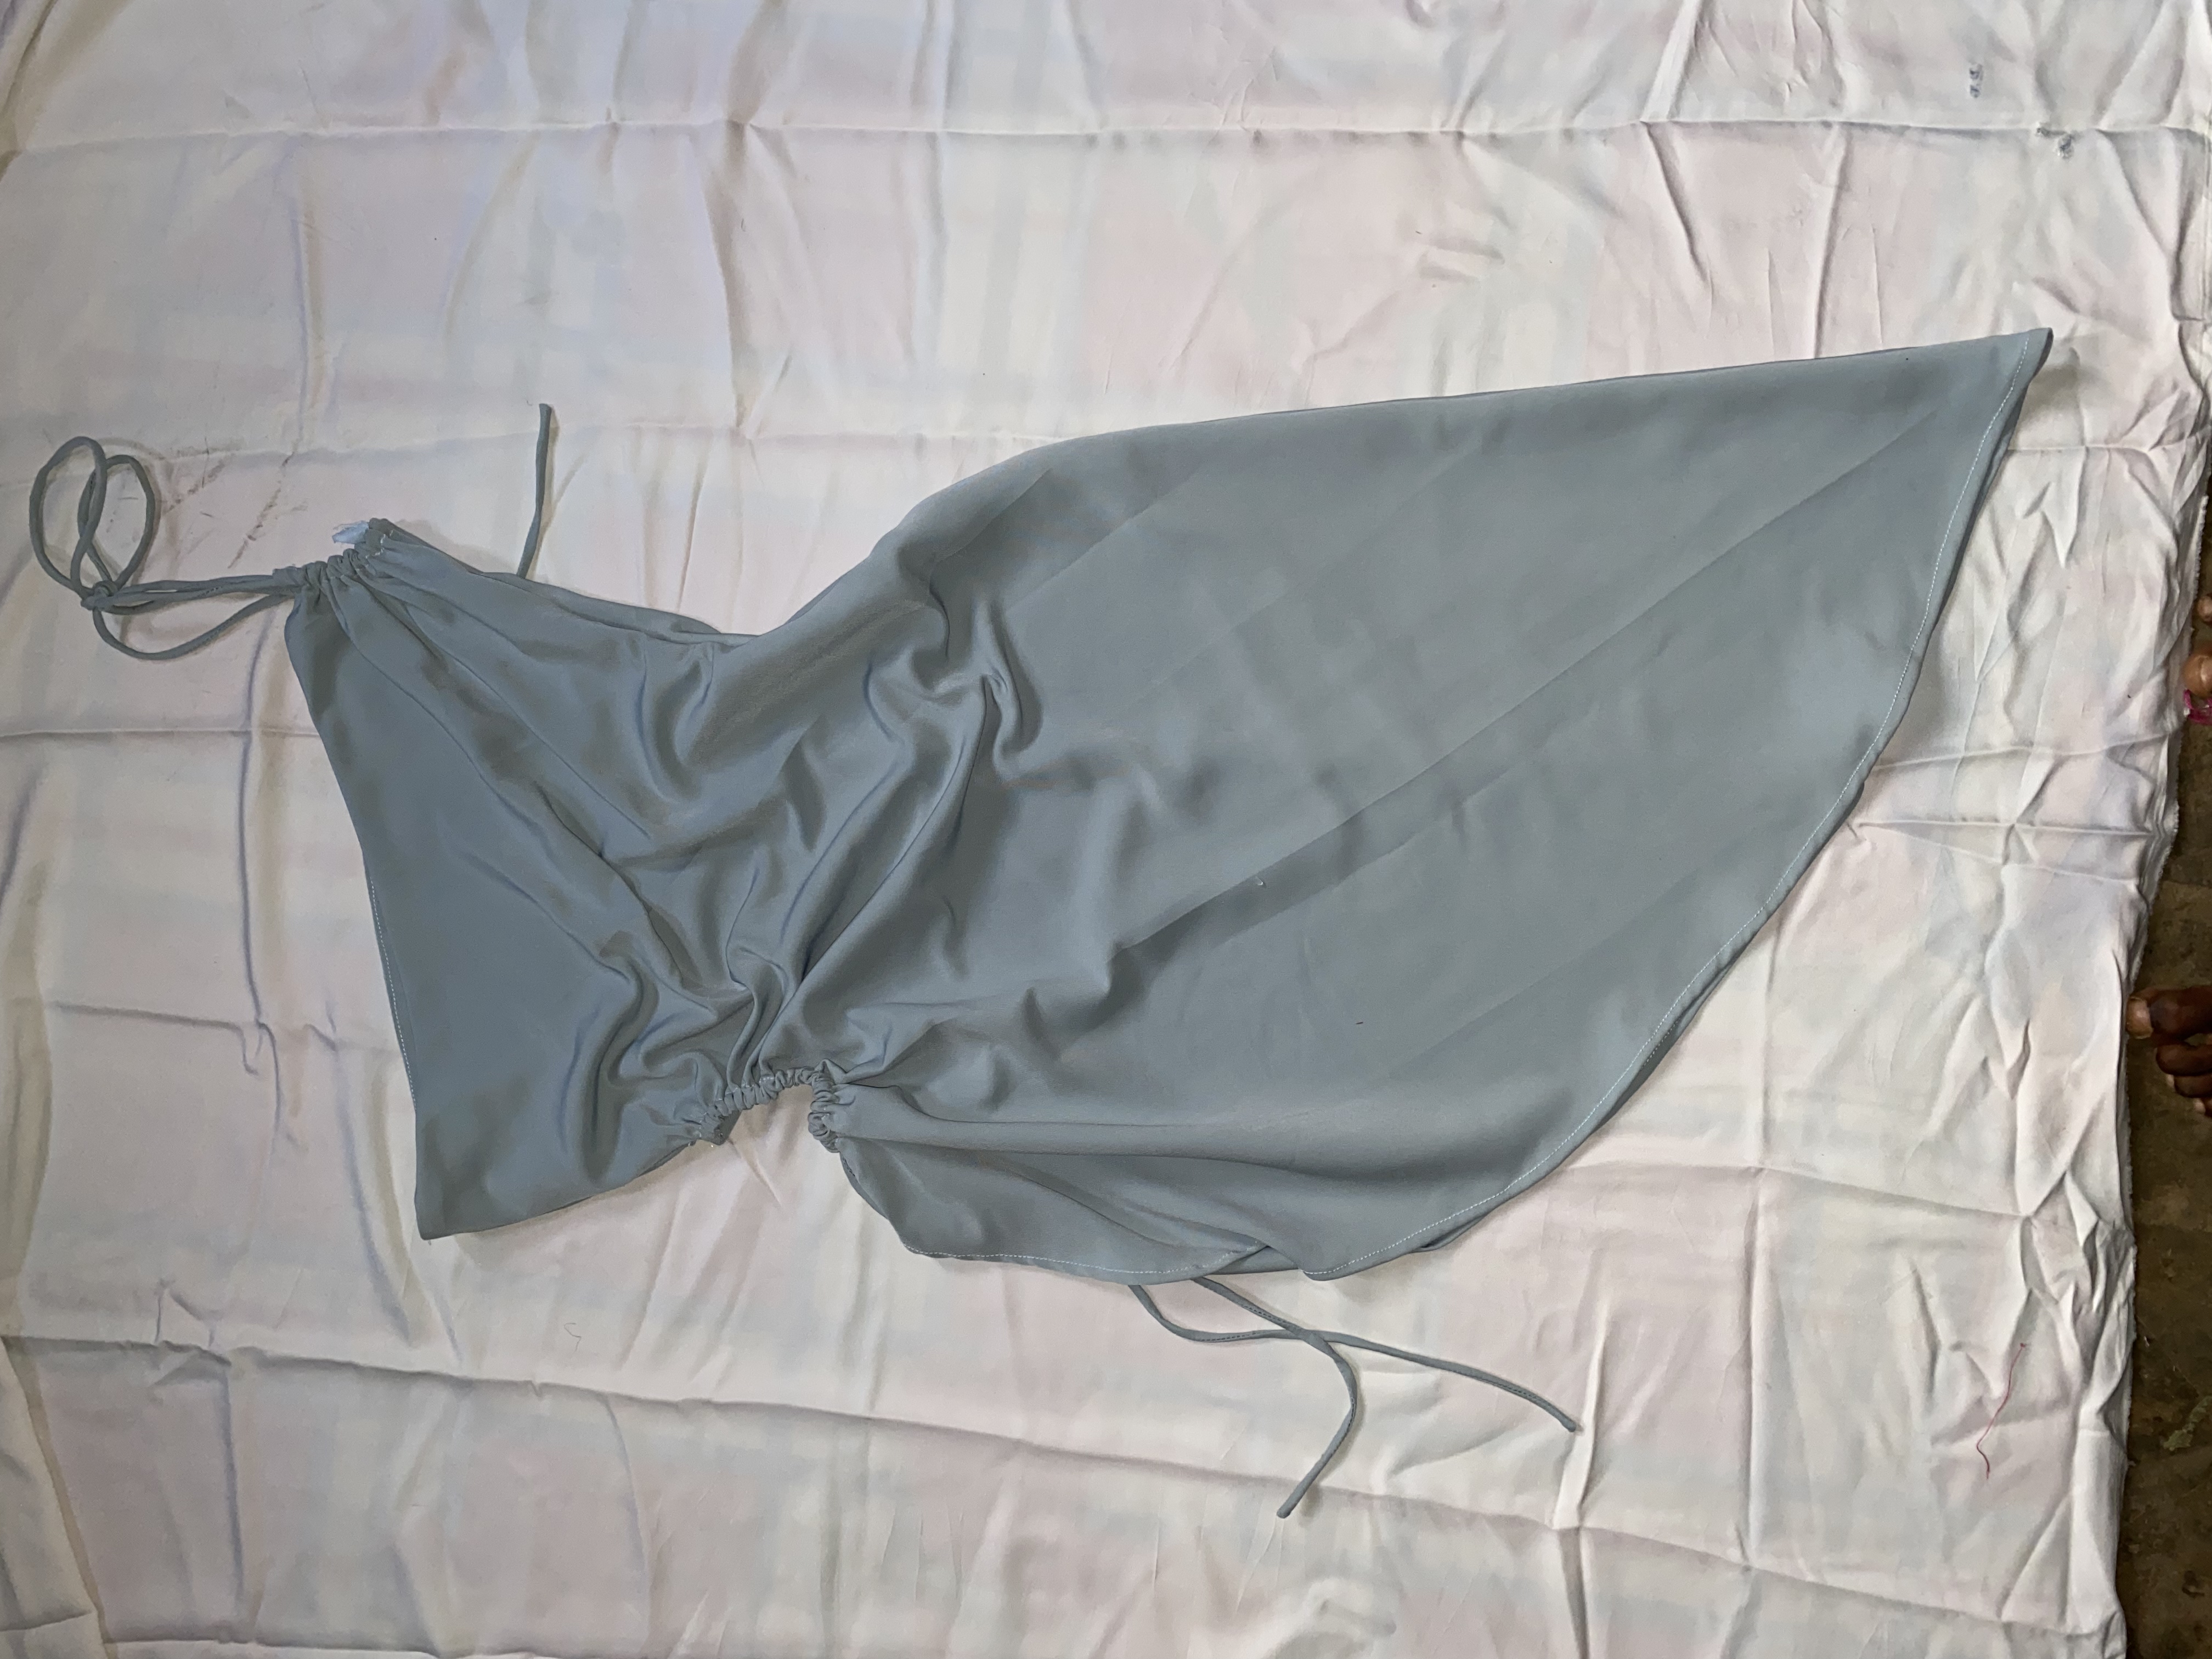
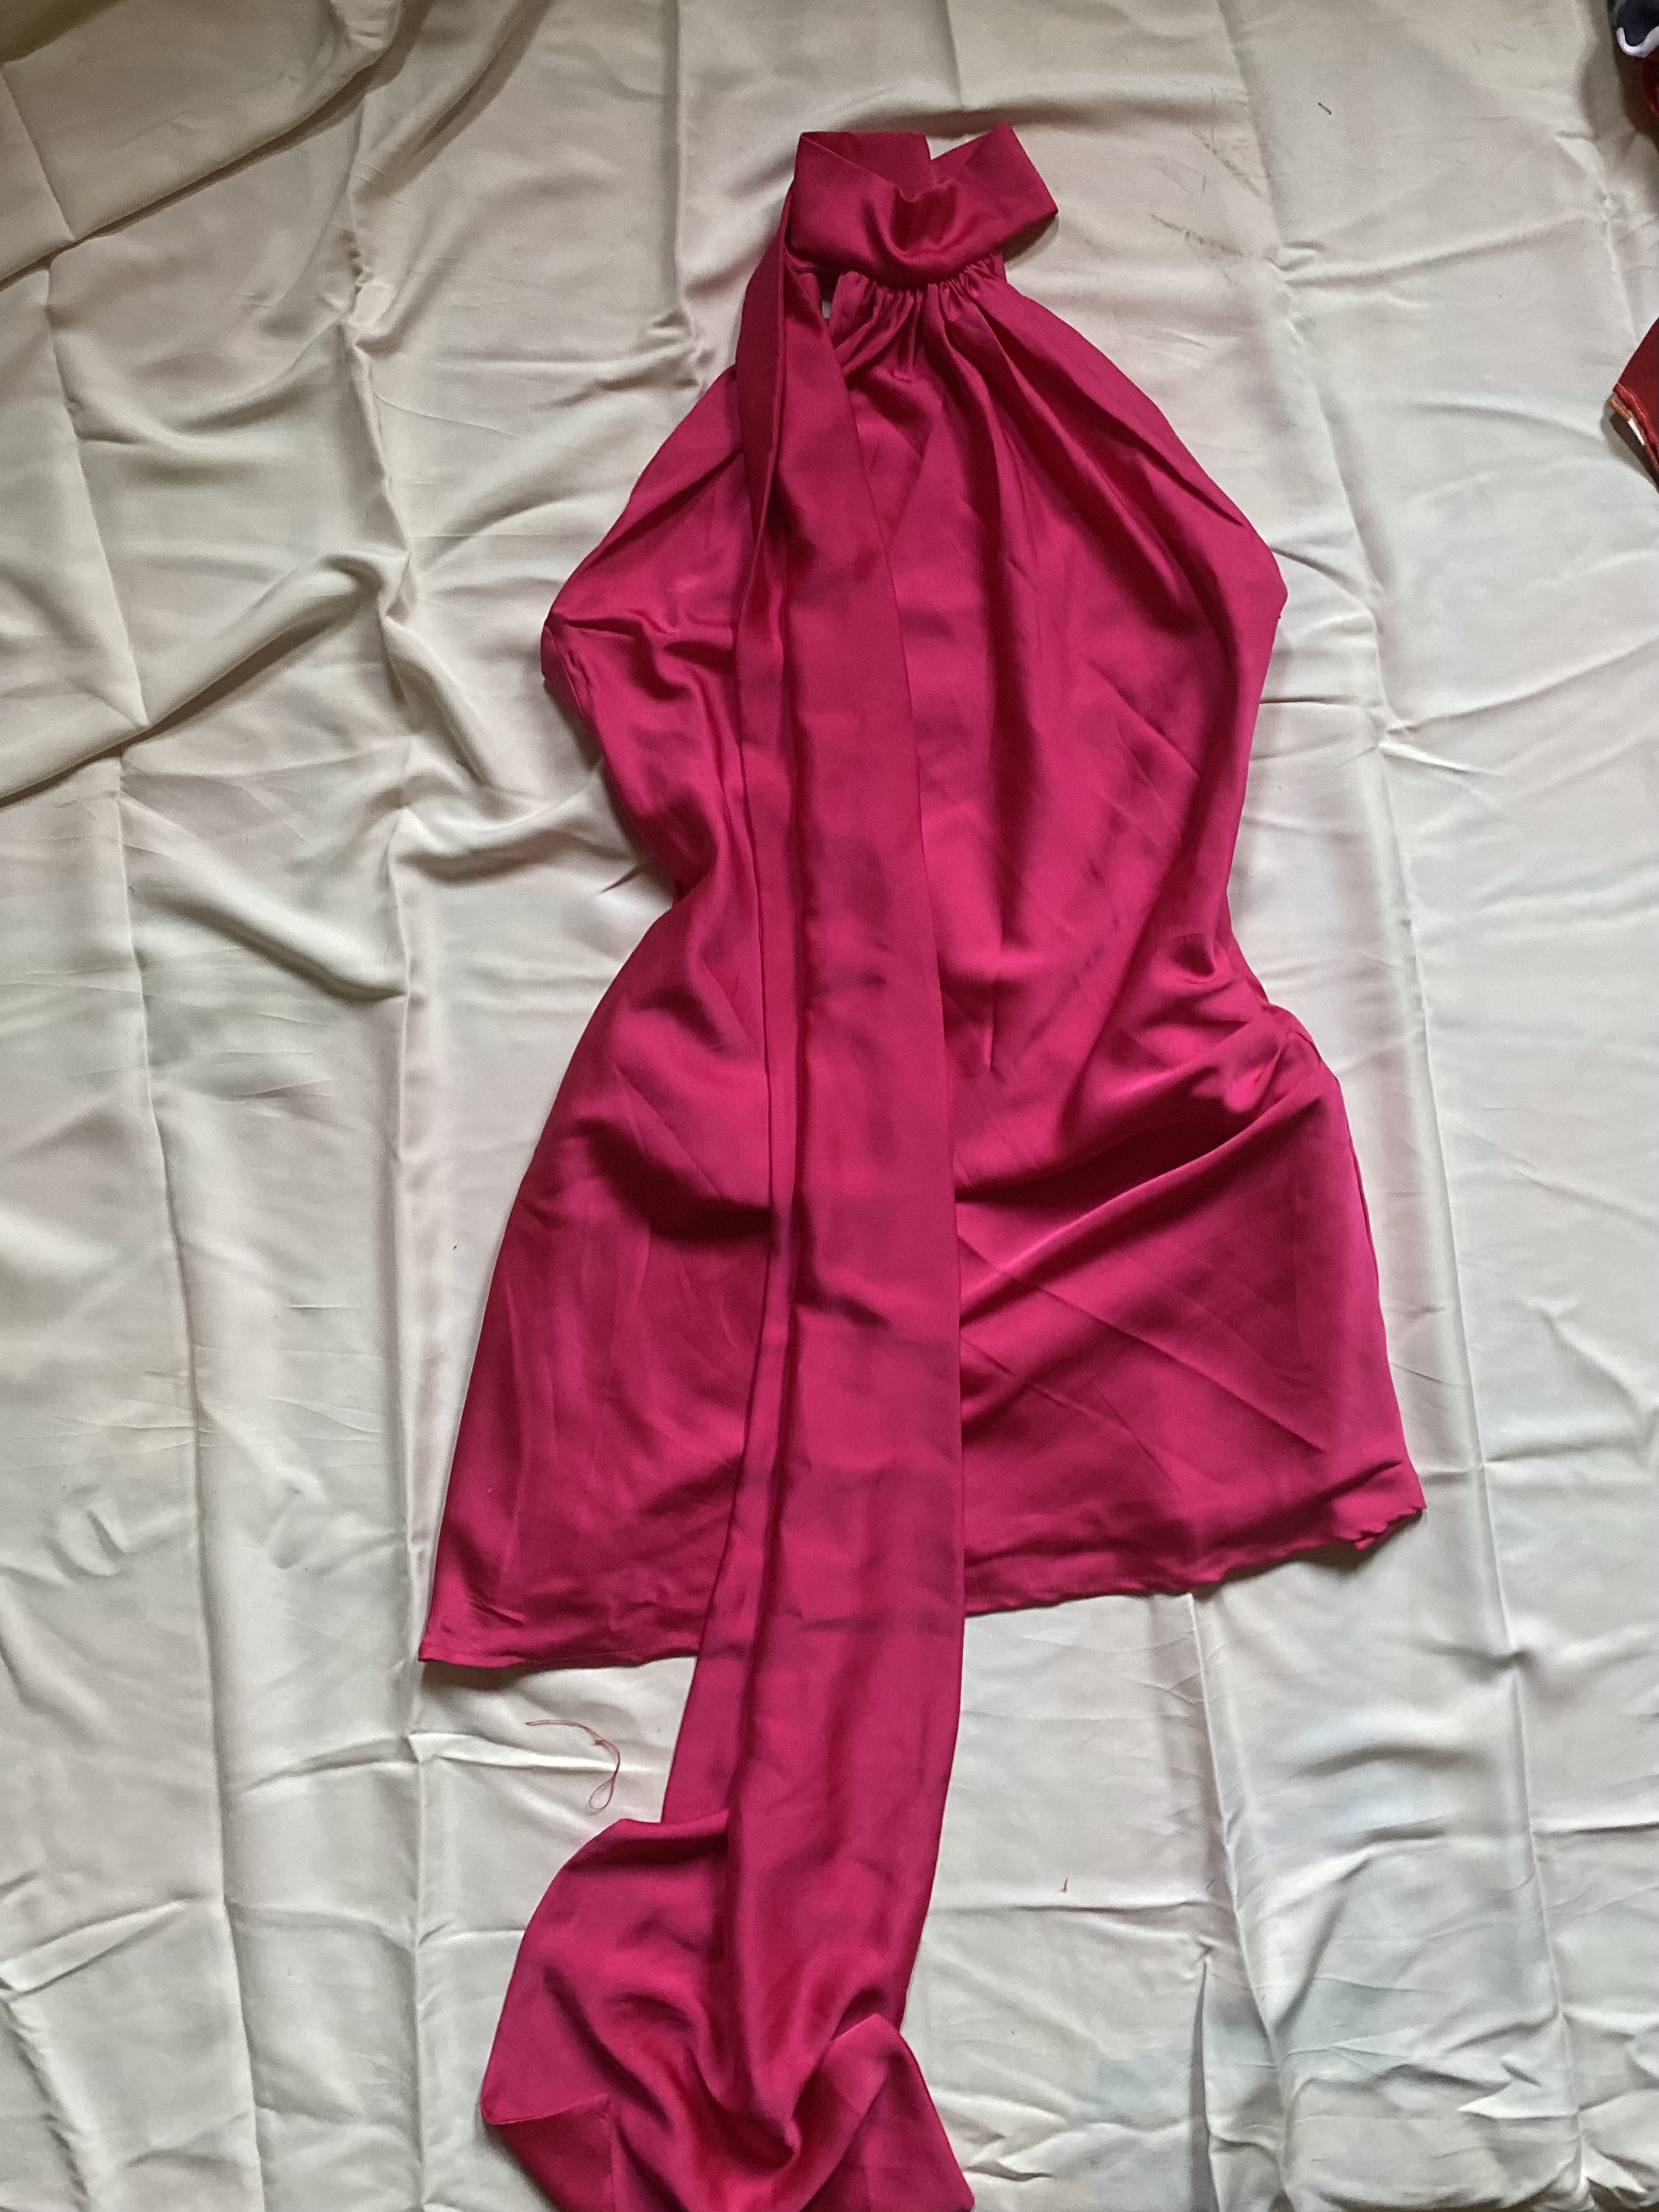
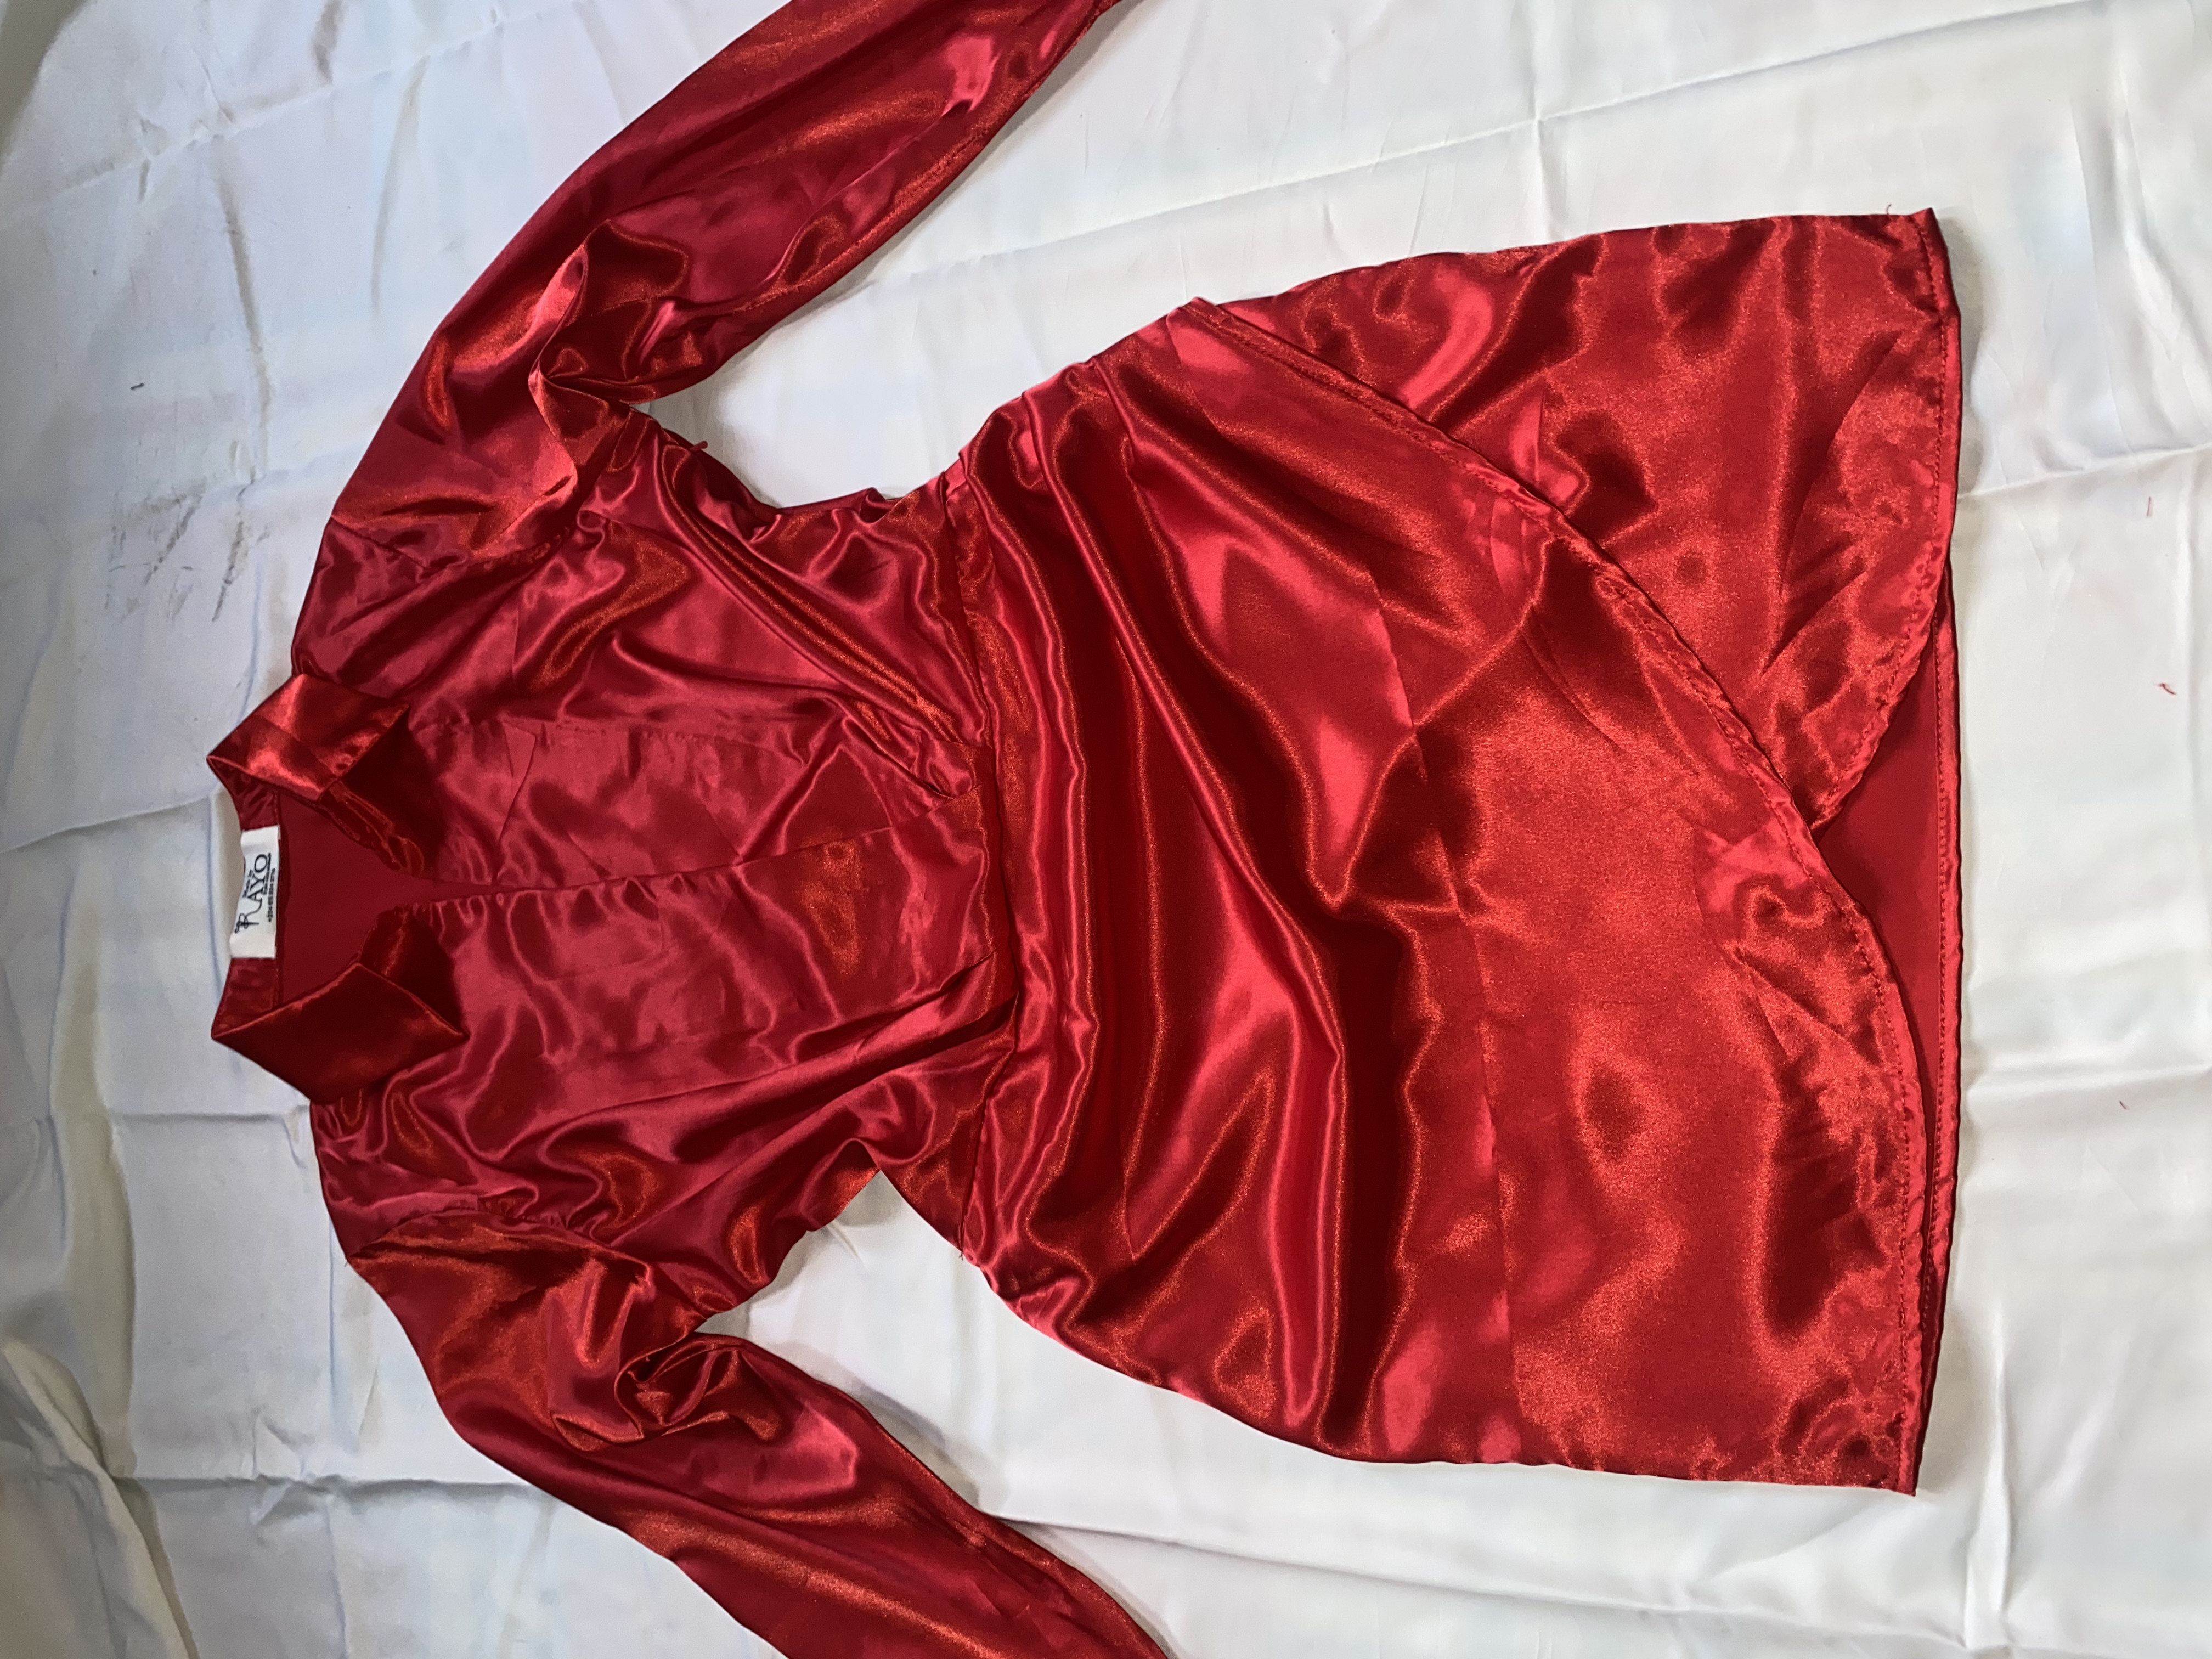
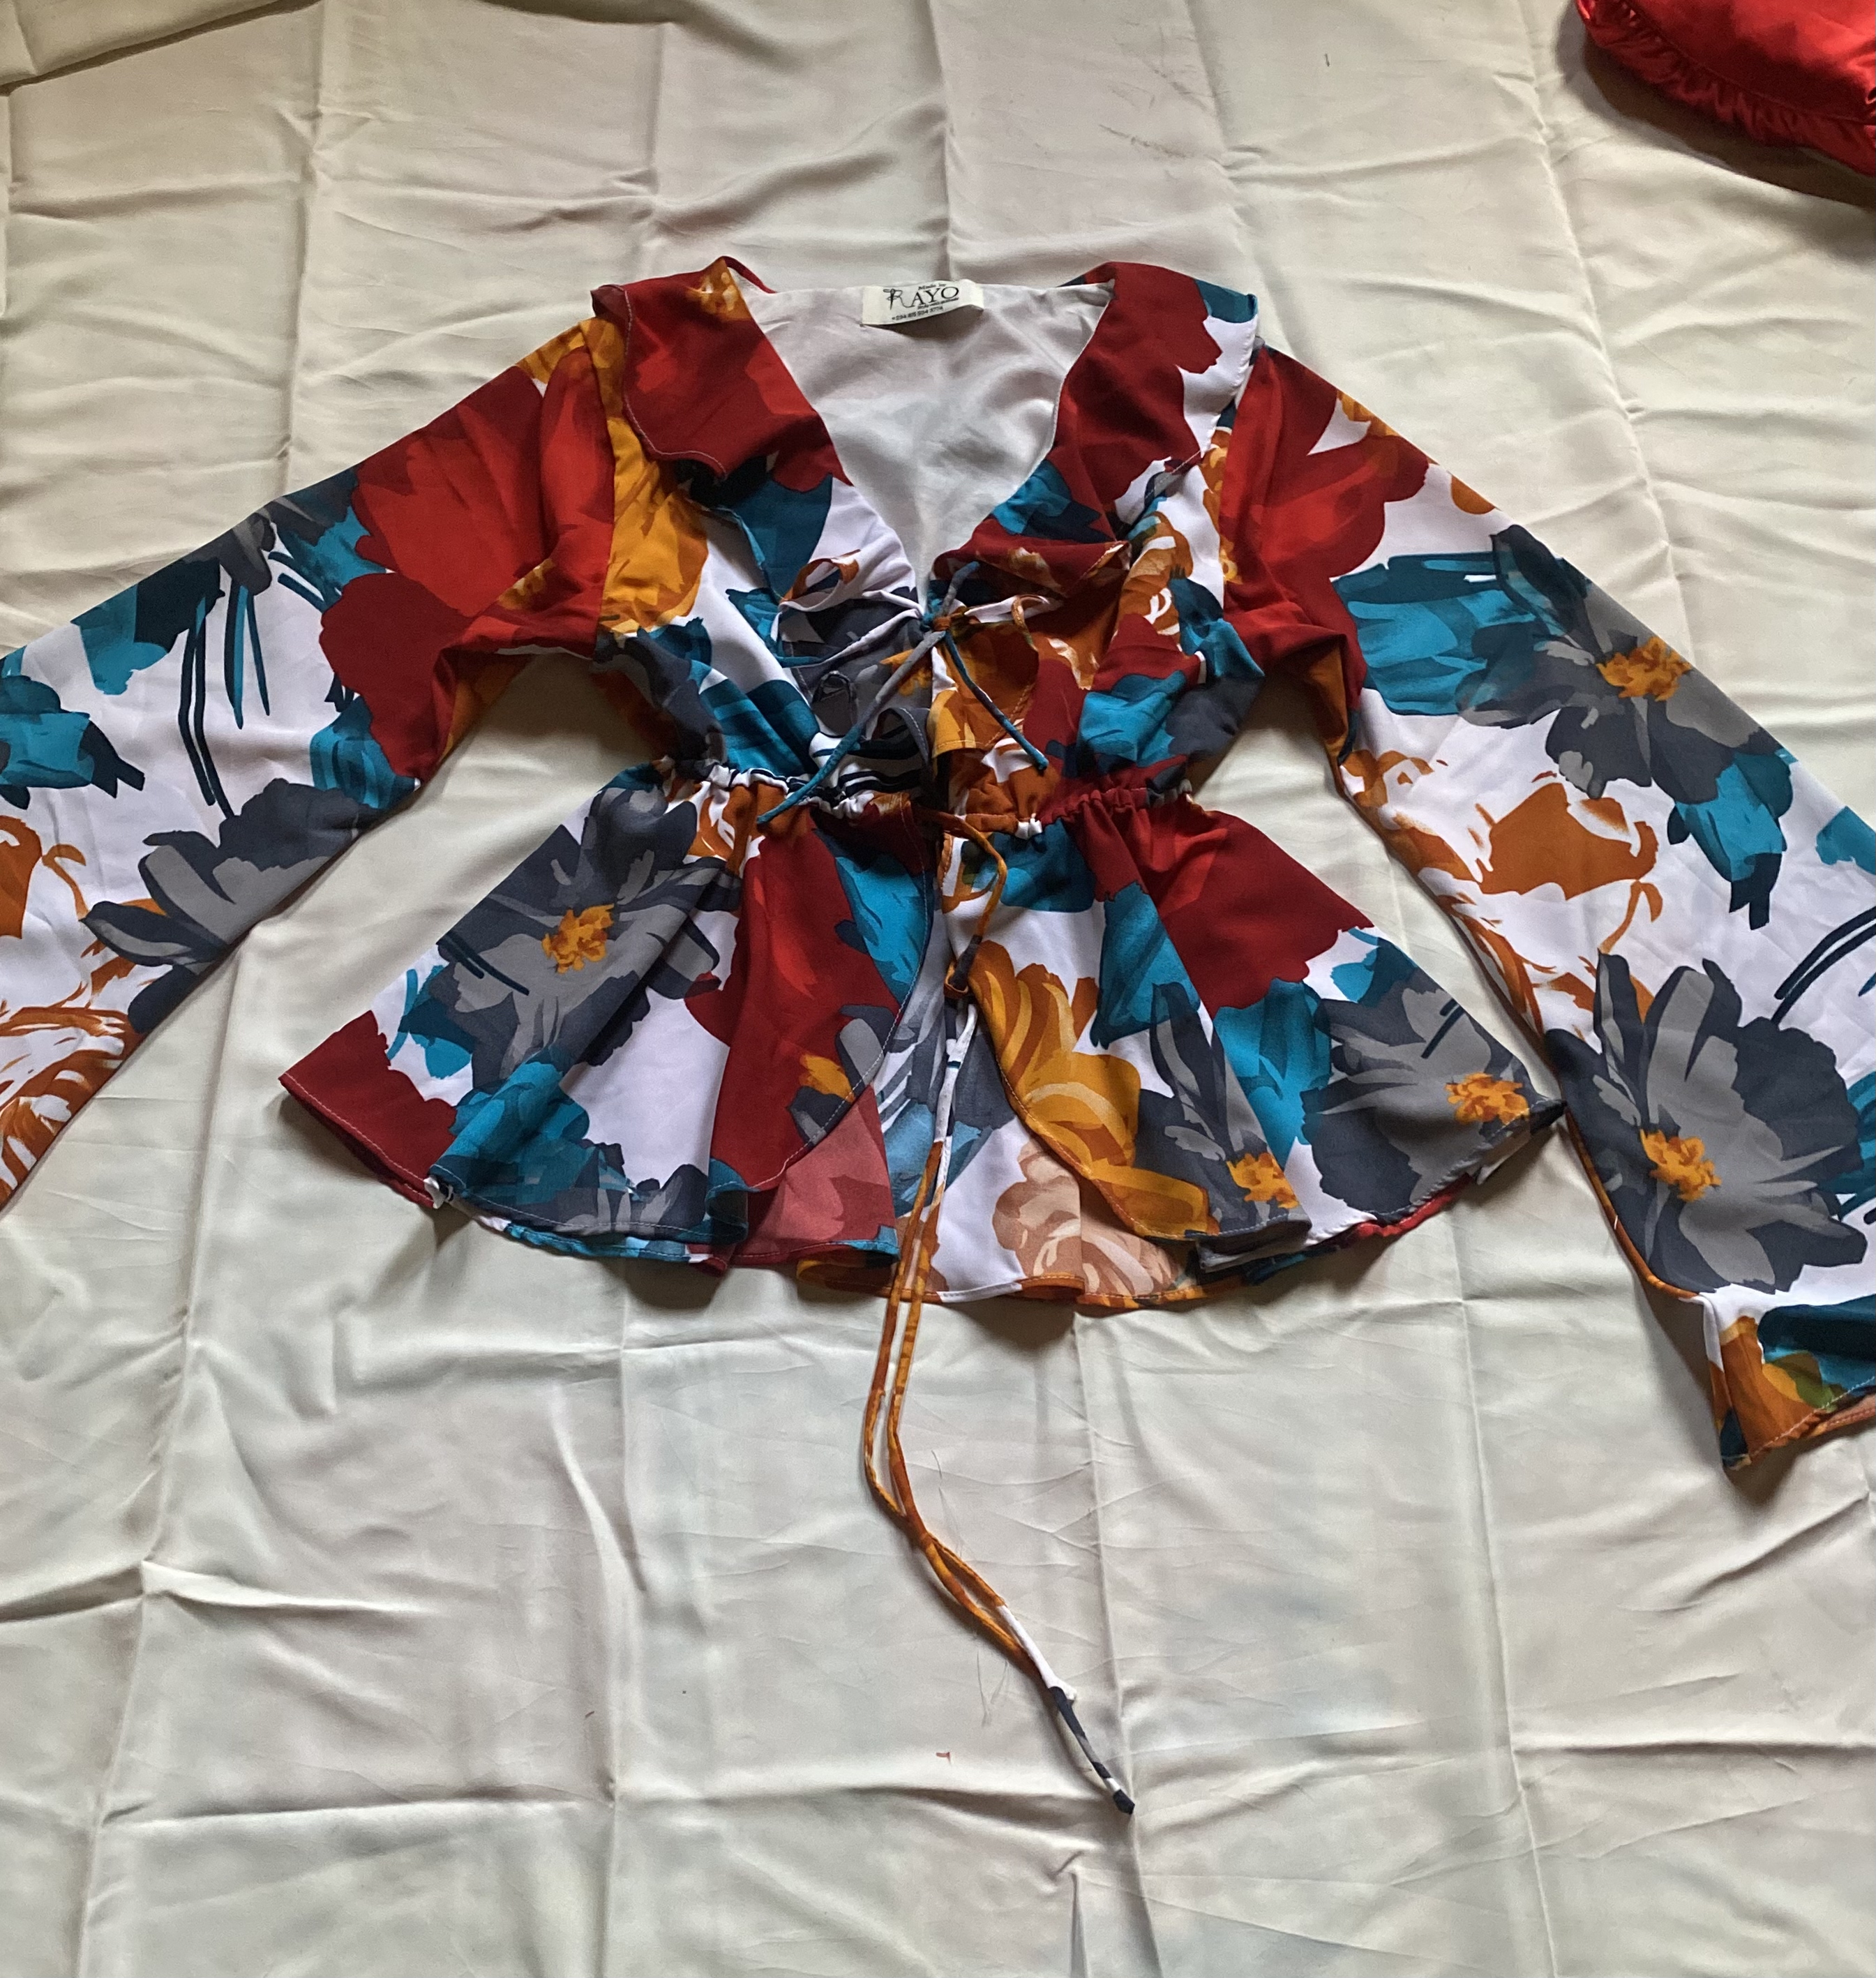
In addition to the mini skirt, here are the original outfits I made for her.
Thank you for stopping by my blog, and have a fabulous day ahead❤️
All images are mine, the thumbnail was created by Canvas