
Hola amigos. Espero se encuentren muy bien!
Es un gusto presentarles una de mis creaciones. Es un titere que he realizado basandome en la idea de un cientifico.
Espero les guste y disfruten el paso a paso!
Materiales
- Fieltro Blanco
- Ojos móviles para muñecos
- carton
- Pistola de silicon
- Foami
- Tela Blanca y Roja
- Maquina de coser o aguja e hilo.
Paso a Paso
1
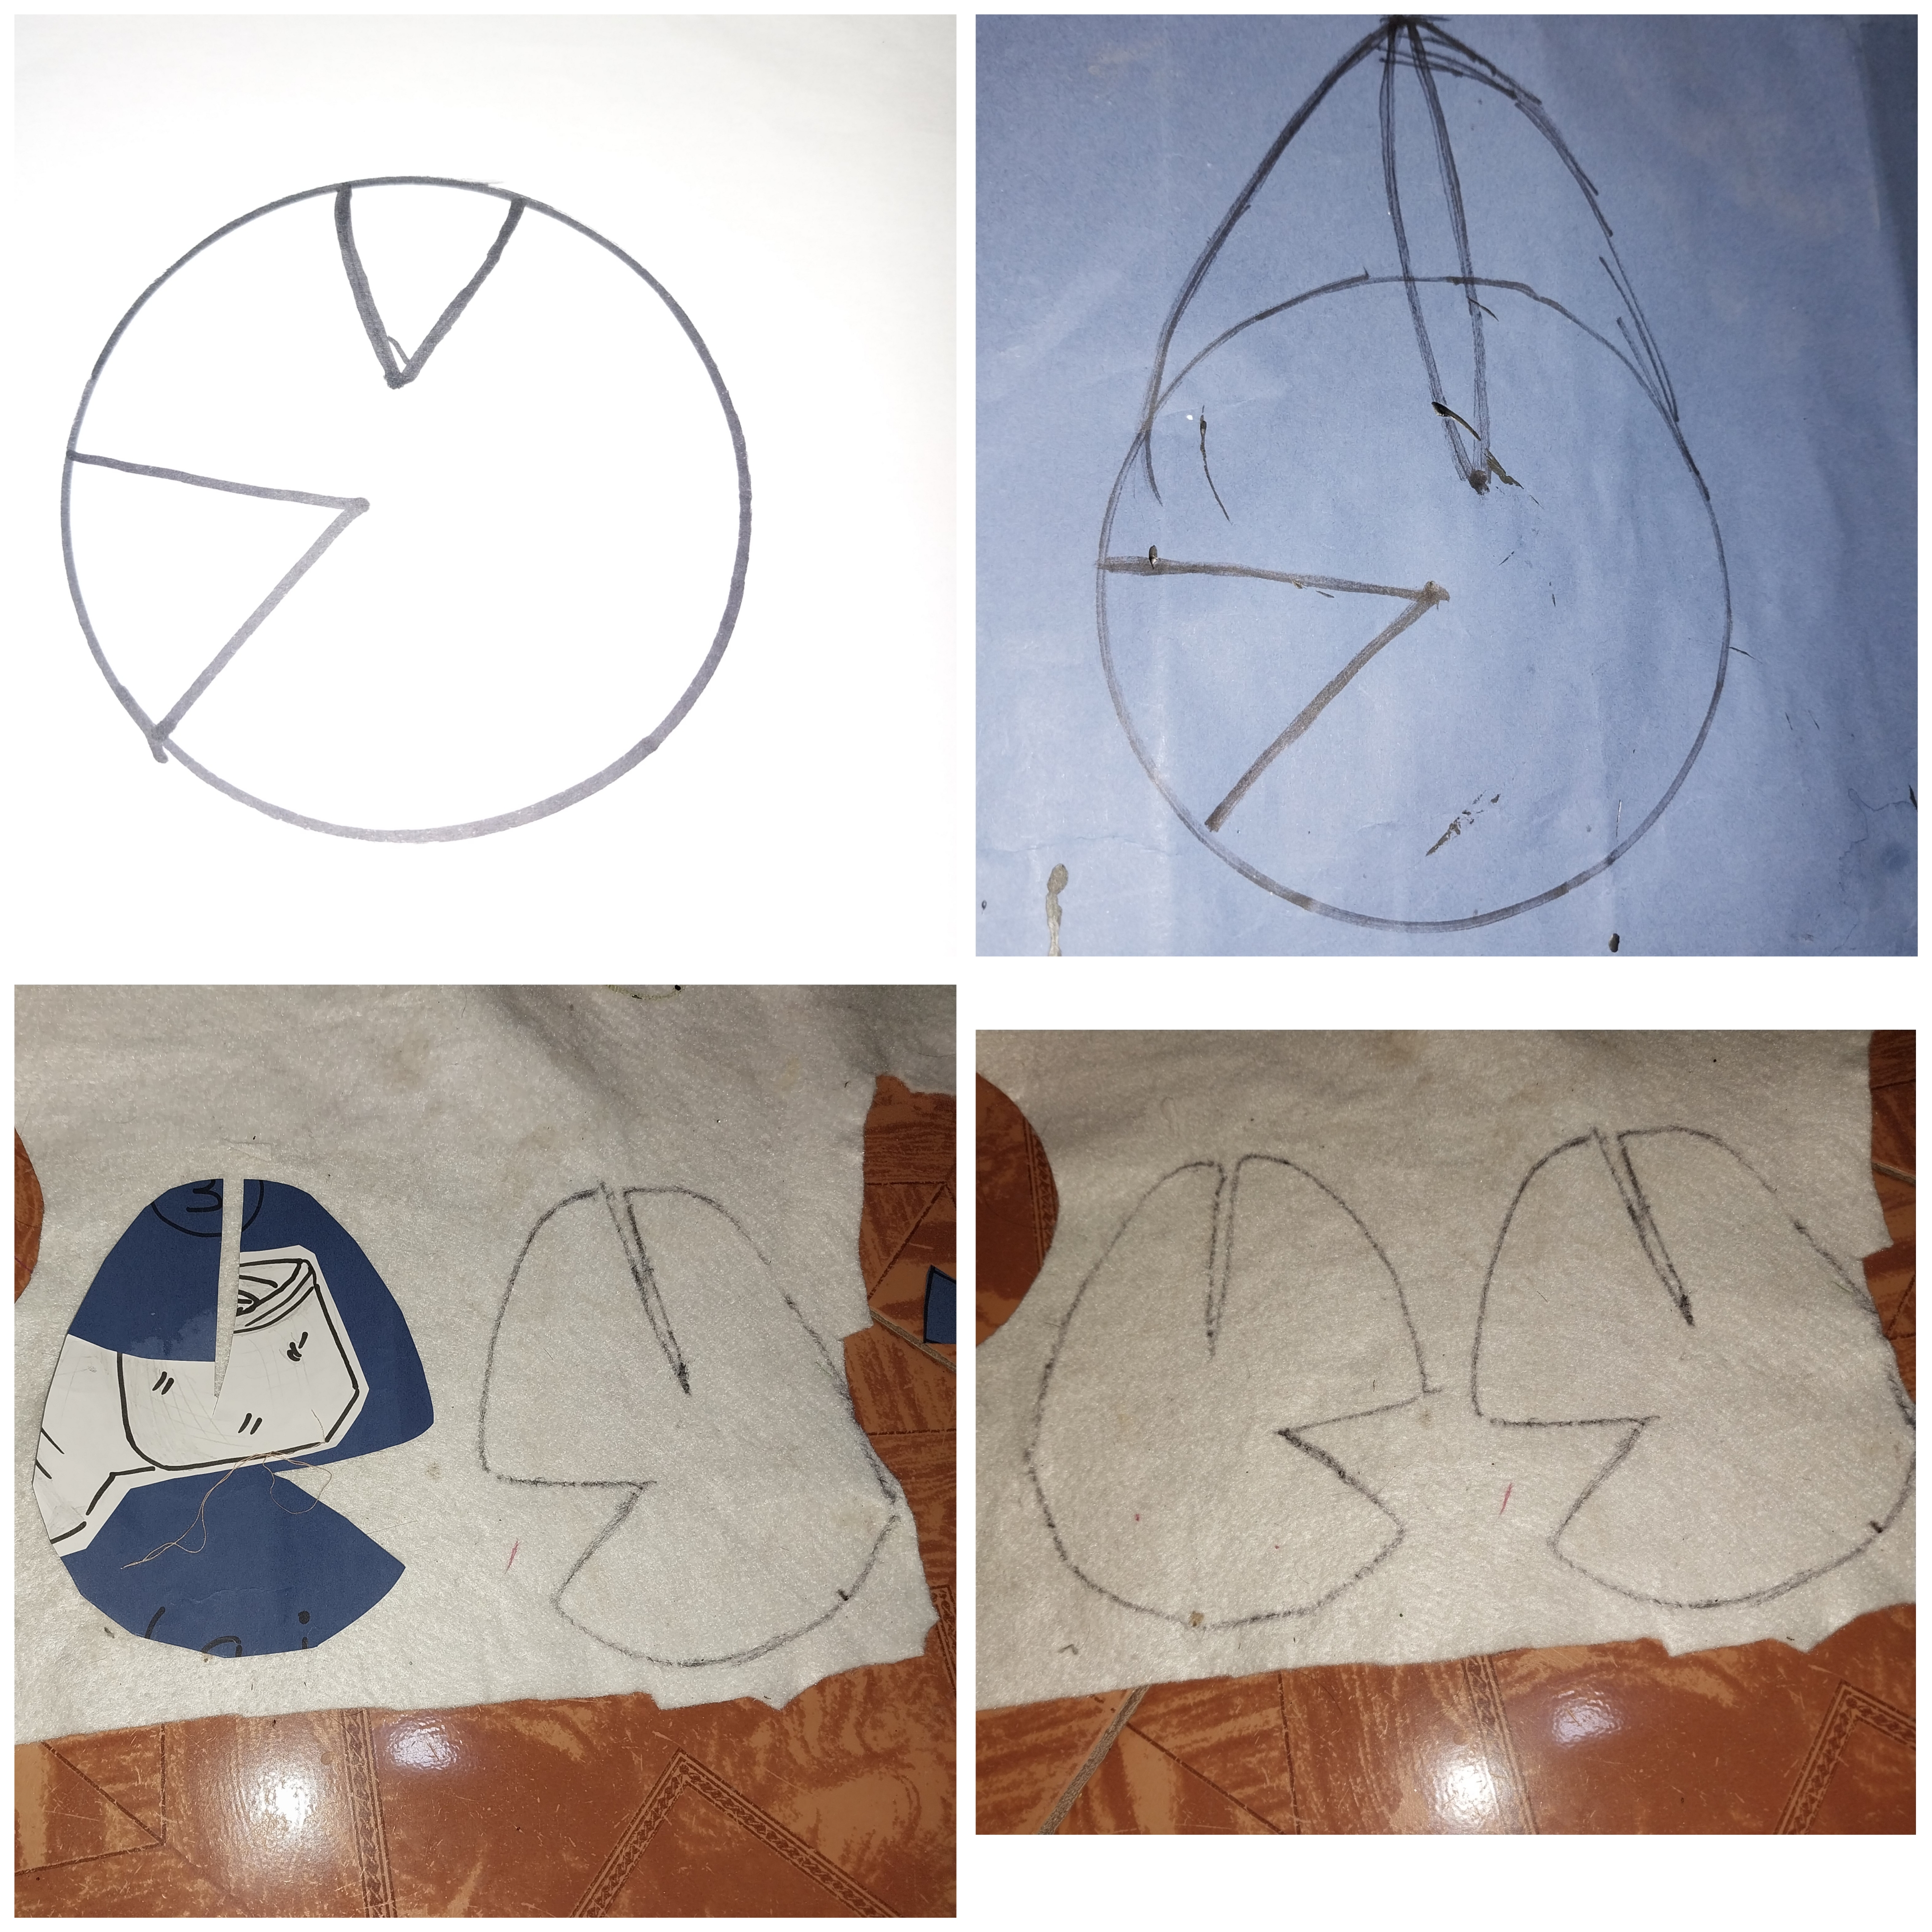
Debemos sacar el patrón para ello dibujamos un circulo y desde la mitad del circulo hacemos una un triamgulo ( esta será nuestra poca) en la parte superiro hacemos una abertura para hacer una pinza en la parte superiro de la cabeza.
Luego debemos alargar la cabeza desde el punto medio hacia arriba y hacemos el craneo alargado. Luego recortamos la figura y la utilizamos como patron.
2
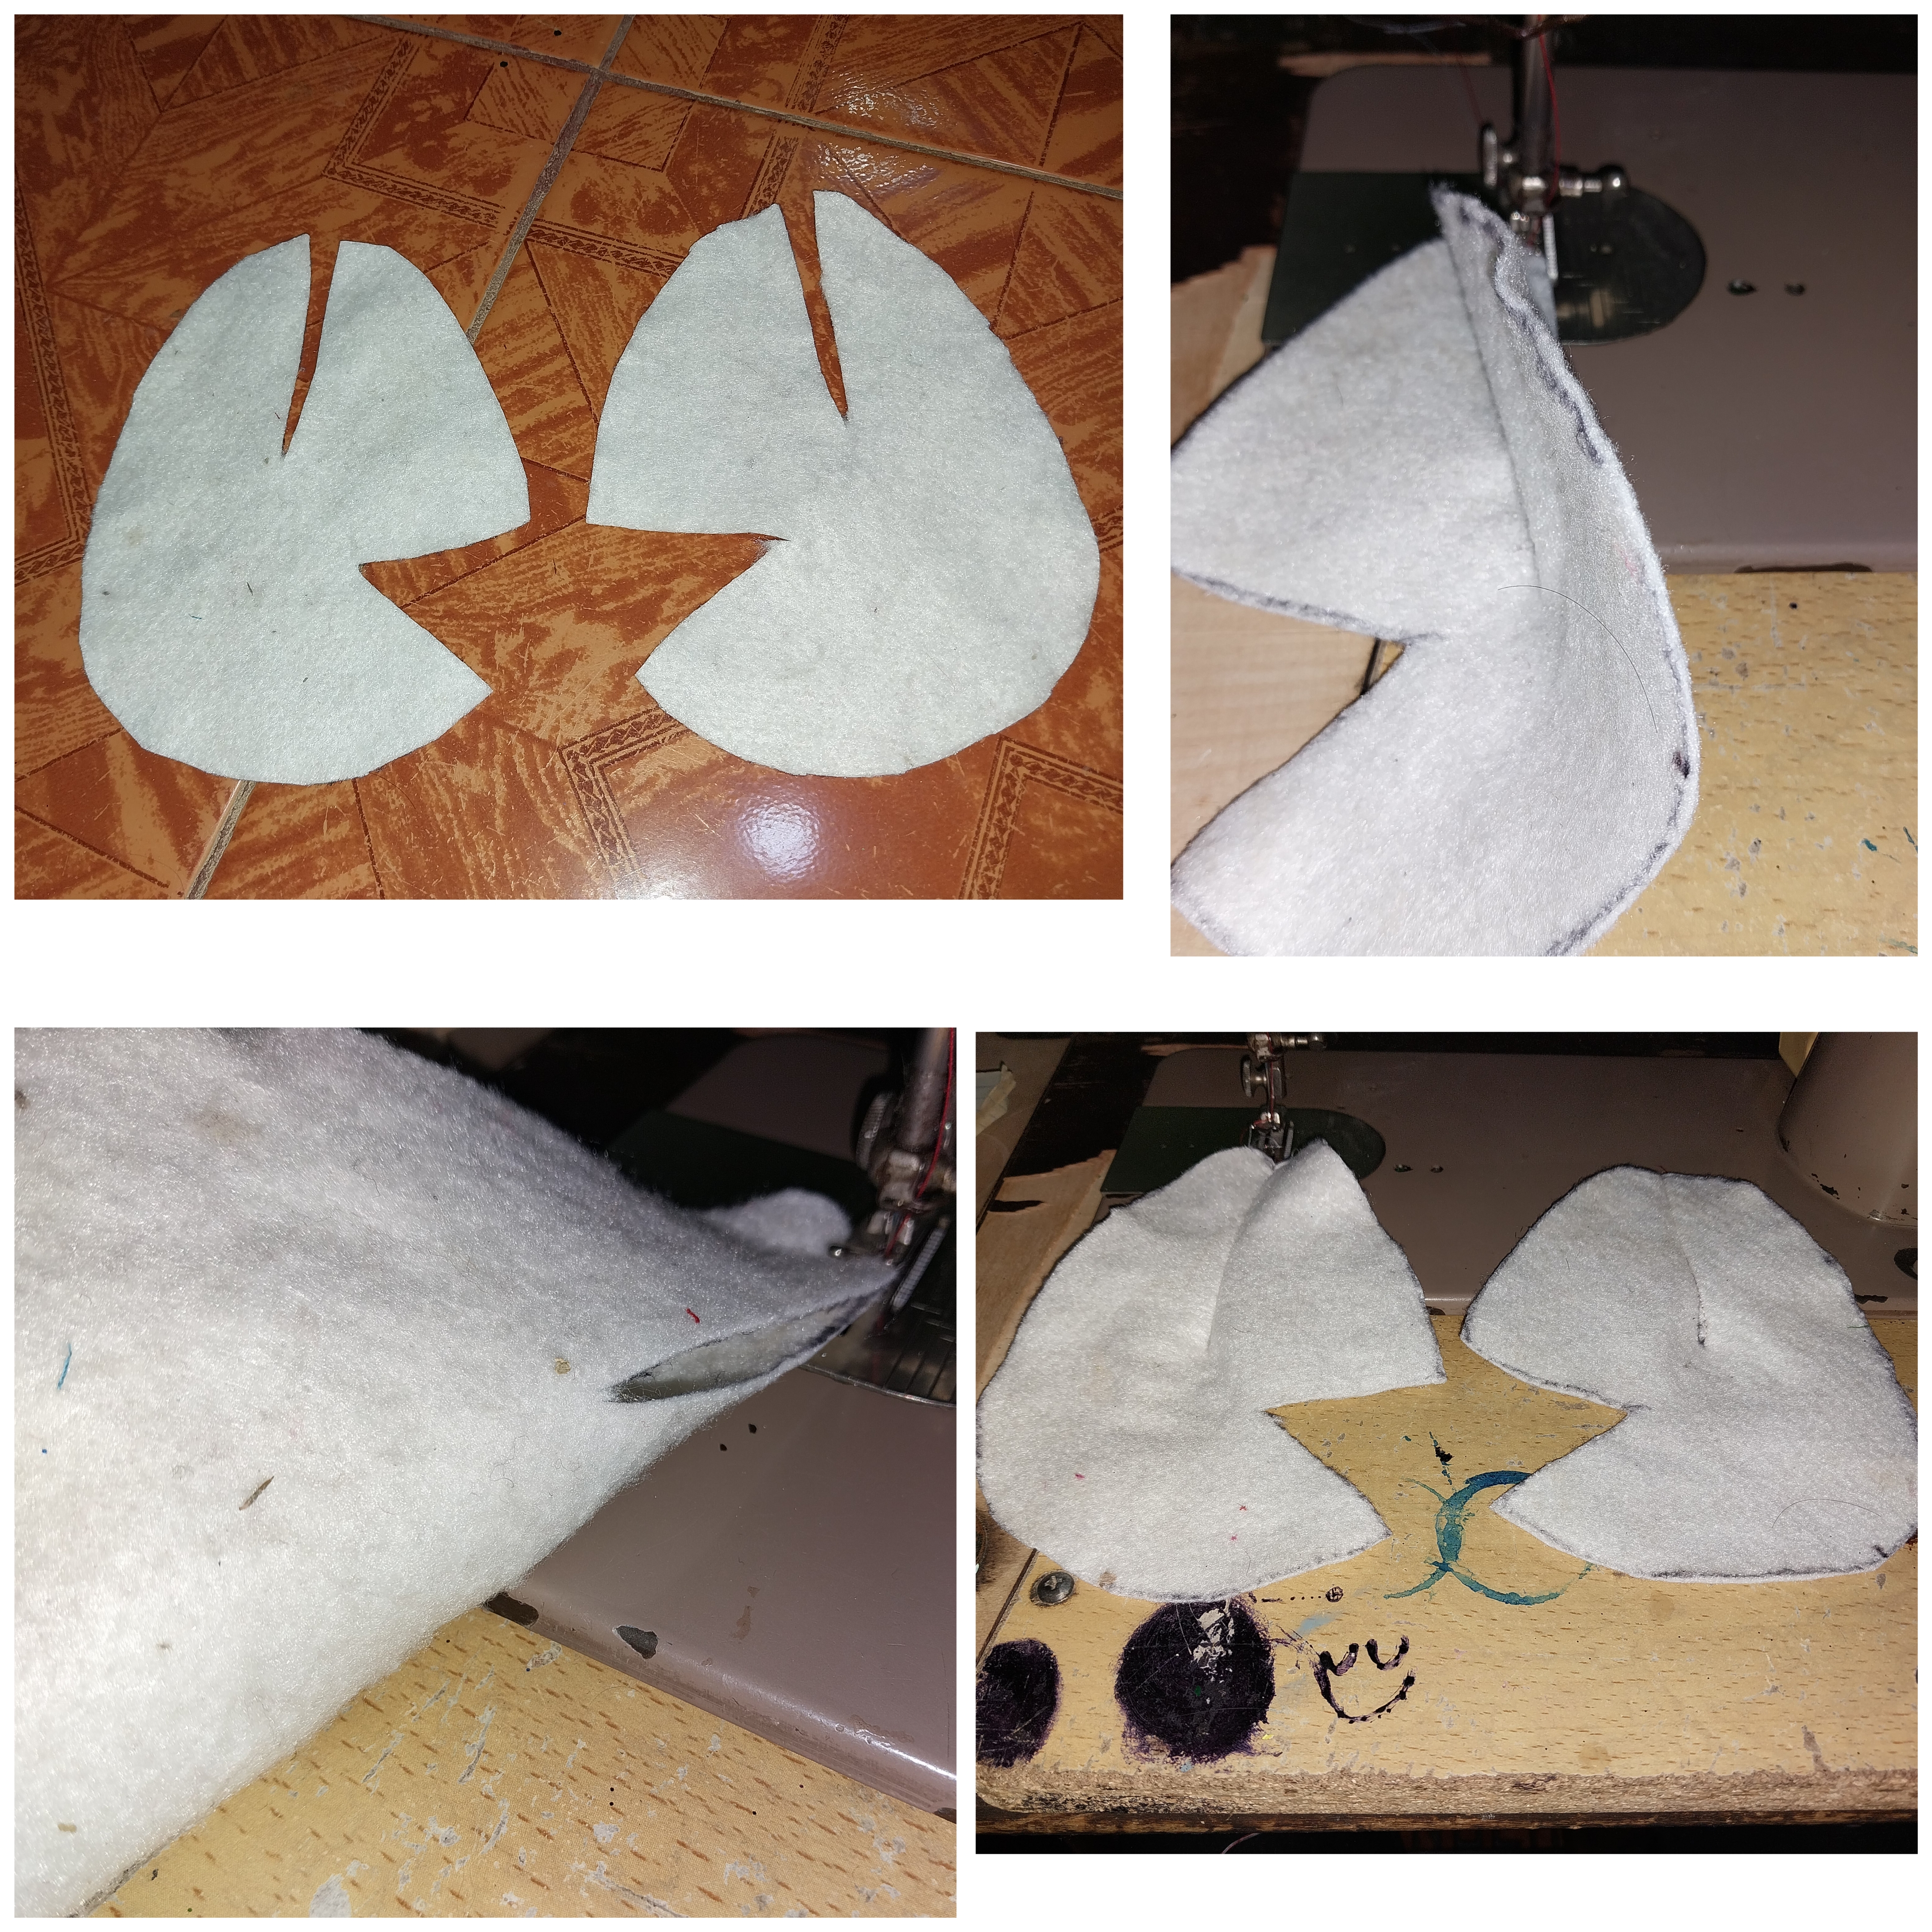
Seguidamente utilizamos el patron para marcar este sobre el fieltro. Hacemos dos piezas sobre el fierro blanco y recortamos.
Despues debemos coser la zona de la abertura de cabeza para hacer una pinza en la tela.
3

Una vez que cramos la pimza en ambas piezas, las procedemos a unir mediante costura.
4
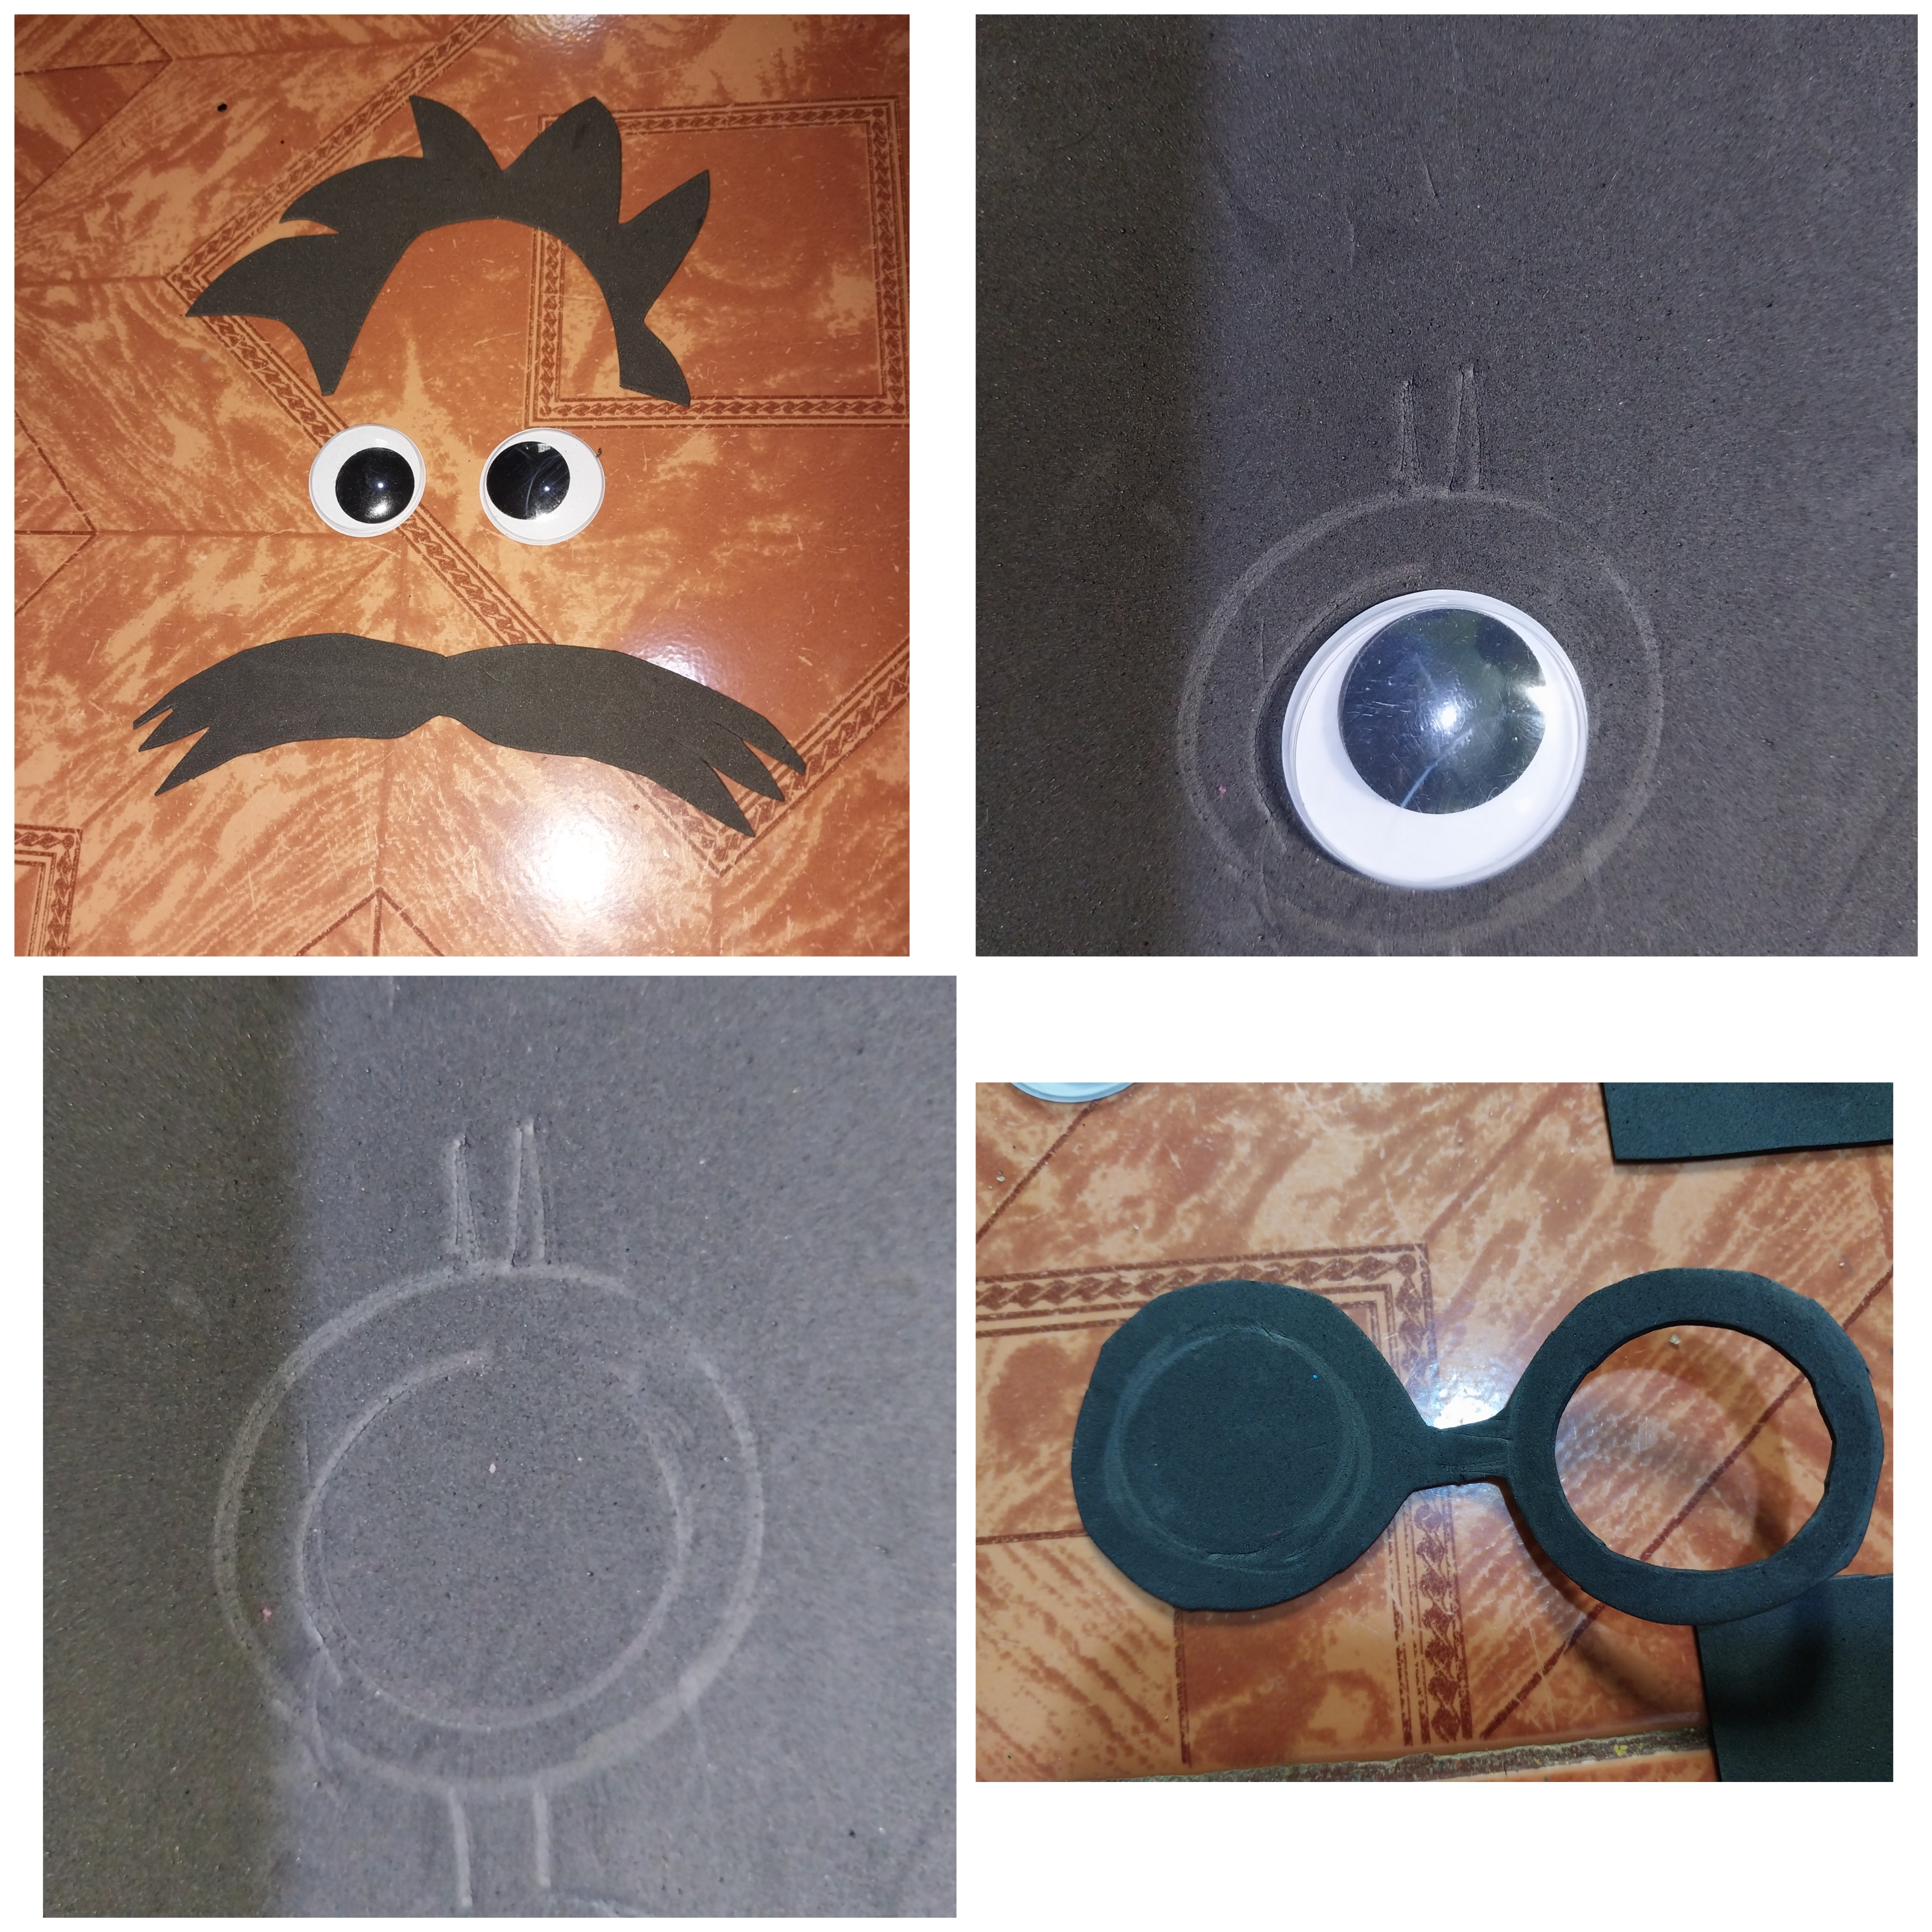
Para recrear el rostro del personaje usamos ojos los movibles y tambien foami para el cabello y los bigotes, ademas de unos lentes hechos en foami.
5
)

Pegamos los ojos a la cabeza y los demas elementos ( cabello y lemtes)
6

Despues hacemos cuatro manos sobre el fierro, cosemos esta en pares y luego las rellenamos con el mismo mayerial de fieltro.
7

Luego utilizamos dos piezas de carton para darle firmeza a la cara y que ademas esta nos sirva de soporte para realizar el movimiento de la boca al momento de utilizar el titere. Hacemos dos piezas medio circulares y la pegamos con silicon en ambos extremos de la bocabdel titere por dentro de estas. Y por iltomo forramos la boca con foami negro.
8

Luego hacemos una bolota con fieltro y creamos la nariz.
9

Despues usamos un rectangulo para coser este en el cuello del personaje. Luego usé un polvo compacto para el rostro para darle un poco de color al personaje.
10
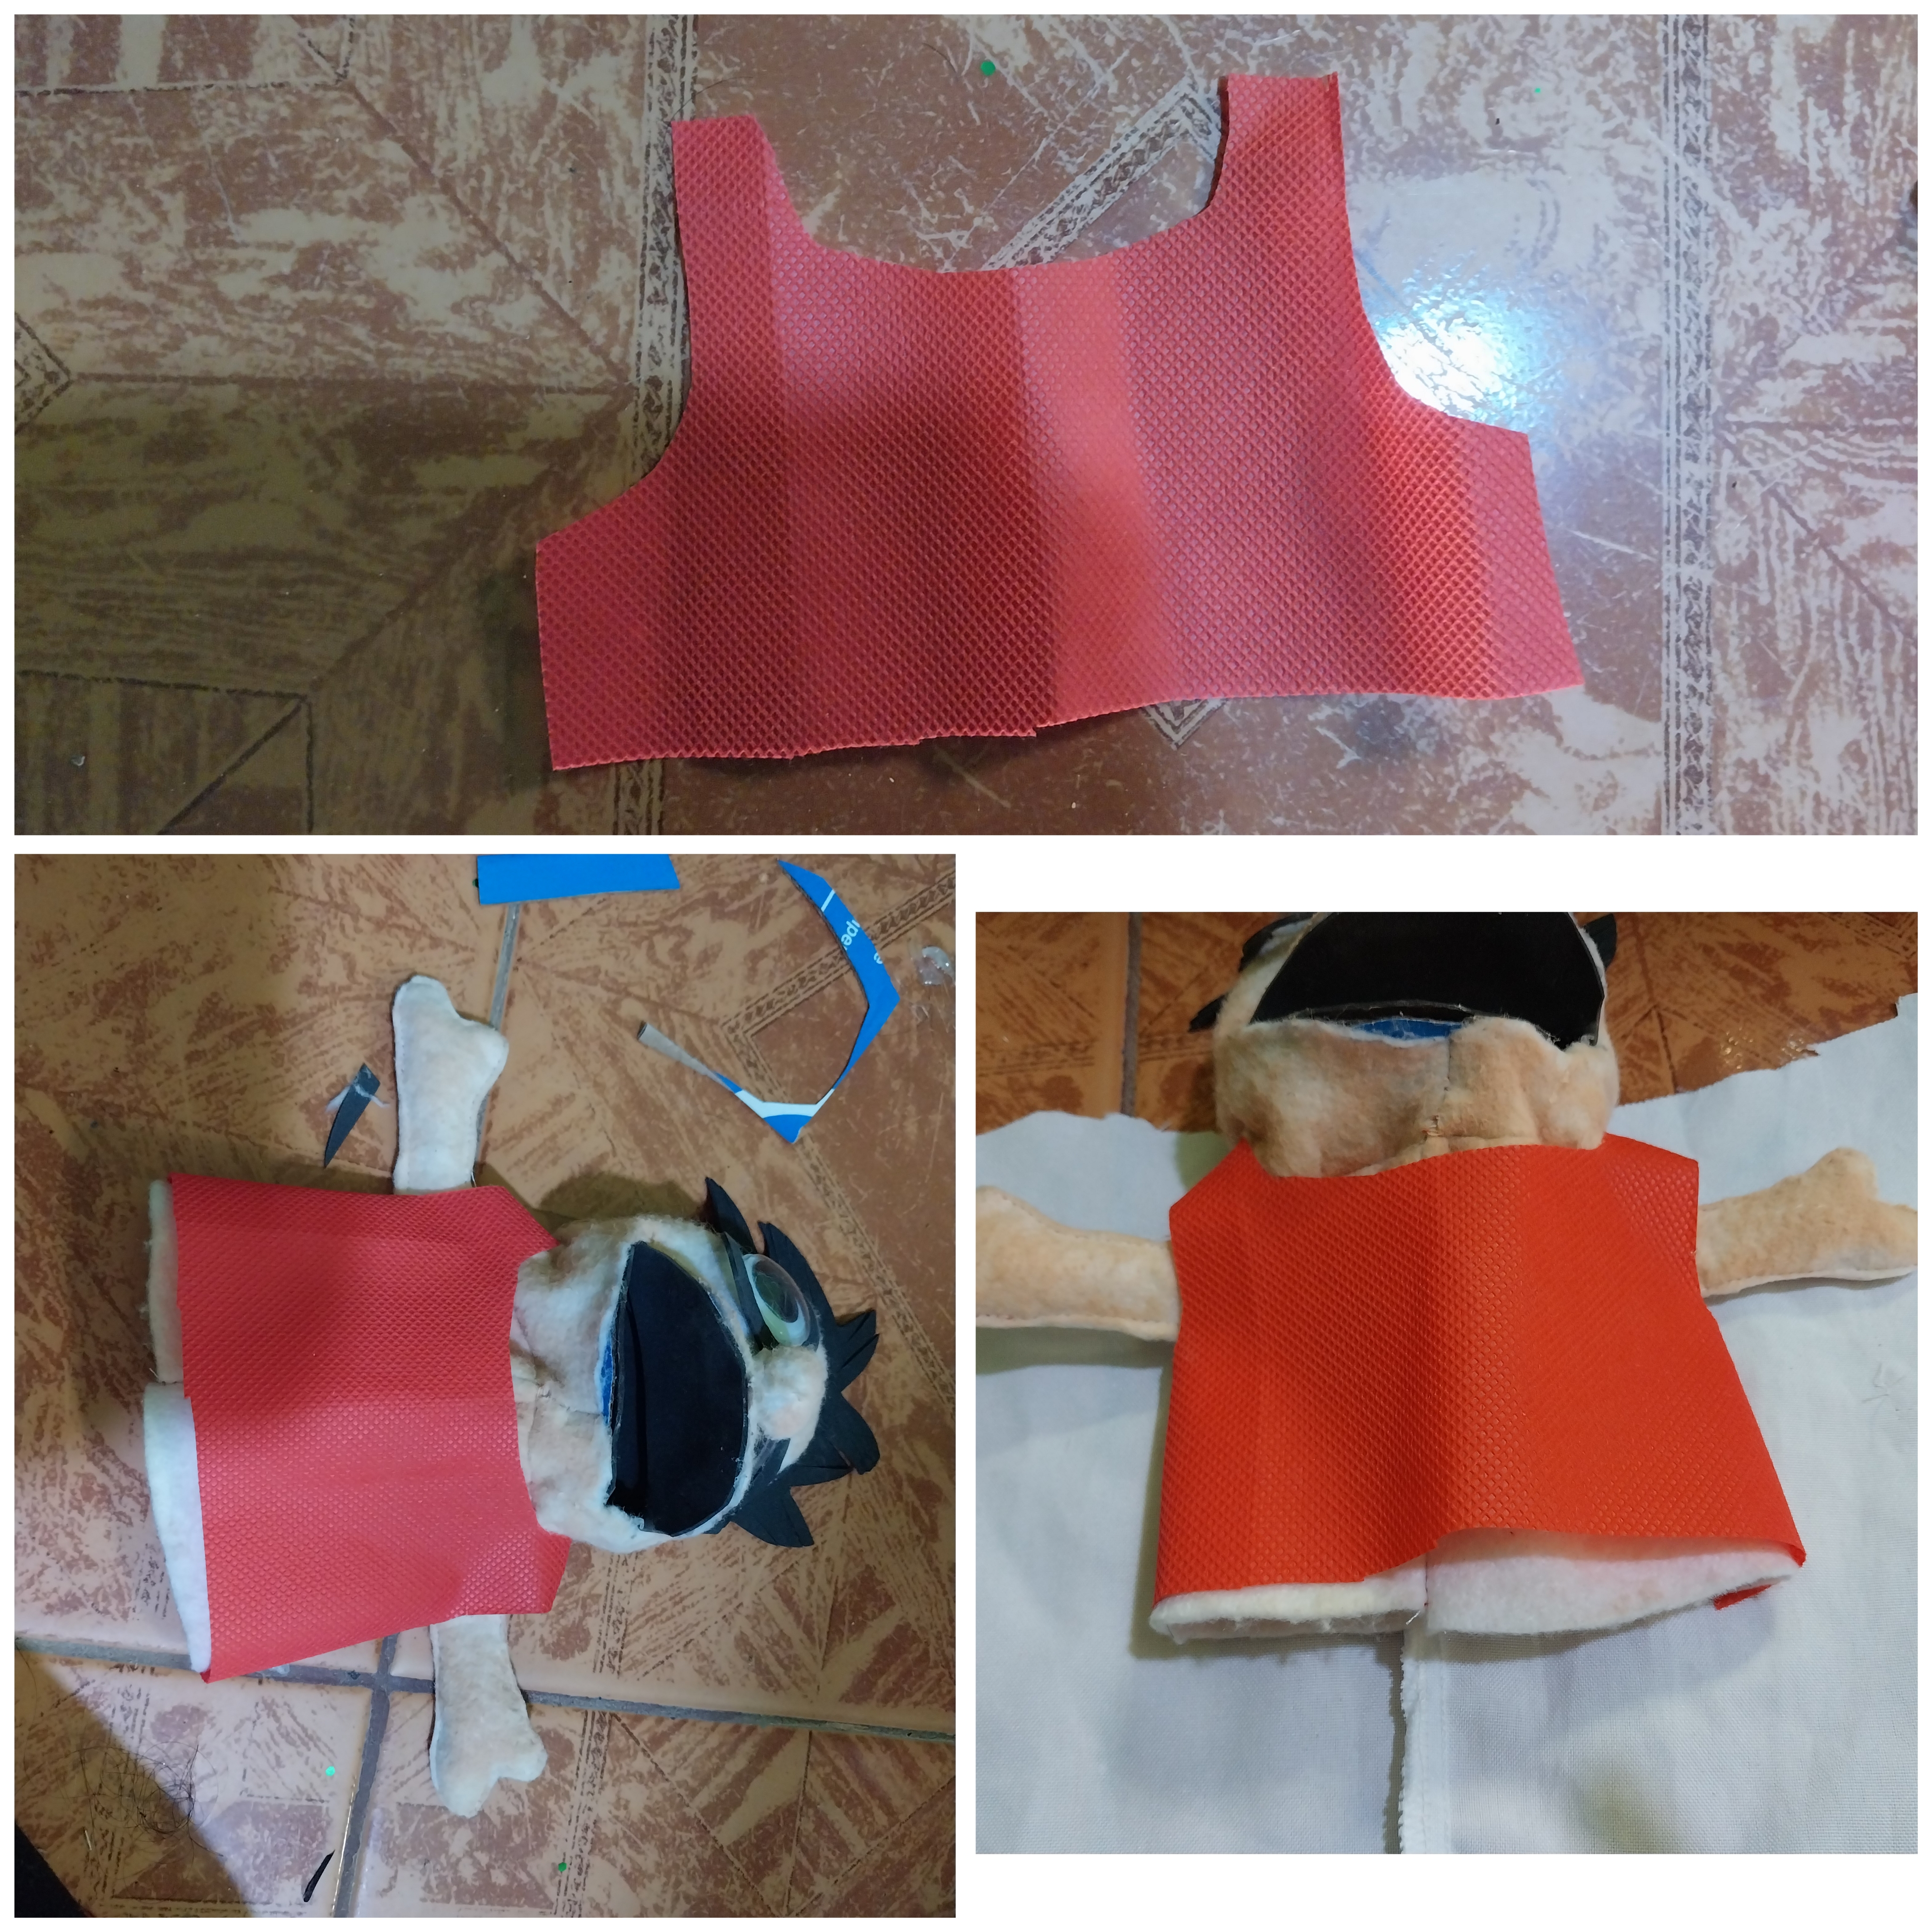
Luego utilizamos telas preferiblemente ropita vieja que ya no usemos o retazos de tela quebtengamos. Particularmente relaicé una camisita roja para pegarsela.
11
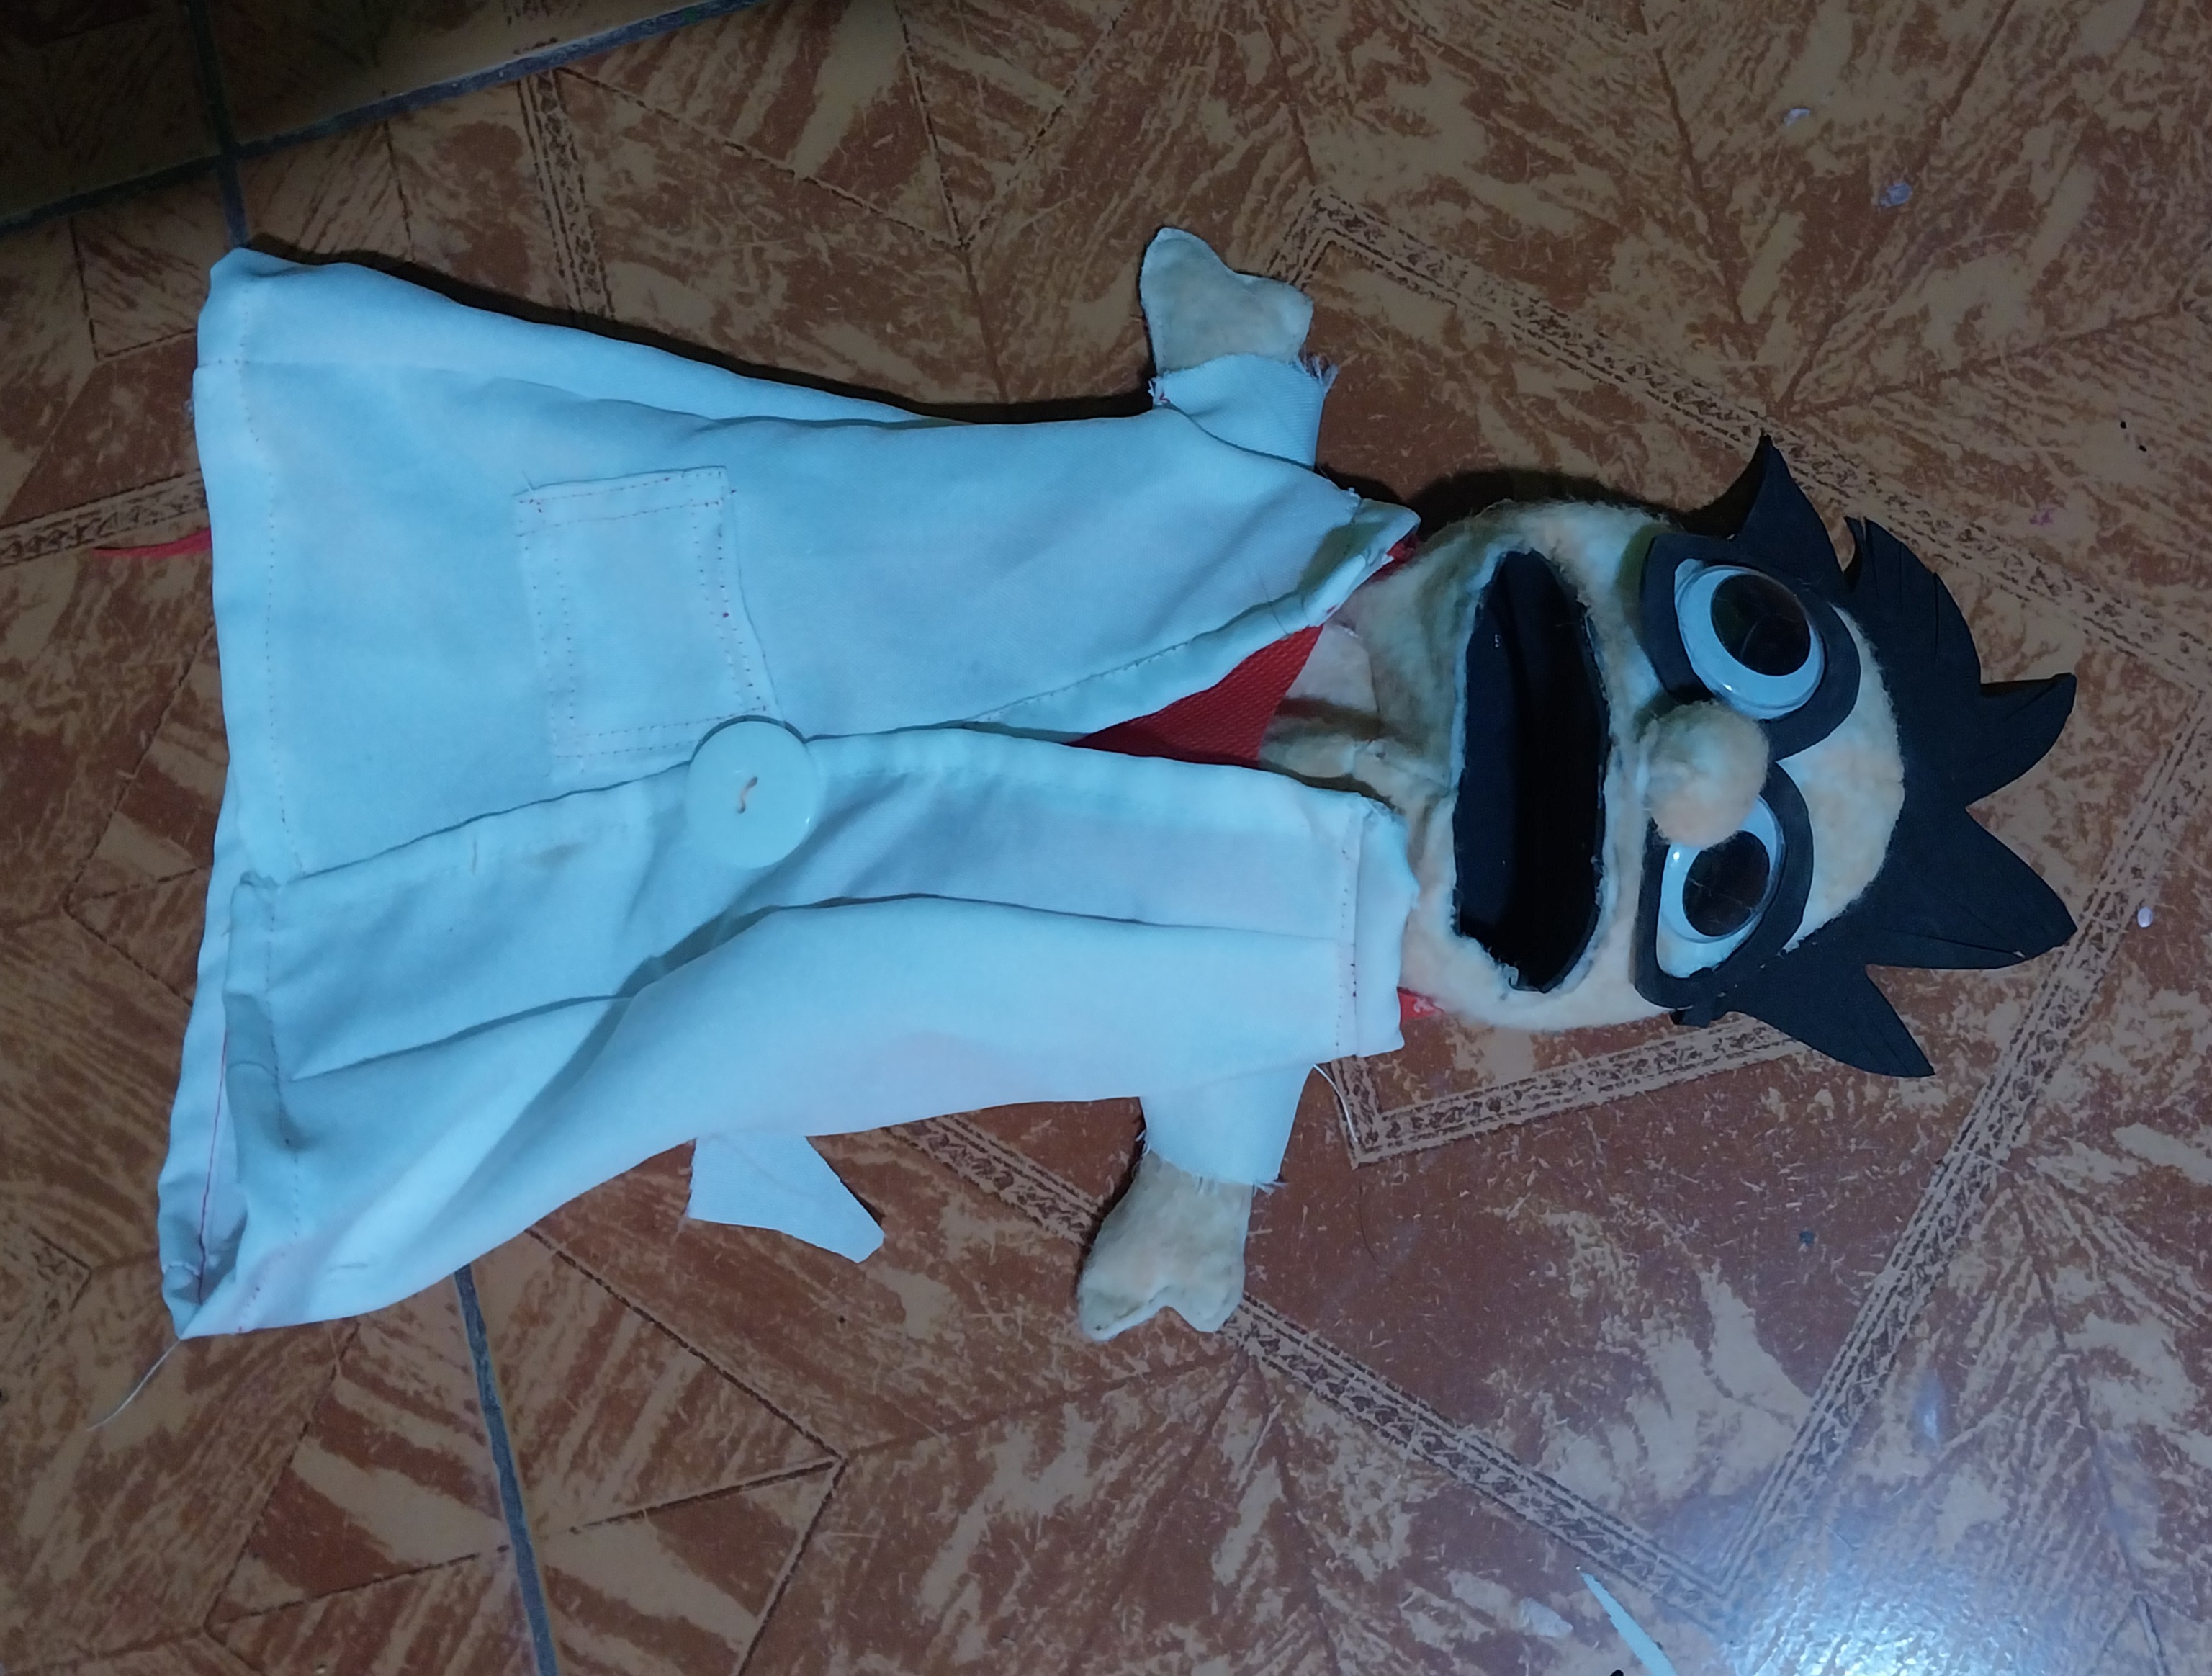
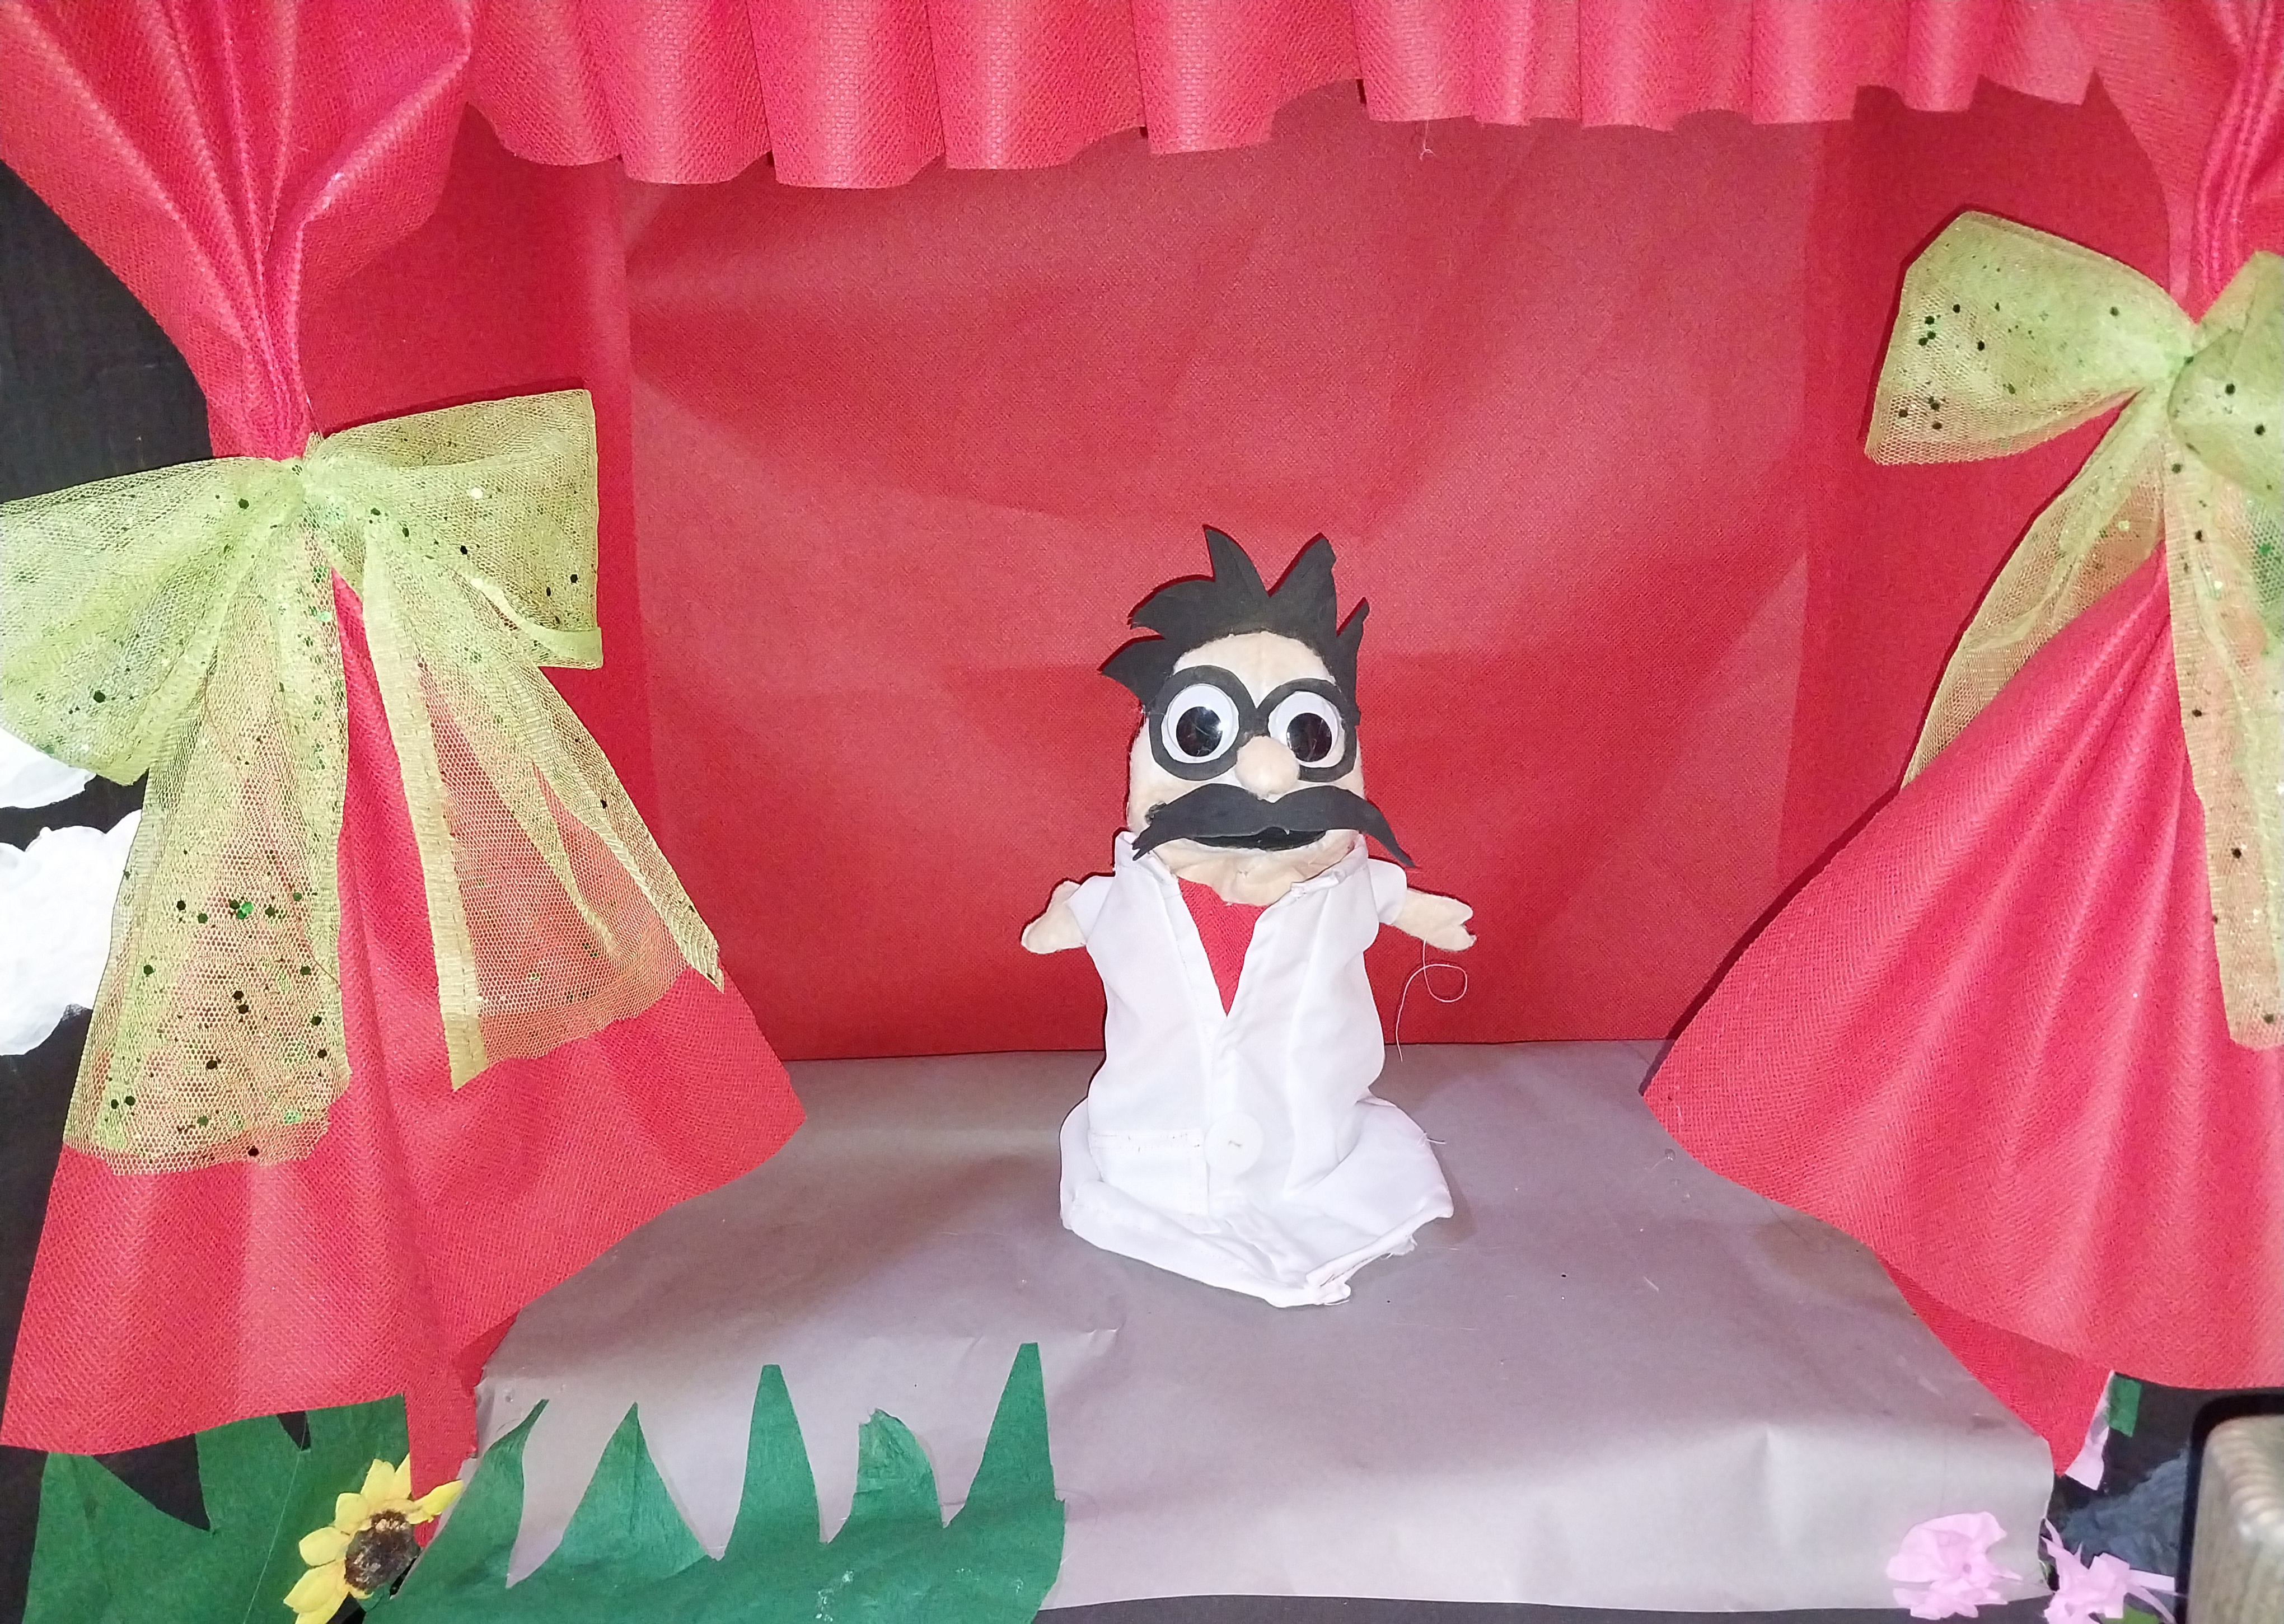
Y luego hice una bata blanca para este cientifico!
Este es el resultado. Espero les guste! Desde este patron podemos hacer cualquier figura y la podemos diseñar a nuestro gusto.
Muchas gracias!
- Las imágenes me pertenecen
- Traductor: Deelp traslator
- Edicion: Canva
Hello friends, I hope you are feeling well!
It's a pleasure to present you one of my creations. It is a puppet that I have made based on the idea of a scientist.
I hope you like it and enjoy the step by step!
Materials
- White Felt
- Movable eyes for dolls
- cardboard
- Silicone gun
- Foami
- White and red fabric
- Sewing machine or needle and thread.
Step by Step
1
We must draw the pattern for this we draw a circle and from the middle of the circle we make a triangle (this will be our little one) in the upper part we make an opening to make a clip in the upper part of the head.
Then we must lengthen the head from the middle point upwards and we make the elongated skull. Then we cut out the figure and use it as a pattern.
2
Then we use the pattern to mark it on the felt. We make two pieces on the white iron and cut them out.
Then we must sew the area of the head opening to make a clip on the fabric.
3

We glue the eyes to the head and the other elements (hair and whiskers).
6
Then we make four hands on the iron, sew them in pairs and then fill them with the same felt material.
7
Then we use two pieces of cardboard to give firmness to the face and also this will serve as a support for the movement of the mouth when using the puppet. We make two half circular pieces and glue them with silicone at both ends of the mouth of the puppet inside these. Then we cover the mouth with black foami.
8
Then we make a balloon with felt and create the nose.
9
Then we use a rectangle to sew this on the neck of the character. Then I used a compact powder for the face to give a little color to the character.
10
Then we use fabrics preferably old clothes that we no longer use or scraps of fabric that we have. Particularly I made a little red shirt to glue on.
11
And then I made a white robe for this scientist!
This is the result, I hope you like it! From this pattern we can make any figure and we can design it to our liking.
Thank you very much!
- Images belong to me
- Translator: Deepl Traslator
- Editing: Canva
