Hola amigos de HIVE DIY!! Seguramente tienen en casa un mueble tipo ceibó que ha perdido su brillo y encanto, ¡No te preocupes! Ya que en este tutorial, los voy a guiar paso a paso para transformar ese mueble olvidado en una pieza espectacular que volverá a ser el centro de atención en tu hogar. Con un poco de creatividad y algunos materiales sencillos, podrás revitalizar su belleza y darle otra oportunidad. Acompáñame en esta aventura de renovación y descubre cómo un mueble puede contar una nueva historia.

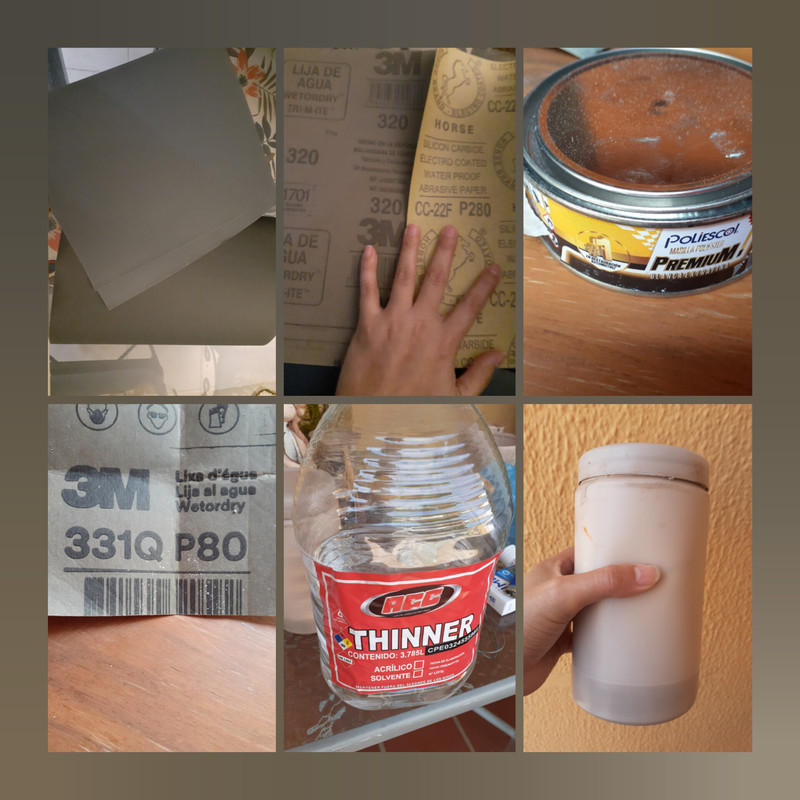
Para su renovación vamos a necesitar:
¼ de galón de Pintura acrílica Blanca
¼ de galón de pintura acrílica Color crema
Thinner
4 Manijas de acero
4 Patas de acero
Destornillador
4 triángulos de madera
Compresor (opcional)
Tornillos
Lija Nº 280 y P80
Masilla poliéster

Procedimiento
Vamos a retirar las puertas de nuestro mueble y a quitarle el polvo. Una vez lo tengamos sin puertas, procederemos a lijar toda la superficie de nuestro mueble con la Lija 280, para eliminar el barniz que tenía el mueble originalmente.


Una vez este todo lijado, procederemos a preparar un poco de masilla plástica para cubrir con una espátula todas las imperfecciones de nuestro mueble y cualquier golpe que deba tener. Una vez cubiertas todas las imperfecciones con nuestra lija P80 de la marca 3M, procedemos a lijar hasta que la superficie quede totalmente lisa al tacto.


Pasamos un paño para eliminar restos de polvo y masilla y procedemos proteger las puertas con papel para no manchar el vidrio con pintura y preparamos la pintura con el thinner y con el compresor le damos una capa de fondo blanco a nuestro mueble y dejamos secar de 24 a 48 horas.


Transcurridas las 48 horas de secado, procedemos a pintar con el color deseado, en casa escogimos este color crema, nos costó 13$ ¼ de galón, nos sirvió para darle dos capas de pintura a todo el mueble. El Tiempo de secado entre cada capa de pintura fue de 24 horas.


Una vez seco, procedimos a cortas las patas que eran bastante anticuadas y les colocamos unas más modernas de acero inoxidable que costaron 2$ cada una. Para asegurarlas al mueble le atornillamos 4 triángulos de madera a cada esquina del mueble.

Posteriormente, se ajustó cada puerta a el mueble y se colocaron las manijas; este modelo nos costó 2,50 $ cada manija de acero.


Quitamos el papel que cubría los vidrios y limpiamos cualquier resto de pintura que pudo quedar. Y listo nuestro mueble.

En esta renovación gastamos unos 70$ entre pintura, manijas y patas, muchísimo mejor que comprar un mueble nuevo y además de que tuvimos la satisfacción de haber renovado el mueble nosotros mismos.
Si tienen en casa mueble de este estilo o algún mueble de madera, no duden en ponerse manos a la obra y darle una segunda oportunidad. Y no se preocupen si no tienen compresor, pueden hacerlo utilizando otras técnicas y tipos de pintura como : pintura a la tiza y pintarlo con estopa o esponja y les quedará otro efecto como moteado o envejecido.
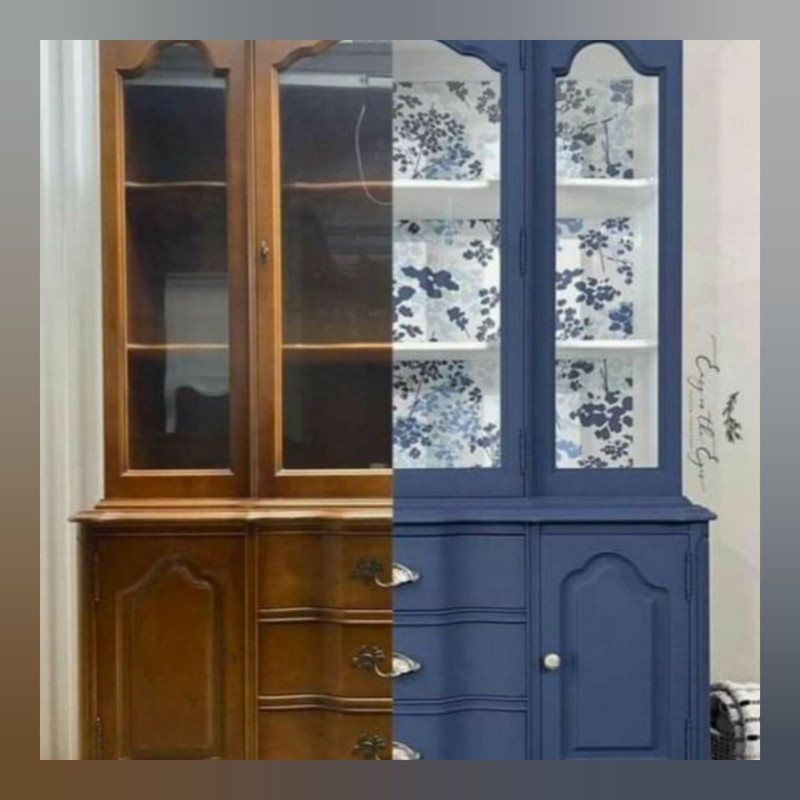
Les dejo algunas ideas de inspiración
Si tienen alguna duda o alguna idea para renovar sus muebles de madera, los leo en los comentarios.
Las fotografías fueron tomadas por mi.
Collage: InShot
English
Hello friends of HIVE DIY! Surely you have a piece of ceibó furniture at home that has lost its luster and charm, don't worry, because in this tutorial, I will guide you step by step to transform that forgotten piece of furniture into a spectacular piece that will once again be the center of attention in your home. With a little creativity and some simple materials, you can revitalize its beauty and give it another chance. Join me on this renovation adventure and discover how a piece of furniture can tell a new story.

For your renovation we will need:
¼ gallon of White Acrylic Paint
¼ gallon of Cream Acrylic Paint
Thinner
4 steel handles
4 steel legs
Screwdriver
4 wooden triangles
Compressor (optional)
Screws
Sandpaper Nº 280 and P80
Polyester putty

Procedure
We are going to remove the doors of our furniture and remove the dust. Once we have it without doors, we will proceed to sand the entire surface of our furniture with sandpaper 280, to remove the varnish that had the furniture originally.


Once everything is sanded, we will proceed to prepare some plastic putty to cover with a spatula all the imperfections of our furniture and any blows that it should have. Once all the imperfections are covered with our 3M P80 sandpaper, we proceed to sand until the surface is completely smooth to the touch.


We pass a cloth to remove traces of dust and putty and proceed to protect the doors with paper to avoid staining the glass with paint and prepare the paint with thinner and with the compressor we give a coat of white background to our furniture and let it dry for 24 to 48 hours.


After the 48 hours of drying, we proceed to paint with the desired color, at home we chose this cream color, it cost us 13$ ¼ gallon, it served us to give two coats of paint to the entire piece of furniture. The drying time between each coat of paint was 24 hours.


Once dry, we proceeded to cut the legs, which were quite old-fashioned, and put some more modern stainless steel ones on them, which cost $2 each. To secure them to the cabinet we screwed 4 wooden triangles to each corner of the cabinet.

Then we adjusted each door to the cabinet and placed the handles, this model cost us 2.50 $ each steel handle.


We removed the paper covering the glass and cleaned any remaining paint. And our furniture was ready.

In this renovation we spent about $70 between paint, handles and legs, much better than buying a new piece of furniture and besides we had the satisfaction of having renovated the furniture ourselves.
If you have this style of furniture at home or any wooden furniture, do not hesitate to get to work and give it a second chance. And don't worry if you don't have a compressor, you can do it using other techniques and types of paint such as: chalk paint and paint it with tow or sponge and you will get another effect such as mottled or aged.
Here are some inspirational ideas

If you have any questions or ideas to renovate your wooden furniture, I'll read them in the comments.
The pictures were taken by me.
Collage: InShot